DIY Fluted Cardboard Ornaments
Let’s make festive cardboard ornaments in 1, 2, 3!
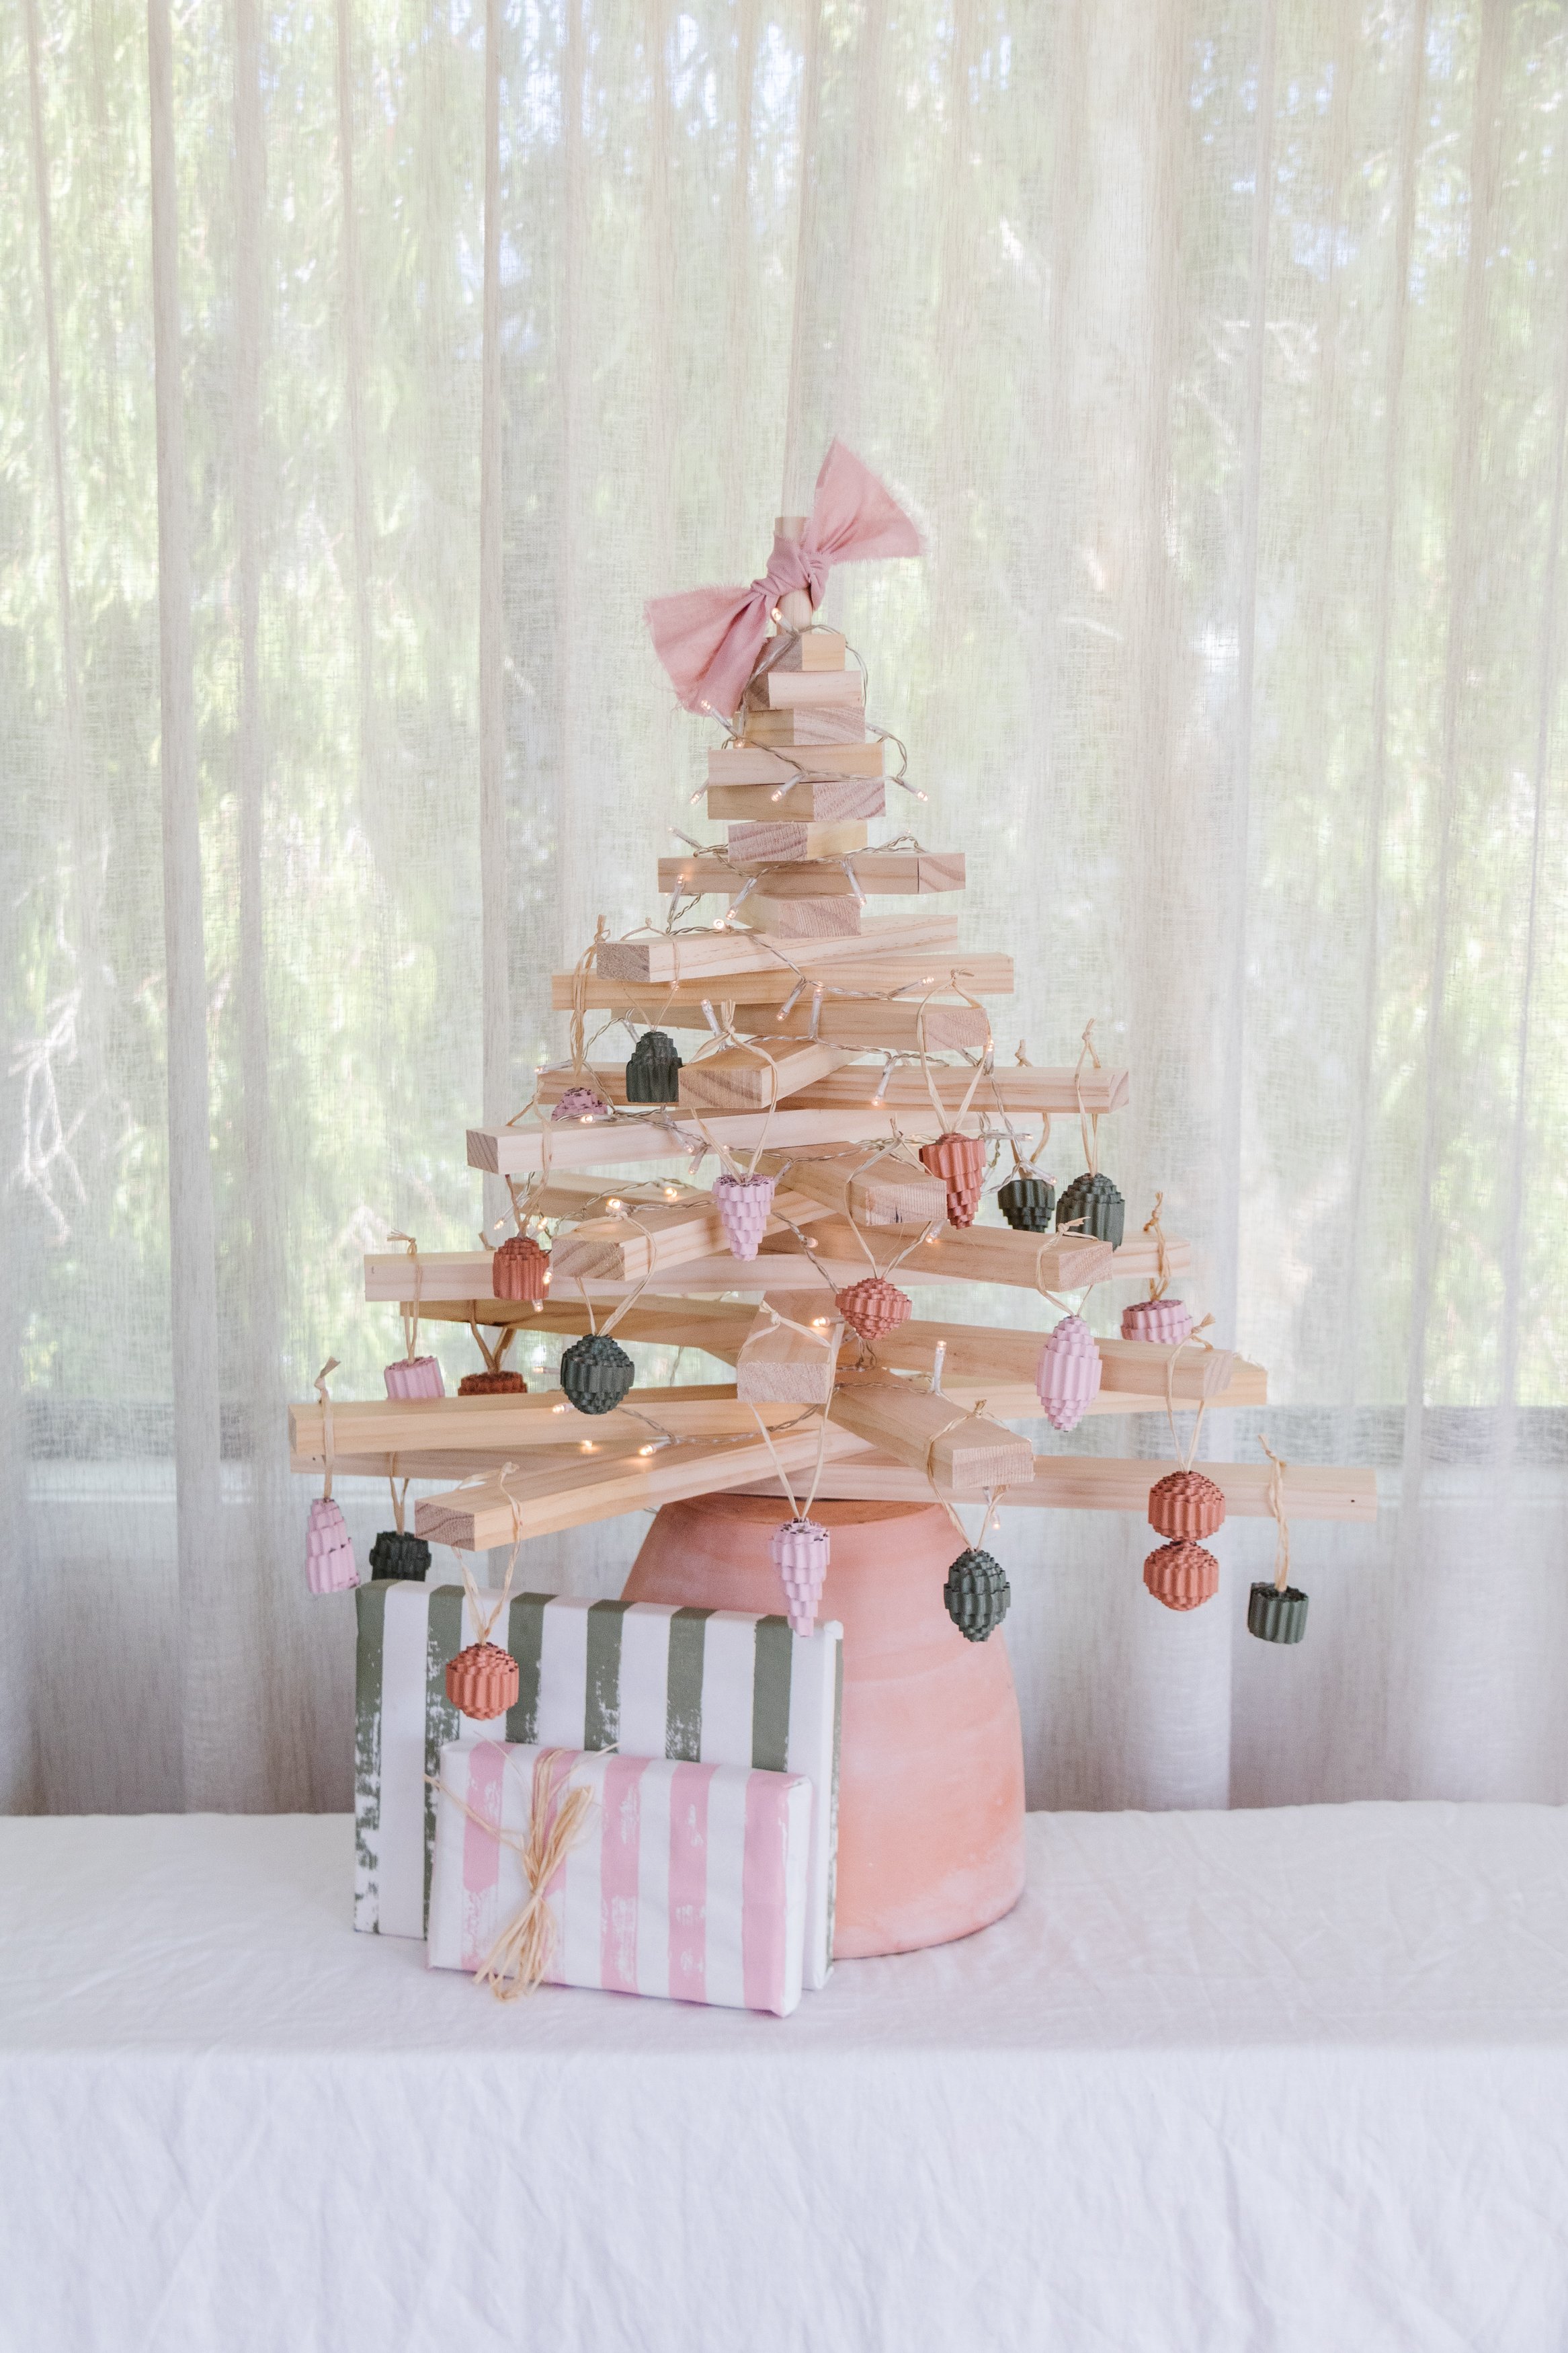
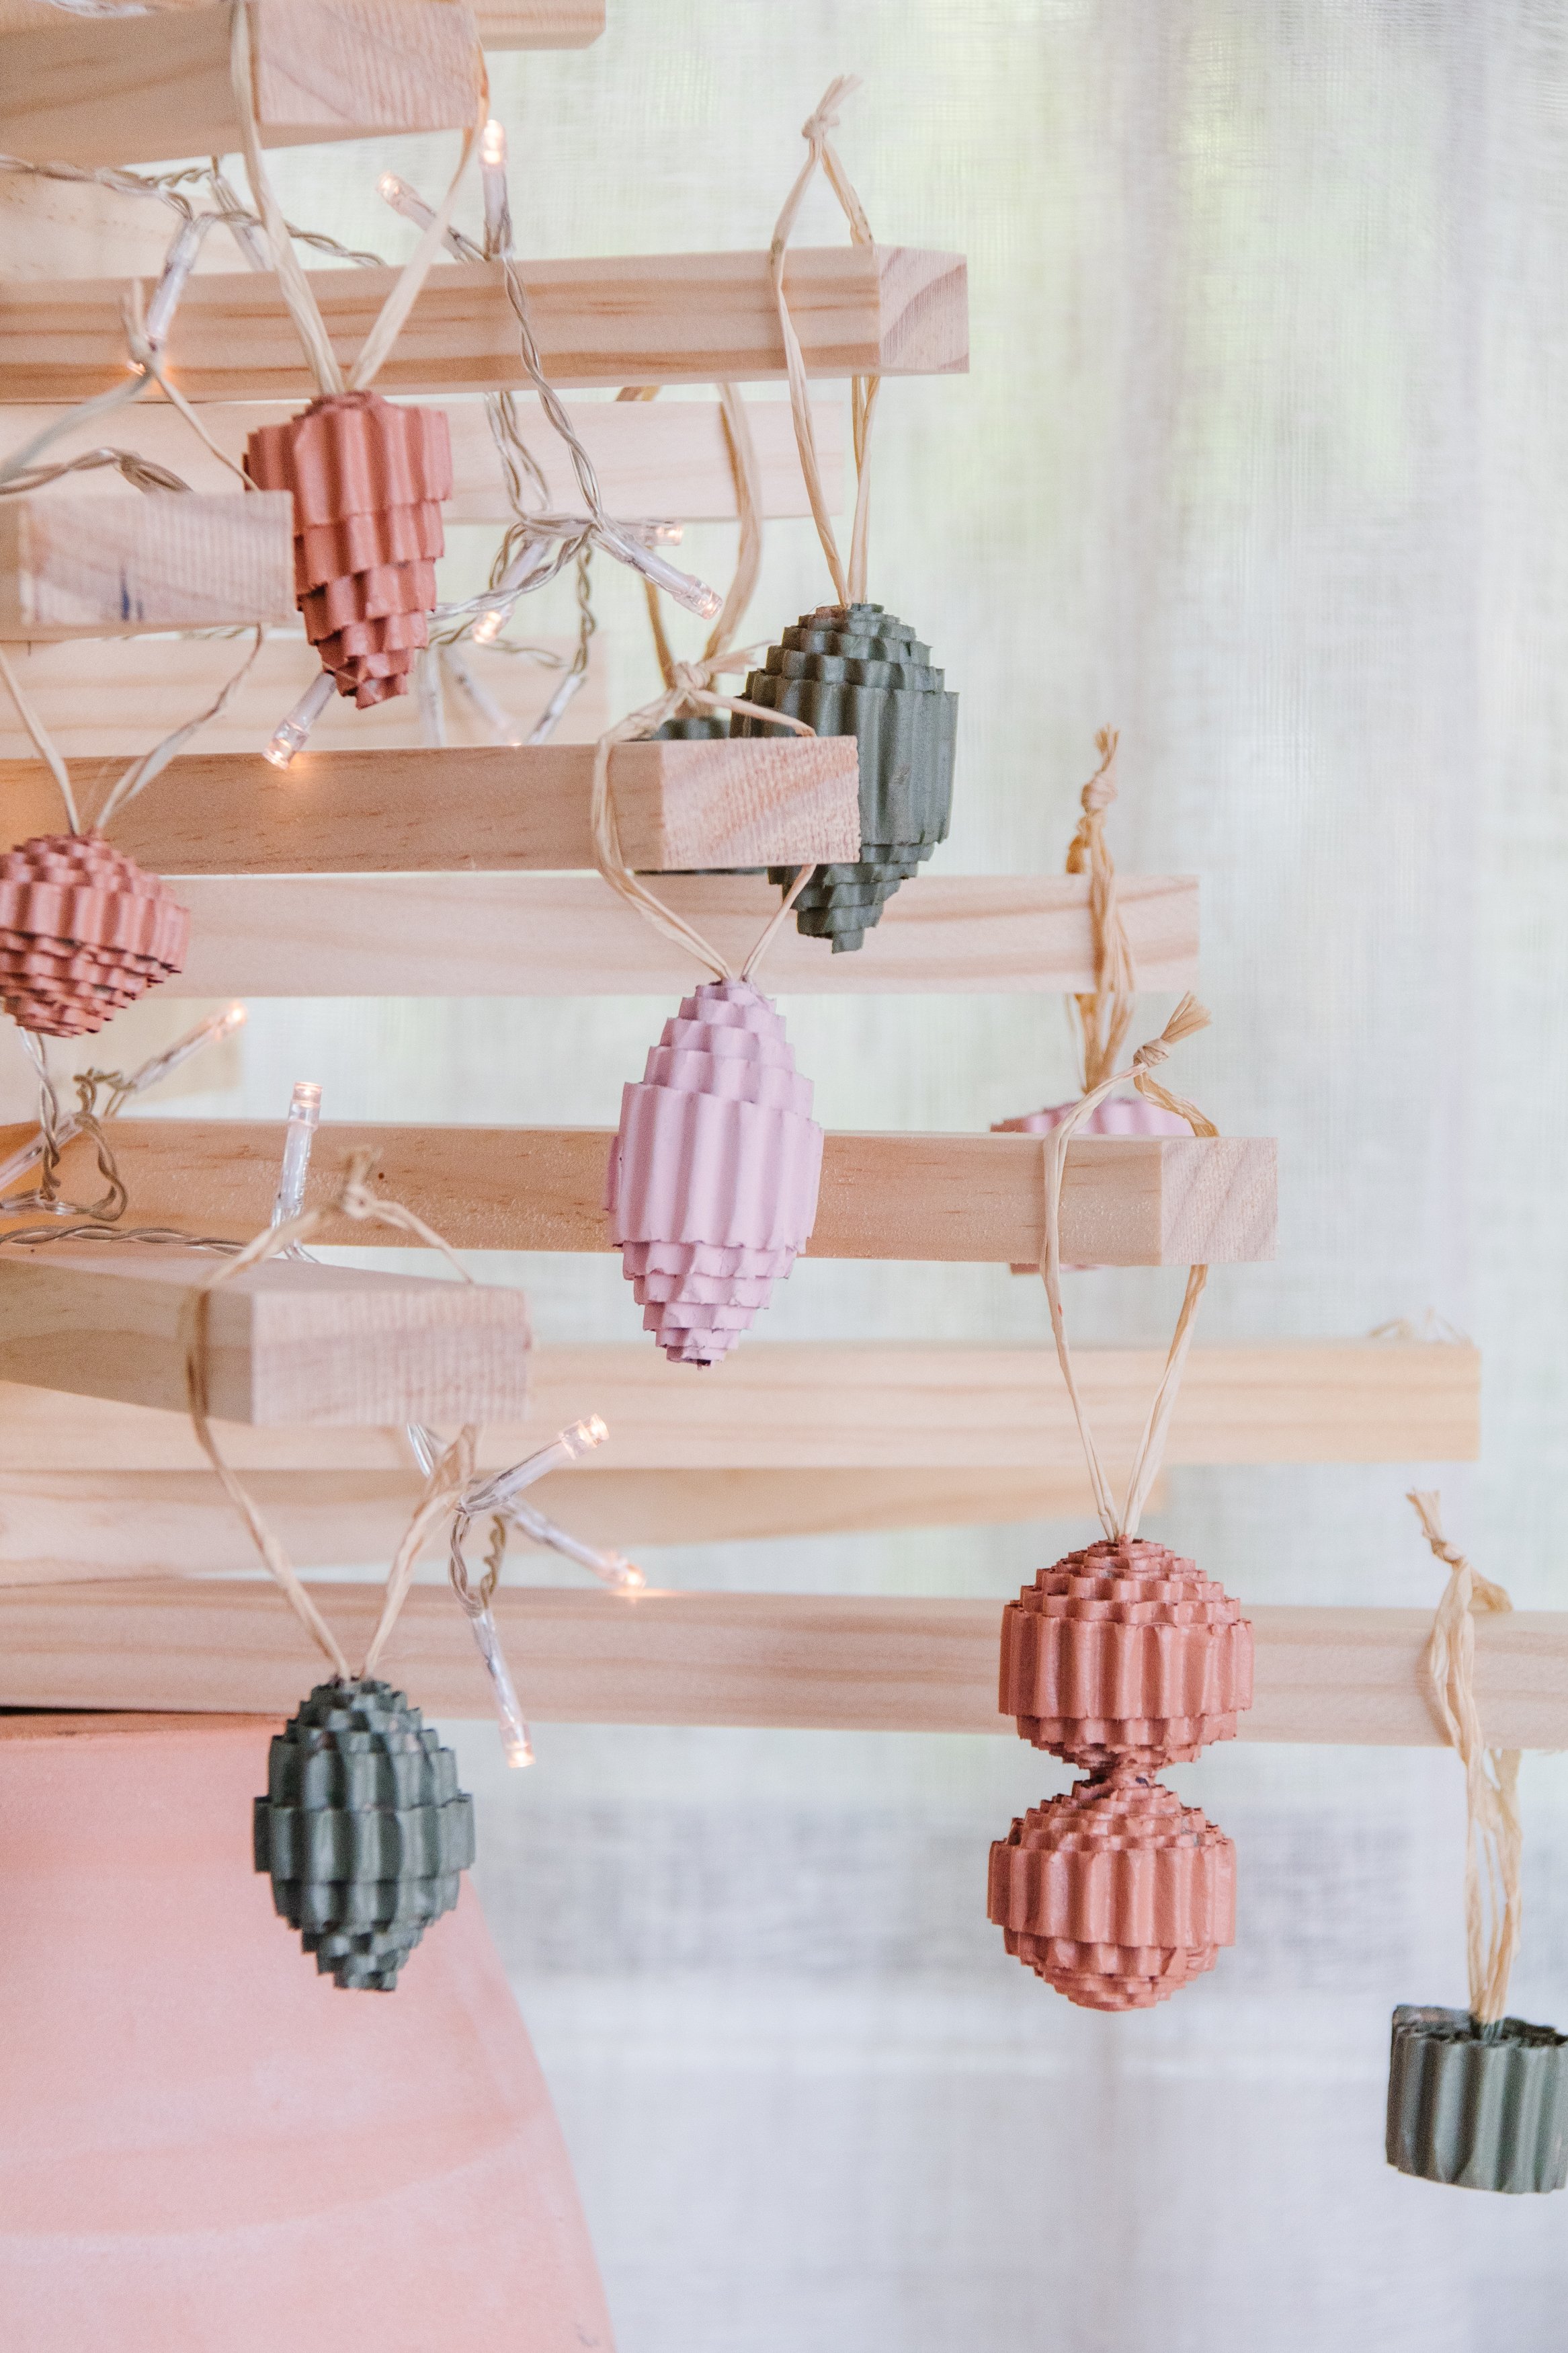
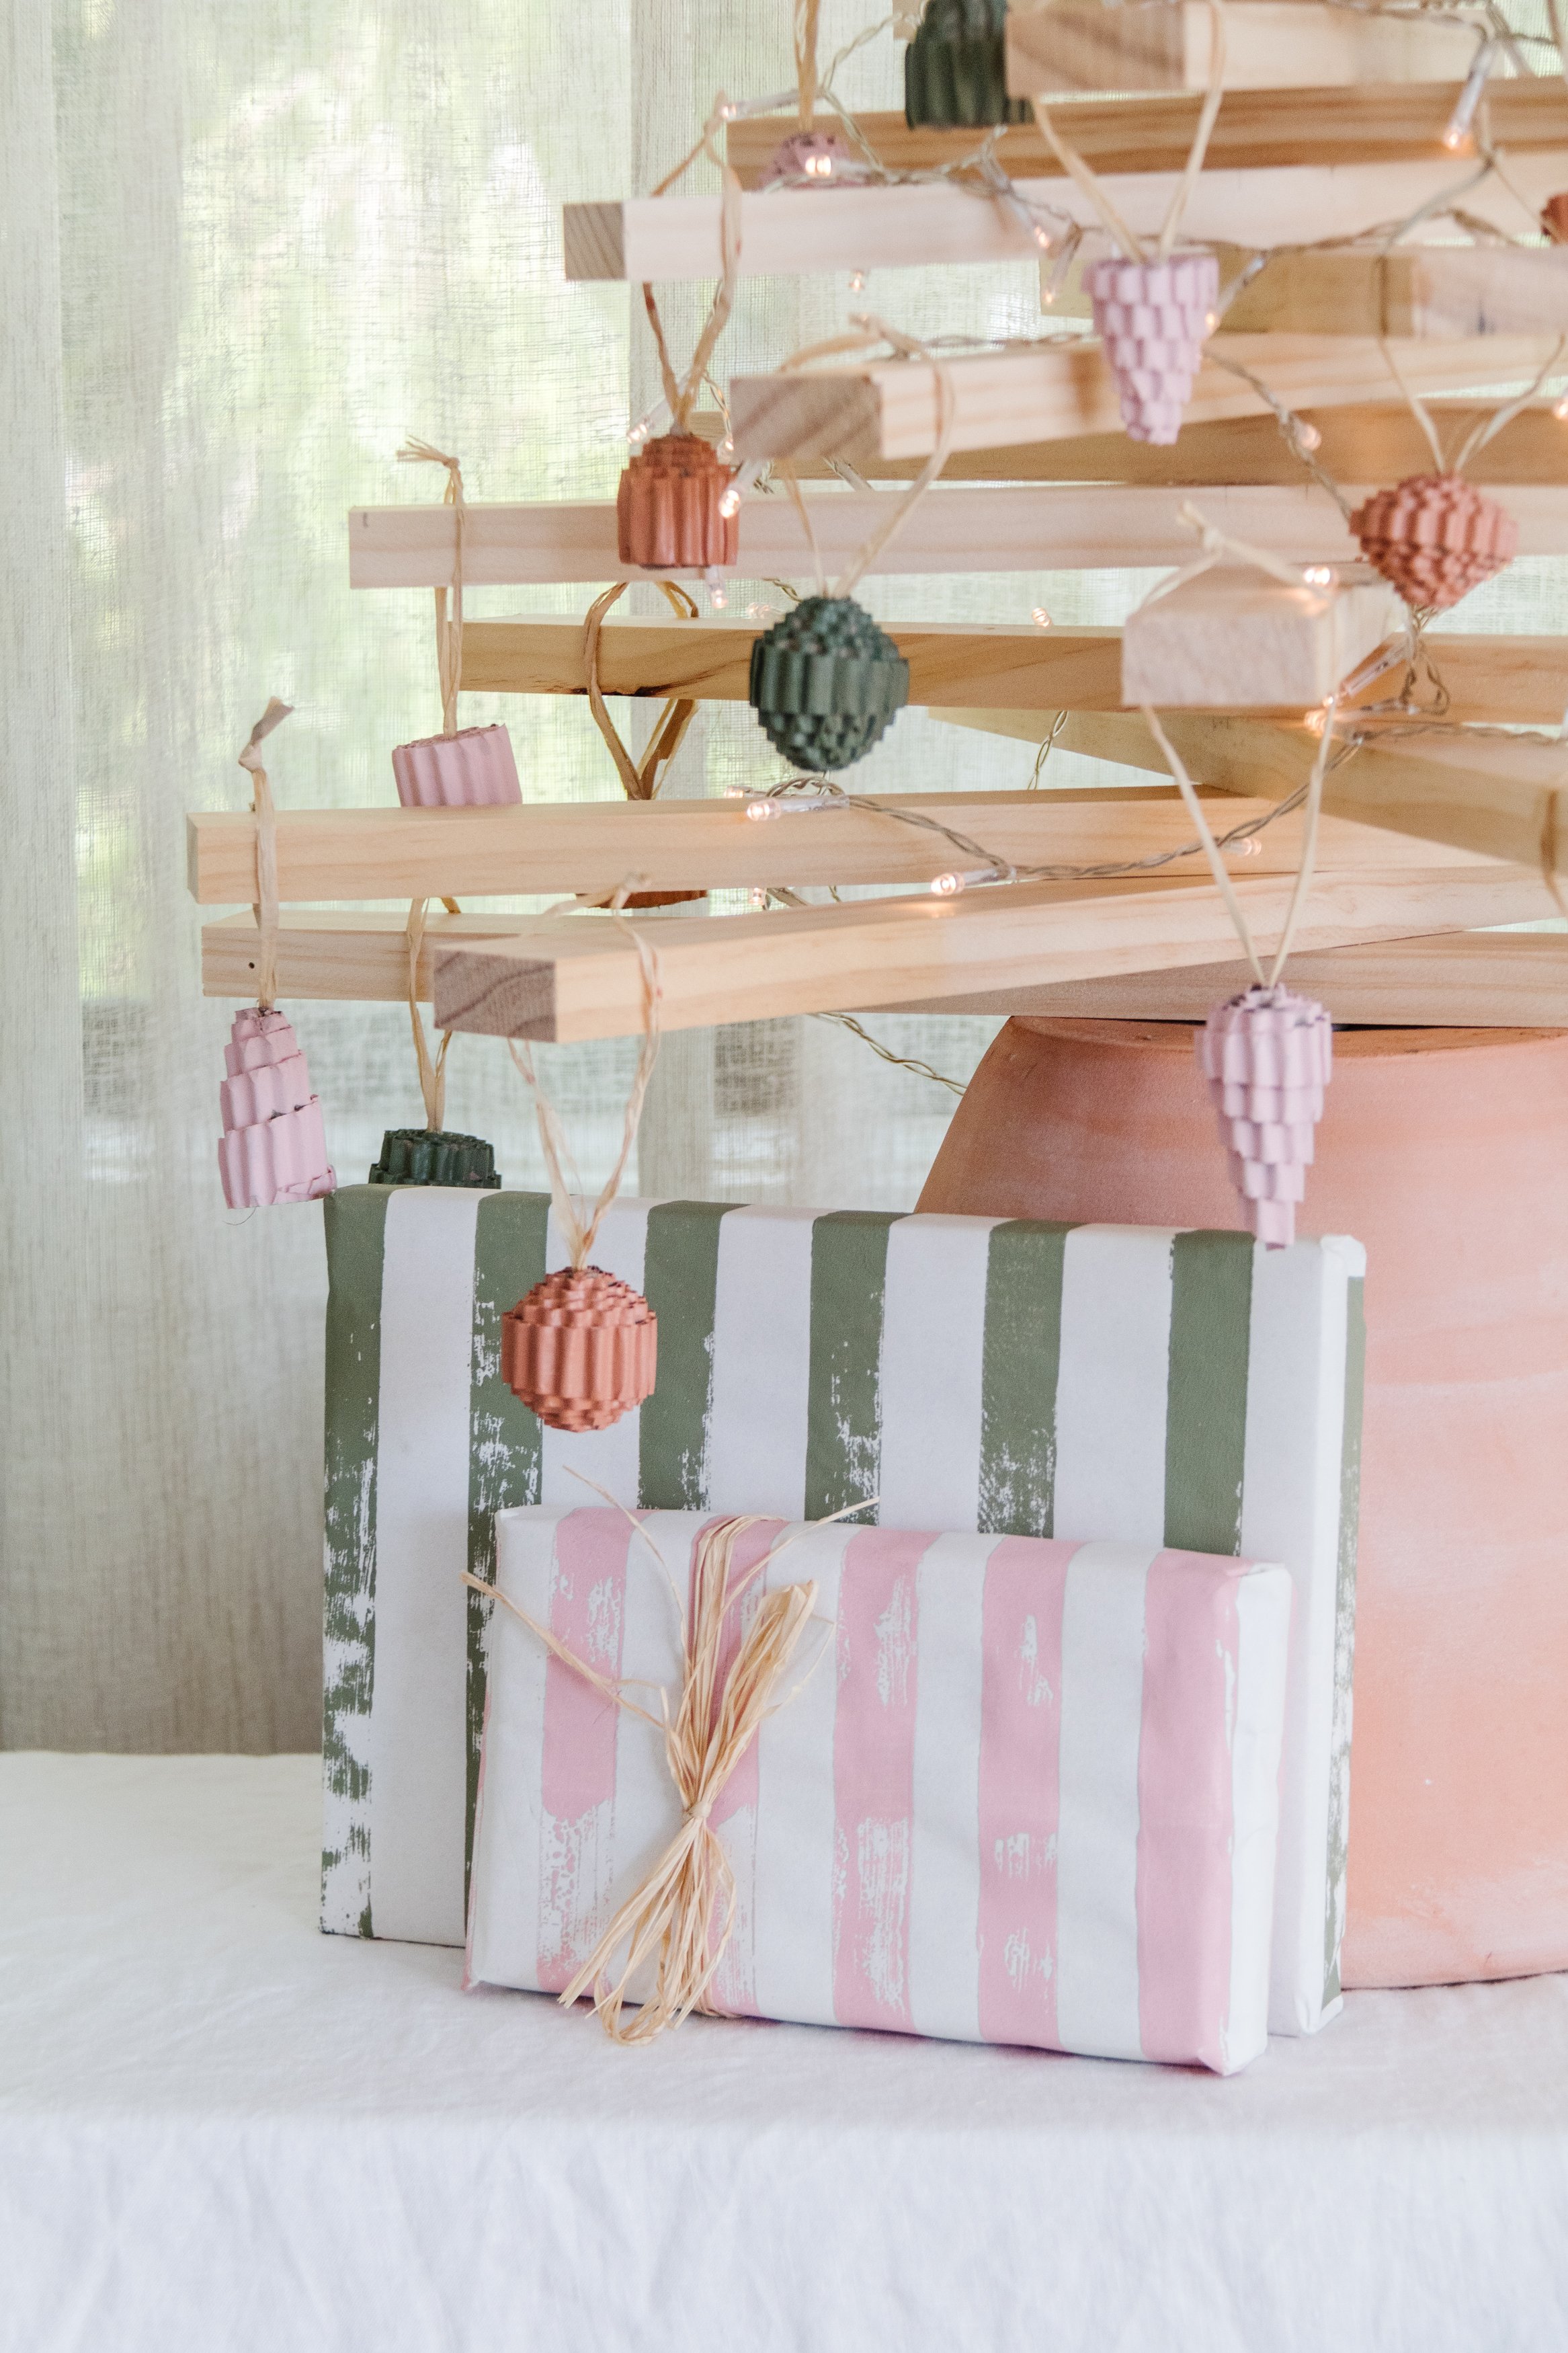
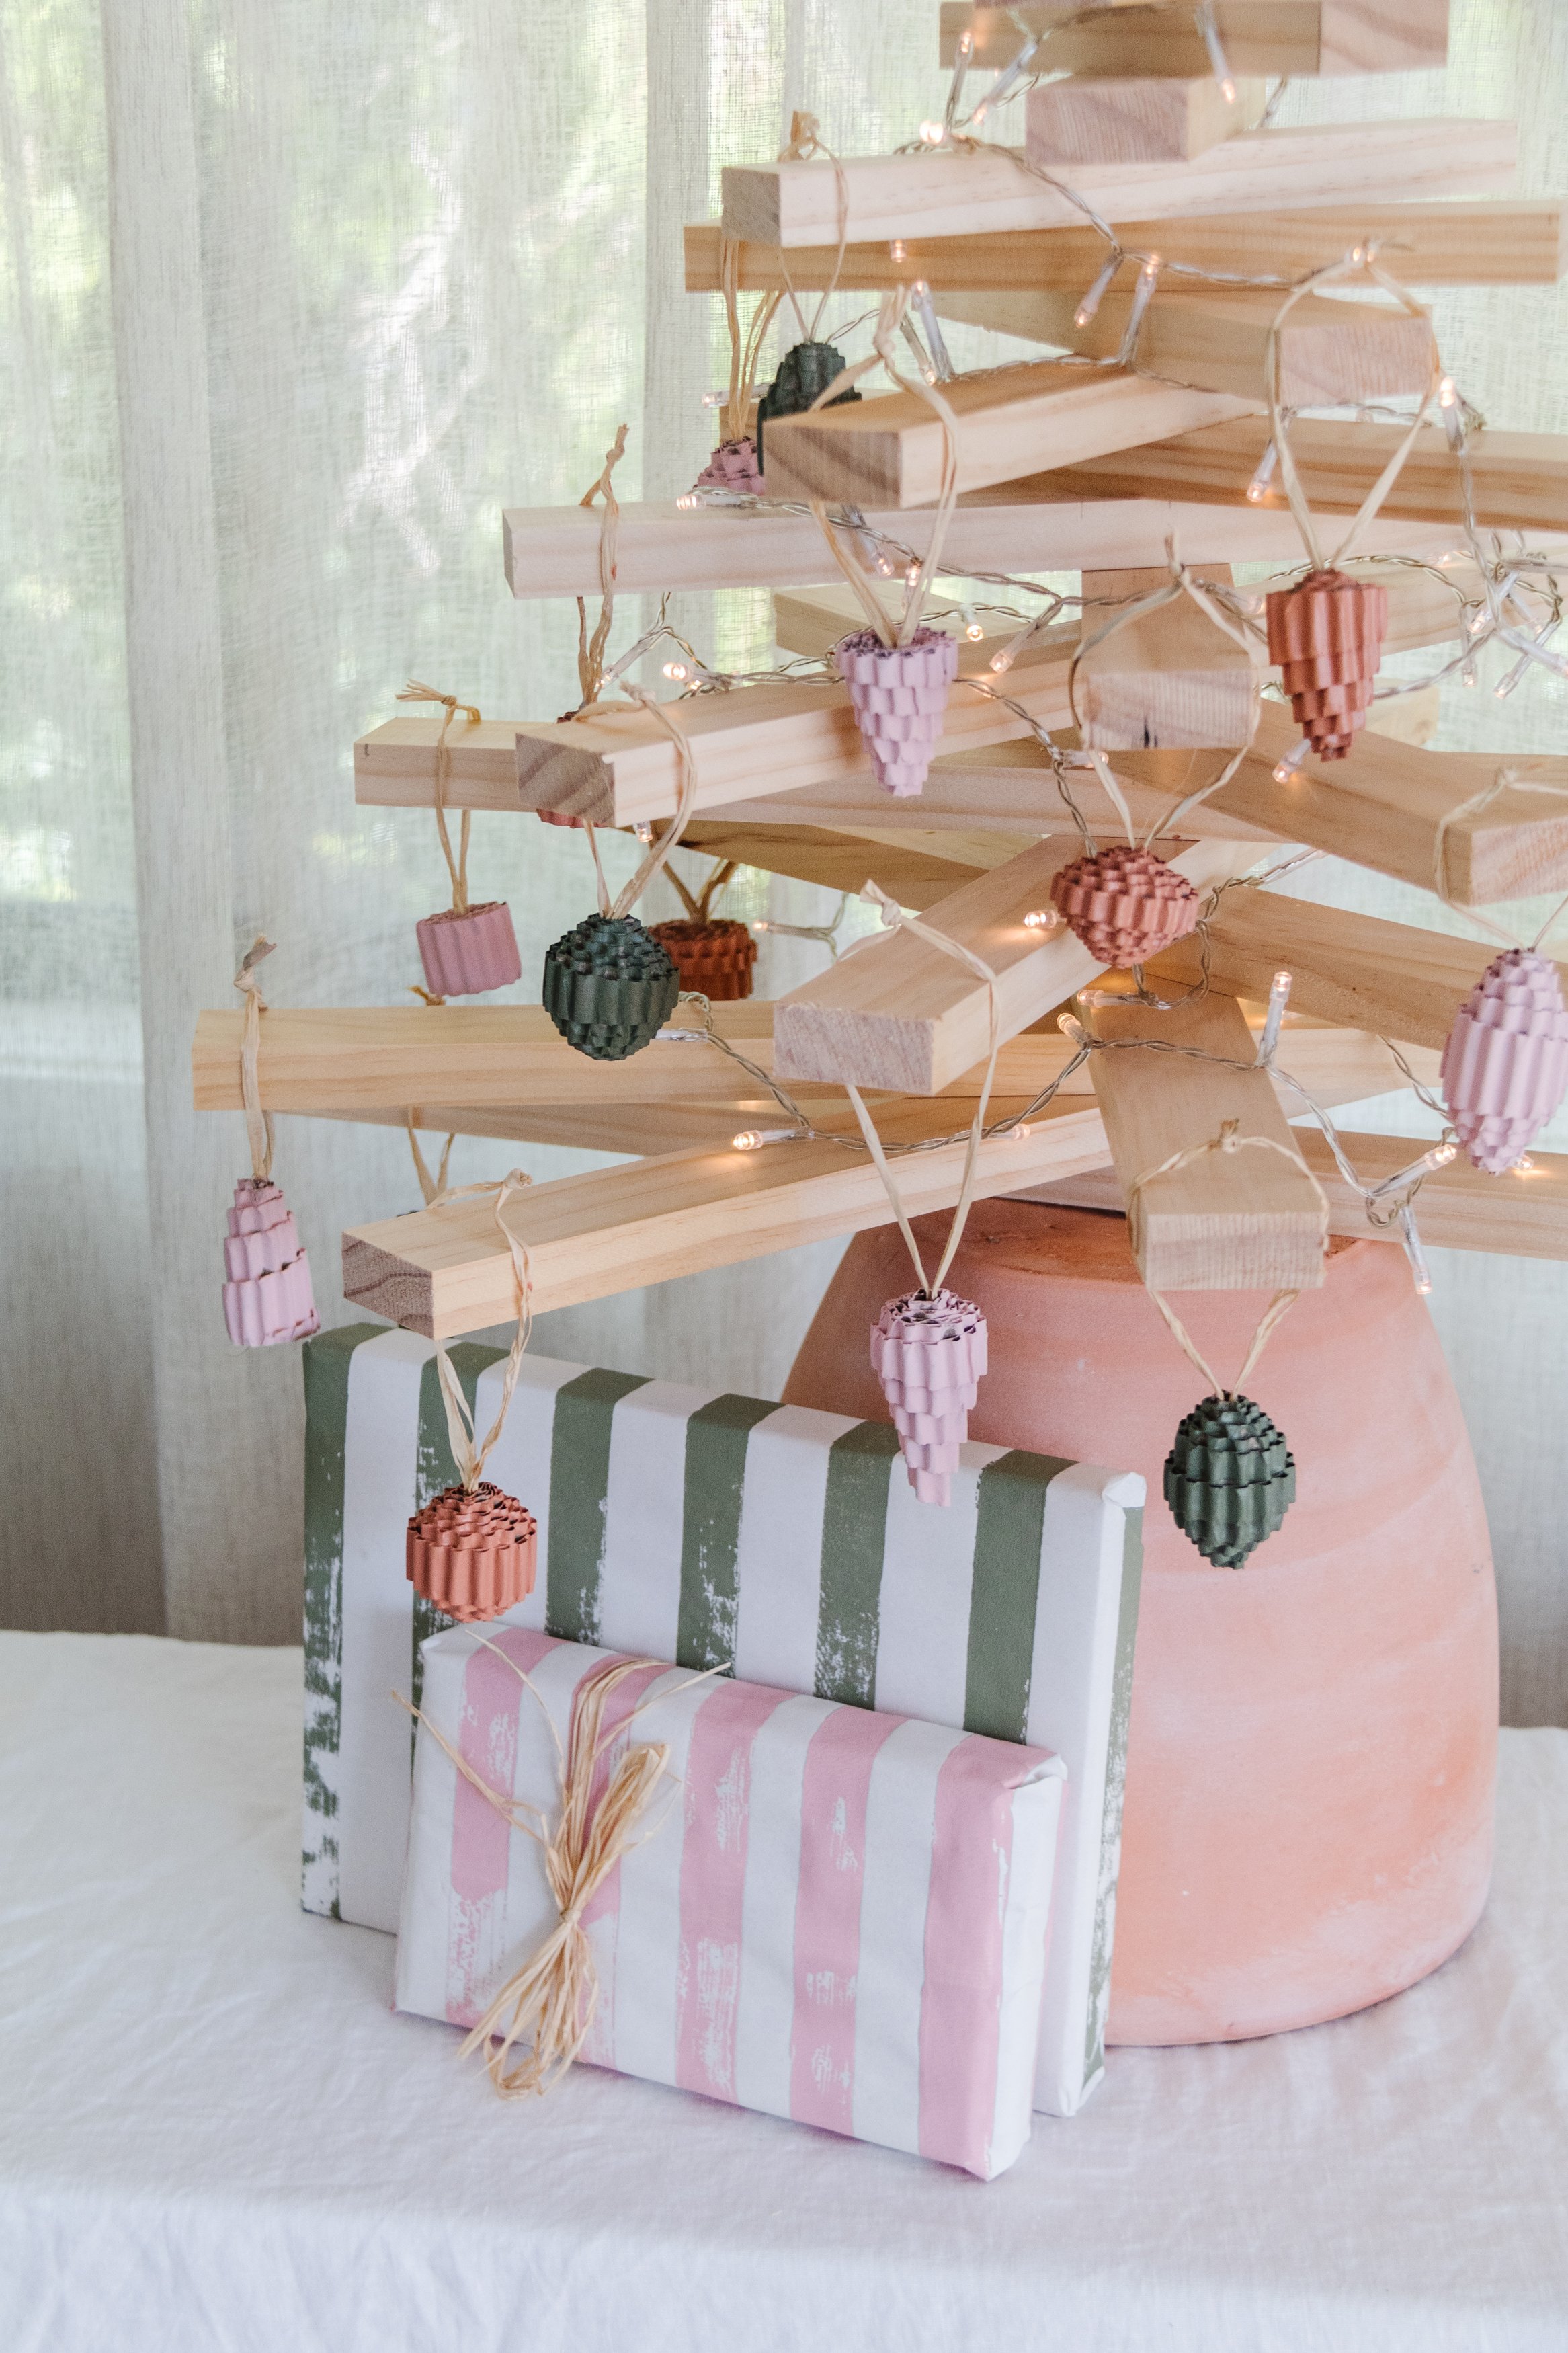
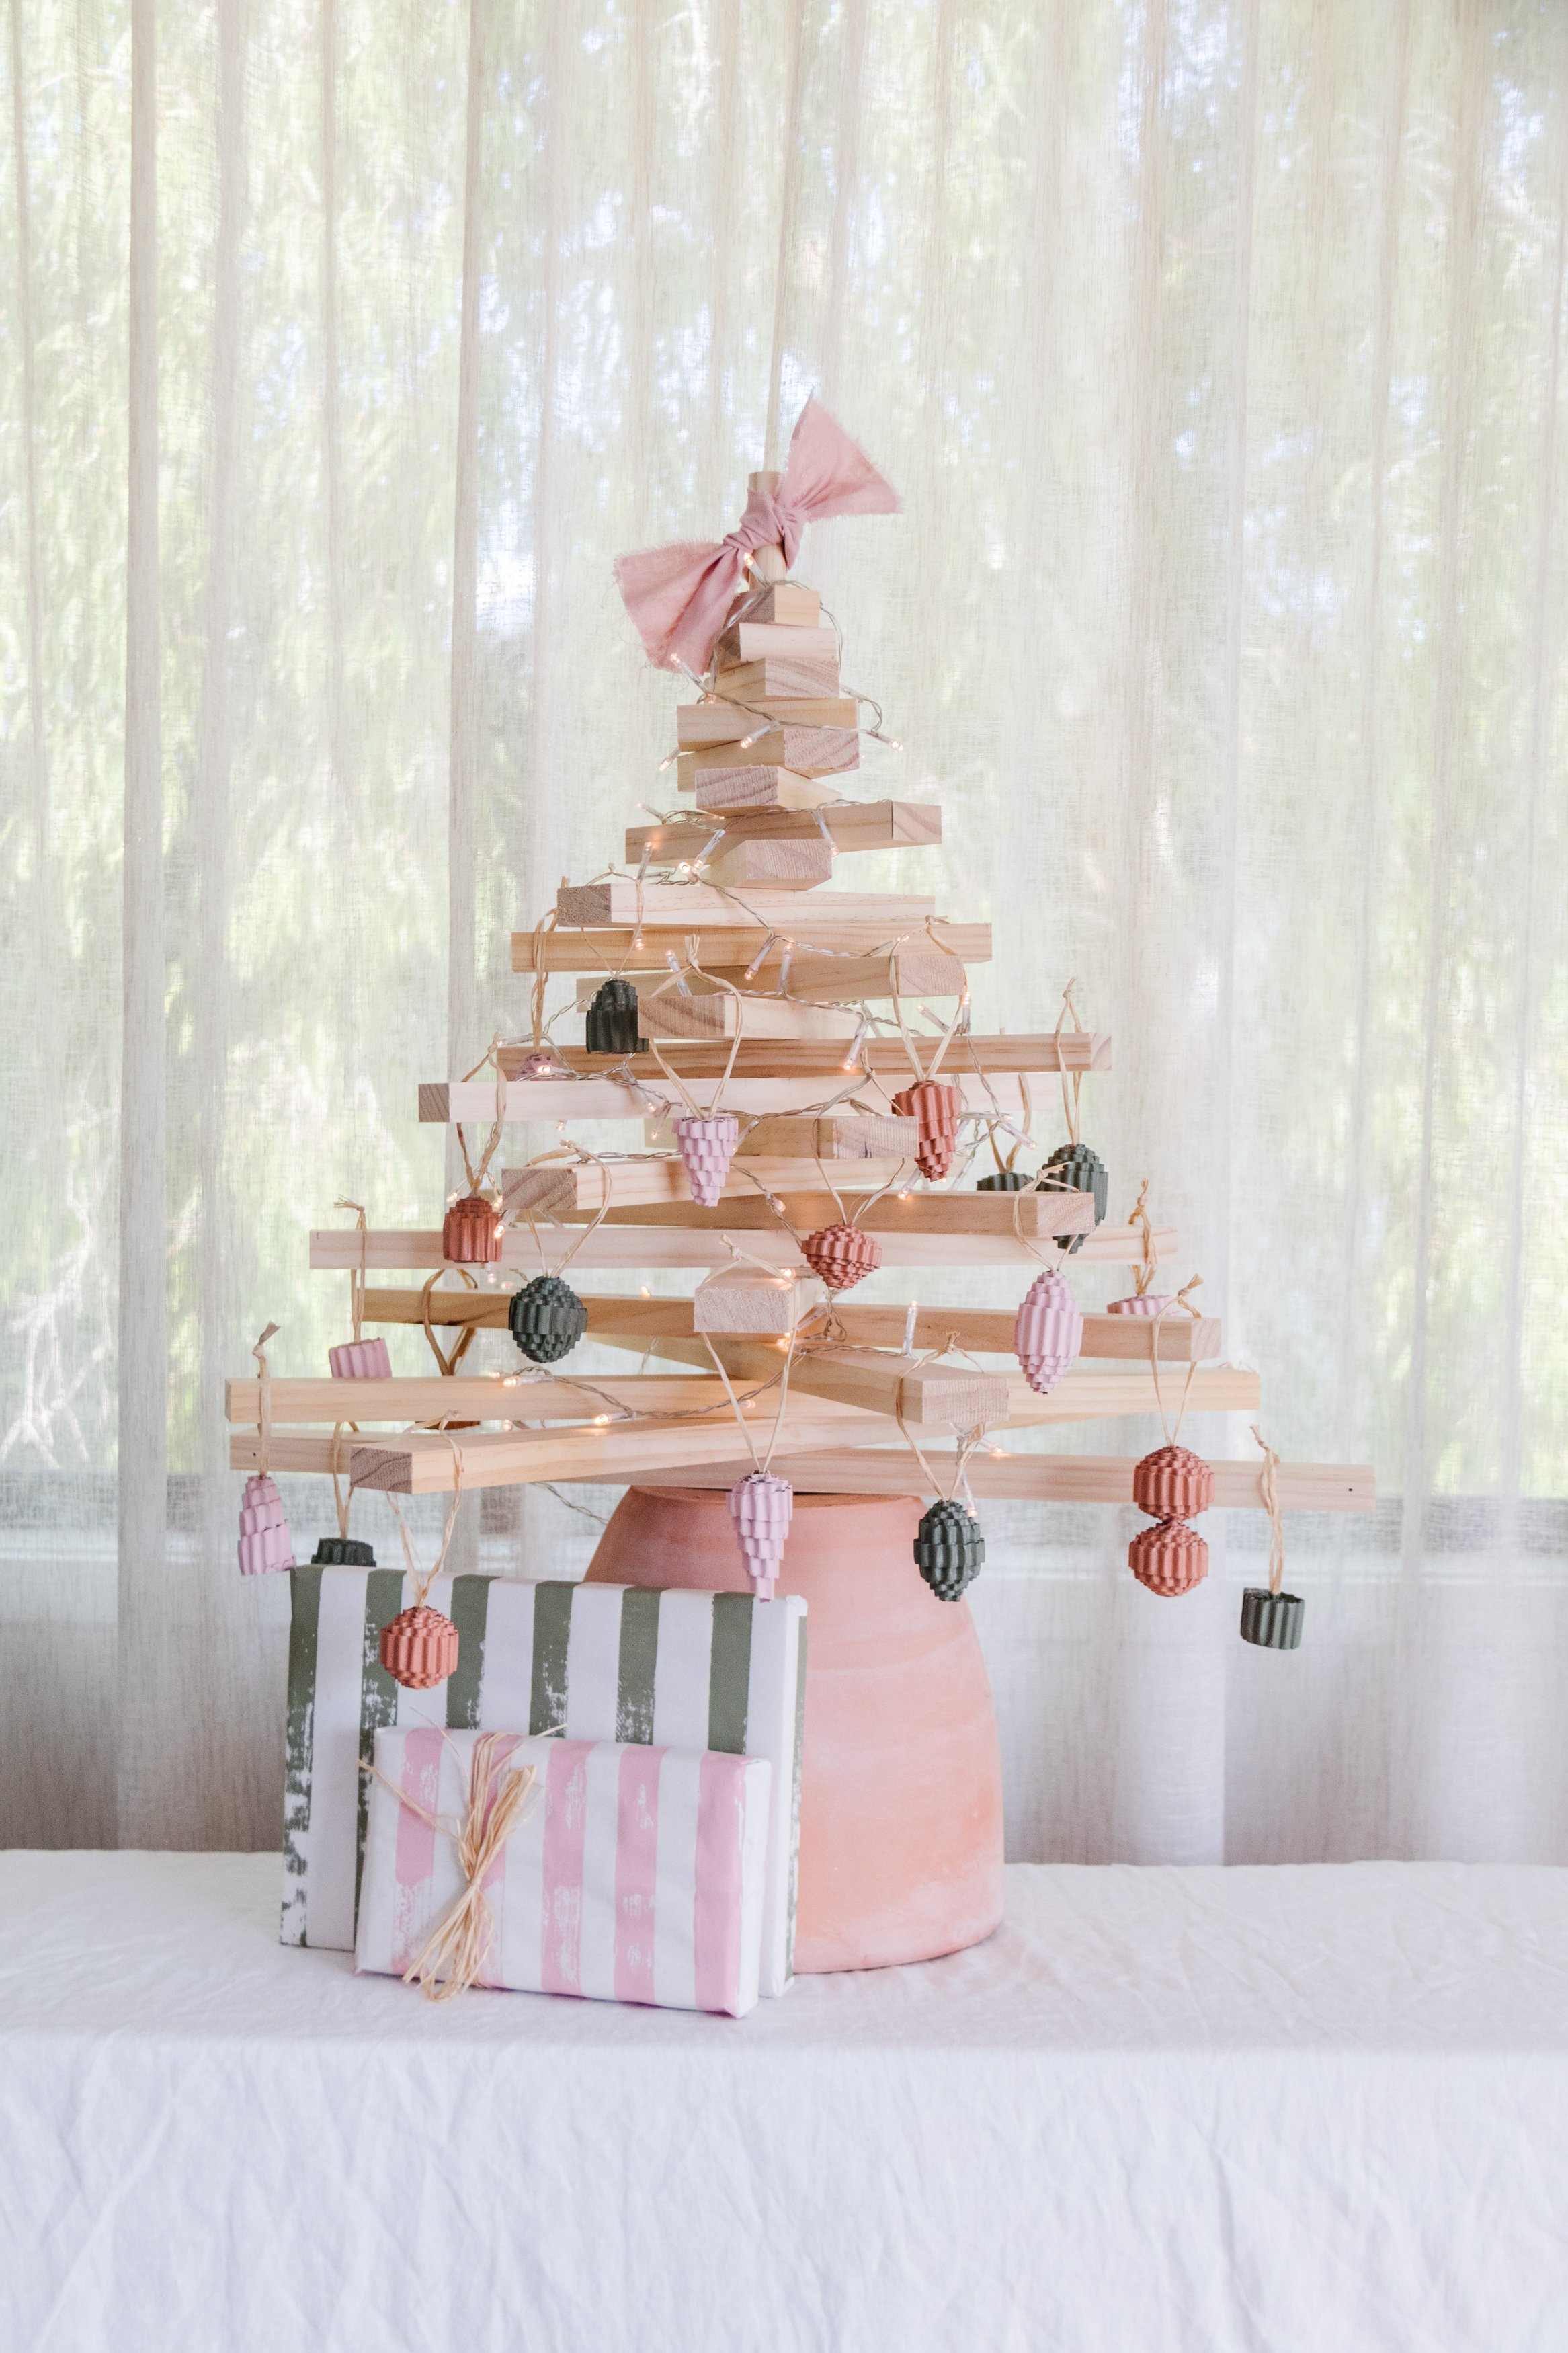
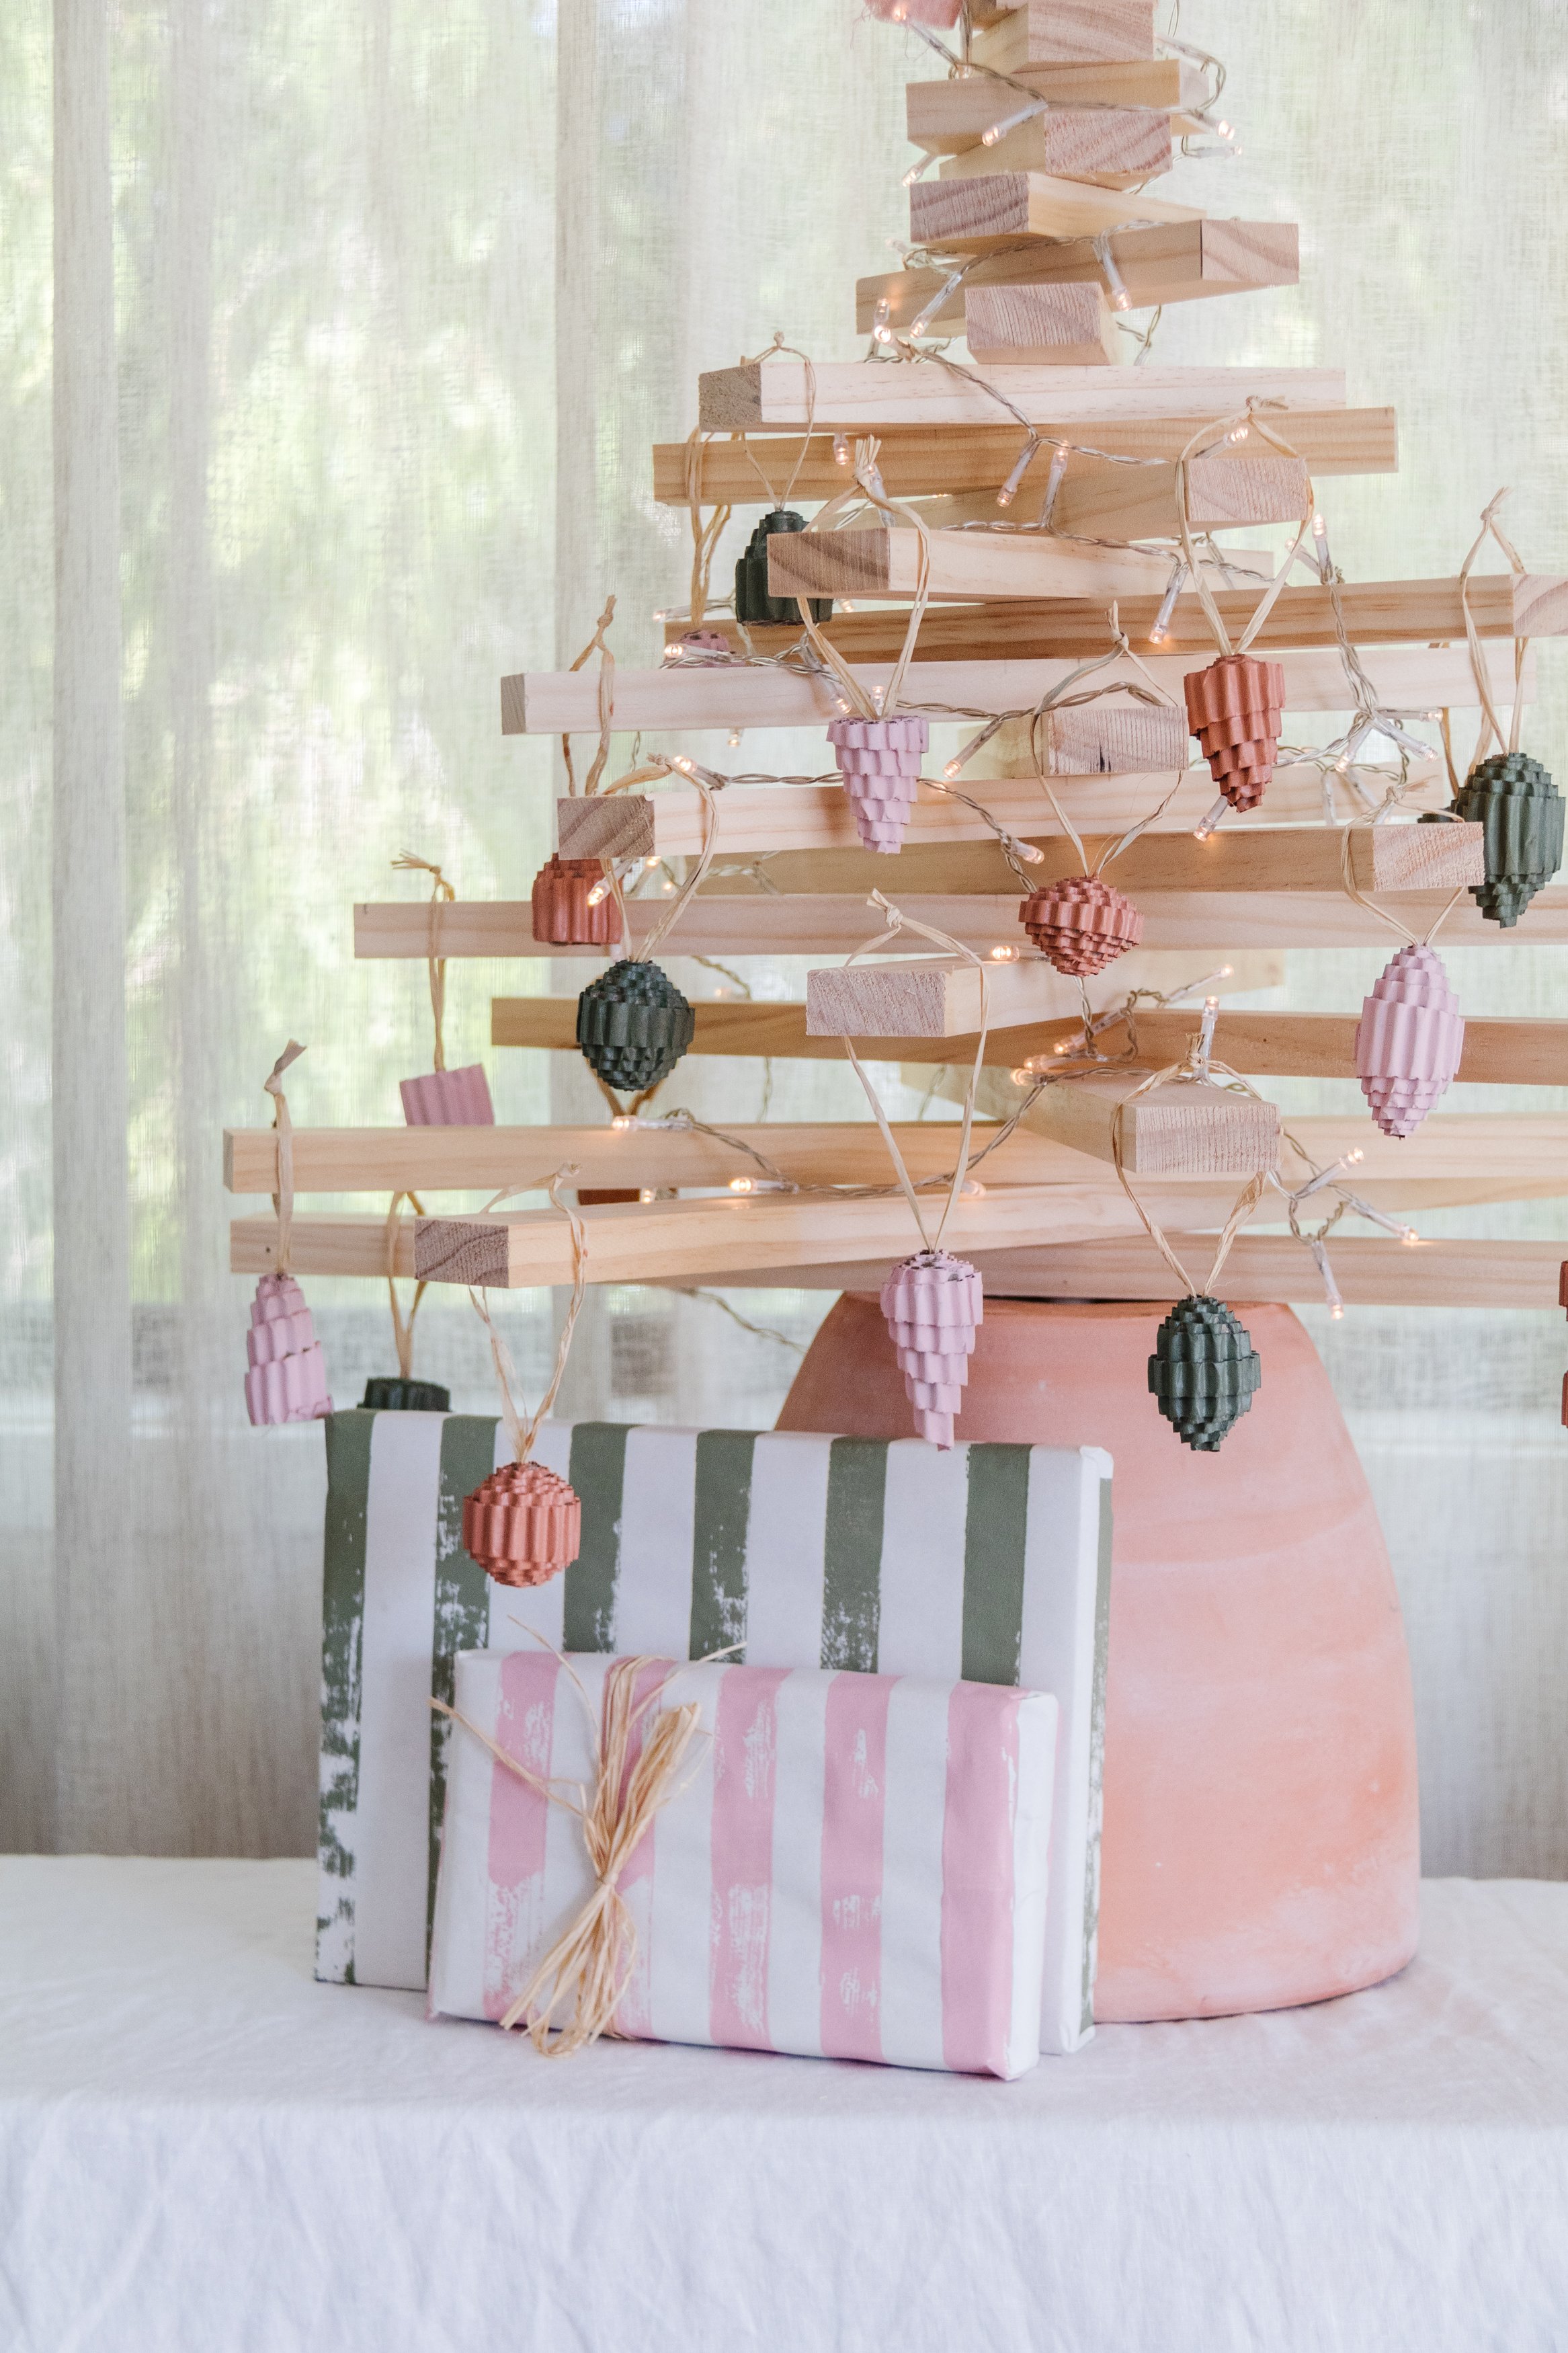
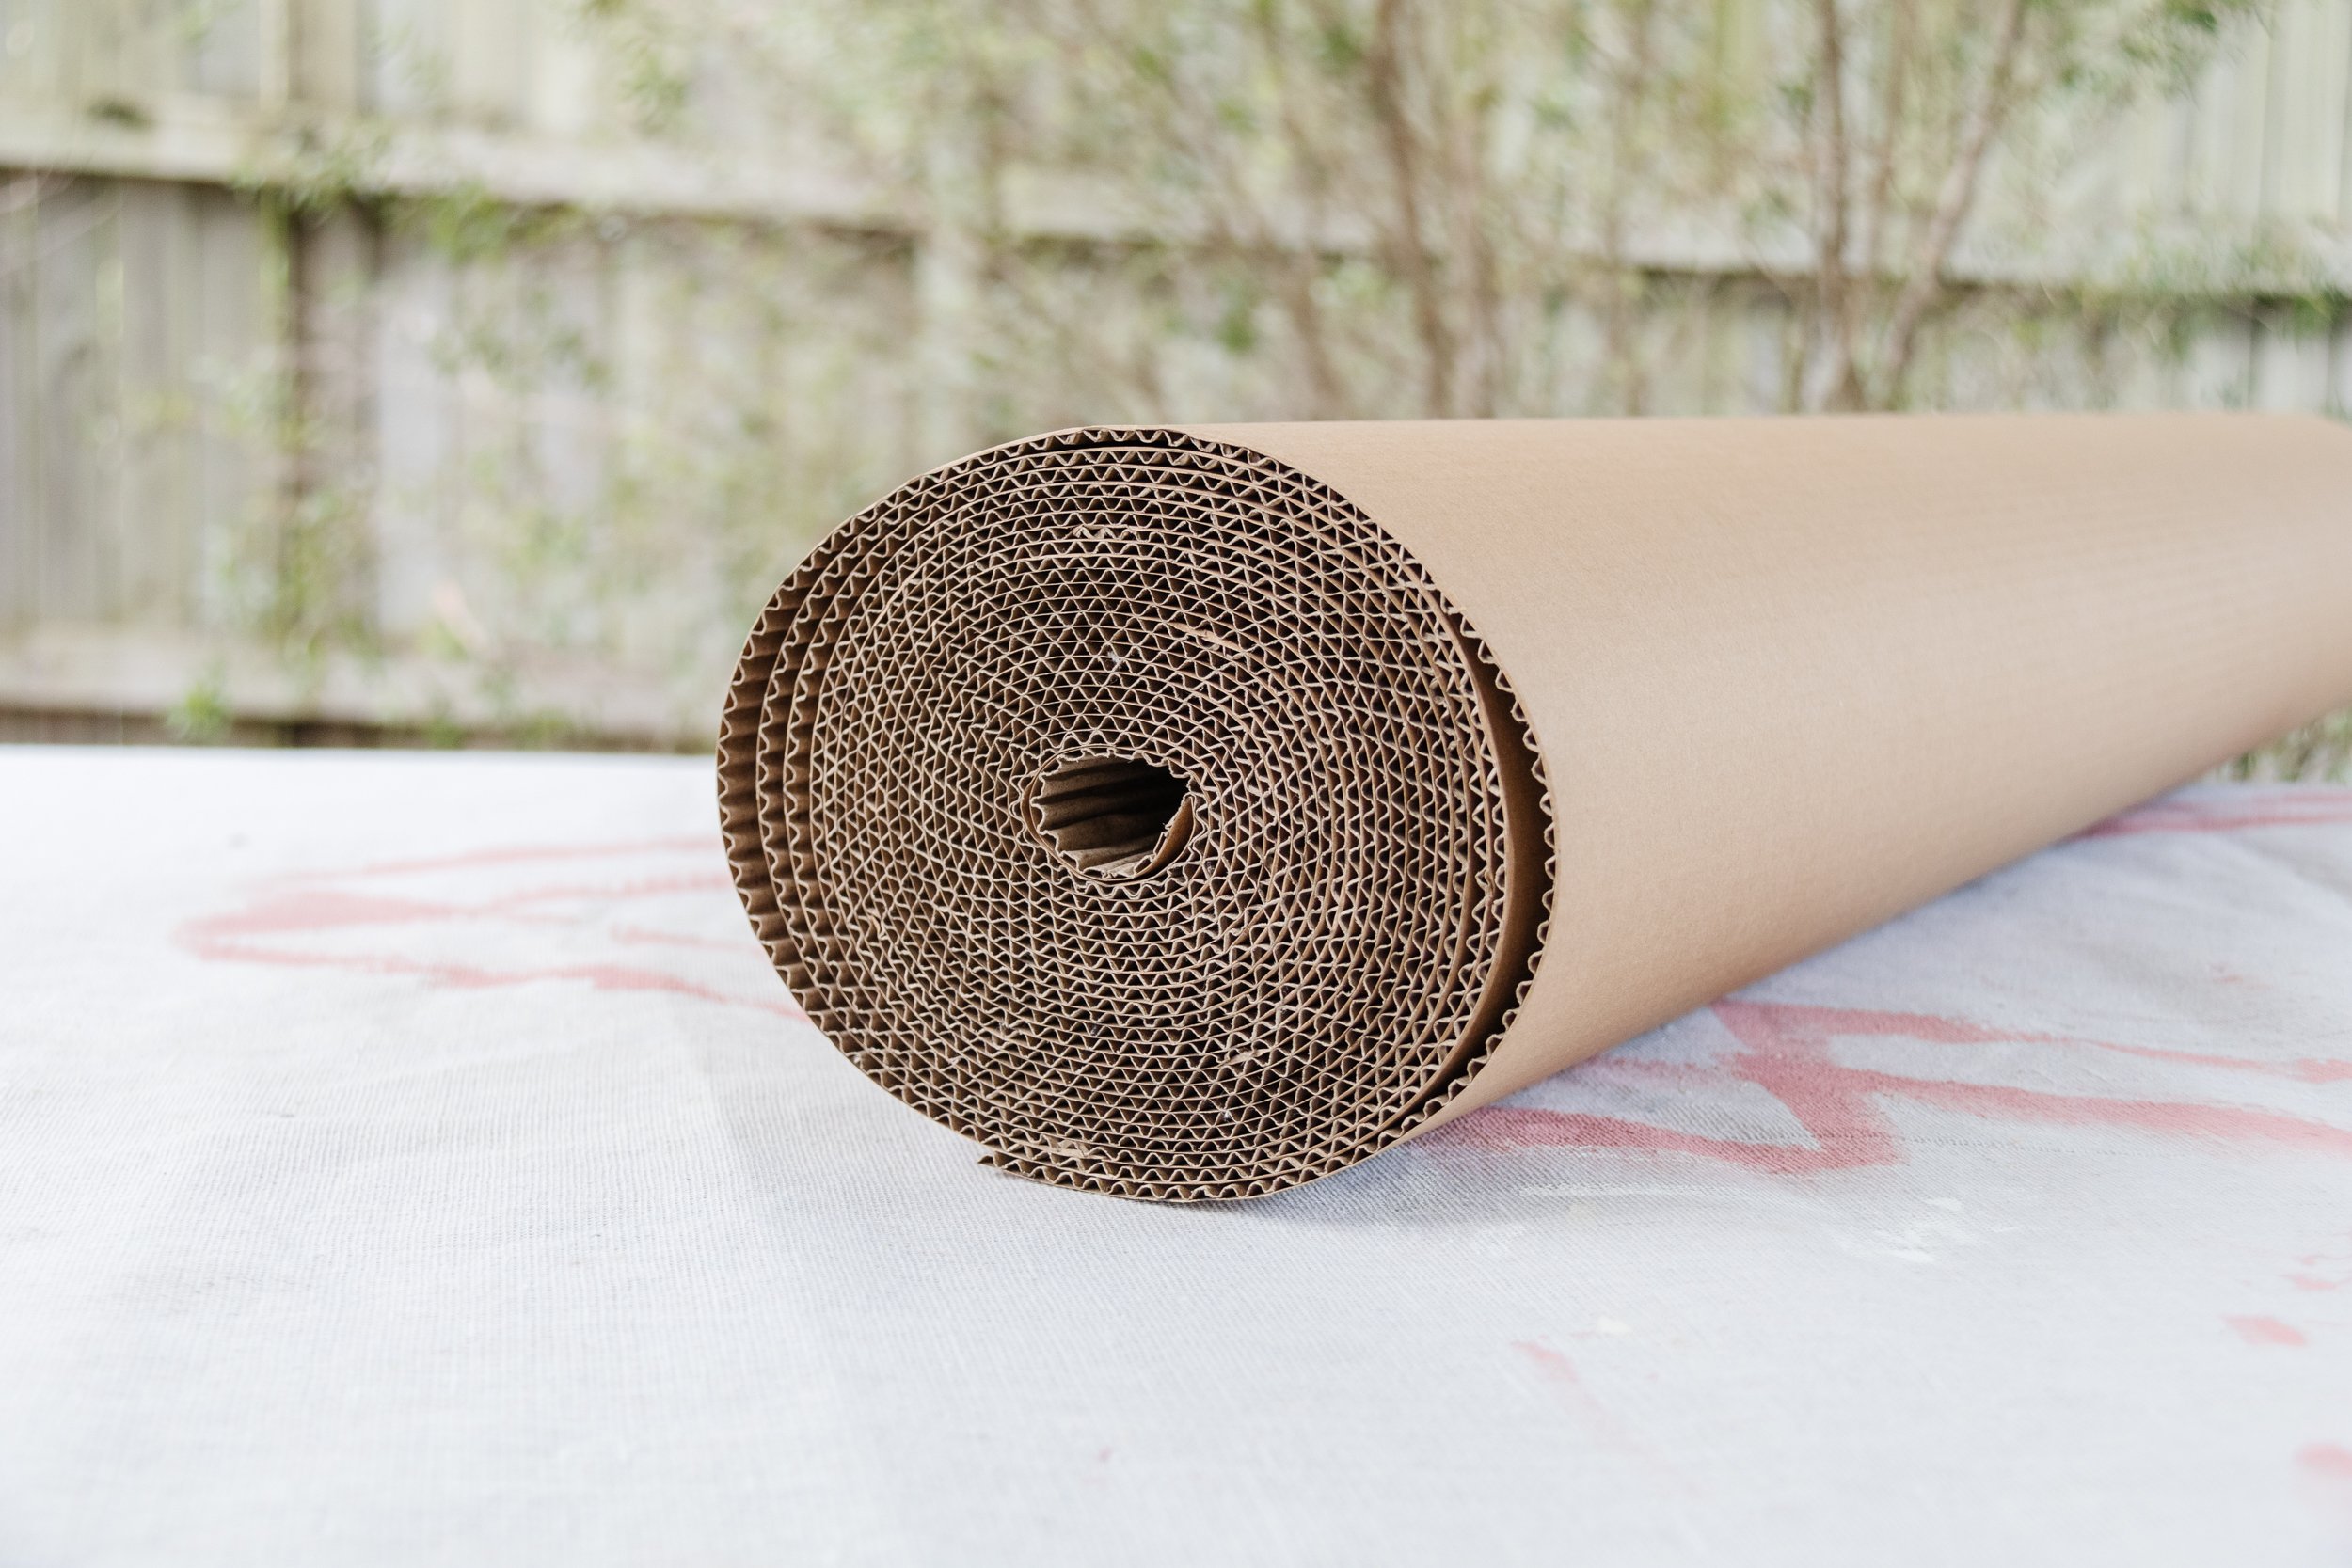
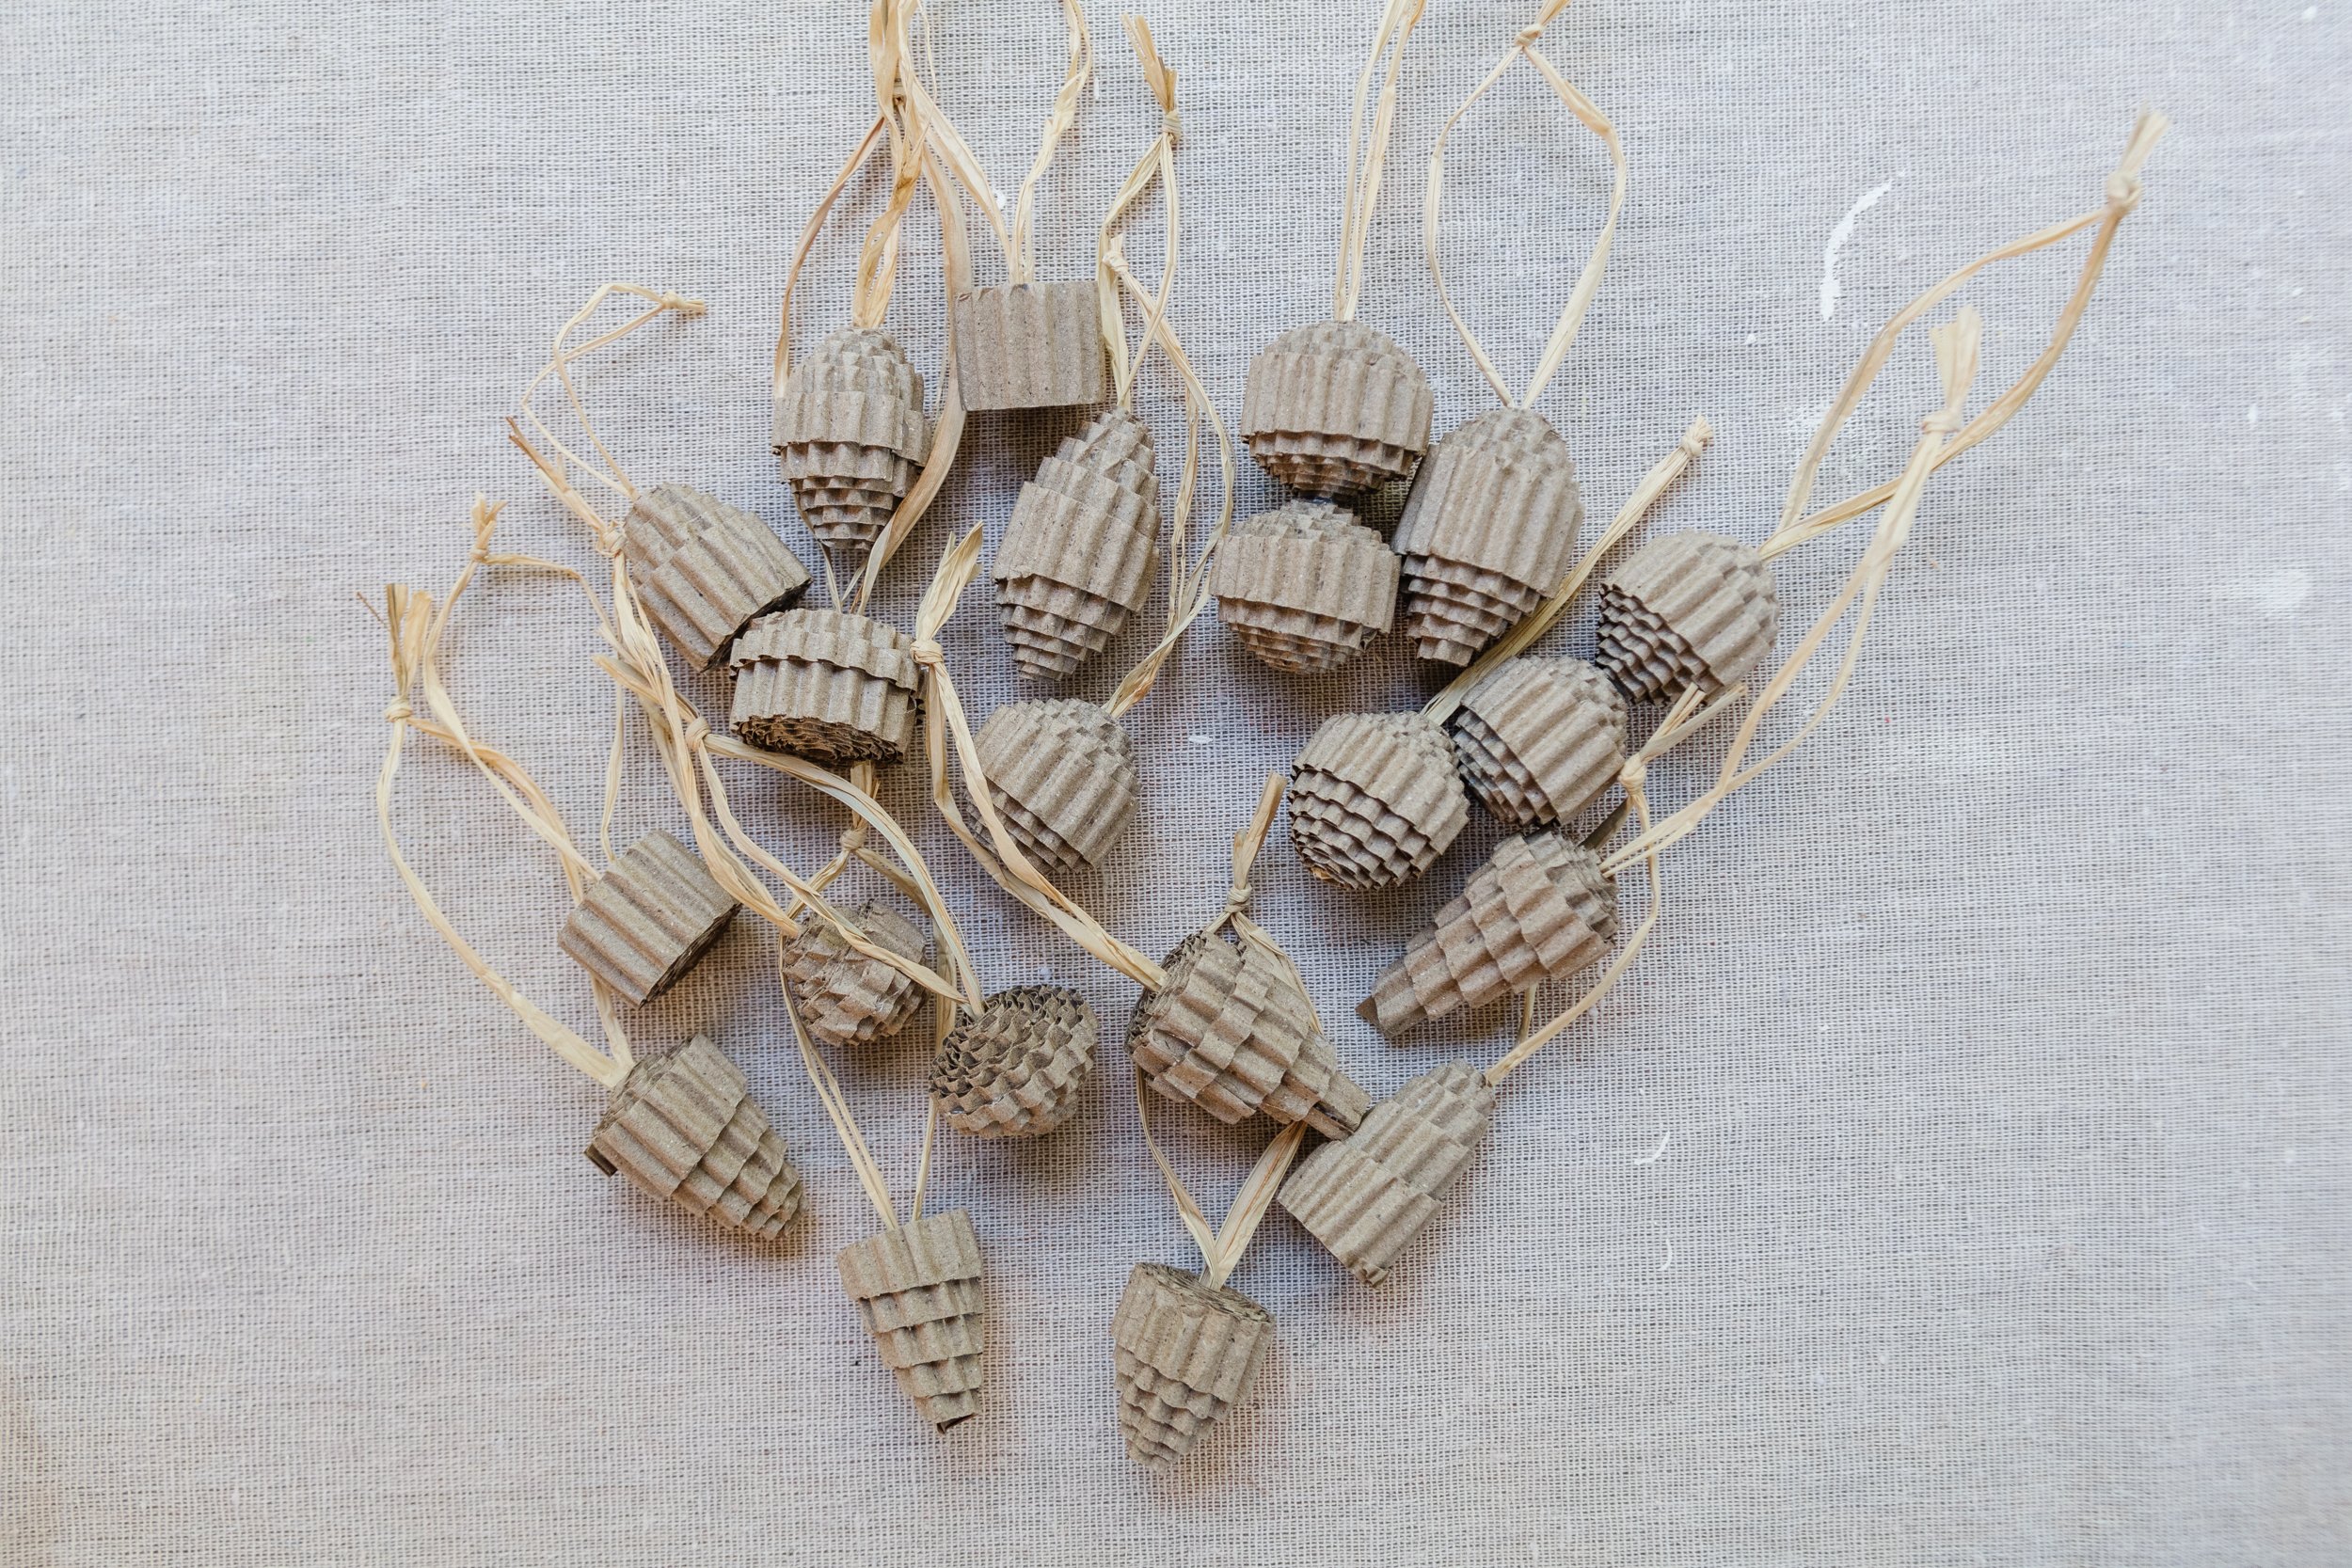
Coming to you today with another fluted cardboard project! But first, let’s rewind. A few weeks ago I stumbled across fluted cardboard at Bunnings, which is basically fluted cardboard. The first project I made with it was a Christmas Tree for my parents and then I made these DIY Fluted Vases. I knew the fluted cardboard had a lot of potential and was versatile for a range of projects, and it’s definitely delivered so far! When I was making the fluted vases, I couldn’t stop rolling the scraps in my hand and then I realised I could make ornaments with it. And here we are! This DIY project really is as simple as cutting long strips of fluted cardboard, gluing a piece of raffia for the ornament string and rolling it up. I got creative and made different shapes and I also decided to add a couple on top of each other too. Honestly, this was so much fun and so easy. Making baubles are generally quite time consuming, but these were so quick to make! And to top it off, lots of you suggested I make a mini version of my DIY Wooden Christmas Tree with some of the timber scraps I had leftover, so that’s what I did and I think these ornaments look so cute on it! Read on to find out how you can make your own DIY Fluted Cardboard Ornaments.
And to see how these DIY Fluted Cardboard Ornaments came together, check out this video!
DIY Fluted Cardboard Ornaments

Project Details
🕒 Project Time Estimate: 1 hour
💰 Materials Cost: $22 for the roll of fluted cardboard and $5 for a roll of raffia
⚒️ Power Tools: None!
👷♀️ Skill Level: Beginner DIYer
Materials
Ruler
Scissors
Paint/Spray paint

How To
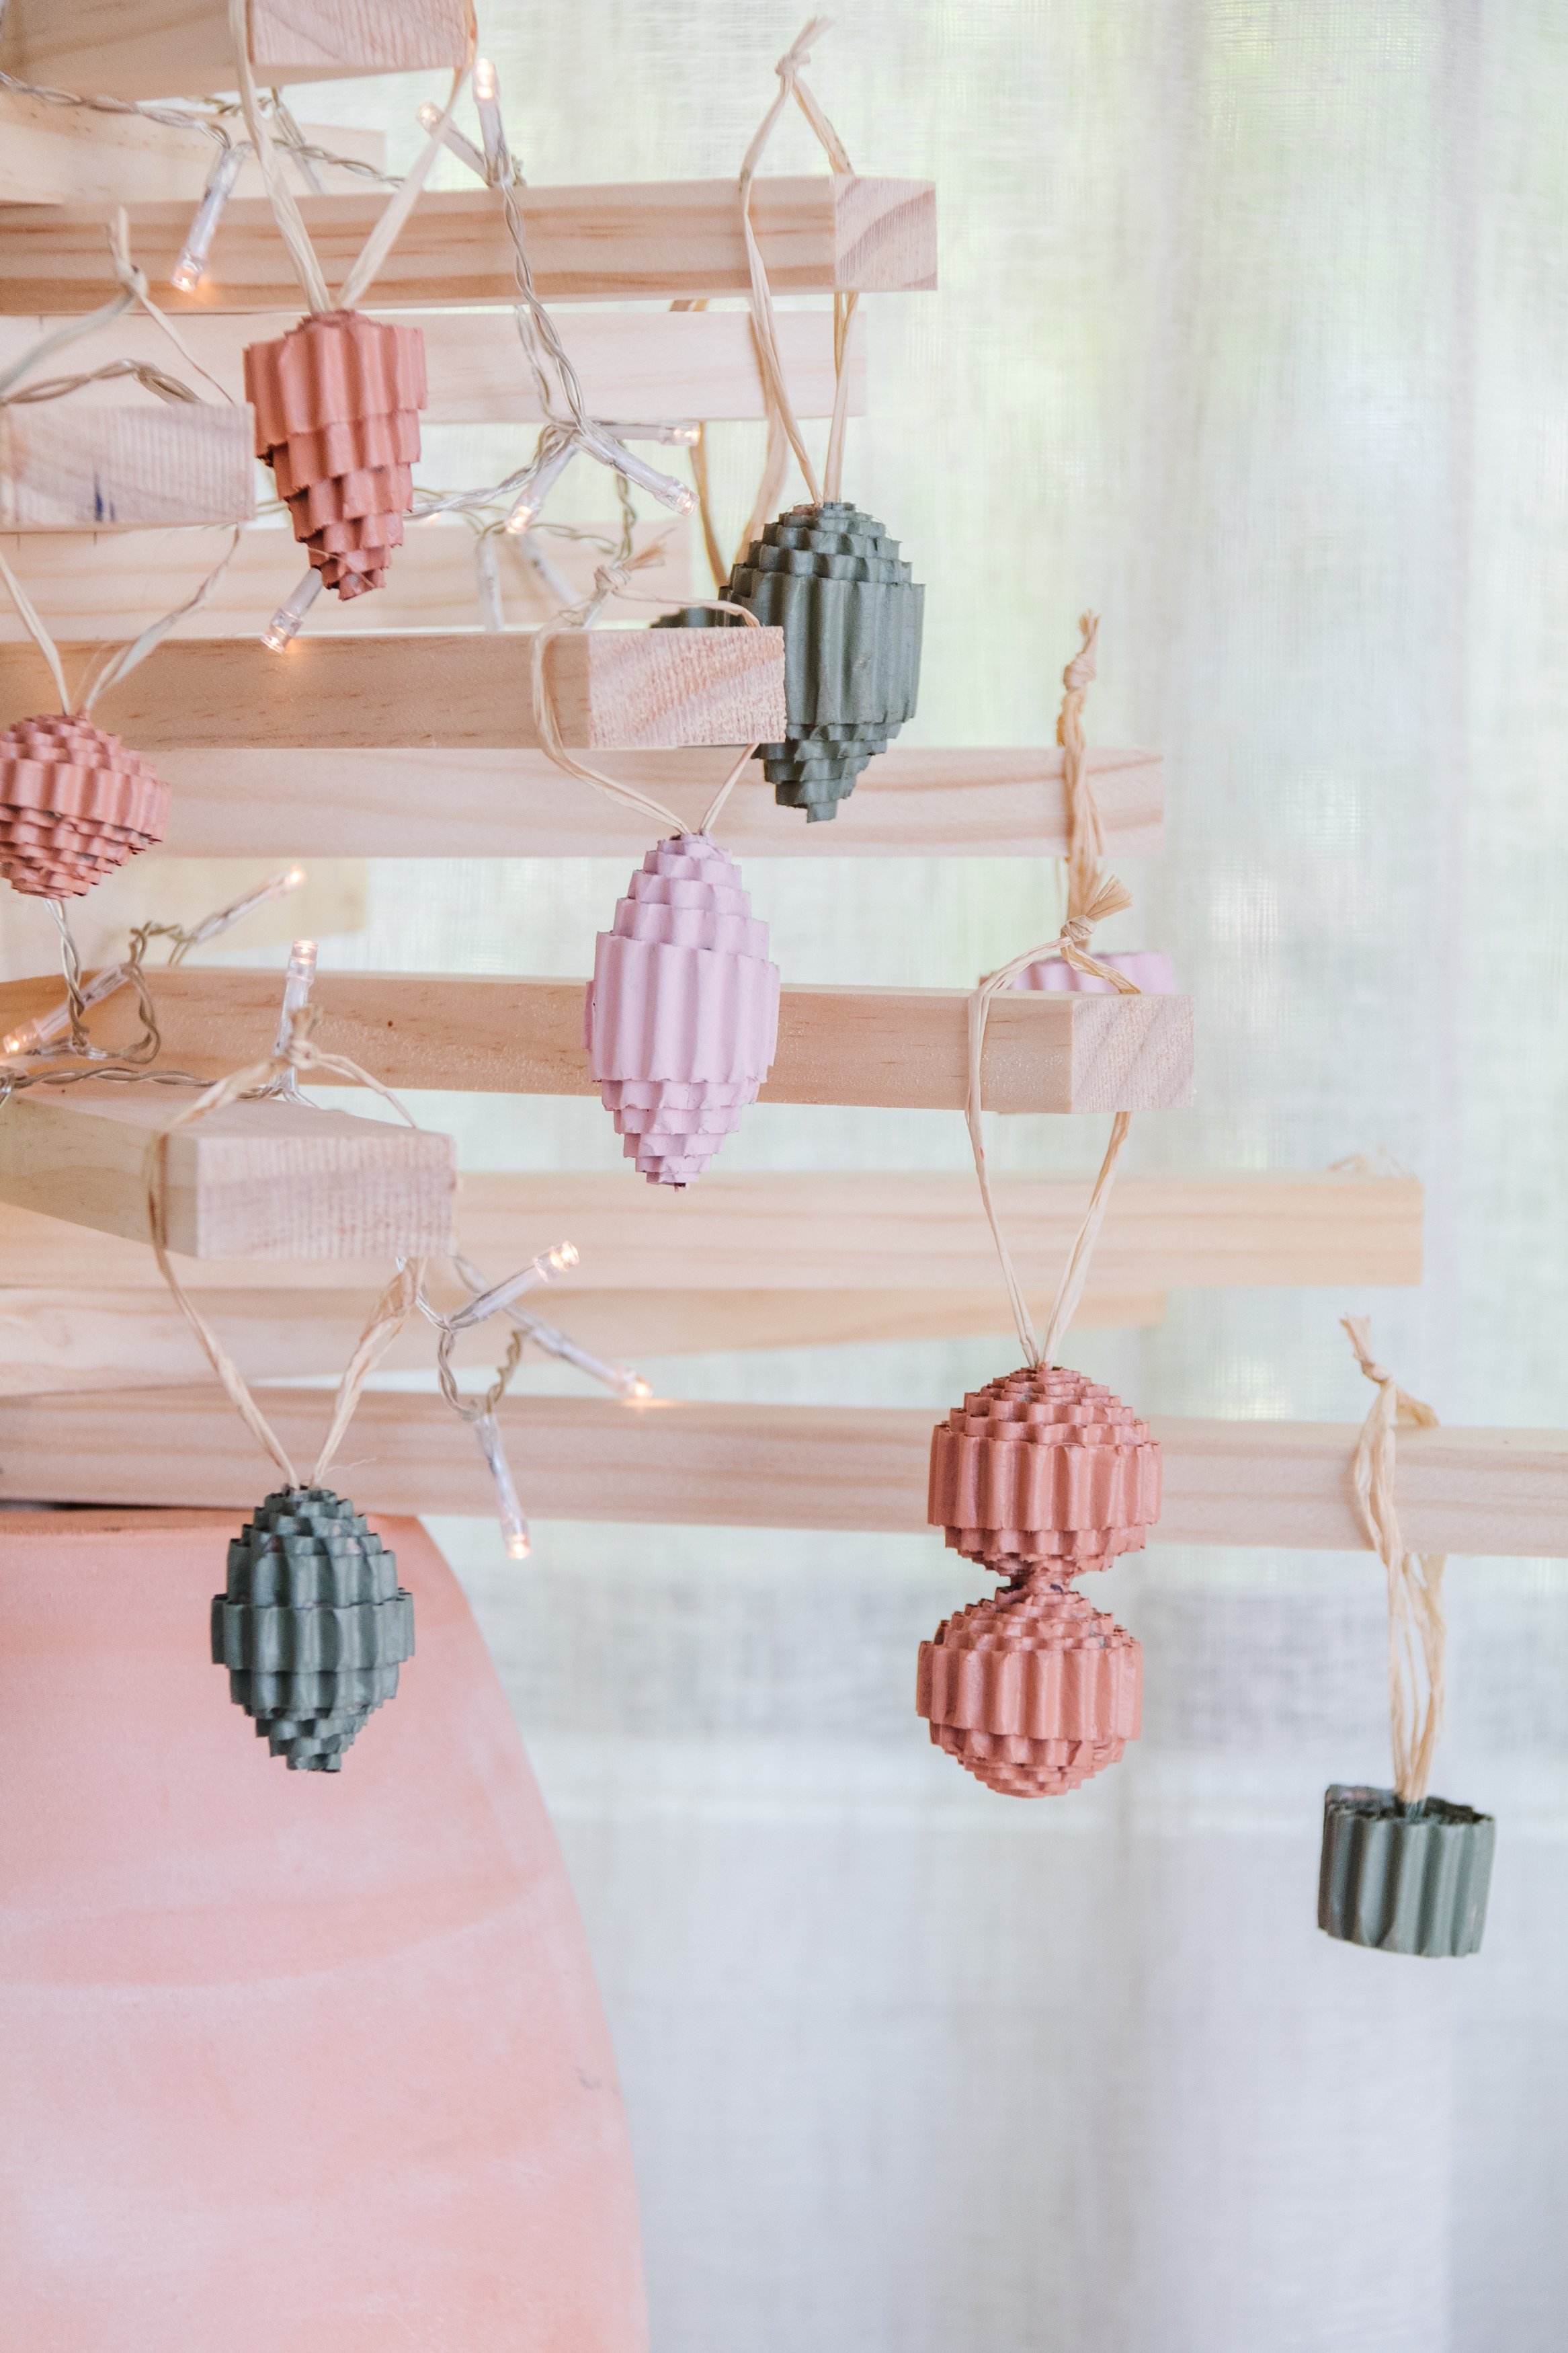
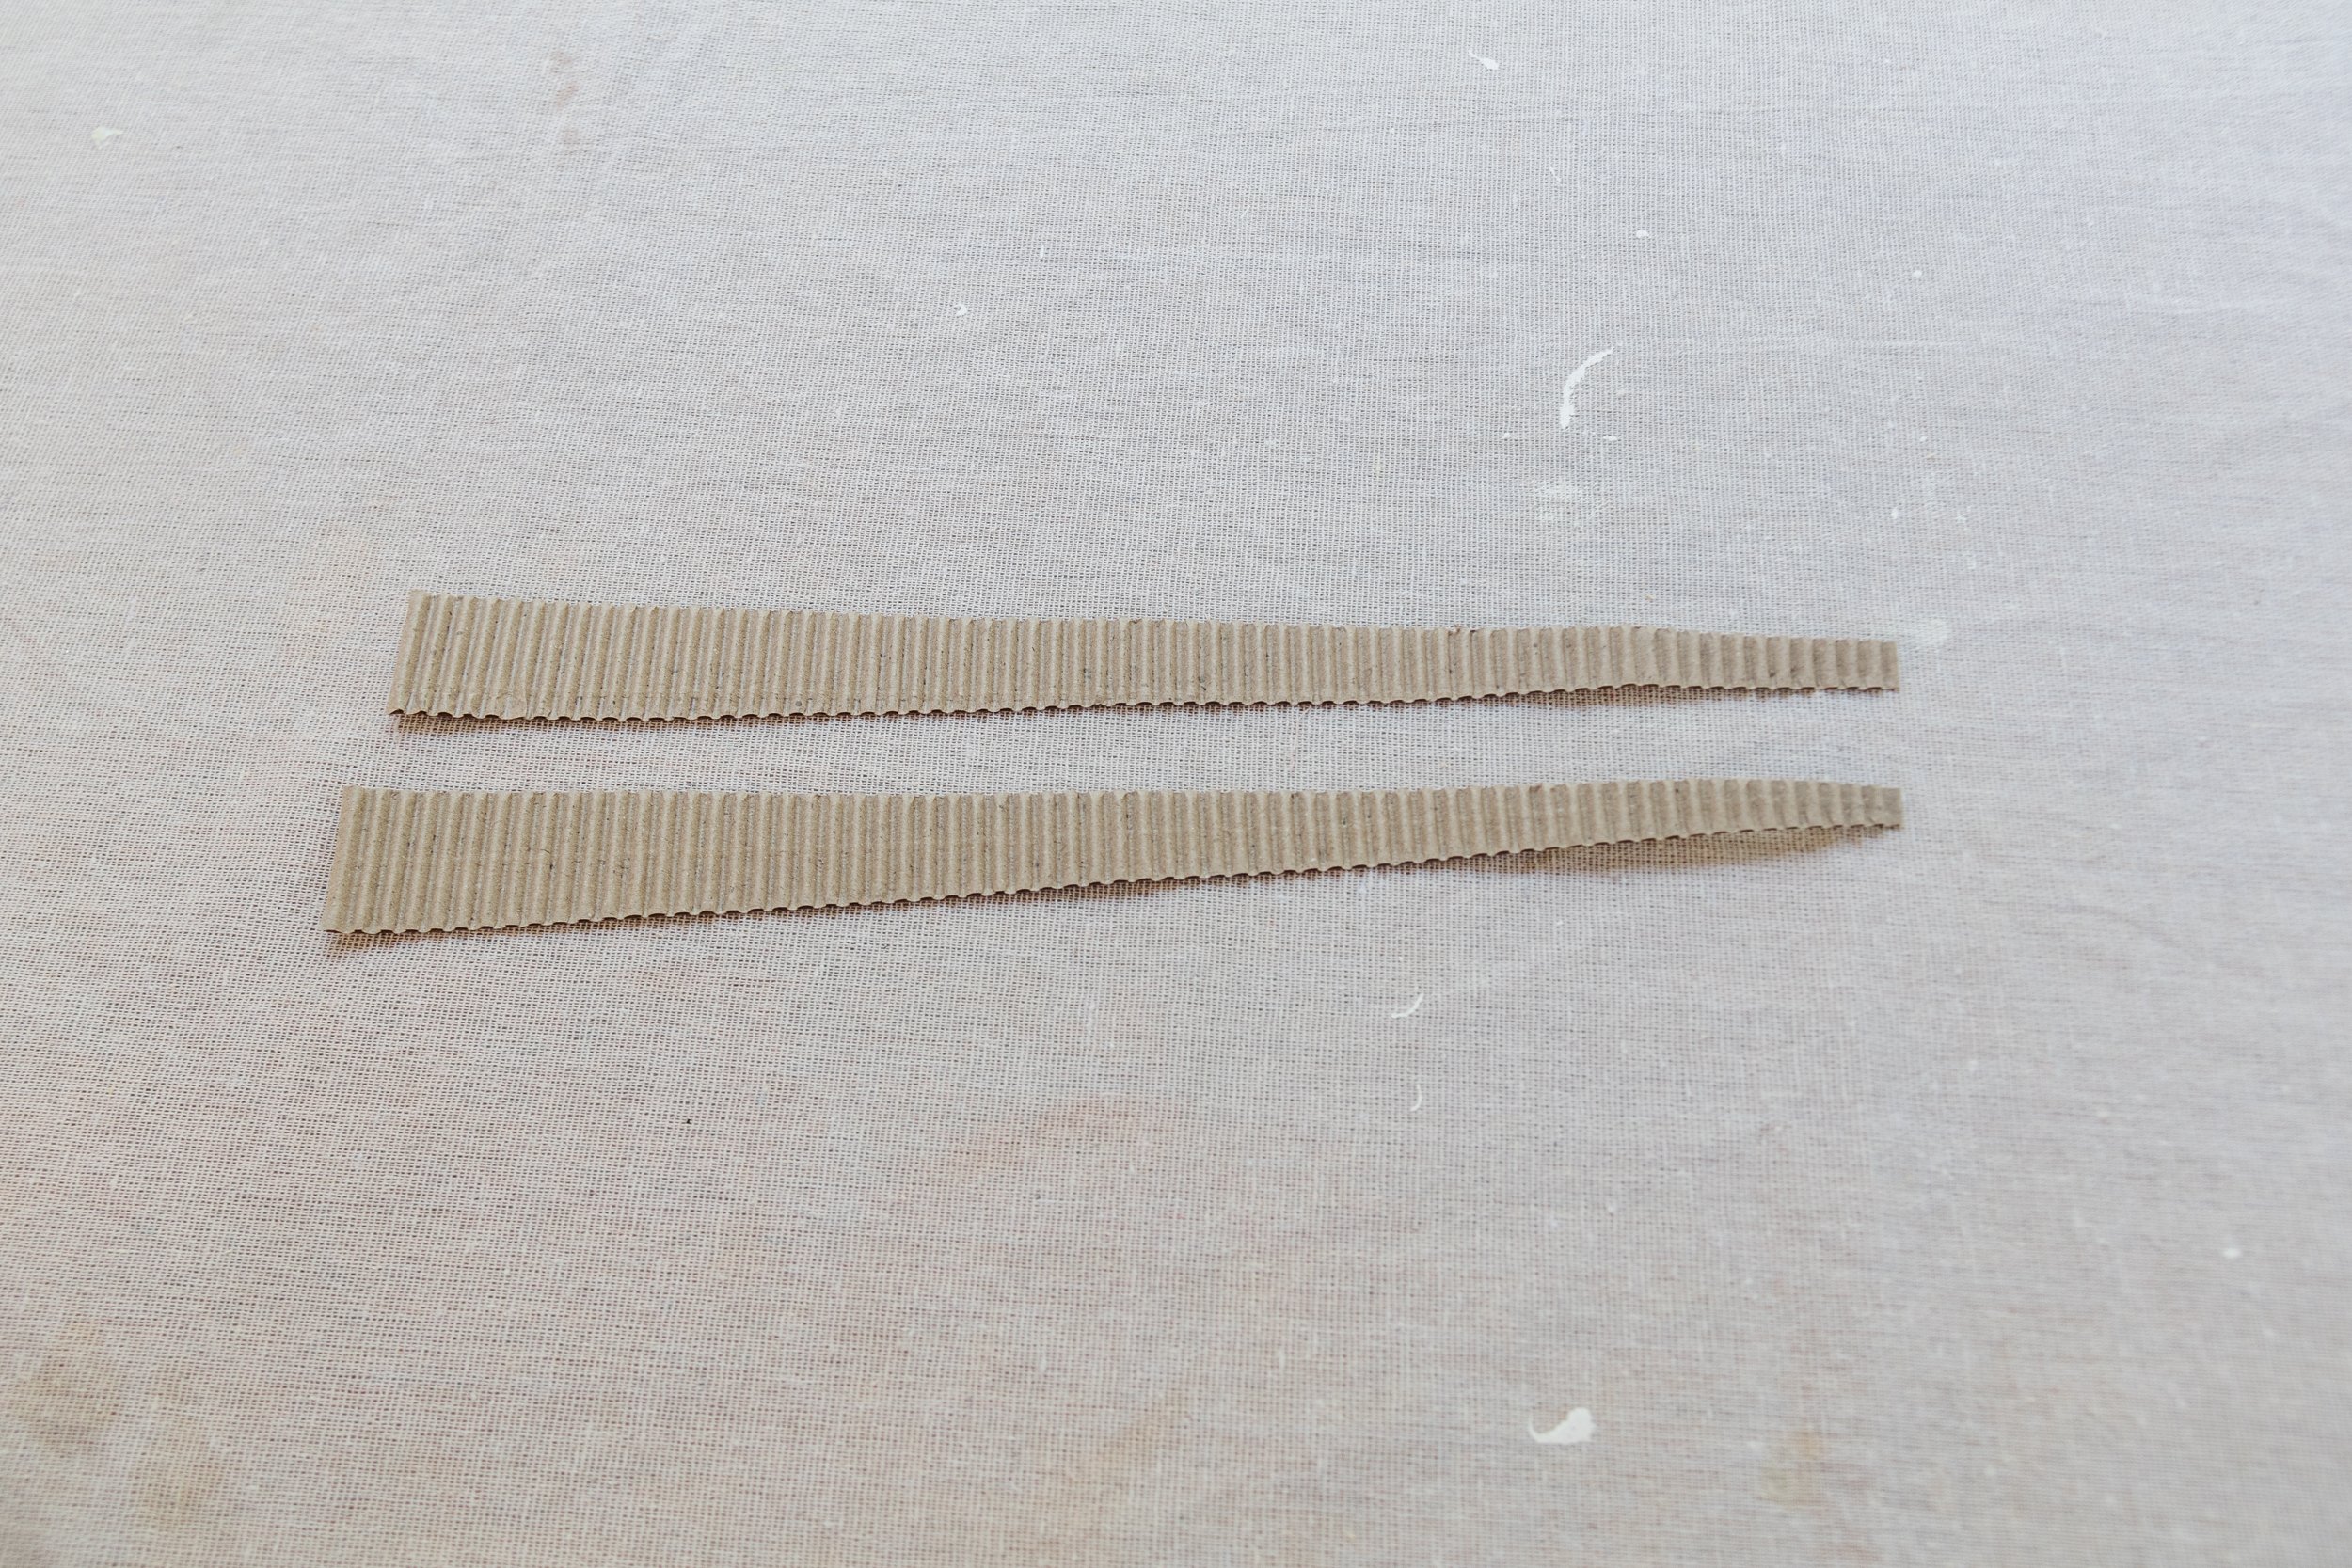
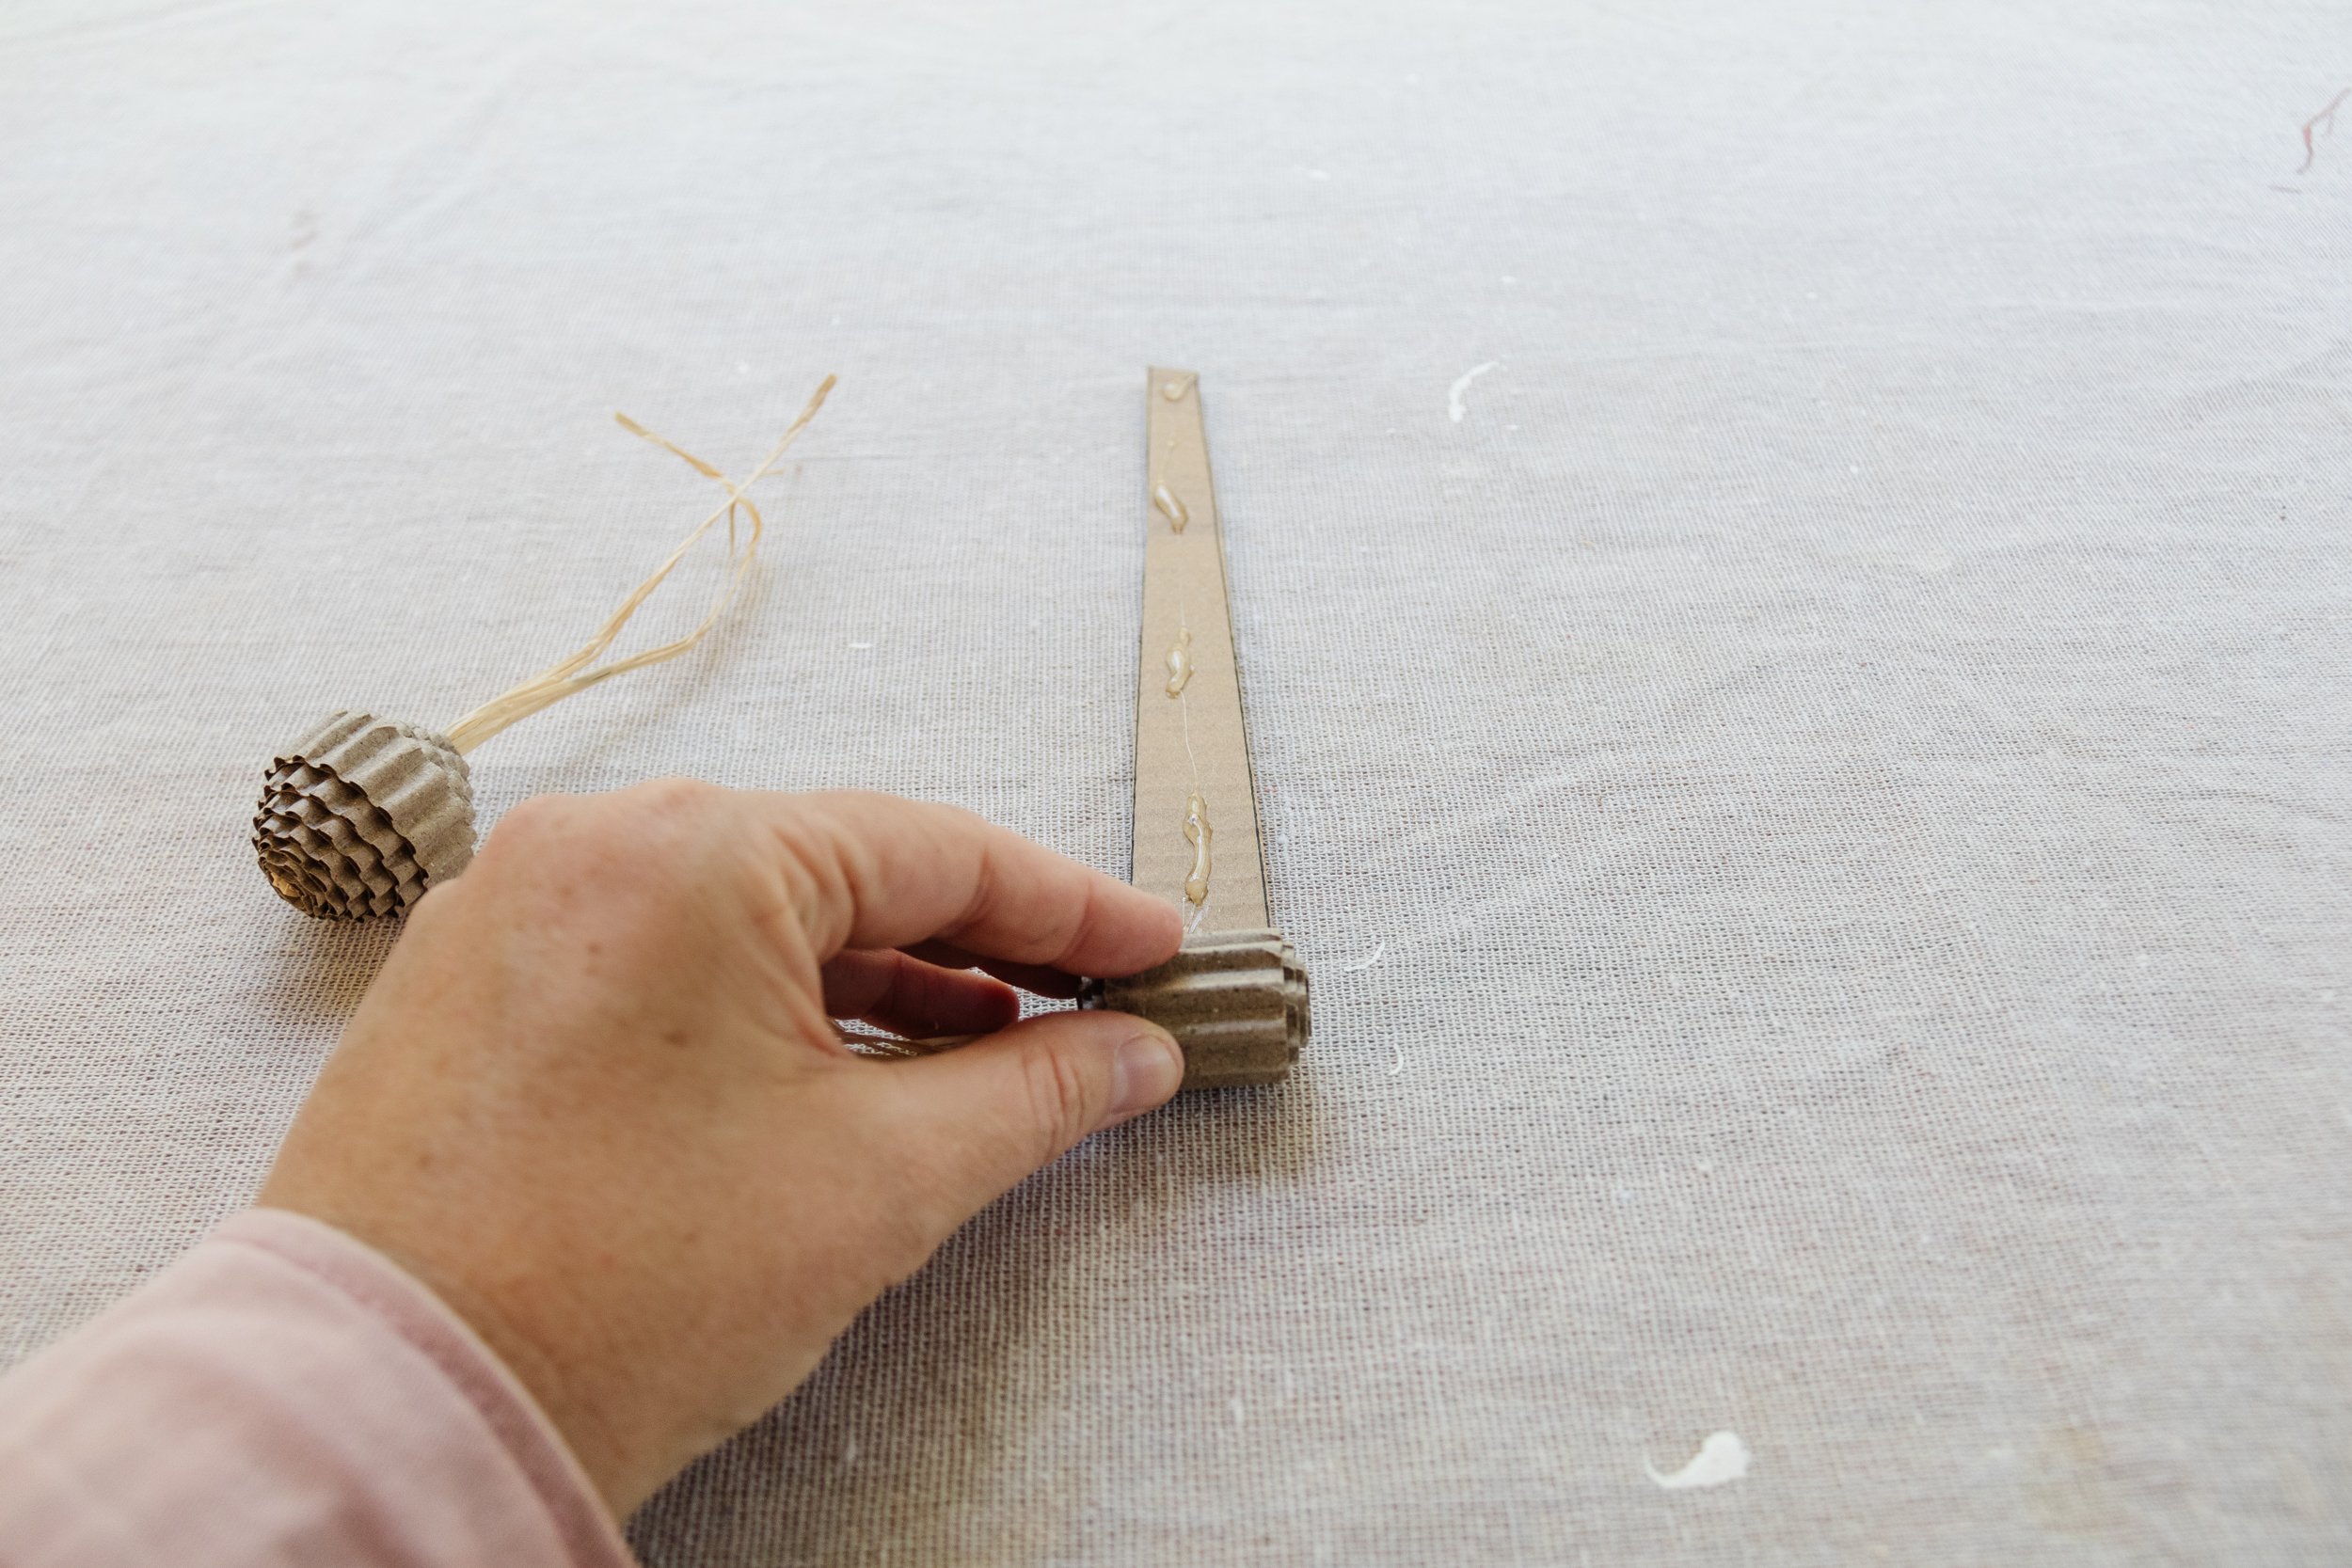
Step 1: I started this project by cutting the fluted cardboard in different sized strips and experimented with the shapes and designs. You want to make sure the fluted pattern is horizontal across the strips and not vertical, otherwise it won’t roll up.
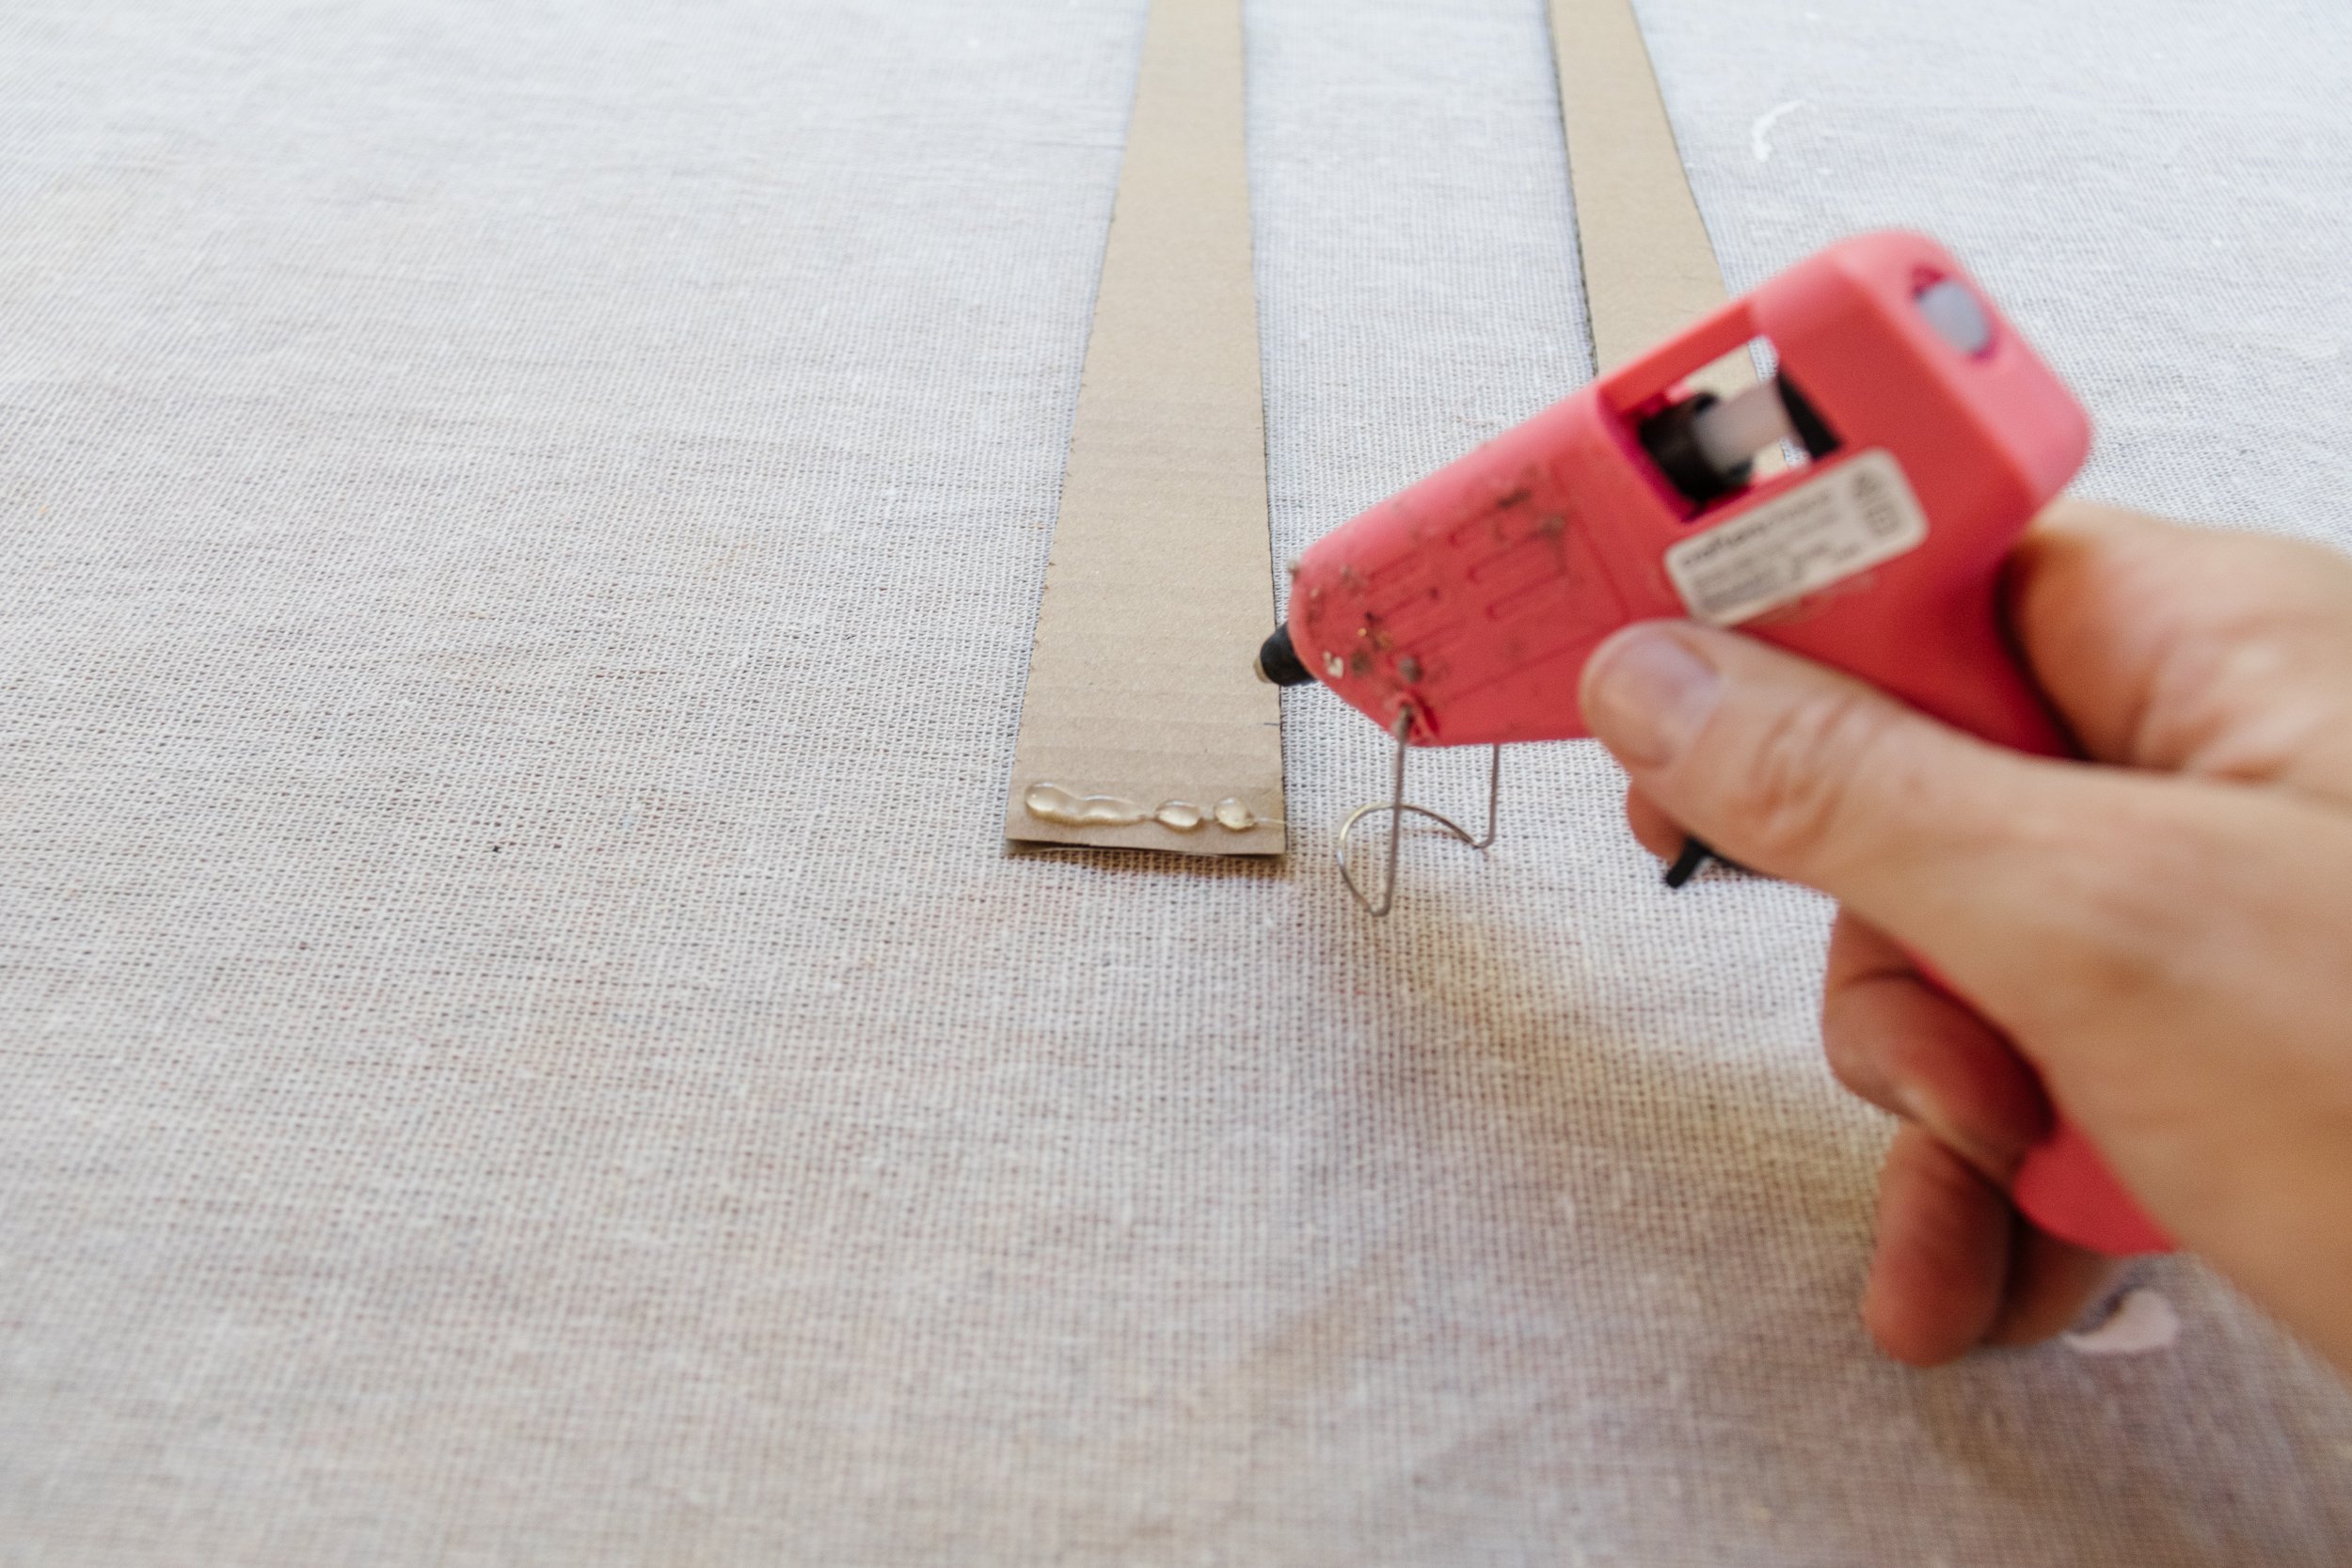
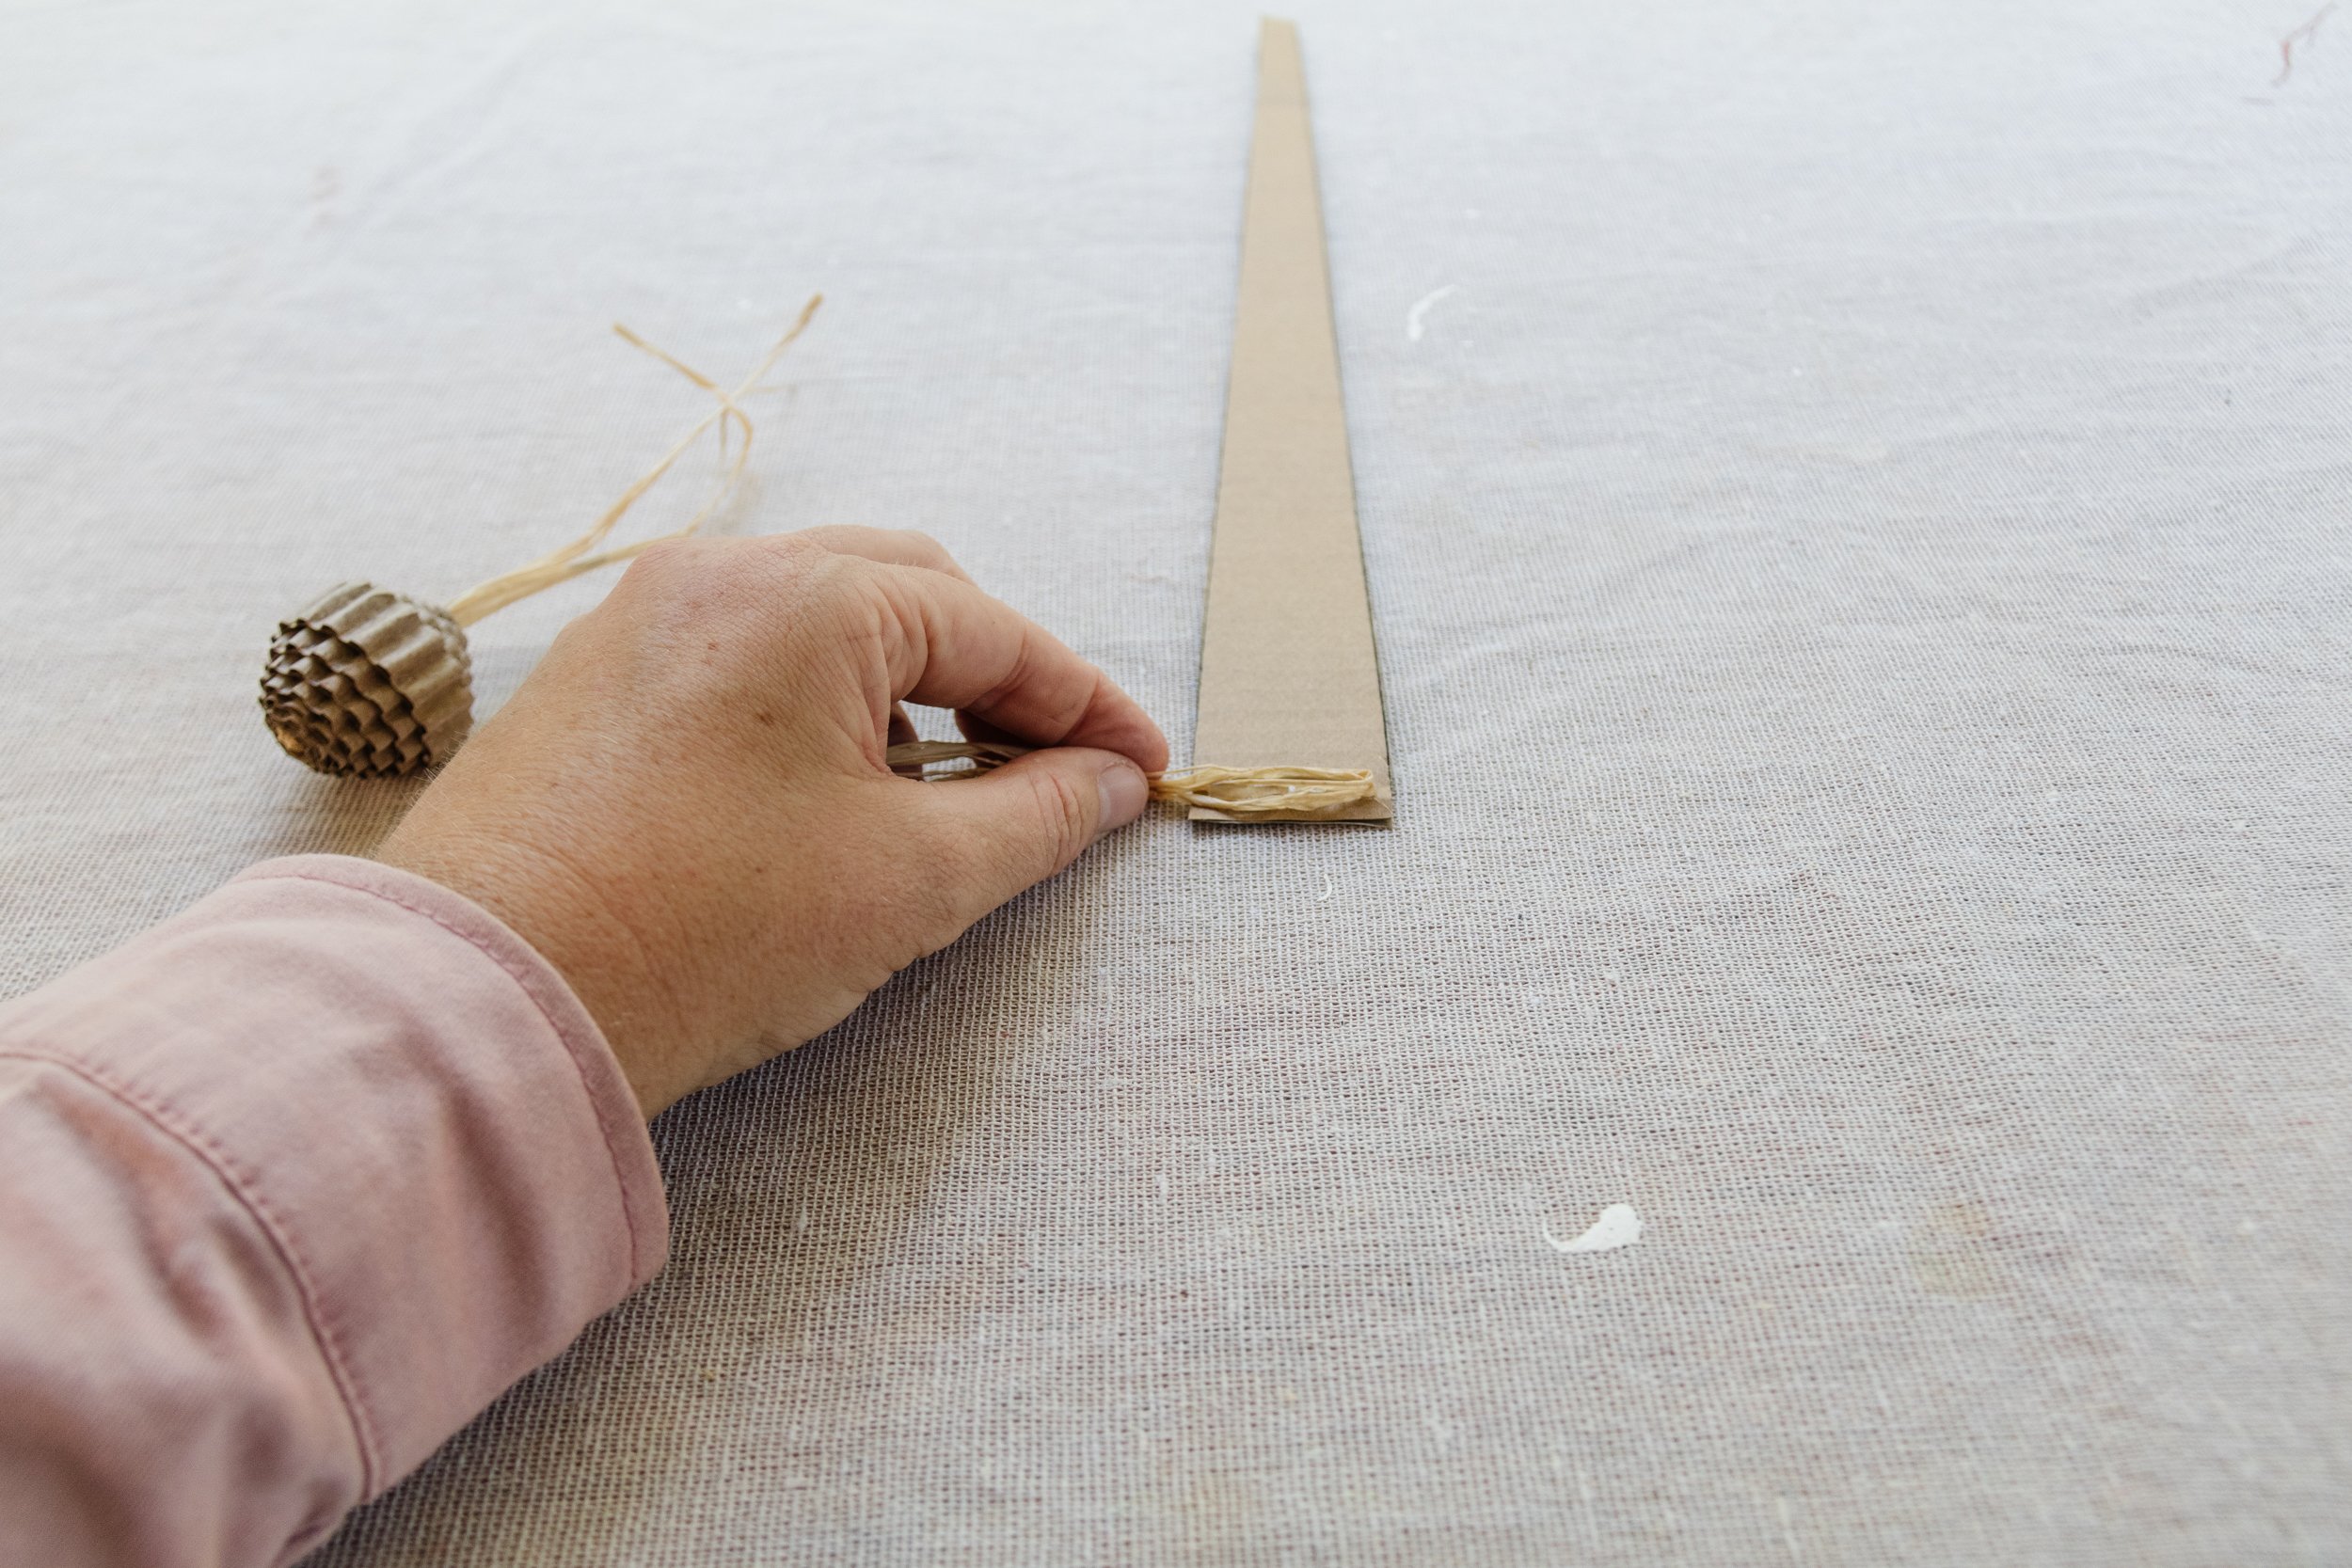
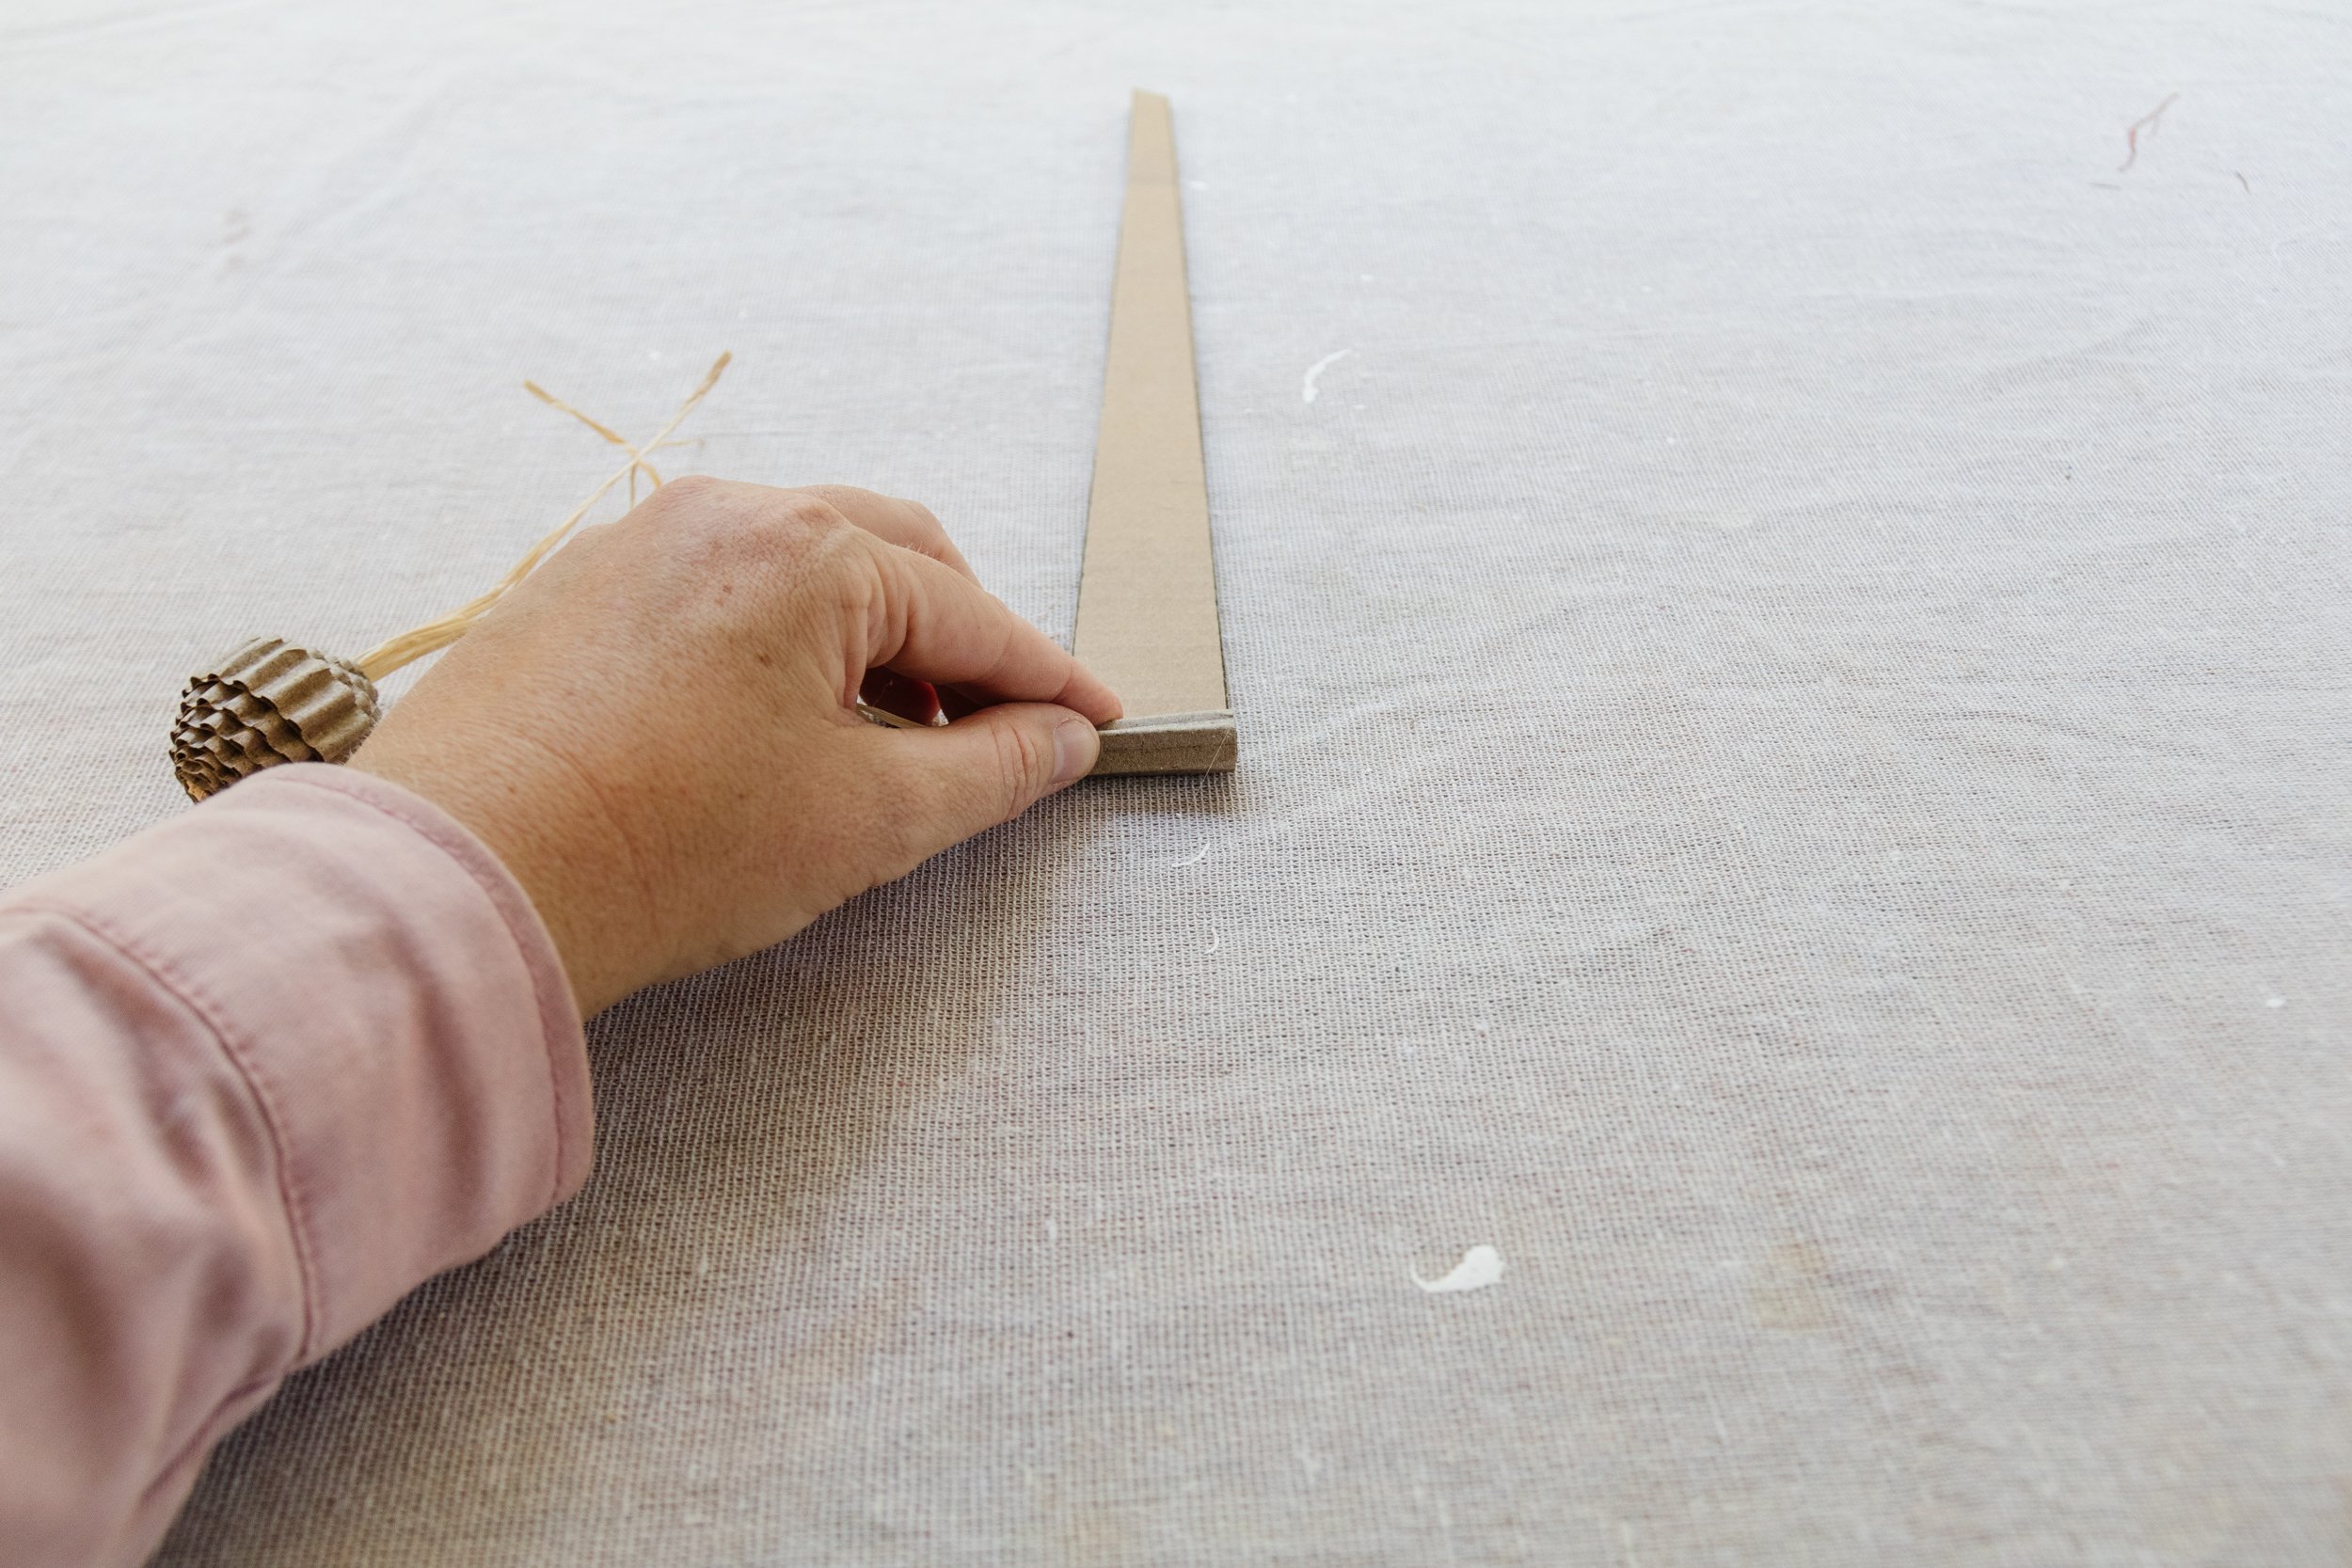
Step 2: I applied some hot glue to one end of the fluted cardboard strip, layered raffia on top, then rolled the ornament making sure to add a bit more glue as I rolled. I tied the end of the raffia in a double knot on each ornament.
Step 3: Following this I painted the ornaments in my favourite colours. And that’s it!
Ta daaaa!
This fluted cardboard is the gift that keeps on giving! I love the texture of these beautiful ornaments; they’re fun to look at! Best of all? You can experiment till your hearts content with the designs and you can paint them any colour you like or leave them unpainted! I can’t wait to make more…