How To Make a DIY Personalised Monogram Bow Tie Bag
I just personalised this straw bag for summer and I'm obsessed!
If you’ve been following along on Instagram you’ll know I’ve been on the lookout for the perfect beach bag. Something that’s not too floppy, washable, with internal pockets and a zip, neutral and I can easily throw our towels, hats, sunscreen, a book, swimmers, snacks, sandals and the kitchen sink in. It’s been a long search and I finally found it - this Overnight Bag by Seed. We’ve bought one and it’s amazing. The thing is, it just feels a little too big when we leave the beach and walk up Hastings St for a coffee and a bite to eat.
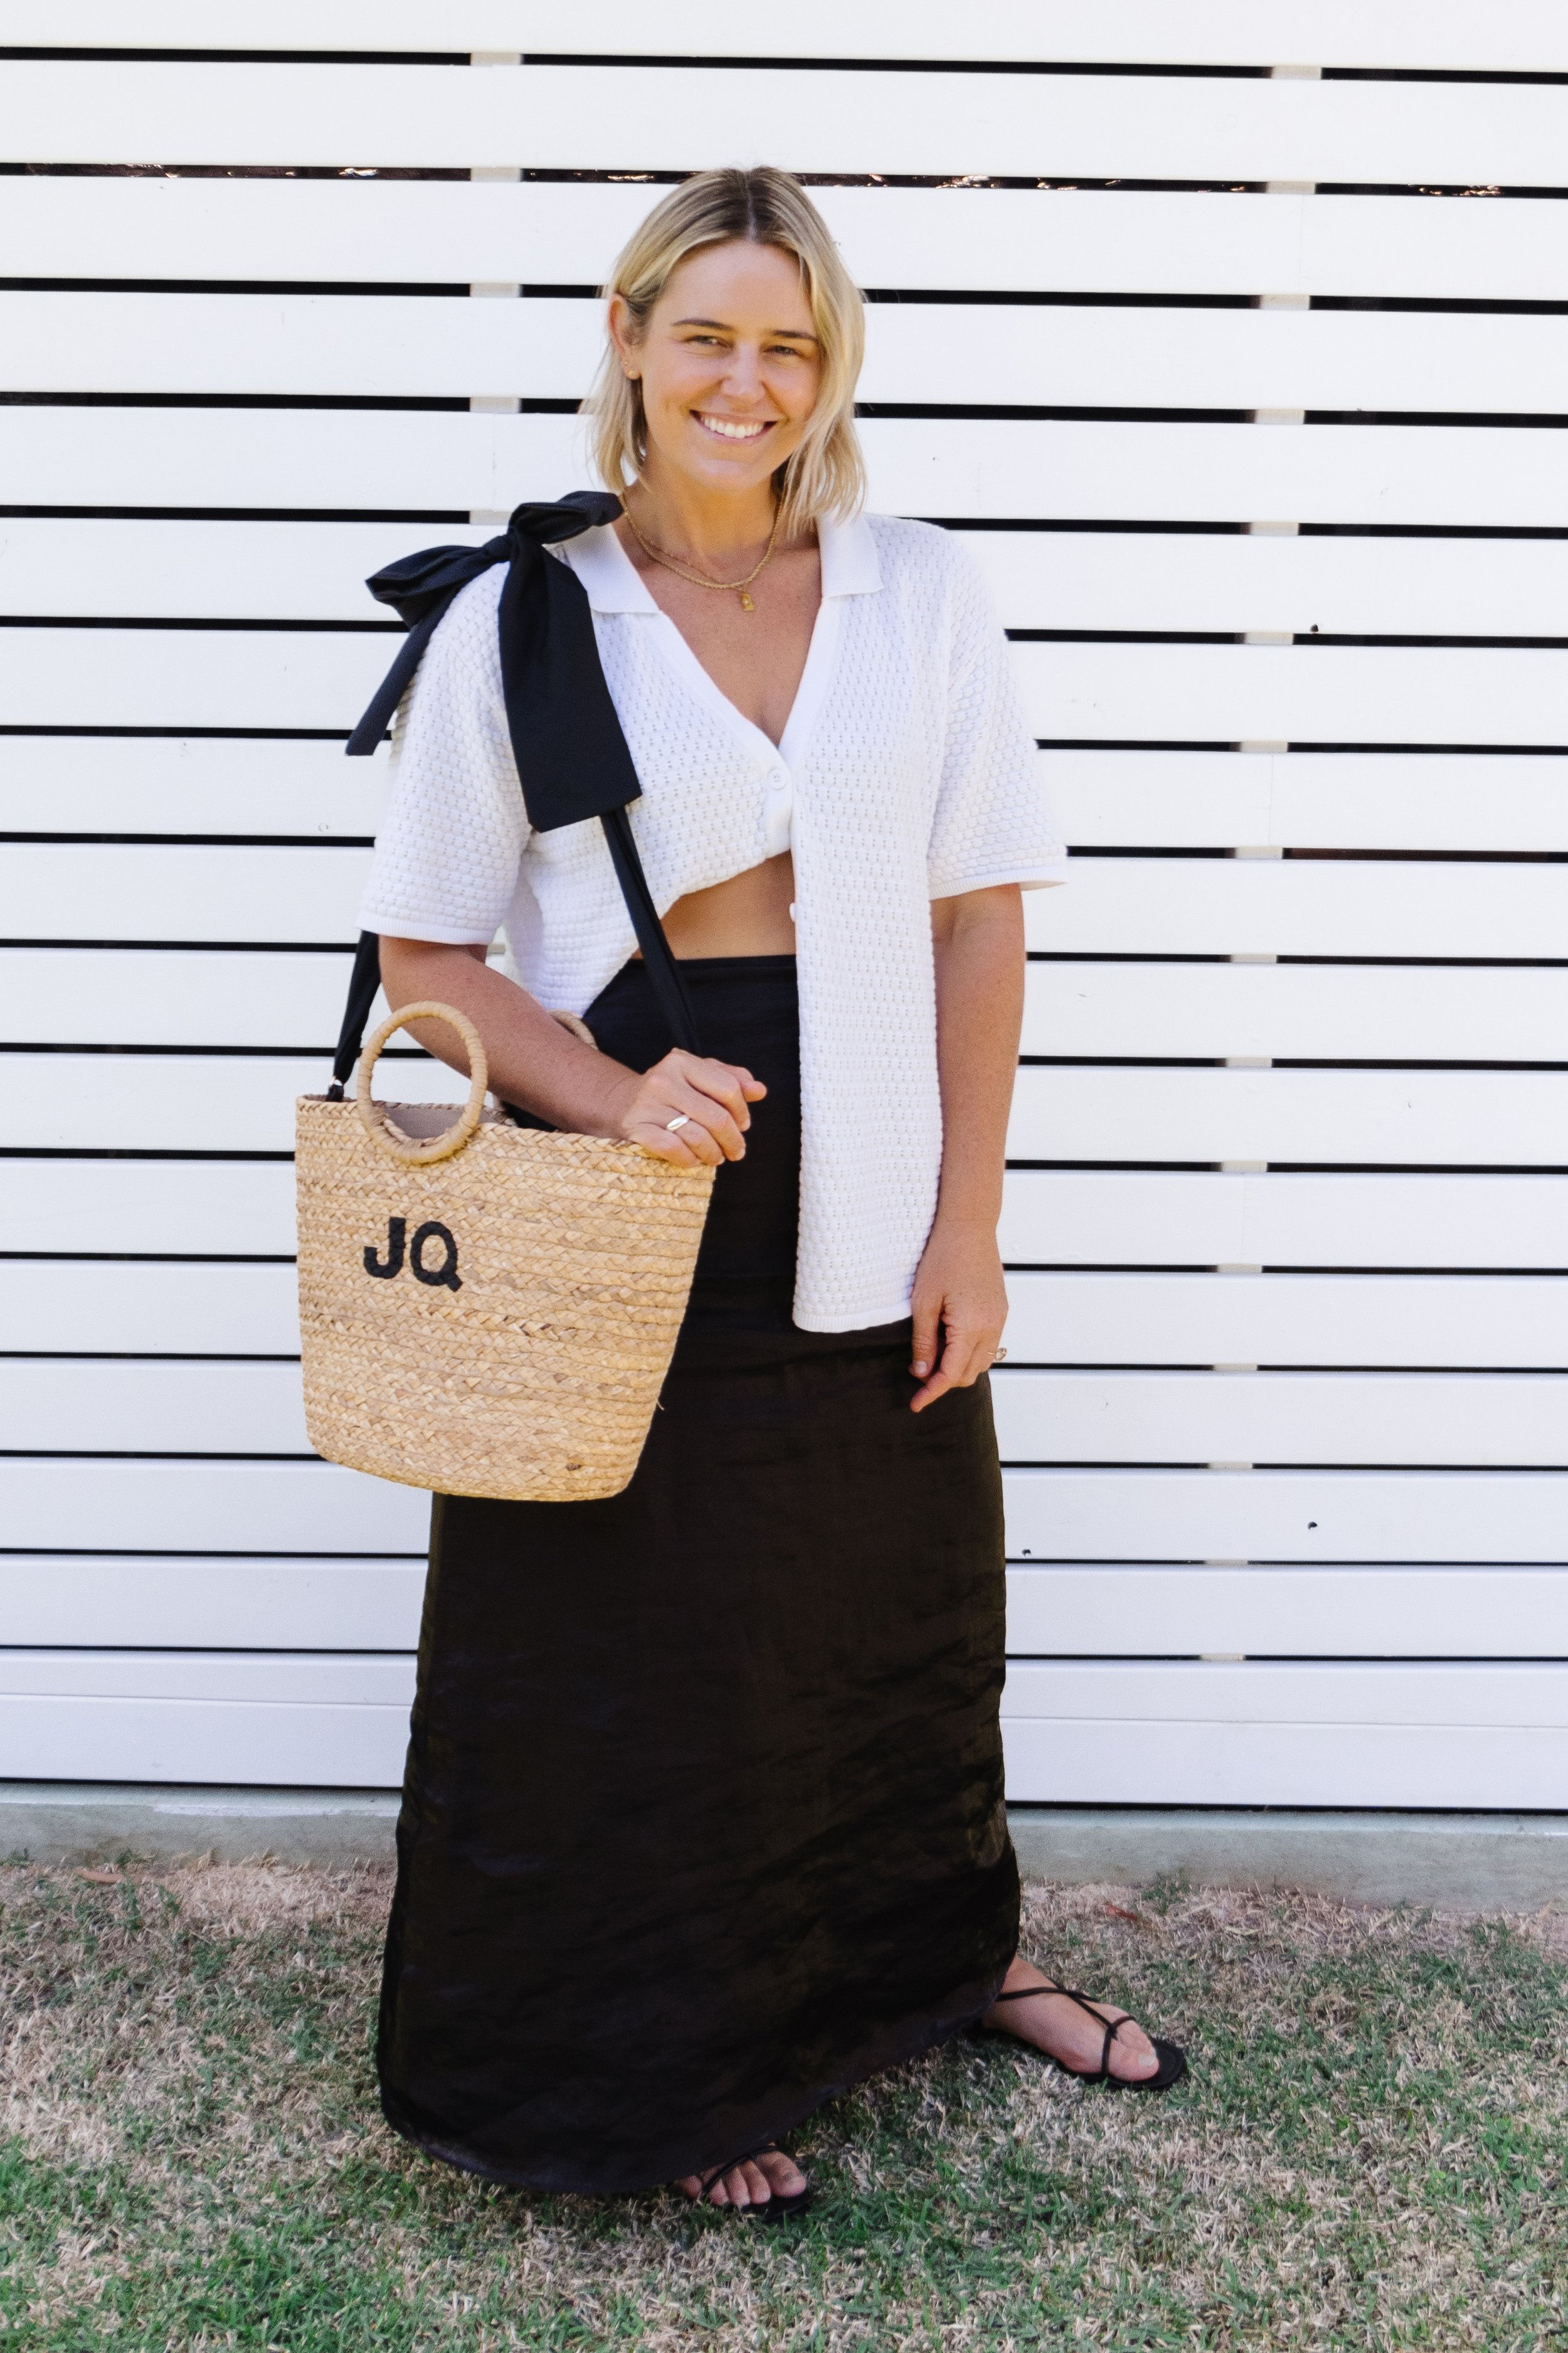
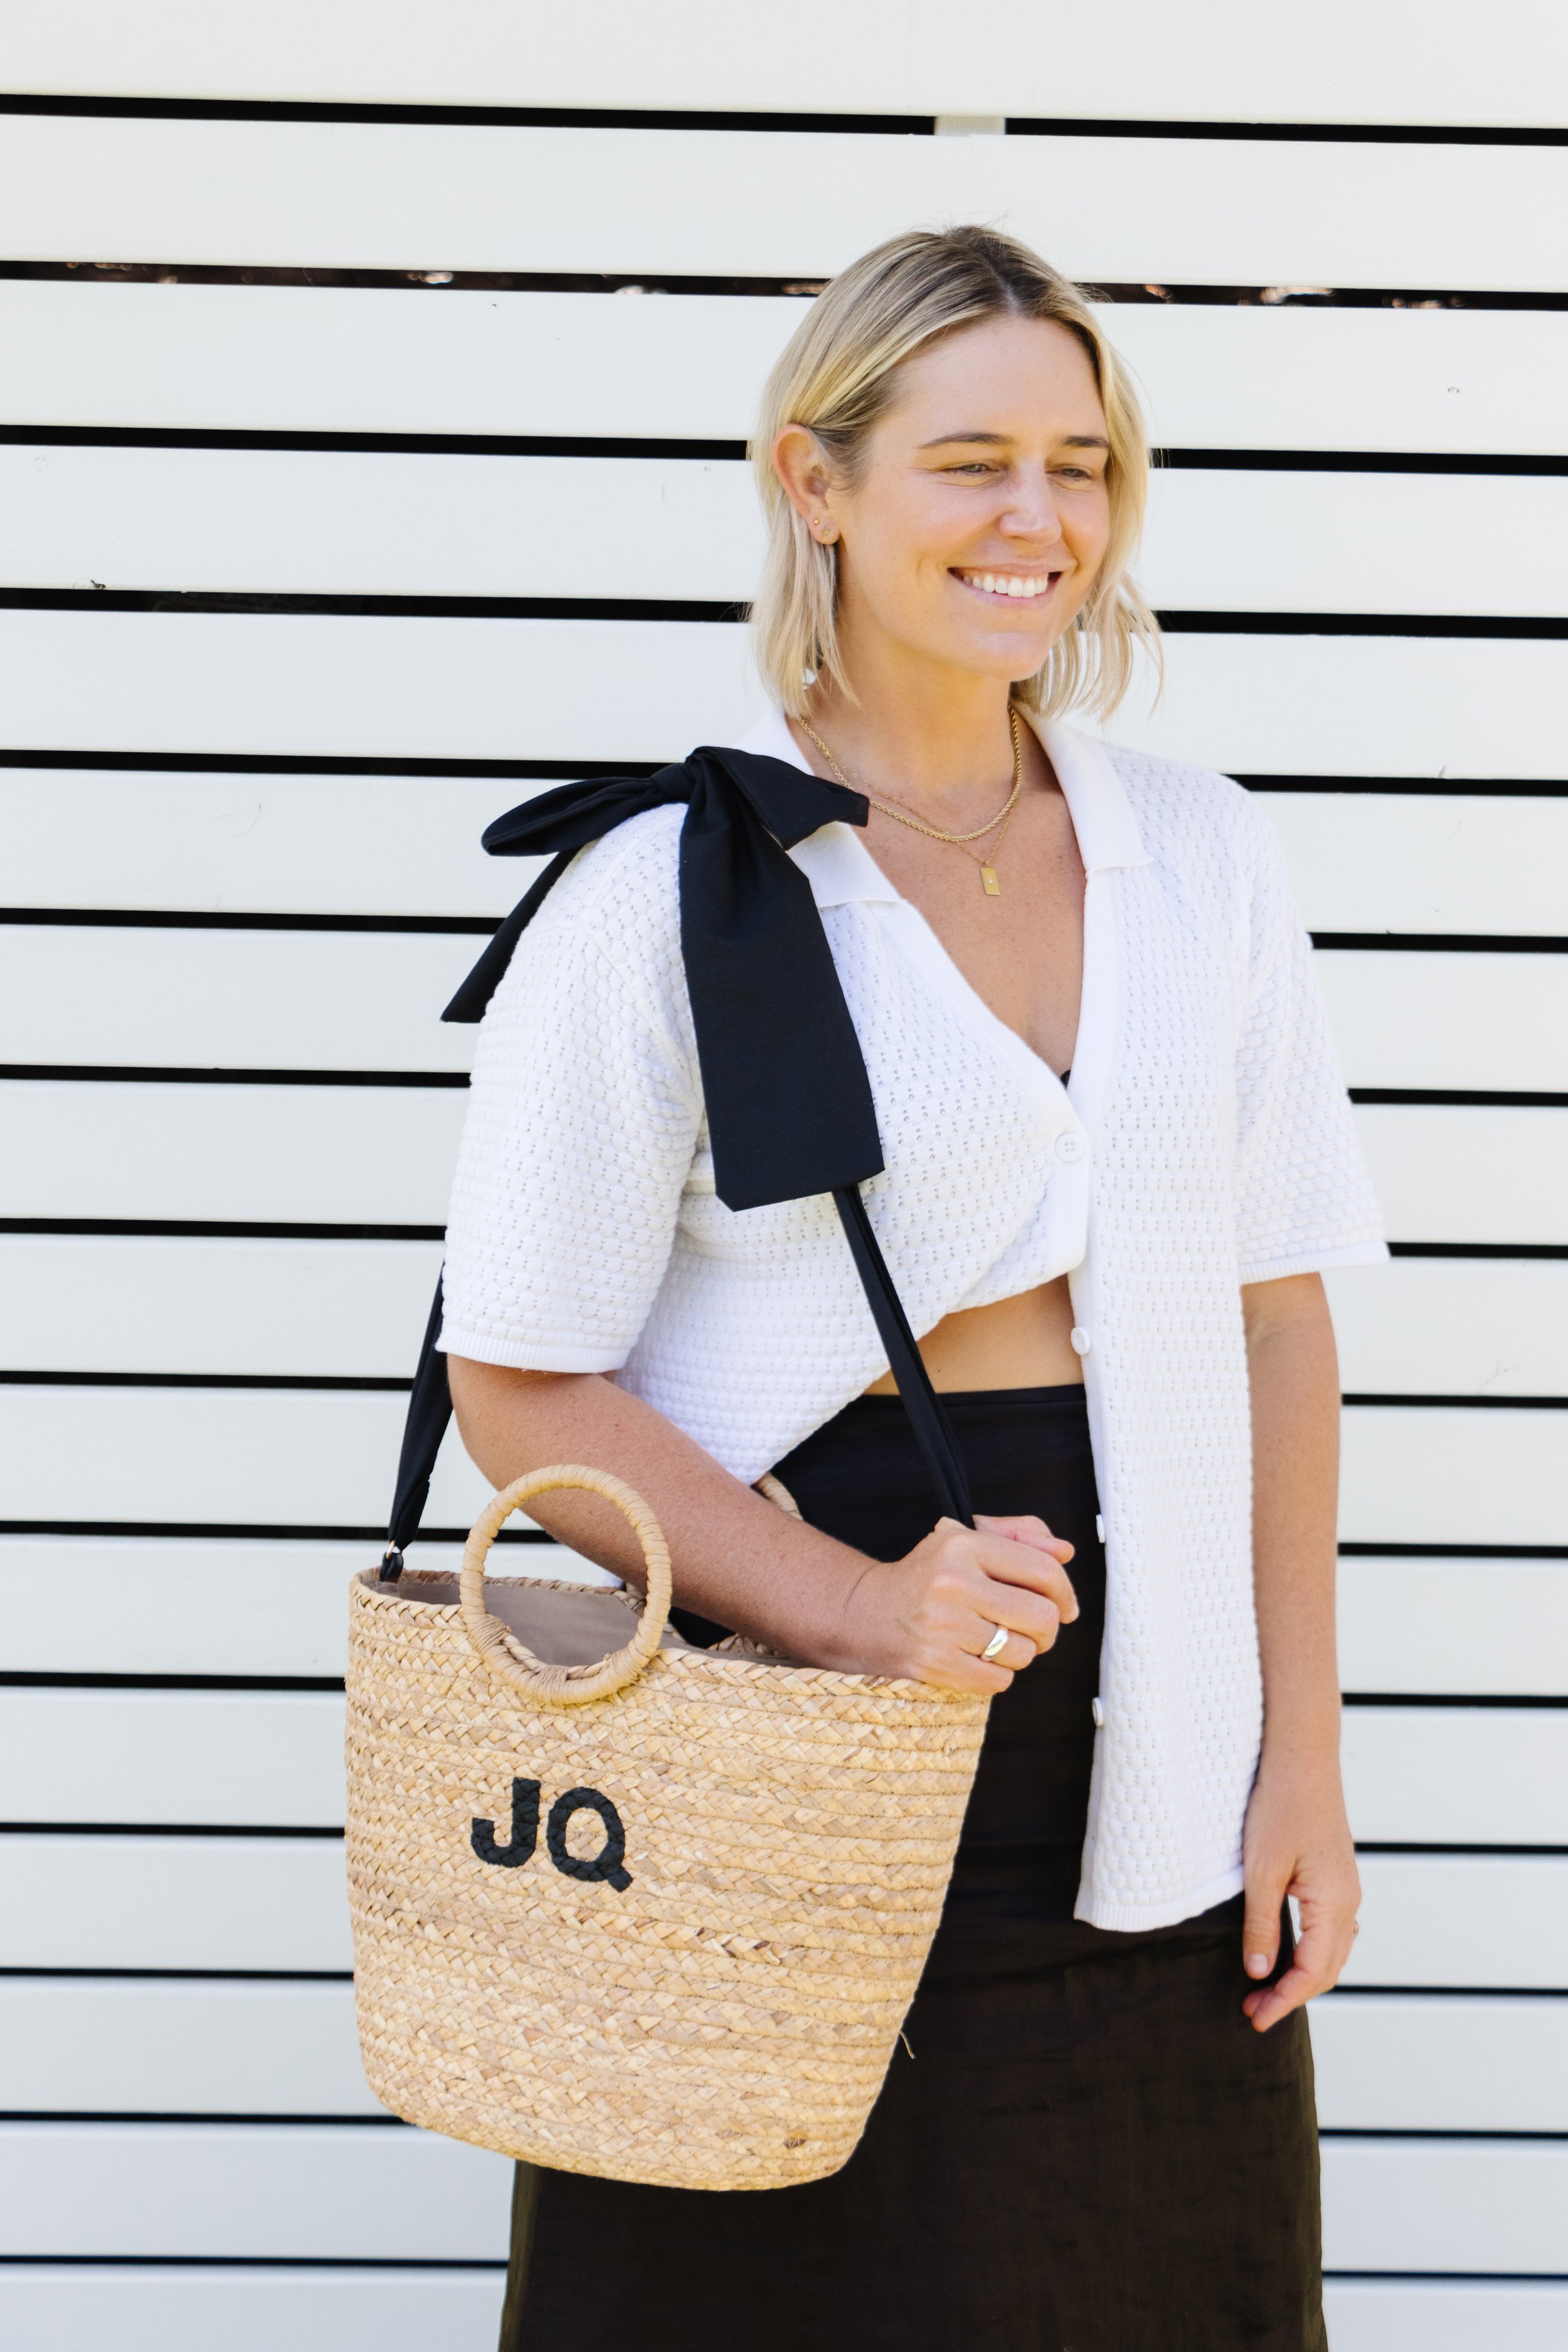
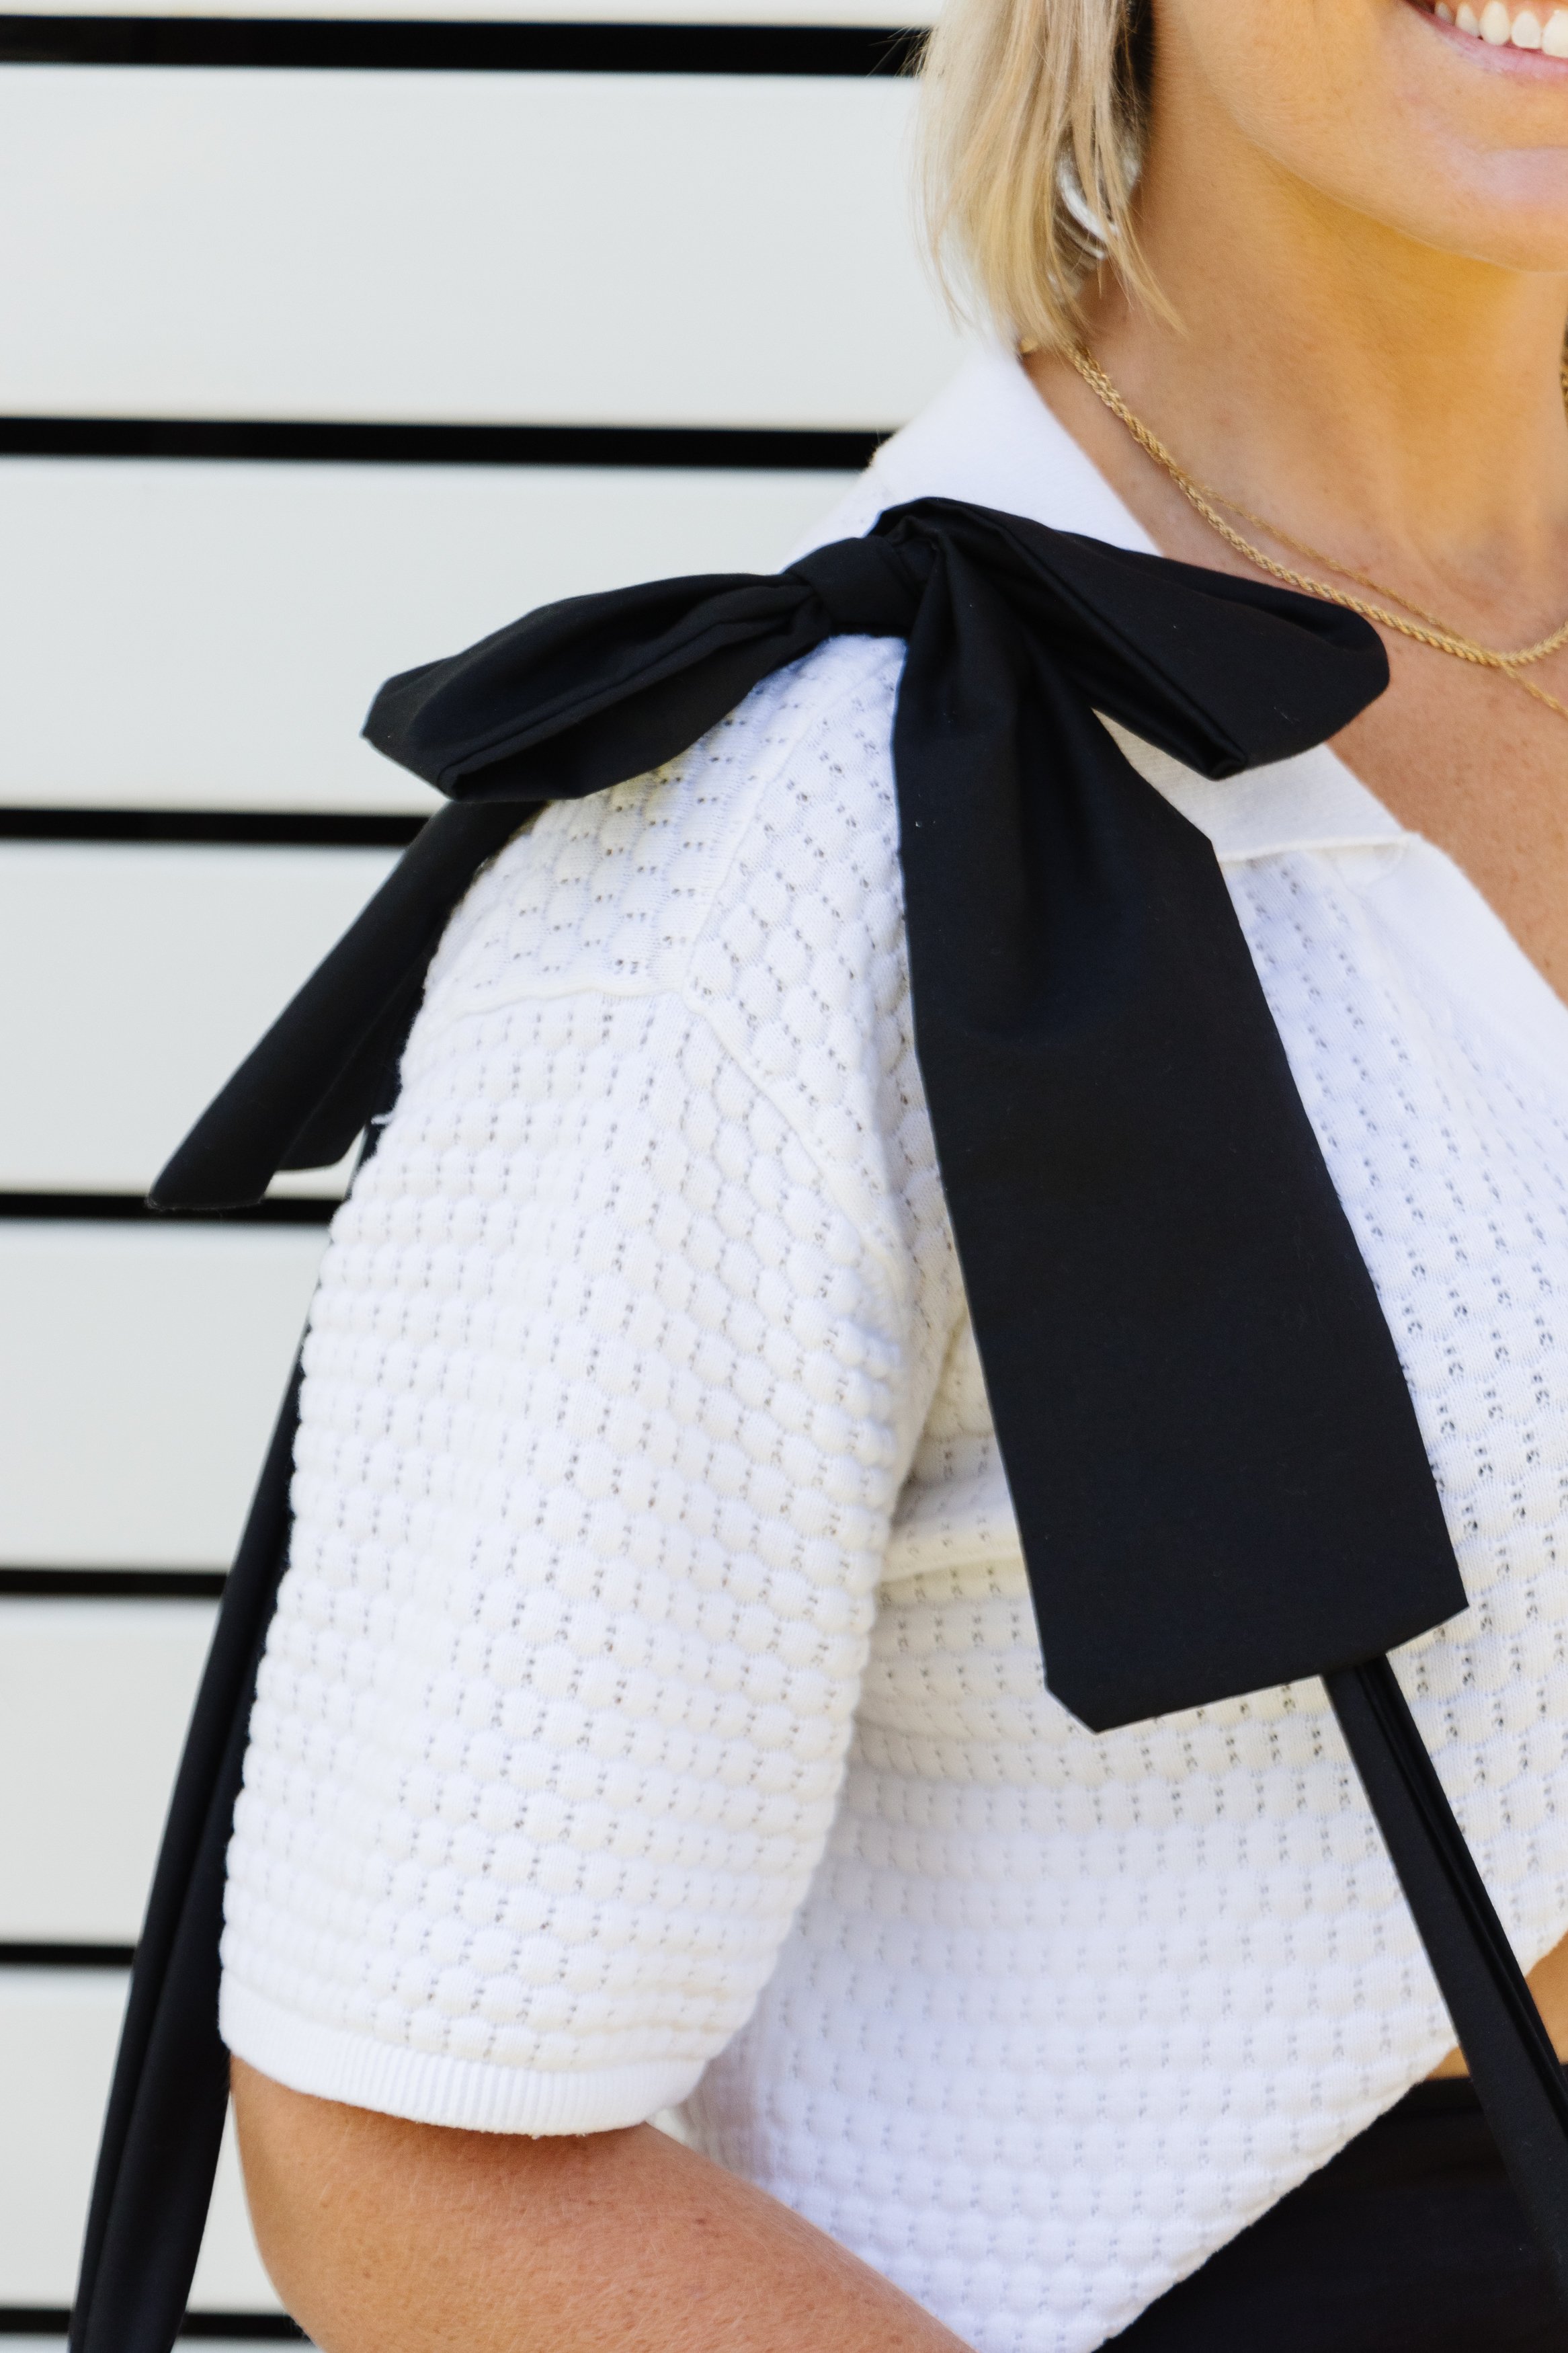
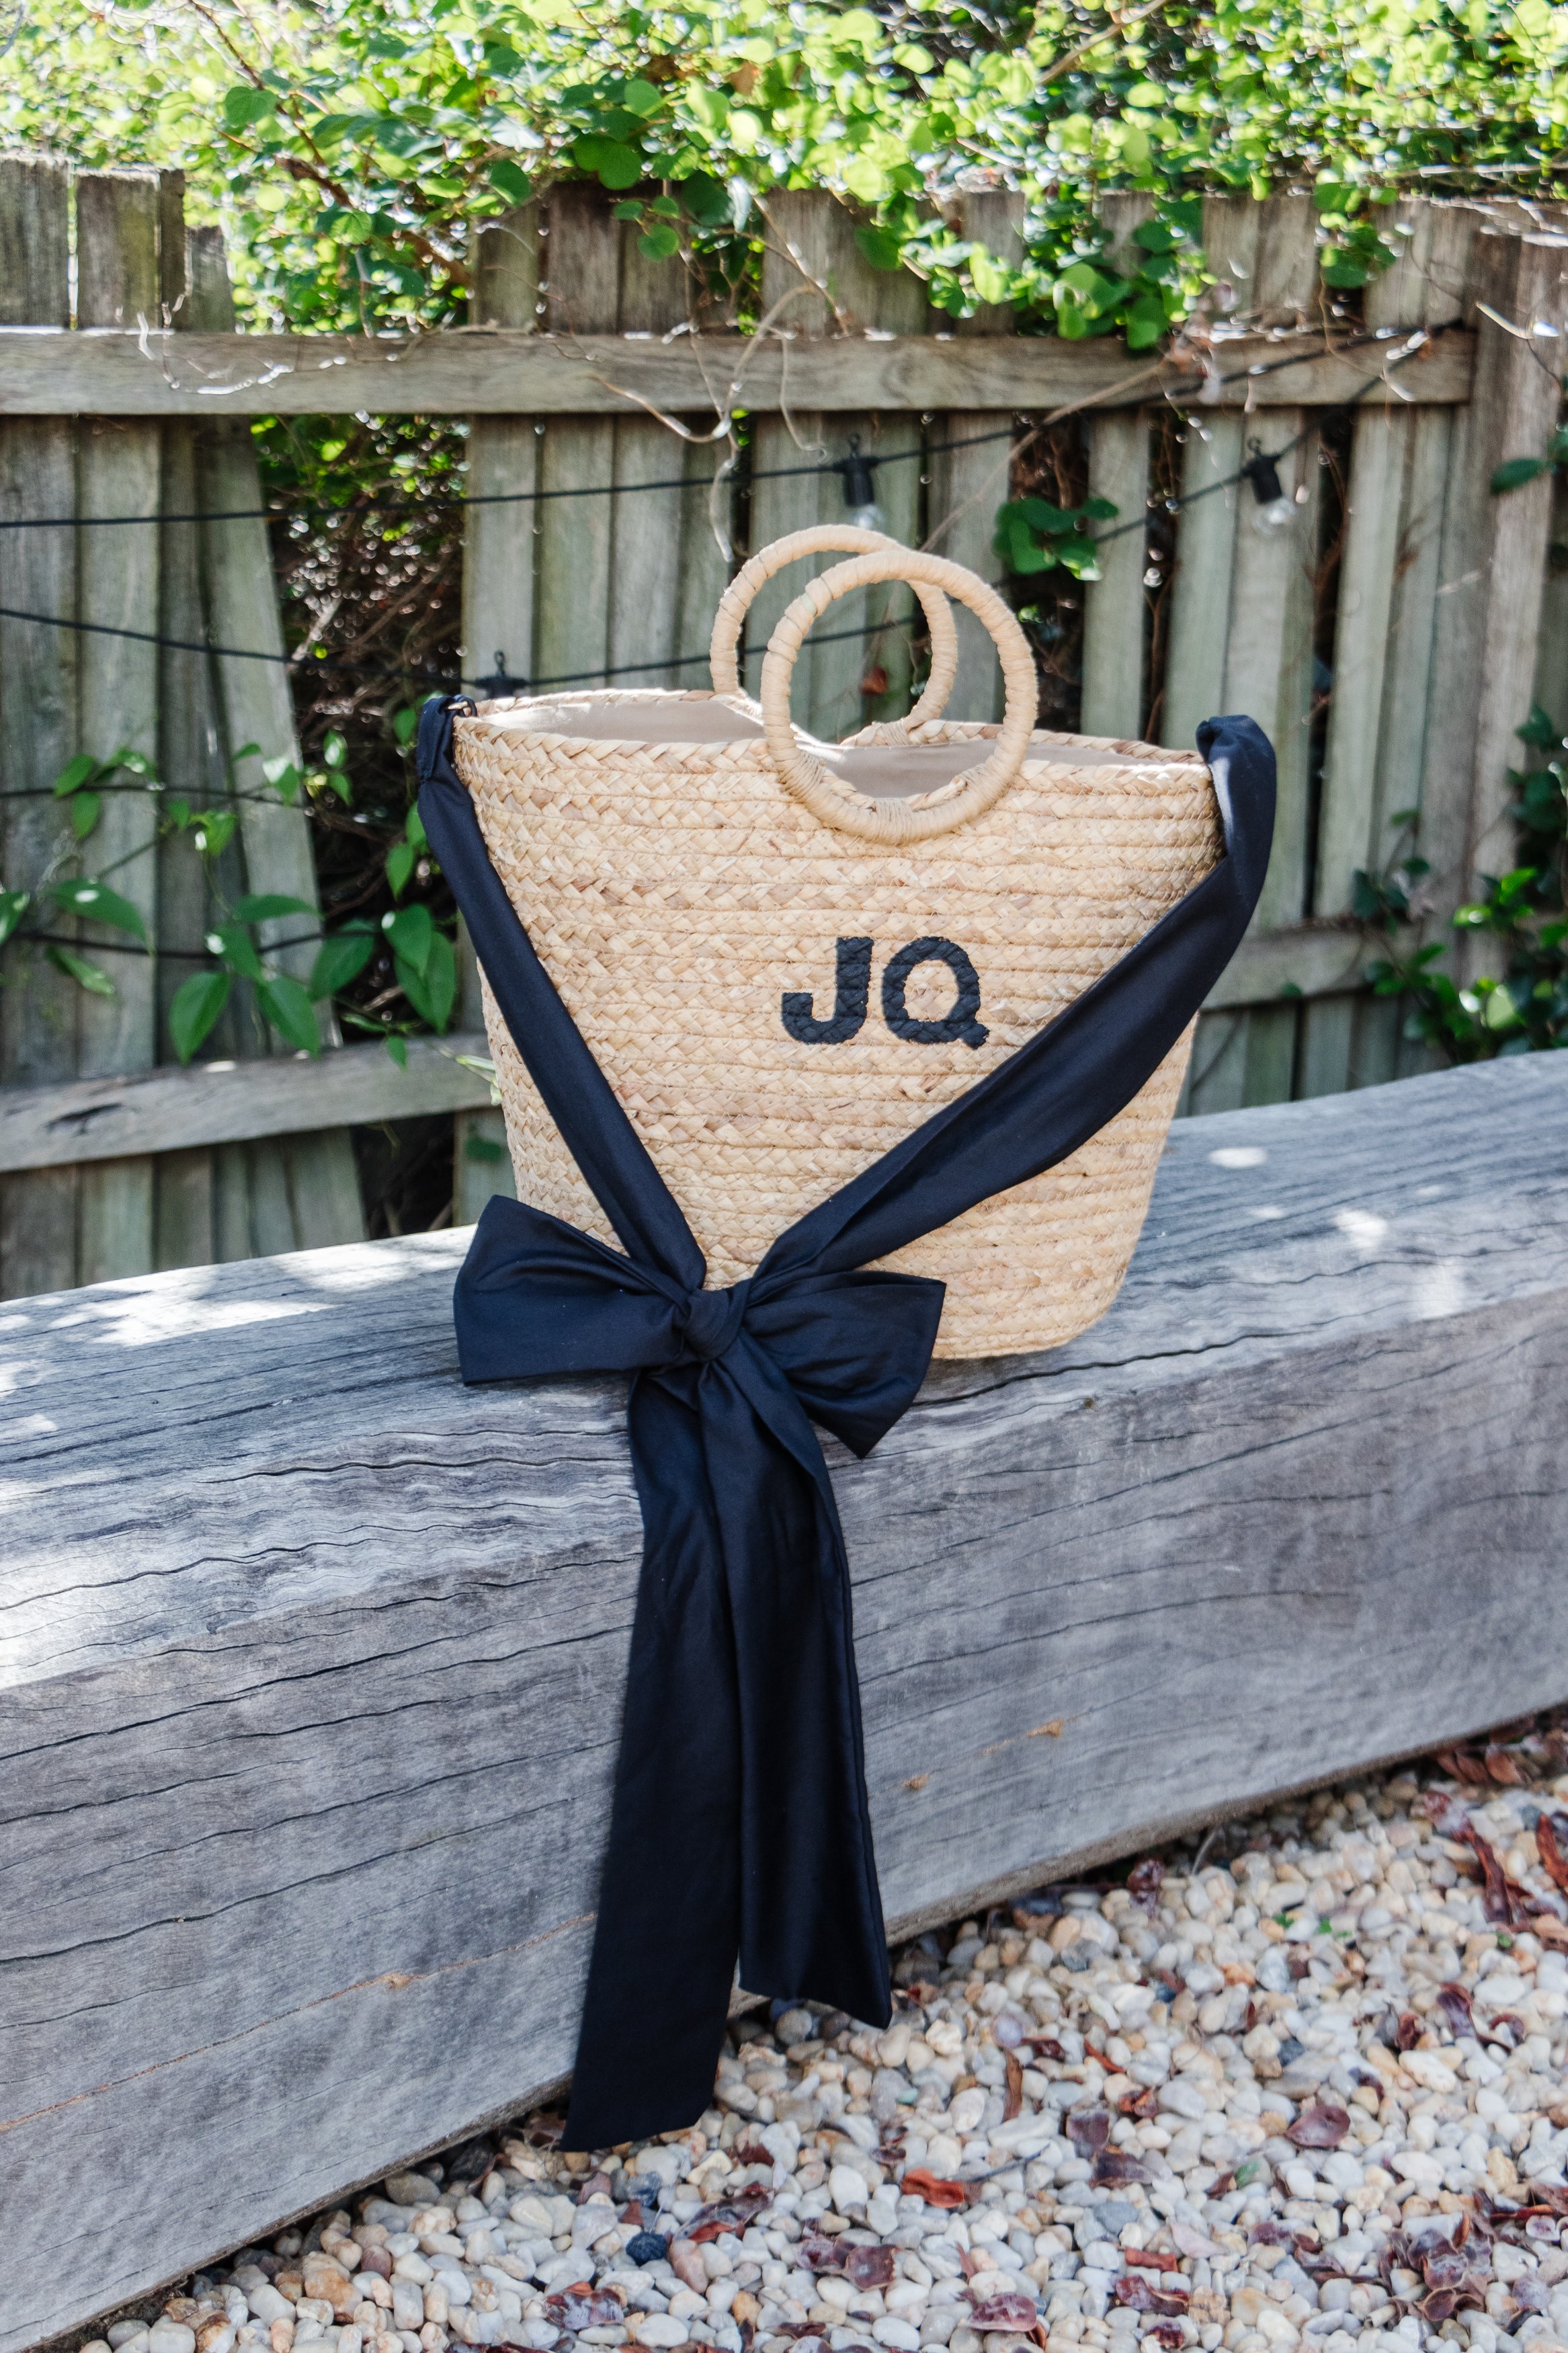
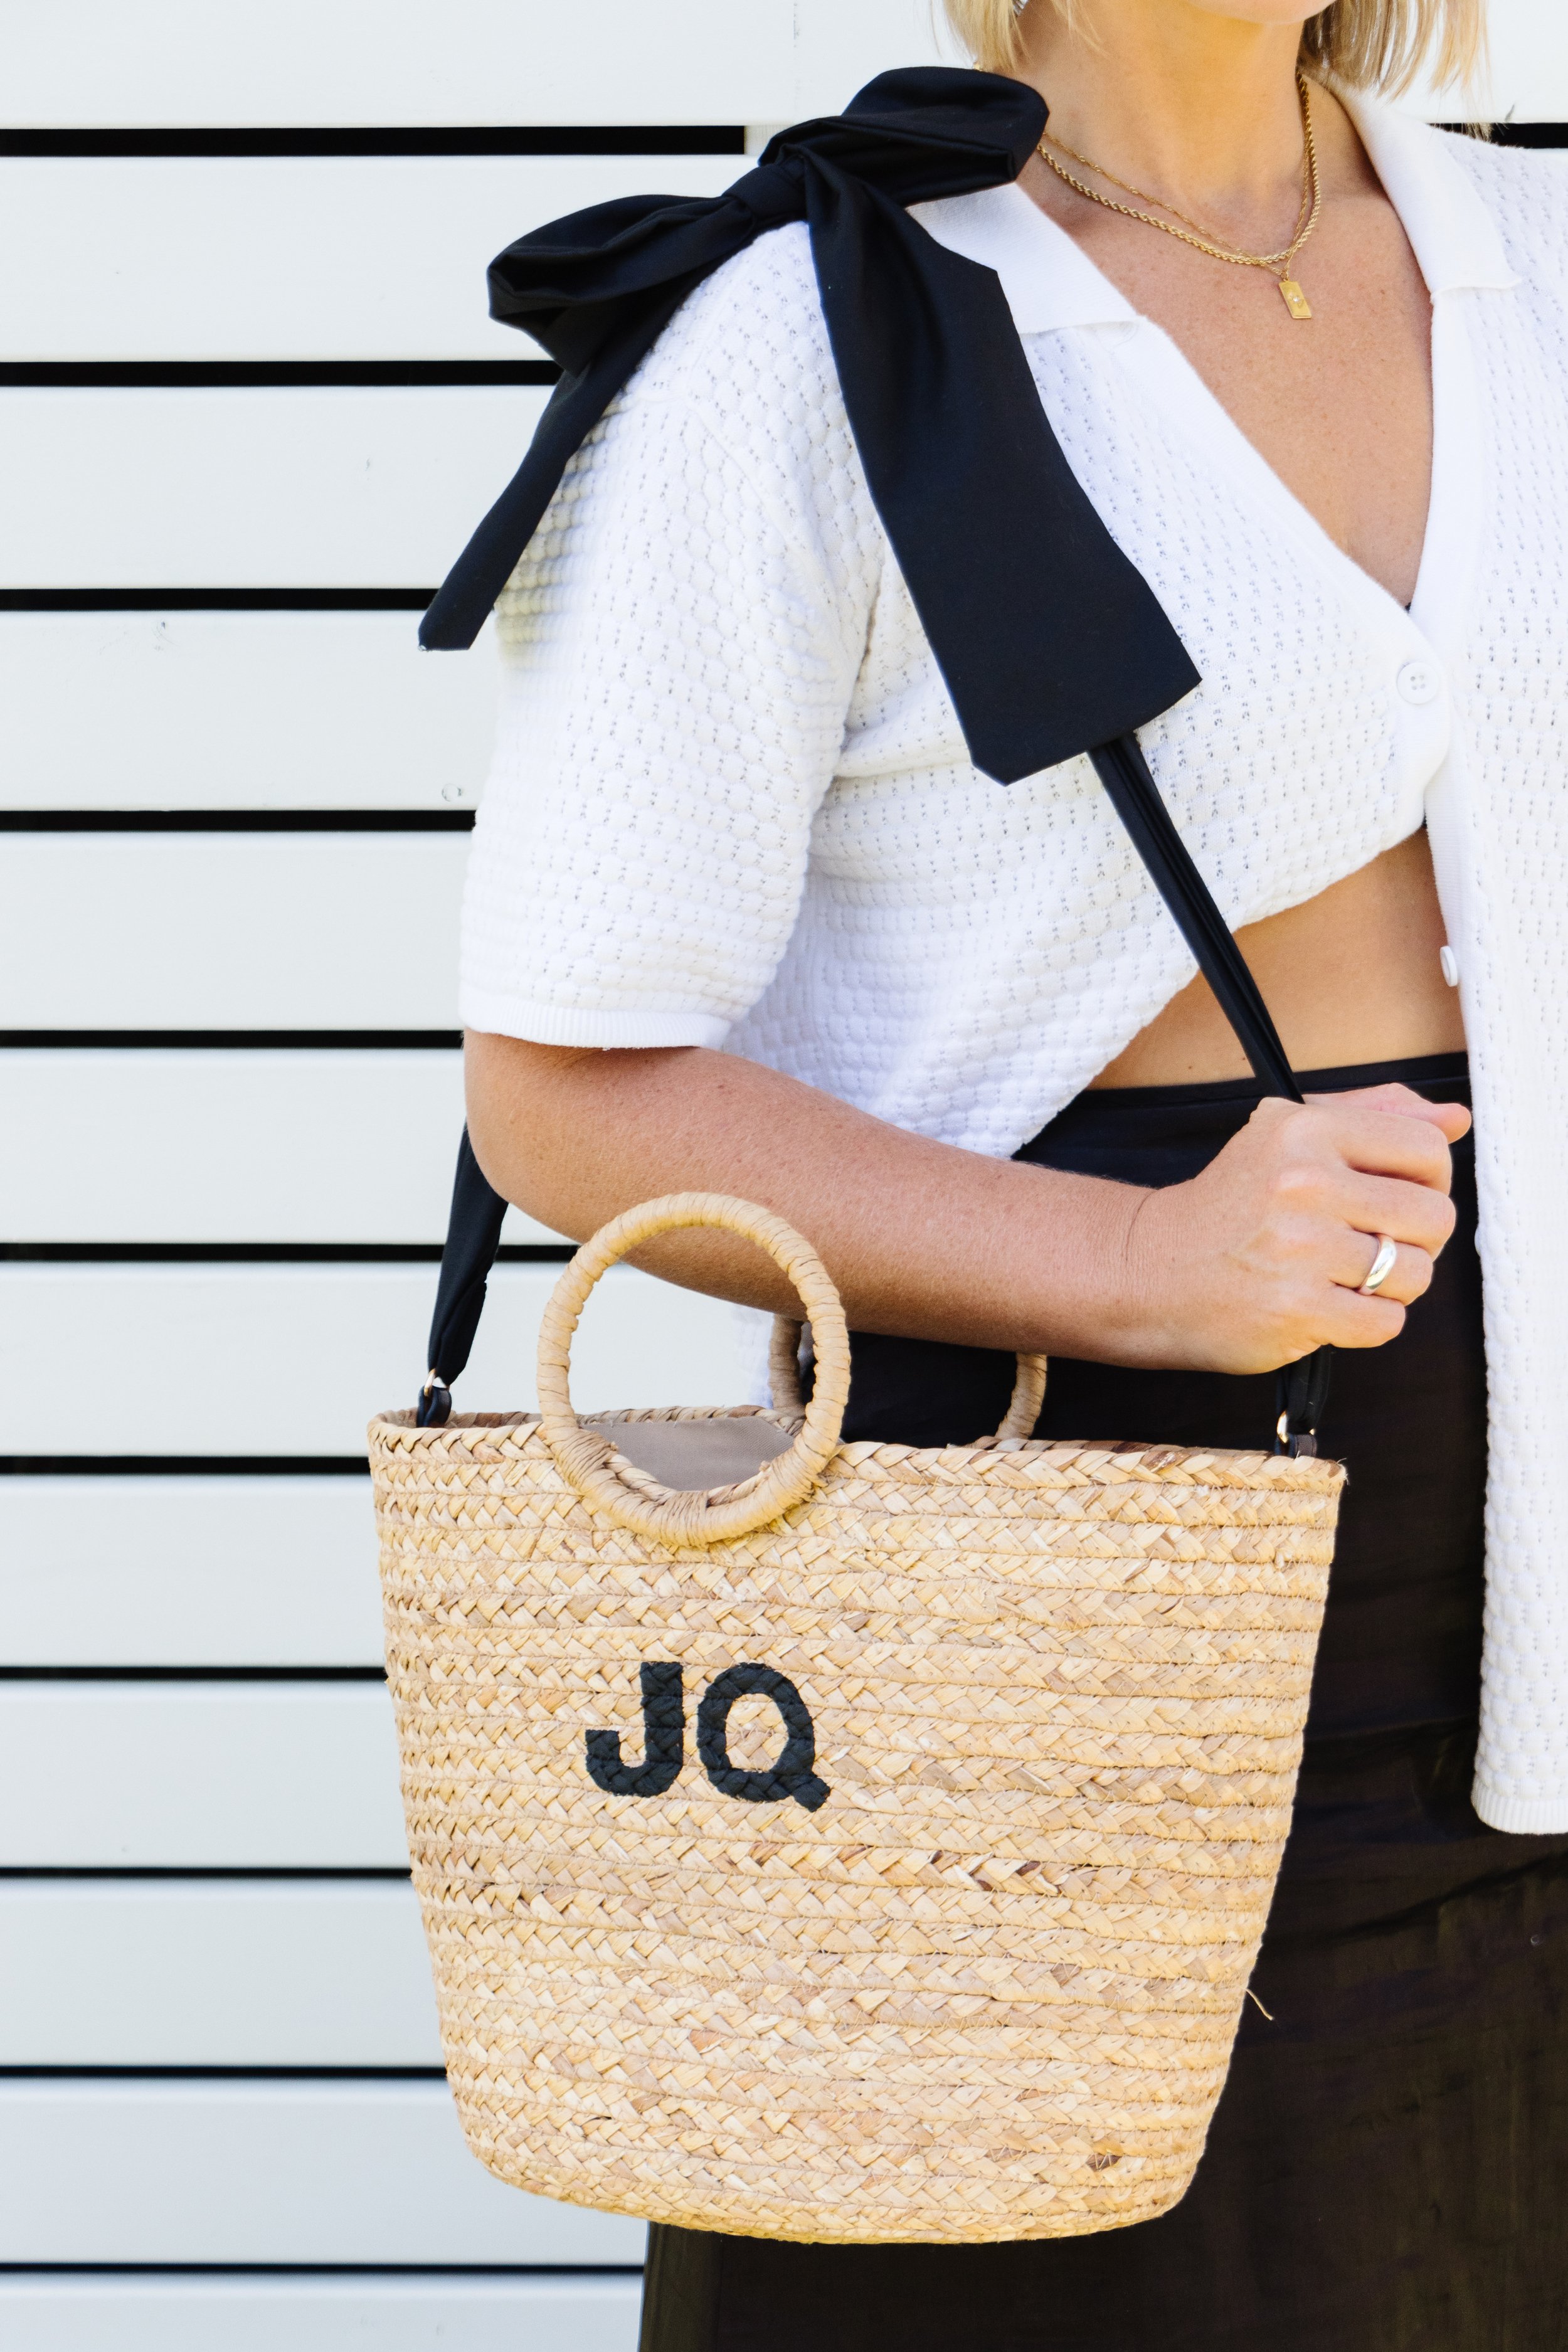
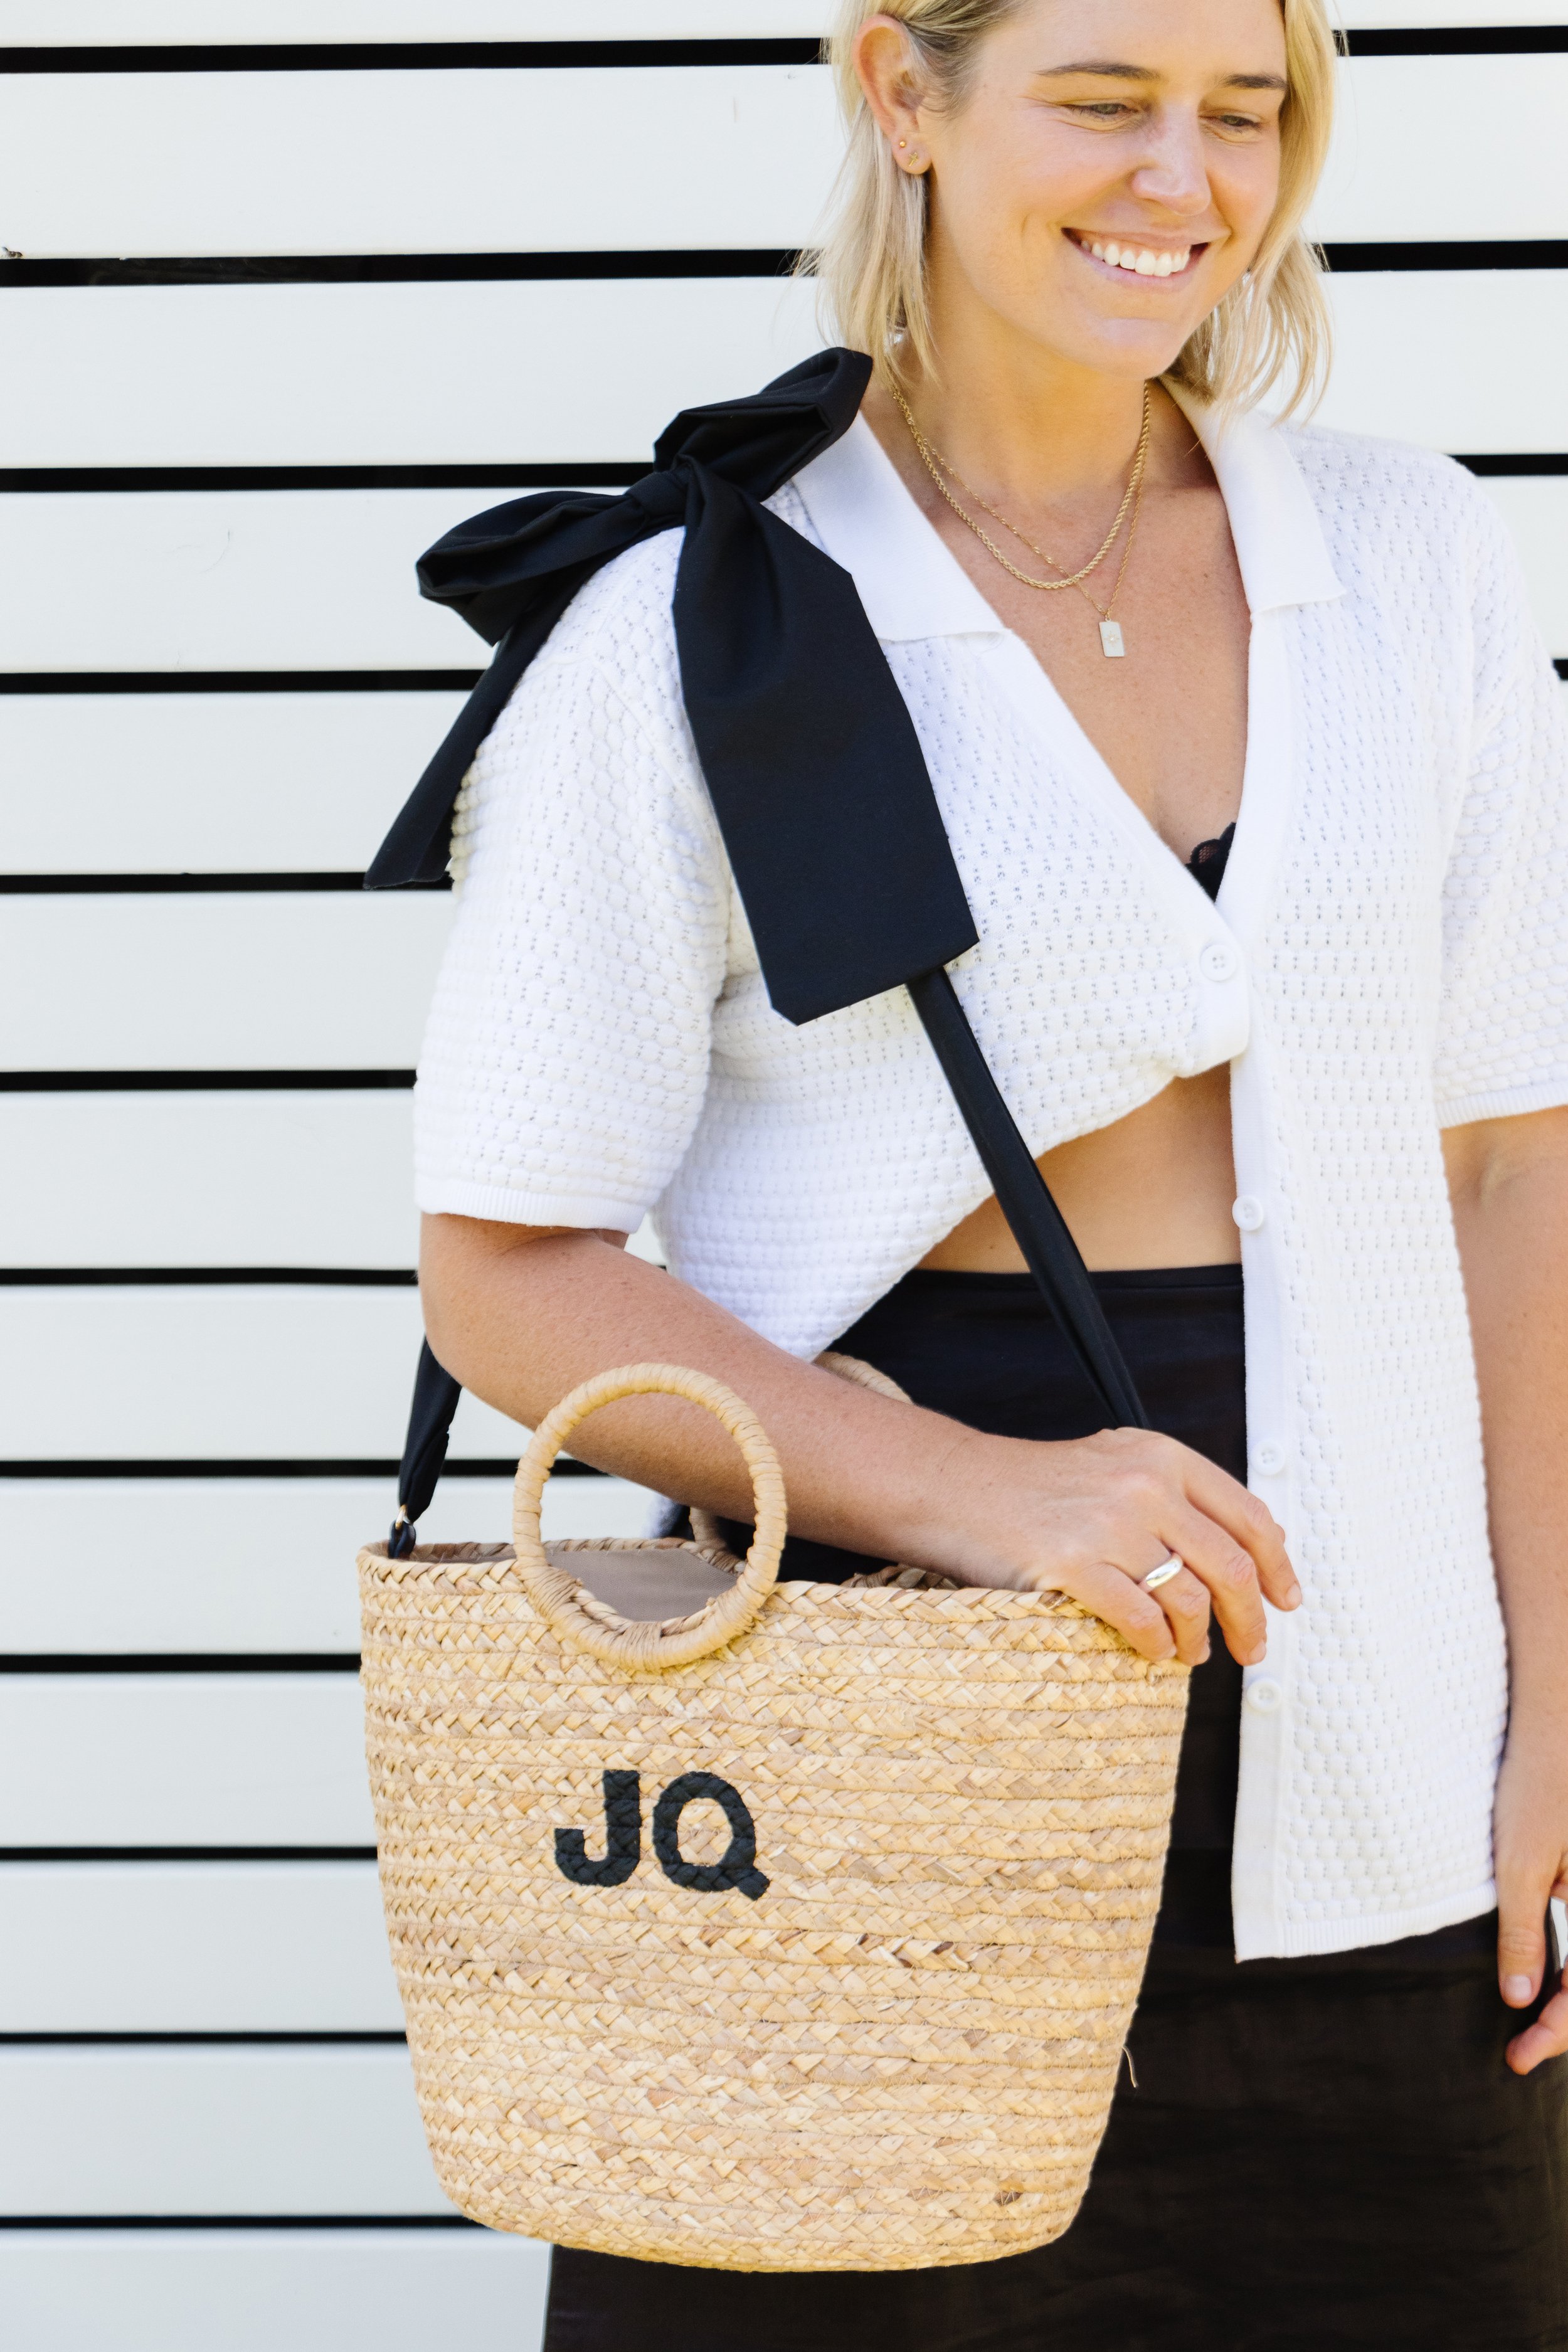
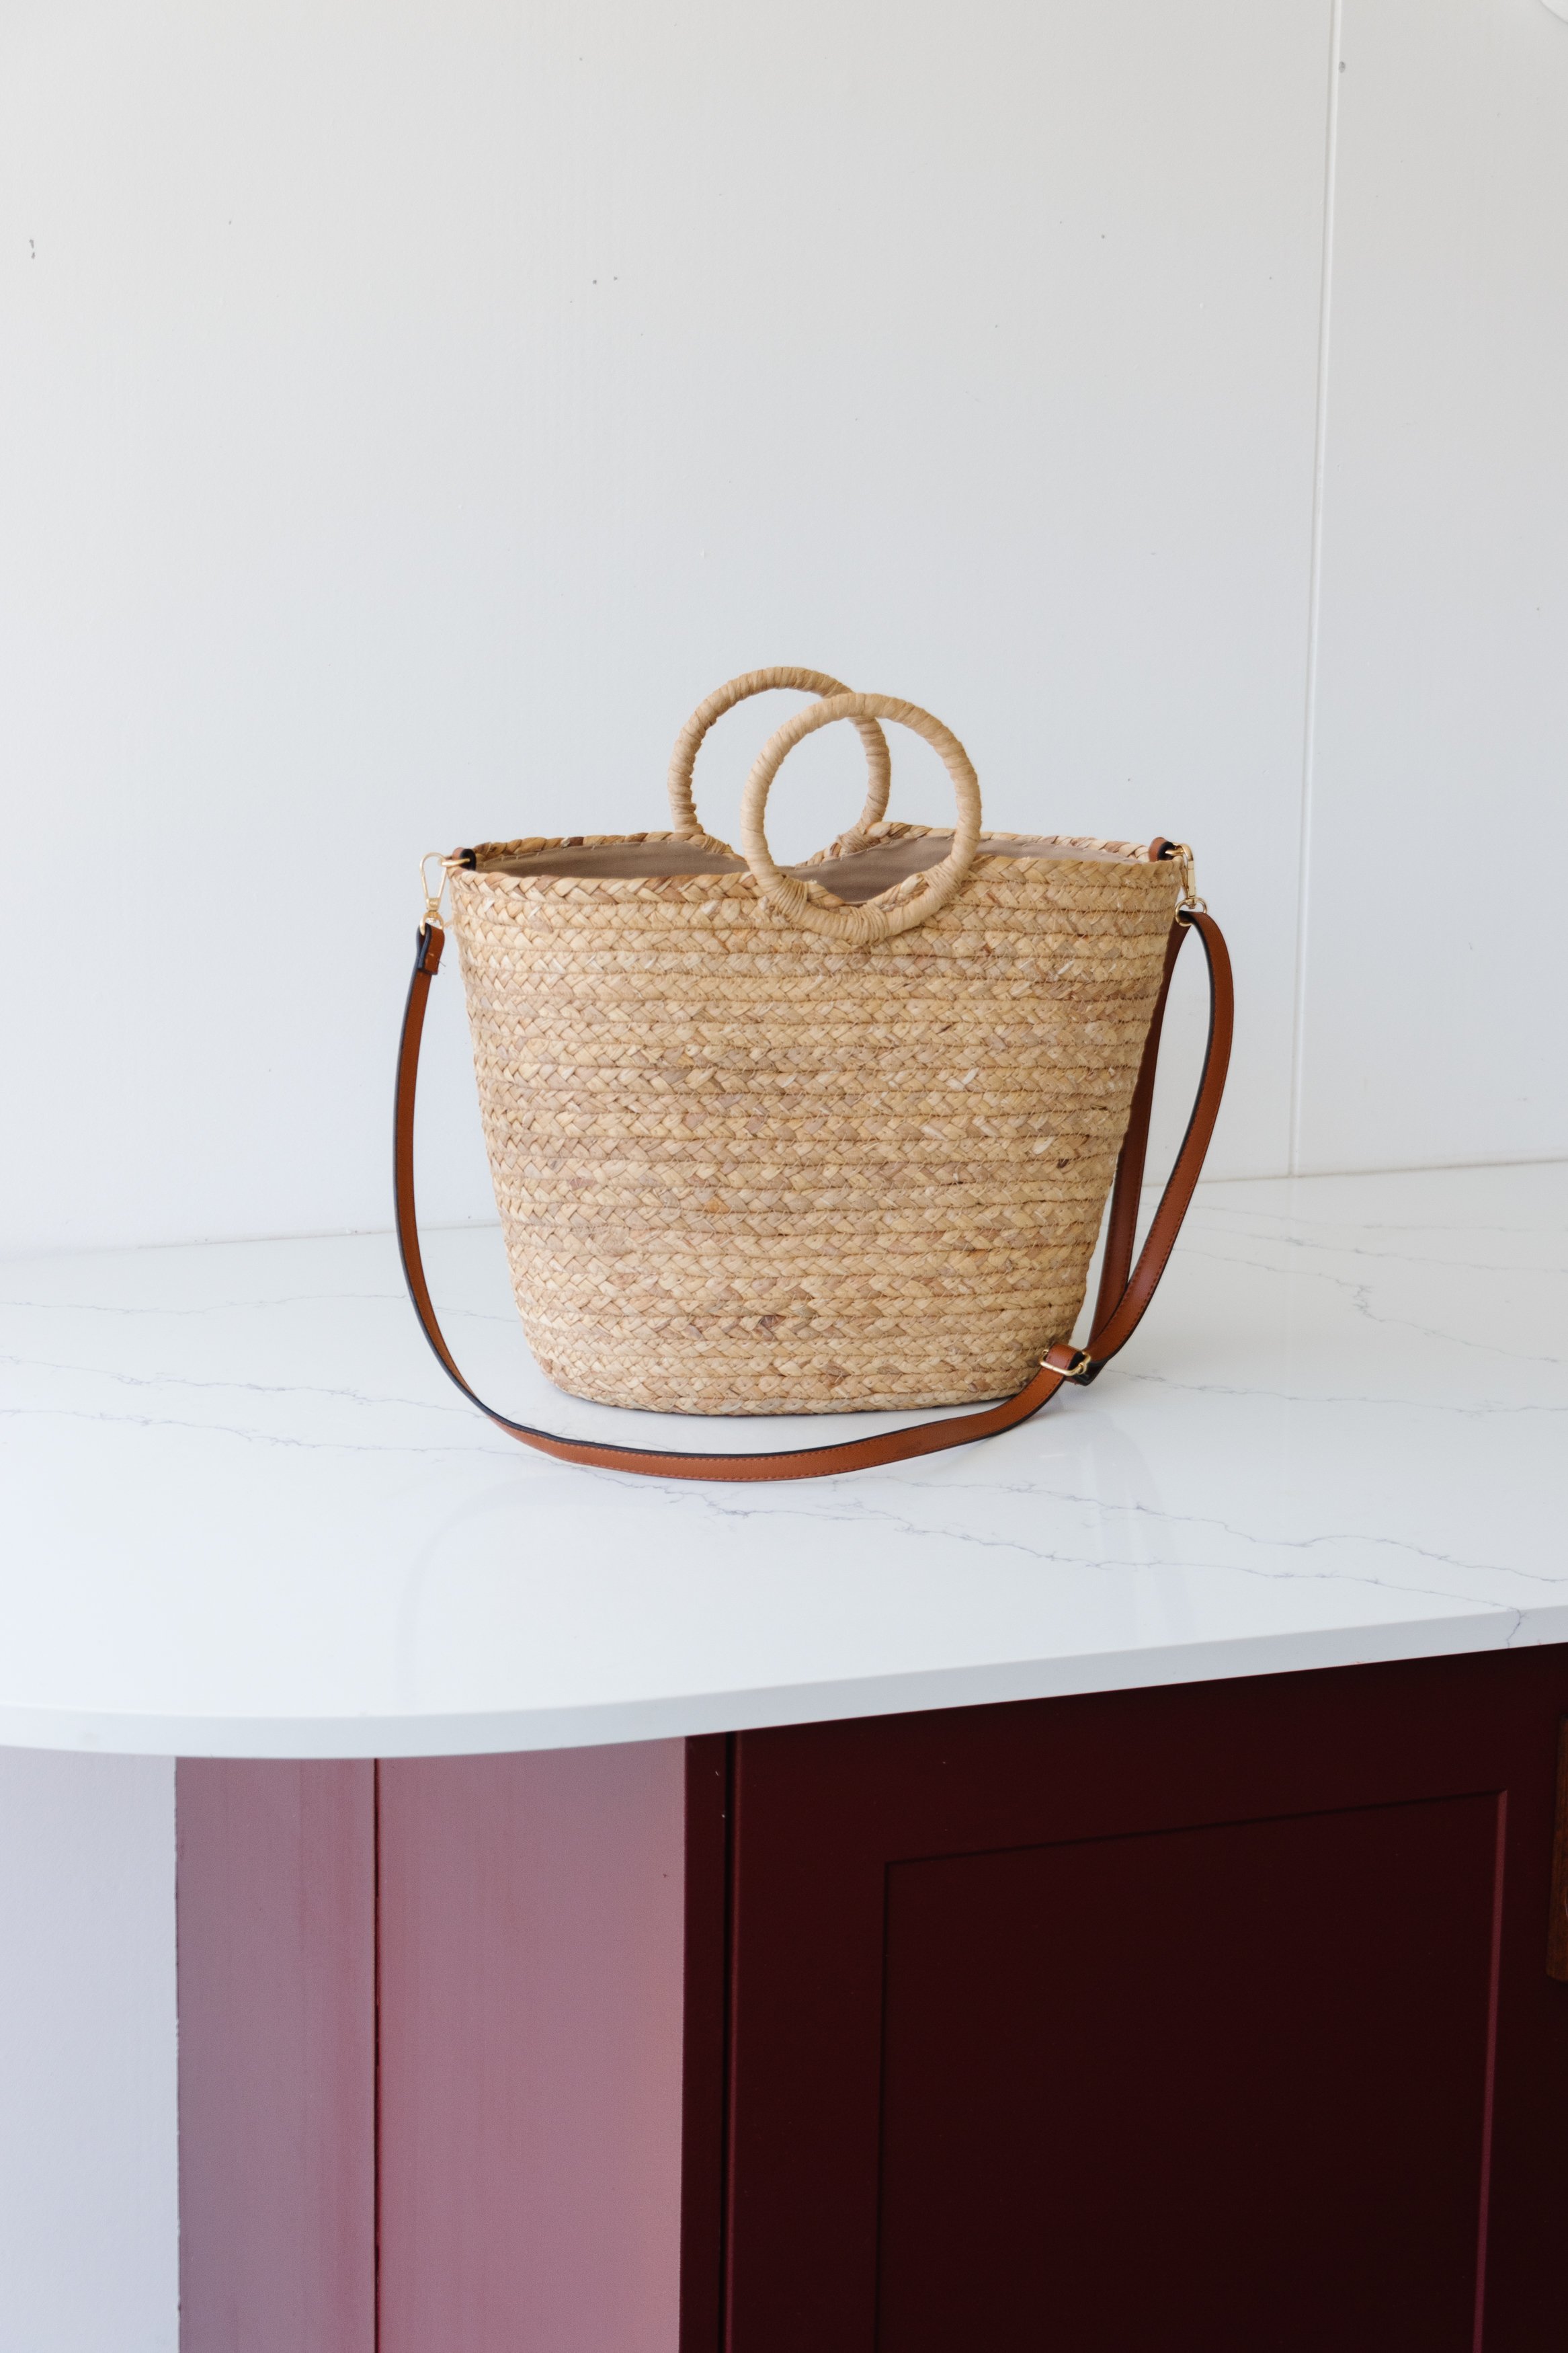
I take my summer bags very seriously and when I saw this Ring Handle Straw Bag from Kmart, I fell in love so I decided to personalise it by monogramming my initials on the front. I didn’t love the black monogram with the tan strap so on a last minute whim I decided to make my own straps using cotton fabric (I’ve kept the strap just in case). I am loving ribbons and bows at the moment so I thought it would be cute to tie the straps together into a cute bow, which turned out to be a stroke of luck because I can make the straps as long or as short as I like depending on whether I want to carry it on my shoulder or hold it in my hands. And I’m obsessed! Read on to find out how you can personalised your own dream bag for summer; all you need are a few simple materials, including paint and fabric.
And make sure to watch this video to see how it all came together
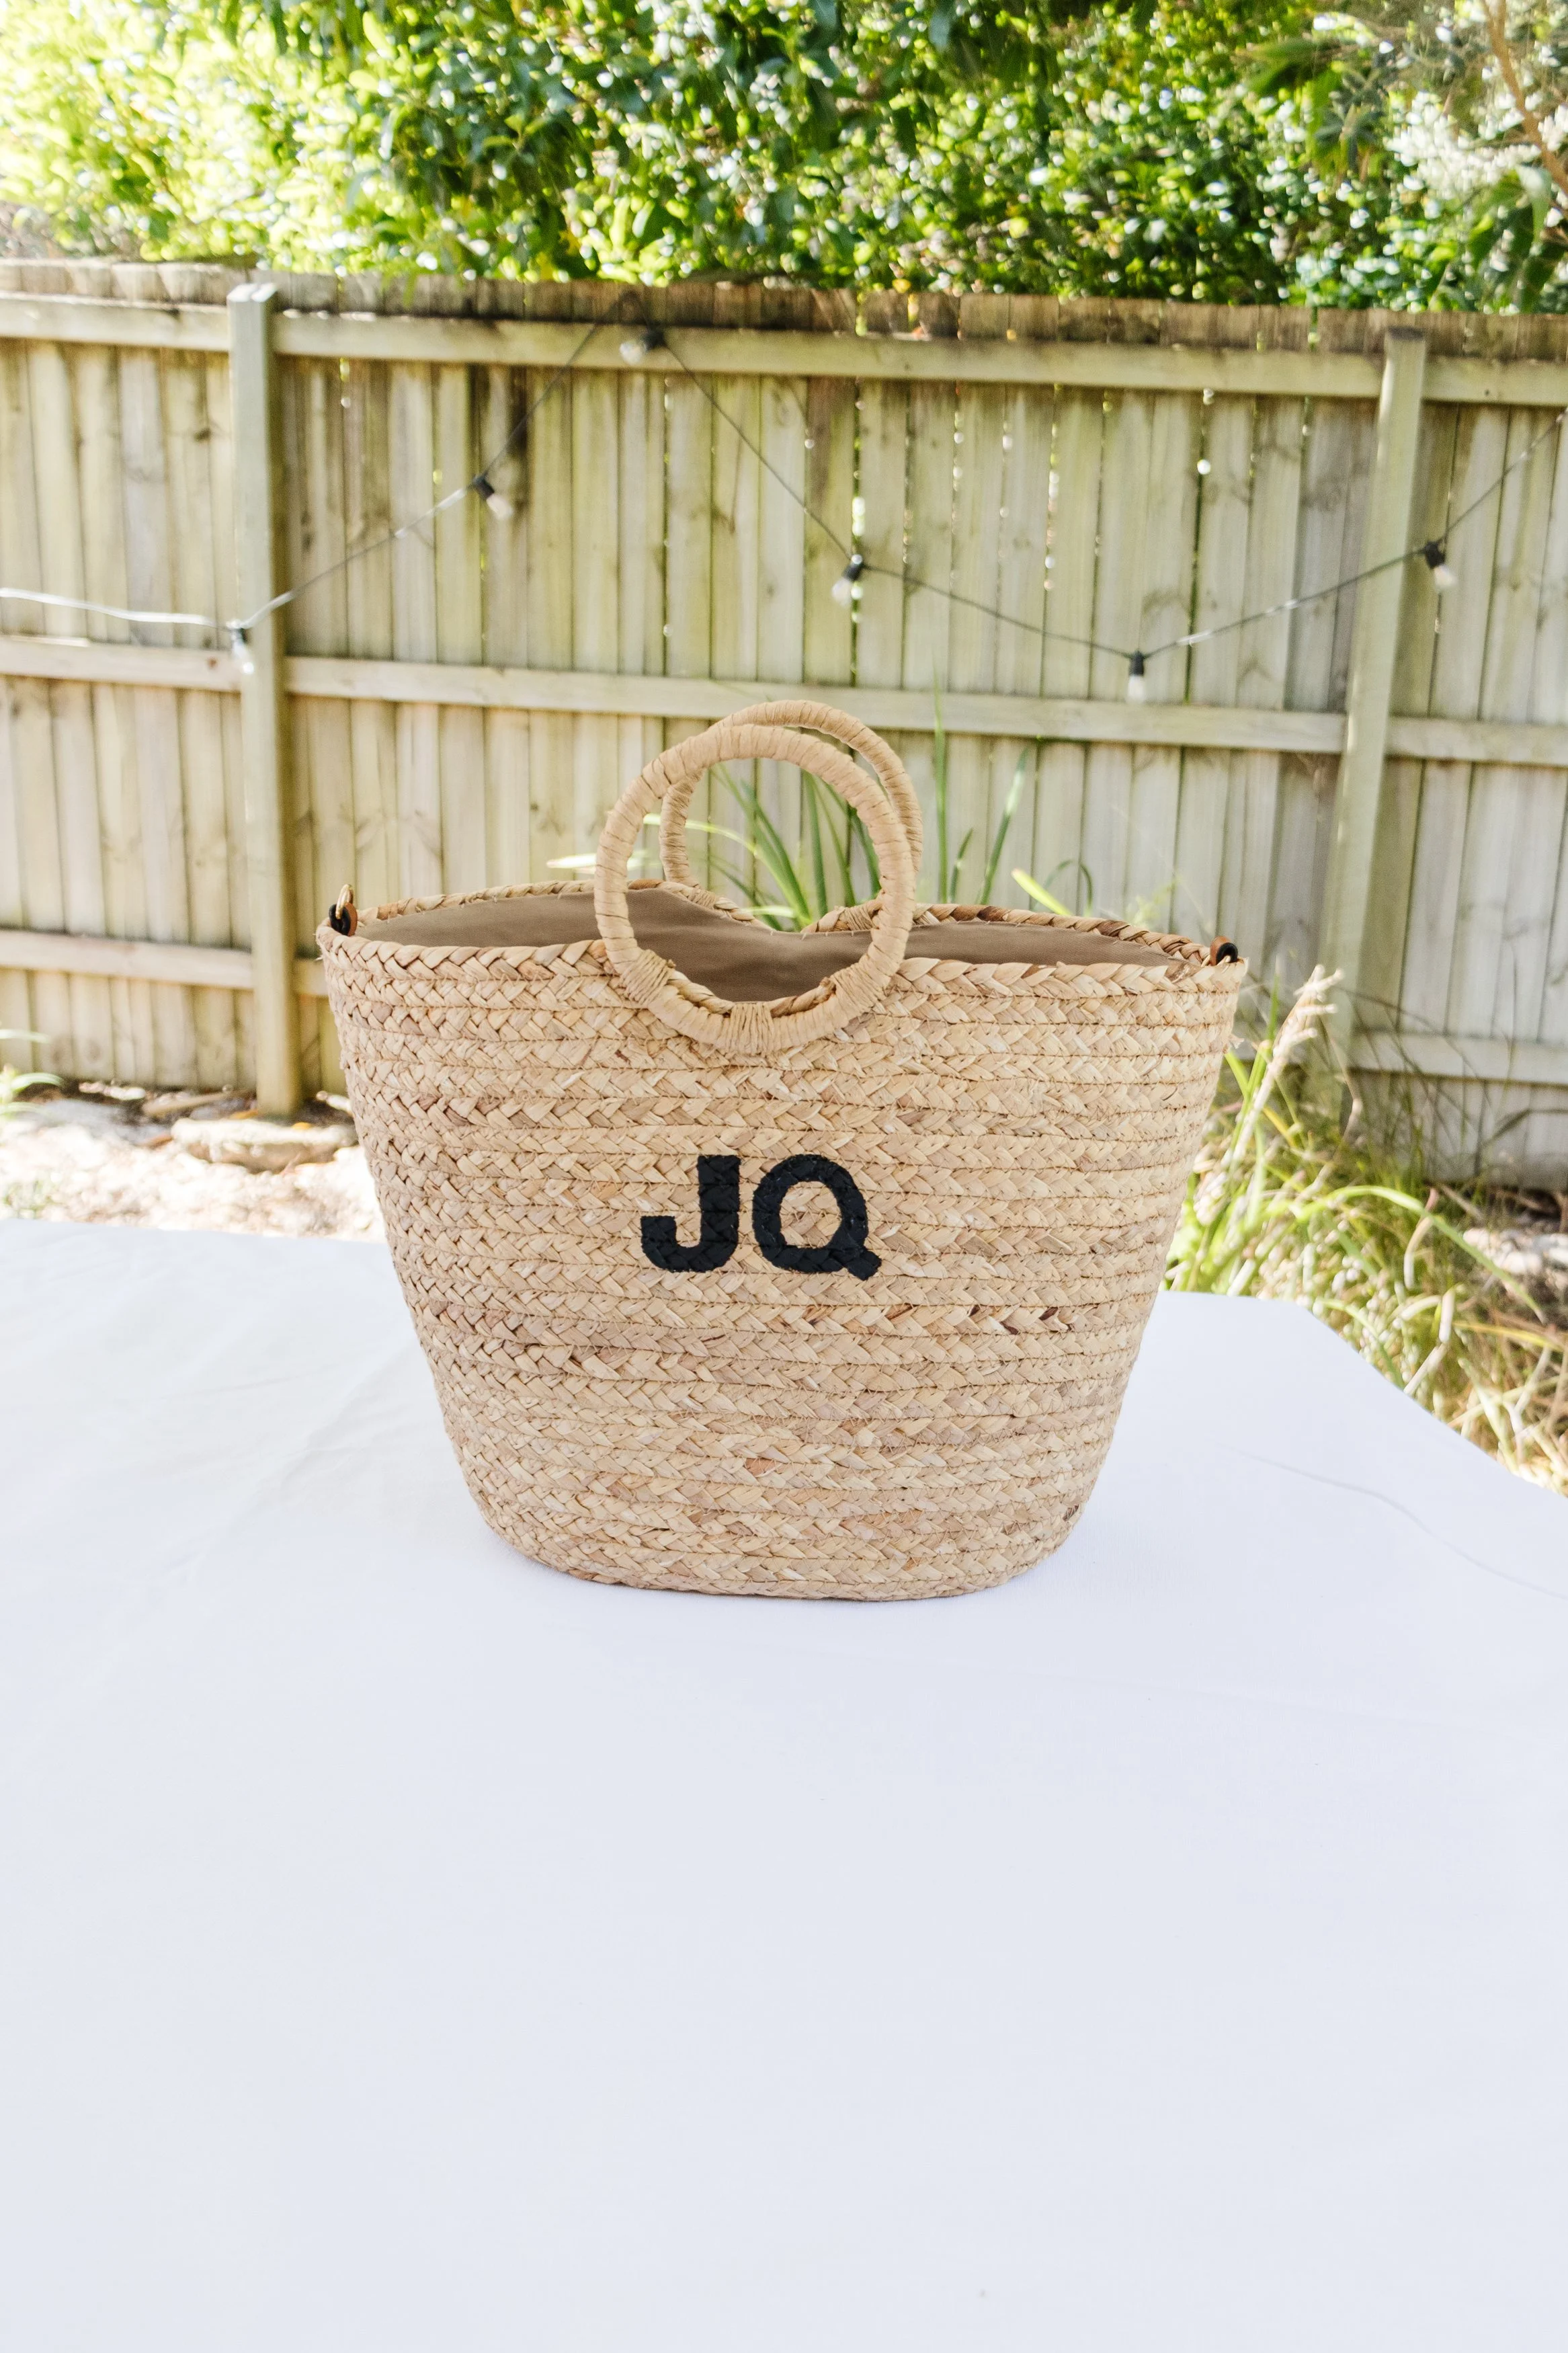
Before & After


Project Details
♻️ Making: DIY Monogram Bow Tie Bag
🕒 Project Time Estimate: 1 hour
💰 Materials Cost: $40
Materials
Black water based paint
Thrifted cotton fabric
Black cotton thread
Tools
Paint brush
Scissors
Sewing machine
Hand sewing needle
Iron
Optional: Black felt tip permanent pen (i.e. Sharpie)
How To
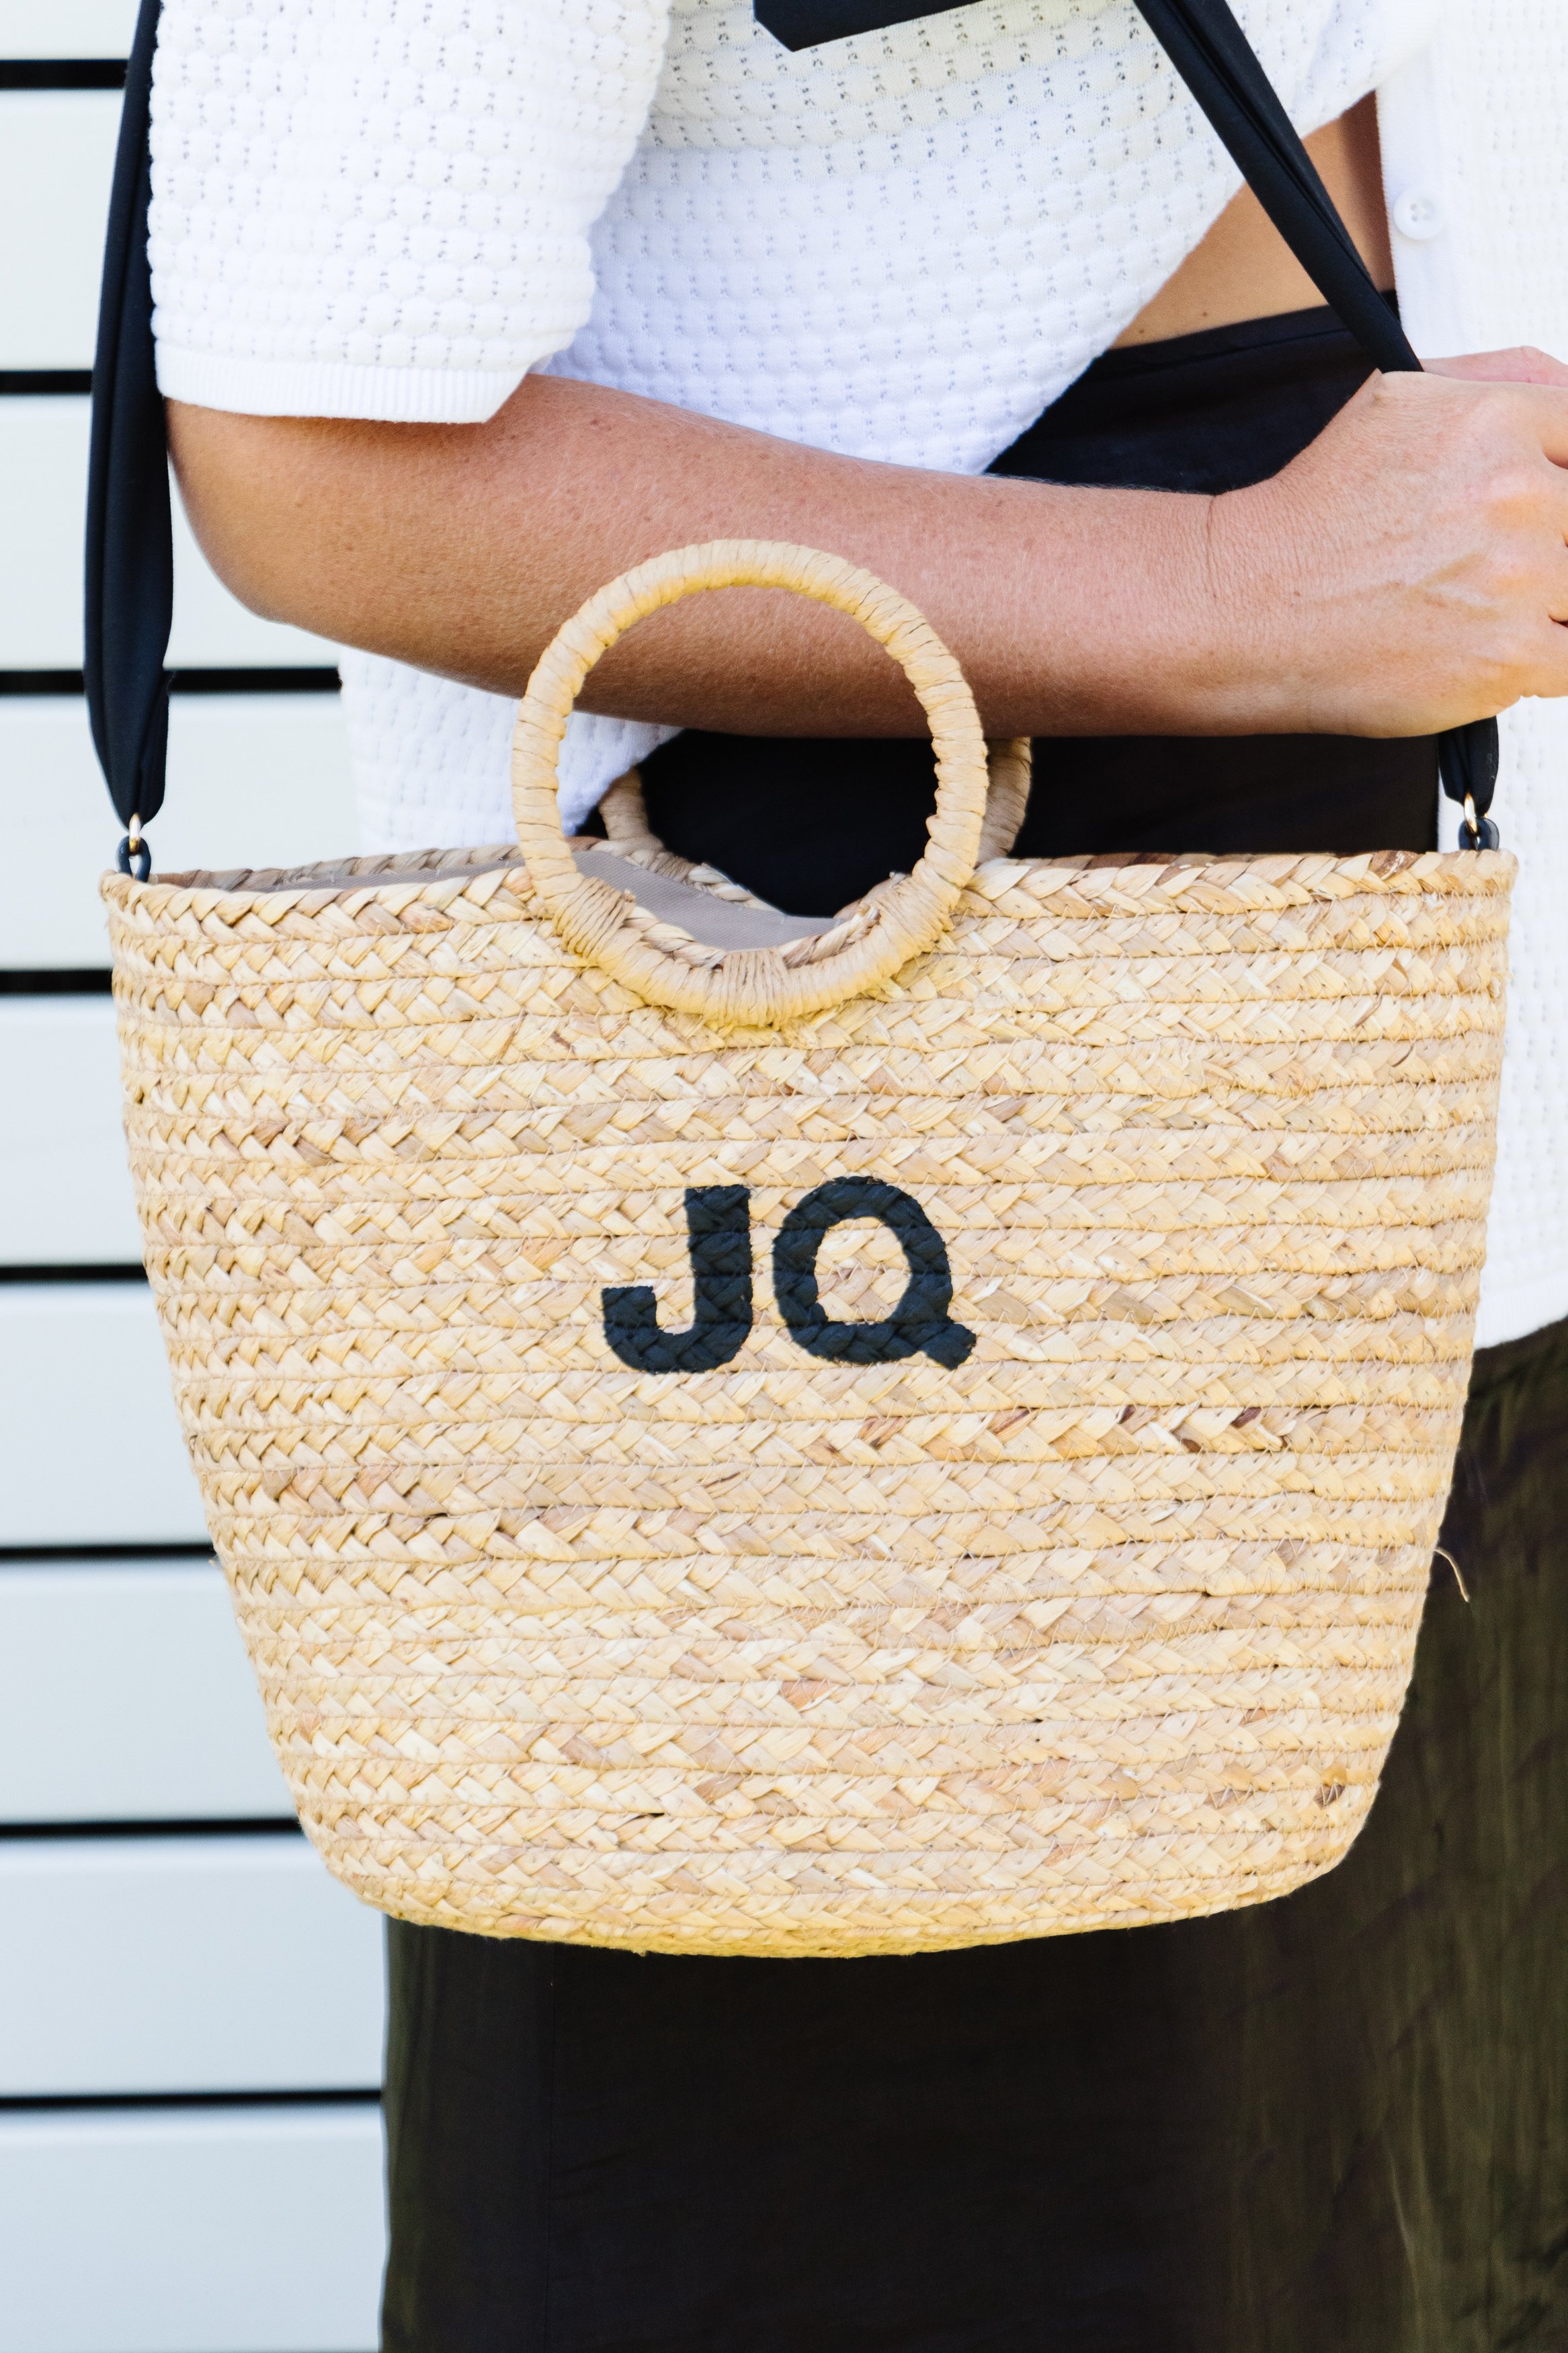
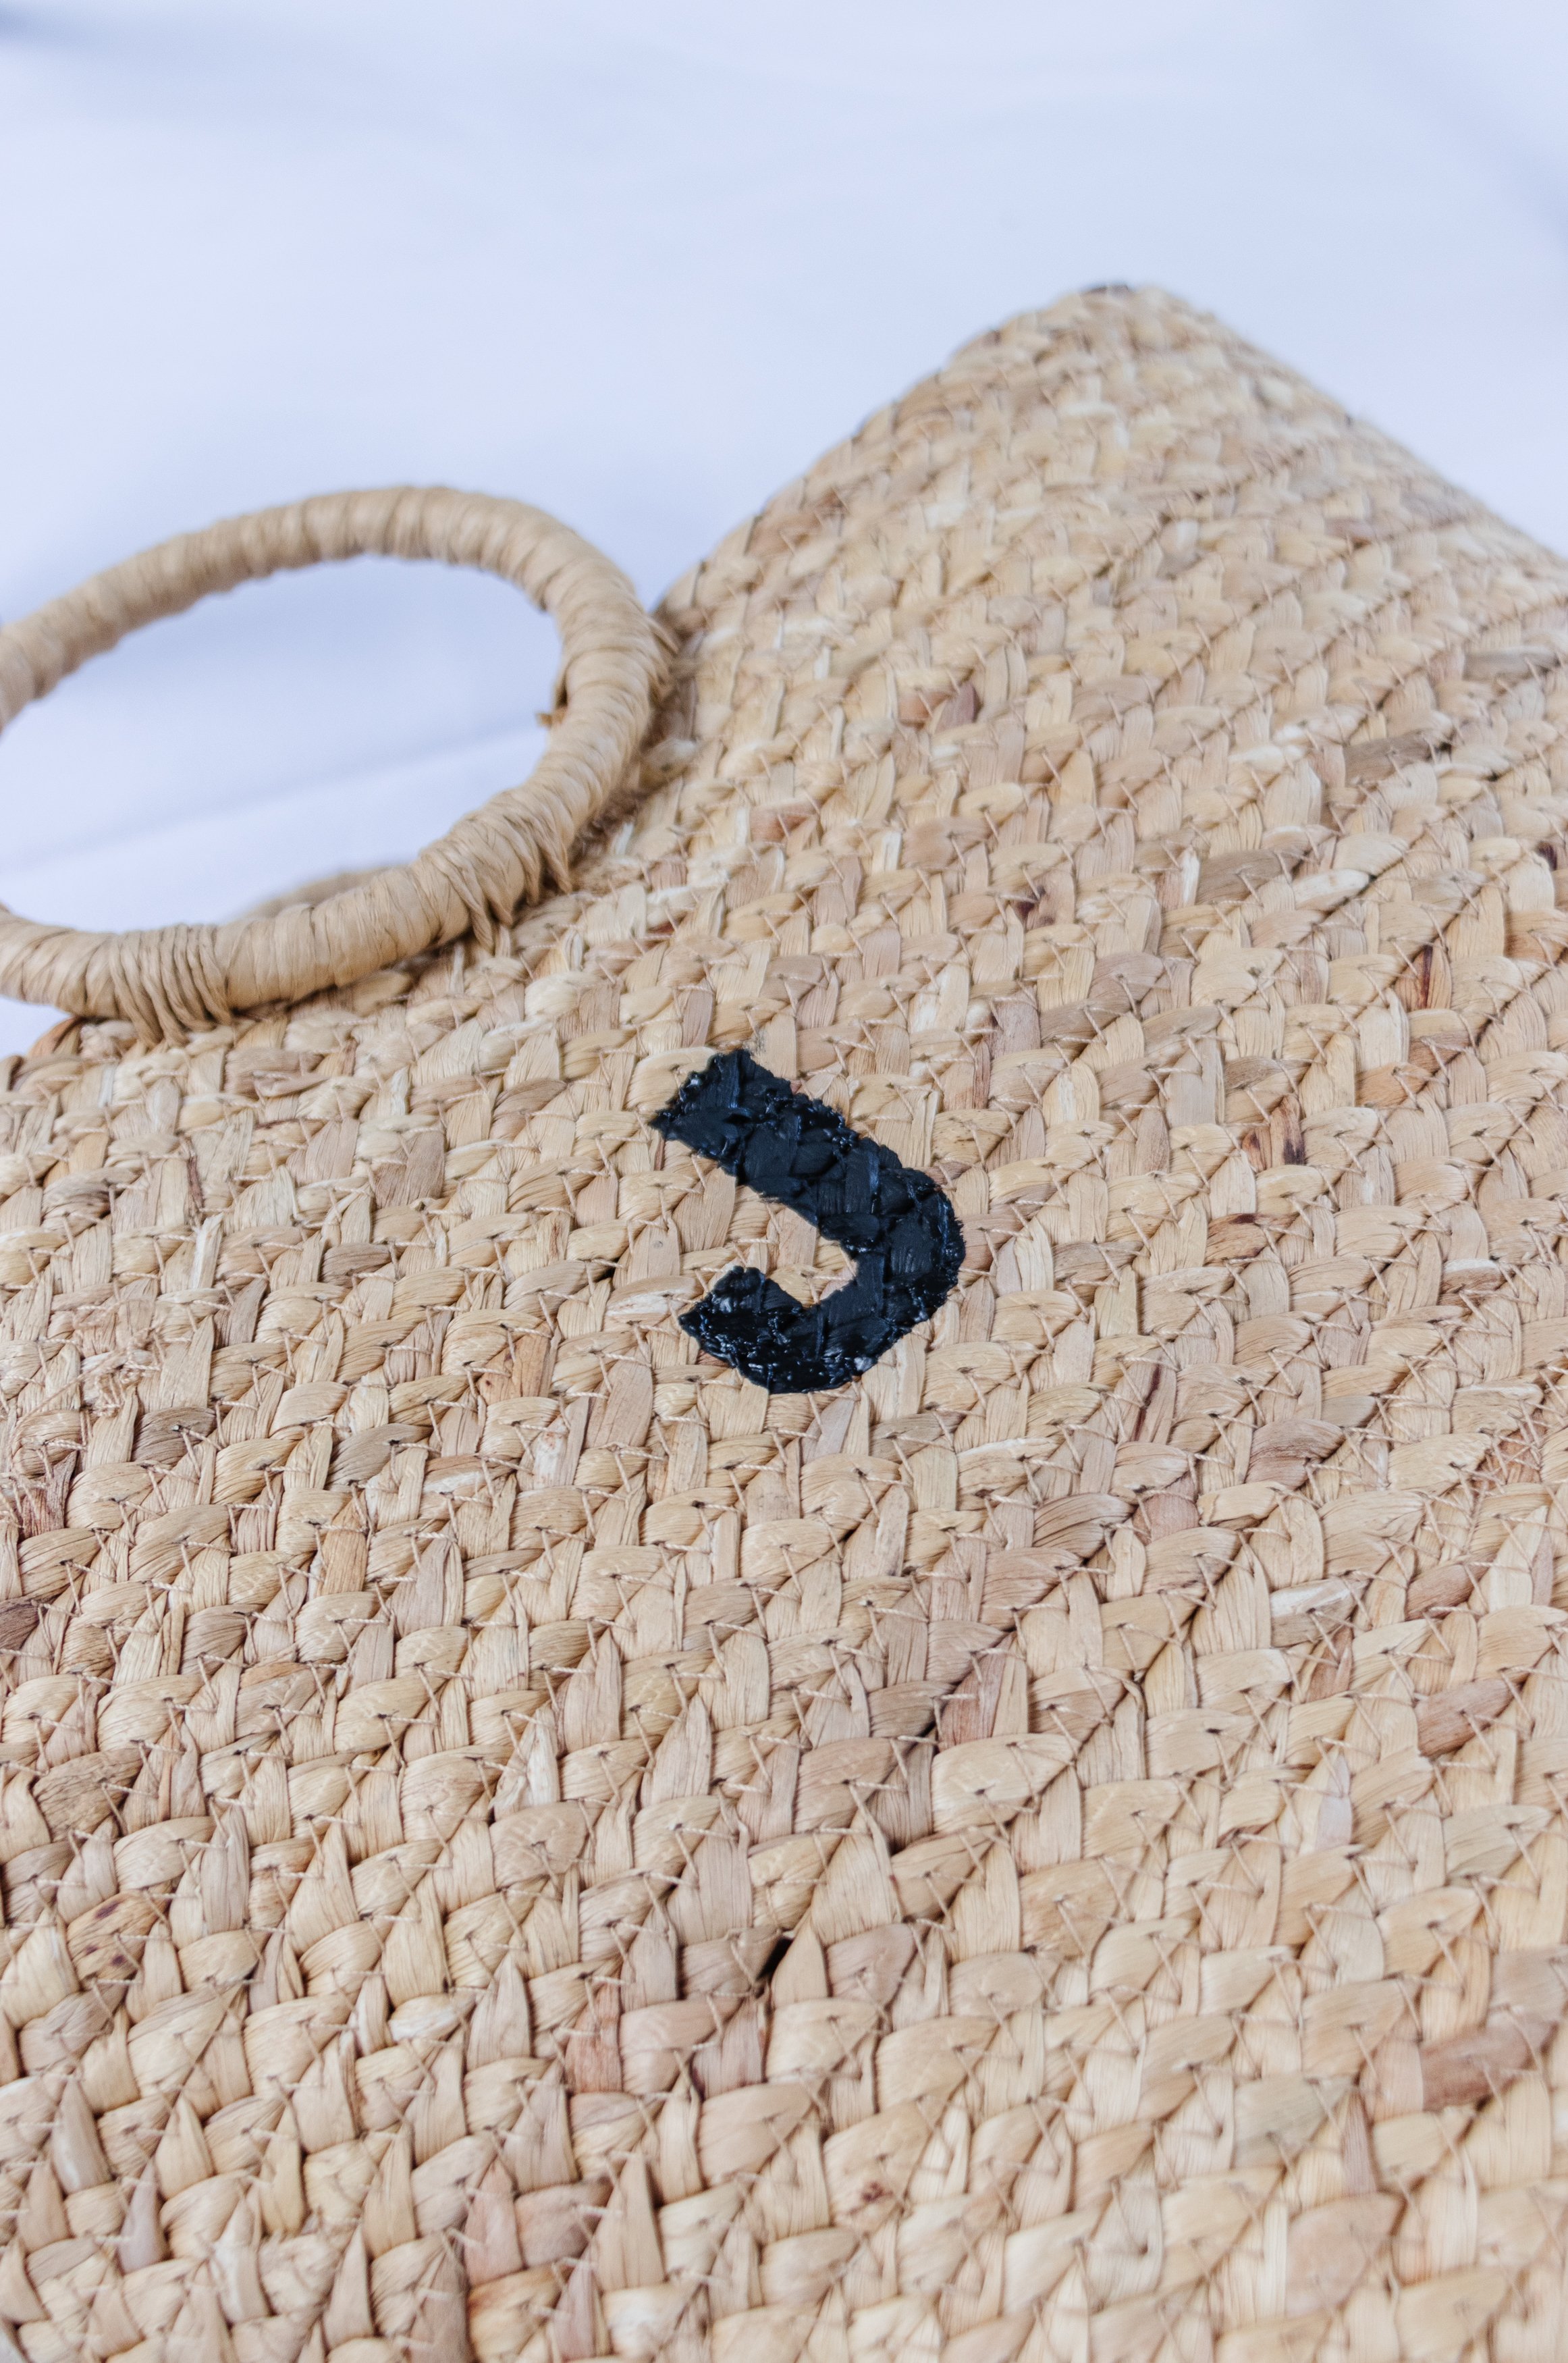
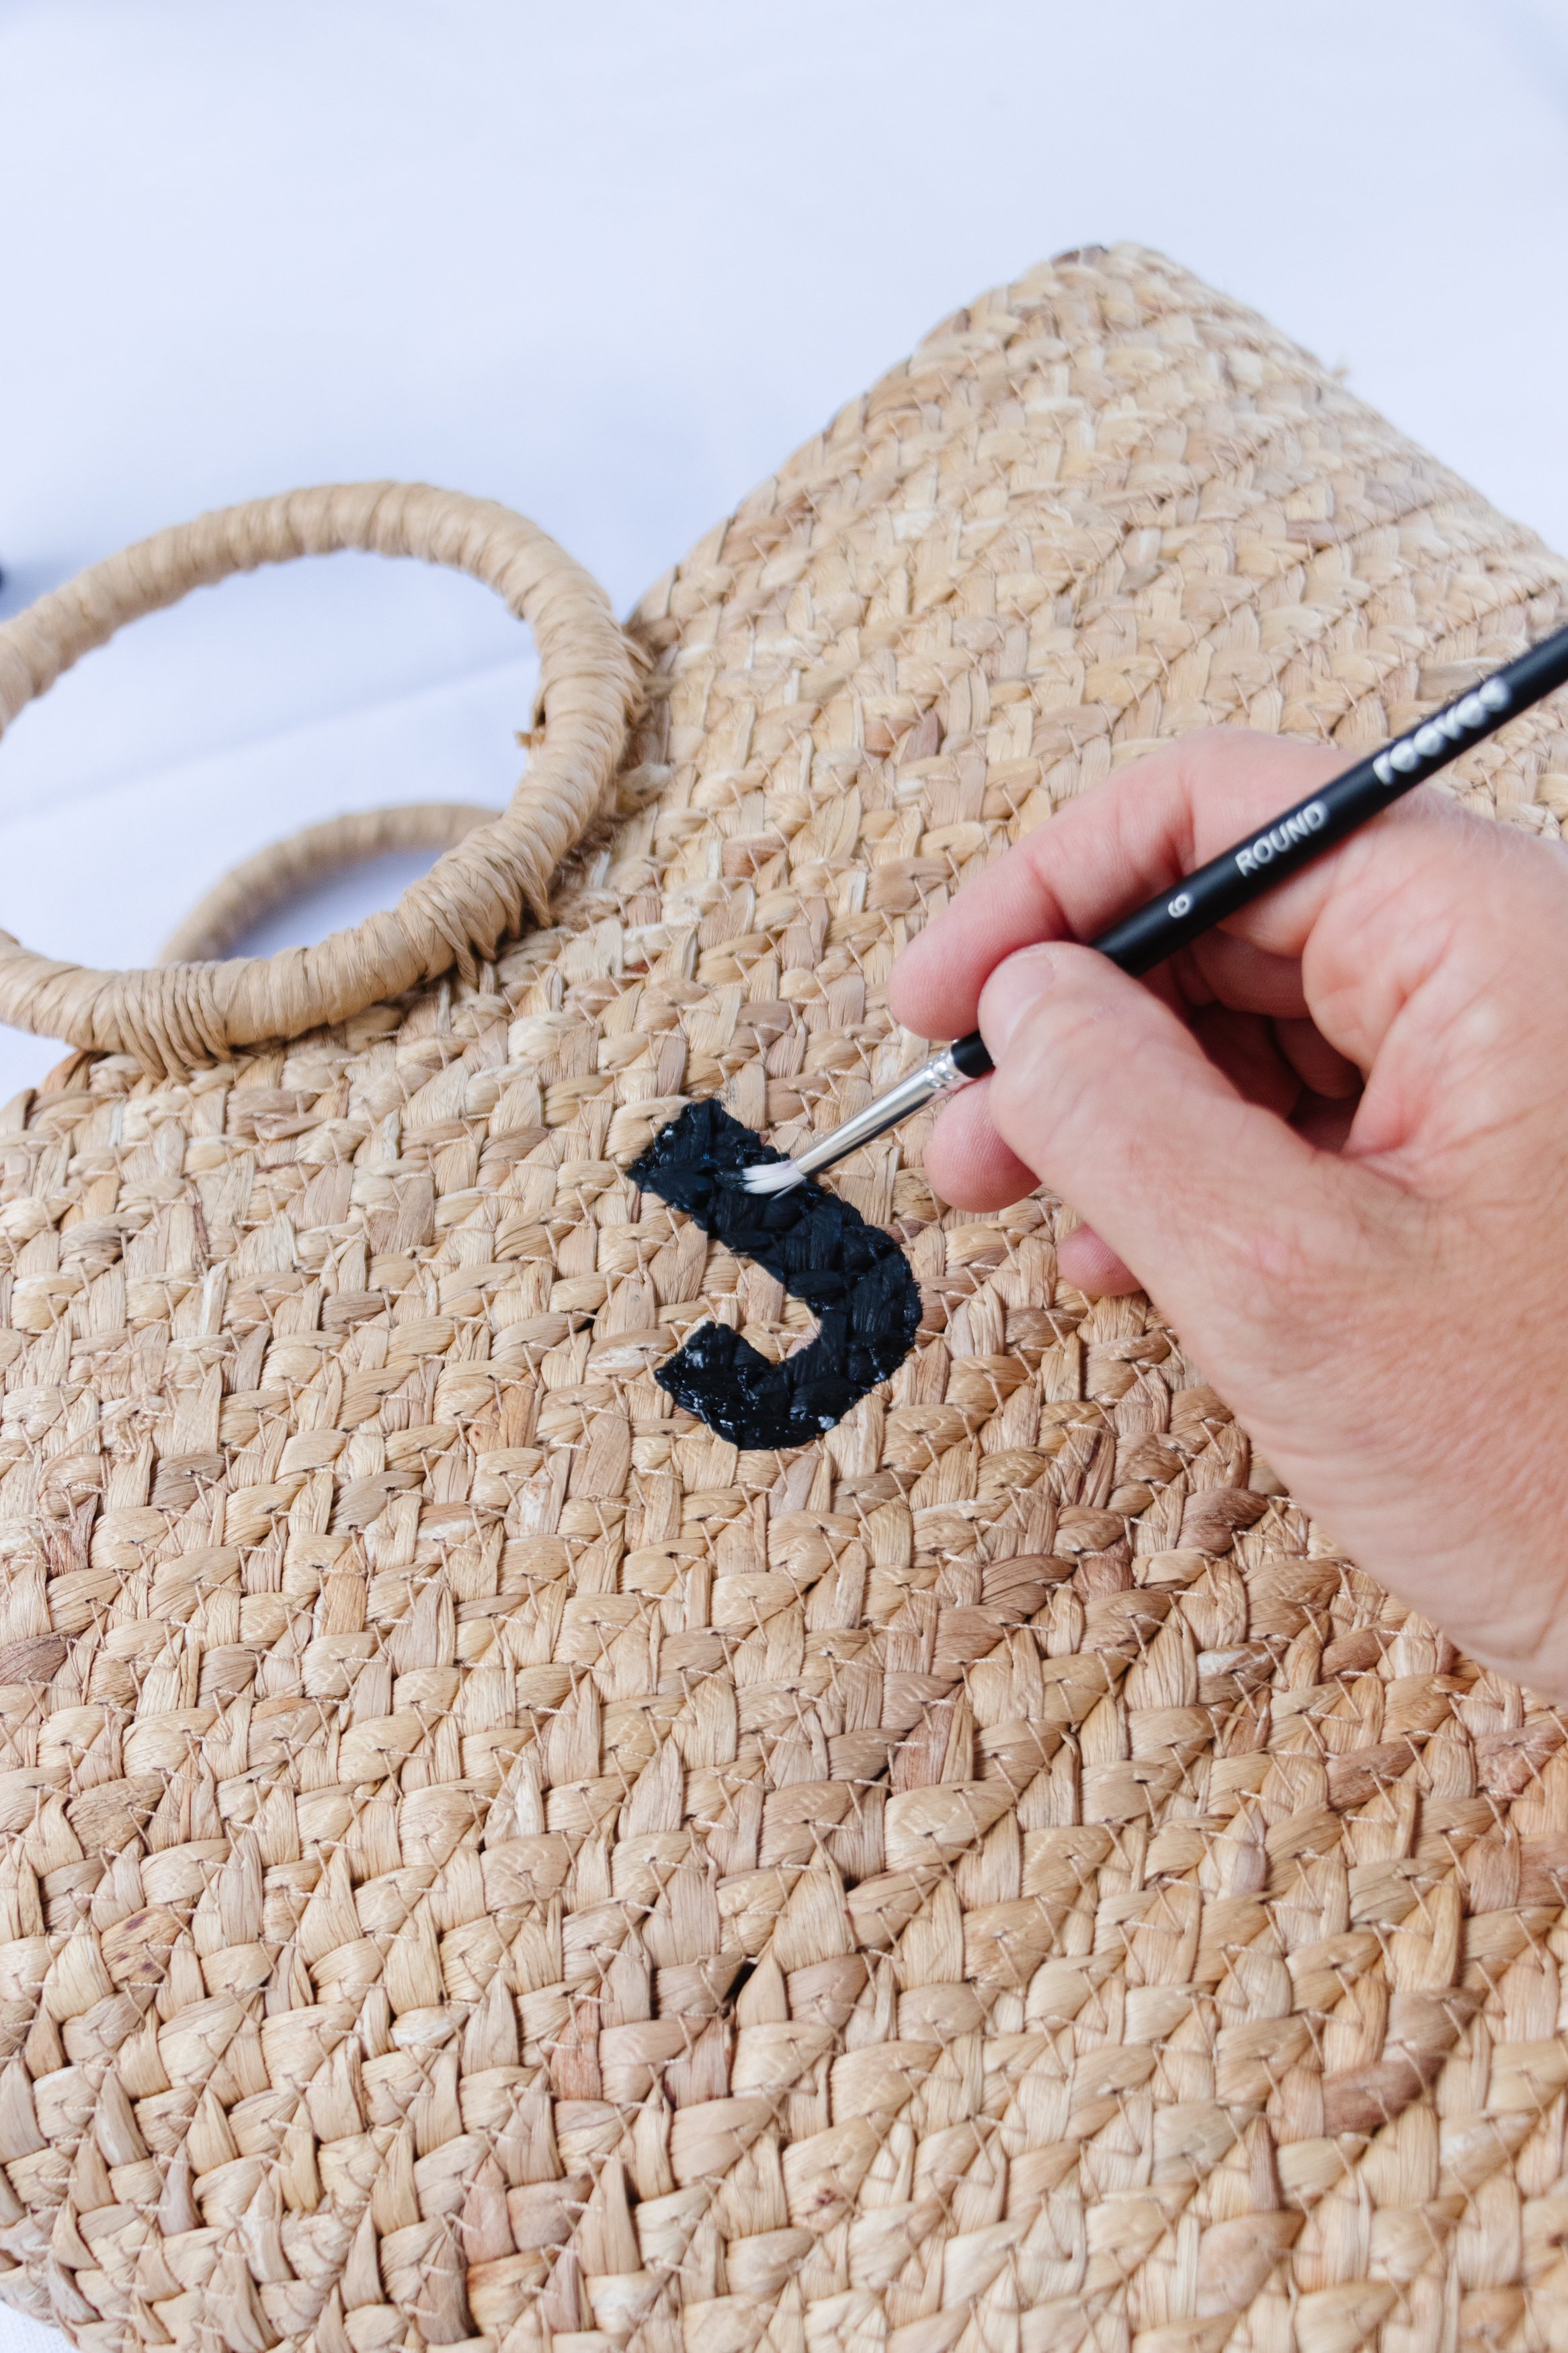
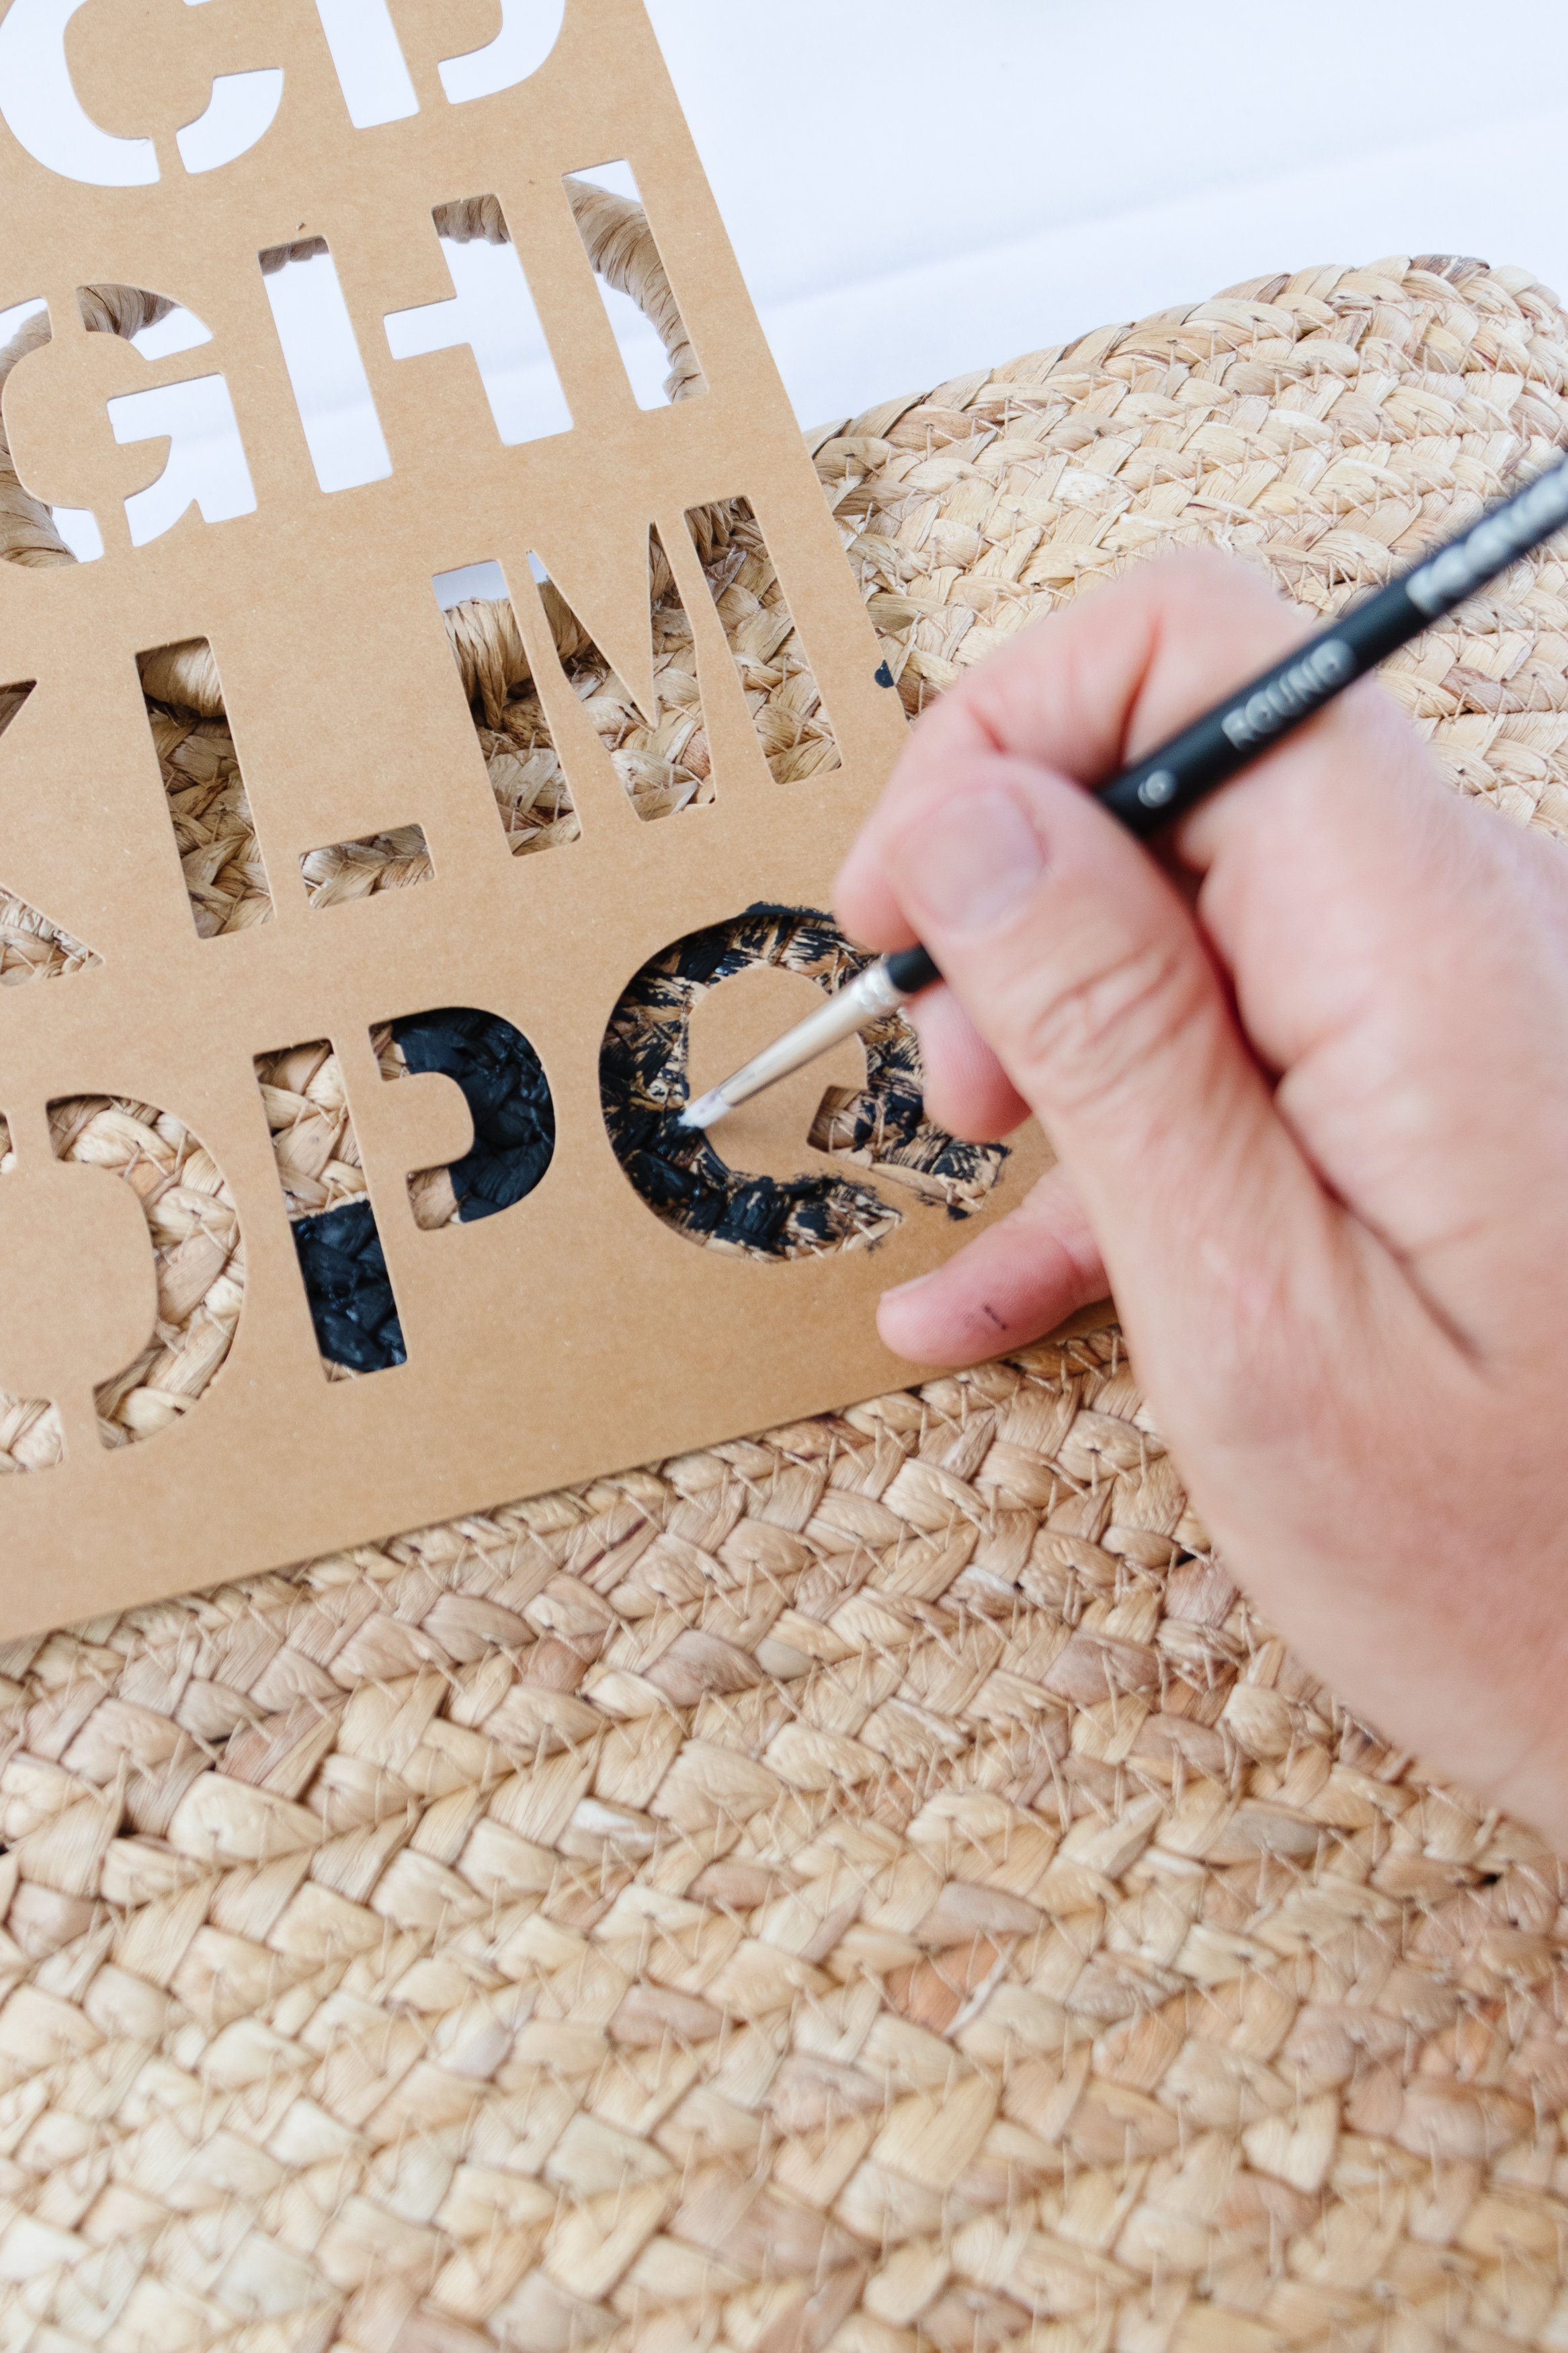
Step 1: Start by removing the tan strap and saving it in your craft cupboard for another project. Choose your monogram initials (mine are JQ) and place the stencil onto the front of the bag in the middle. Using a paint brush, fill in the stencil with black paint. Carefully peel the stencil up and away from the bag and set it aside to dry.
Extra Tip: Be careful not to slide the stencil across when you take it off as you may get paint elsewhere on the bag. If you do, grab a wet tea towel and wipe it off.

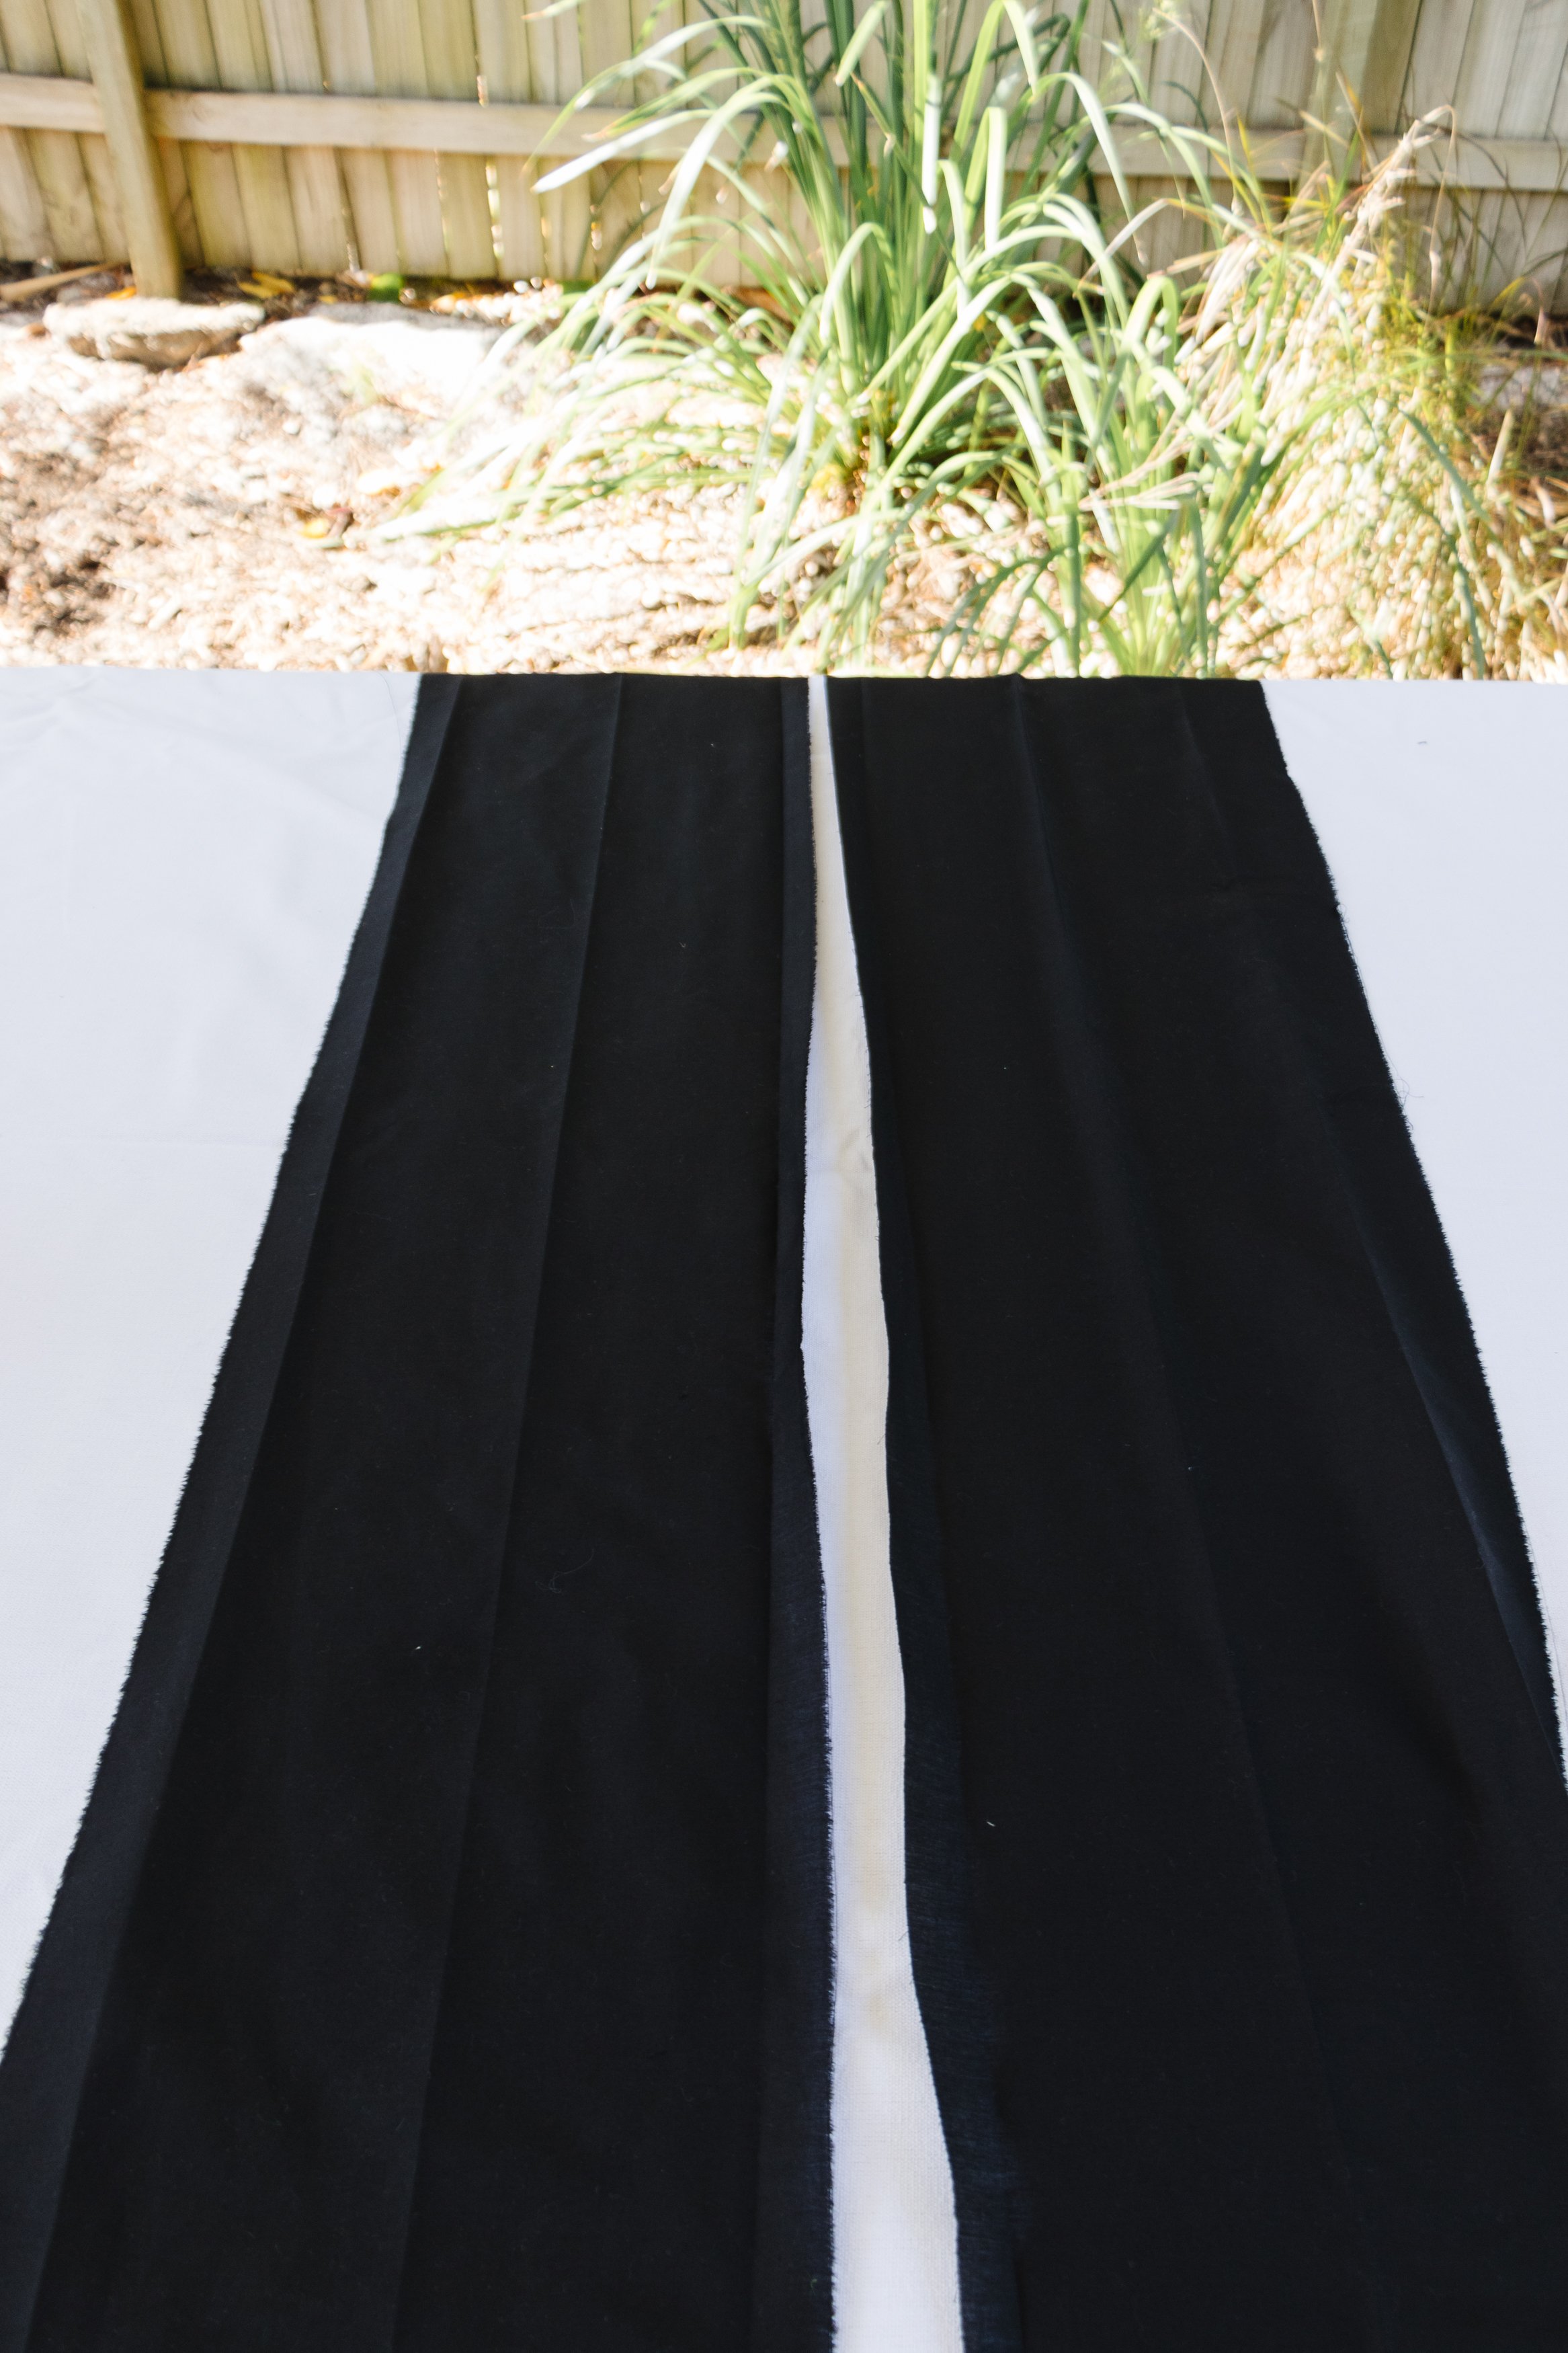
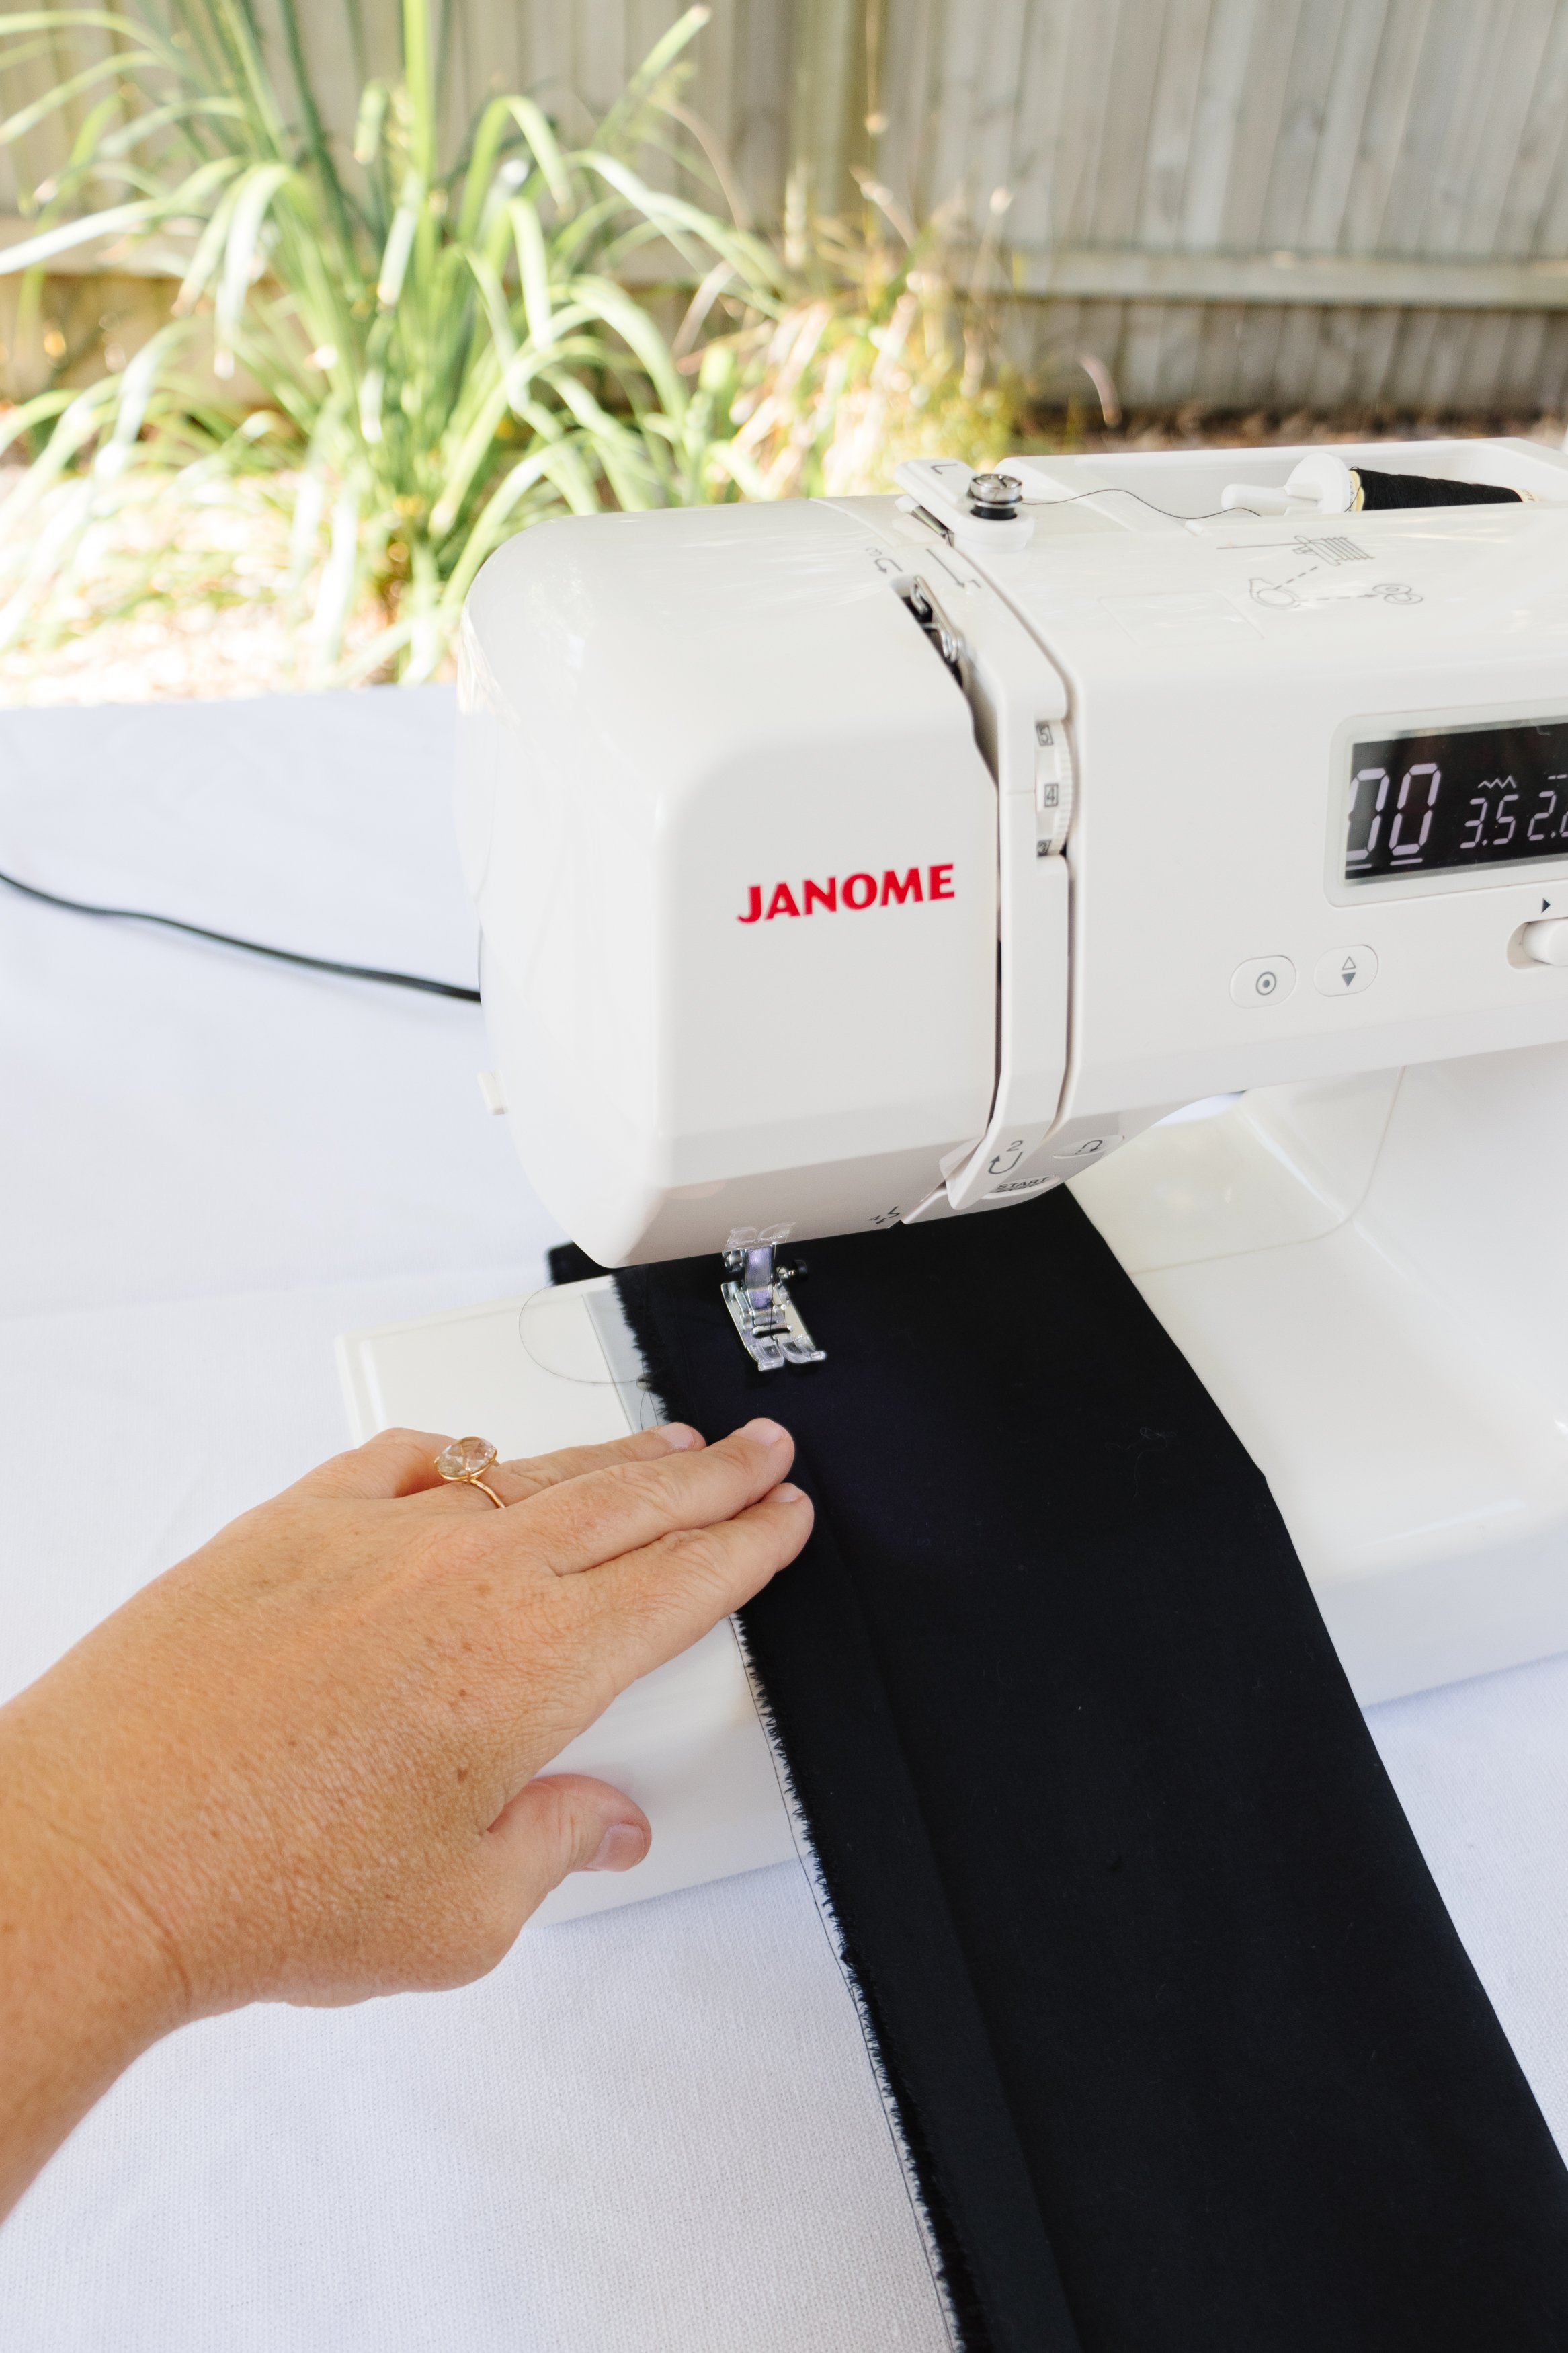
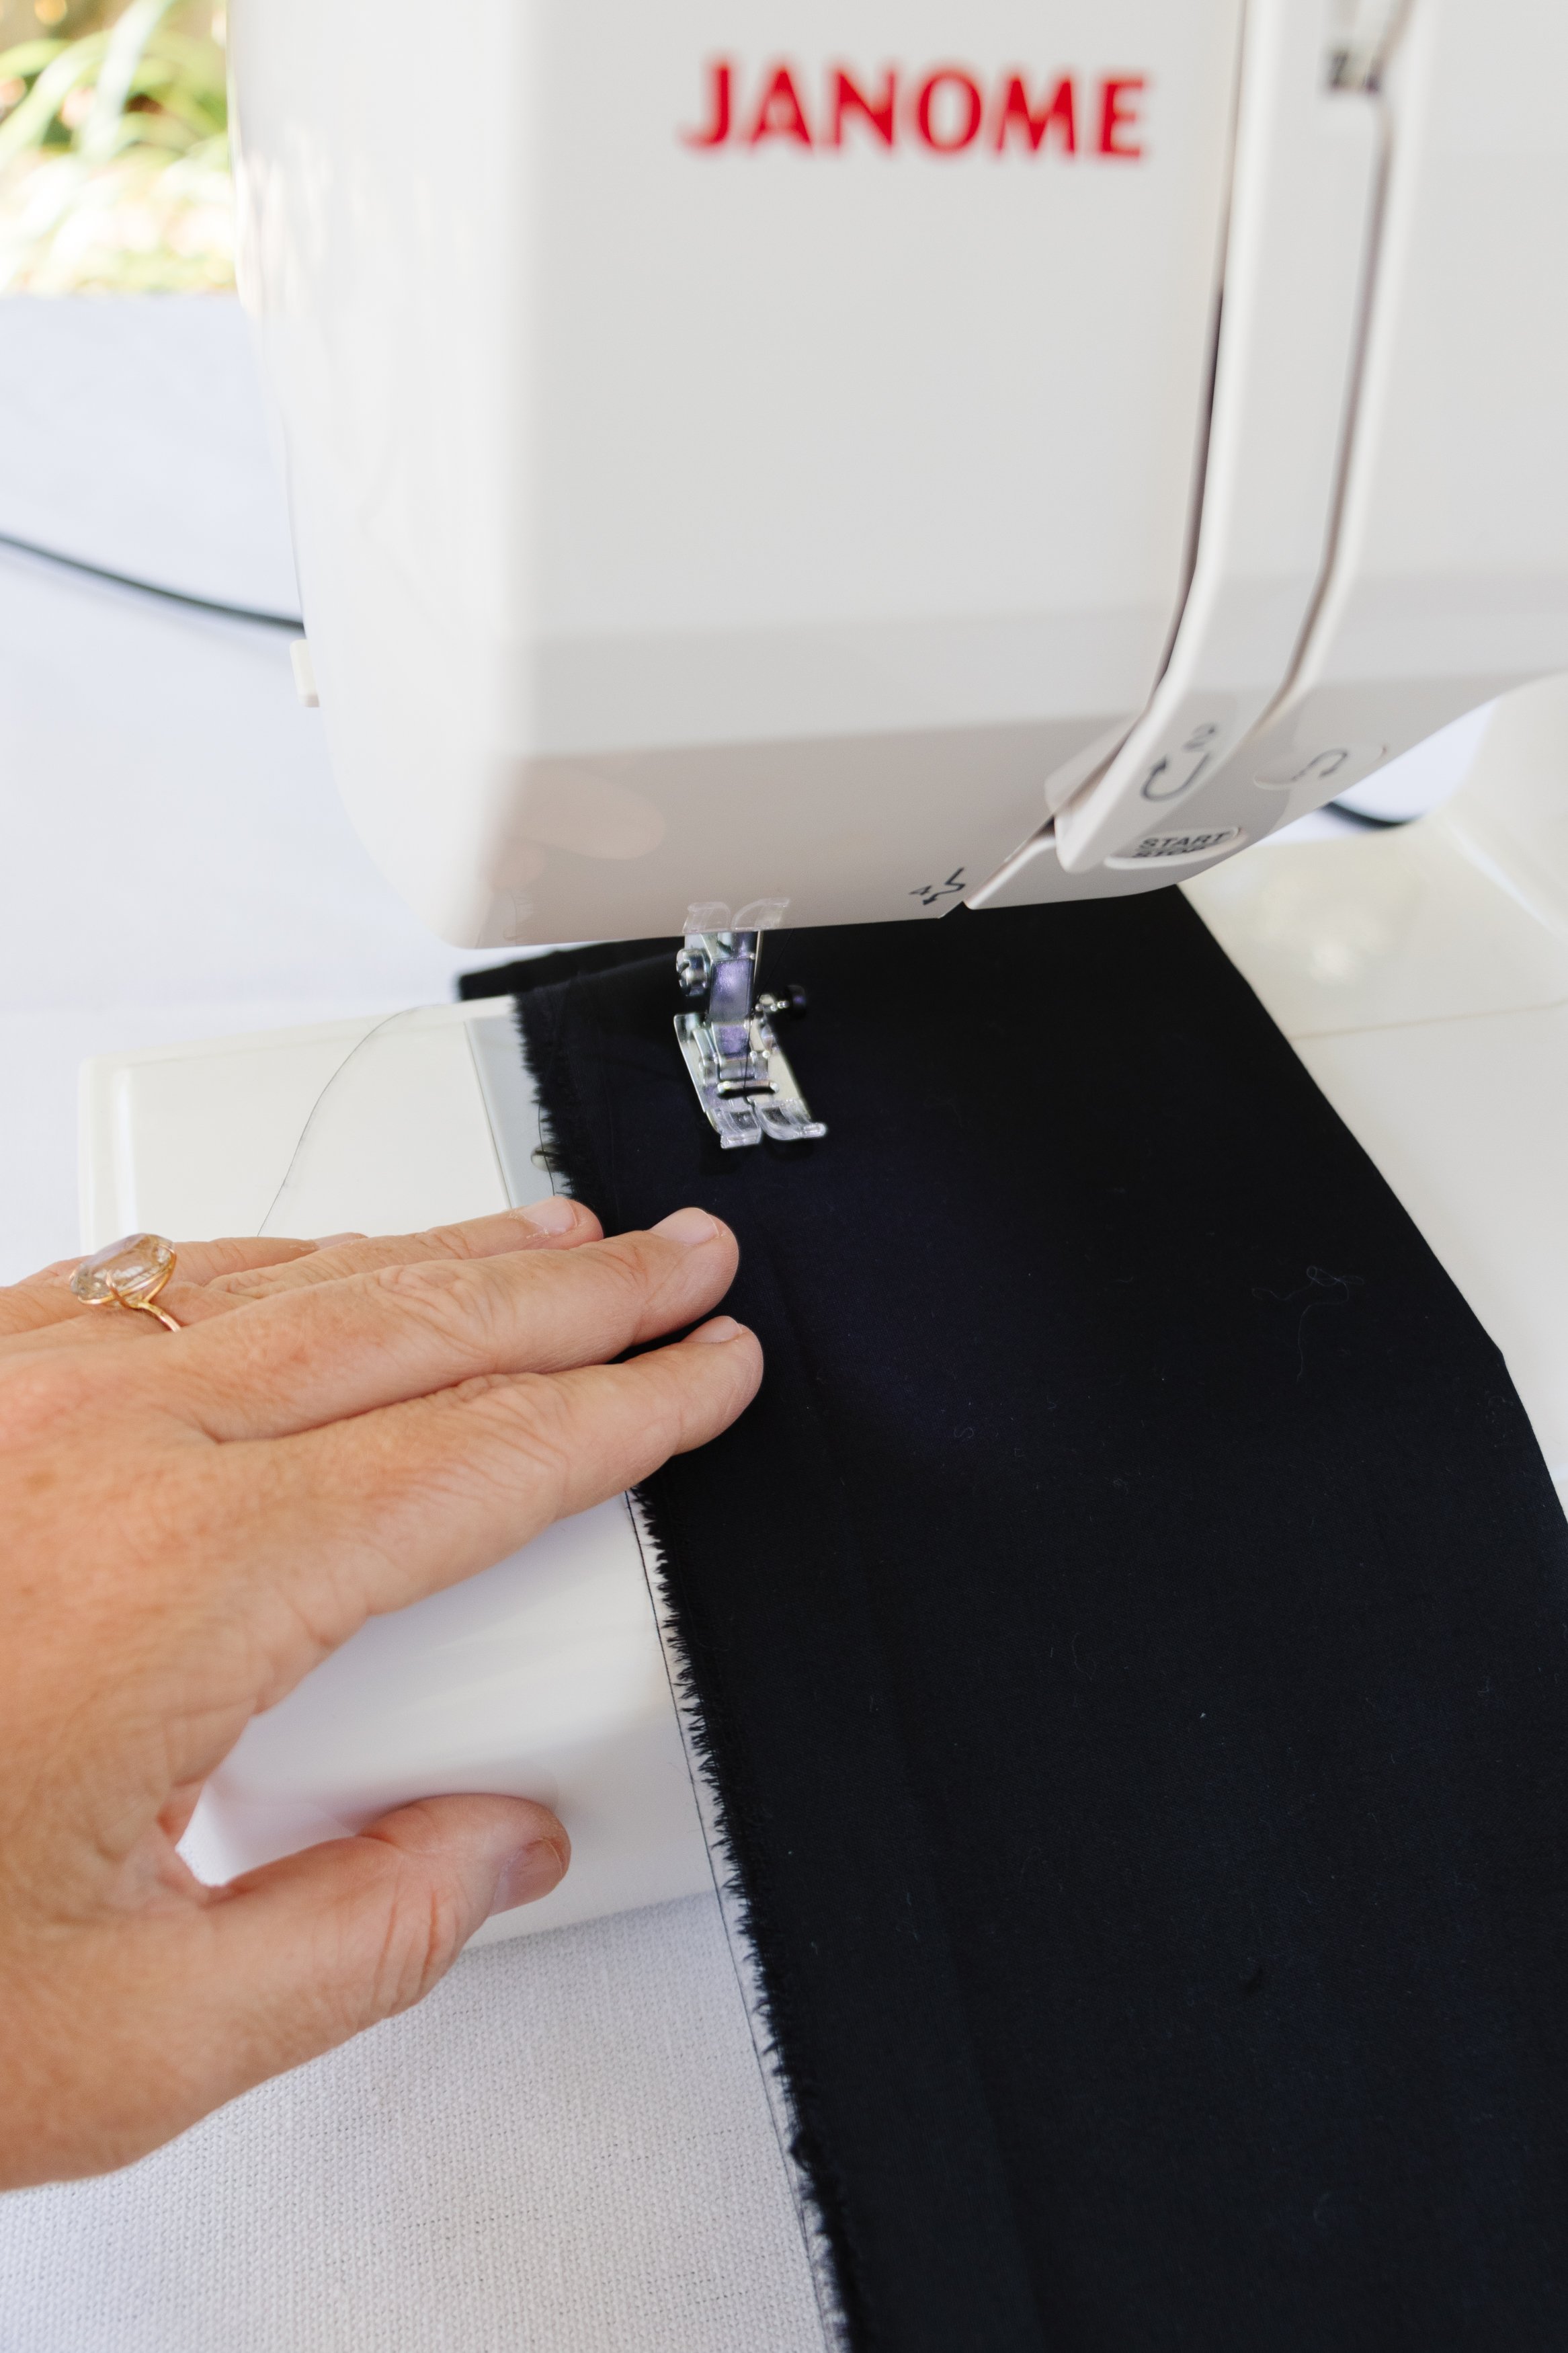
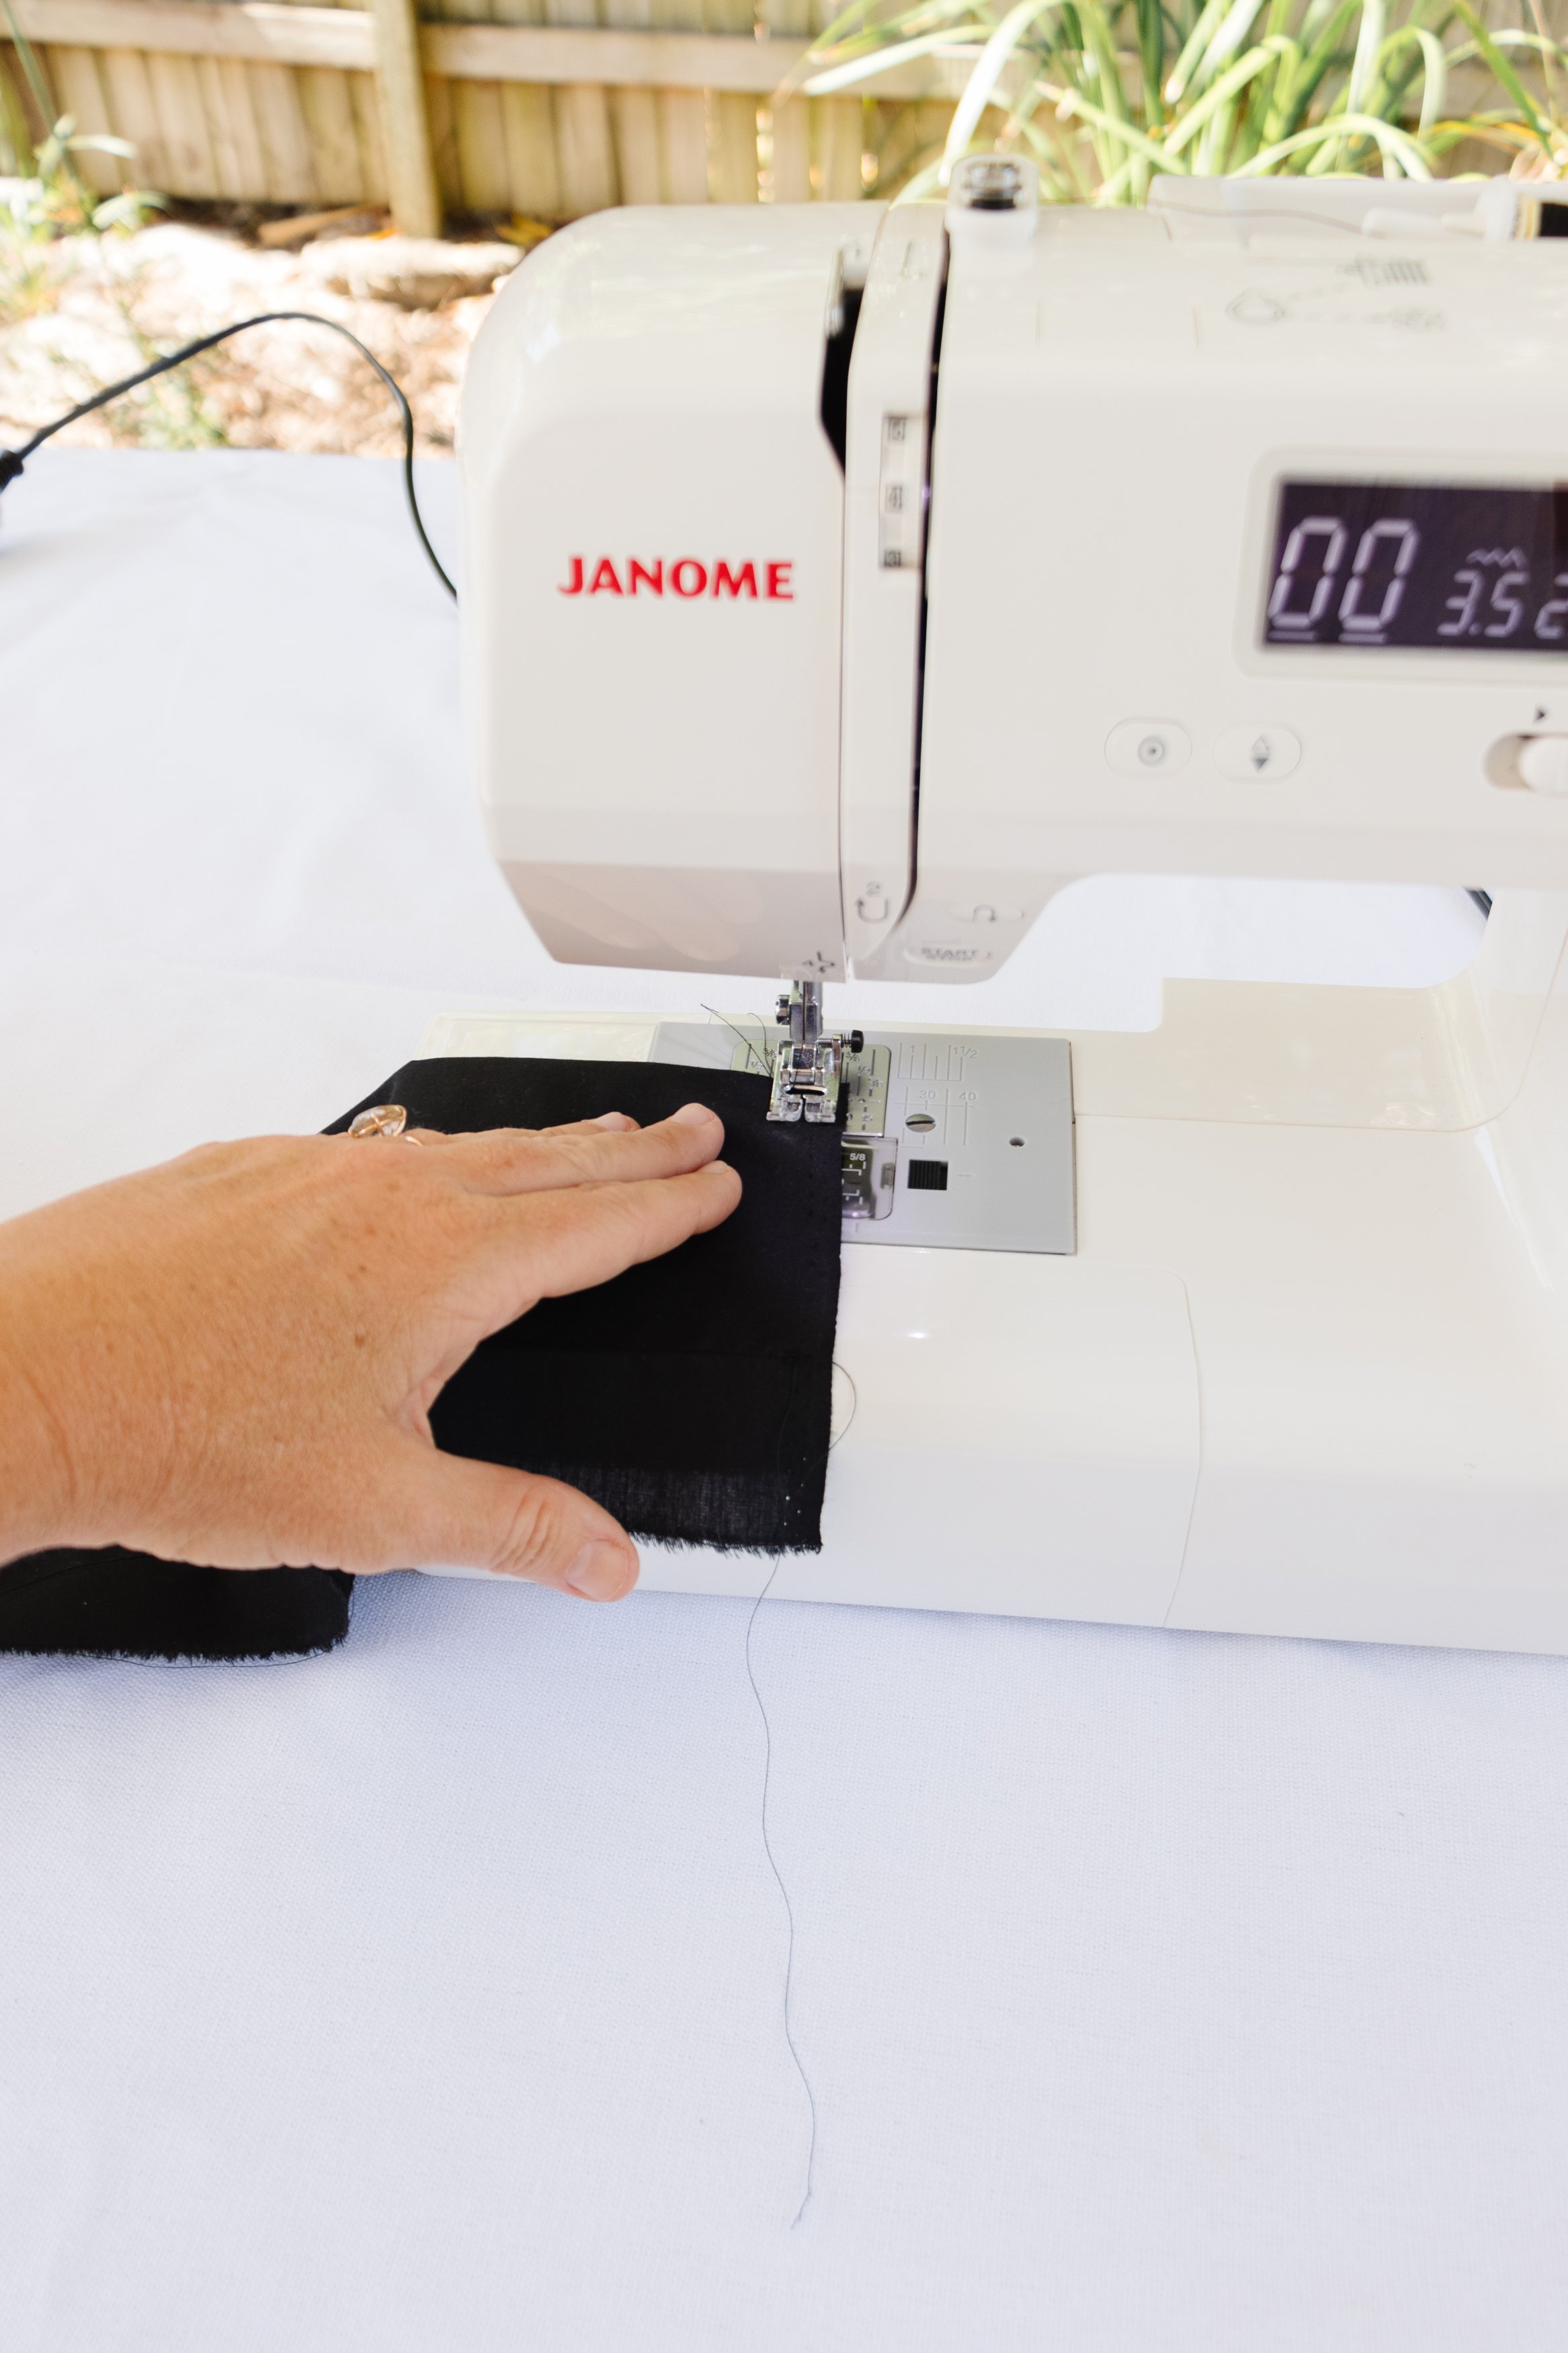
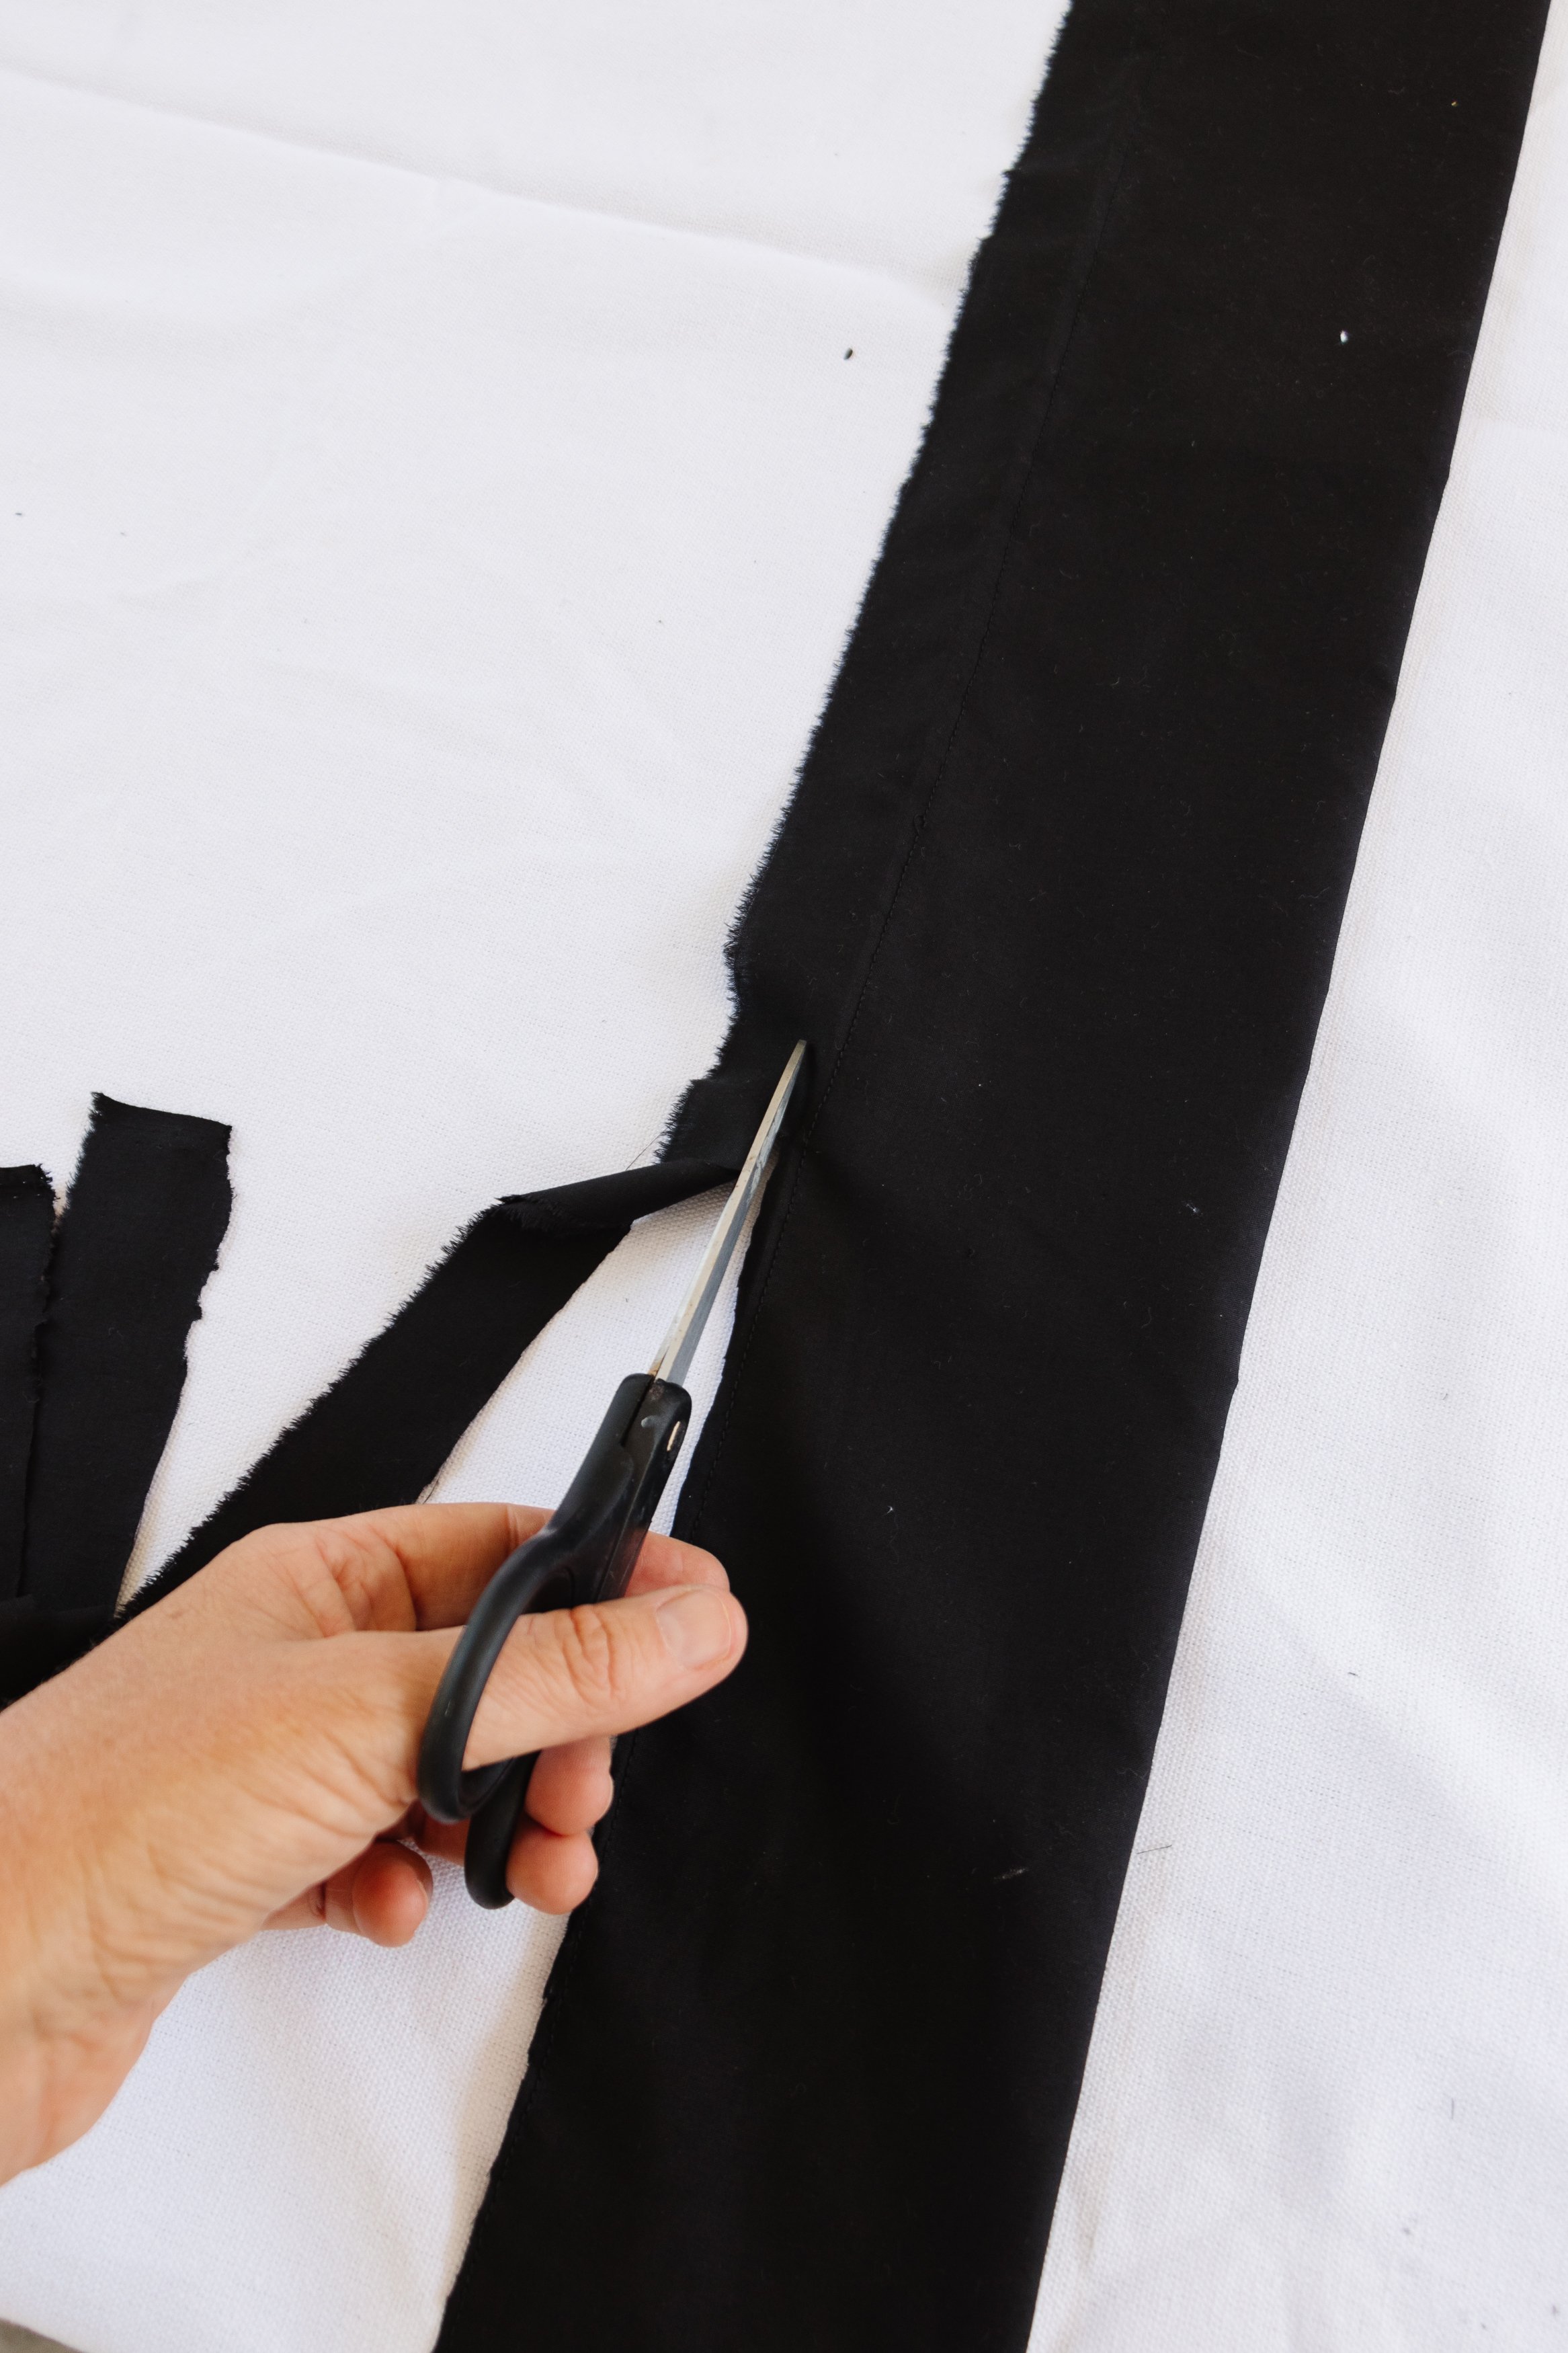
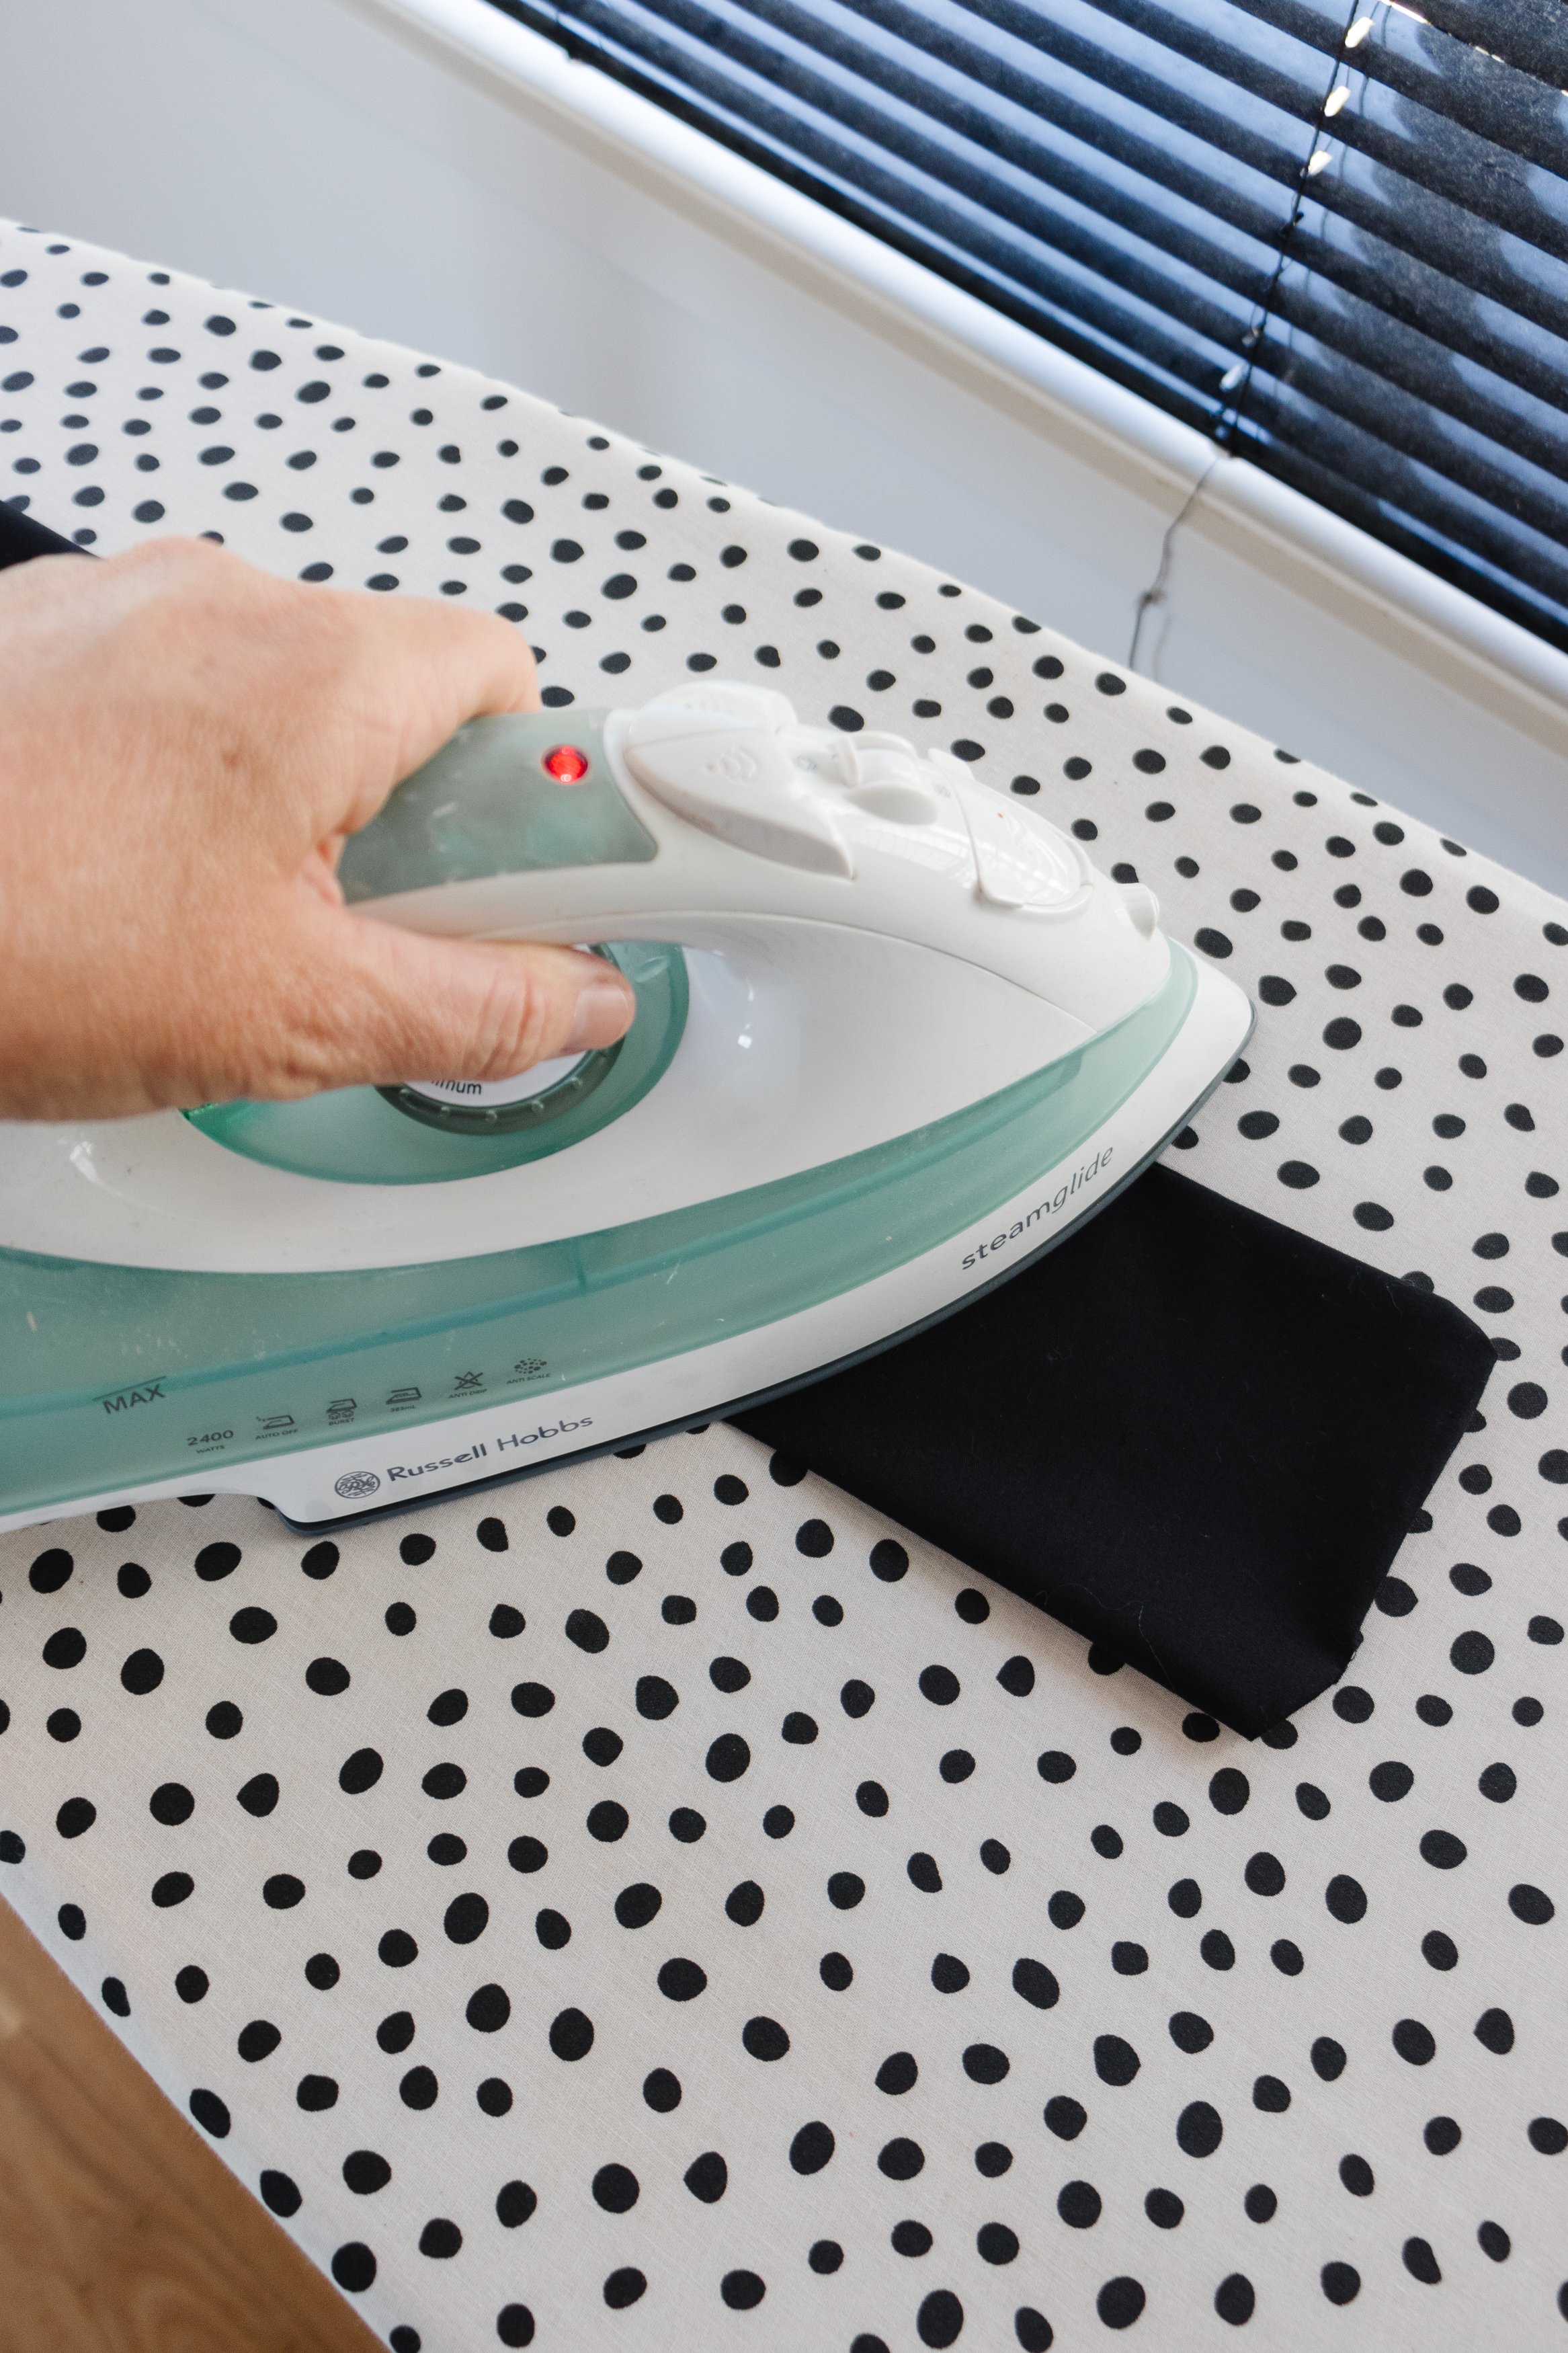
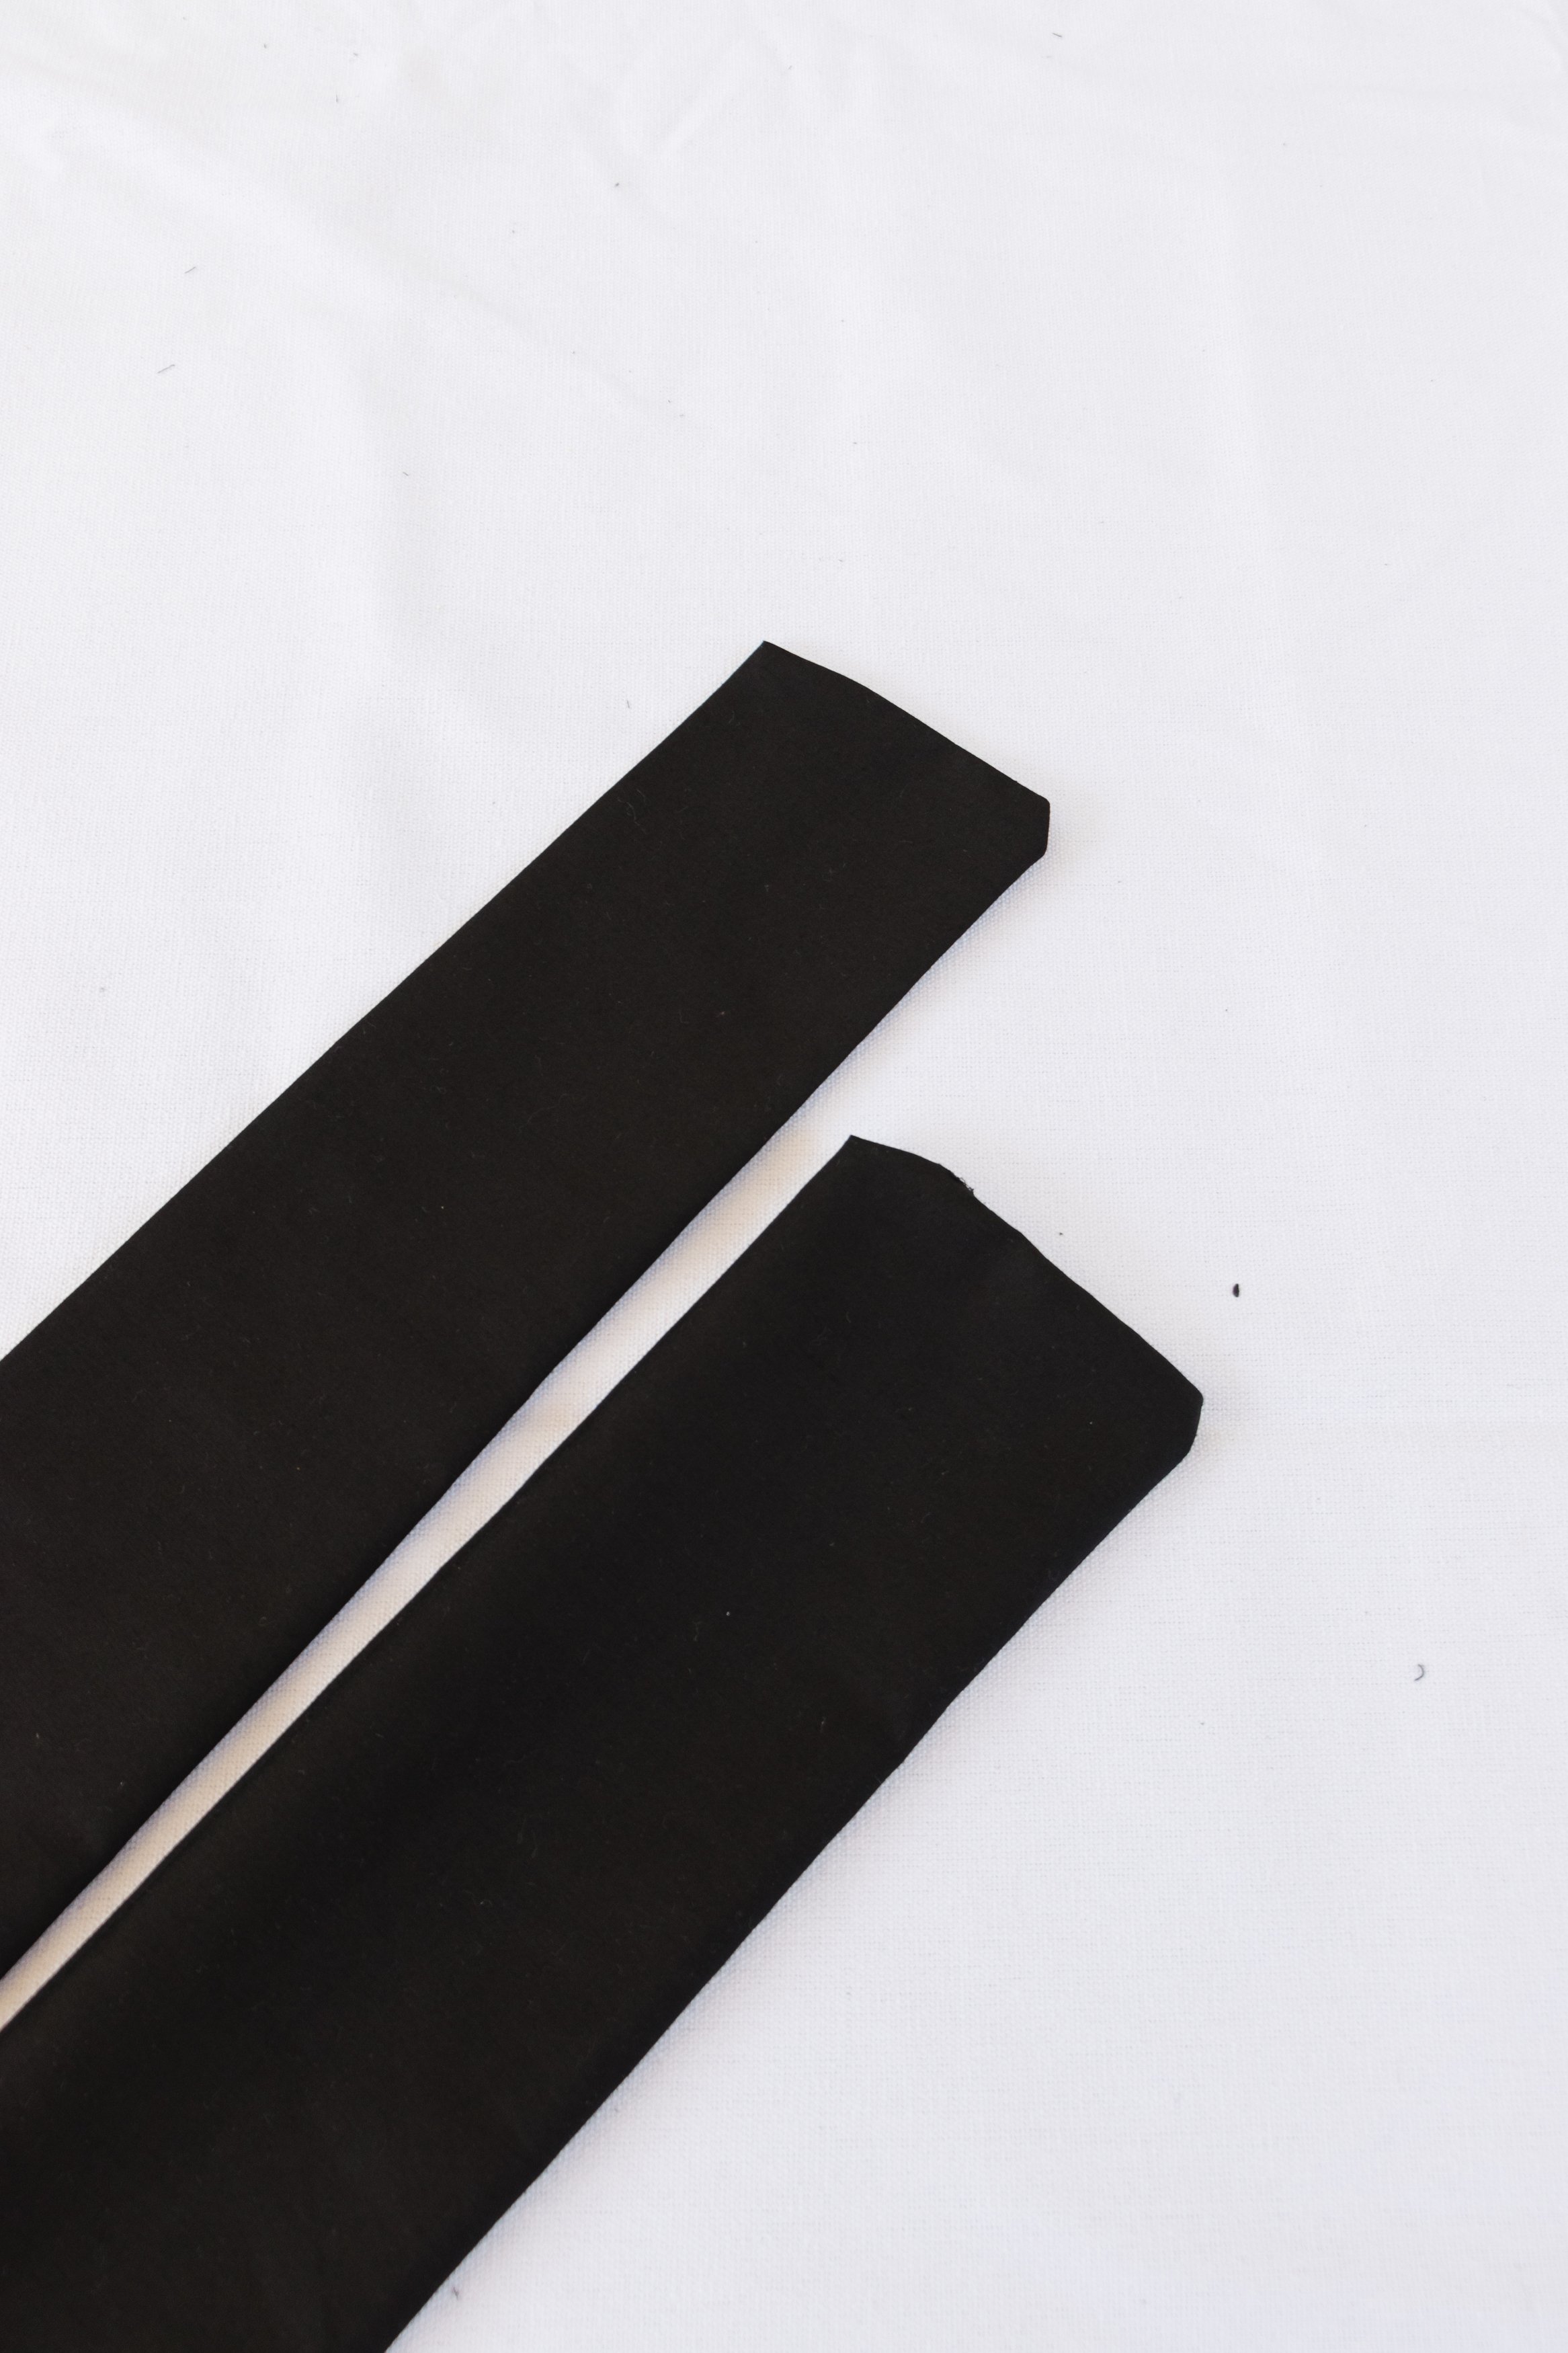
Step 2: Prepare the cotton fabric by cutting 2 x 24cm (W) 110cm (L). Fold each piece of fabric in half down the length. Sew the fabric down using a straight stitch along the length with either a sewing machine or by hand. Close one end of the fabric using a straight stitch then turn the now strap inside out. Repeat with the other piece of fabric and then iron each strap. You now have two straps, yay!
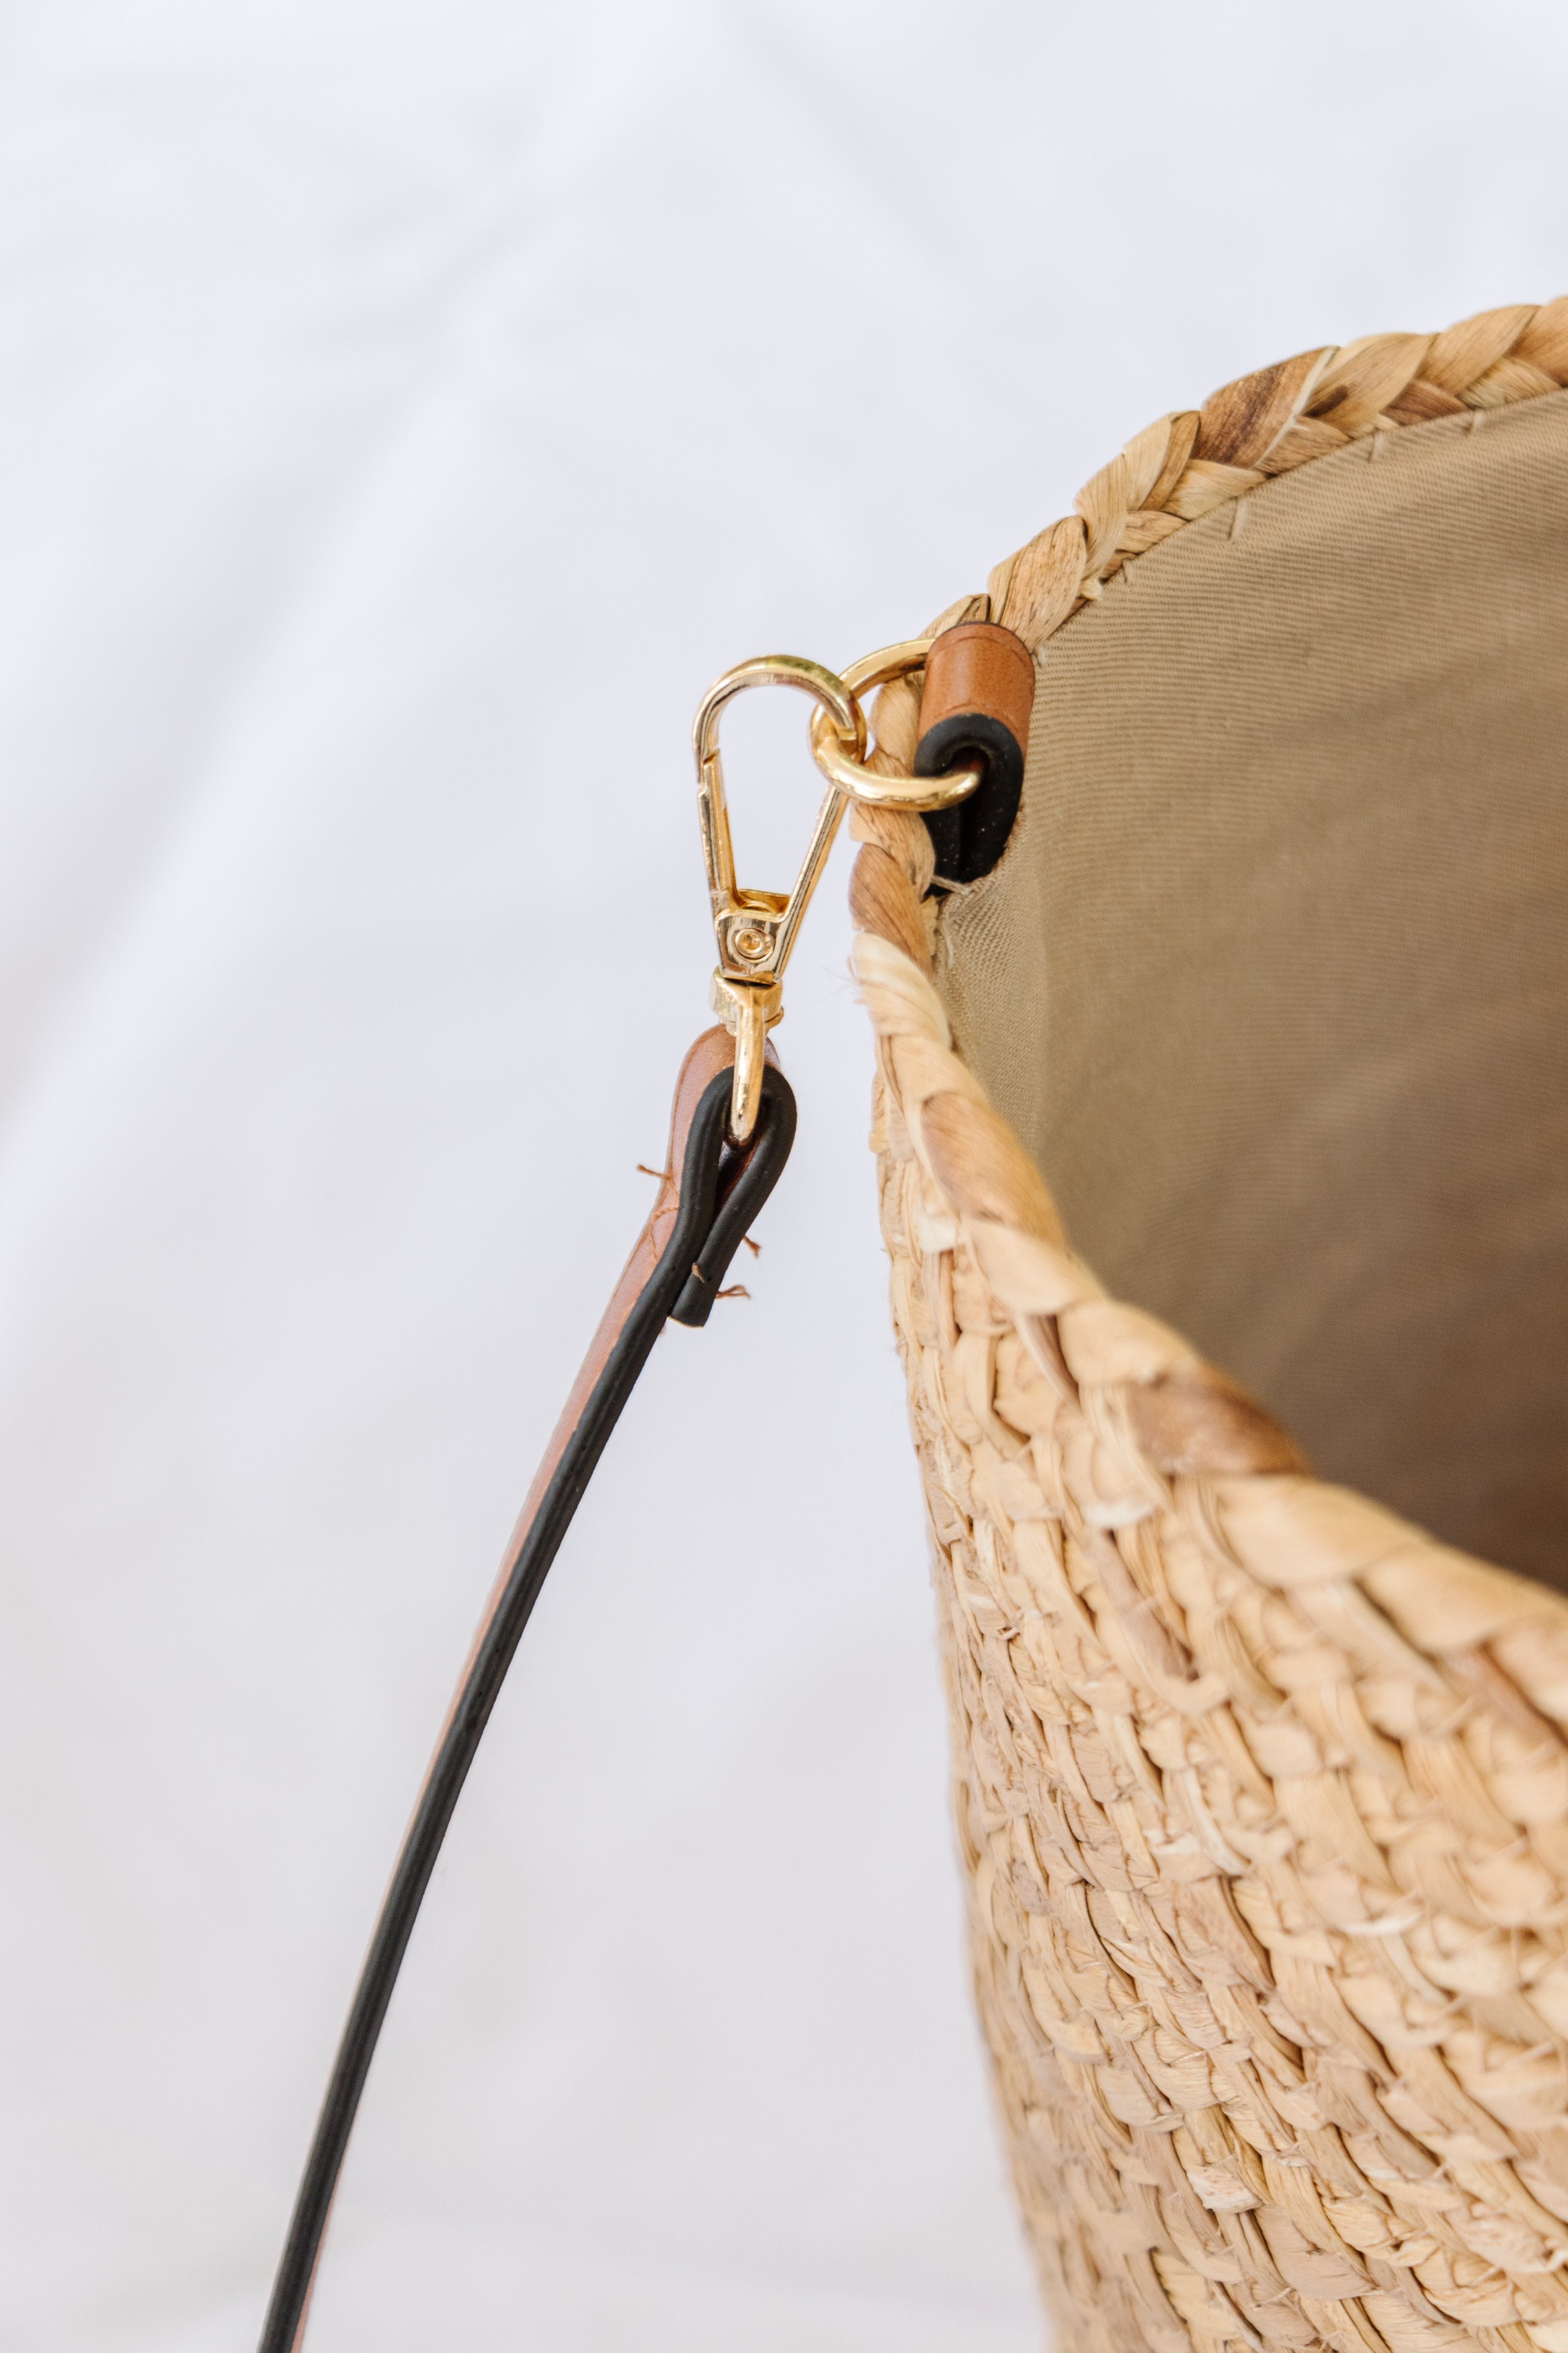
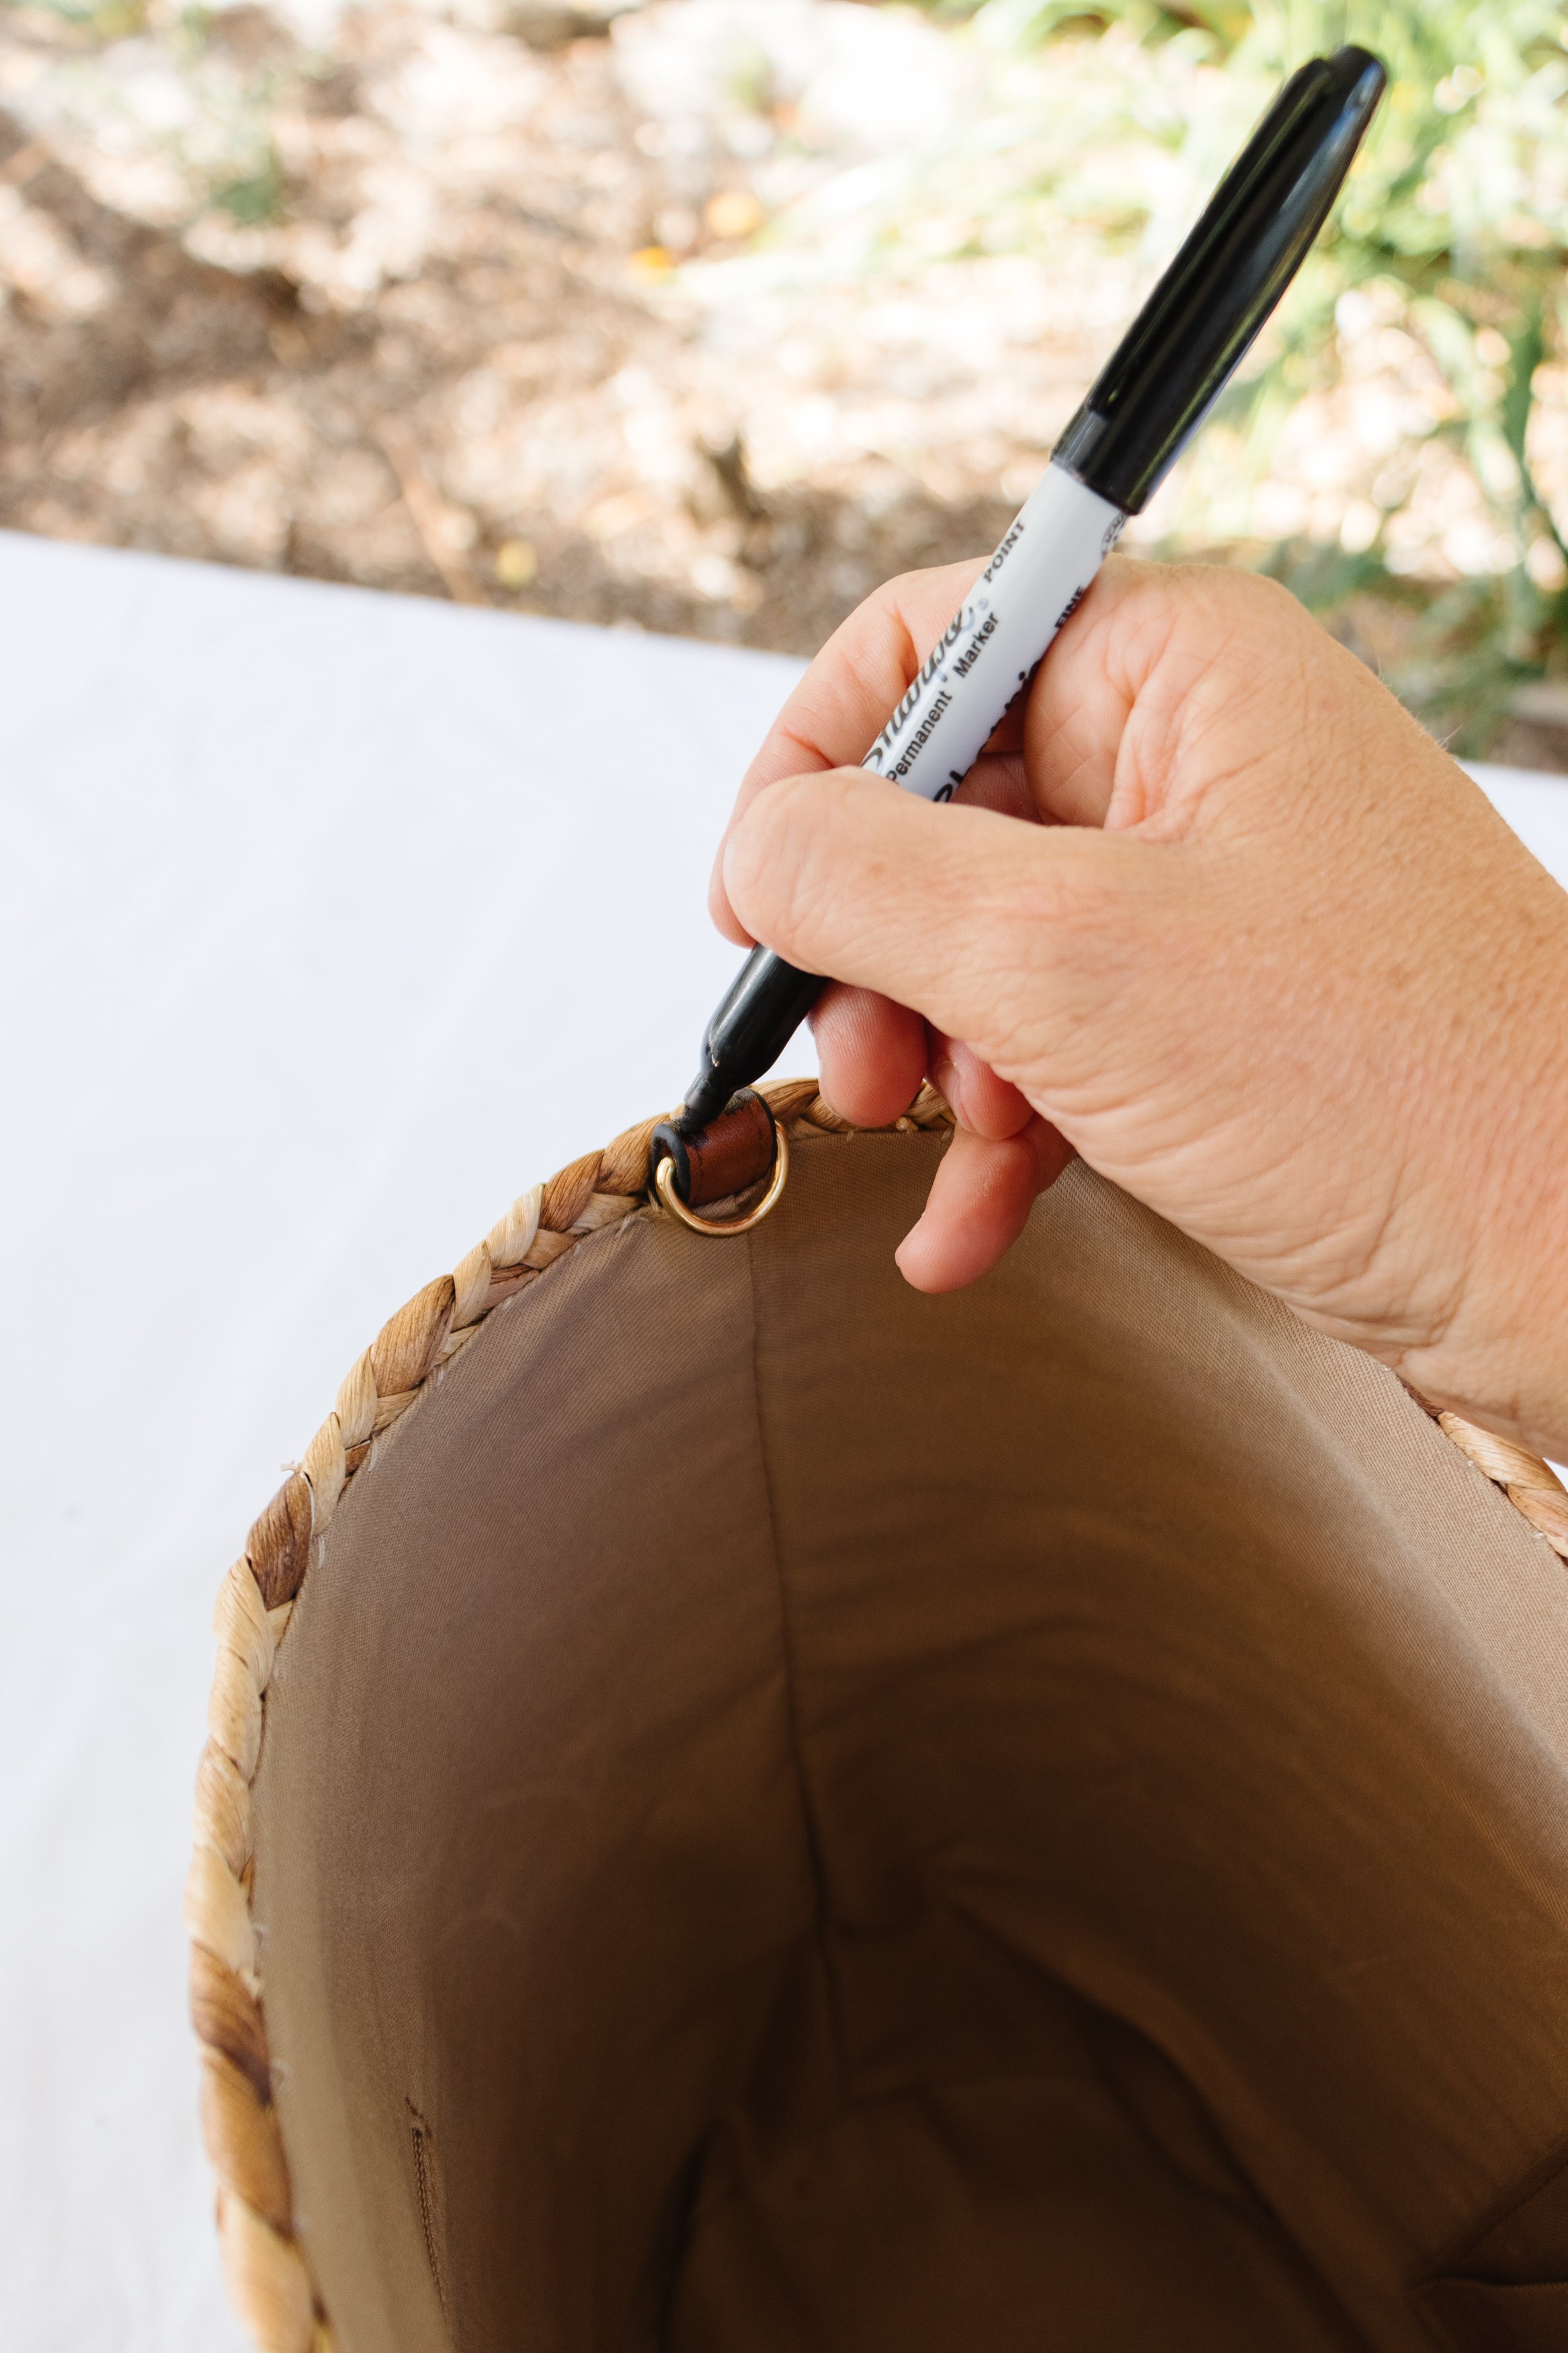
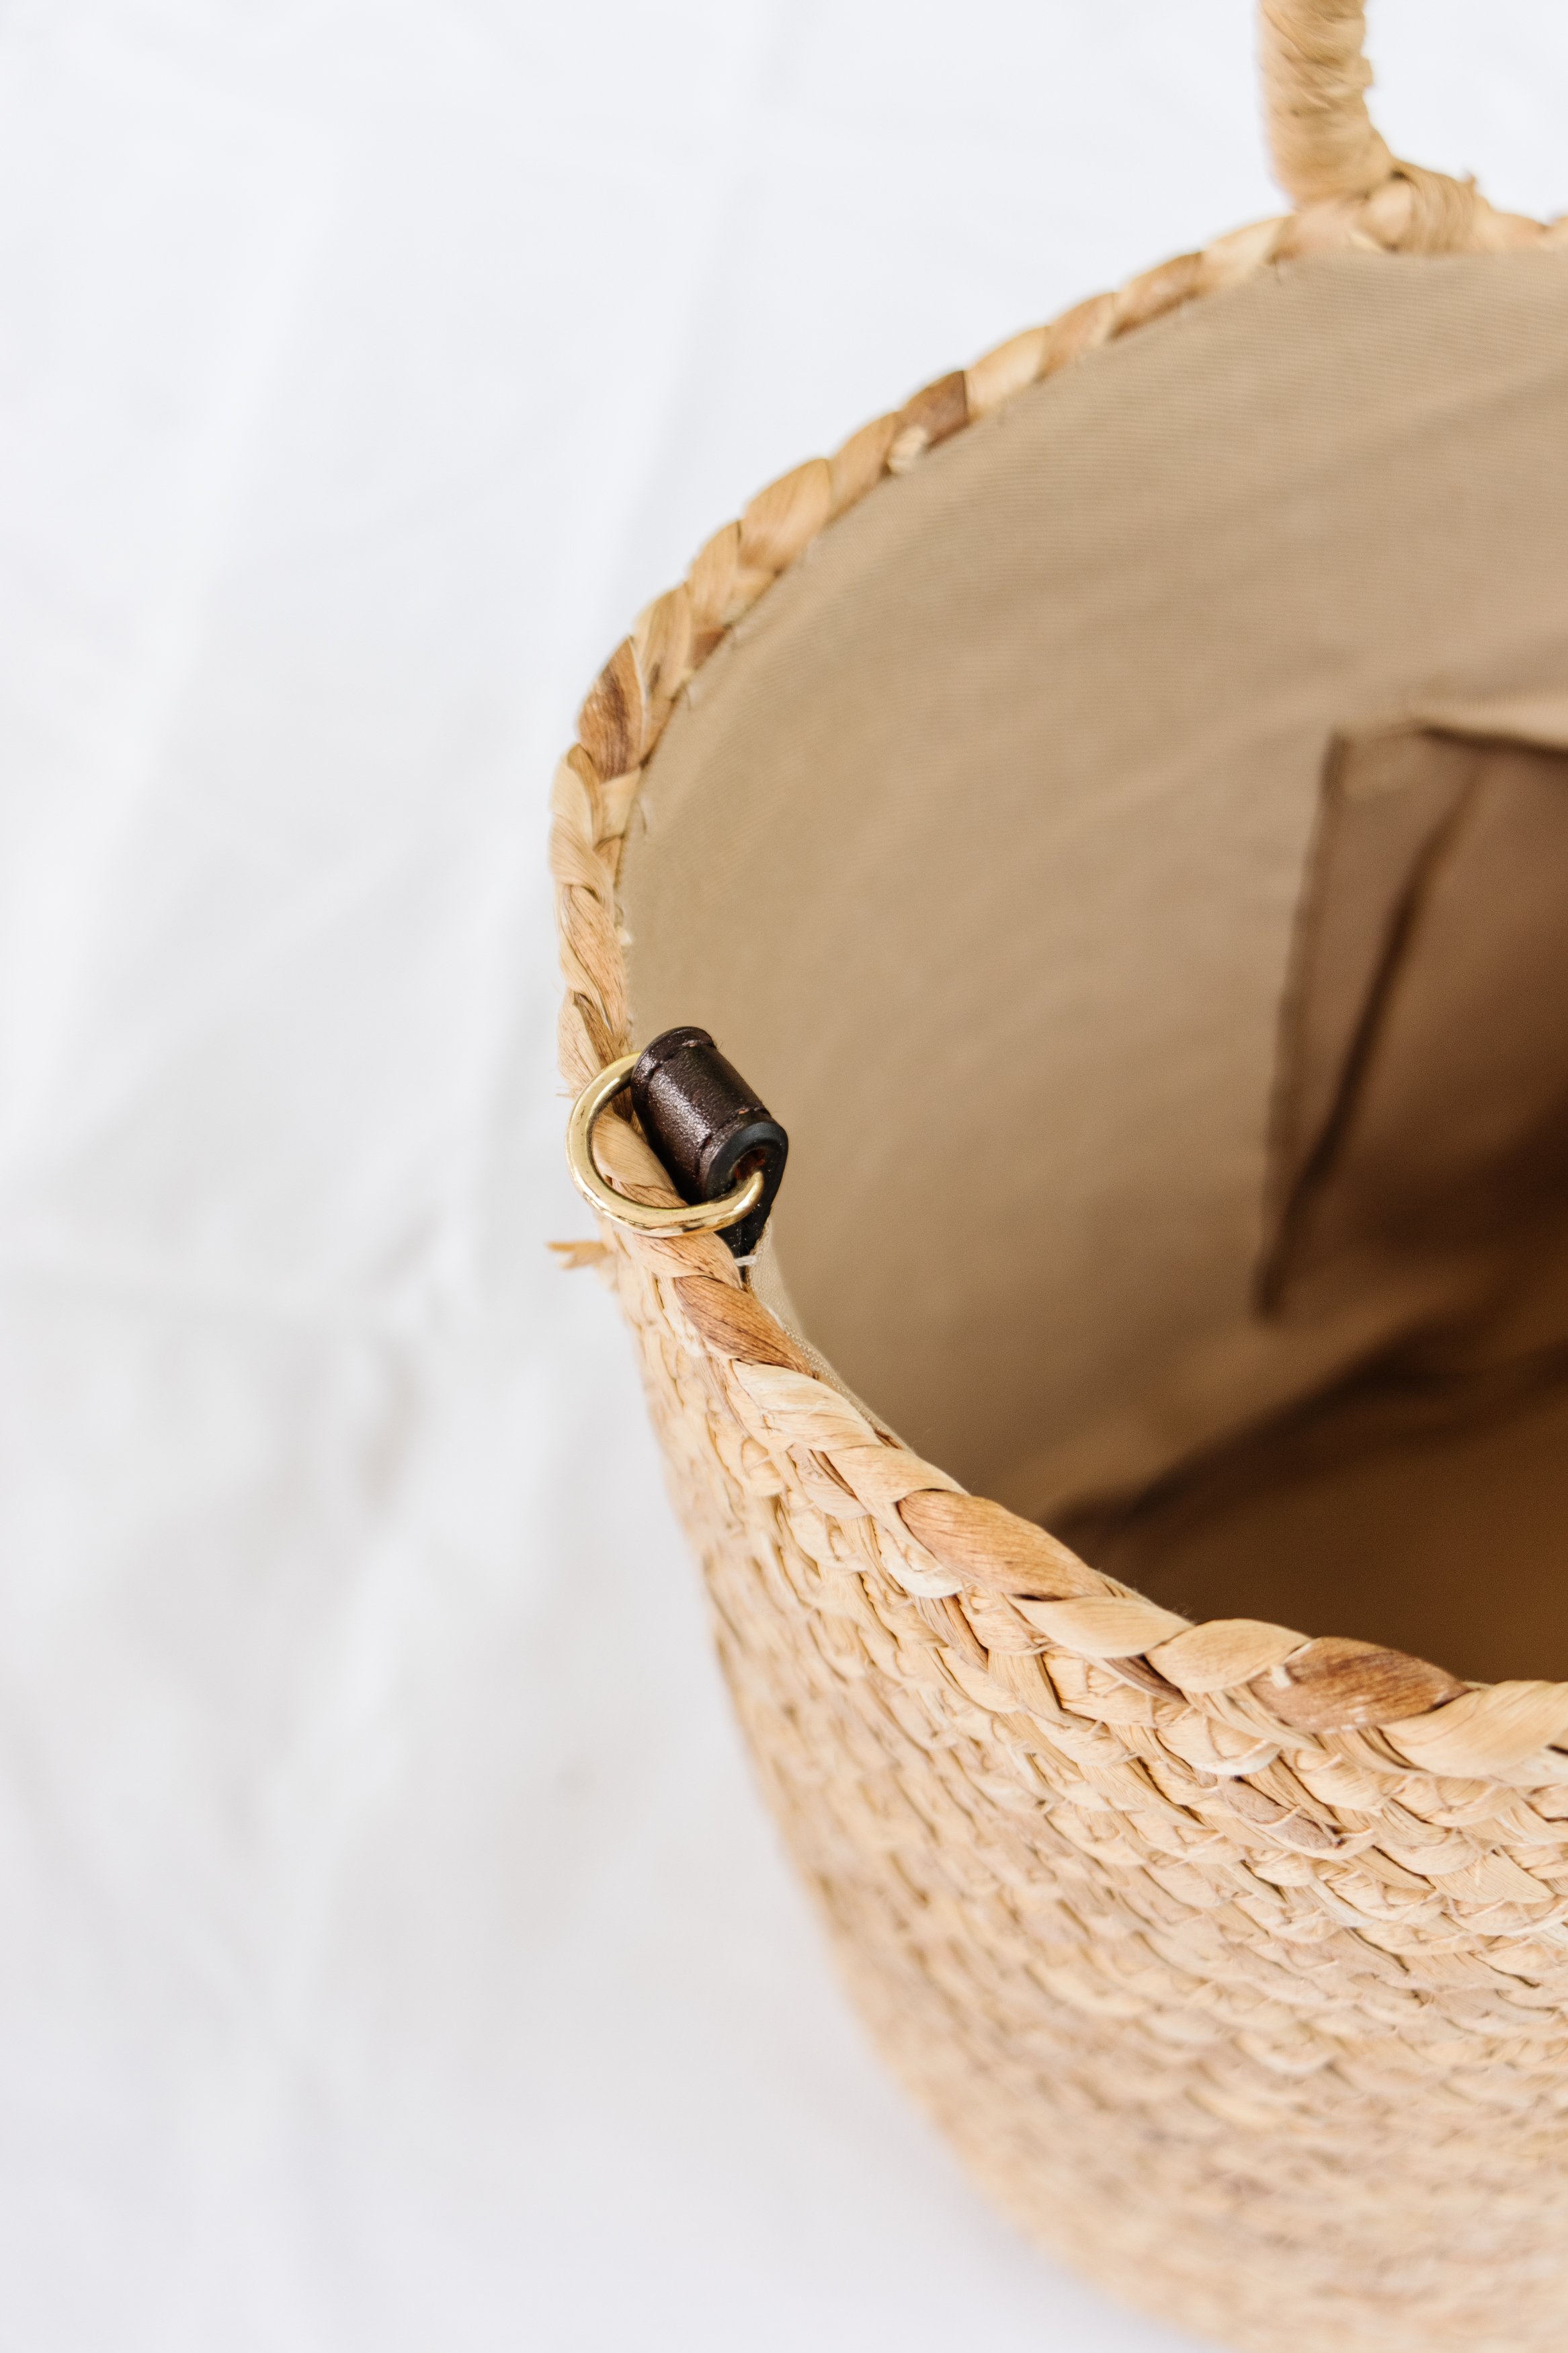
Optional: If you don’t think you’ll use the tan strap with this bag in the future, using a black felt tip permanent pen (i.e. Sharpie) to colour in the strap connected to the D-ring on each side of the bag.
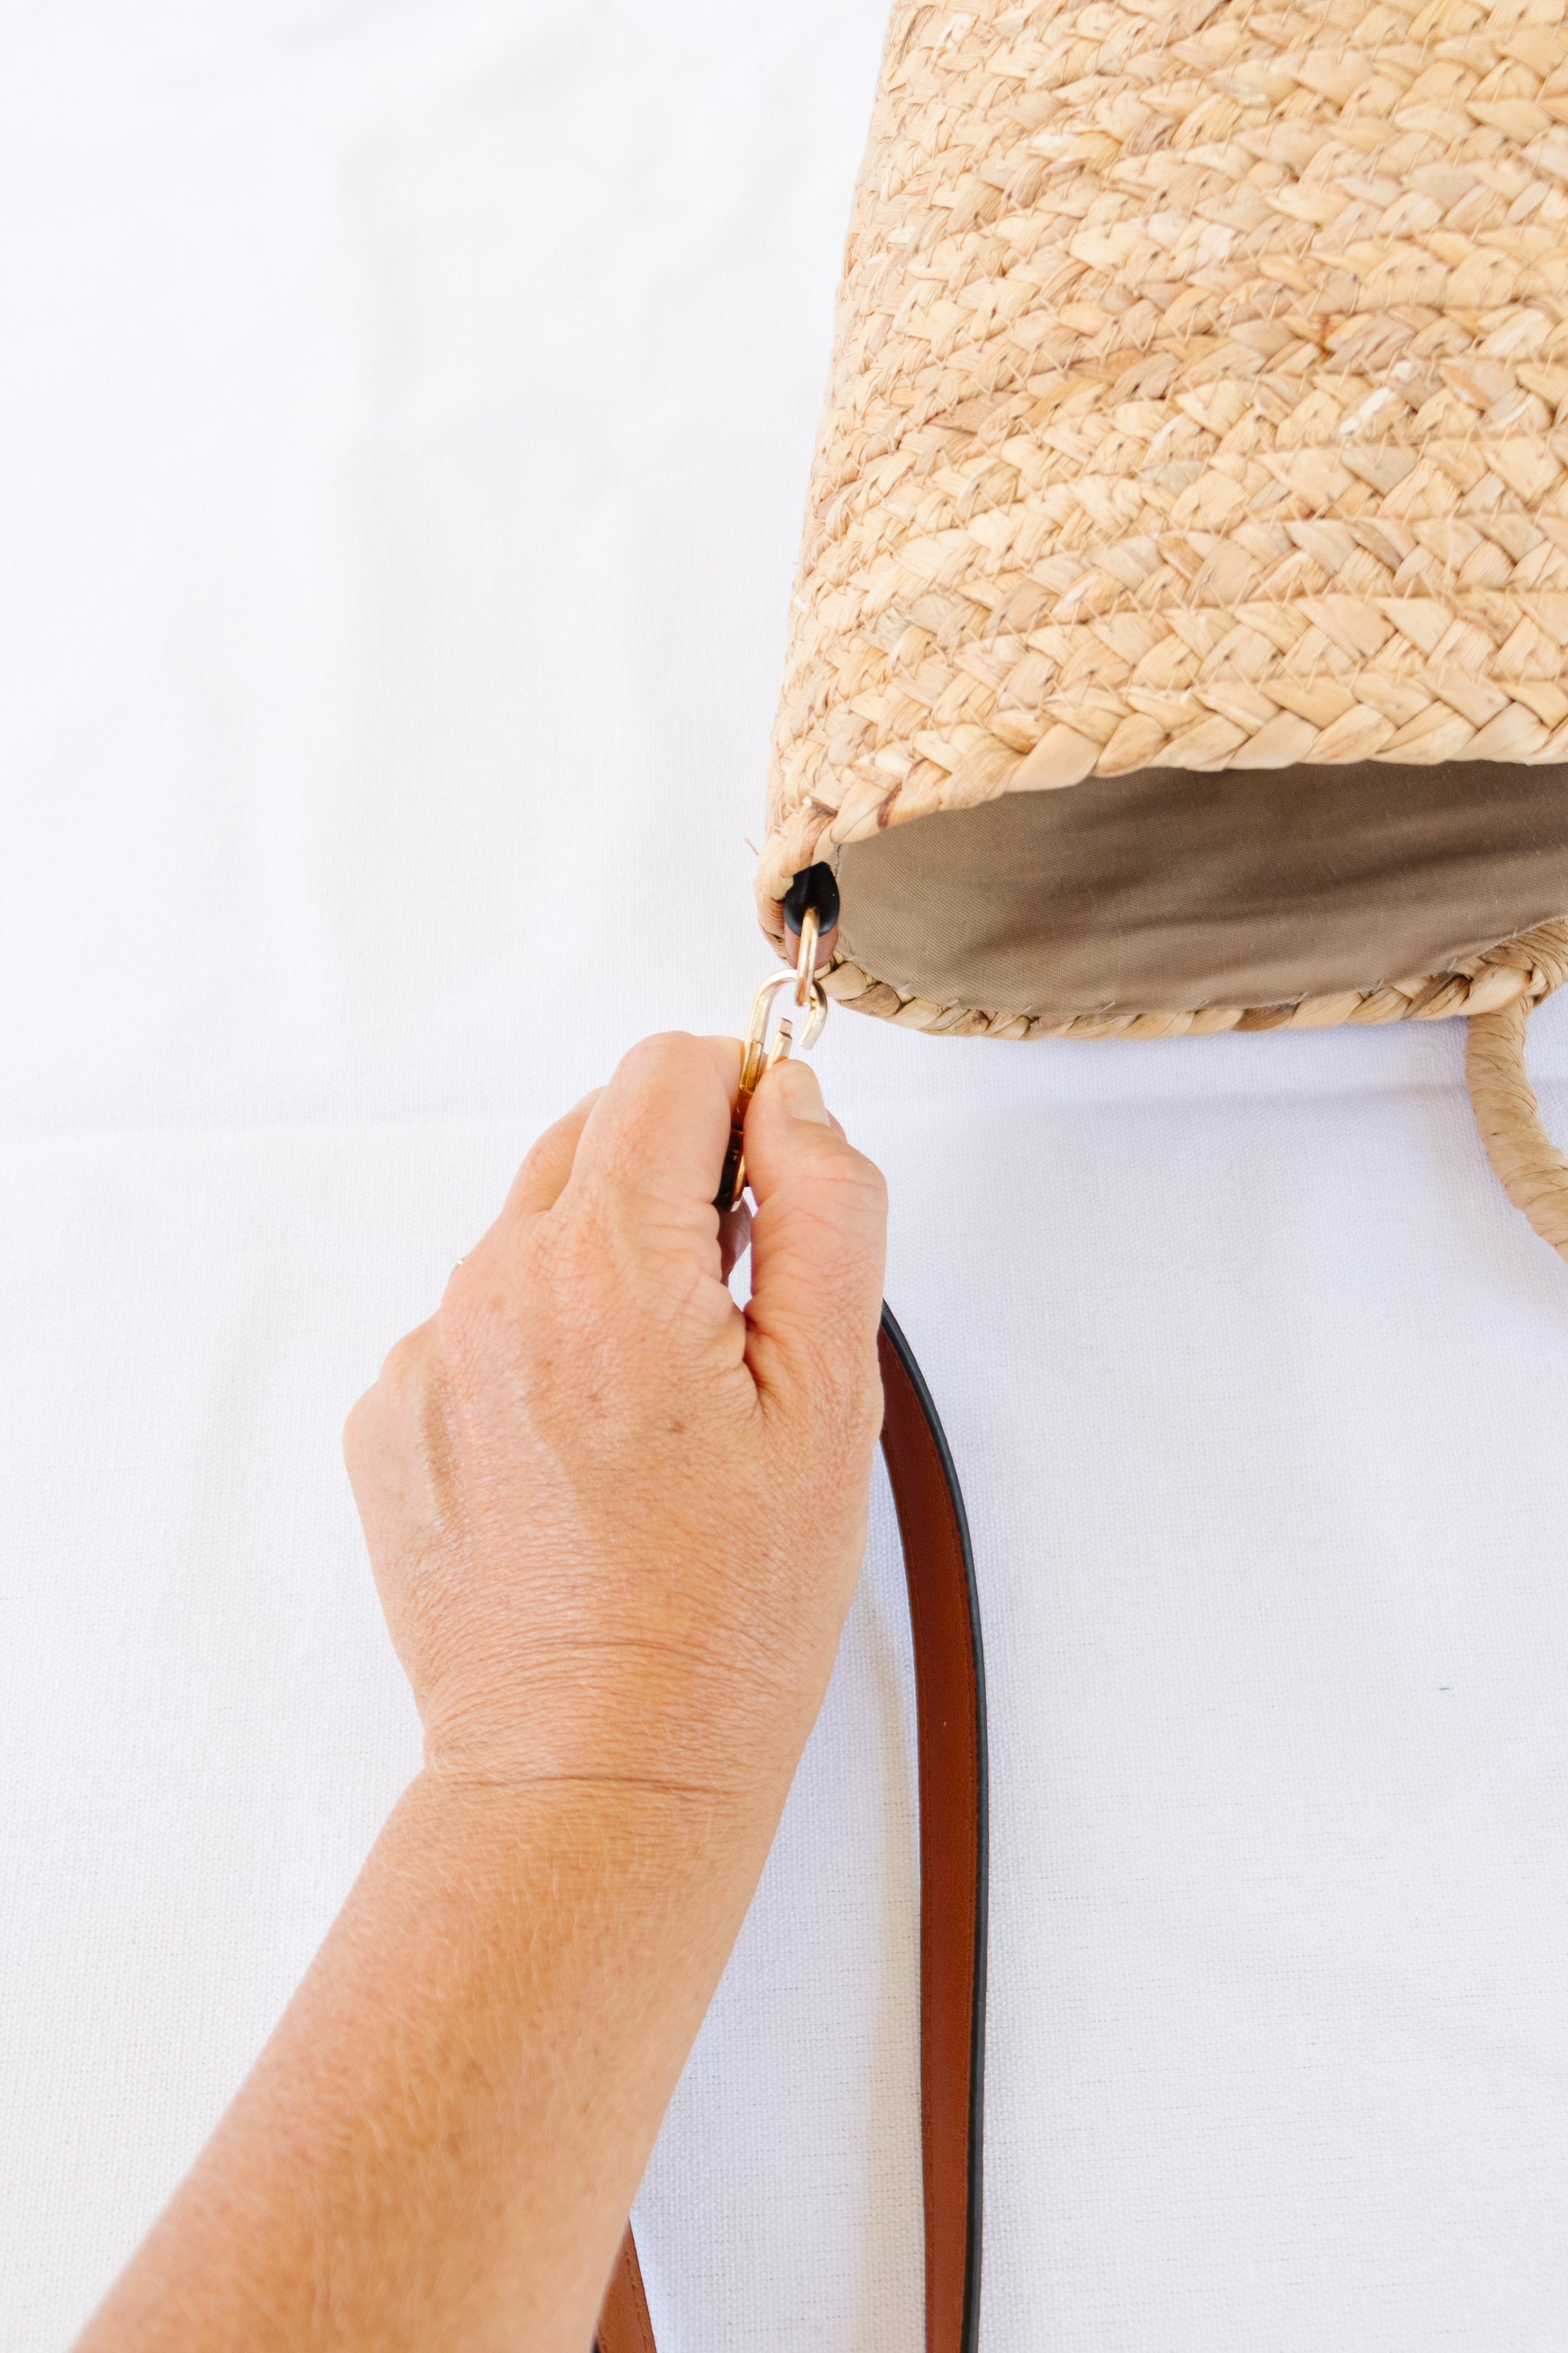
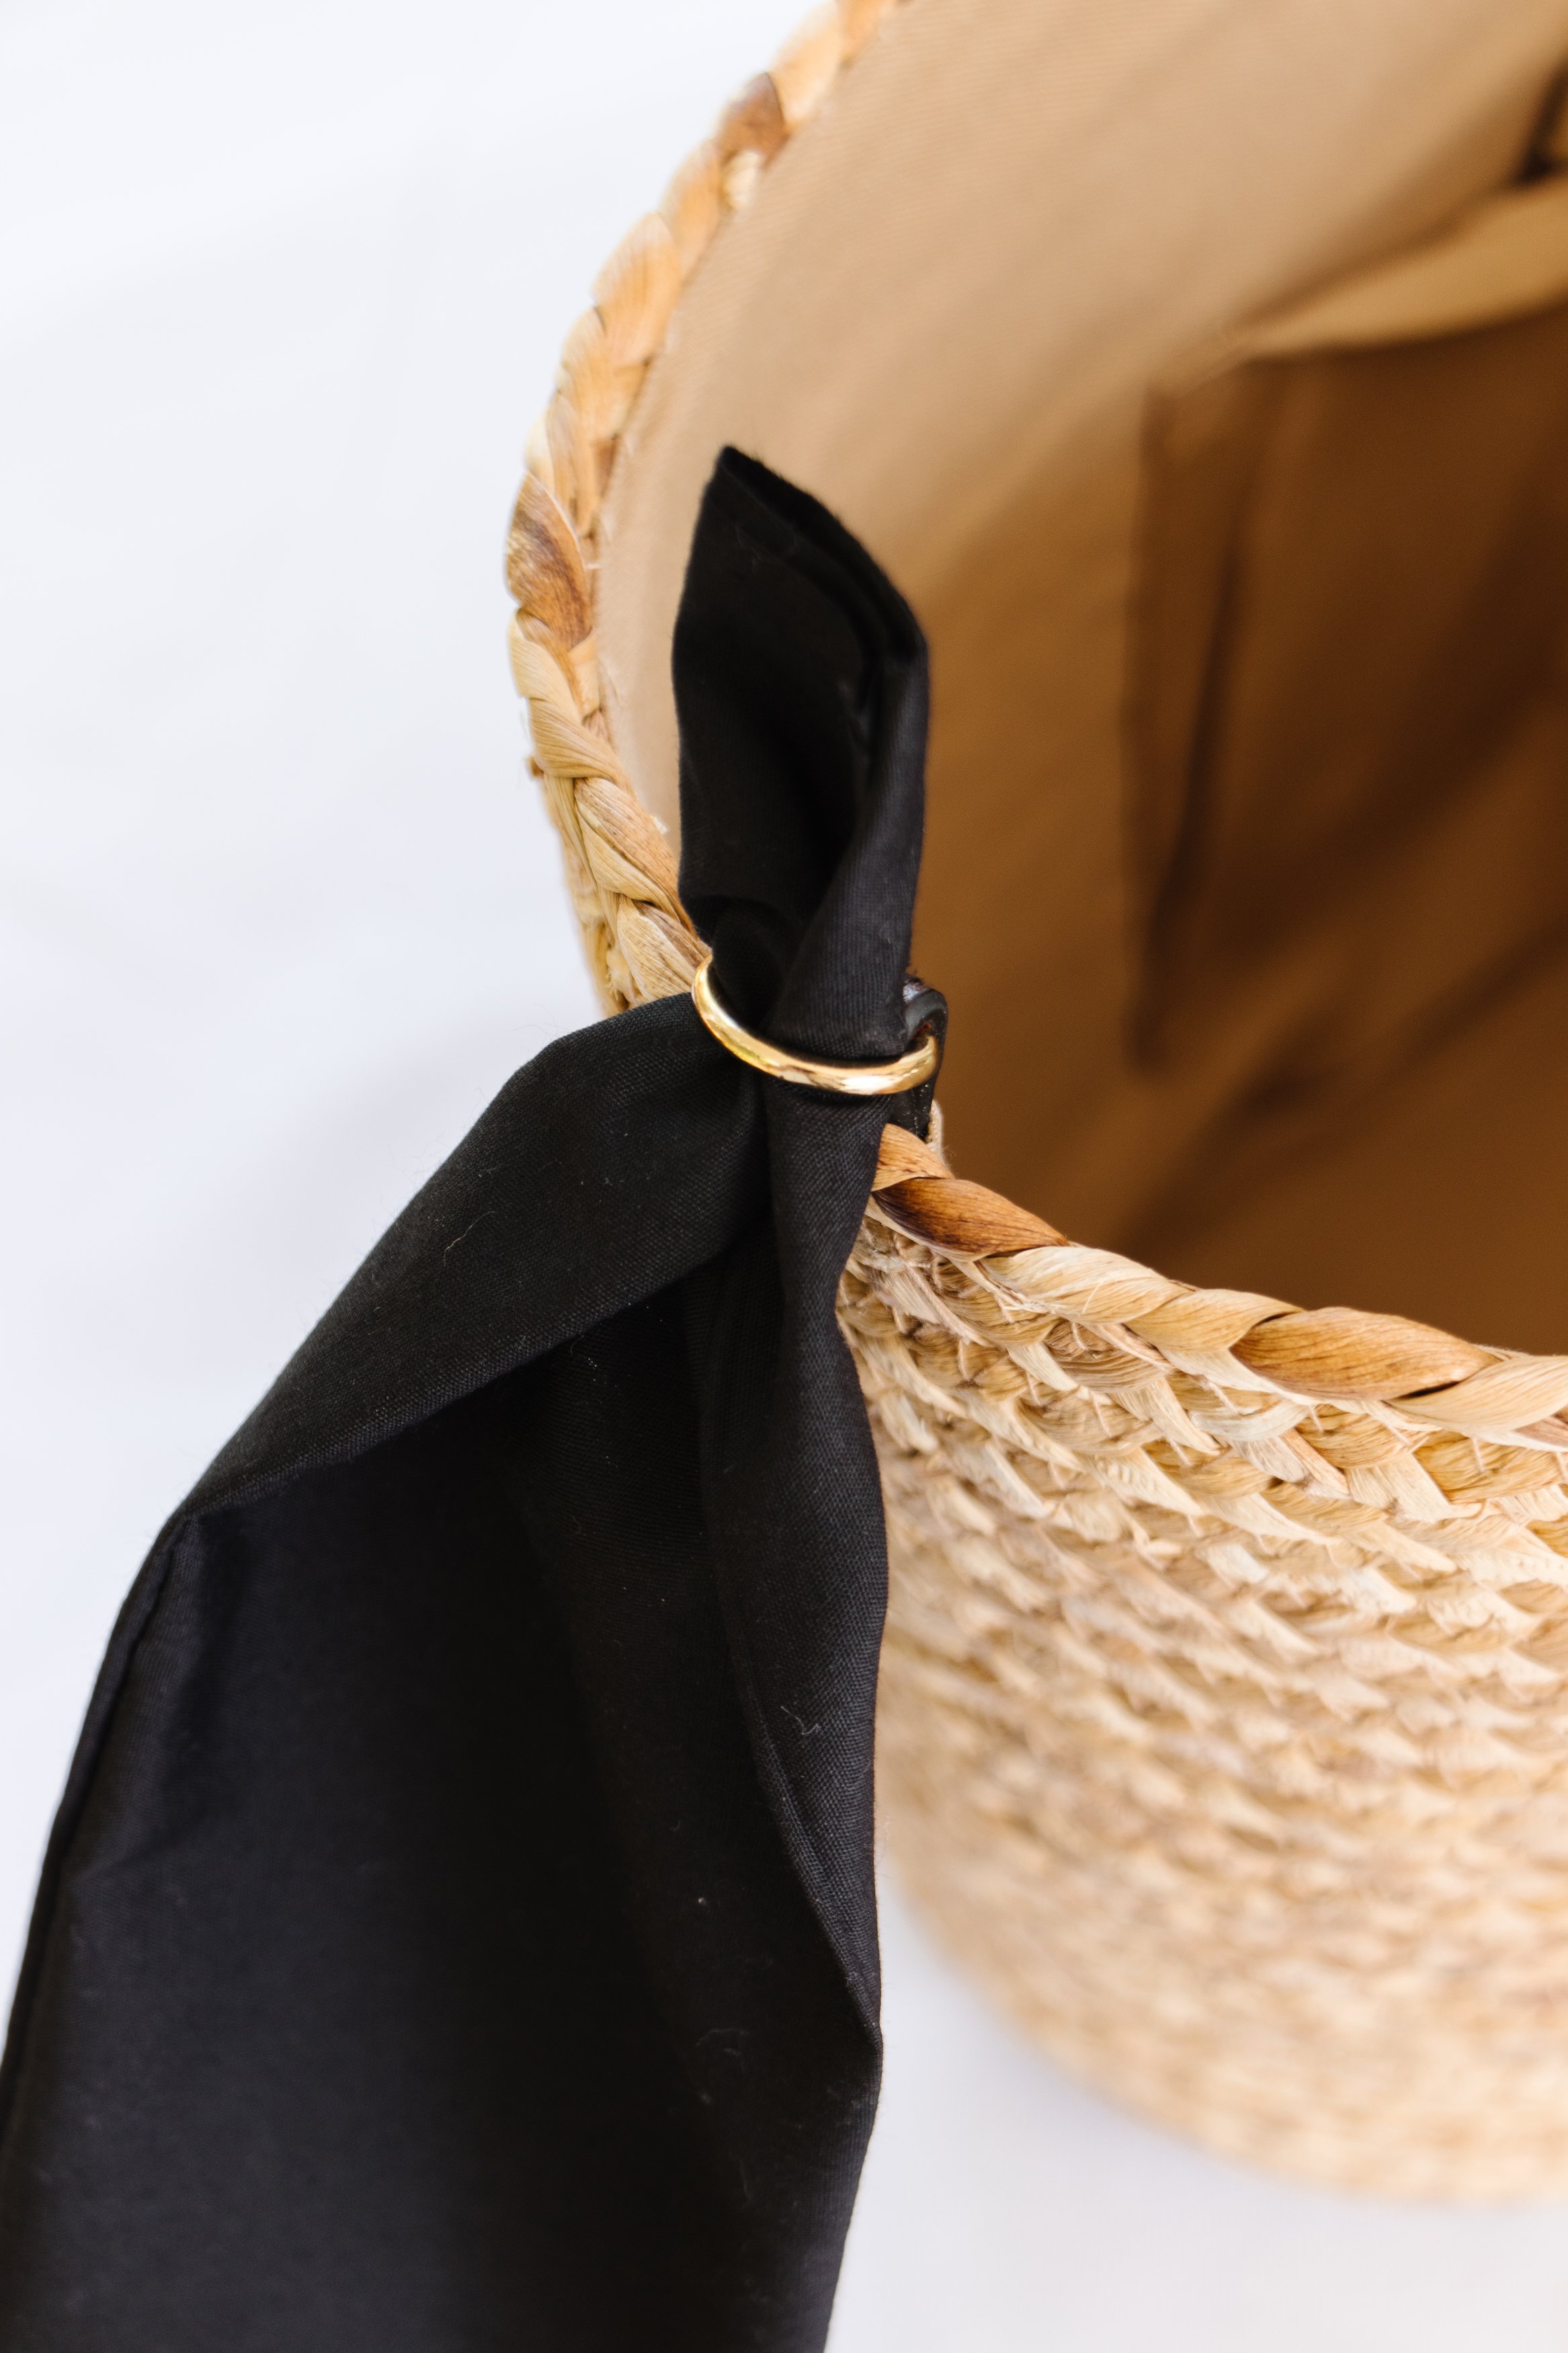
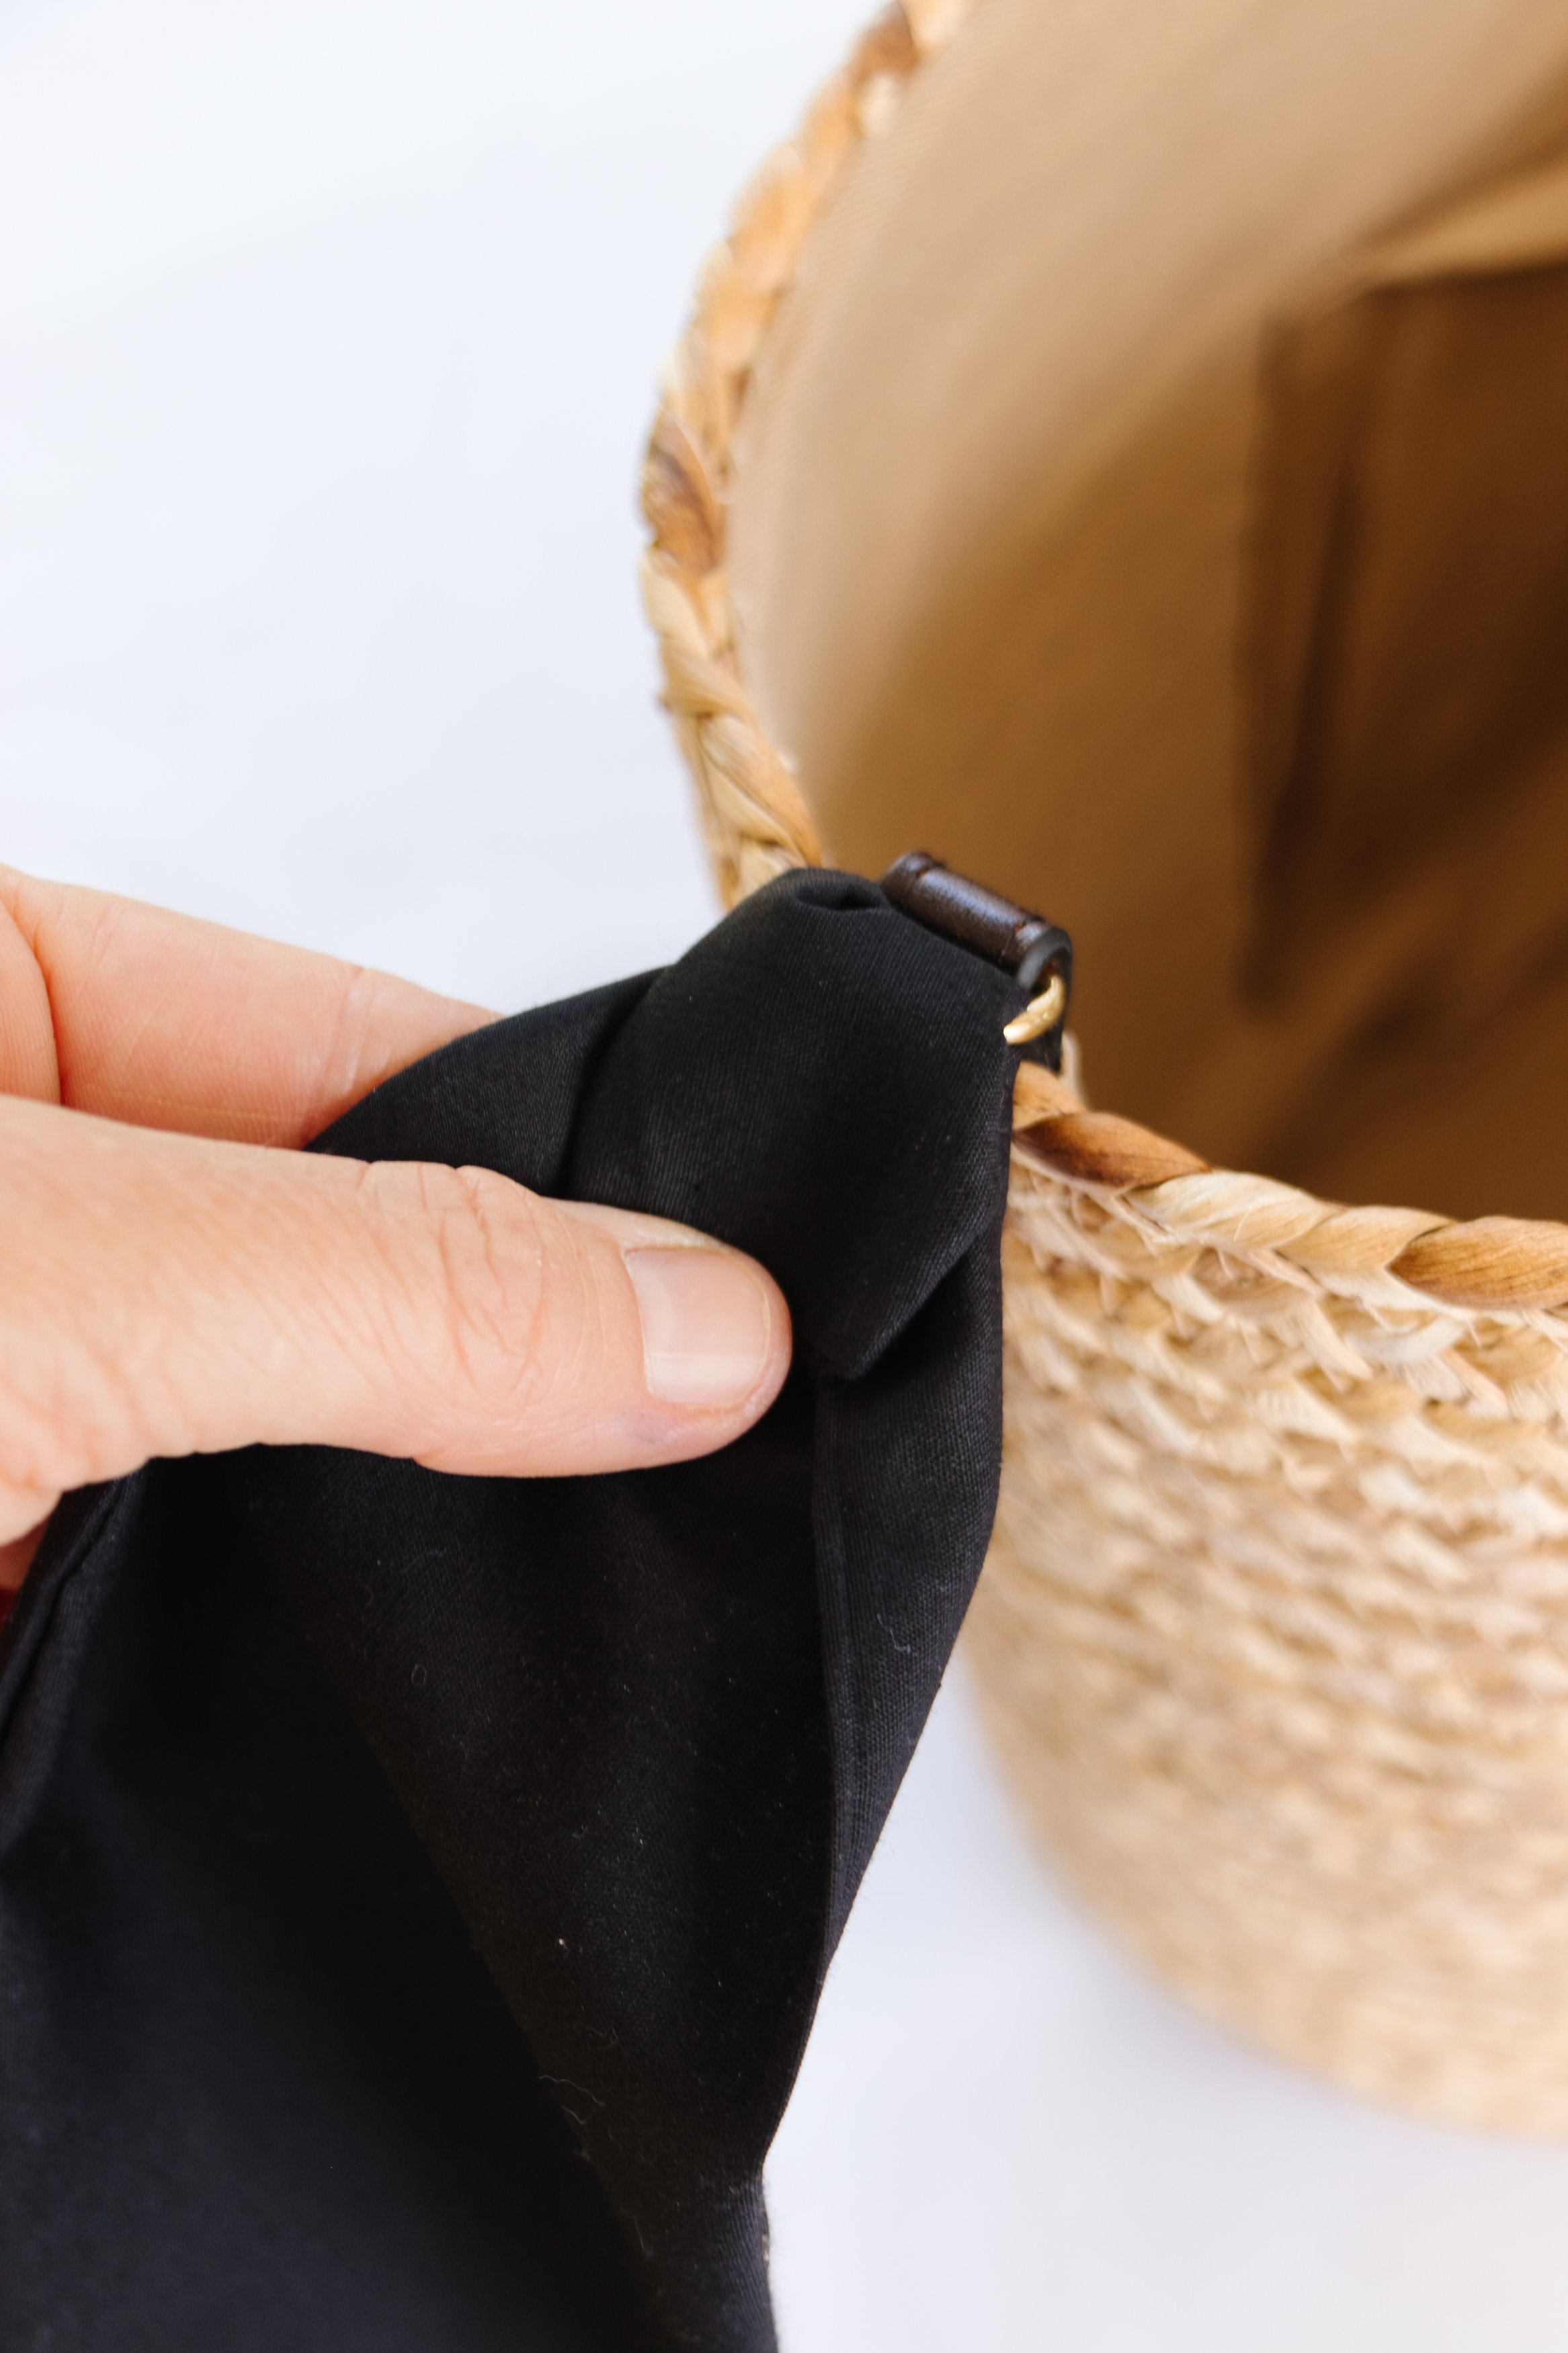
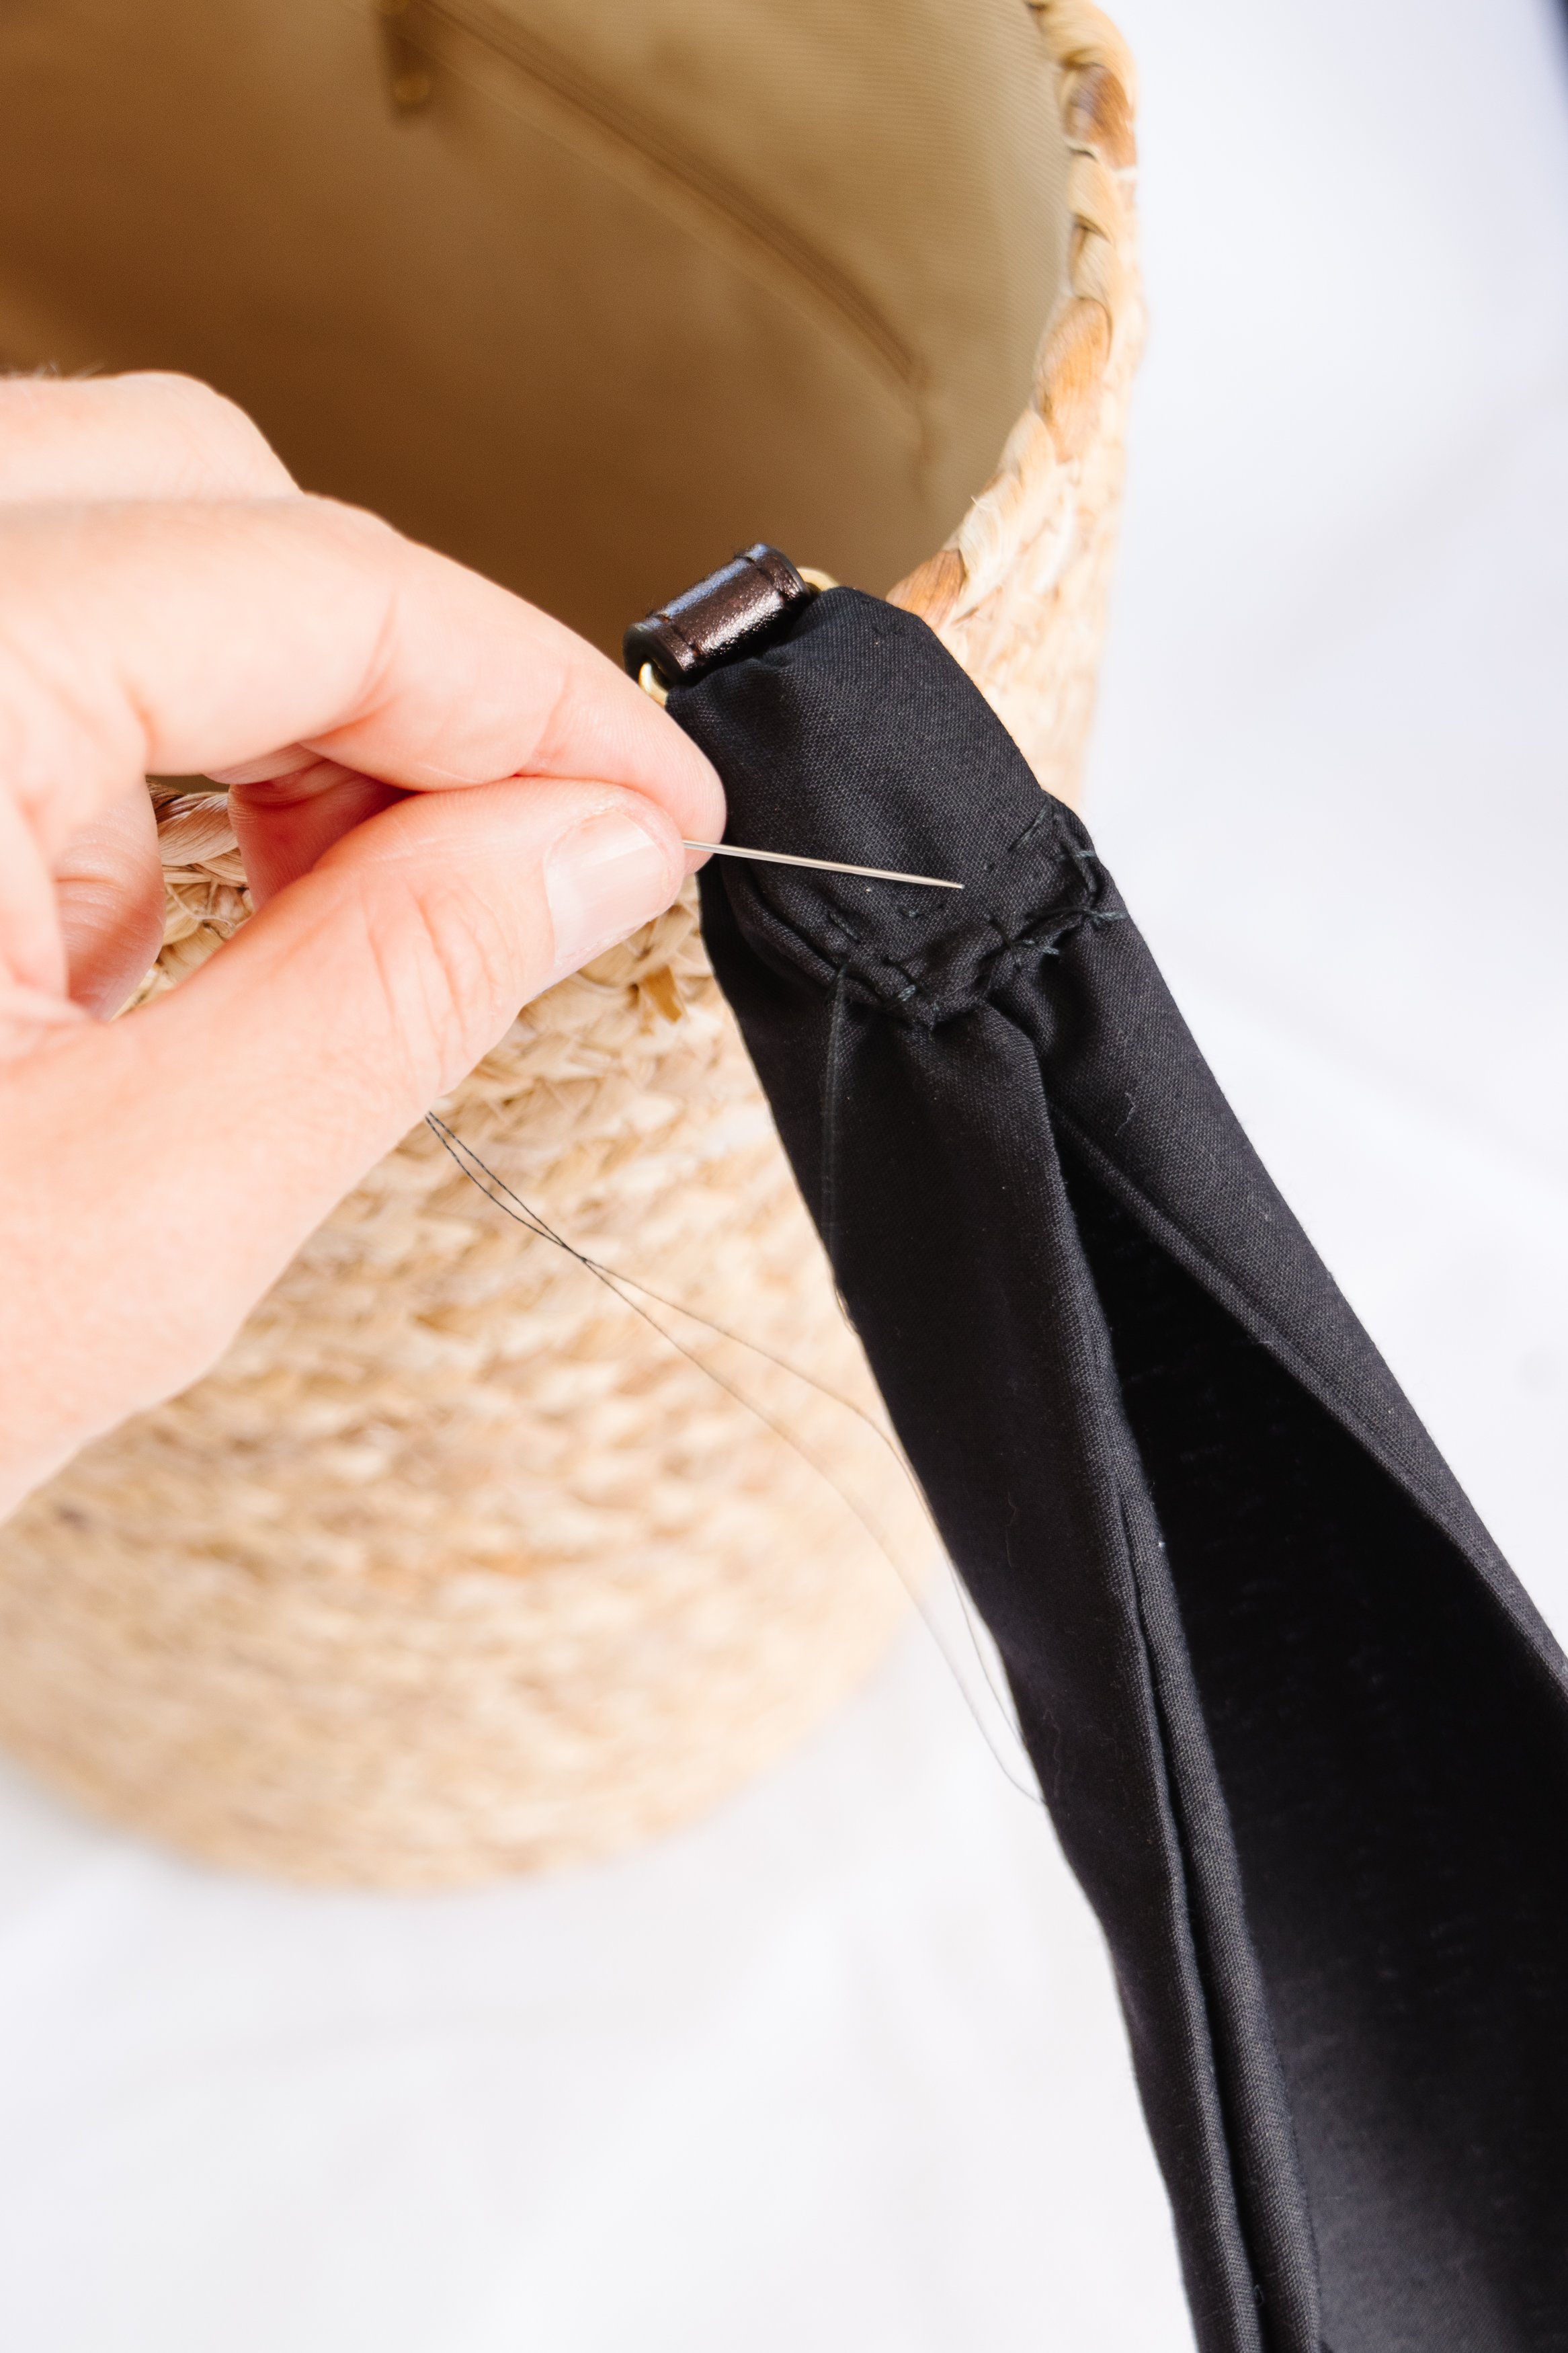
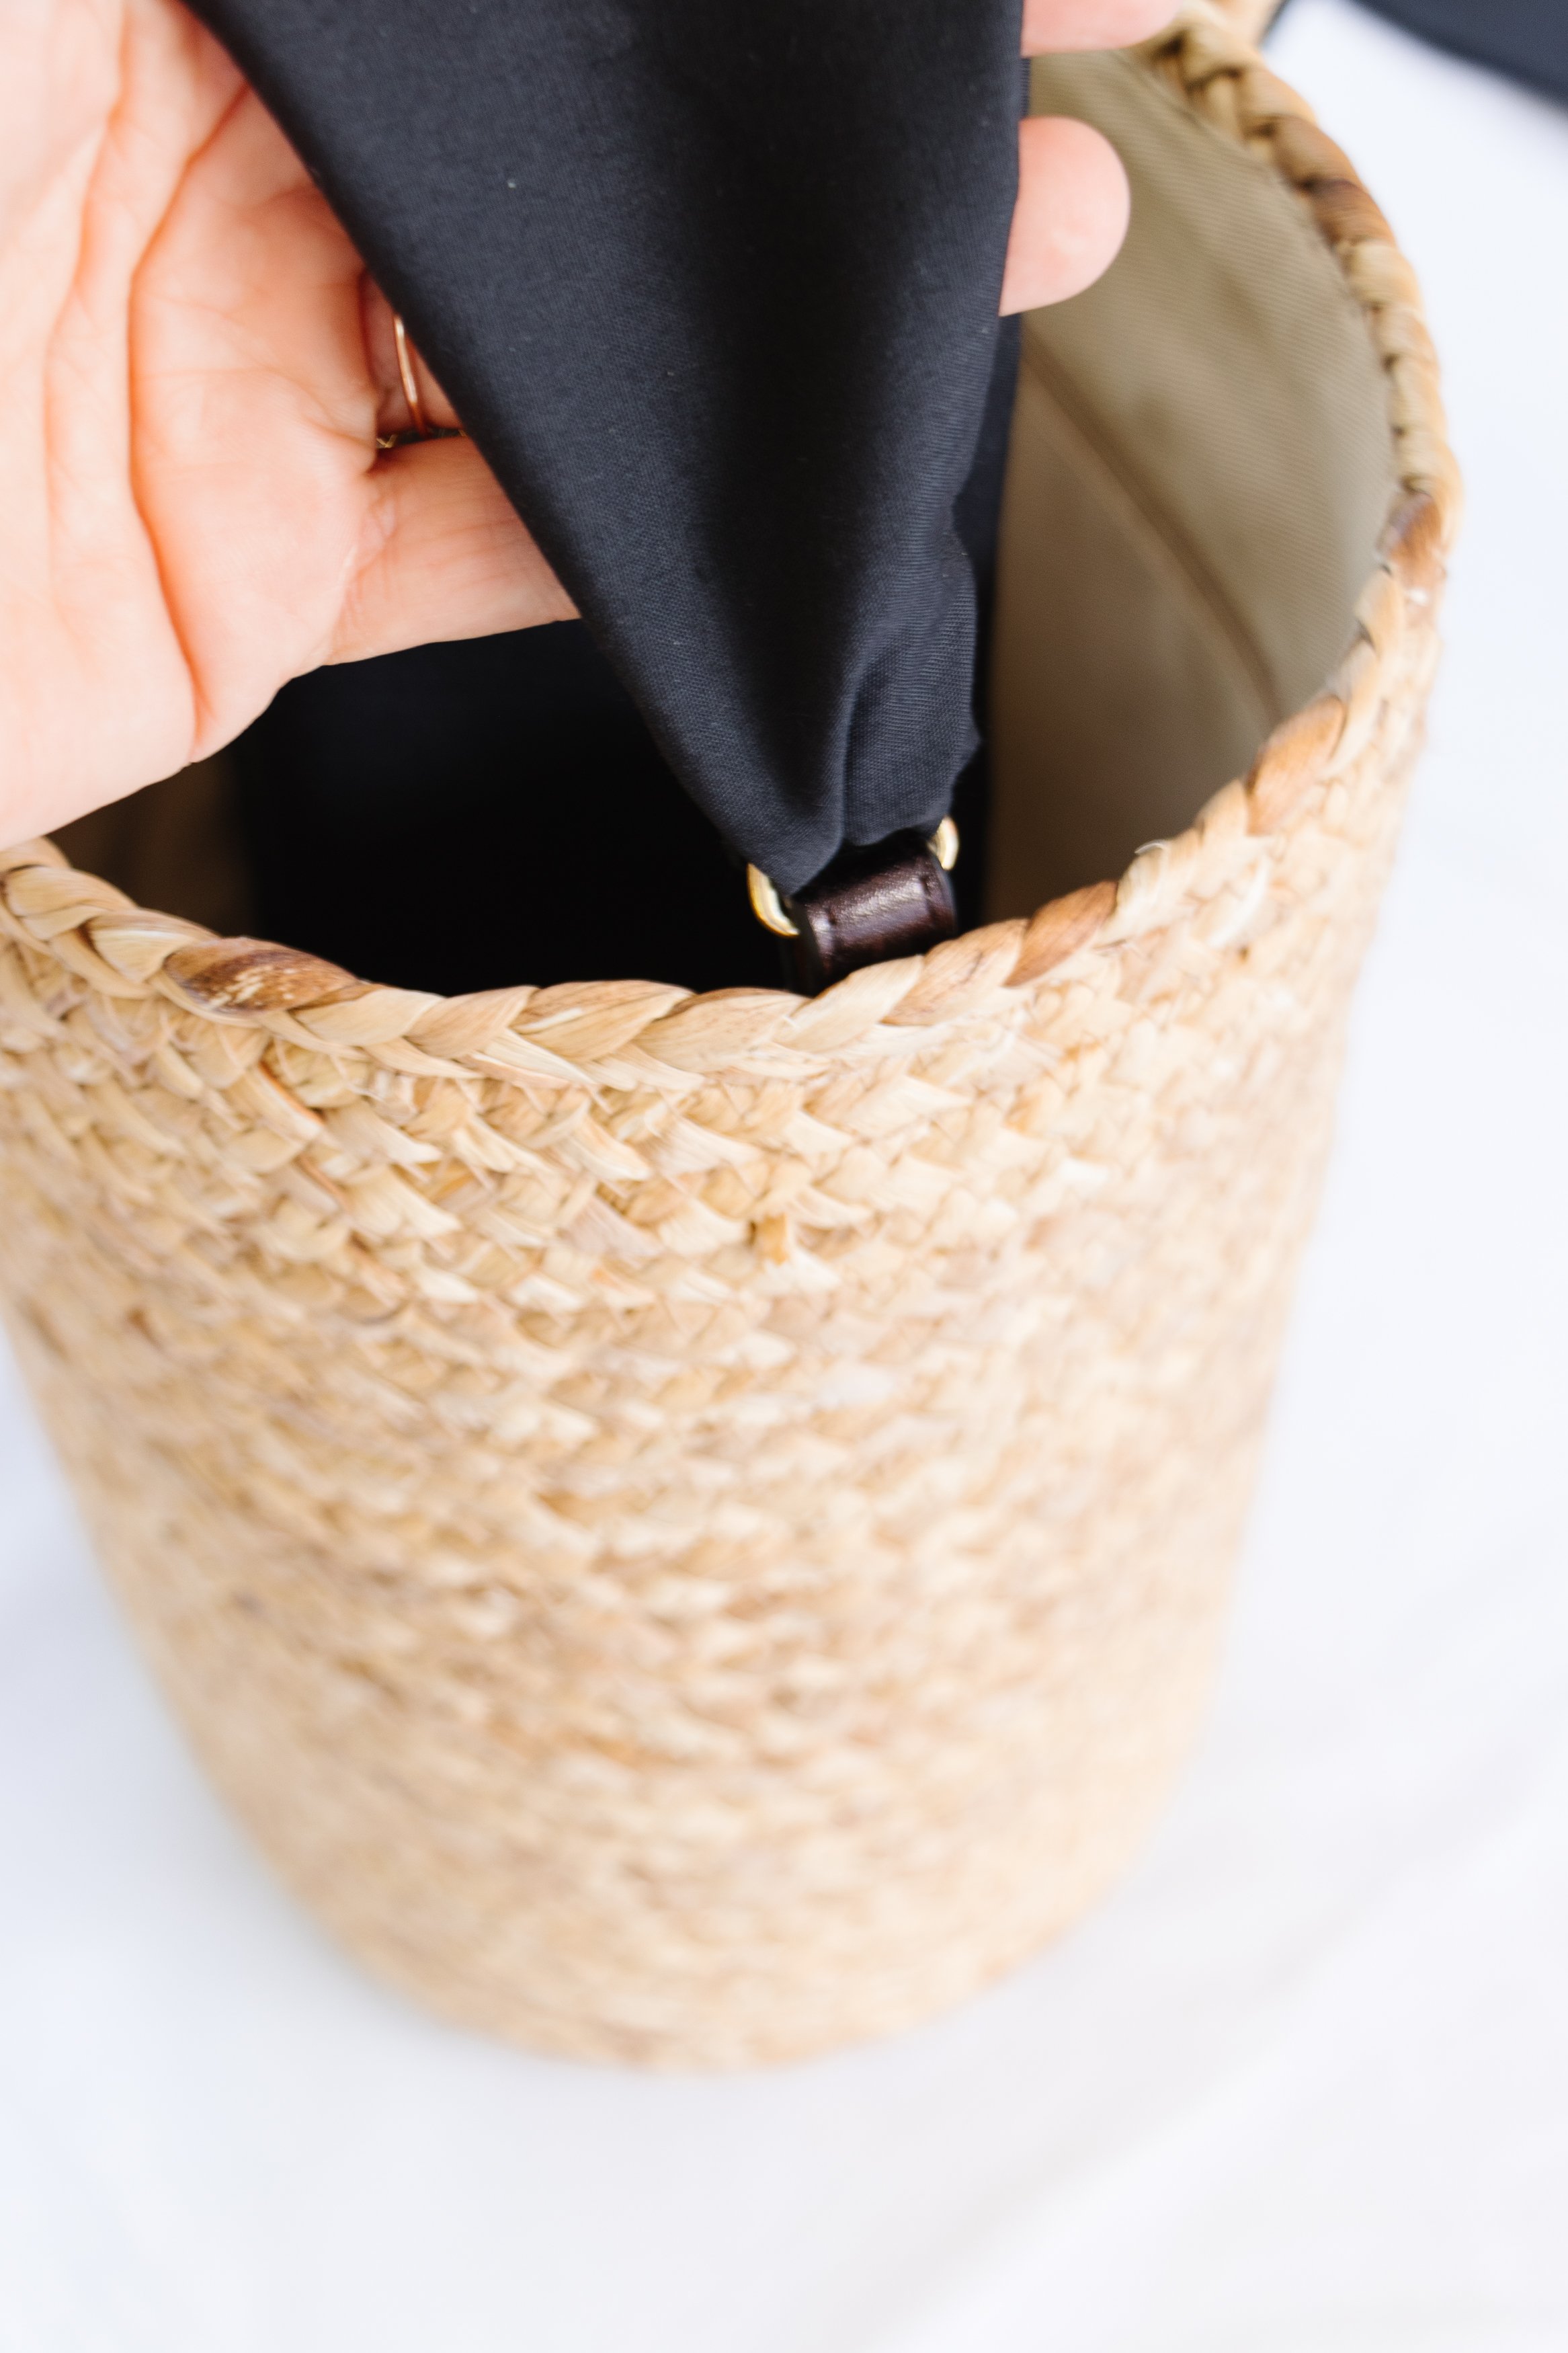
Step 3: Thread the non-sewn end of each strap into the D-rings on either side of the bag and sew the down the strap over the D-ring using a hand sewing needle and thread. The straps are now attached to the bag, woo hoo! Tie a bow tie where the two straps meet and adjust the length of the straps depending on how you want to wear the bag - long for on your shoulder, mid length for on your elbow and short for holding the bag in your hands. You can also tuck the straps in and carry the bag by the ring too.
The Reveal
How ADORABLE is this DIY Monogram Bow Tie Bag! I’ve always wanted to monogram a straw bag and I can’t believe how easy this was to make. And the addition of fabric straps “ties” it all together beautifully. Bow ties are really having a moment and I love that this projects celebrates them in a minimalist yet stylish way without being too girly, but also girly enough. And what I love most about this stylish DIY project is that you can choose any stencil, colour paint or fabric you like to really make it your own. If you do this DIY make sure to share it with me on Instagram, I’d love to see it. And as always, happy making!