Upcycled Fluted Sideboard
Transform an ugly sideboard using self adhesive foam and stunning hardware
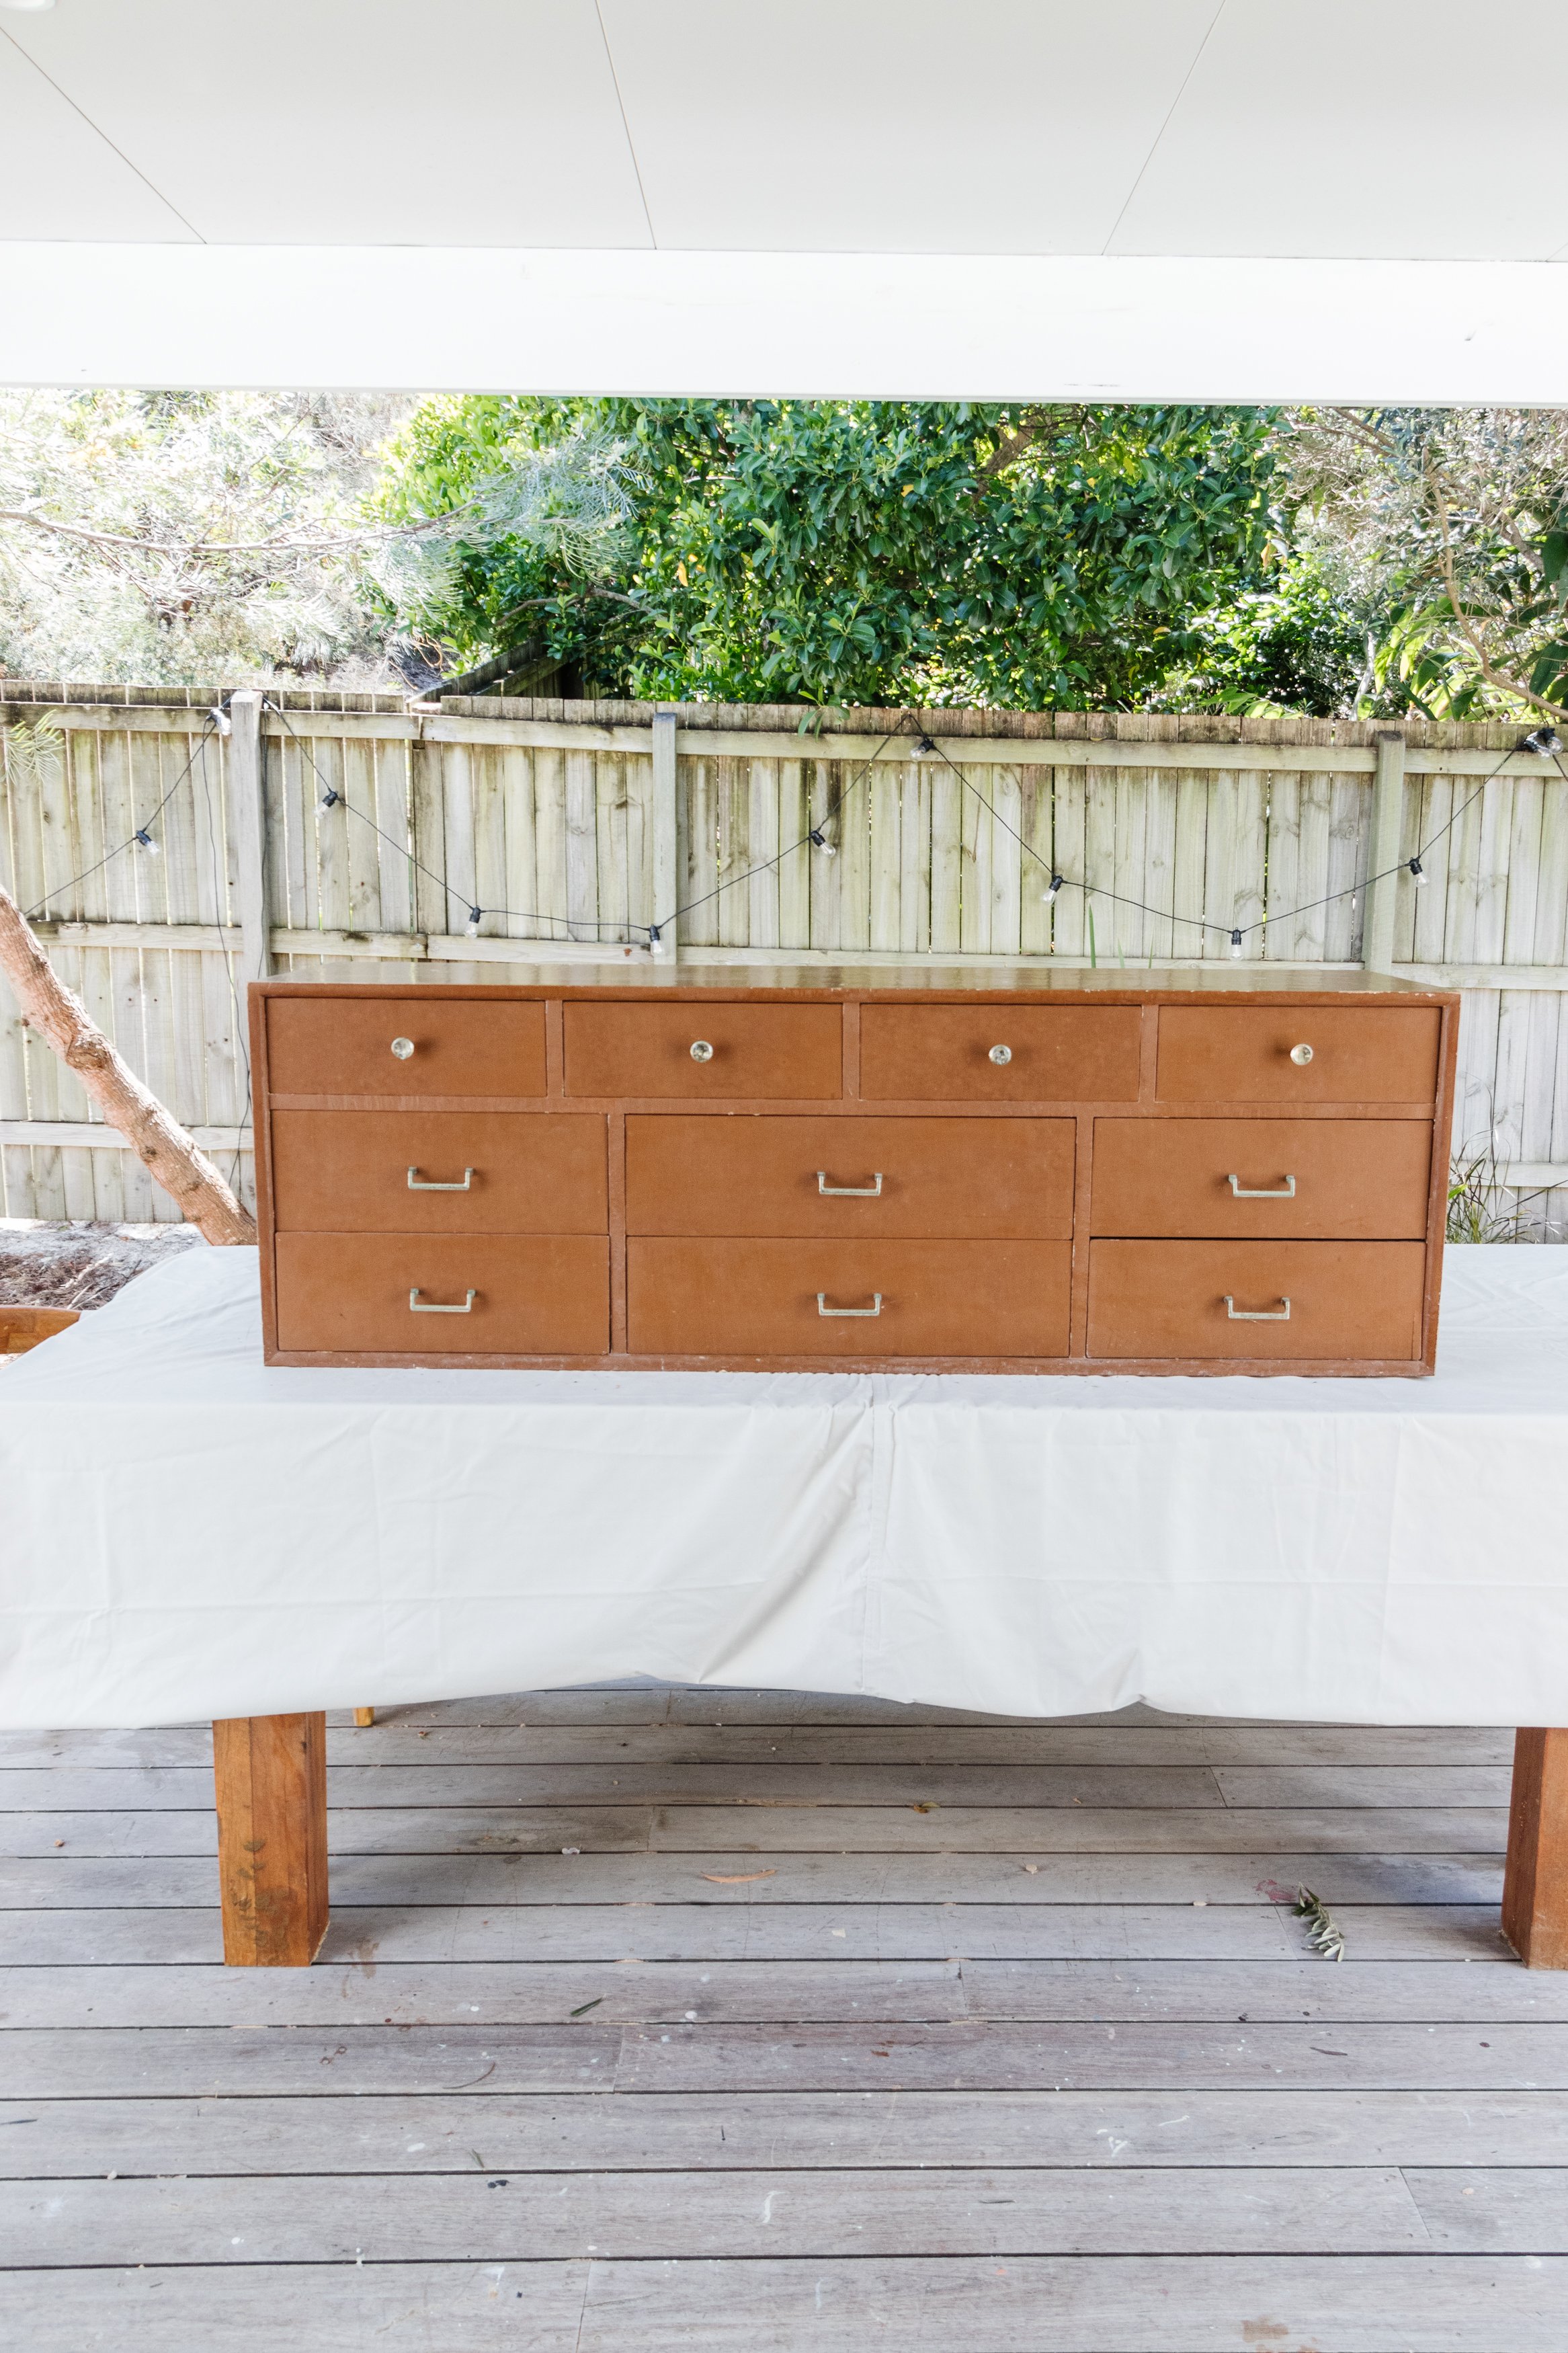
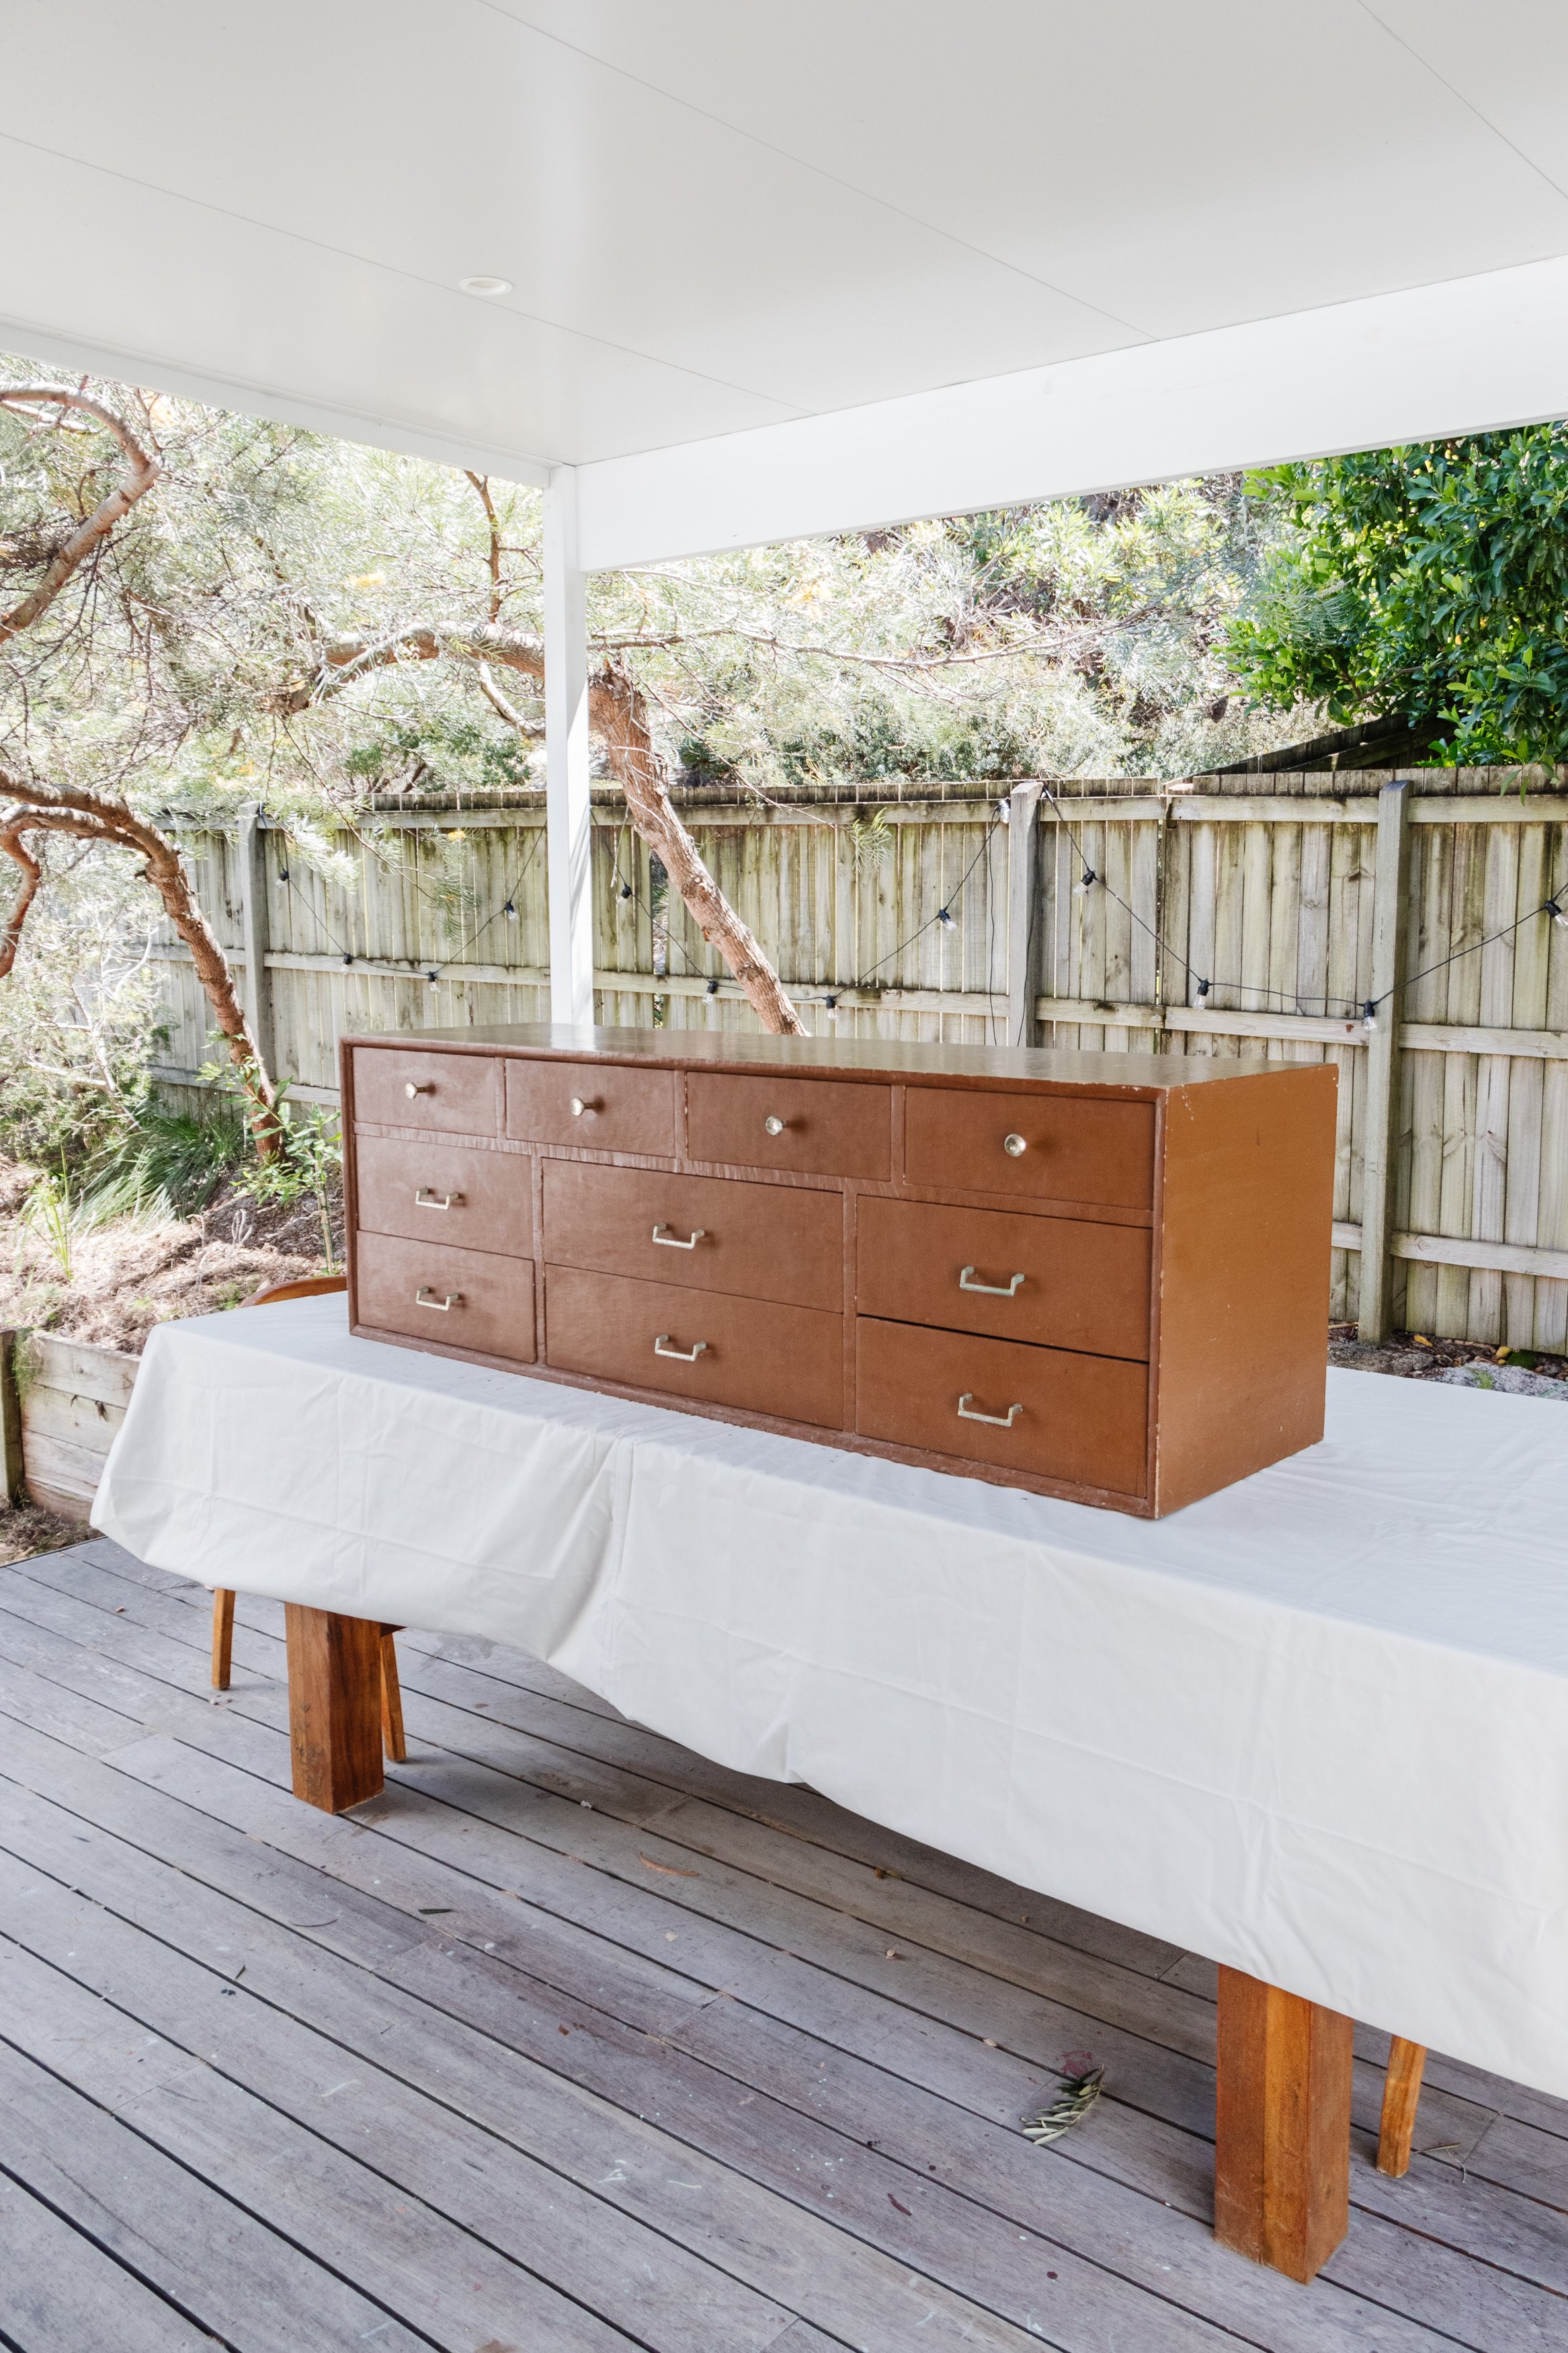
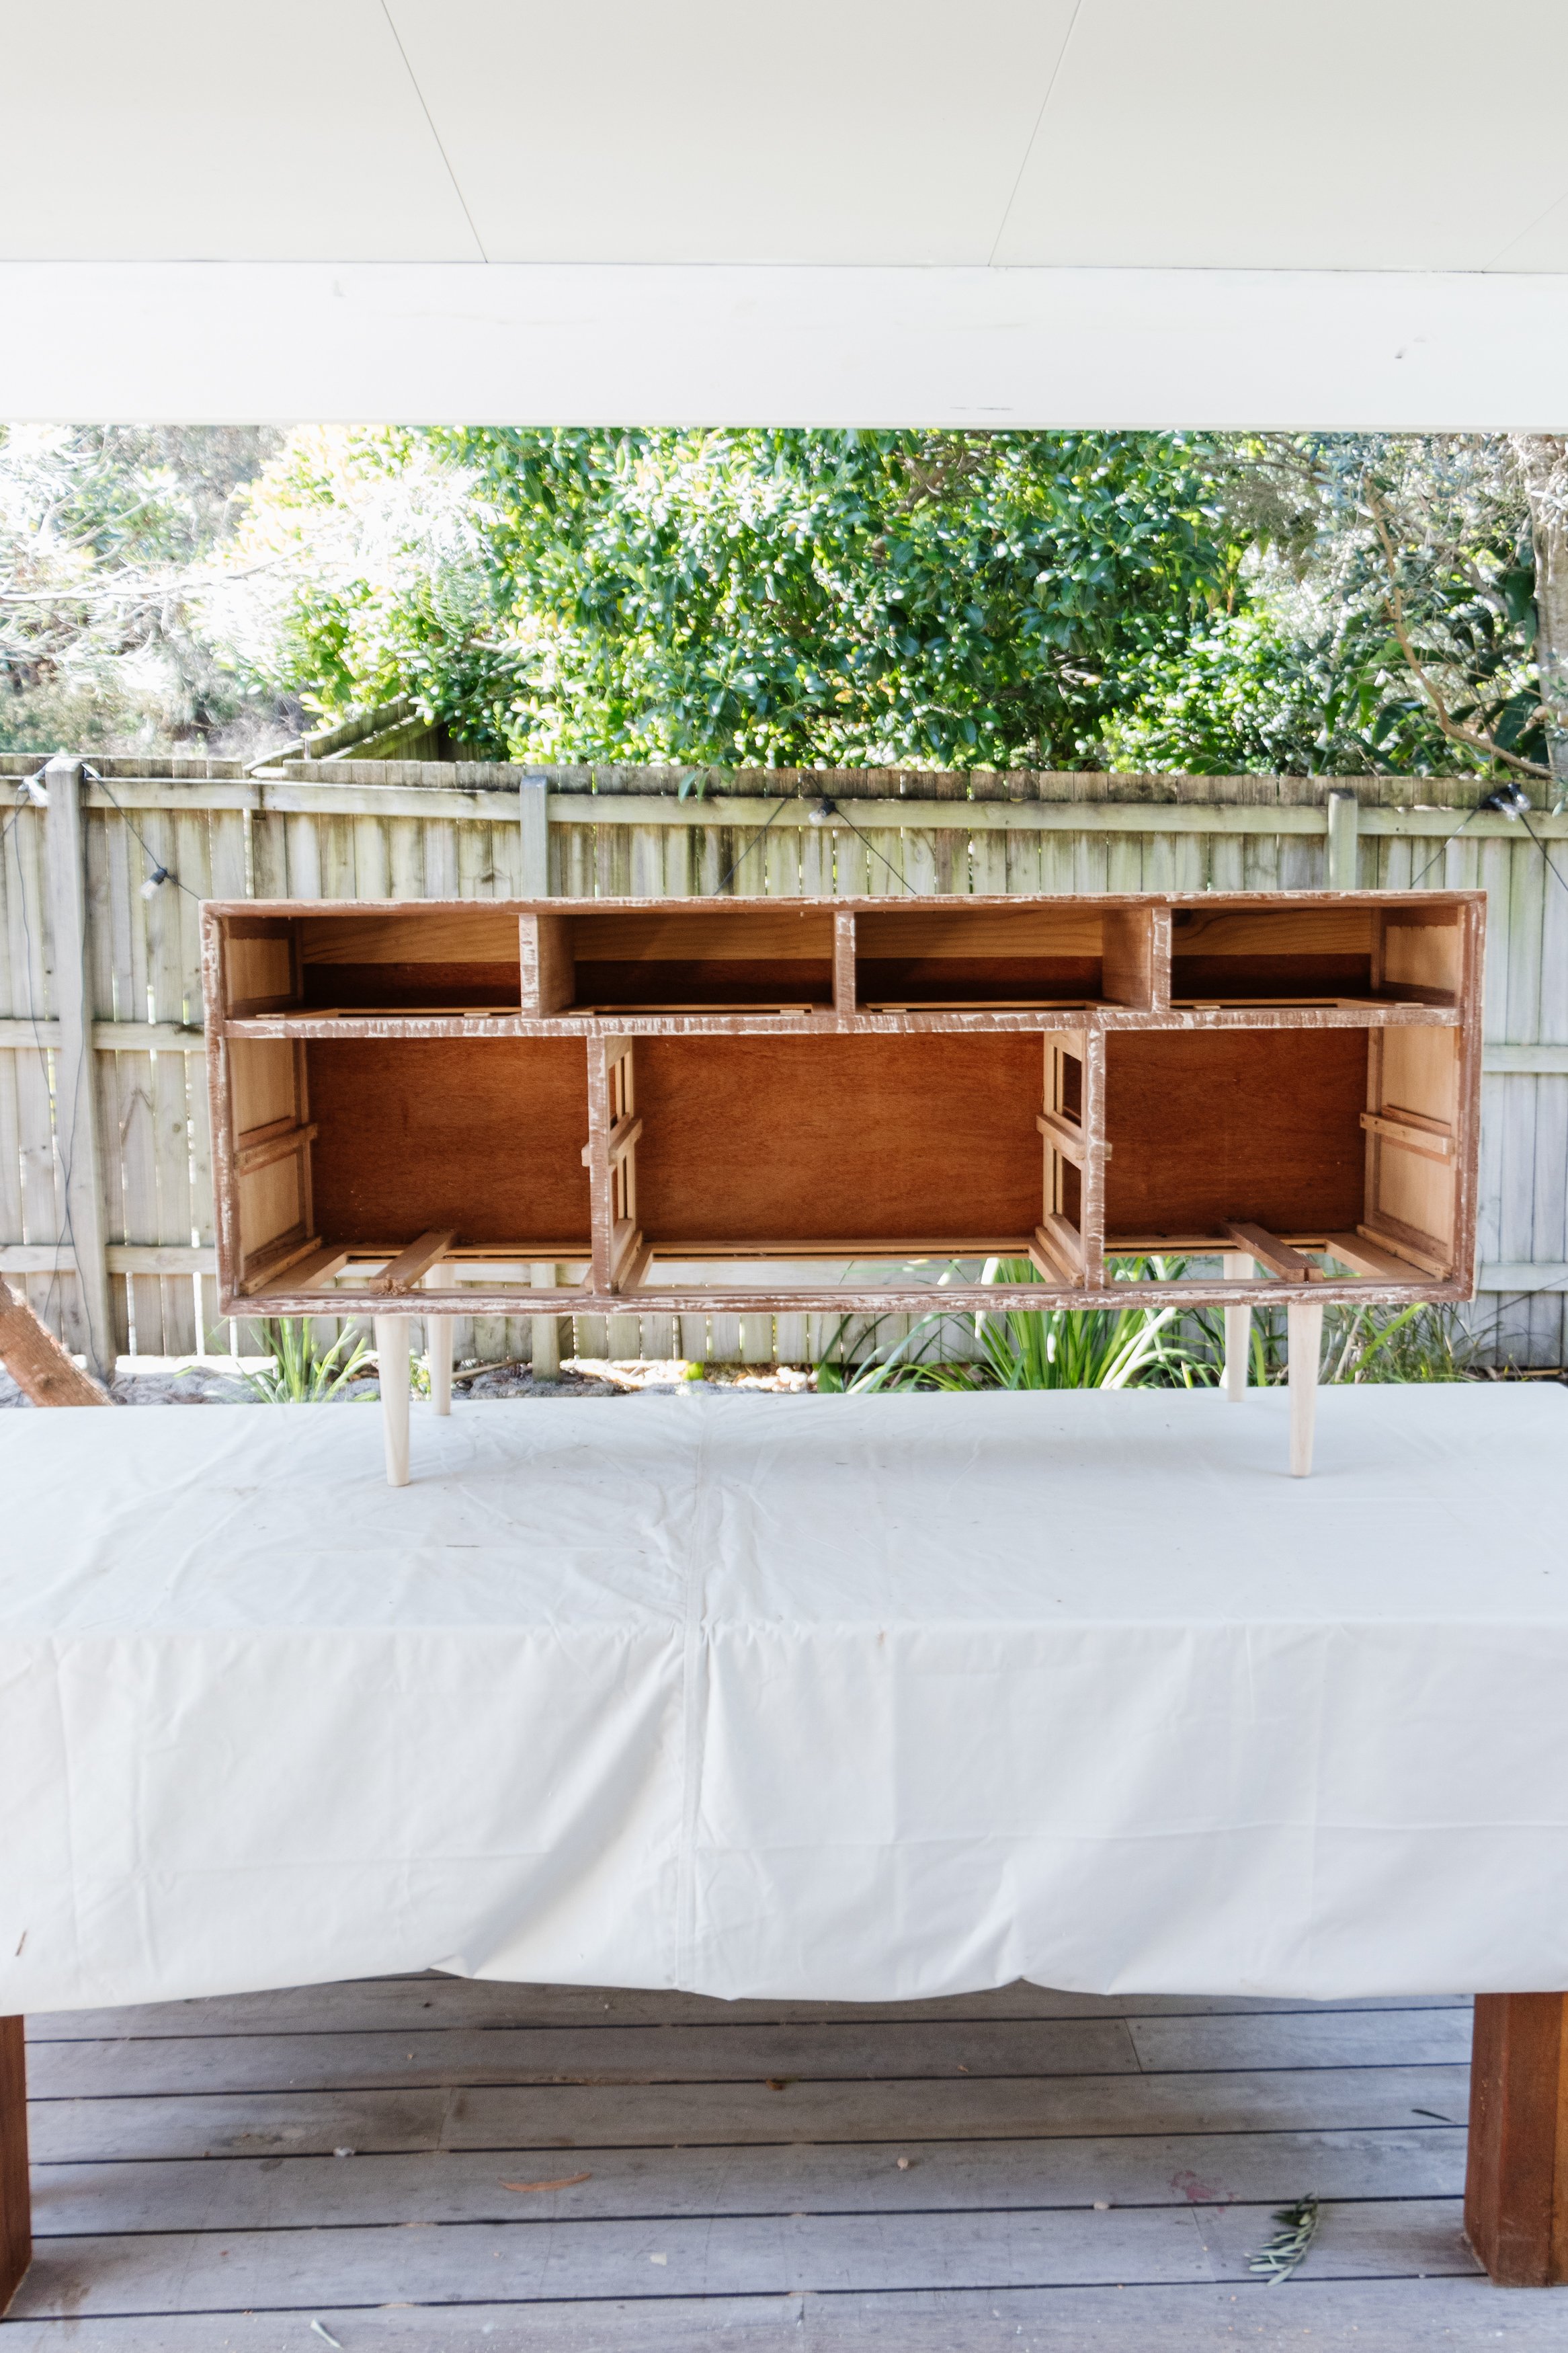
As always I dropped into one of my favourite charity shops and noticed a sideboard looking a bit lonely outside. I was told it had been there for a while and I was surprised because it had so much potential. Perhaps no one could see past the brown paint or the rusted handles. But to me, she was a diamond in the rough. And for only $20, how could I refuse? I lugged her into the back of my car and as I was driving home I was thinking of ways I could breathe life back into it. New furniture legs, oh yes. But what else? Read on to find out how I transformed this sideboard using paint, self adhesive foam and stunning hardware from Passio from new Wavey Collection.
And make sure to watch this video to see how it all came together
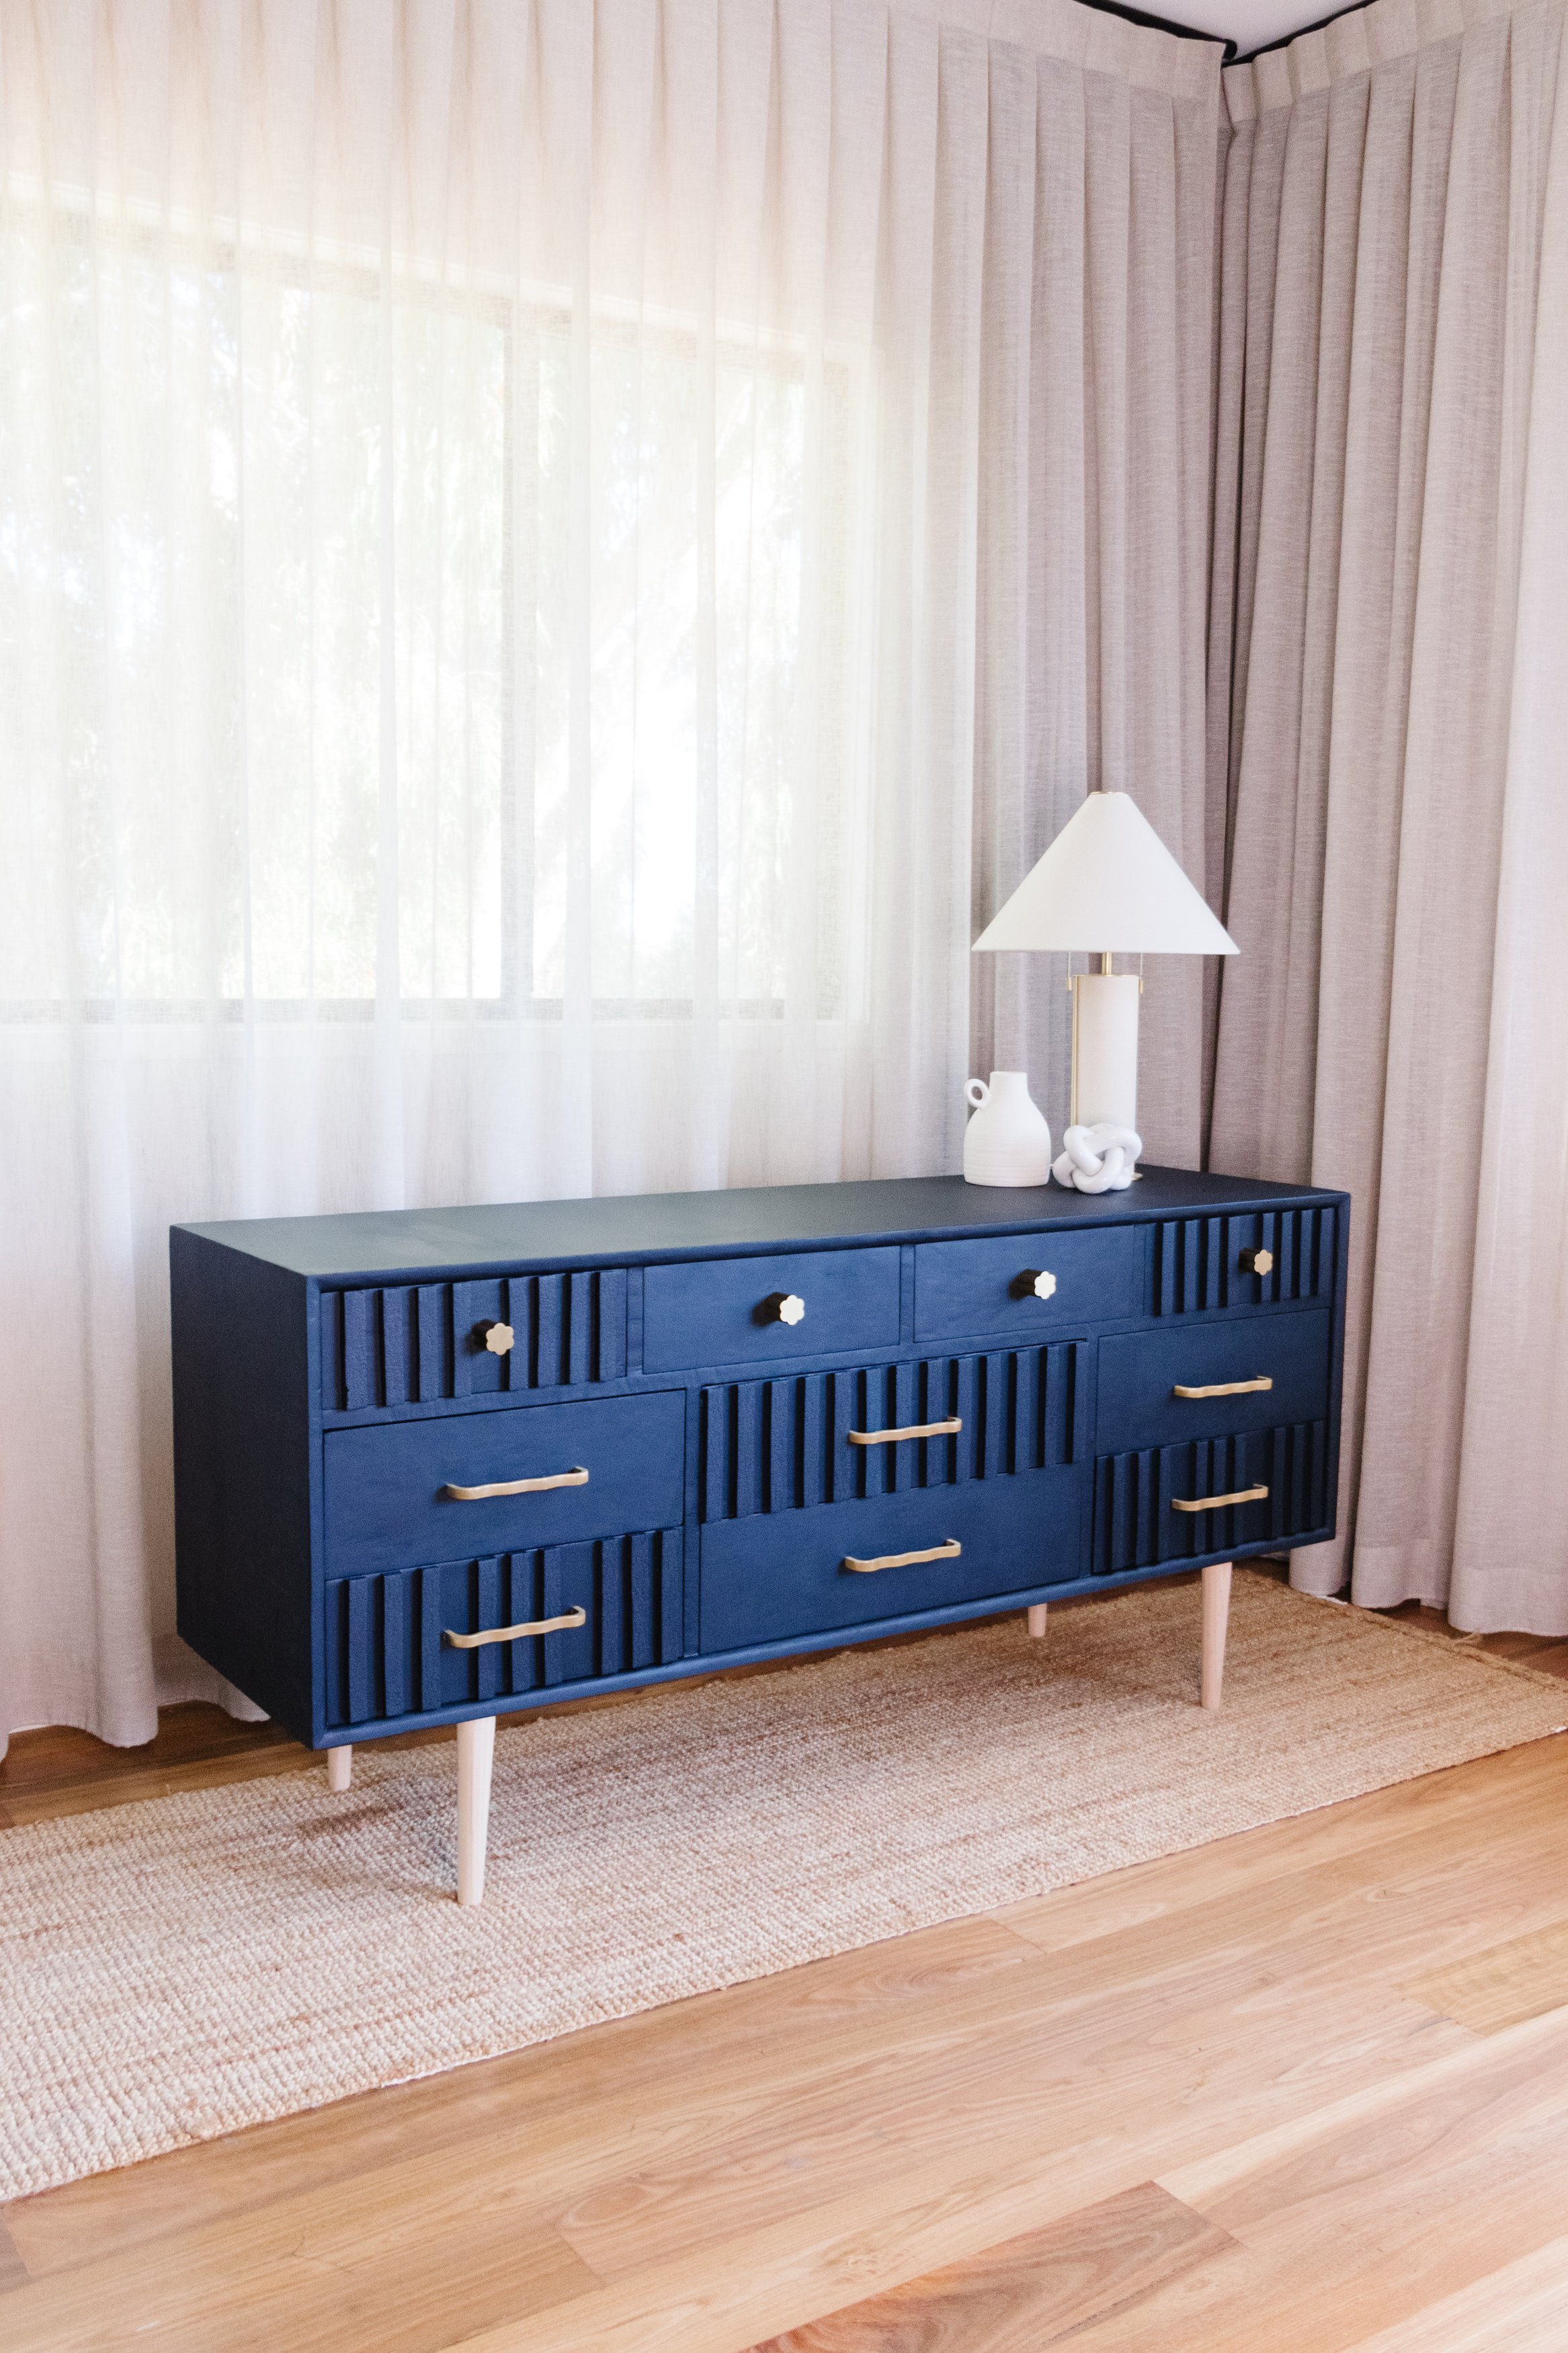
Before & After

Project Details
♻️ Upcycling: A secondhand sideboard
🕒 Project Time Estimate: 4 to 6 hours
🪑 Skill Level: Beginner
👷♀️ Protective Gear: Safety eyewear, safety mask and ear plugs
💰 Materials Cost: $100
Materials
4 x Furniture legs
Water based interior paint
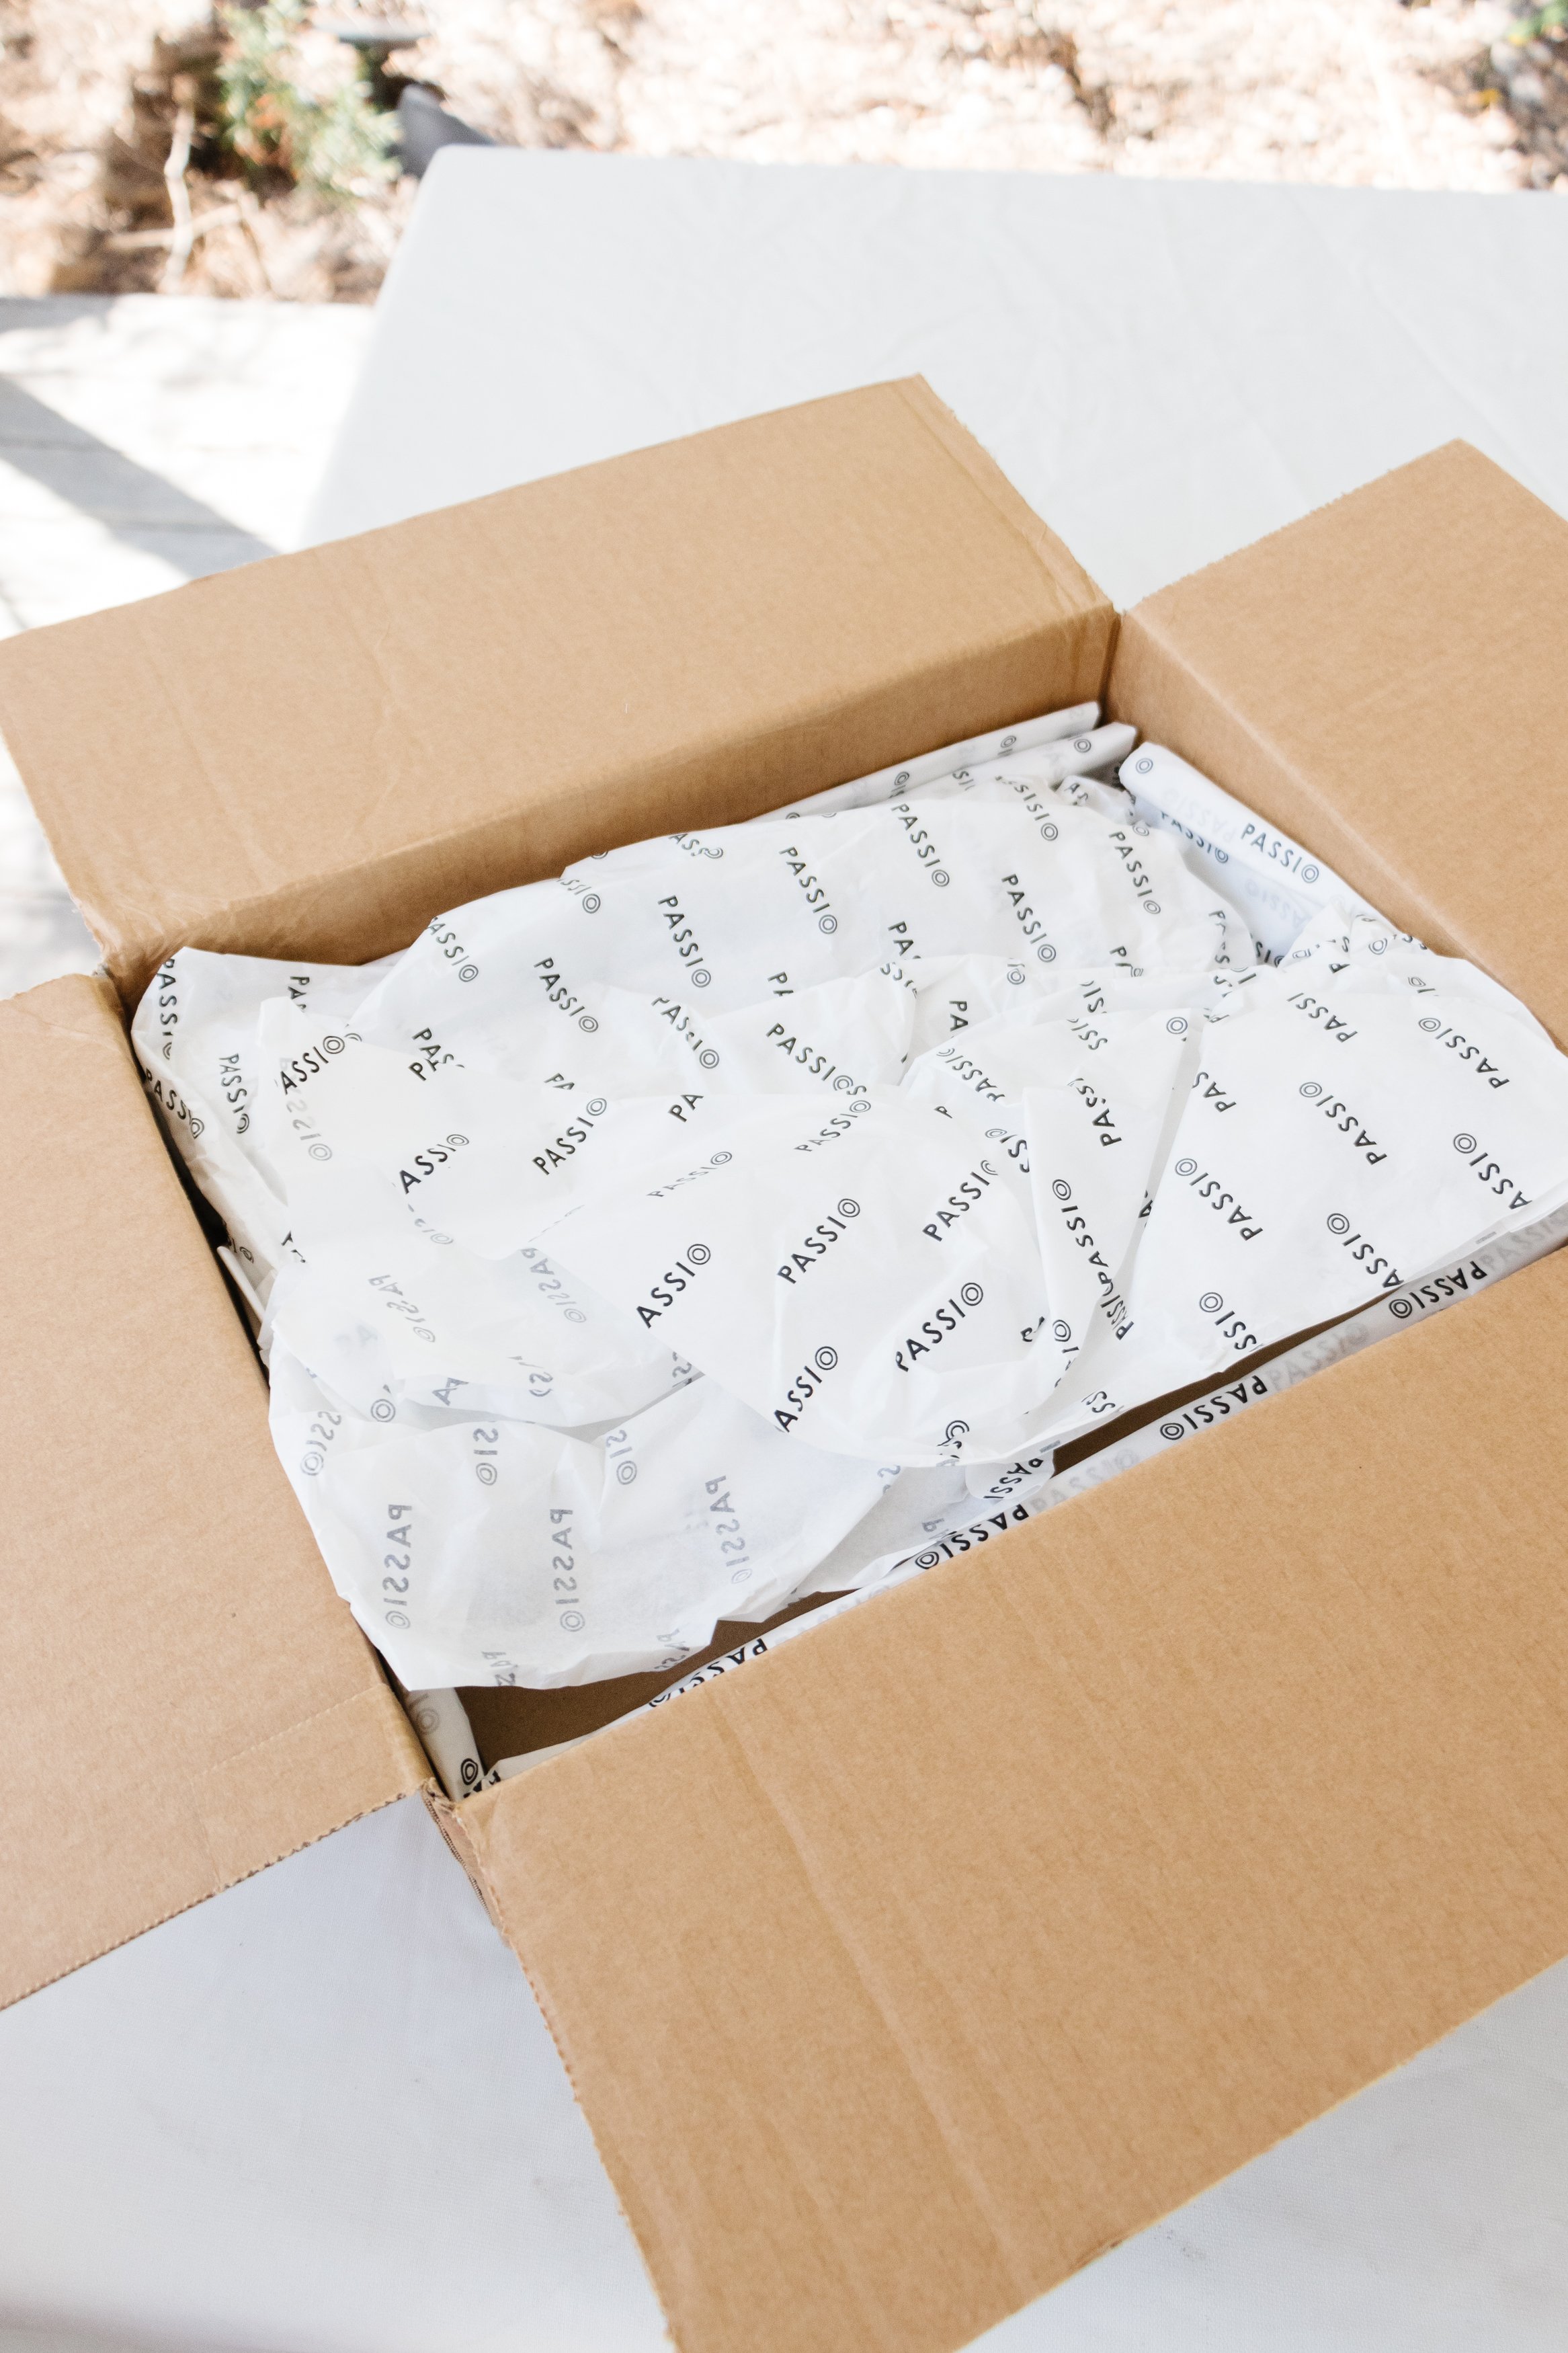
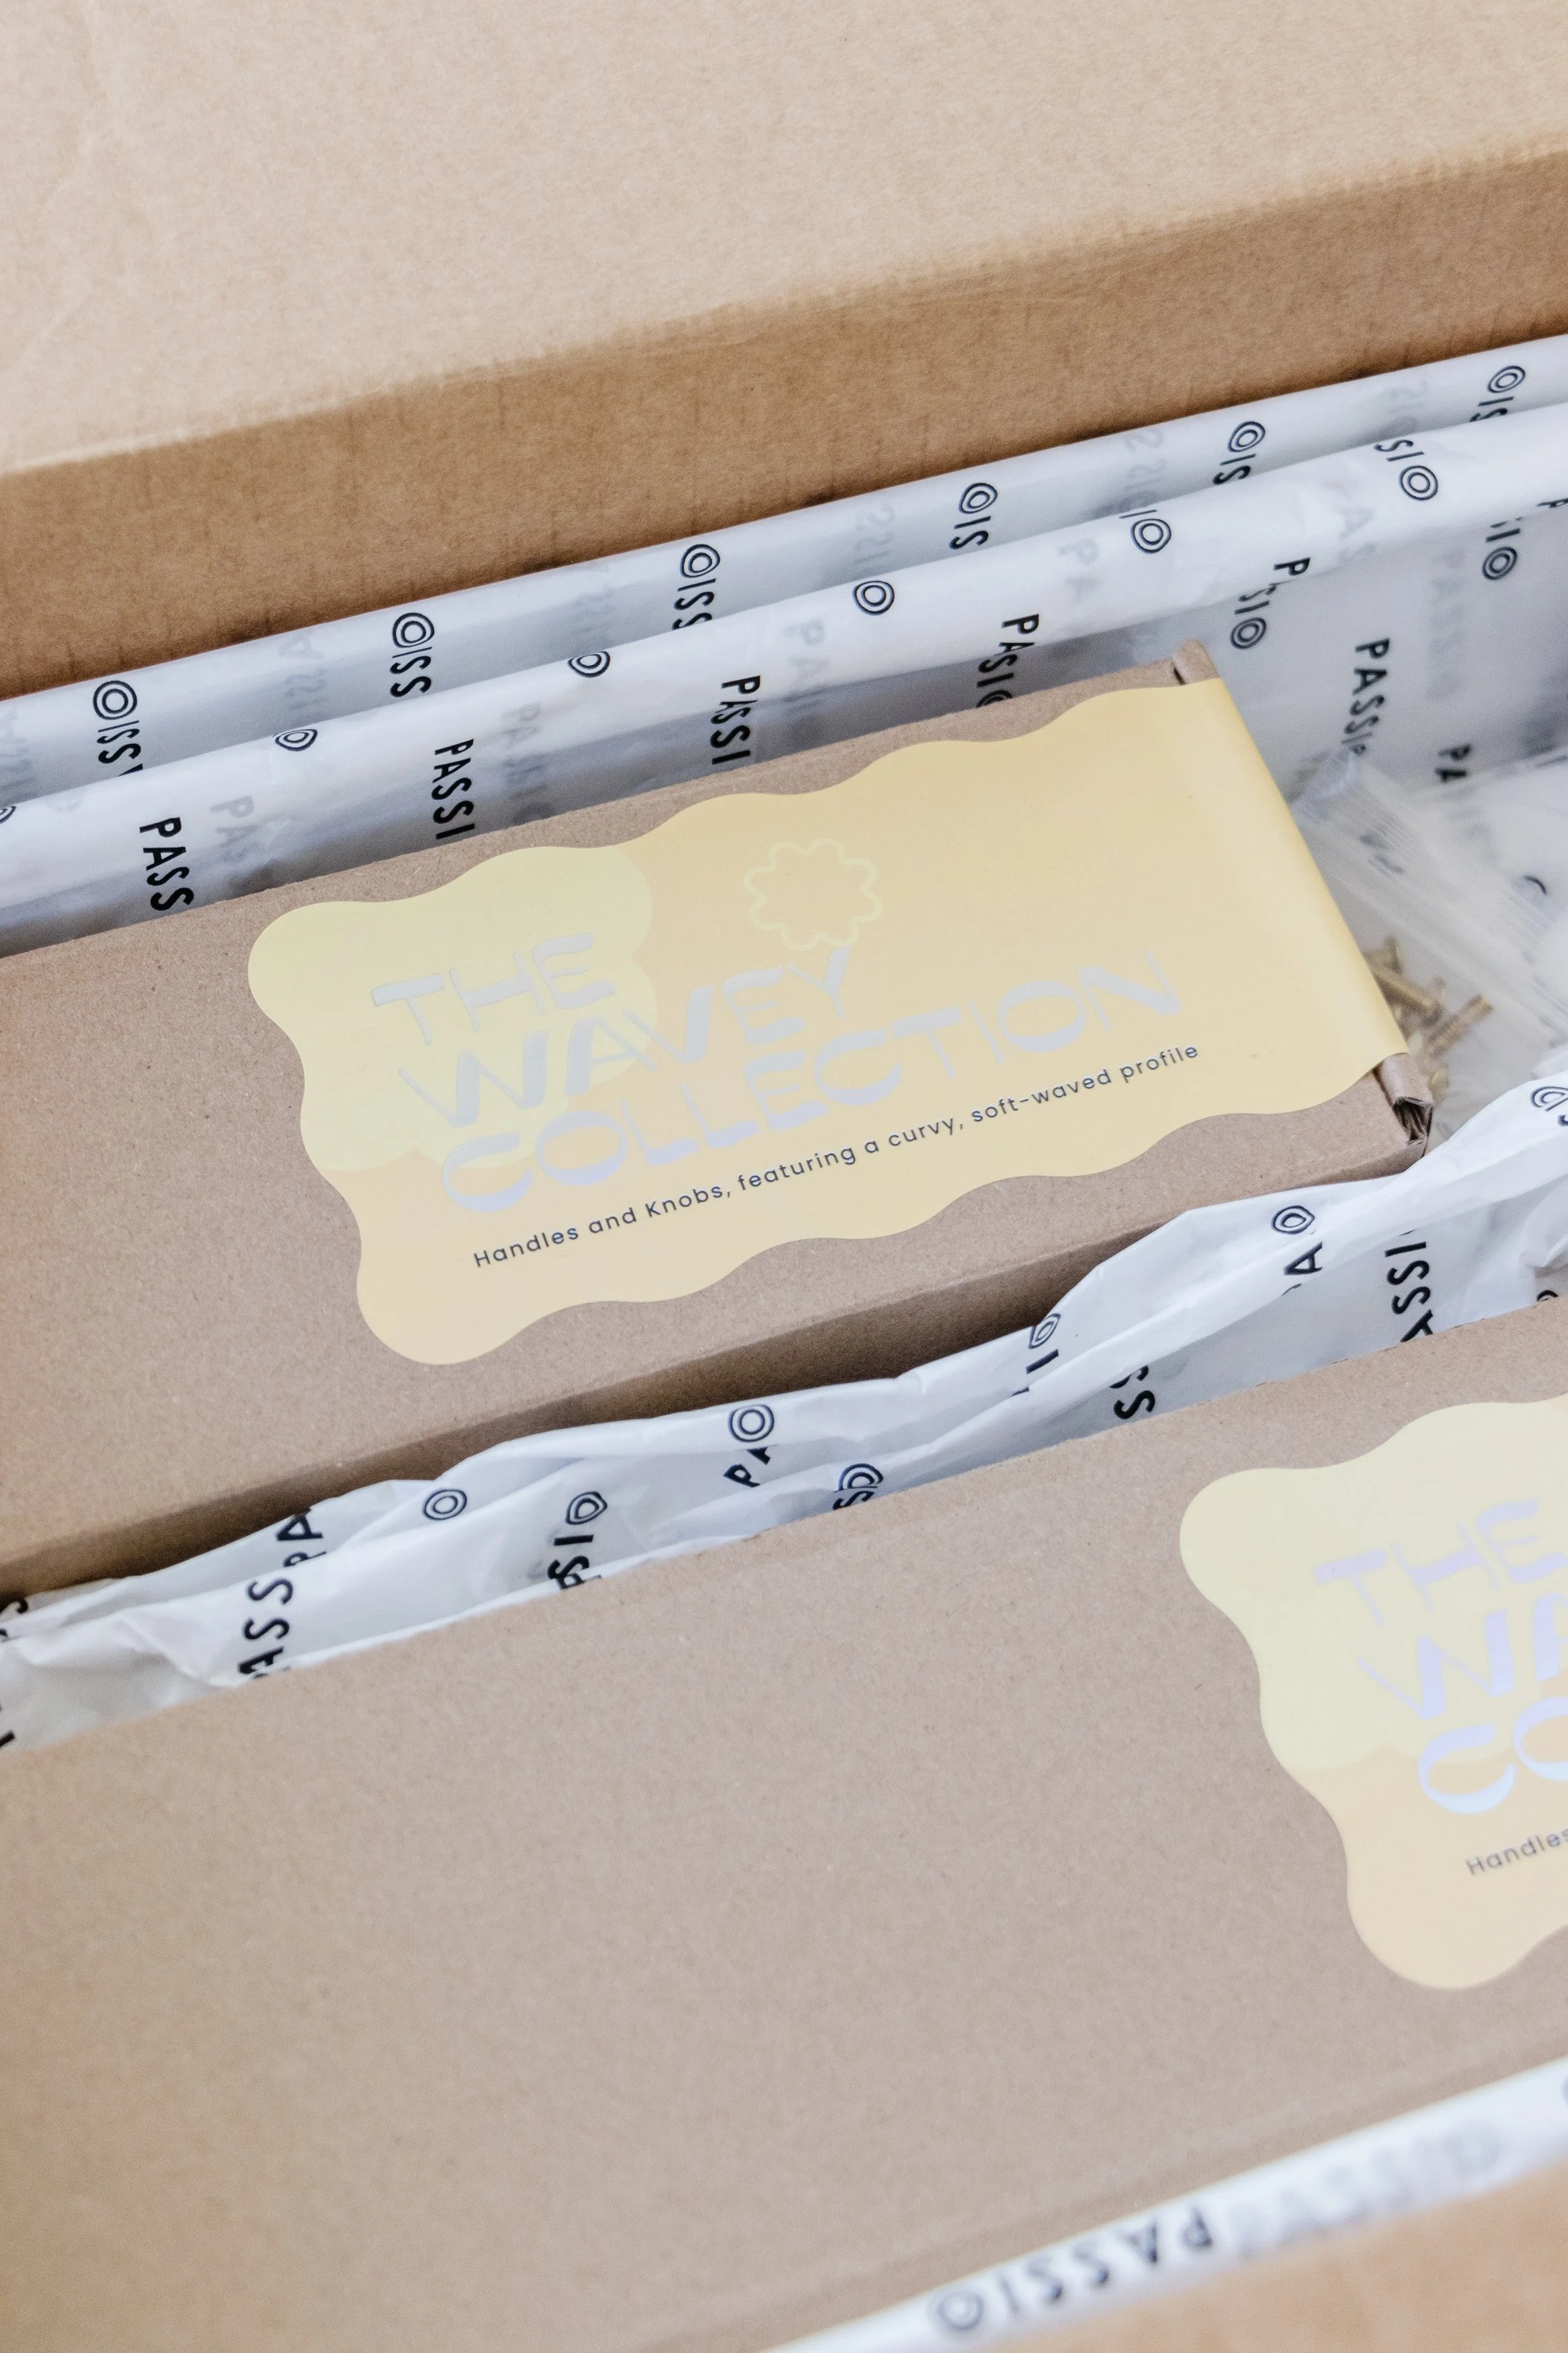
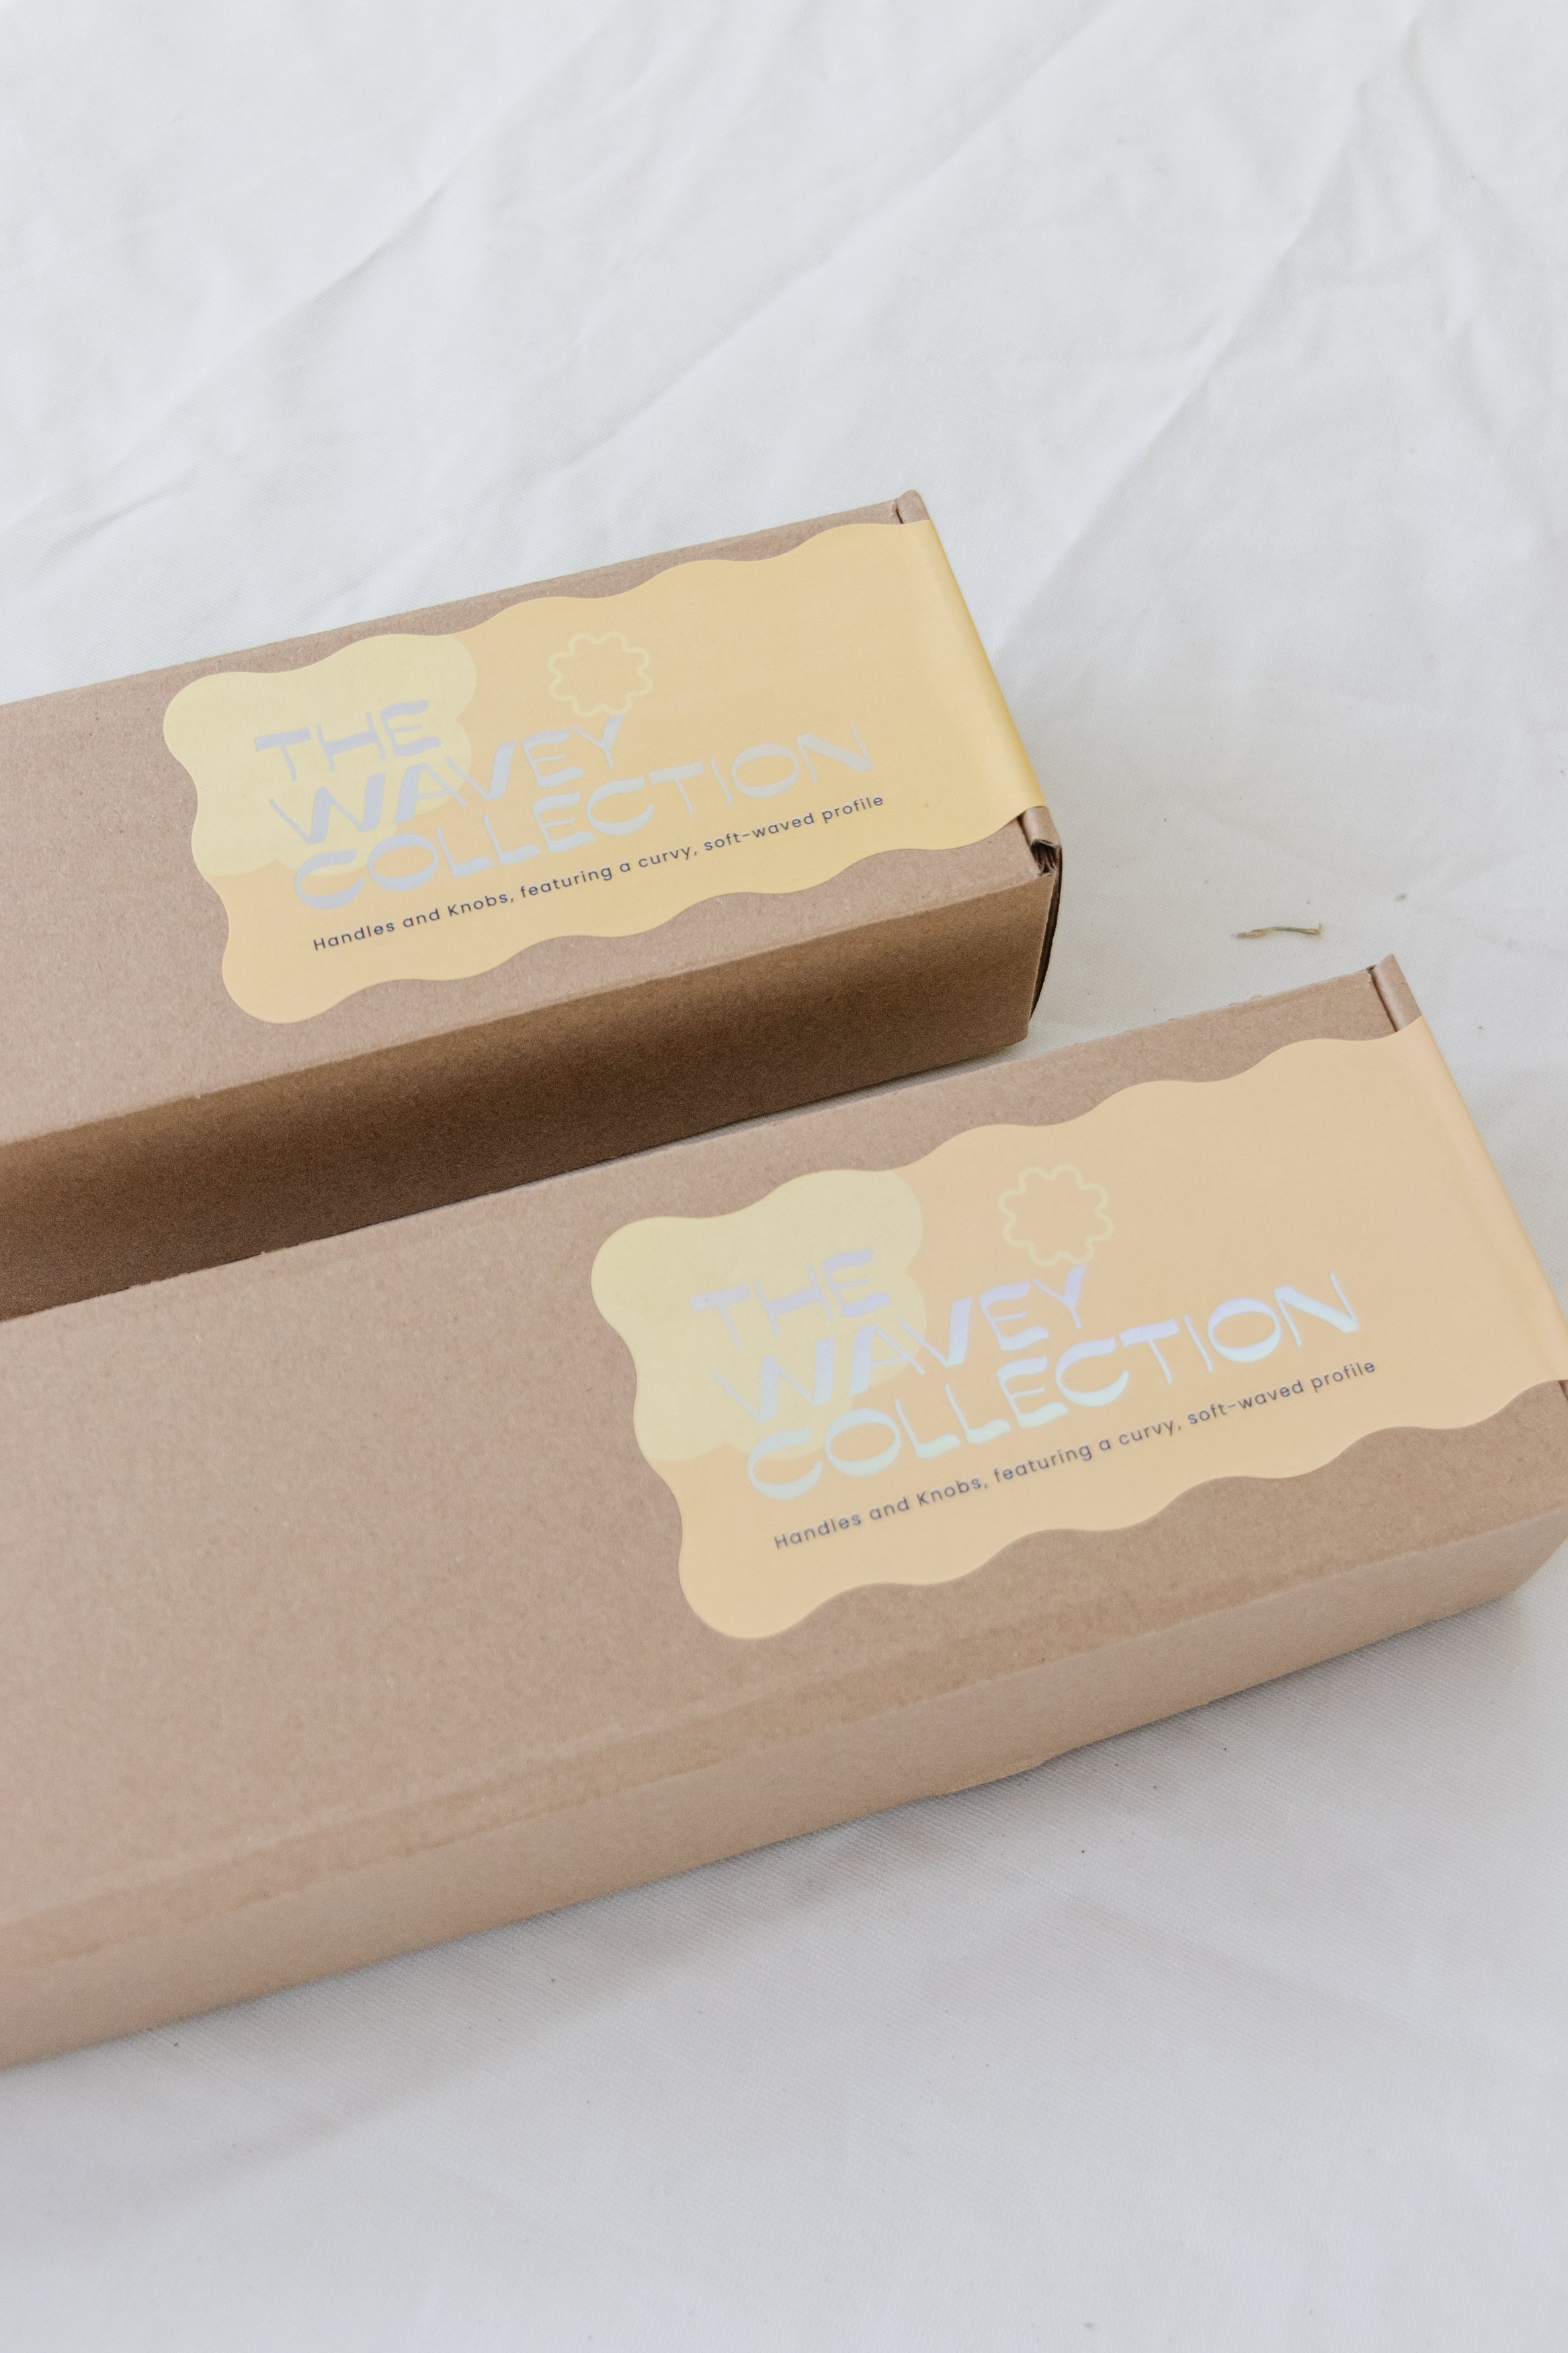
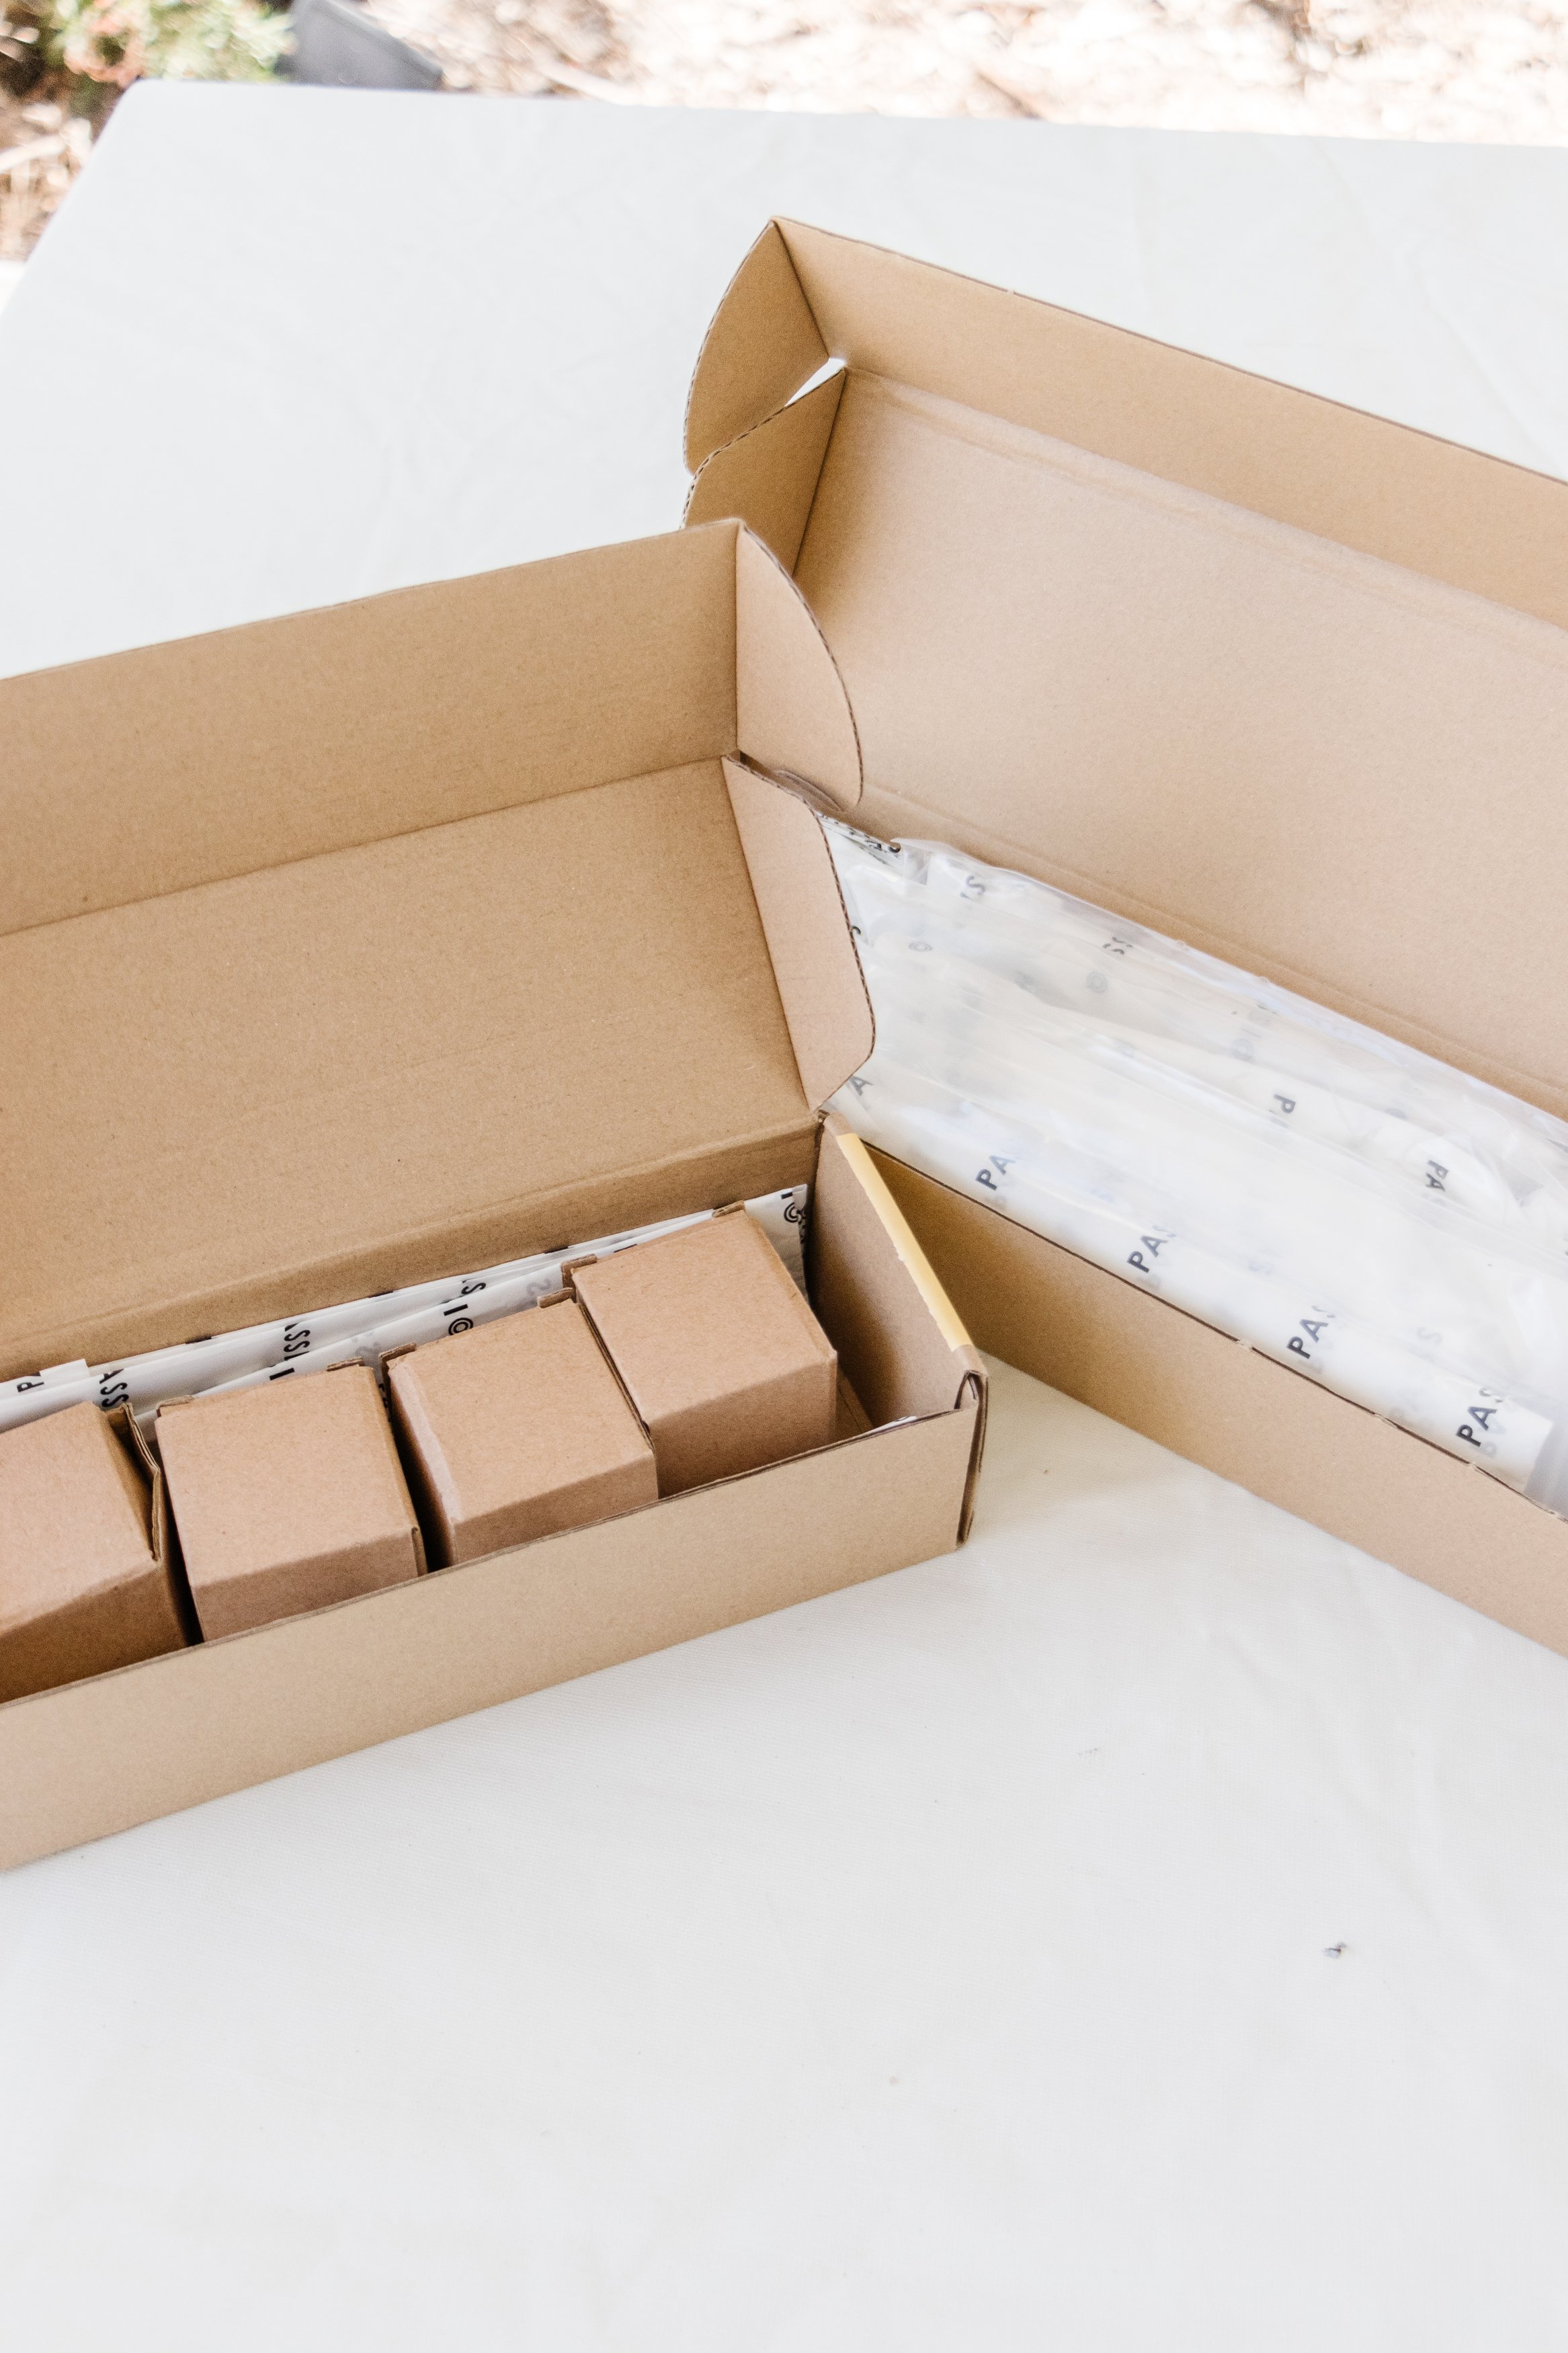
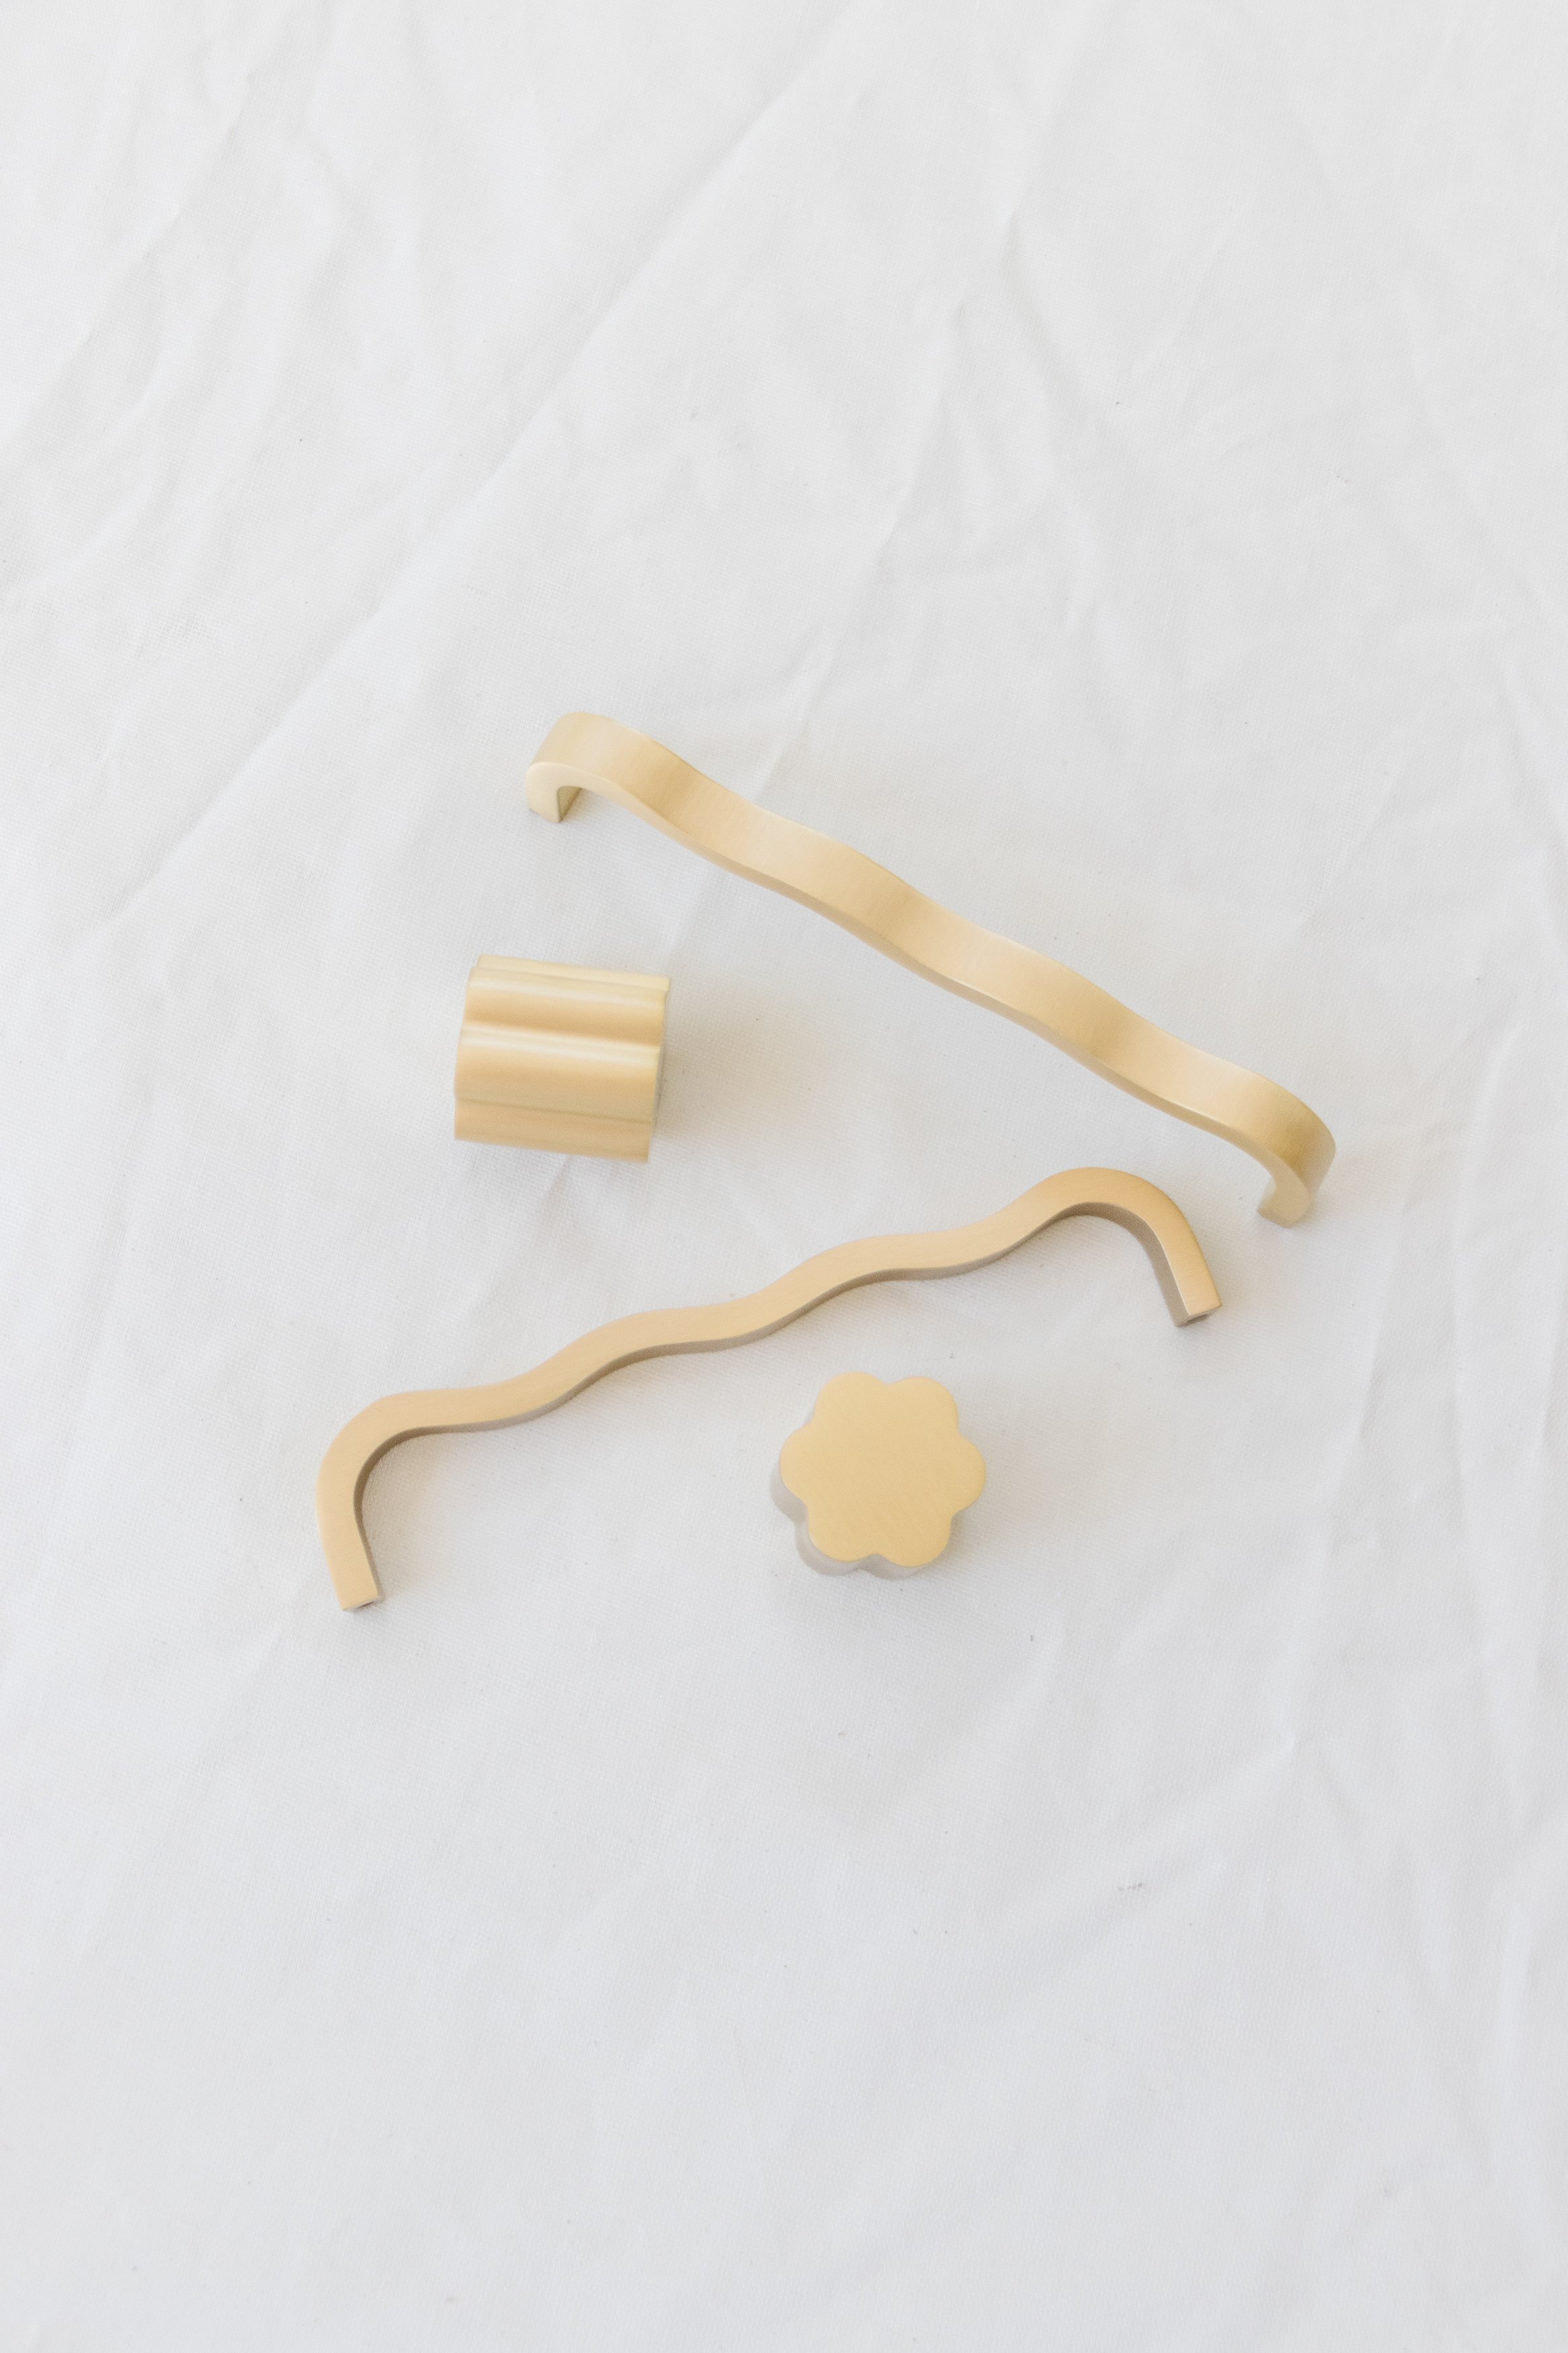
4 x Passio “Wavey” Solid Brass Knobs in M
6 x Passio “Wavey” Sold Brass Handles in S
Tools
Drill
Screwdriver
Sander
Drill and bits
Paint roller
Paint brush
Ruler/pencil
Sharp knife

How To
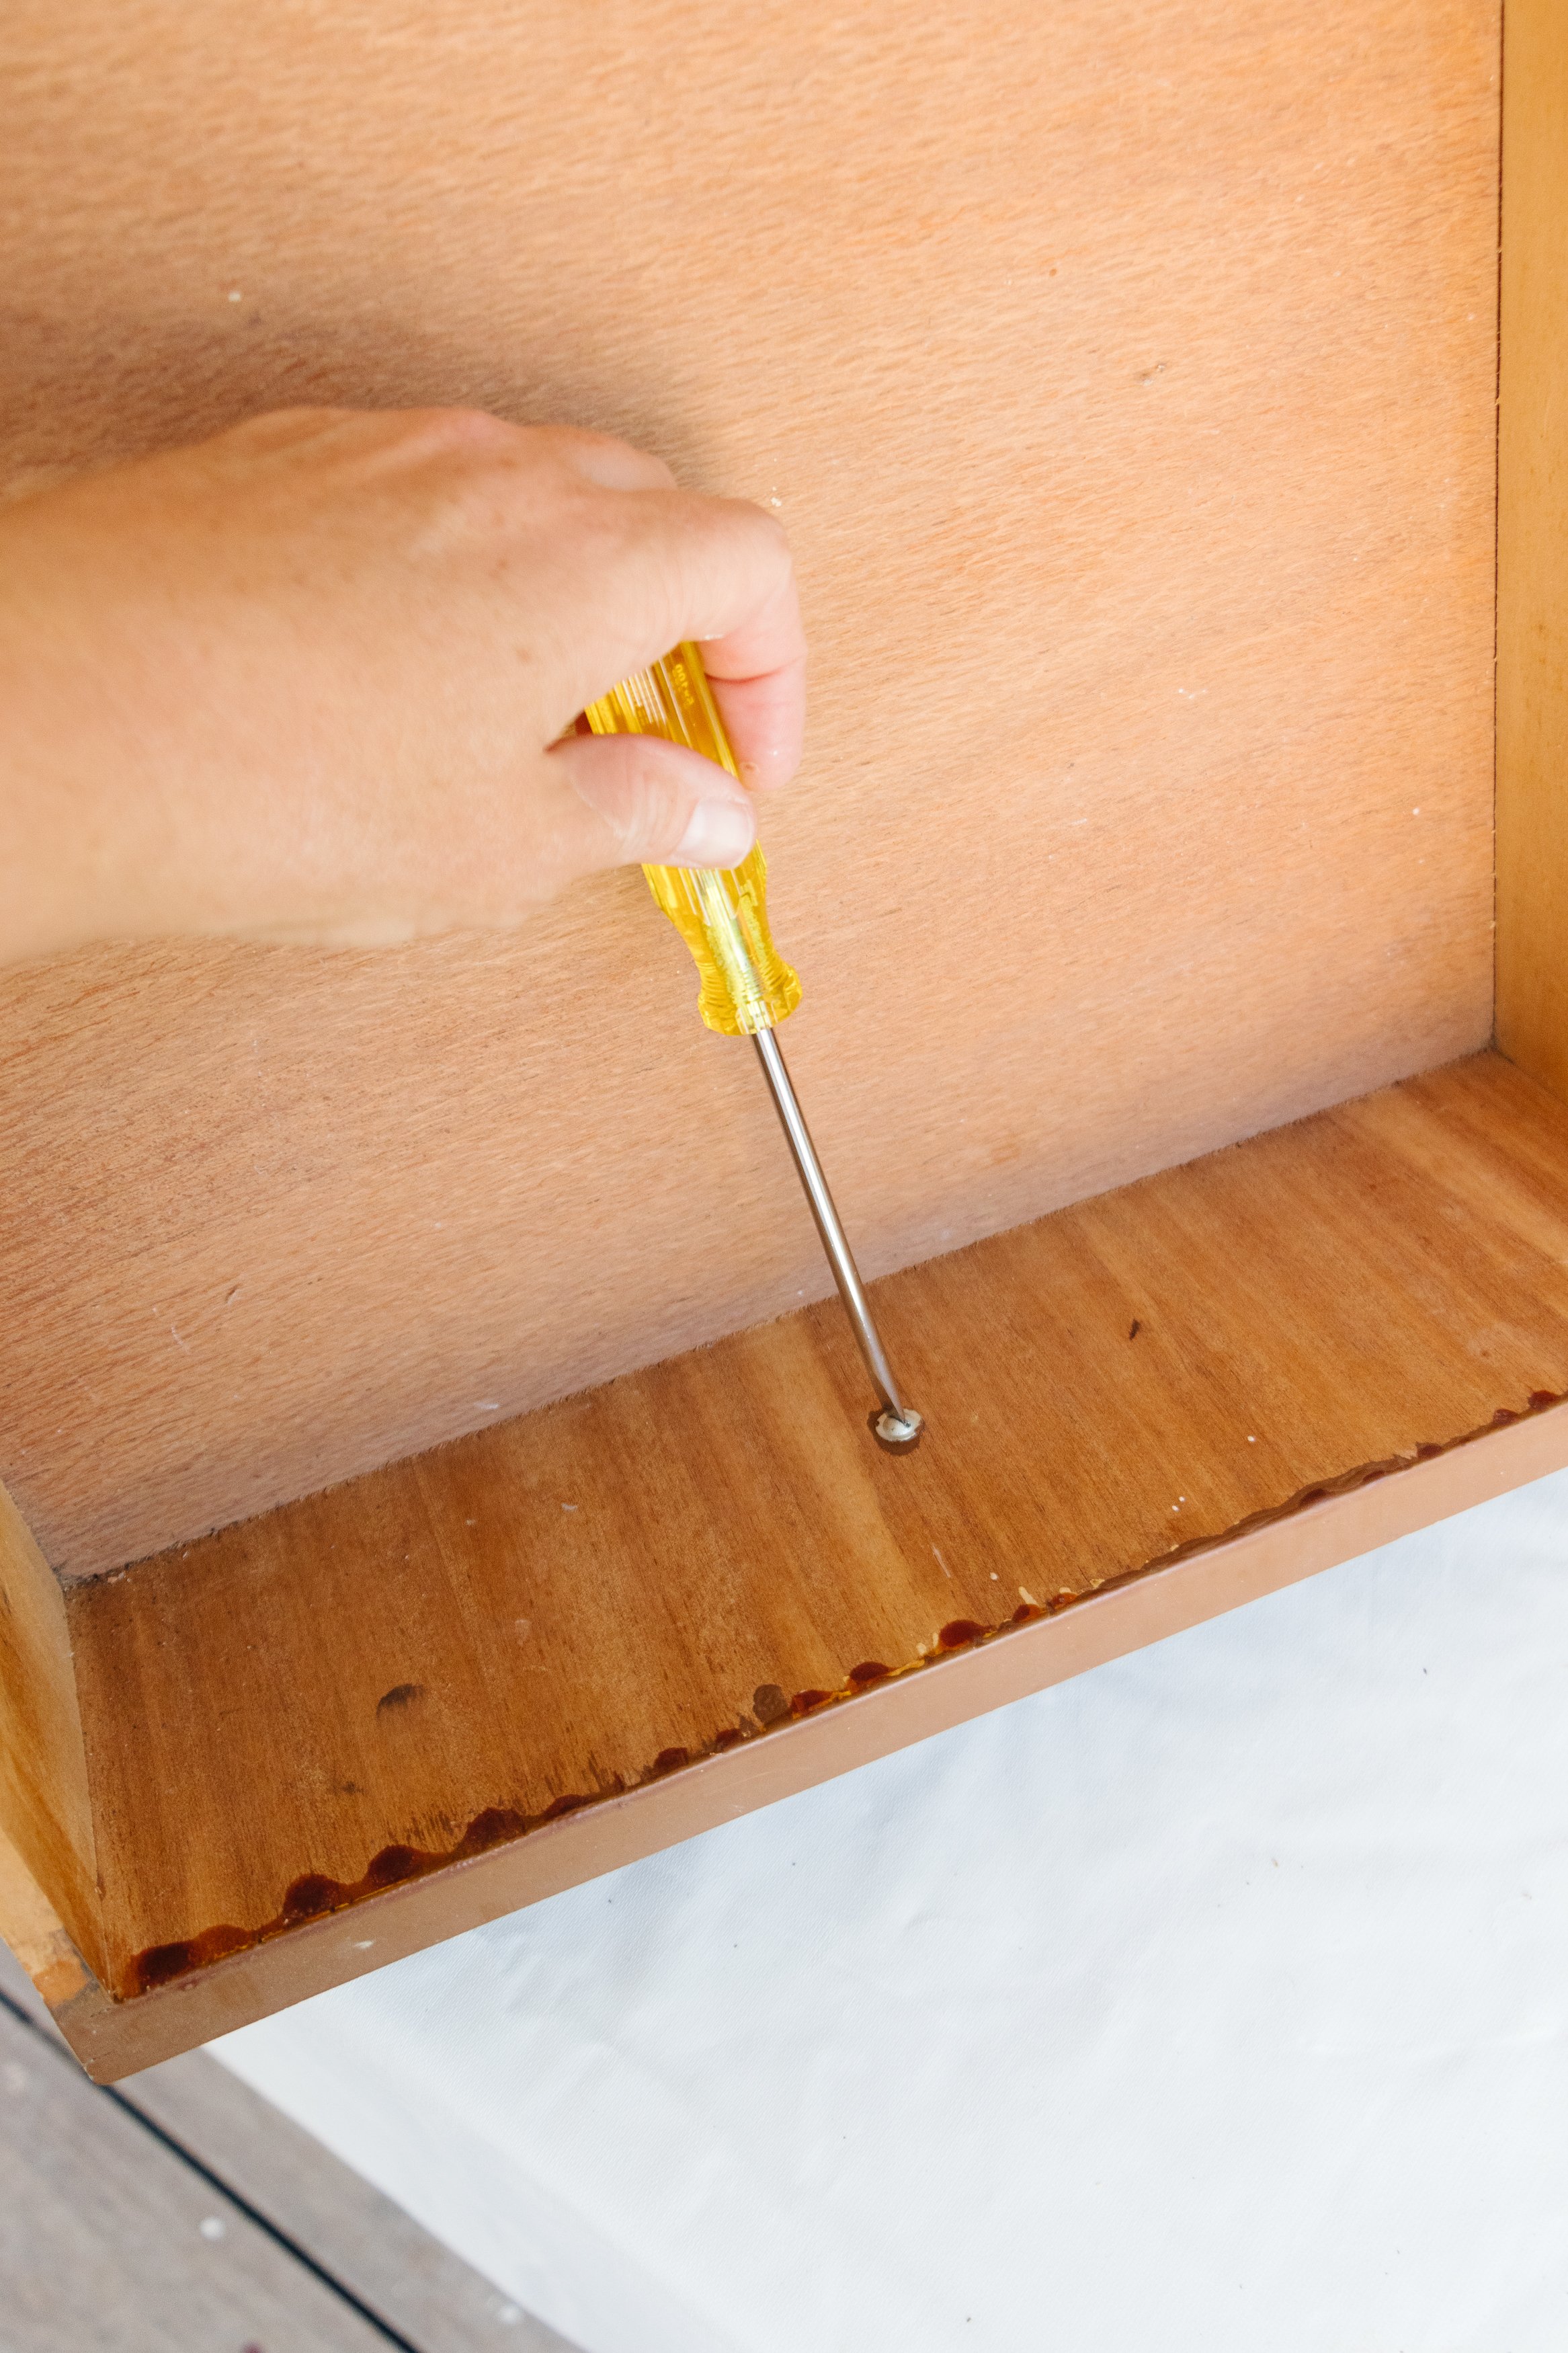
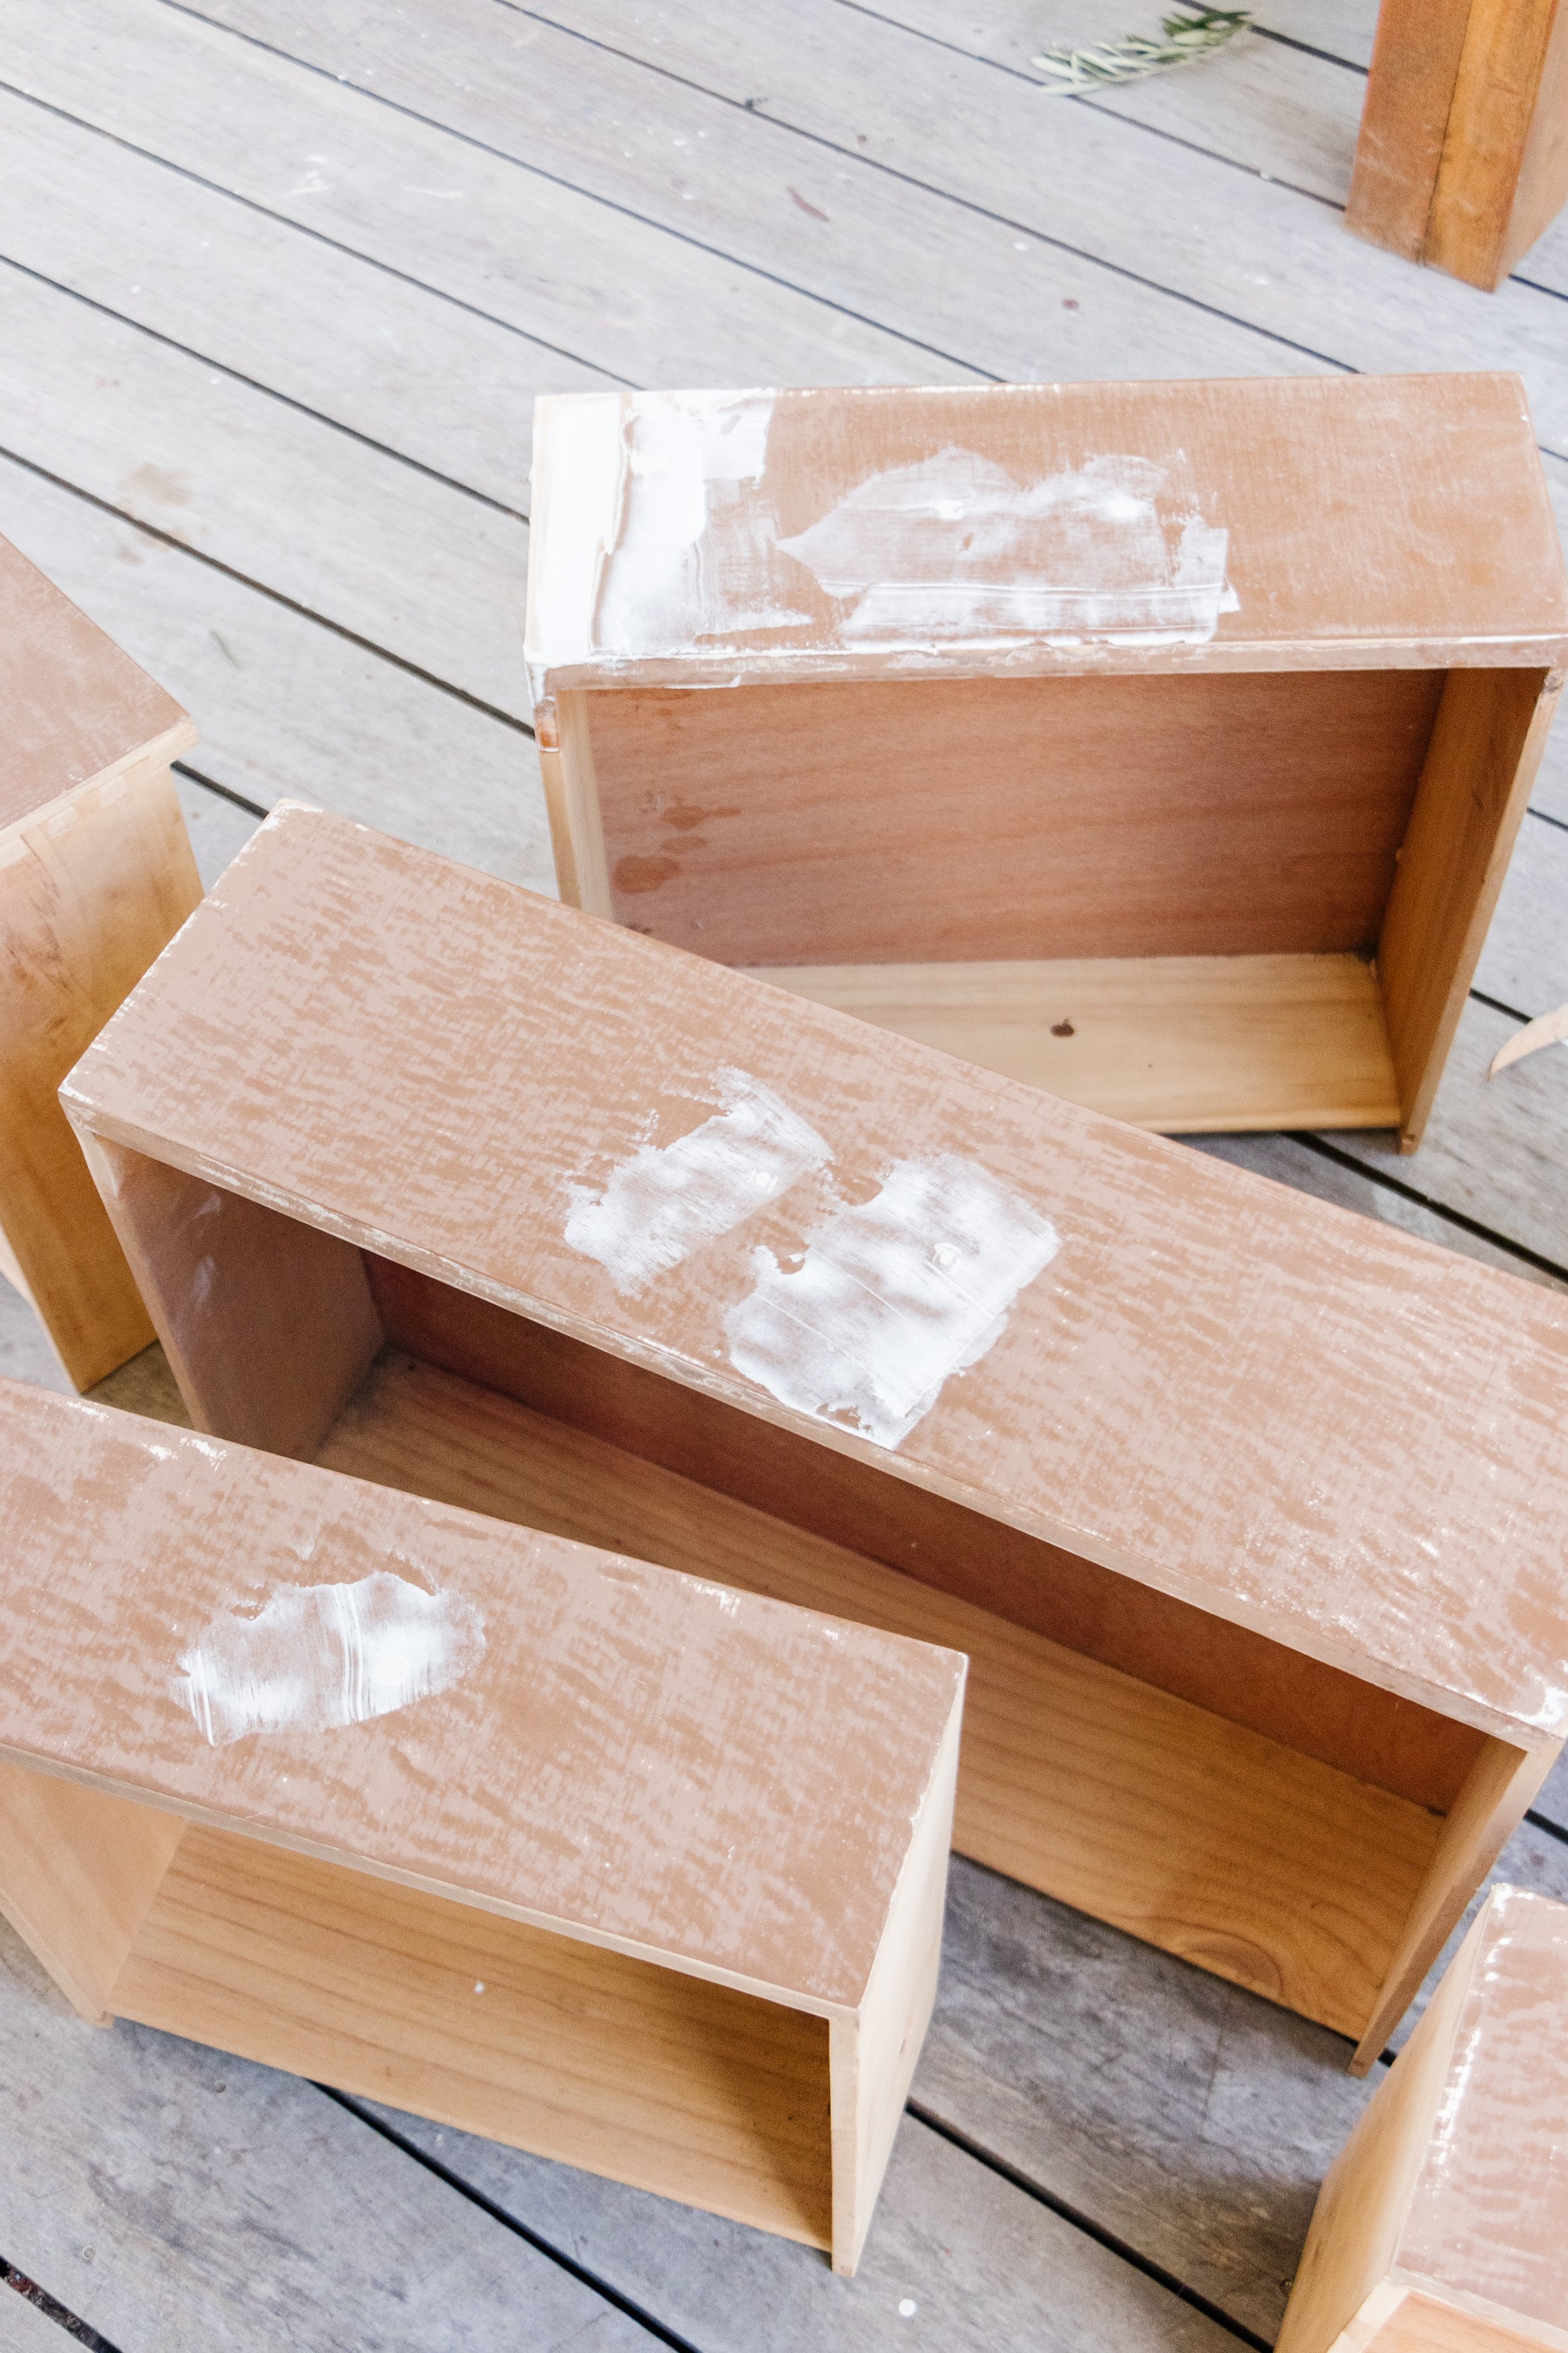
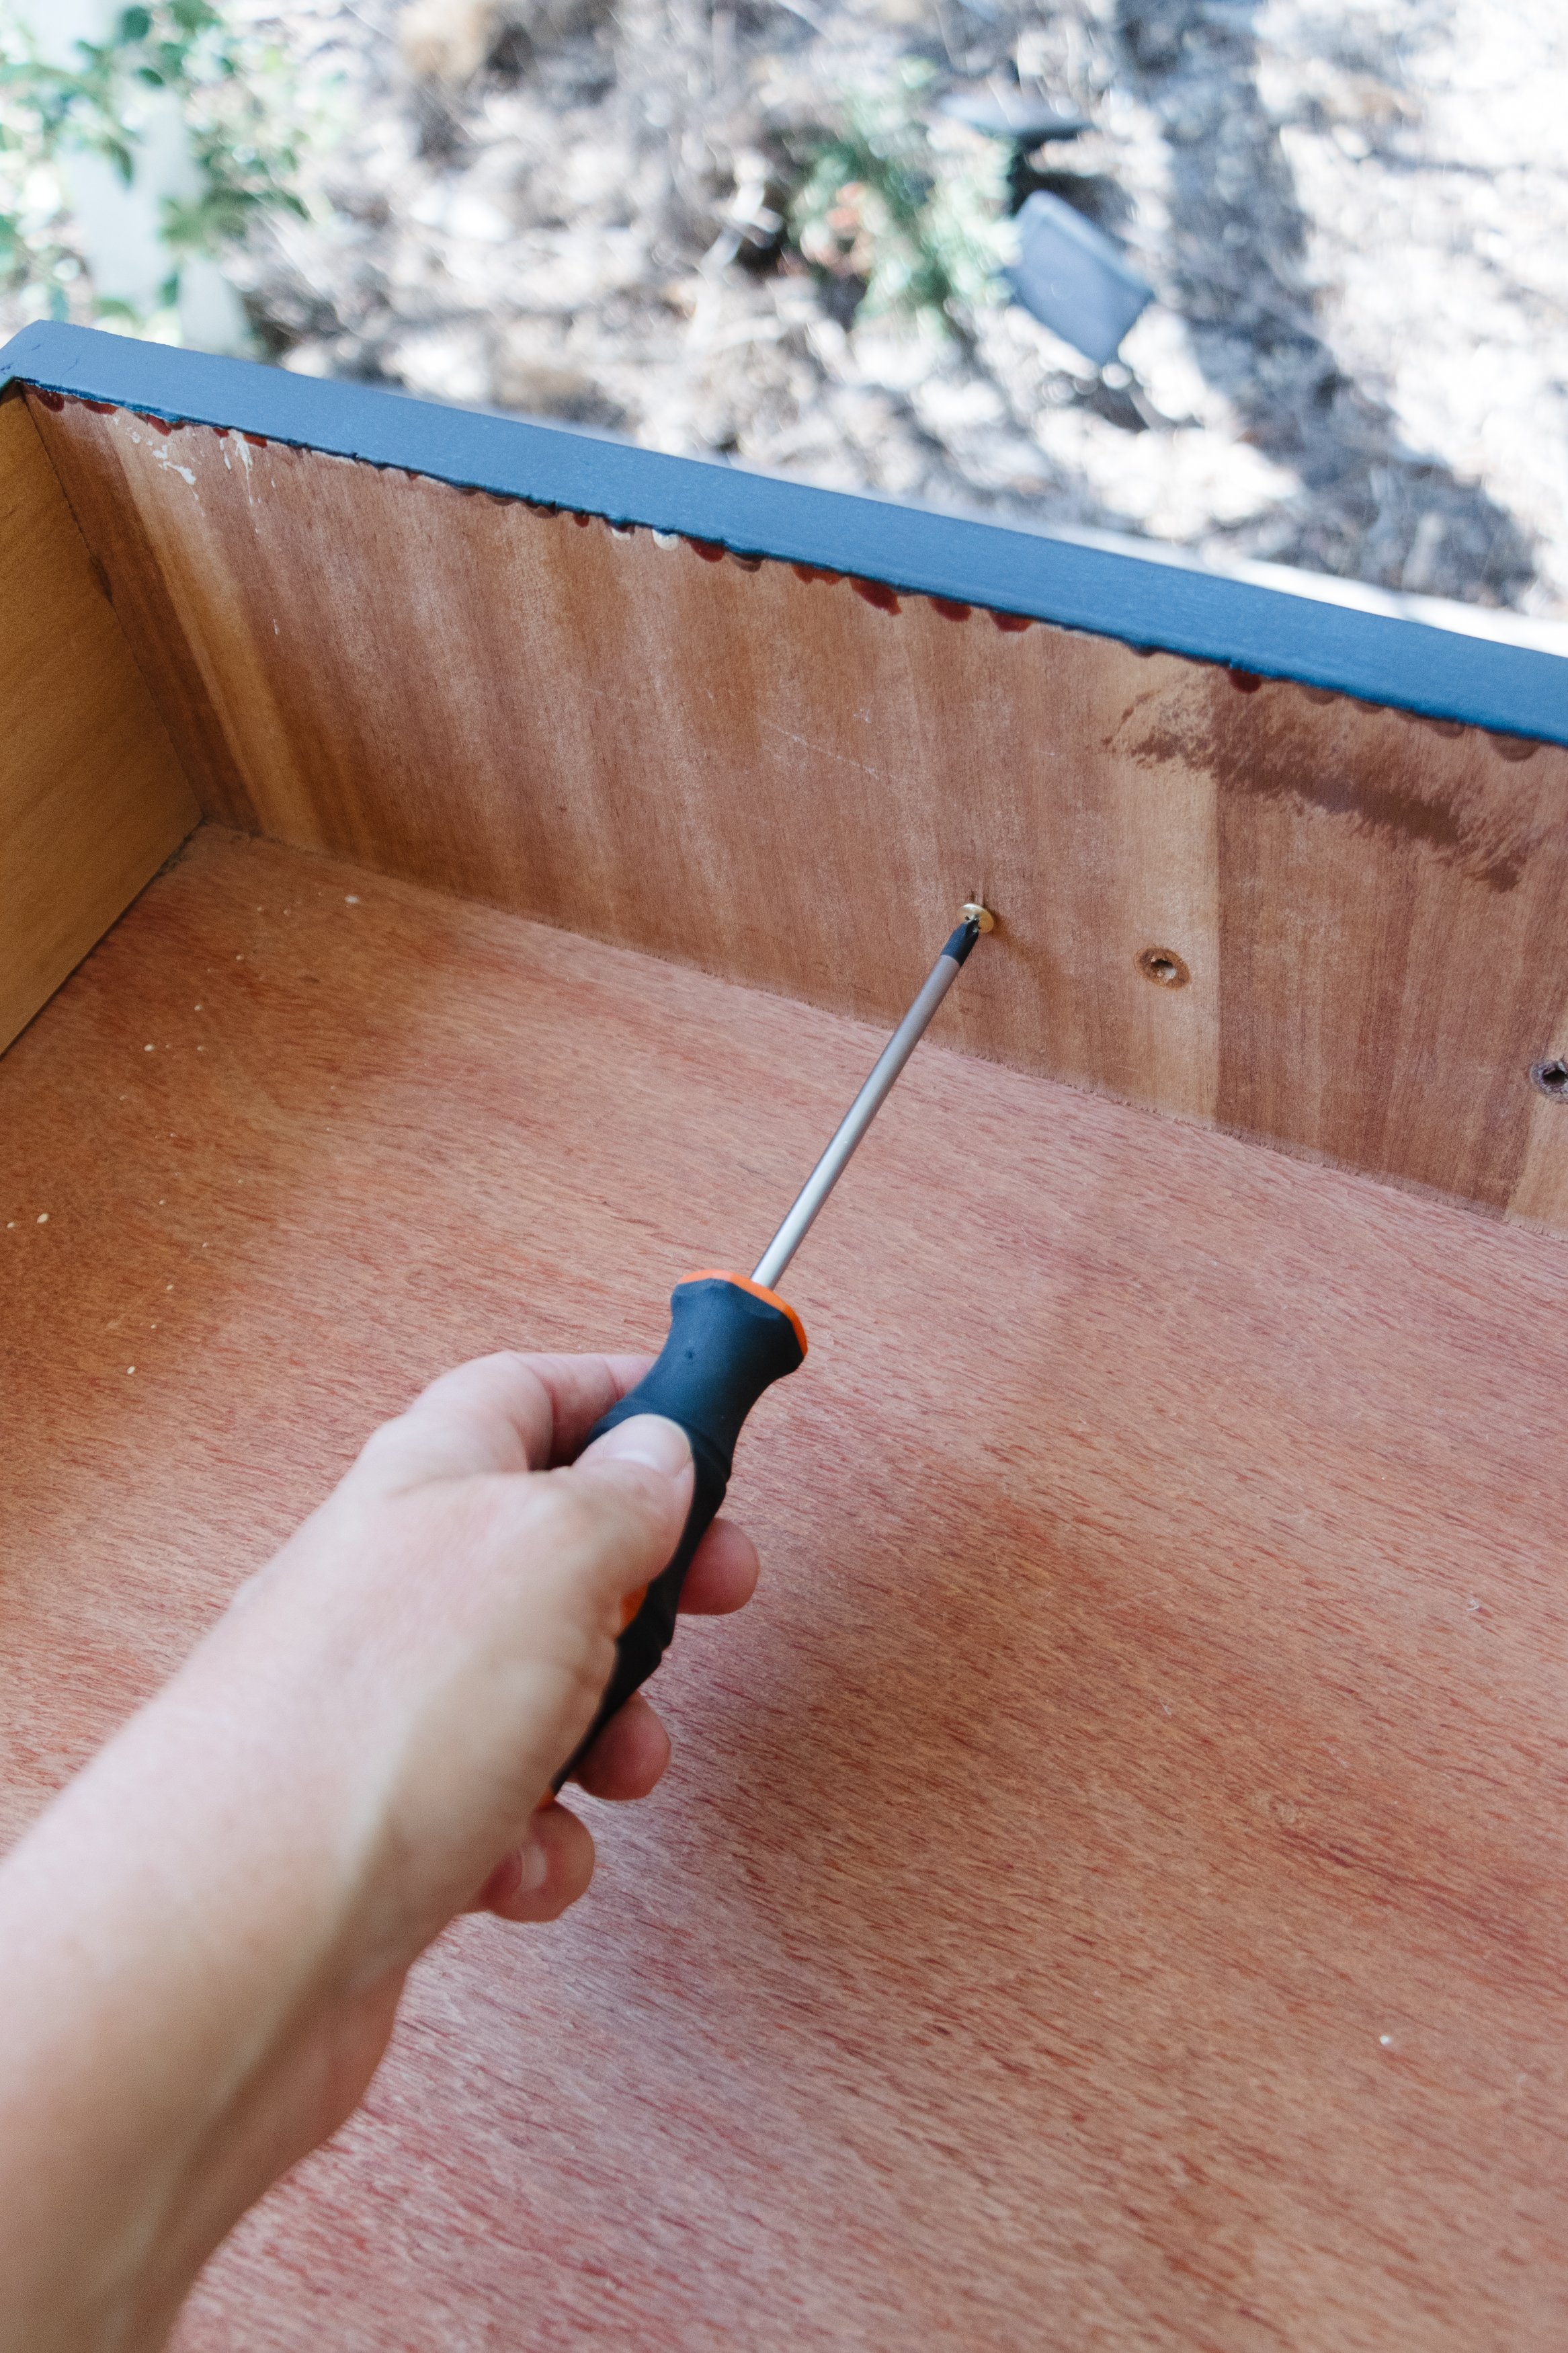
Step 1: Start by removing the drawers from the sideboard, then remove the handles and knobs using a drill and/or a screwdriver.
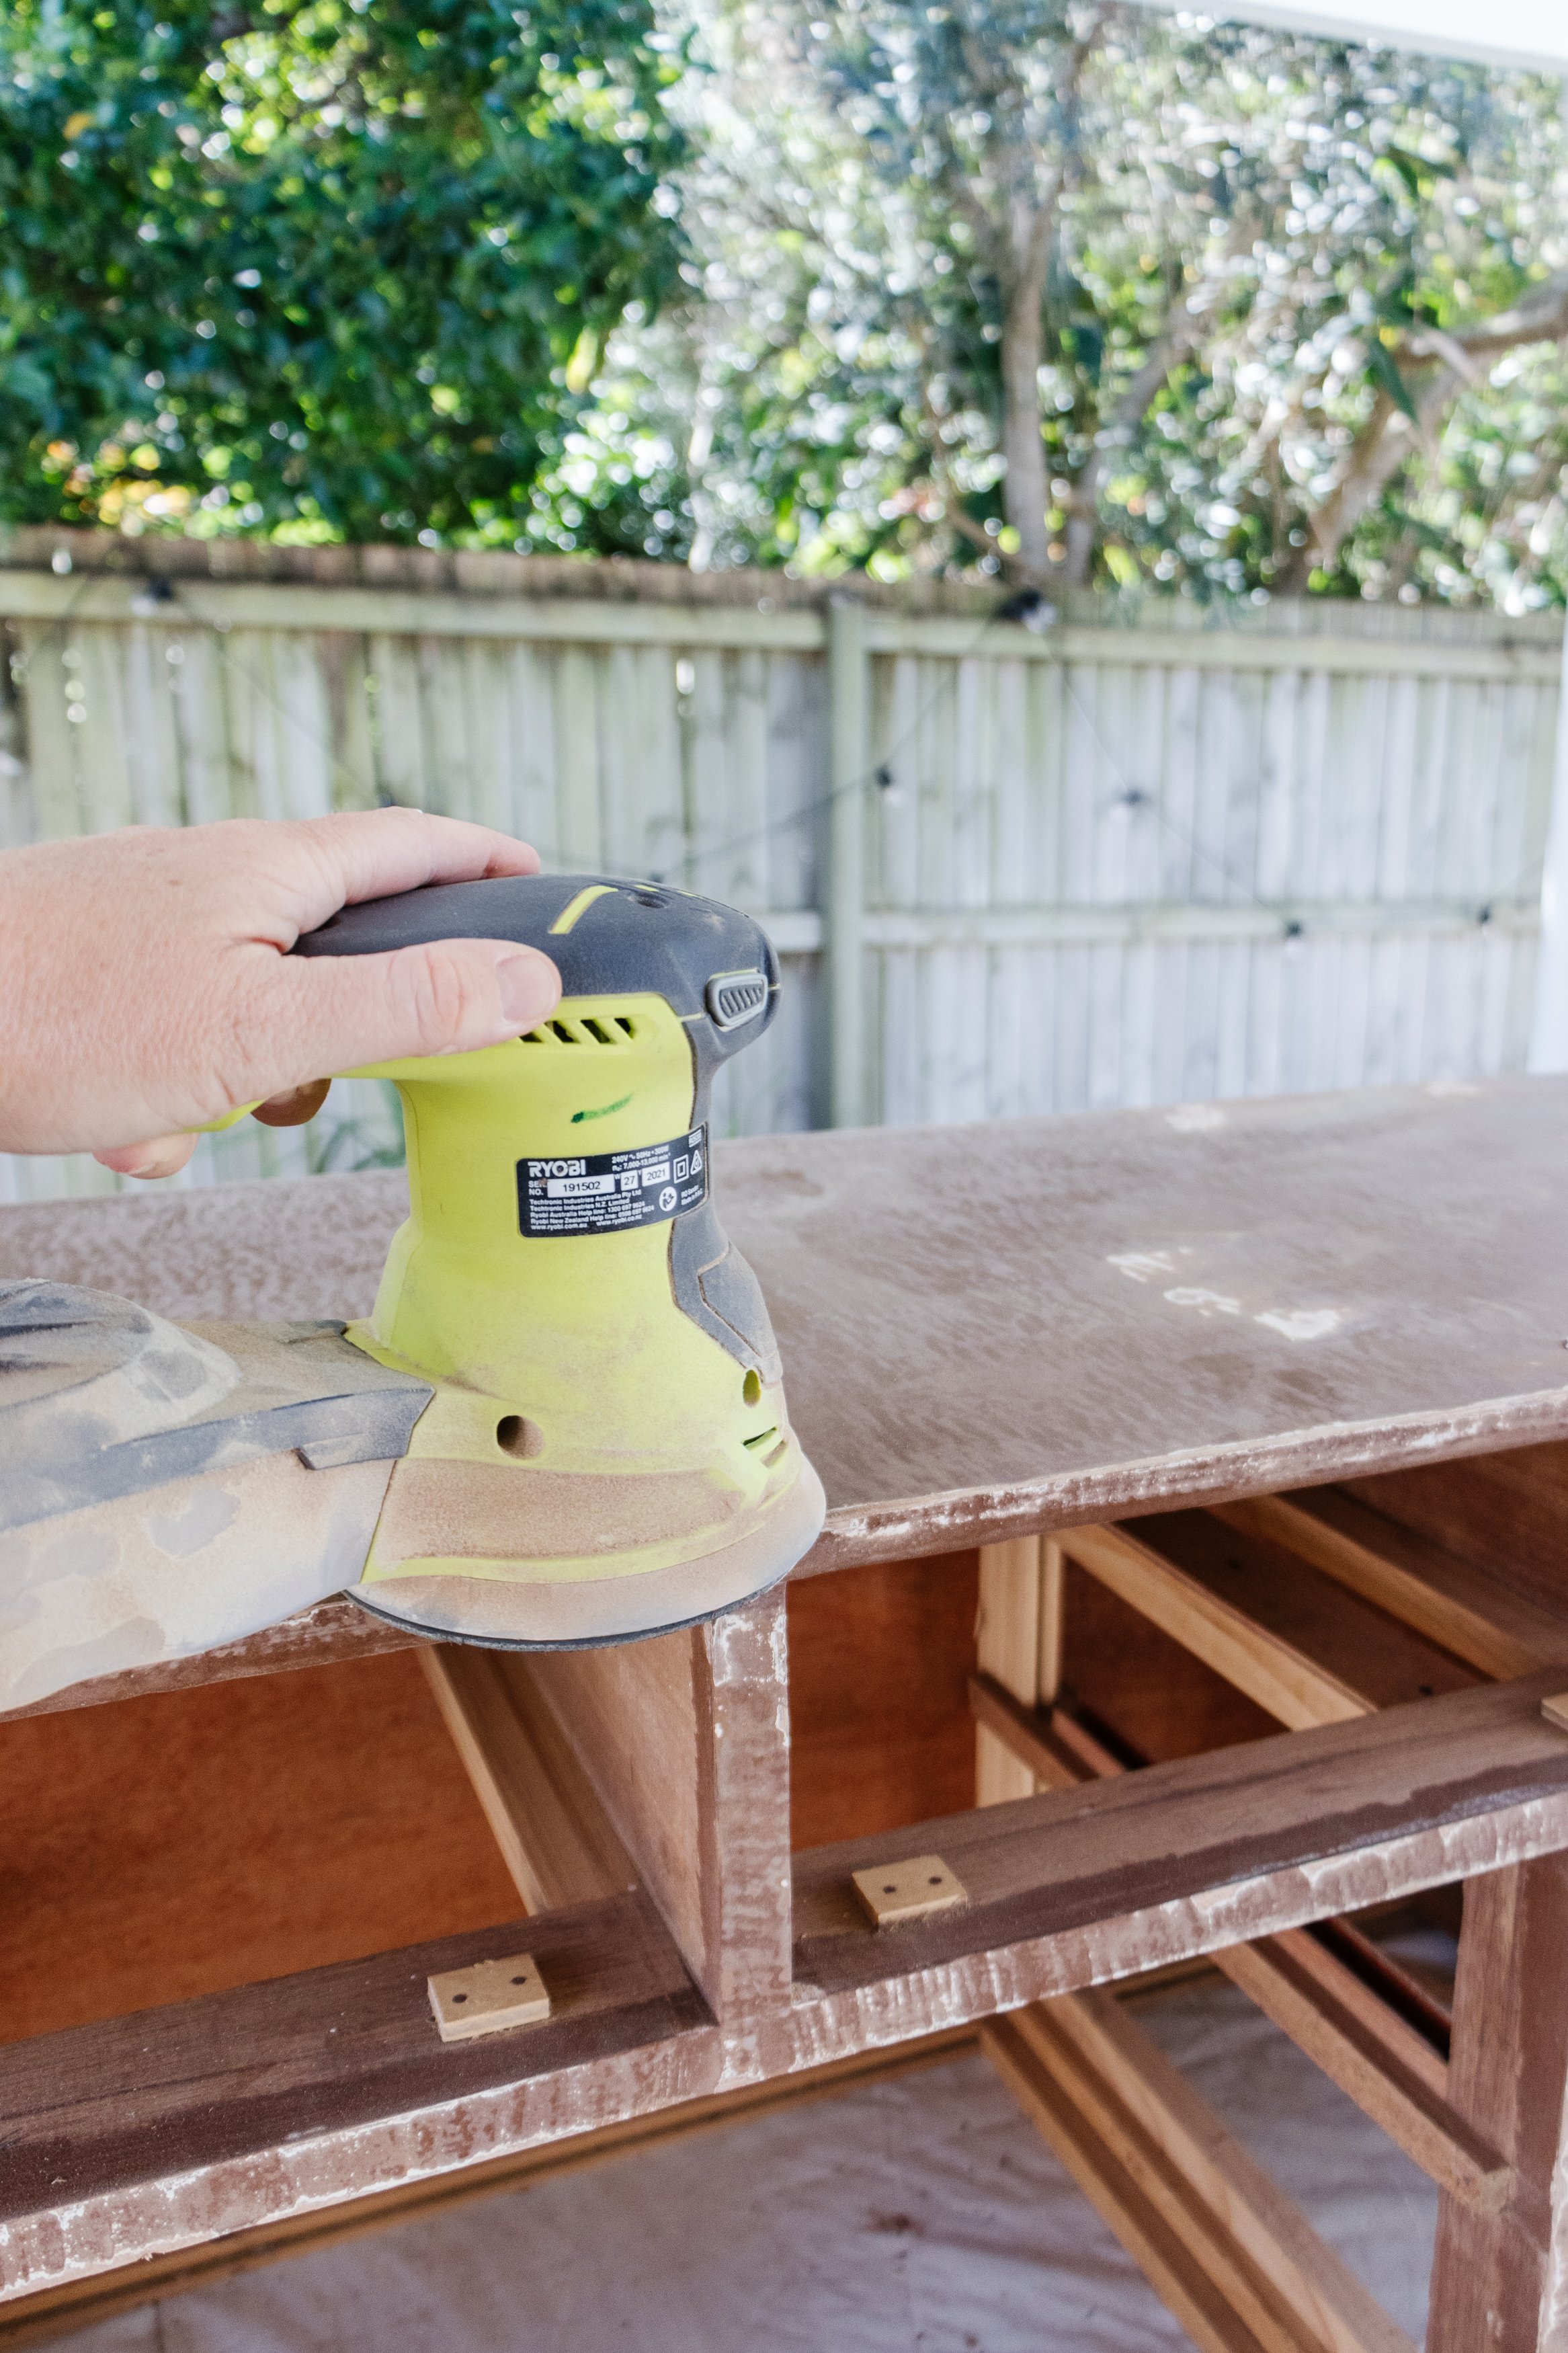
Step 2: Wearing safety eyewear, a safety mask and ear plugs sand the cabinet and the face of the drawers using a sander. I didn’t worry about completely removing the many layers of paint; I just gave it a light sand to create “teeth” for the primer to stick onto. Do not put the drawers back in just yet.
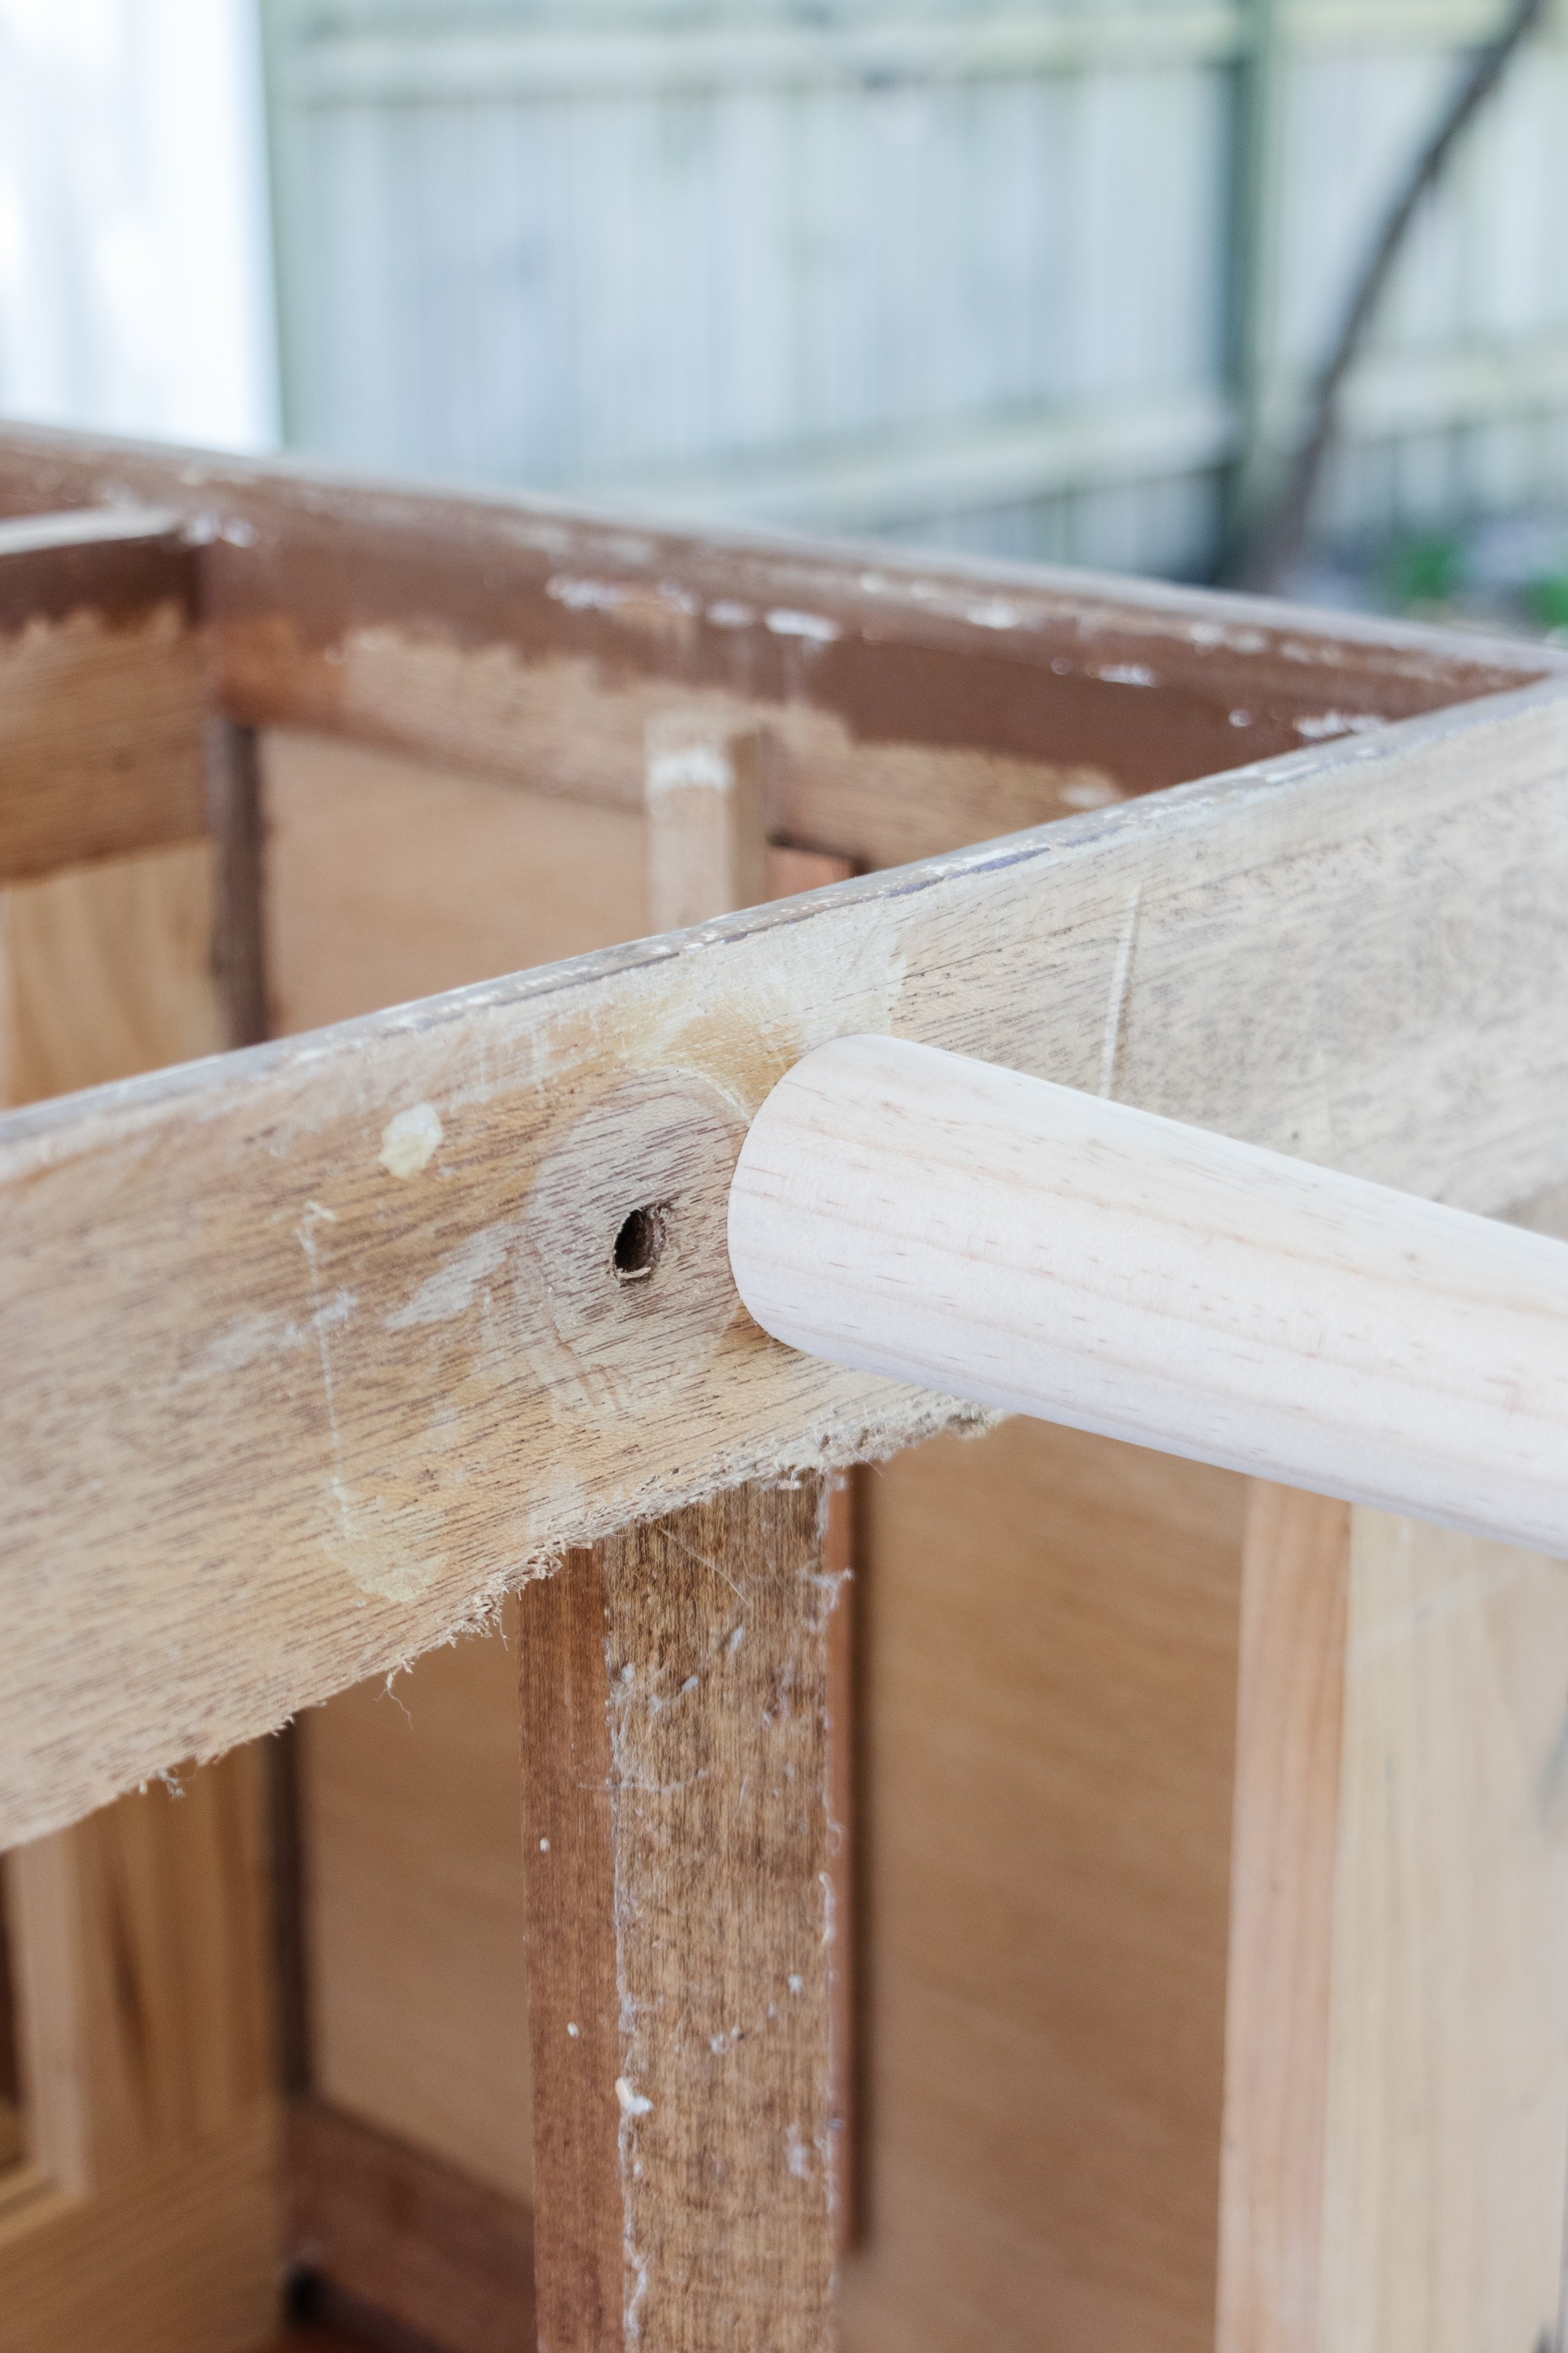
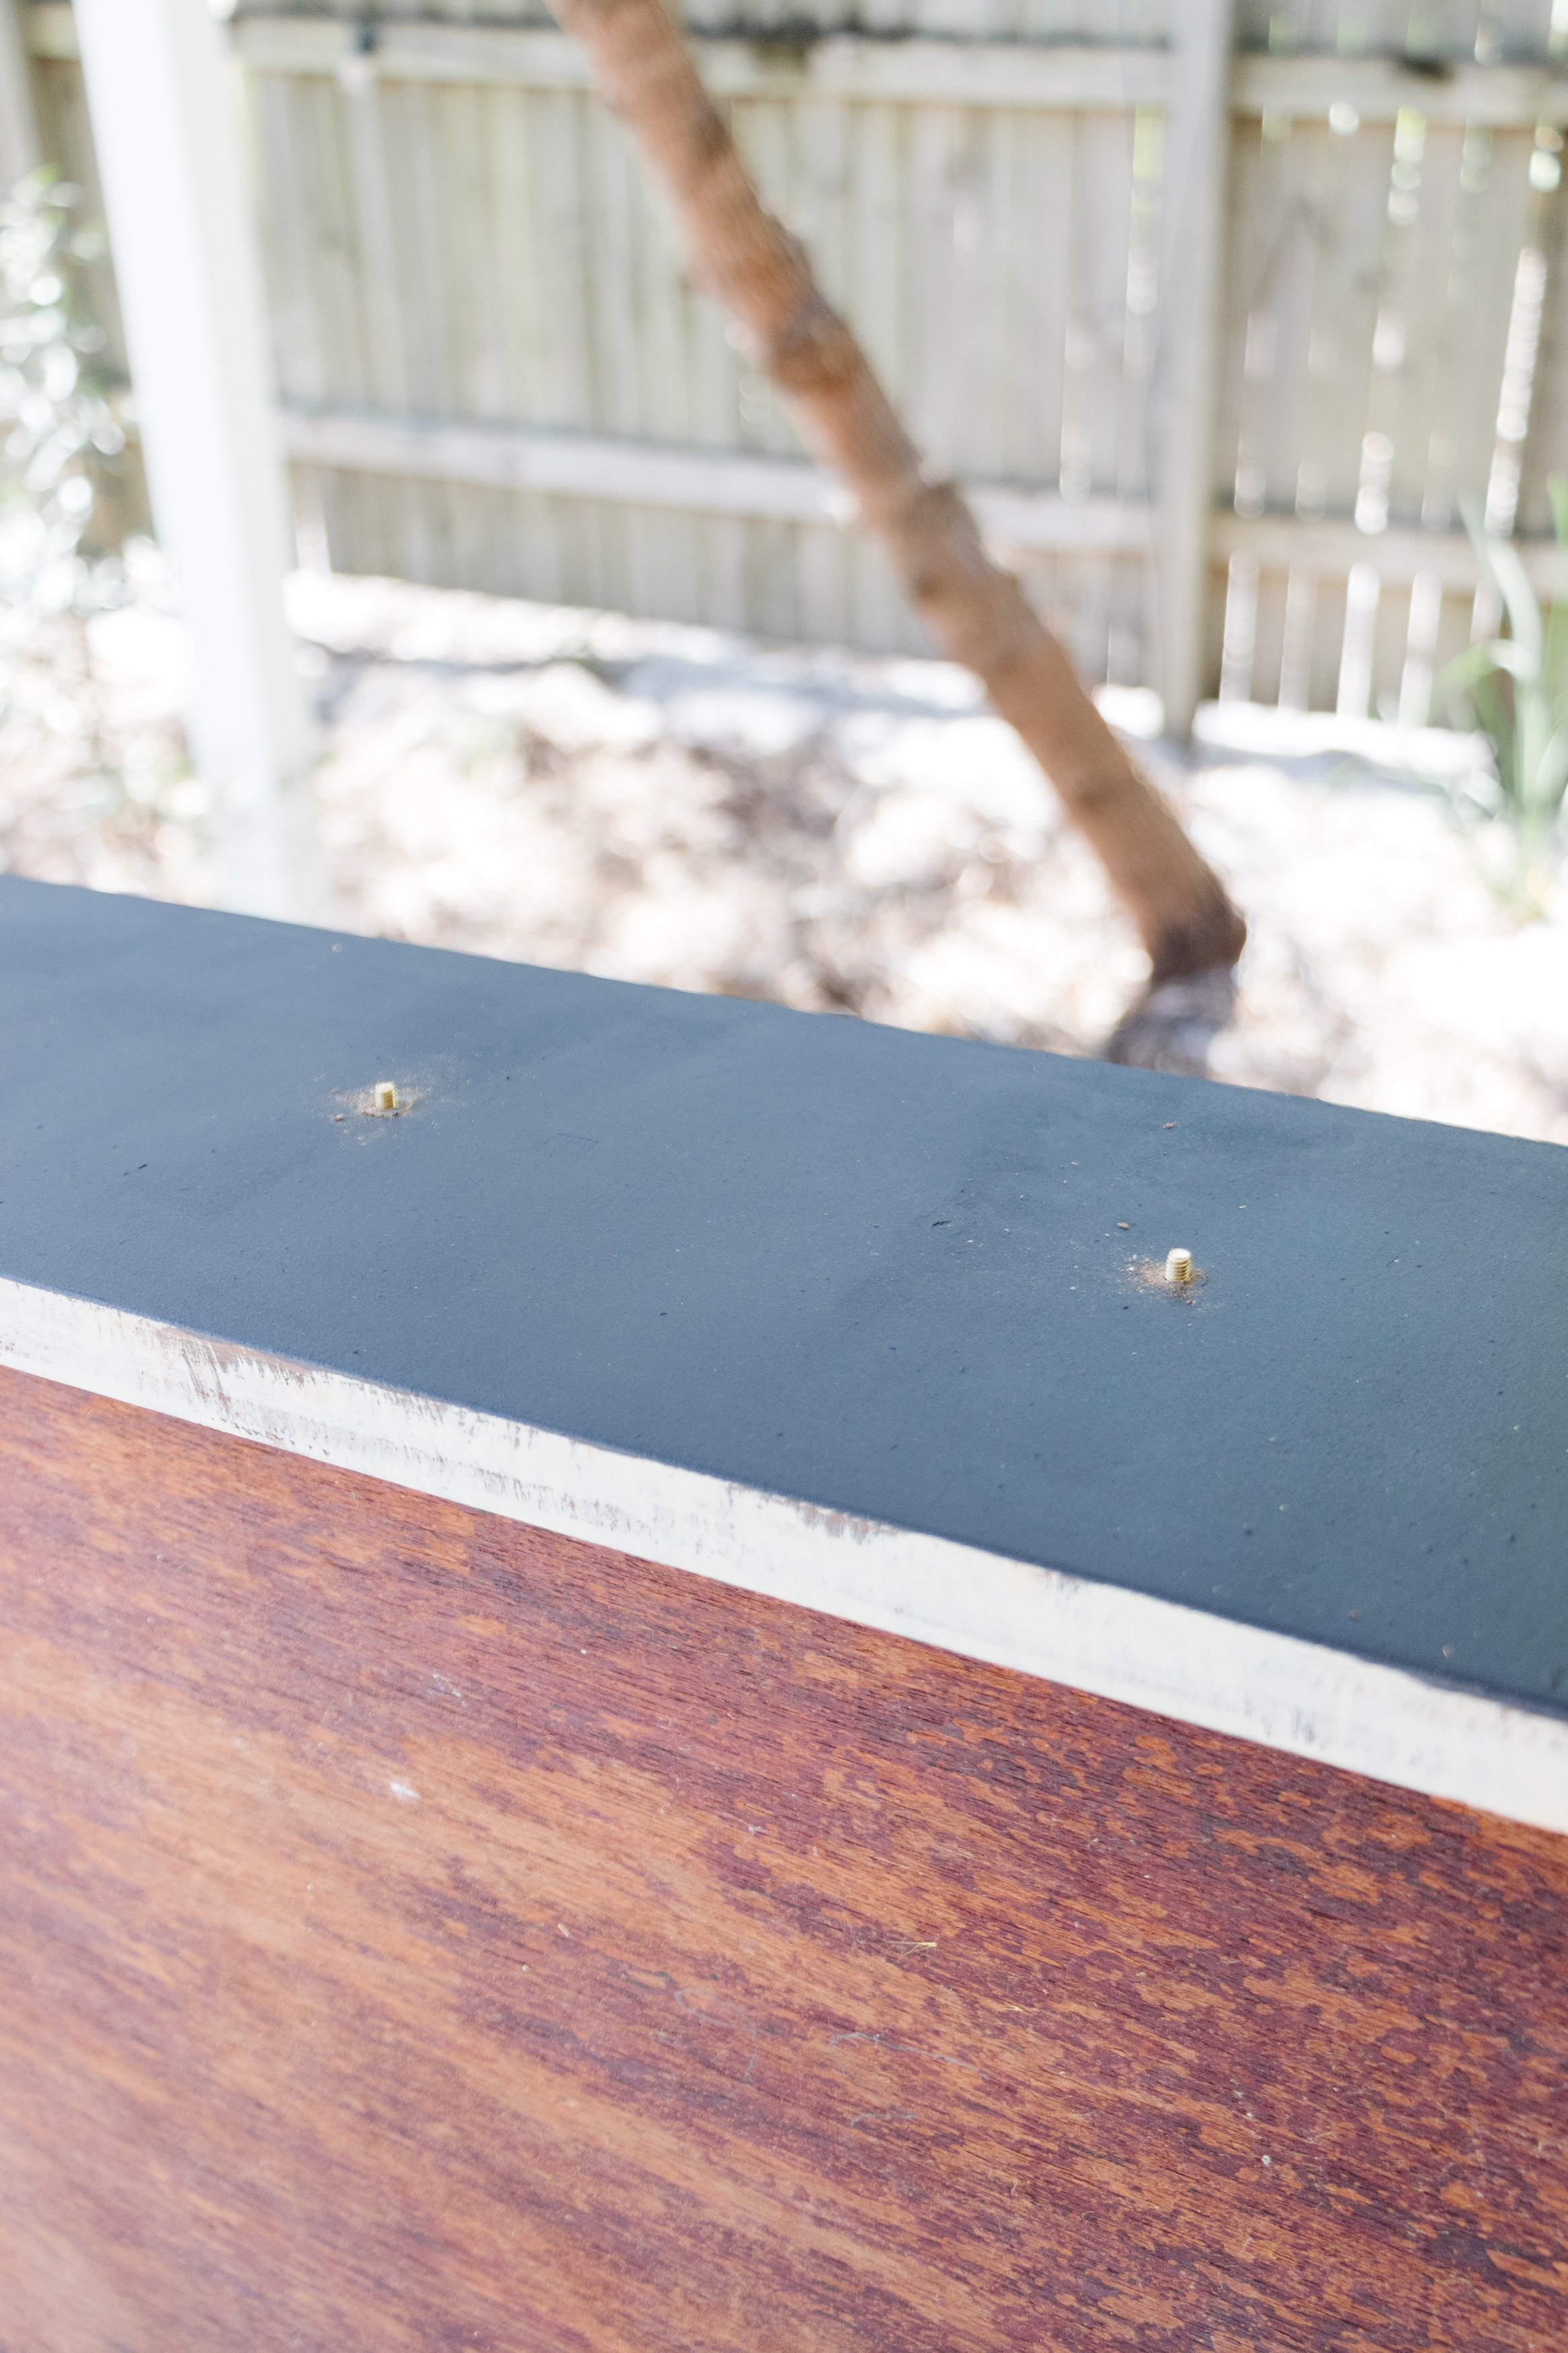
Step 3: Install the furniture legs to the underside of the sideboard using a drill and when they’re all in, carefully stand the sideboard up.
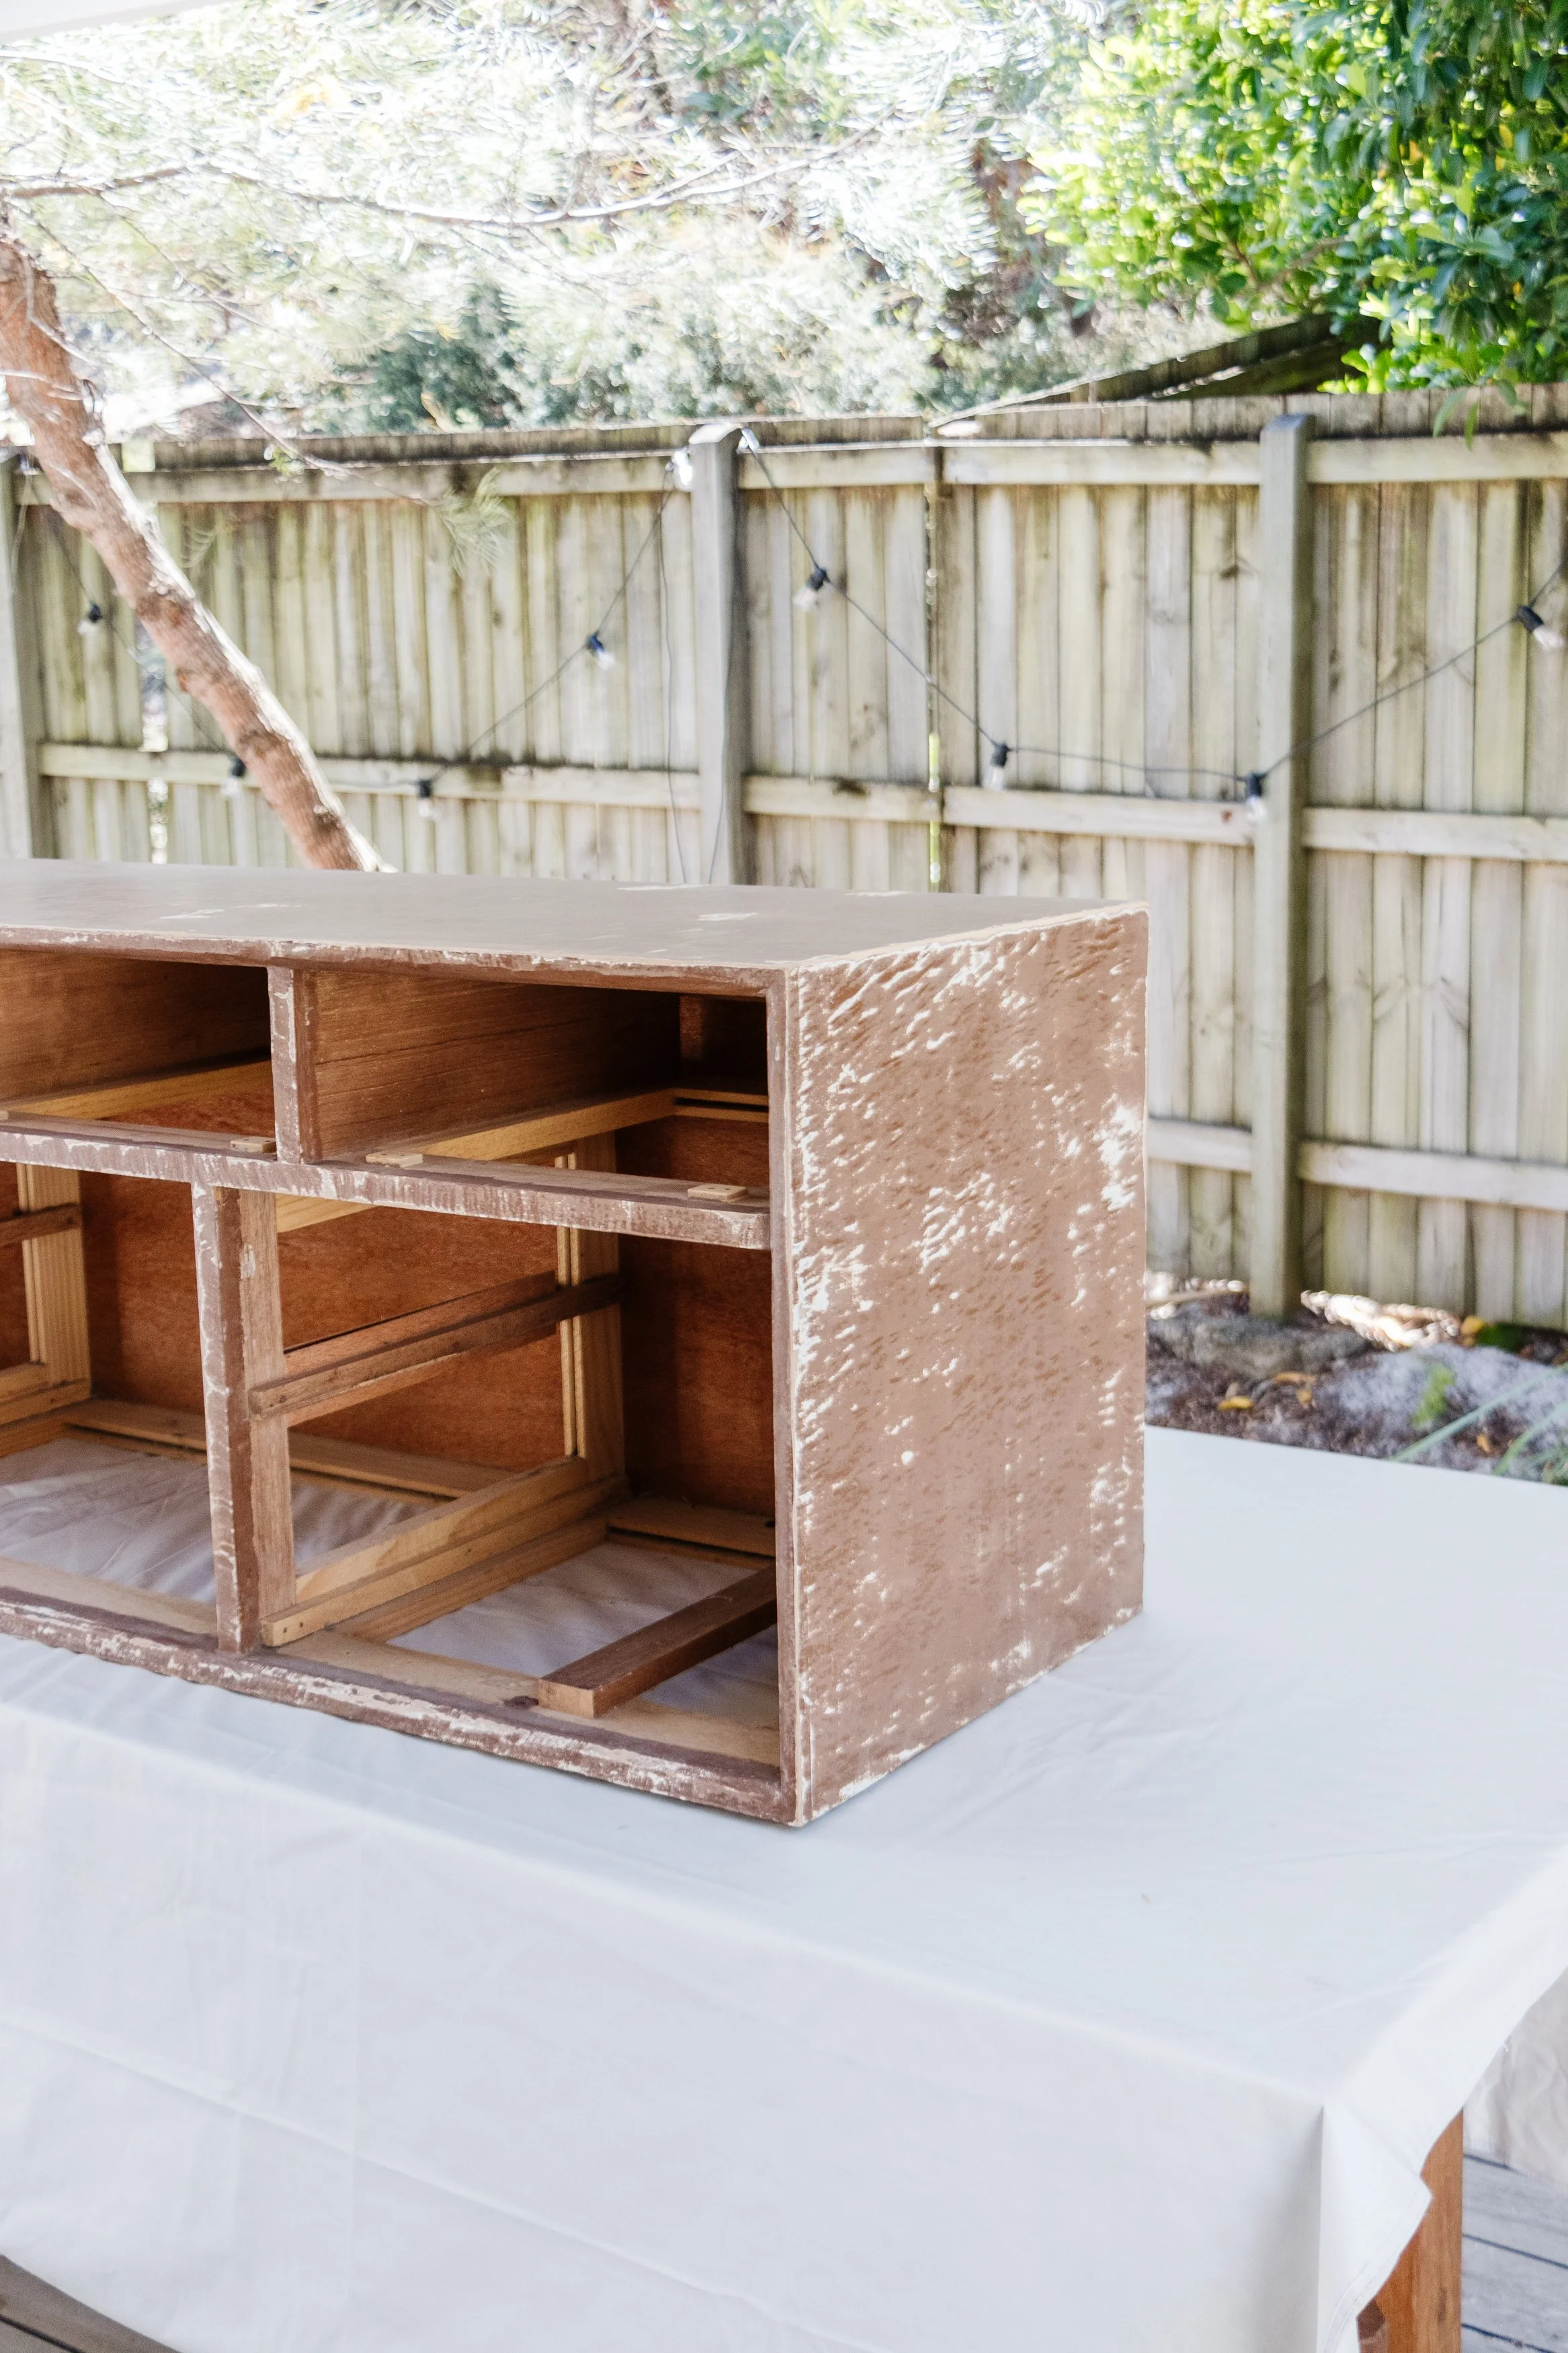
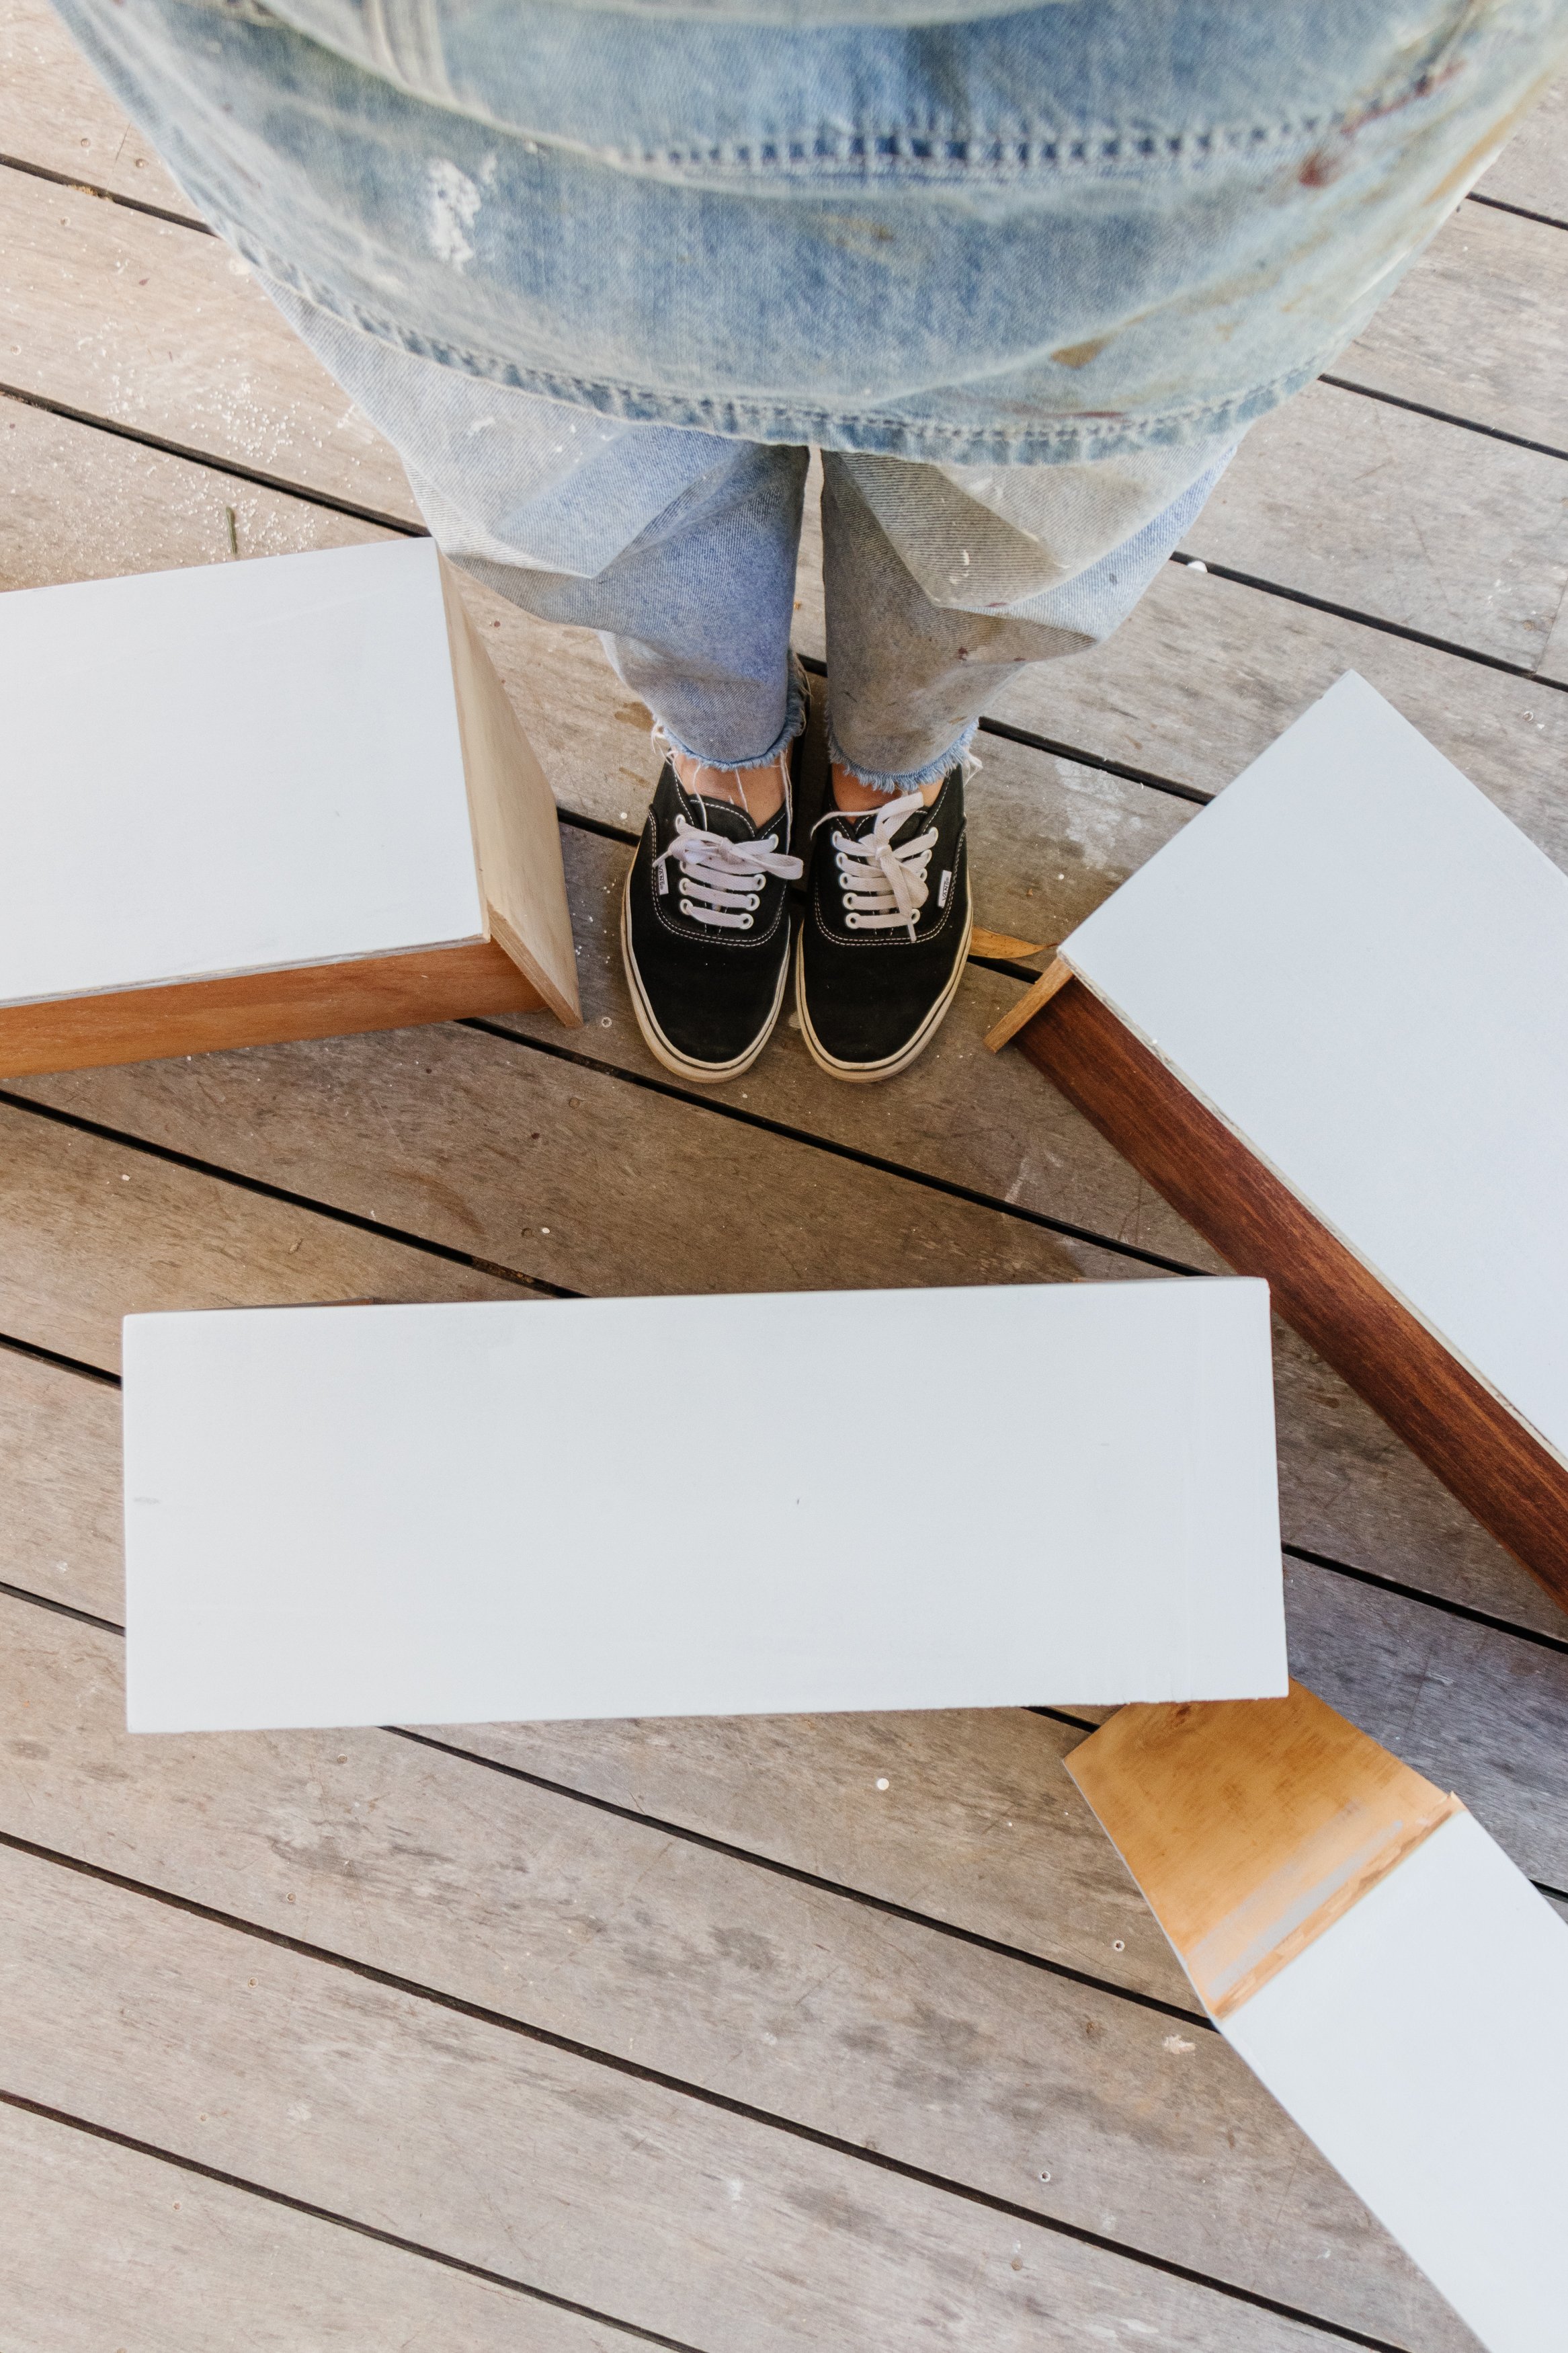
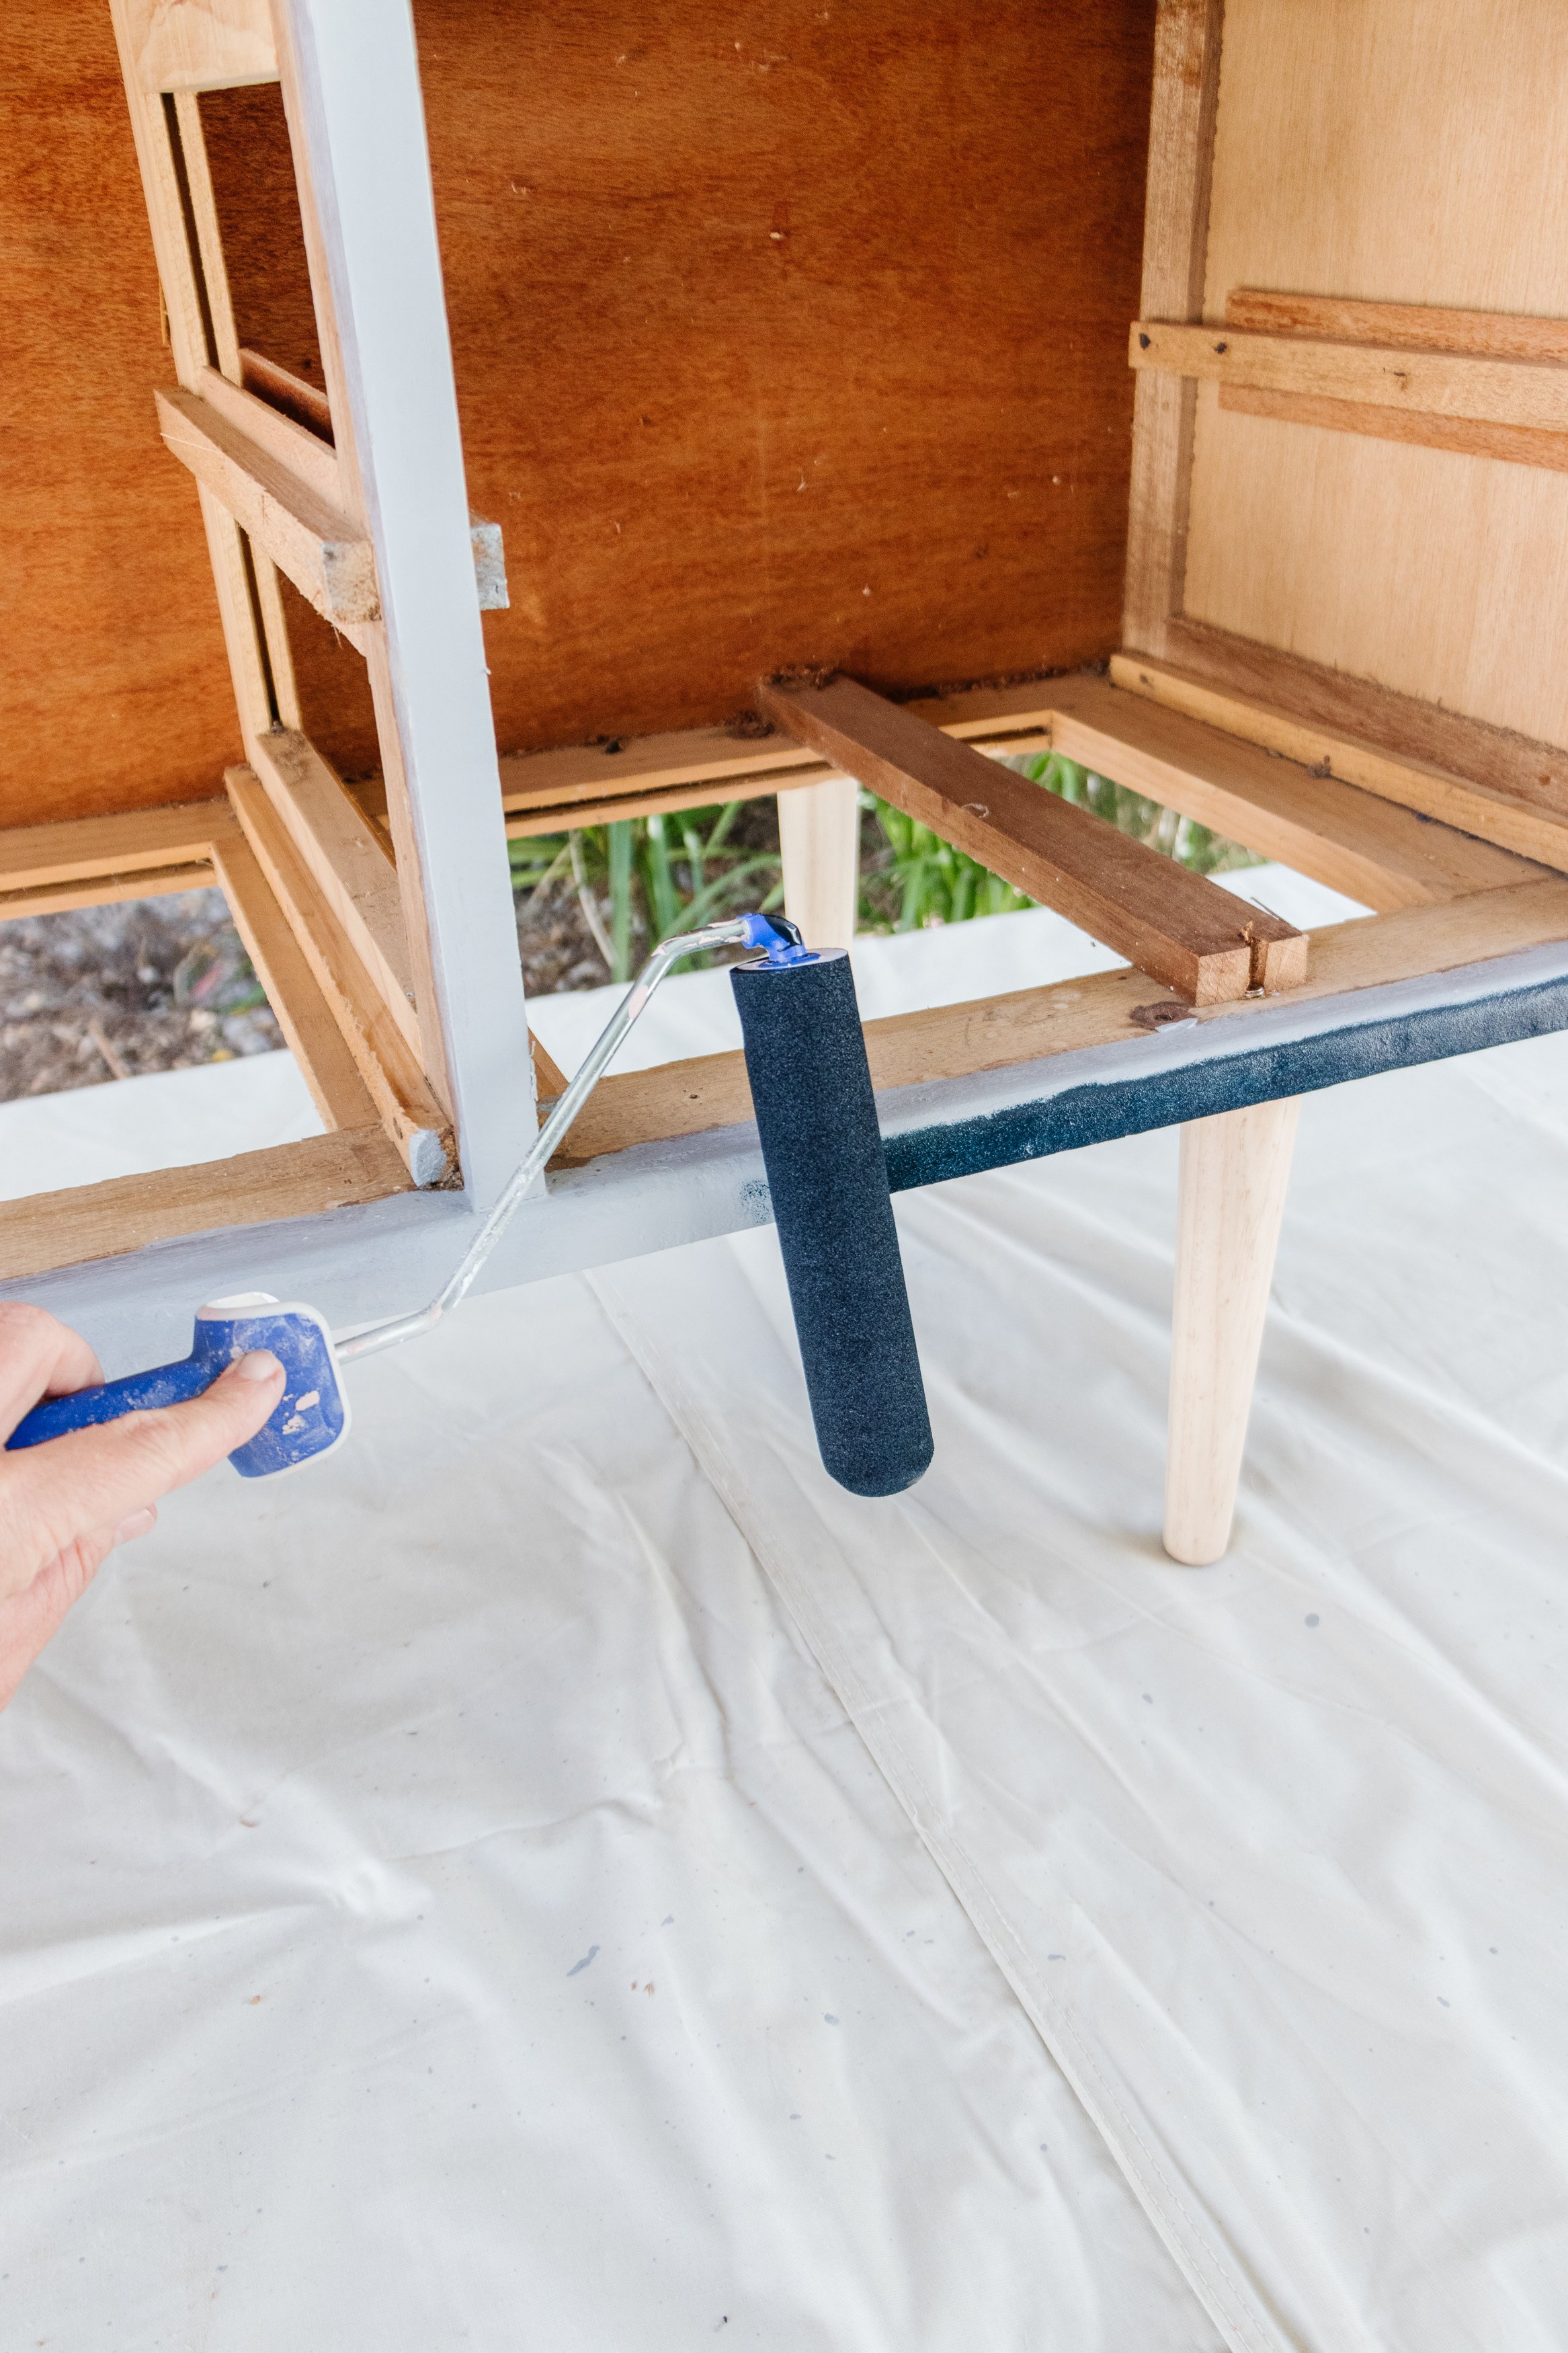
Step 4: Apply two coats of primer all over the sideboard and the face of the drawers using a paint roller, waiting at least 30 minutes in between coats. Careful not to get any primer paint the timber legs.

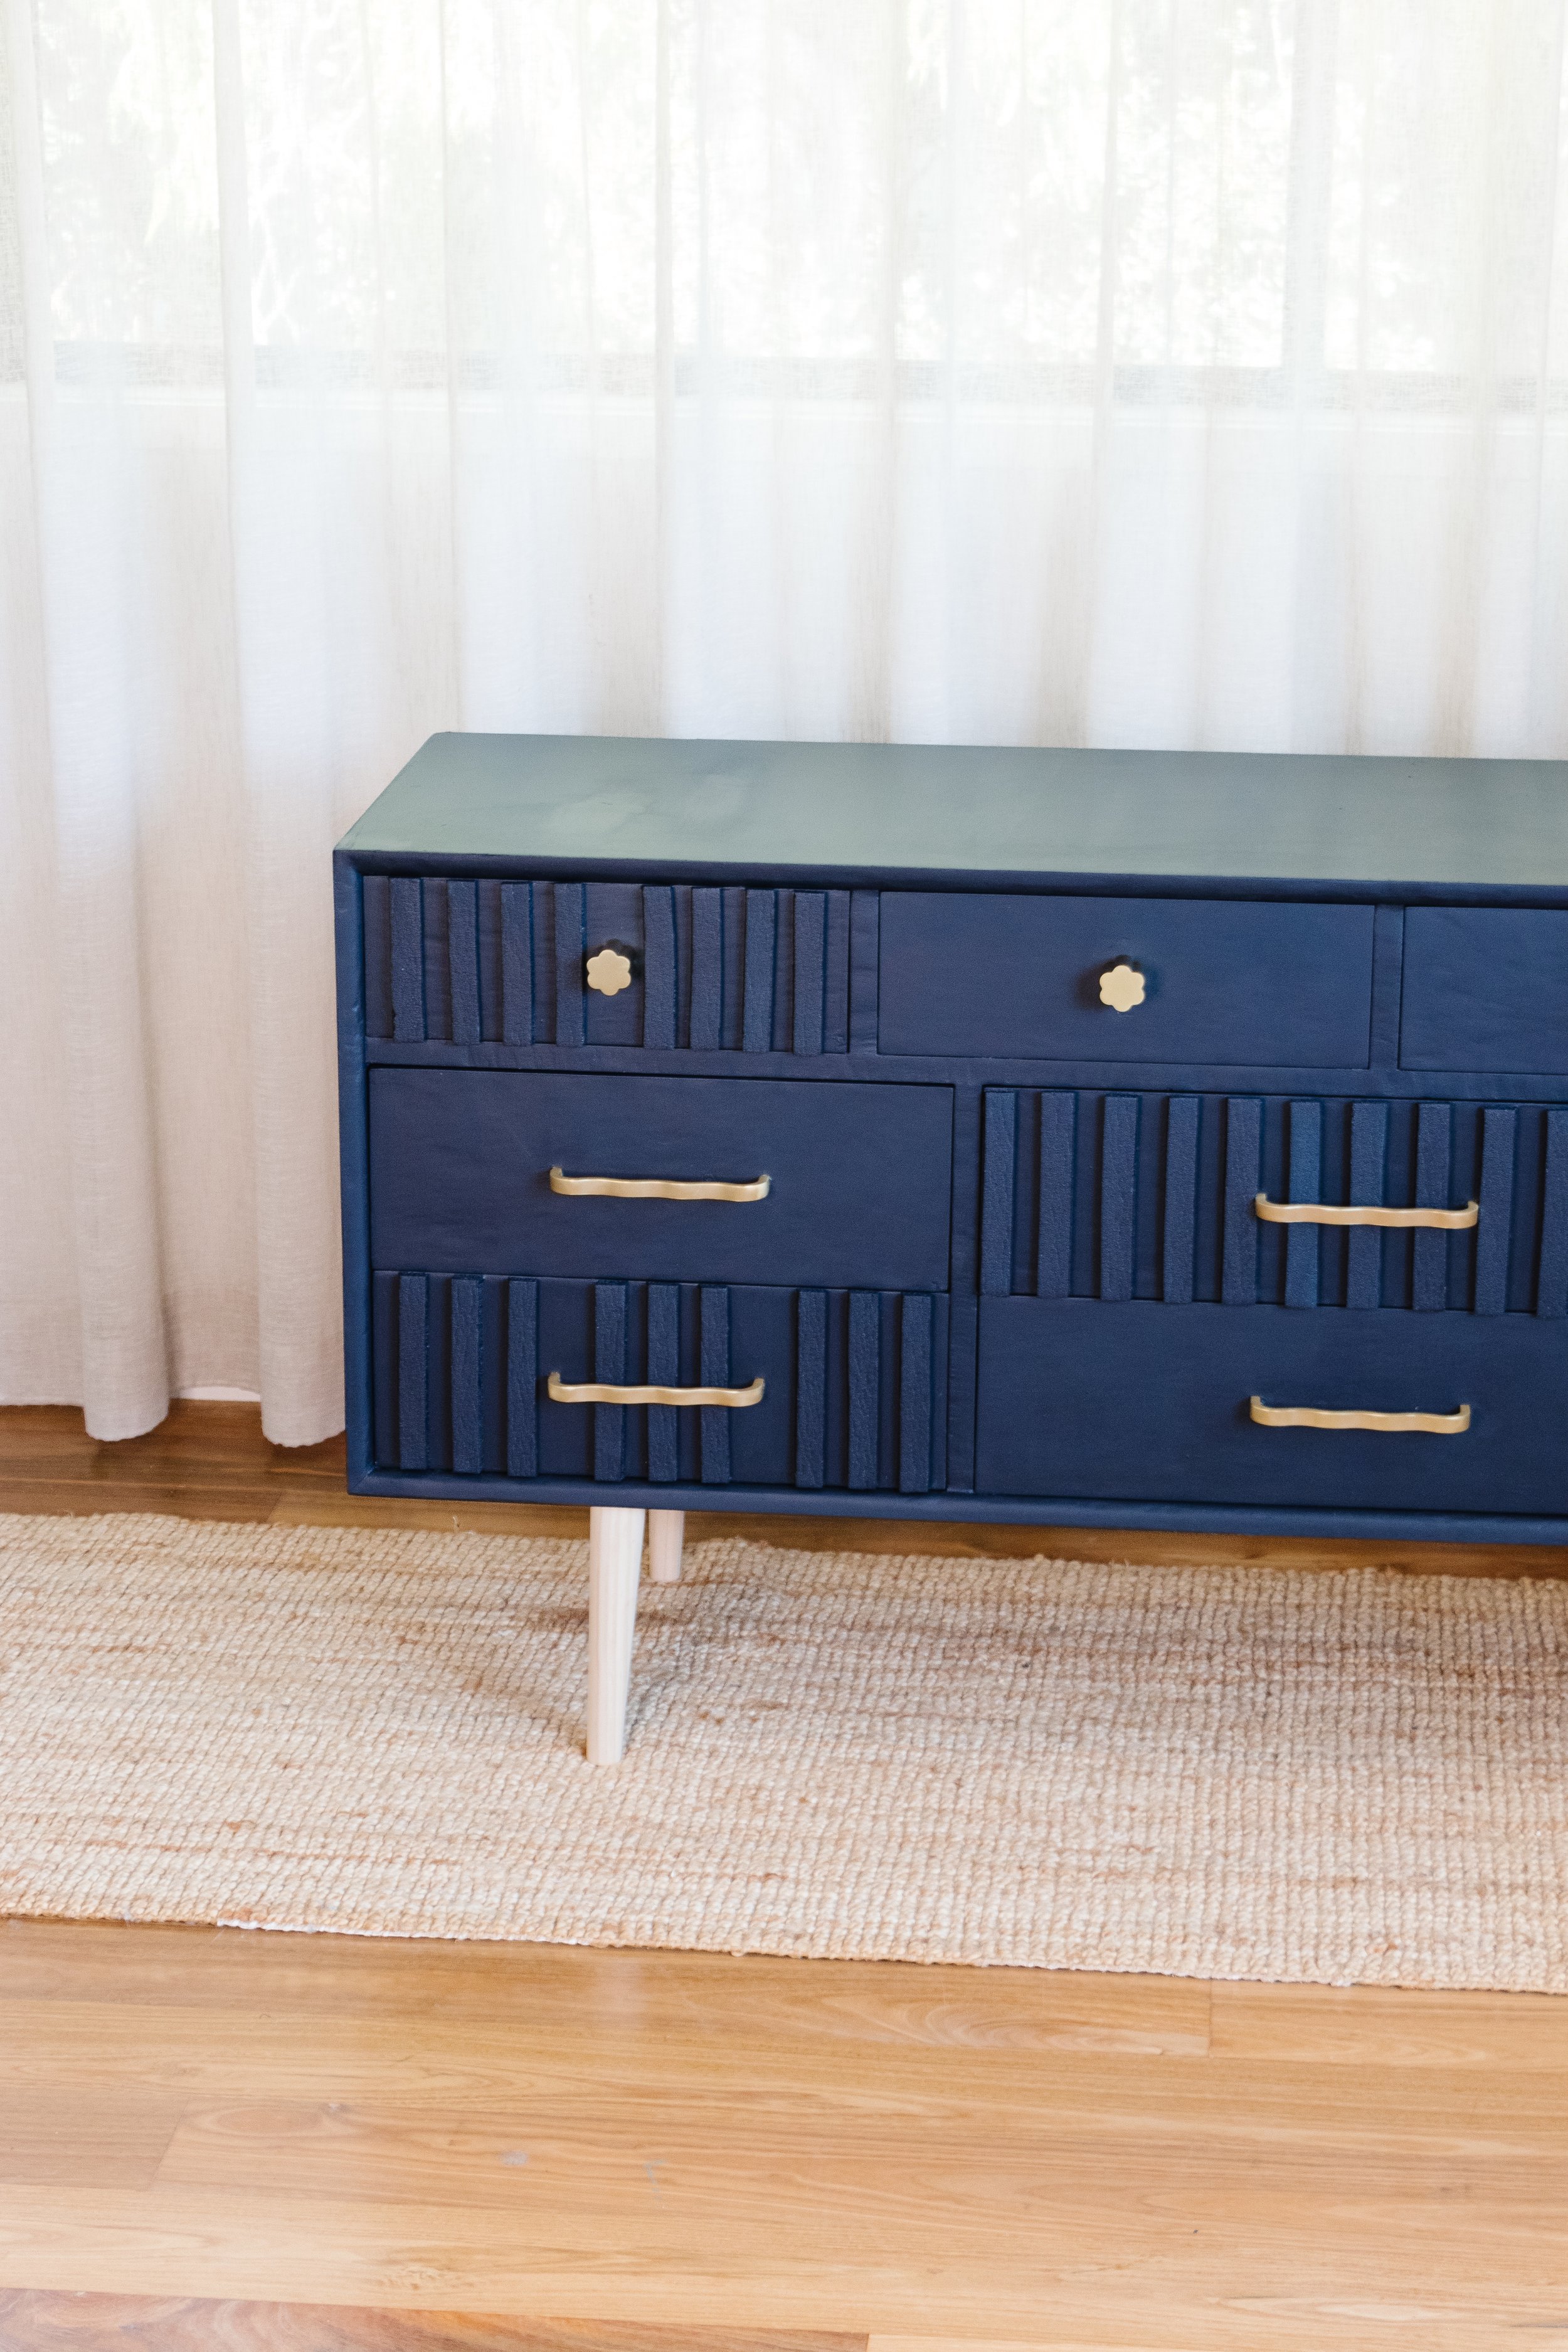
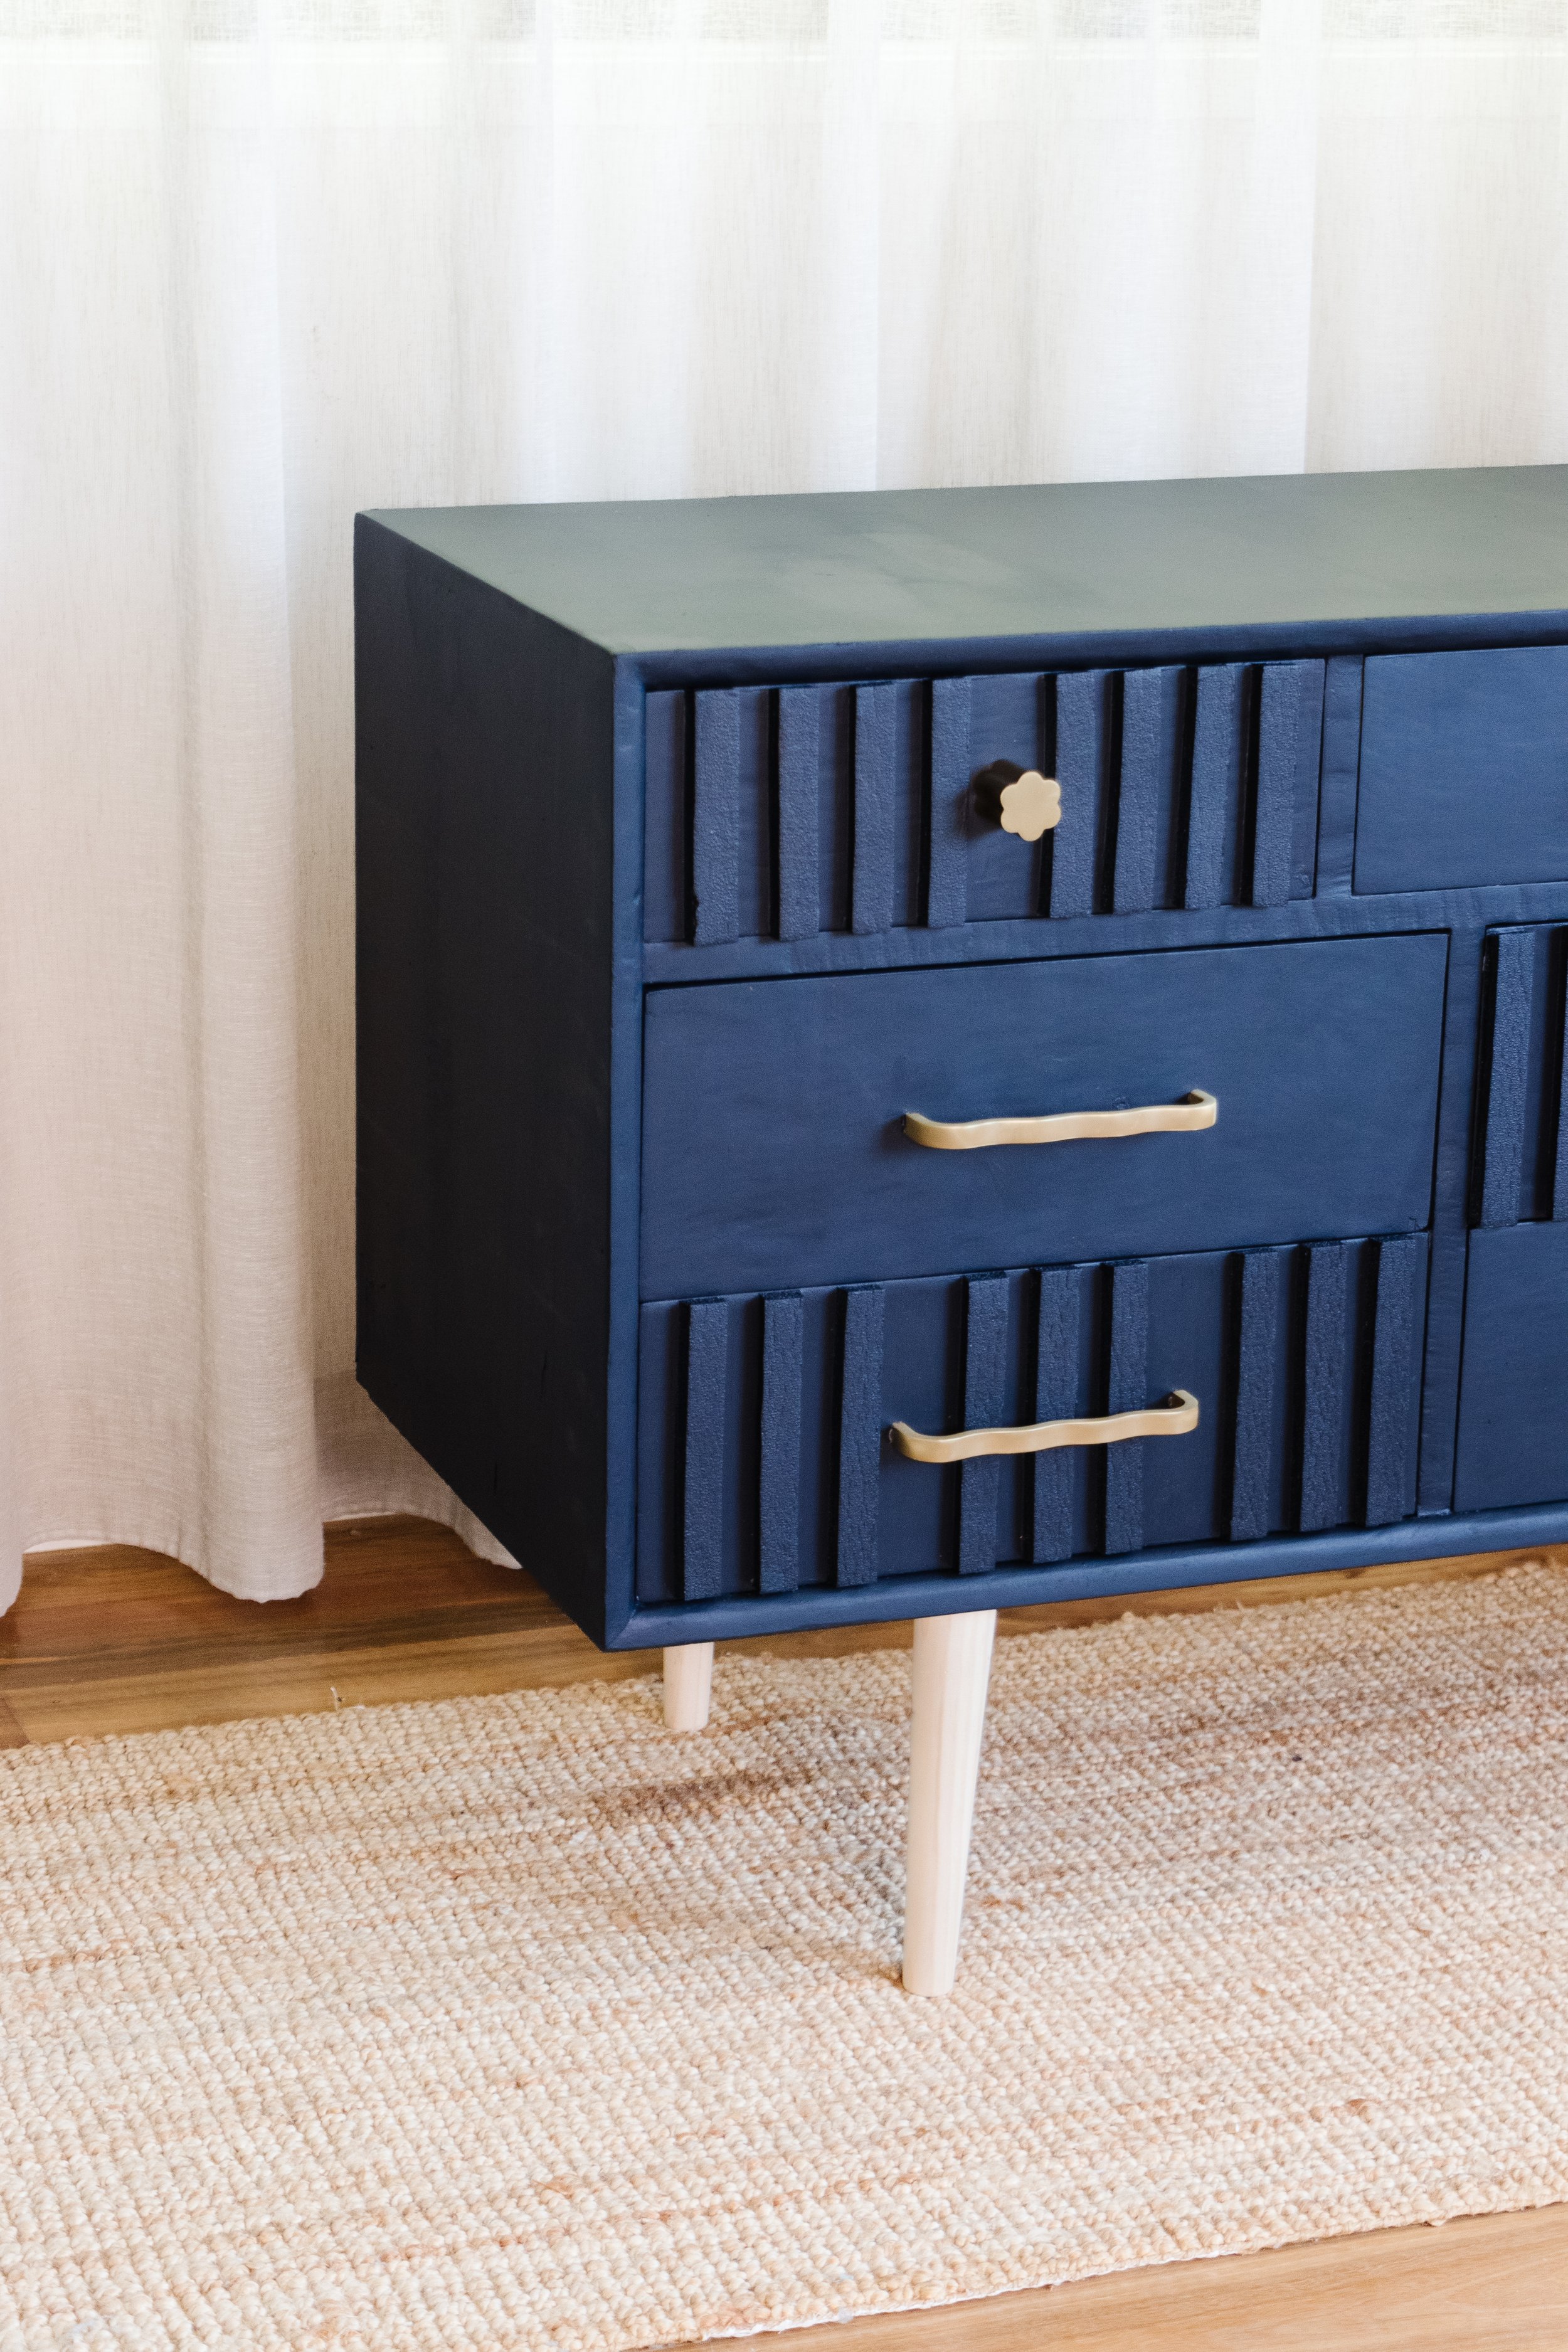
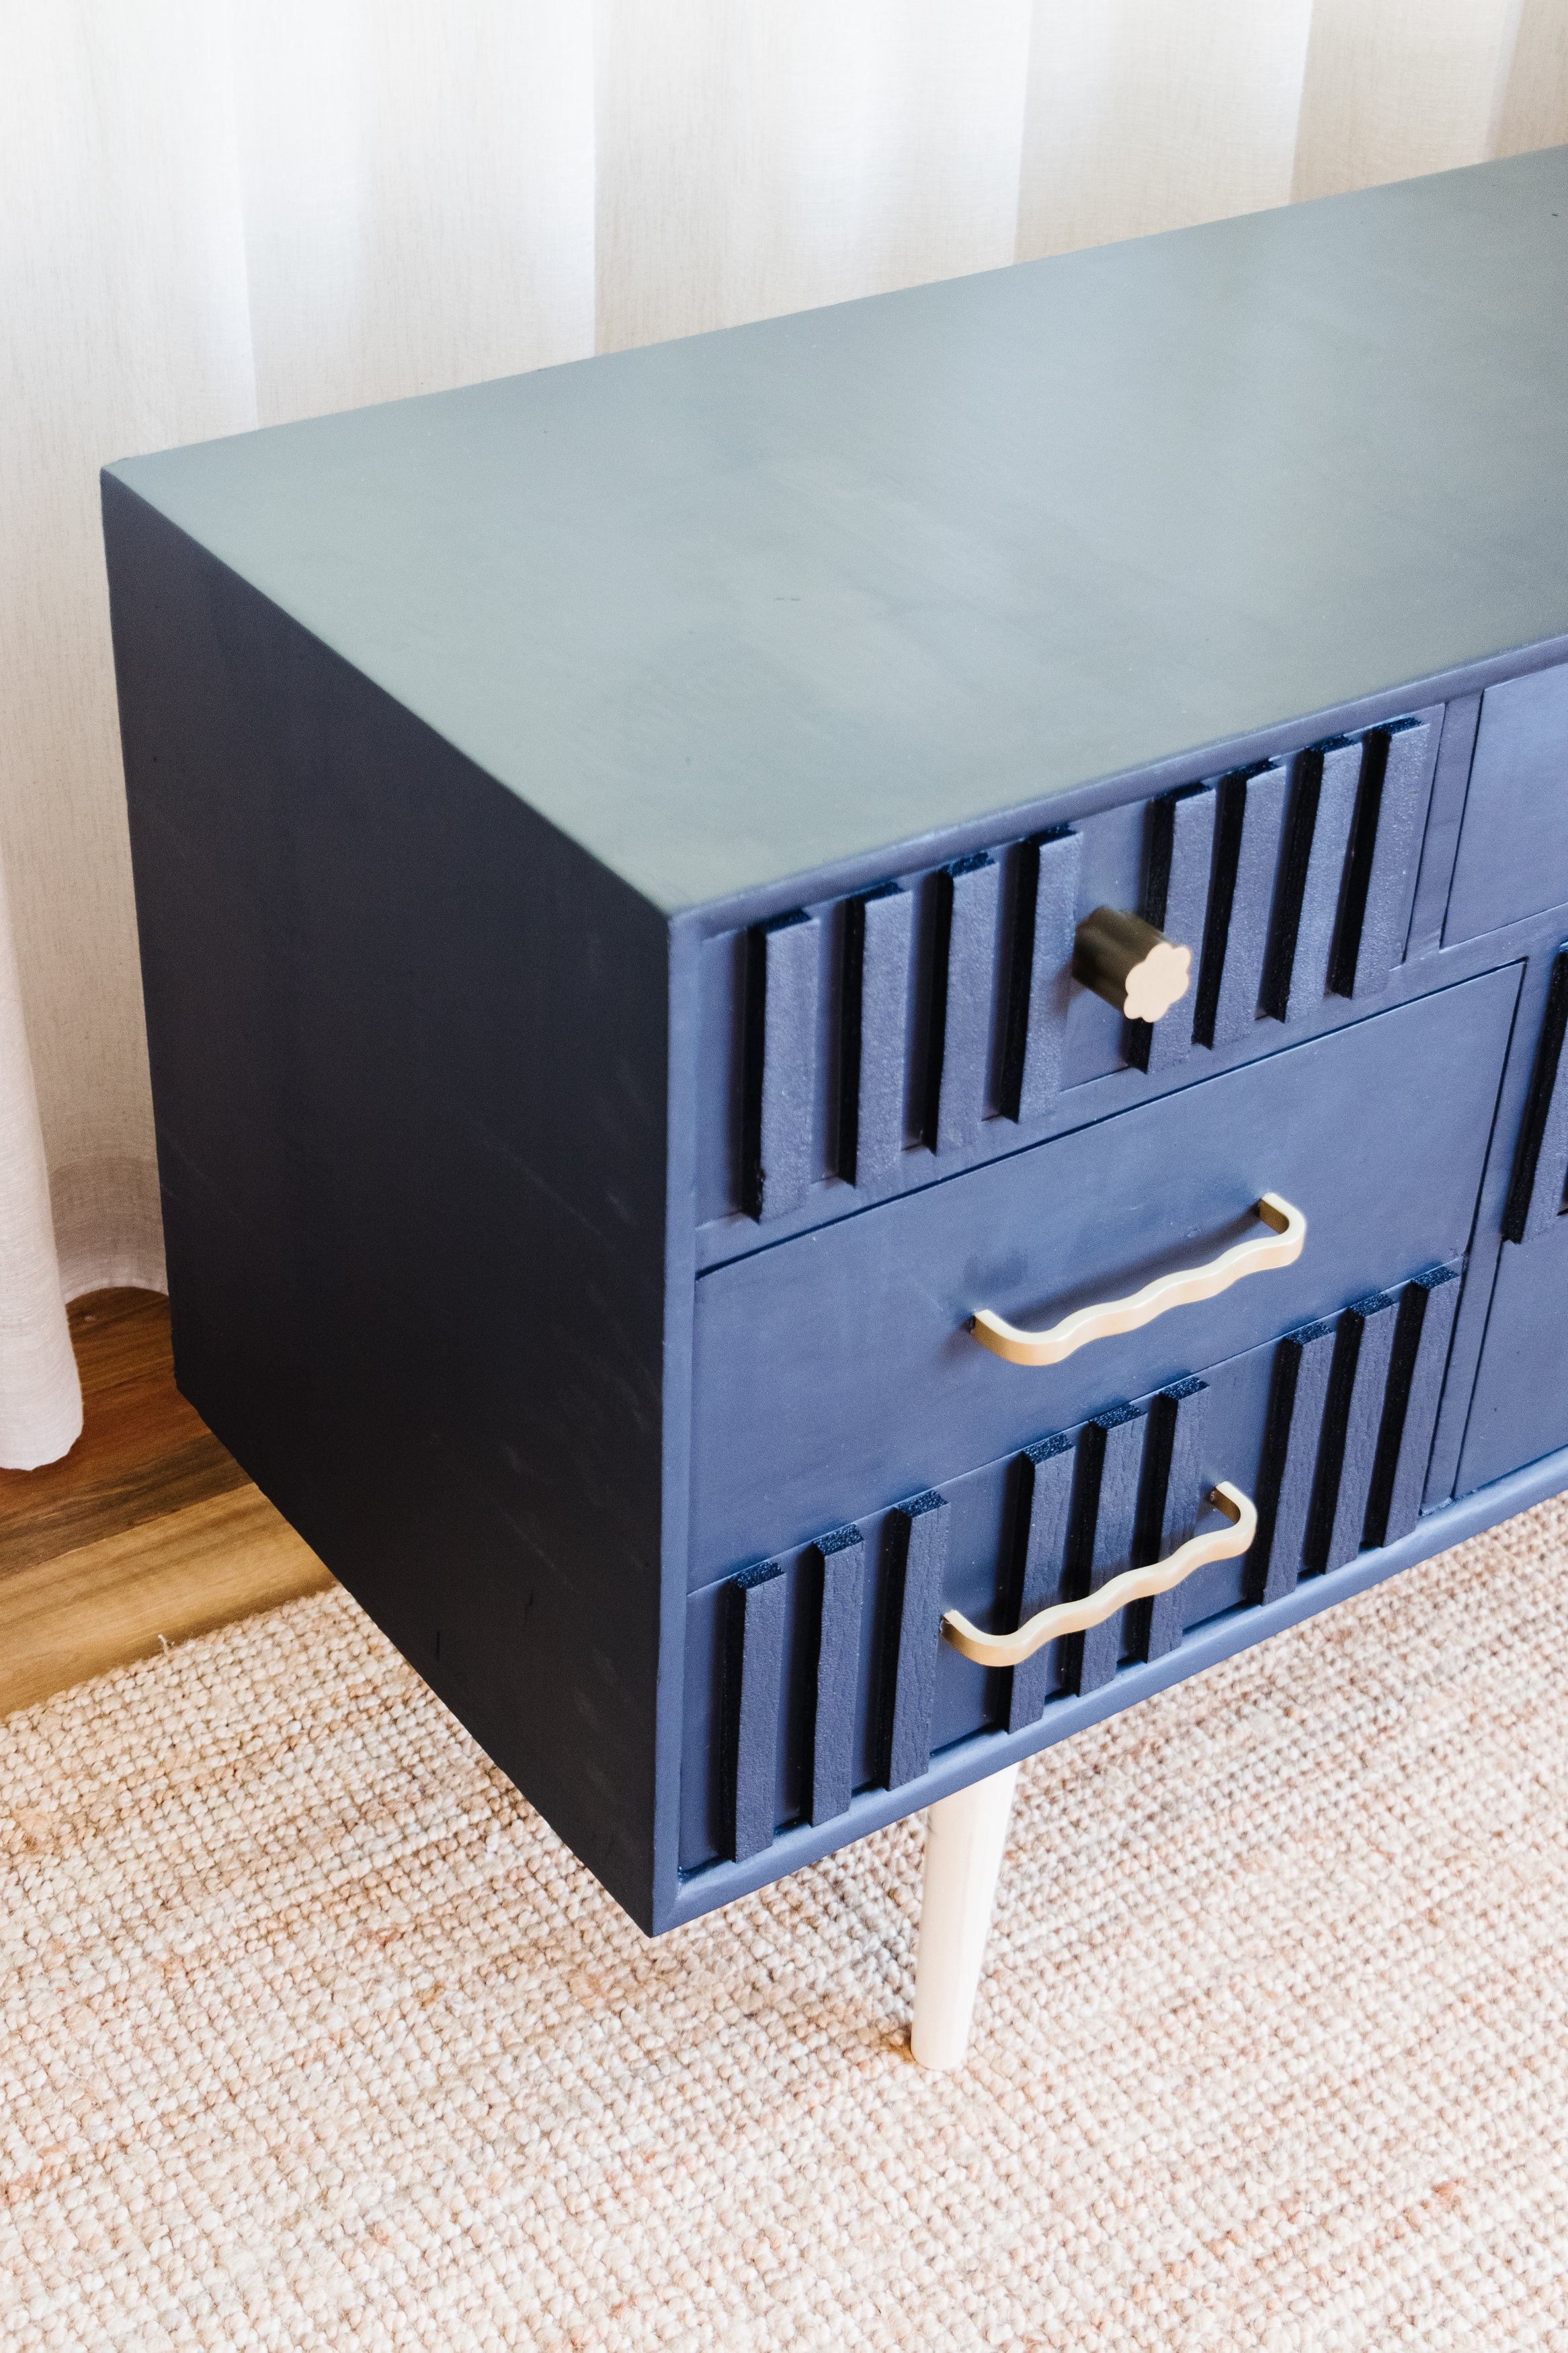
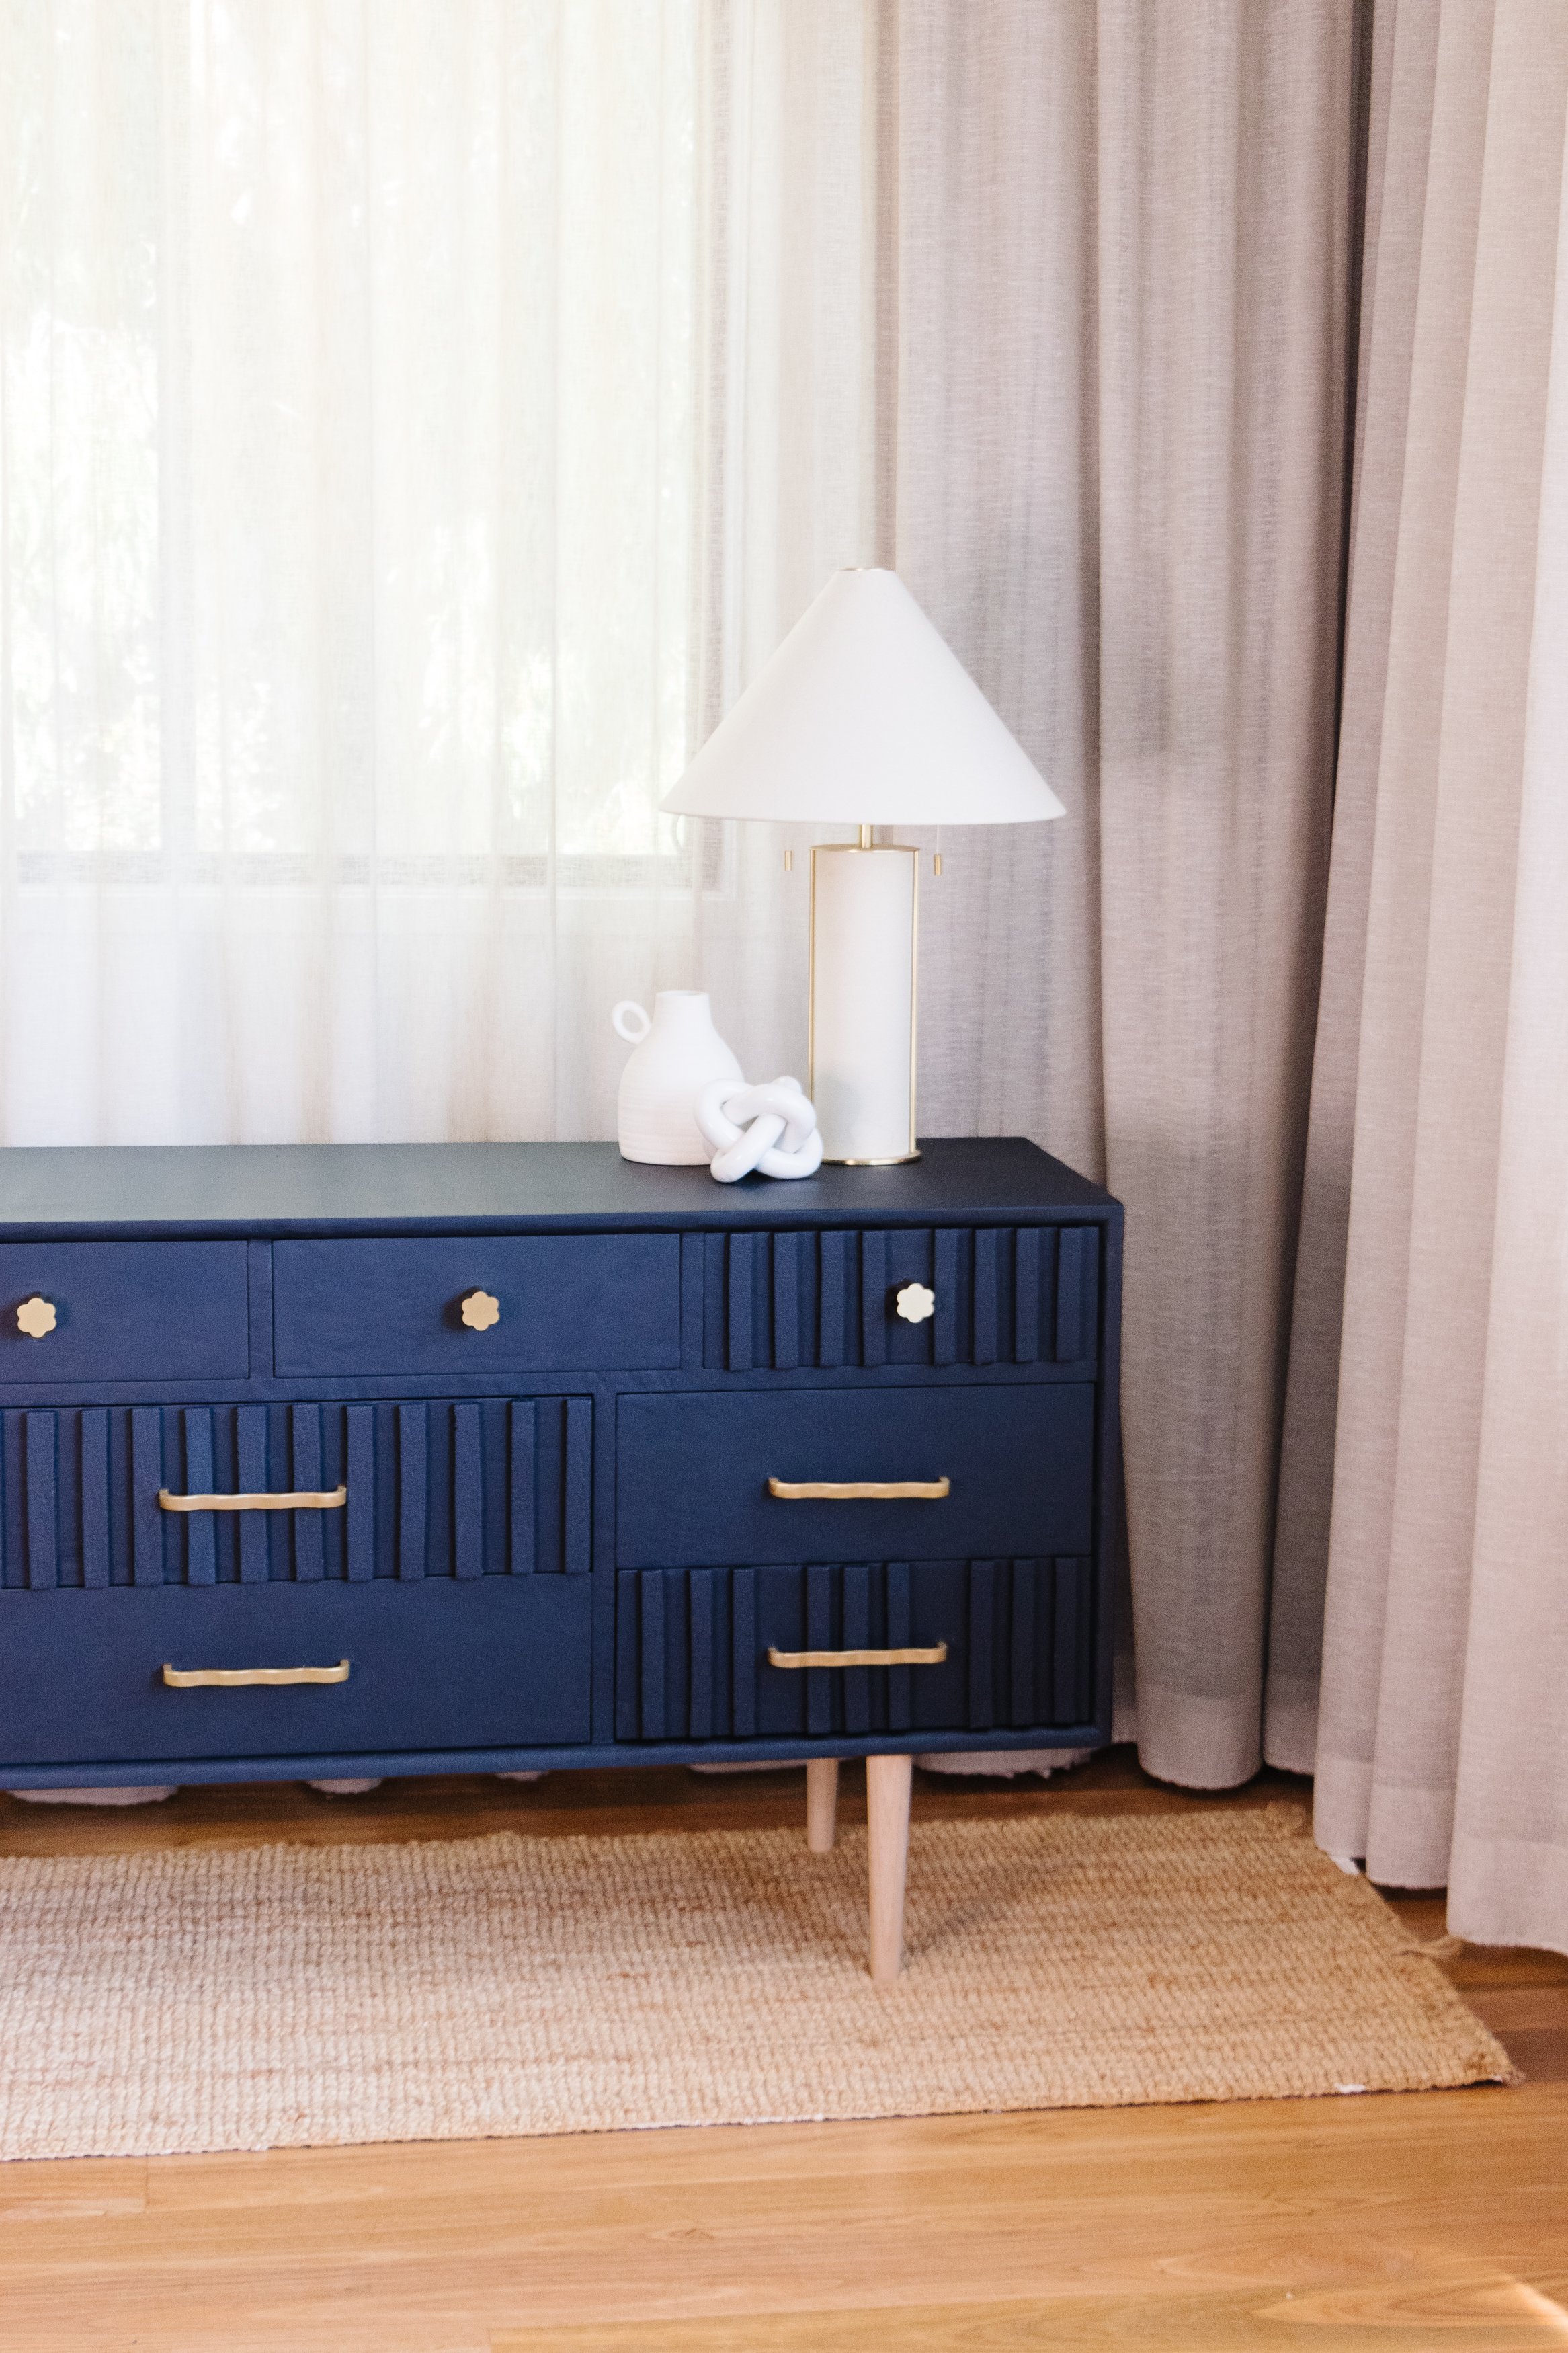
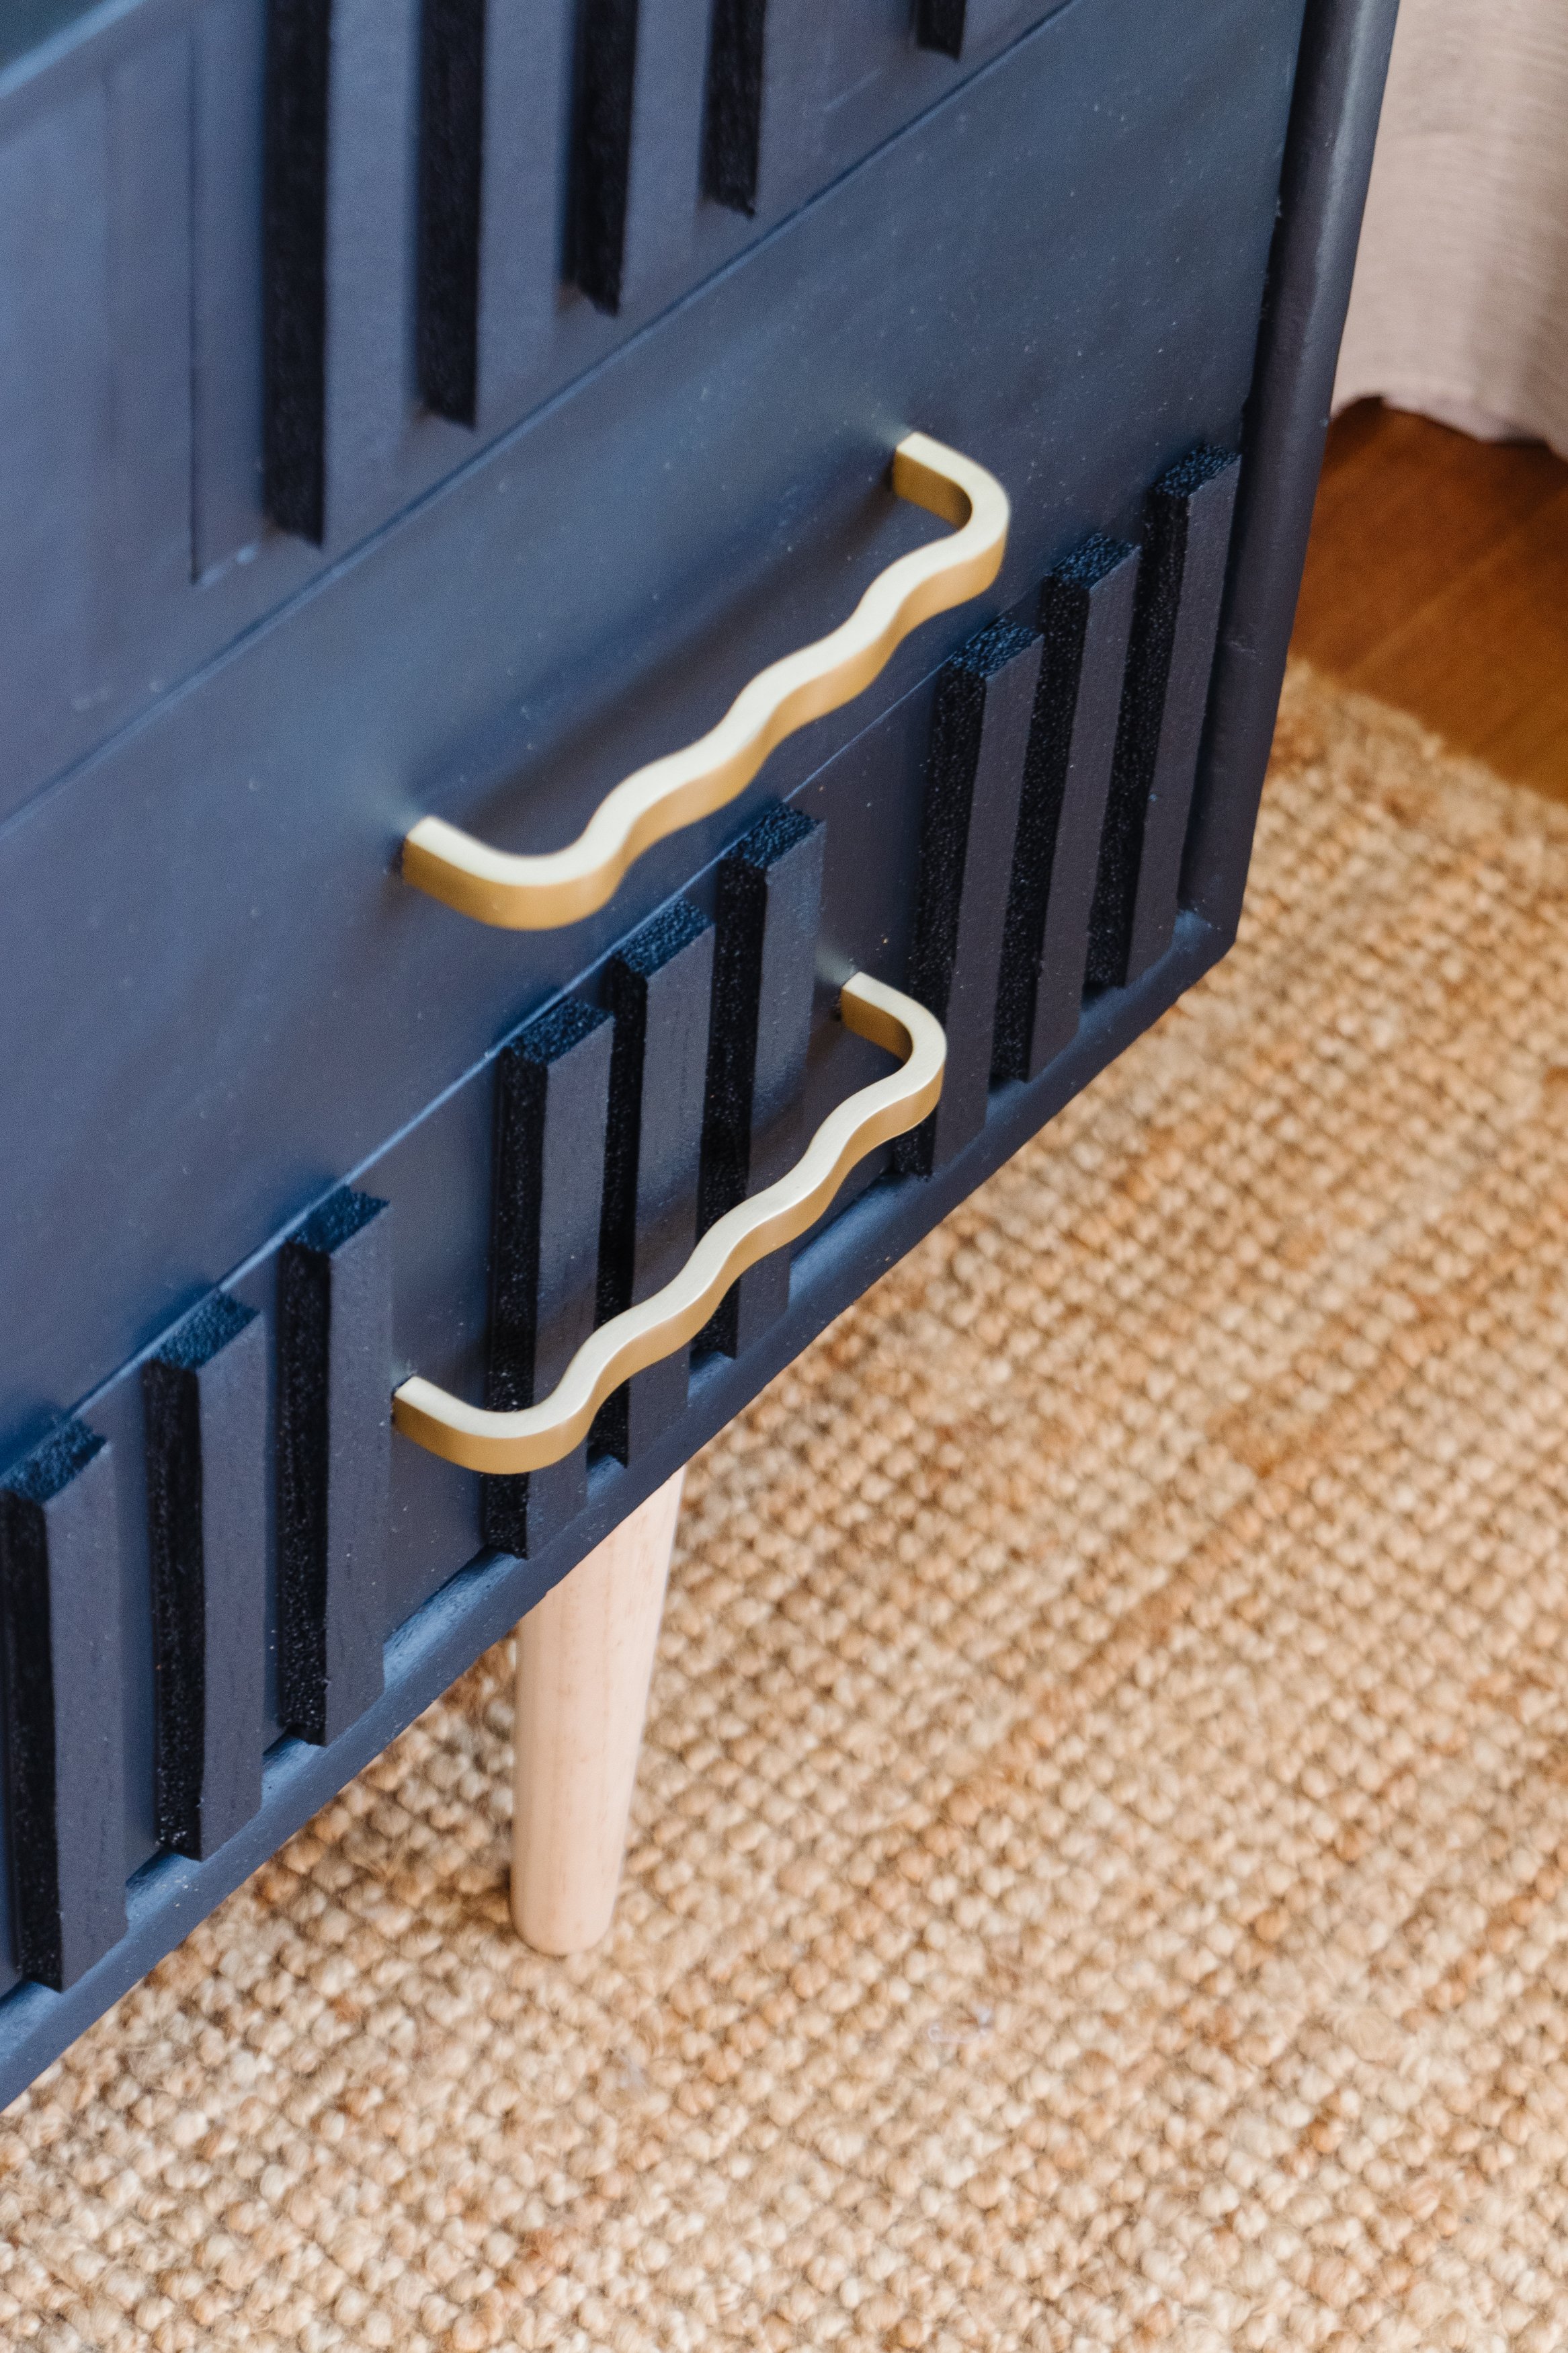
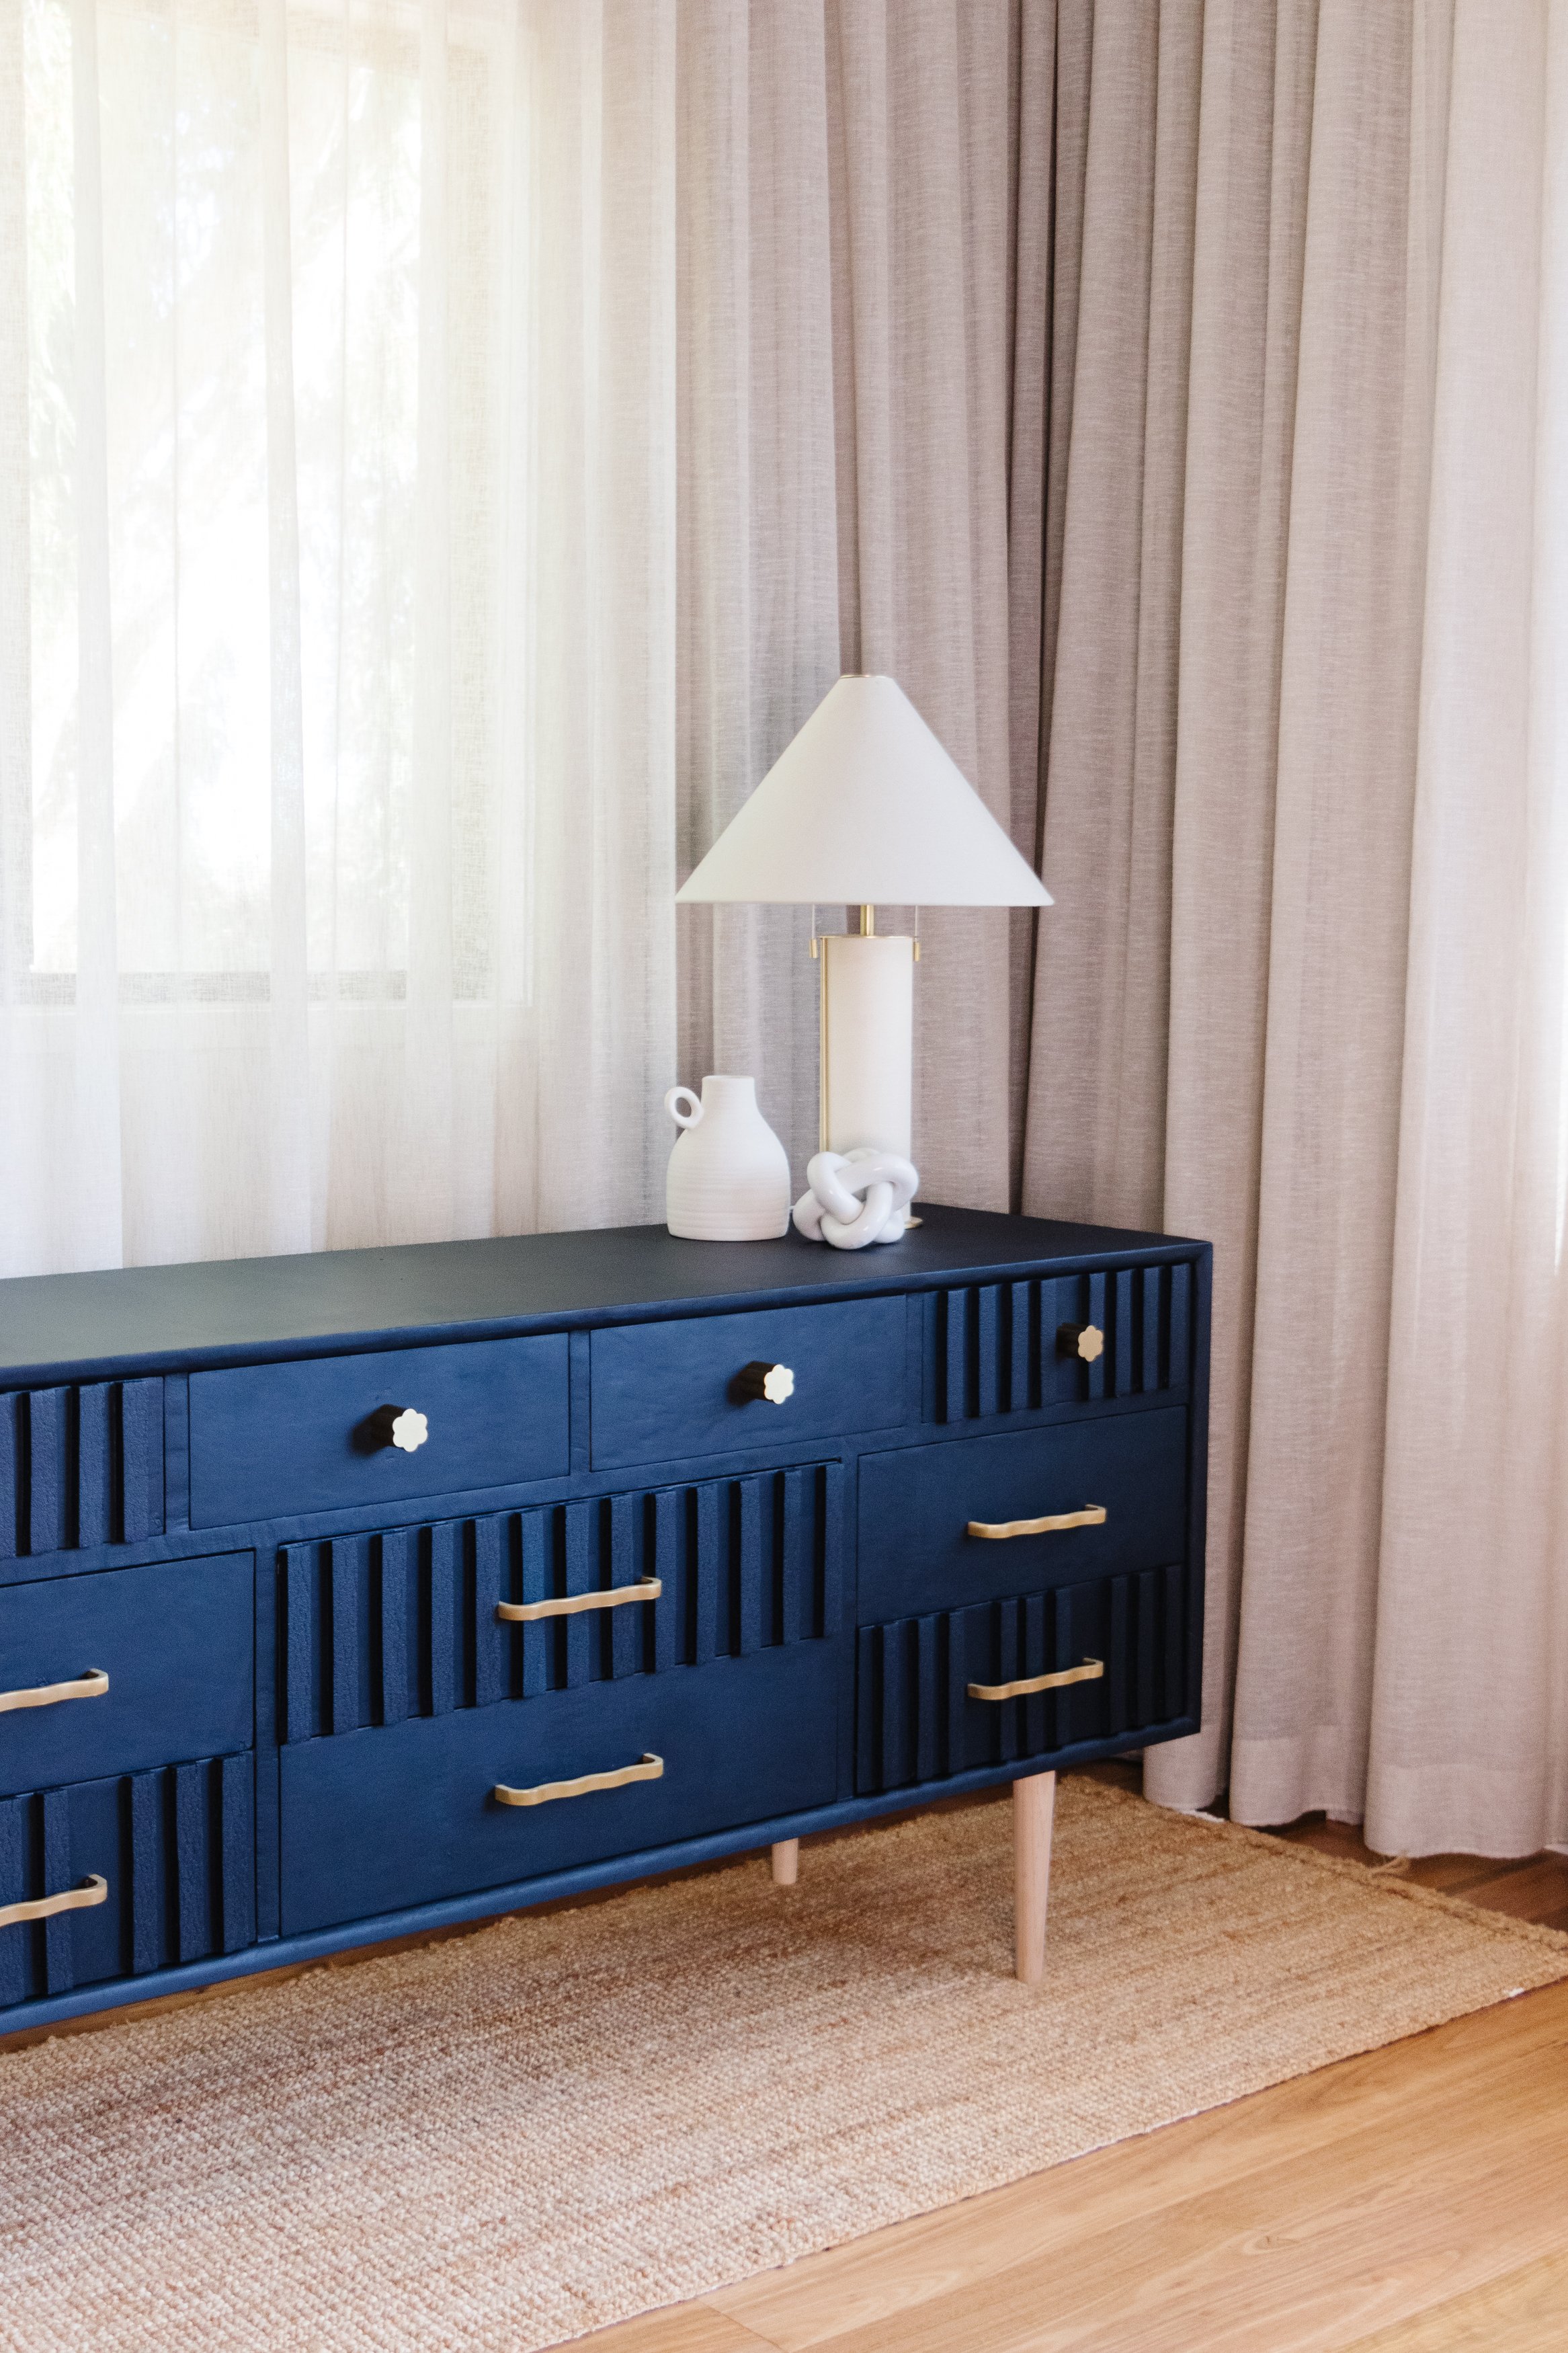
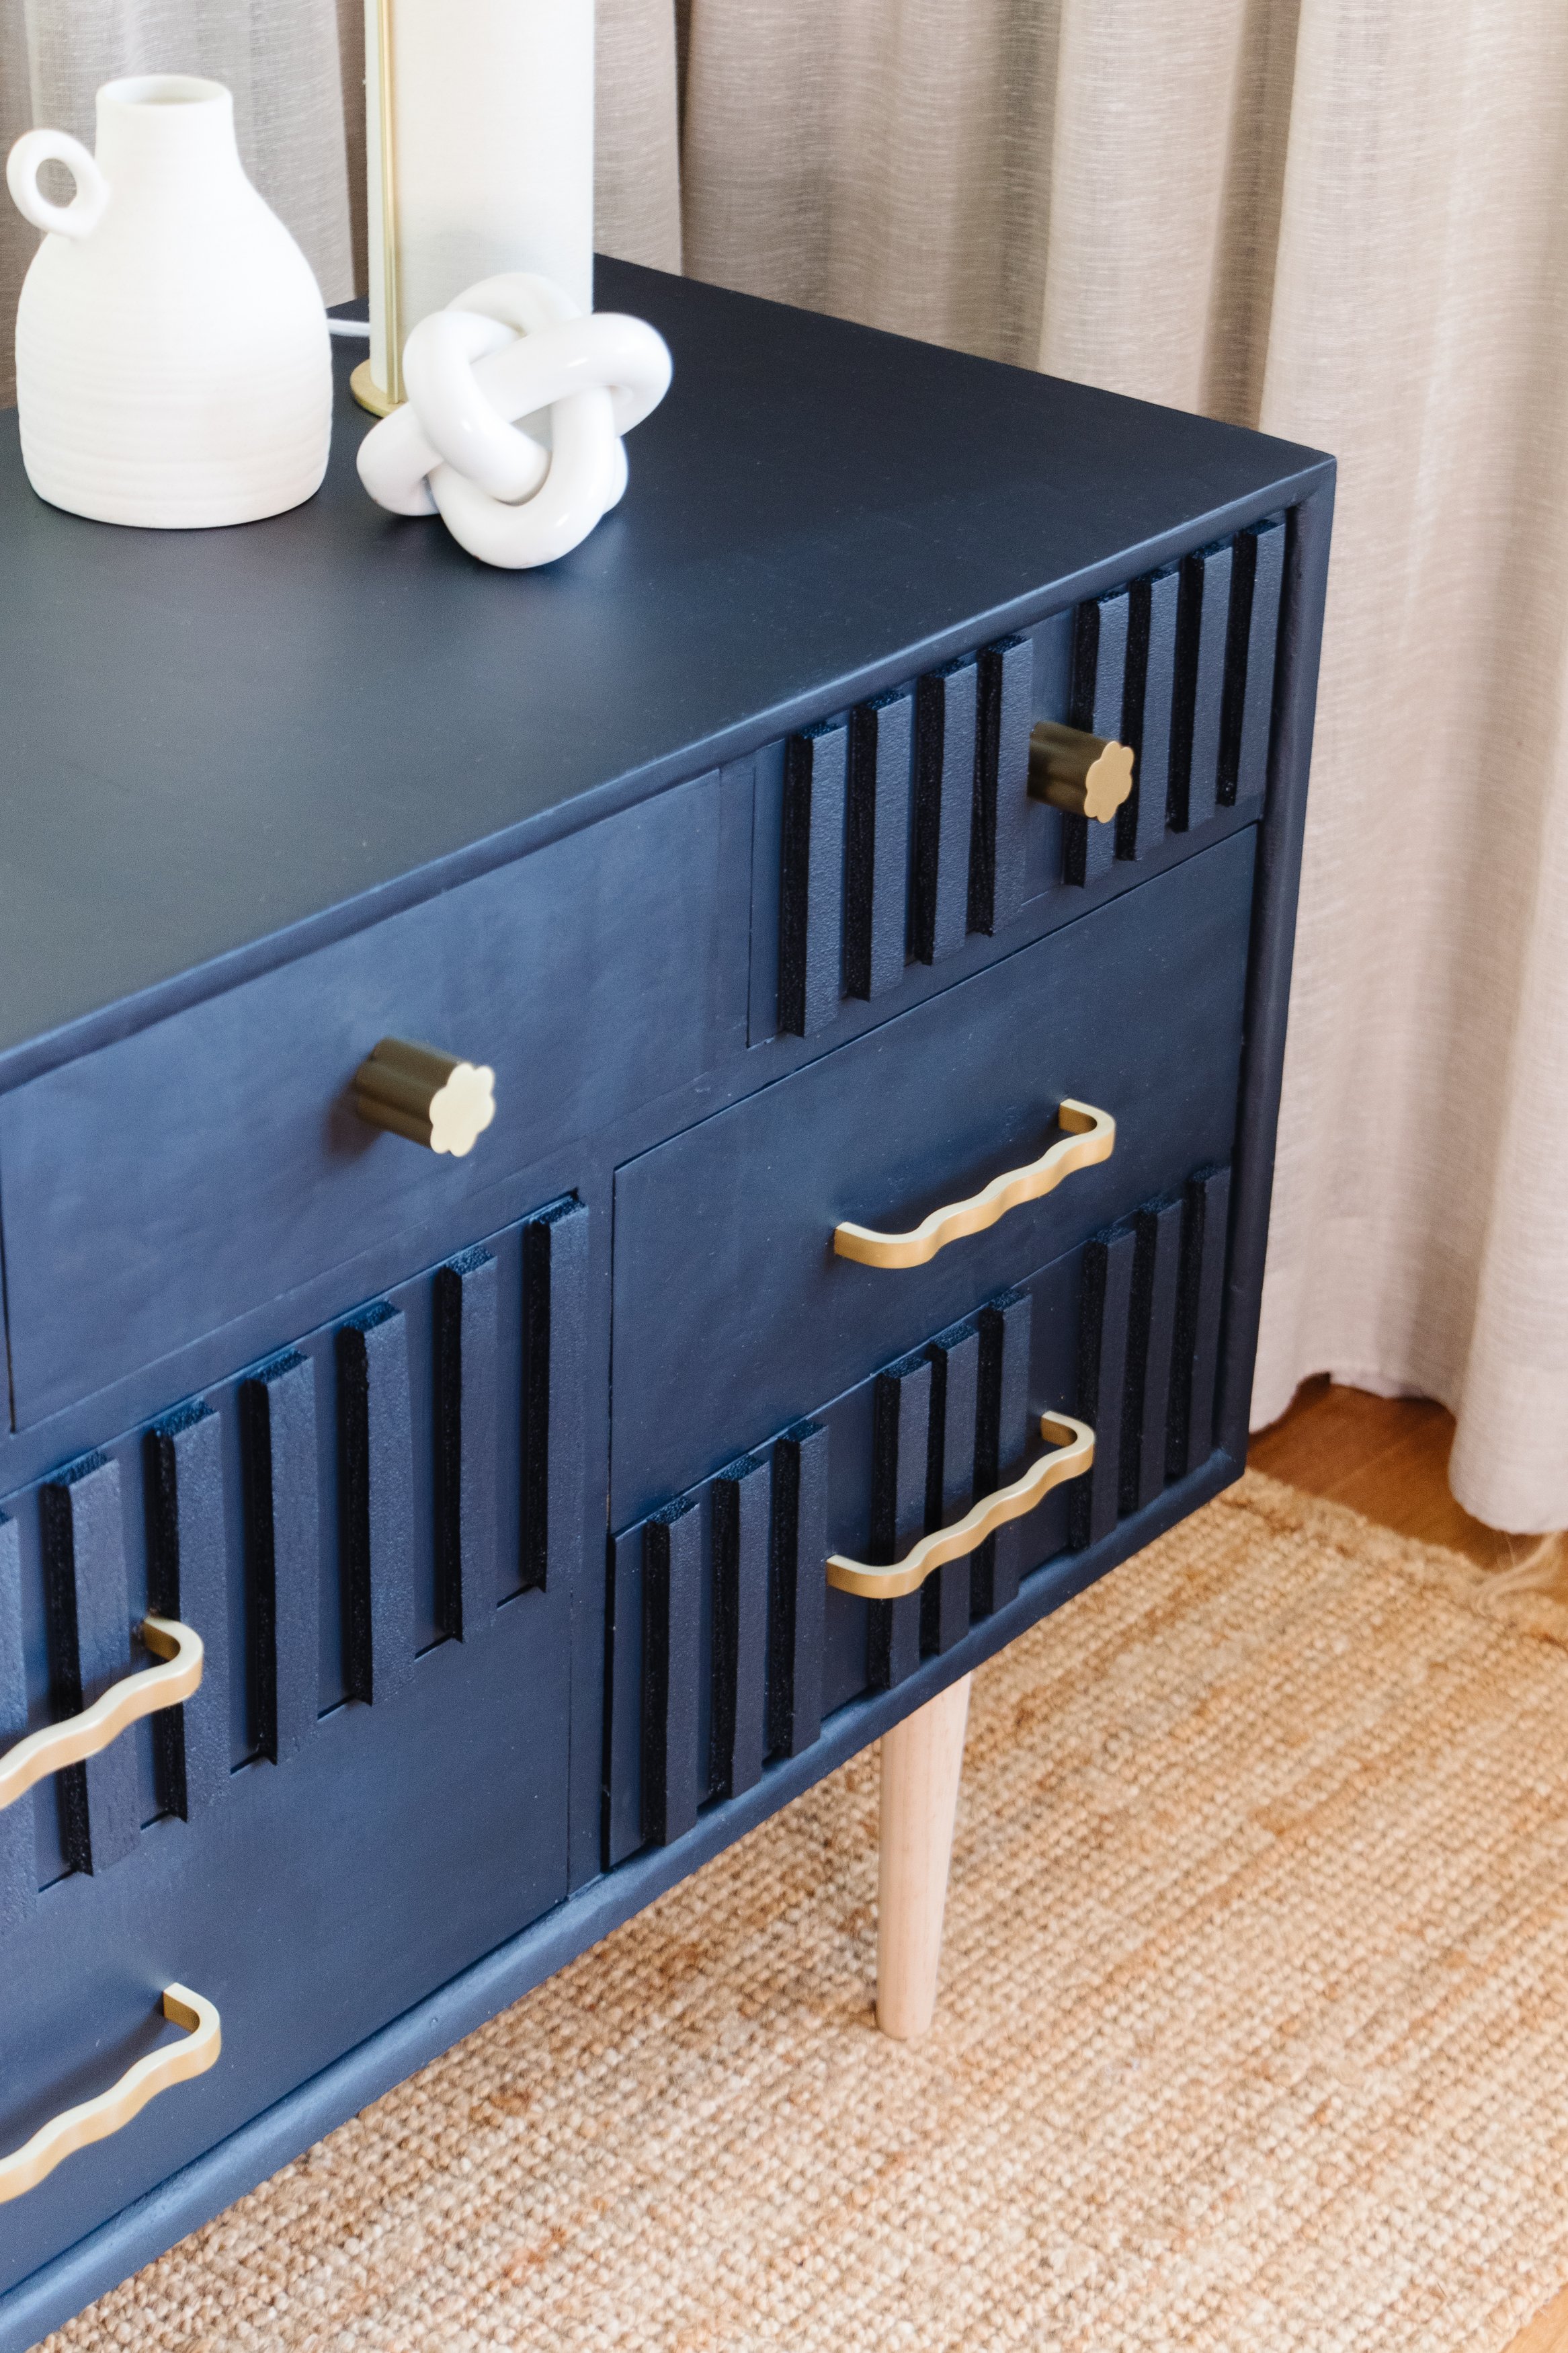
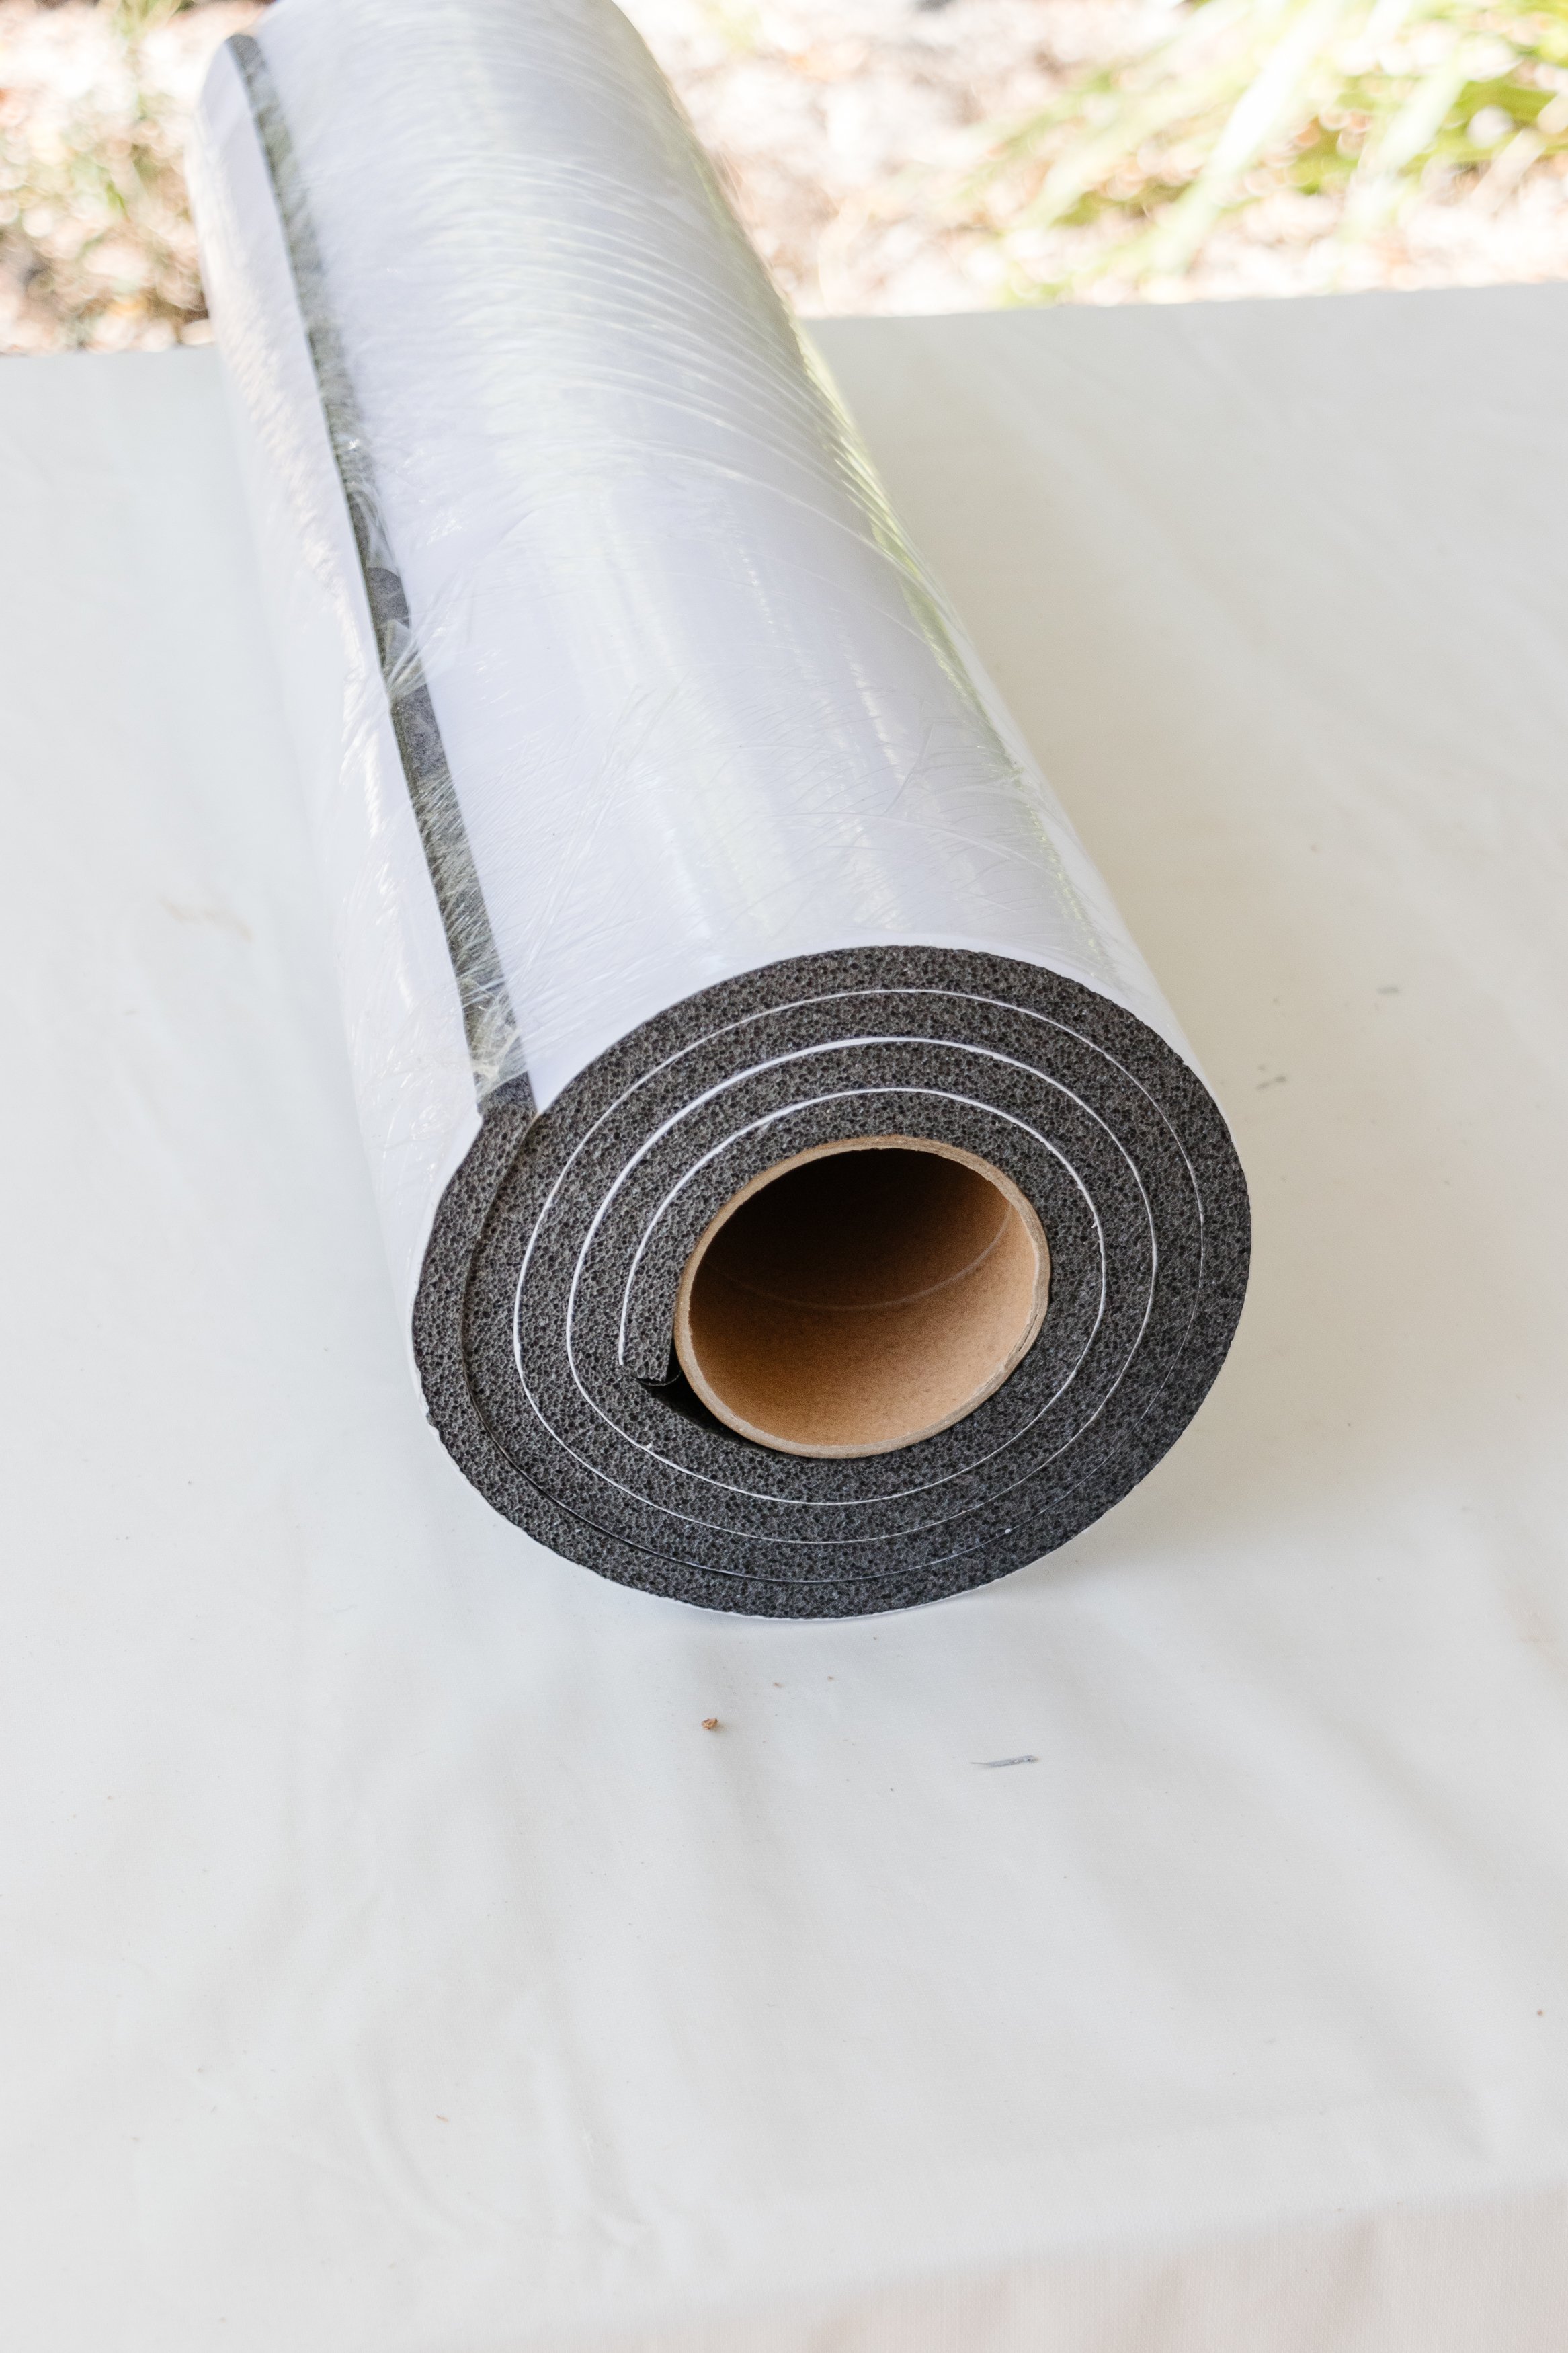
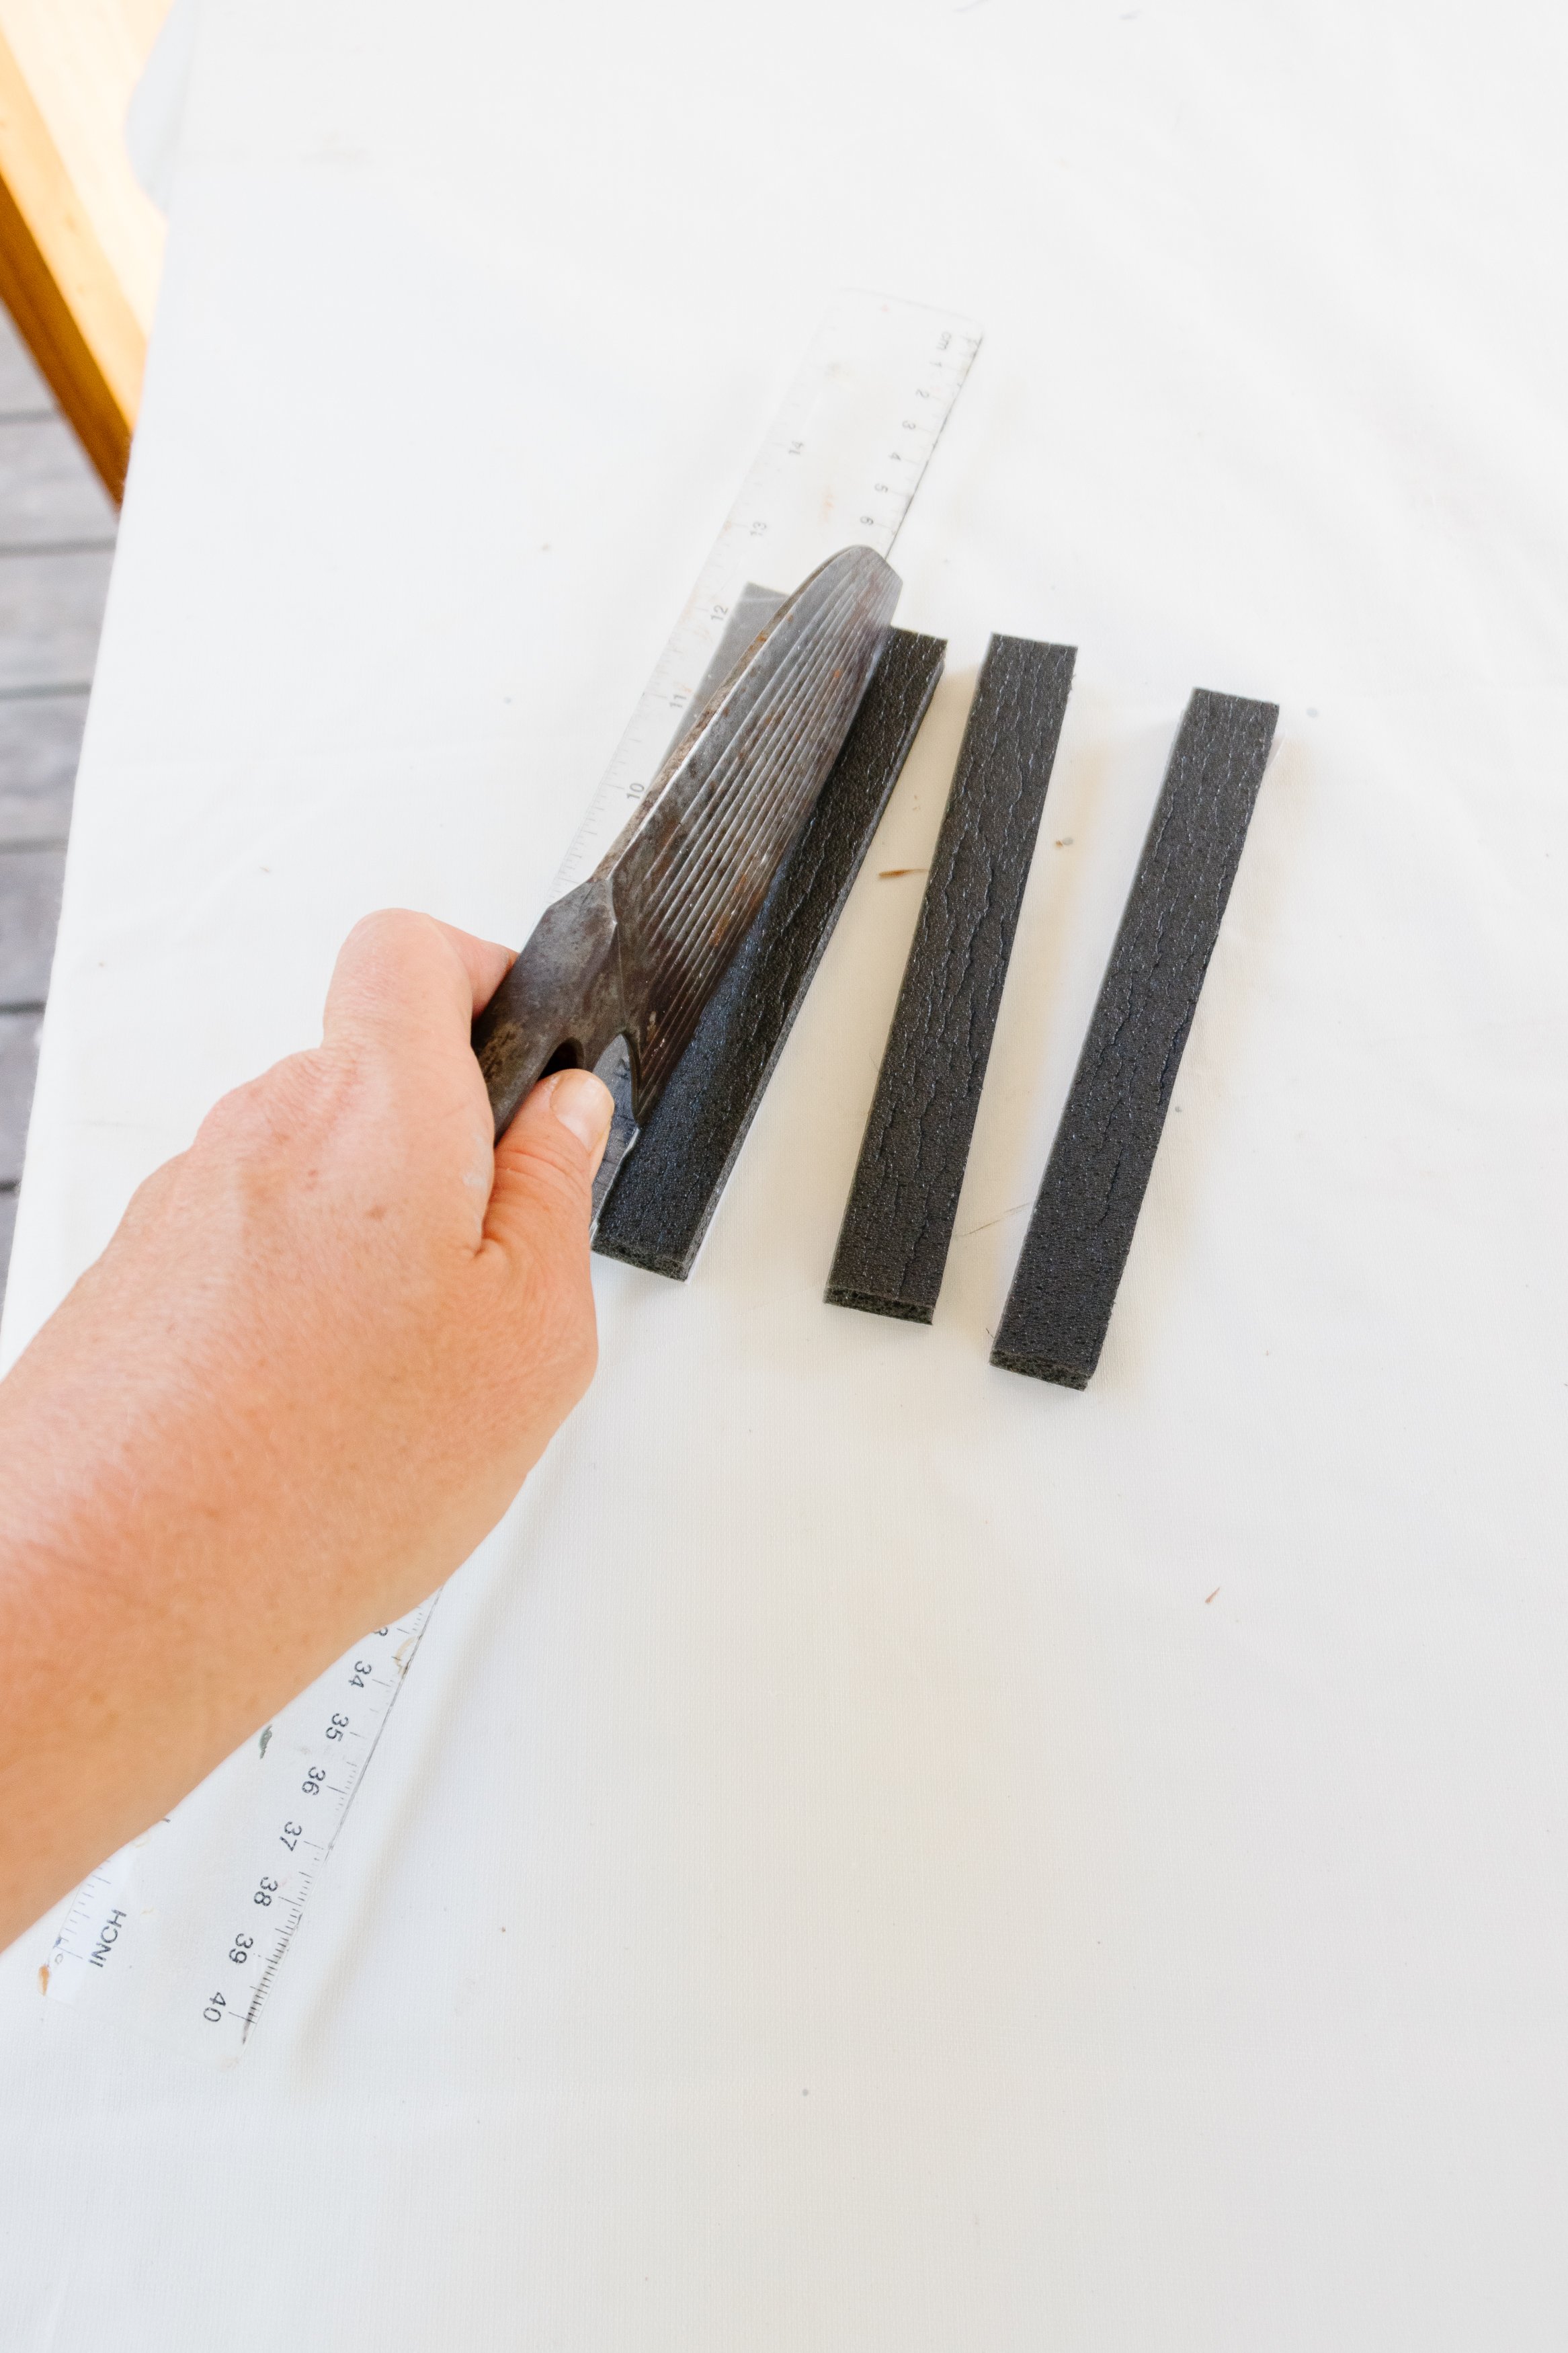
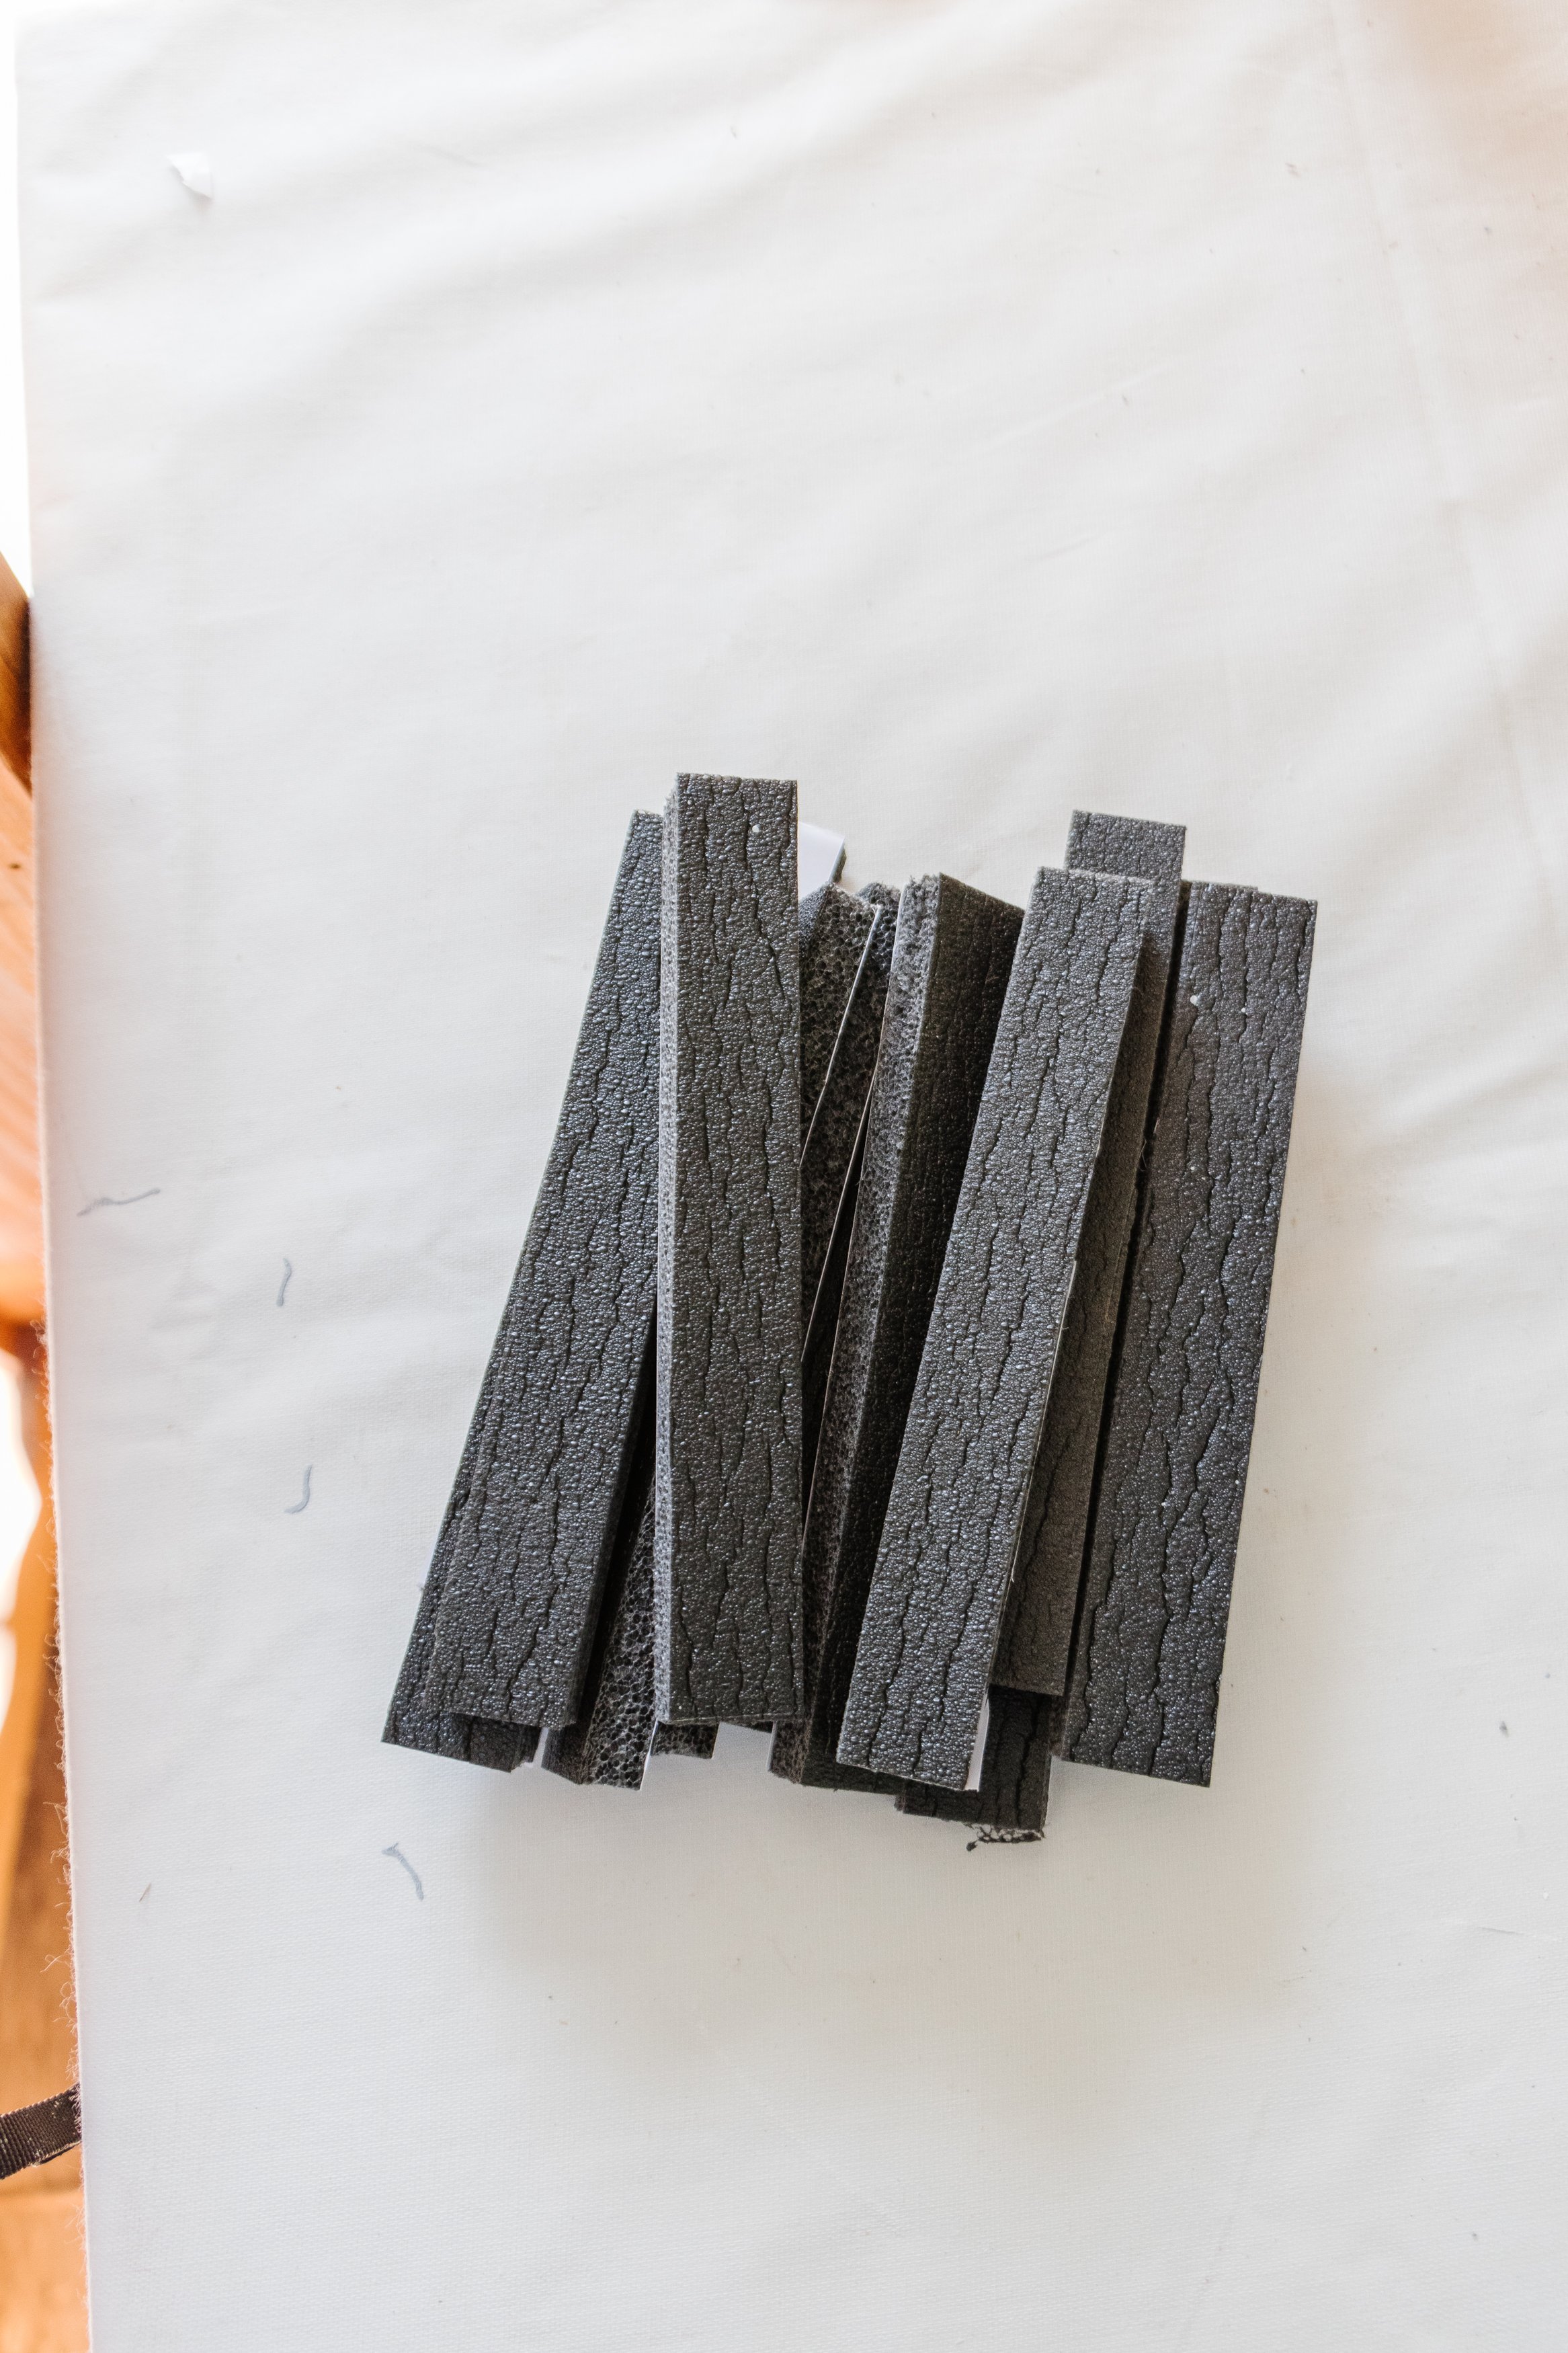
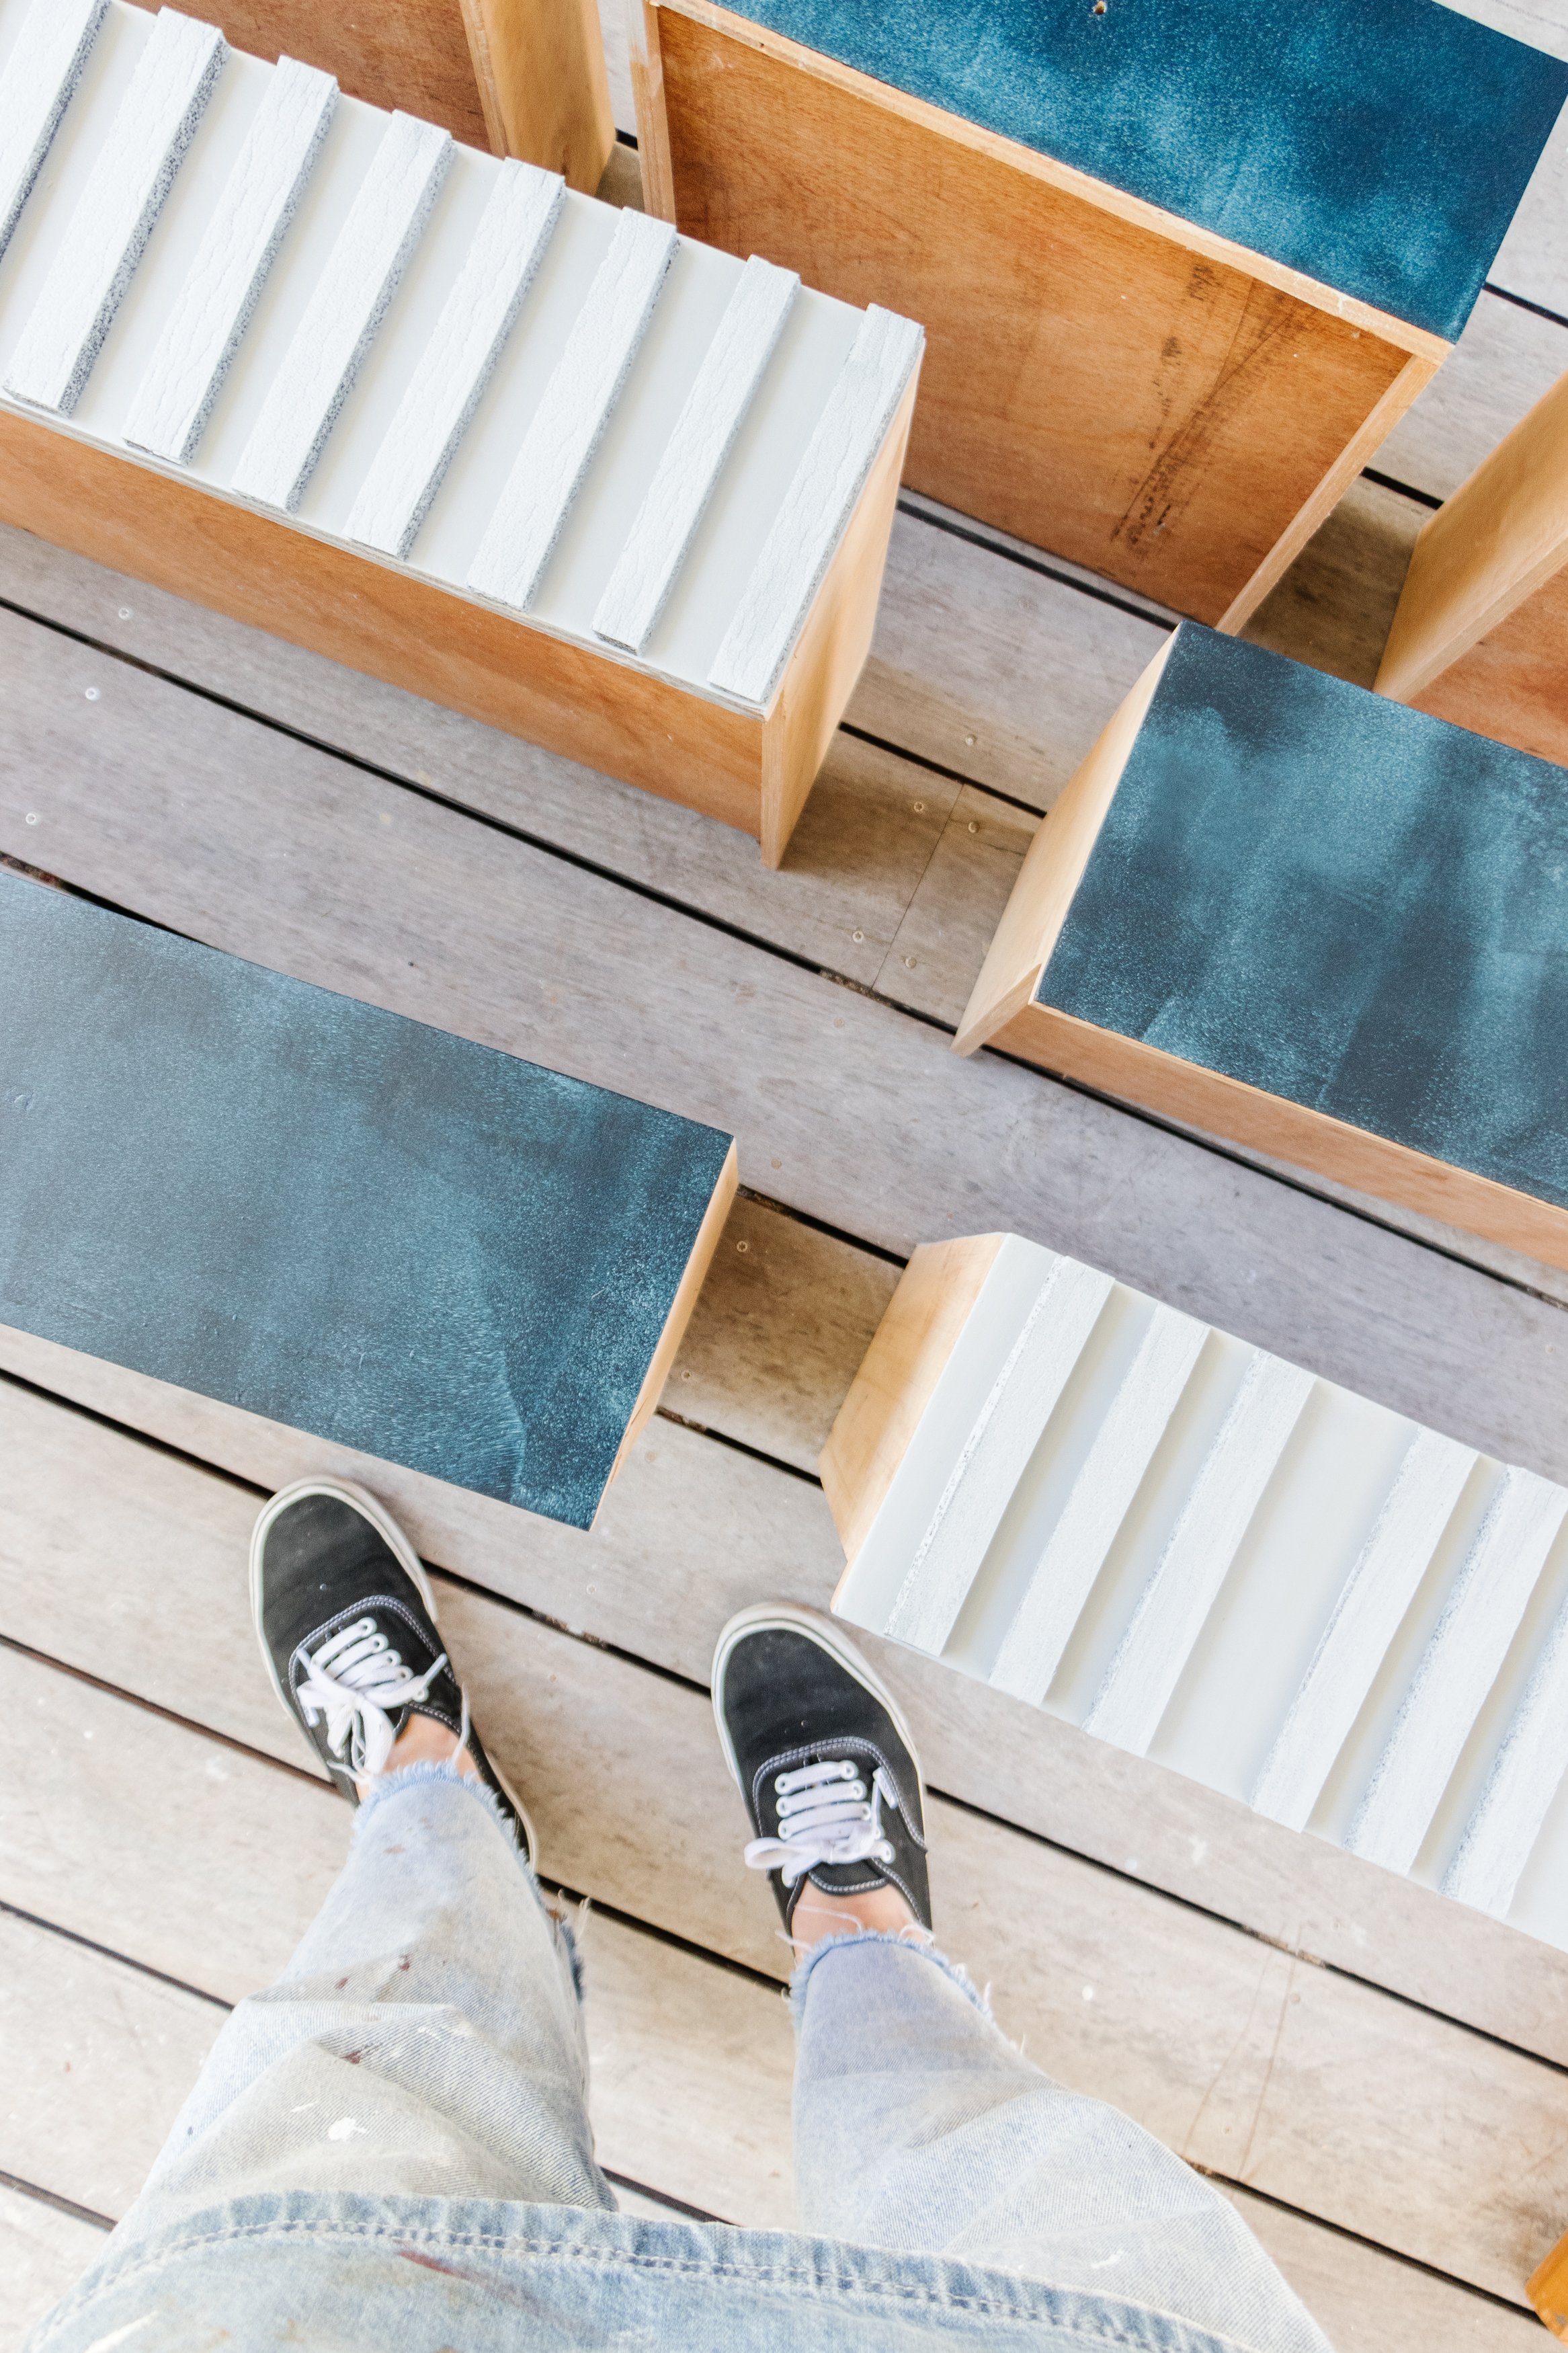
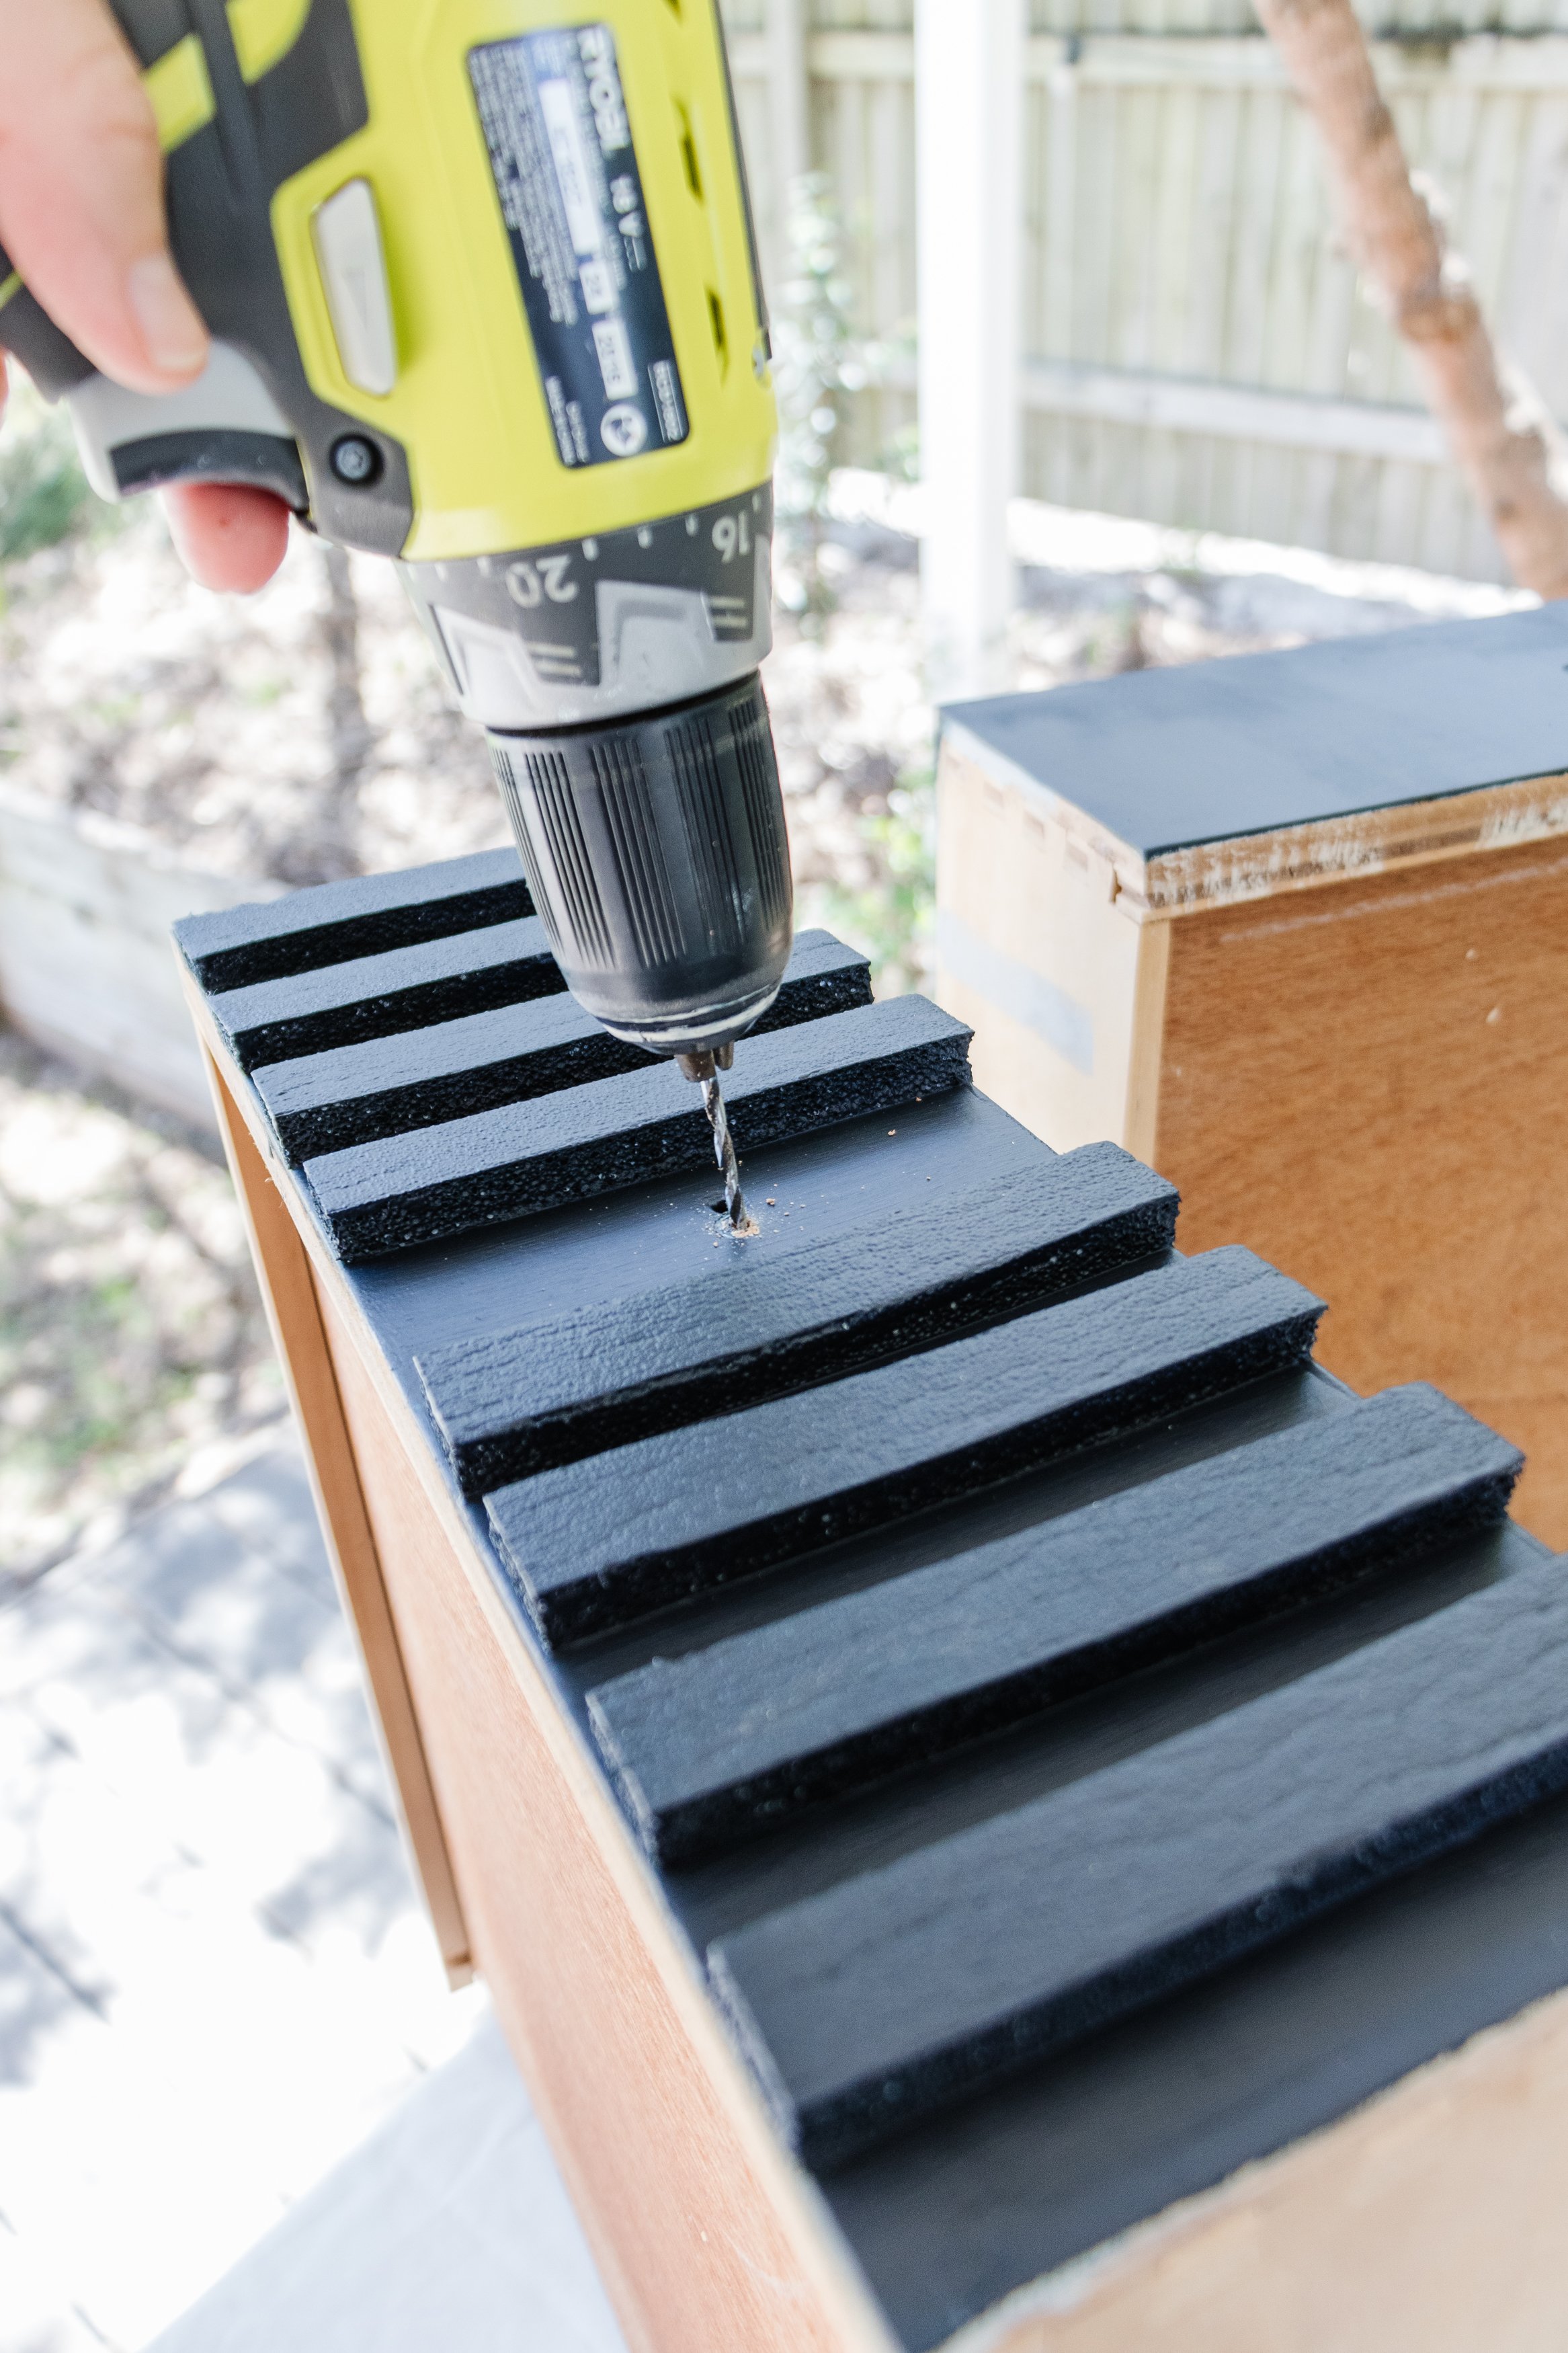
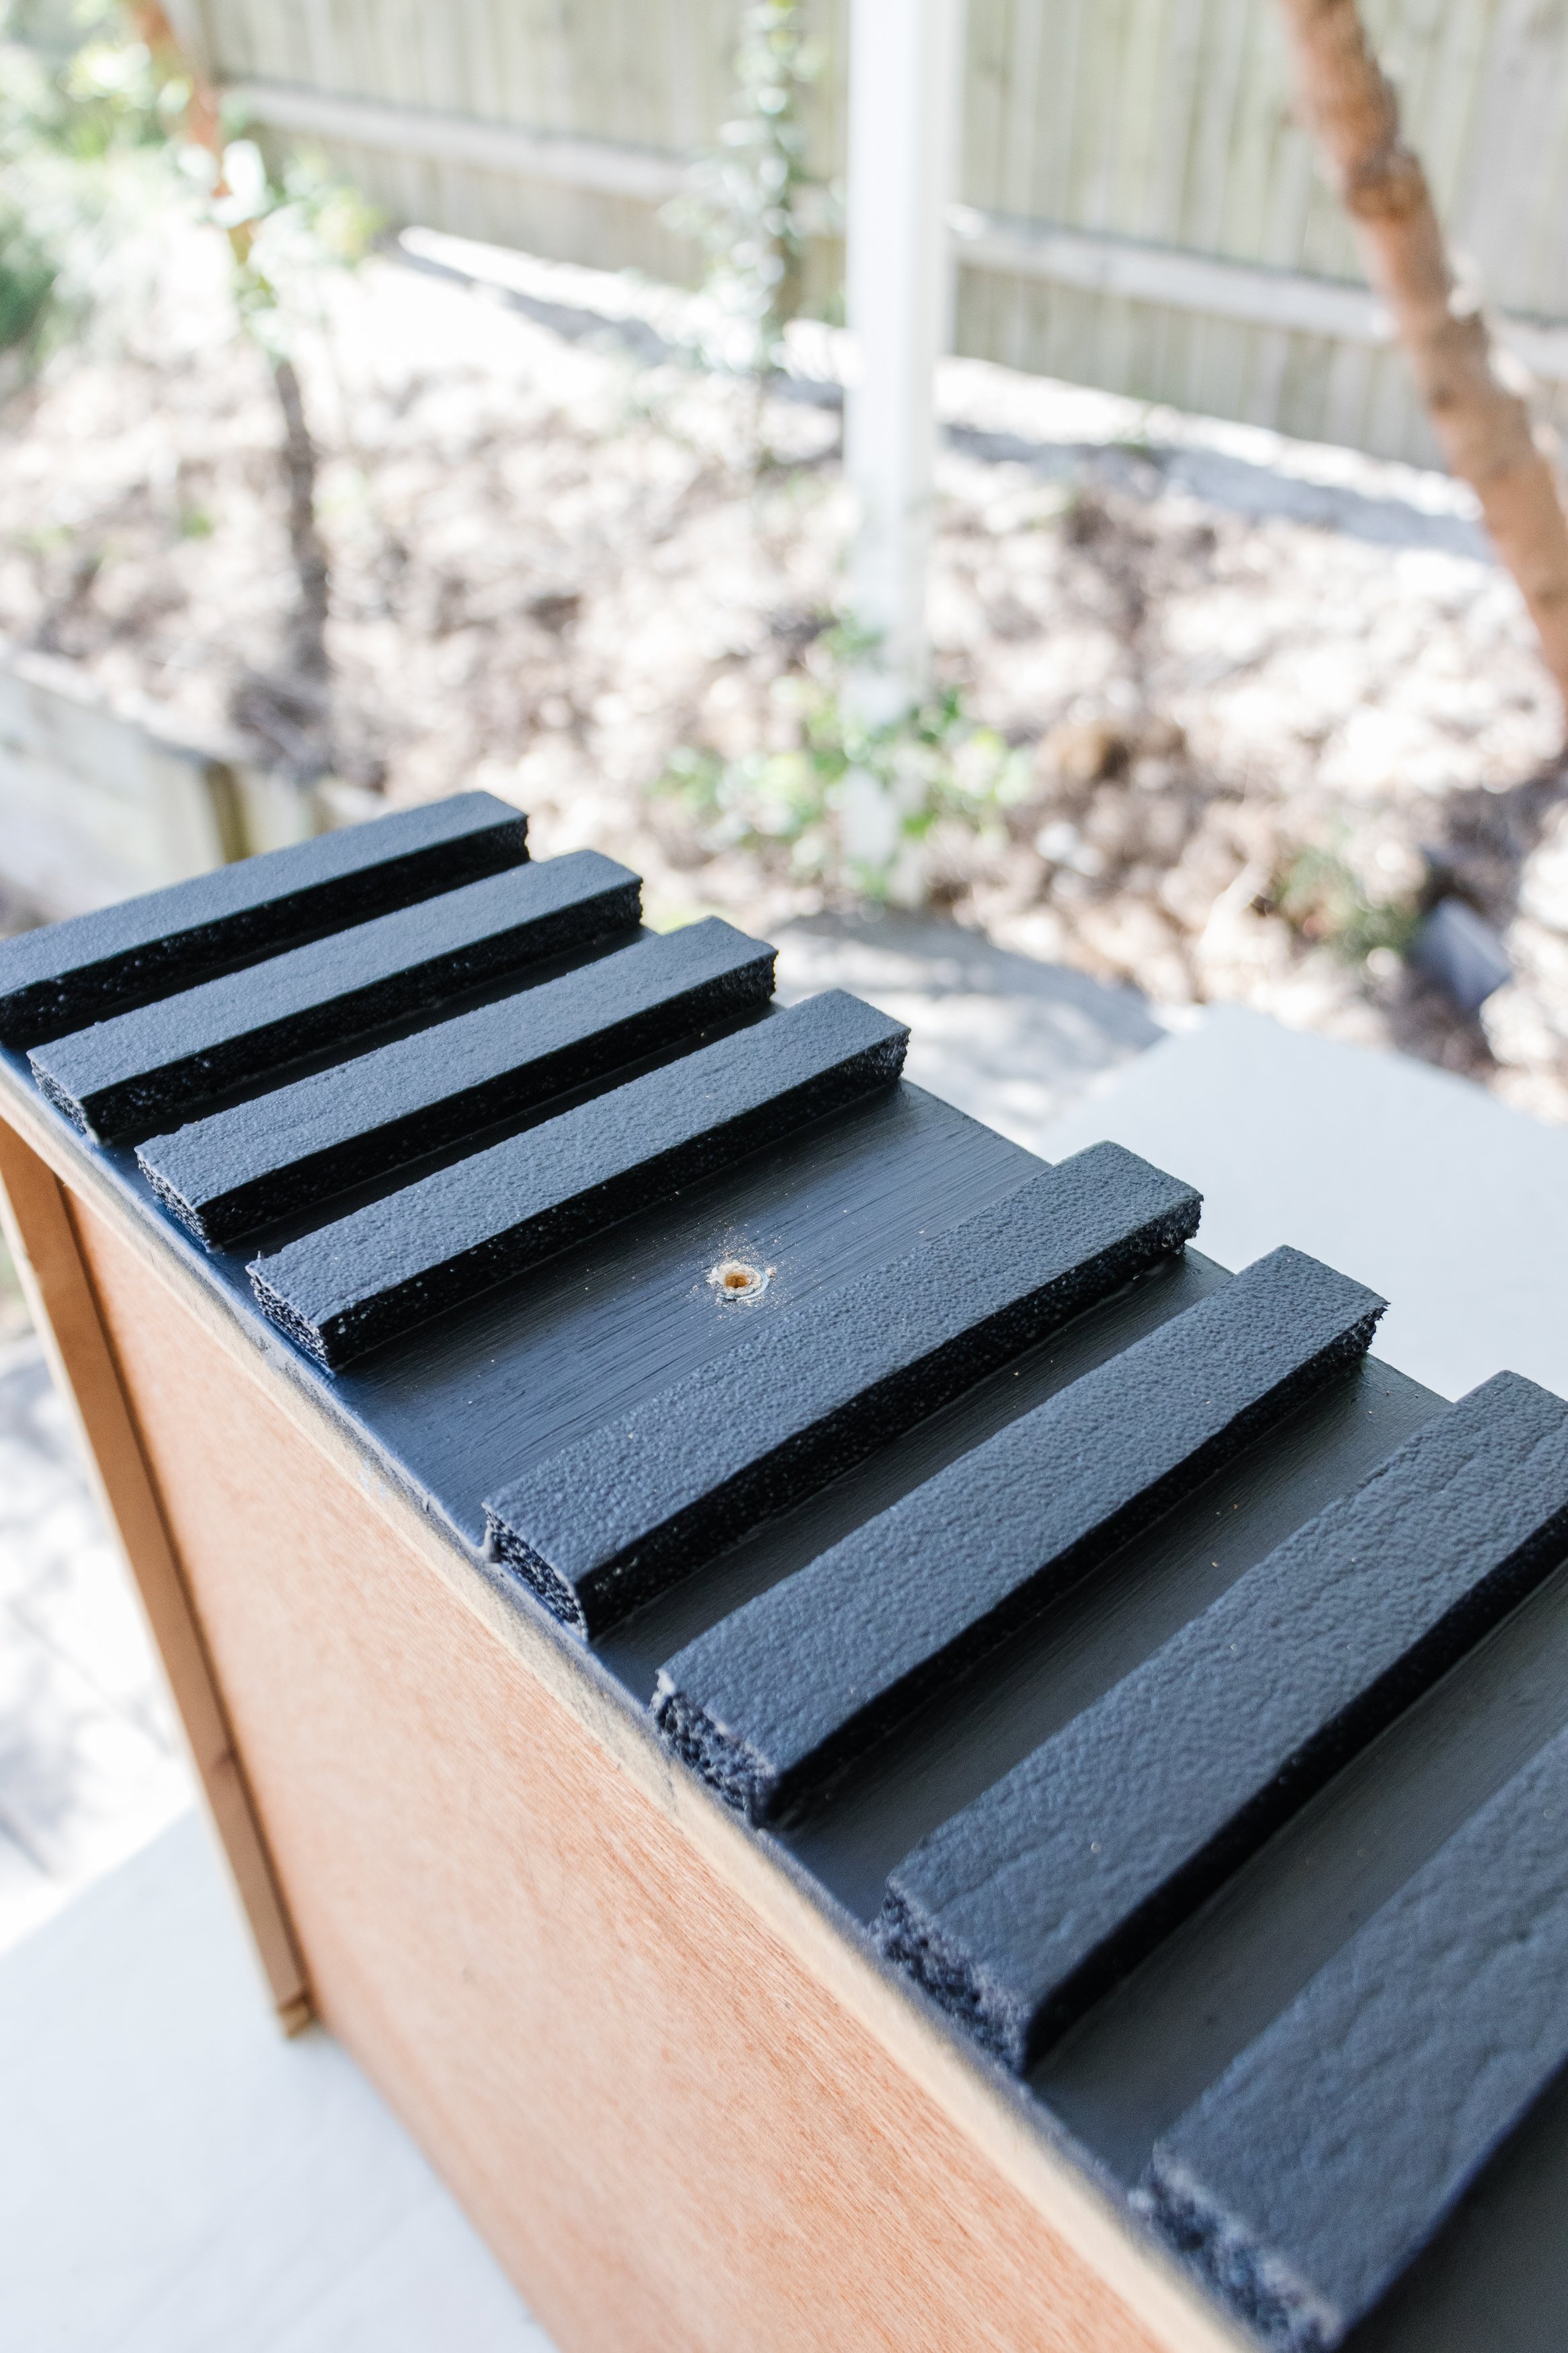
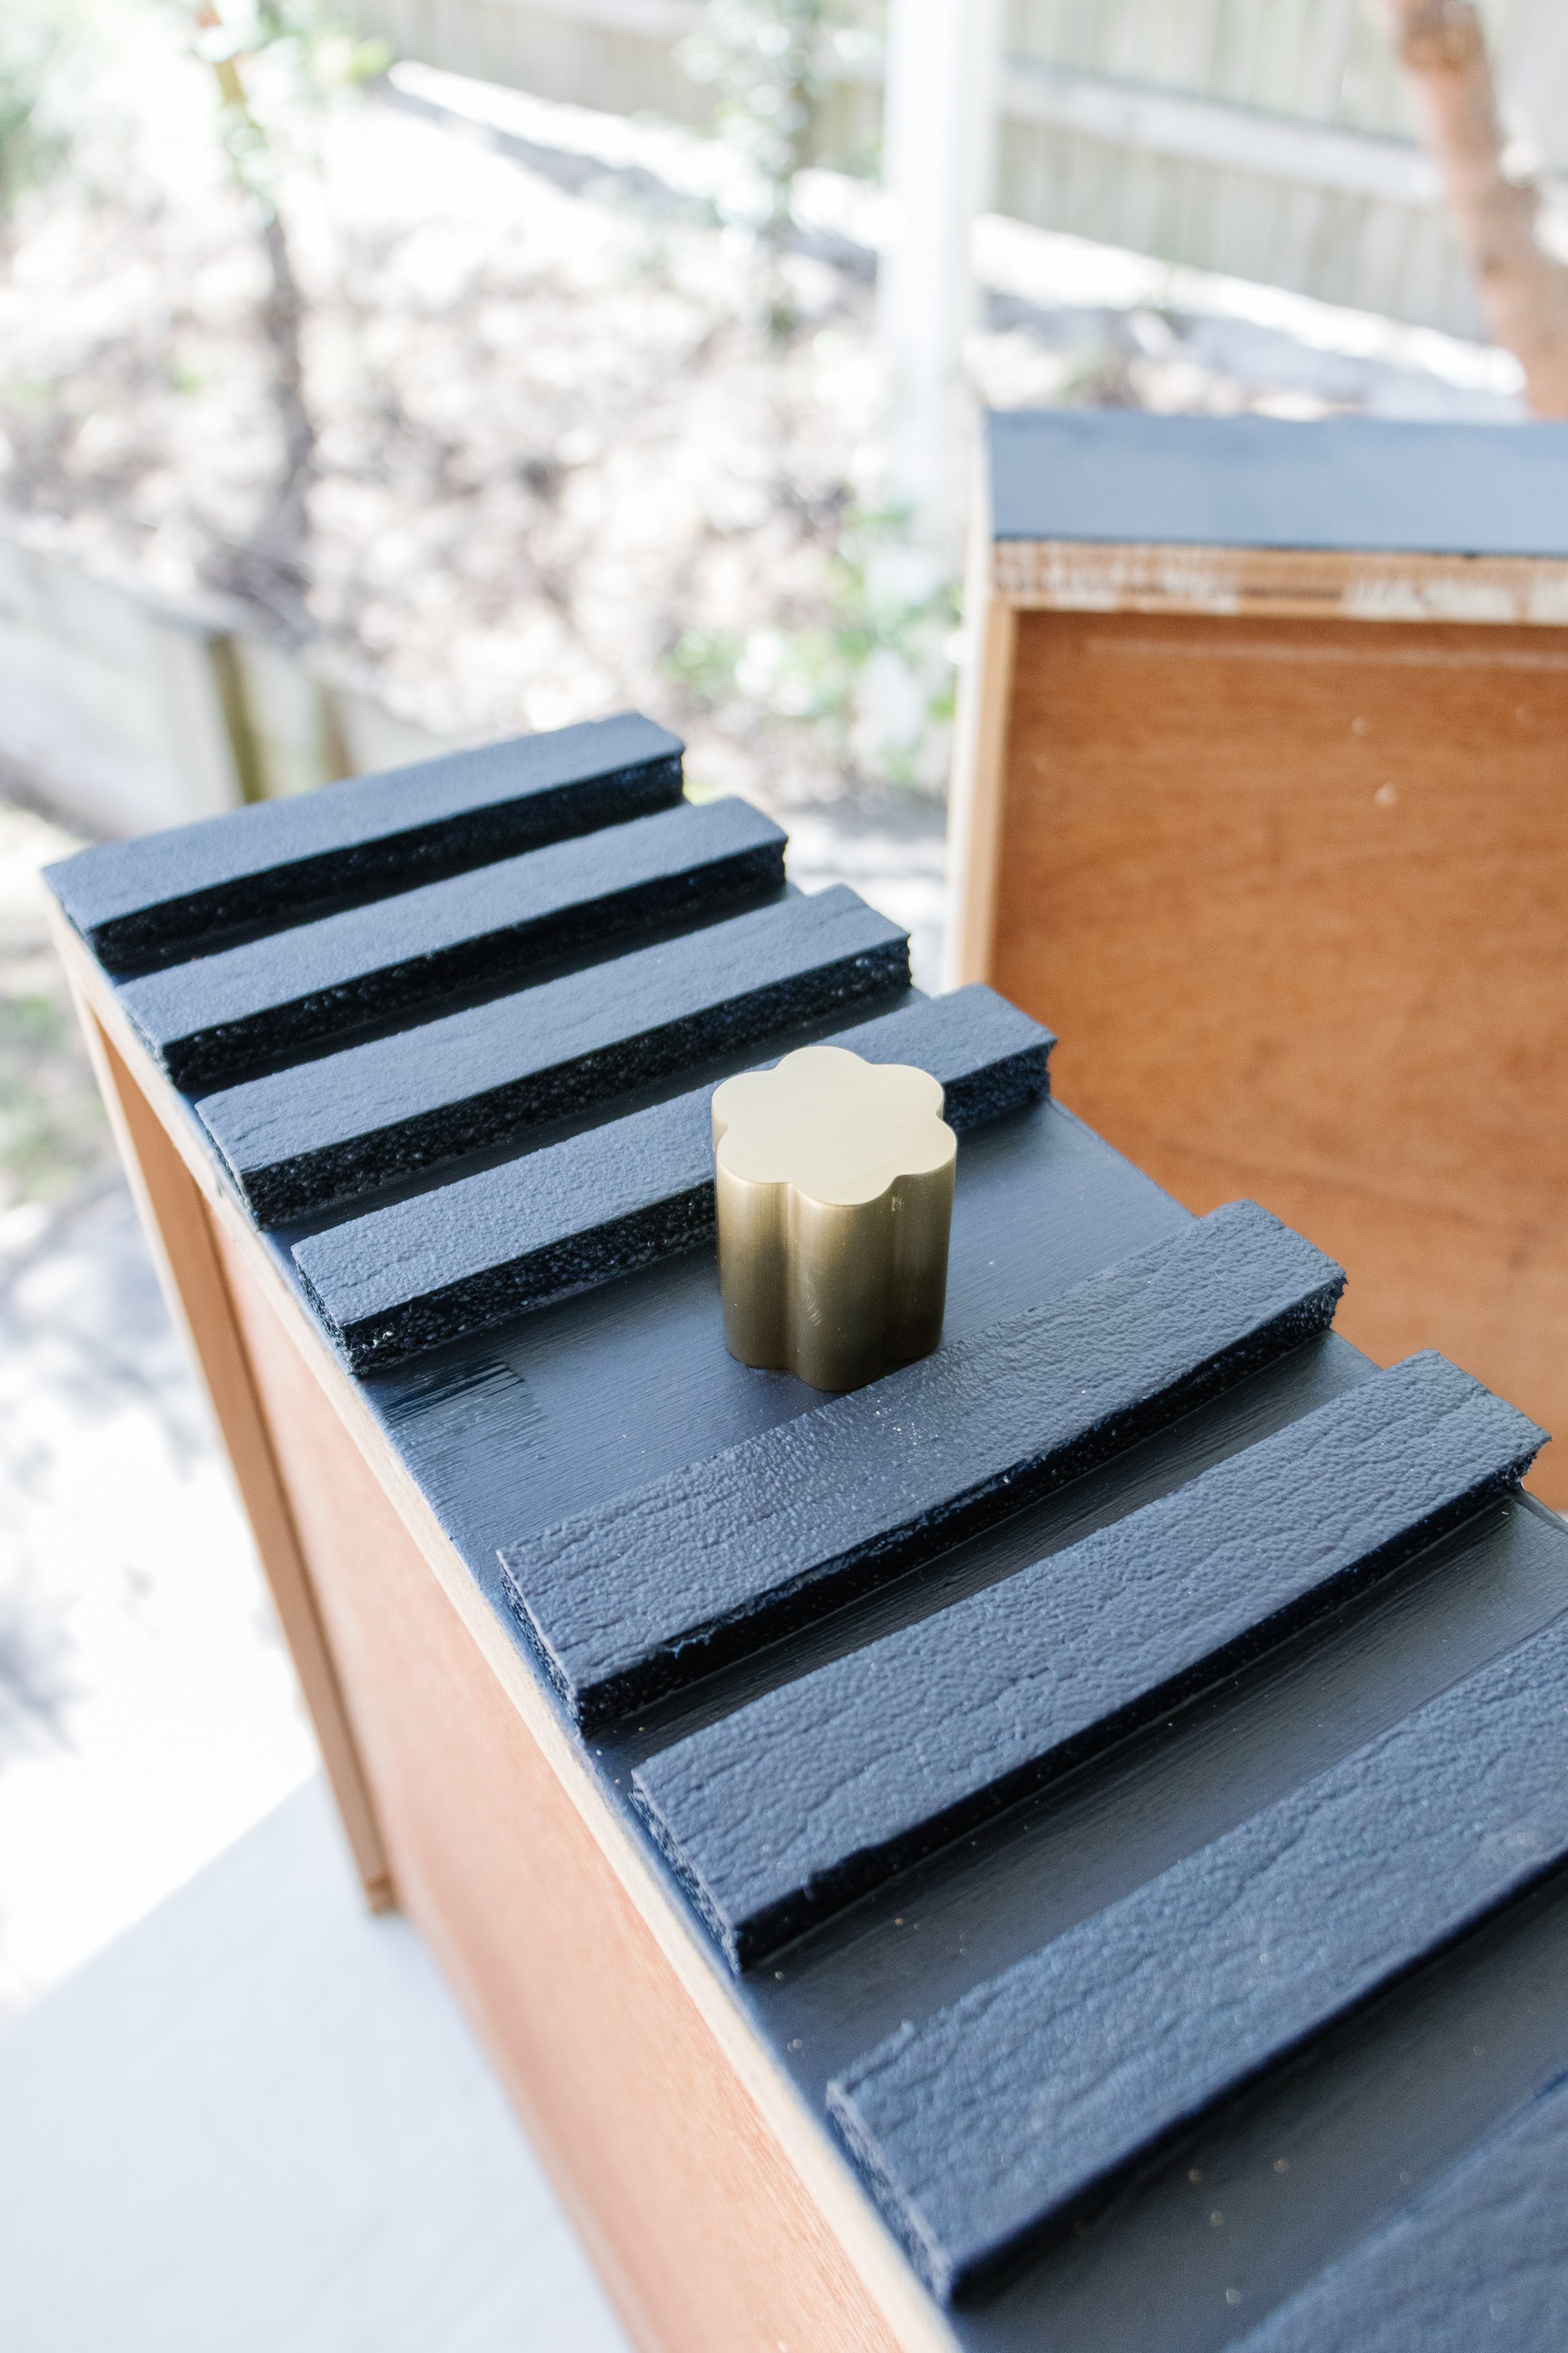
Step 5: While the primer is drying, measure each drawer and calculate how many pieces of fluted foam you’ll need ensuring 20mm width. Measure and cut the foam accordingly. Play around the with positioning to make sure there is room to install the Passio “Wavey” Solid Brass Knobs in between the fluted foam pieces, as well as the Passio “Wavey” Sold Brass Handles. When you are happy with the positioning, peel the paper off the back of each piece of foam and gently stick it onto the drawers. As you will see I chose not to cover every drawer and that’s because I really wanted the Passio “Wavey” Knobs and Handles to stand out. Do not install the Passio hardware just yet.
Step 6: Following this, apply a coat of primer onto the fluted foam pieces using a paint brush. Set aside to dry.
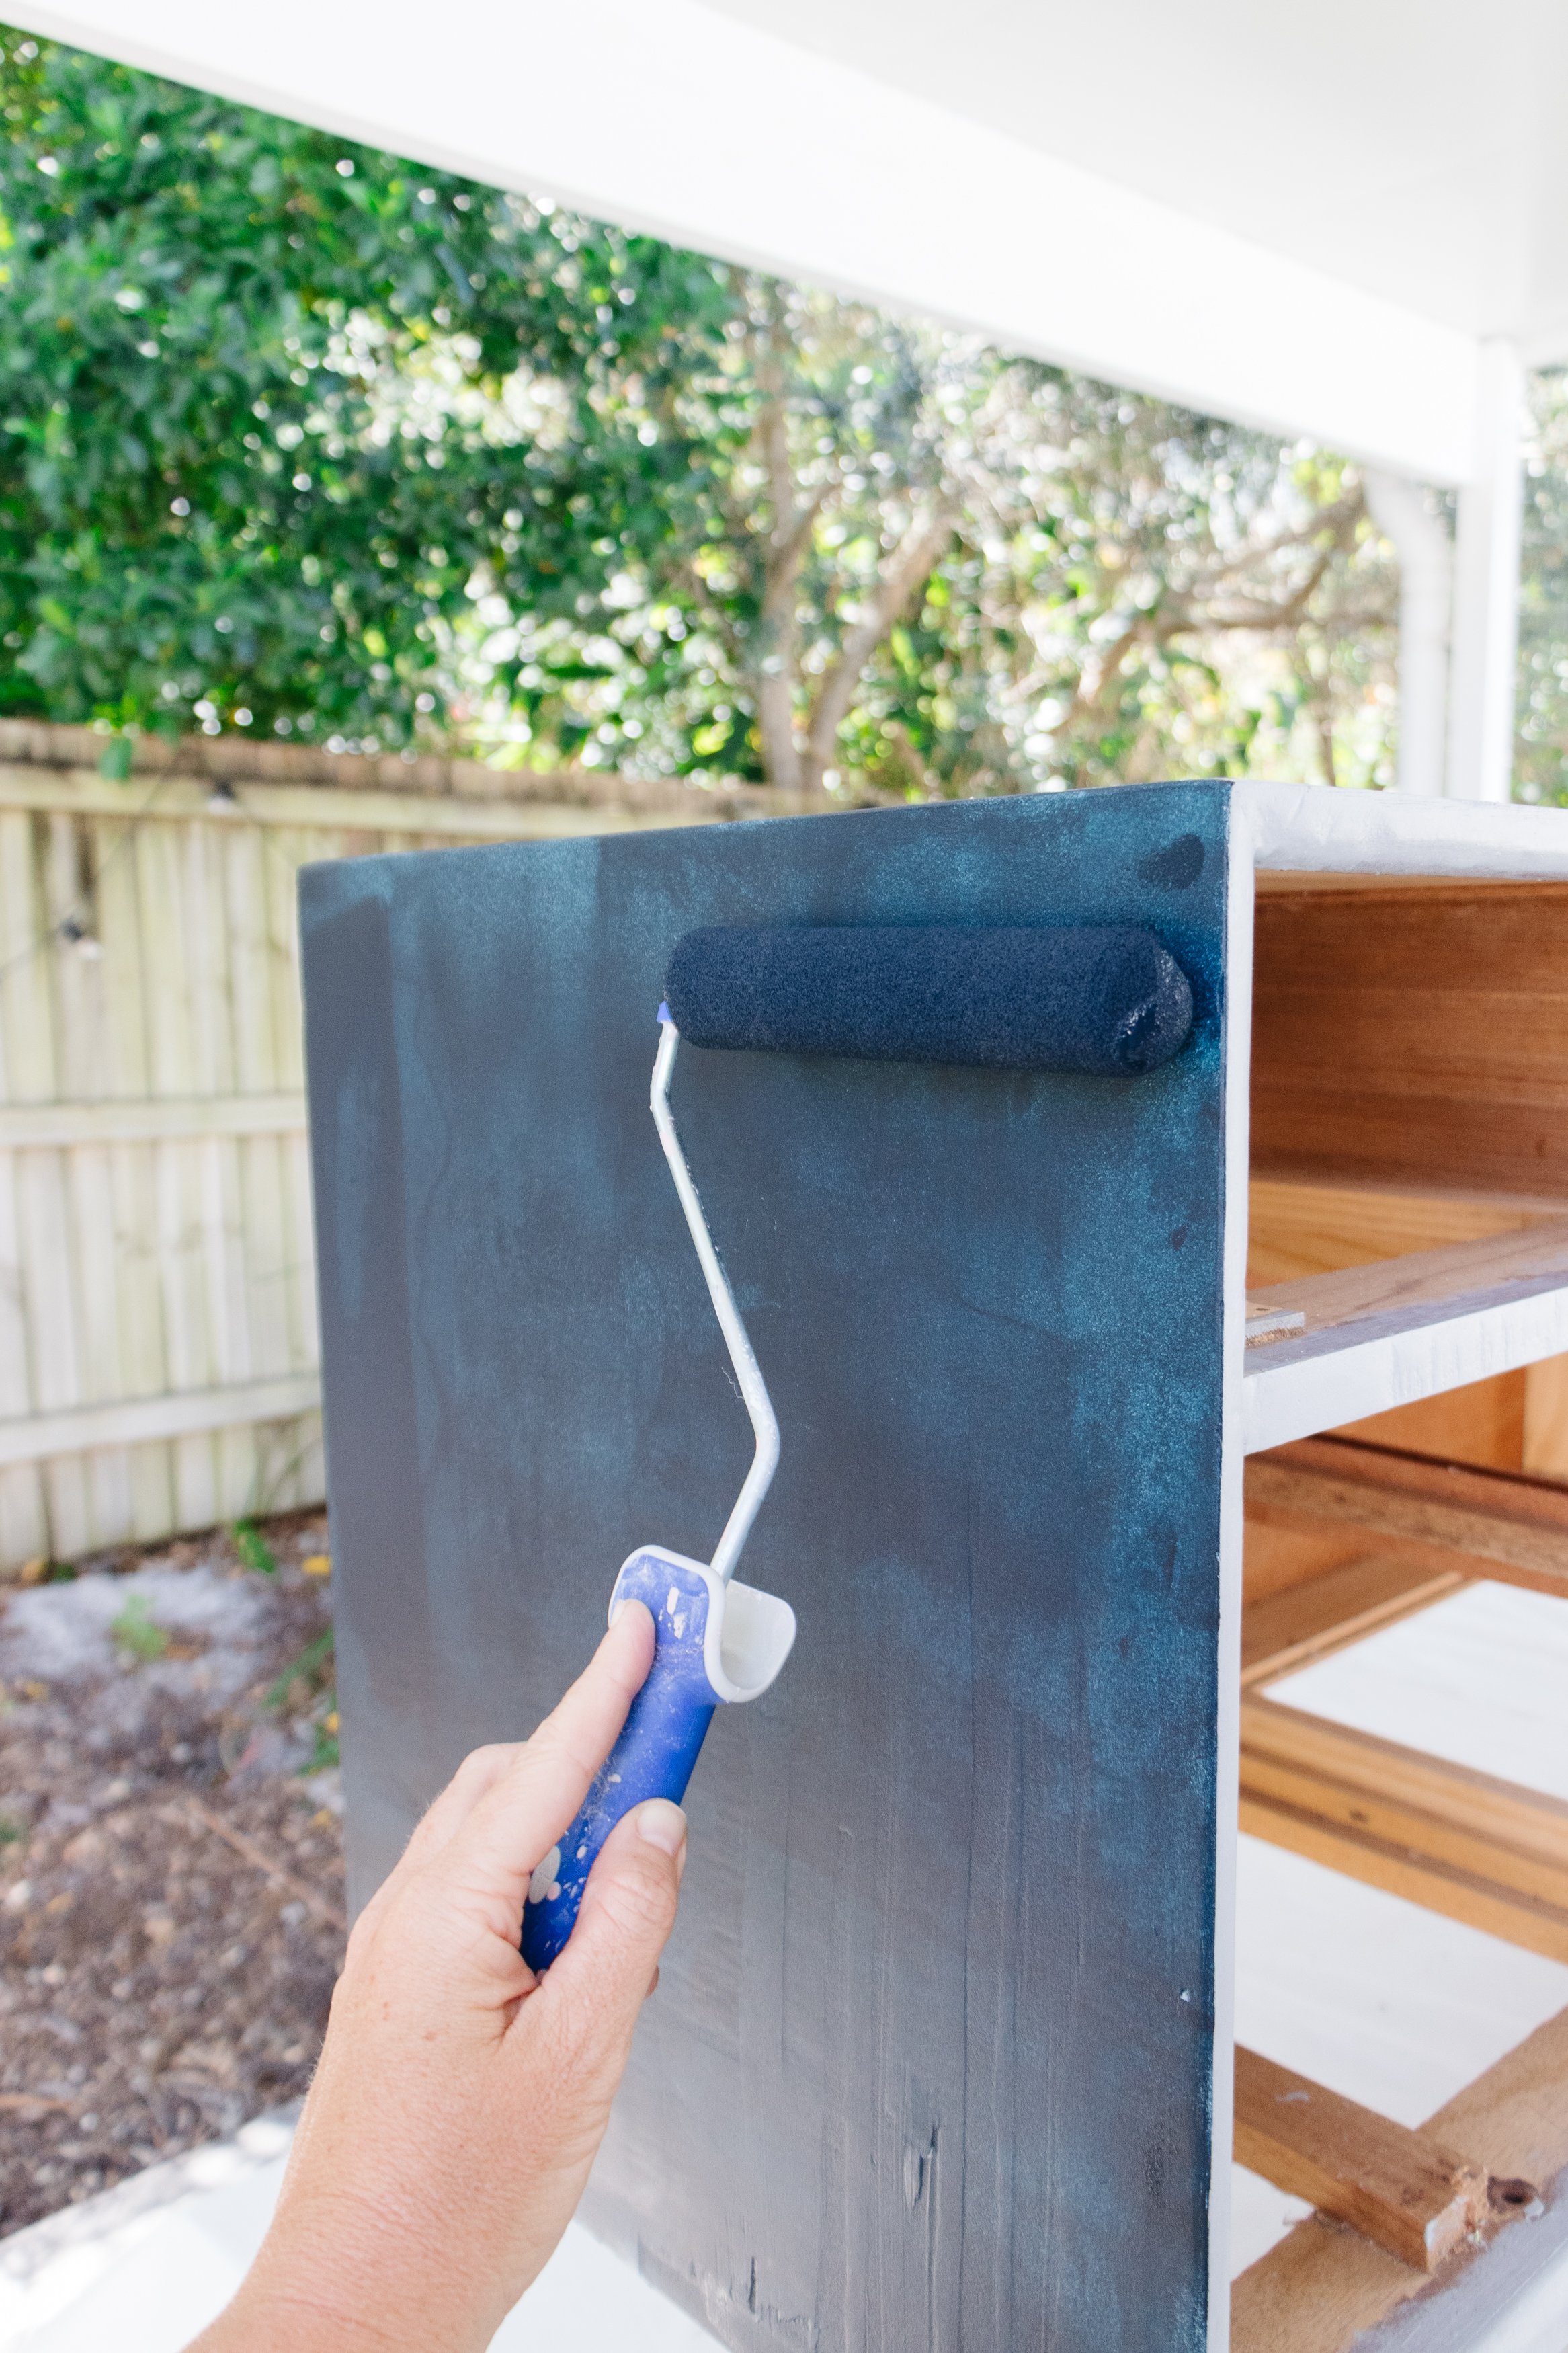
Step 7: Pull the drawers out and set them aside. Using a paint roller apply two thin coats of paint all over the cabinet and wait at least 30 minutes before applying the second coat.
Step 8: While the sideboard is drying, using a paint brush to apply two thin coats of paint onto the front of the drawers. You may need to apply extra paint onto the sides of the fluted foam.


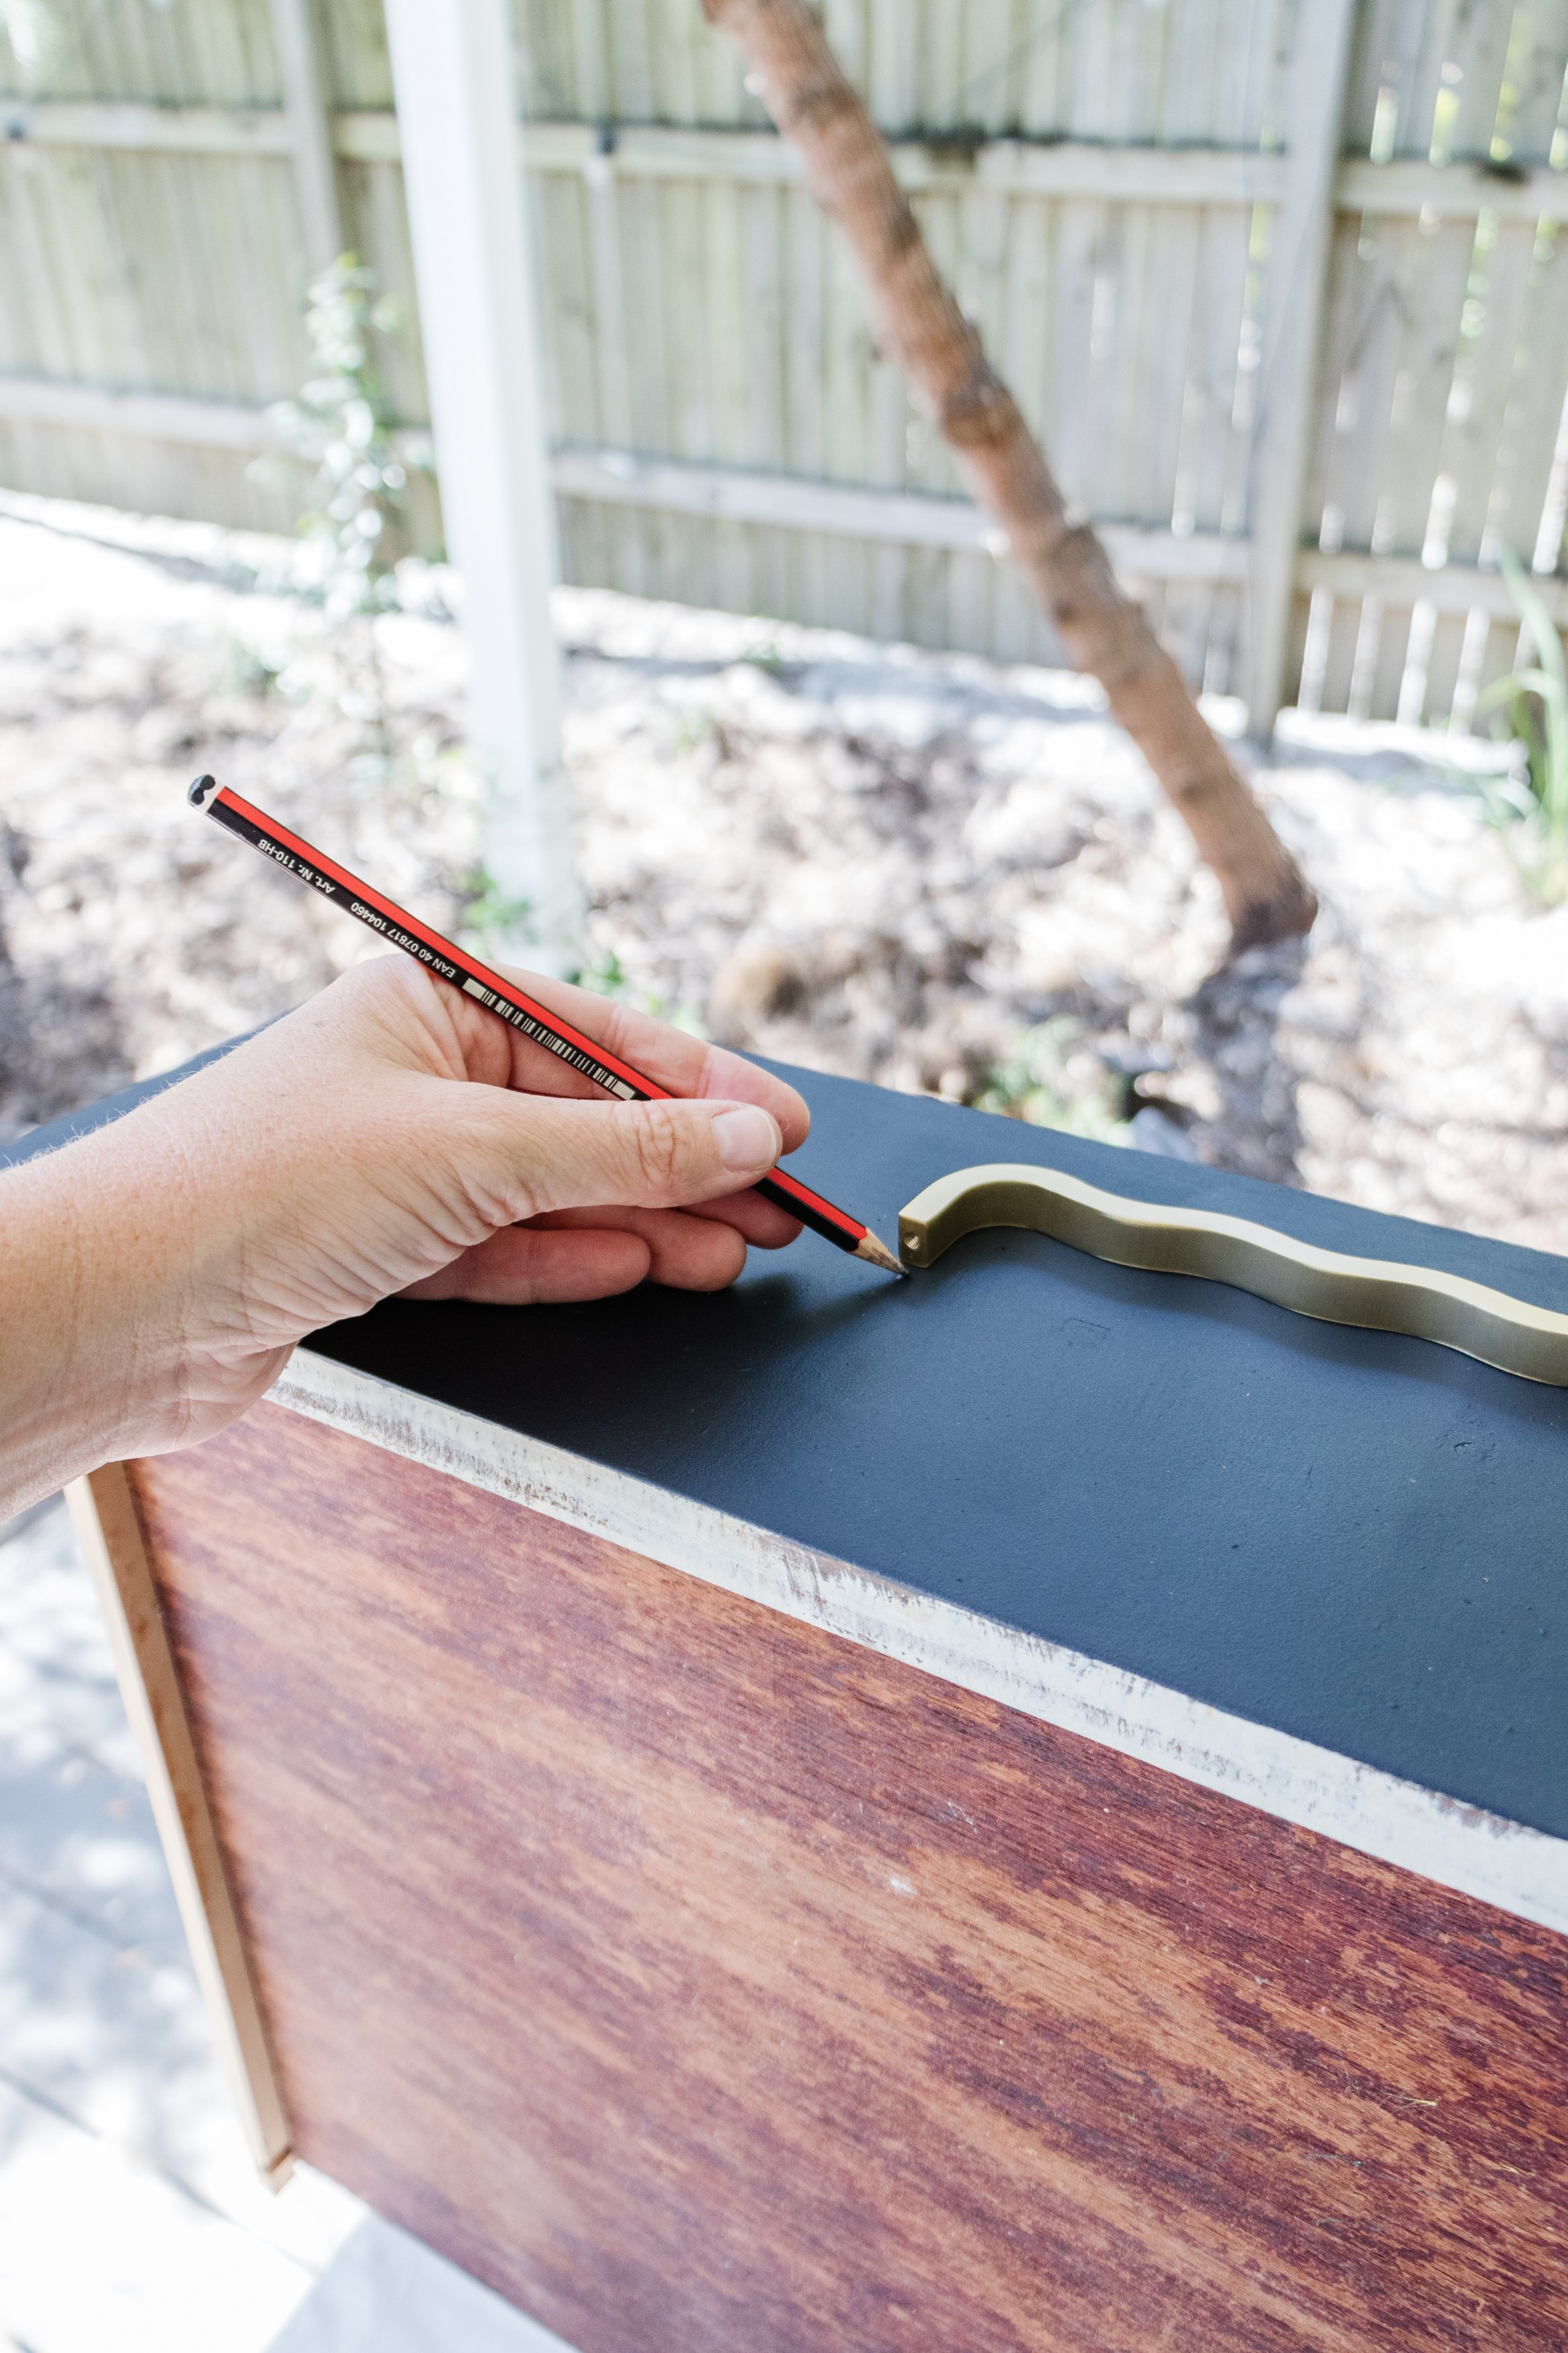
Step 9: When the paint has dried, install the Passio “Wavey” Solid Brass Knobs and then the Passio “Wavey” Sold Brass Handles using a drill and the screws provided. I recommend using a ruler and a pencil to get the perfect spot for each piece of hardware. And that’s it!

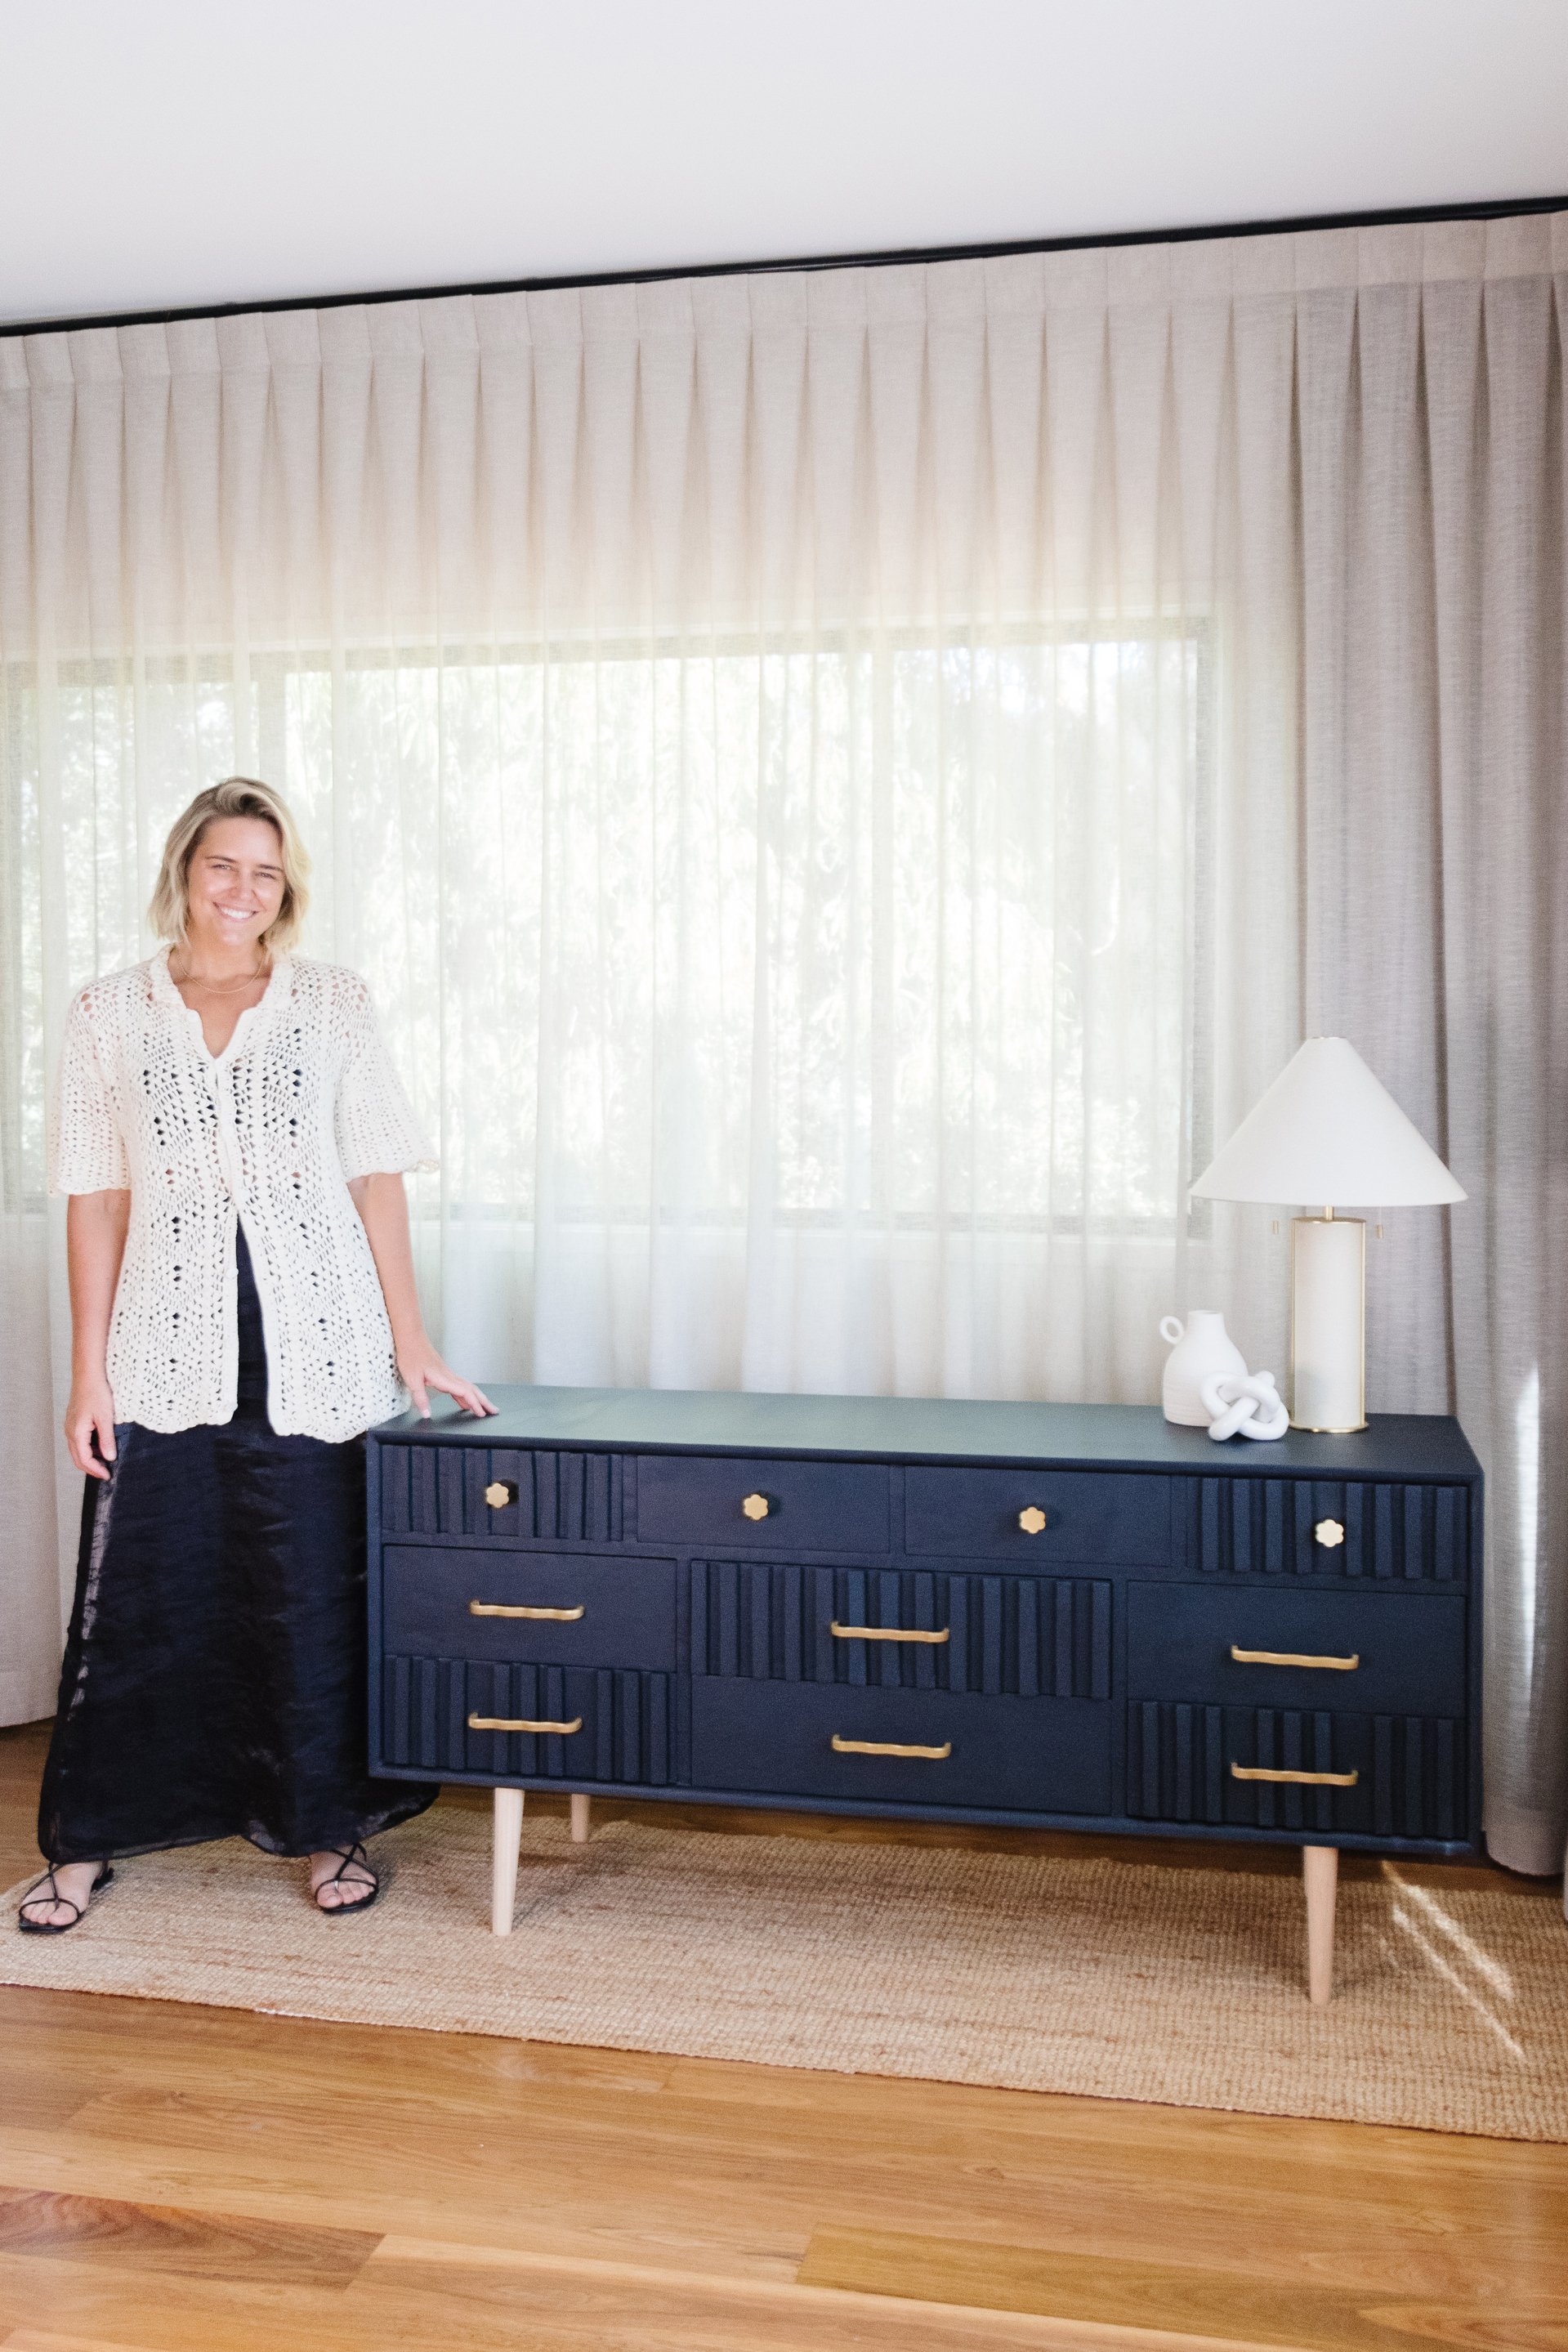
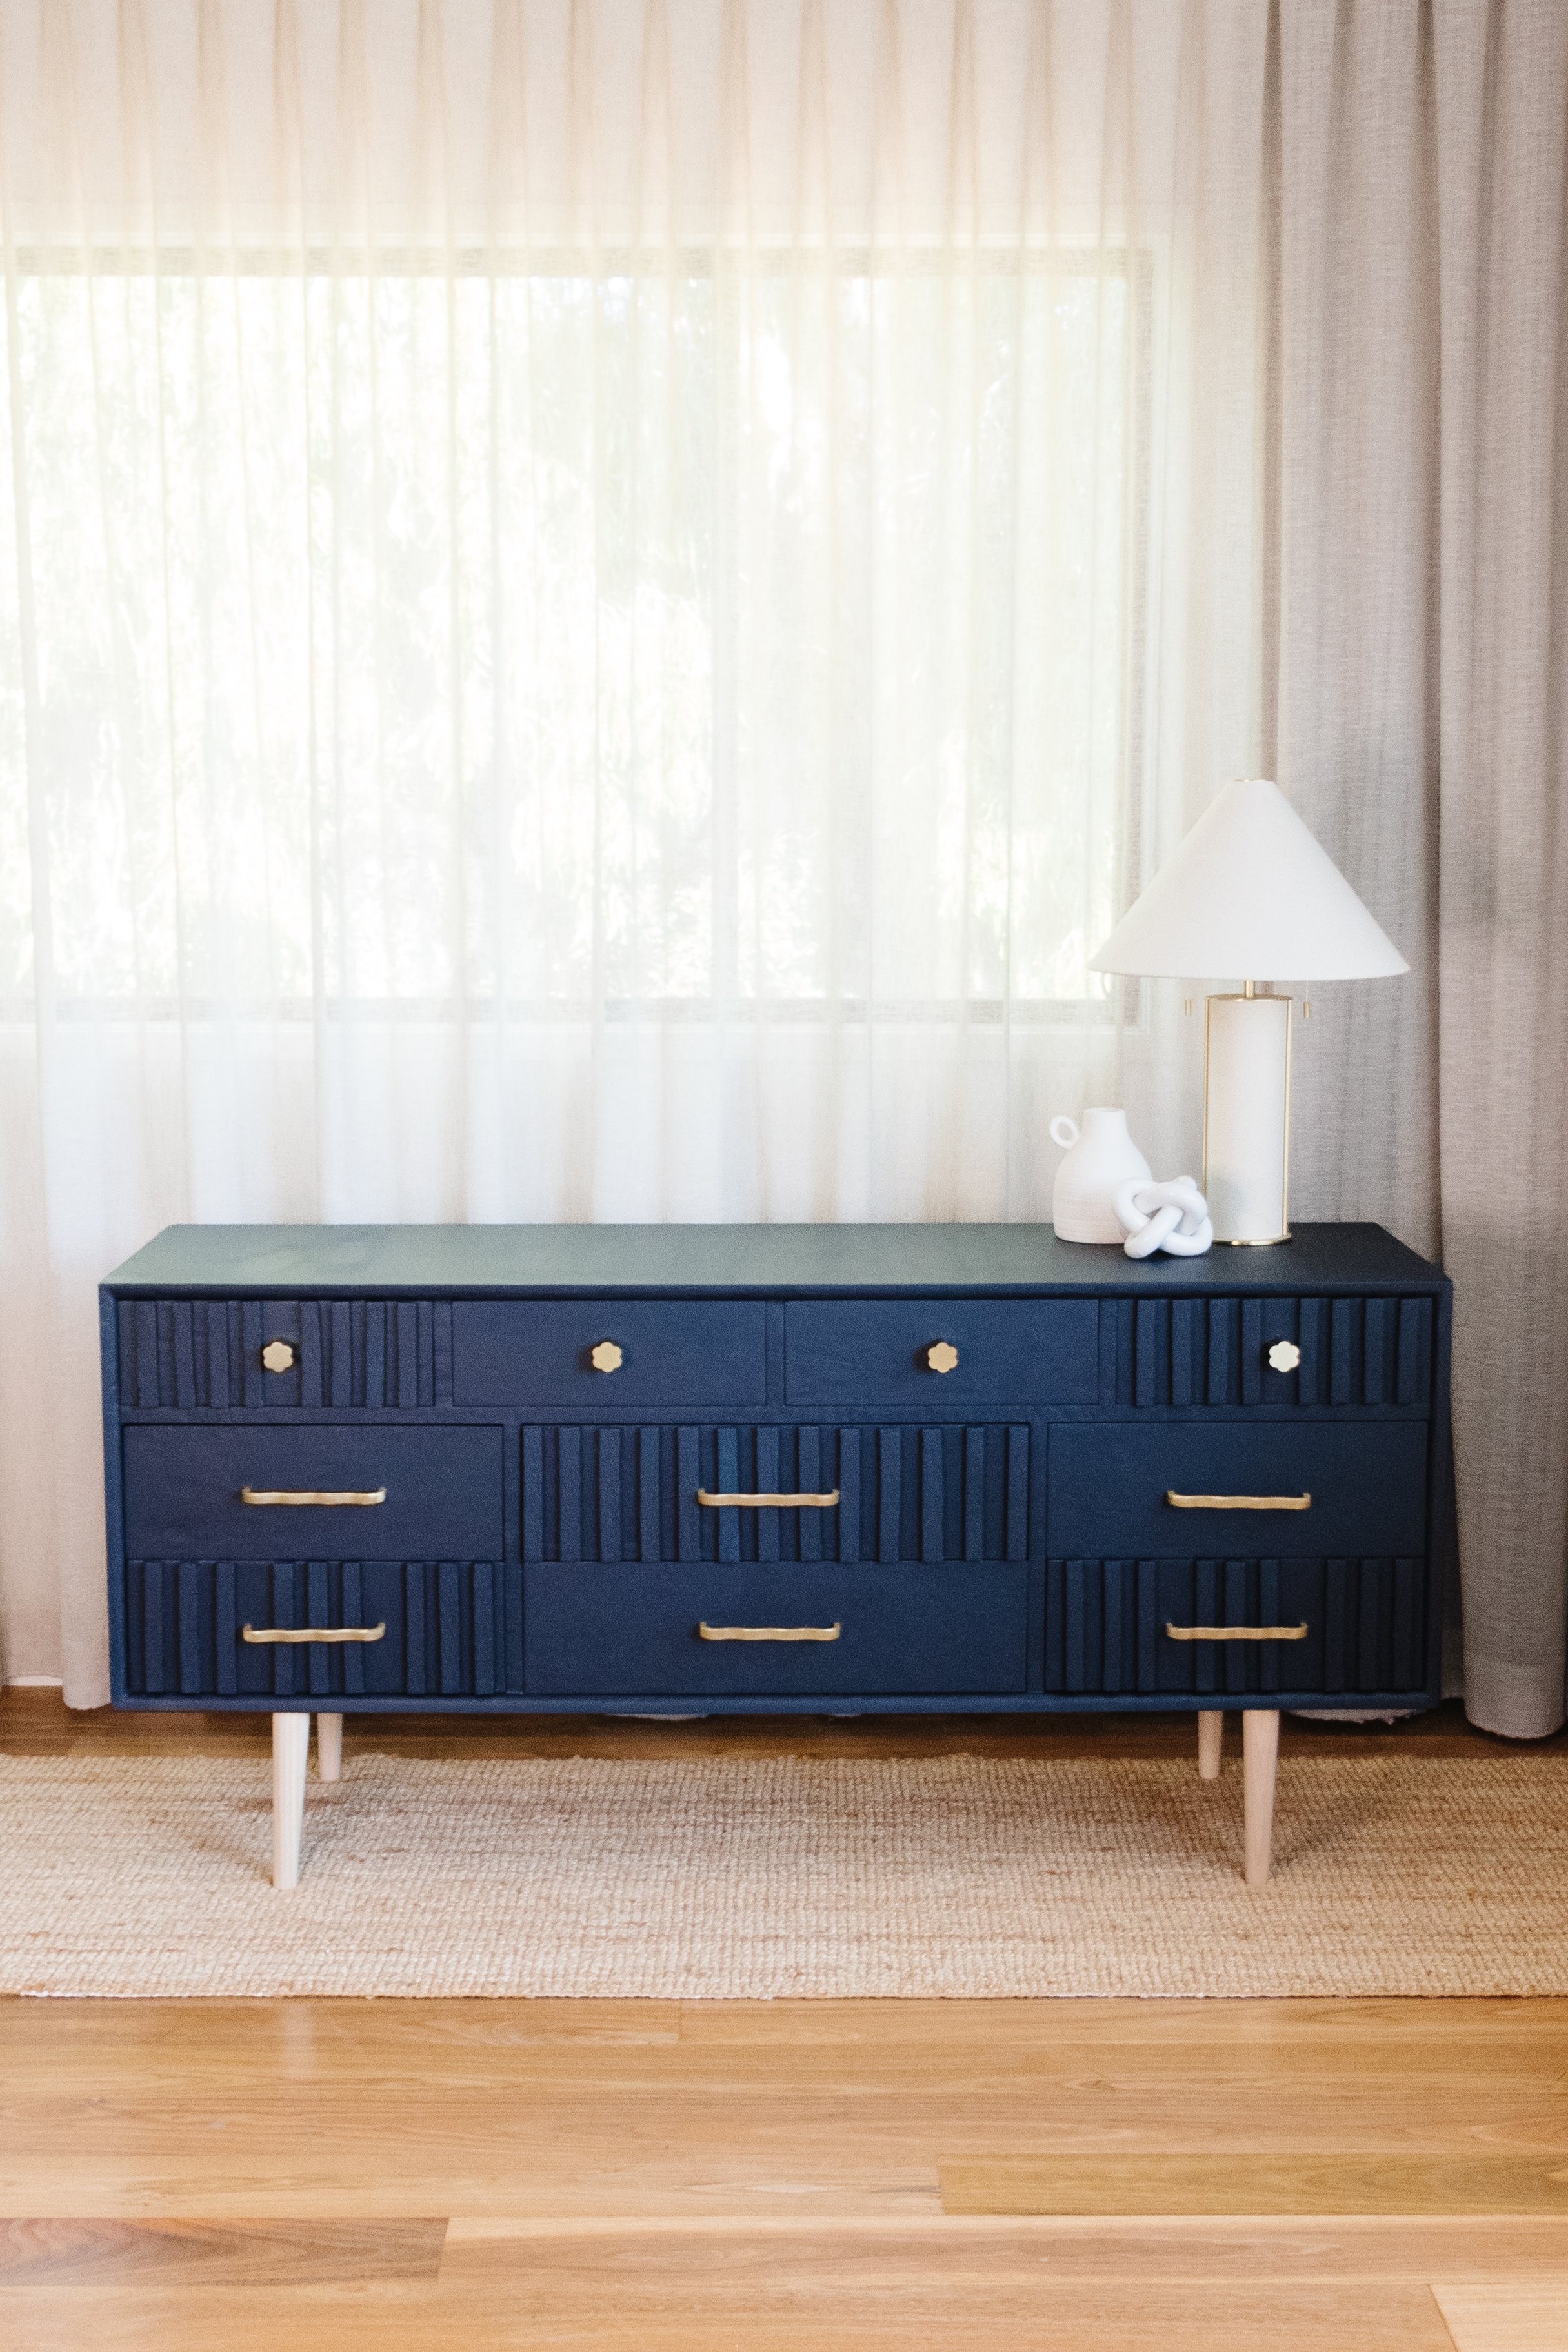
The Reveal
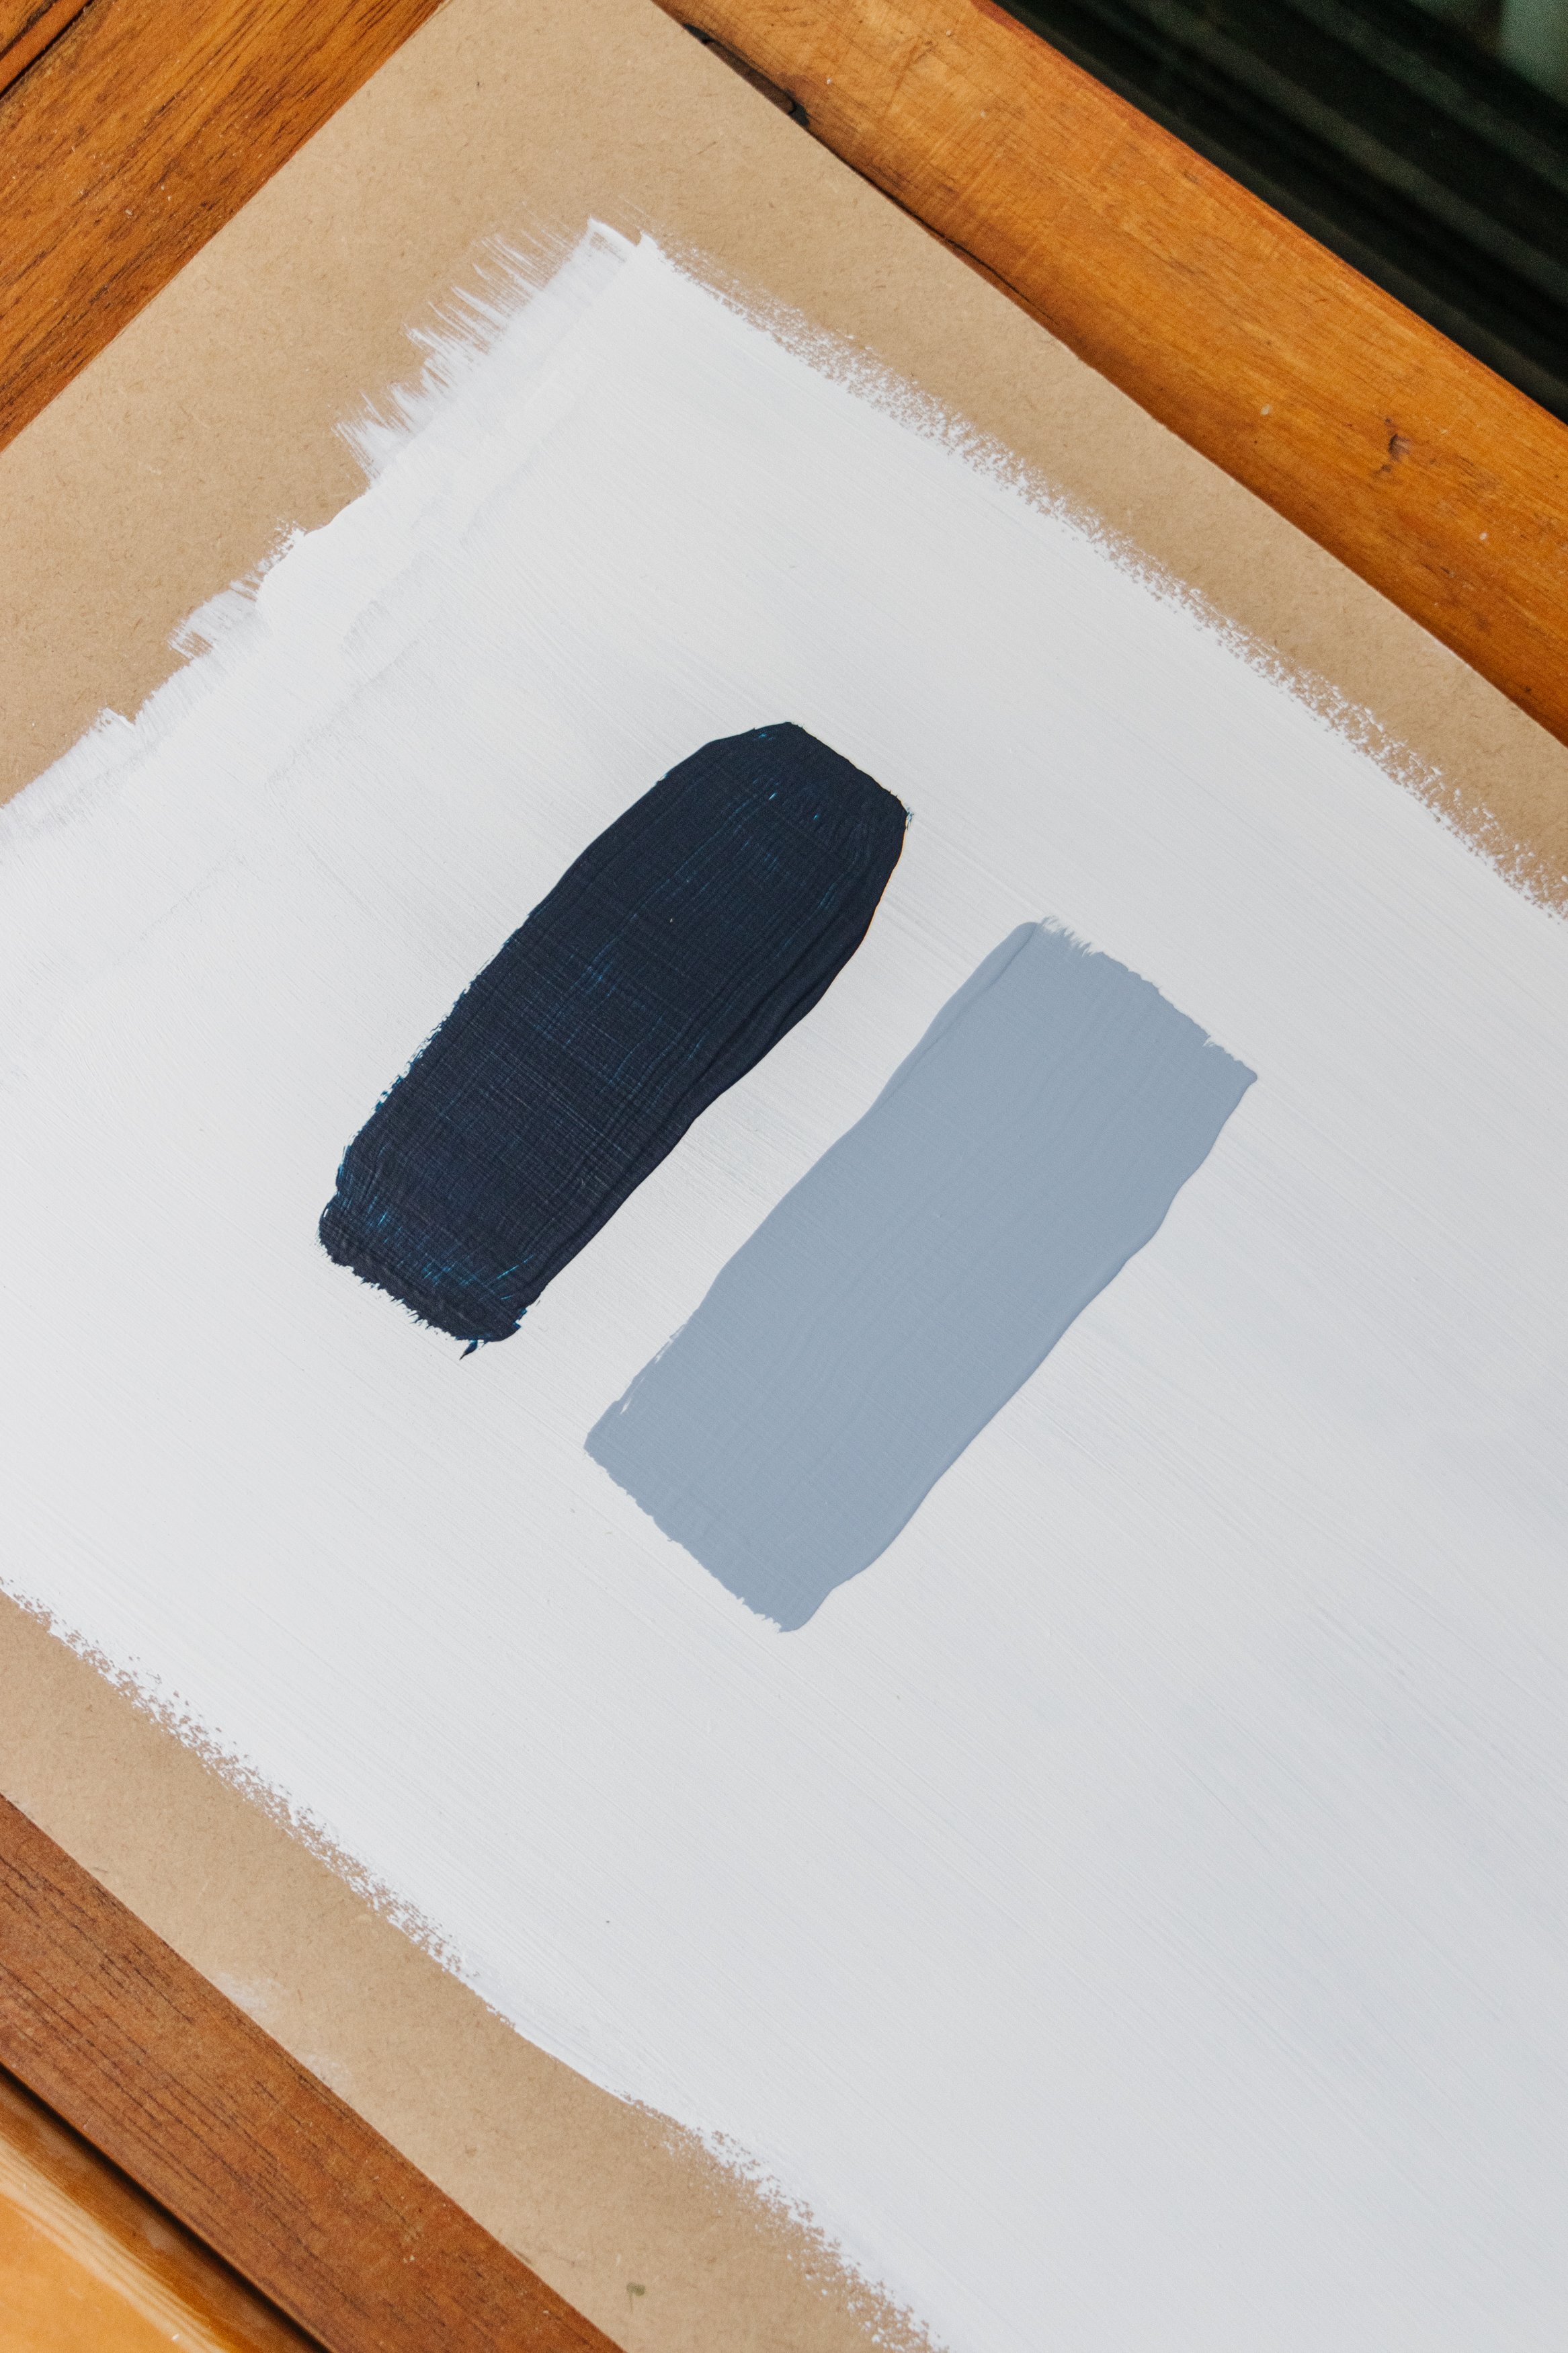
I am literally obsessed! I loved a fluted detail and when I found a roll of self adhesive foam and realised I could use this to create an affordable alternative to timber in creating a fluted detail, I got straight to work. To bring it all together, I mixed my own navy paint and I added hardware by Passio from their new Wavey Collection. Instead of installing handles on all drawers, I decided to add a mix of Passio “Wavey” Knobs and Passio “Wavey” Handles in Brushed Brass. Their beautiful, sophisticated hardware is made of solid brass, cool to the touch, an feels heavy in your hands, which says one thing to me - quiet luxury.
This post is in collaboration with Passio