Upcycled Curtain Wine Cabinet
Transform an outdated bedside table into a beautiful wine cabinet with curtains!
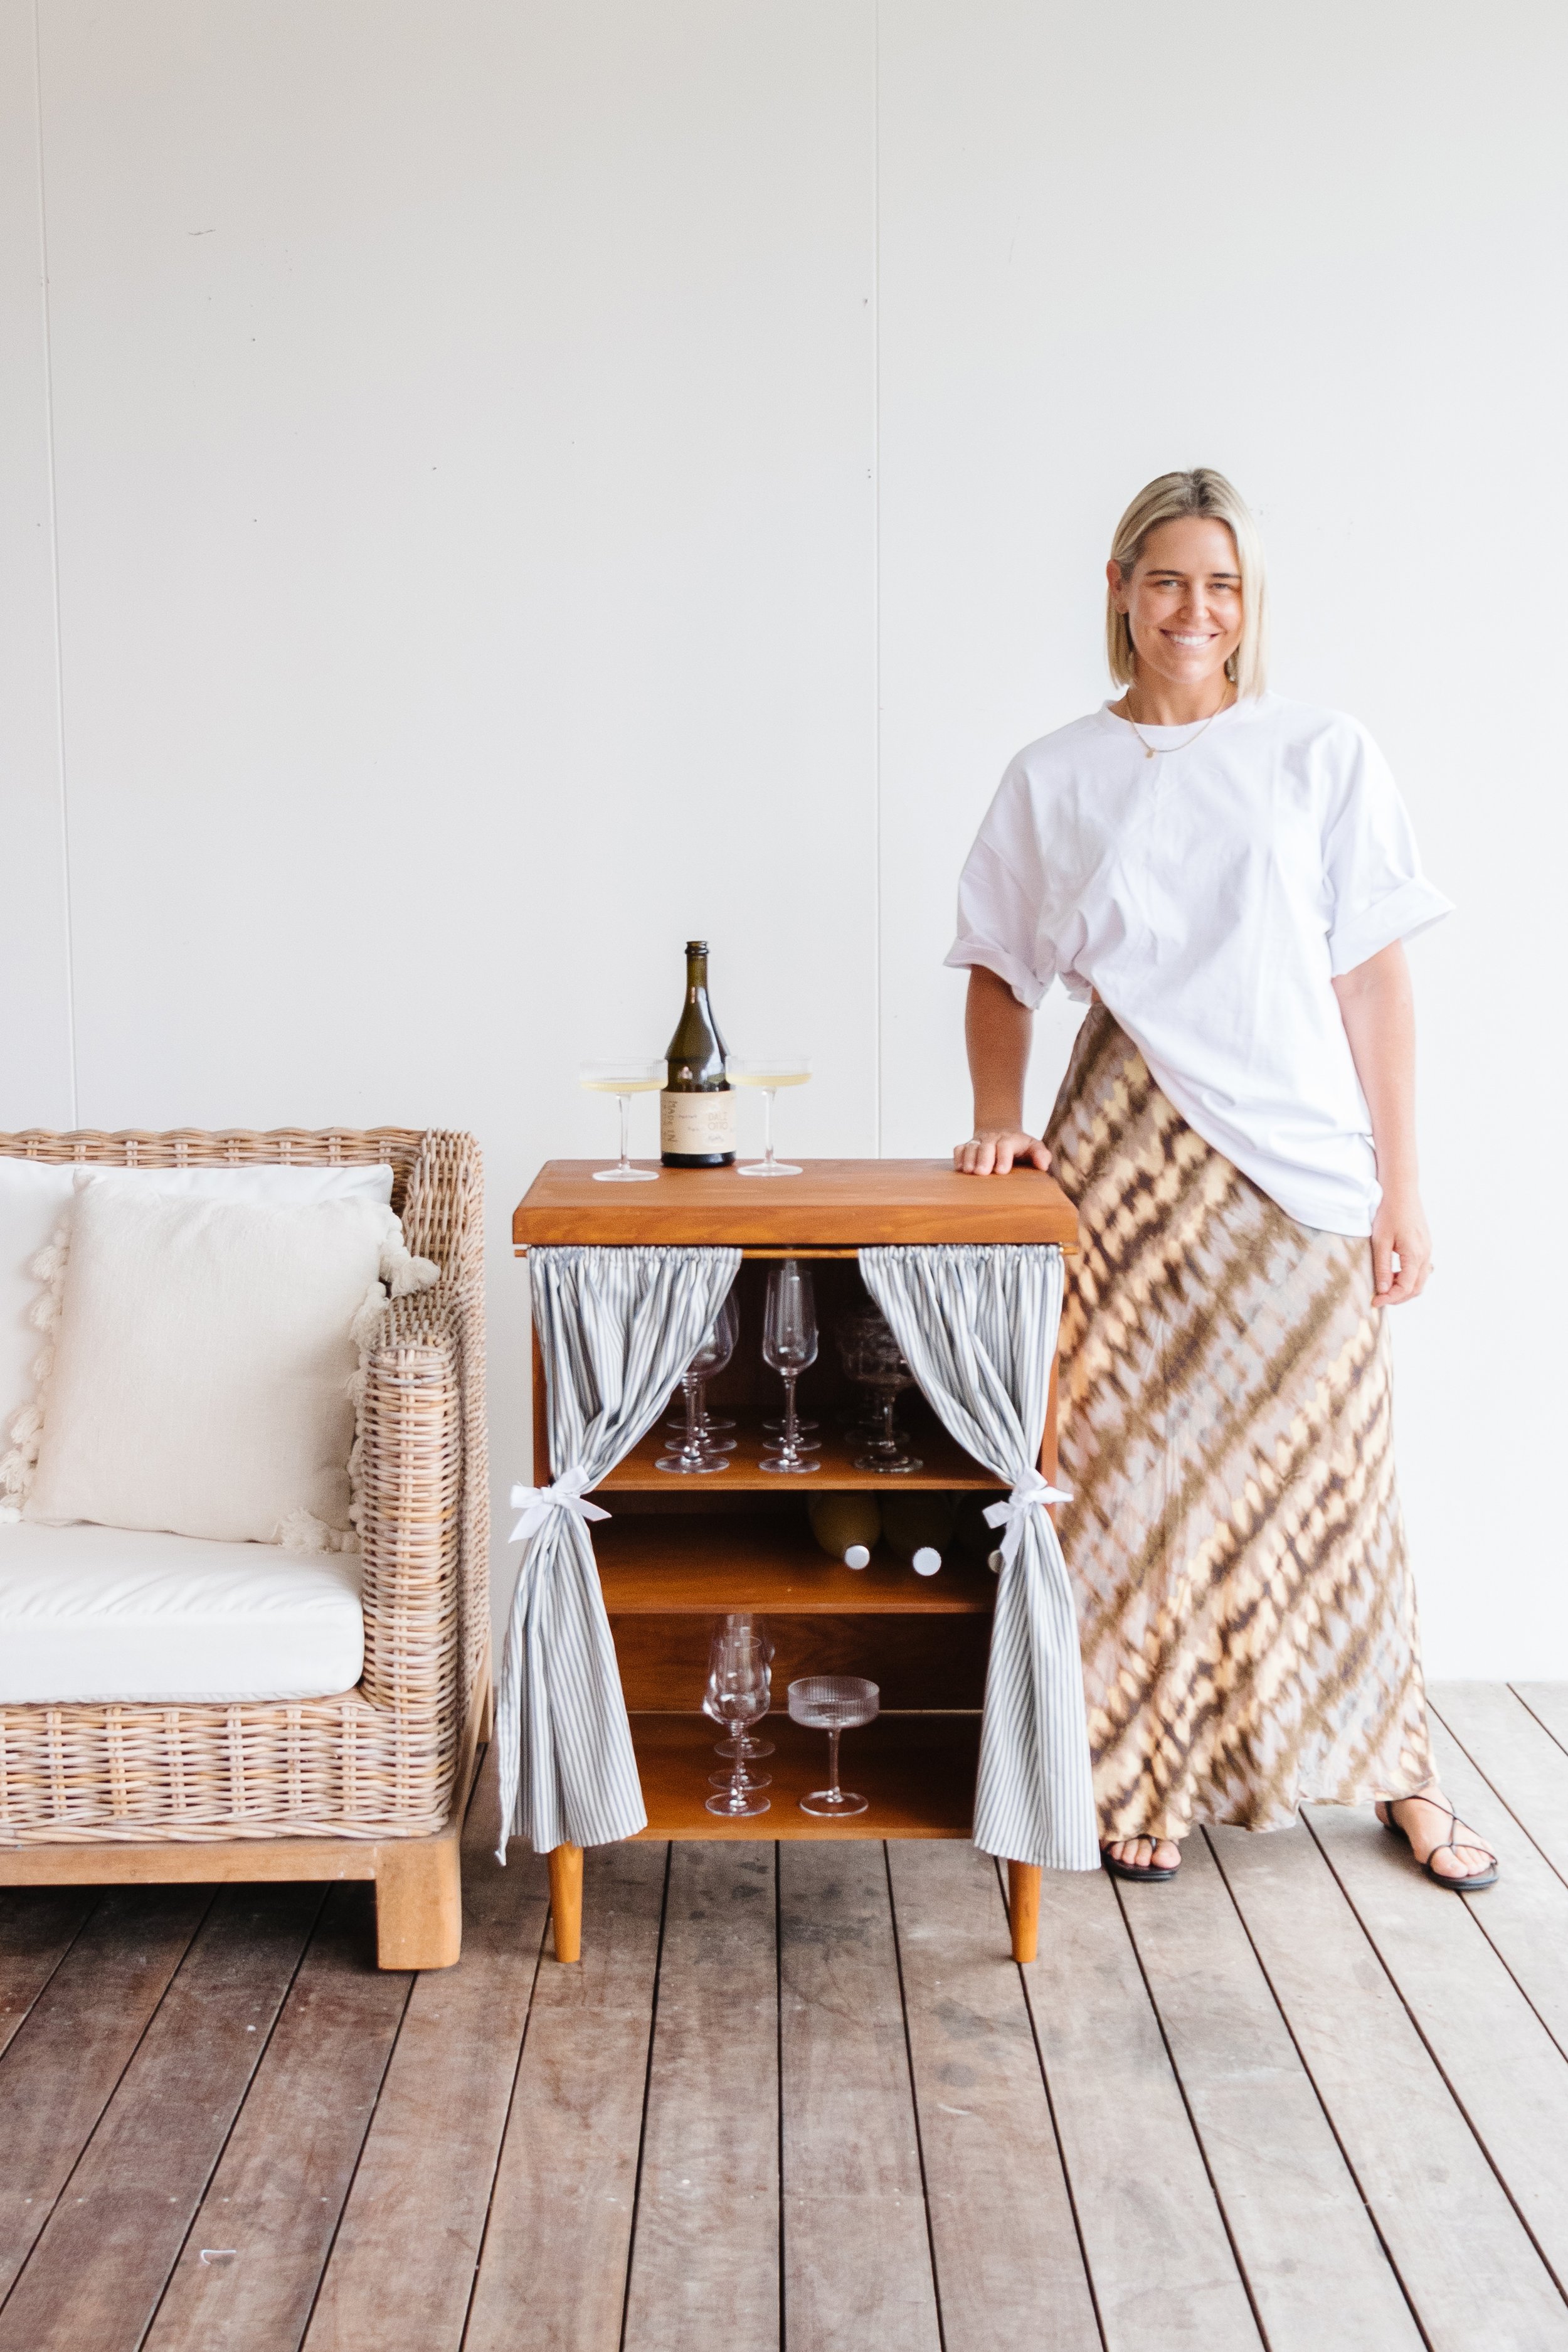
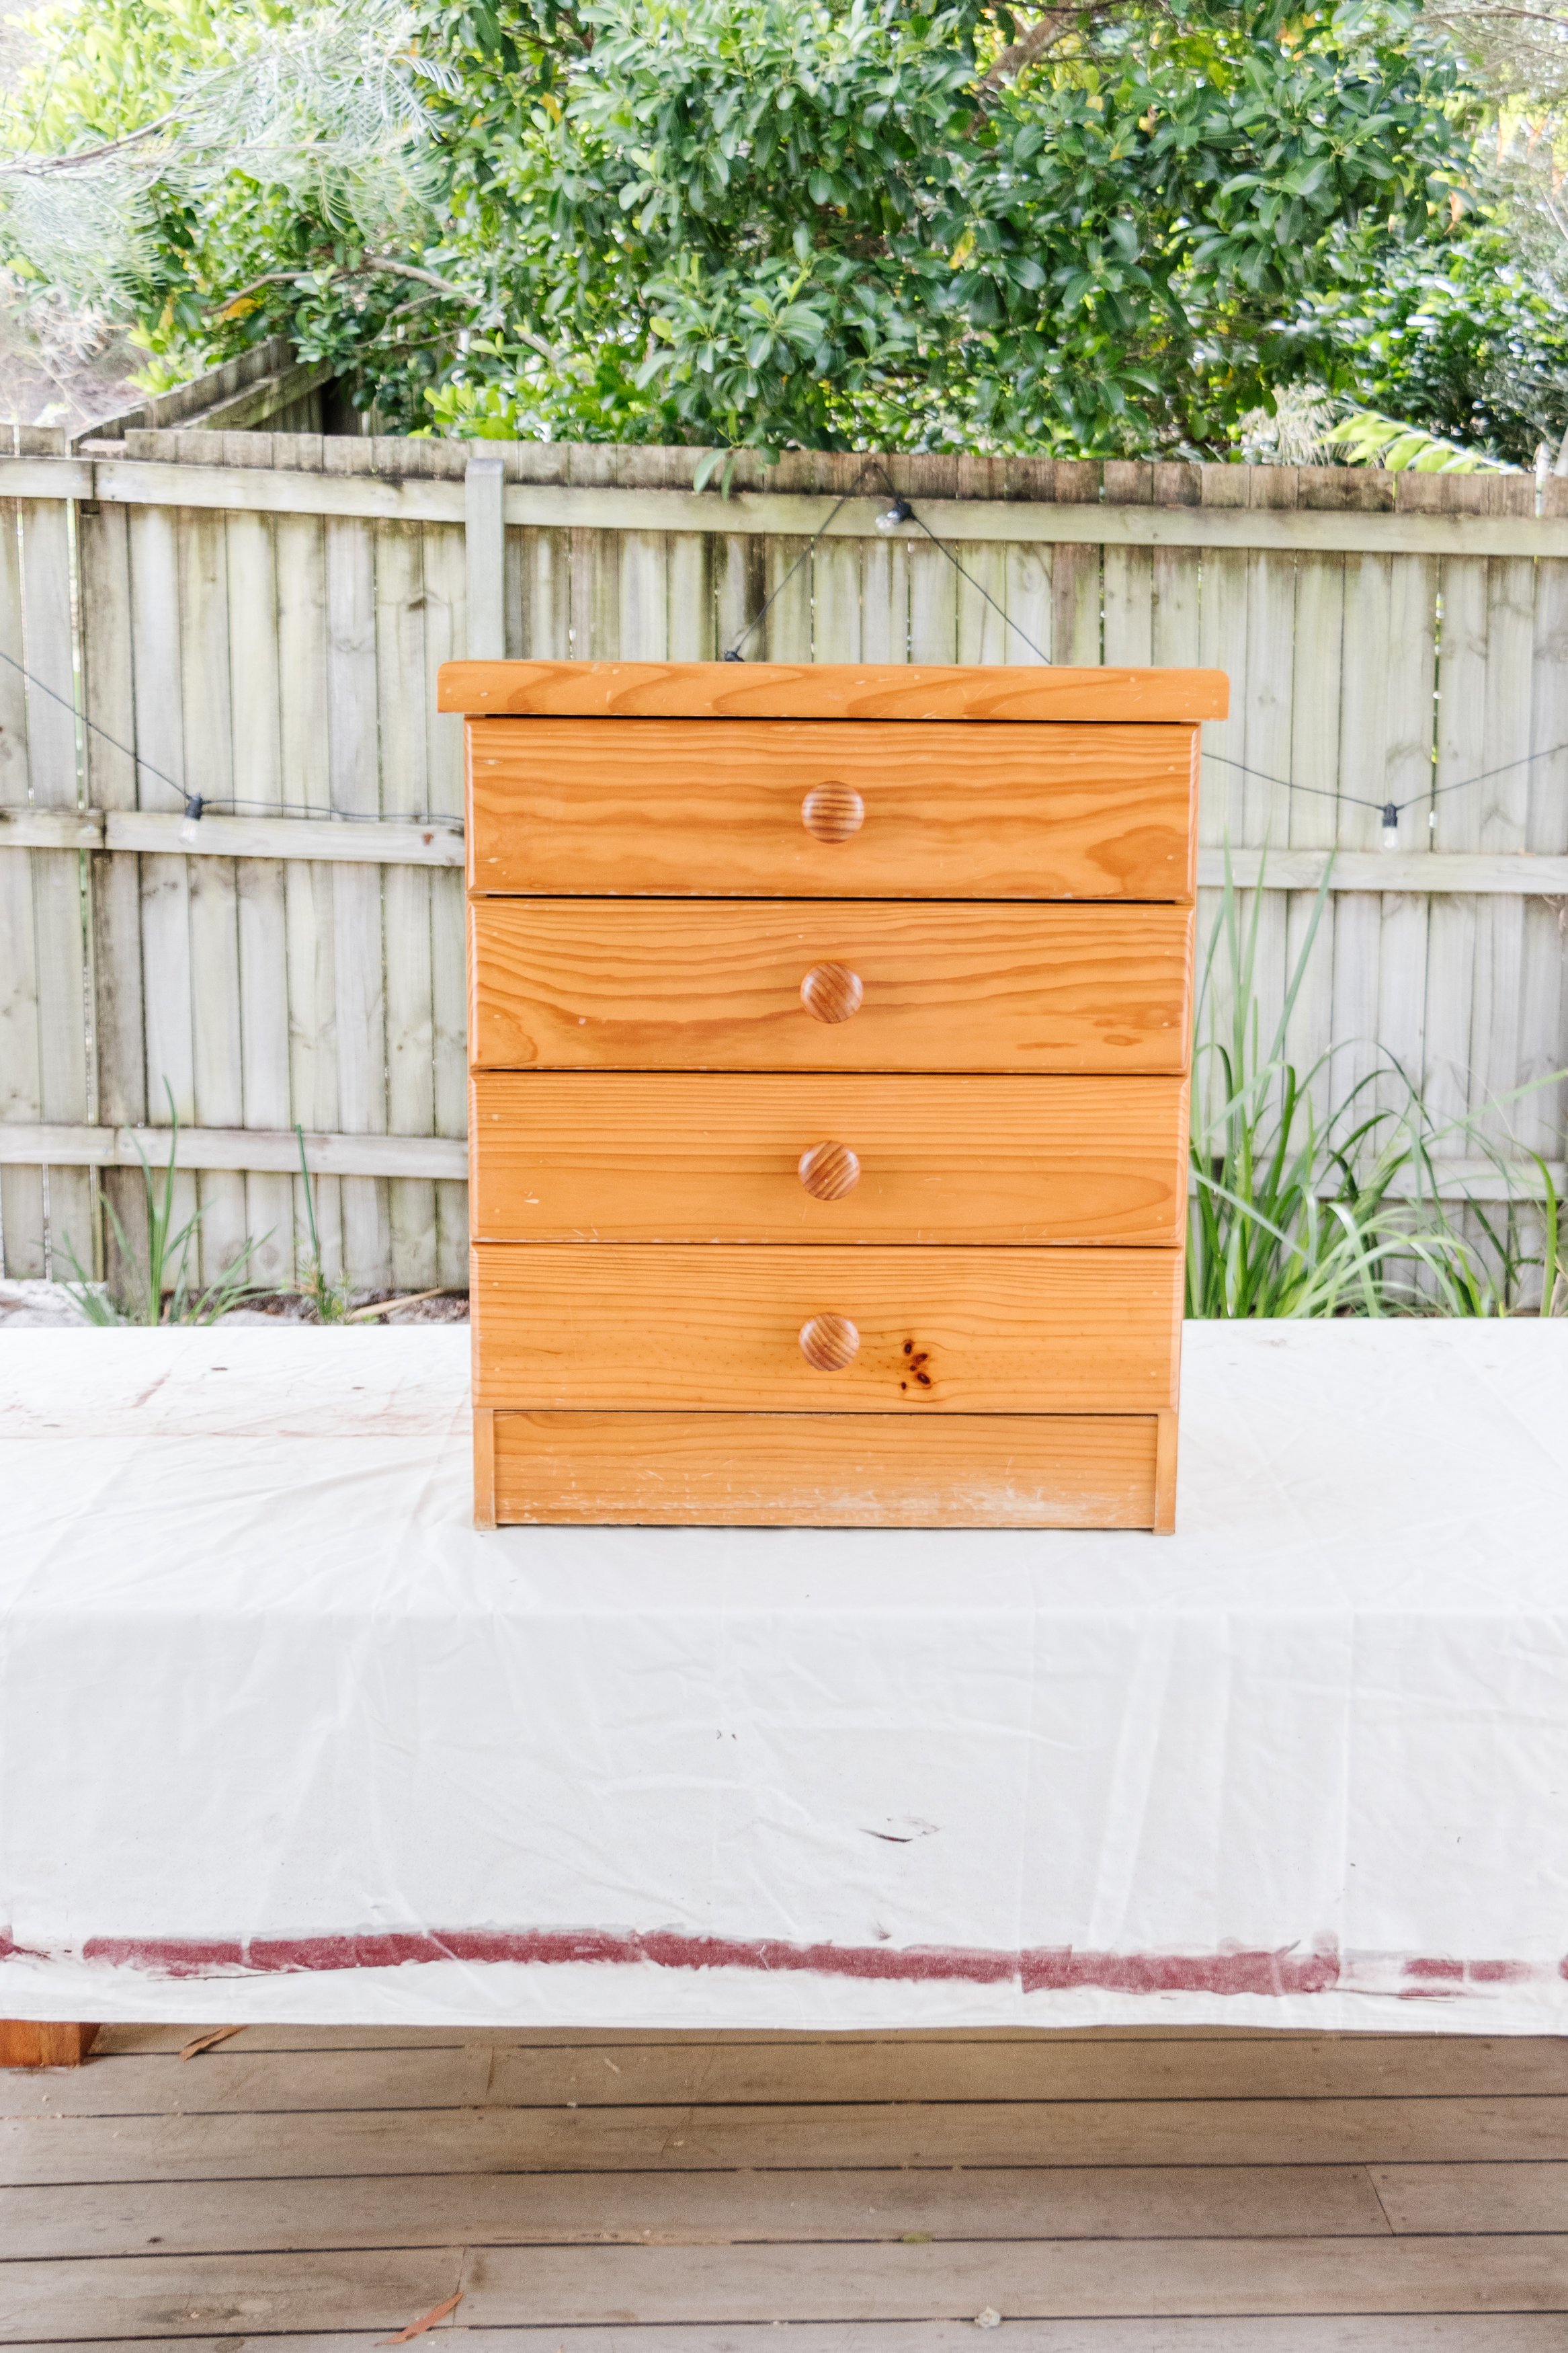
I’m so excited for summer! The weather has started to warm up, the days are getting longer and I love nothing more than coming home after a day at the beach to enjoy a glass of chilled wine on our front deck. We recently gave our outdoor kitchen a makeover and when I was sitting on our front deck recently, I couldn’t help but think that a wine cabinet would be a great addition. One that not only looked good but would also be a place to serve drinks and store glassware. I’ve been loving curtains hanging from kitchen and laundry cabinets a lot lately, and began to wonder if I could make my own wine cabinet and add curtains to the front. I went to one of my favourite charity shops and when I found a tall bedside table and inspected it all over from top to bottom and removed the drawers to see what I could potentially do, I knew it would be perfect to upcycle and make my own Curtain Wine Cabinet!
And make sure to watch my video to see how it all came together
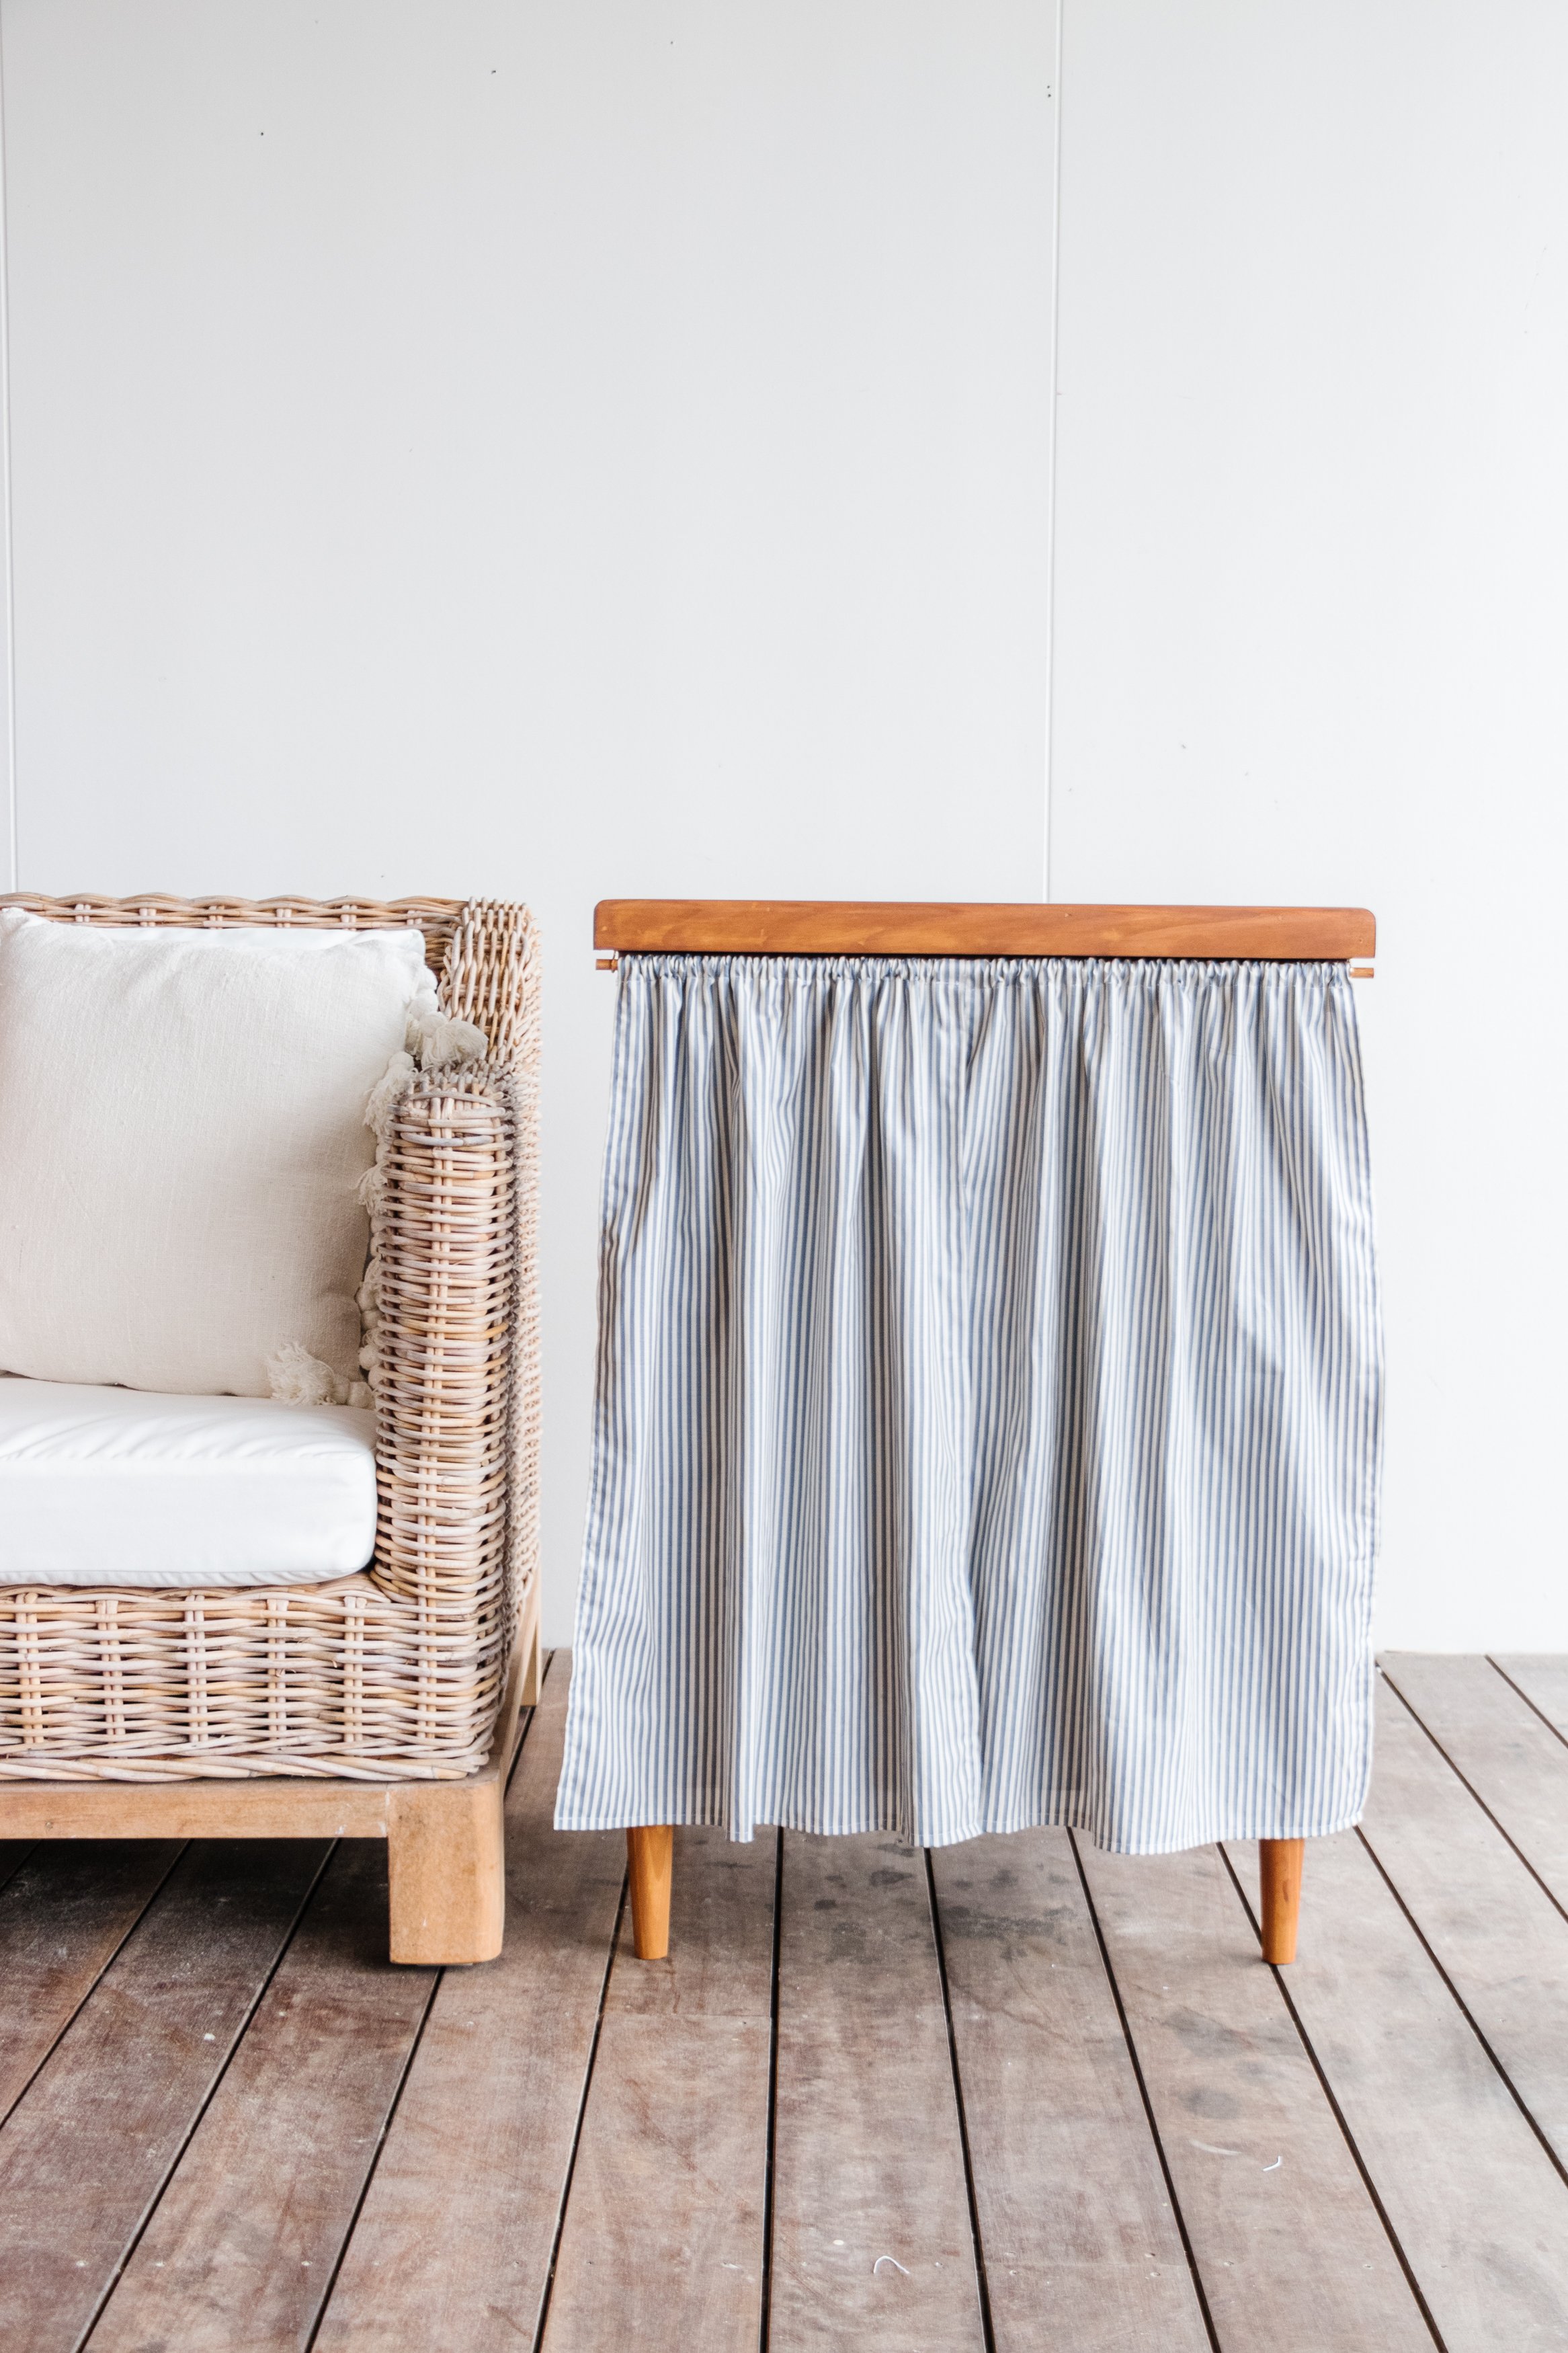
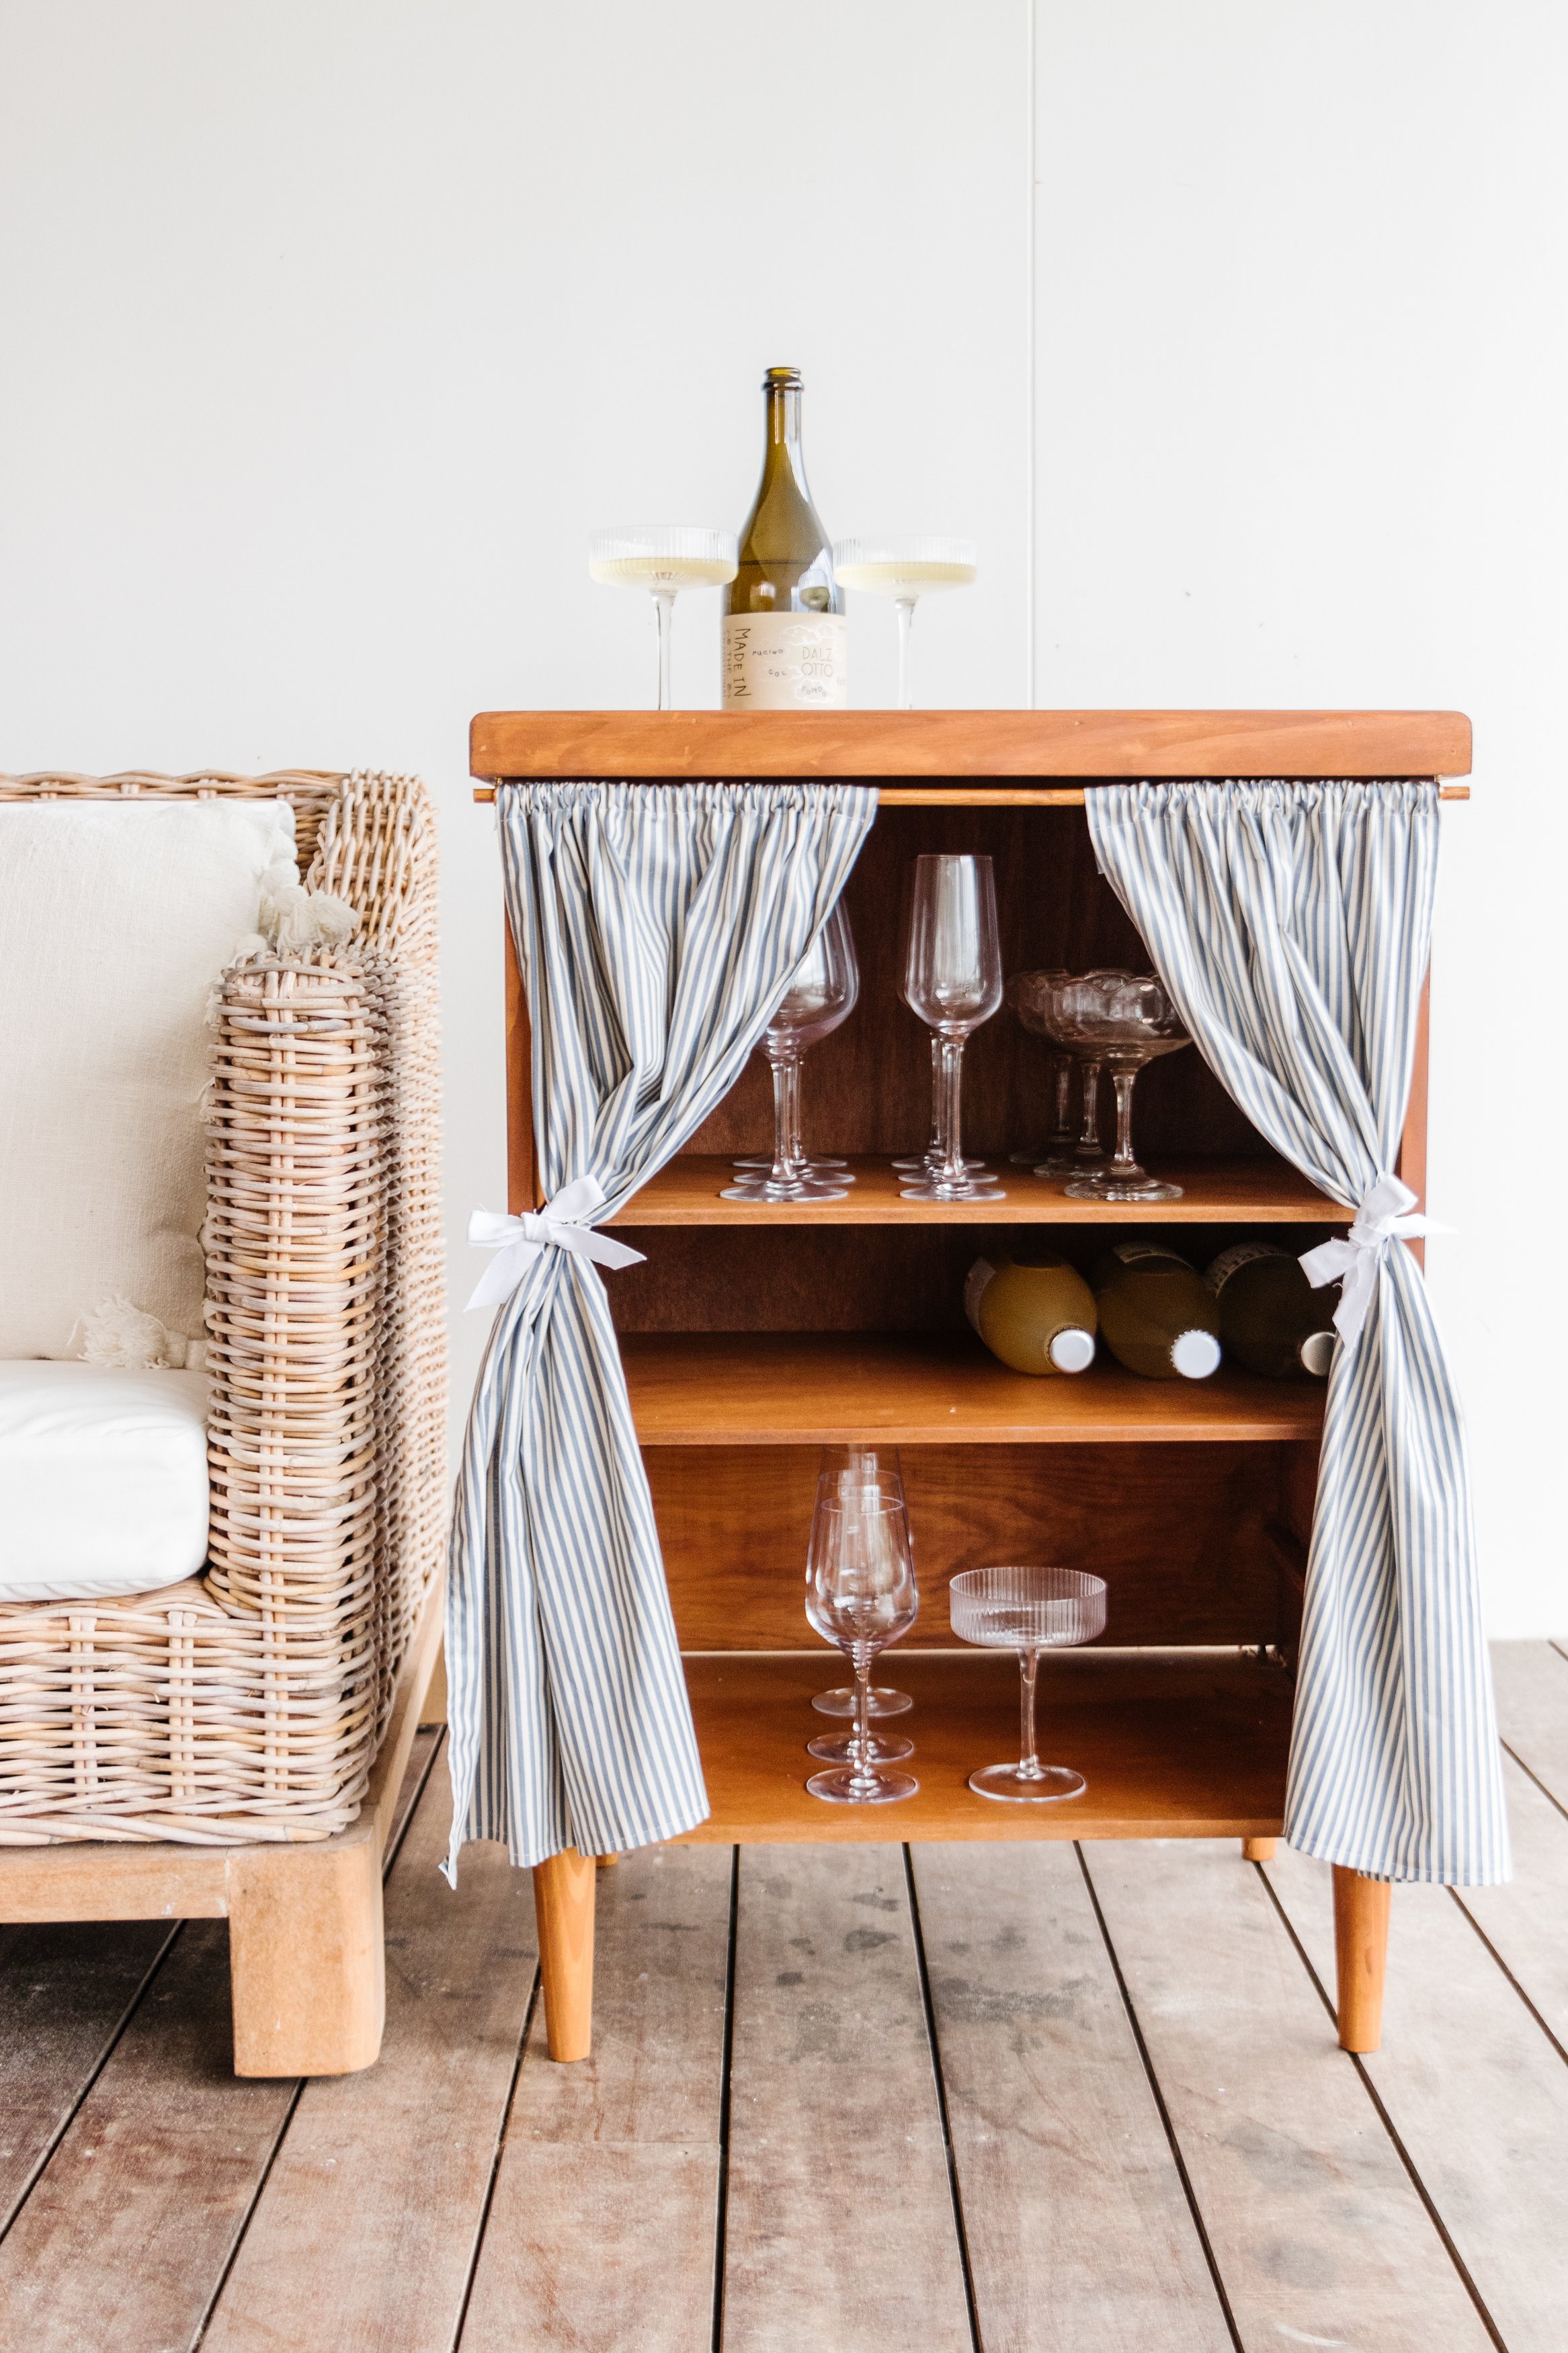
Before & After

Project Details
♻️ Upcycling: A bedside table into a wine cabinet with curtains
🕒 Project Time Estimate: 2 to 4 hours
🪑 Skill Level: Beginner to intermediate
👷♀️ Protective Gear: Safety eyewear, ear plugs
💰 Materials Cost: $85
Fabric Measurements: 2 x width of the bedside table and add 50% extra for the length
Materials
Timber stain in your colour of choice
4 x Furniture legs
MDF
Dowel
Cup hooks
Fabric
Thread
Tools
Jigsaw or handsaw
Hammer
Sander
Microfibre cloth
Measuring tape
Drill and bits
Iron
Scissors
Sewing machine or hand sewing needle

How To
Step 1: Start by removing the drawers from the bedside table and set them aside to reuse for another project. You never know when you may need the timber or knobs. Remove the kick board at the front using a jigsaw to cut it in the middle to make it easier to remove using a hammer.

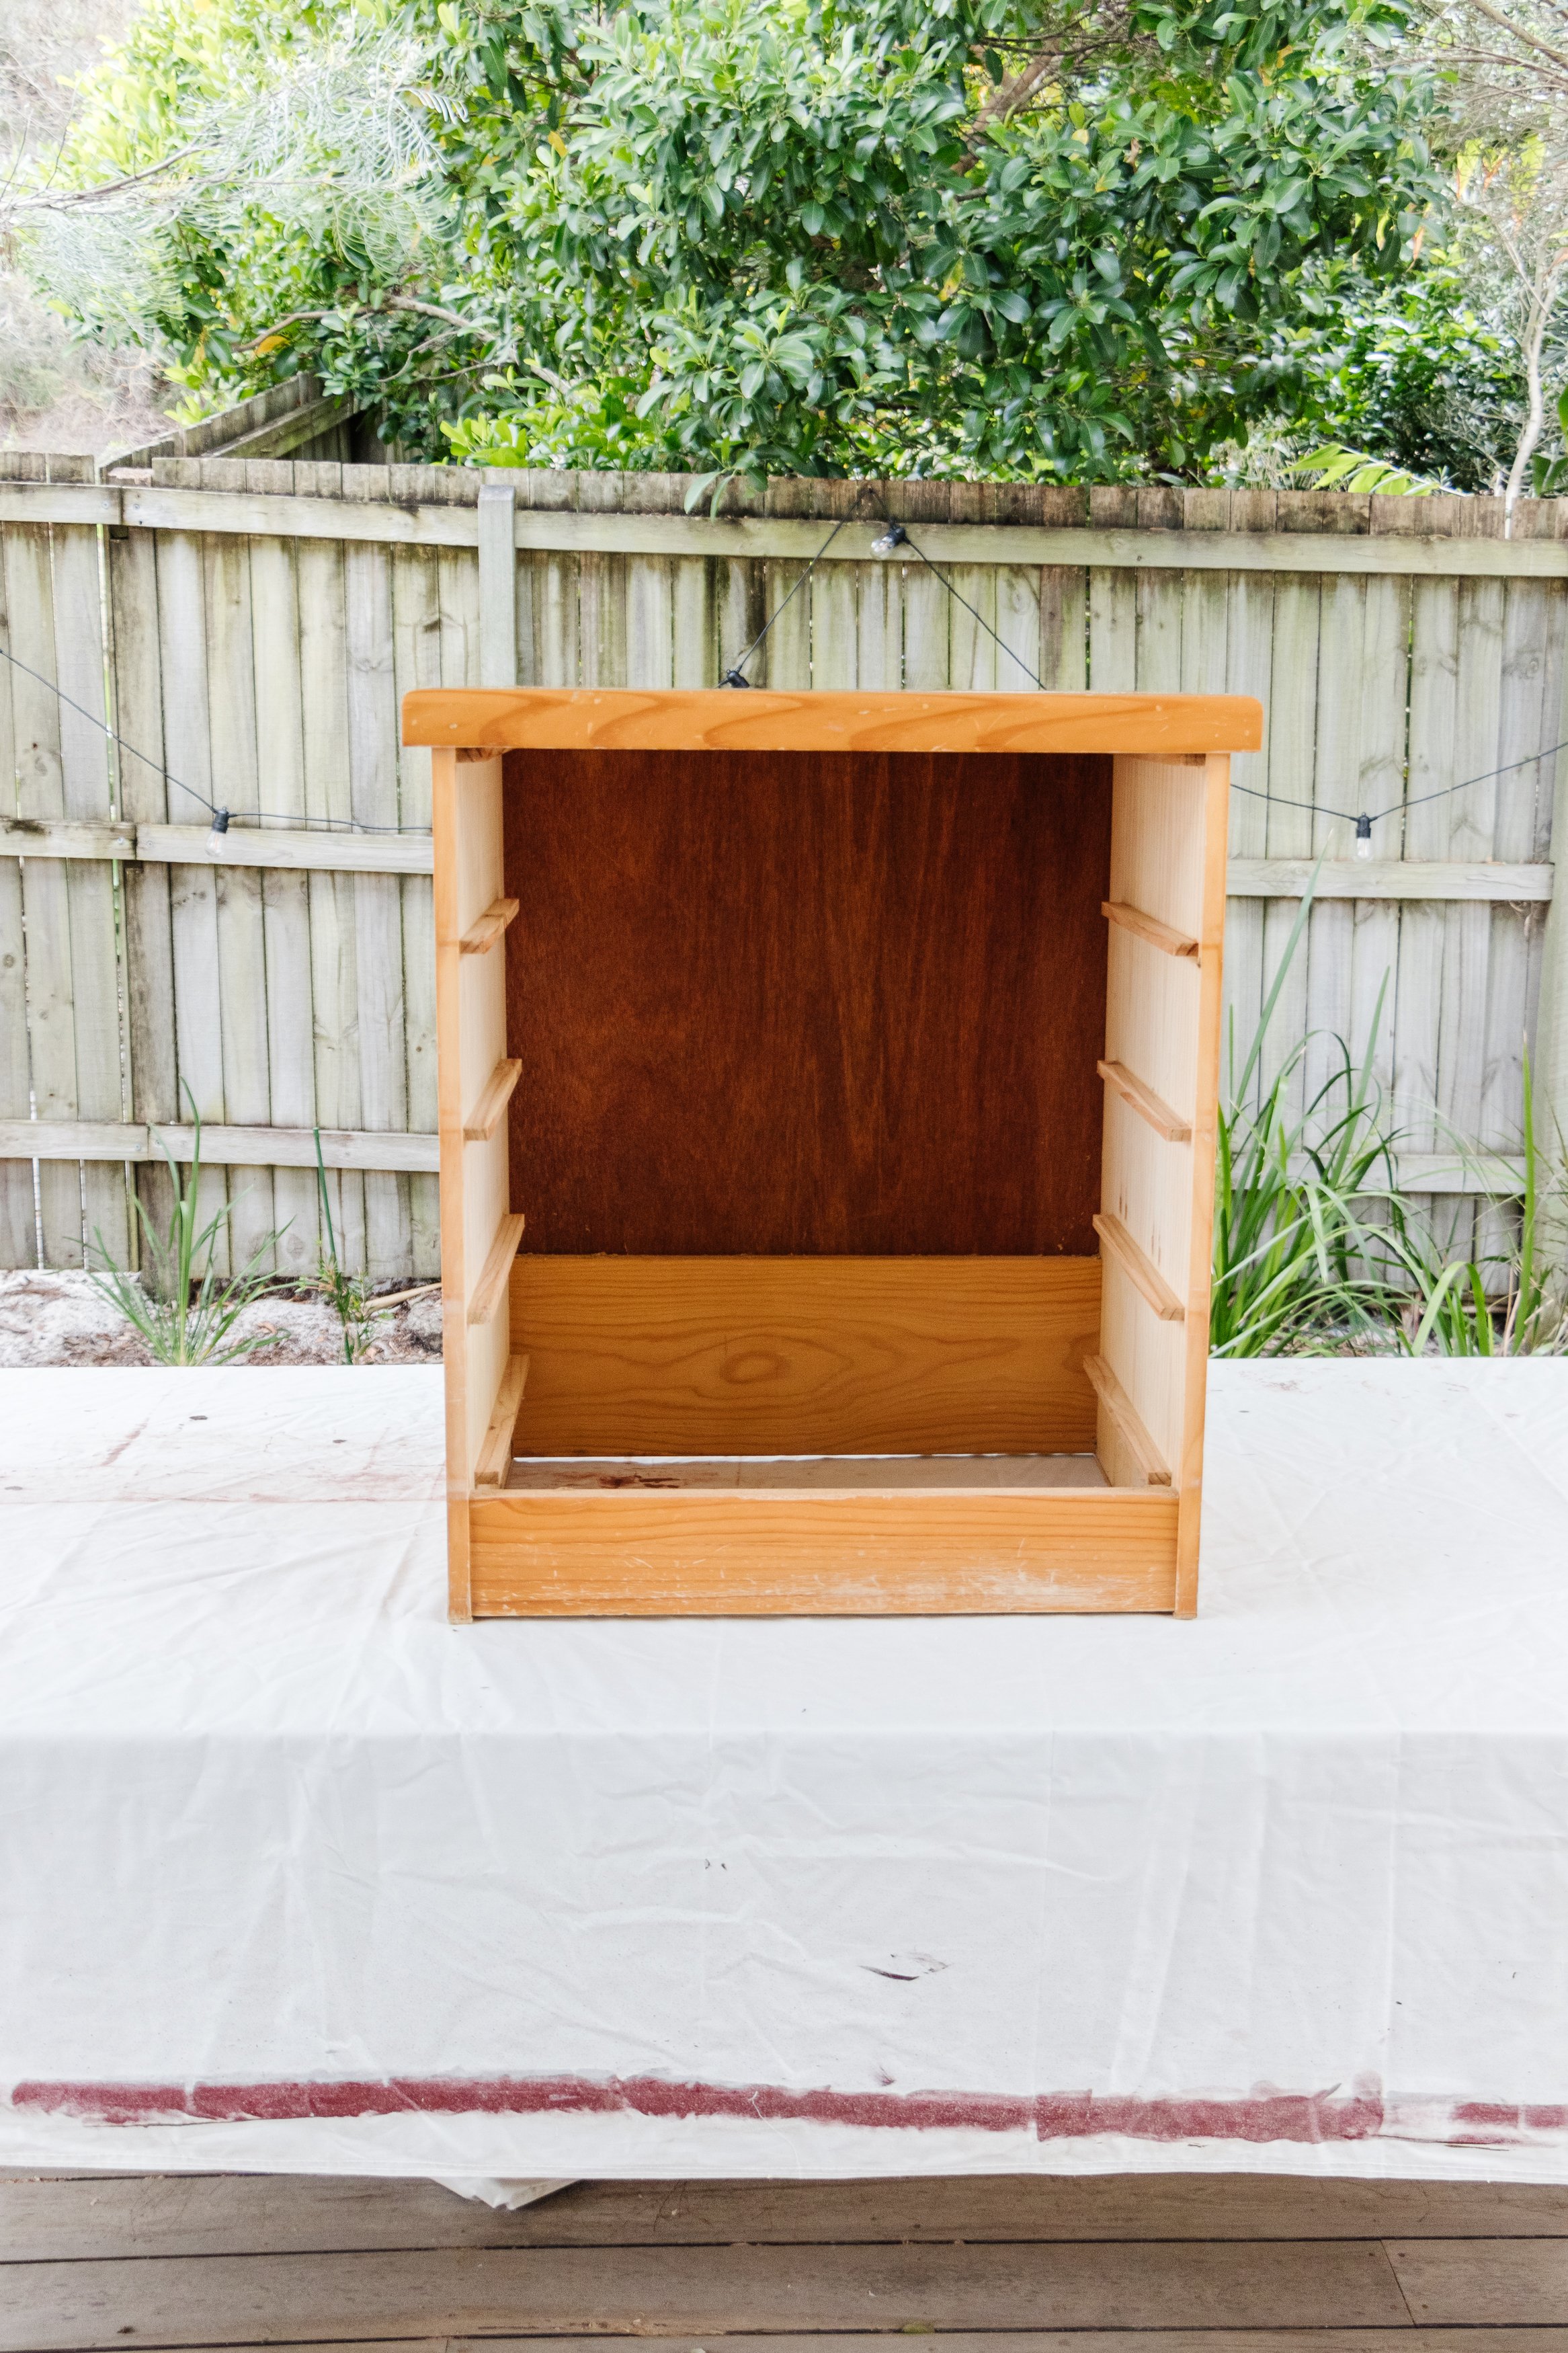

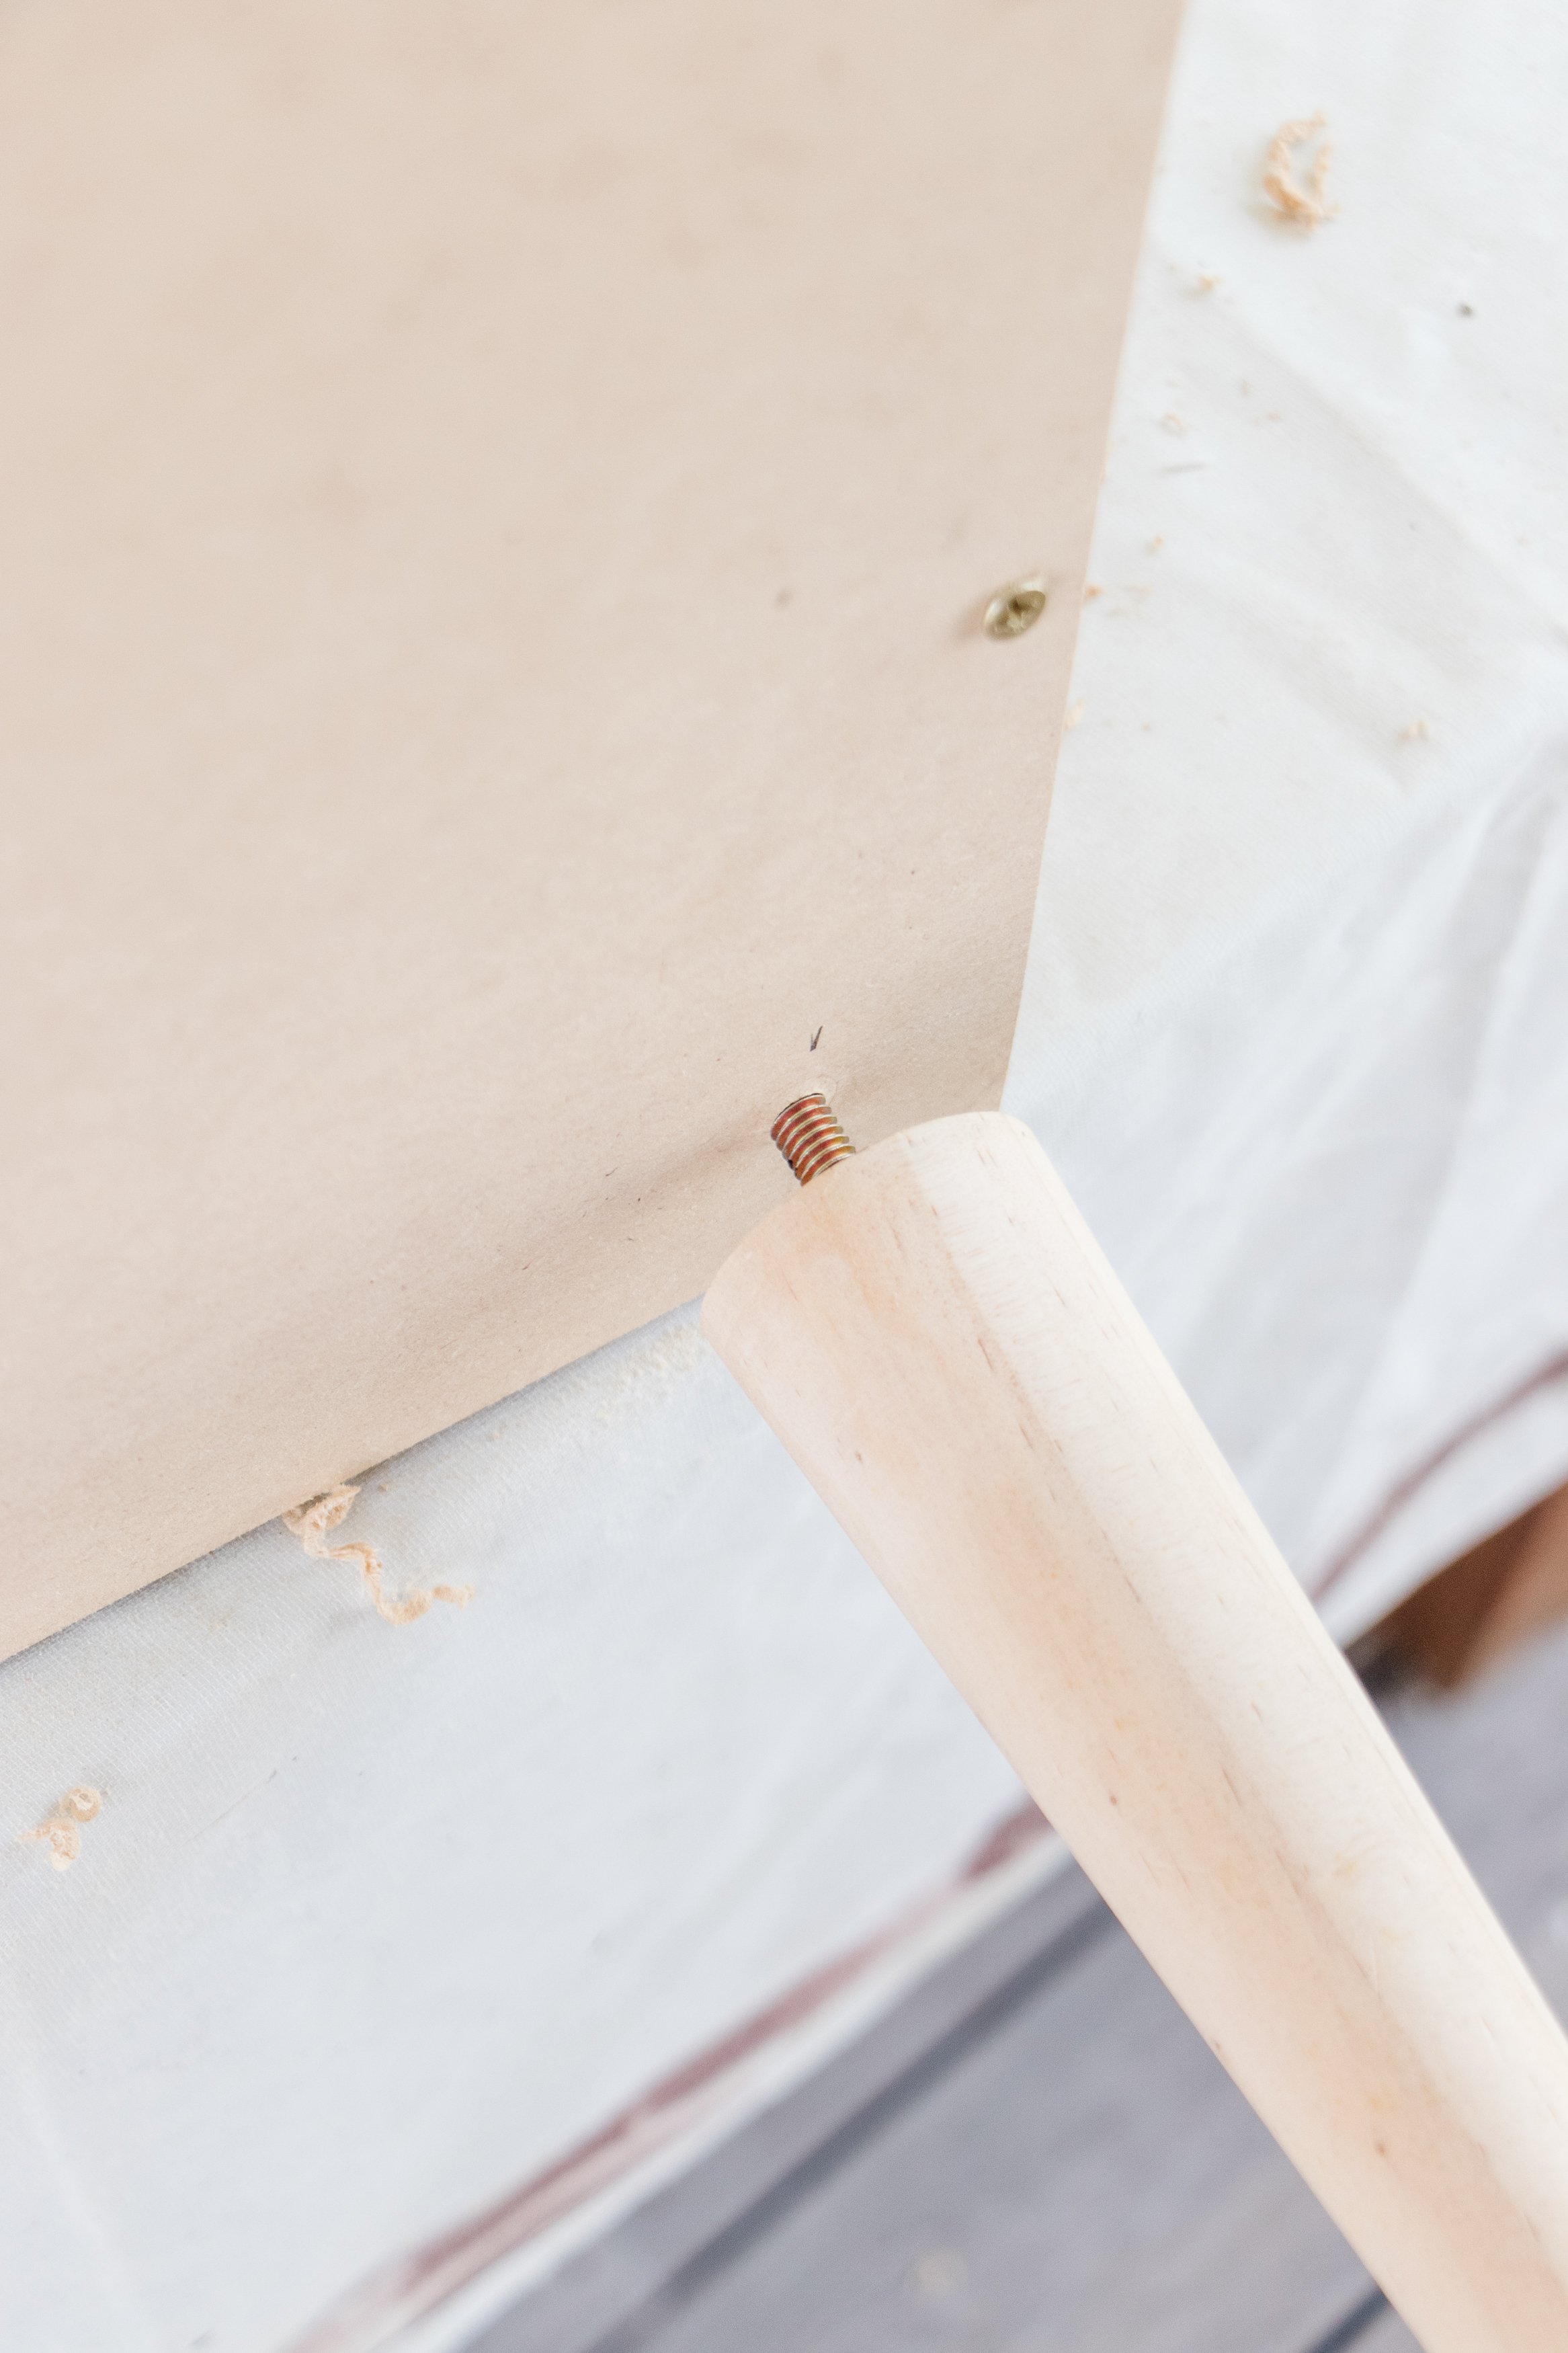
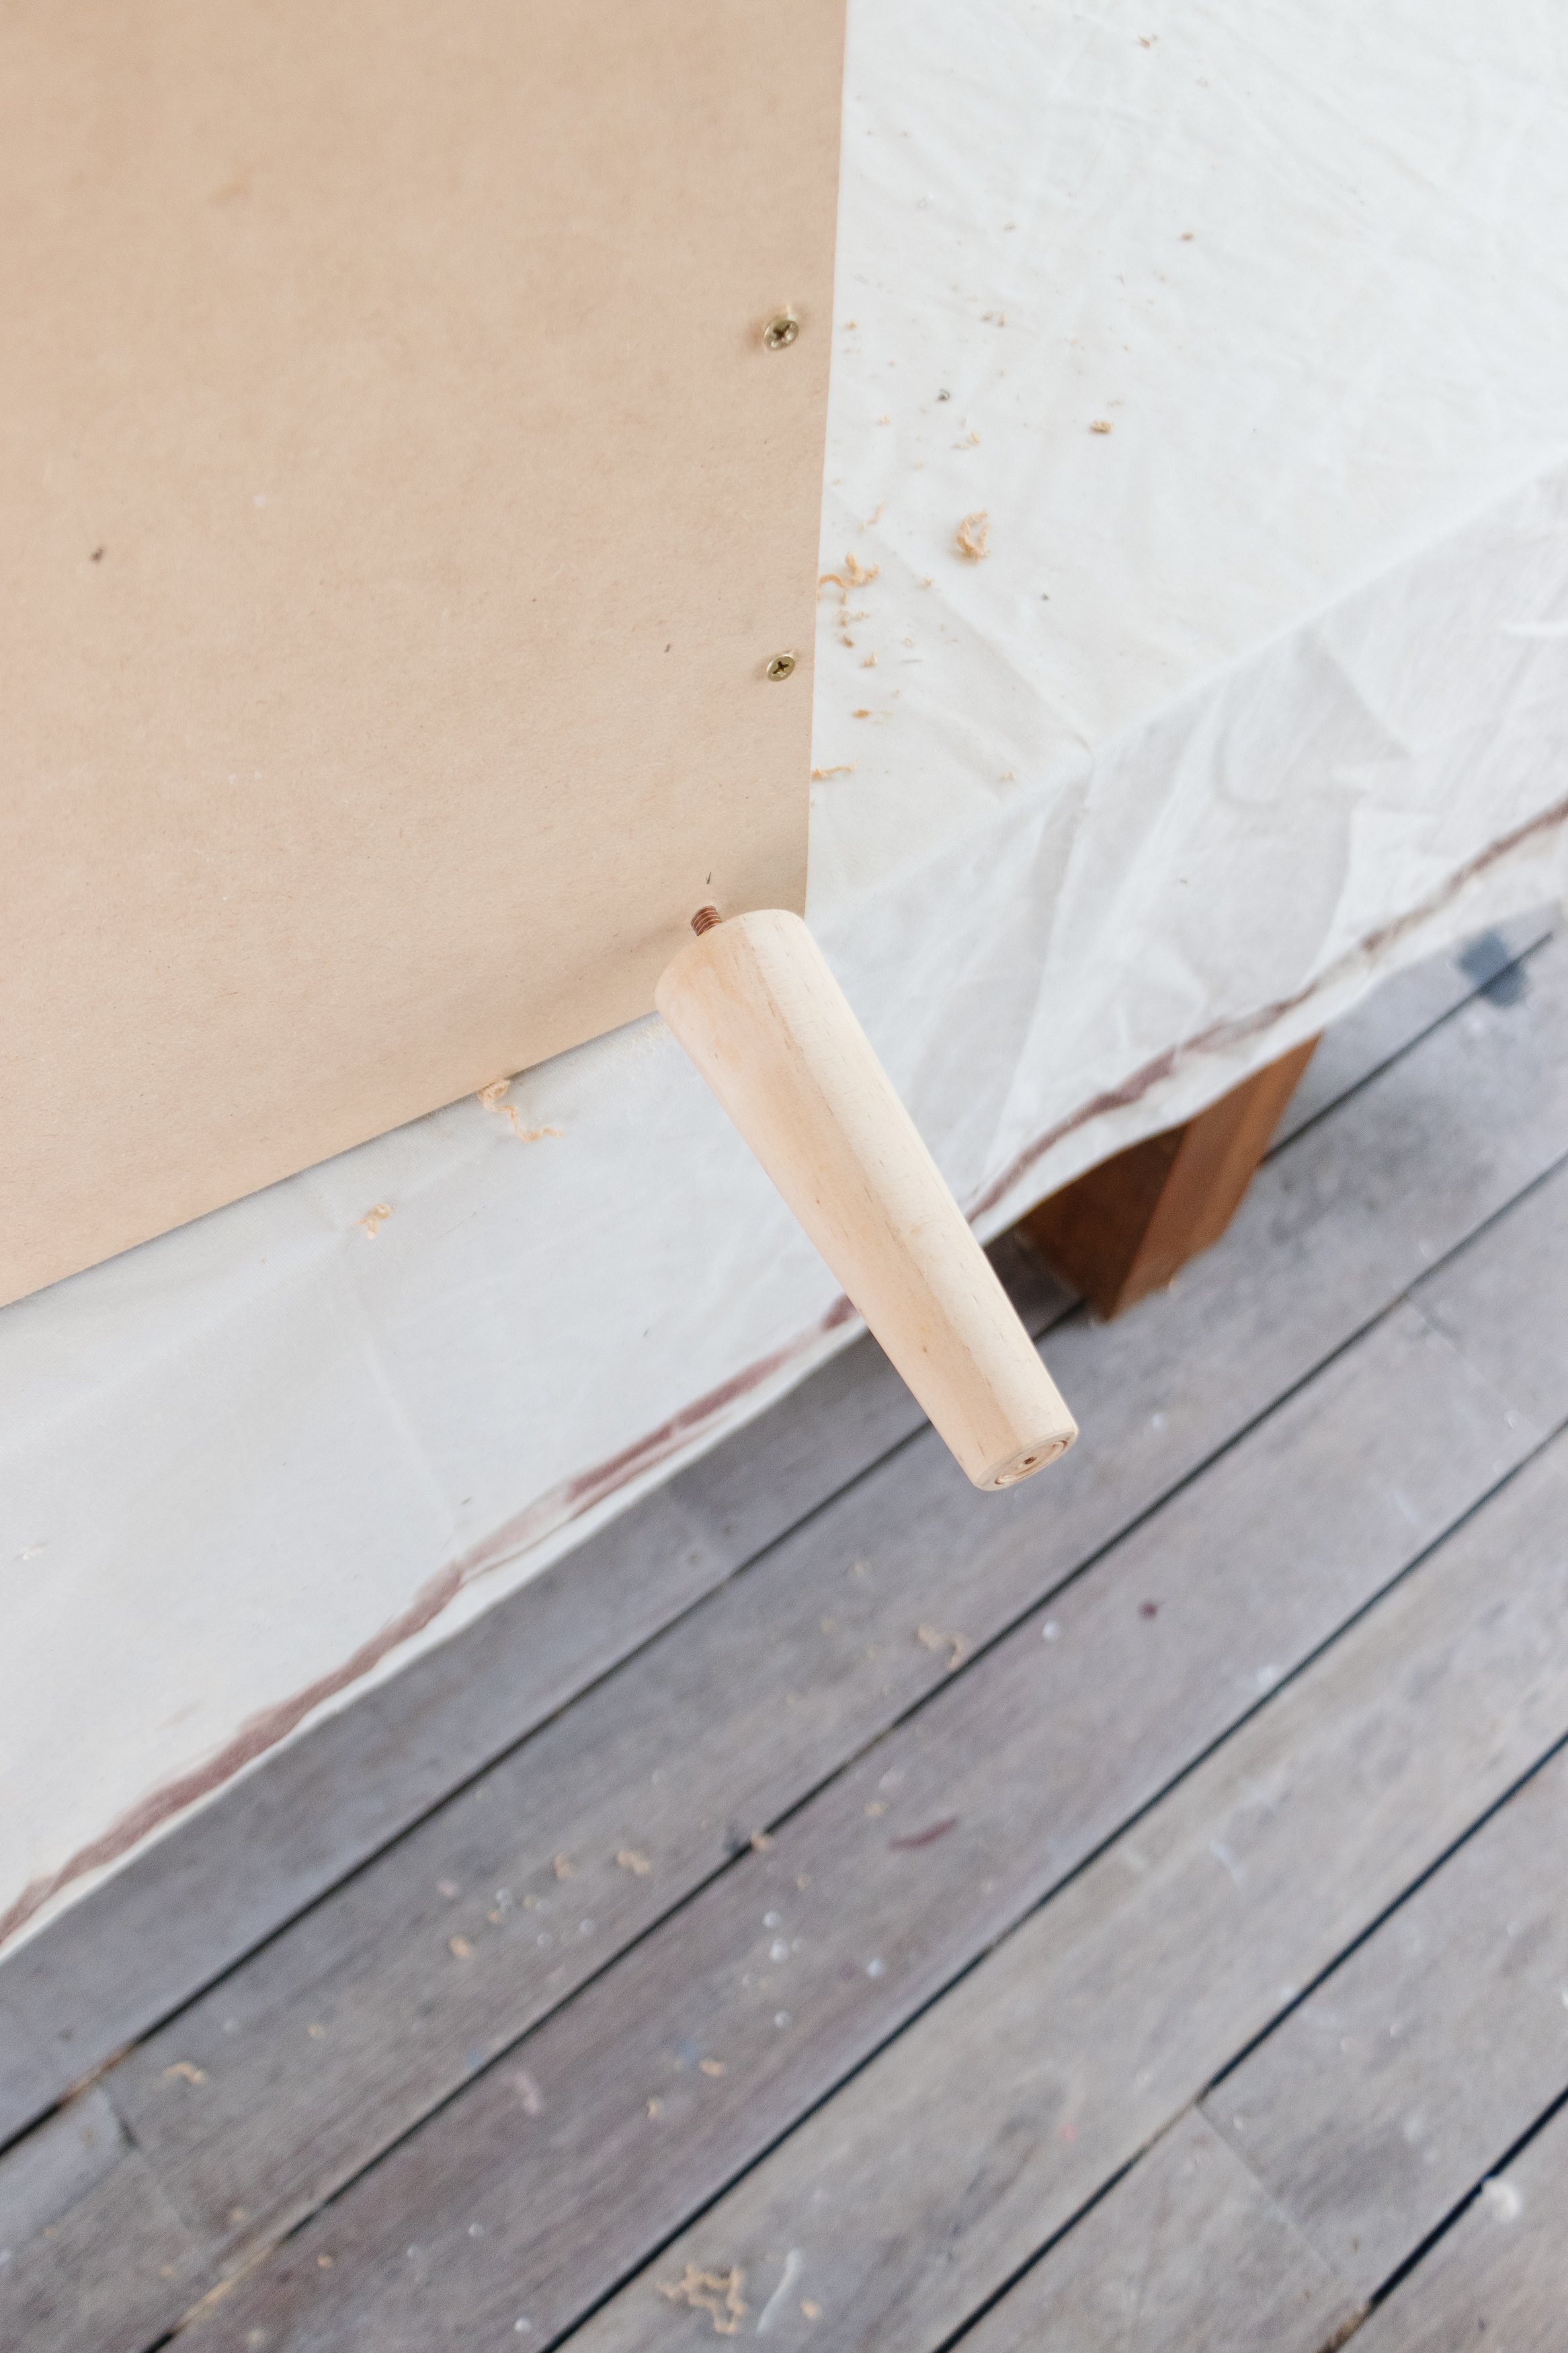
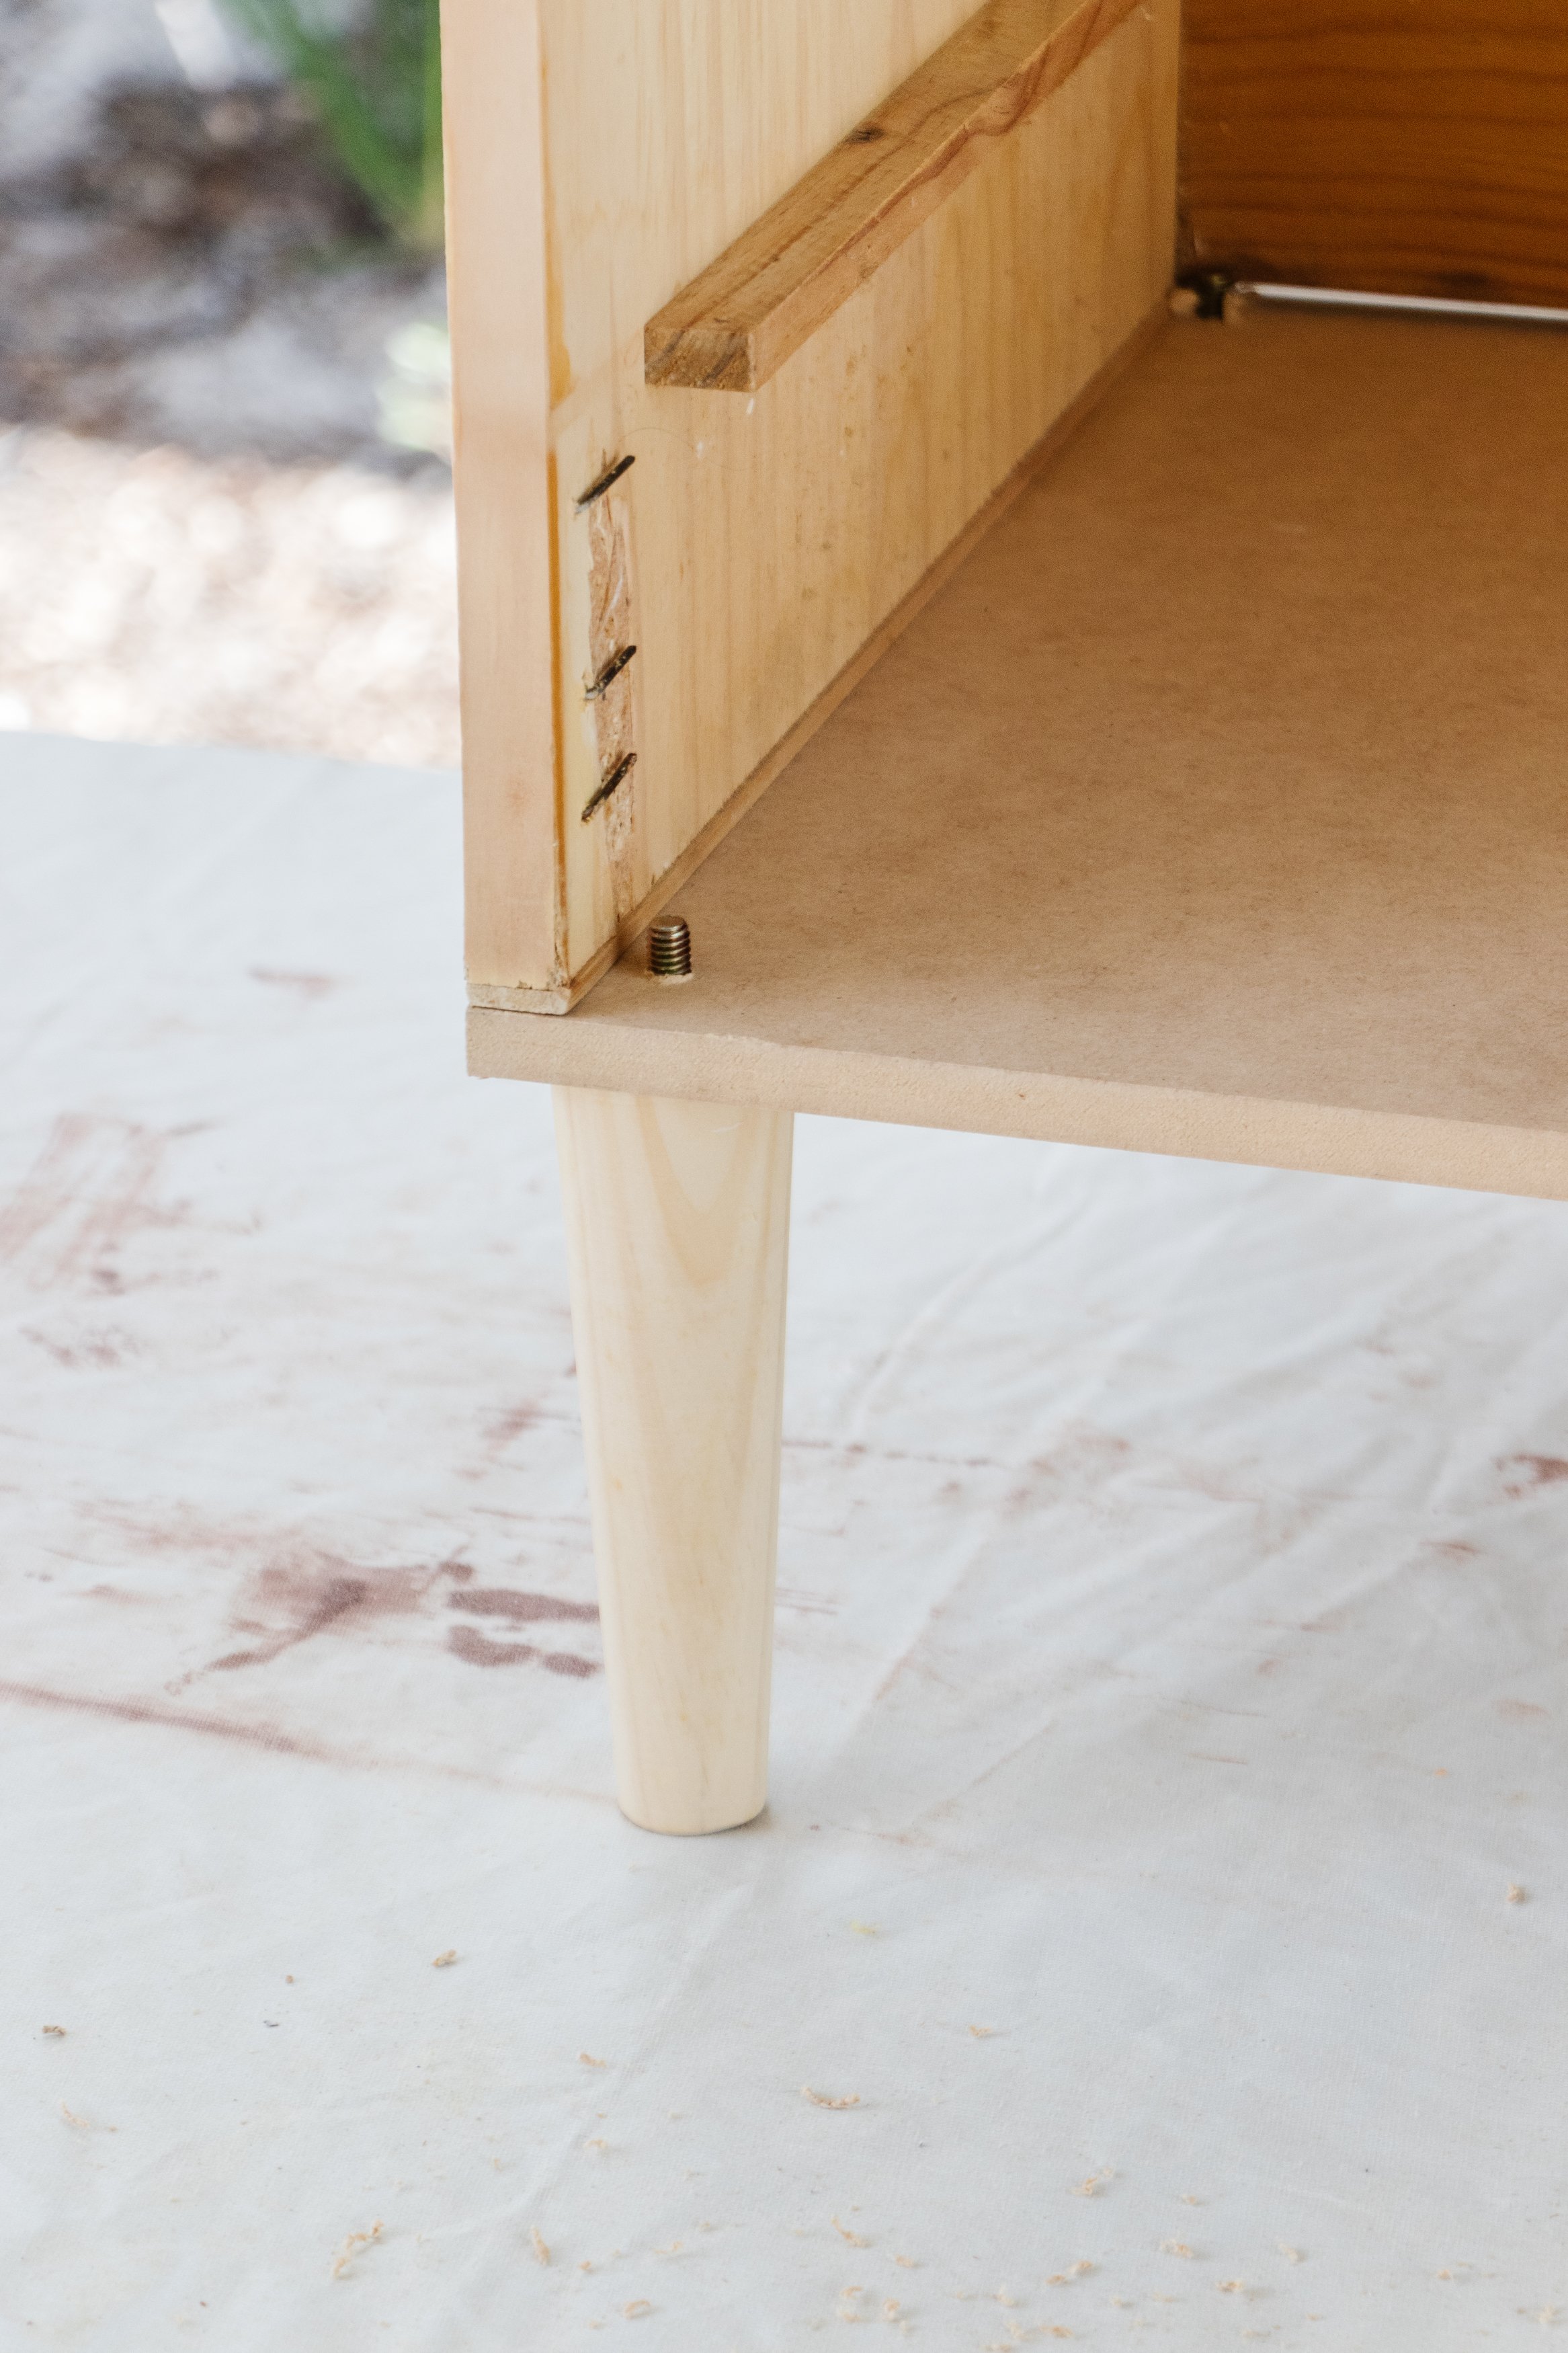
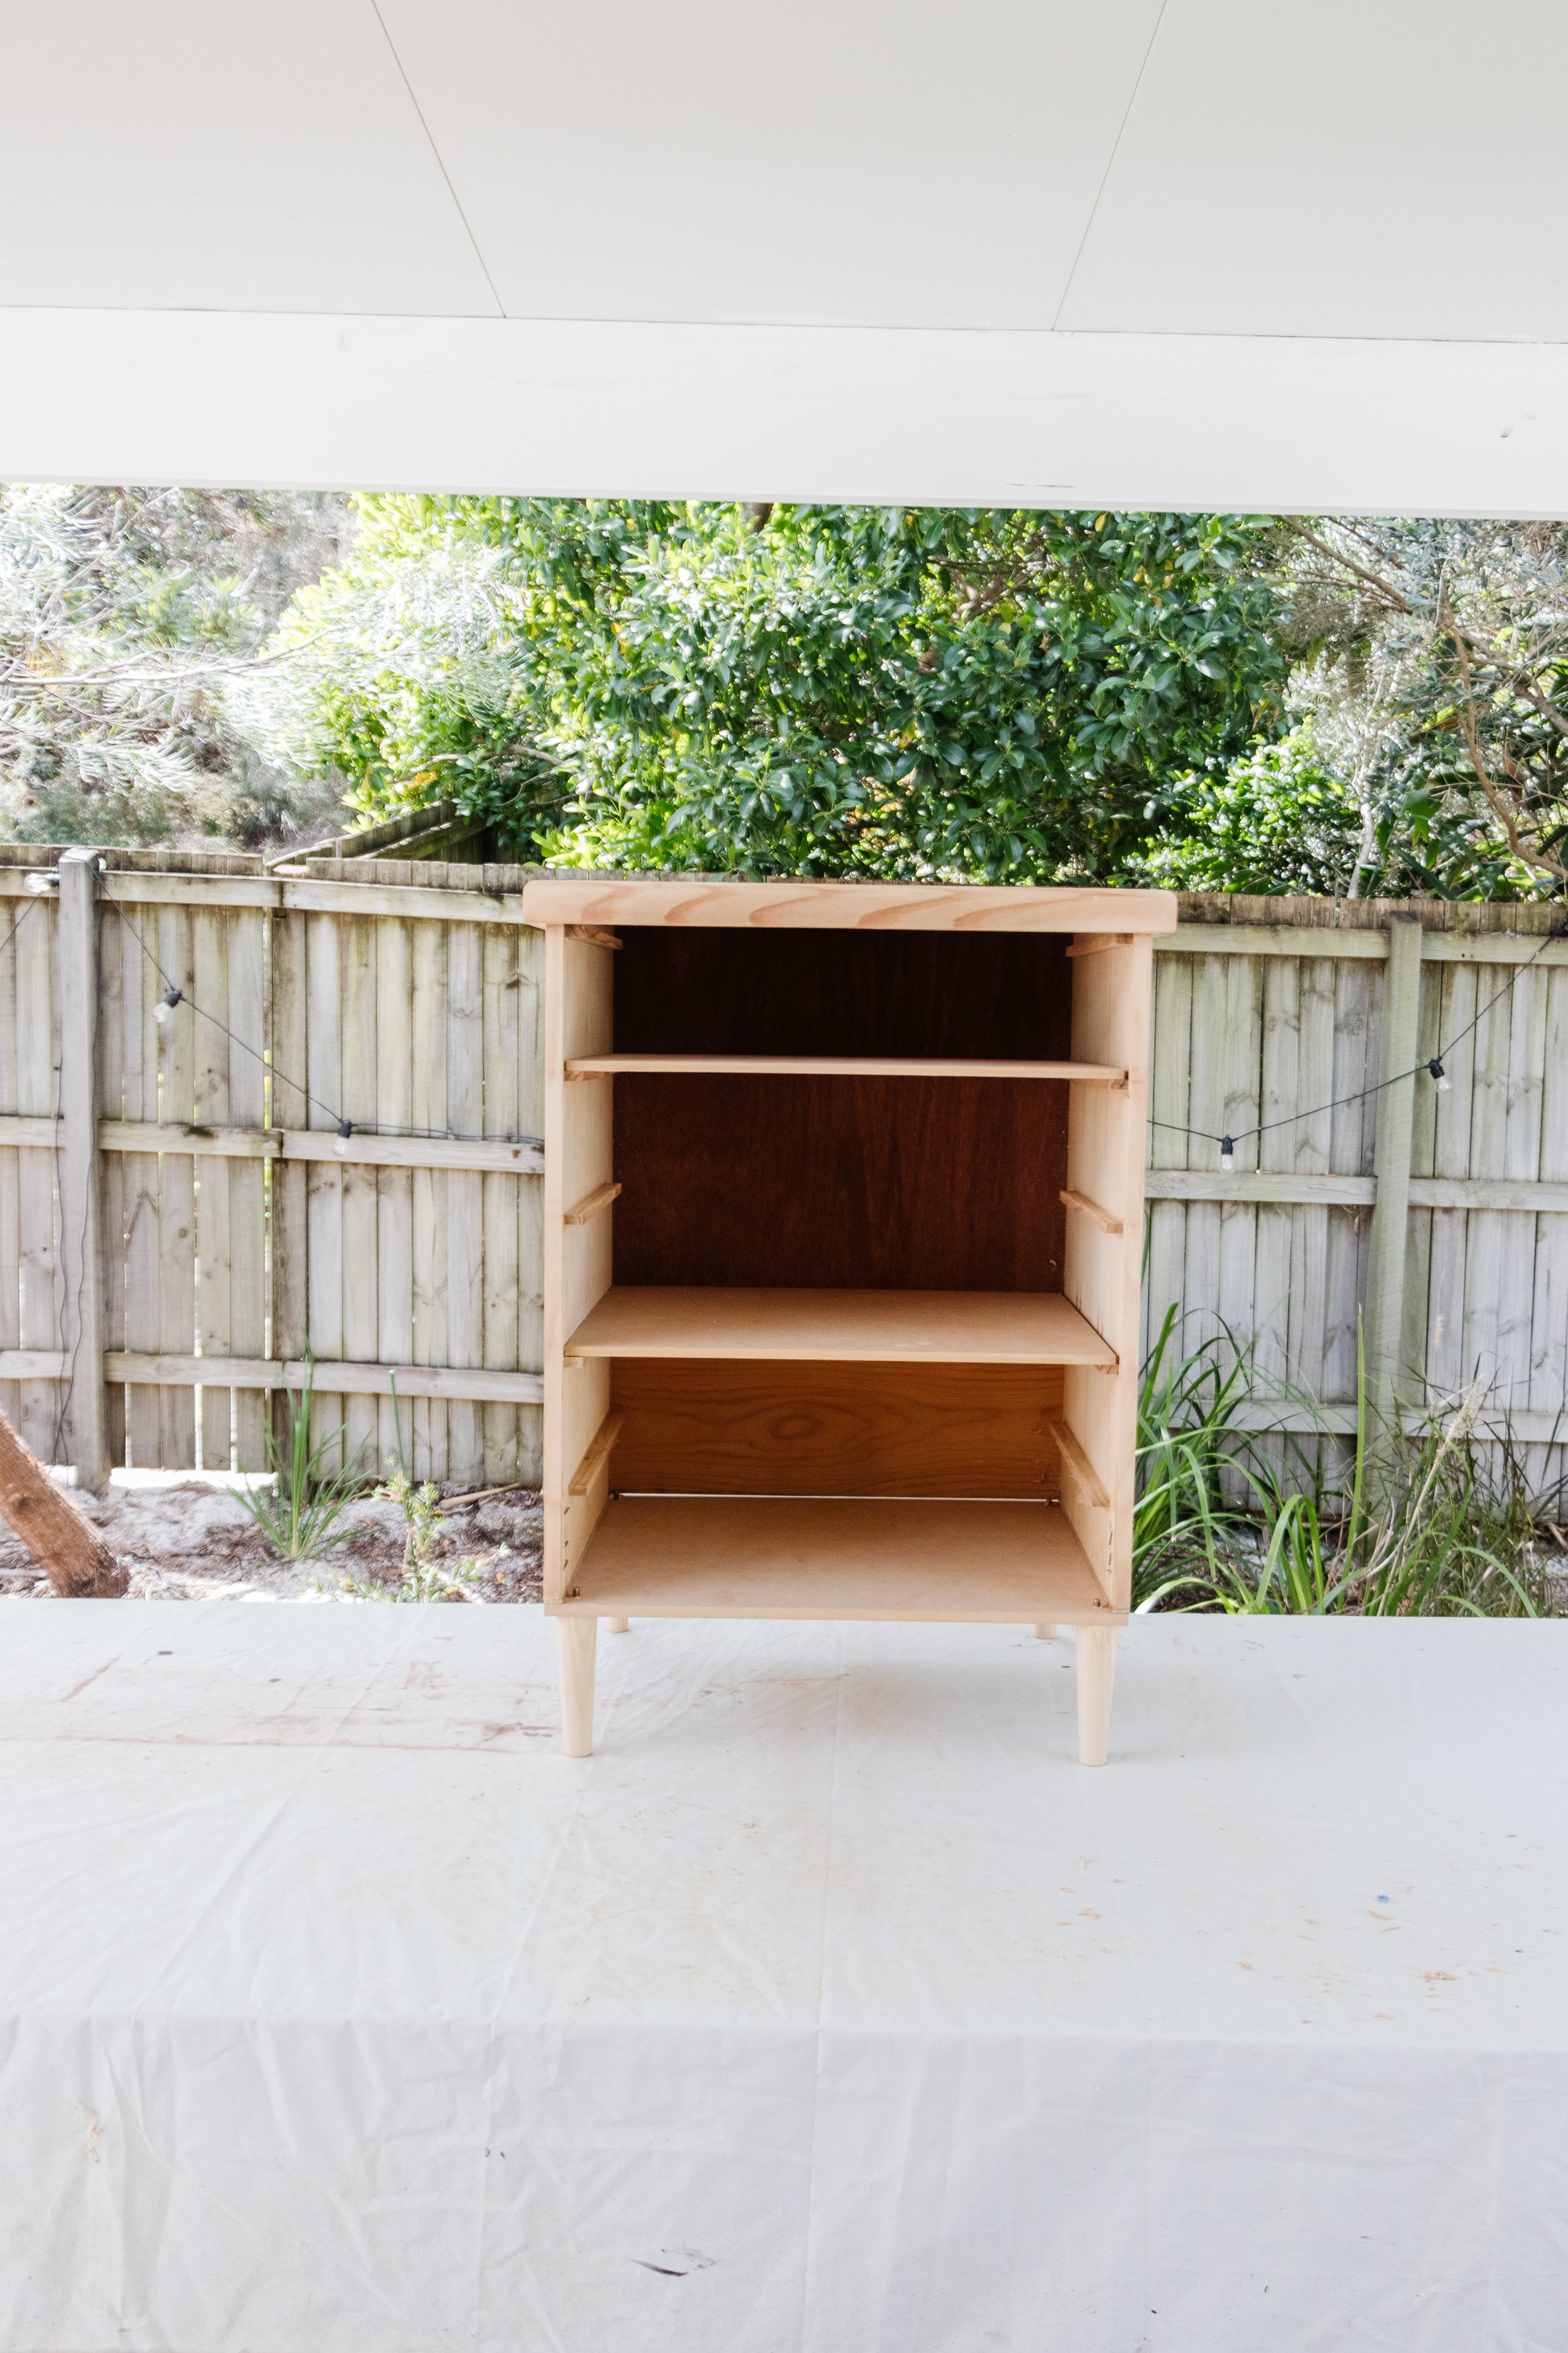
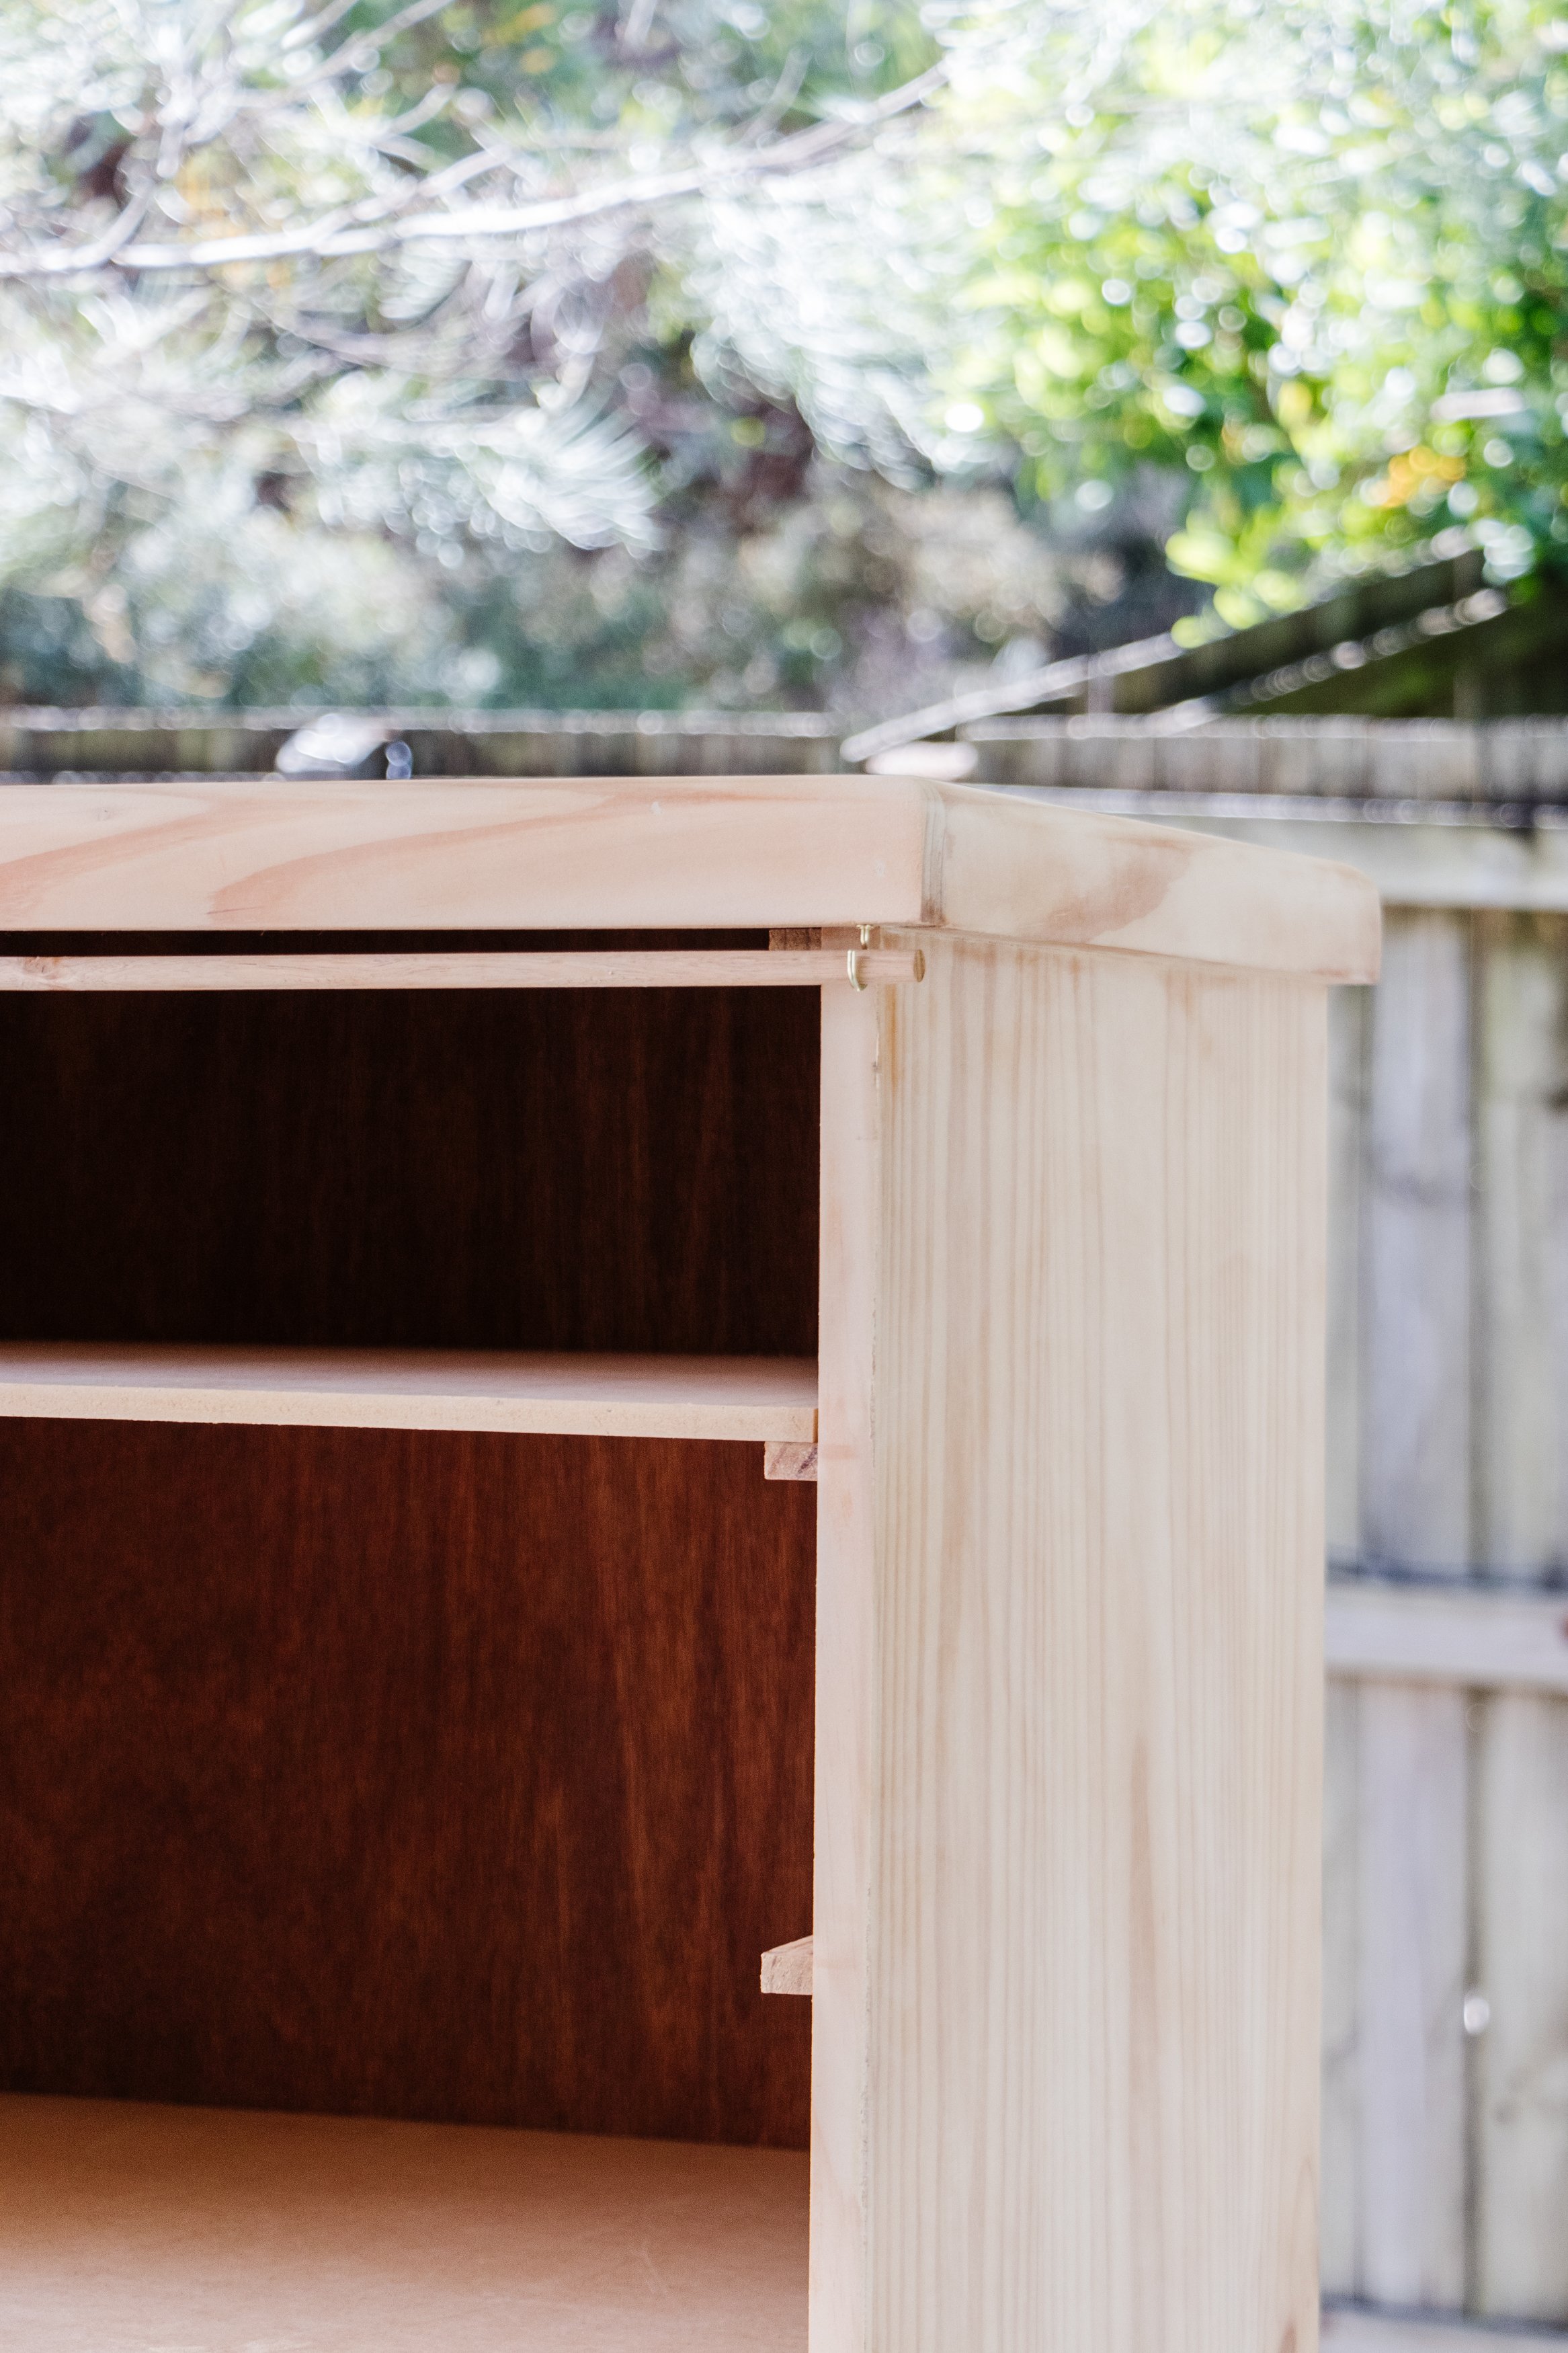
Step 2: Sand the bedside table using a sander until the varnish is completely removed. Cut a piece of MDF to size and screw it to the underside of the bedside table using timber screws and a drill. Install the furniture legs and stand the cabinet up.
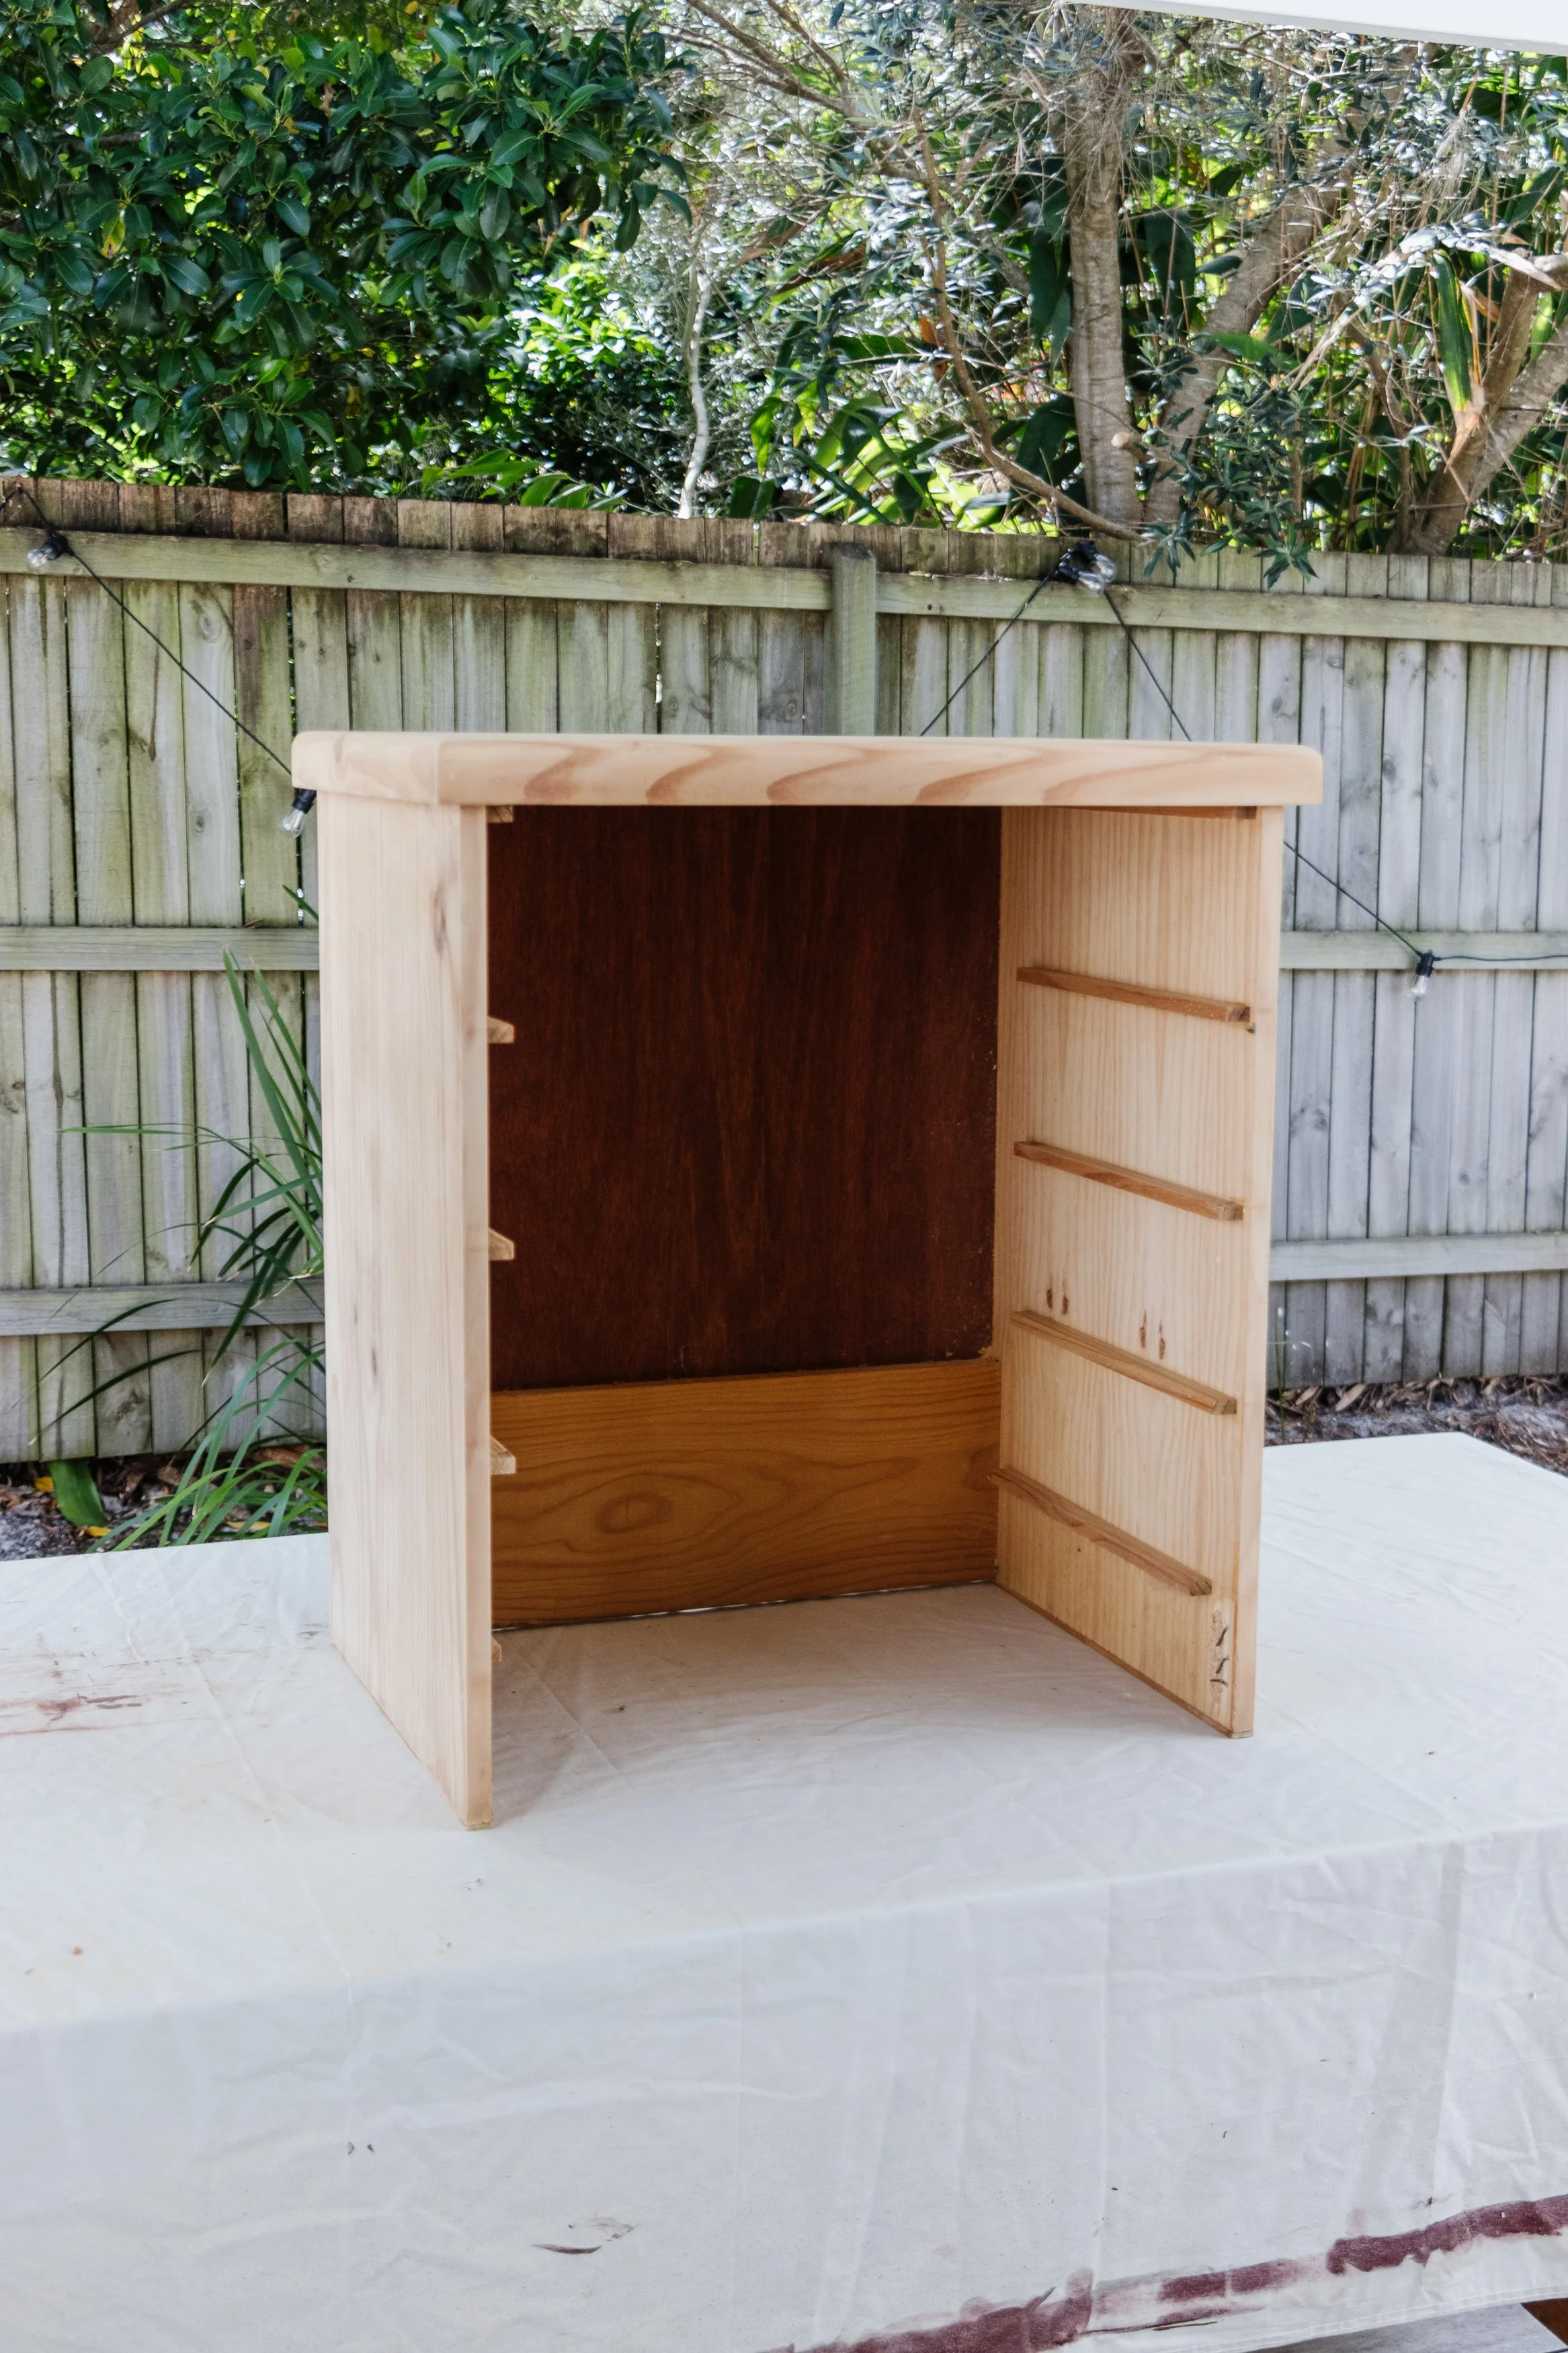


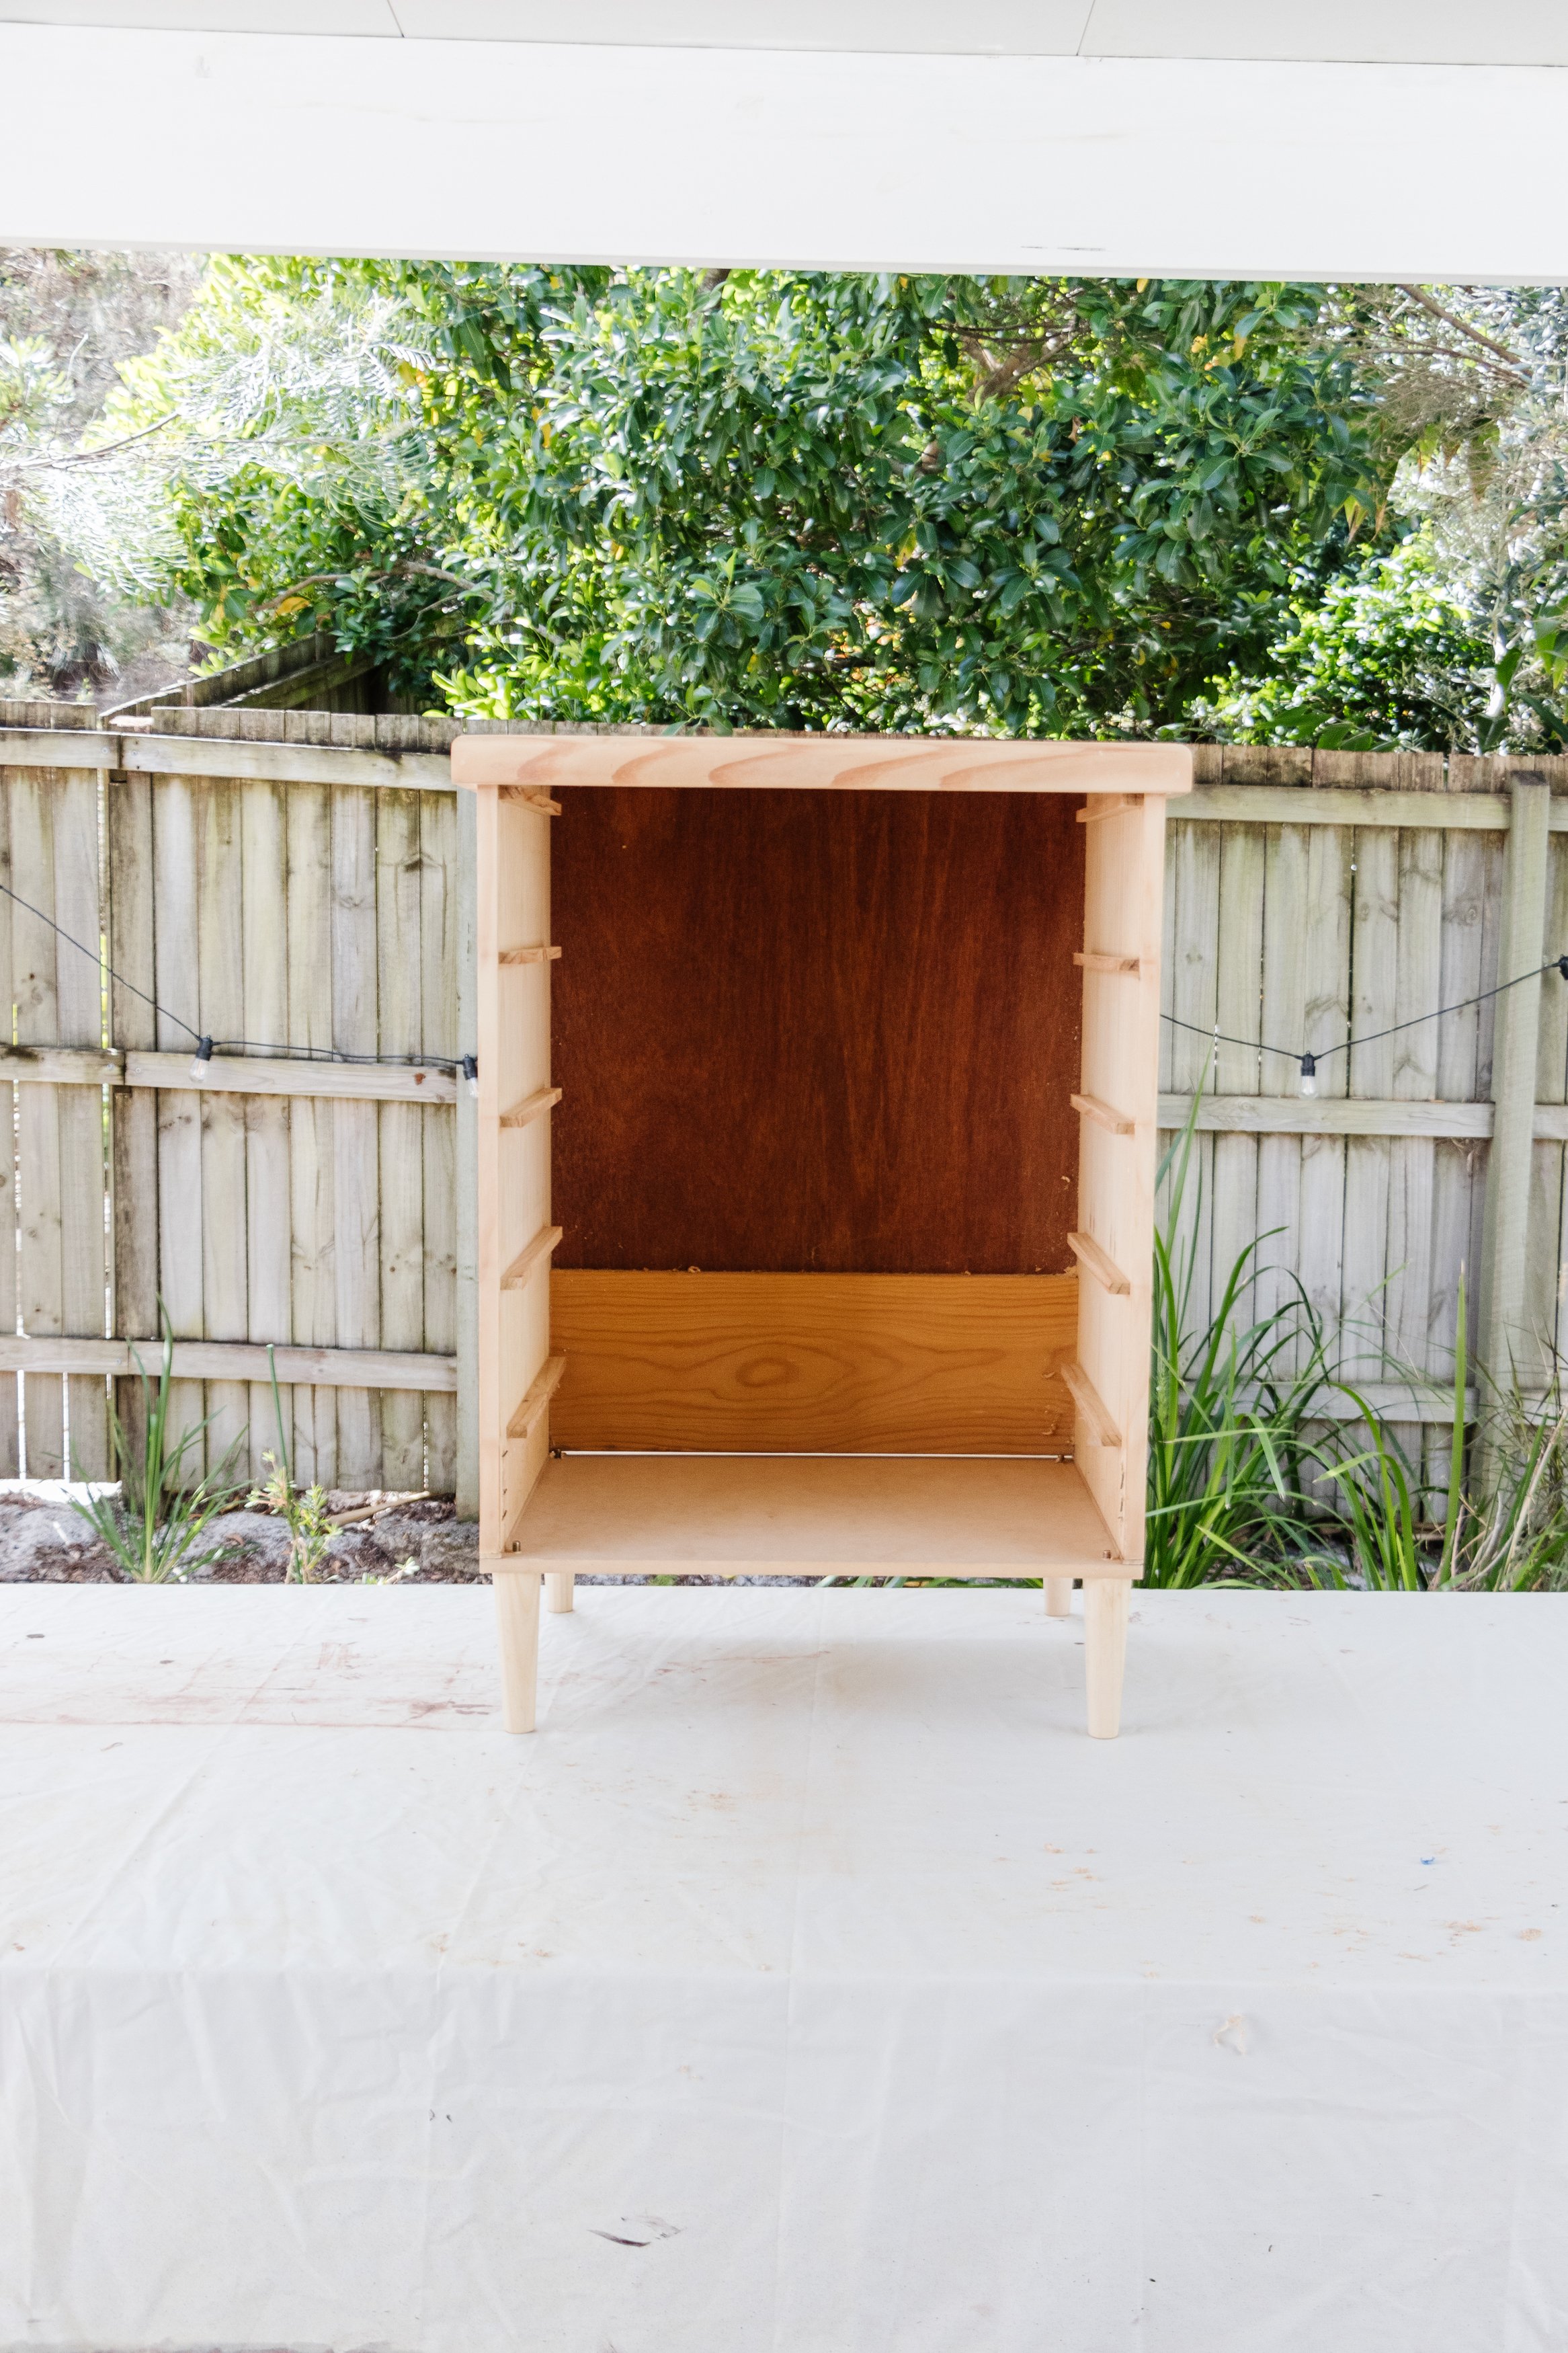
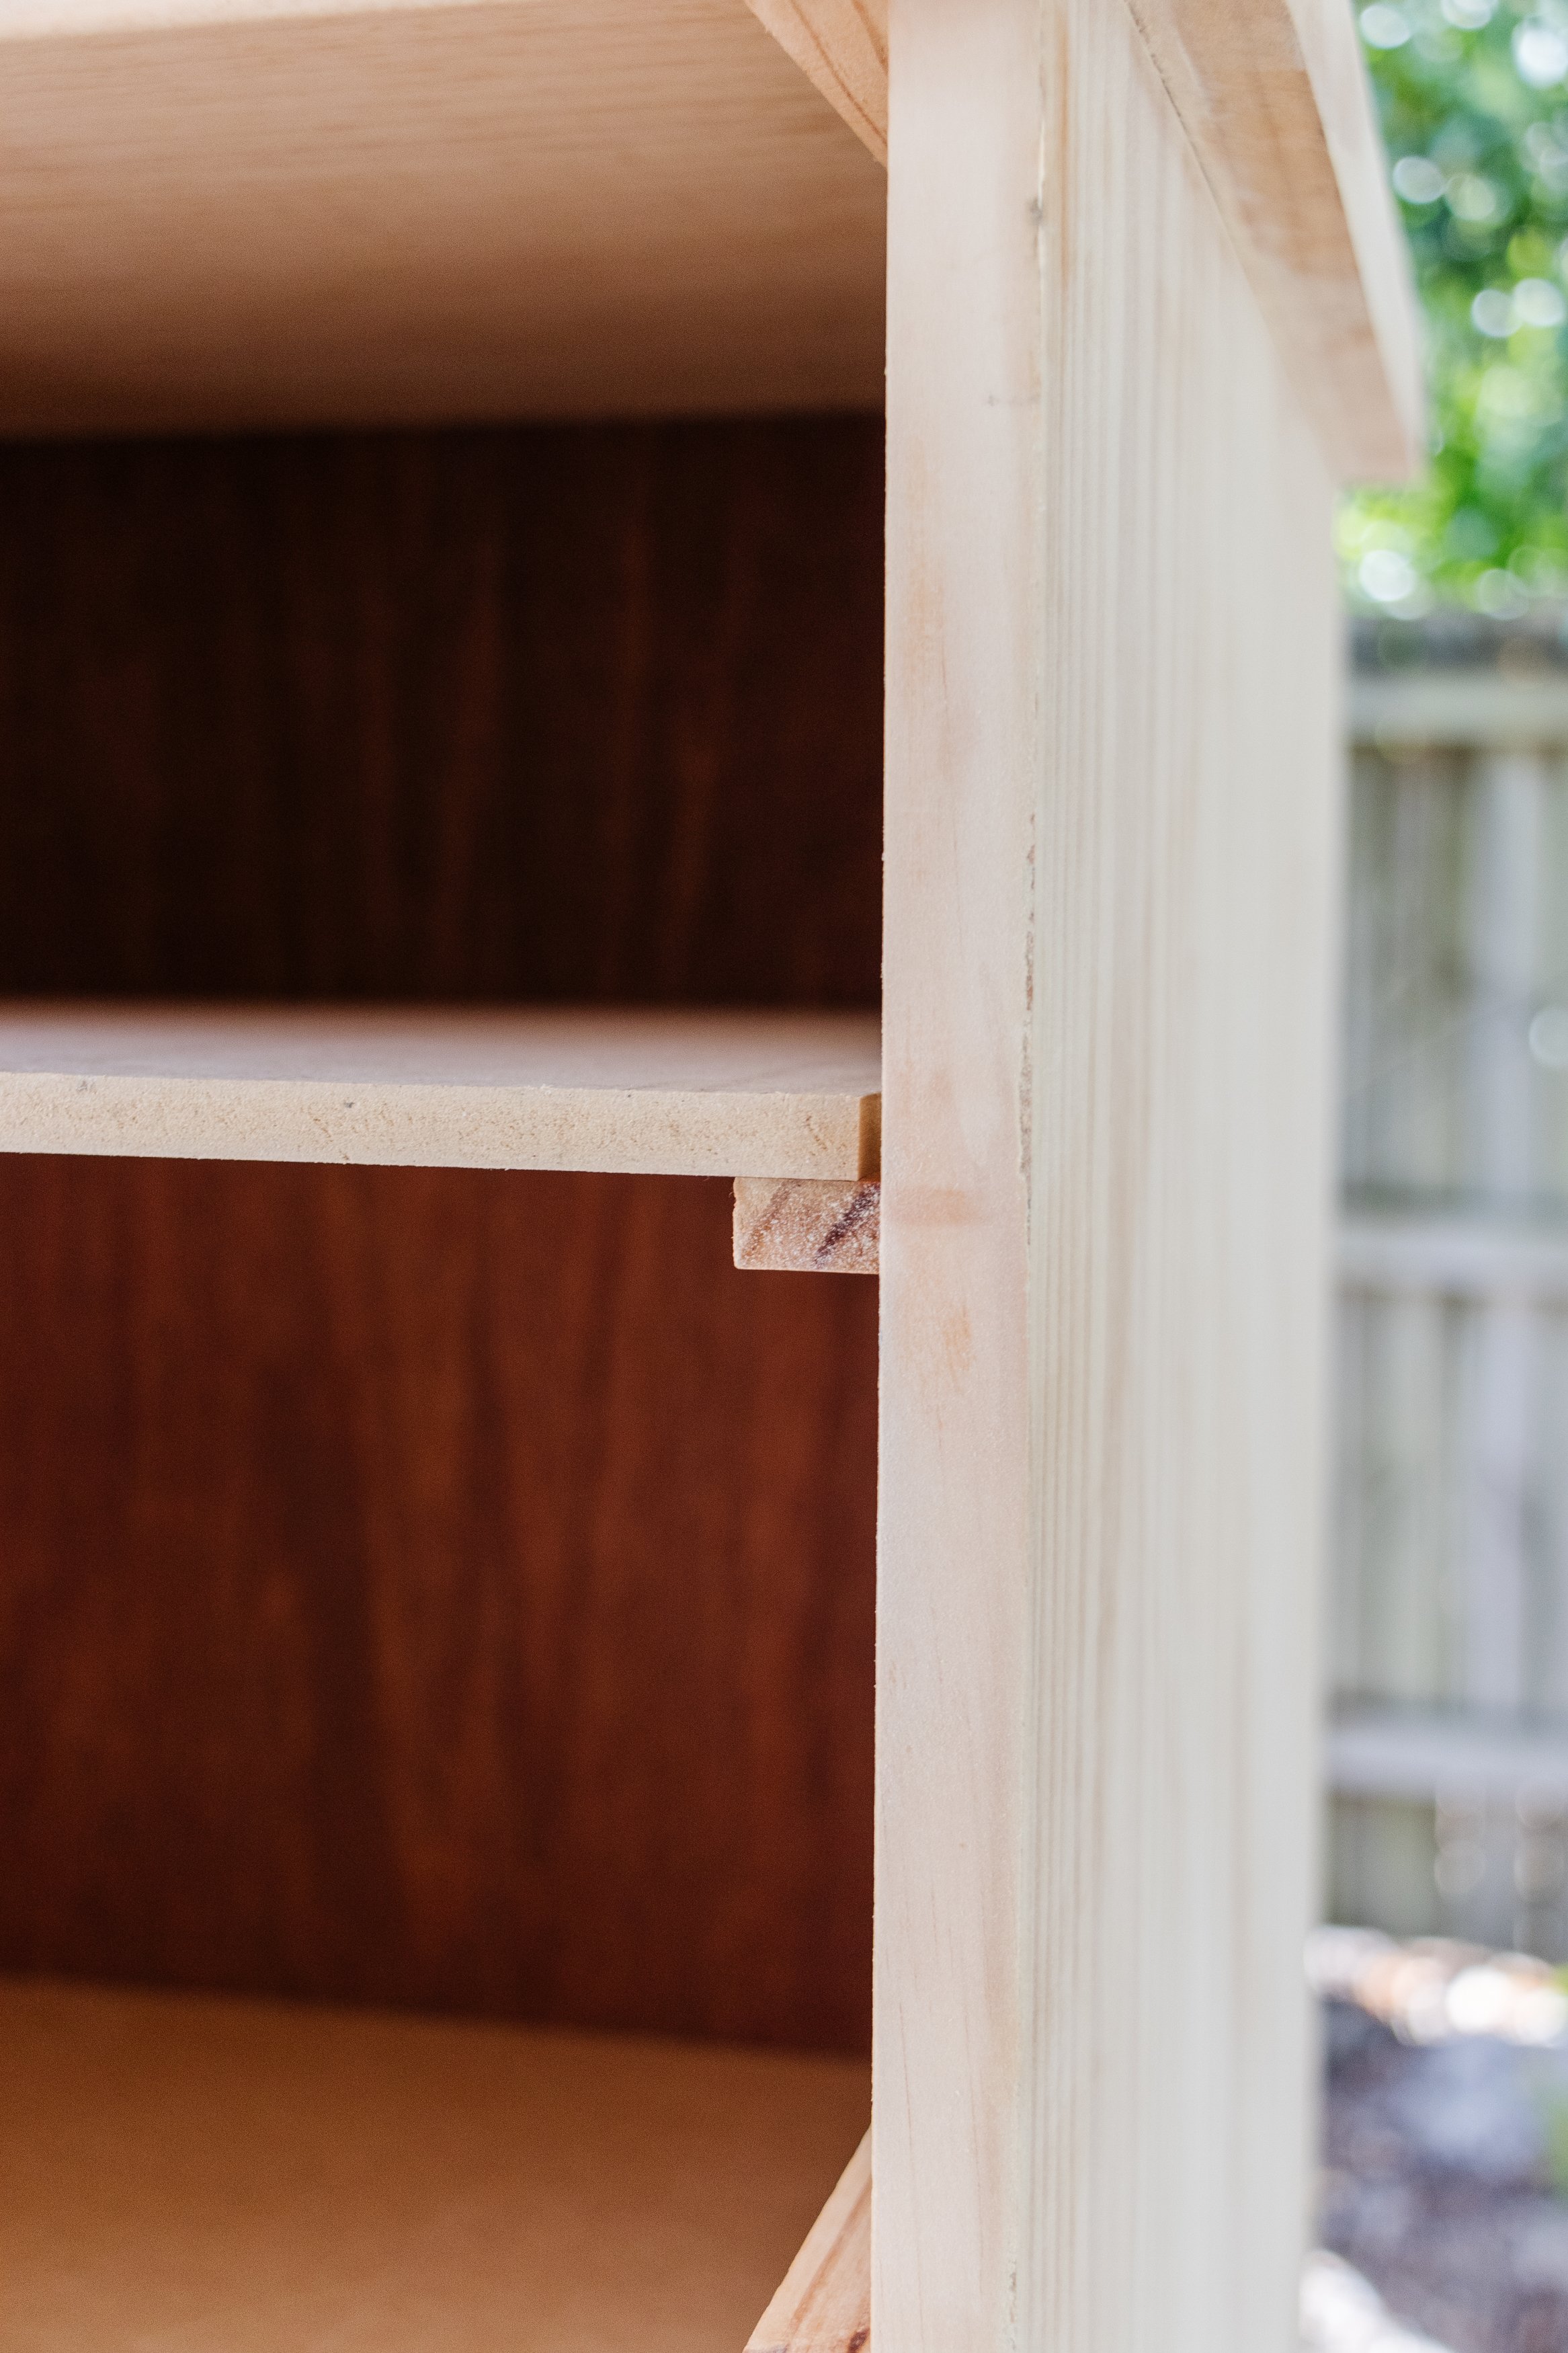
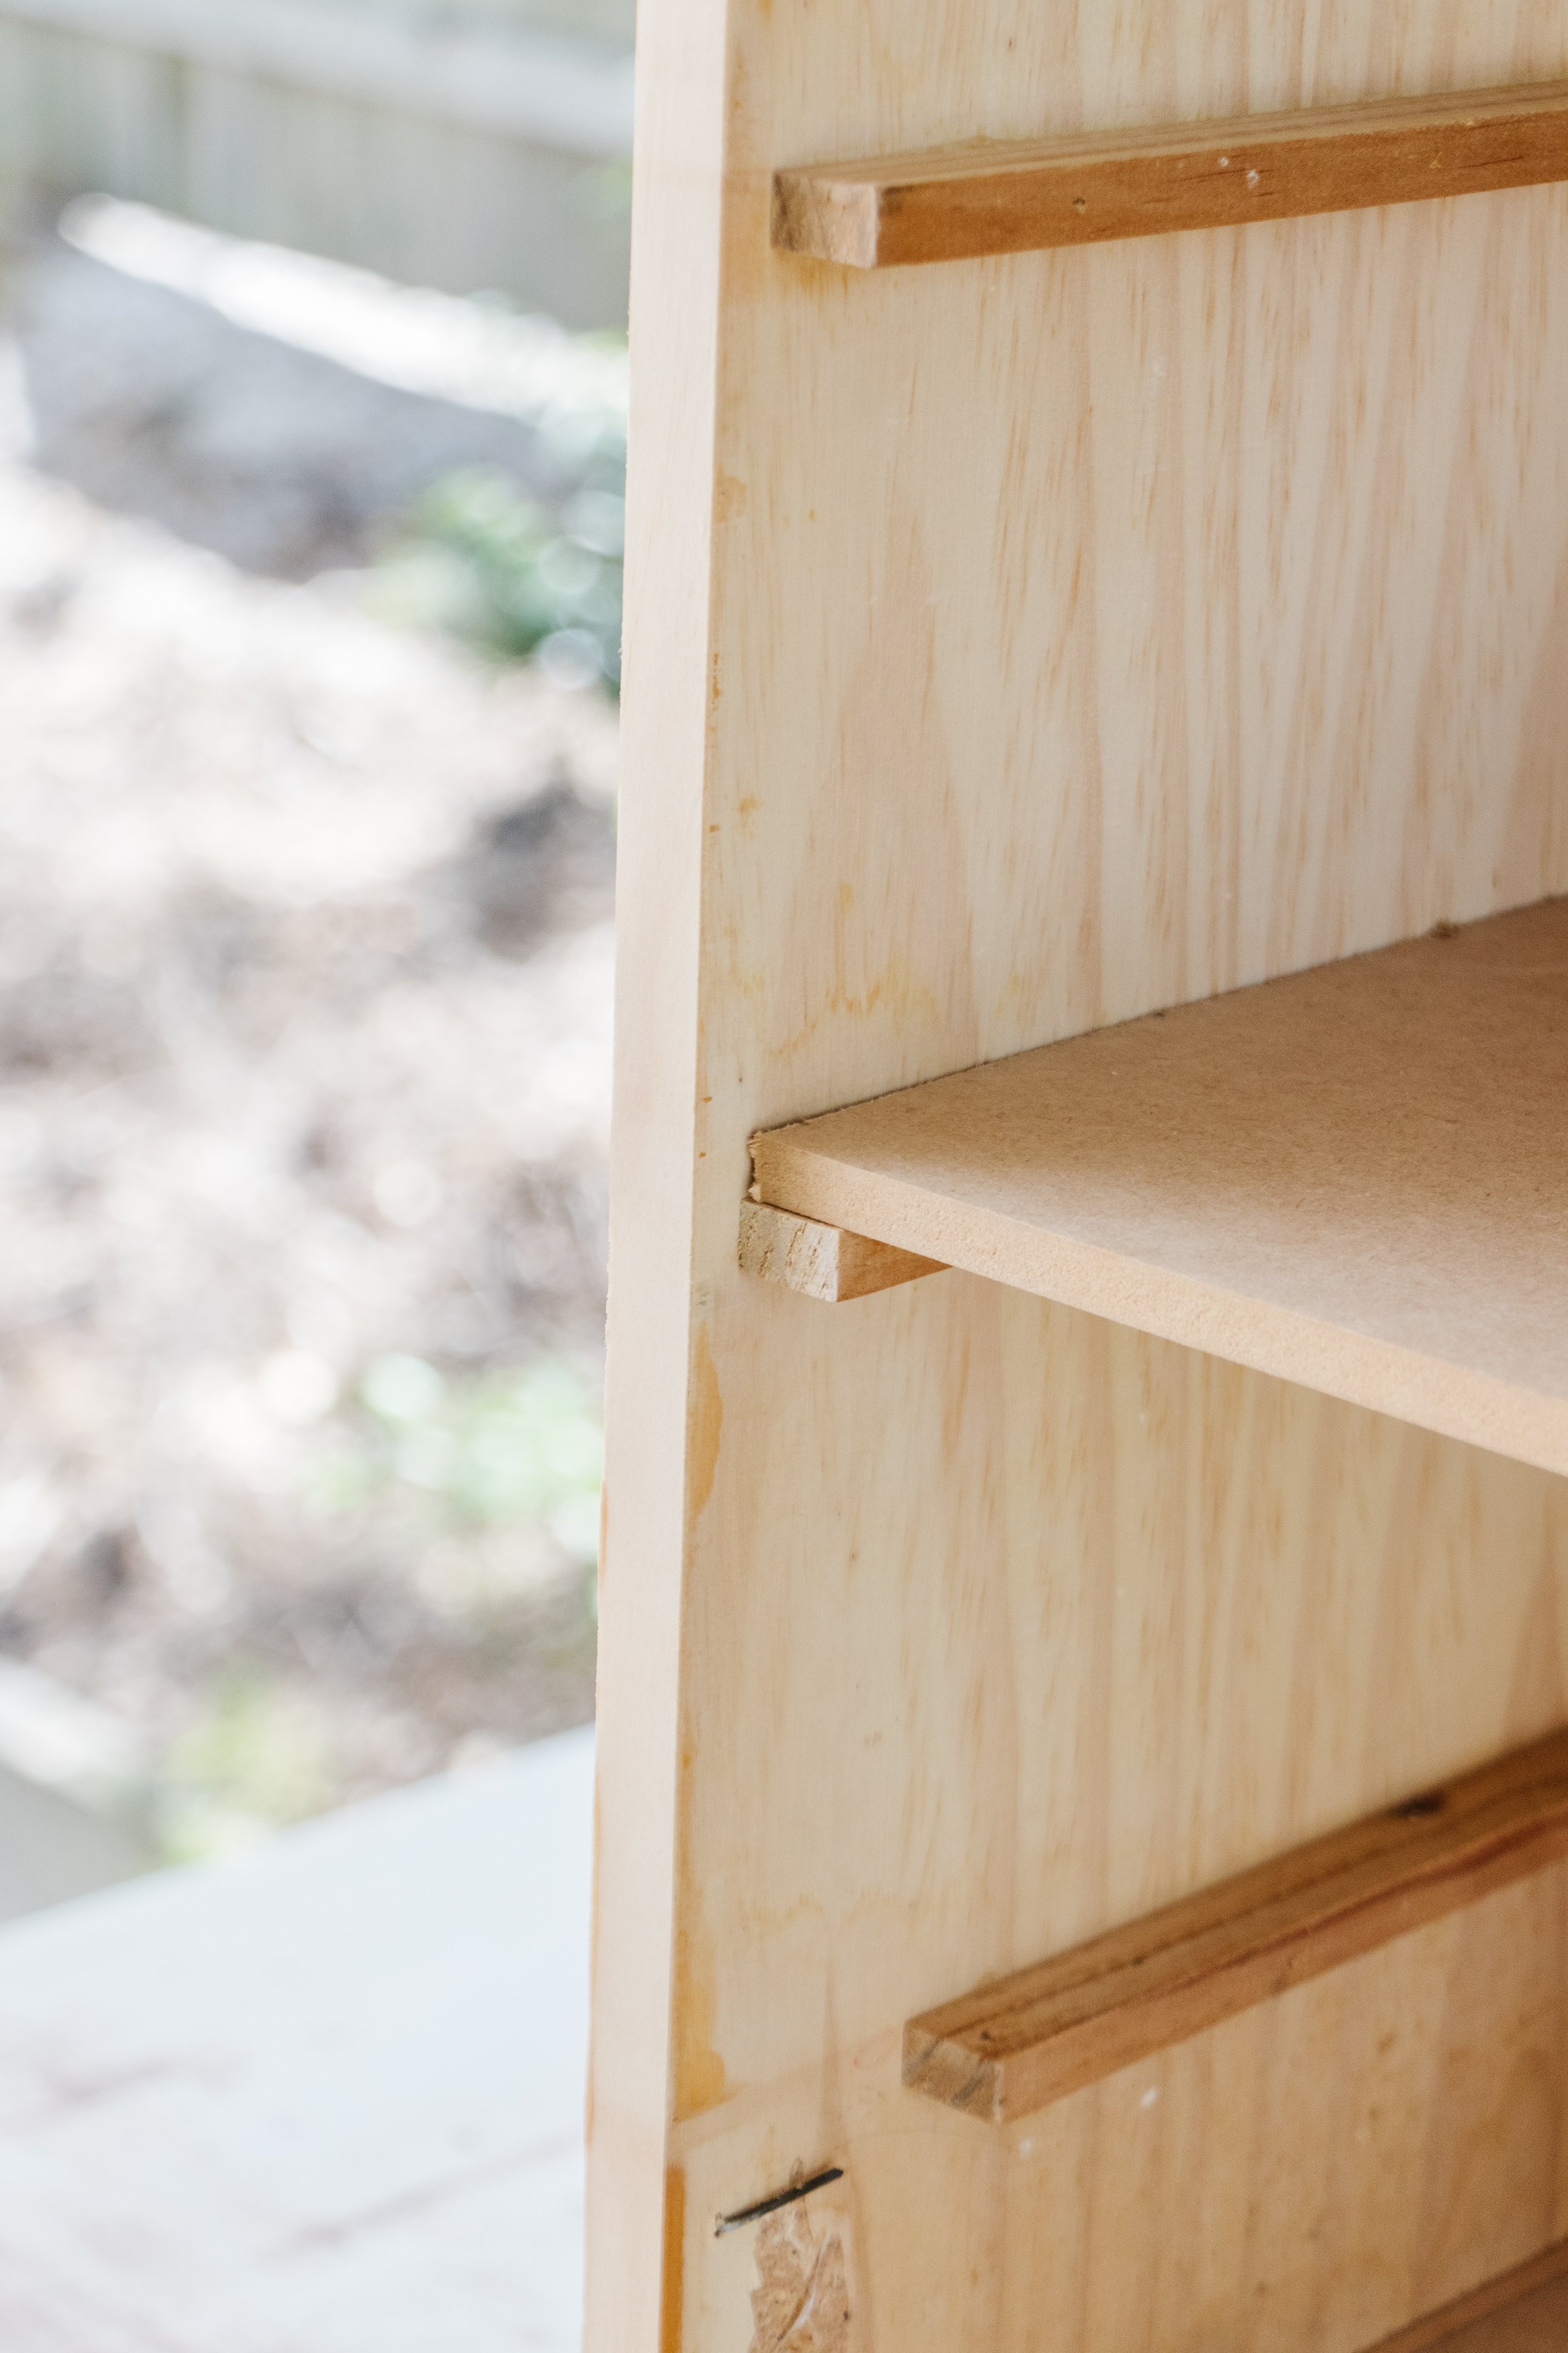
Step 3: To make shelves, use a measuring tape to get the measurements (length and width) for the shelves inside the cabinet. Clamp the MDF to your workbench and cut using a jigsaw according to the measurements. Place the cut MDF onto another sheet of MDF and trace around it using a pencil. Again, clamp the MDF to your workbench and cut using a jigsaw. Insert the shelves into the bedside table which is now starting to transform into a cabinet.
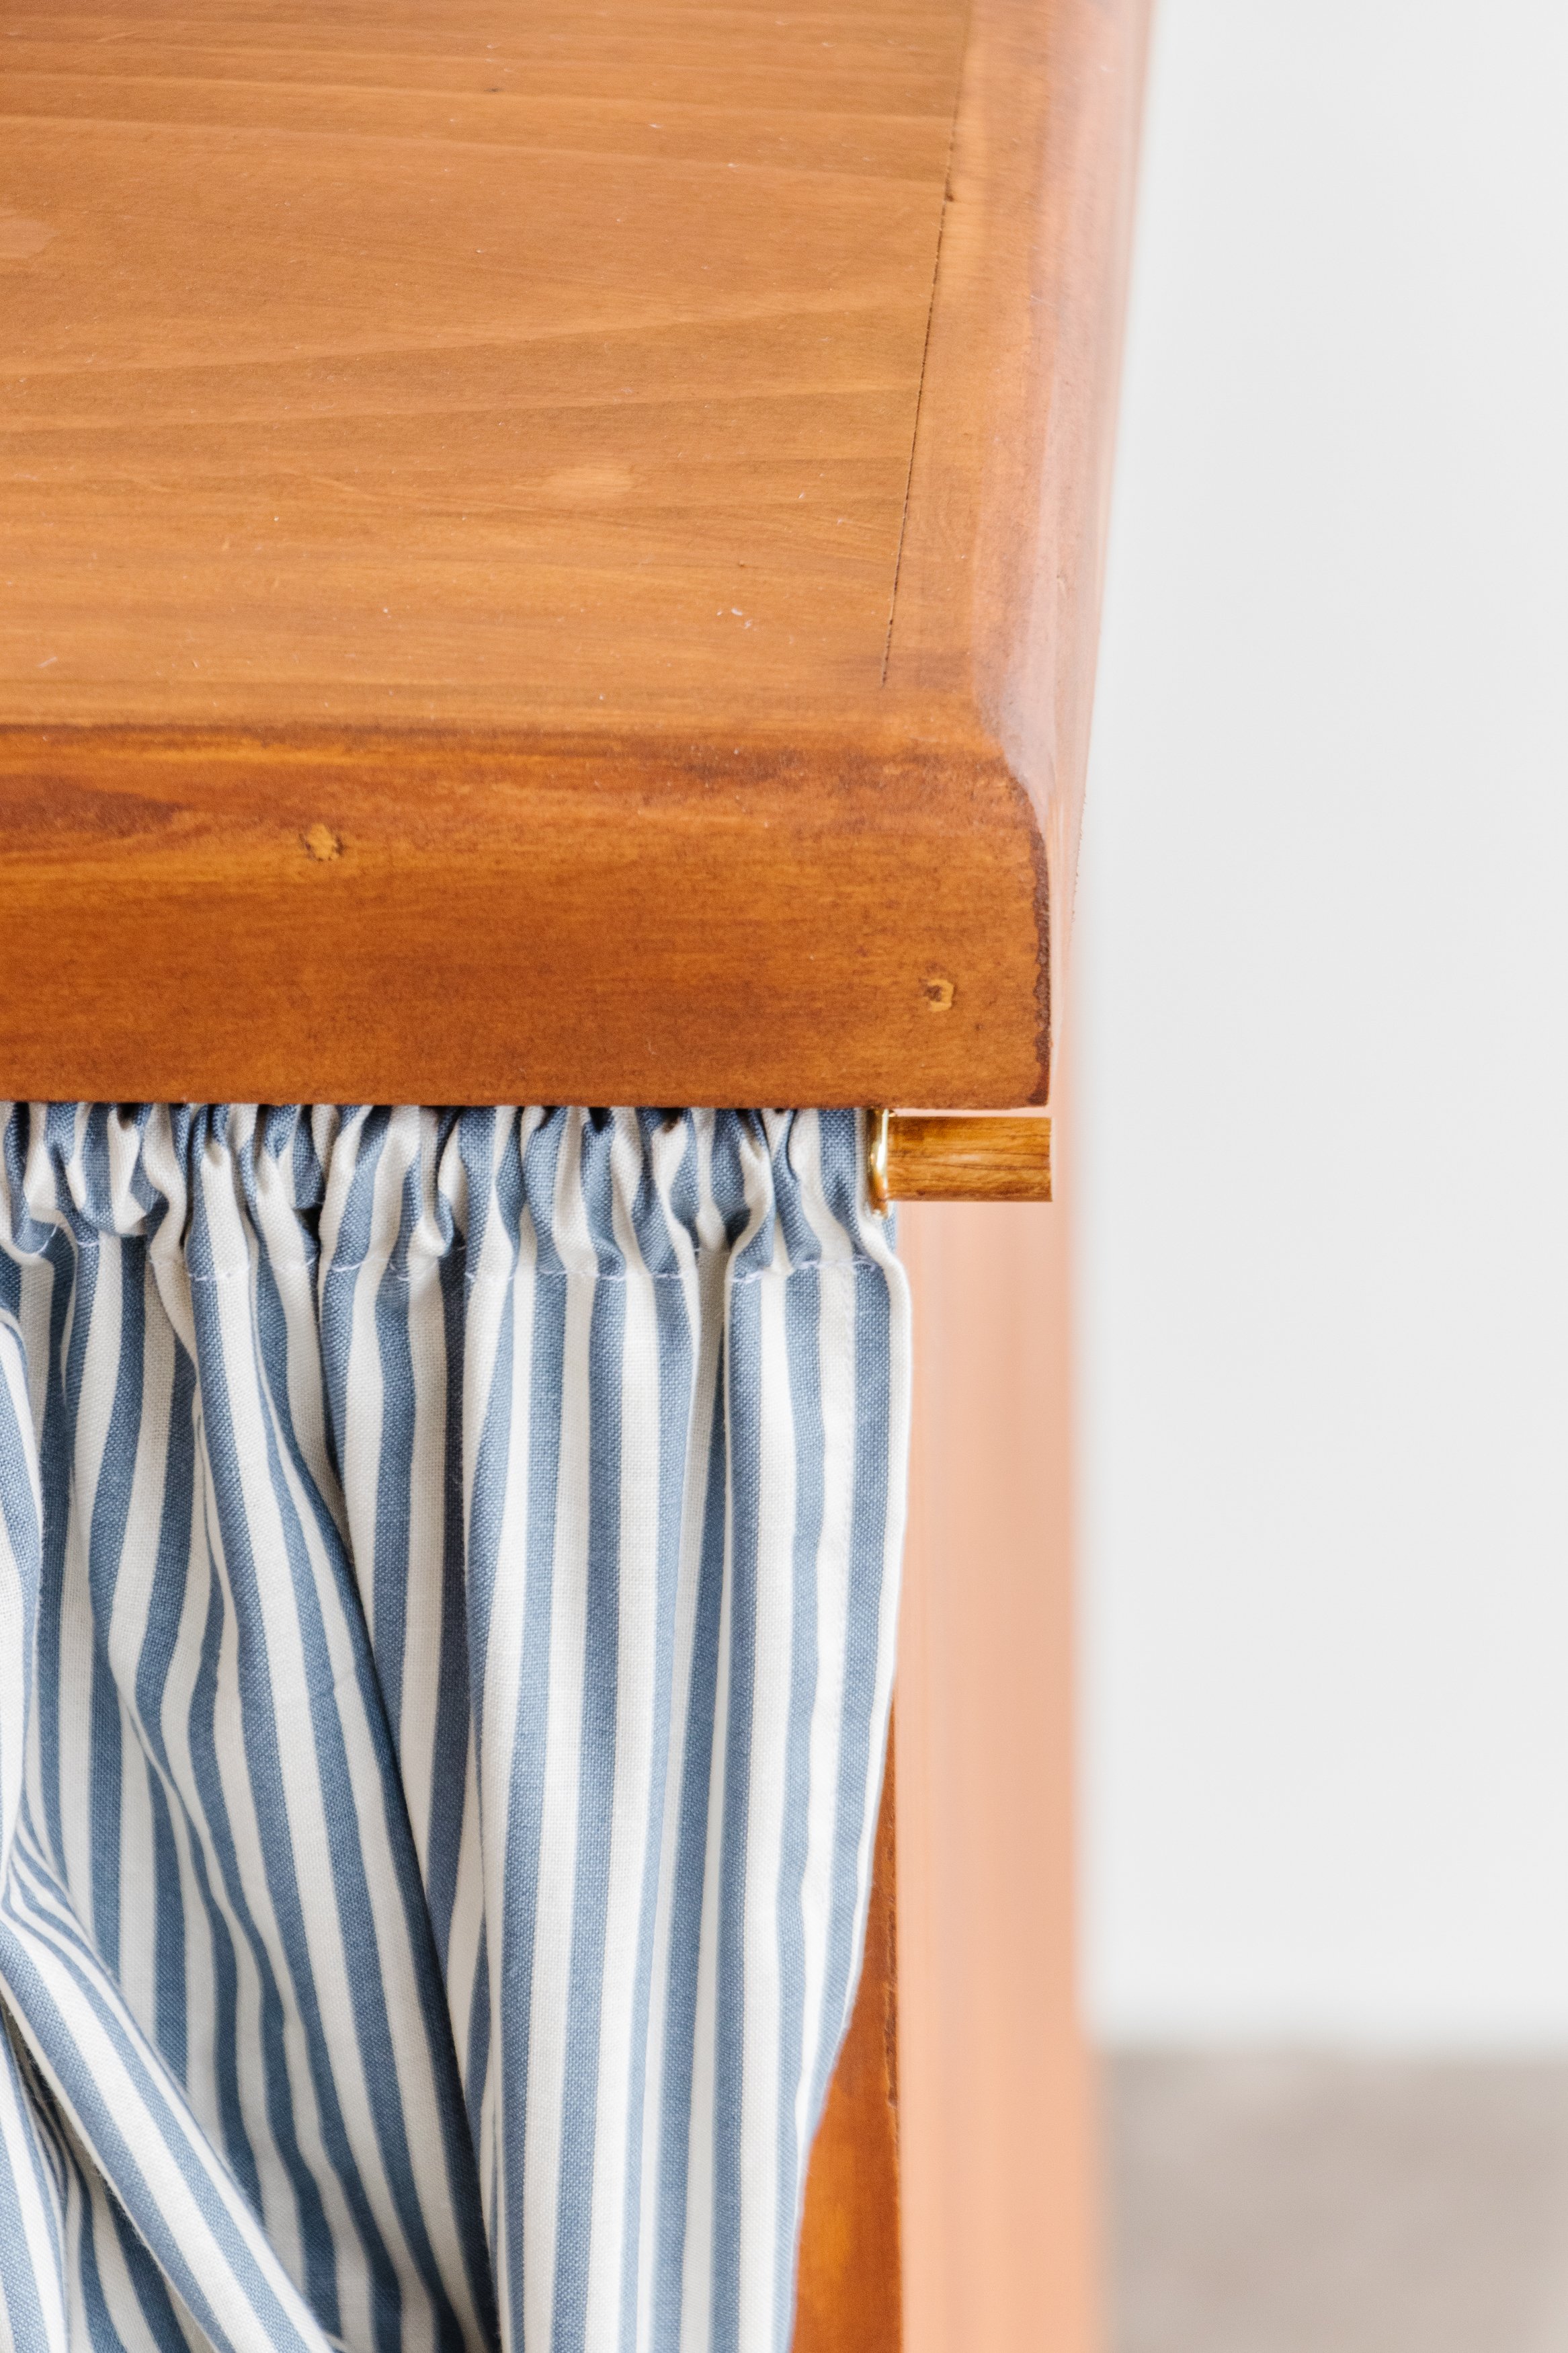
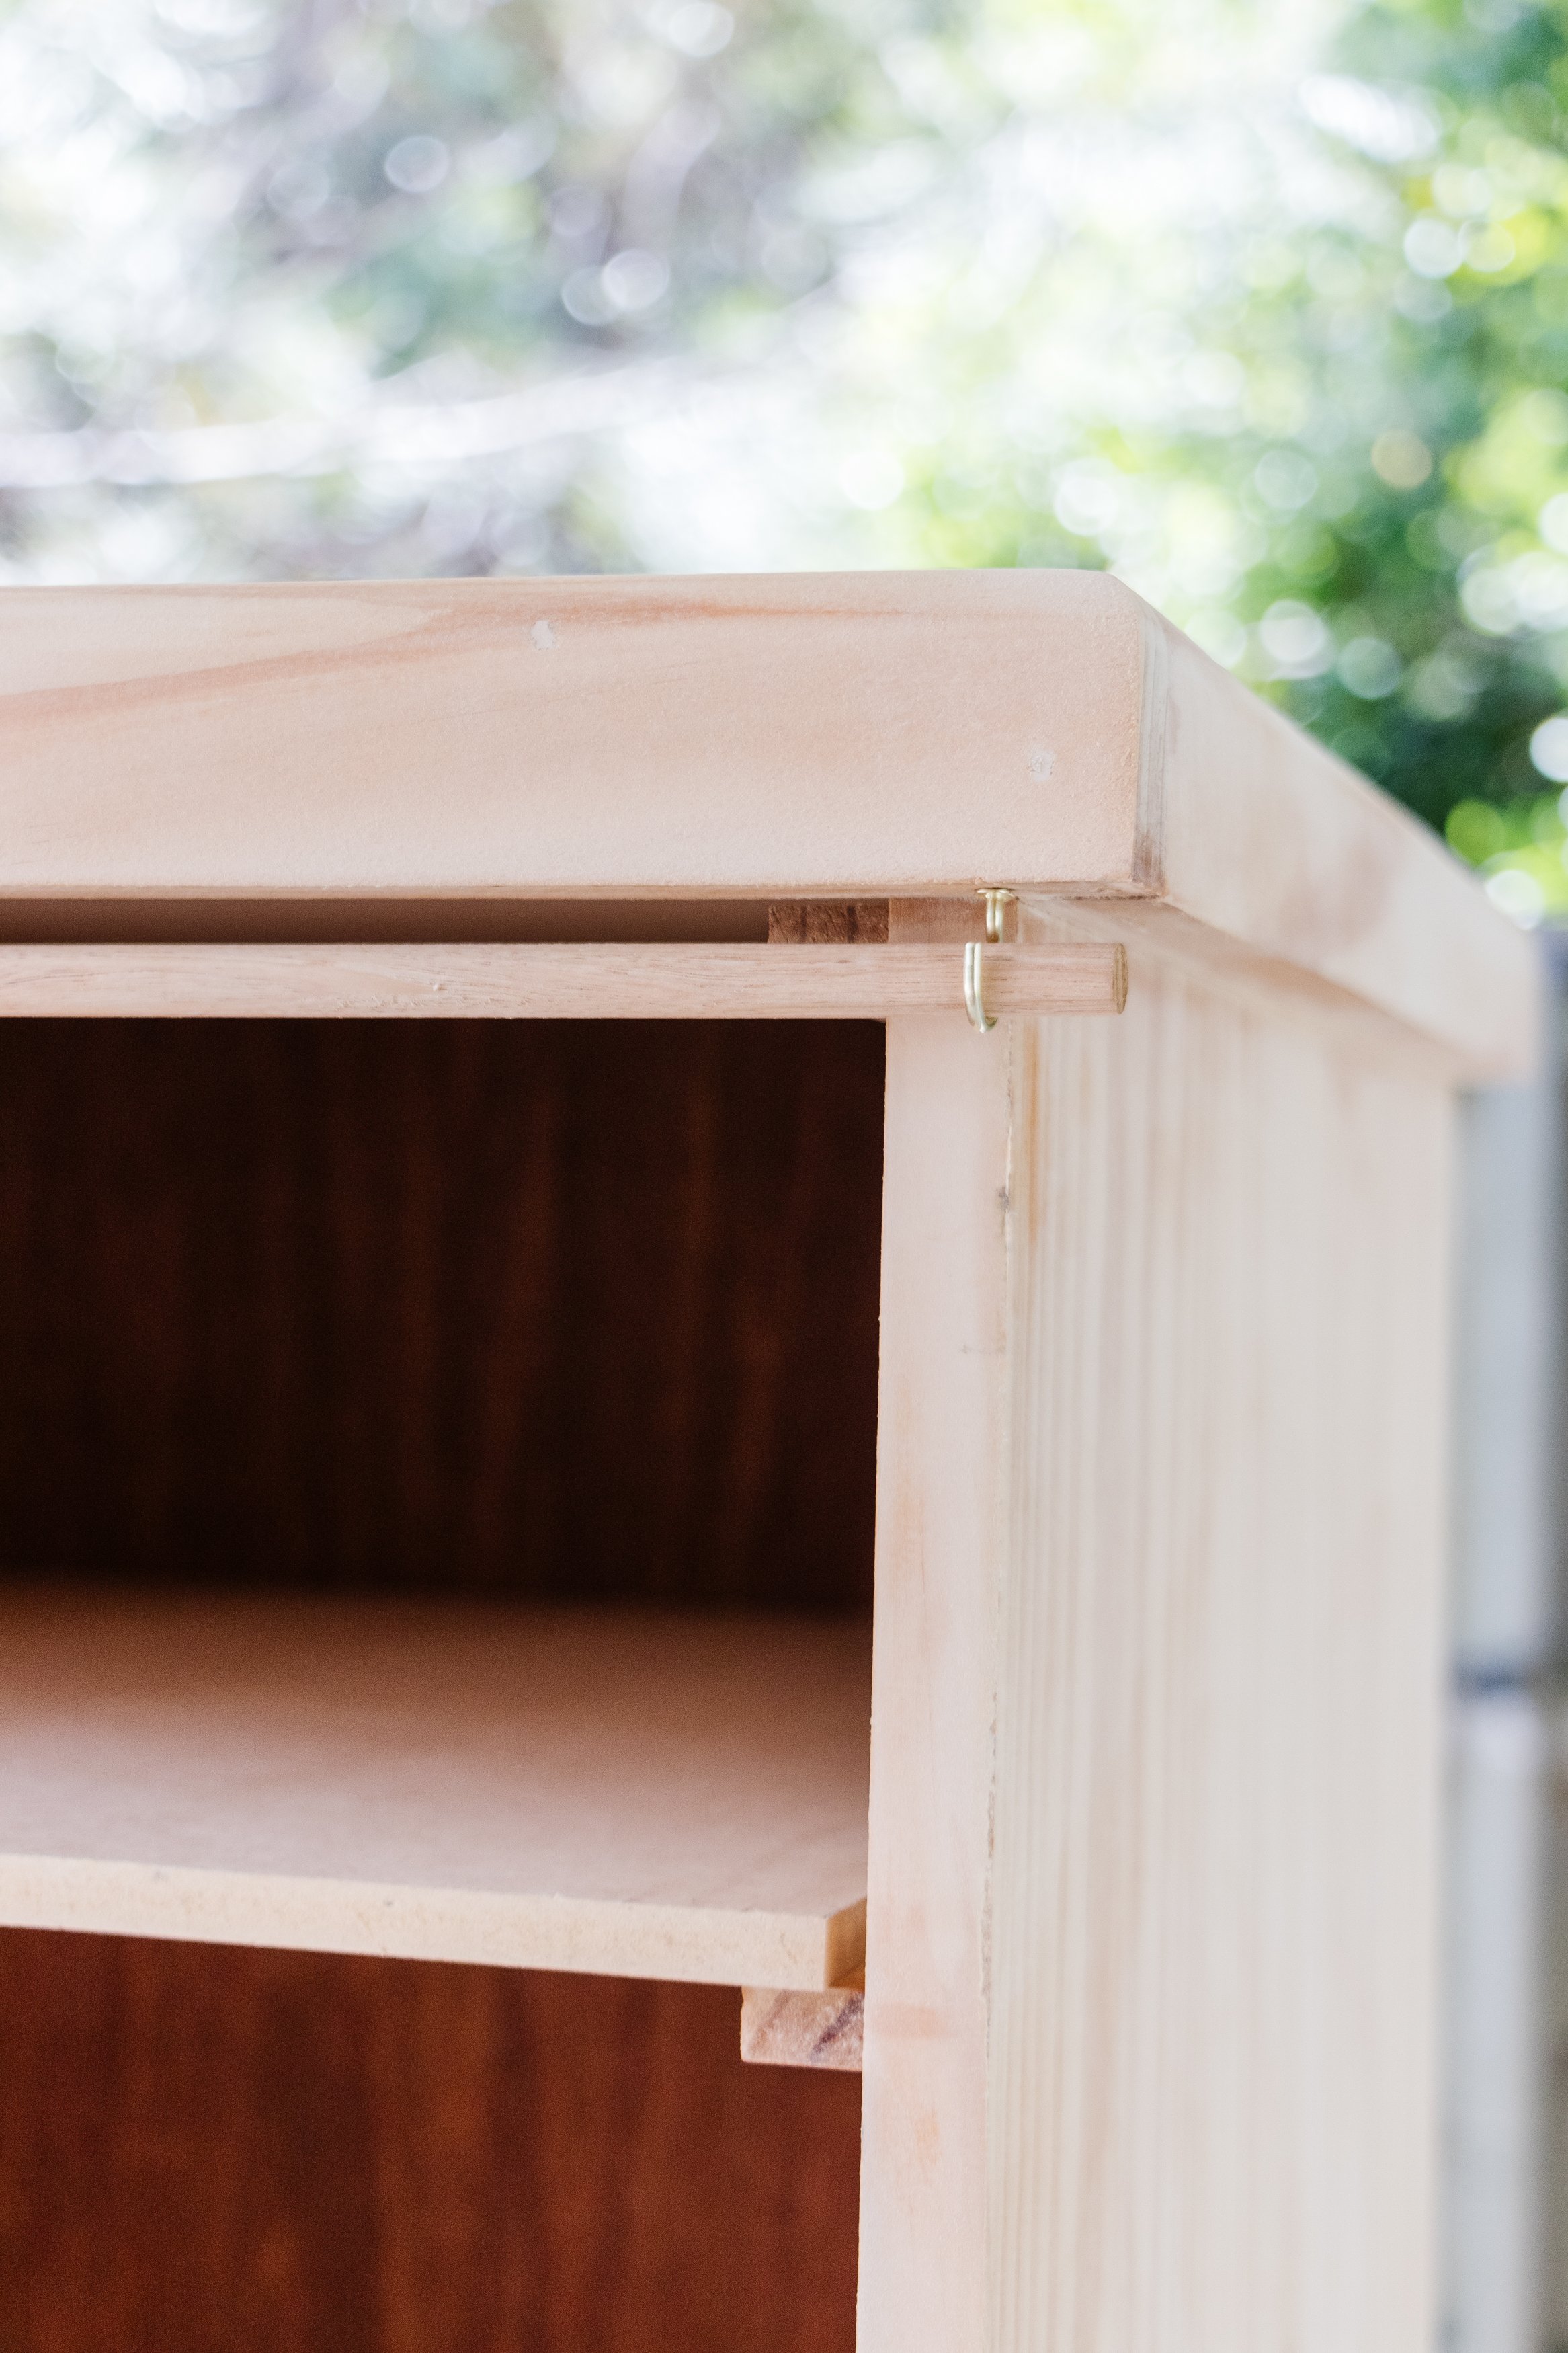
Step 4: Using a measuring tape, measure the width of the bedside table at the top across the front. Cut a dowel to this measurement using a jigsaw or a handsaw. Drill two pilot holes underneath the top of the bedside table, one pilot hole 2cm in from the left and likewise on the right. Insert and twist two cup hooks into the pilot holes. Place the dowel onto the cup hooks to check it fits. Remove the dowel for now.
Step 5: Following this, apply a one coat of timber stain using a microfibre cloth onto the bedside table, shelves and furniture legs. Apply more coats if you prefer a deeper stain. Set aside to dry.


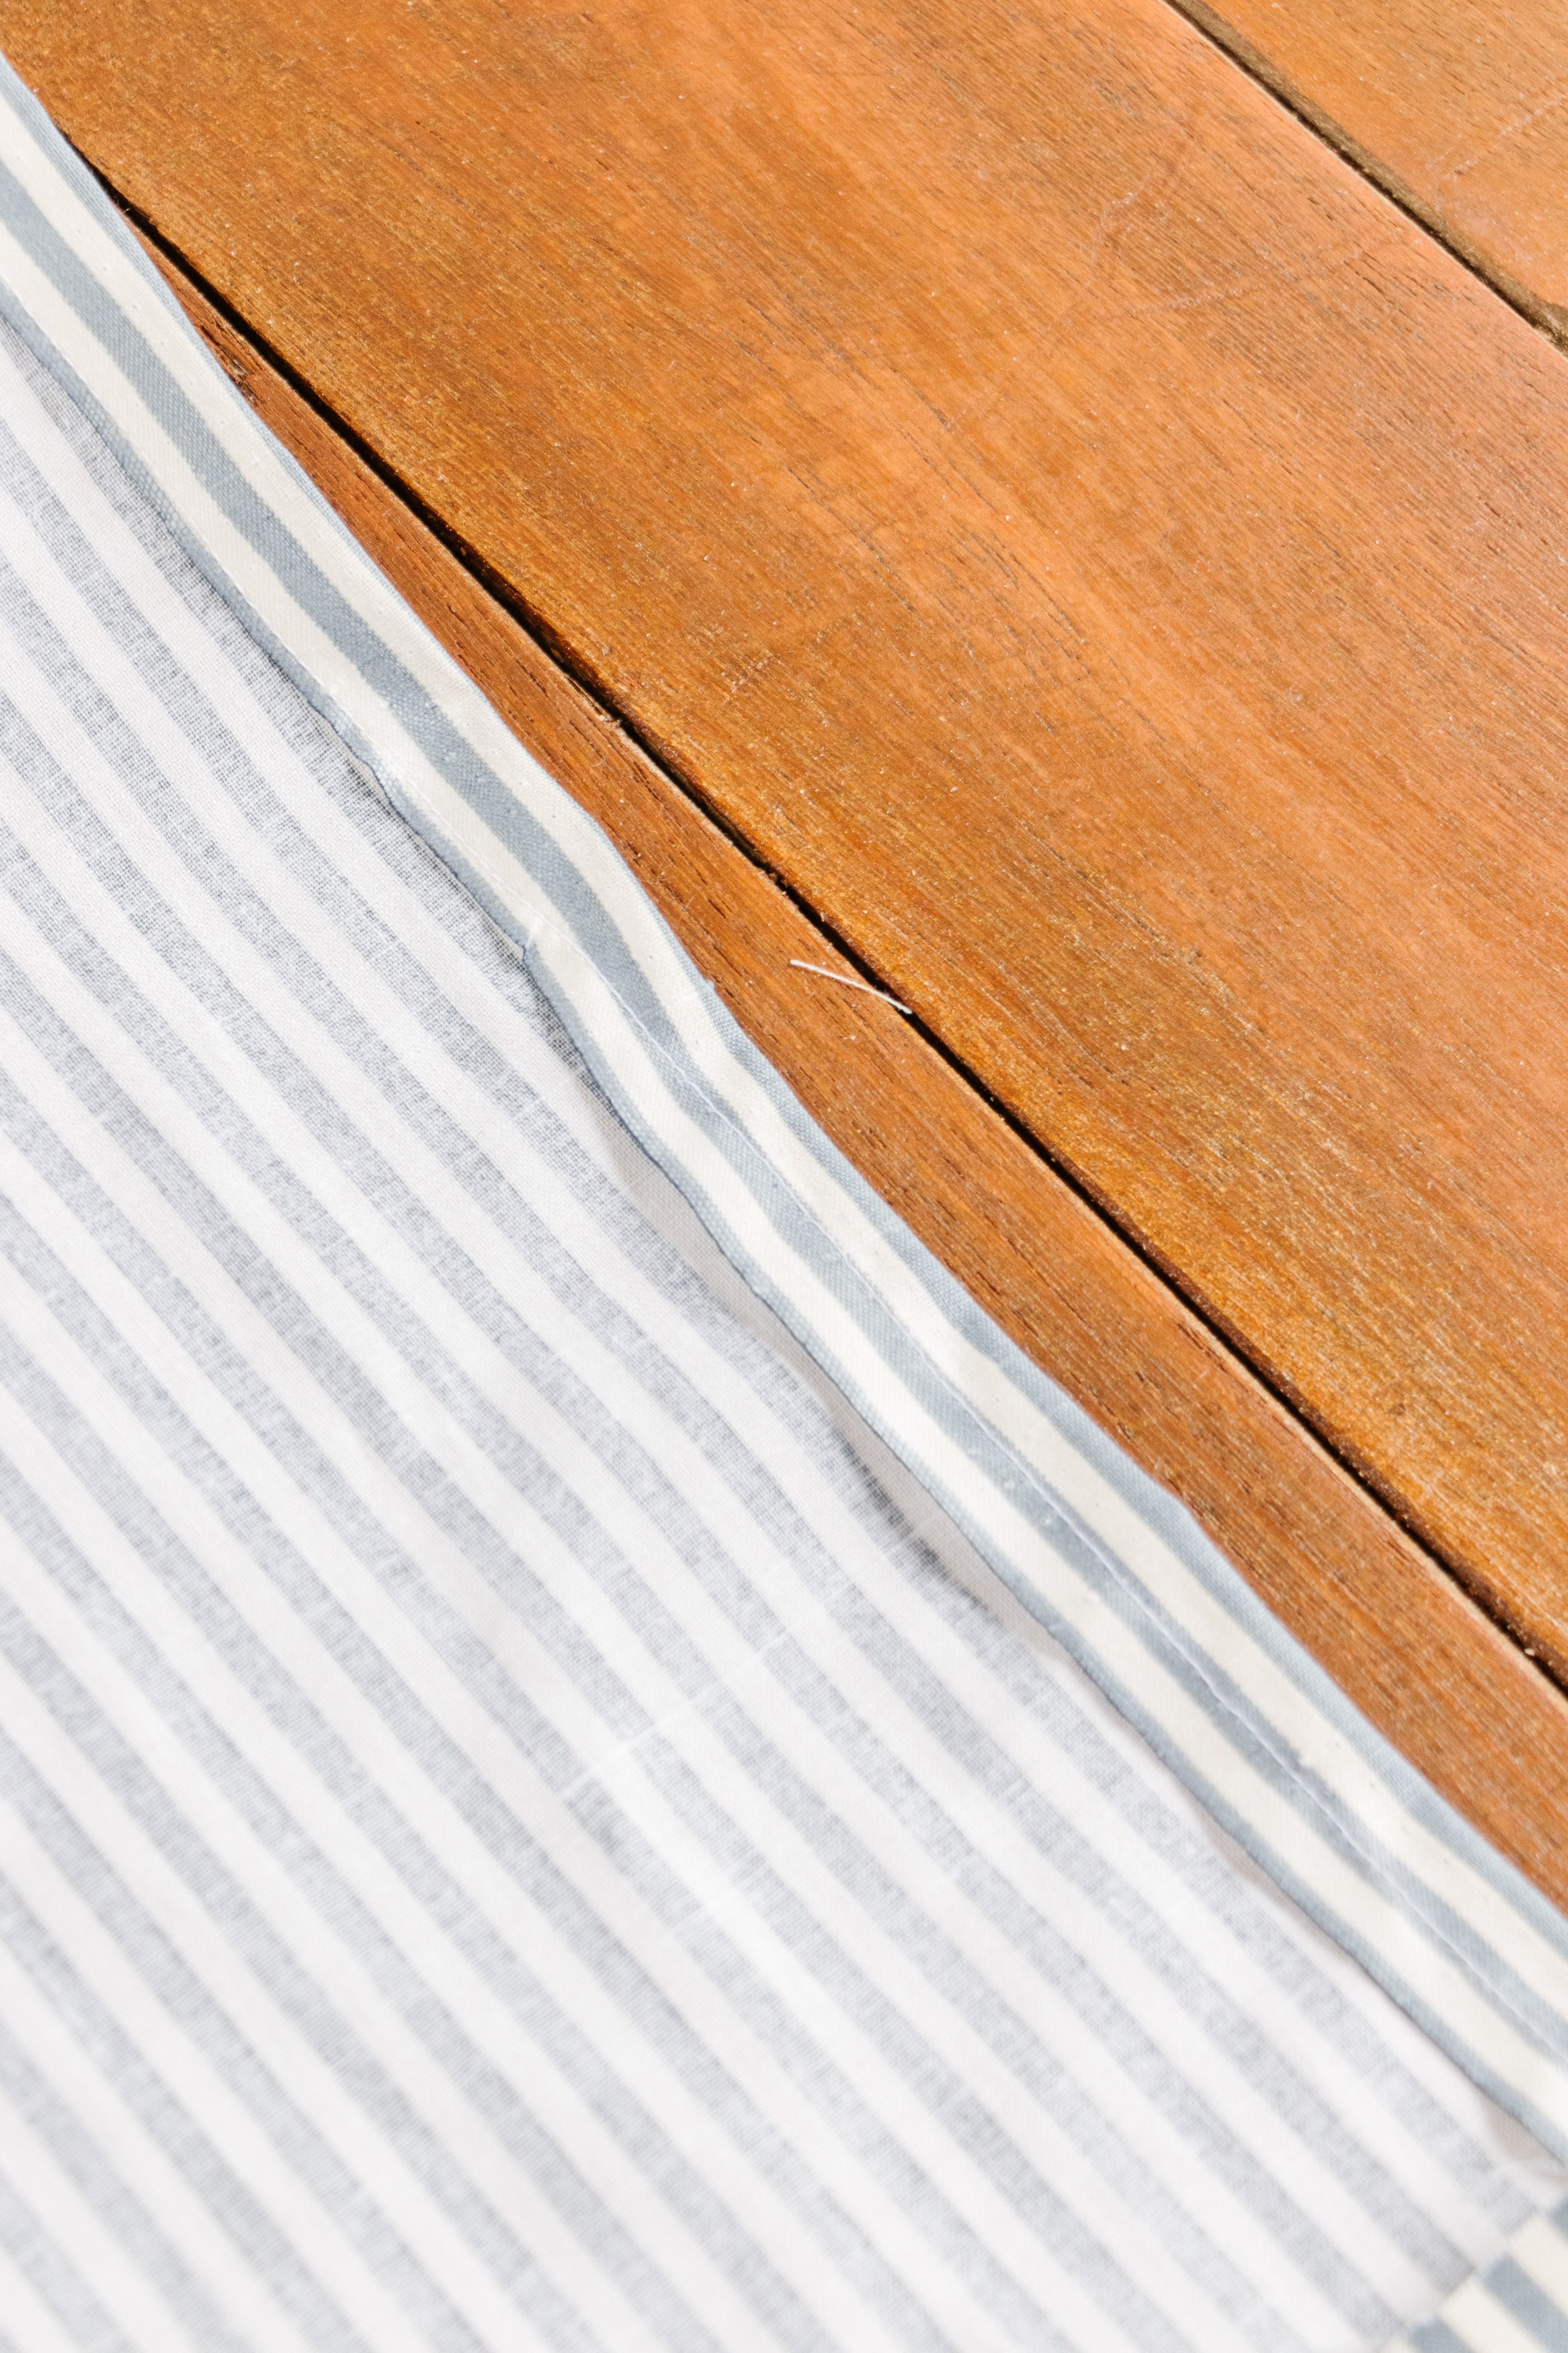
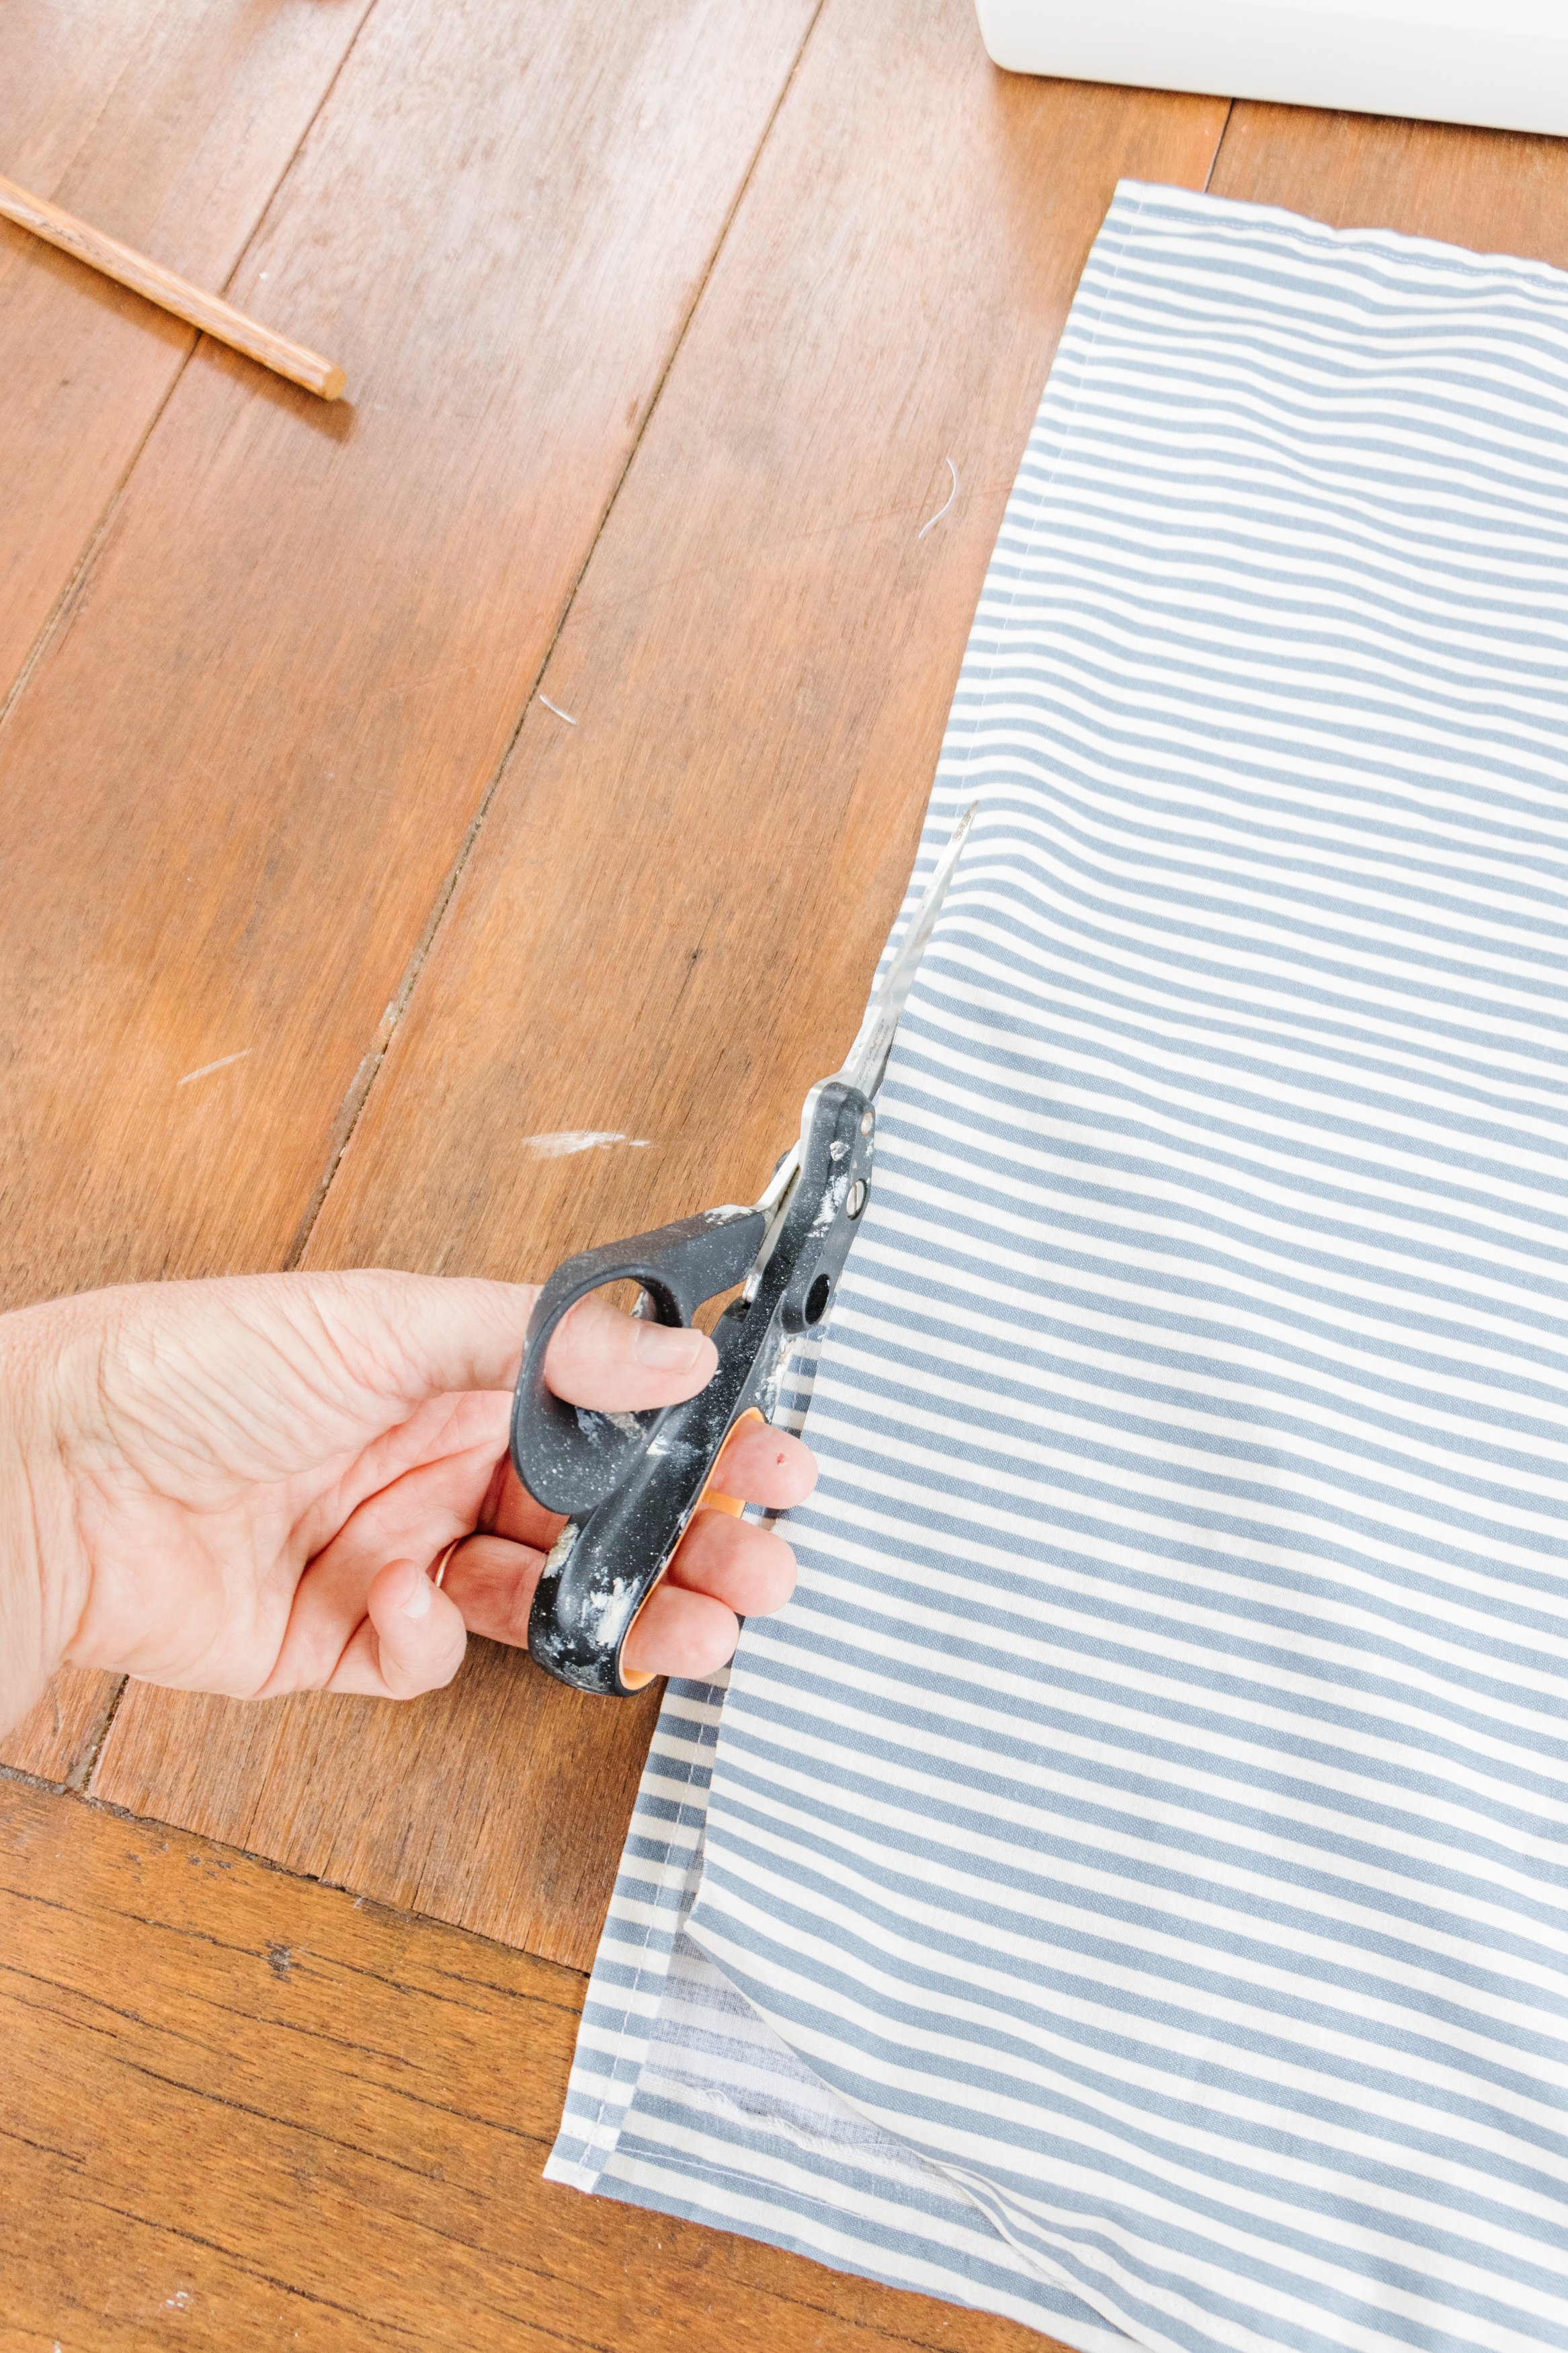
Step 6: To make the curtains, iron the fabric first. Cut the fabric directly down the middle using scissors to make two curtains.
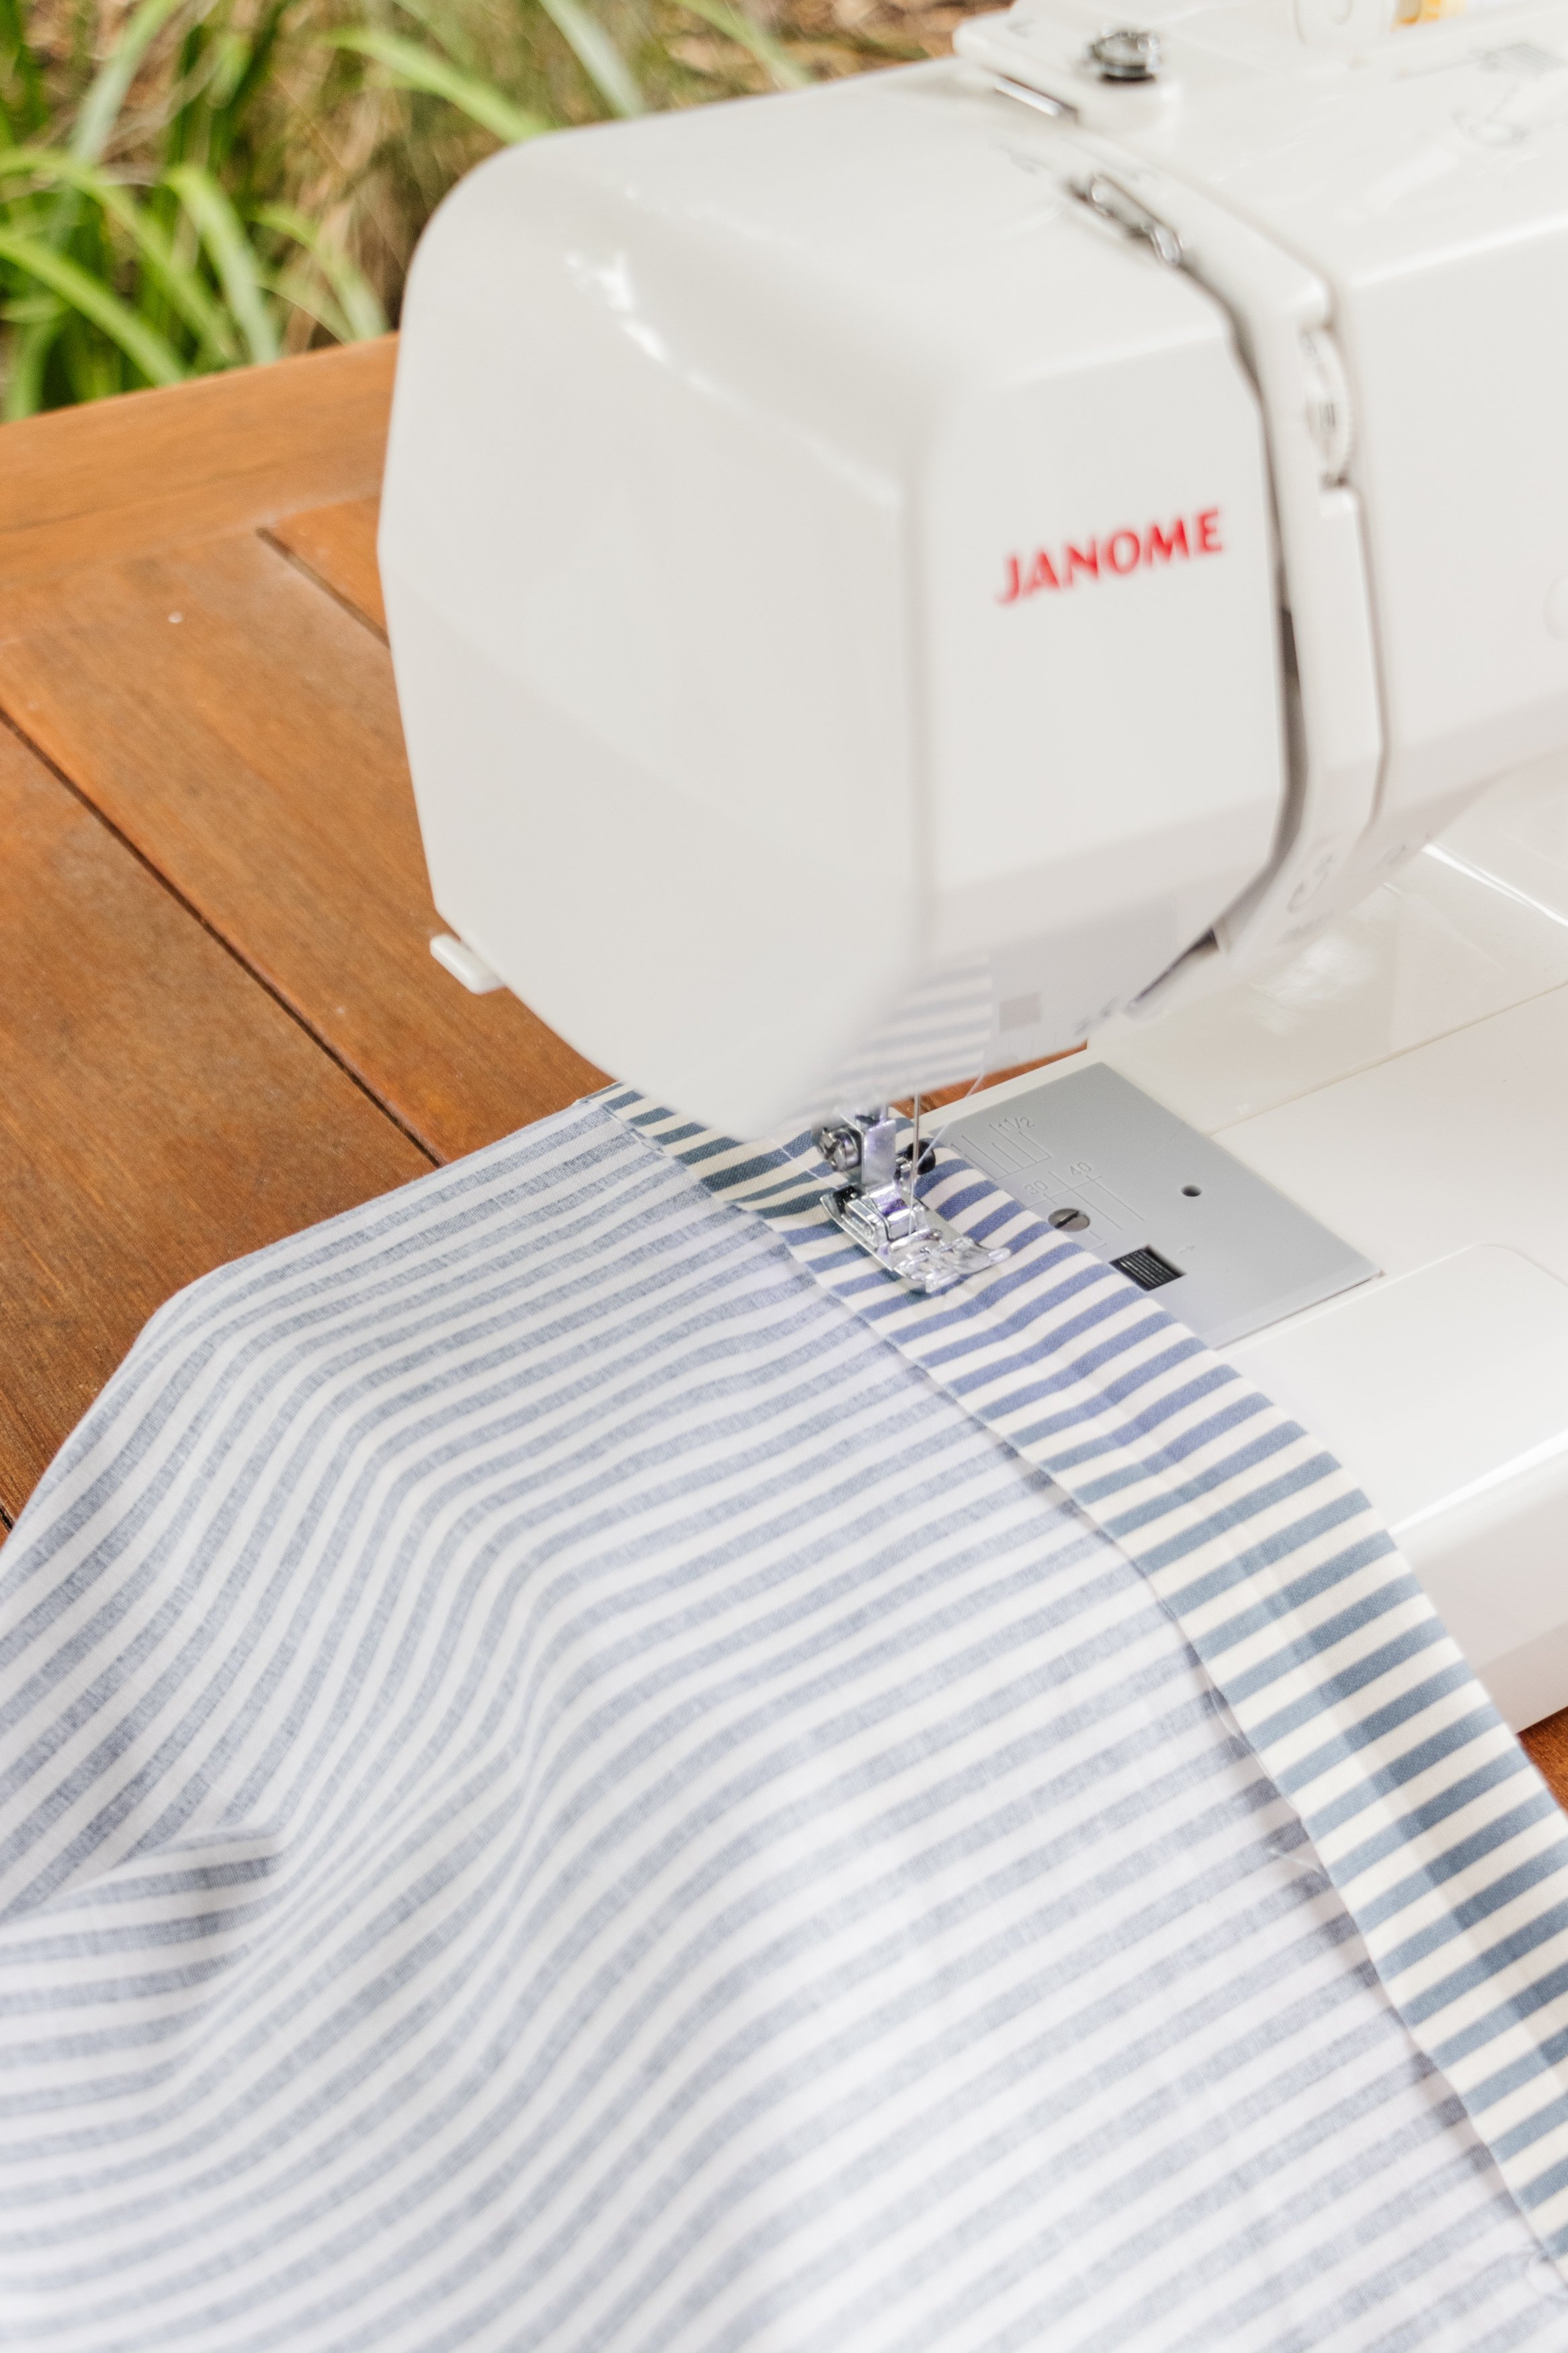
Step 7: For both pieces of fabric, place the fabric best side down with the back of the fabric facing up. Fold the side seams over (length) in by 3cm, iron flat and sew the hems down using a straight stitch with either a sewing machine or by hand.
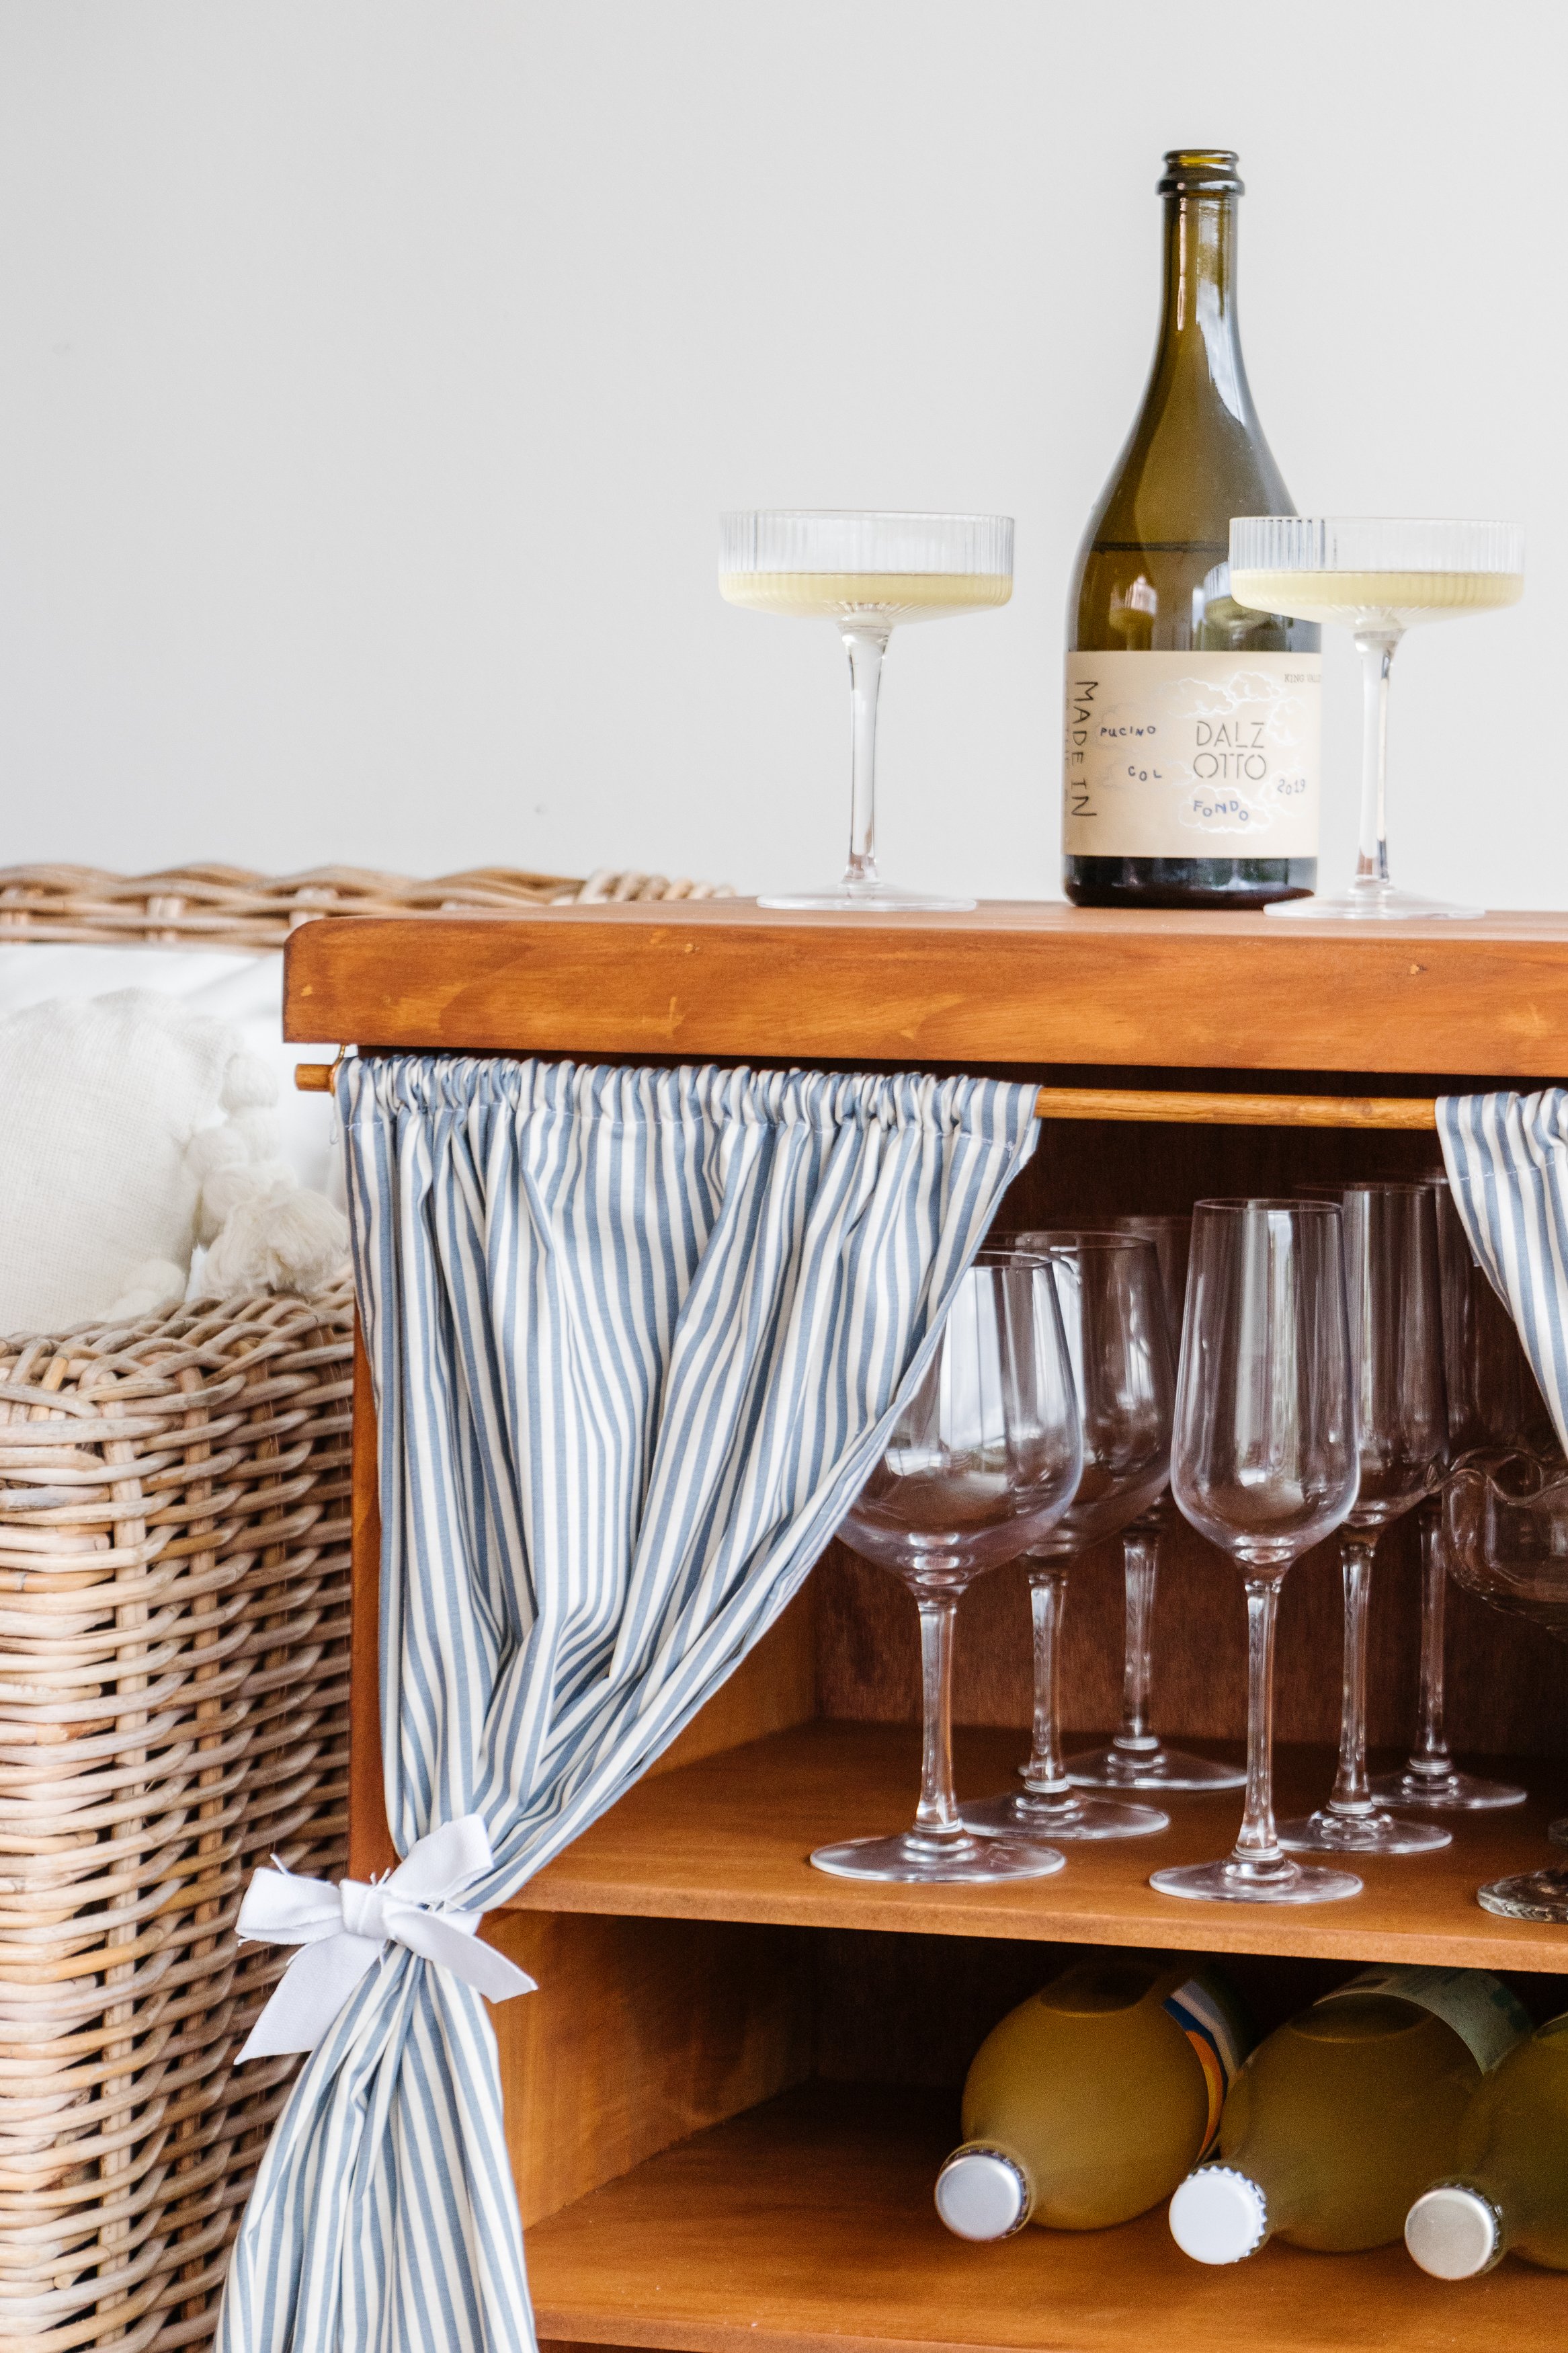
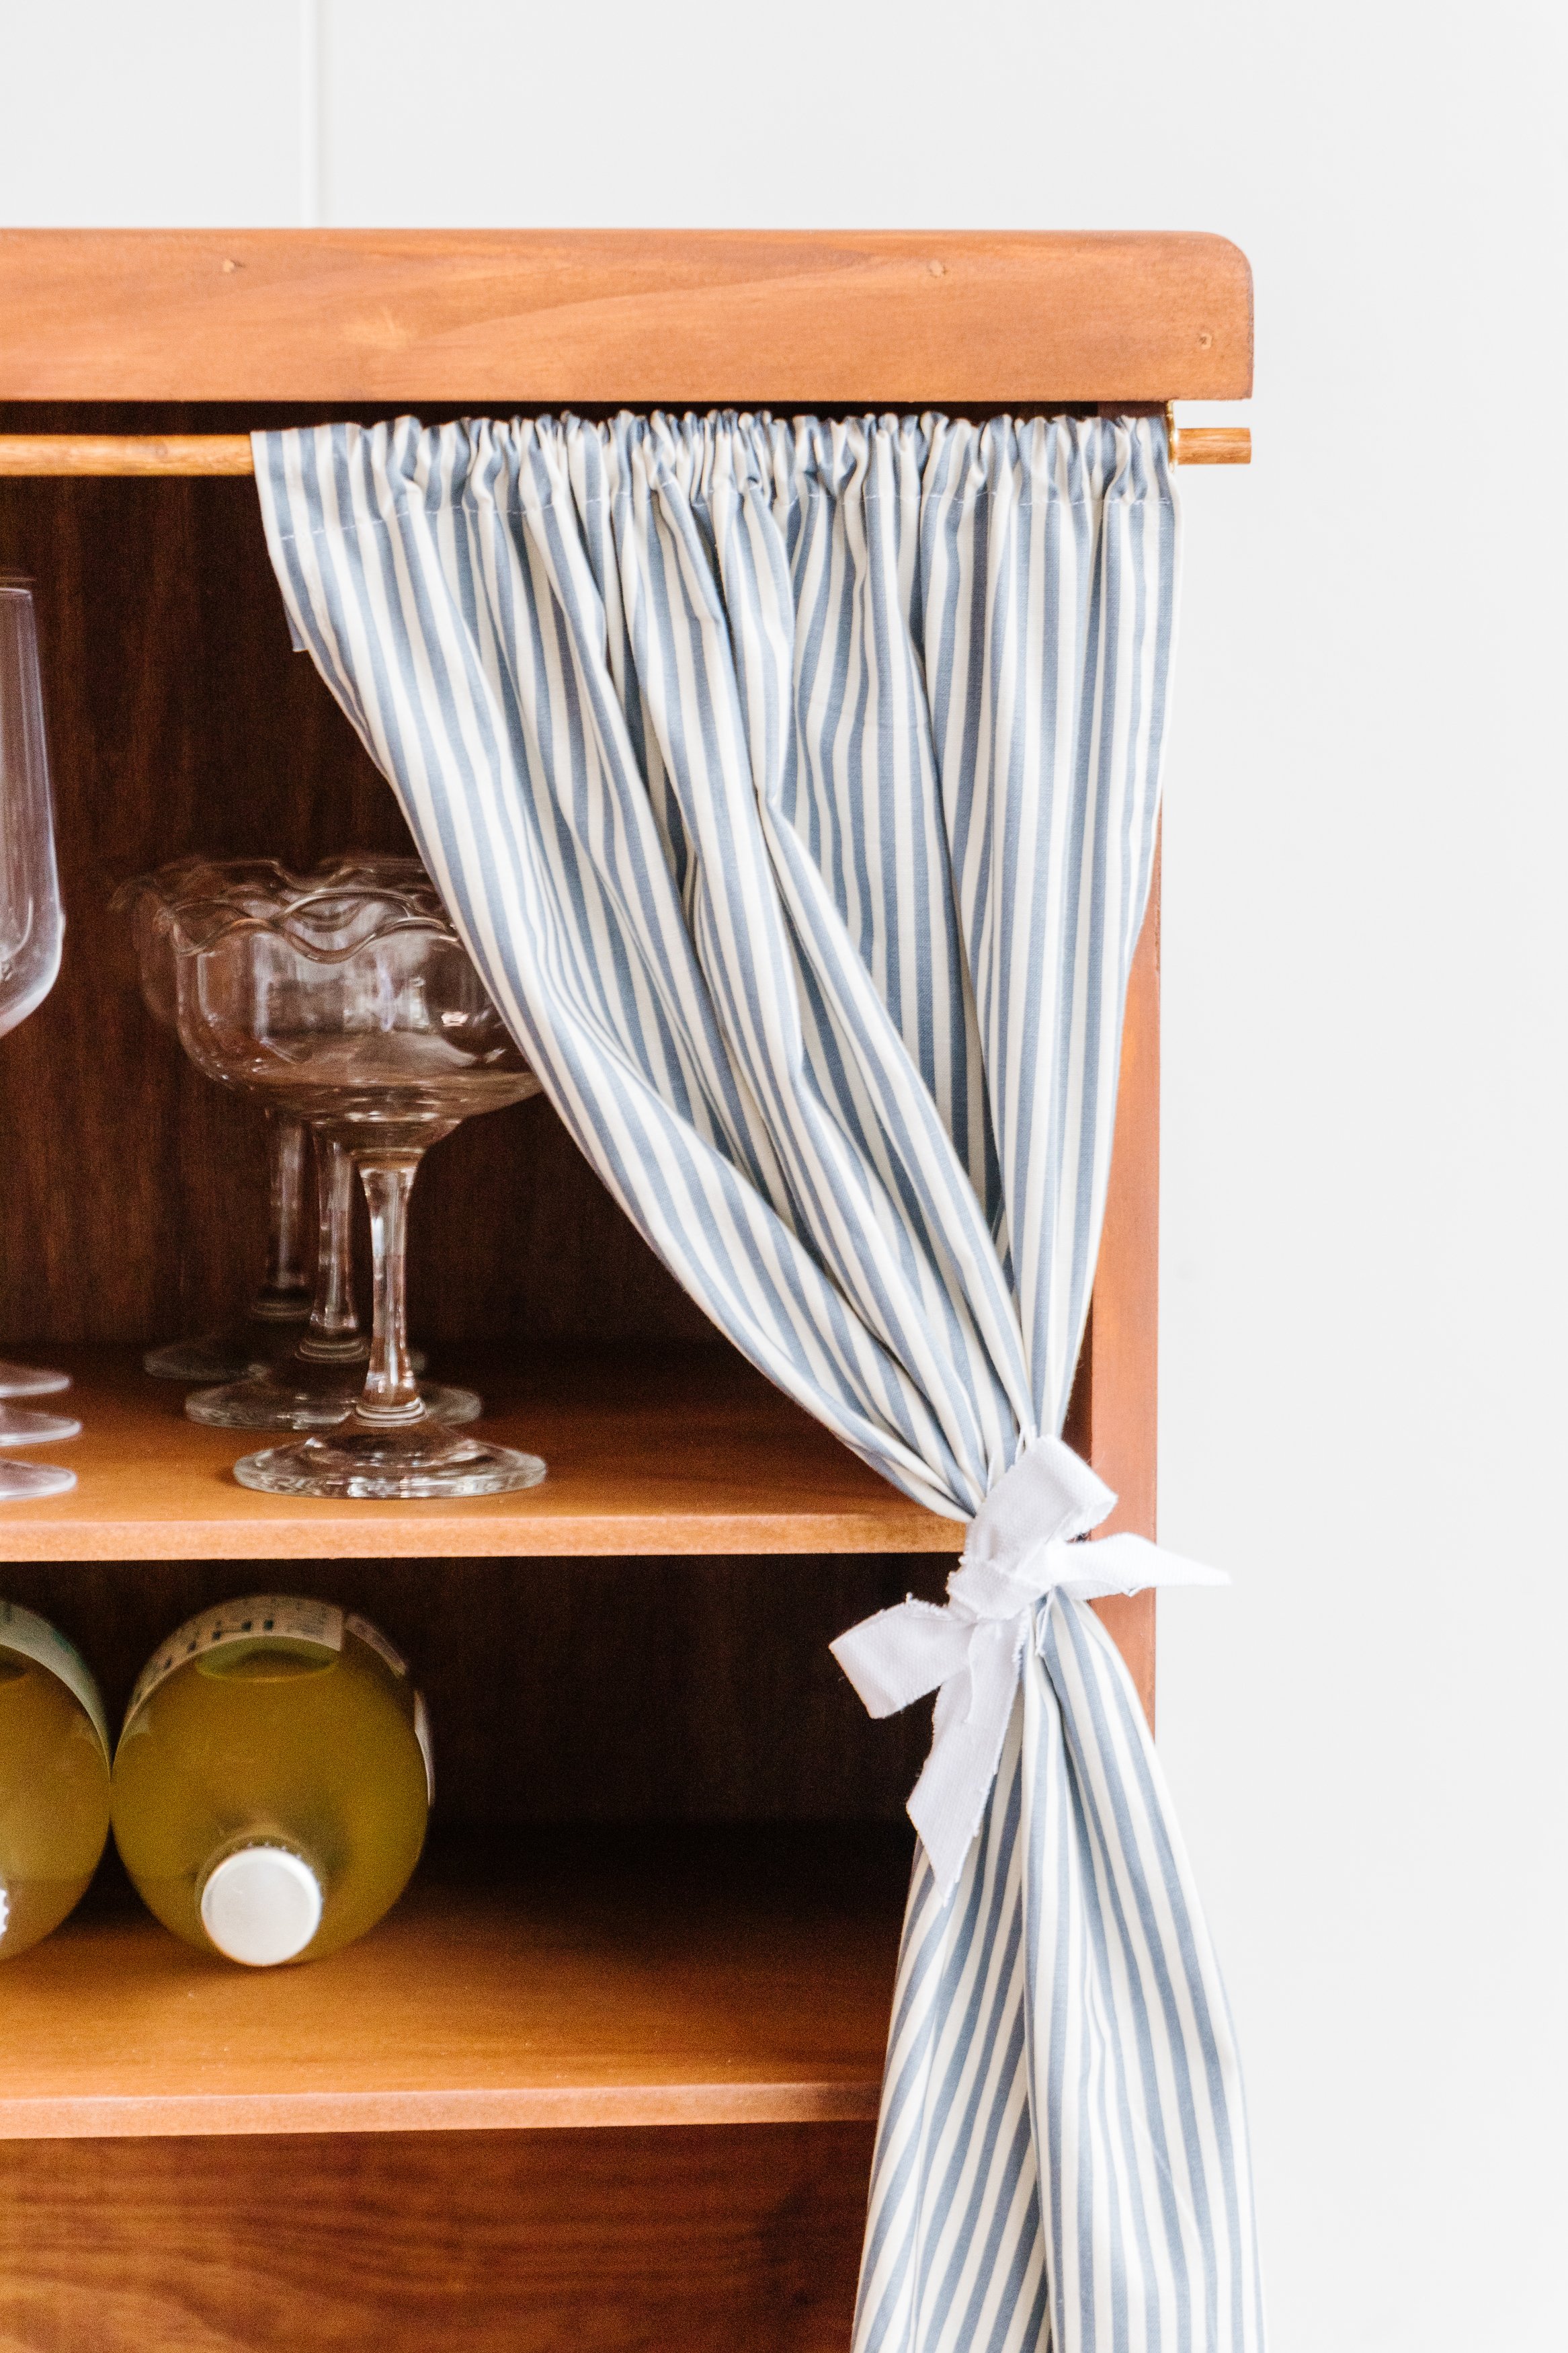
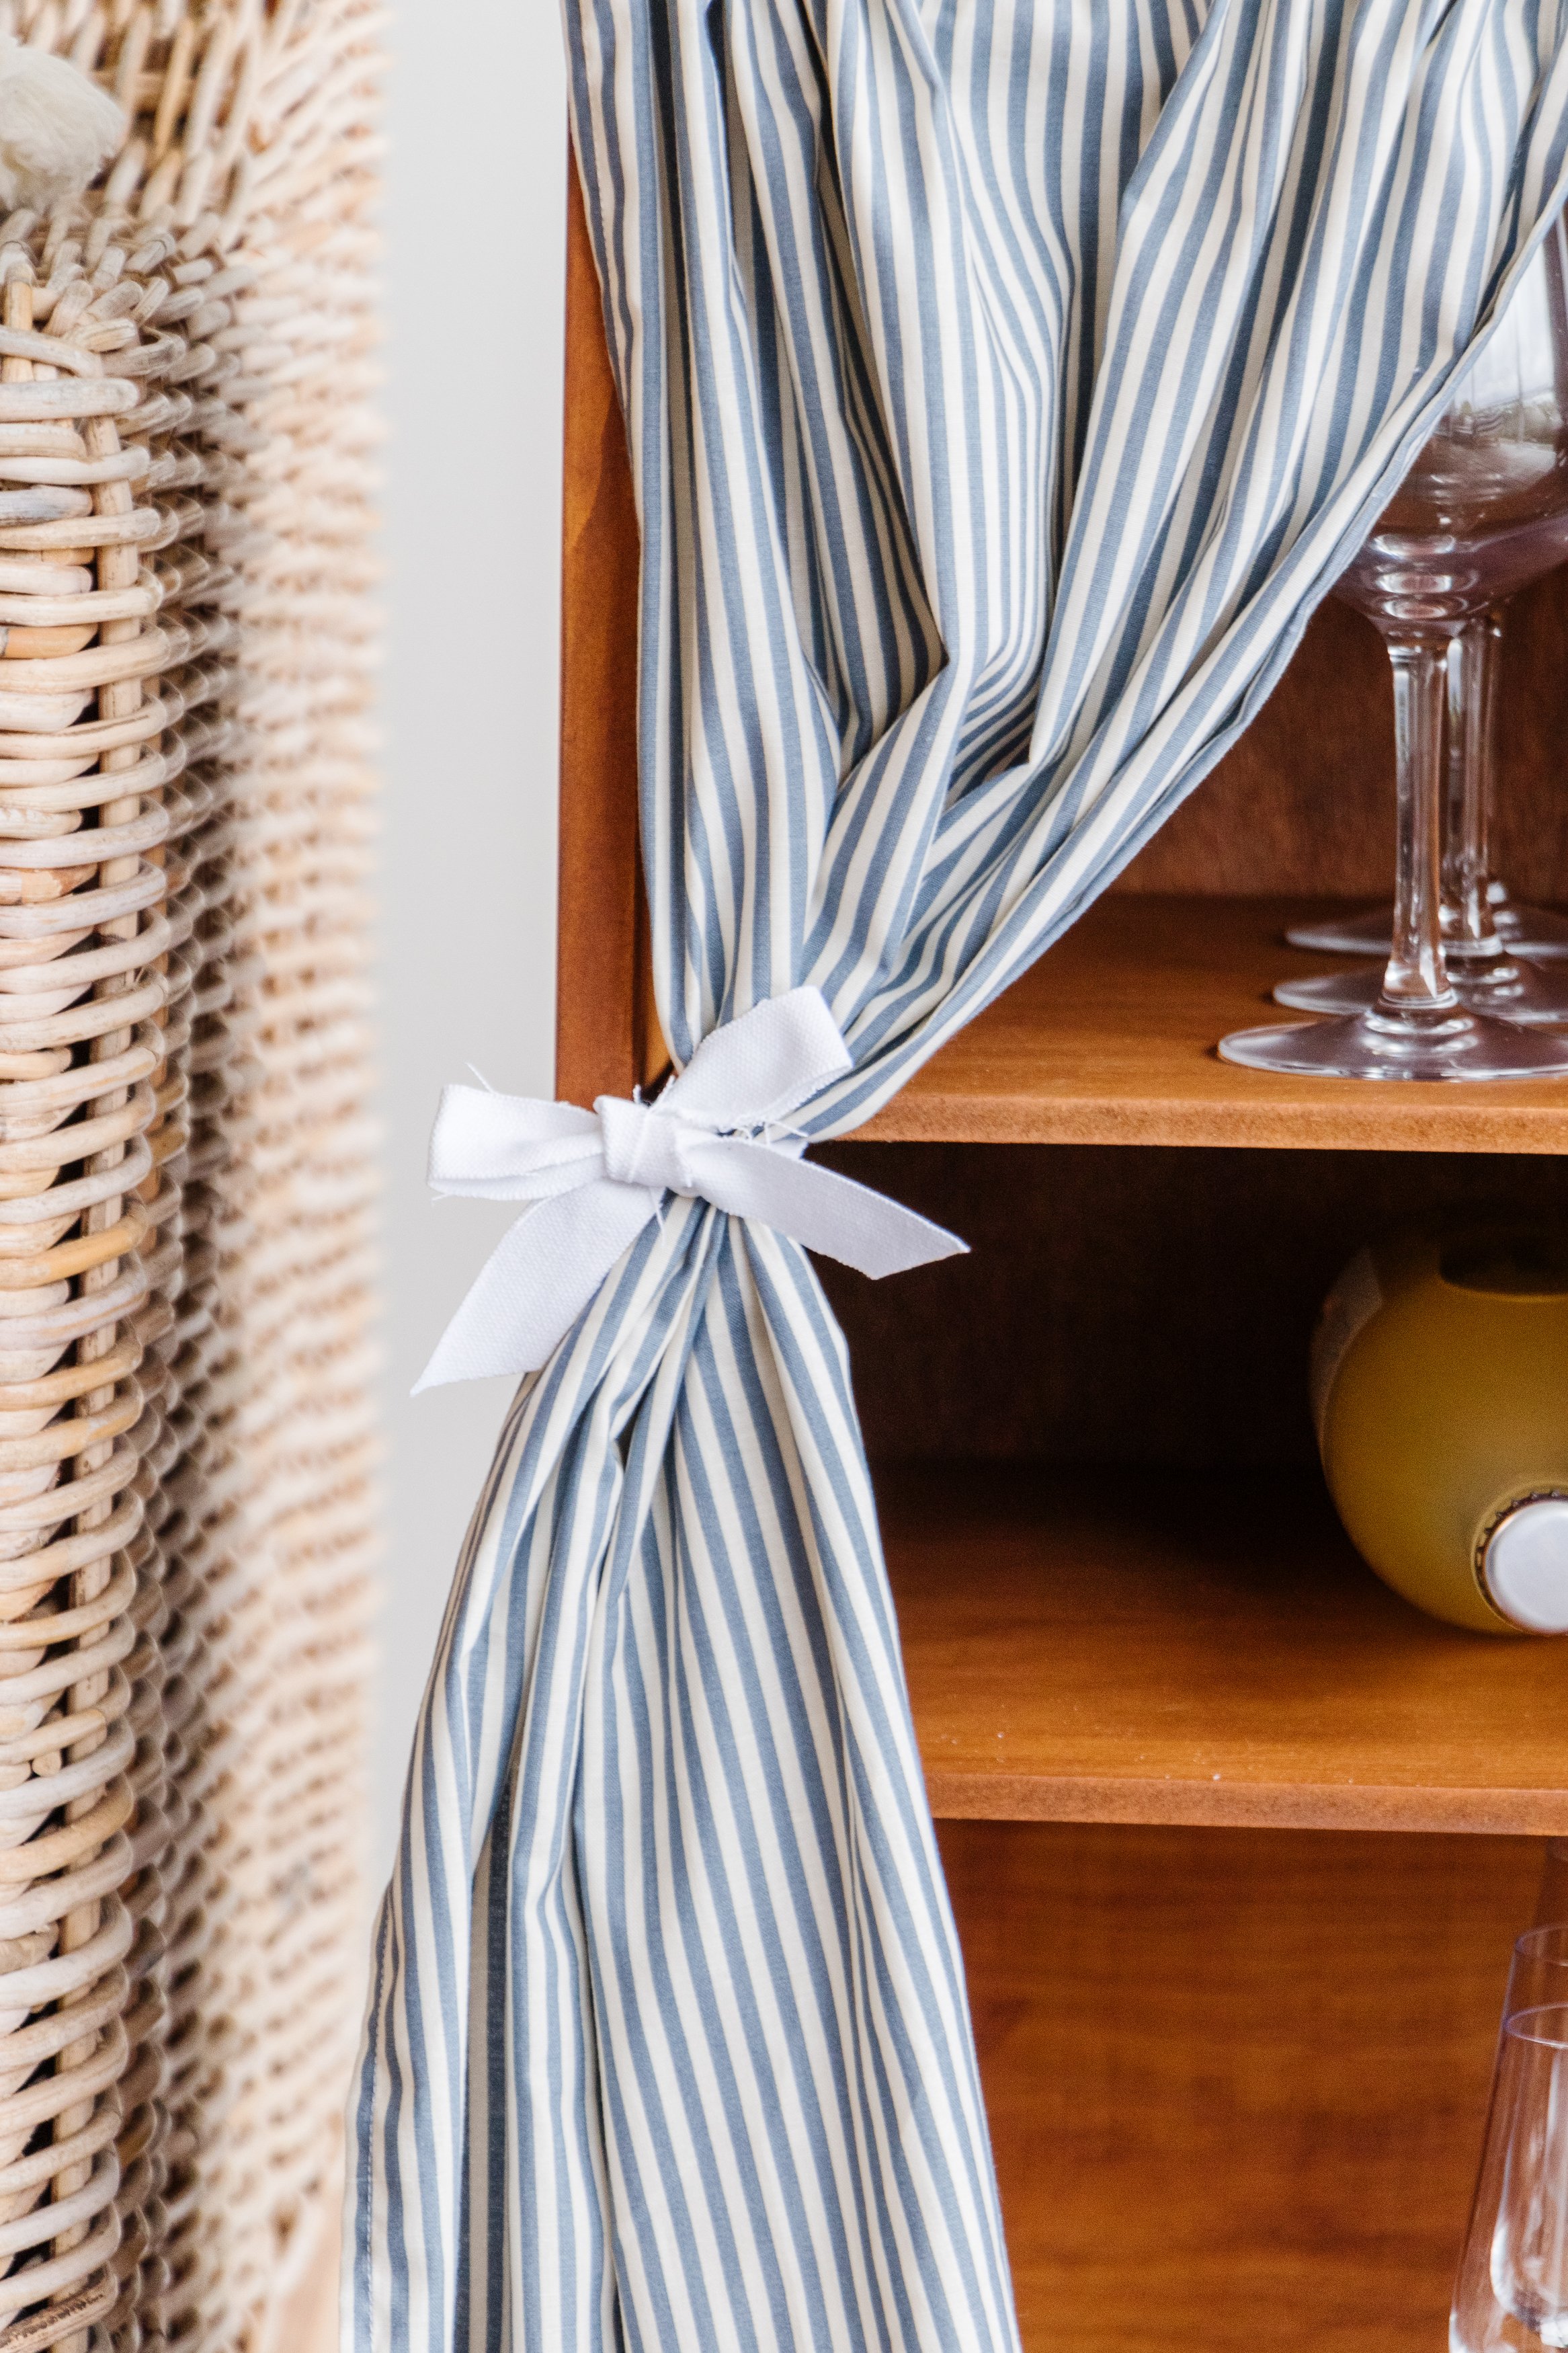
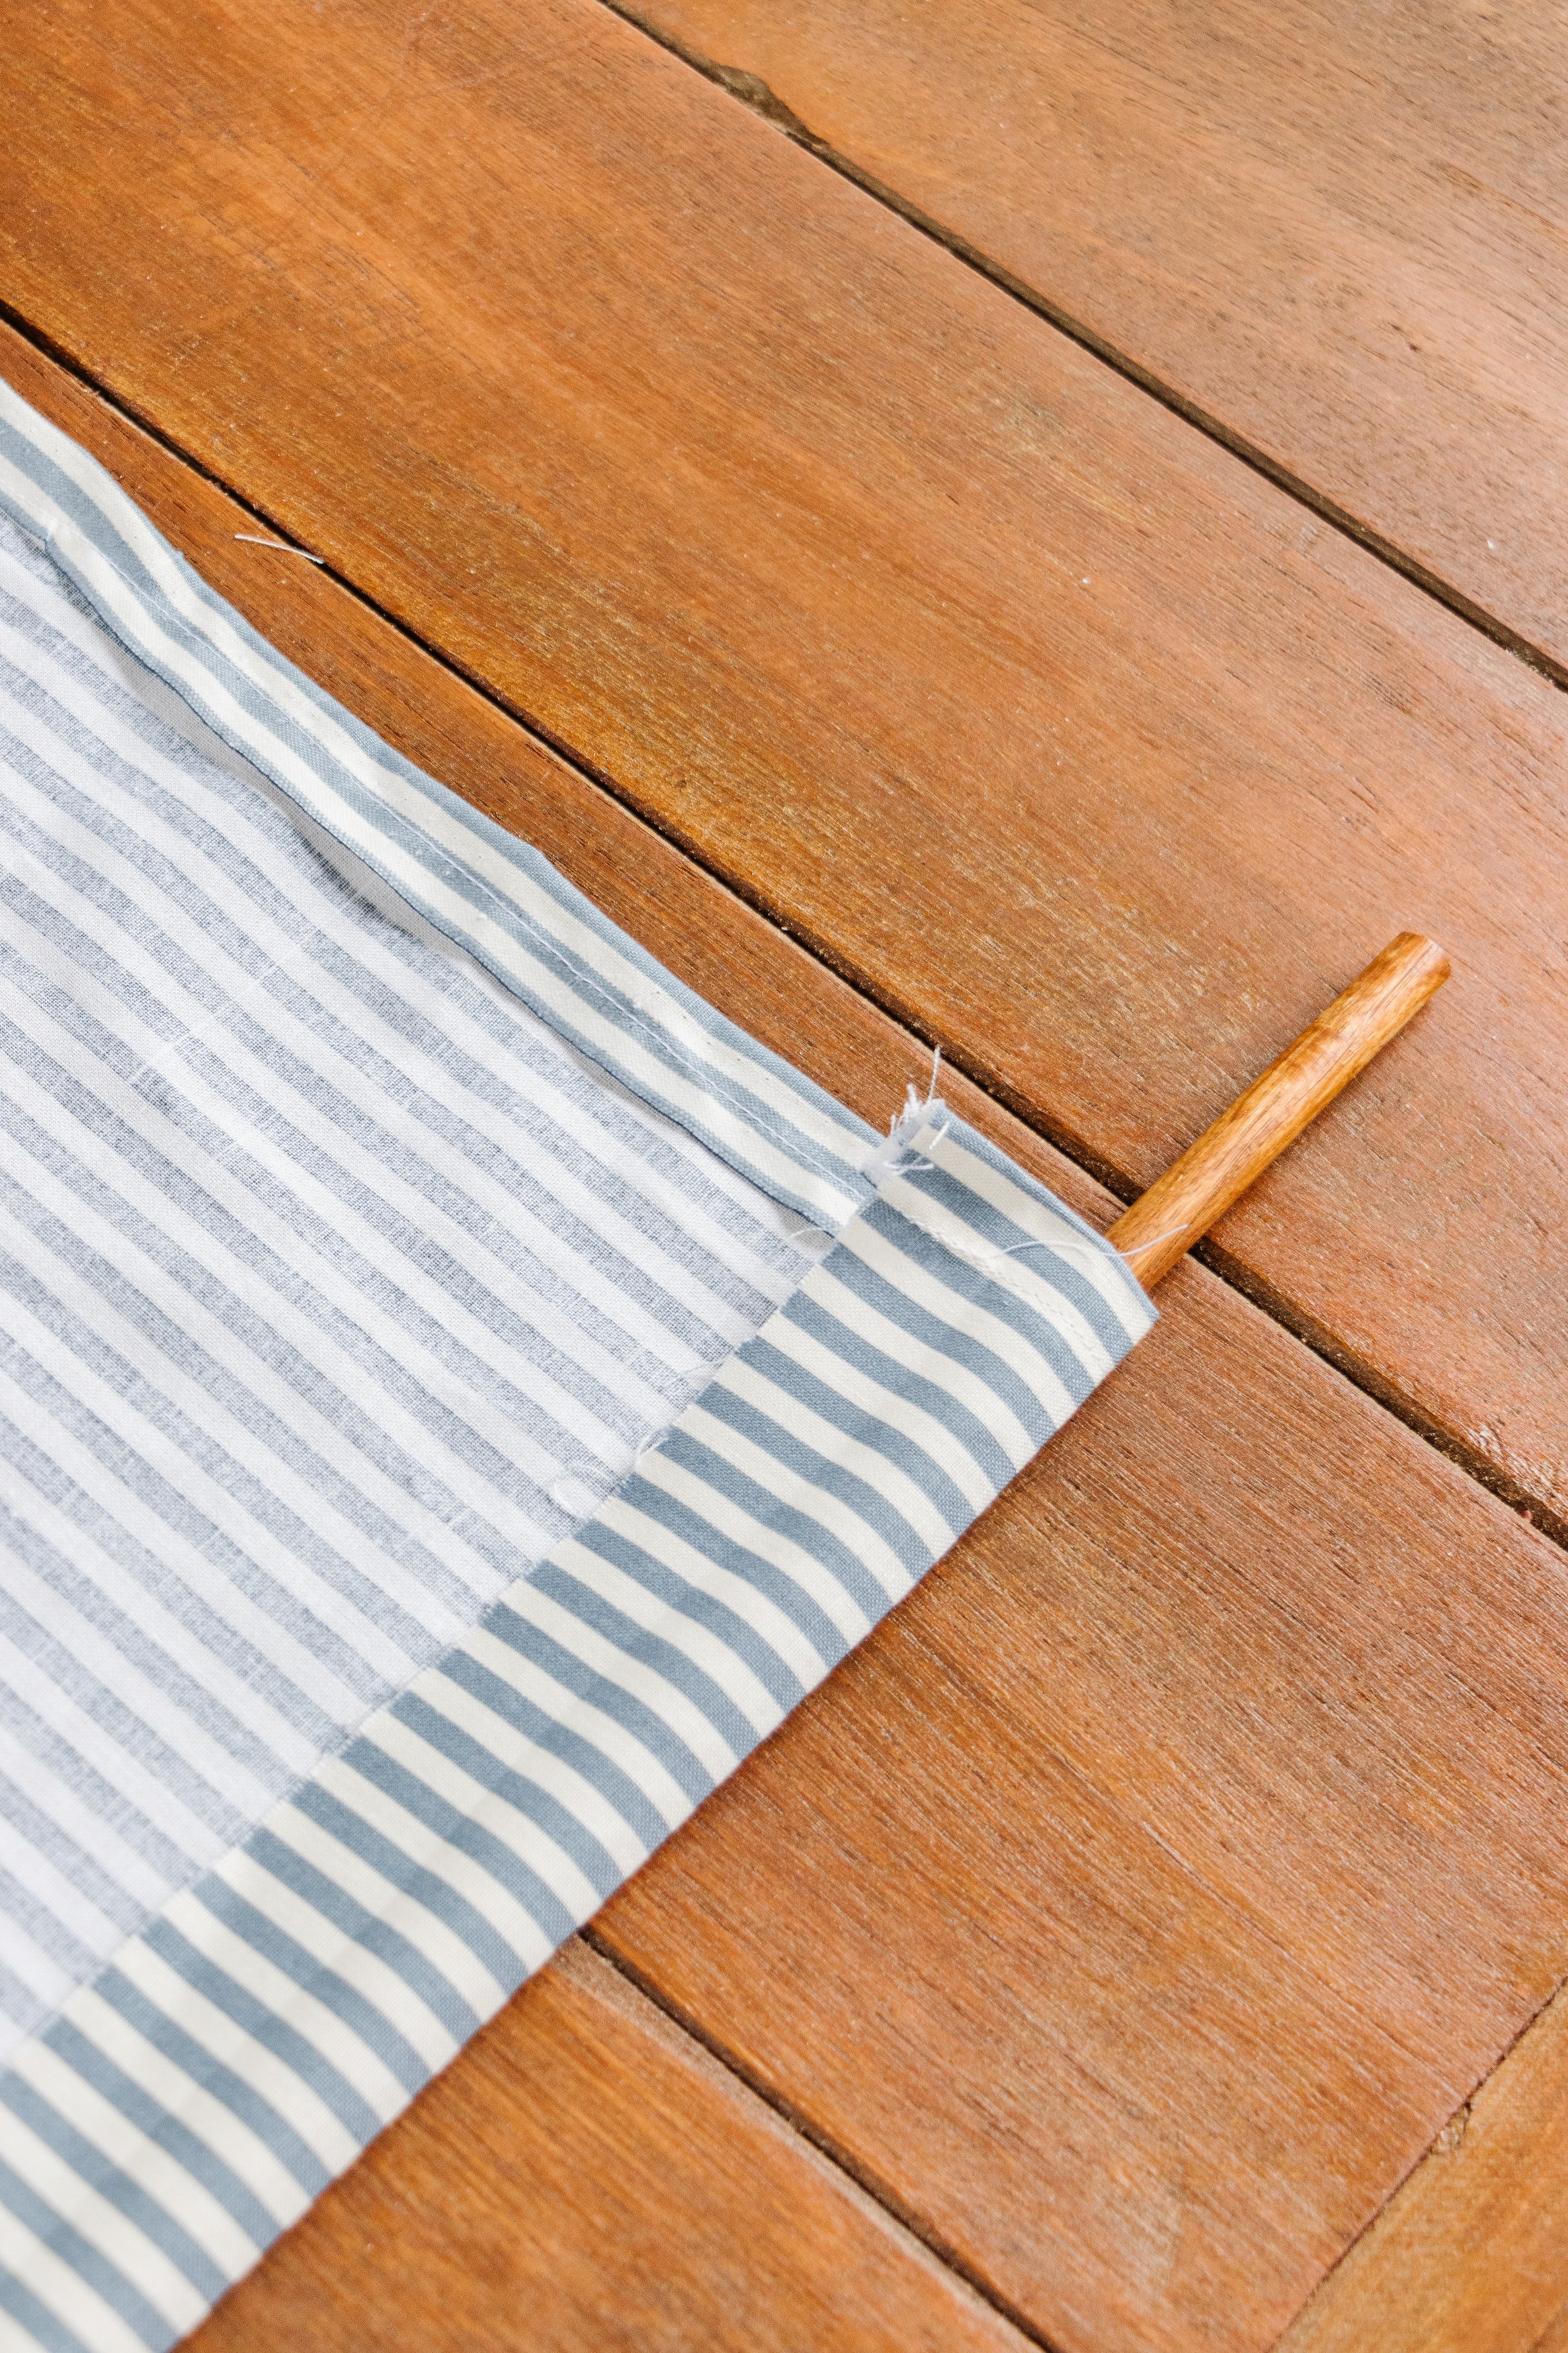
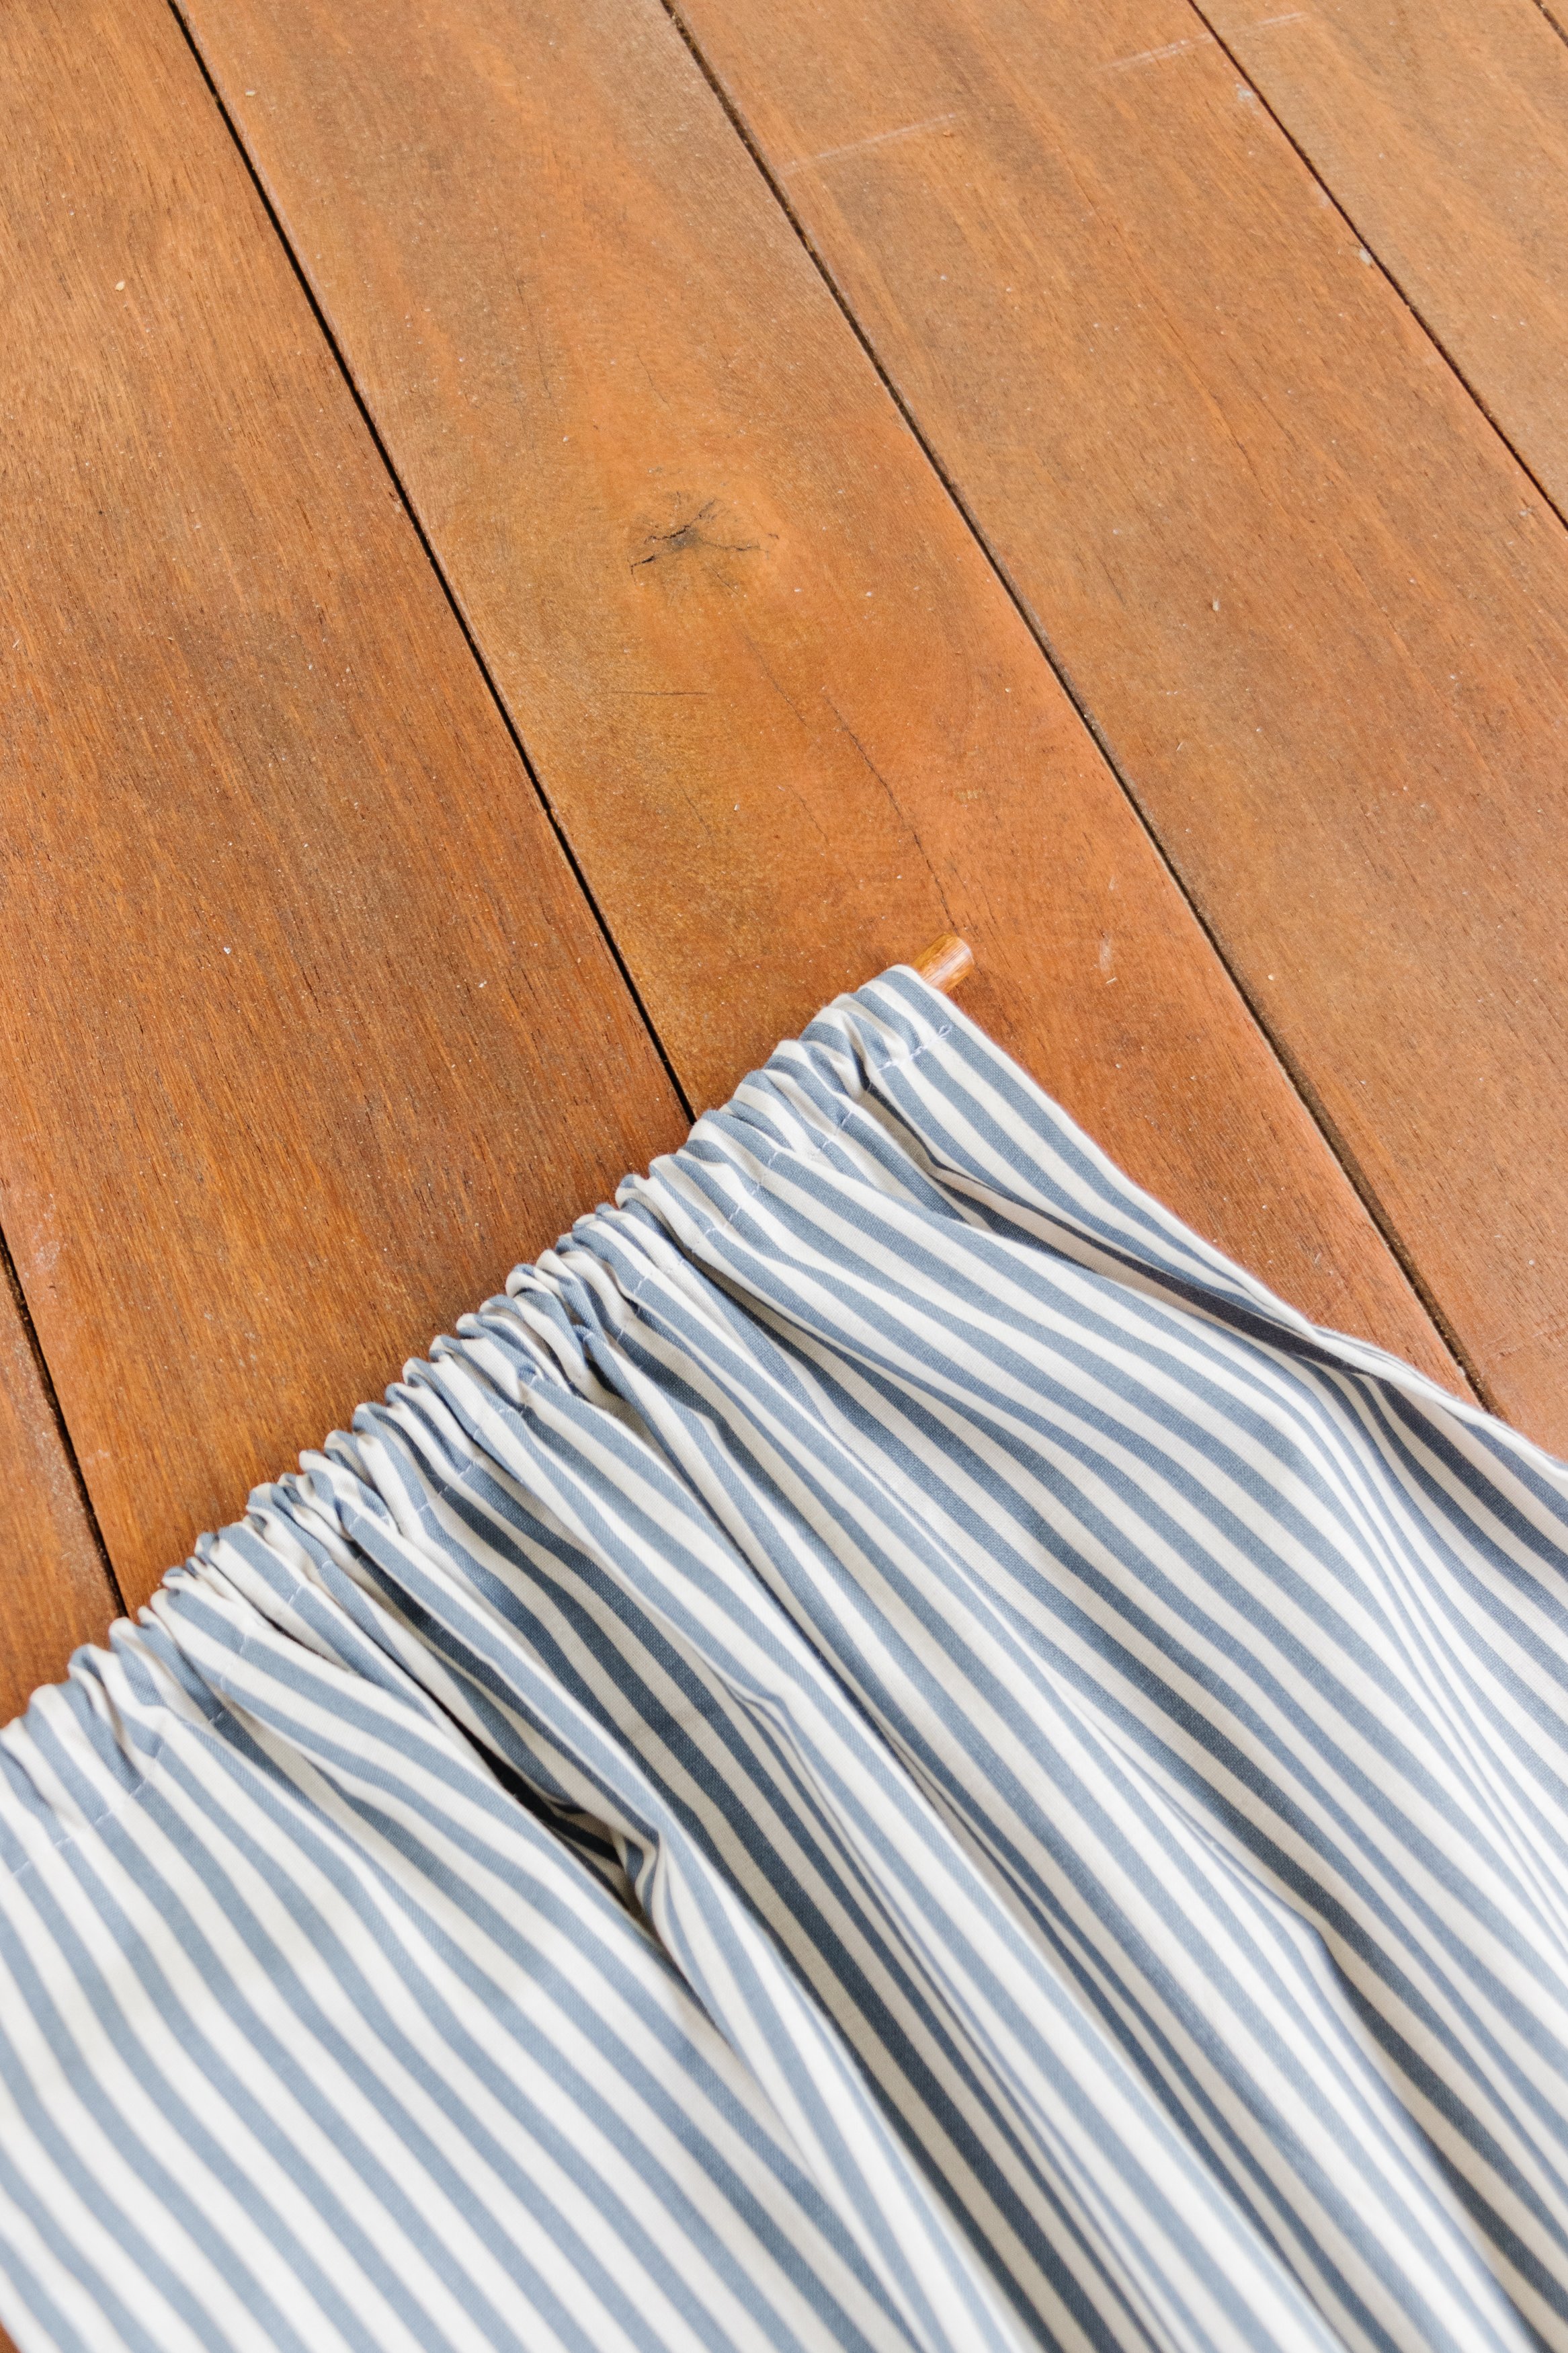
Step 8: Sew a wide sleeve at the top of each piece of fabric (width) so the dowel (curtain rod) can be easily inserted into the sleeve. Insert the dowel into the sleeve and bunch the fabric to achieve a lovely pleated look (which you will finesse once you hang the curtain).
Tip: Avoid sewing the sleeve to small otherwise the dowel won’t fit, or too wide otherwise the dowel will sink down to the bottom of the sleeve and the pleats won’t look as nice.
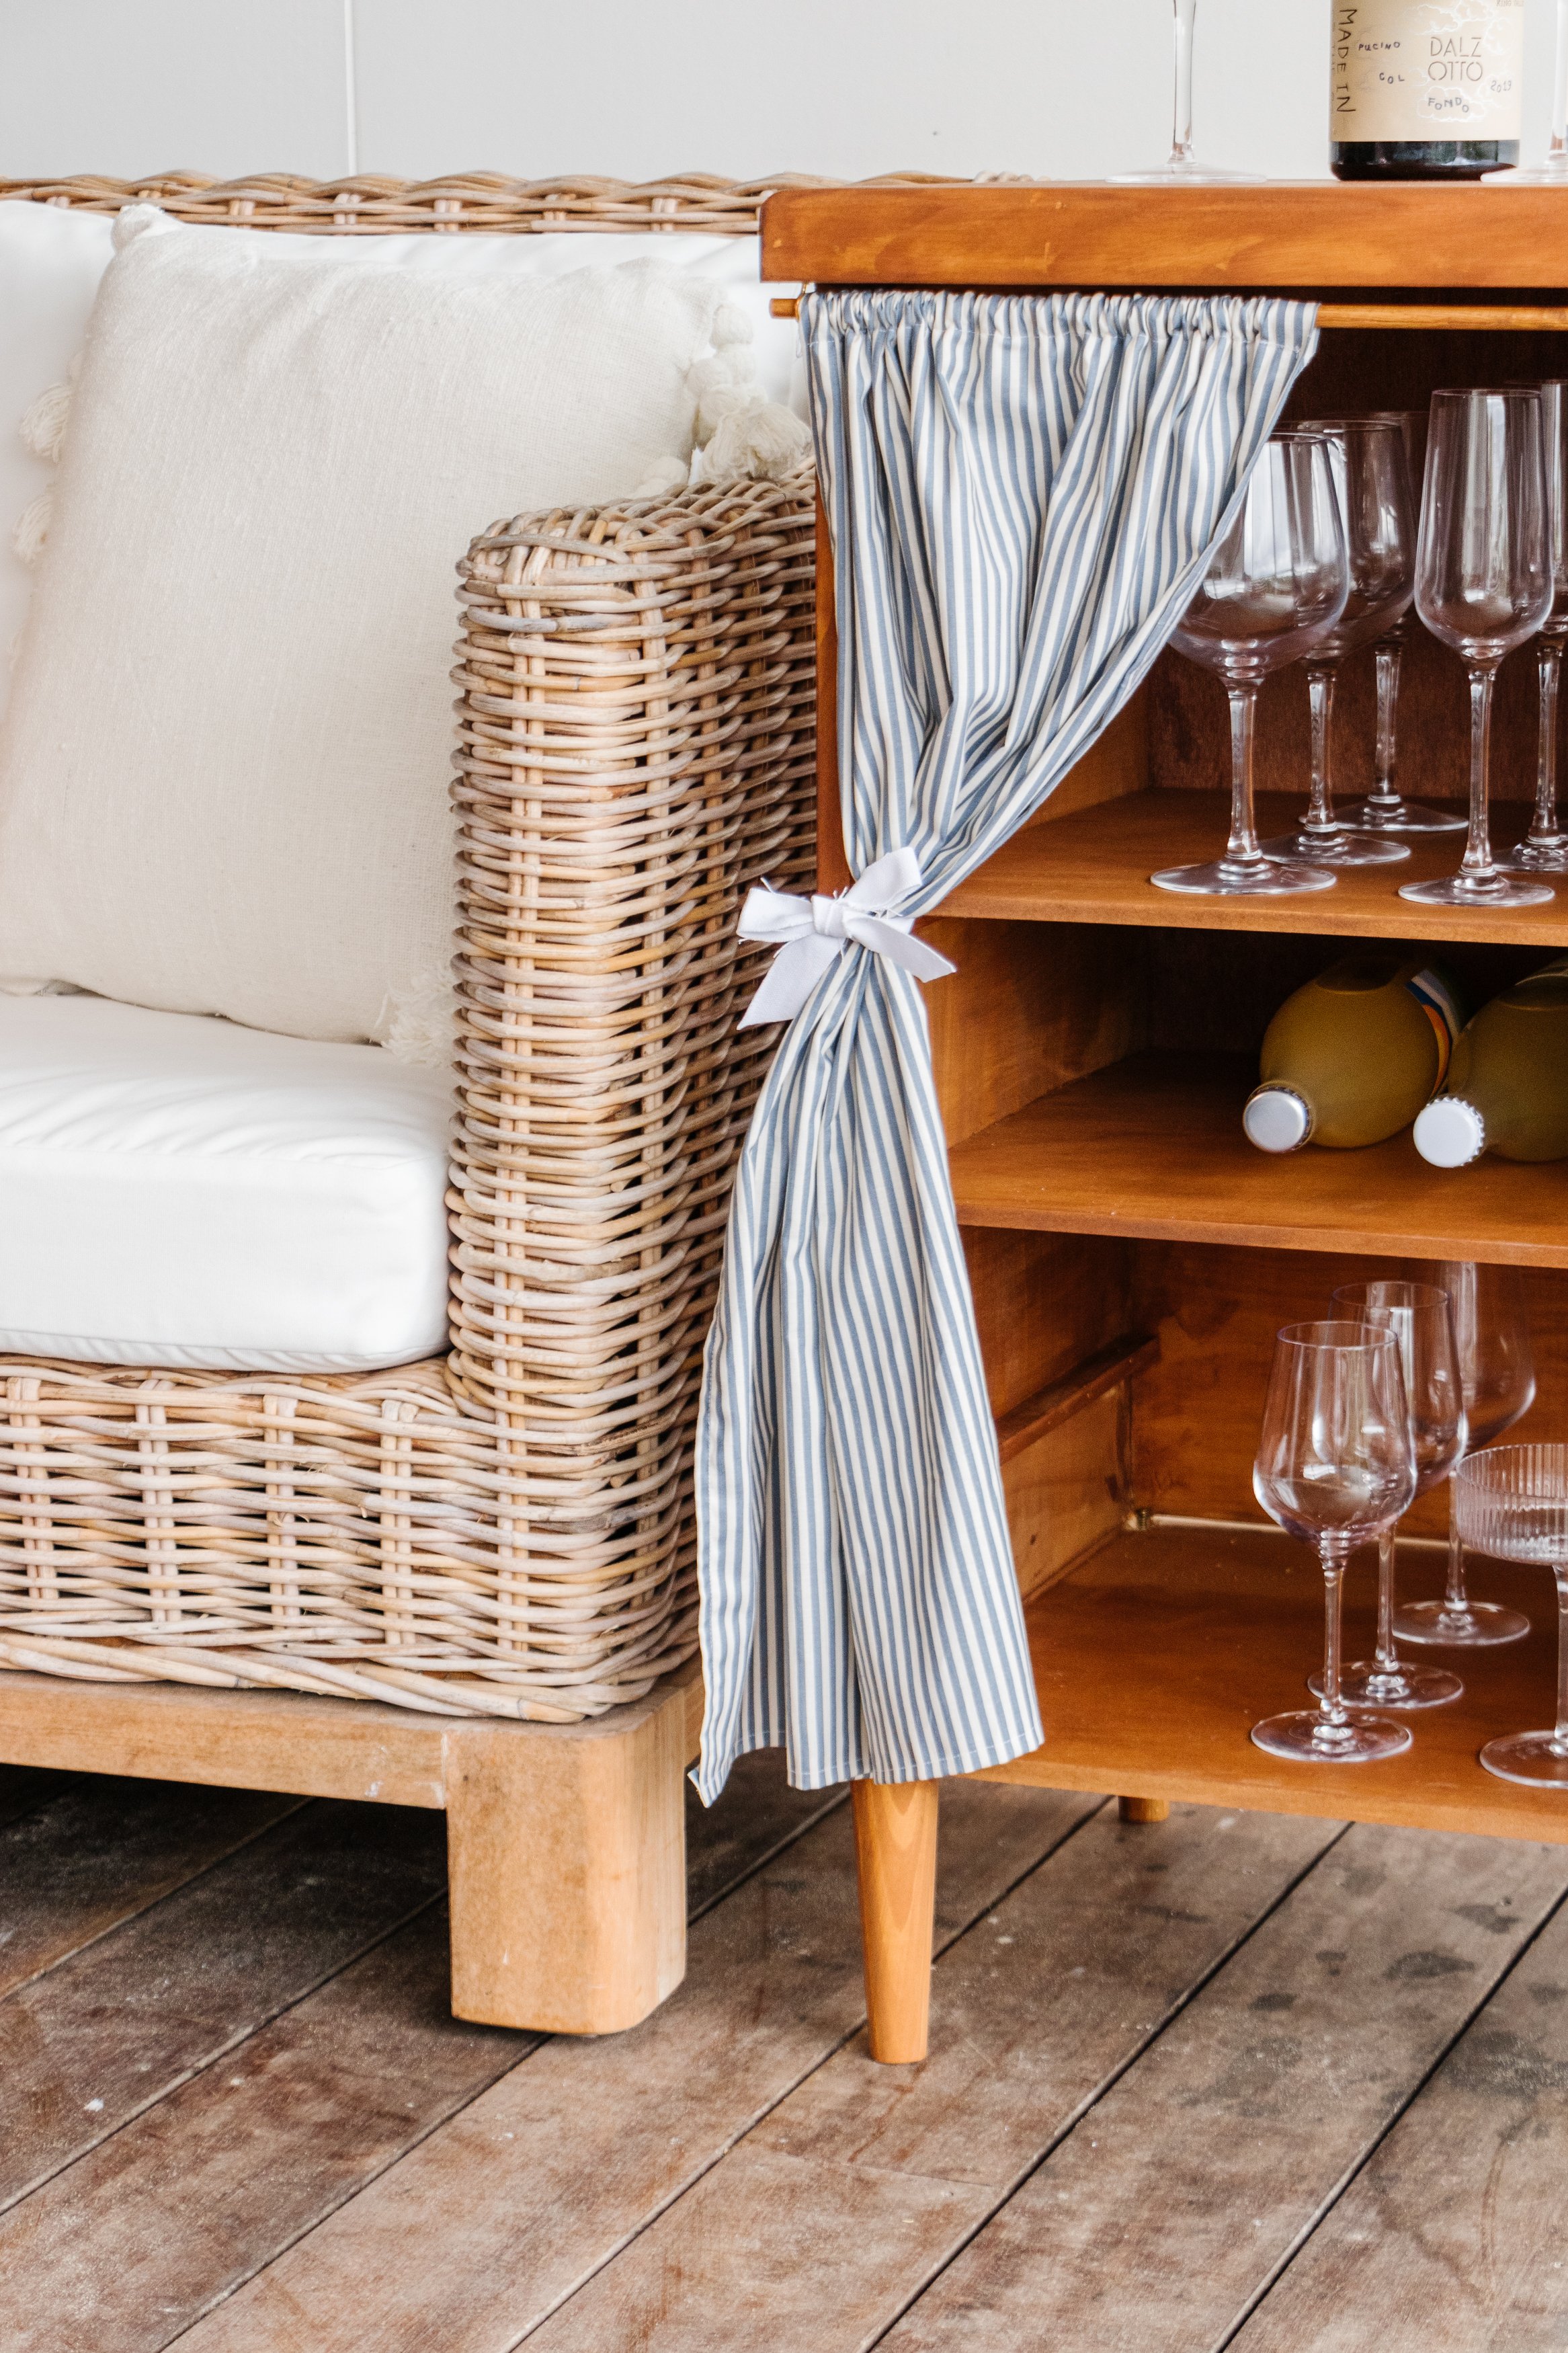
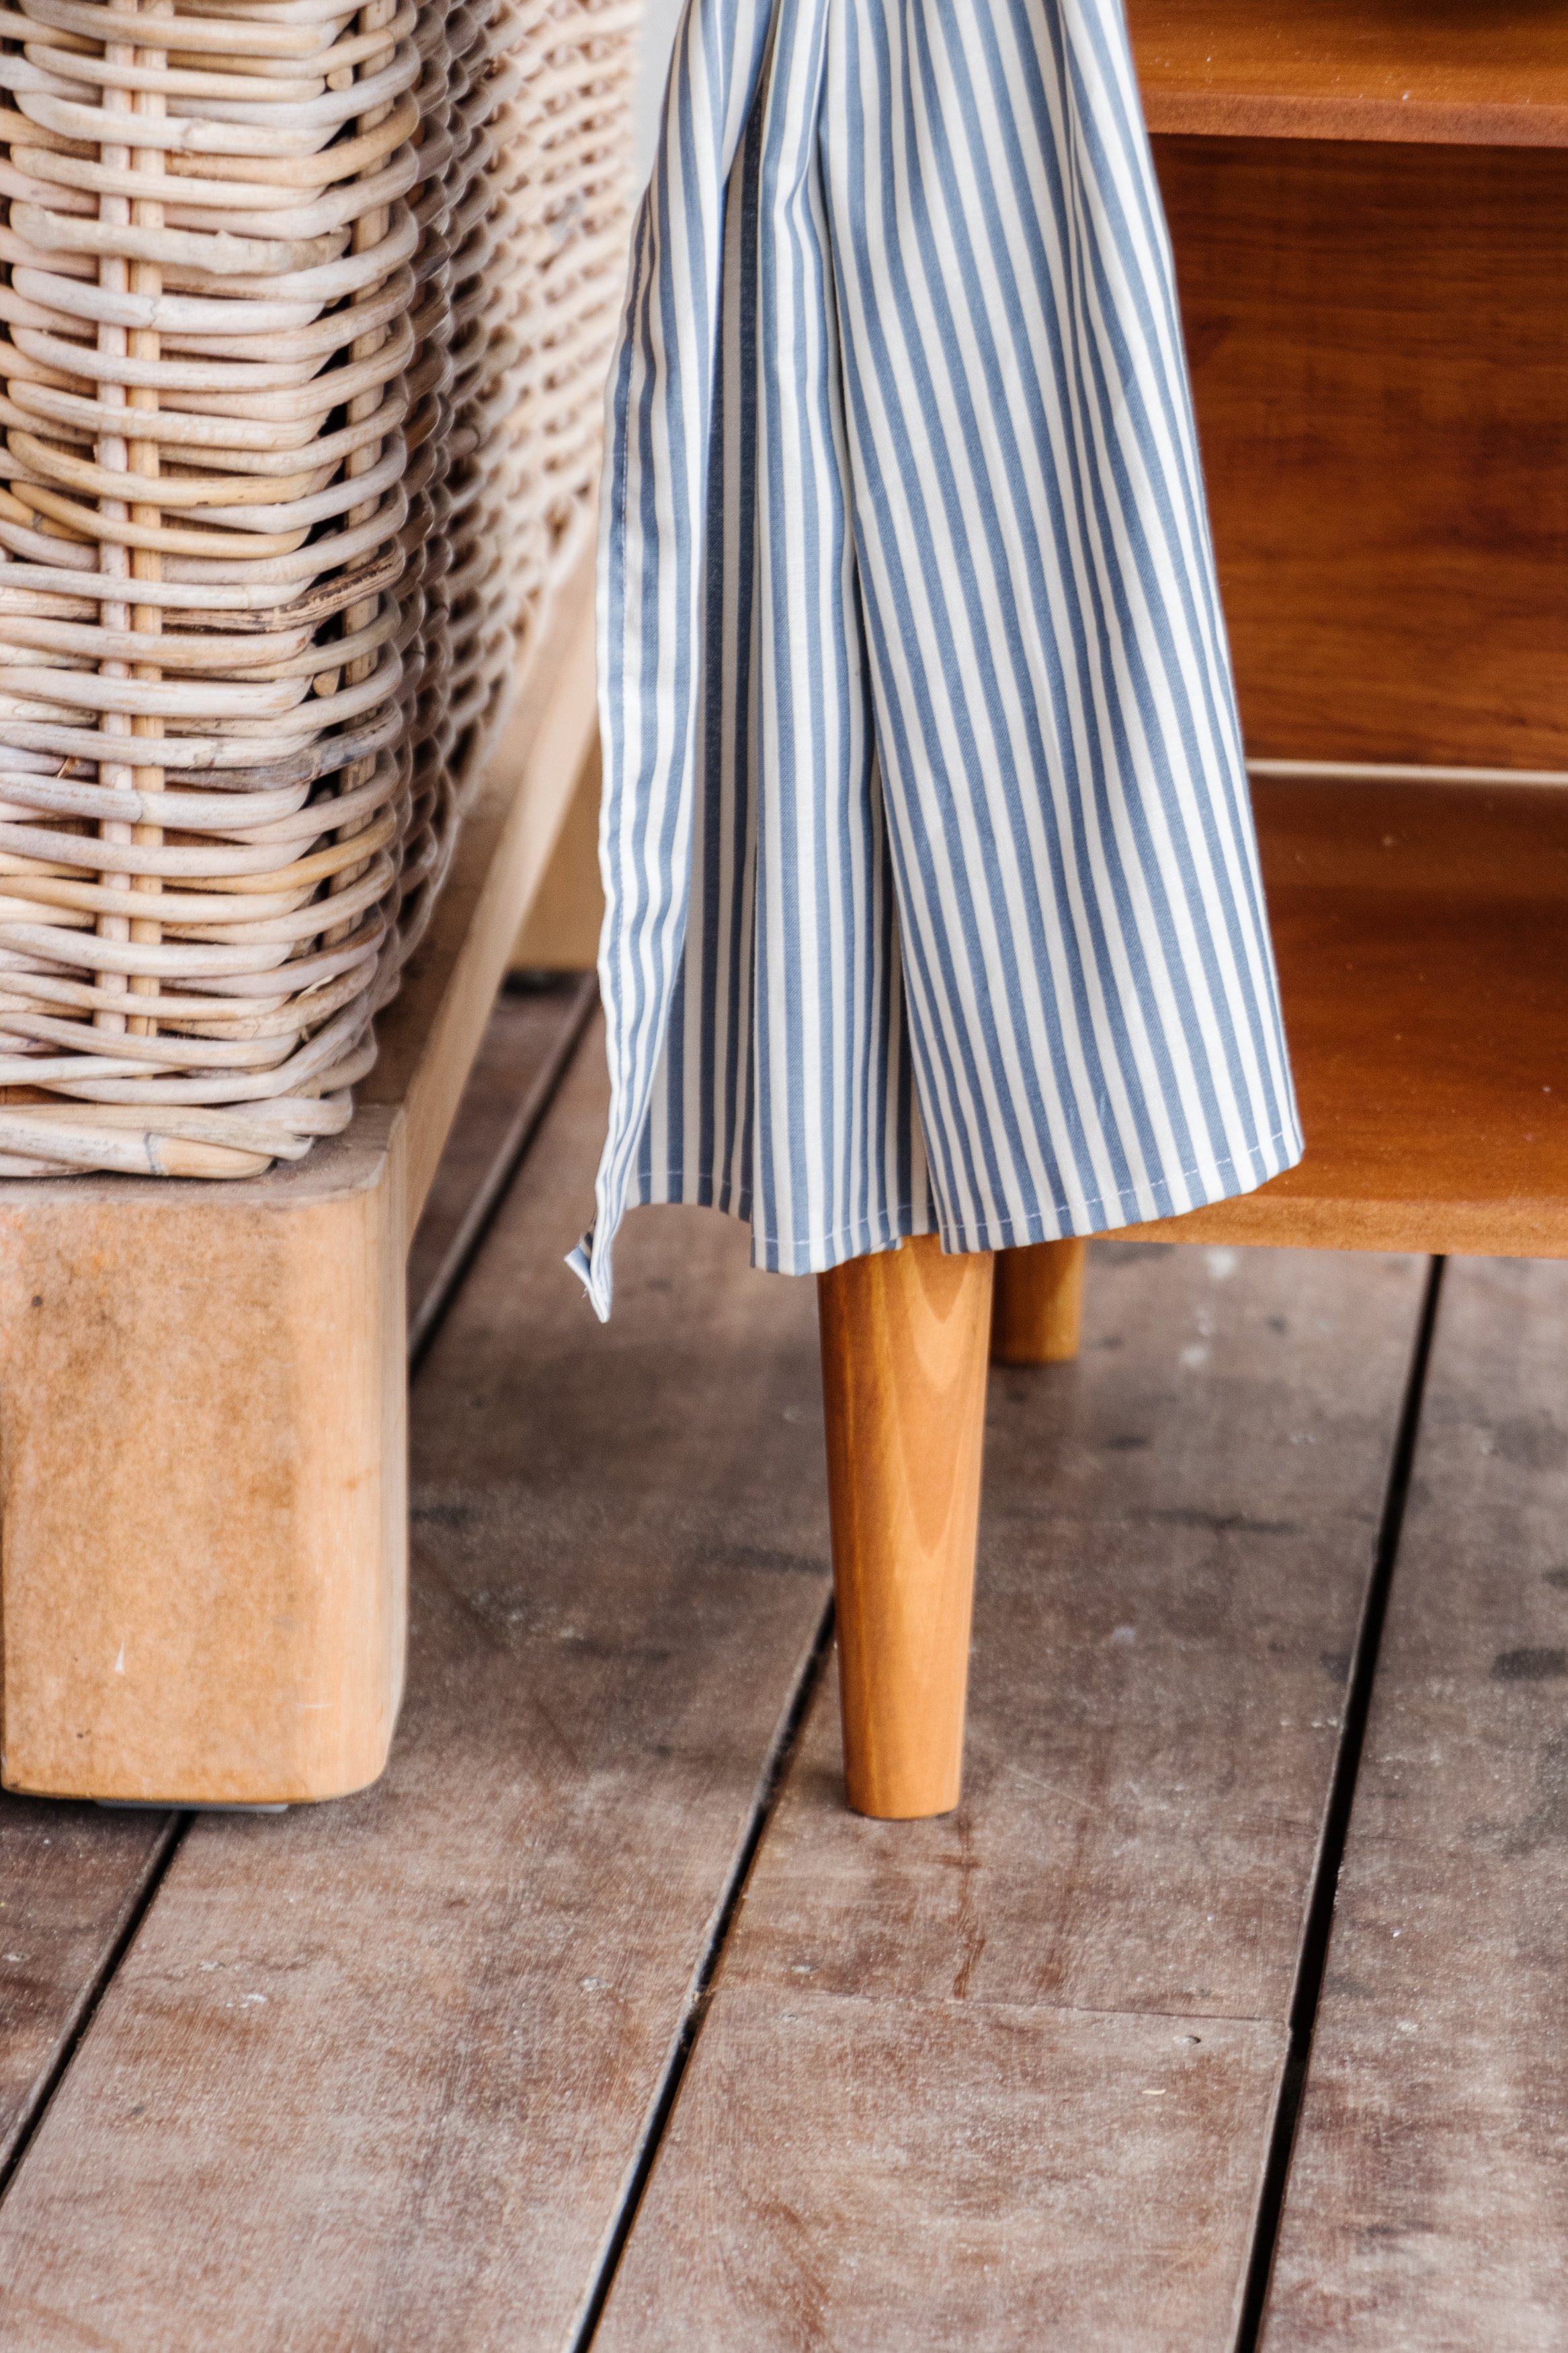
Step 9: While the curtain is hanging, measure and mark the length you think looks best. Remove the curtain from the rod and repeat Step 7. Trim the excess fabric off using scissors.
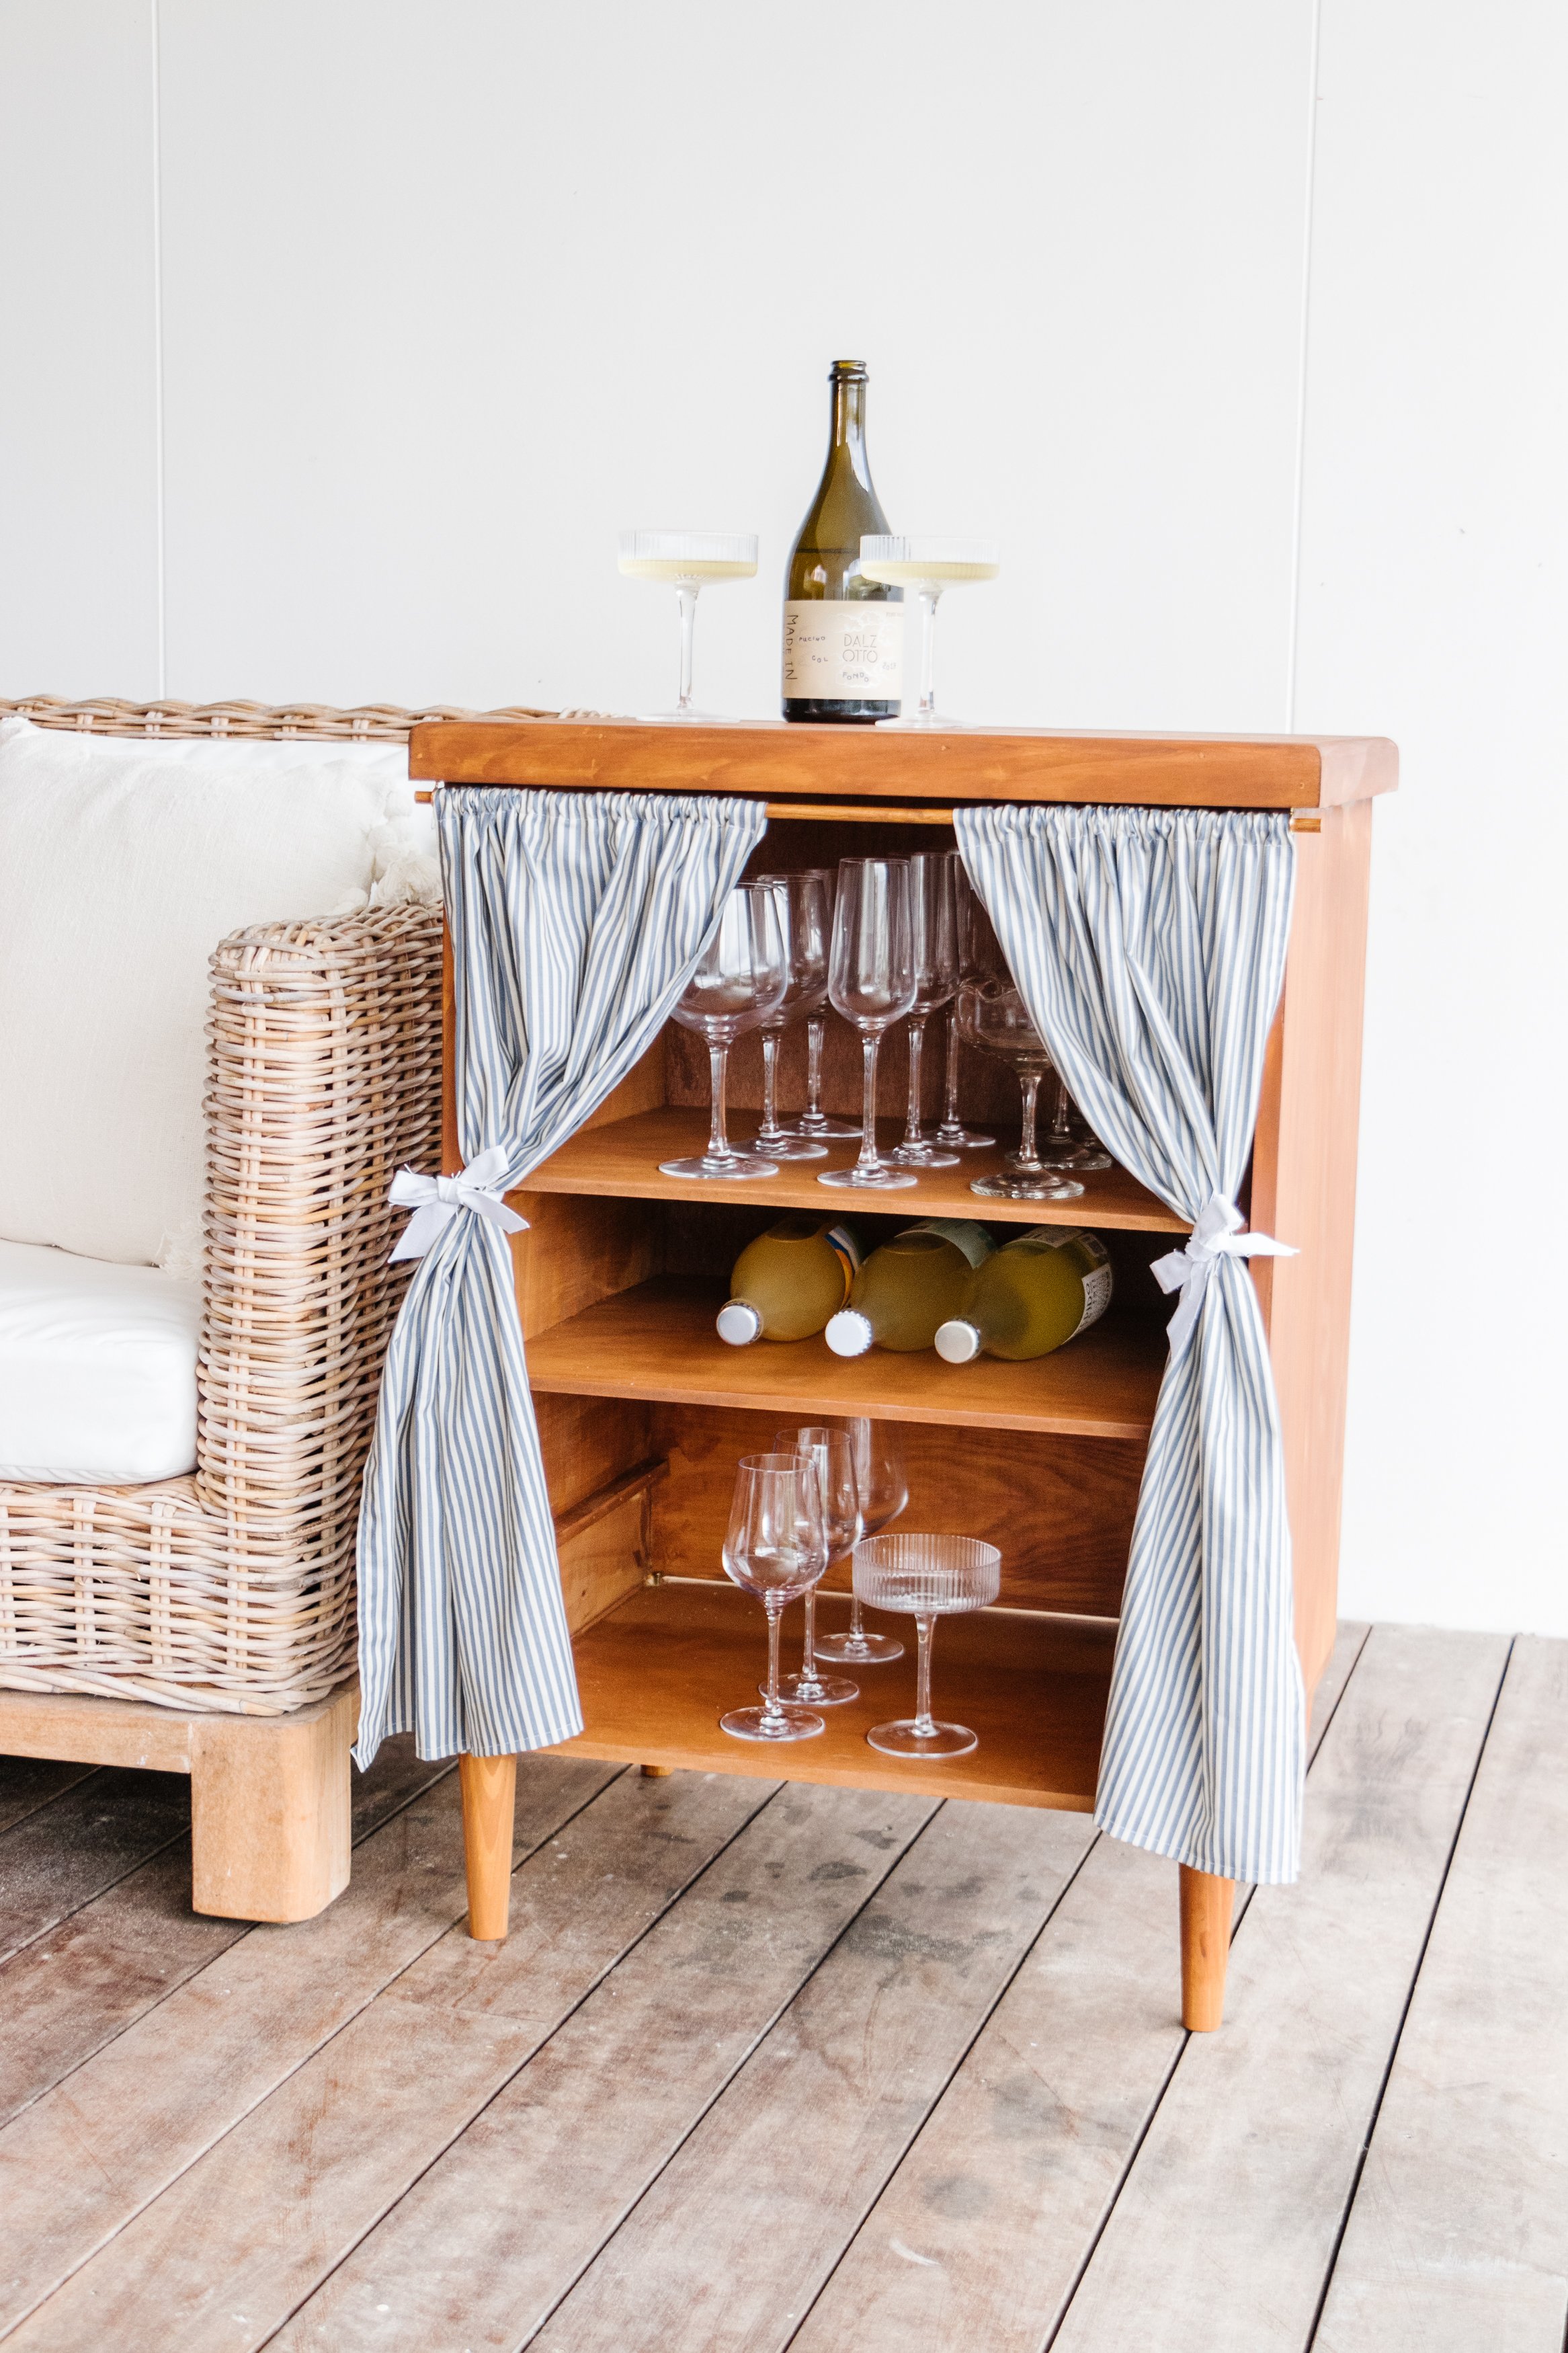
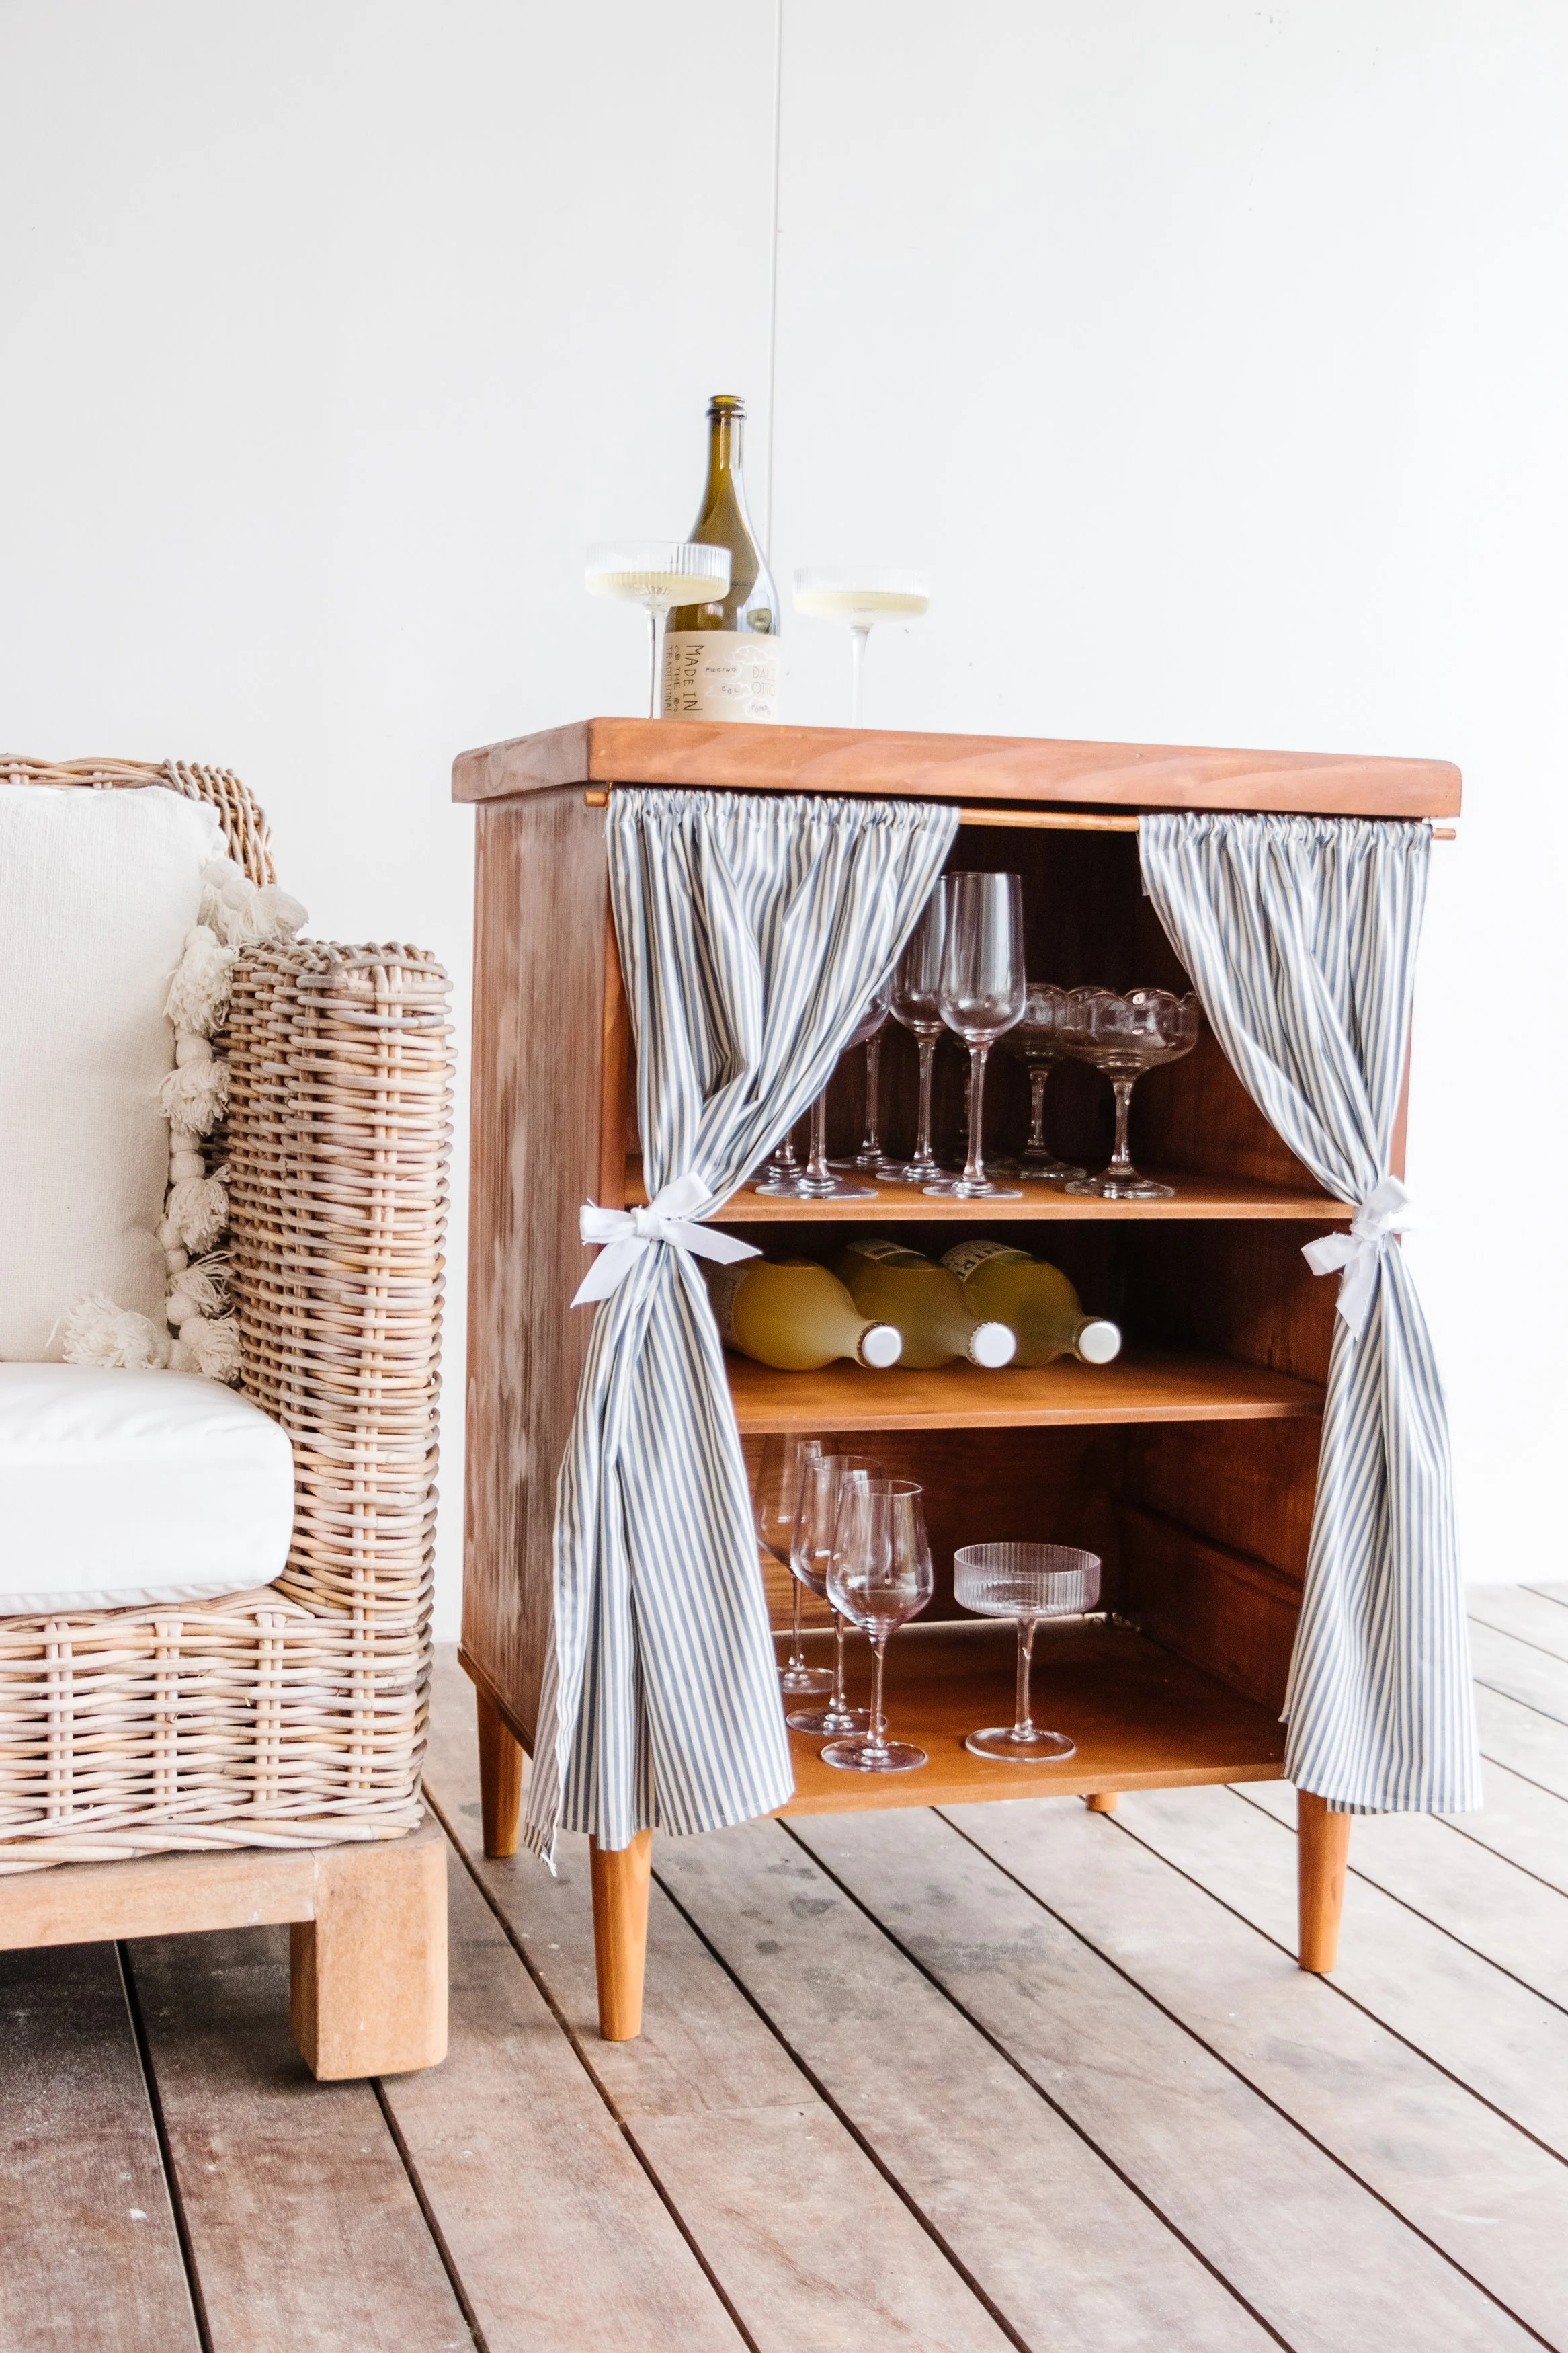
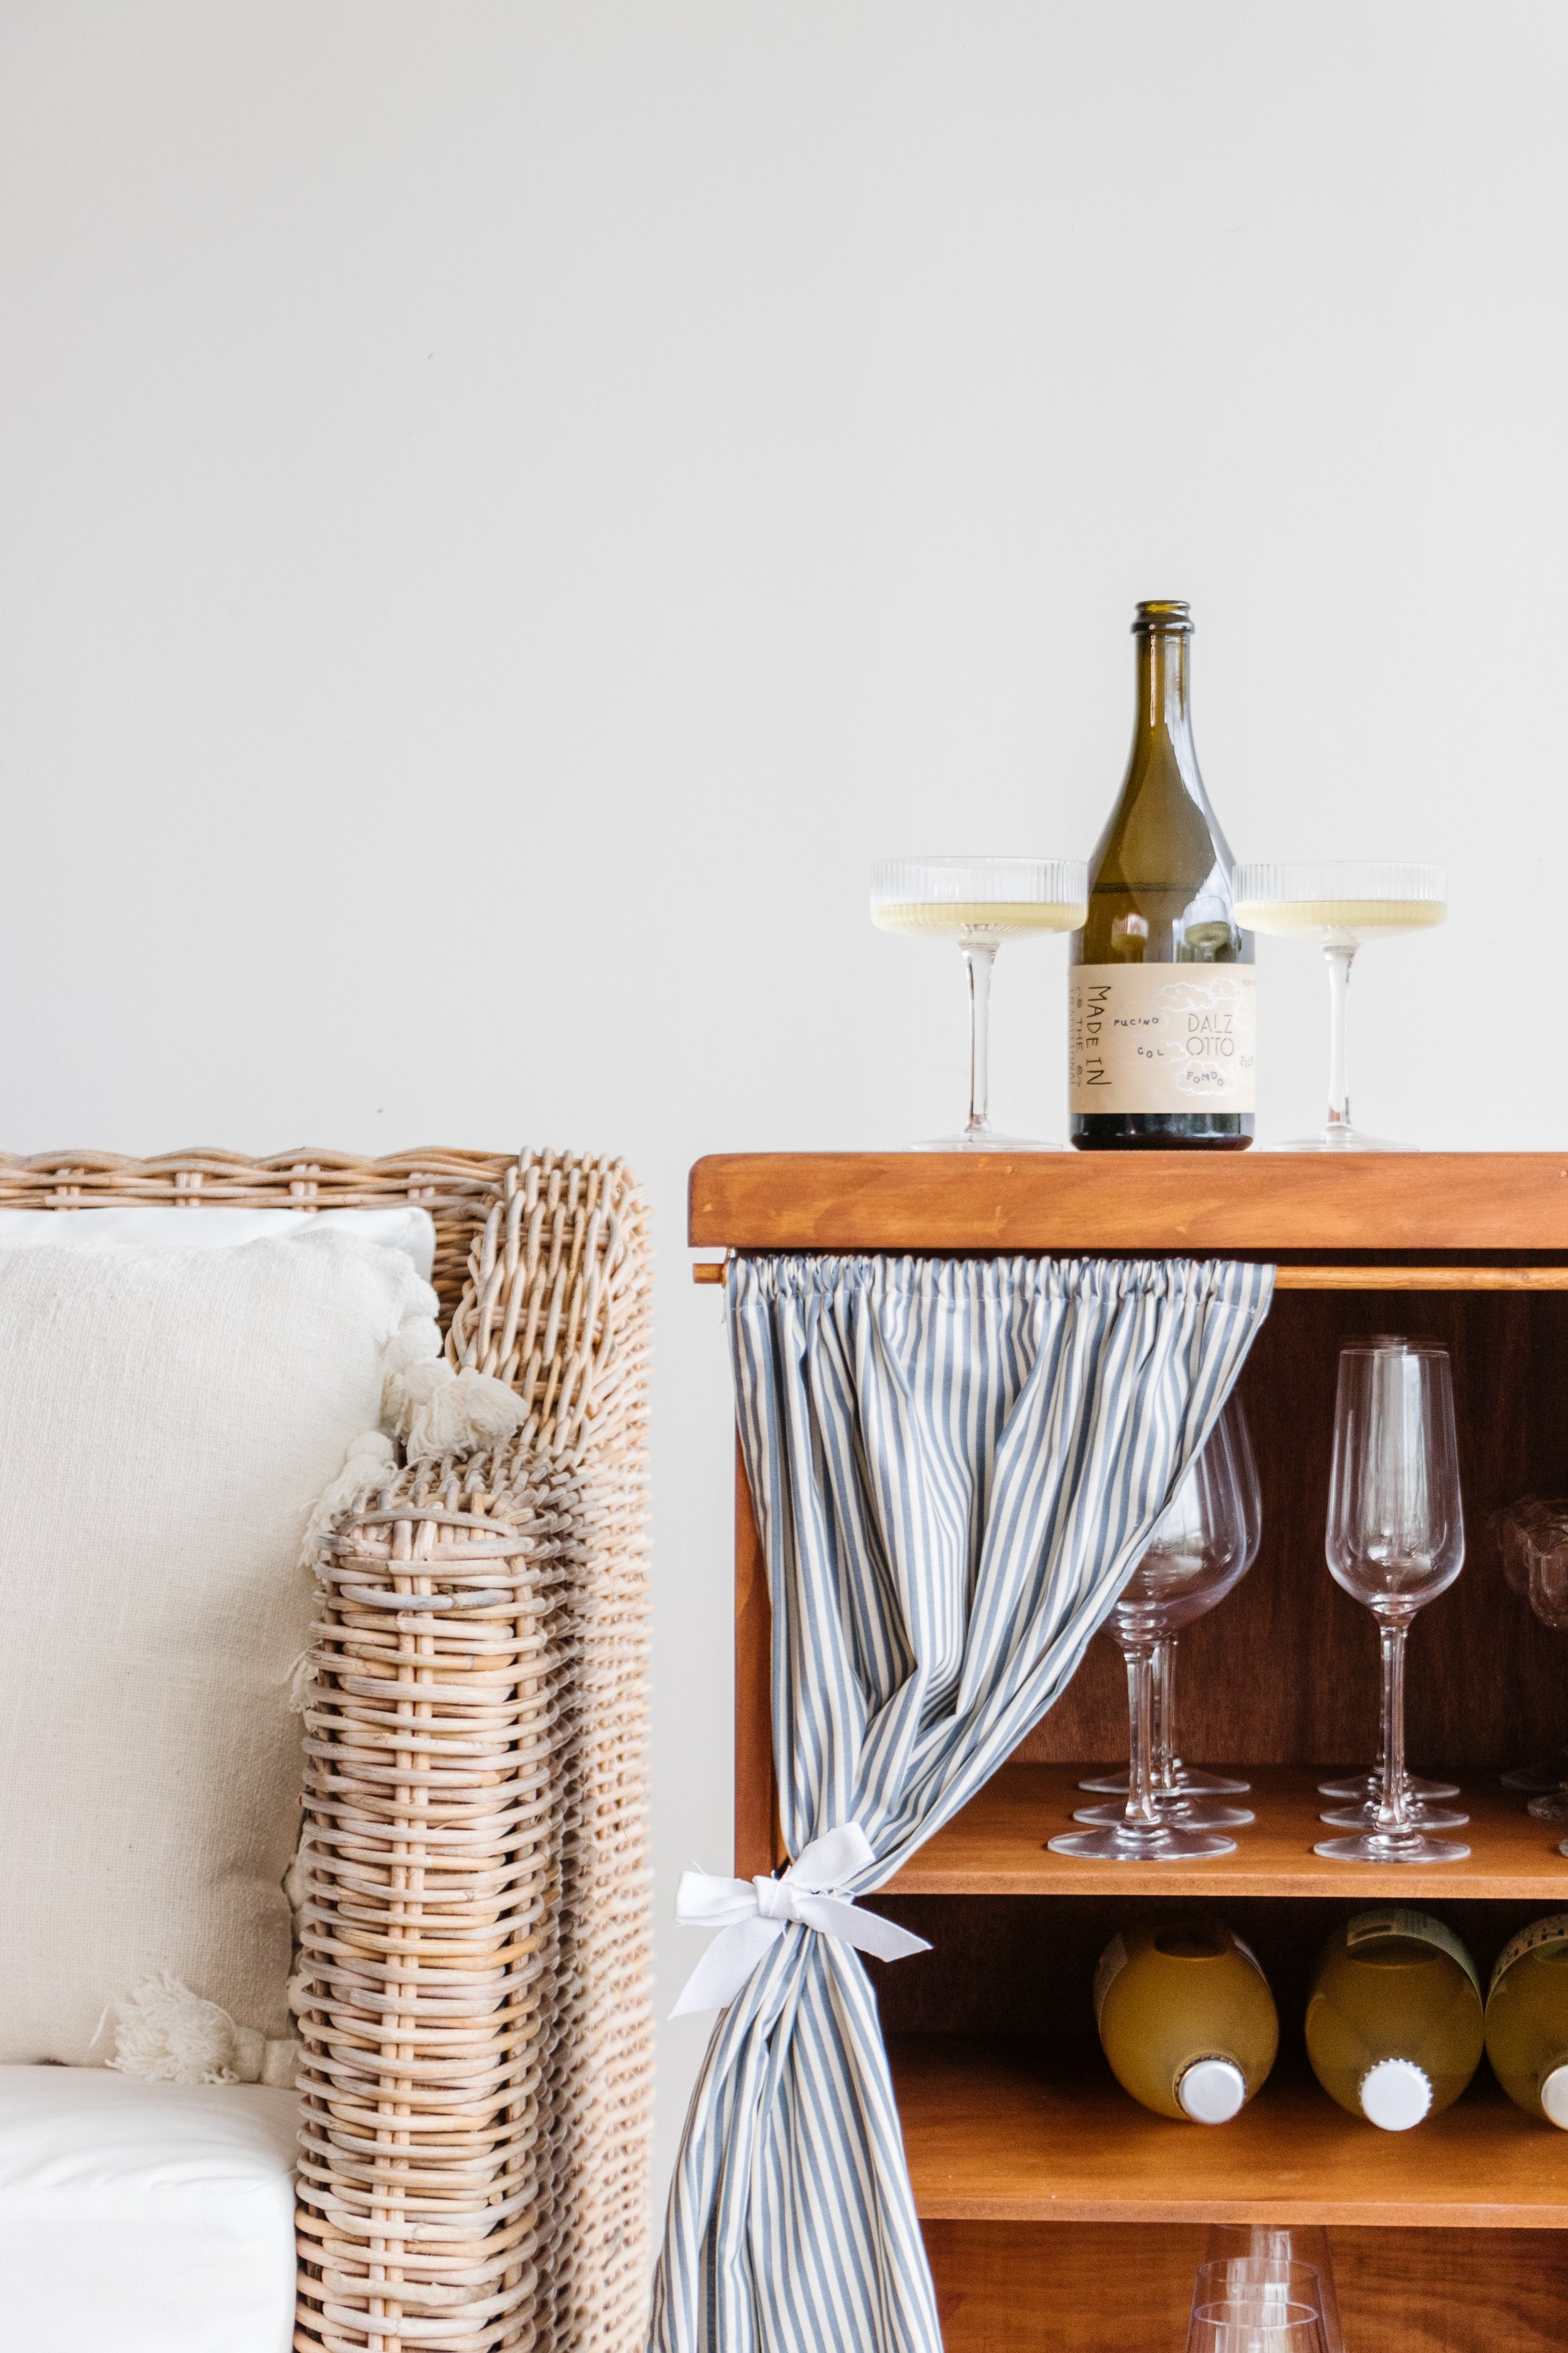
Step 10: Insert the rod into the curtain, place the rod onto the hooks and check you are happy with the length, then adjust the curtain pleats. Add your favourite wine glasses and wine, and enjoy!

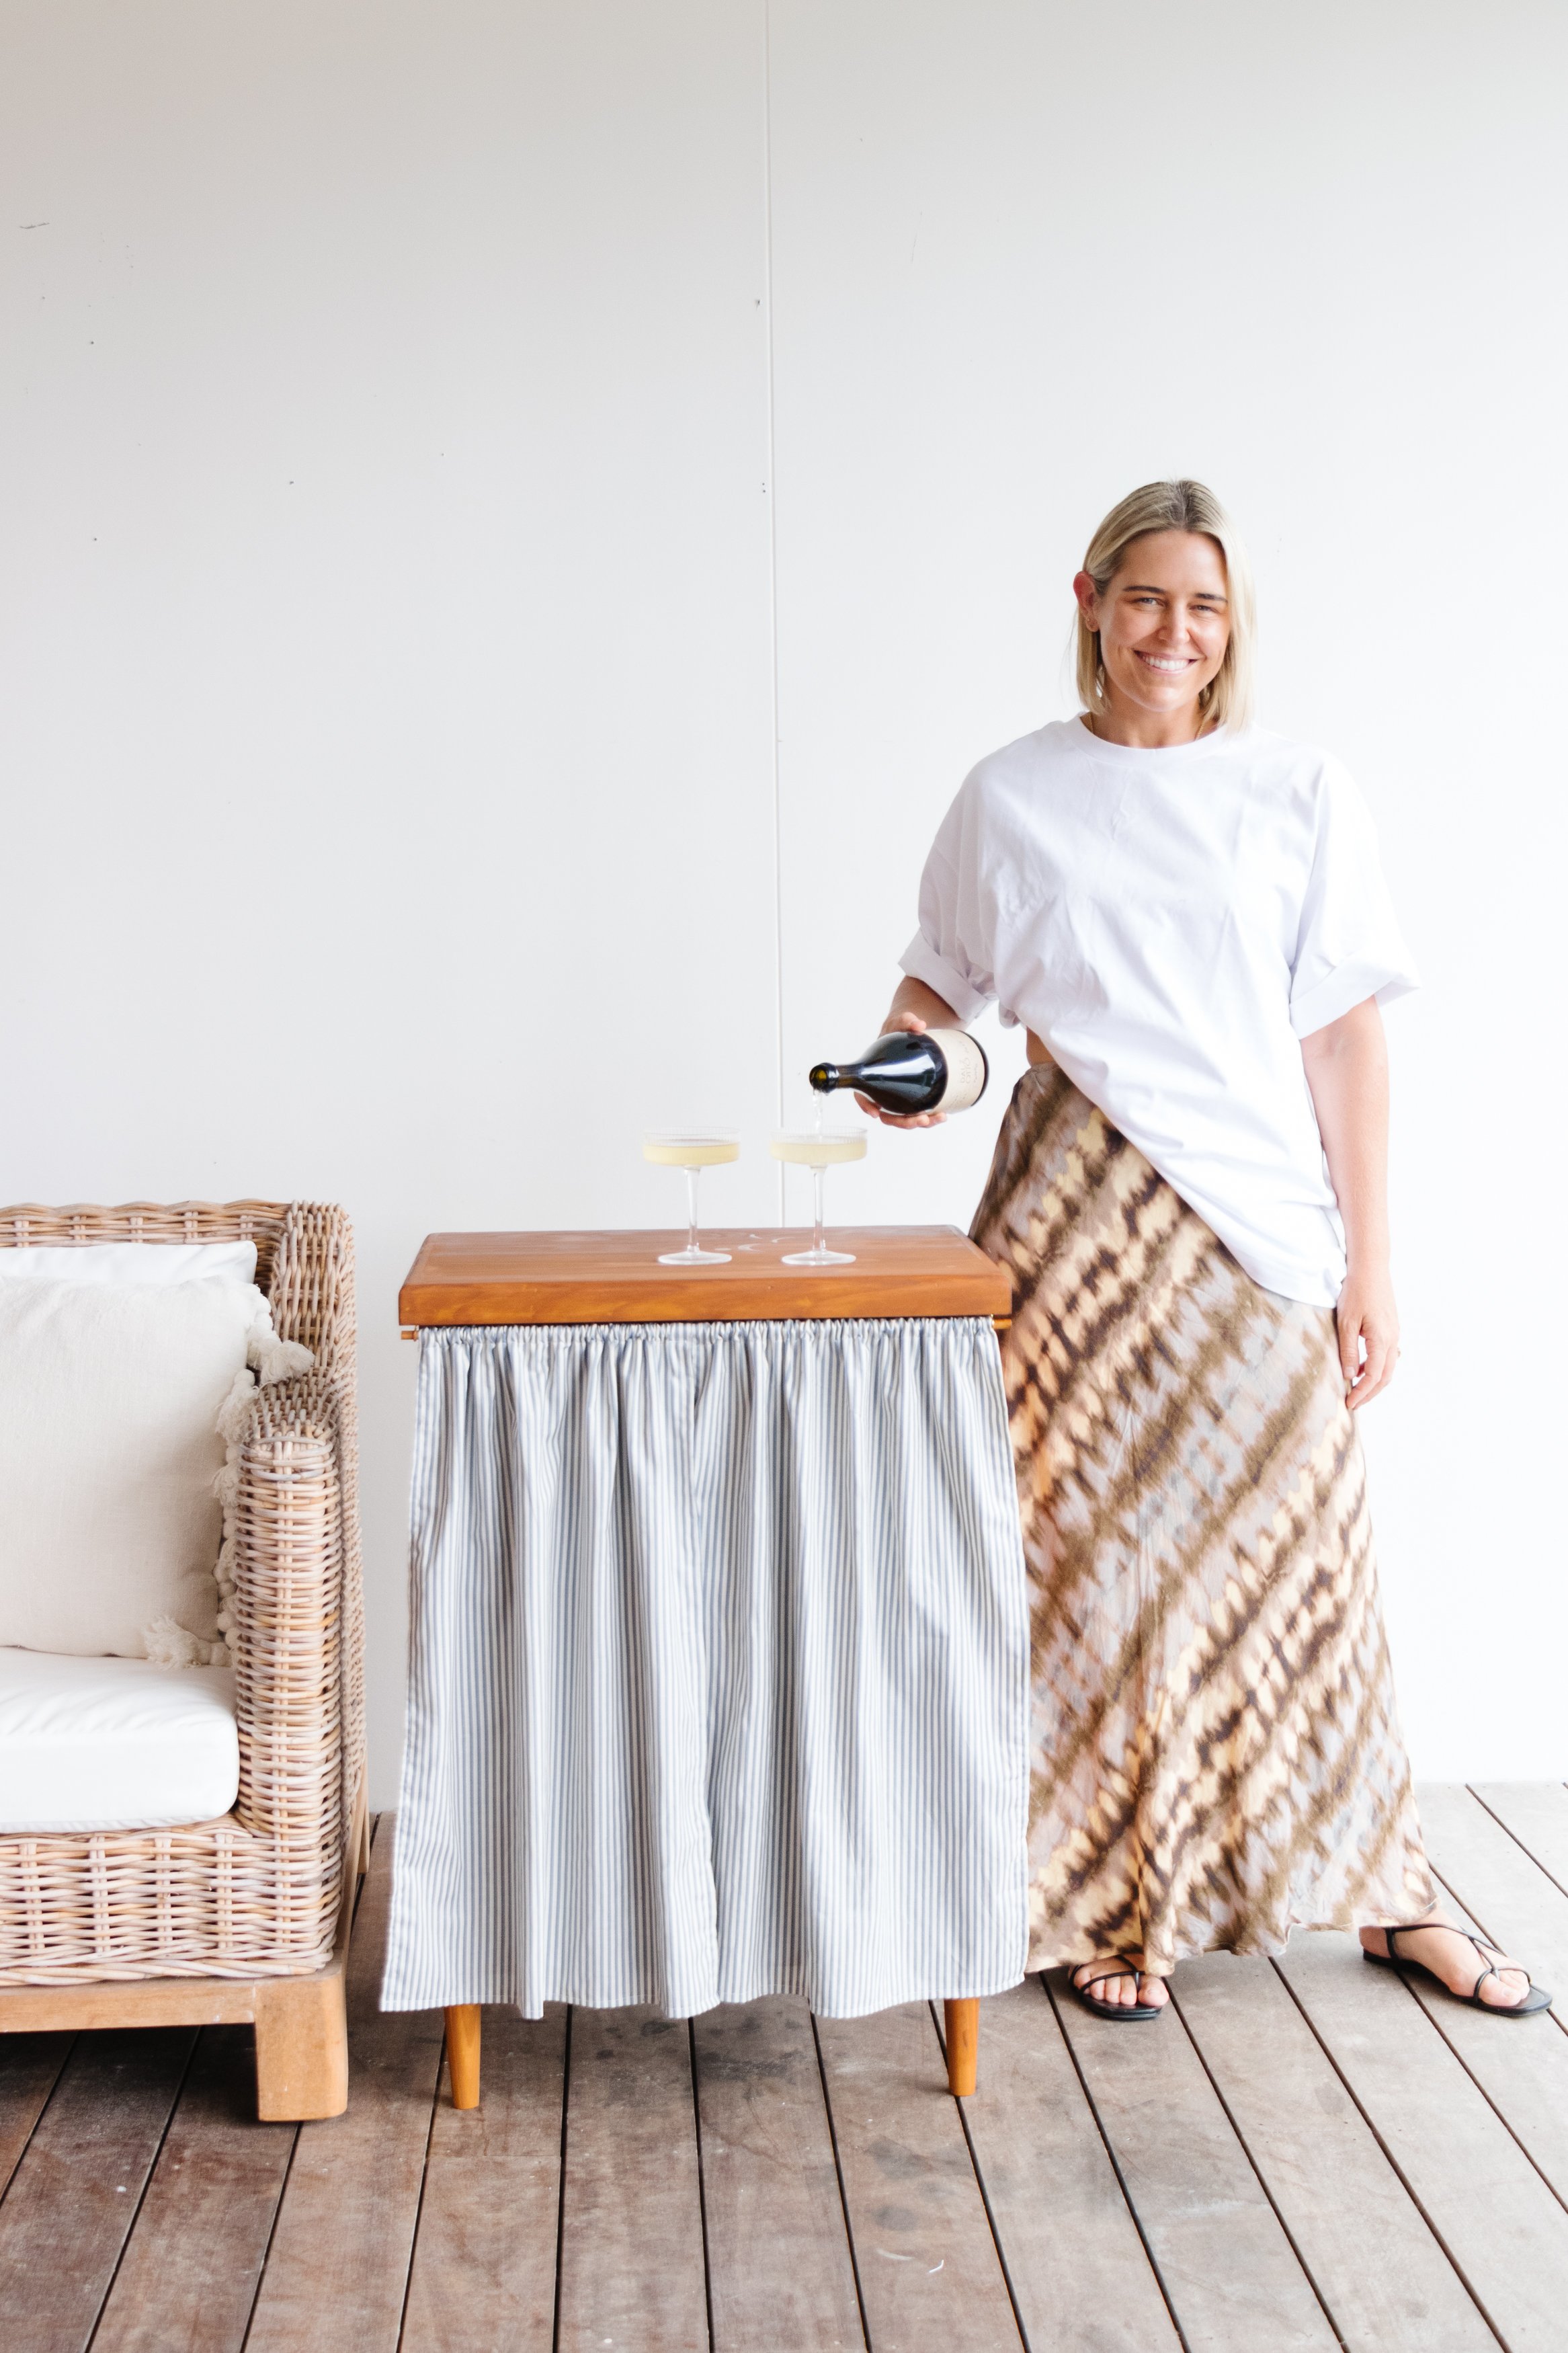
The Reveal!
When you've got pét-nat and all you want is somewhere cute to put it 🤍 I loved upcycling this bedside table into my dream wine cabinet - it's everything I envisioned and more. And thank you to everyone who helped me choose the timber stain and fabric - as always I couldn't have done it without you.
The best surprise from this project? My sewing machine! I haven't used it in a very long time and was so nervous about making the curtains, which were inspired by Franca Studio and Jardin Bloom. But as soon as I switched it on I felt so excited! I've always shied away from sewing projects because I don't feel very confident in my abilities, but how can I ignore how happy it made me feel? Creativity unlocked and I've now got a lot of ideas I'm excited to explore and share with you. Anyway, as I fall in love with my sewing machine over here, I hope you’ve enjoyed this tutorial.