How To Restore A Timber Chopping Board
Revitalise your old timber chopping boards
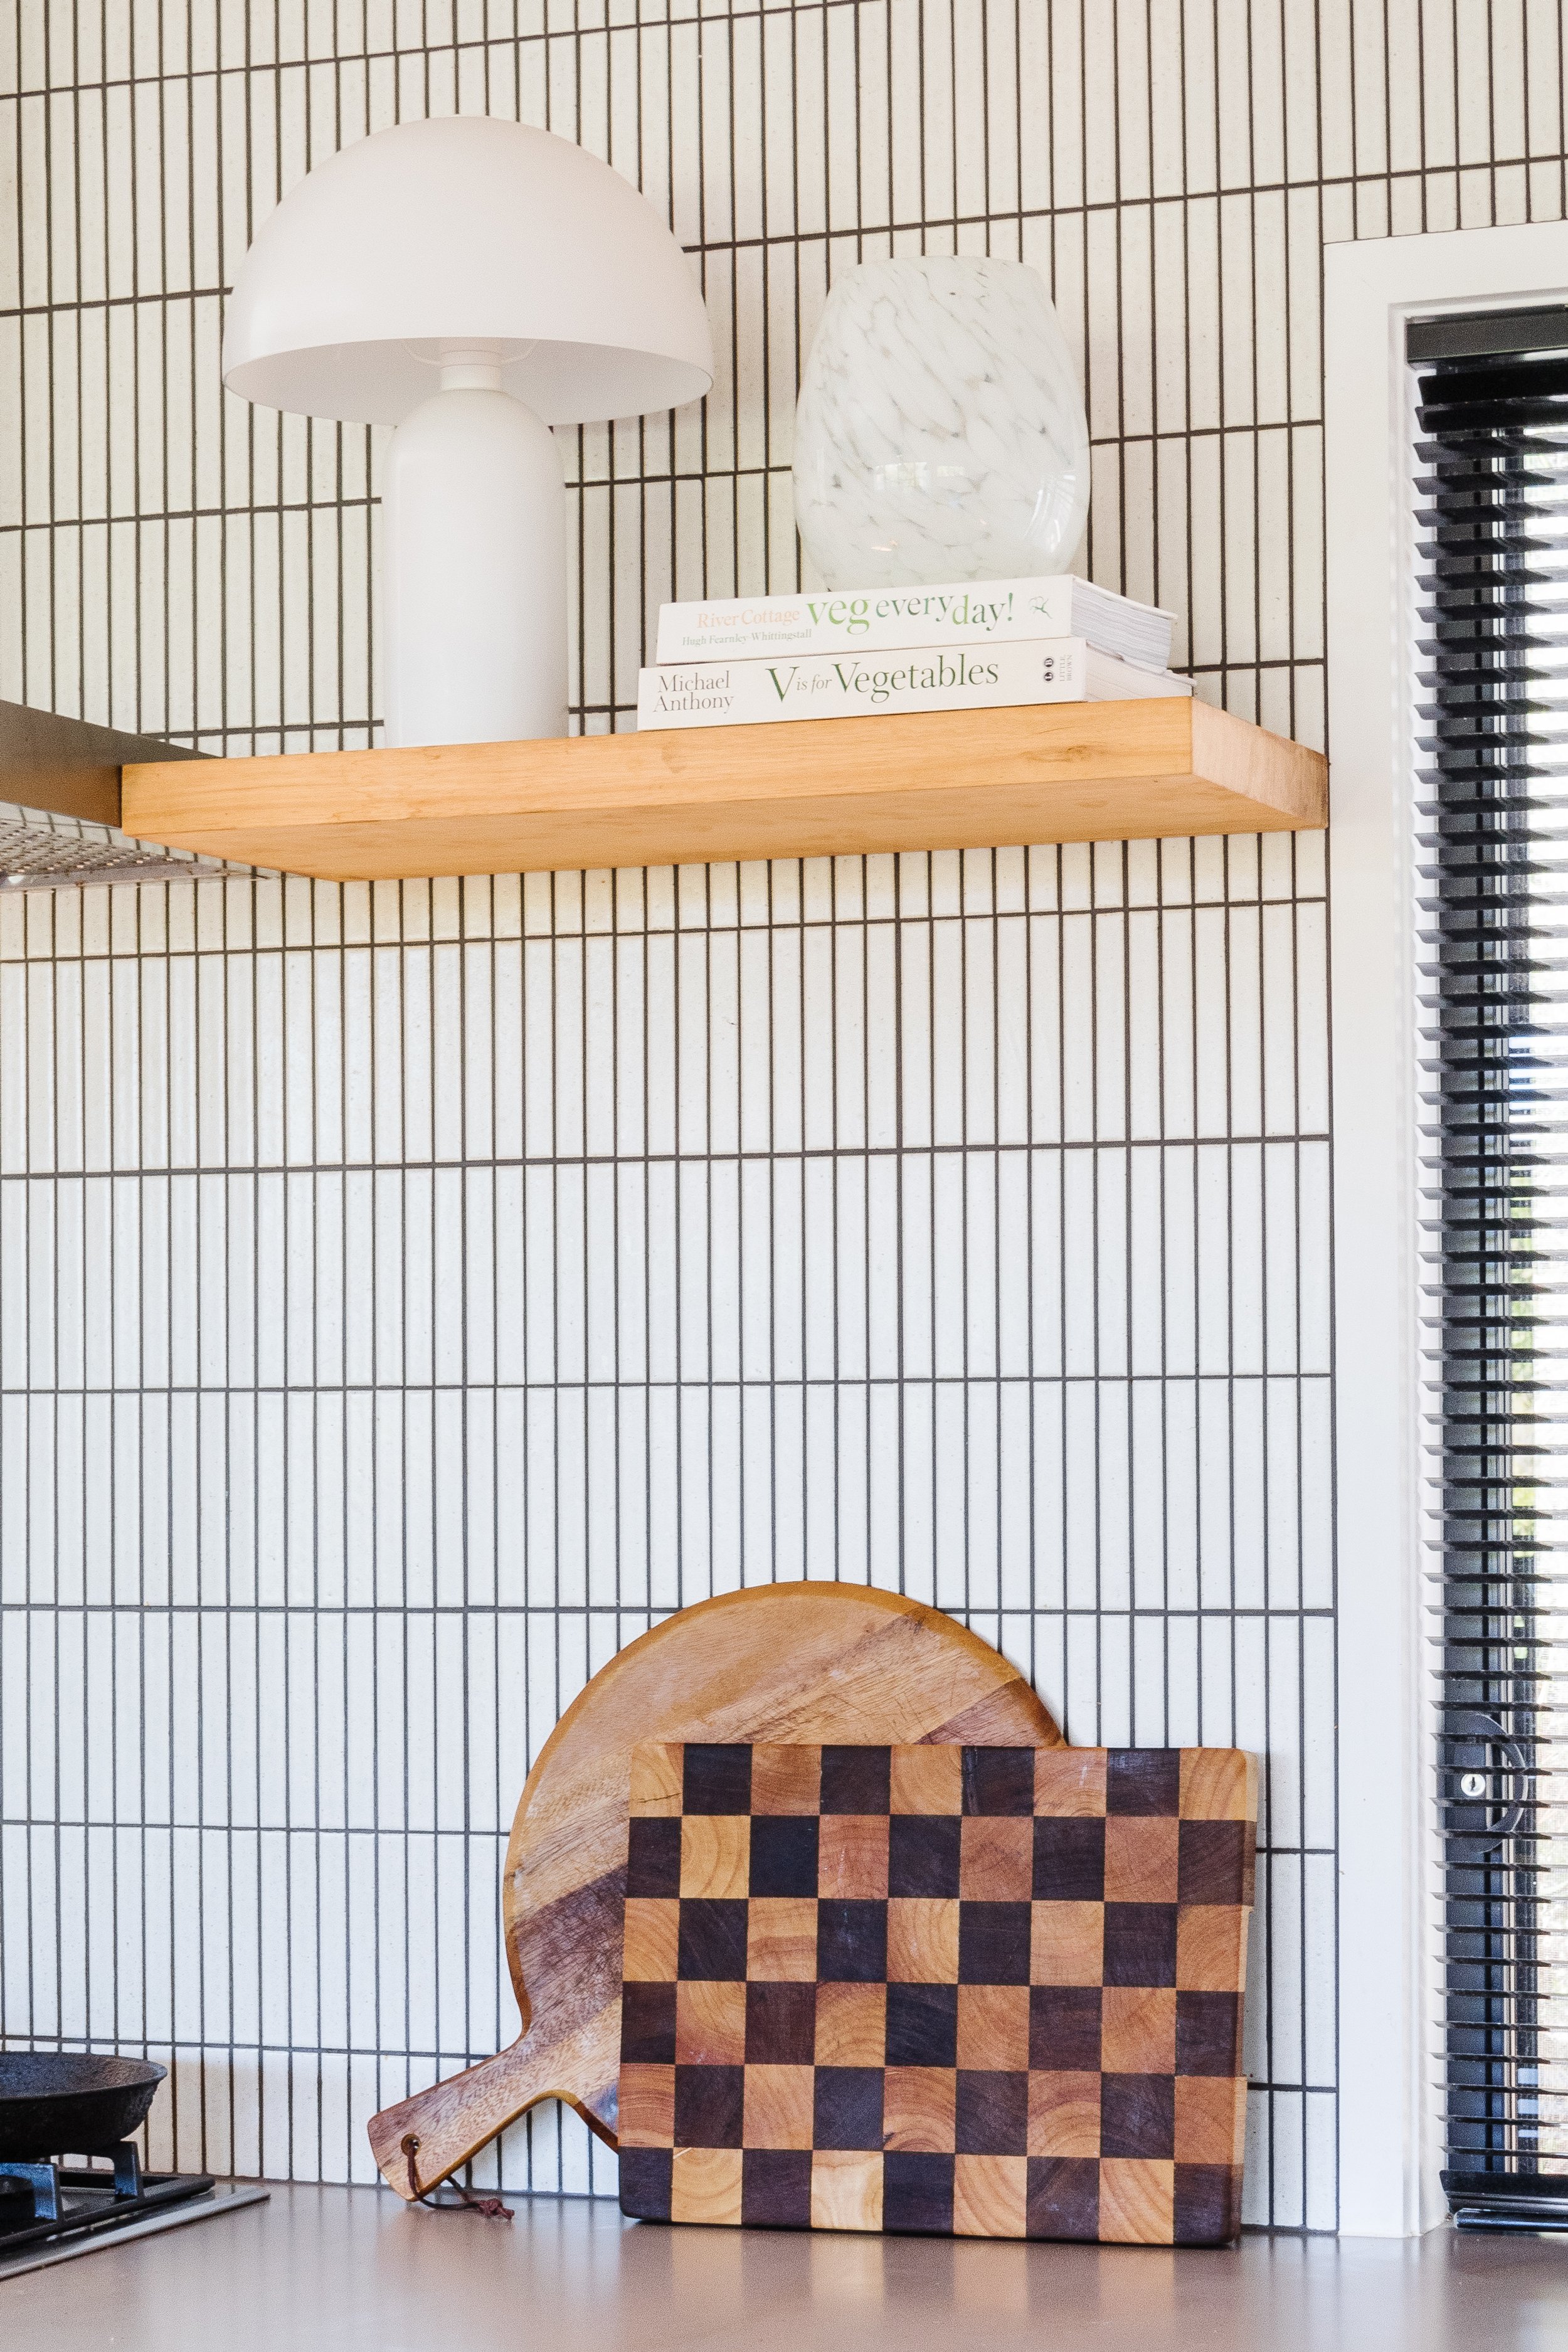
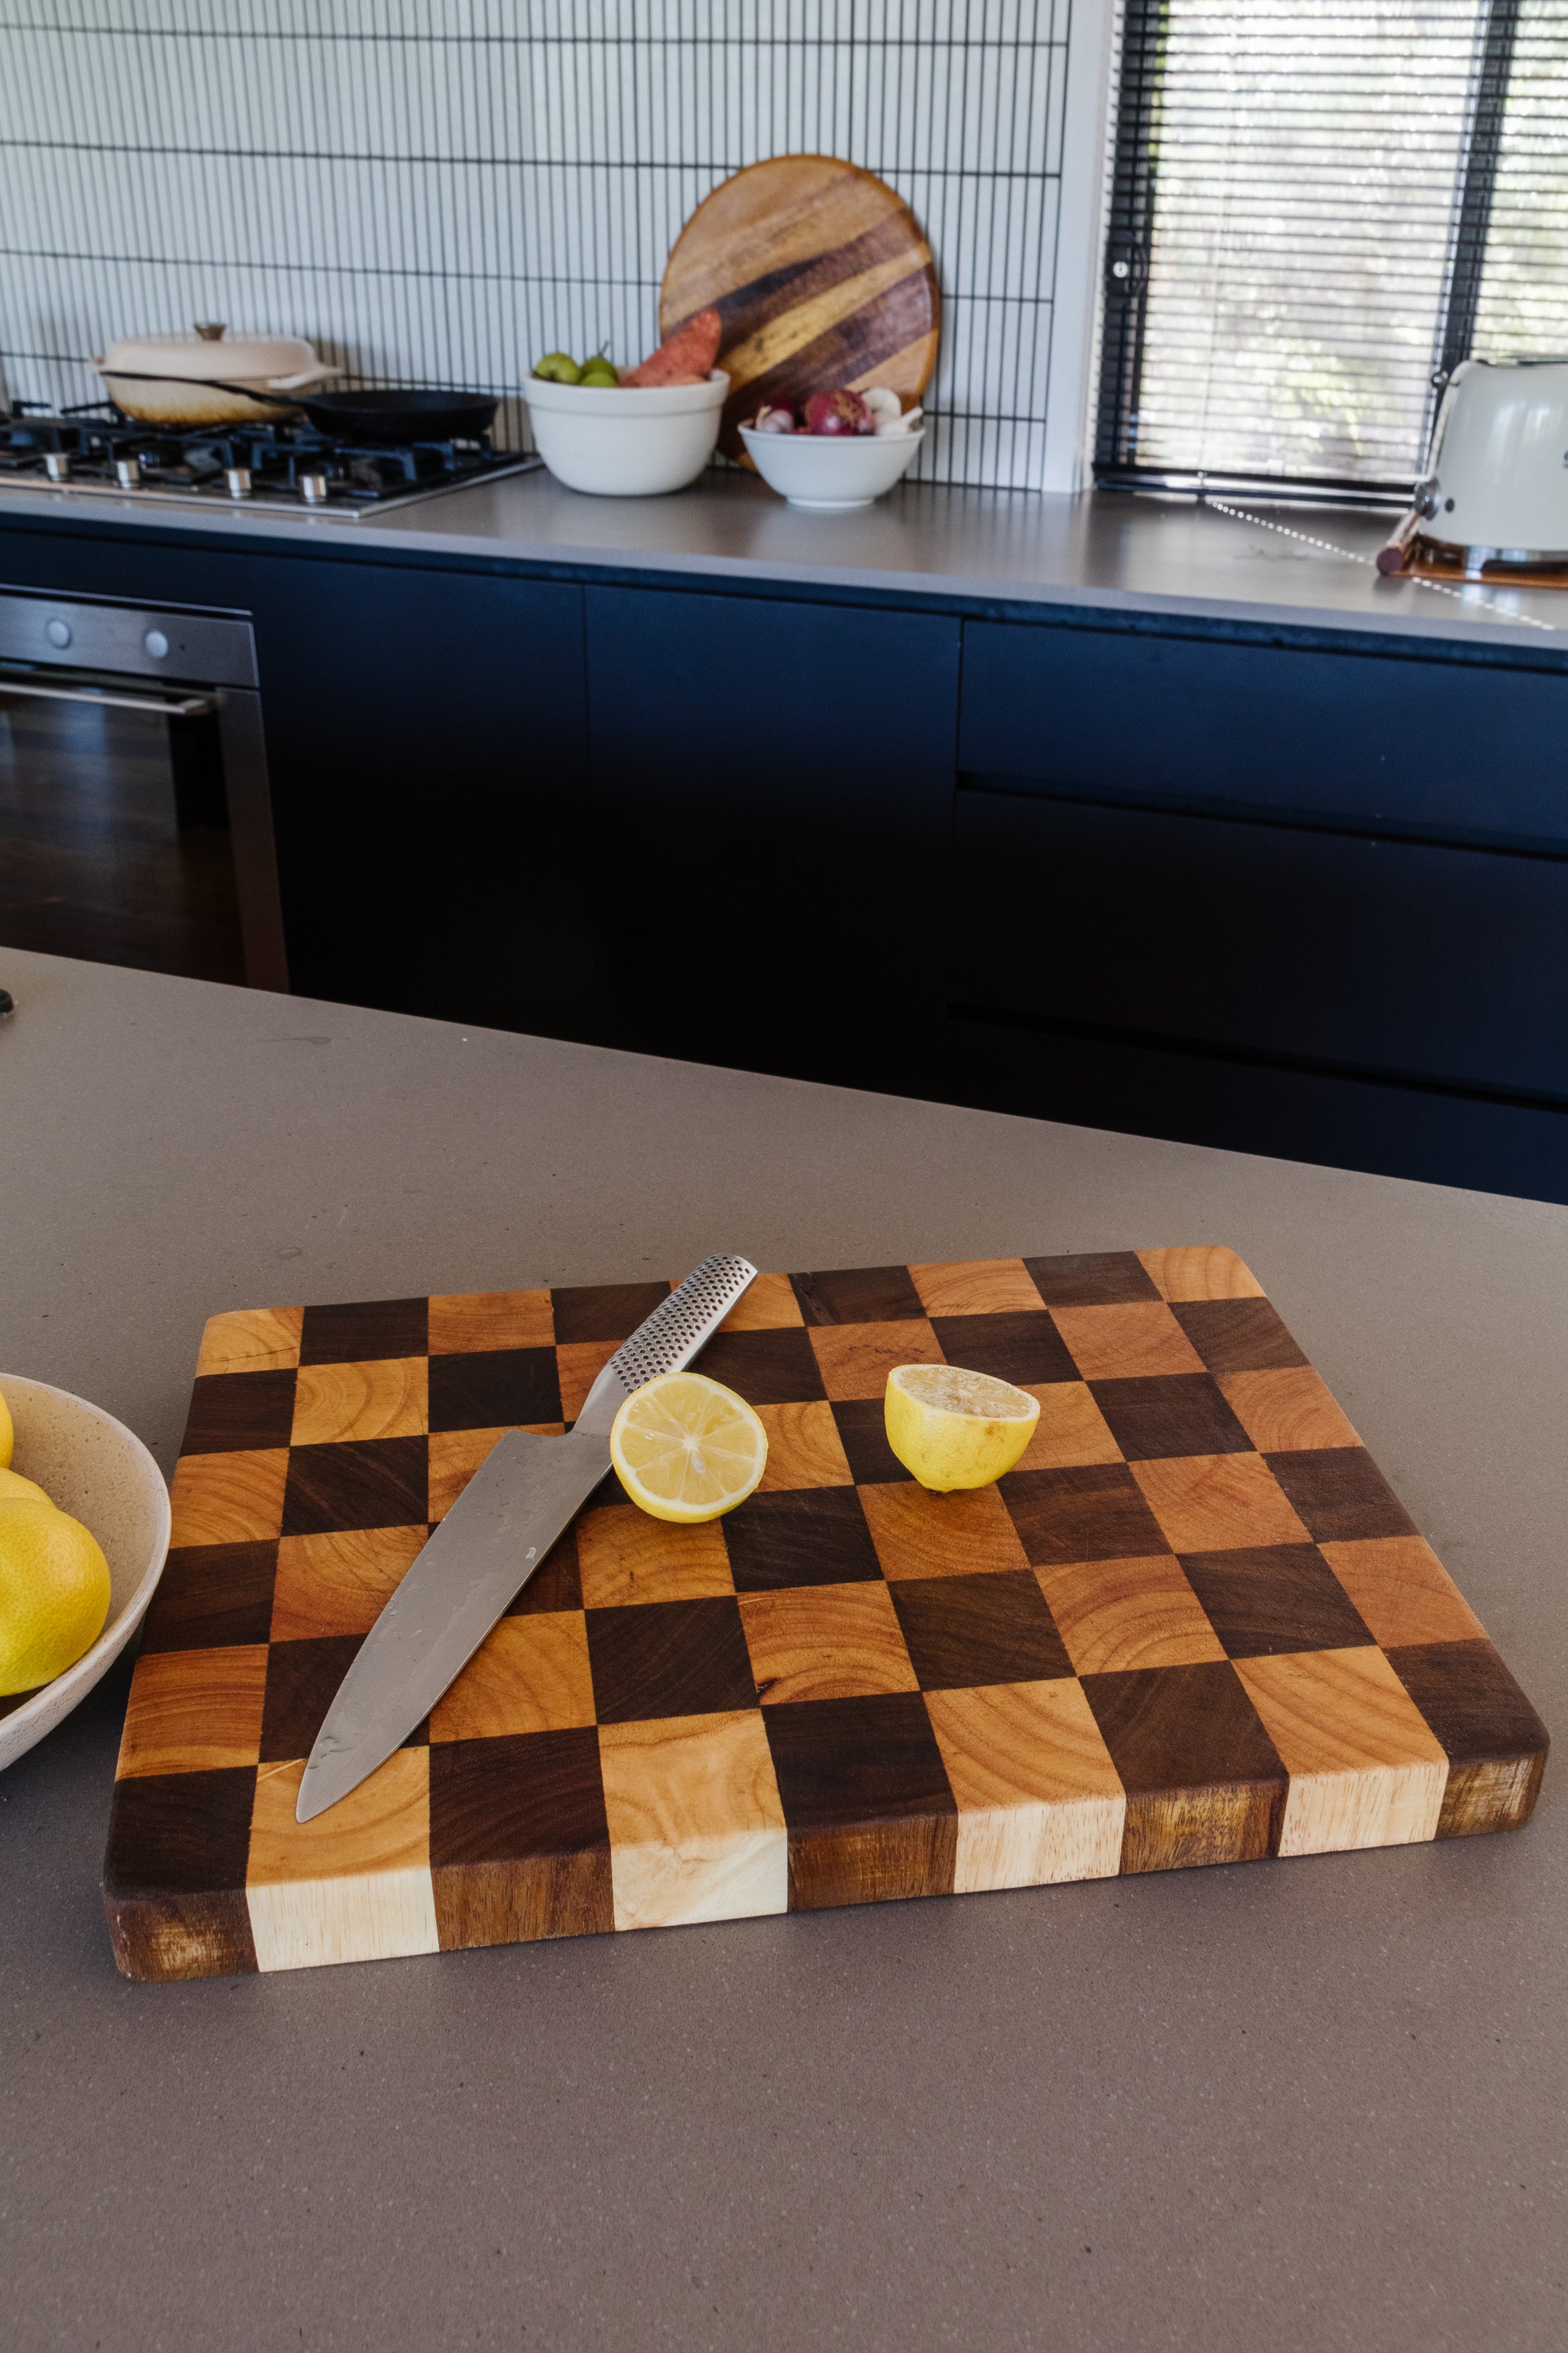
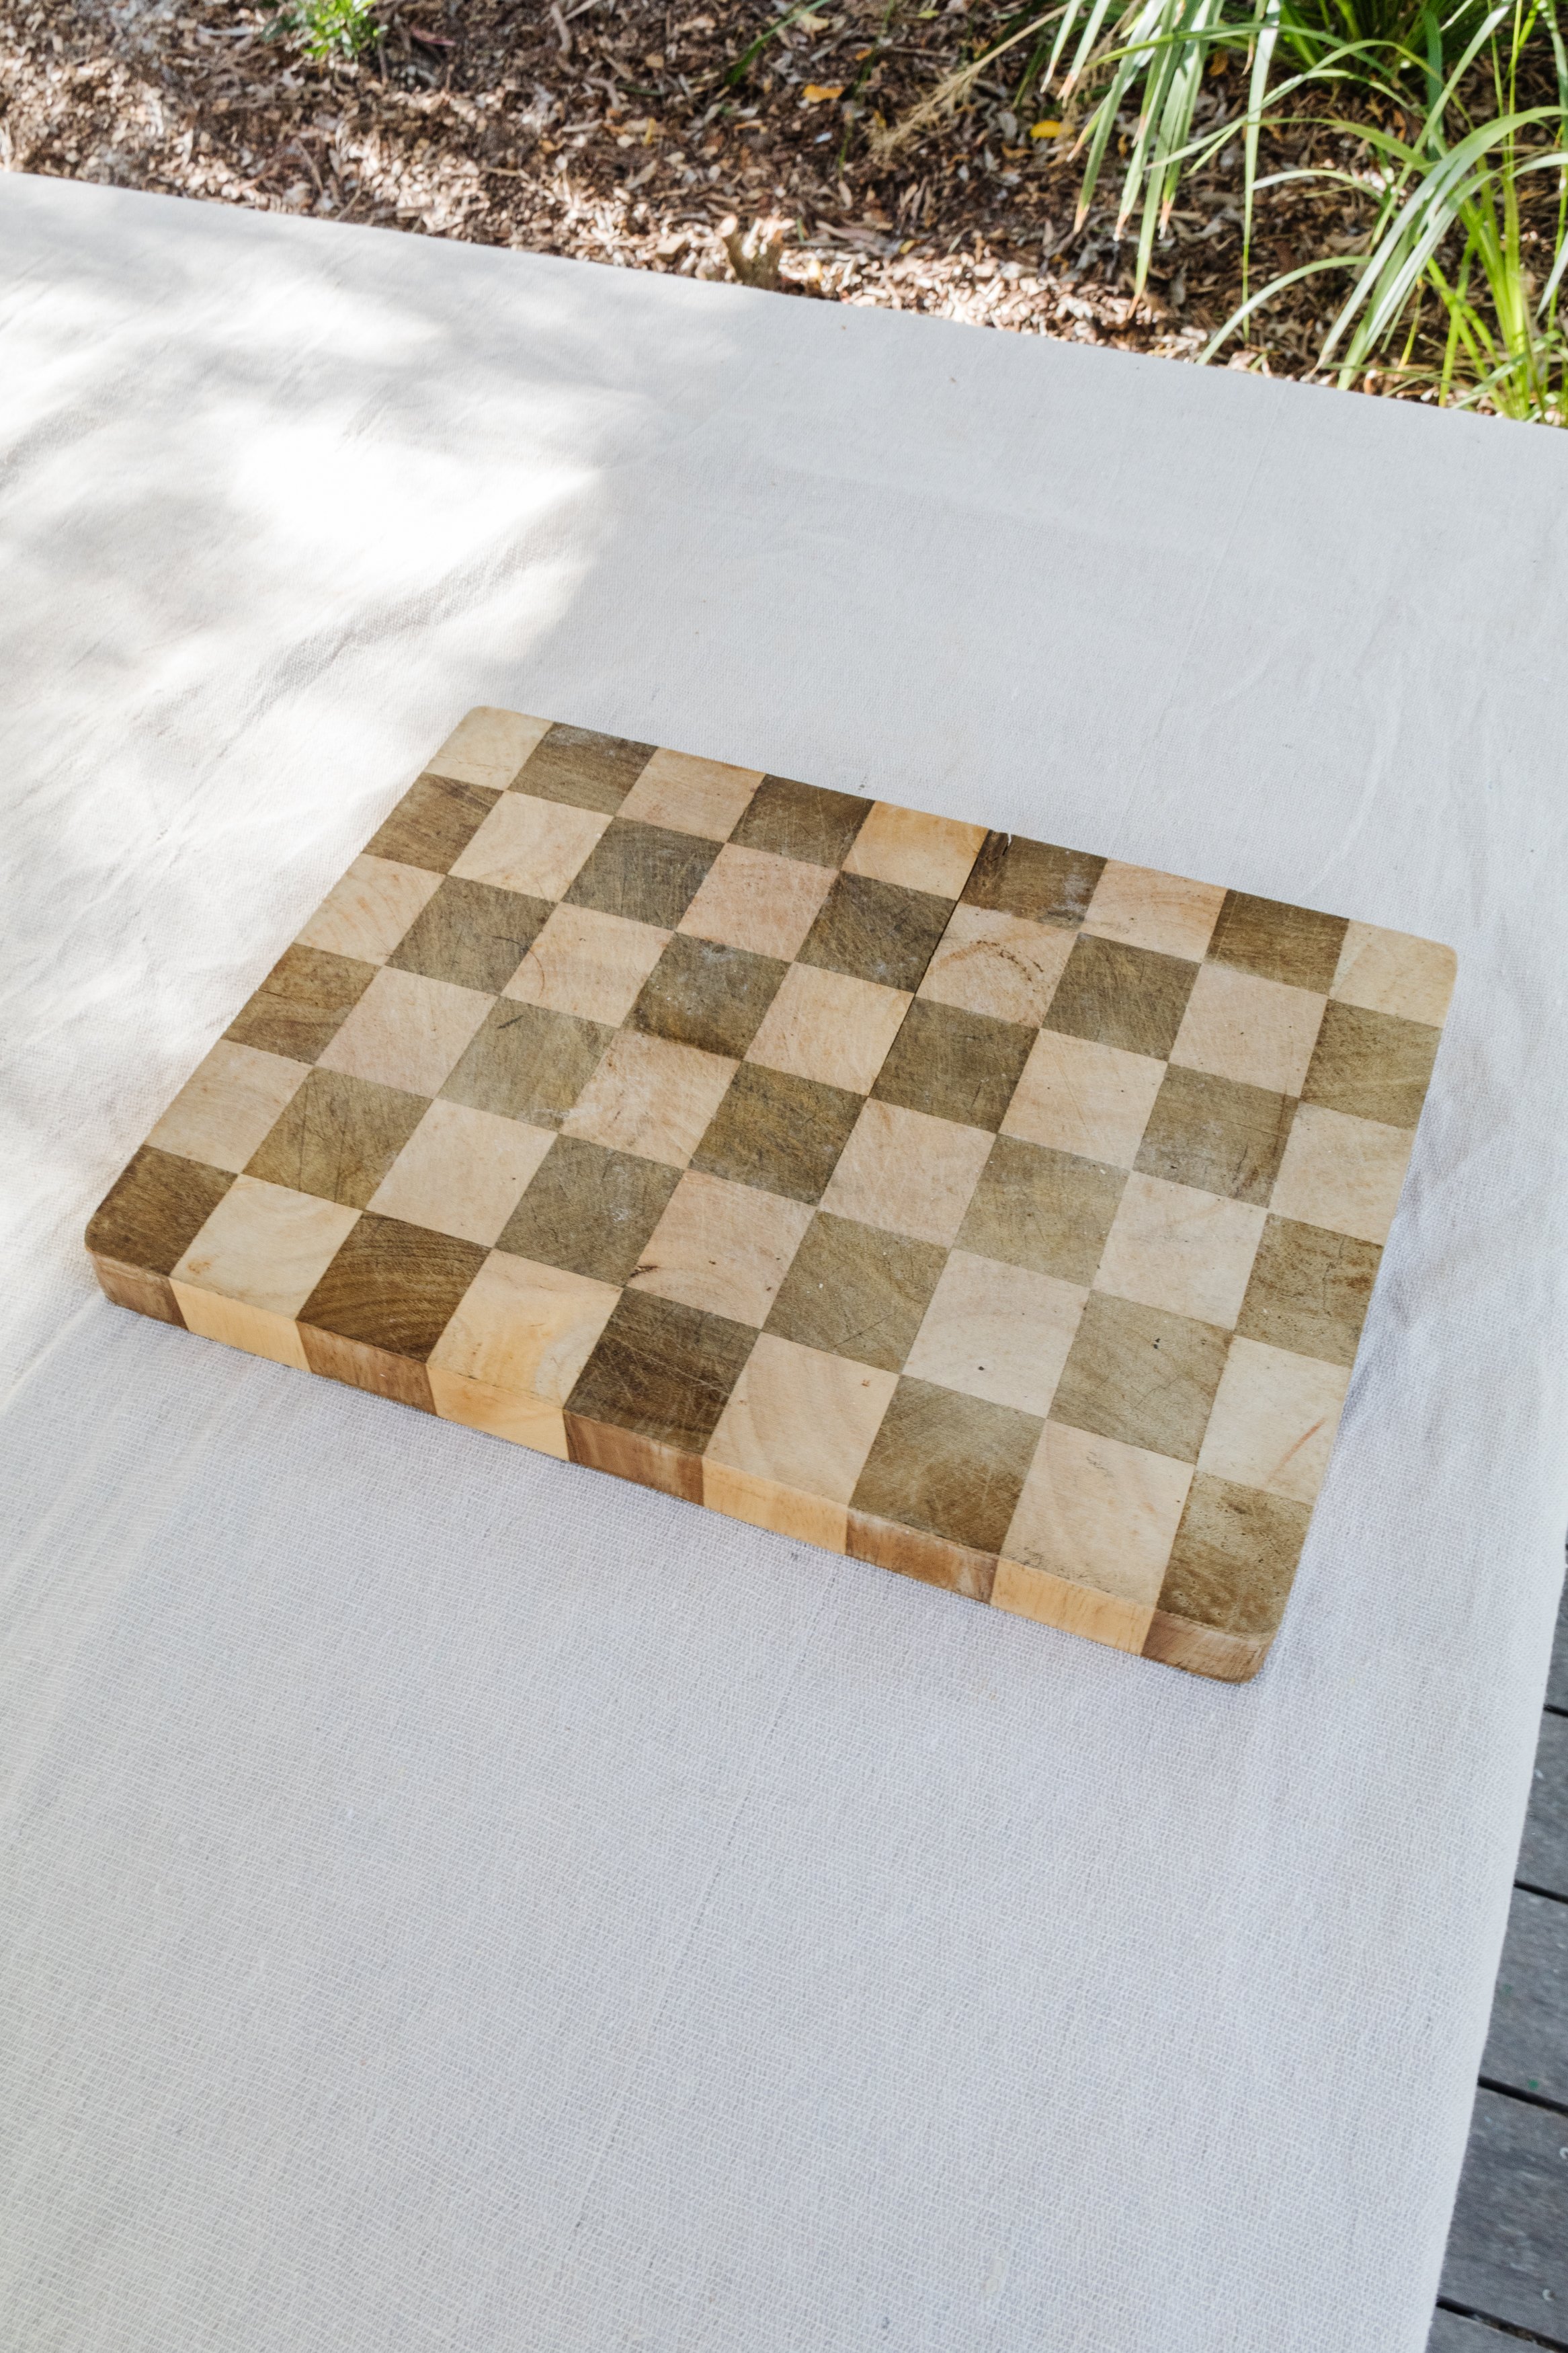
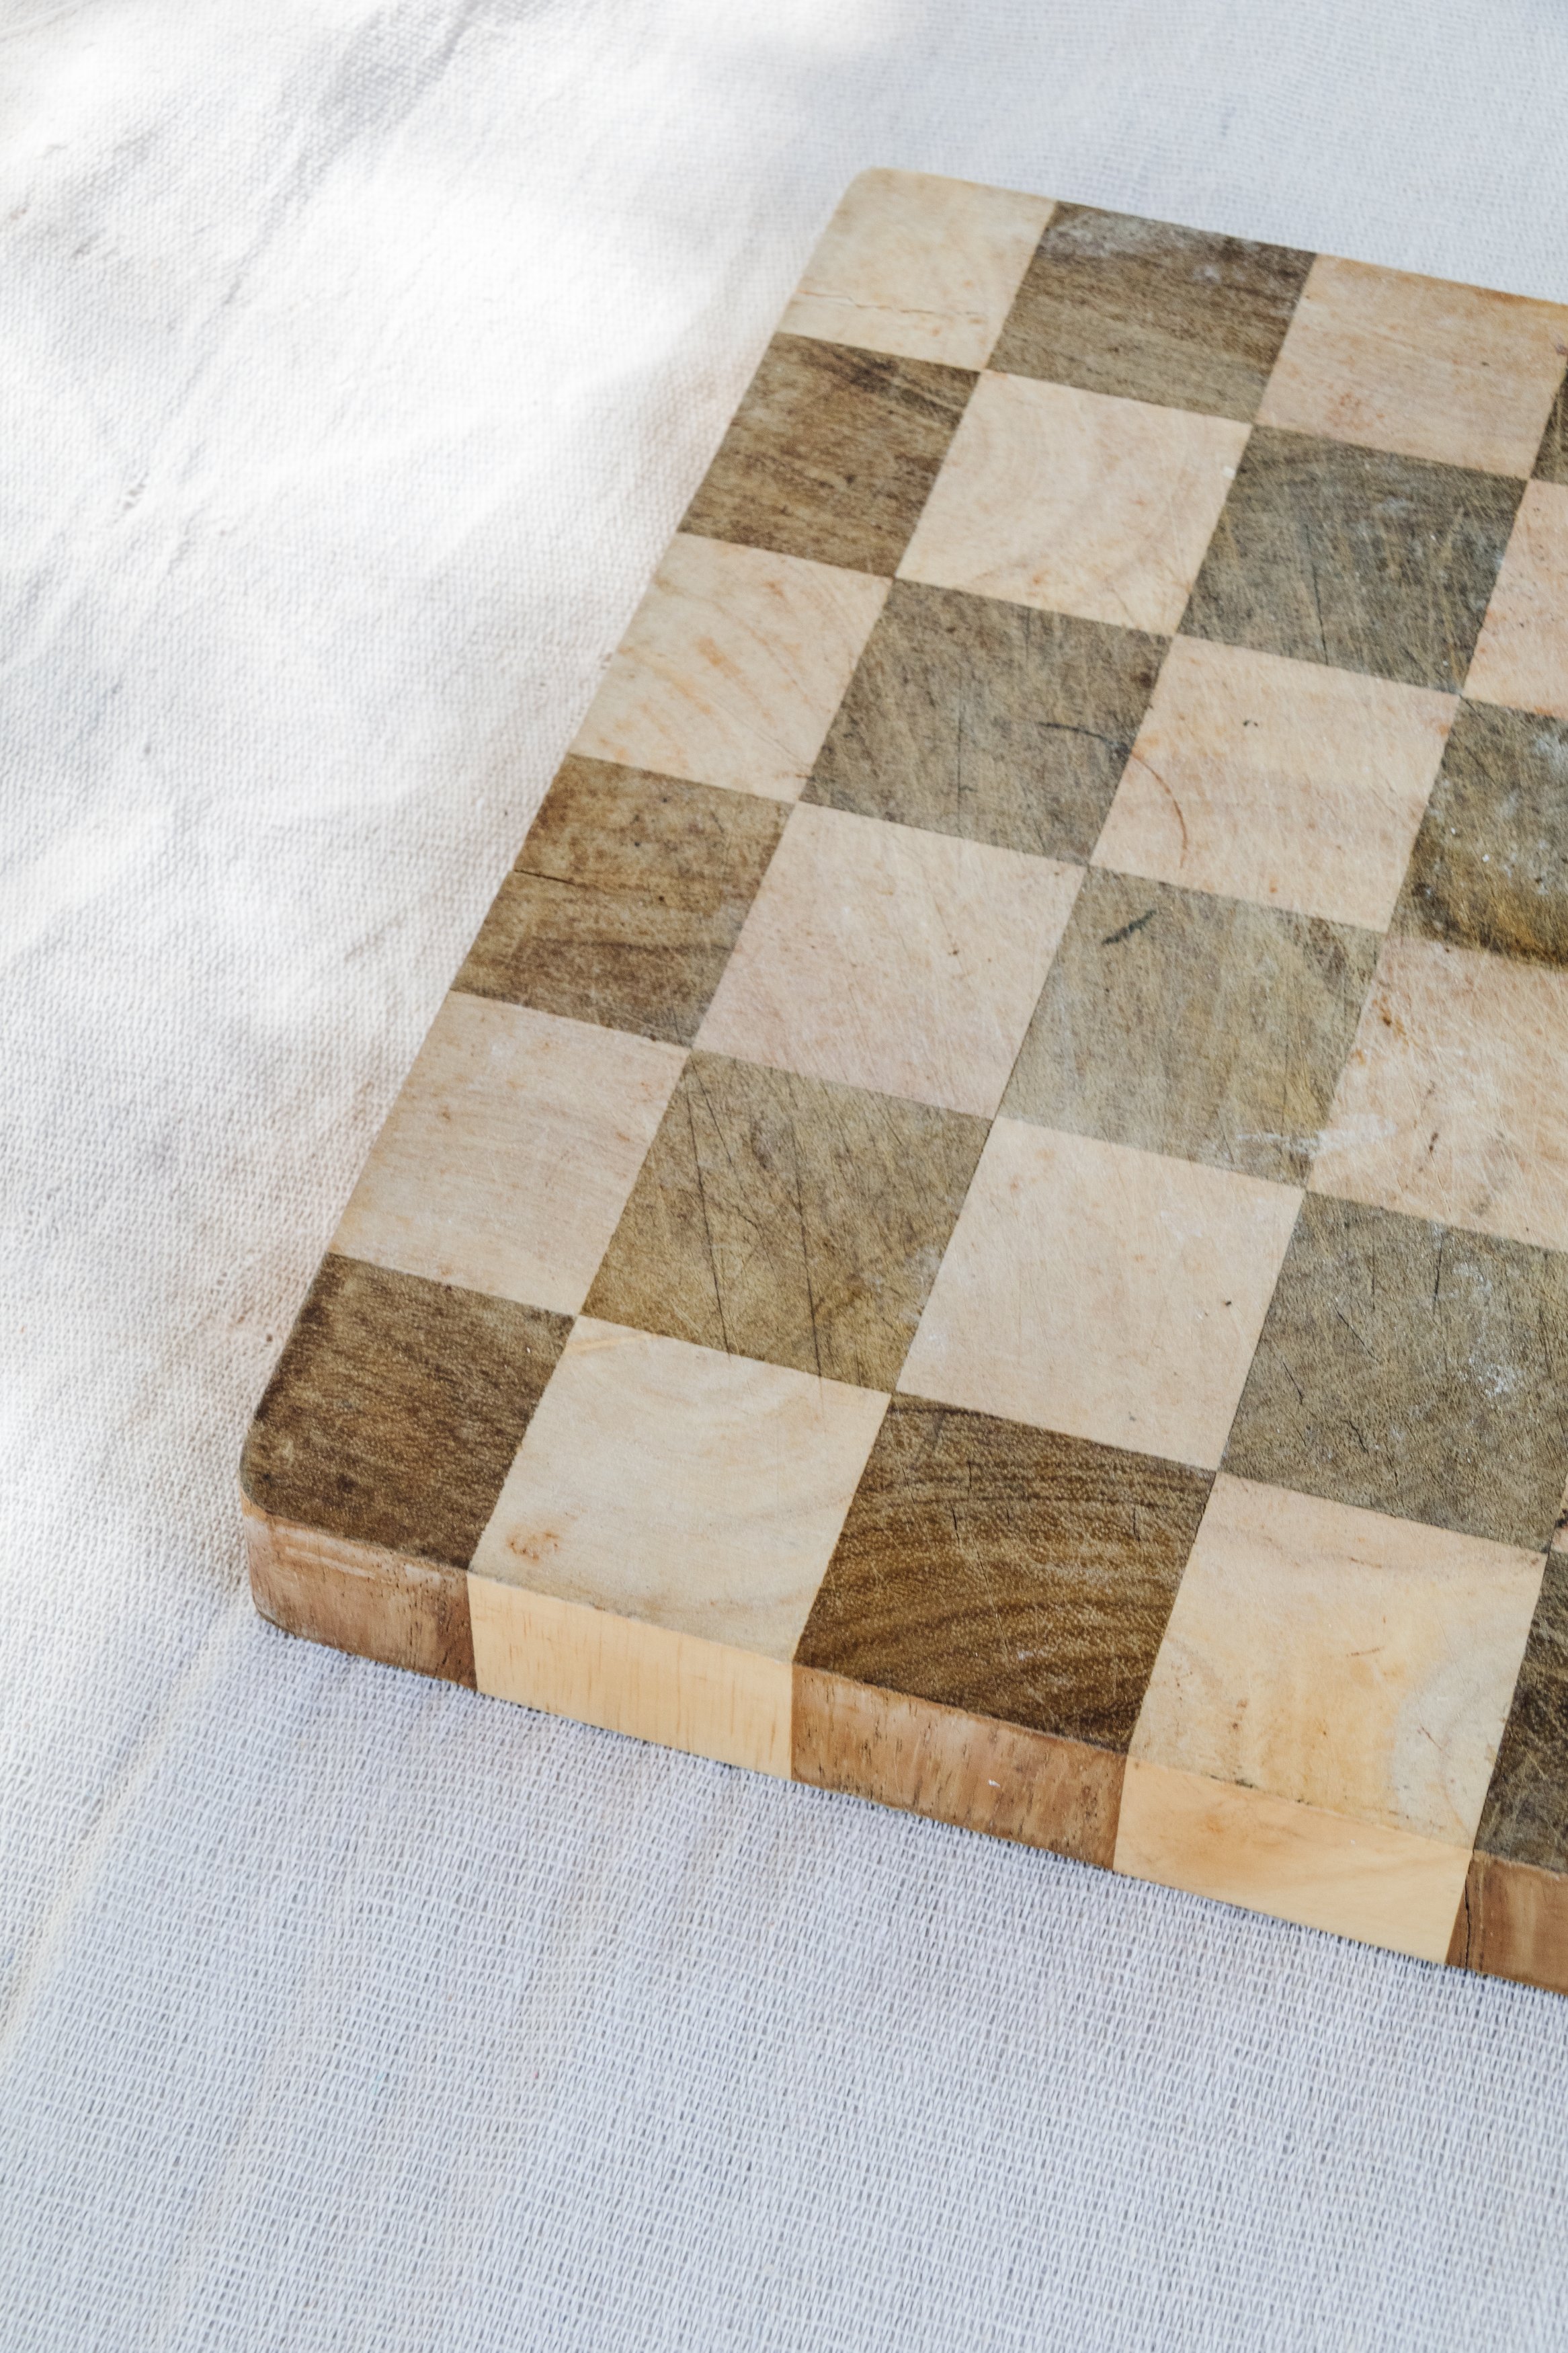
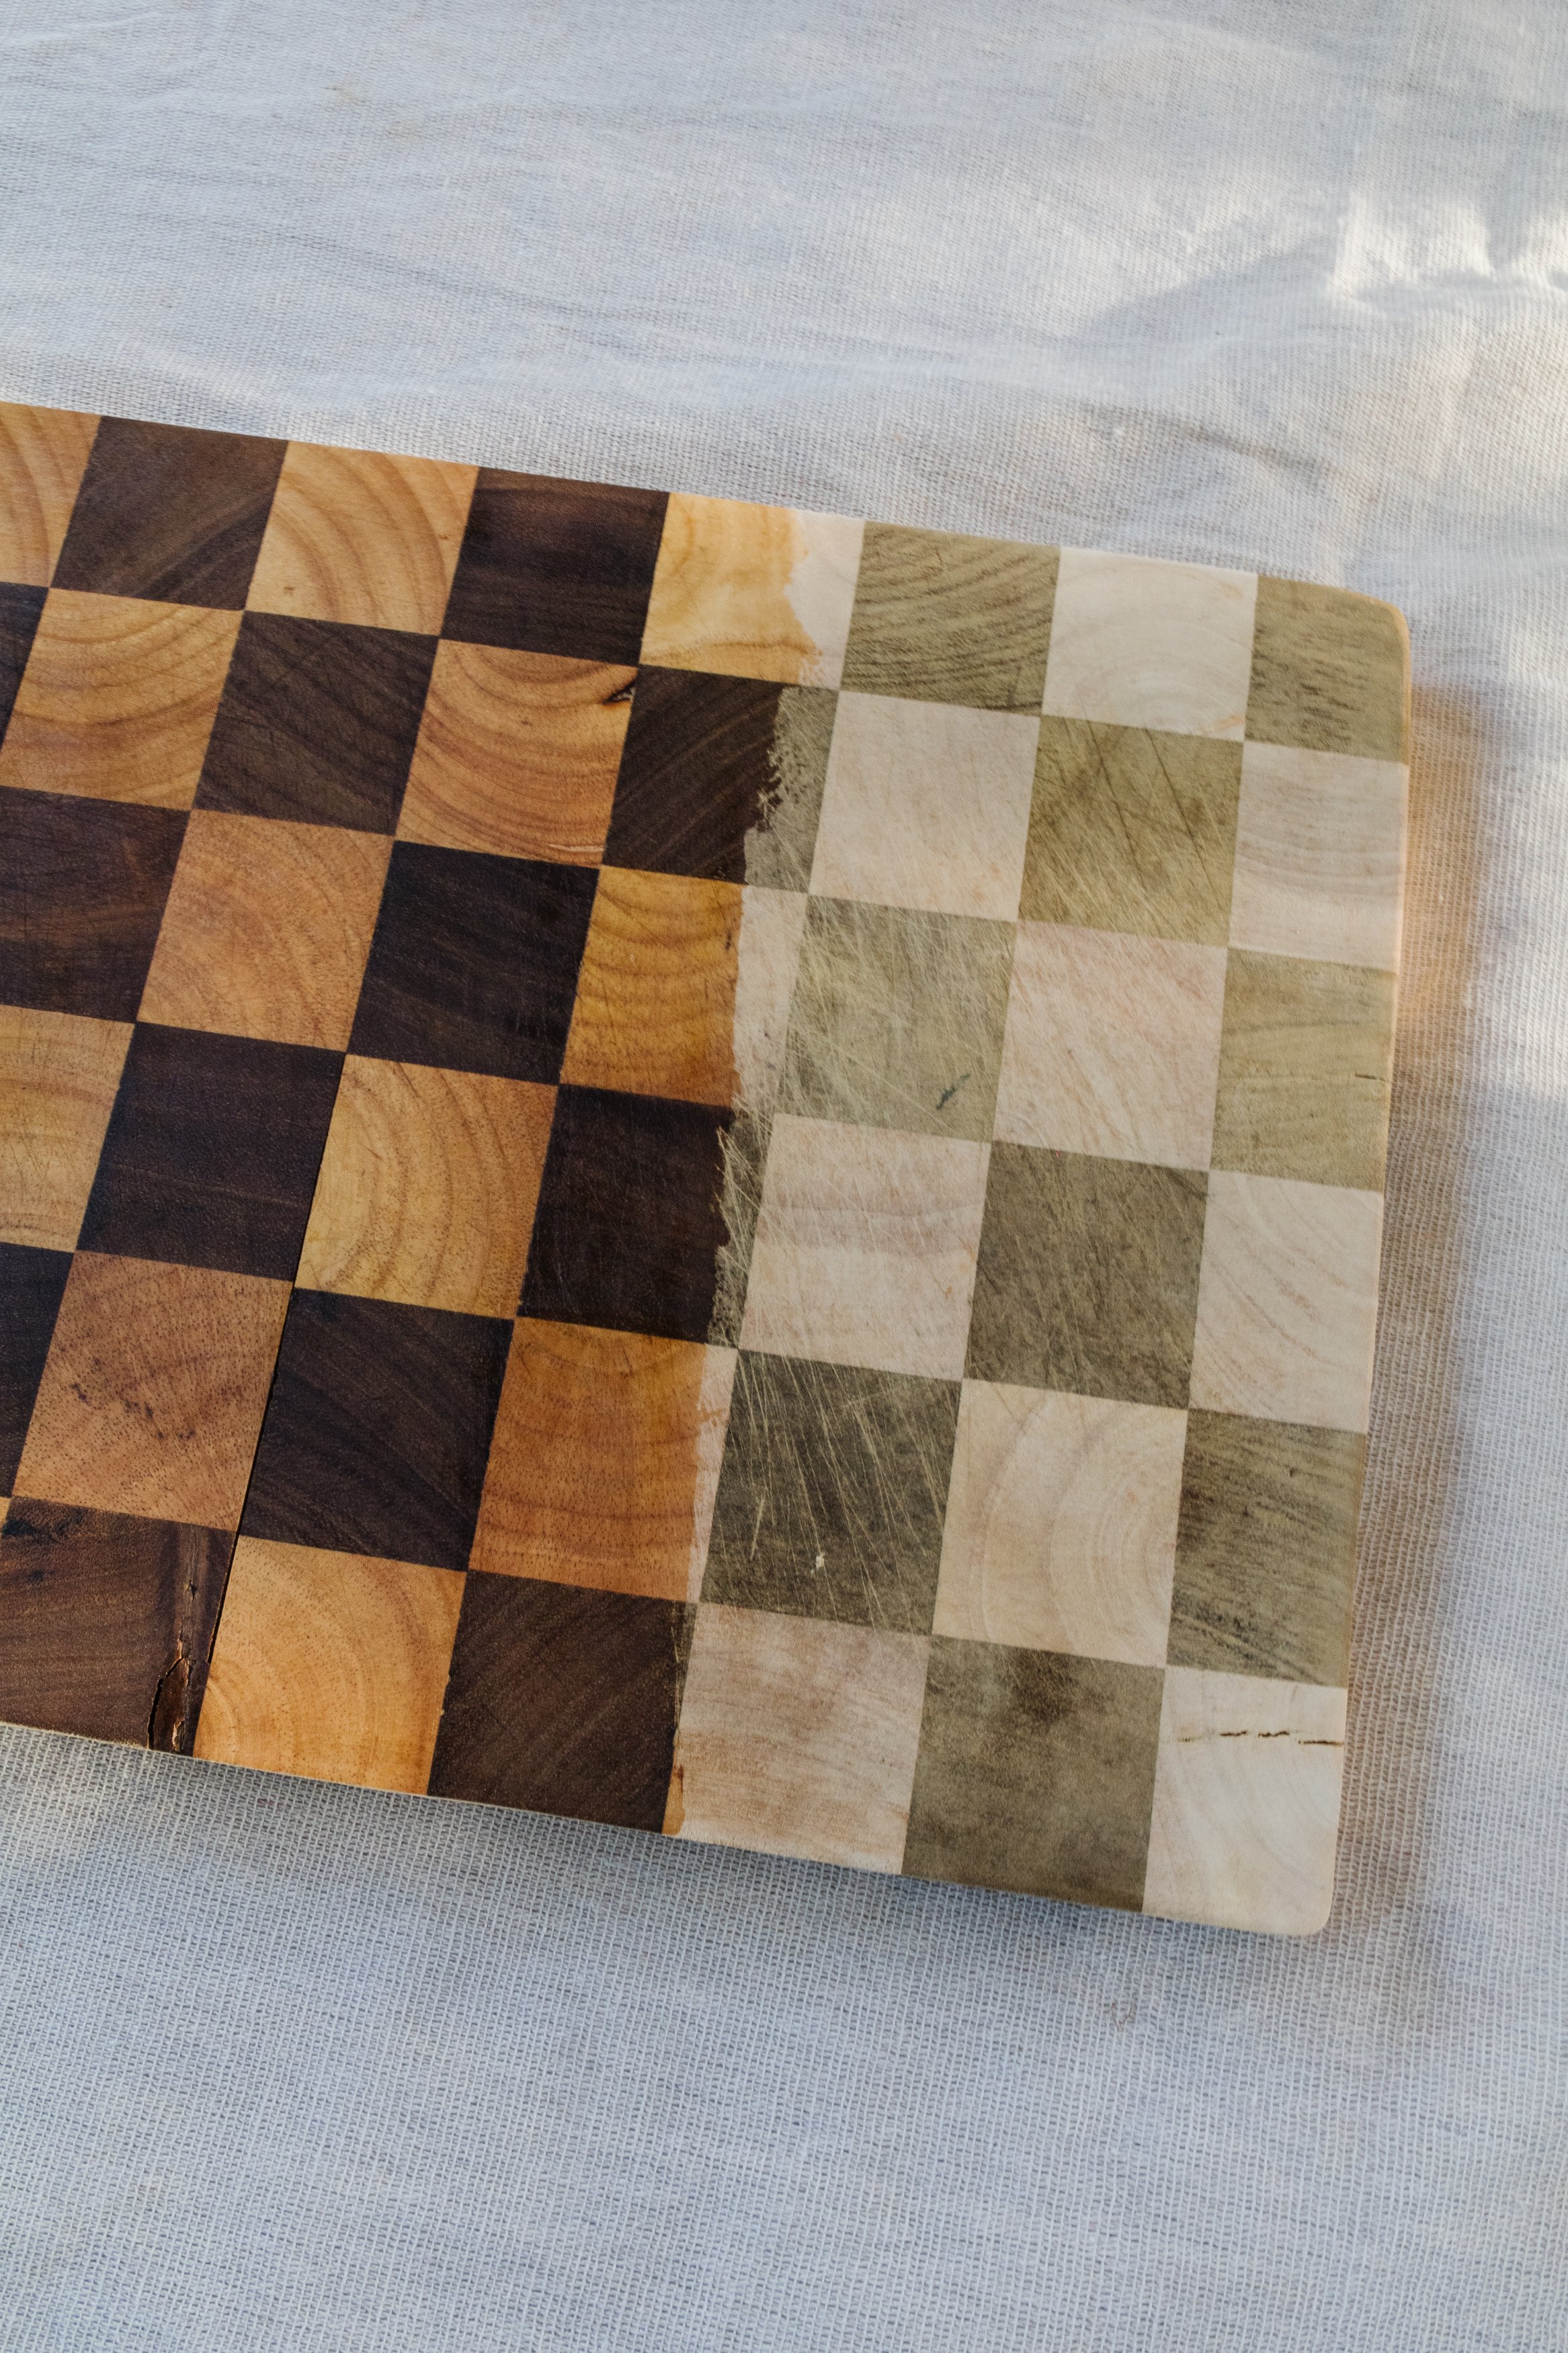
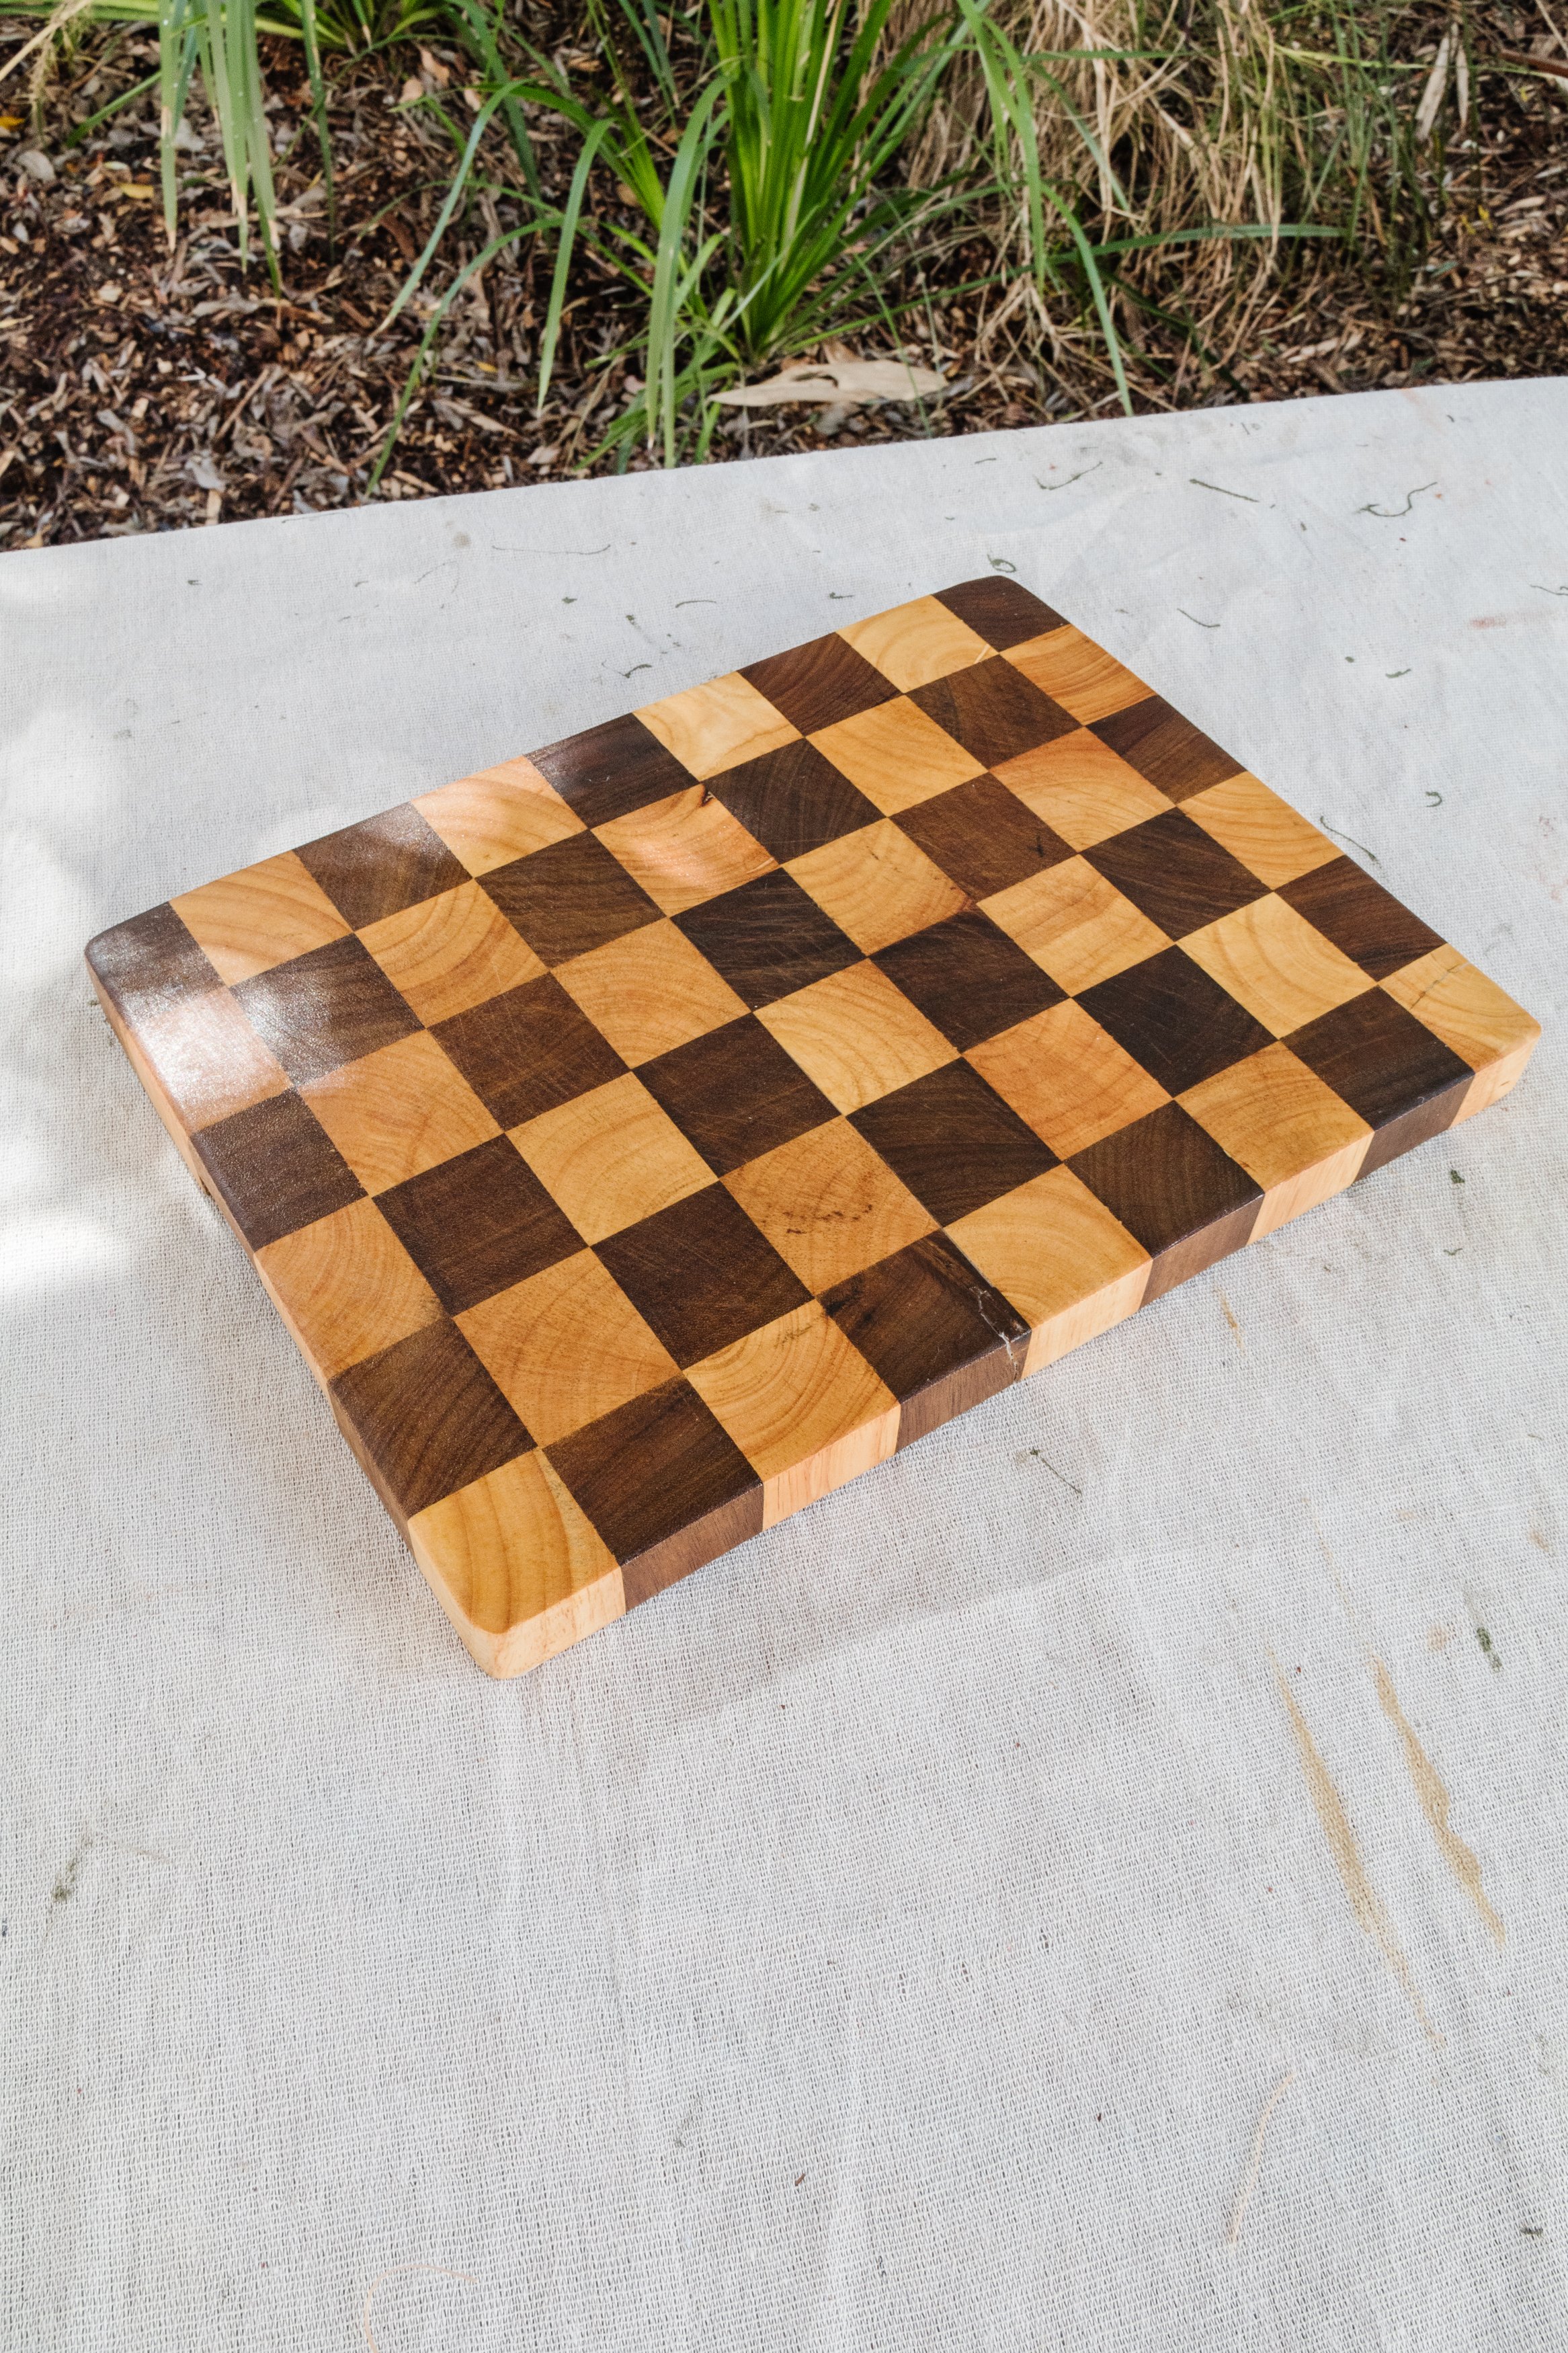
A little while ago I found a beautiful checker wooden chopping board at a charity shop for $1 and I’m not going to lie, it was in very poor condition - gross even. But I fell madly in love with the checker timber pattern and could see the potential. After doing lots of research, I discovered it’s possible to revive a wooden chopping board as long as you use food safe materials. Enter: Feast Watson! They have a range of natural products perfectly designed to use on timber in kitchens, such as benches and chopping boards, that are safe to use around food. How good!
And make sure to watch this step by step video.
Before & After

Project Details
♻️ Restoring: A Chopping Board
🕒 Project Time Estimate: x hours
💰 Materials Cost: $x
Tools
Detail sander with 80 grit and 120 grit sandpaper sheets
2 clean microfibre cloths

How To
Step 1: To begin with, I cleaned the chopping board using hot soapy water and then I allowed it to air dry.
Step 2: I wanted to smooth the timber chopping board as much as I could, so I used my detail sander with 80 grit sandpaper to do this. In doing so, I also removed the existing sealant/varnish that was on the board in some areas. Then I went over the timber again with 120 grit sandpaper to smooth the surface even more.

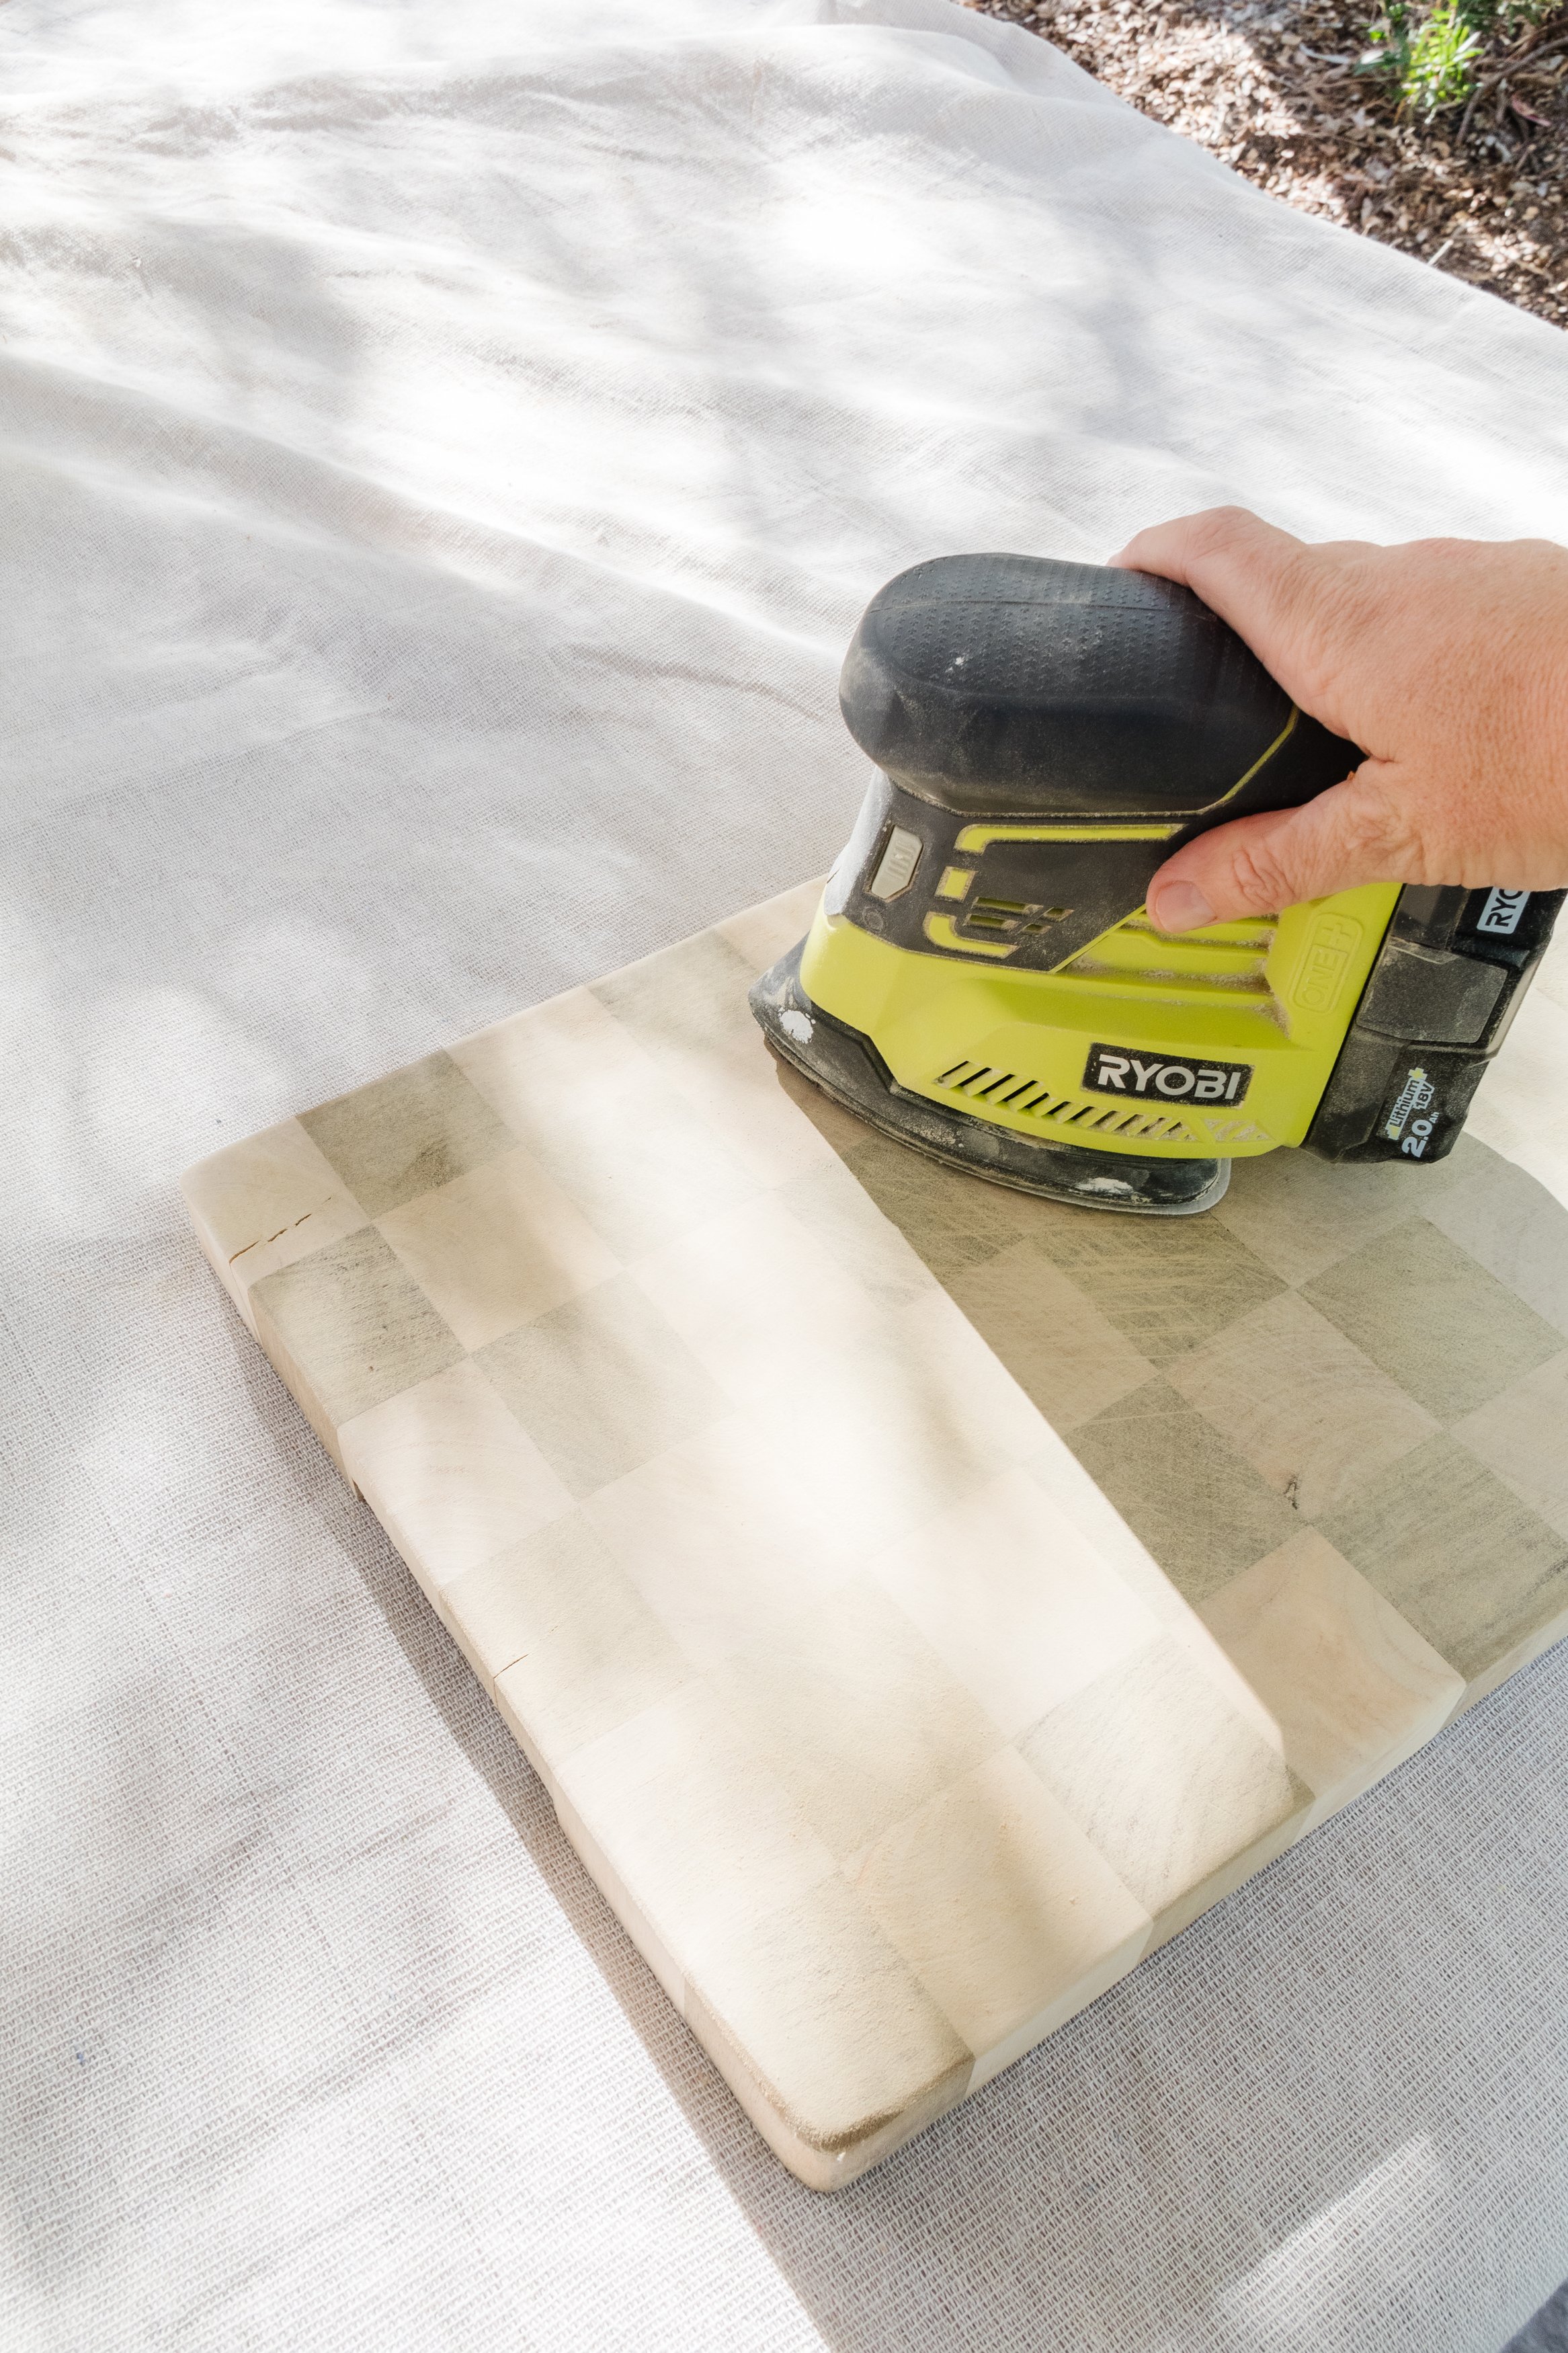
Step 3: I “raised the grain” by wiping it all over with a damp cloth soaked in water. The water will be absorbed into the wood and will assist in making the fibrous grain lines to expand and push out tiny fibres from sanding. I allowed it to air dry and after this, the chopping board was clean, dry and stripped back to it’s raw state.
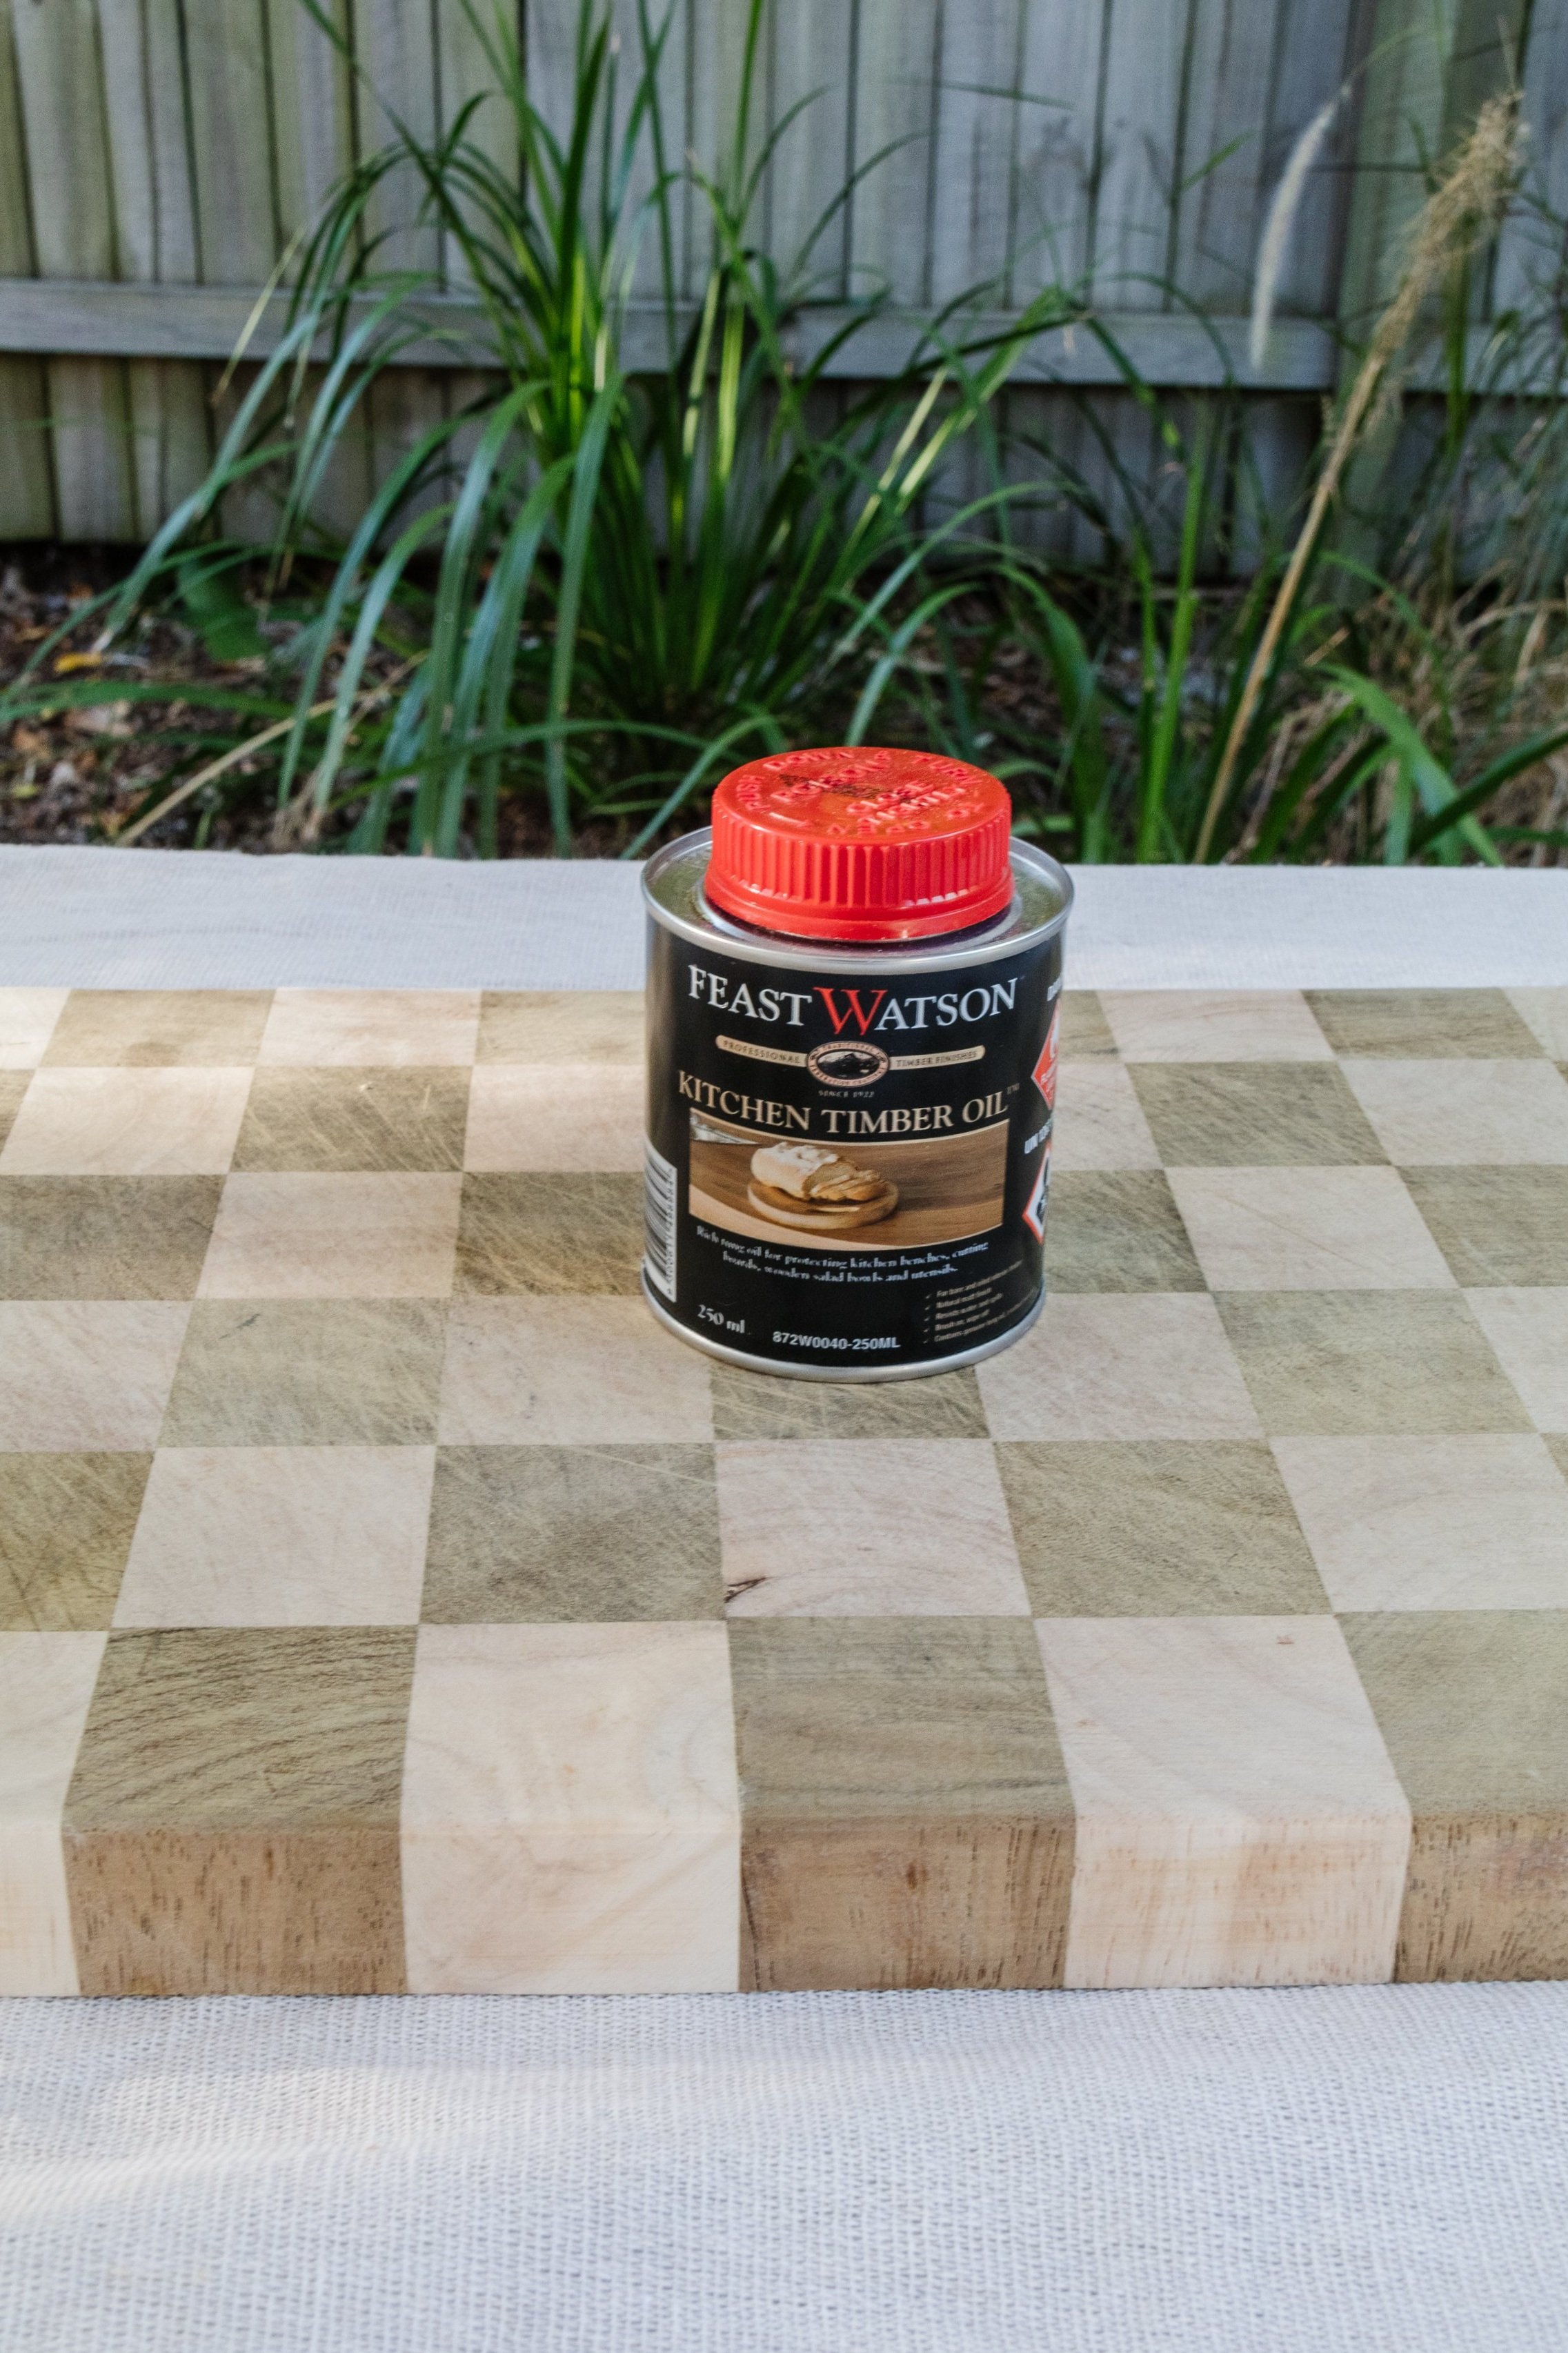
Step 4: The next step is to replenish the oils in the wood. Using a mircofibre cloth, I applied a liberal coat of Feast Watson’s Kitchen Timber Oil (which I stirred gently before using) all over the chopping board, while ensuring it was evenly covered. I noticed some of the timber checkers absorbed the oil more, but I wasn’t worried about this. I set the chopping board aside for an hour to allow for the oil to sink in properly before wiping any extra oil from the surface (there wasn’t much to be honest). I allowed 24 hours before applying repeating this step for the second coat, and waited another 24 hours for it to dry. Two coats is plenty.
Tip: If you’d like to add a stain to the Kitchen Timber Oil, you can - yay! Simply add up to a maximum of 10% Feast Watson Prooftint to the Kitchen Timber Oil.
Food Safety Note: Ensure that surfaces have thoroughly dried before exposing to food. Kitchen Timber Oil contains oil from tree nuts.
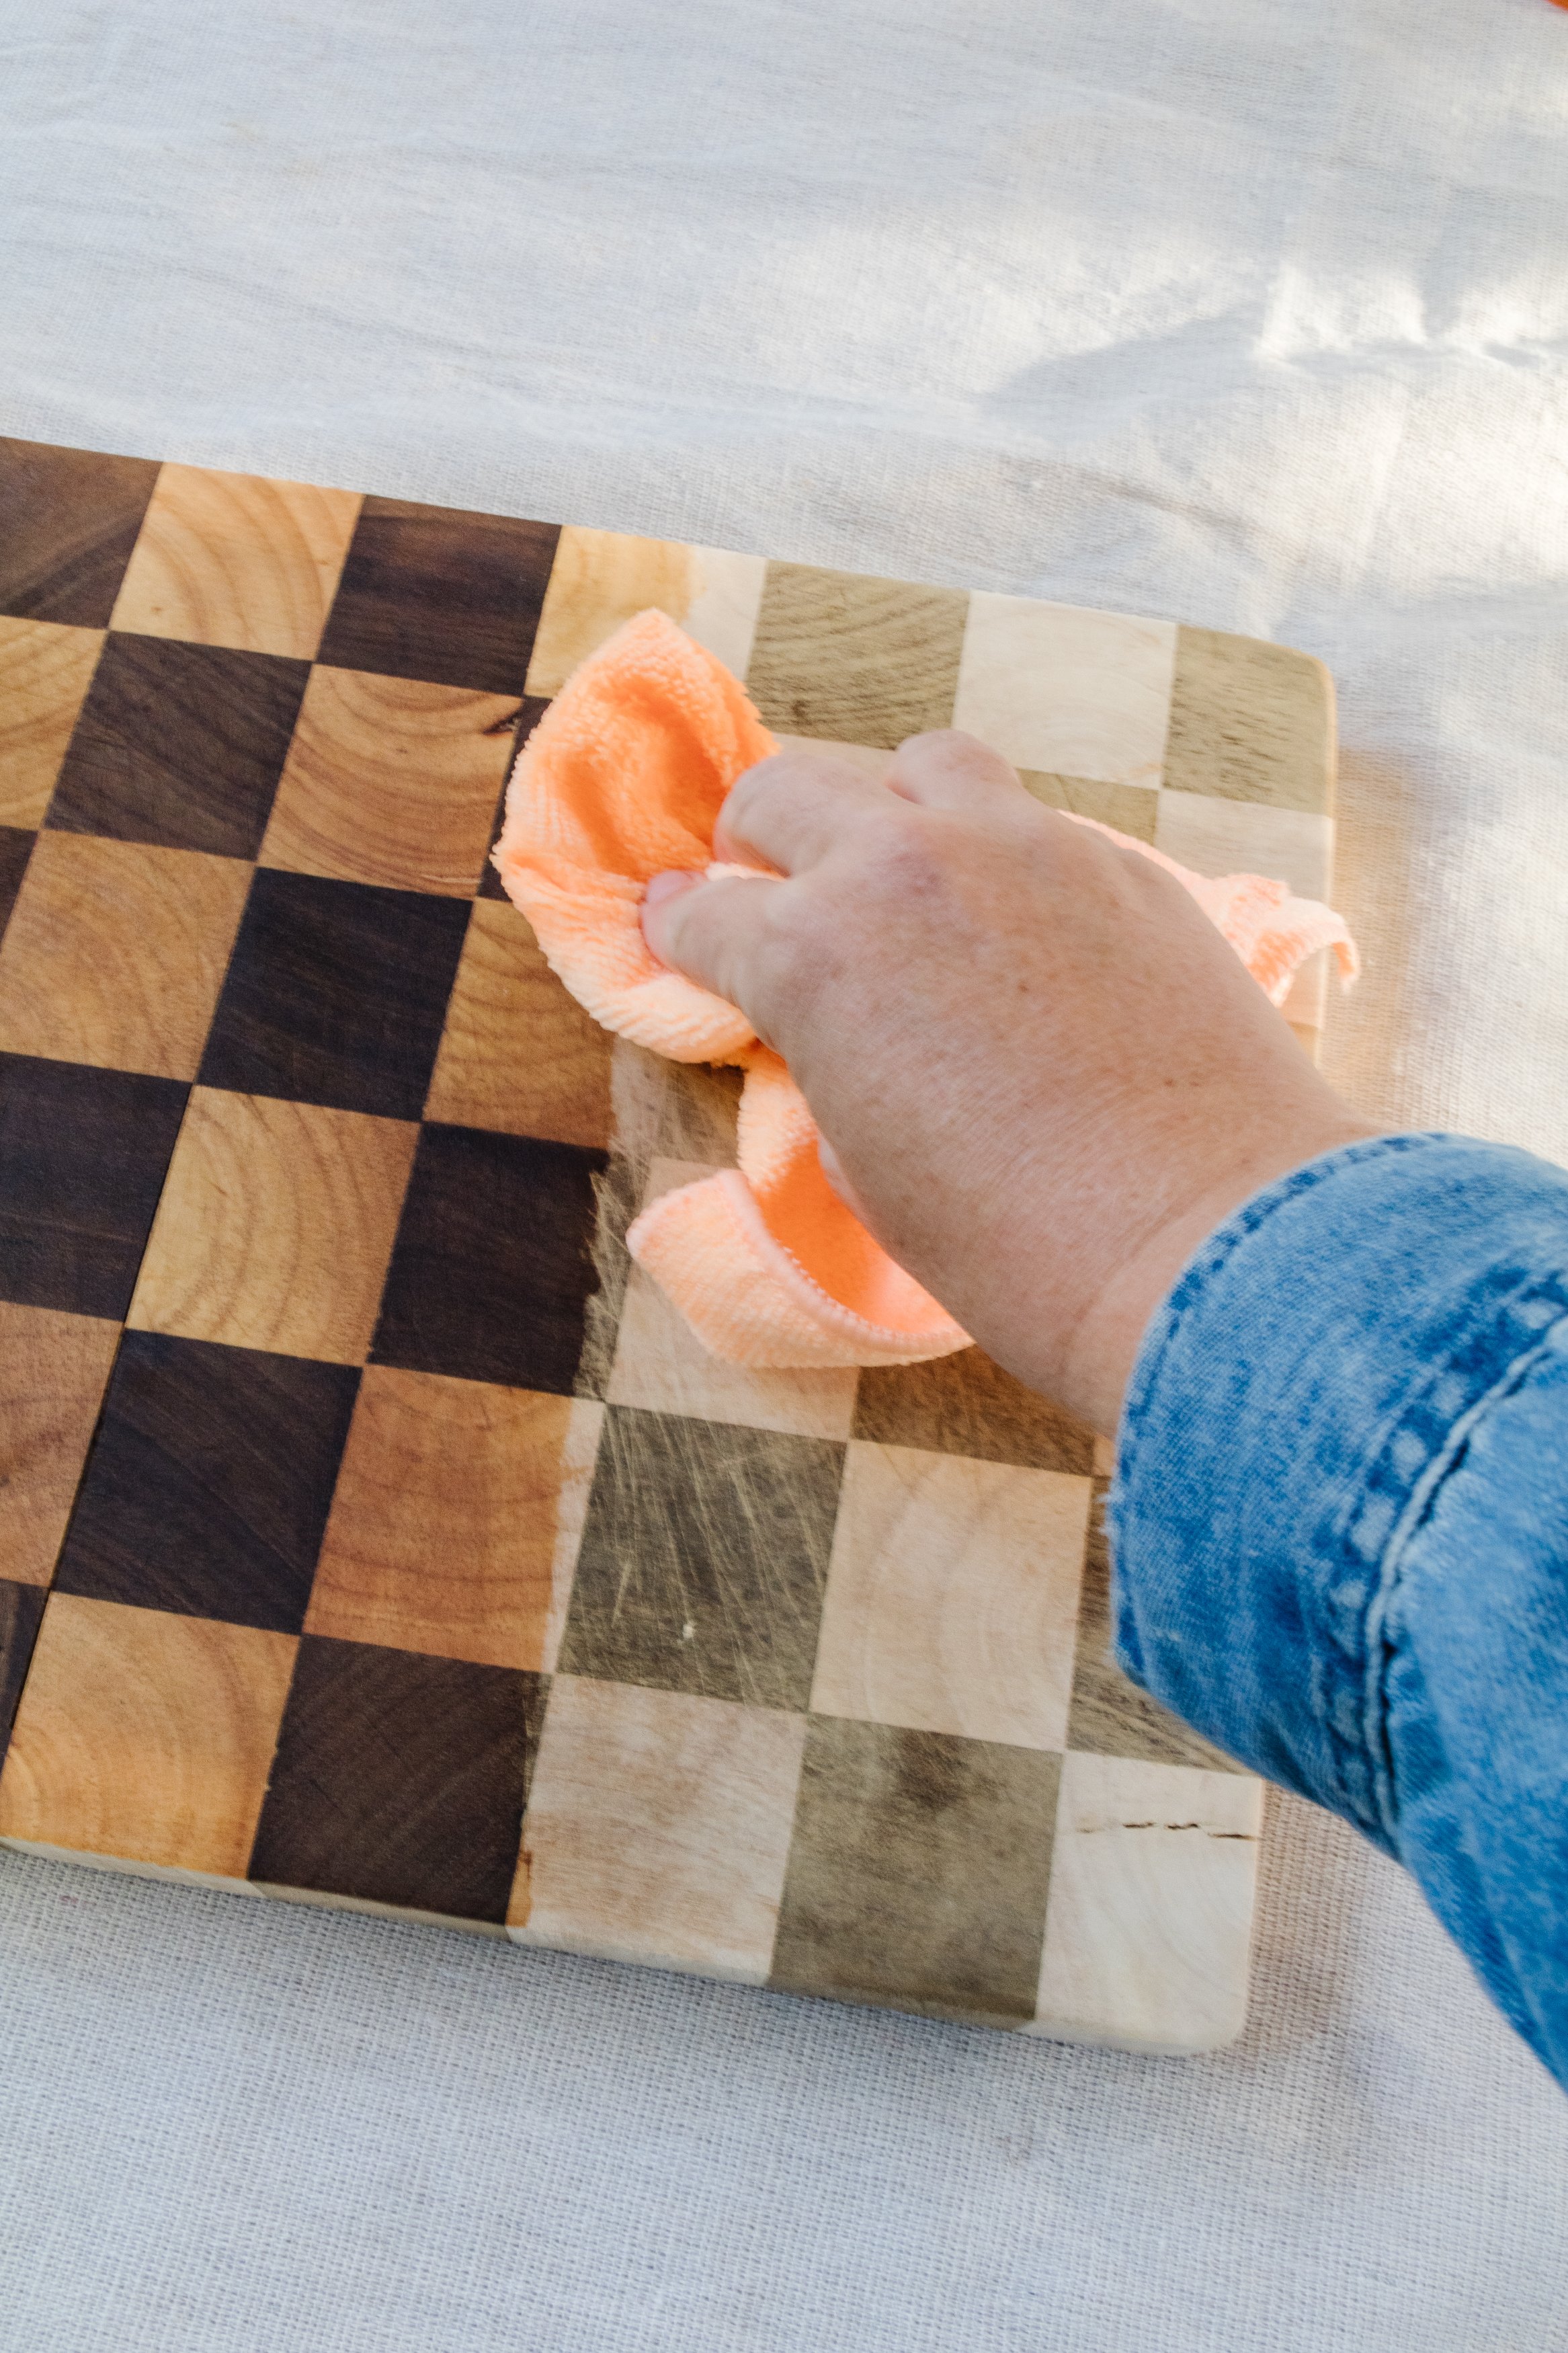
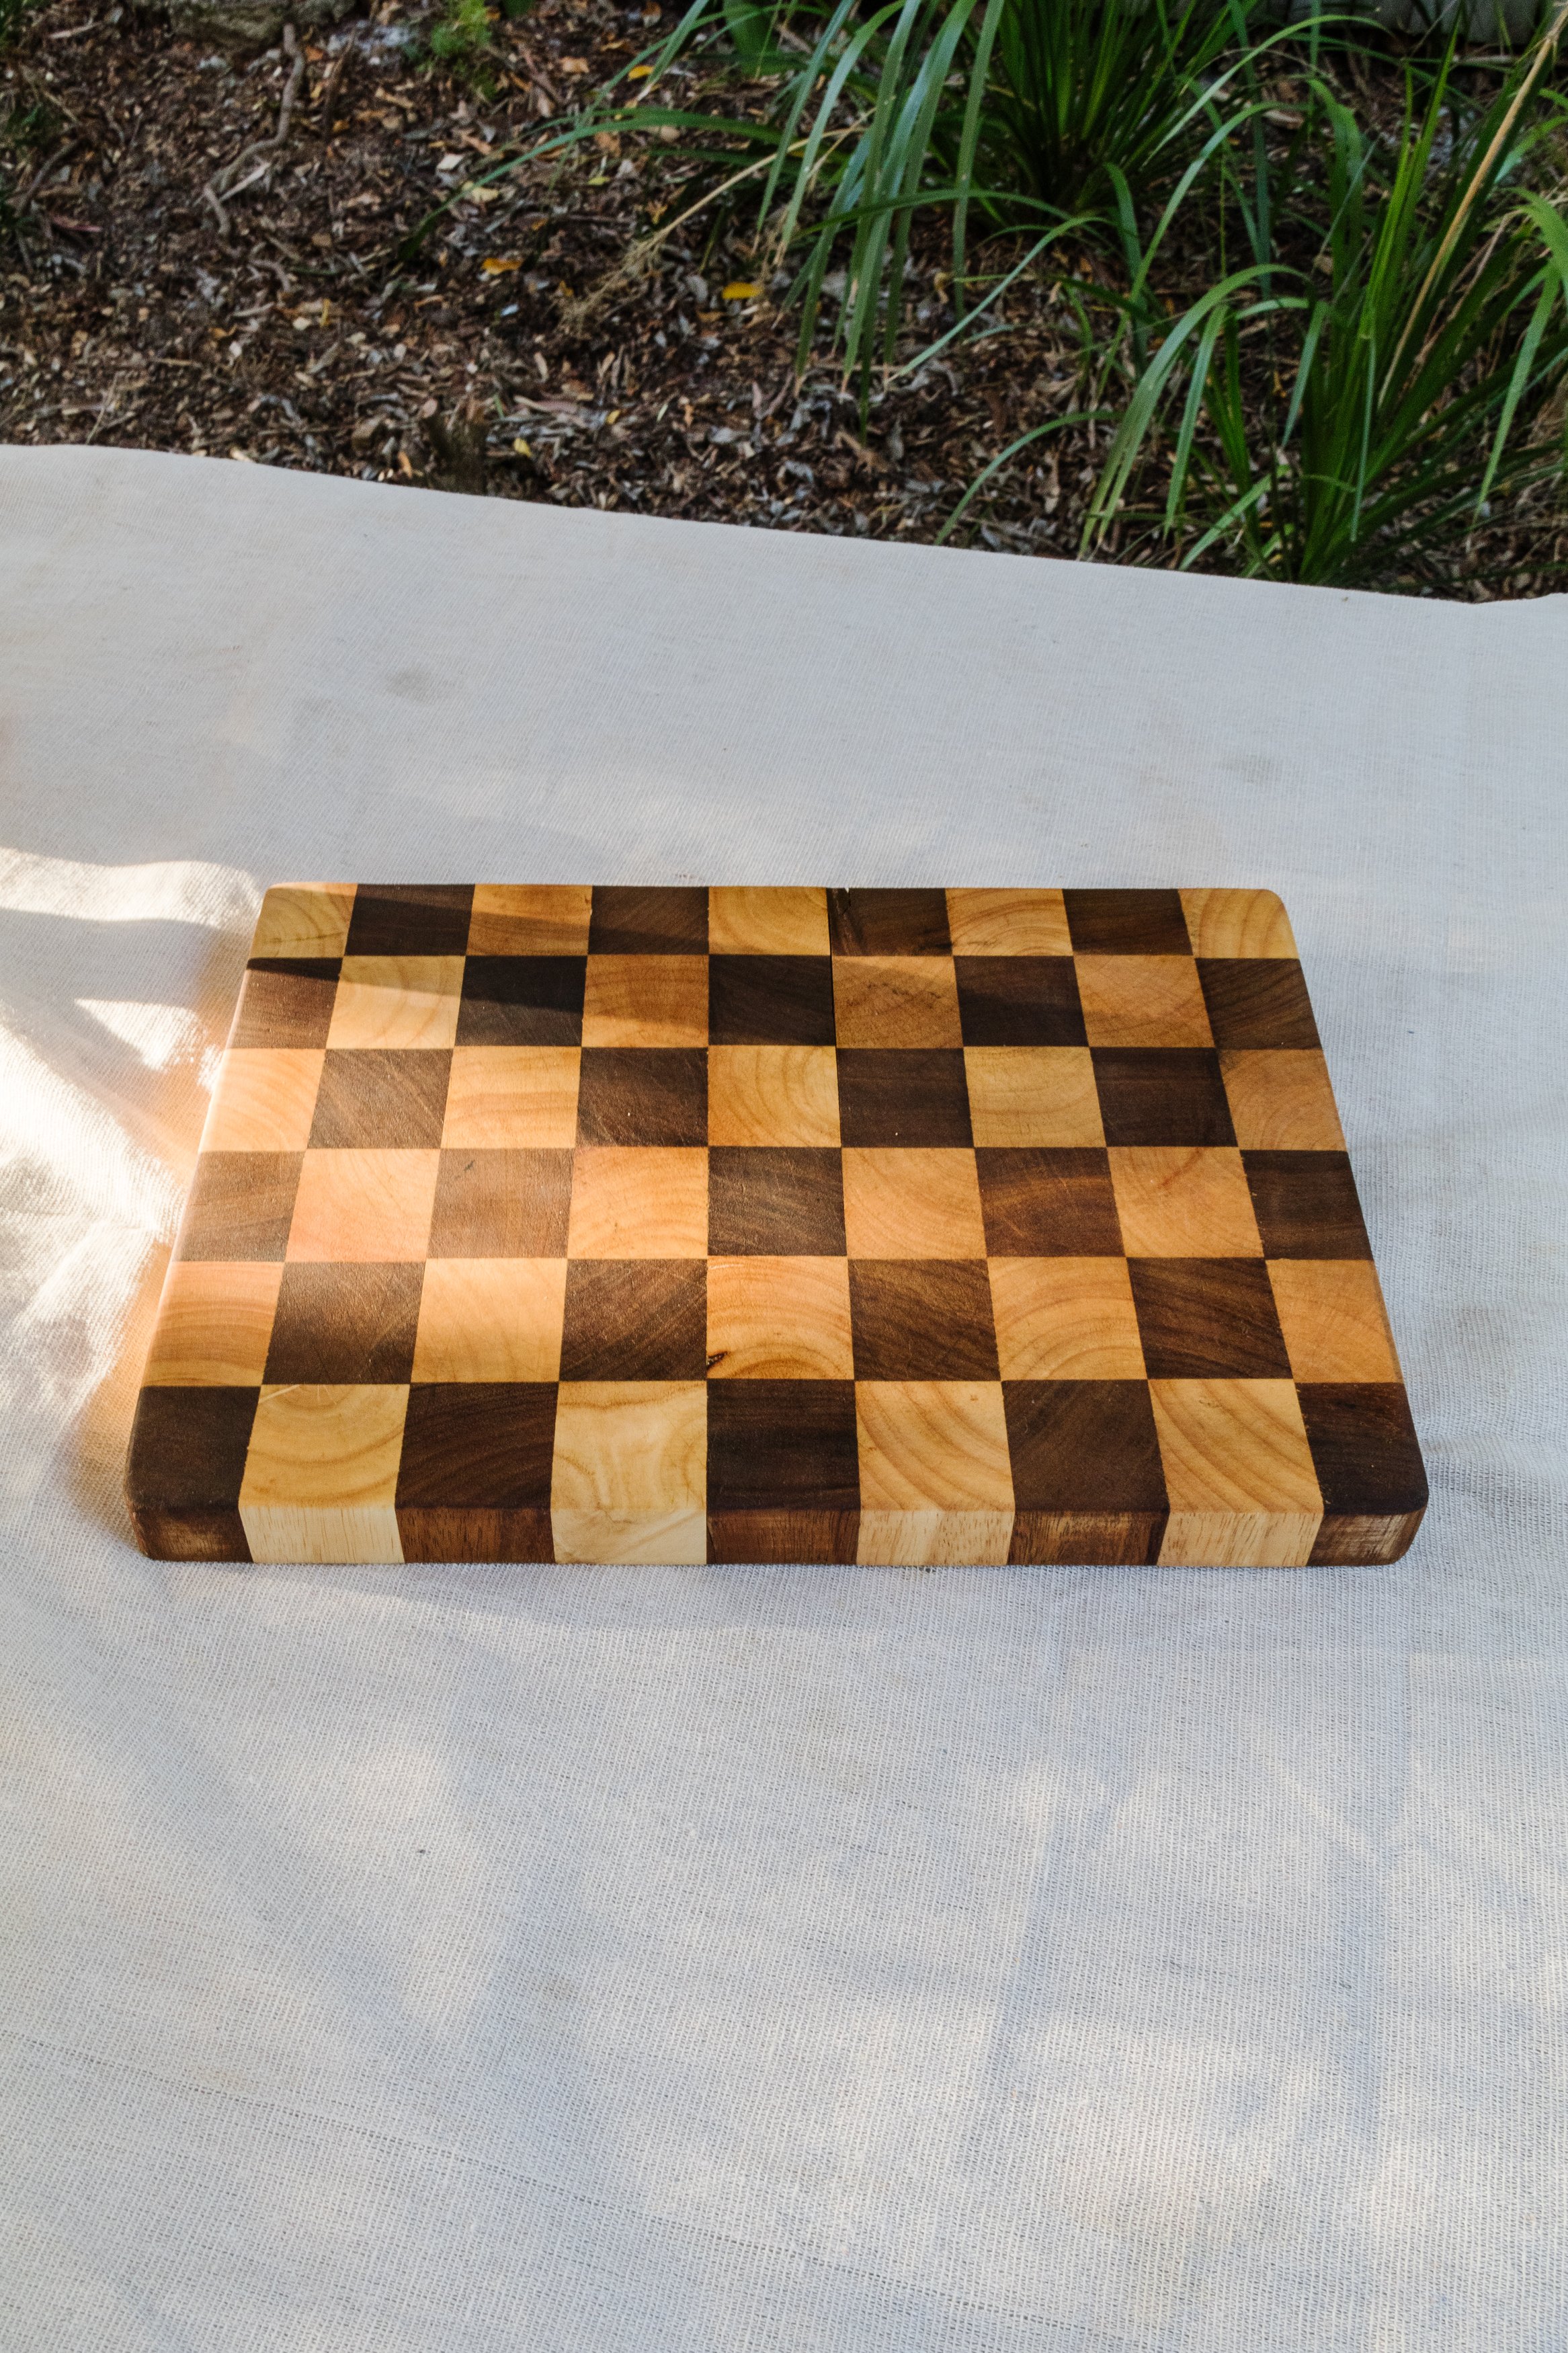
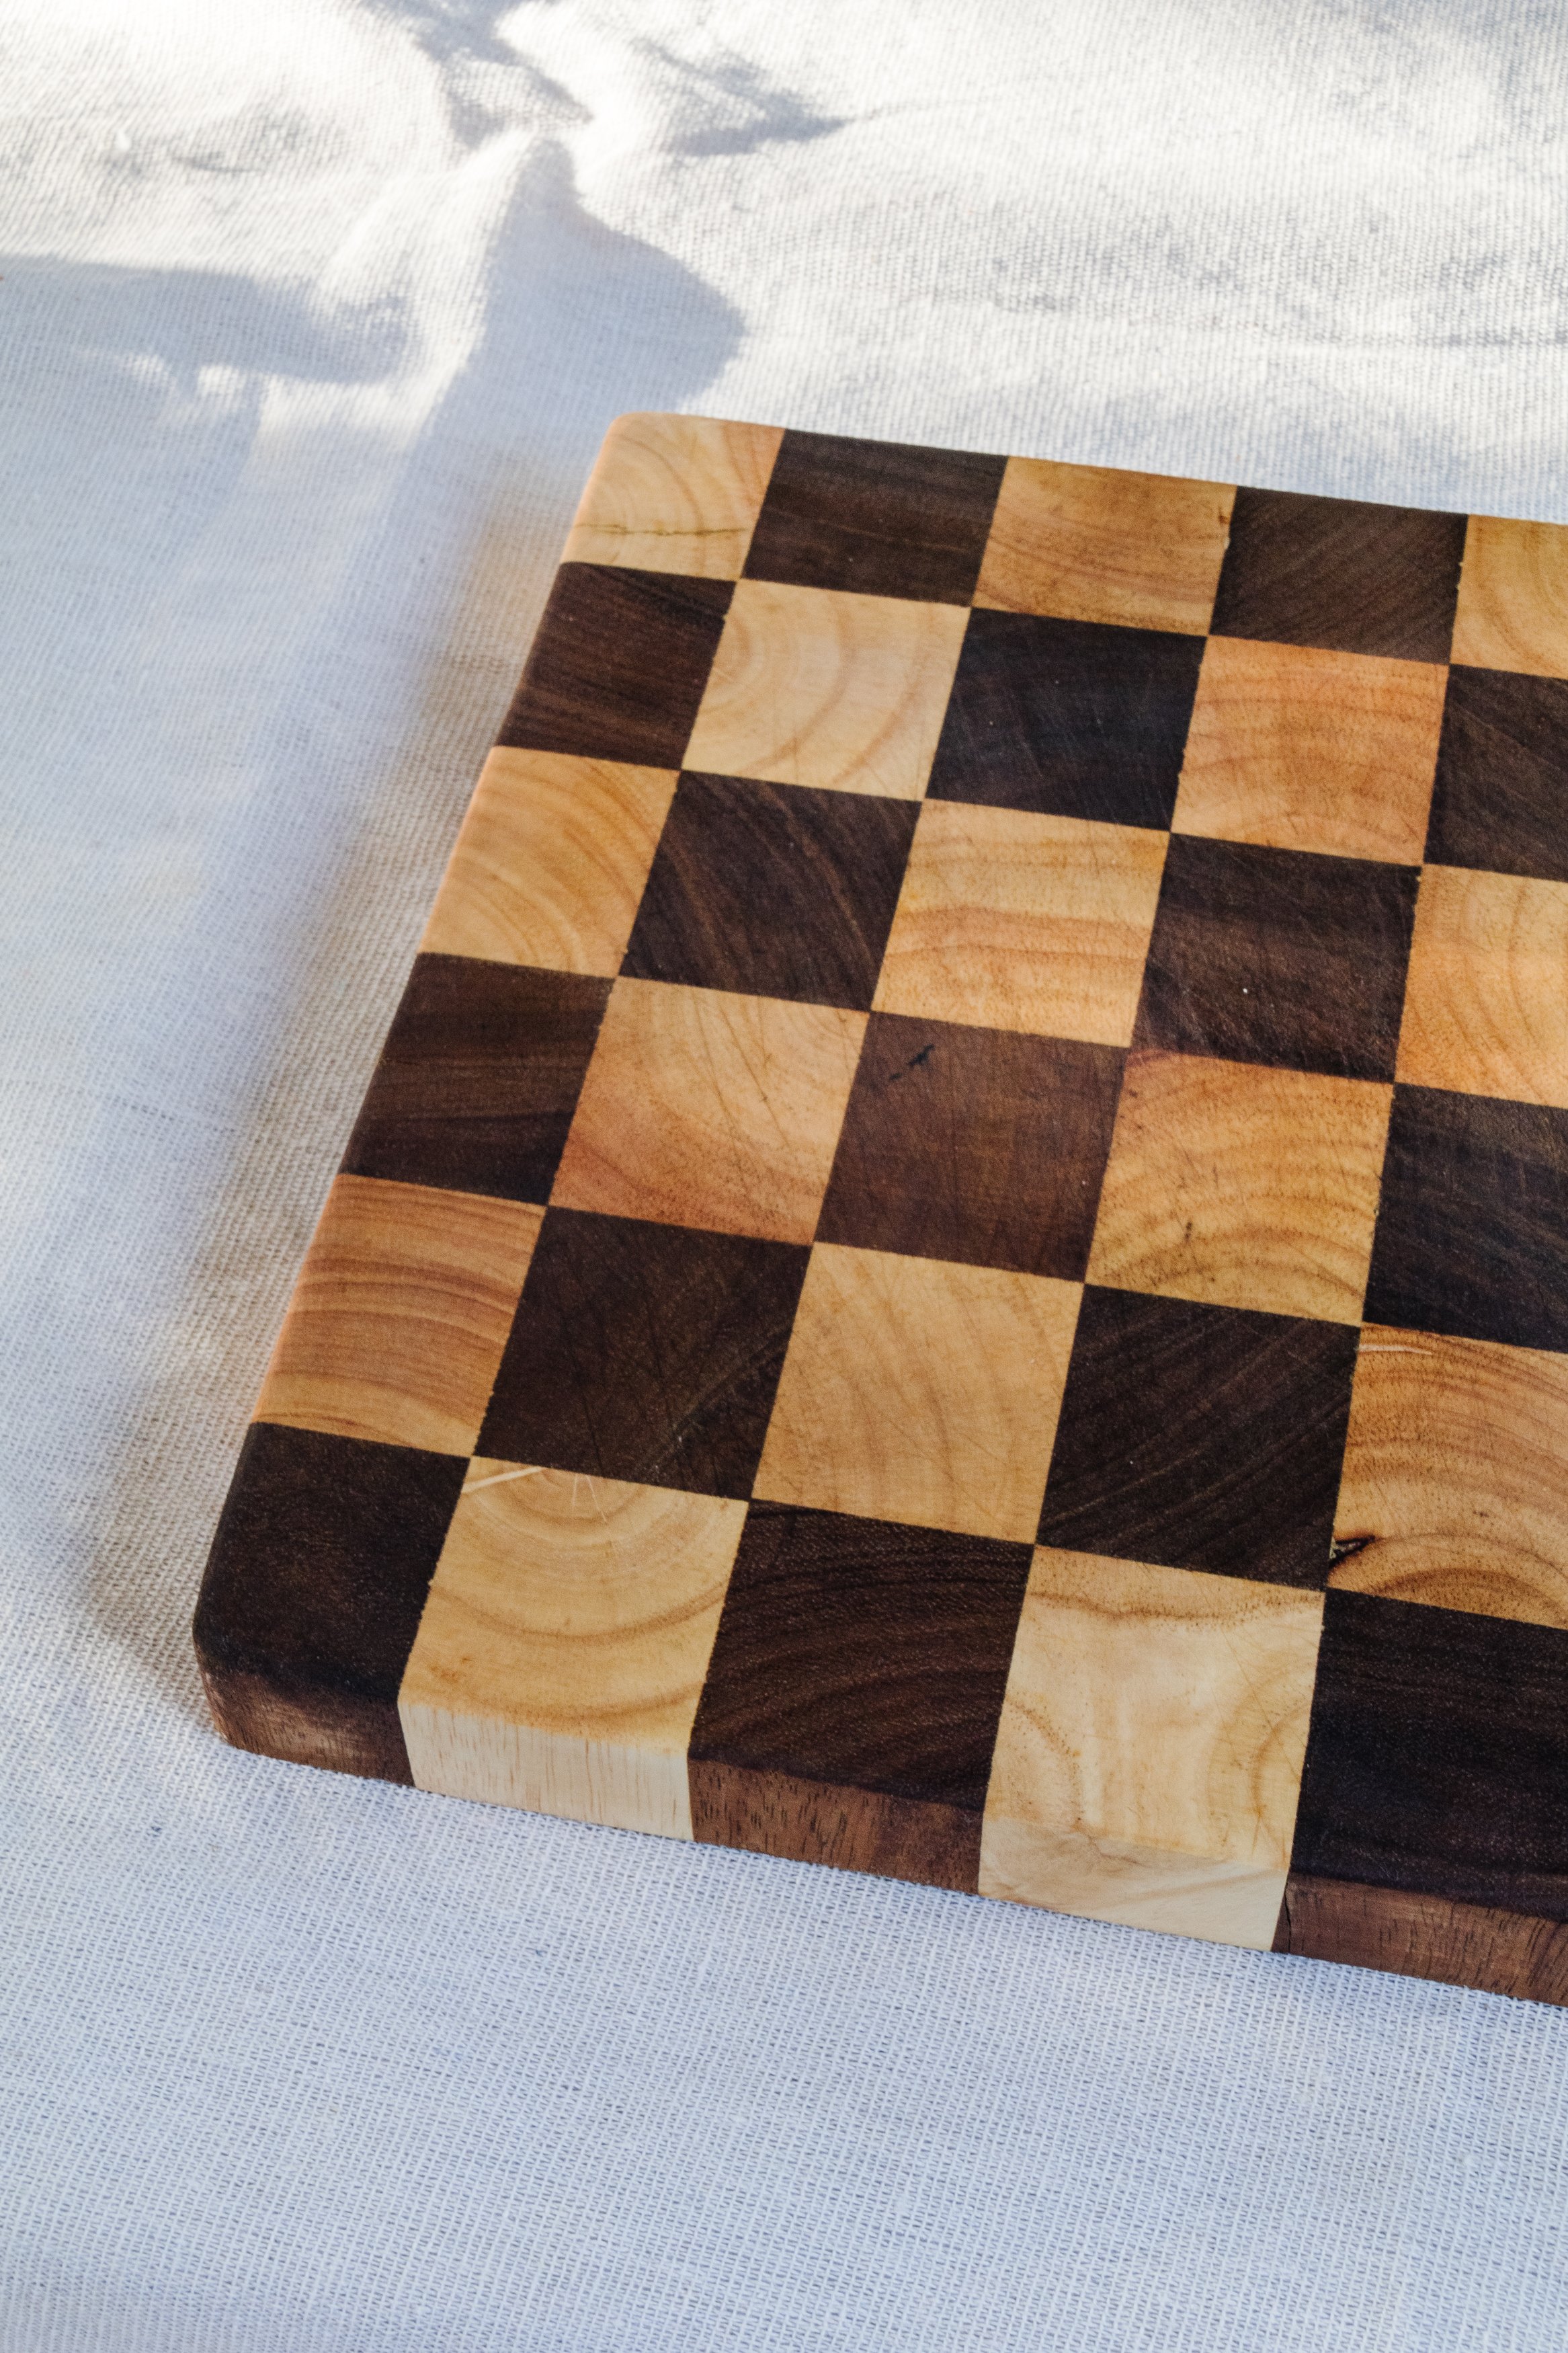
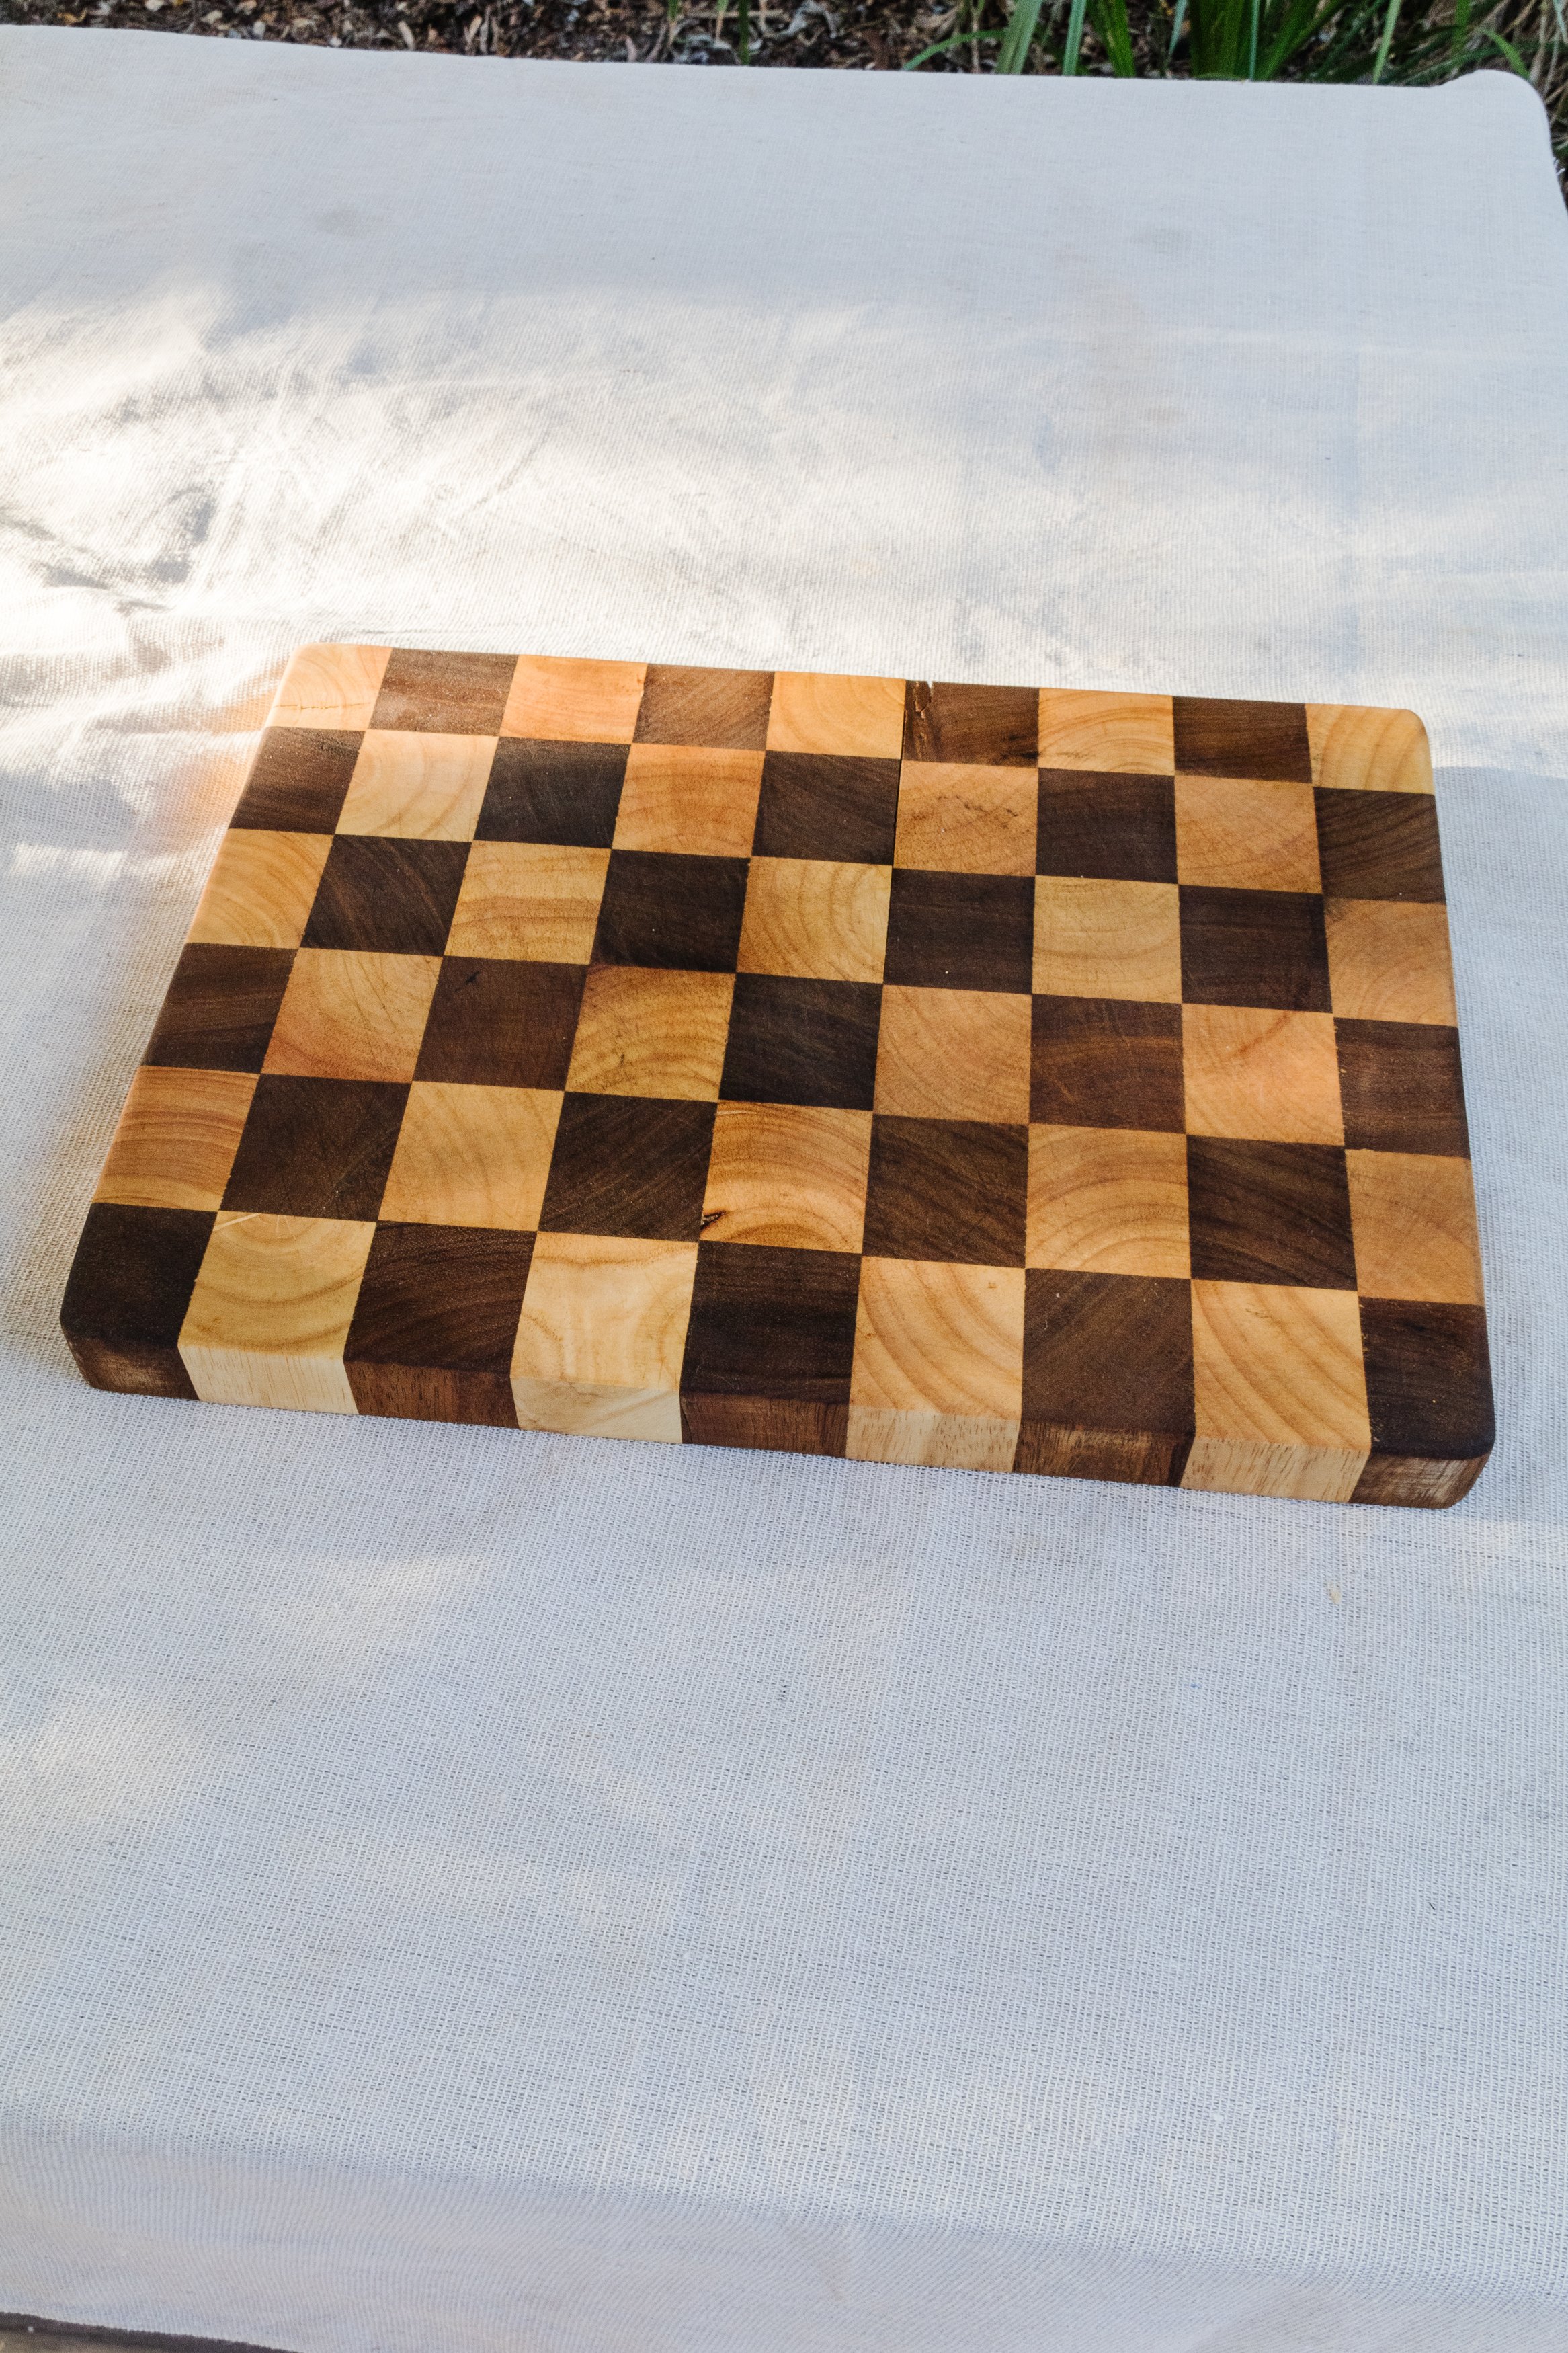
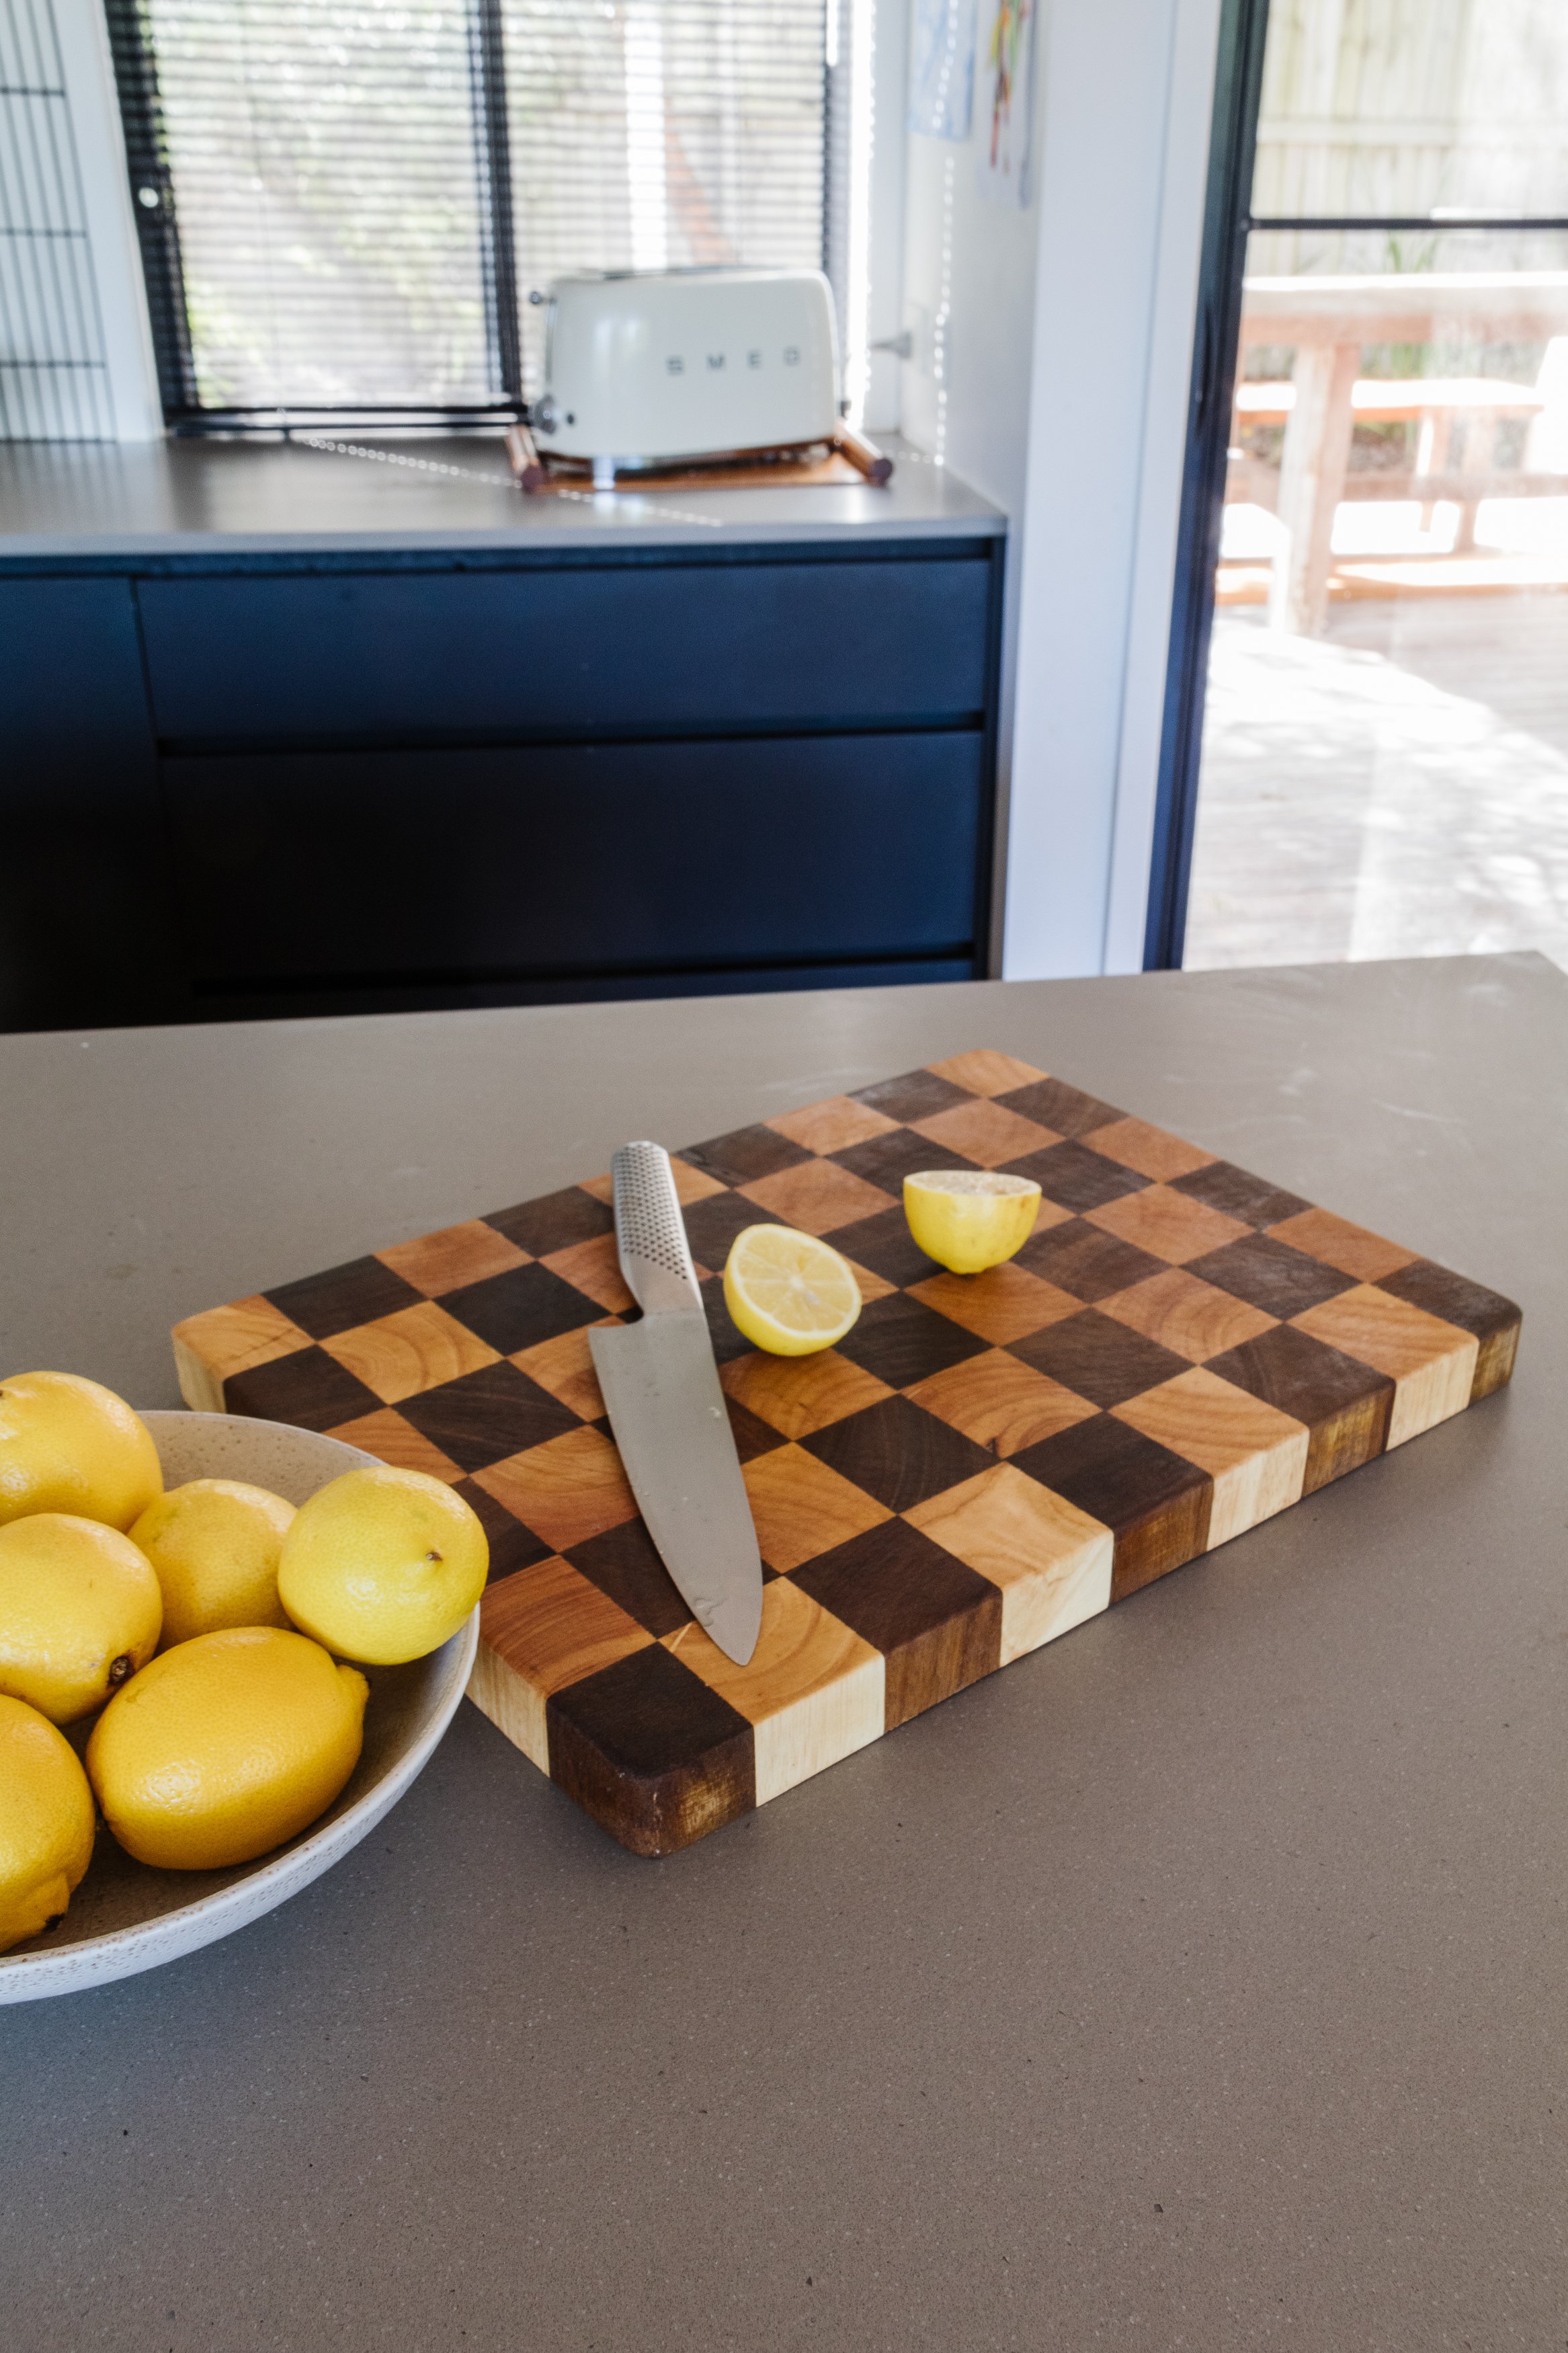
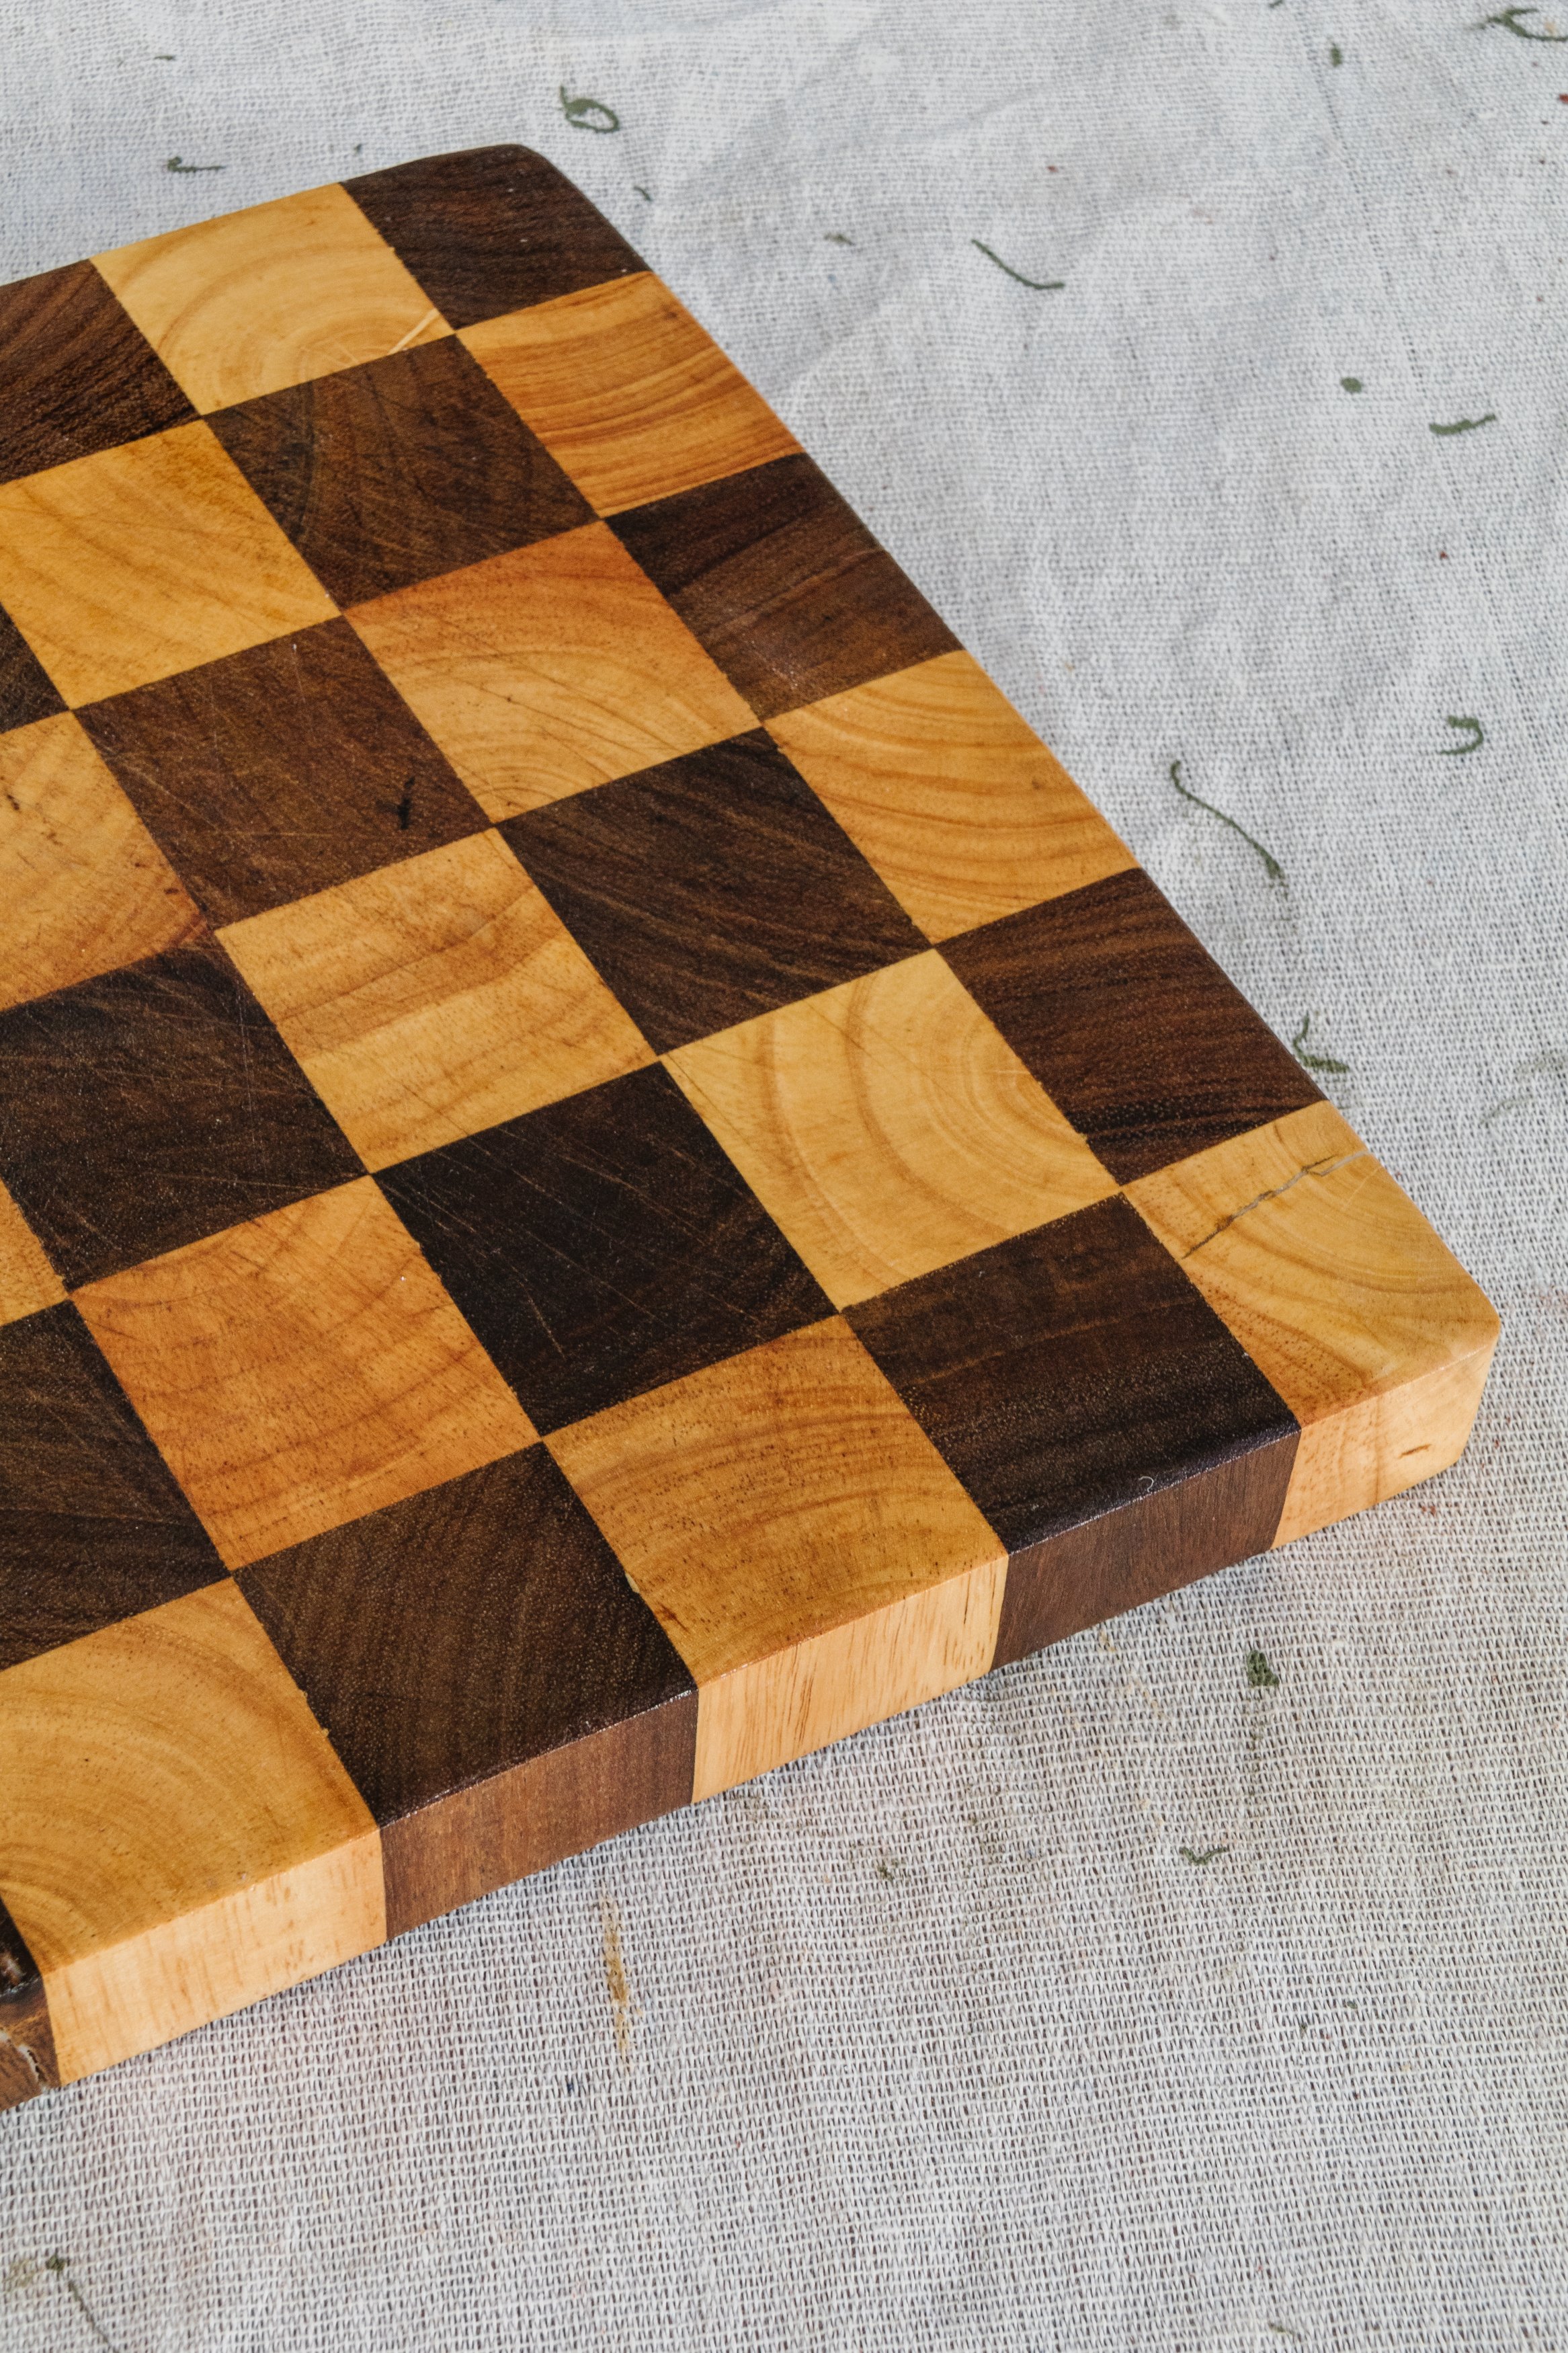
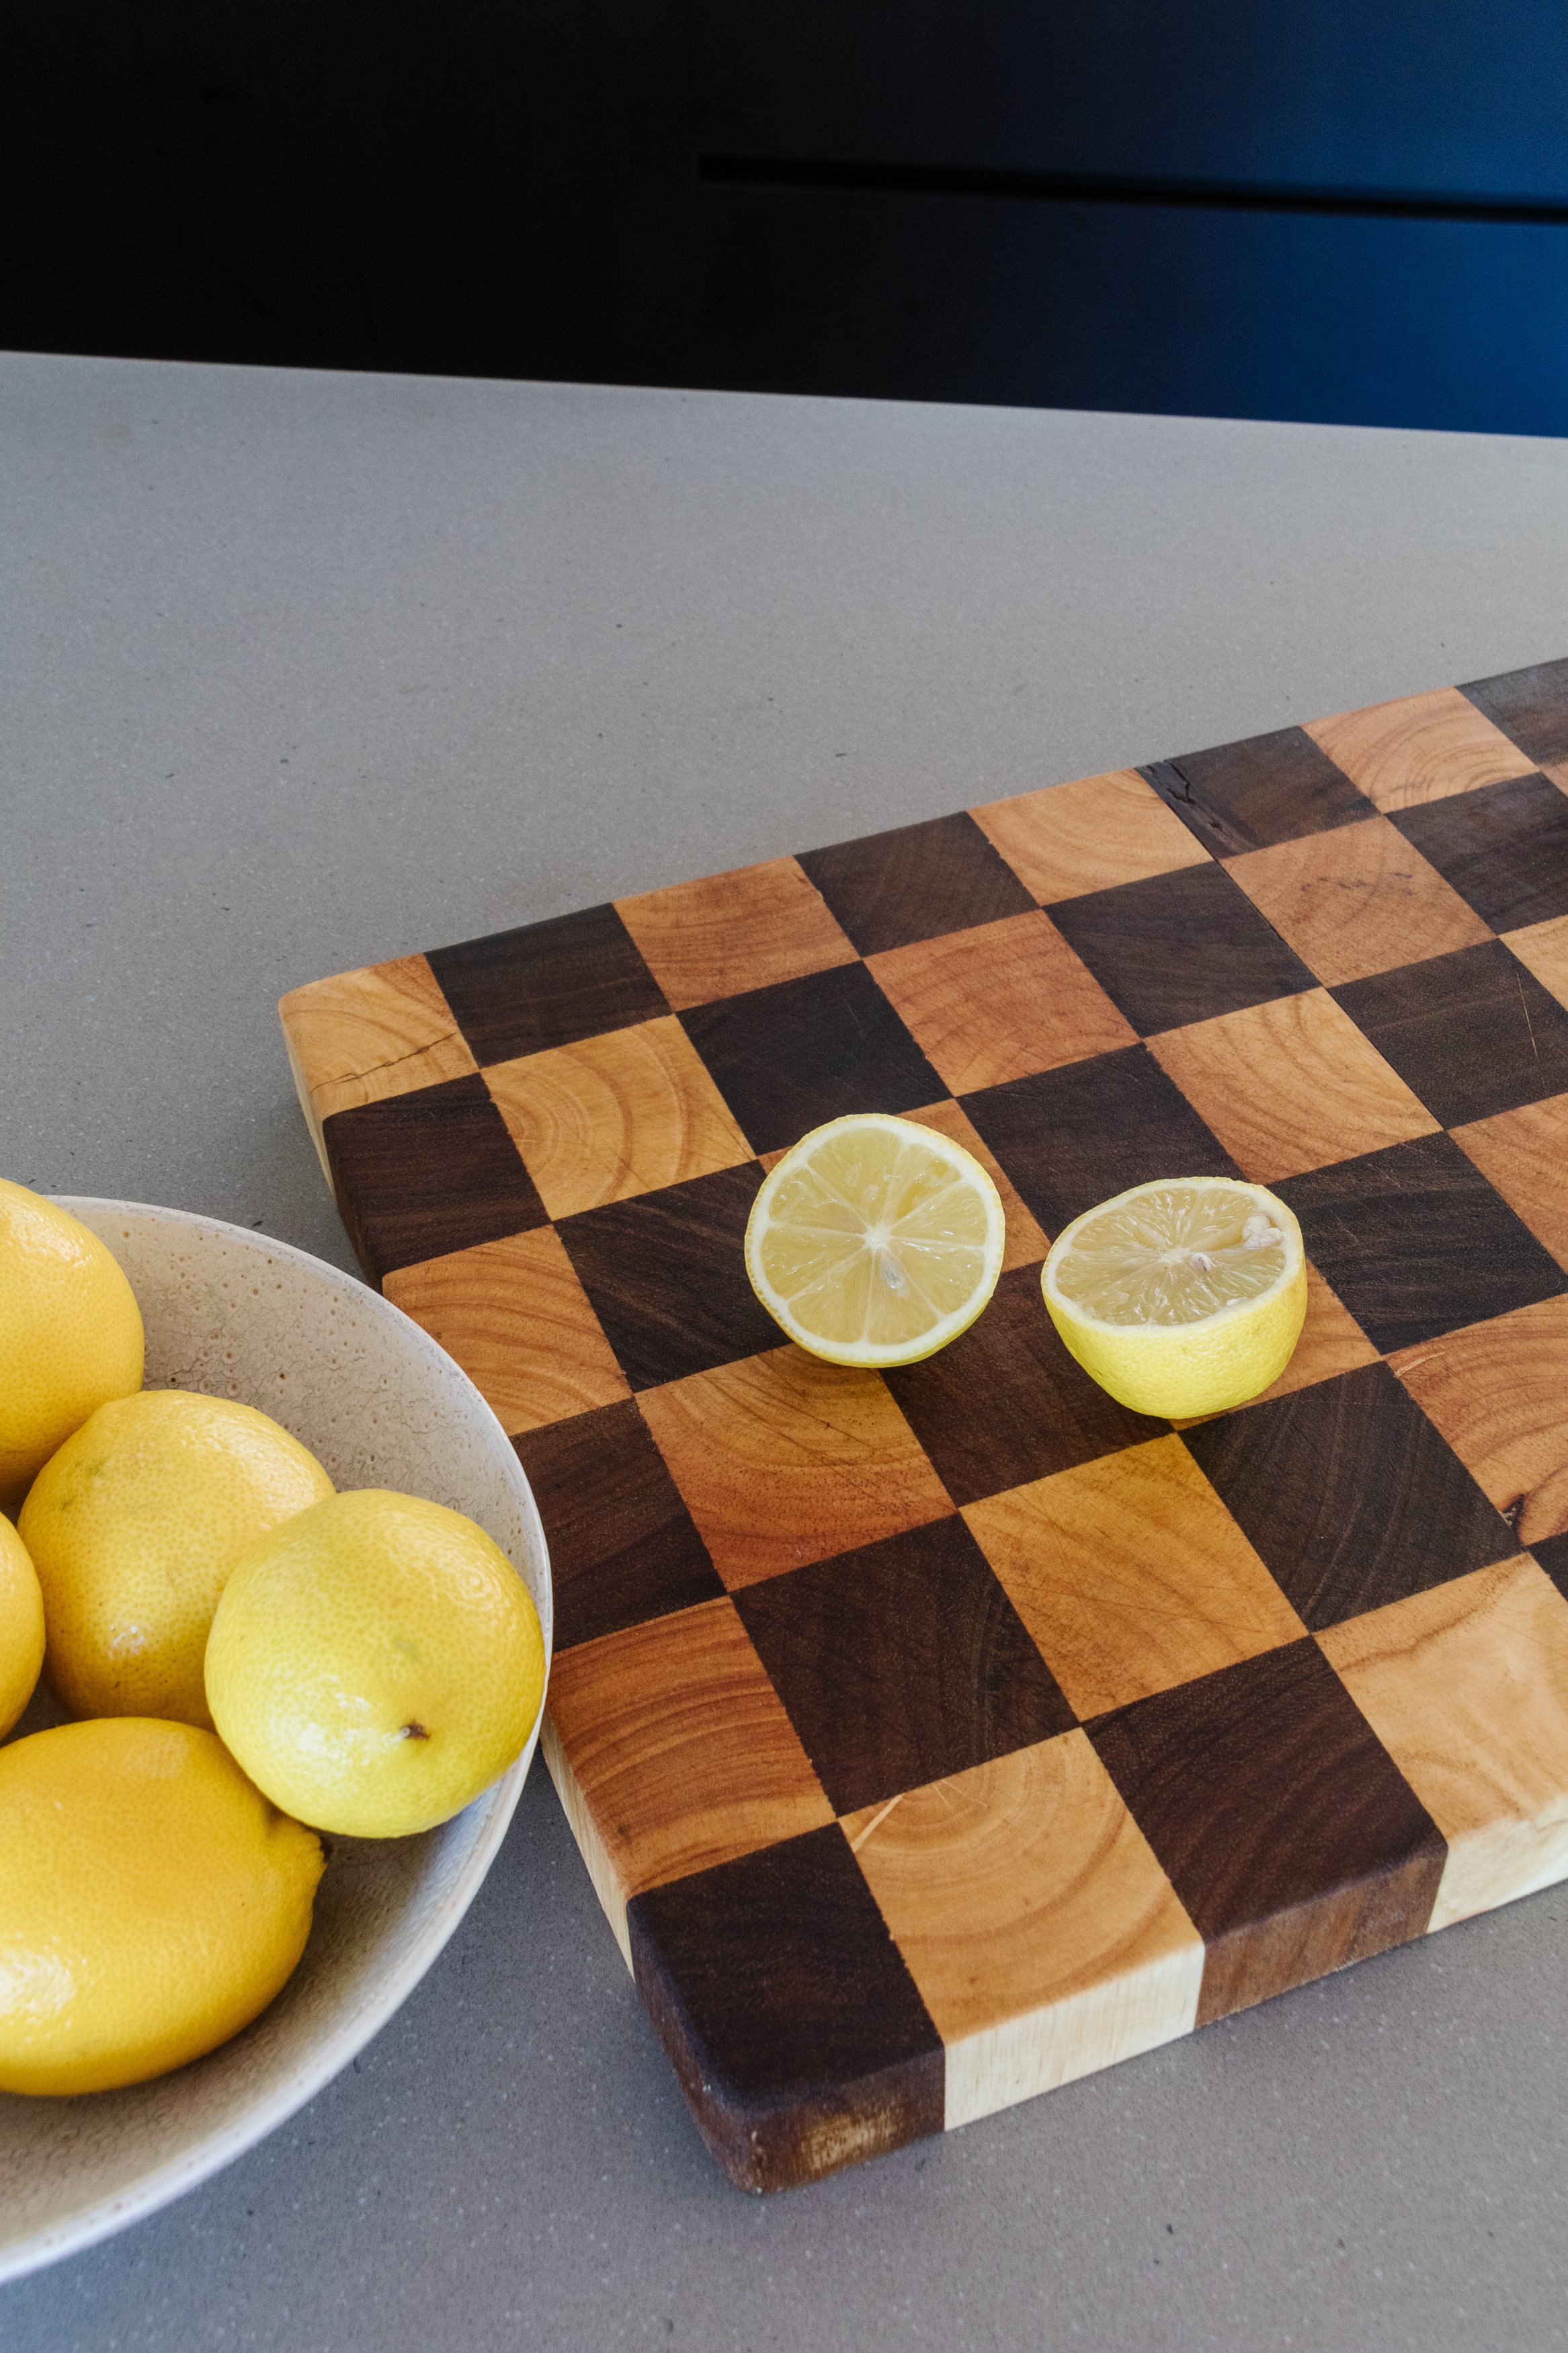
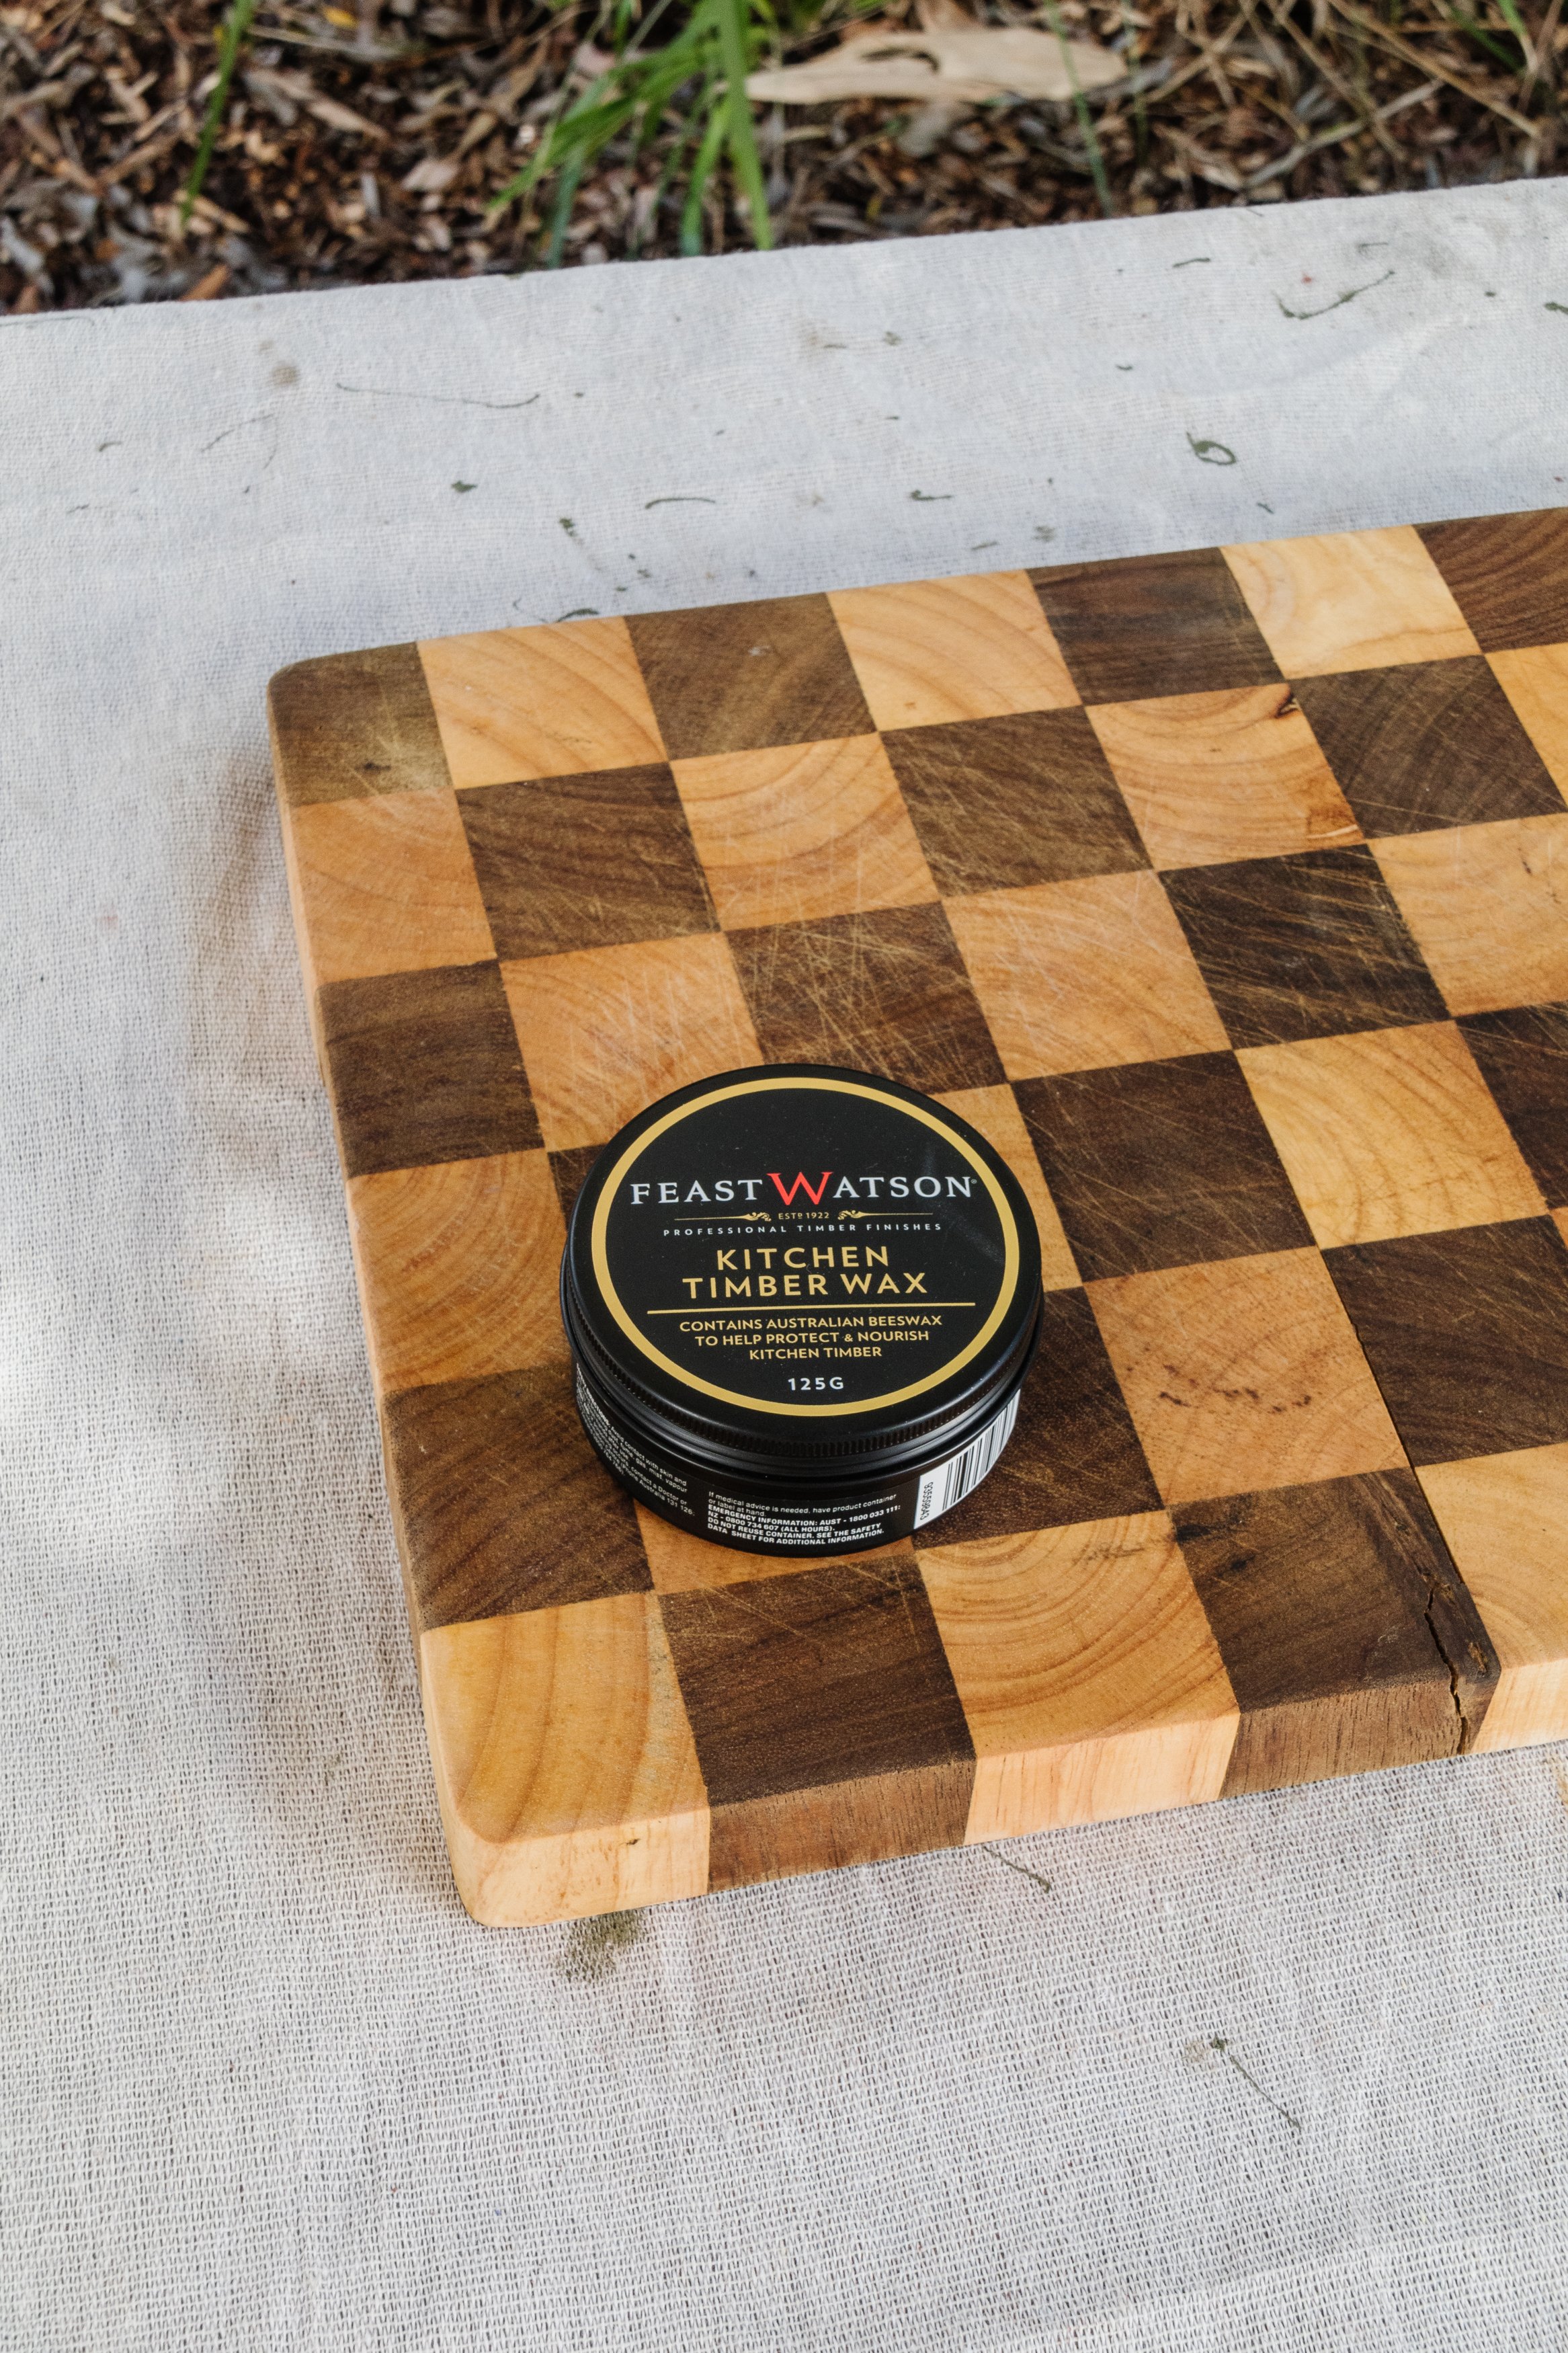
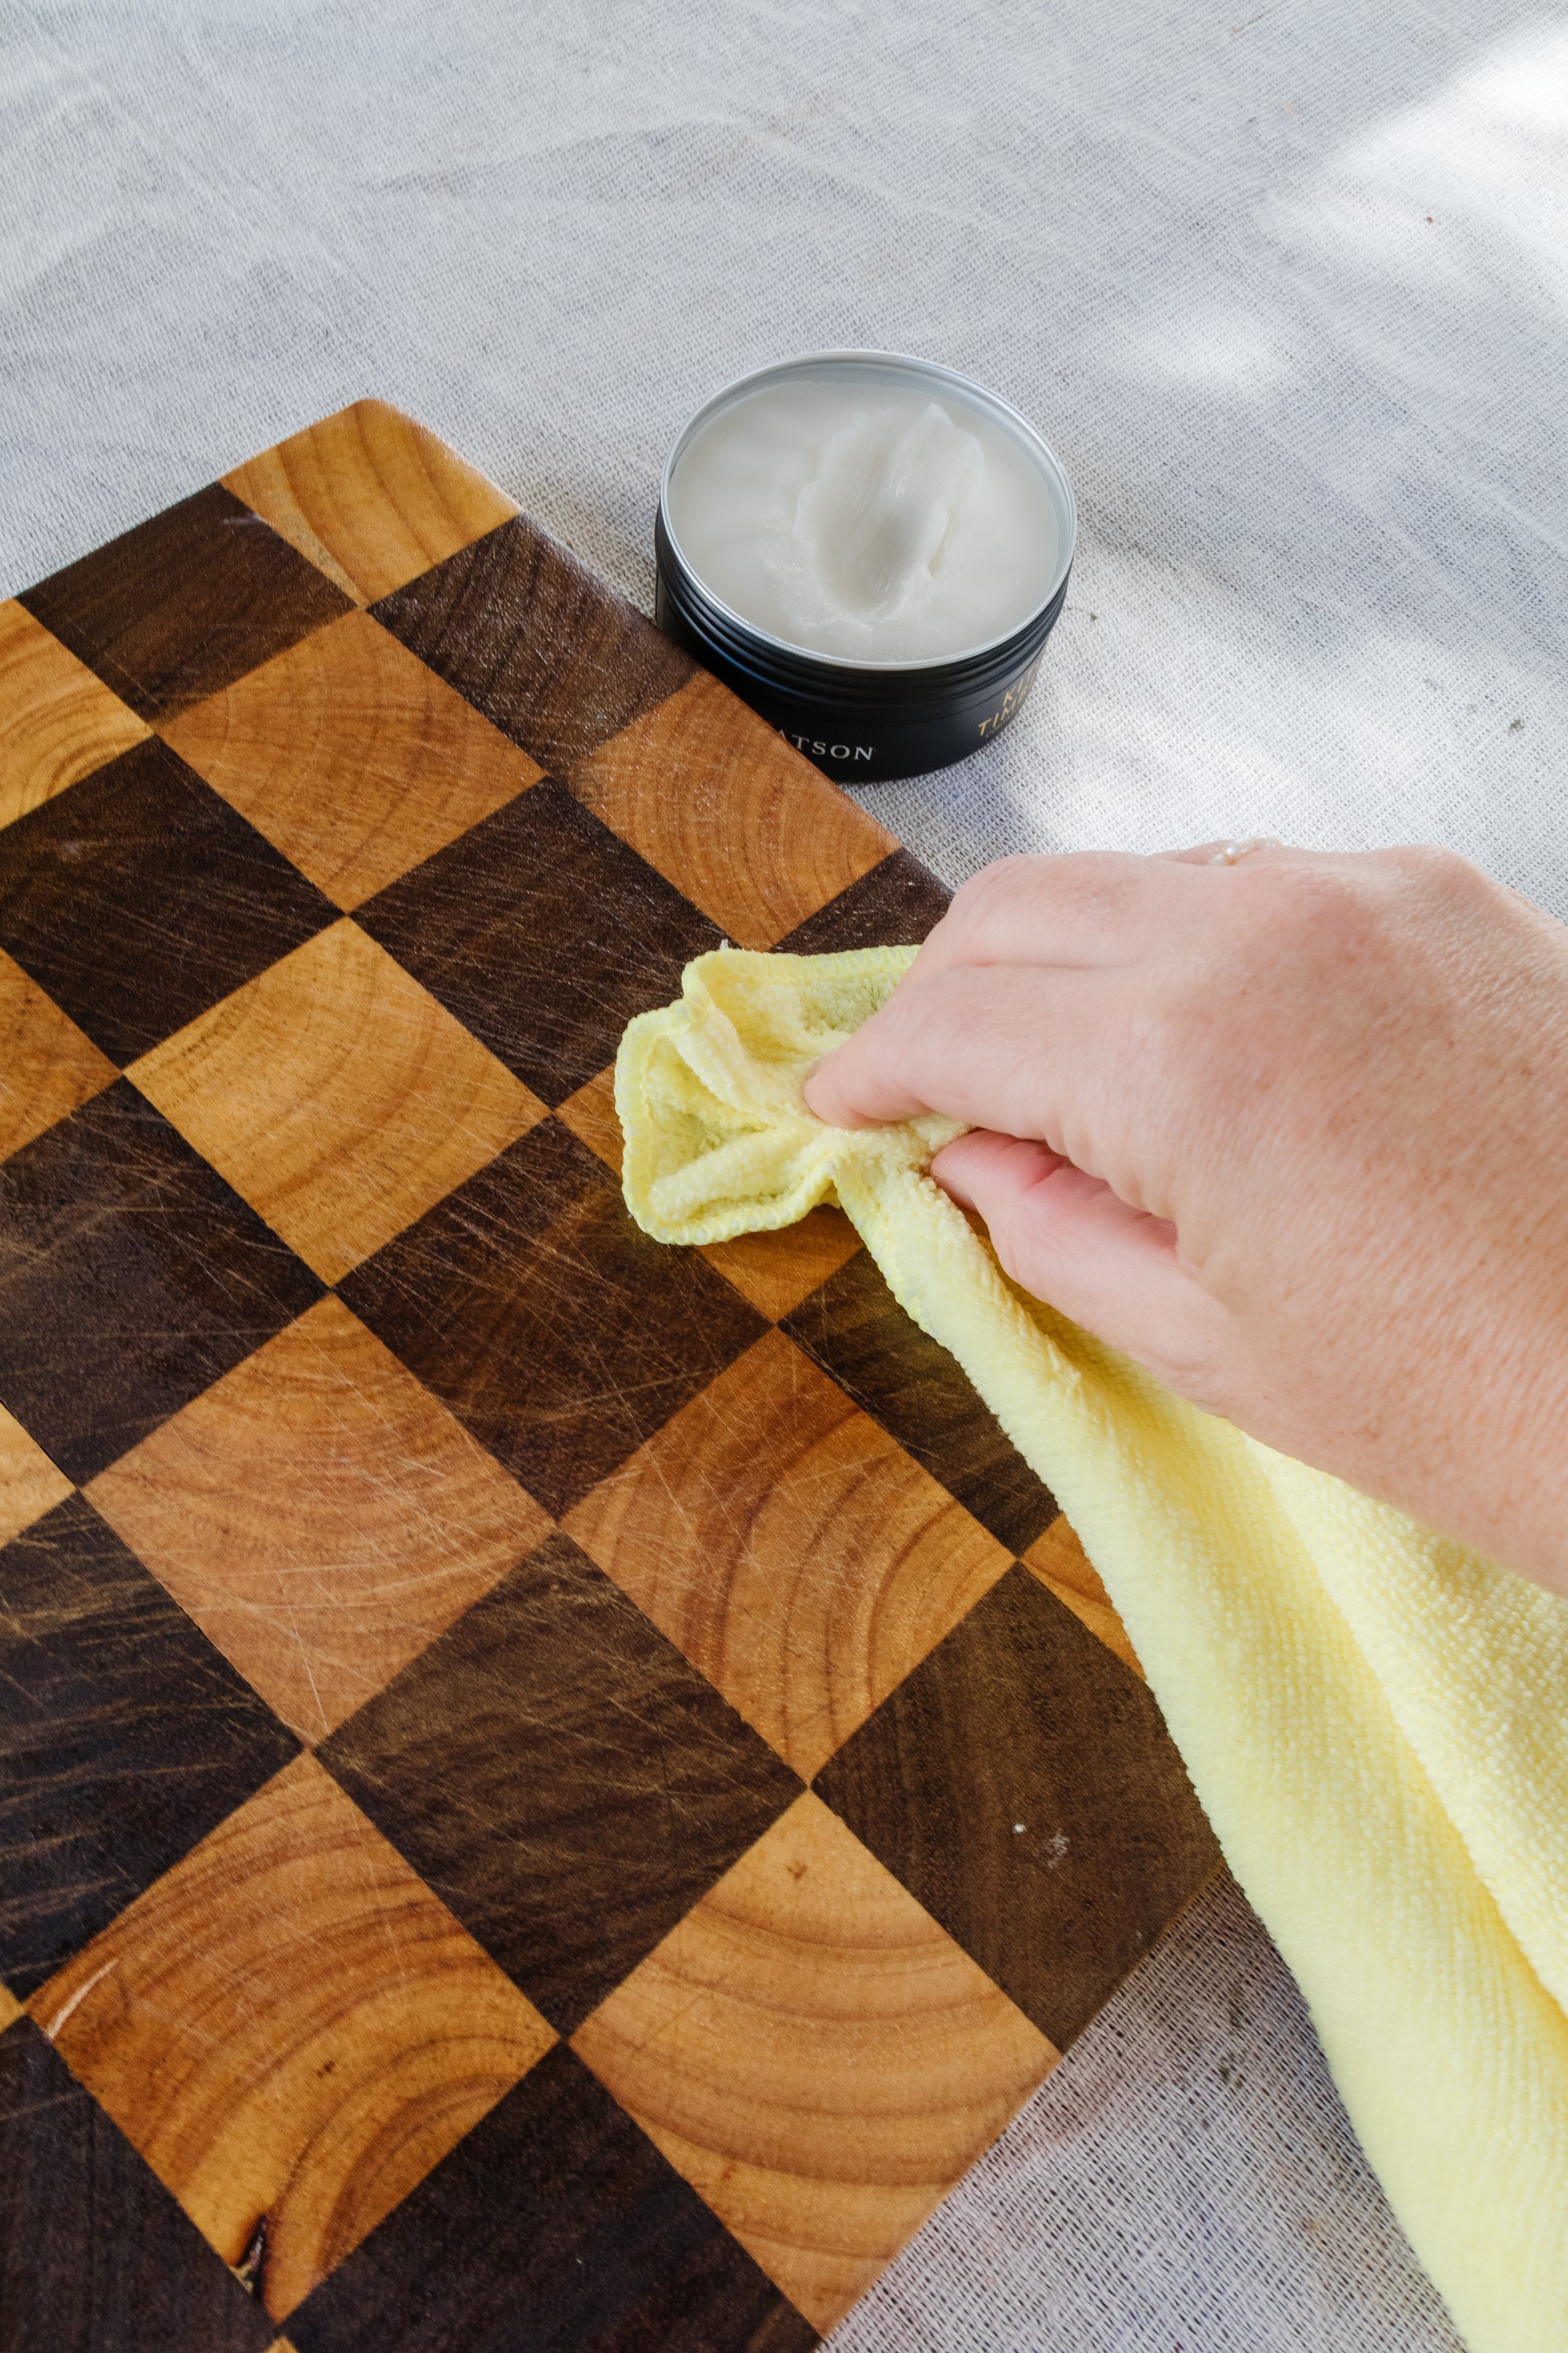
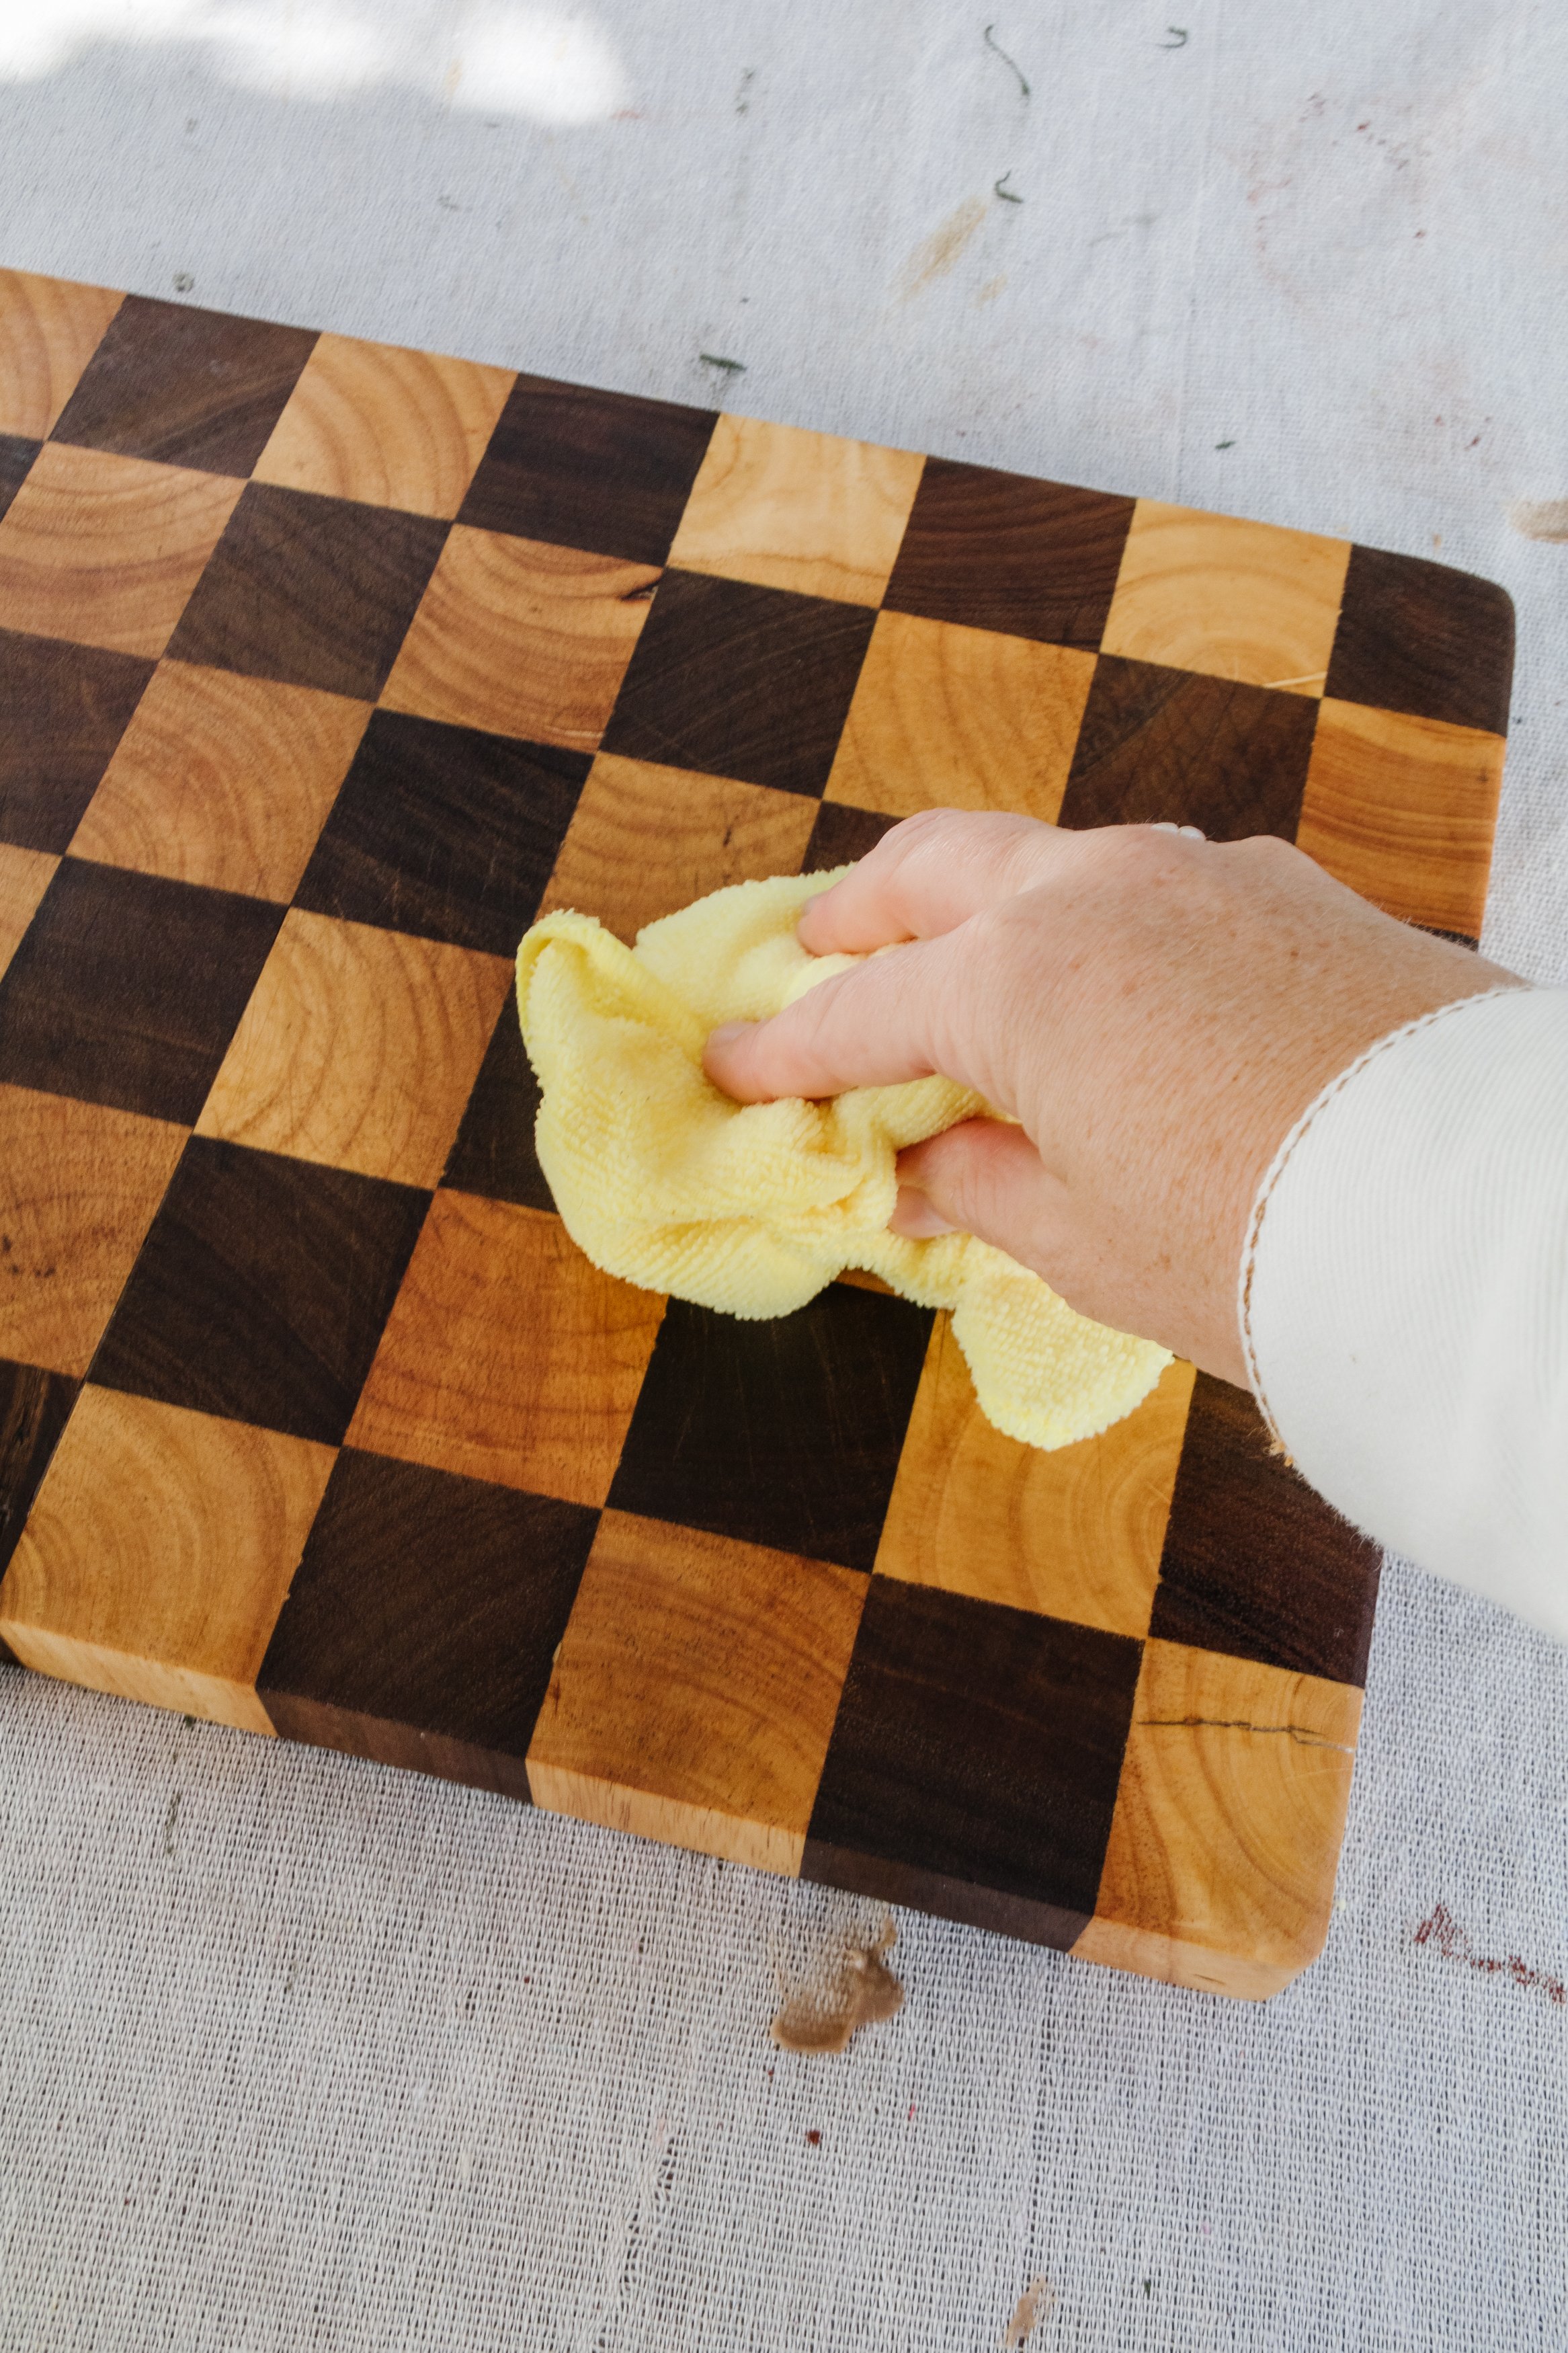
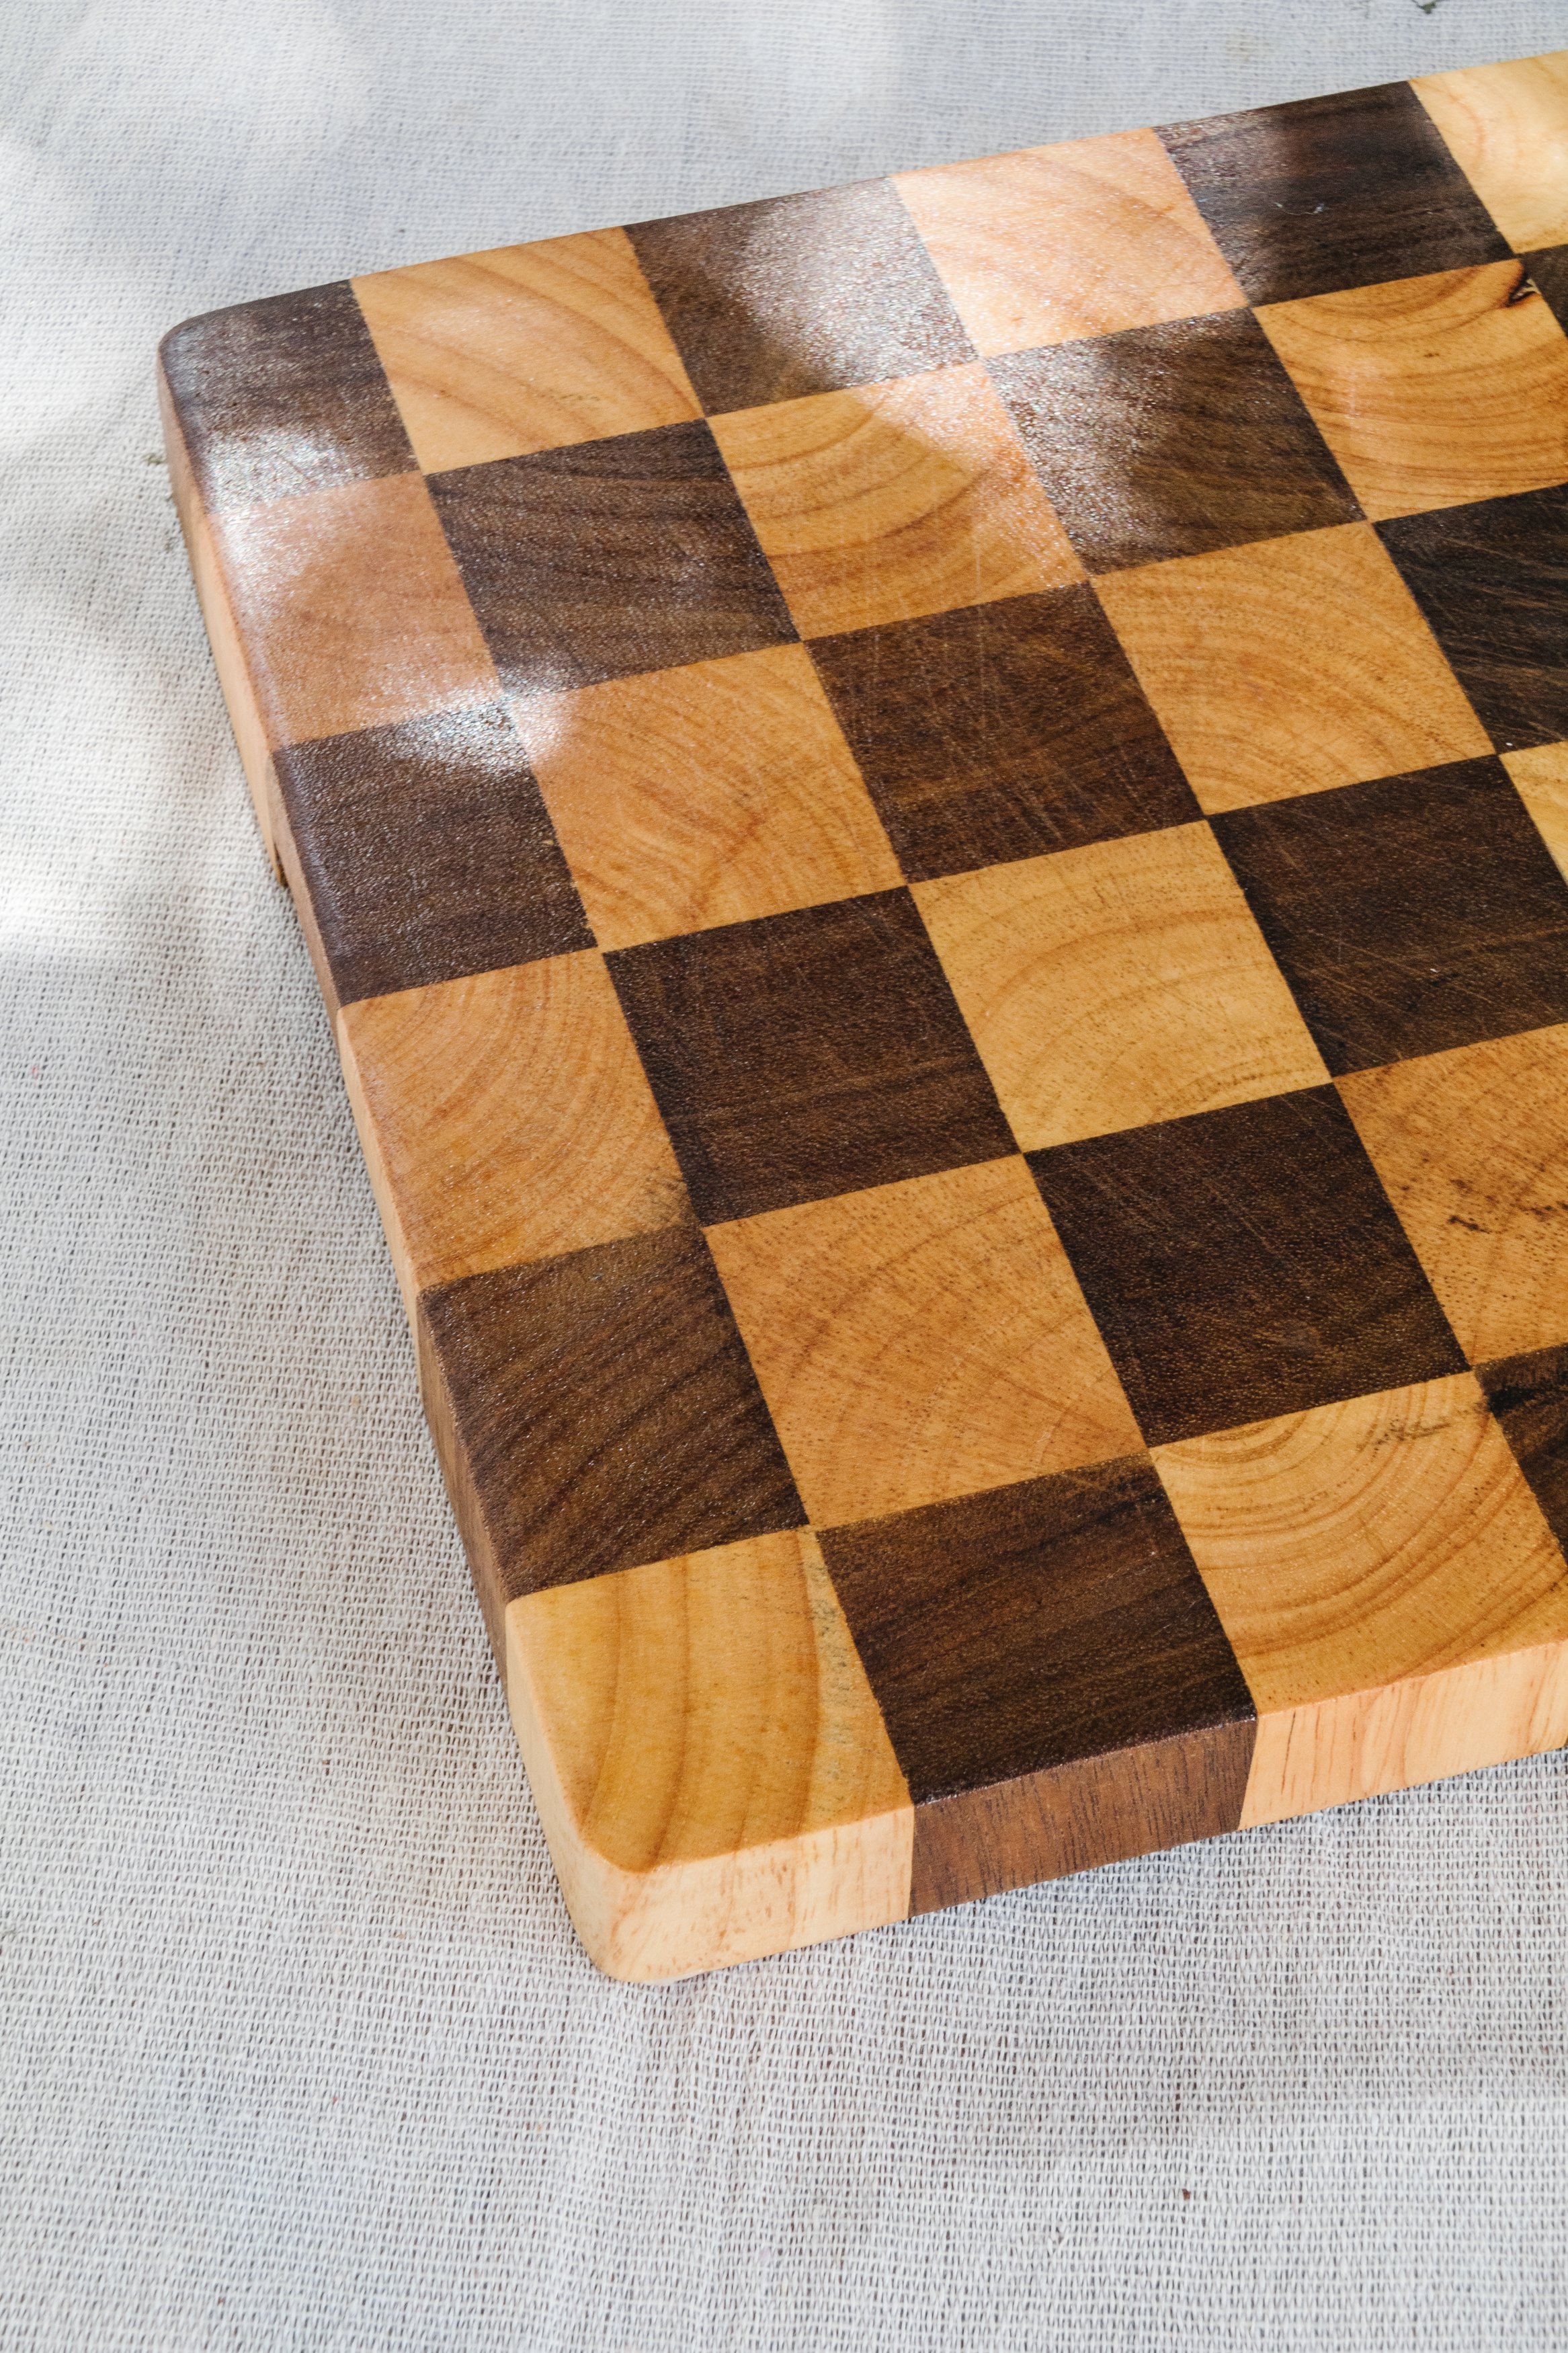
Step 5: I decided to give the checker timber chopping board a sating wax finish - this is totally optional. Using a soft cloth, I applied Feast Watson’s Kitchen Timber Wax in a circular motion onto the entire surface of the chopping board. I let the wax penetrate into the timber for 15 minutes and then I wiped off any excess wax. And then my beautifully restored checker timber chopping board was ready to use!
Tip: When the chopping board begins looking tired and worn, that means it’s time for a recoat! To do this, simply clean the chopping board with hot soapy water and once dry, apply another coat of Kitchen Timber Wax.


Ta daaaa!
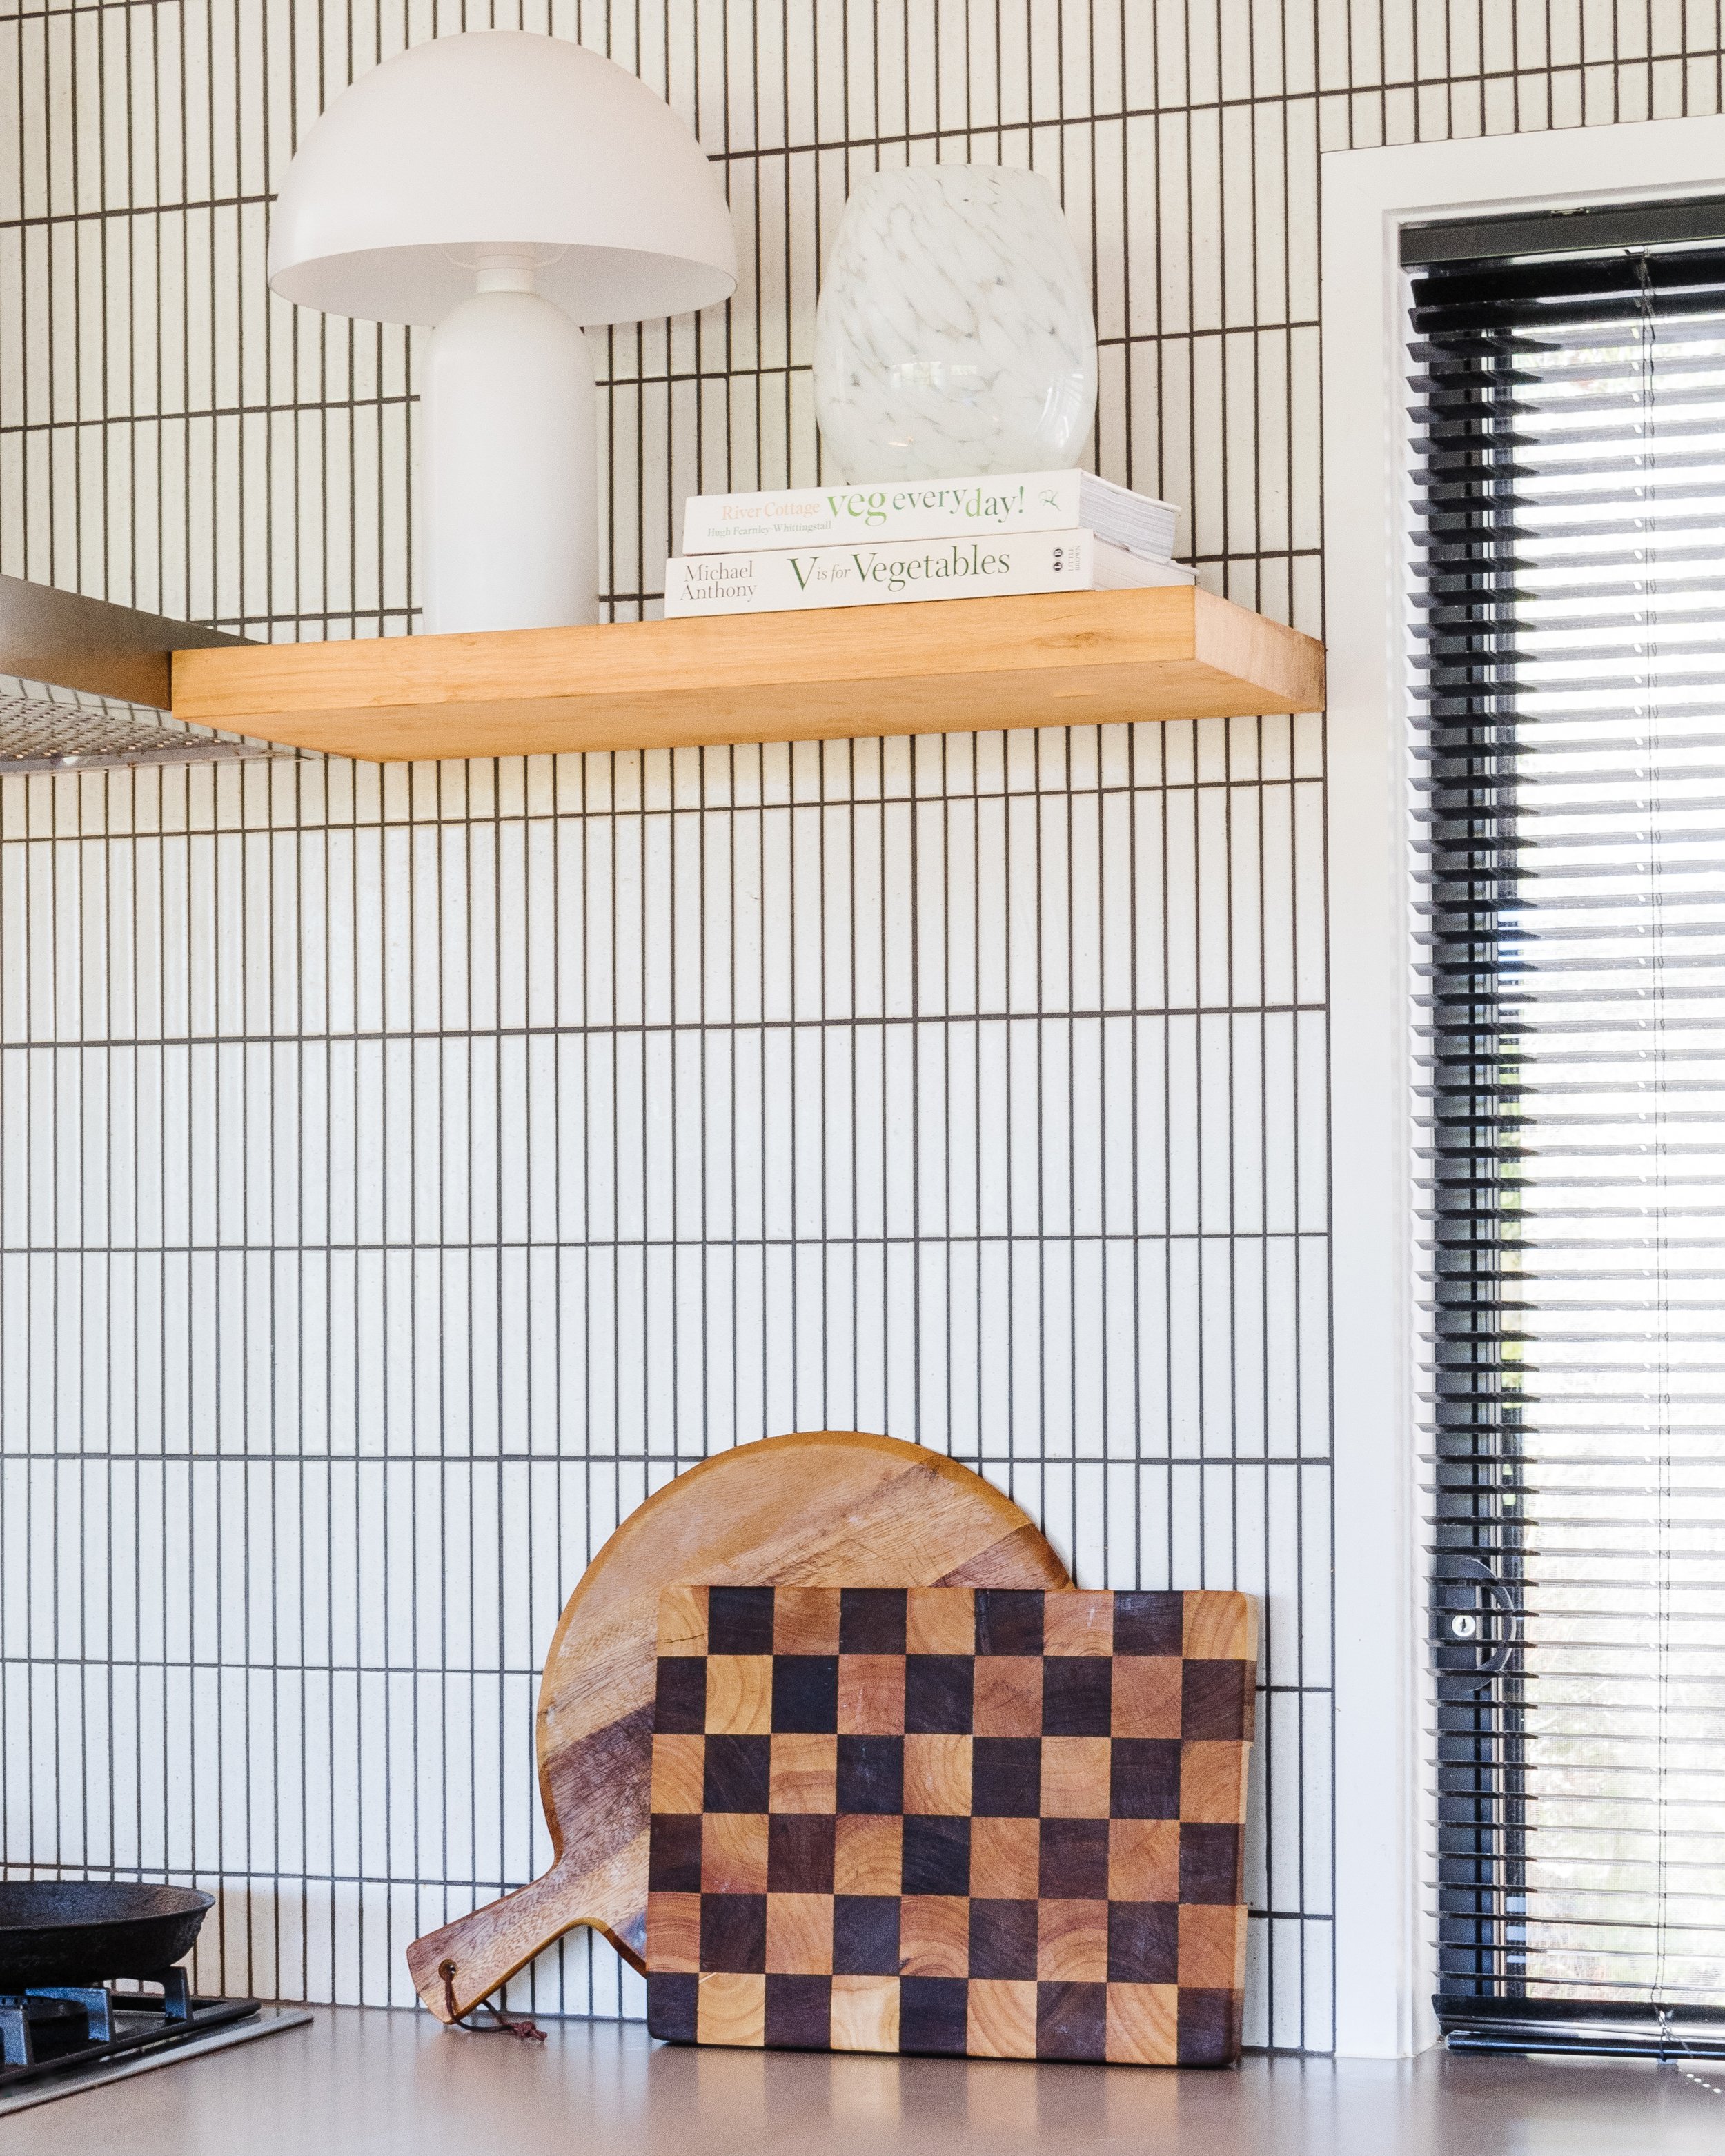
When I first saw the checker timber chopping board at the charity shop in Kawana, I was so excited because I knew it would look beautiful in out kitchen. Honestly, we have two chopping boards already but I’ve always felt like we needed one more. Upon closer inspection the board was pretty gross, but I knew there had to be a way for me to restore it back to it’s original beauty. The two types of timber were so gorgeous and all it needed was a little TLC. Next time you see a chopping board that’s lost it’s lustre and is in need of a little love, don’t turn your back on it. Thanks to Feast Watson, it is possible to safely restore and revitalise it.
The Feast Watson products used in this project were gifted