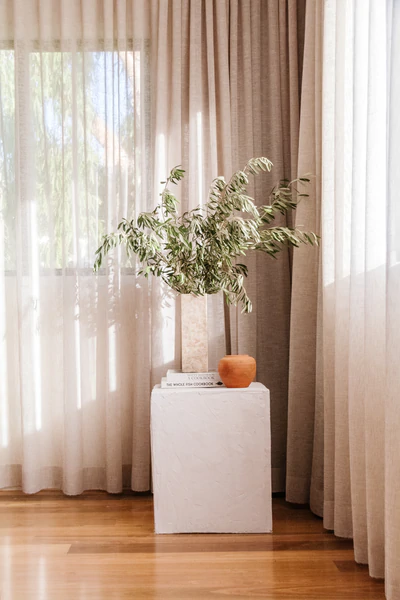
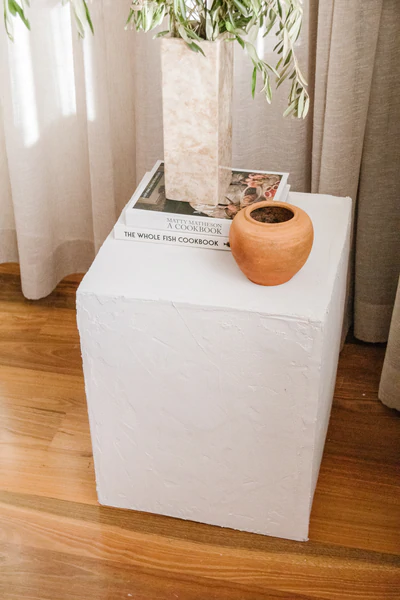
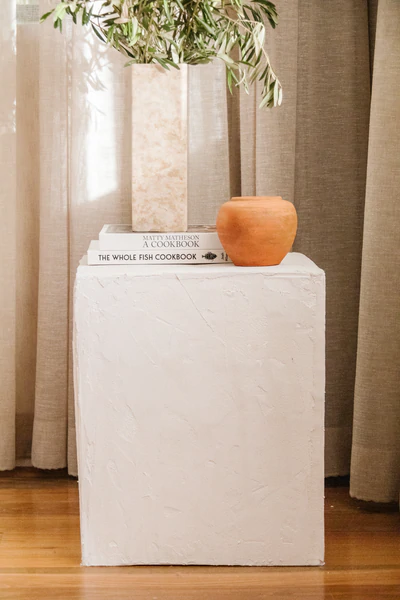
How To Make A Rendered Plinth - Using A Cardboard Box!
Let's make a rendered plinth - using a cardboard box! Nobody's gonna know... Last year I upcycled an ugly, outdated side table I found at the tip shop into a beautiful Upcycled Stone Plinth and I haven't been able to stop thinking about other unexpected ways to make a plinth. A couple of weeks ago I had a random idea to use a leftover cardboard box and I can't believe it actually worked. This was also my first time using mortar and a trowel, and I have to say - I am in love! Not only is this project fun and oh so easy, it's totally satisfying. I've seen some rendered plinths retail for over $1,800 and this cost me less than $30! Read on to make your own Rendered Plinth using a cardboard box! And remember to watch this video to see how it all came together.
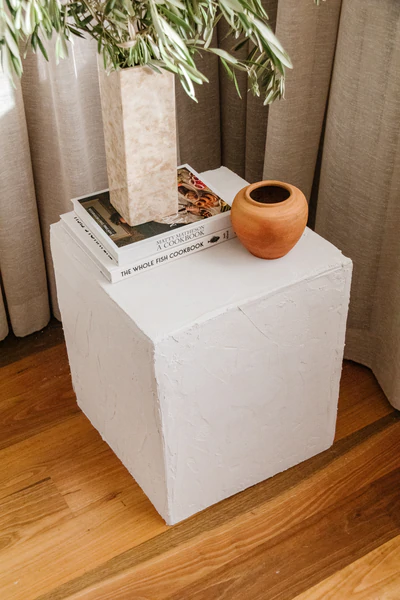
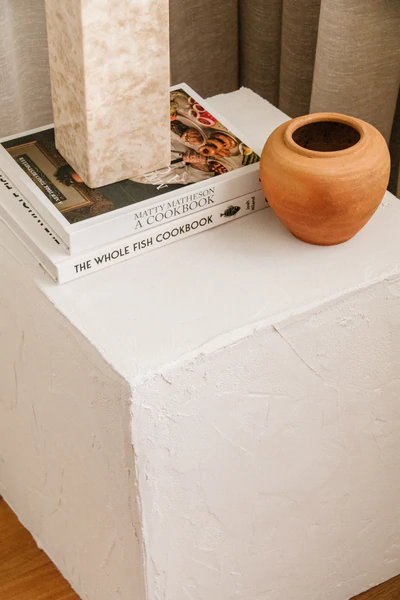
BEFORE & AFTER


Materials
Cardboard box, preferably a heavy duty one. I got mine from Bunnings.
Measuring tape and/or ruler
Boxcutter or Stanley knife
Painter's tape from Bunnings
White primer paint and paint brush
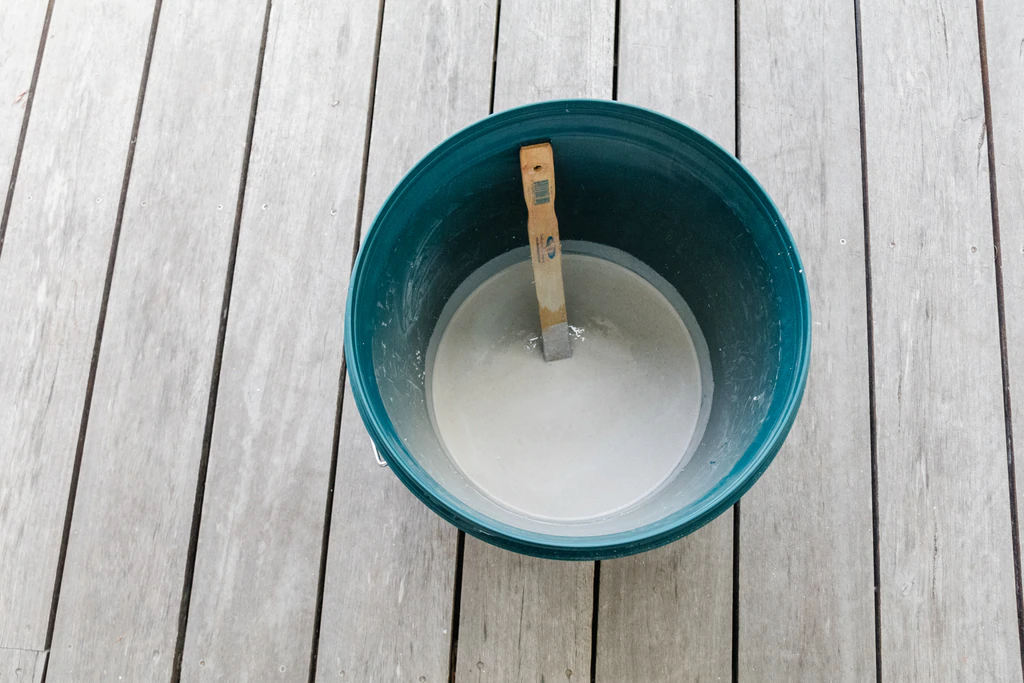
Render - I used Mortex mortar from Austral Bricks.
Bucket
Paint stirrer
Trowel from Bunnings.
How To
Measure the desired height of your plinth (mine is approximately 45cm high) and cut one end the cardboard box off using the ruler (to guide a straight cut) and boxcutter. Make sure you leave the cardboard flaps in tact at the other end.

Open and stand the cardboard box up. Enclose the flaps at the other end of the cardboard box using painters tape, then tape over all exposed edges as pictured below. Optional: Reinforce the underside of the plinth with the leftover cardboard and painters tape. The cardboard plinth is now ready for painting and plastering!

Paint the entire surface of the arch side table with primer paint and set aside to dry completely. Paint a second coat and set aside to dry. It's important to make sure that the paint completely covers up the cardboard so when applying the mortar, if some of the cardboard shows through it doesn't matter because it's painted white and you won't notice the difference between the paint and mortar.

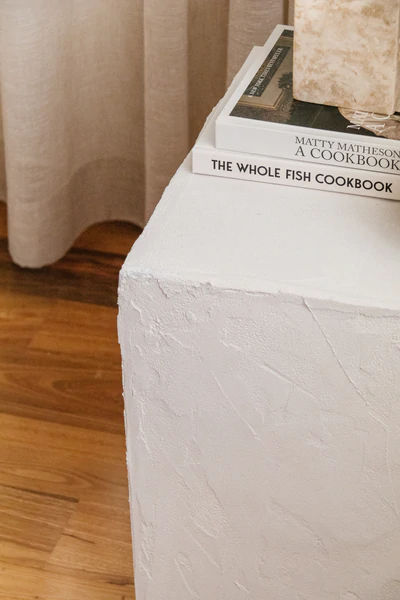
When the paint has dried completely, mix approximately 2.5kg Mortex (or whichever product you are using) with the correct amount of water, which in my case from 500ml. If you are using a different material, you may need more or less water - just follow the instructions on the bag. Apply the mortar in lightweight, sweeping motions up and down entire surface of the side table. Don't over think it - just have fun! And watch these videos over on Instagram, where I share a more in depth step by step "how to". Set aside to dry for at least 24 hours.


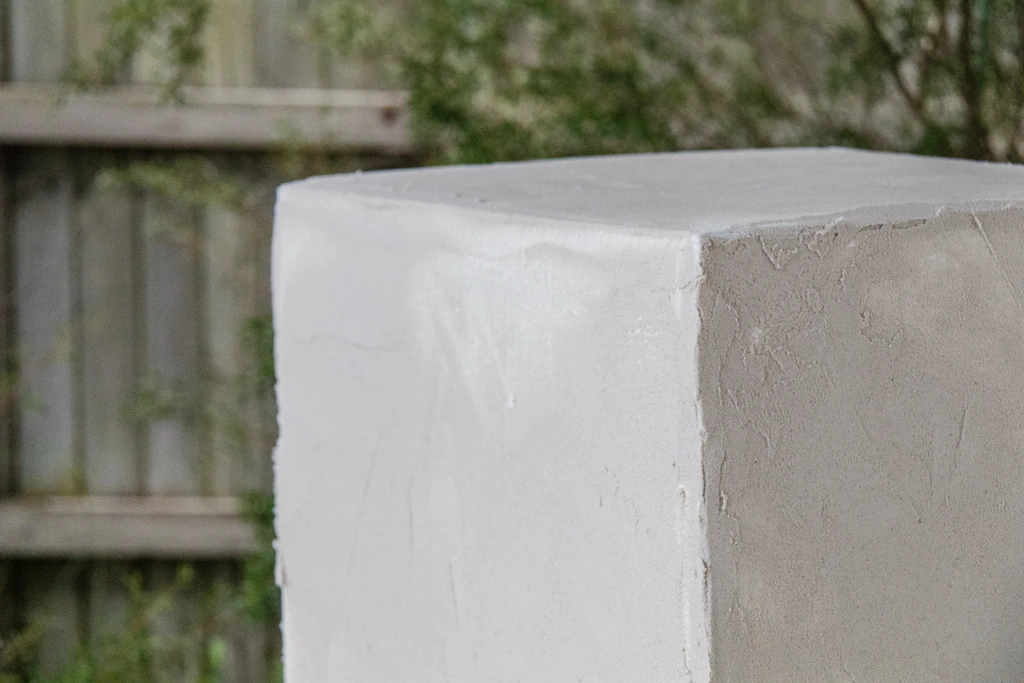
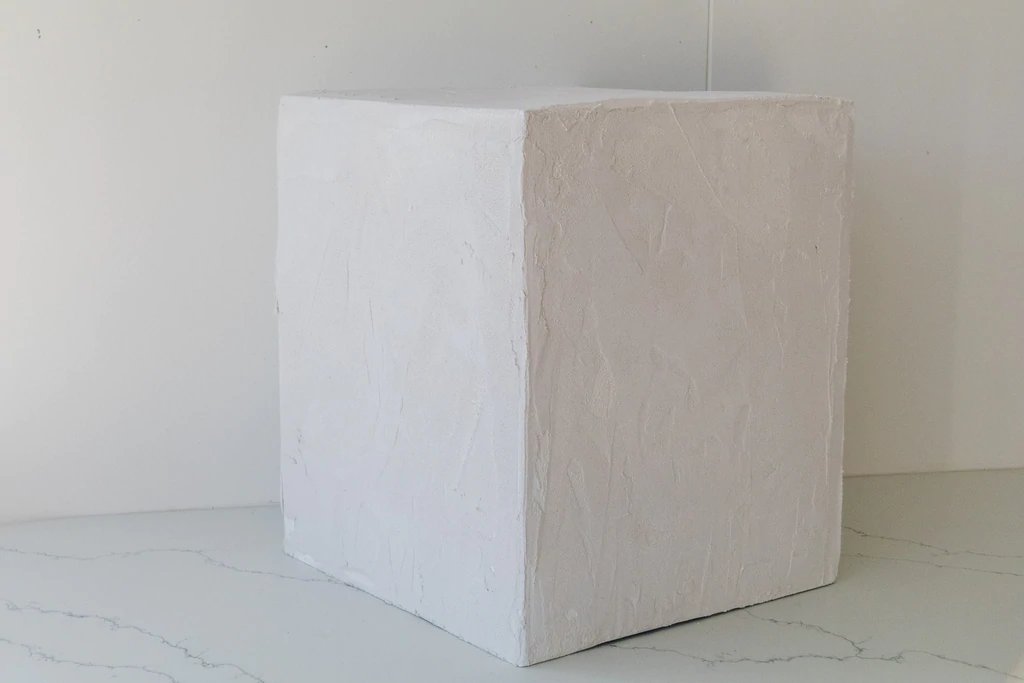
Ta daaaa! A gorgeous rendered paint nobody's gonna know is made from a cardboard box. So good.
You guys know I love using random materials in my upcycling and DIY projects, and I am delighted that my crazy idea worked. I wonder what I'll use next to make another plinth...