Making A DIY Outdoor Rendered Table
Making an outdoor rendered table for under $250? Oh yes, yes indeed!
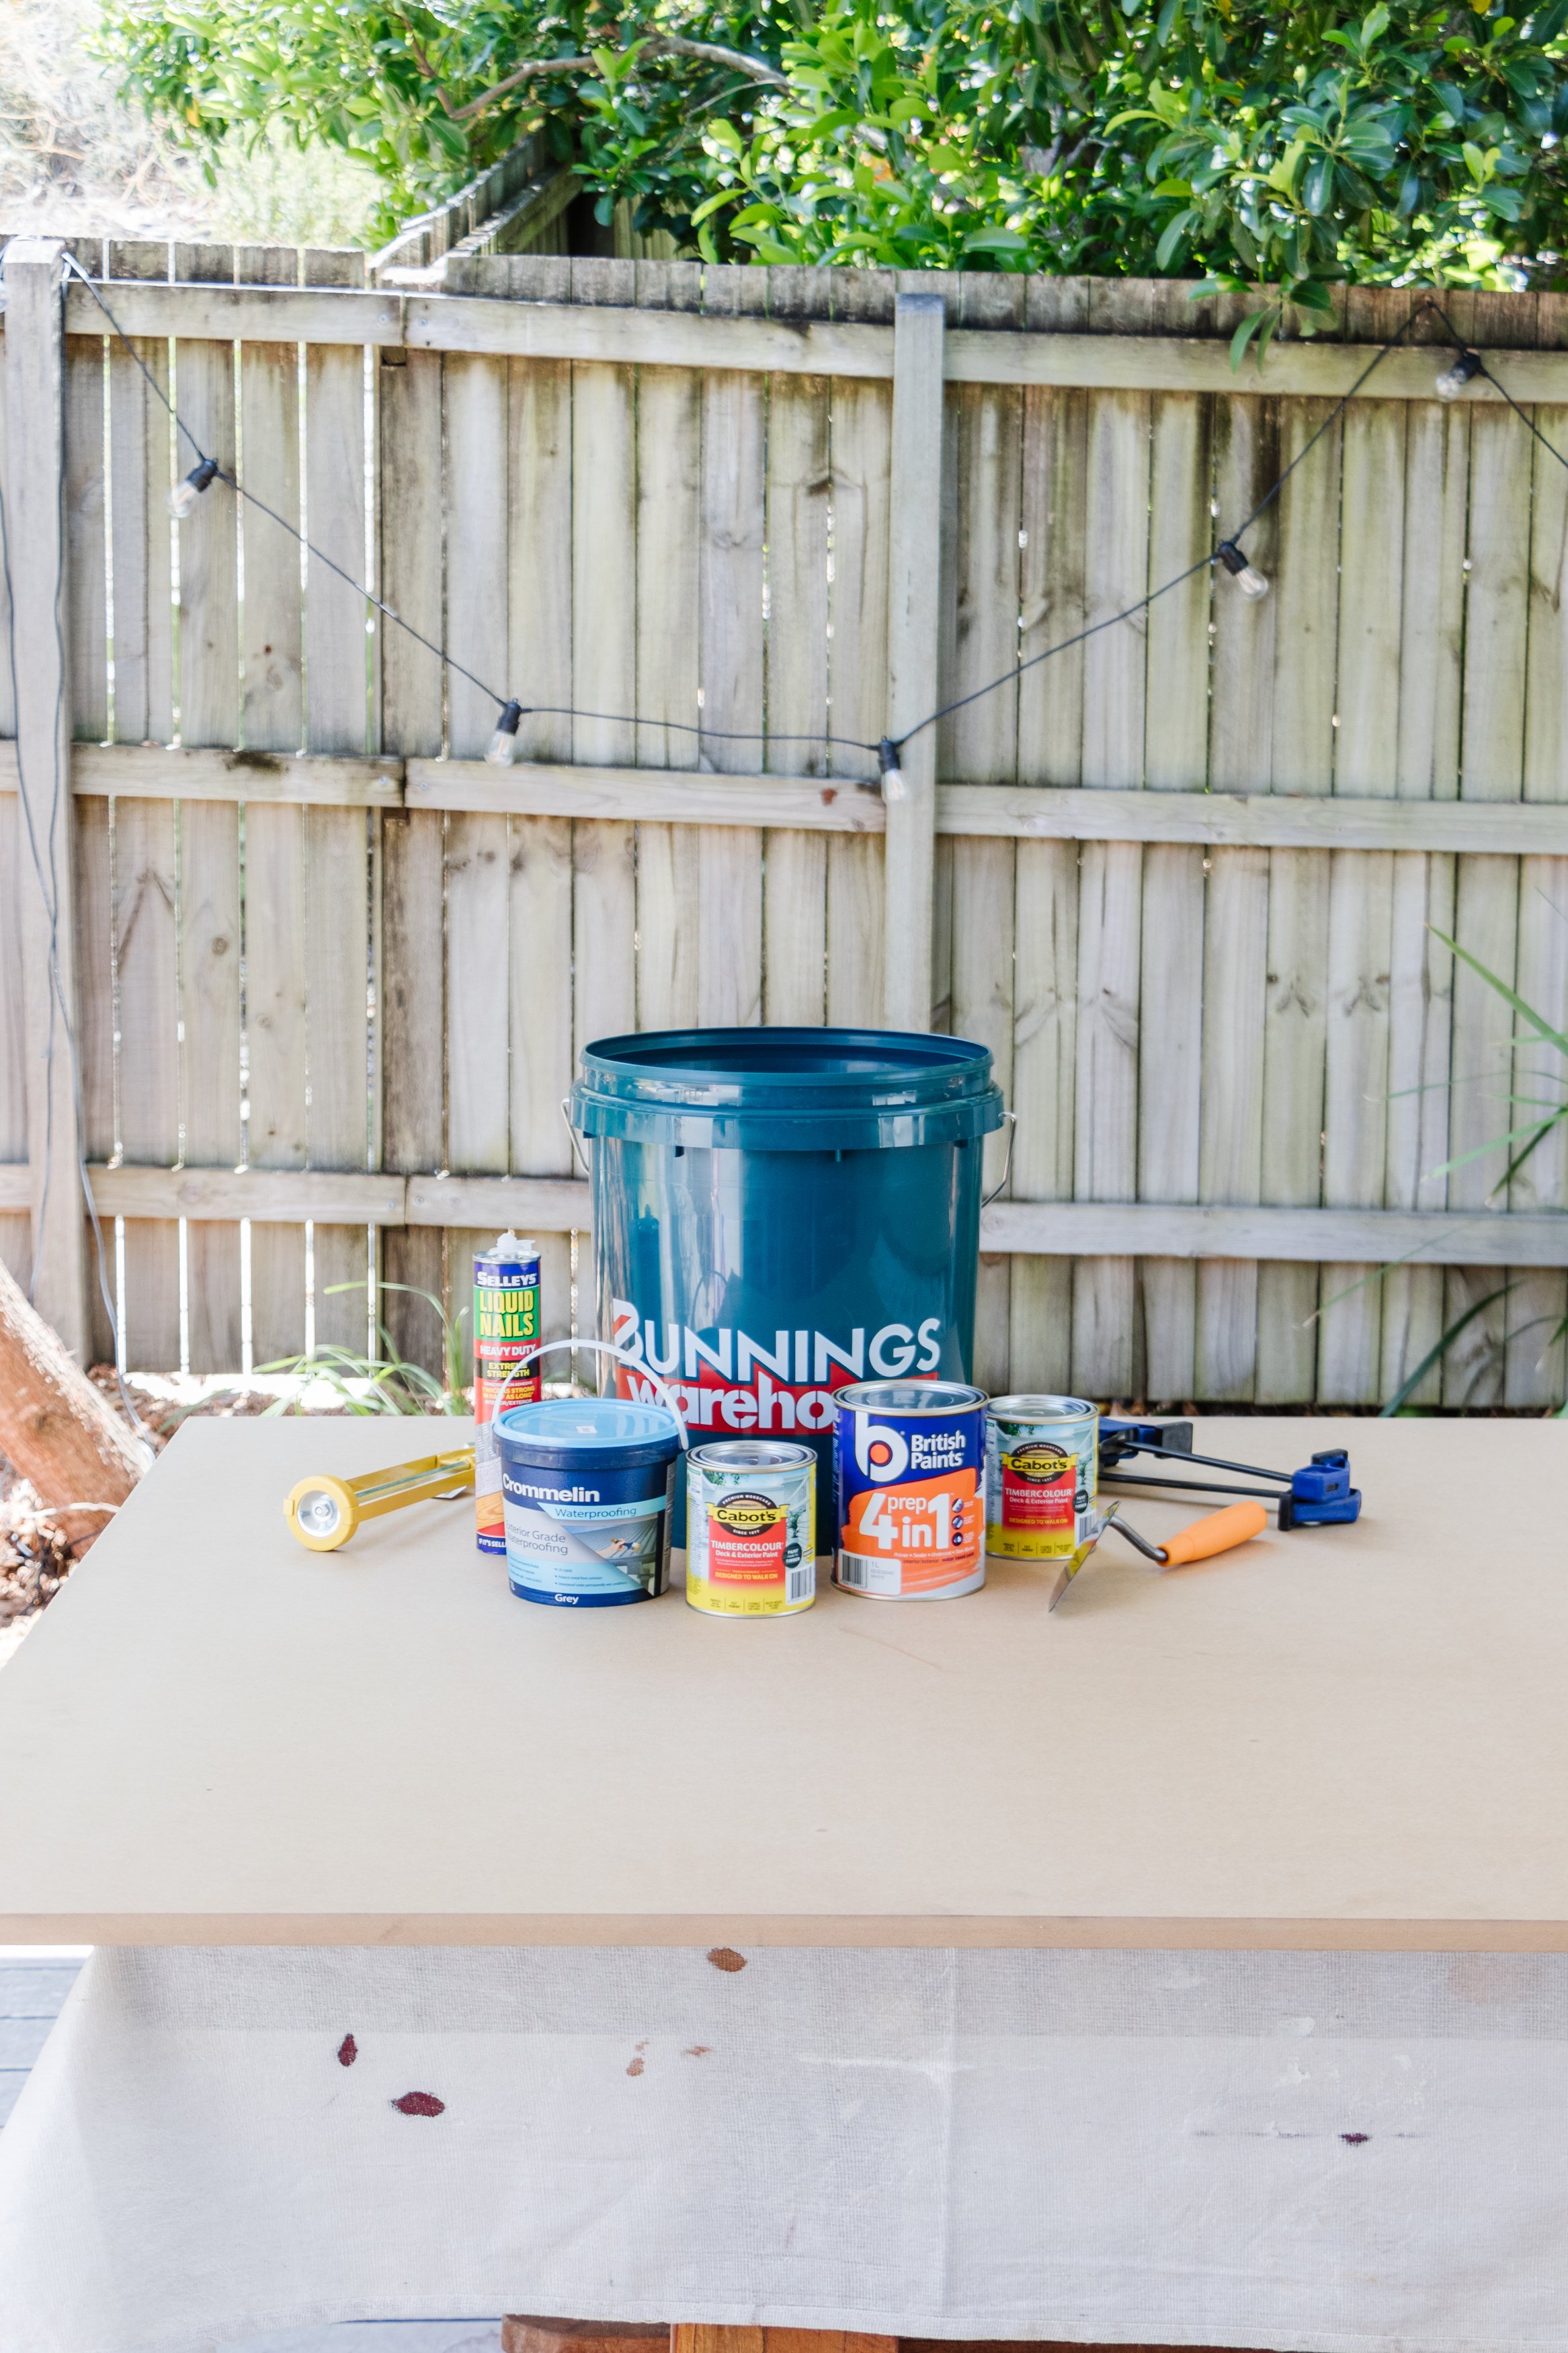
As you know we’ve been looking for an outdoor table where we can enjoy meals during the balmy summer evenings and when I couldn’t find anything I liked and that was in our budget (most outdoor rendered tables cost well over $1,500!) I decided to challenge myself and make one from scratch. Naturally I went straight to Bunnings to pick up all the materials I needed and got straight to work. Read on to find out how it all came togfether. I think you’ll be quite surprised how achievable it is!
And make sure to watch this this quick video to see how it all came together.
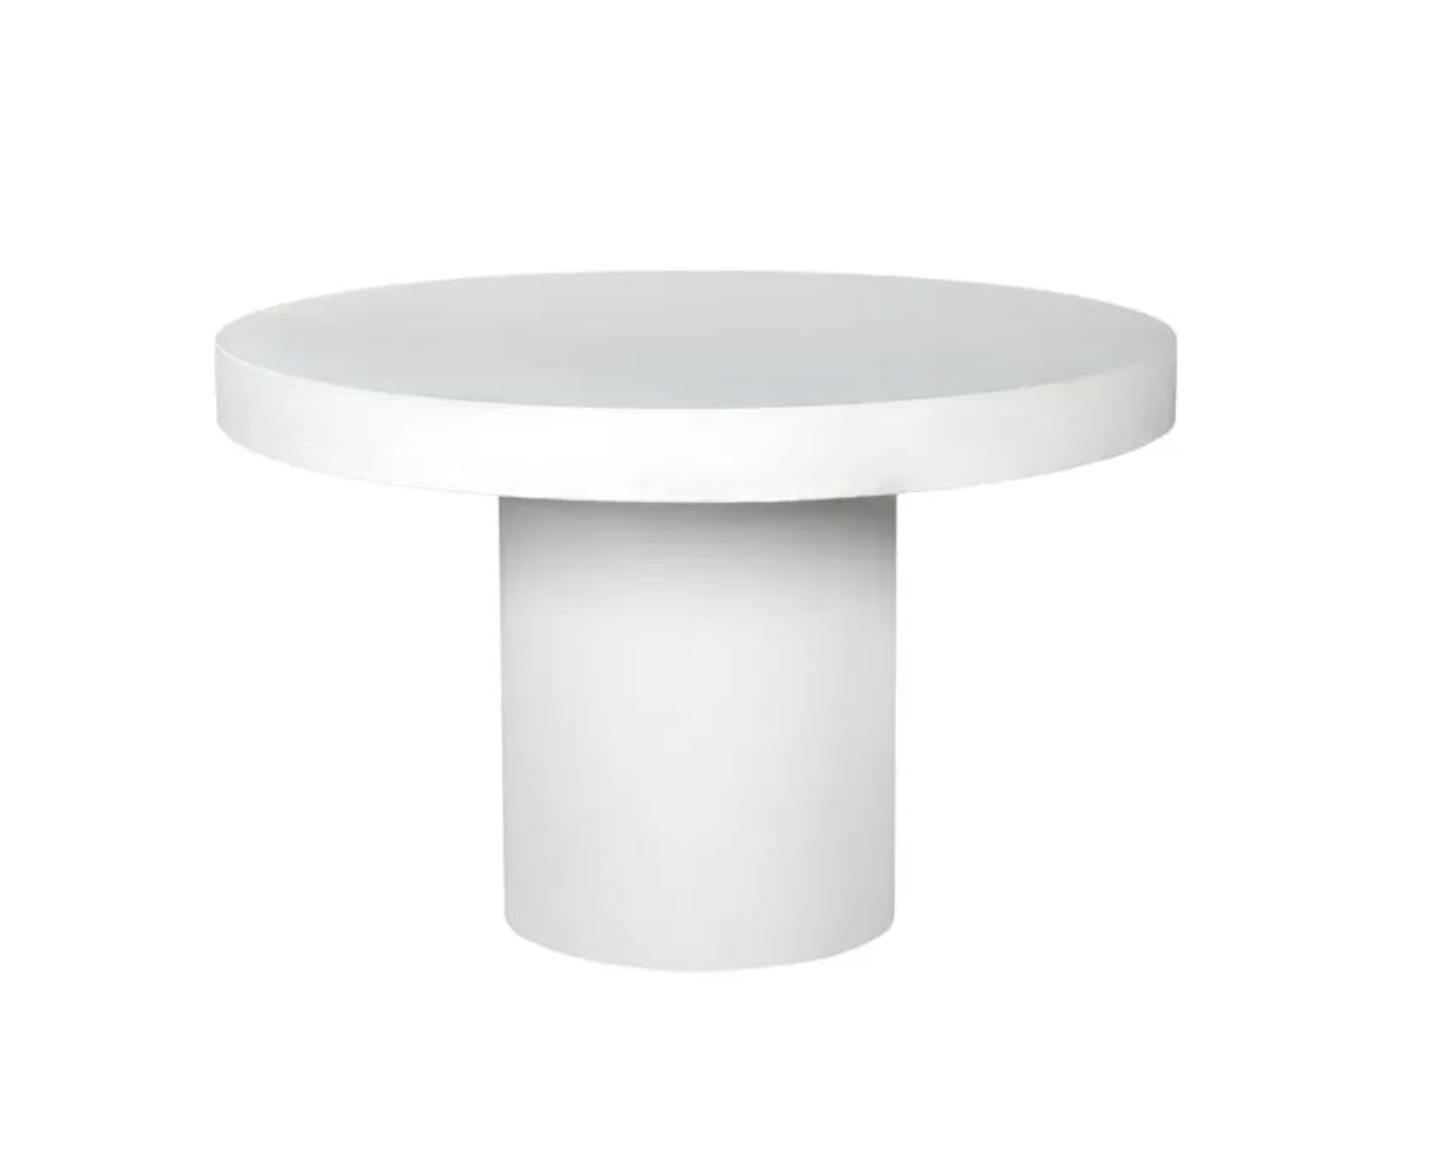
Before & After: DIY Outdoor Rendered Table


Project Details
♻️ Making: A DIY Outdoor Rendered Table
🕒 Project Time Estimate: 6 hours across two days
💰 Materials Cost: $230
👷♀️ Protective Gear: Safety eyewear, safety mask and ear plugs
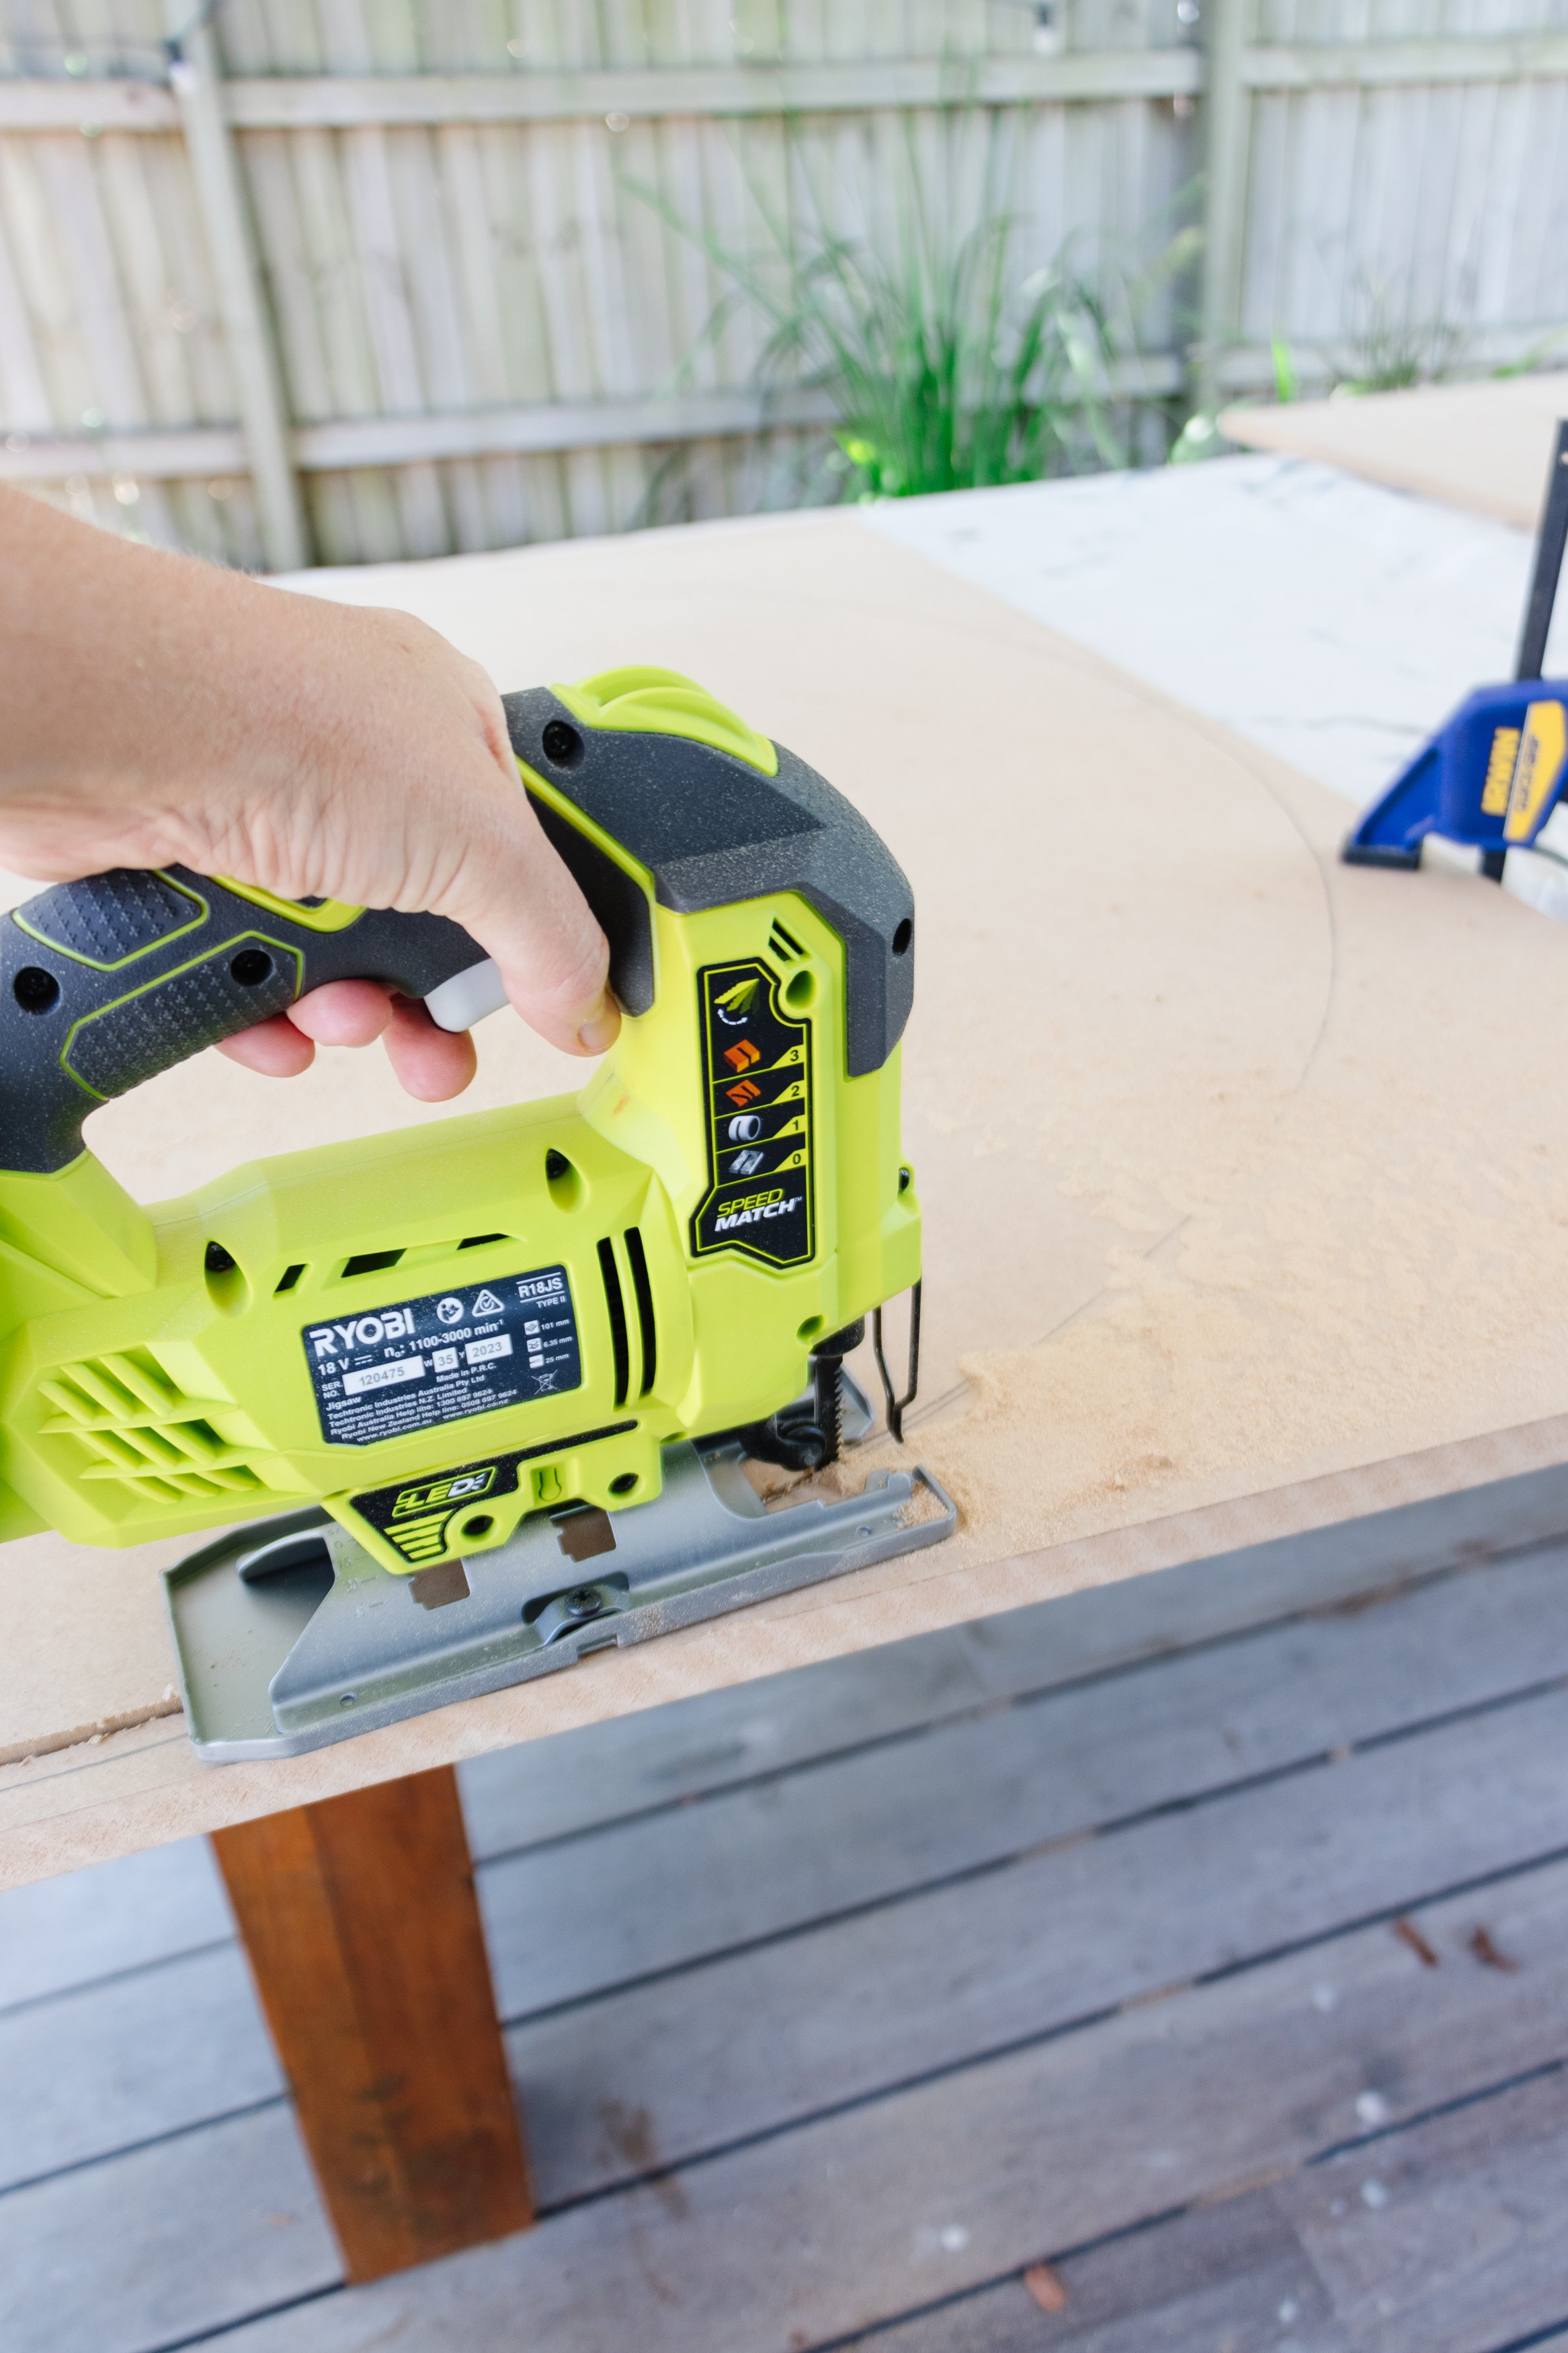
💡 Tip: You will need to cut the large panel of MDF in half. Bunnings can do this for you, so please ask in store. Alternatively you can do this yourself using a jigsaw and clamps.
If you plan on recreating this project, I recommend using one piece of MDF for the top (and not two). After extreme weather elements over summer, th render has cracked between the two pieces of MDF on the tabletop and I’ve had to fill it in with tile grout. This hasn’t been too much of a problem but to totally avoid this happening, use one piece of MDF for the top.
Materials
1 x 1200mm x 2400mm 18mm MDF panel cut in half
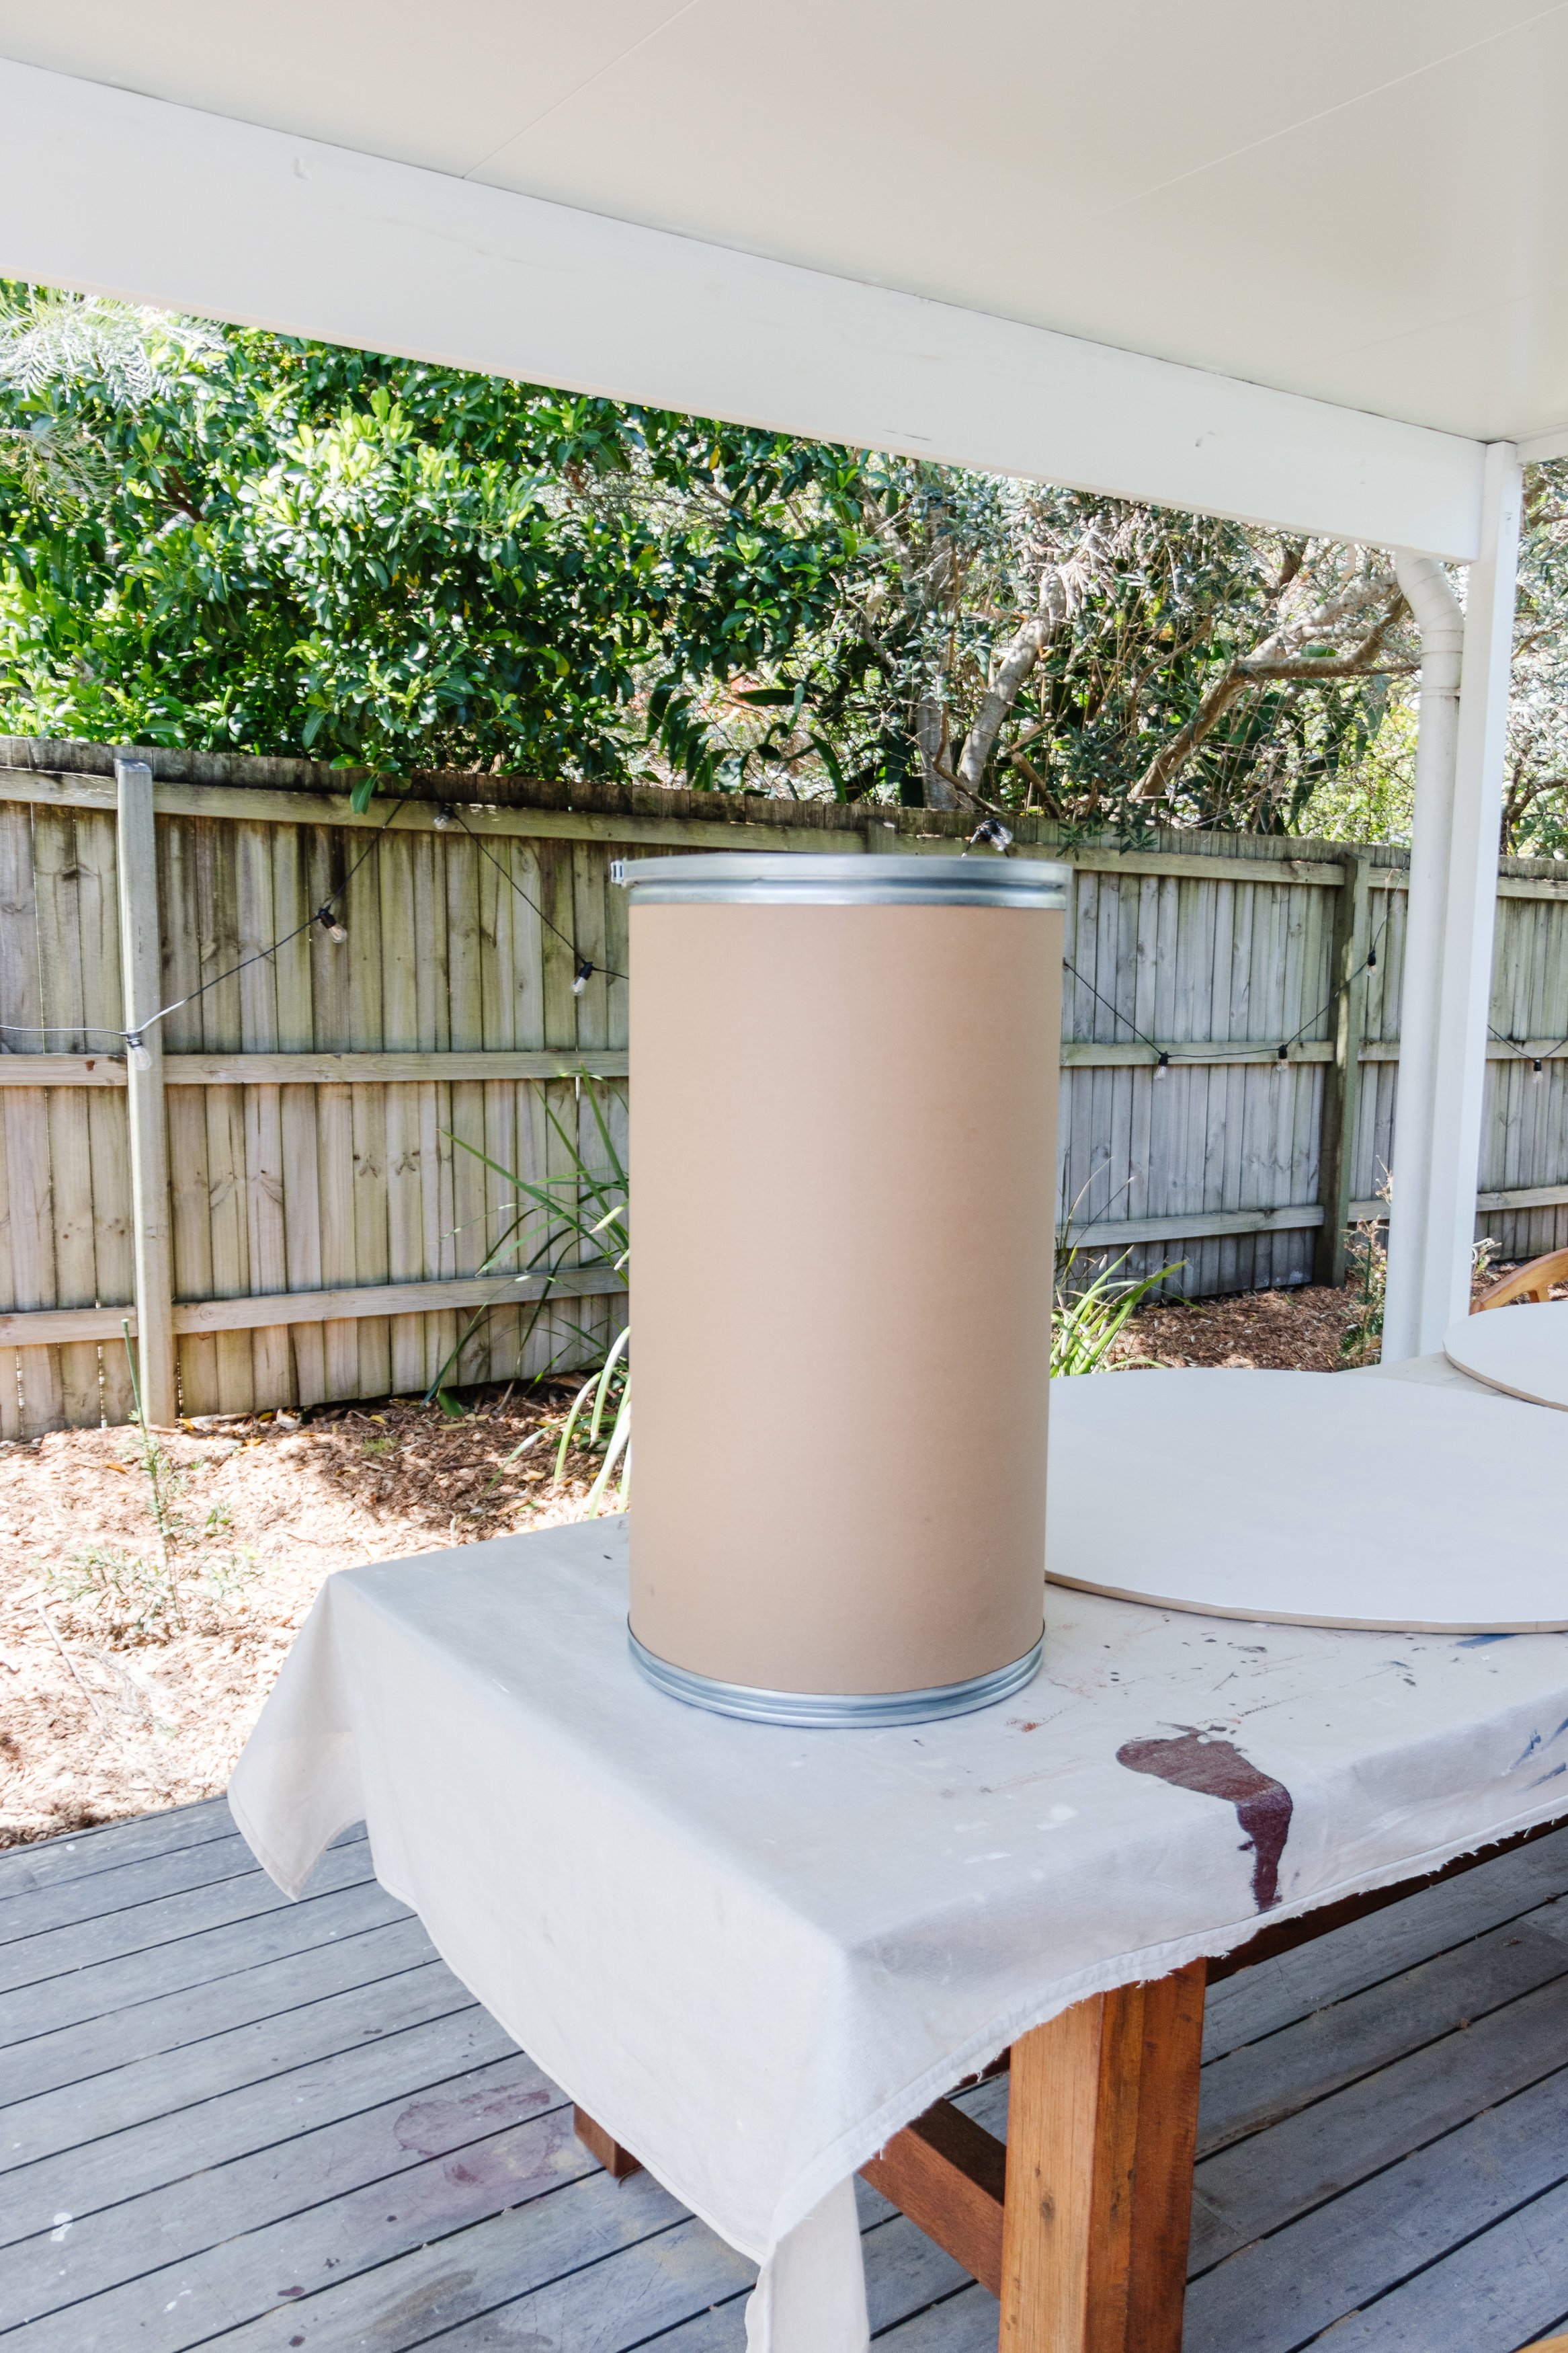
Cylinder tub from Reverse Garbage. There are a few locations around Australia.
1L British Paints 4 in 1 Primer
1.5L Cabots Exterior Paint in white
Construction adhesive
Dunlop Fine Coat Render
Timber
Timber screws
Concrete round
Tools
Drop sheet
Pencil
String
Clamps
Jigsaw
Router and round over/edge bit
Sander
Paint roller and tray
Paint brush
Caulking gun
Drill
Concrete mixer (I used a spare piece of timber)
Bucket
Straight edge trowel
Plastic float

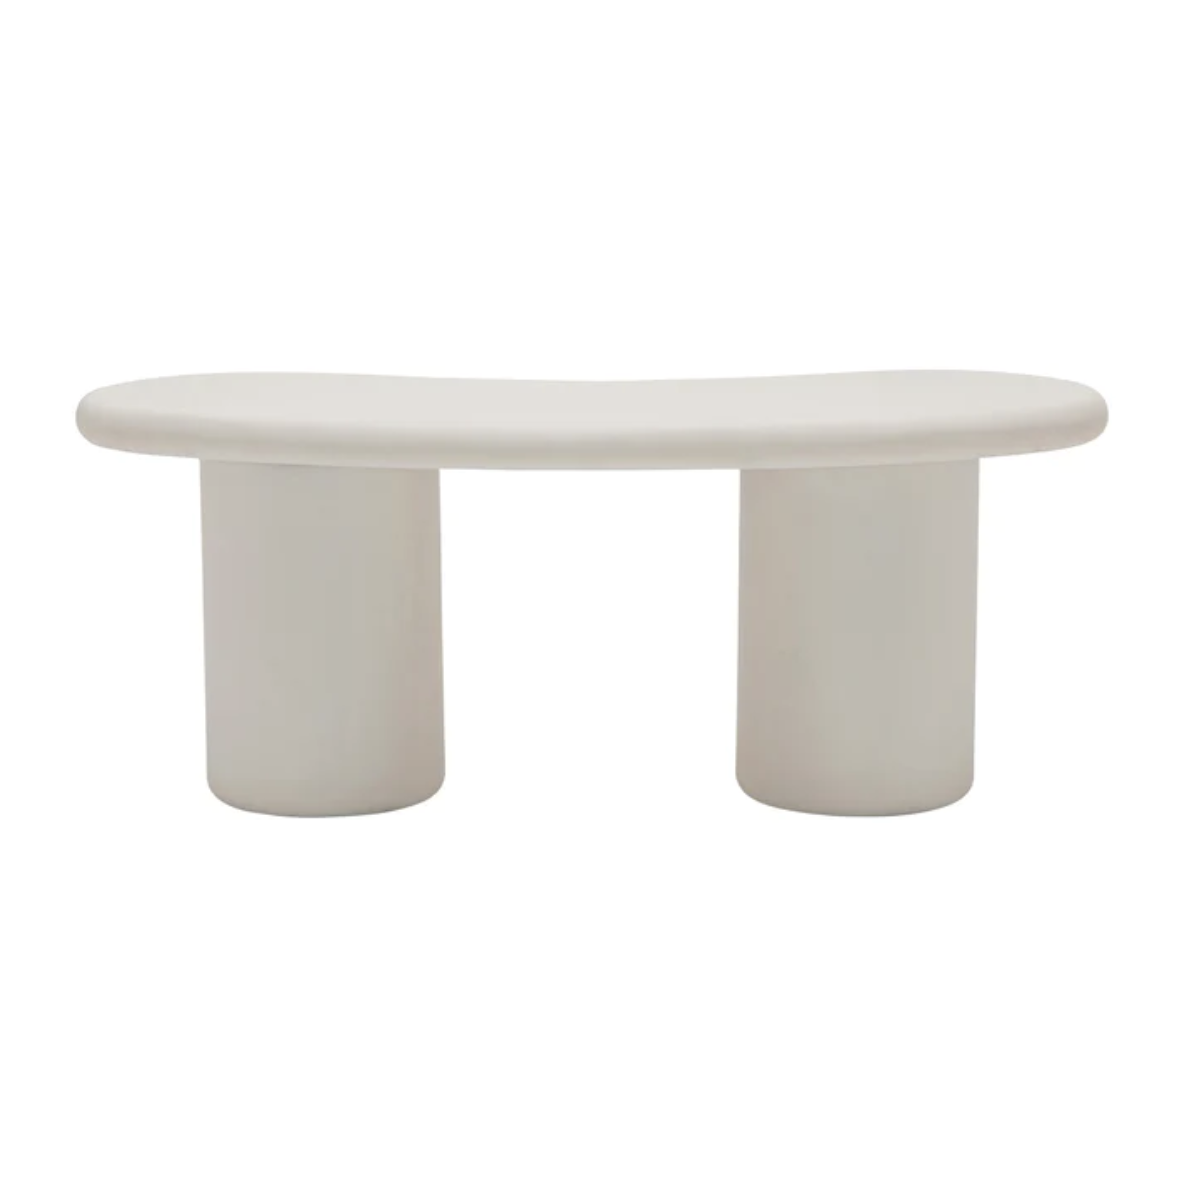
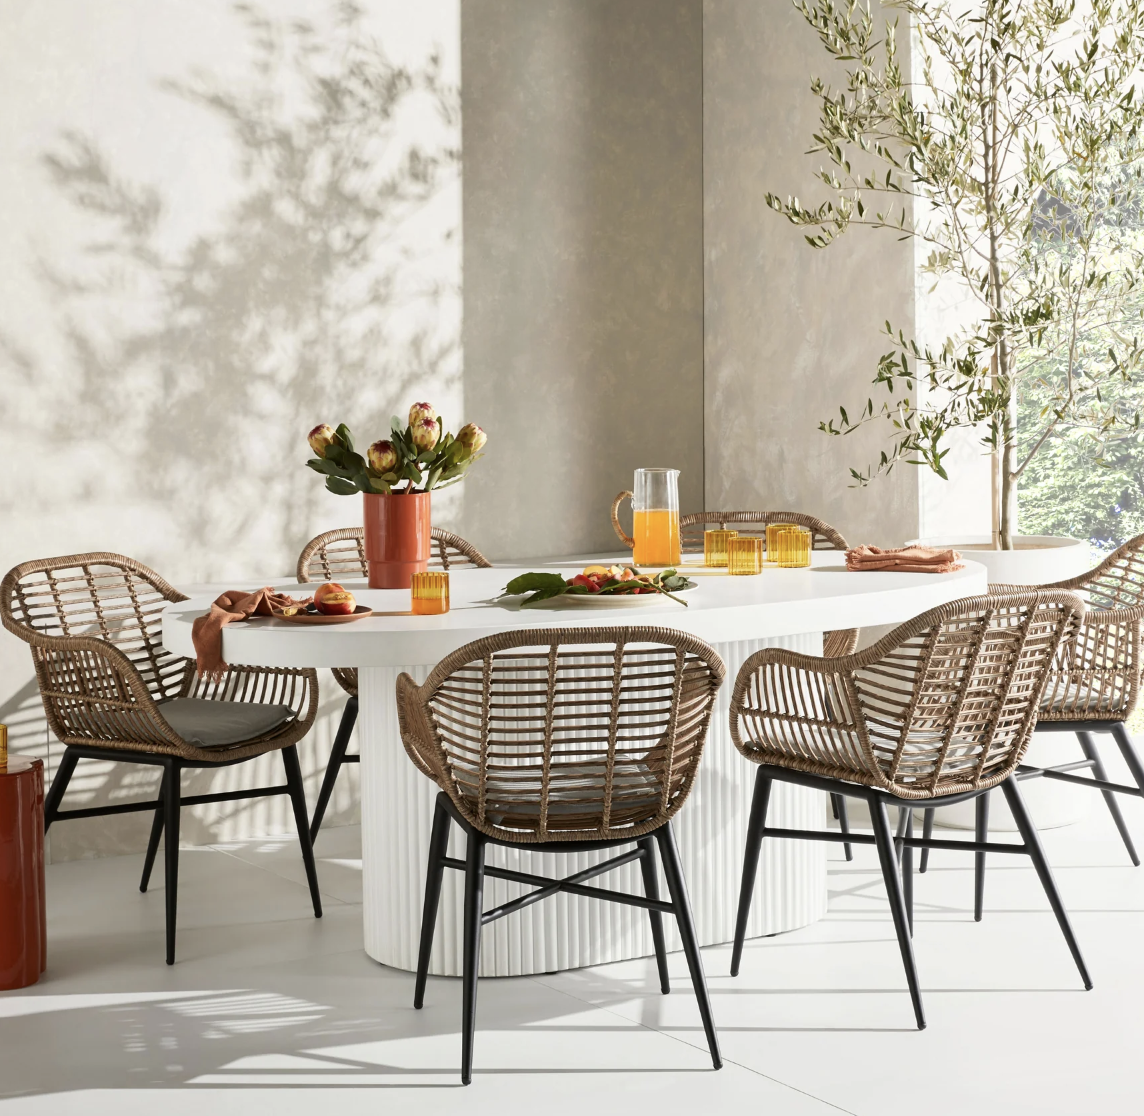
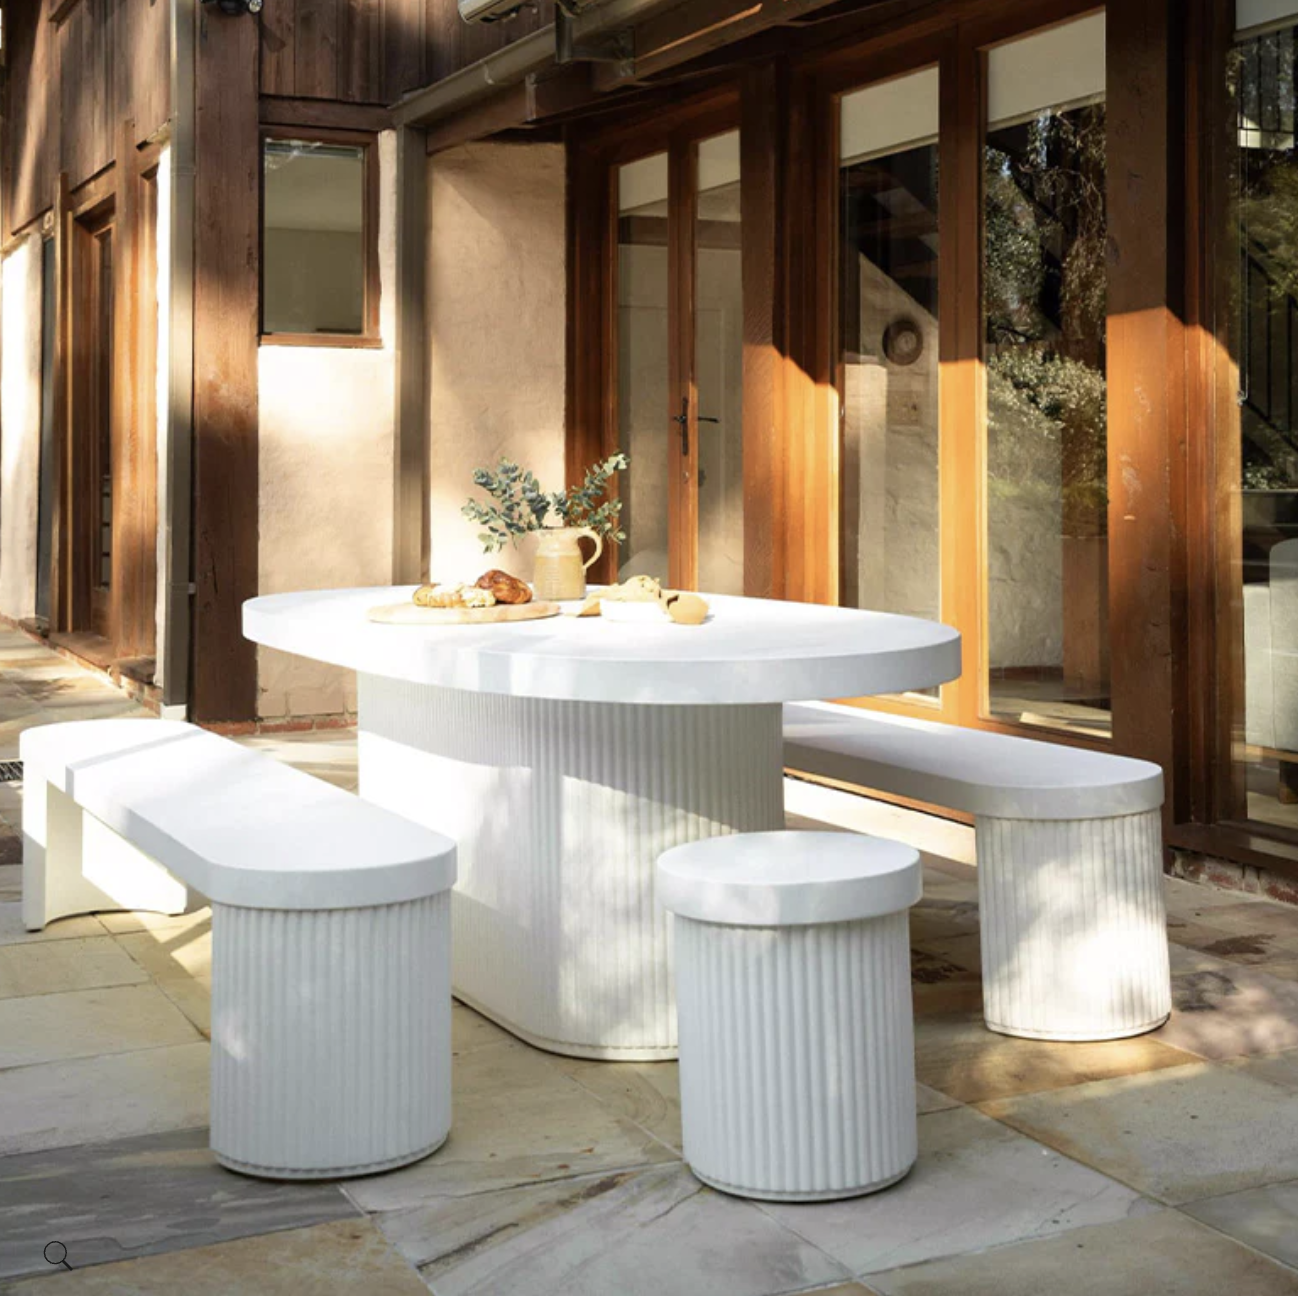
Inspiration
I’ve always loved rendered tables and here are a few outdoor tables that inspired this project. I’ve drawn on elements in each of these to come up with my own design using the materials I have been able to source from Bunnings. My plan was to make the cylinder base from scratch but when I found a cardboard cylinder at Reverse Garbage, I knew this would work beautifully - and save even more money.
How To
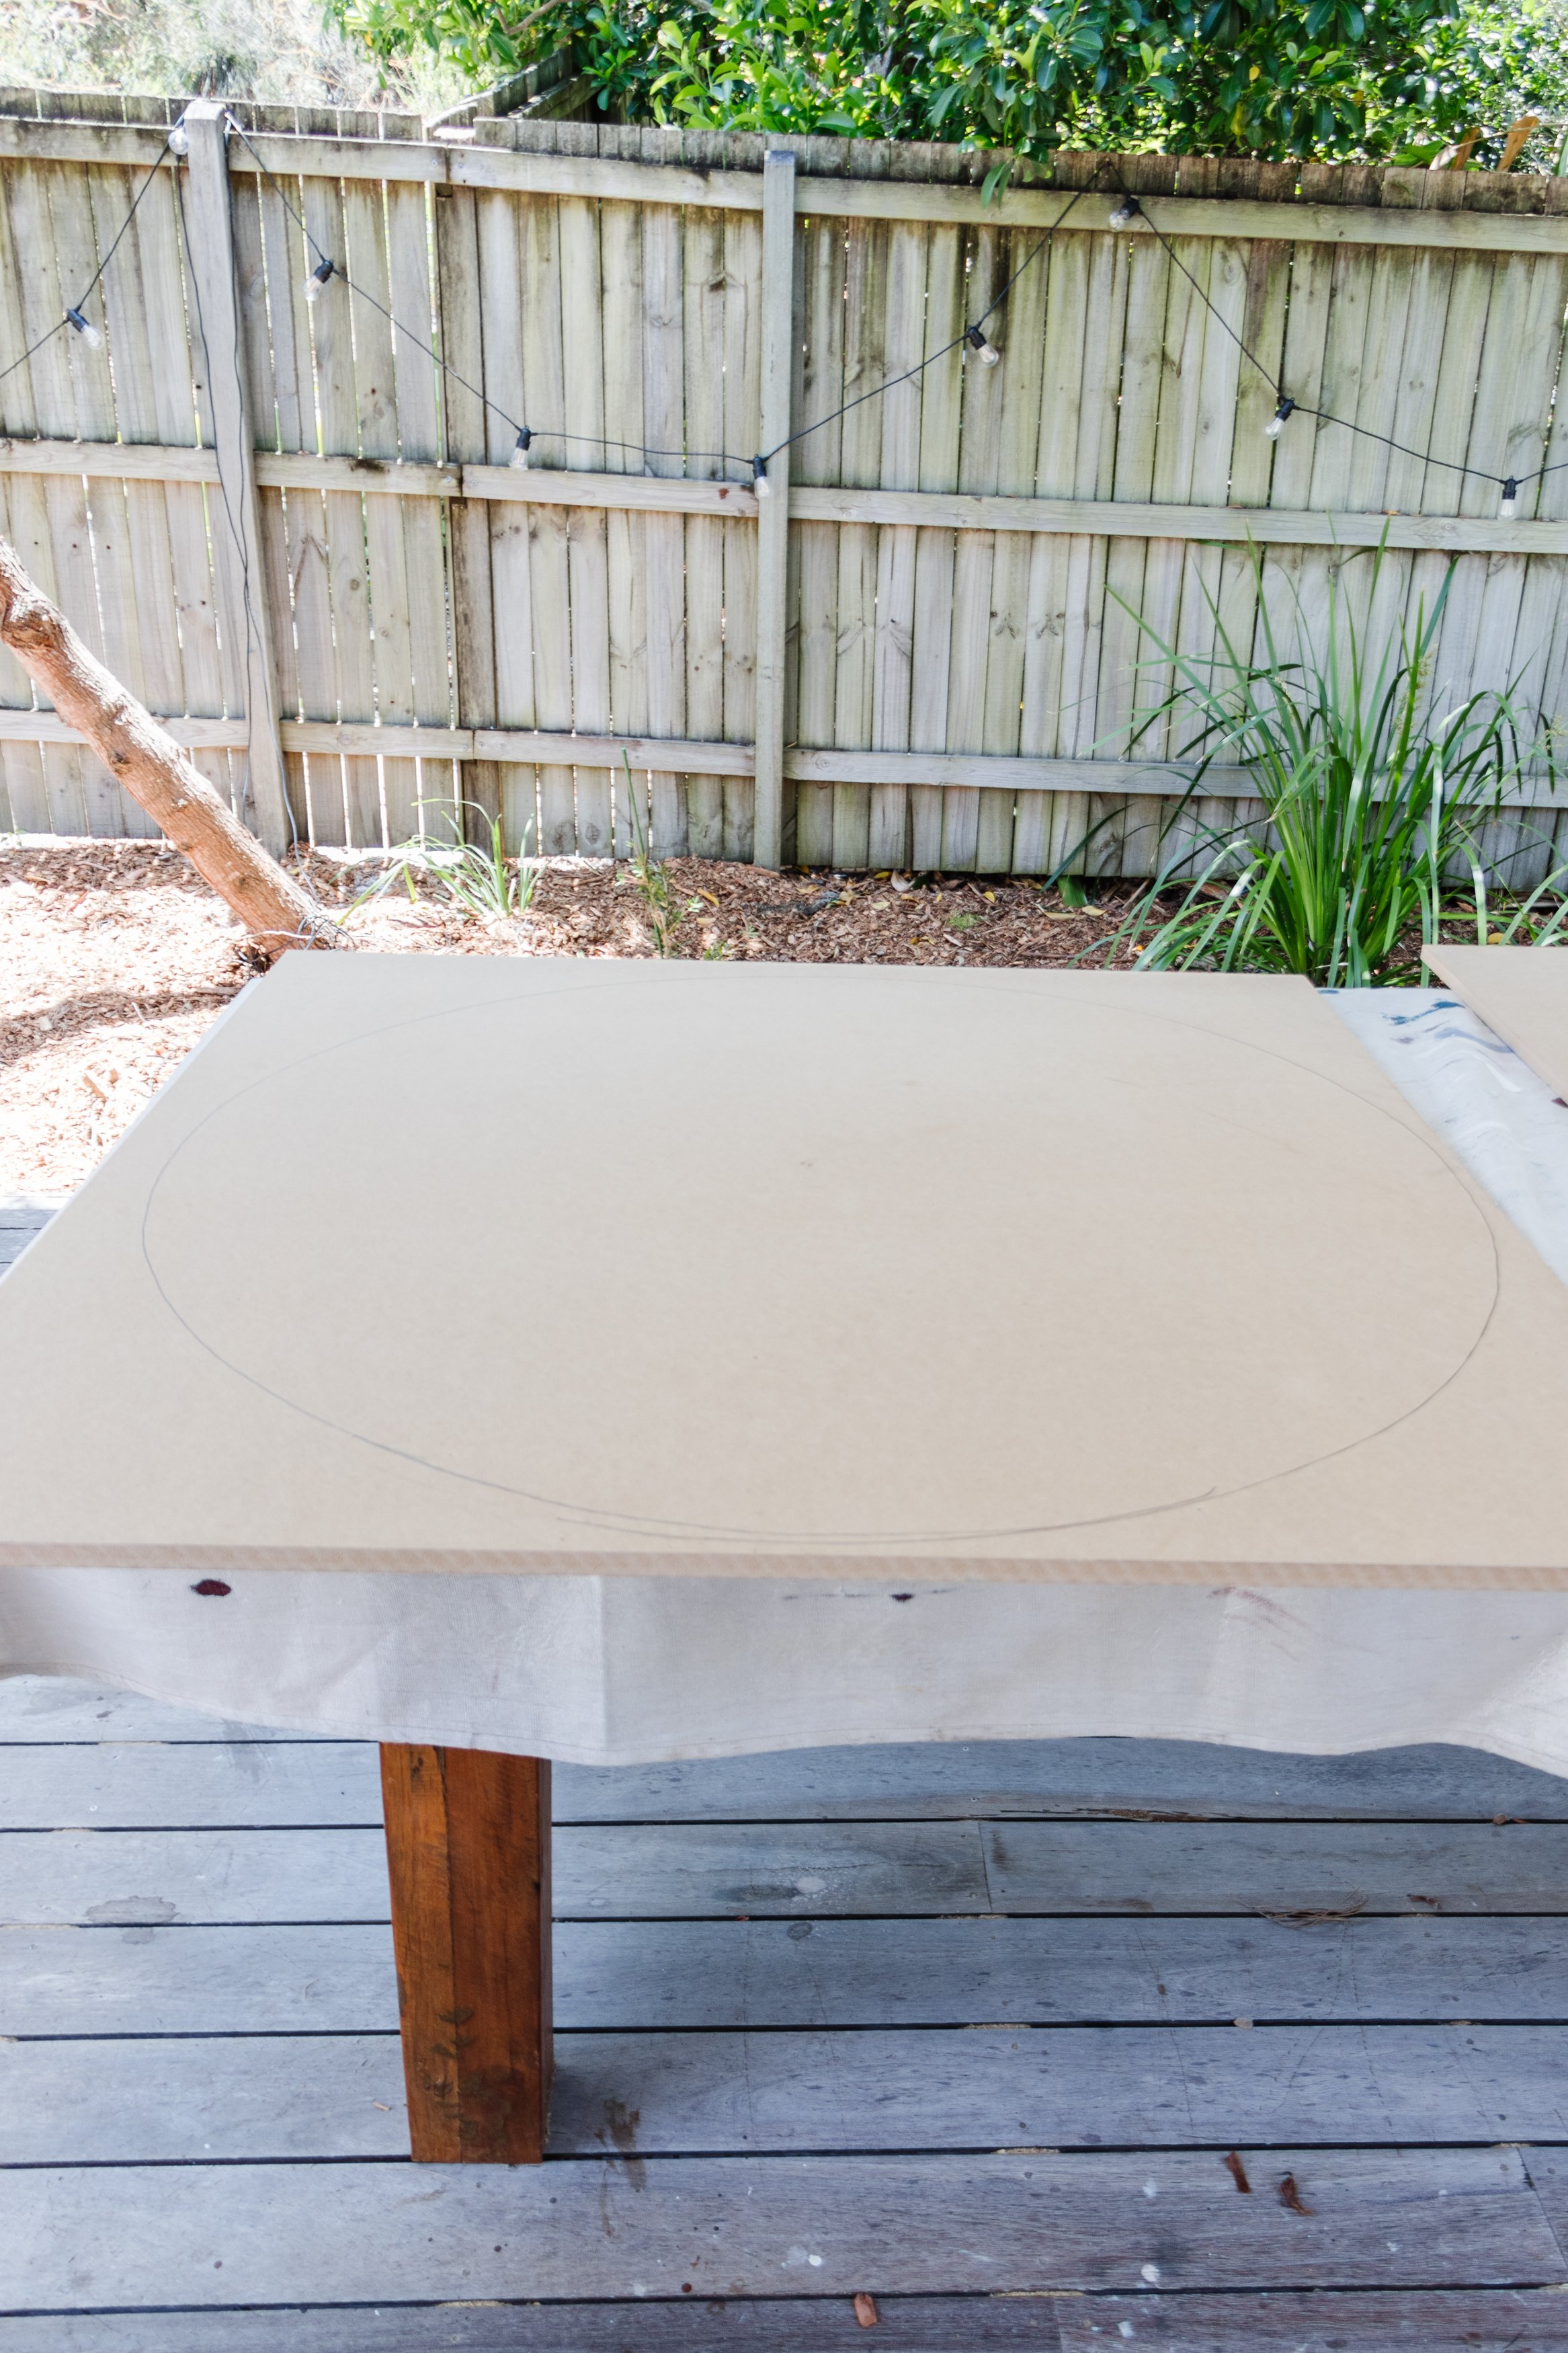
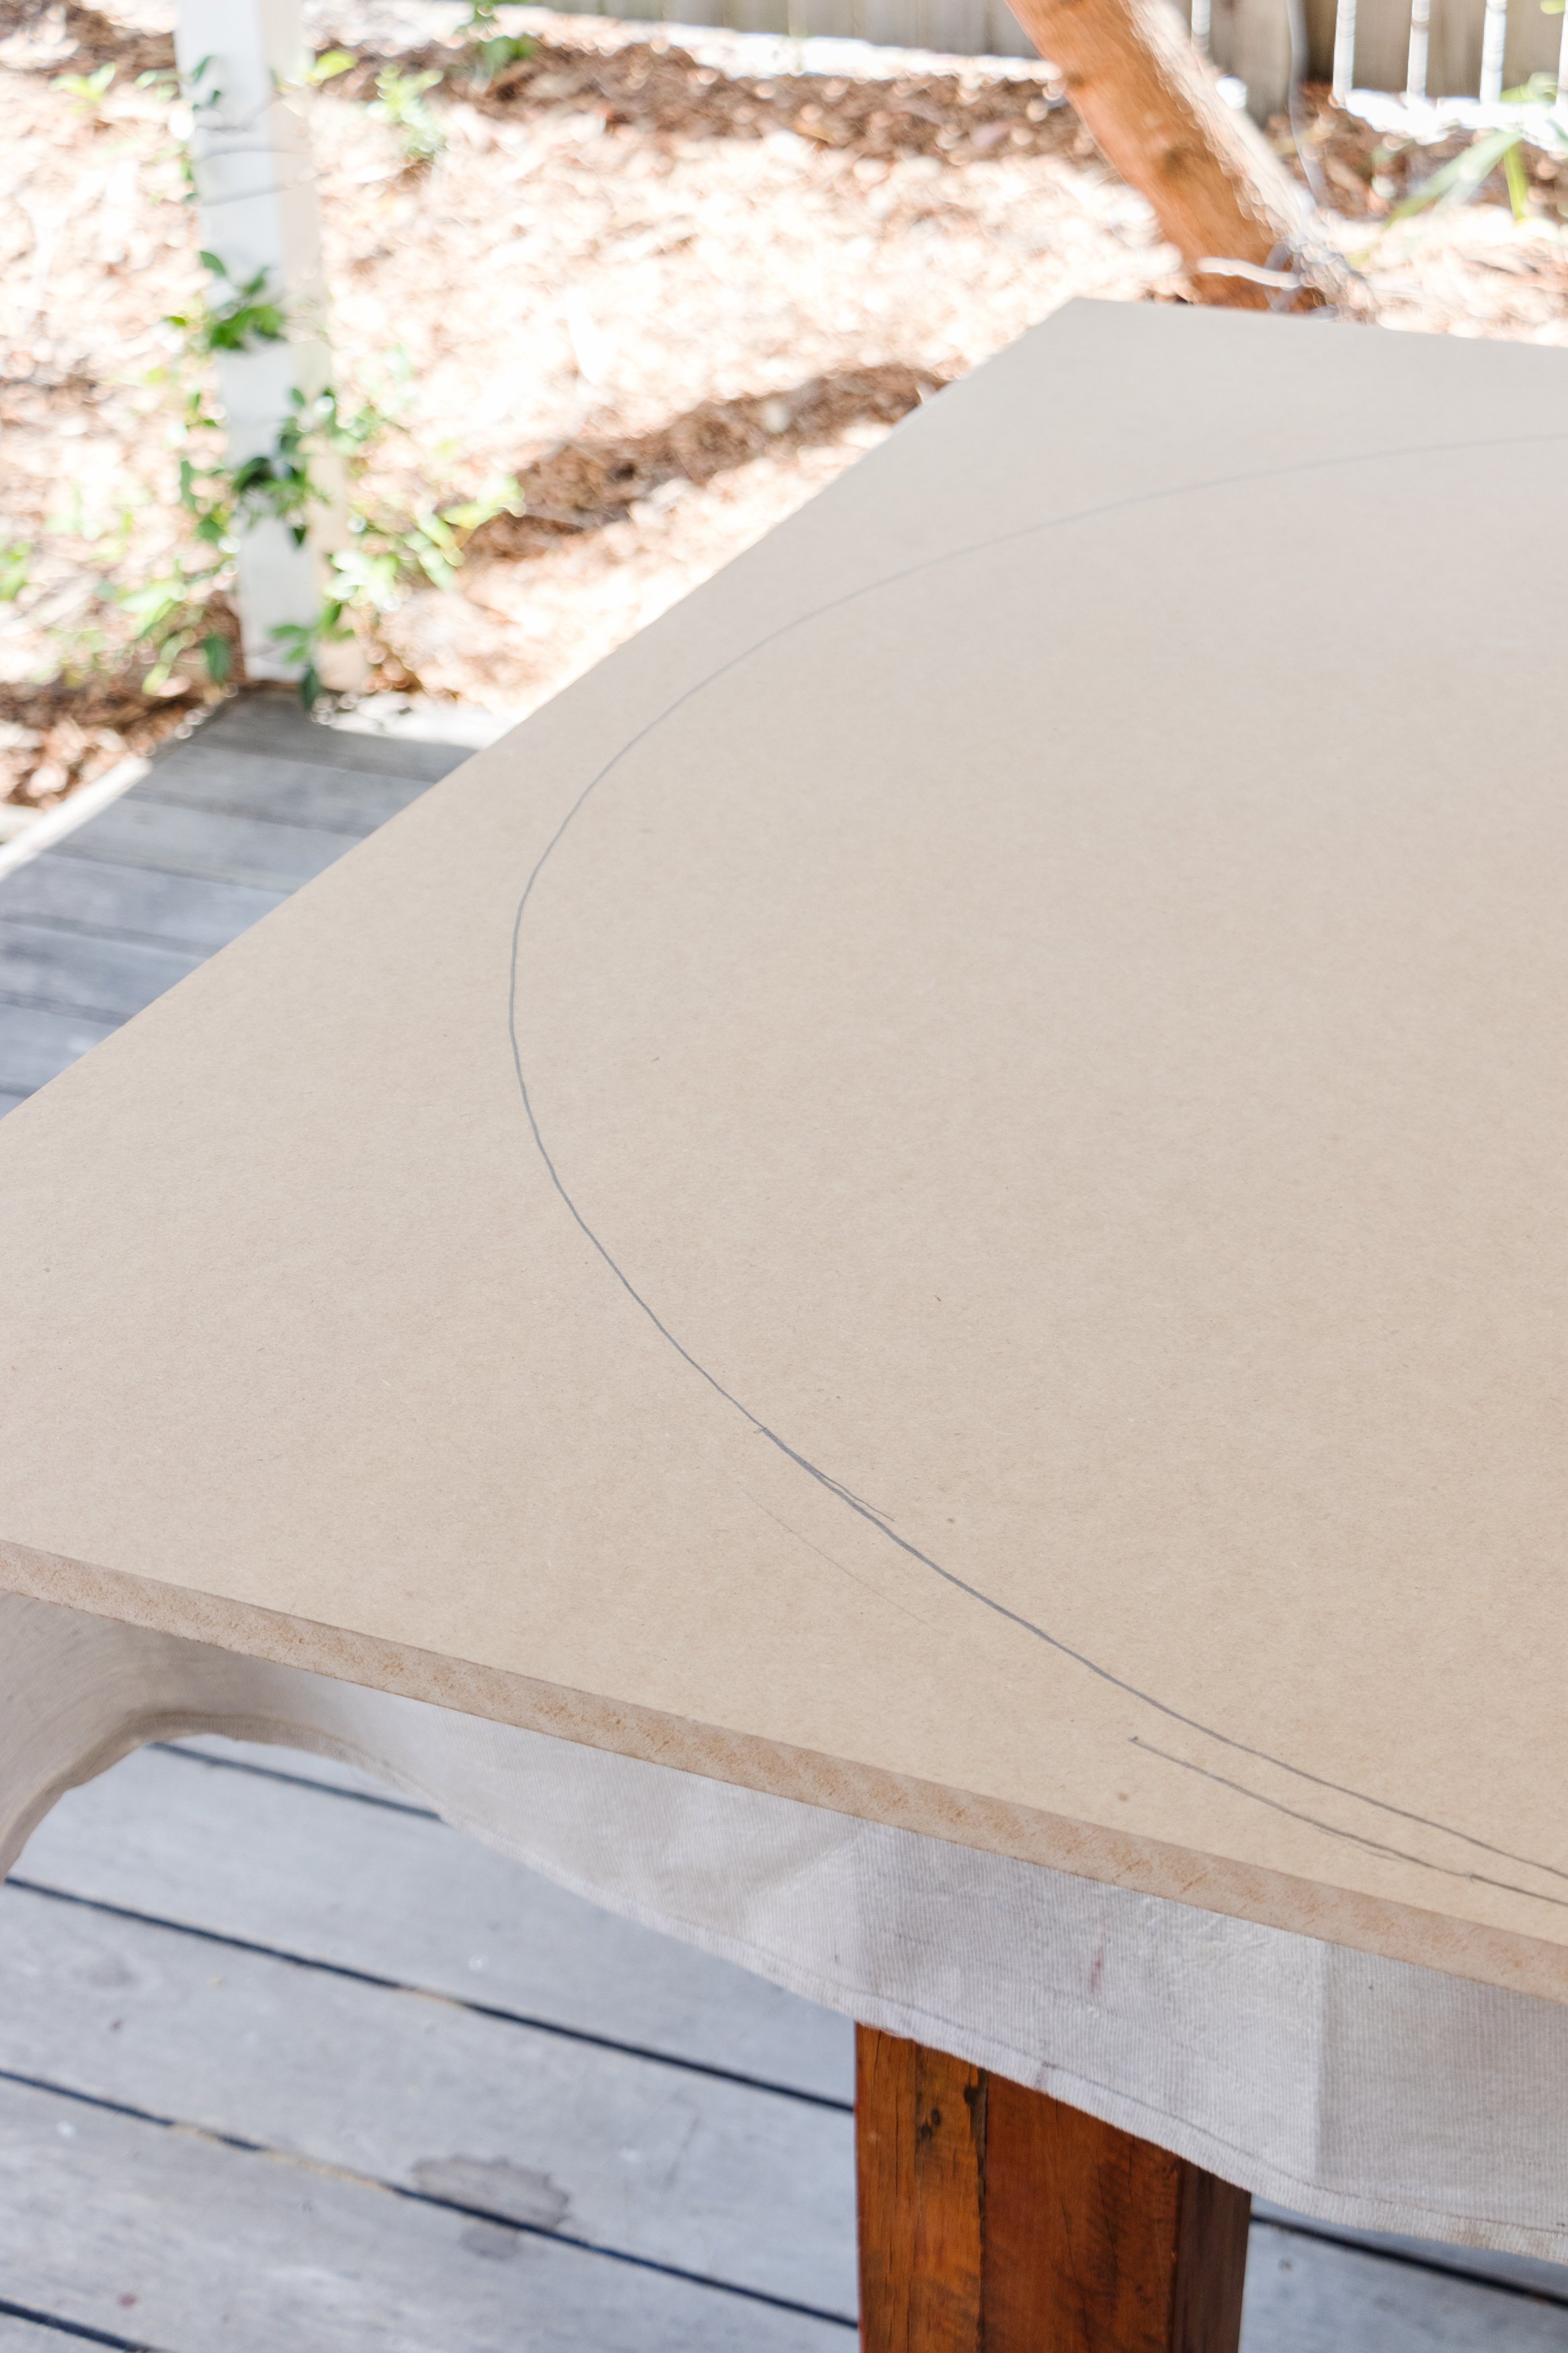
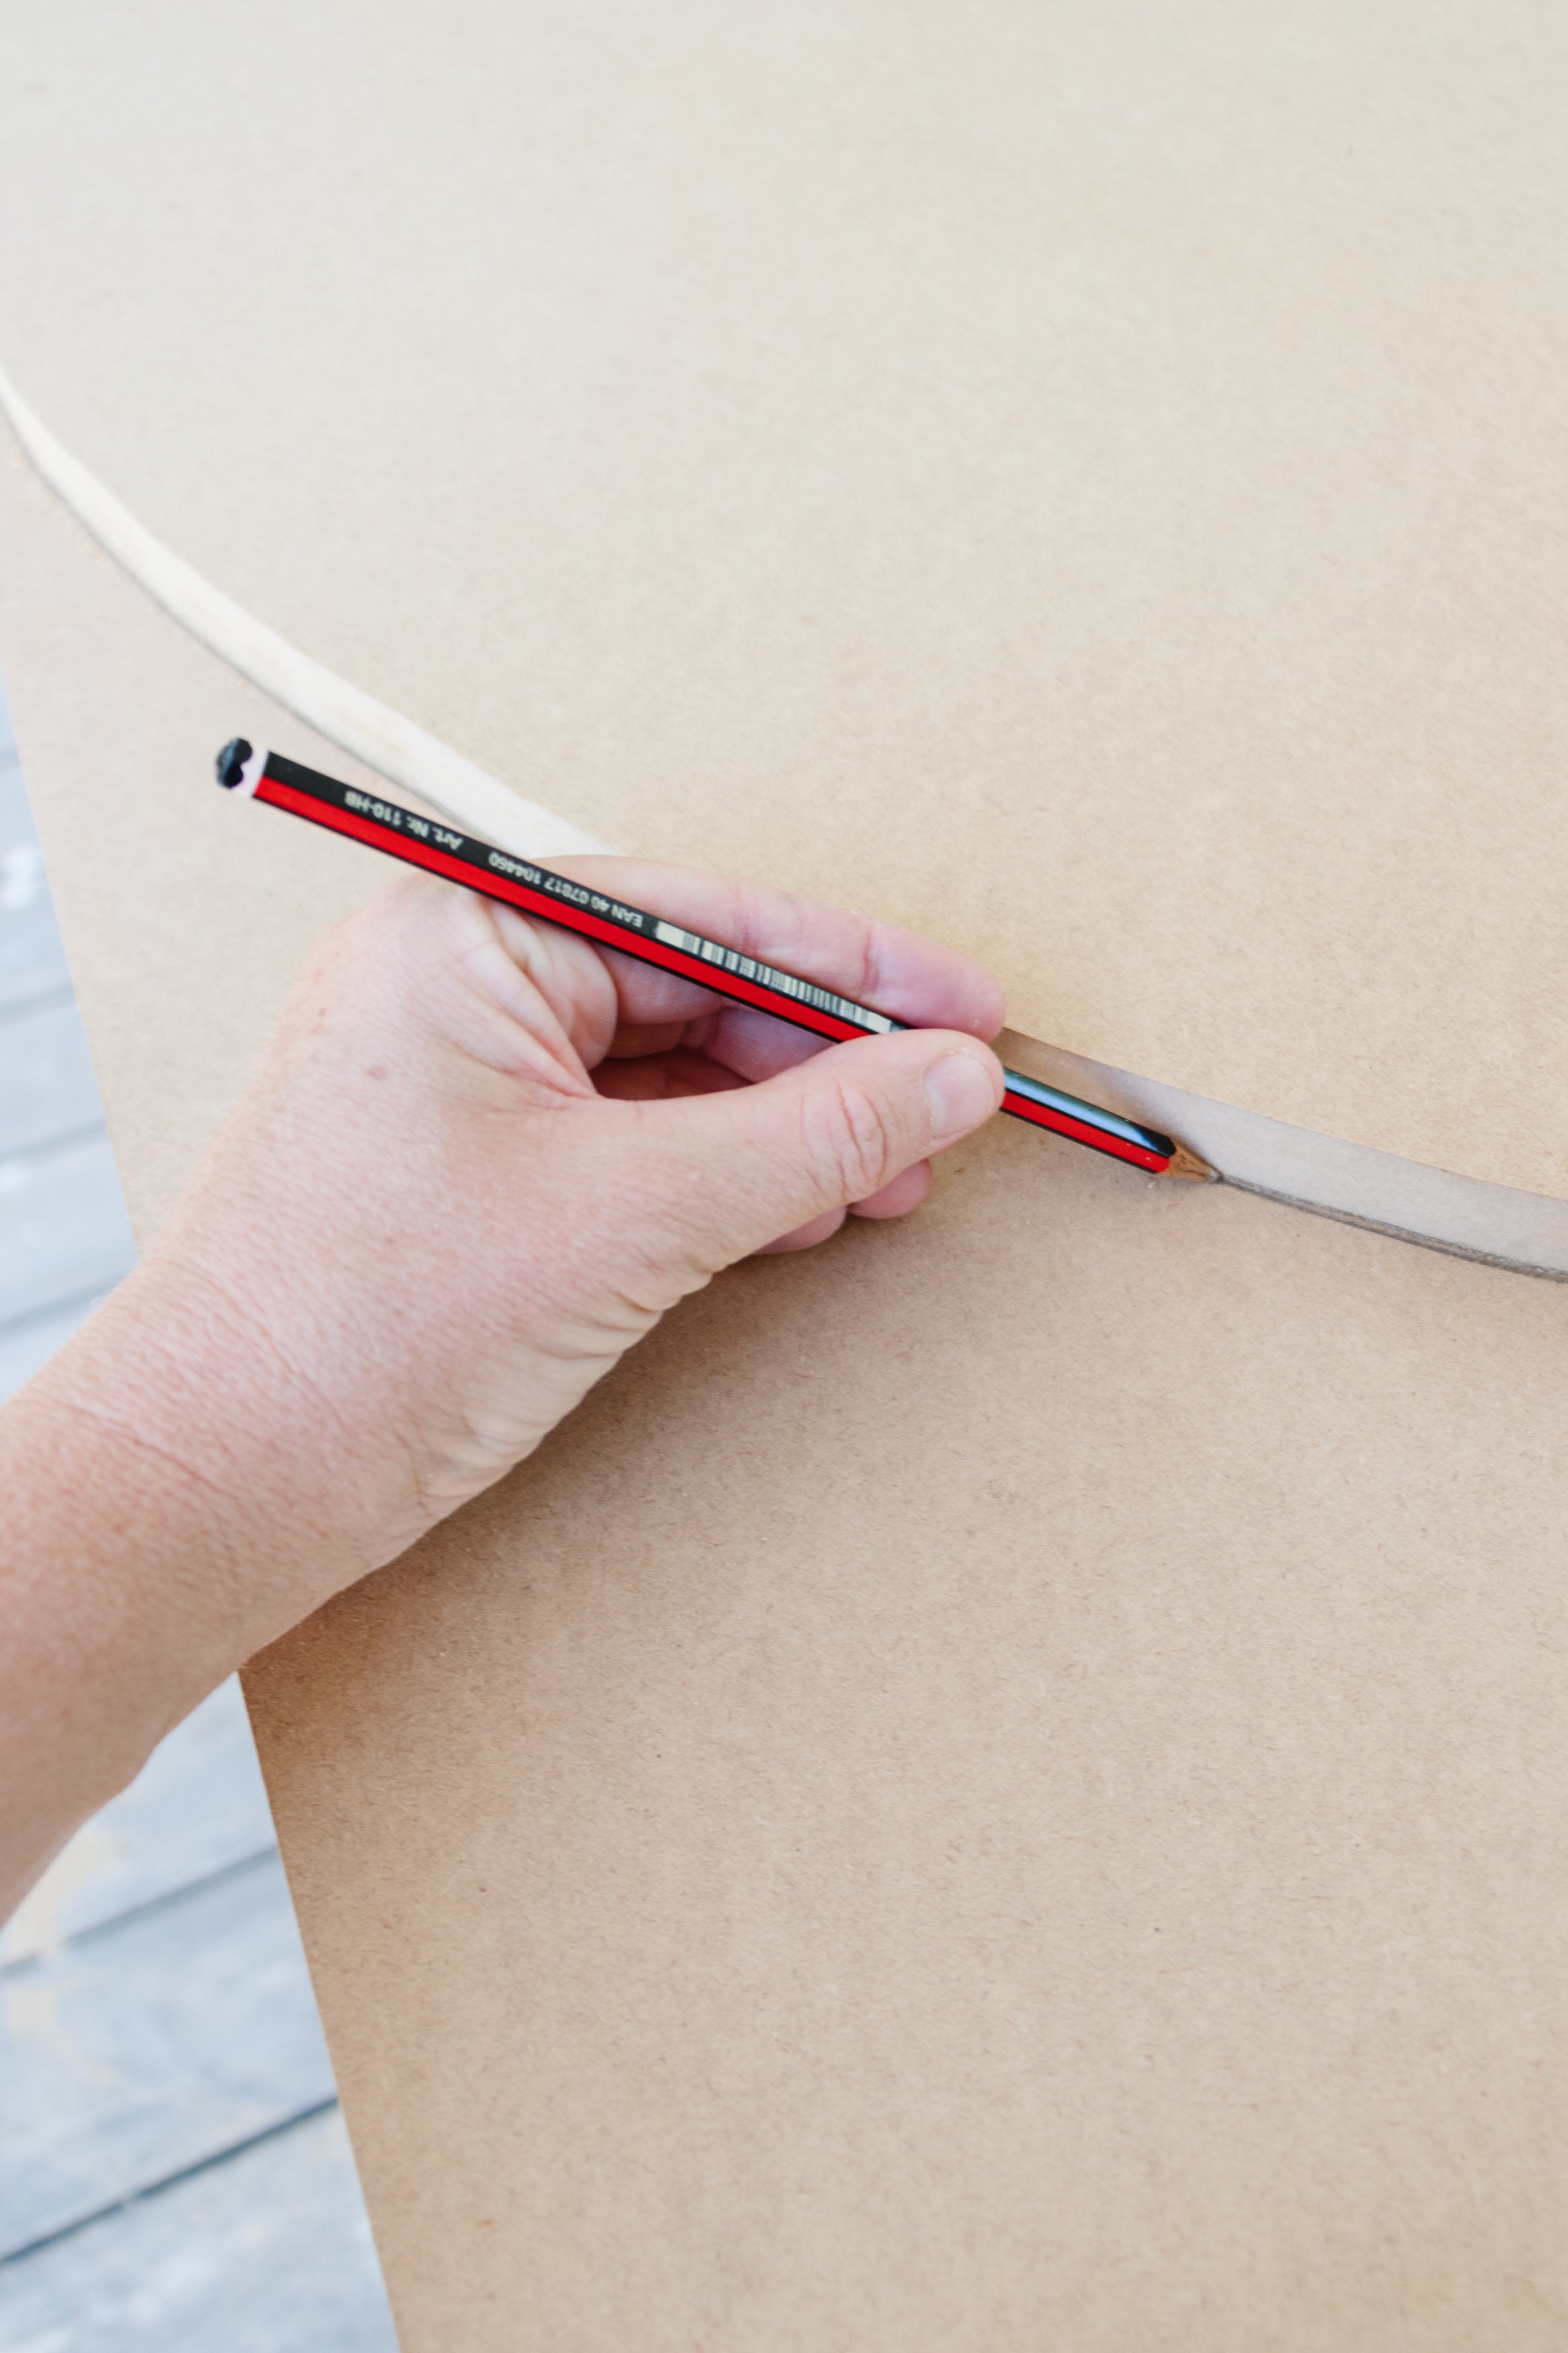
Step 1: Start by using the pencil and string method to draw a large circle onto one piece of MDF. Secure the MDF to your work bench, put on your protective gear and cut the circle out with the jigsaw. When finished place this circle on top of the second piece of MDF and trace around it using a pencil. Set the round panel aside. Secure the second panel of MDF to your work bench and while wearing your protective gear cut the second circle out with the jigsaw. Place one round MDF panel on top of the other and see if you need to trim the edges further so the edges are lining up. Don’t worry if the edges aren’t lining up perfectly because we’ll be rendering them later on.
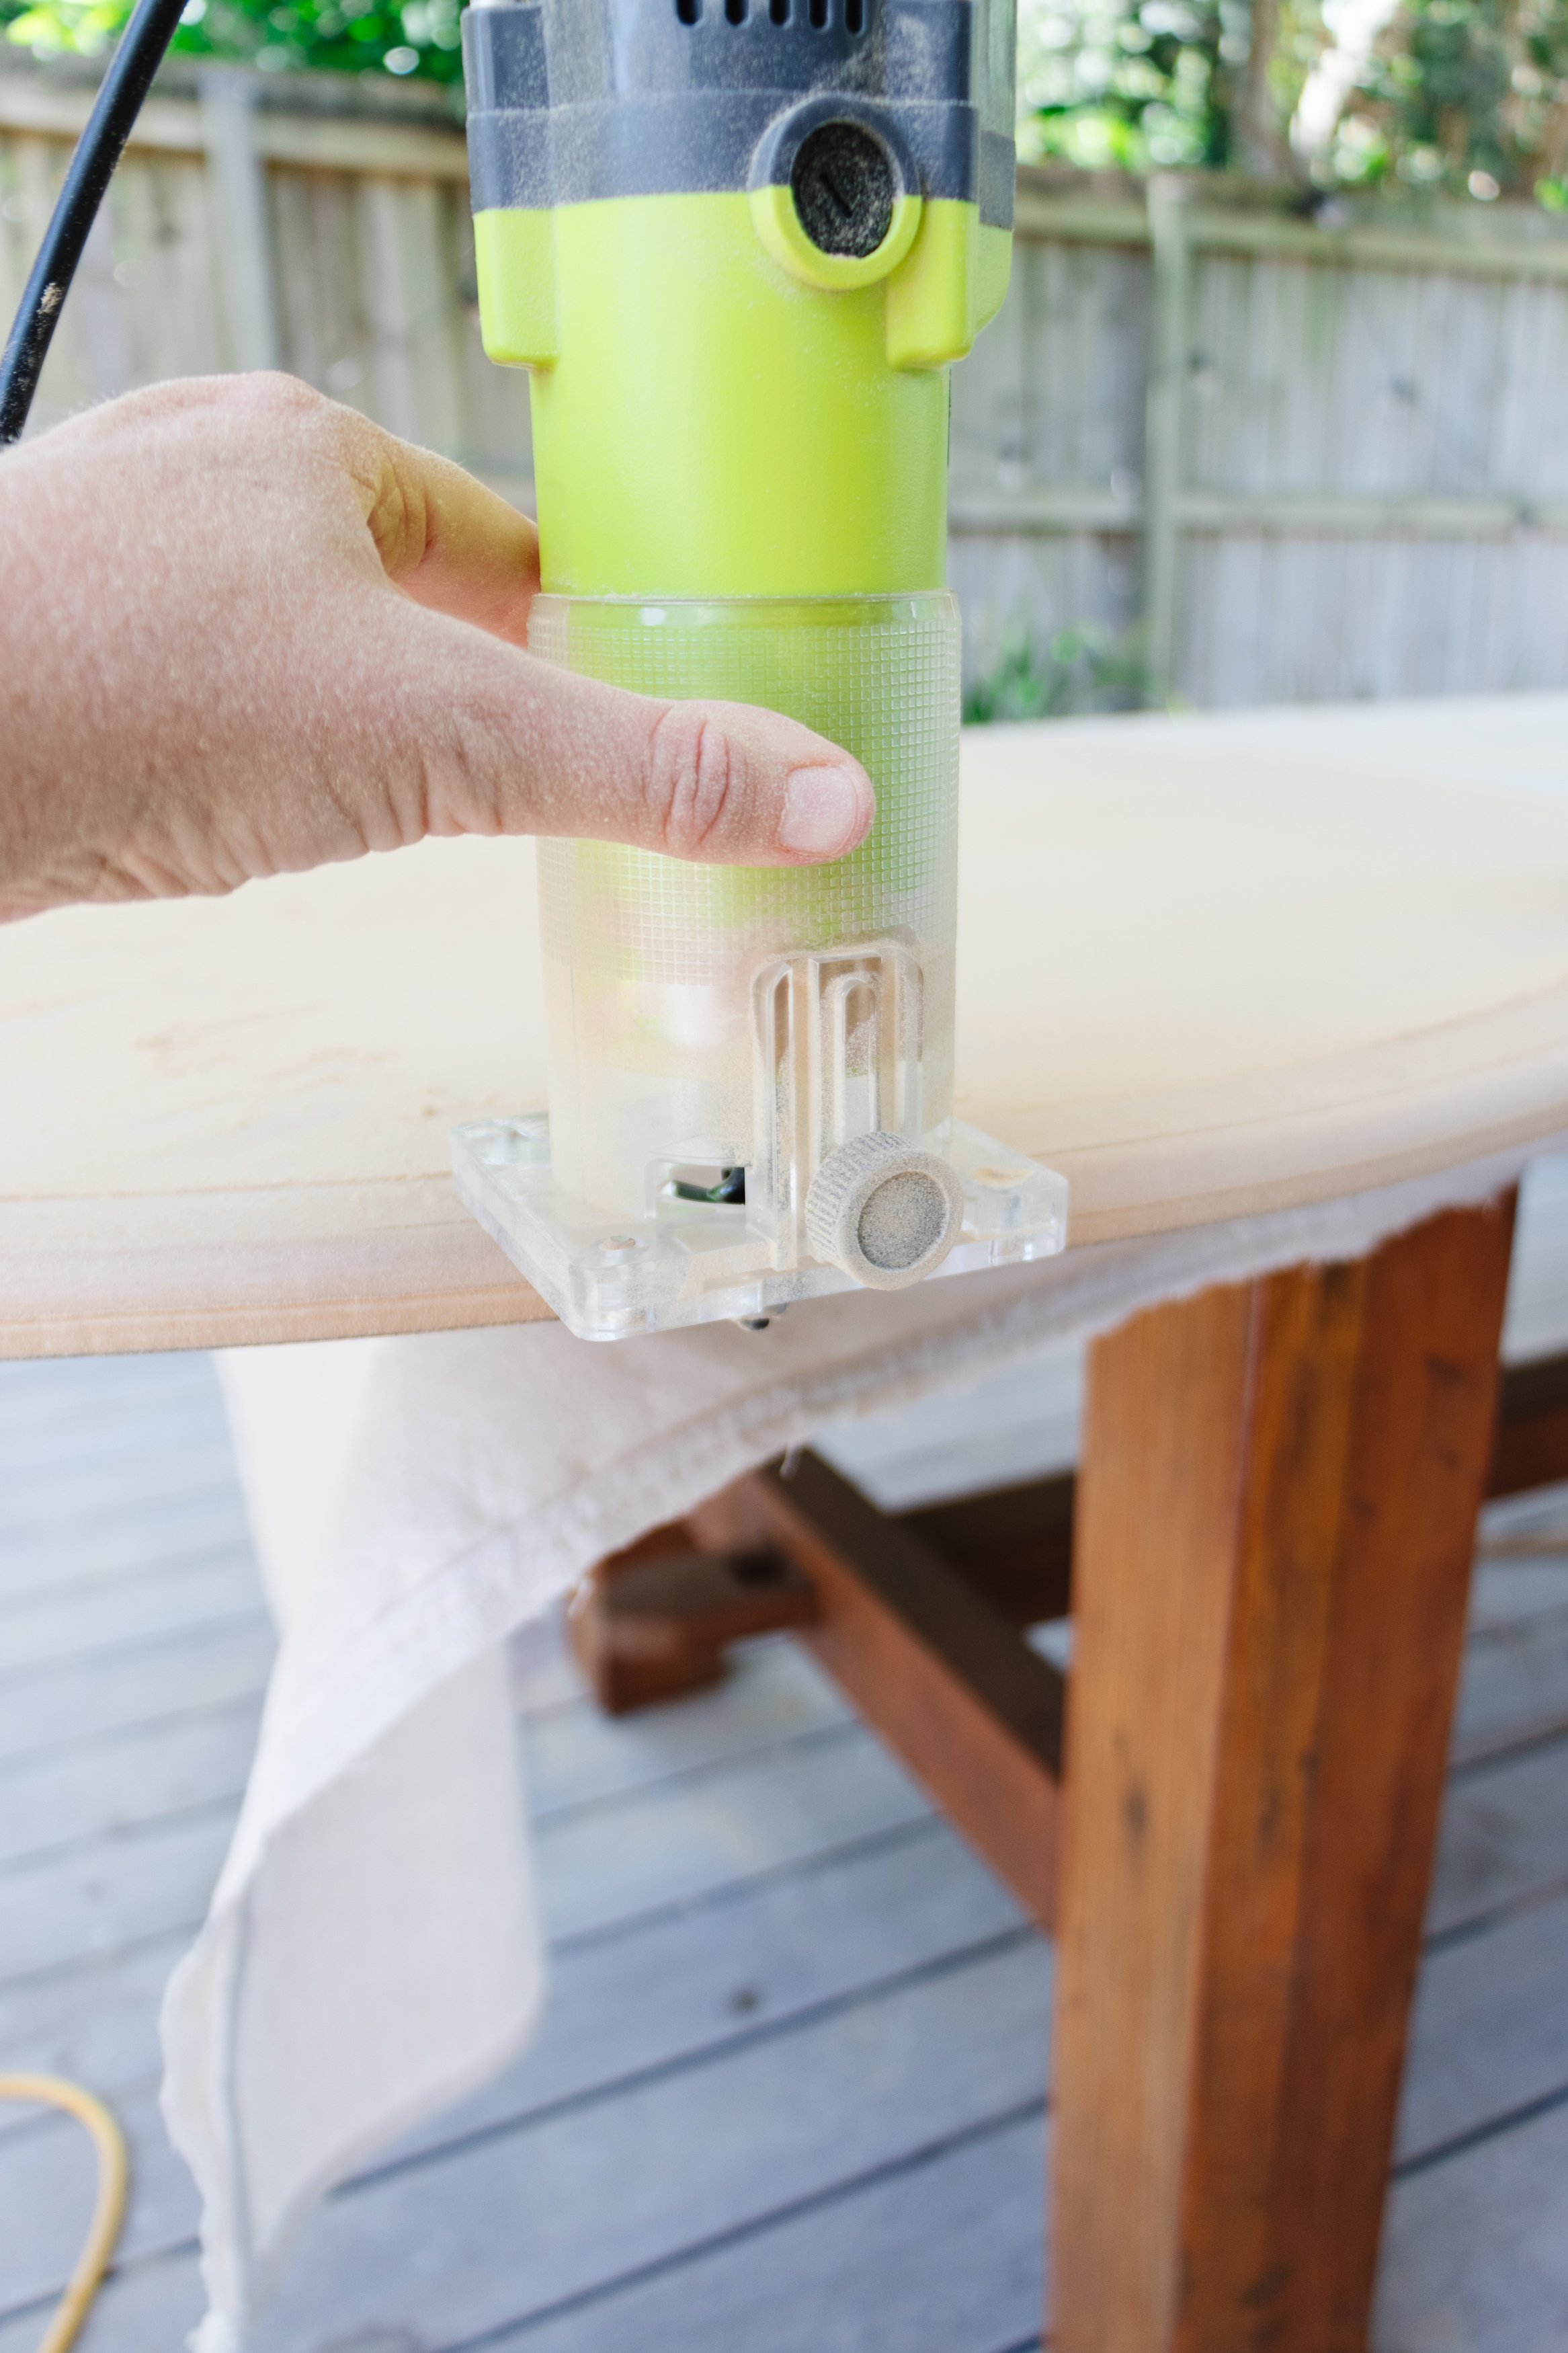
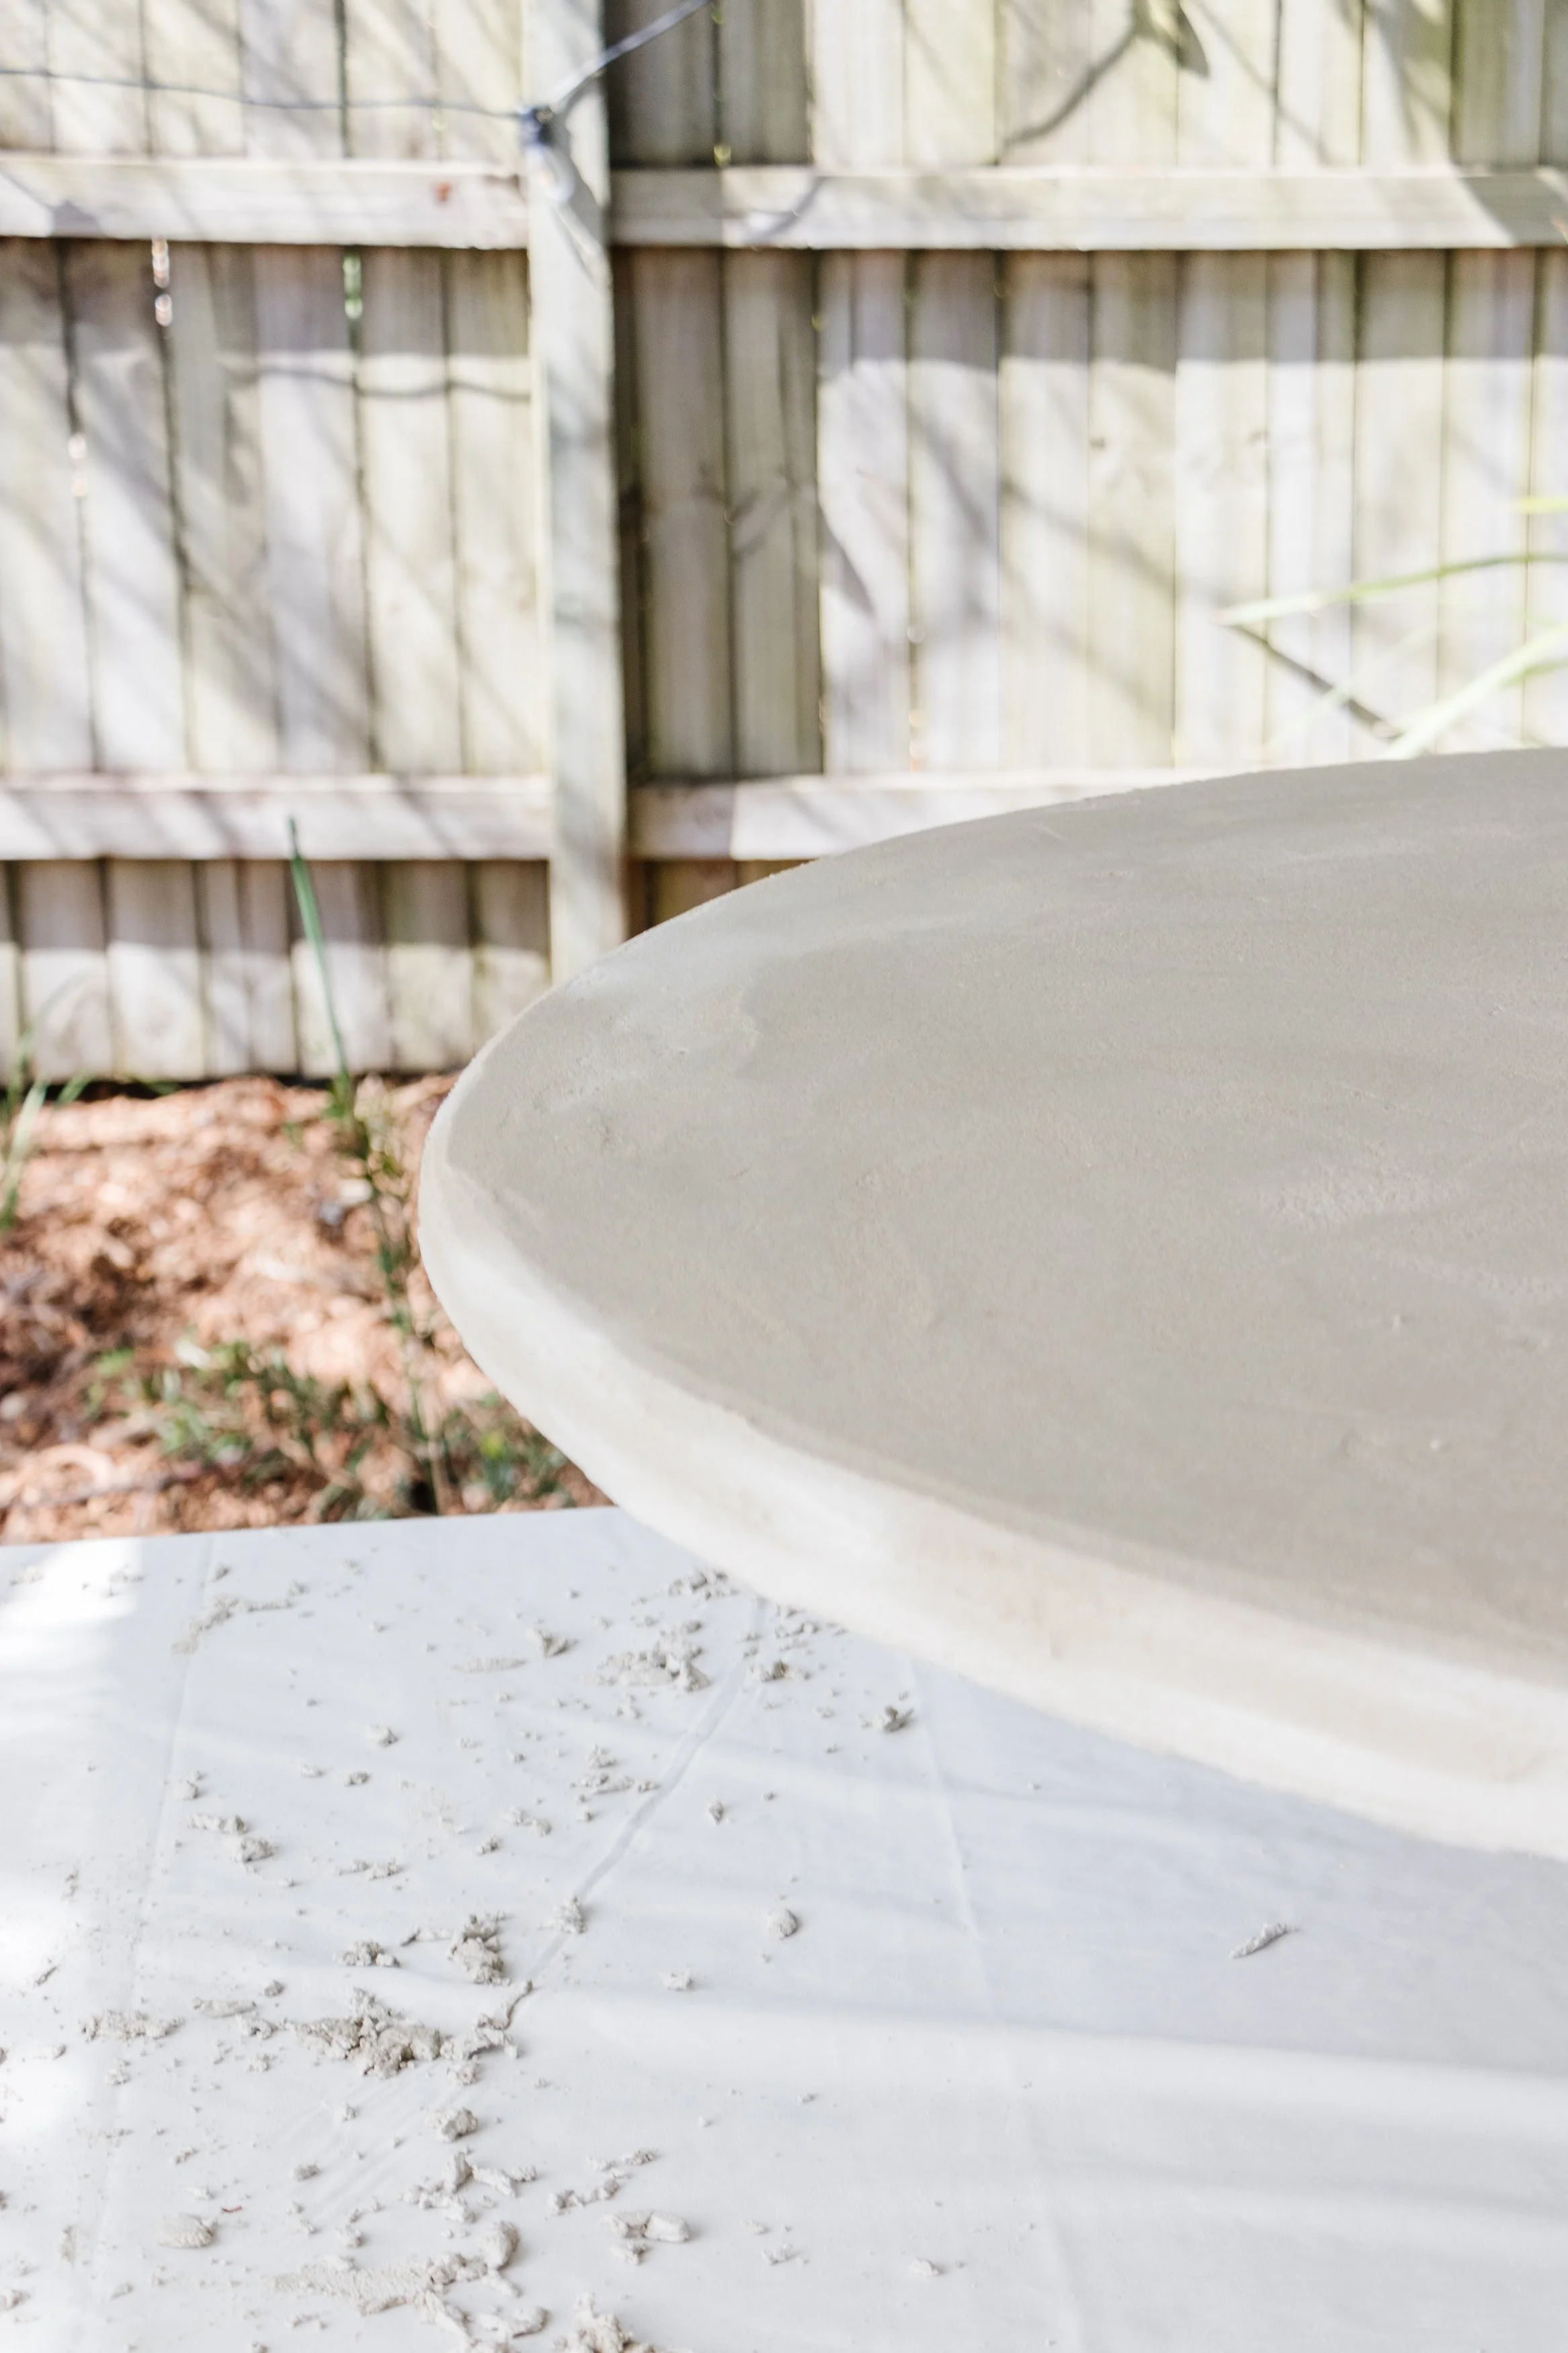
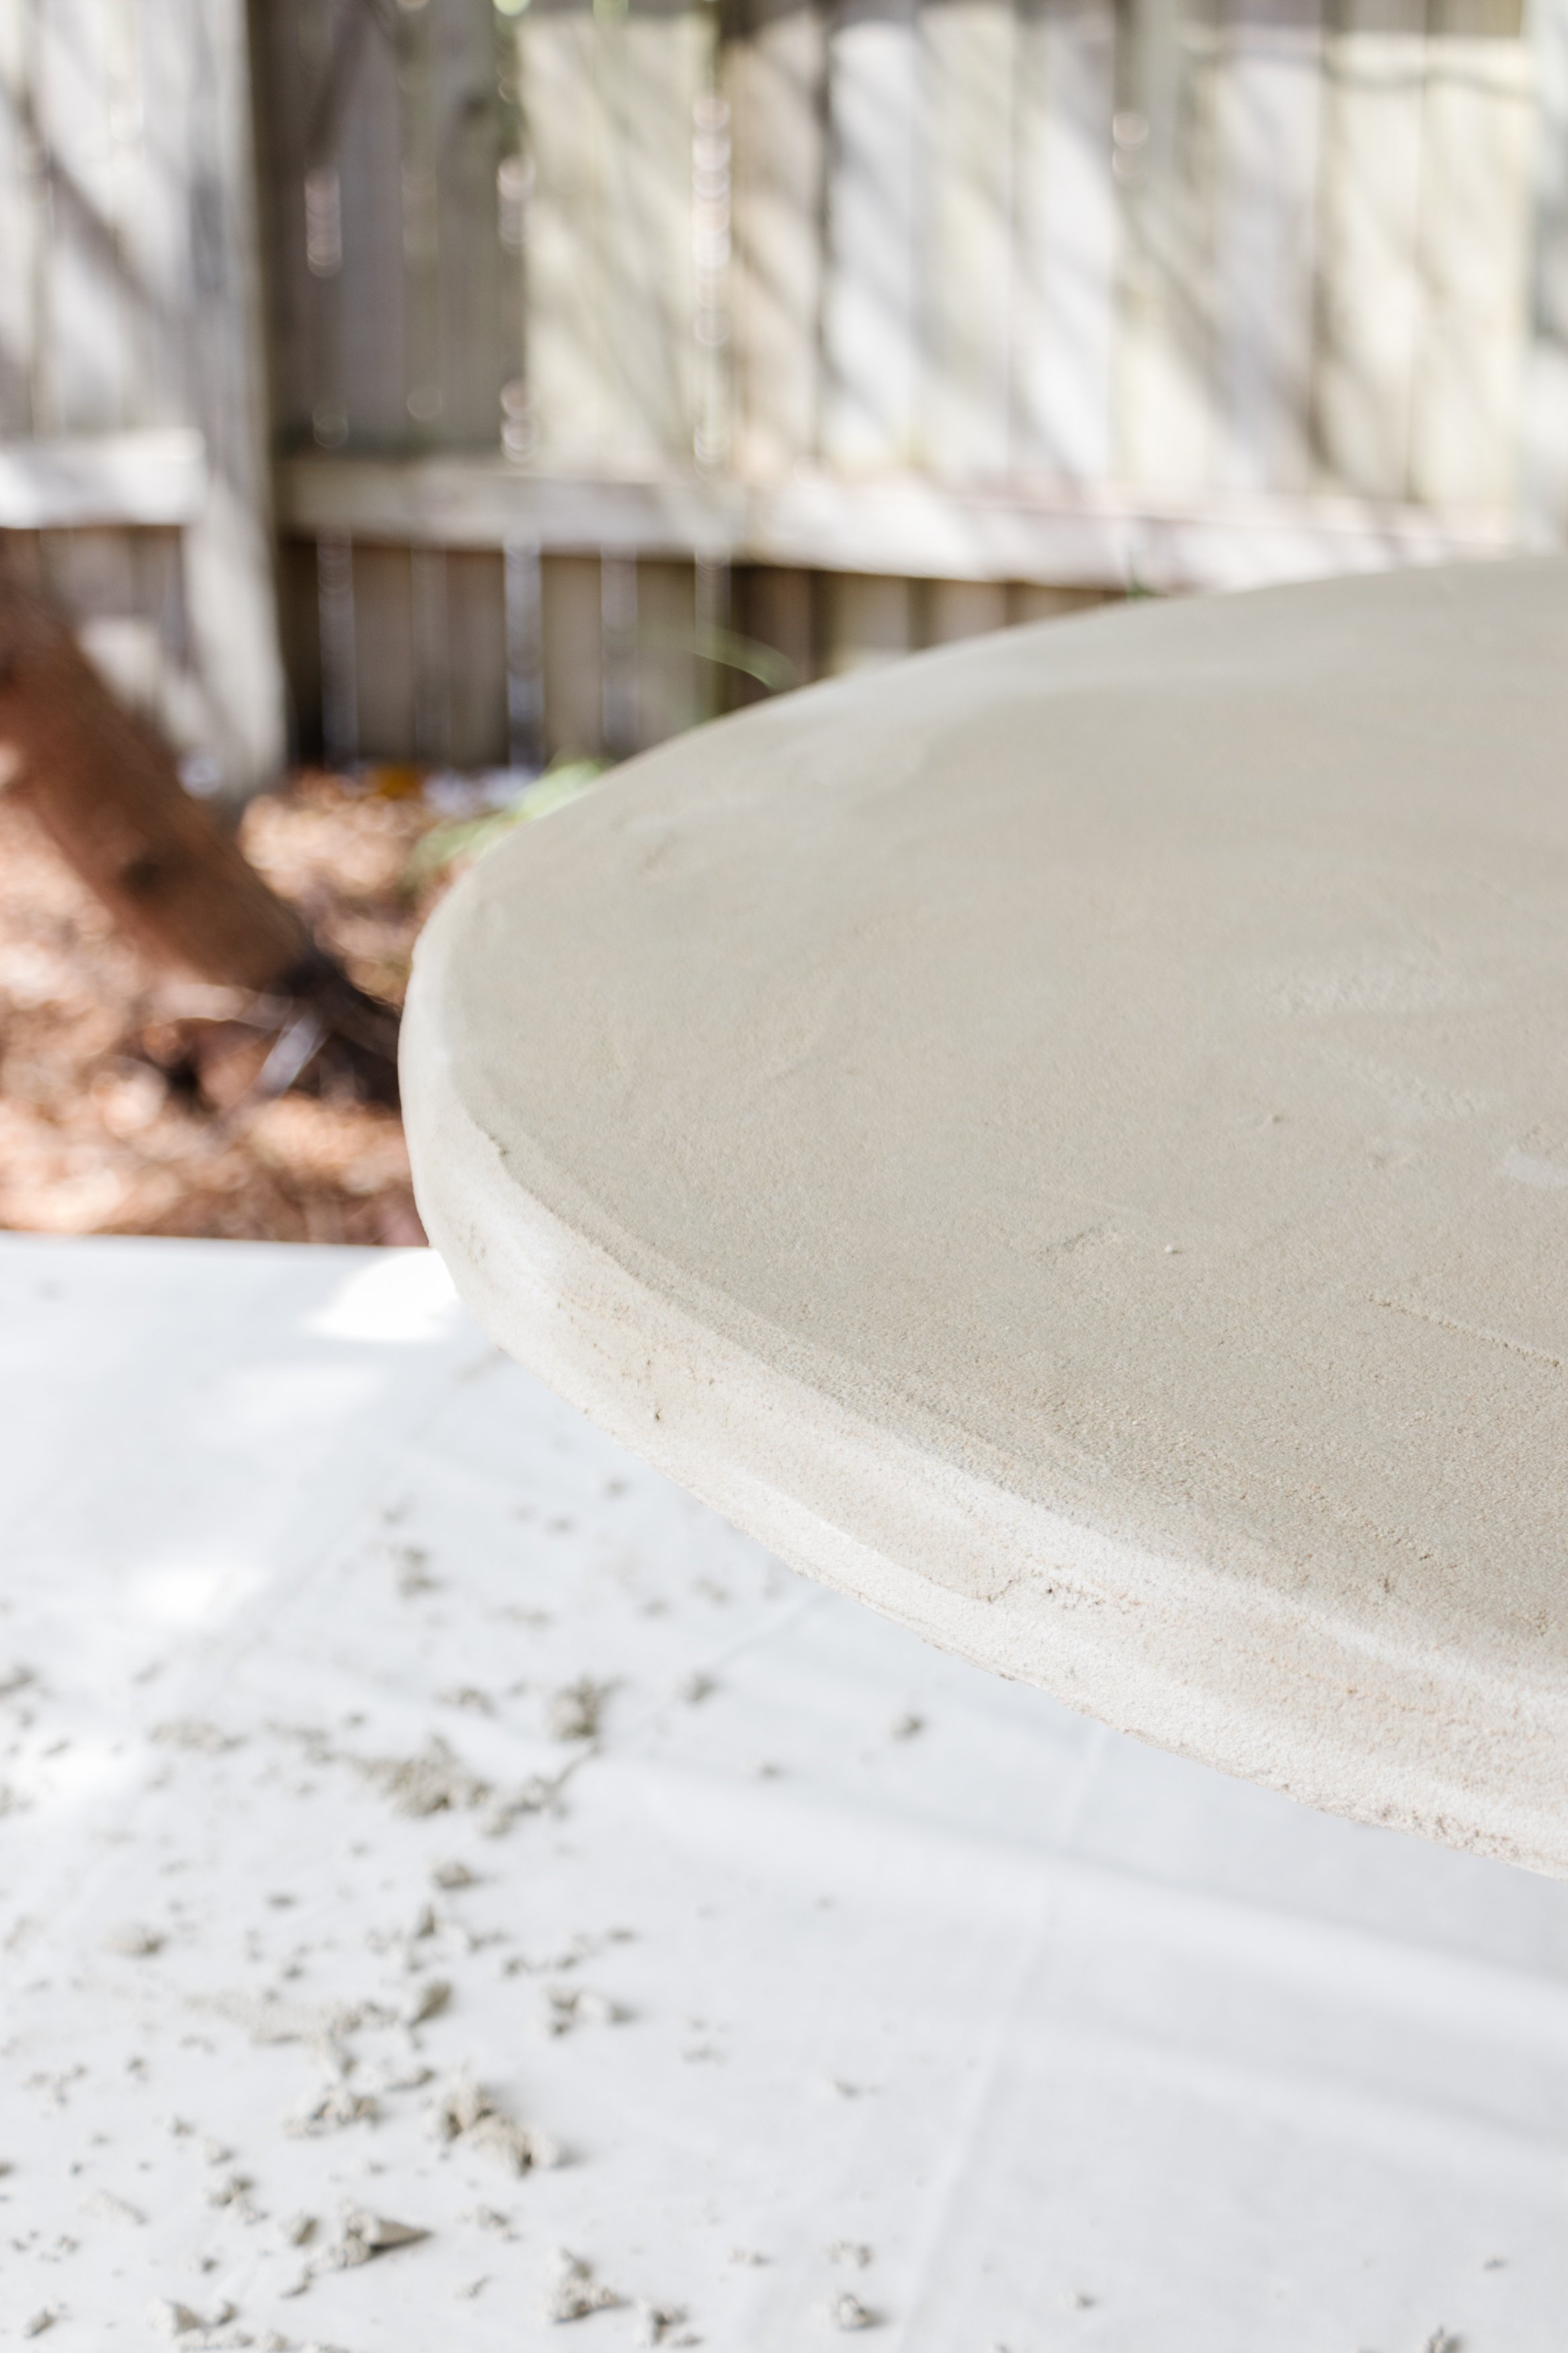
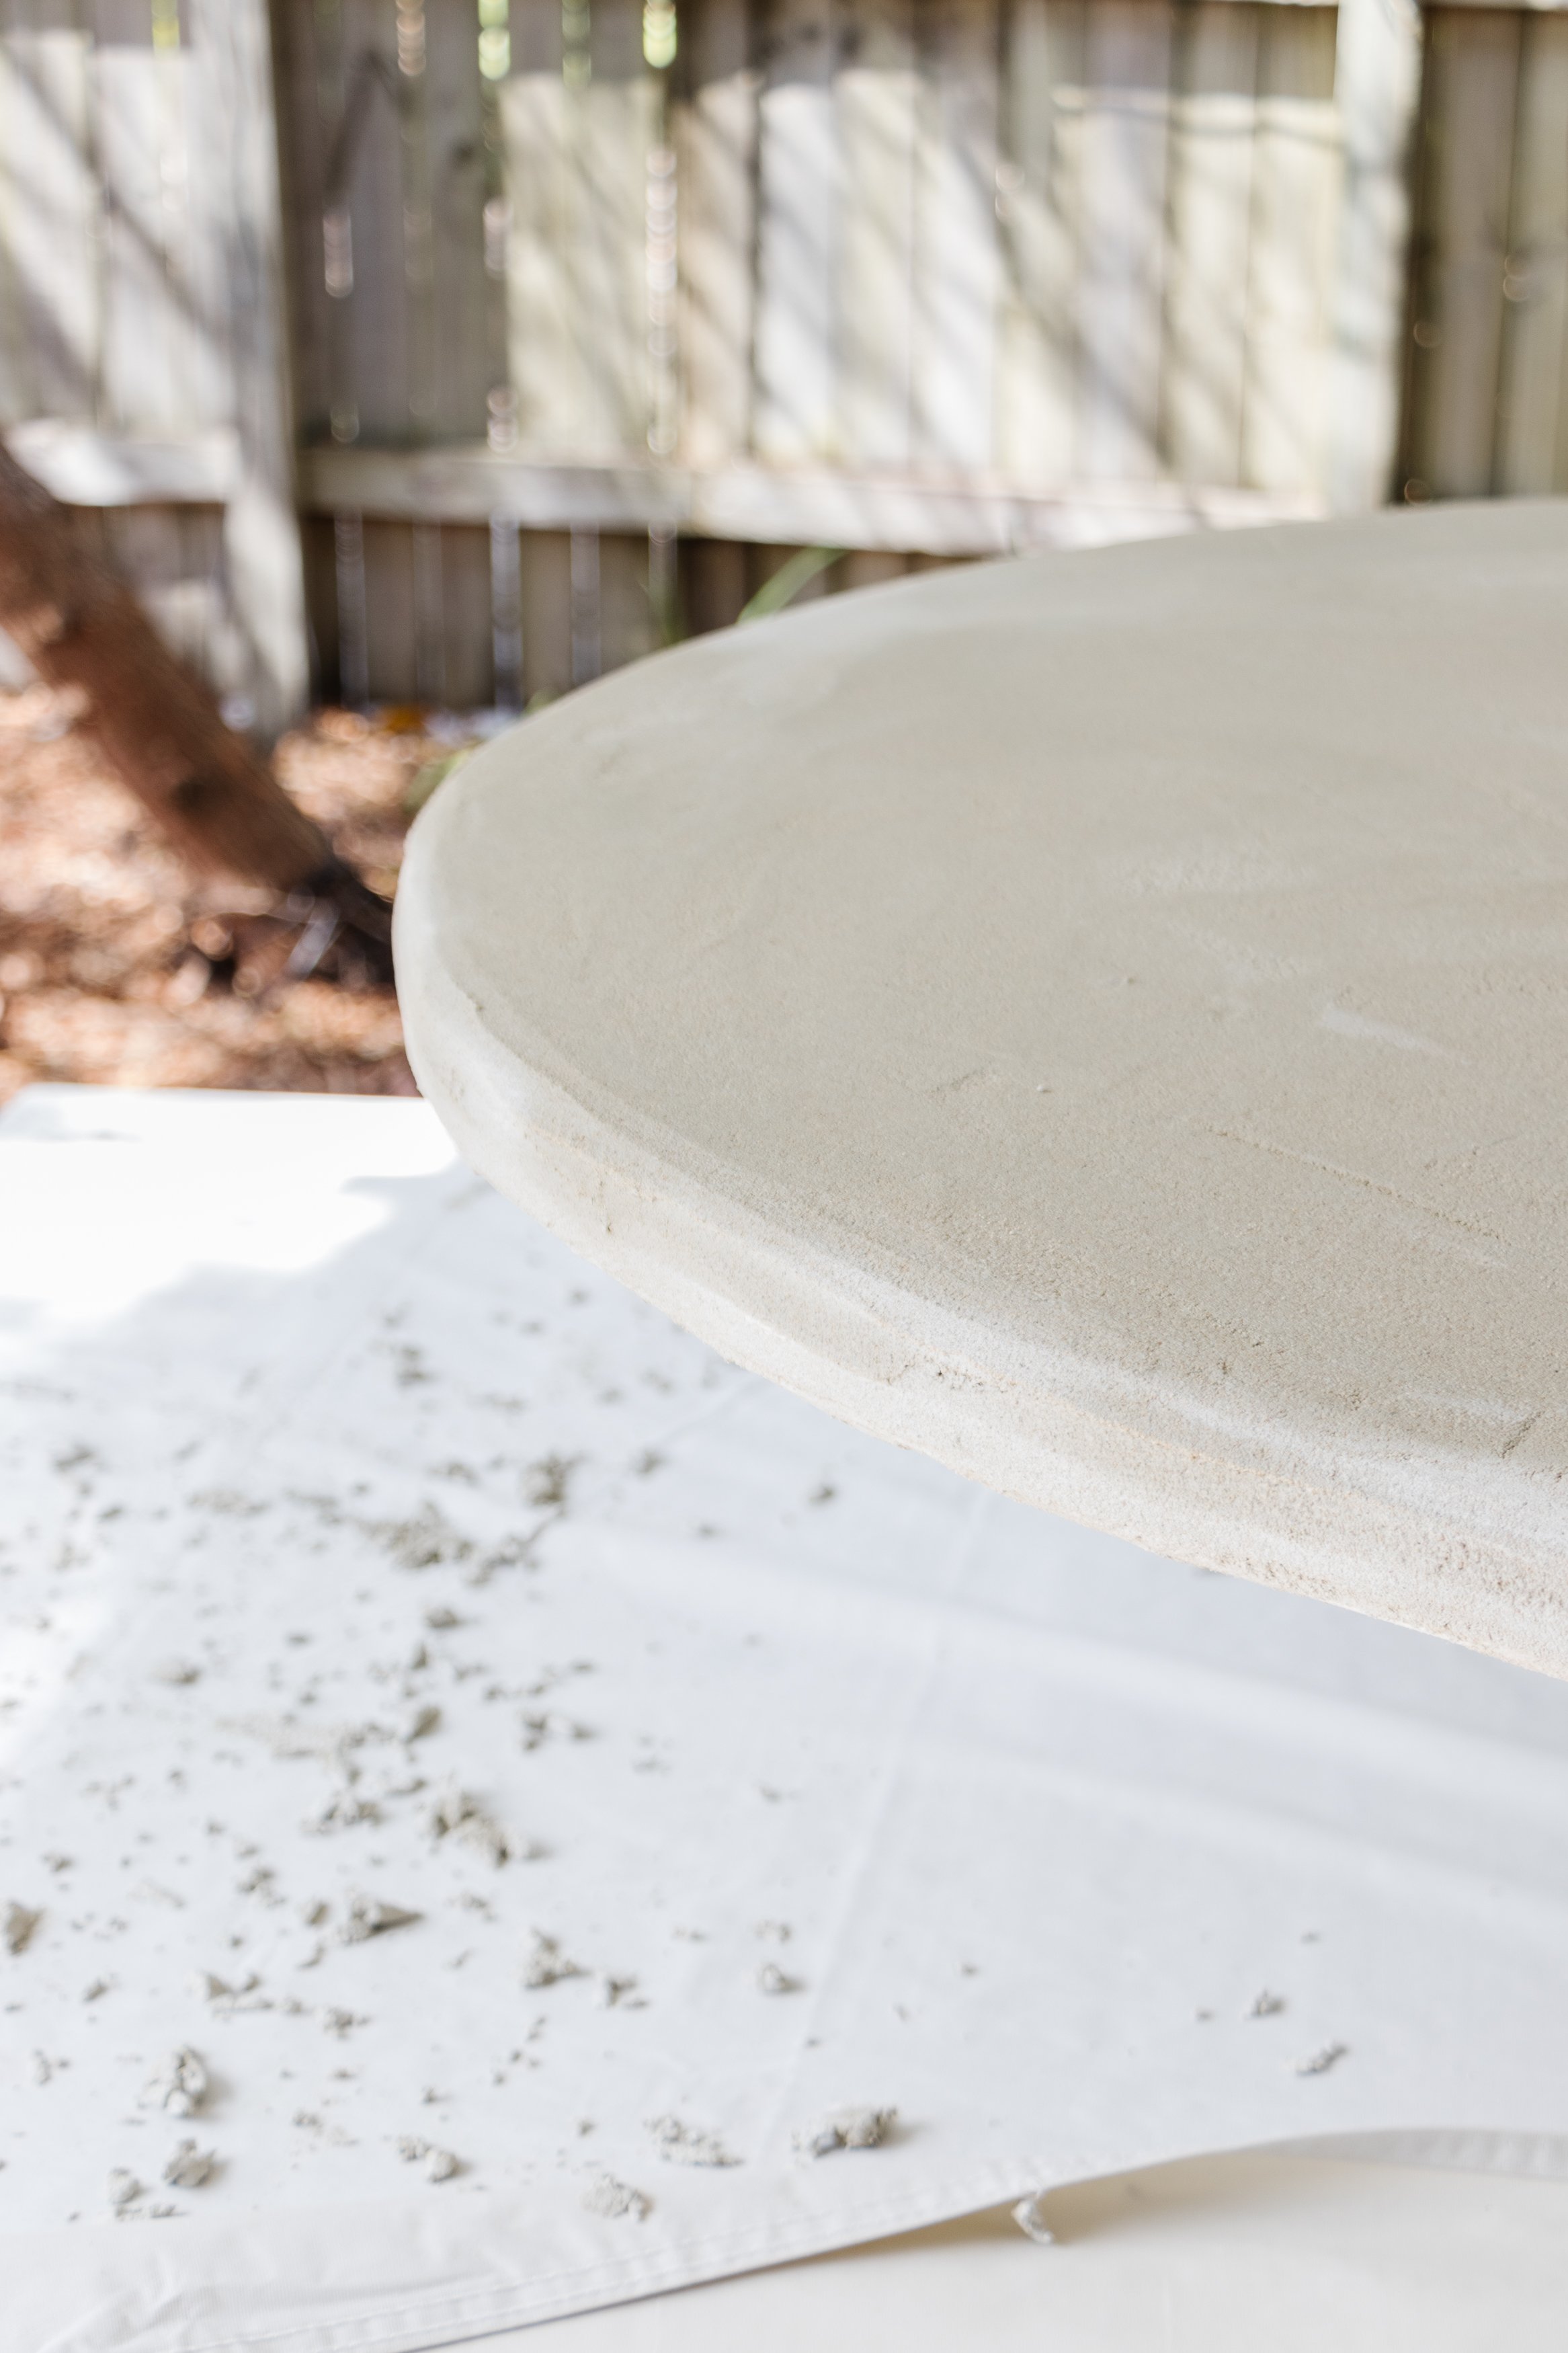
Step 2: Place the round panels of MDF on top of each other. The next step is to router the top edge of the top round panel and router the bottom edge of the bottom round panel. Secure one round MDF panel to your work bench, put on your protective gear and round the edge with the router and bit to make the edge rounded. Repeat with the second round MDF panel. Use the sander to smooth the edges further on both pieces of round MDF.
If you plan on recreating this project, I recommend using one piece of MDF for the top (and not two). After extreme weather elements over summer, th render has cracked between the two pieces of MDF on the tabletop and I’ve had to fill it in with tile grout. This hasn’t been too much of a problem but to totally avoid this happening, use one piece of MDF for the top.


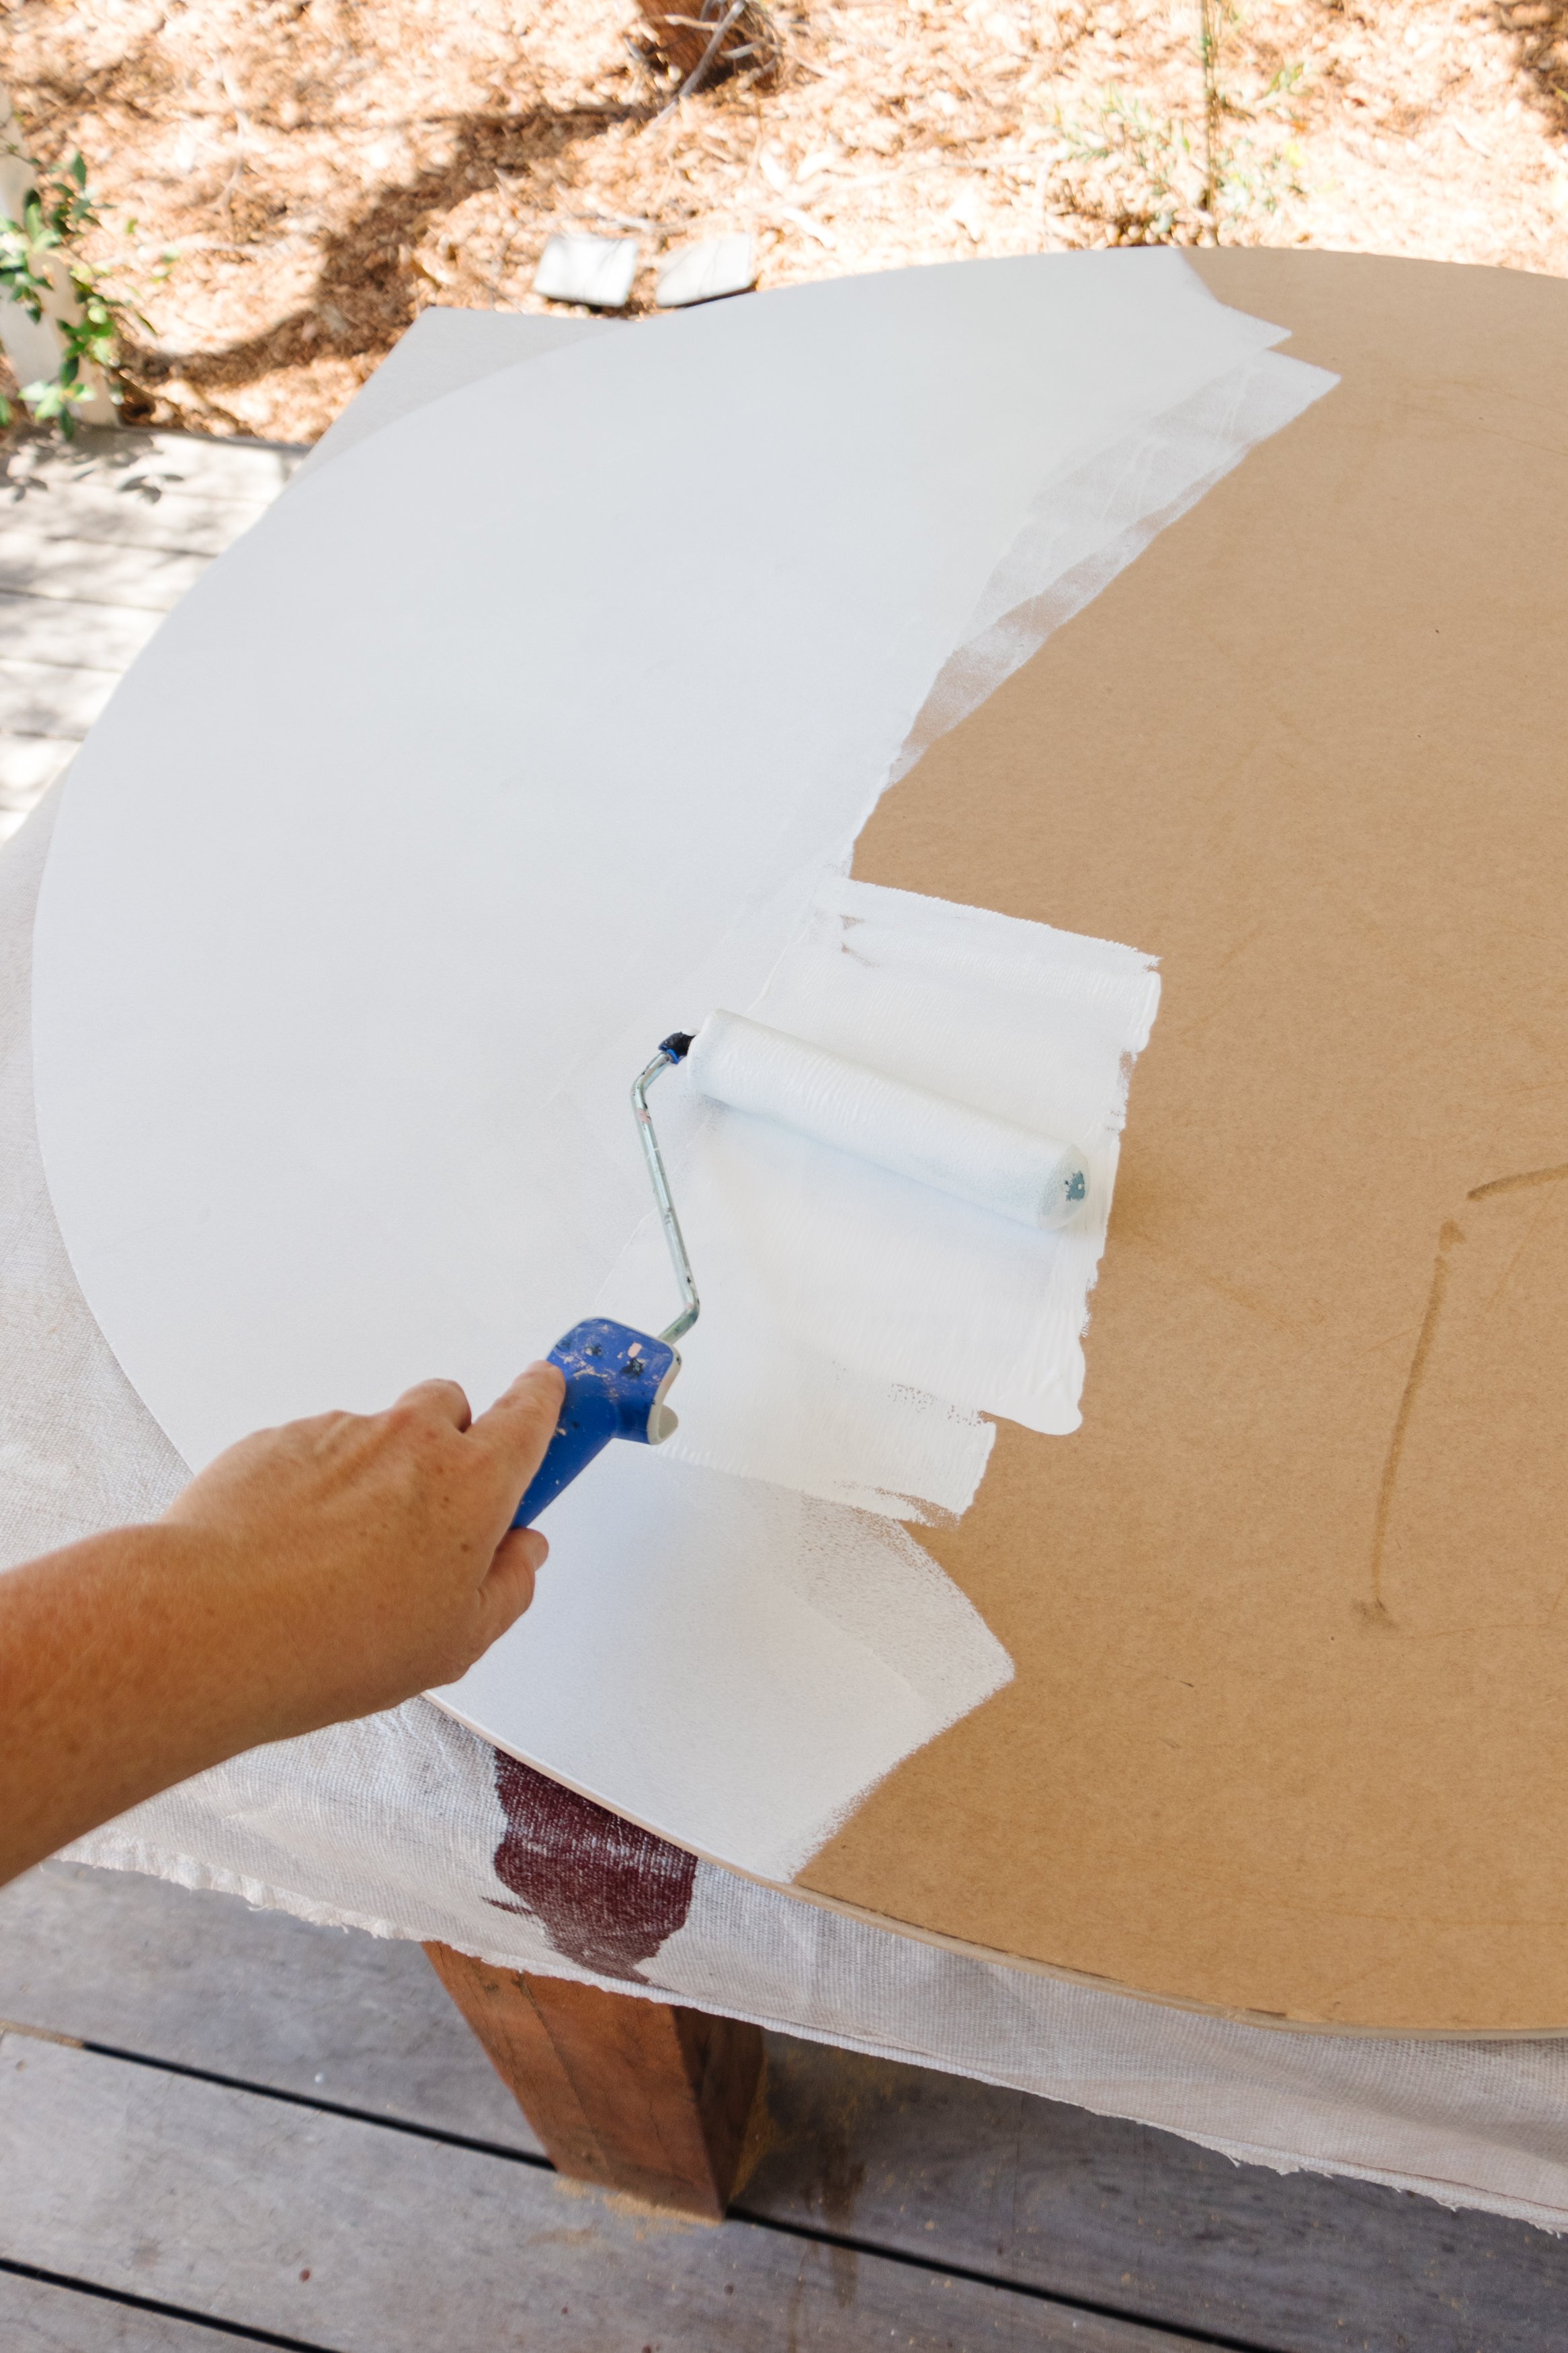
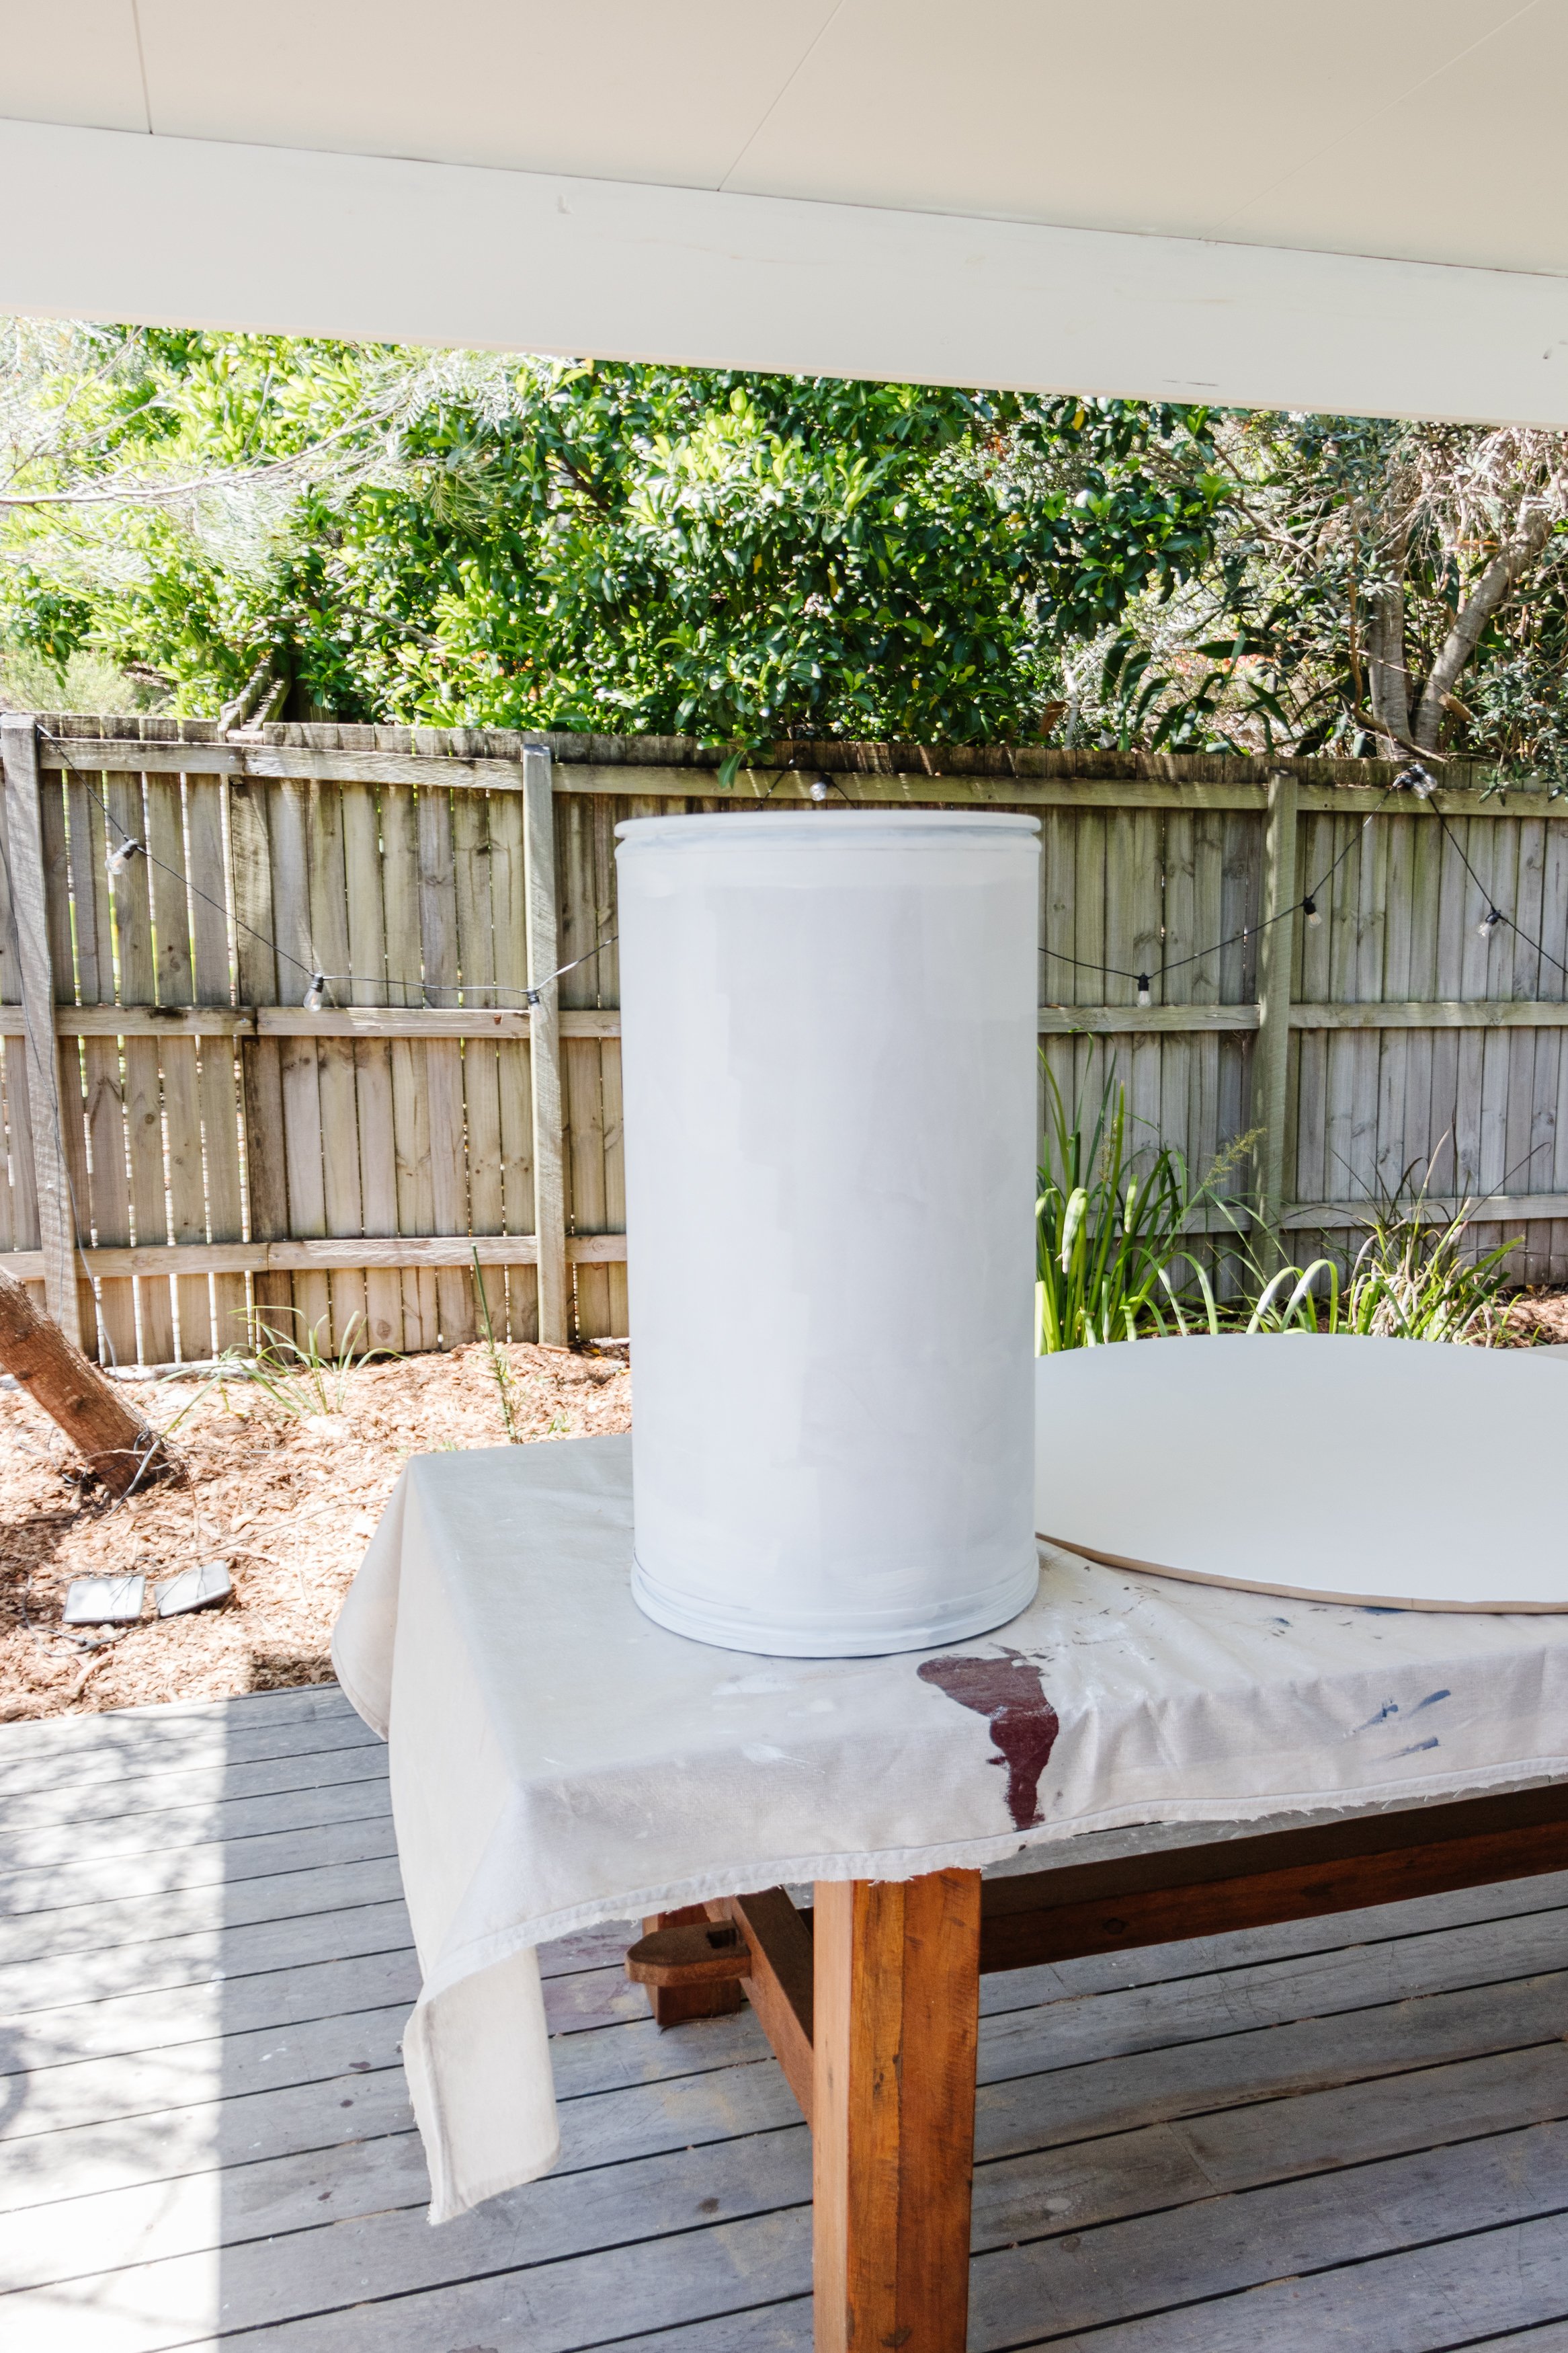
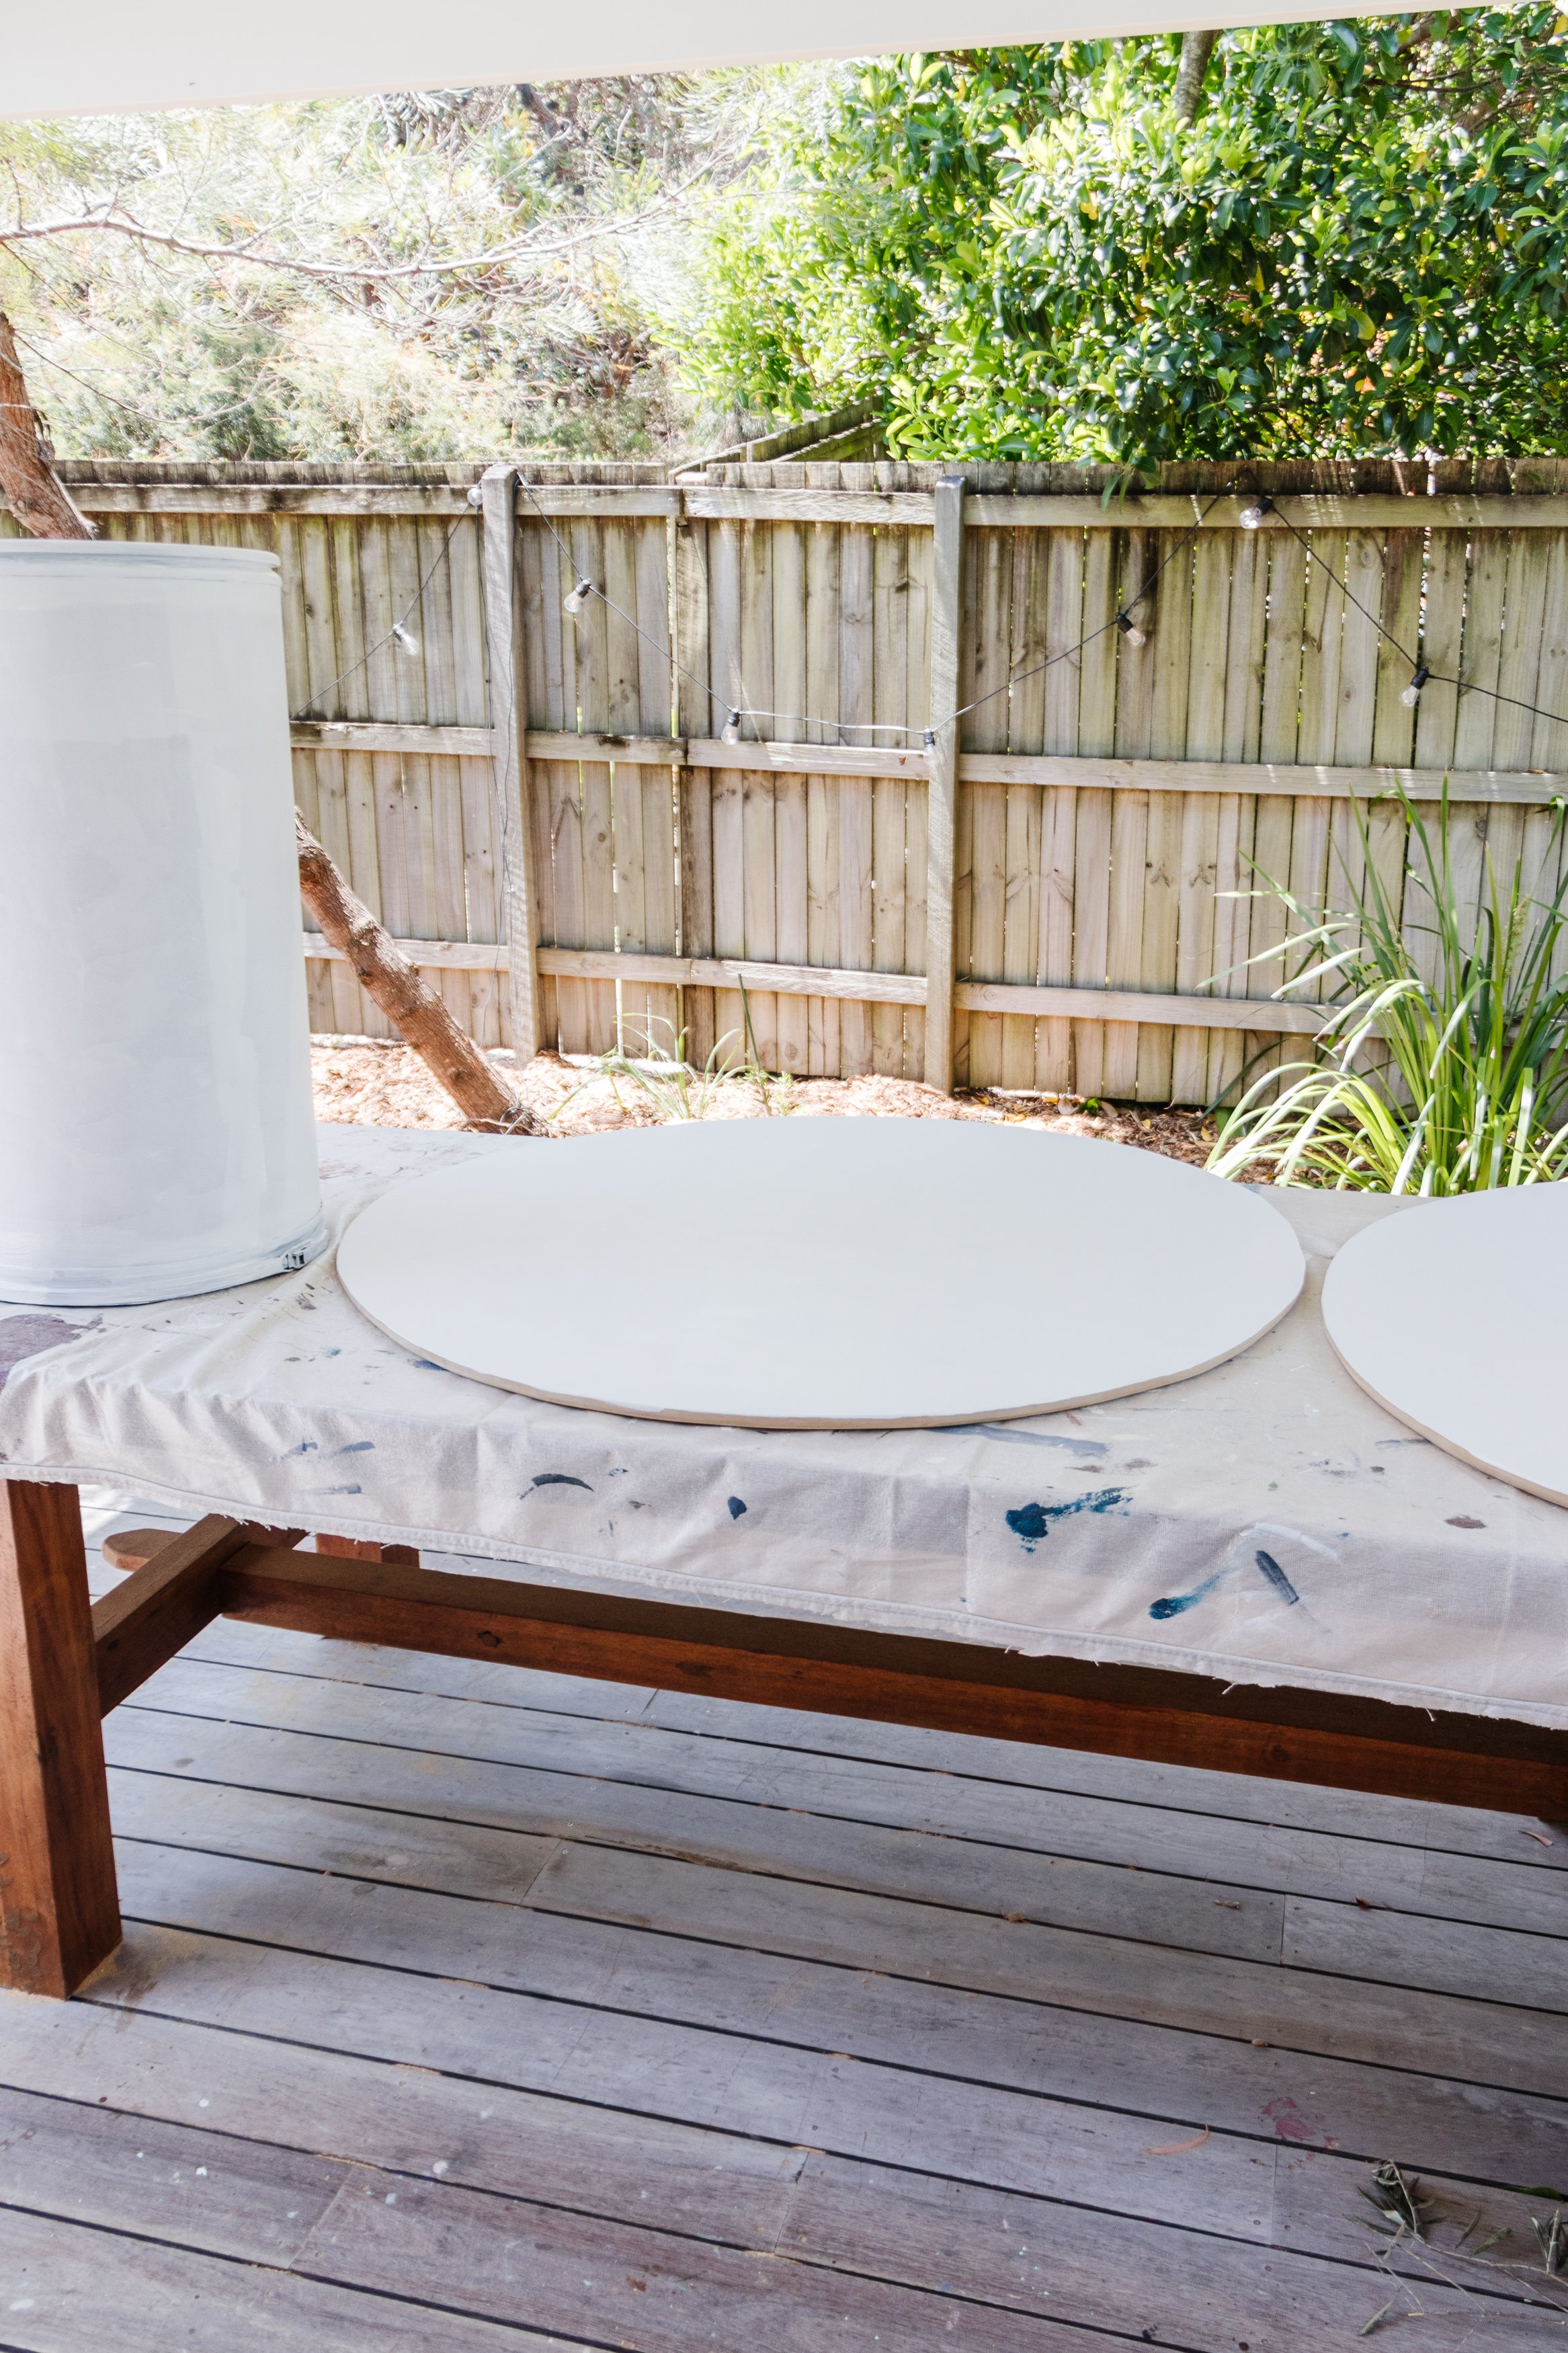
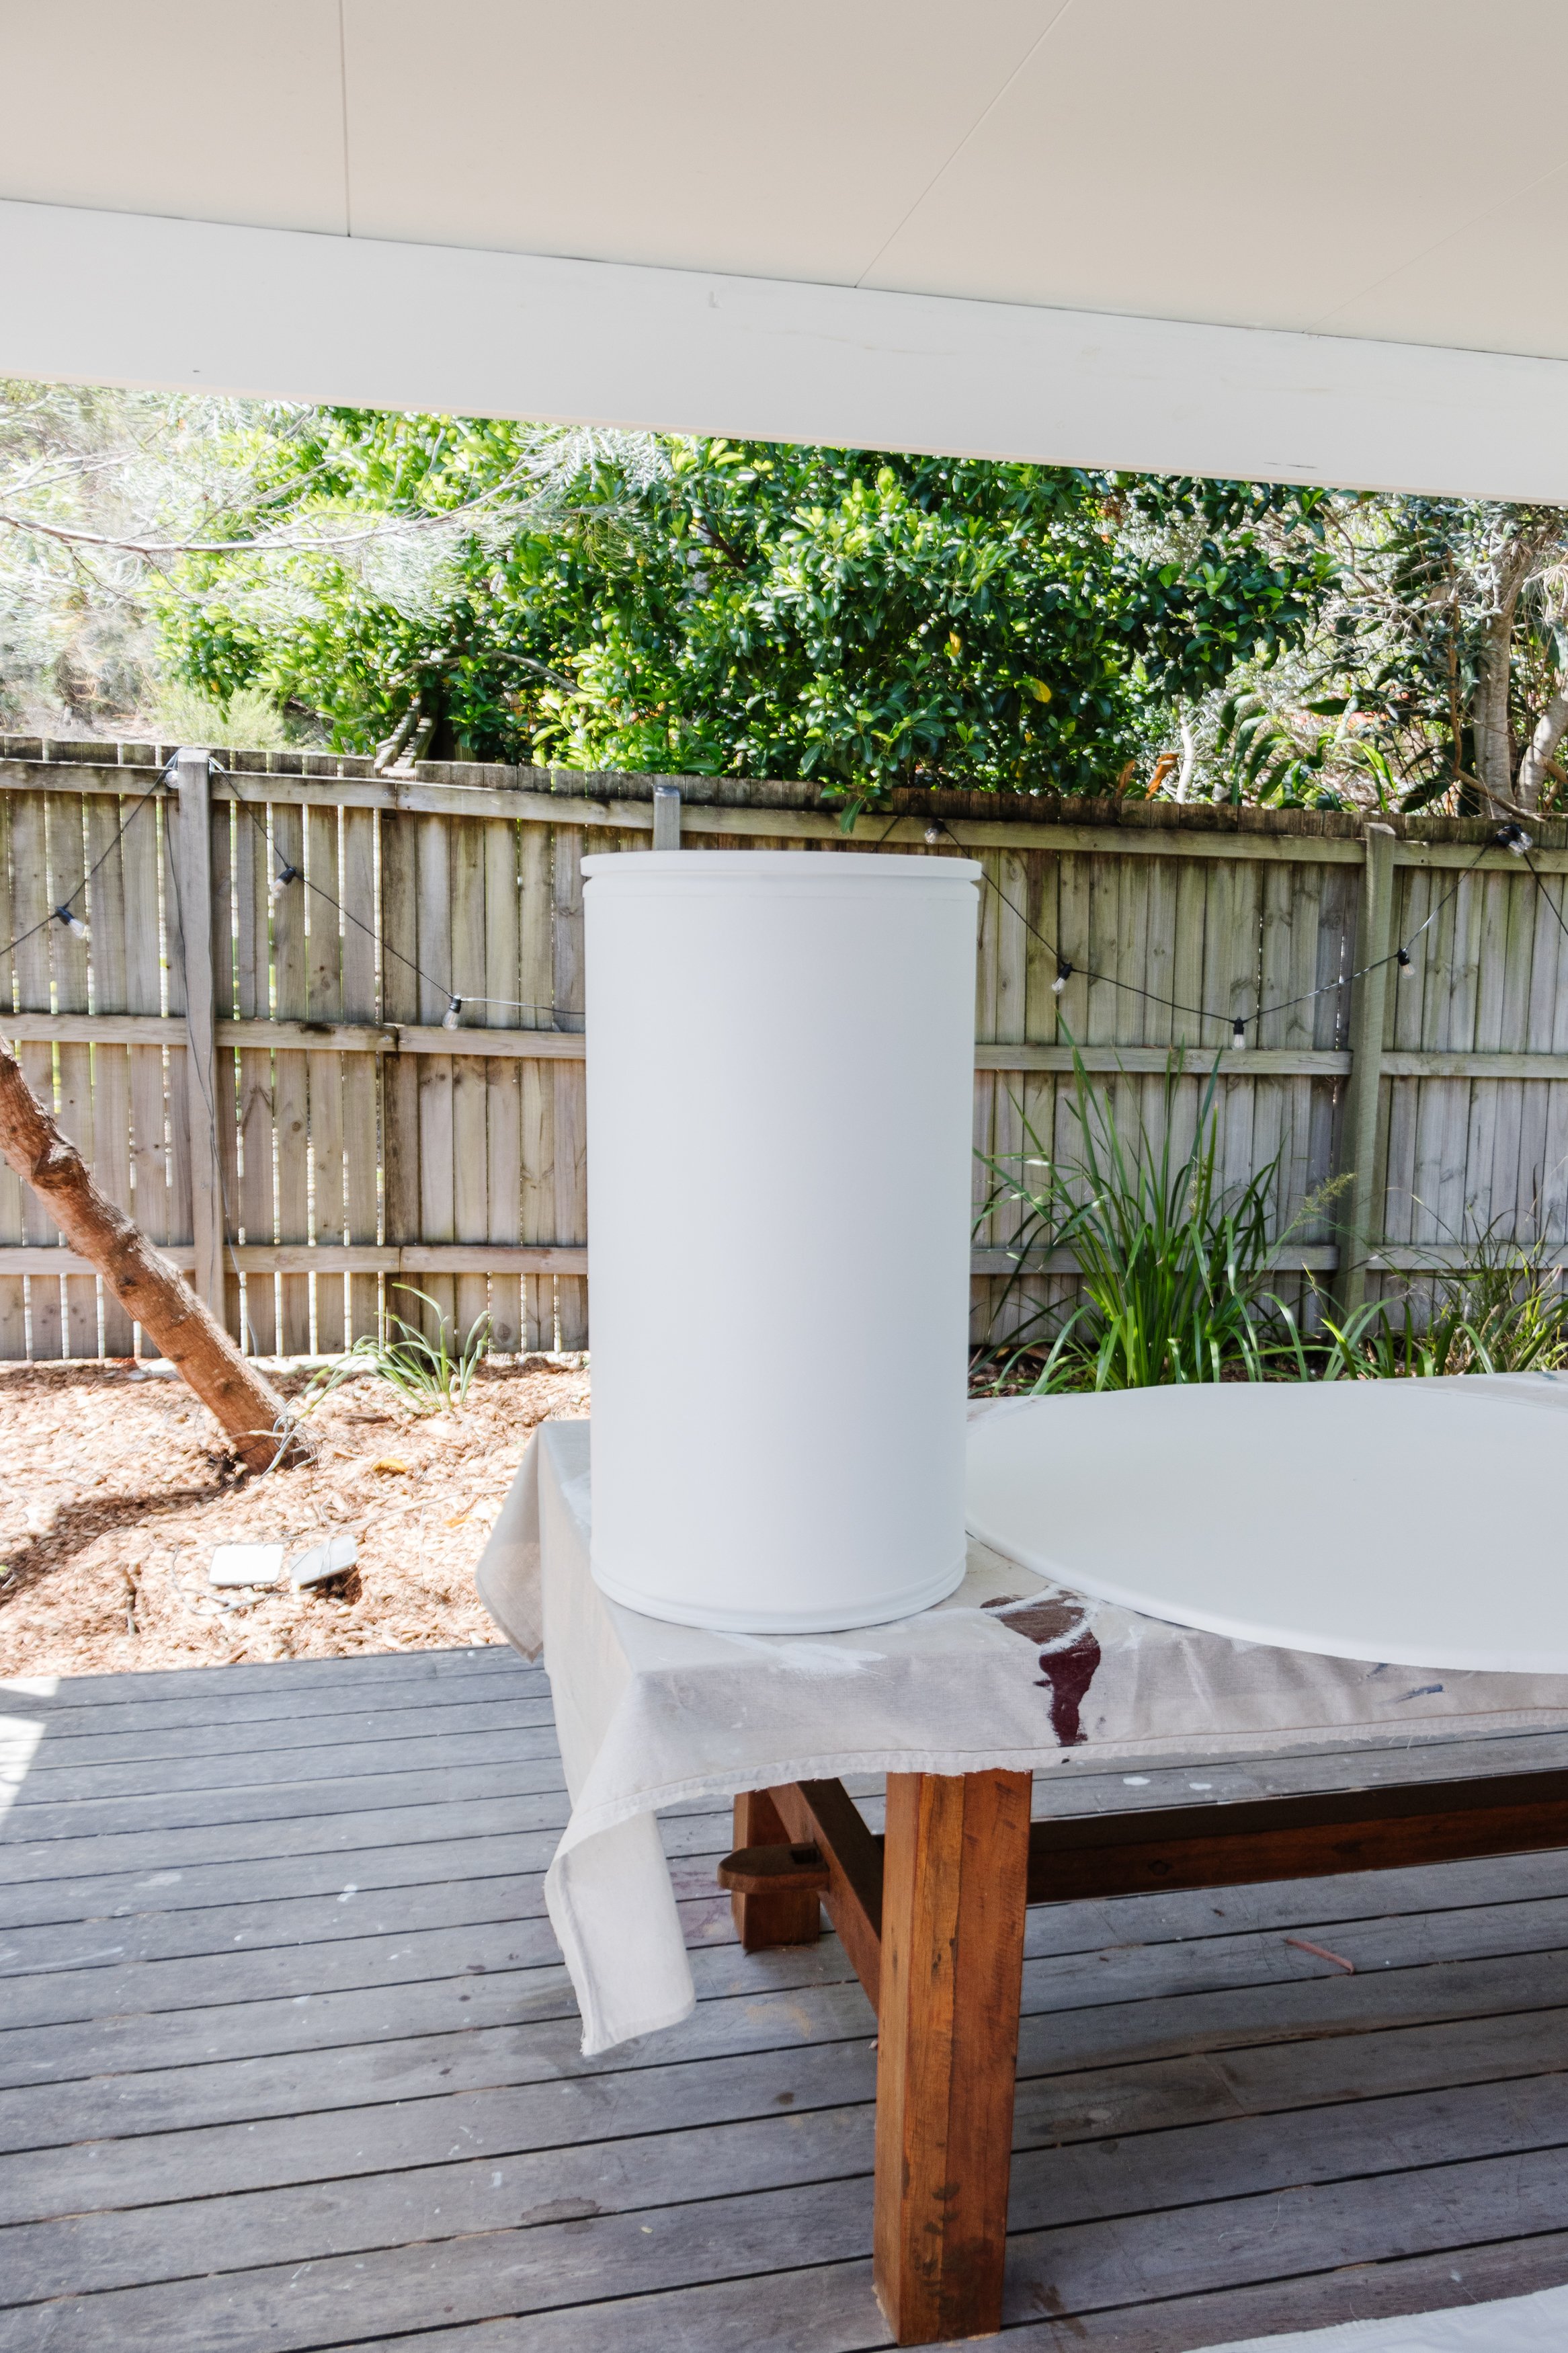
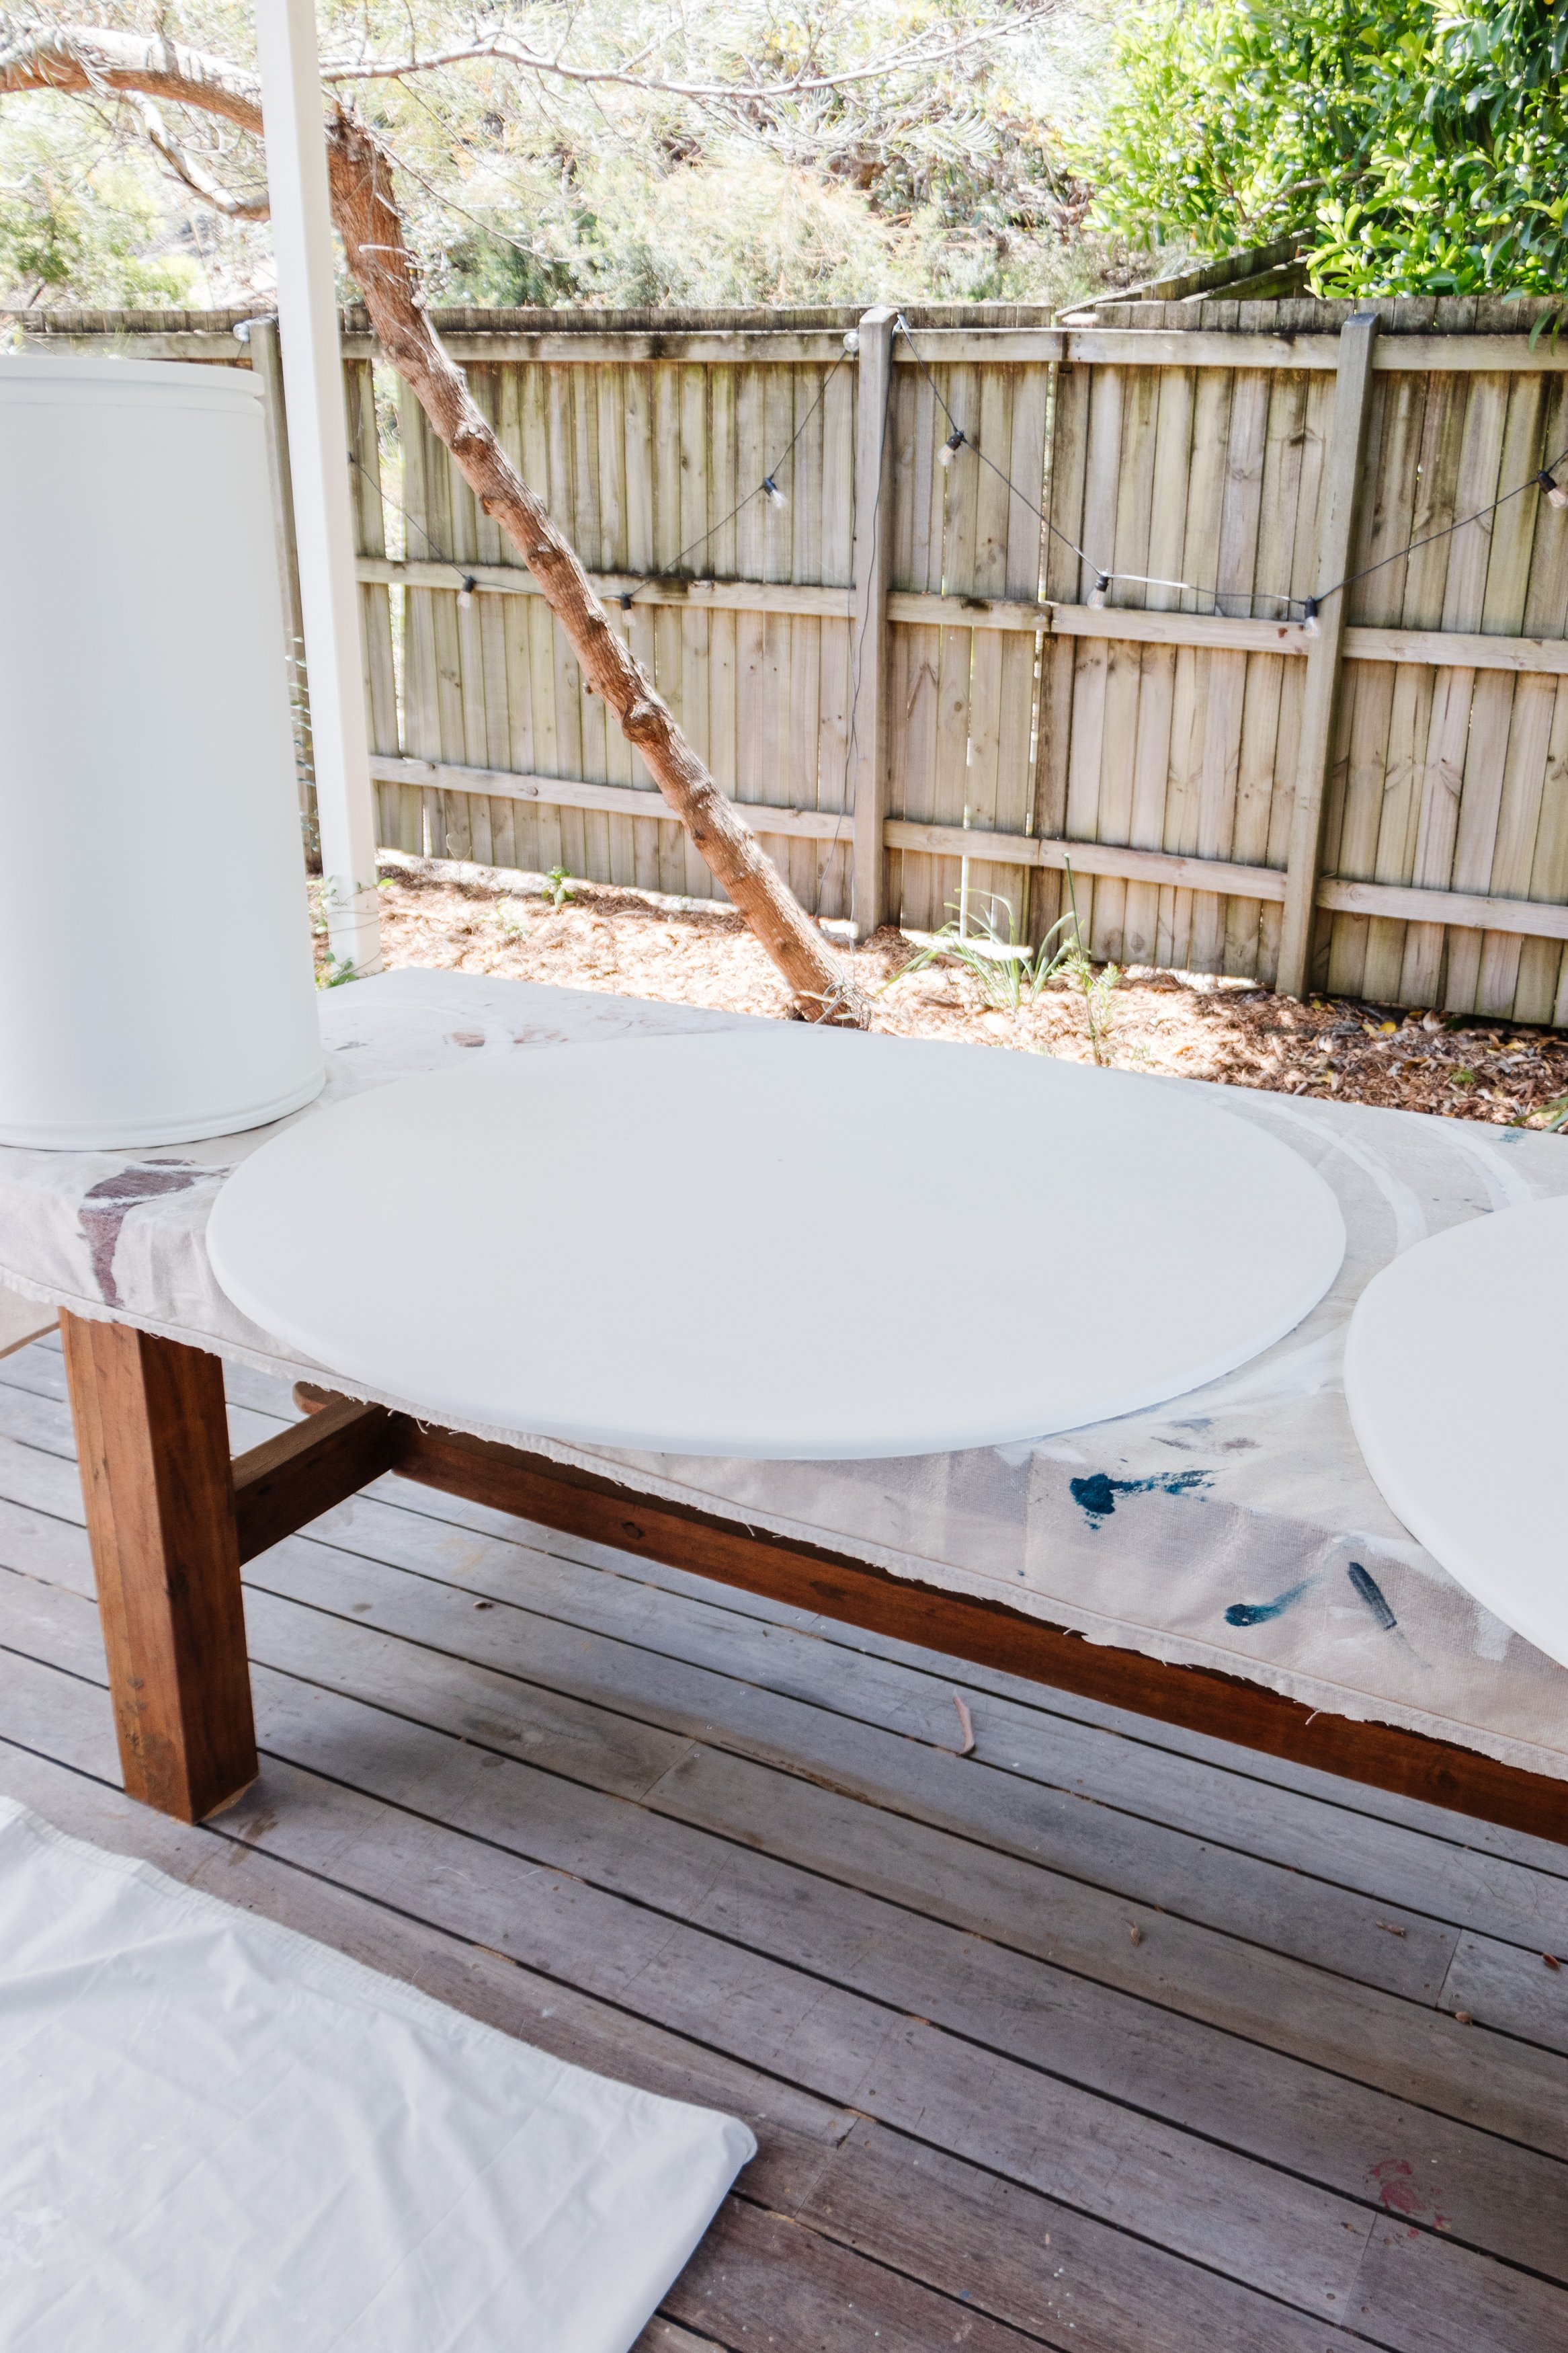
Step 3: Place the MDF and cardboard cylinder onto a drop sheet and apply two coats of primer all over each piece using a paint roller. Following this apply two coats of exterior paint.
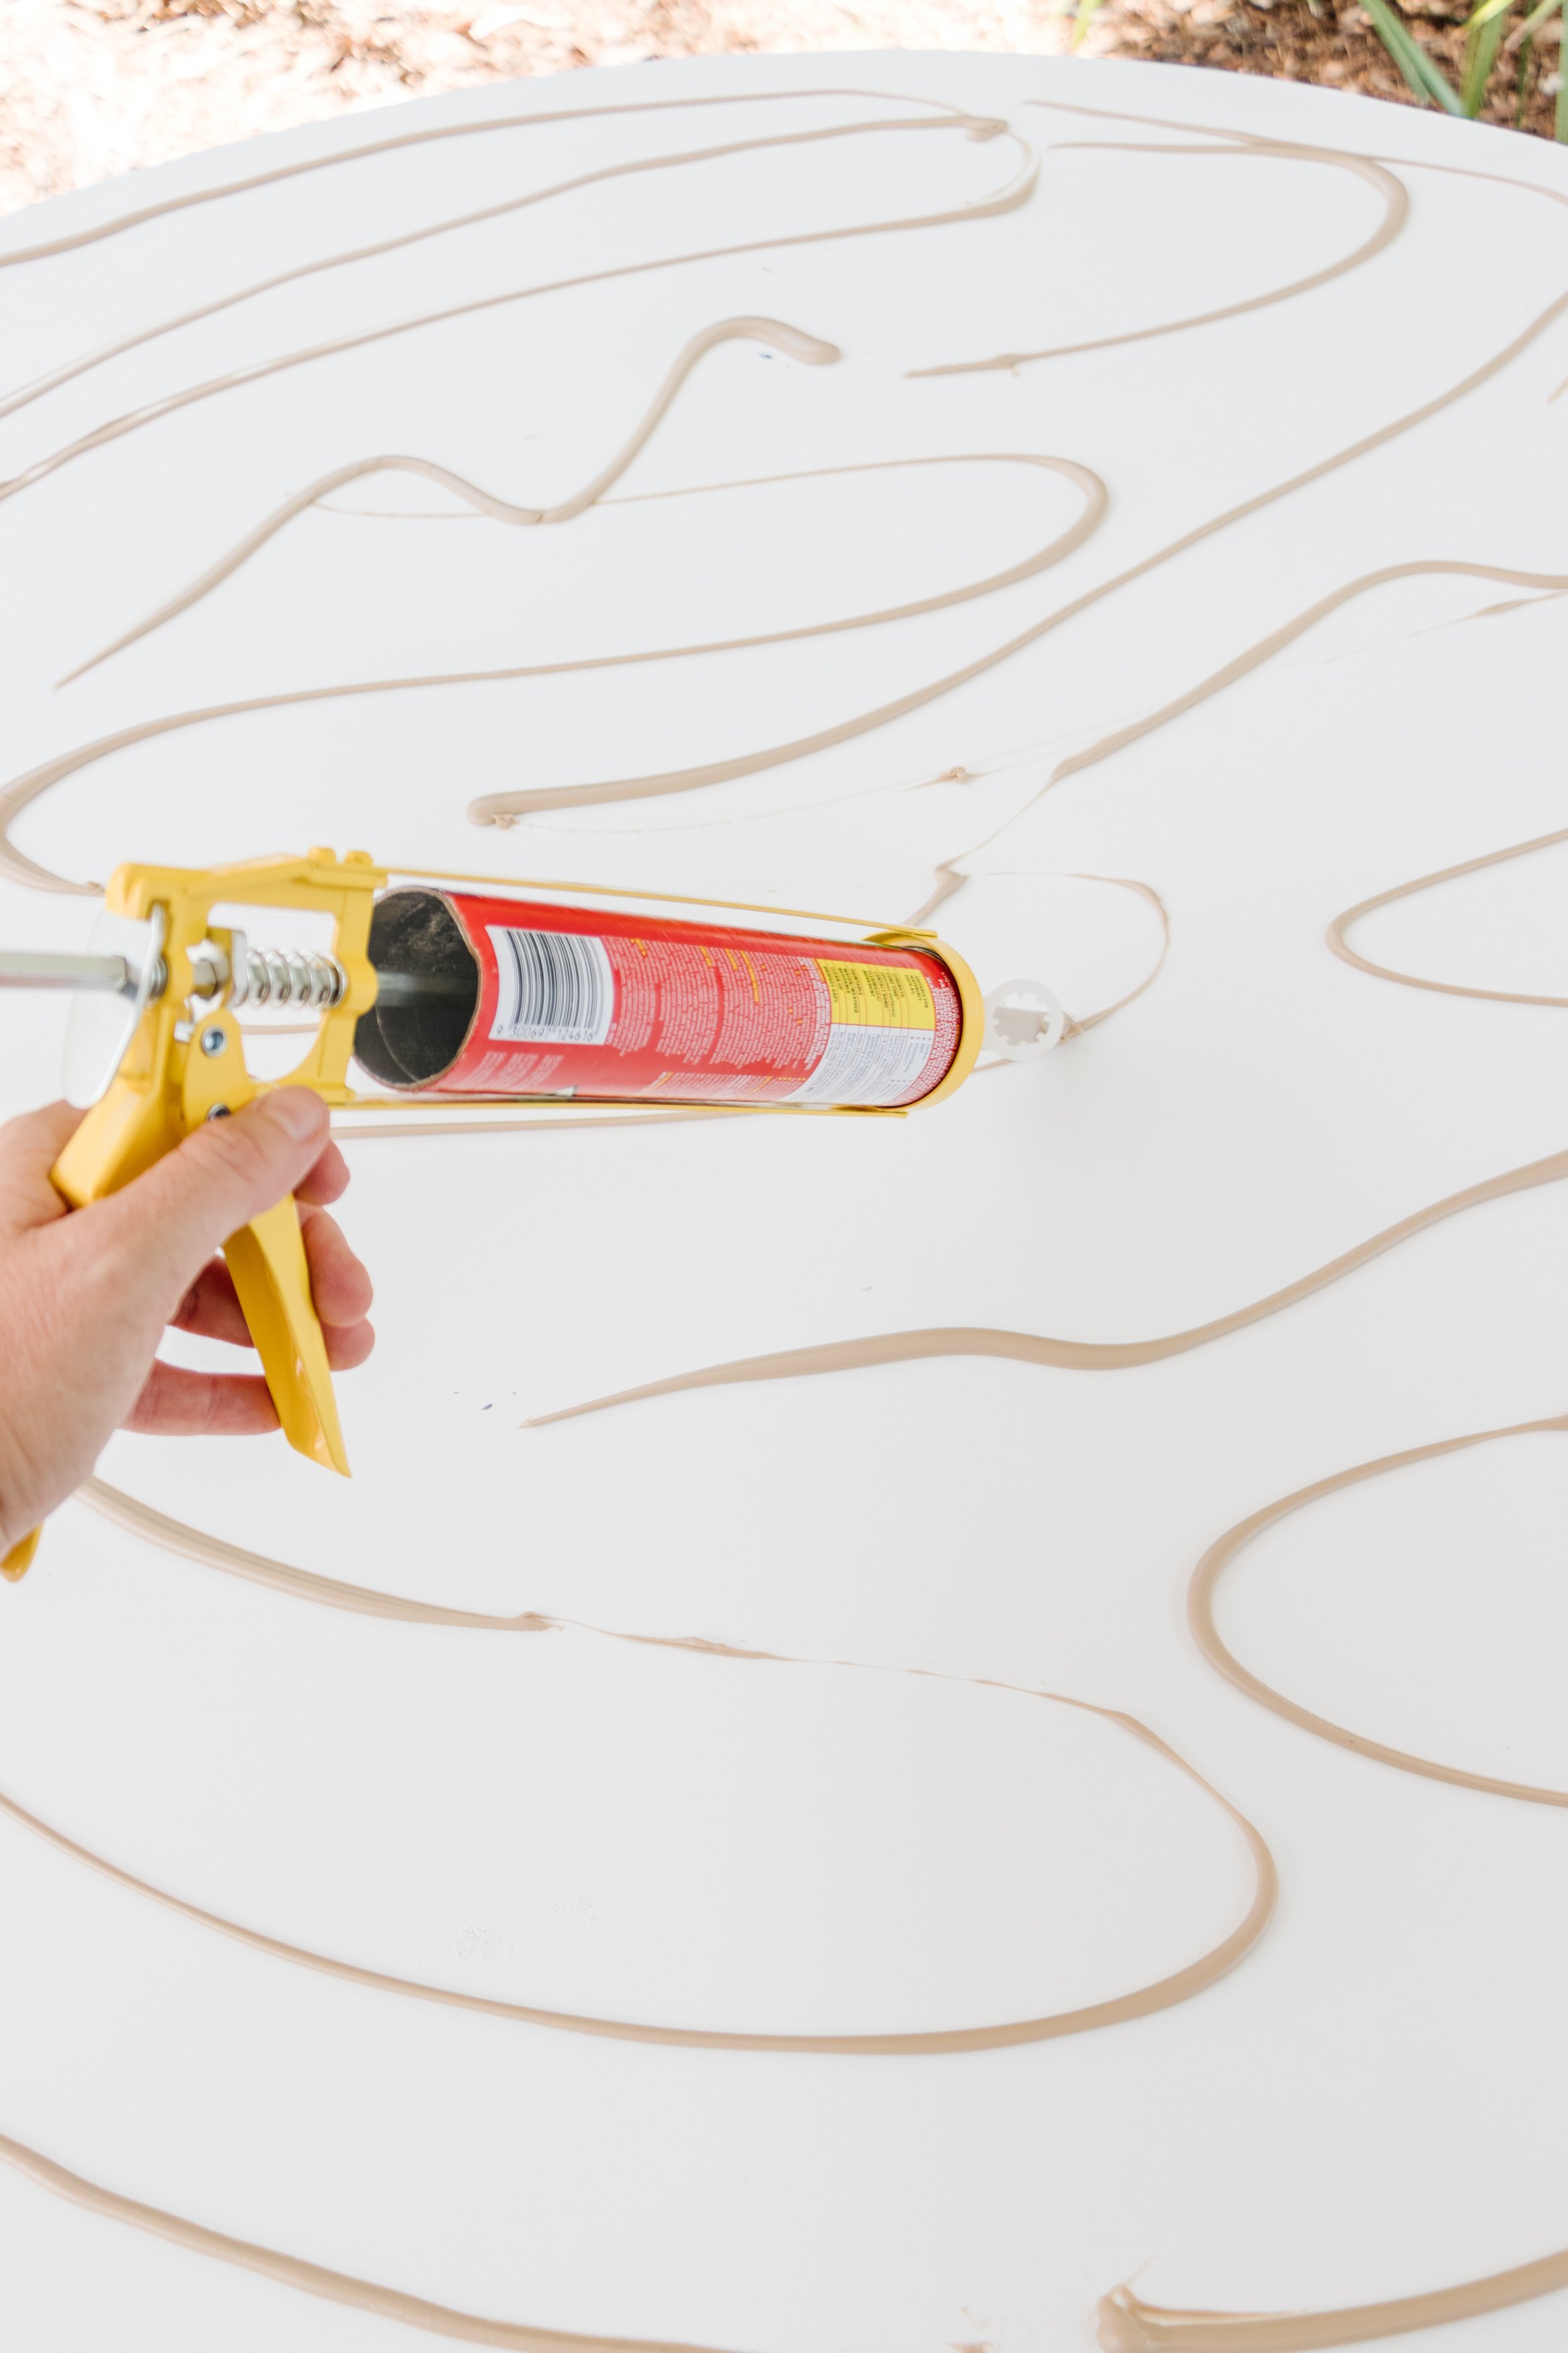
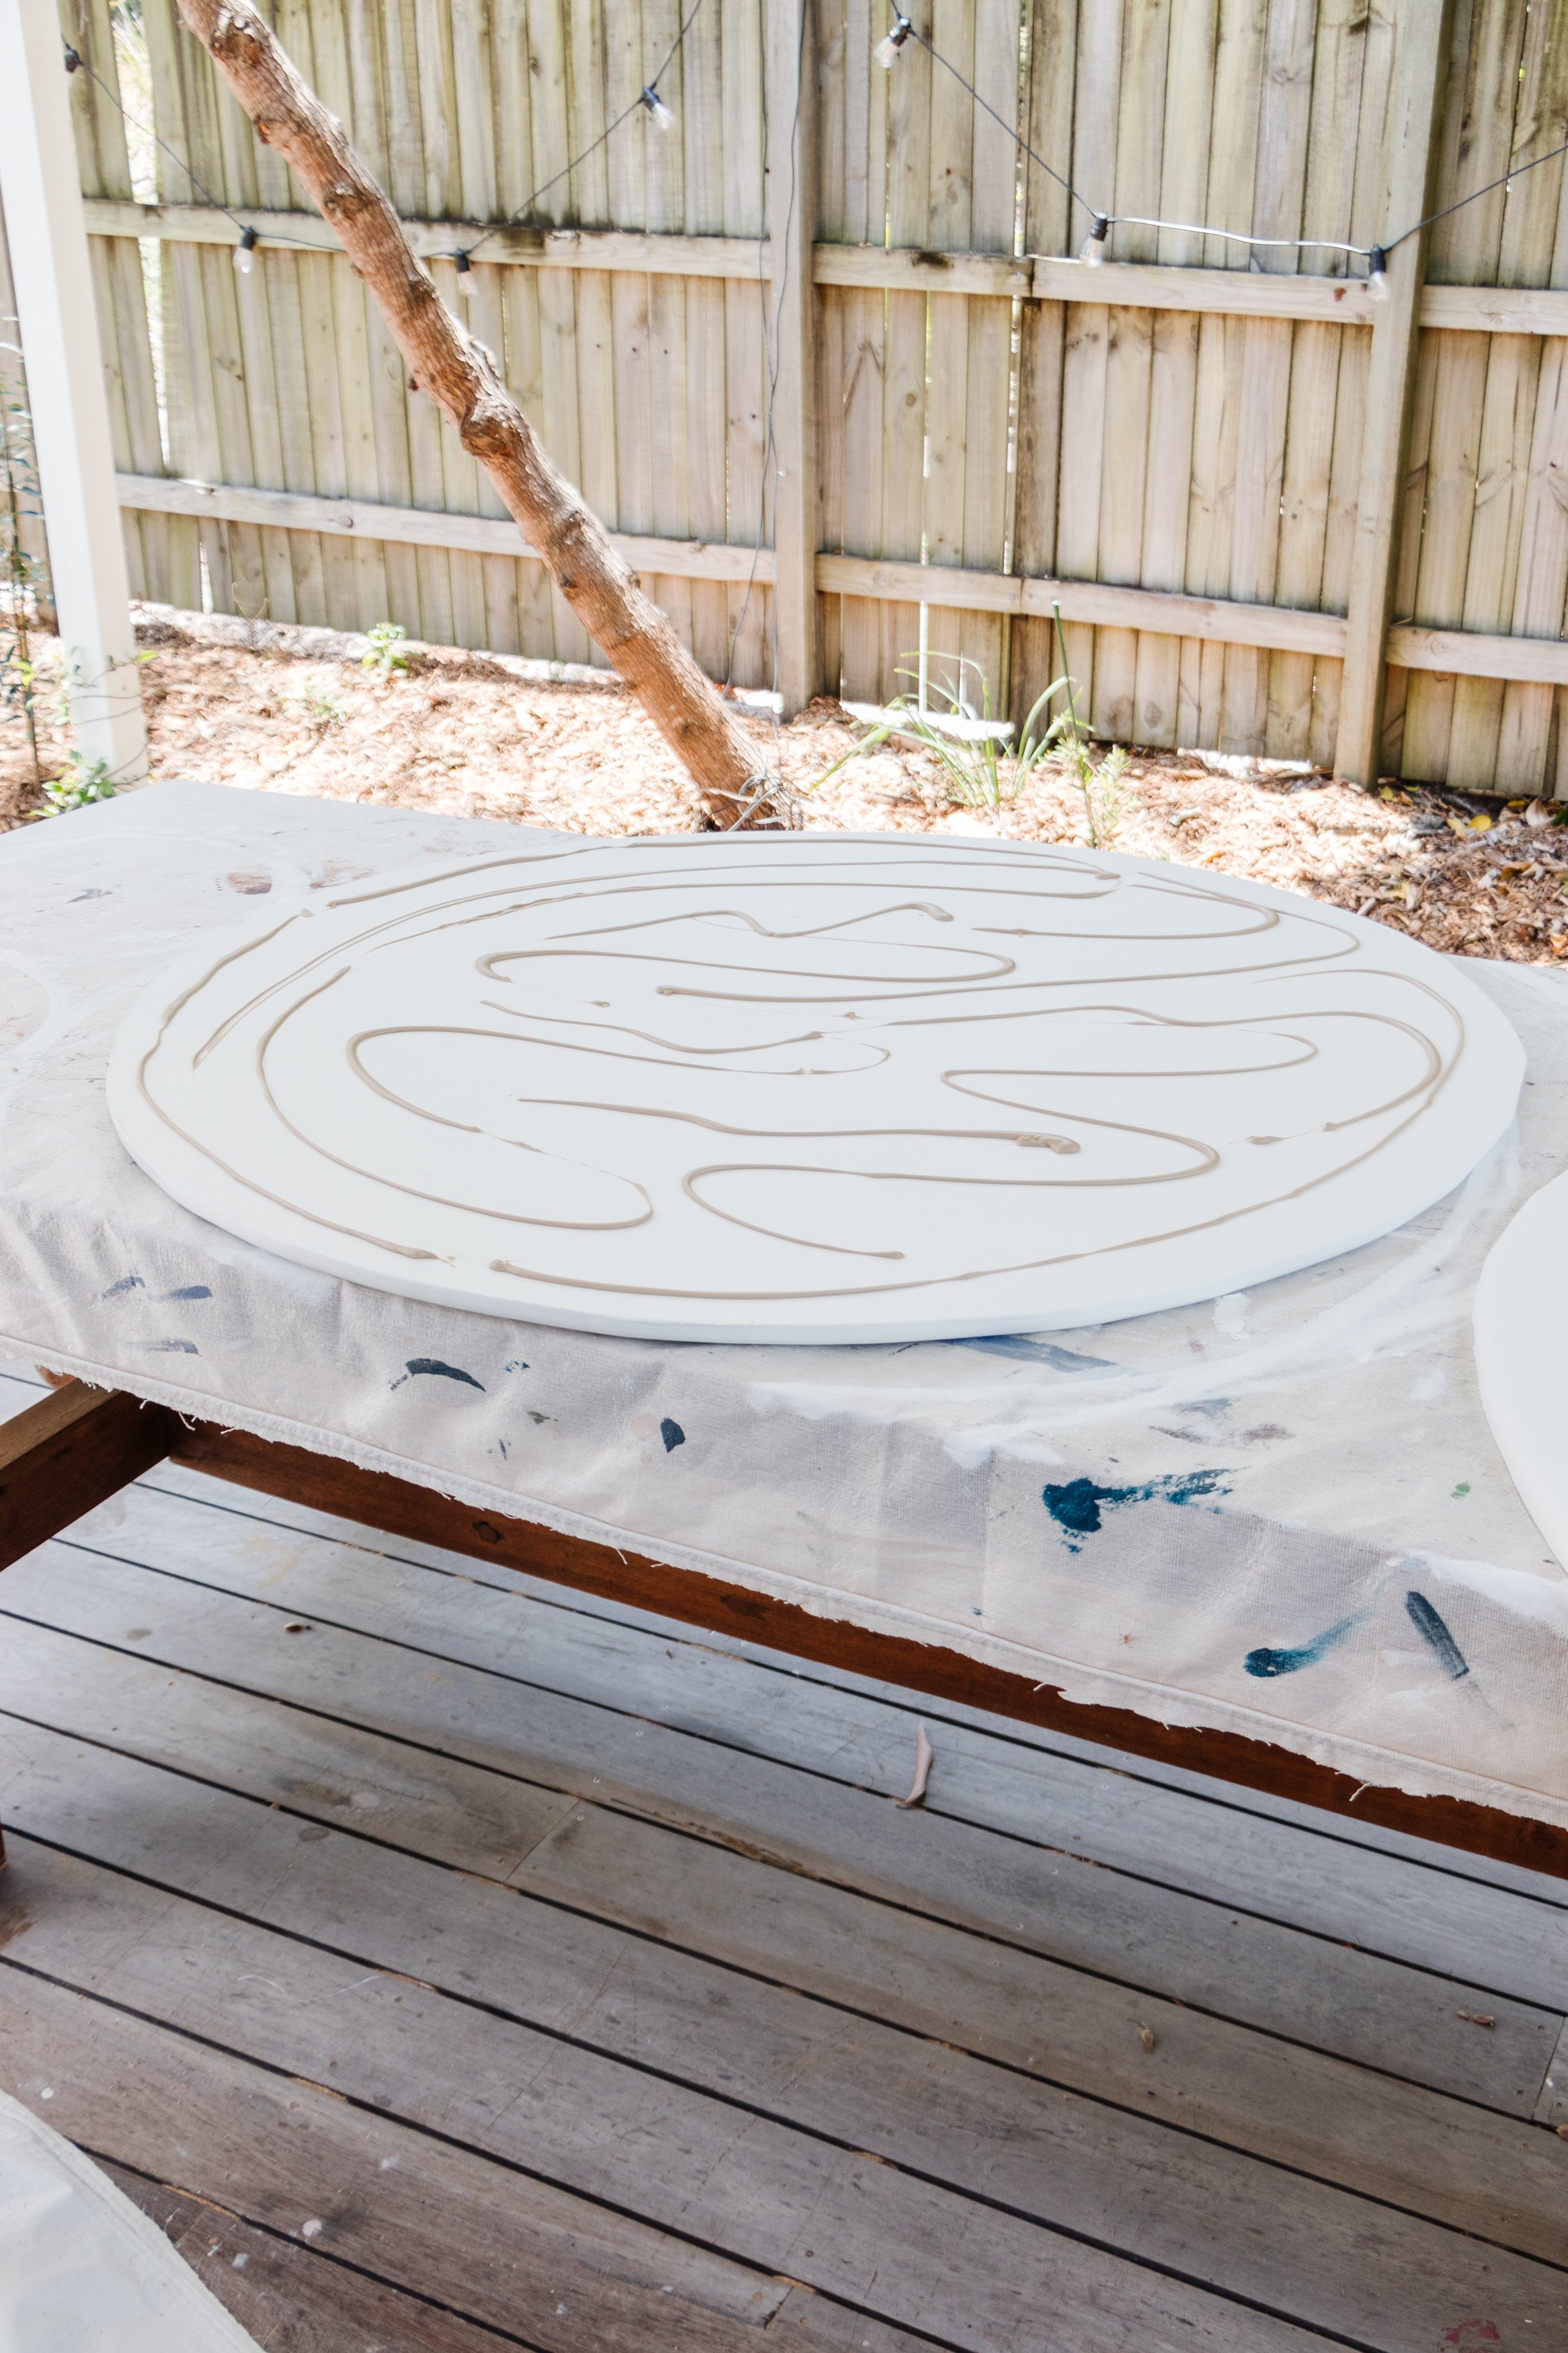
Step 4: Using the construction adhesive and caulking gun, glue the two pieces of MDF together making sure the routed edges are on the top and bottom. Ensure the glue is applied all over but also right up to the edges.
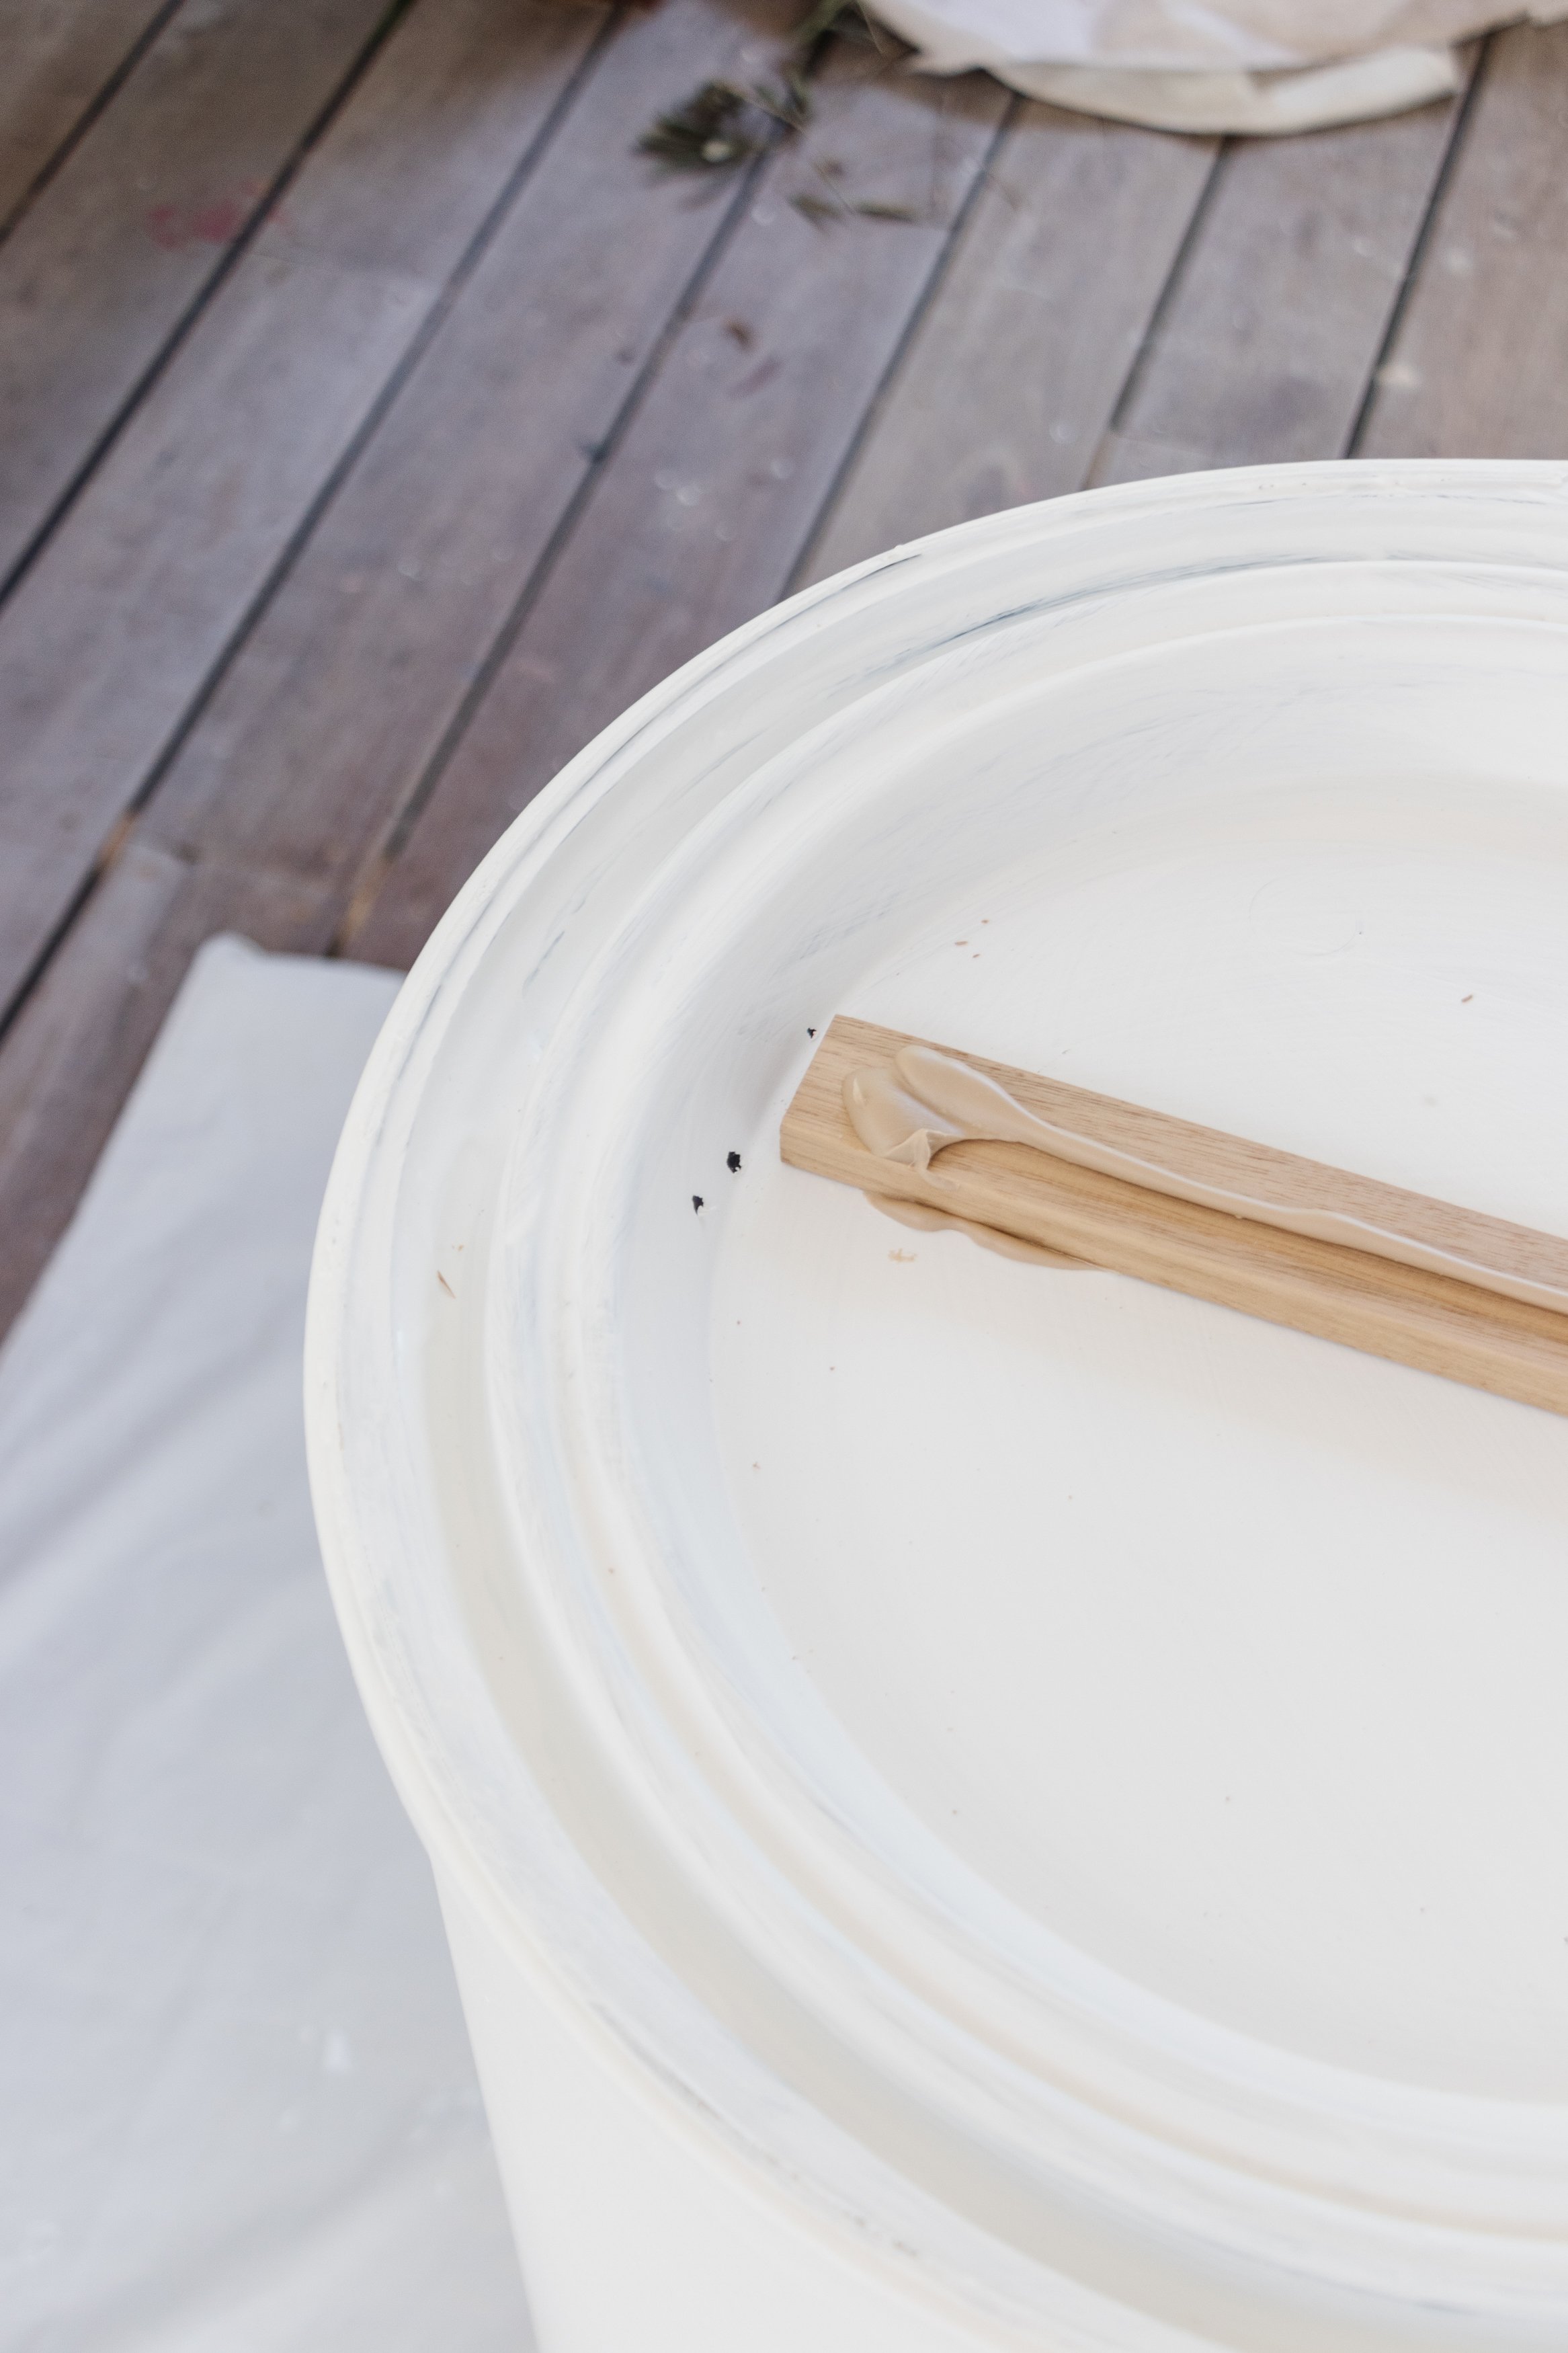
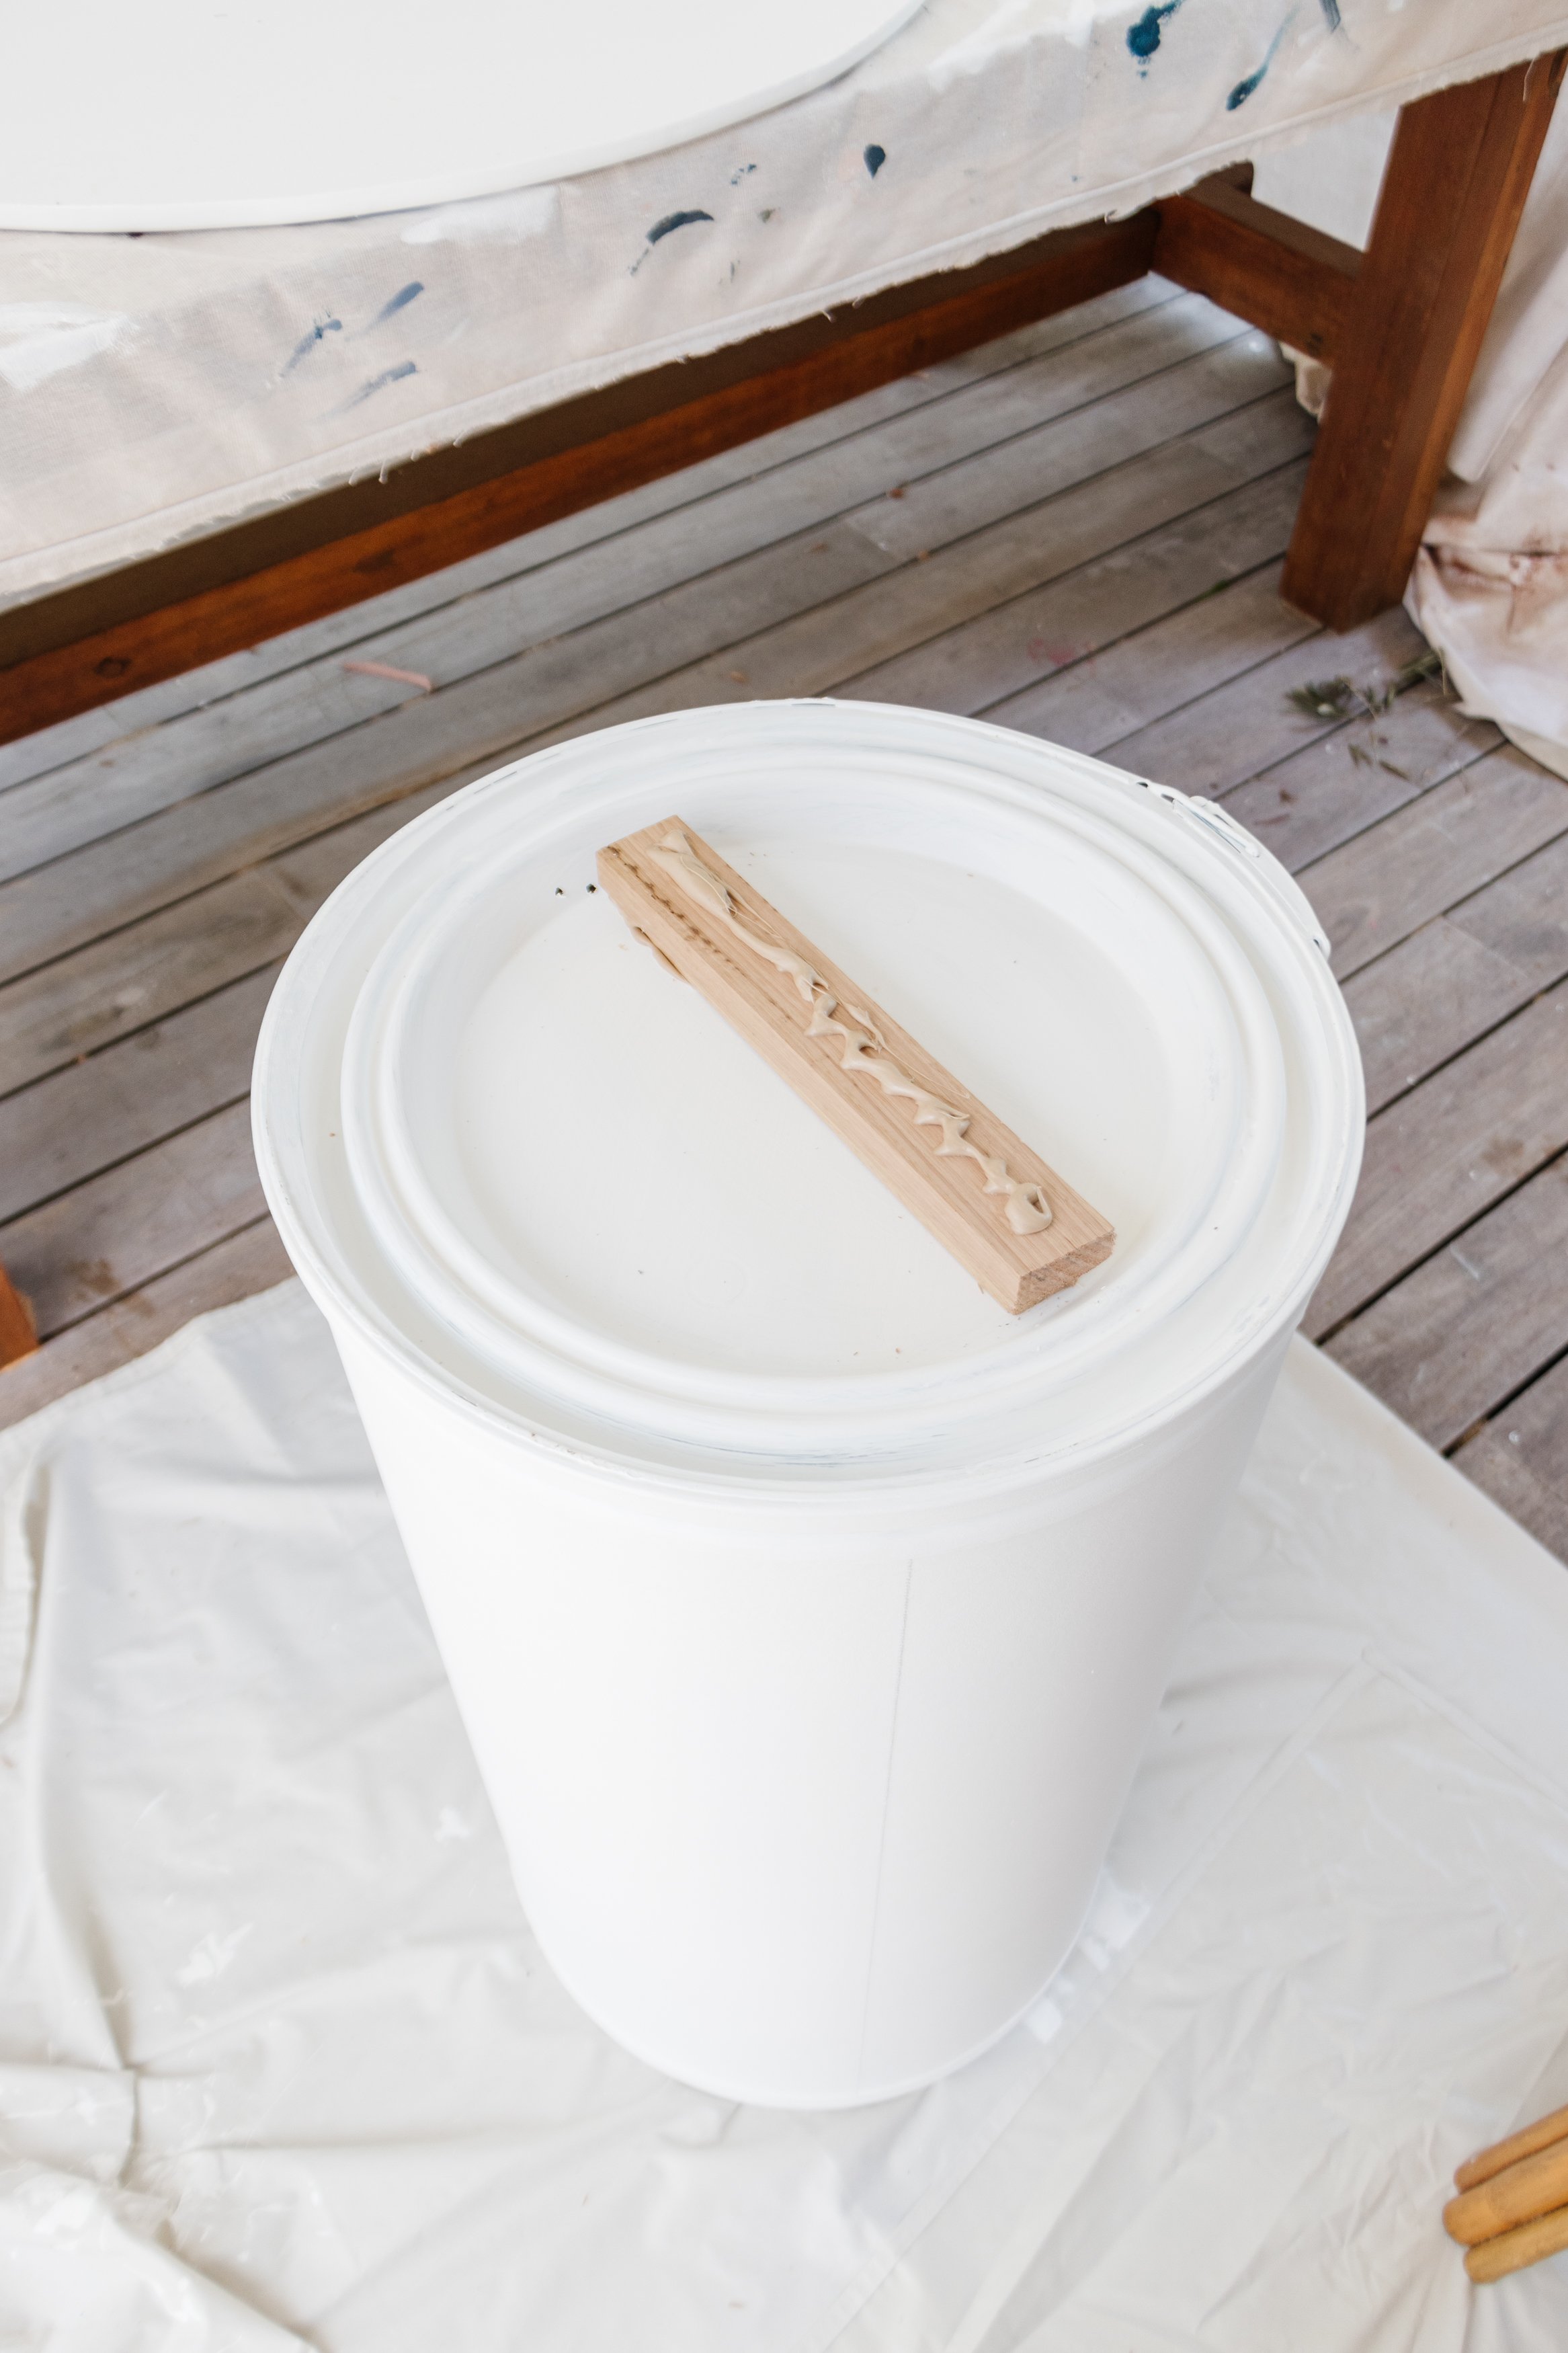
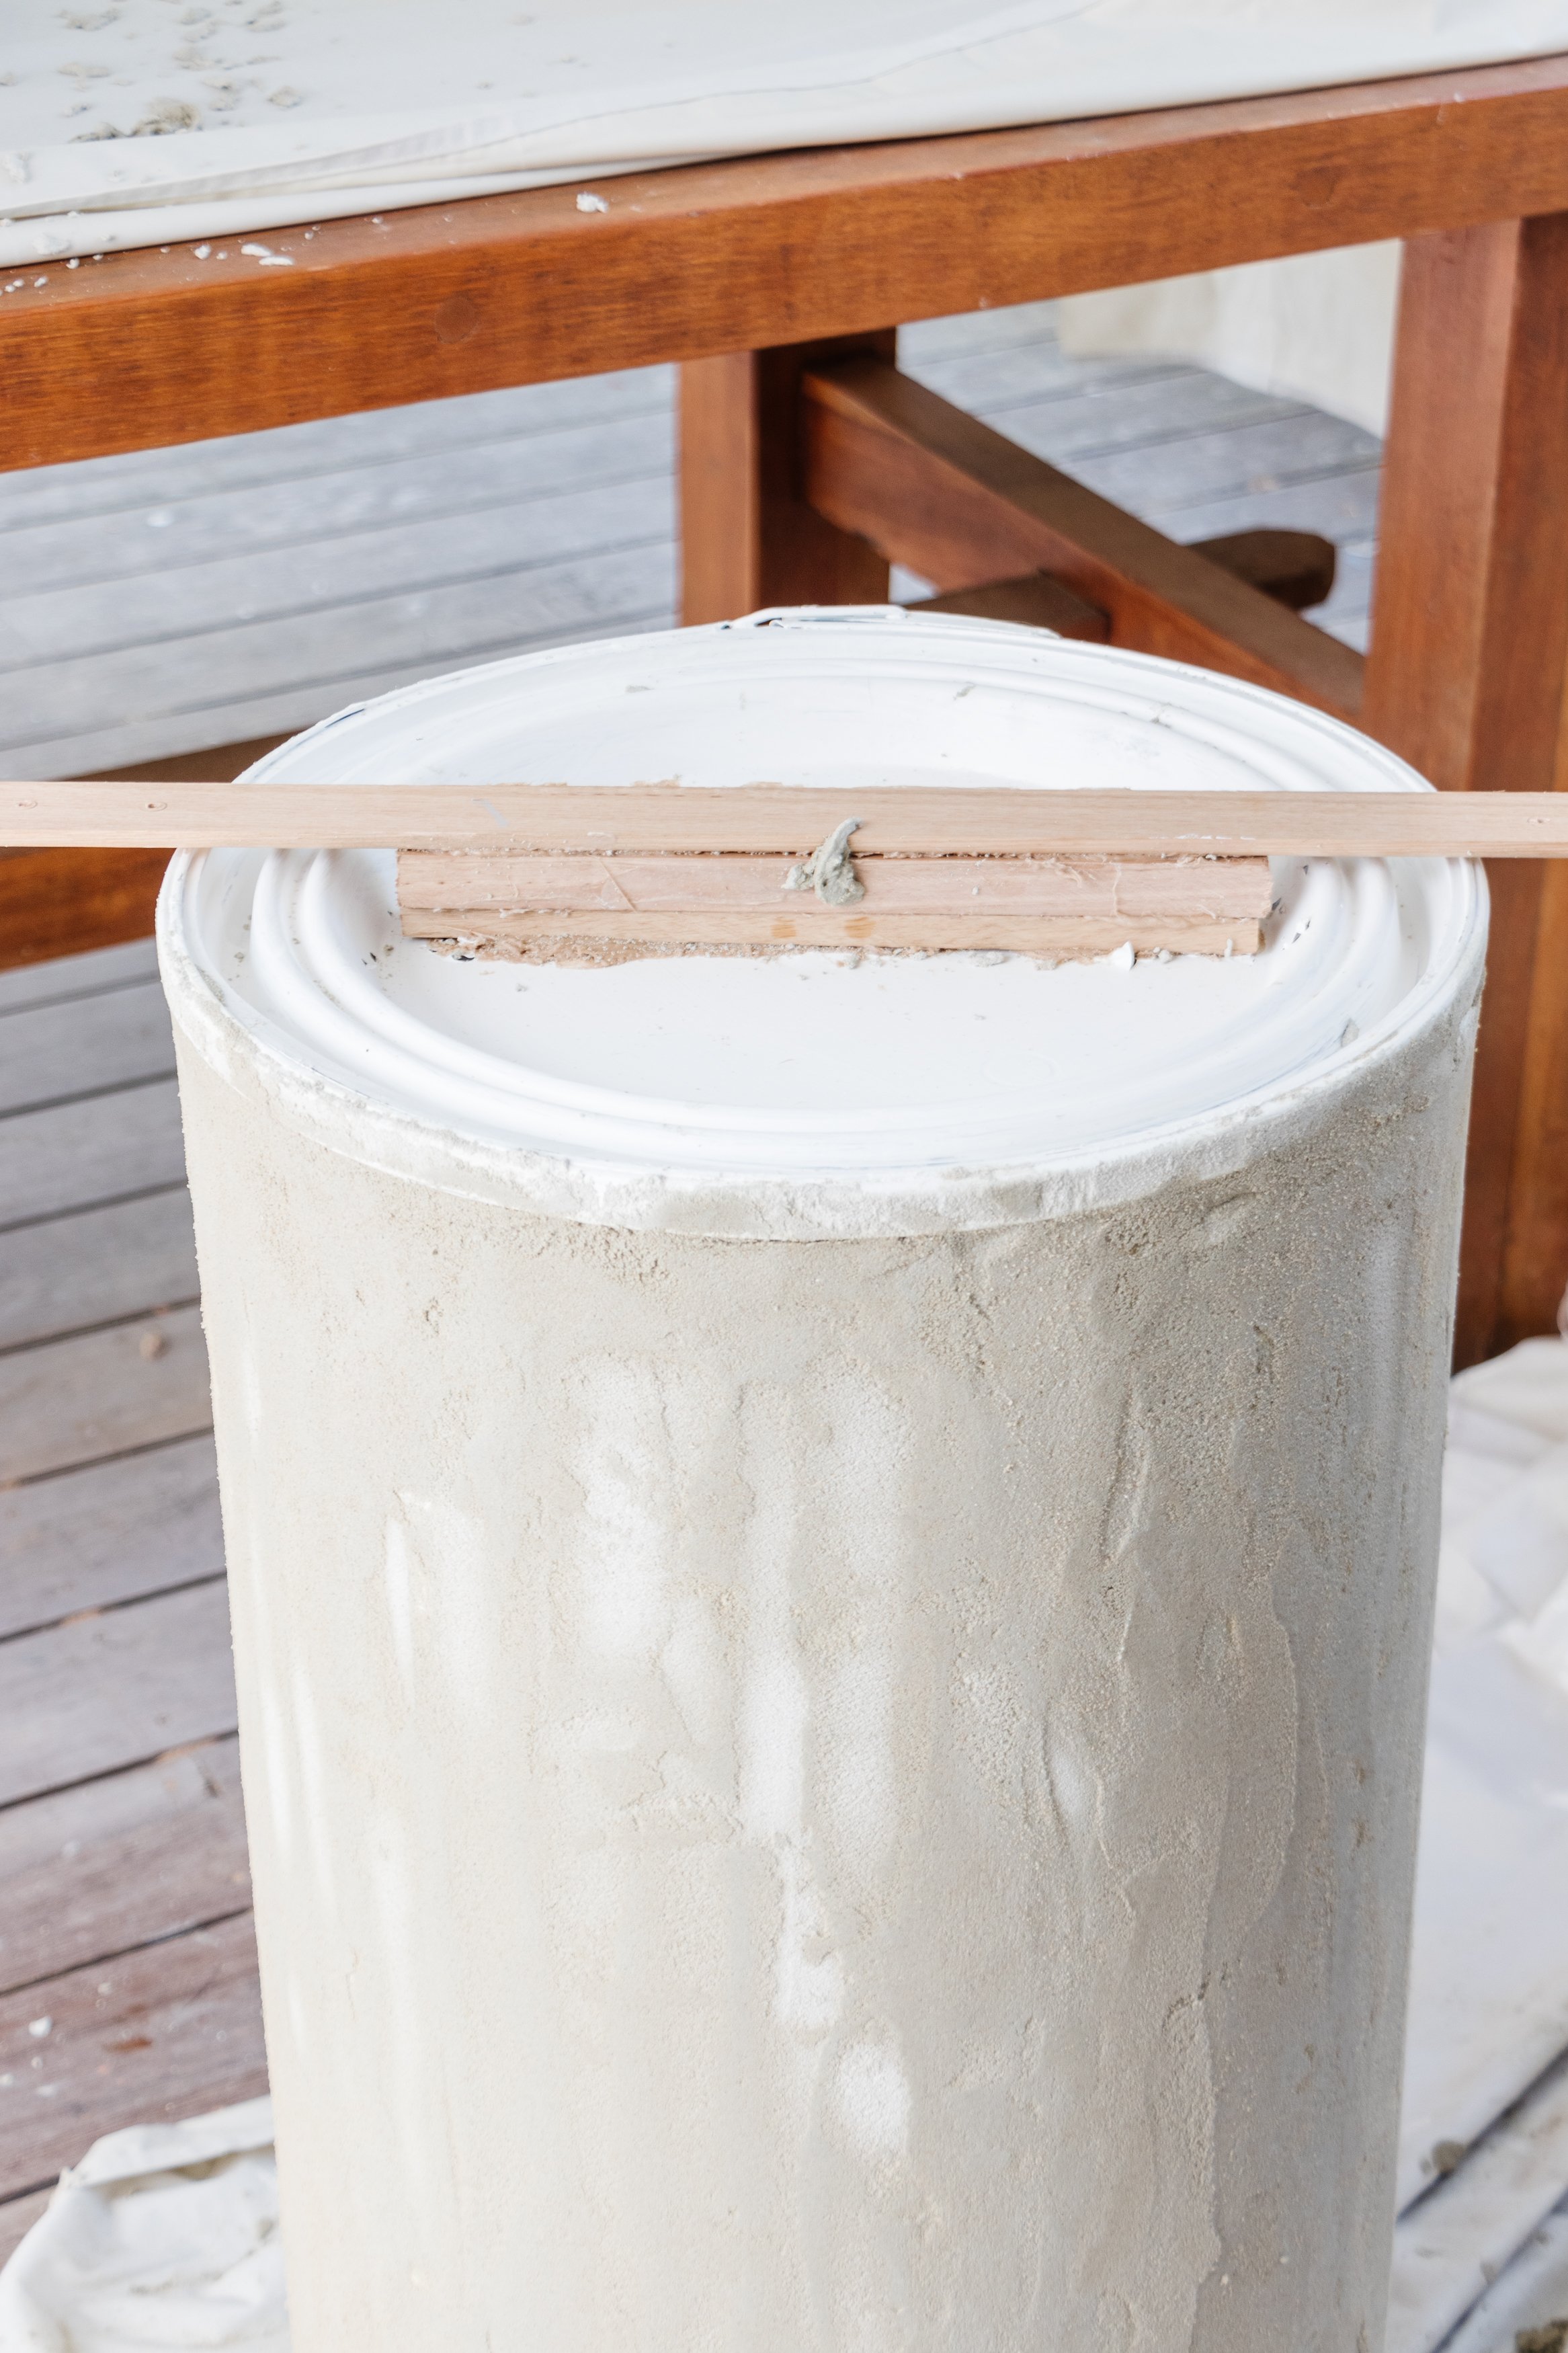
Step 5: Place the cylinder on the ground. Glue the timber onto the top as shown. When the glue has dried, add timber screws for extra stability and paint the timber using exterior paint (which is what I did later on).

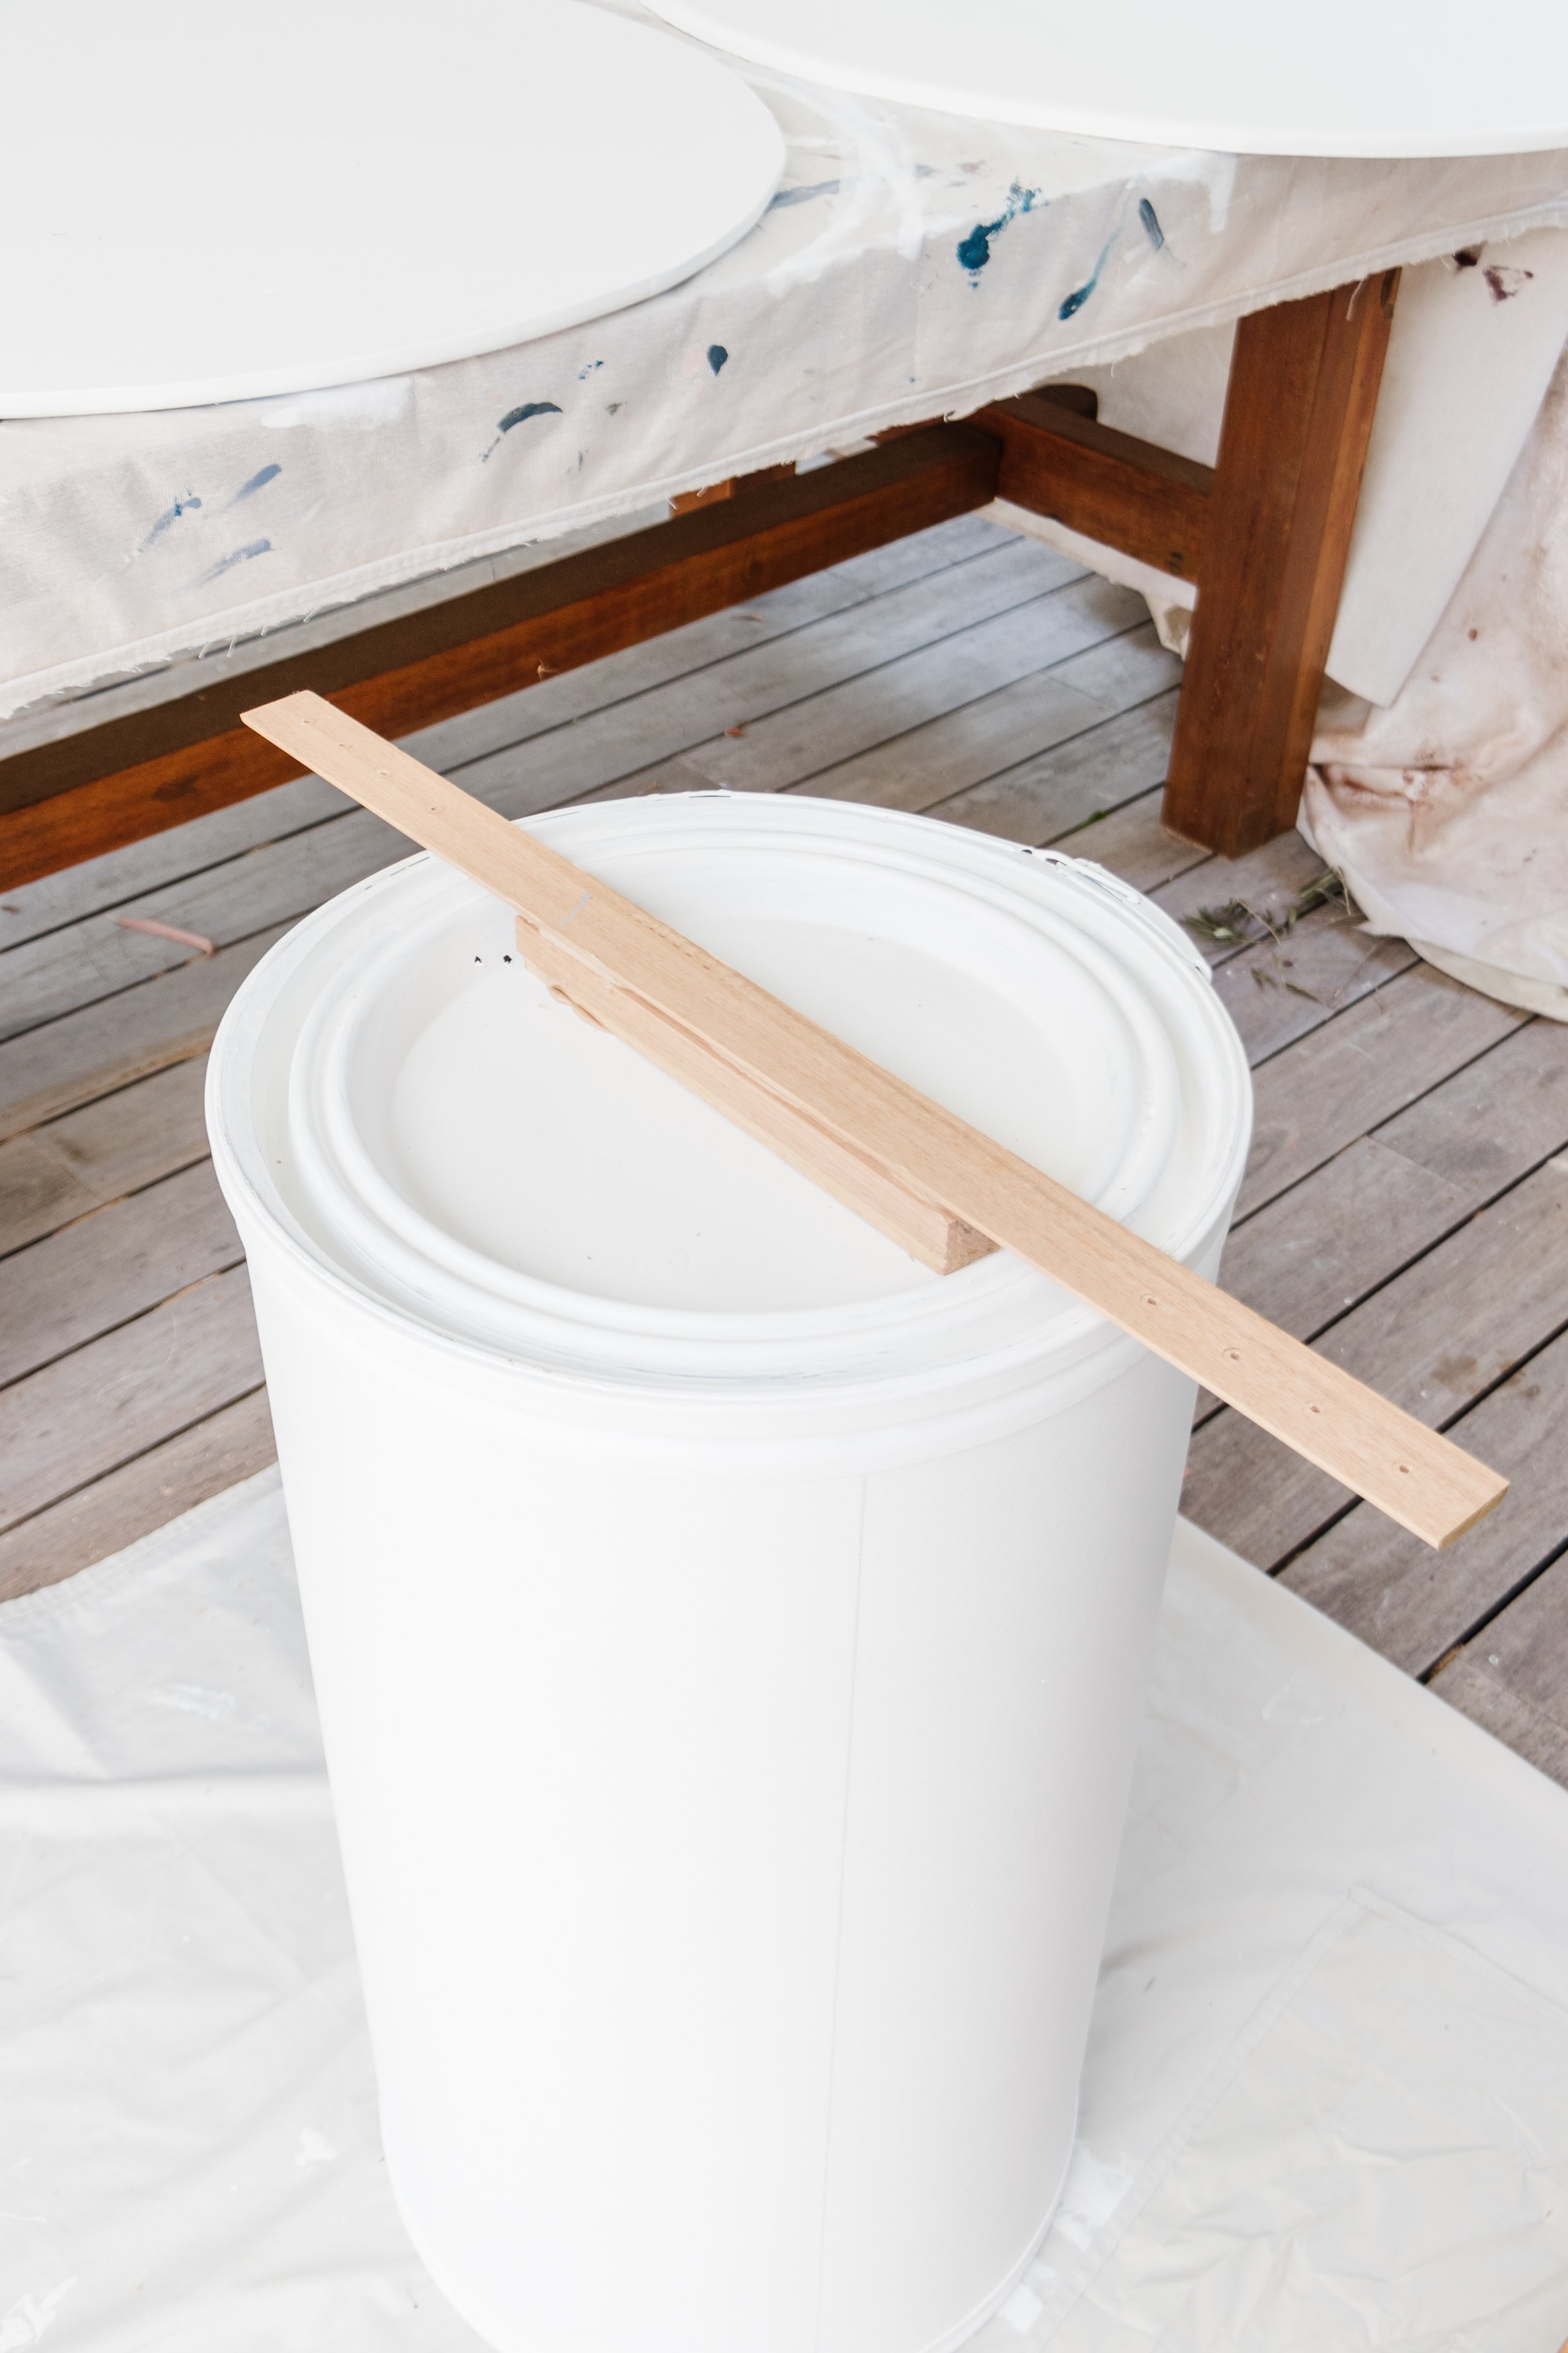
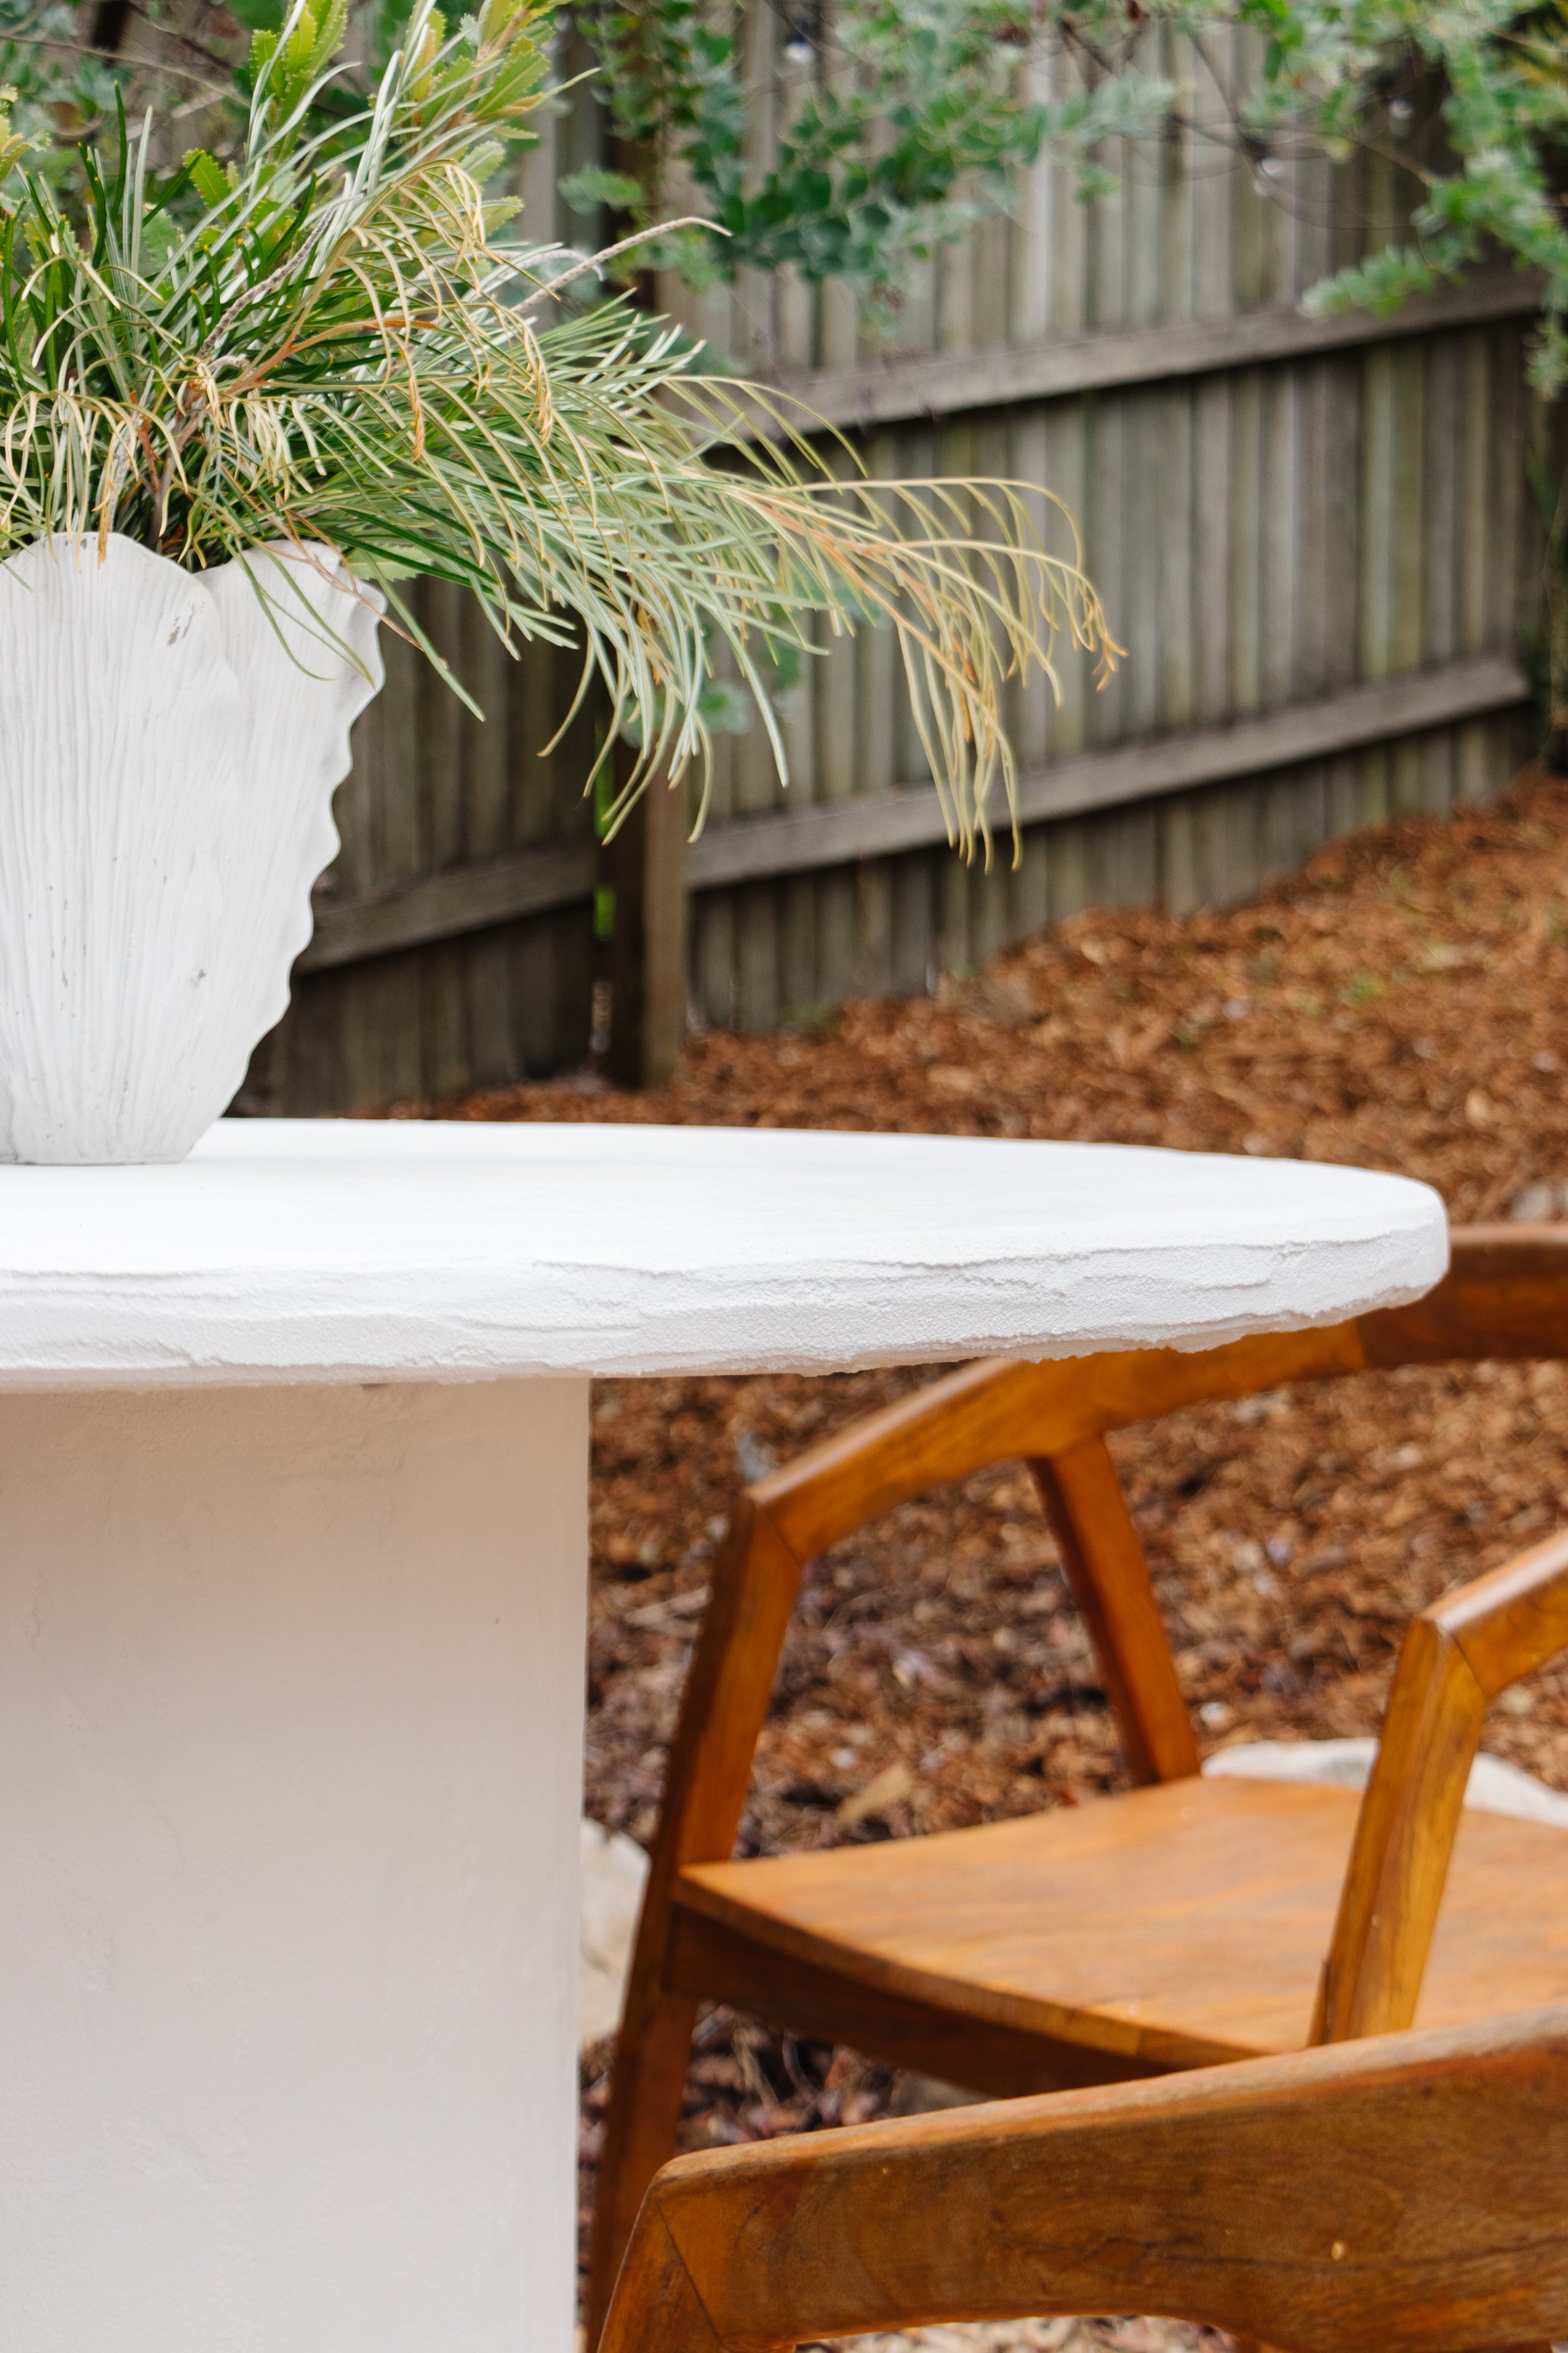
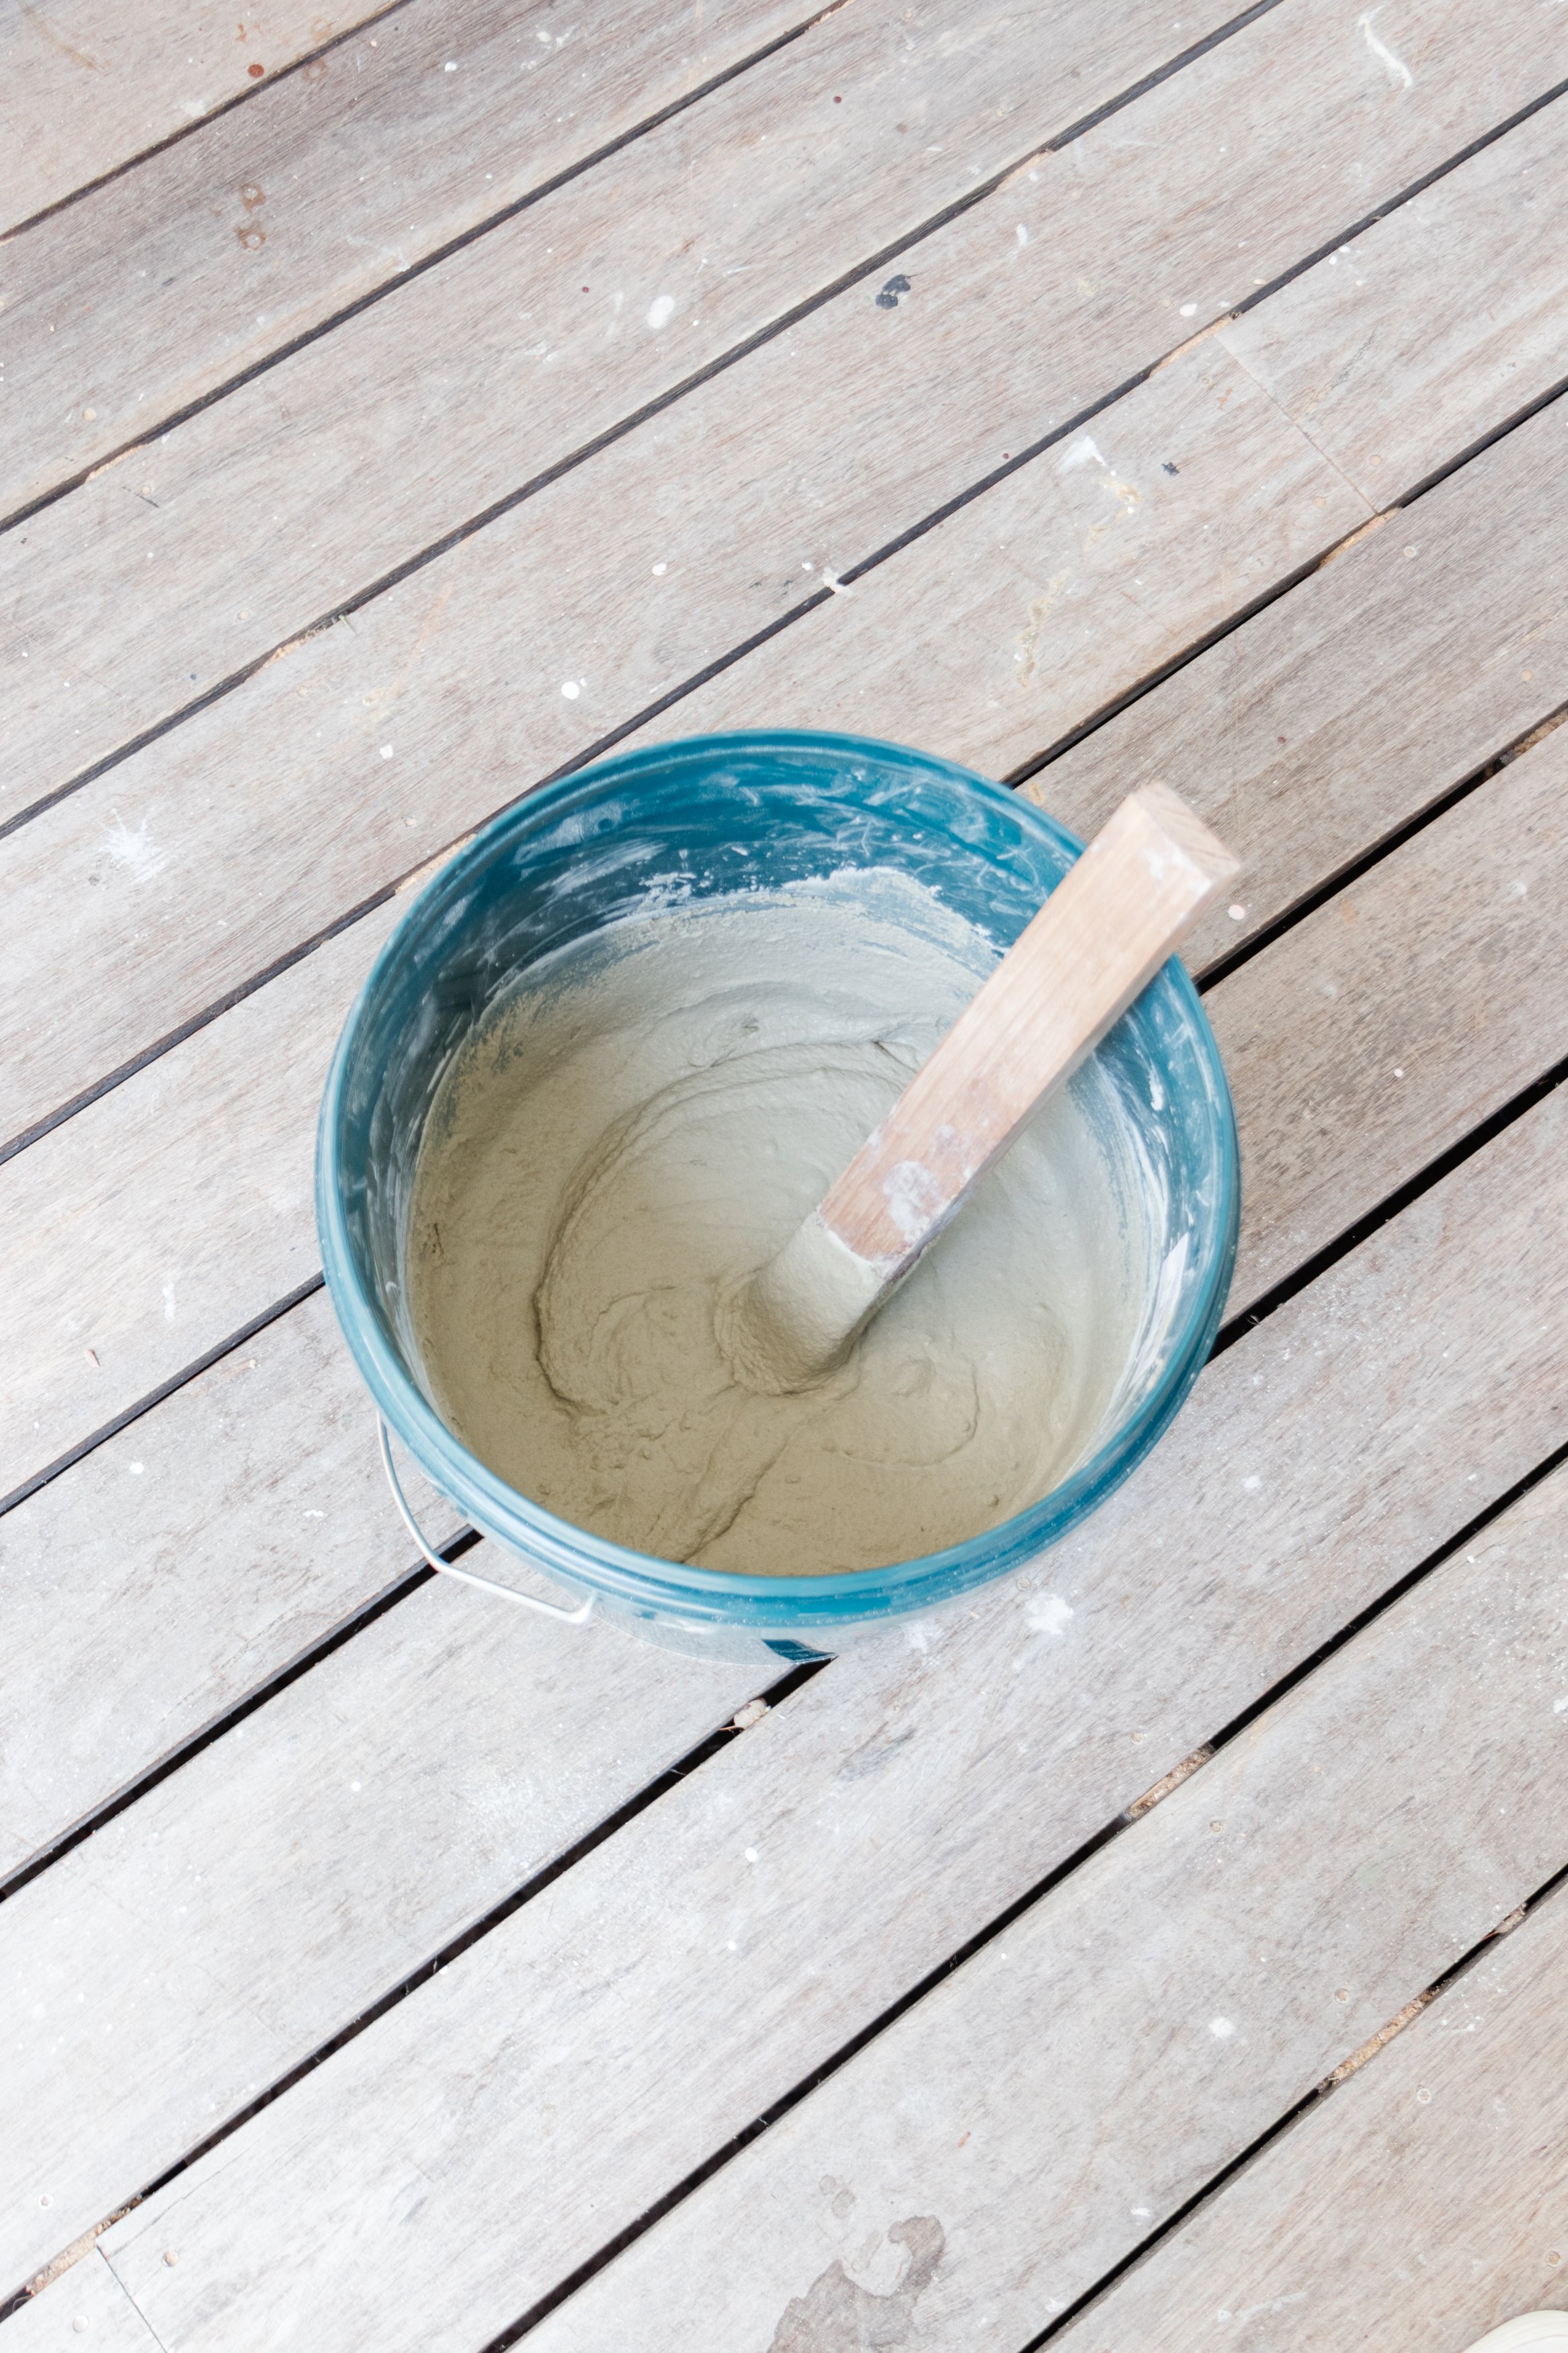
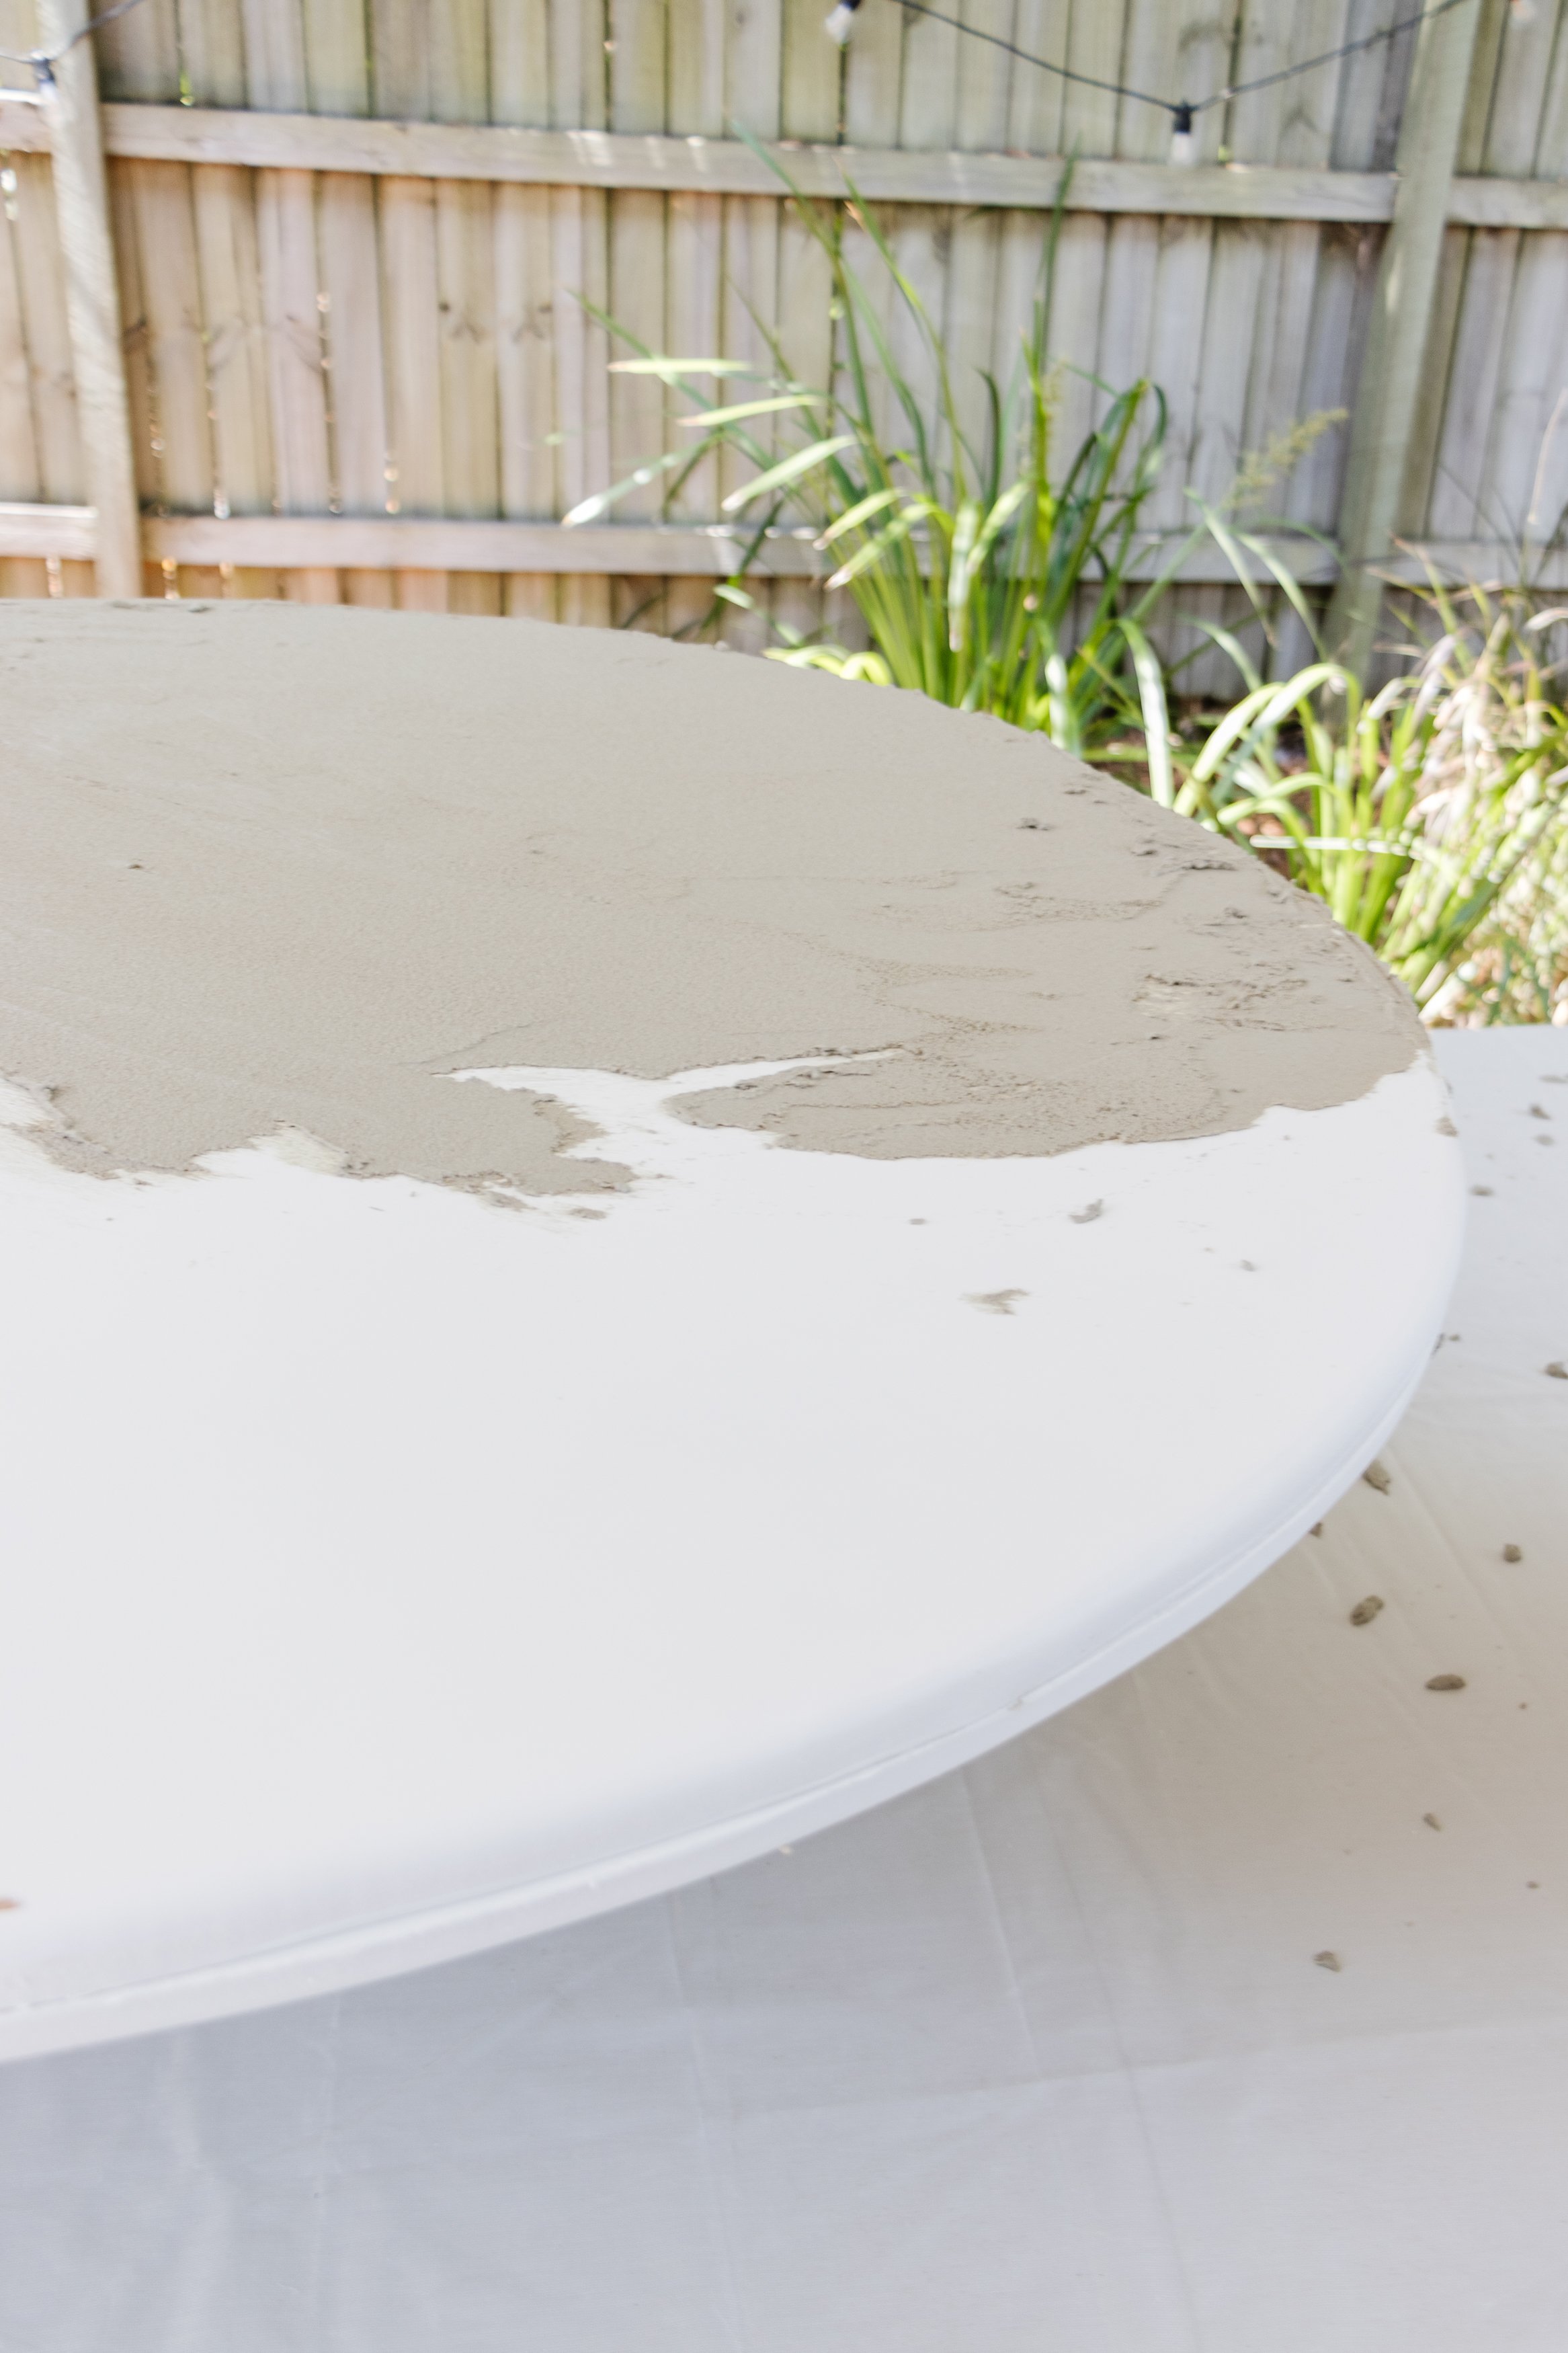
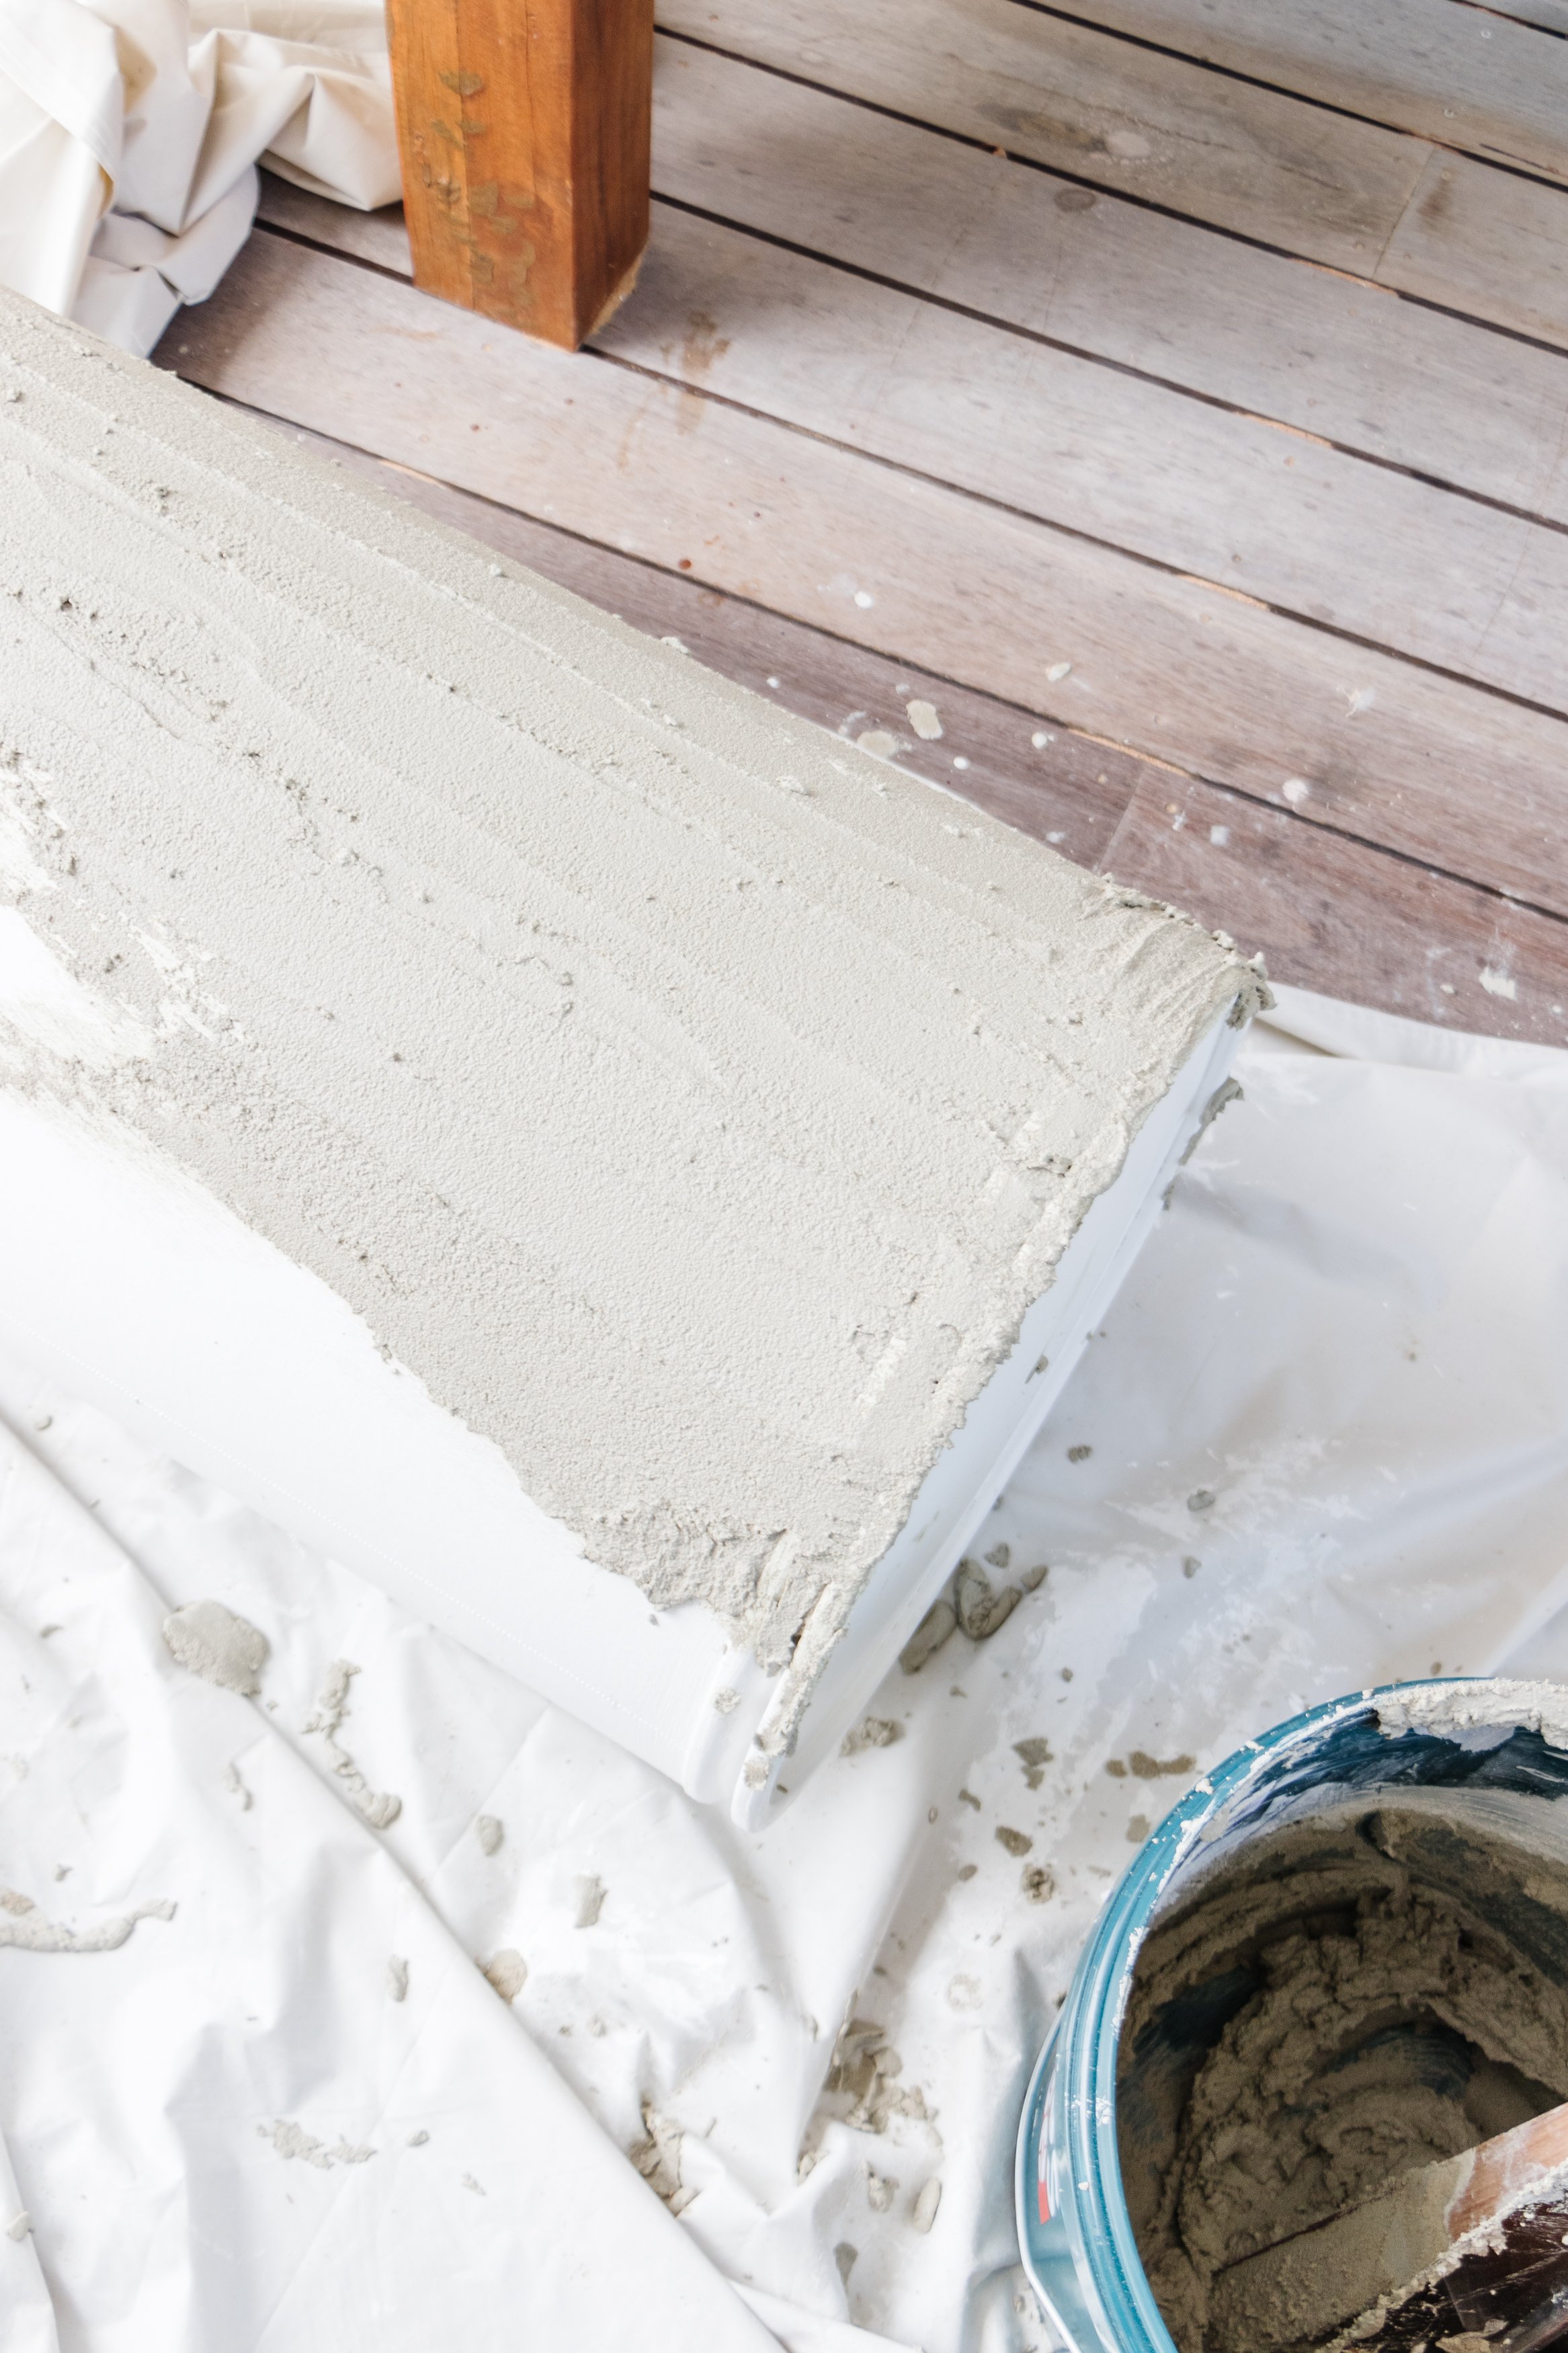
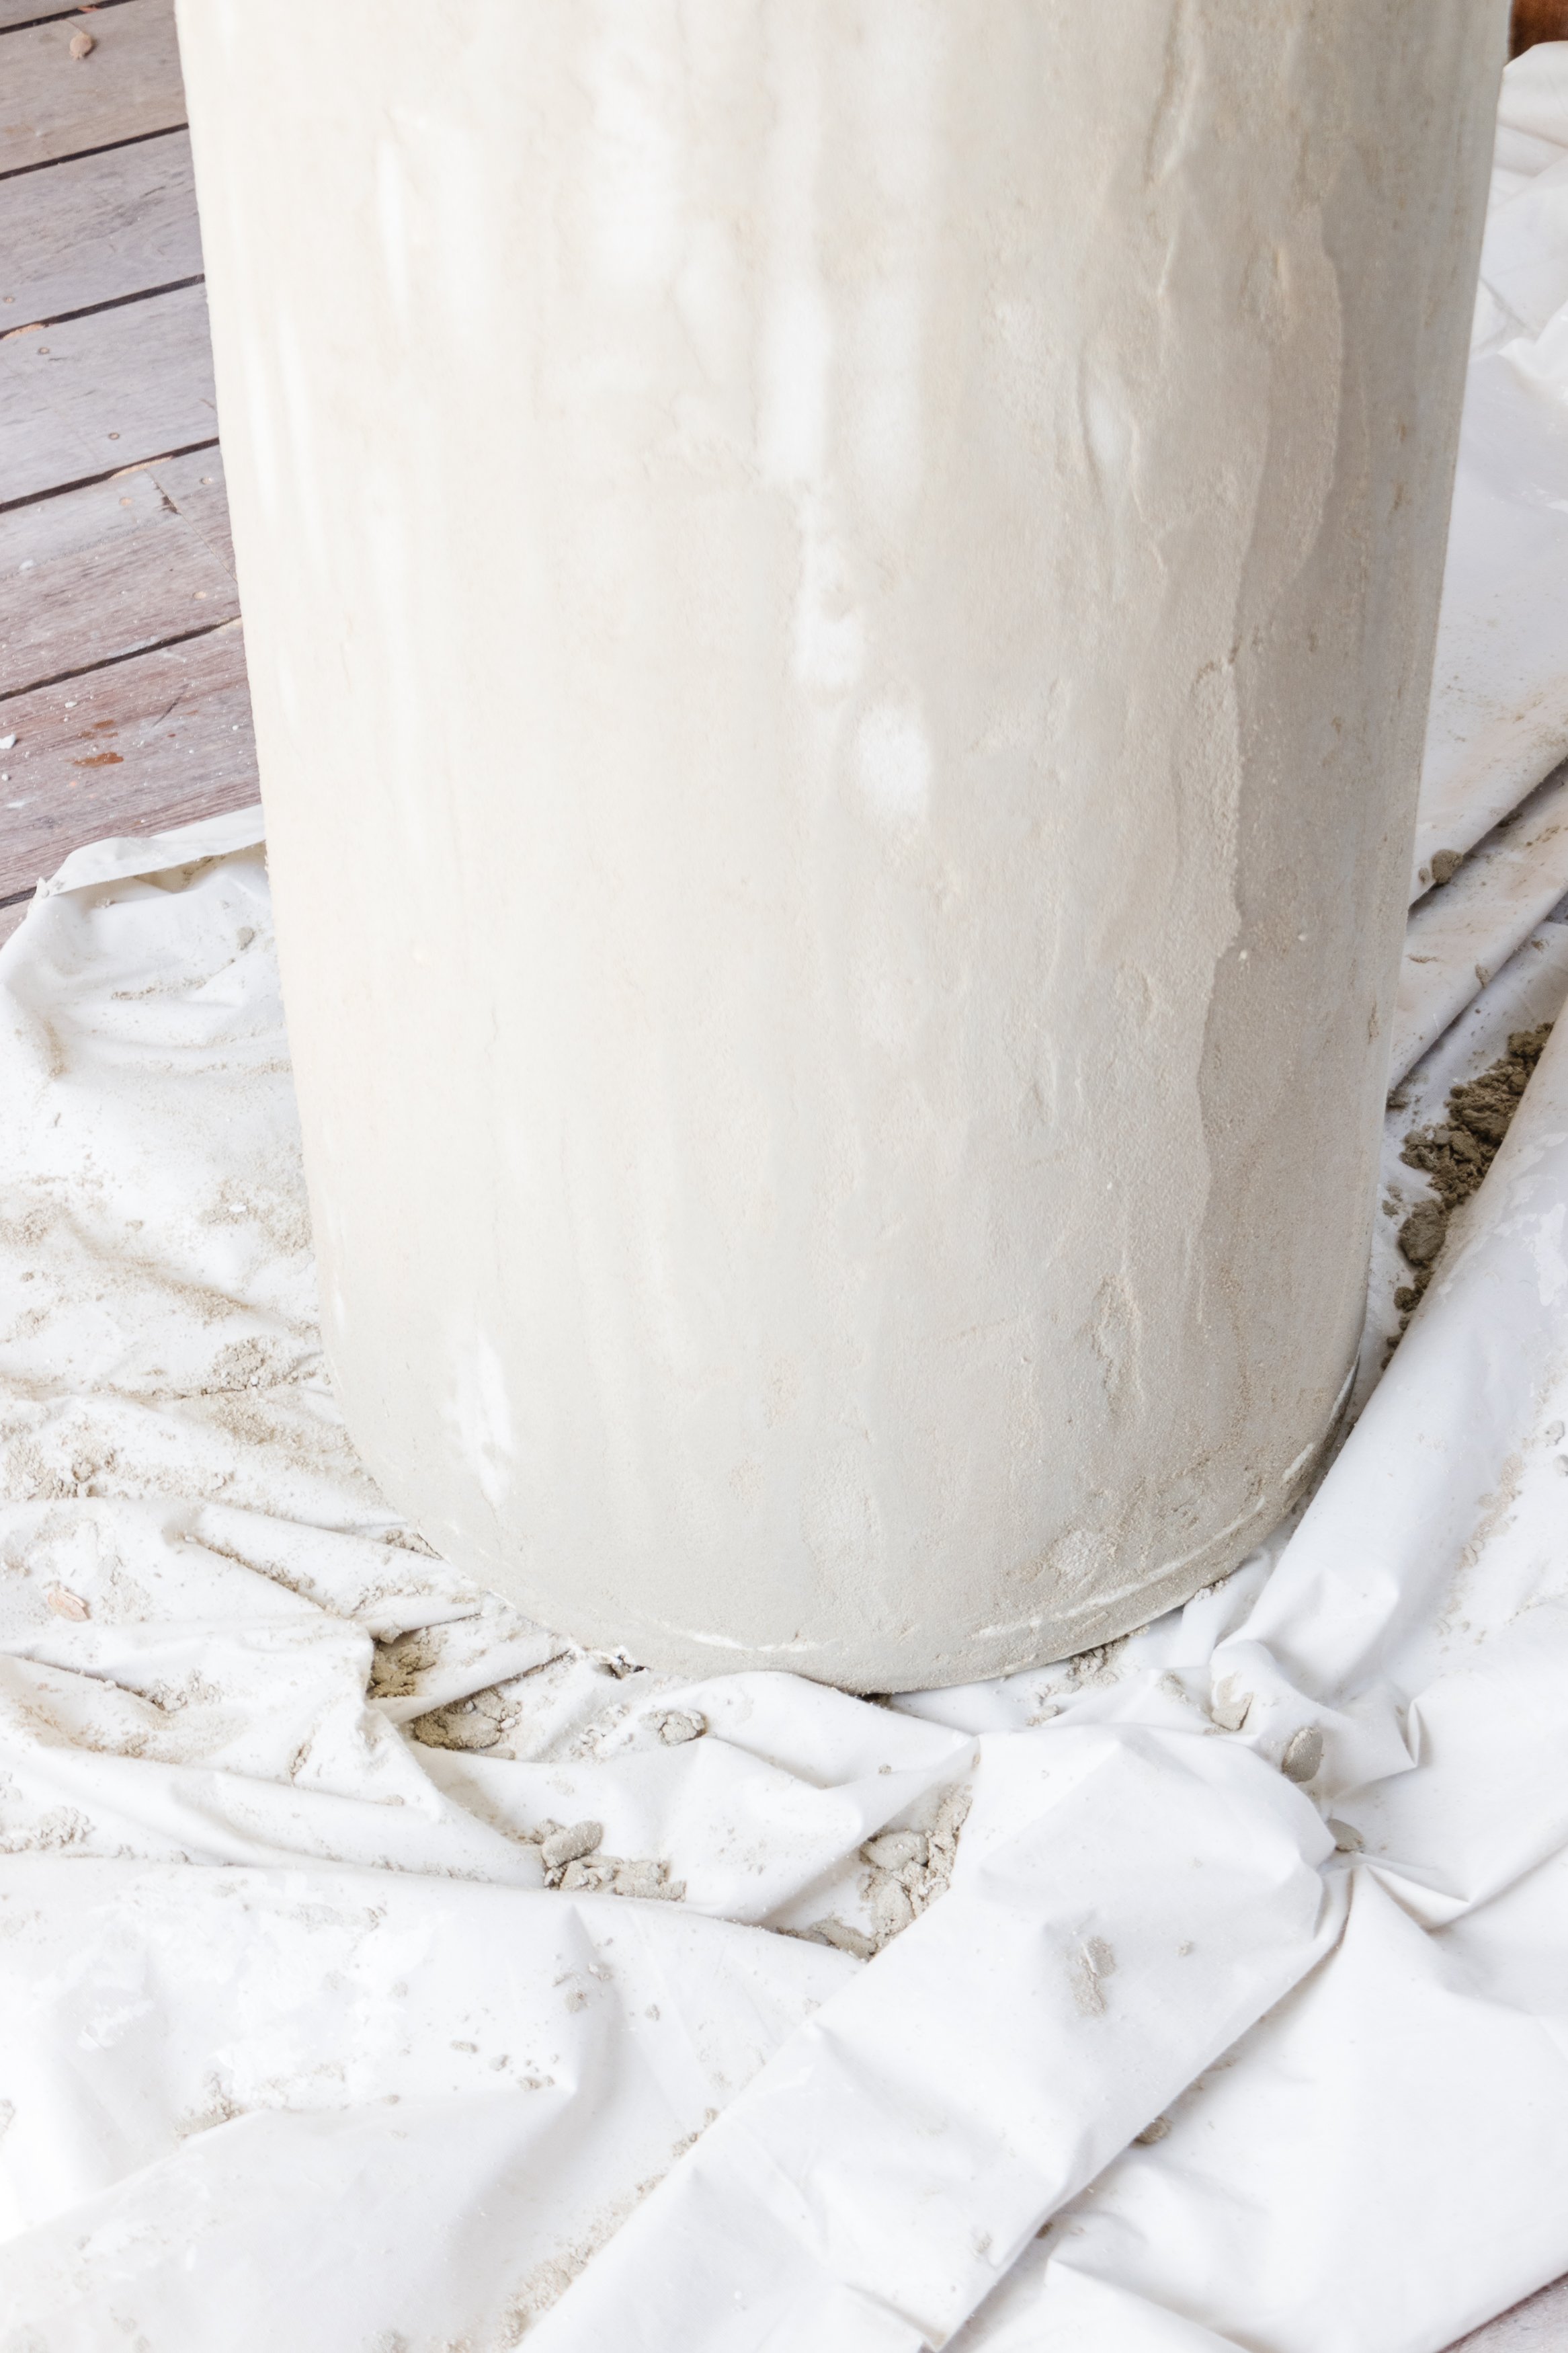
Step 6: And now it’s time to render! Following the instructions, mix the render using water, drill and a mixer. I used a spare piece of timber and I found it worked really well. I also used this tutorial to guide me as I’ve never mixed or applied this type of render before. Make sure to wear a safety mask and safety eyewear for this. Using the straight edge trowel, apply a thin coat of render all over the cylinder and both sides of the MDF. Again, please refer to this tutorial to find out how to properly mix and apply the render. It was actually a lot easier than I thought it would be! You will need to use the plastic float to smooth the render and I spent a bit of time on this to make sure the table had a beautiful, smooth finish.


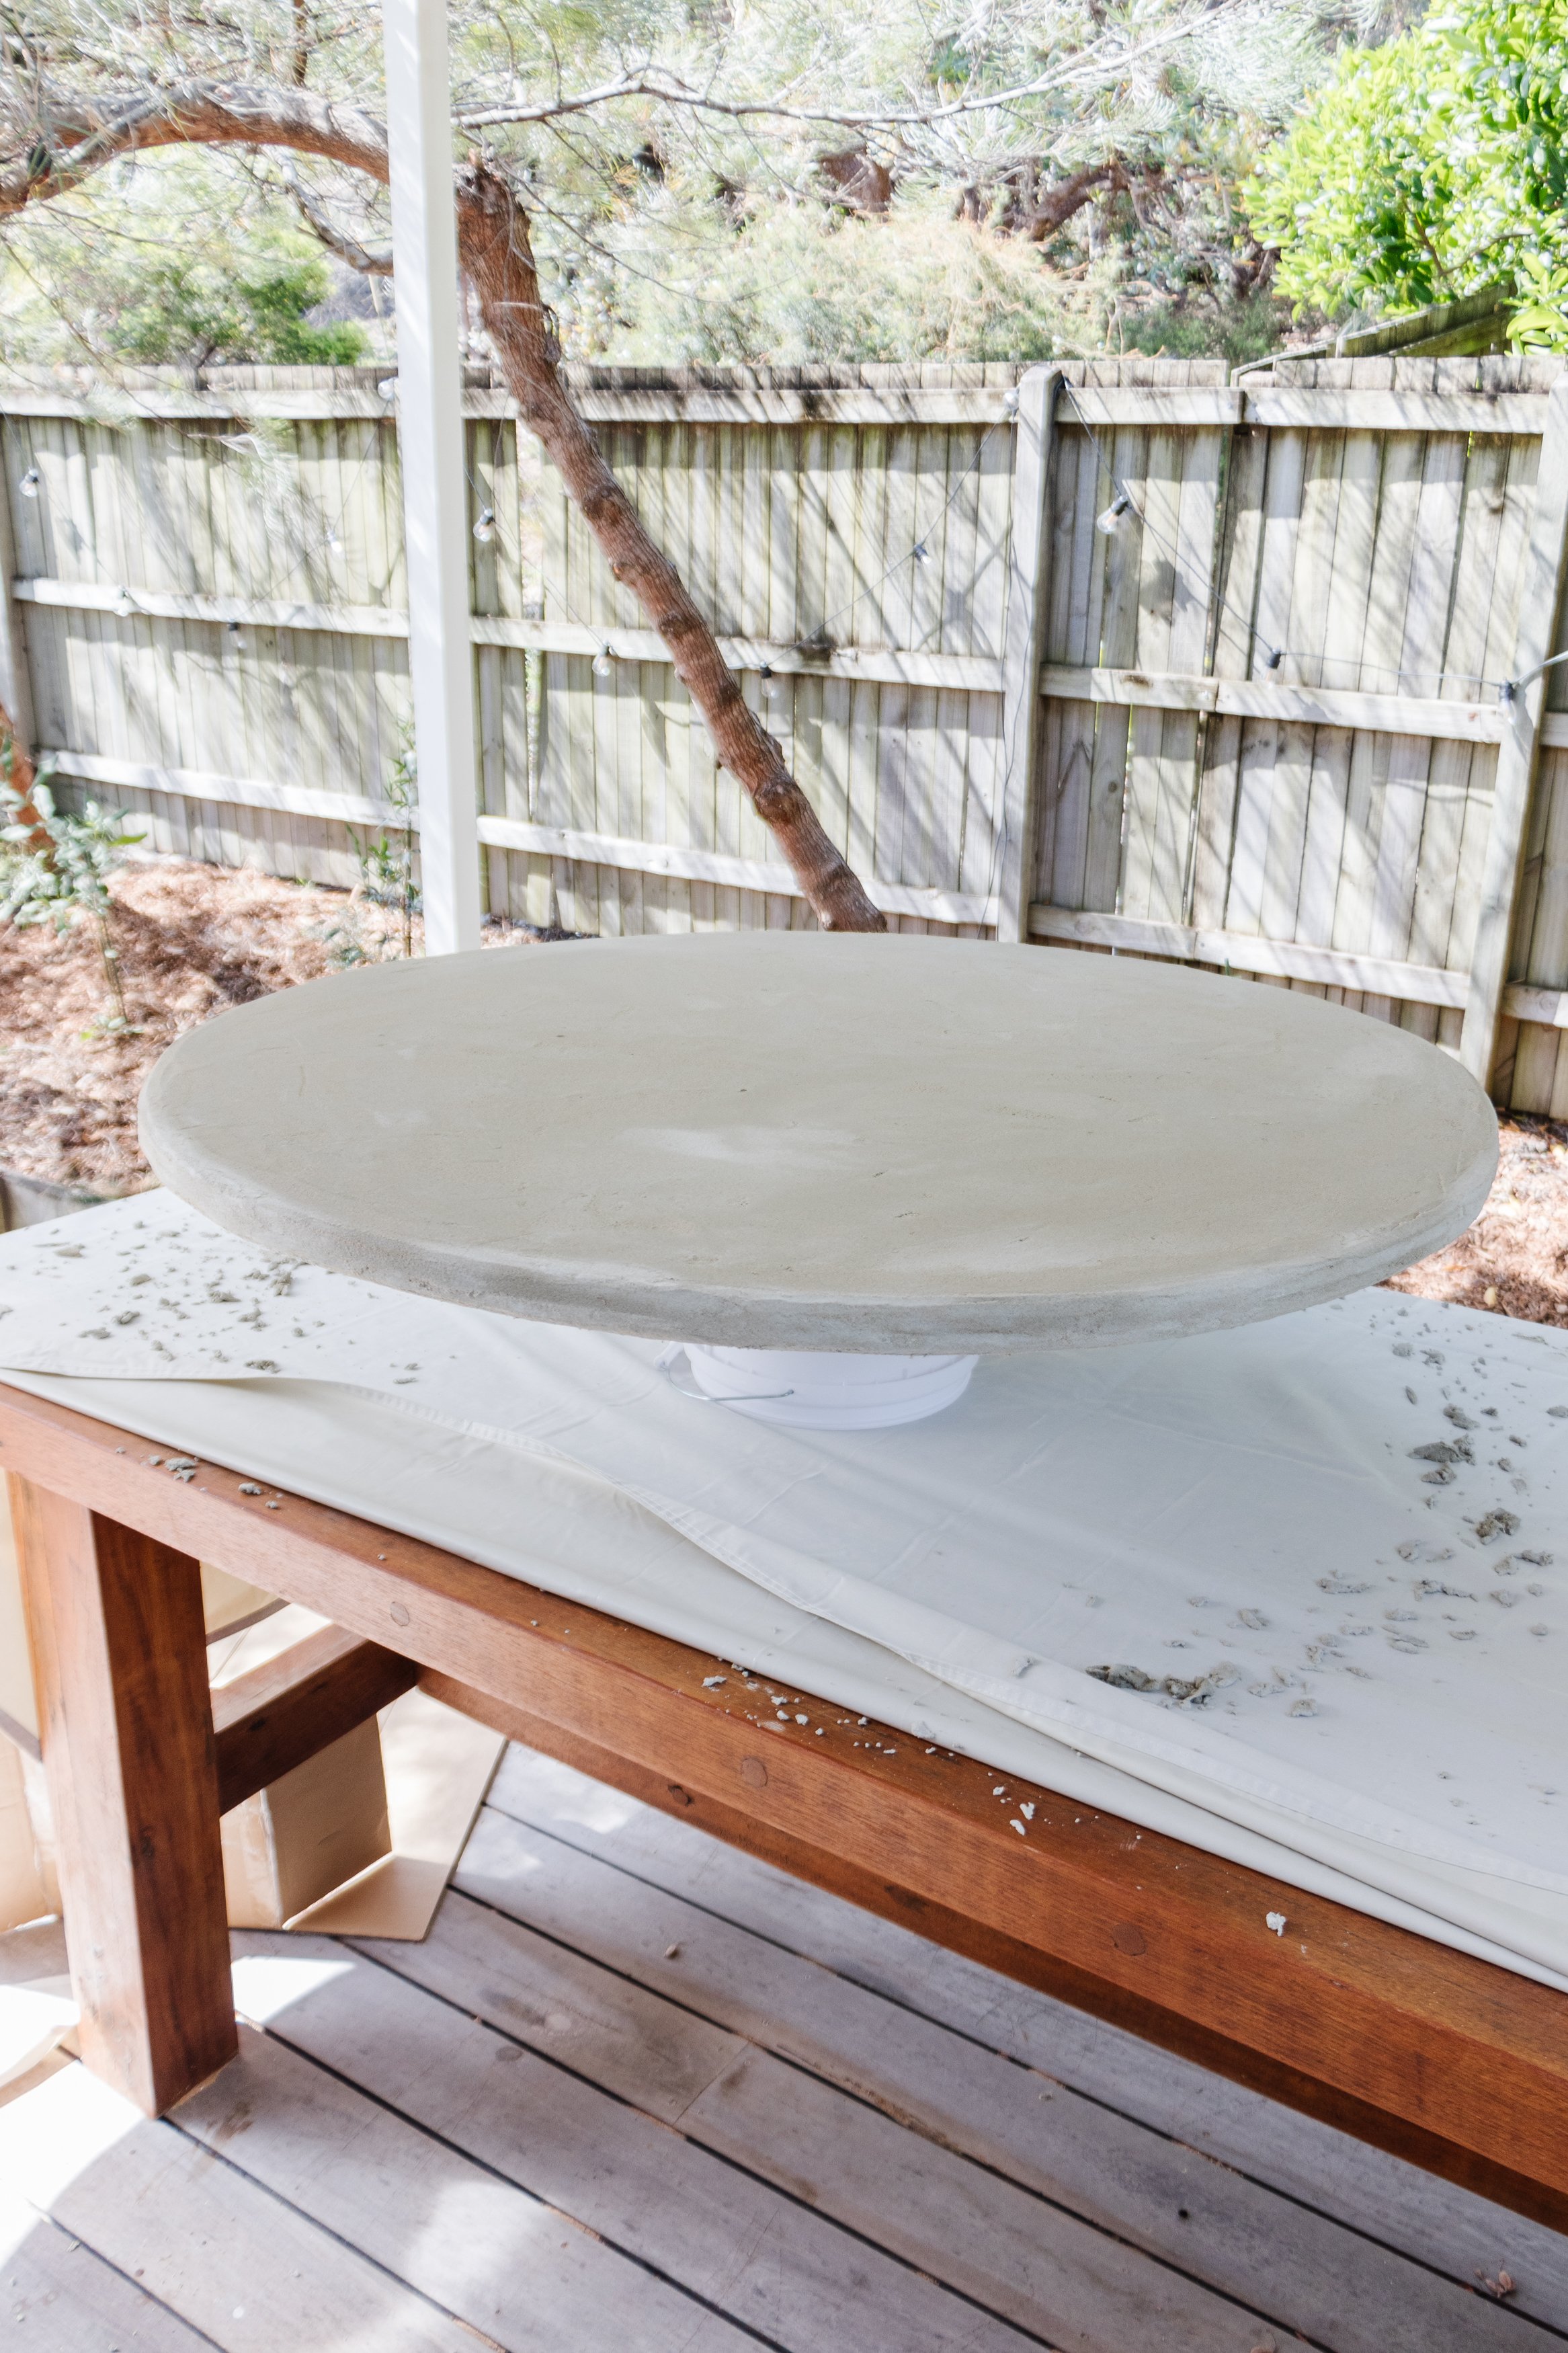

Step 7: When the concrete has dried, apply two coats of exterior paint all over the rendered cylinder (including the timber on top) and MDF.
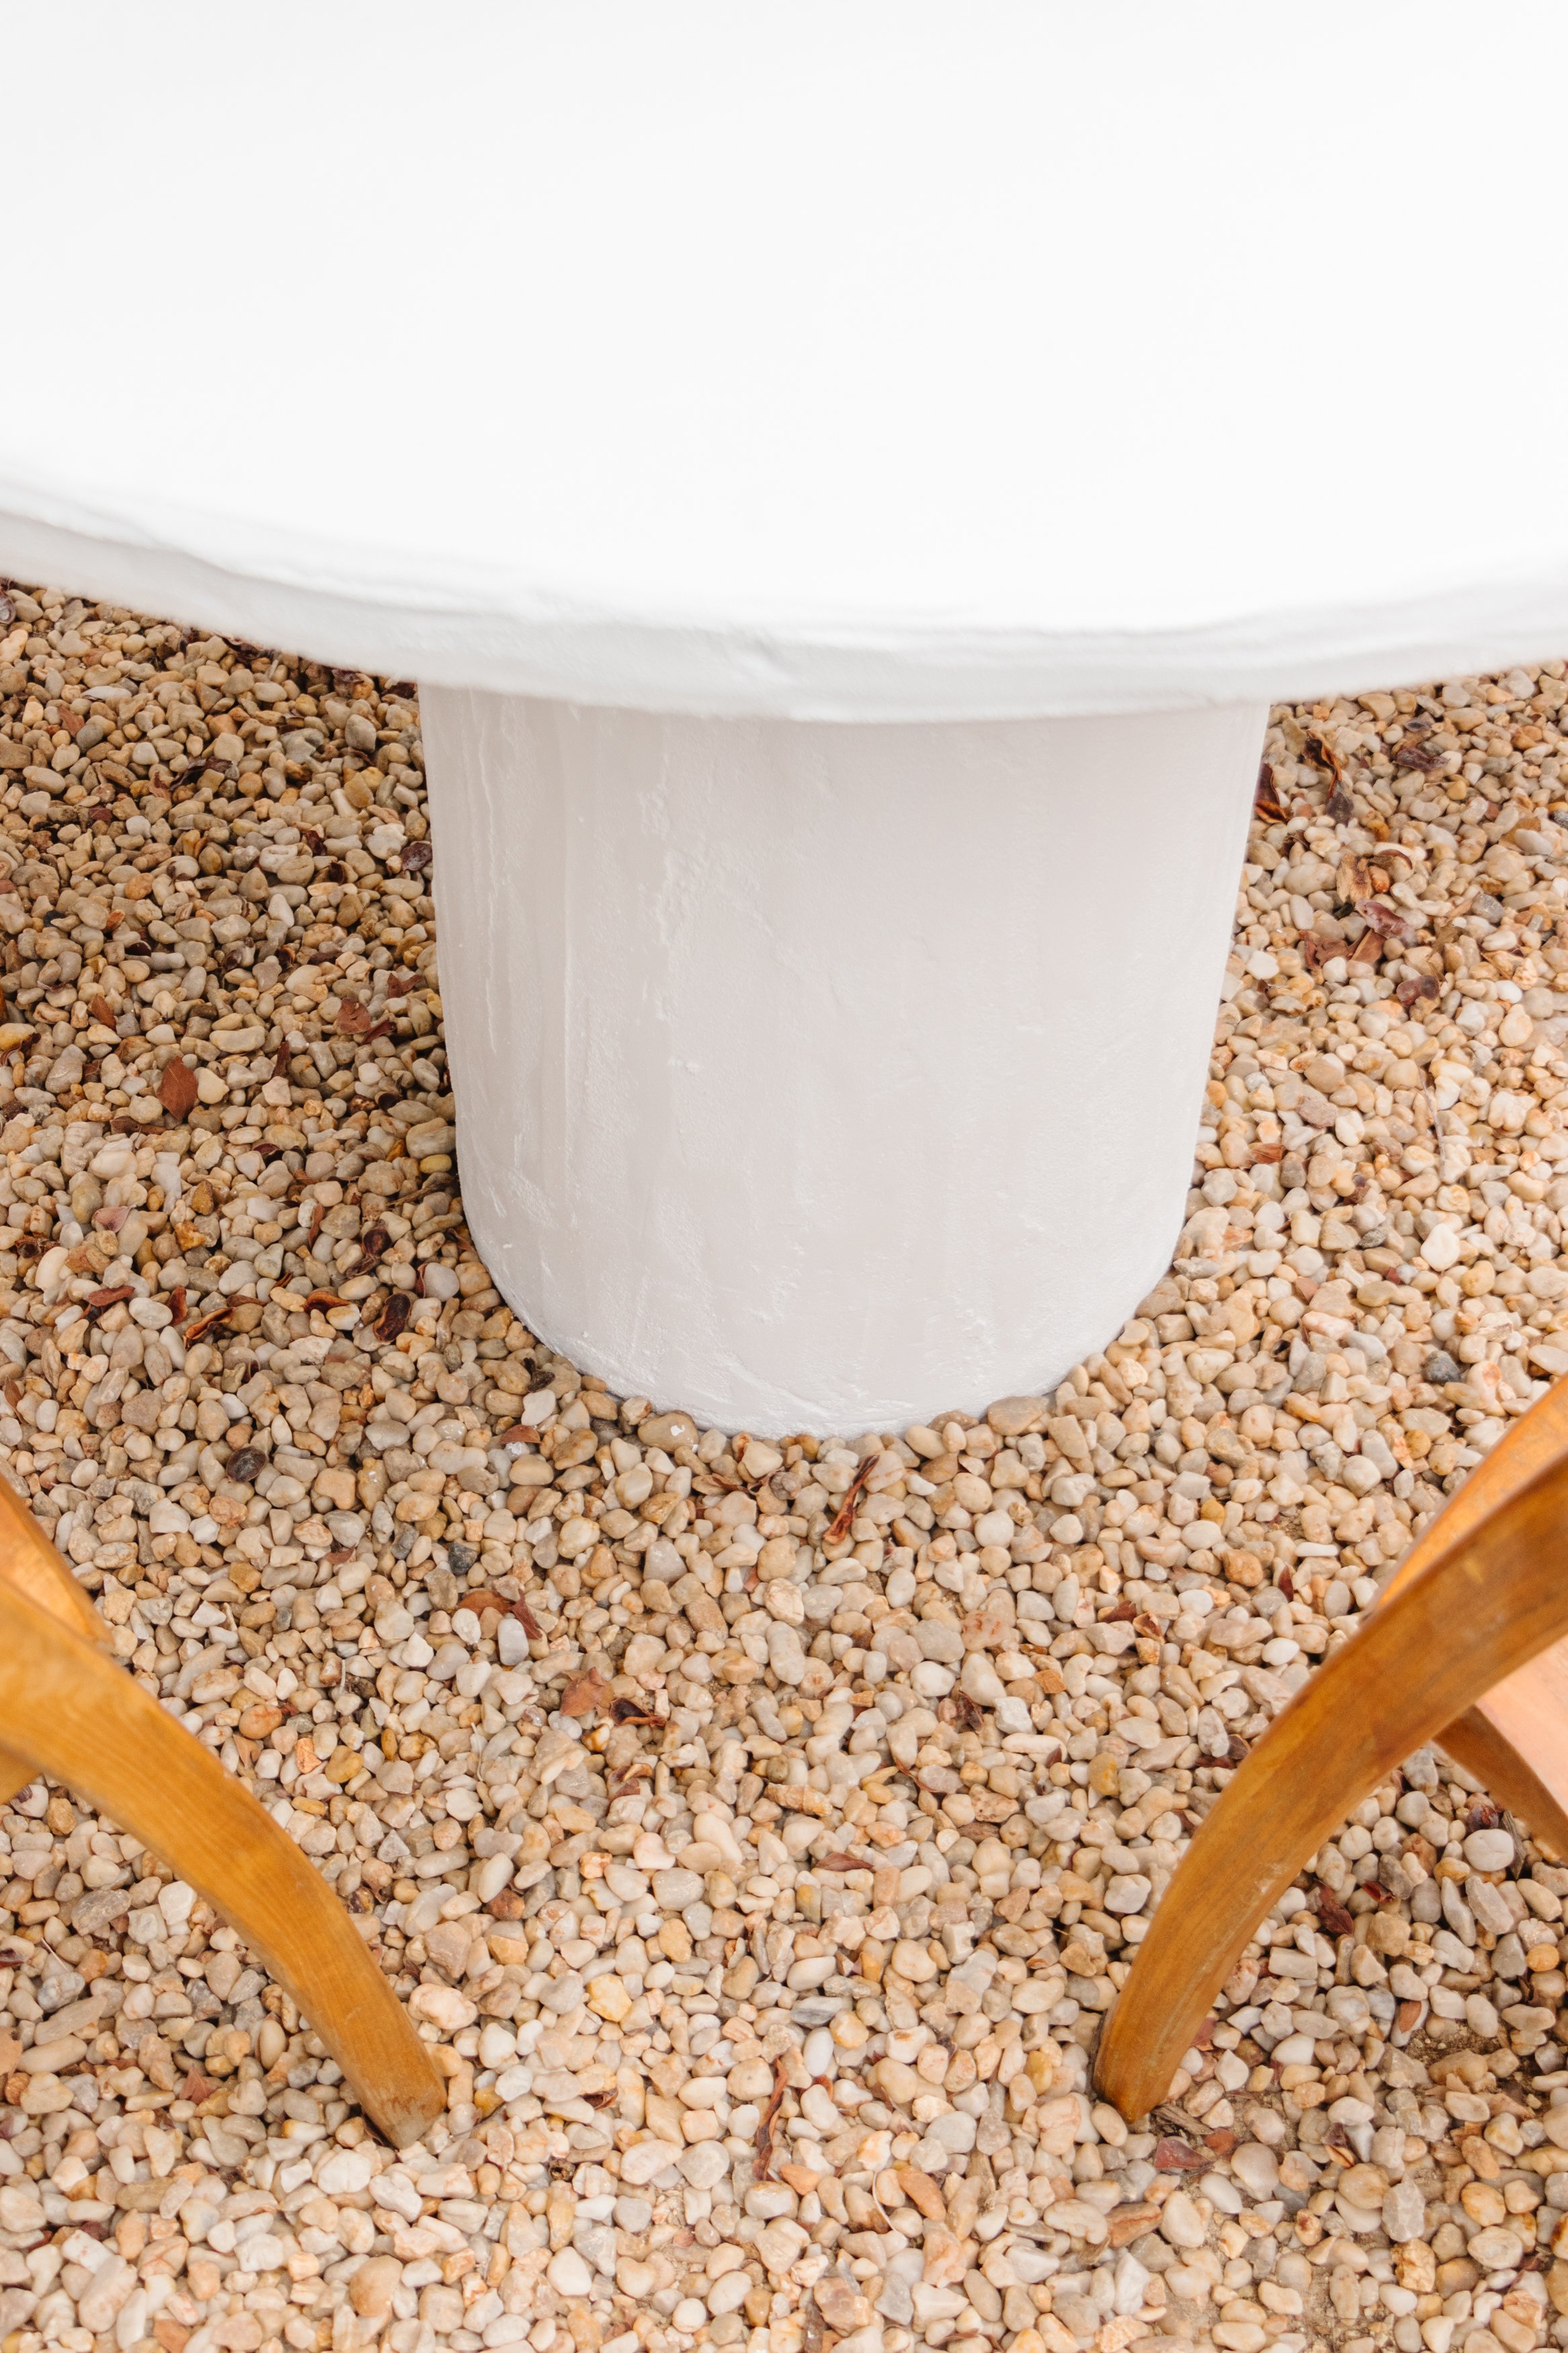
Step 8: Assemble the table by placing a concrete round onto the ground. Place the rendered base on top. Place the round MDF on top and use screws to hold it in place. Add hairs, and that’s it!
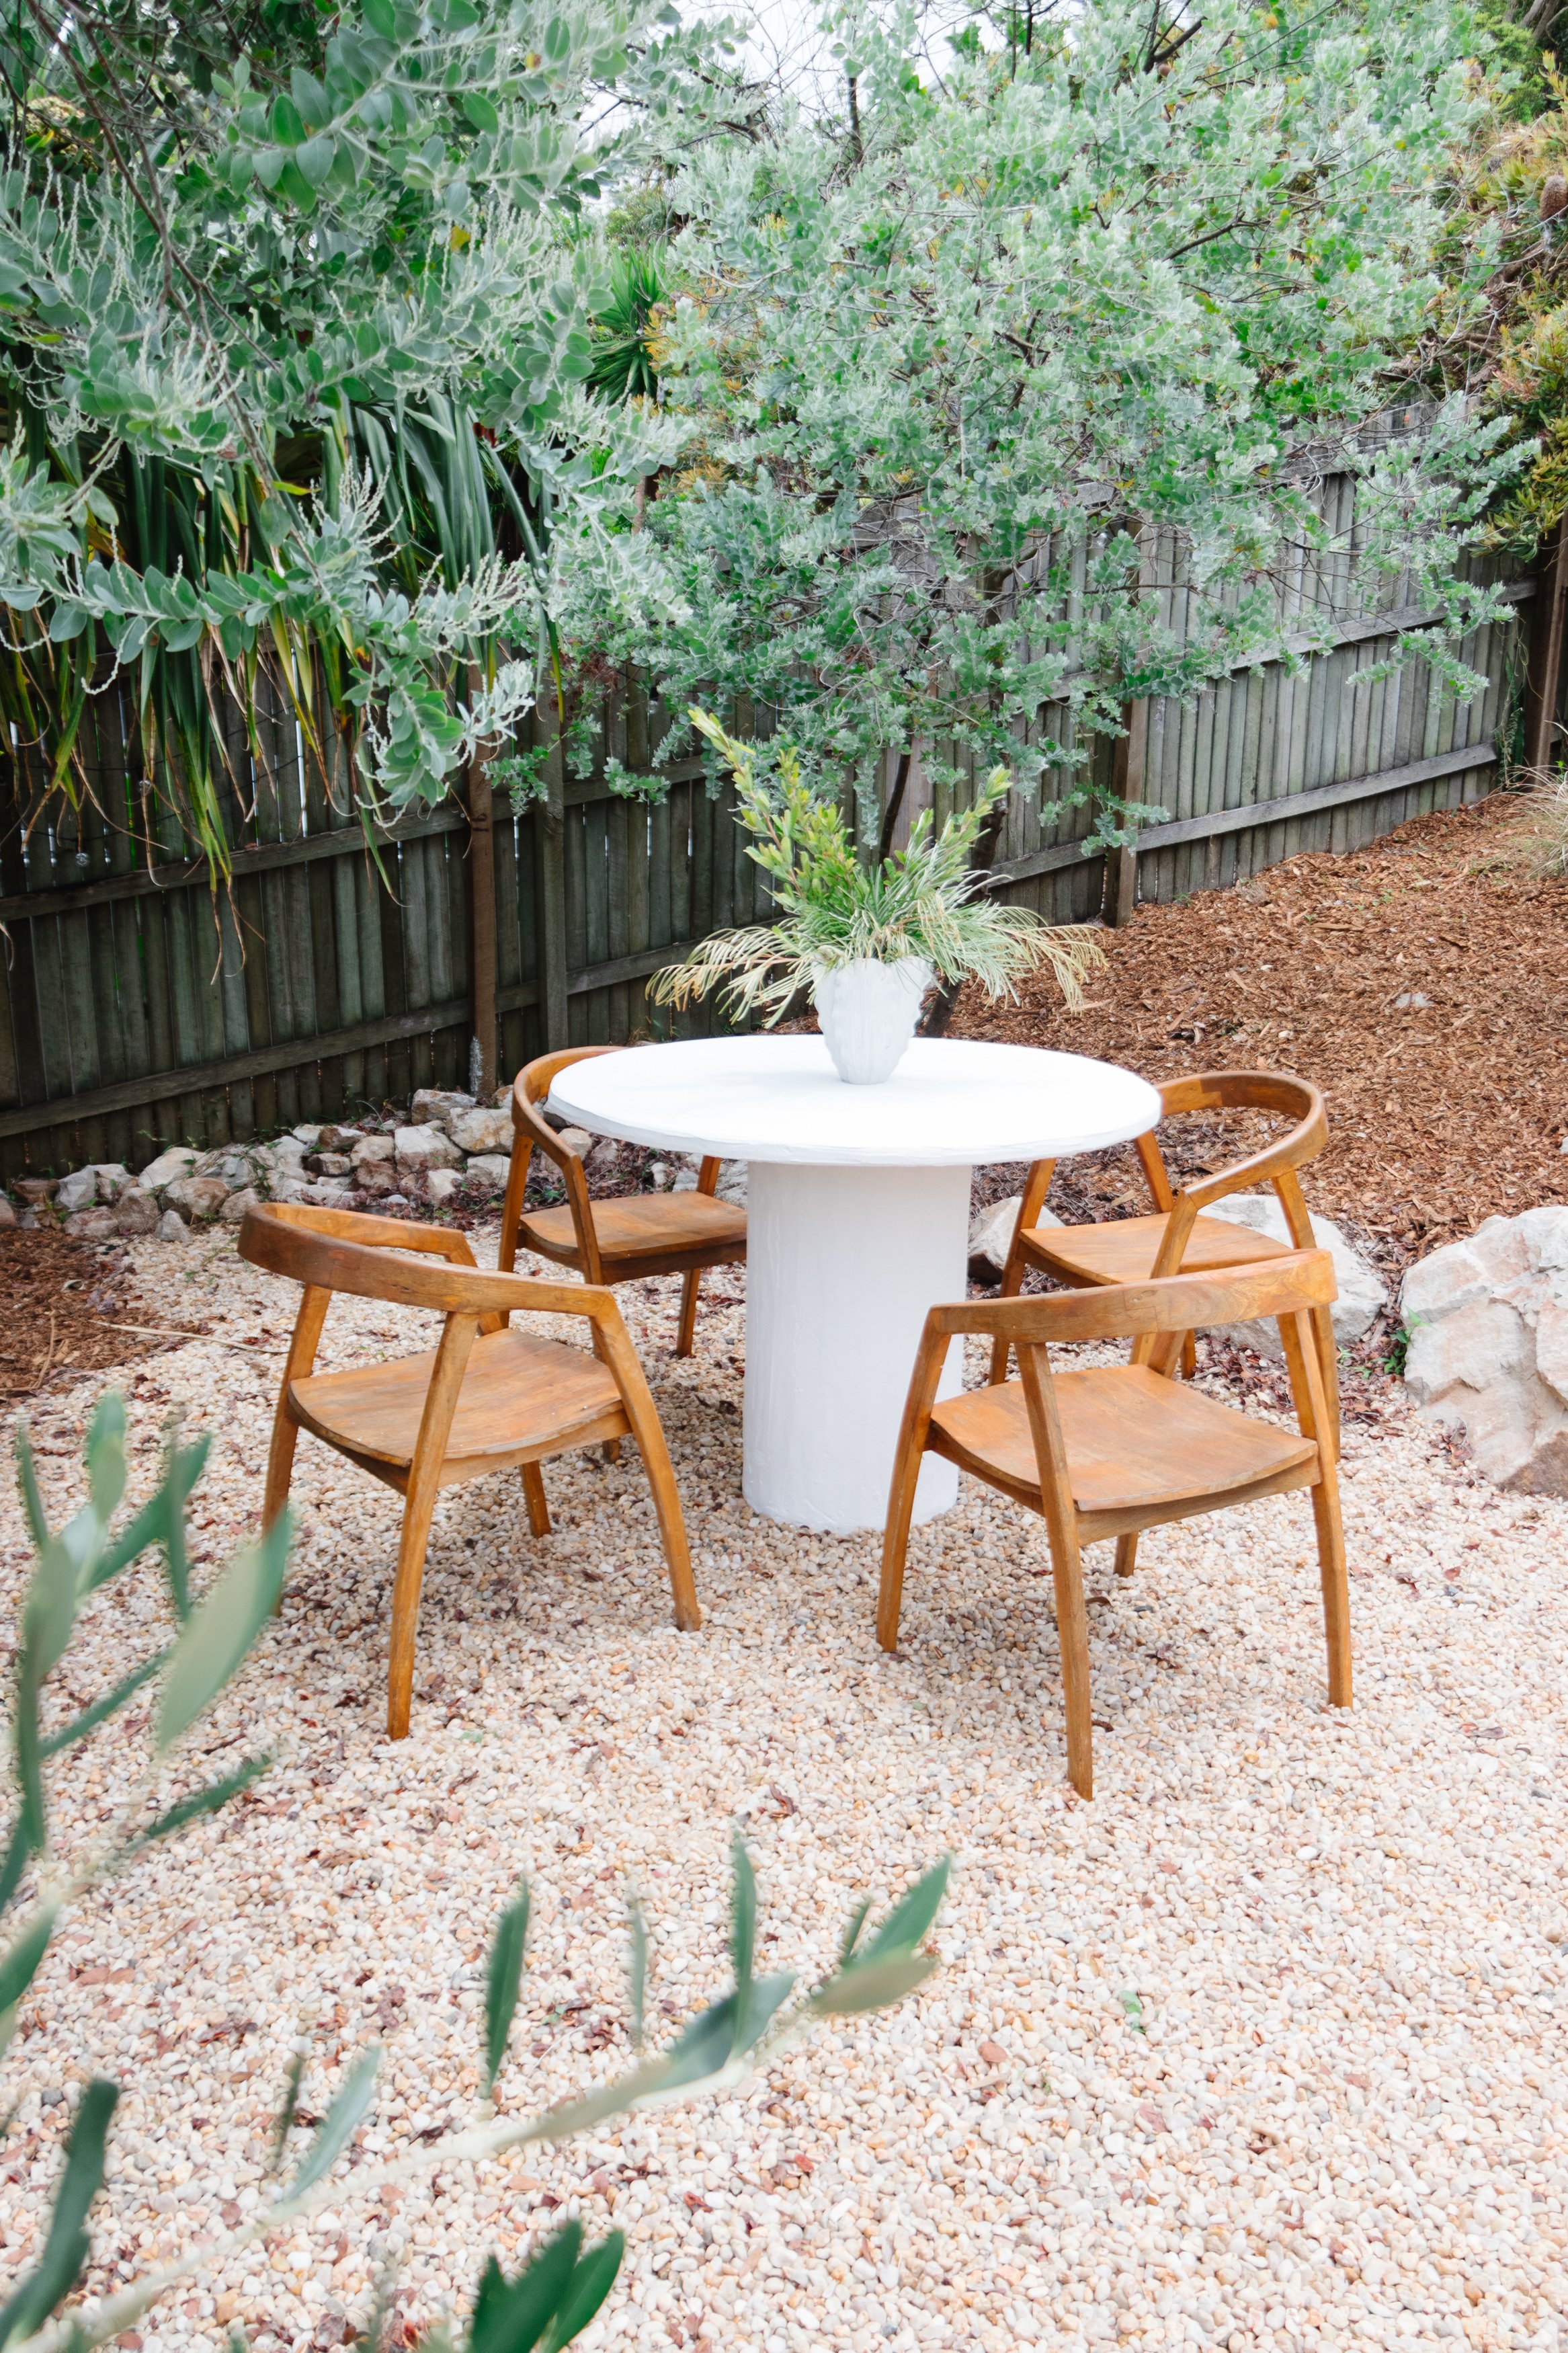
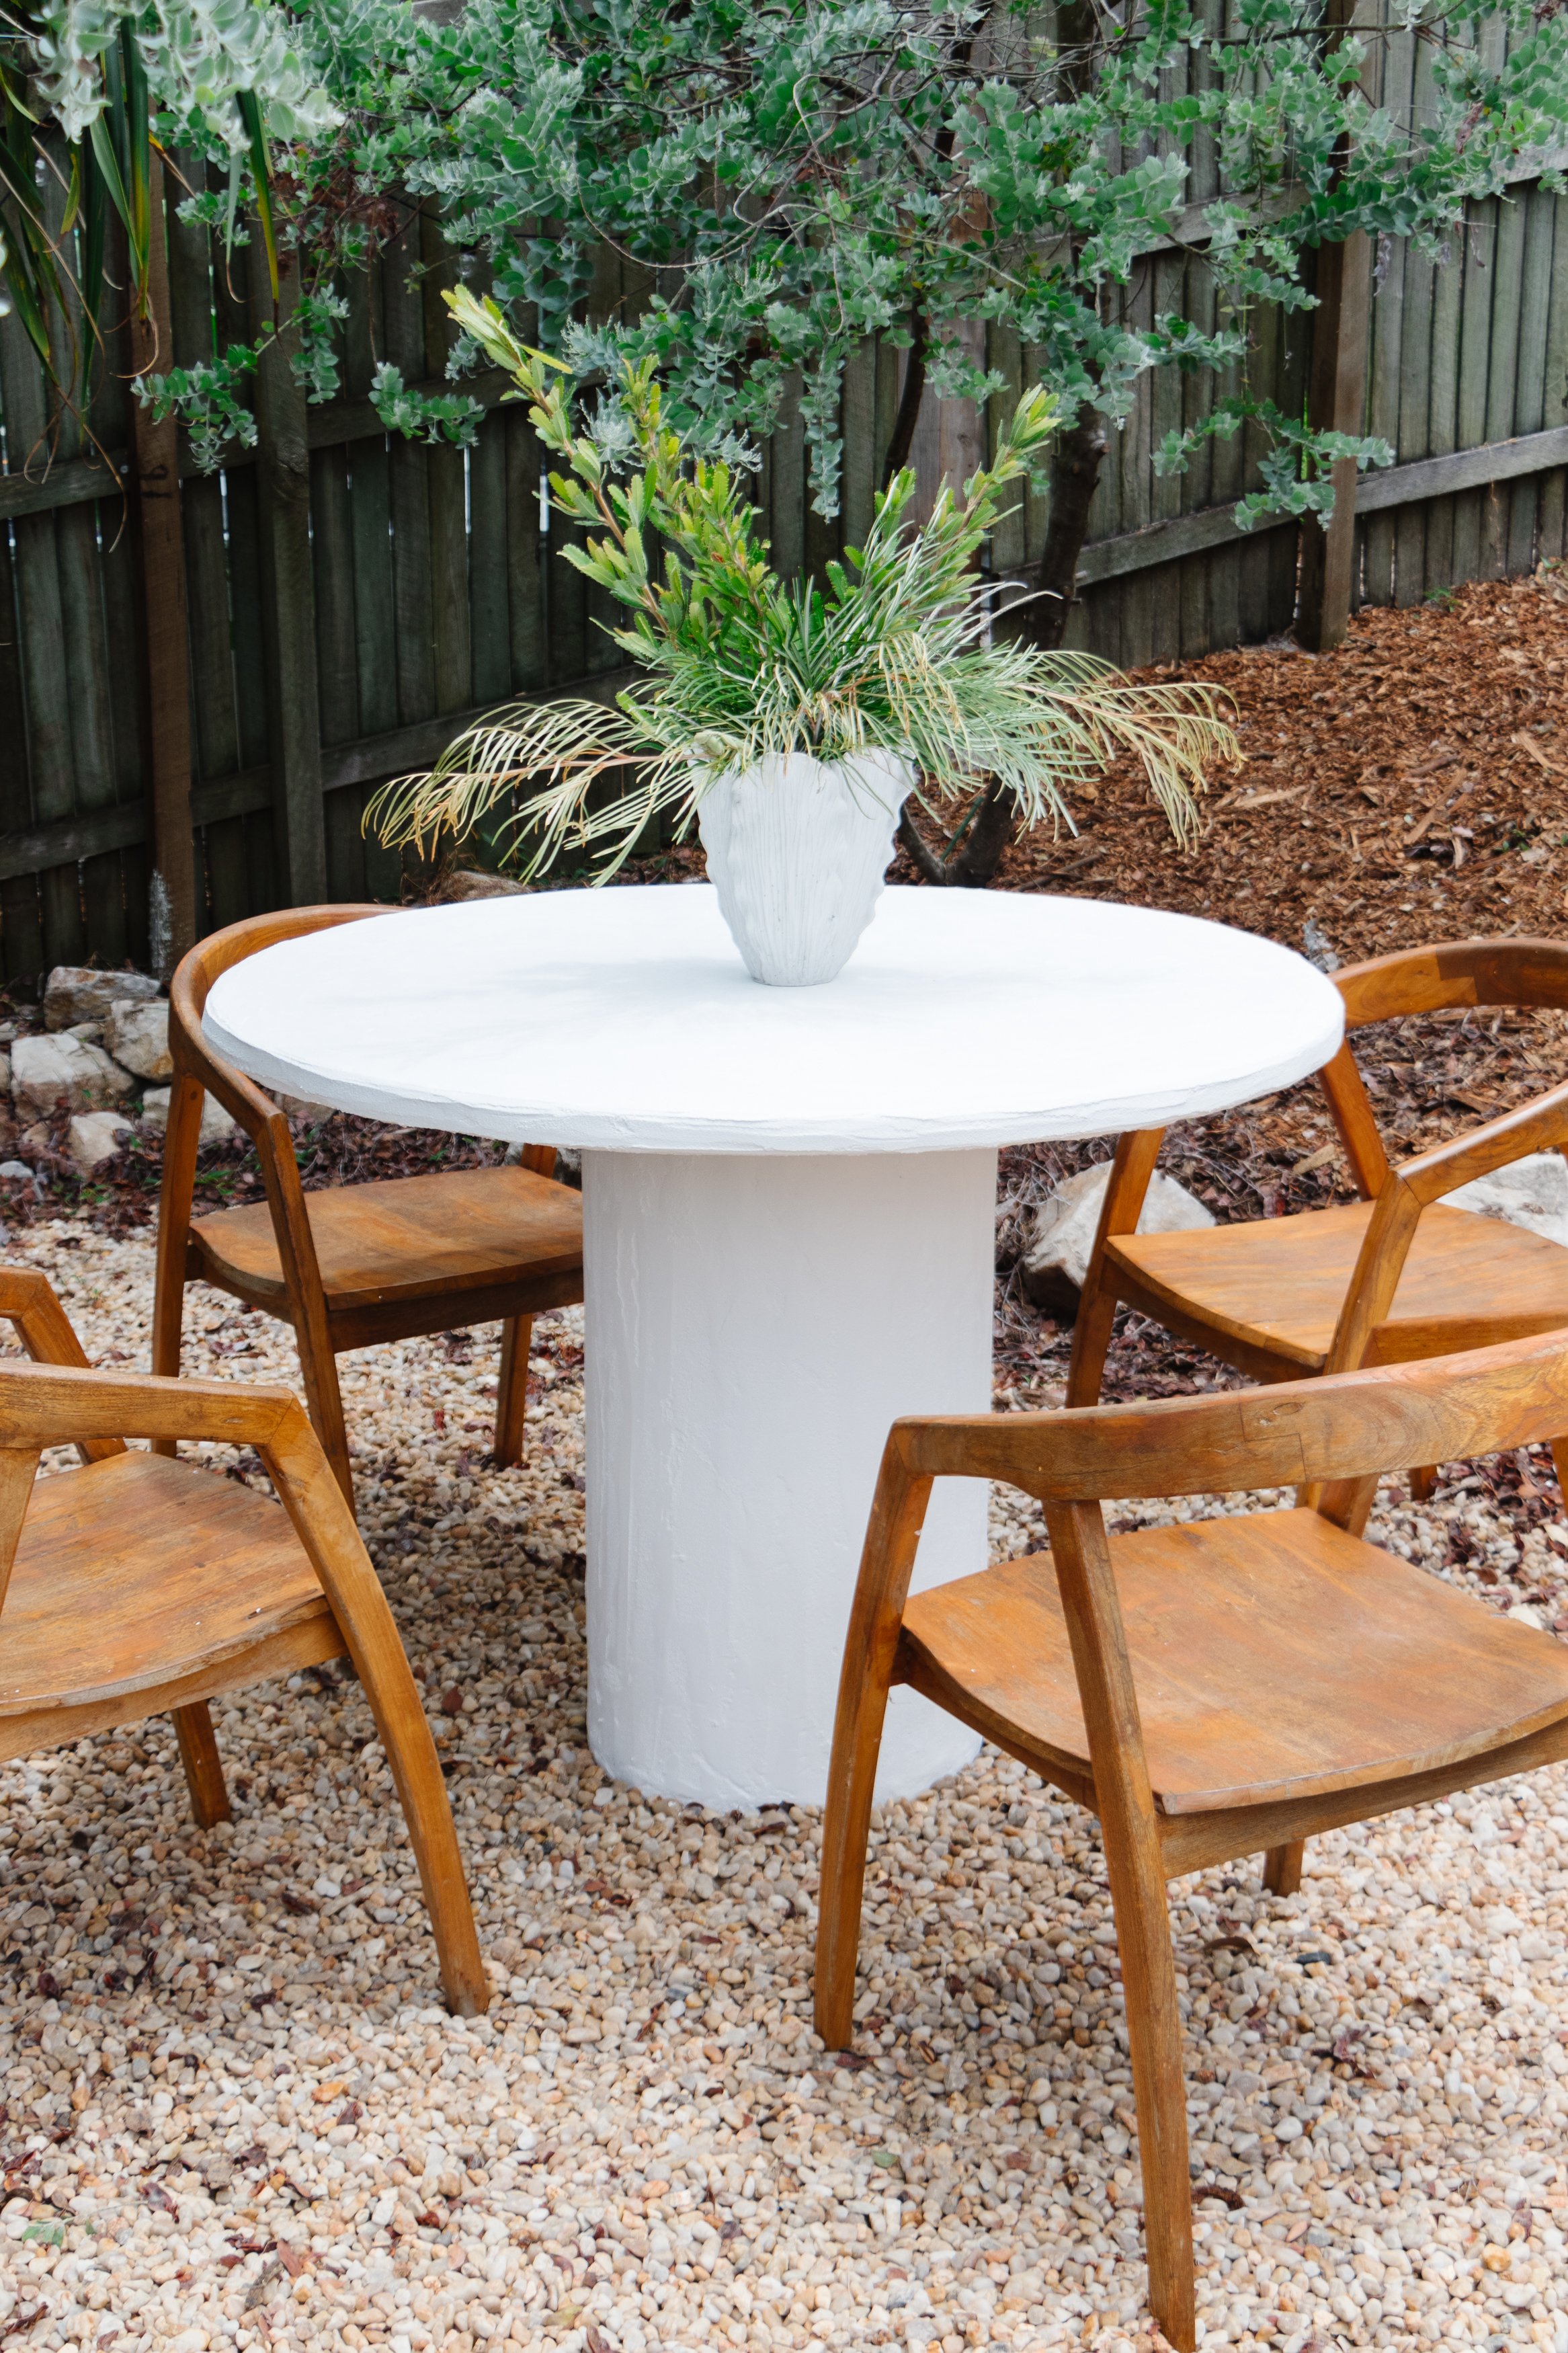
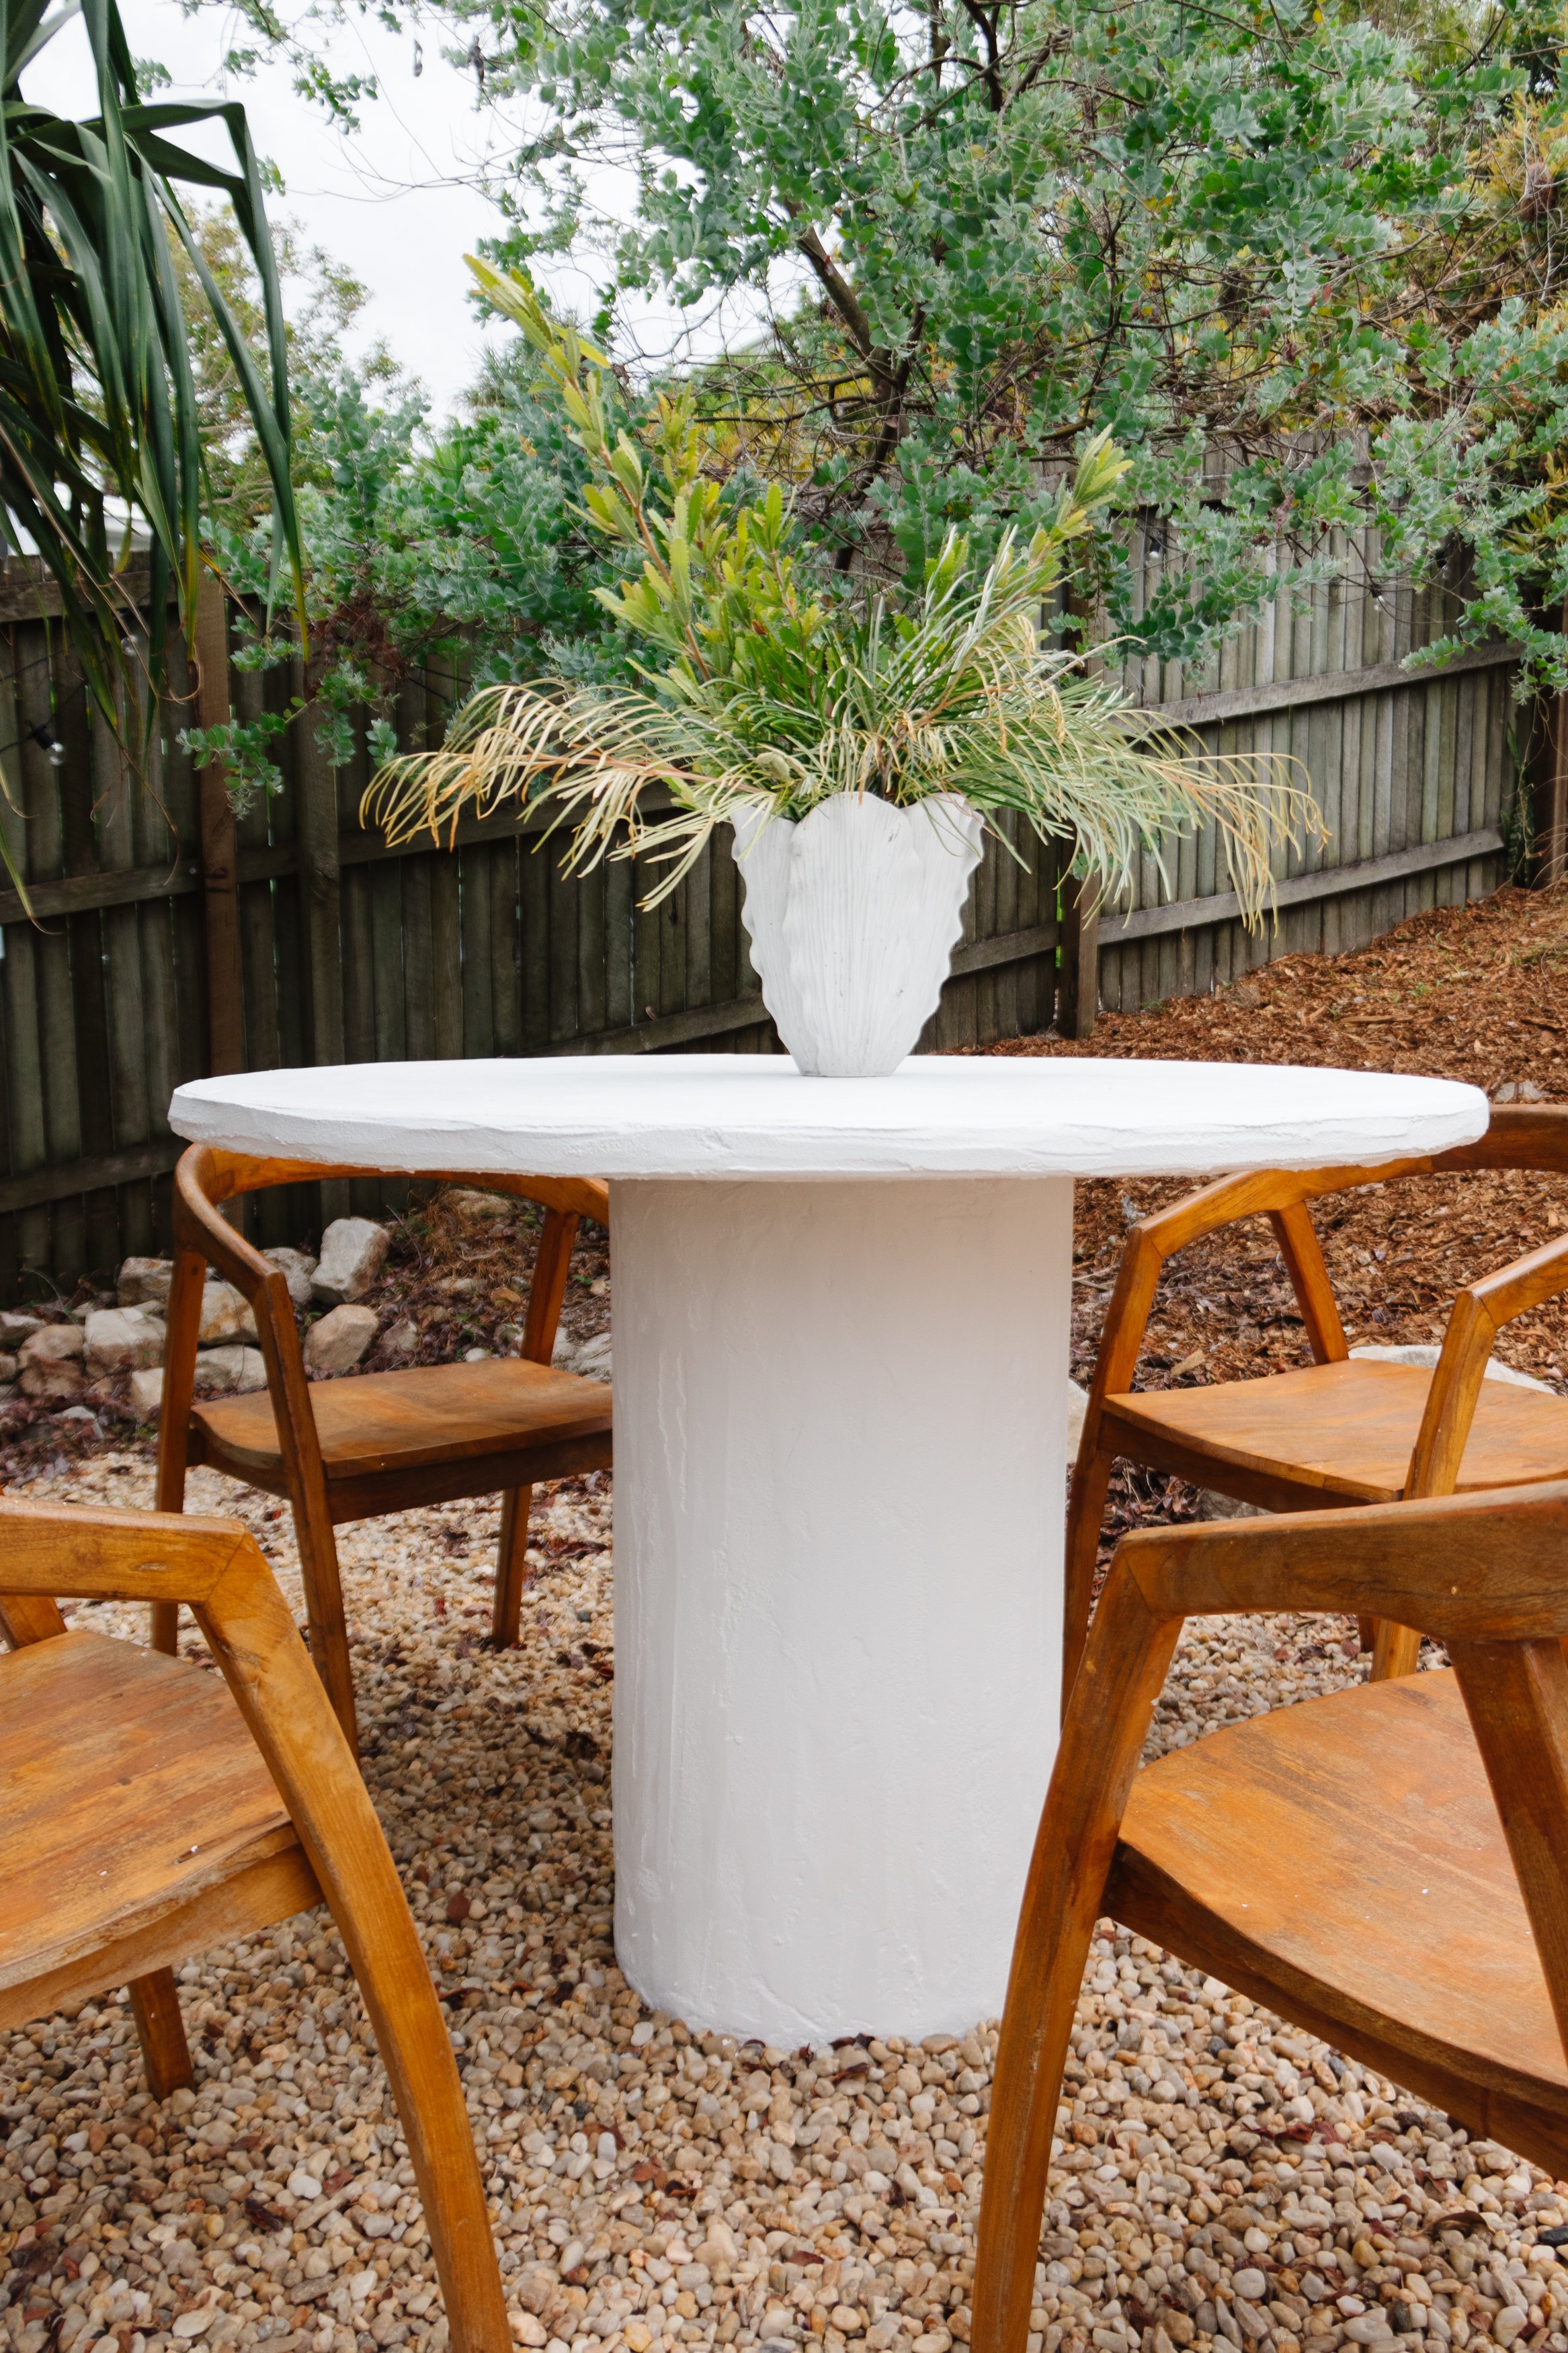
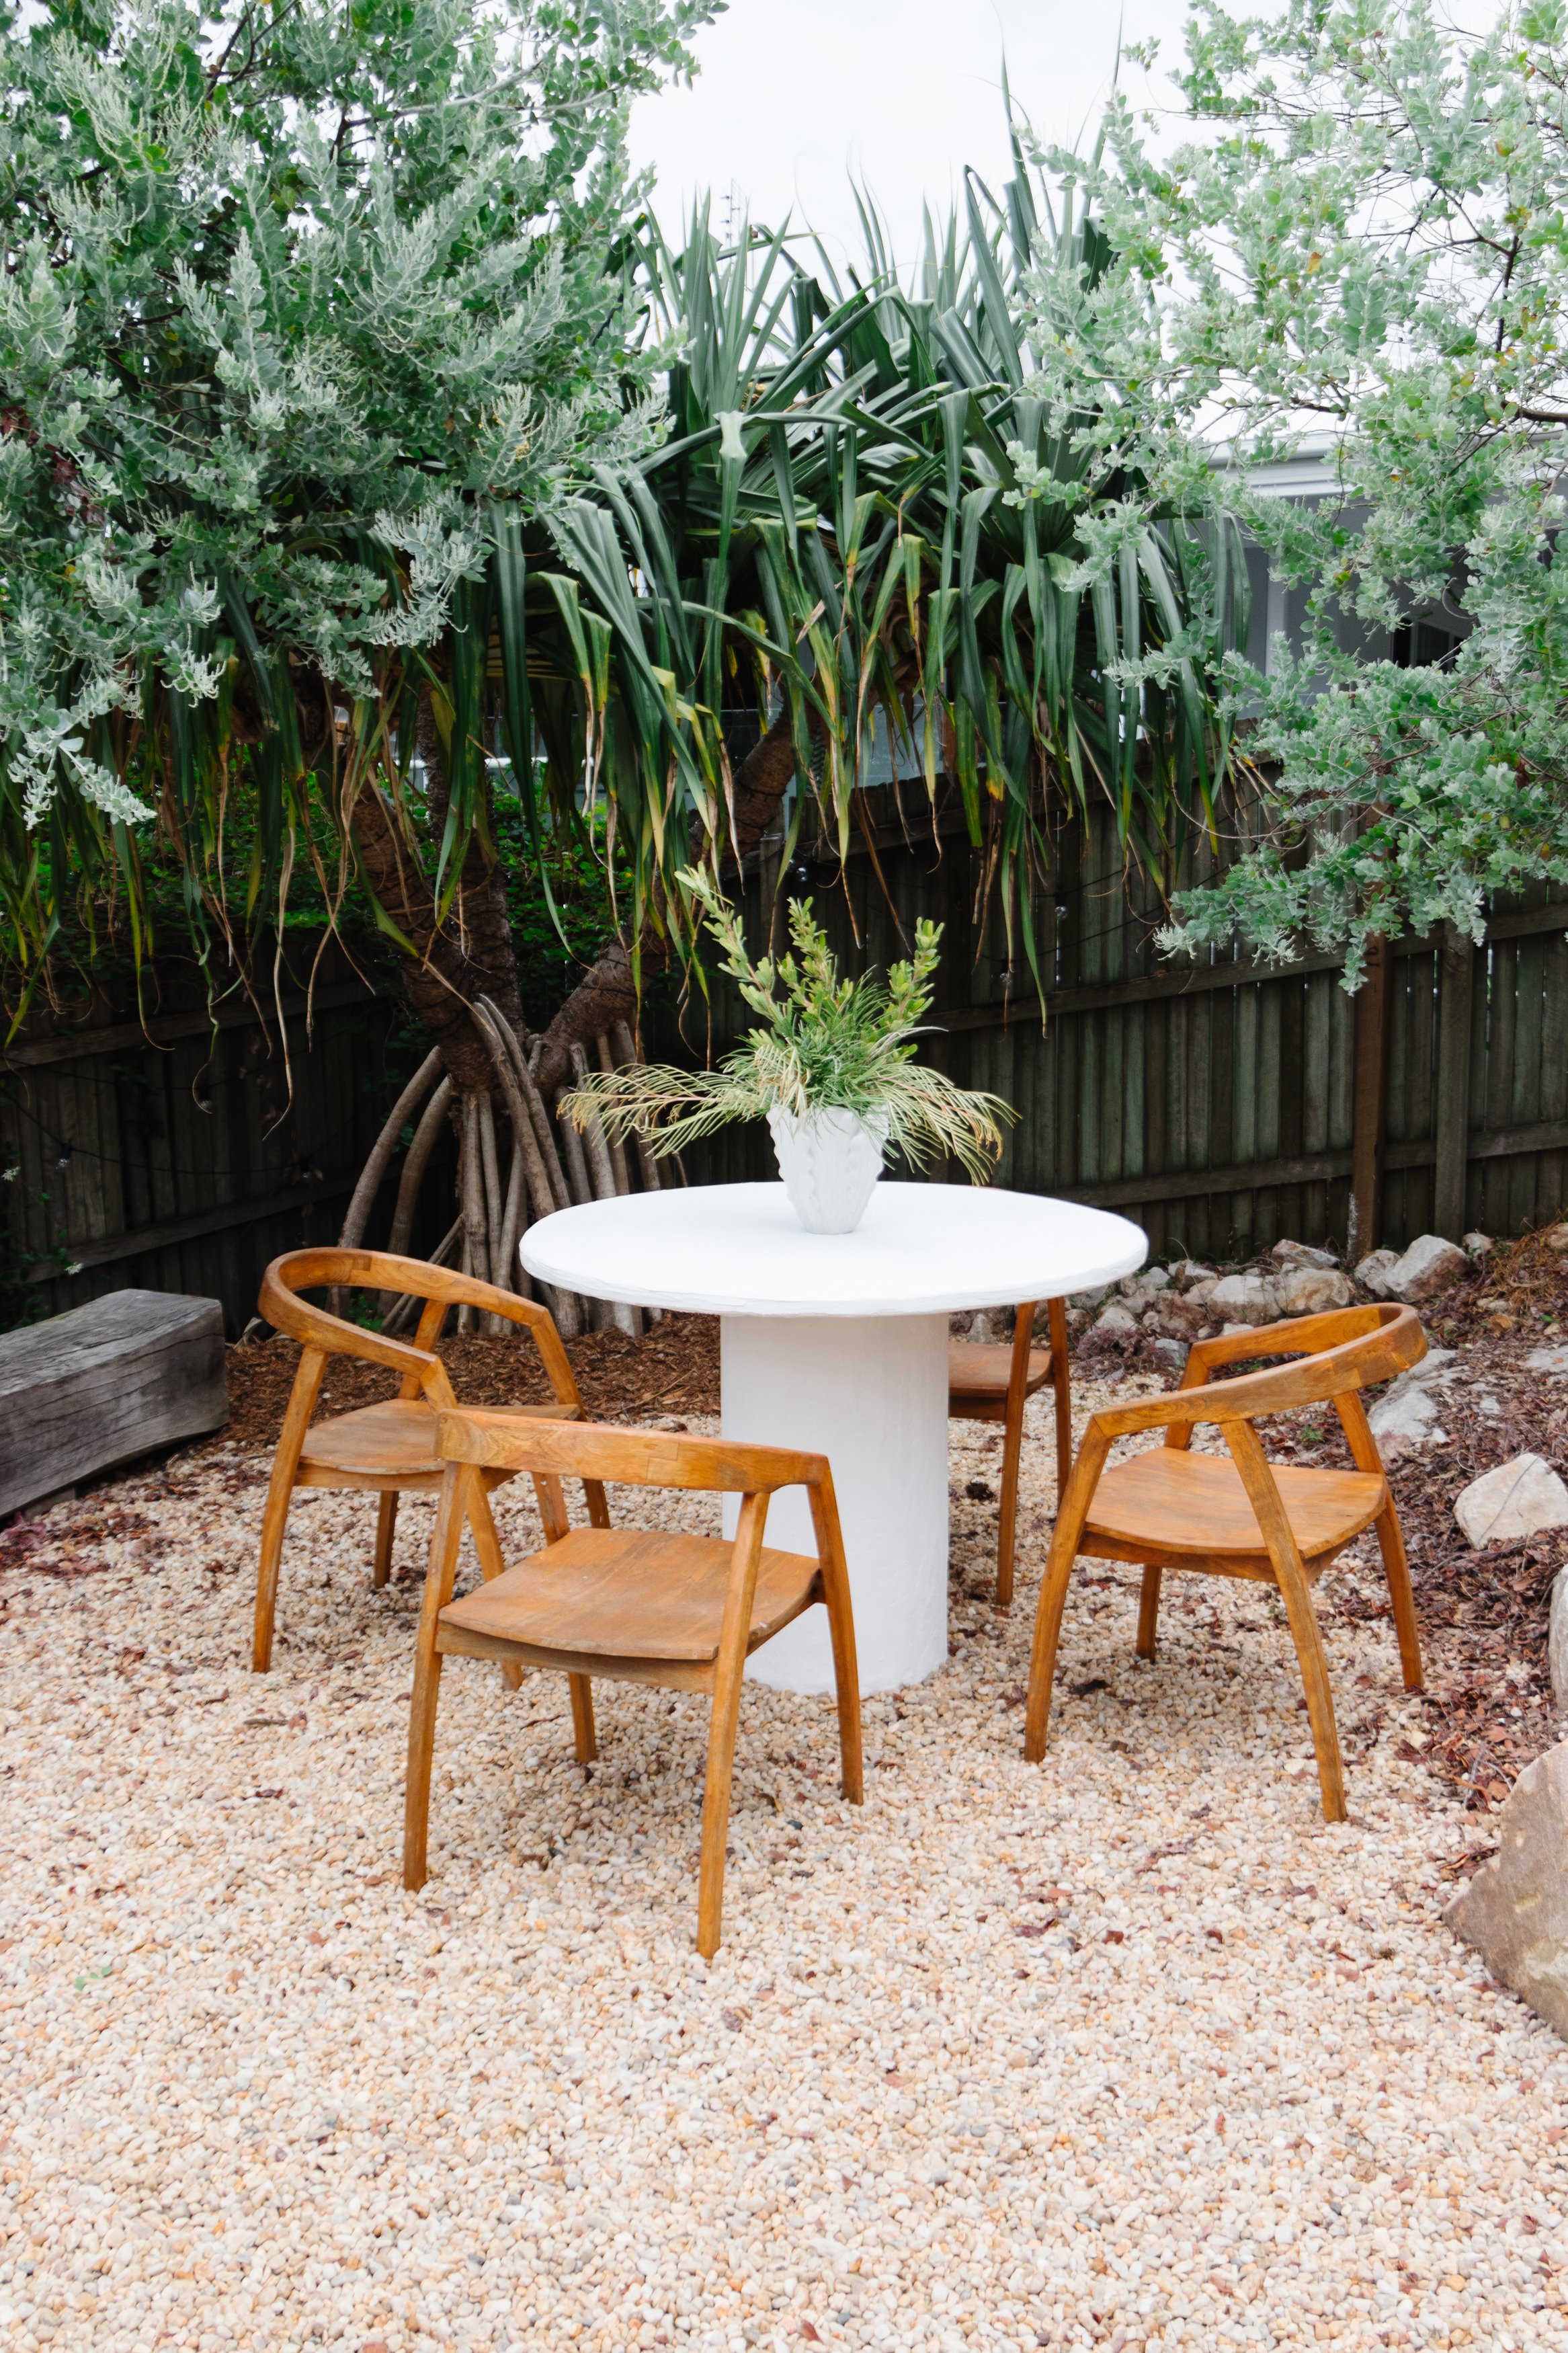
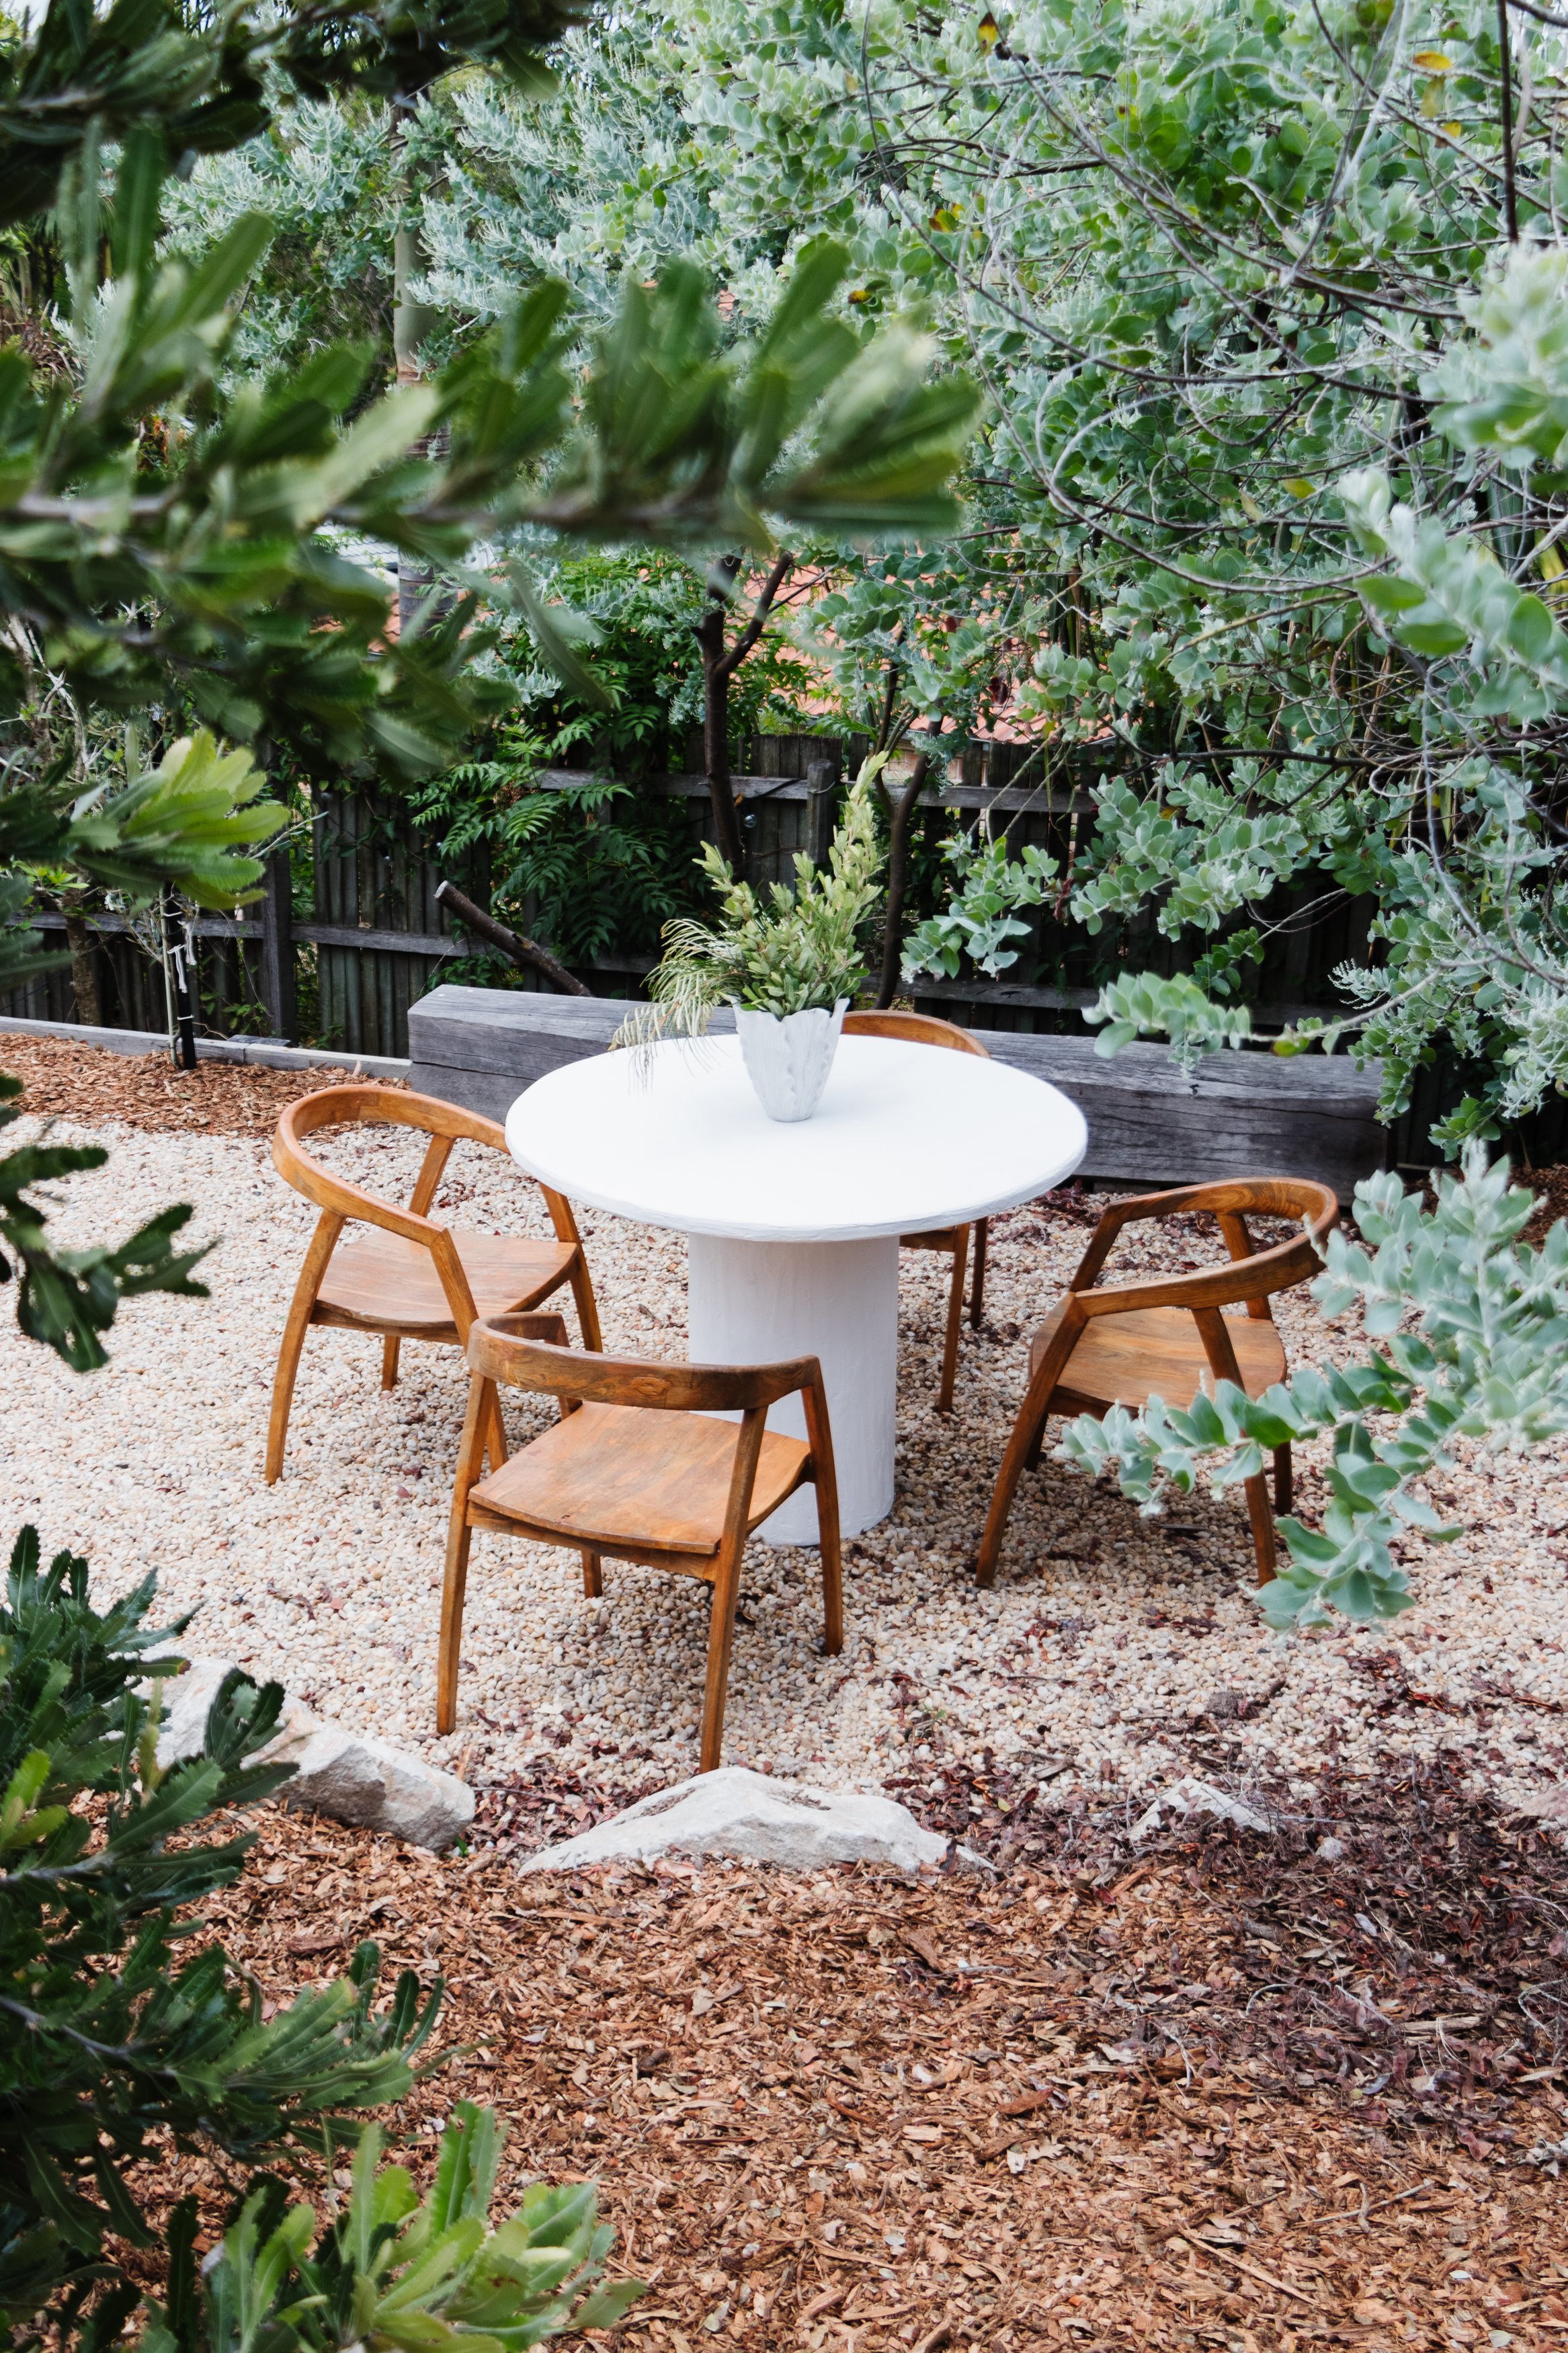
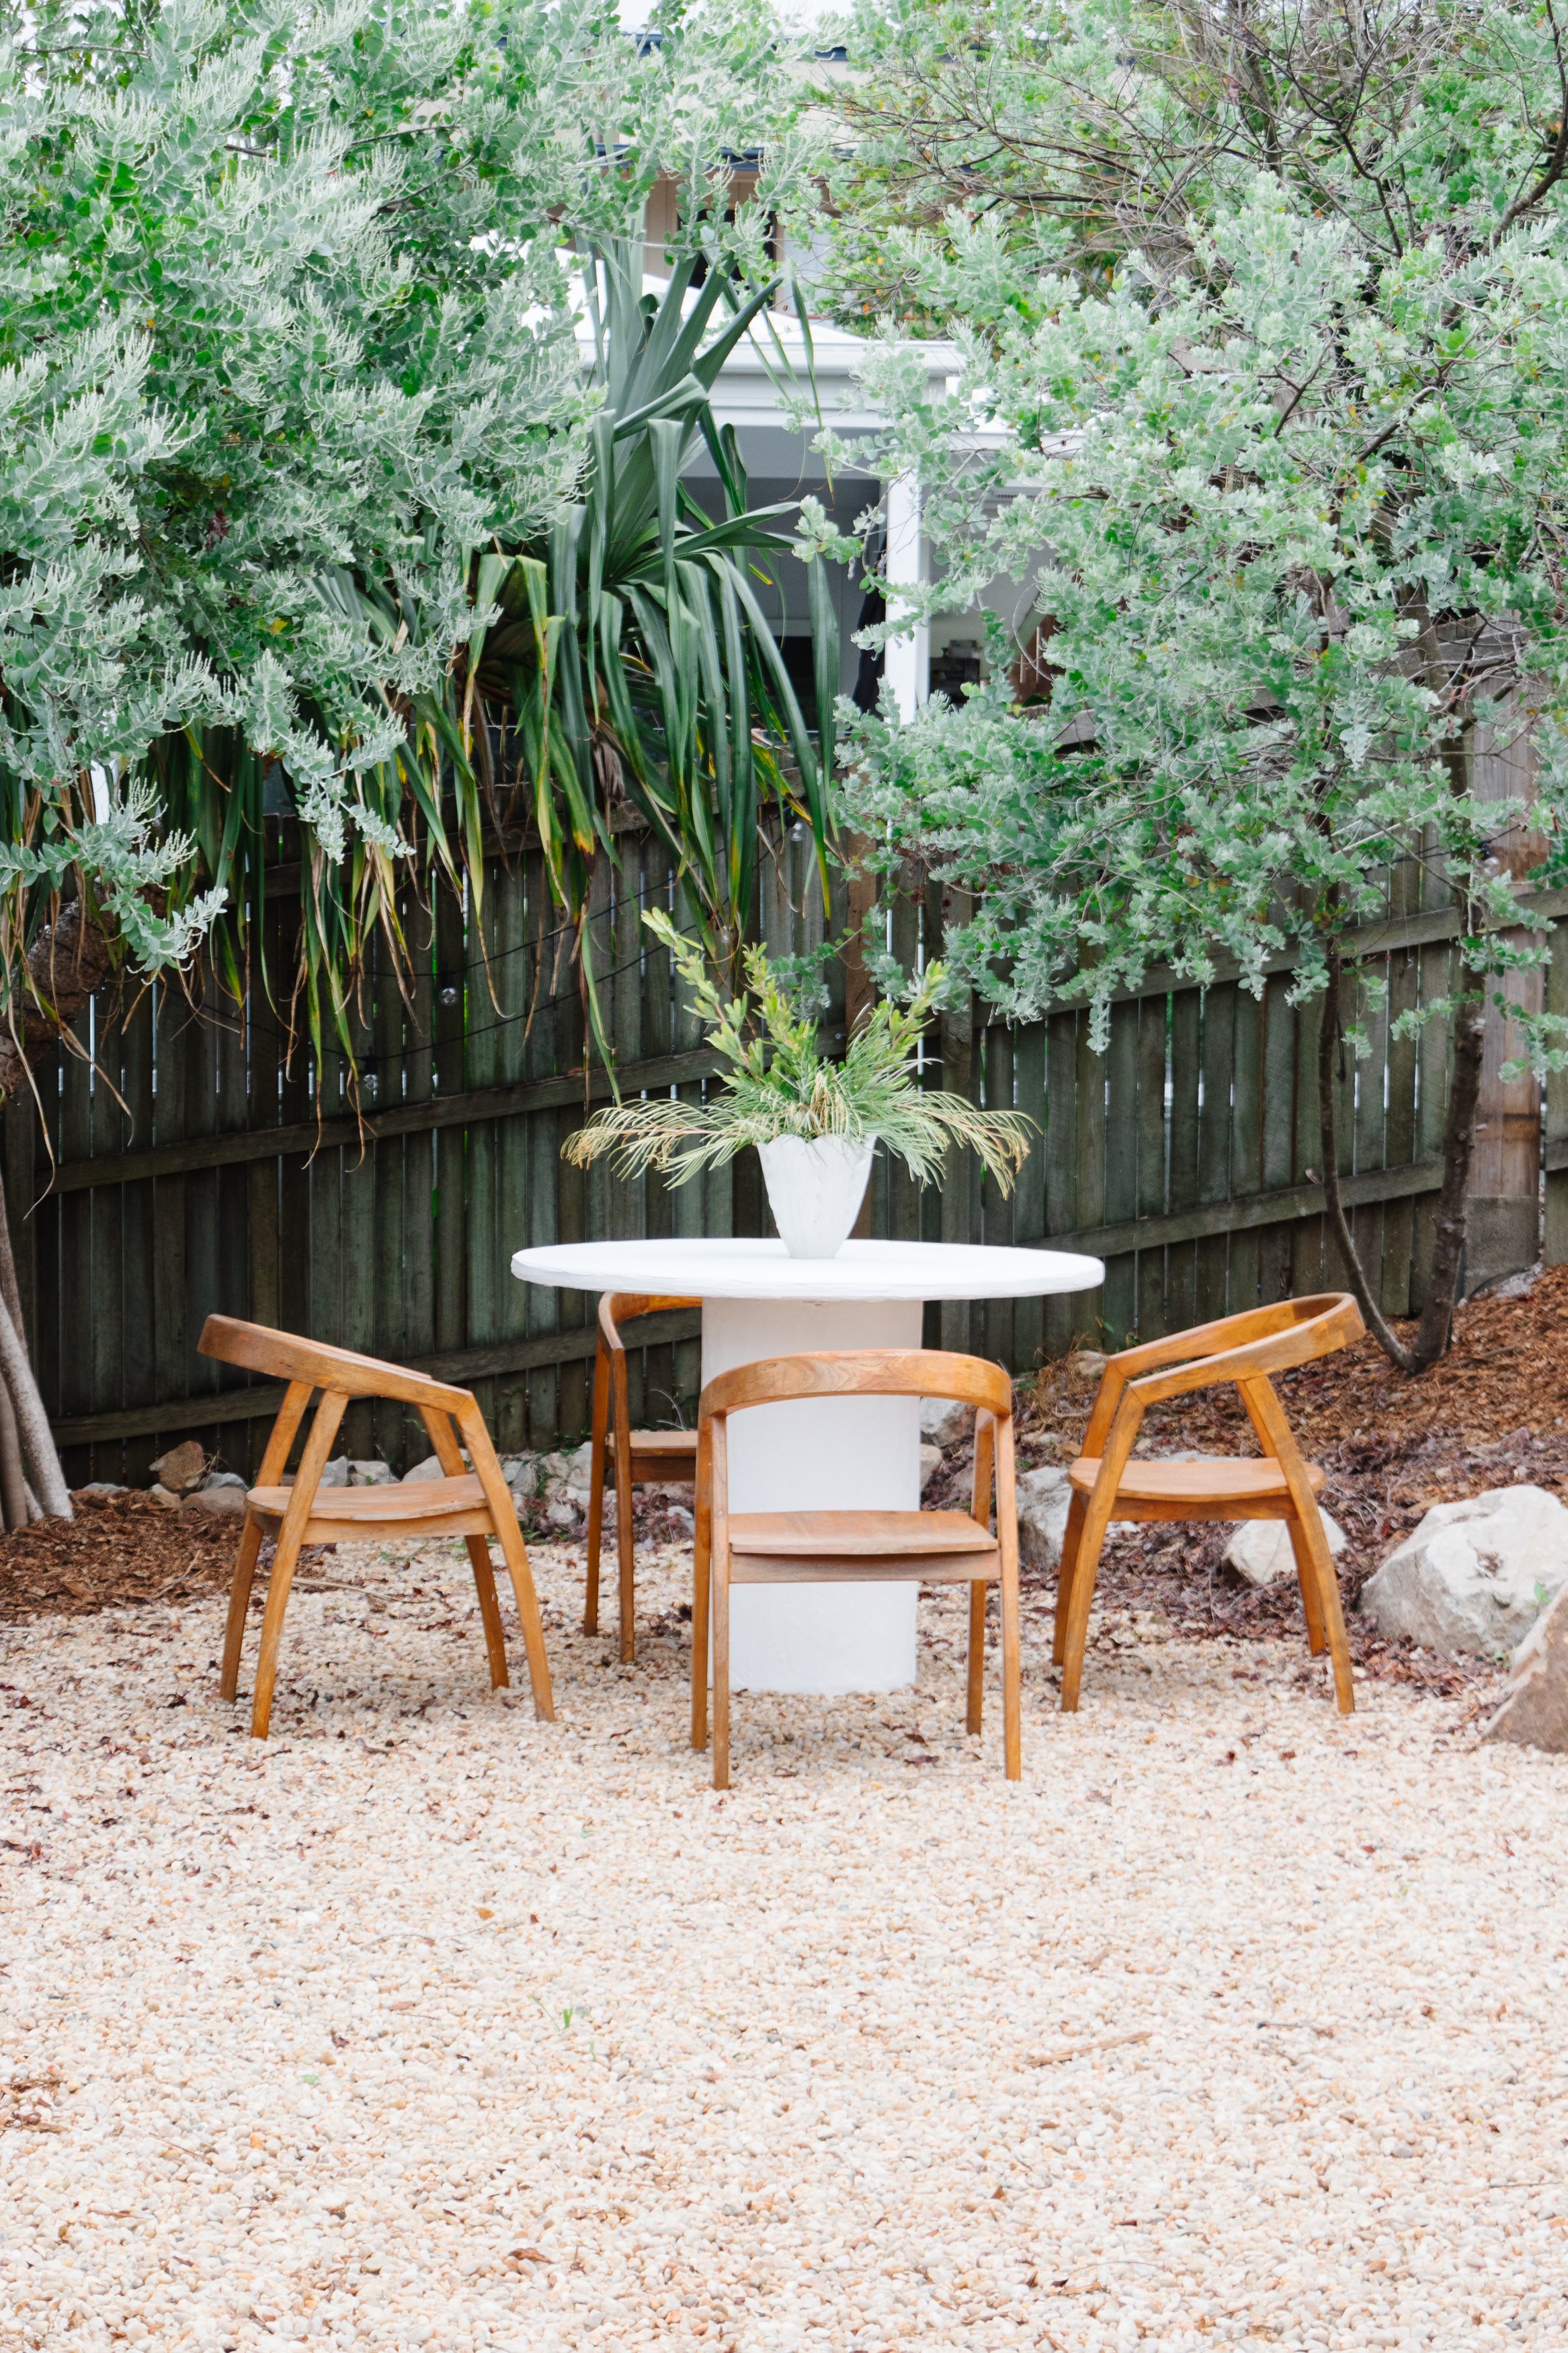
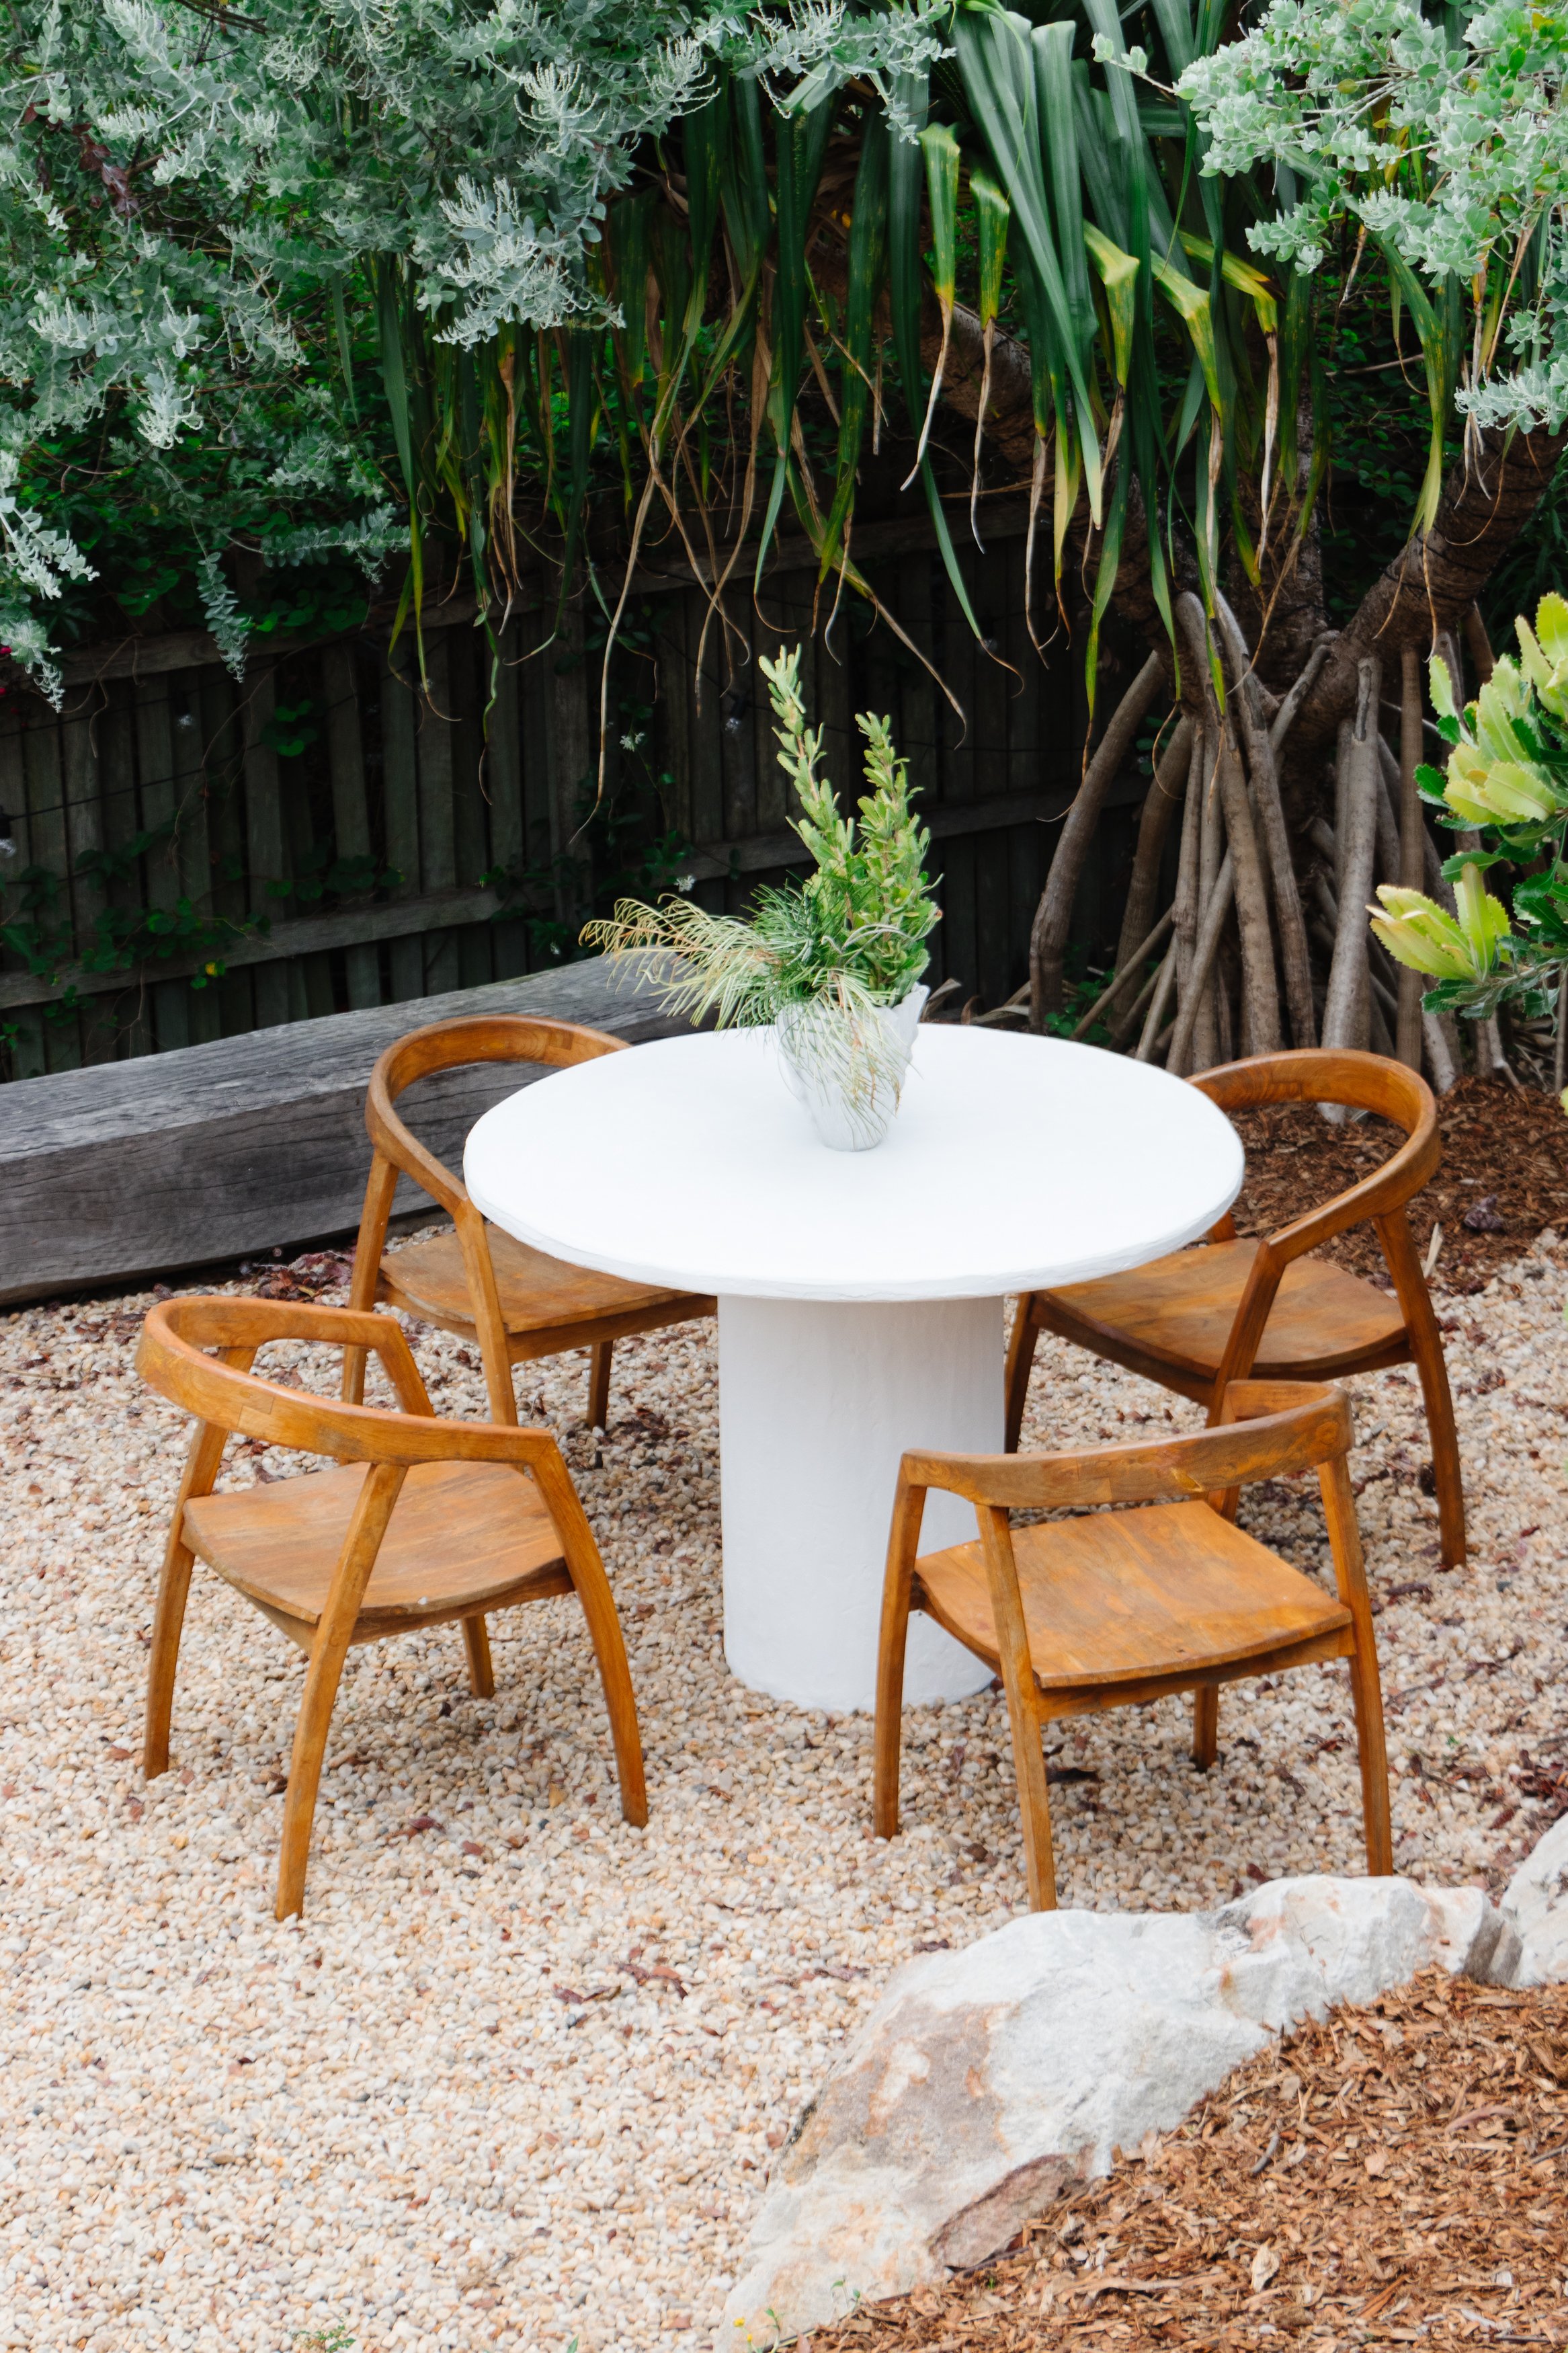
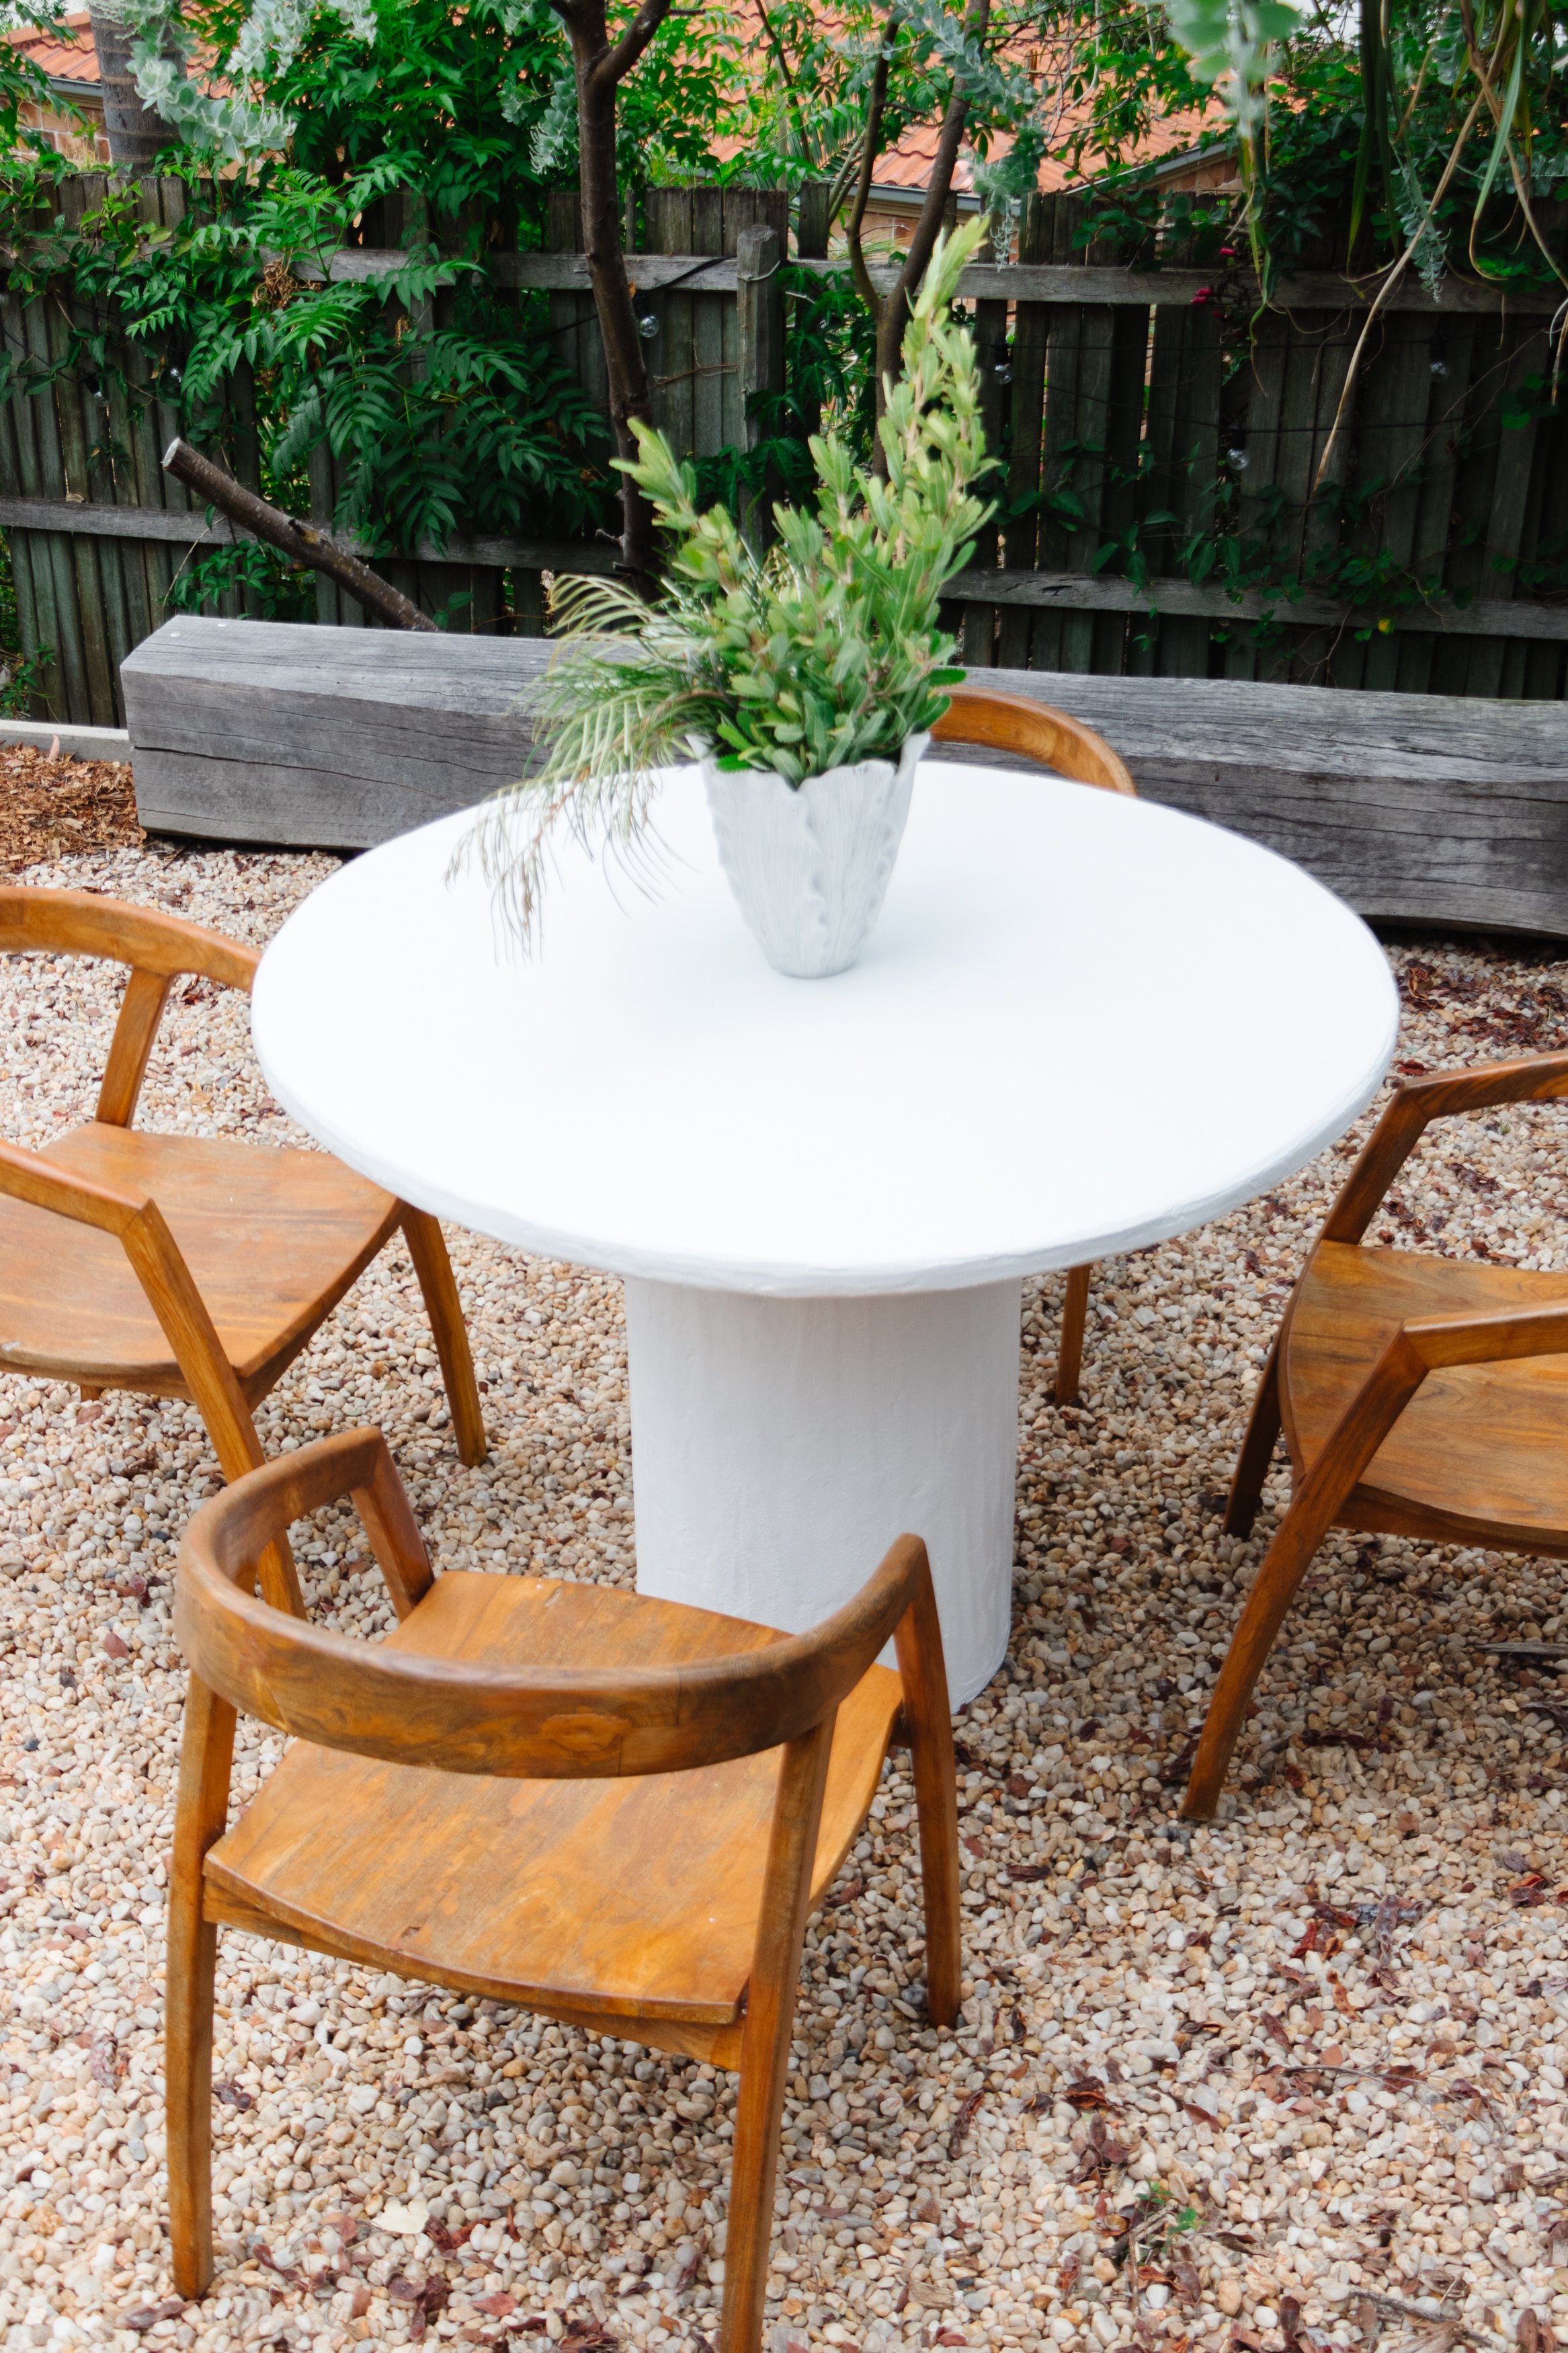
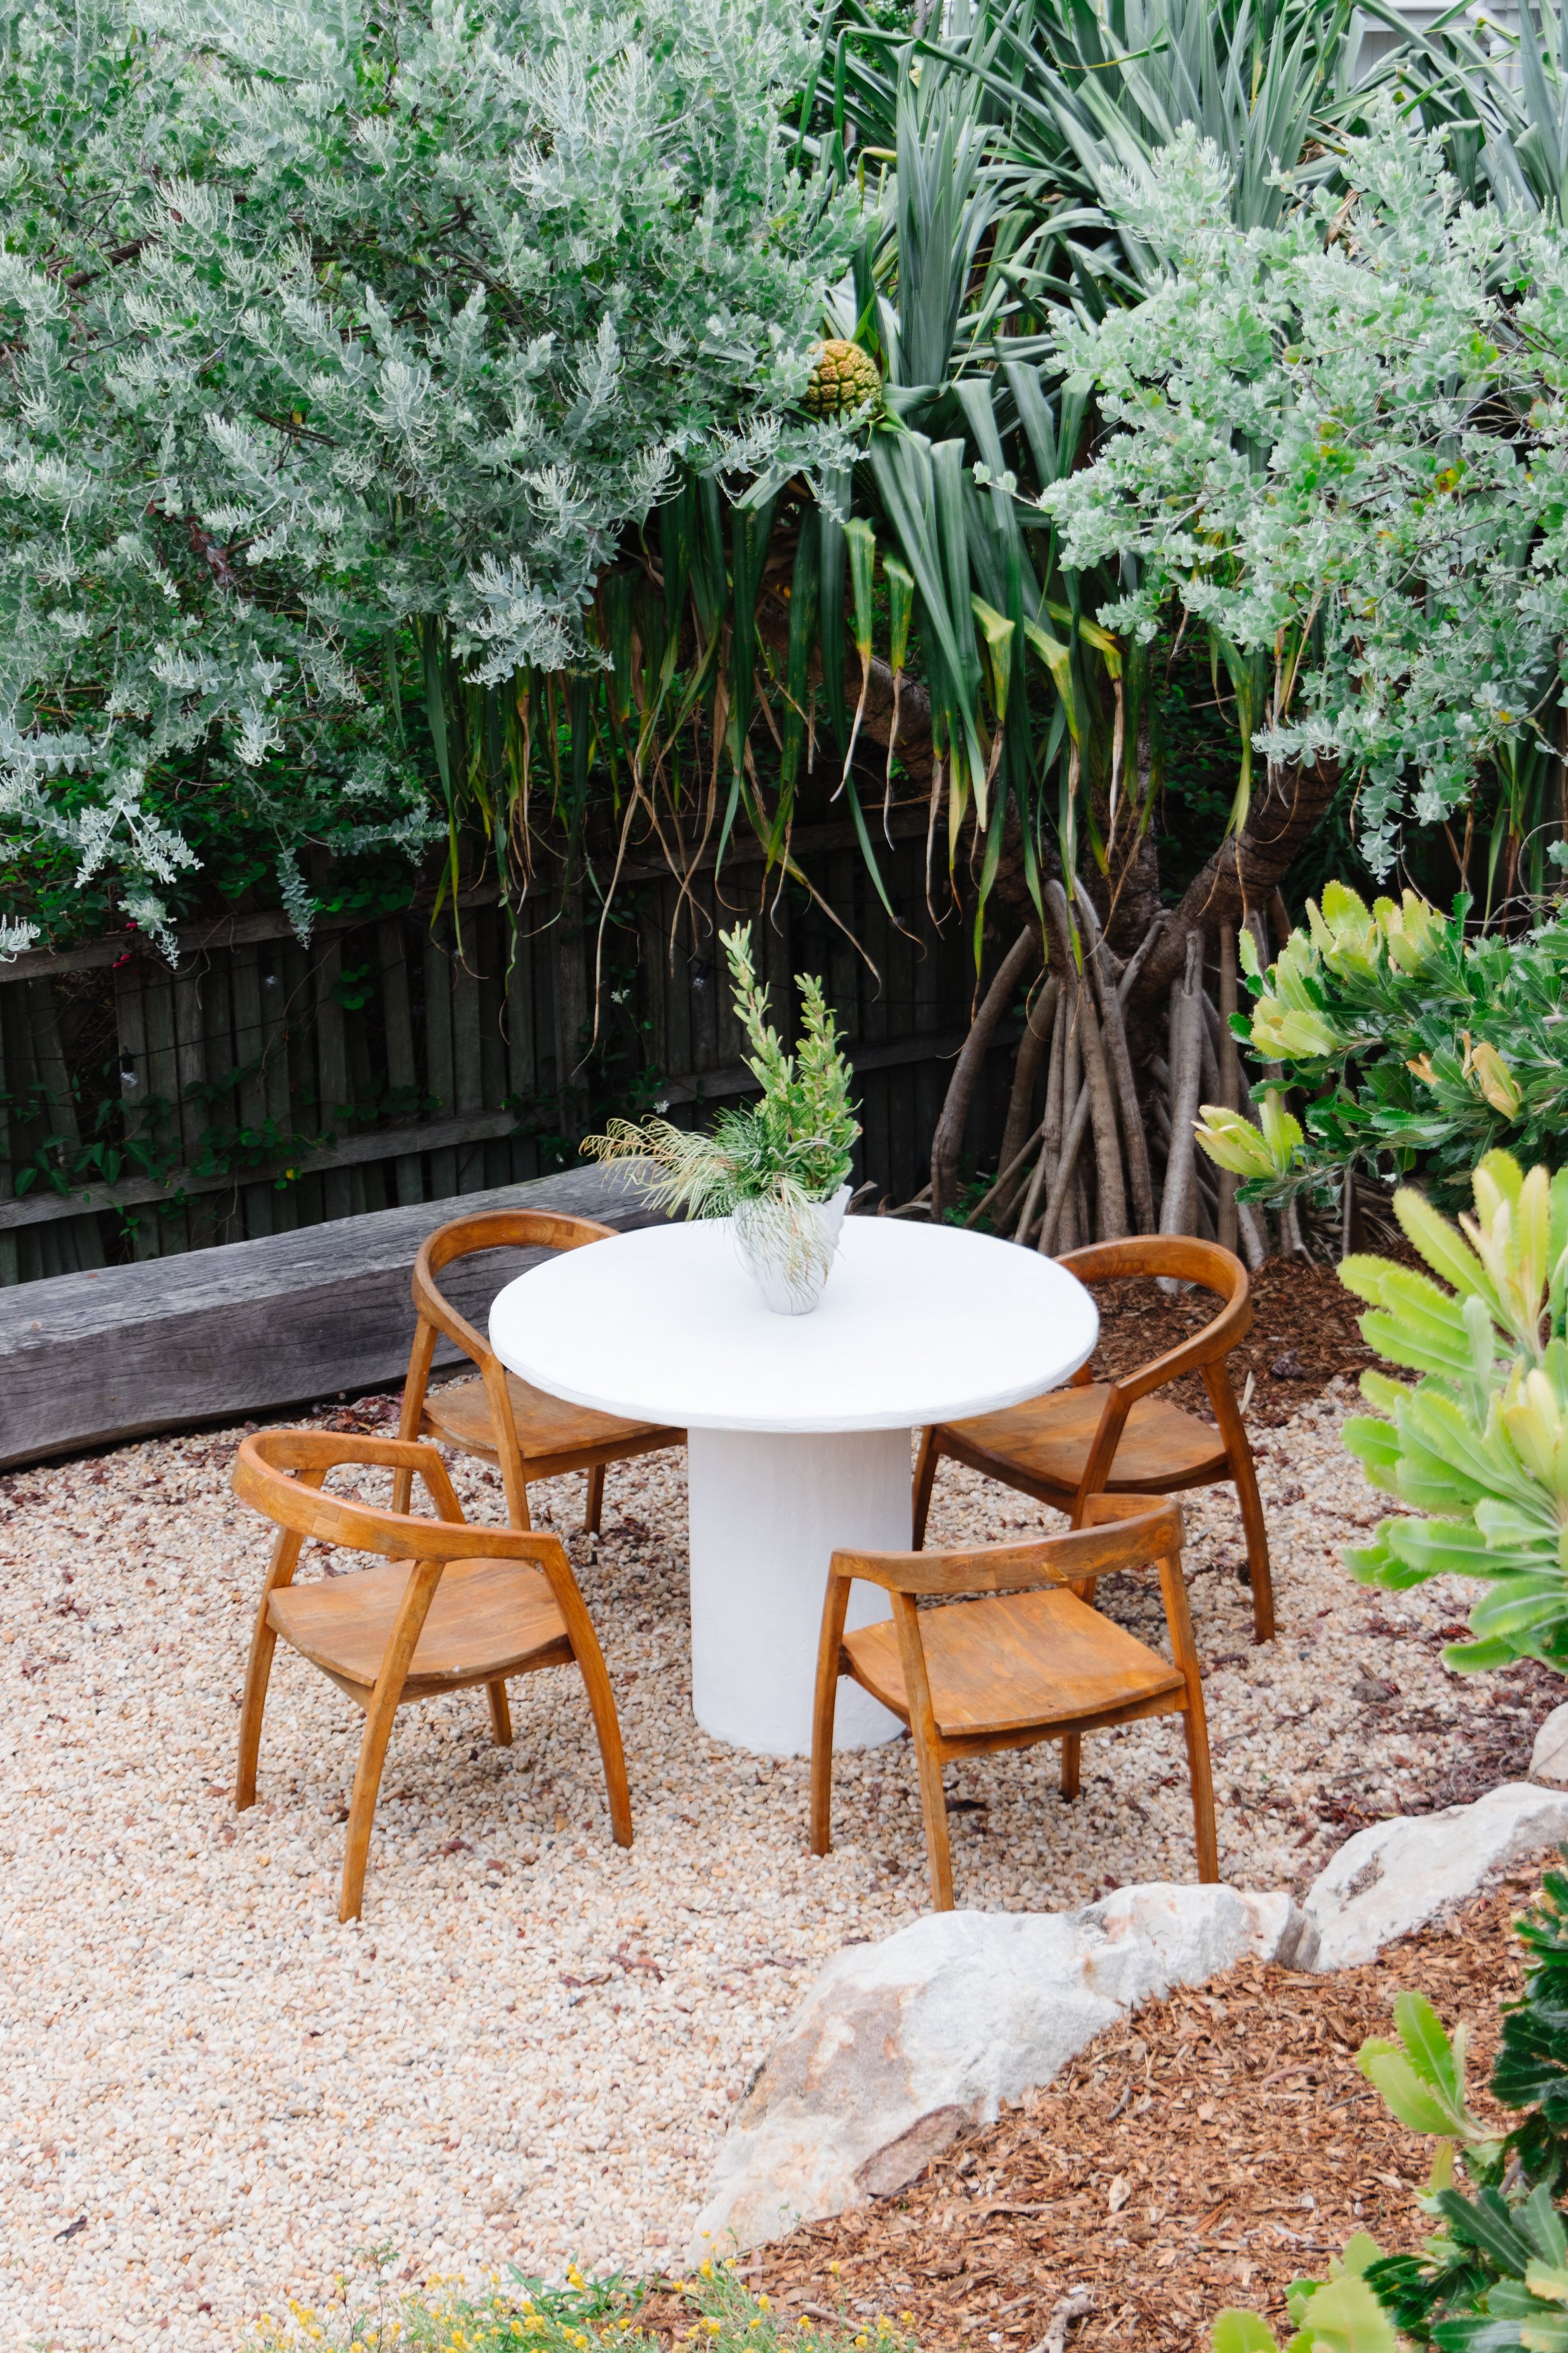
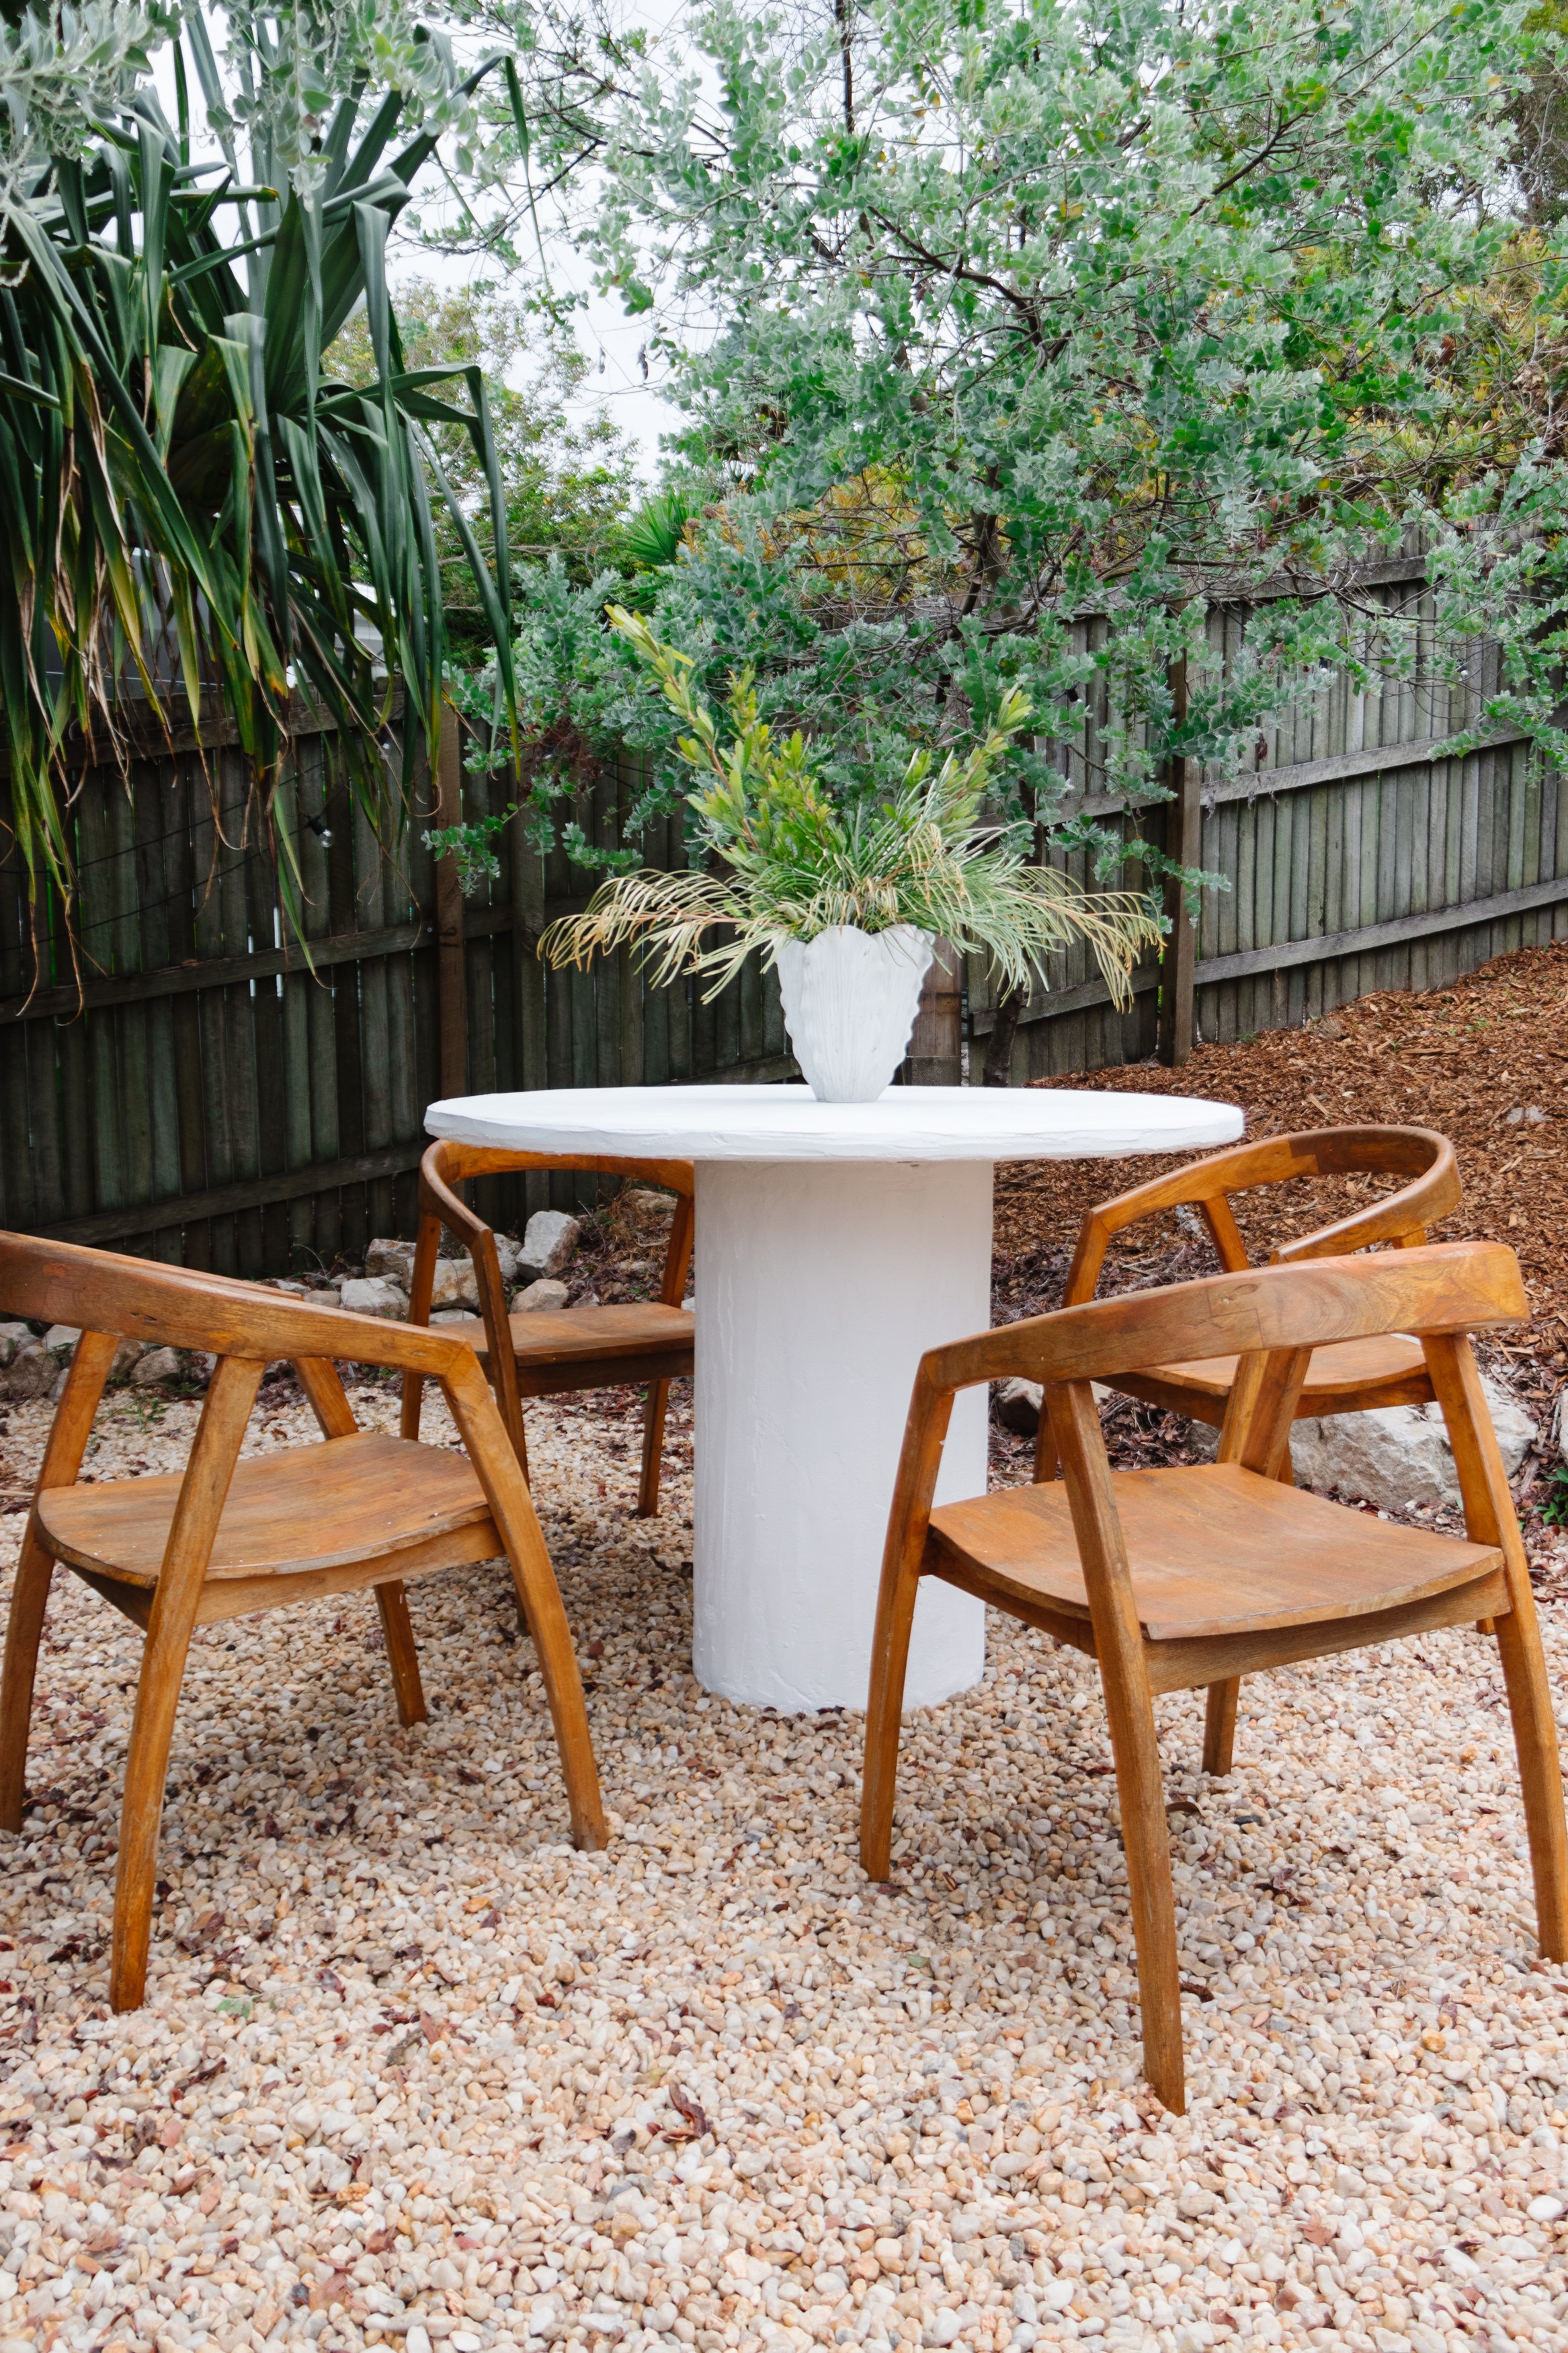
The Reveal!
I’m am SO obsessed with our new DIY Outdoor Rendered Table! I went pretty hard with making this table as weather proof as possible (primer, exterior paint and render) and even though it took two days to make, it was a total labour of love from start to finish. I am also toying as to whether or not i should further waterproof my rendered table by using this. I taught myself lots of new skills along the way, including how to mix and apply render, and I found it hilarious using my icing spatula to smooth it out, because why not? Ha! Best of all? I can easily take the top off and put the table into storage for winter when we bring out our fire pit. And don’t worry about girl math because the Bunnings math on this means it’s going to be practicality free. I am so happy to this space in our garden will now be a place where we can enjoy meals during the summer months for years to come.
This project is in collaboration with Bunnings.