Festive DIY Bow Gift Wrapping
Wrap your gifts this Christmas with paper bags, ribbon, fabric - and no sticky tape!
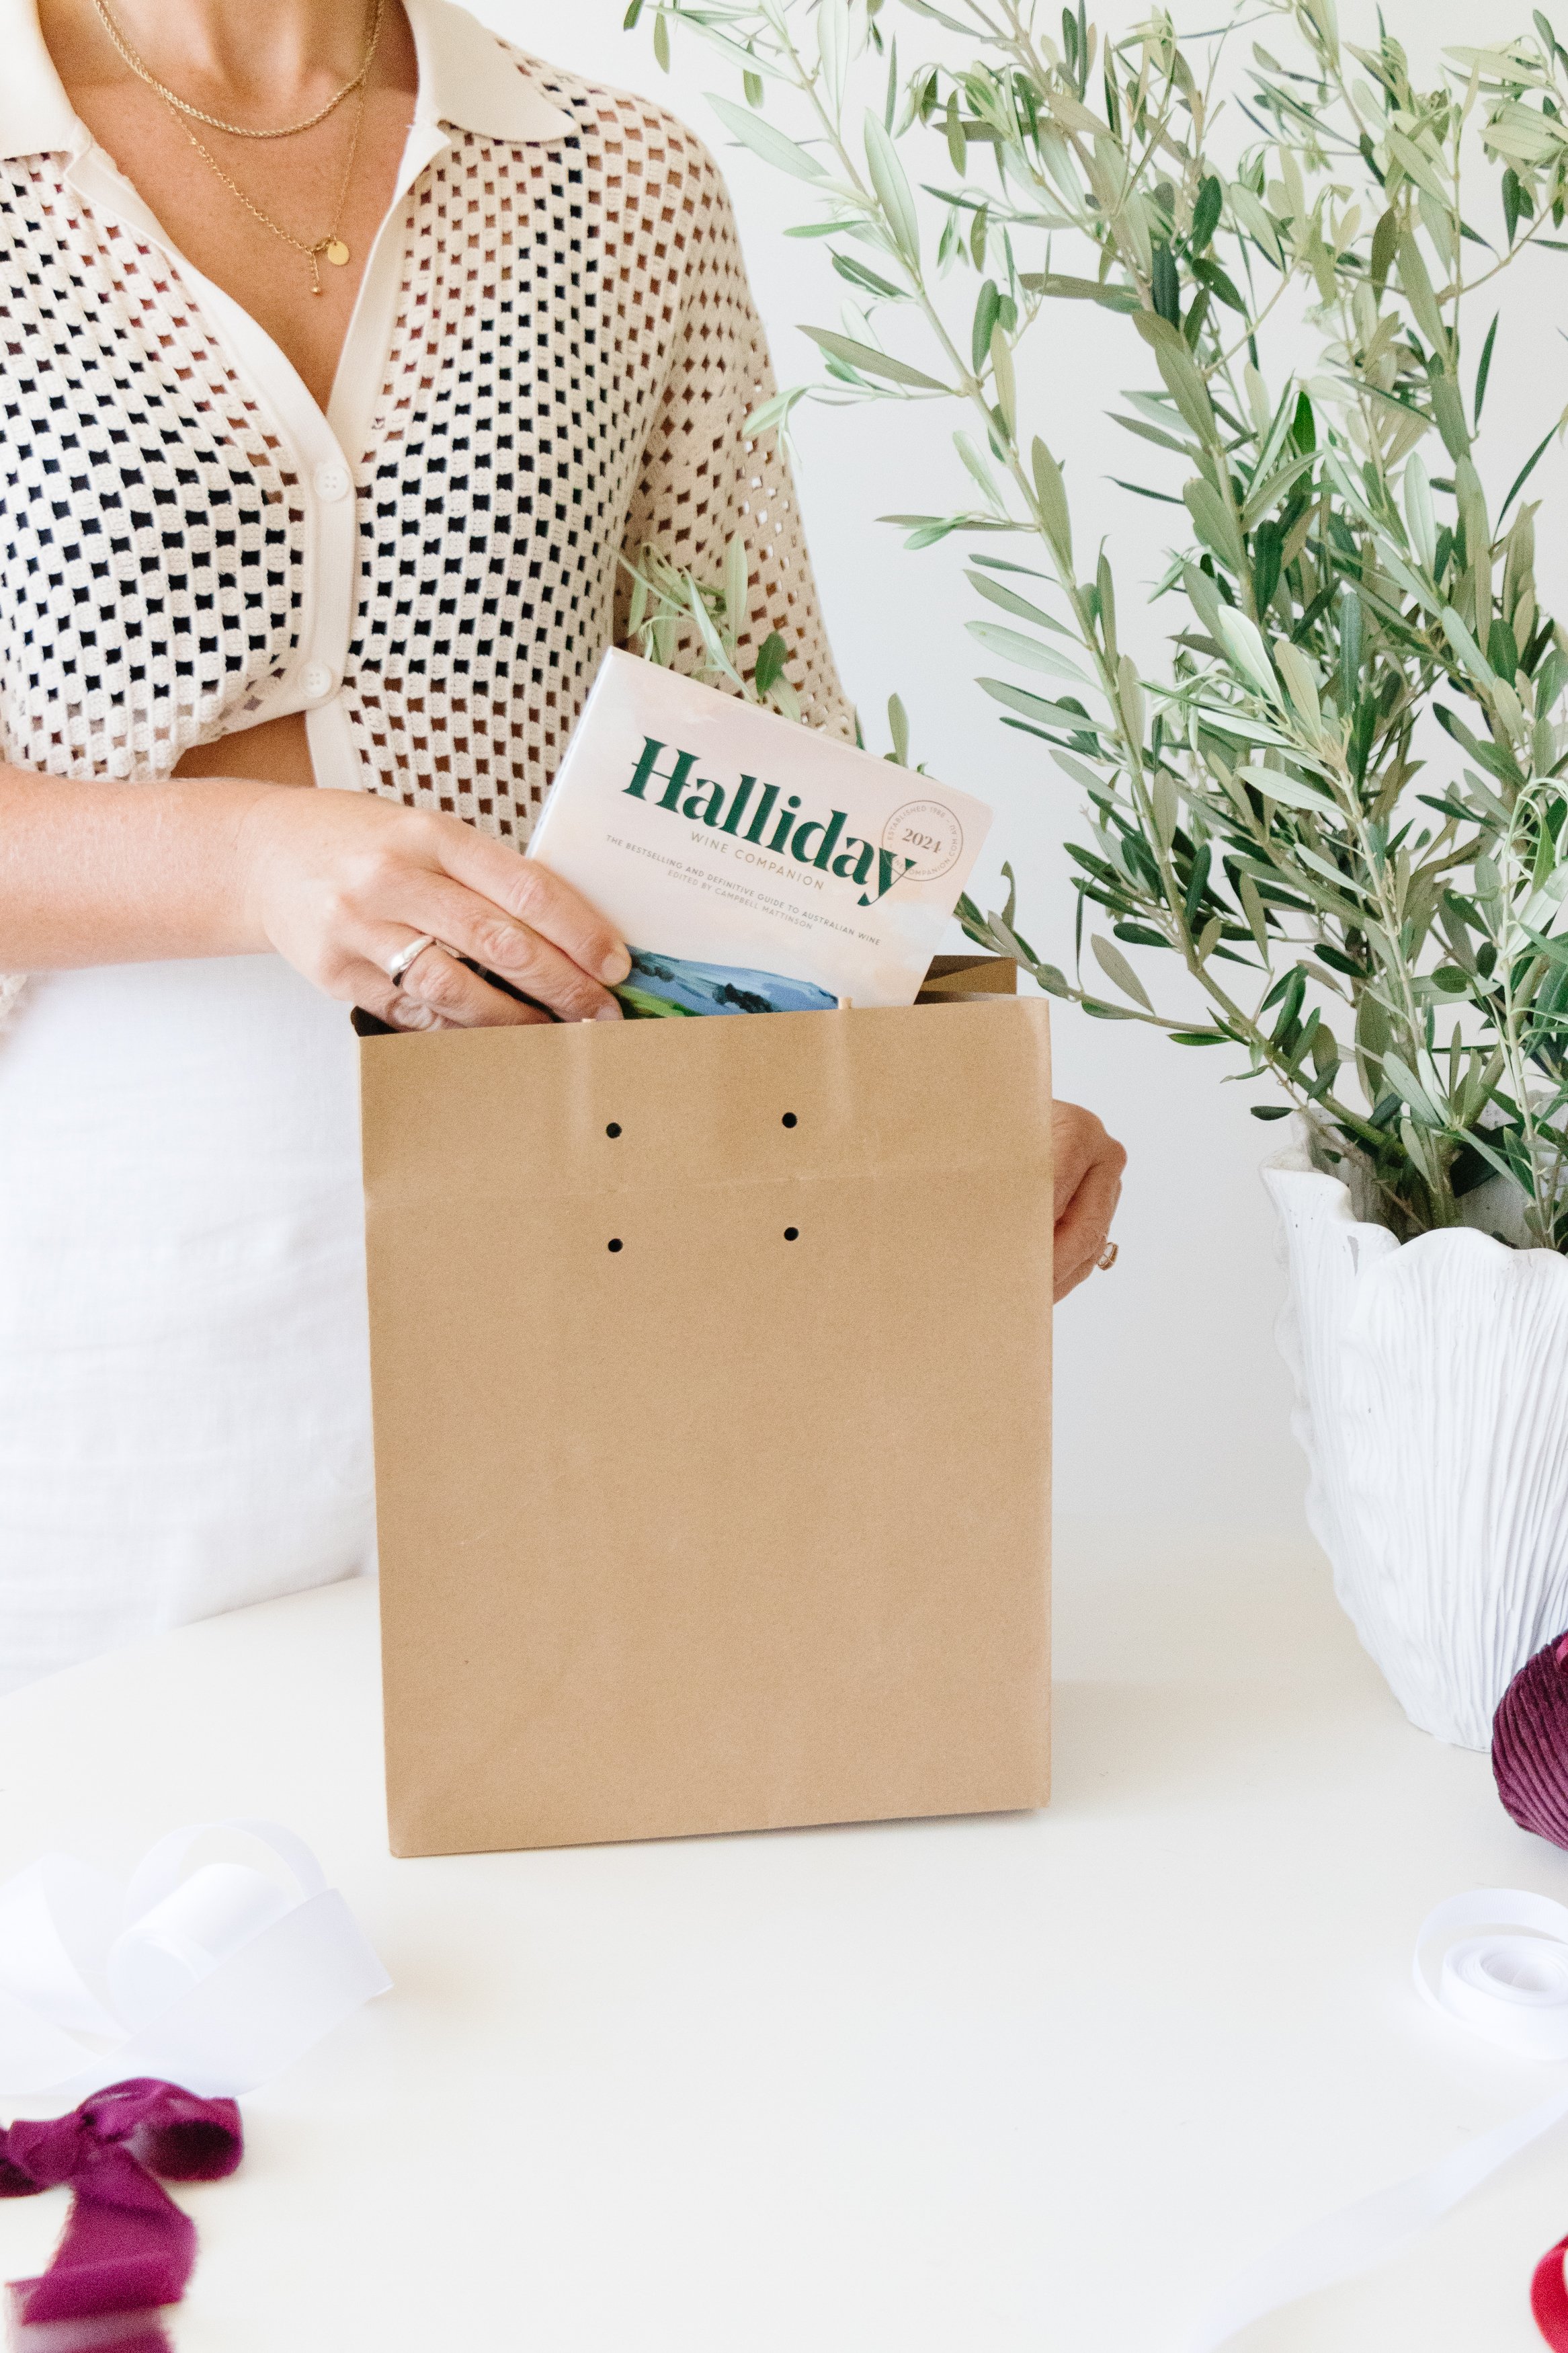
I love wrapping gifts; it’s something I take great pleasure in. It’s relaxing and I find pure joy in making sure my gifts are wrapped beautifully. Over the years I used a lot of different wrapping paper, ribbons, string and fabric to wrap my gifts but this year I wanted to try something a little different. I found paper bags, fabric and ribbon in my studio and when I got an idea, I simply had to see if it worked. And it did! I am so excited to show you how to make your own DIY Bow Gift Wrapping.
And check out this quick How To video here here!
DIY Bow Gift Wrapping


Project Details
✂️ Making: DIY Bow Gift Wrapping
🕒 Project Time Estimate: 10 minutes
💰 Materials Cost: $10-$20
Materials
Paper bags
Ribbon and/or fabric
Tools
Scissors
Hole punch or sharp pencil
How To
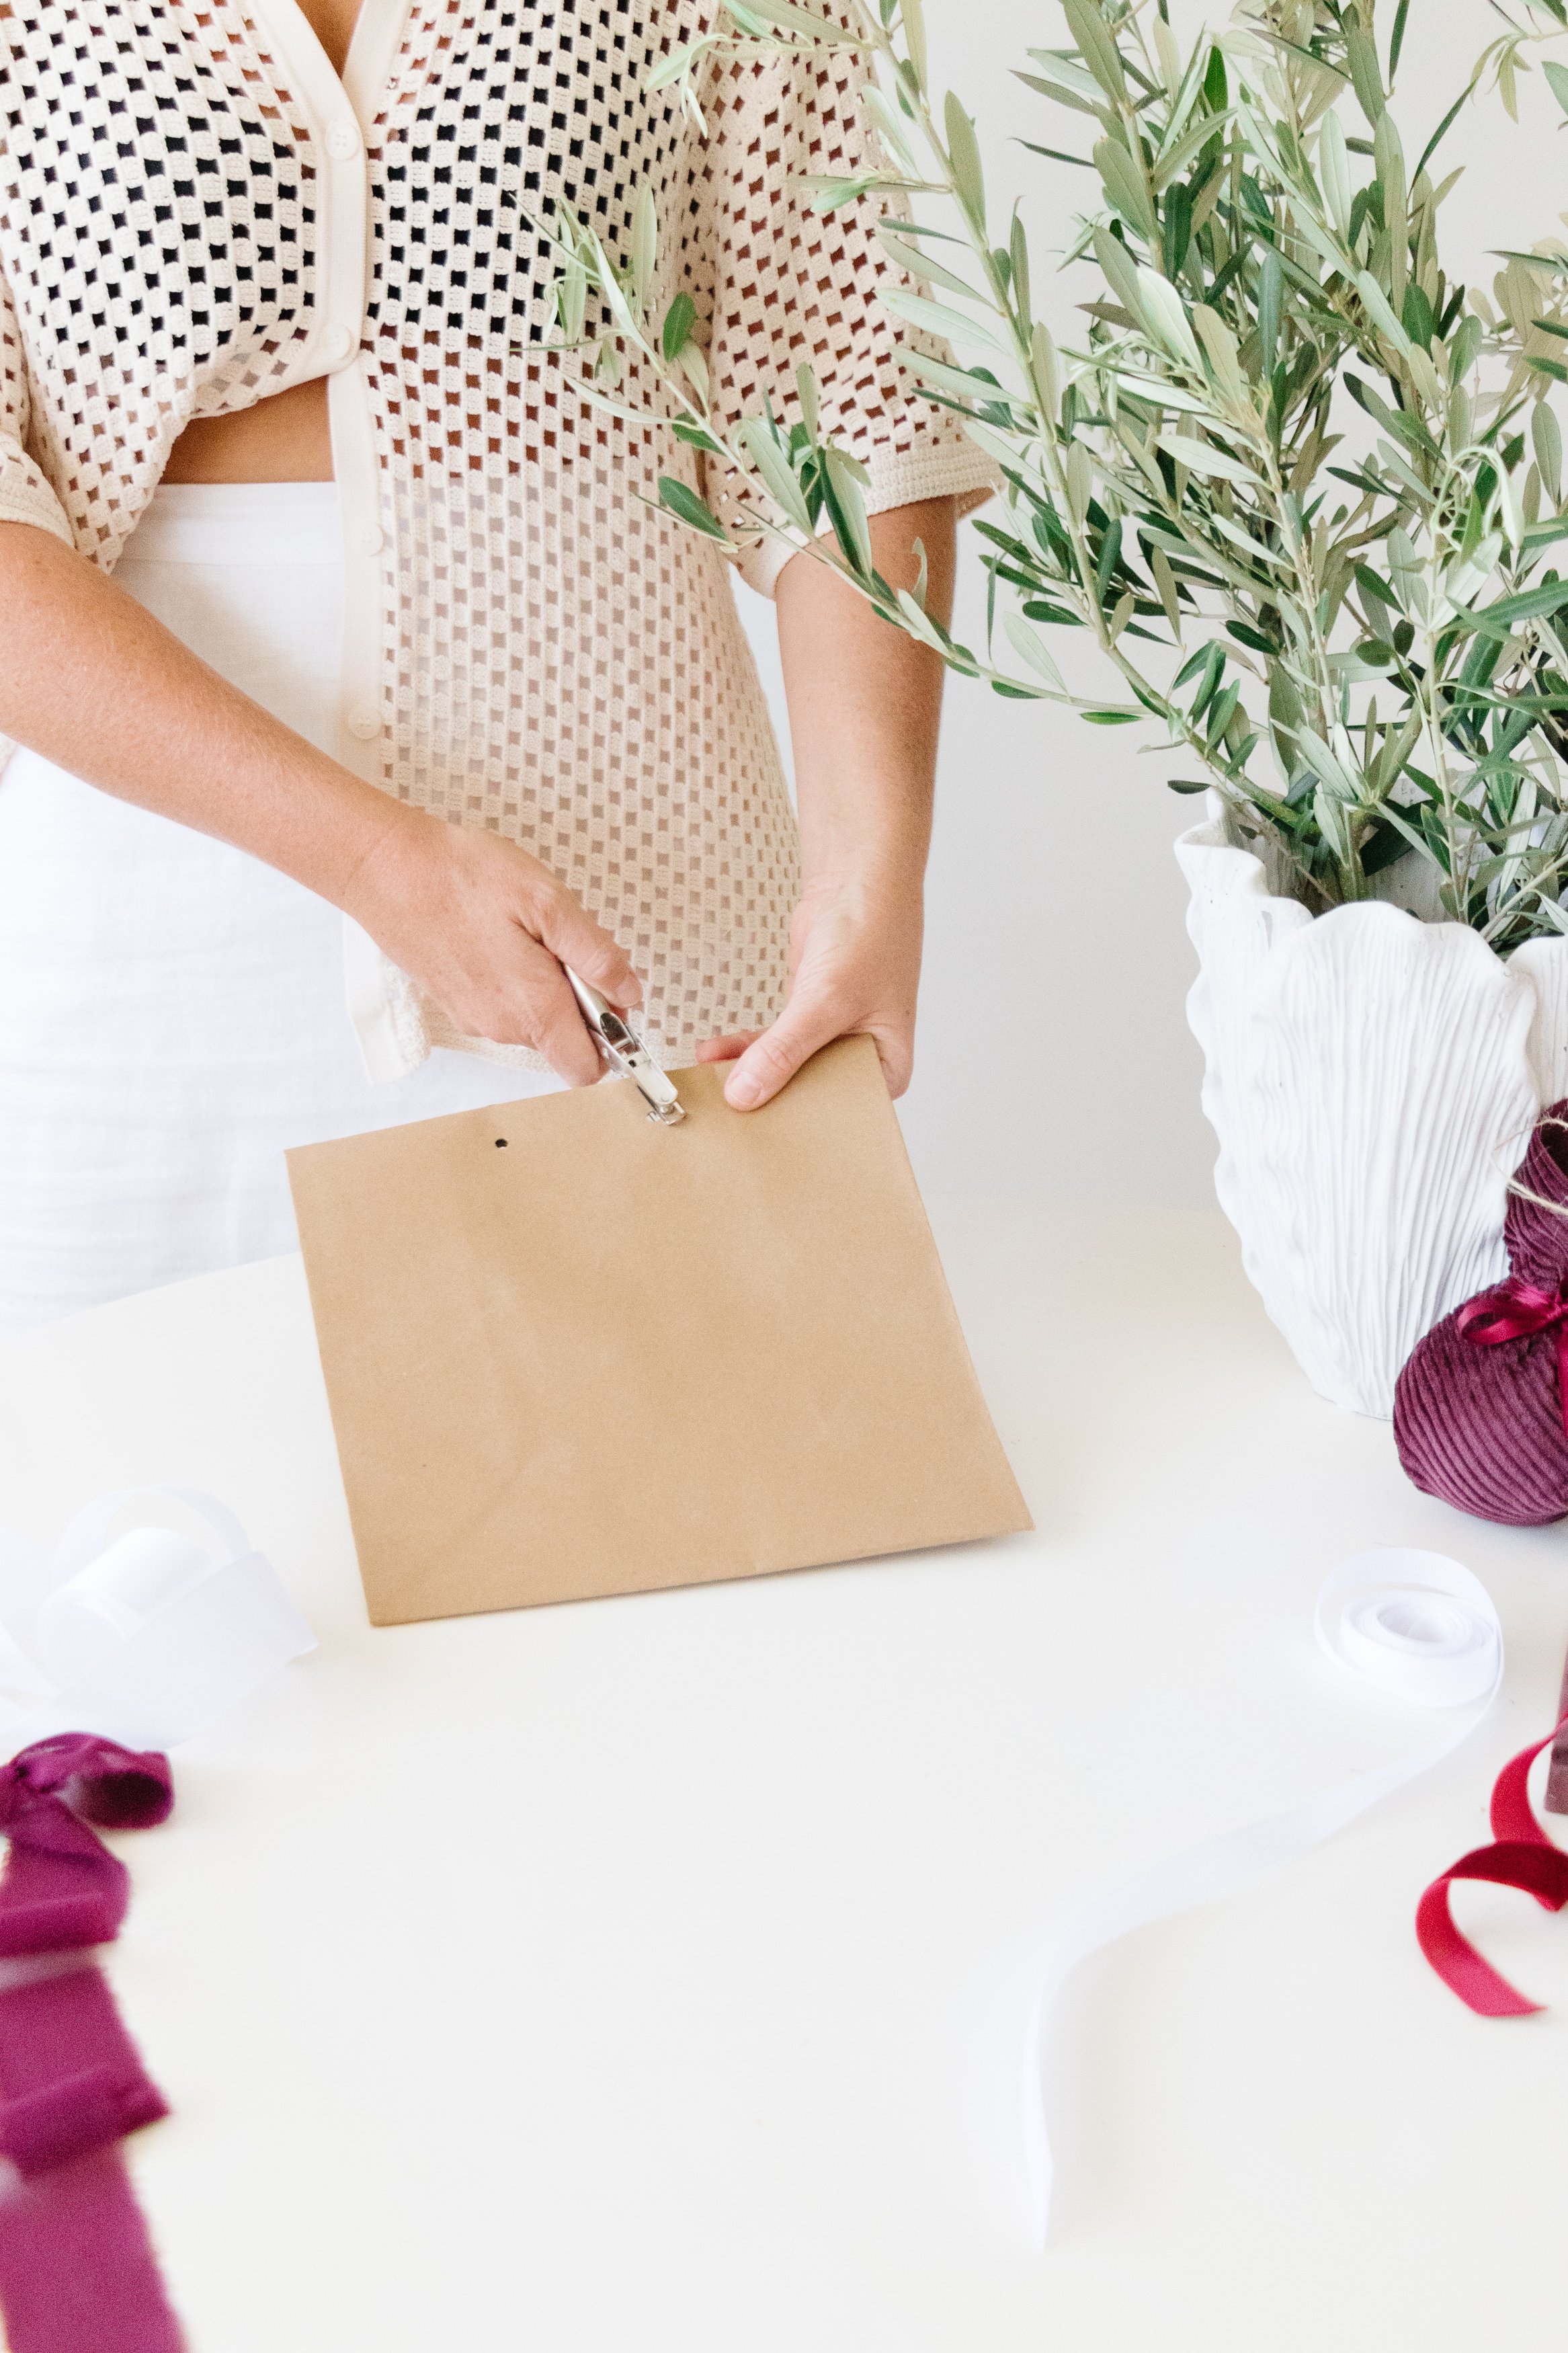
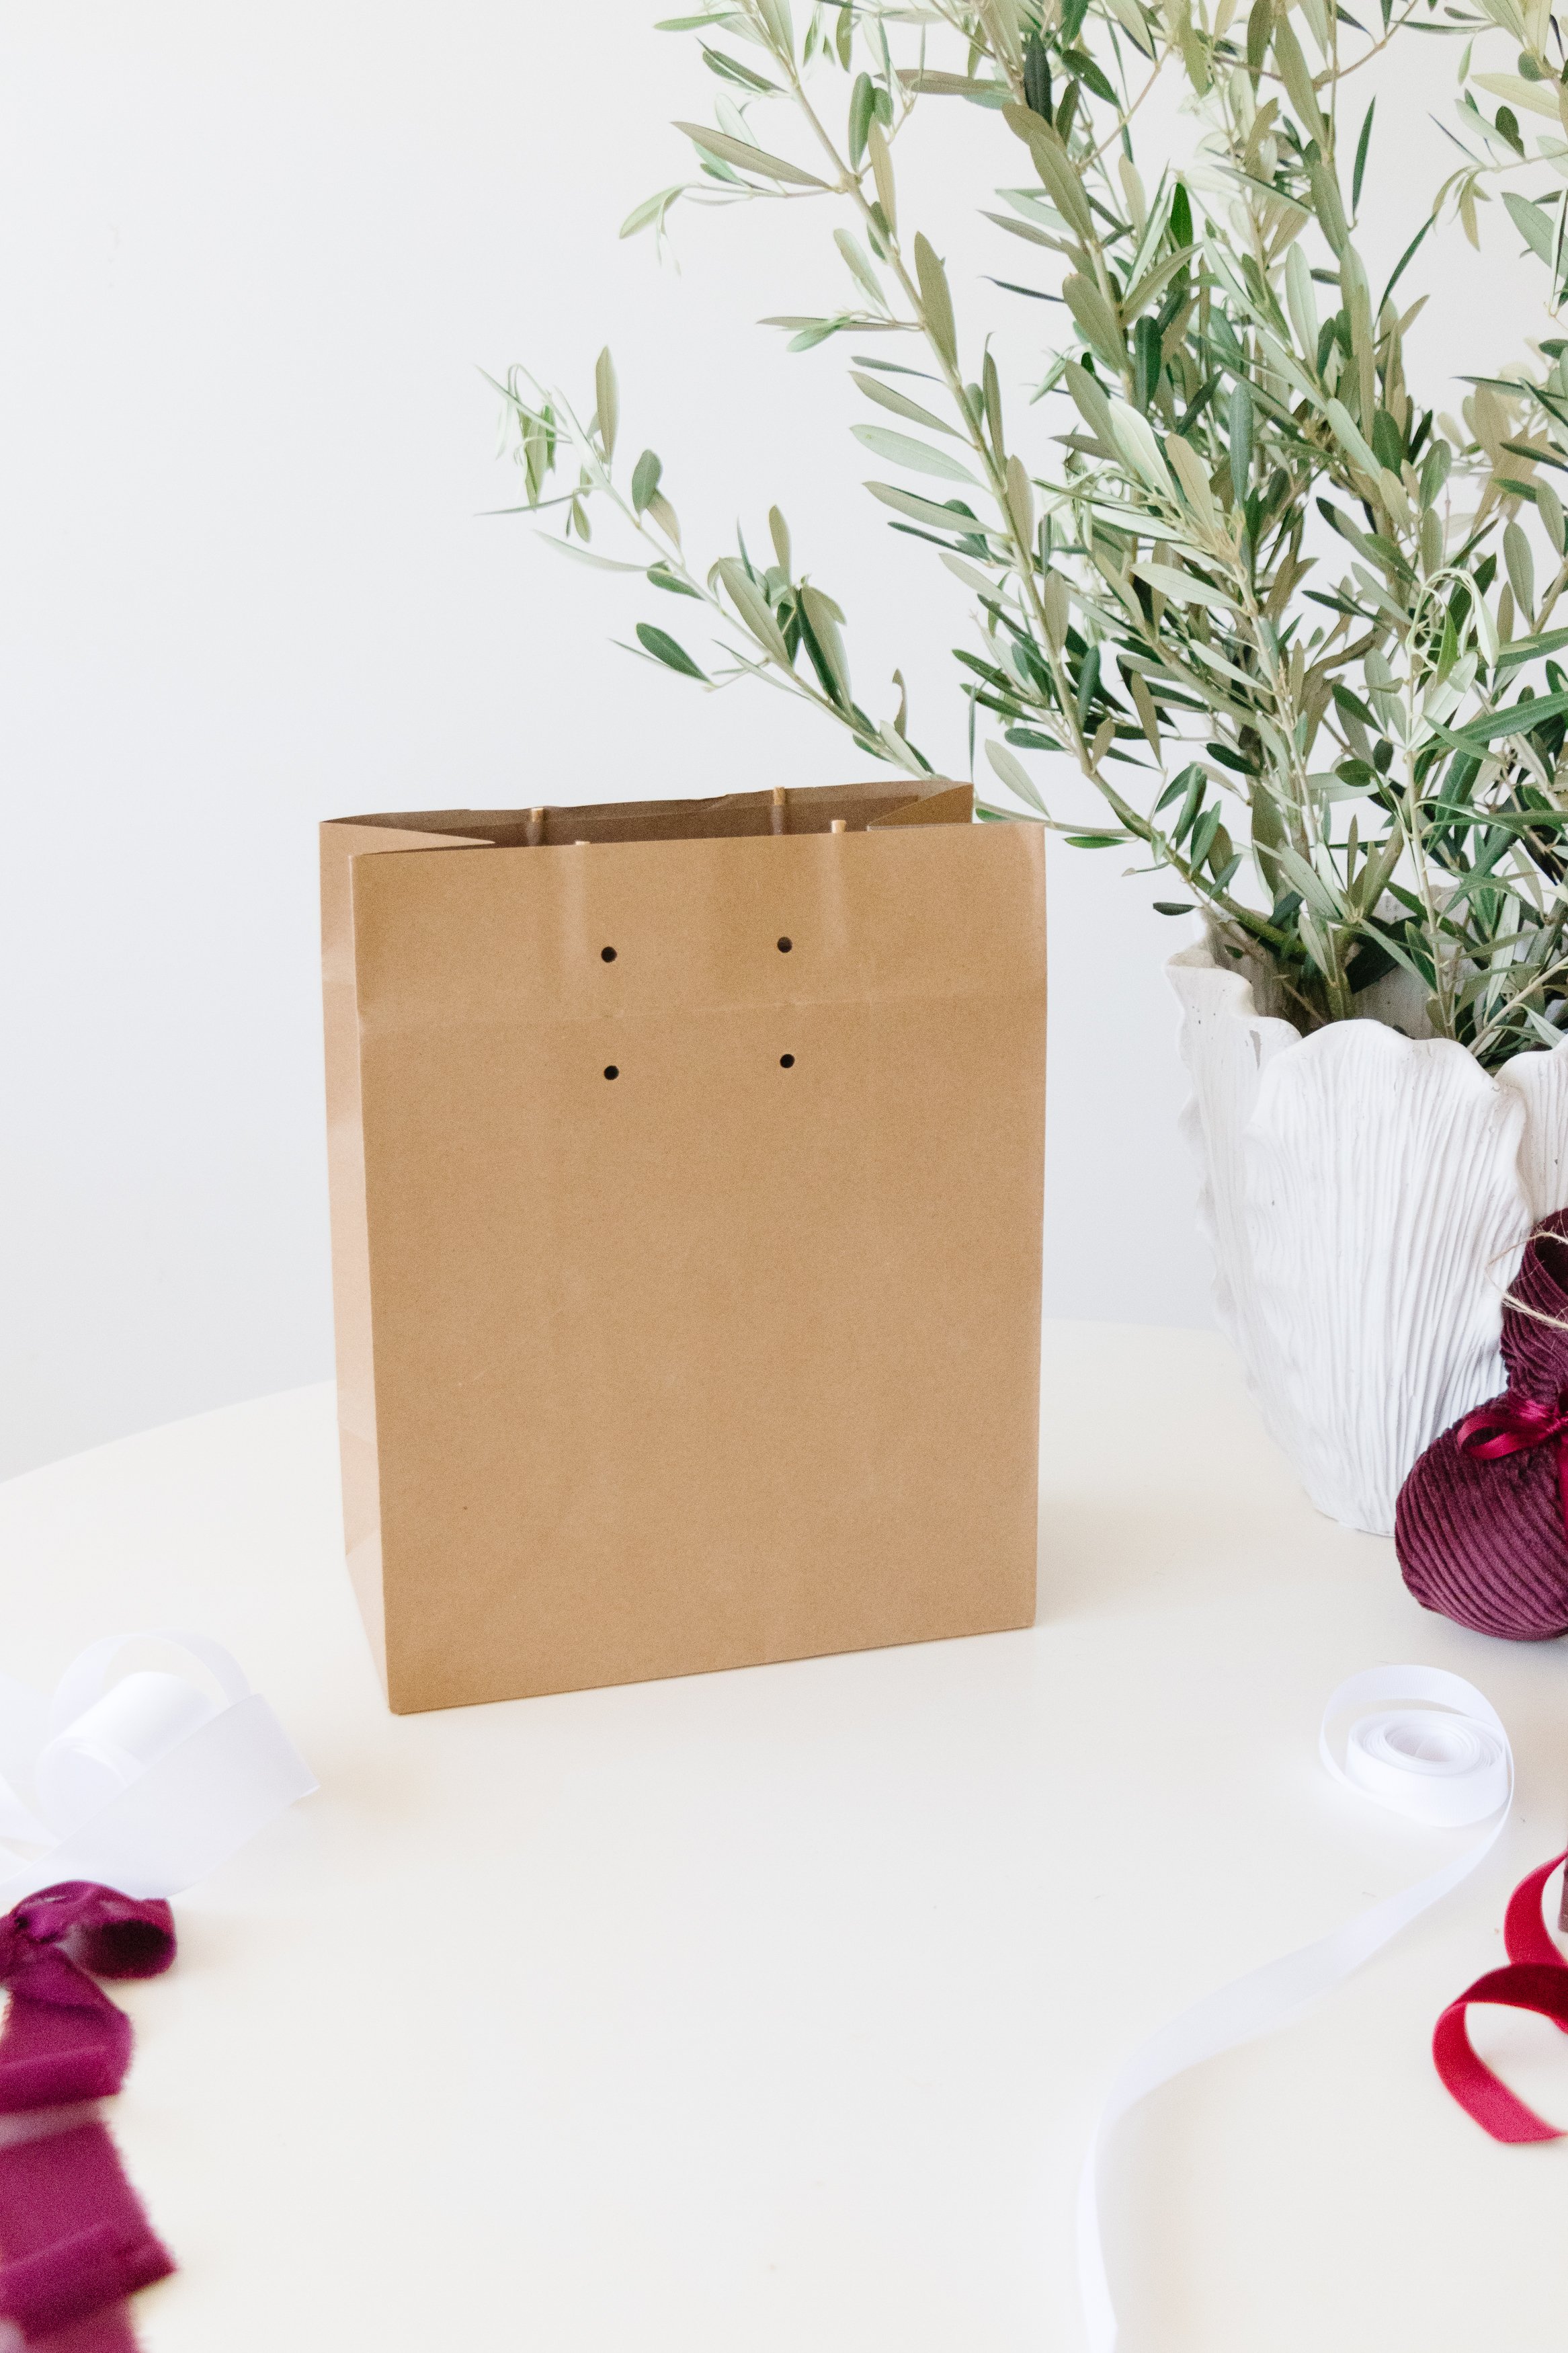
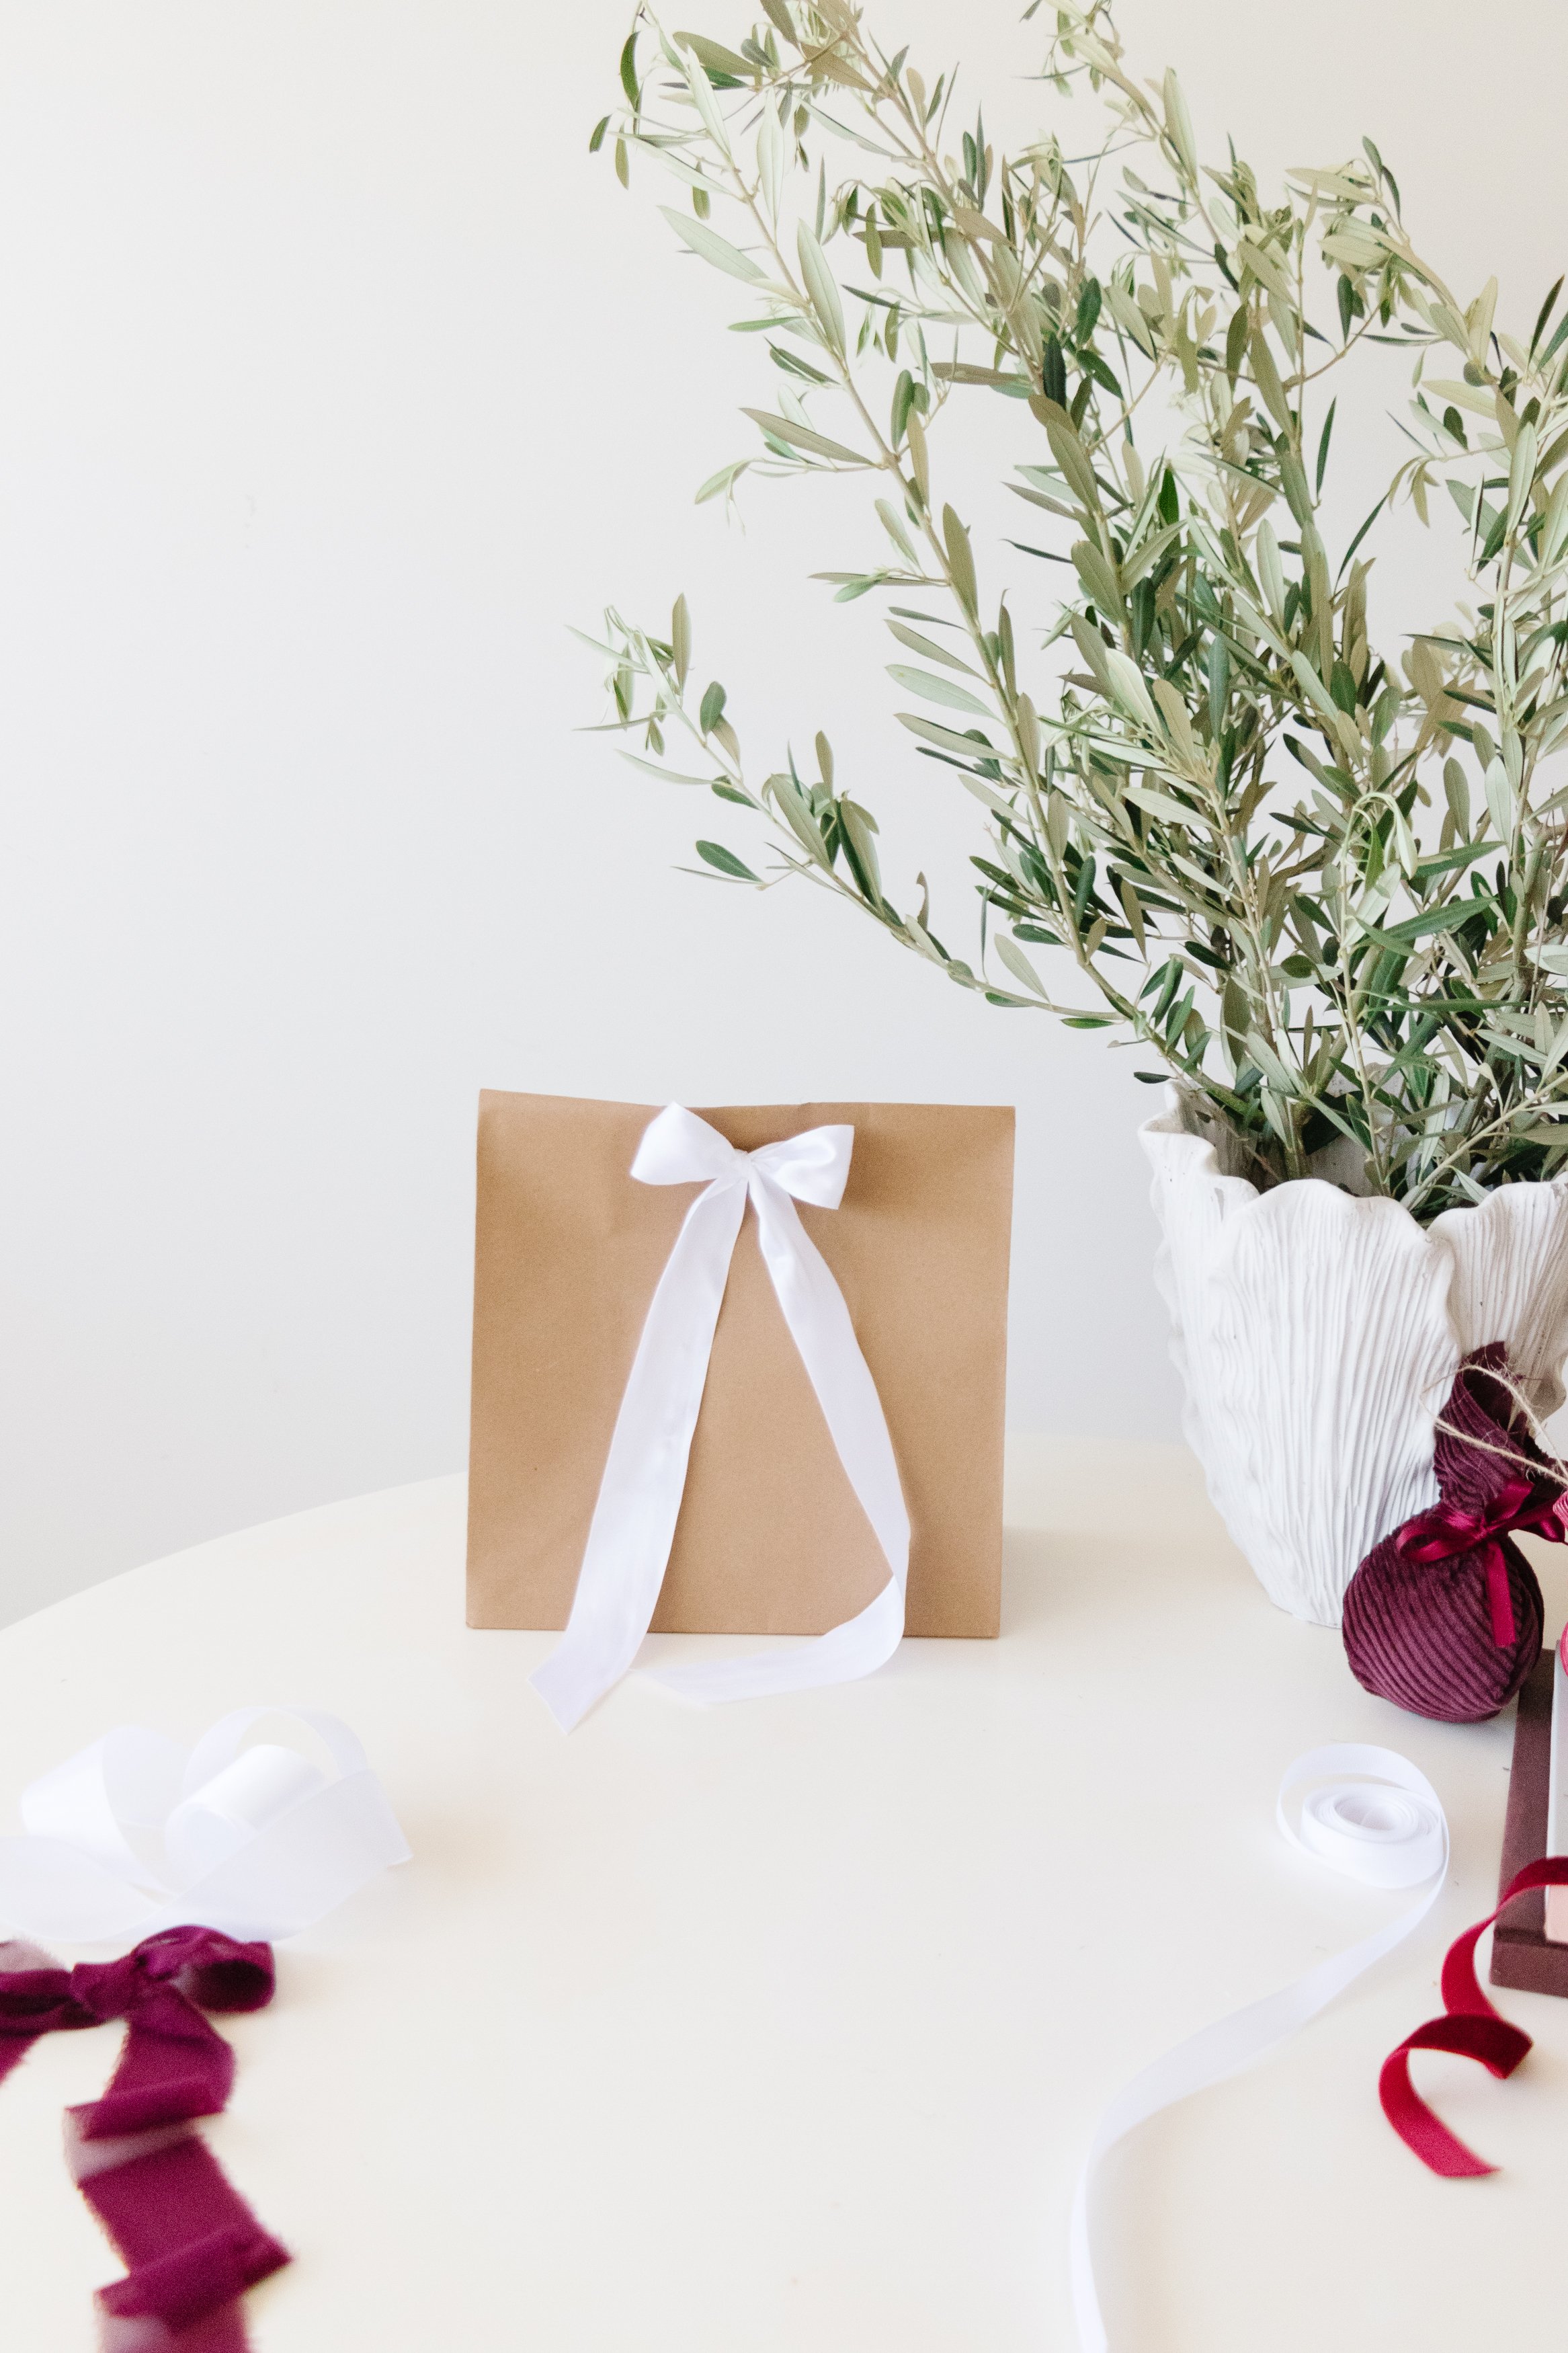
Step 1: Start by cutting the handles off the paper bags and fold the top down. Using a hole punch (or a sharp pencil), punch two holes into the top of the paper bag.

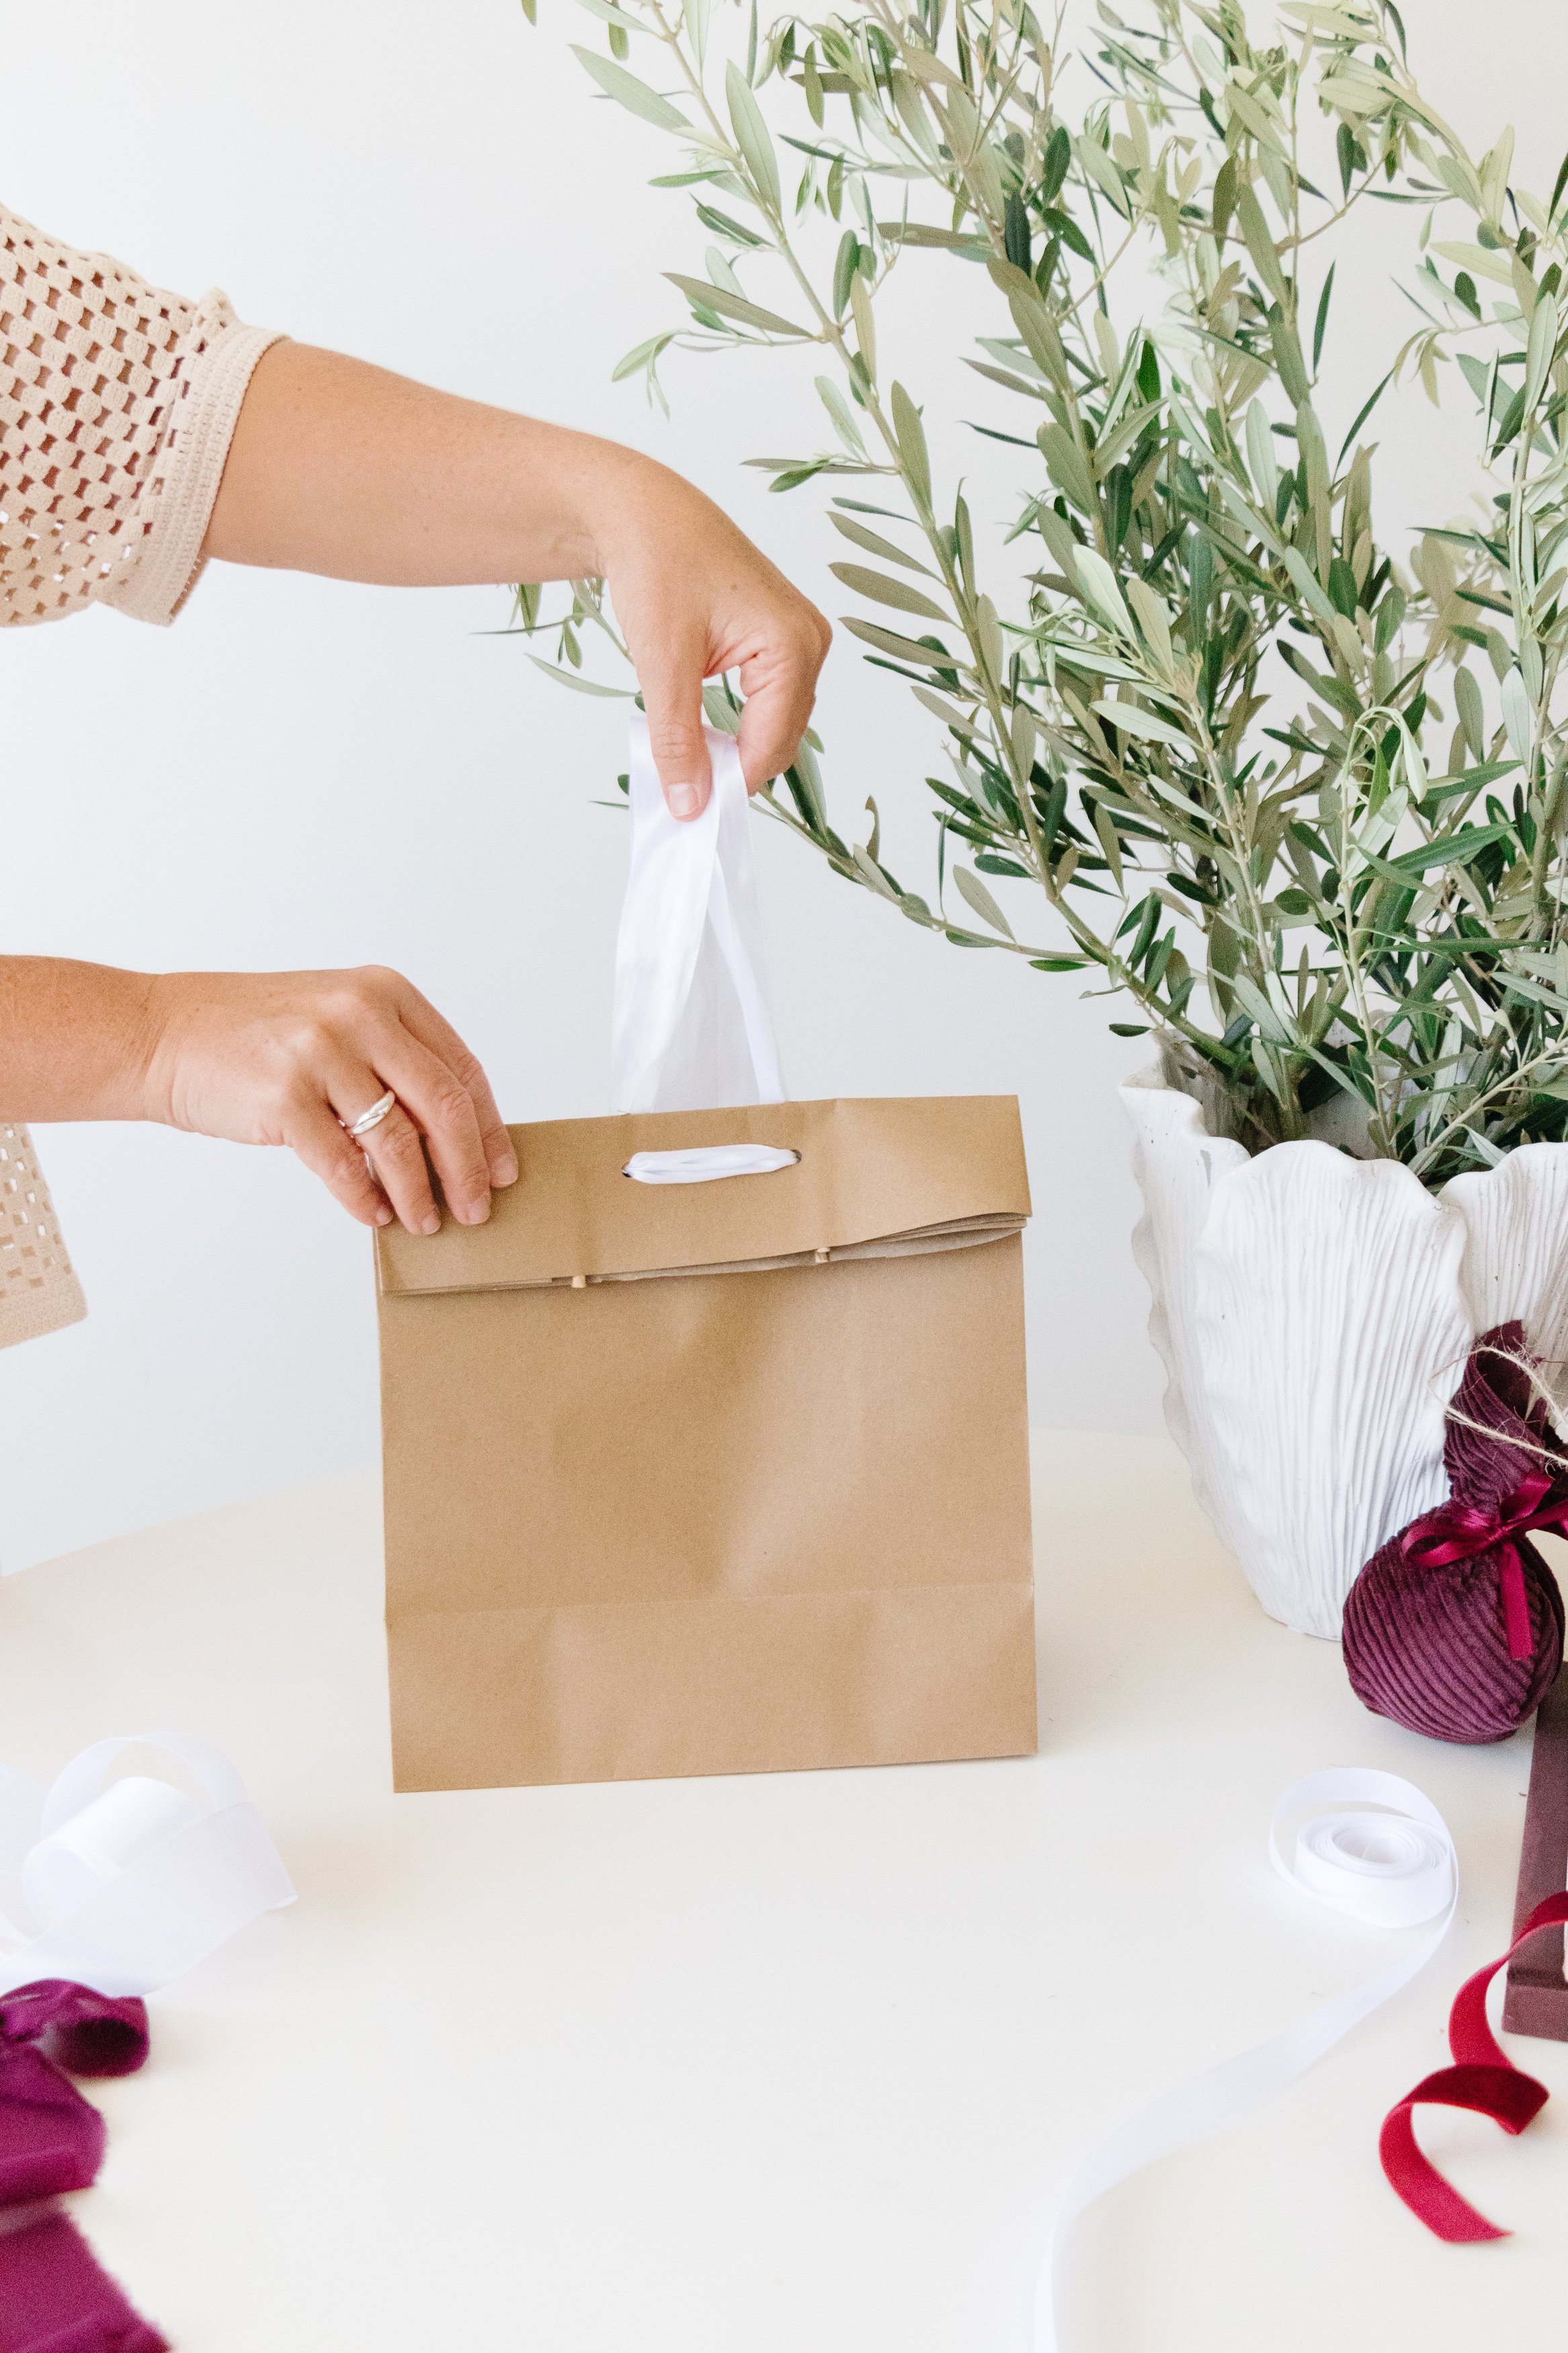
Step 2: Feed the ribbon through the both holes at the back of the bag and pull them through to the front. Tie a knot and then tie a bow. Trim the excess ribbon off and cut the bottom on a 45 degree angle.


Ta daaaa!
Isn’t this the cutest (and quickest) way to wrap your gifts? It looks beautiful and bespoke too. I also love that you don’t need any sticky tape because let’s be honest, no one can ever find it and it always seems to run out when you need it most. You can use long ribbon or fabric for a more dramatic look too, which obviously I love. In fact, you can use this technique to wrap gifts all year long. How good!
If you love wrapping project, have a look at my DIY Striped Wrapping Paper here.