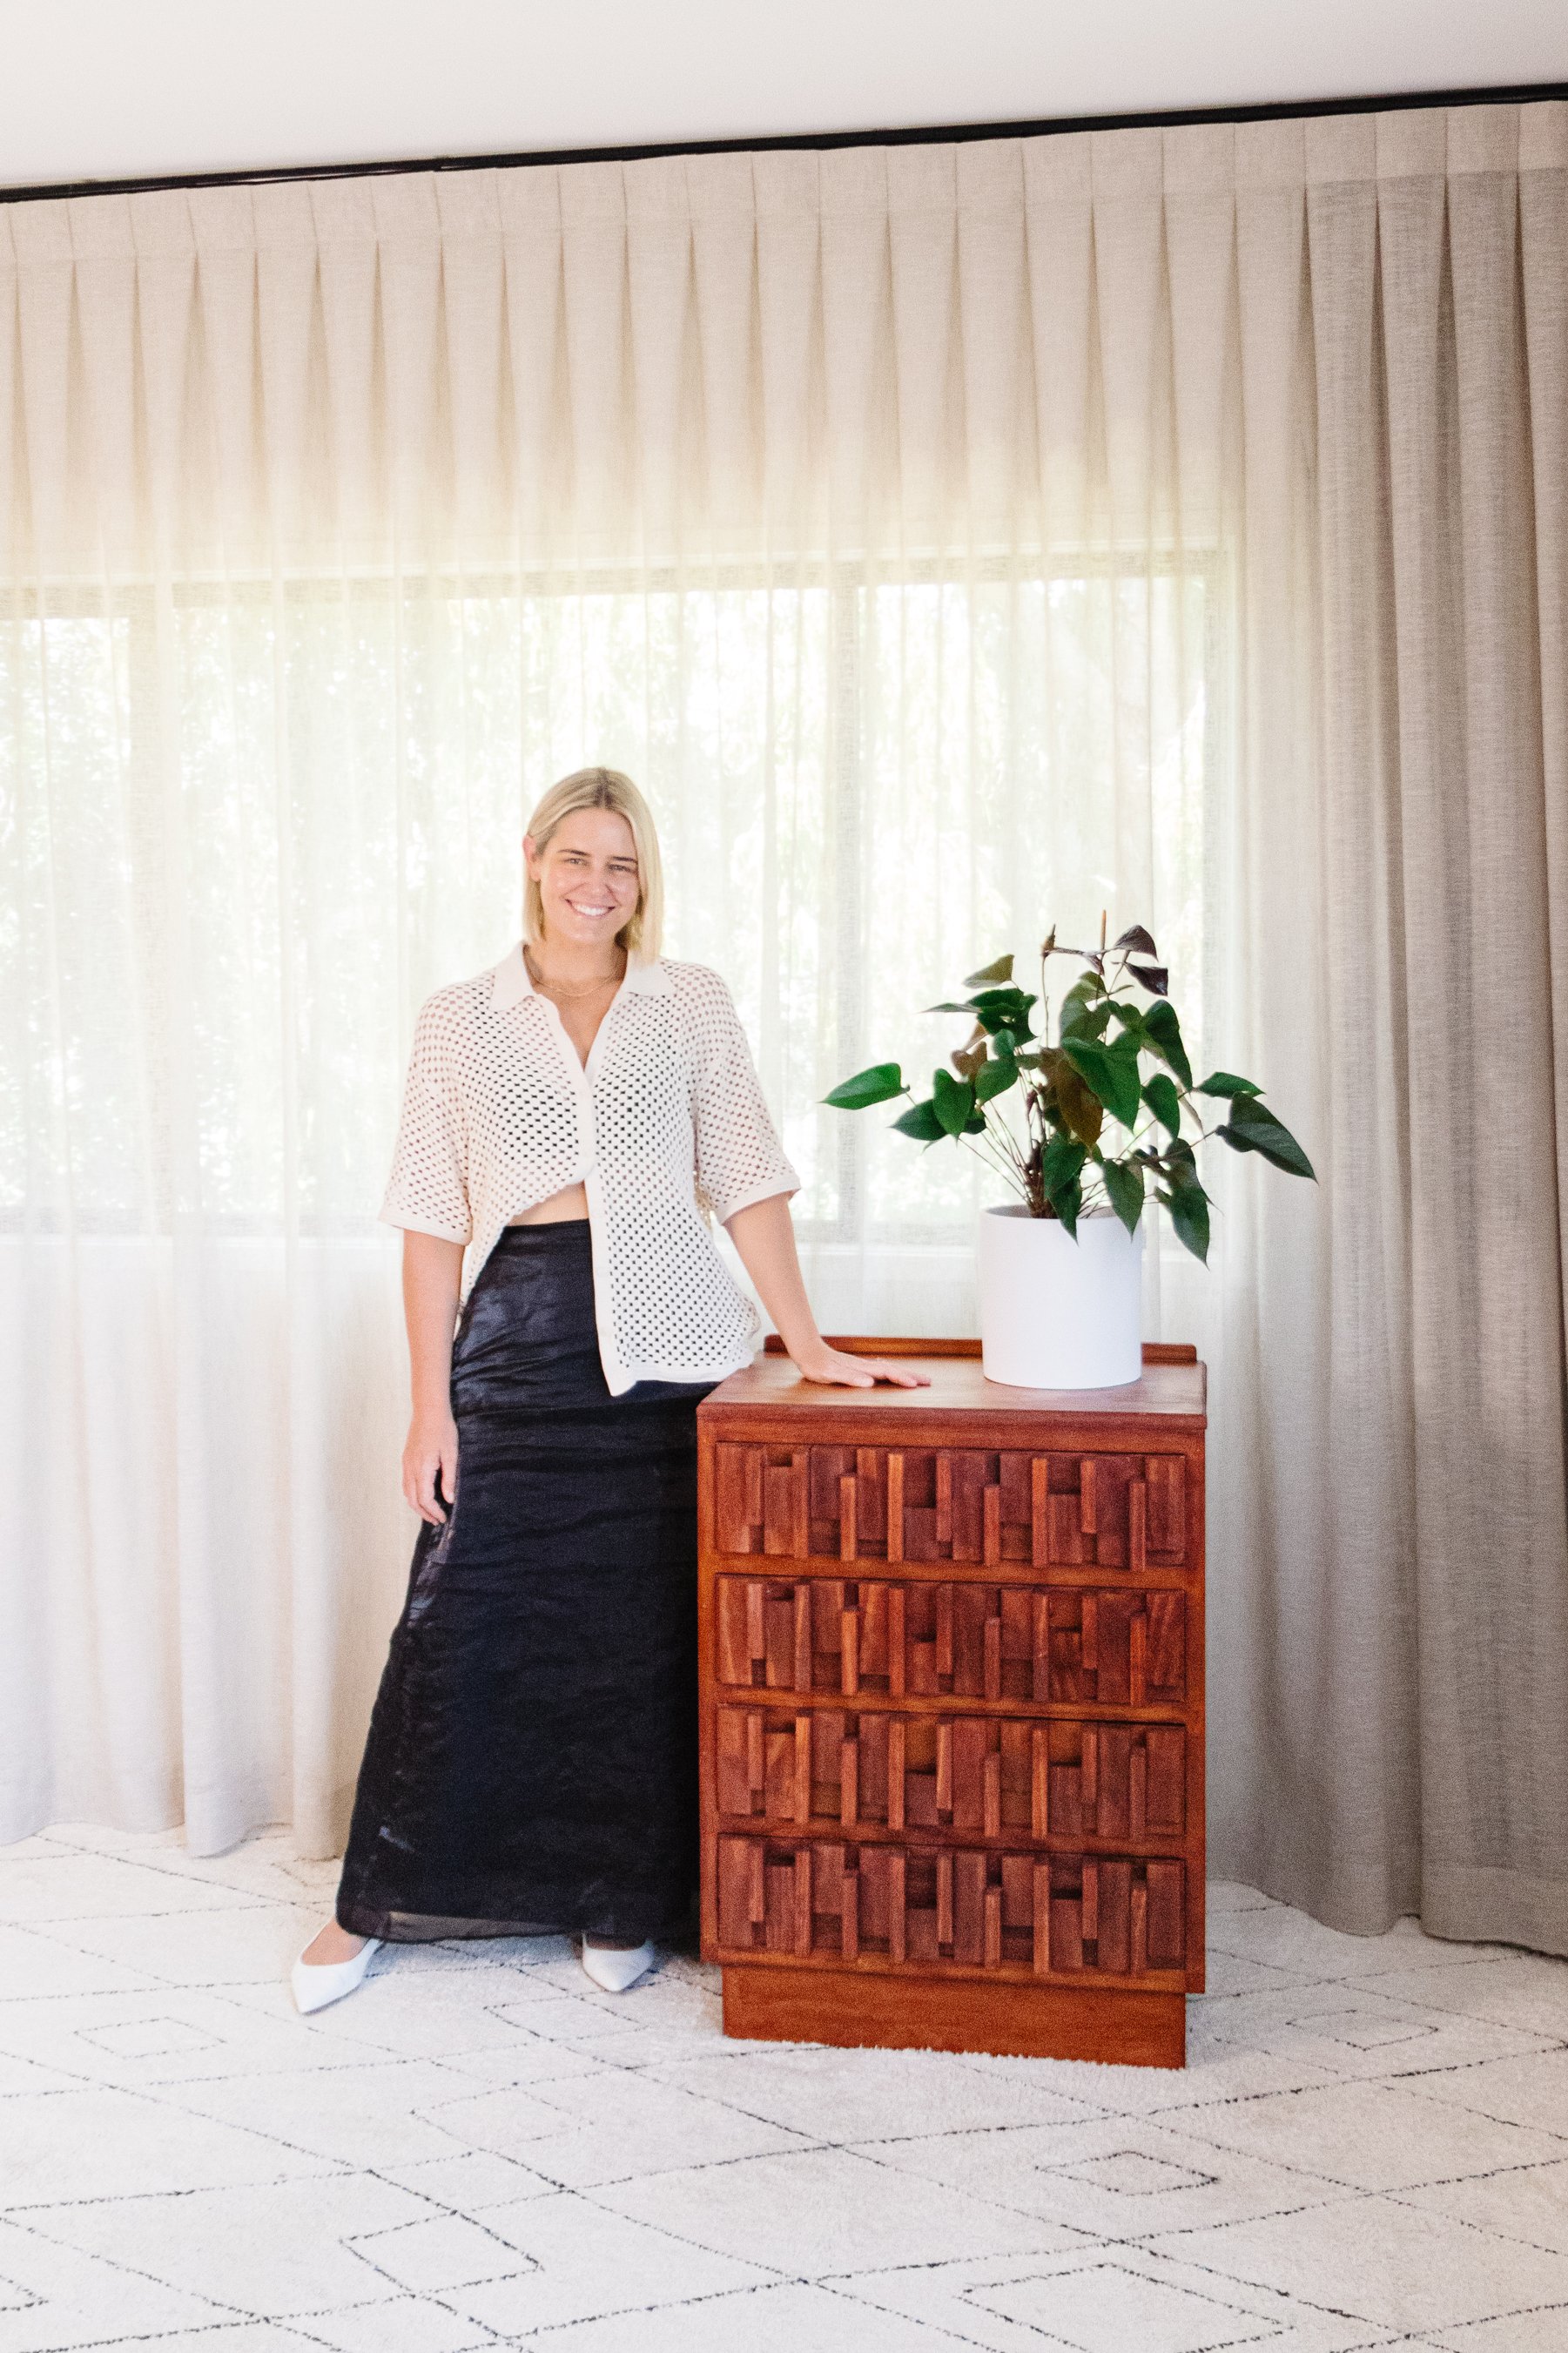
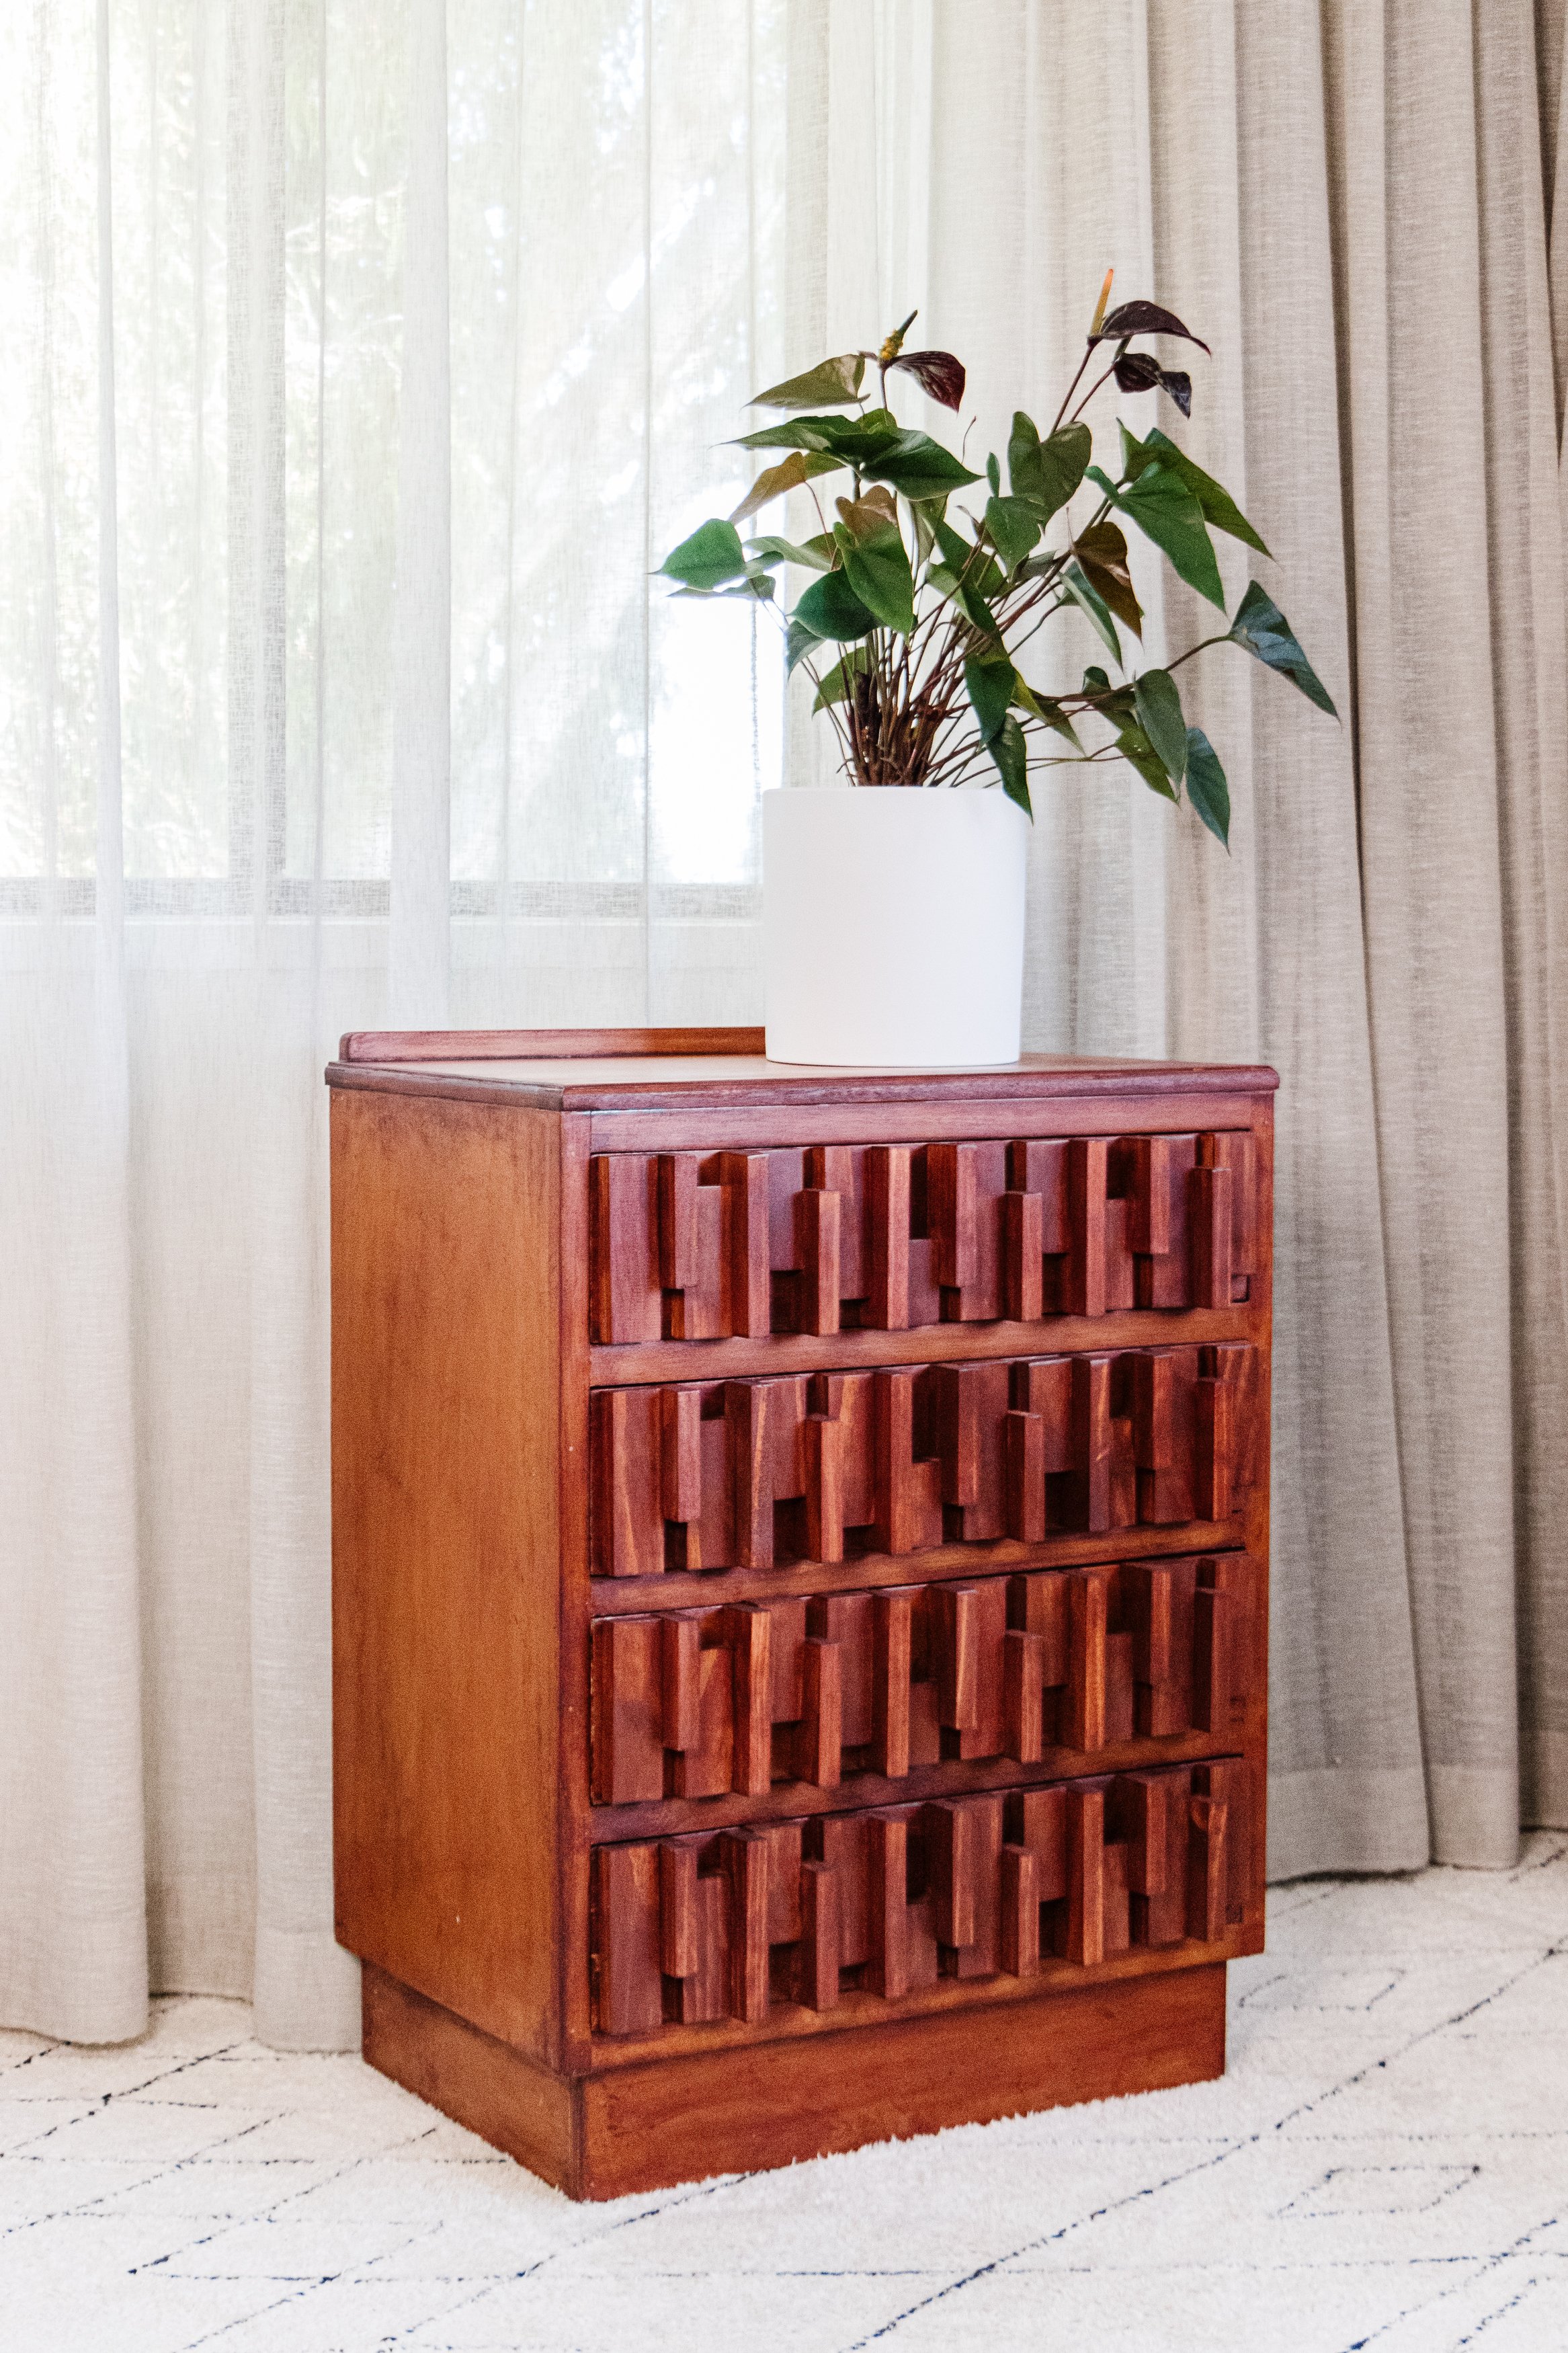
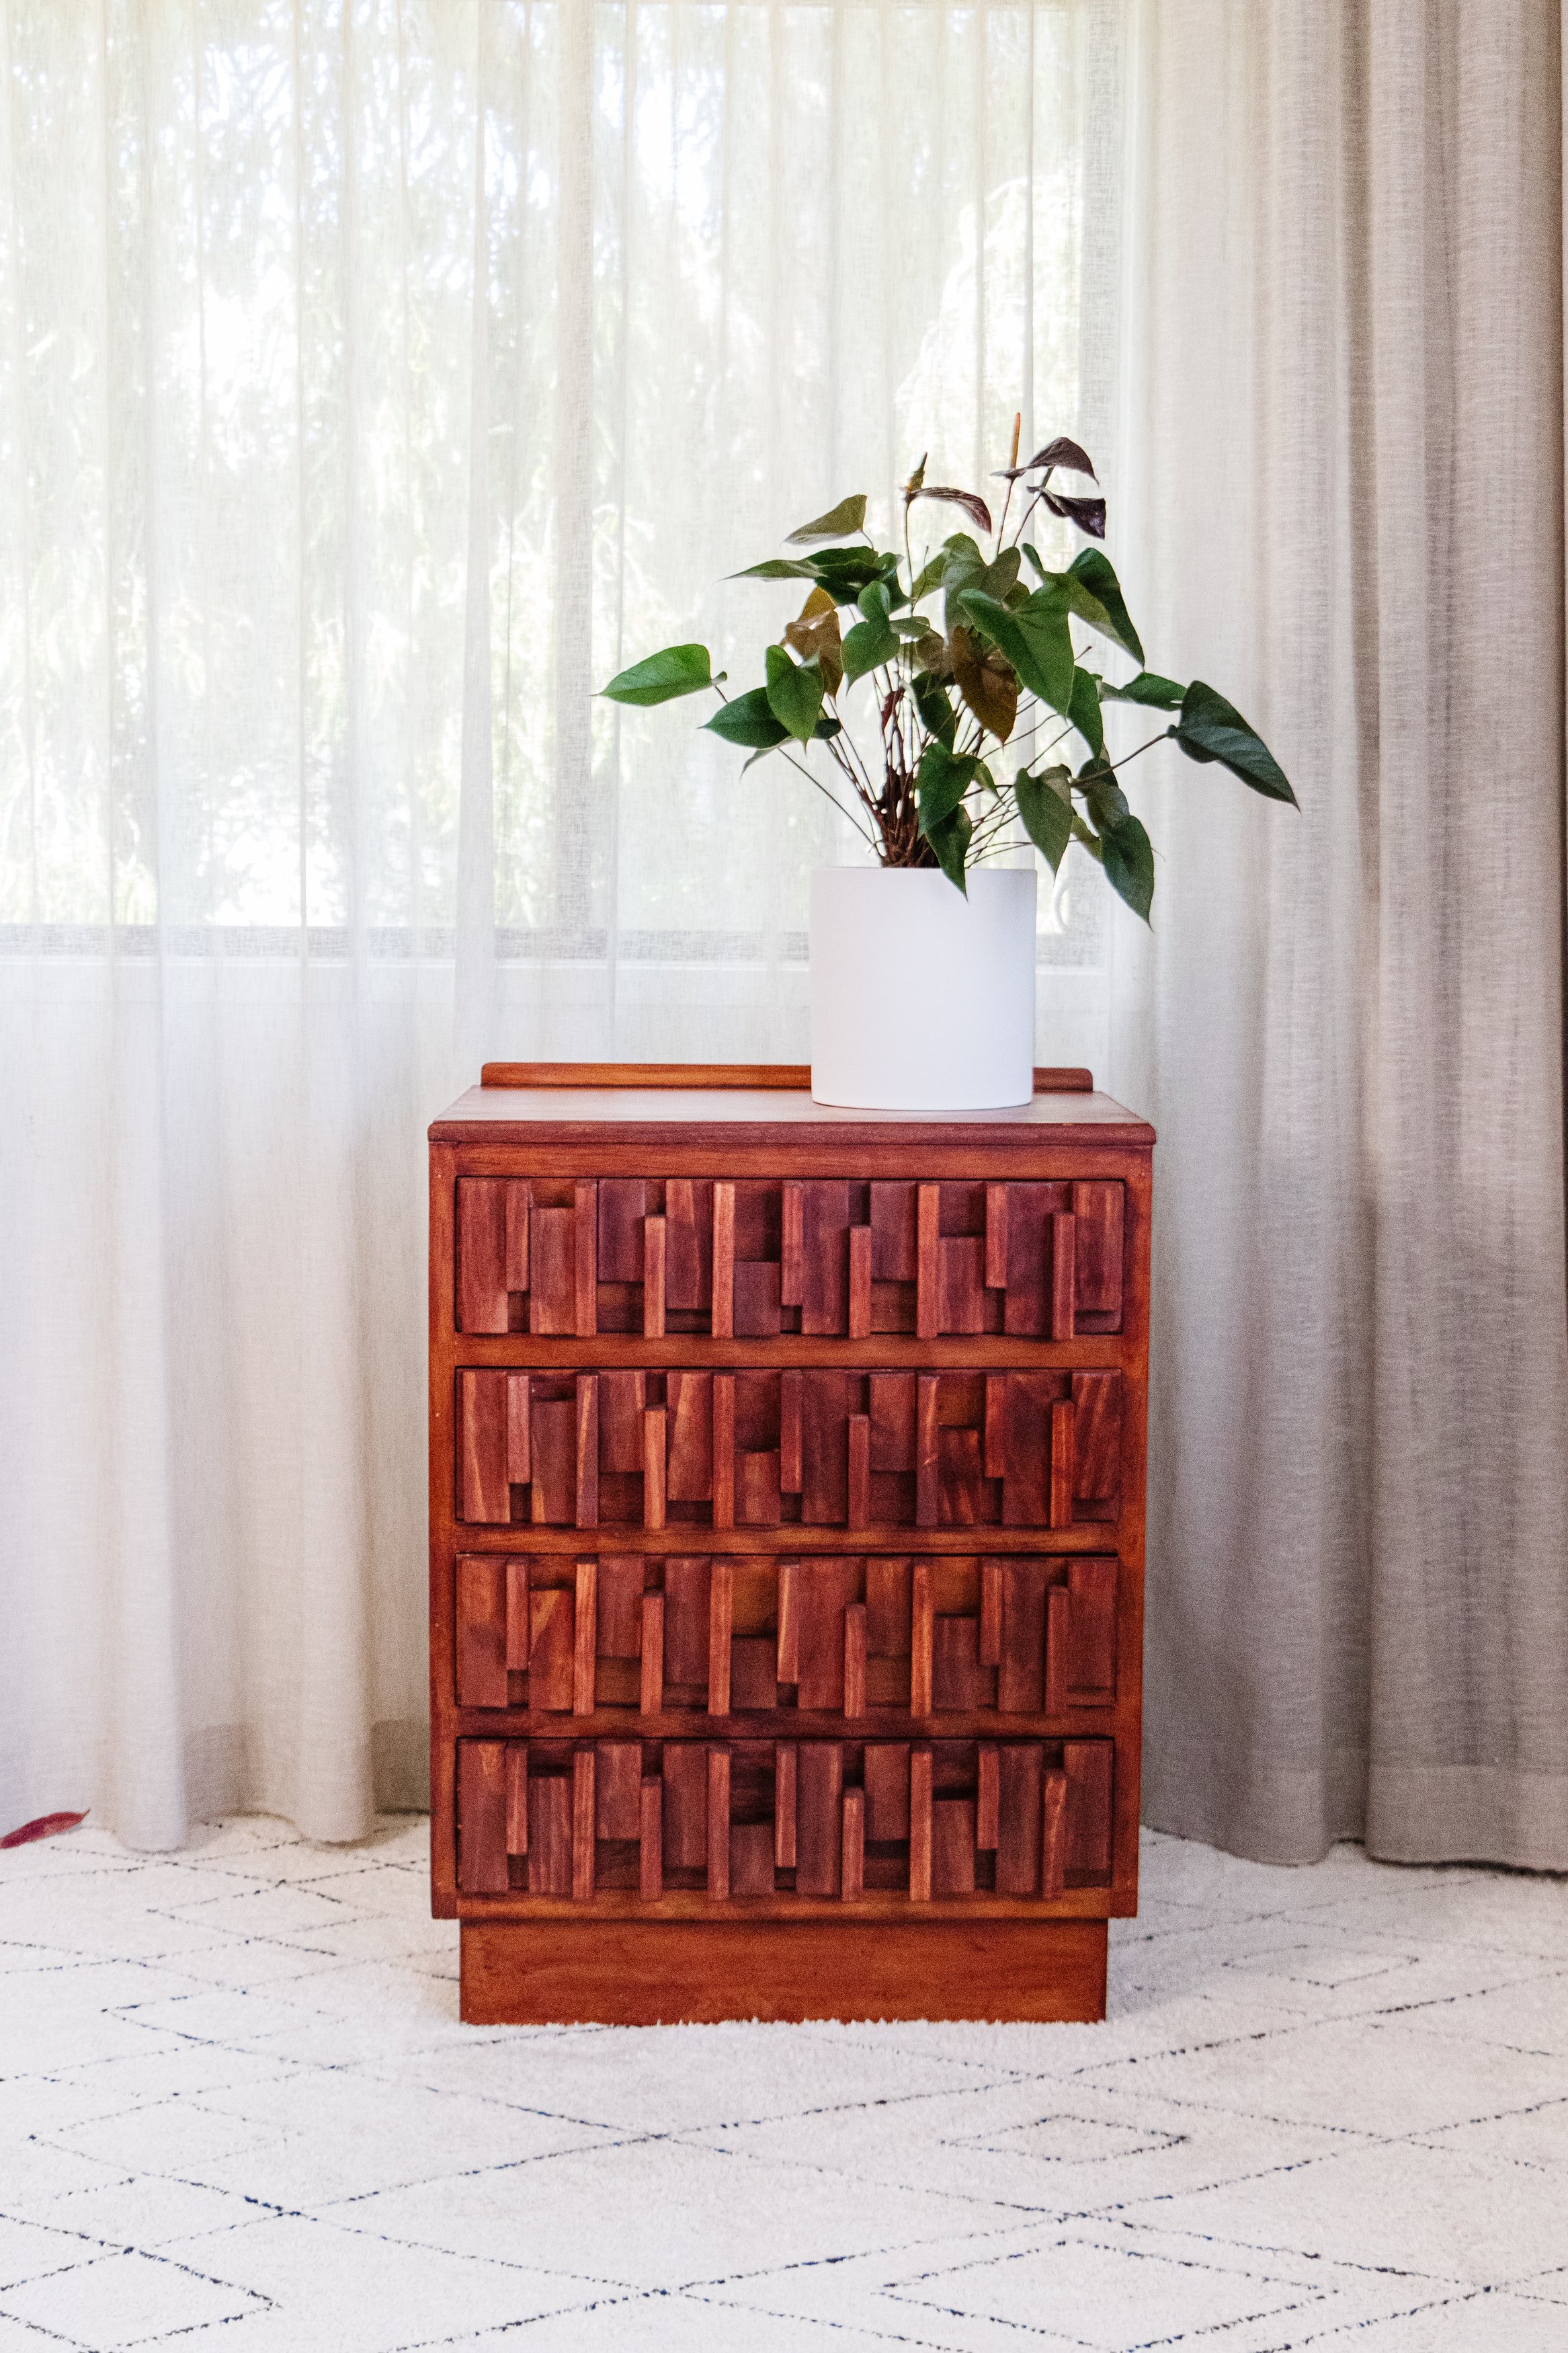
Upcycled Brutalist Inspired Drawers
Wait till you see how I transformed these thrifted drawers!
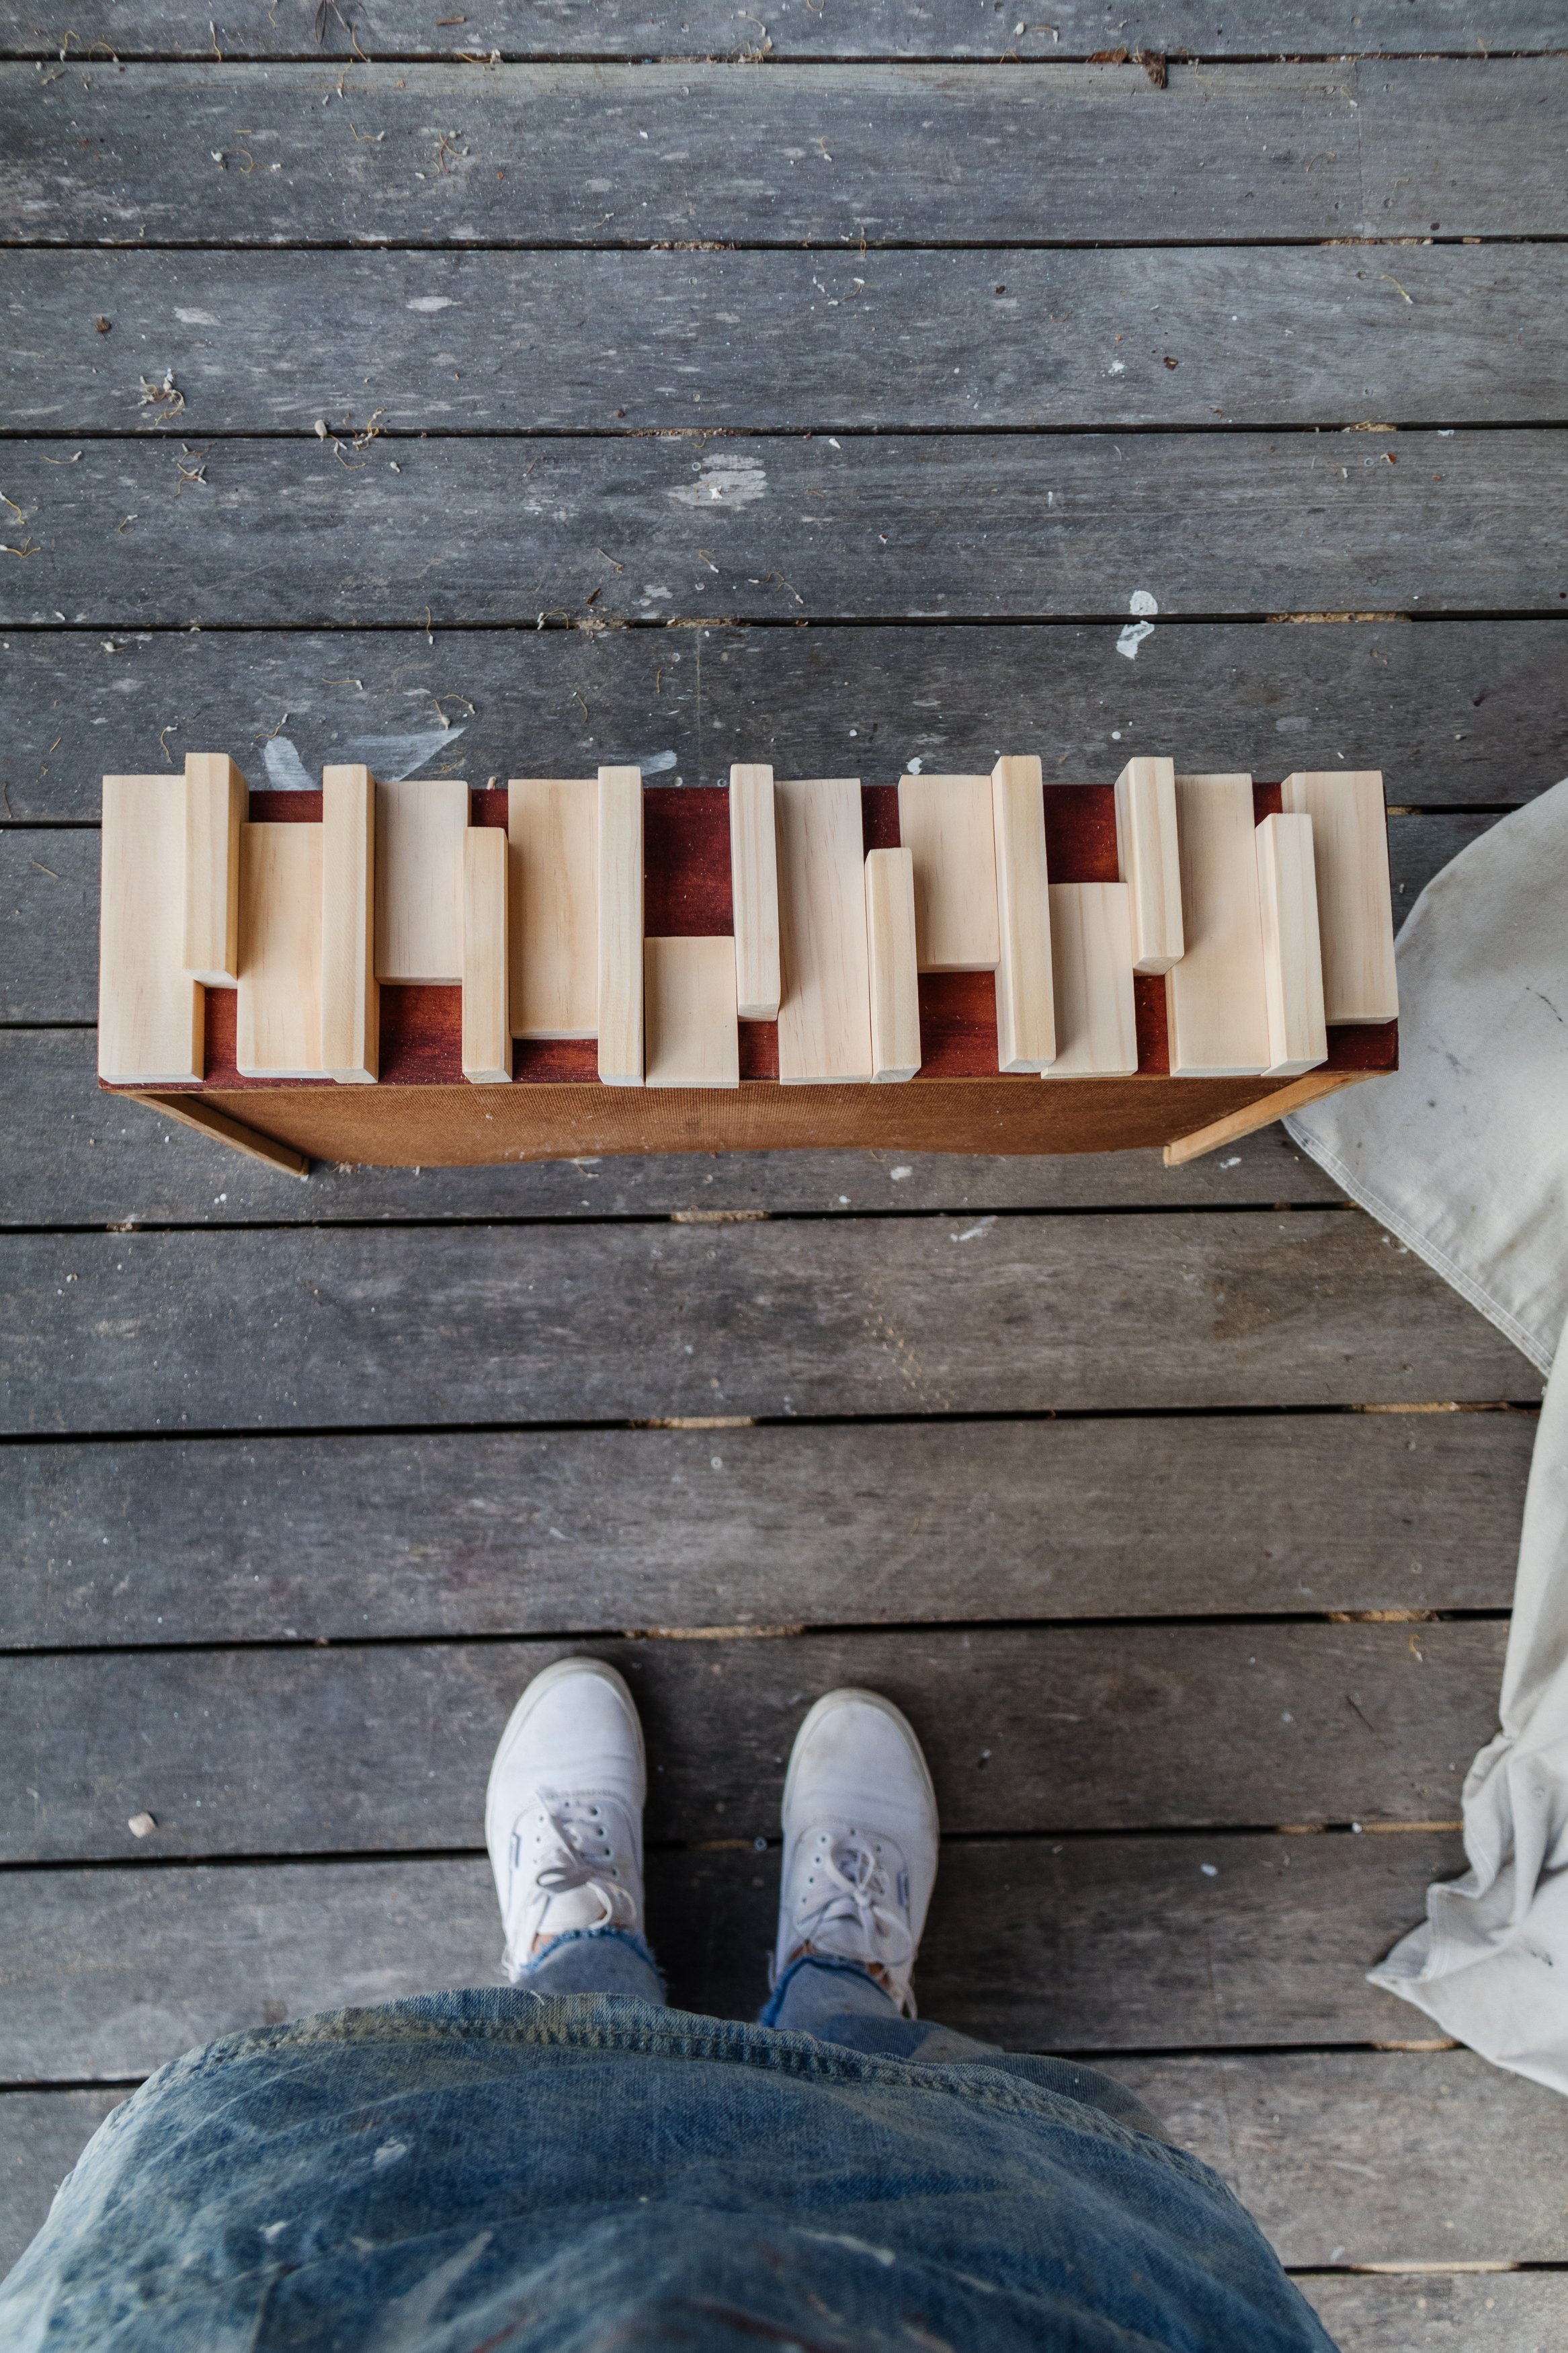
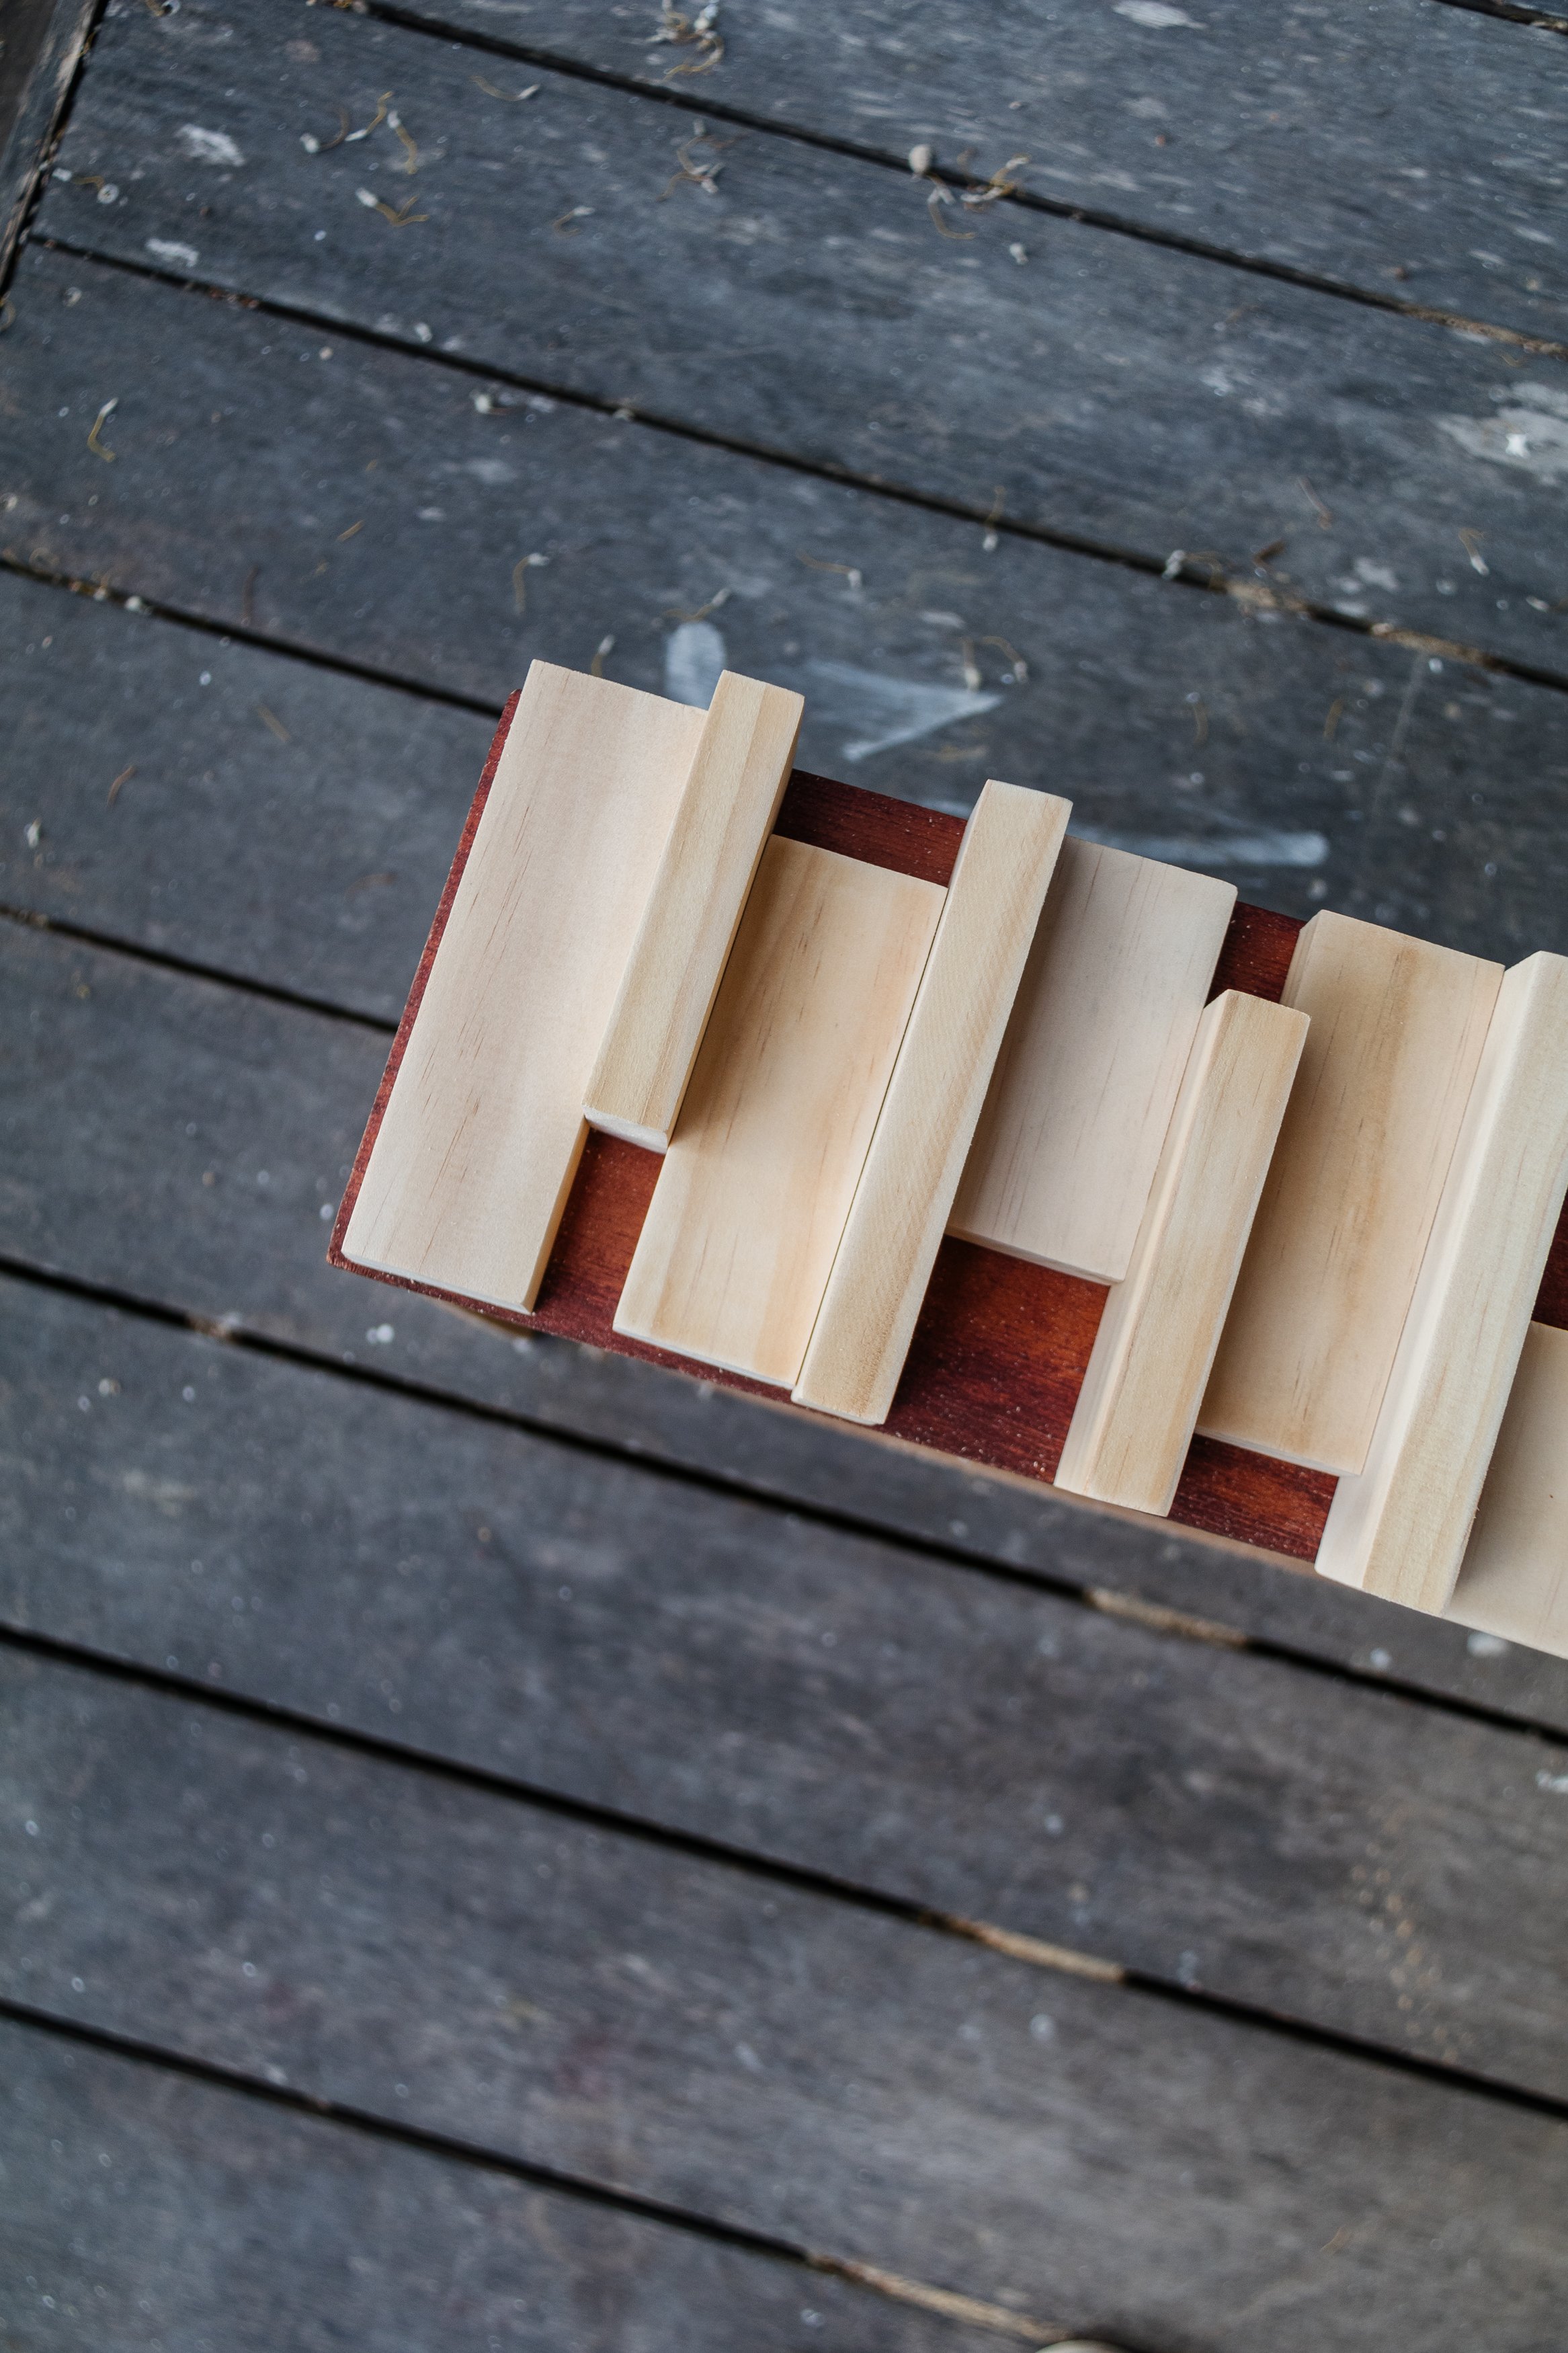
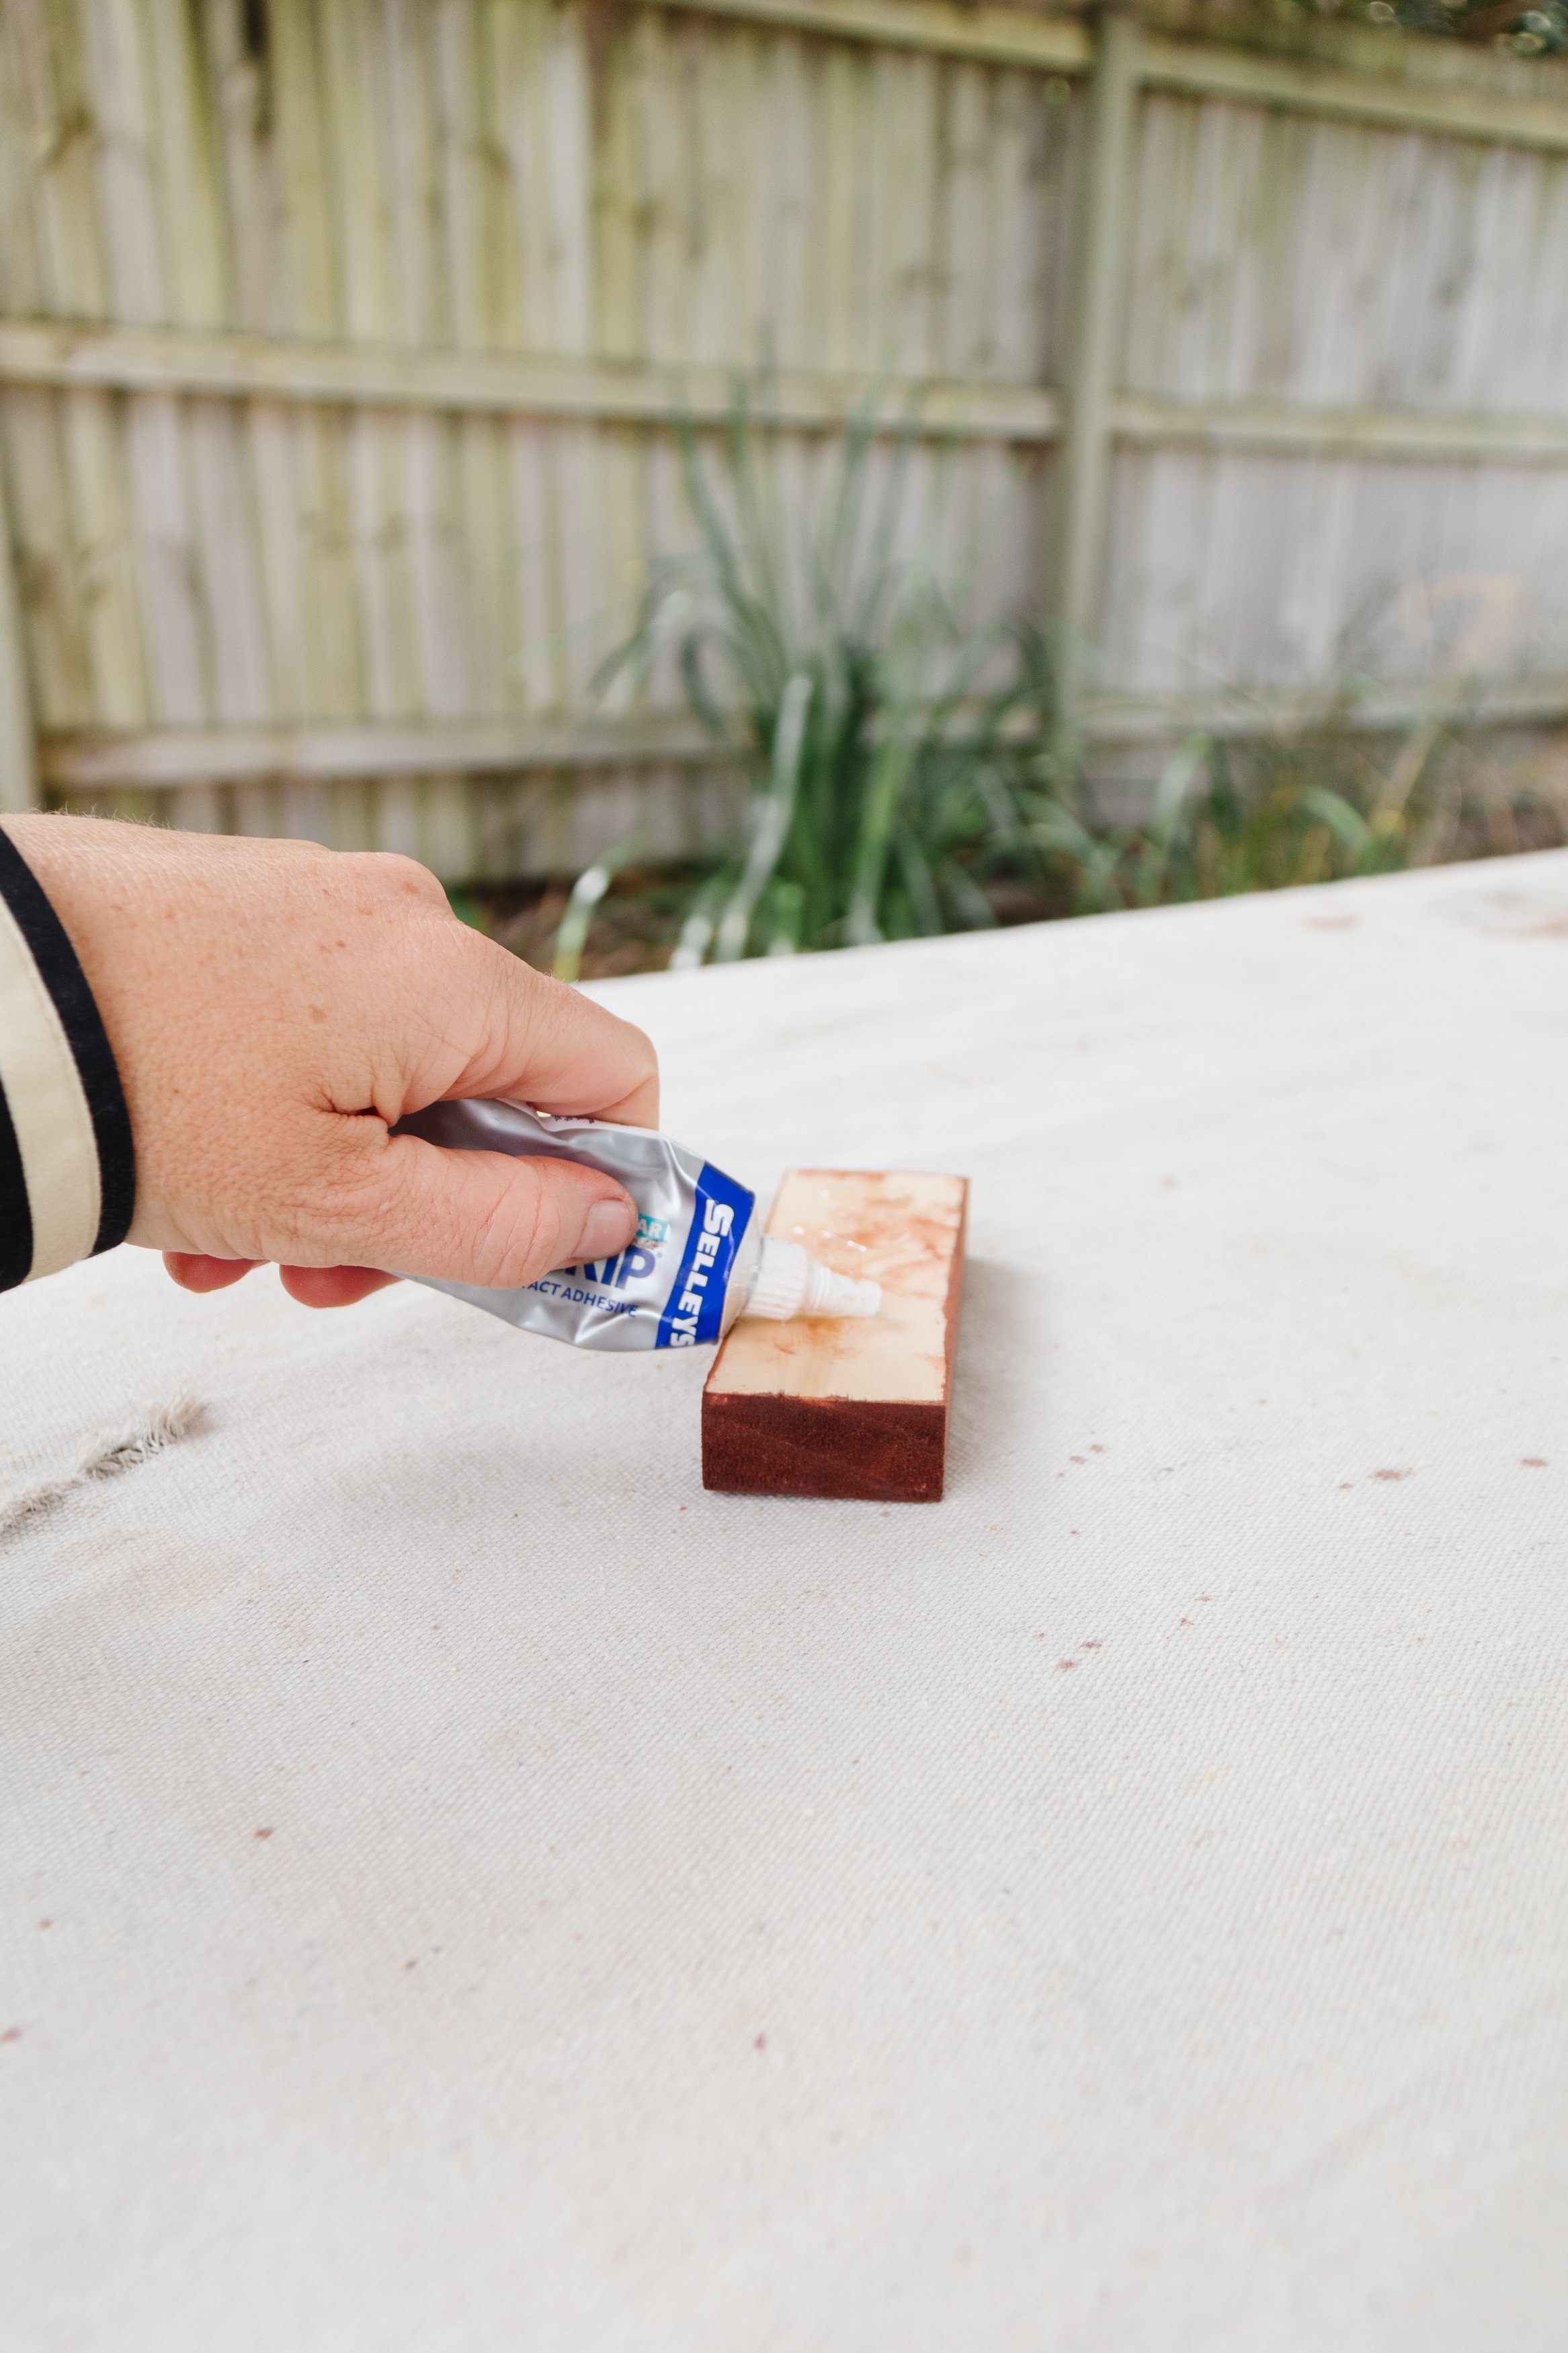
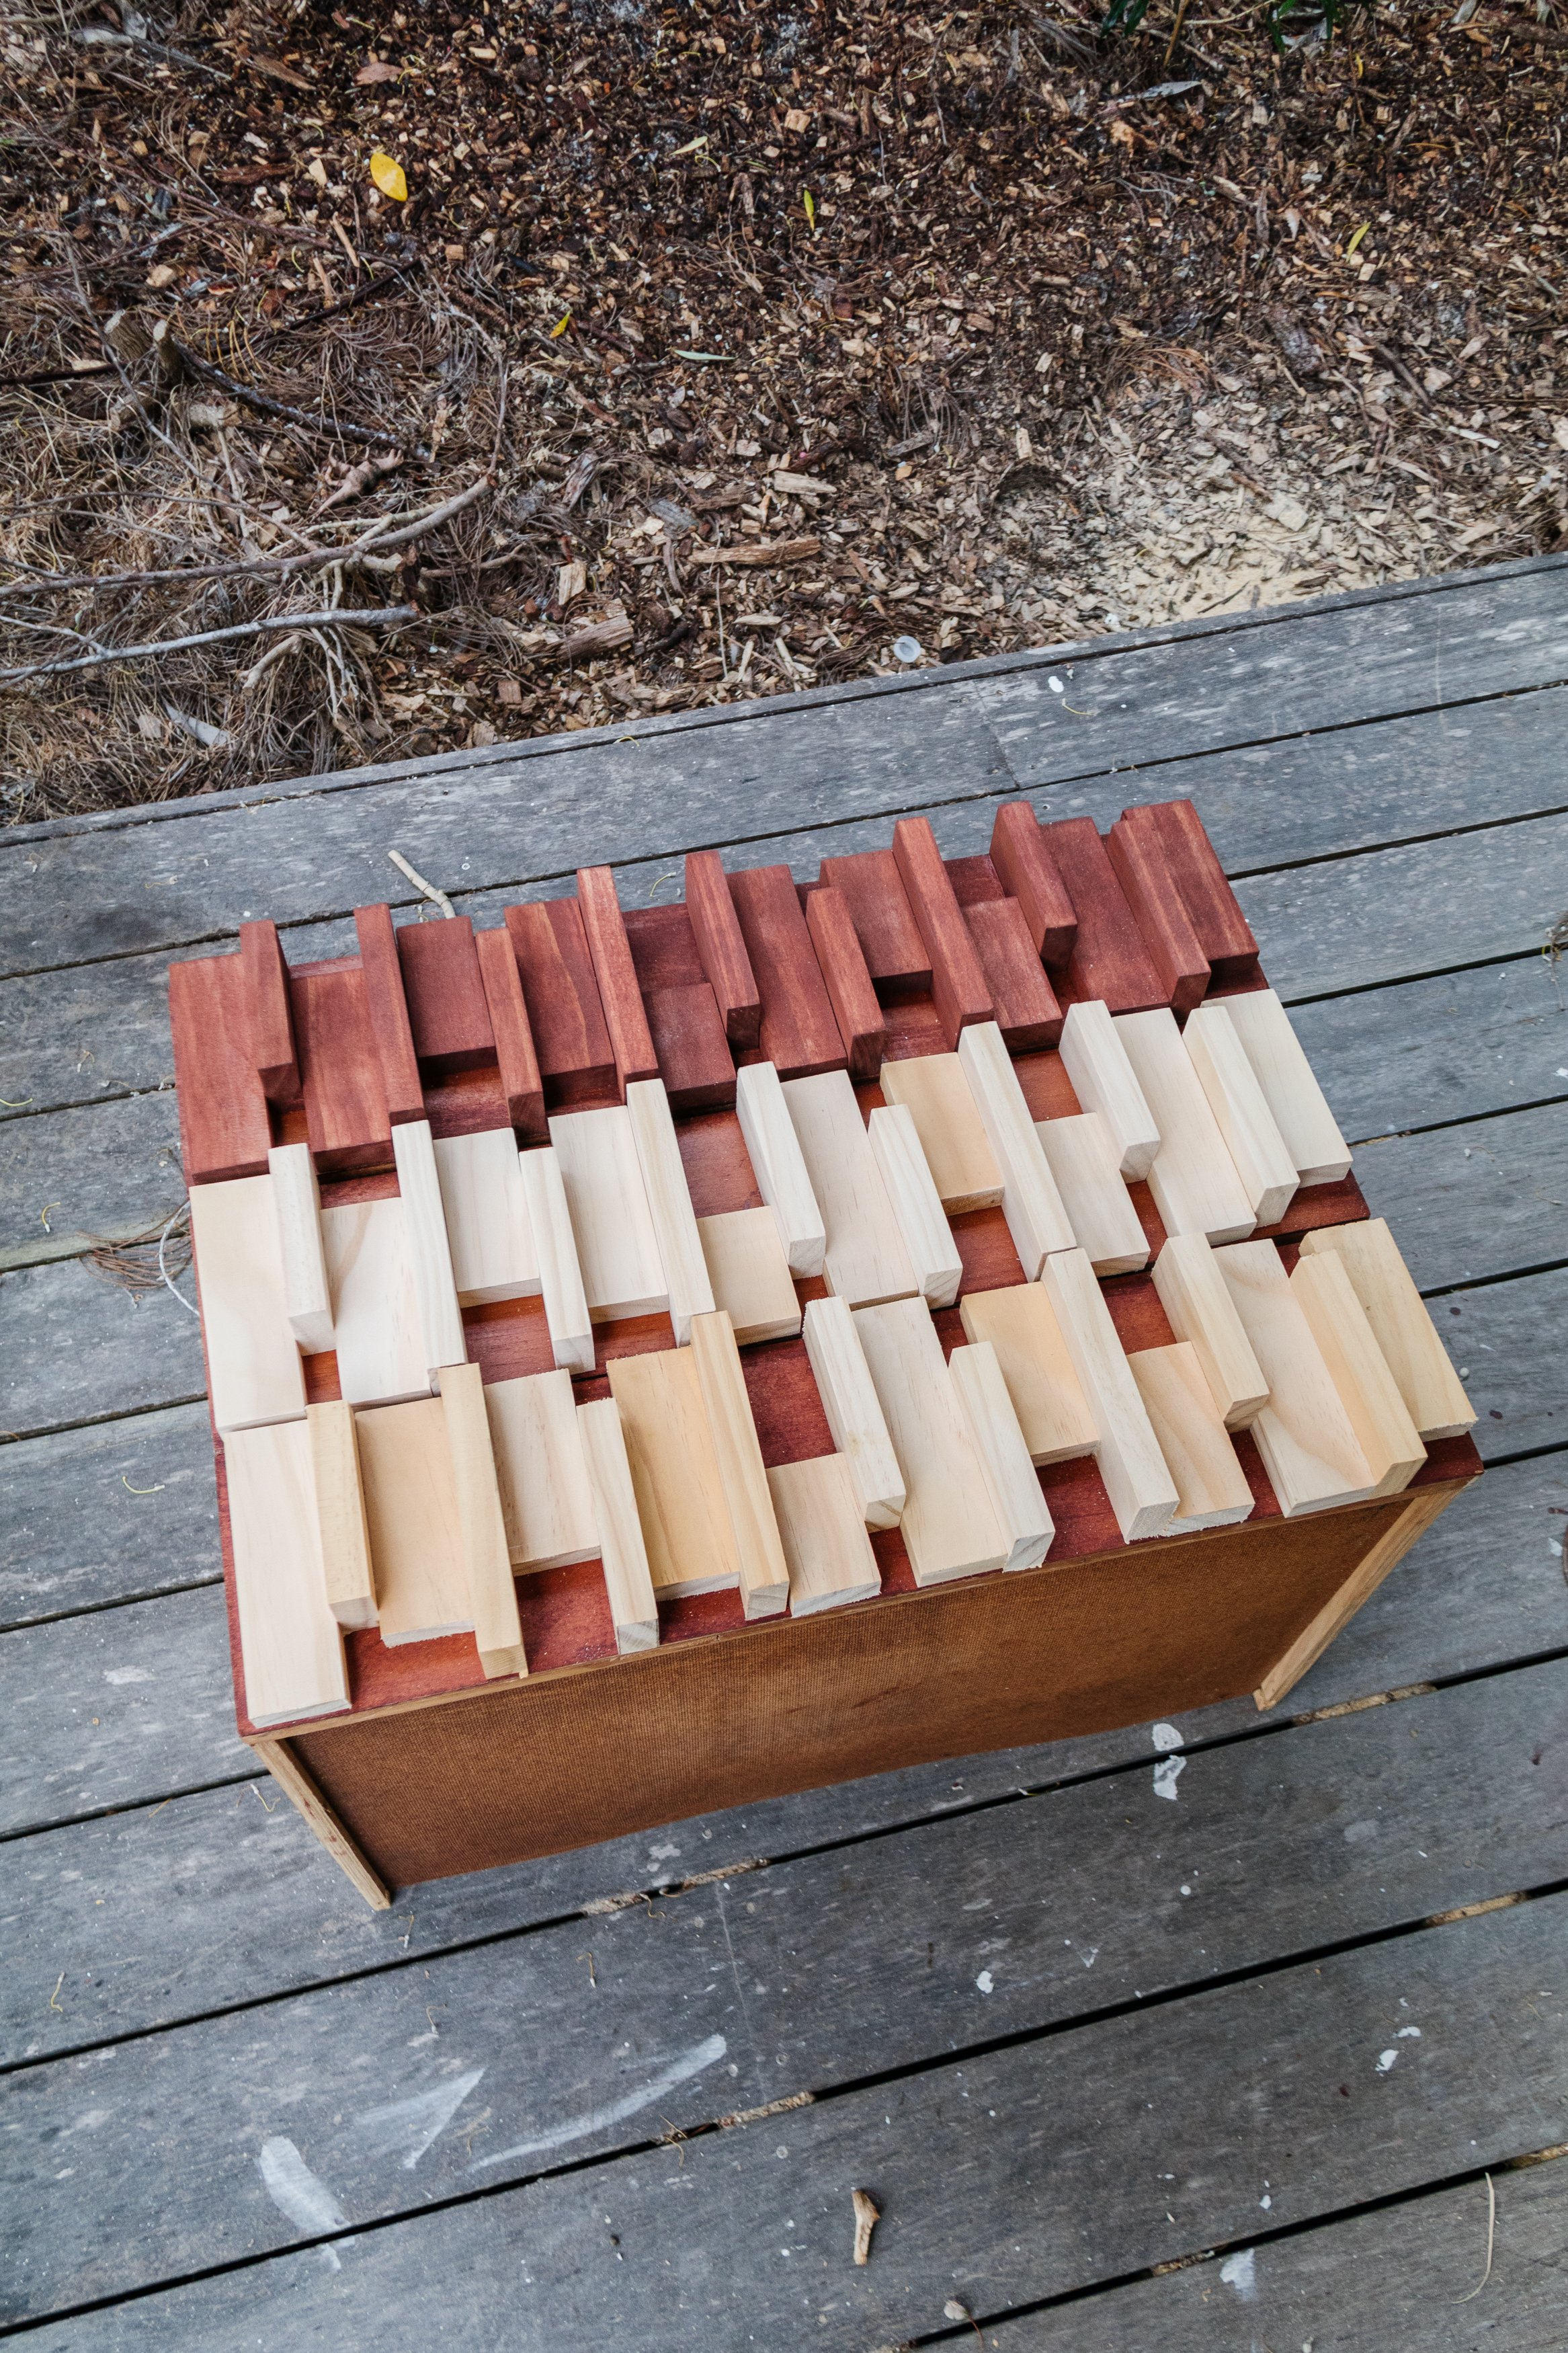
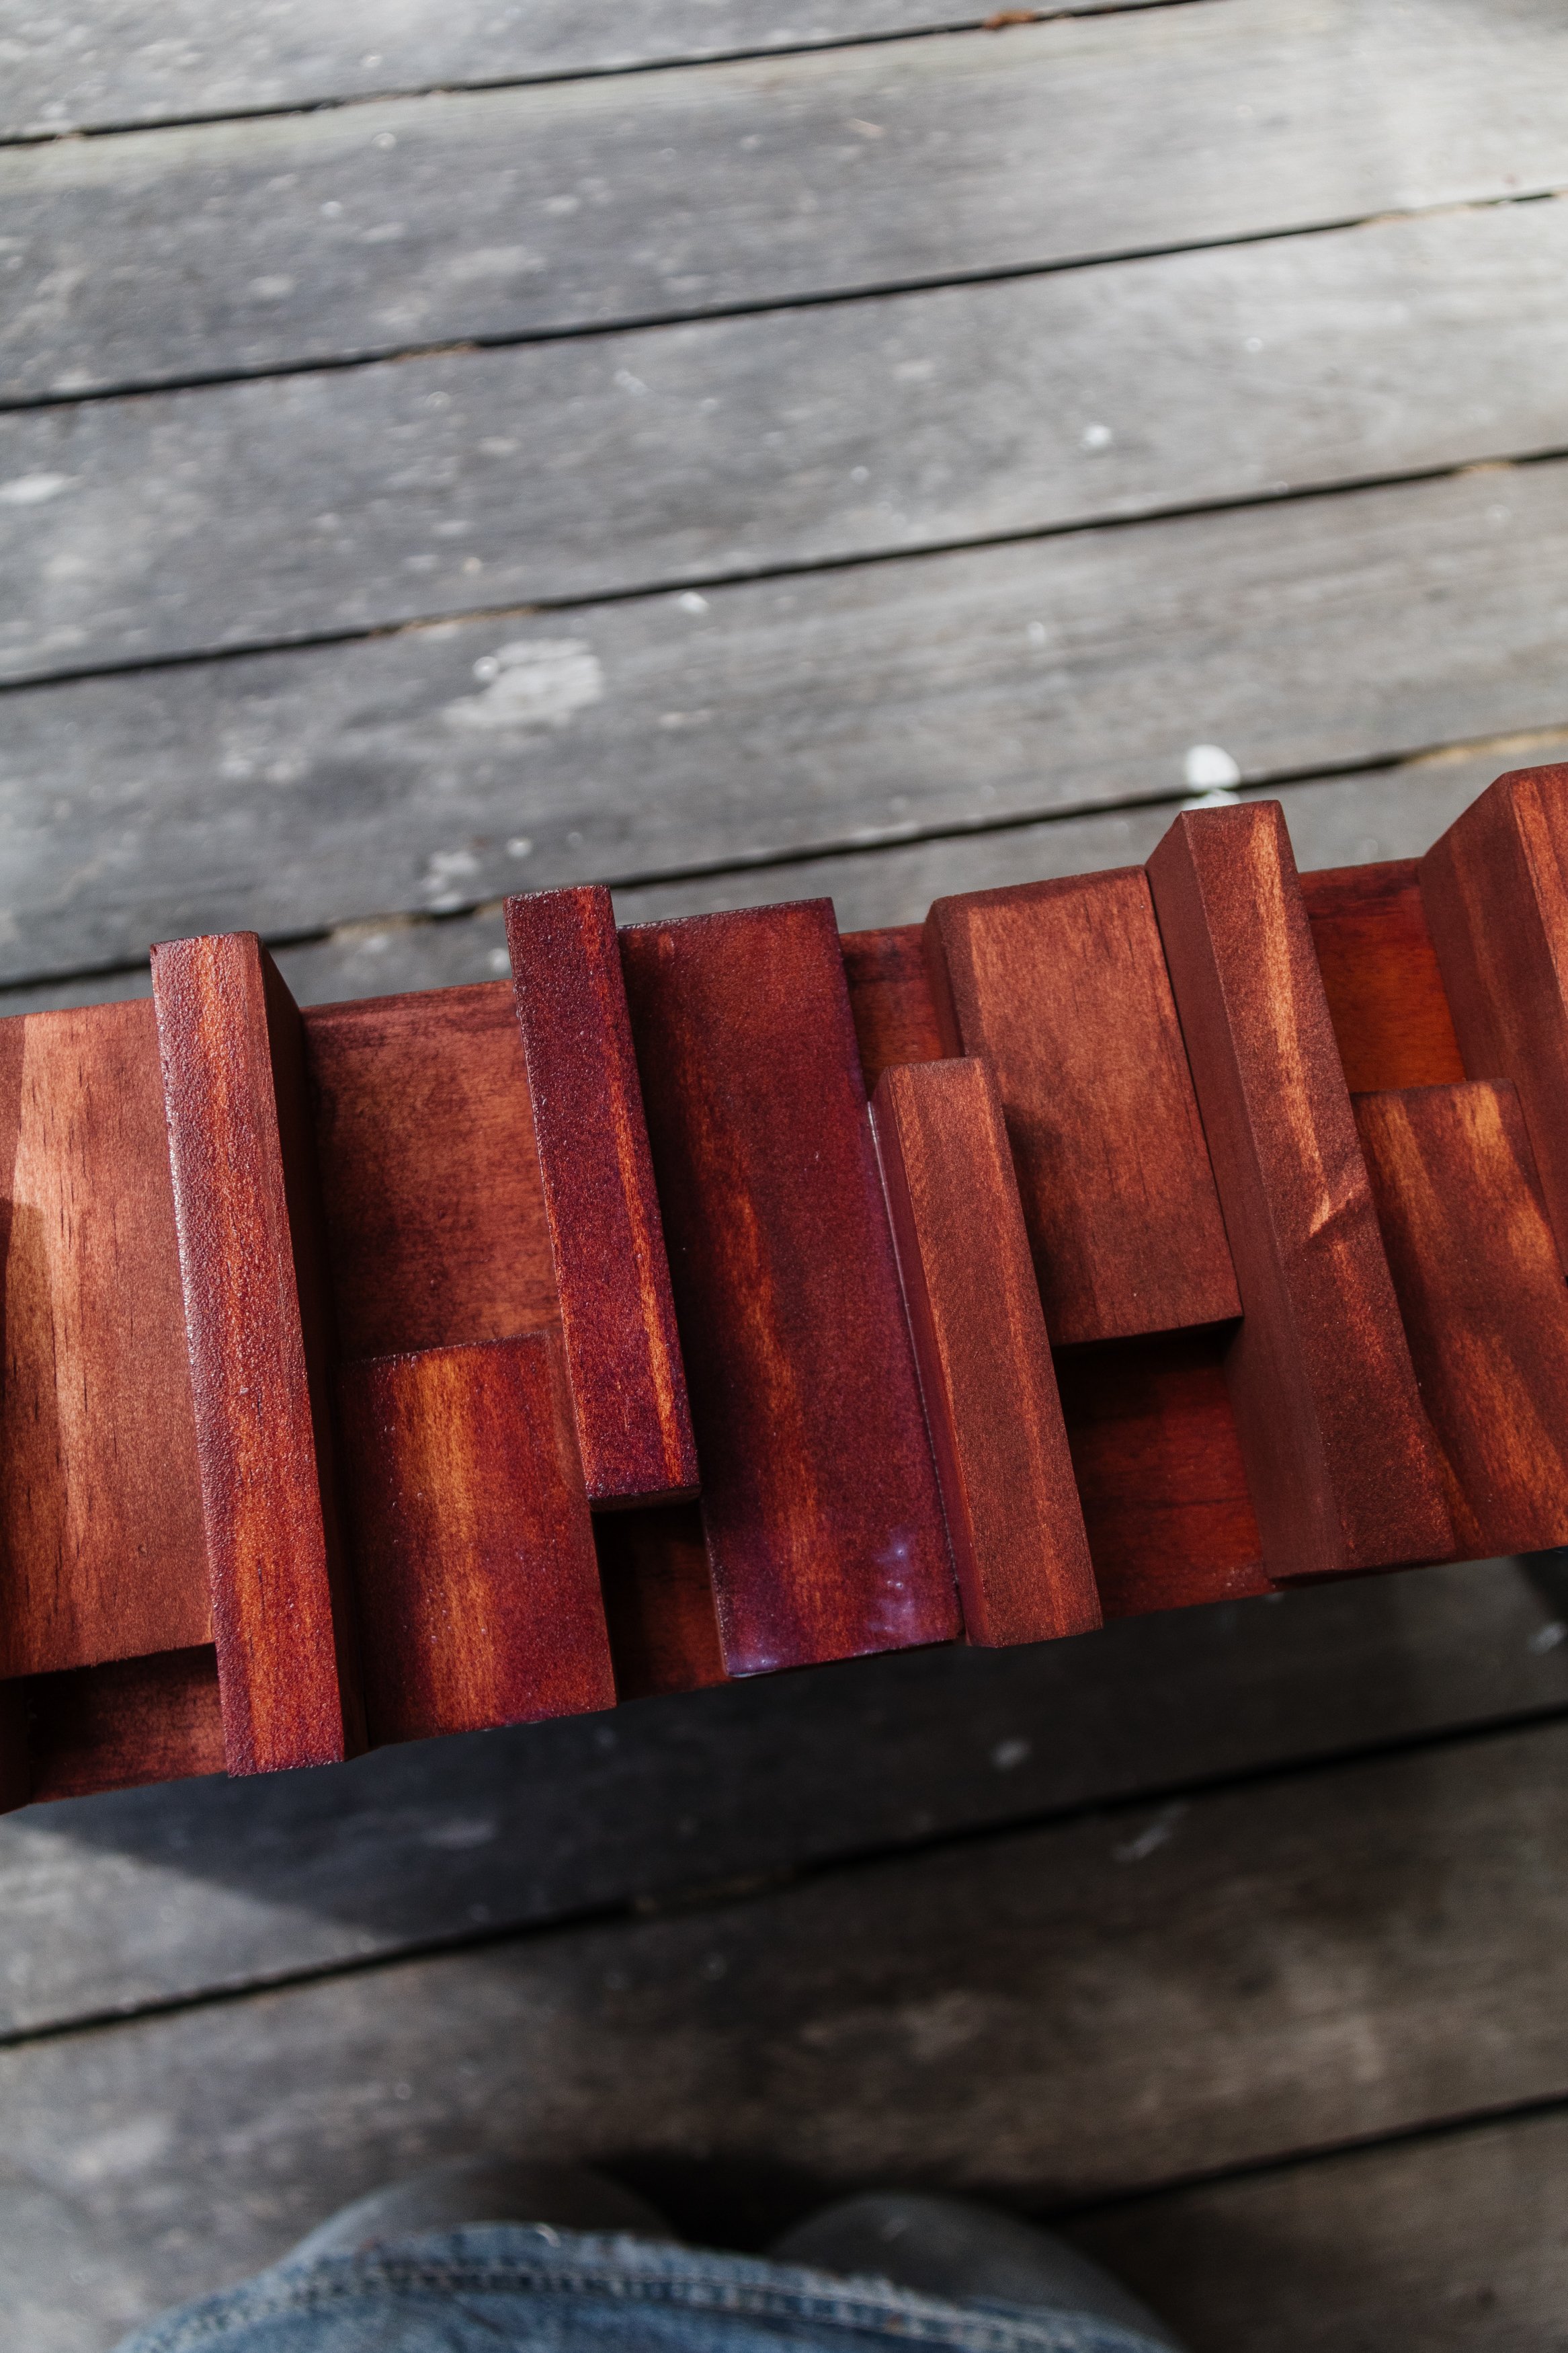
After sanding and staining these tall drawers I found at a charity shop, I decided to use leftover pieces of timber from my DIY Wooden Christmas Tree project last year (I waste nothing over here guys!) to create a brutalist inspired design on the front. I cut, sanded, stained, glued and sealed 76 pieces by hand onto the face of the drawers which took a little while but was totally worth it! I hope this project has inspired you to create your own Brutalist project.
And make sure to watch my video to see how it all came together
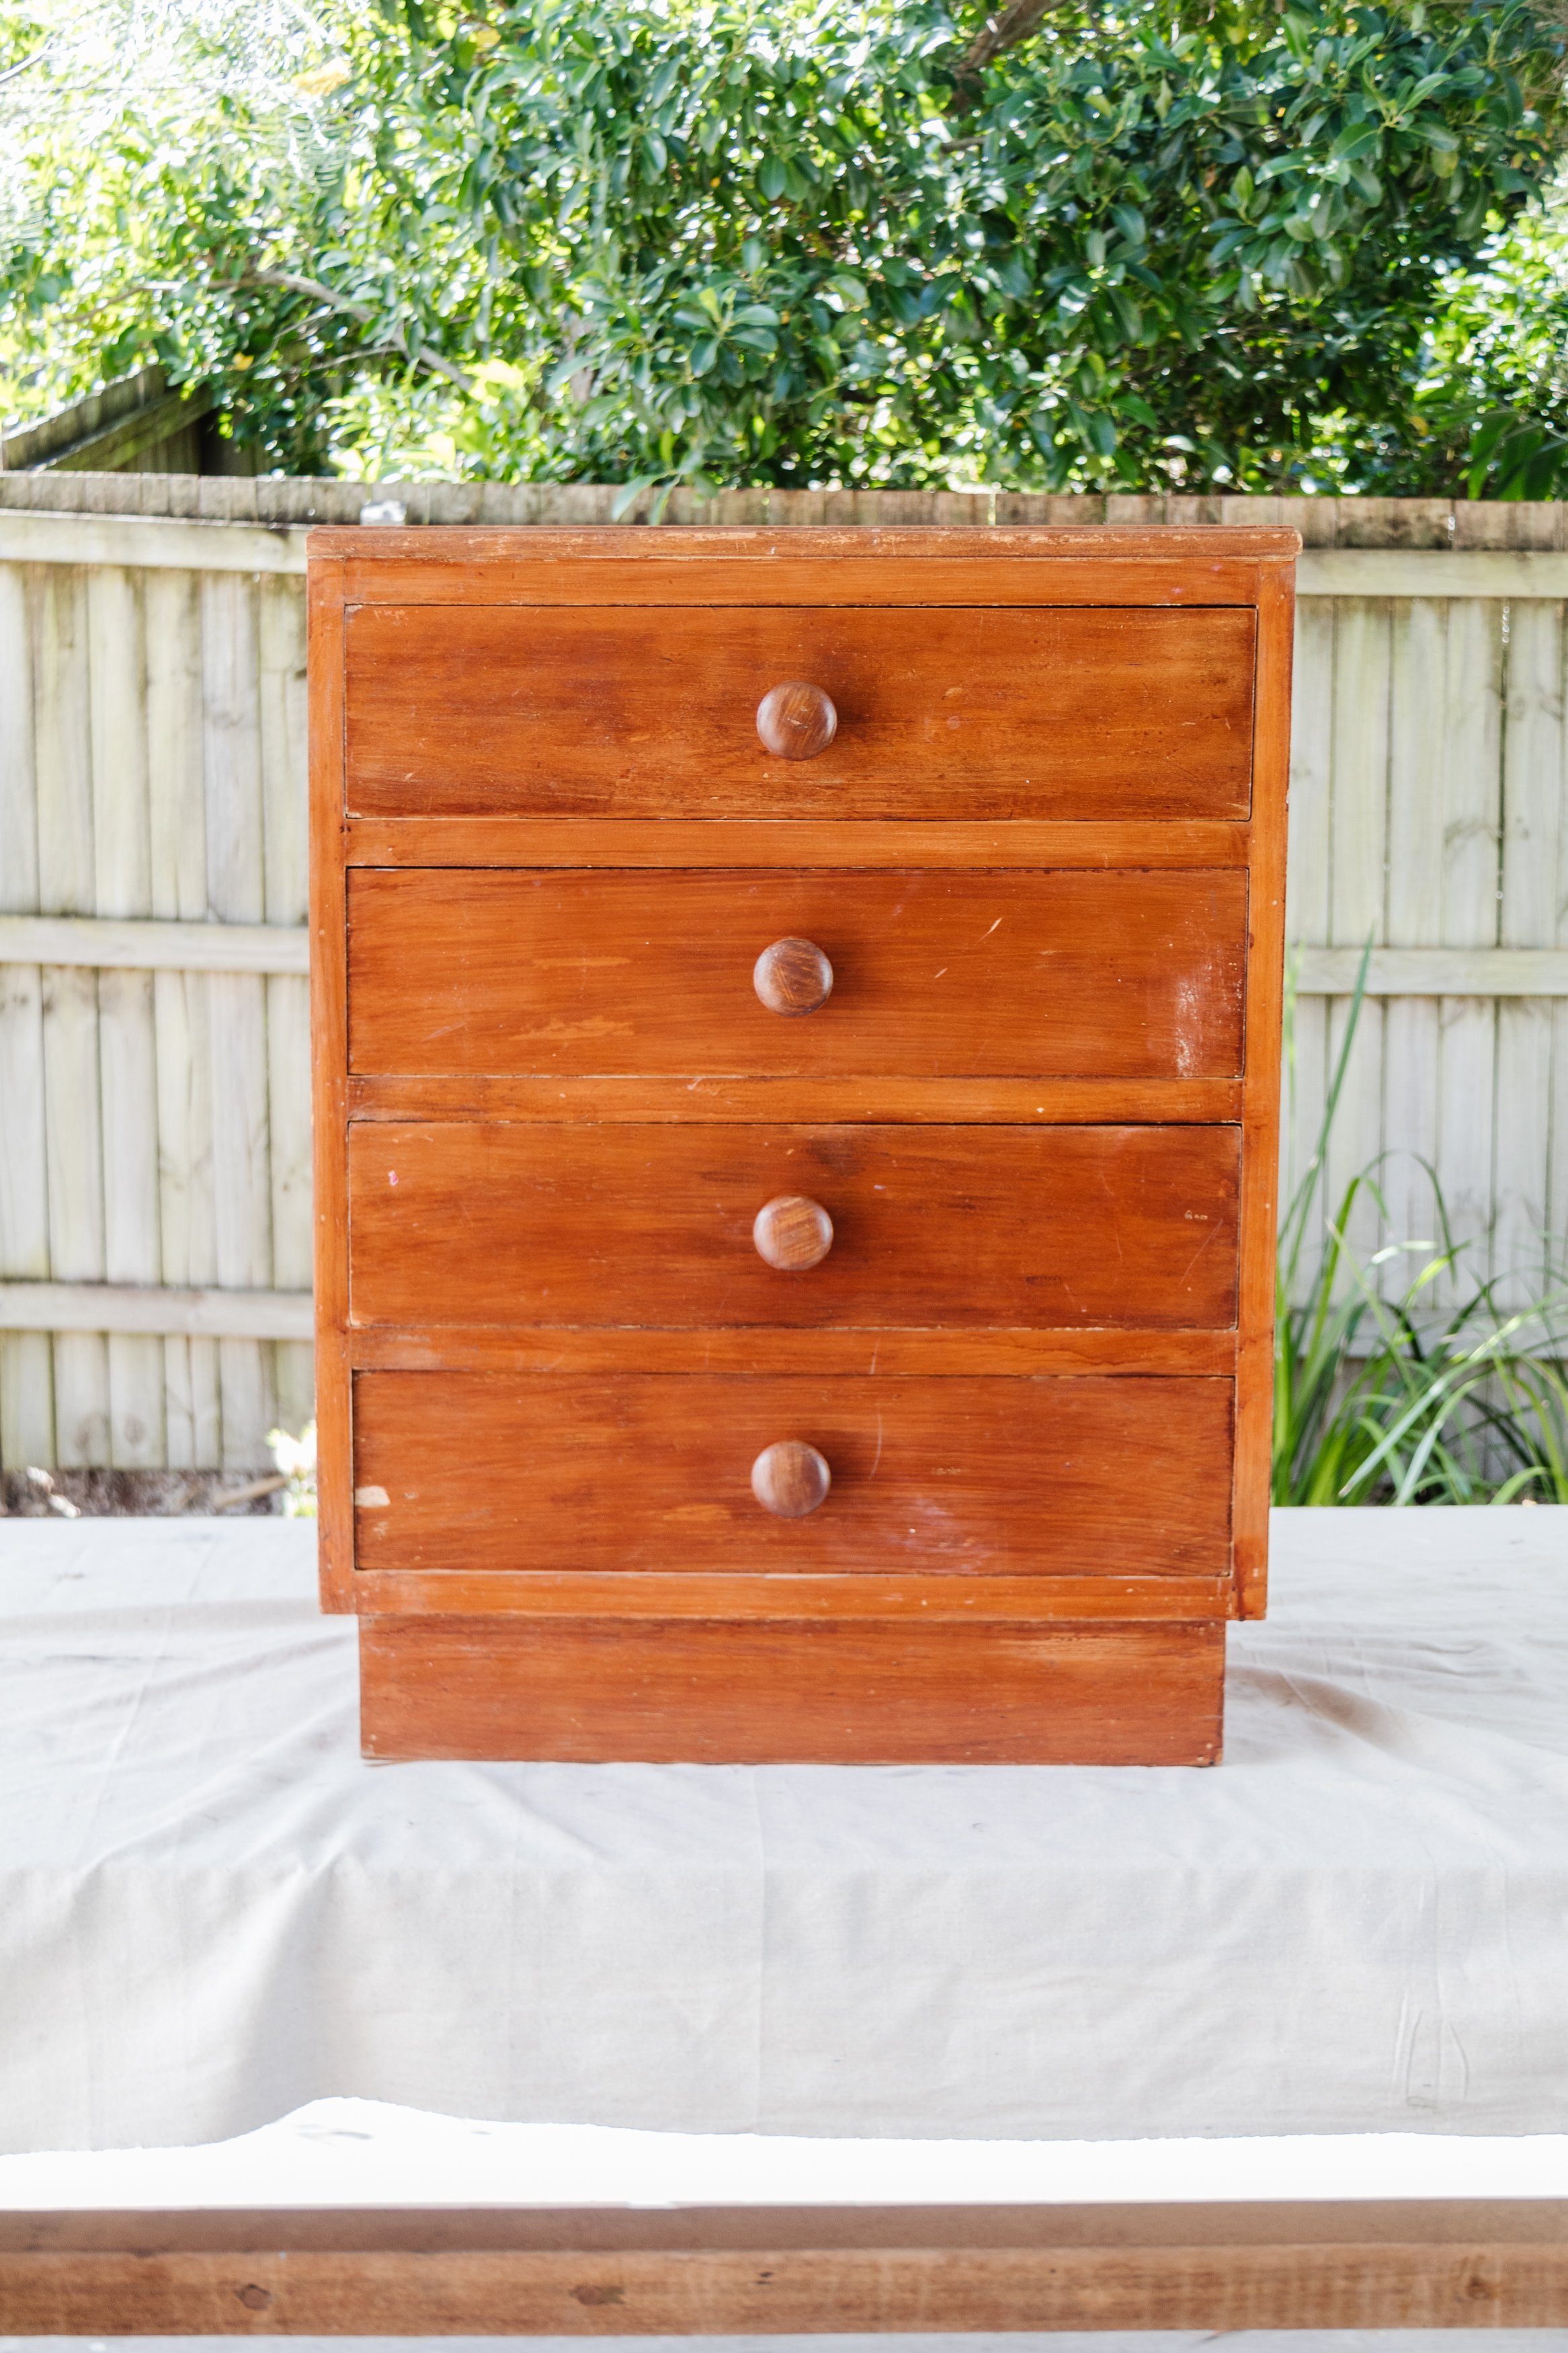
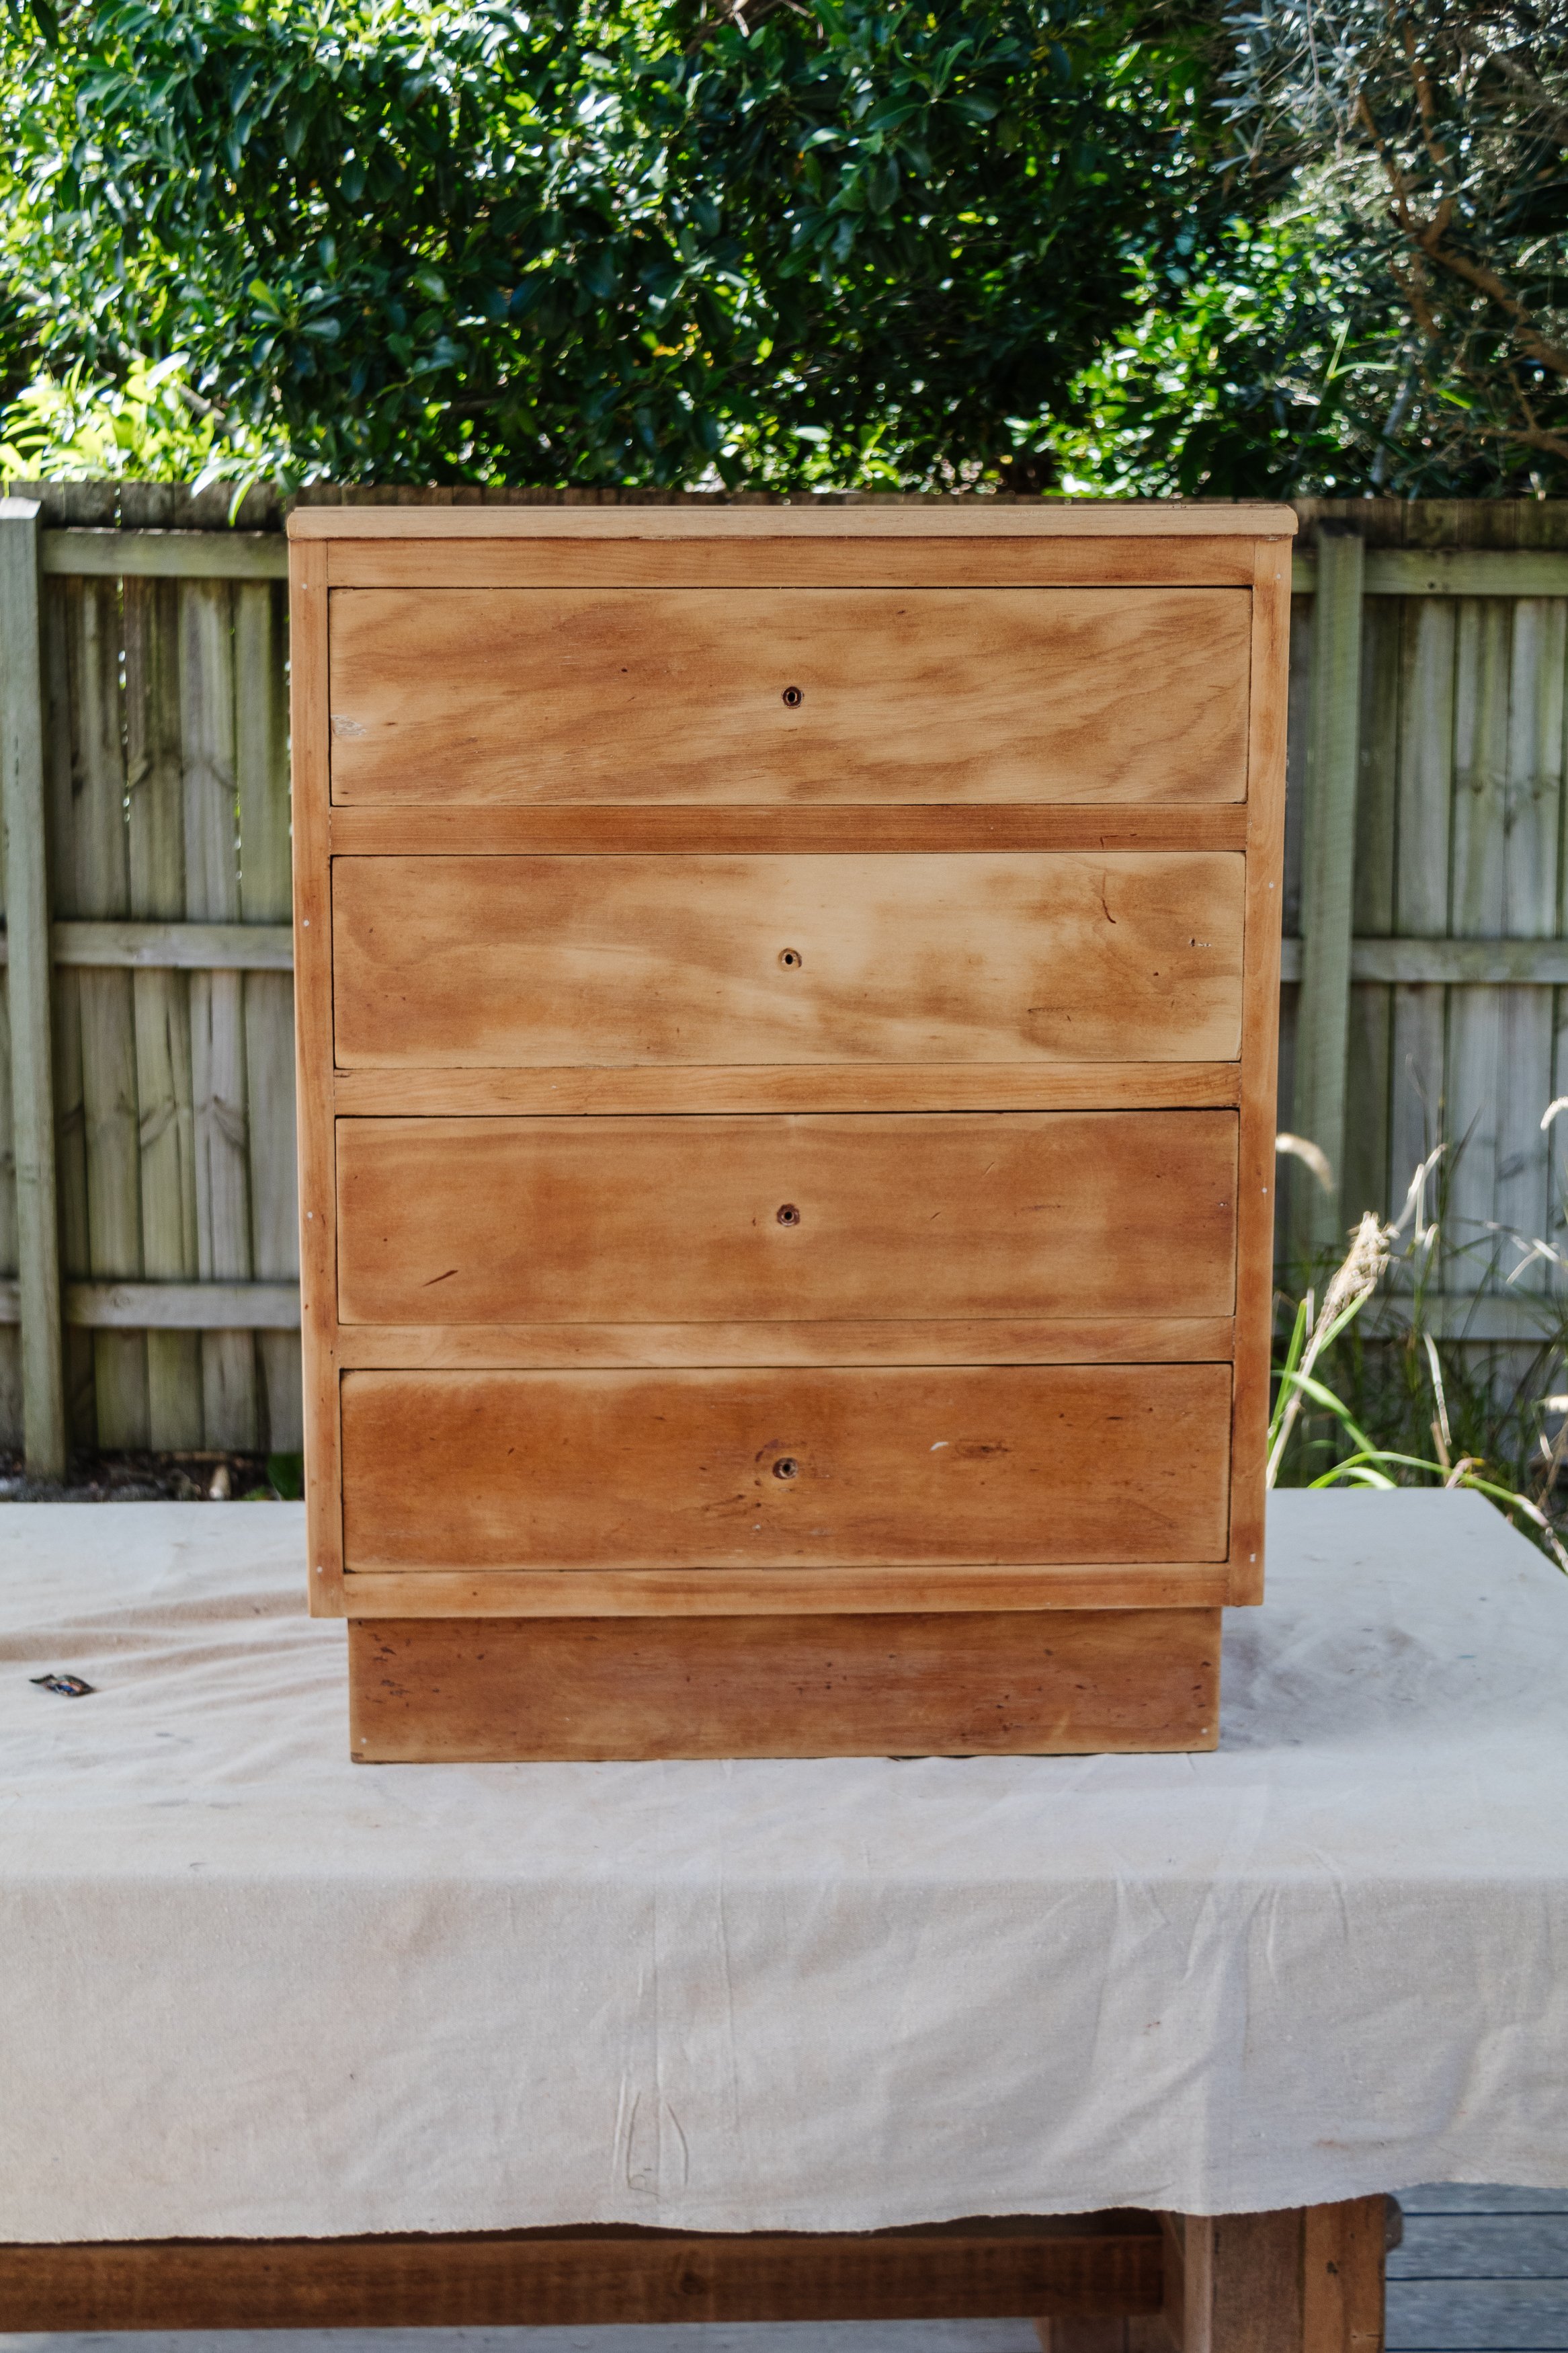
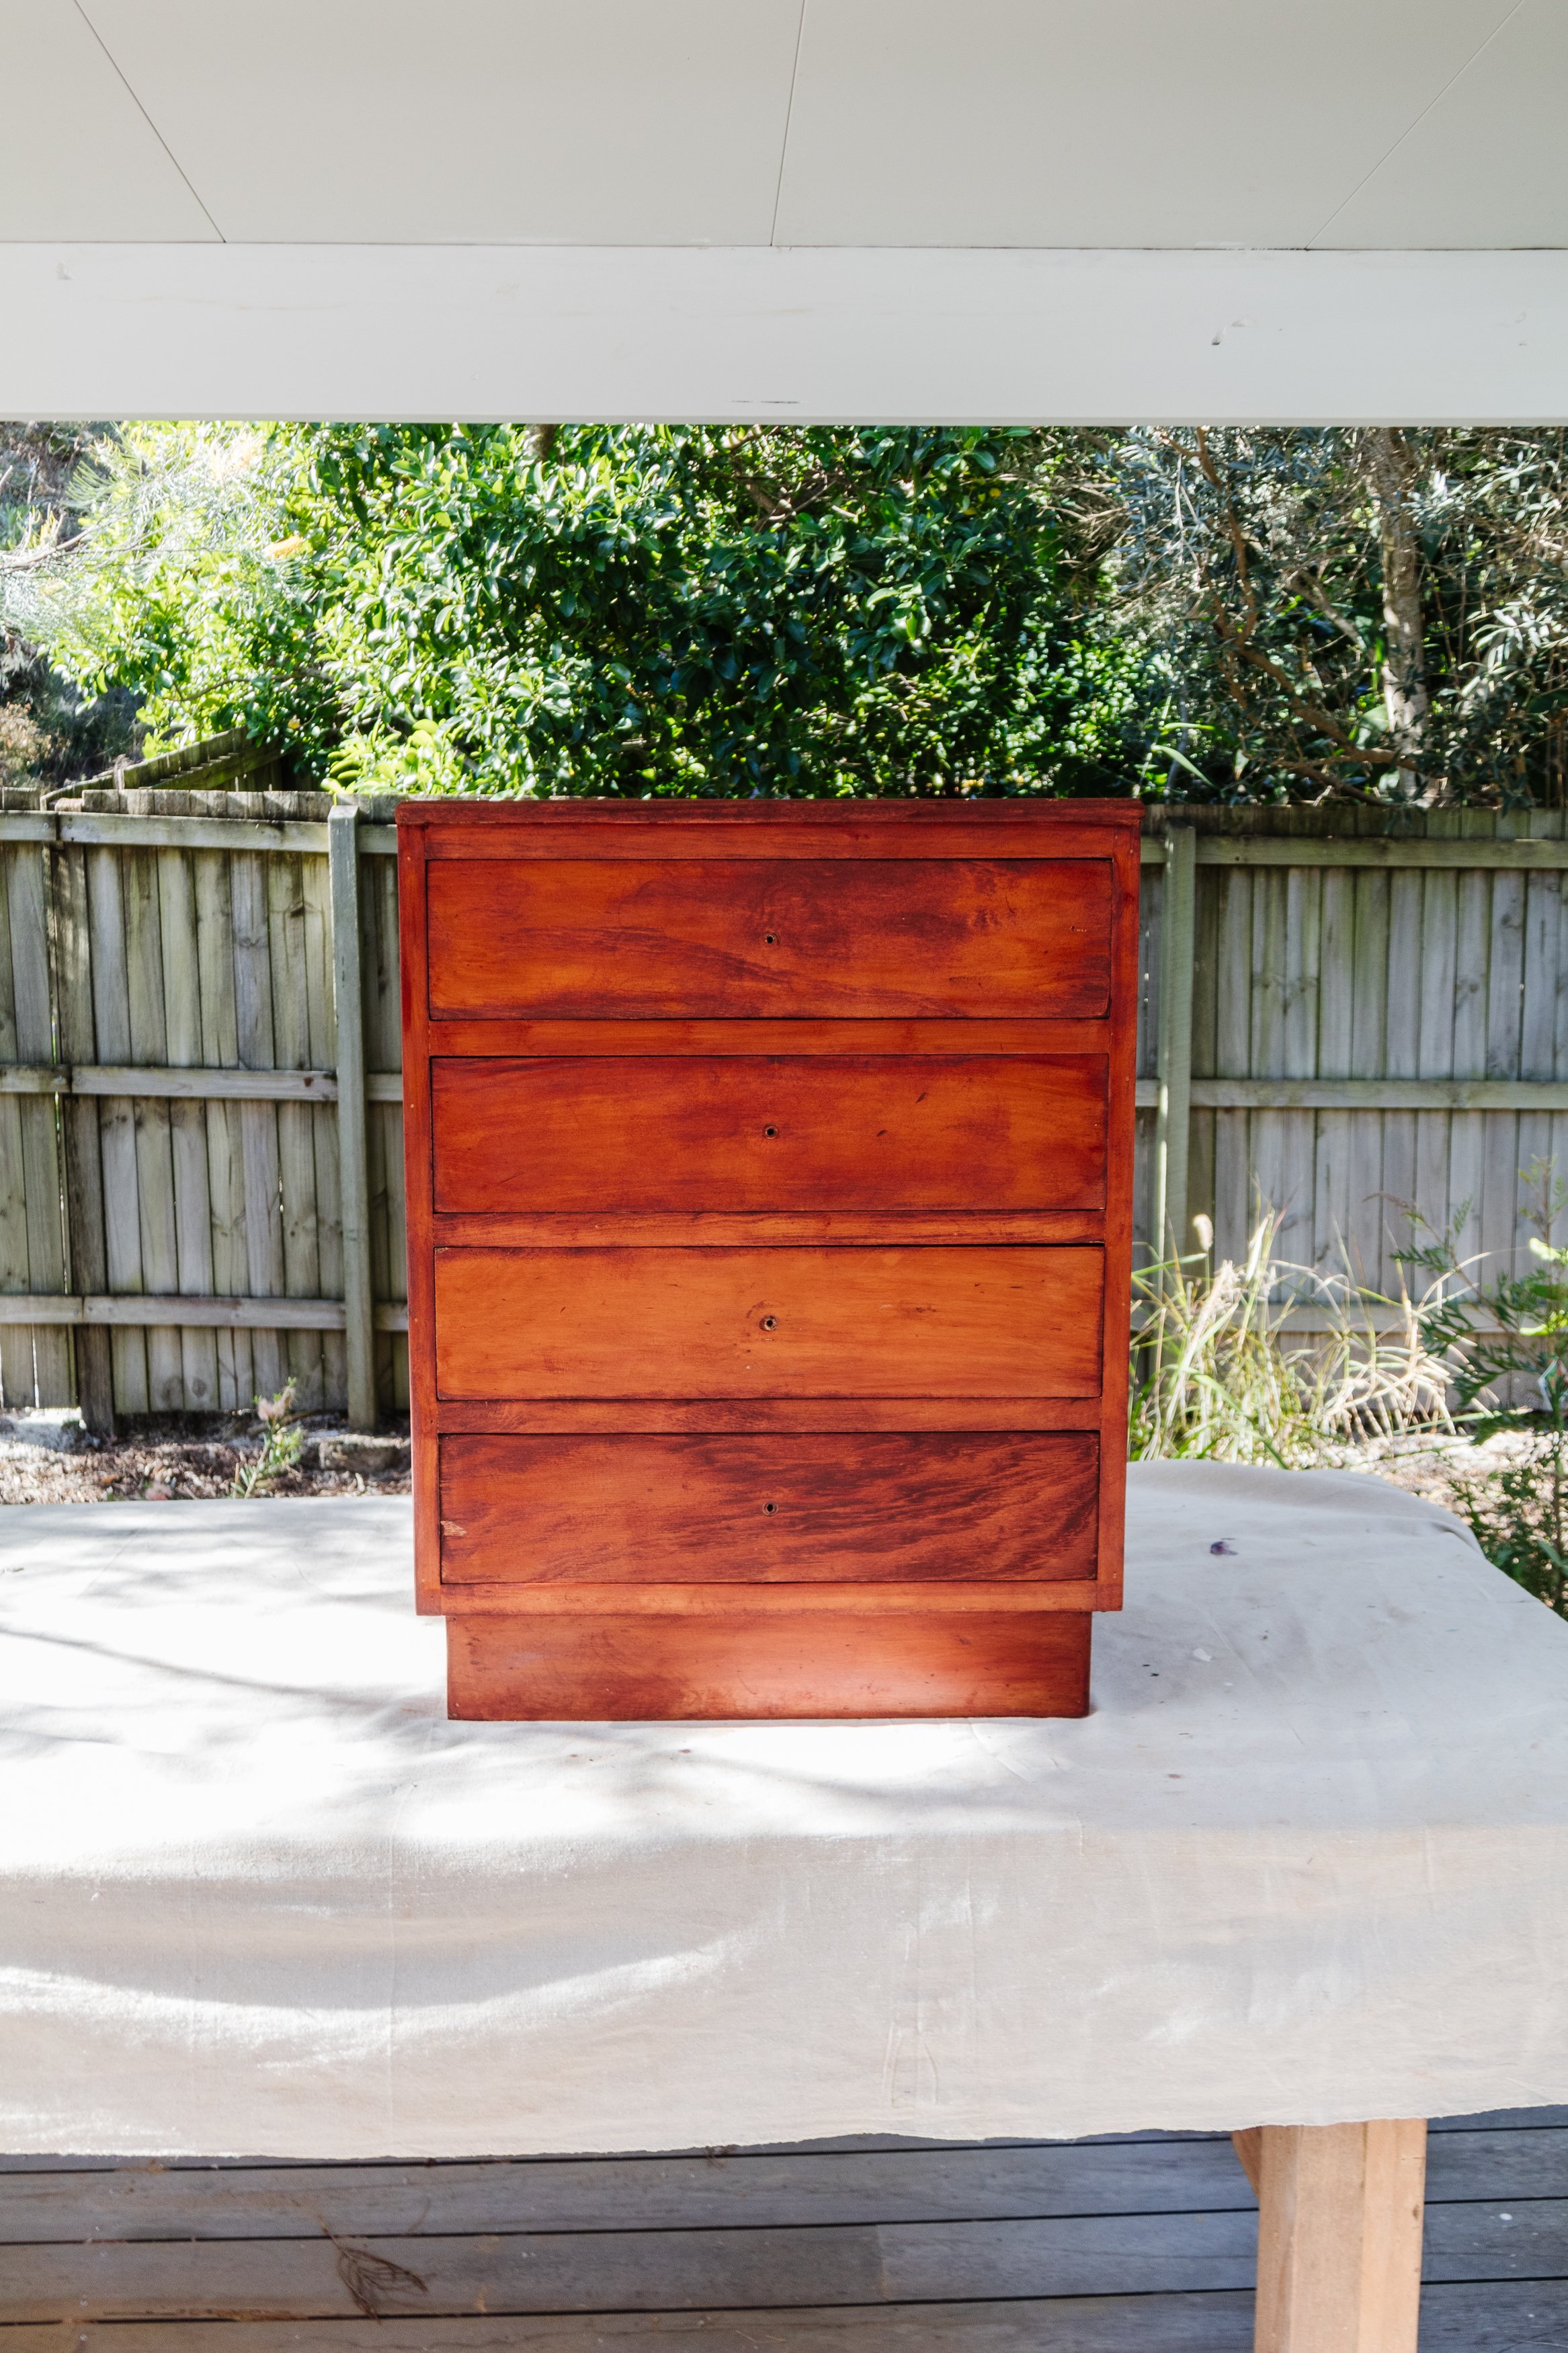
Before & After


What is Brutalism?
According to My Domaine, “Brutalism is an architectural style characterised by a deliberate plainness, crudity, and transparency that can often be interpreted as austere and menacing. It emerged in the mid-20th century and gained popularity in the late 1950s and 1960s.”
And here are some of the design characteristics from My Domaine that will help you identify, recognise and define brutalist style:
The Six Major Adjectives: Raw, industrial, post-apocalyptic, somber, rough, and mechanical
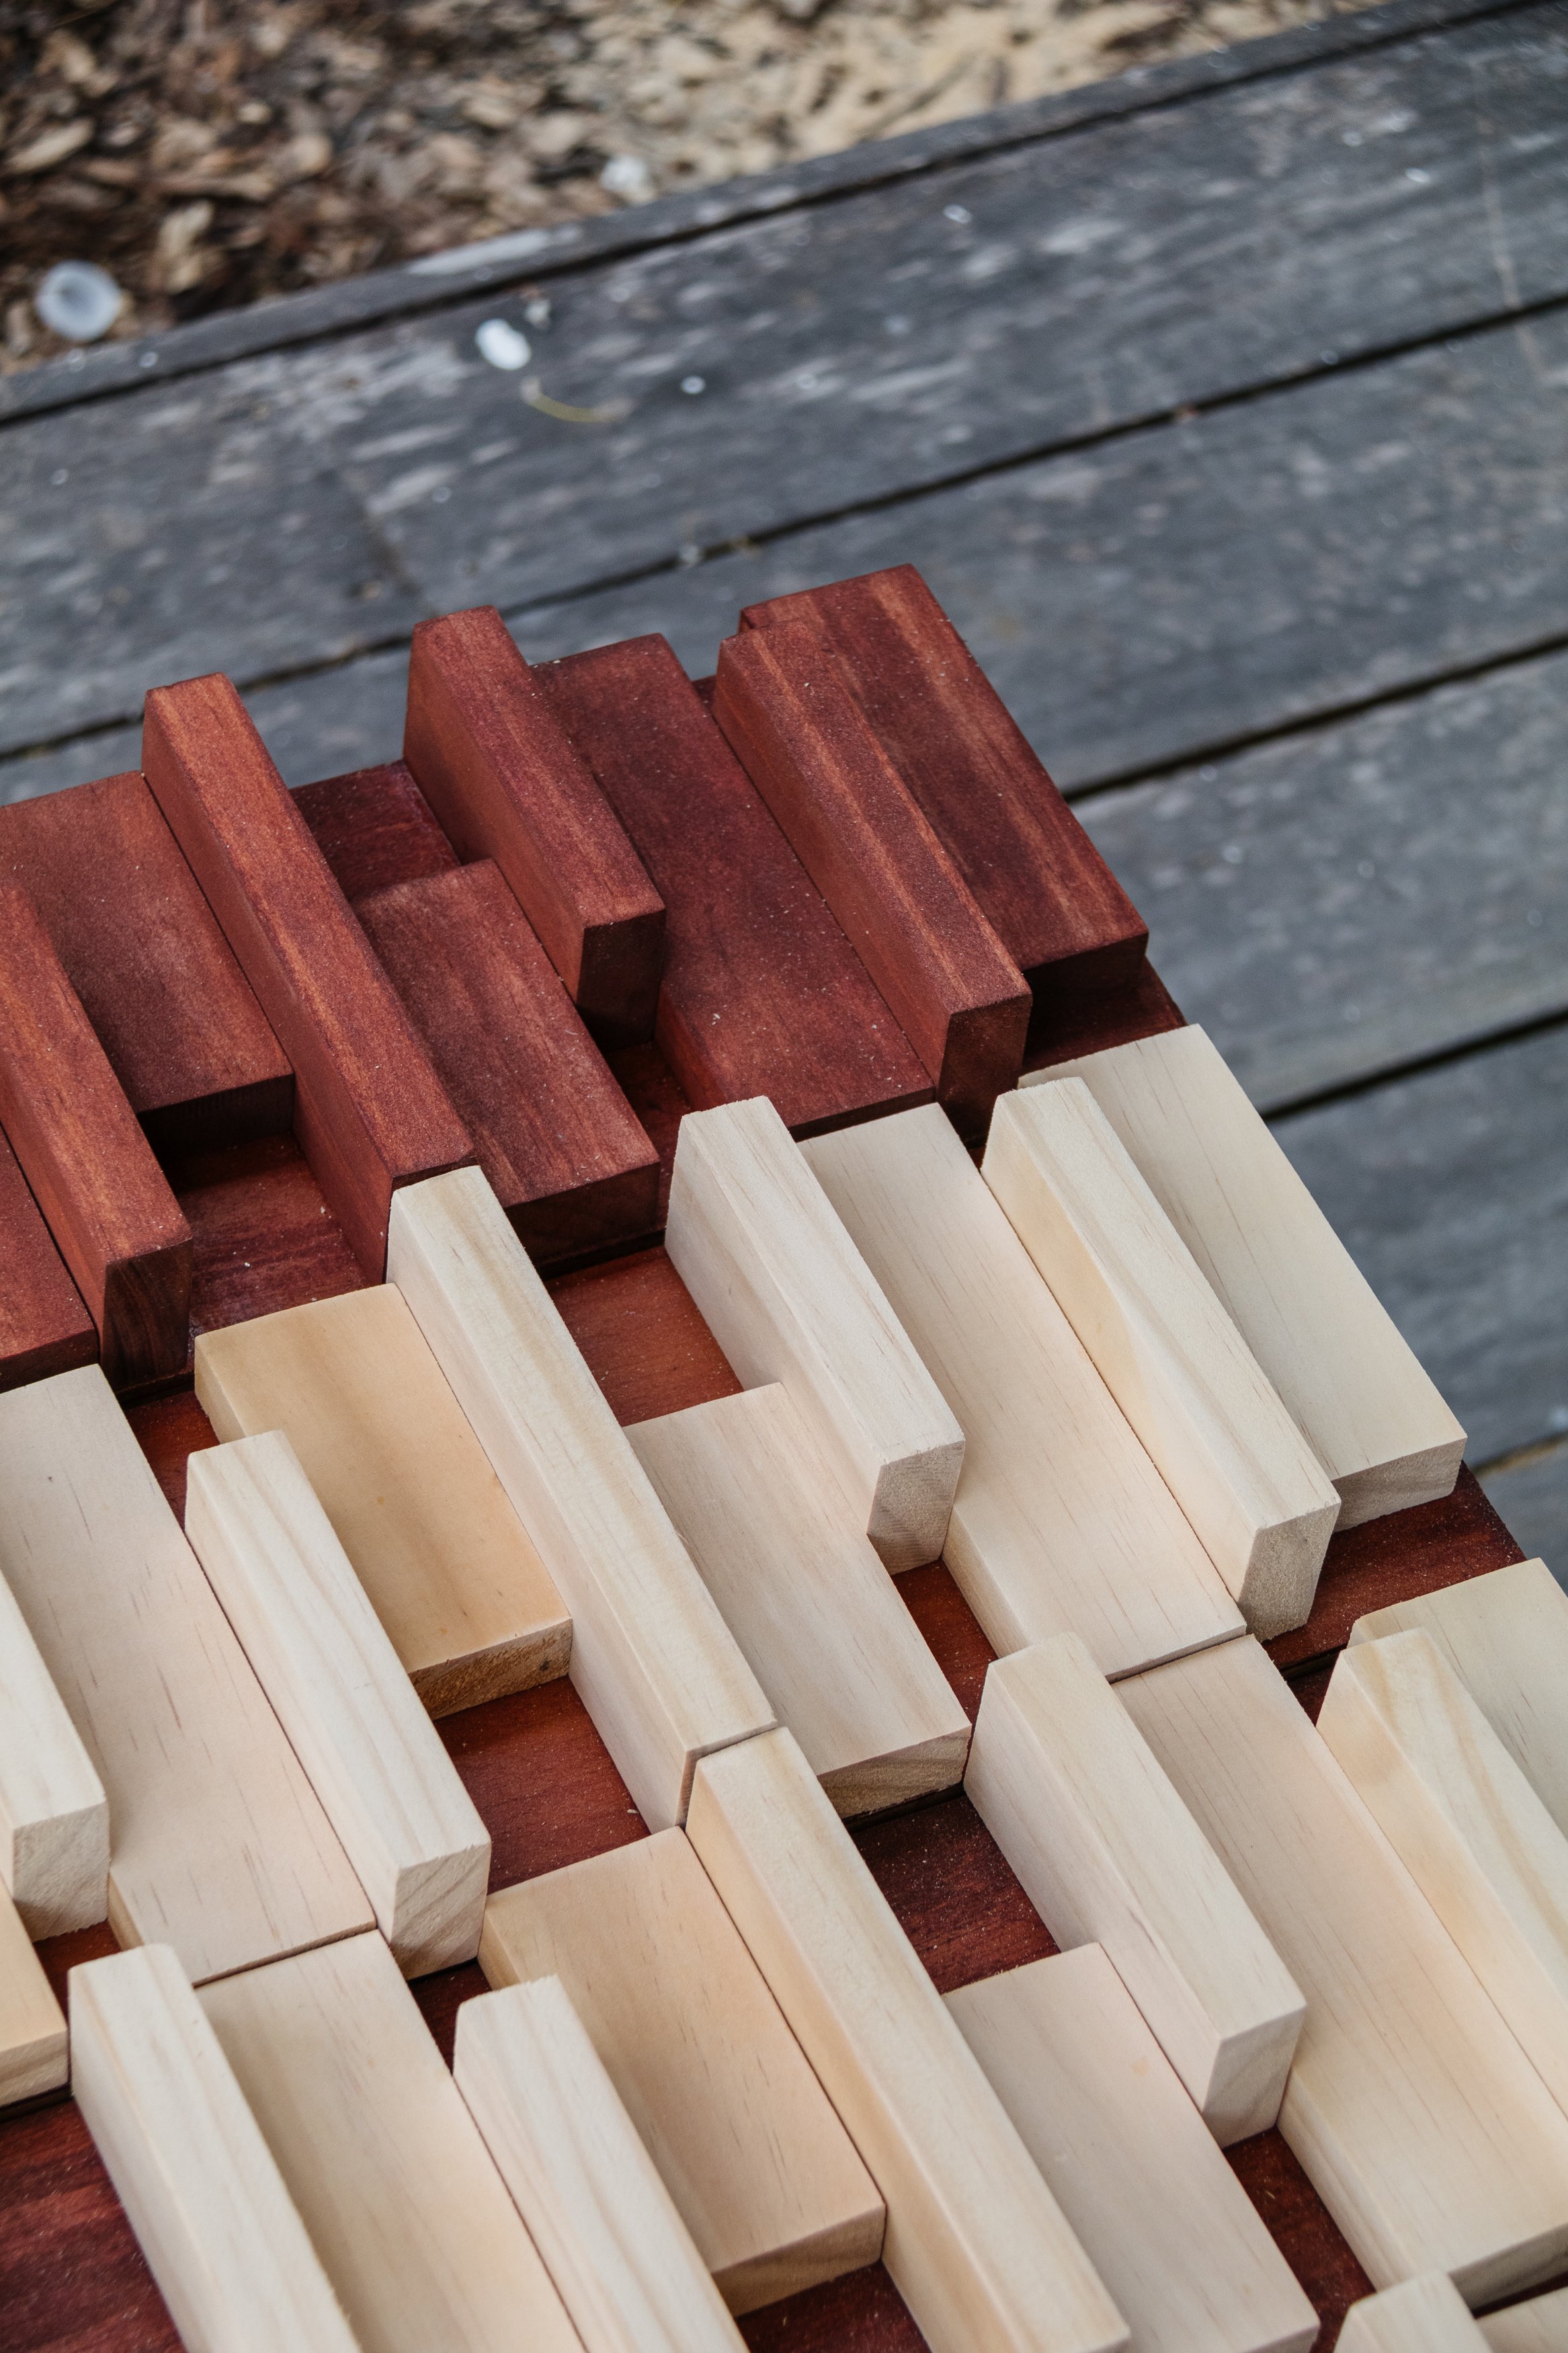
The Defining Characteristics: Hard edges, jagged shapes, rough surfaces, patinated finishes, asymmetrical organic designs, and metallic color palettes
The Common Materials: Concrete, steel, glass, bronze, and iron

Project Details
♻️ Upcycling: Tall Drawers
🕒 Project Time Estimate: 4 hours (not including glue and timber stain drying time)
🪑 Skill Level: Beginner to Intermediate
👷♀️ Protective Gear: Ear plugs, safety goggles, face mask and disposable gloves
Materials
Timber stain in your colour of choice
Tools
Drill
Sander
Microfibre cloth
Pencil
Mitre saw or hand saw
Paint brush

How To
Step 1: Start by removing the original knobs and keep them and the screws in a safe place to use for another project. Wearing ear plugs, safety goggles and a face mask sand the tall drawers to remove the existing varnish using the sander. This will reveal the timber underneath and is always my favourite part!
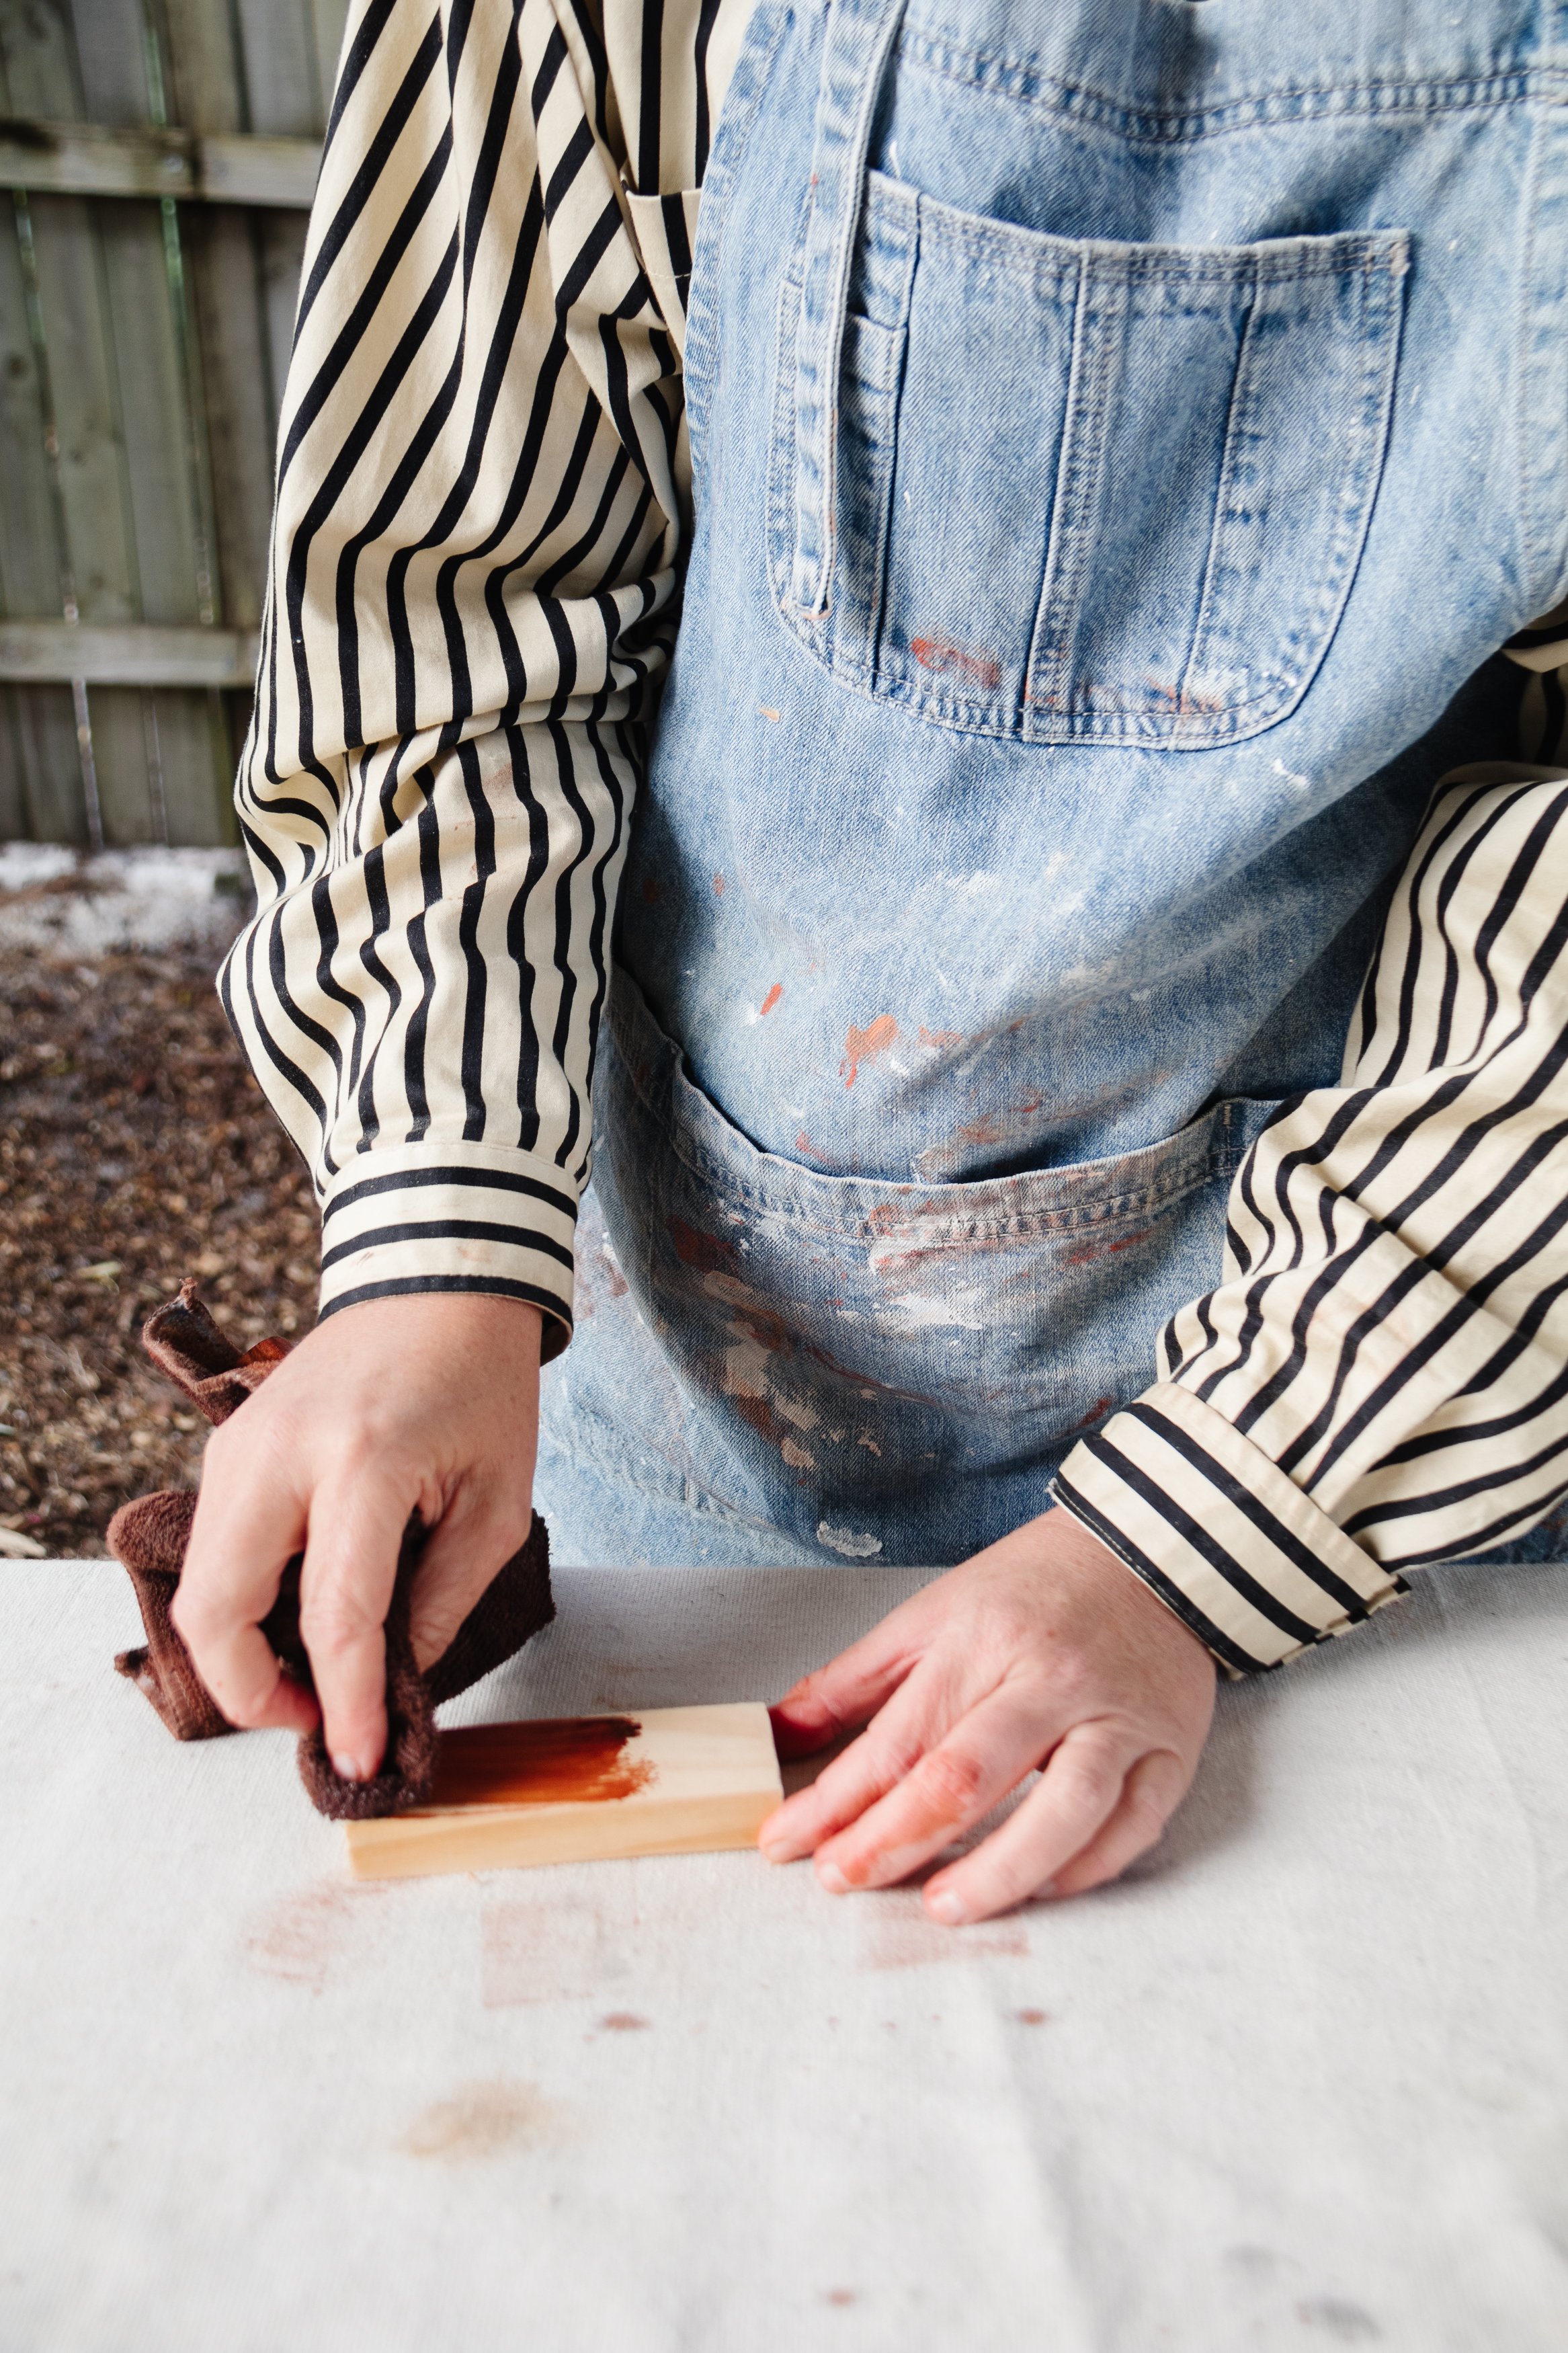
Step 2: Apply one coat of timber stain all over the tall drawers using a microfibre cloth. Set aside to completely dry.

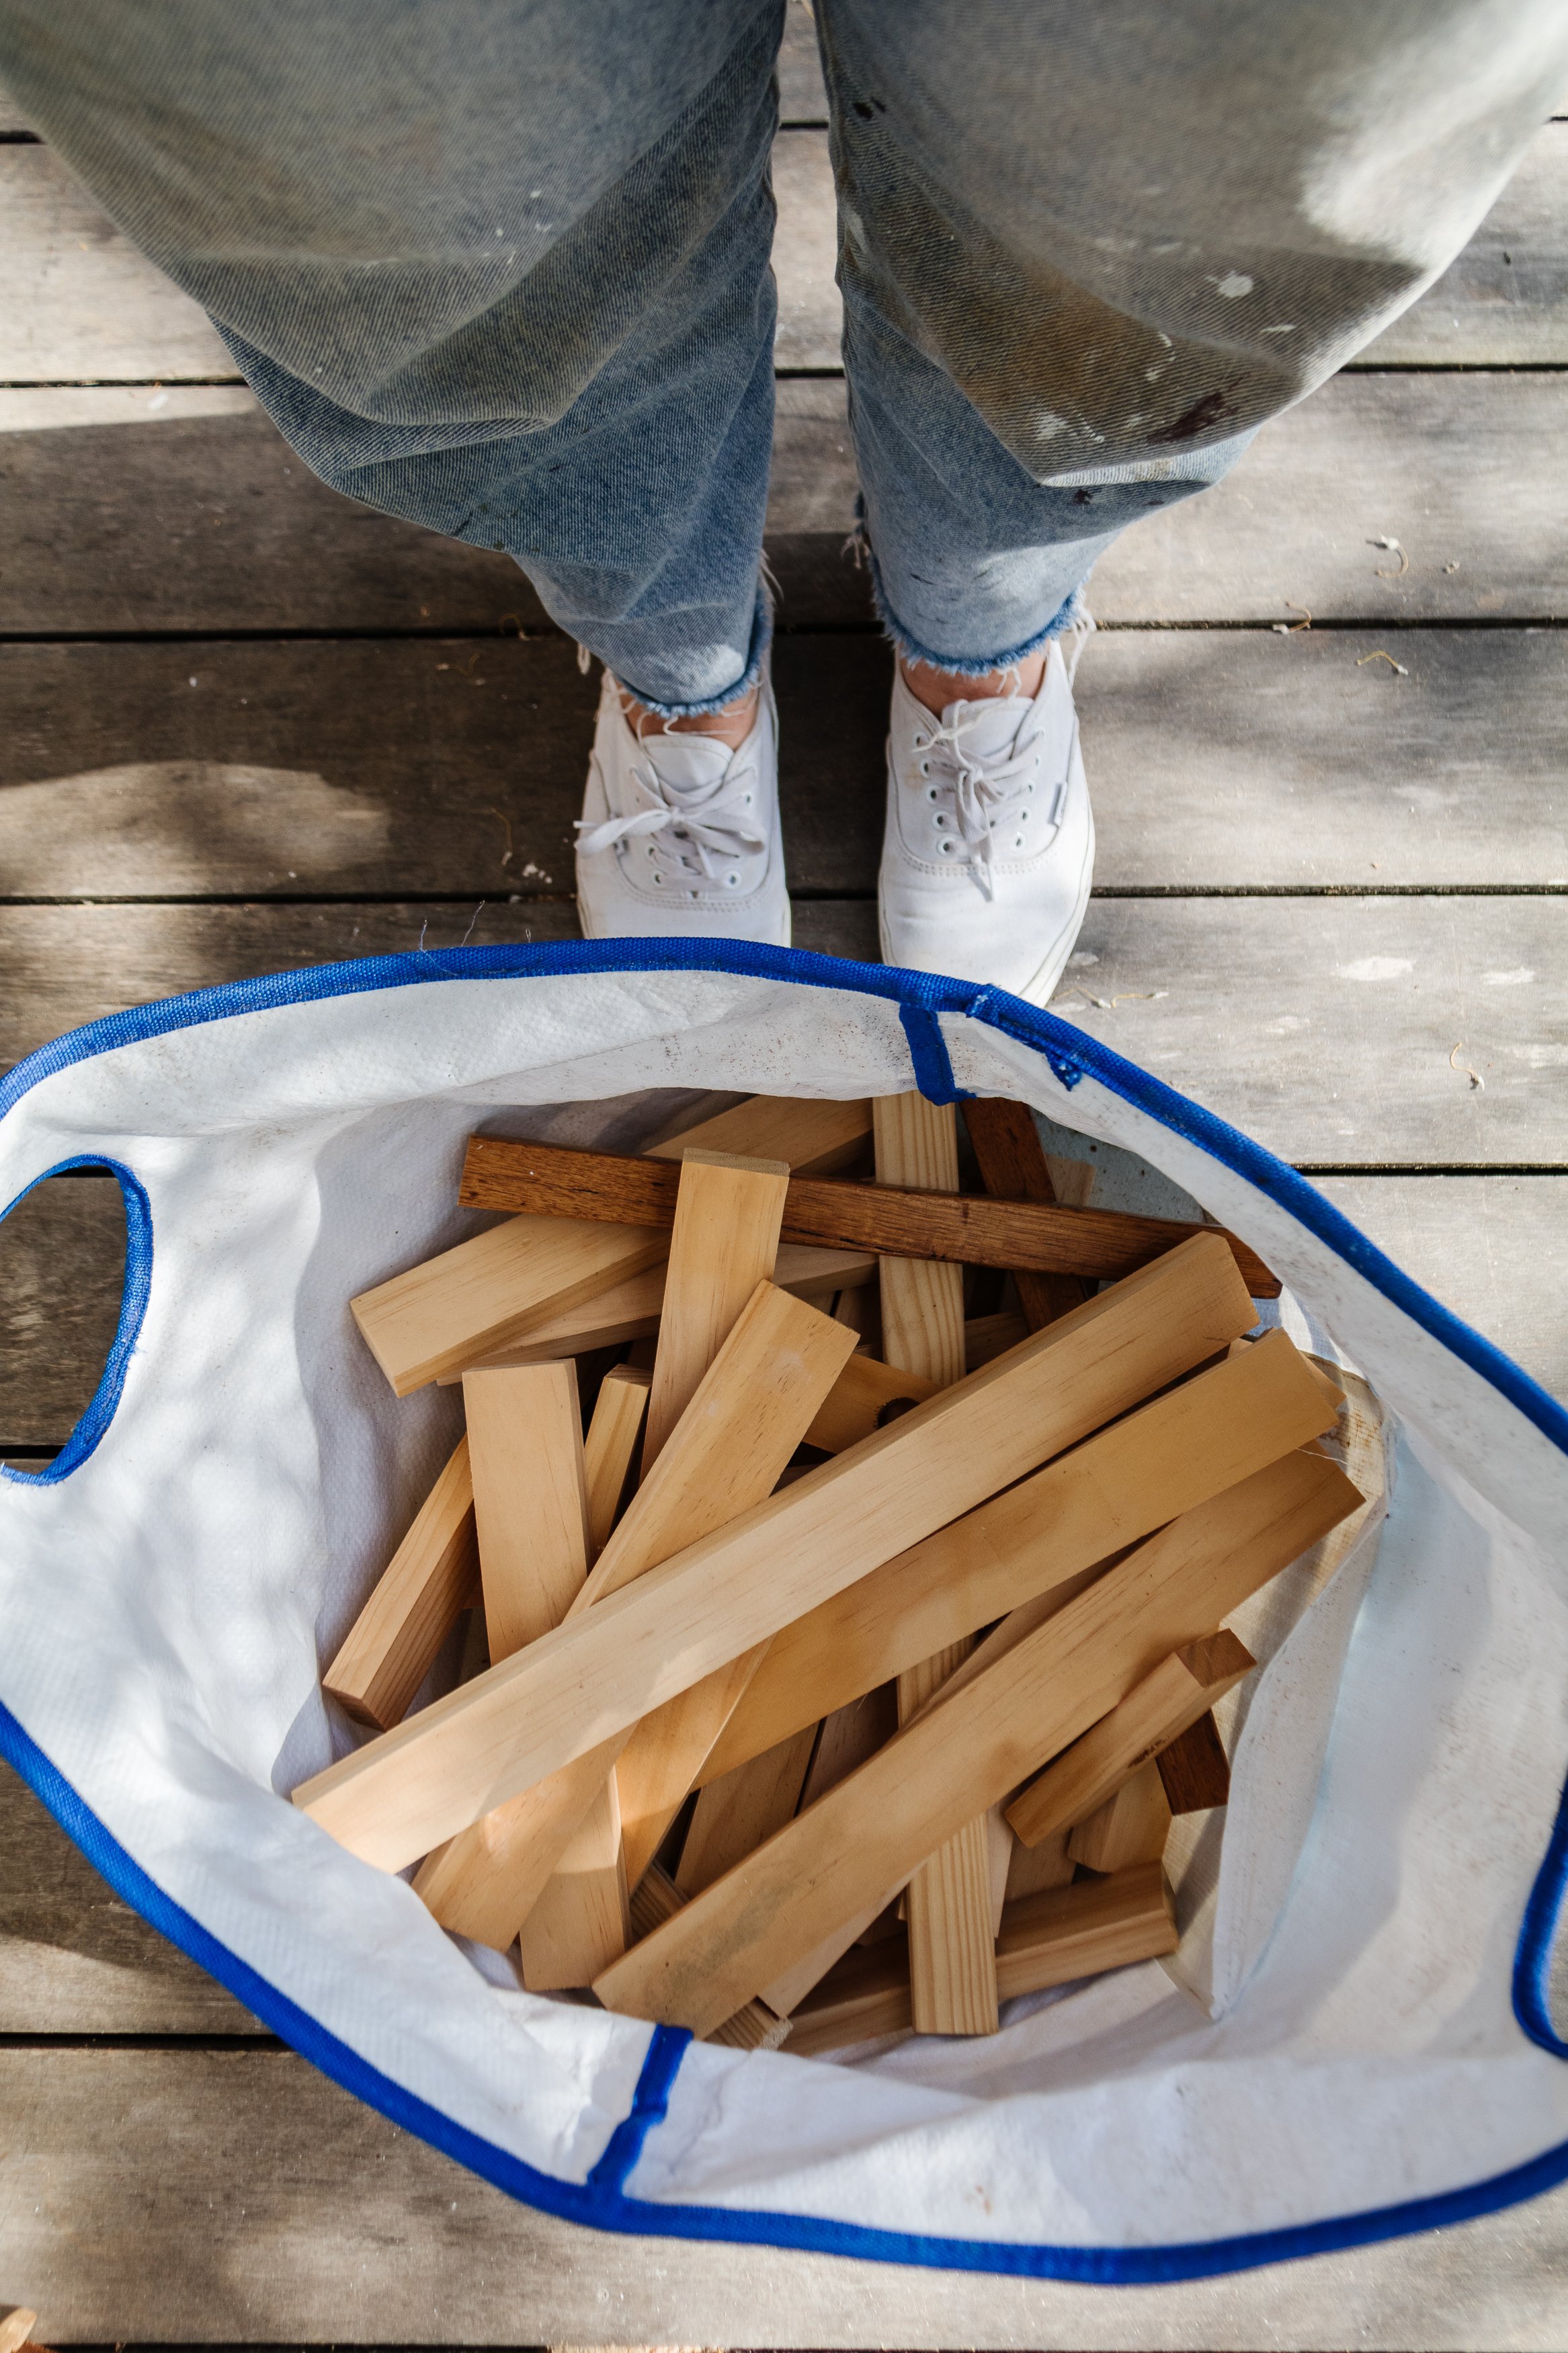
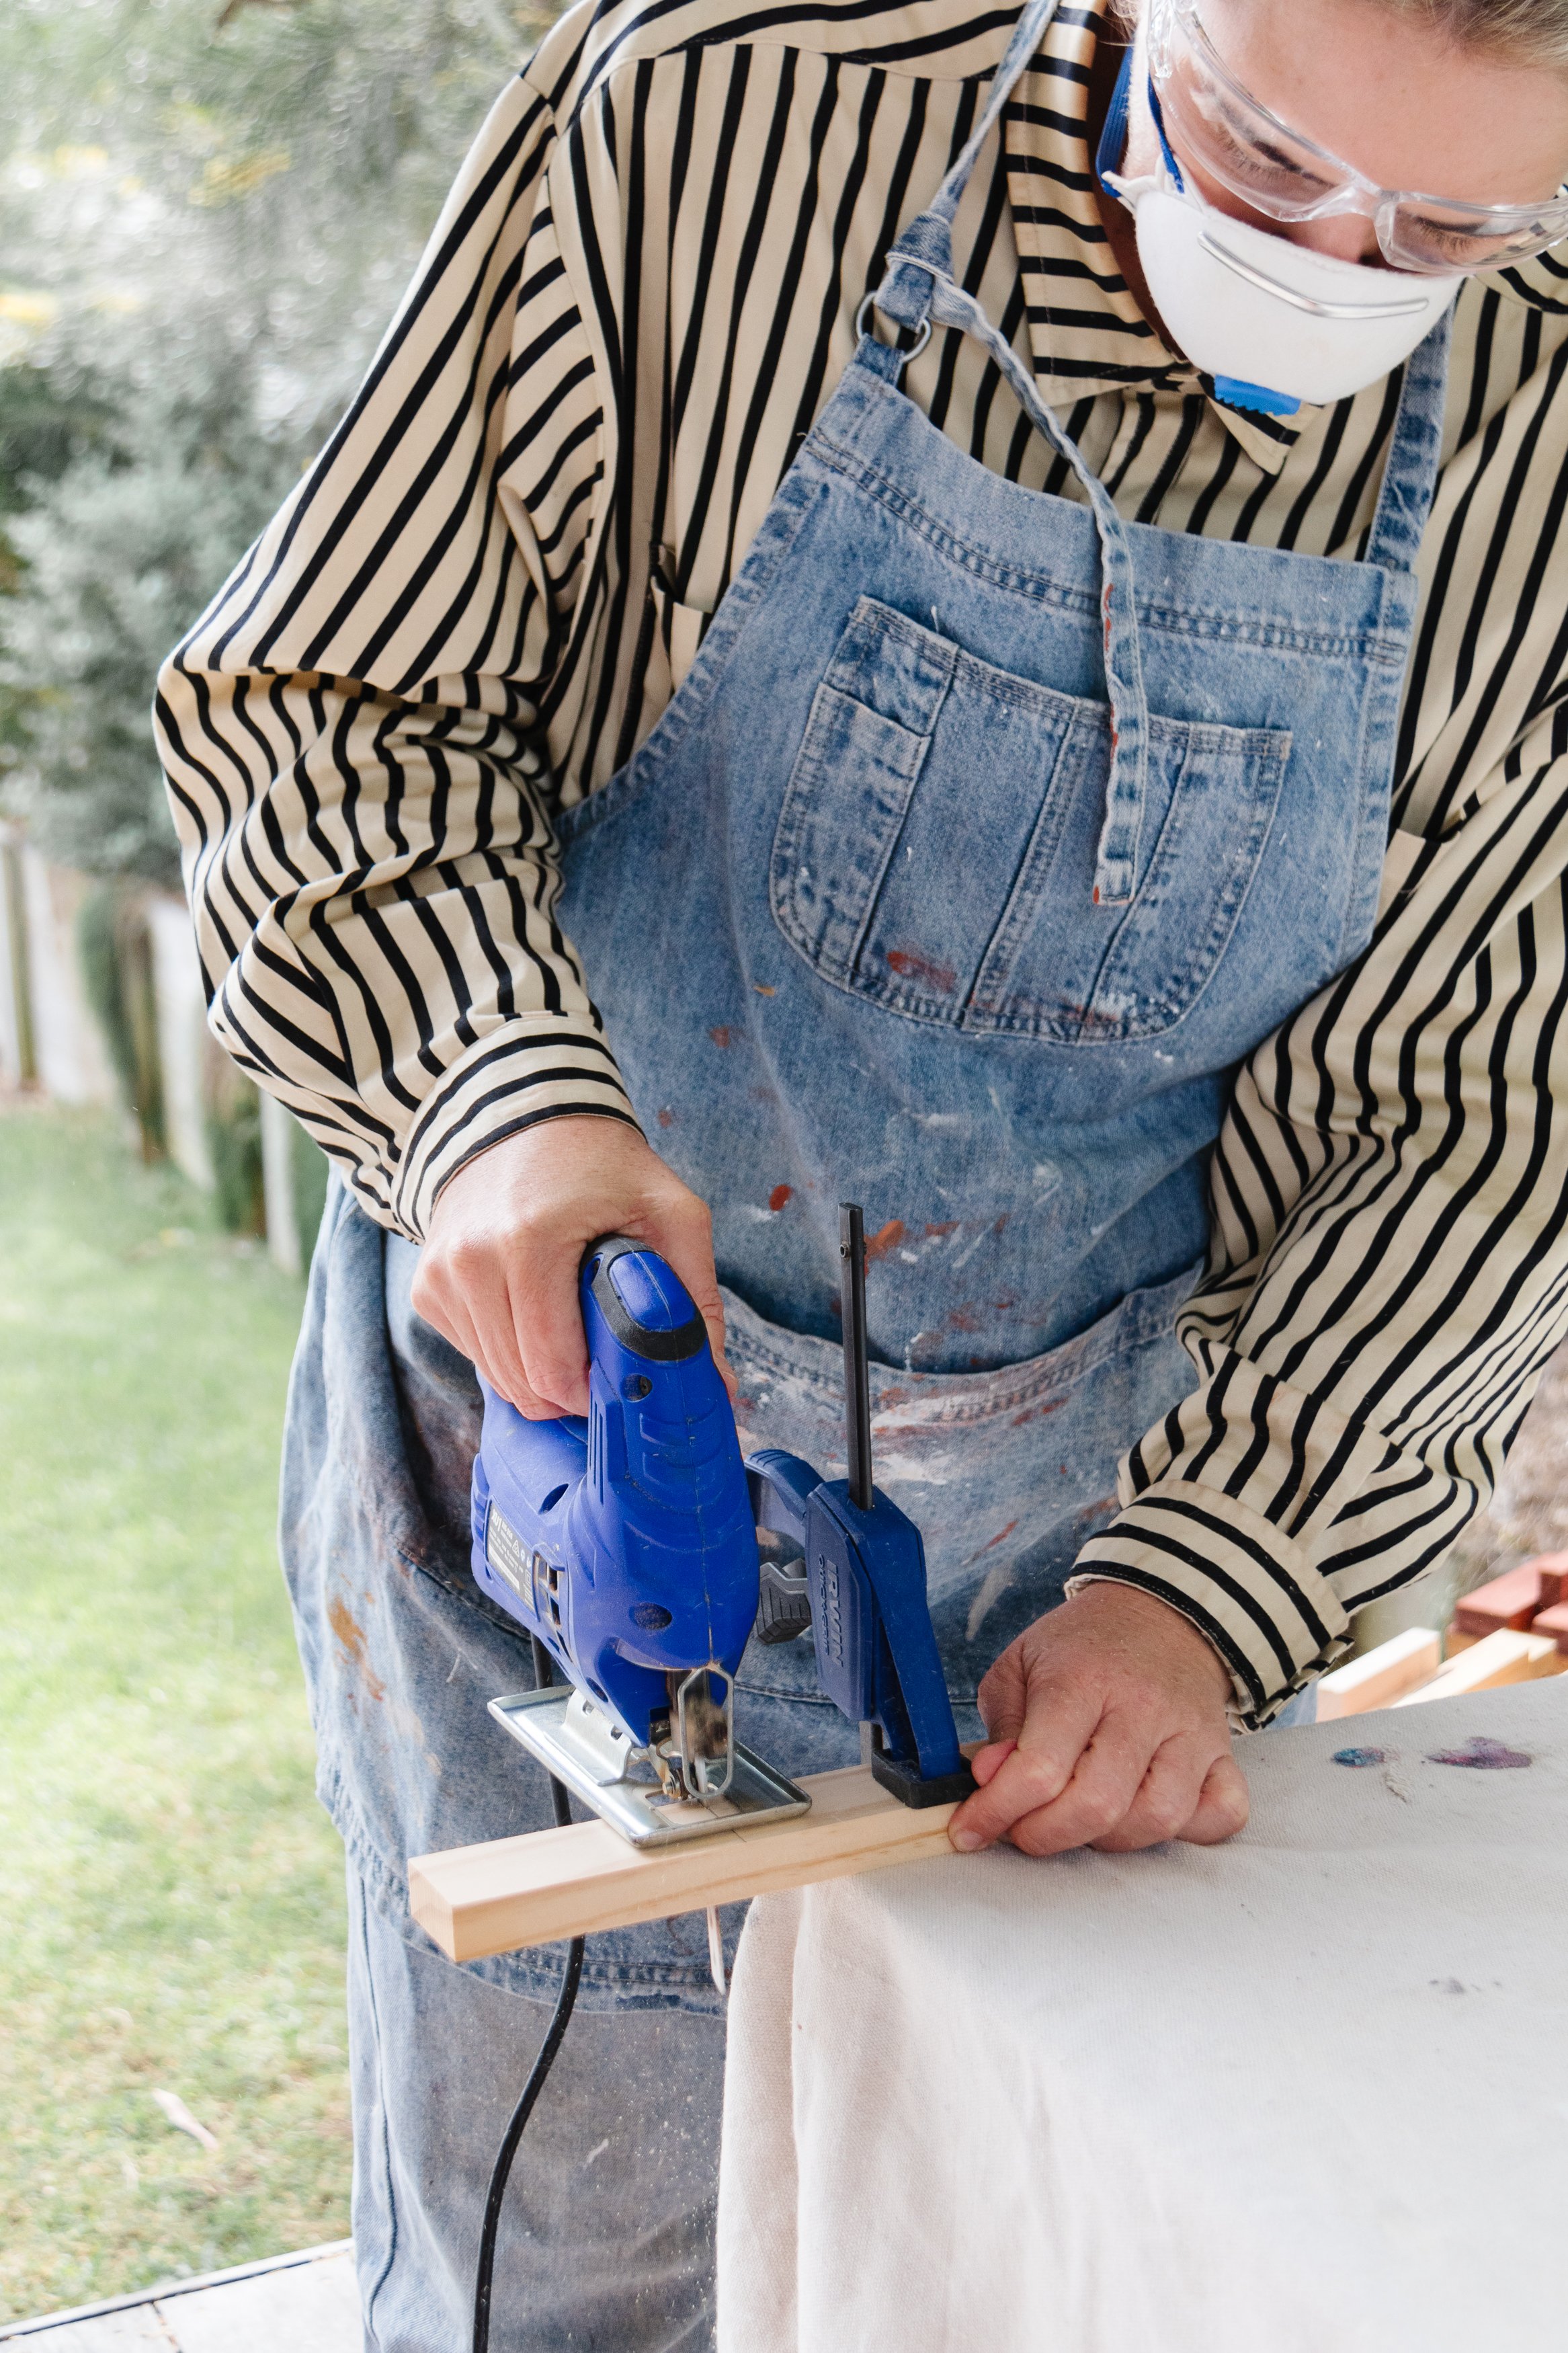
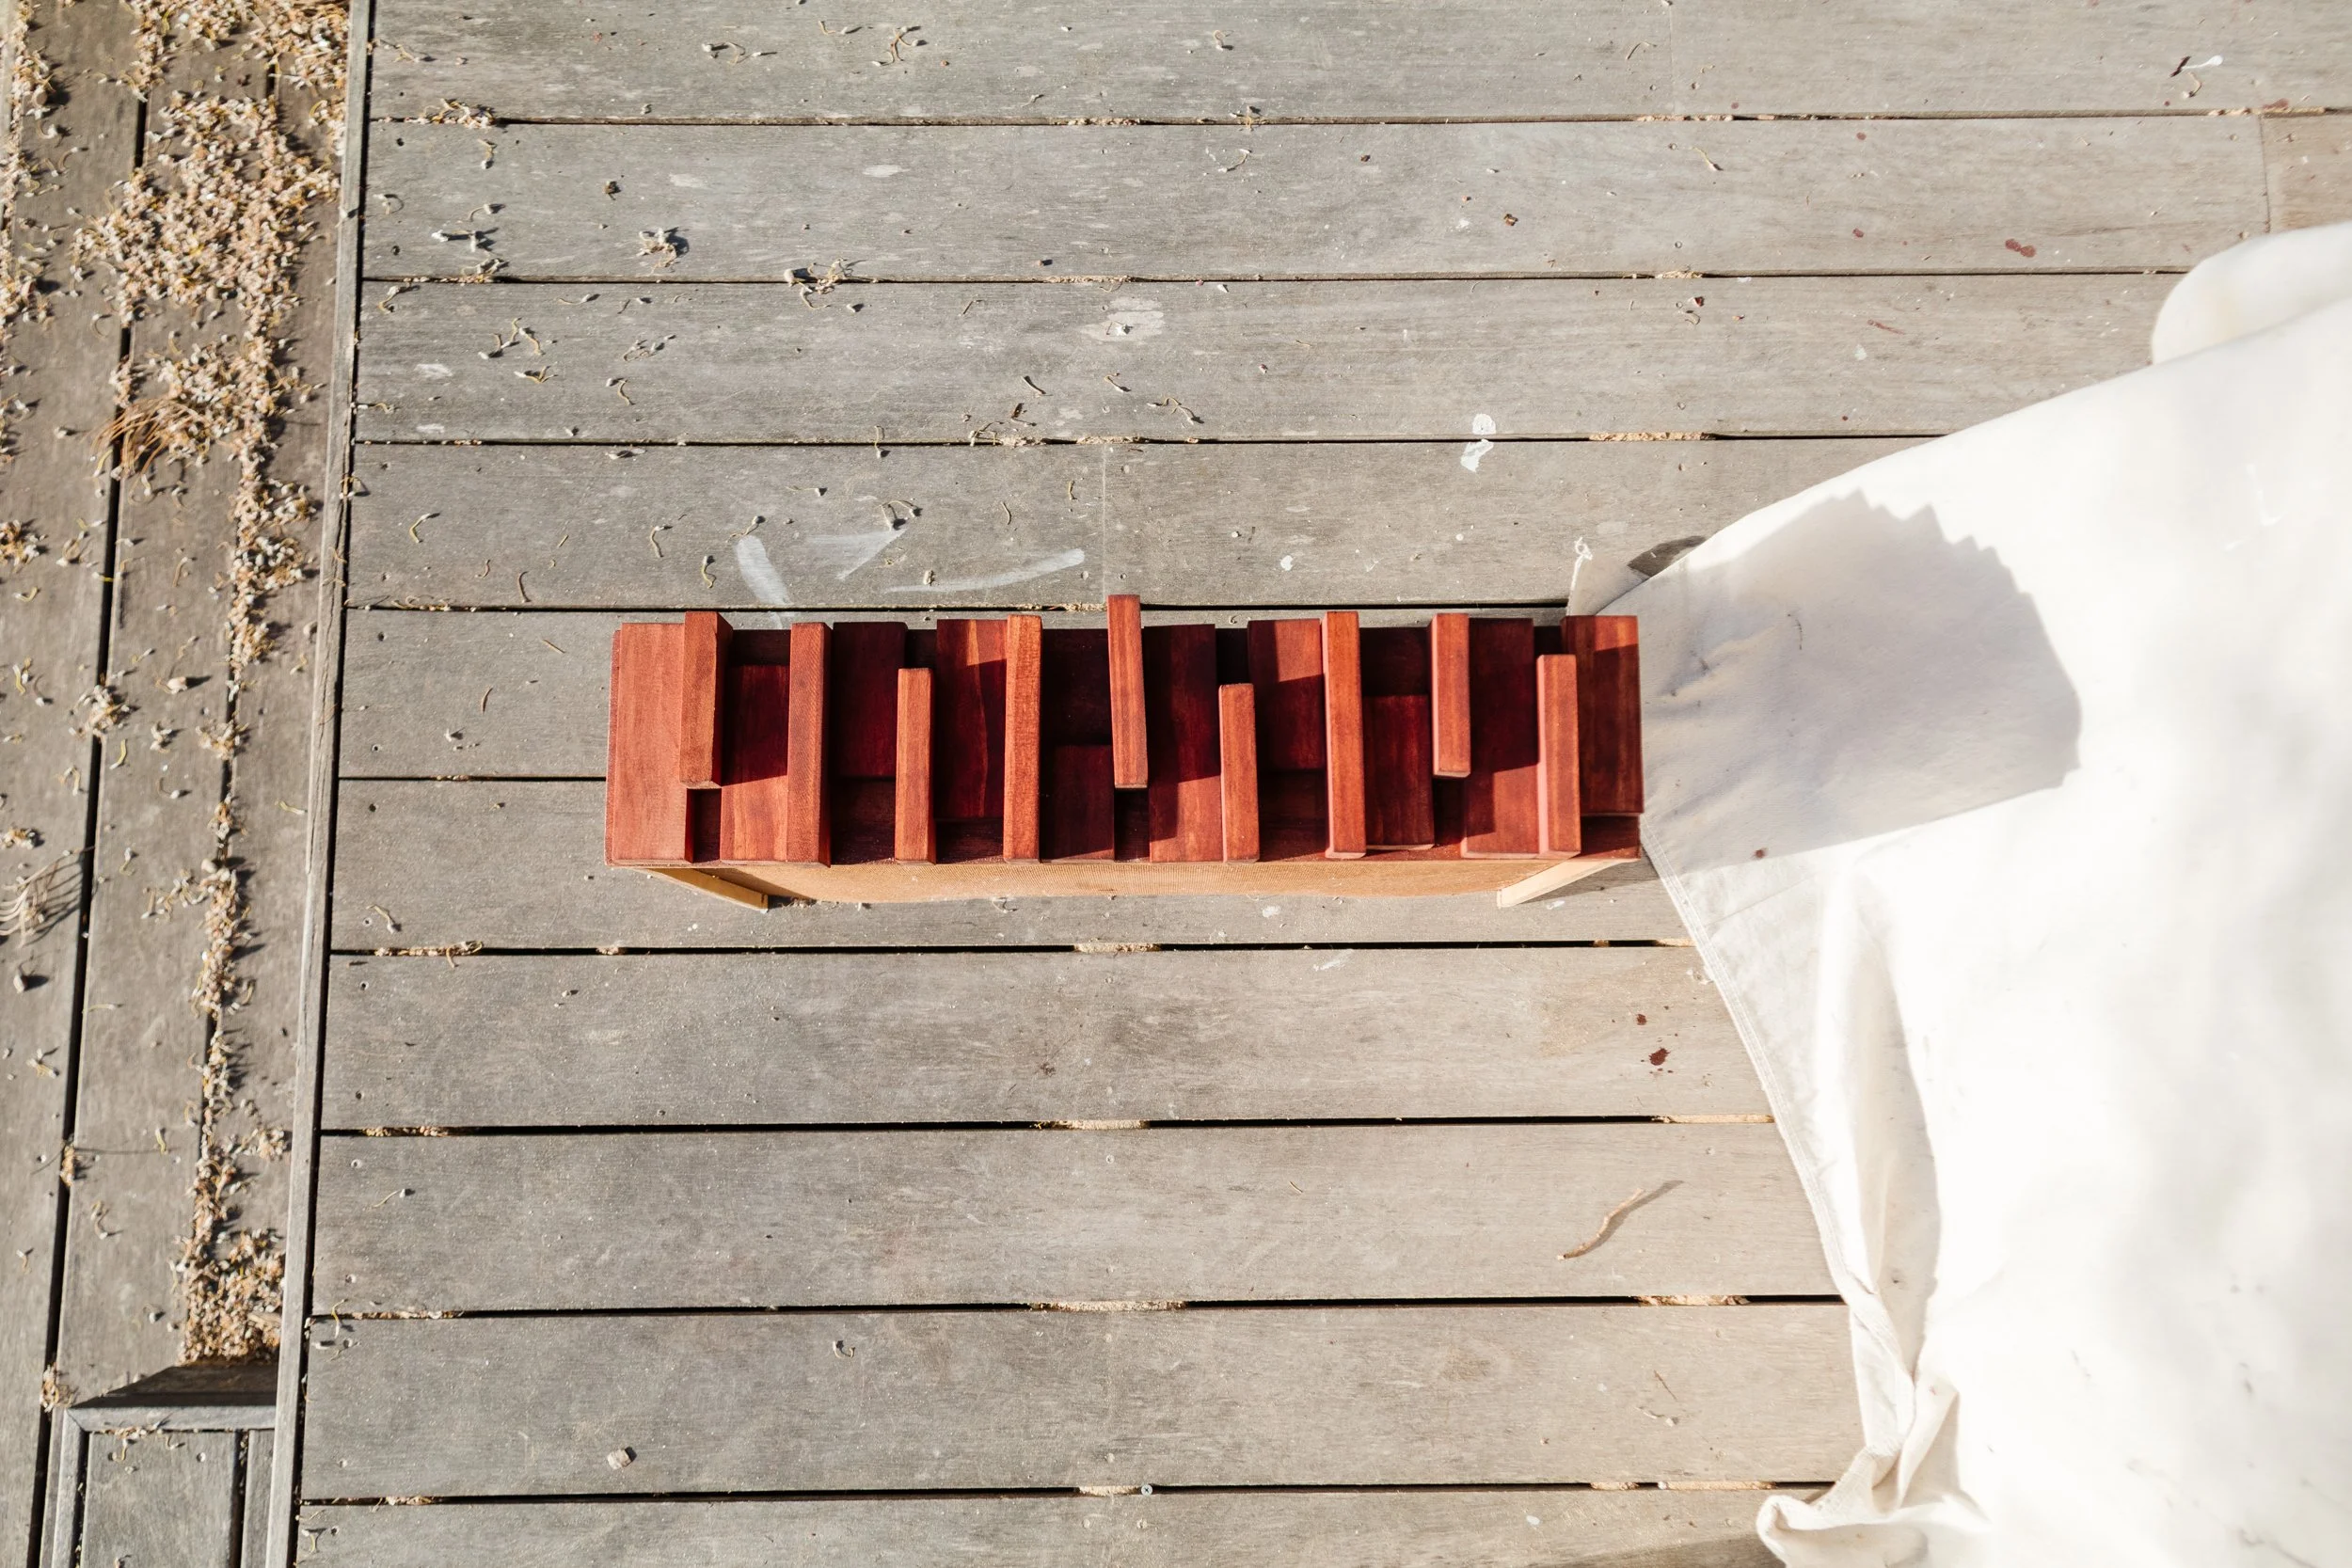
Step 3: Pull the drawers out and stand them up with the front facing upwards. Grab some timber pieces and play around with the design. You may want to copy my design or you might want to make your own; choose whichever you love the most. You may want the pattern to be the same down the drawers or different - be as creative as you like. Once you have designed a pattern you love on one drawer, mark the length of each piece using a pencil. Securely attach one piece of timber to your work bench with a clamp and wearing protective gear, cut each piece of timber with a jigsaw until you have all the pieces you need.
Tip: After cutting each piece, place it back onto the face of the drawer so you don’t lose your design or get confused as to which piece goes where.
Step 4: Following this, sand each piece of timber (this ensures the finish after staining will be consistent) using the sander. W
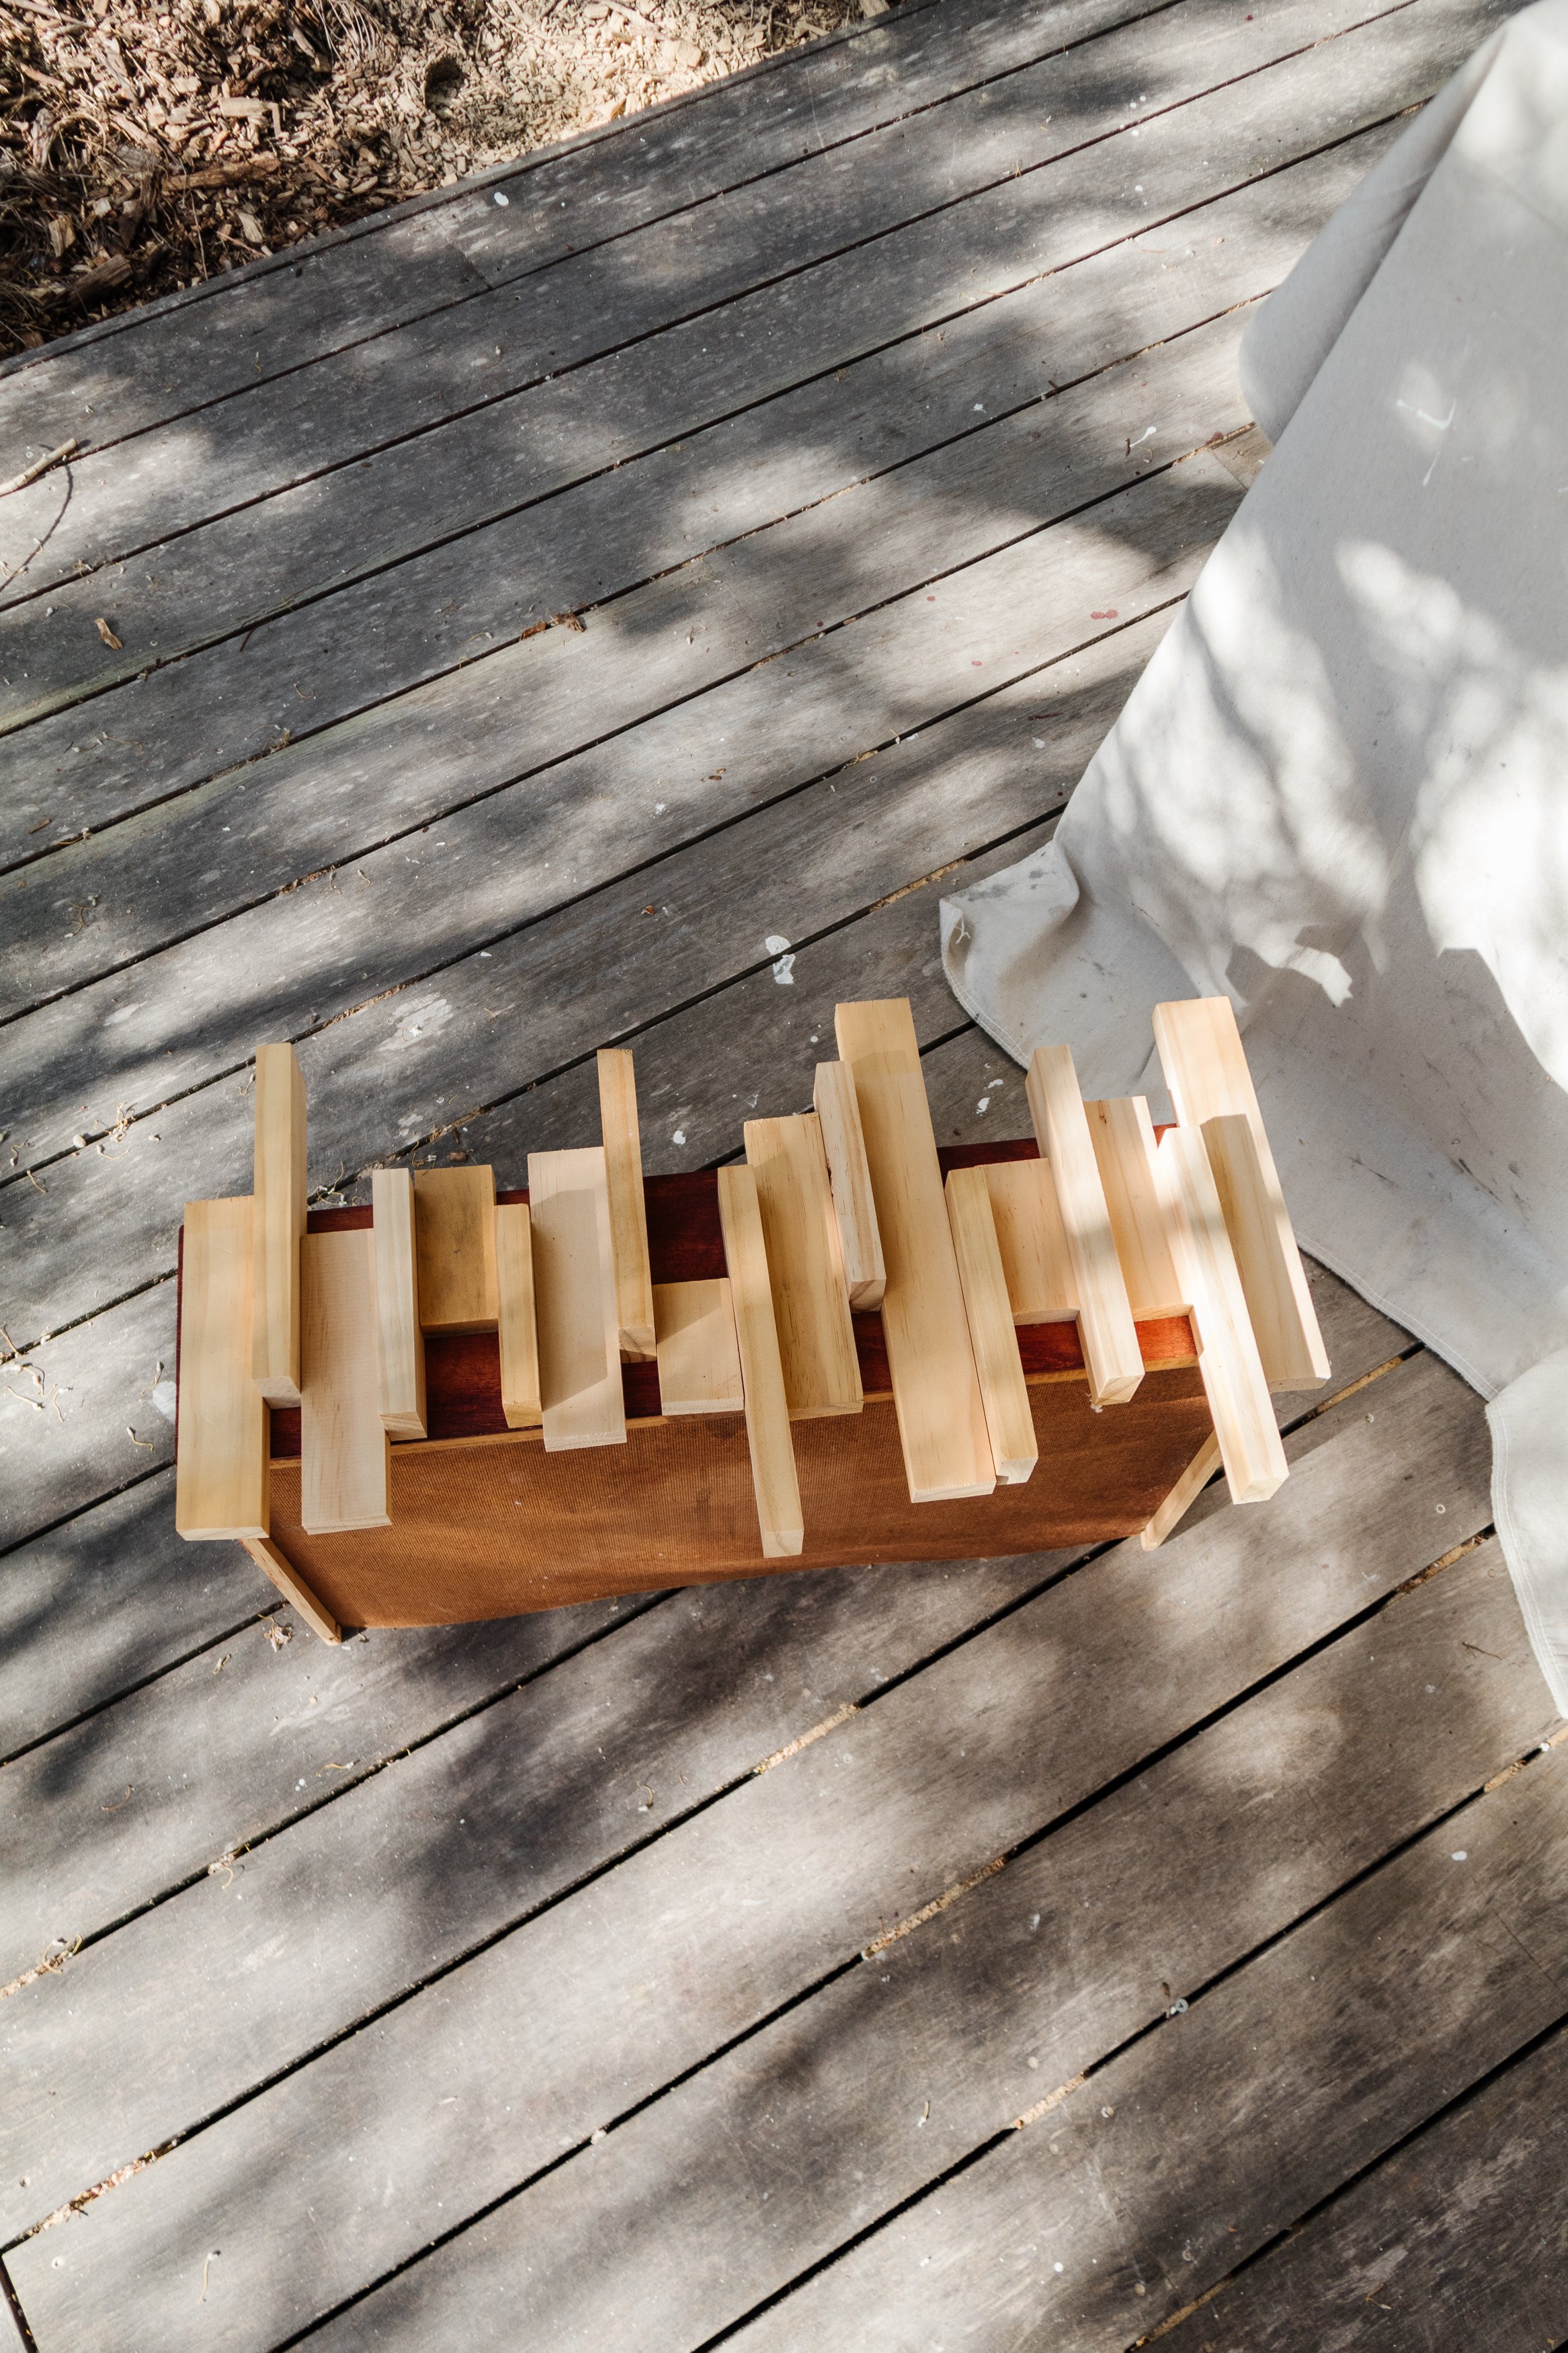

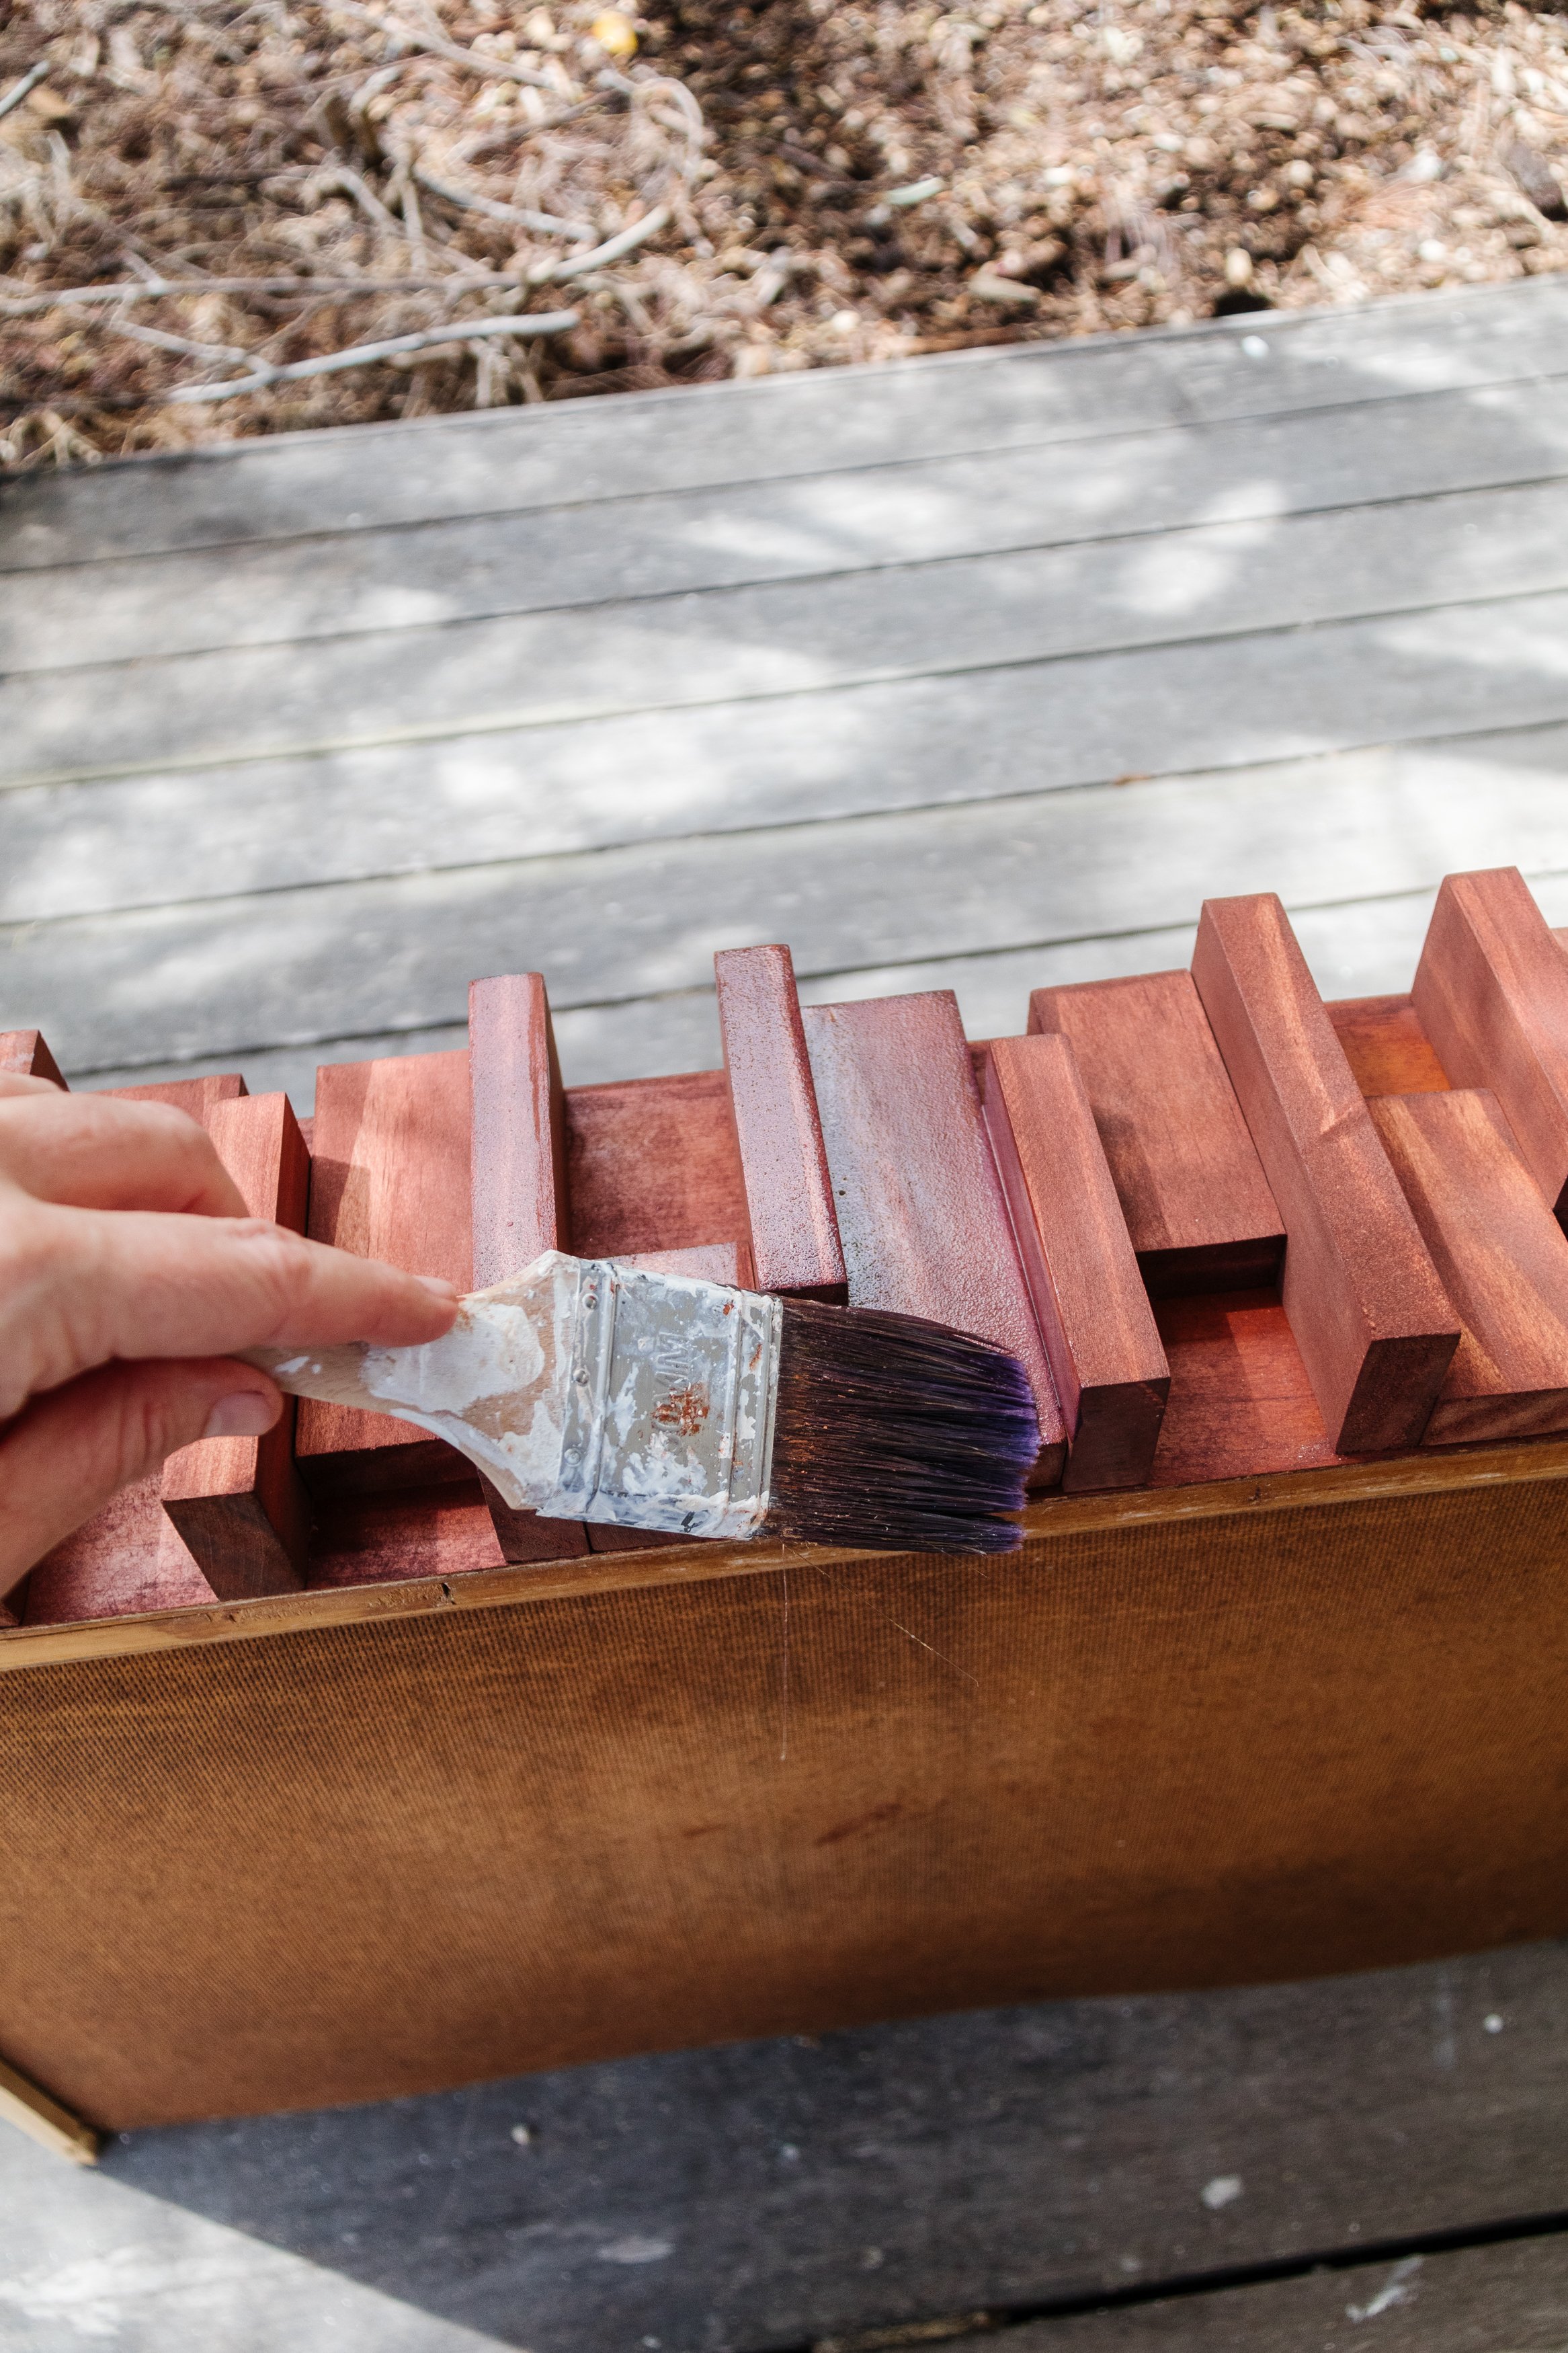
Step 5: When that’s done, put on a pair of disposable gloves and stain each piece of timber using timber stain and a microfibre cloth. Again, place each piece back onto the face of the drawers for drying but also so you don’t lose your original design.
Step 6: When the timber stain has dried, apply a thin coat of clear satin varnish all over the tall drawers and set aside to dry.
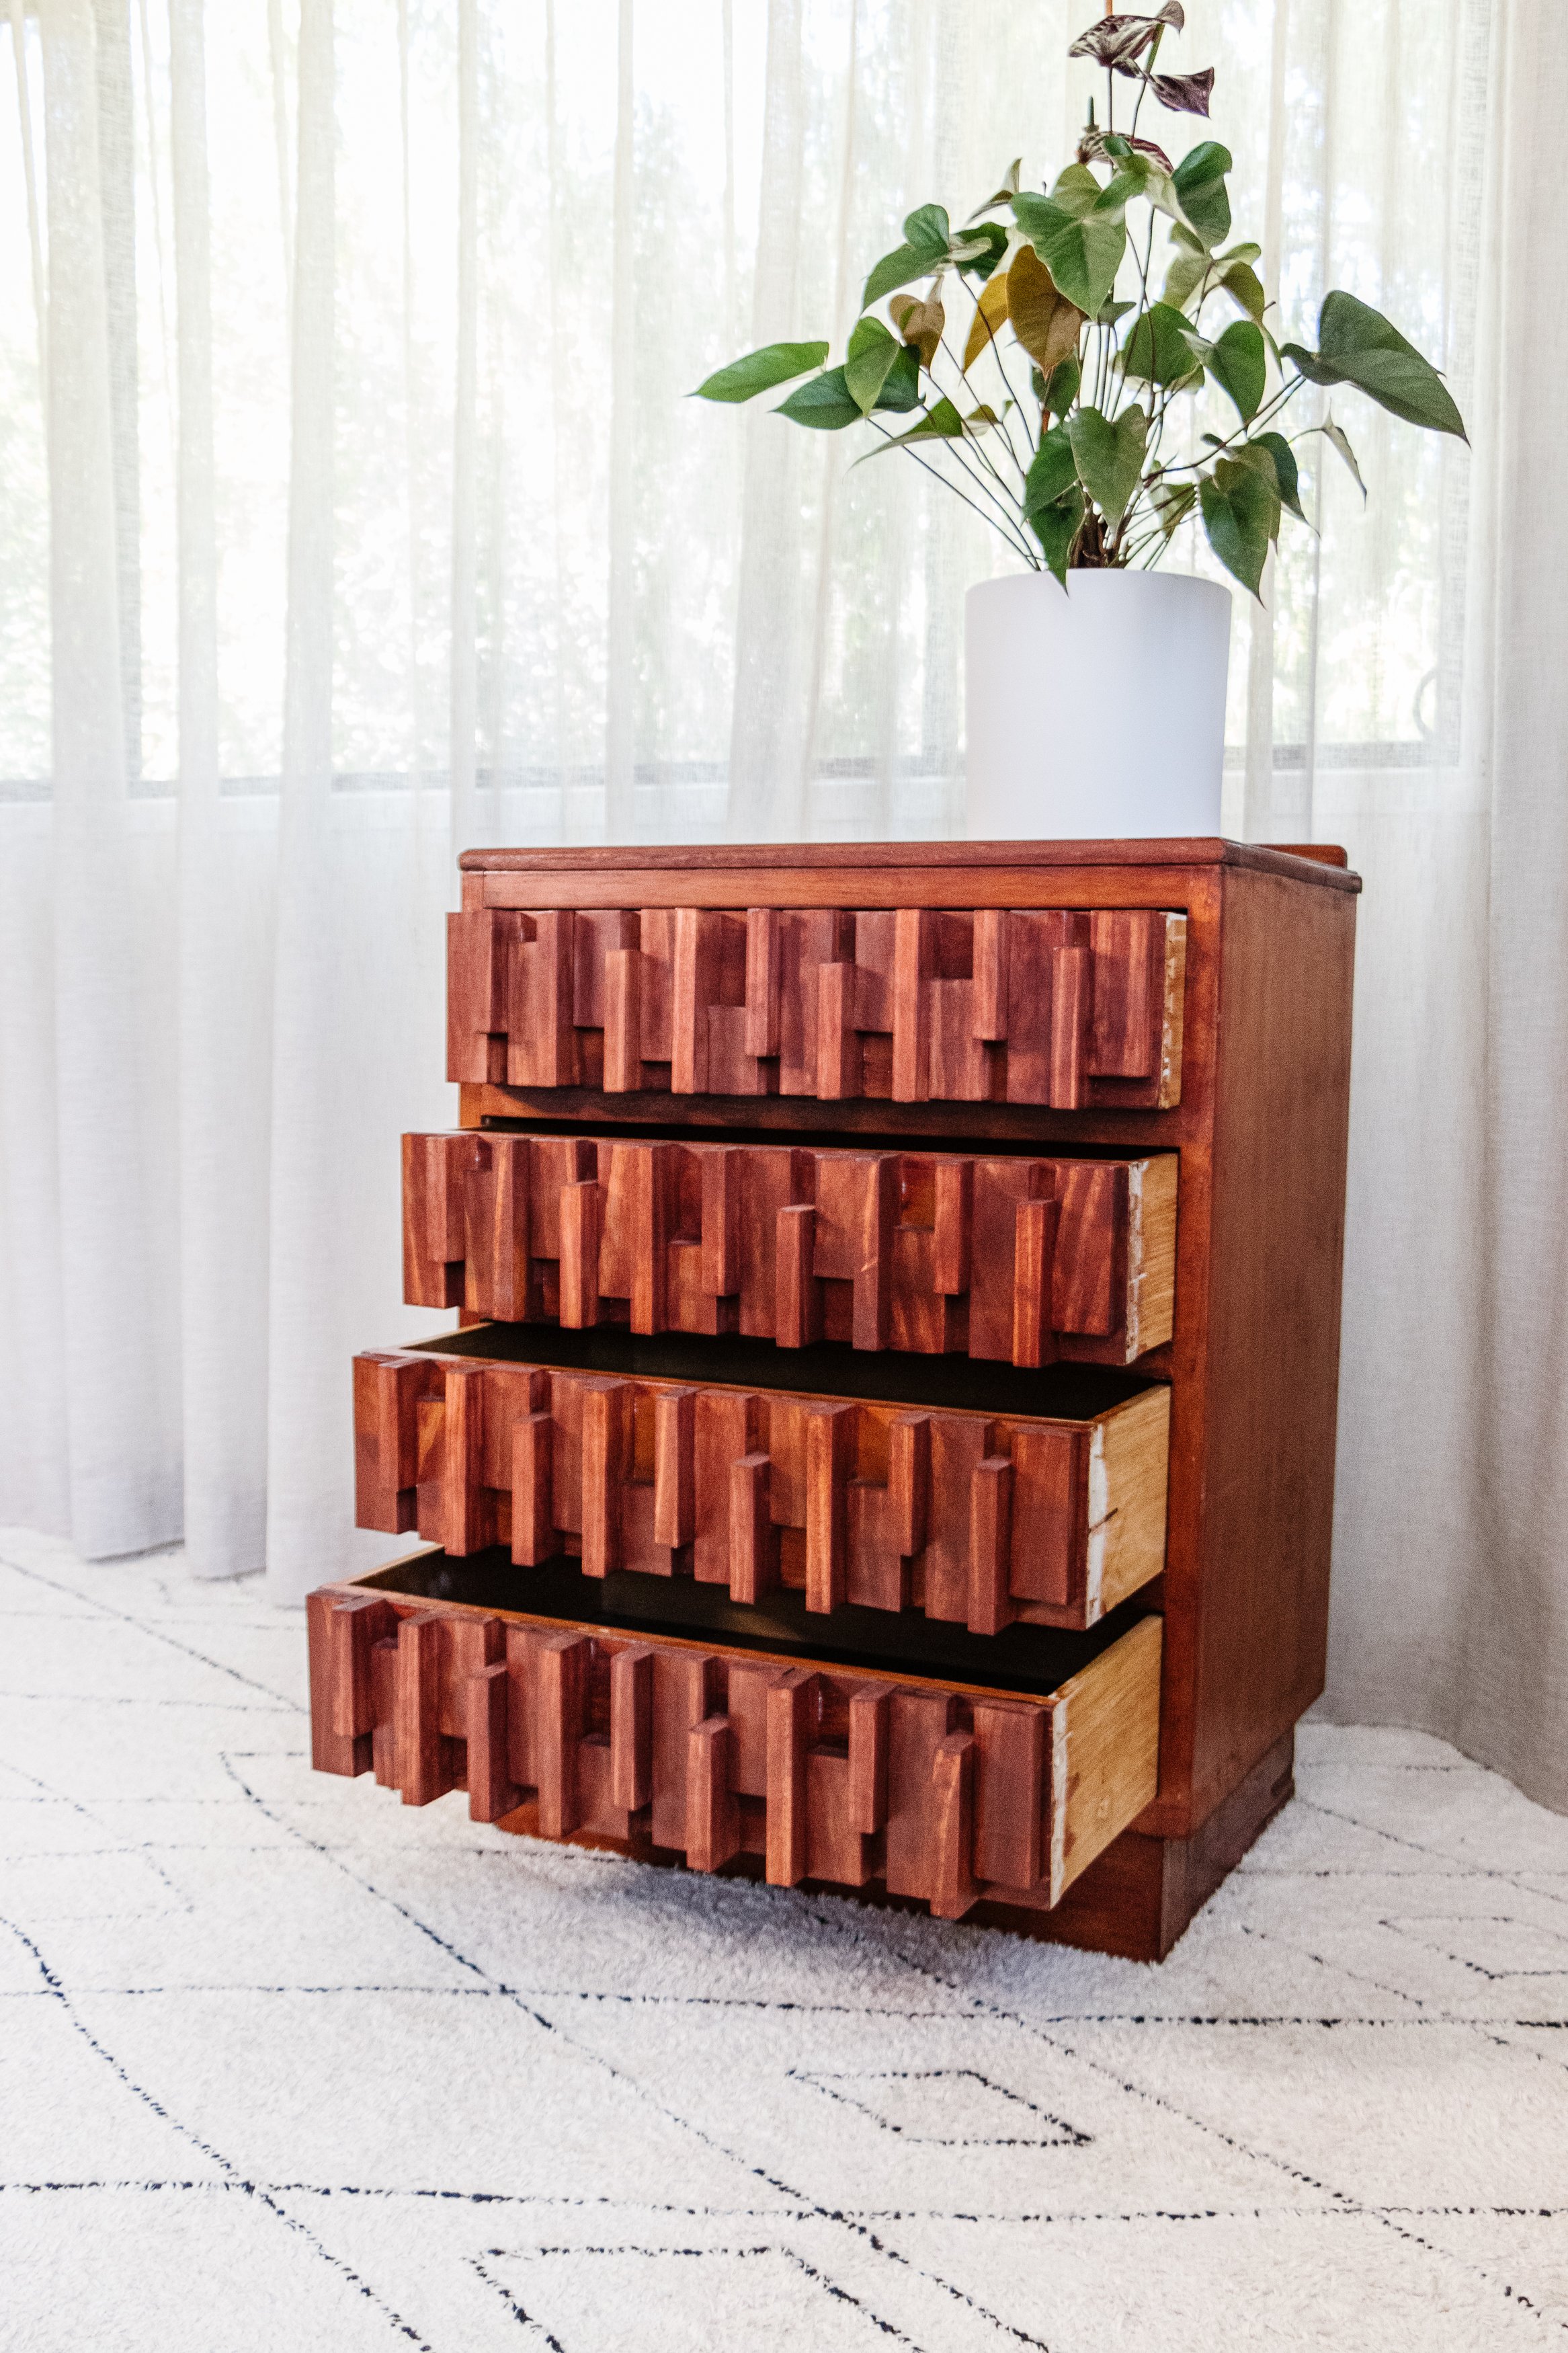
Step 7: When the varnish is dry, slide the drawers back in and that’s it!


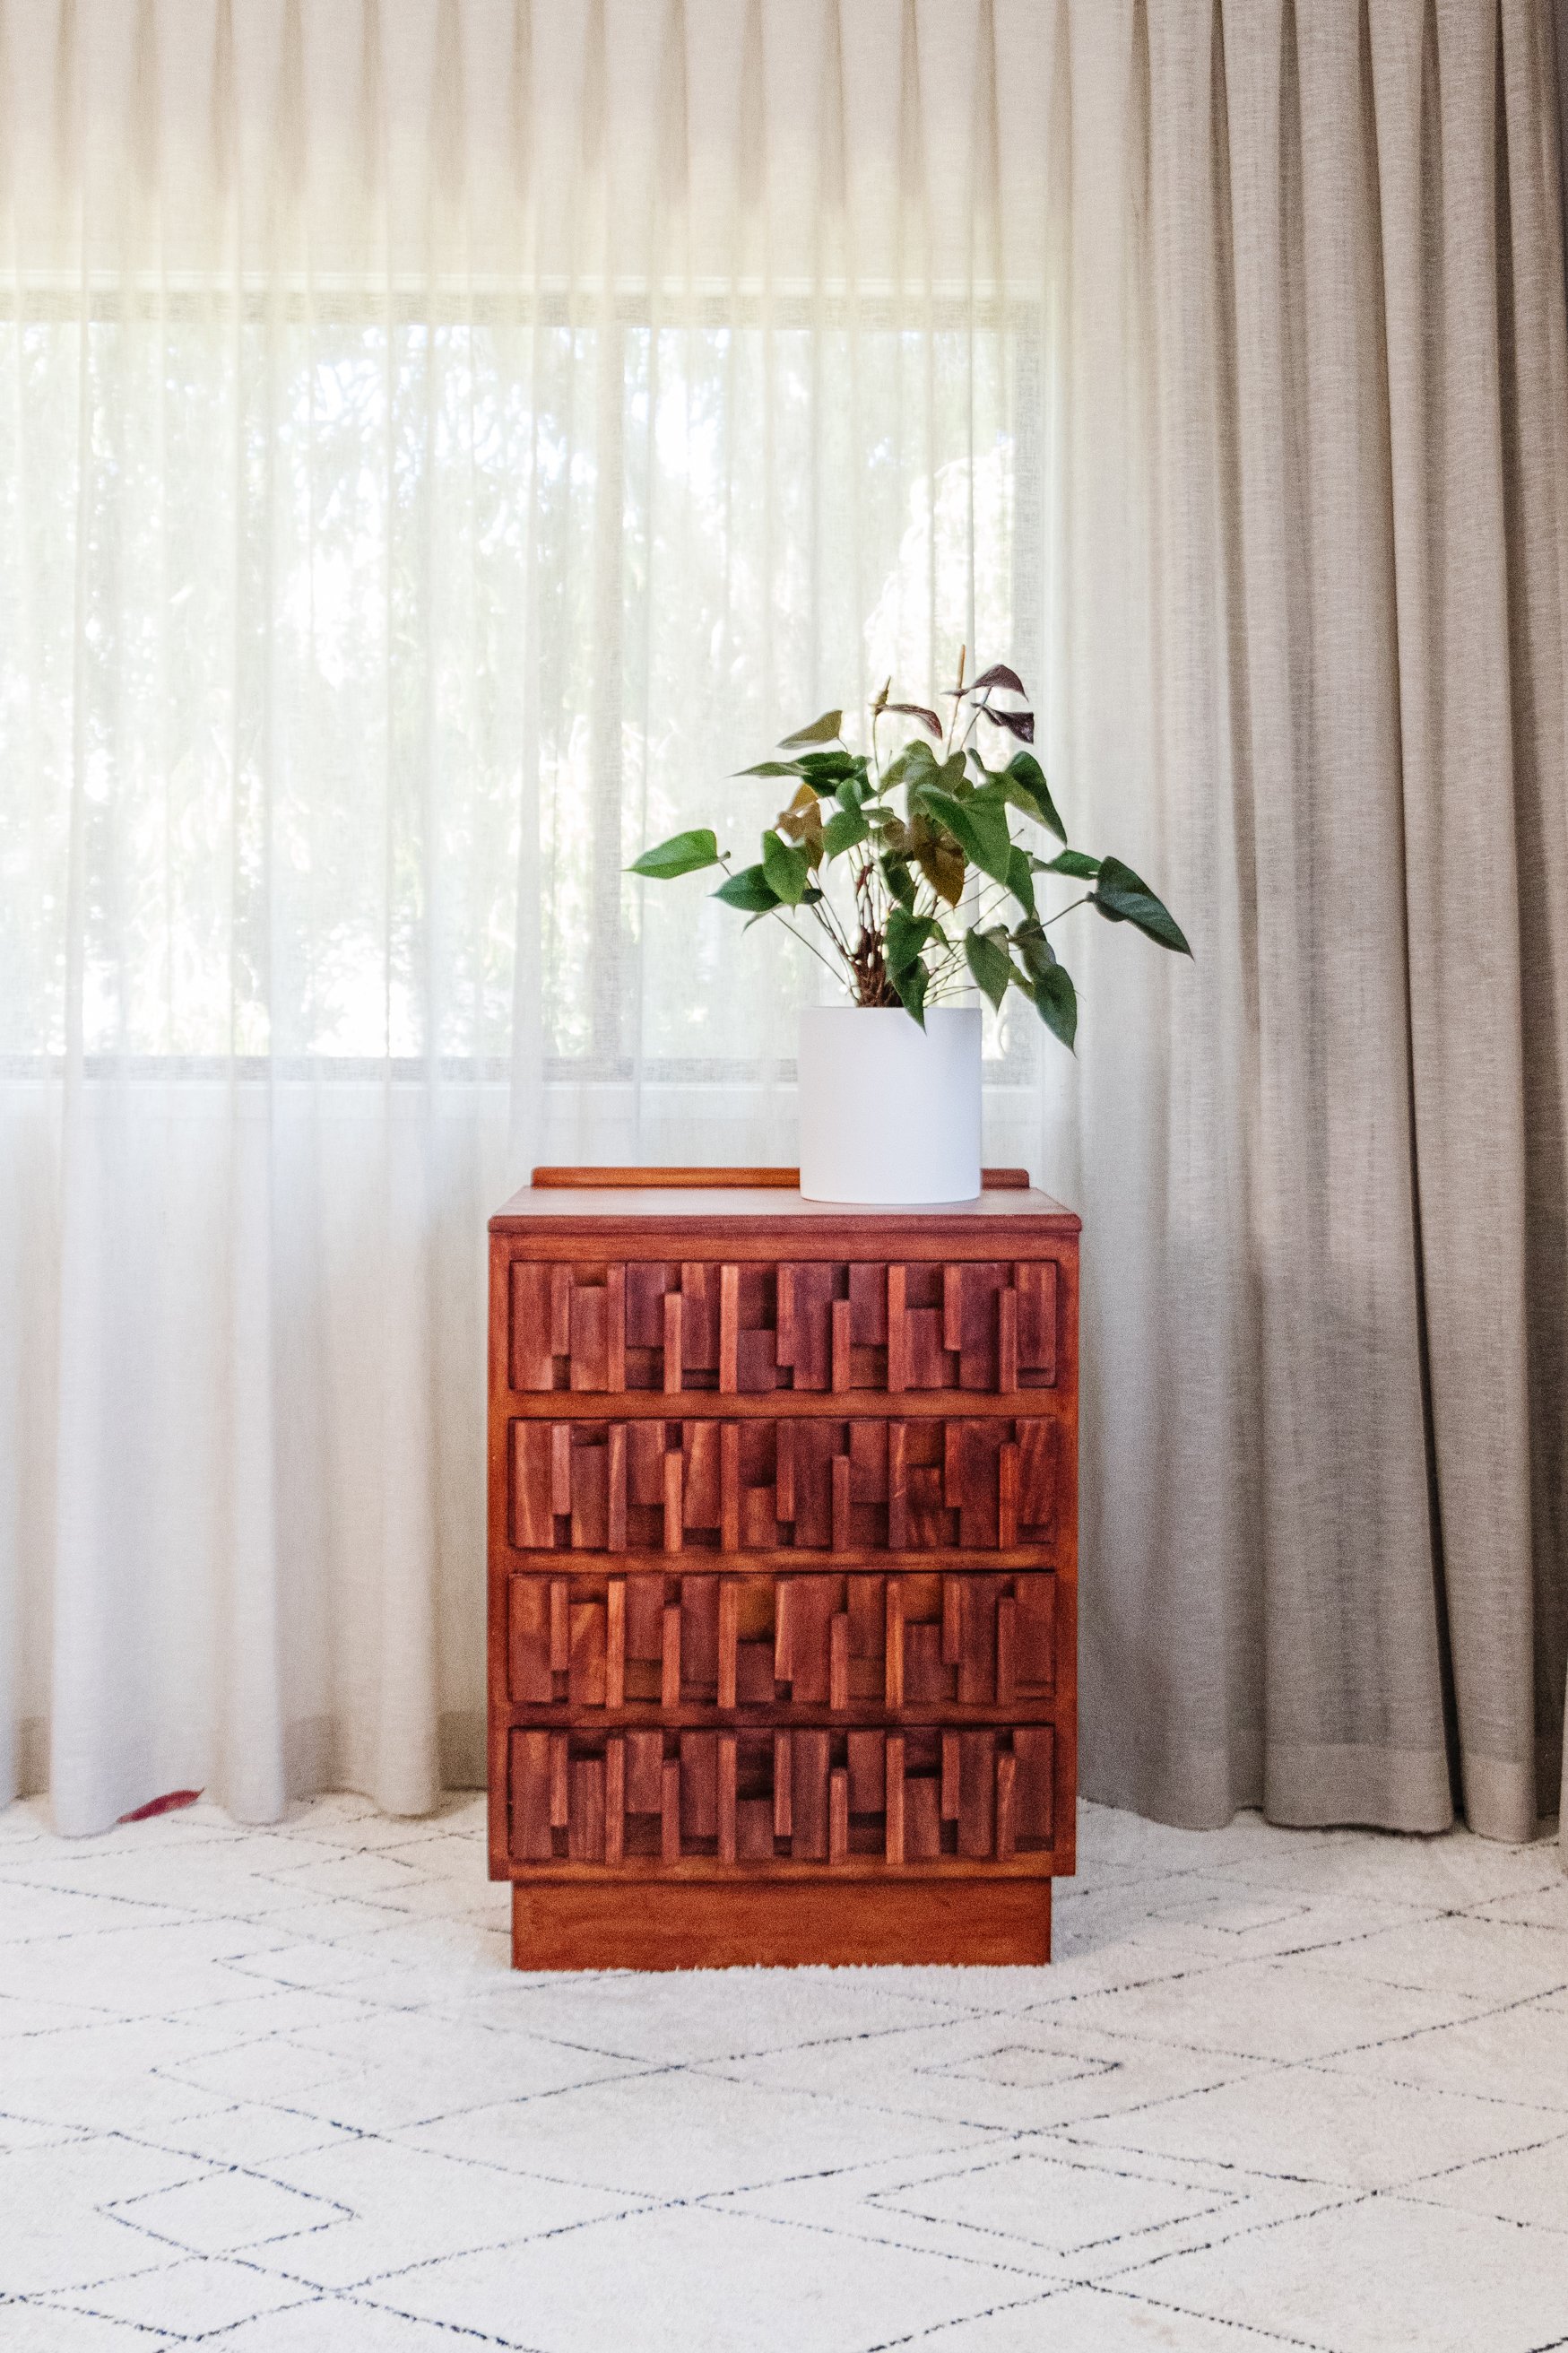
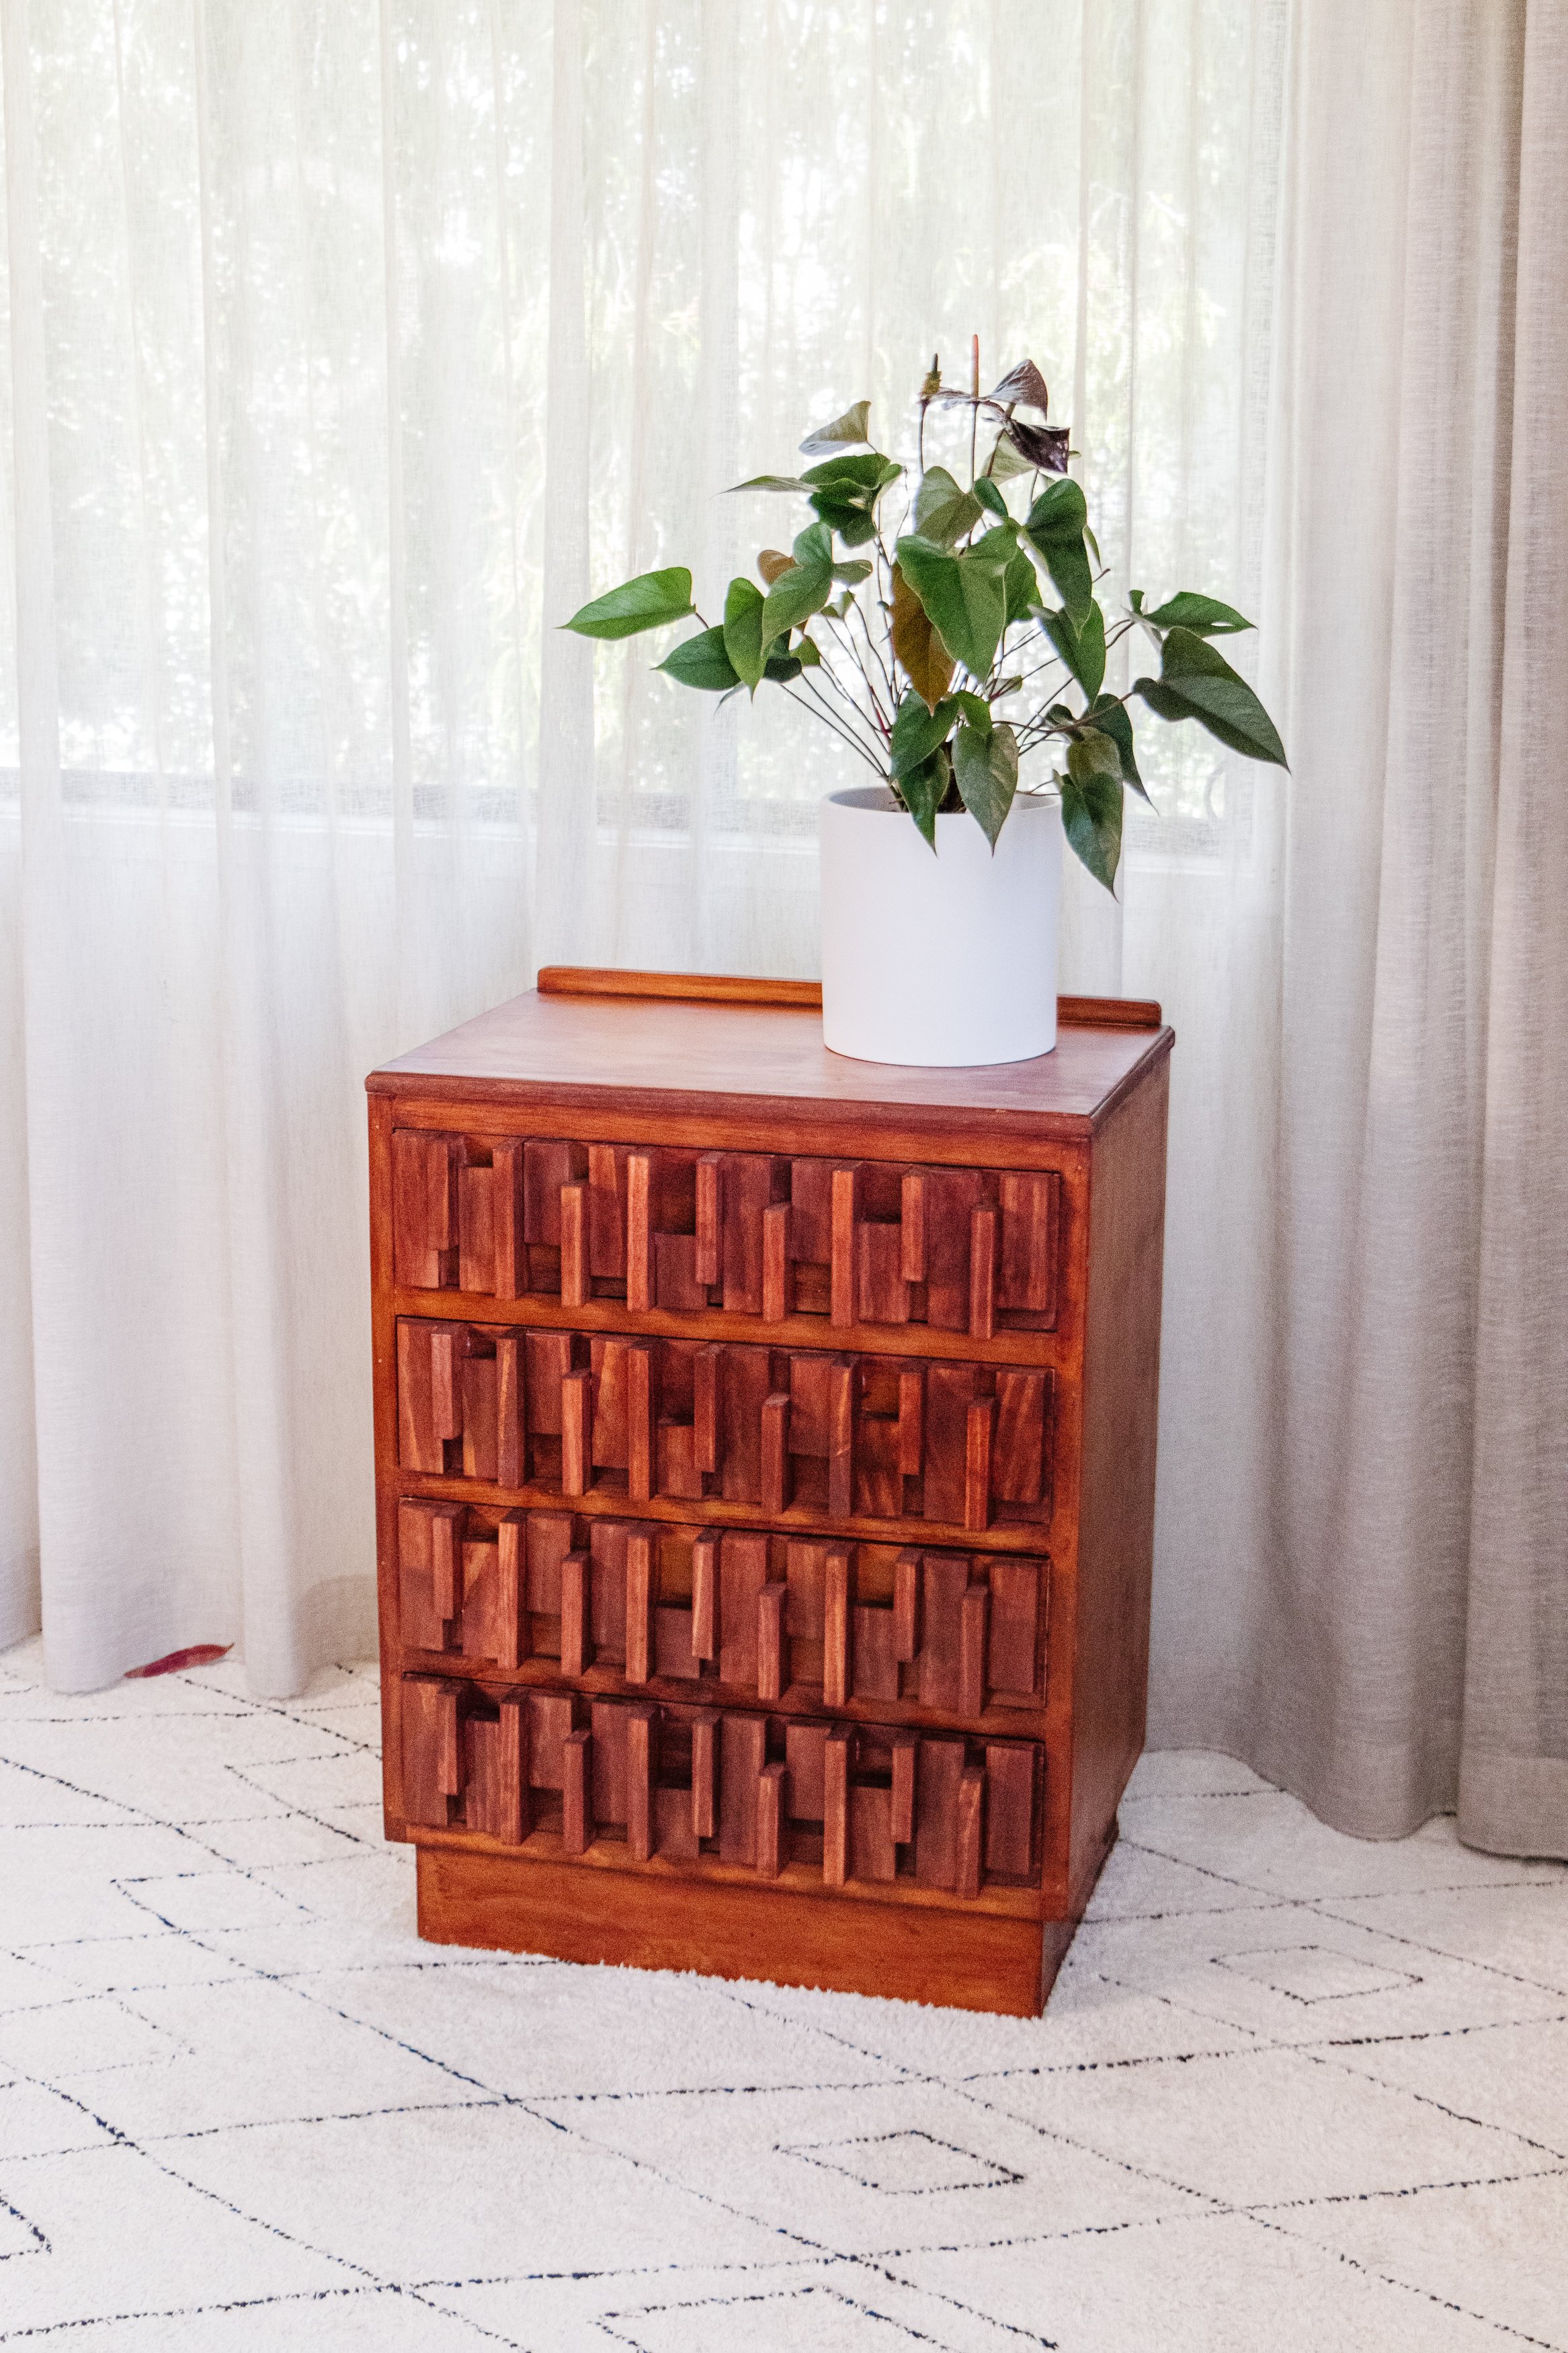
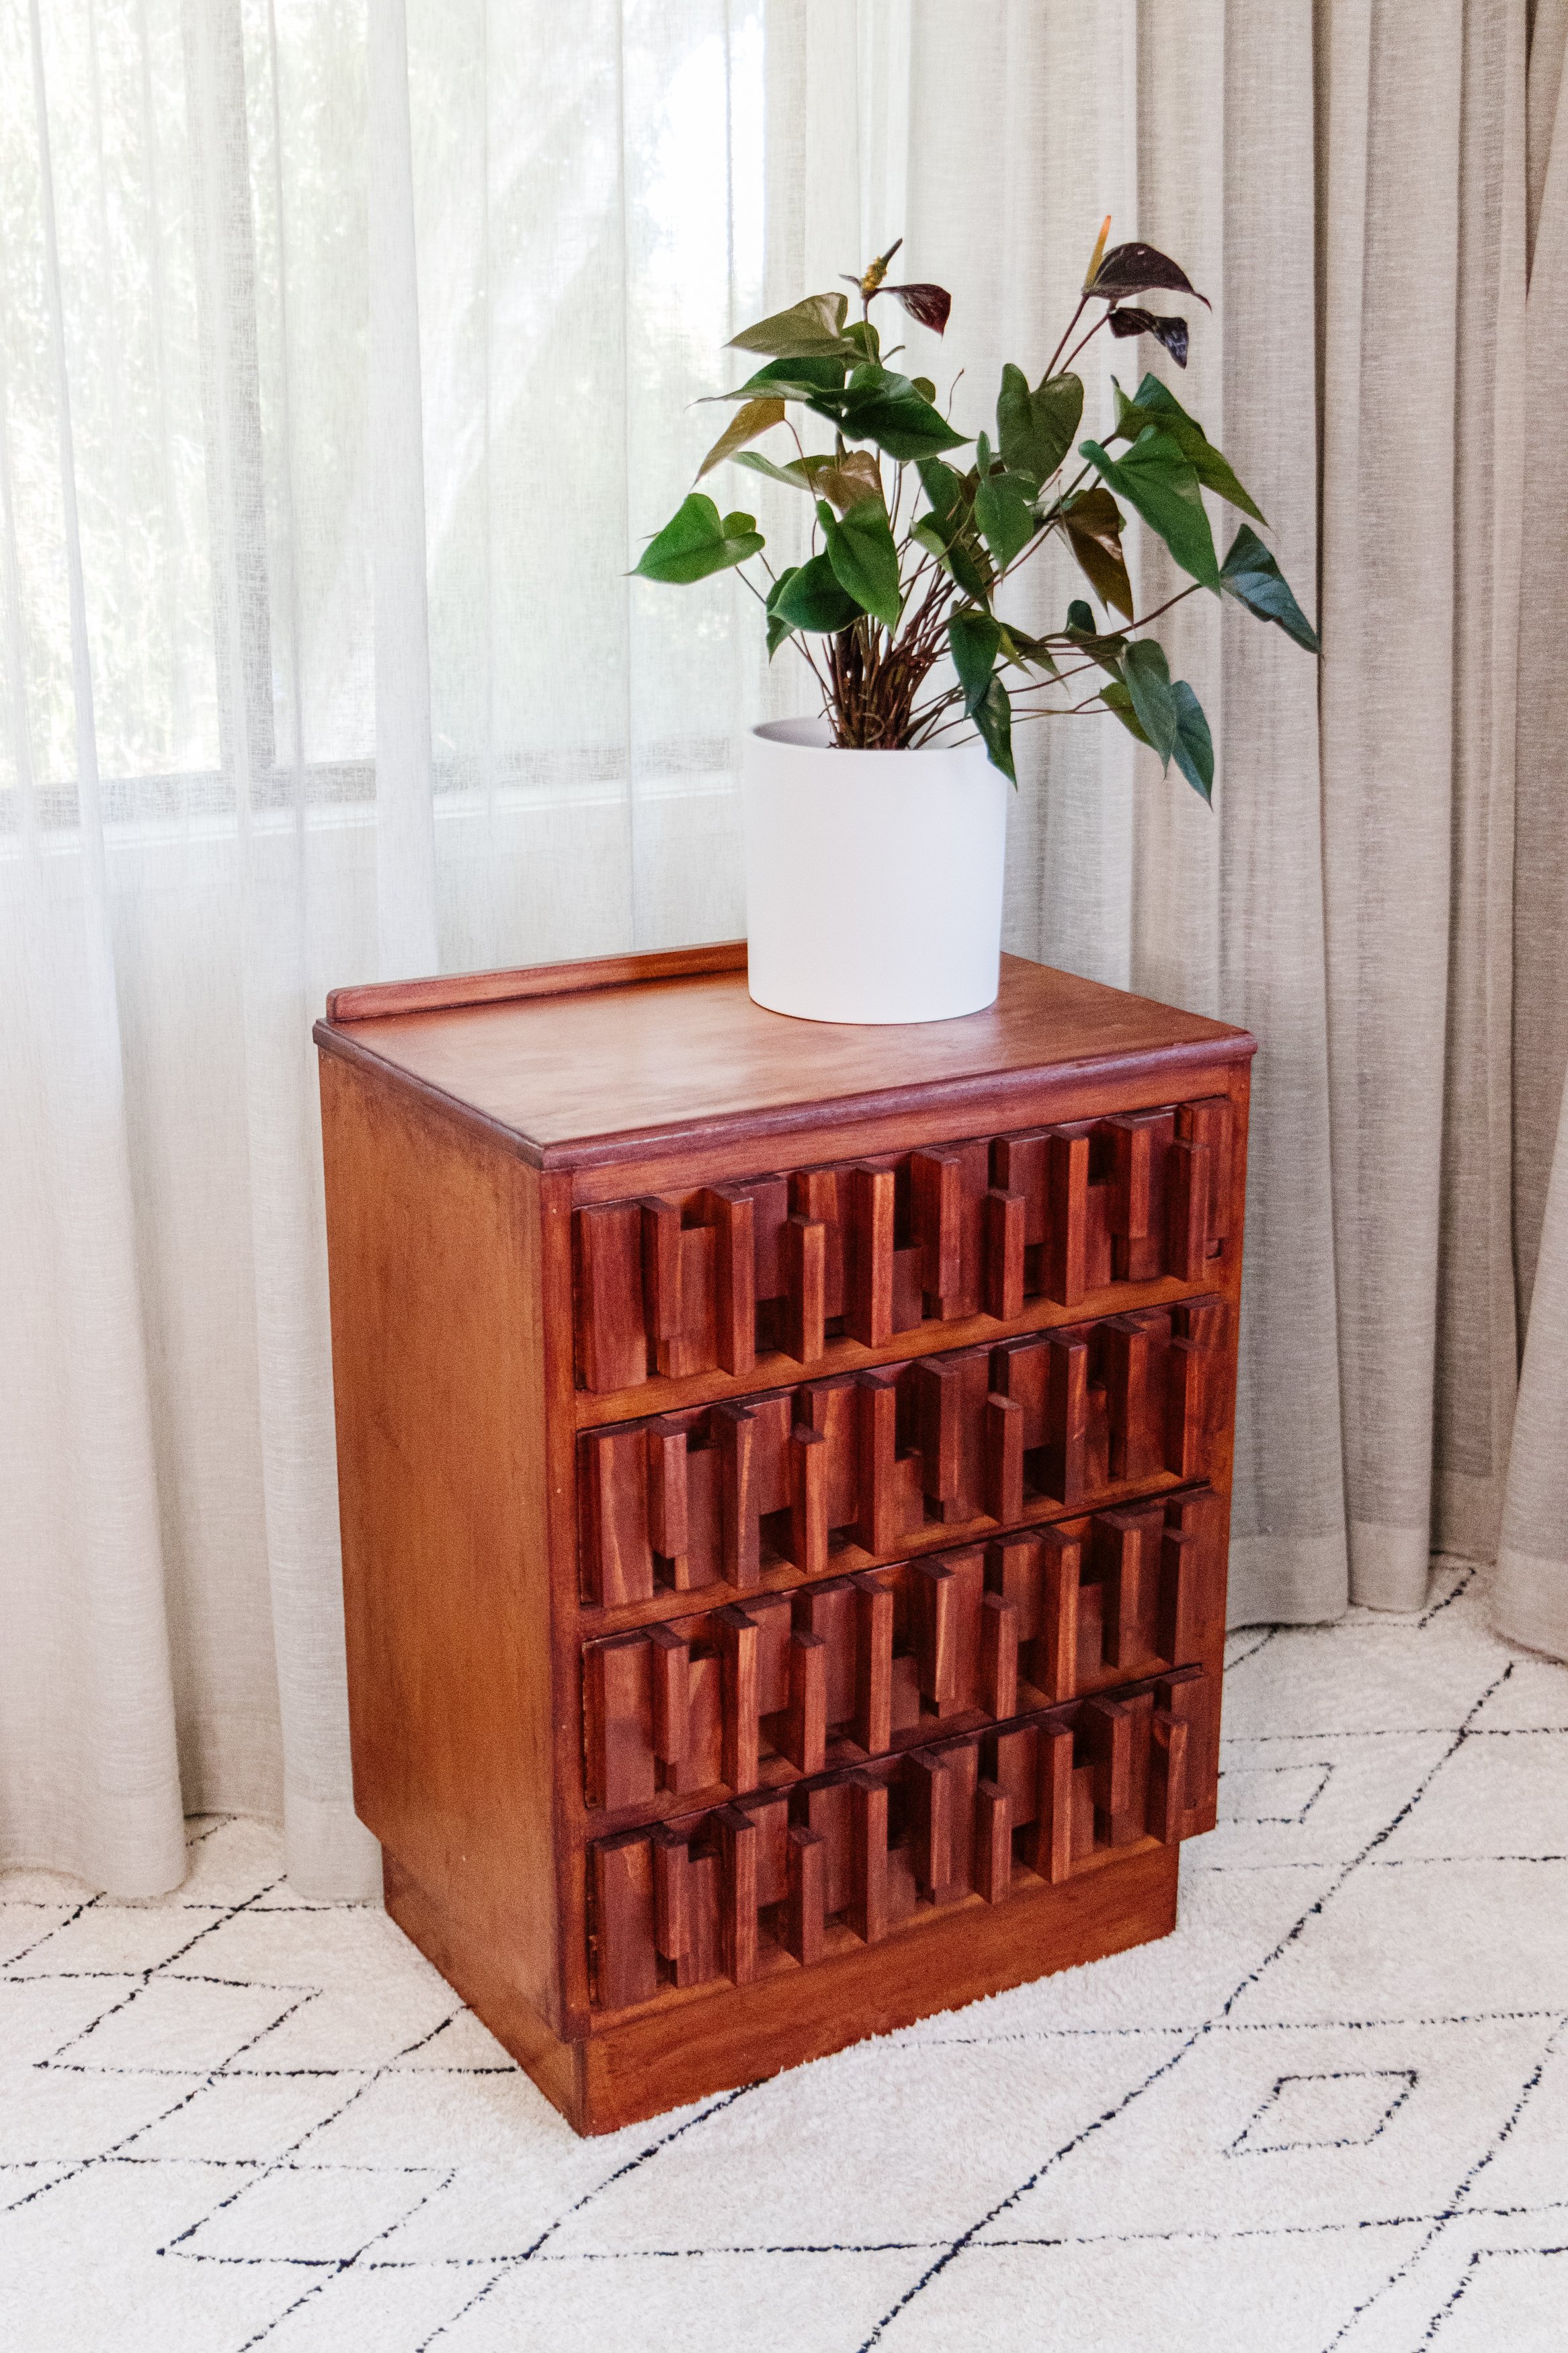
Ta daaaa!
Even though I had to individually cut, sand, stain, glue and seal 76 pieces of leftover timber (it was a LOT), I now have the literal definition of the drawers of my dreams! I love that they are also totally easy to pull out and push in - so no need for handles or knobs here. How good! The best part? You can be as creative as you like with the design! I encourage you to grab some pieces of timber and play around. You may want to copy my design or you might want to make your own, and you may want the pattern to be the same down the drawers or different. Choose whichever you love the most and as always, have fun!