Our Outdoor Kitchen Paint-over (for under $150!)
It was time to give our outdoor kitchen a paint-over
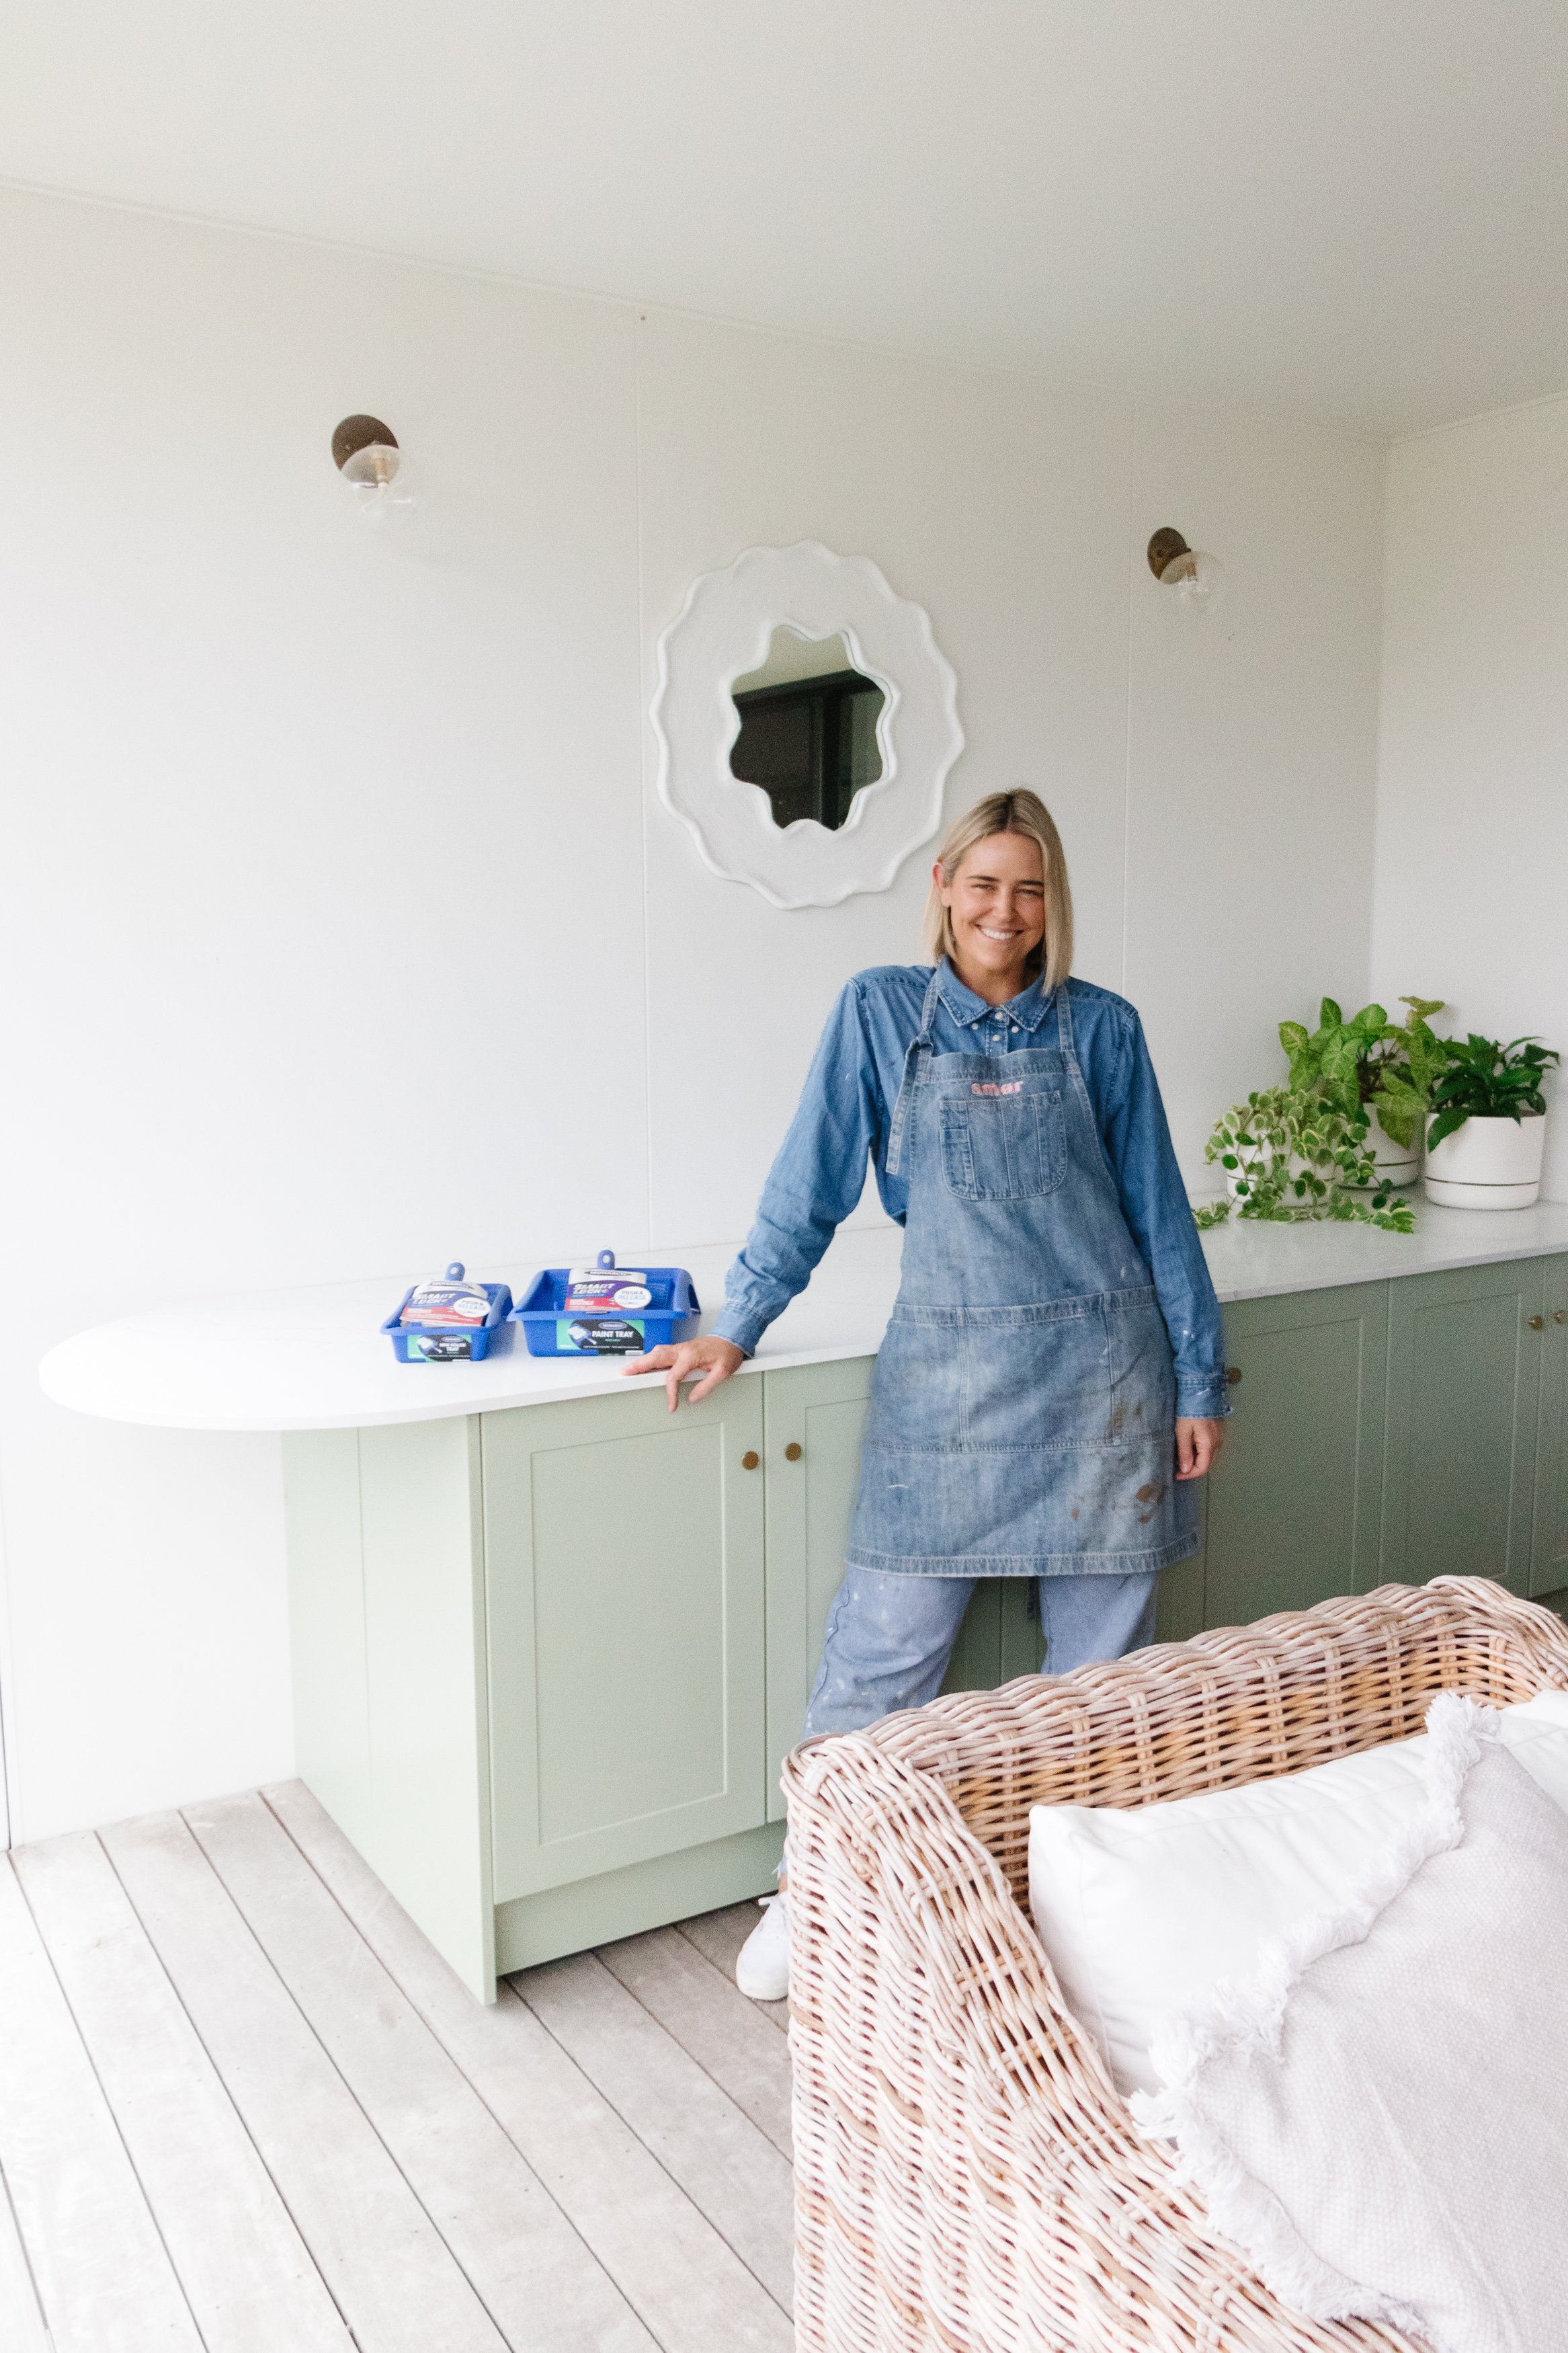
Back in July, Jason and I started talking about giving our outdoor kitchen a paint-over because we wanted the space to feel more grown up. Our cabinetry is by Kaboodle, which Jason chose, painted and installed a few years ago. I love how versatile it is; we can change the colour using paint whenever we want to. So, that’s what I did! When it comes to painting I always like to Monarch Painting by my side. They have the best tools to make painting easy and get the perfect finish every time.
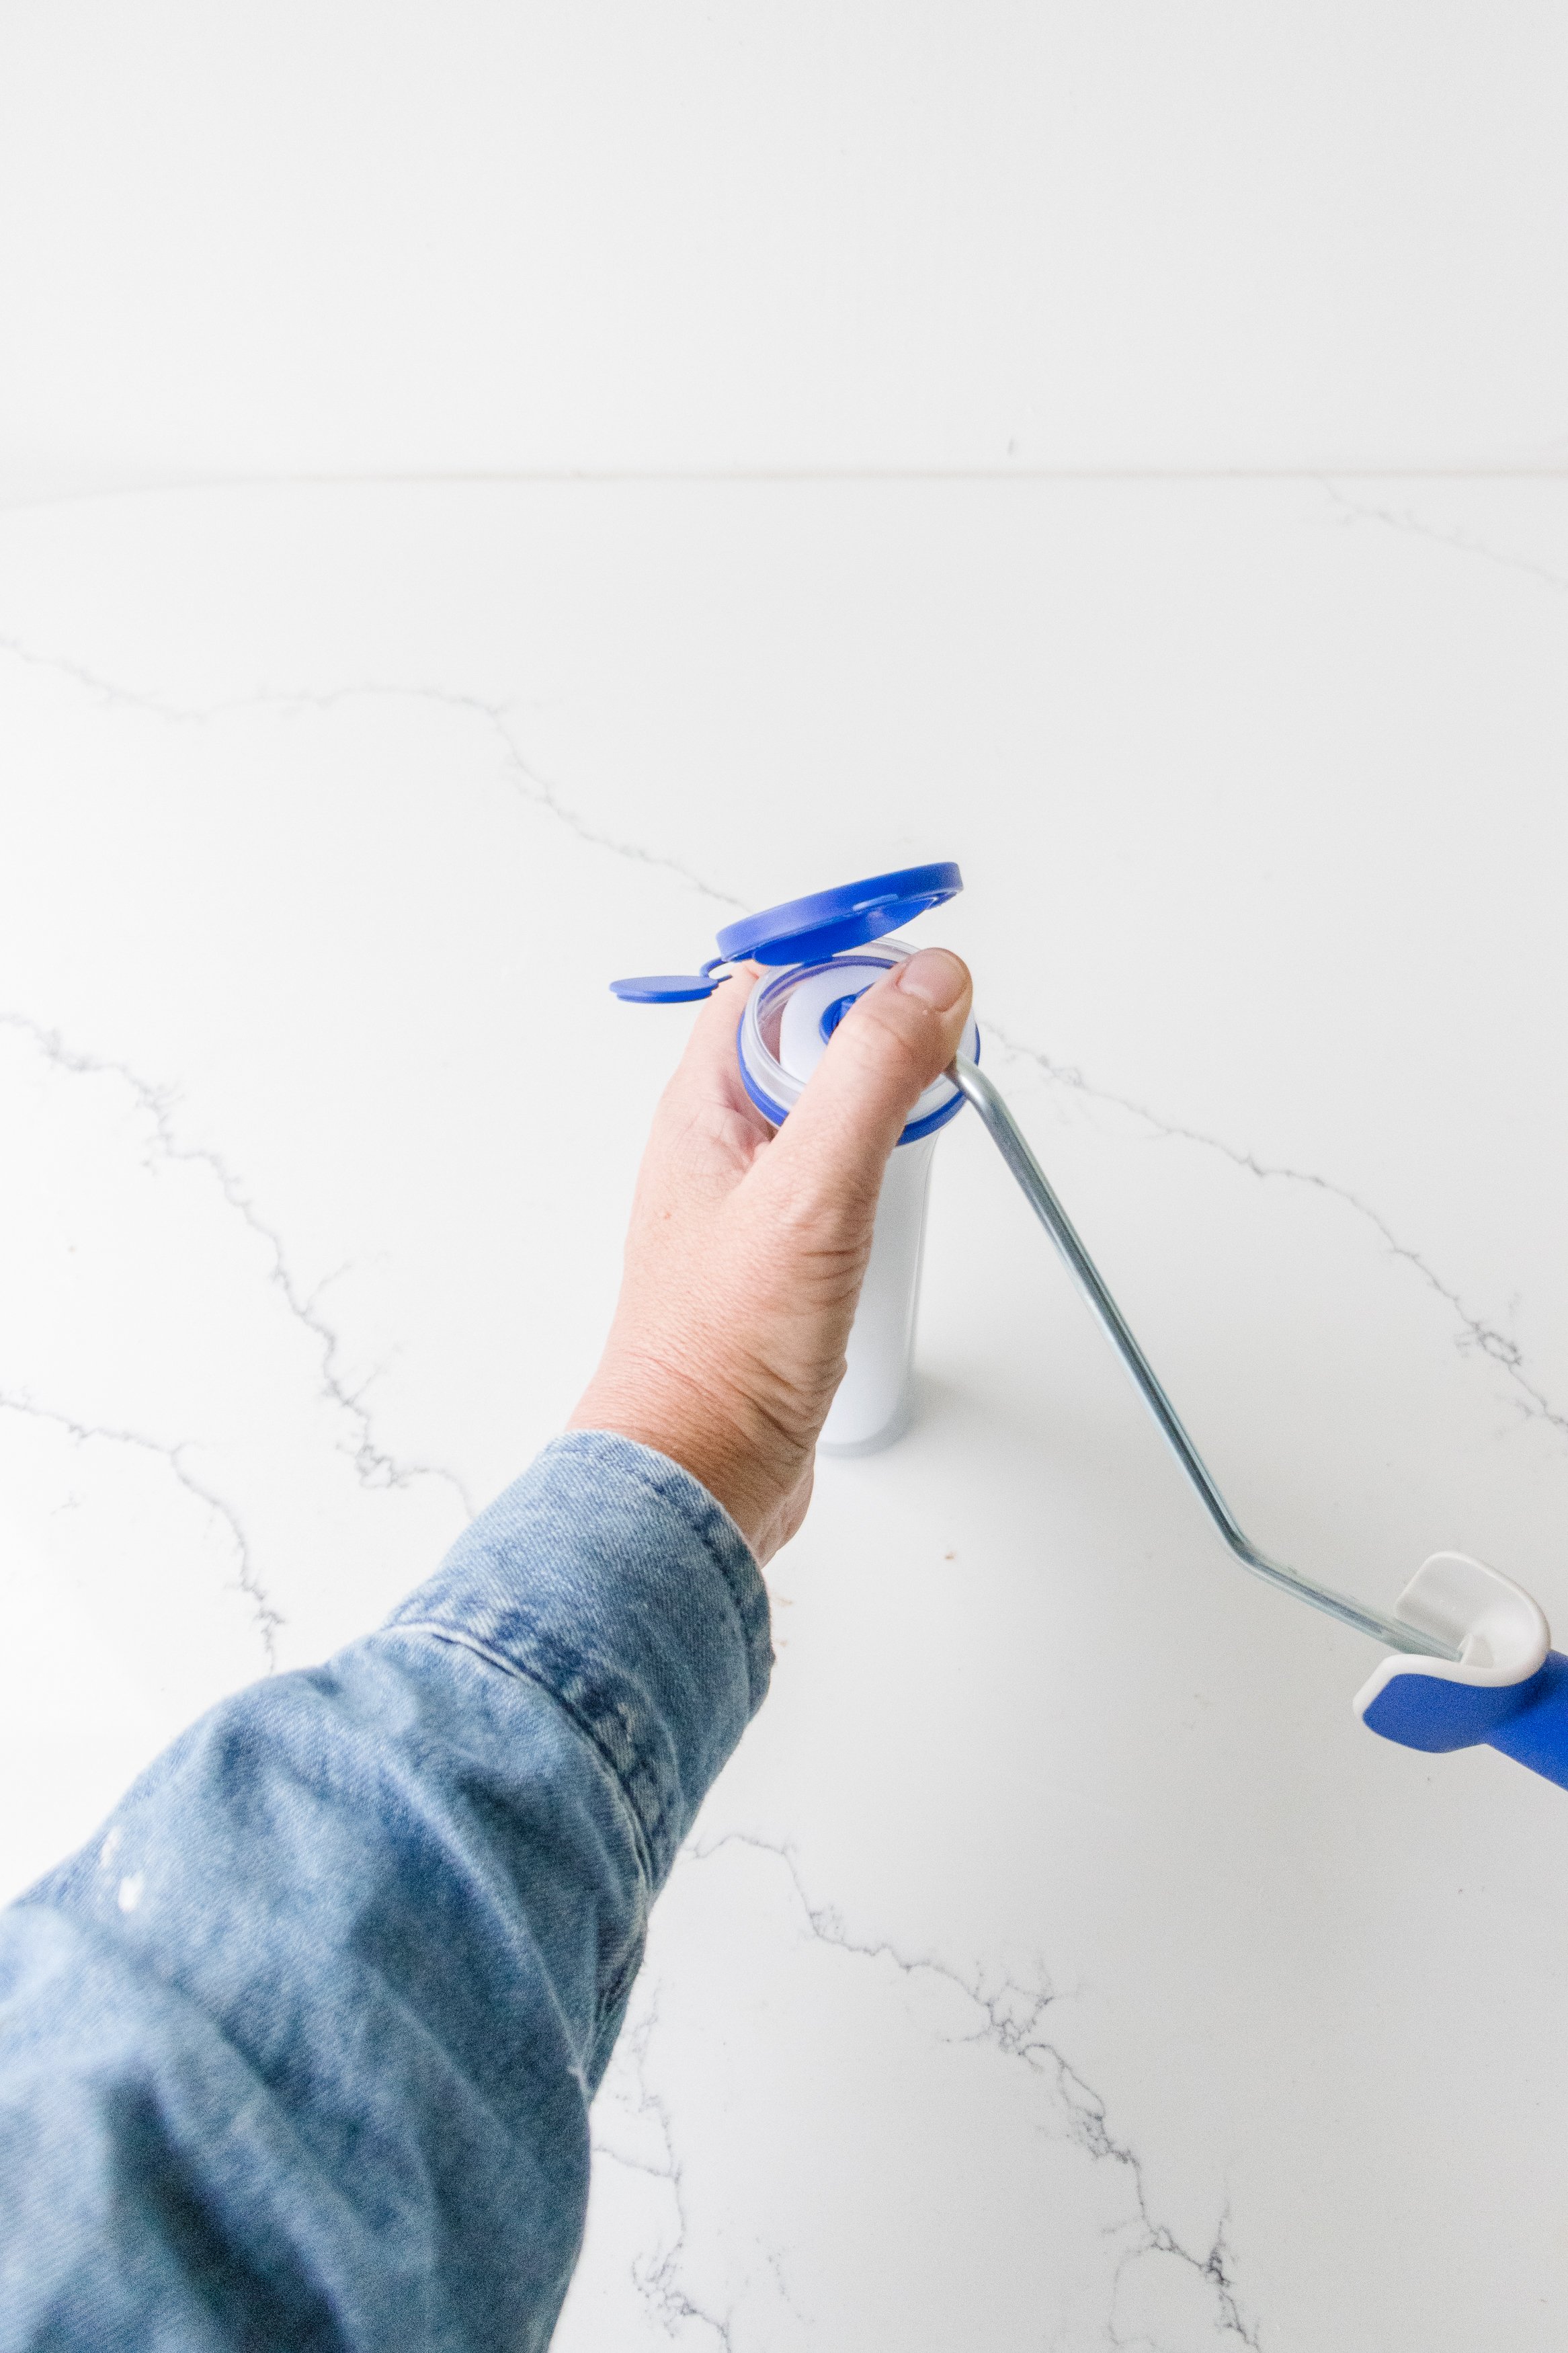
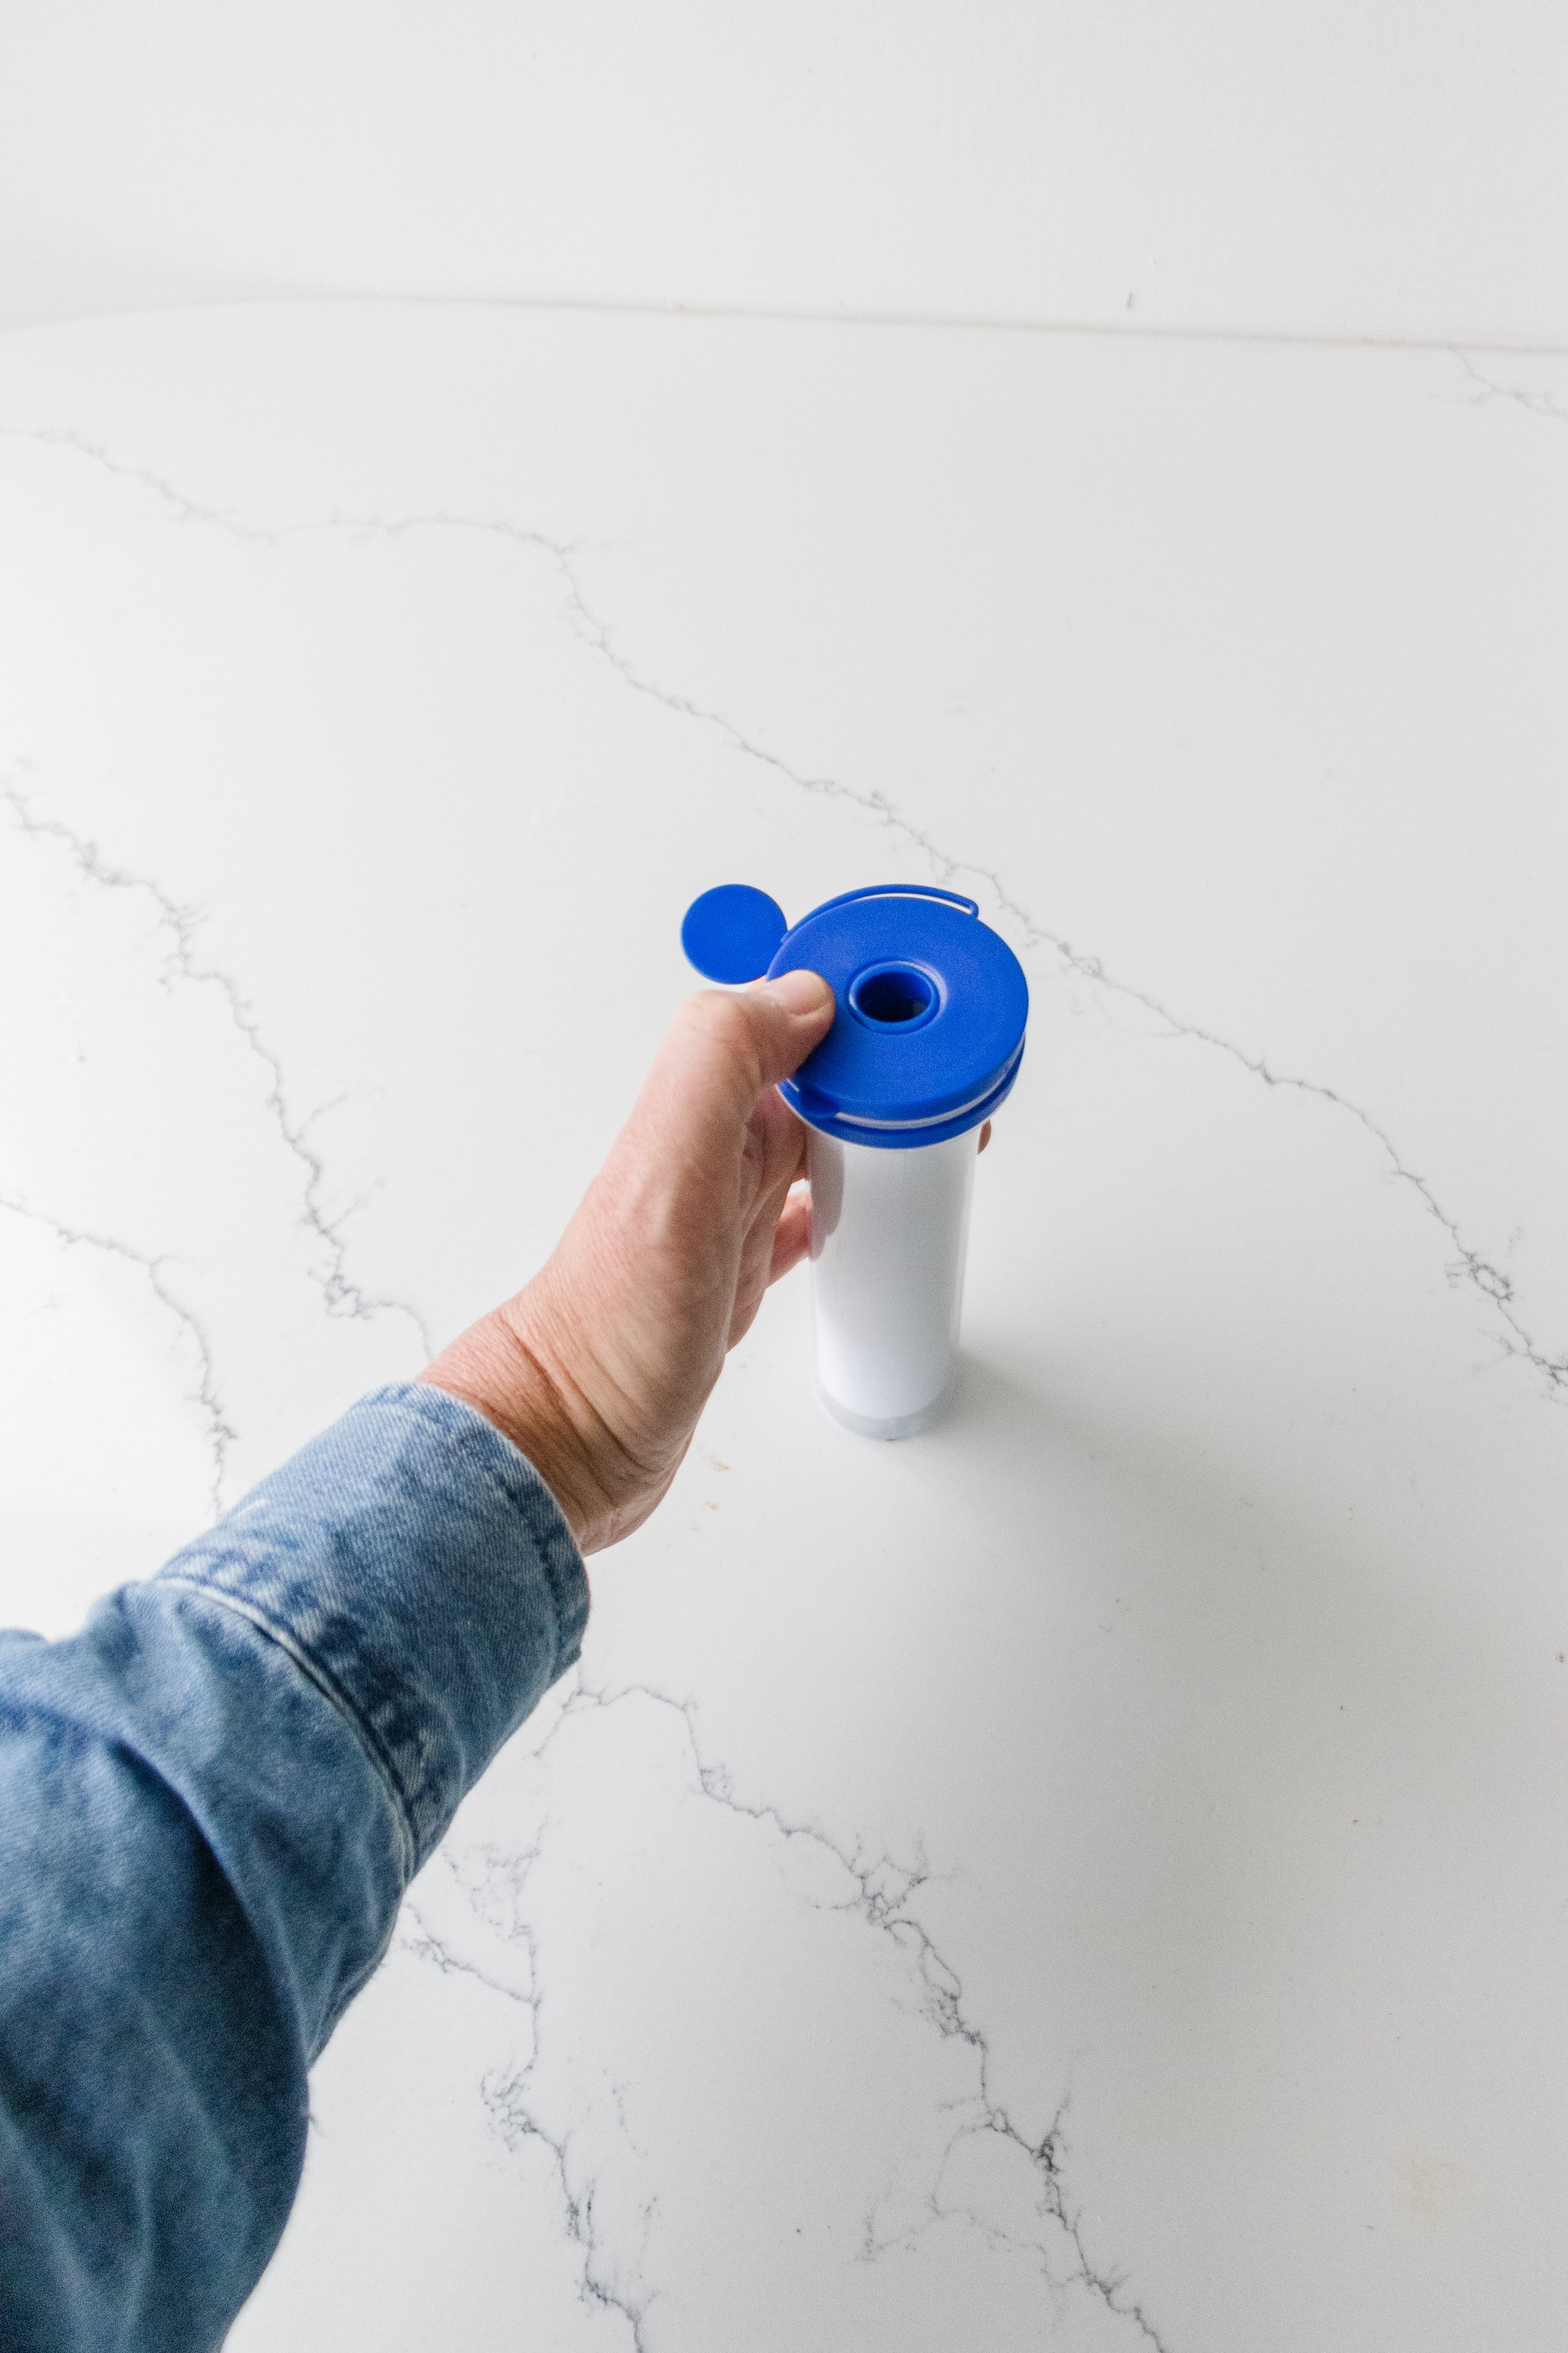
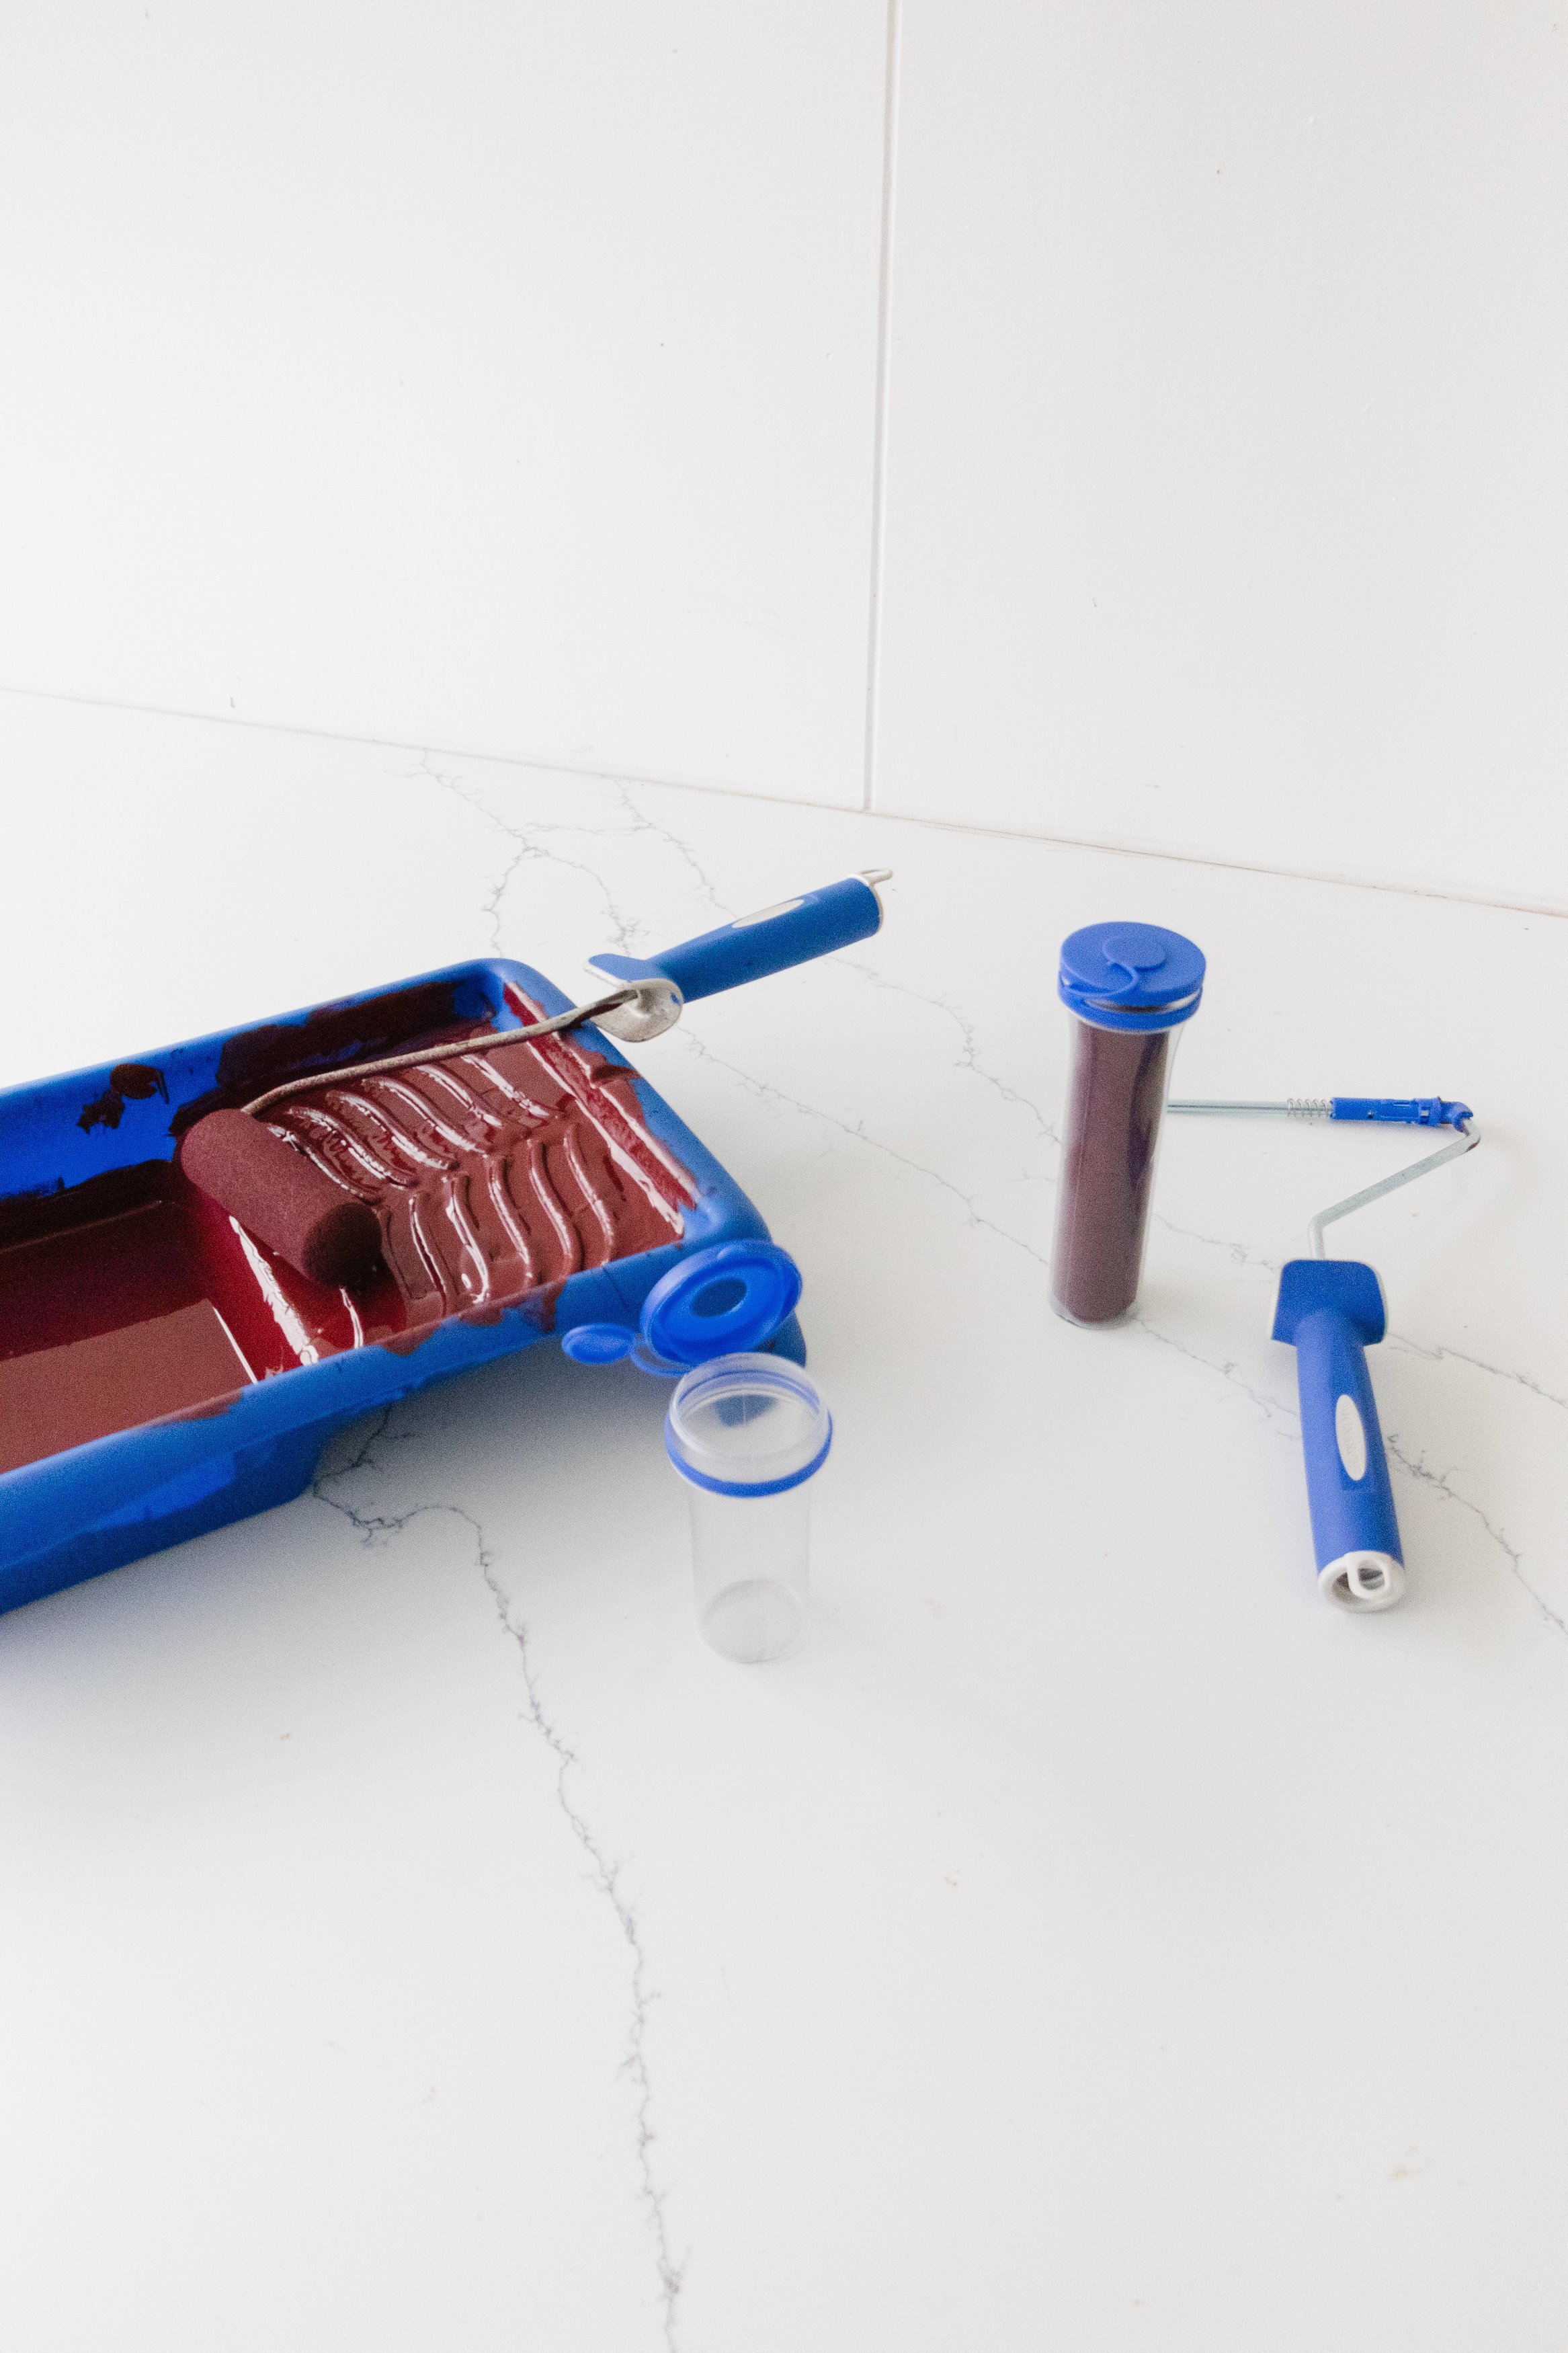
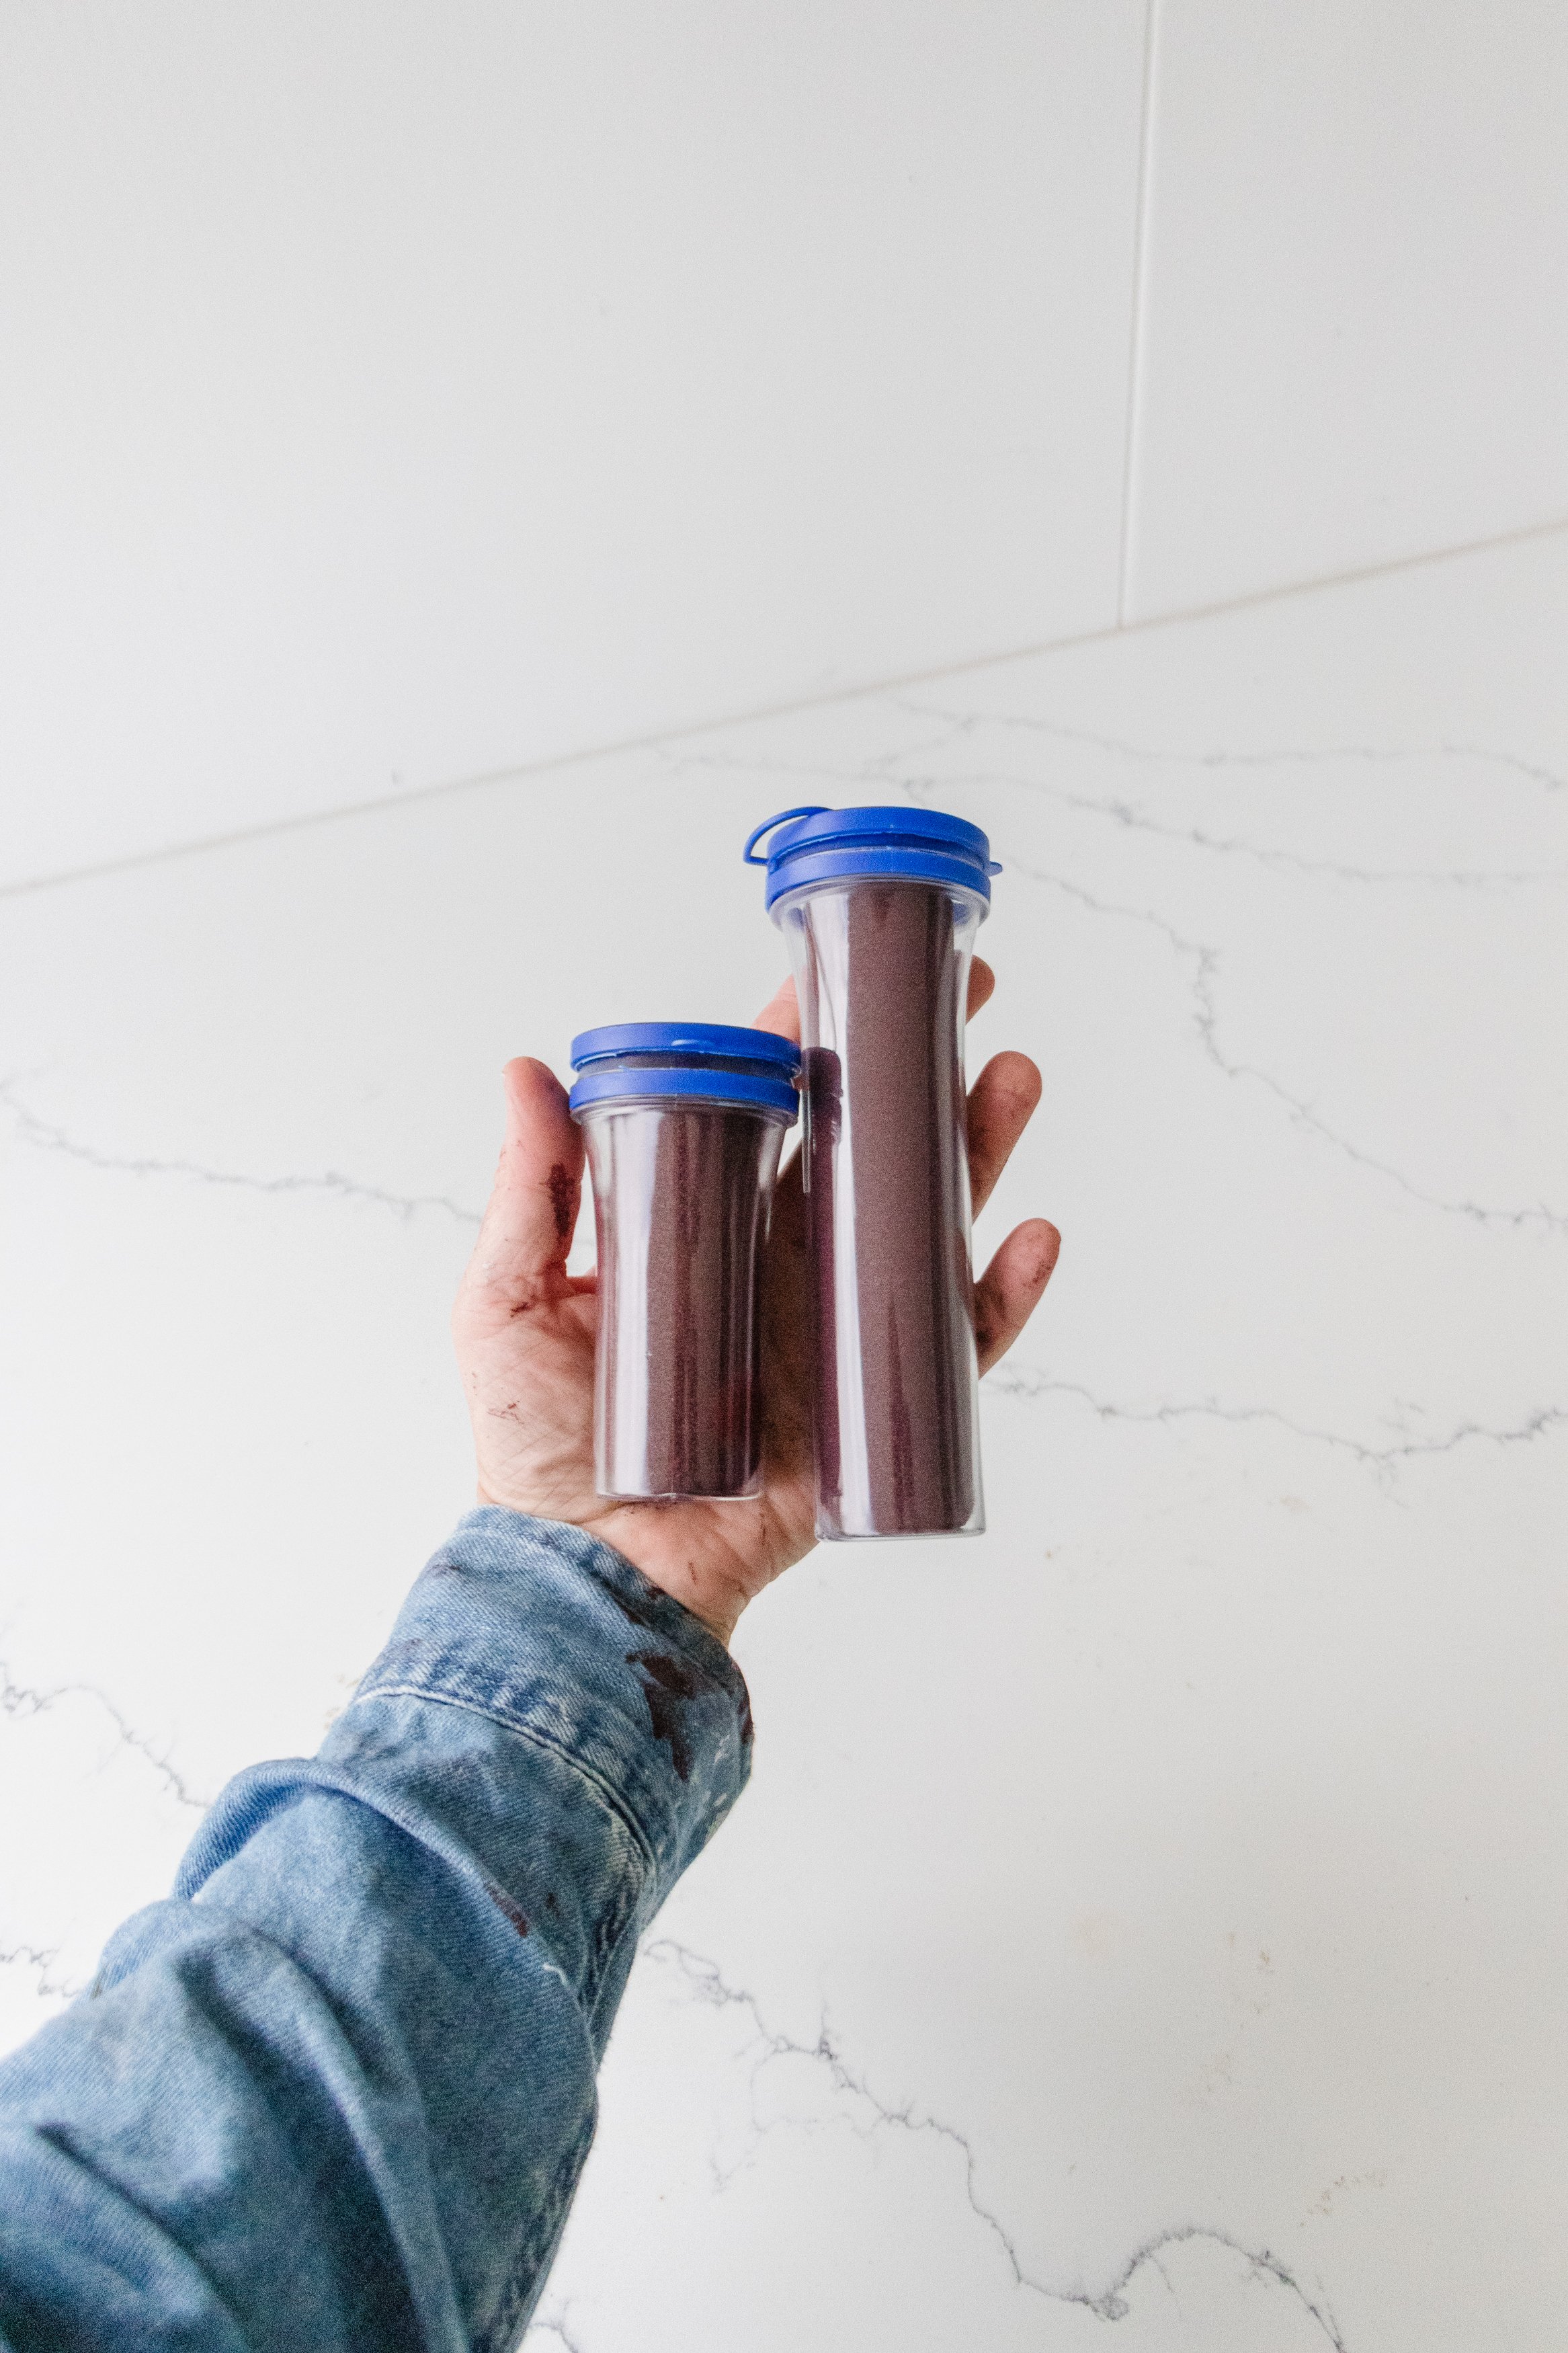
For this project, I was able to paint our outdoor kitchen cabinetry in a day because I used their fuss free Smart Lock Mini Roller range. I have been so excited to get my hands on these rollers! The SmartLock push and release mechanism is a no mess solution that allows you to simply remove the mini roller cover without any mess and the storage tube keeps the mini rollers fresh between coats and up to two weeks, saving you time and reducing waste. Read on to find out how it all came together on the day.
And make sure to watch this video.
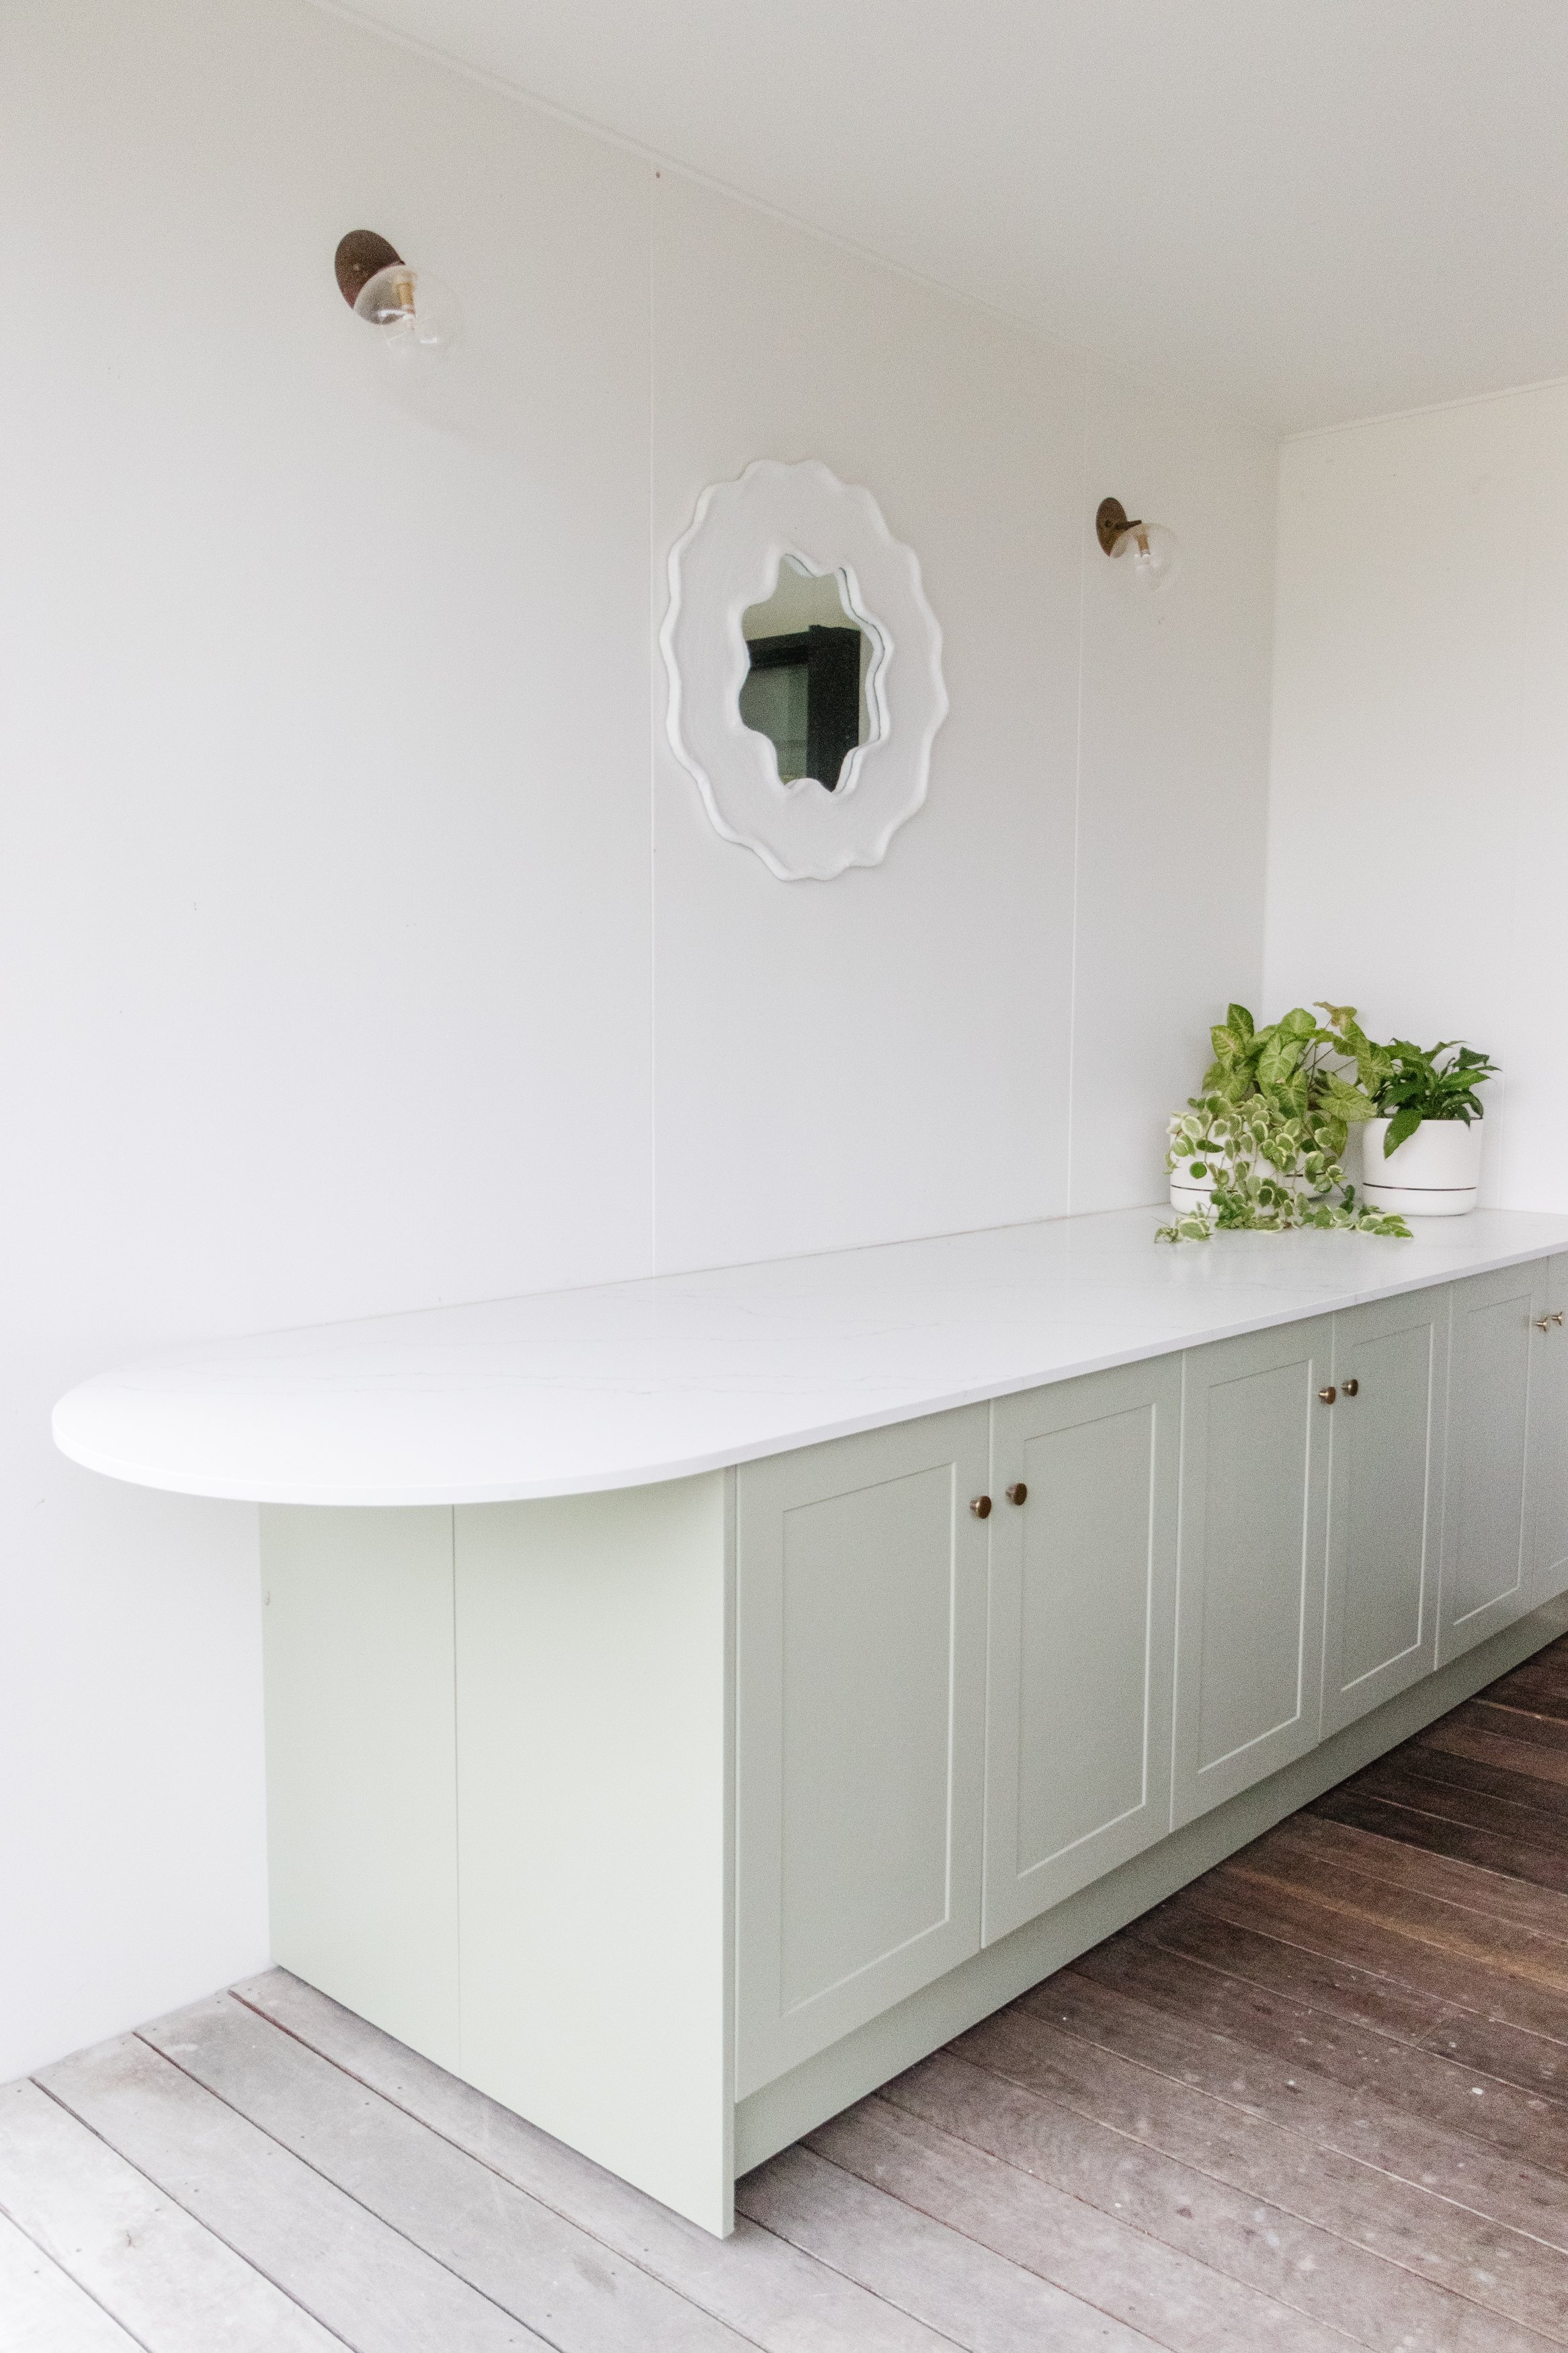
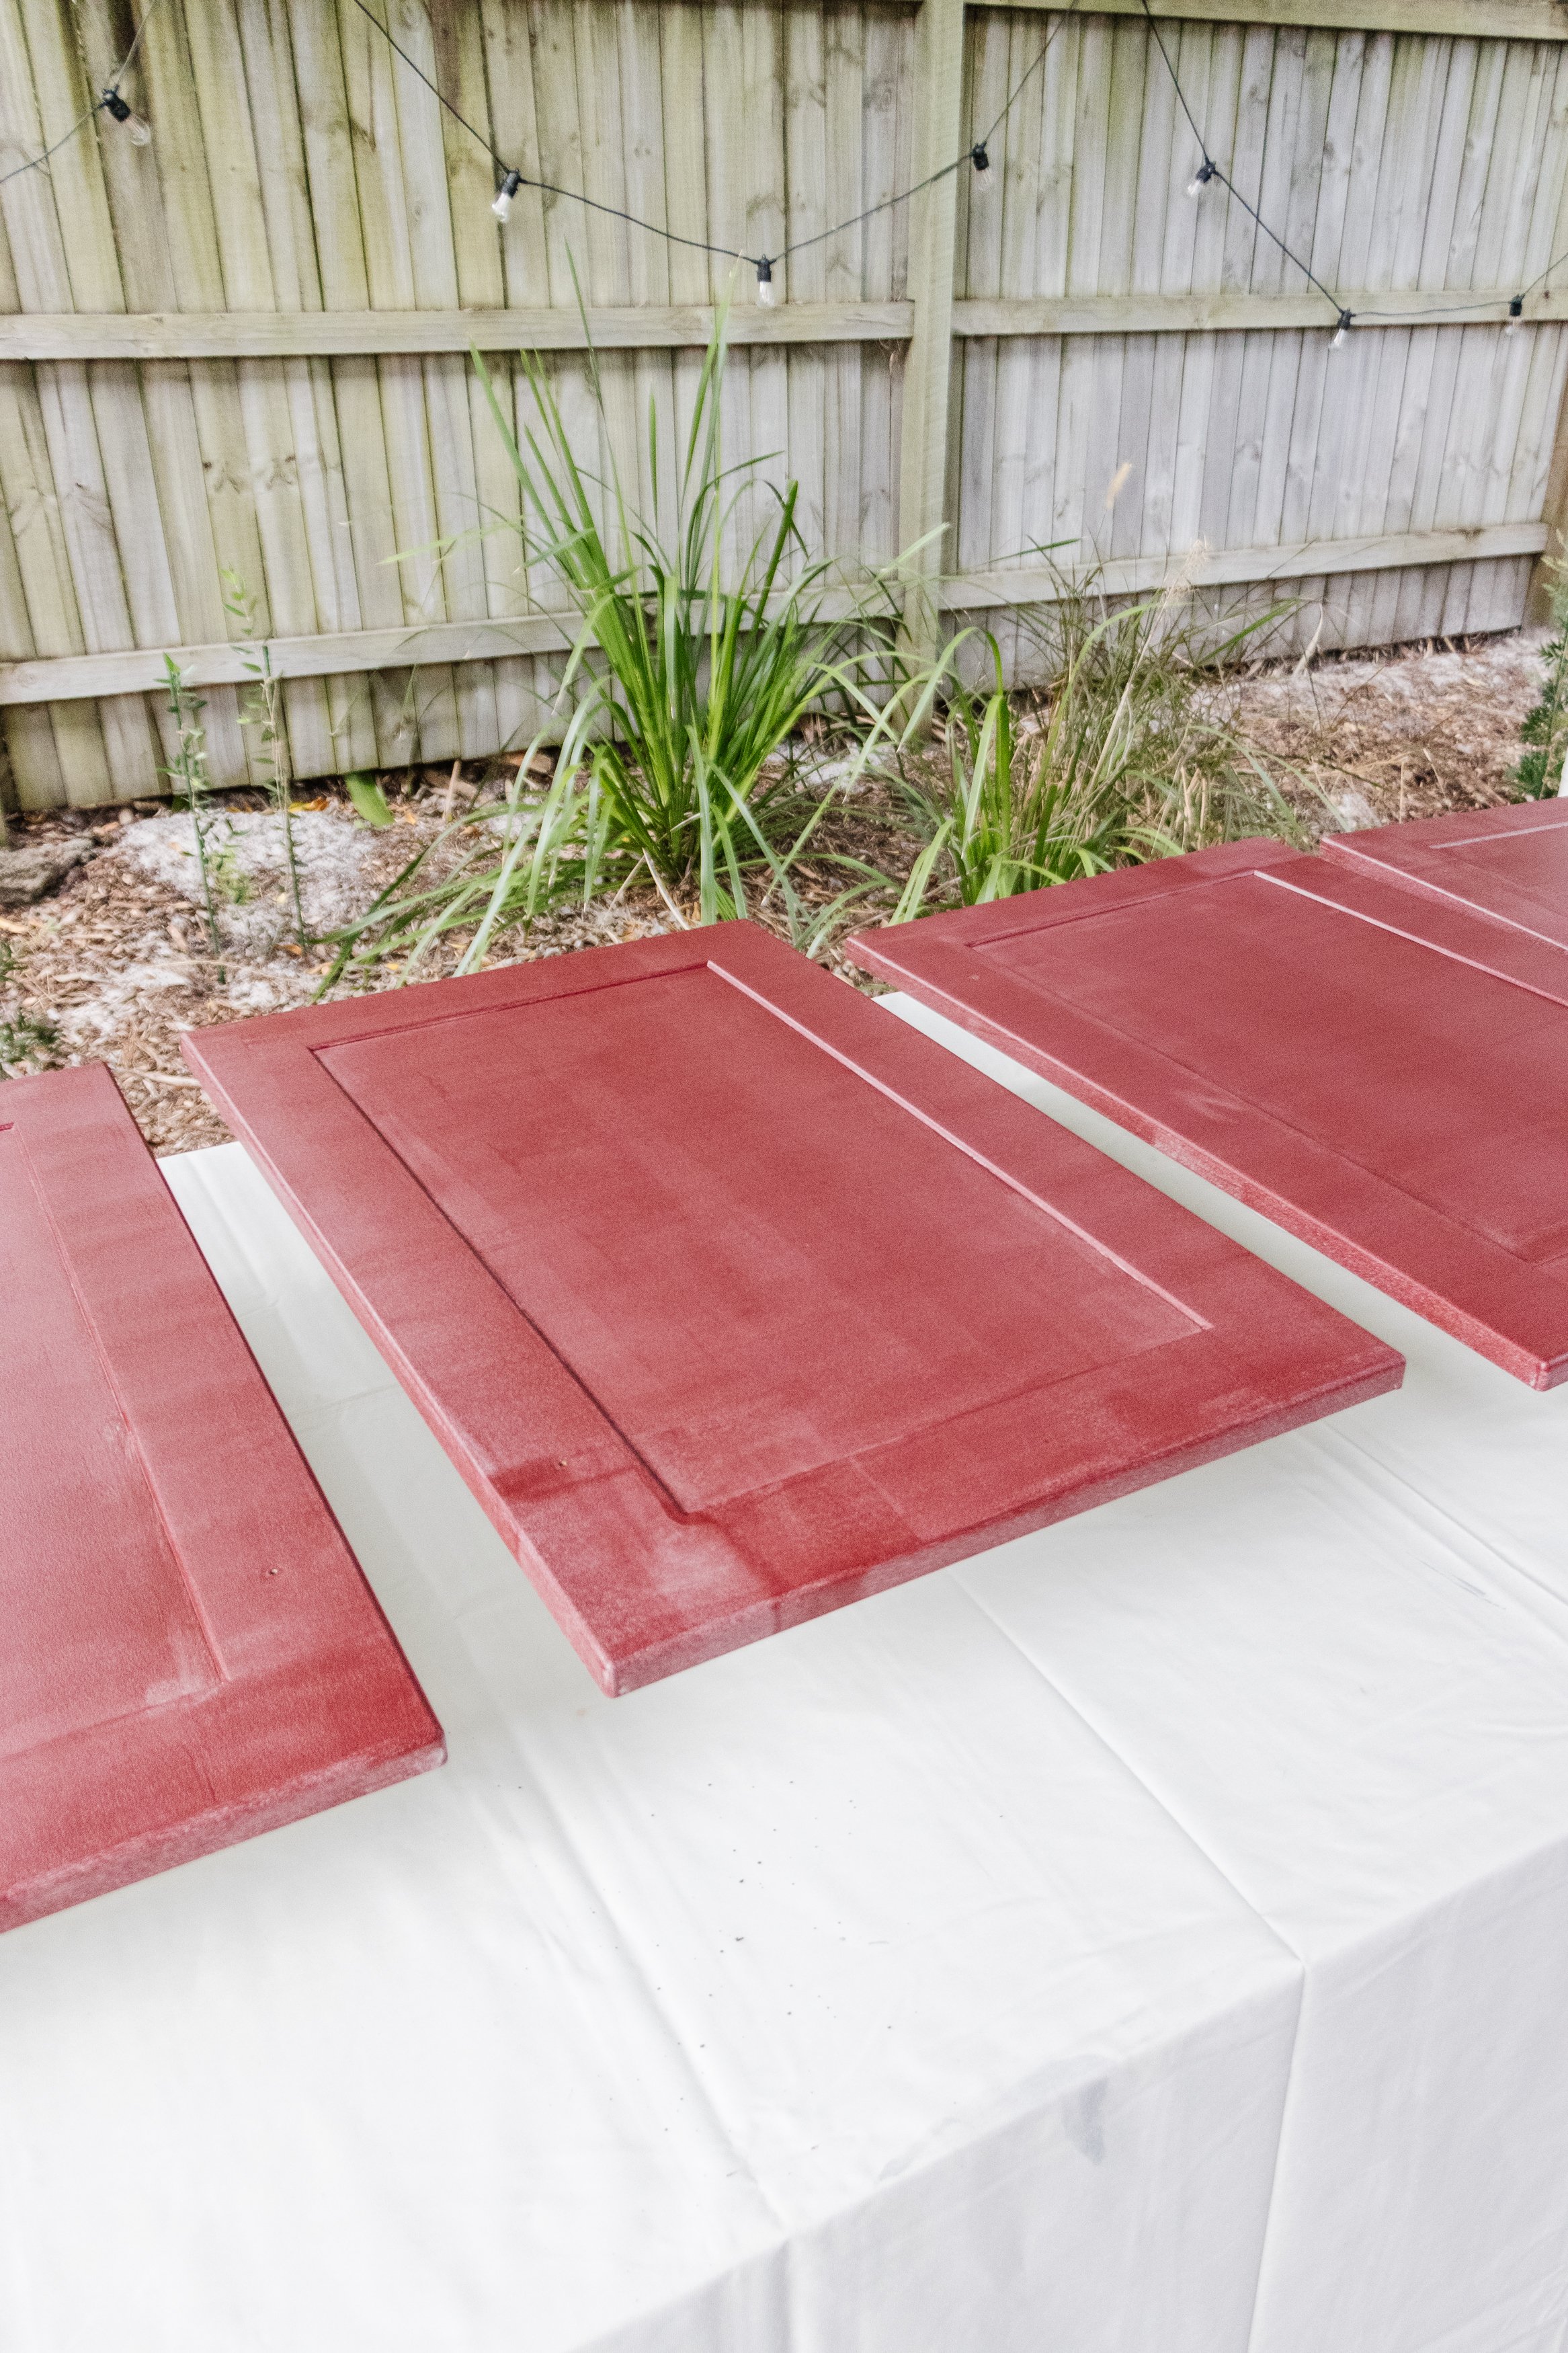
Our Inspiration

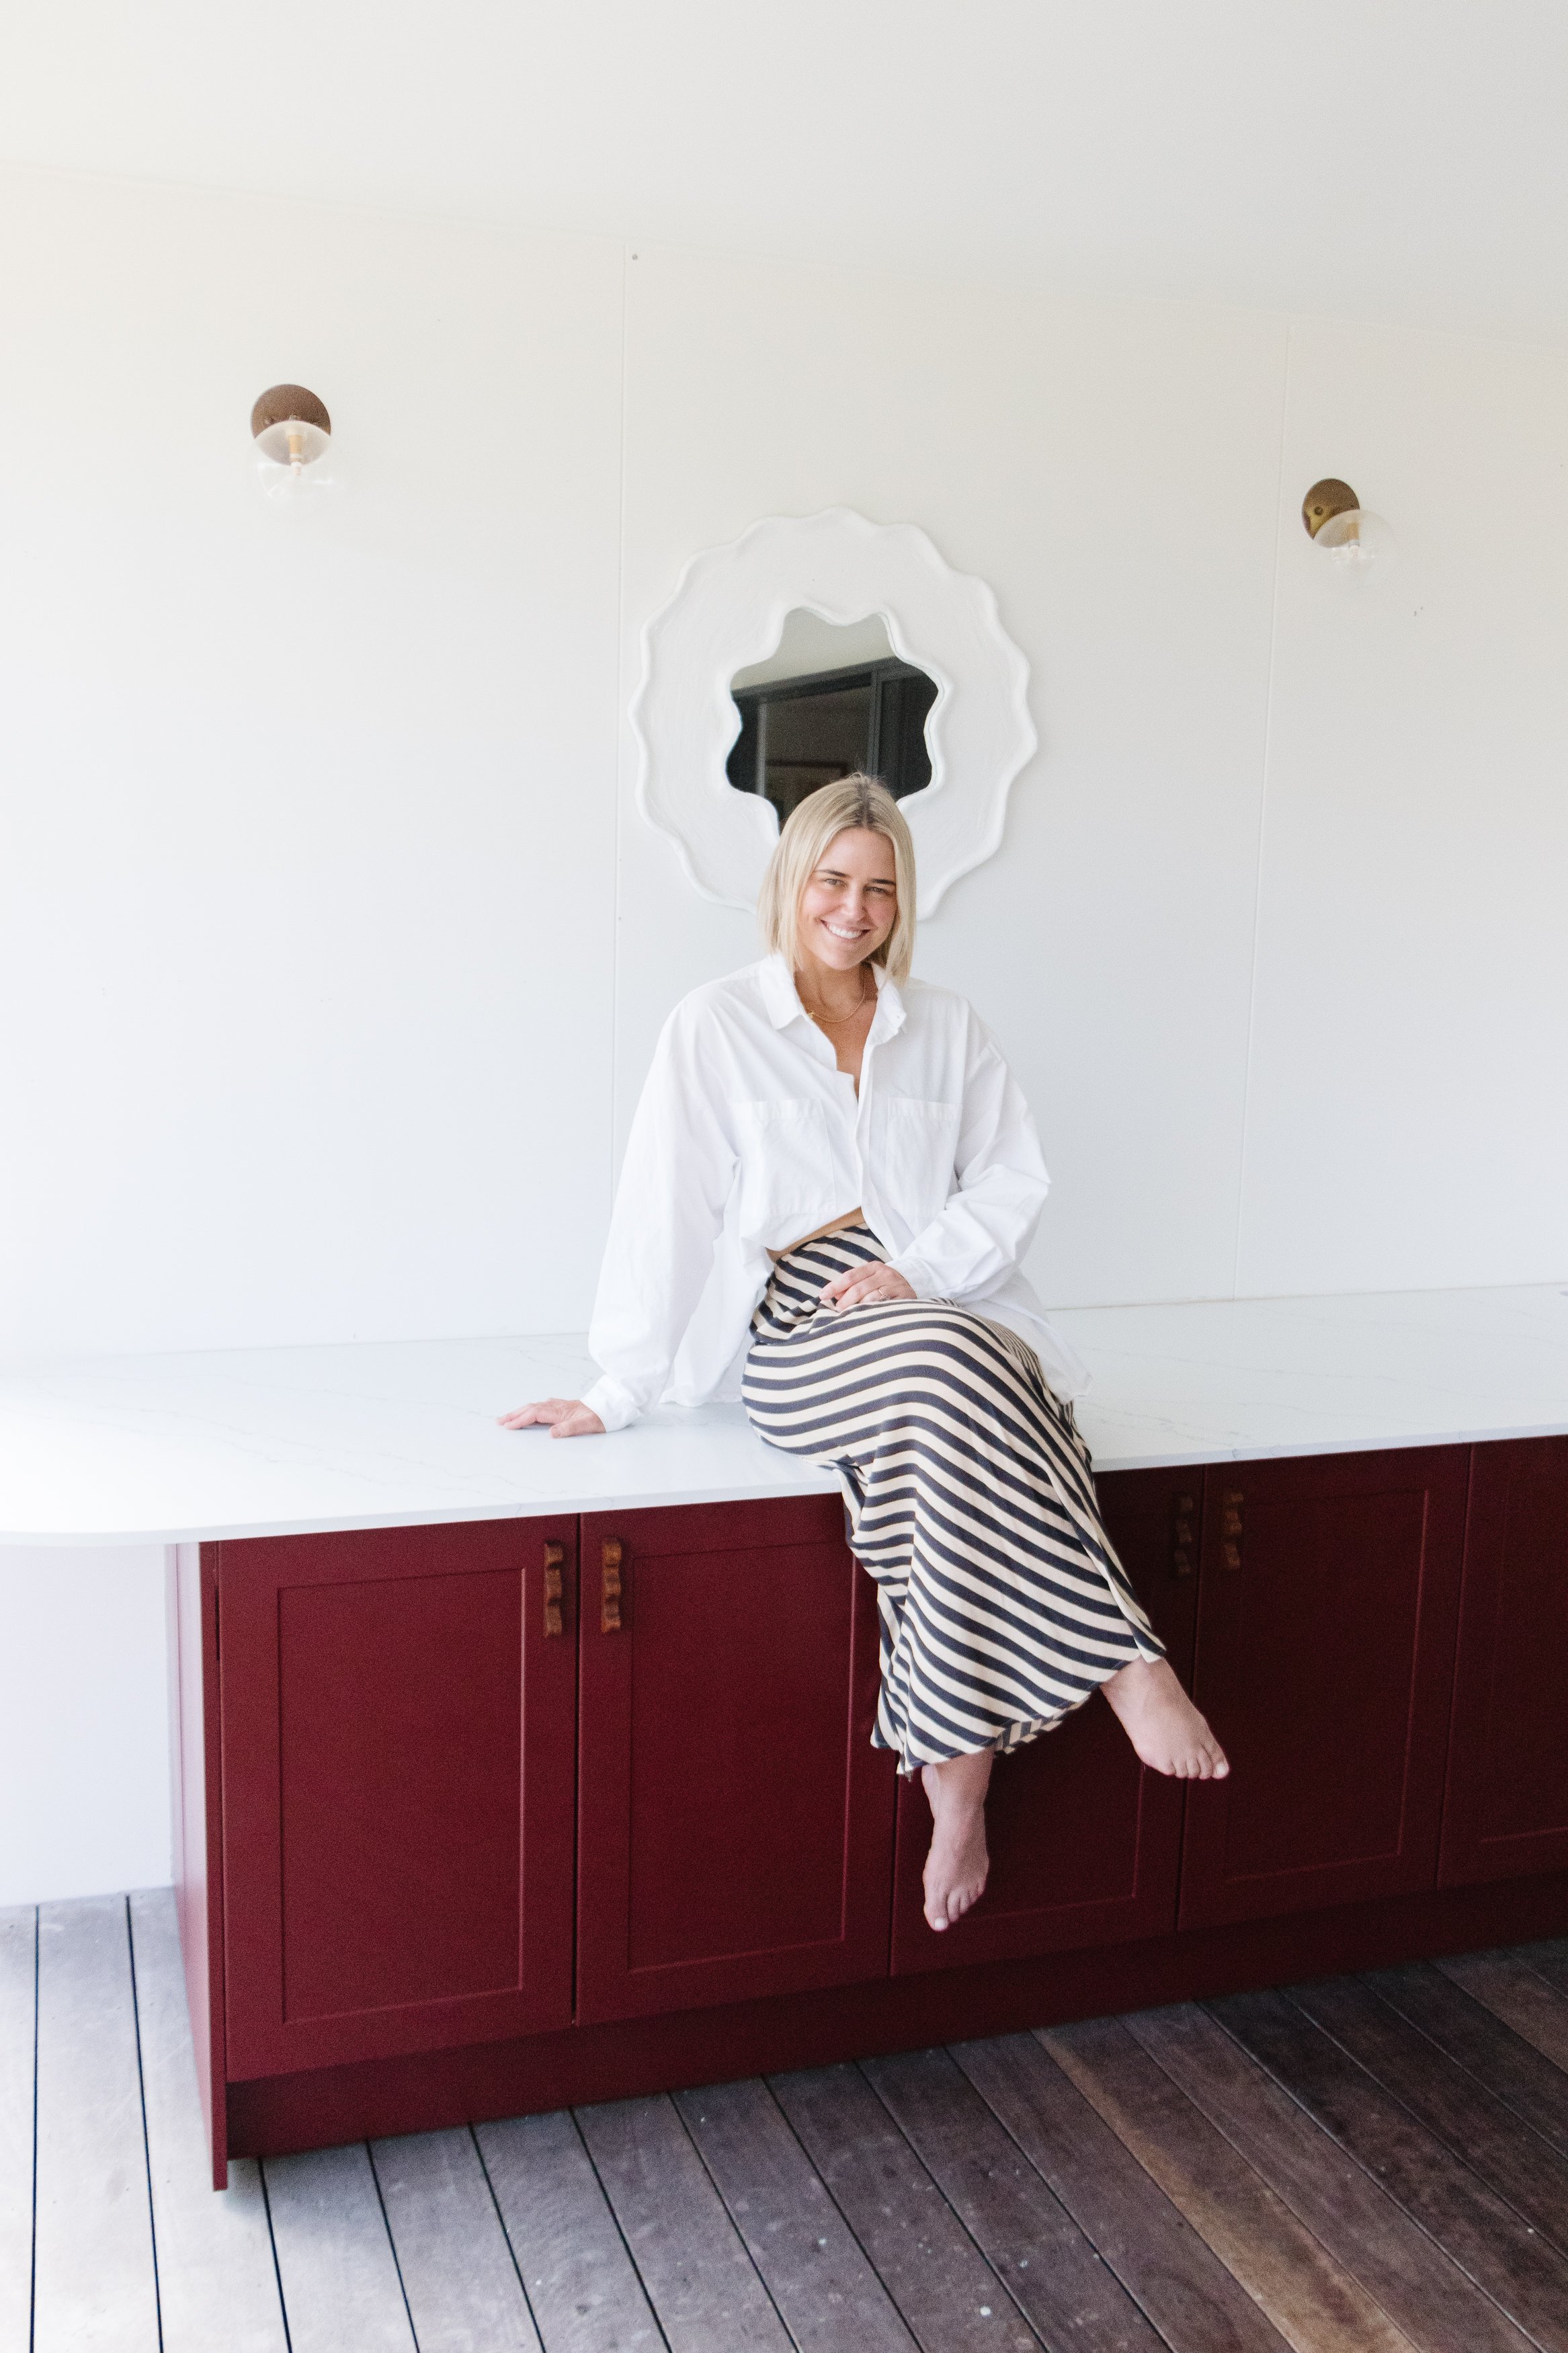
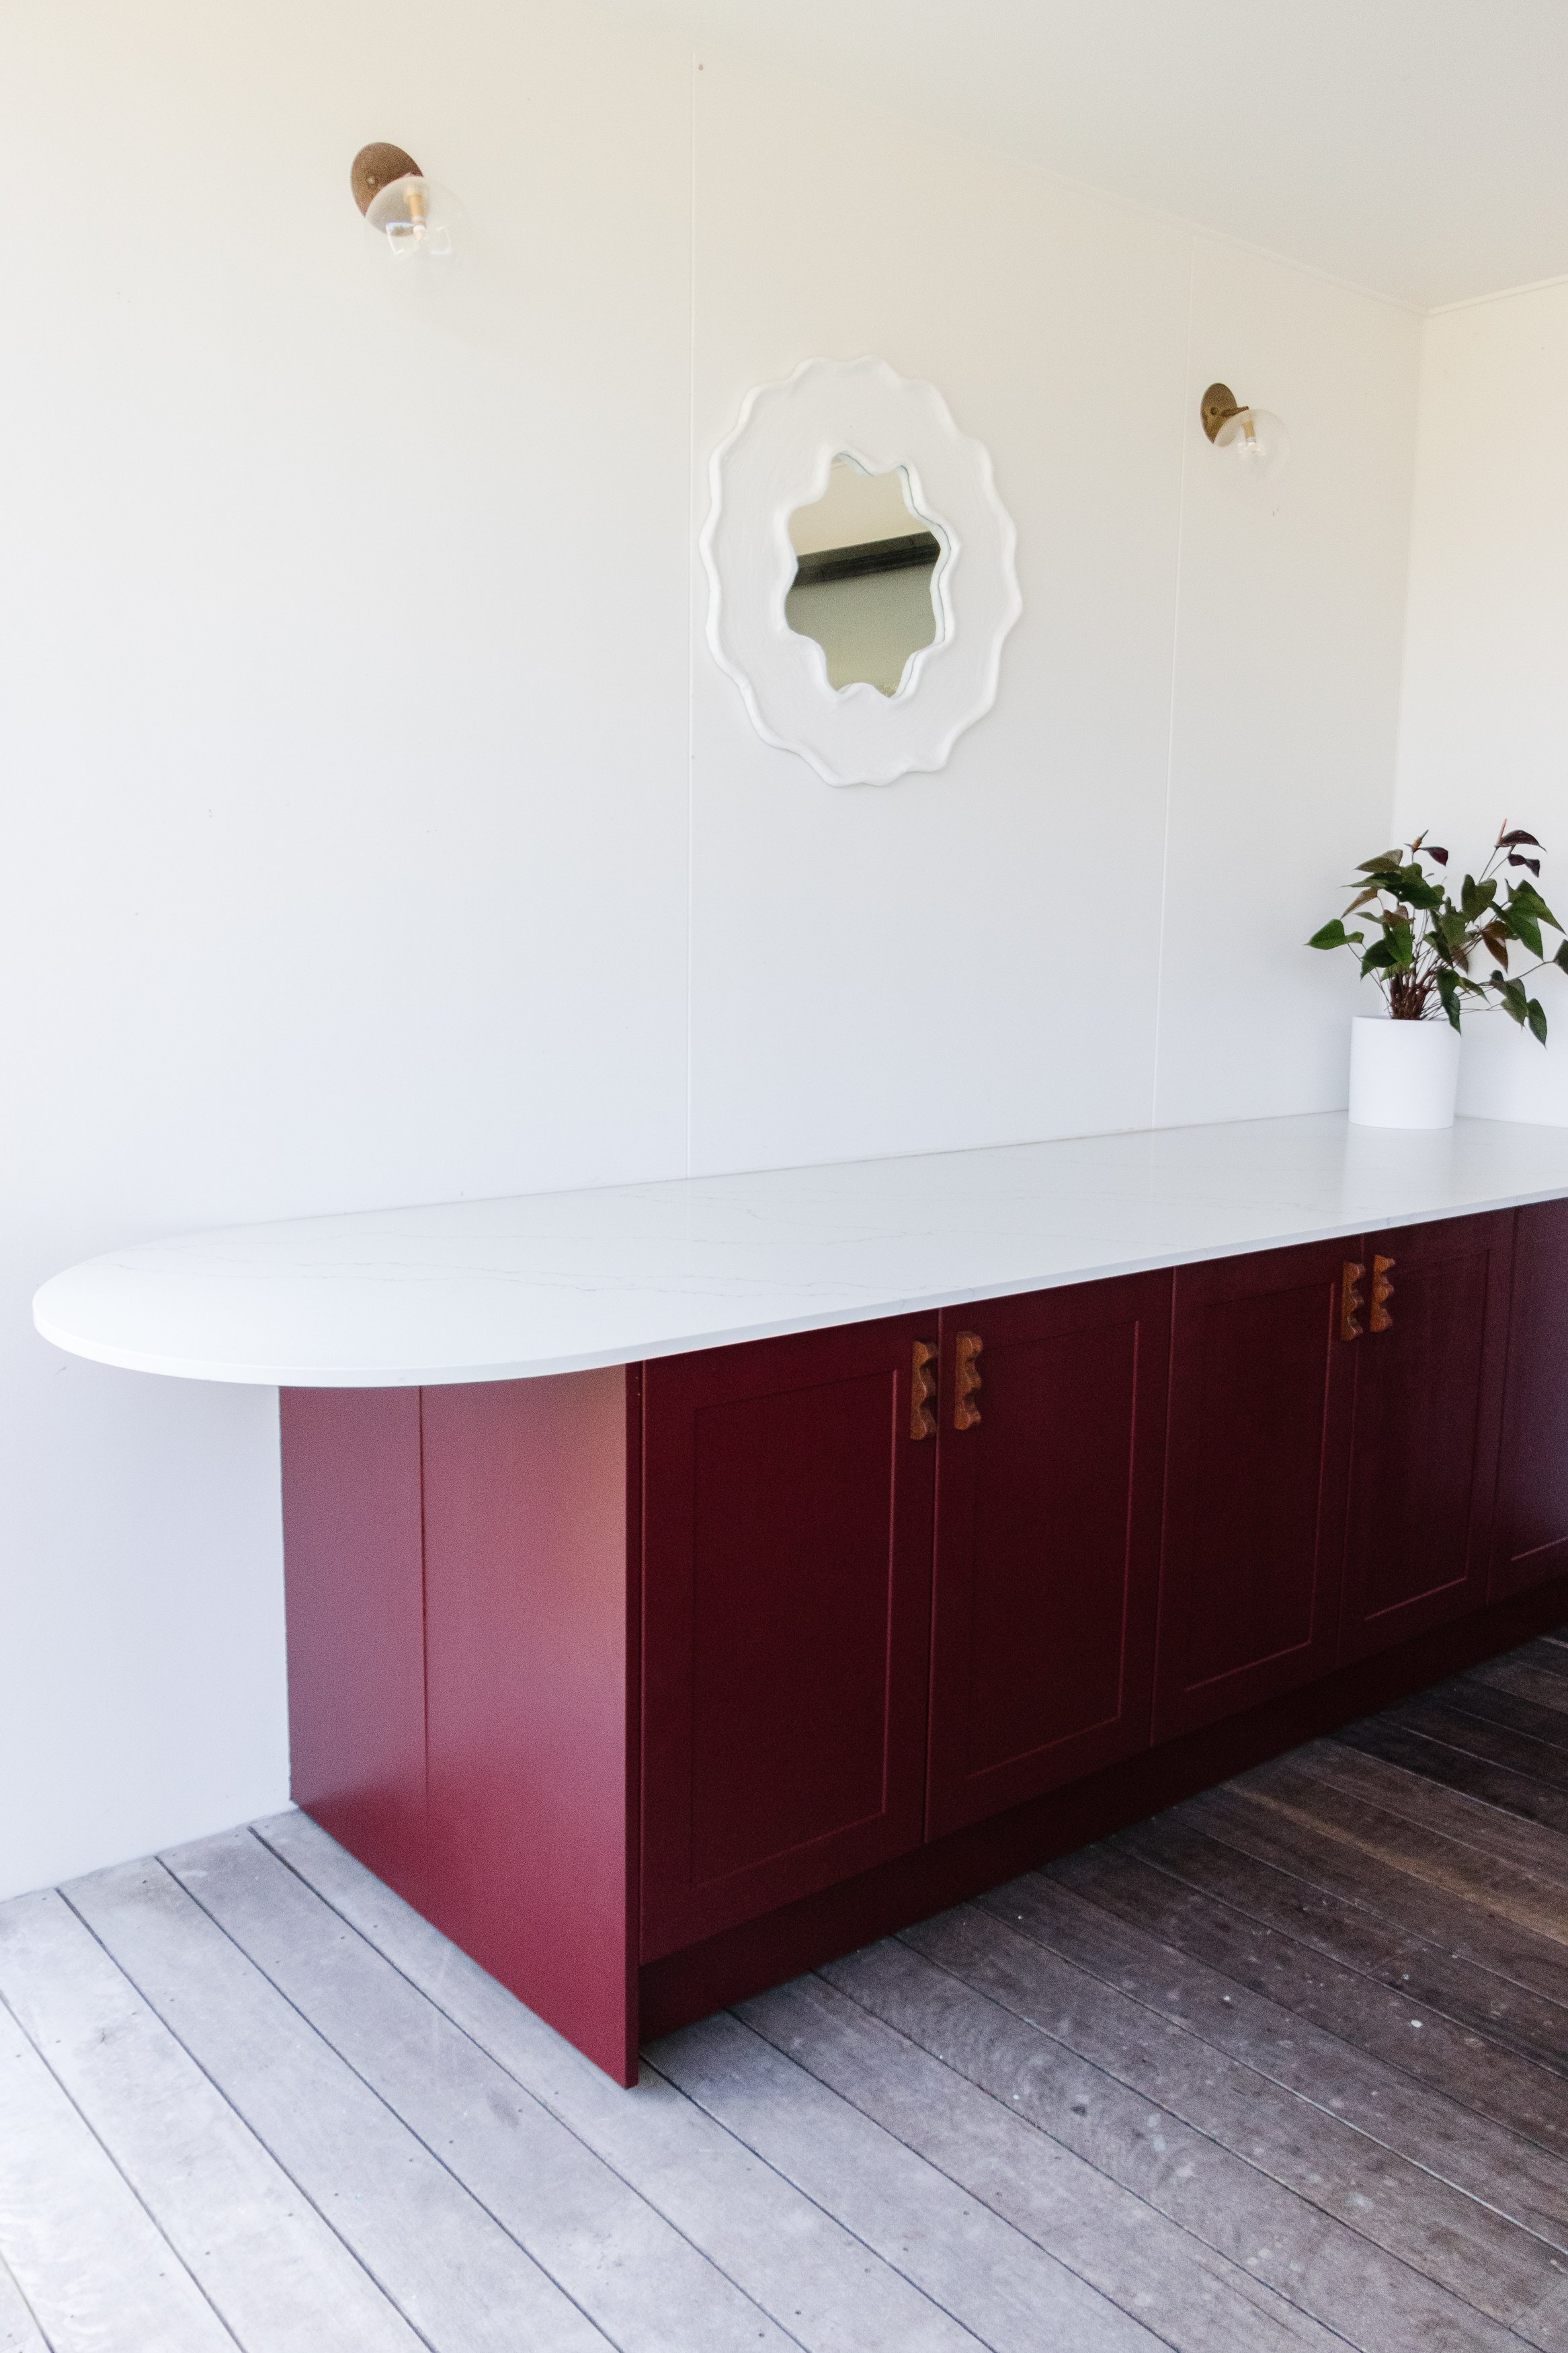
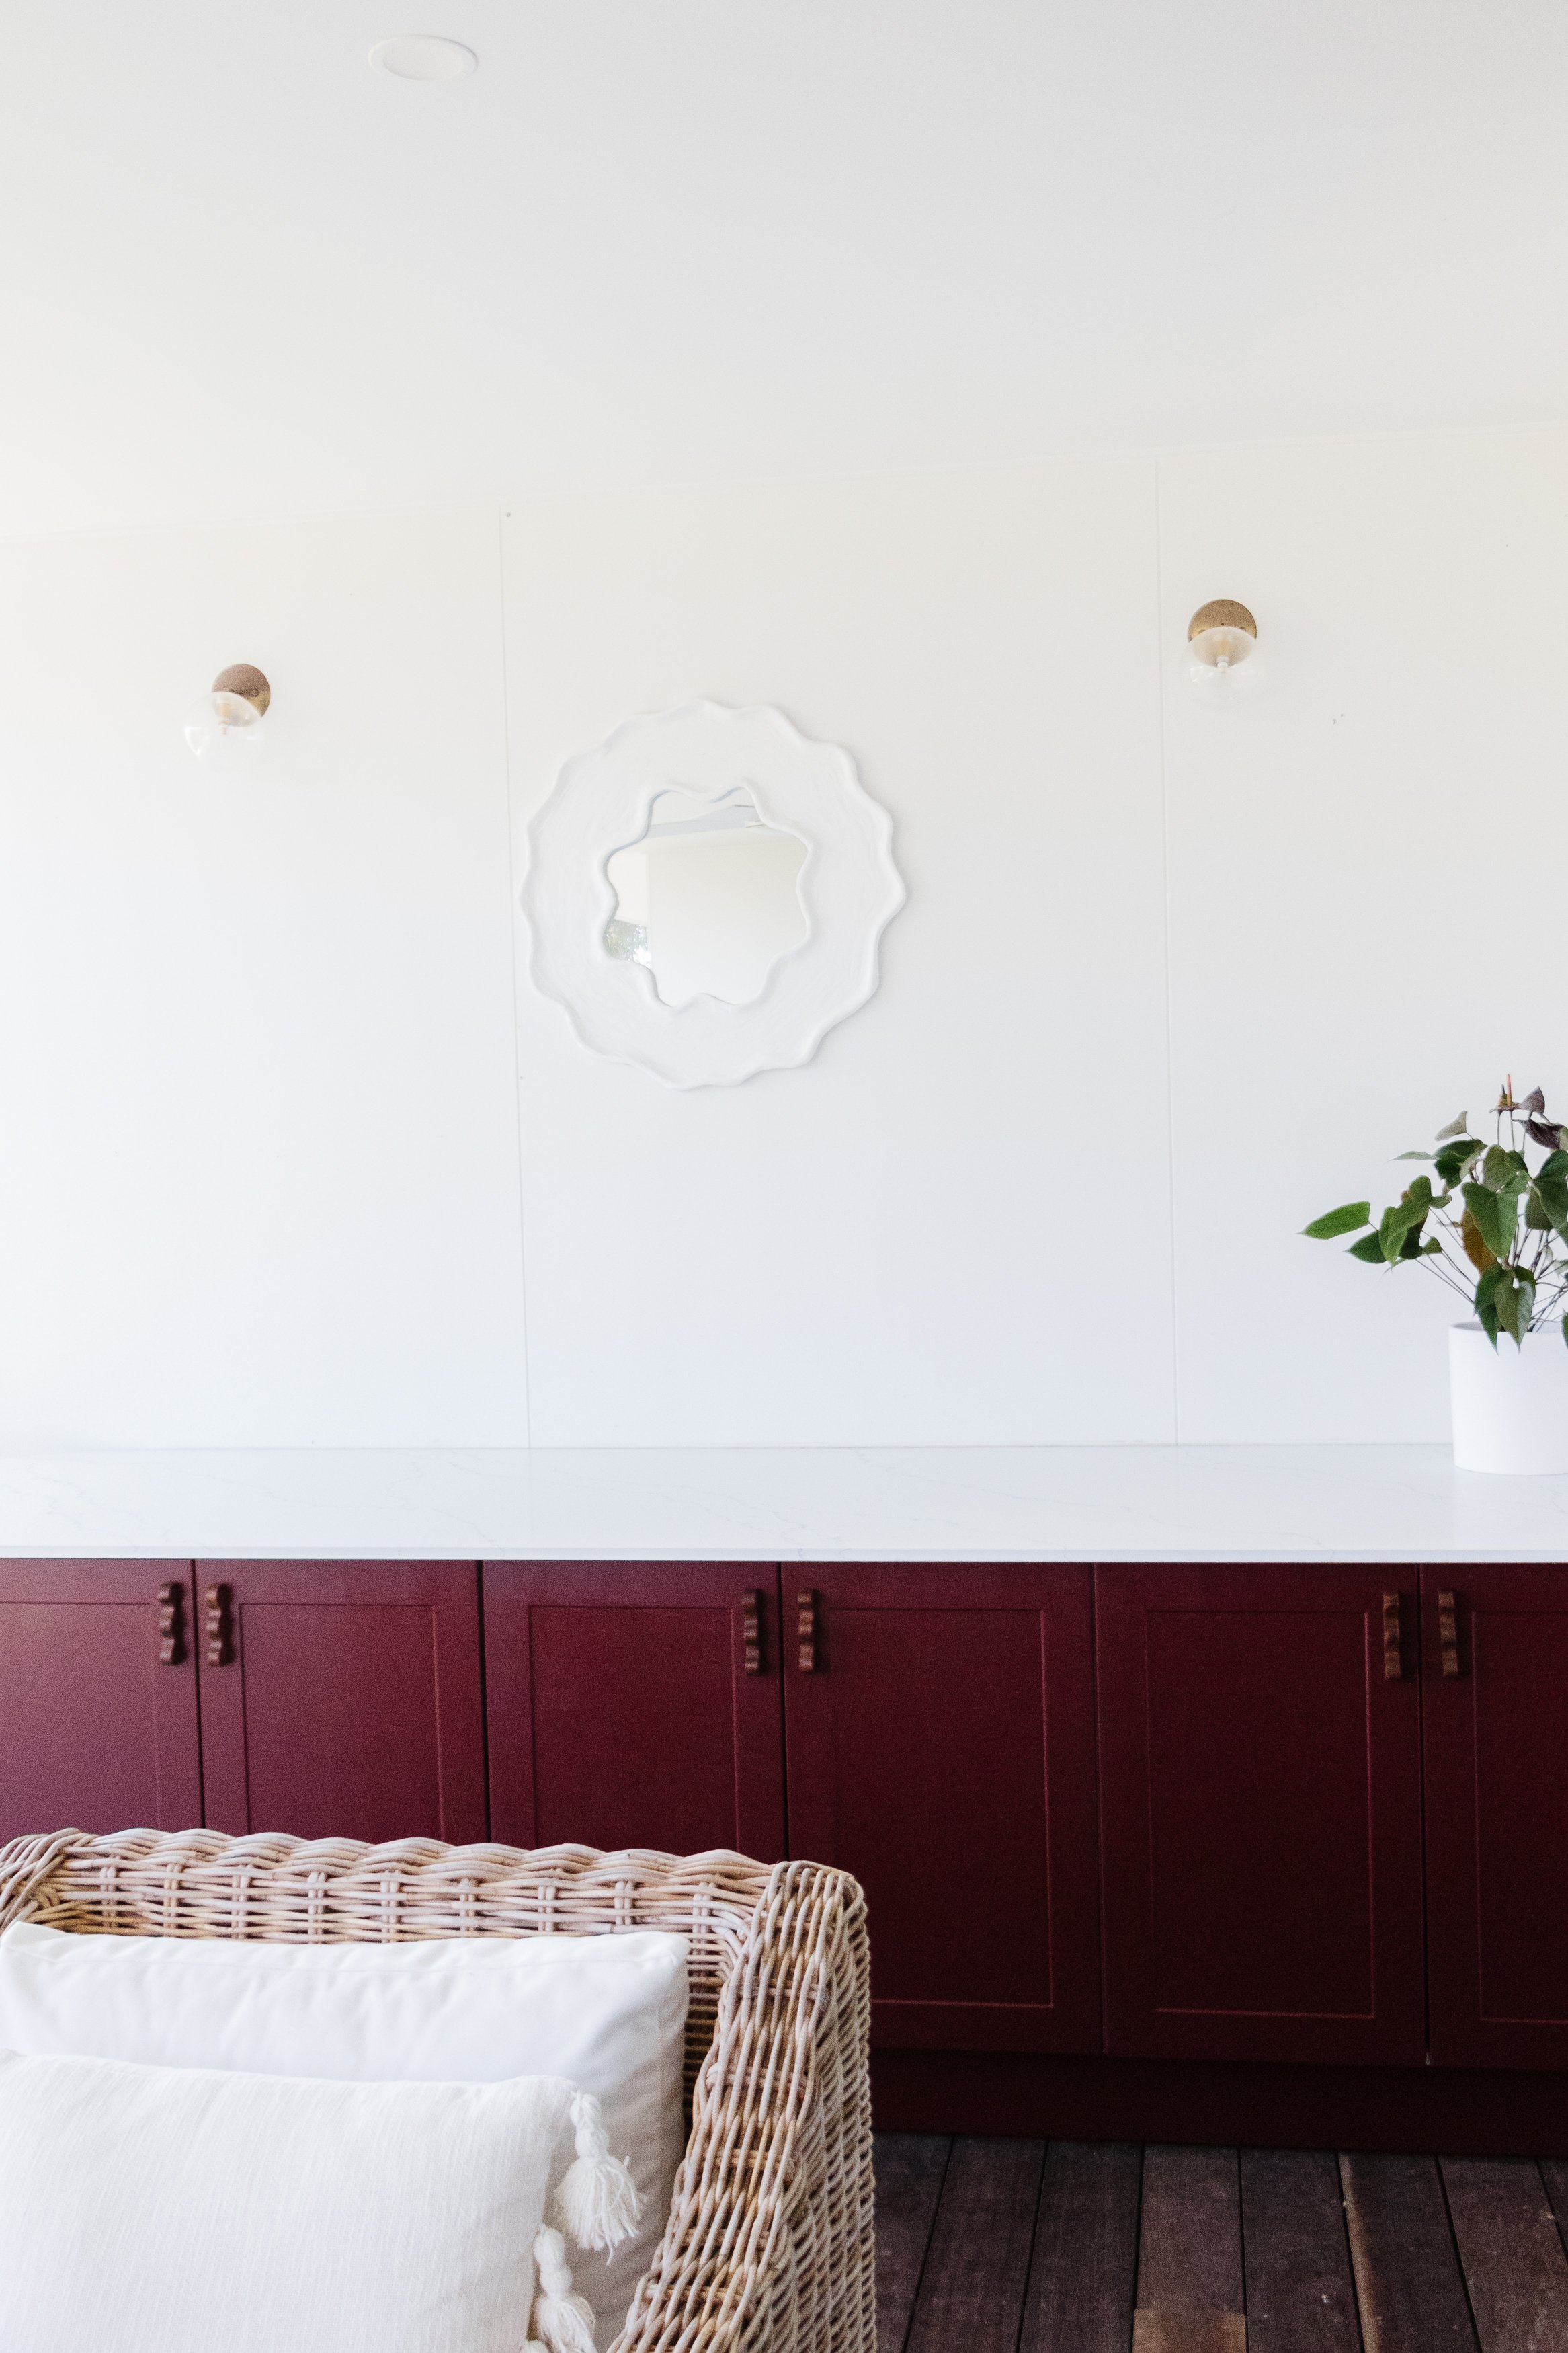
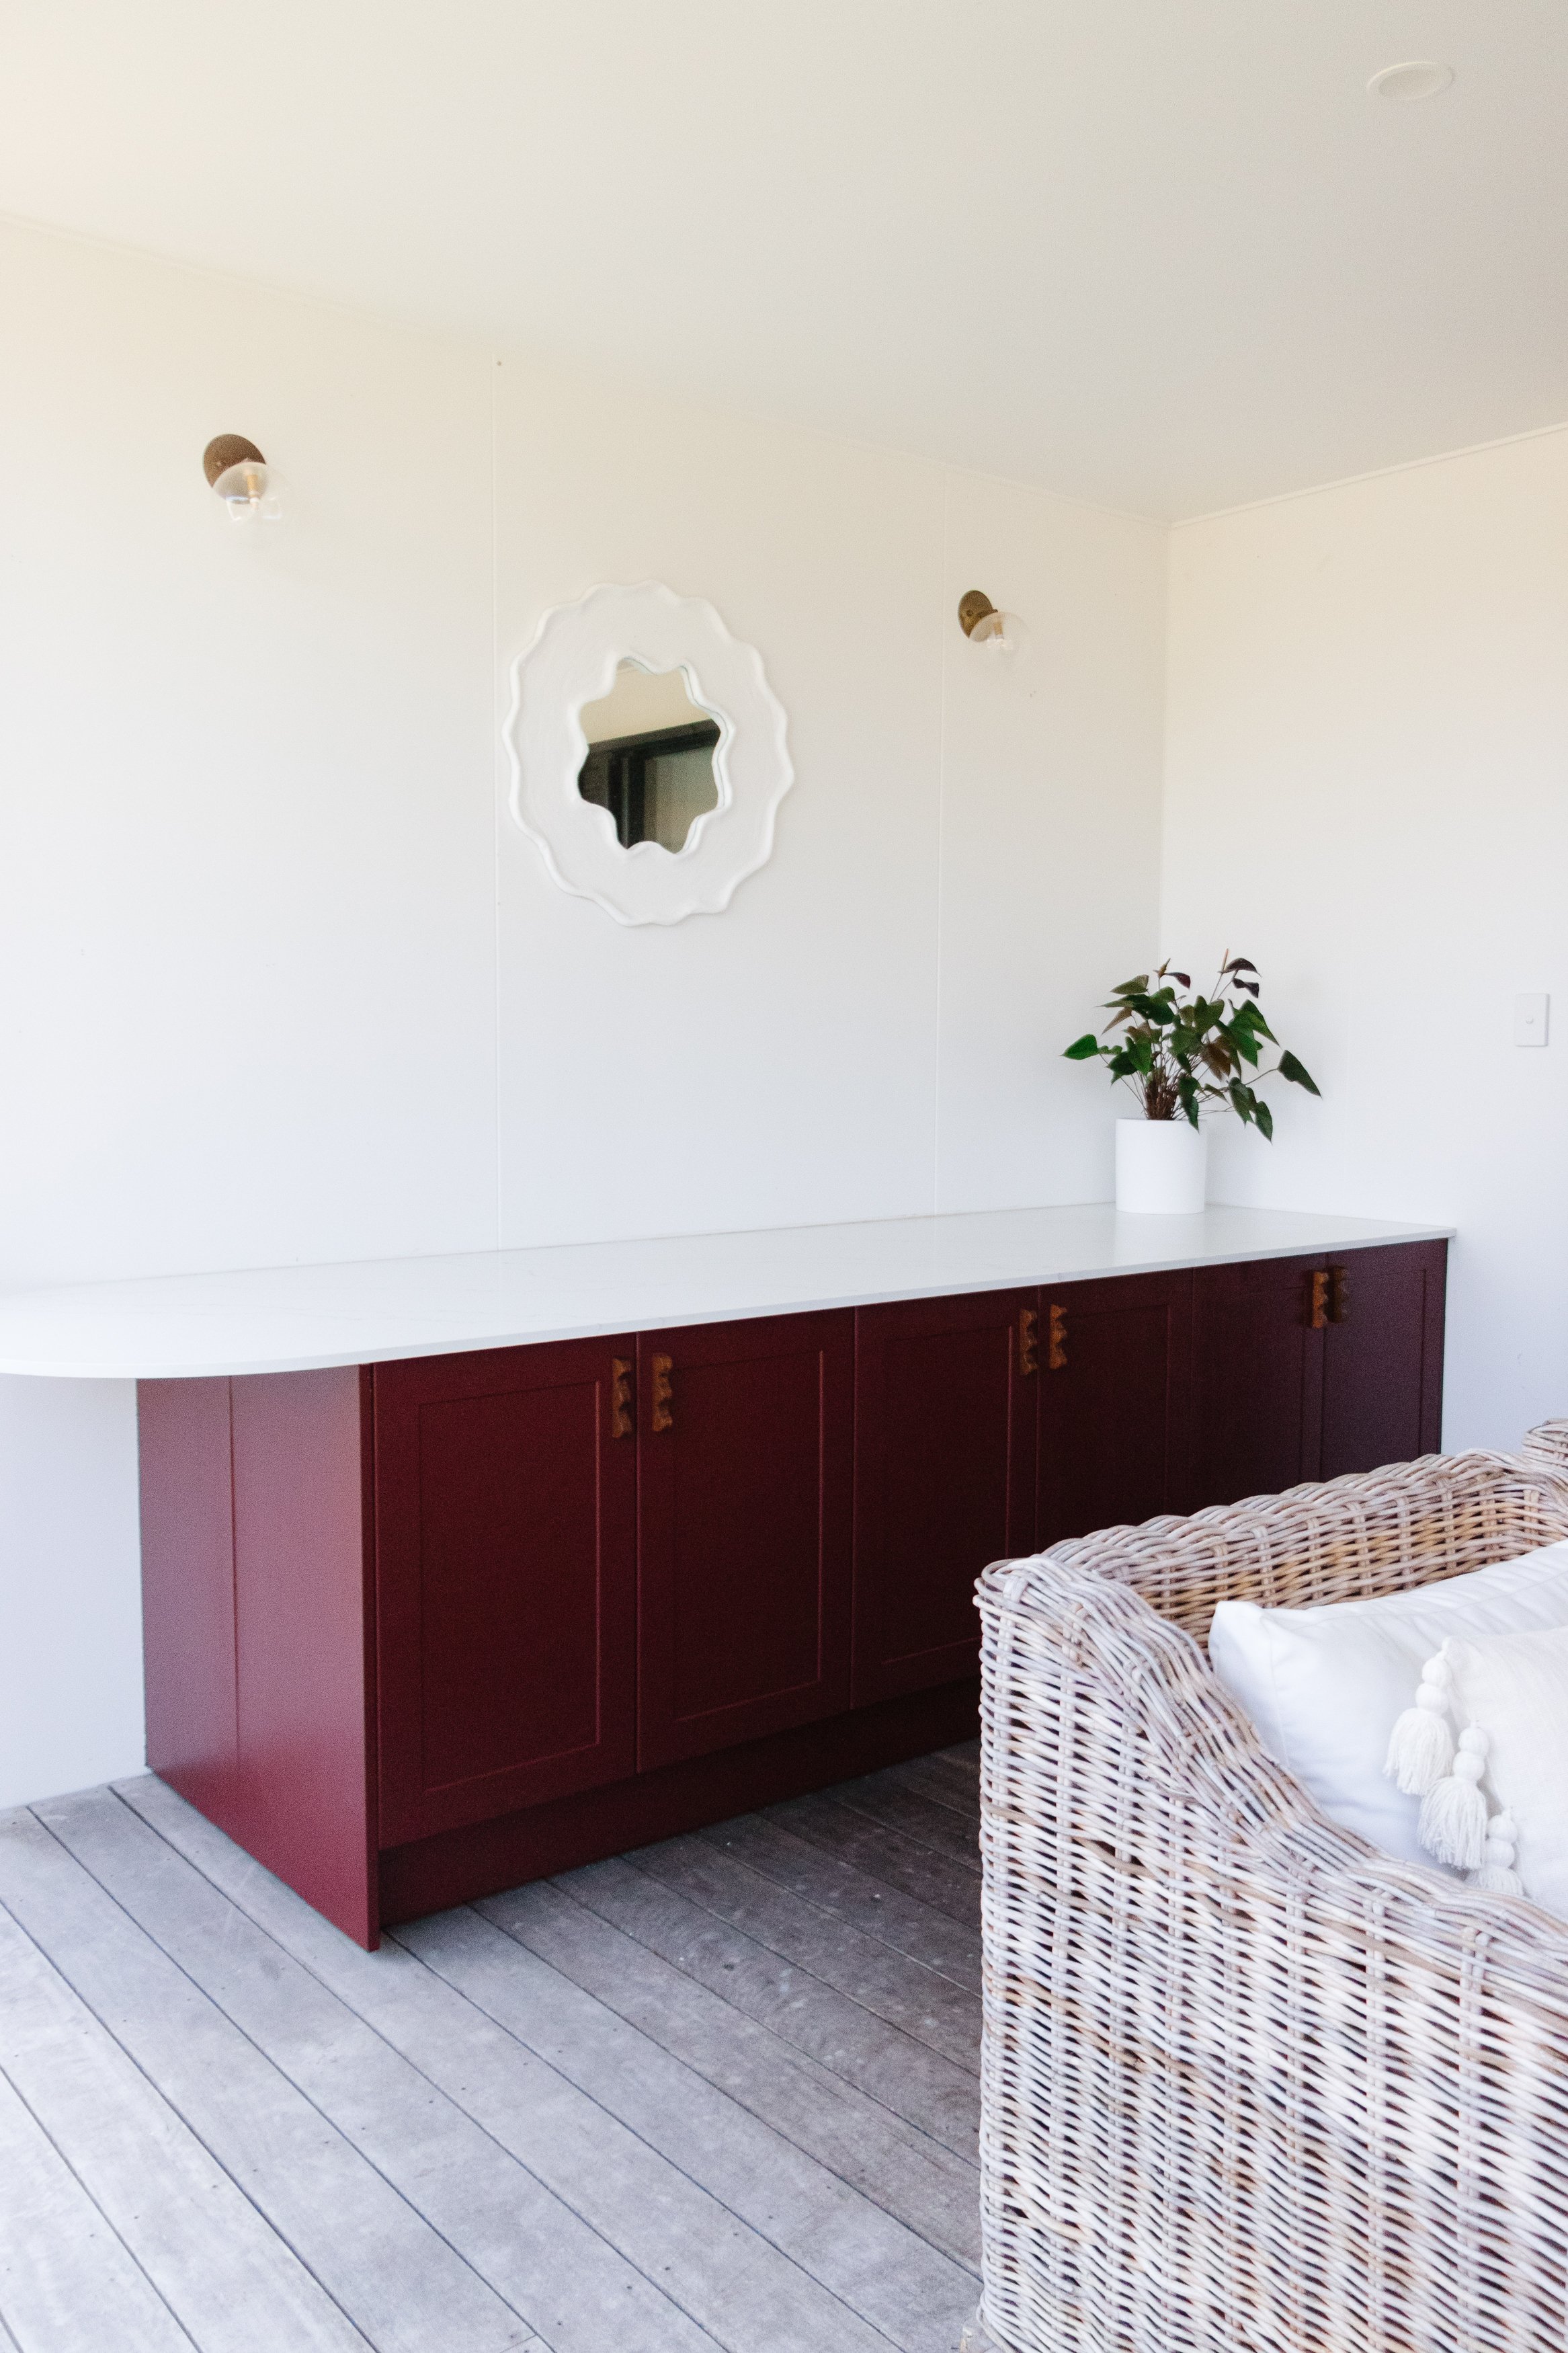
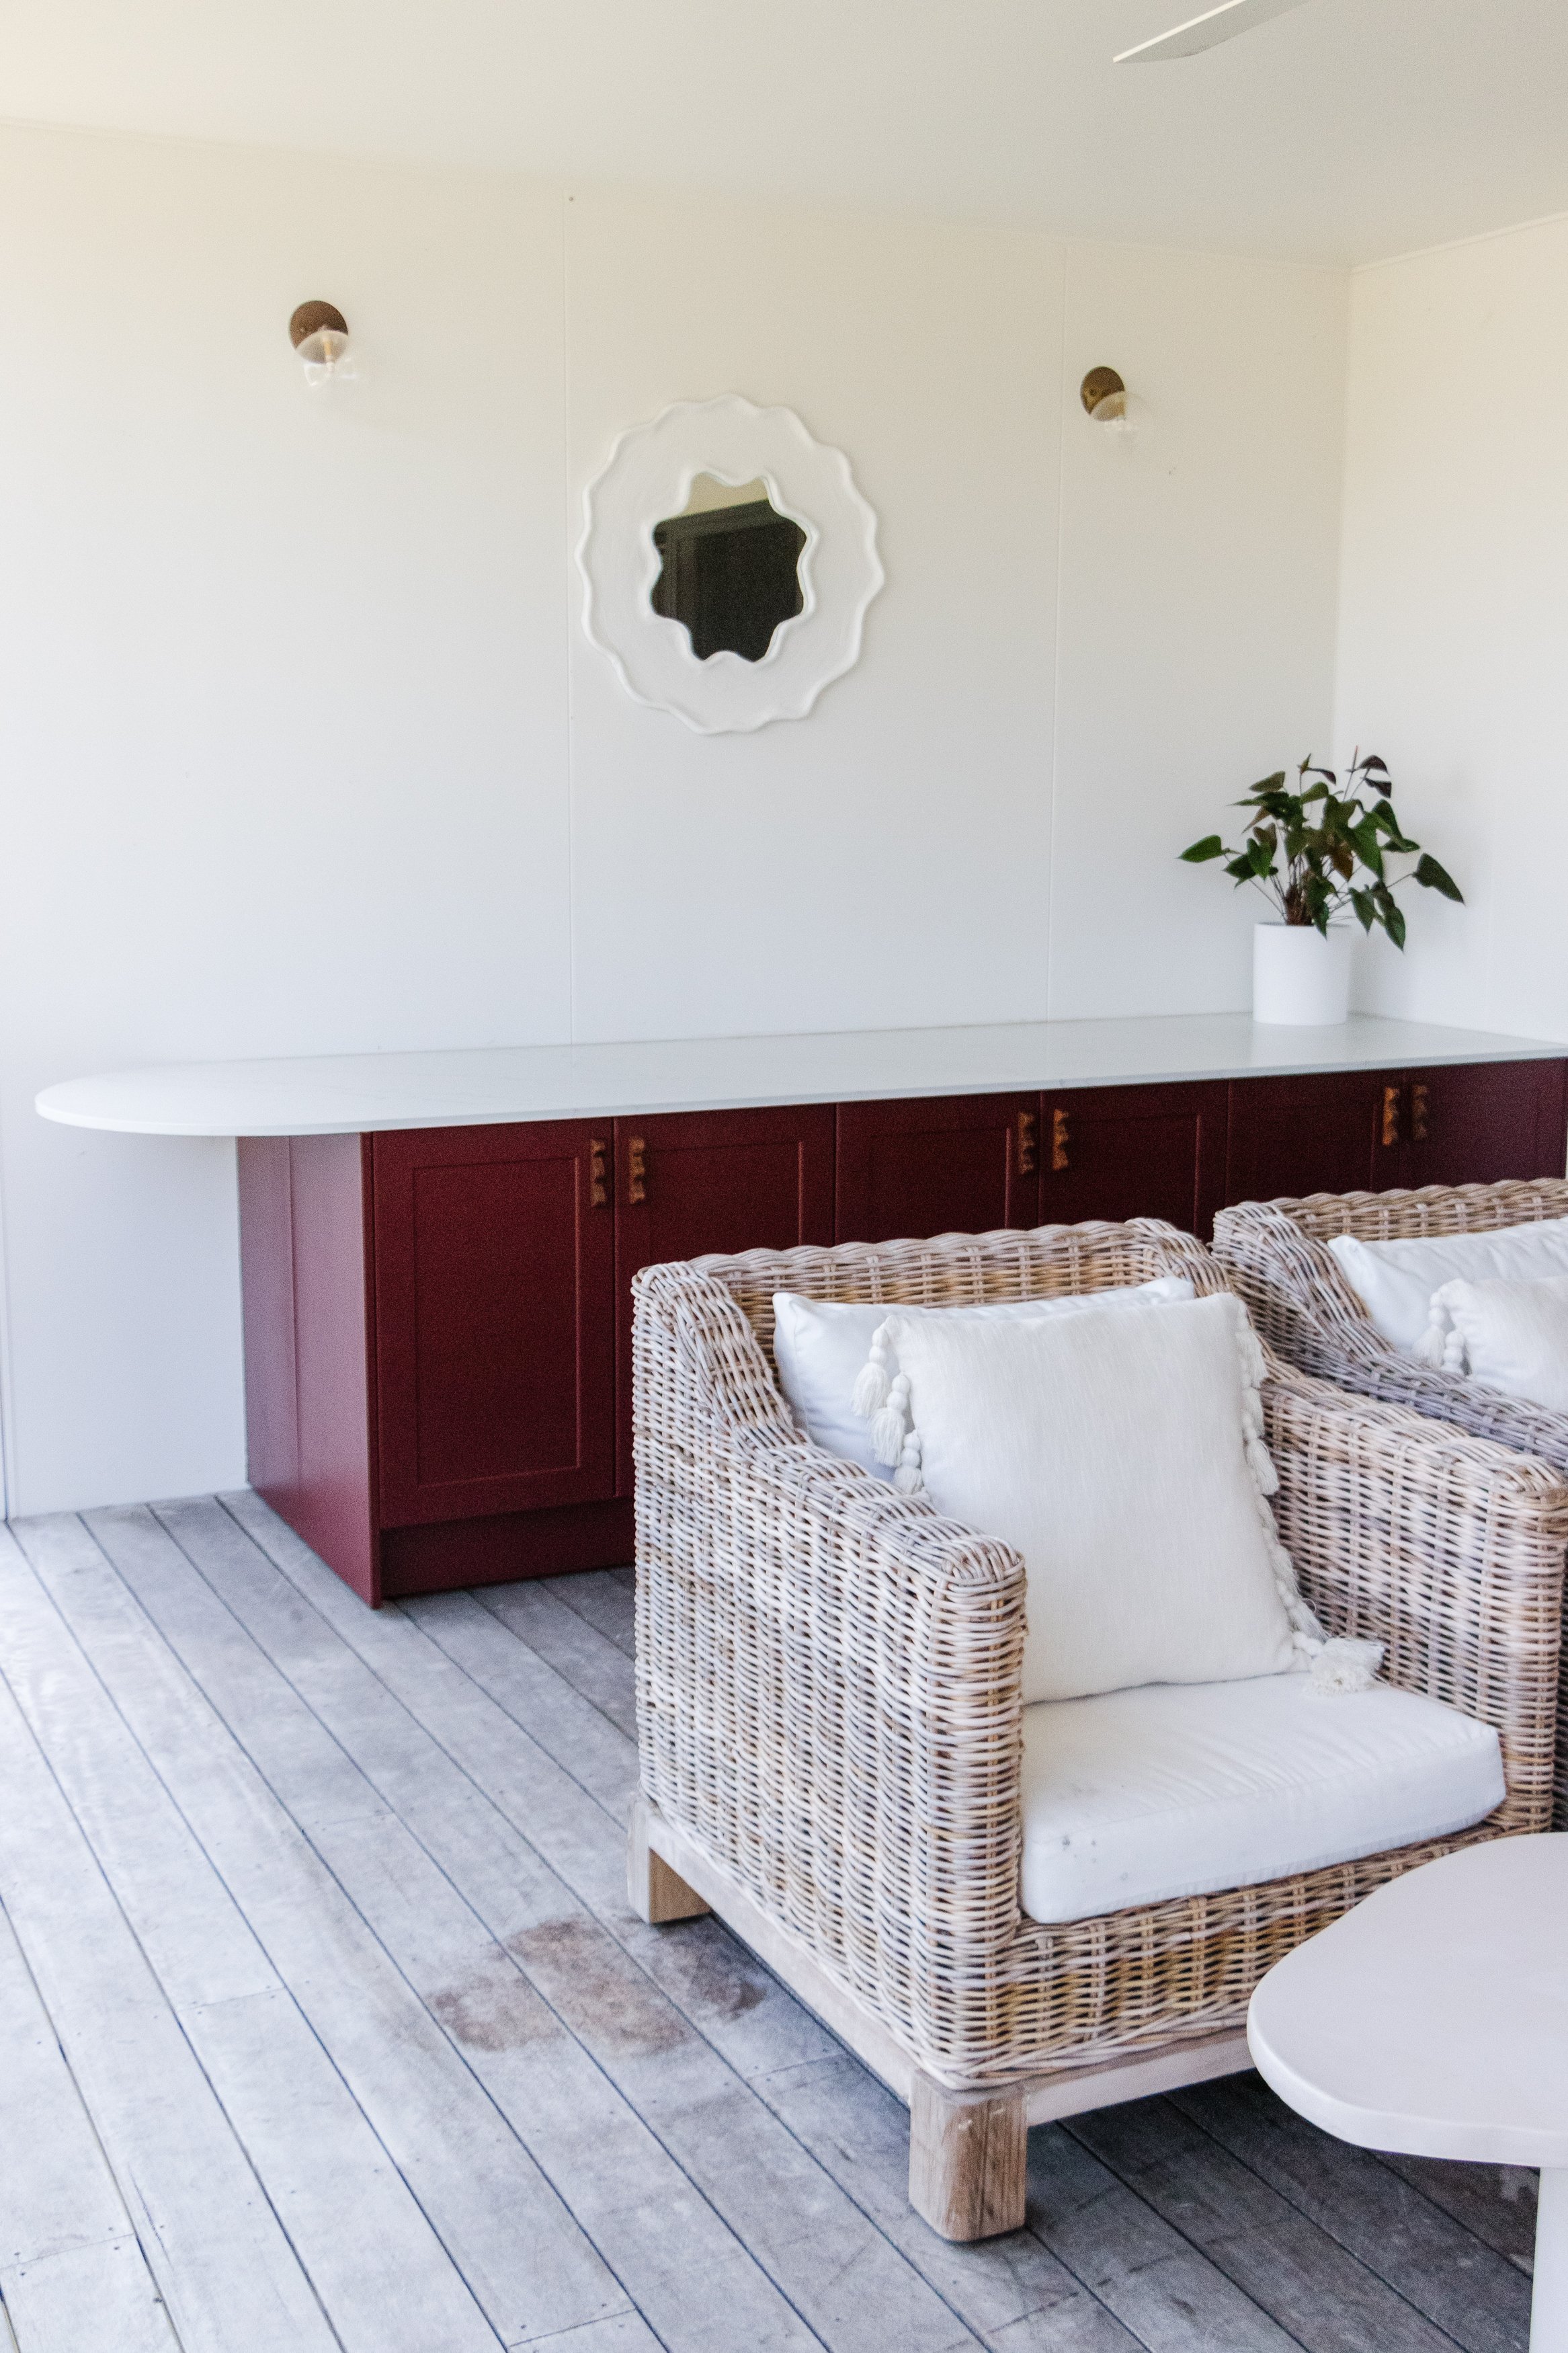
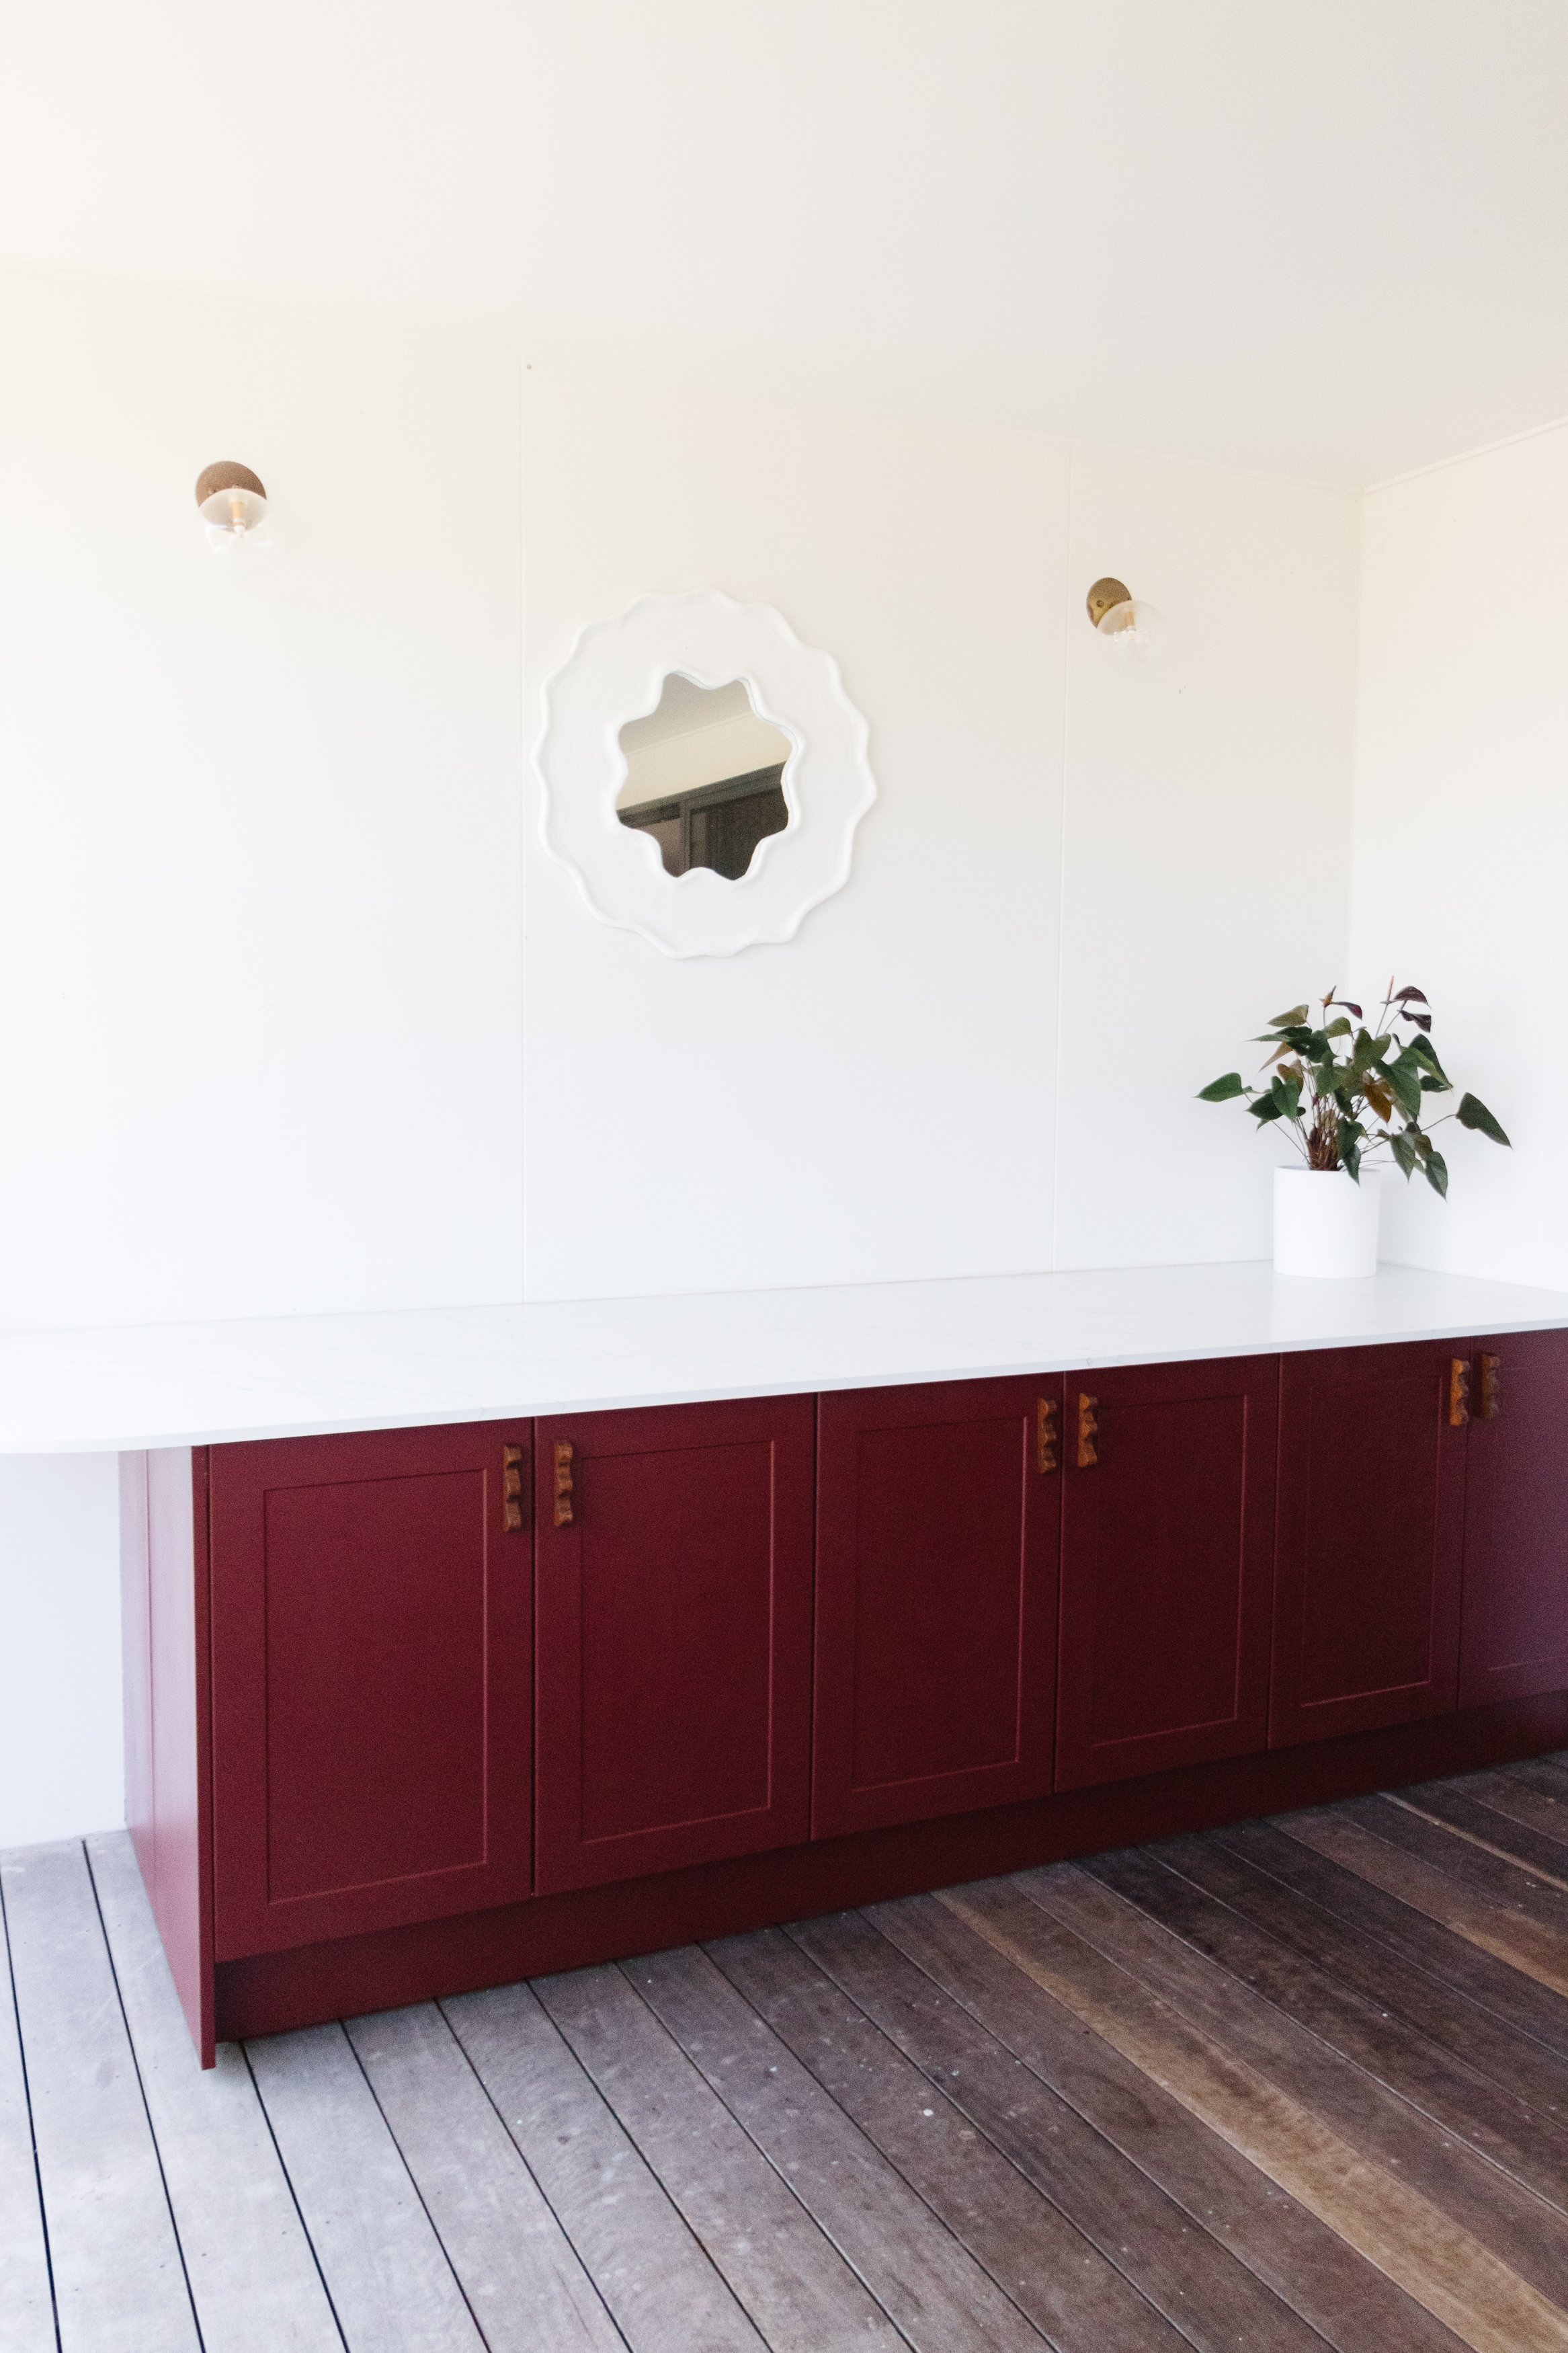
Before & After


Project Details
🛠️ DIY: Outdoor Kitchen Paint-over
🕒 Project Time Estimate: 1 day/8 hours
💰 Materials/Tools Cost: $150
Materials
Sanding block
120 grit sanding sheet
500ml exterior water based primer
500ml paint
250ml exterior clear satin sealer
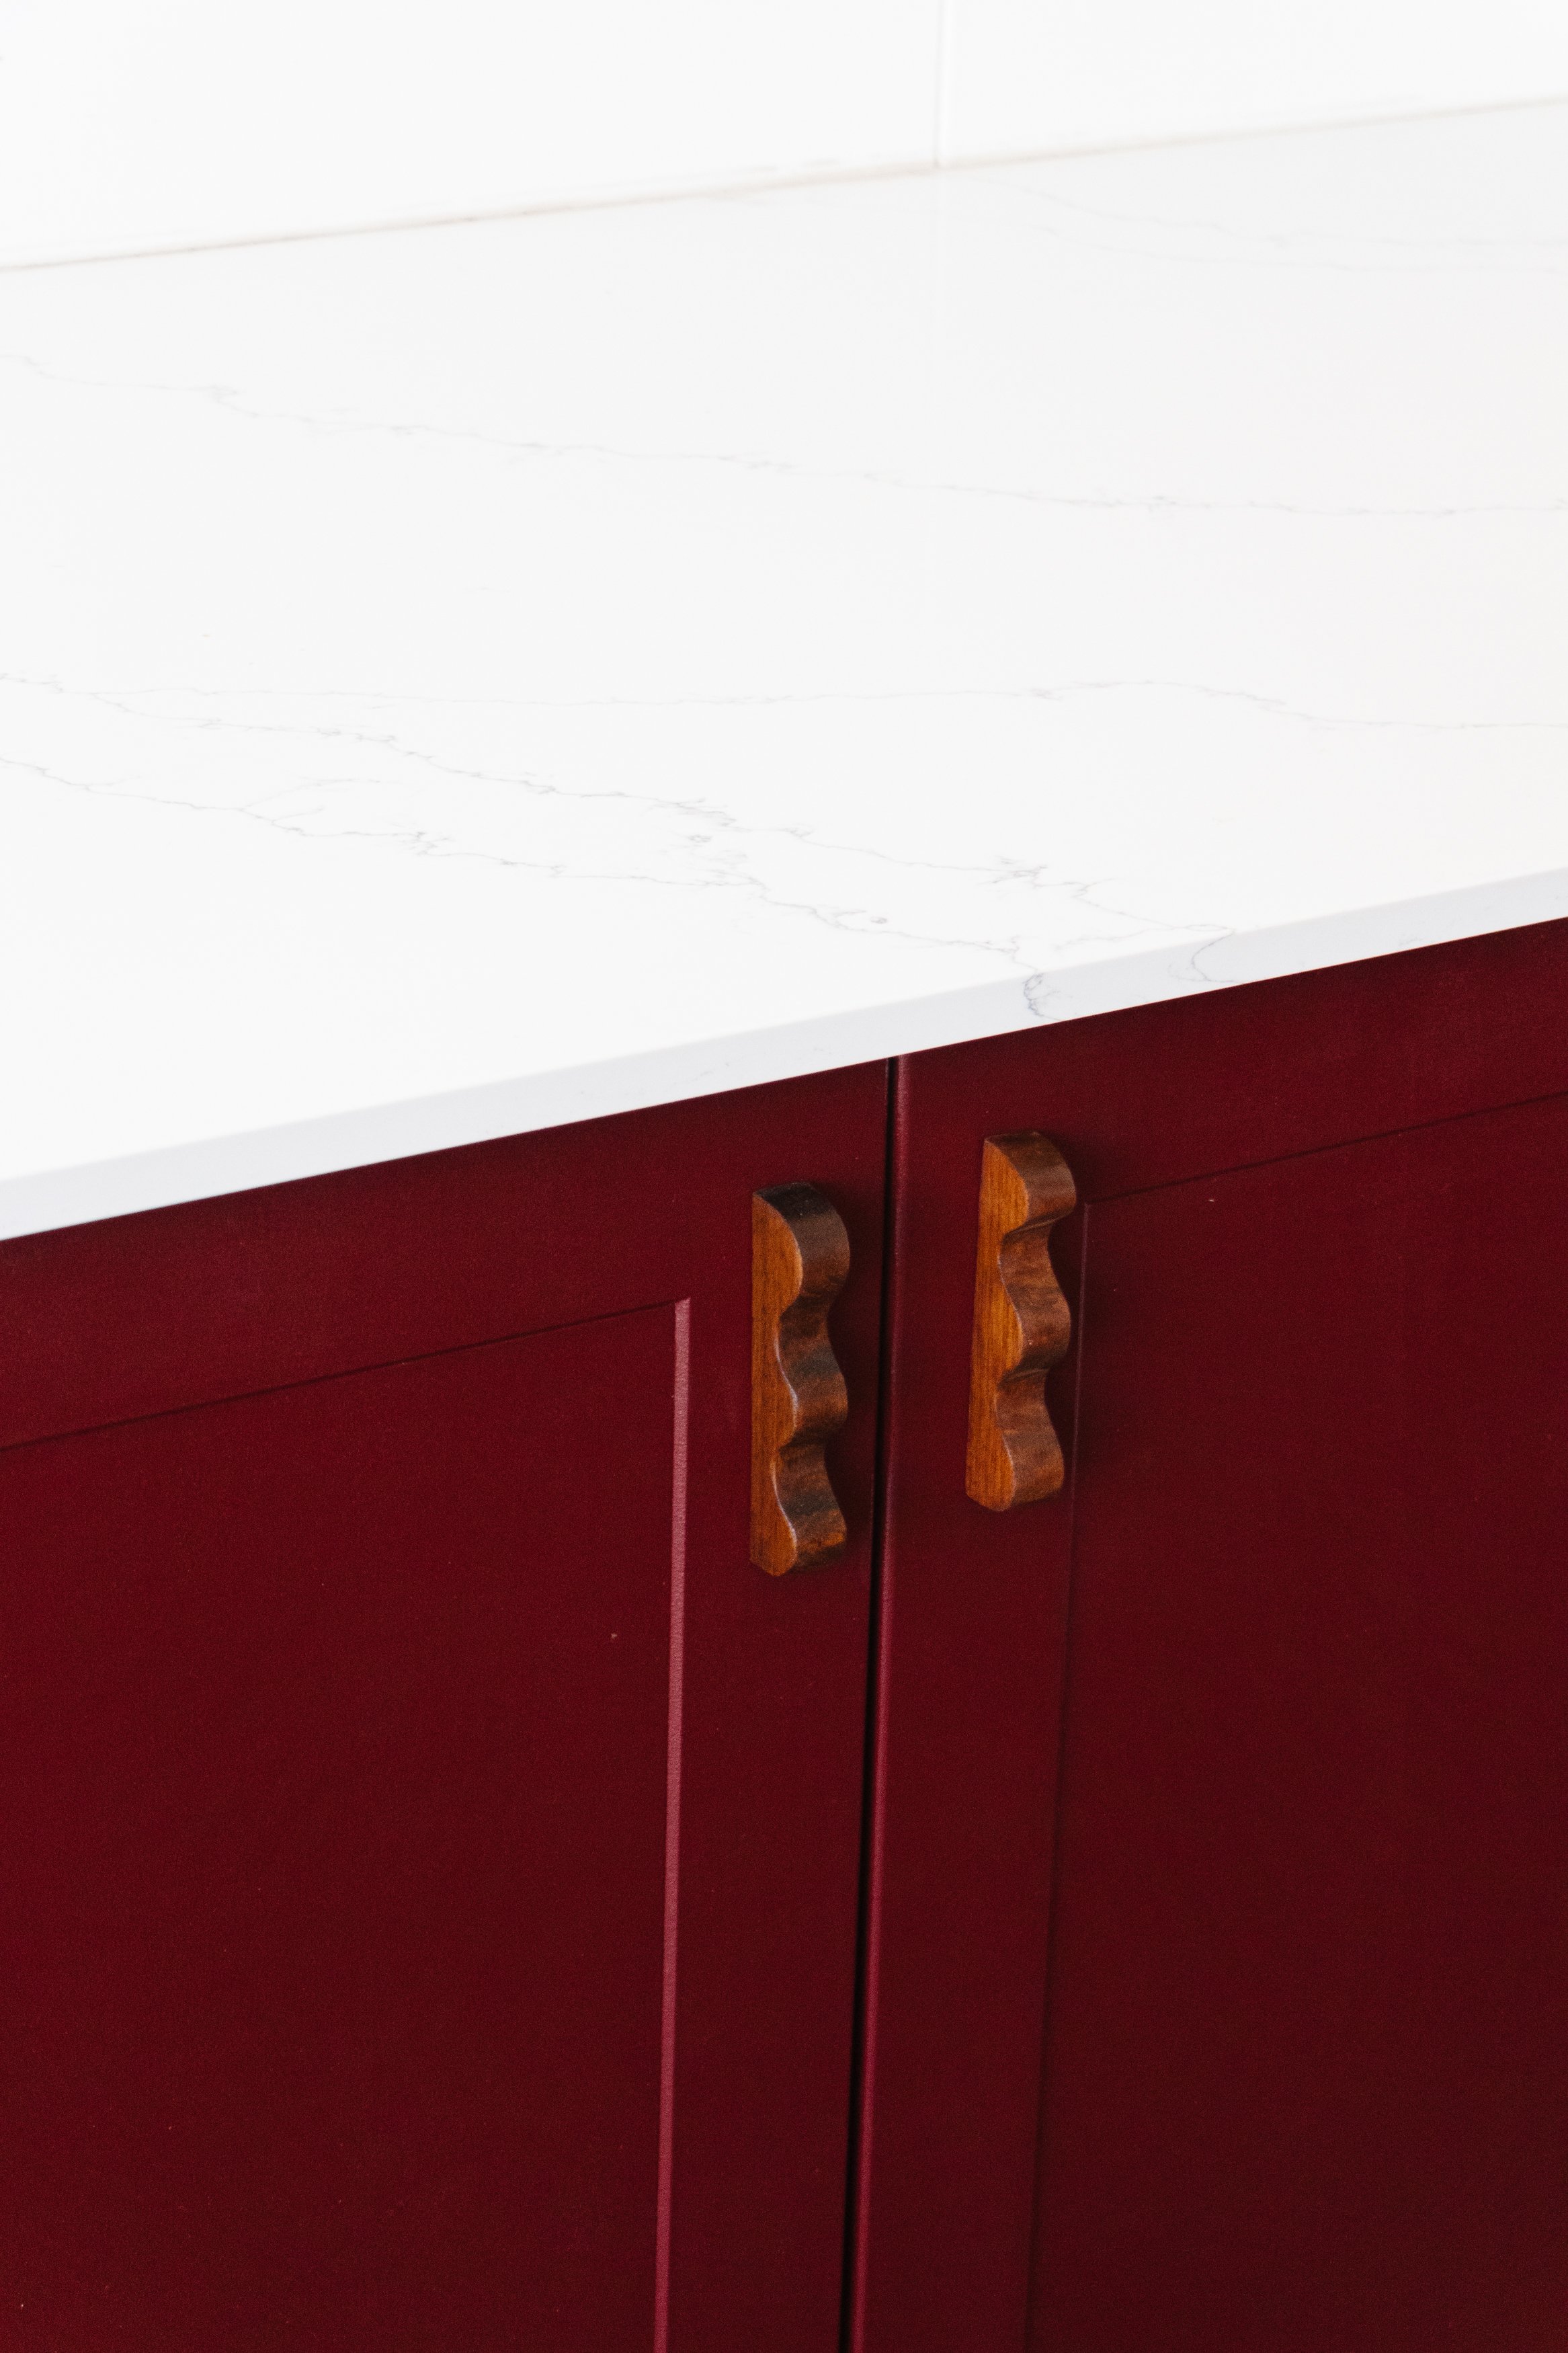
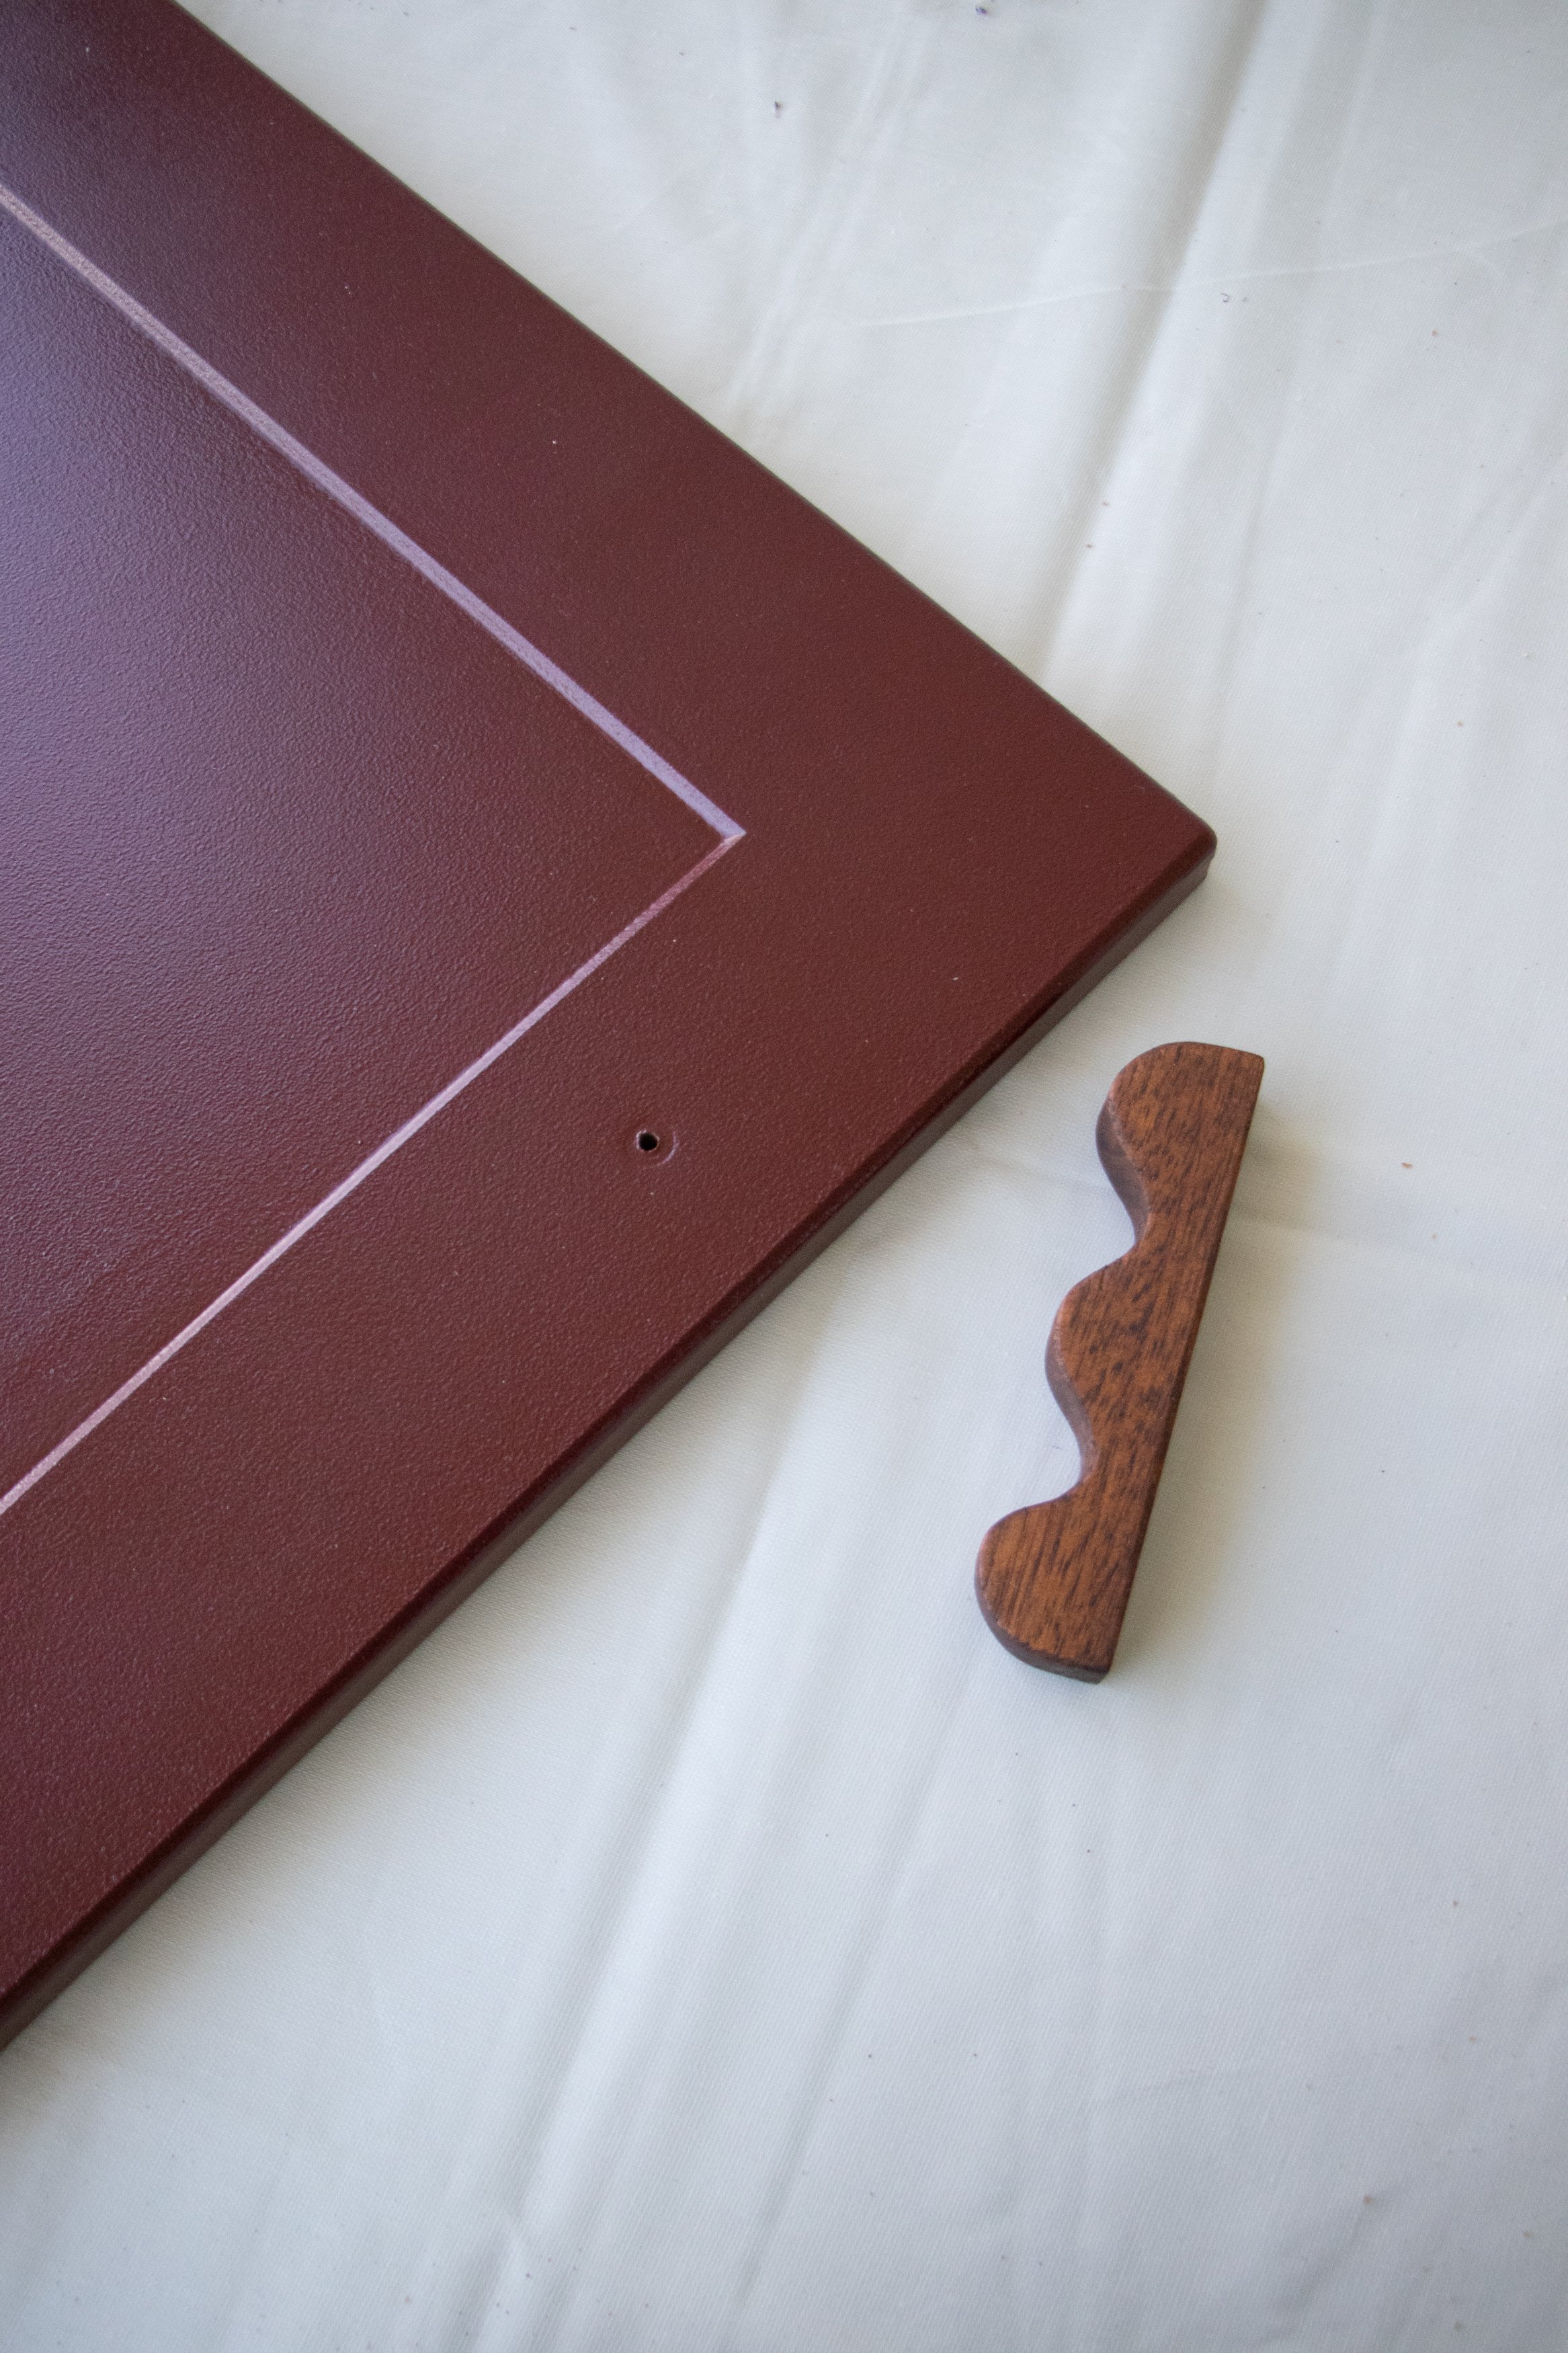
Wavy Door Handles by me!
The Process
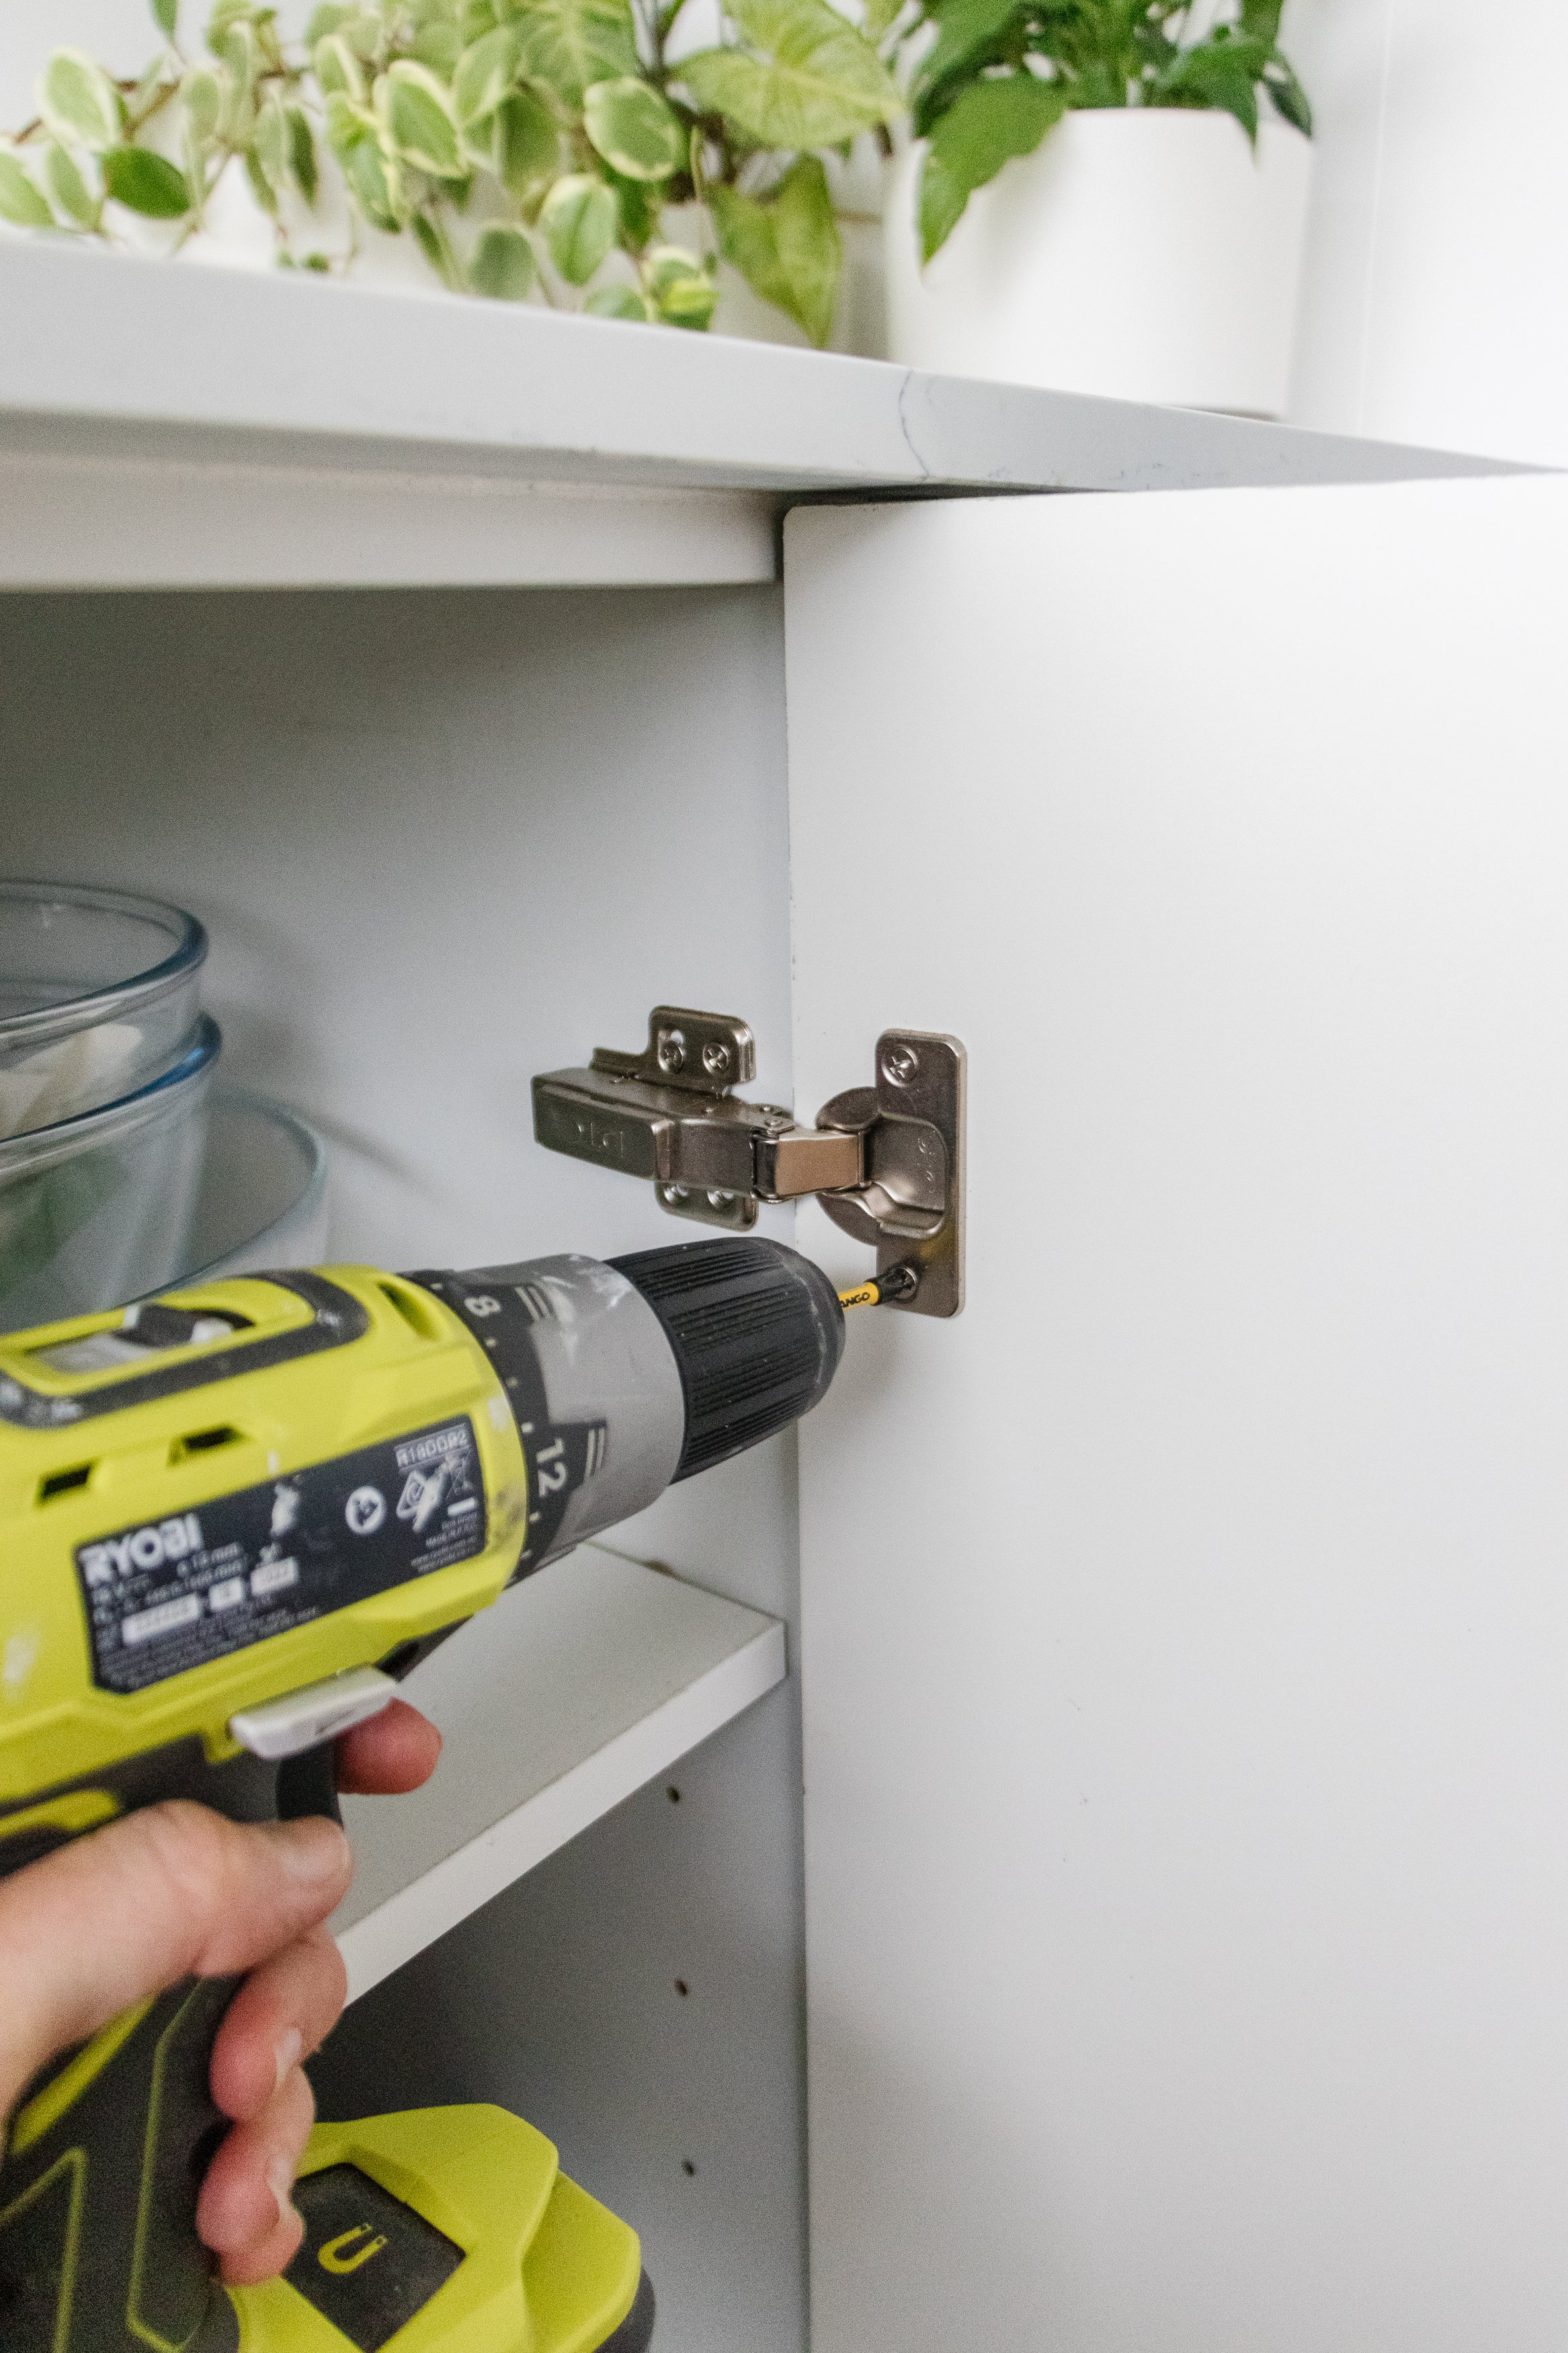
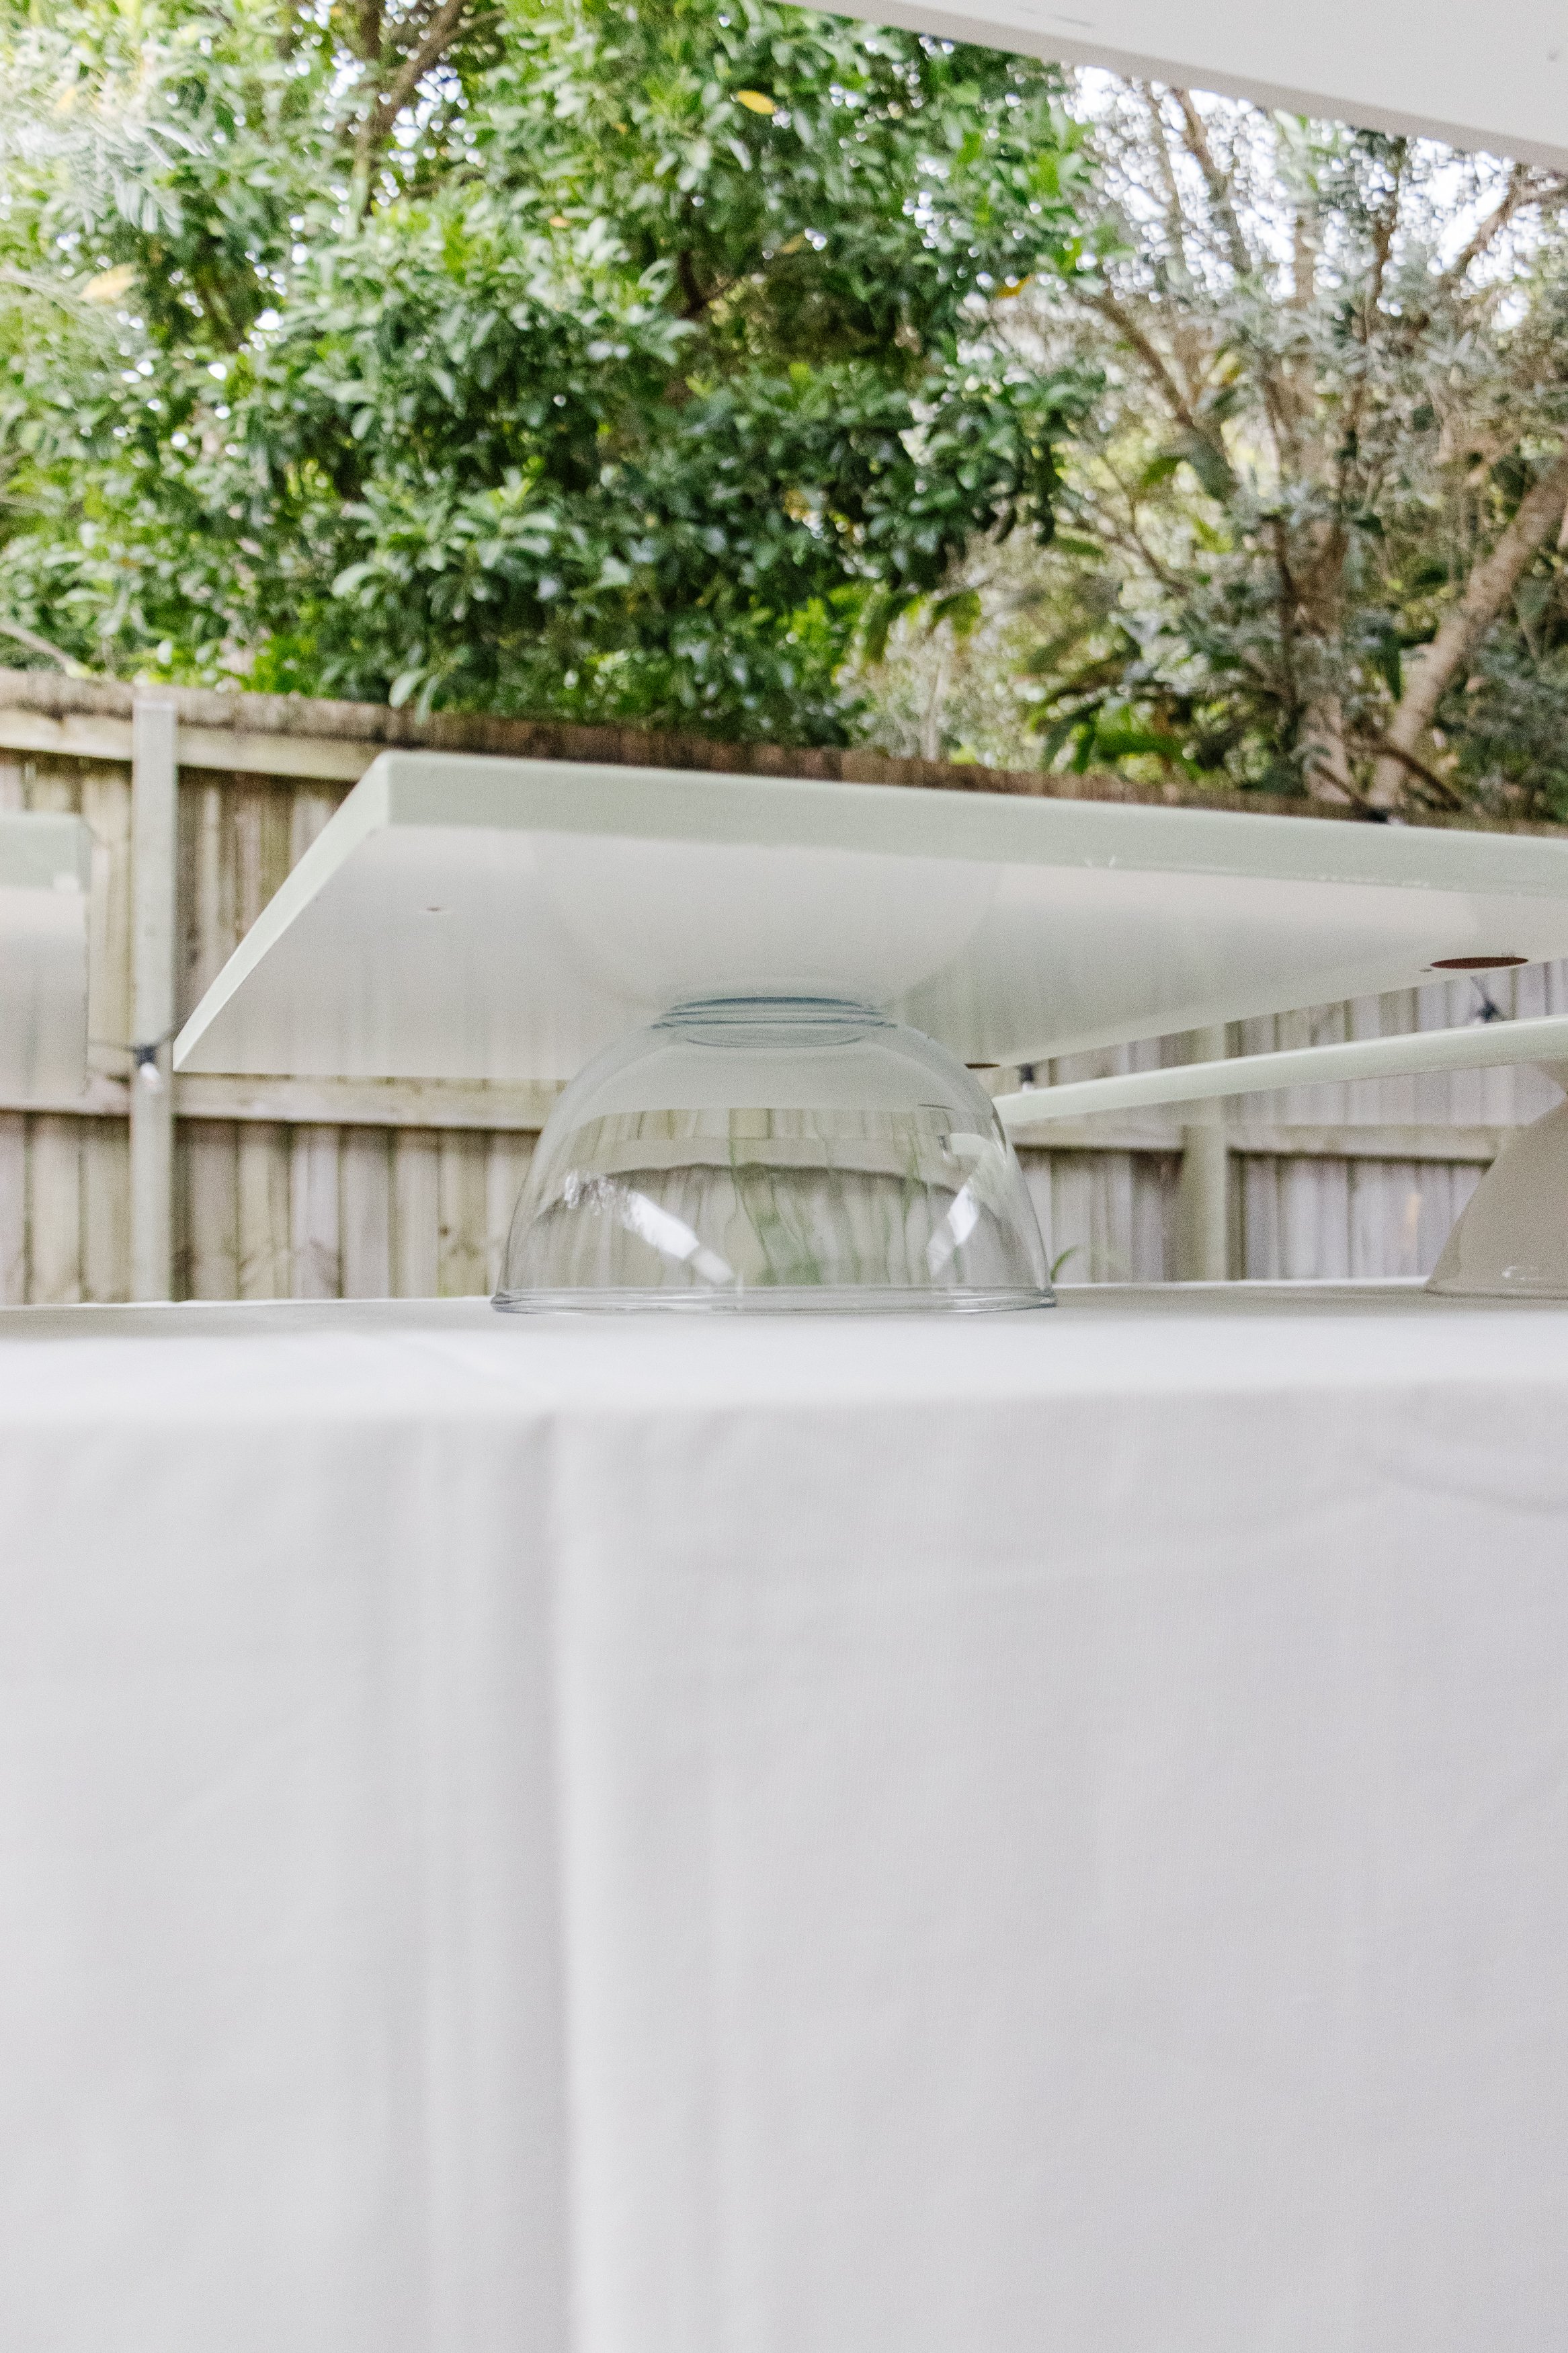
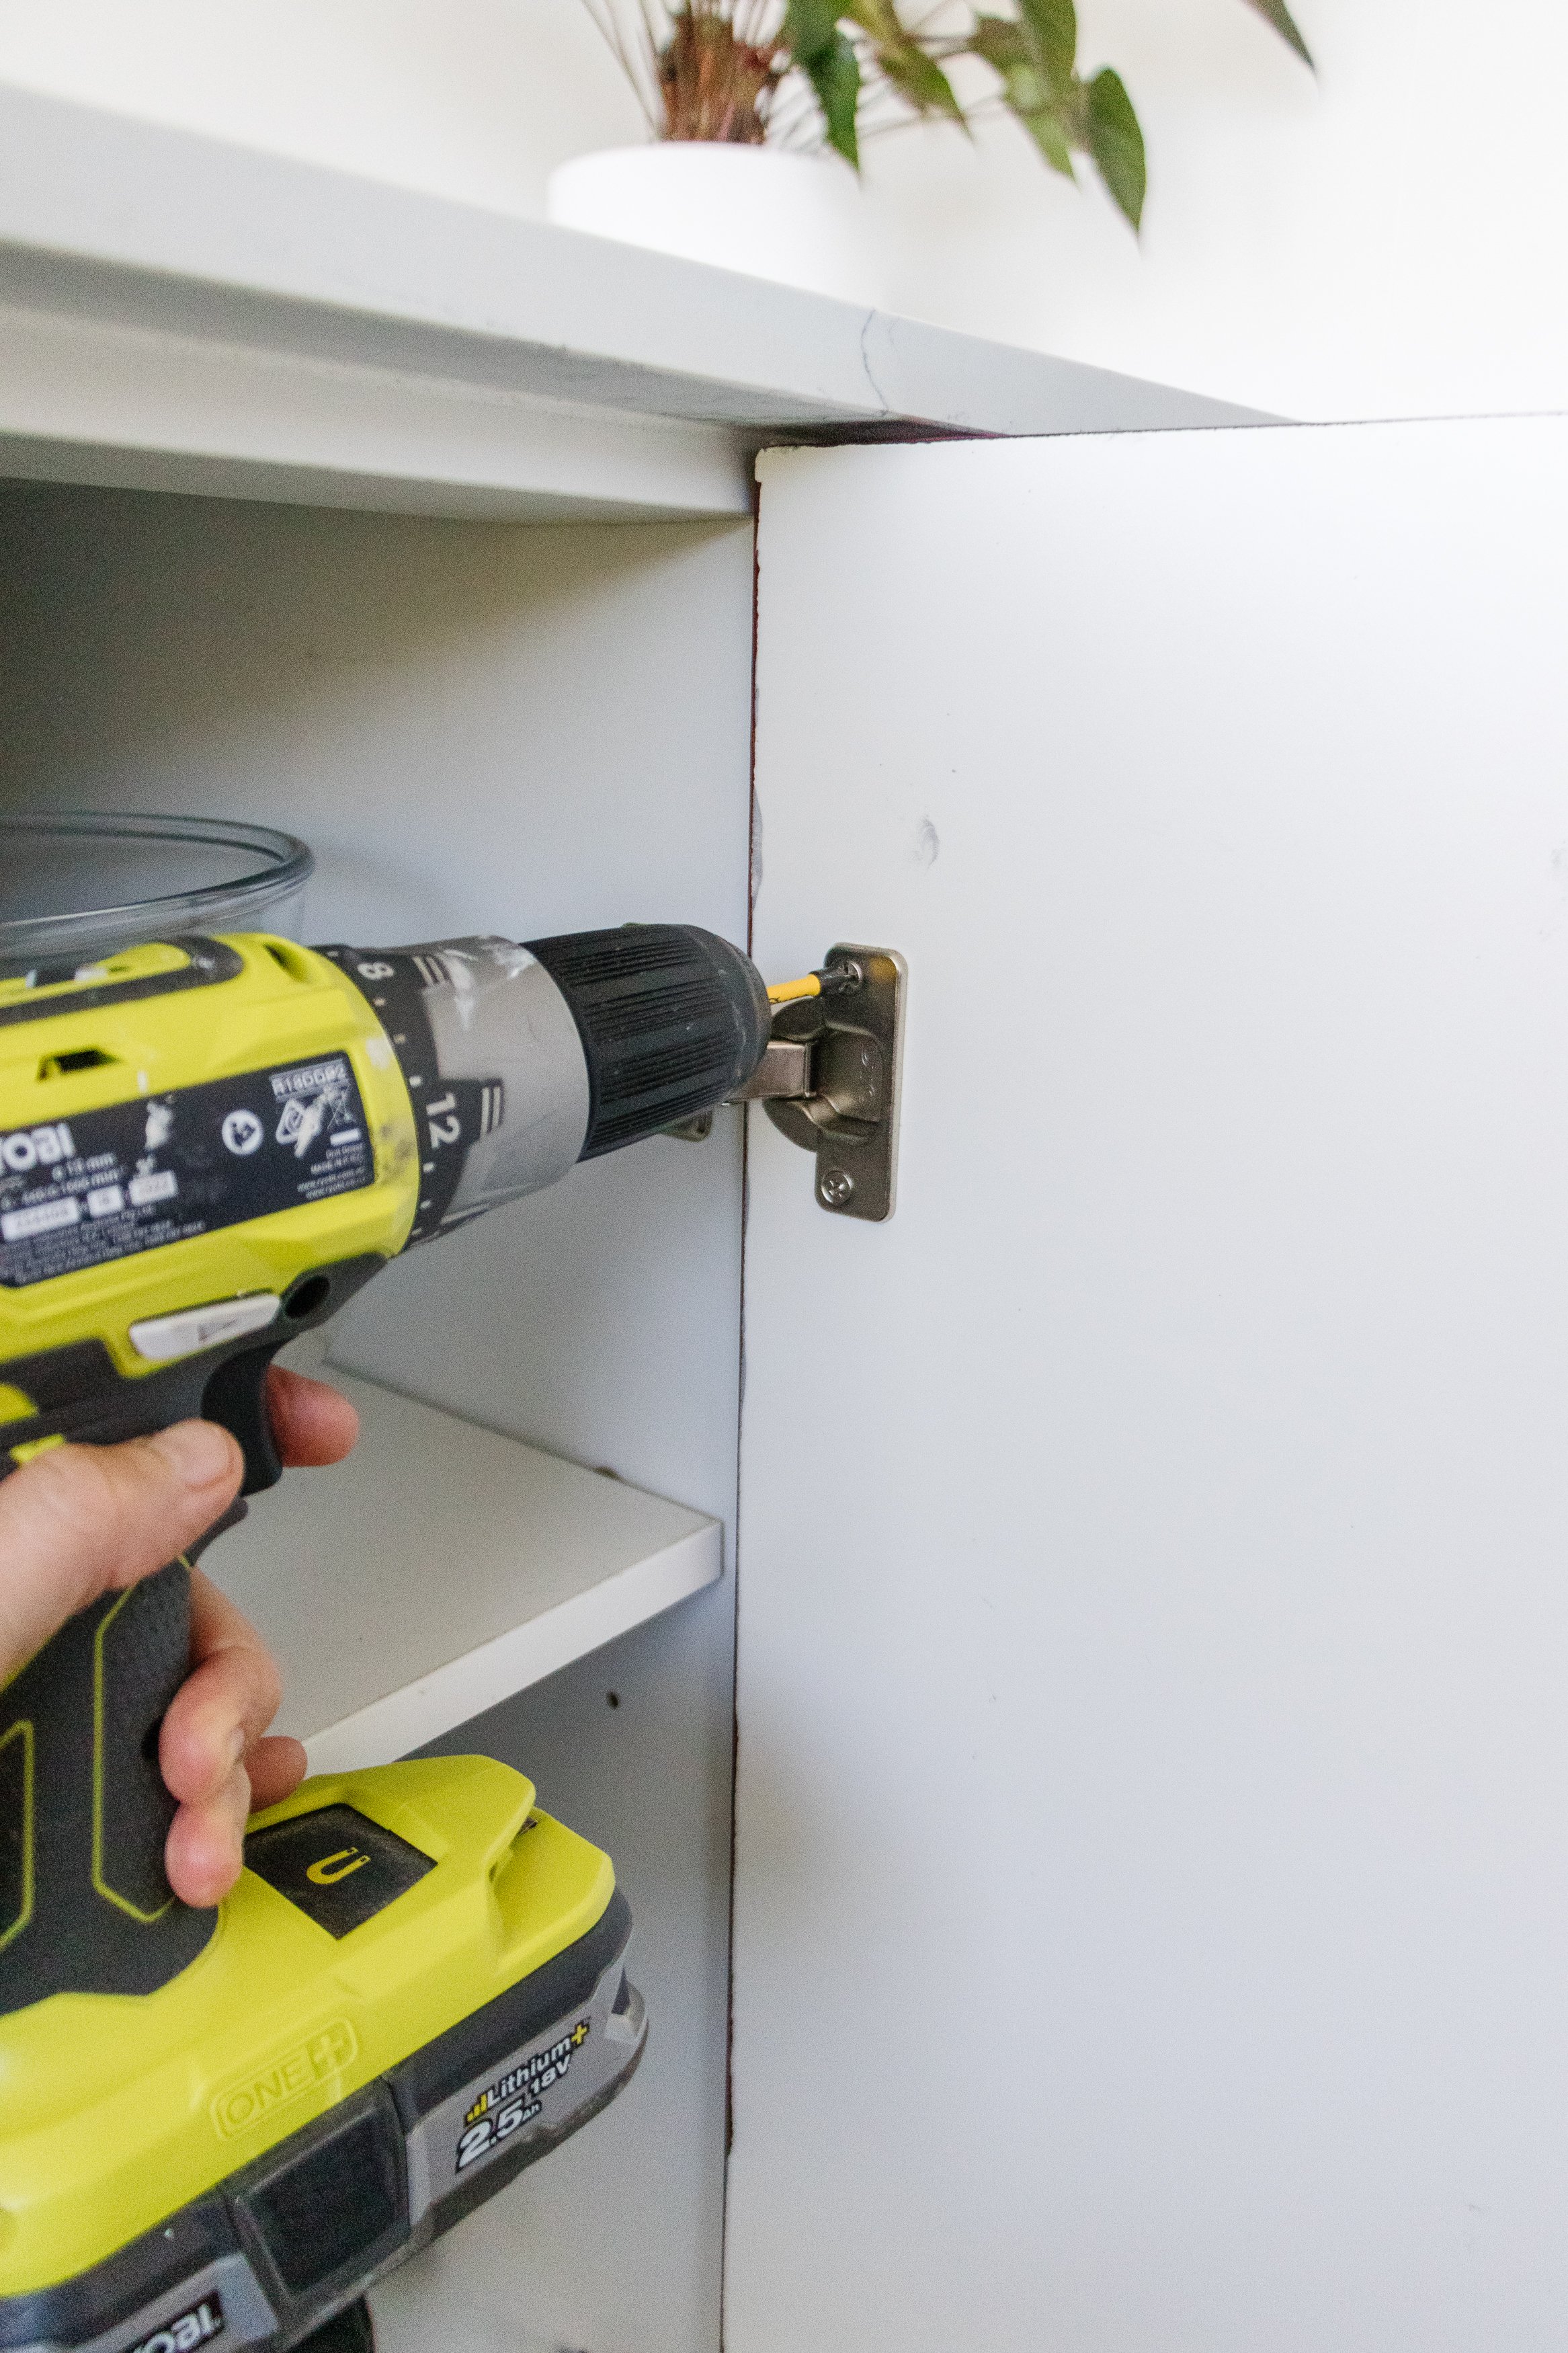
Step 1: To begin with I removed the cabinet doors from the frame of our outdoor kitchen using a drill and kept the screws in a cup so I wouldn’t lose the. Then I removed the existing door handles with the drill and set them aside as well.
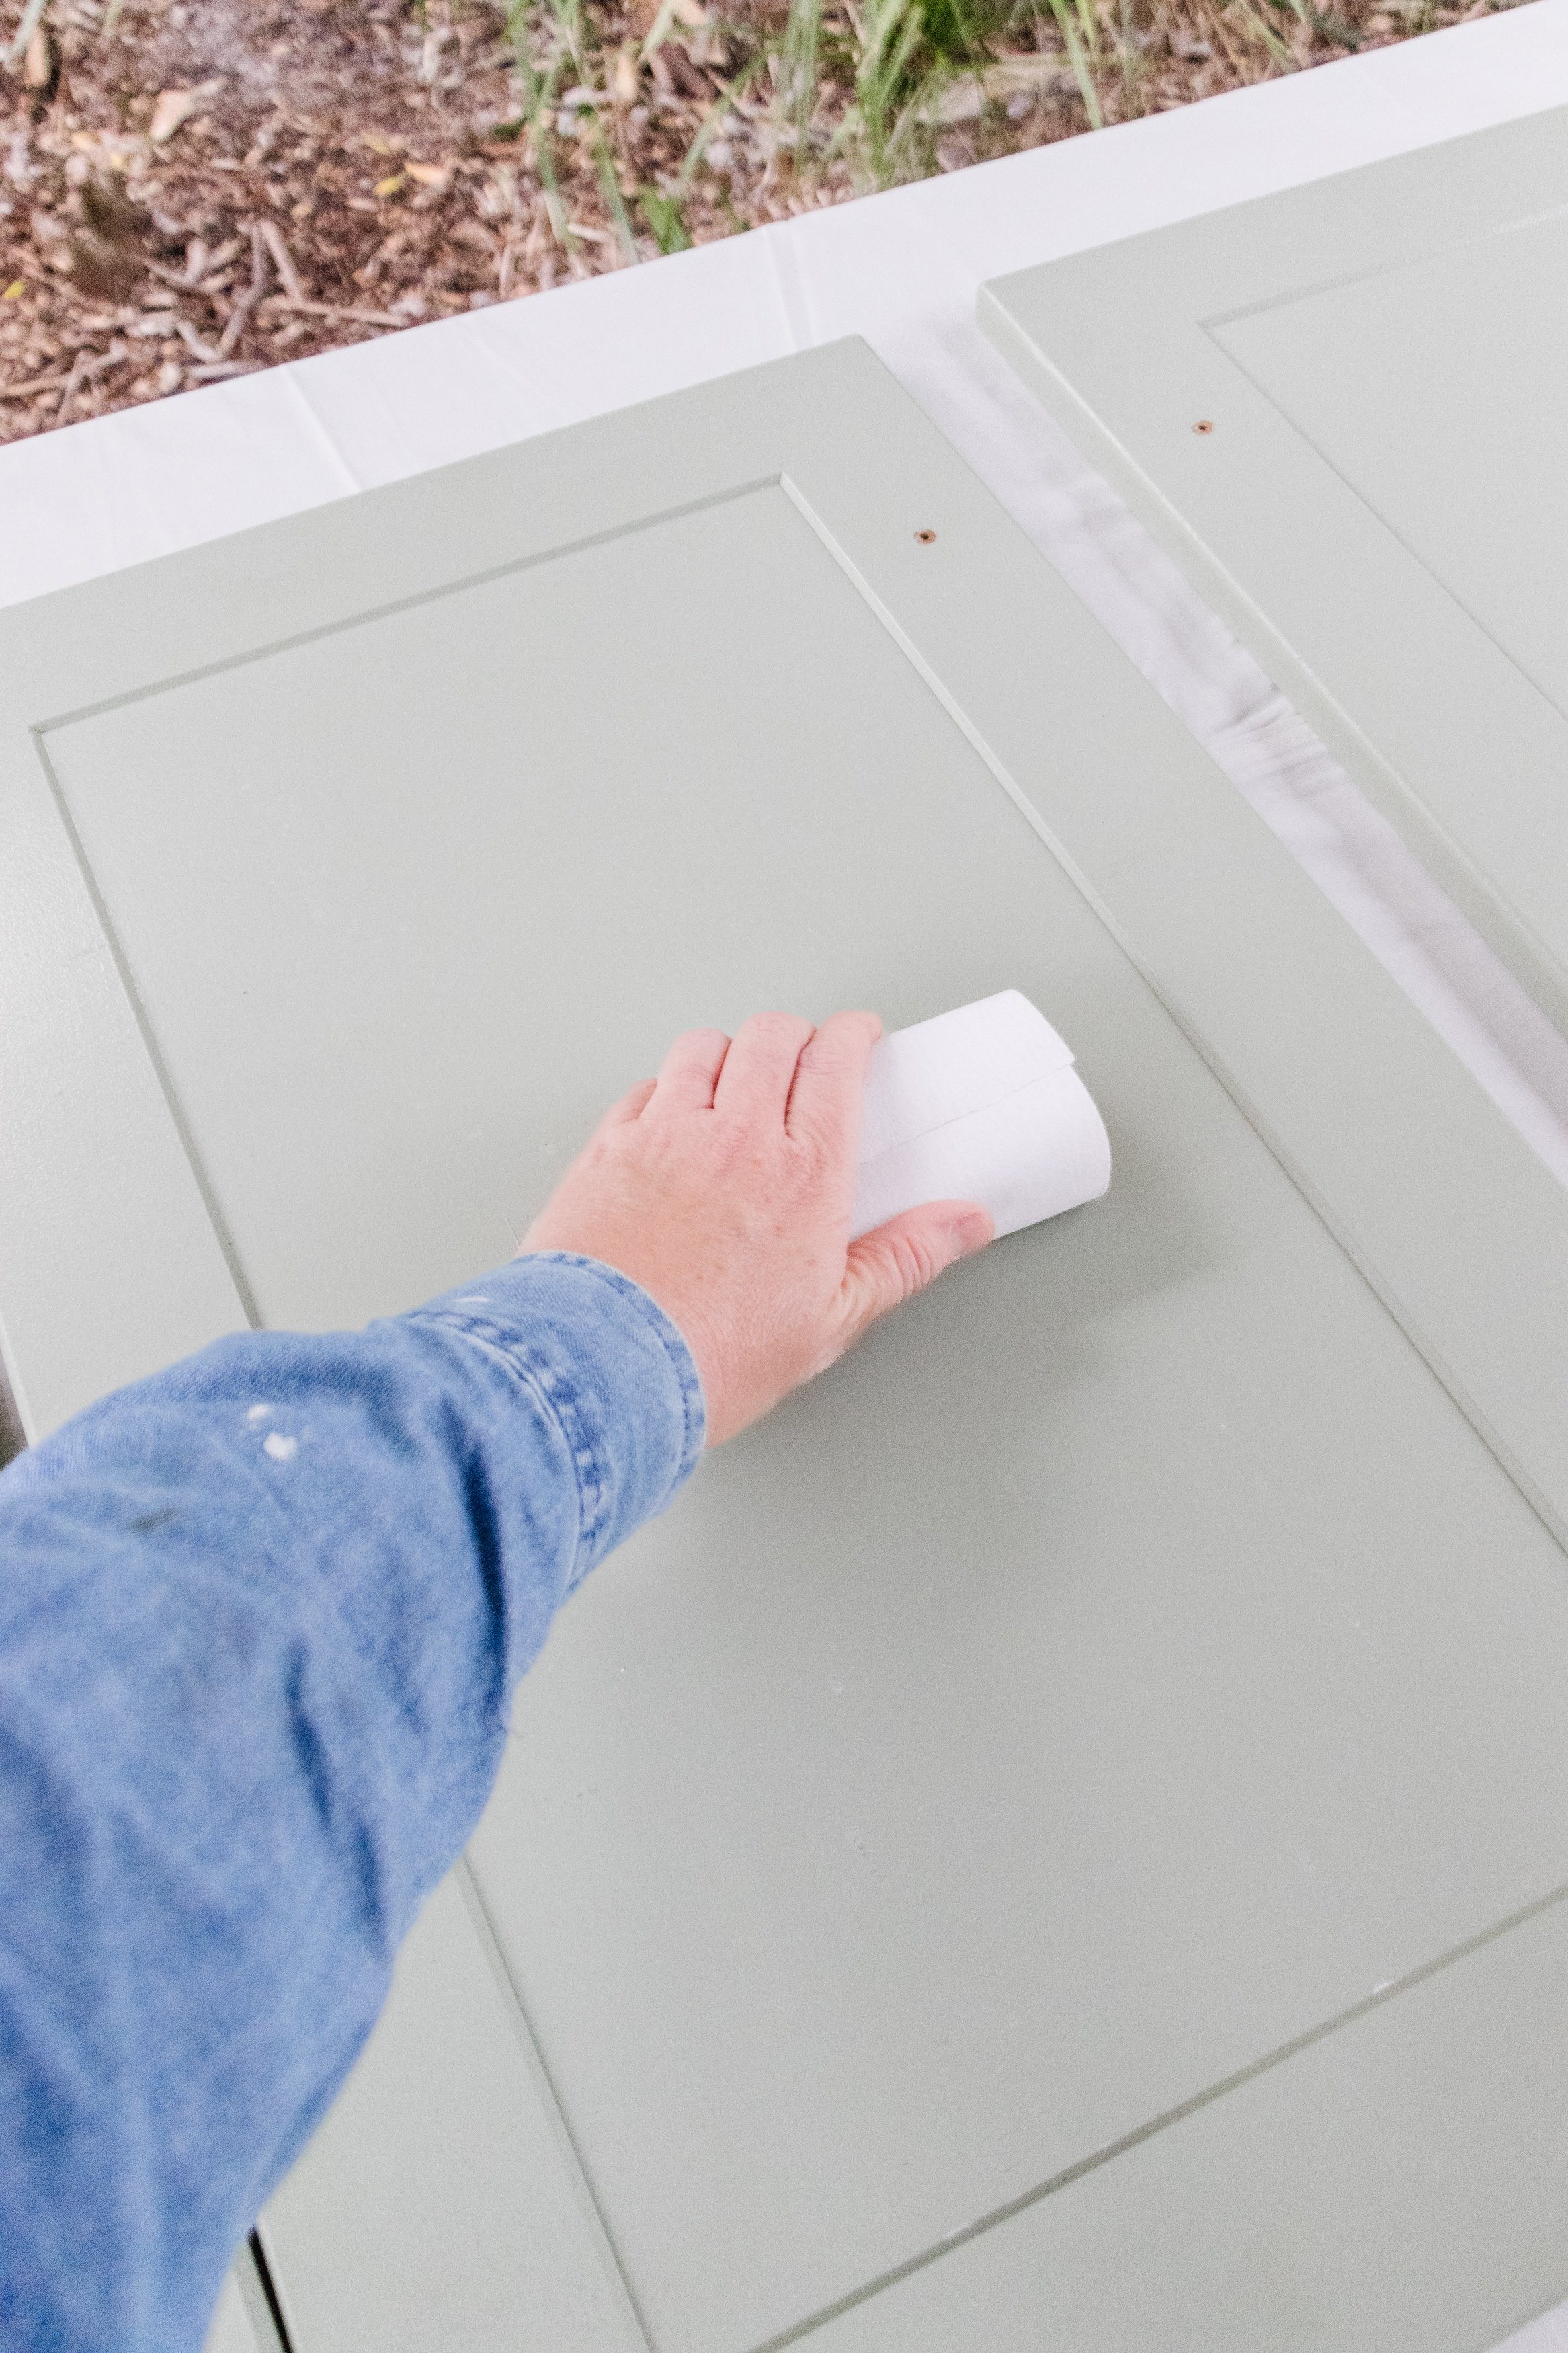
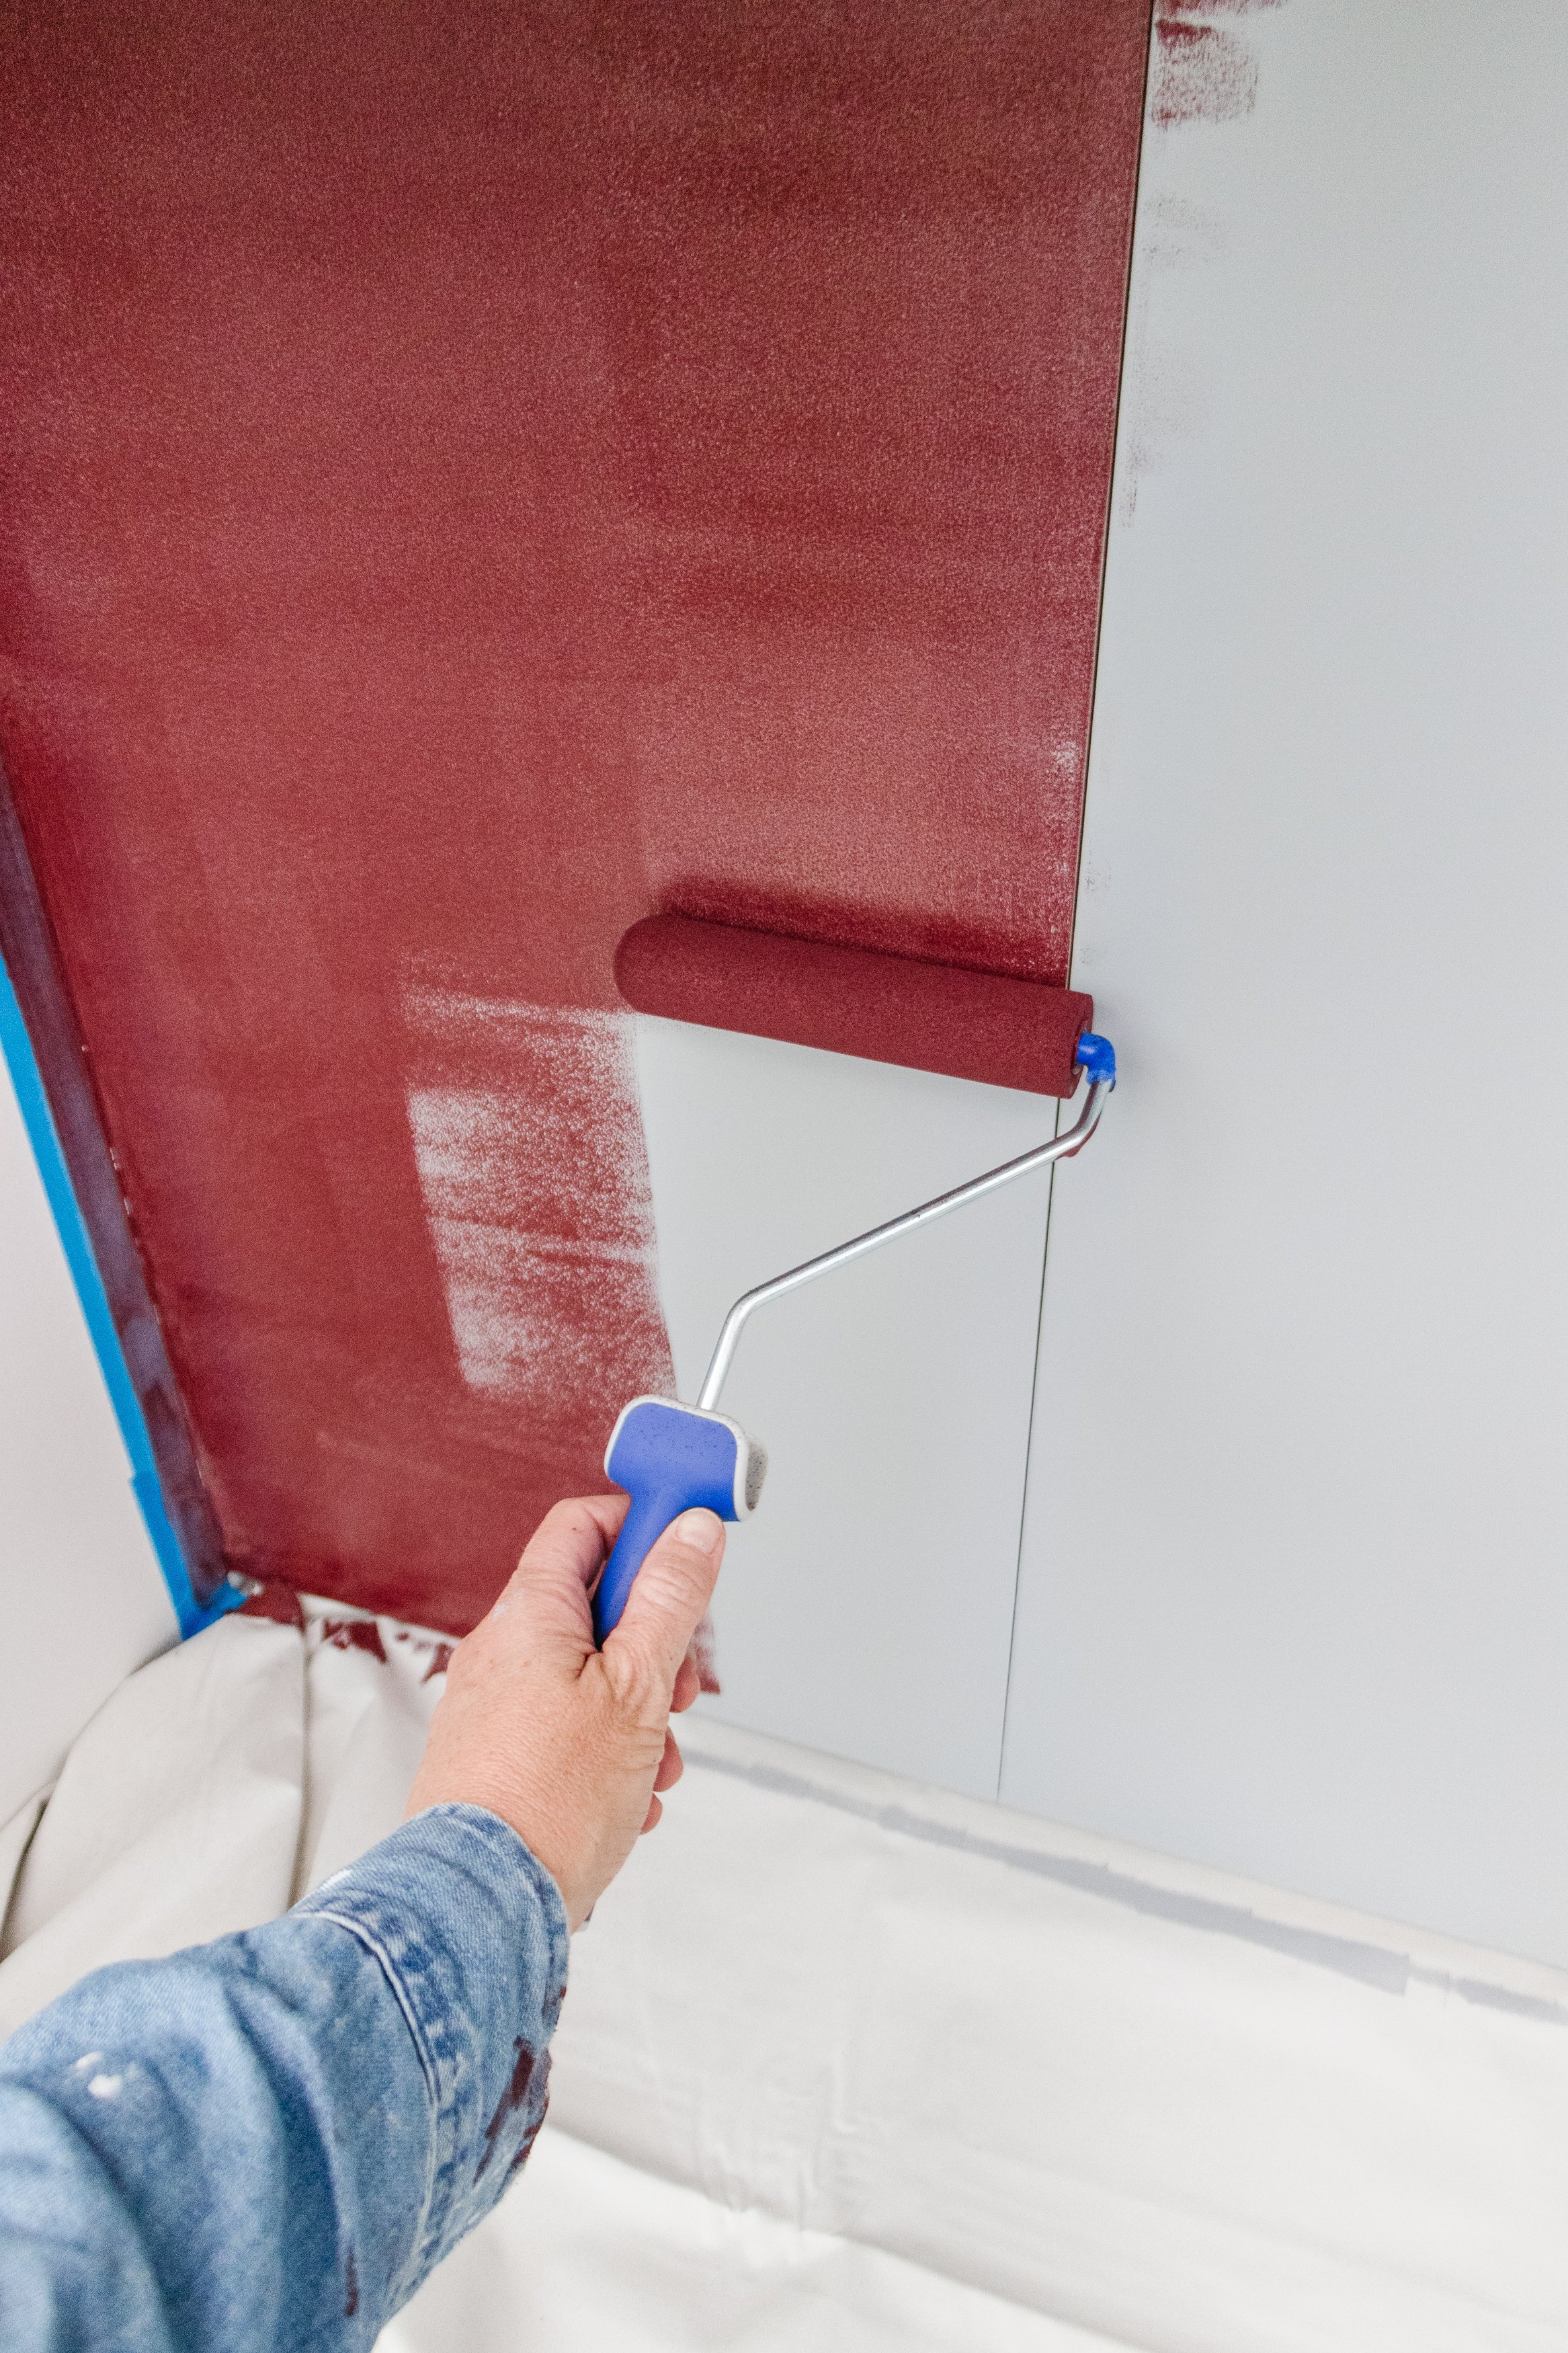
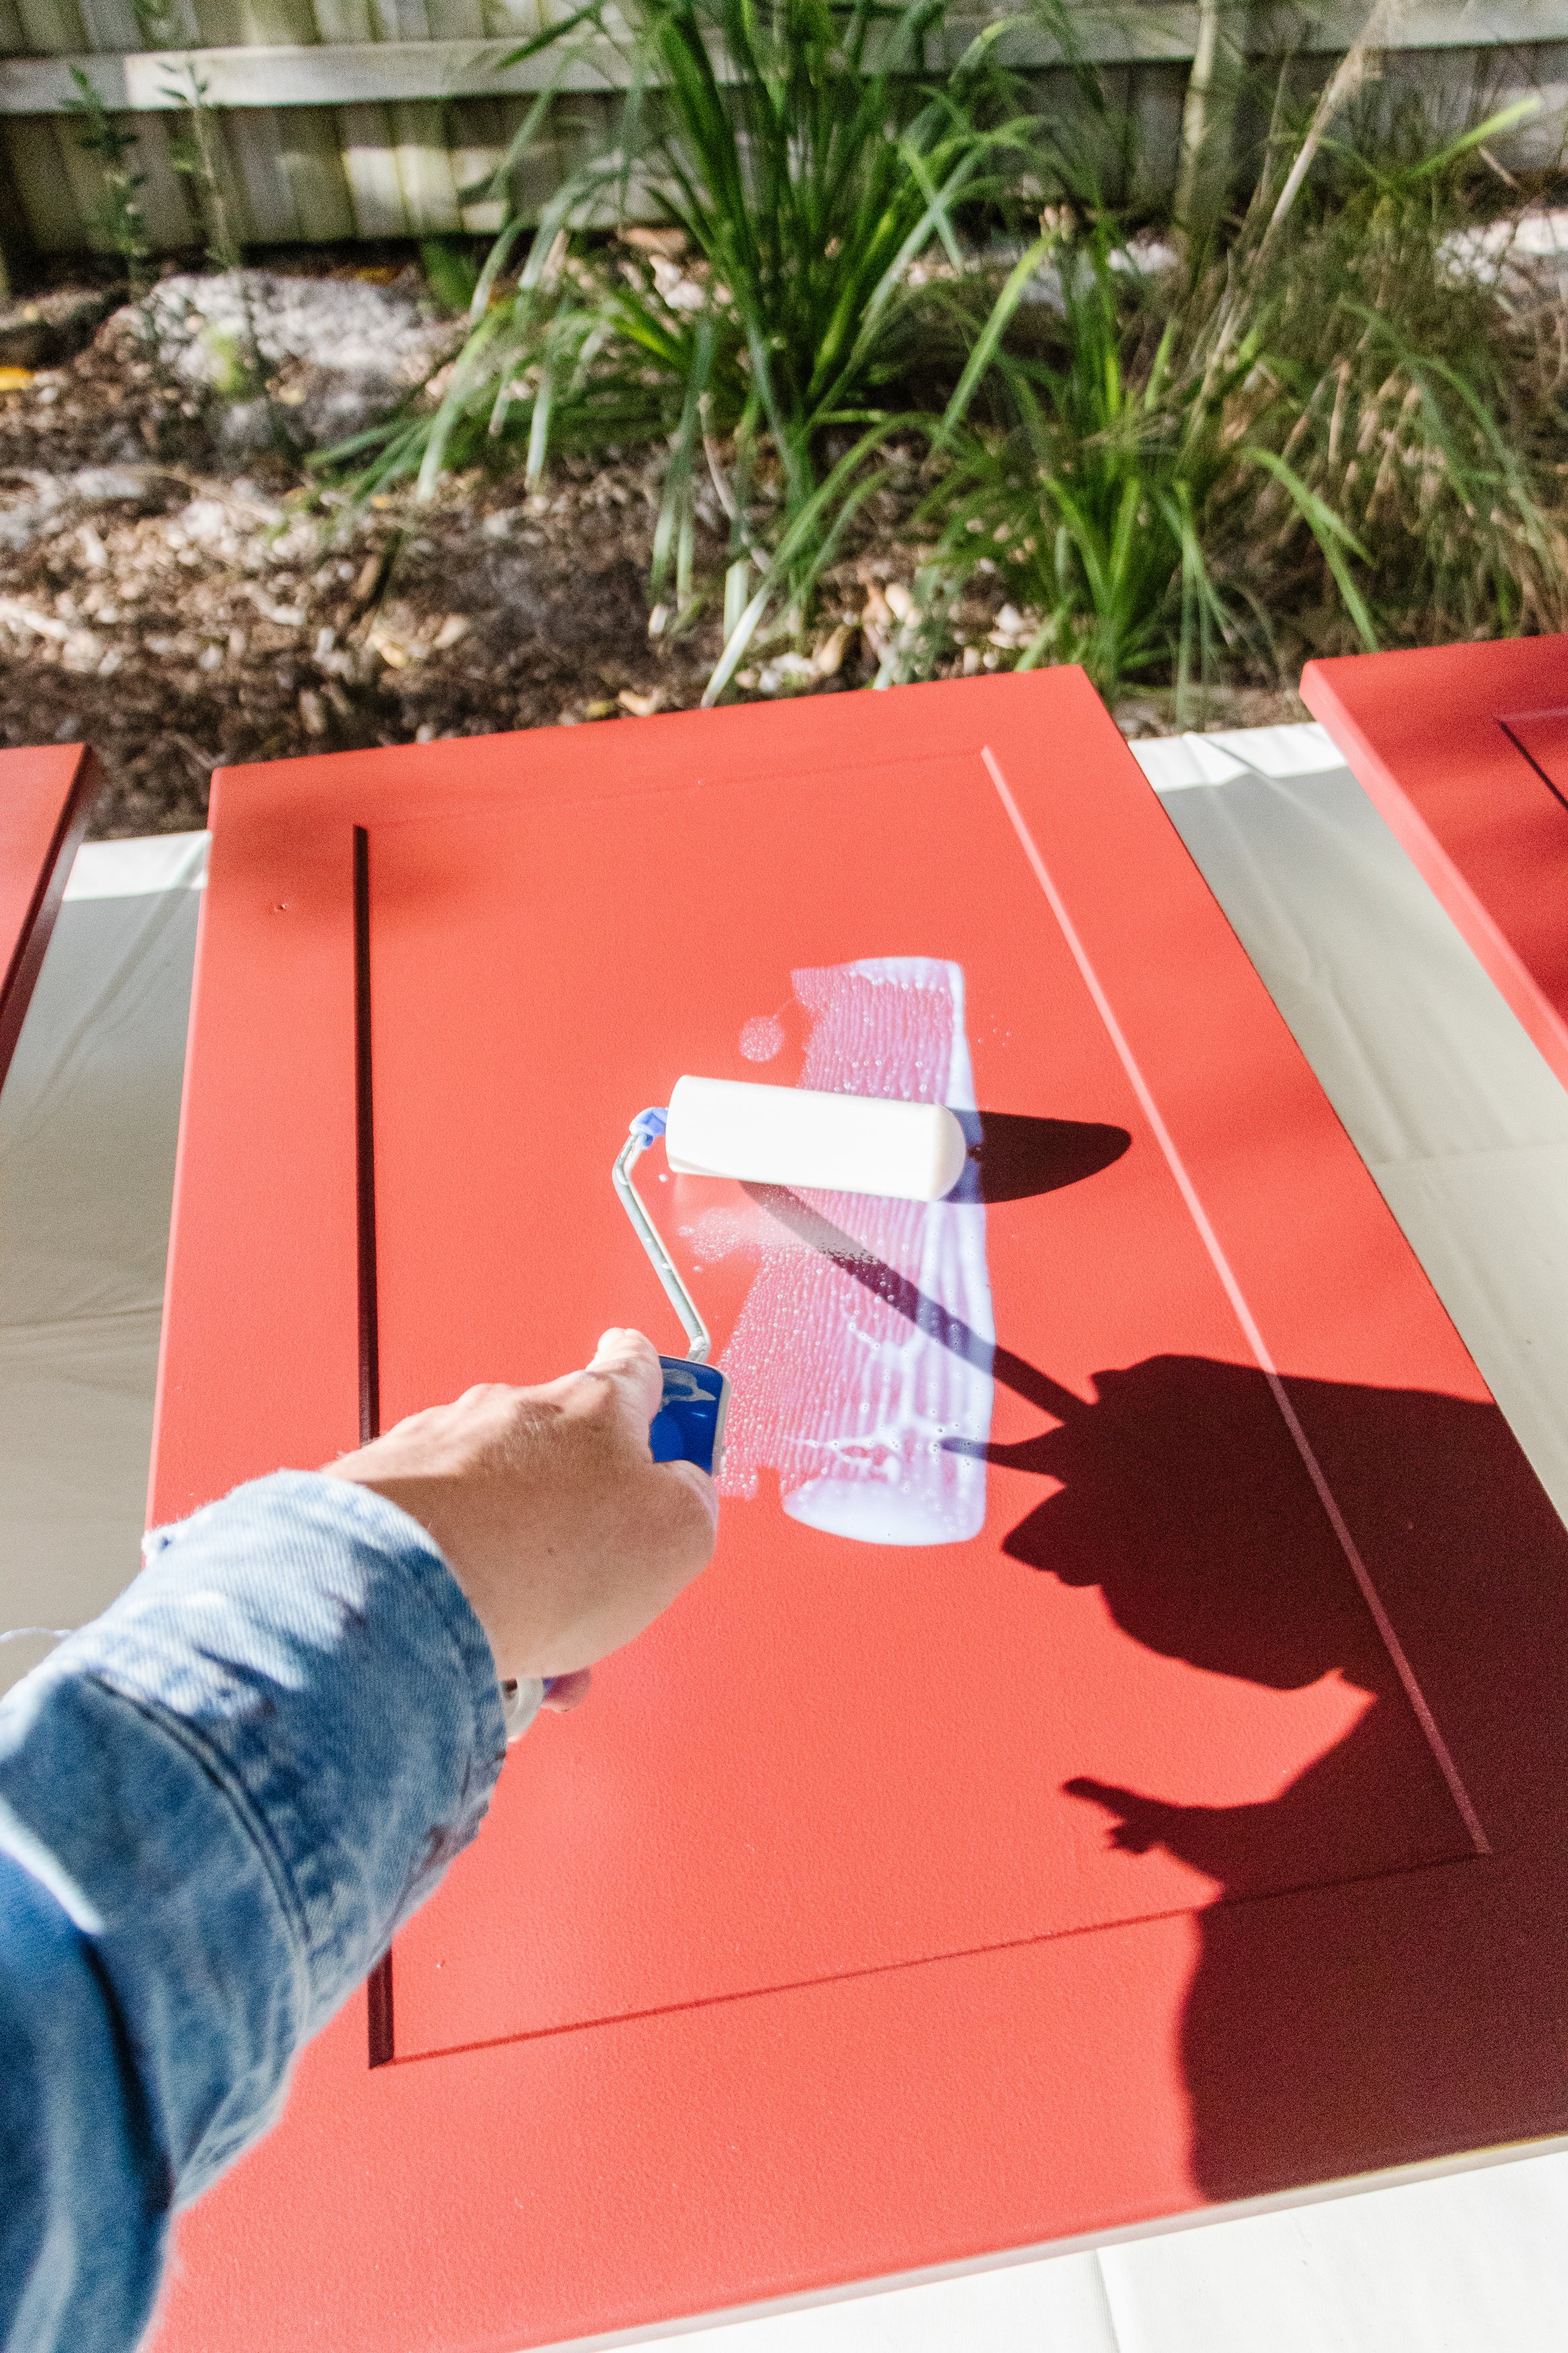
Step 2: I covered my workbench with a Monarch Painting Heavy Duty Non-Slip Canvas and lightly sanded the cabinetry and doors using a sanding block and a 120 grit sand sheet. After wiping the dust off, I applied a coat of water based exterior primer onto the cabinetry and doors using Monarch Painting Smart Lock Mini Roller 100mmm for Doors, Skirtings & Cupboards.
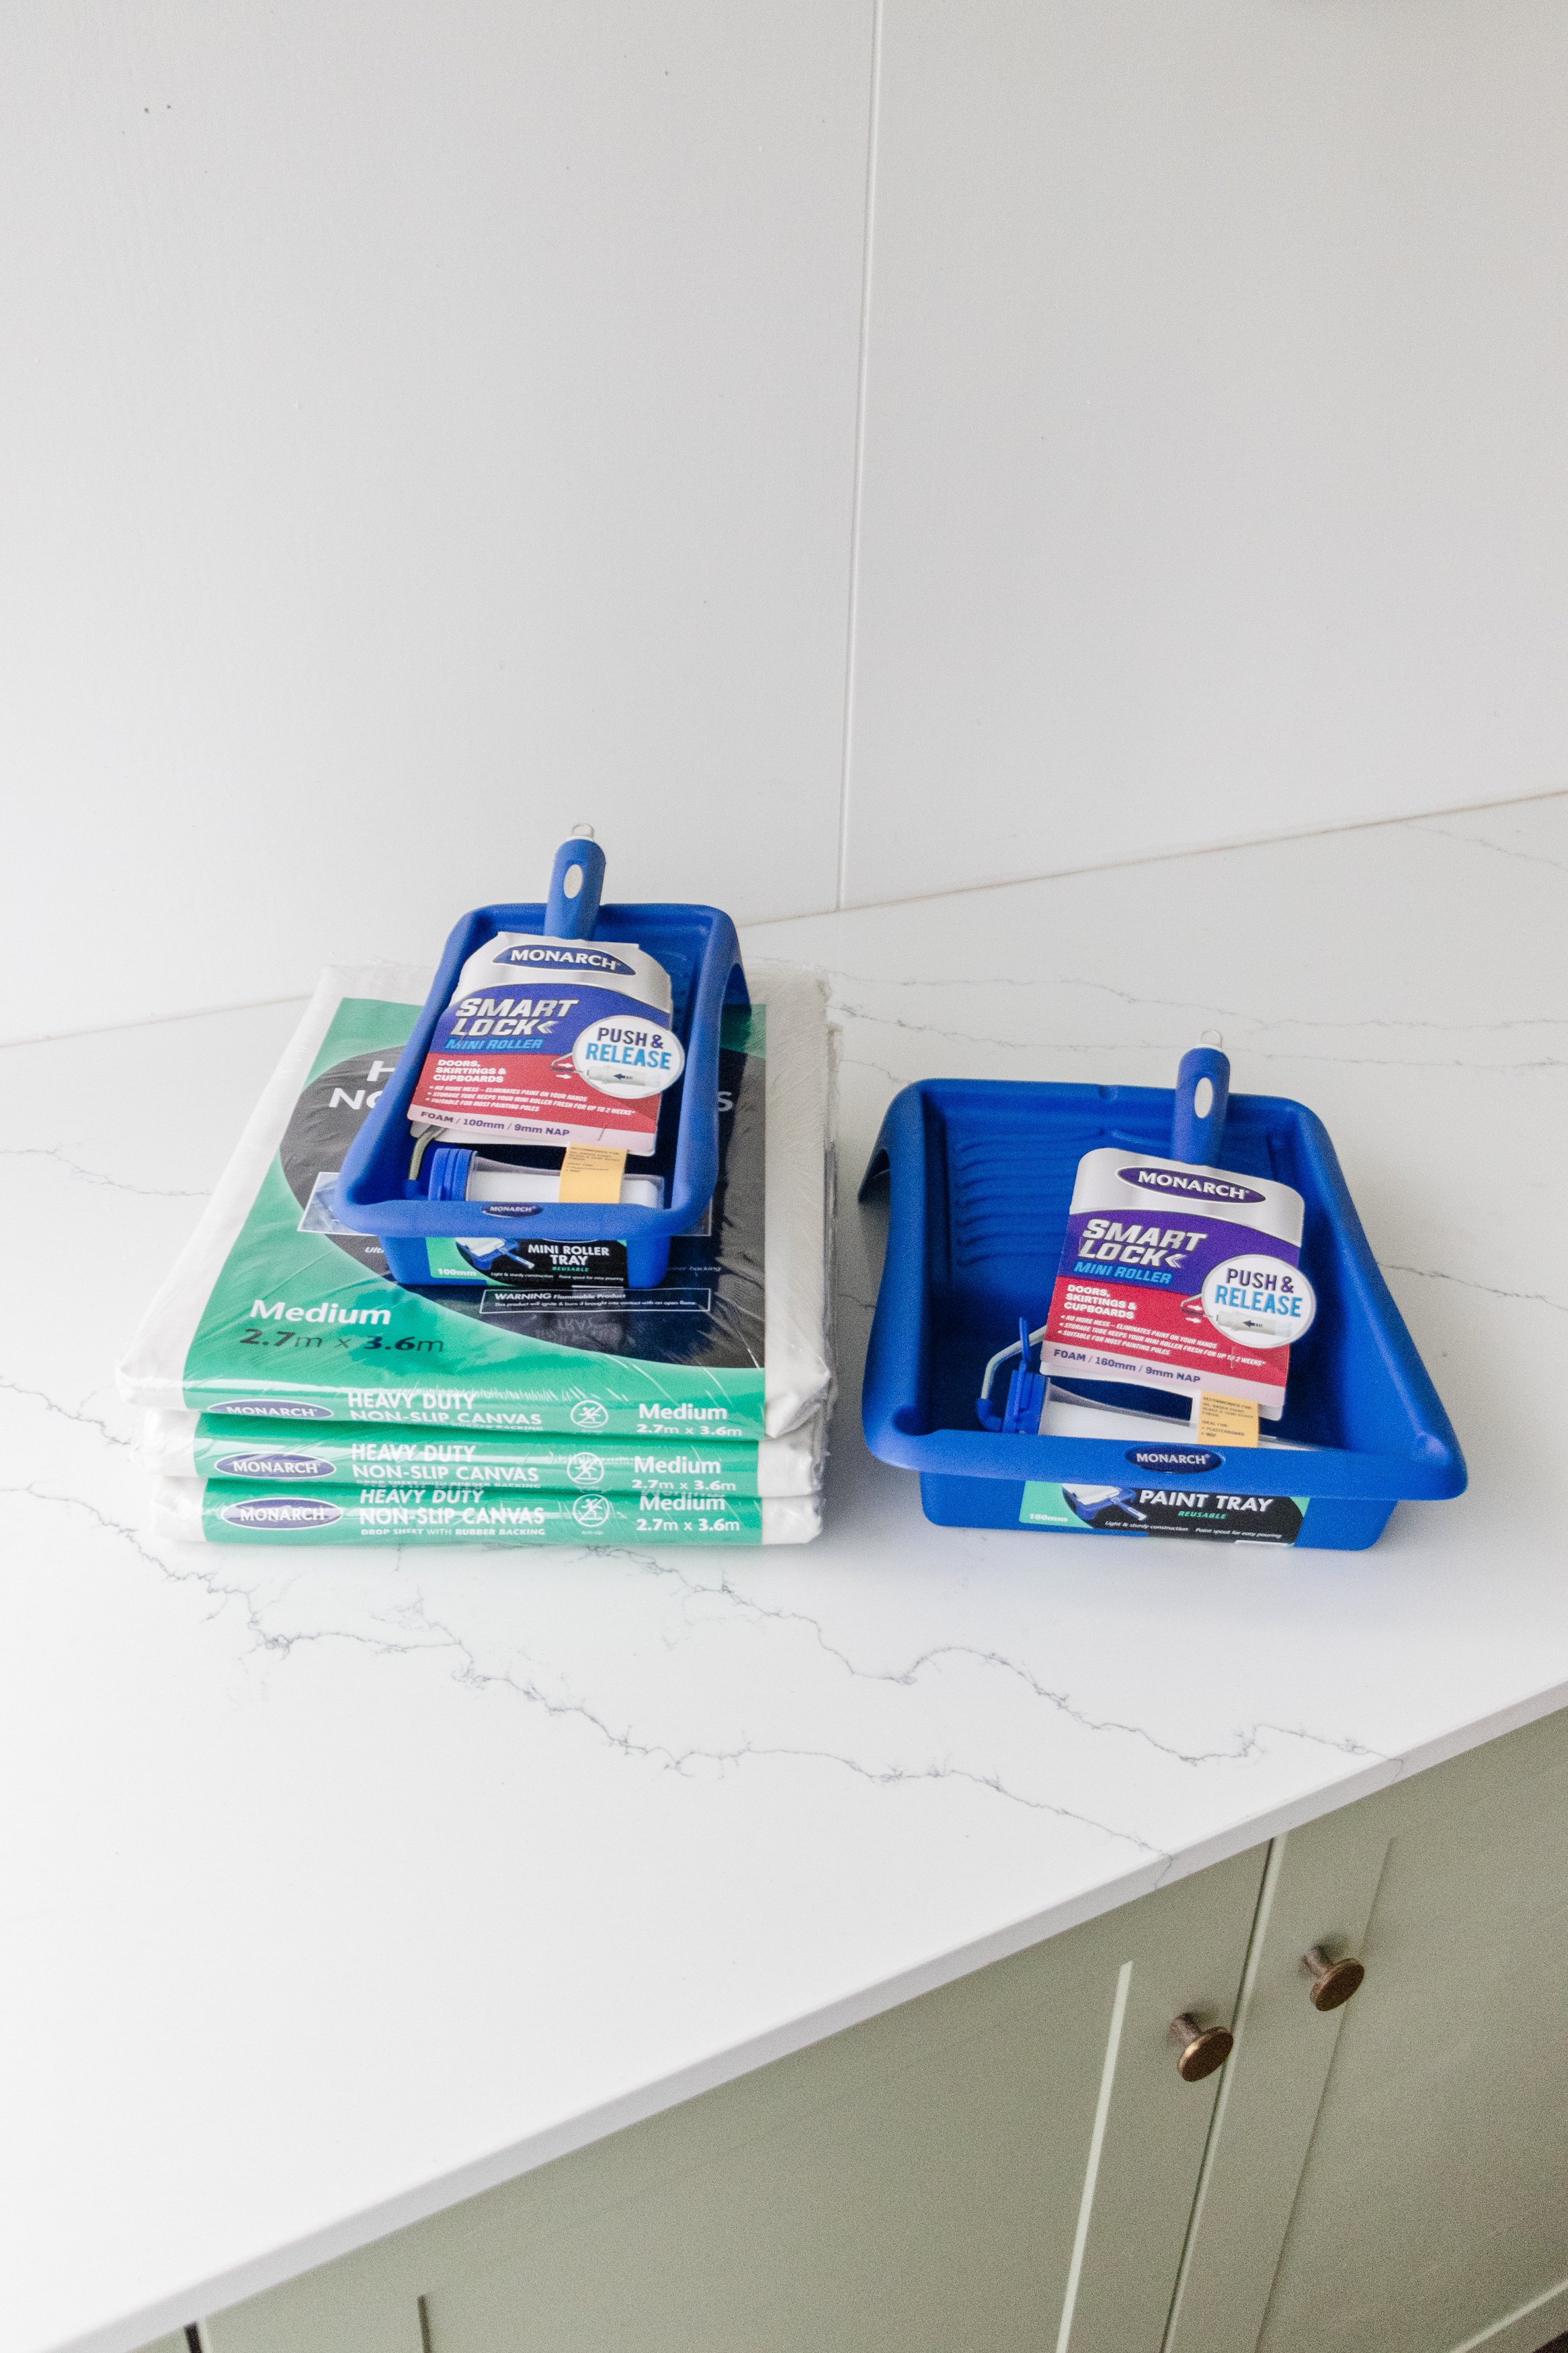

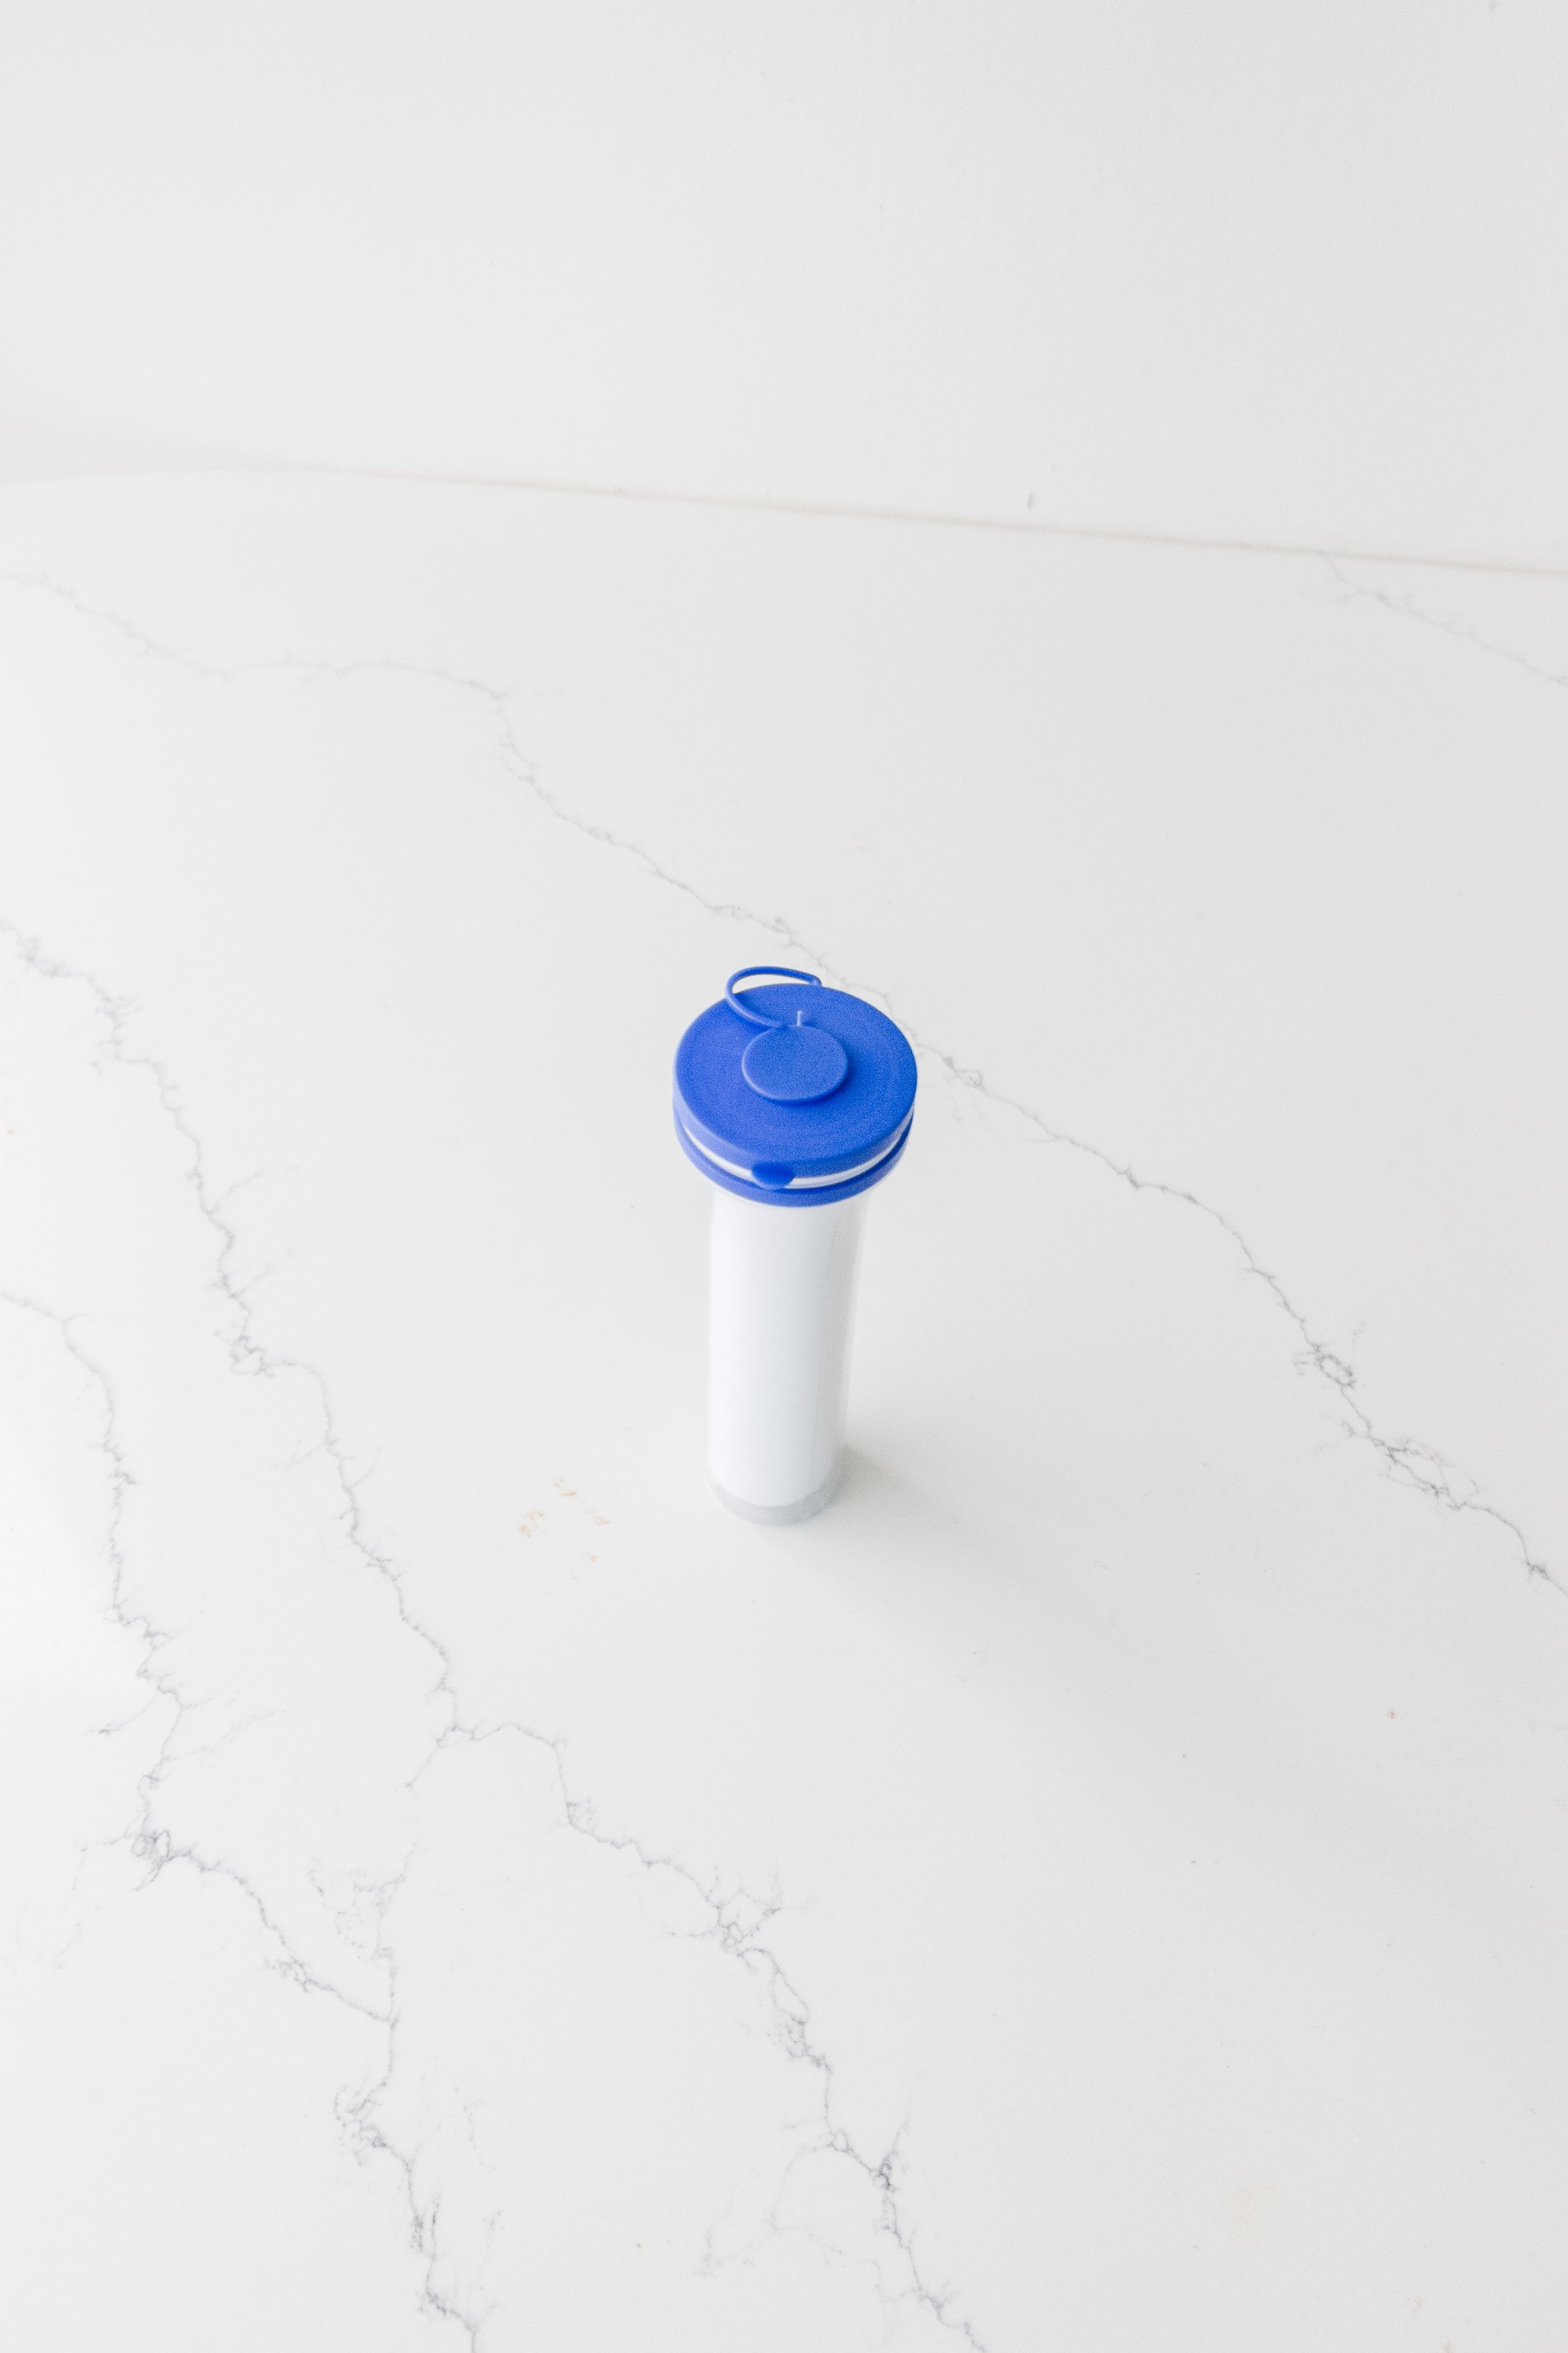
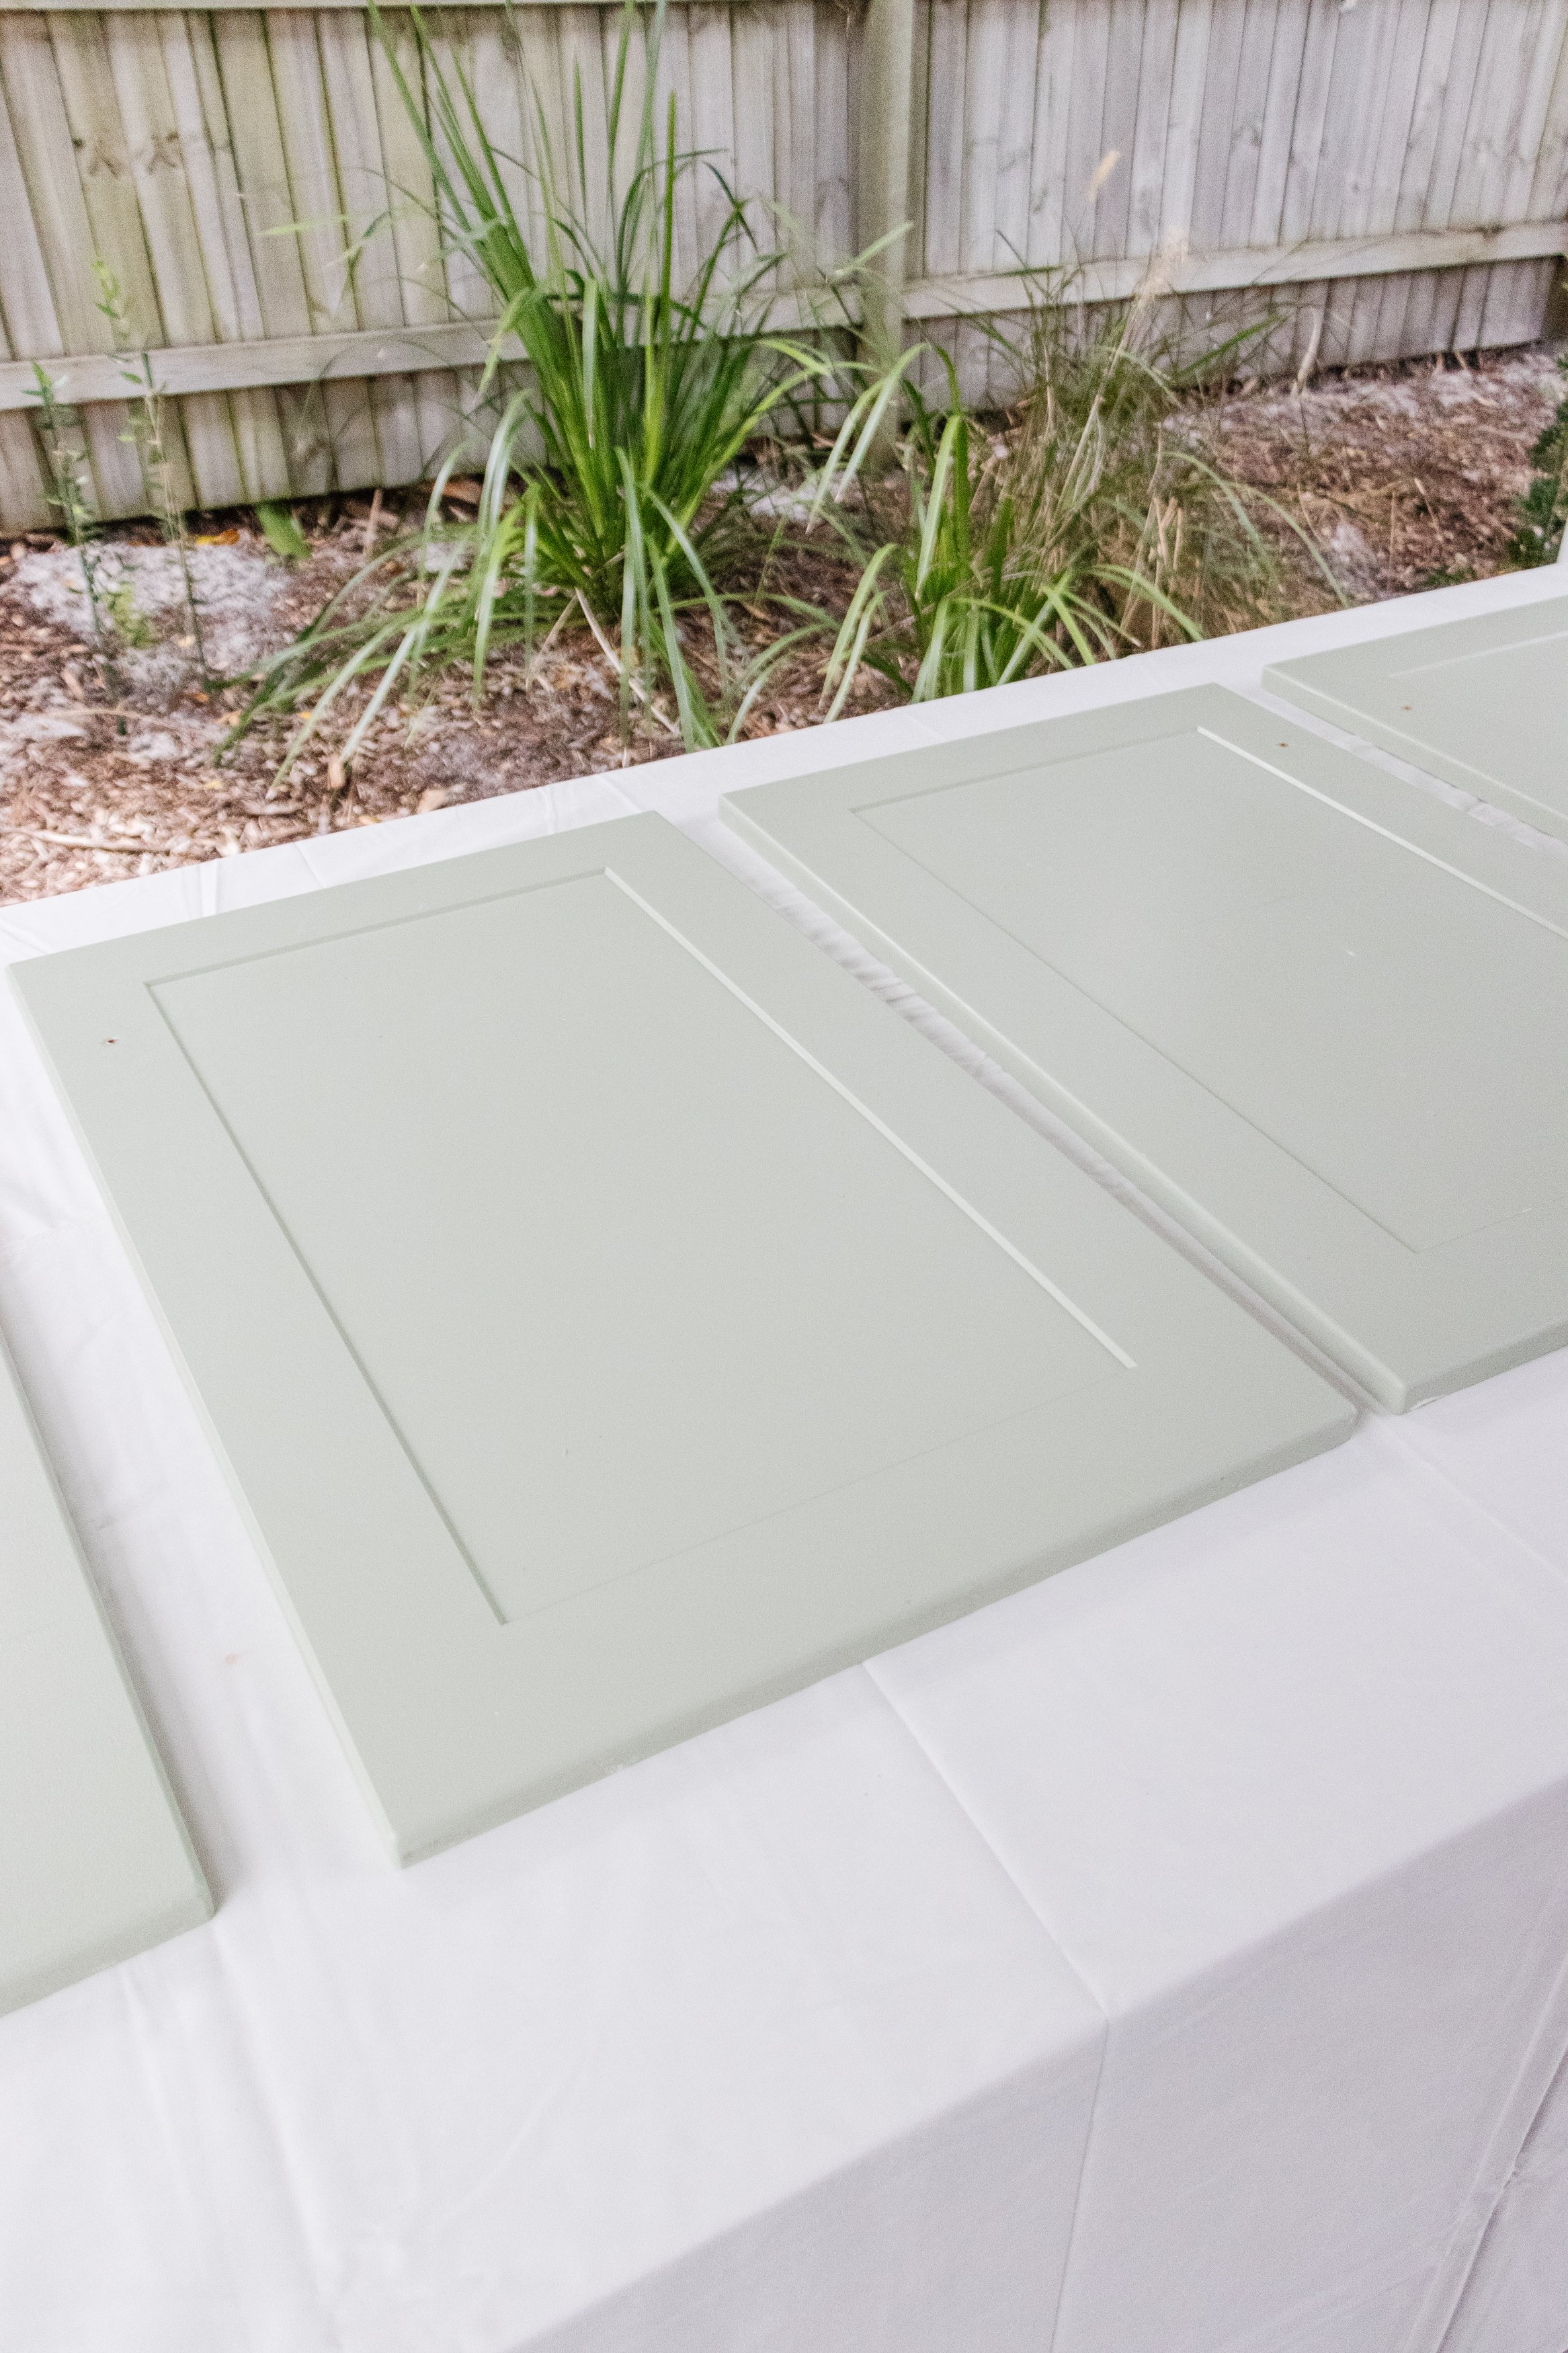
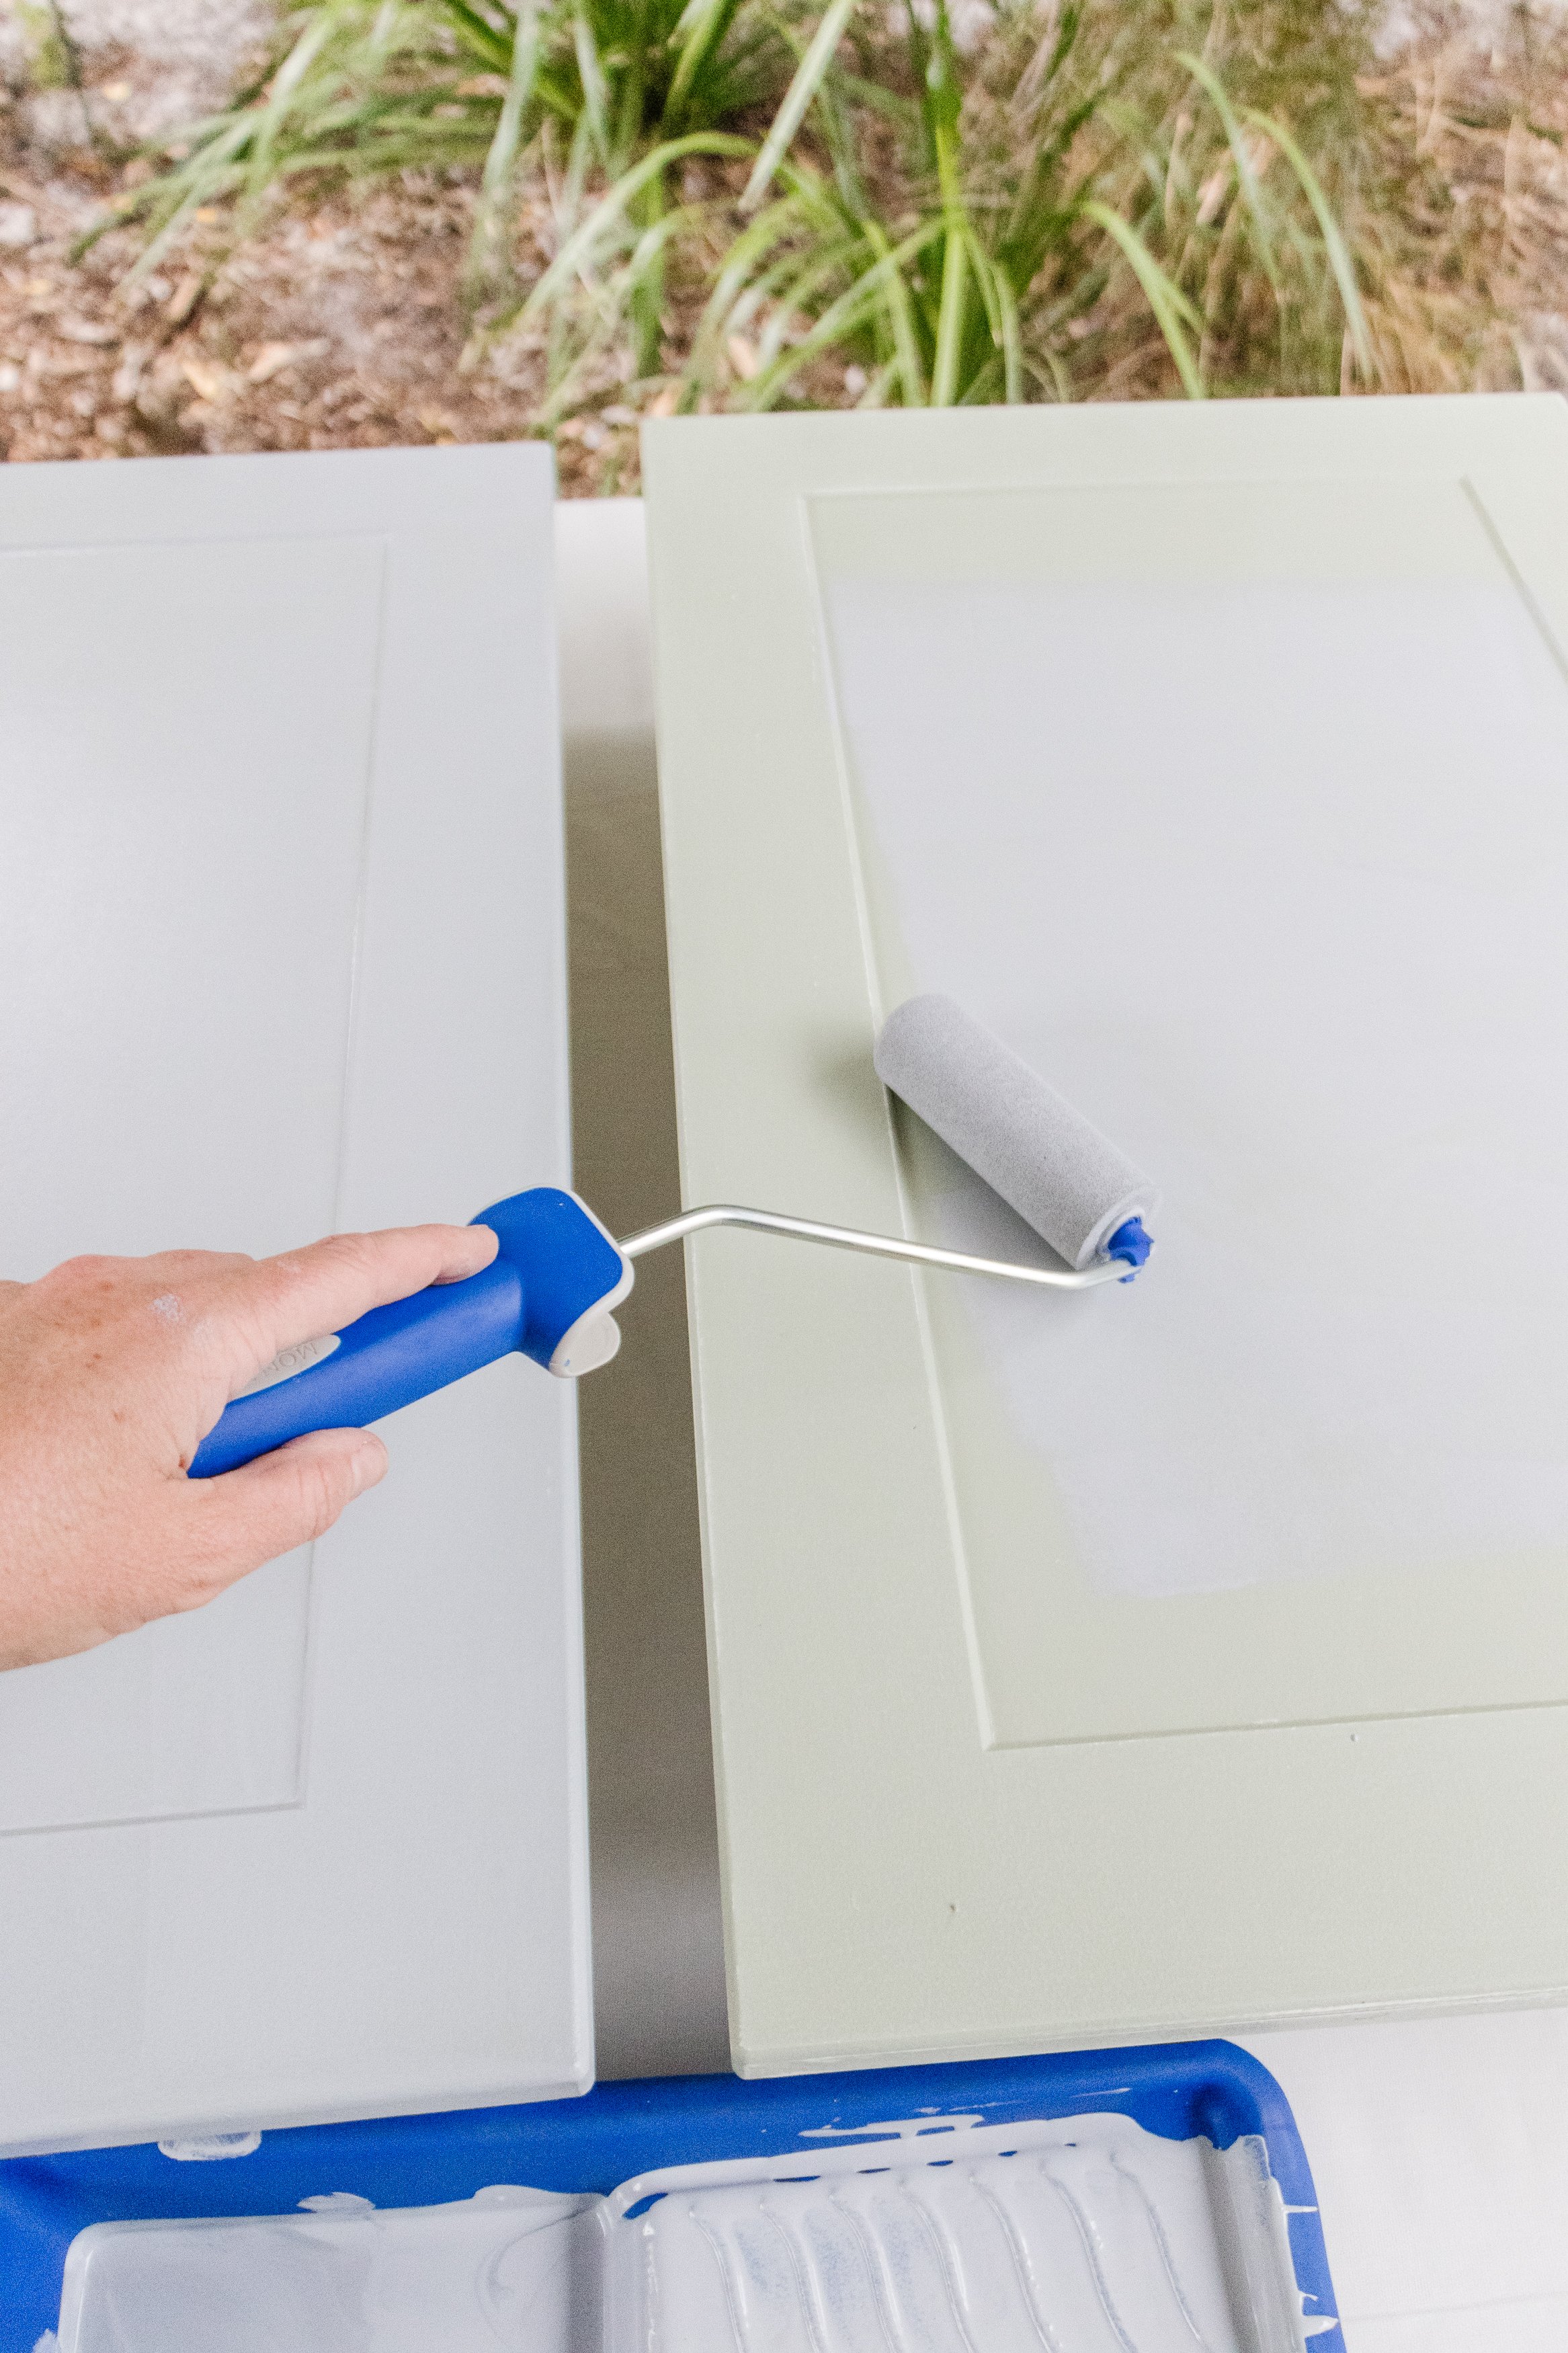
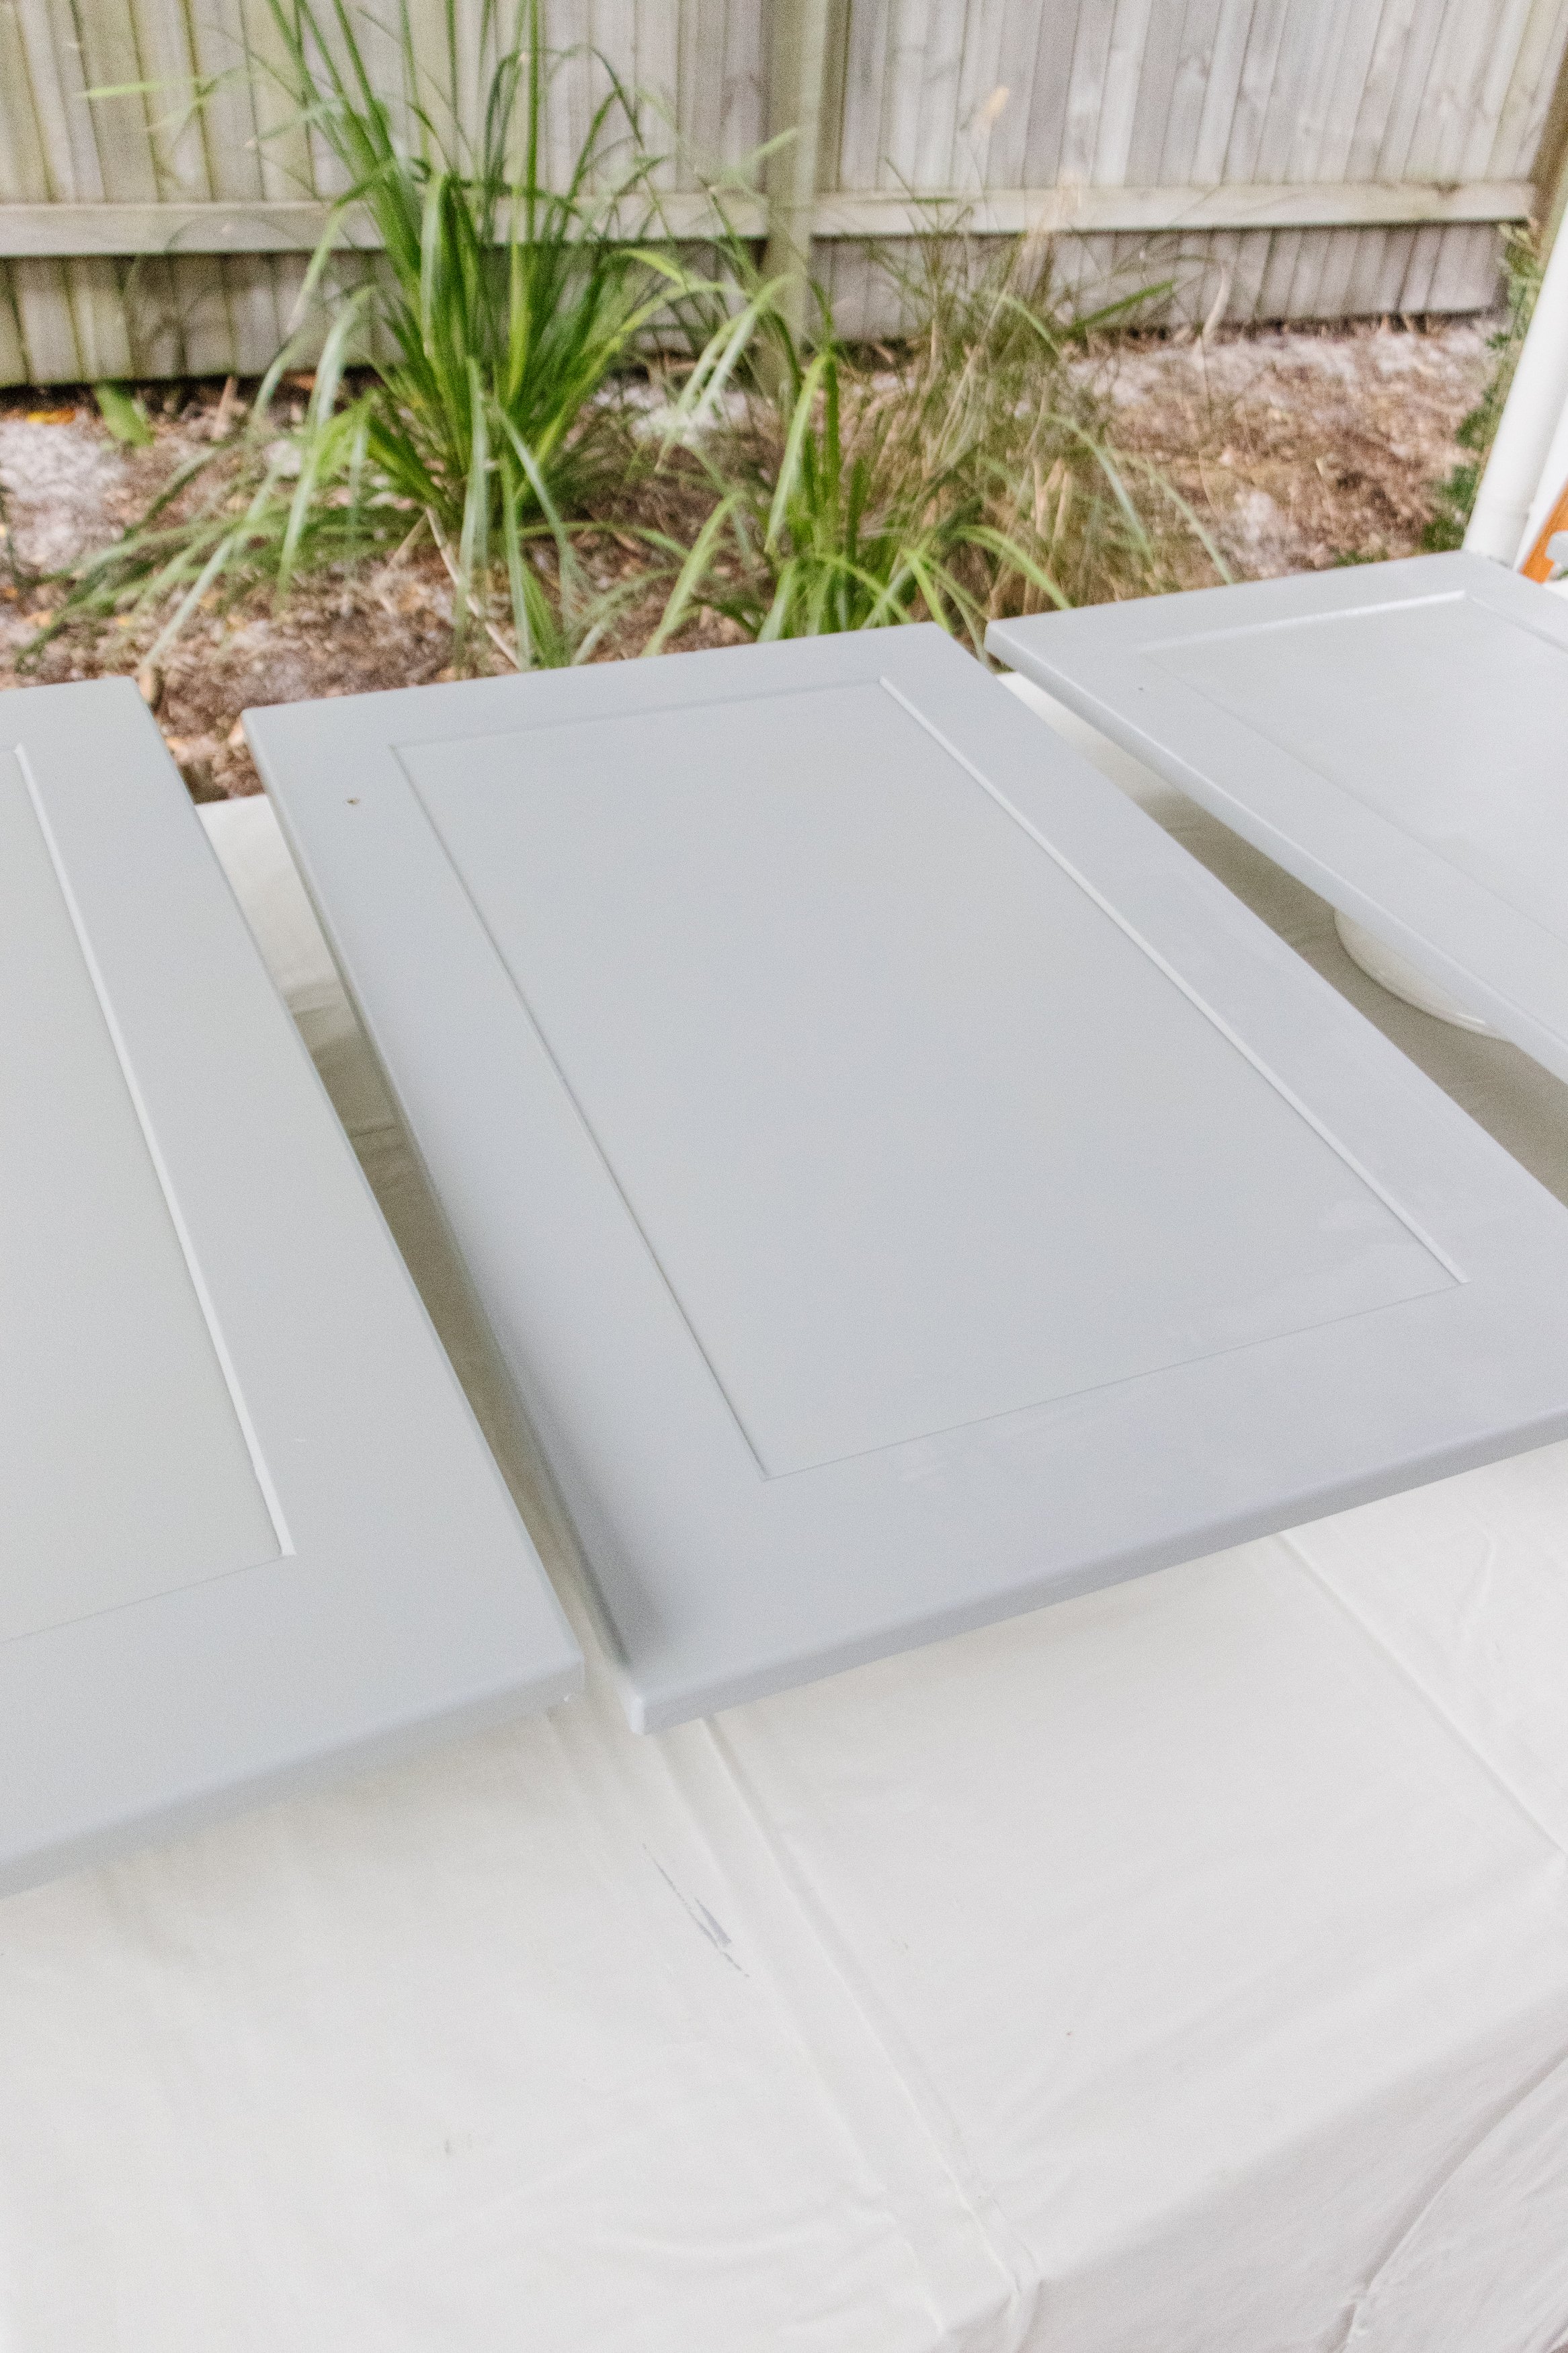
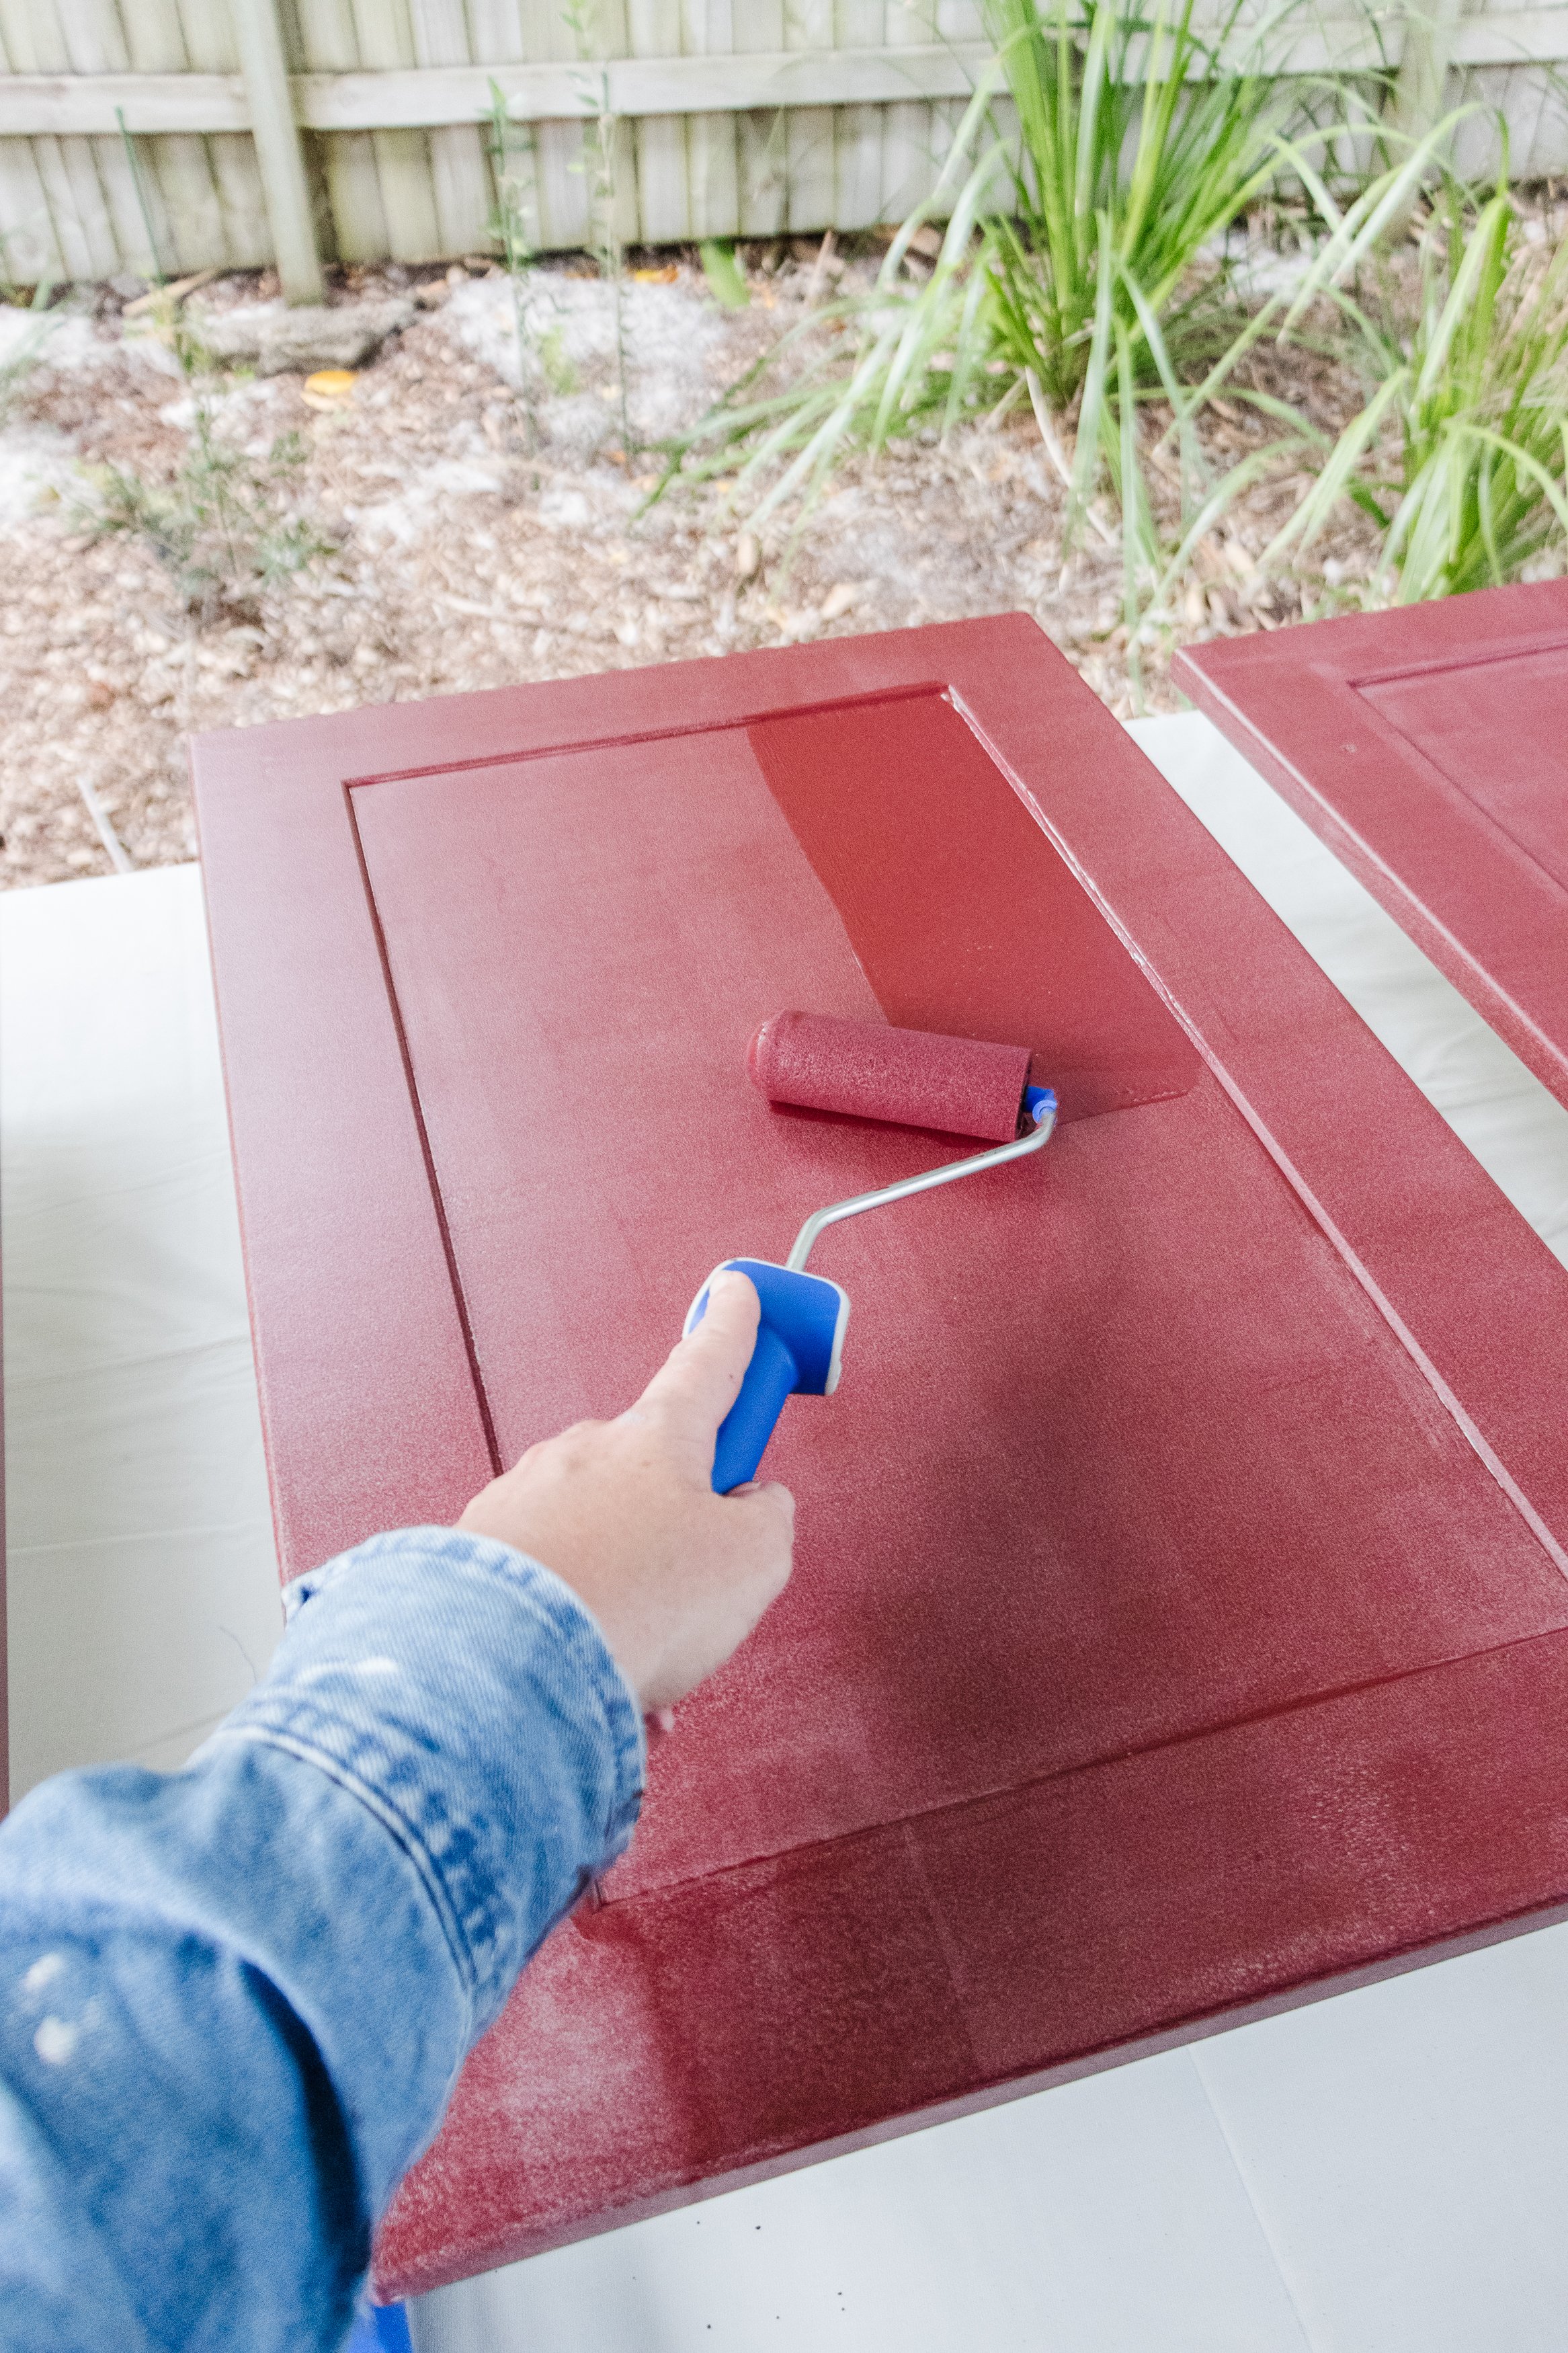
Story 3: When the primer has dried I applied 3 thin coats of paint to the cabinetry and doors using Monarch Painting Smart Lock Mini Roller 100mmm for Doors, Skirtings & Cupboards and Monarch Painting Smart Lock Mini Roller 160mmm for Doors, Skirtings & Cupboards. I used the storage tube to keep the paint fresh in between coats.
Step 4: When the paint had dried I applied a light coat of clear satin sealer onto the cabinetry and doors.
Step 5: When the sealer had dried, I installed my Wavy Handles onto each door using my drill and the screws from the original door knobs. Then I installed the doors back onto the cabinetry. And that’s it!

Ta daaaa!
I am such a painting nerd and the innovative design of the fuss free Smart Lock Mini Roller range gave me the confidence to tackle today's project and get the perfect finish with ease. Add on my wavy handles and there you have it! Total cost? $150 and I’m obsessed! Our outdoor kitchen now feels more stylish, timeless and grown up, and I cannot wait to invite our friends and family over this summer.
This project was in collaboration with Monarch Painting