Upcycled Line Art Lamp with Cricut!
What do you do when you fall in love with a lamp you see in a photo, but you don’t know where it’s from? You make it!
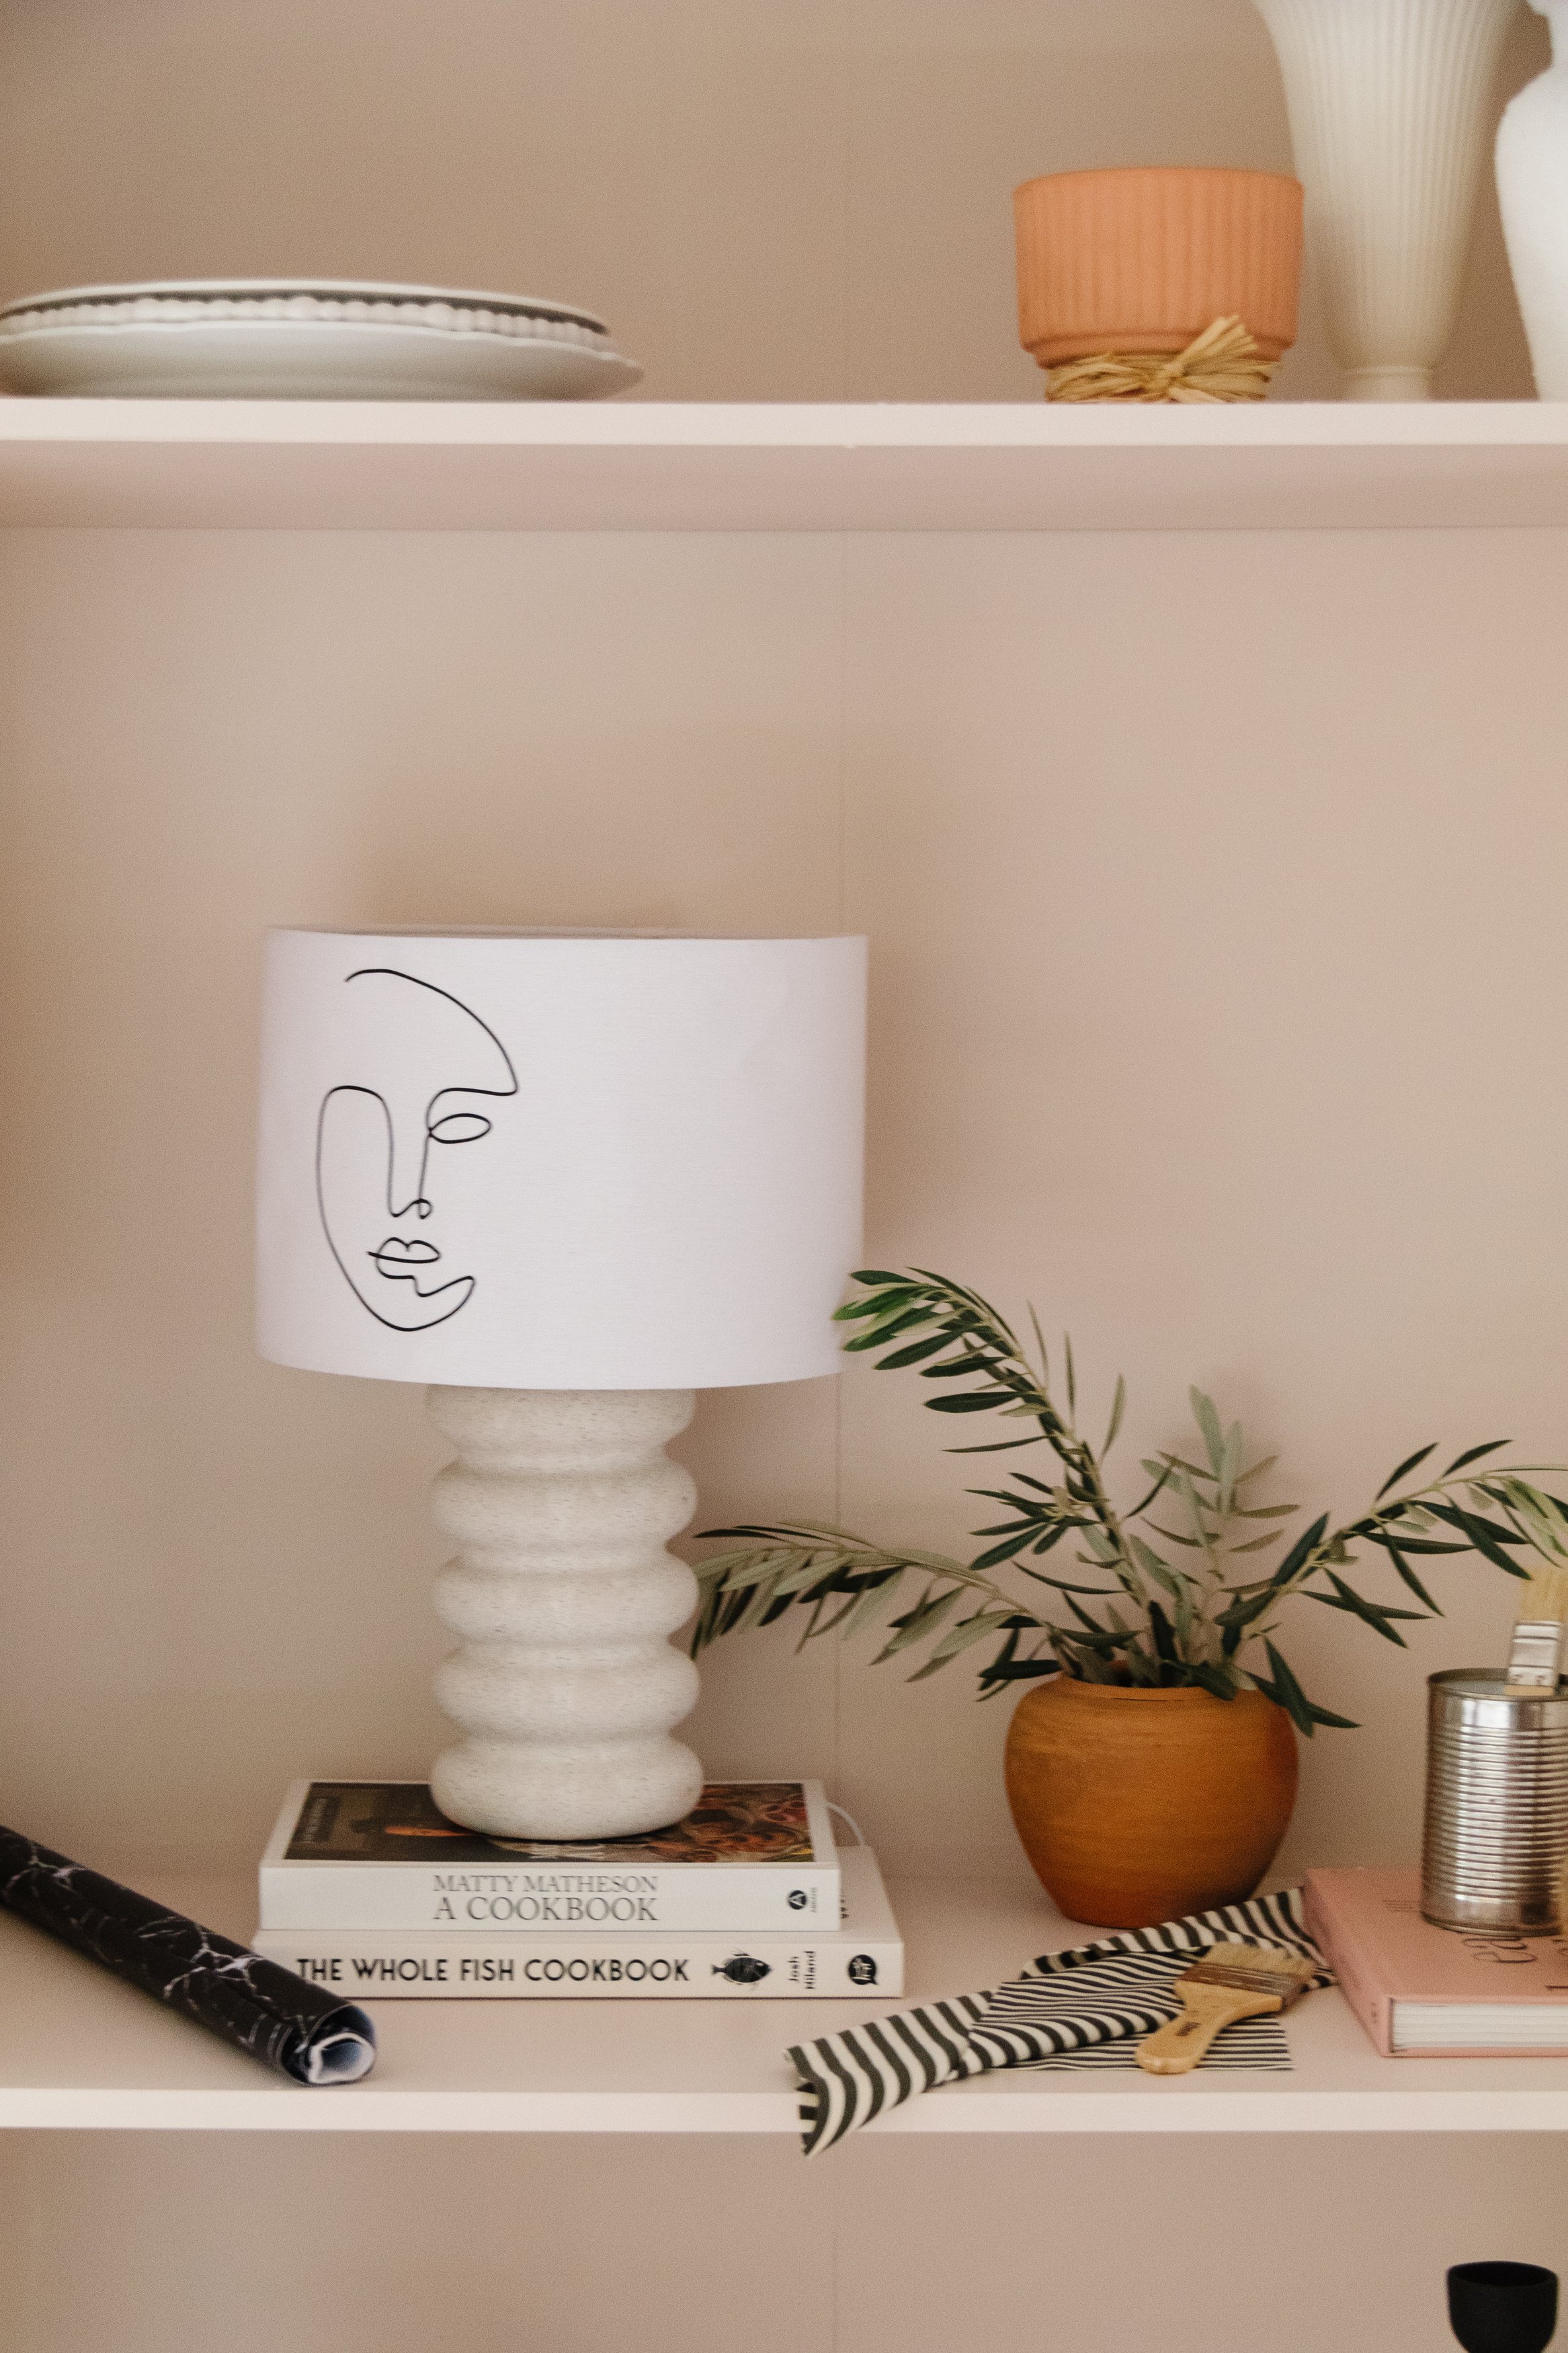
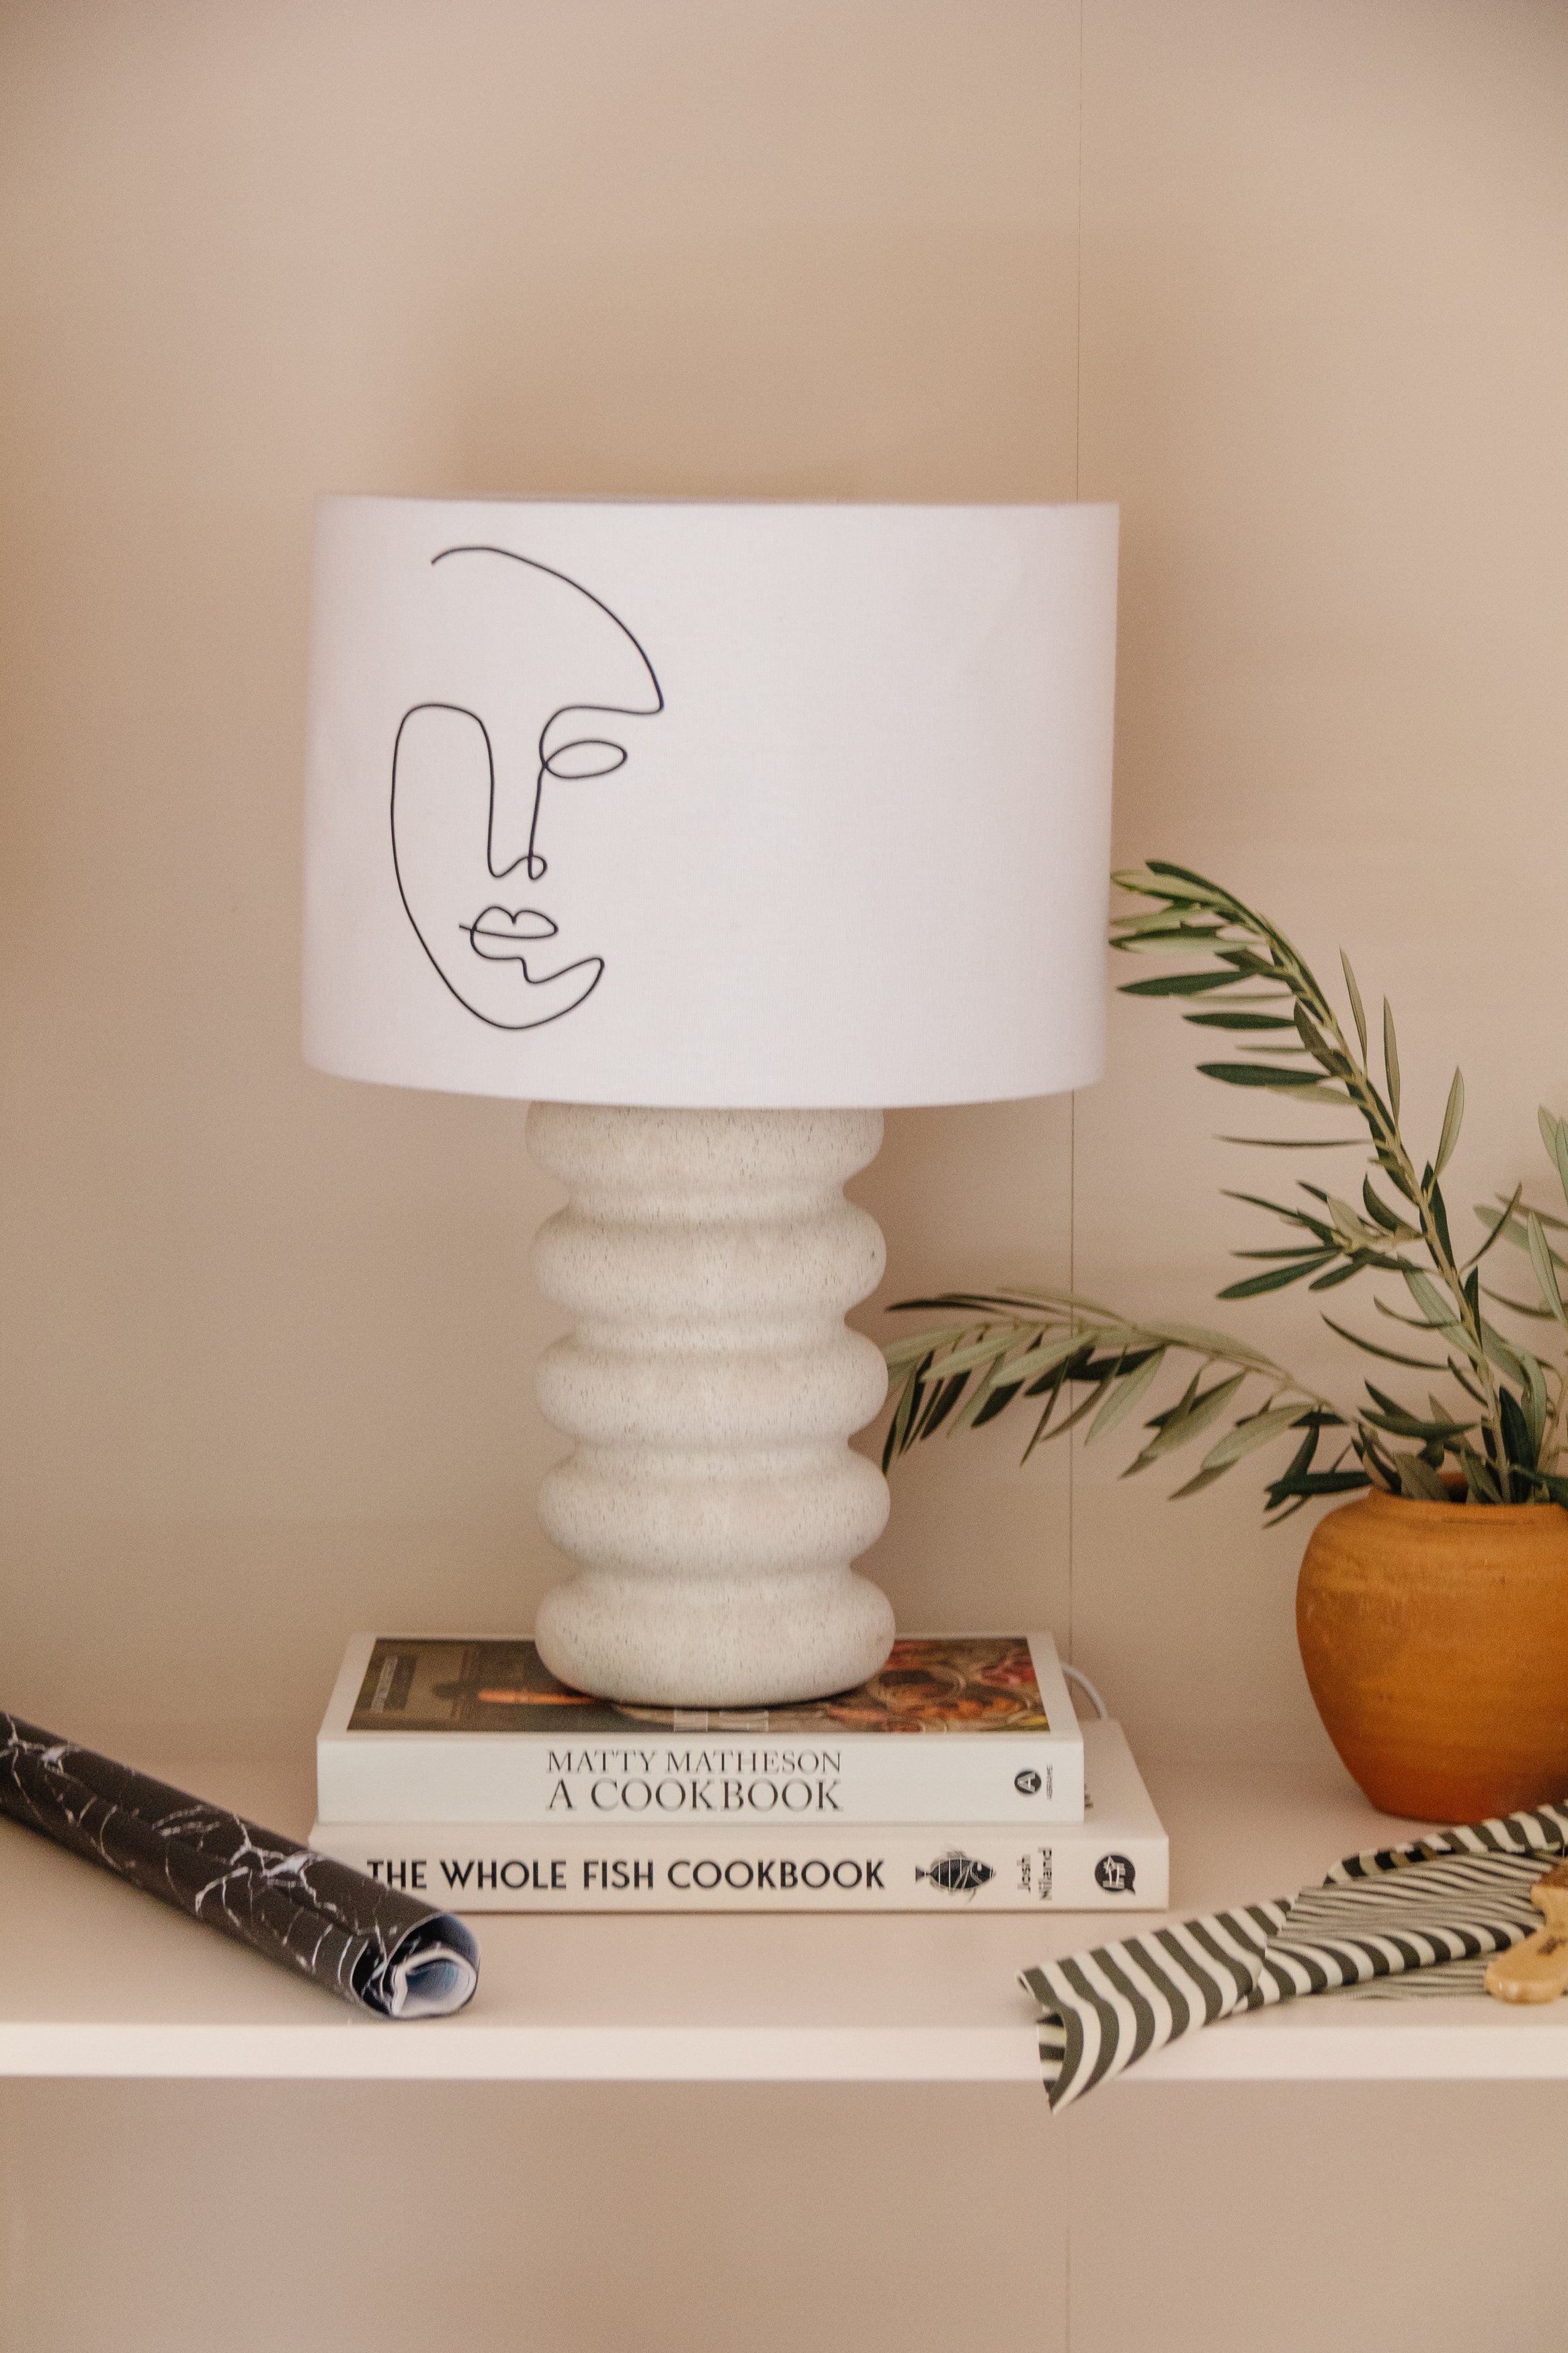
I stumbled across this lamp at one of my local charity shops a couple of weeks ago for $10 and I knew it had potential. The base has a few scratches and the shade has a few bumps and bruises, but that wasn’t going to deter me from giving it a little glow up. And it reminded me of a photo I saved ages ago of a lampshade with line art and I haven’t been able to stop thinking about it since. And while I love the lamp base, the shade needs something a little extra, so I decided to see if it was possible to apply line art with my Cricut Maker 3. And it was! Read on to find out how you can create your own Upcycled Line Art Lamp in less than 15 minutes (seriously!). Happy making!
To see how this upcycle came together, make sure you watch this video!
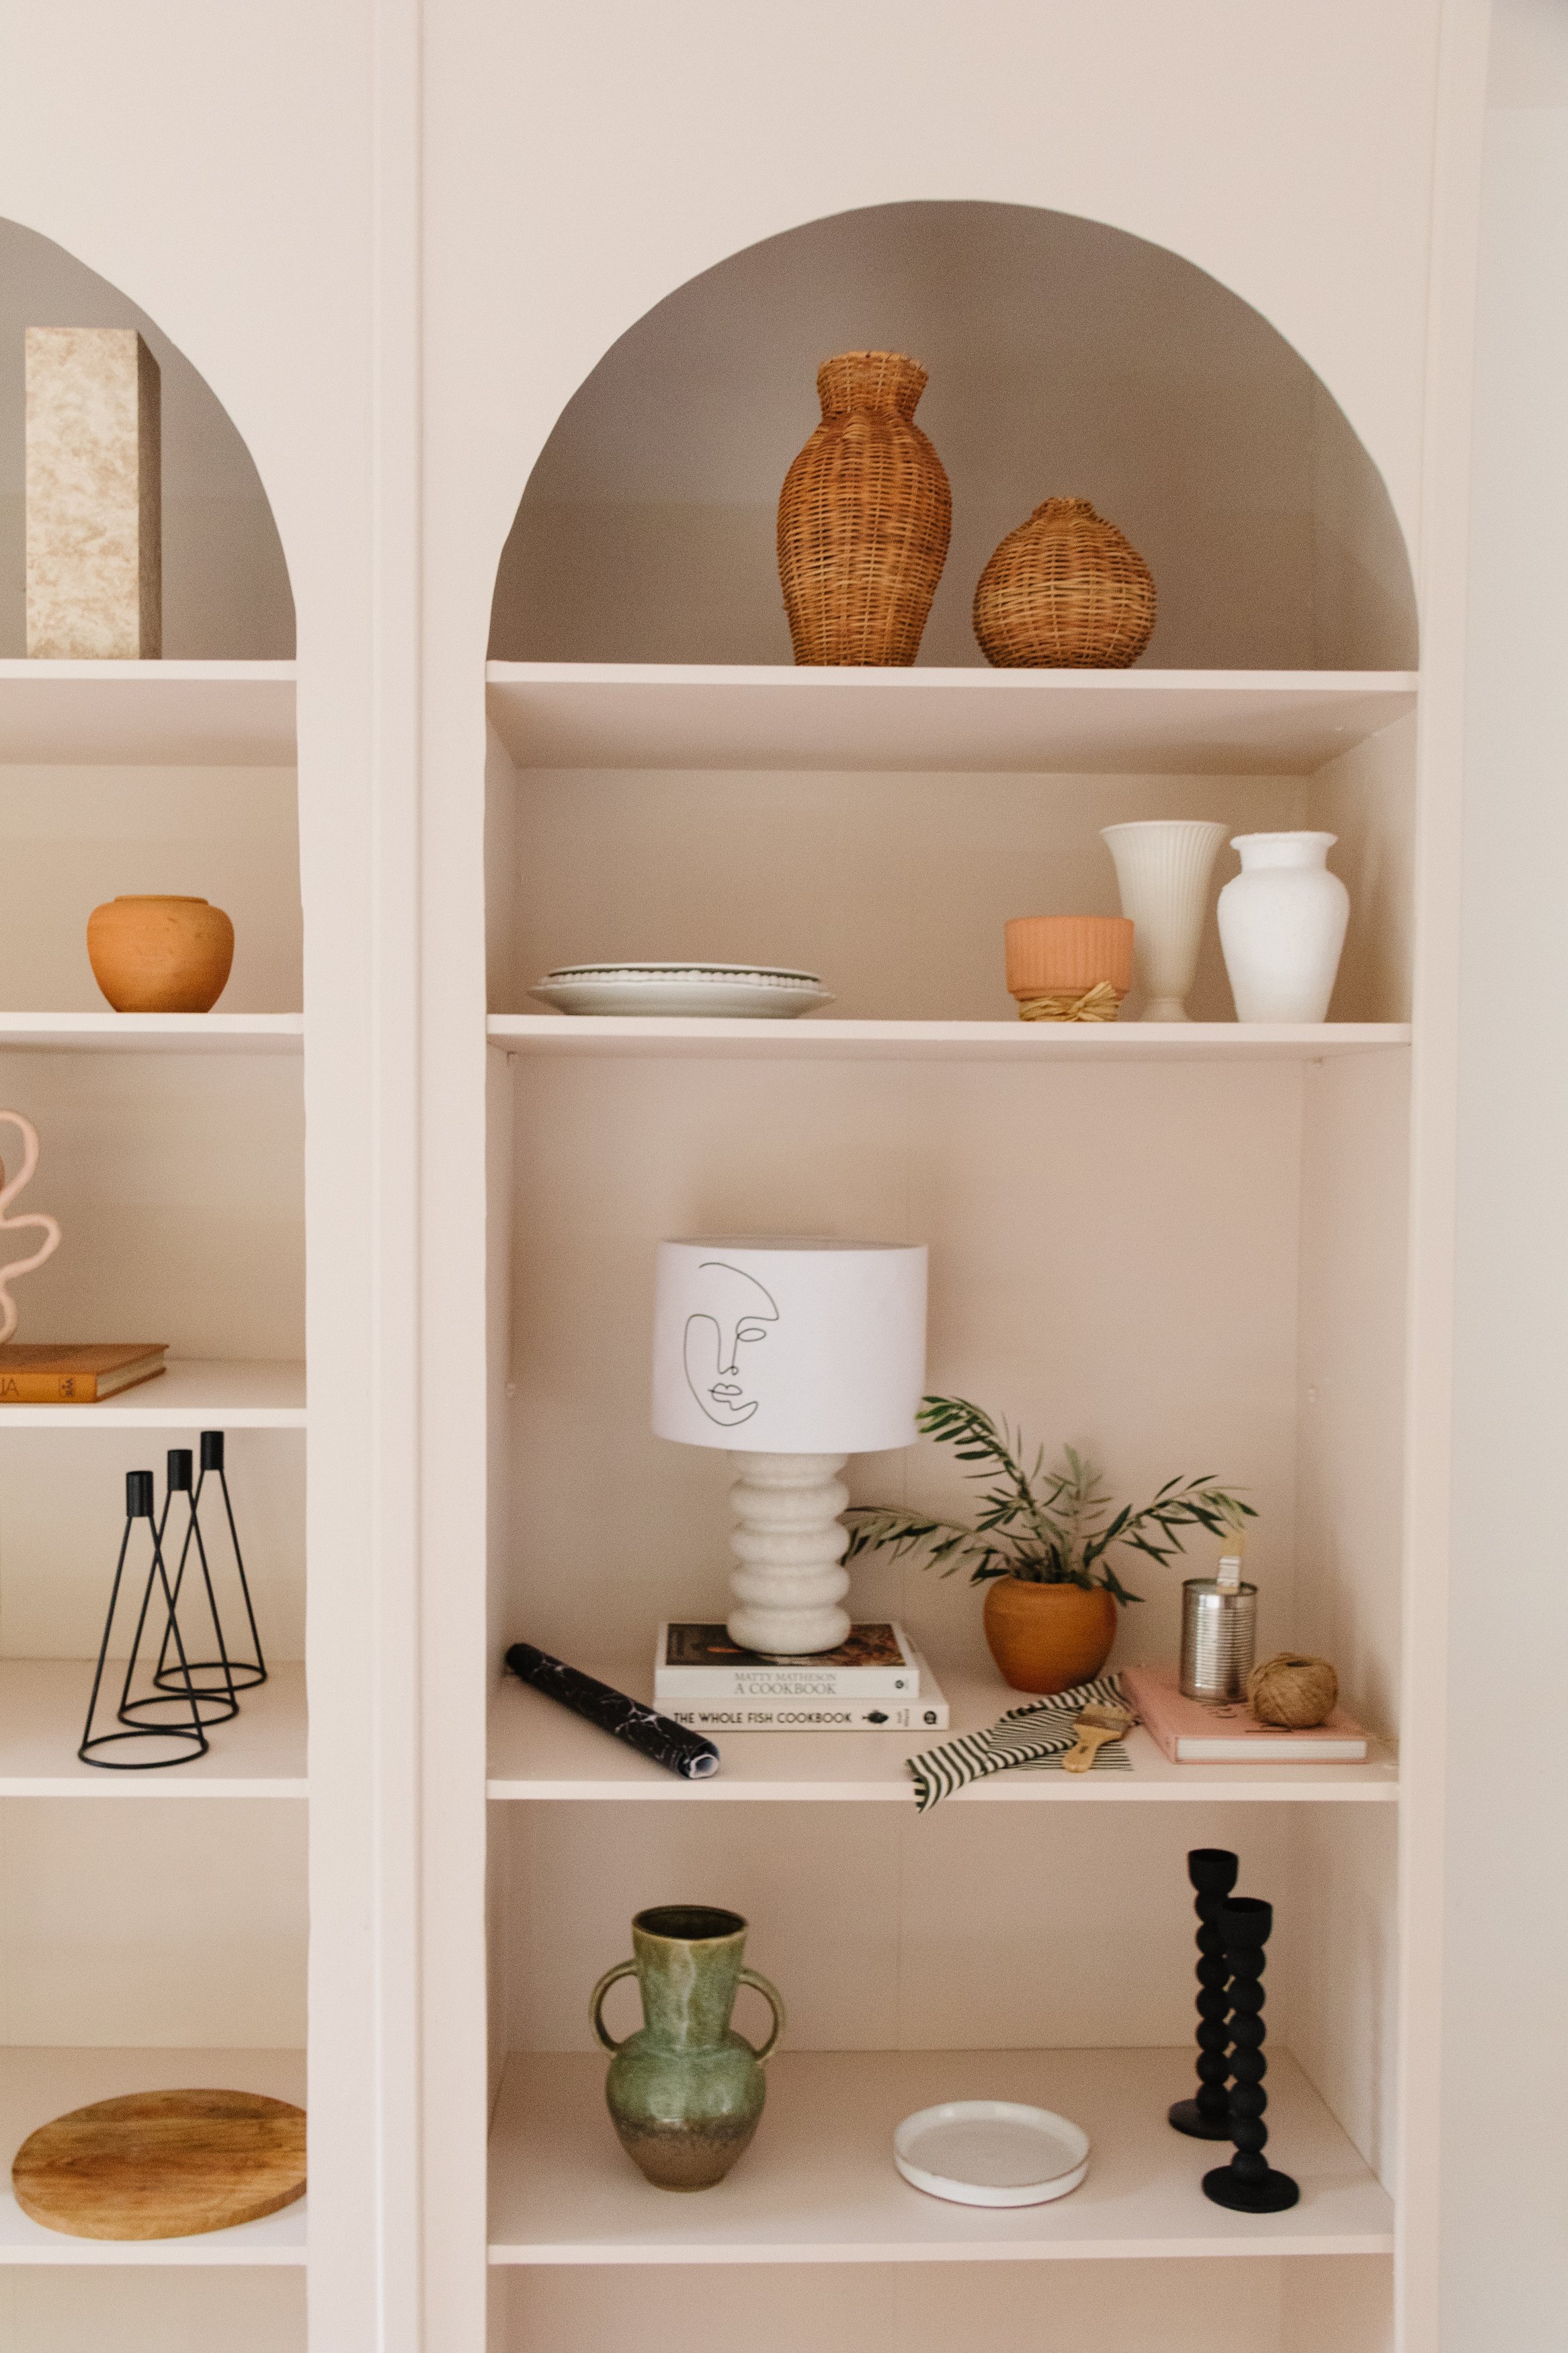
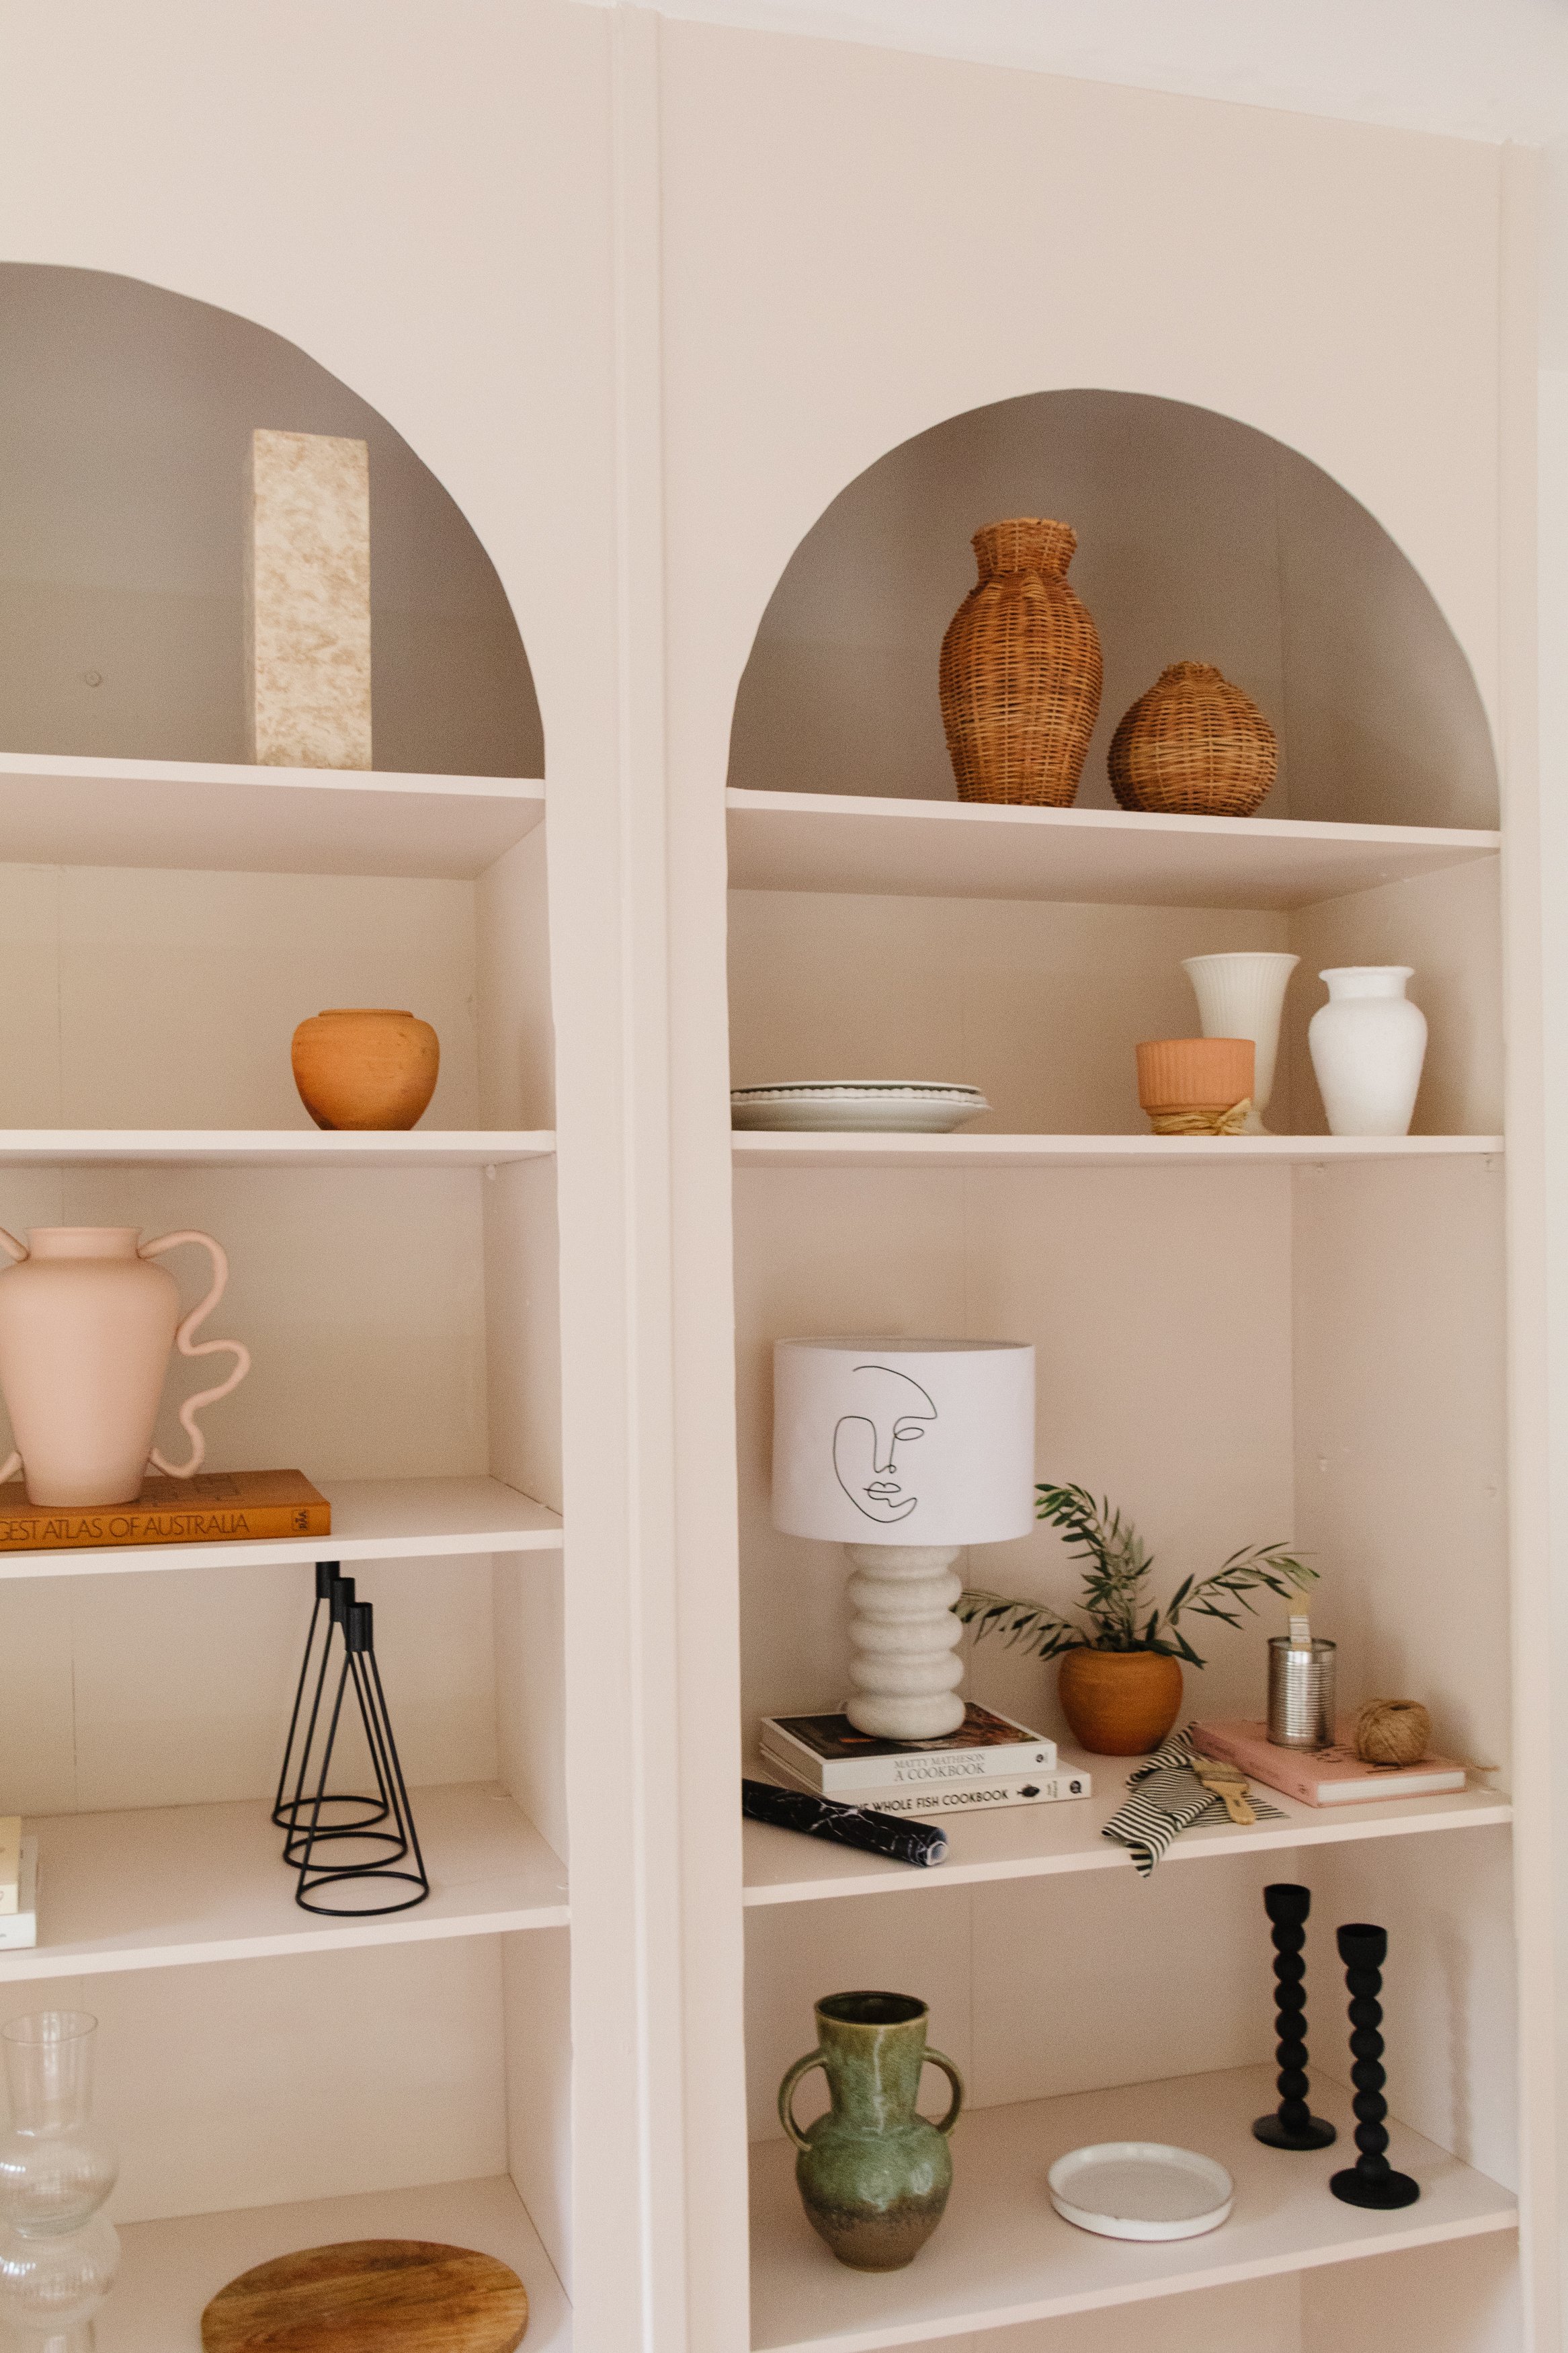
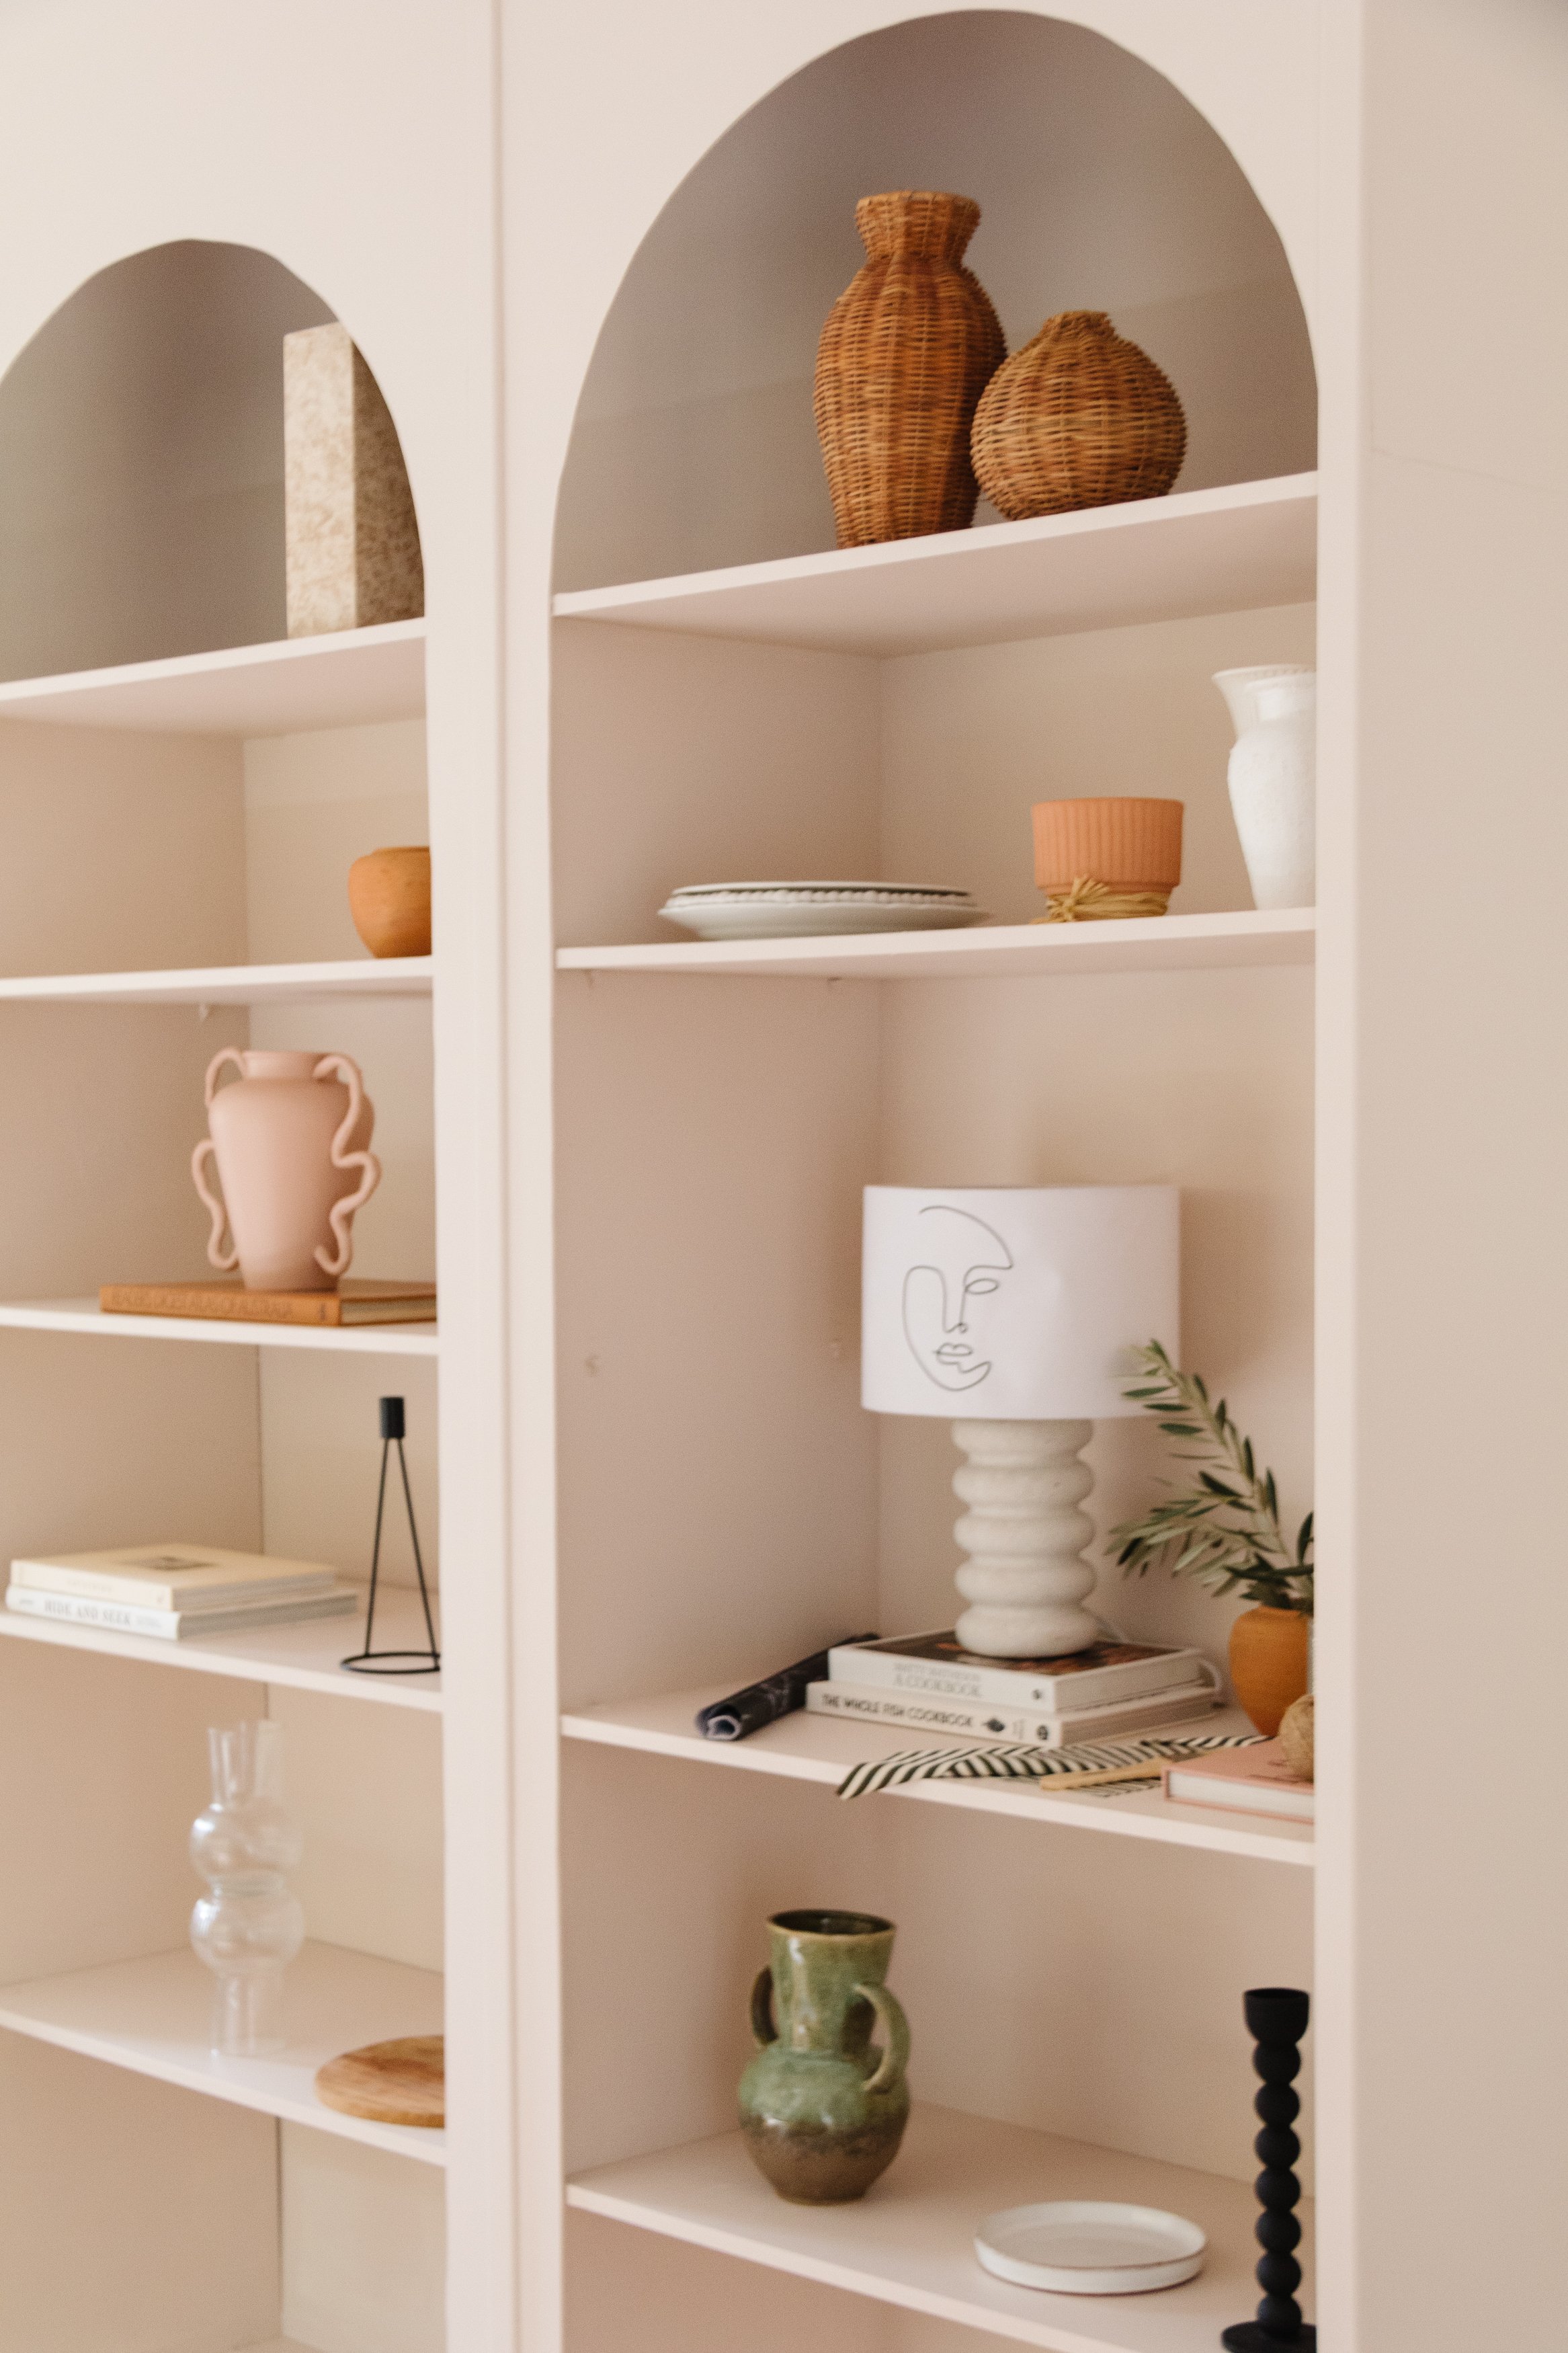
Inspo, Before & After

Project Details
🕒 Project Time Estimate: 15 minutes
💰 Materials Cost: $25 (assuming you already have the Cricut tools)
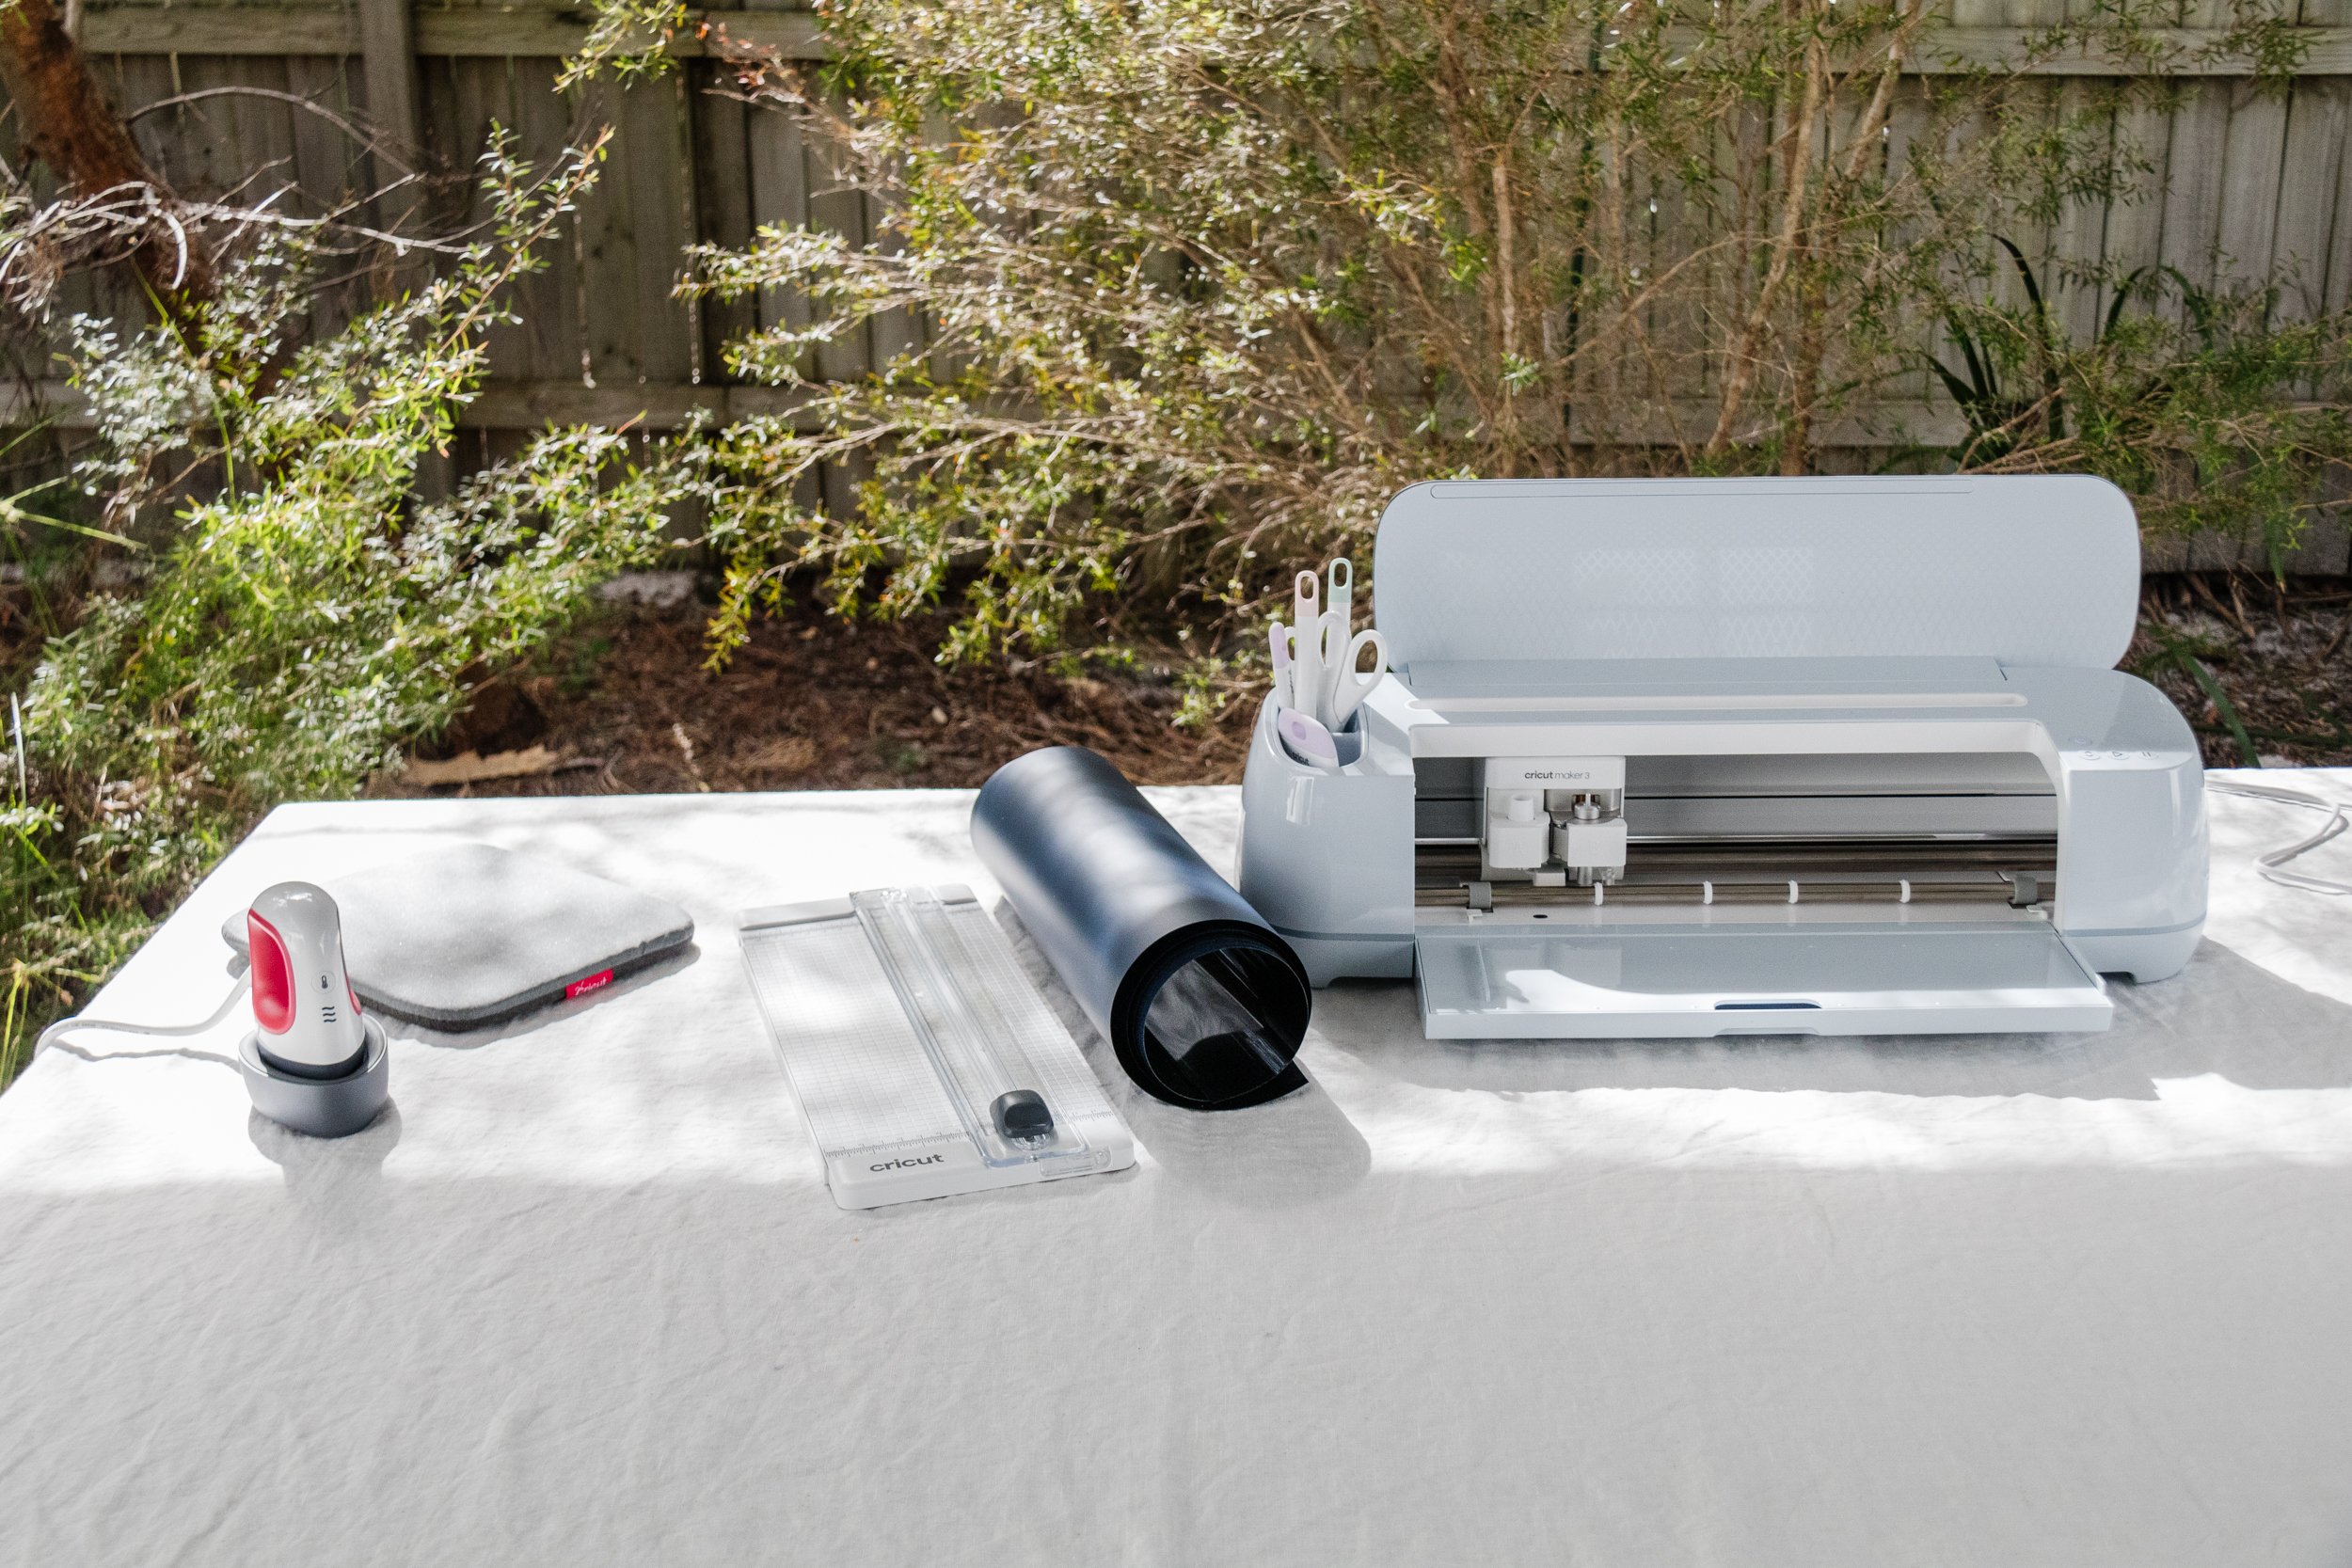
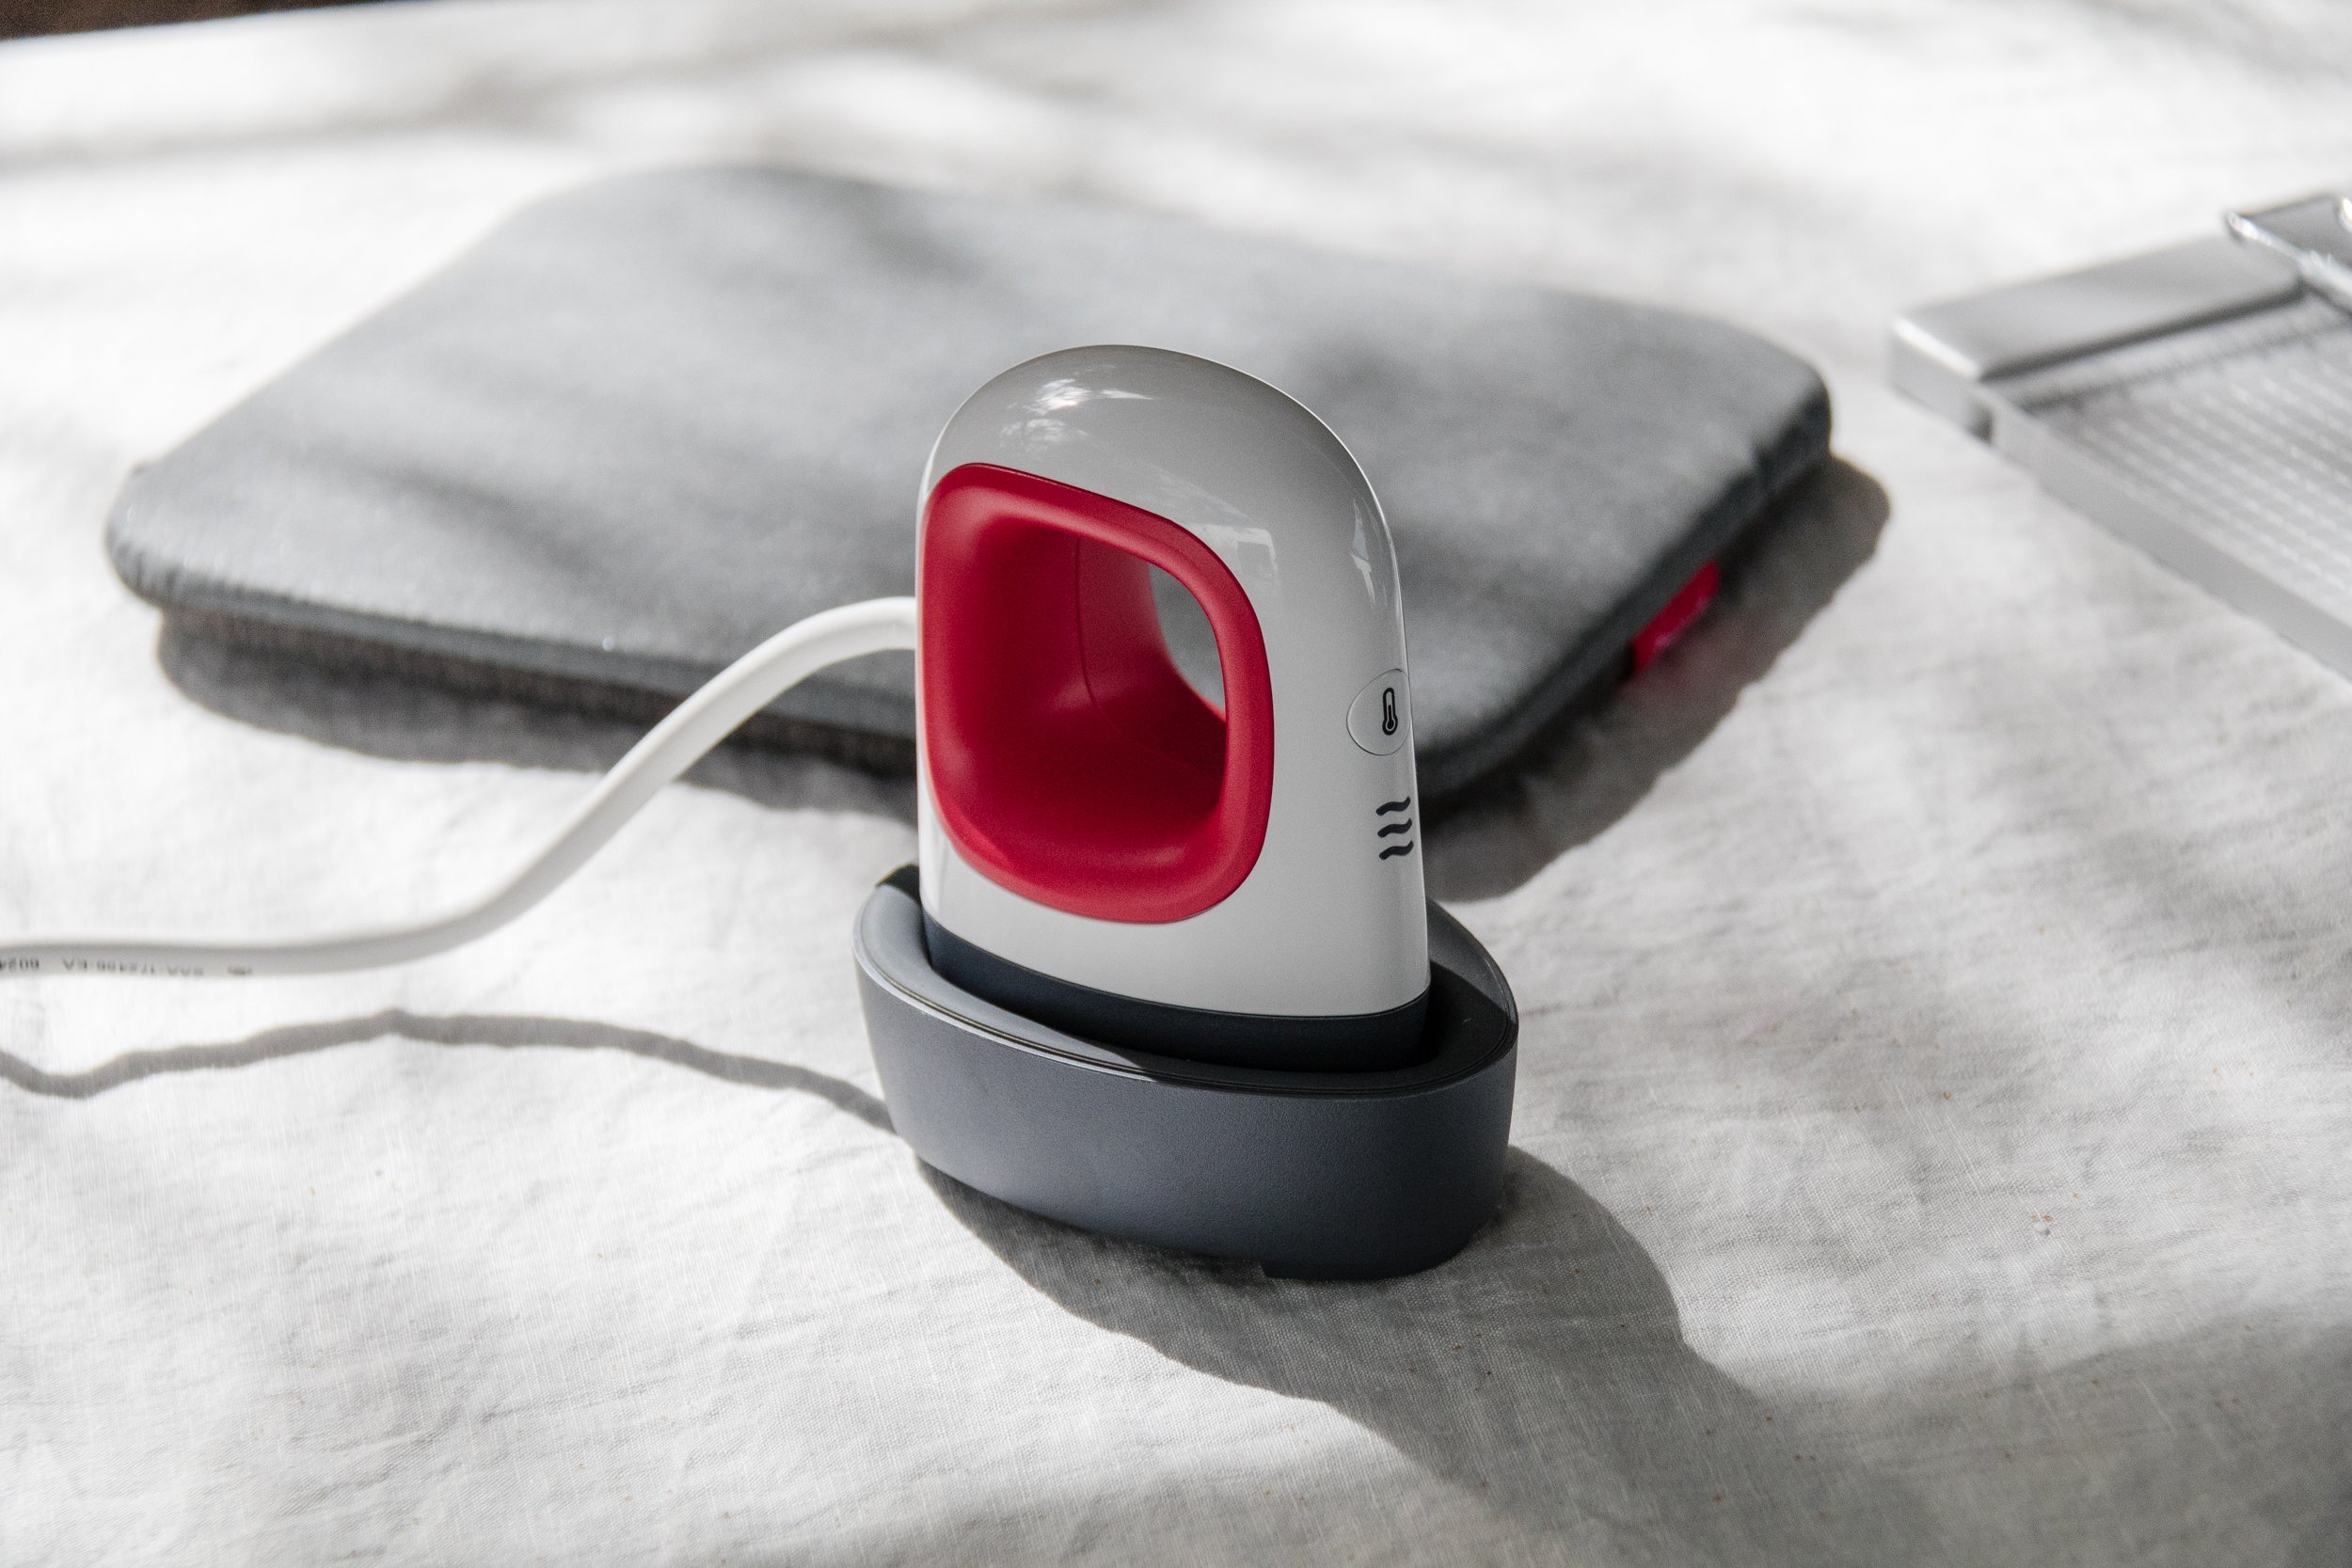
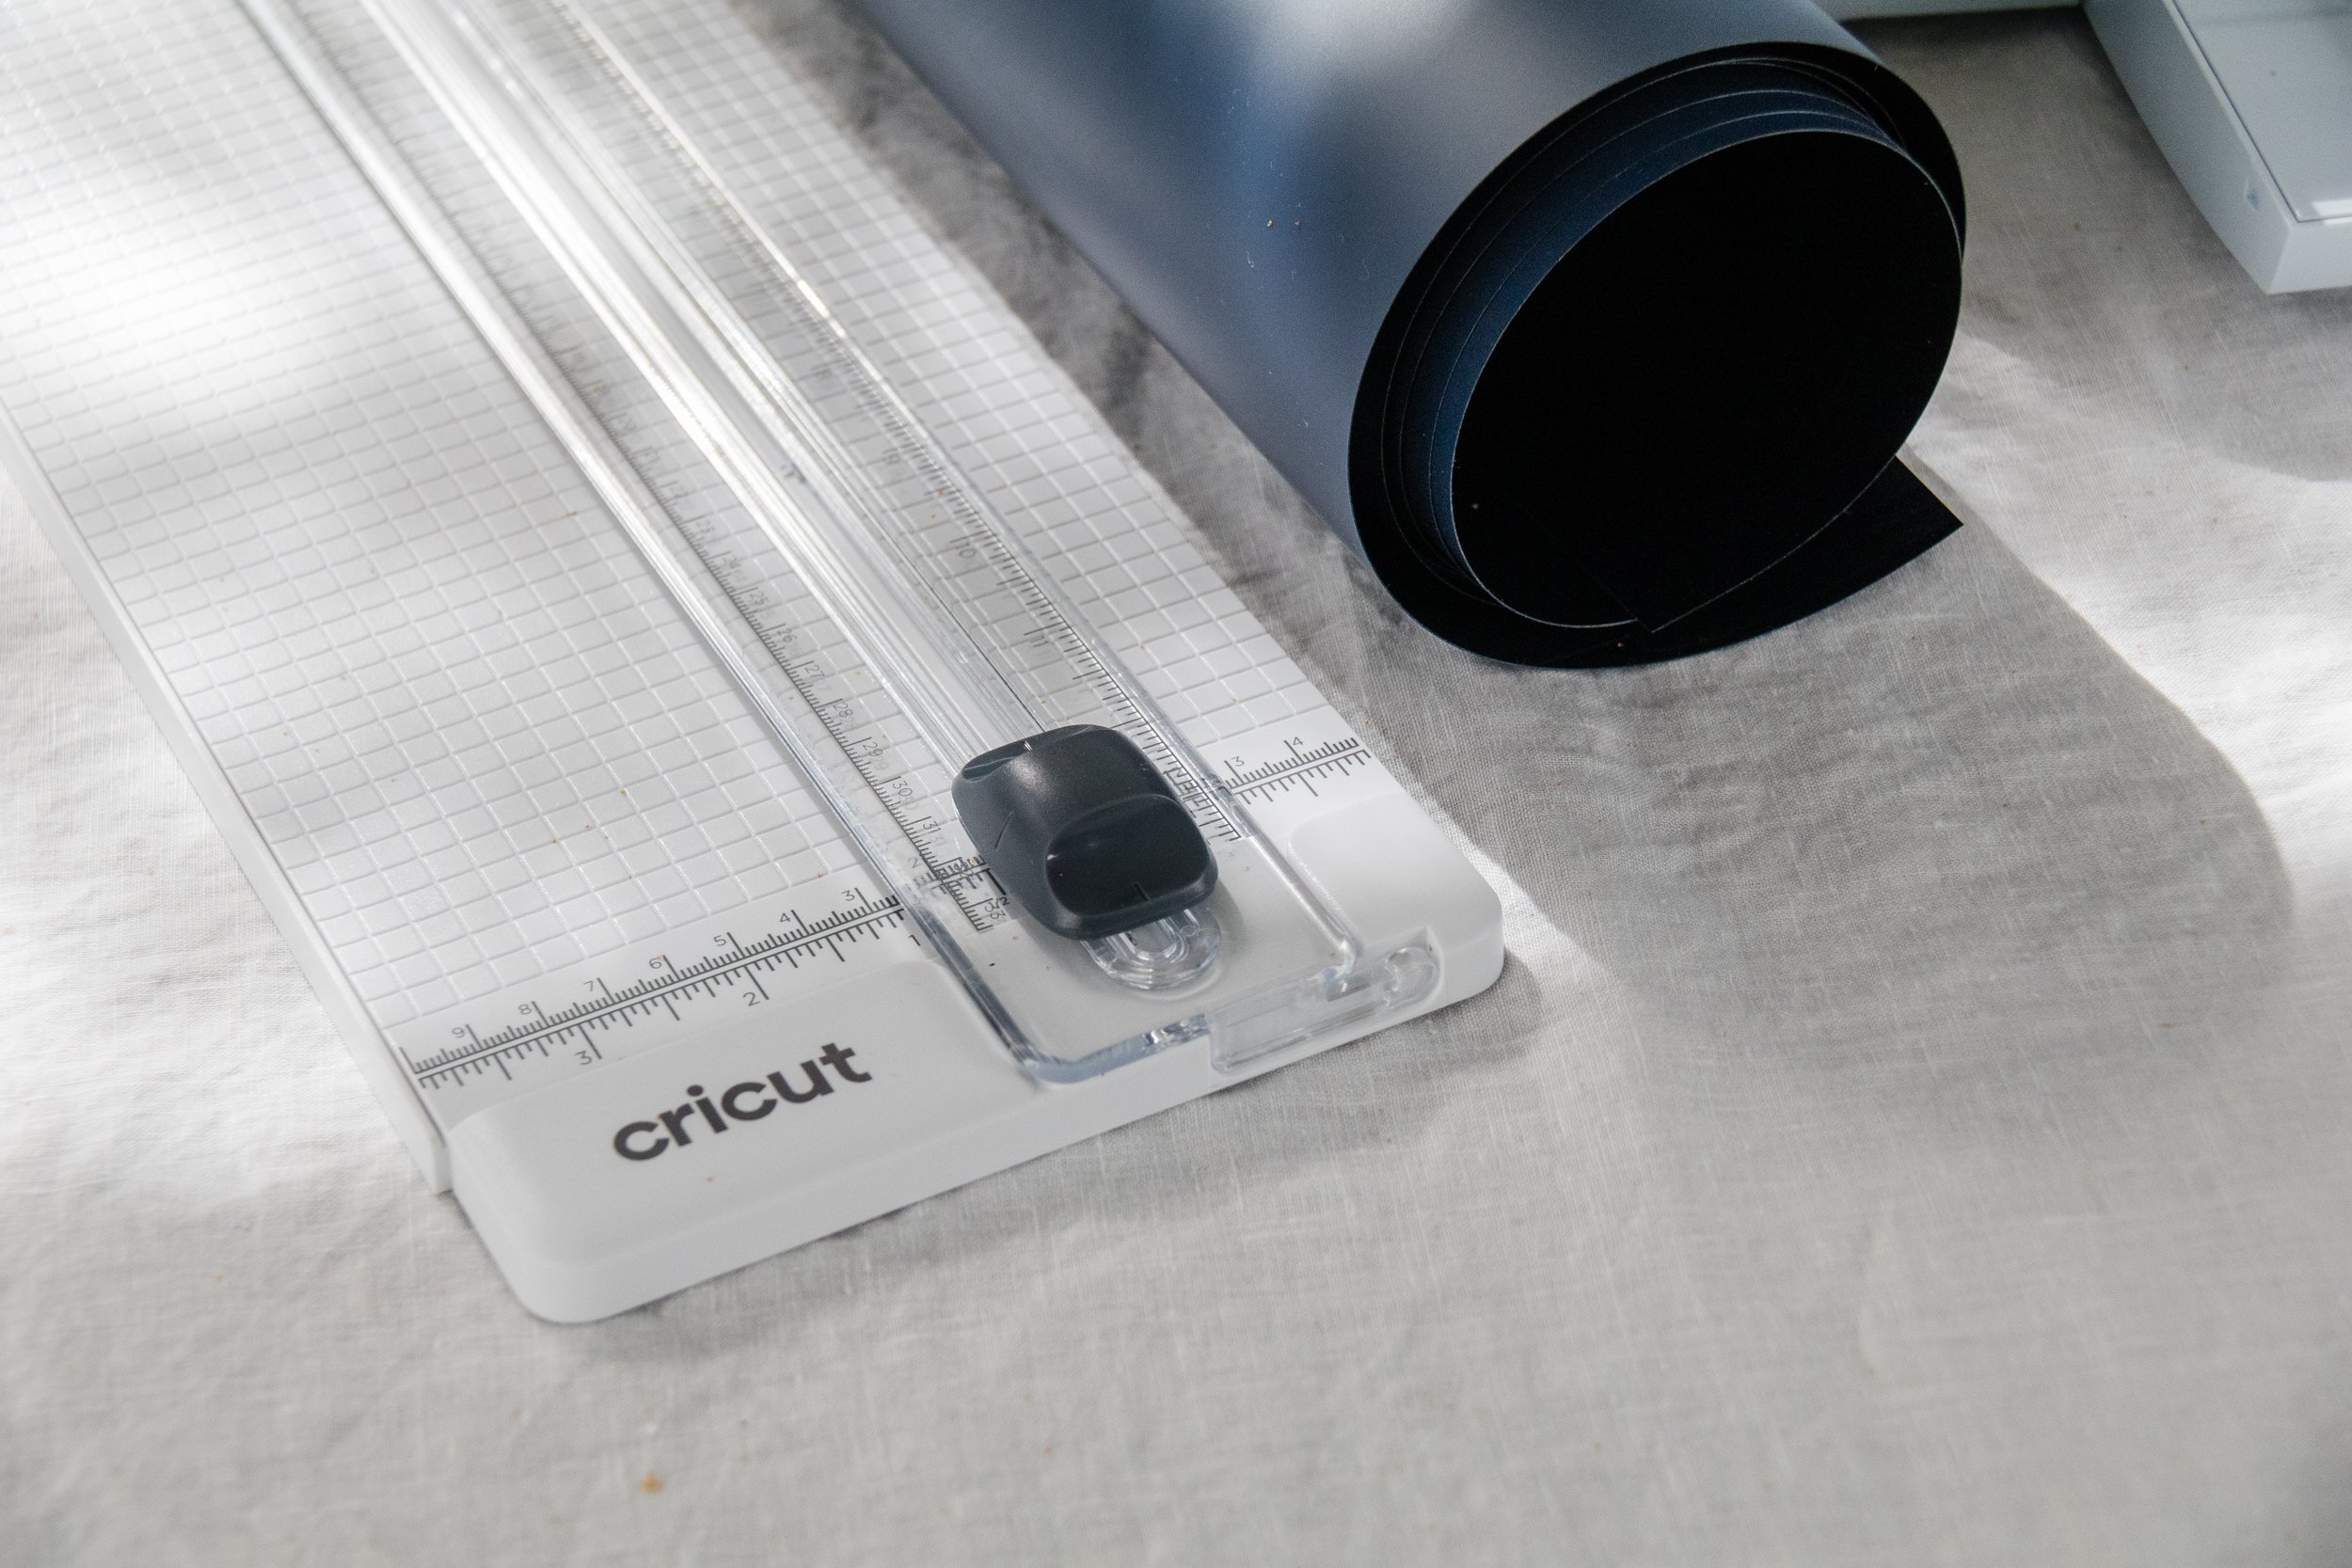
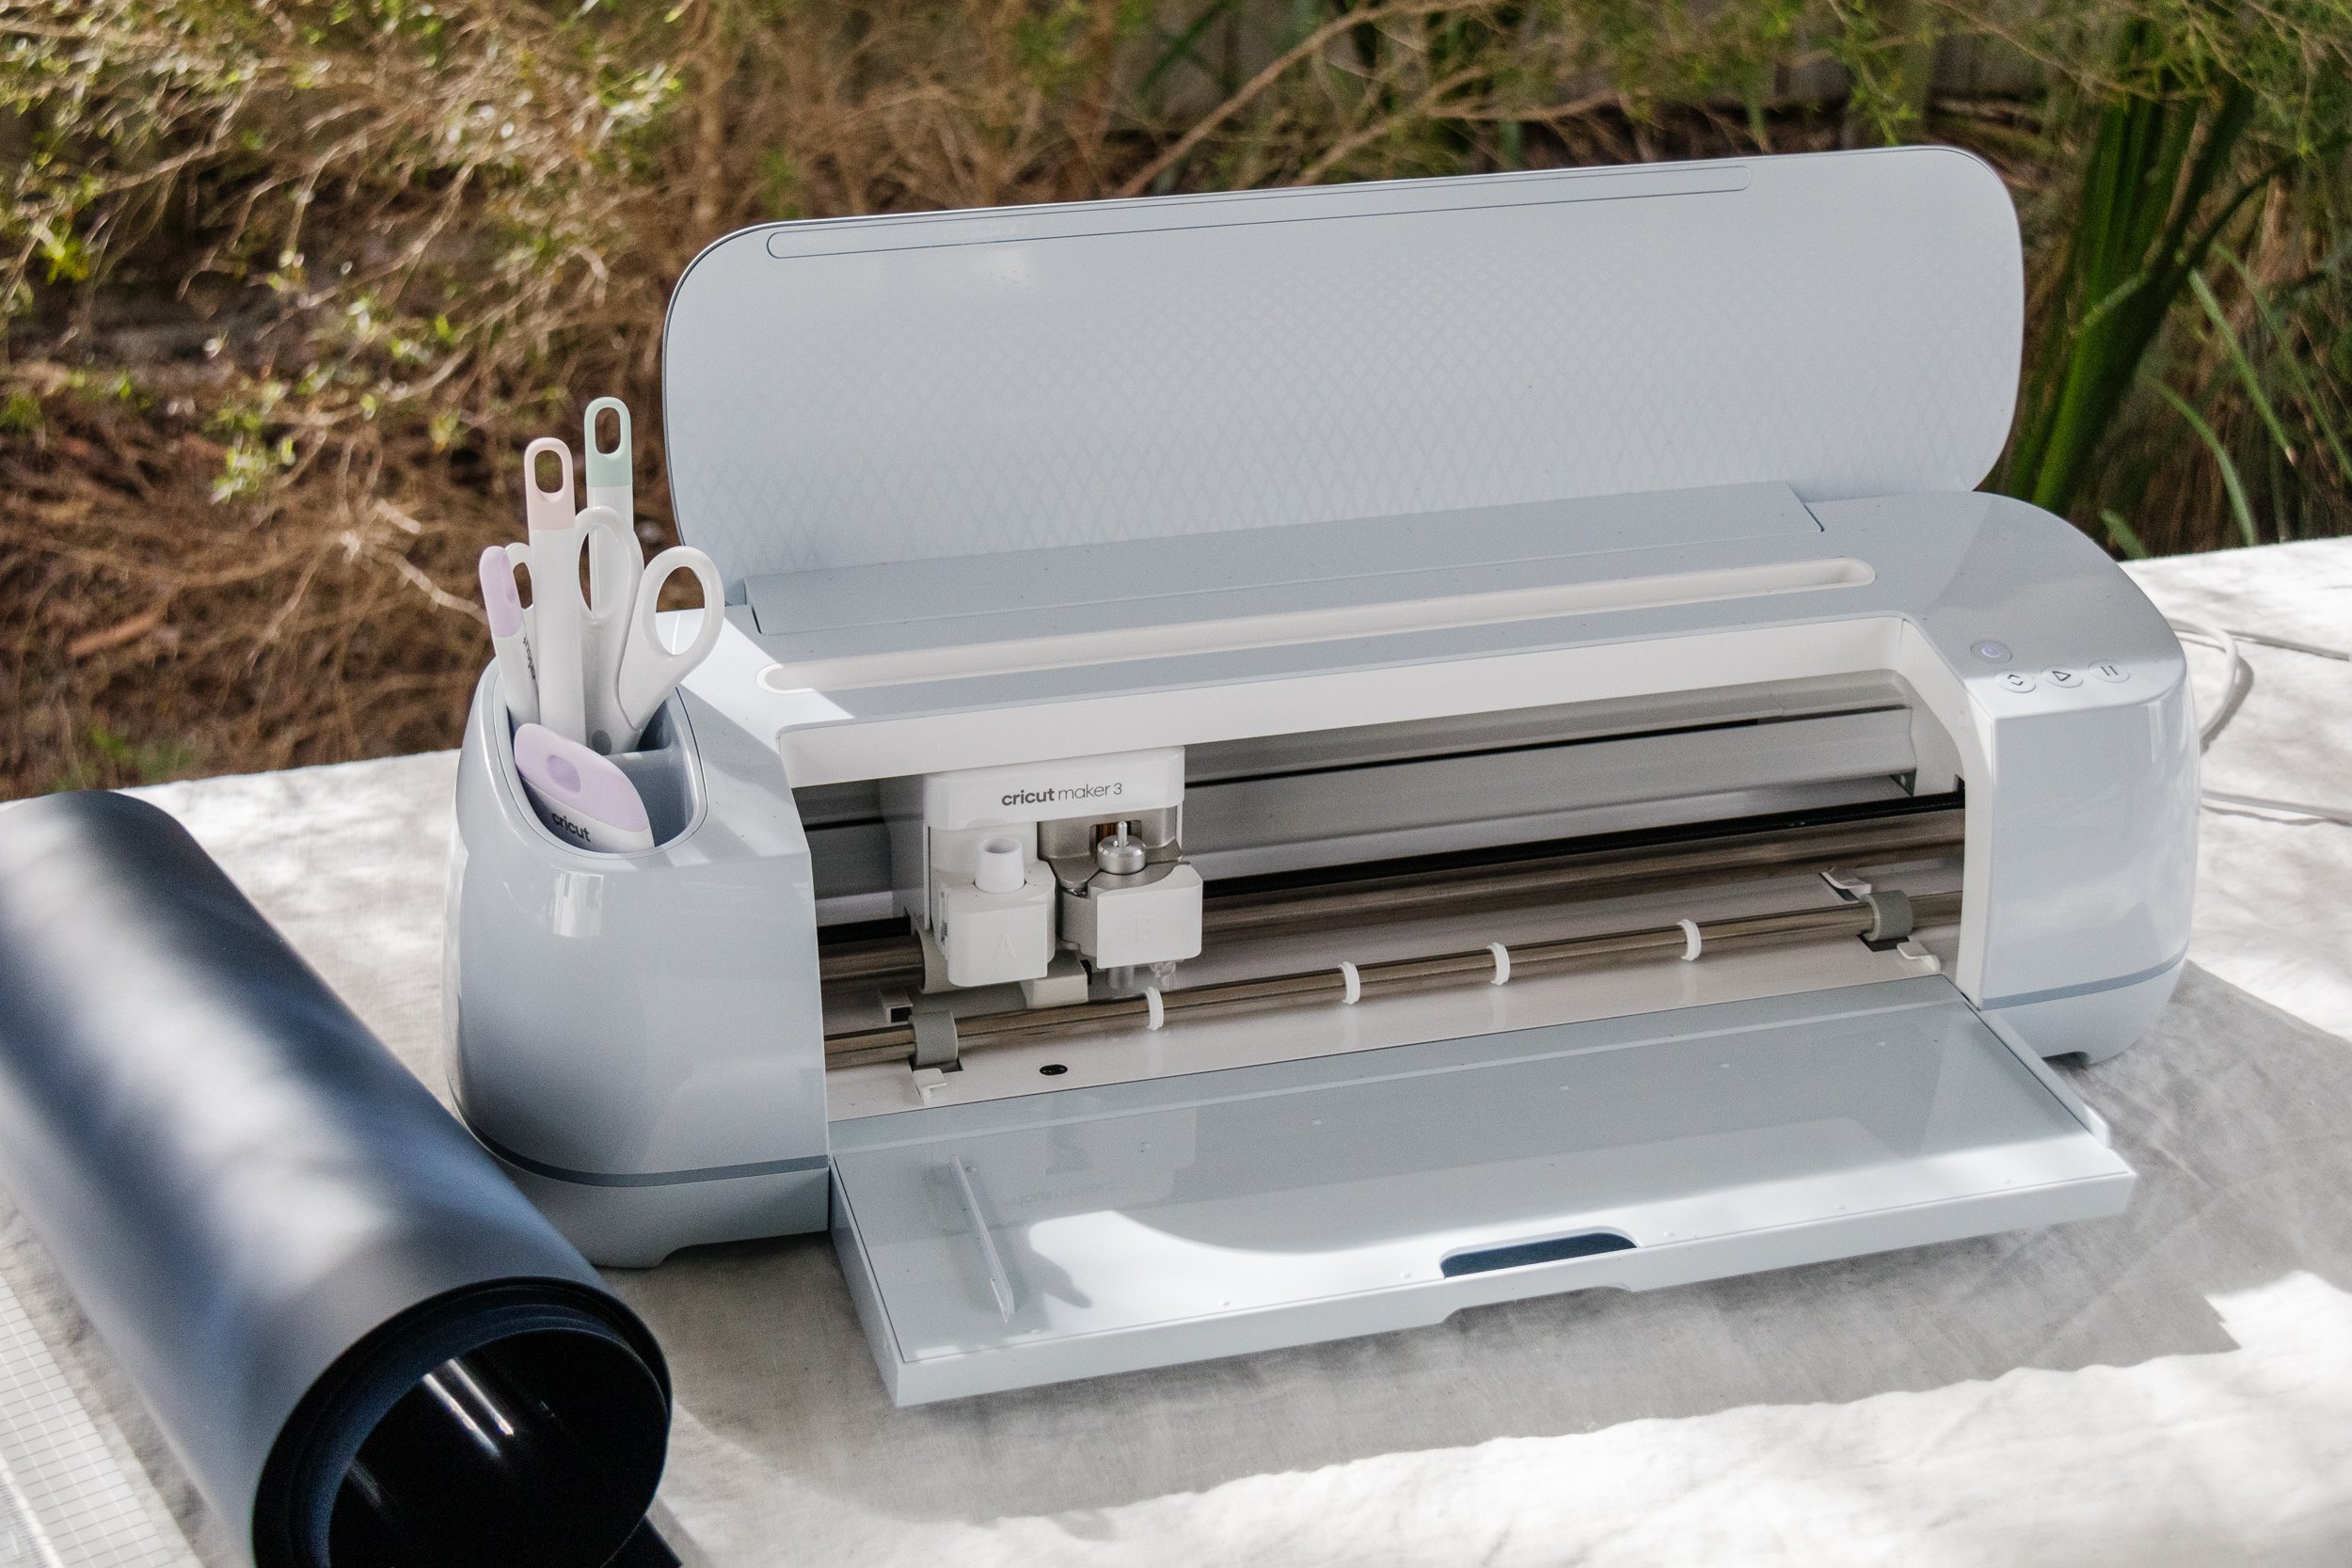
⚒️ Tools: Cricket Maker 3, Cricut Basic Tool Set, Cricut EasyPress Mini and Cricut EasyPress Mat
👷♀️ Skill Level: Beginner DIYer

Materials
Secondhand lamp or one you already own (I am pretty sure mine is actually from Kmart!)
Ps. In Australia, you can shop Cricut in a variety of stores including Officeworks, Spotlight, Harvey Norman and Big W.
How To
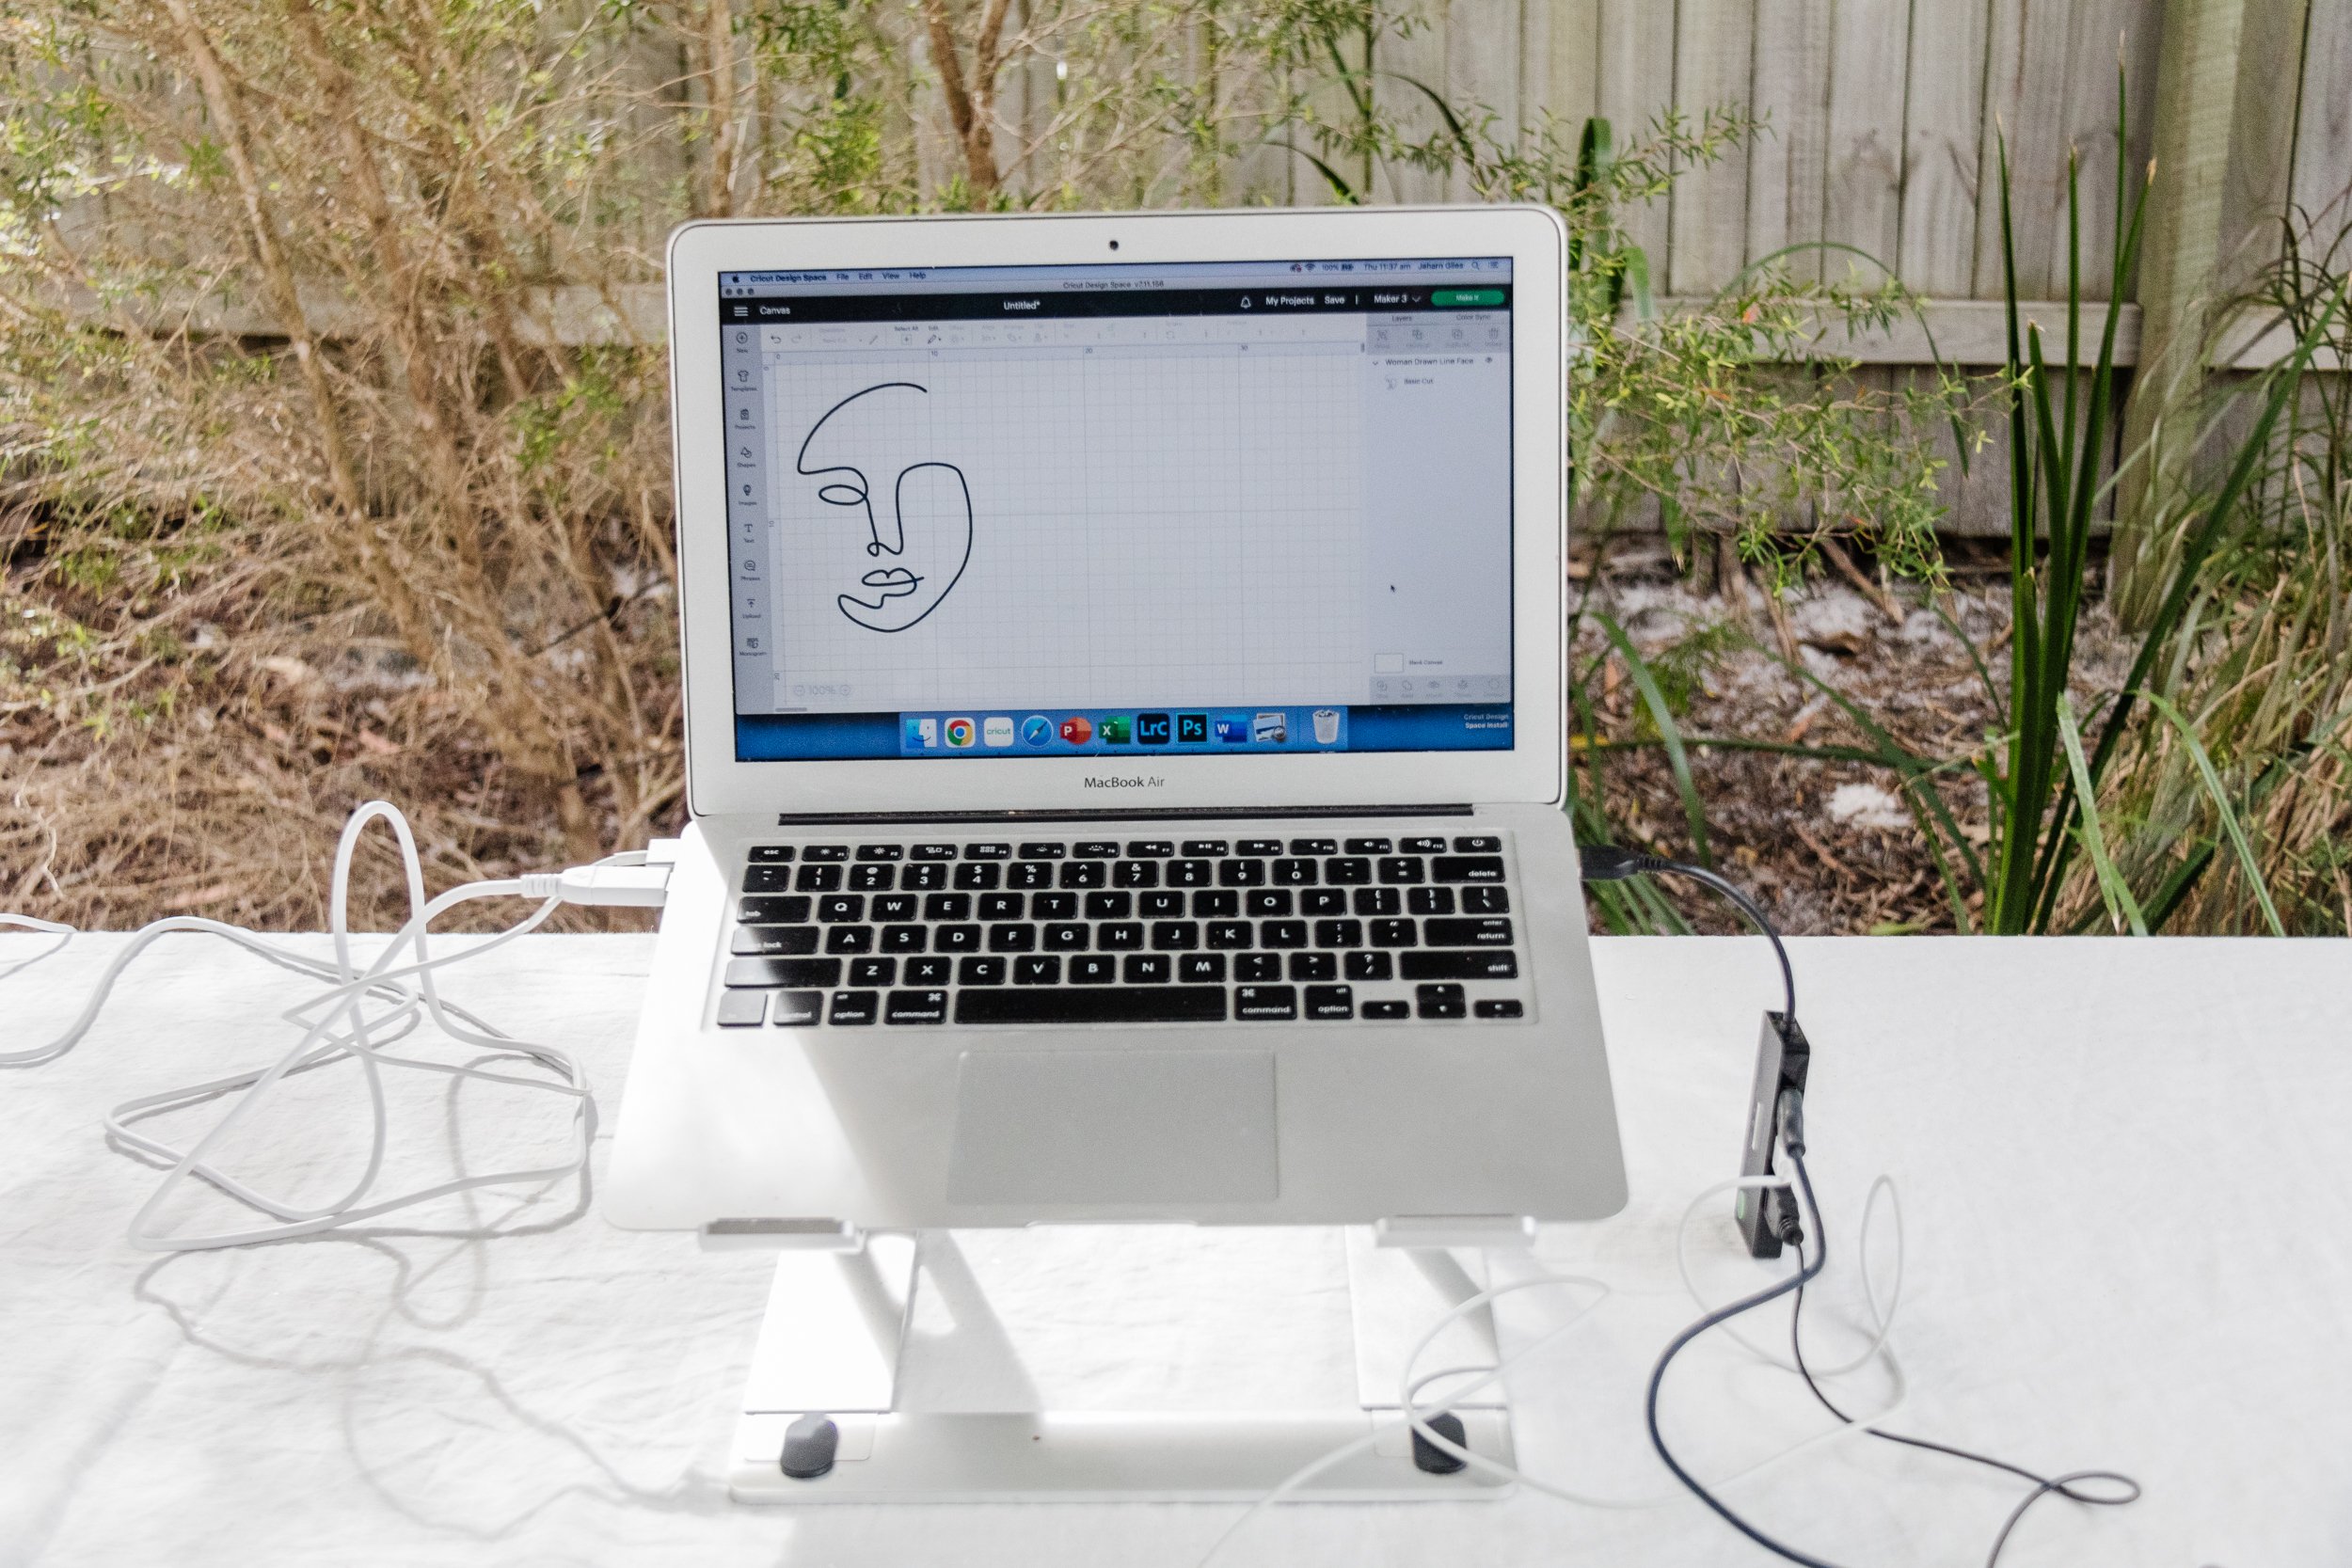
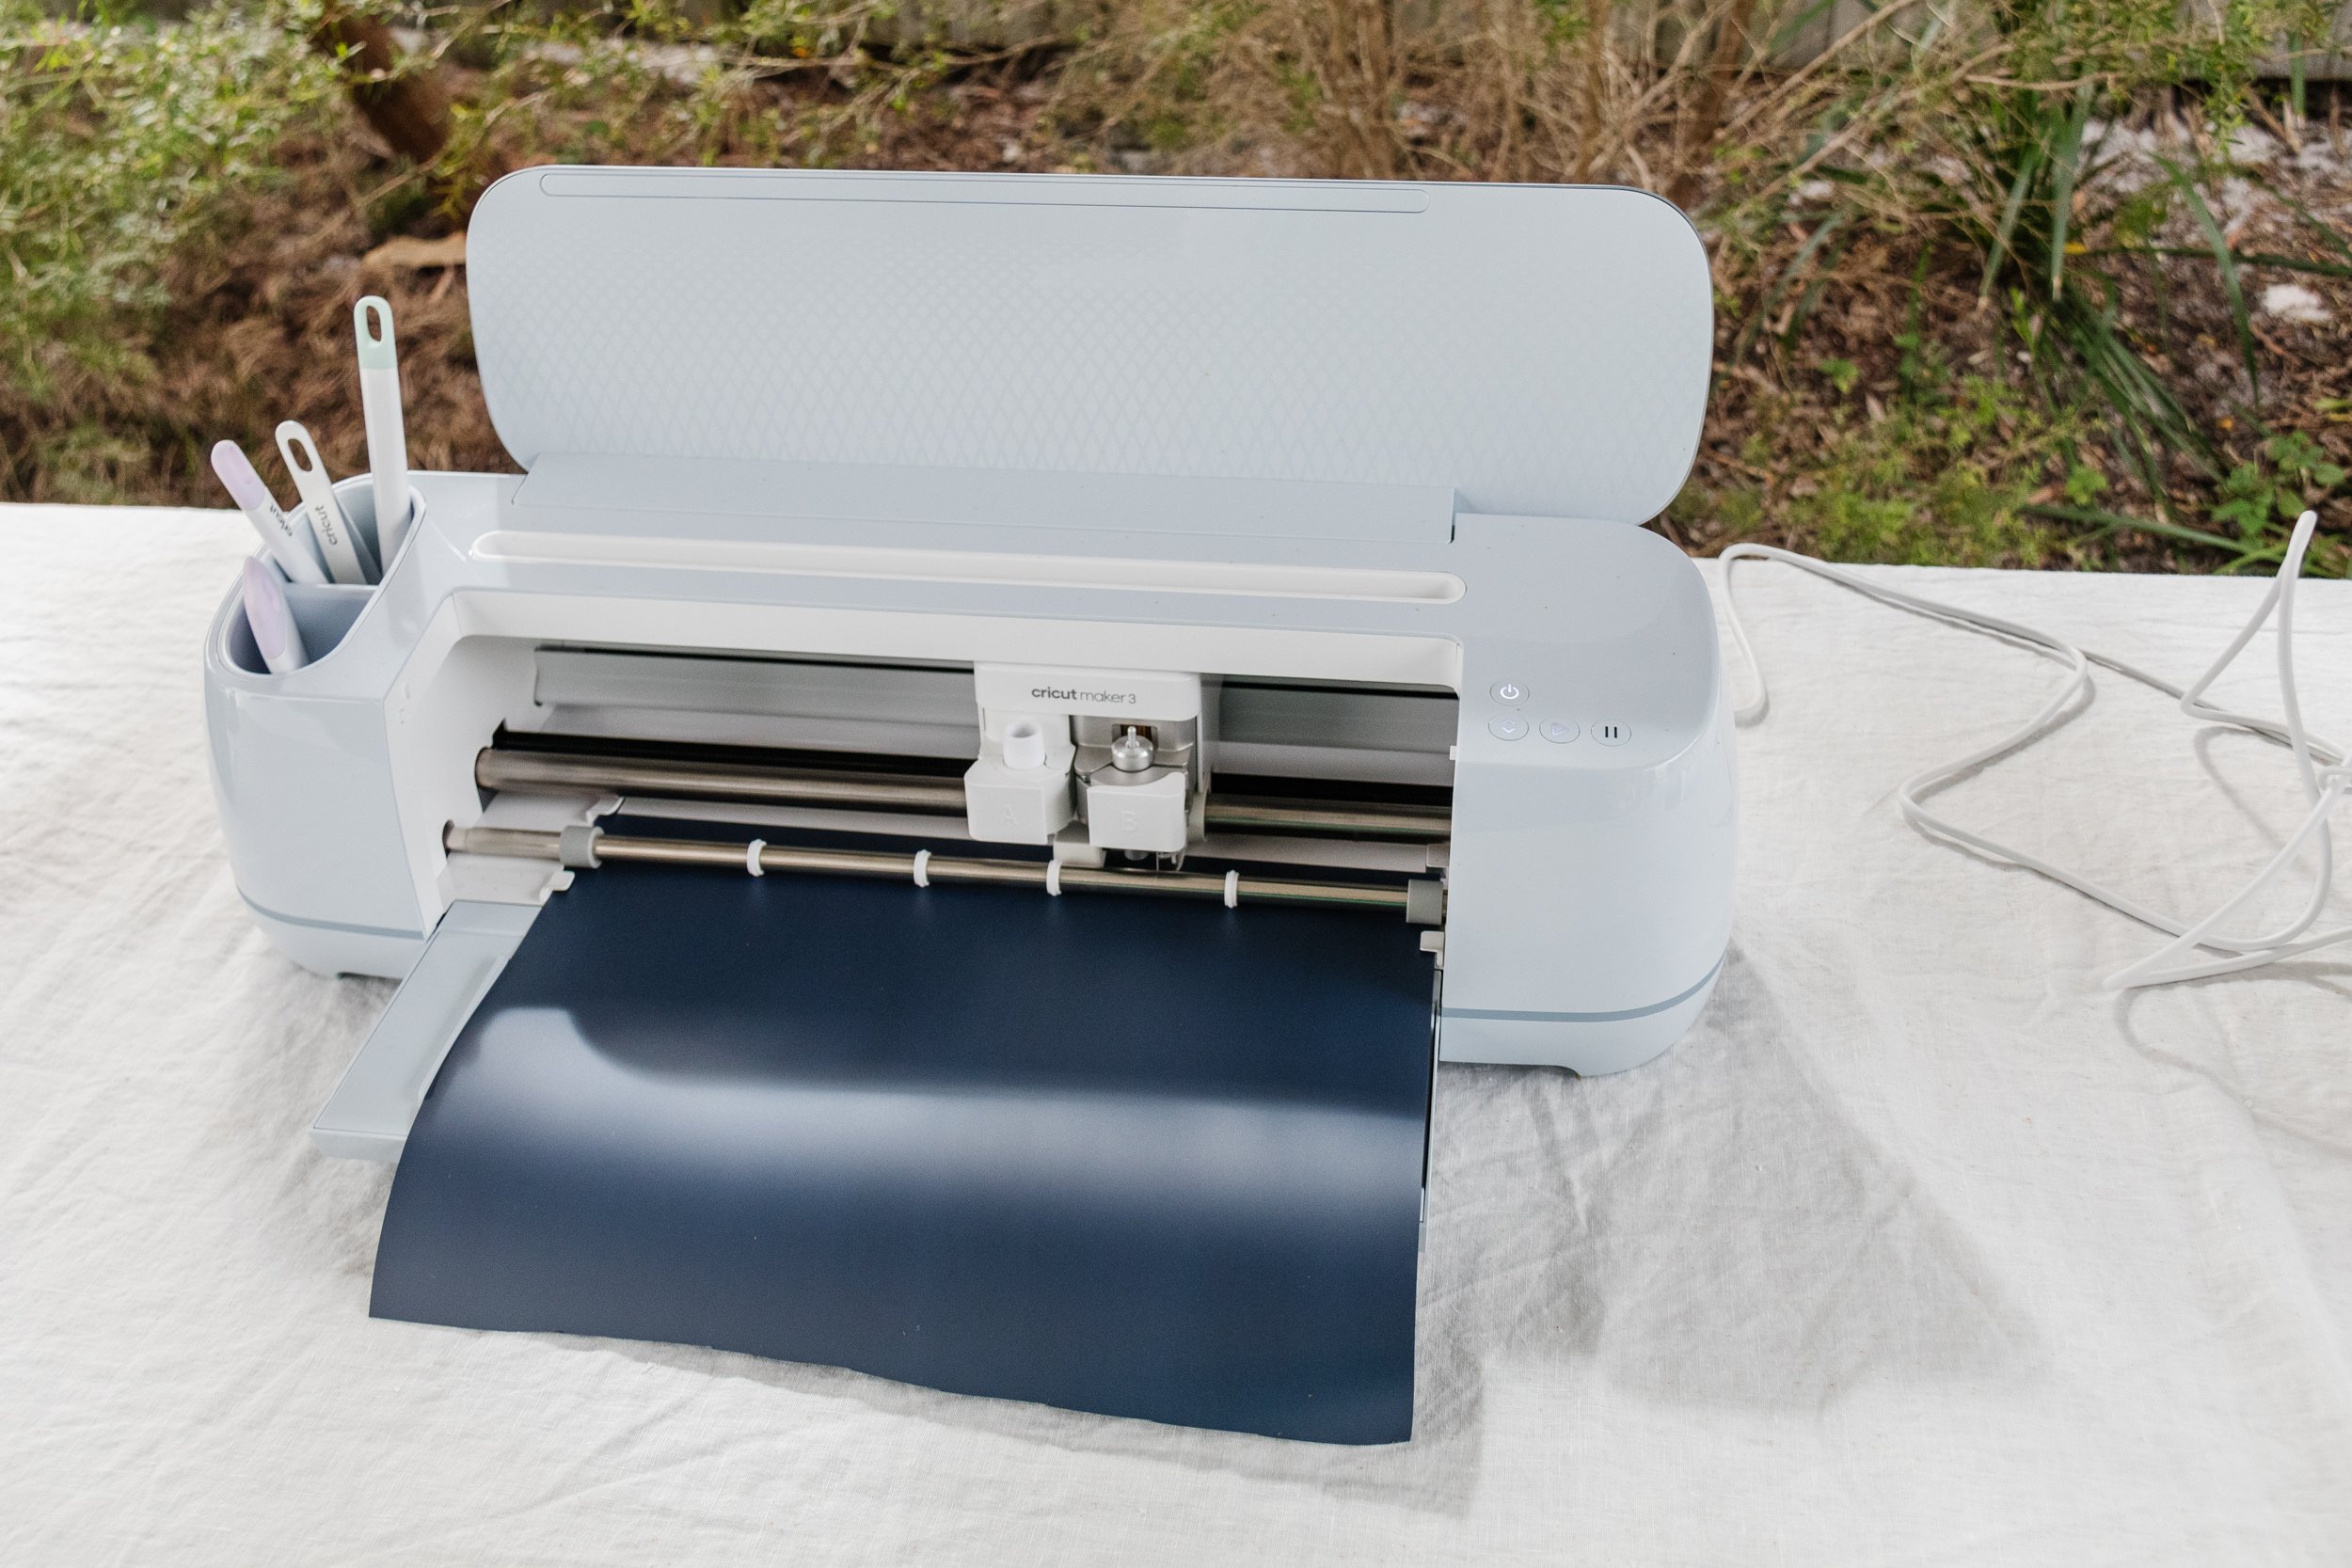
Start by opening the Cricut app. Create a new project in the Canvas and using the “Images” option, find the image you want to iron onto your lamp. I used “Woman Drawn Line Face #M291C4B0E”.
When you are happy with the size of your design (make sure it will fit on your lampshade), click “Make It” on the top right of the screen. NB: You don’t need to mirror this design (you will if you are using any words) and make sure the shiny side of the Smart Iron On Vinyl sheet is facing down. Follow the prompts until your Maker 3 has cut your sheet of Smart Iron On Vinyl.
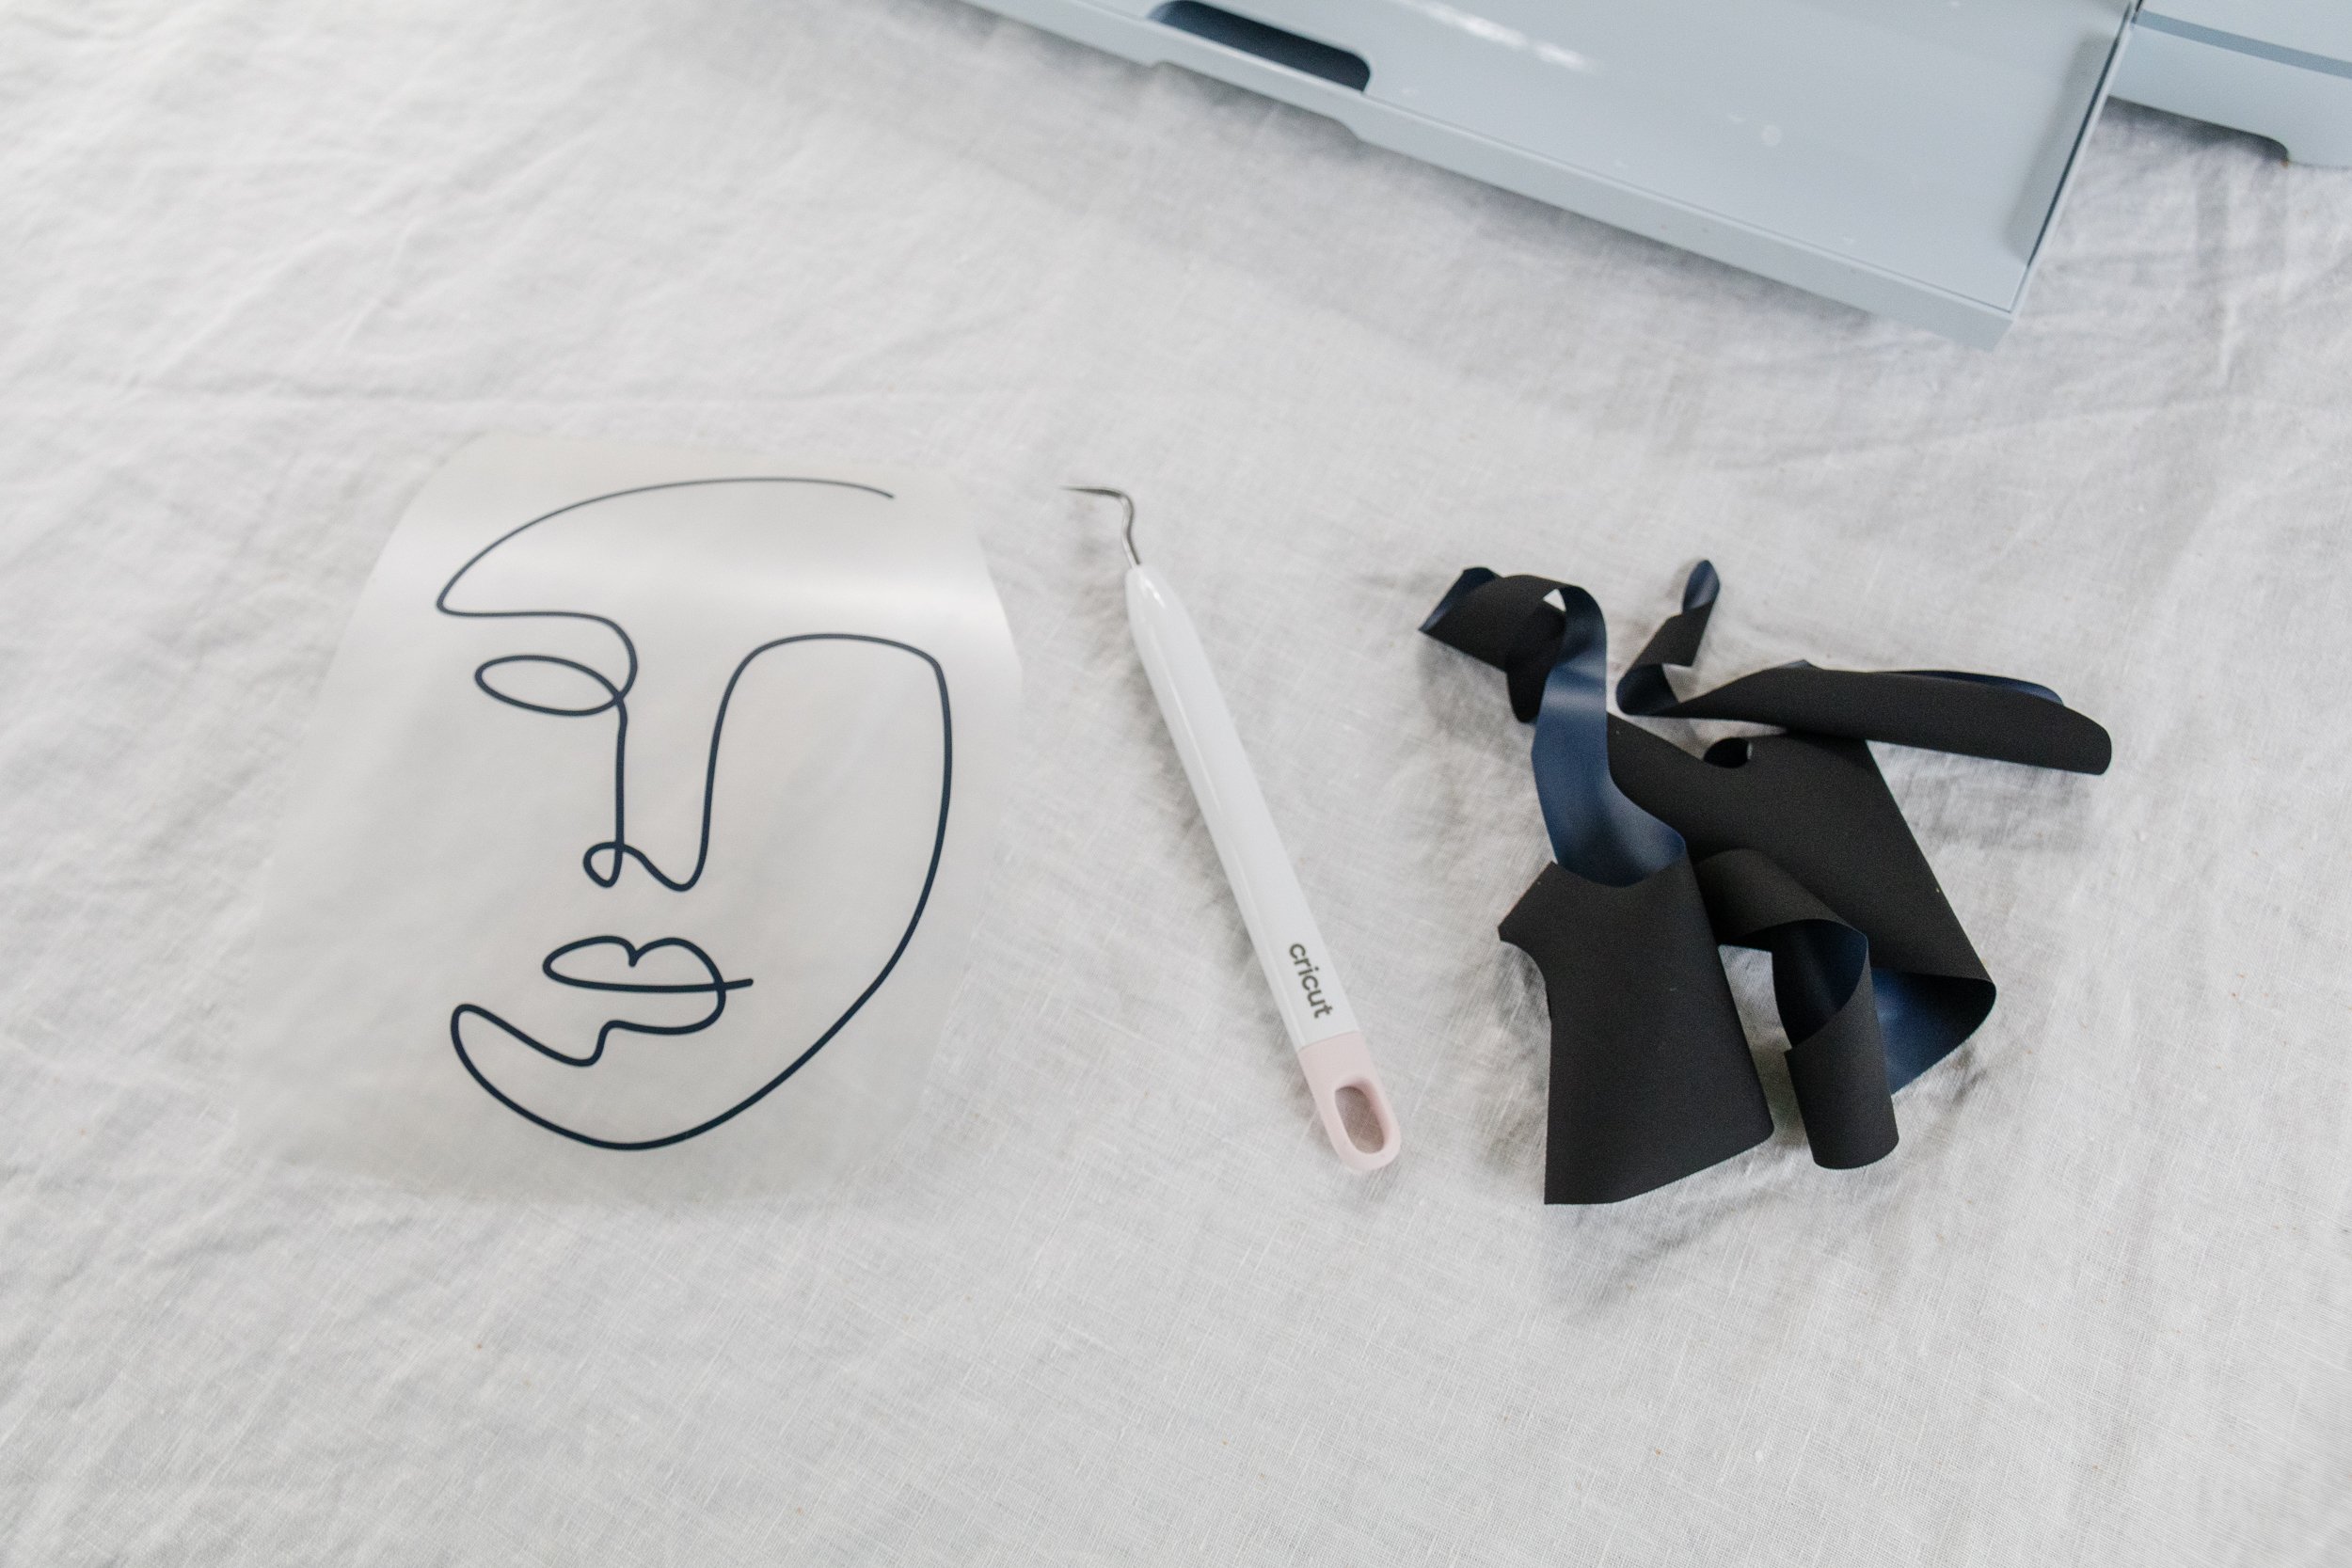
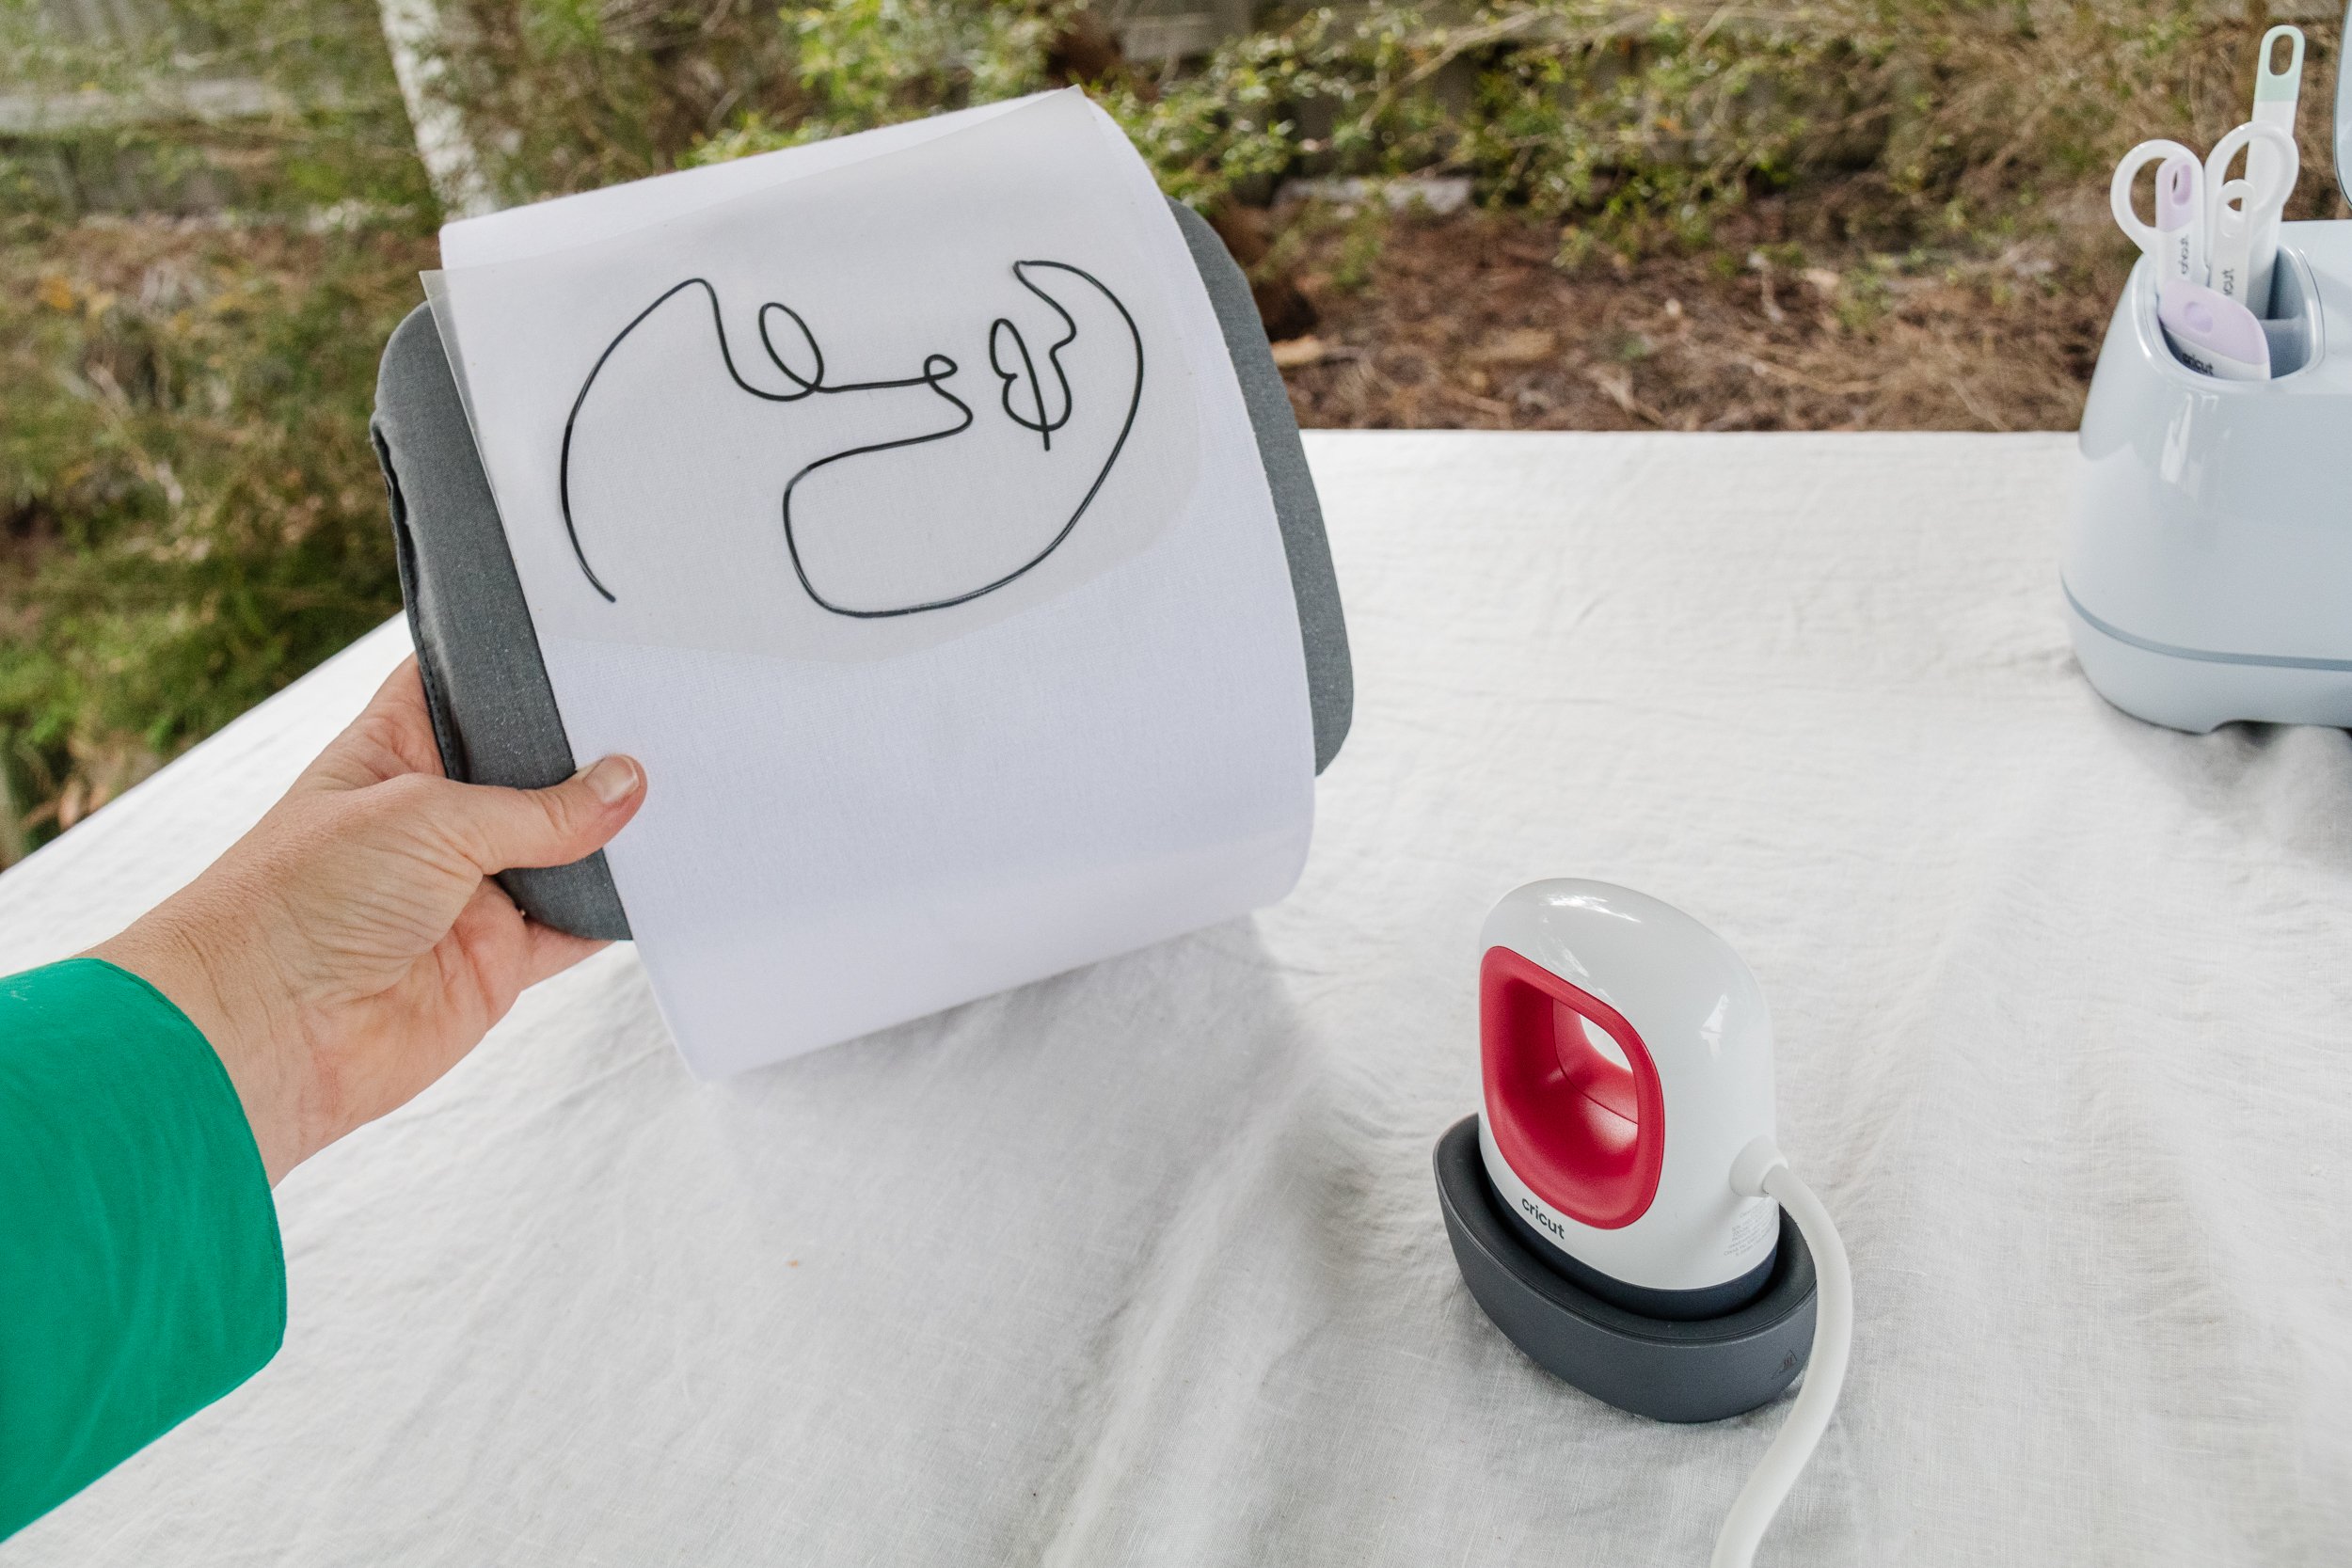
Using the Weeder, remove the excess vinyl from your design. Plug the Cricut EasyPress Mini into a power outlet and press the button on it twice. After 5 seconds, it will have preheated. Place your mat inside the lampshade, then place your vinyl sticky side down onto the lampshade then using the Cricut EasyPress Mini, iron over the design with a VERY light pressure and keep it moving at all times for 30 seconds (if you apply too much pressure or heat, your lamp shade may warp so take your time). Slowly remove the clear plastic sheet when cooled from the design when the design has bonded to the lampshade.
Ta daaaa! Transform your secondhand lamp shade in 15 minutes!
I am beyond thrilled with how this upcycle turned out! Never in my wildest dreams did I think I could make this crazy idea actually work, but as soon as I got my hands on my Cricut Maker 3, I knew it would be possible. And now I can’t help but think of all the possibilities. You could even use the Cricut Smart Iron On Vinyl on a piece of fabric, and cover the lamp shade in the fabric. I hope you’ve loved this project as much as I have. I’m all about turning trash into treasure, and this project has certainly done that!
This project is in collaboration with Cricut.