
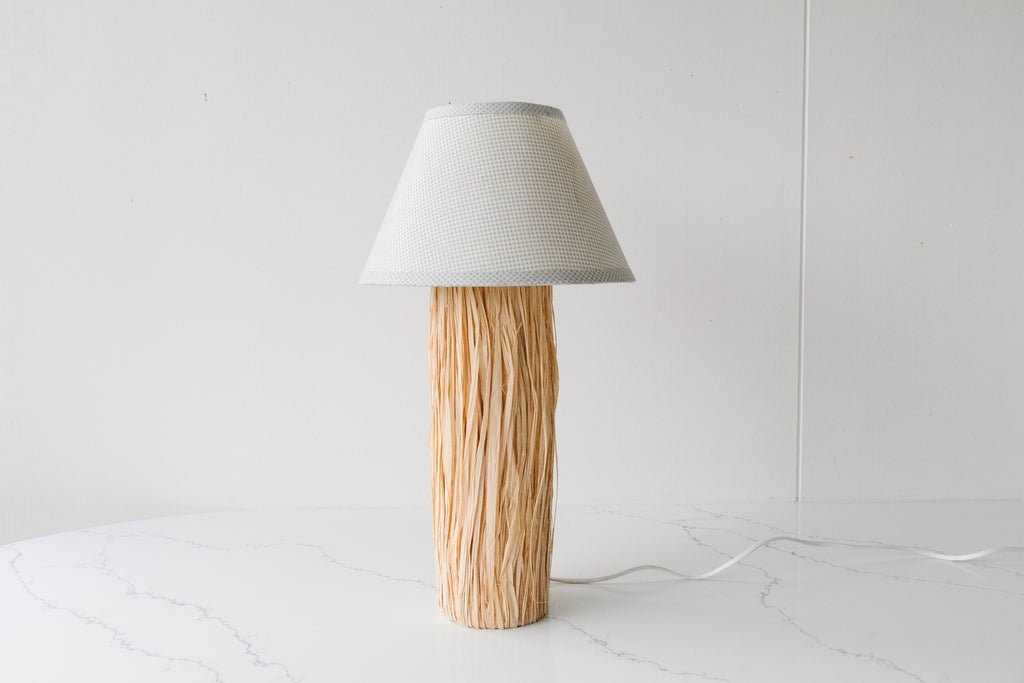
Upcycled DIY Raffia Lamp
My first DIY of 2022! I am so happy to kick start the new year with a little project I started at the end of last year - the upcycled DIY Raffia Lamp. It's no secret I love upcycling lamps; there are so many different things you can do to a lamp to completely transform it. And as thrifted lamps are generally inexpensive, it's always a cost effective DIY to sink your teeth into. A couple of months ago a friend (and actually a few other people) sent me images of this beautiful raffia lamp. Raffia is not only wrapped around the lampshade, but it is also wrapped around the base - so beautiful! Naturally I fell in love with it on the spot but couldn't afford the $640 price tag so I immediately set about figuring out how I could make my own and for a lot less! And here we are. Read on to make your own upcycled DIY Raffia Lamp. It's the perfect project to celebrate the new year!
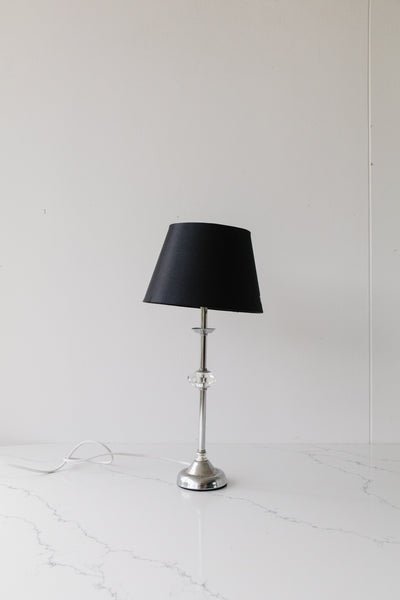
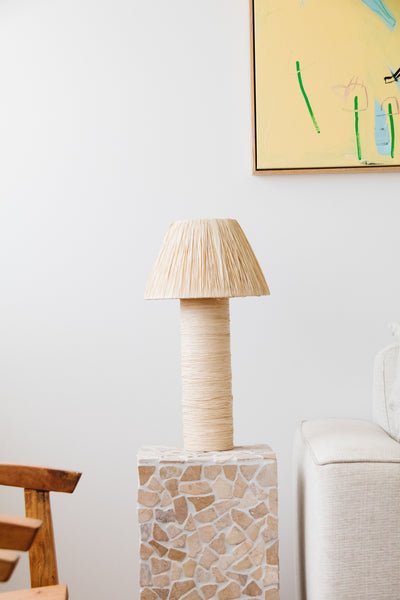
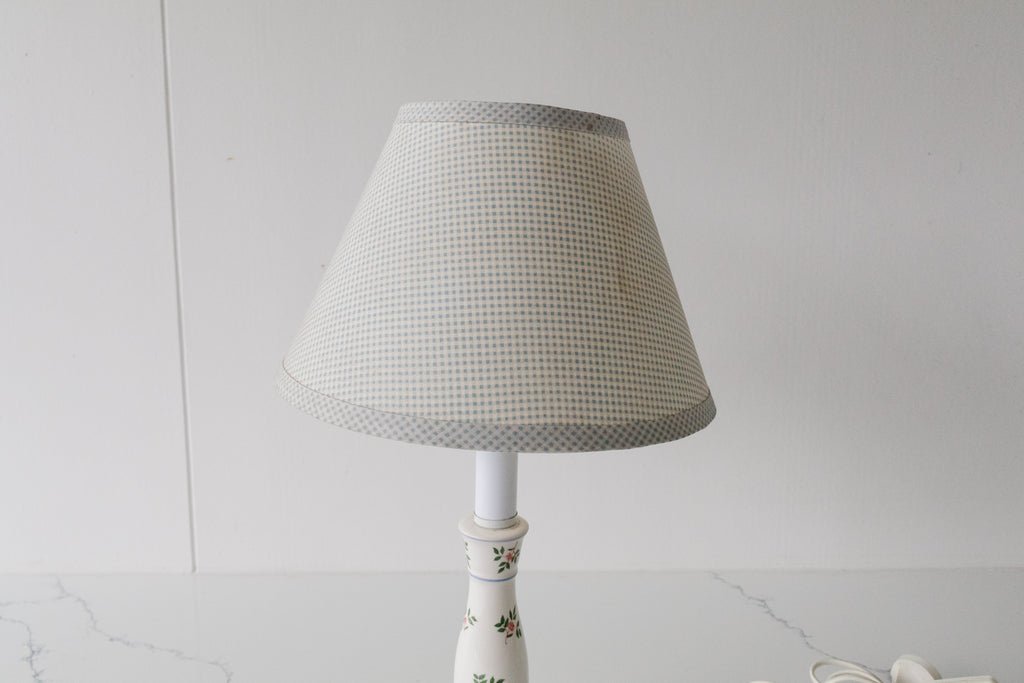
Before & After
Materials
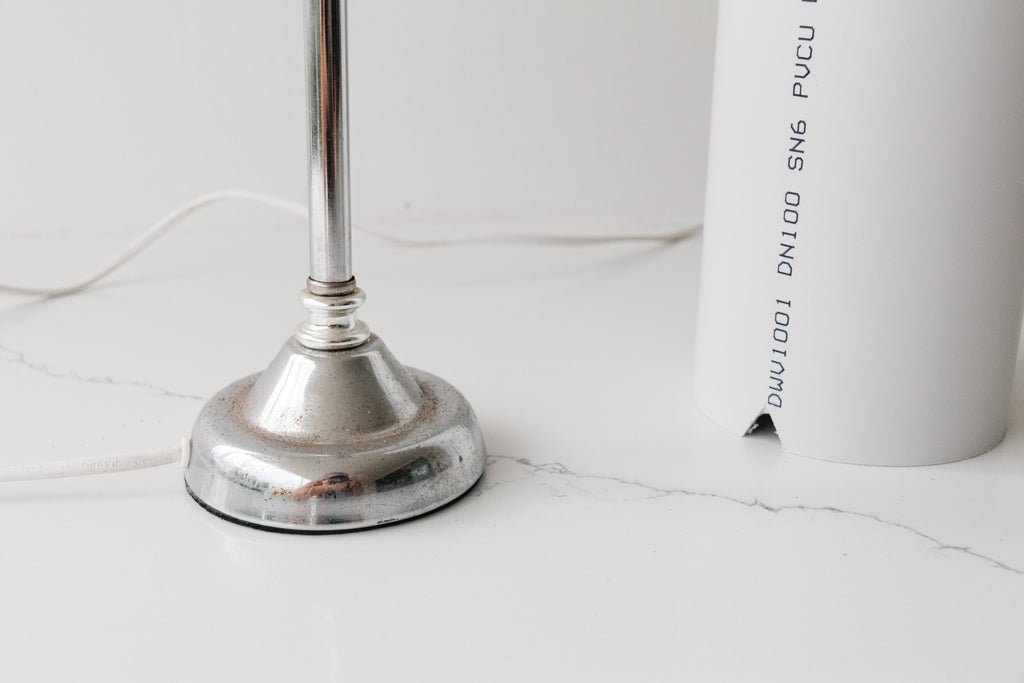
Table lamp with a thin lamp base (I got mine from my tip shop for $5!)
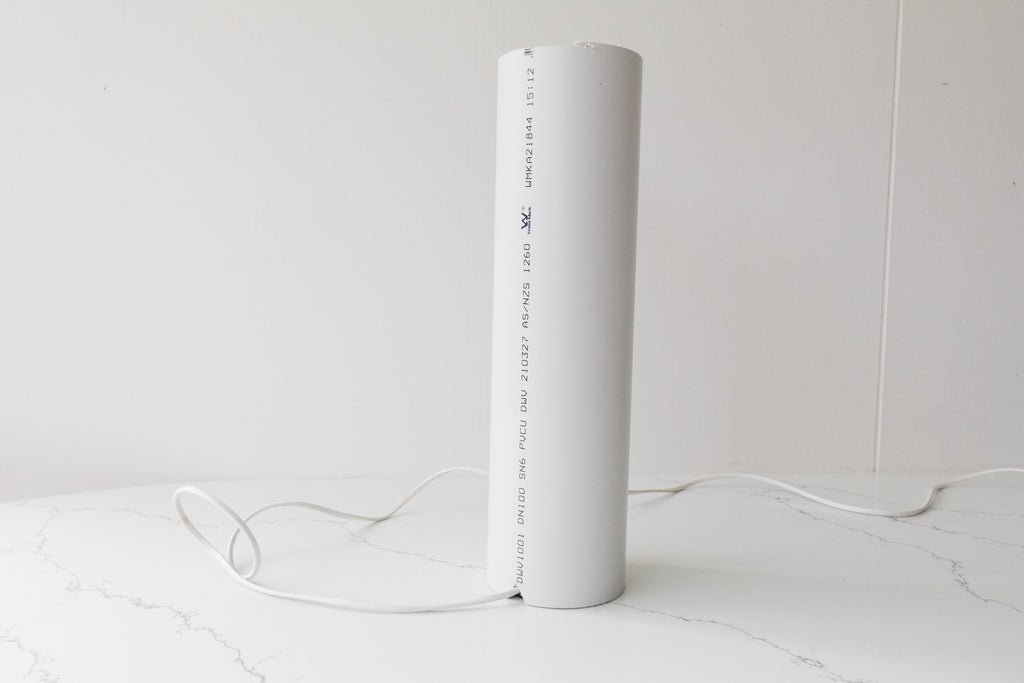
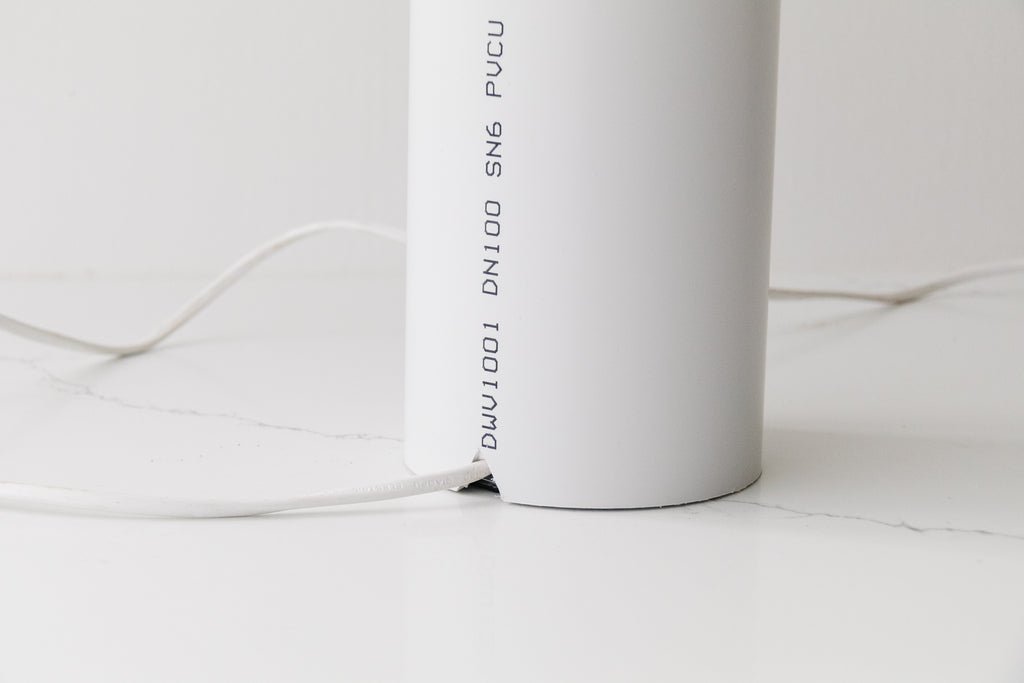
PVC pipe from Bunnings - that you can fit the lamp base into.
Hack saw from Bunnings
Natural raffia - I get mine from Bunnings but you can also find it at Choice Discount and other craft stores like Lincraft and Spotlight.
Hot glue gun
White paint
Paint brush
Scissors
How To
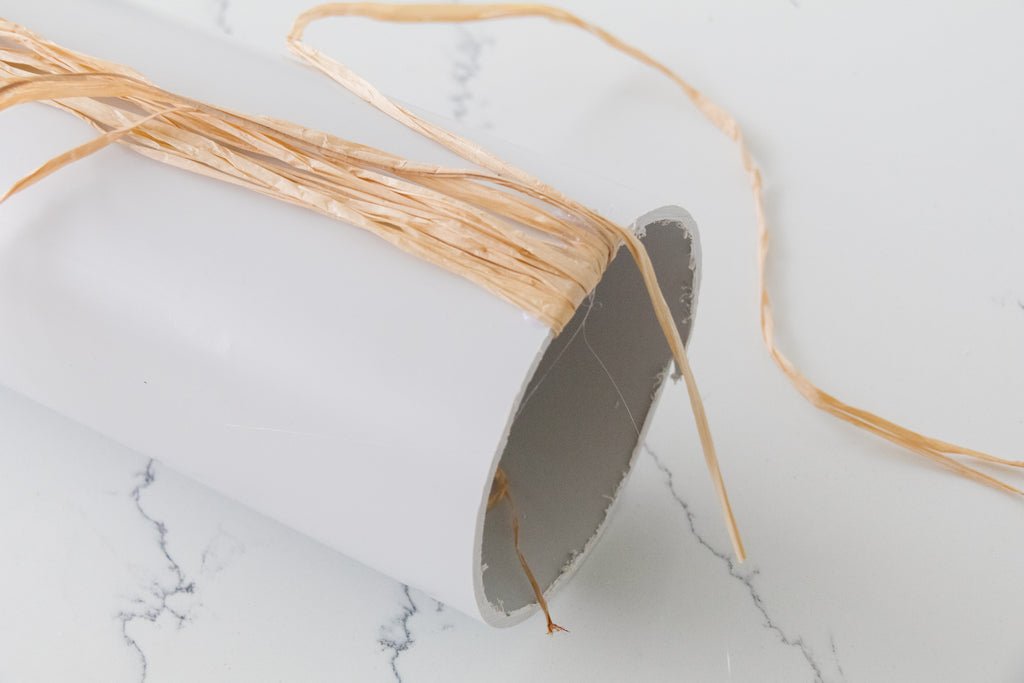
Begin by cutting the PVC pipe to size with a hacksaw. It will need to be as tall as the lamp base. Cut out a hole at one end for the lamp cord to feed through. If you don't do this, the lamp will be lopsided.

If you want to wrap the raffia horizontally across the pipe, simply wrap it around and tie a double knot. Cut off any excess raffia and make sure all the knots are in one straight line at the back of the PVC pipe.
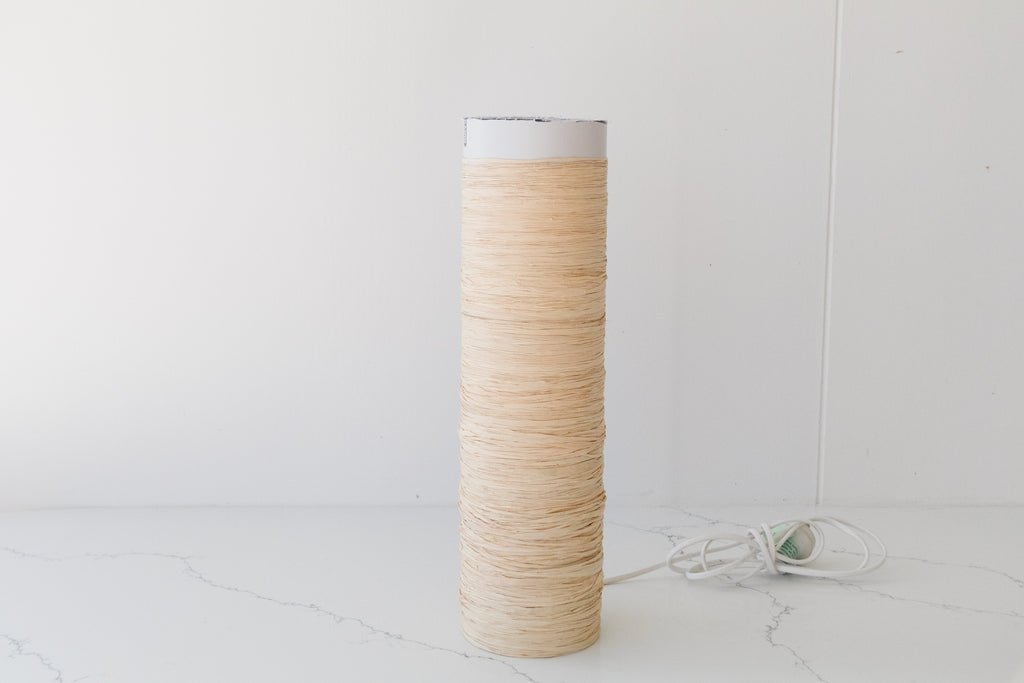
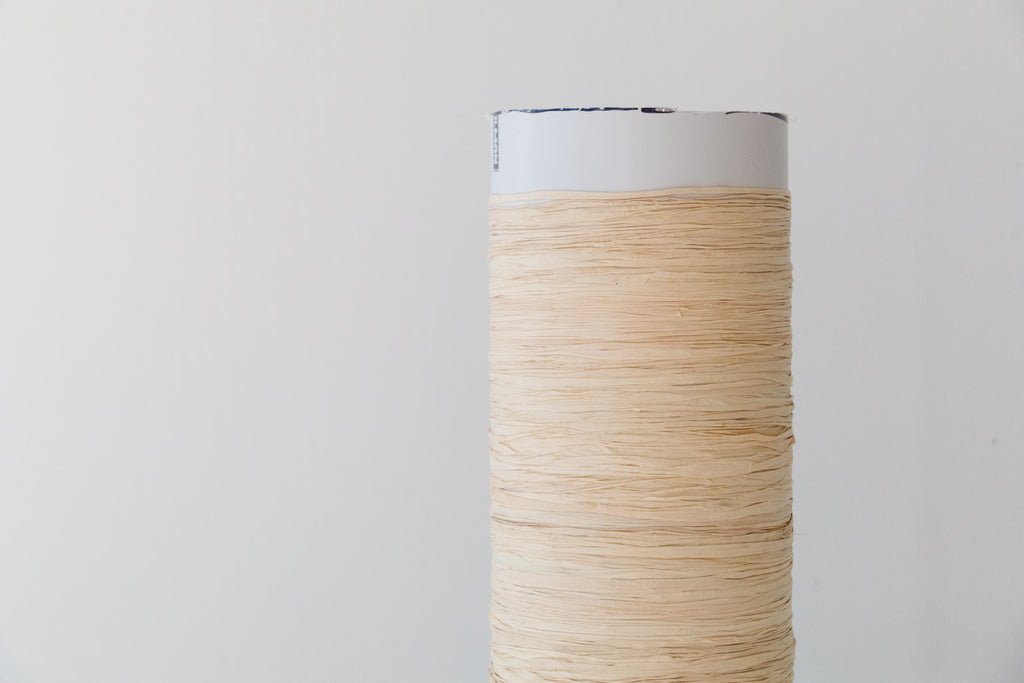
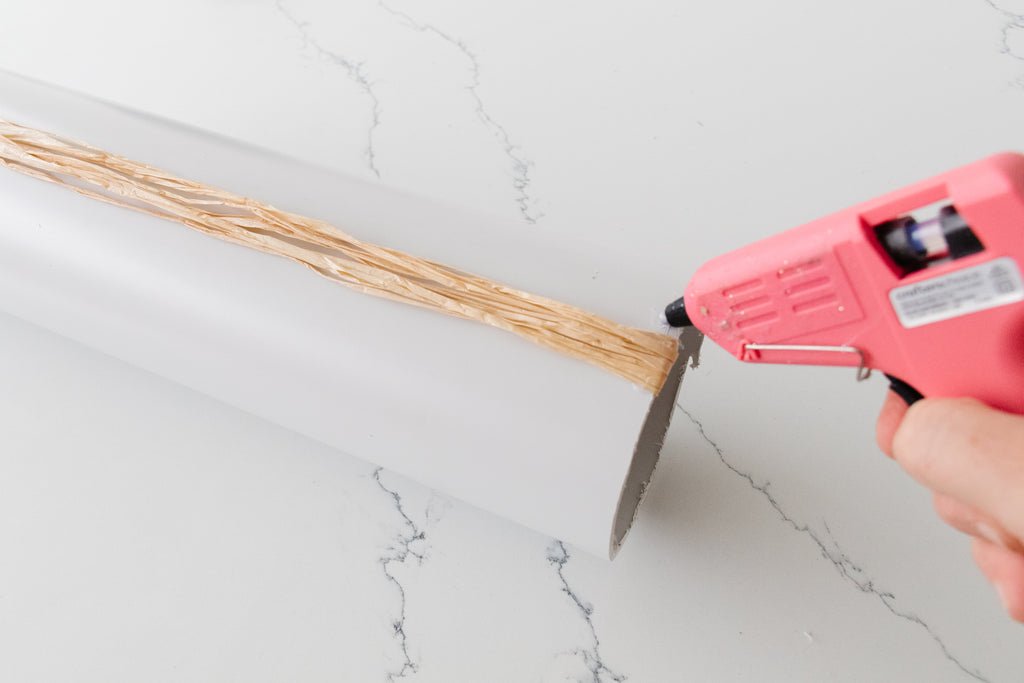
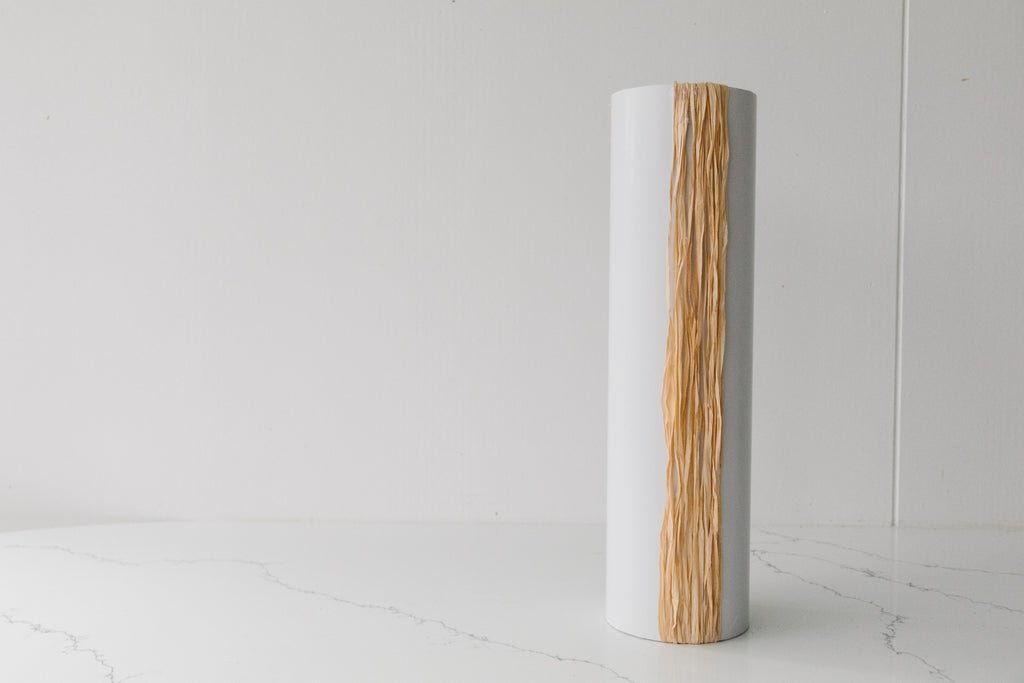
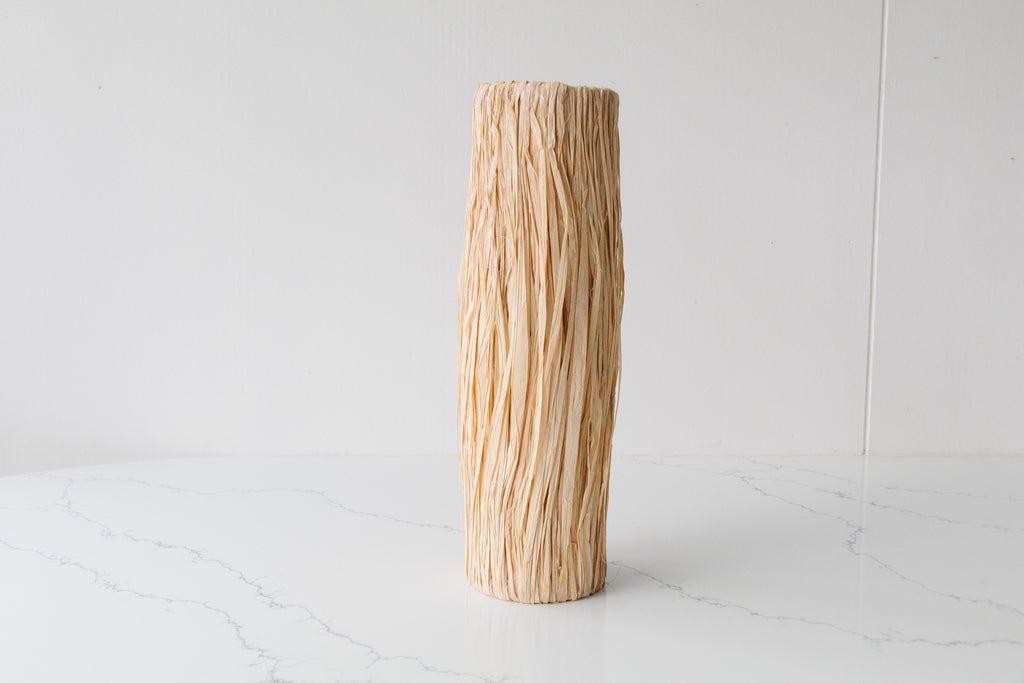
If you want to wrap raffia vertically down the pipe, use a hot glue gun at either ends of the pipe. Wait for the glue to dry at one end first, pull the raffia tightly and glue the other end. You may need to hold the raffia in place while the glue dries; it dries quickly though! Snip off any excess raffia and fold the raffia back into the pipe. You will need to glue at least two layers of raffia so you don't see the pipe.
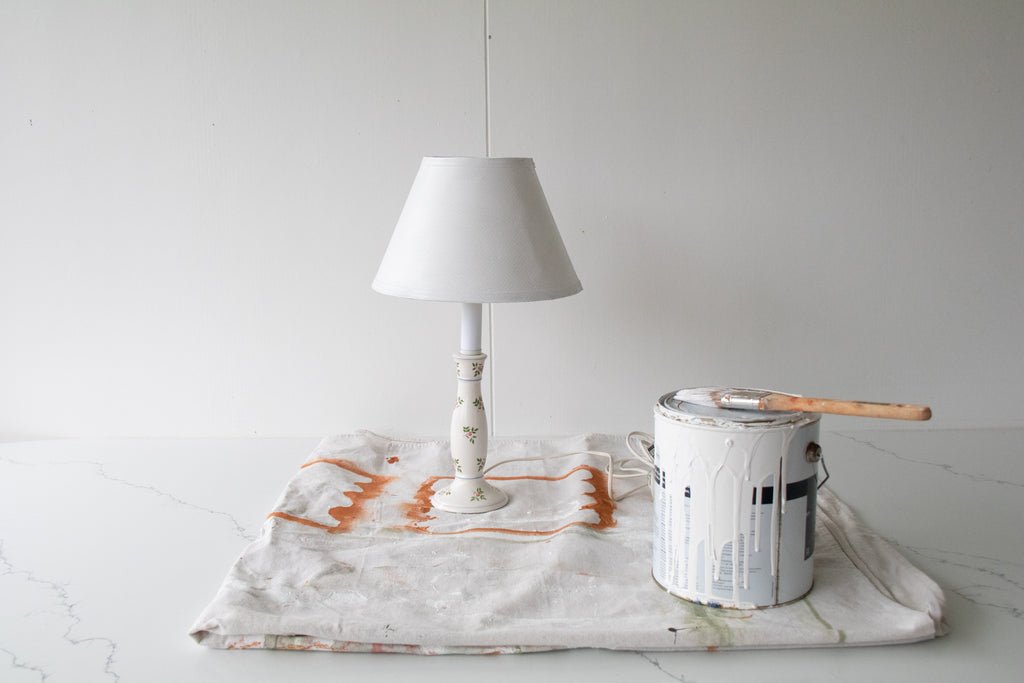
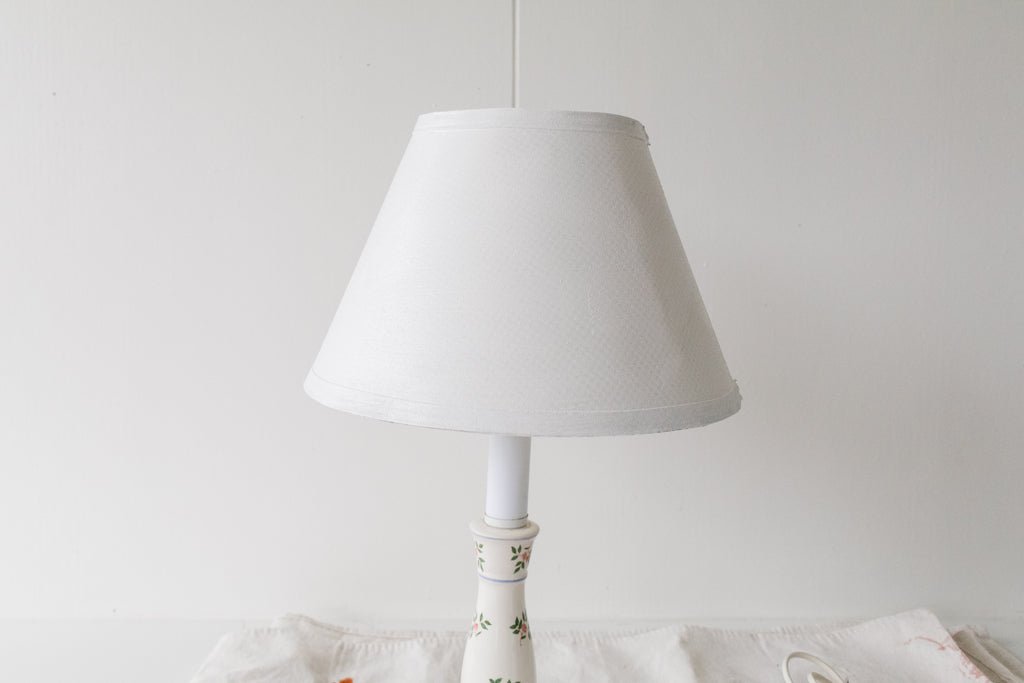
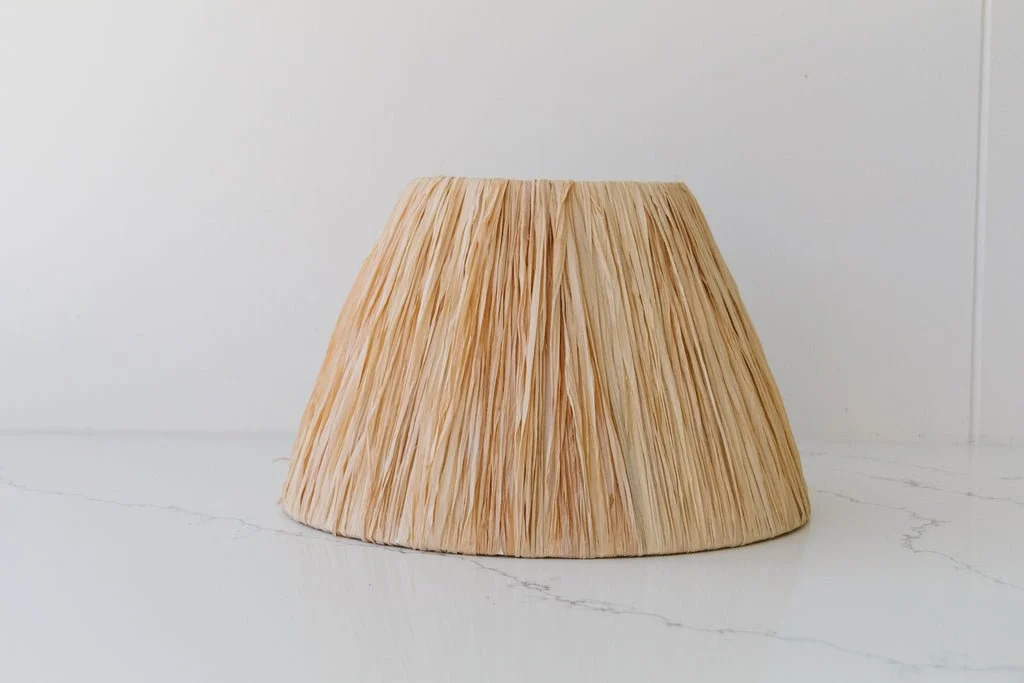
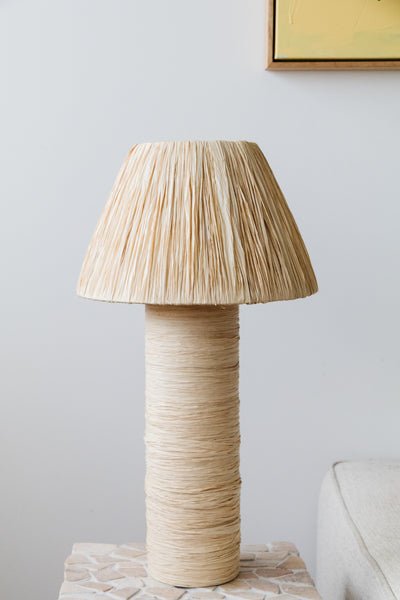
I thought the lampshade from the existing lamp was too small, so I used the lampshade from another thrifted lamp (which also cost only $5!). Paint the lampshade with the white paint and paint brush. Set aside to dry. Tip: I find it's easier to paint the lampshade while it's on the base. Also, painting the lampshade white ensures that if it slightly shows through, you won't notice.
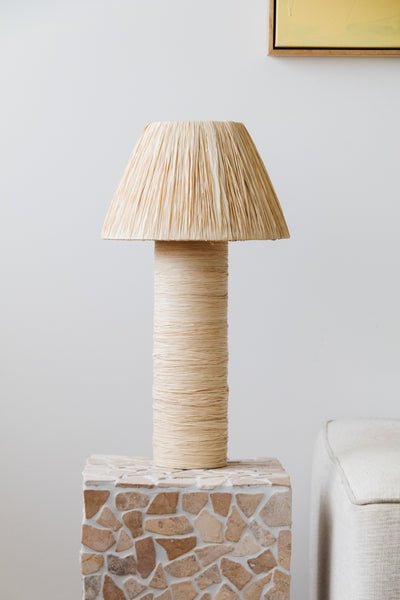
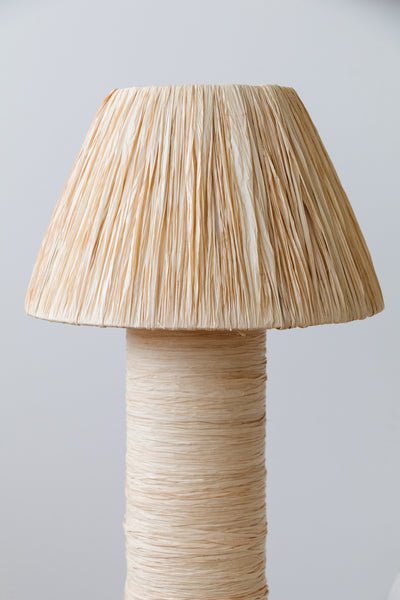
When the lampshade has dried, wrap the lampshade in raffia. Start by tying a double knot onto the inside of the lampshade structure if possible. If not, tie a double knot and make sure the knot is inside the lampshade. Wrap the raffia around the lampshade until it's completely covered. I kept all the raffia knots on the inside of the lampshade, that way you don't see them on the outside or have to meticulously hide the knots on the outside of the lampshade.
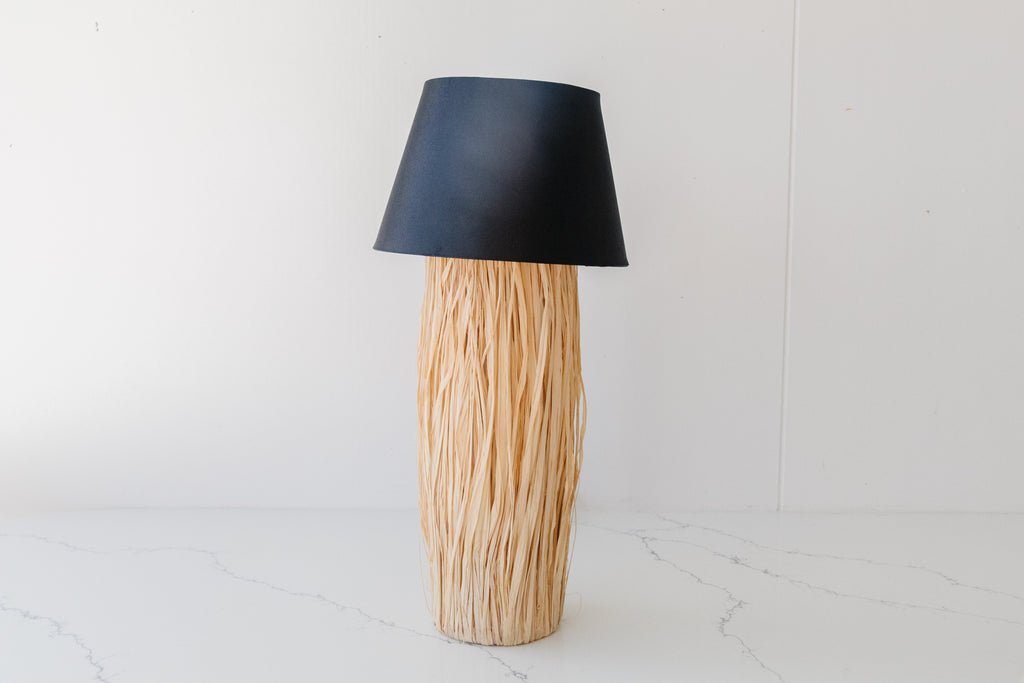
Place the lampshade, light fitting and light bulb onto the base. And it's done!
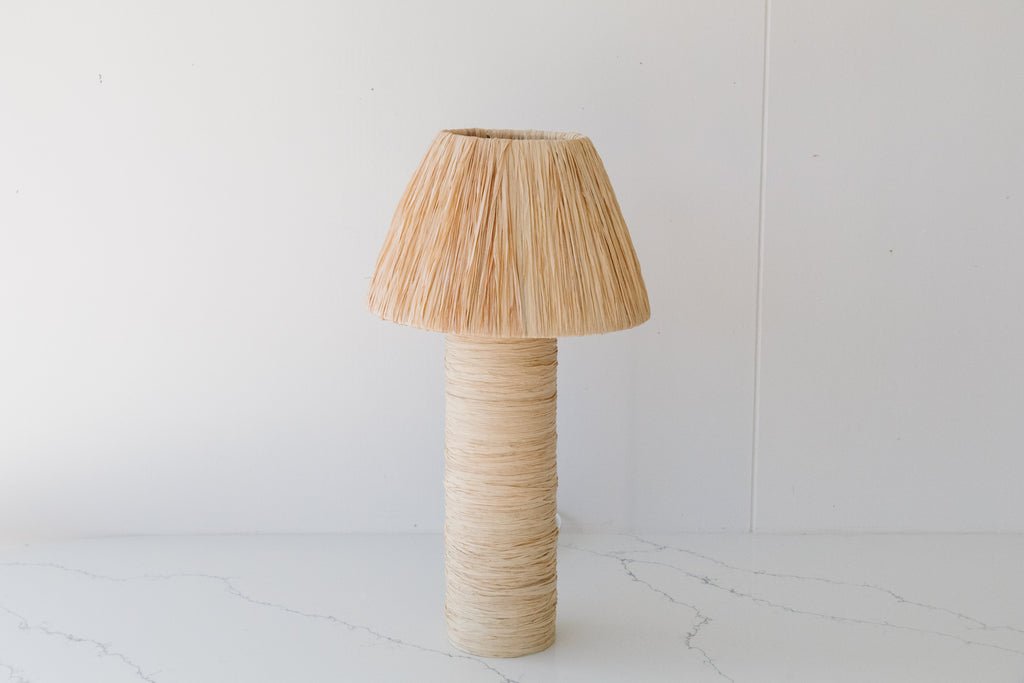
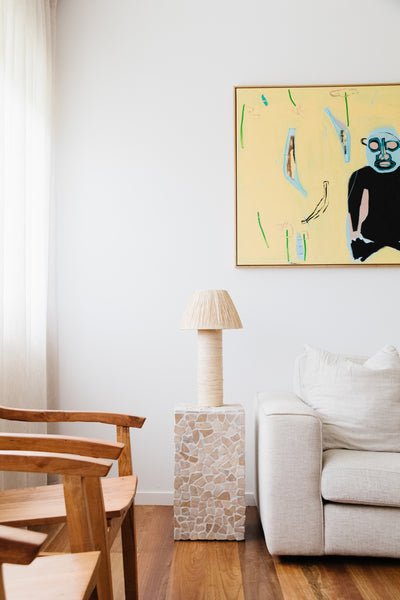
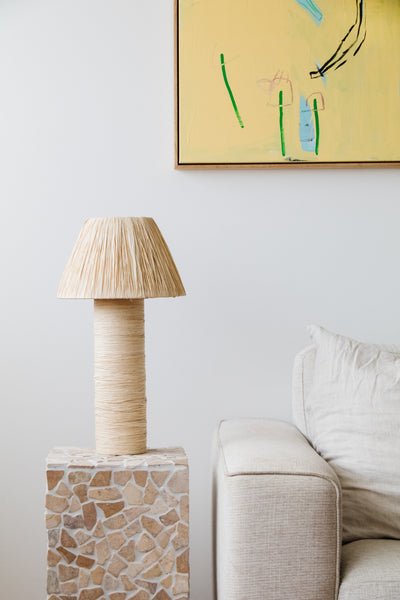
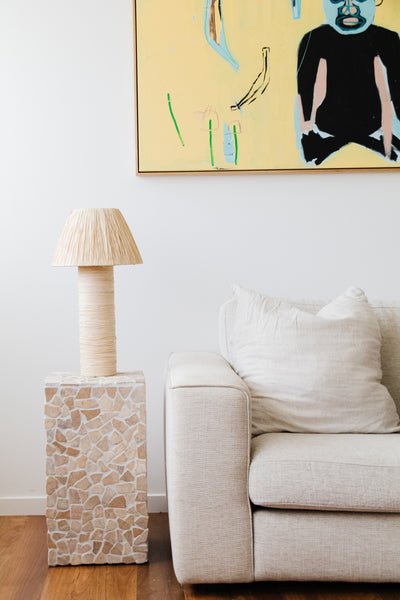
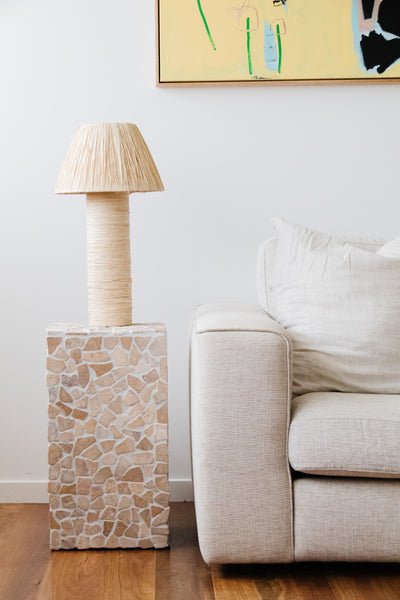
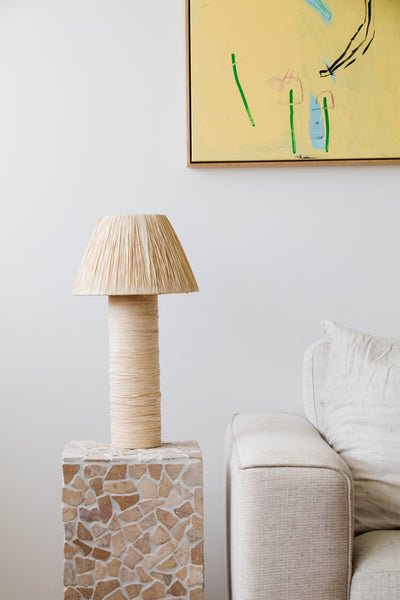
Ta daaaa! A beautiful upcycled lamp that cost less than $20!
I am beyond thrilled with how this gorgeous upcycled DIY Raffia Lamp looks! I love the scale, the balance between the cylinder base with the larger cone shade, and the texture. But what I really love is that it cost less than $20 to make! It would have cost even less if I didn't swap out the lampshade, but I didn't love the proportions of the original one (it looked a bit phallic for me lol!) so replacing it with a bigger shade I thrifted for only $5 was the perfect solution. I find so much joy in upcycling furniture and home decor, and making small inexpensive tweaks like replacing a lamp shade can make such a huge difference.
In case you are wondering, I didn't worry about enclosing the bottom of the lampshade as I don't plan on moving it around a lot, but if you want to enclose it you can plug the bottom of the lamp base with cardboard. And I know you are probably dying to know - did this take me long? In actual fact, no. Not if you wrap the raffia horizontally across the PVC pipe. If you glue it vertically down the PVC pipe, it does take a few hours so I recommend watching a movie on Netflix while you get gluing; the time will fly by!
A little note from me
Thank you so much for taking the time to read through my latest upcycle! I hope you enjoyed it and feel inspired to make your own DIY Raffia Lamp. I've got some other raffia lamp upcycles so if you are looking for a bit of inspiration, make sure to check them out here and here.
If you loved this DIY please stay in touch with me on Instagram and Pinterest where I share lots of DIY projects every week. If you have any questions about this project, or if you just want to say hello, I'd love to hear from you. Write to me at jaharn@smorkitchen.com or send me a DM over on Instagram. Happy DIY'ing!


