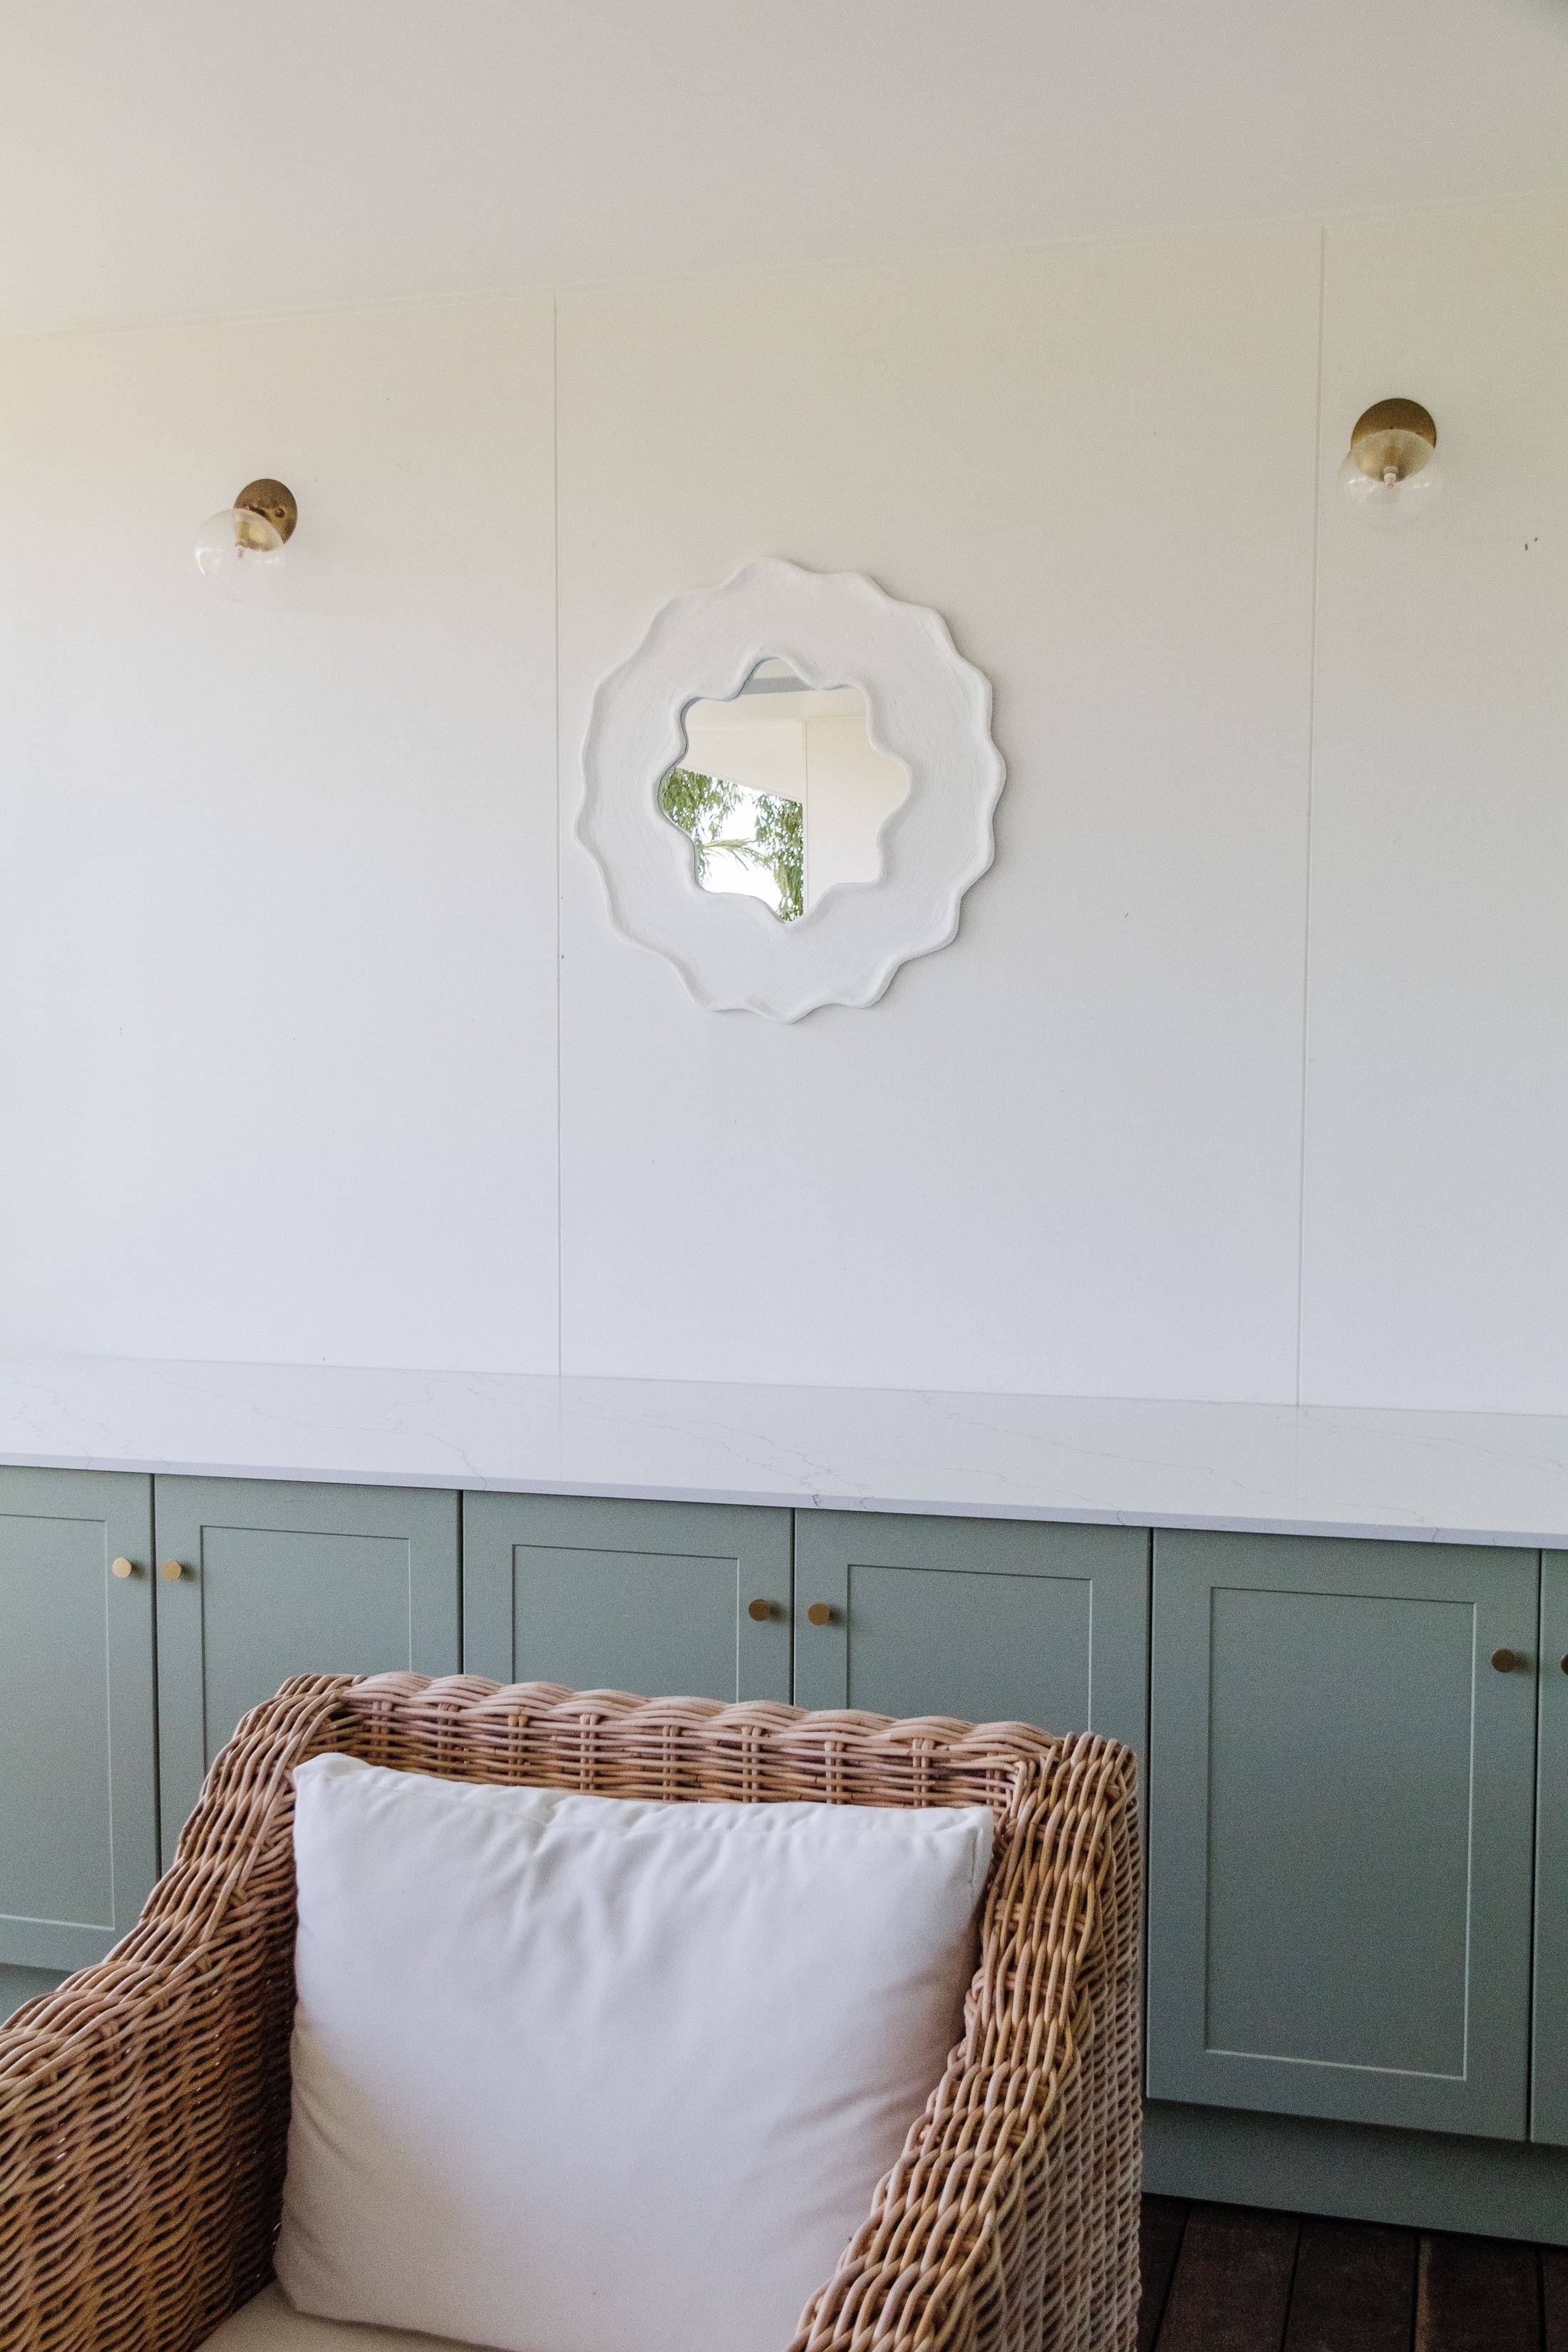
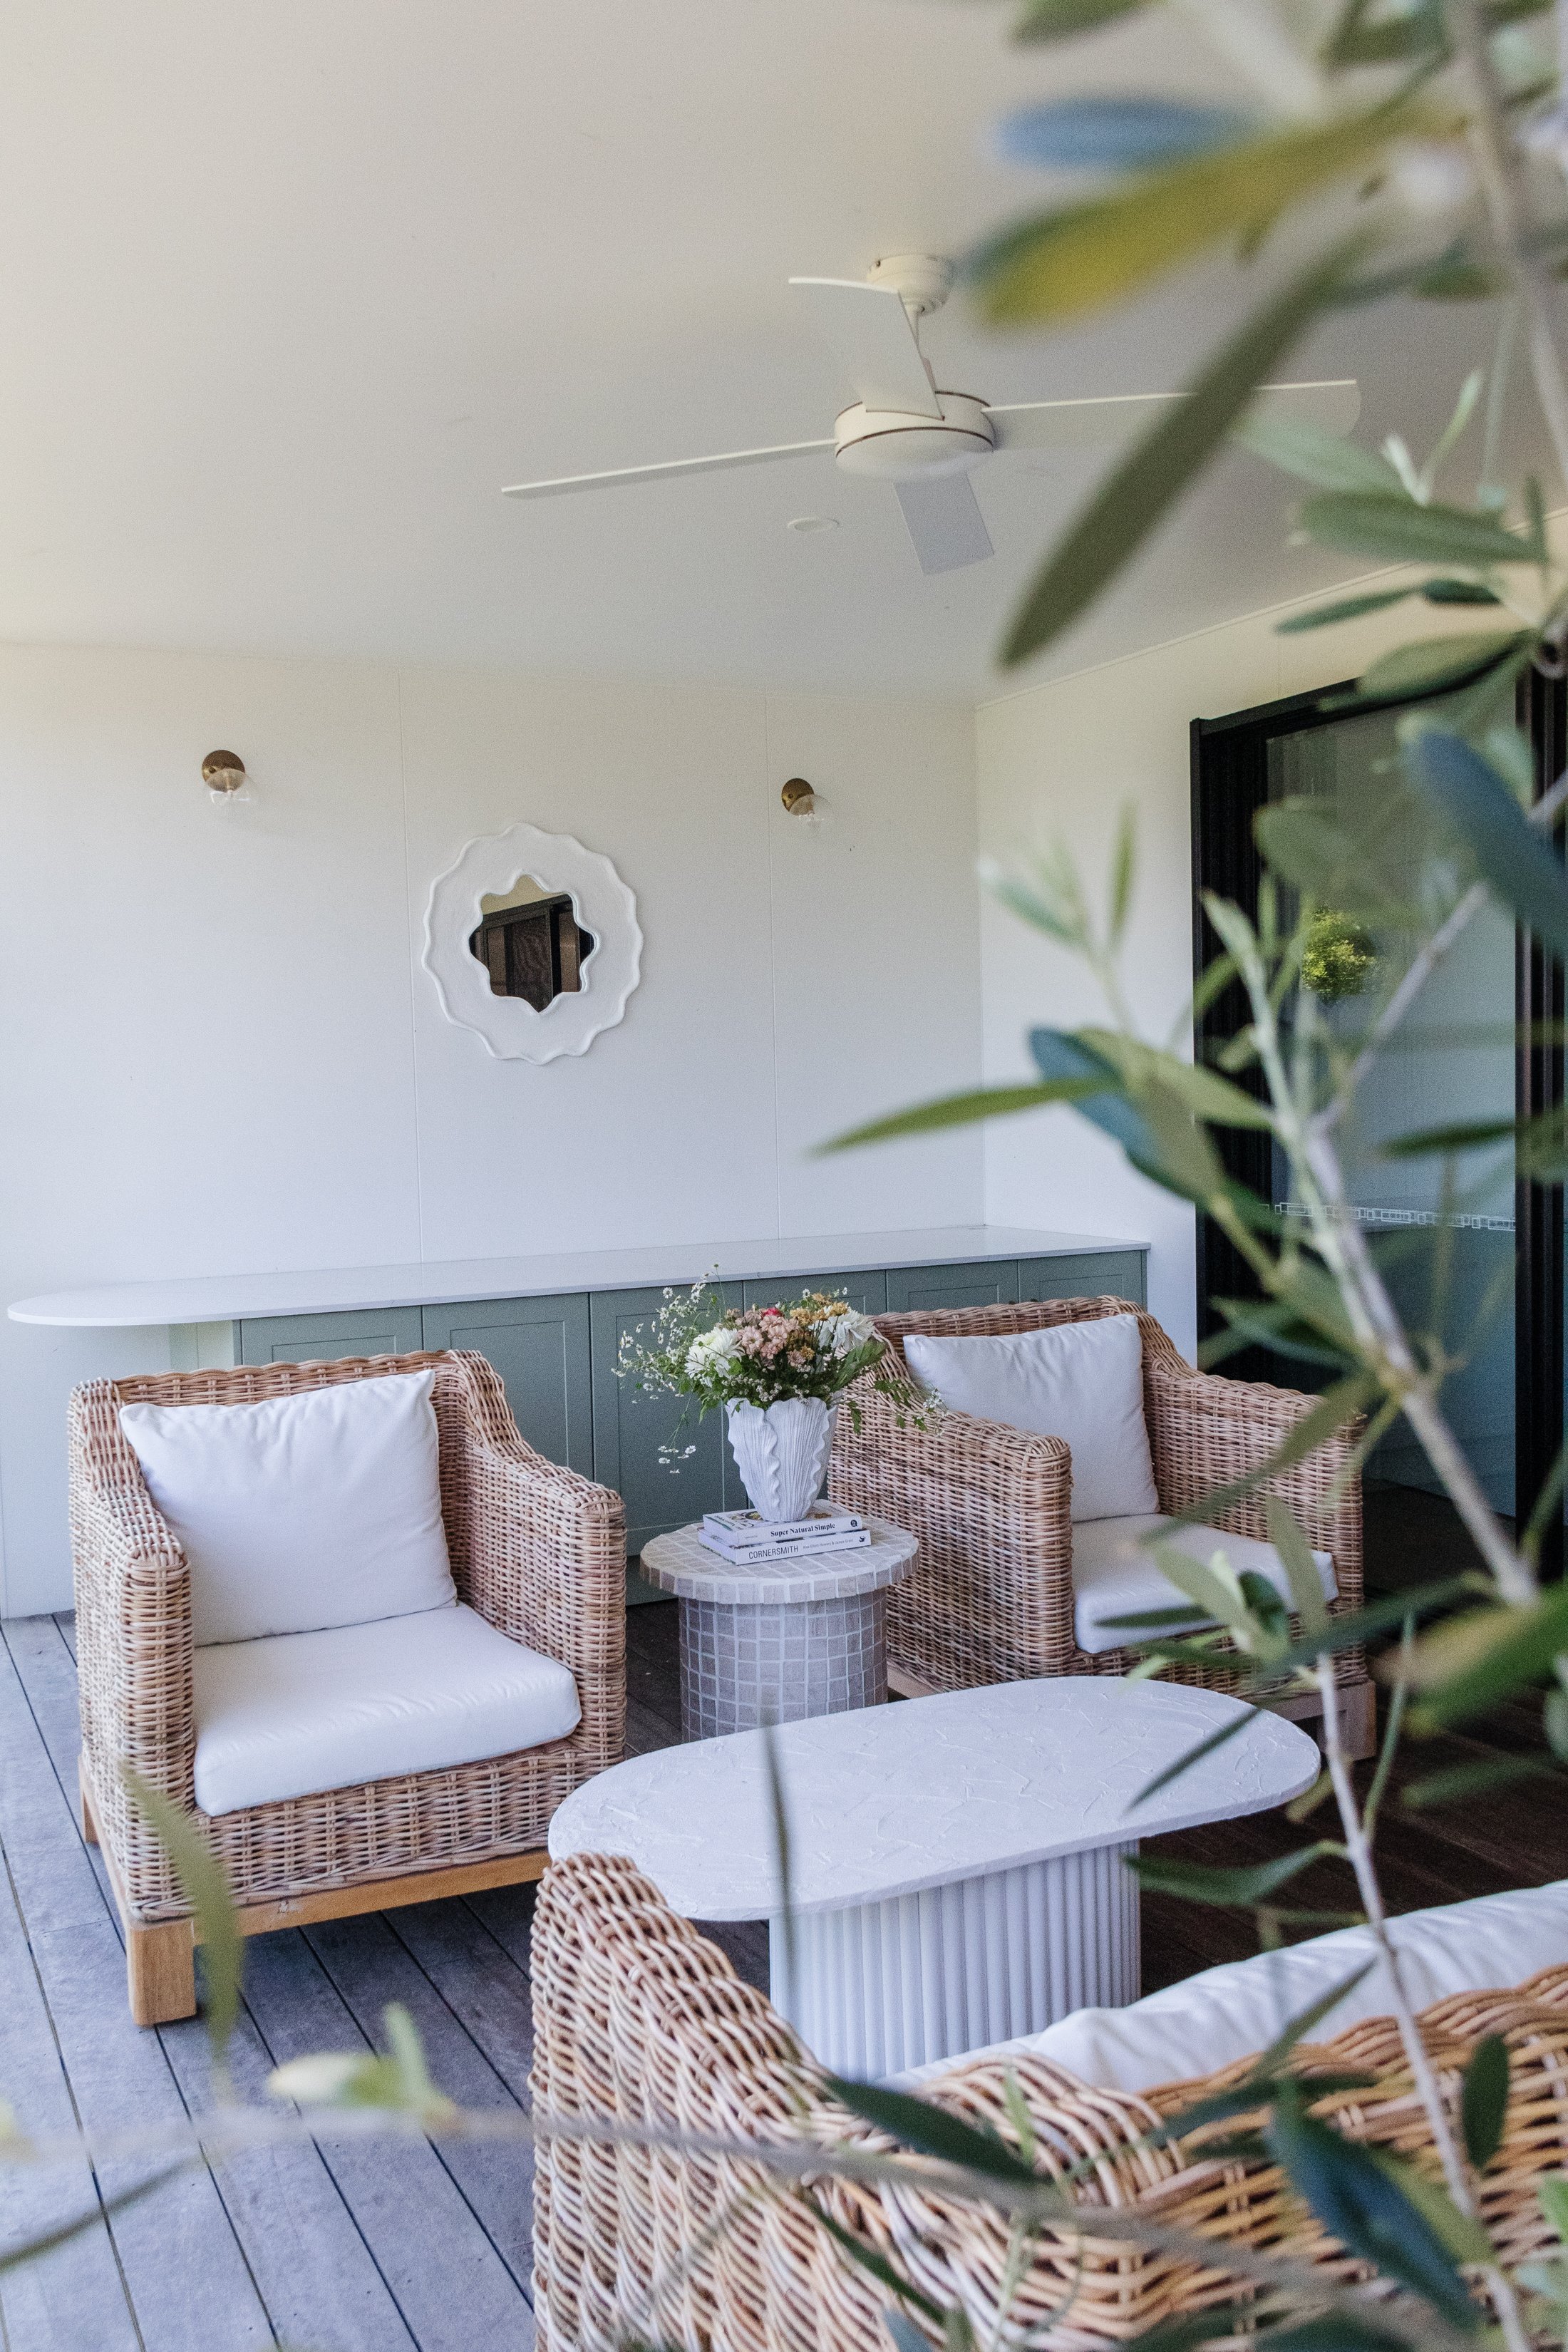
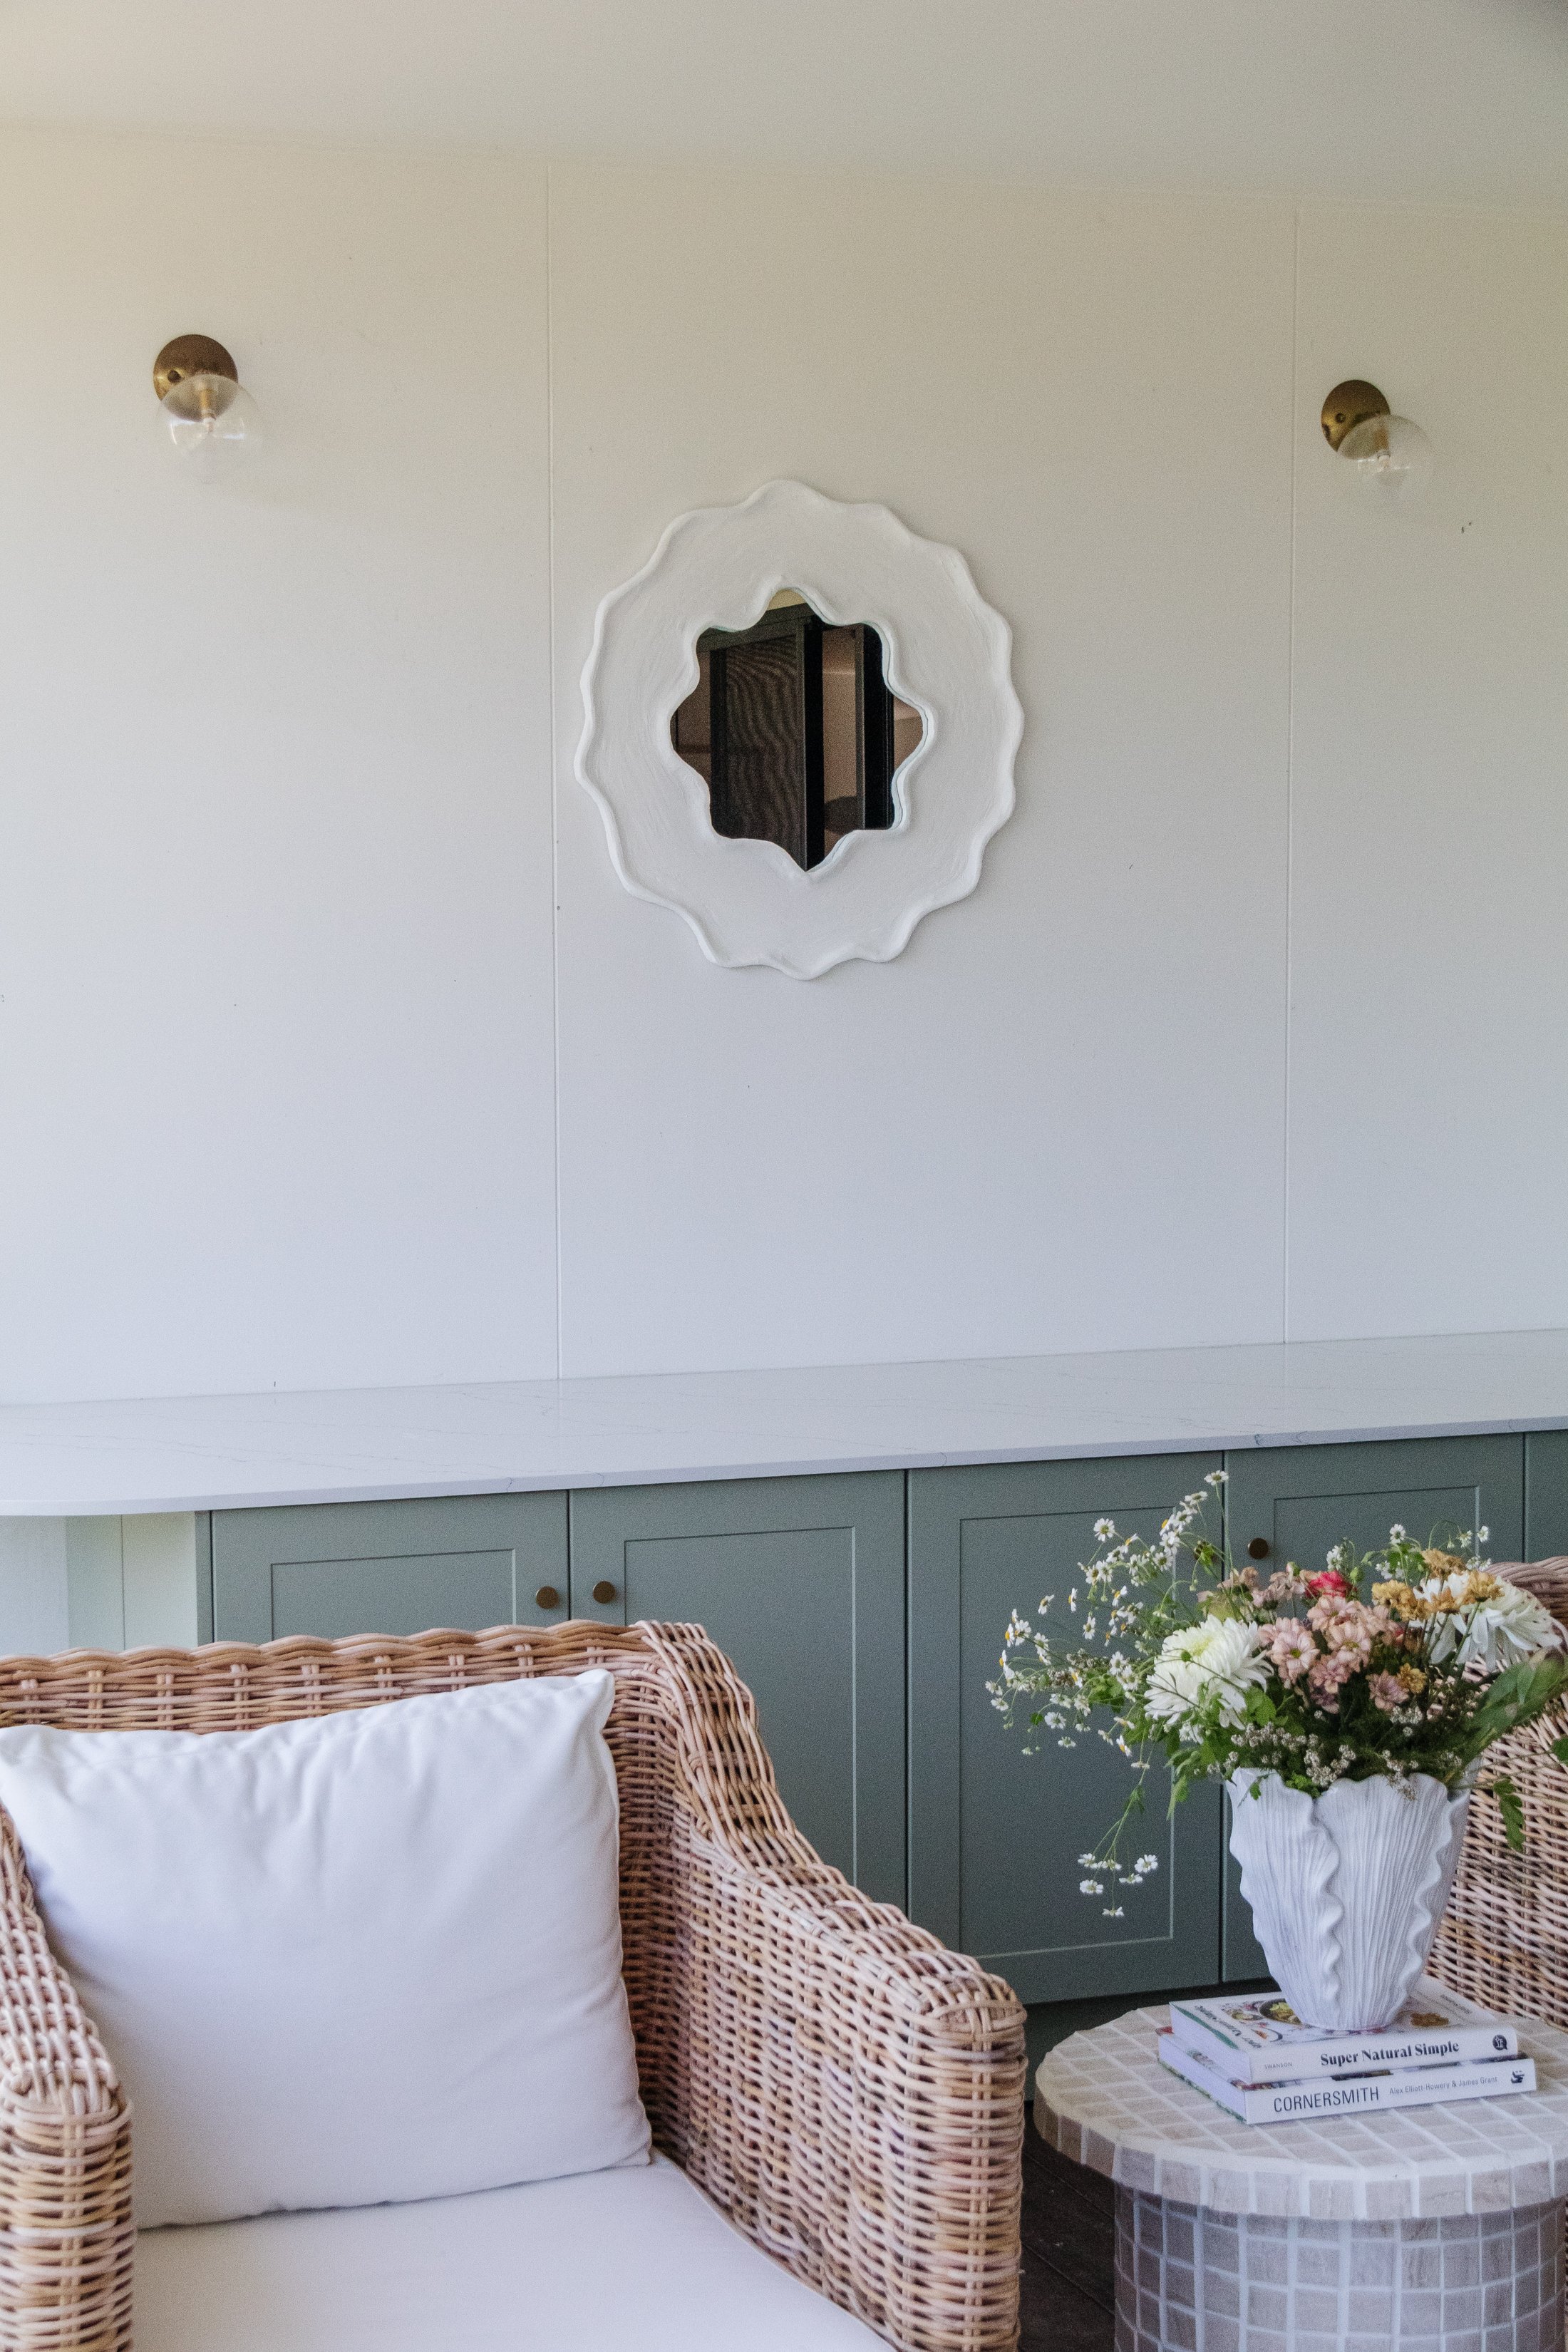
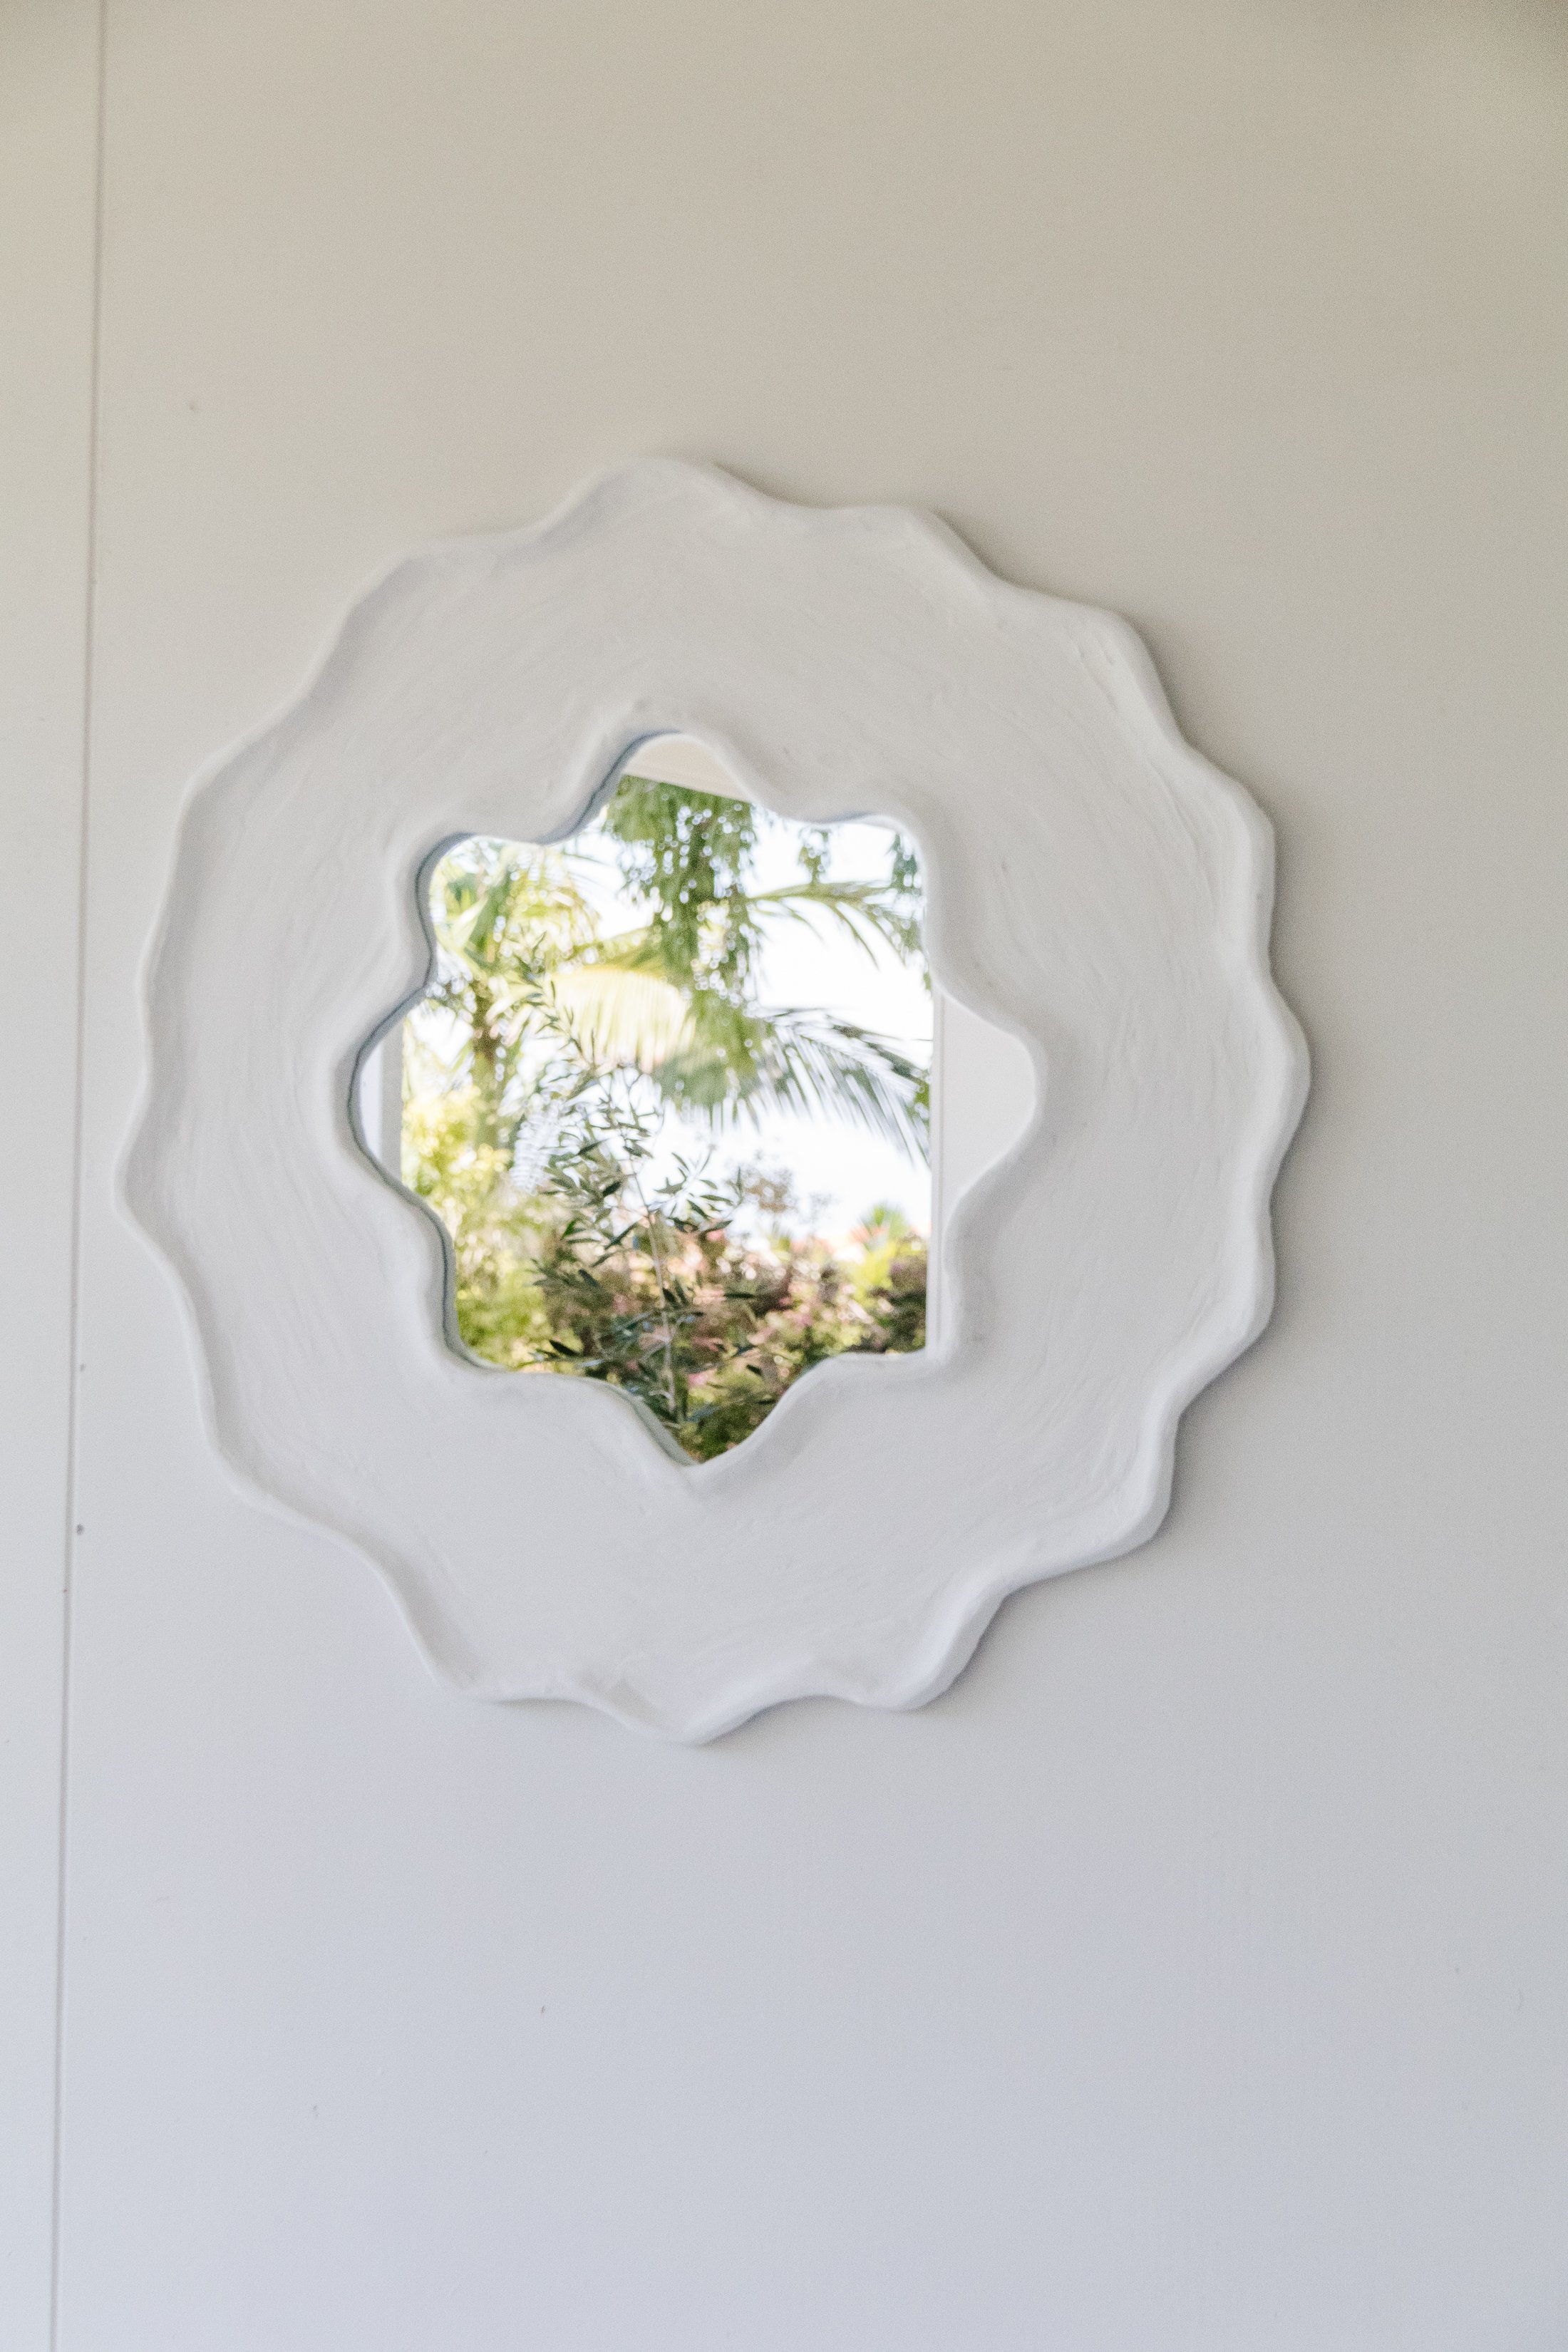
Before & After: Upcycled Wavy Plaster Mirror
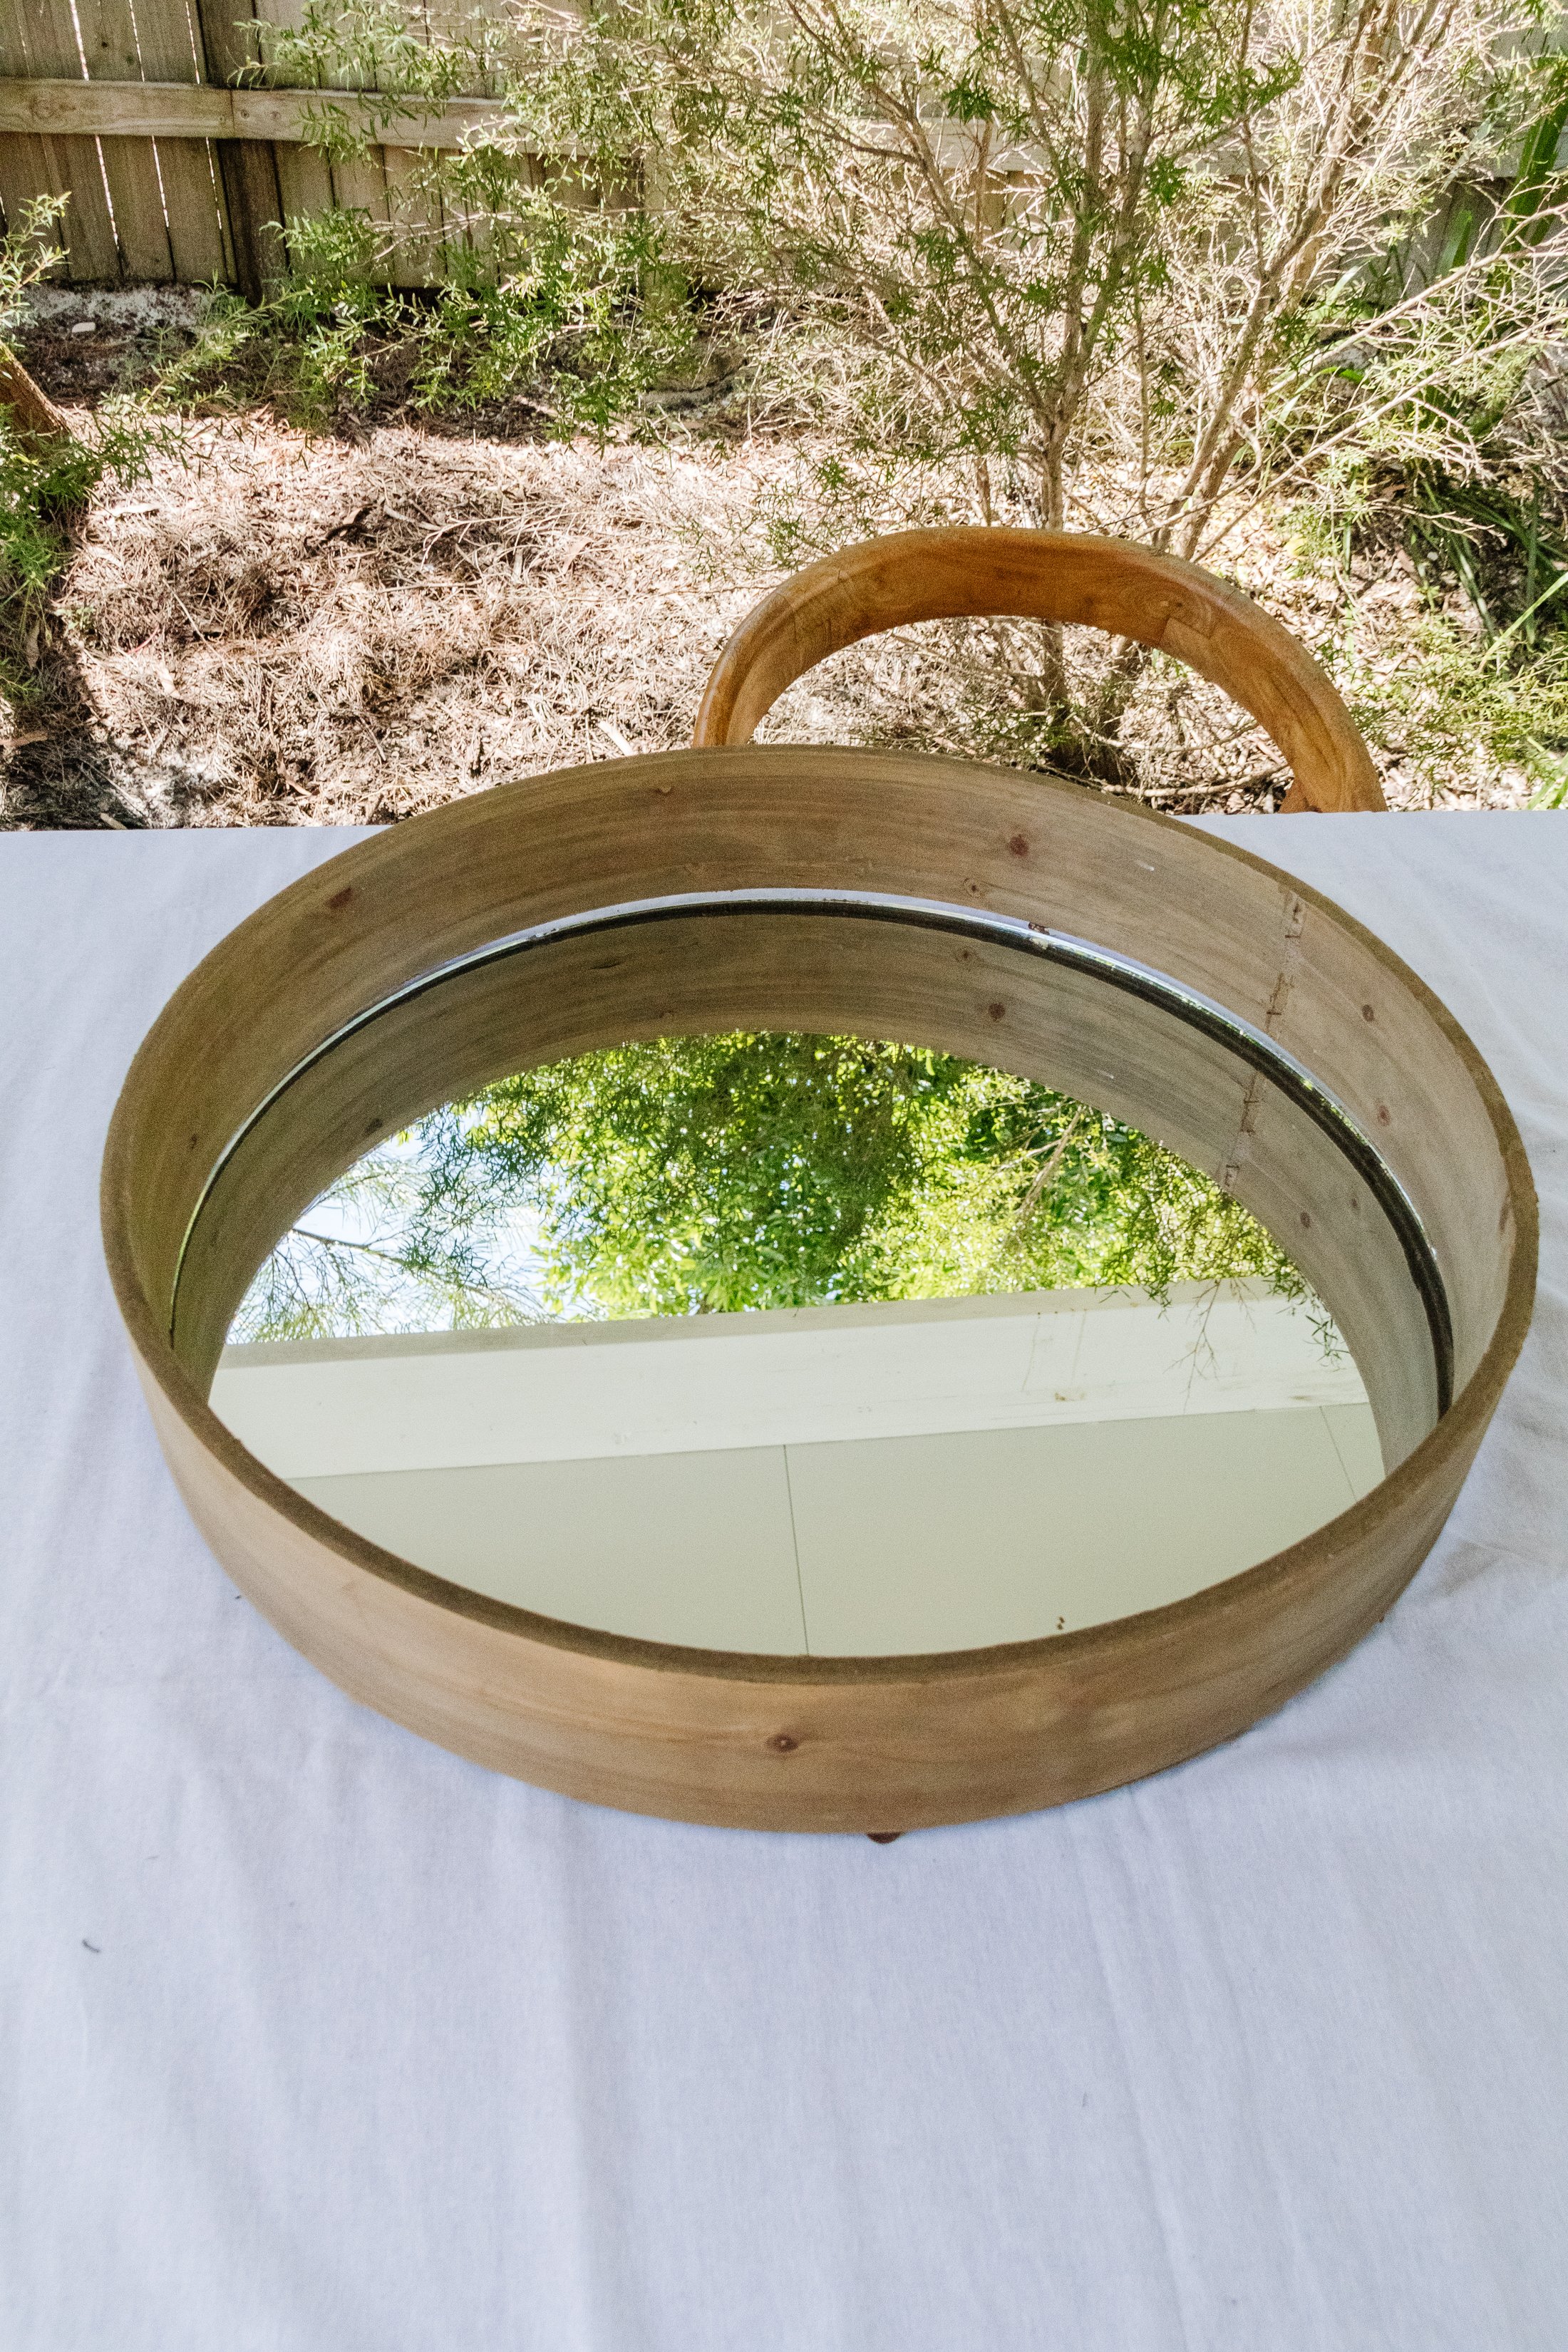
What do you do with a dirty old mirror from the tip shop? You upcycle it!
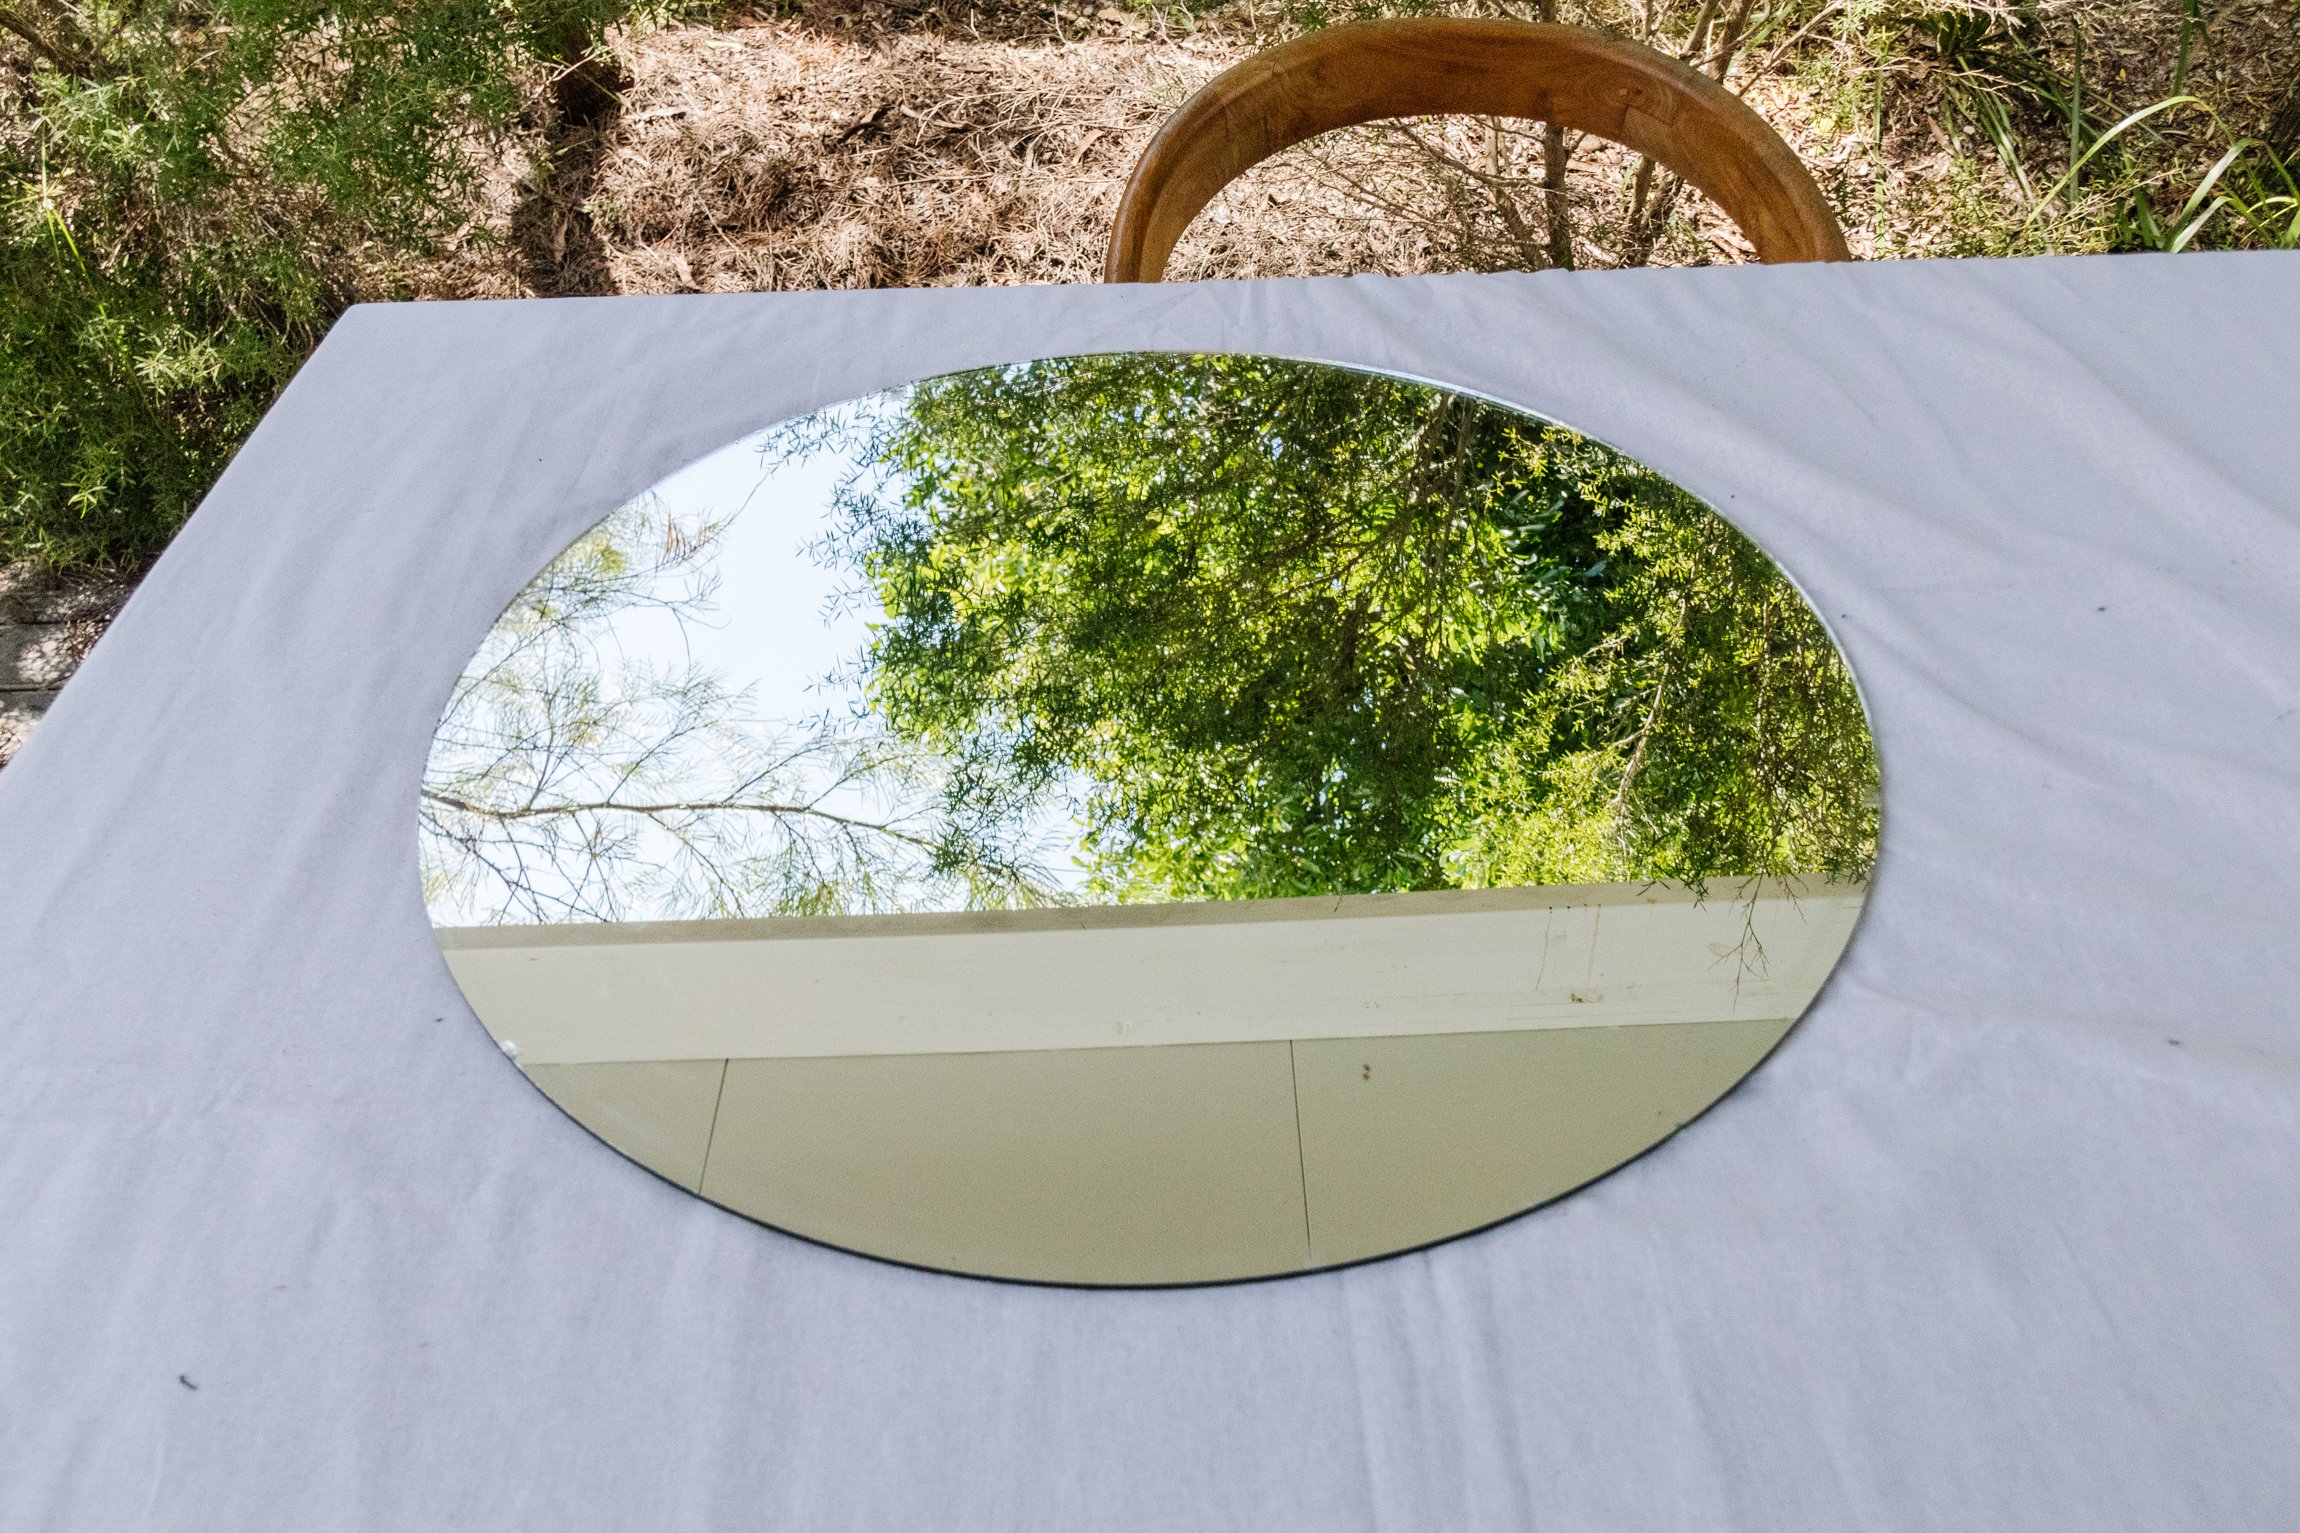
It’s Earth Day on 22nd April and for the month of April, I will be partnering with Pinterest, who have challenged me to find, flip and upcycle two items that could have ended up in landfill to raise awareness for Earth Month. To kick off this partnership, I have upcycled an ugly, unloved mirror I picked up at the tip shop for $5. When I first saw it, I was immediately drawn to the scale - it’s really big! I checked it over and saw that I could remove the mirror from the ugly frame using a drill, so I bought it and was excited to start thinking about how I could upcycle it. I had a panel of MDF and half a tub of plaster leftover from another project, so I knew I could breathe new life into this mirror while using these materials I already had at home. Come and join me as I show you how to make a wavy plaster mirror. And make sure you watch this video on Pinterest to see how it all came together. Happy Earth Month guys!
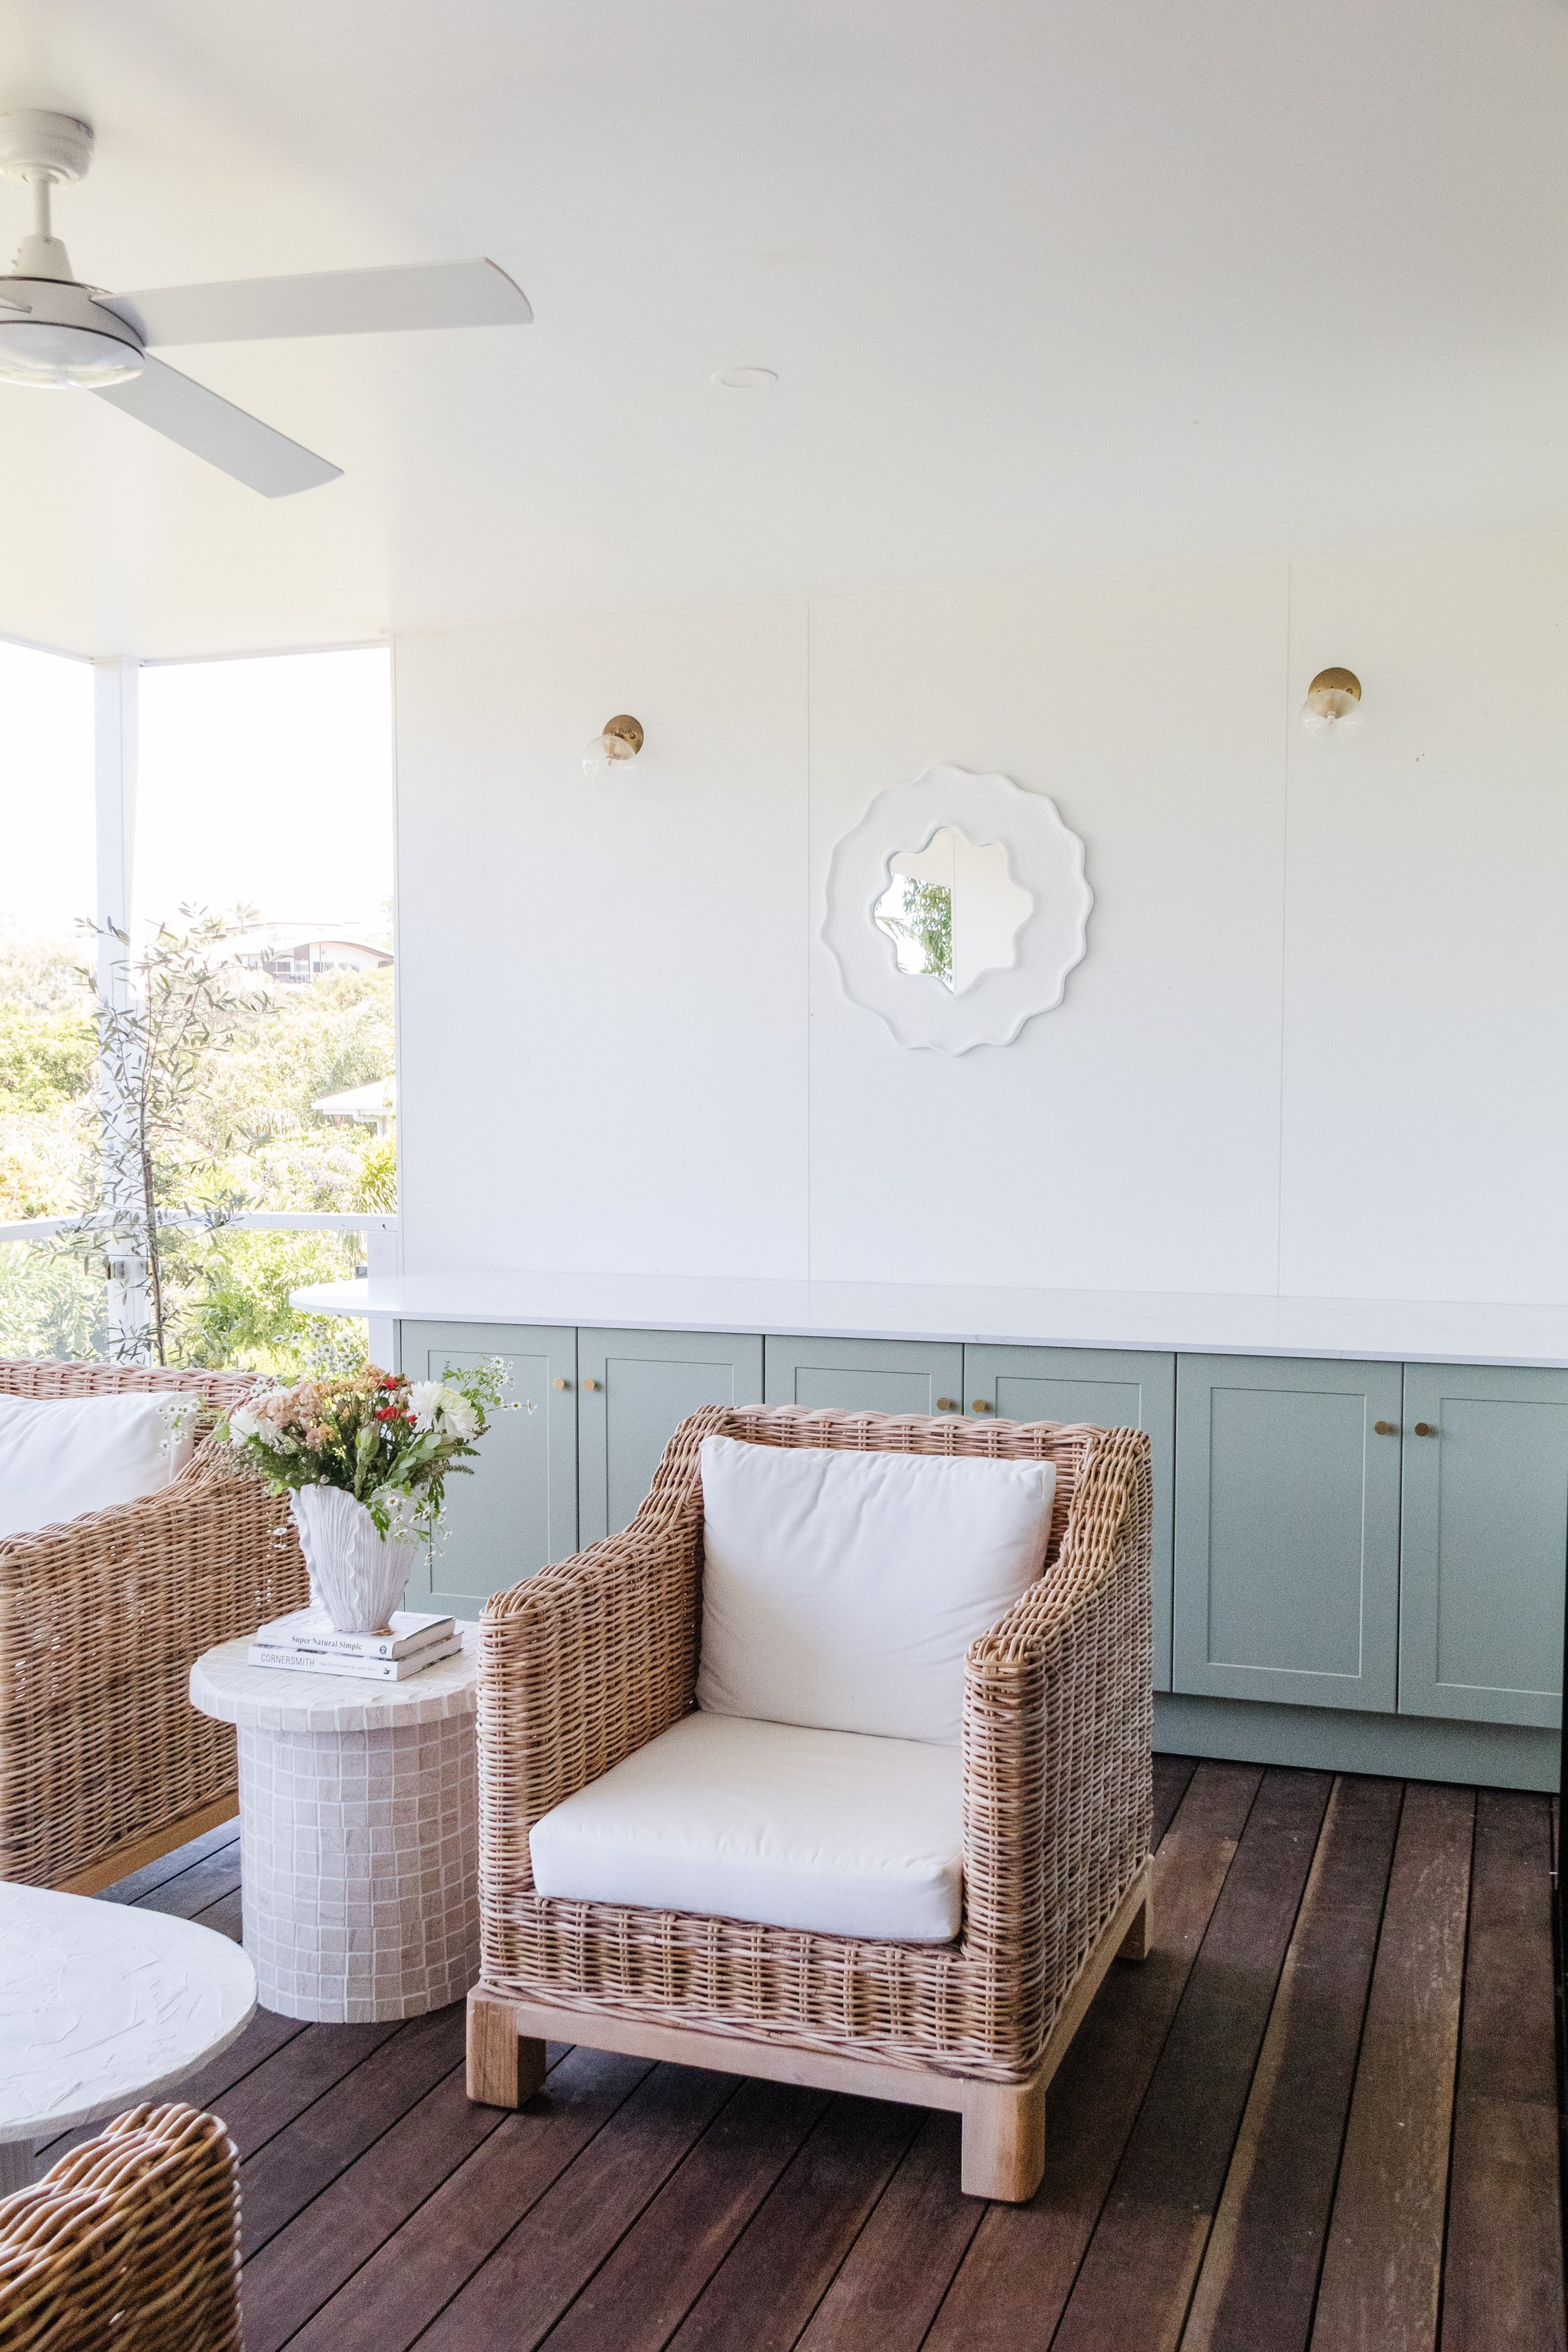
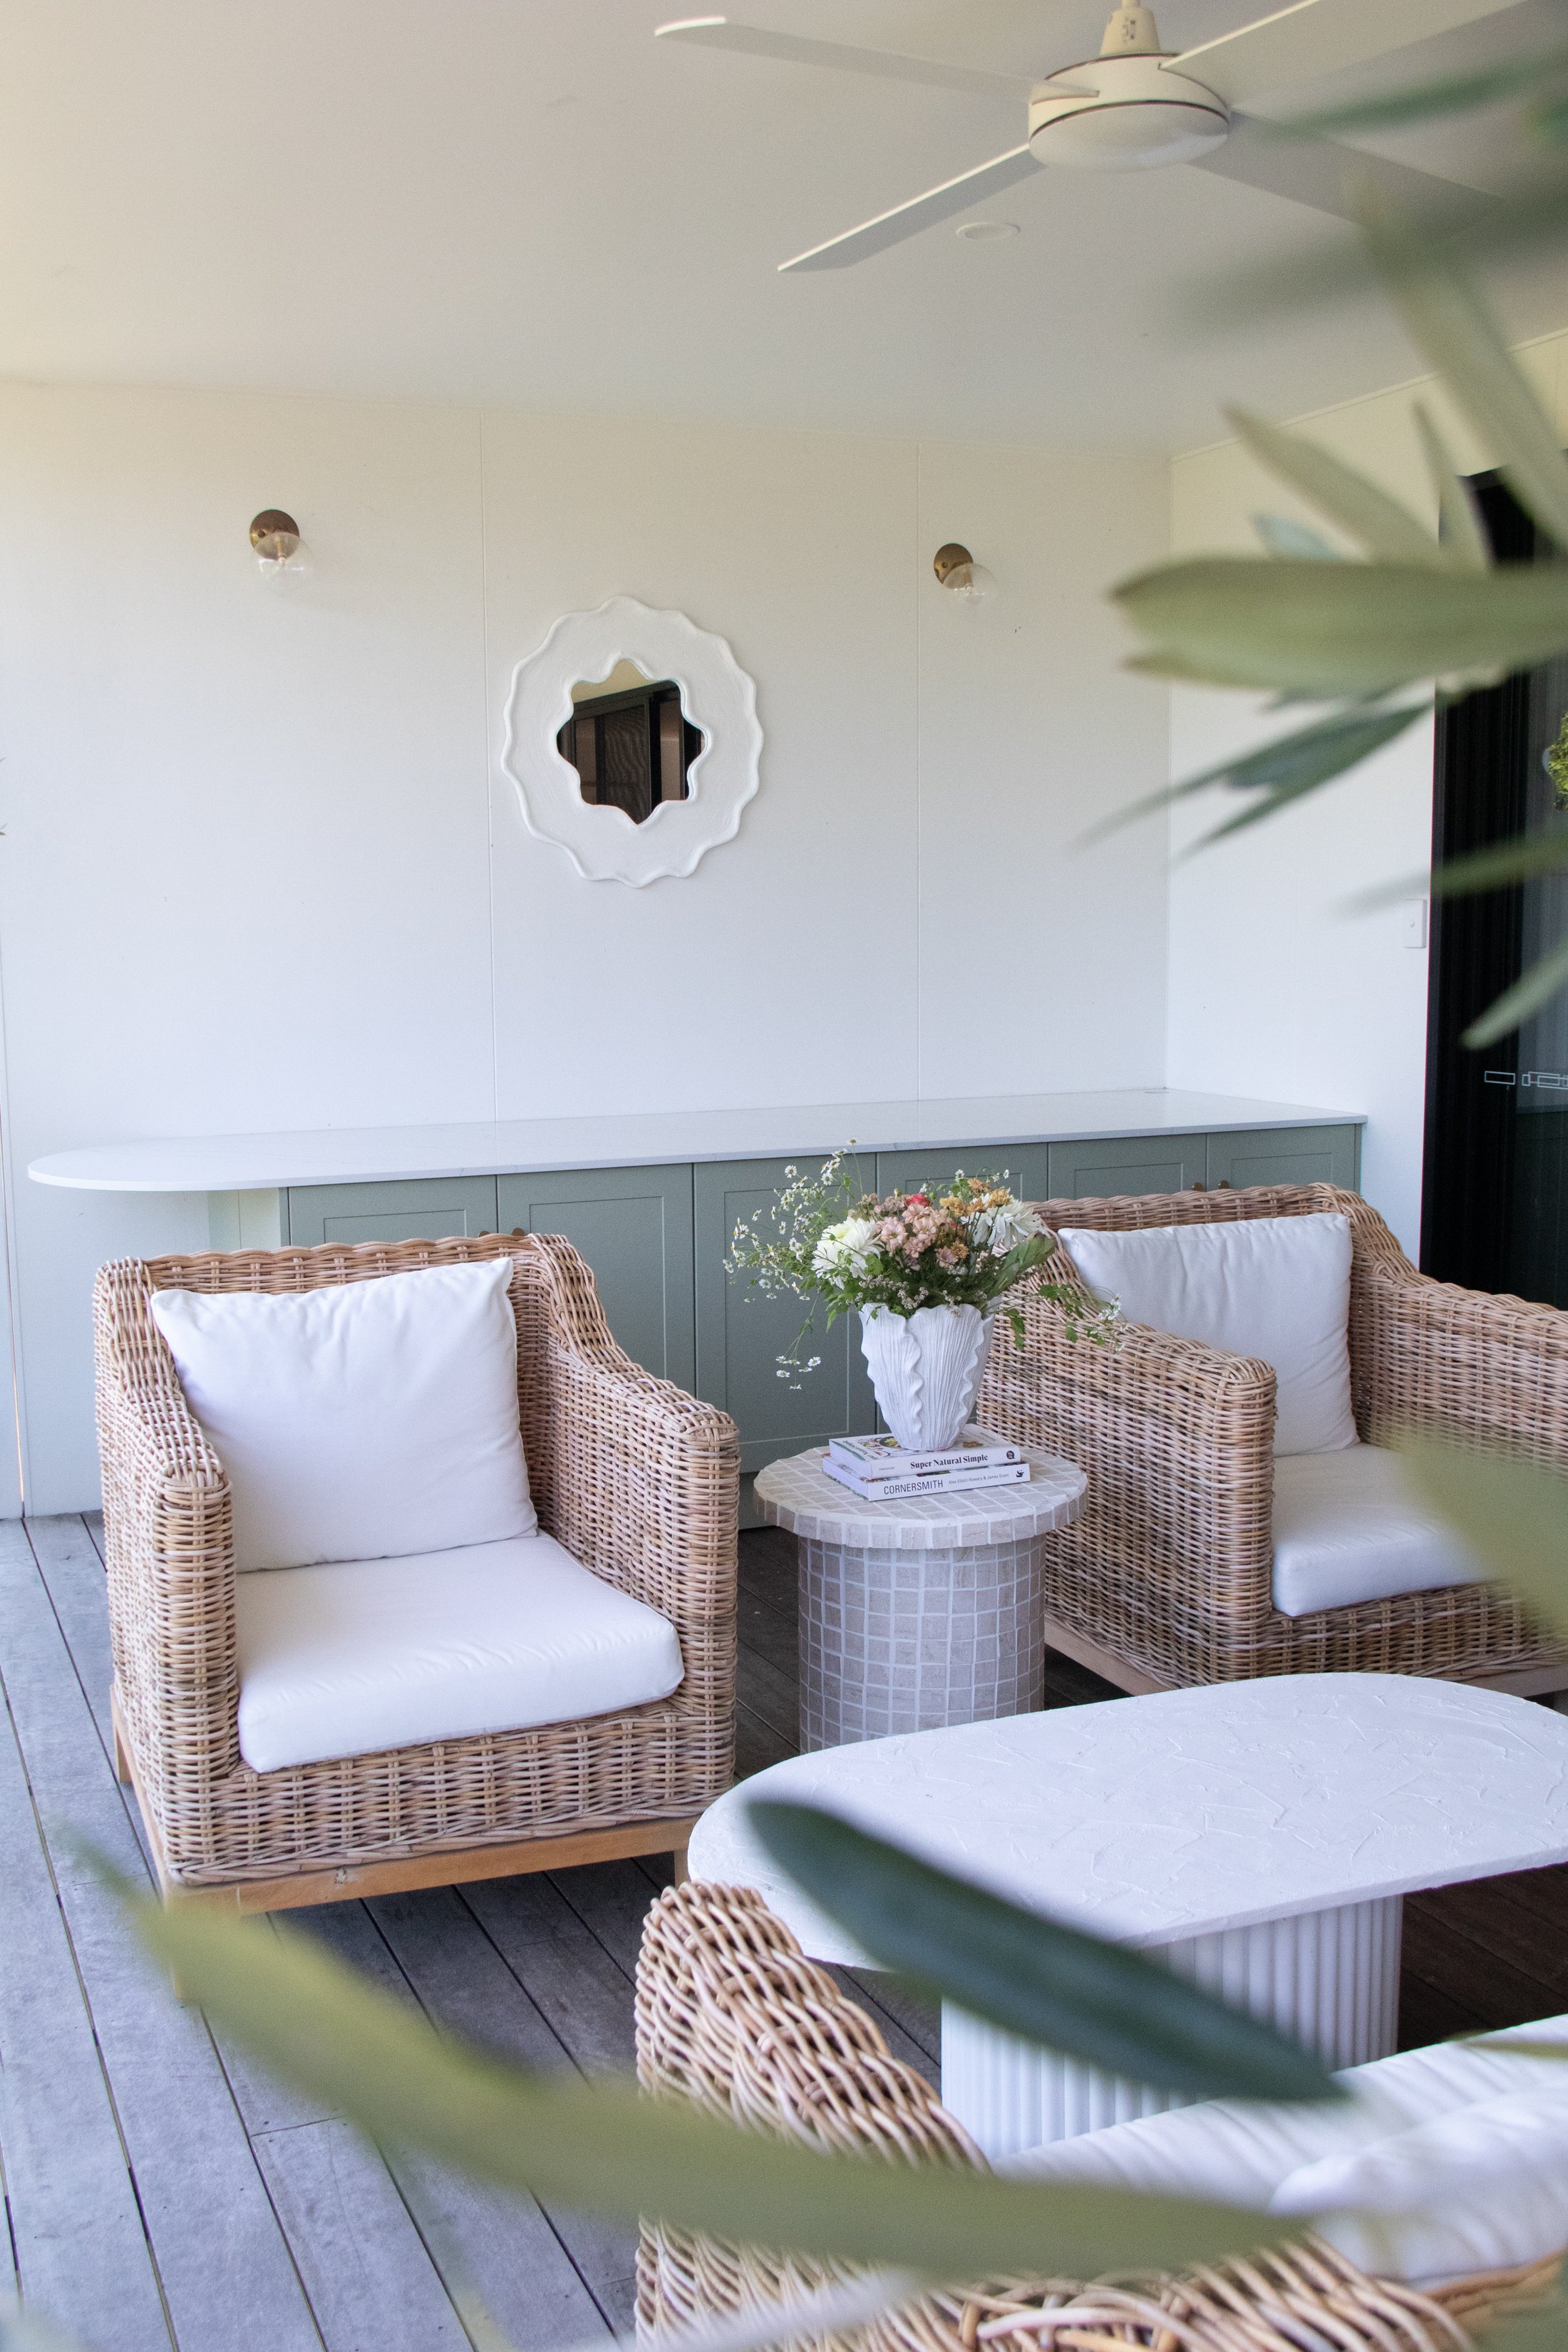
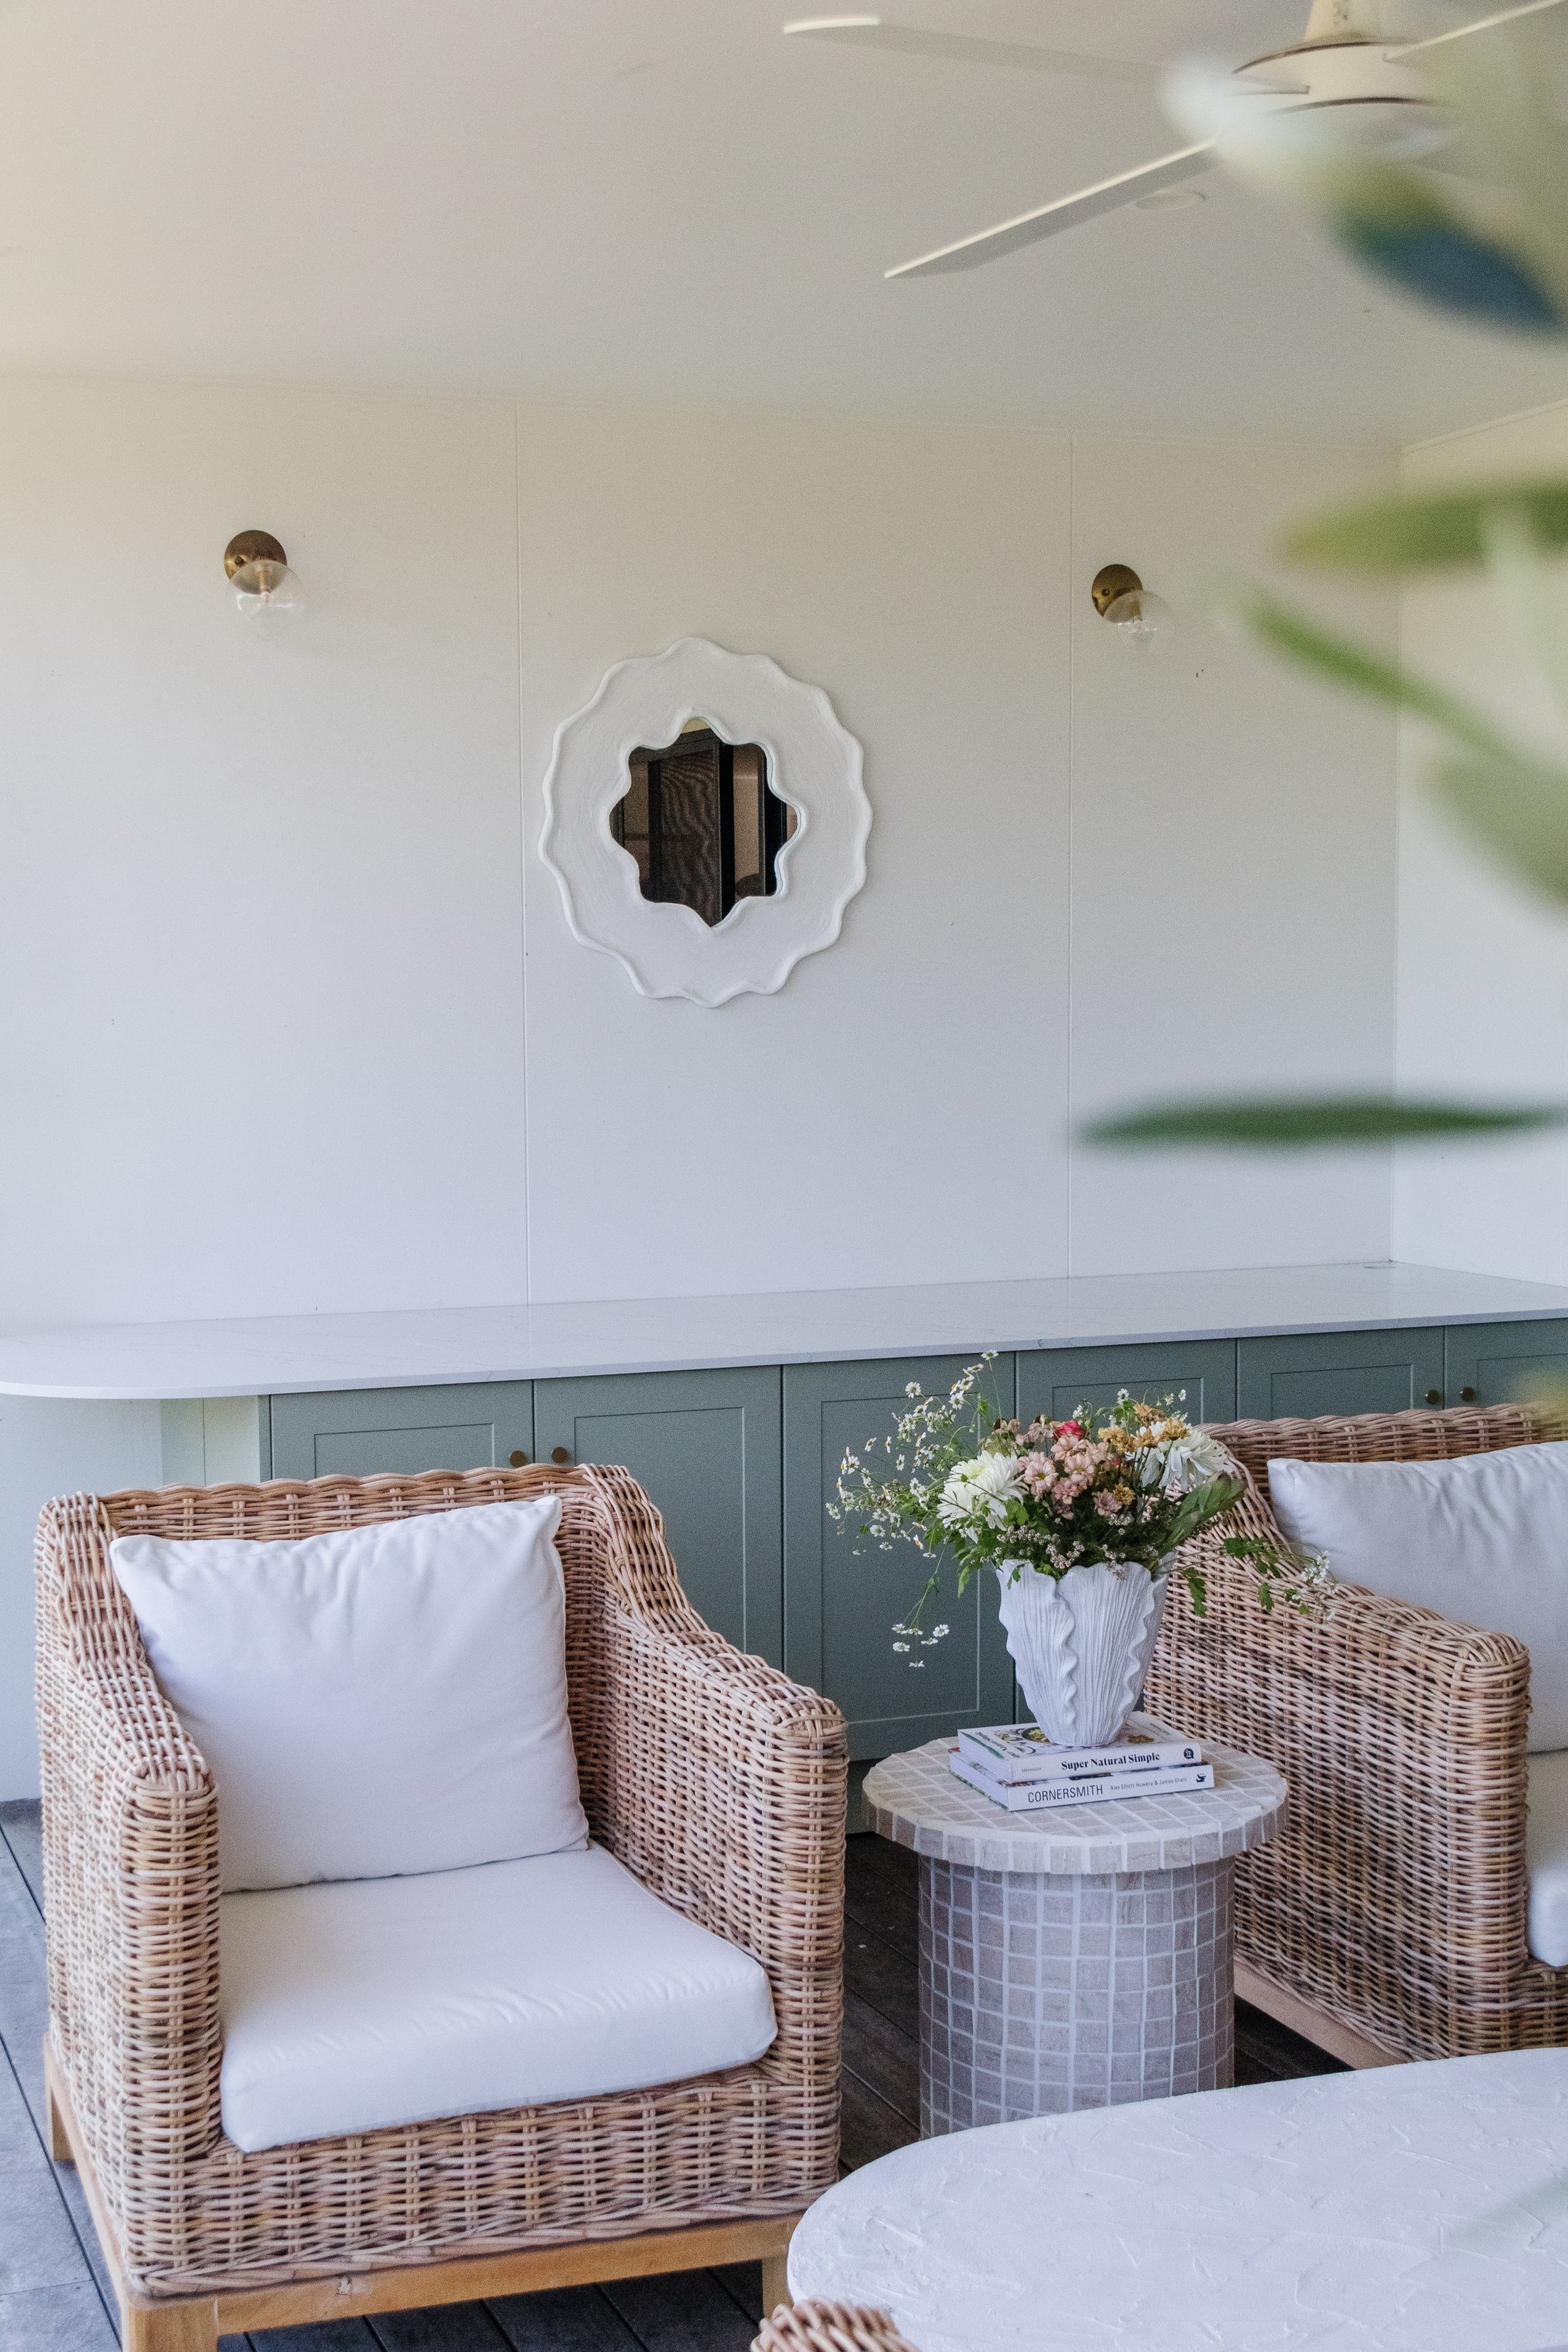
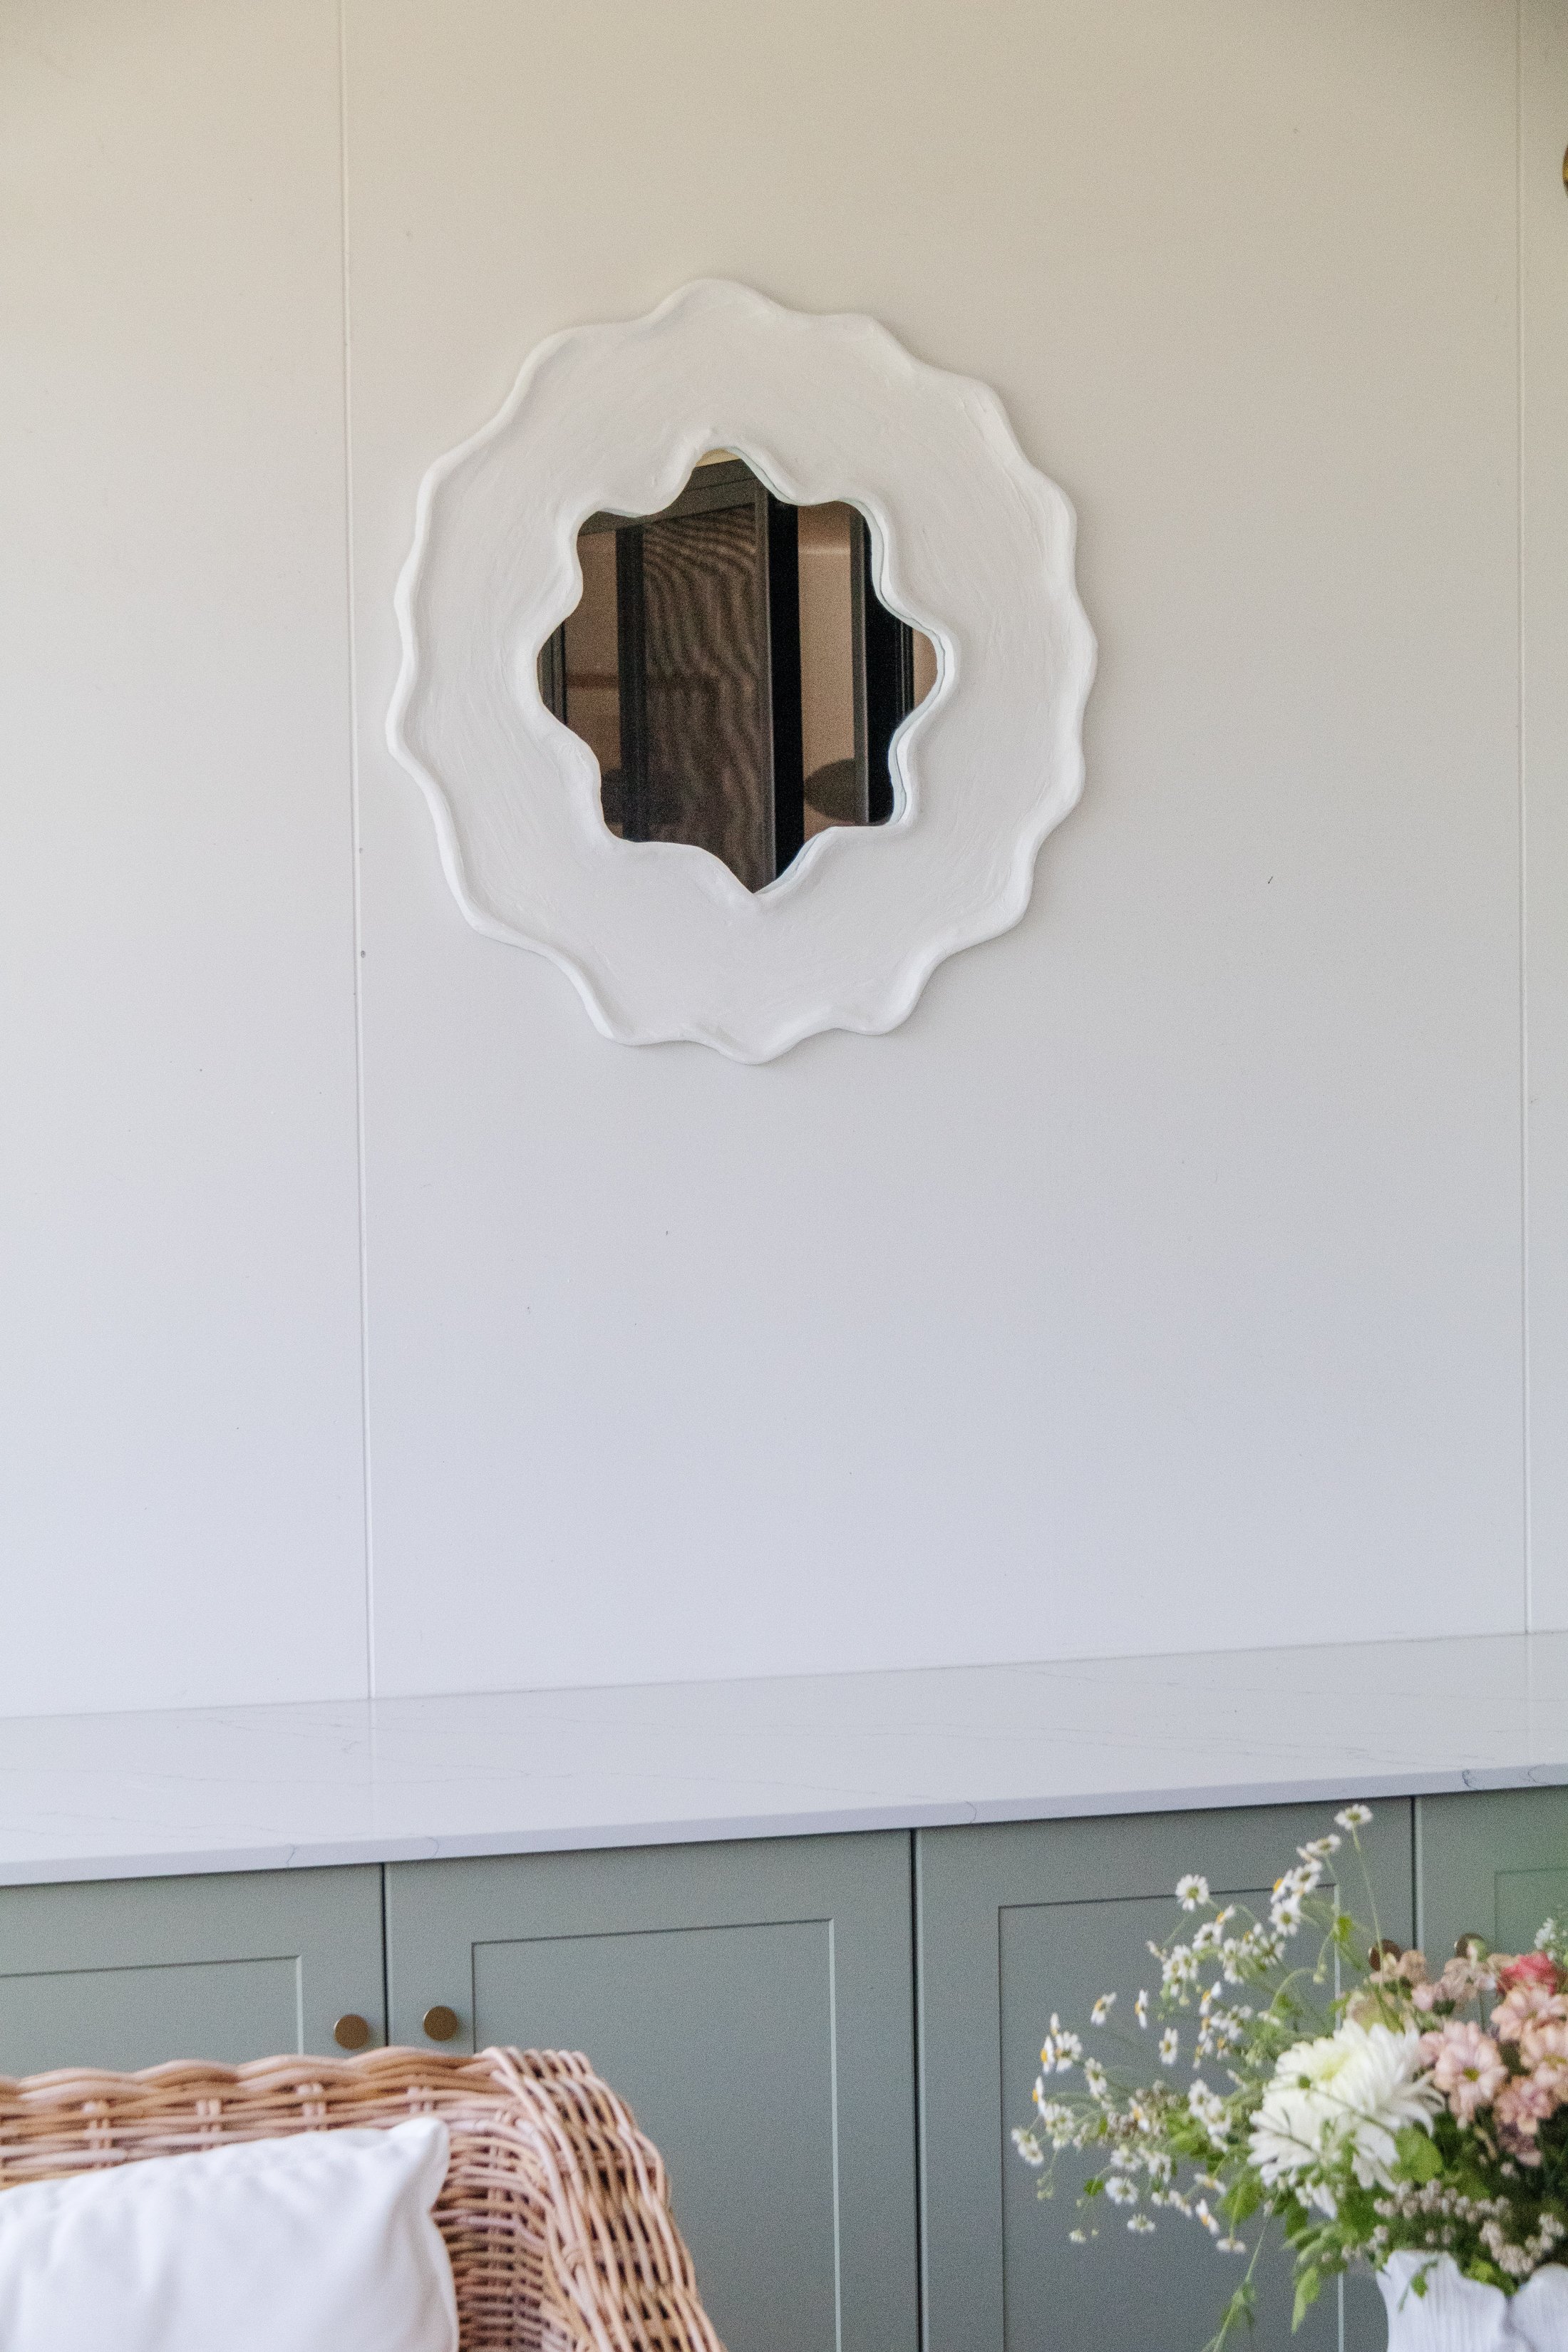
Before & After


Materials
Mirror, either circular or a square.
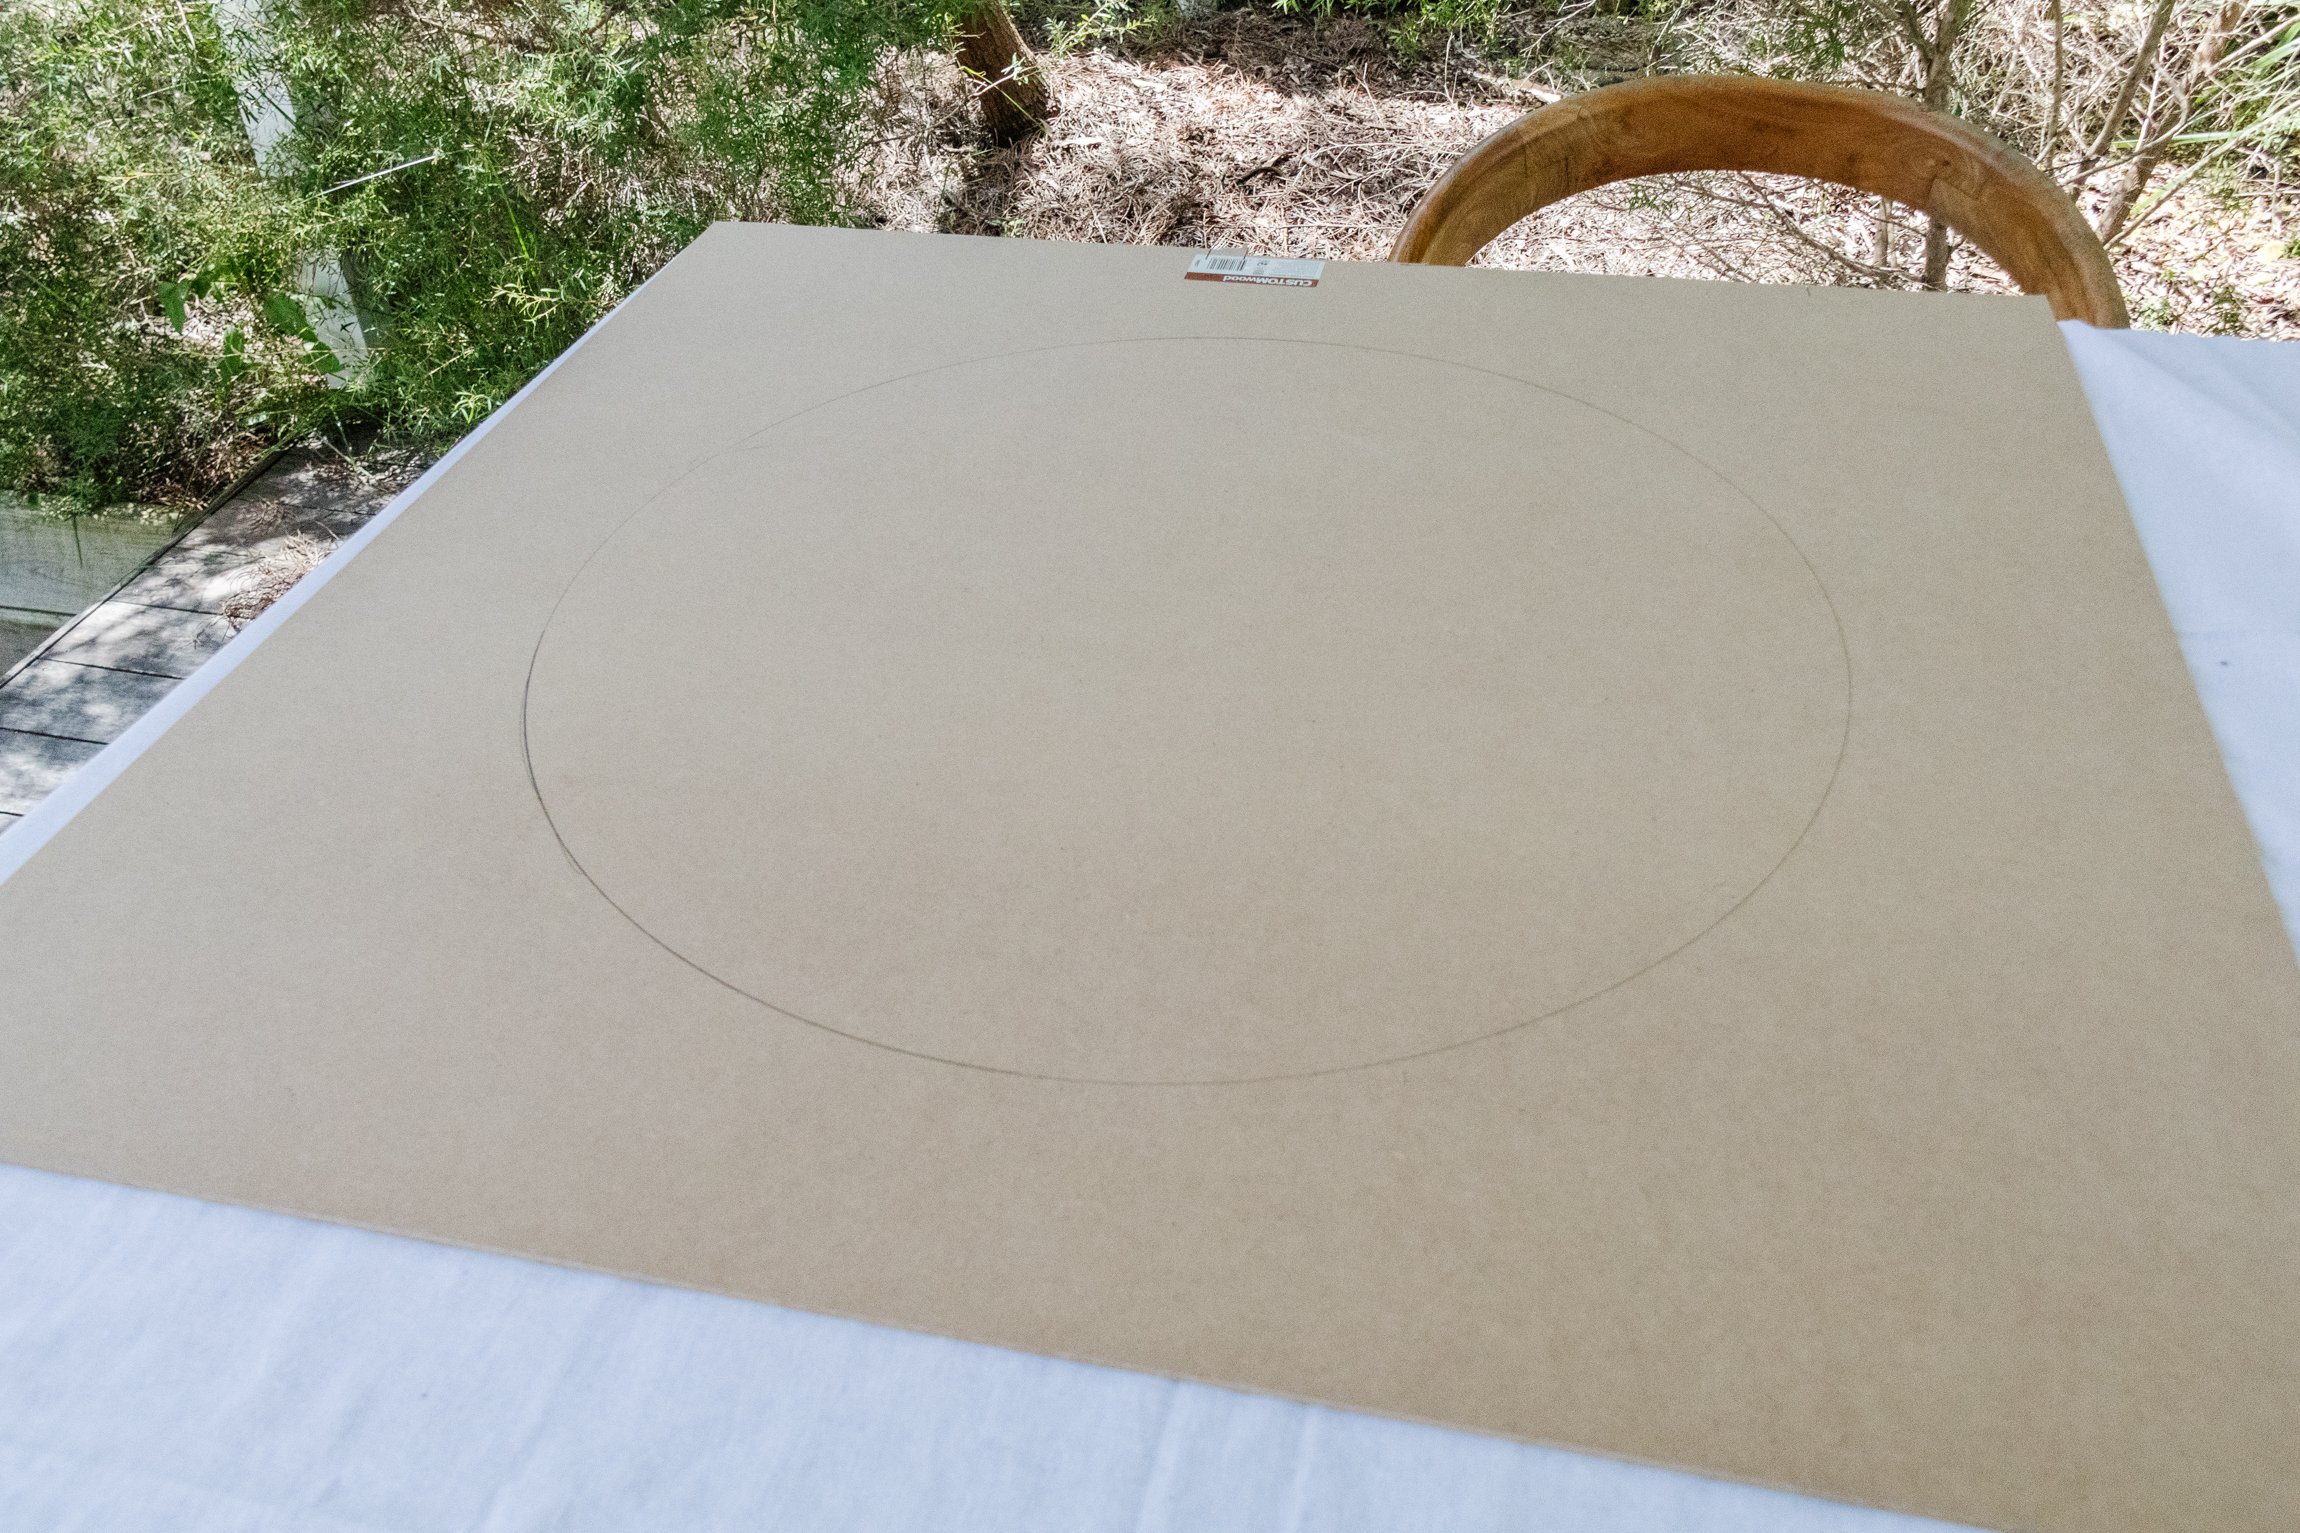
Thin panel of MDF
Pencil
Cotton macrame rope
Painters tape
Multipurpose joint compound (plaster)
Paint brush
White paint
Strong glue
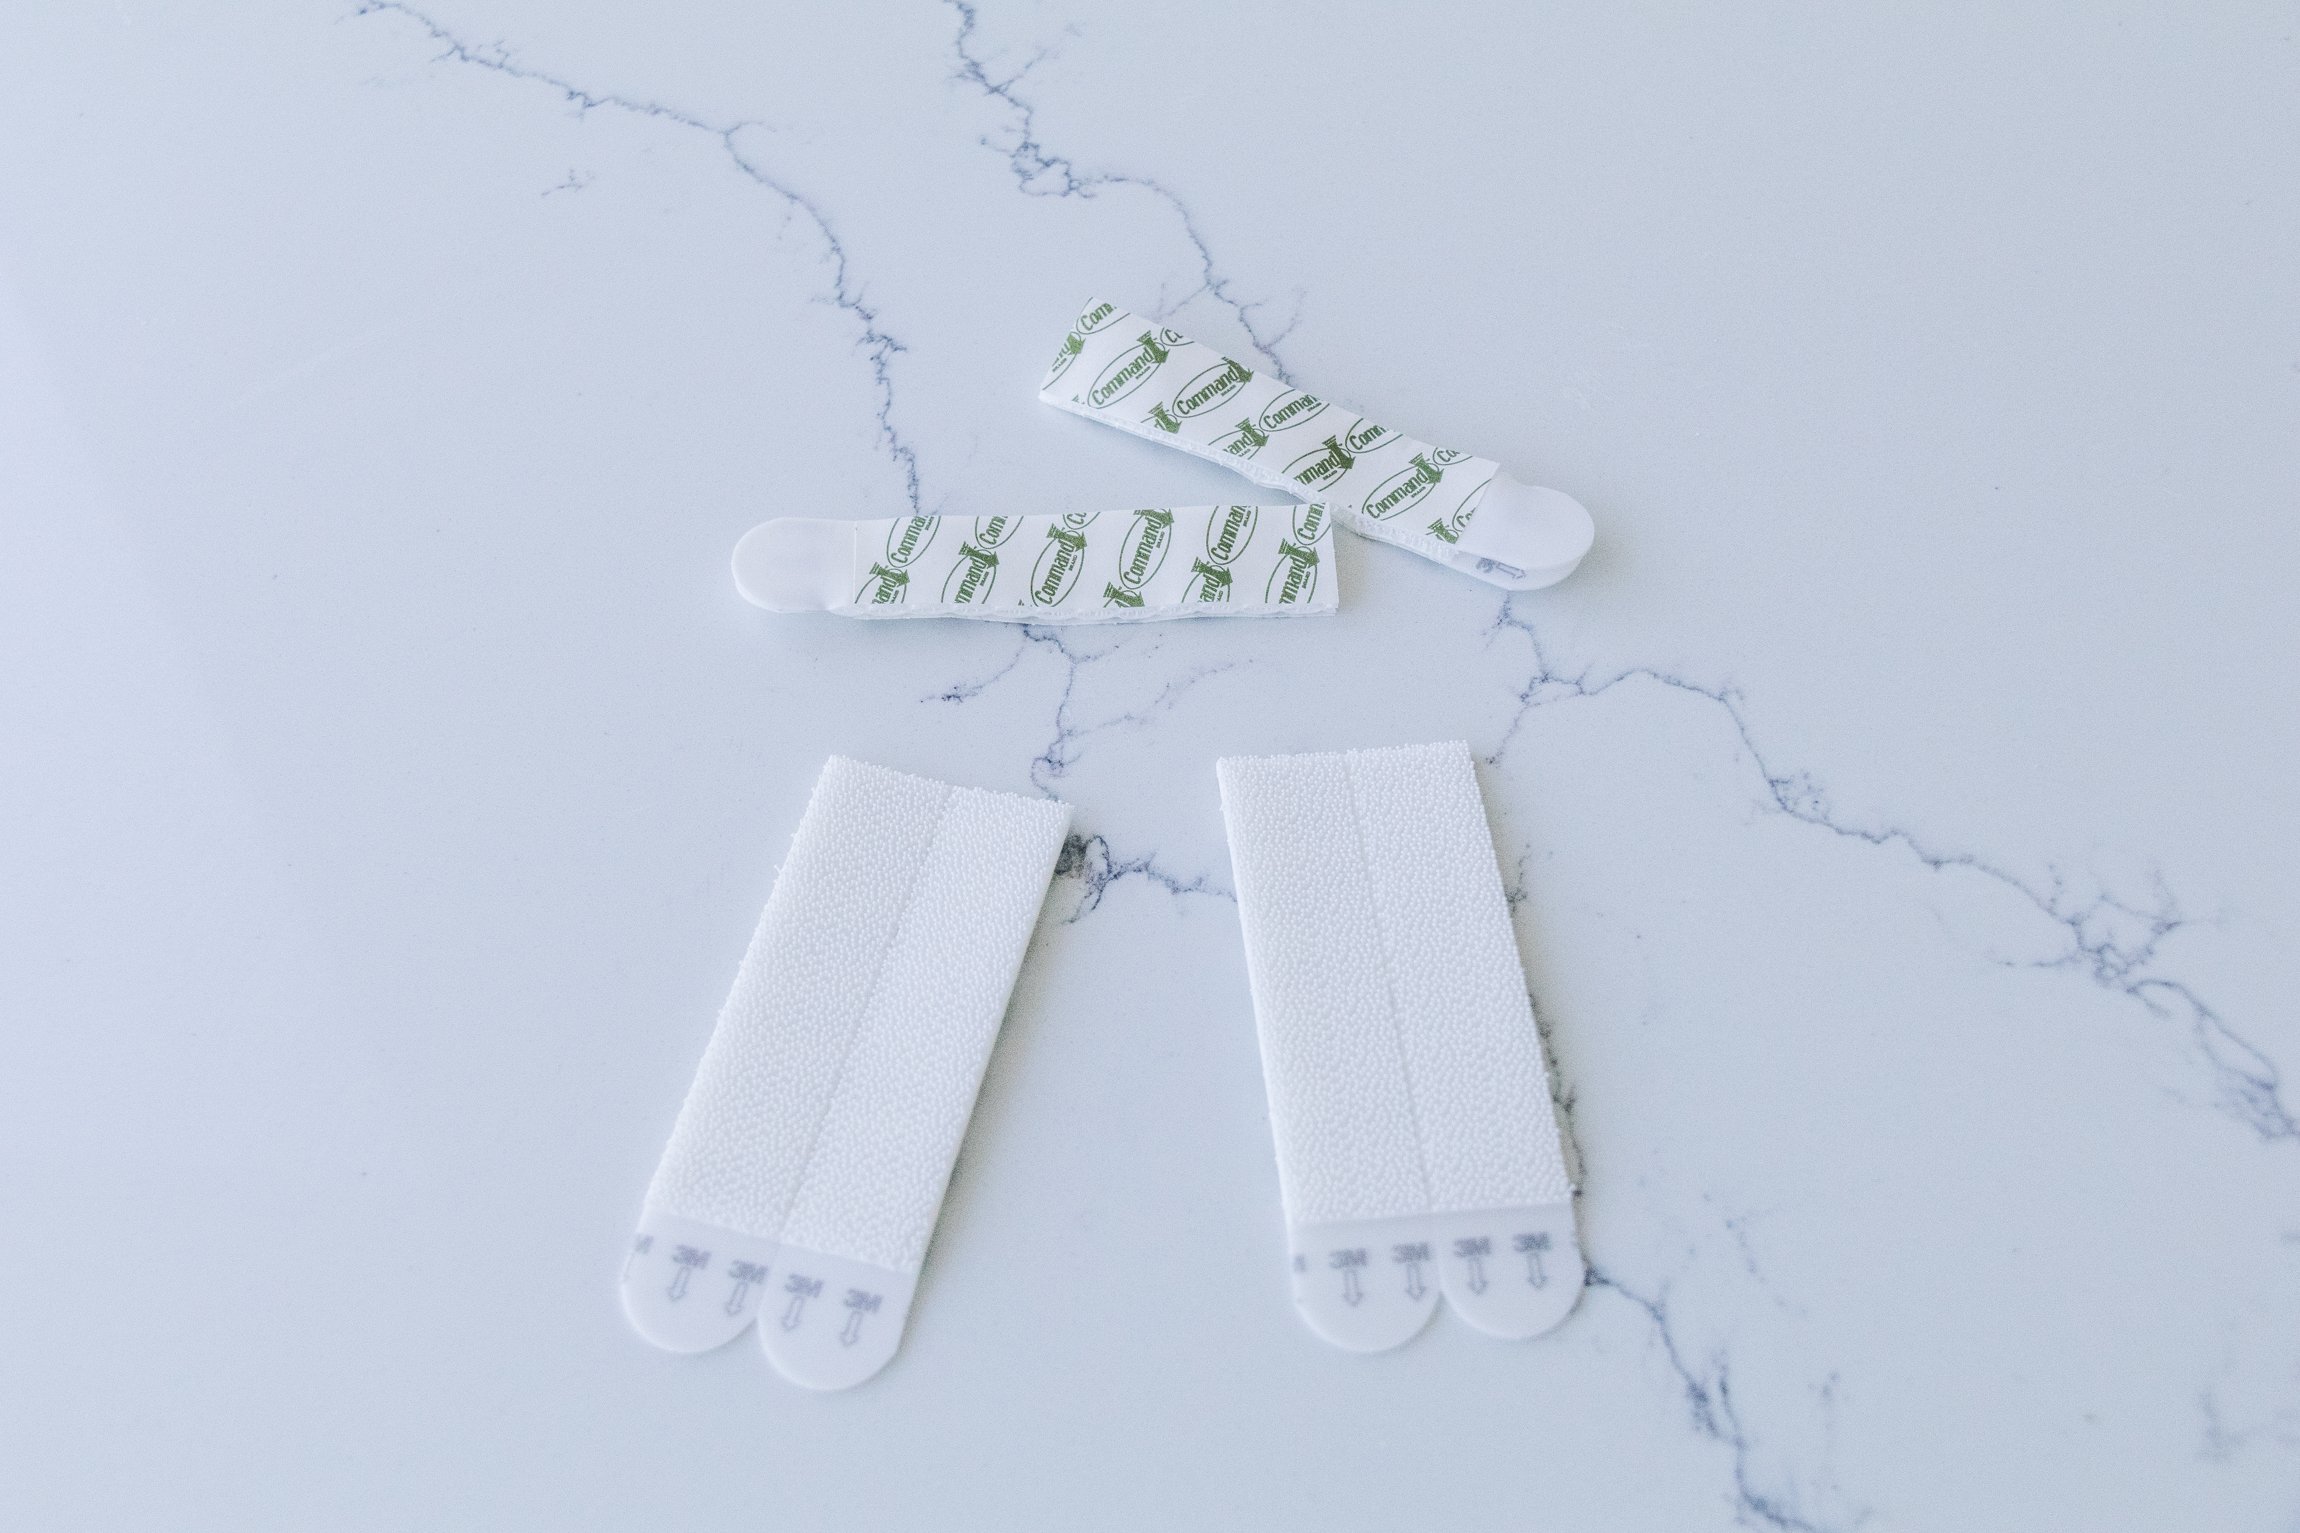
Velcro strips for hanging the mirror
I also used clamps, a jigsaw, drill, detail sander and disposable gloves for this upcycle.
How To
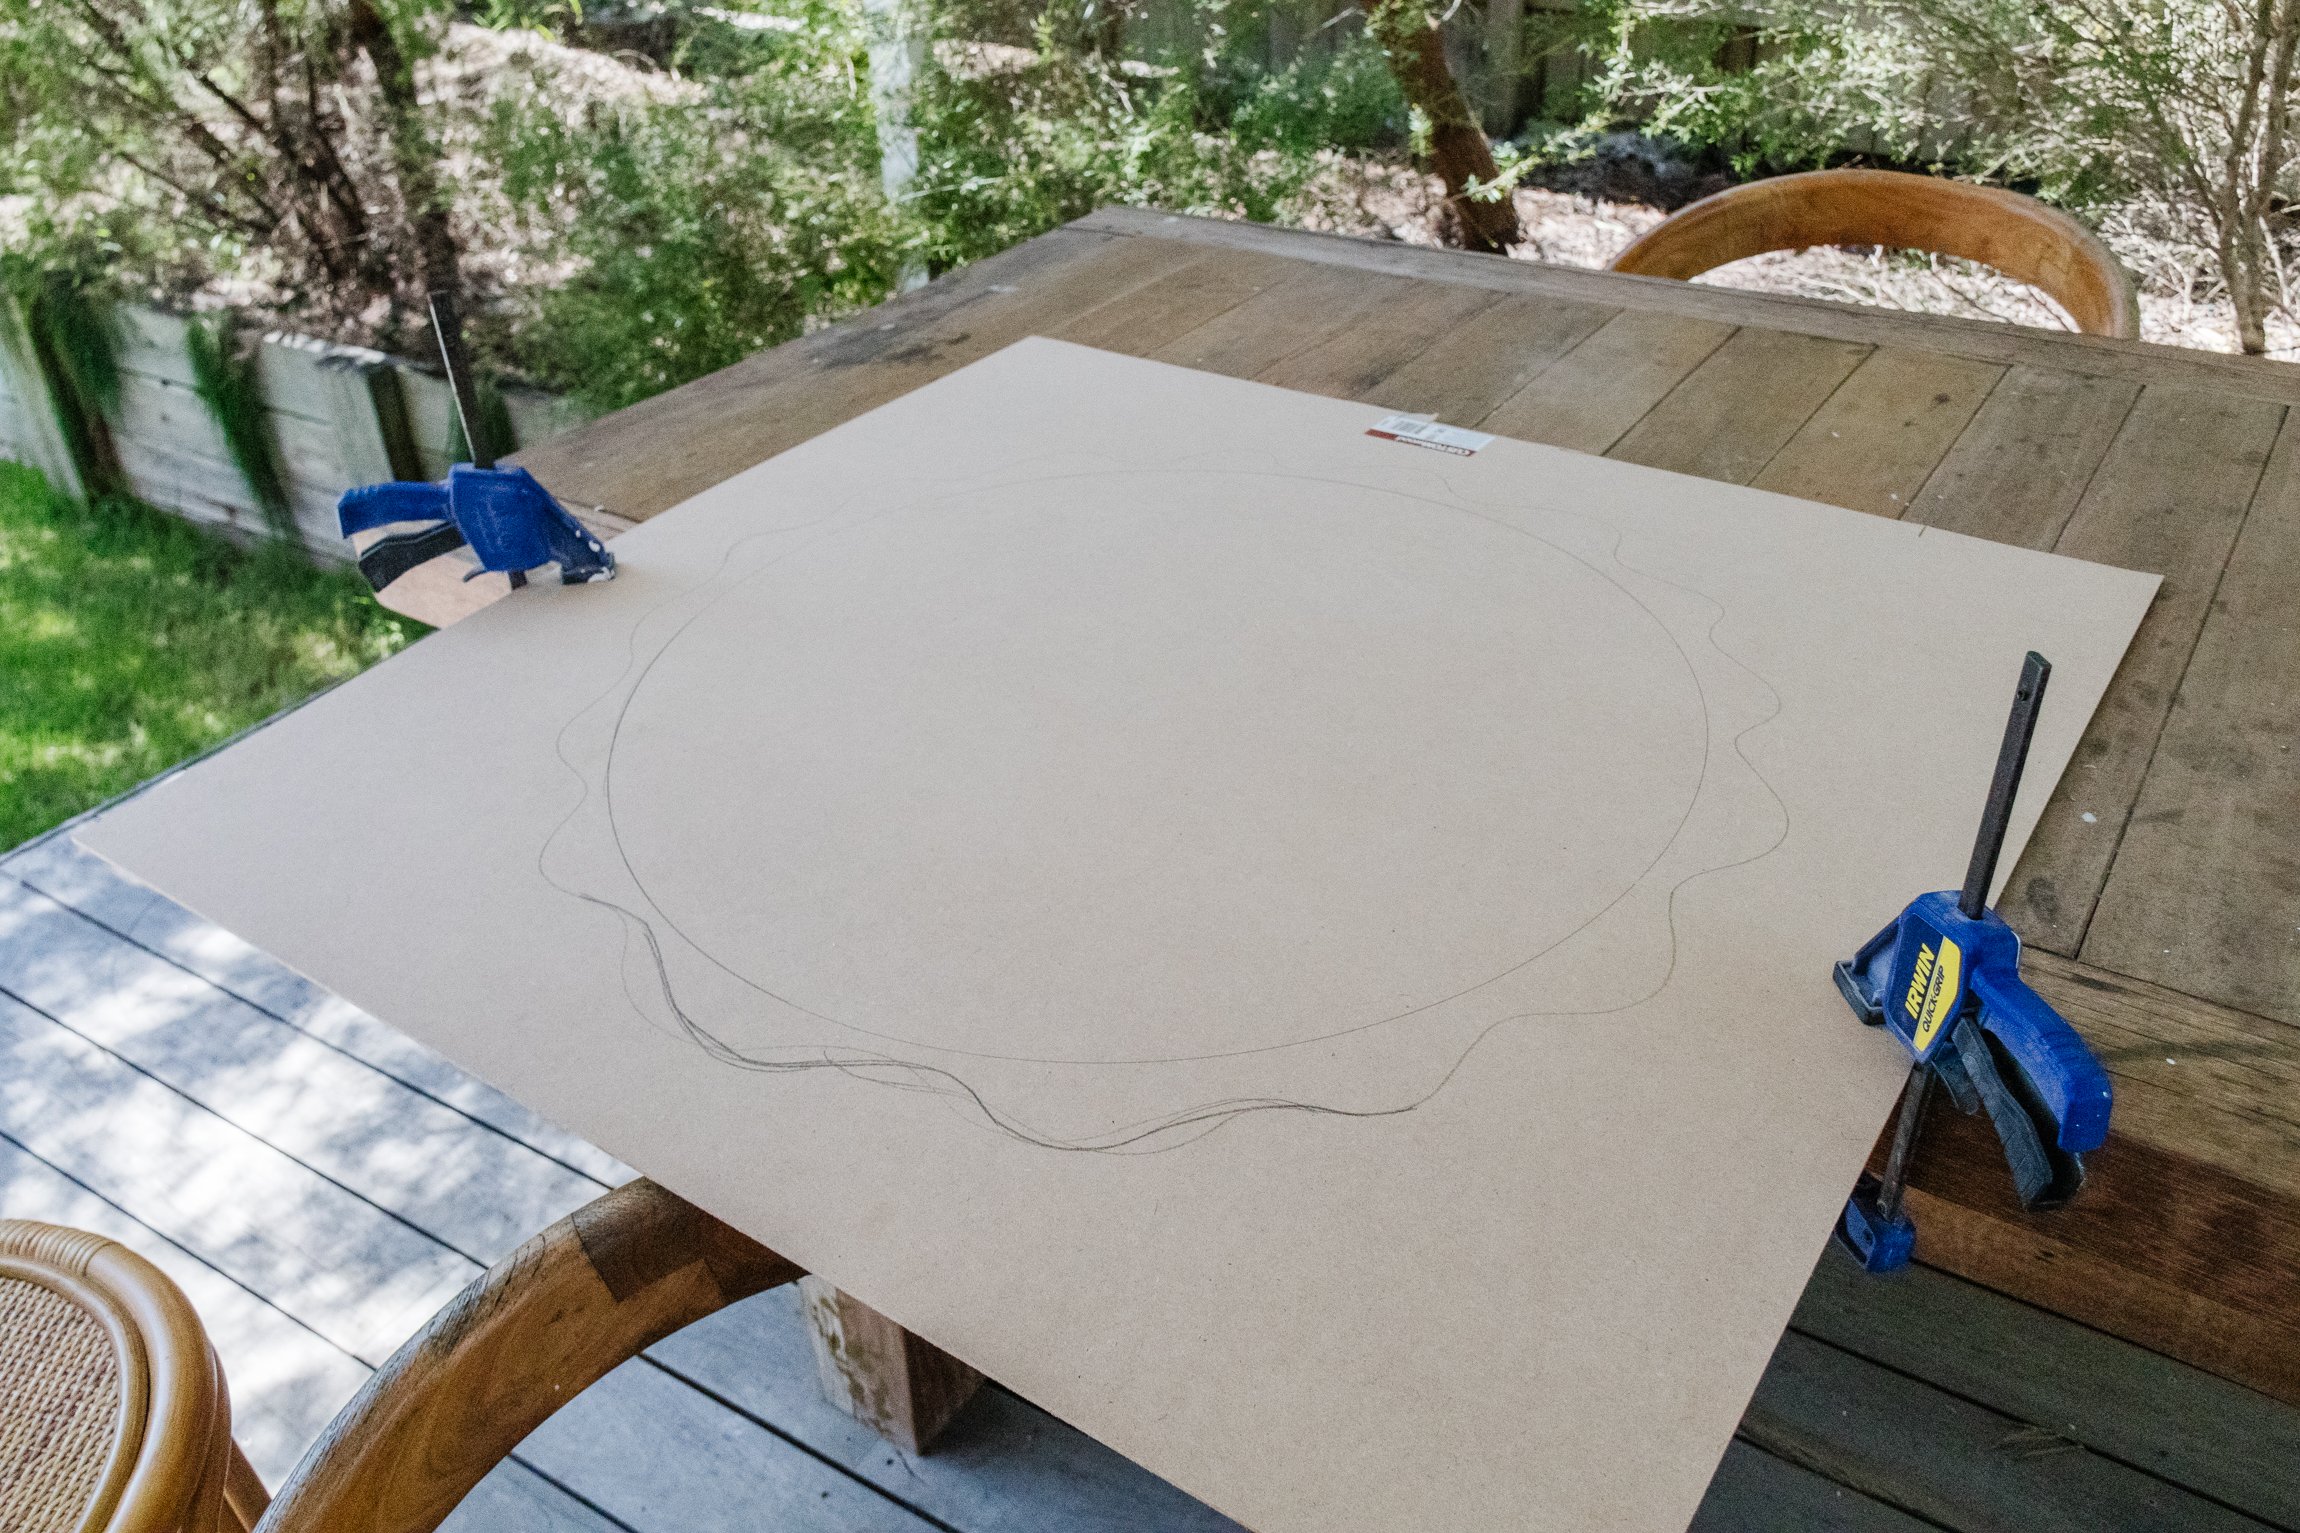
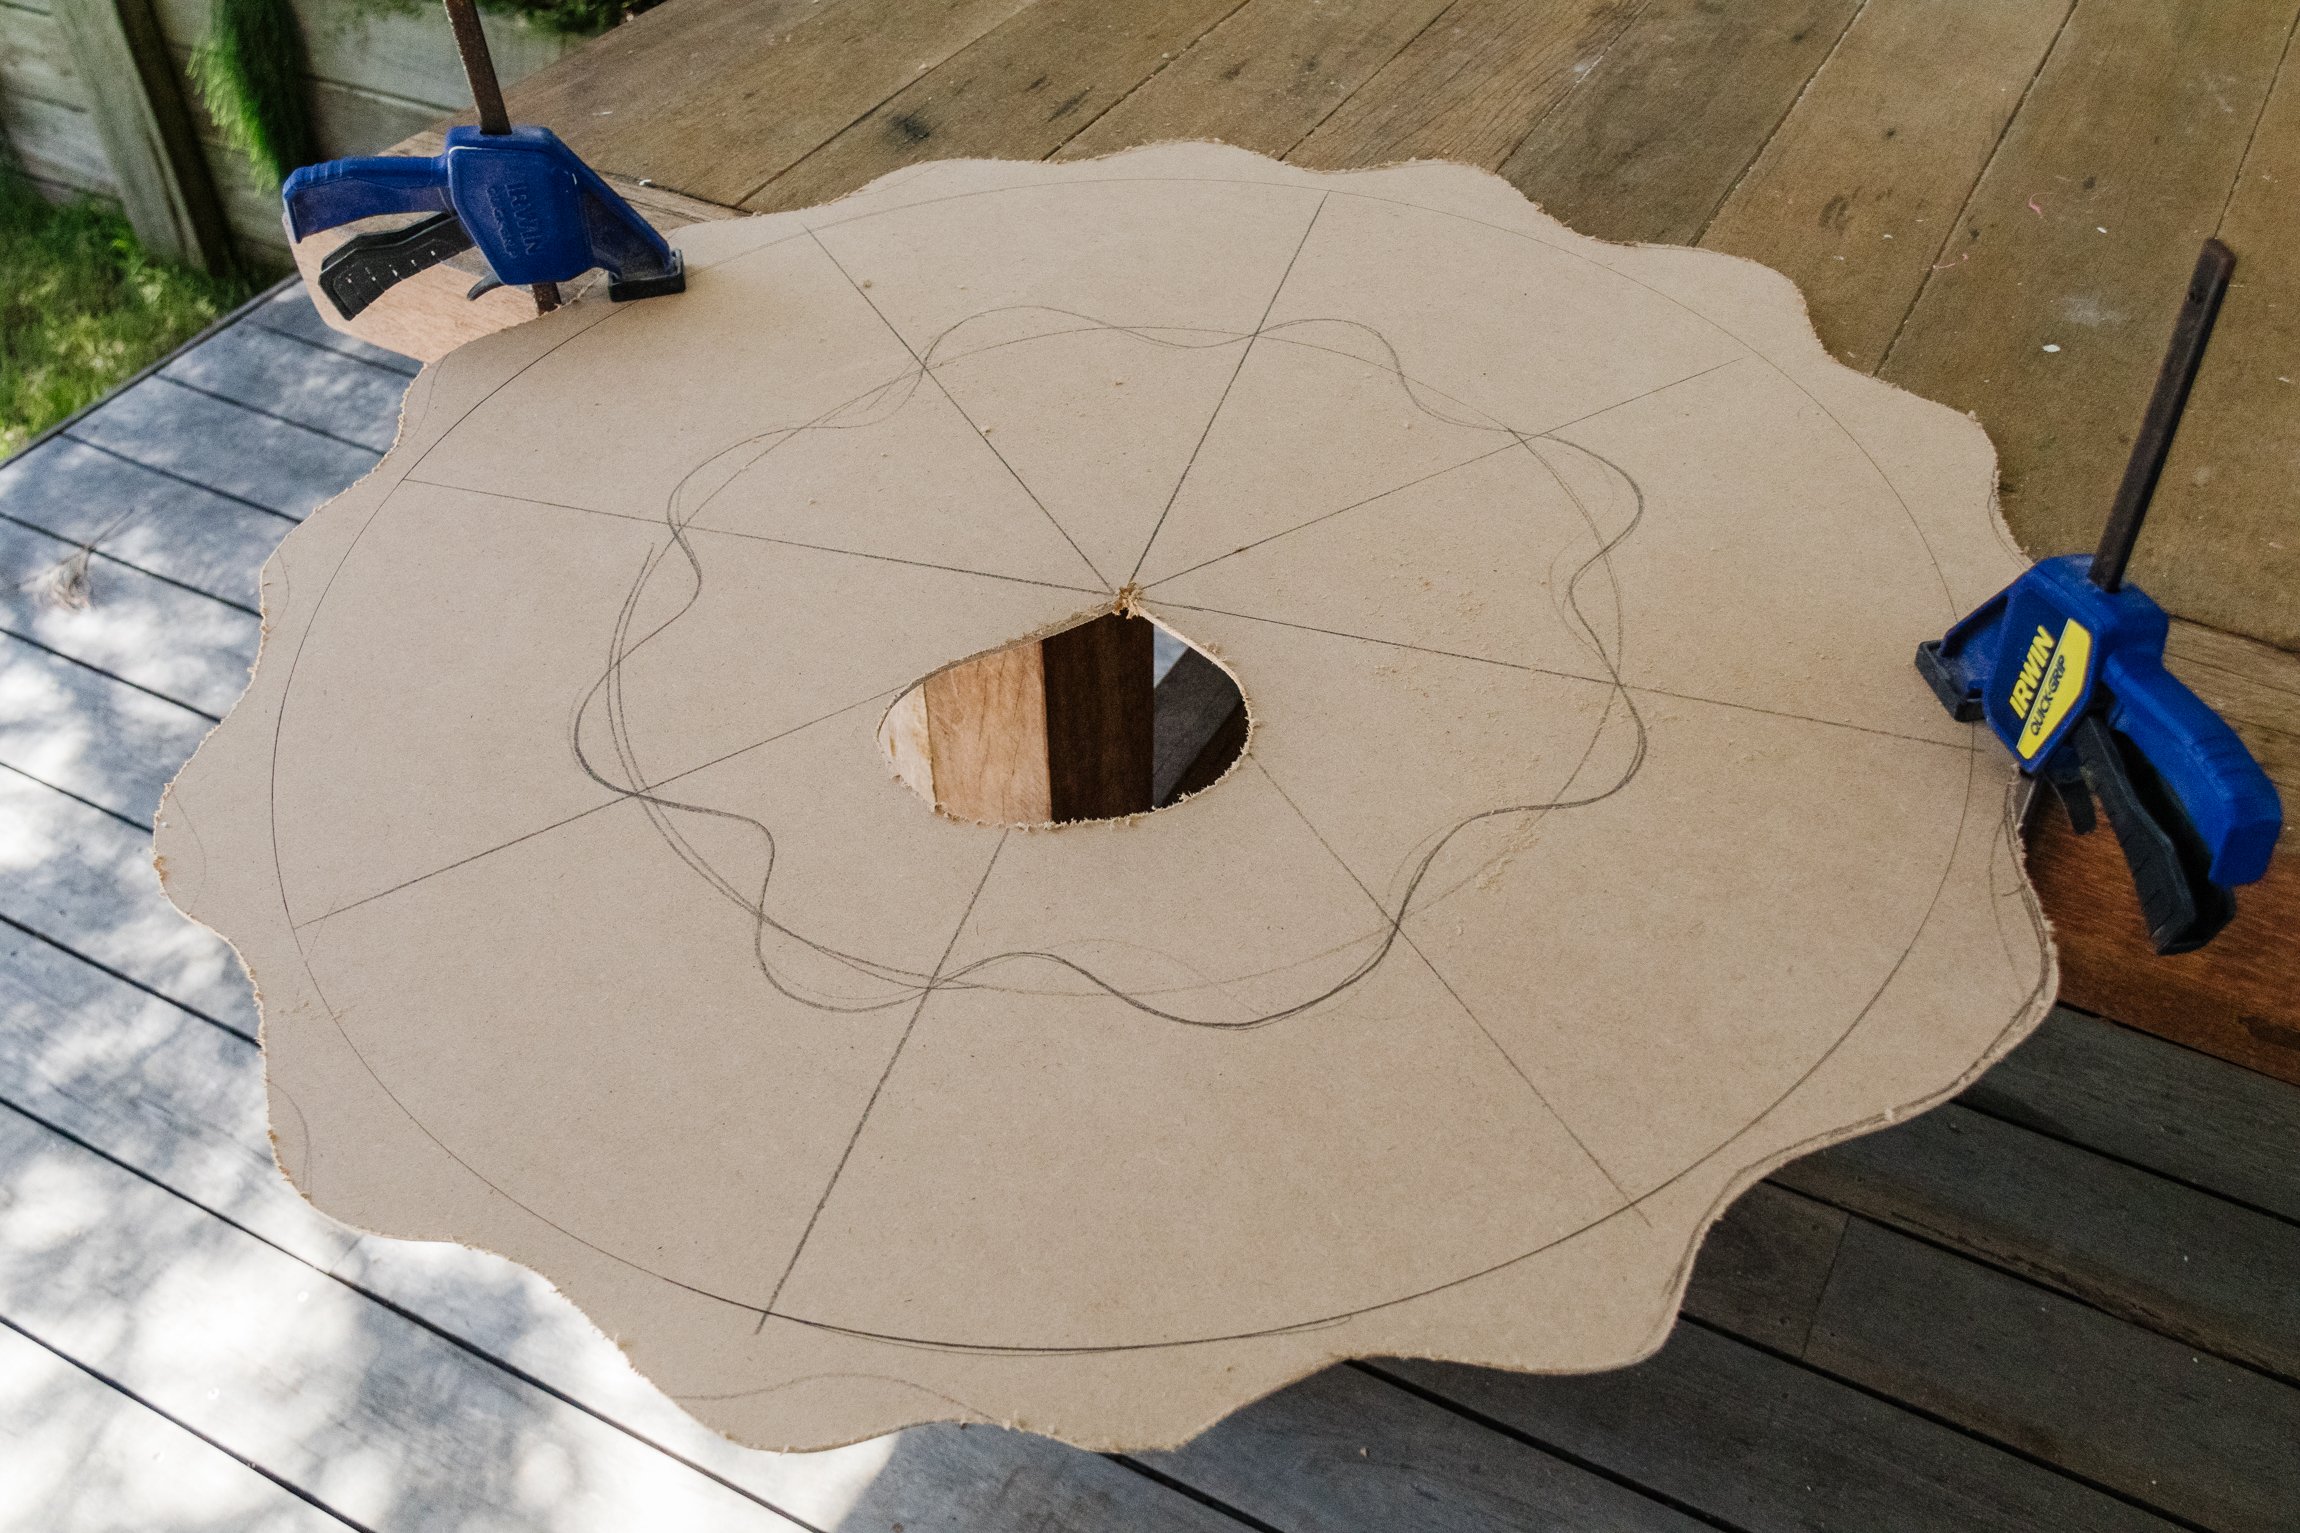
Remove the mirror from the frame. Trace a circle around the mirror onto the MDF panel using a pencil. Set the mirror aside and freehand draw a wavy pattern around the circle. Make sure to leave enough space between the edge of the mirror and the wavy edge for gluing later on.
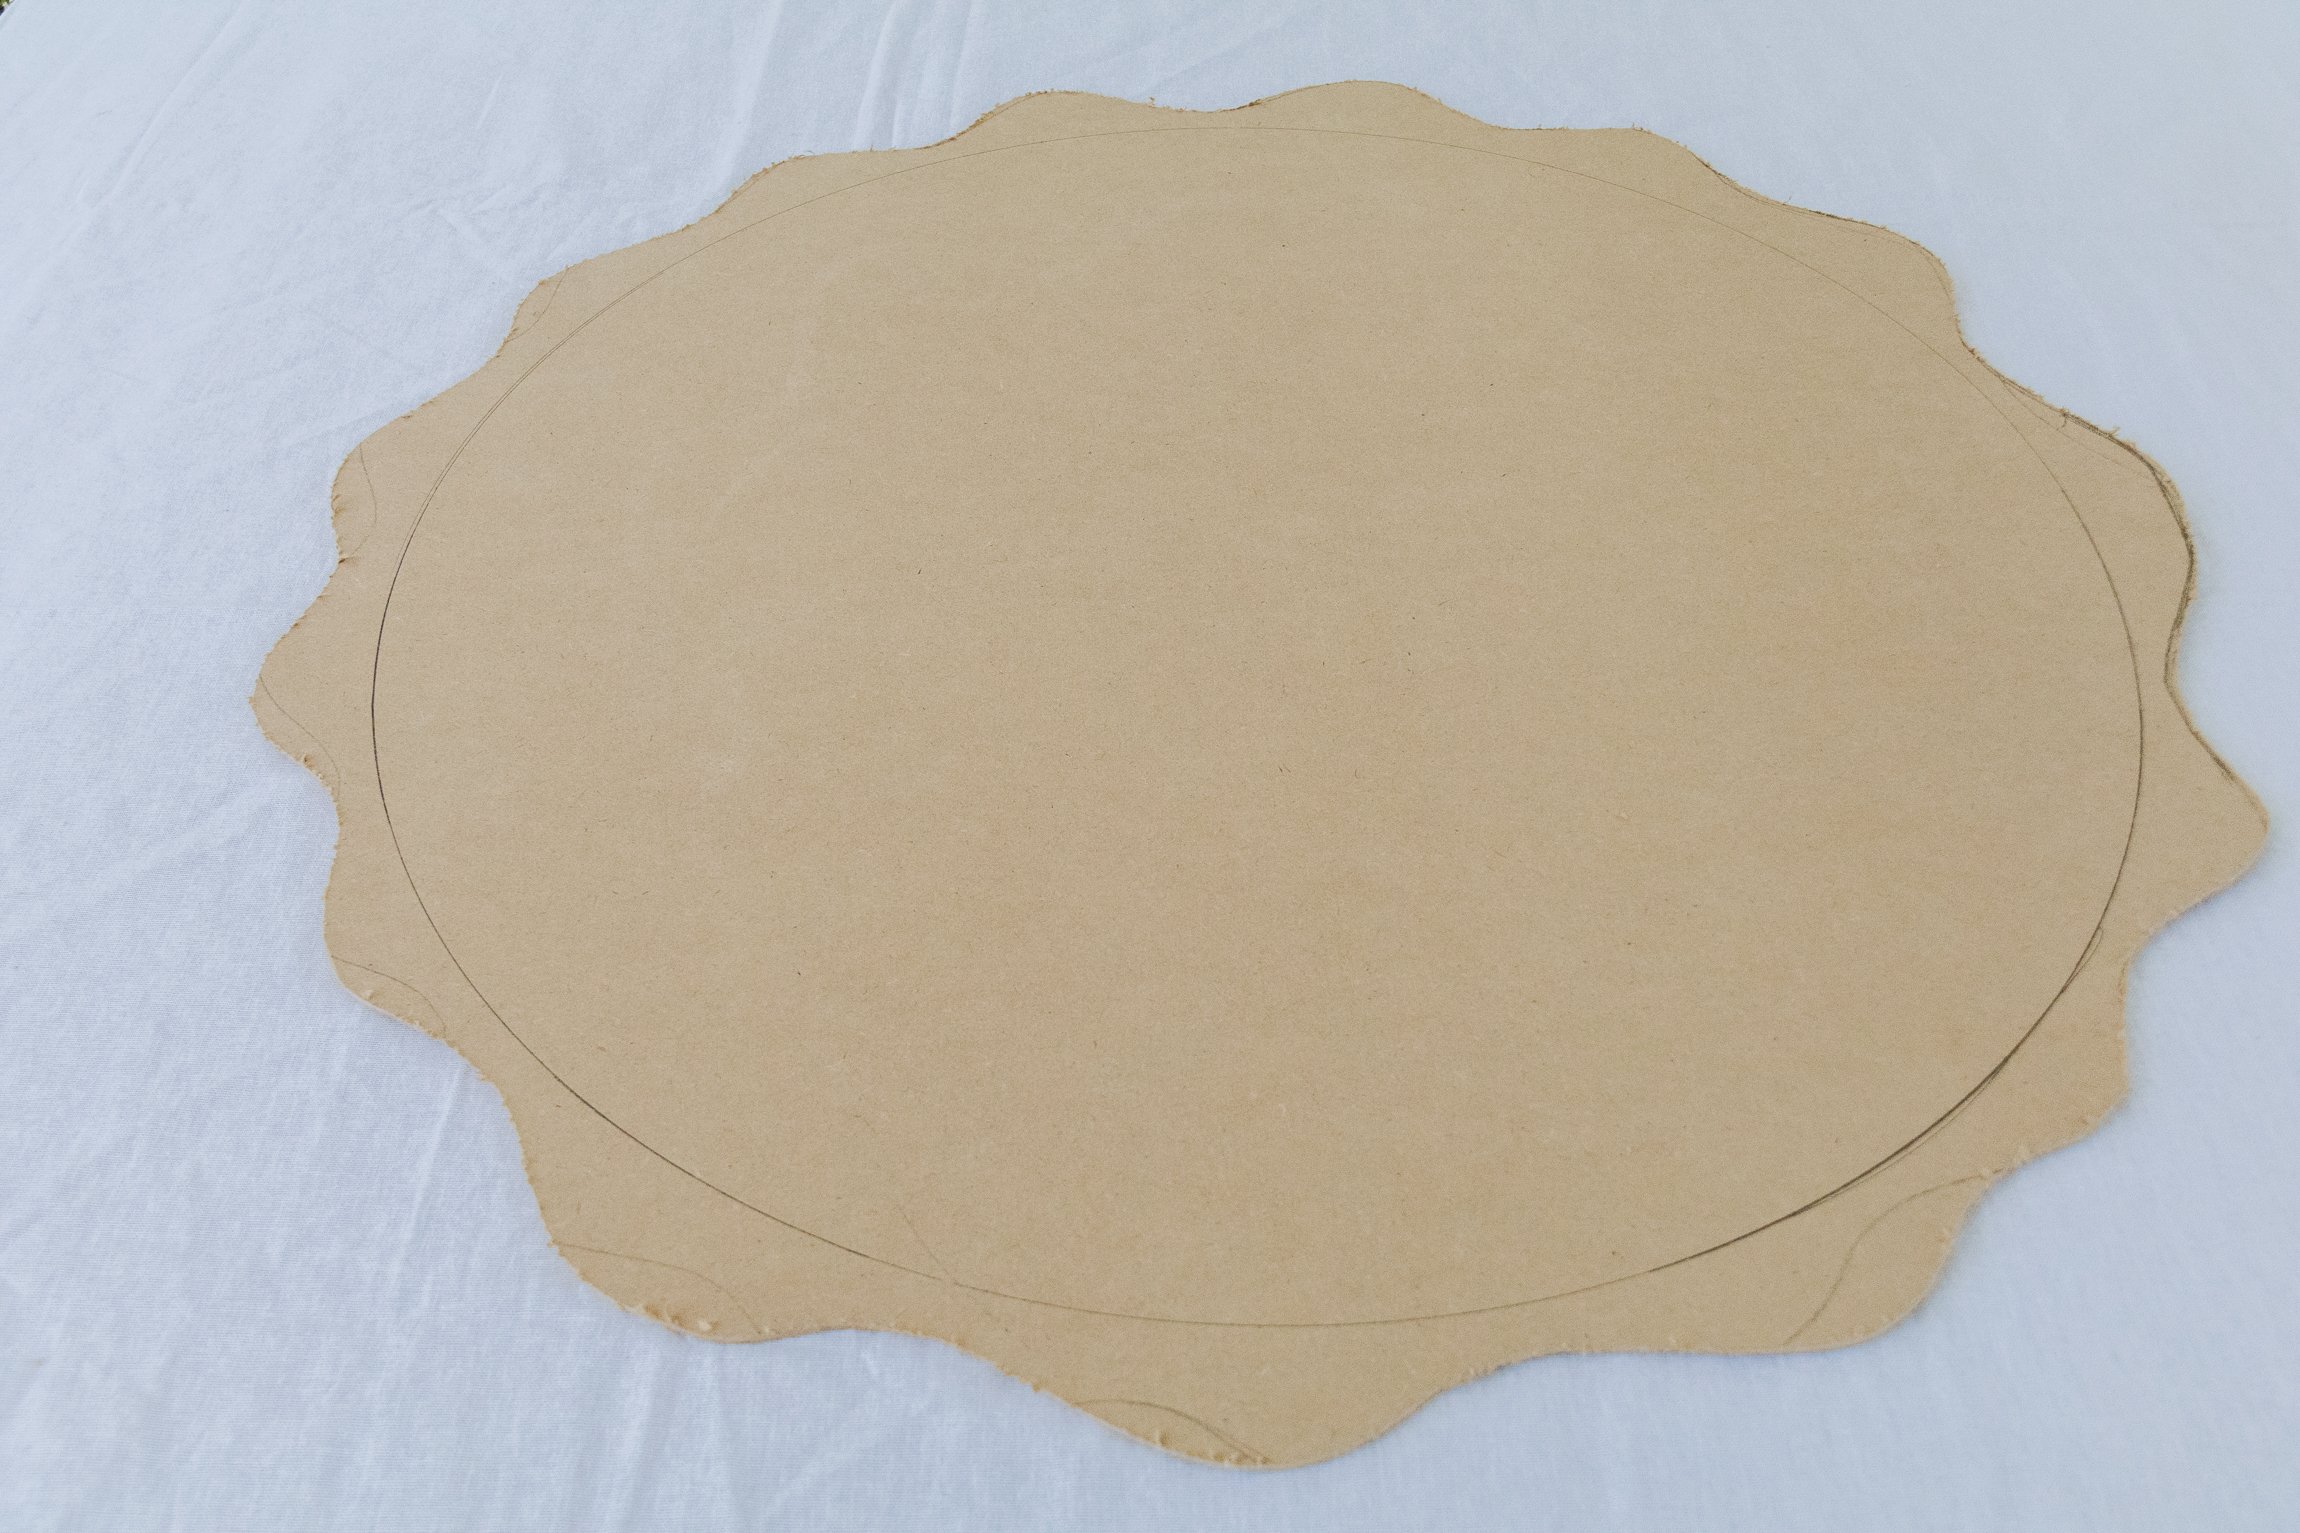
Secure the MDF to your work surface using clamps. Cut around the wavy edge using a jigsaw; you will need to reposition the MDF and the clamps a few times.

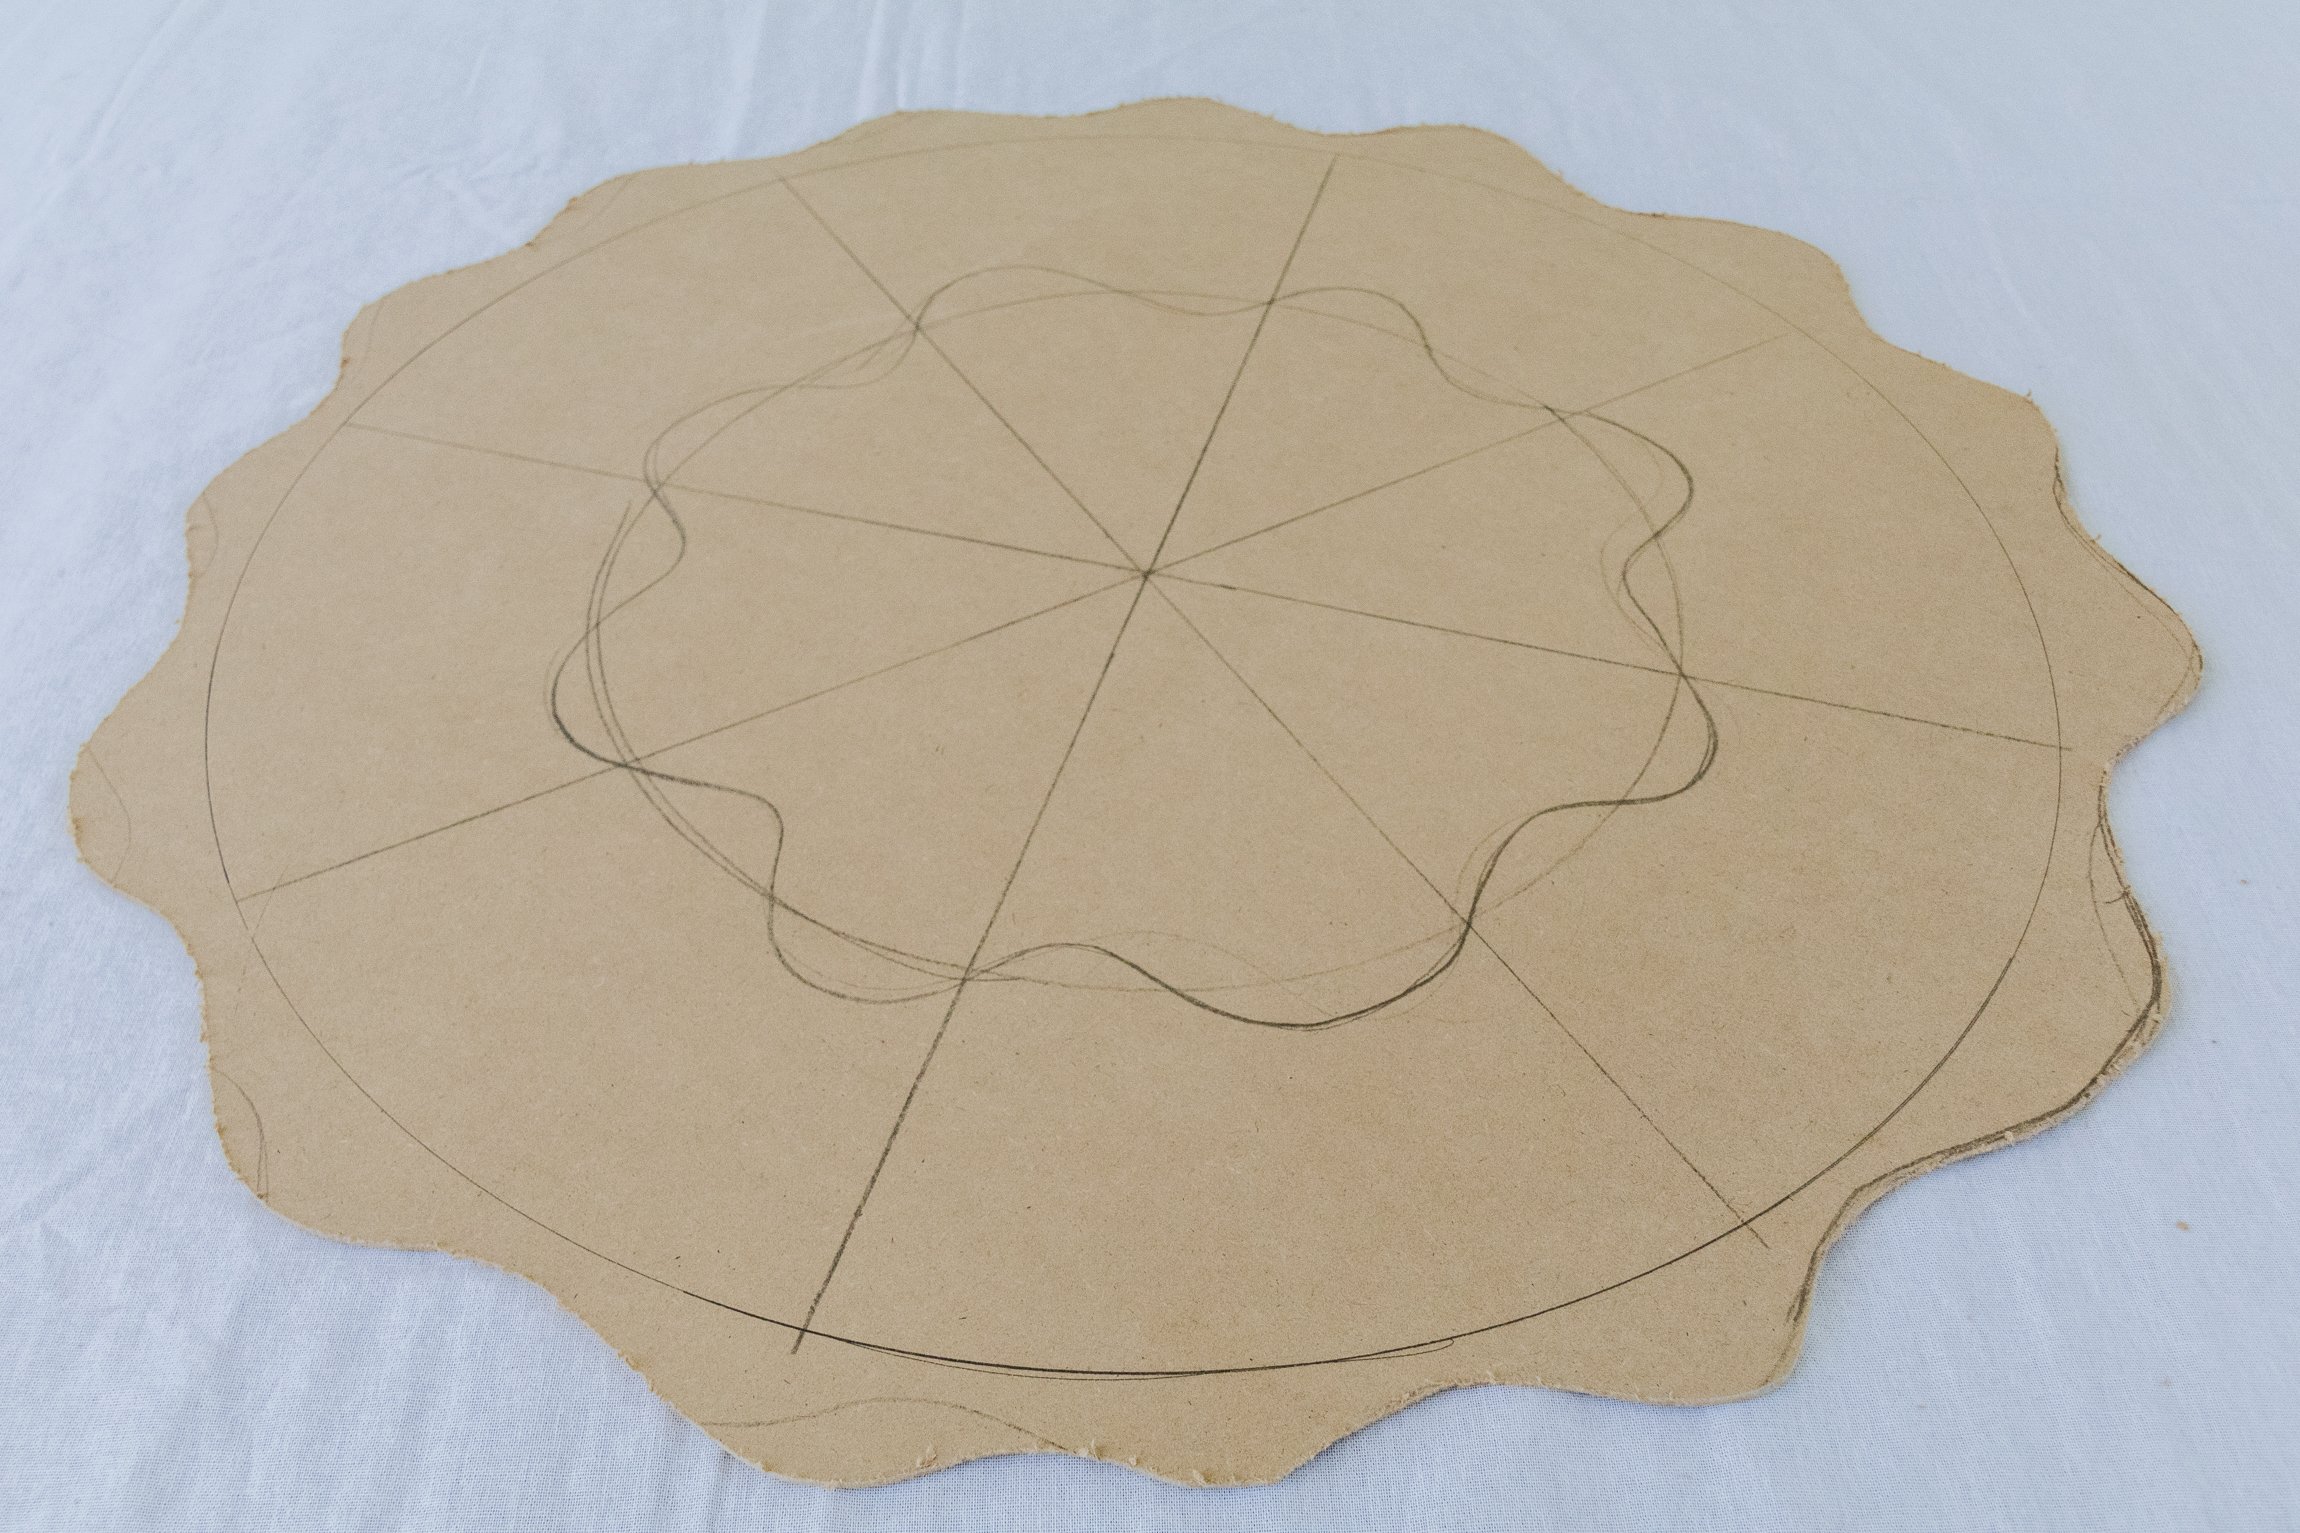
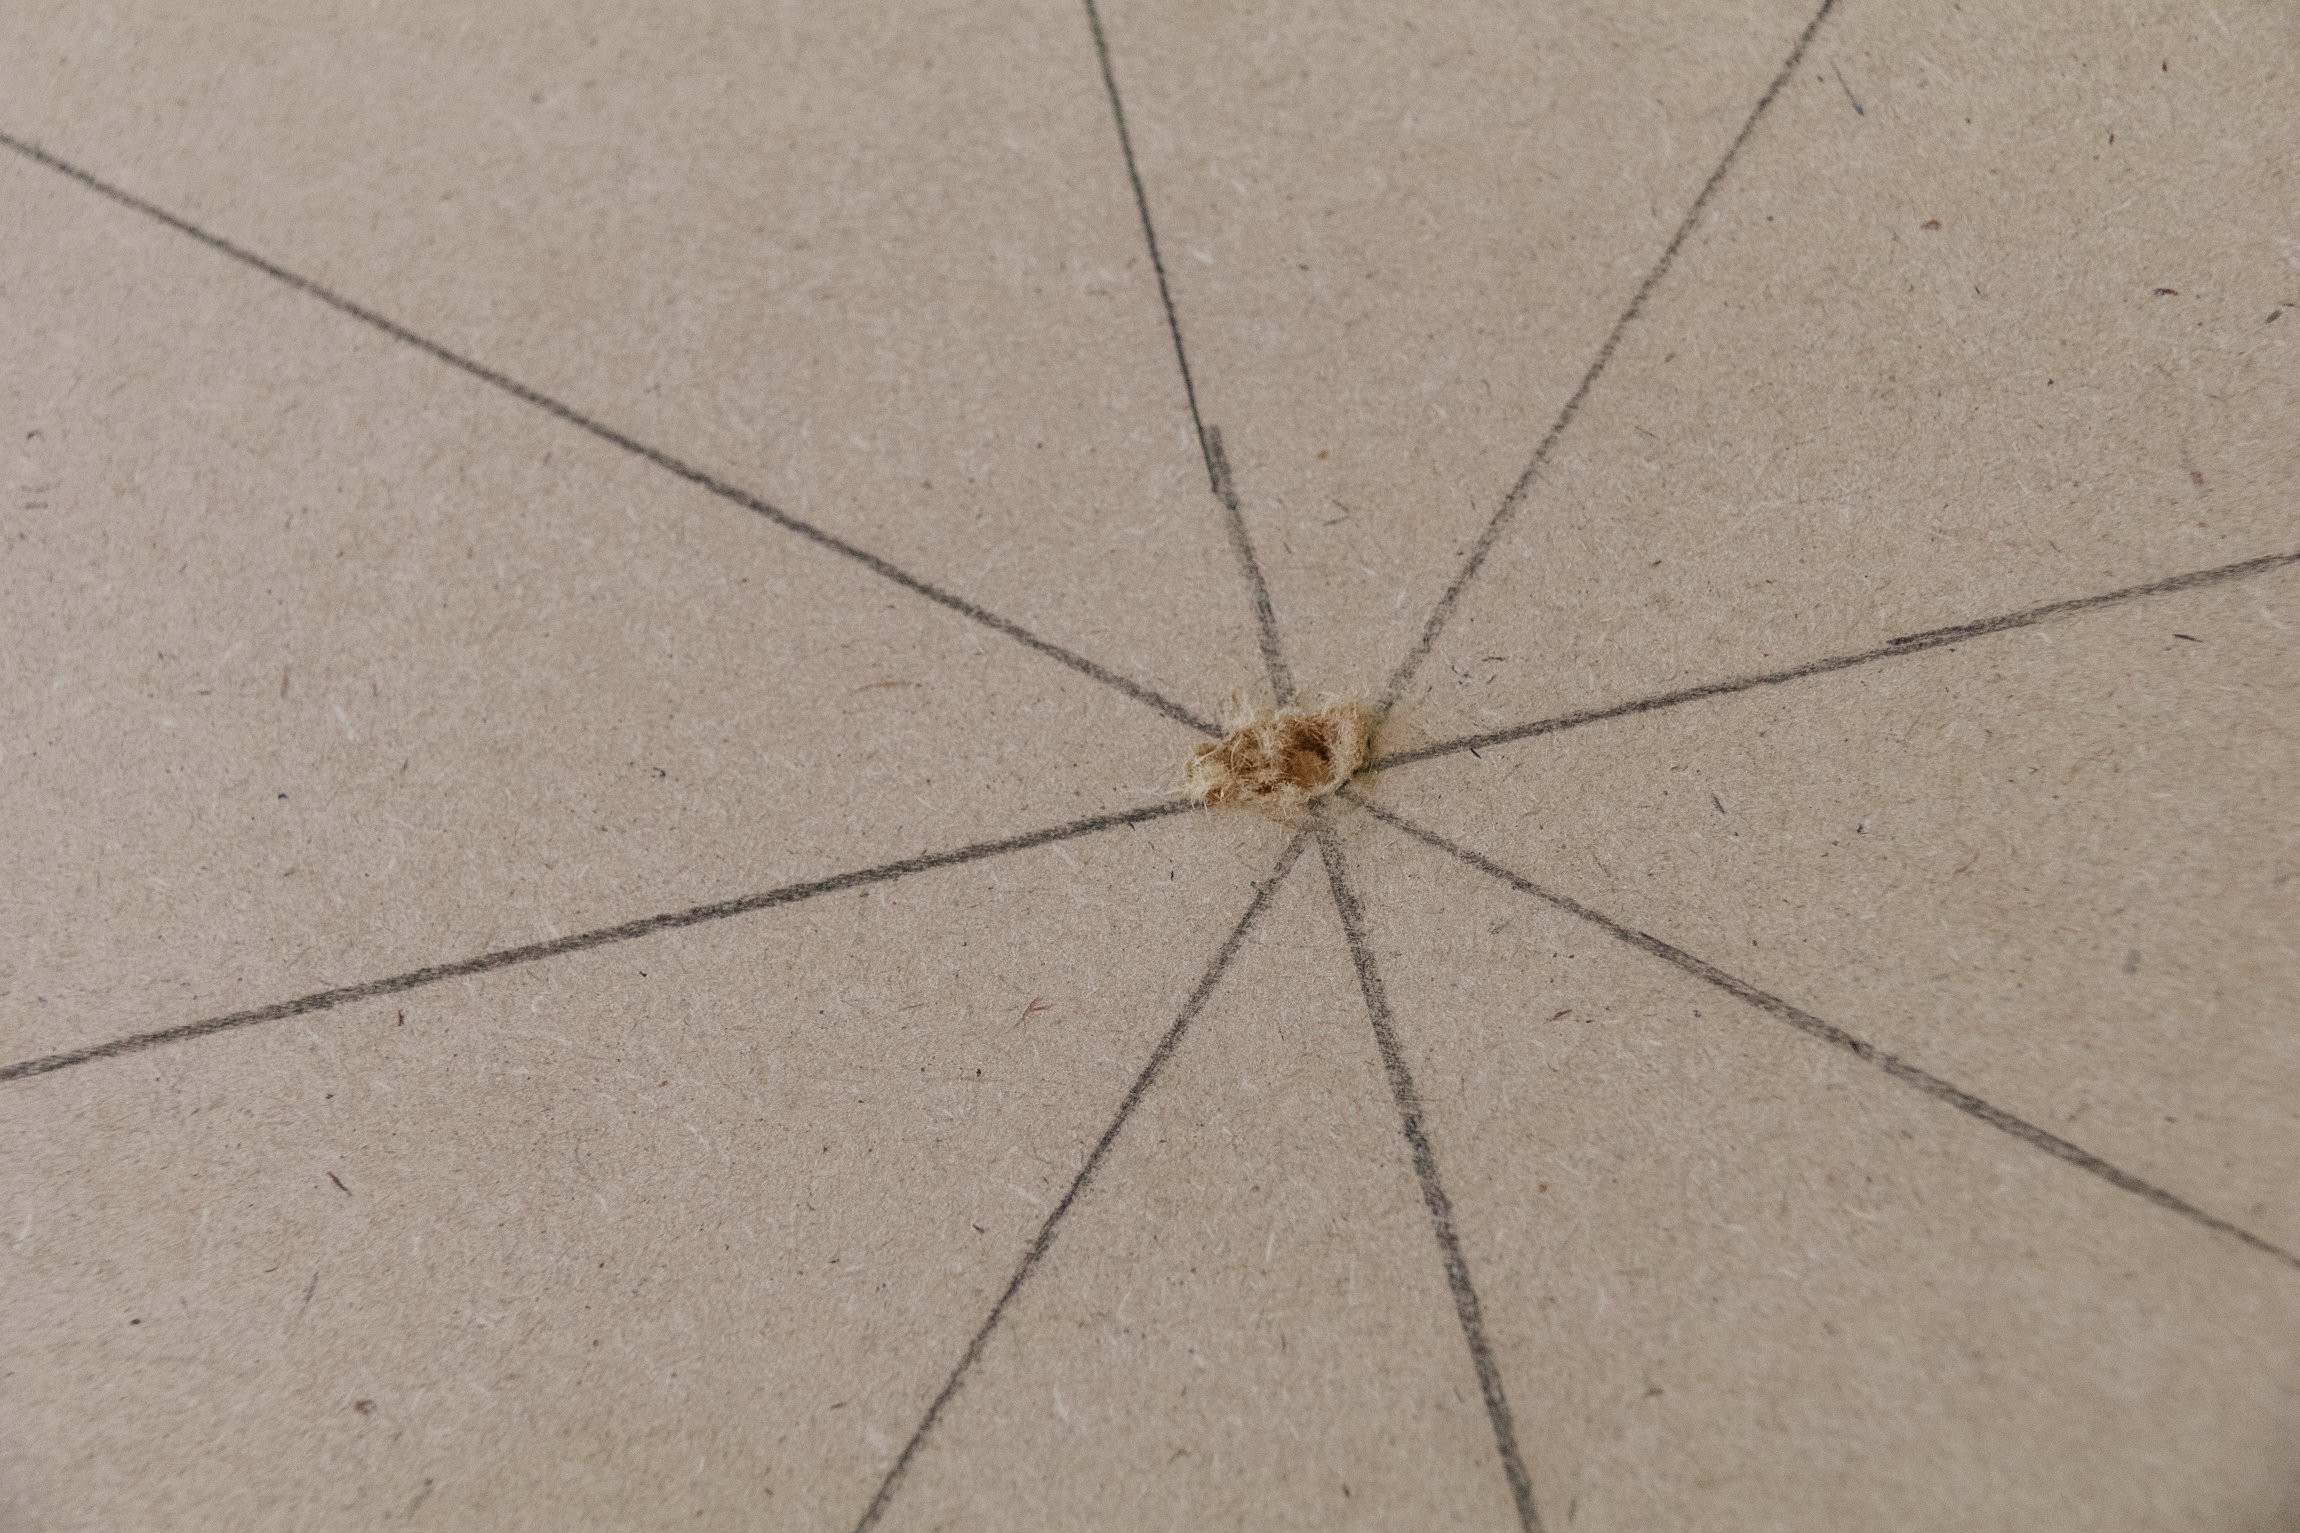
Using a pencil and a ruler, mark onto the MDF where you’ll freehand draw the inner wavy pattern. Drill a hole into the middle of the MDF. Insert the jigsaw blade into the hole you have just created and cut out the middle section of the MDF; you will need to reposition the MDF and the clamps a few times.
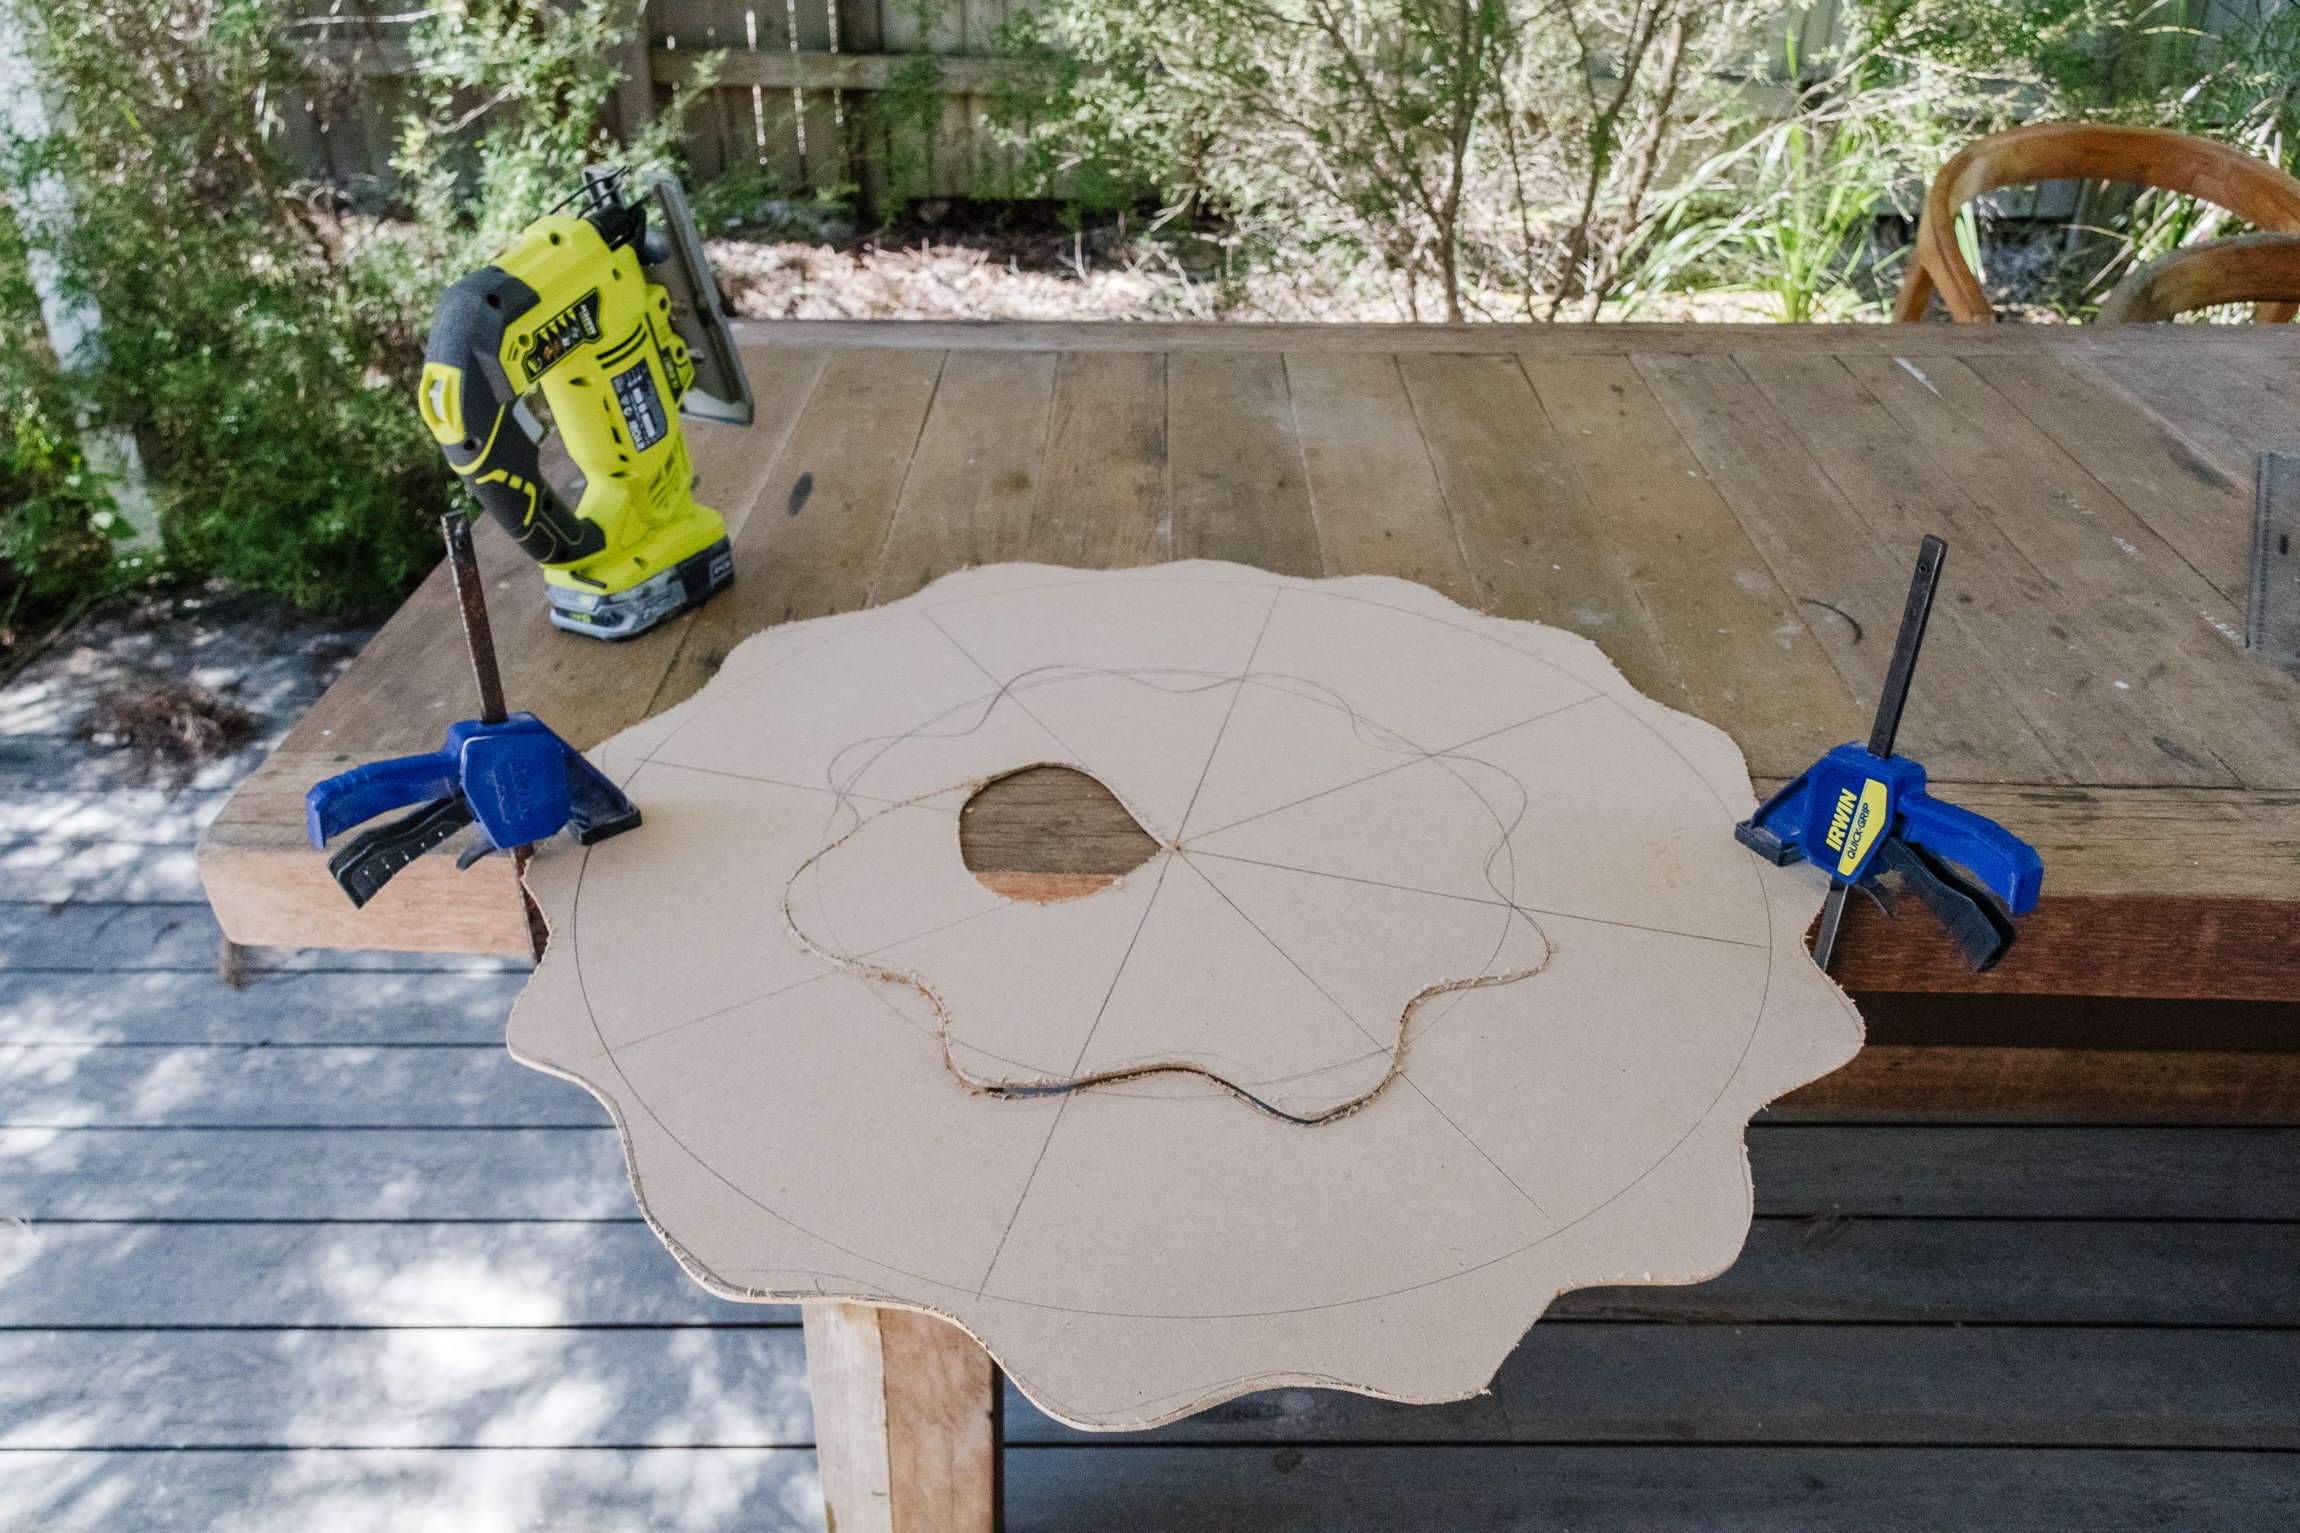
Optional: Smooth the edges with a sander.

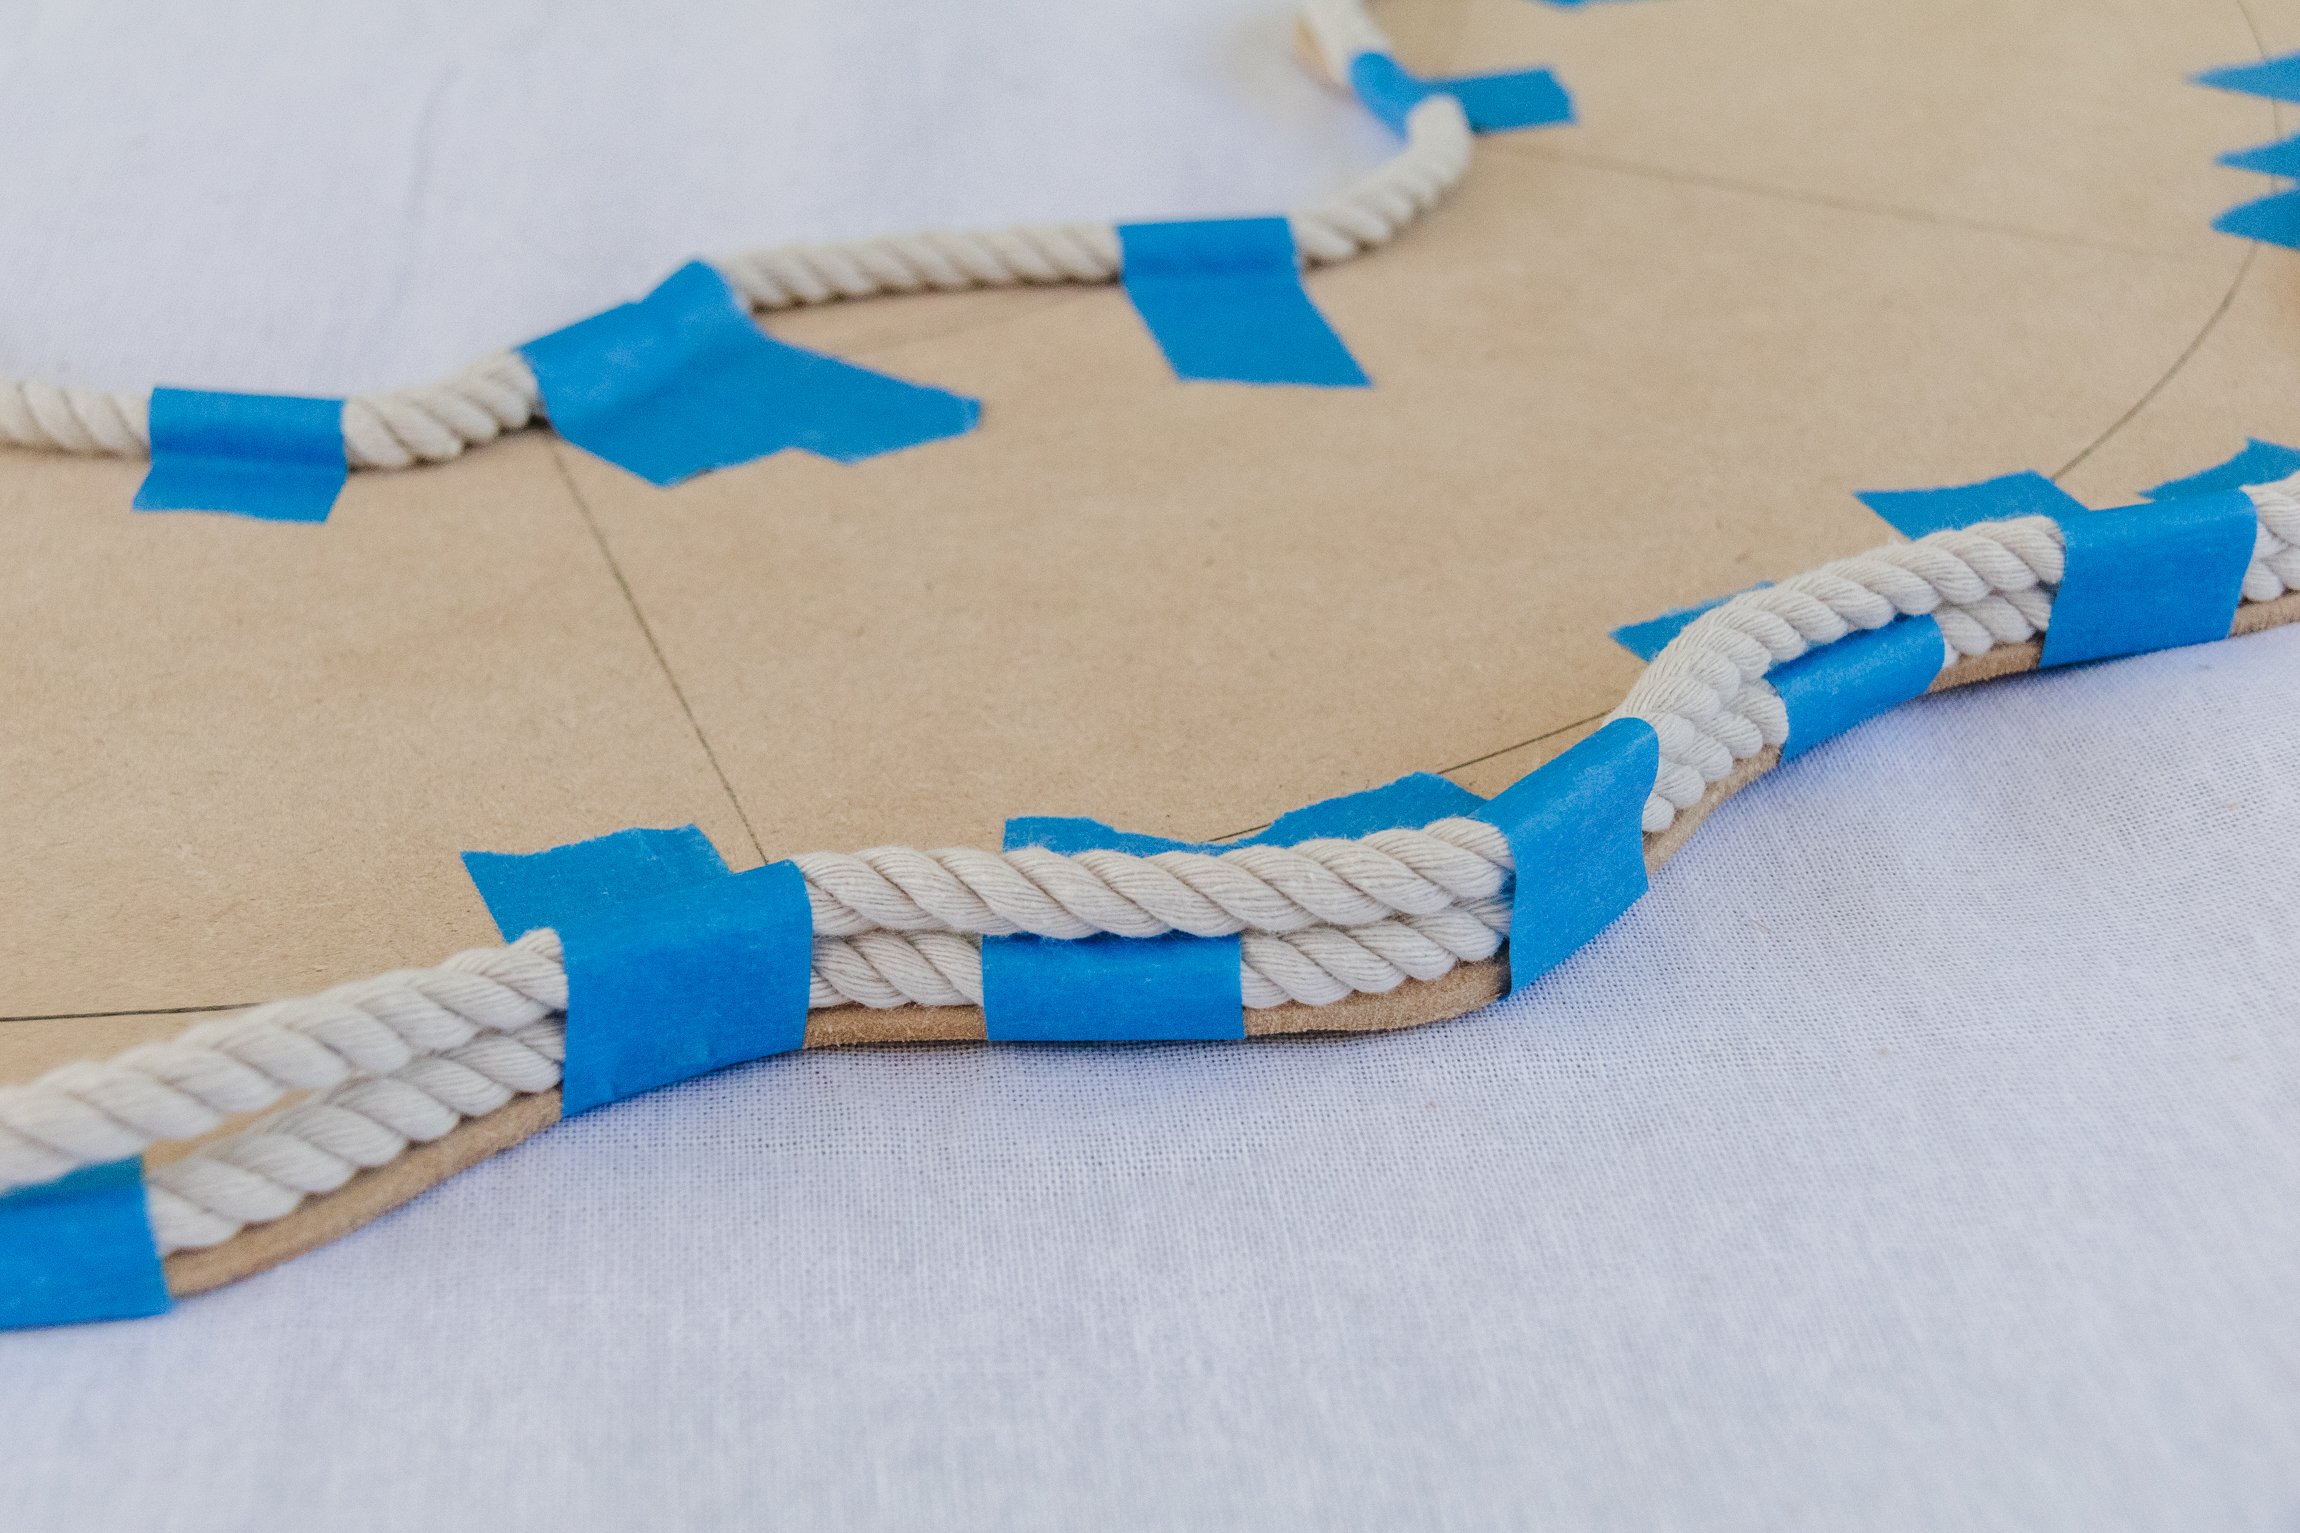
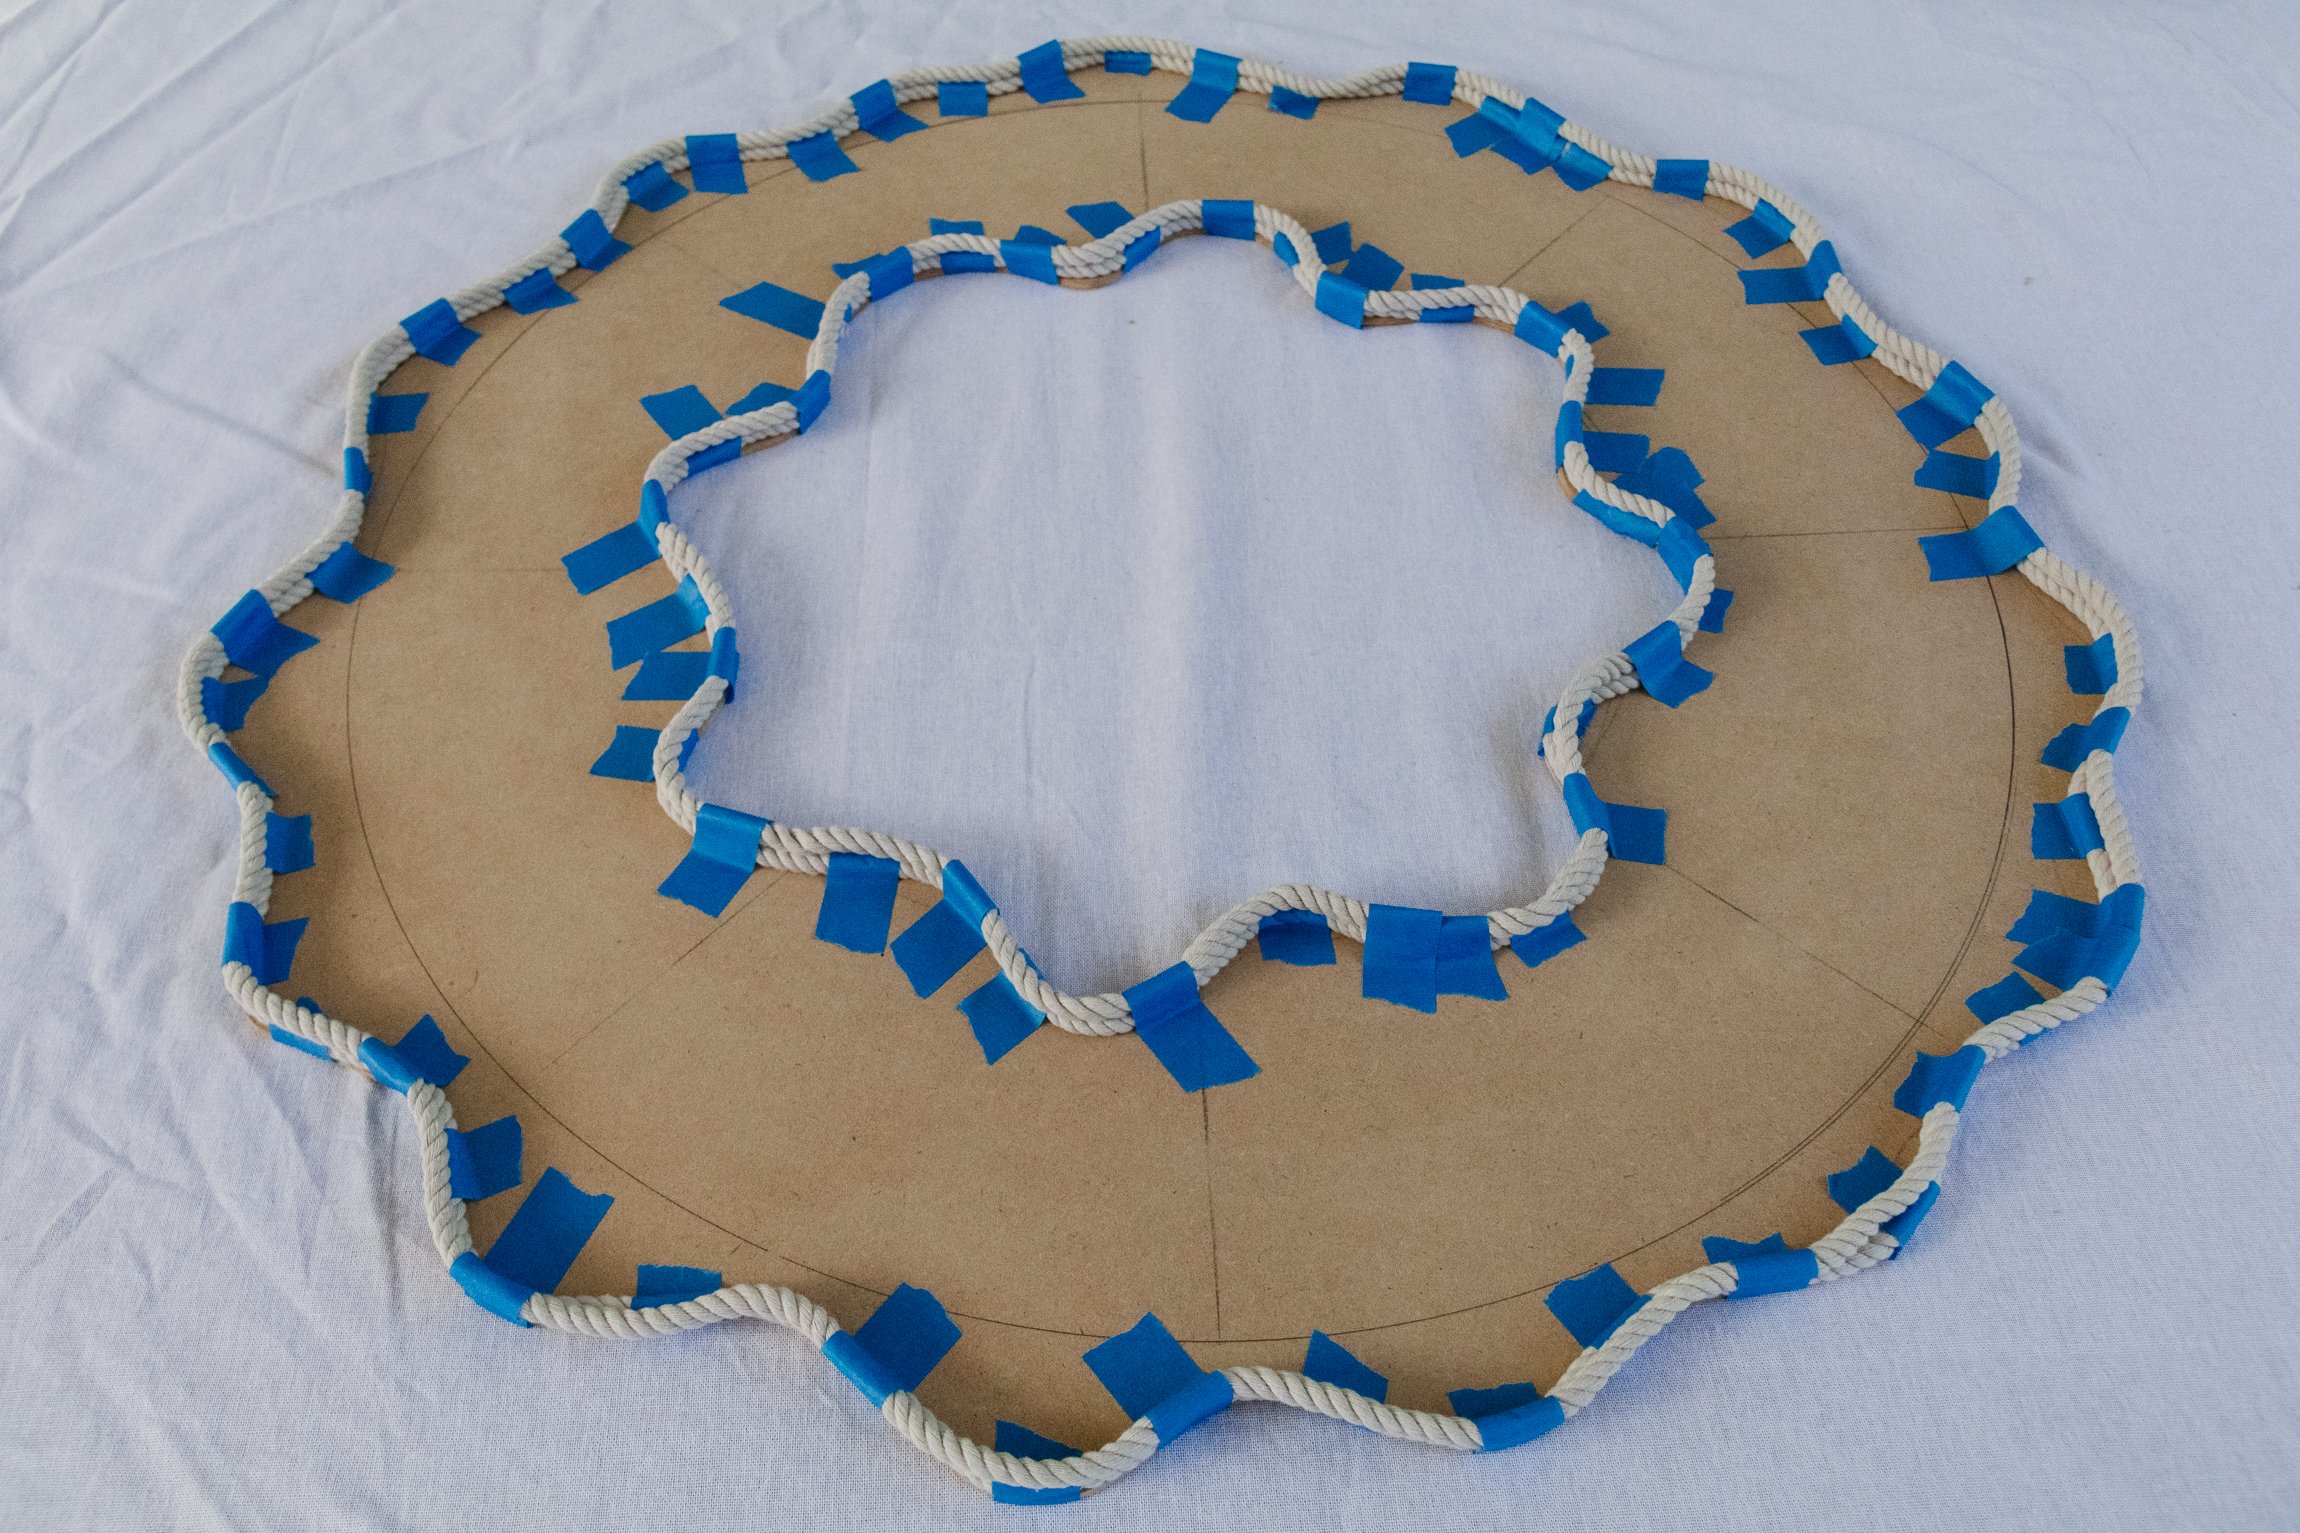
Using painters tape, secure rope around the outside and inside edges of the wavy MDF panel. Repeat but position the second layer of rope onto the first to create height.
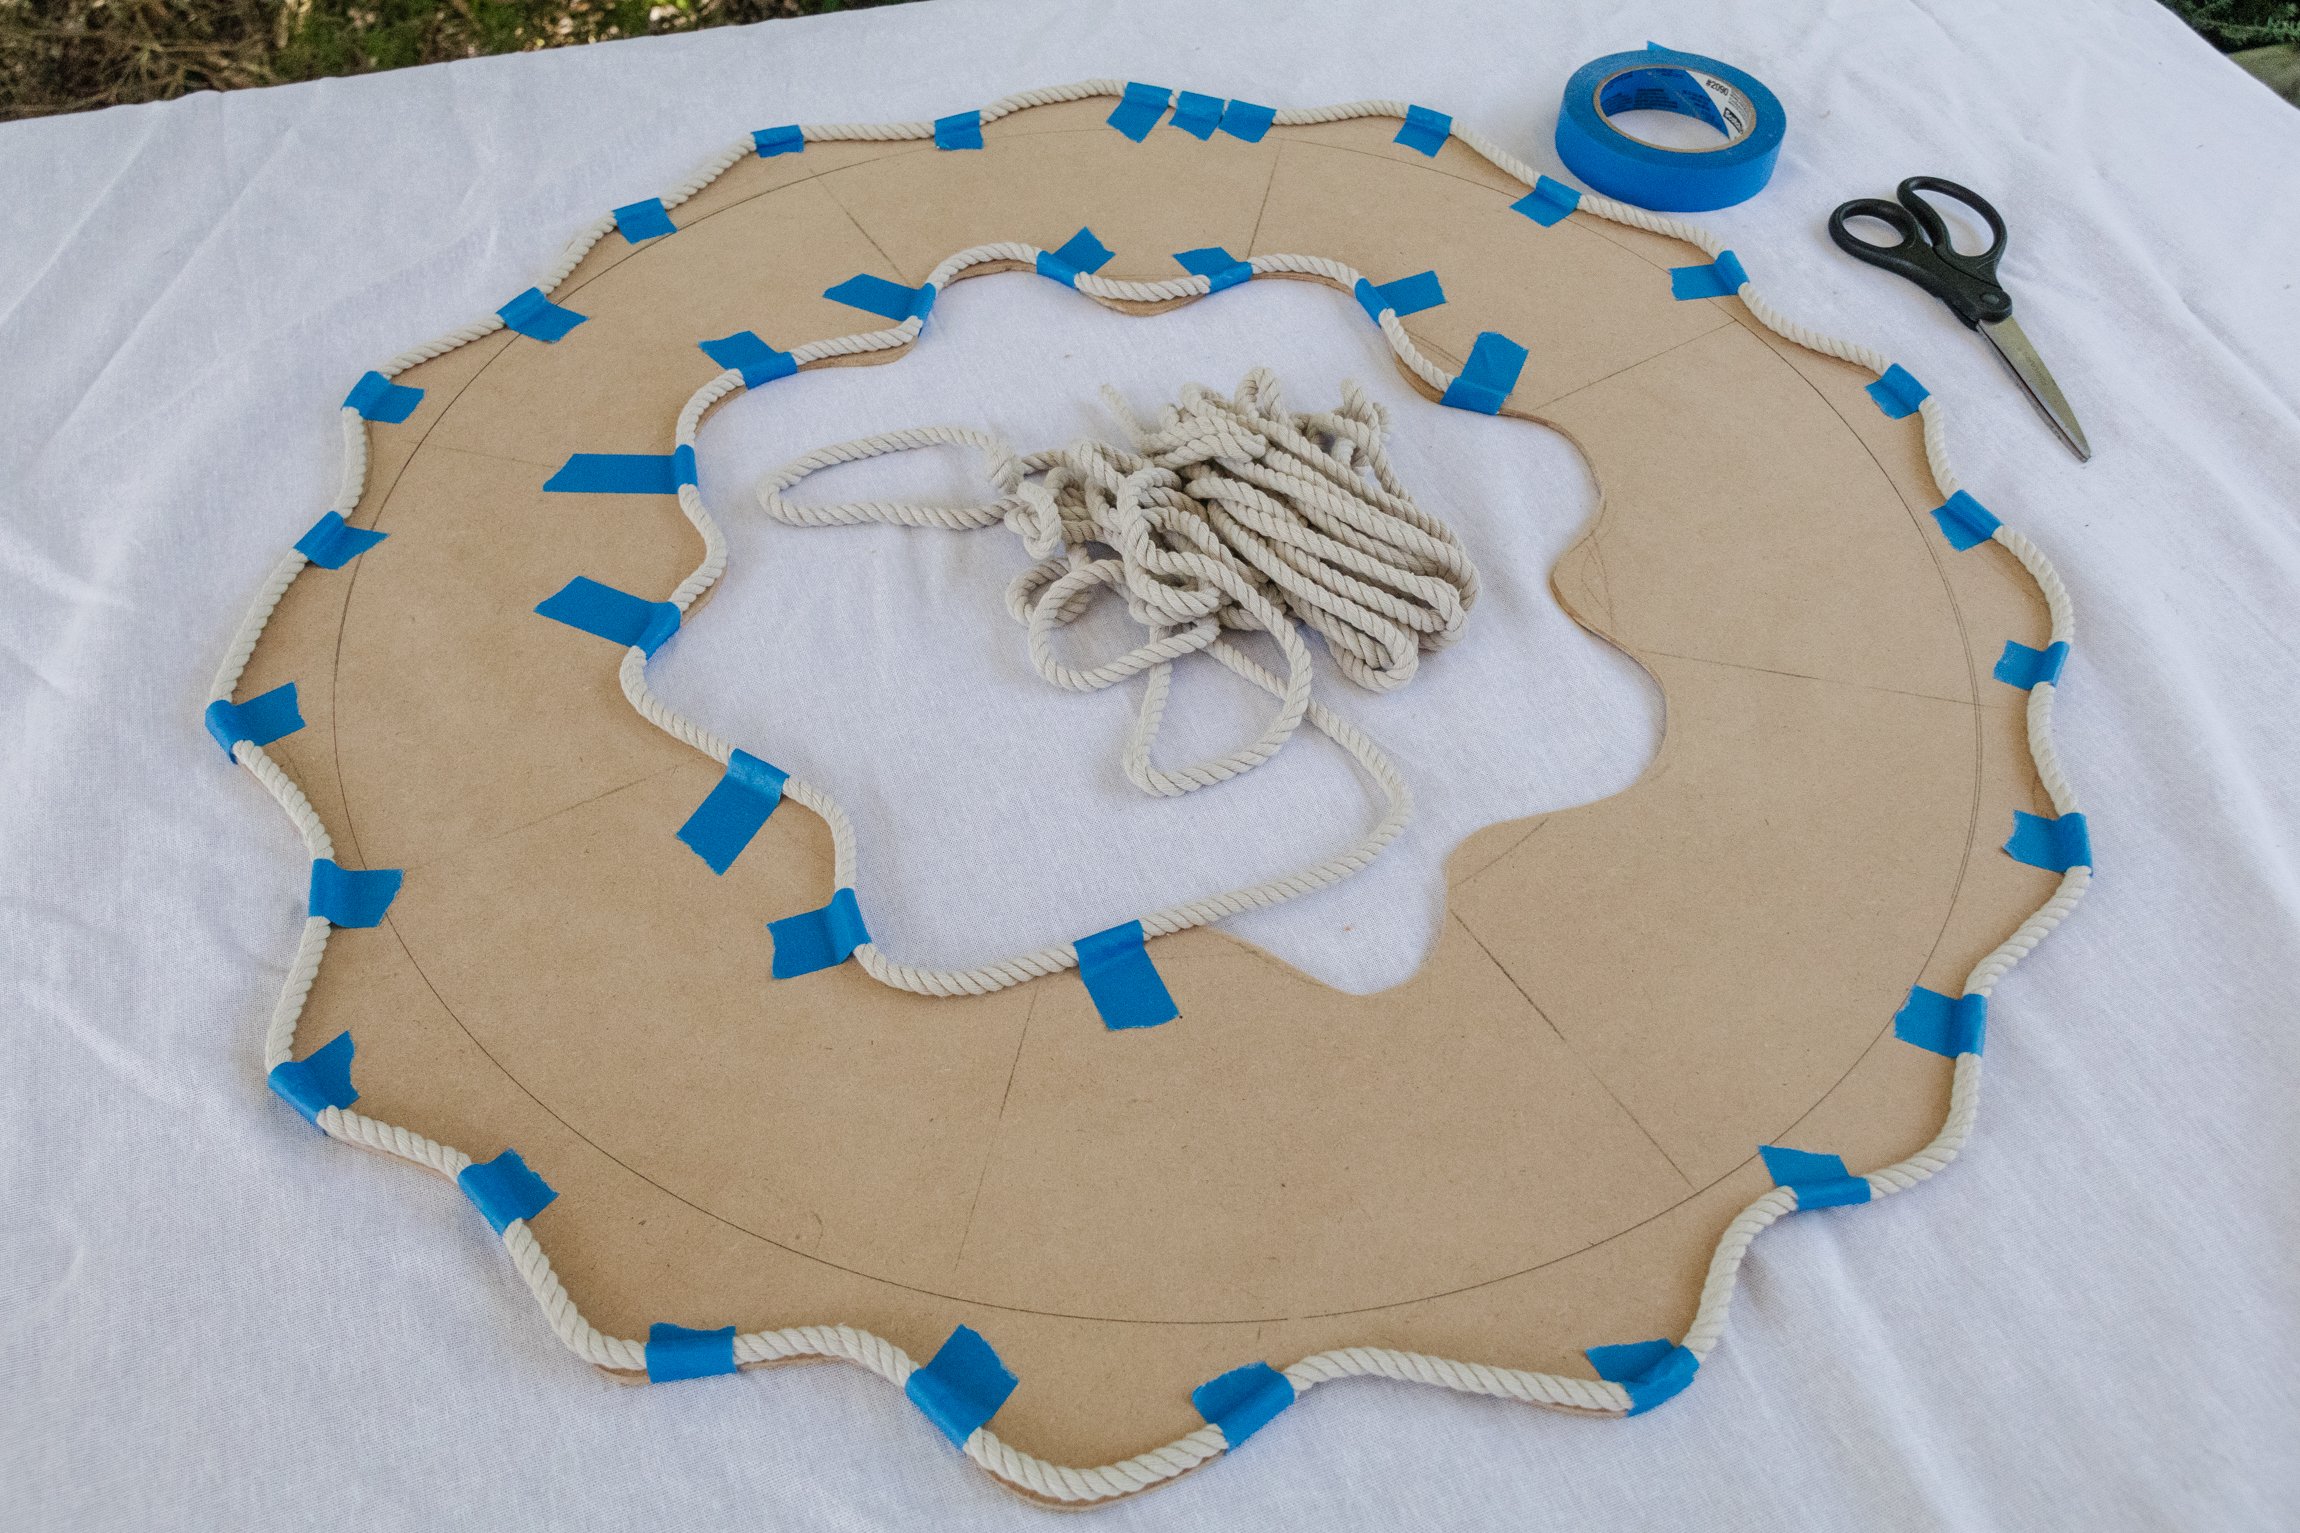
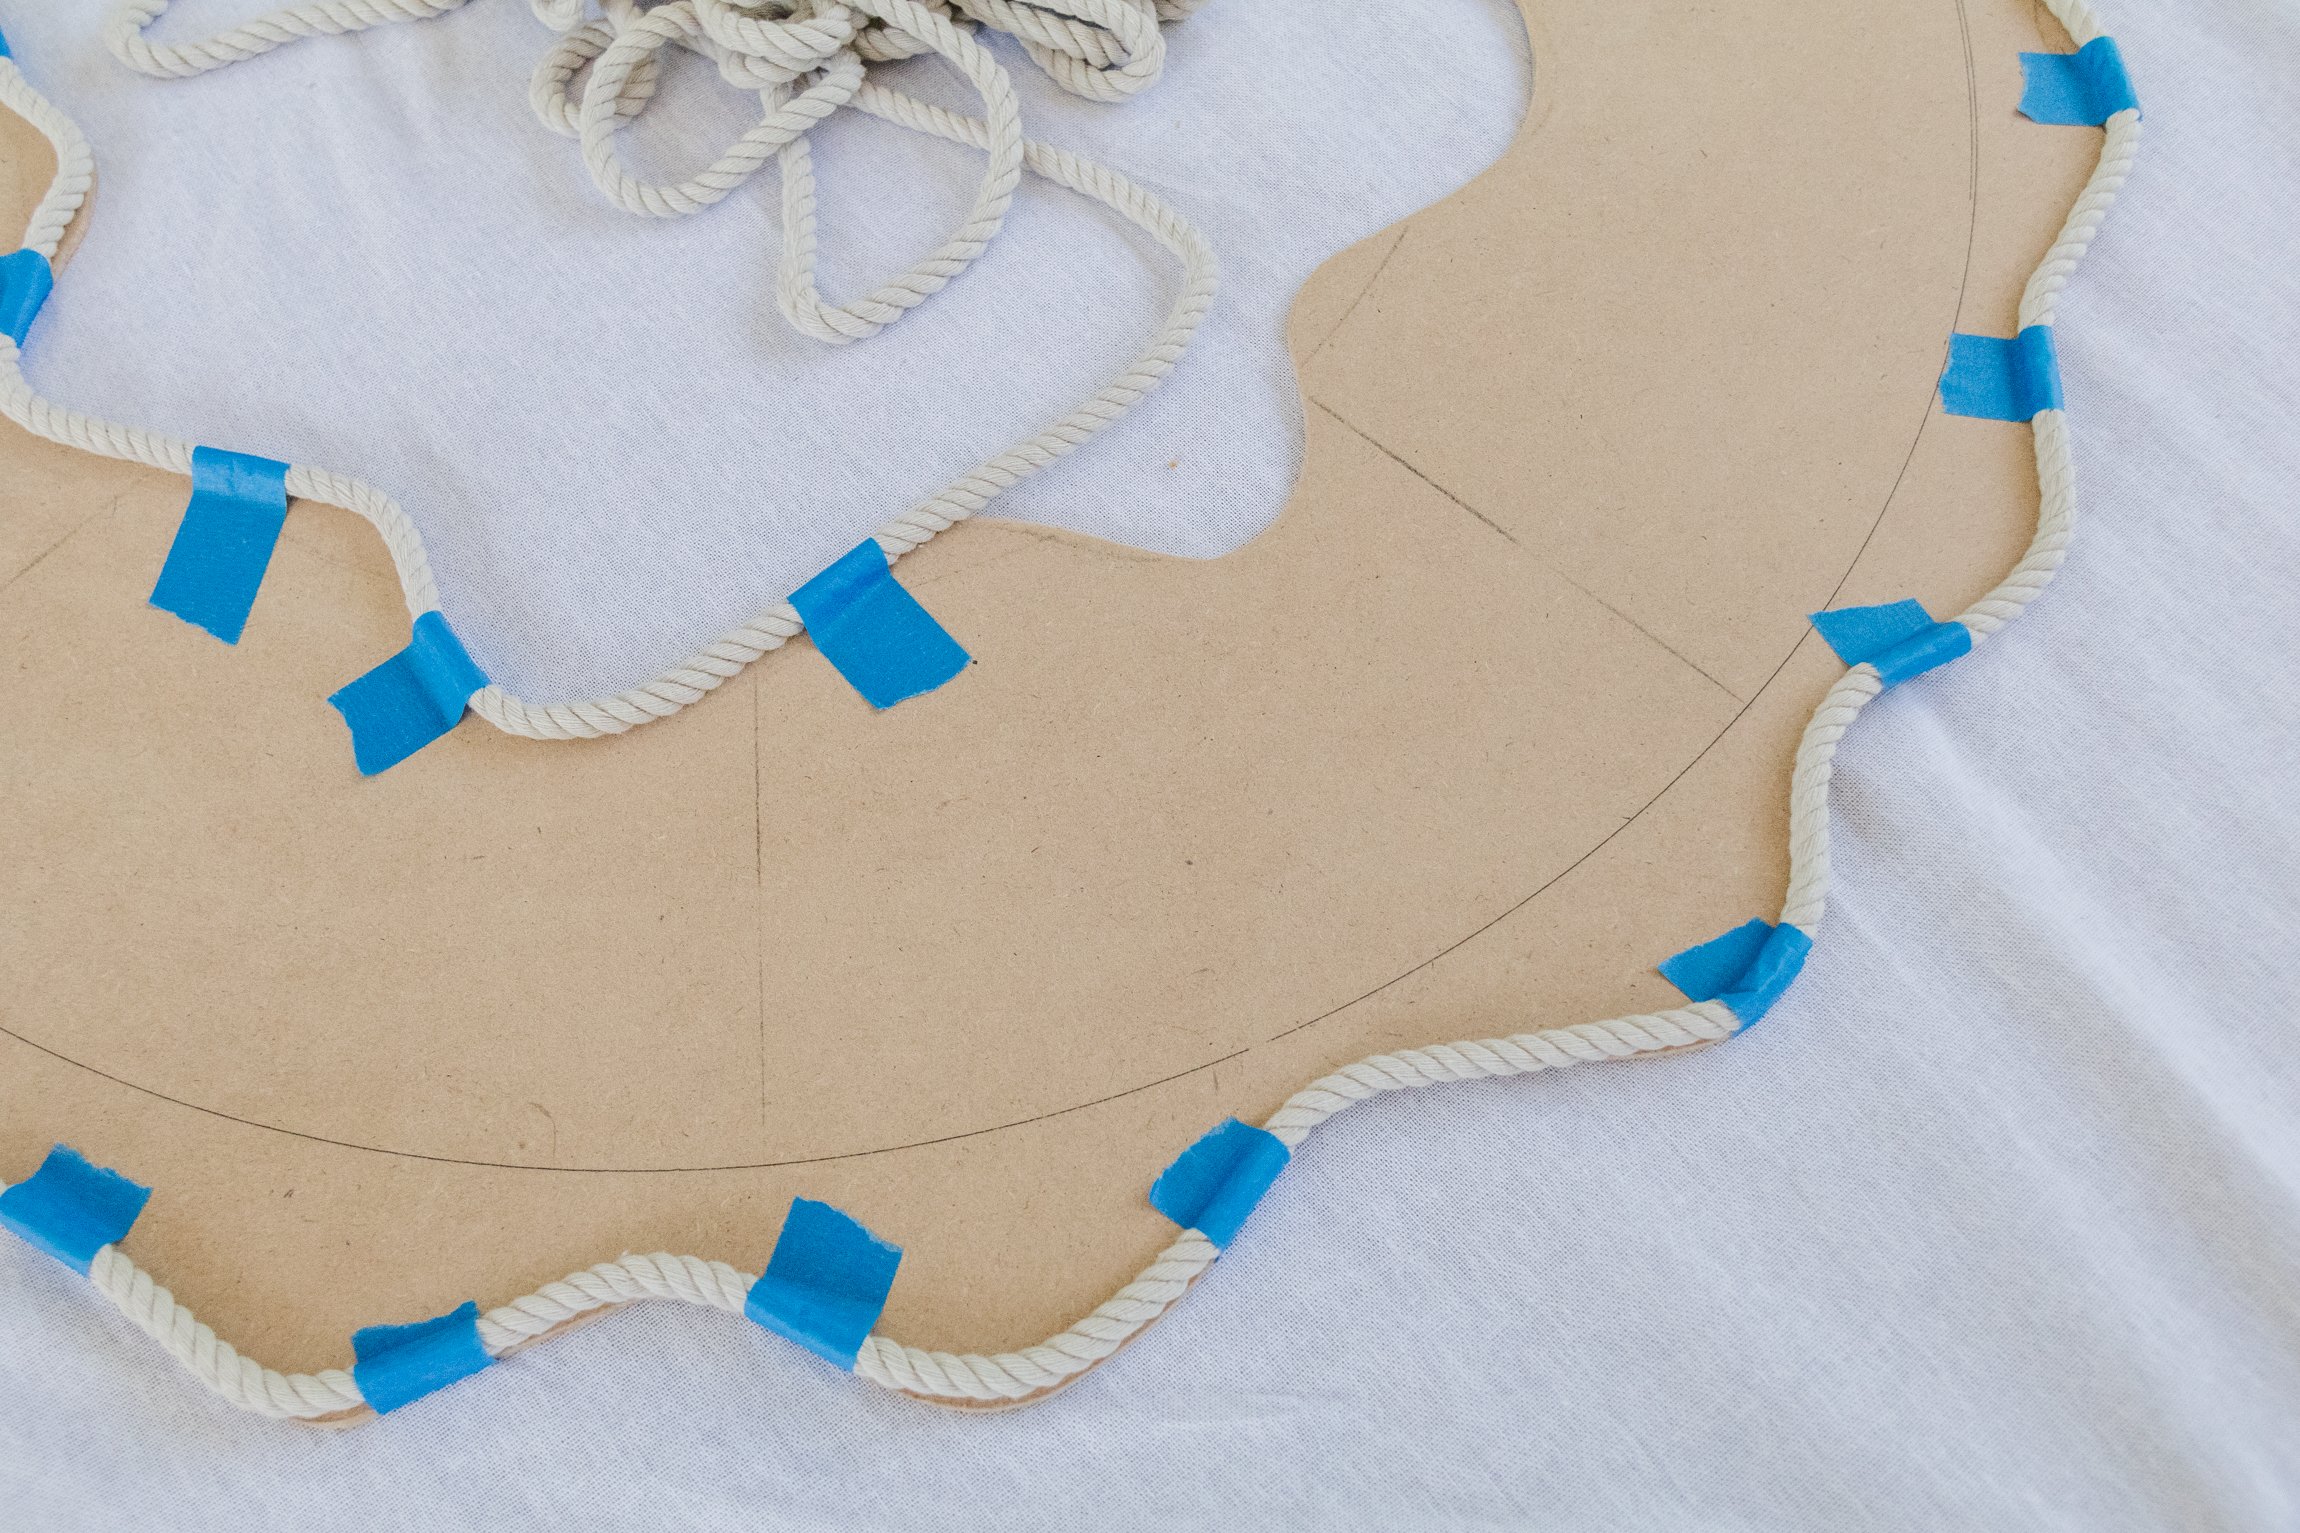

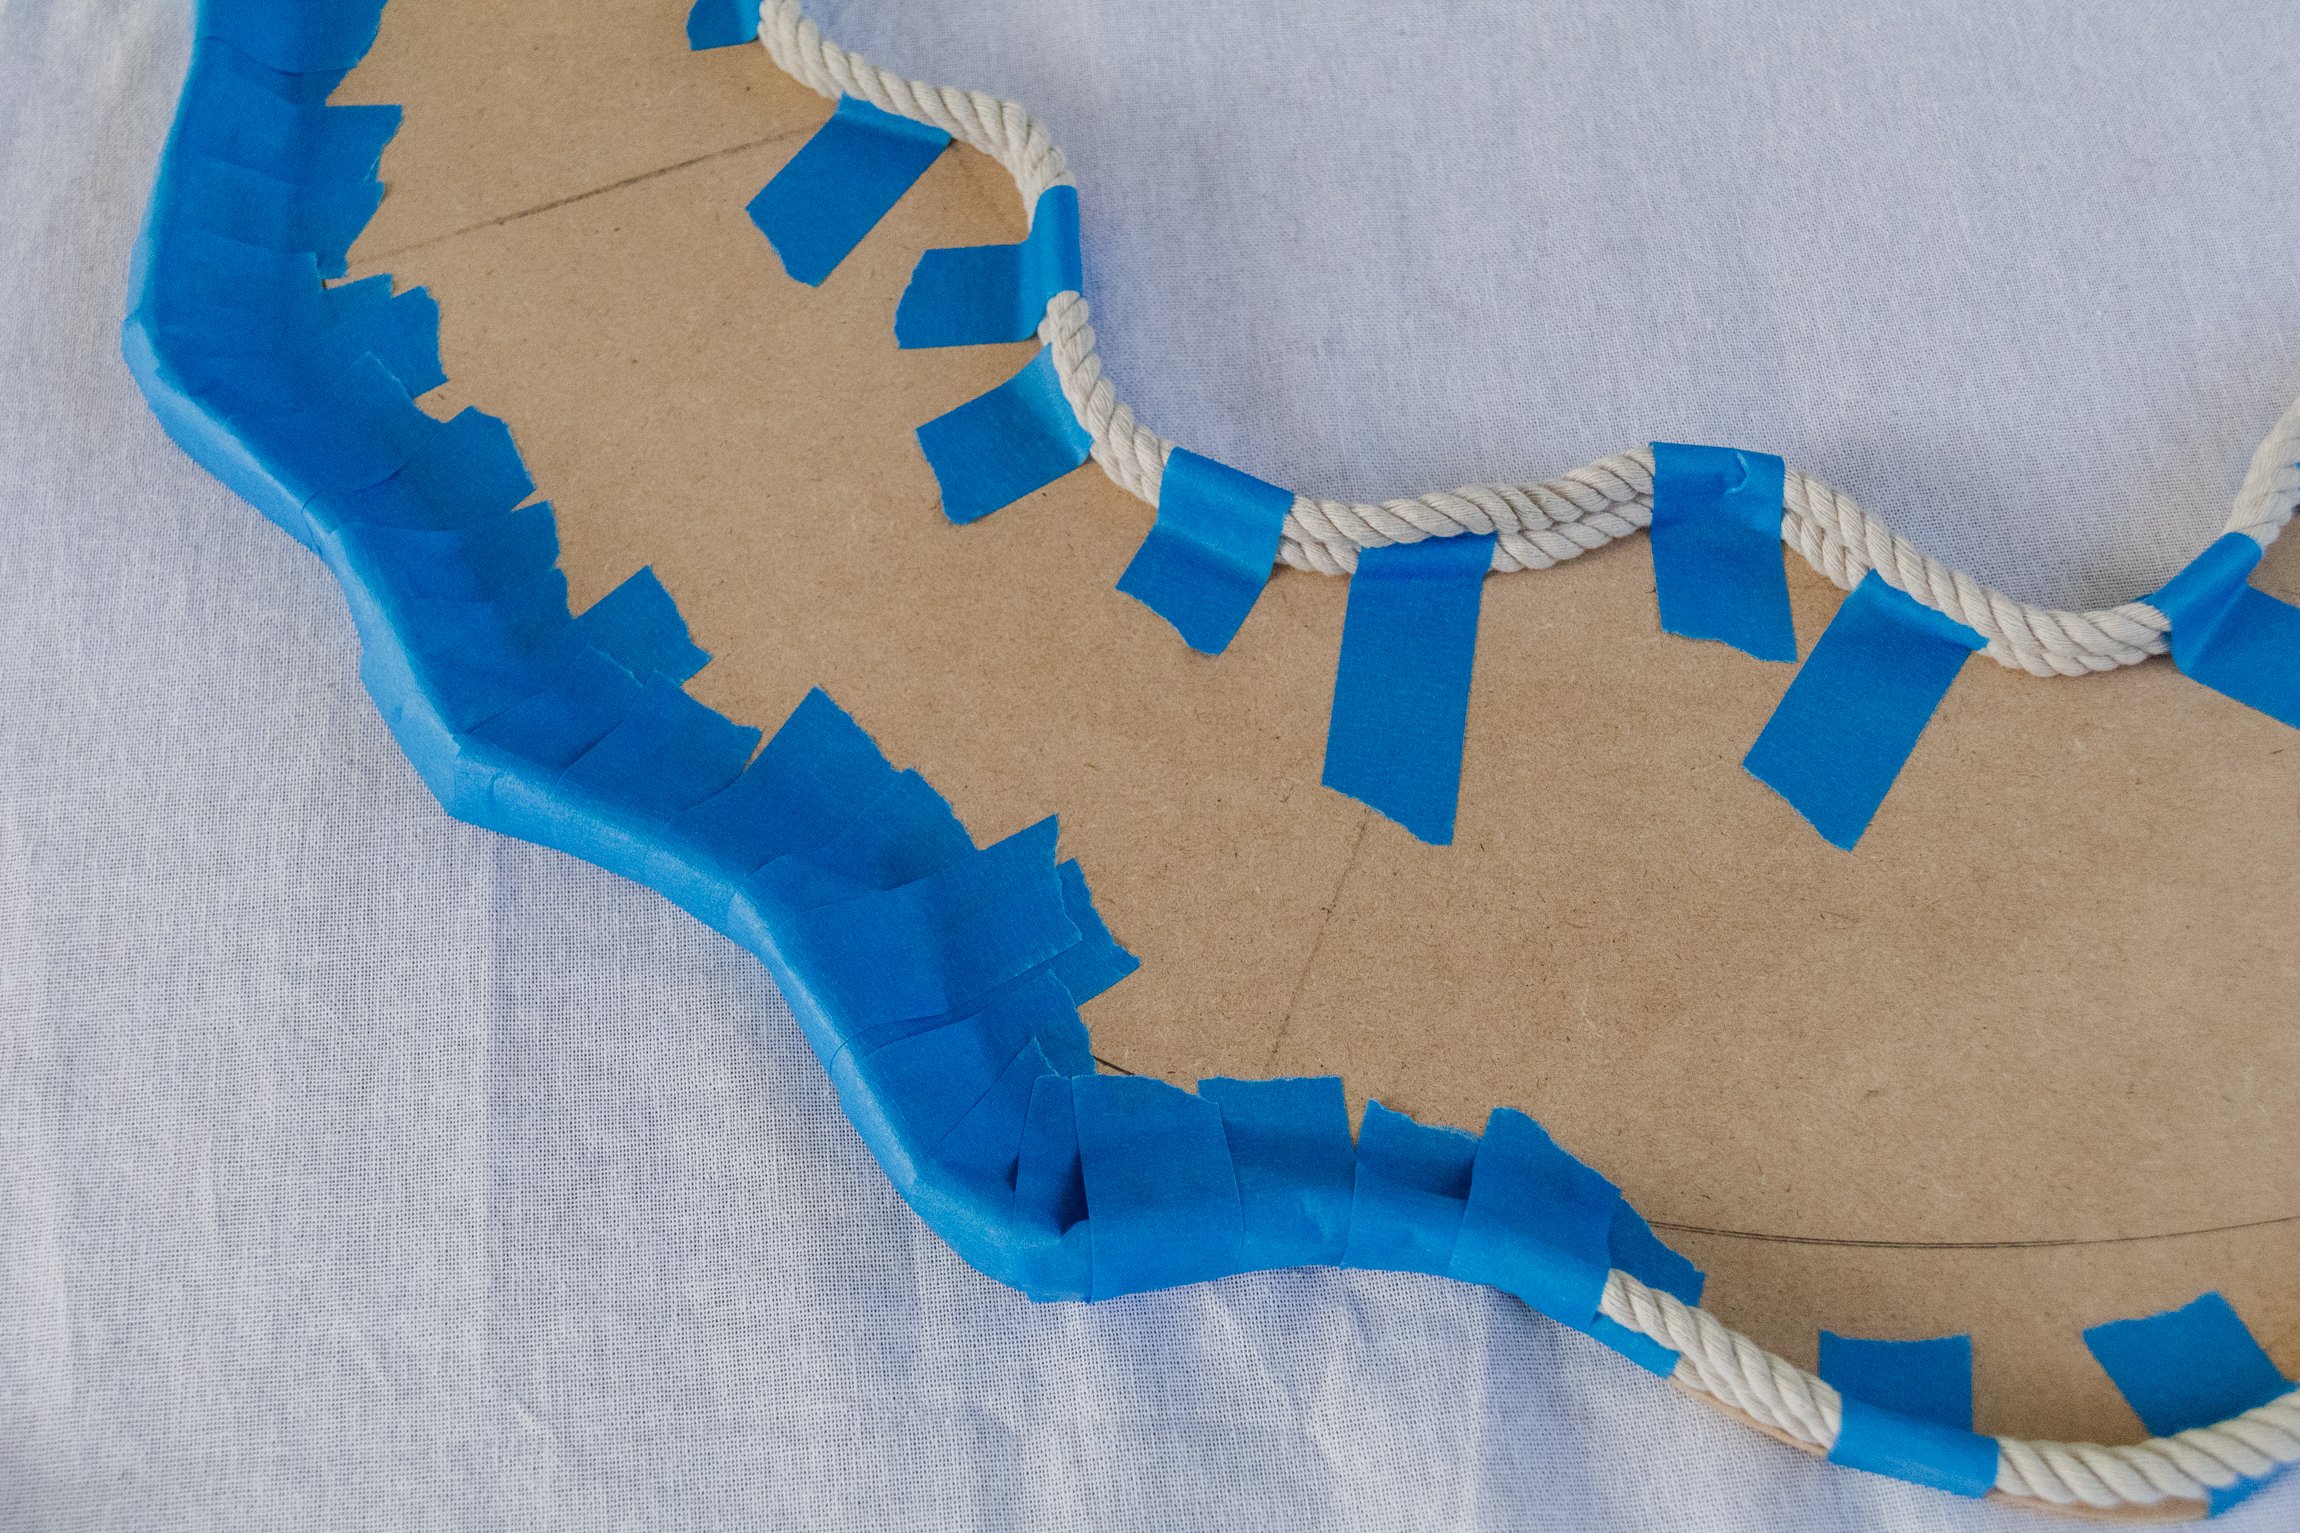
Completely cover the rope with painters tape as this will make it easier to plaster the entire surface of the wavy frame.

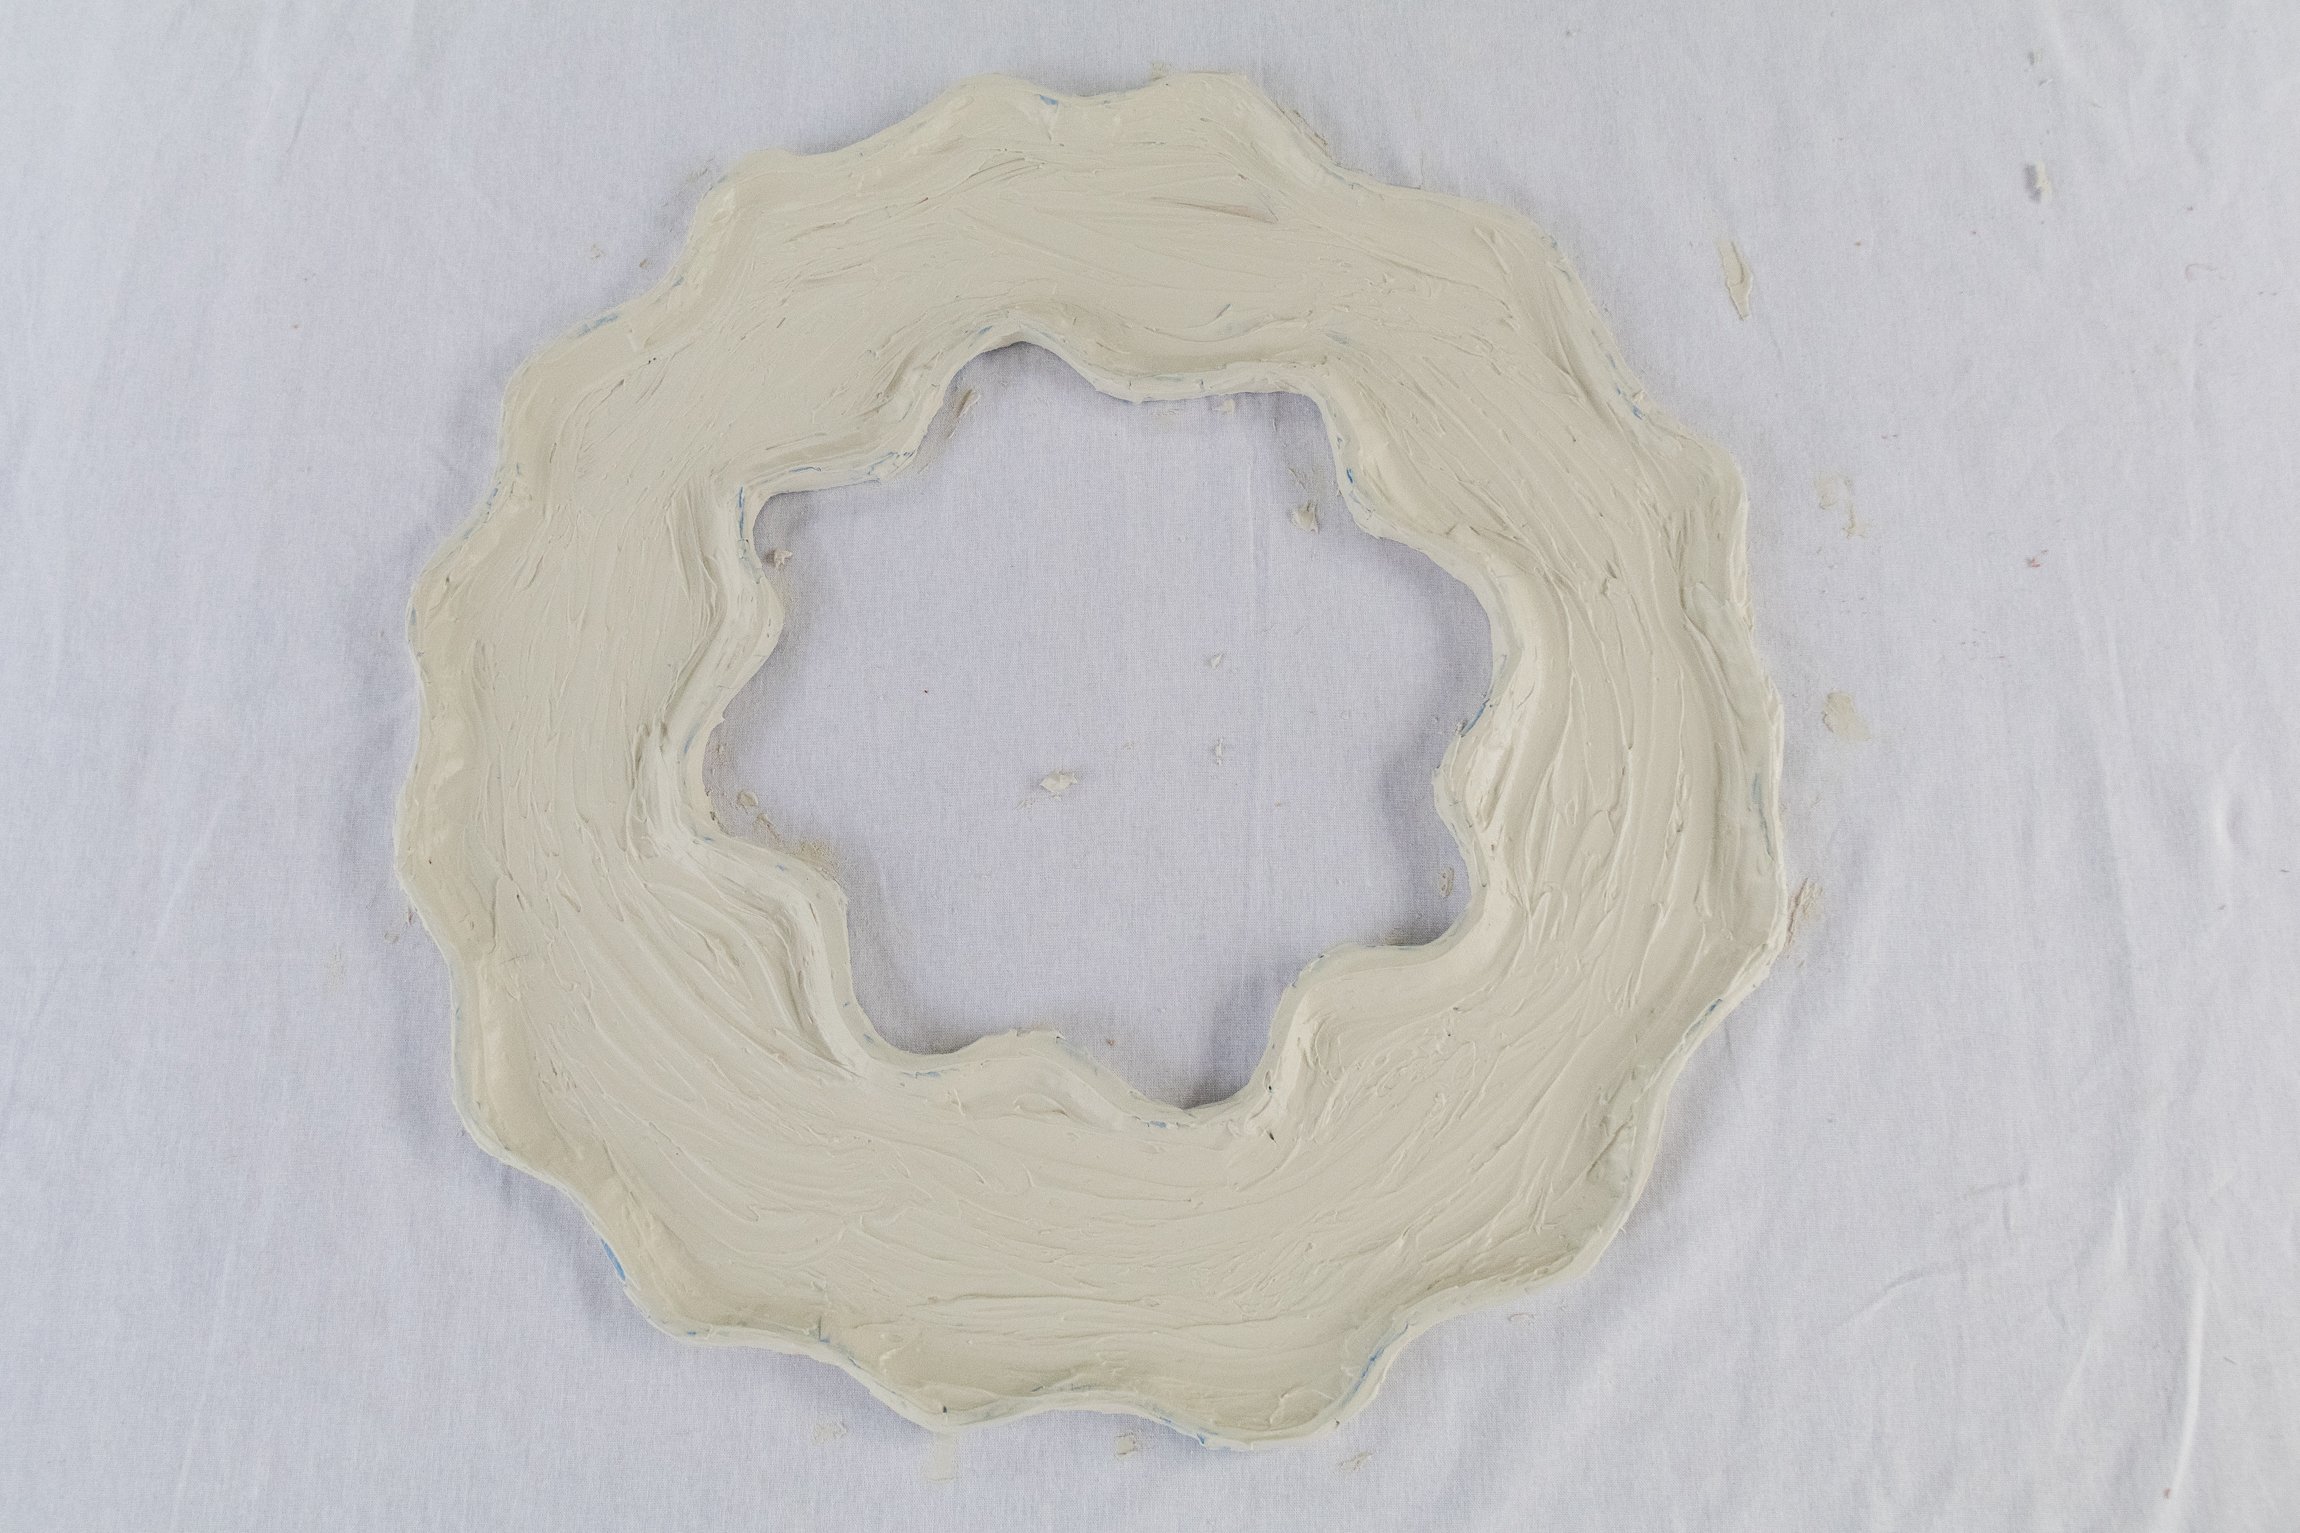
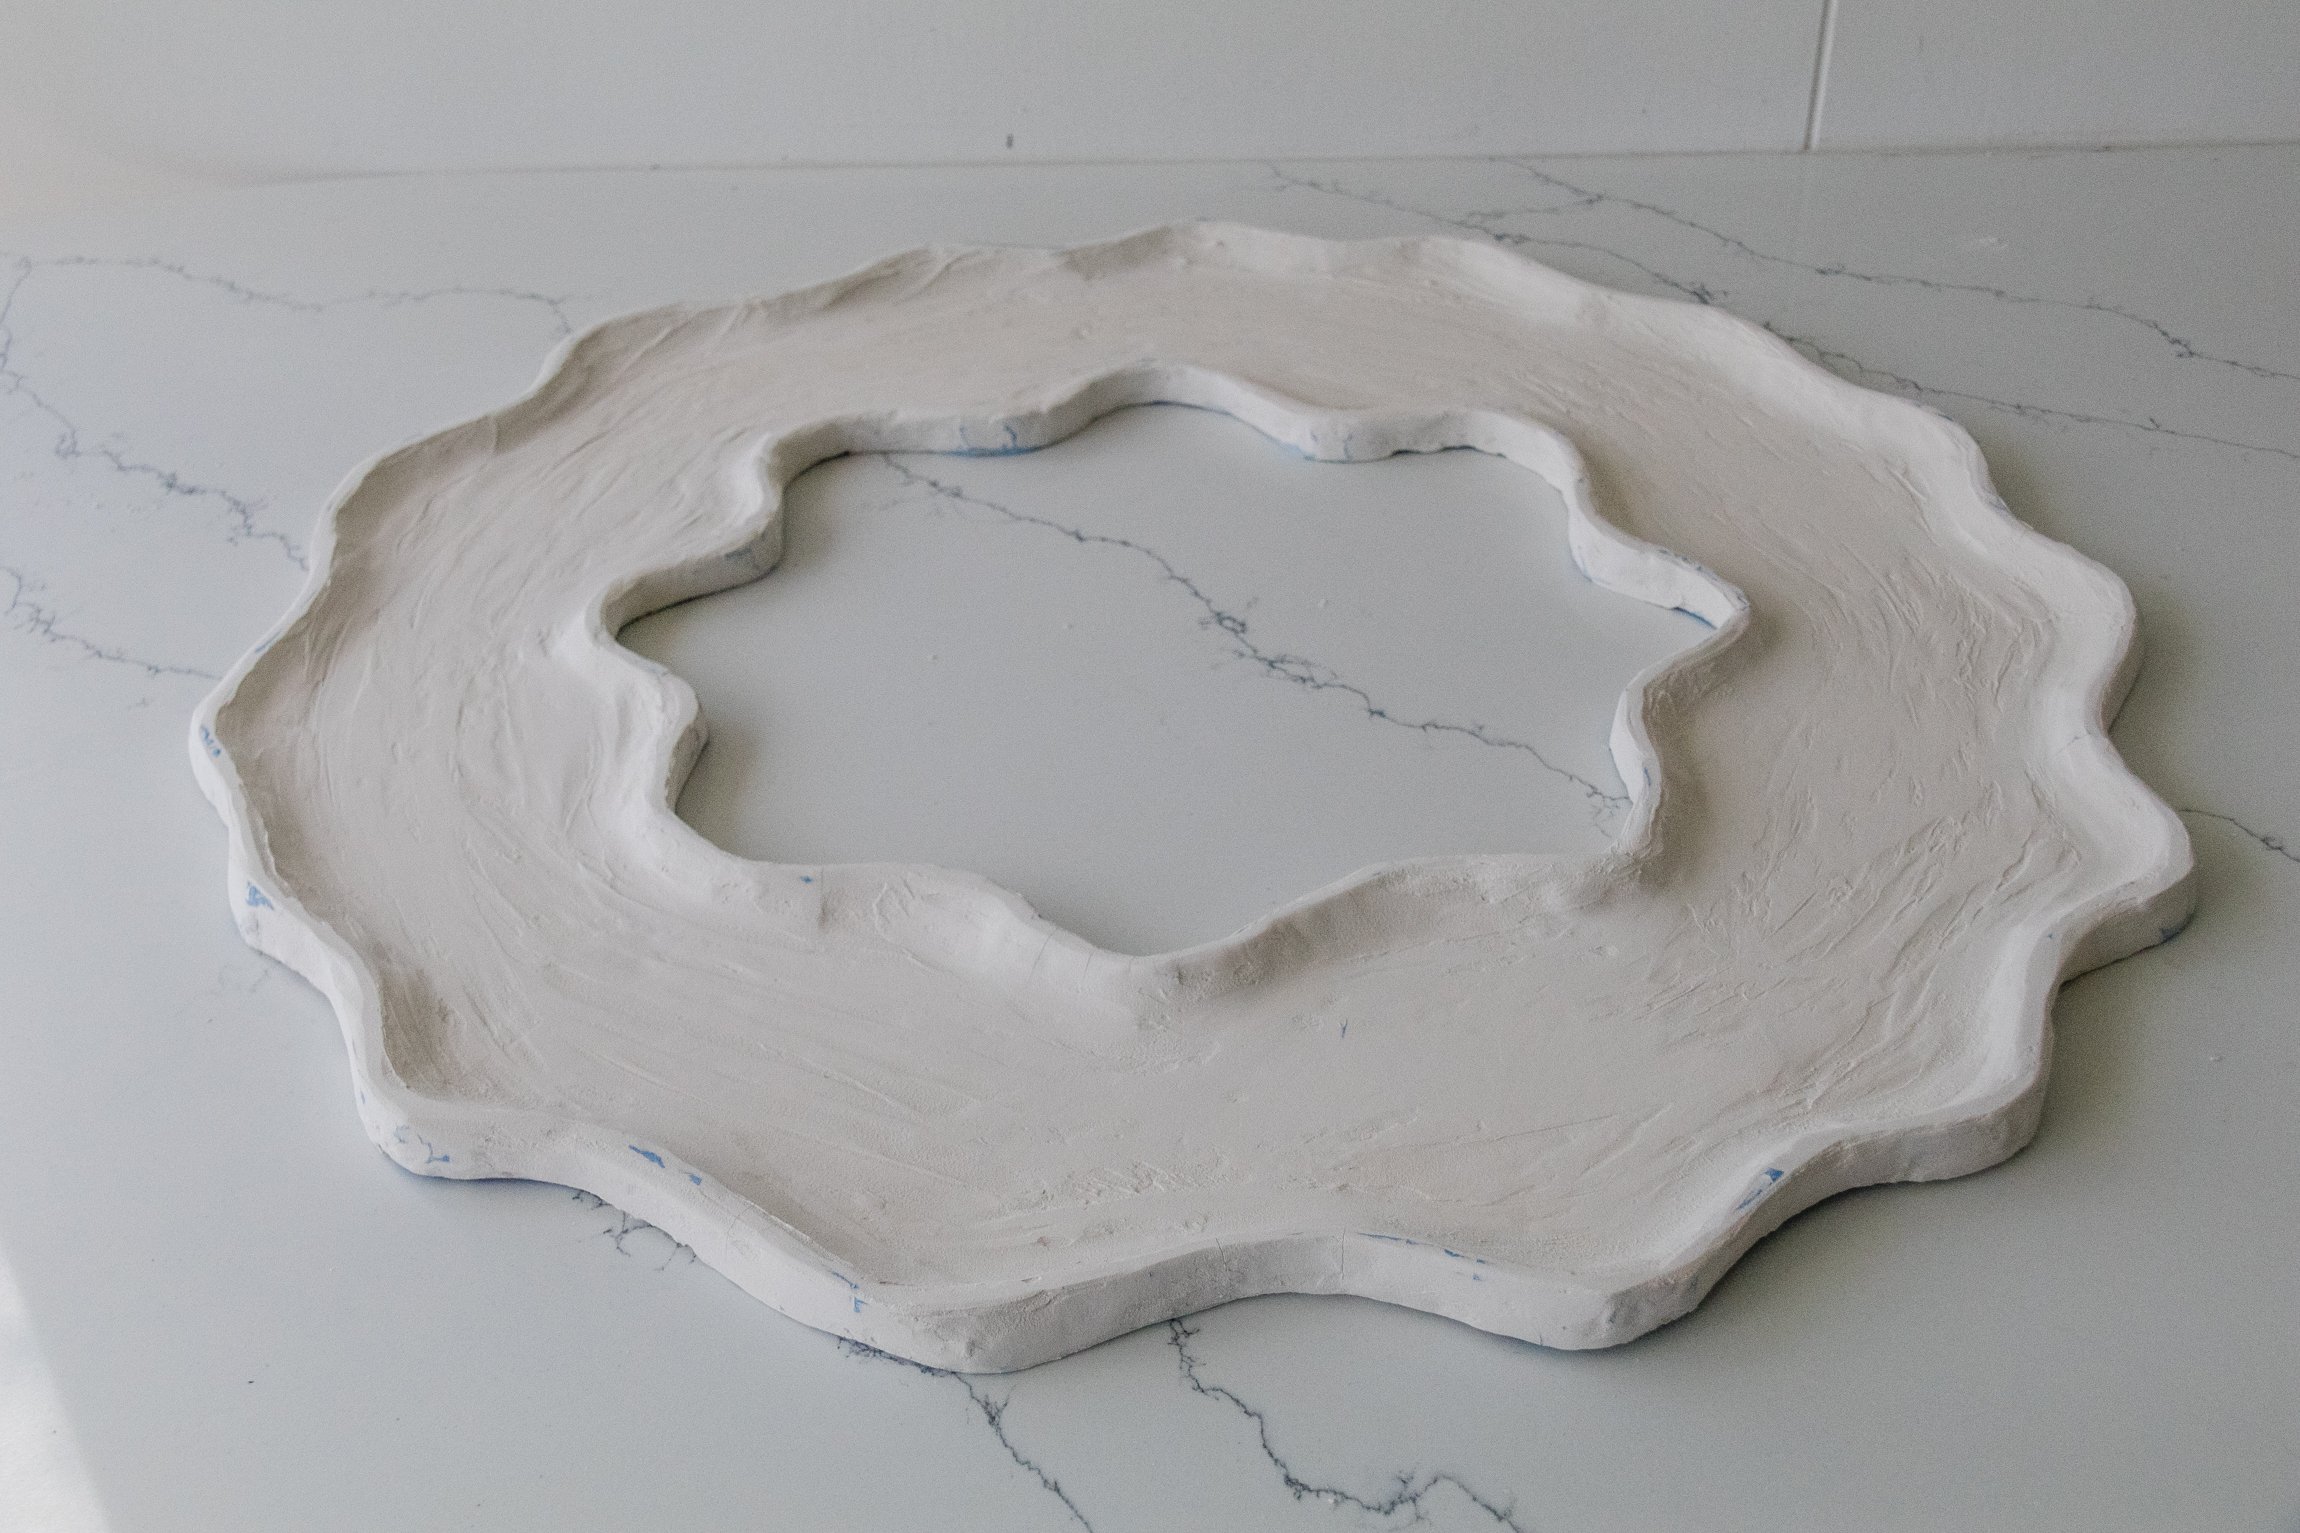
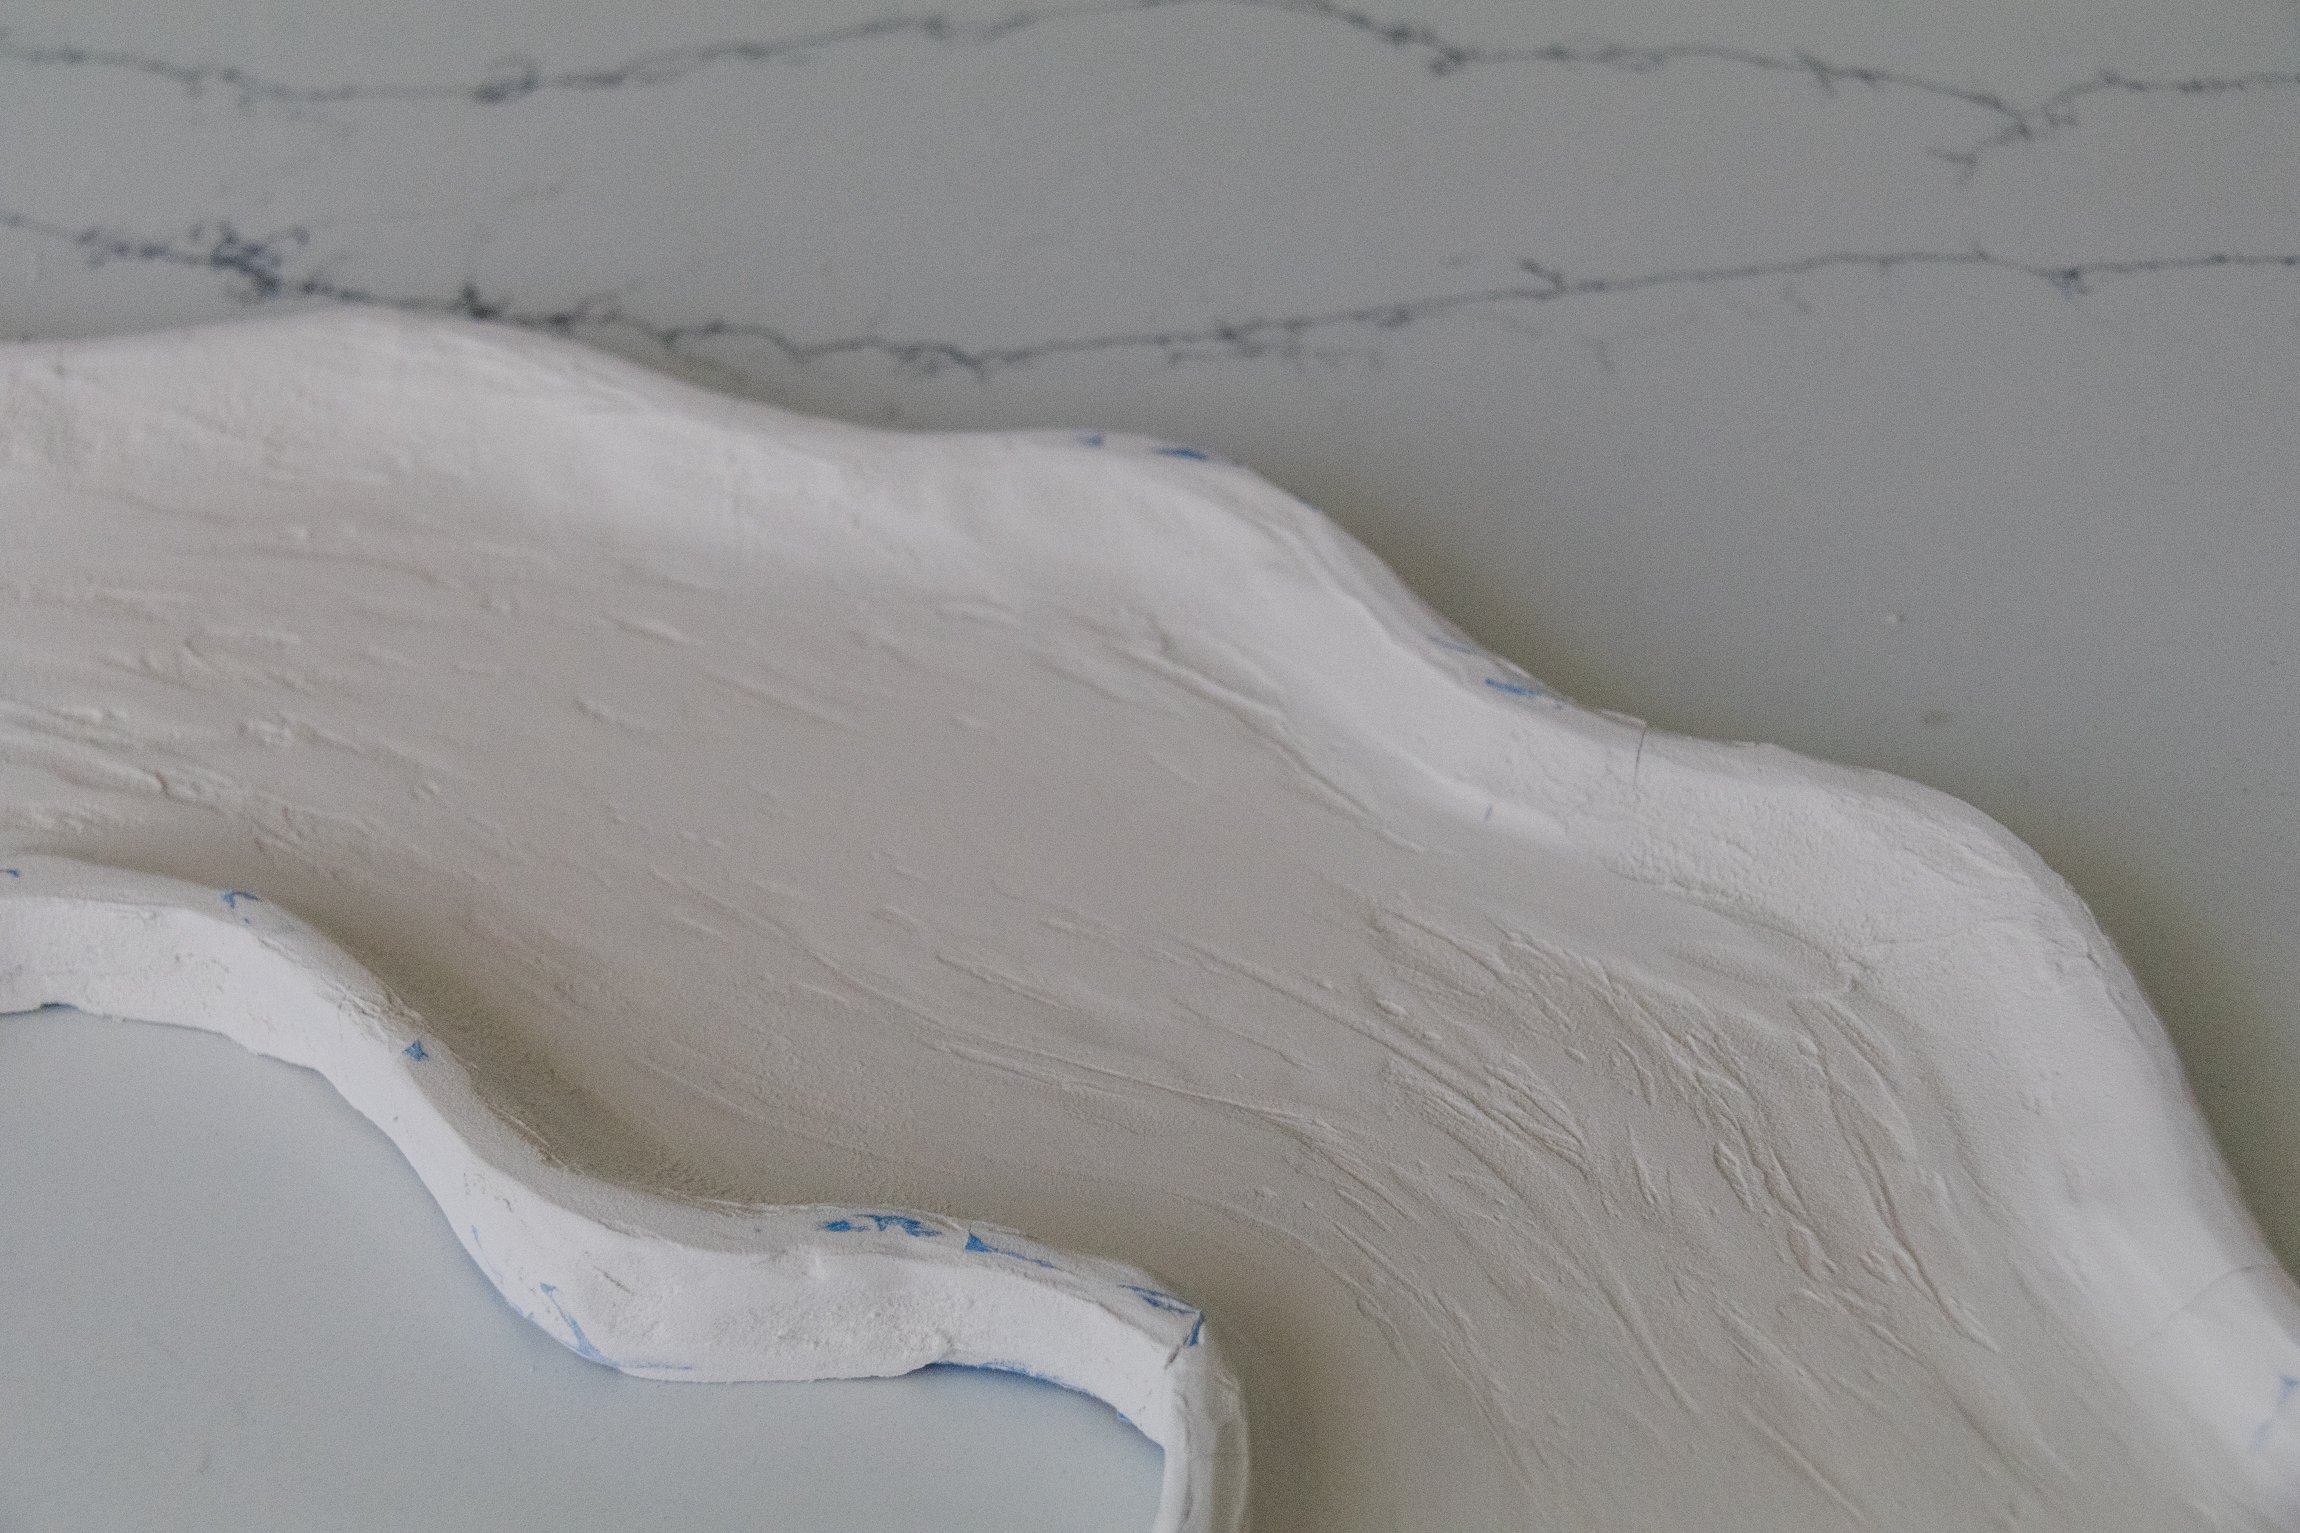
Cover the surface with plaster. It won’t be possible to completely cover the MDF and painters tape, so don’t worry about that for now. Set aside to dry. When the plaster has dried, lightly sand it using the sander. Wipe off the plaster dust with a tea towel. Apply a second coat of plaster on top and set aside to dry again. When the plaster has dried, lightly lightly sand it using the sander. Wipe off the plaster dust with a tea towel.
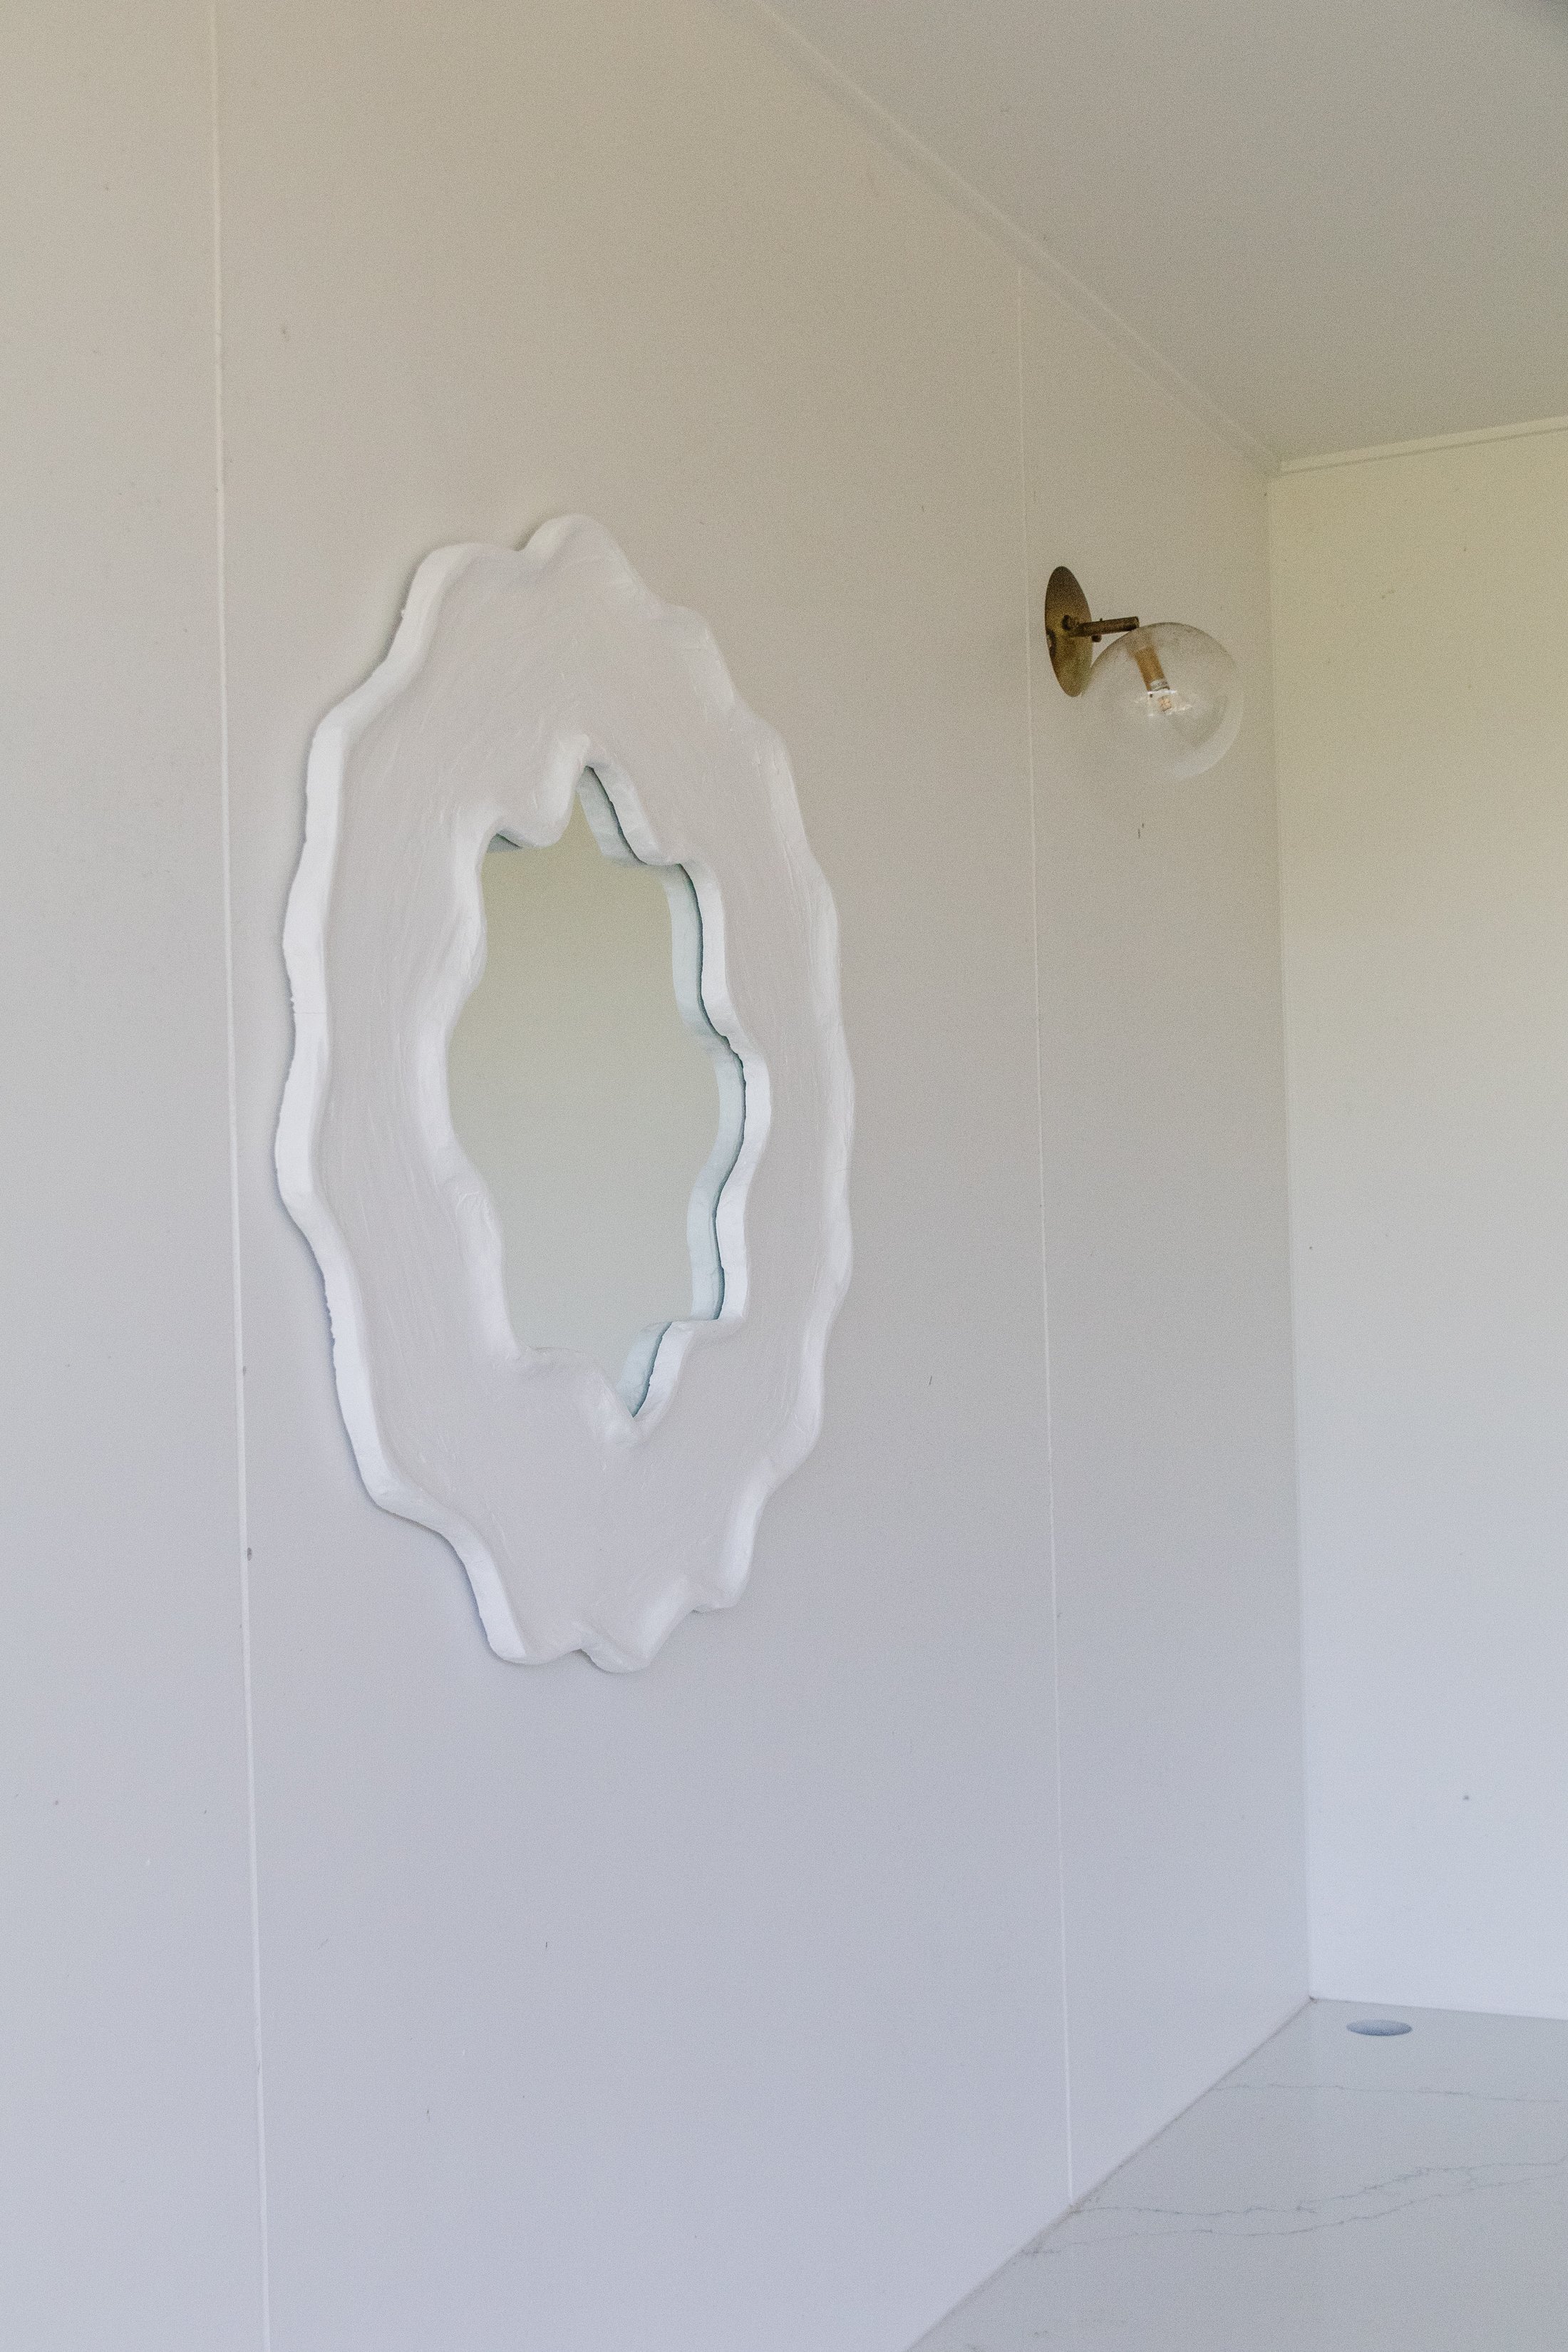
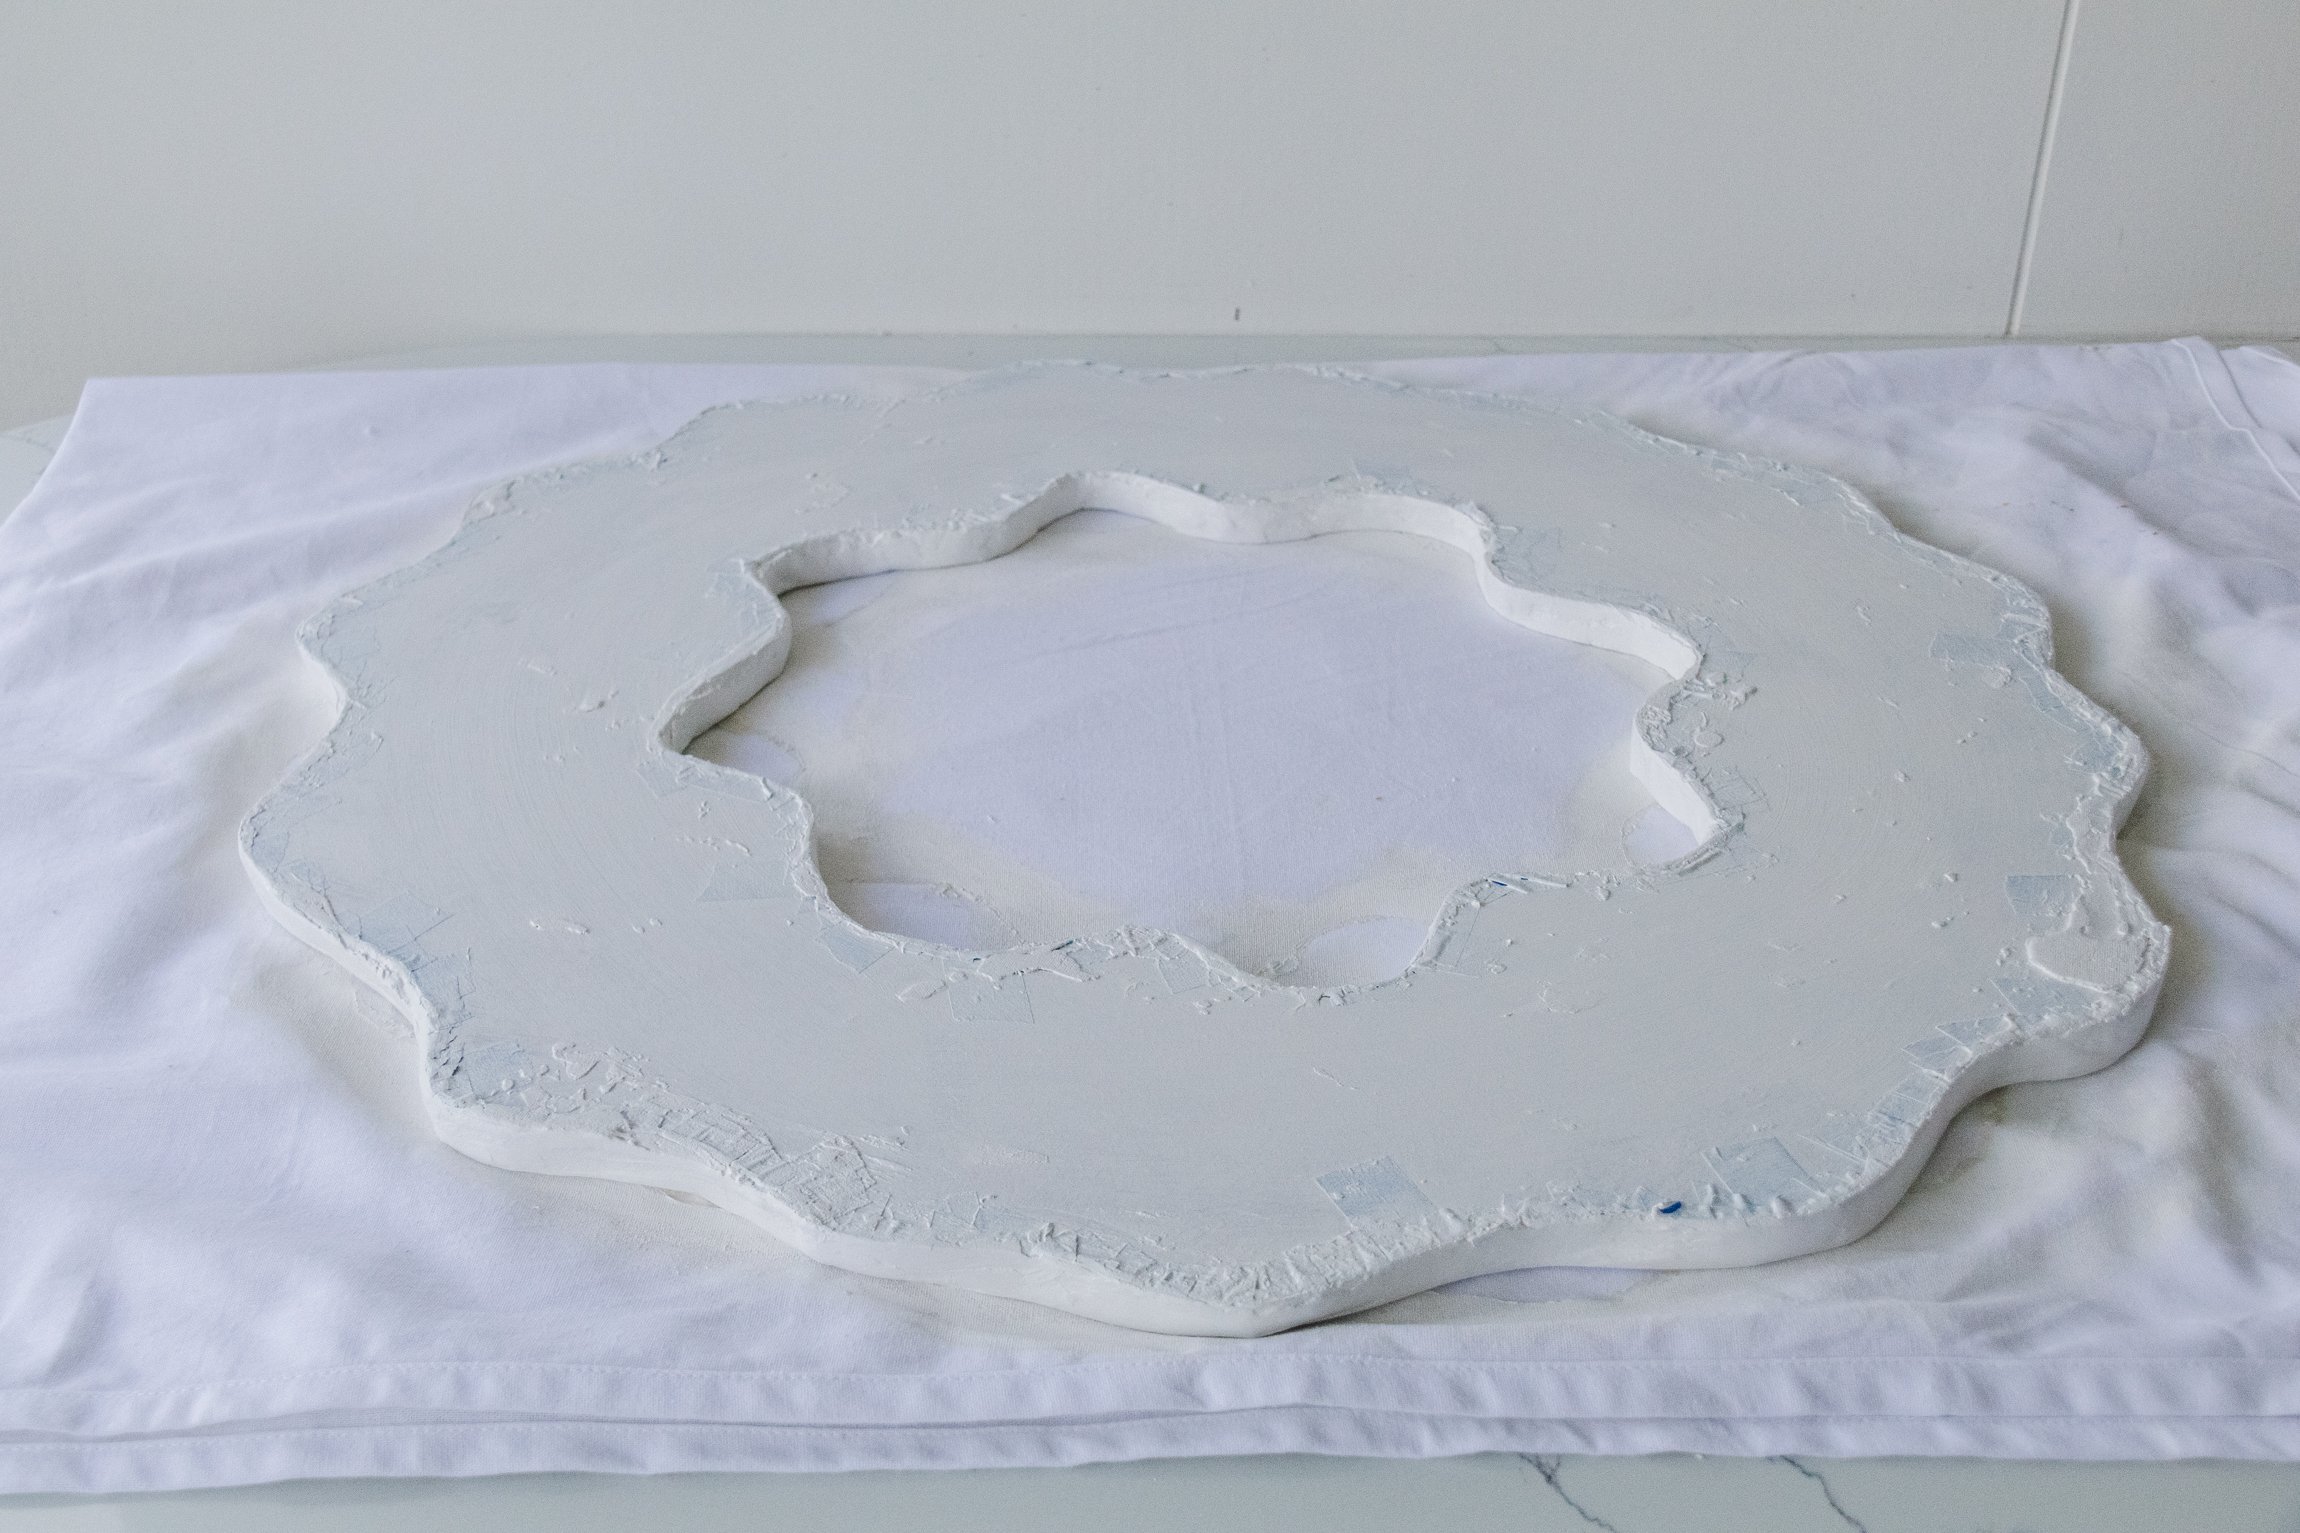
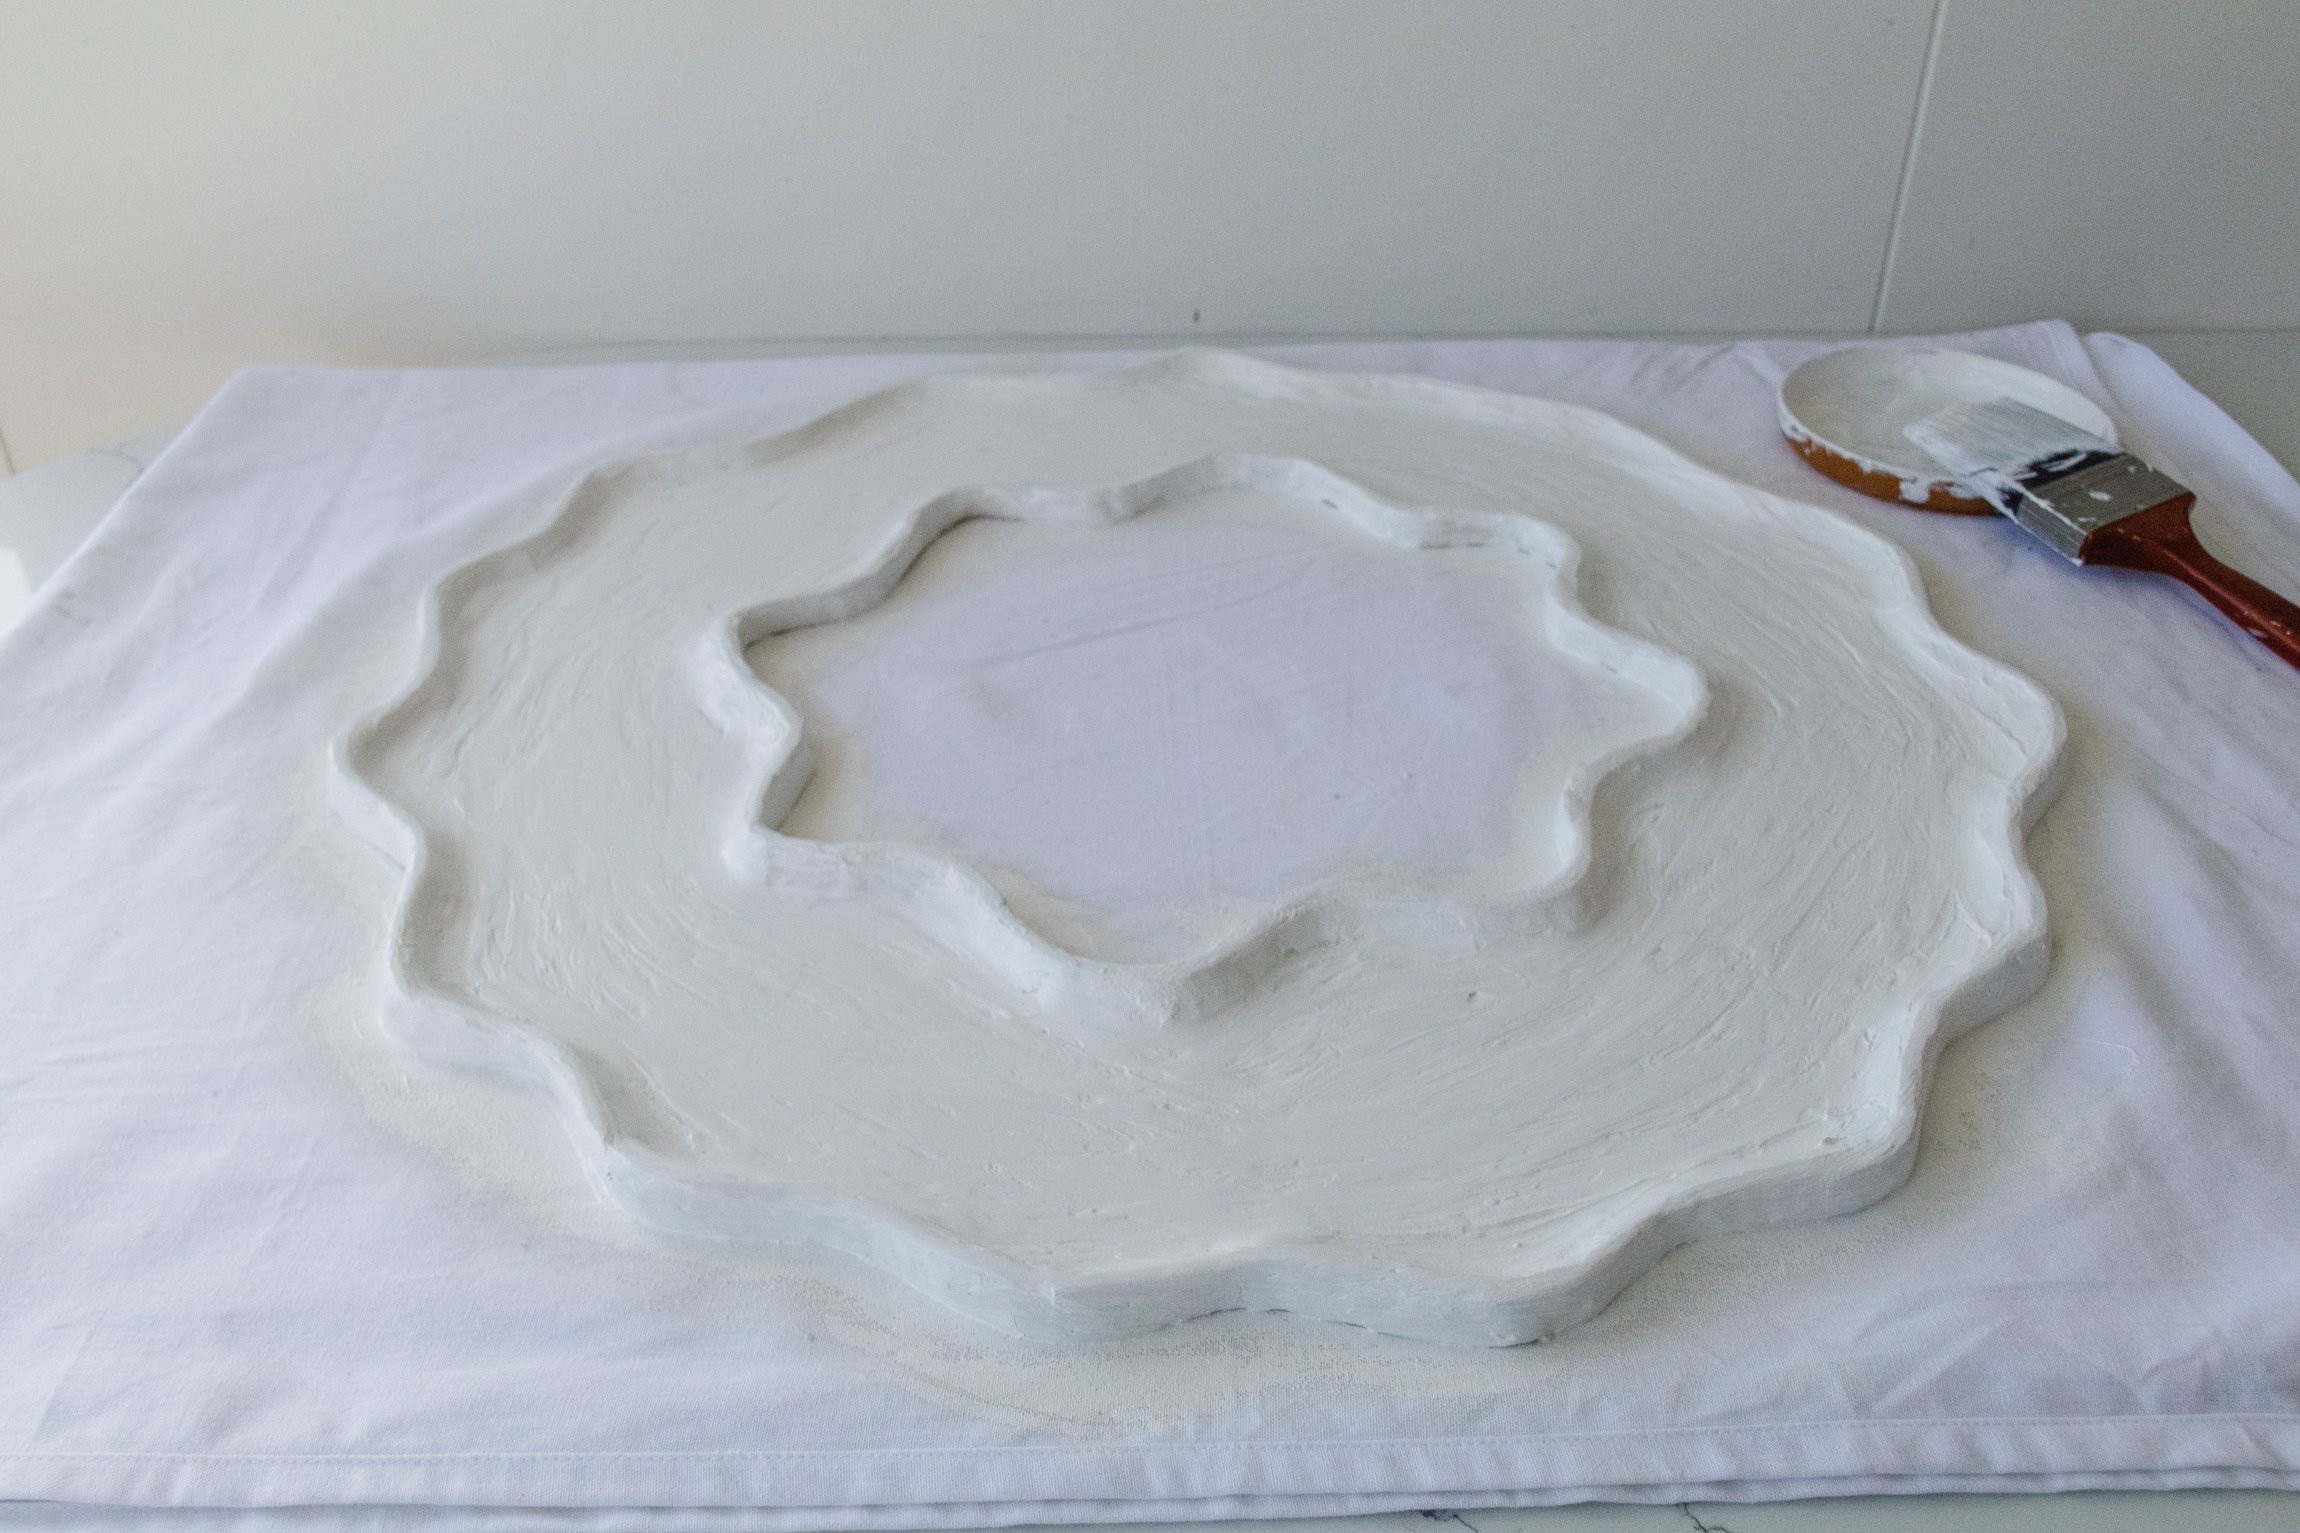
Paint the back of the wavy frame with one to two coats of white paint. When it has dried, turn it over and paint the surface of the wavy plaster with two coats of white paint.
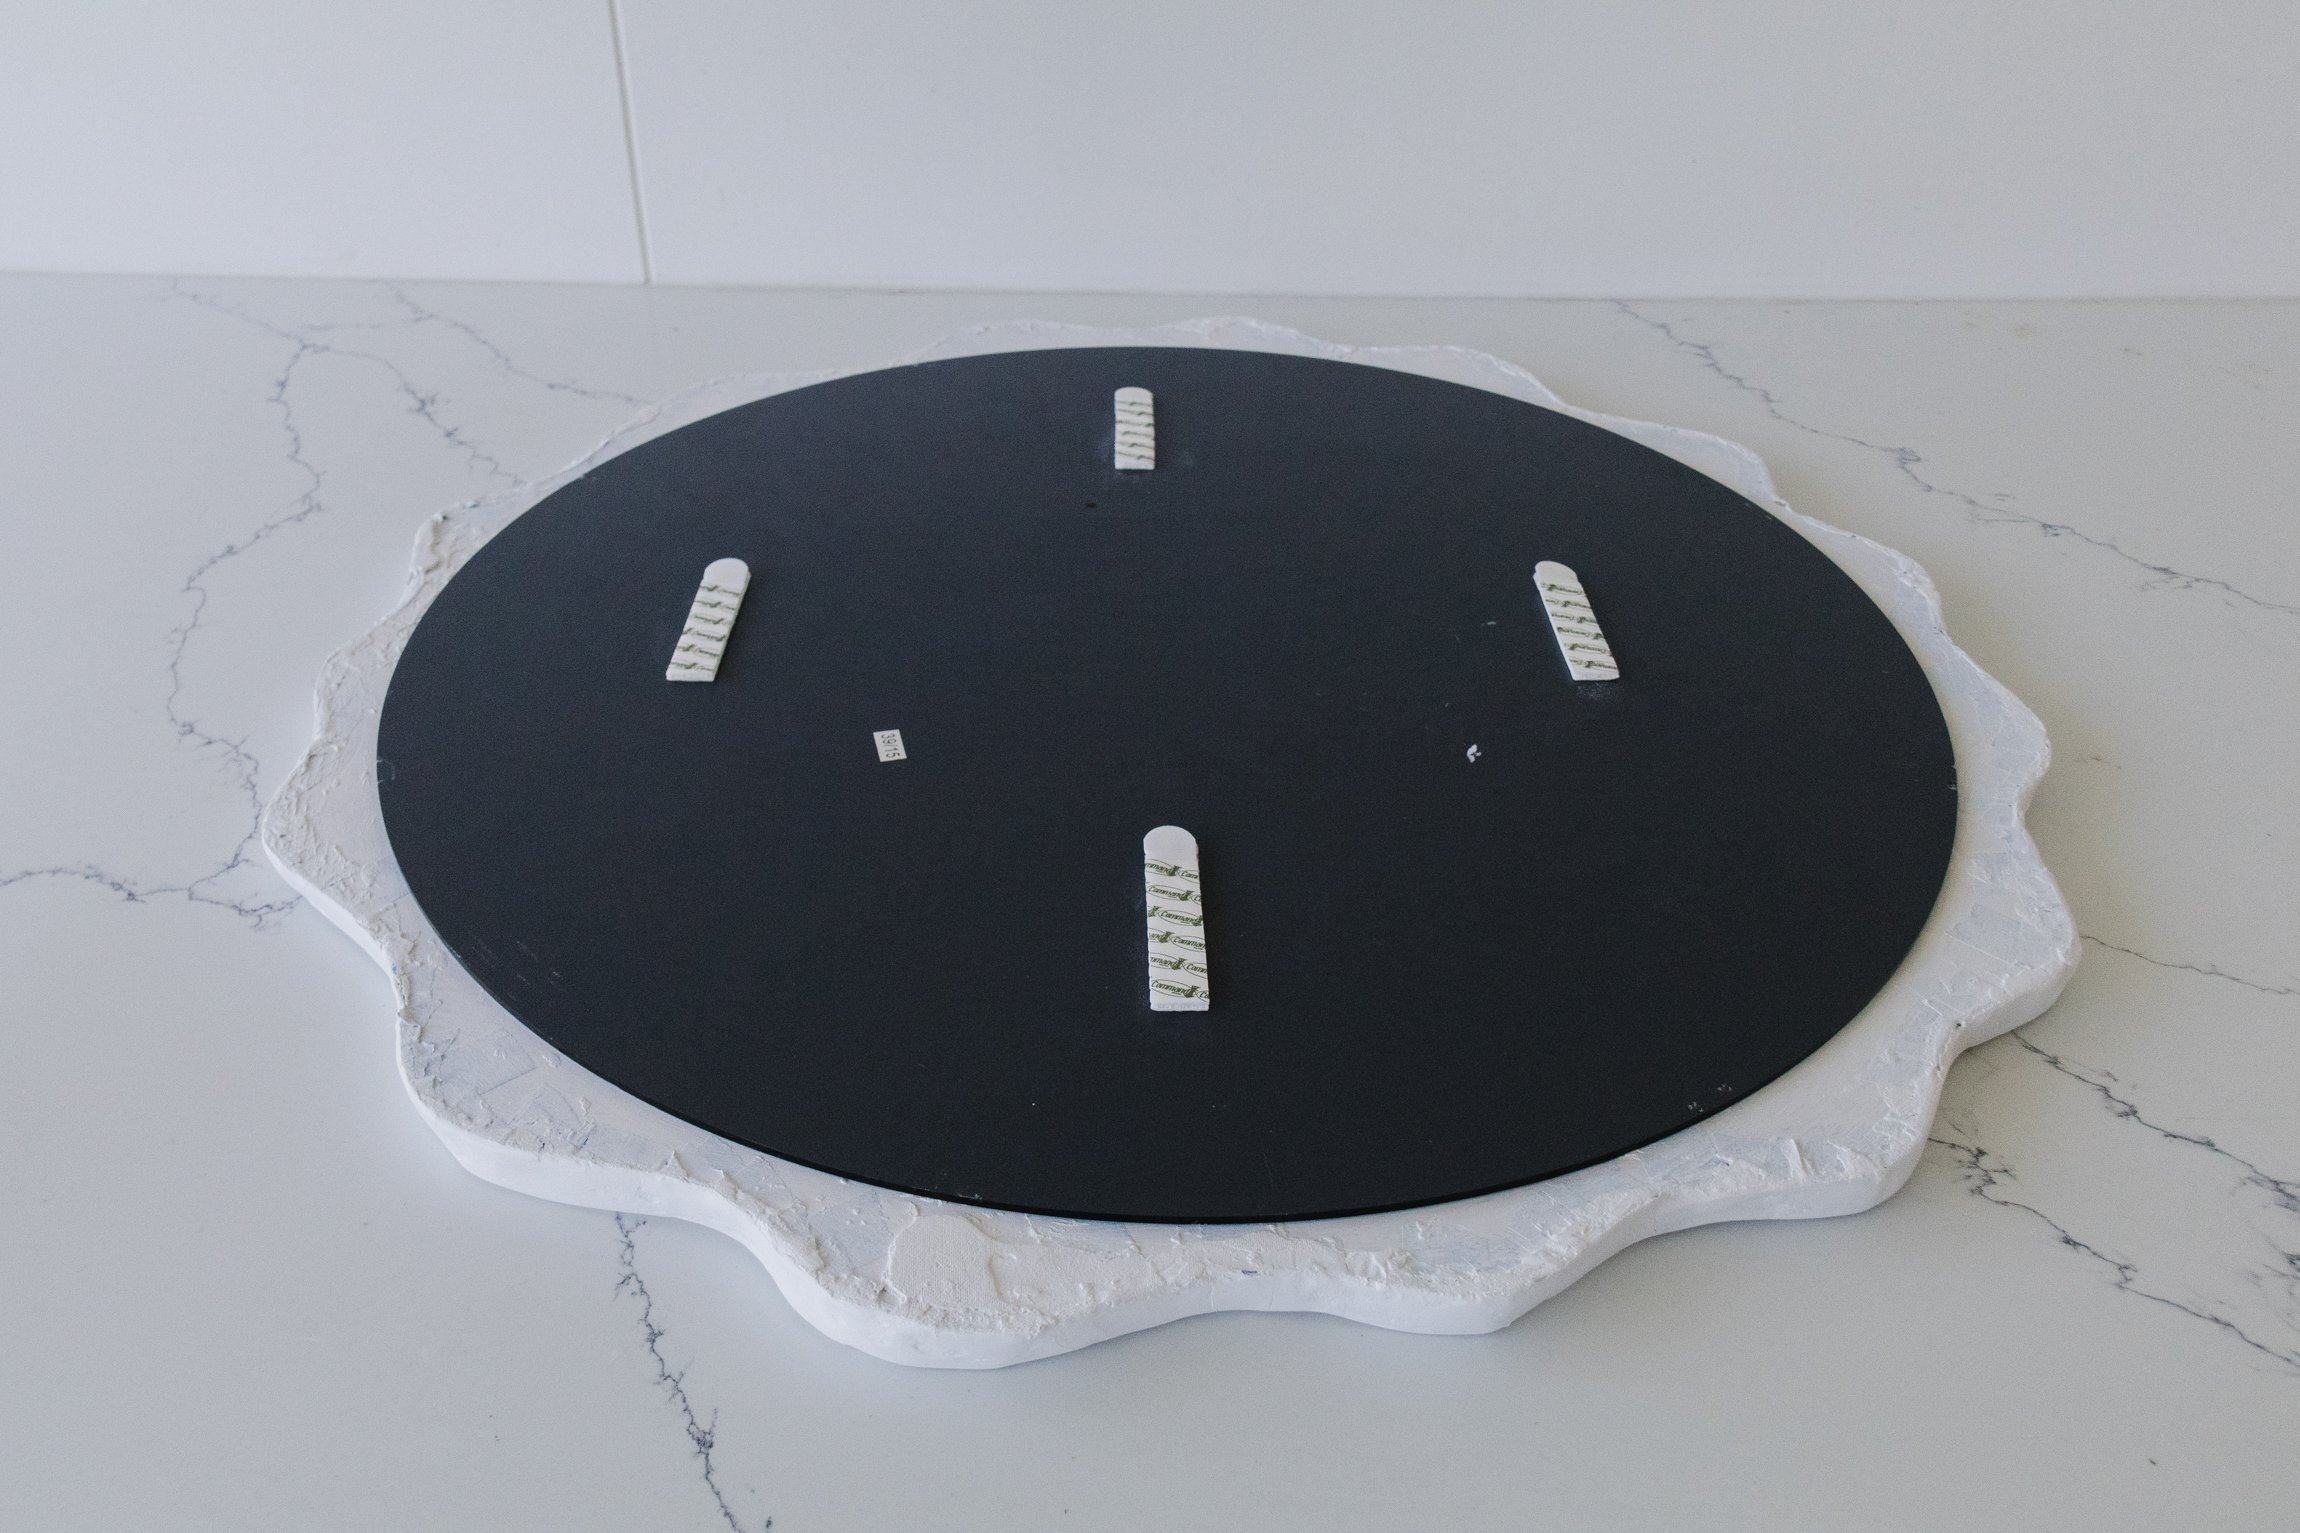
When the paint has dried glue the mirror onto the back of the wavy plaster frame. When the glue has dried apply 4 sets of velcro strips onto the back of the mirror and hang it up on the wall. And it’s done!
Ta daaaa! I hope this upcycle has brought you as much joy as it did for me.
If this isn’t an ultimate upcycling transformation, I don’t know what is! To me there is not greater joy than salvaging an unwanted mirror from the tip shop from ending up in landfill and breathing new life into it with a little love, creativity and elbow grease. I hope this project brings you all the feels and is one you are encouraged to try at home using materials you may already have. Total project cost? $20. Very happy, very happy indeed! And remember to watch the transformation video here.