Making An Upcycled Sculptural Lamp
What do you do when you find a sculptural lamp you love but it’s out of your budget? You make it!
And so is the story of this upcycle. I have been admiring sculptural lamps for a while now and like most things, I couldn’t stop thinking about how I could make one myself. I recently stumbled across a large scale cone lampshade at a charity shop for $5 and knew this wuold be perfect to make my own Upcycled Sculptural Lamp. Obviously I went thrifting for a lamp base next and I came across a potential one for $5 with little ball feet (you guys know how much I love ball feet).
It wasn’t what I was looking for but I didn’t have any other options, and on the drive home I wondered if I had made a mistake buying it. However, it actually turned out to be perfect! I embraced the shape and structured the design of the sculptural detail around it. But then I had to figure our what I was going to do with the lamp shade. After umm’ing and ahh’ing and deliberating over painting stripes or covering it with grout, I decided to keep it simple and paint it.
Read on to learn how to make your own Upcycled Sculptural Lamp. I’ve also shared some important tips for finding the perfect lamp base for this project and shared dditional steps for using cardboard and painters tape if you don’t have a jigsaw to cut MDF with. Happy making!
Before & After
Materials
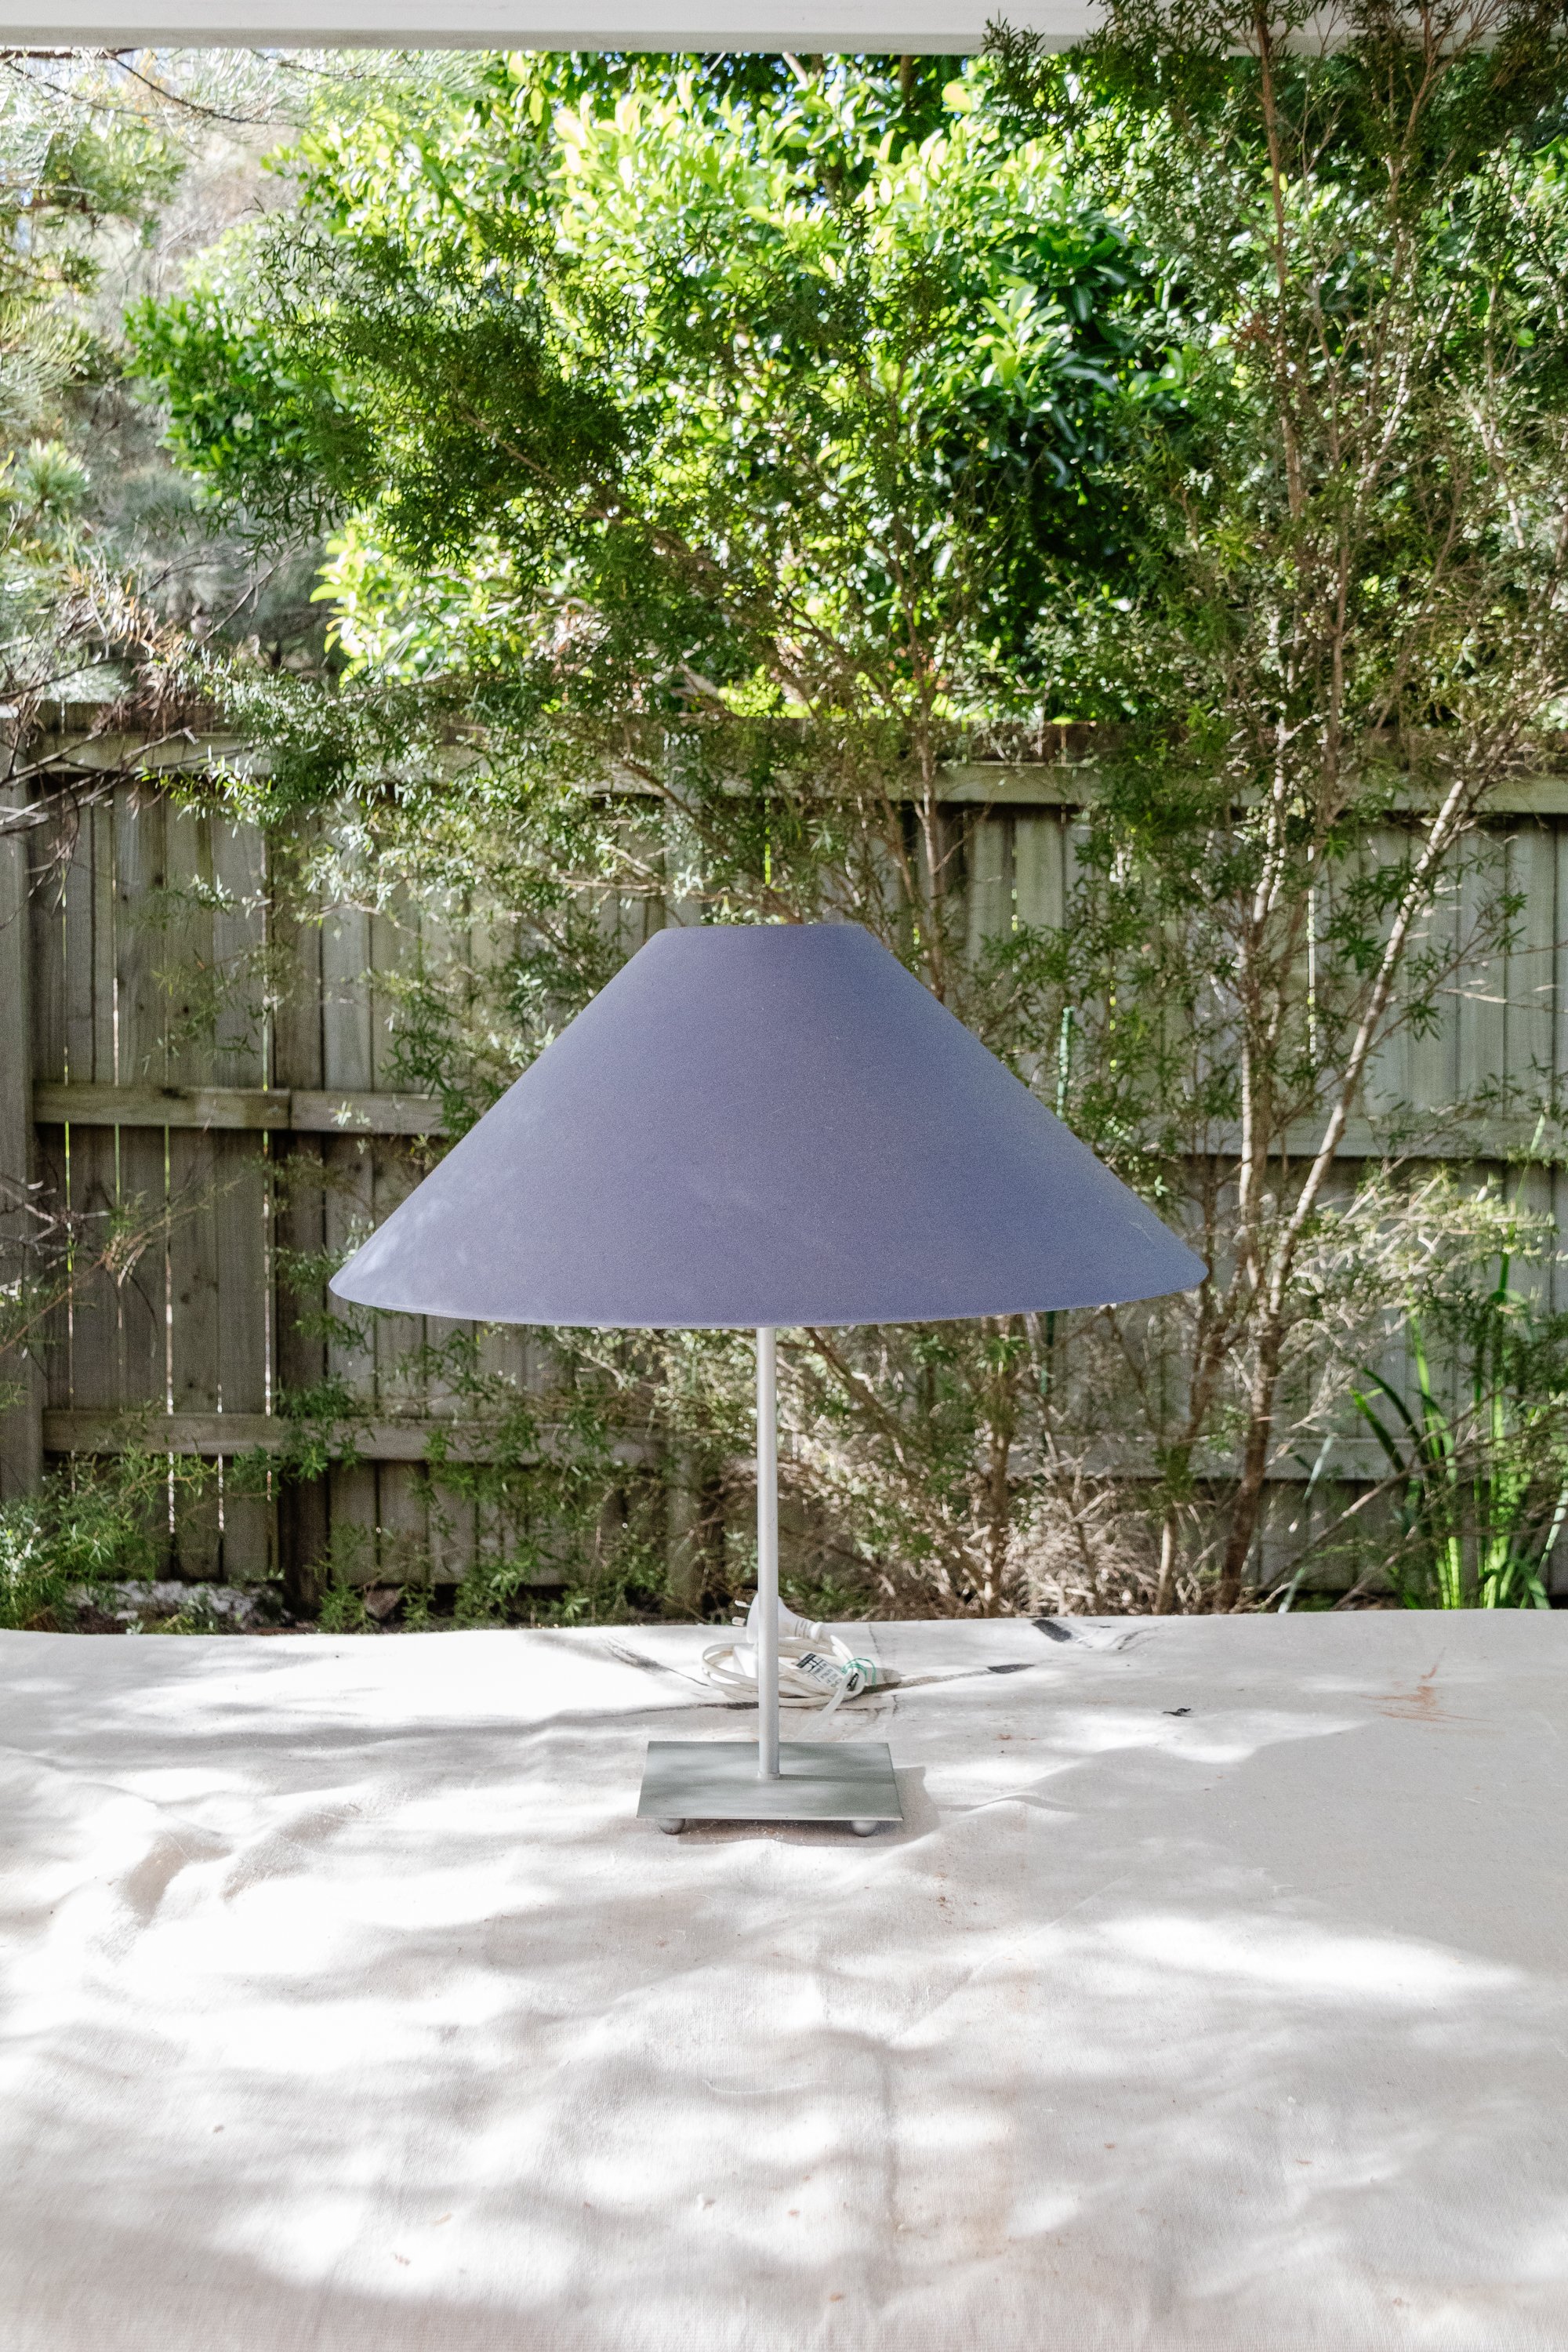
Lamp shade
Lamp base
Paper and a pen
Scissors
Painters tape from Bunnings
Option 1: Jigsaw from Bunnings, 3mm MDF panel from Bunnings and Selley’s Liquid Nails from Bunnings
Option 2: Craft knife from Bunnings, heavy duty cardboard from Bunnings and painters tape
Disposable gloves
Plaster compound from Bunnings
Fine sanding sponge from Bunnings
Optional: Exterior paint to paint the plastered lamp base (you may want to keep the plaster as is). I used Dulux Exterior Paint in Lexicon Quarter.
Tips: What to look out for when choosing a lamp base for this project
Look for a lamp base that has a thin stand
Avoid stands that have any detail or a sculptural shape
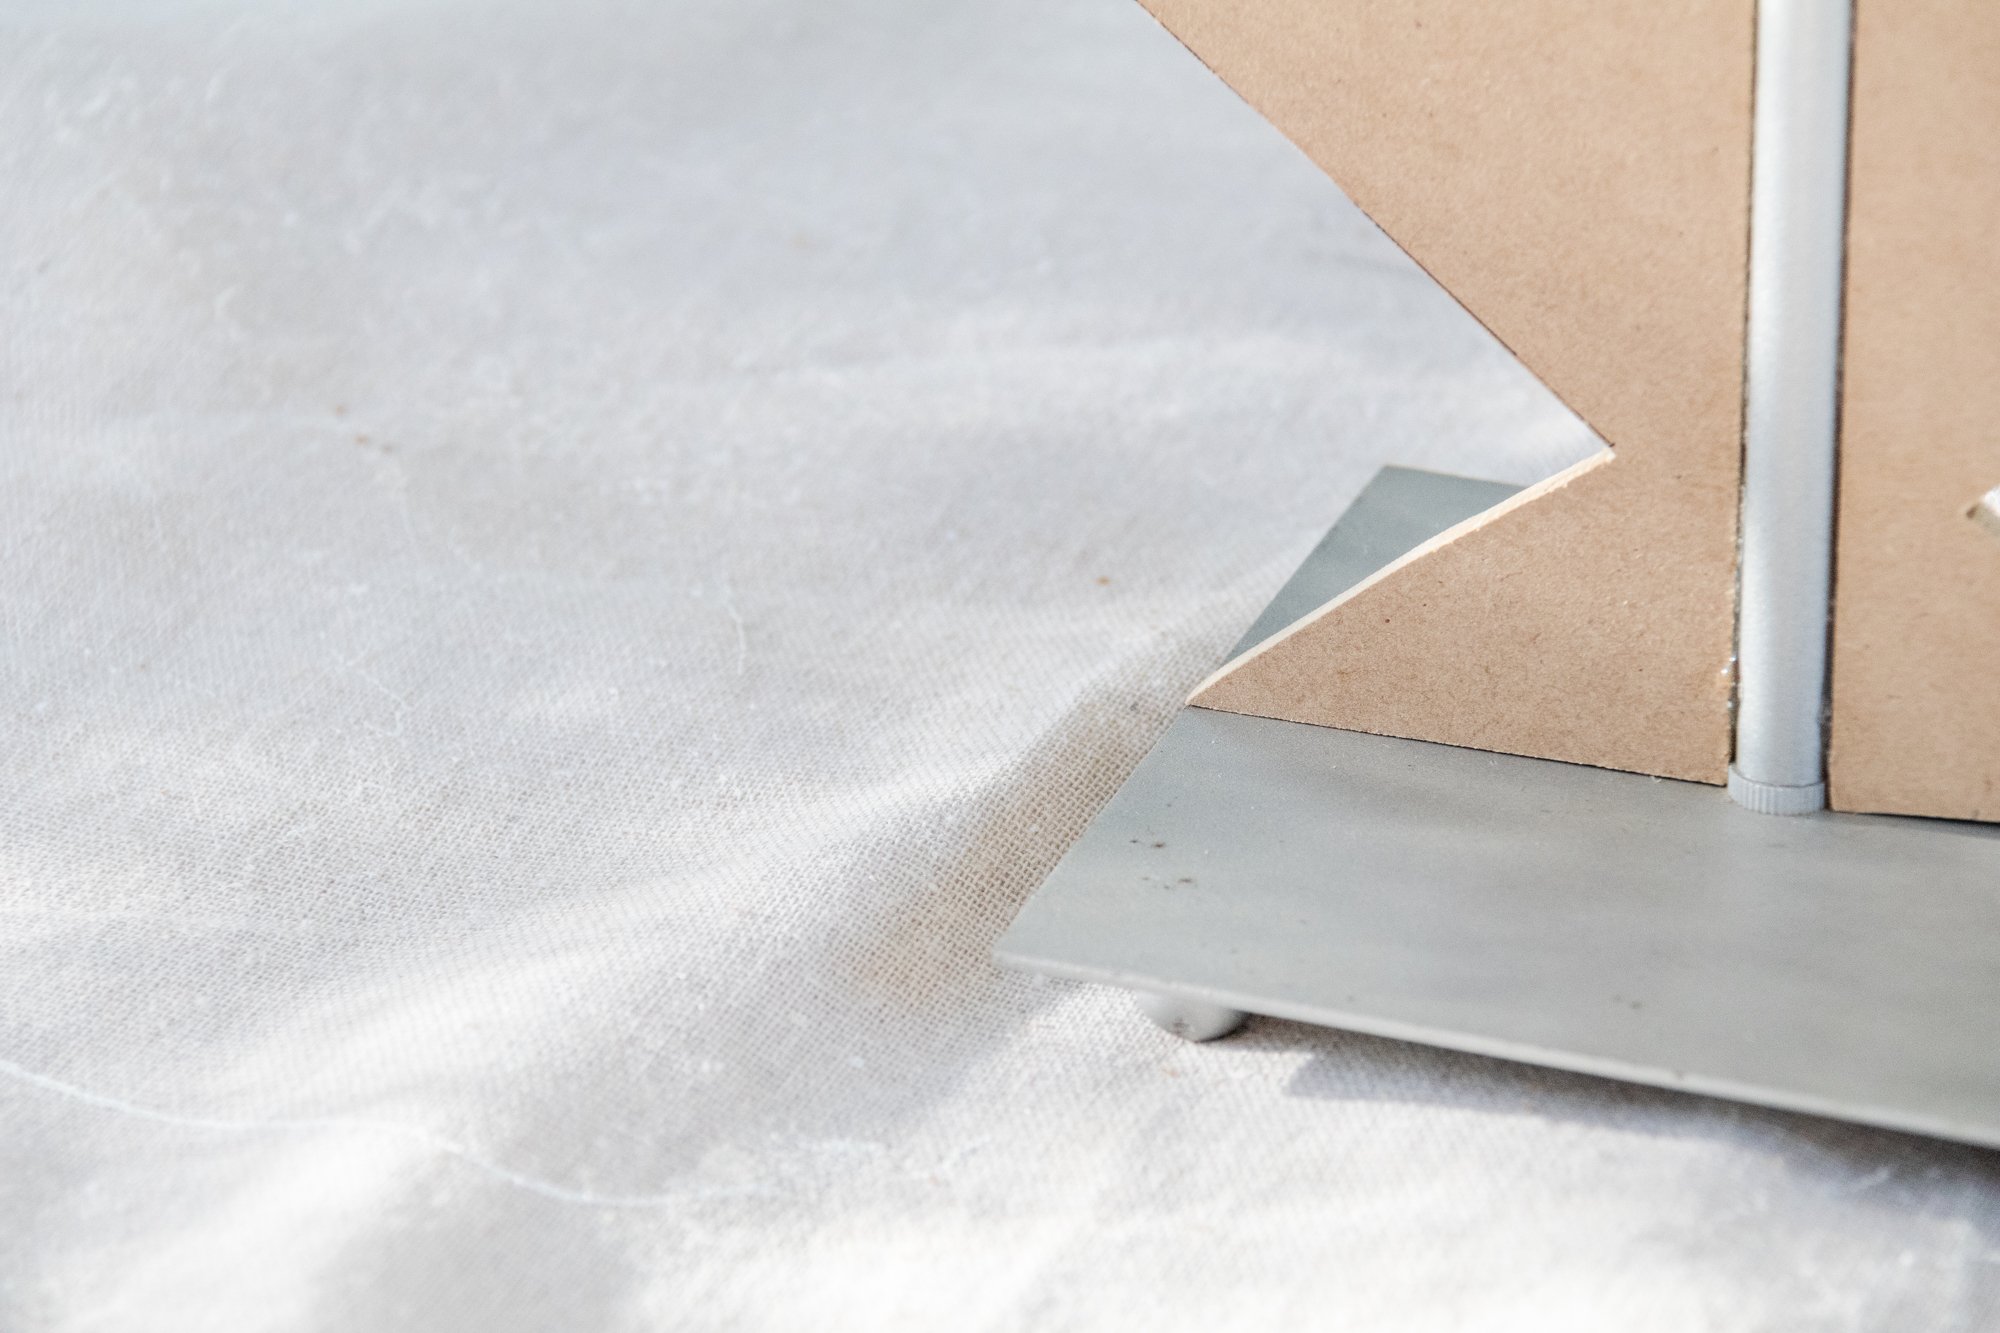
Preferably the base shouldn’t be too wide or too narrow as you need to make sure there is room (but not too much or too little) to anchor your sculptural detail
How To
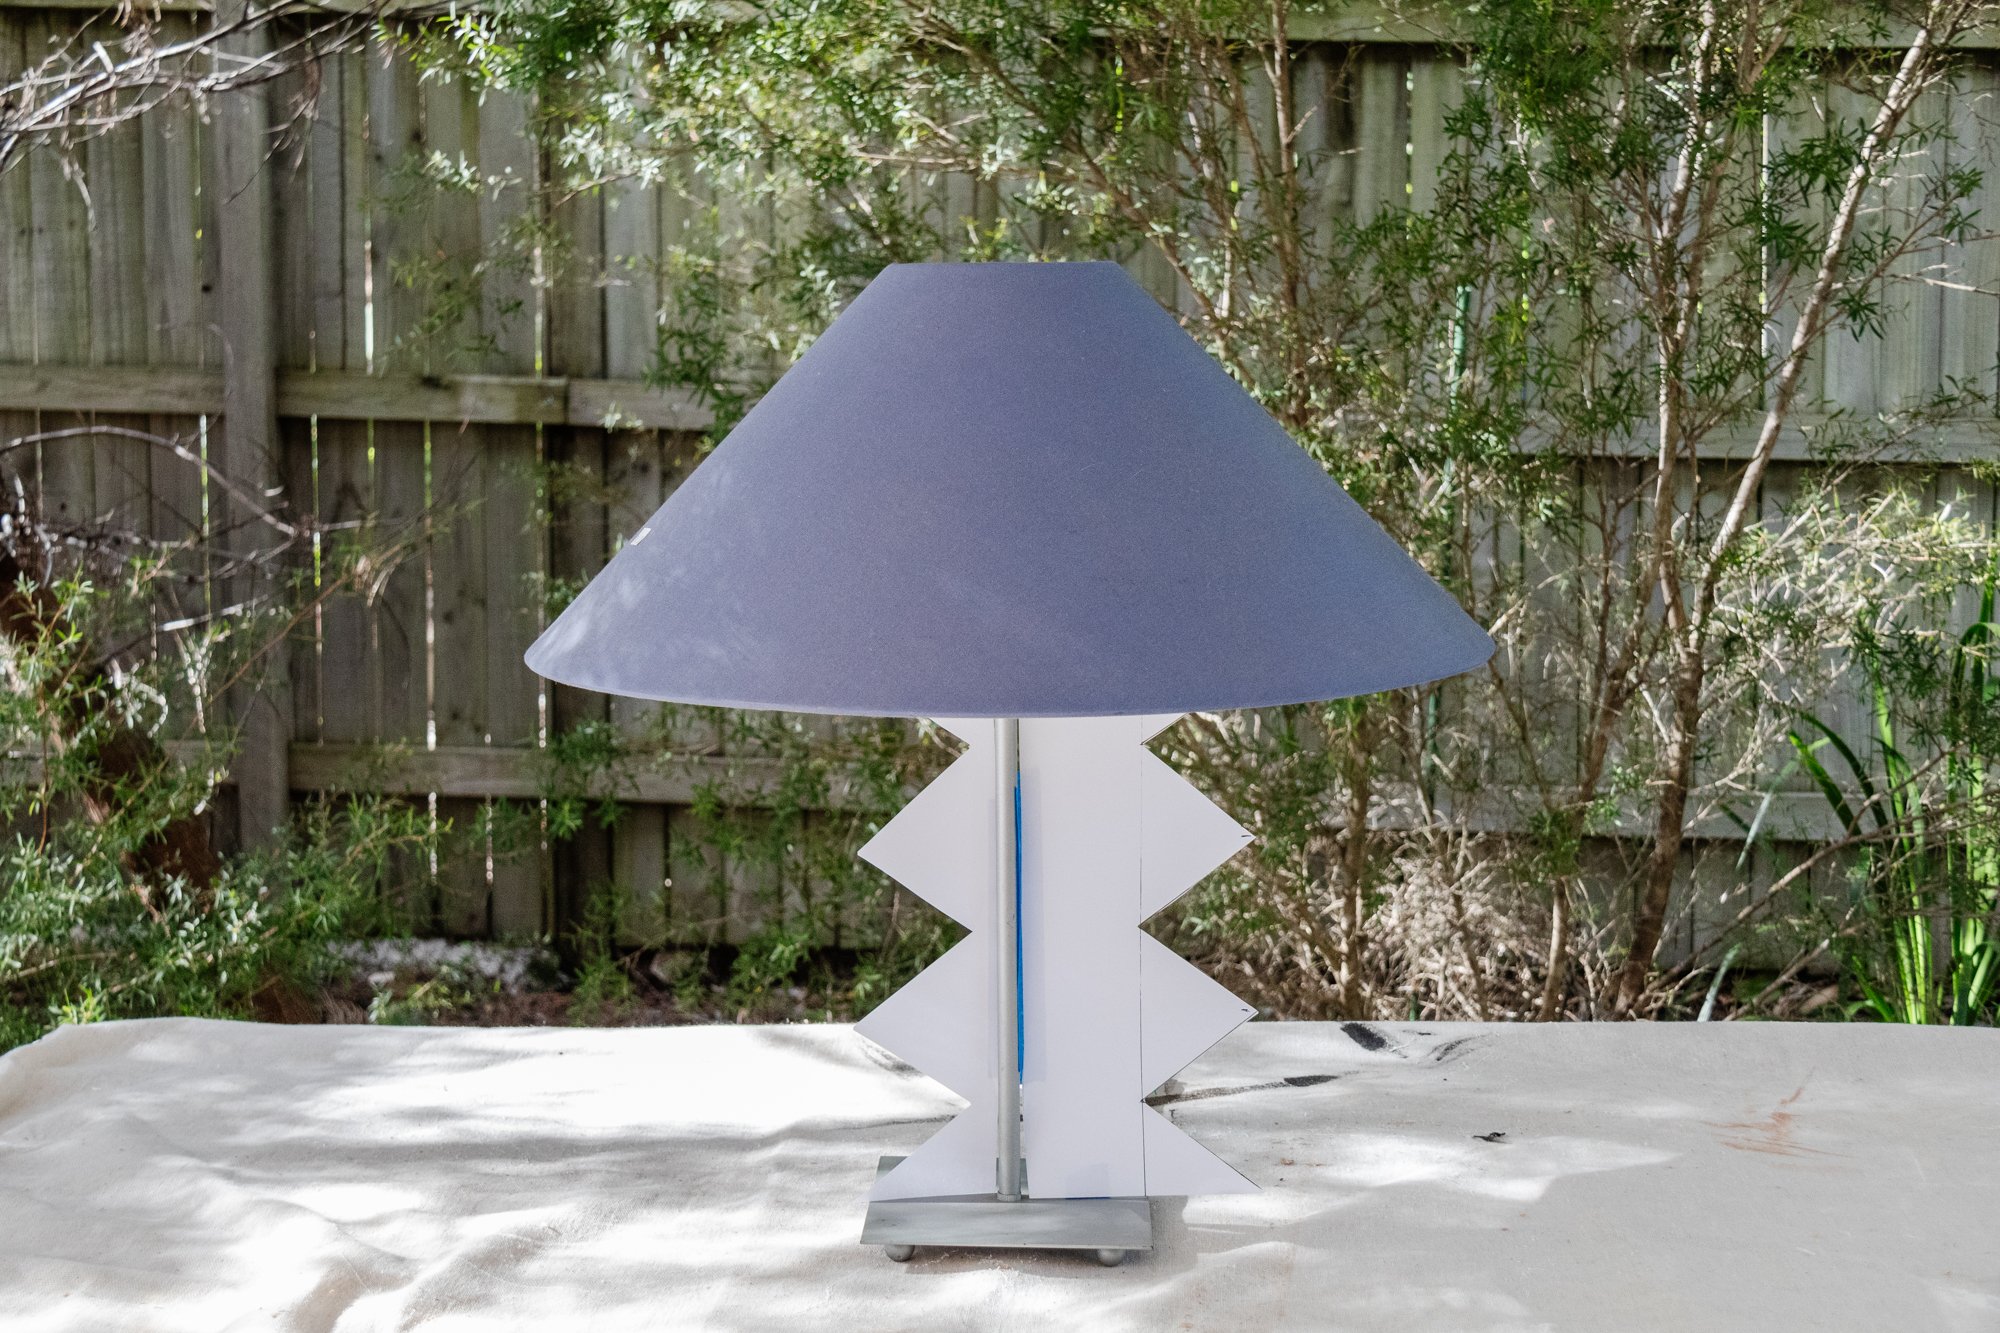
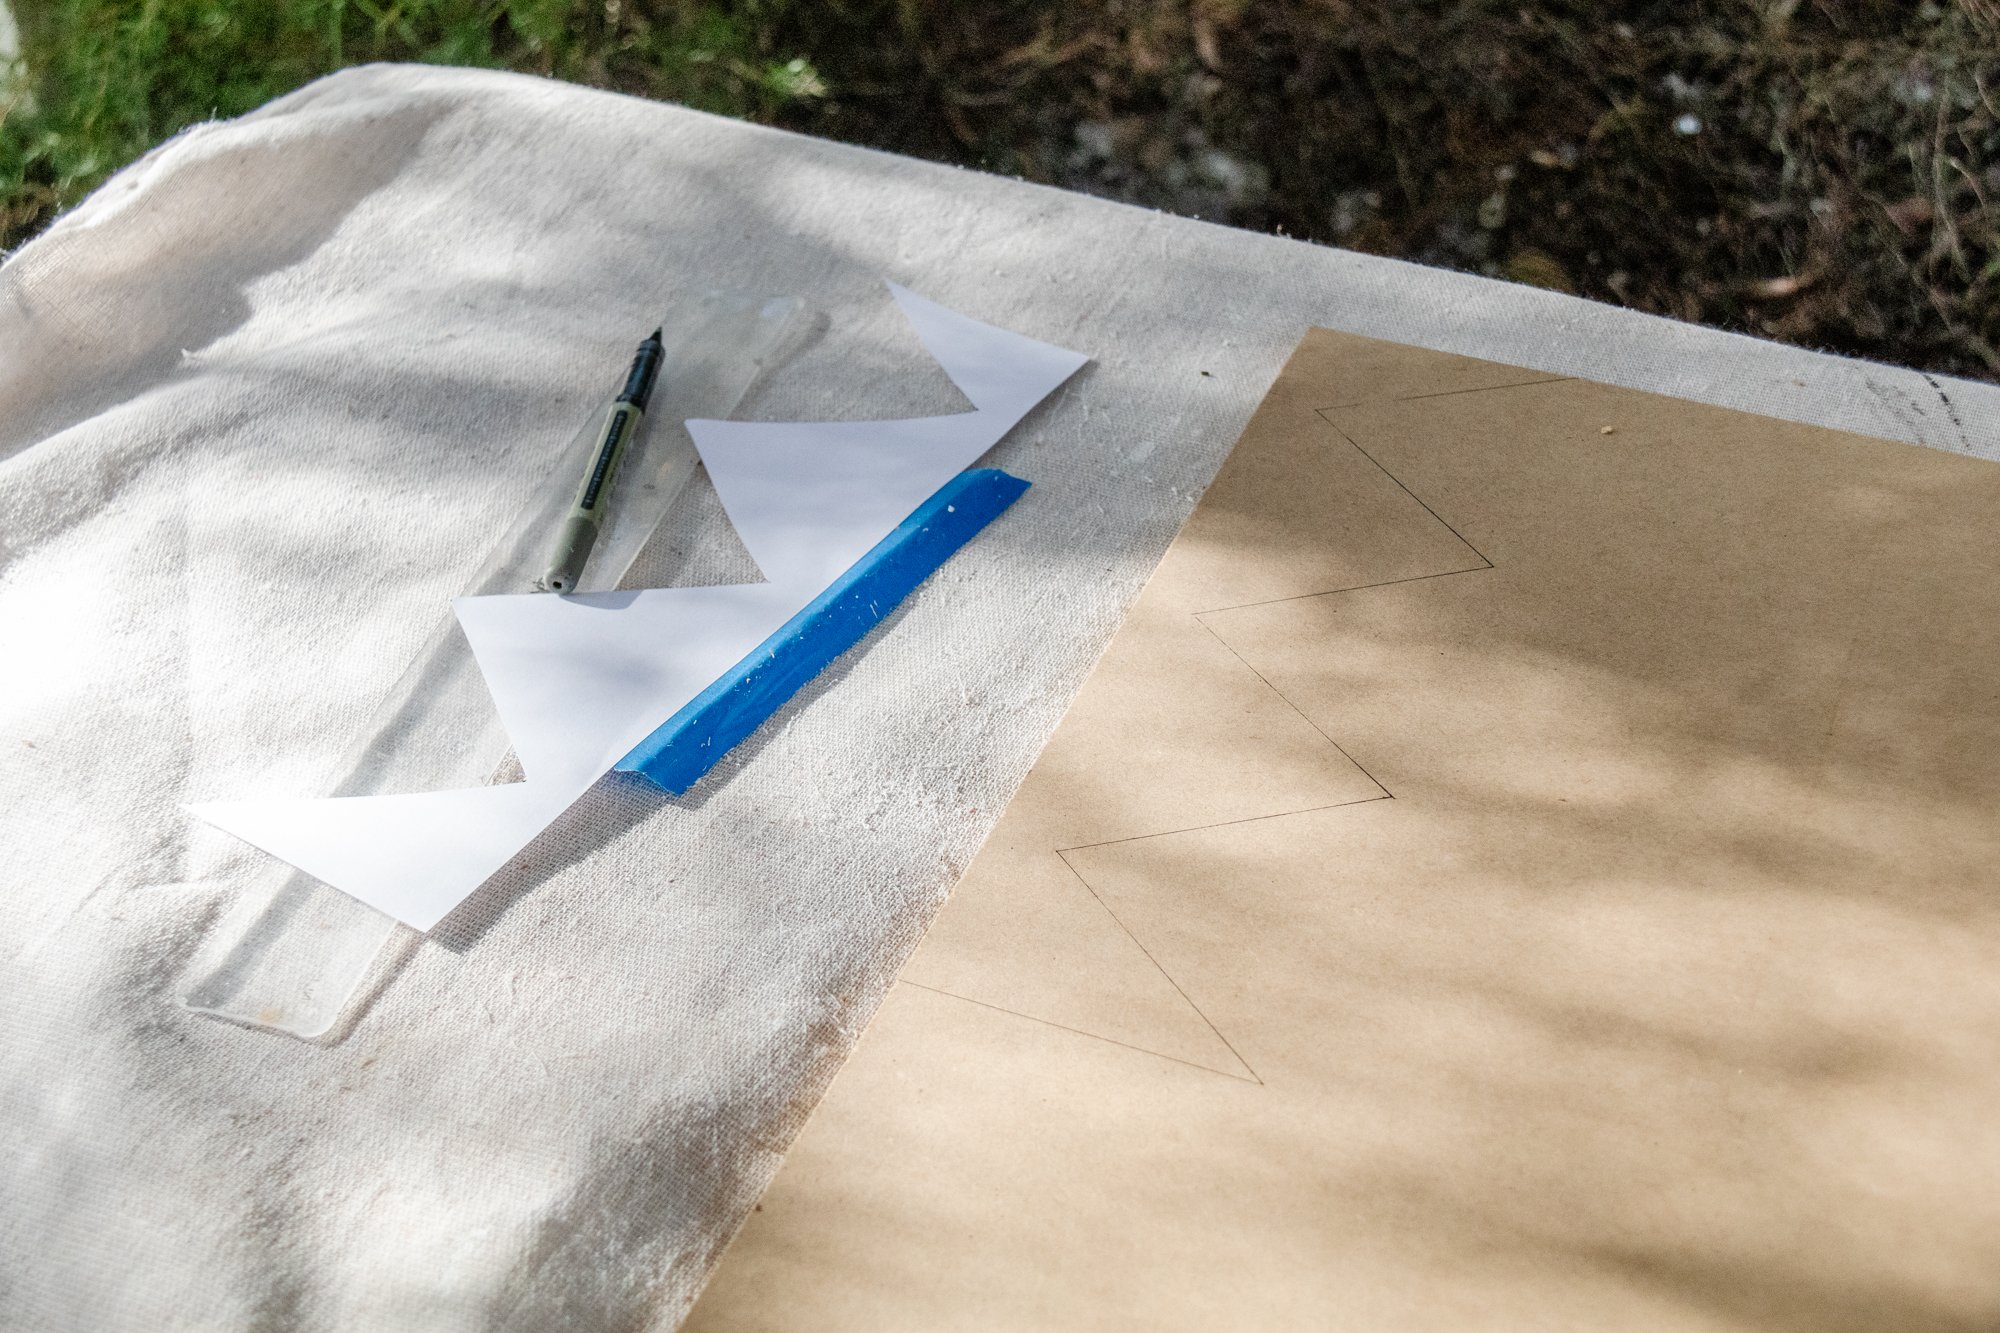
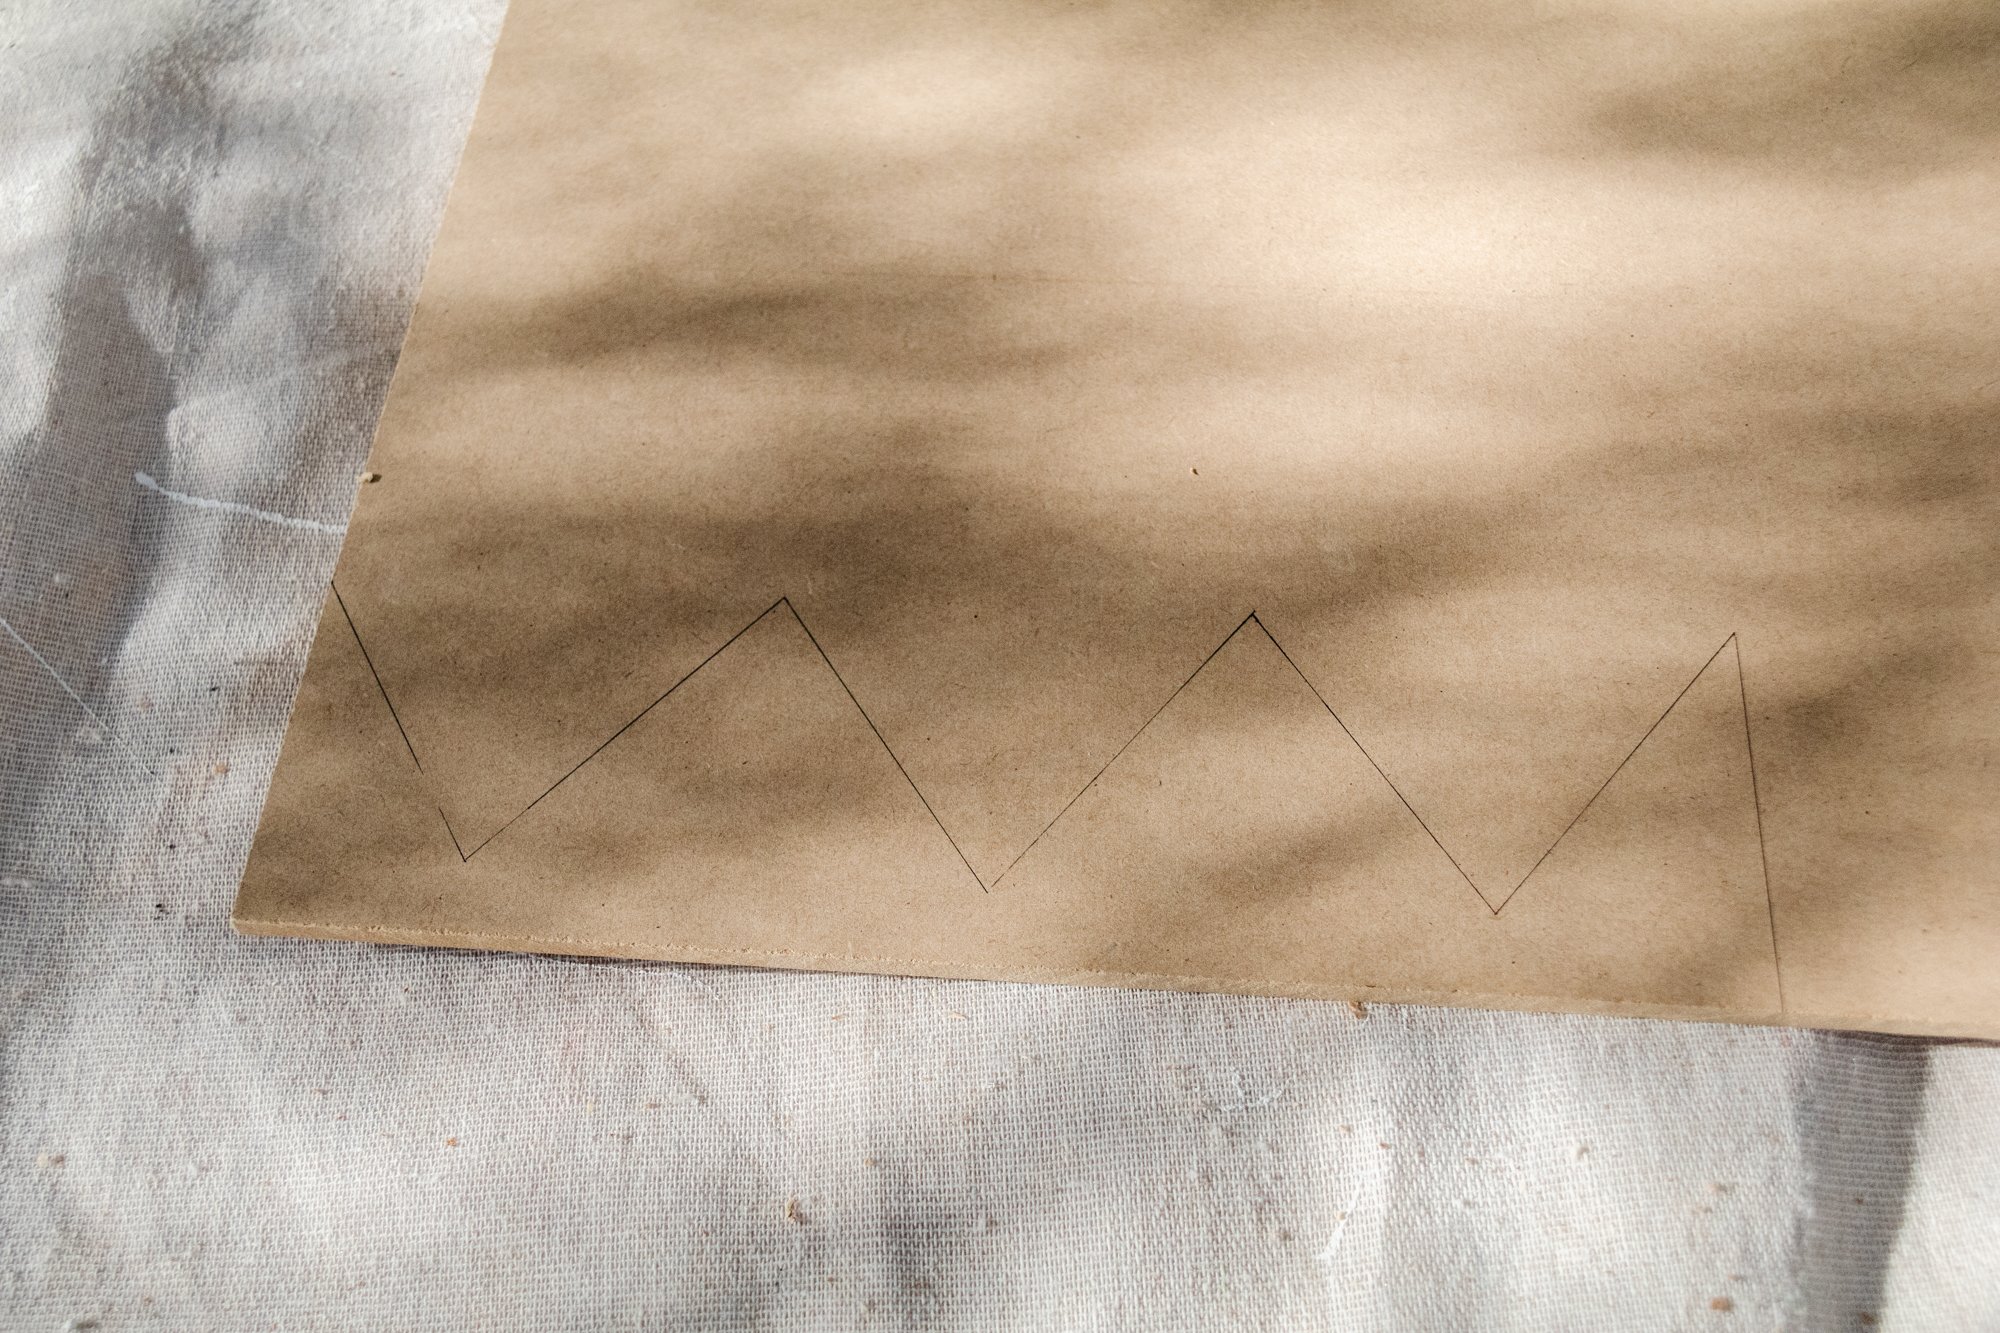
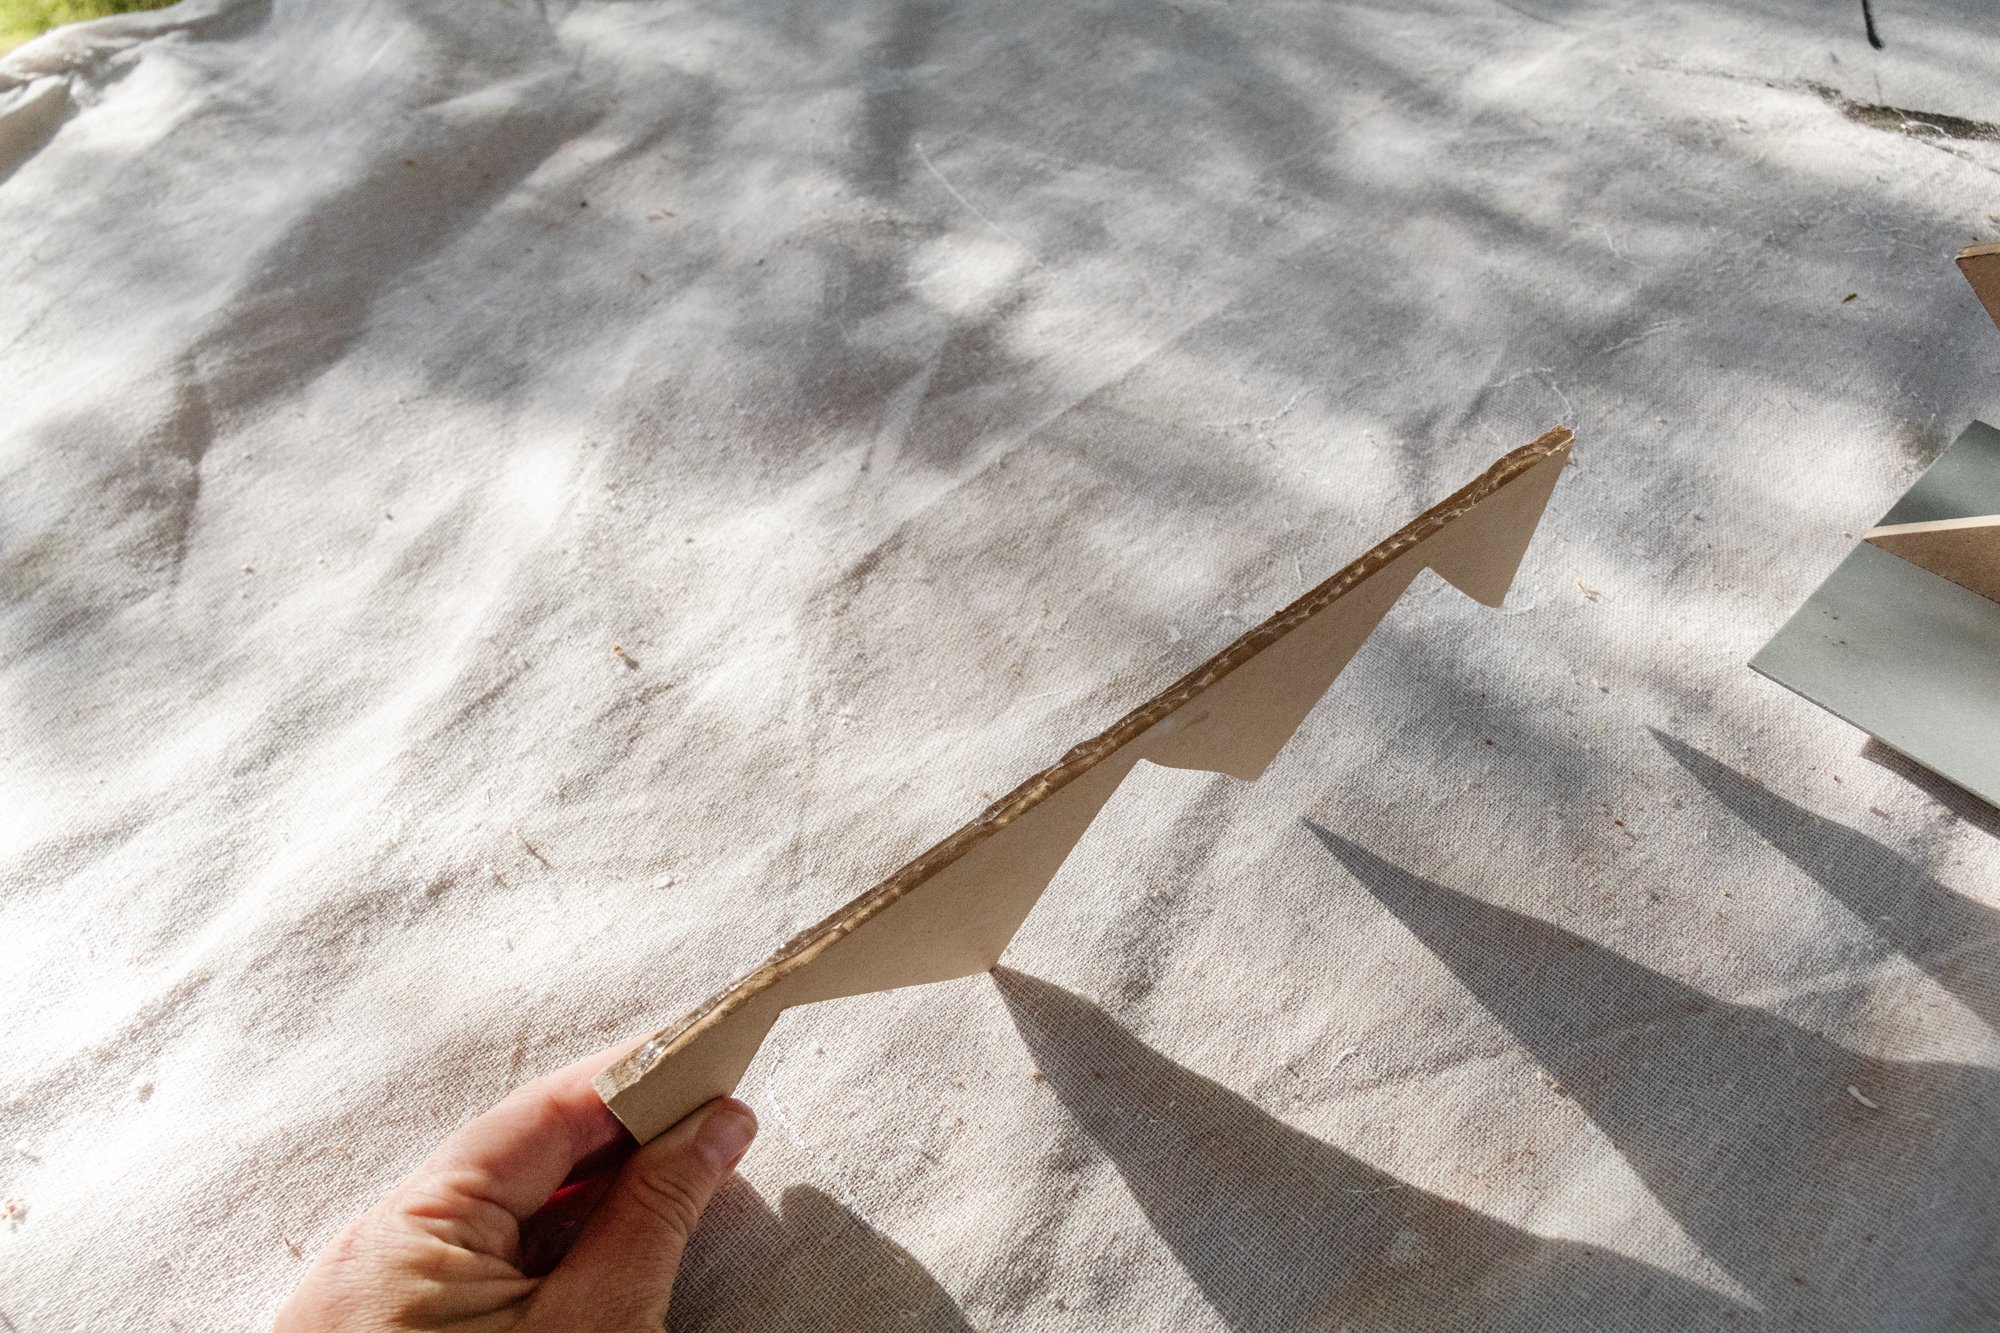
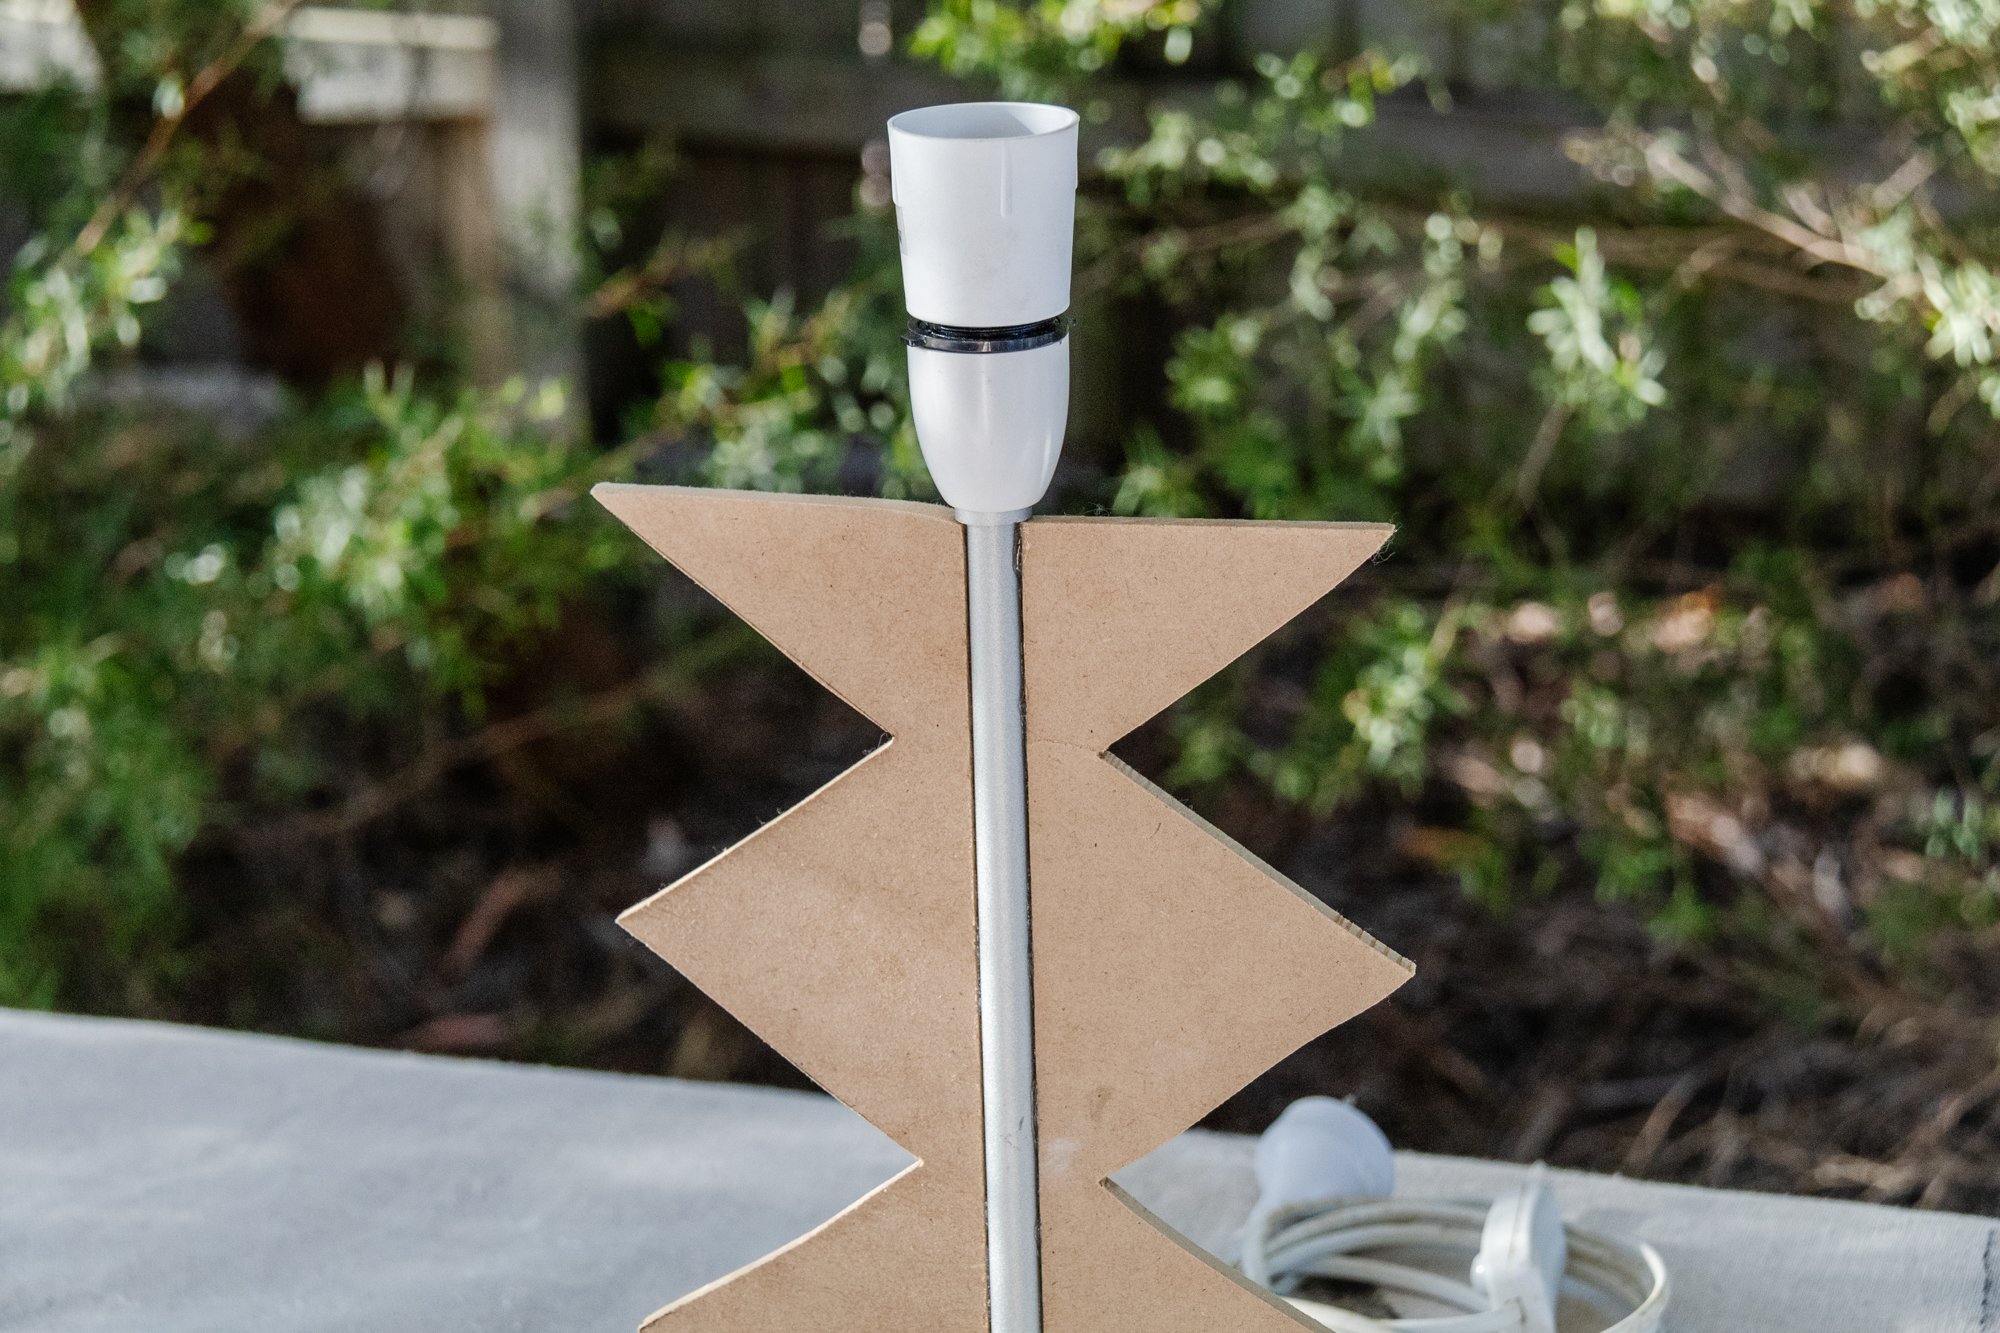
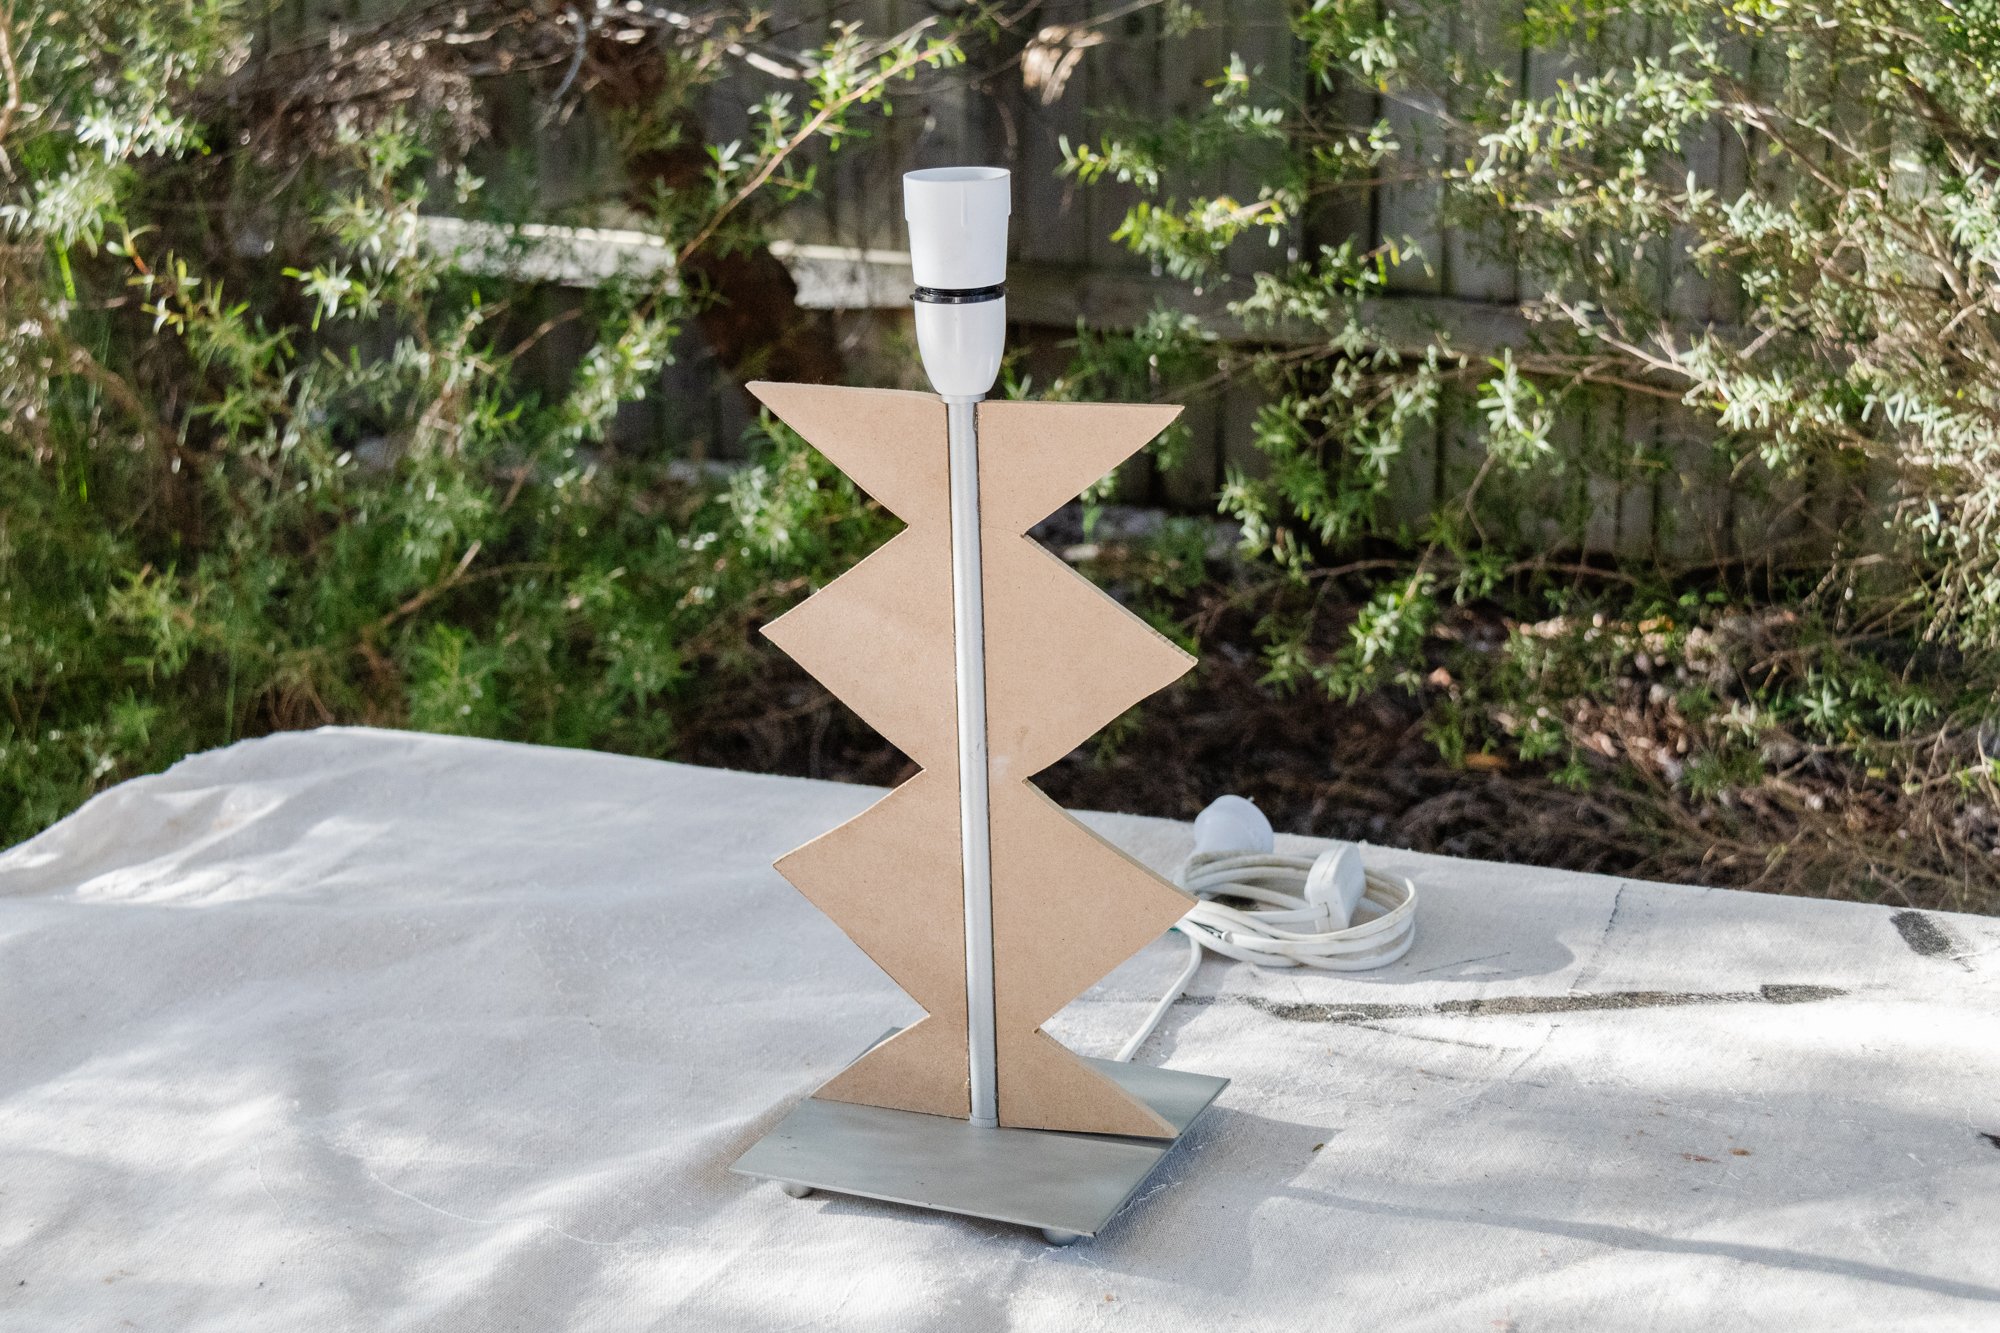
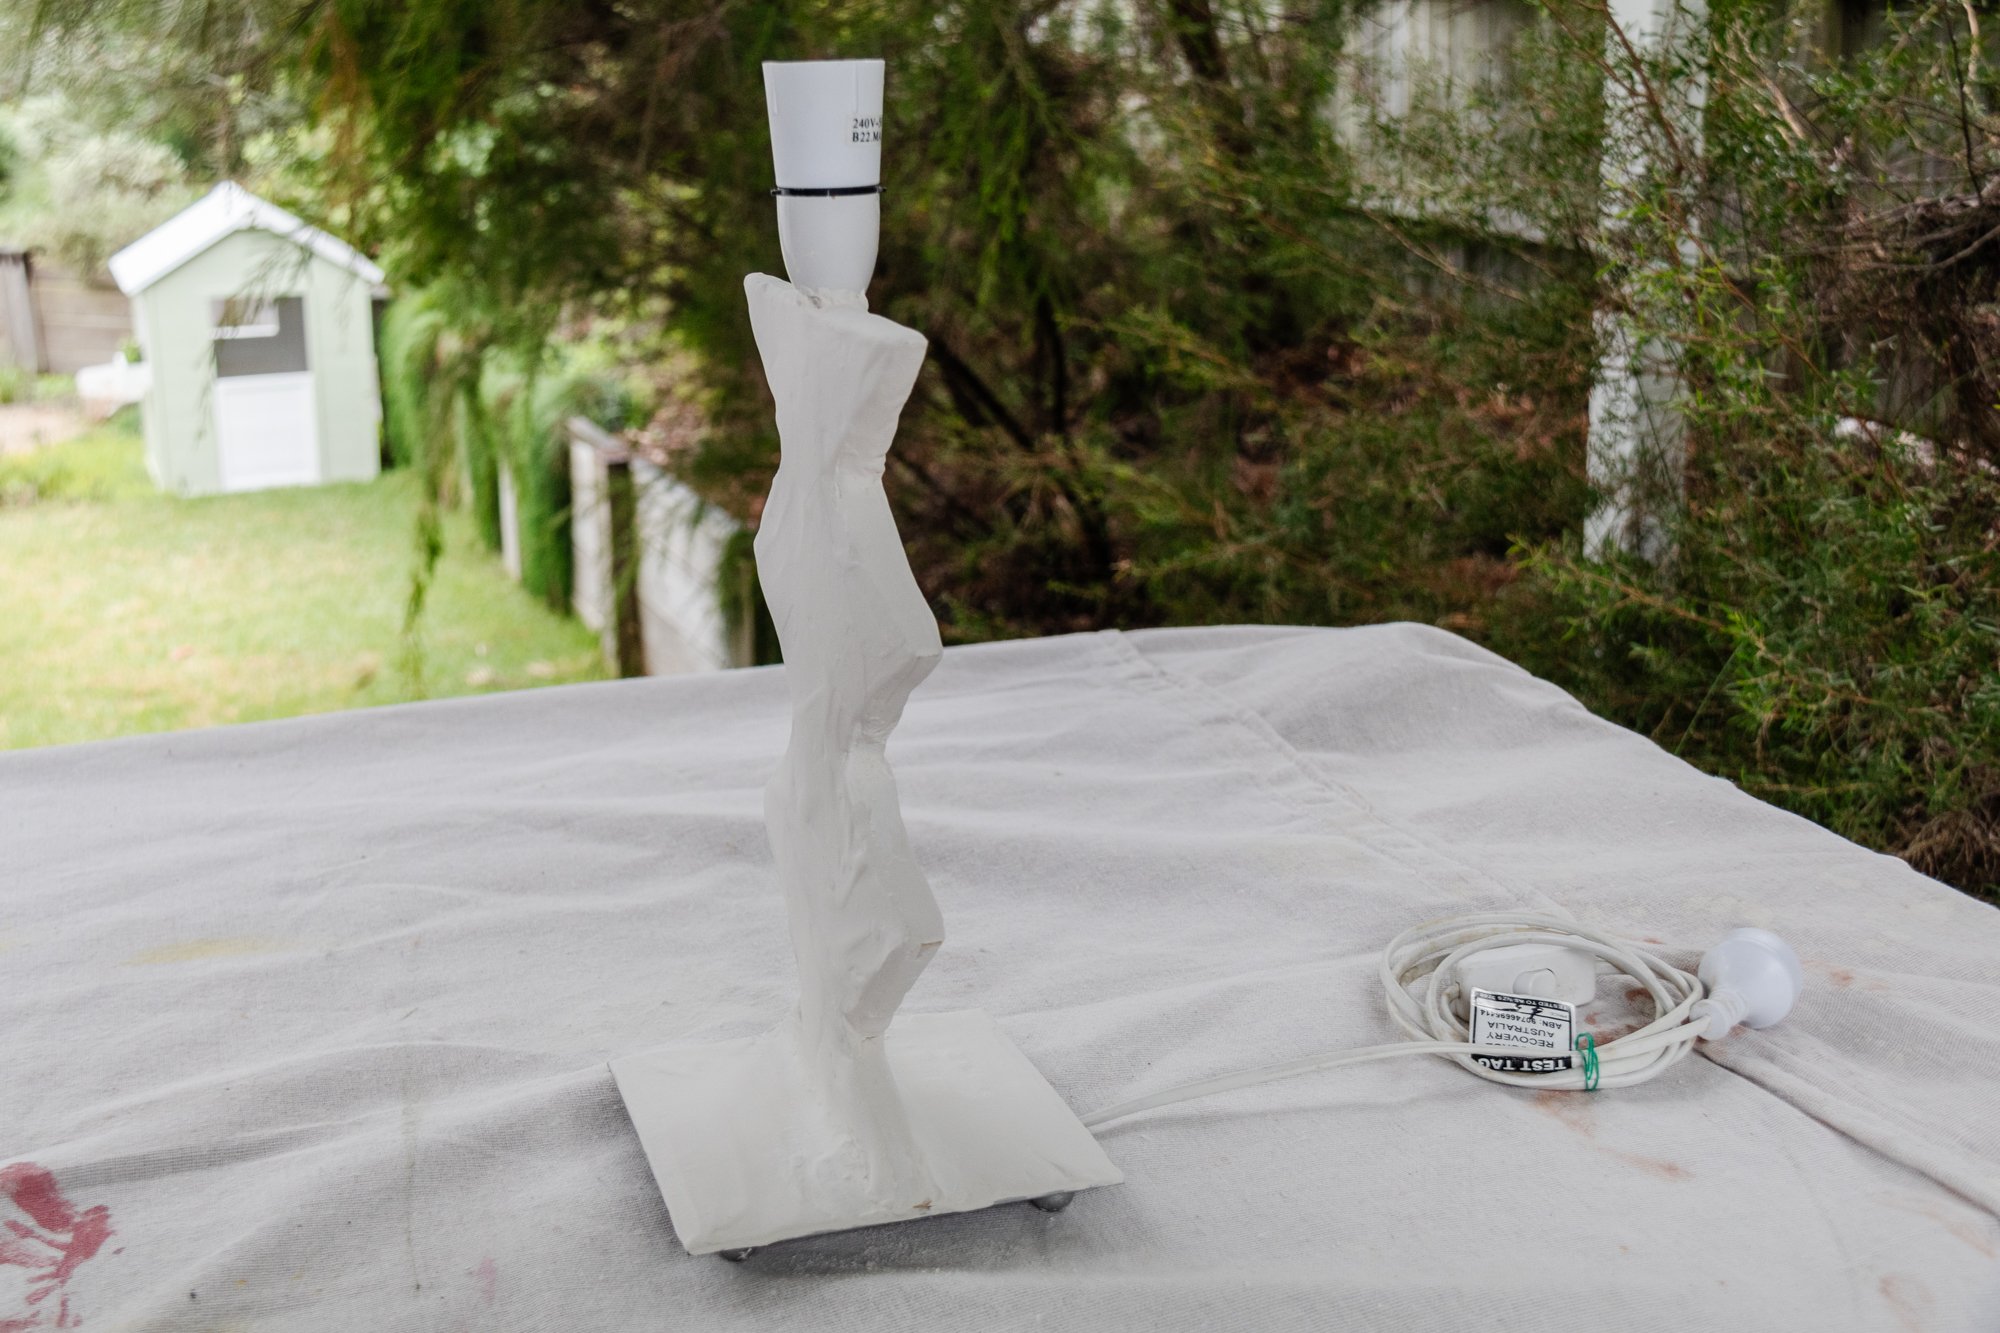
Start by removing the lamp shade and set it aside. Practise drawing the design of the sculptural detail on paper; your design can be symmetrical (like mine) or asymmetrical. For inspiration, take a look at my own inspiration images here. When you are happy with the design cut it out and tape it to the lamp stand/base to ensure you are happy with it. Make any adjustments if necessary.
Option 1
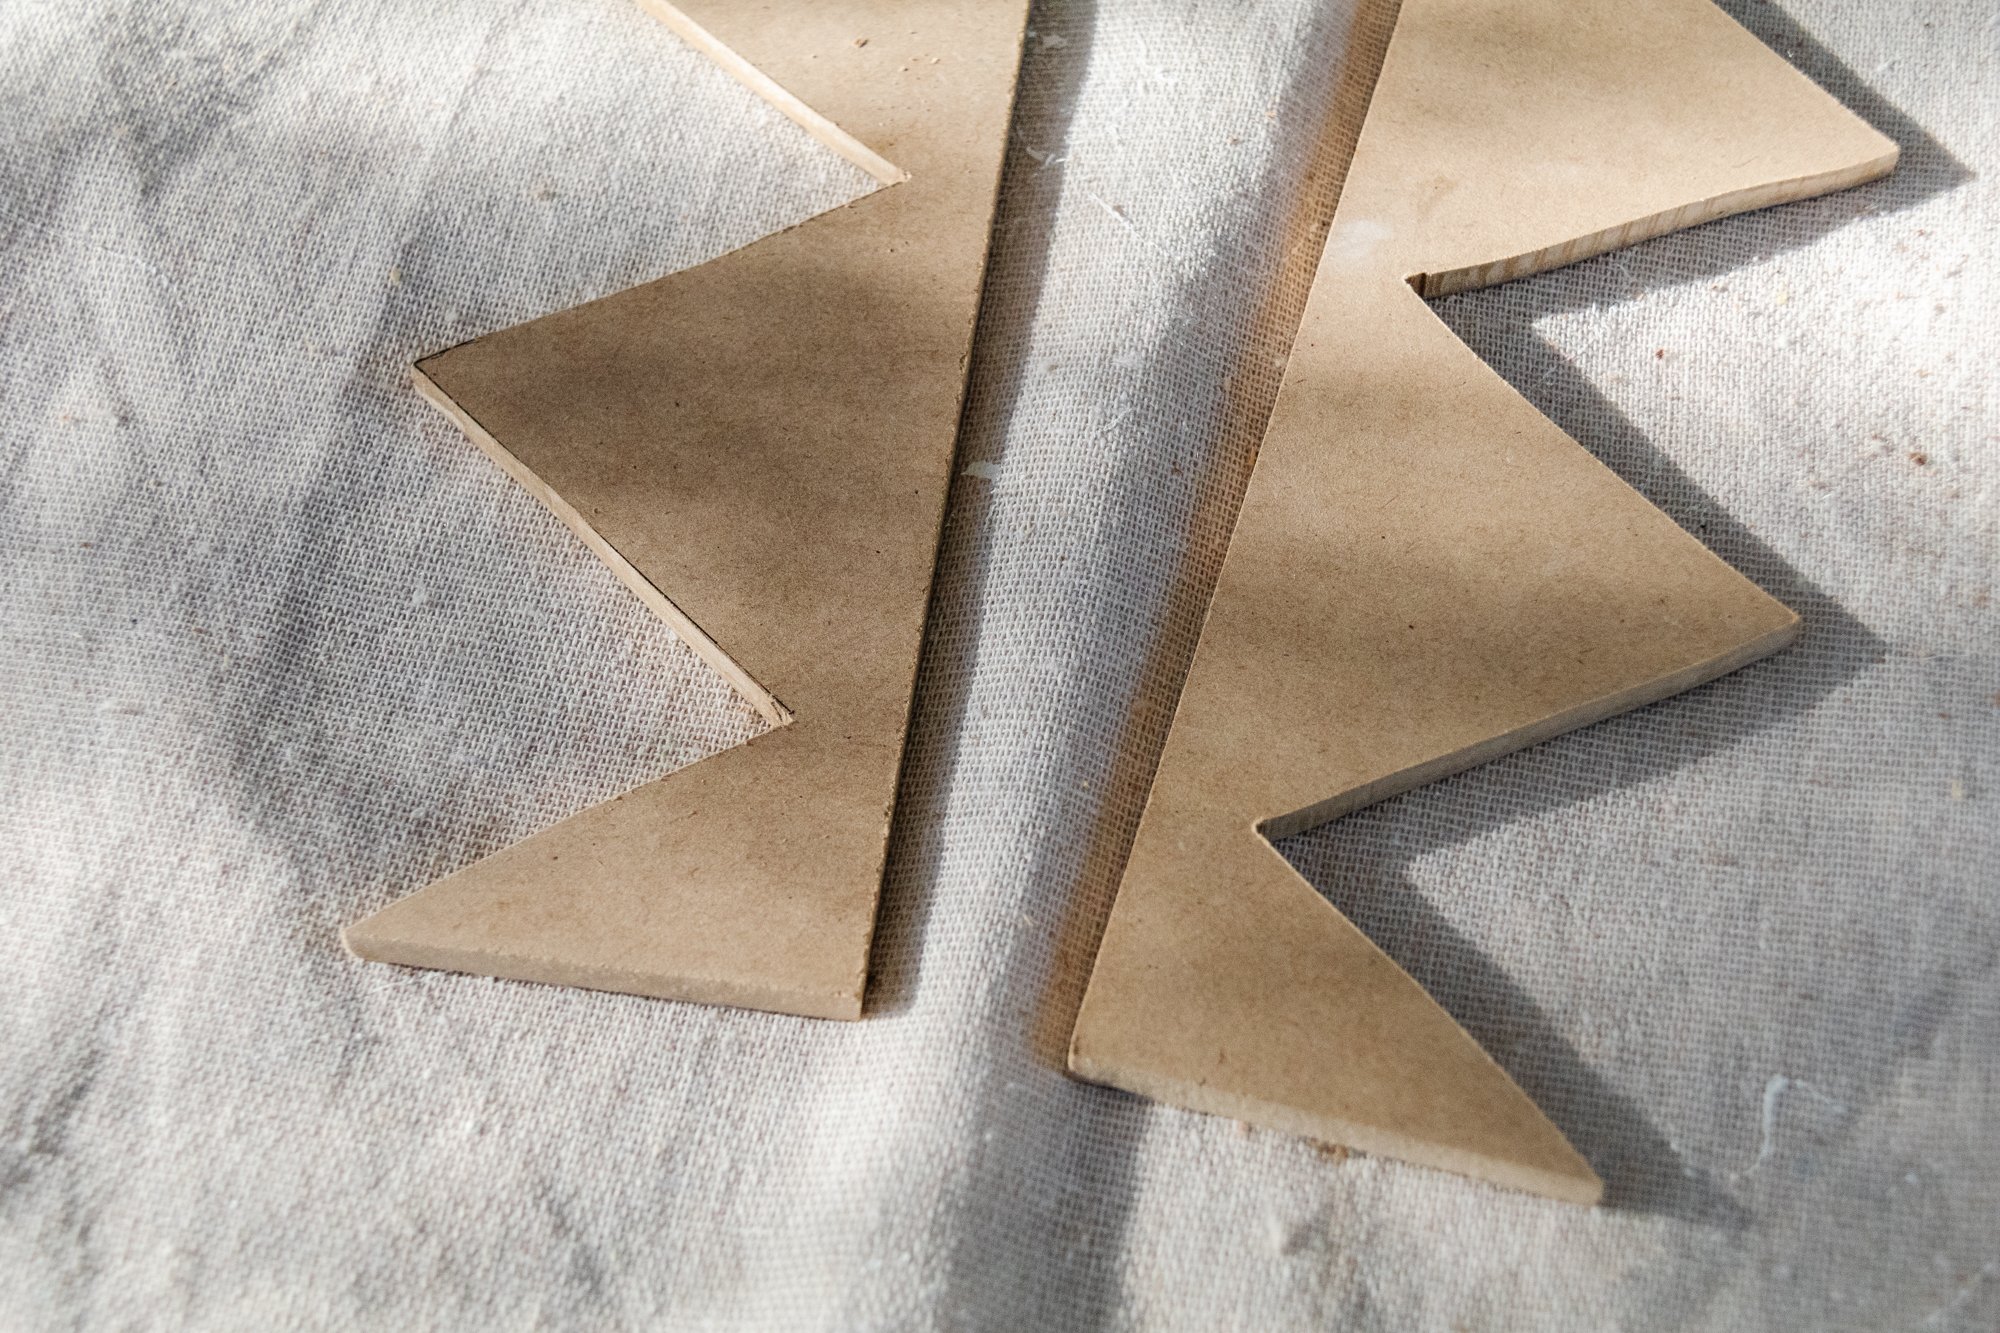
Trace the outline of your sculptural shapes onto MDF and cut them out using a jigsaw. Attach the sculptural shapes onto the lamp stand using Selley’s Liquid Nails. I would also reinforce the join between the lamp stand and the sculptural shapes with painters tape. I didn't do this myself but I should have for extra durability.
Option 2
Trace the outline of your sculptural shapes onto cardboard and cut them out using scissors. Attach the sculptural shapes onto the lamp stand using Selley’s Liquid Nails.

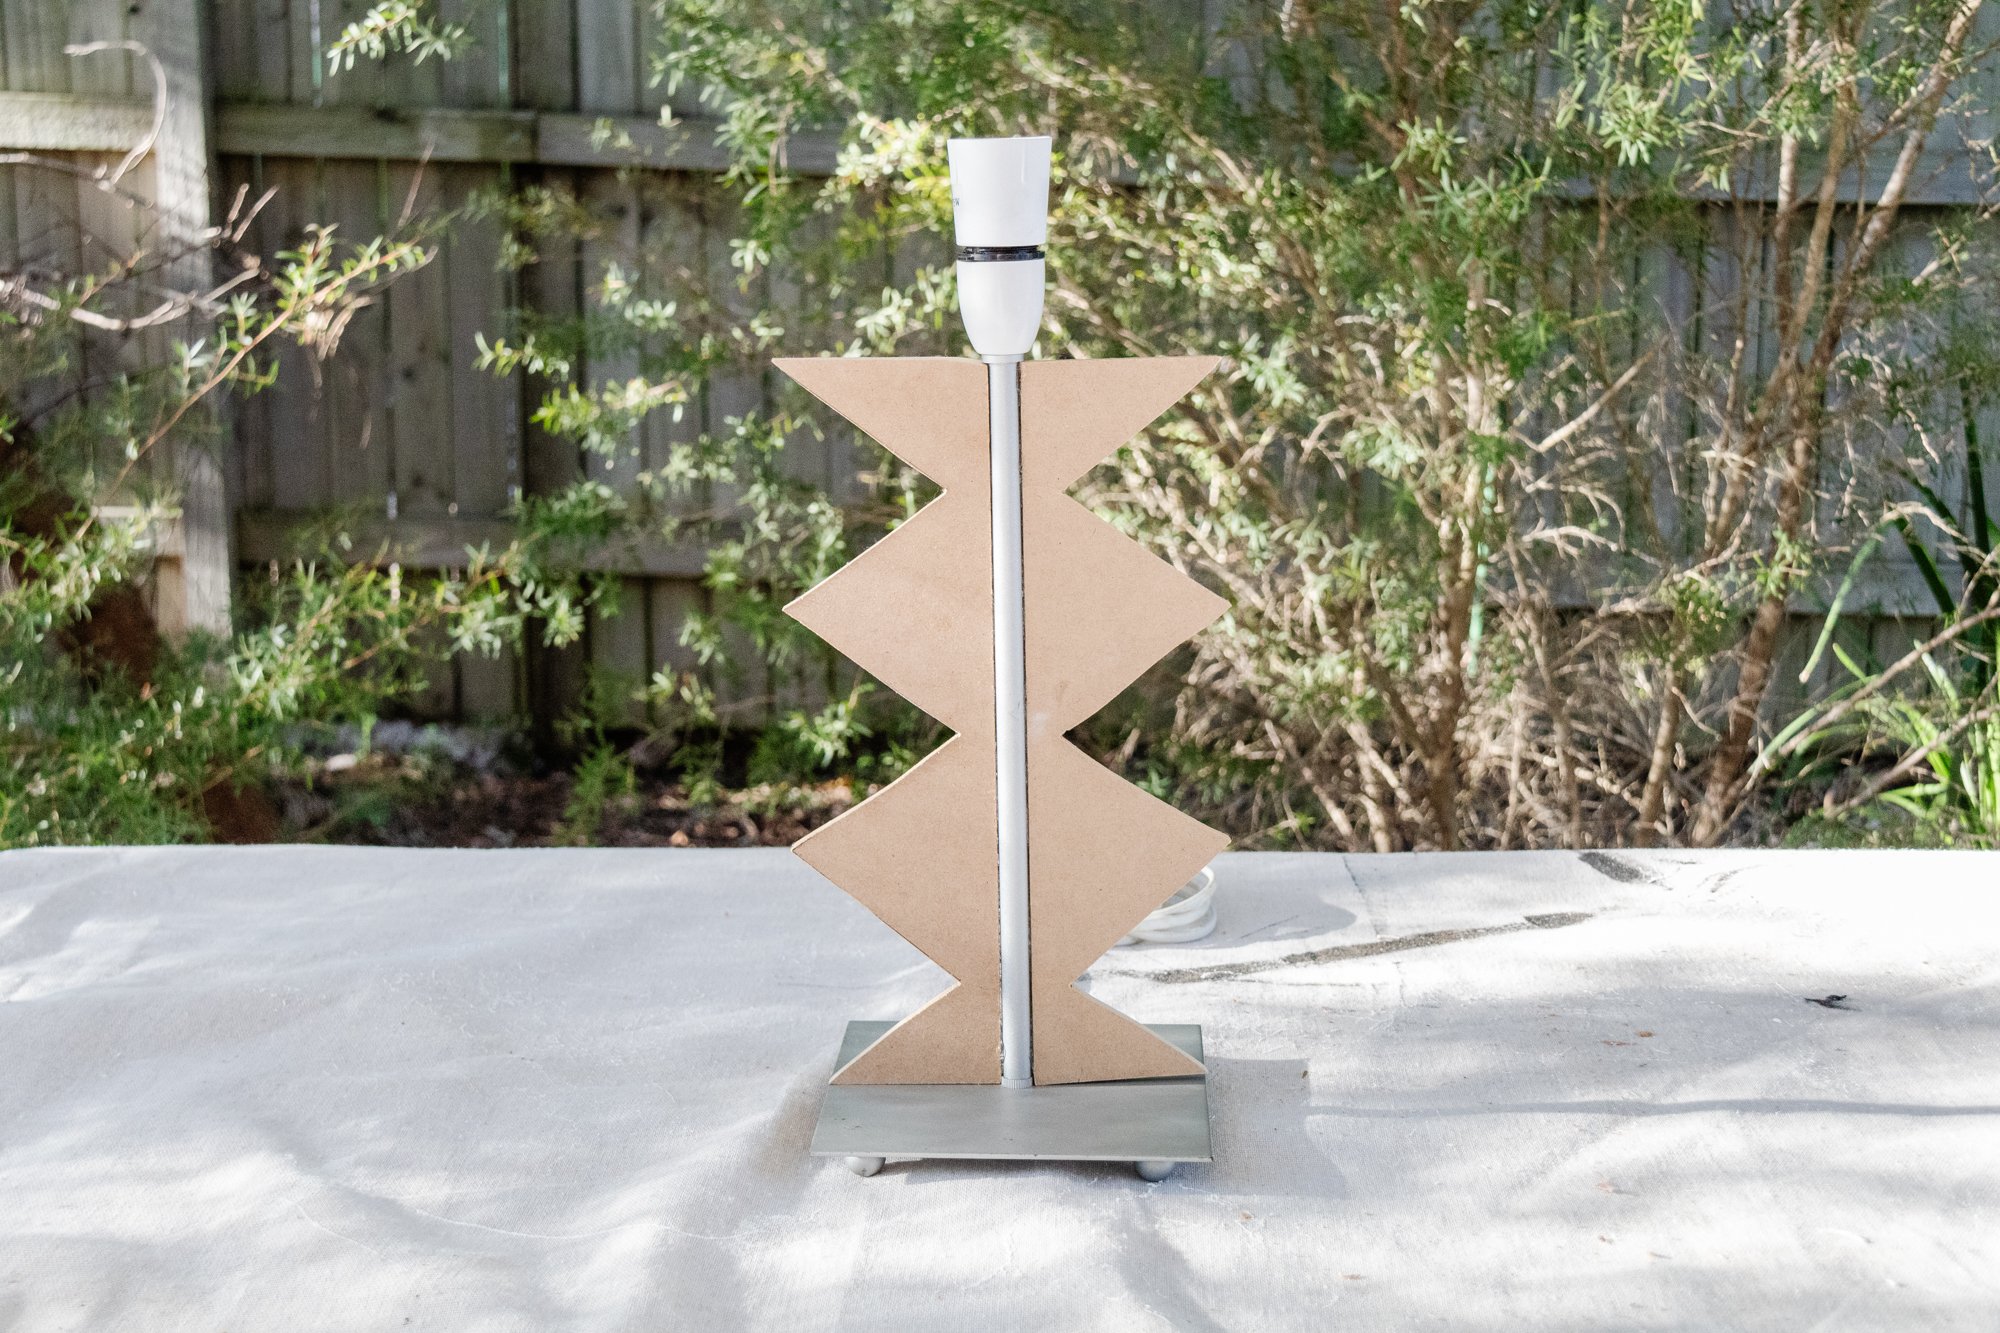
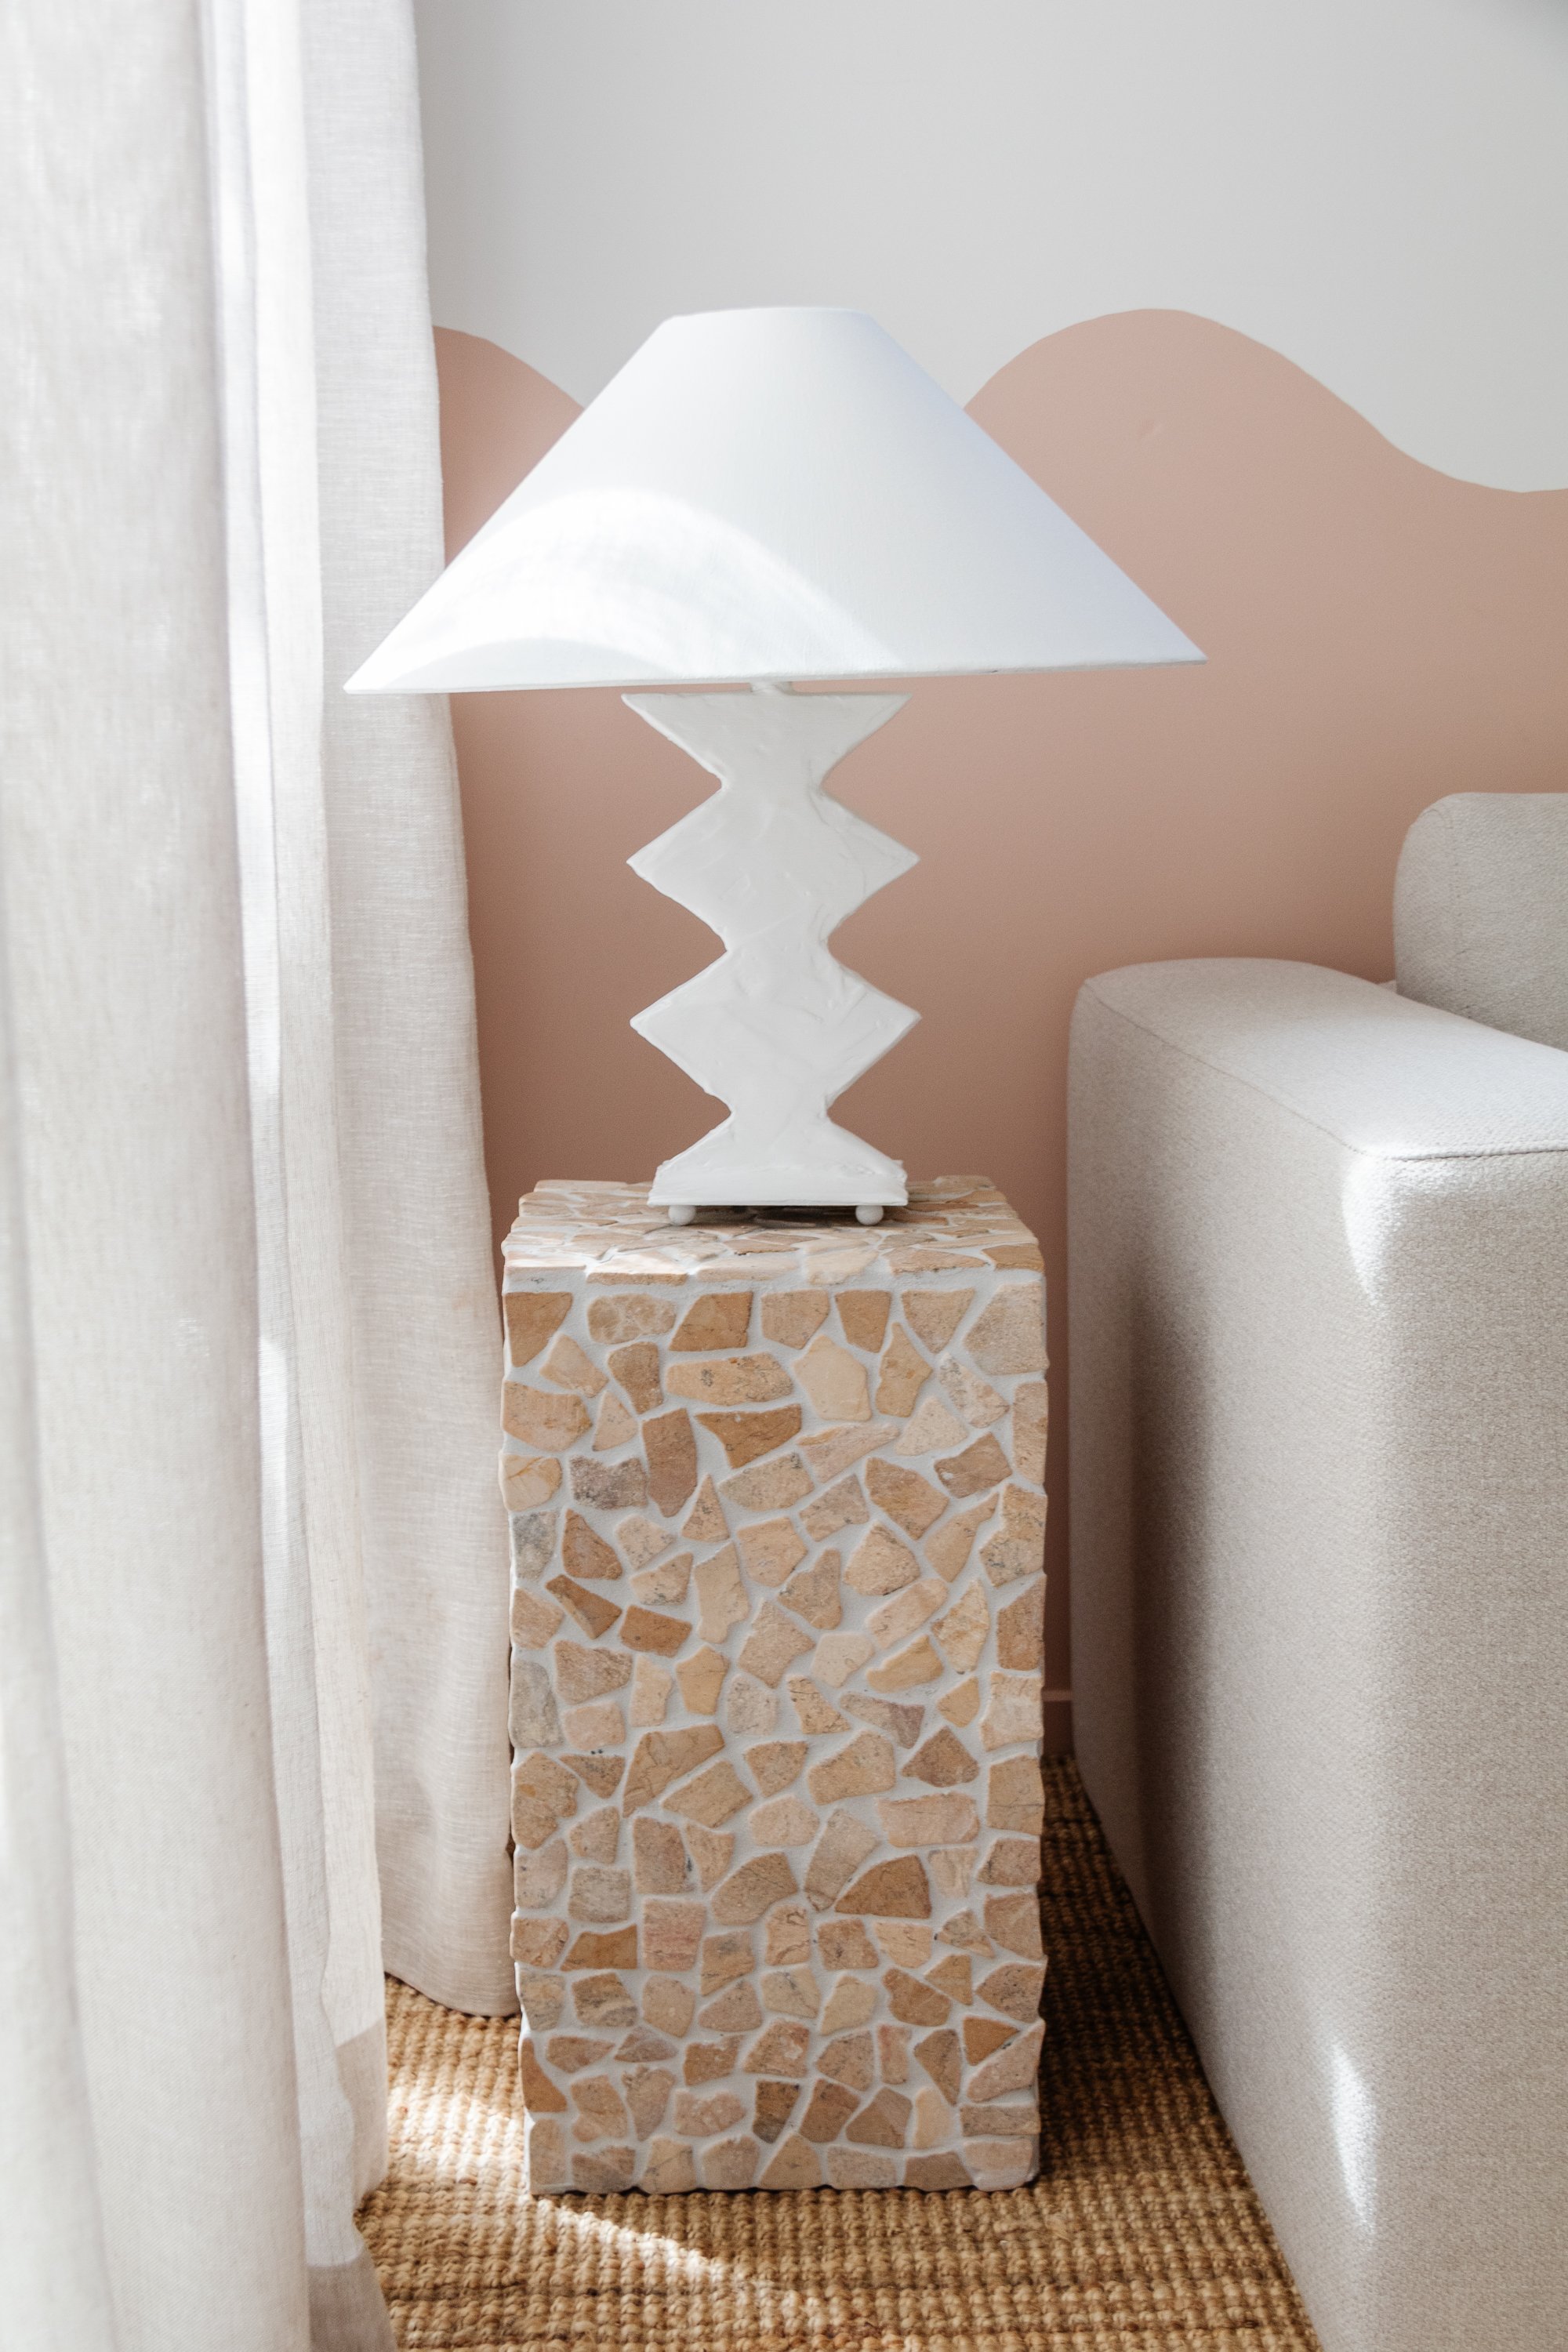
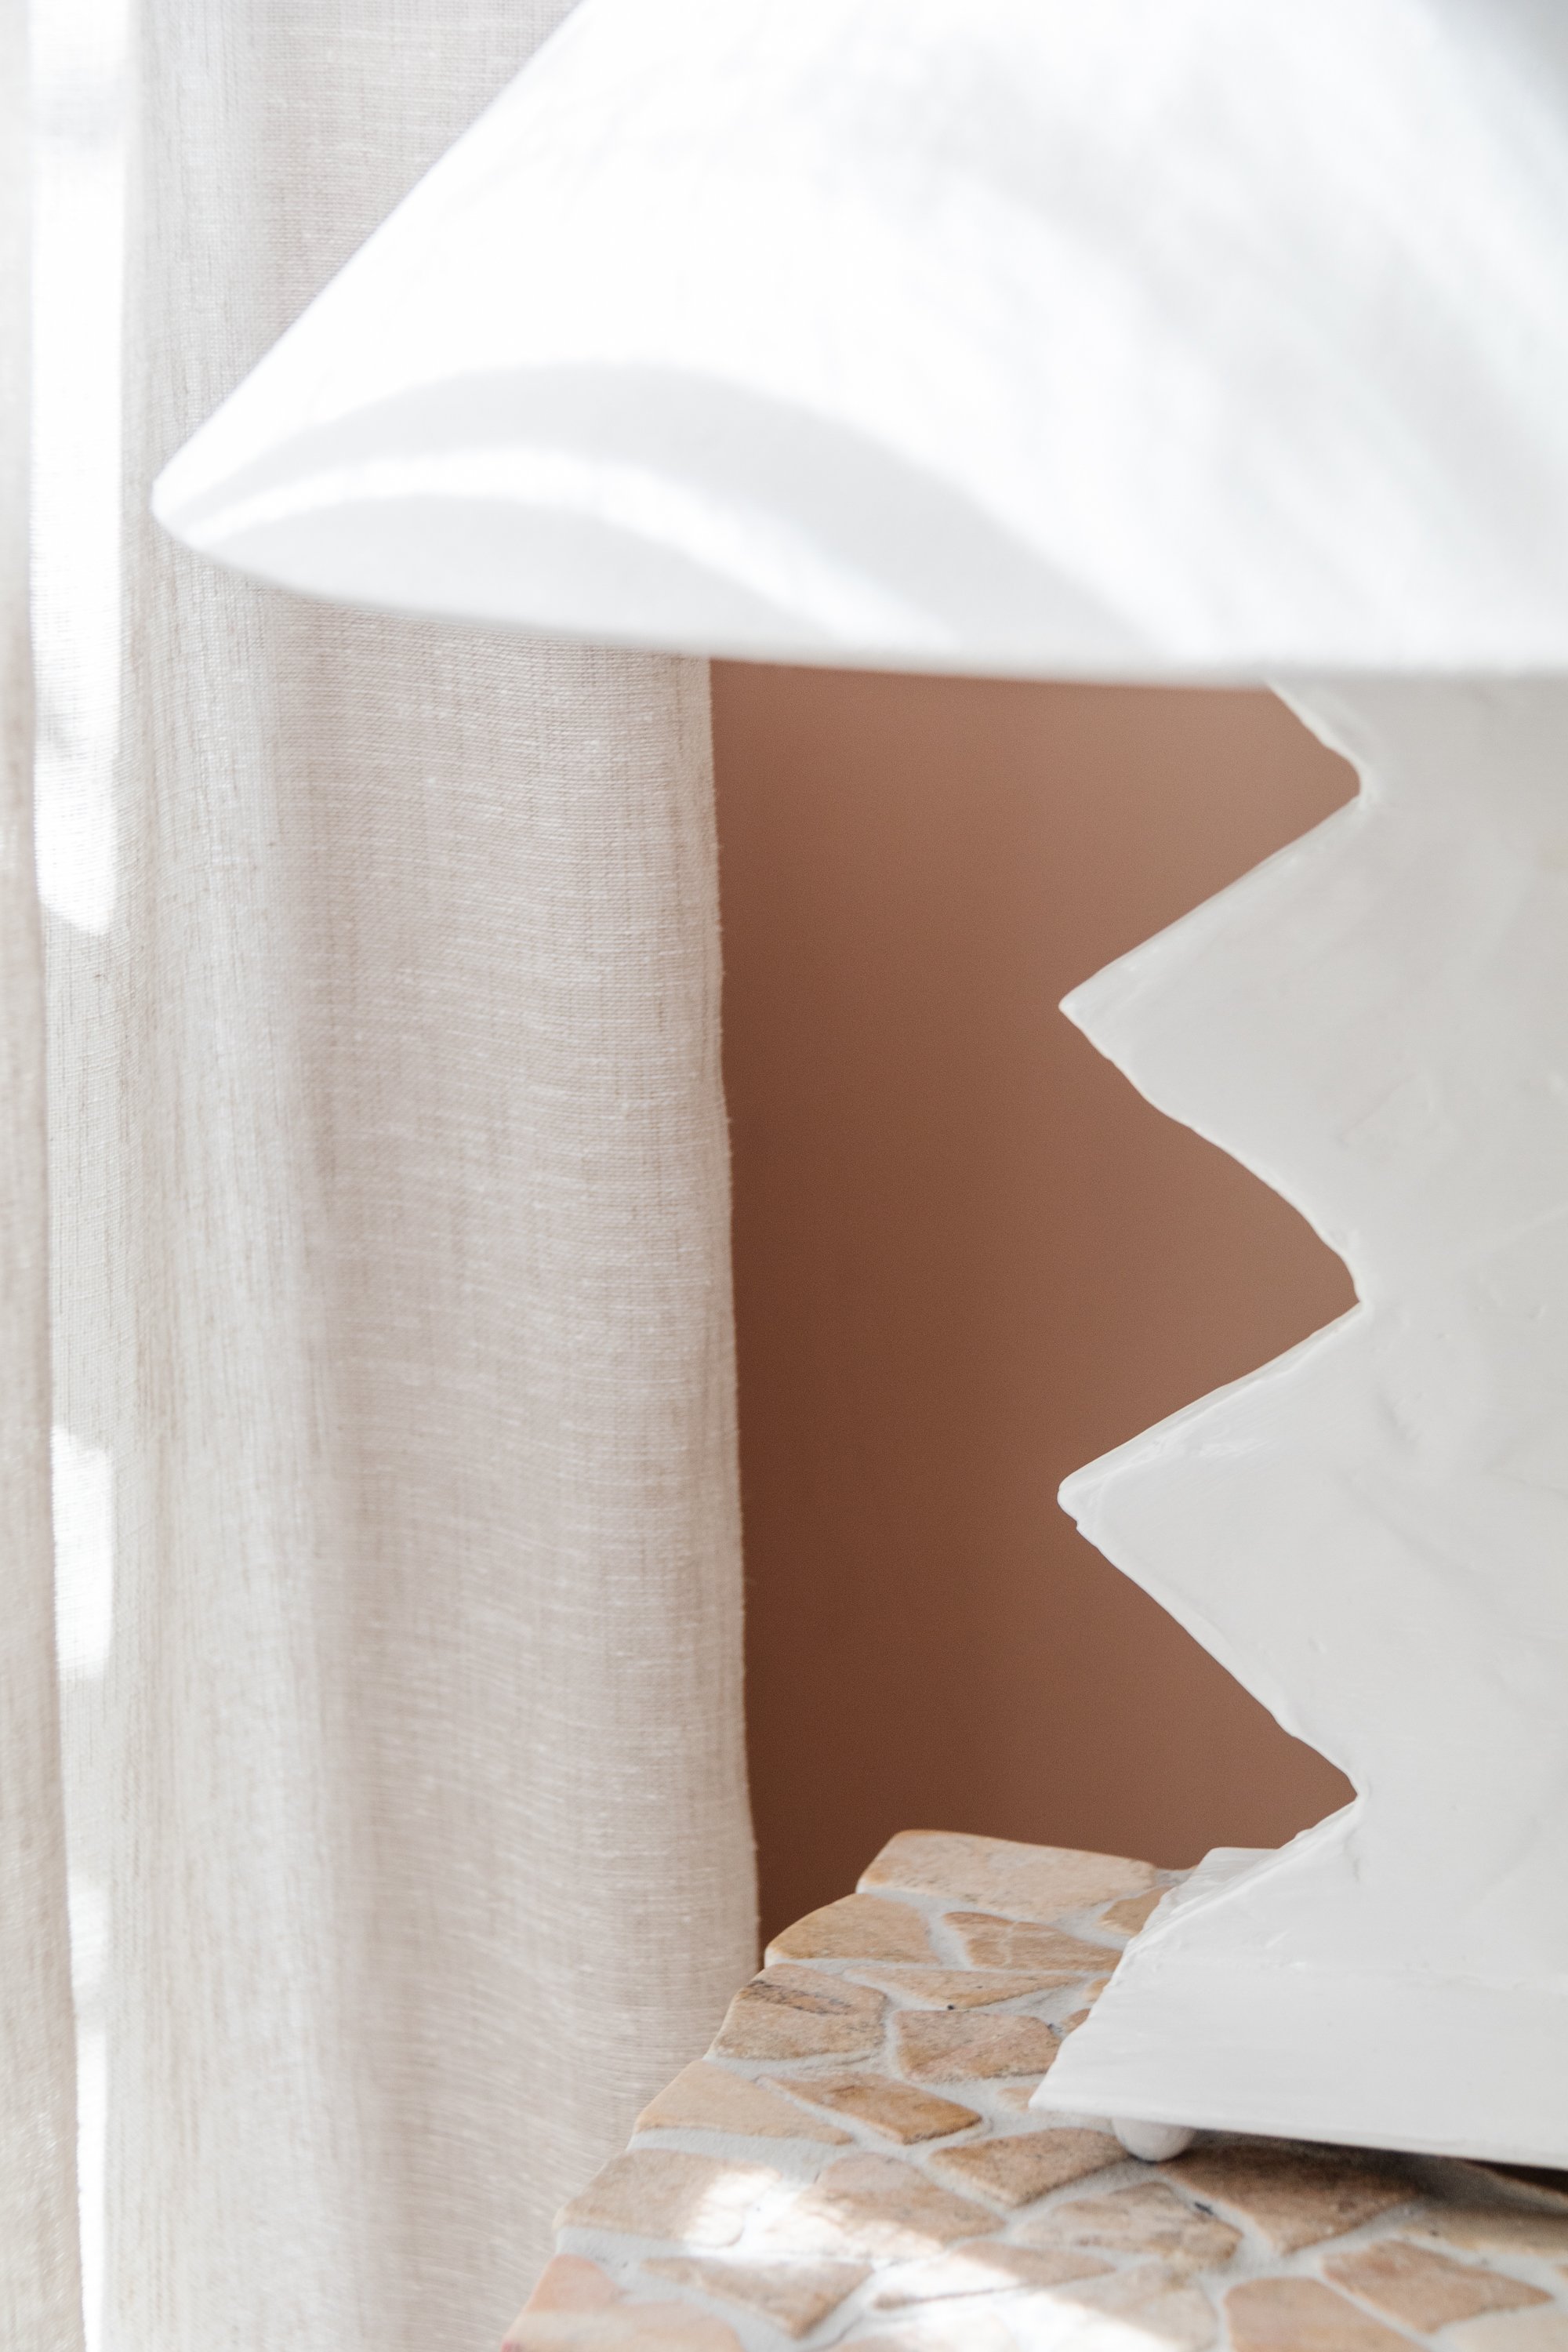
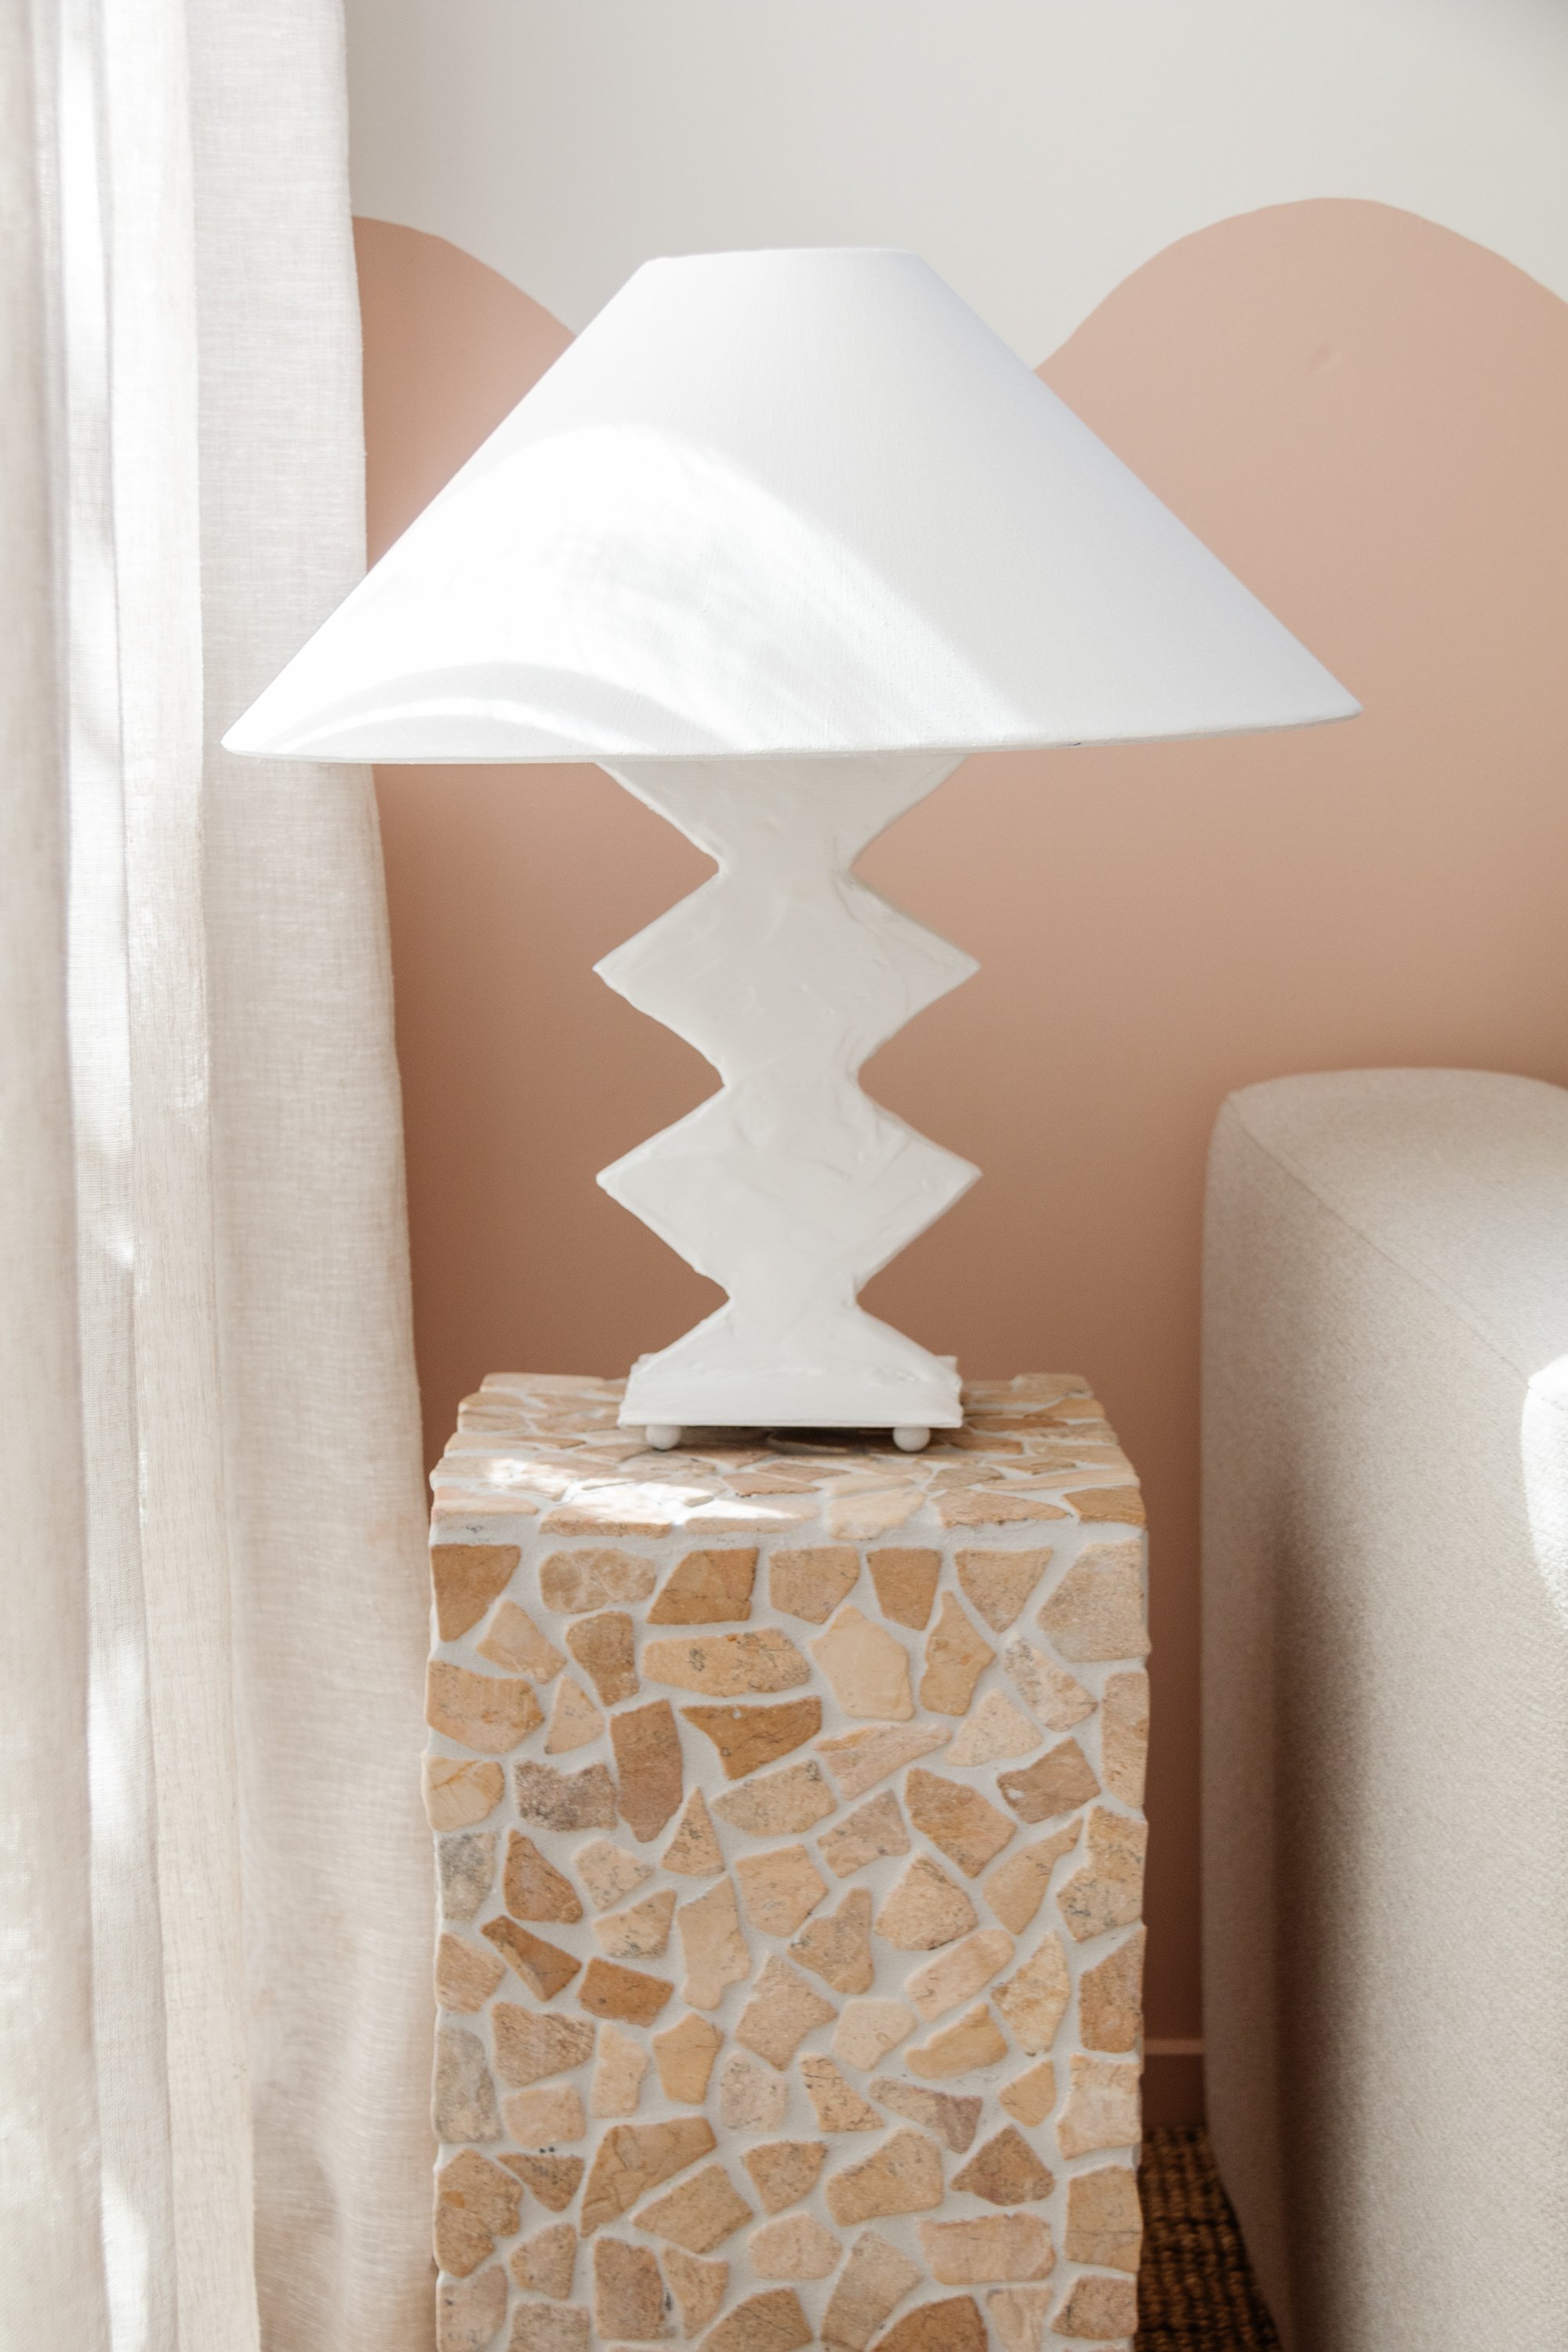
Now that the sculptural shapes are firmly attached to the lamp stand it’s time to plaster! Apply the first “crumb coat” and set it aside to dry completely. Depending on the shape you want to create, keep applying coats of plaster until you get your desired shape (making sure to wait for each coat to completely dry before applying the next). I applied 3 coats of plaster.
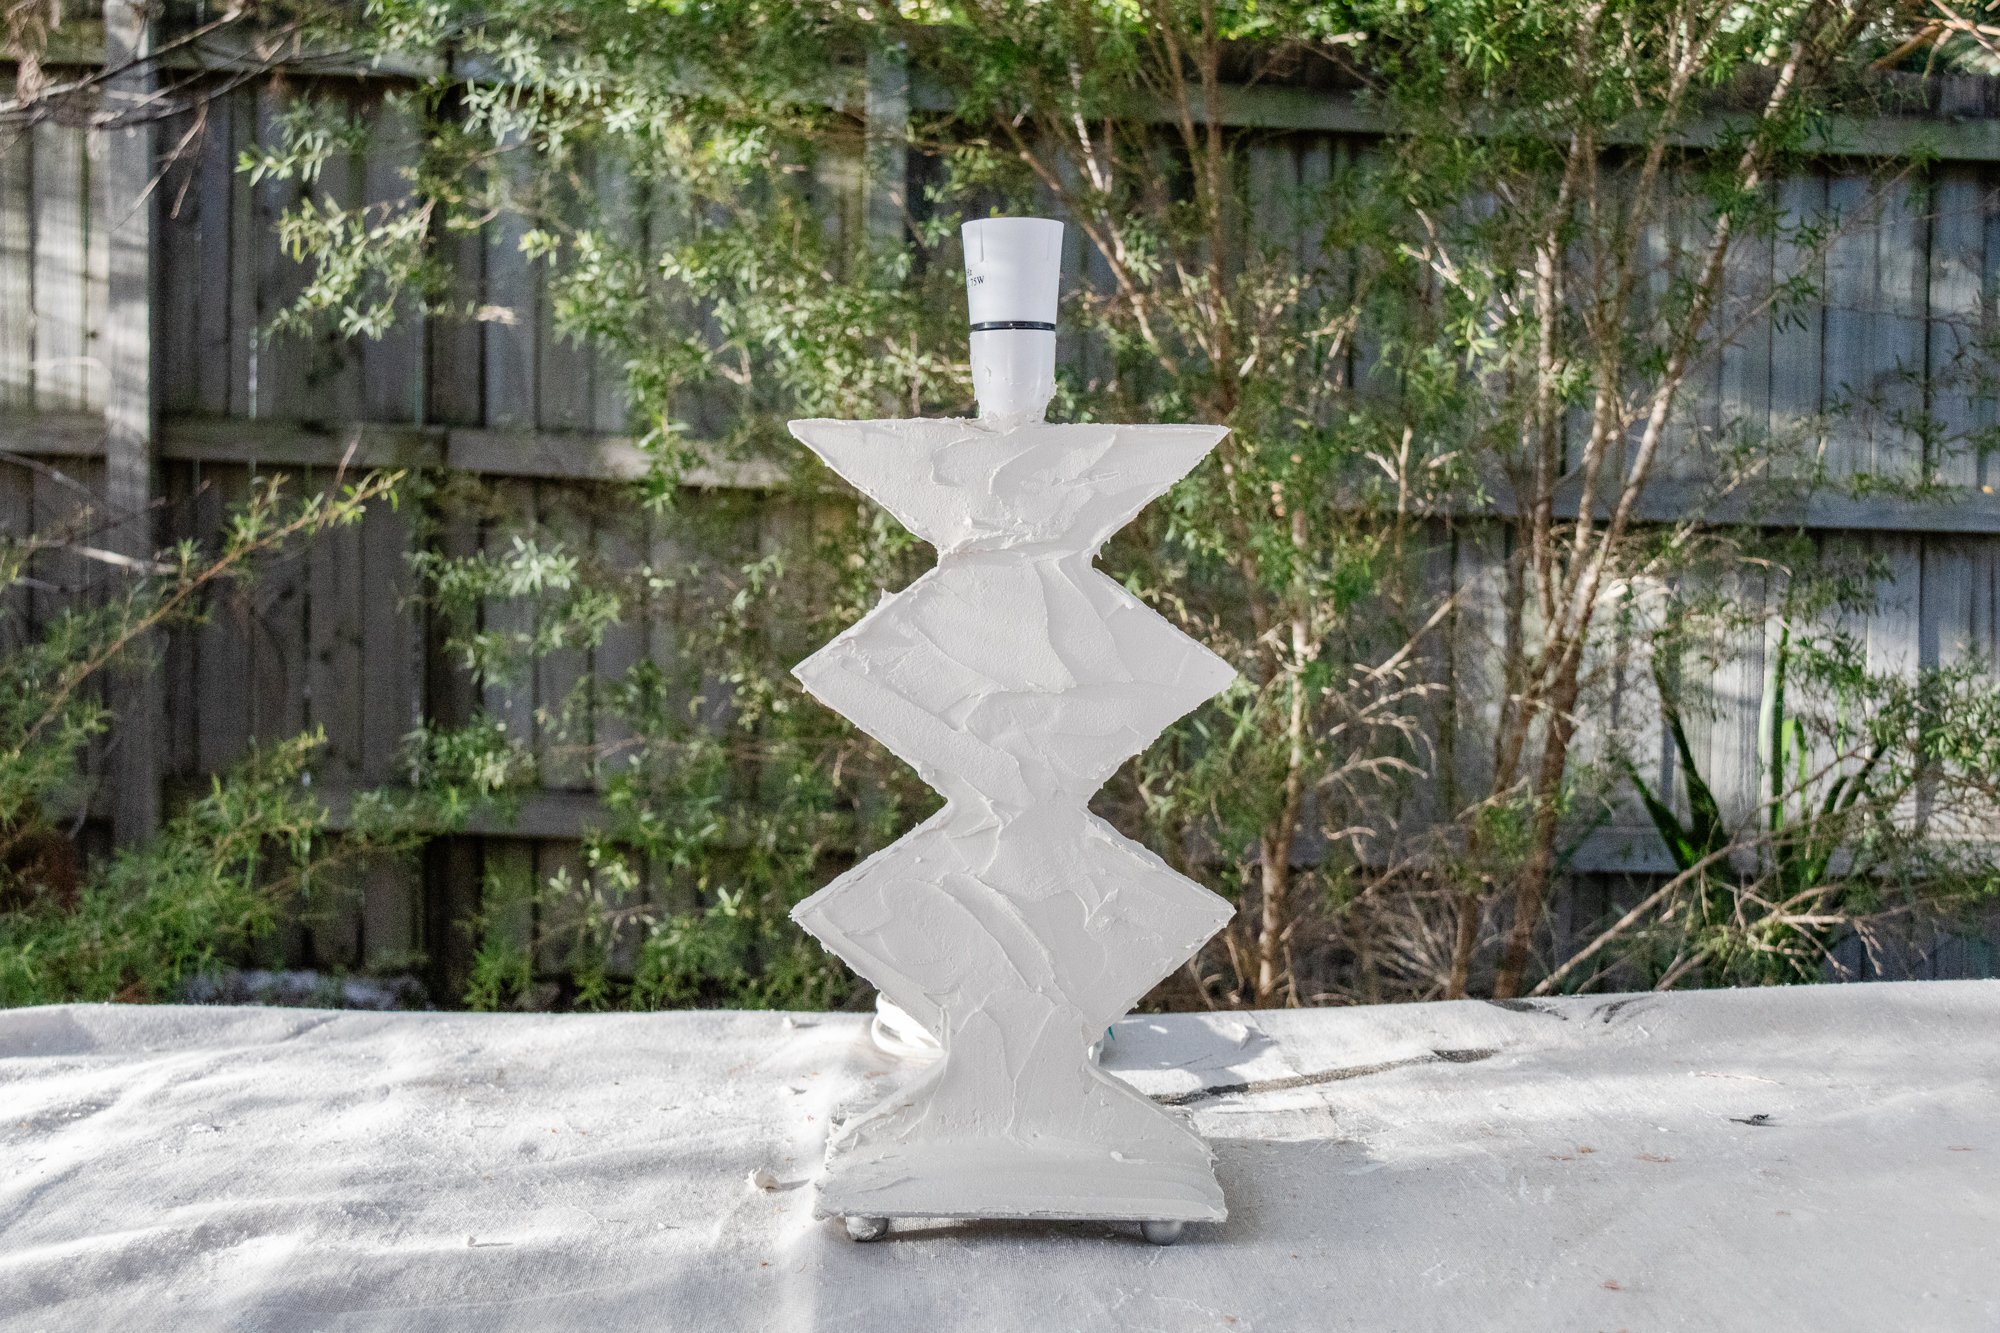

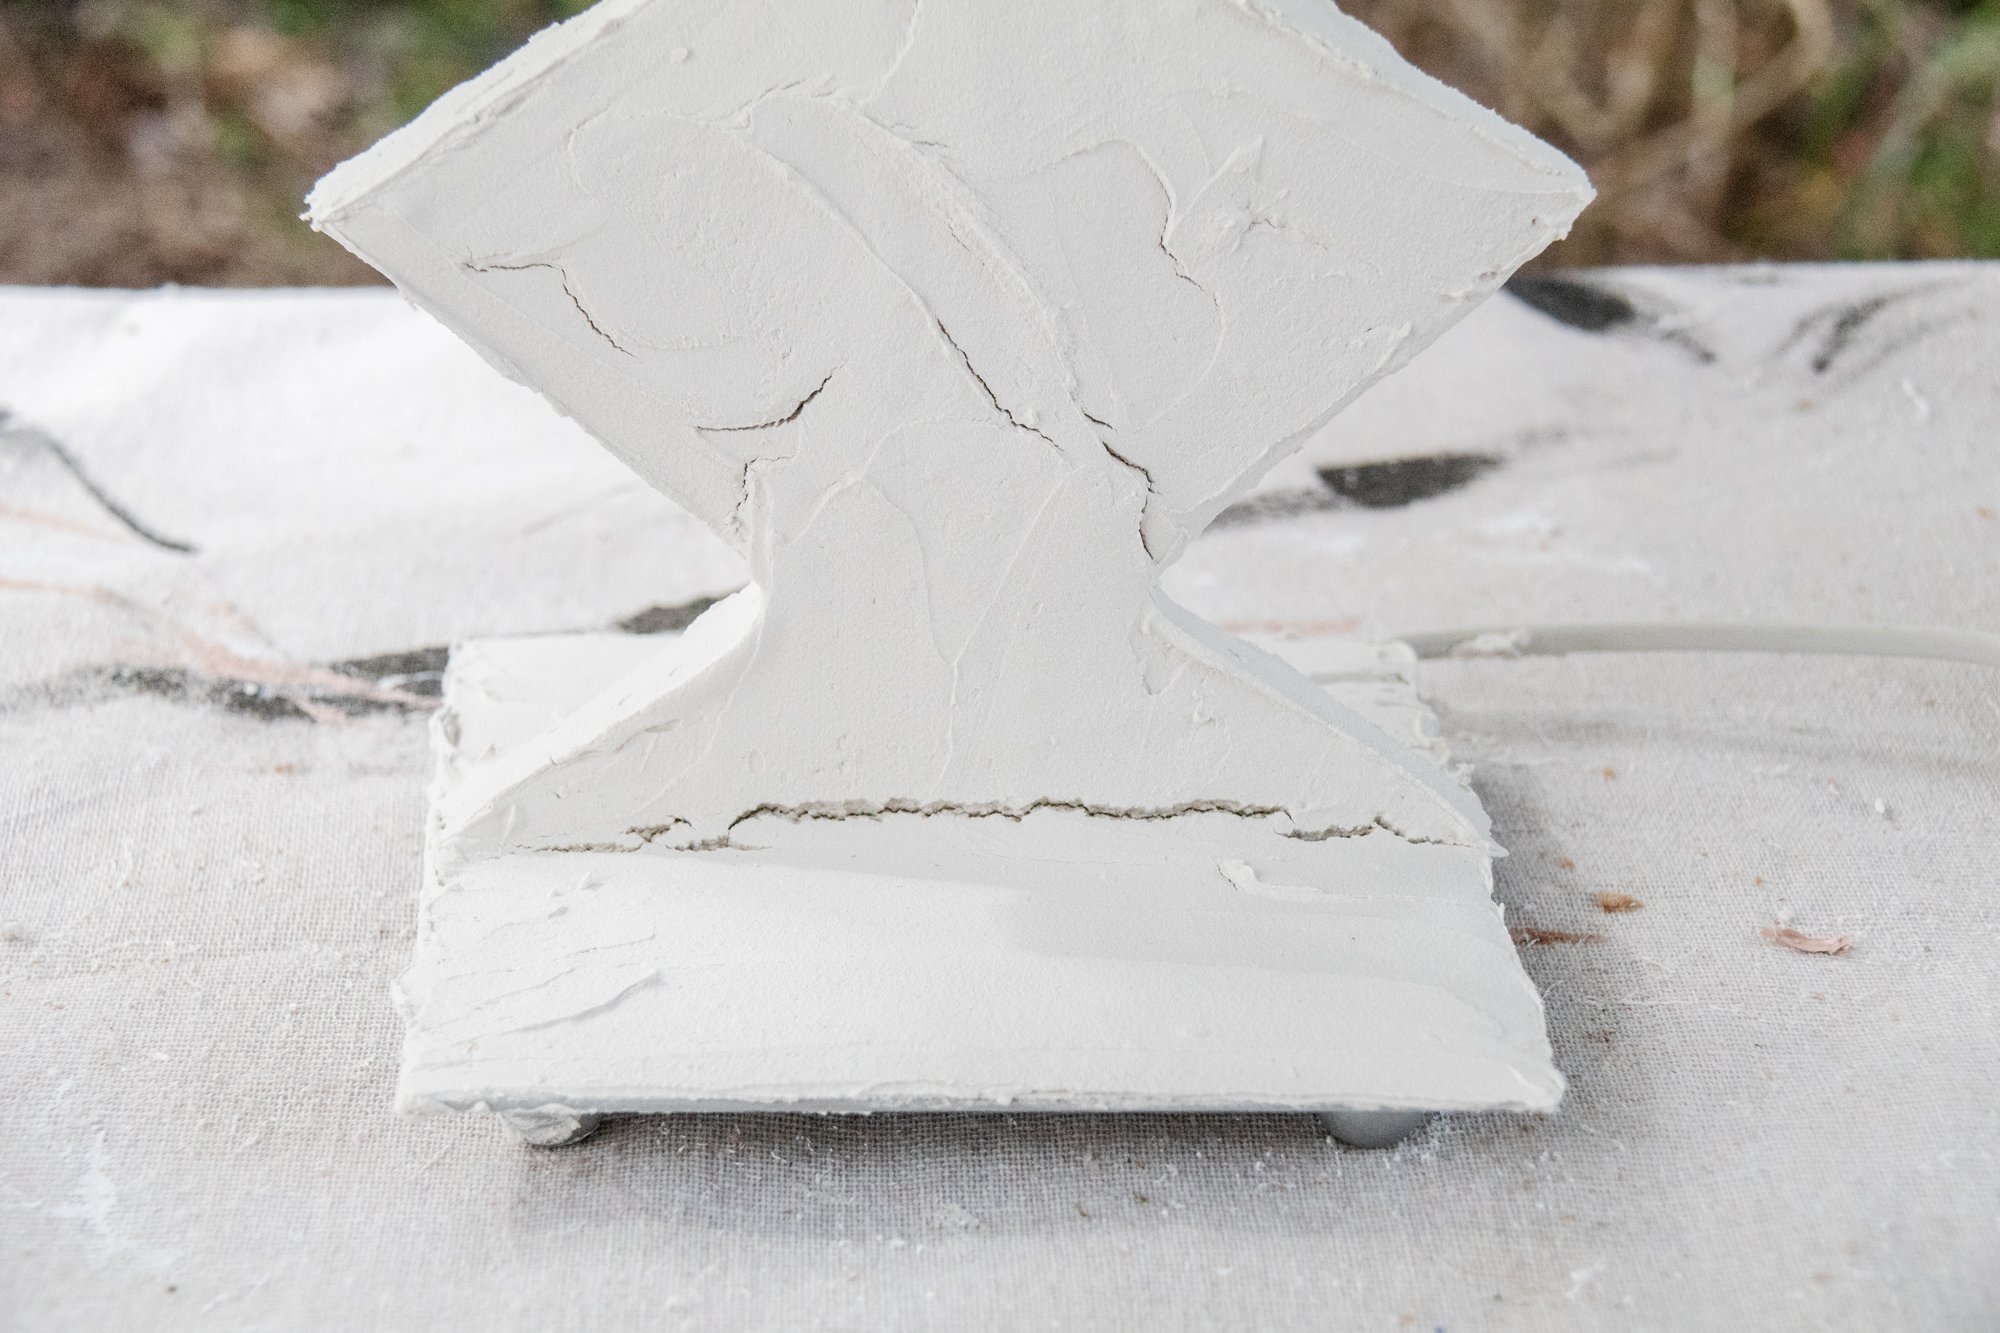
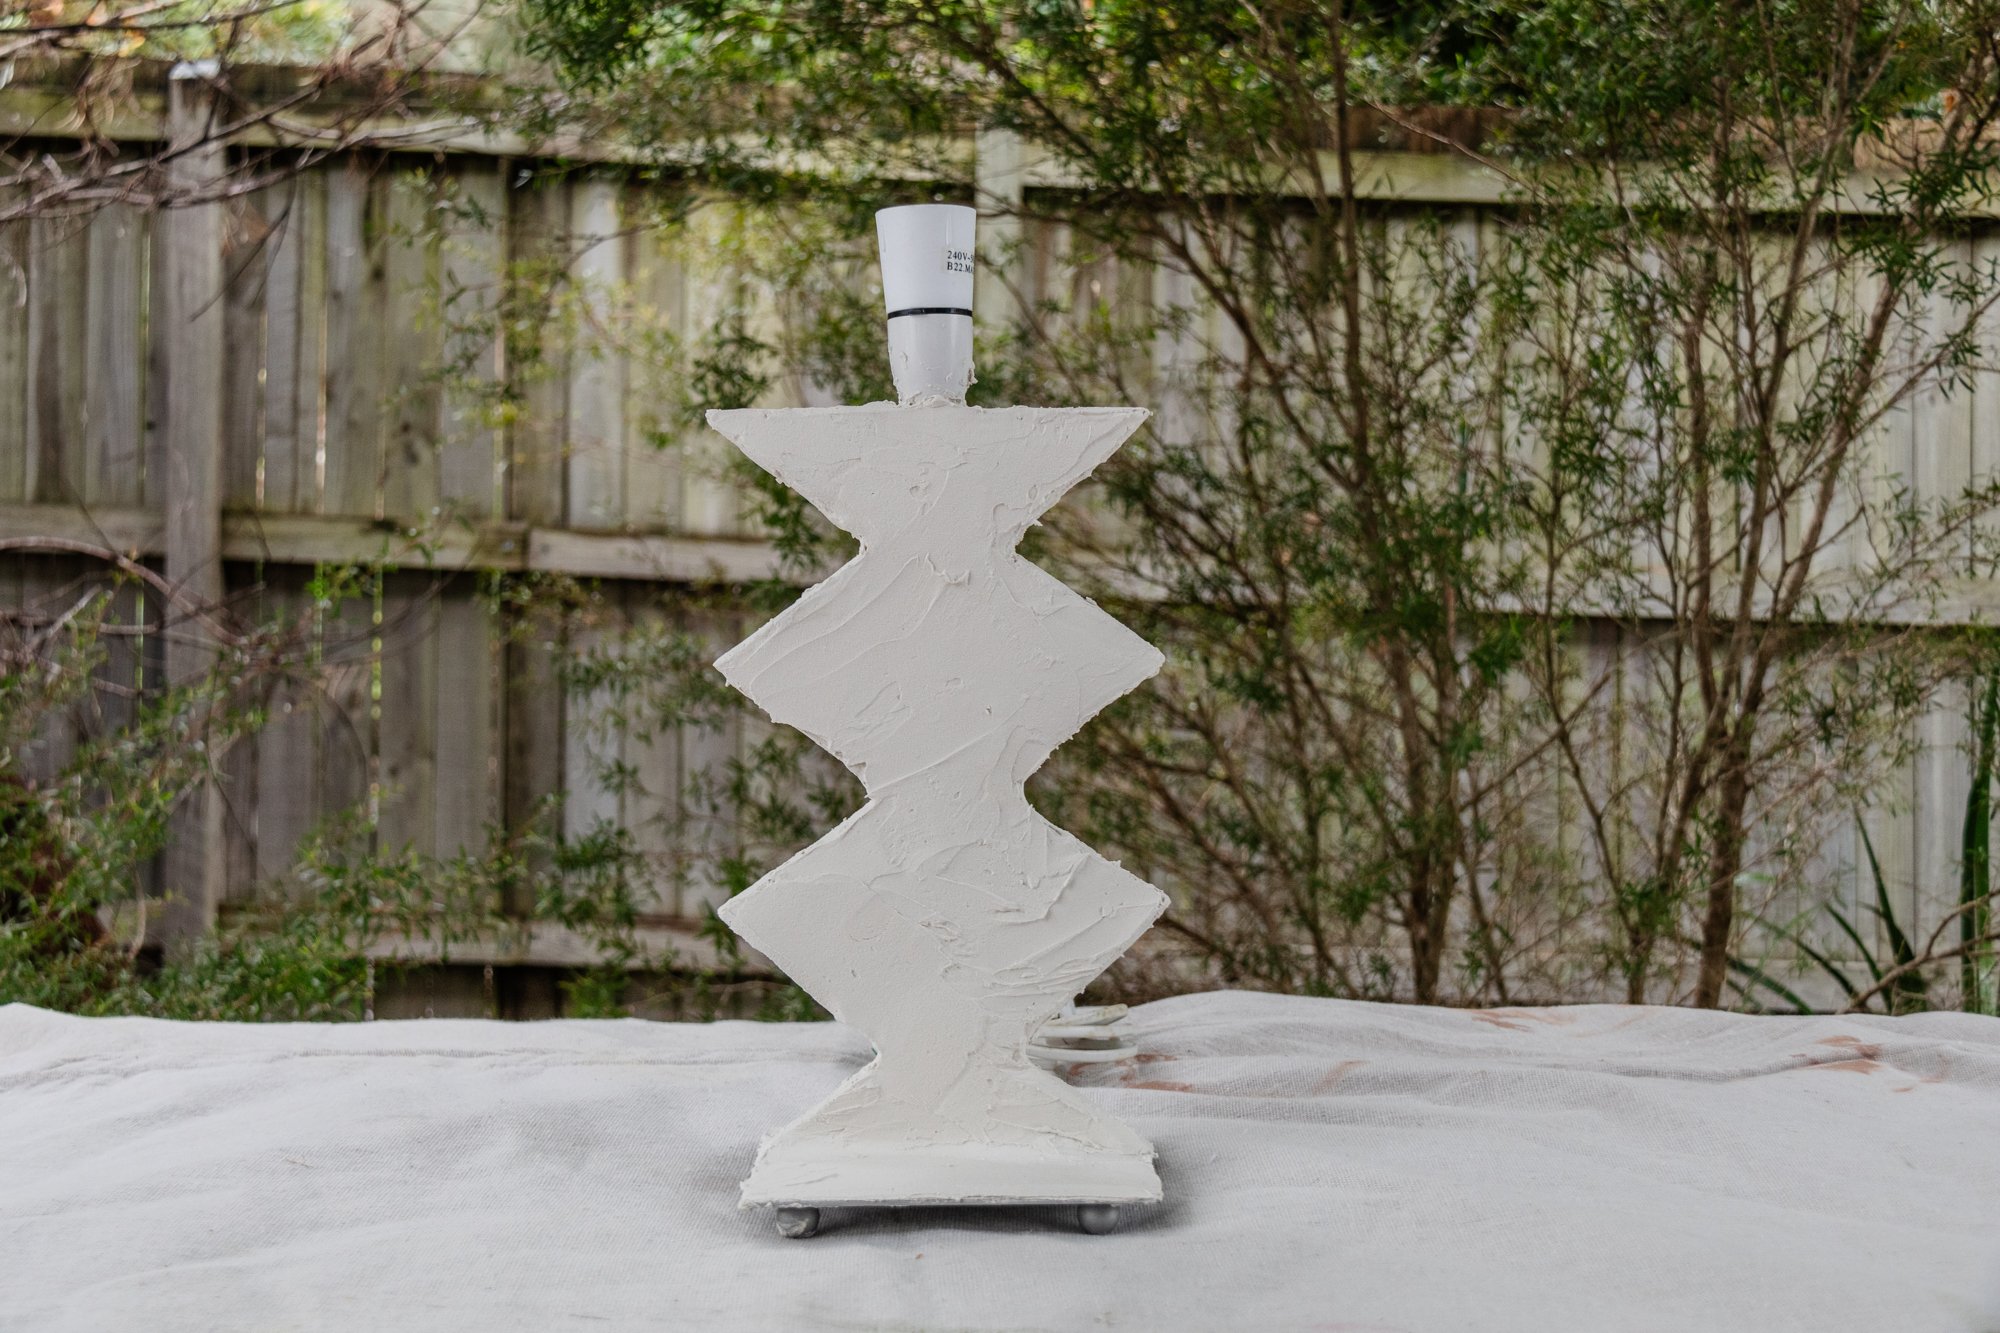
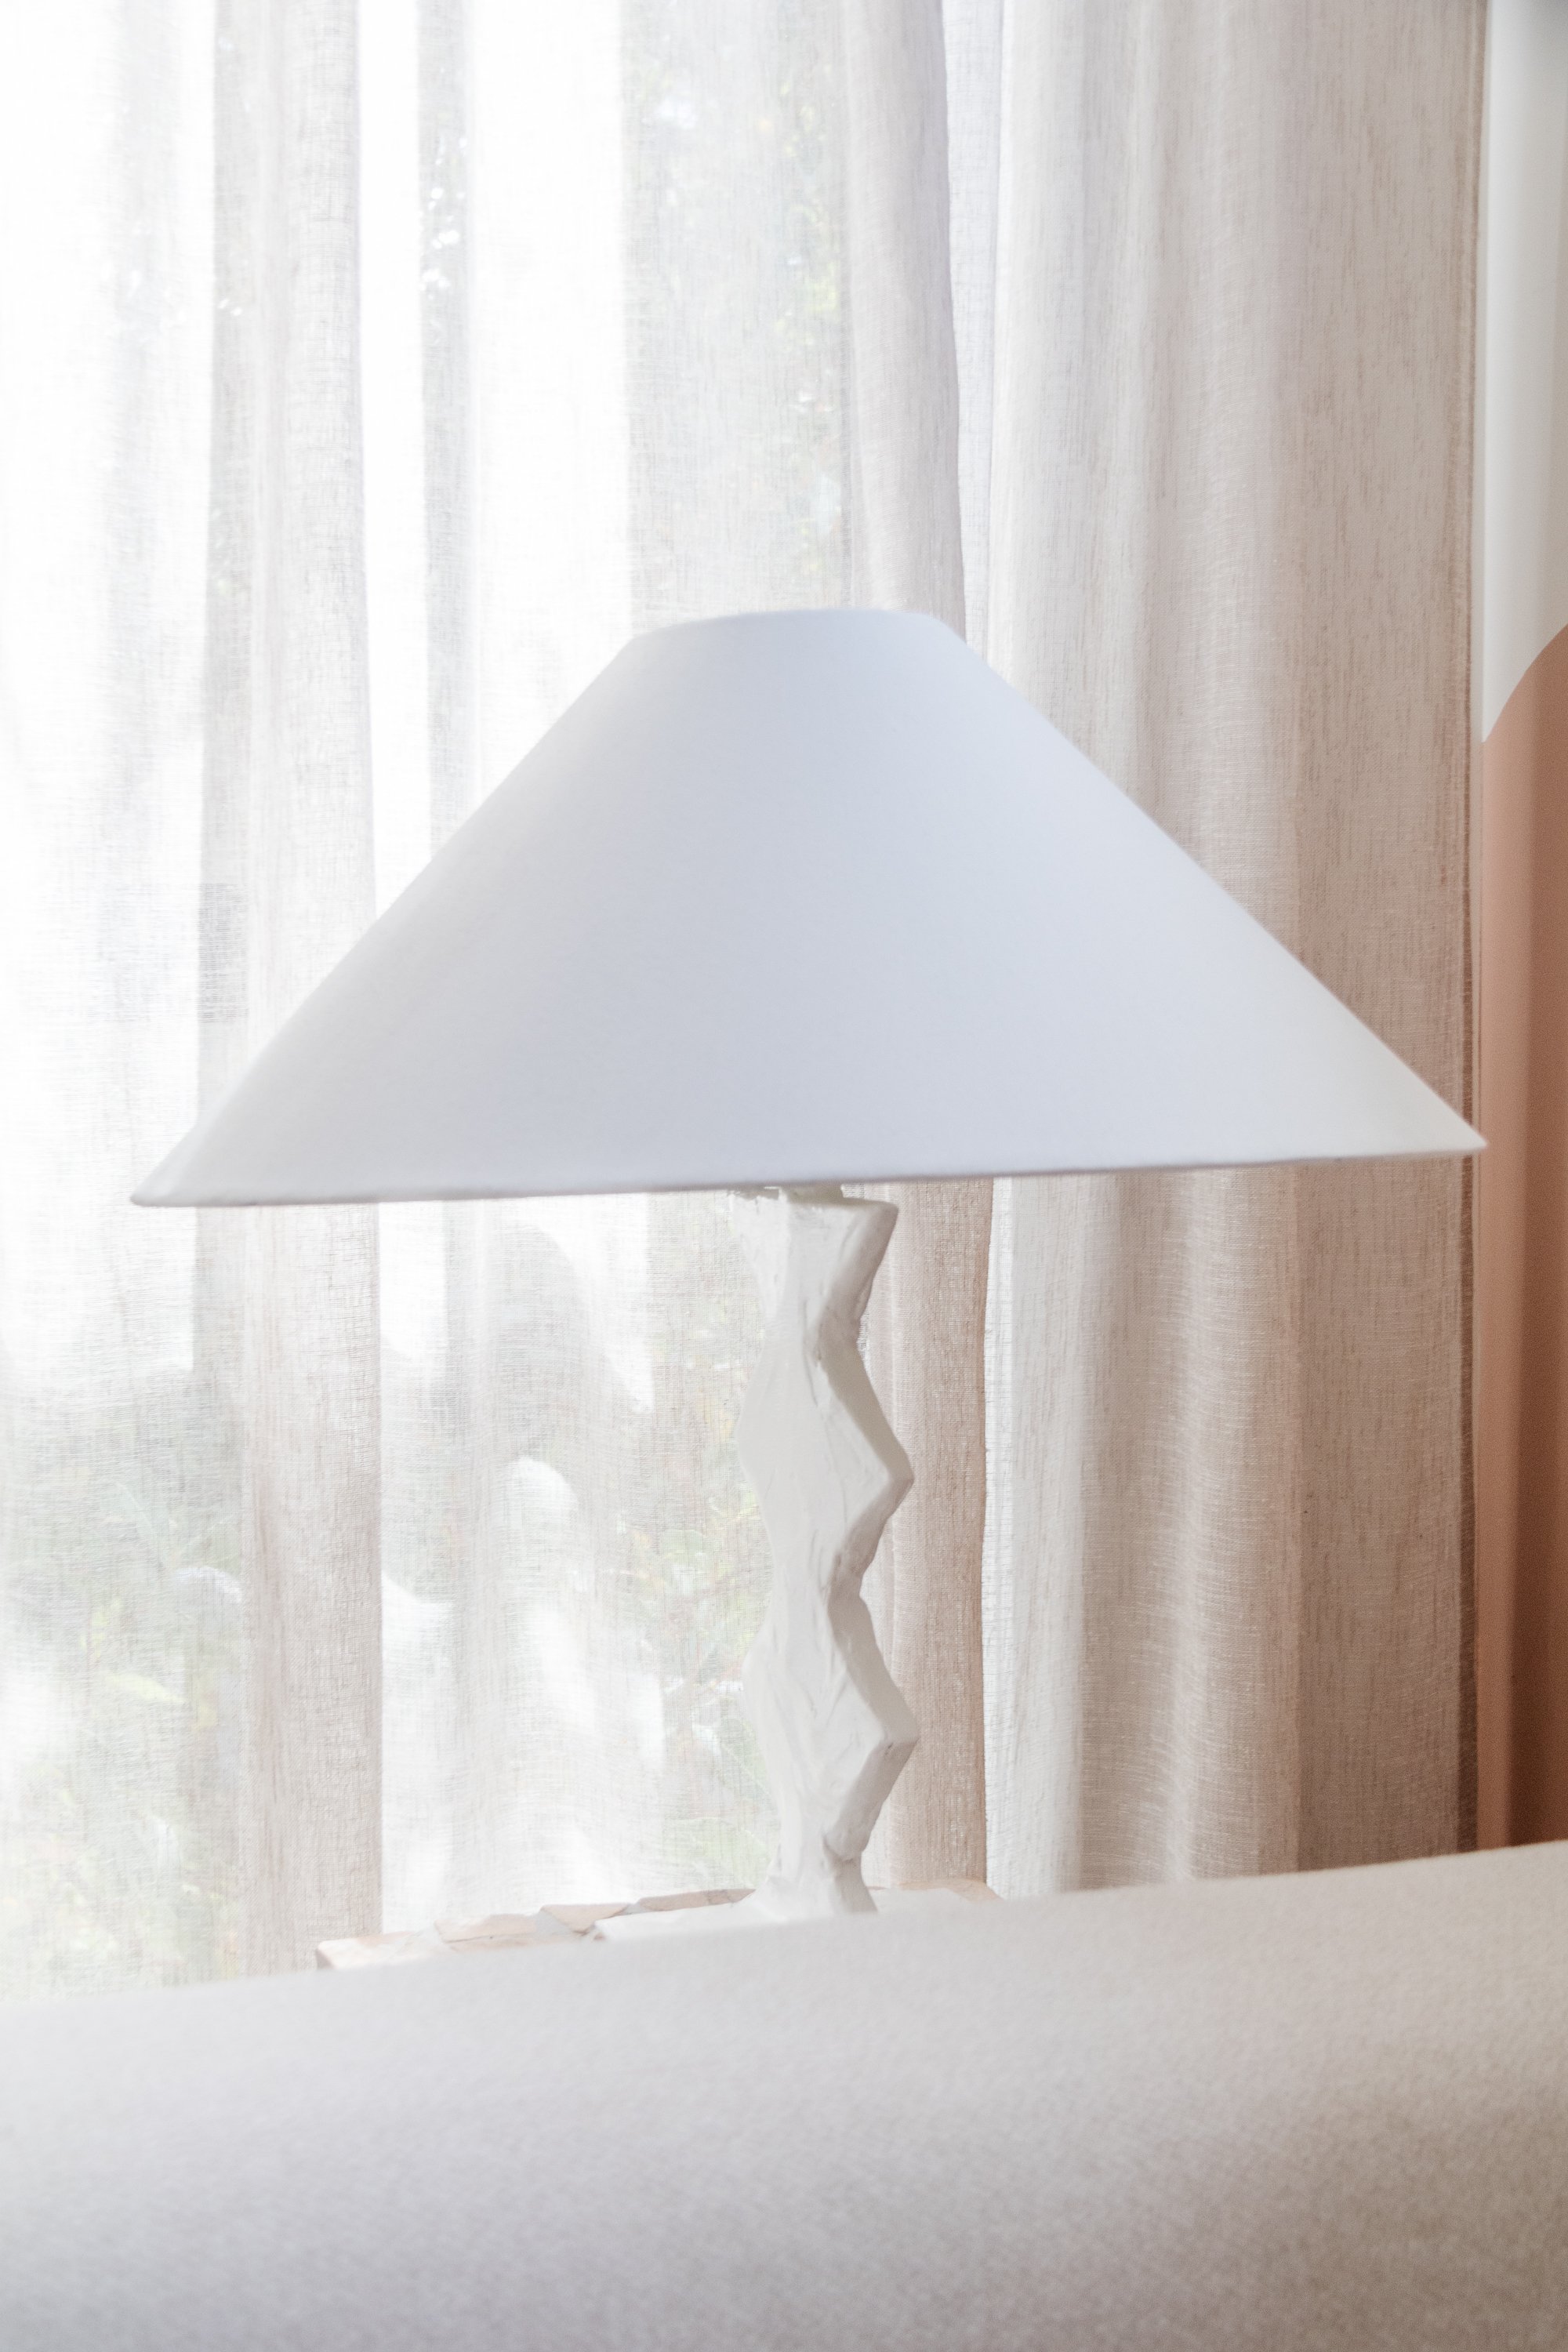
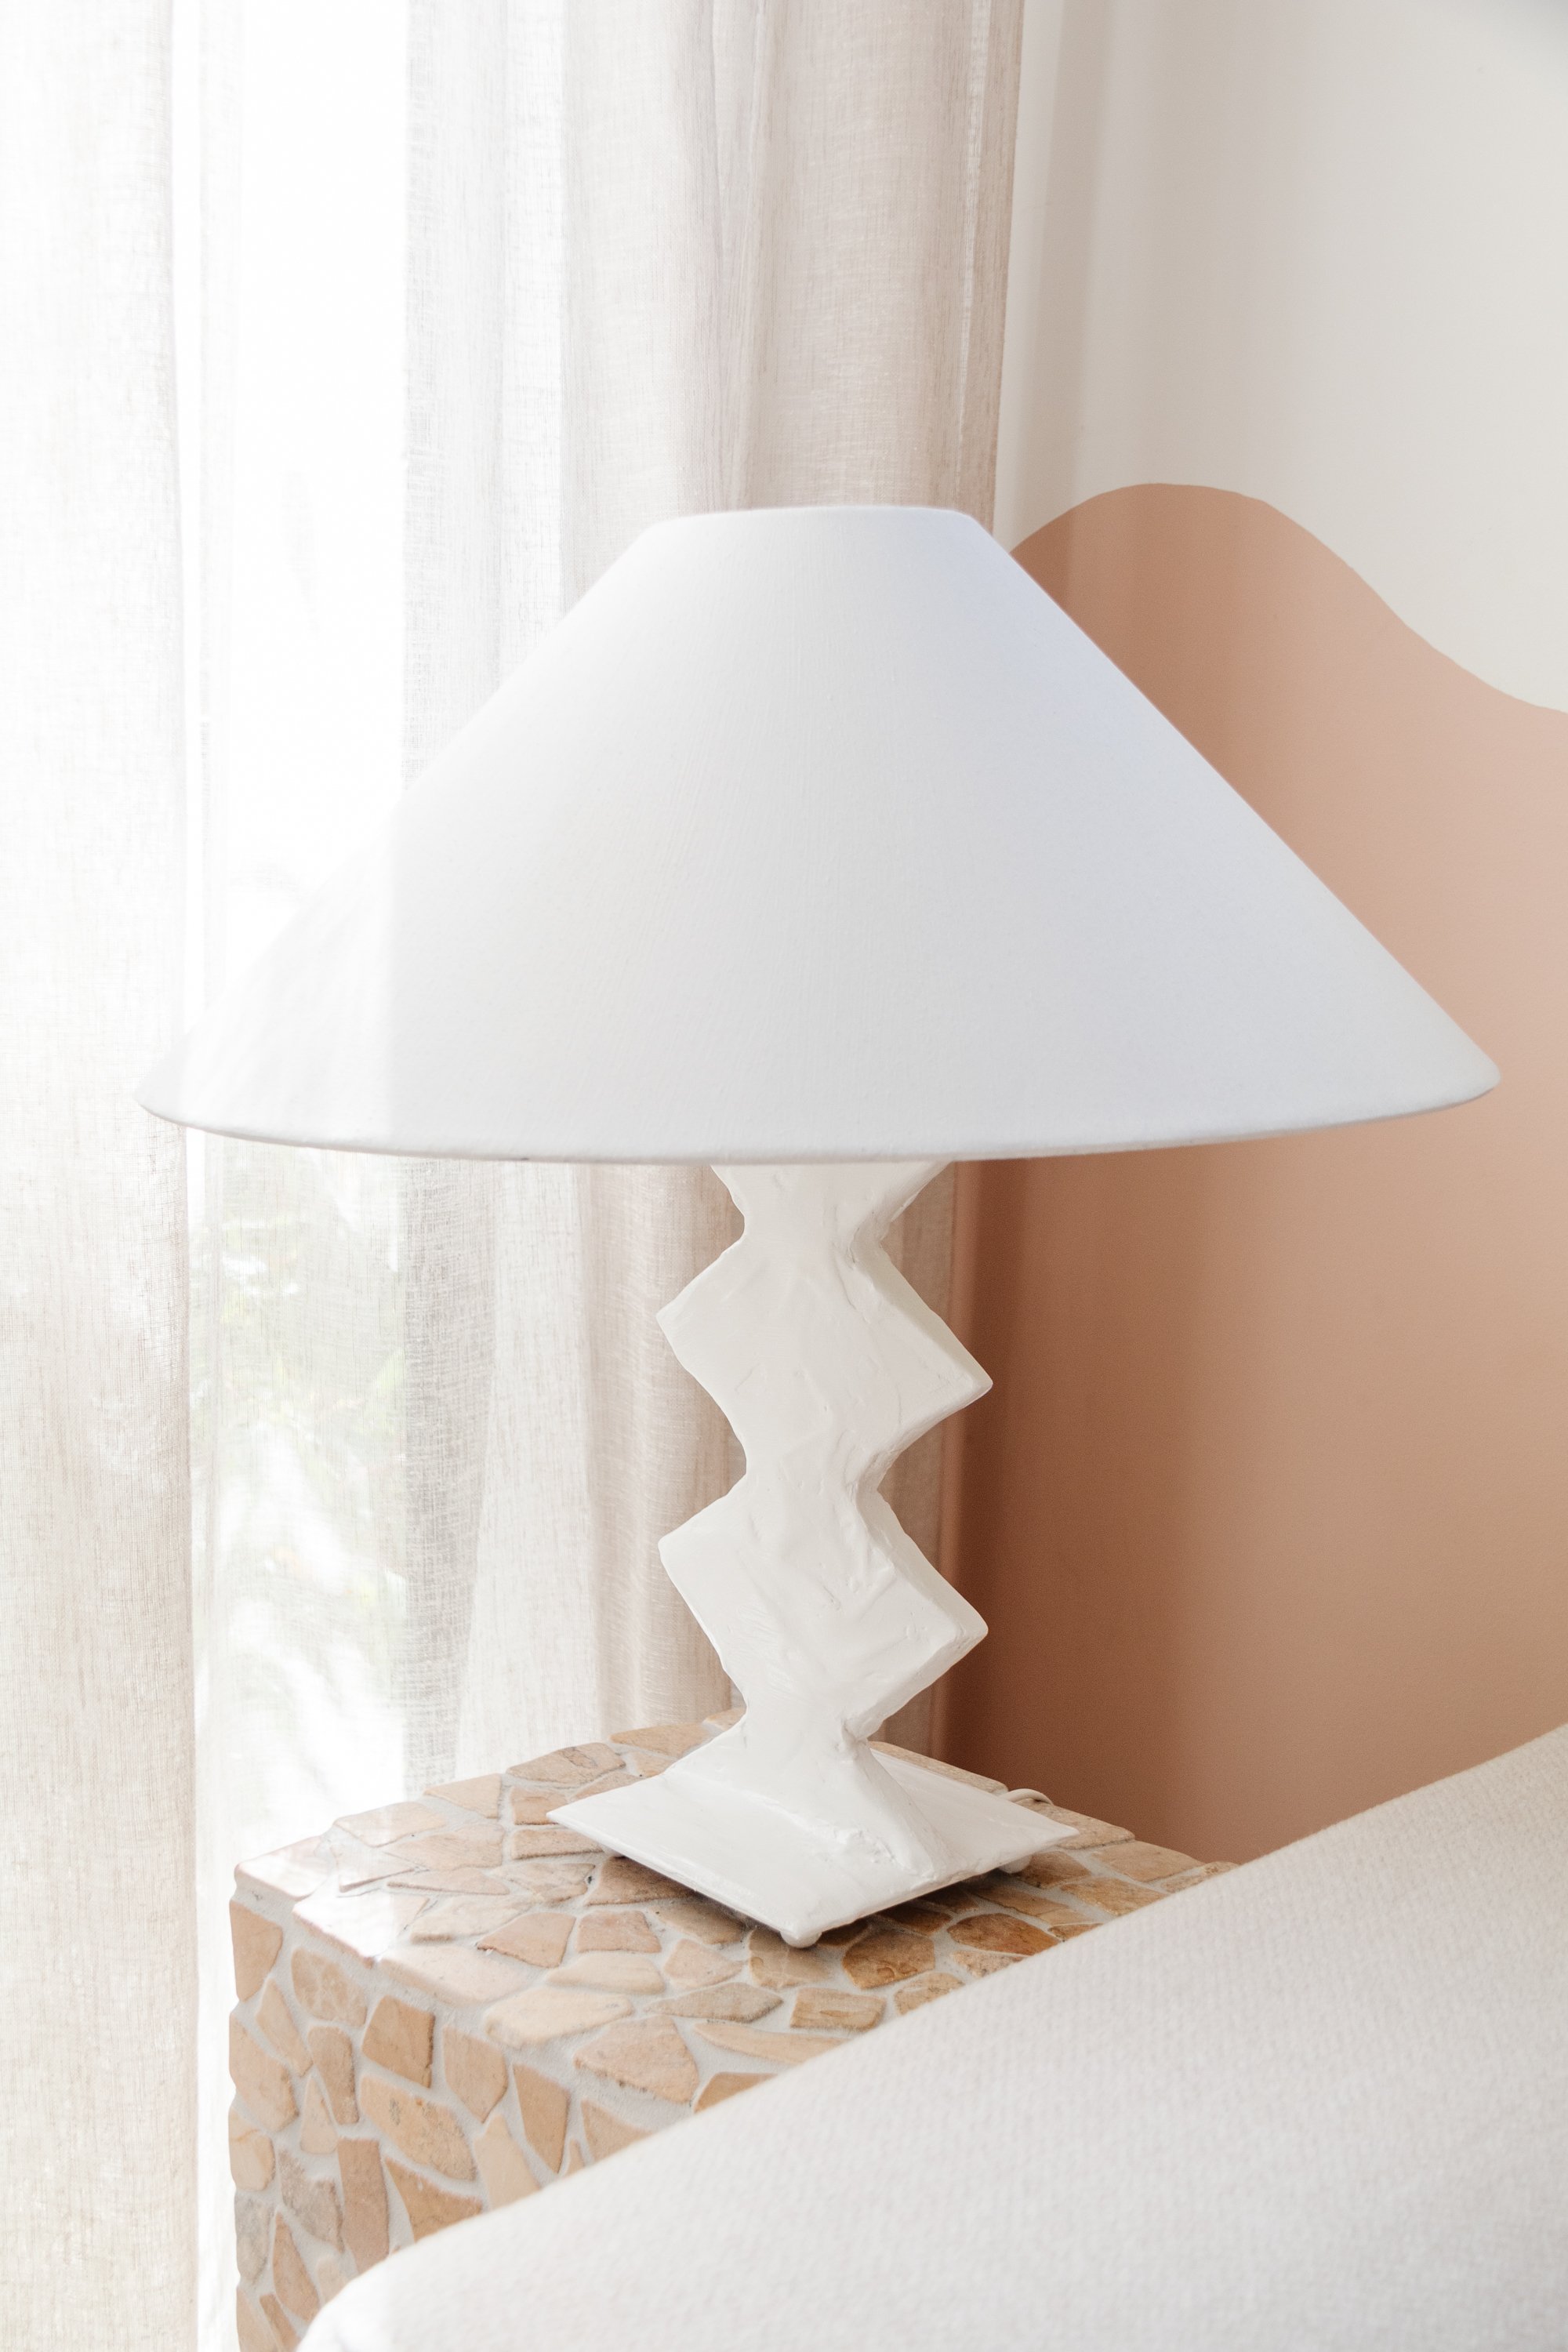
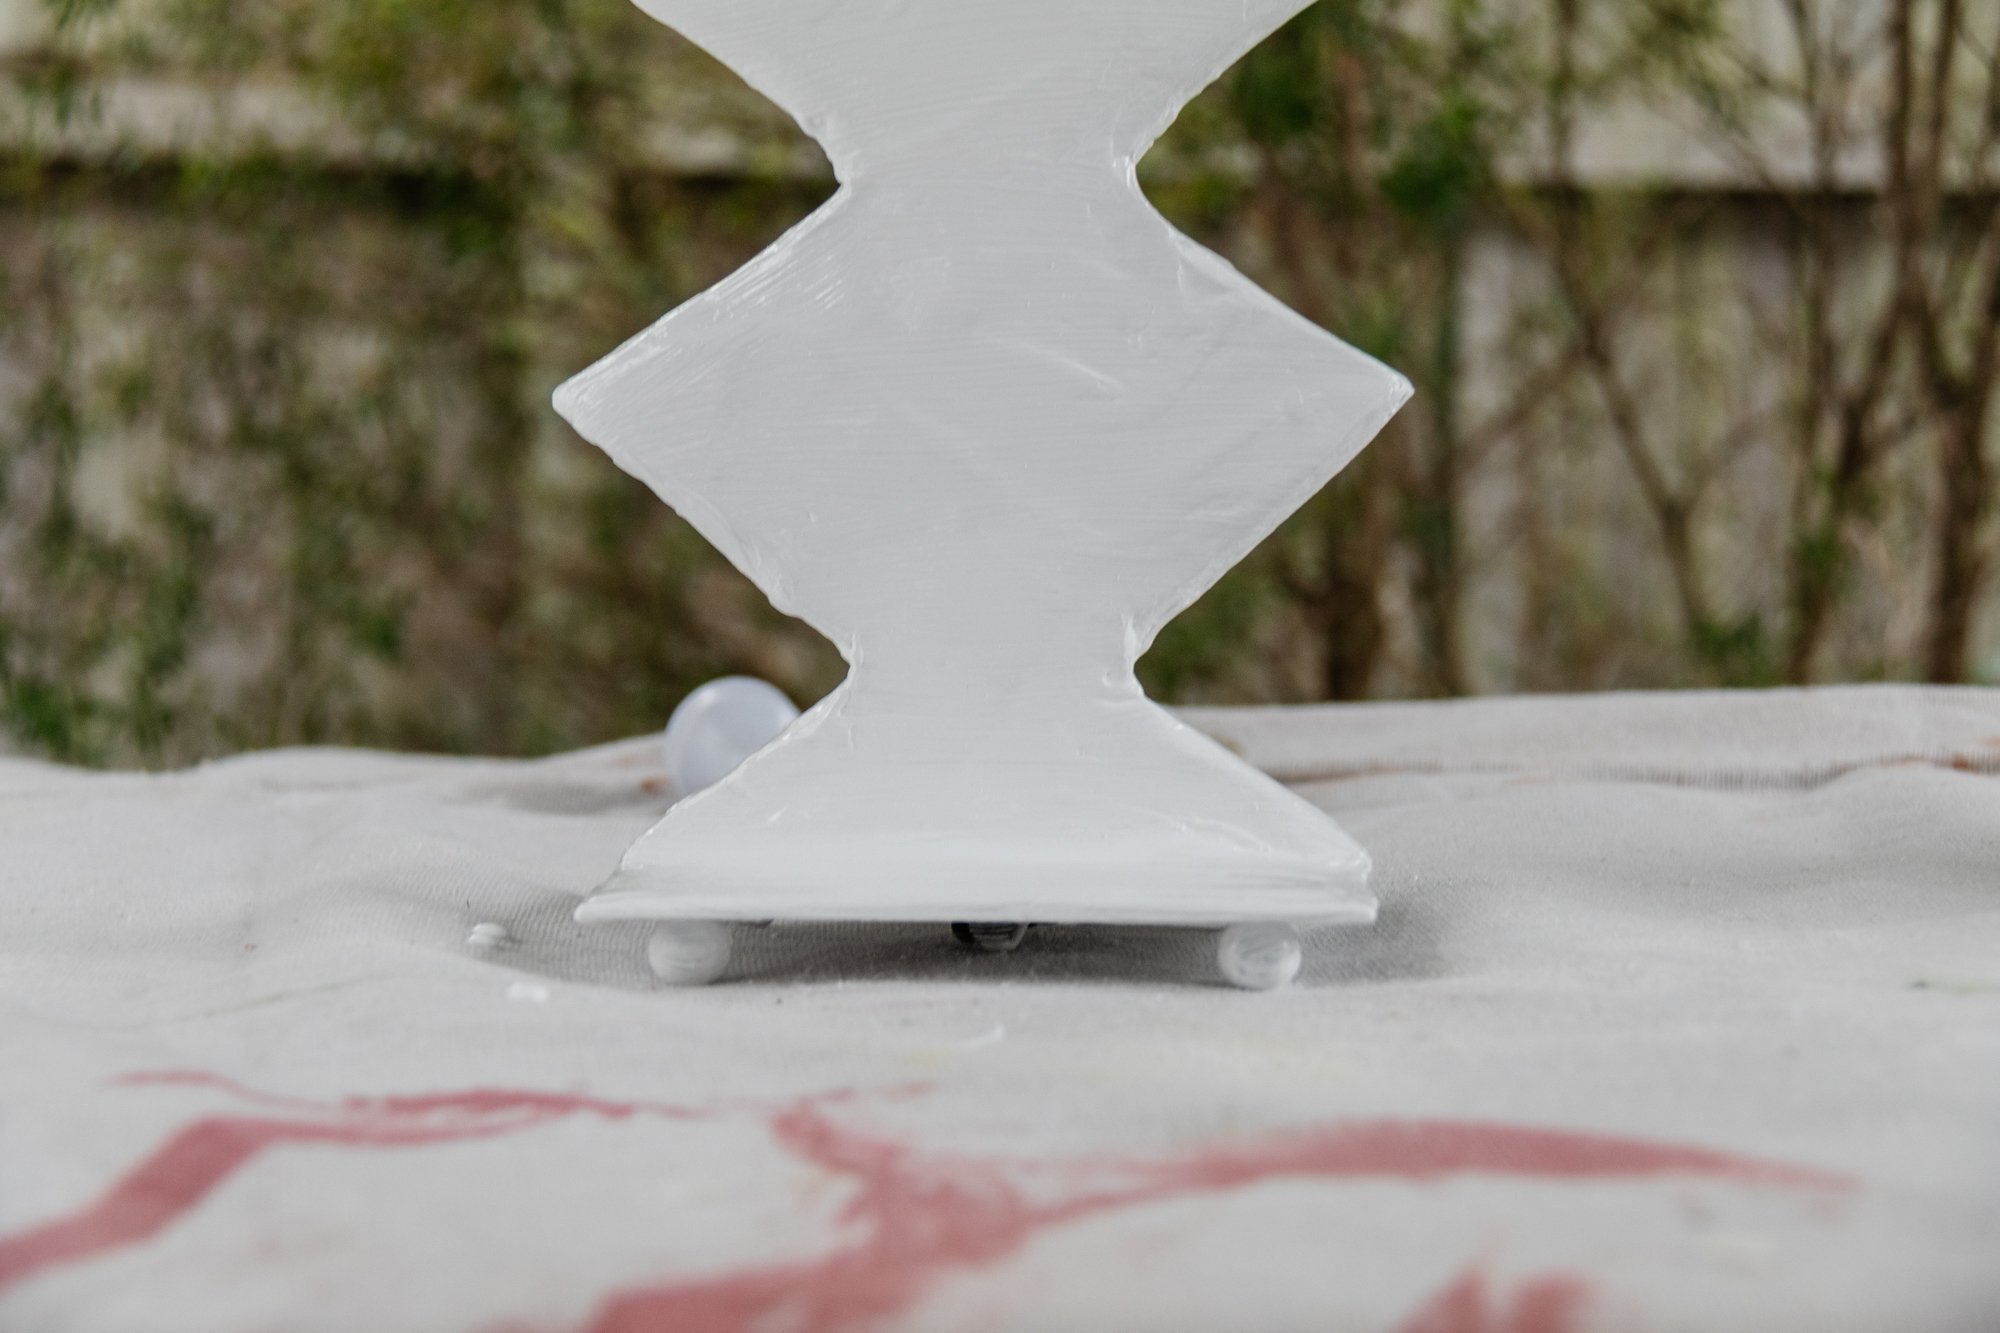
Carefully sand the plaster till it’s smooth. If you want to keep the plaster as is, great! I decided to paint the base with two coats of Dulux Exterior Paint in Lexicon Quarter. While the paint is drying on the lamp base, it’s time to paint the lamp shade! Apply two coats and set aside to dry inbetween coats. When the sculptural base and lamp shade is dry, assemble them together and voila!
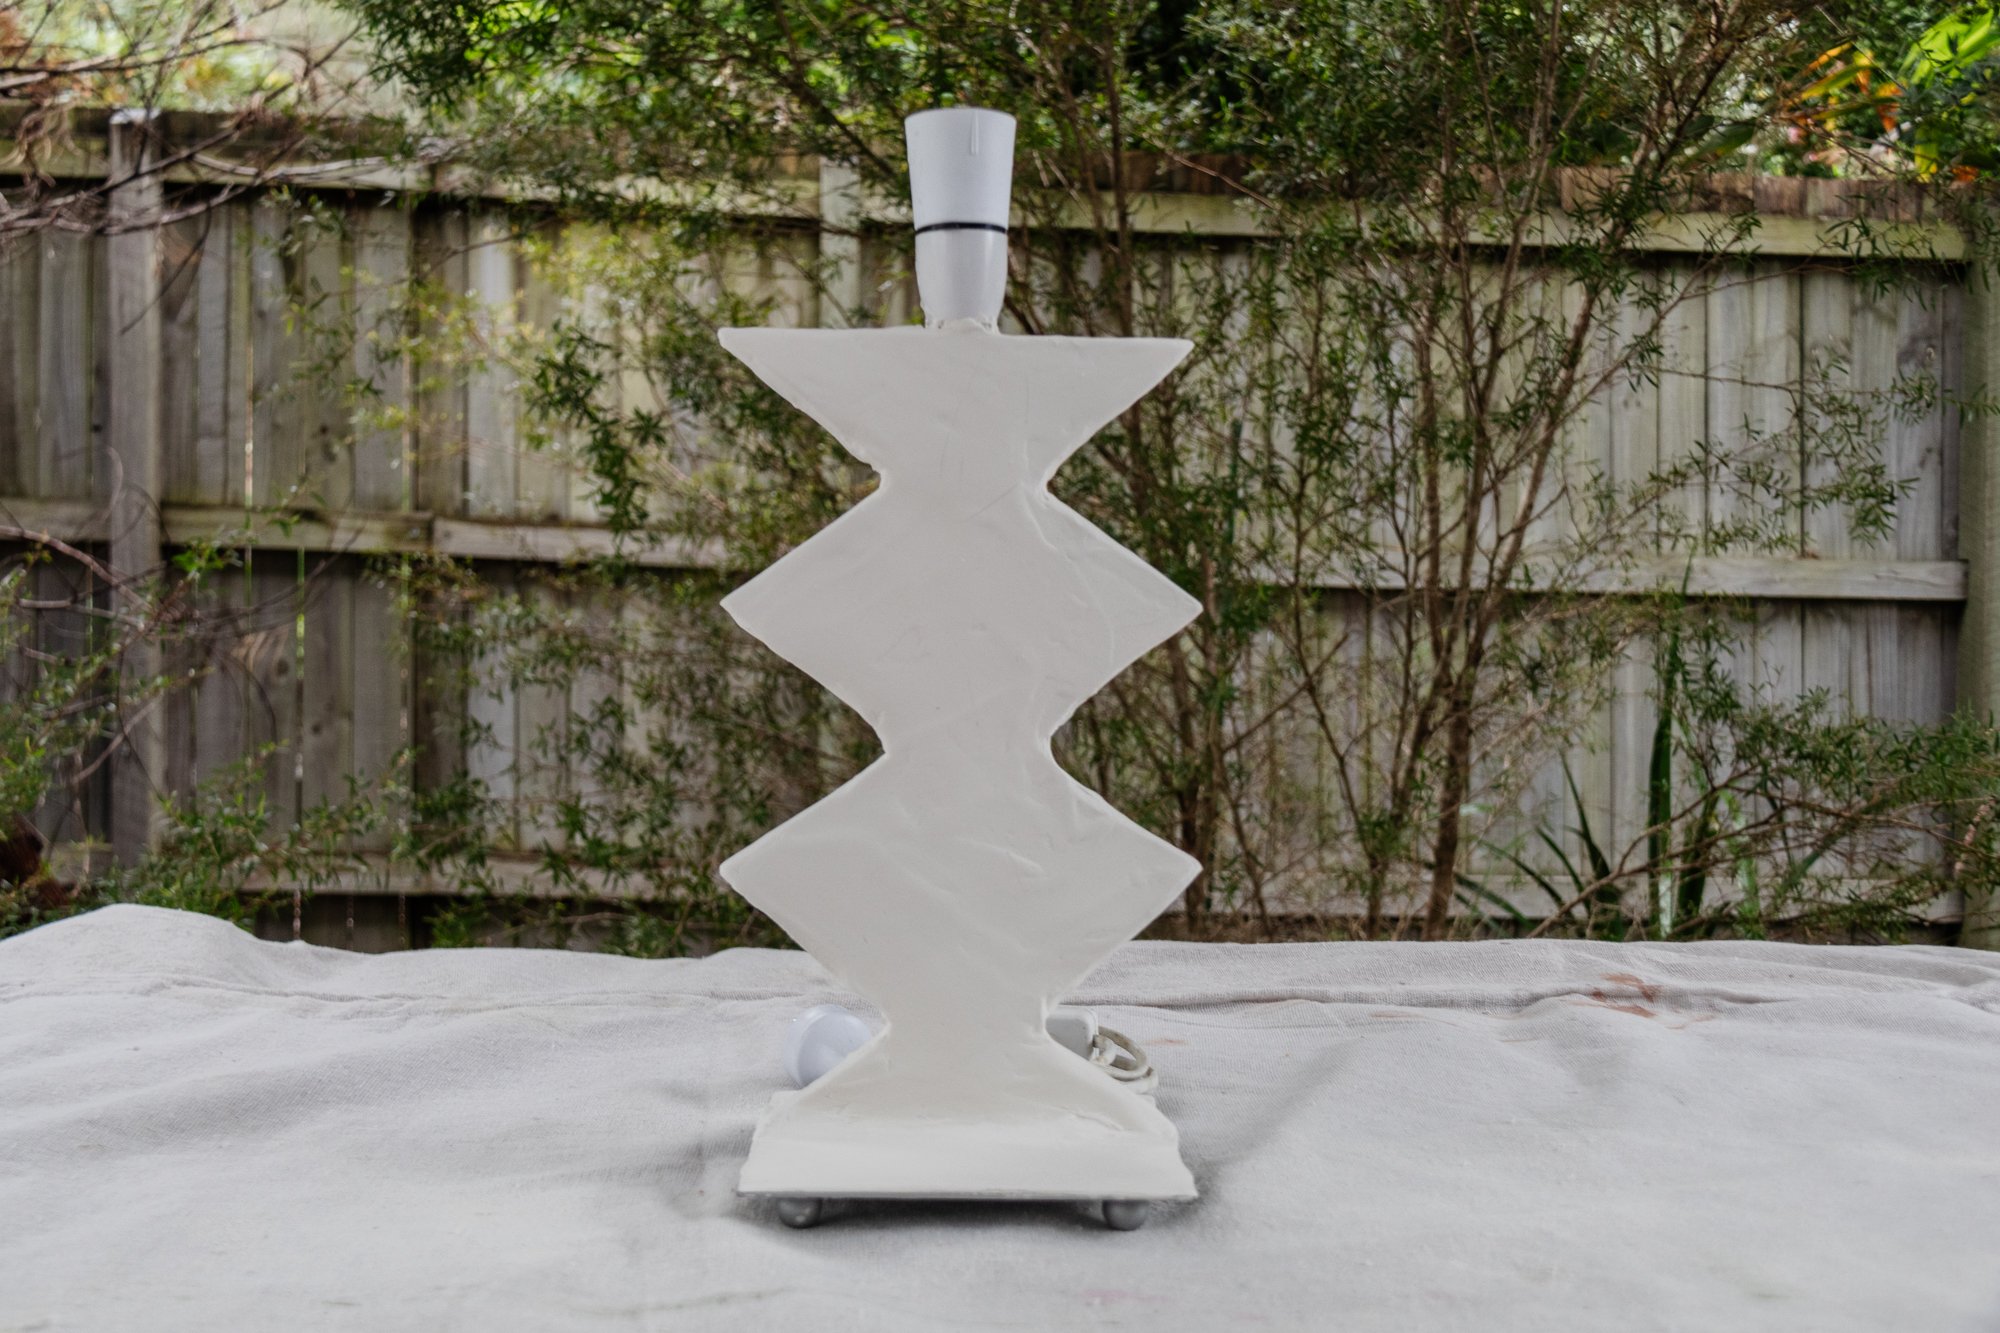

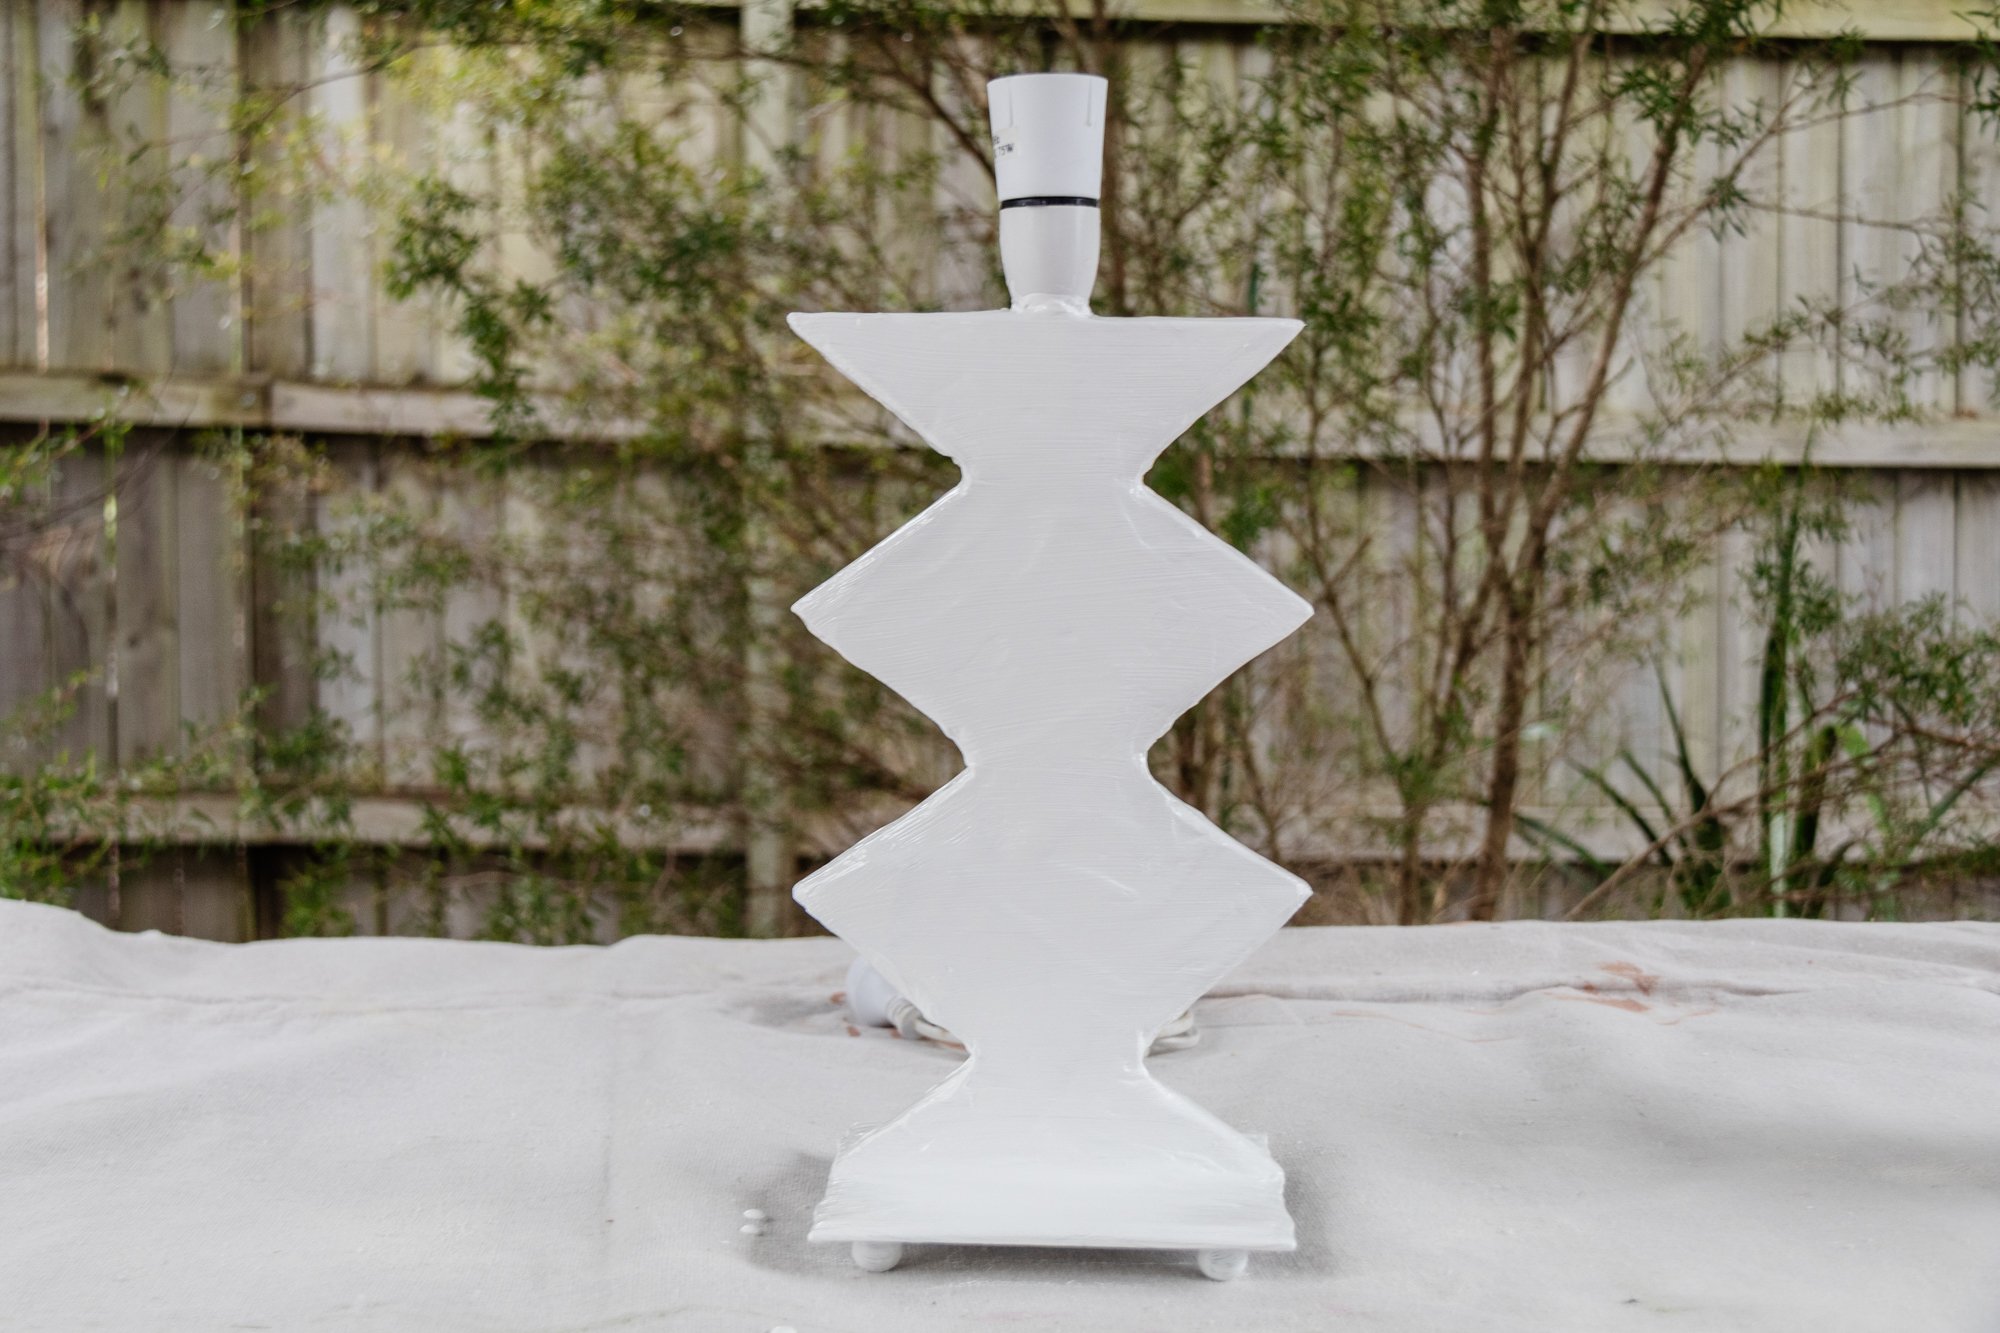
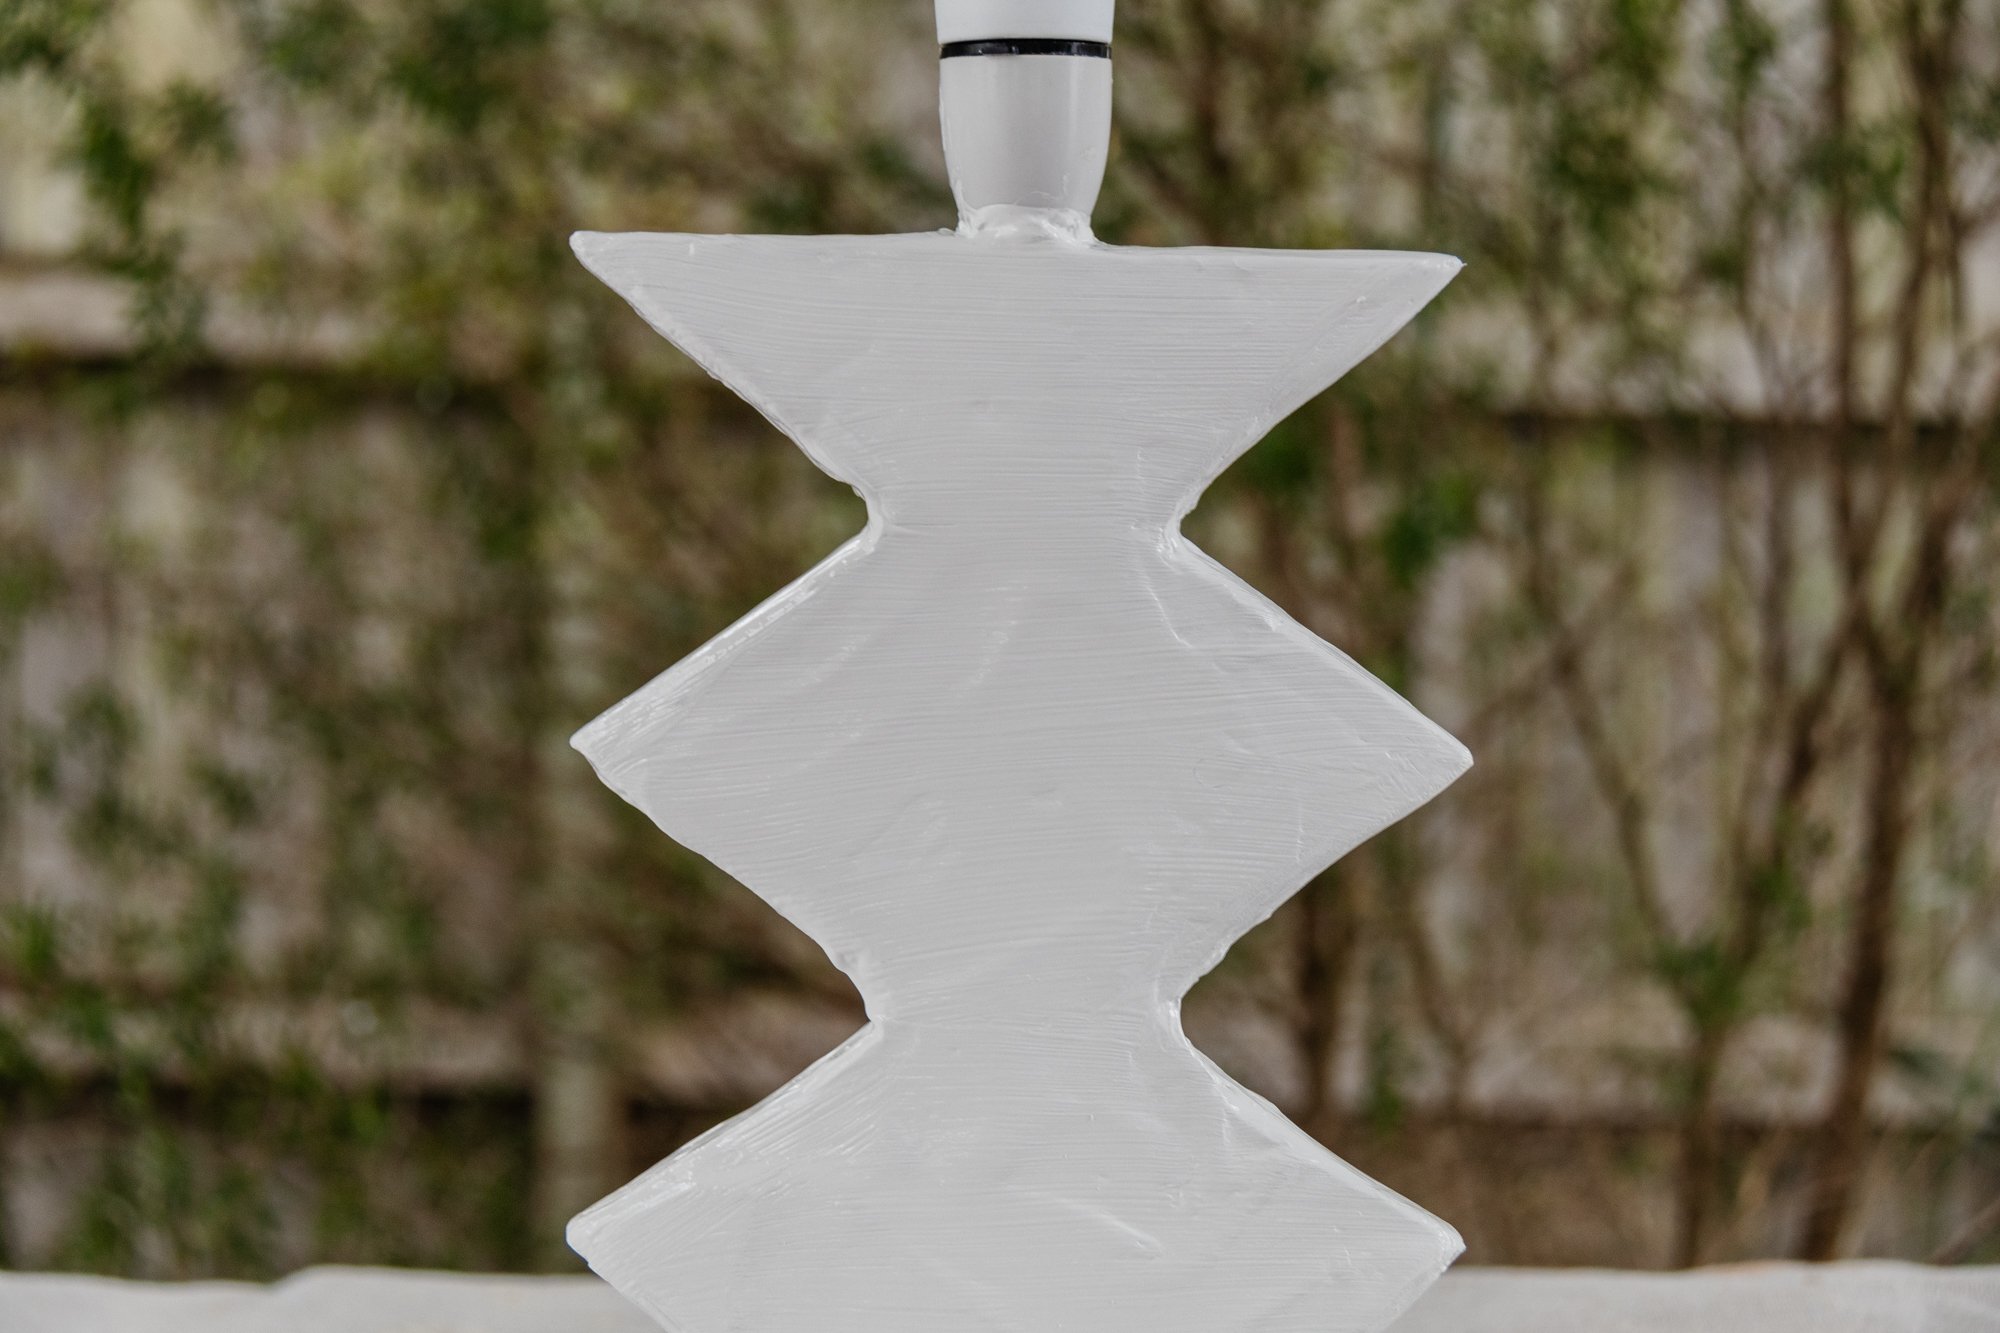
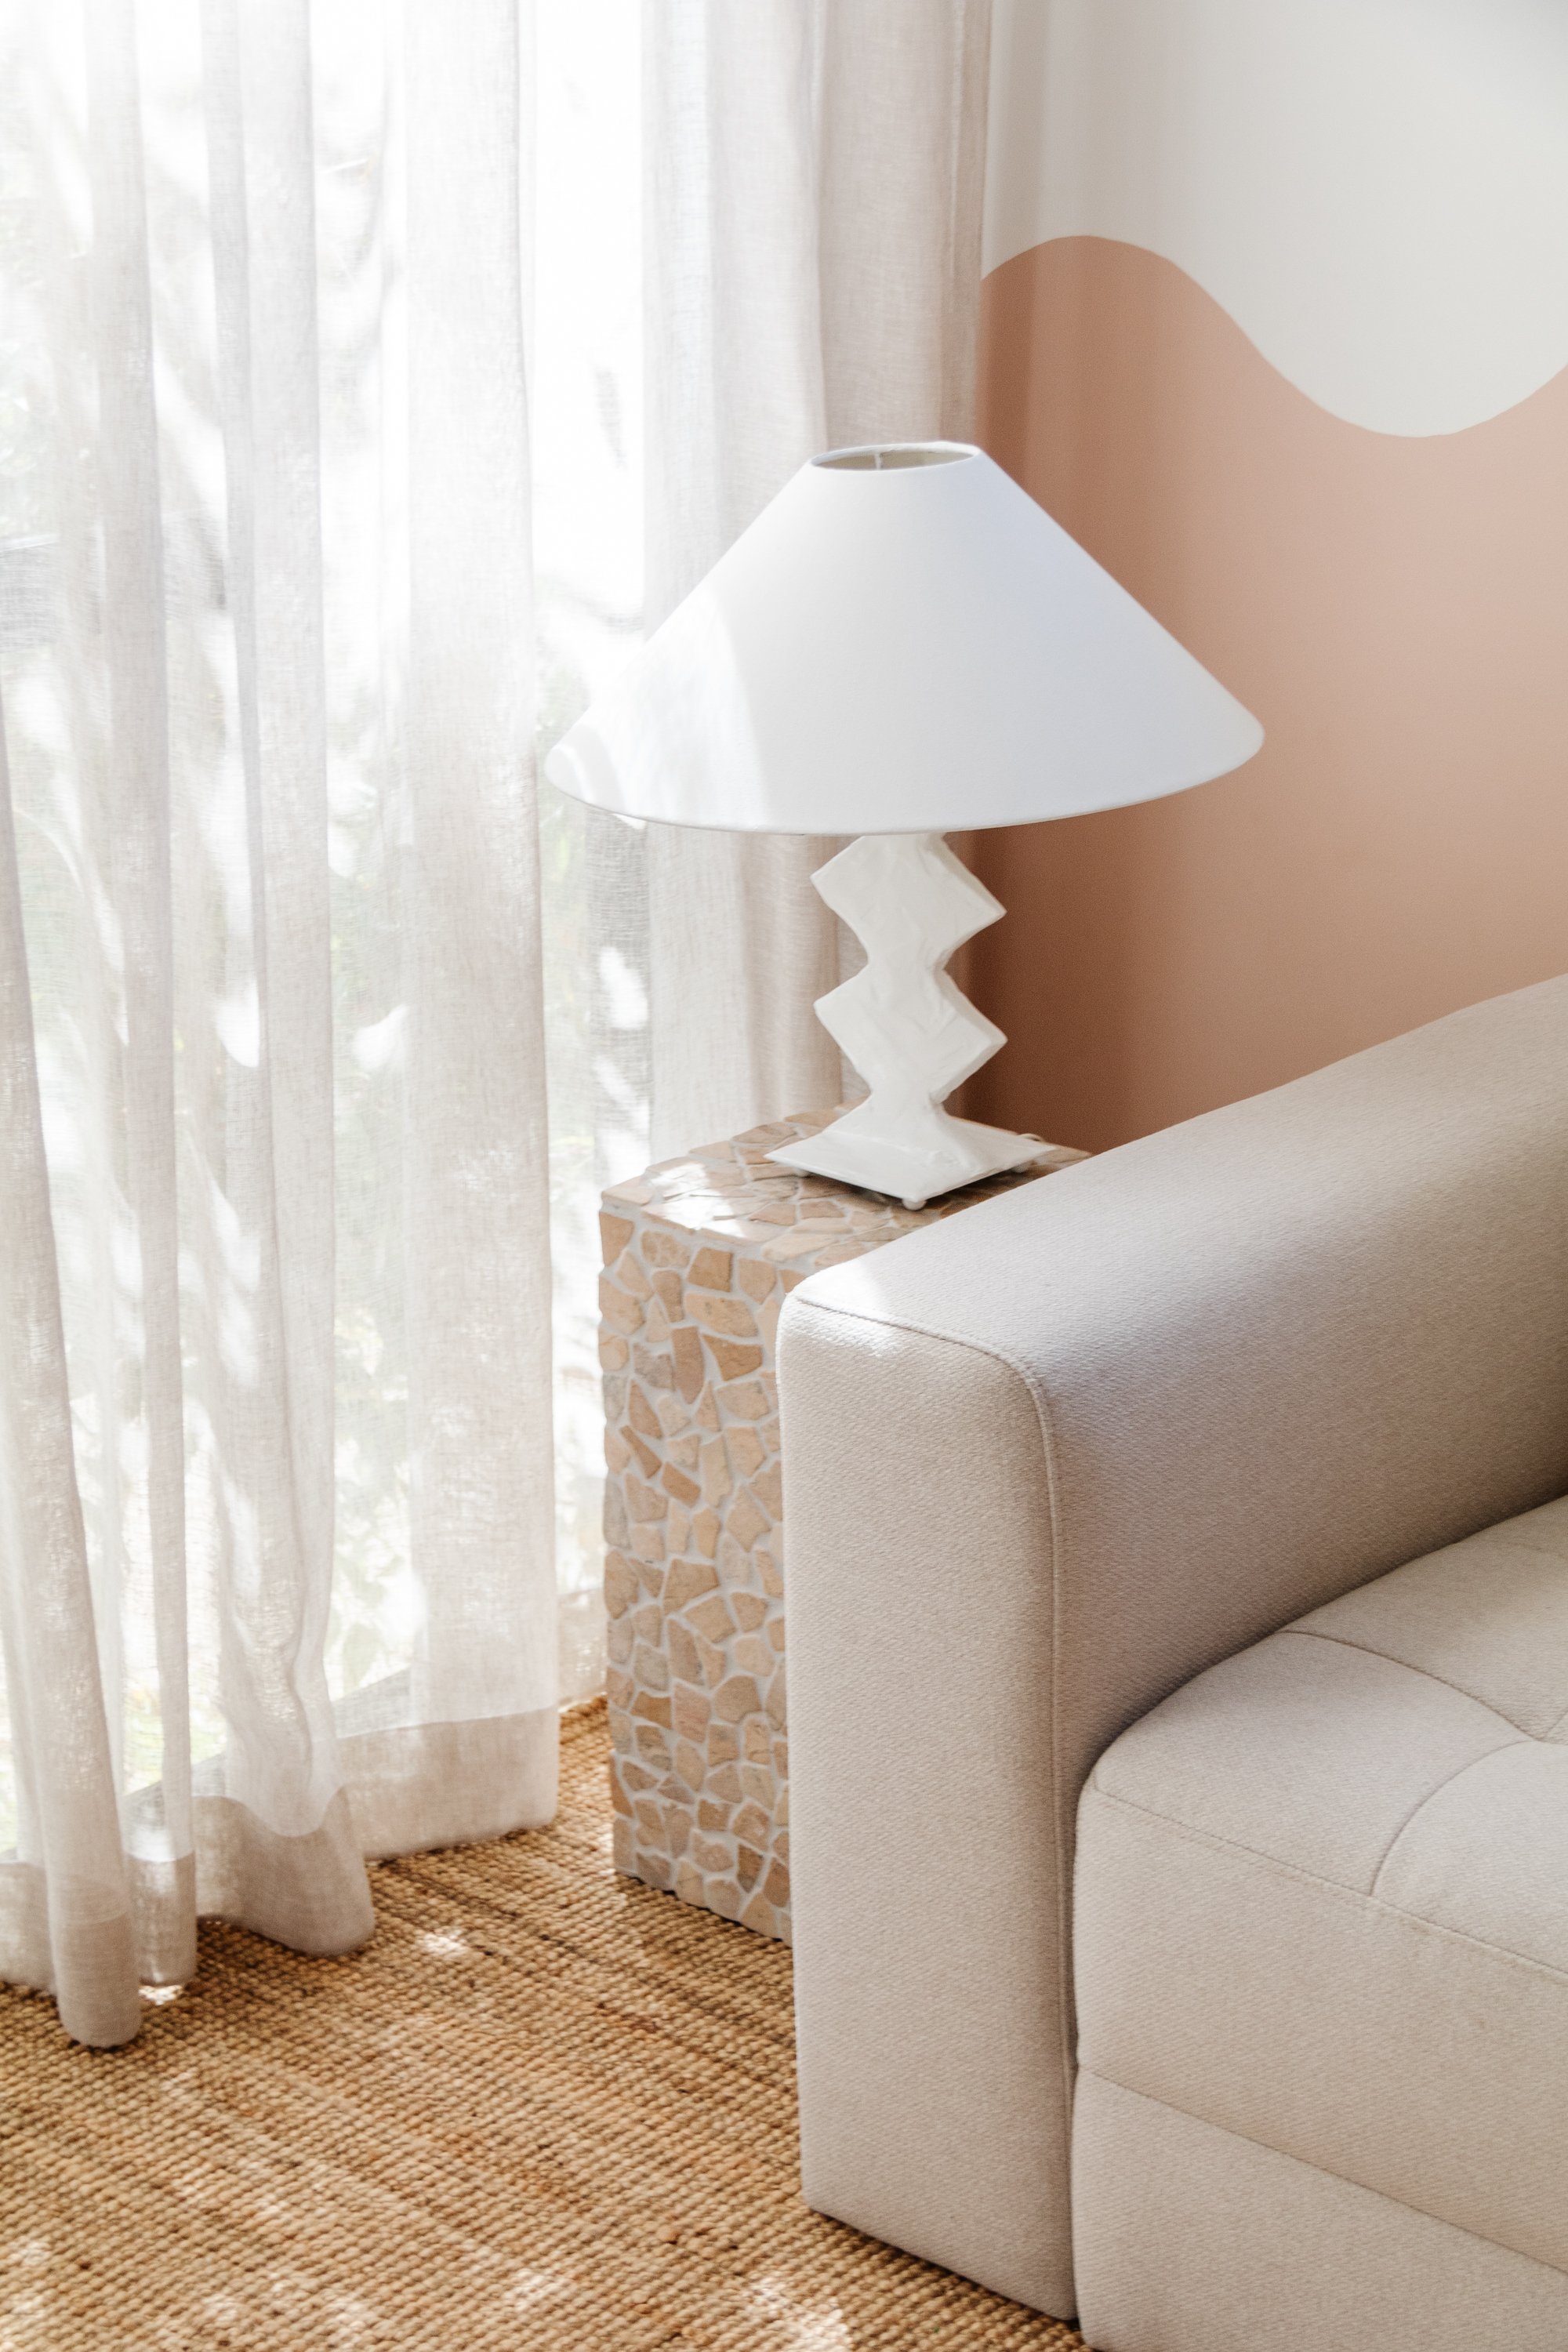
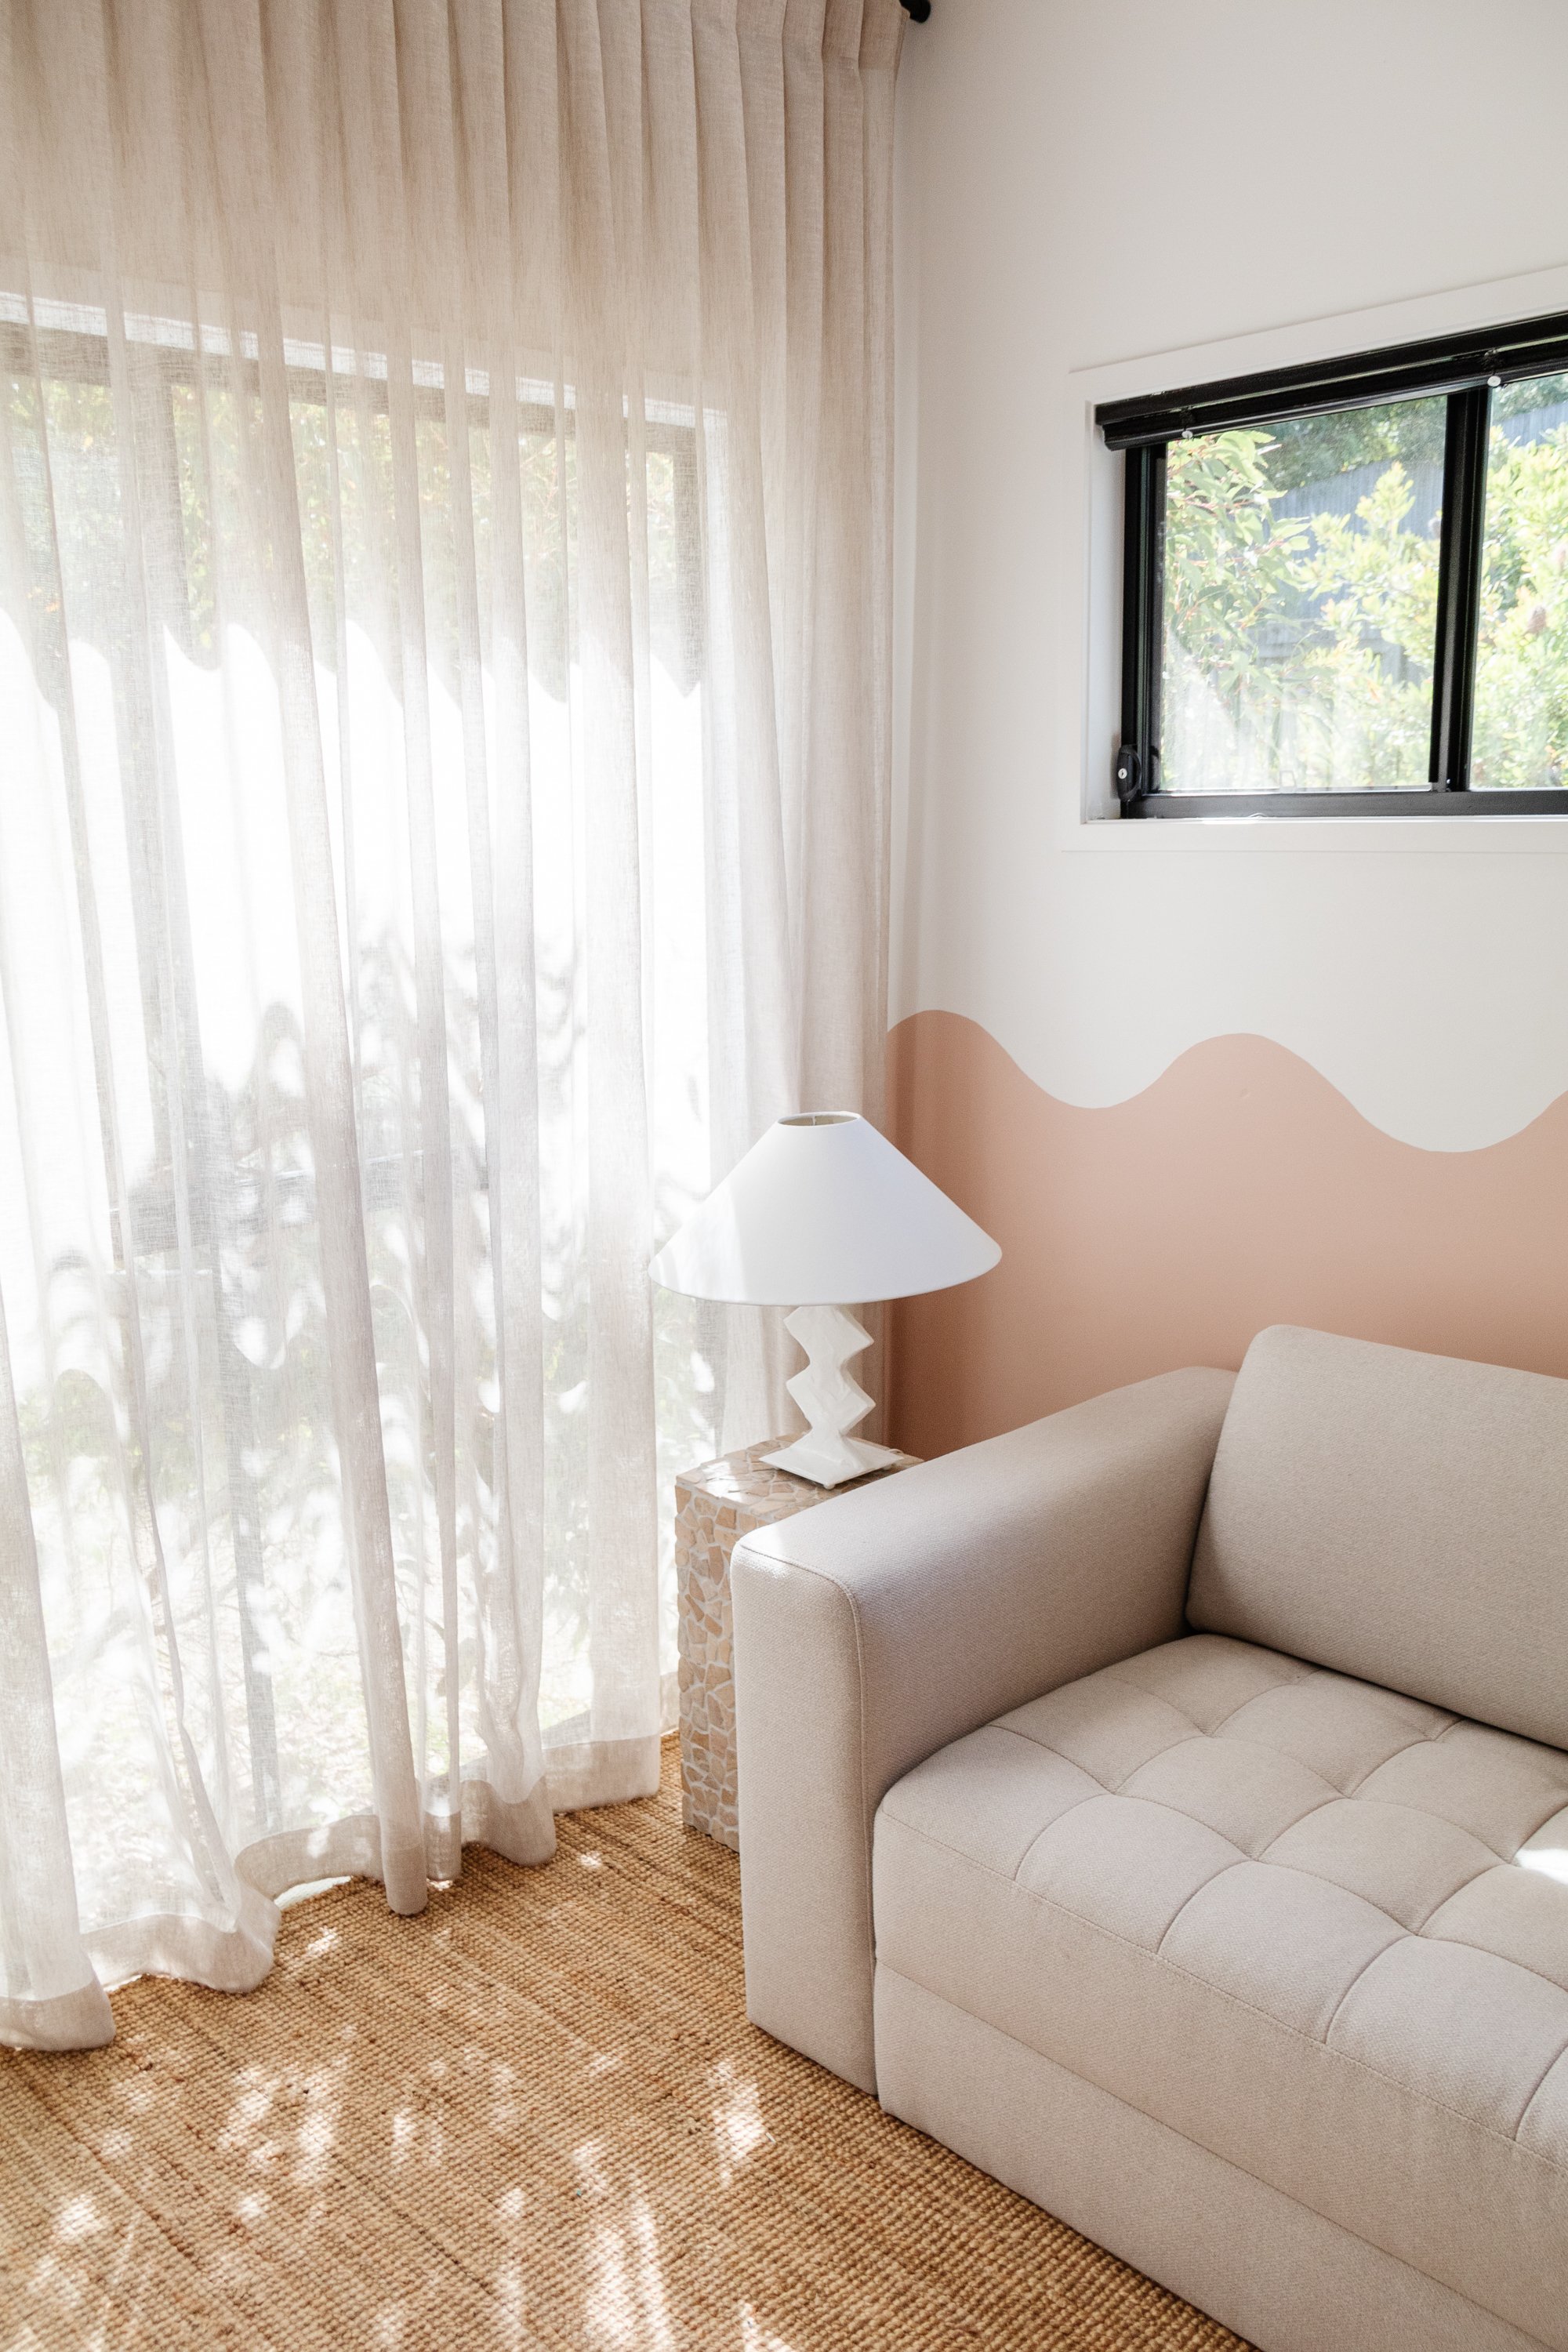
Ta daaaa! A beautiful upcycled Sculptural Lamp that you made yourself.
Is there a better feeling than knowing you made something yourself? I think not. Honestly, I am SO happy with how this sculptural lamp turned out. Designing and making the sculptural detail was so much fun, and breathing new life into the lampshade using a little bit of paint totally transformed this lamp. And I freaking love that it cost less than $50 to make! I am also loving that I am learning to embrace what I had to work with rather than waiting to find the “perfect” lamp base.
I hope I have inspired you to make your own sculptural lamp. Whether you use a lamp you already have at home or find a lamp base and shade when you go thrifting, I guarantee it’ll bring you so much joy and satisfaction. Promise!