How To: DIY Wavy Painted Wall
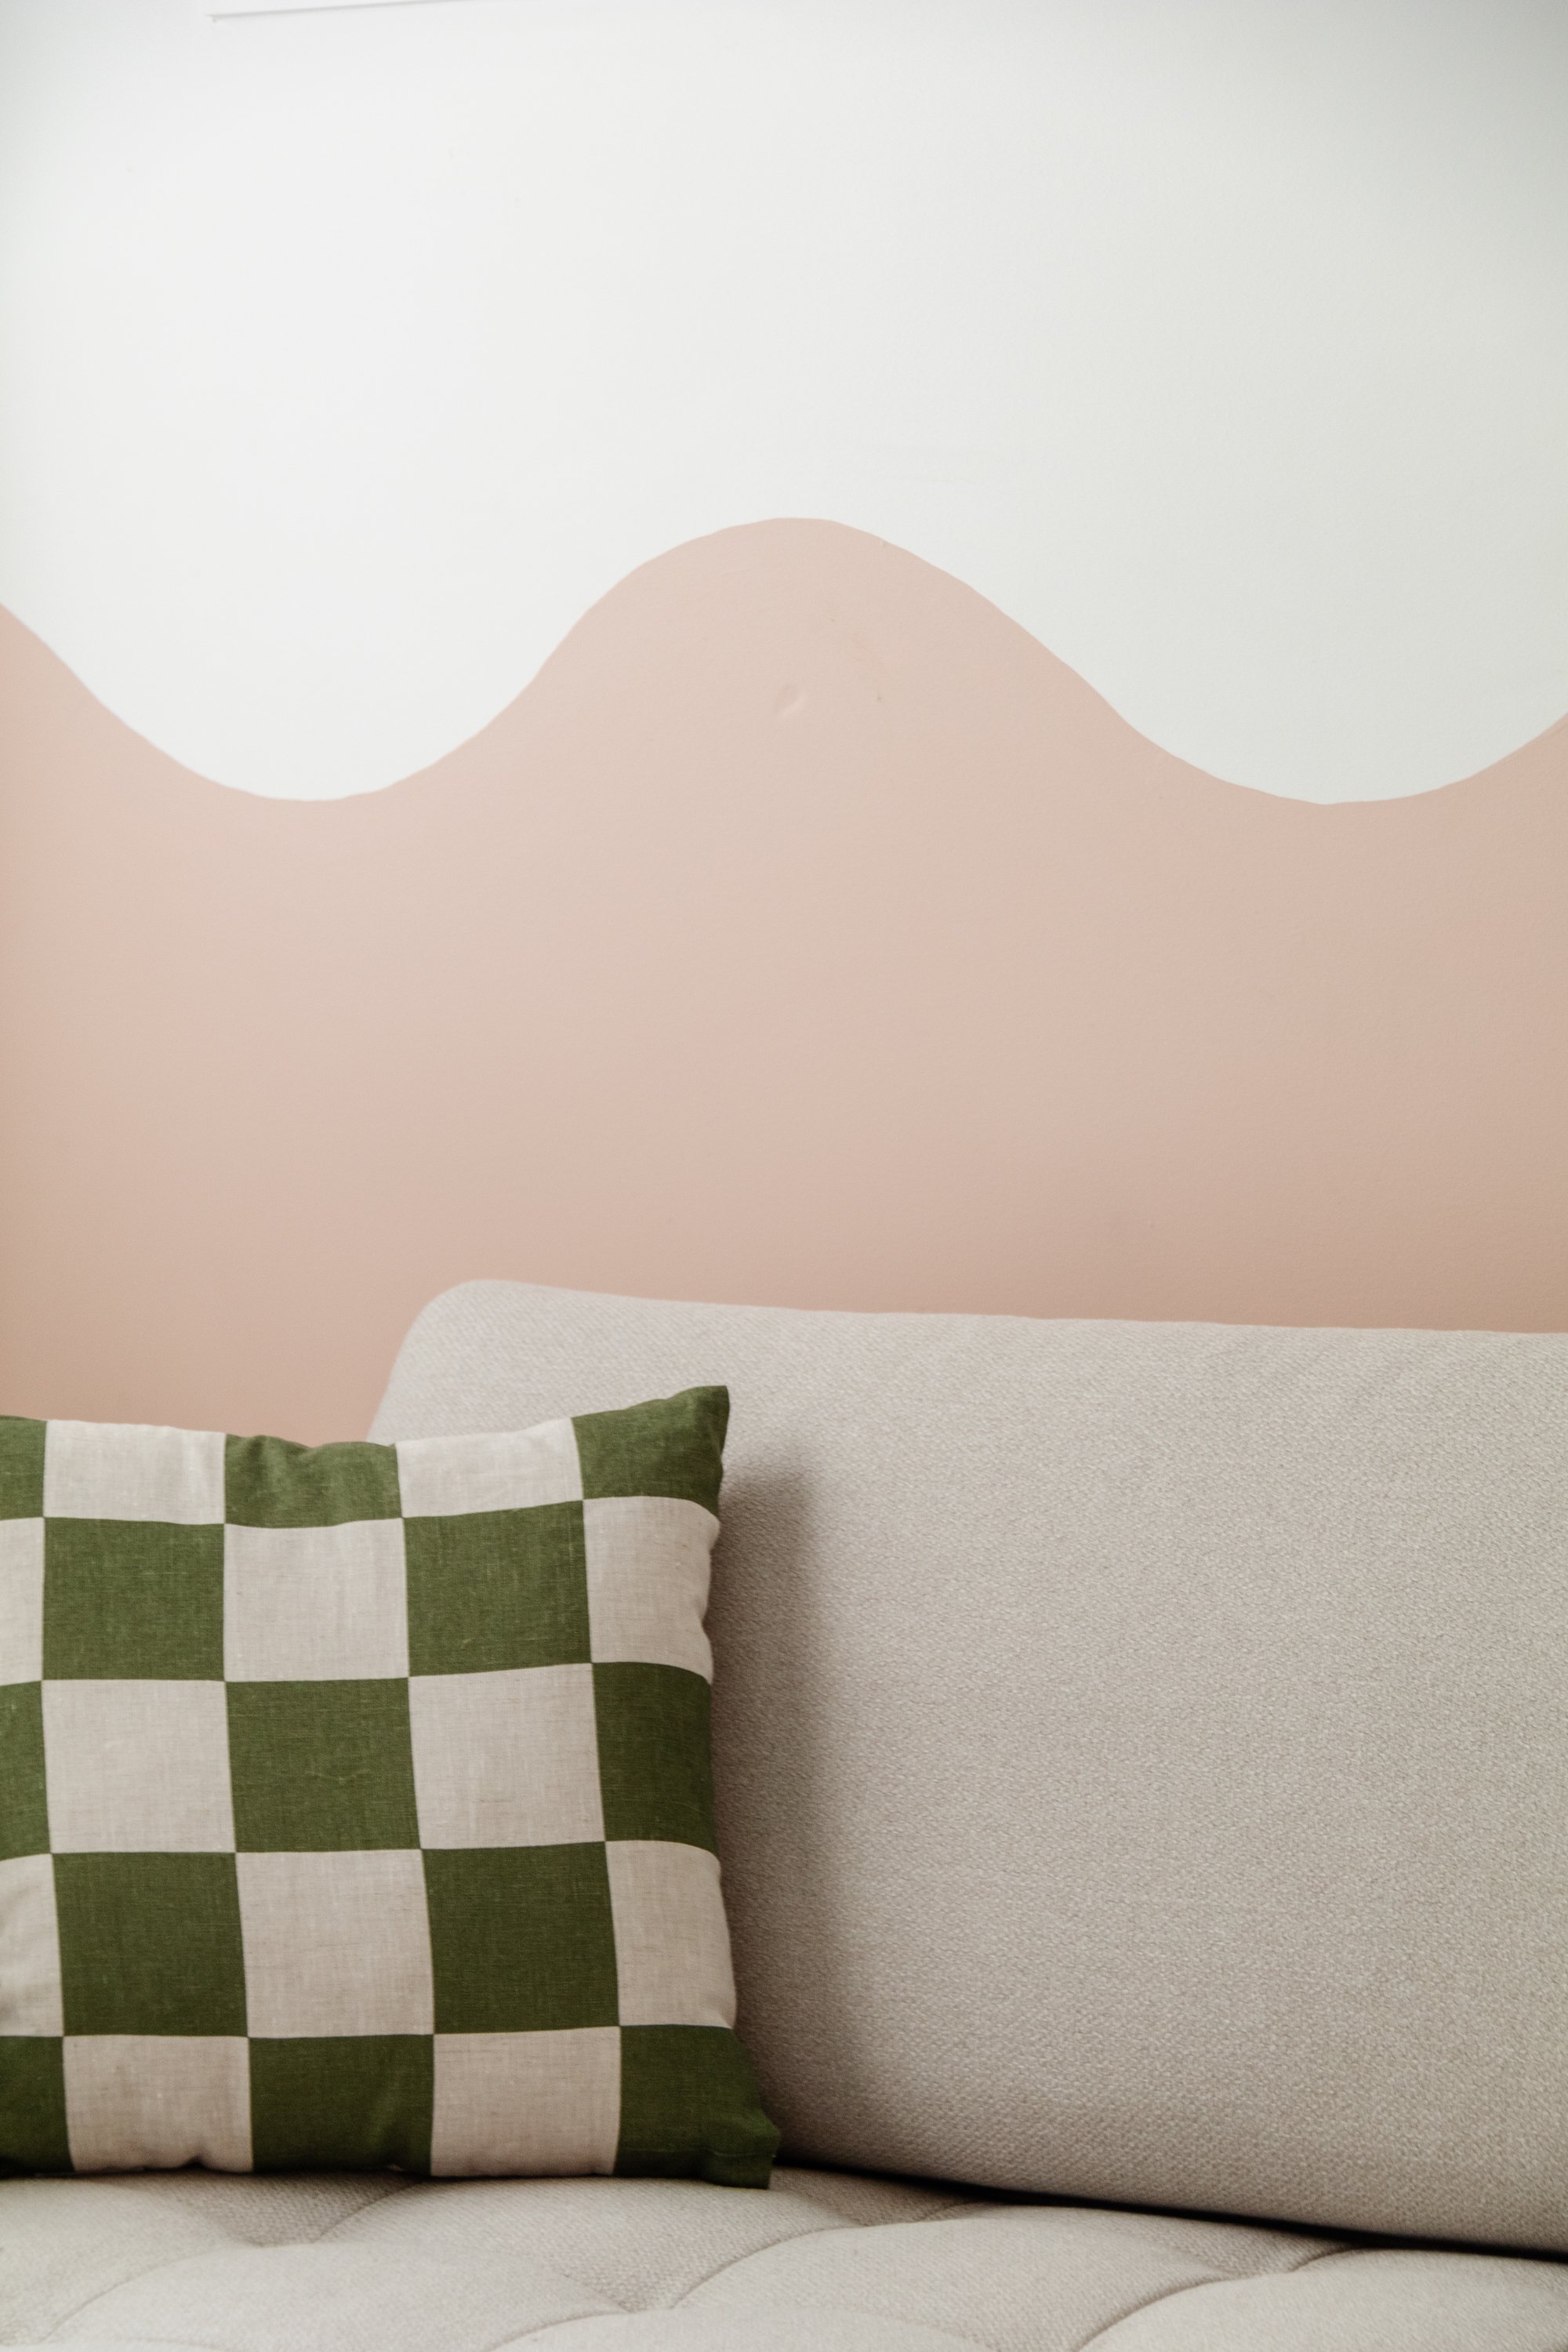
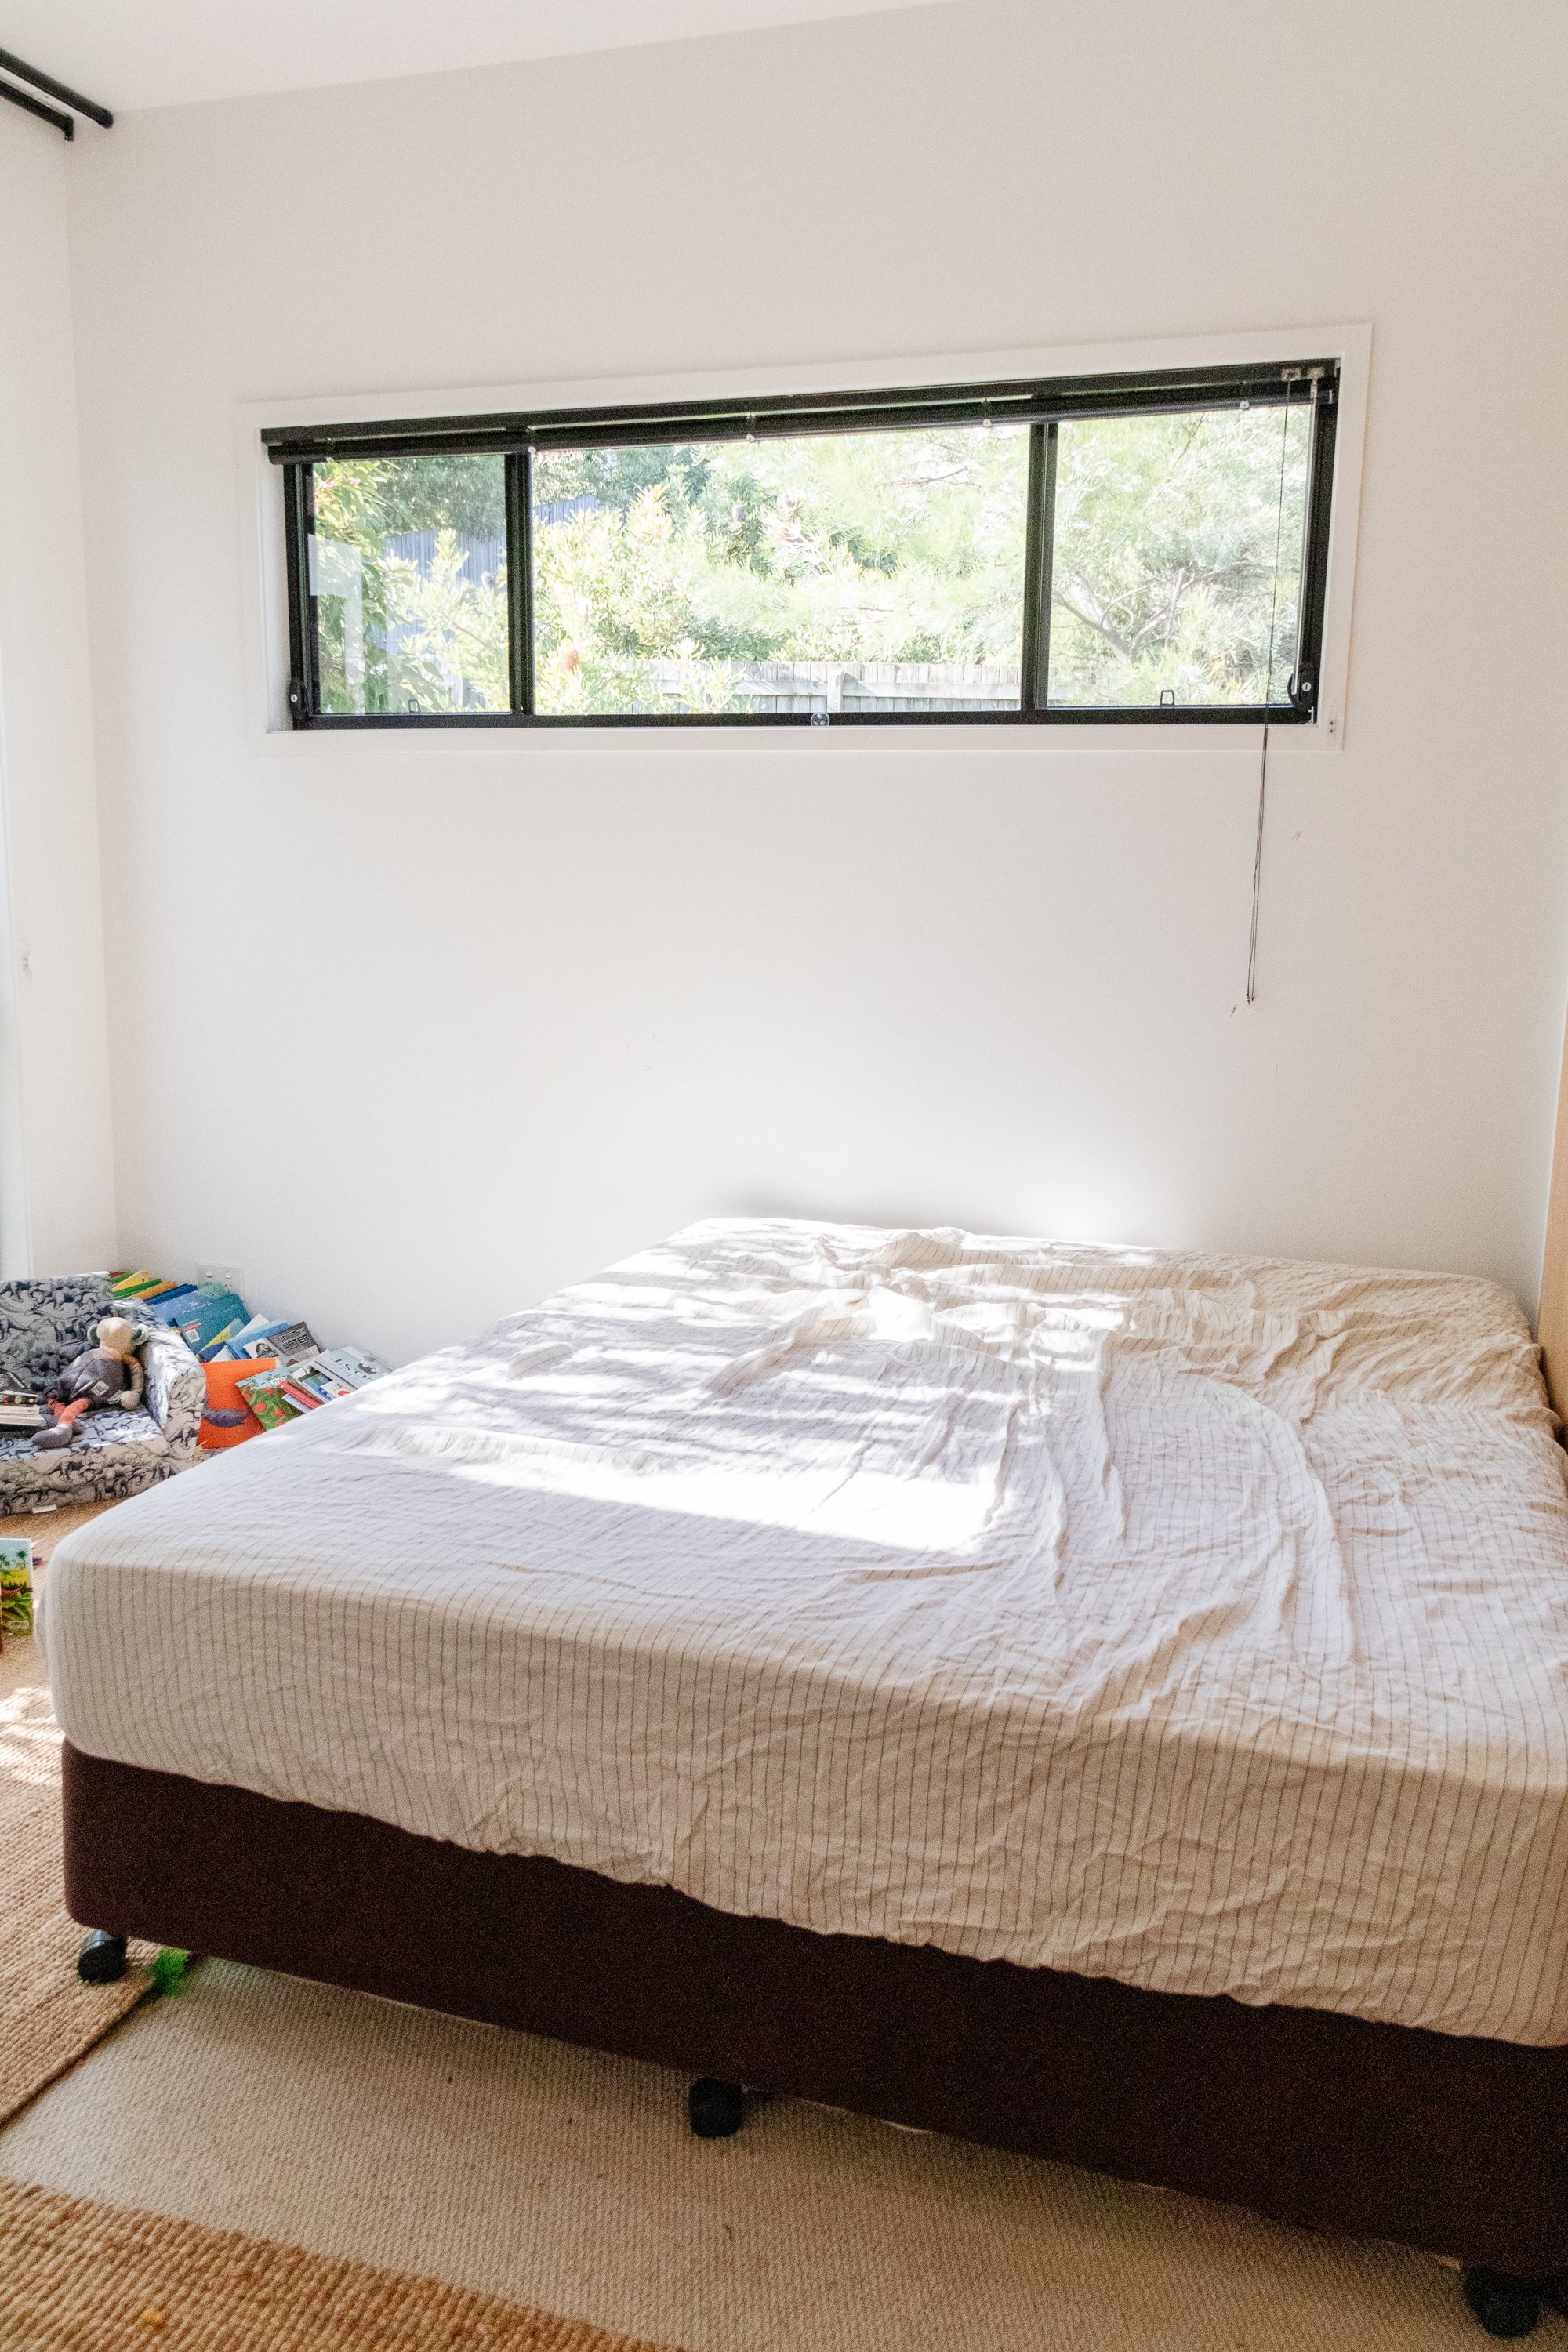
If you’ve been following along over on Instagram, you’ll know I am currently giving our guest room a total makeover. It’s that room in our home that we have neglected for the last few years and instead, regarded it as a messy refuge for the kids to play and a space for guests to stay (that we hurriedly clean whenever we have people stay). The space has not been working at all for us, so a couple of months ago we decided to start making plans to give it a makeover. The first thing I wanted to, other than clean the room out of toys and a bed, was to paint the hero wall in the space. My plan was to paint a wavy checker half painted wall, but after putting it out to vote over on Instagram not once but twice, my lovely community decided it was best I leave the wavy wall painted without the checker pattern. I had my heart set on the checker pattern but I knew I had to listen to my community (they always know what’s best) and I am so happy I did! It’s one of those rare occasions I have practised restraint and it’s certainly paid off.

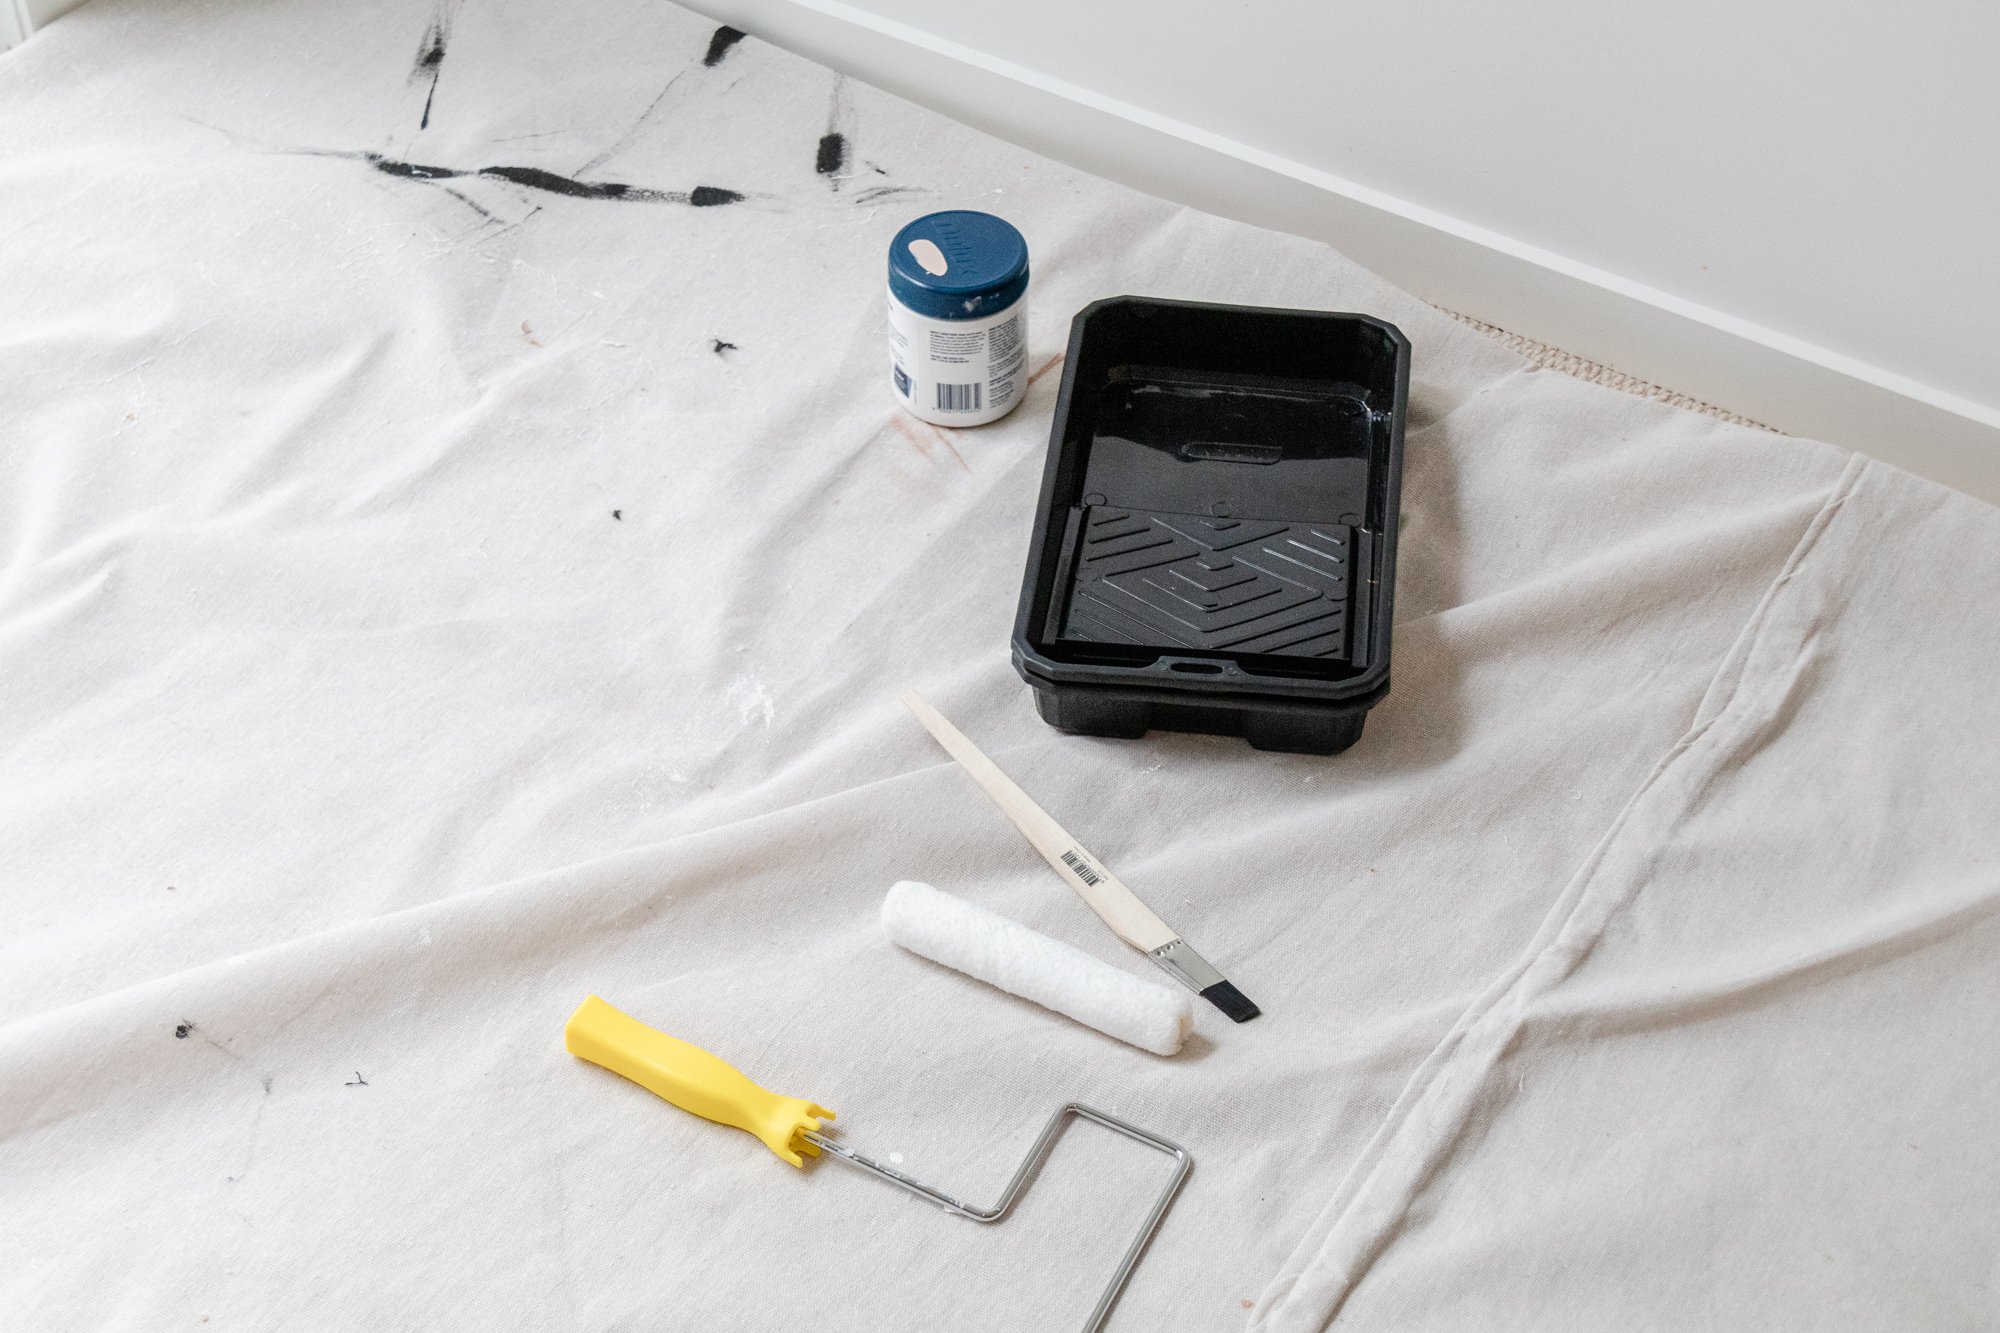
Materials
Sugar soap or baby wipes
Measuring tape
Cardboard
Scissors
Pencil
Paint - I used Dulux “Piglet”
Paint roller
Paint tray
Cutting in brush
Painters tape
How To
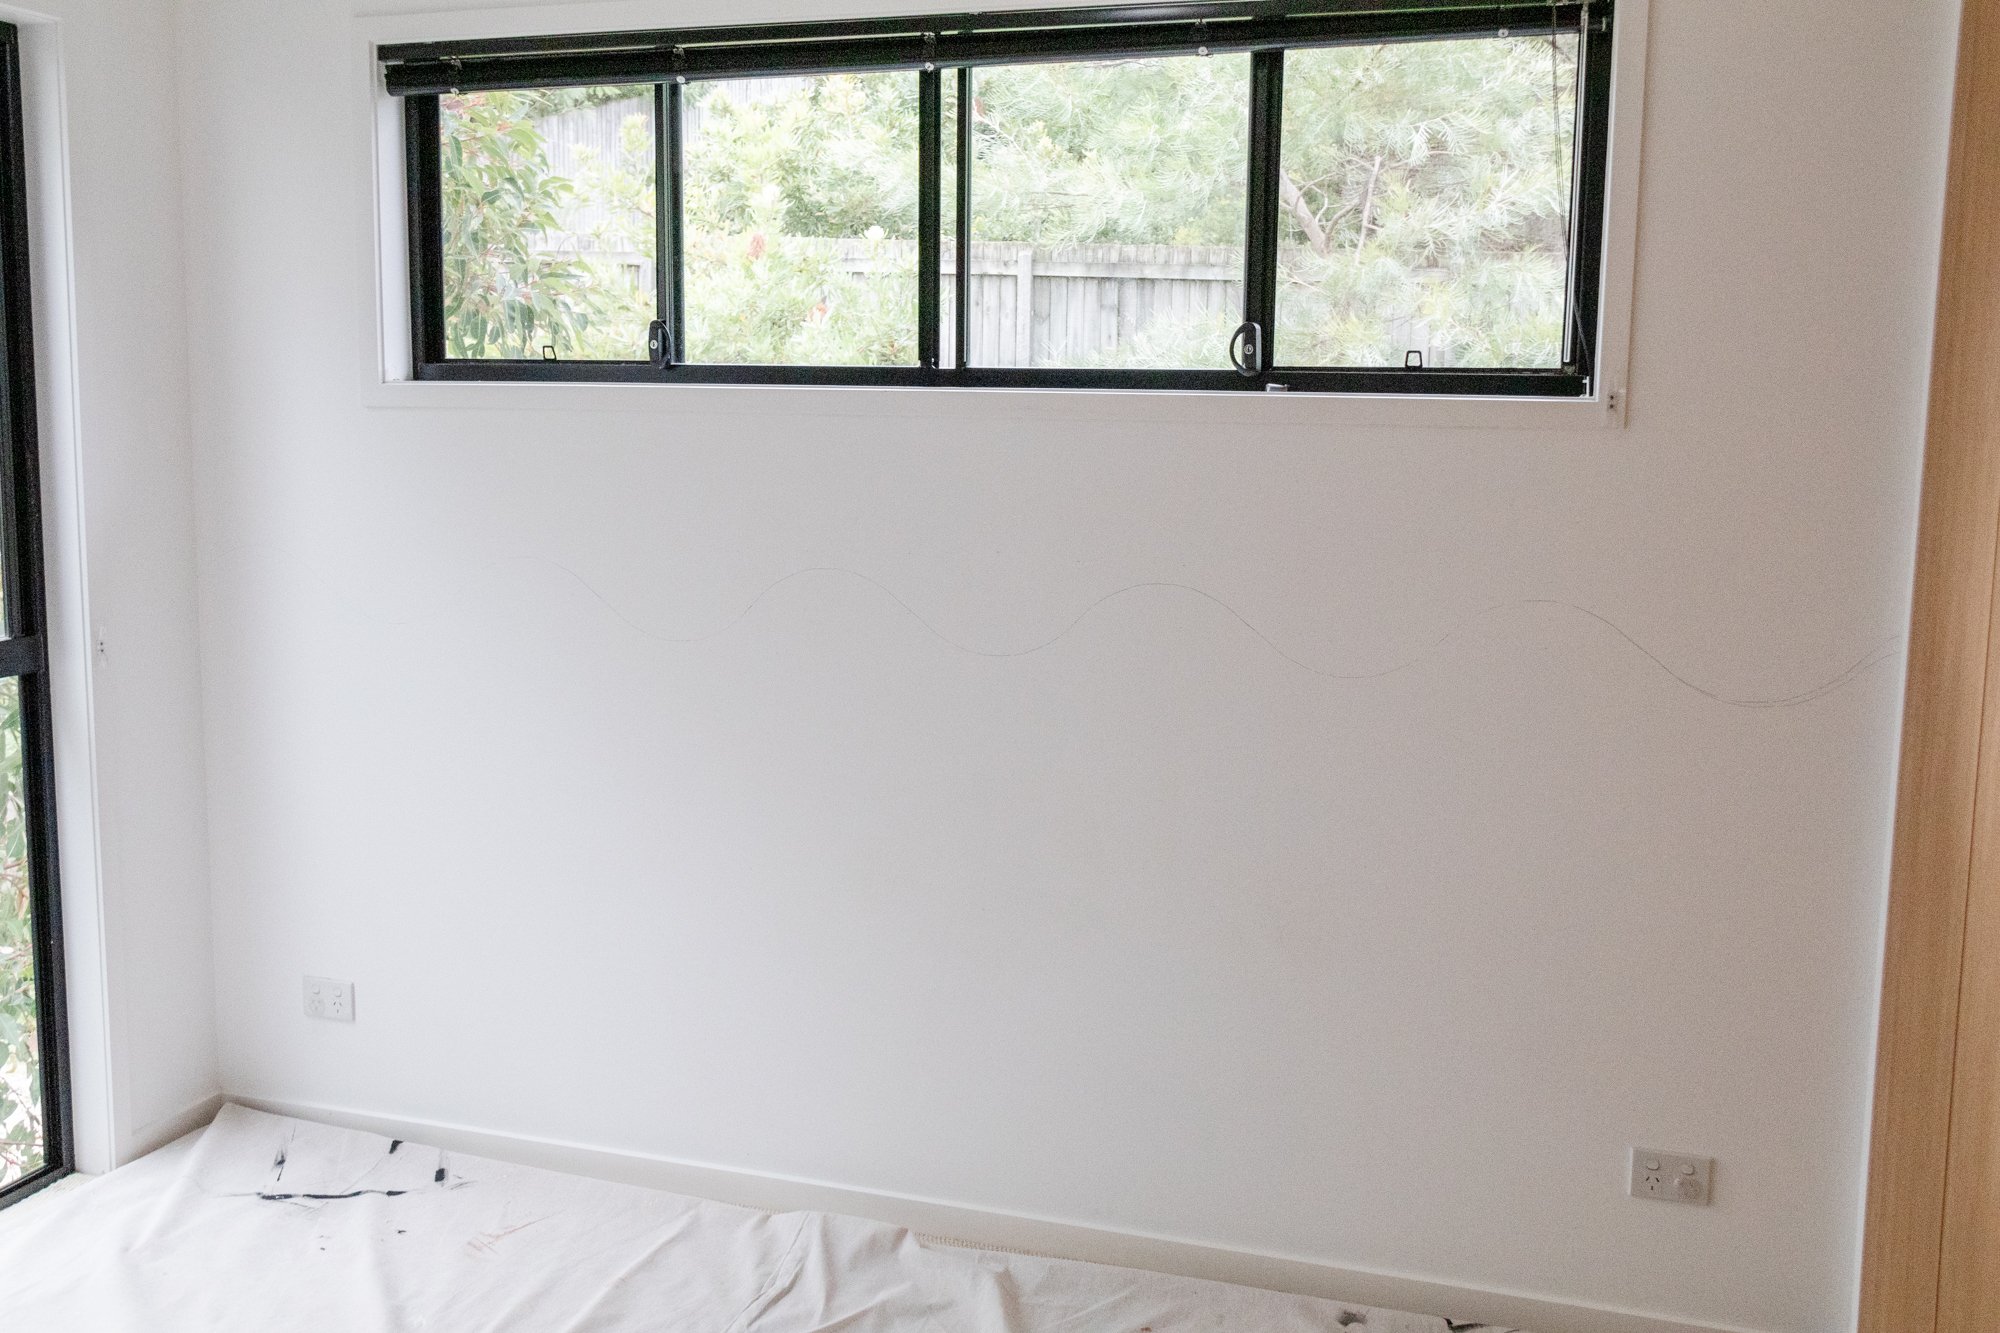
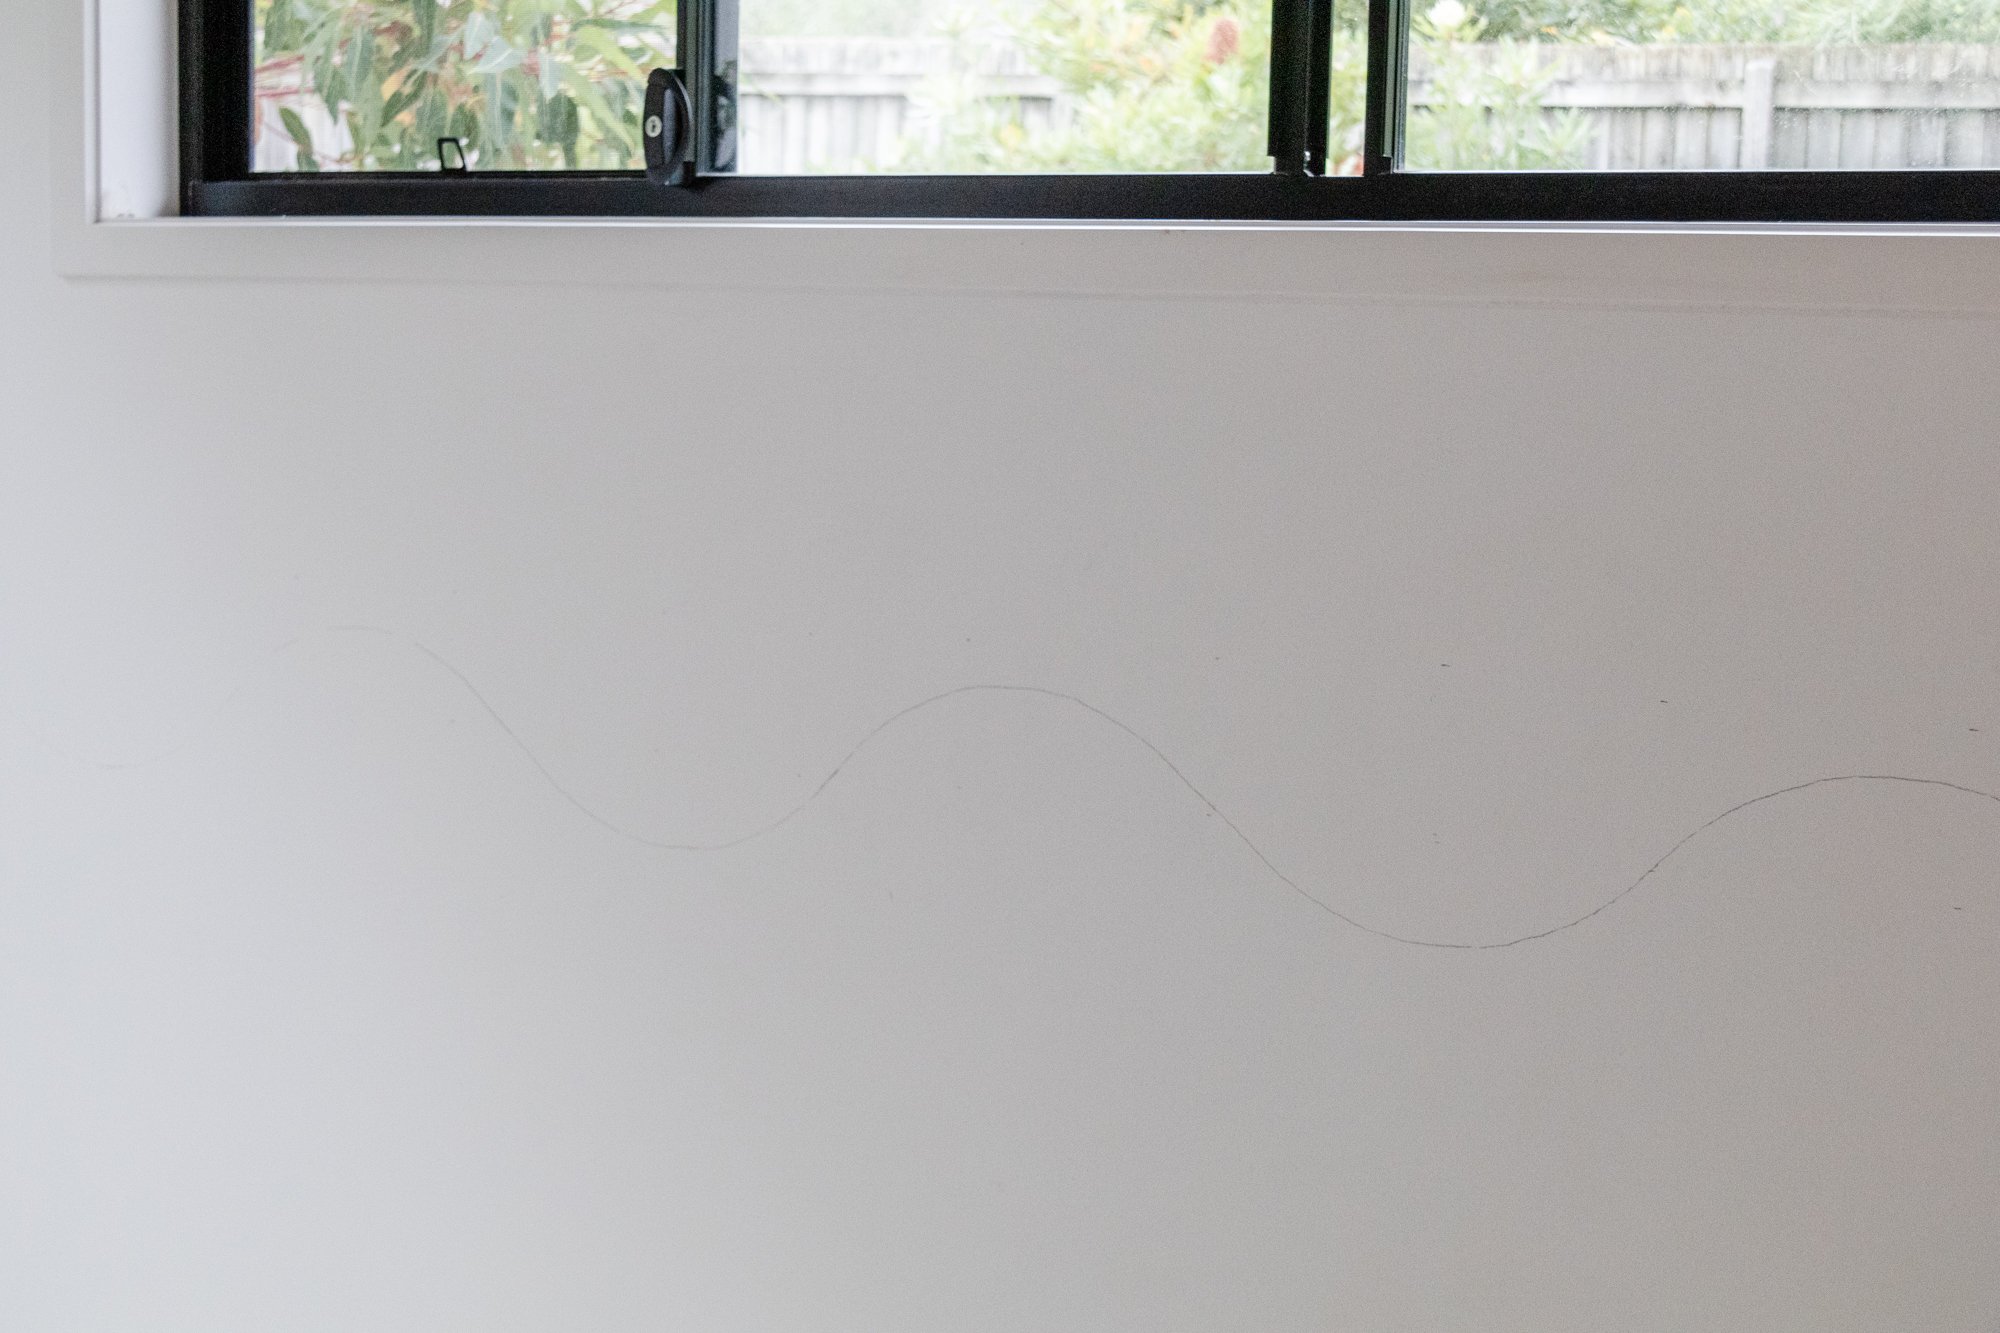
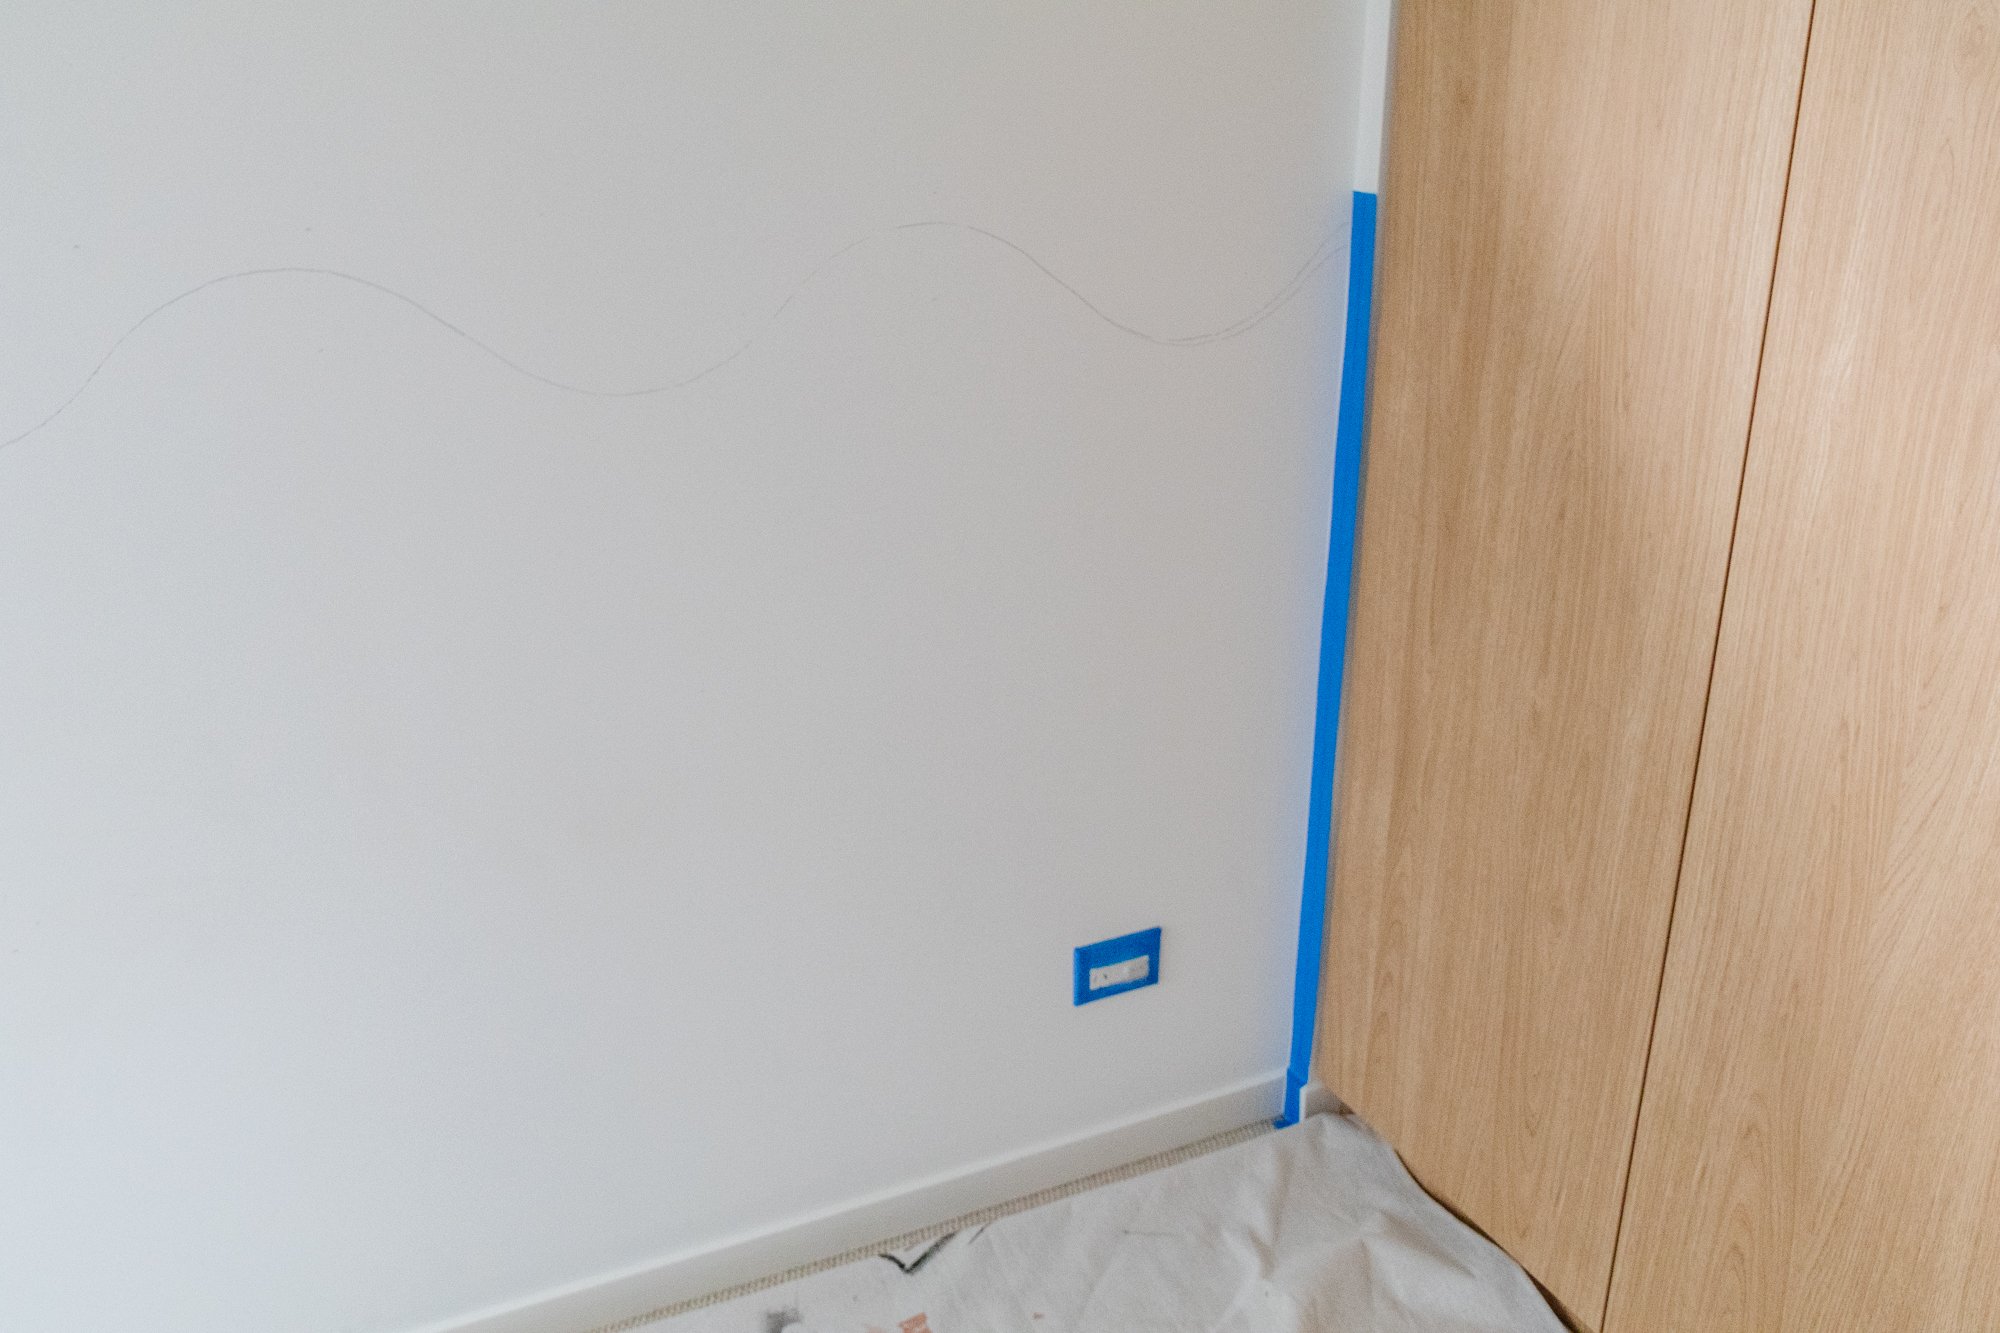
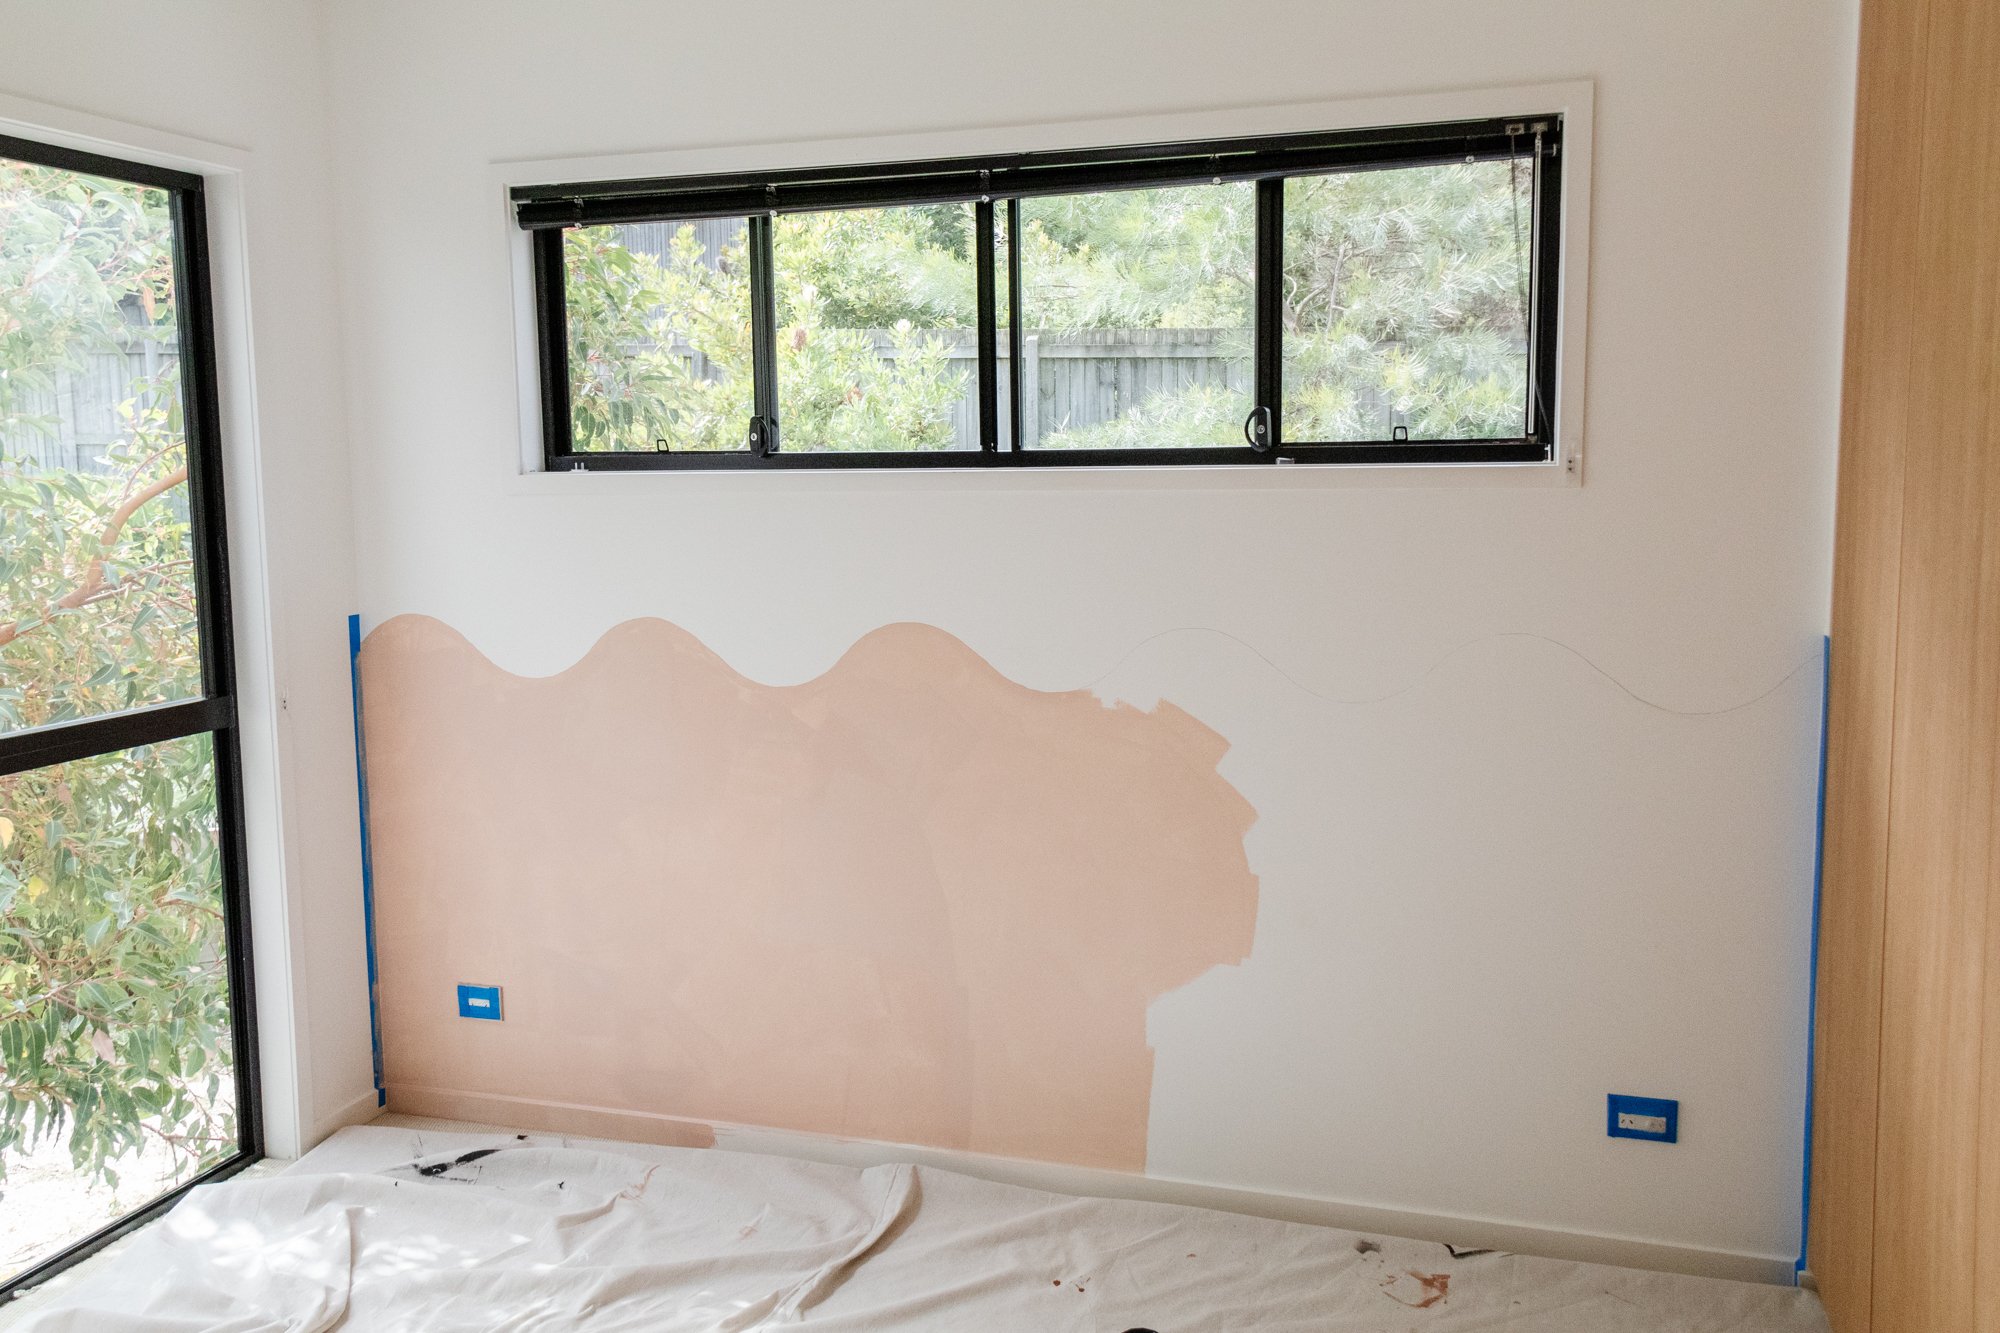
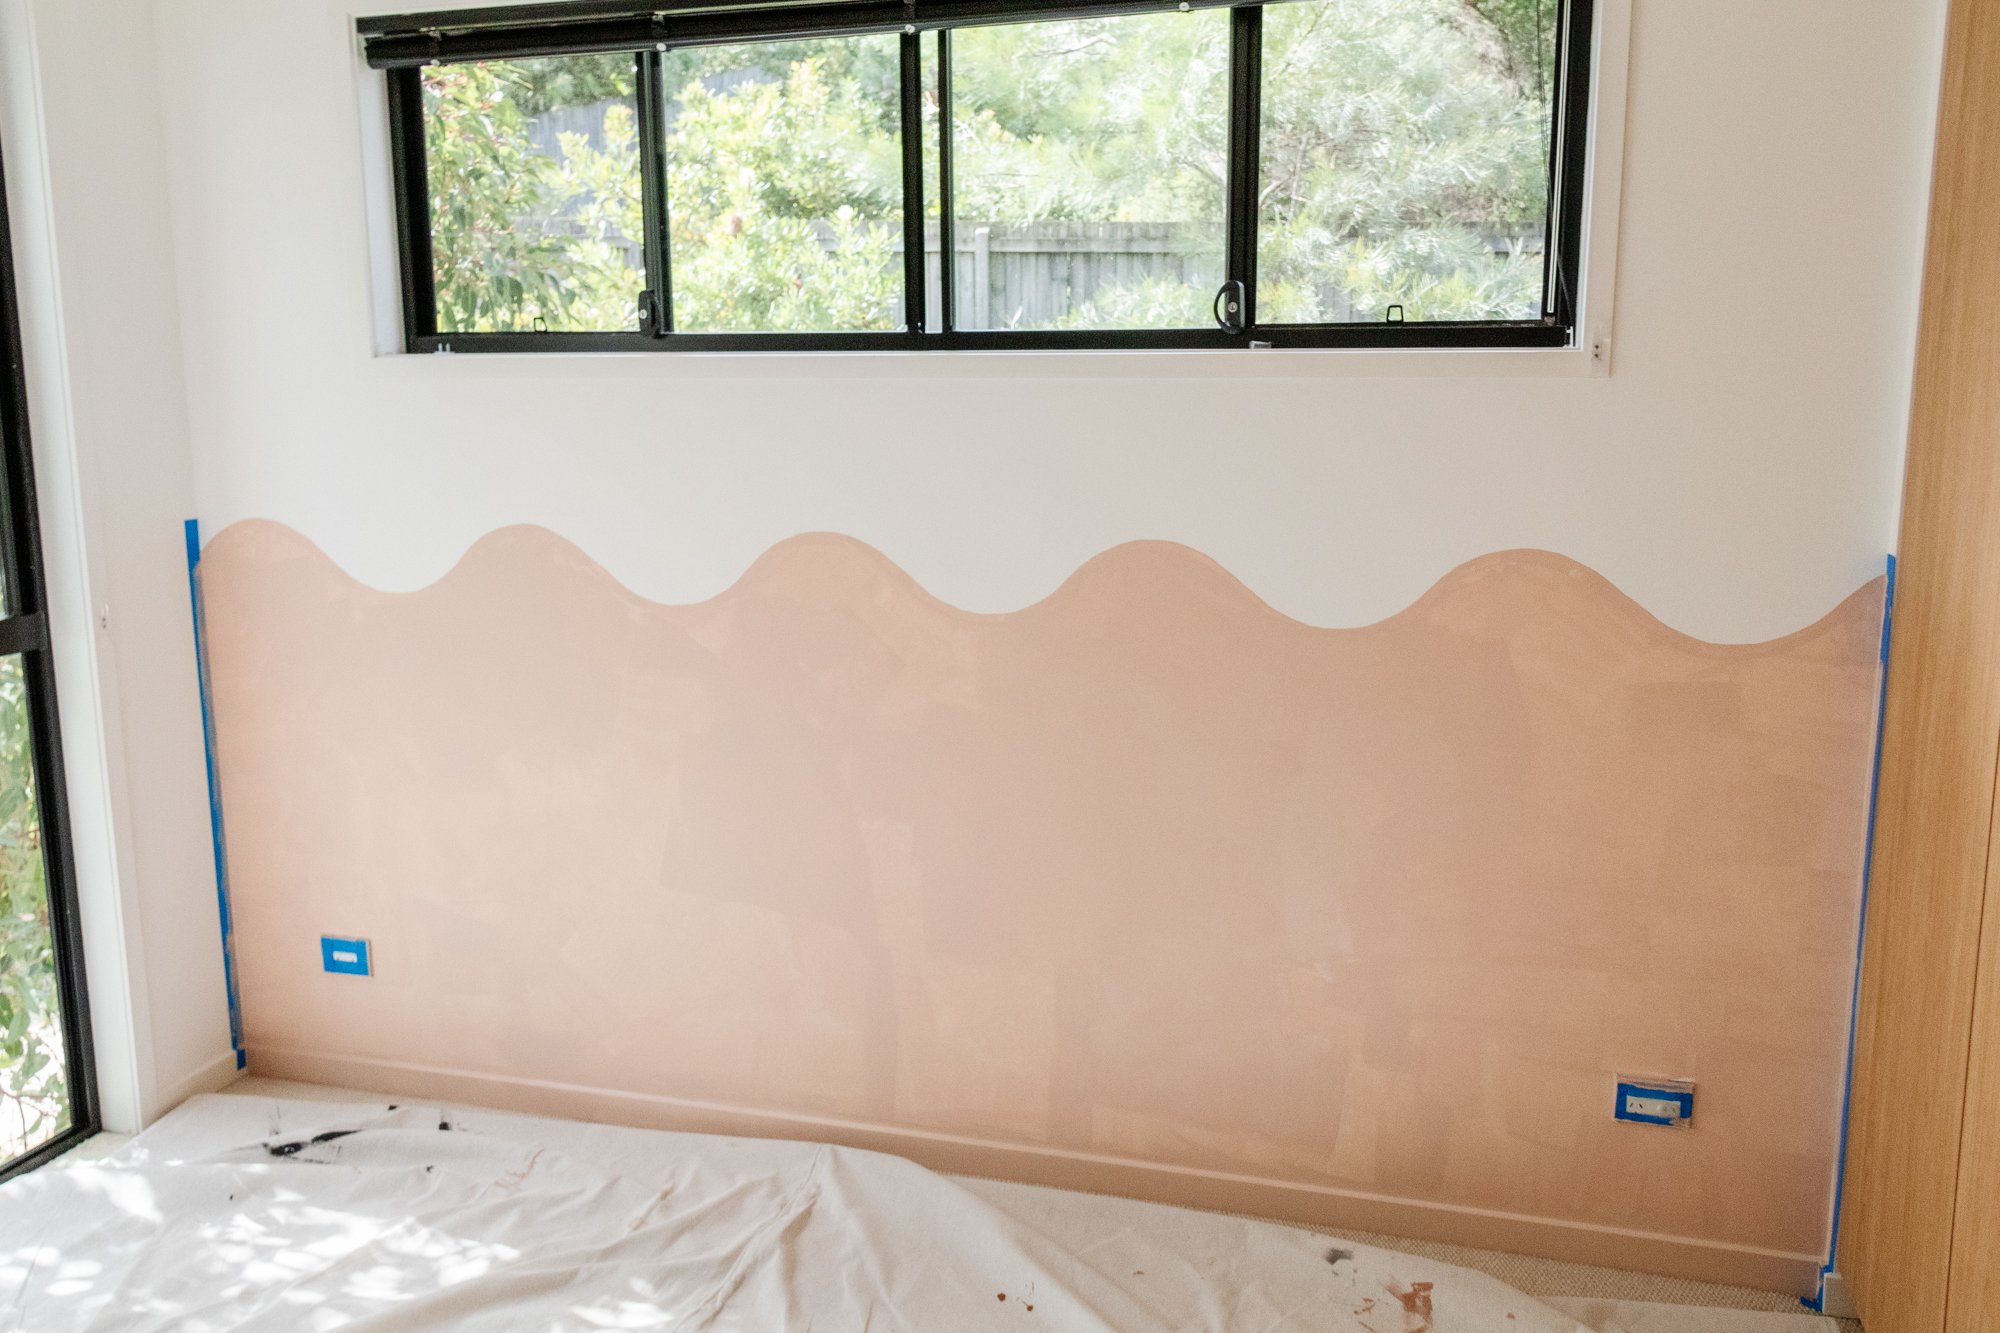
Start by cleaning the wall you wish to paint then measure how high you want the waves to be; remembering the peak of the wave is the highest point. Create a semi-circle stencil using cardboard and scissors - make sure it’s the correct width so the wavy detail starts and finishes the same at each end. Draw the wavy detail onto the wall using a pencil - refer to my Instagram Stories to see this step. Prep the wall with painter’s tape where required (around switches and corners).
Switch between painting the wall with the roller and cutting in the edges. After the first coat is done (it’ll look a little rough), you should be able to start on the second and final coat an hour or so later. And that’s it!
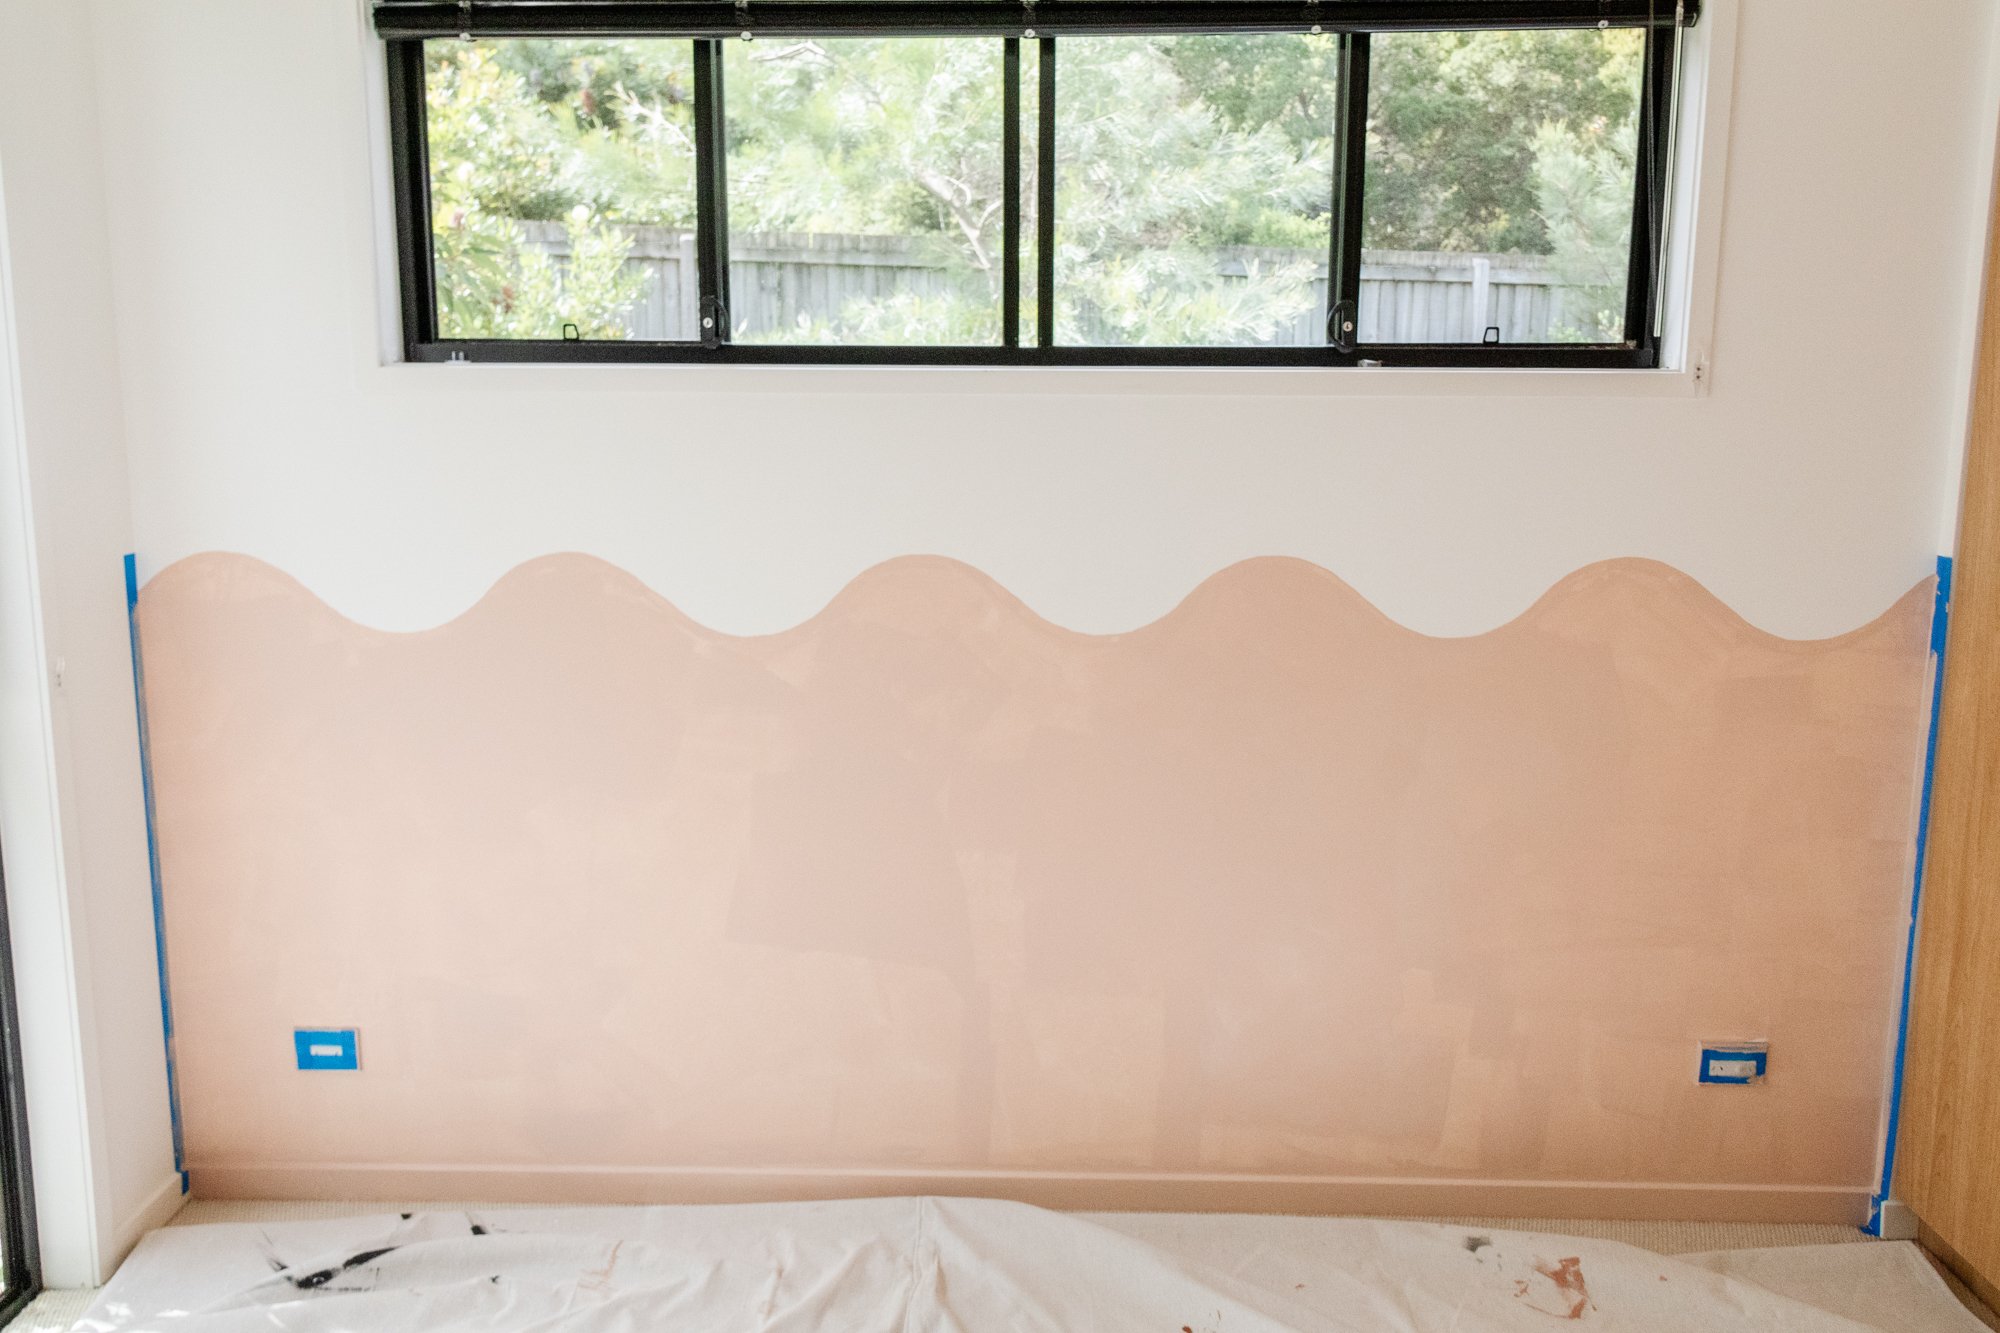
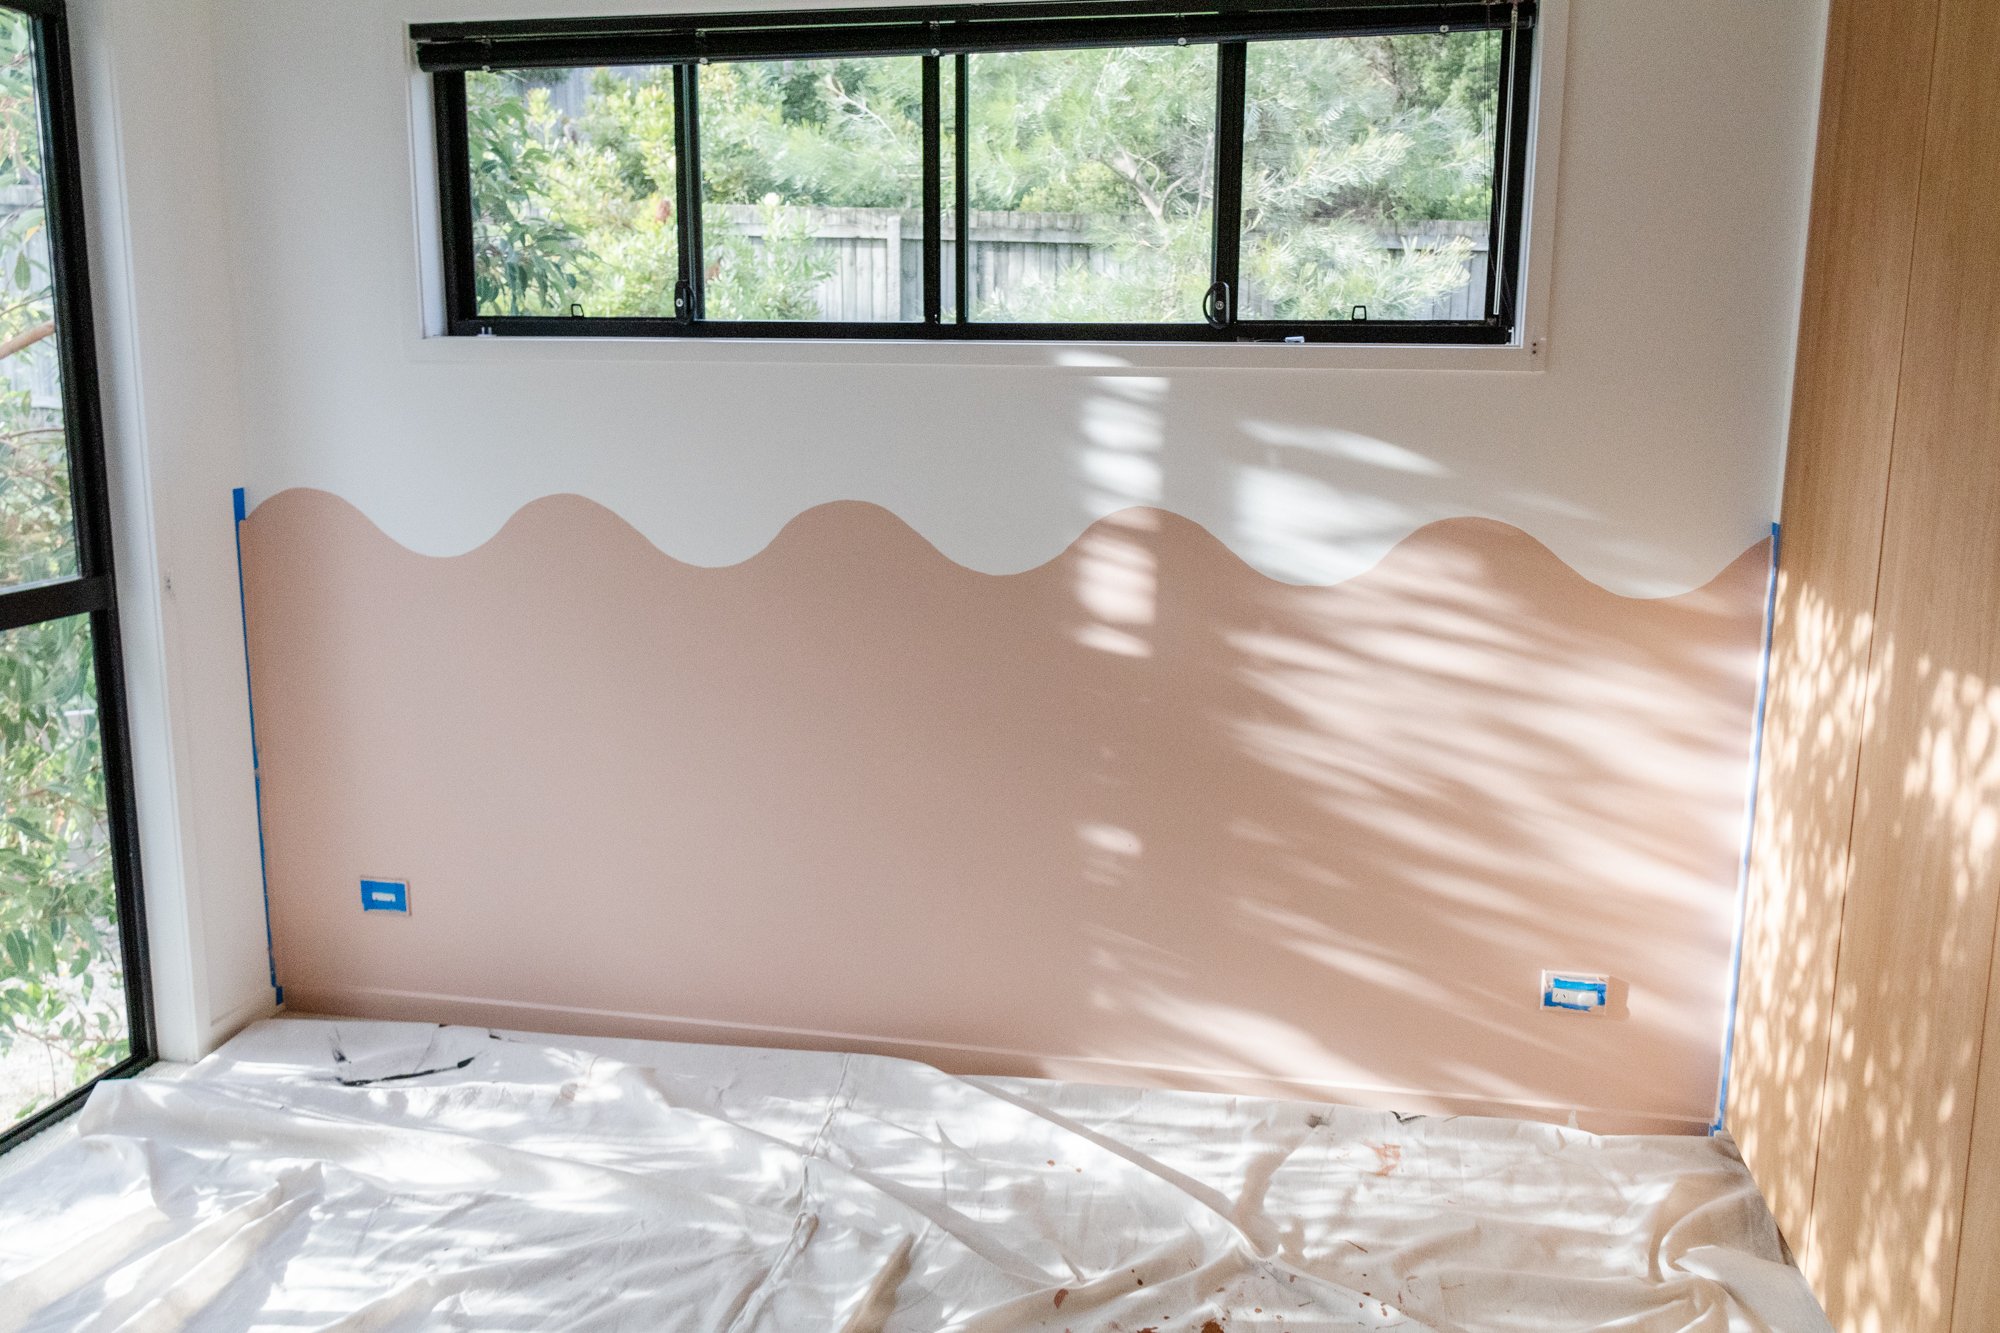
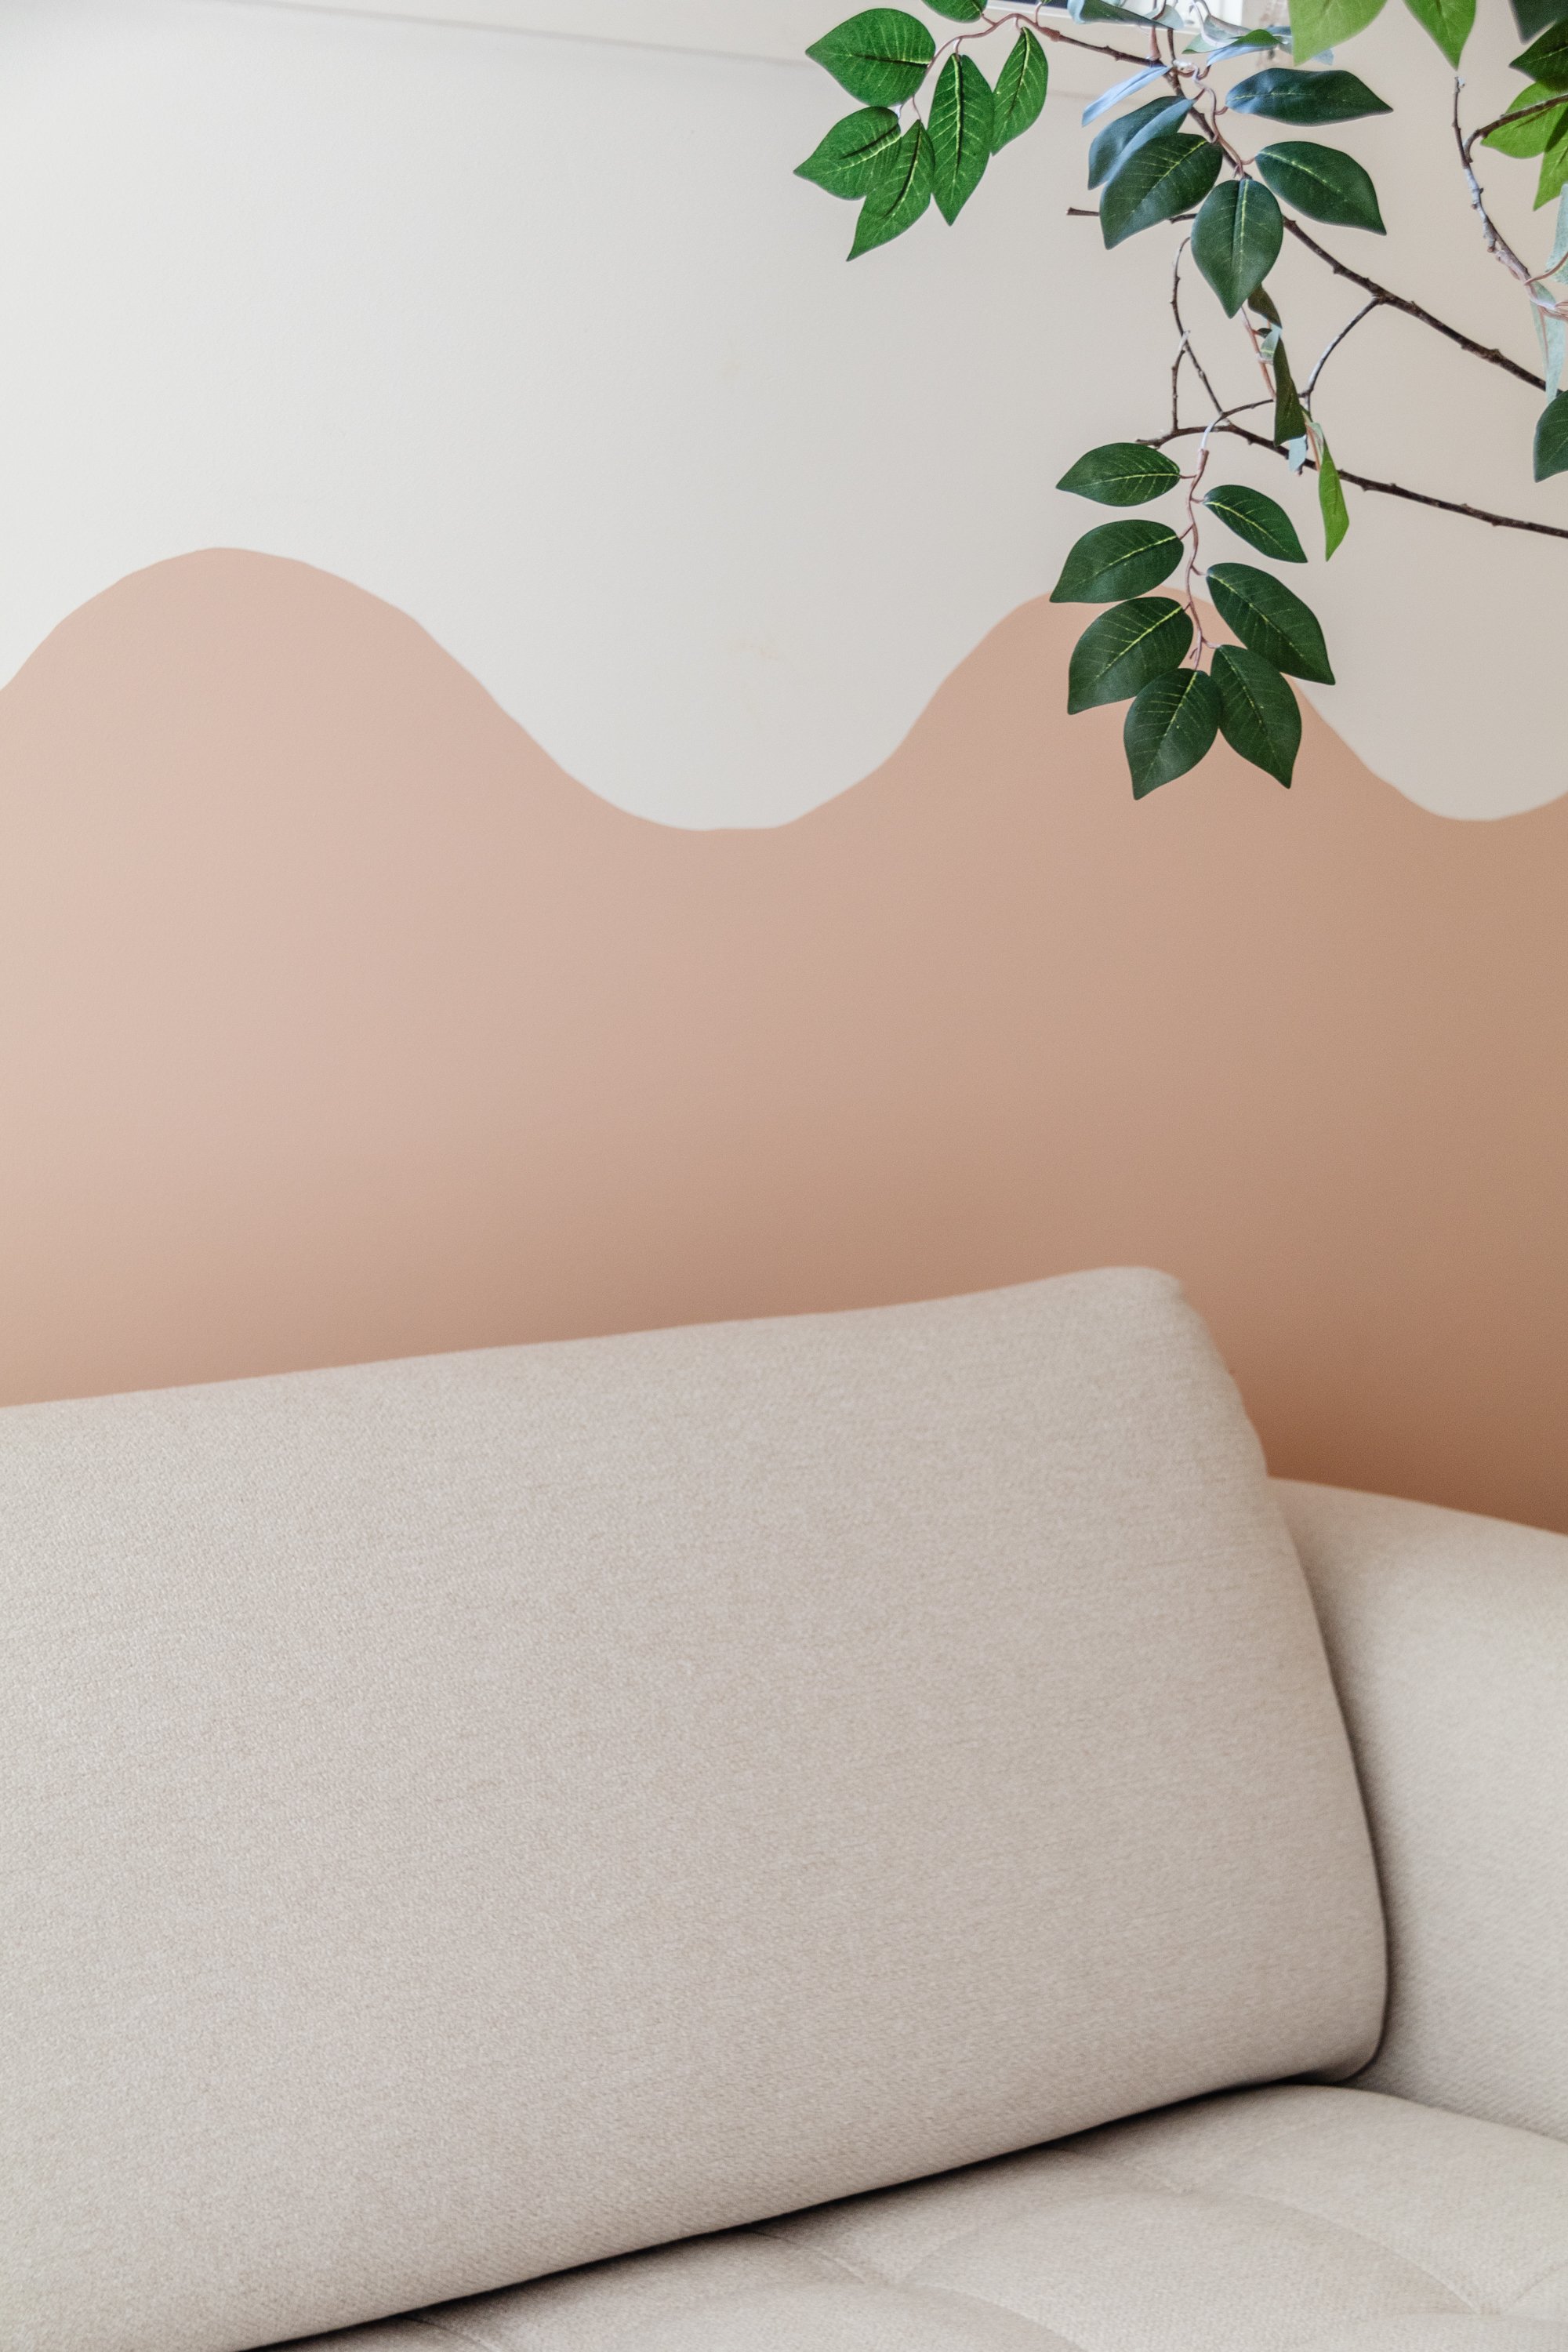
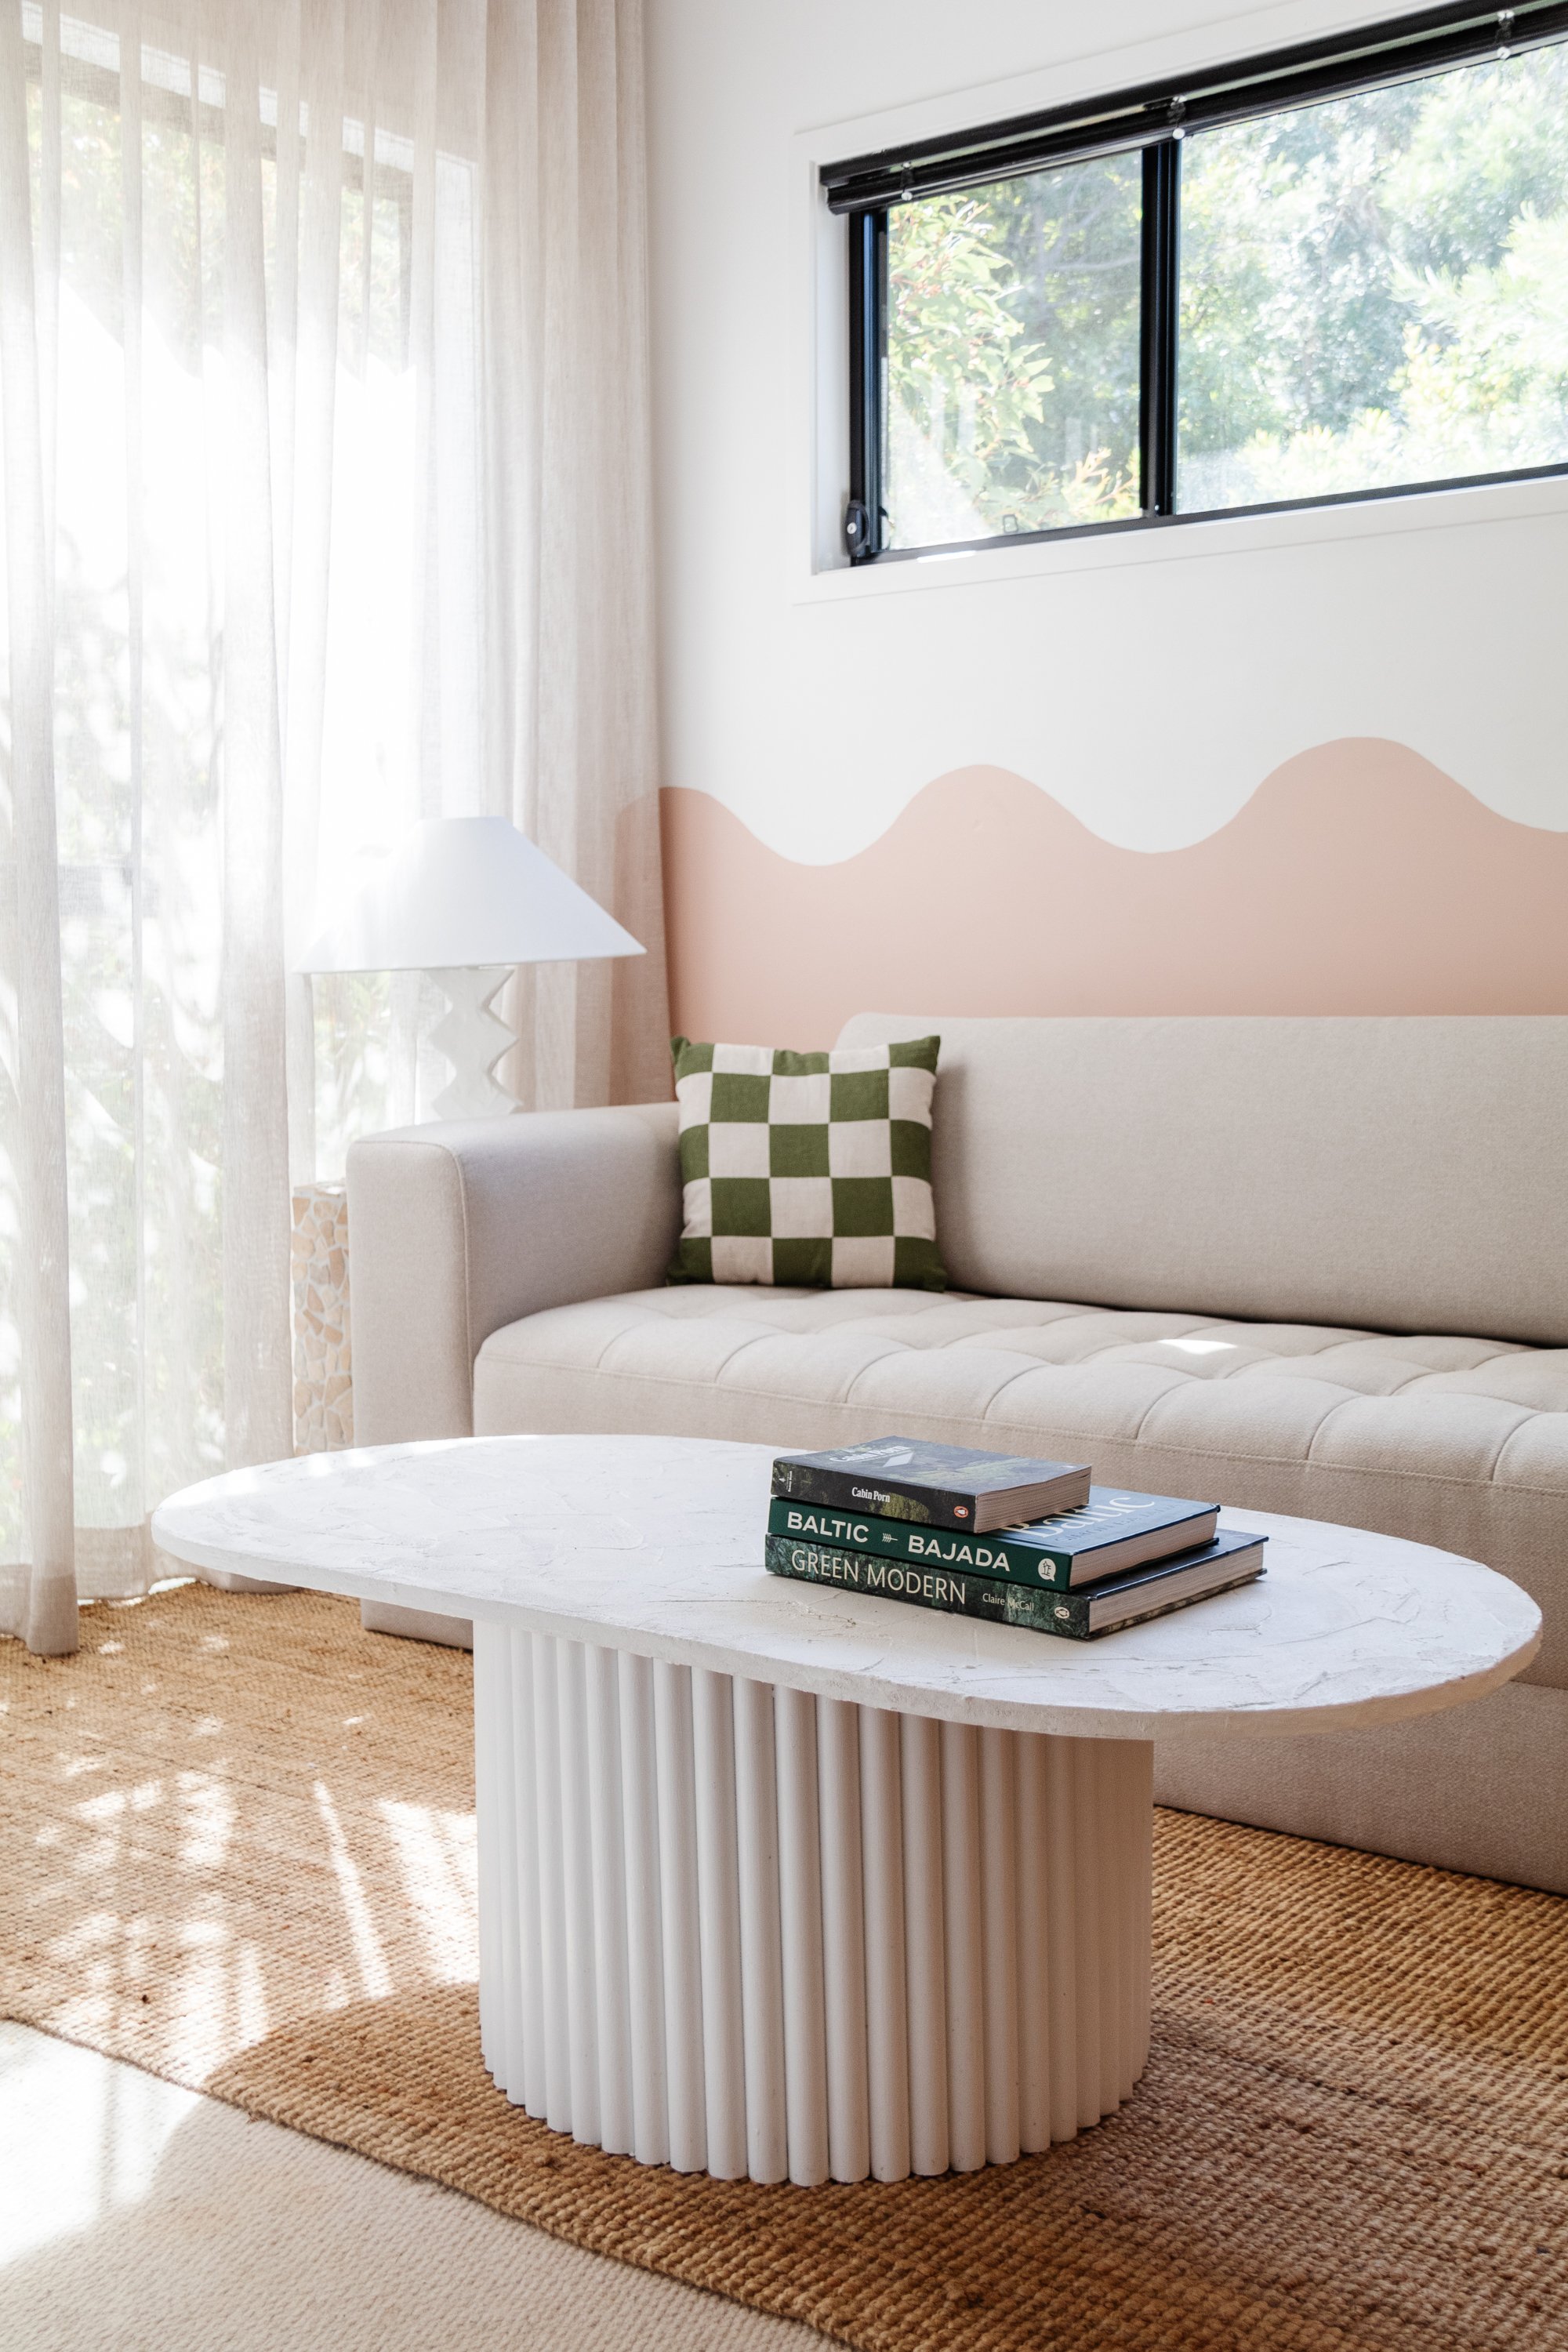
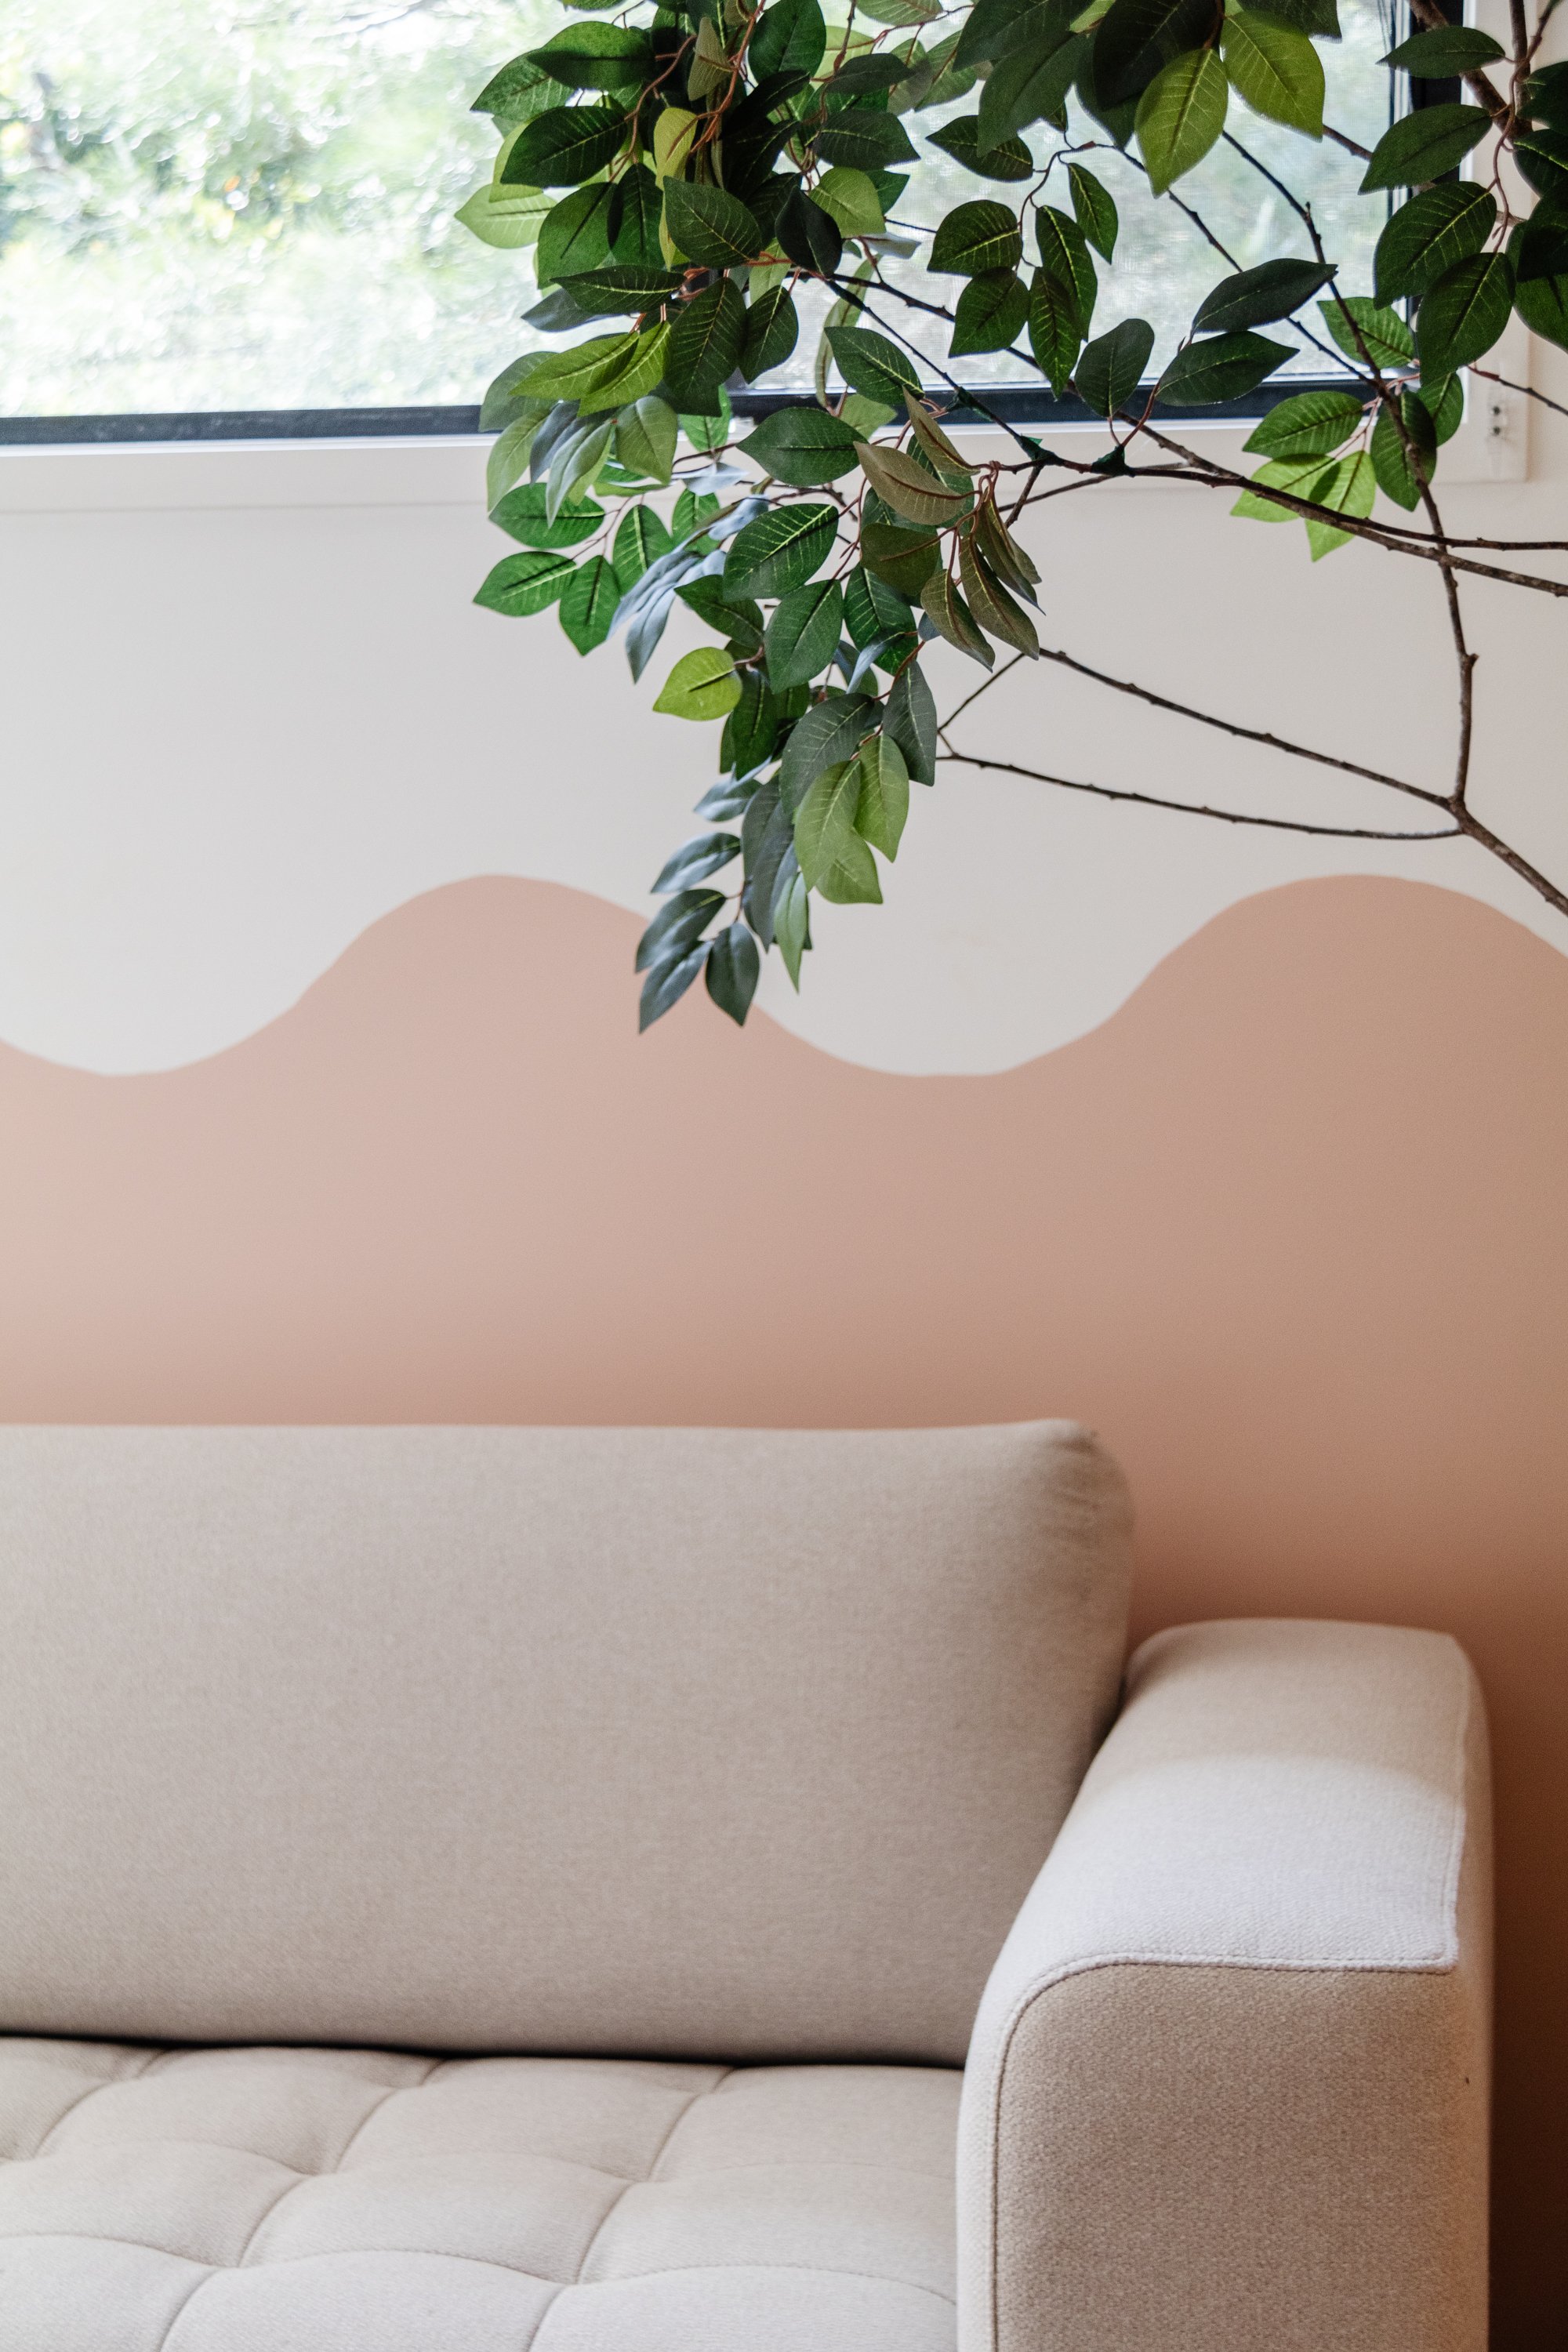
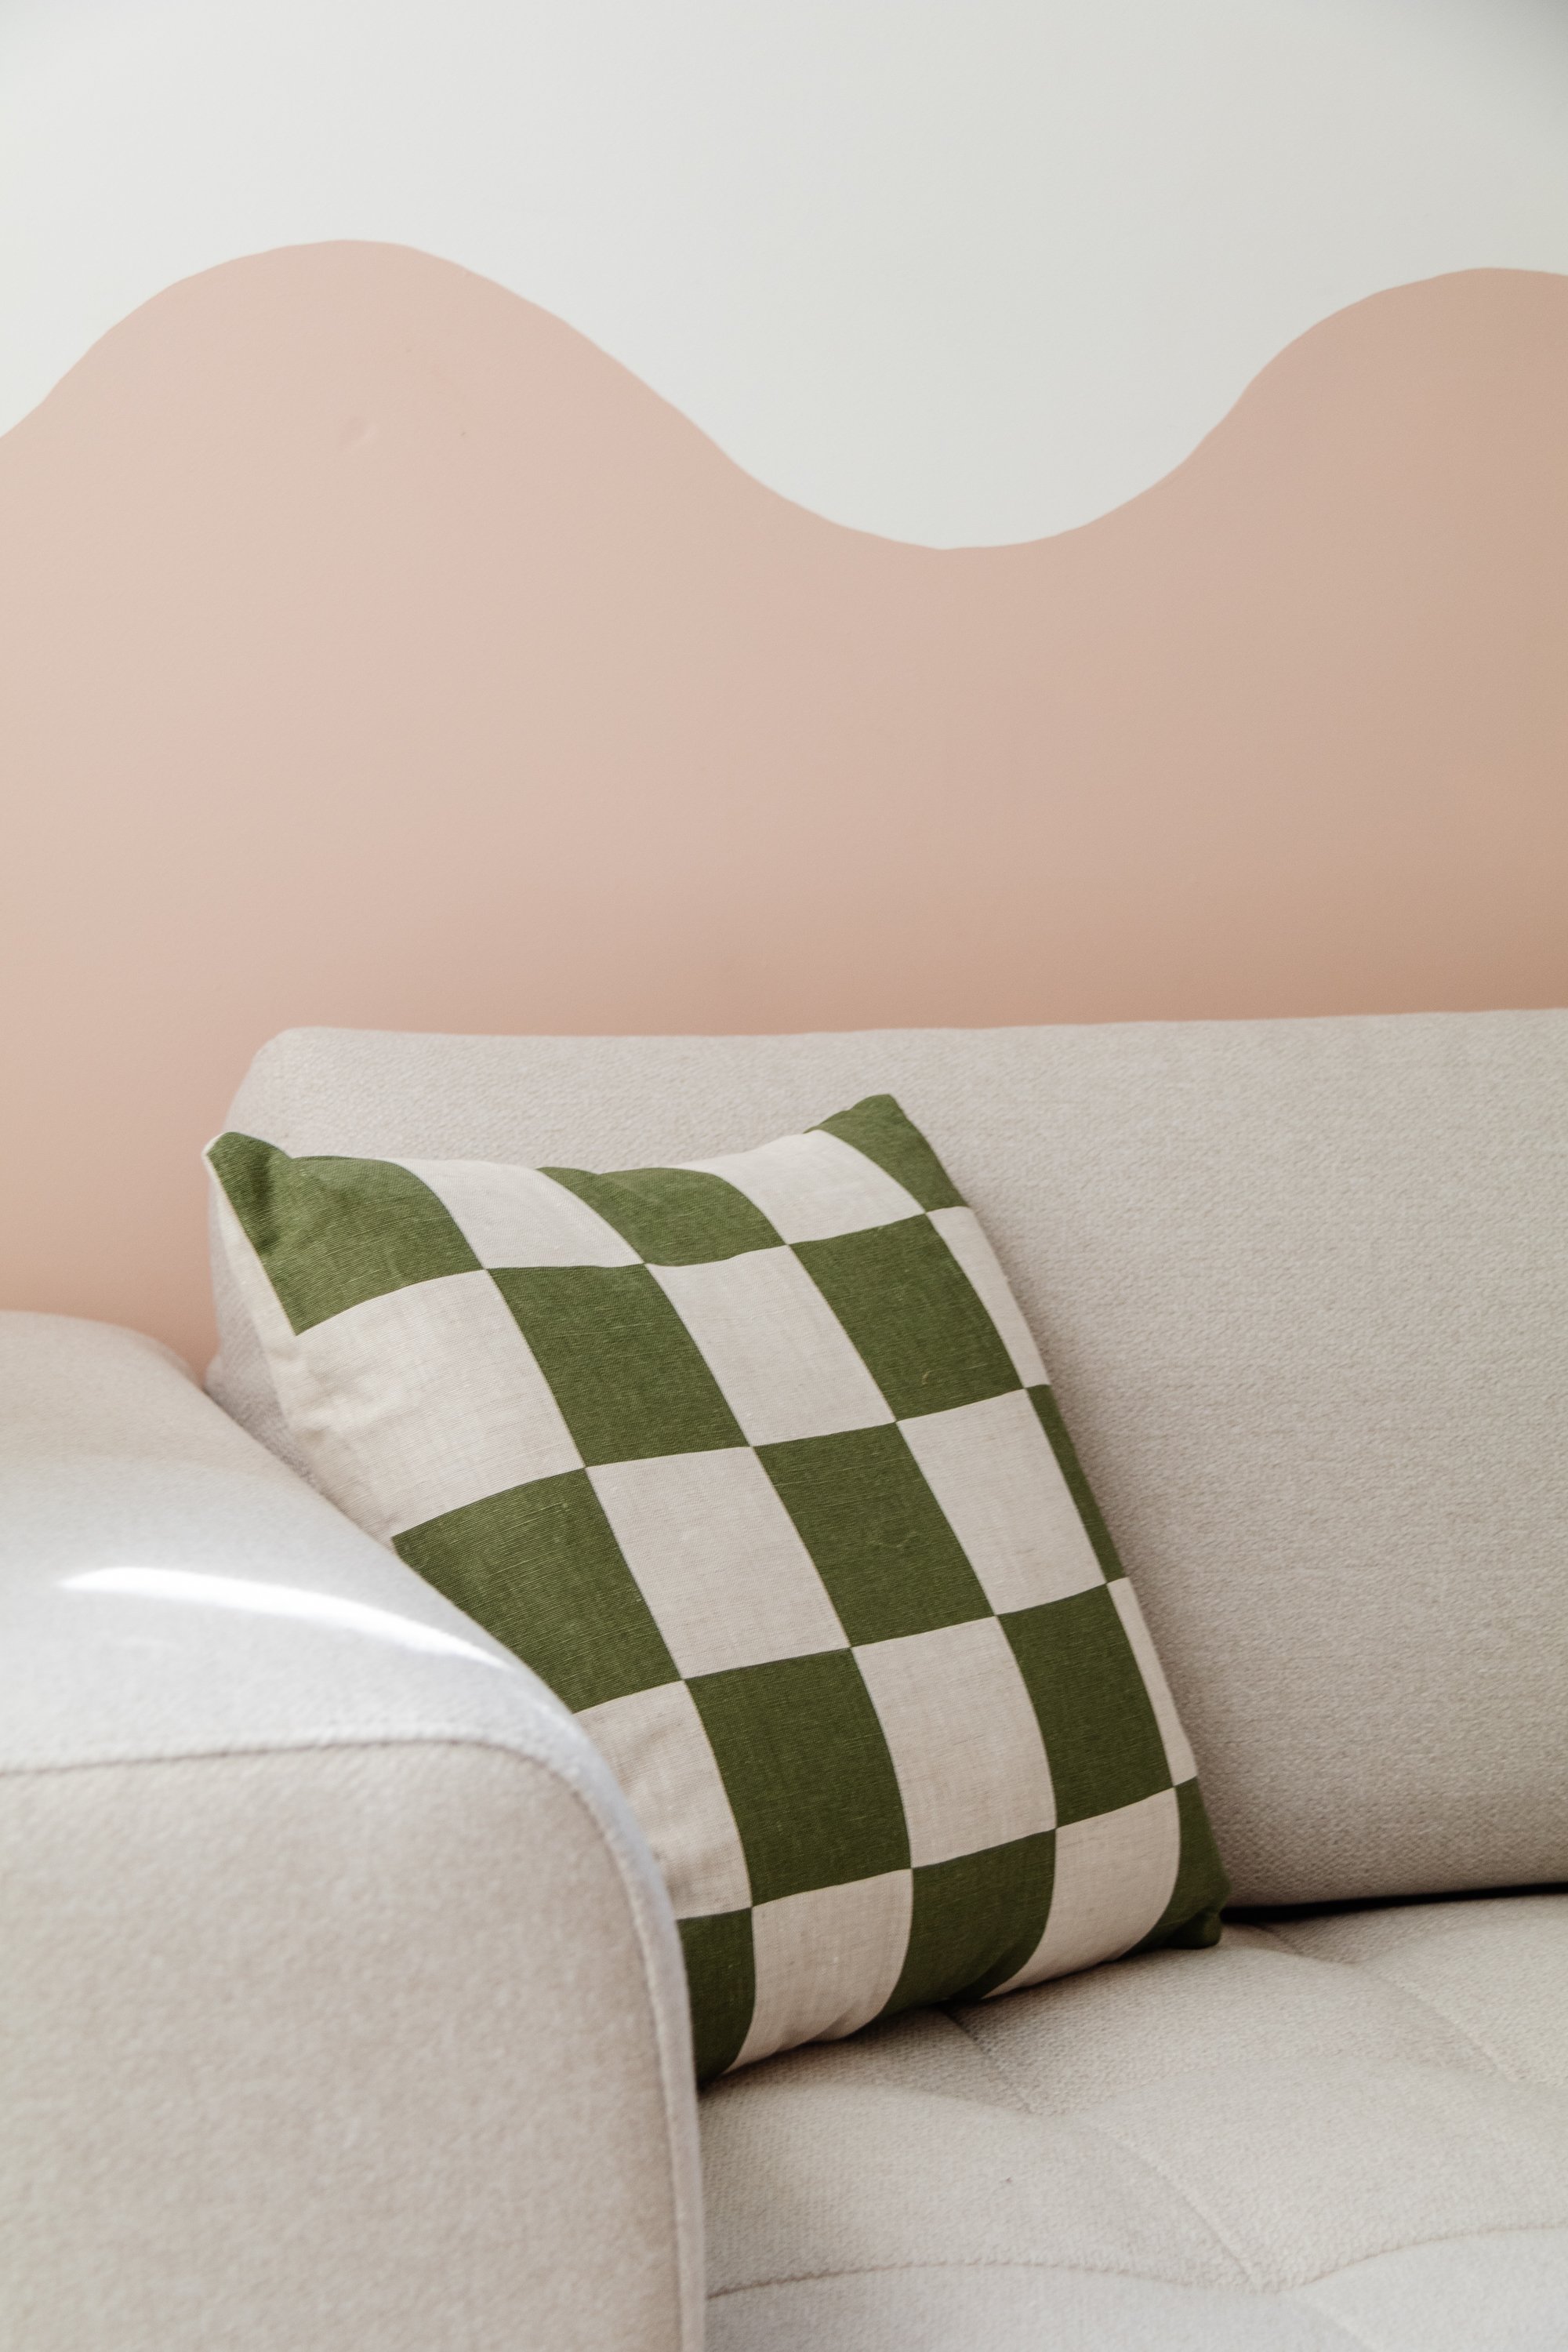
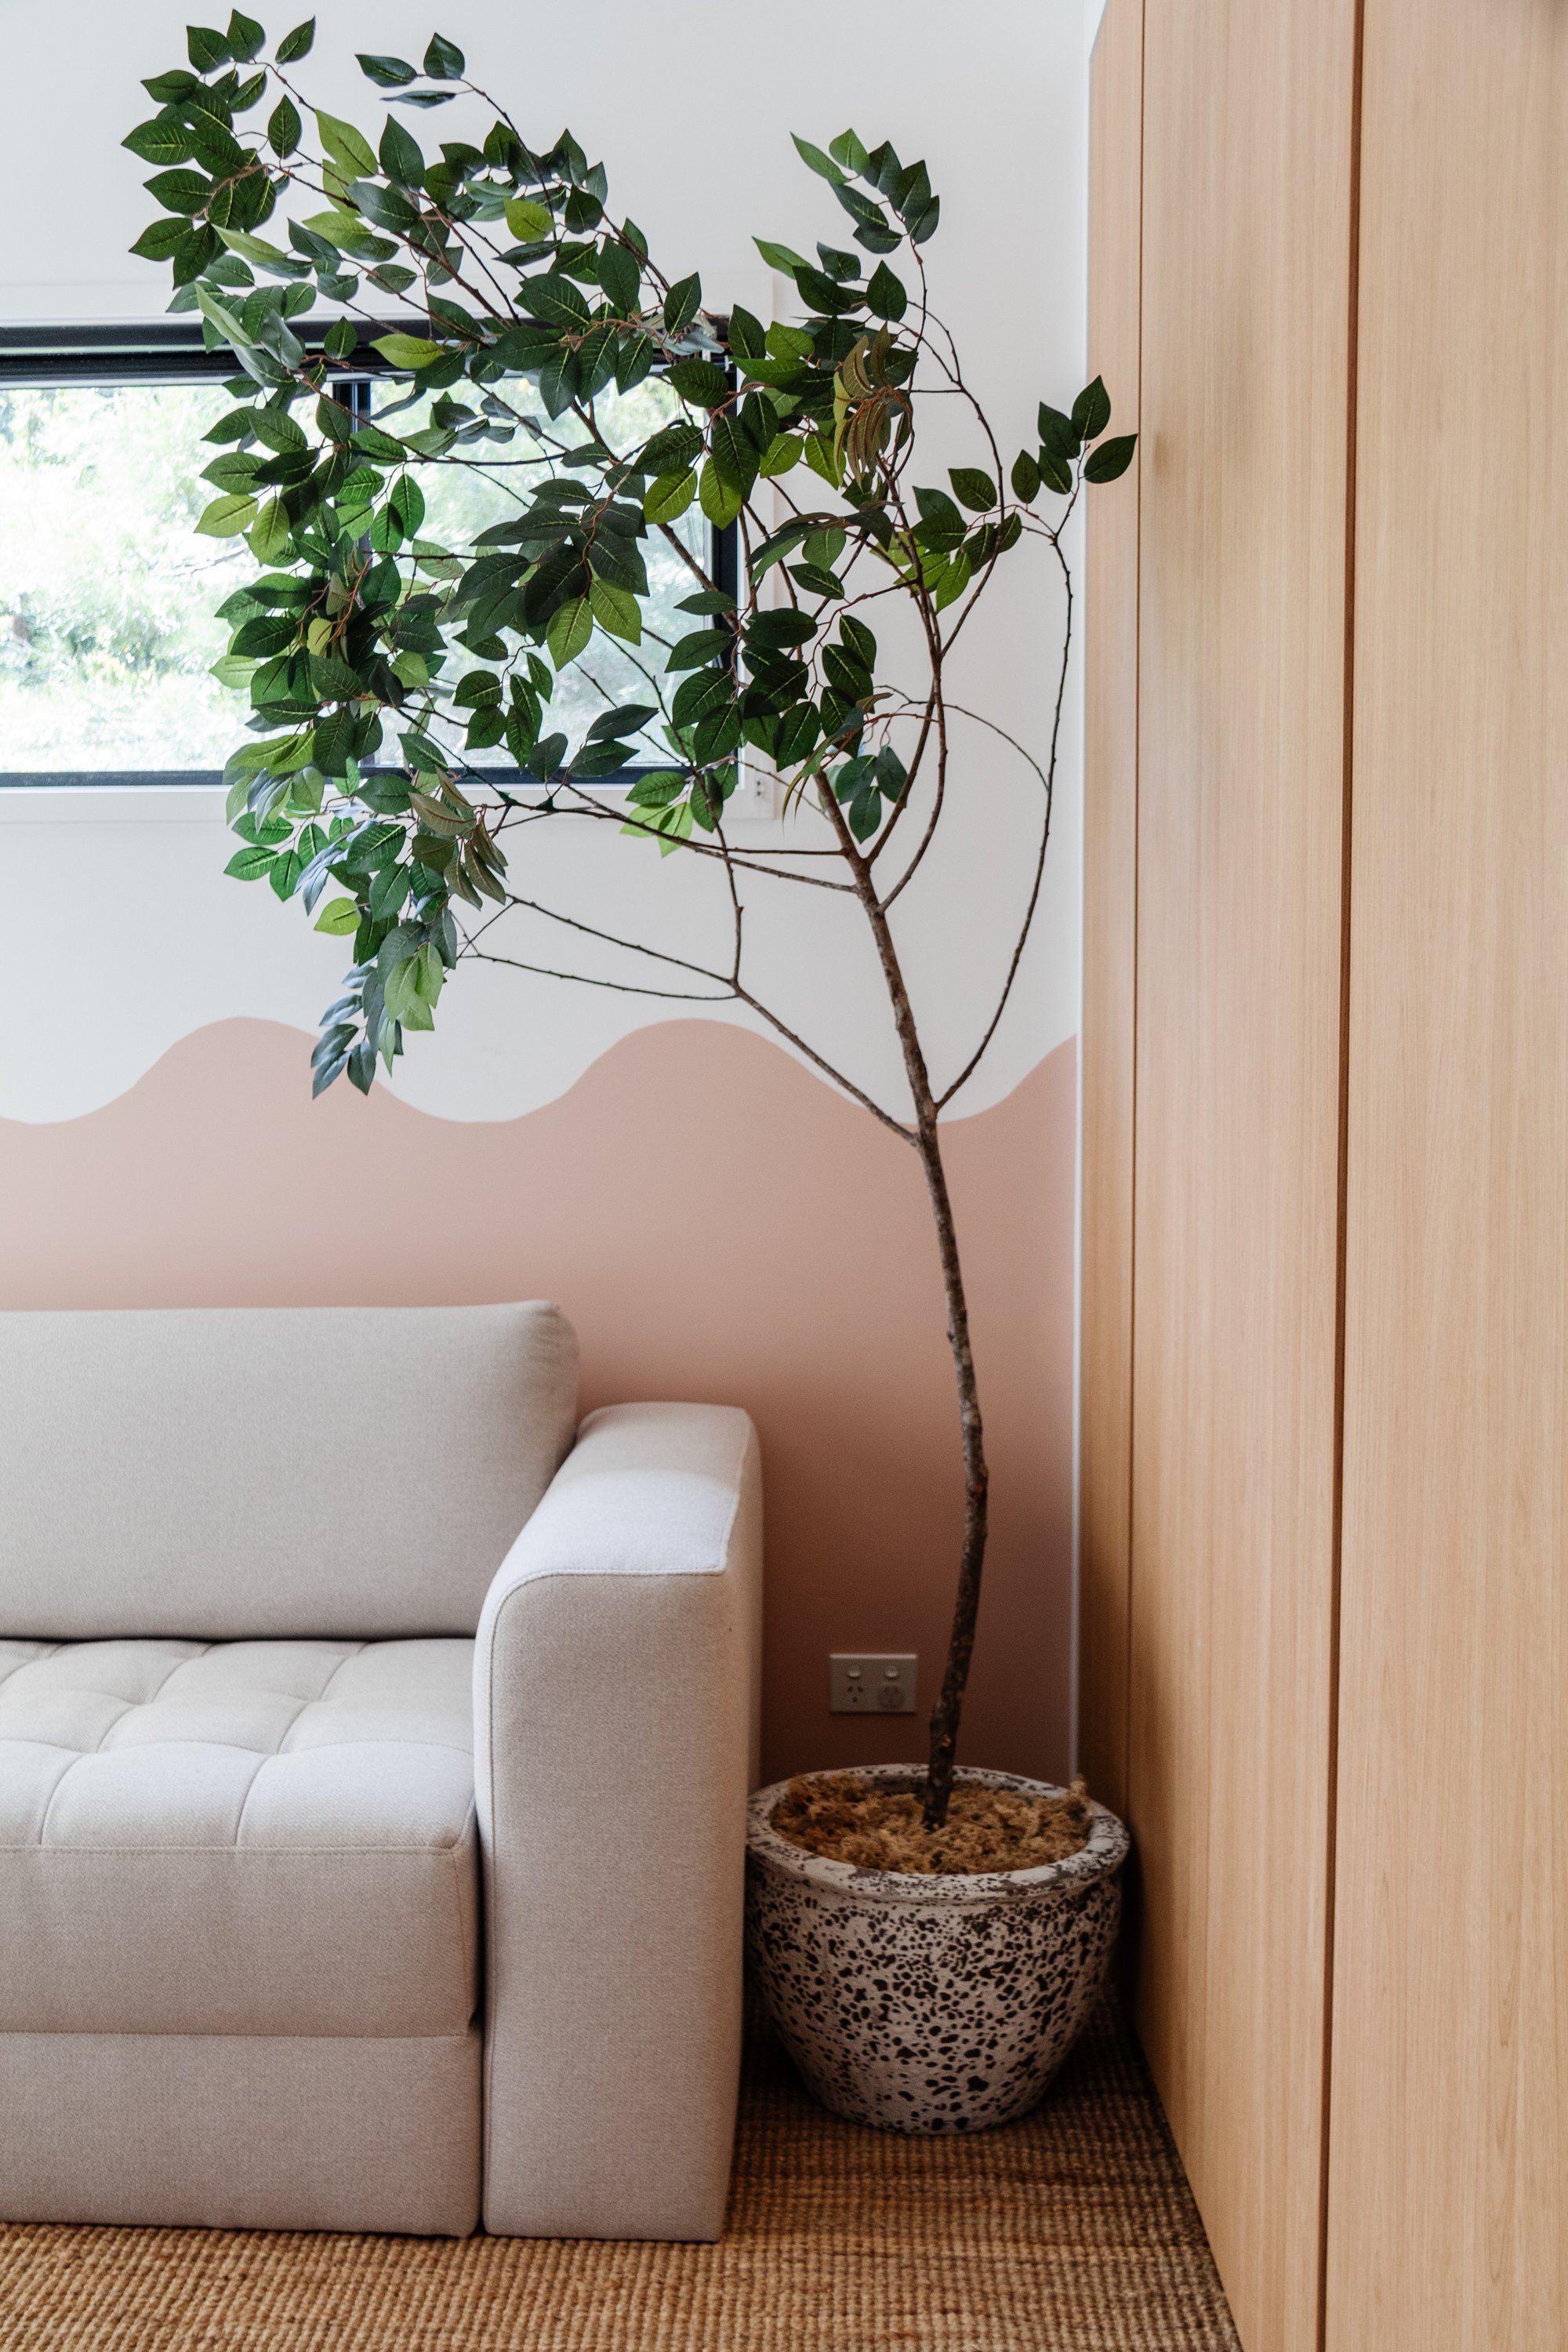
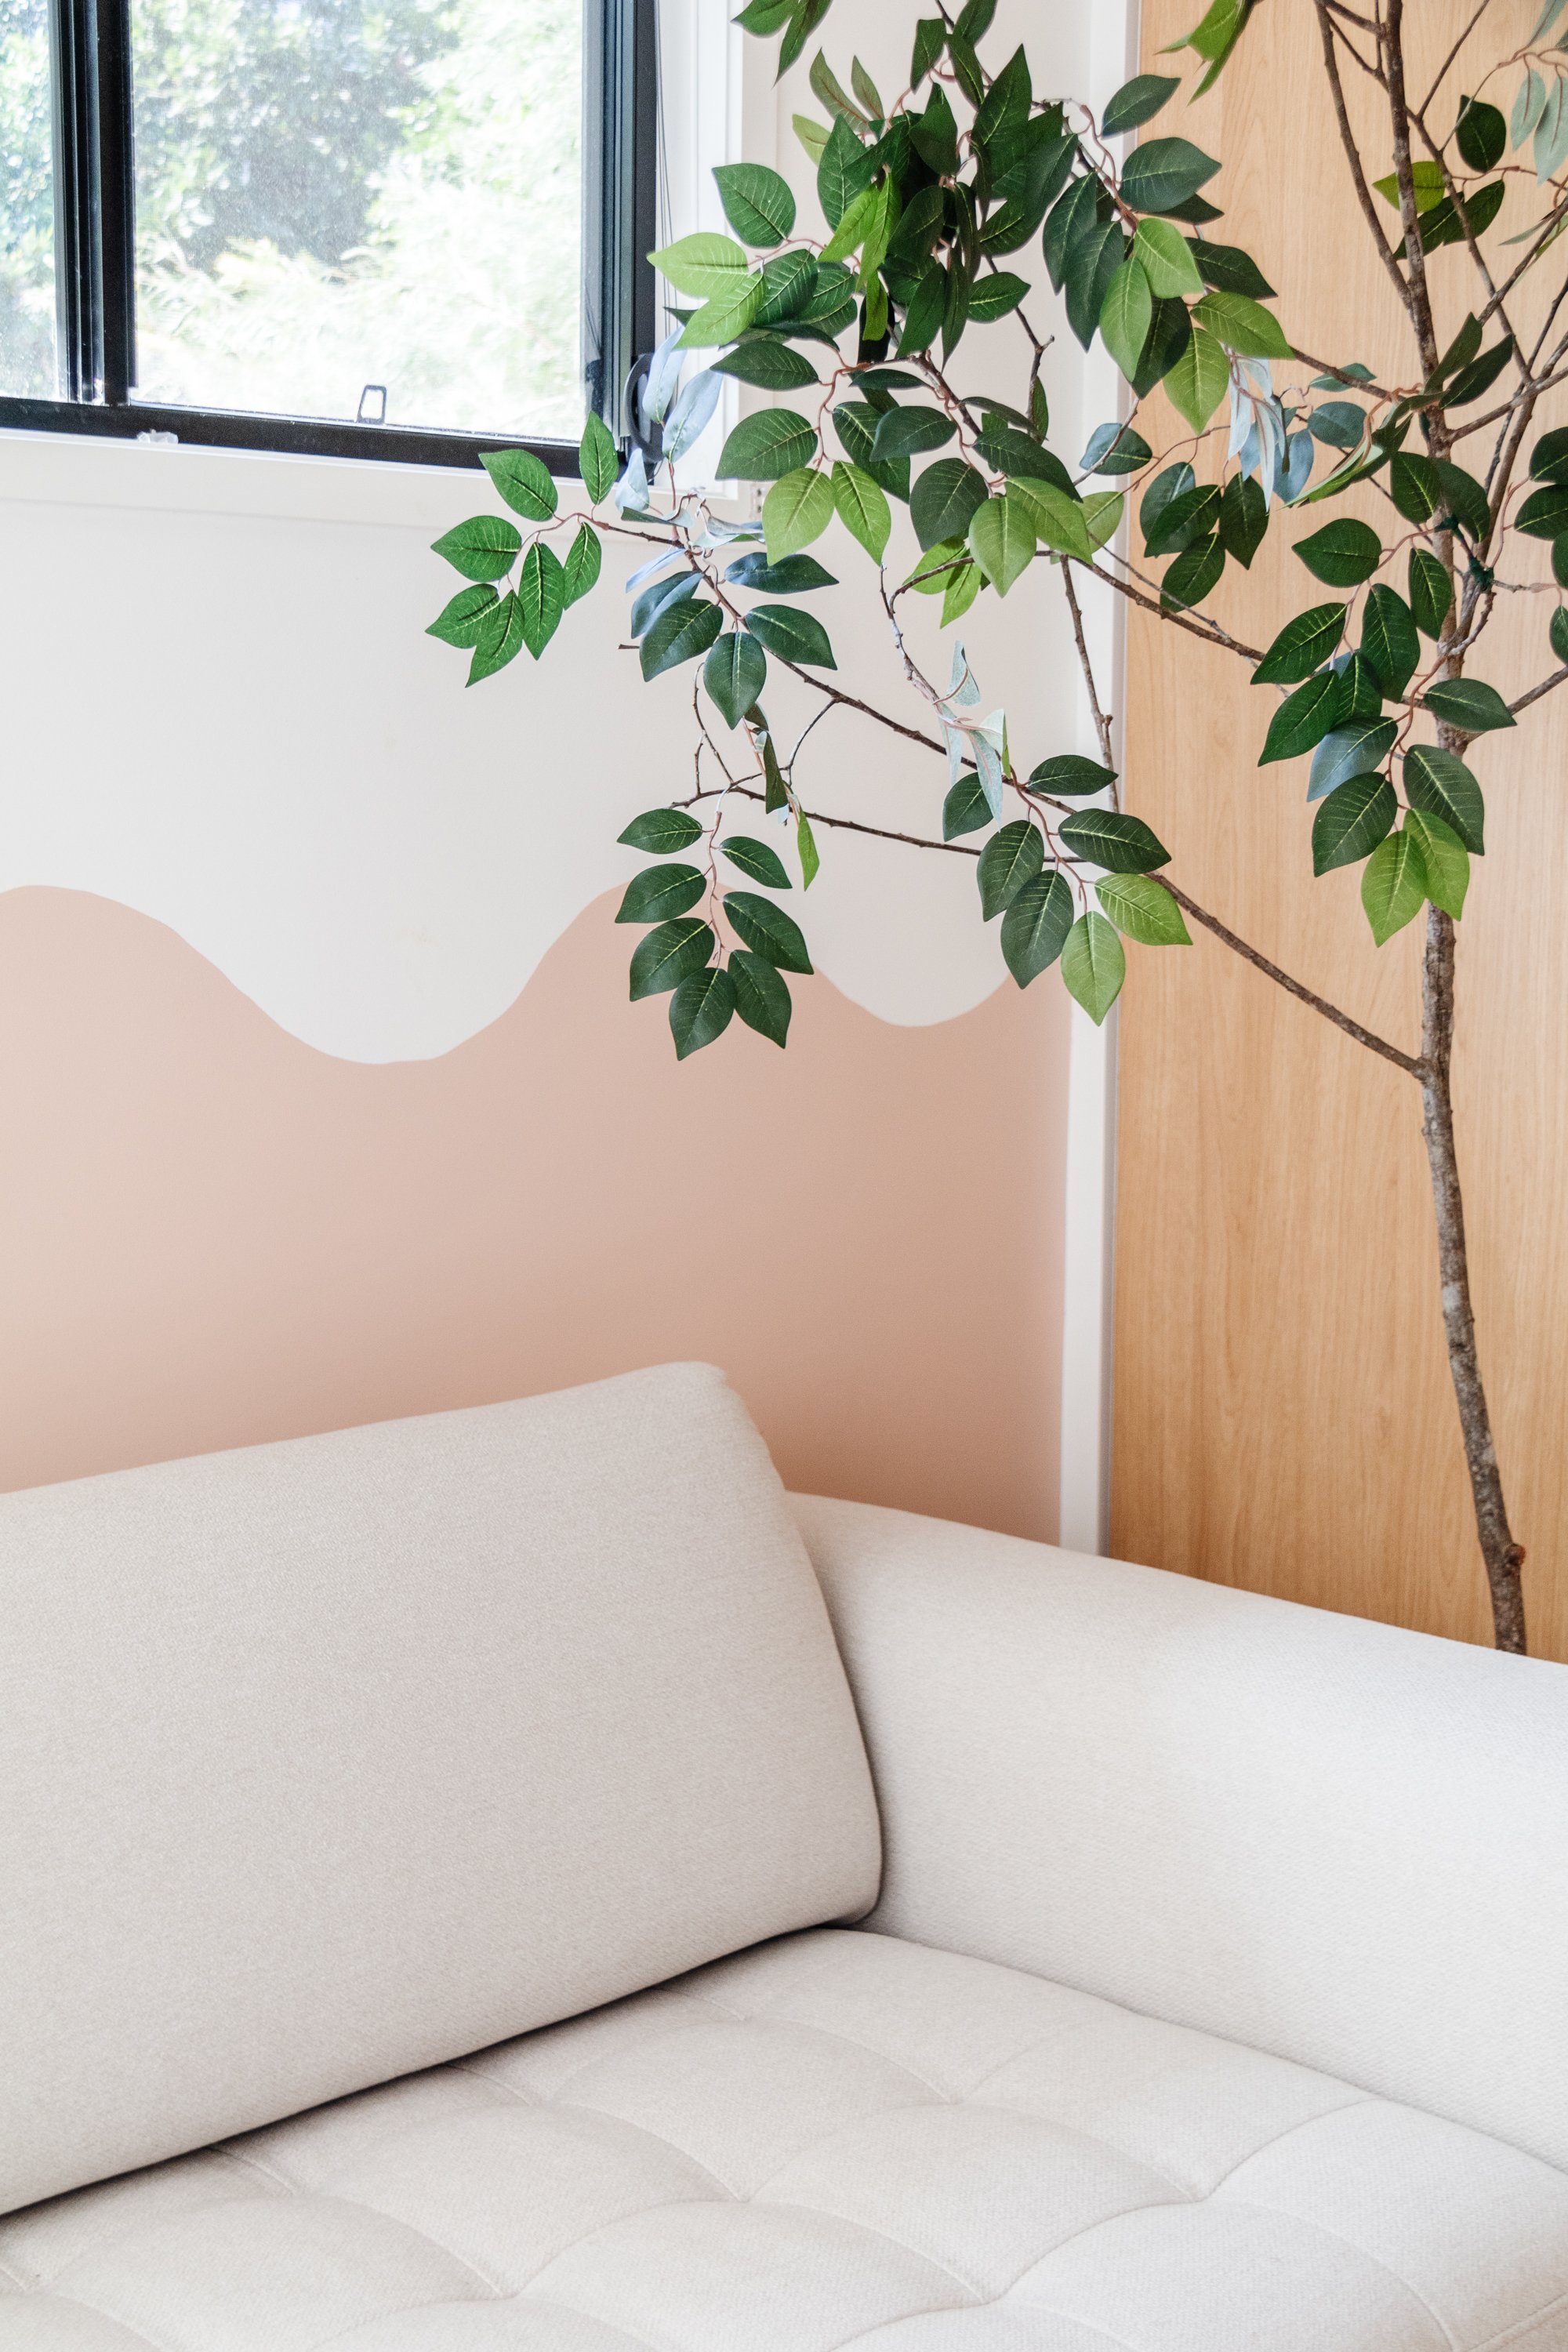
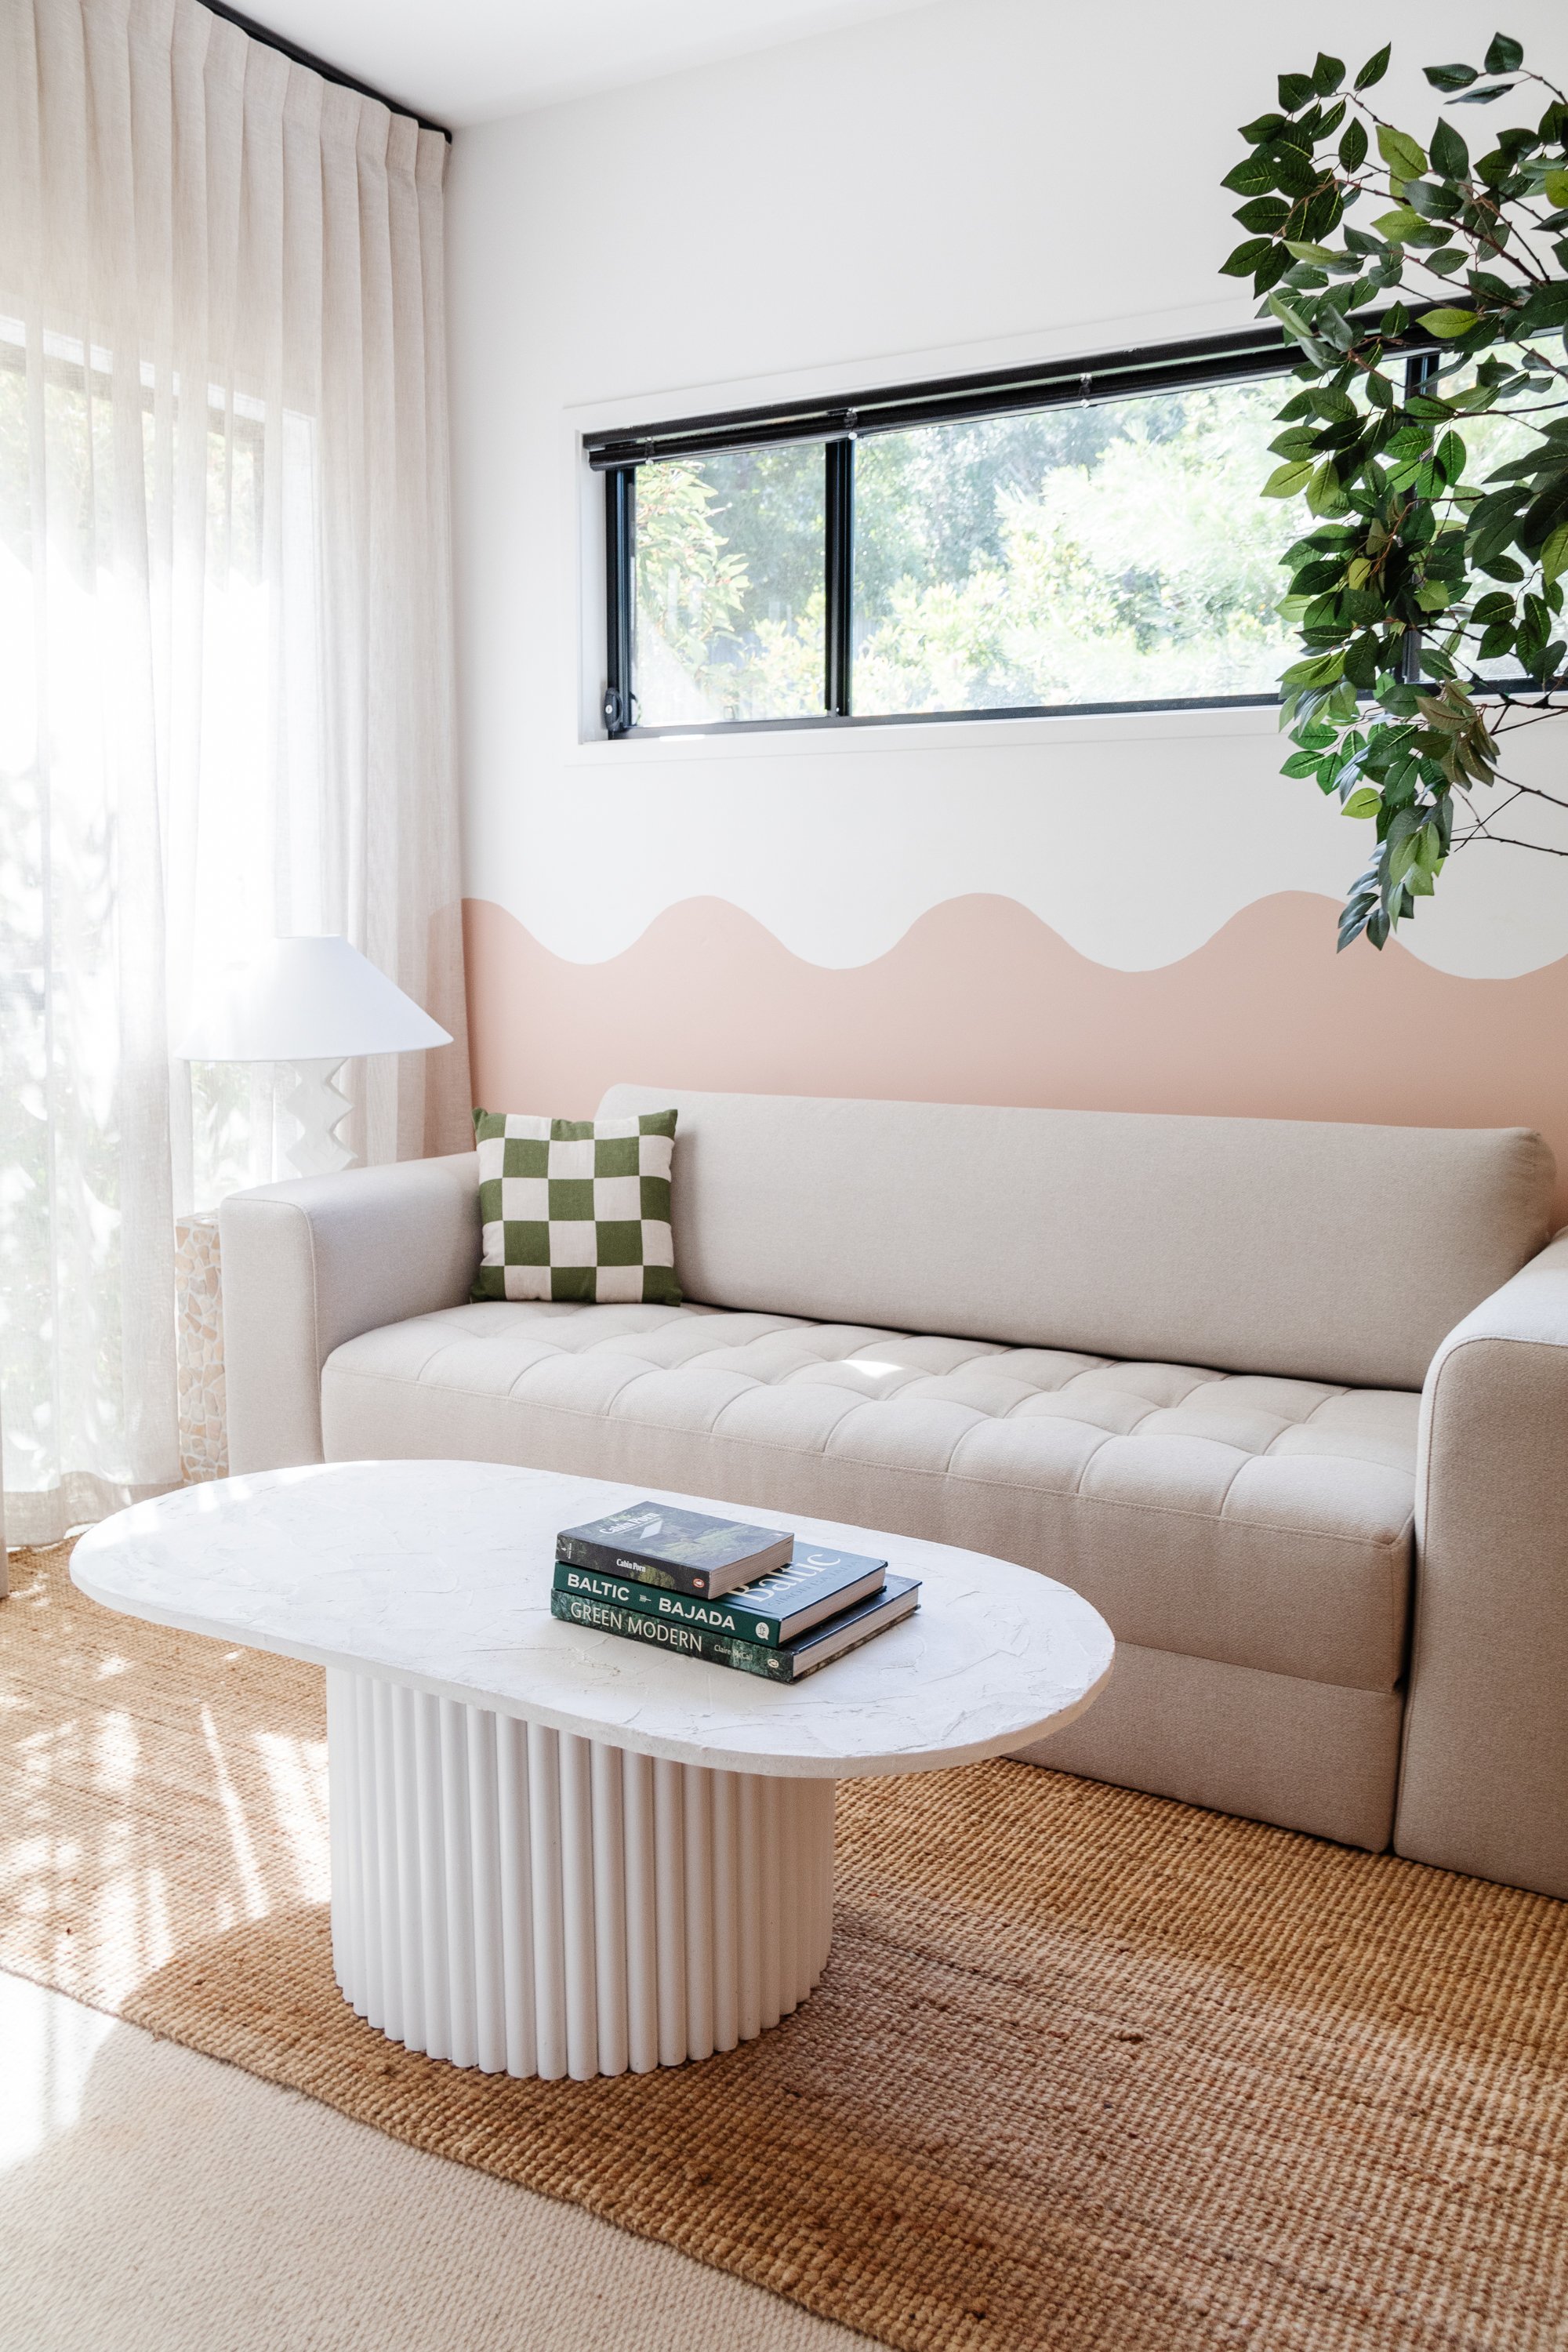
Ta daaaa! A wavy painted wall is a stunning feature in any bedroom.
Considering this was my first foray into painting a wall in our home, it’s safe to say I am hooked! Now I am looking at the kids bedrooms, the guest bathroom and laundry in a totally new light. This is one of those quick and easy projects that you can literally knock over in half a day that brings equal parts joy and satisfaction. The wavy wall and colour looks absolutely gorgeous as the backdrop to our new Ecosa Sofa Bed, and I can’t wait to have guests over when it’s finally ready. As you may have seen, I have already made a beautiful Abstract Cabinet (that went a little nuts on TikTok and Instagram) and an Upcycled Sculptural Lamp for this space and I still have a few other bits and pieces left to do, so stay tuned for the big reveal in a few weeks.