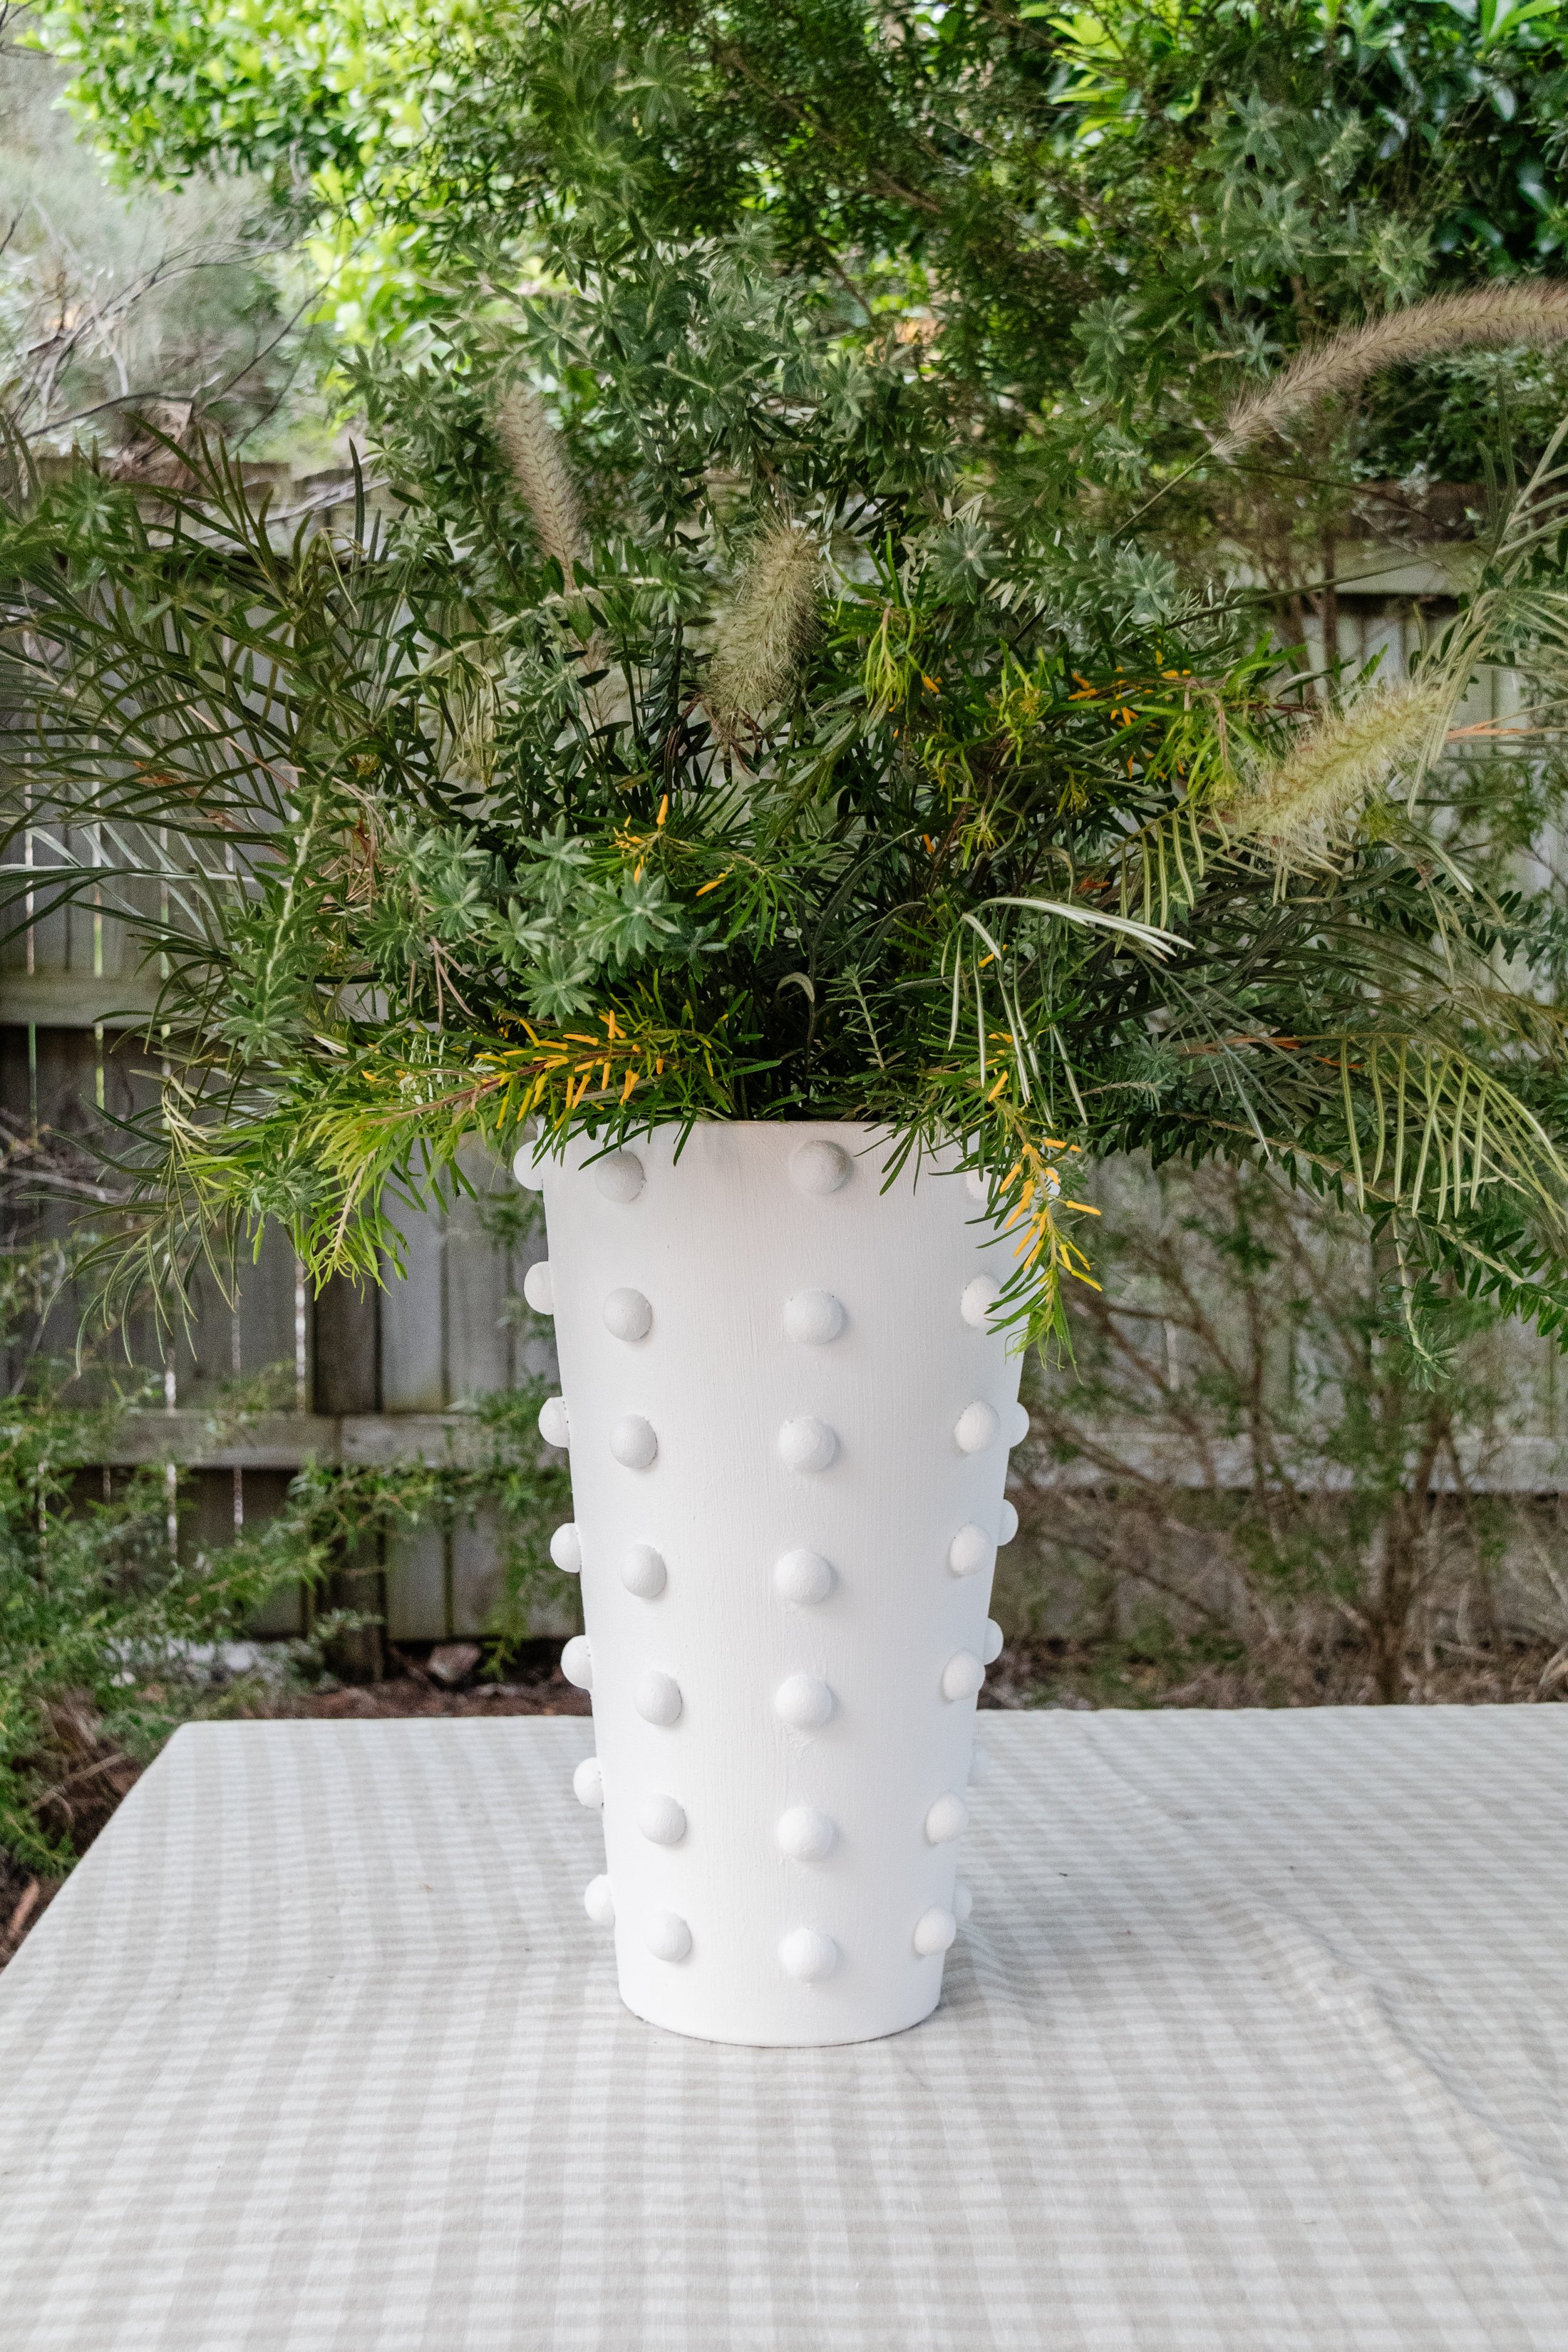
Upcycled Bubble Vase
When do you do when see something you like? You make it!
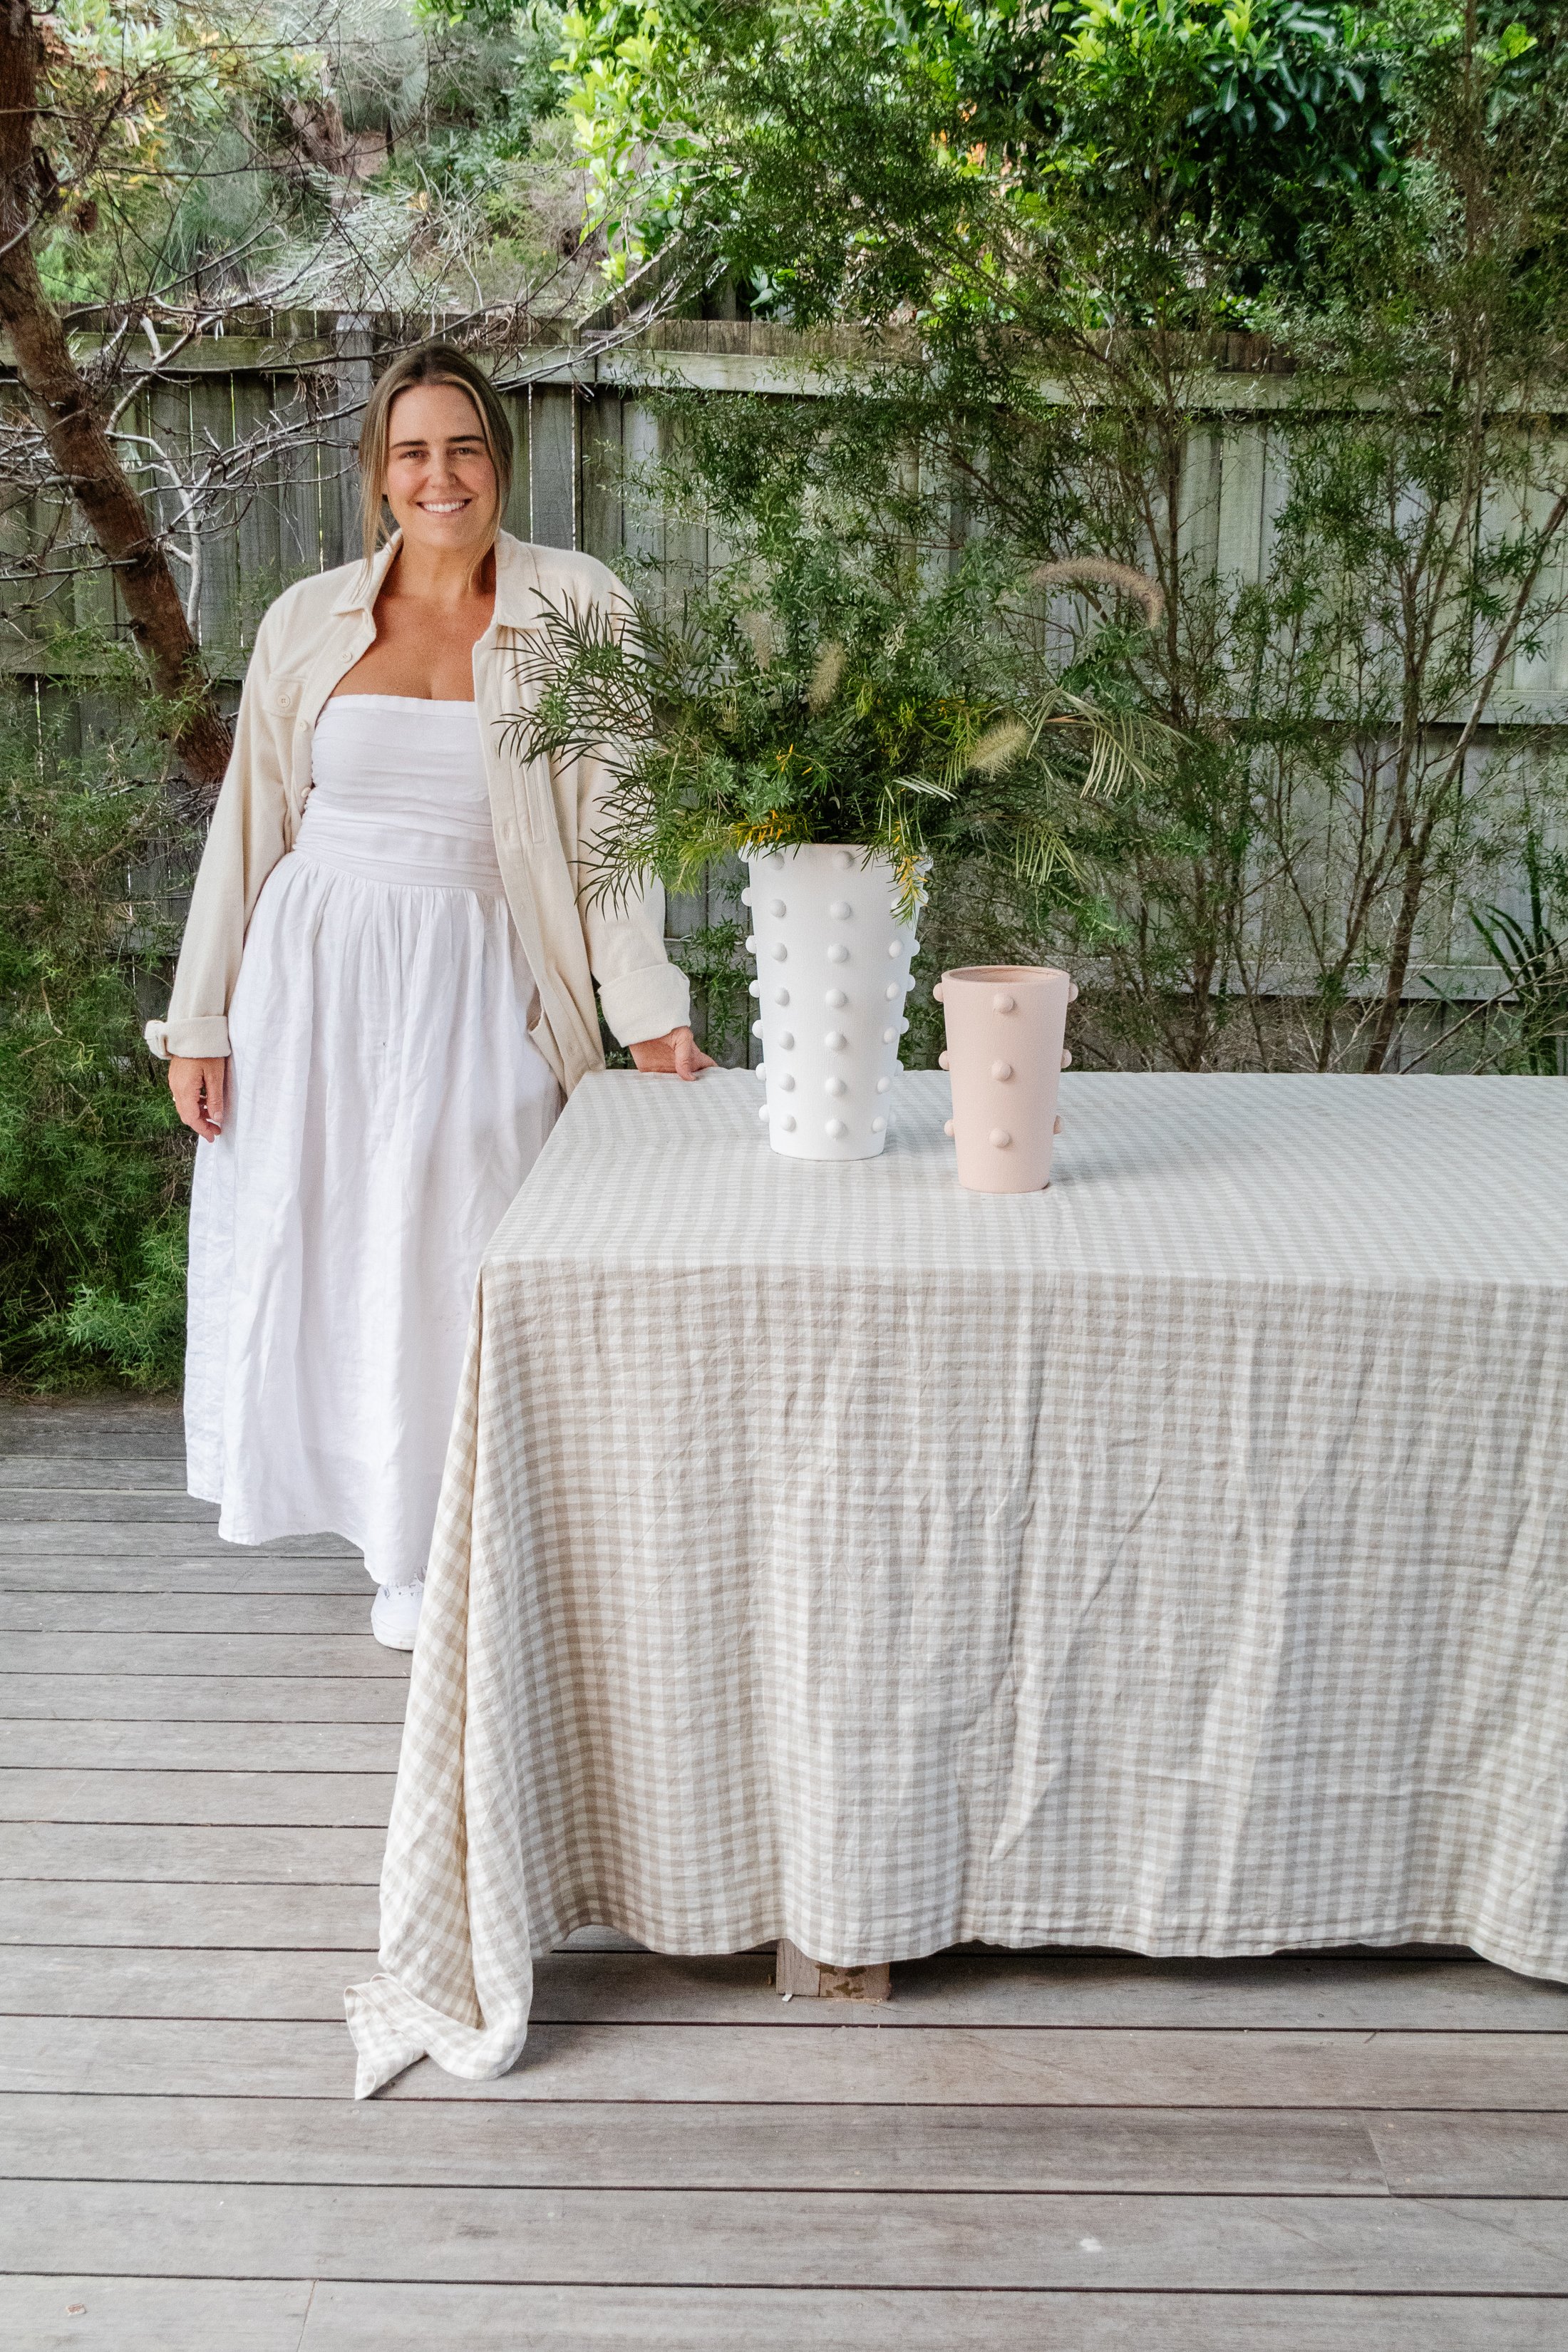
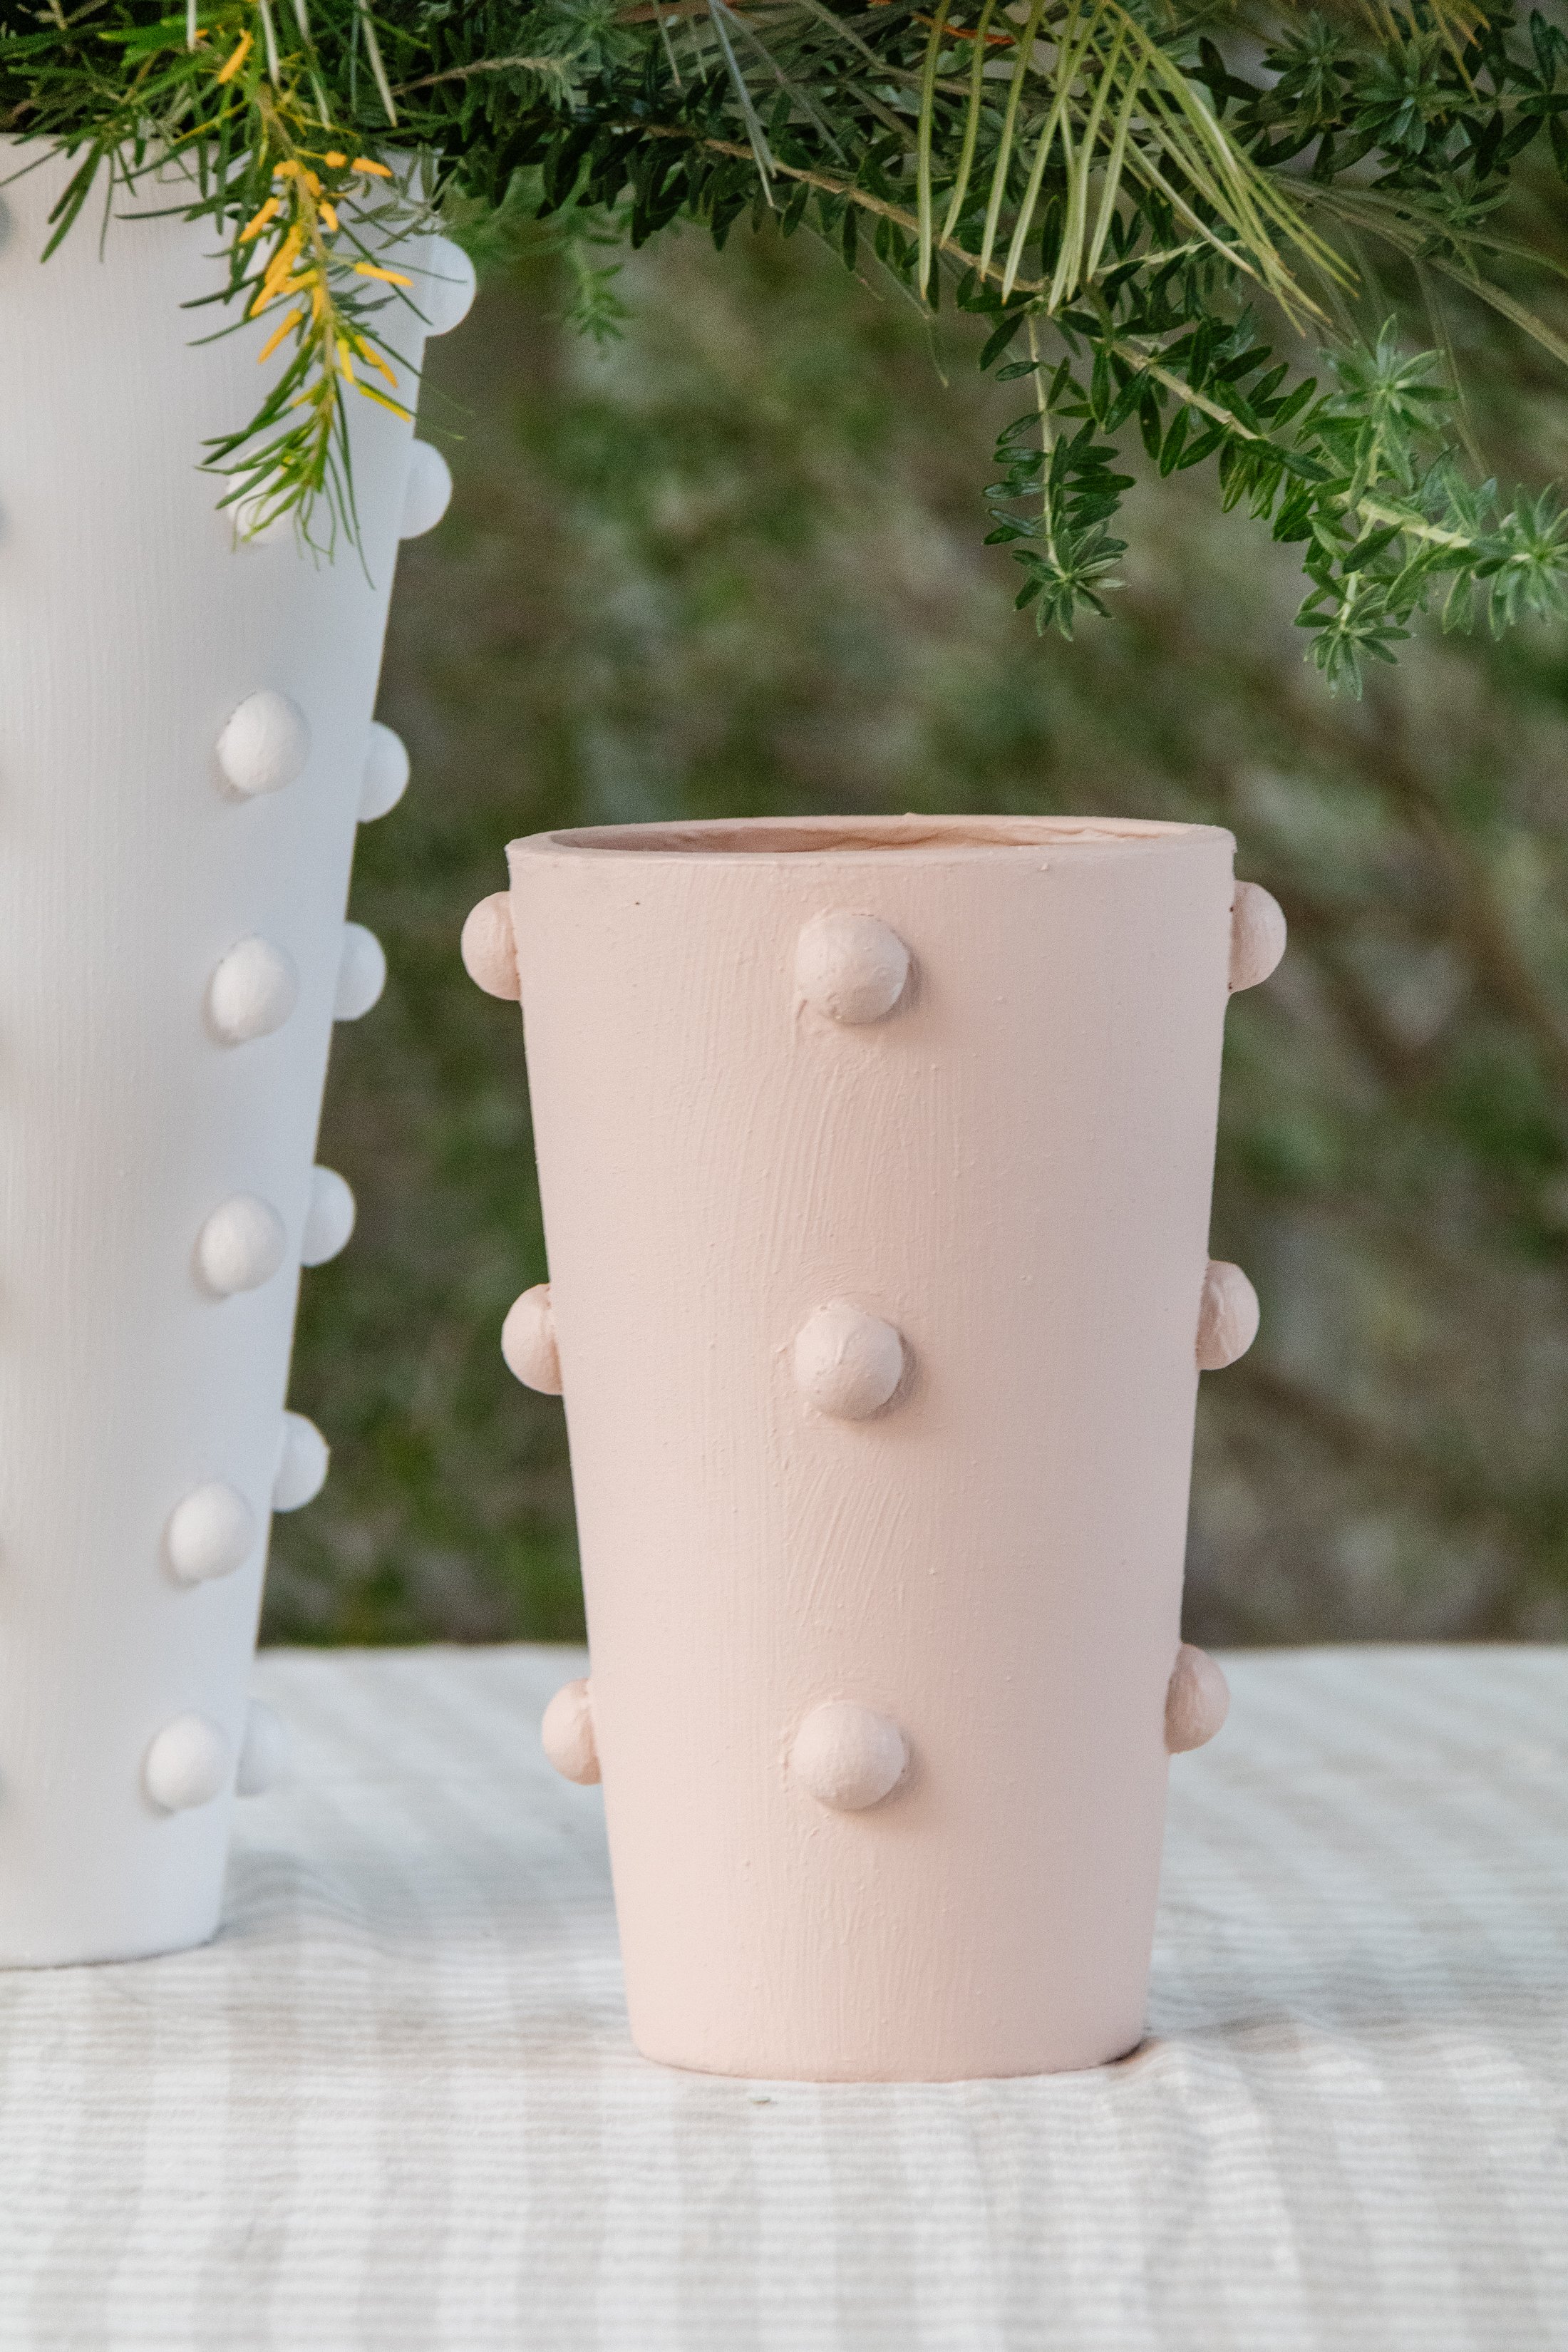
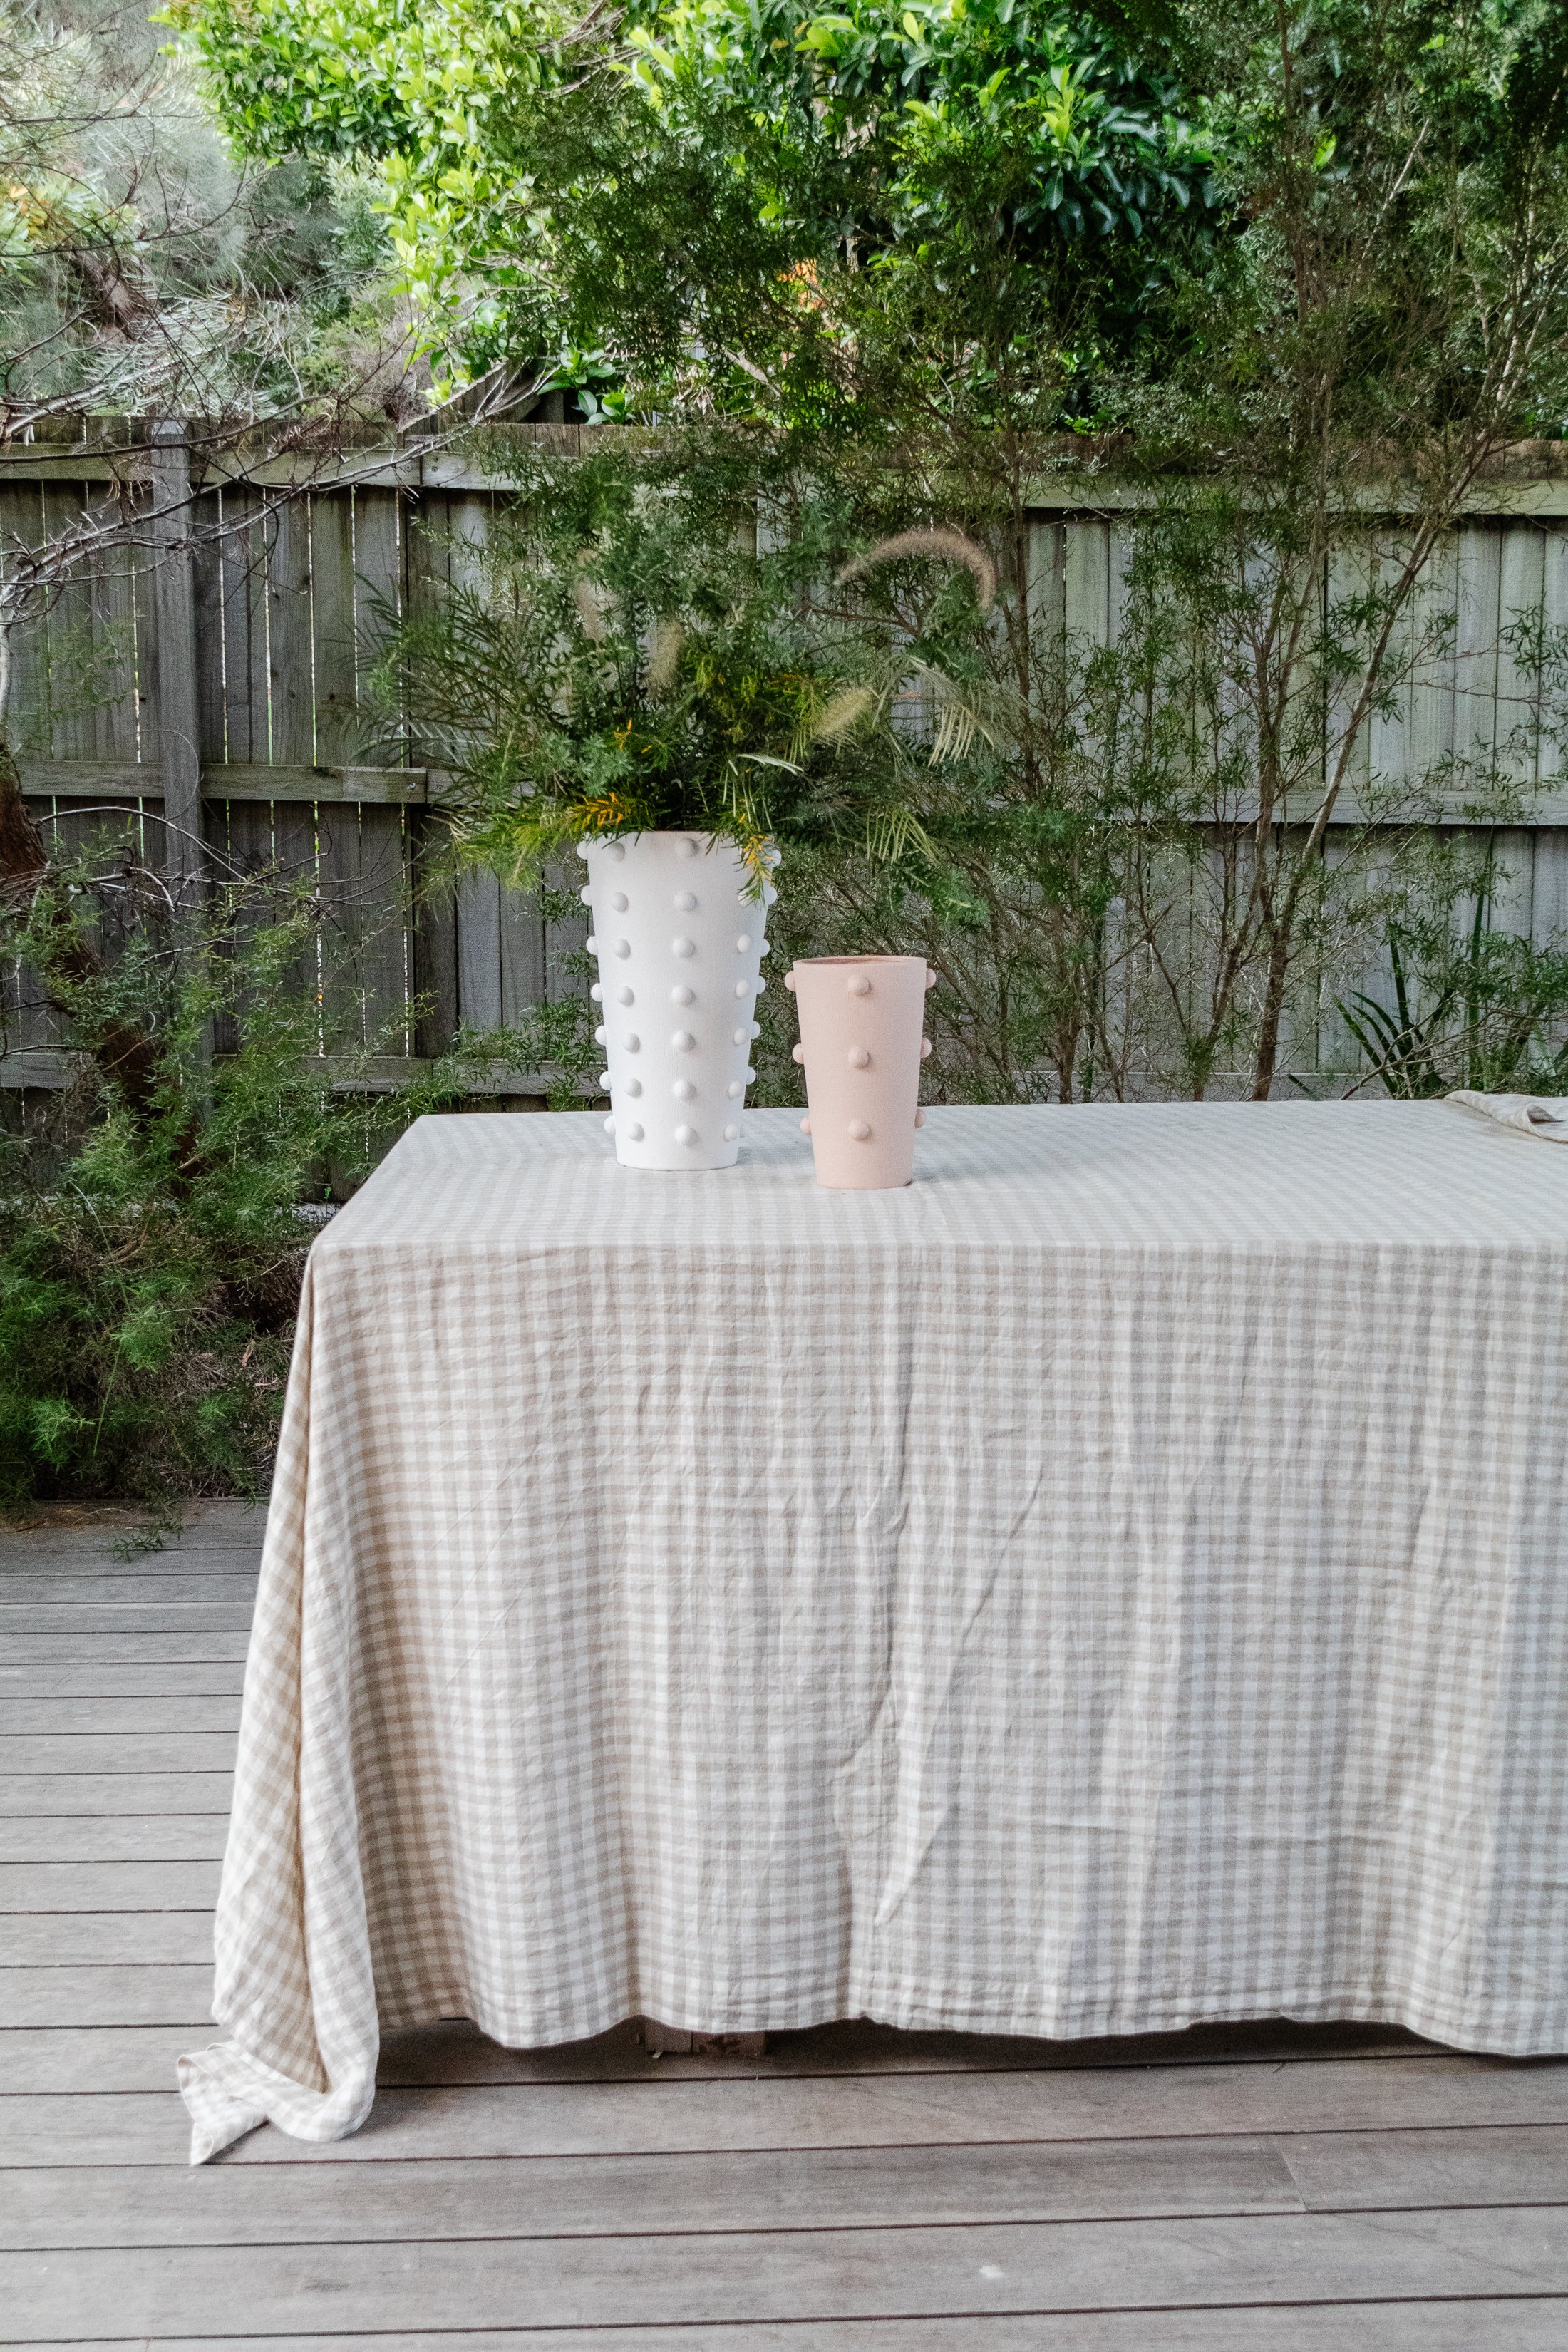
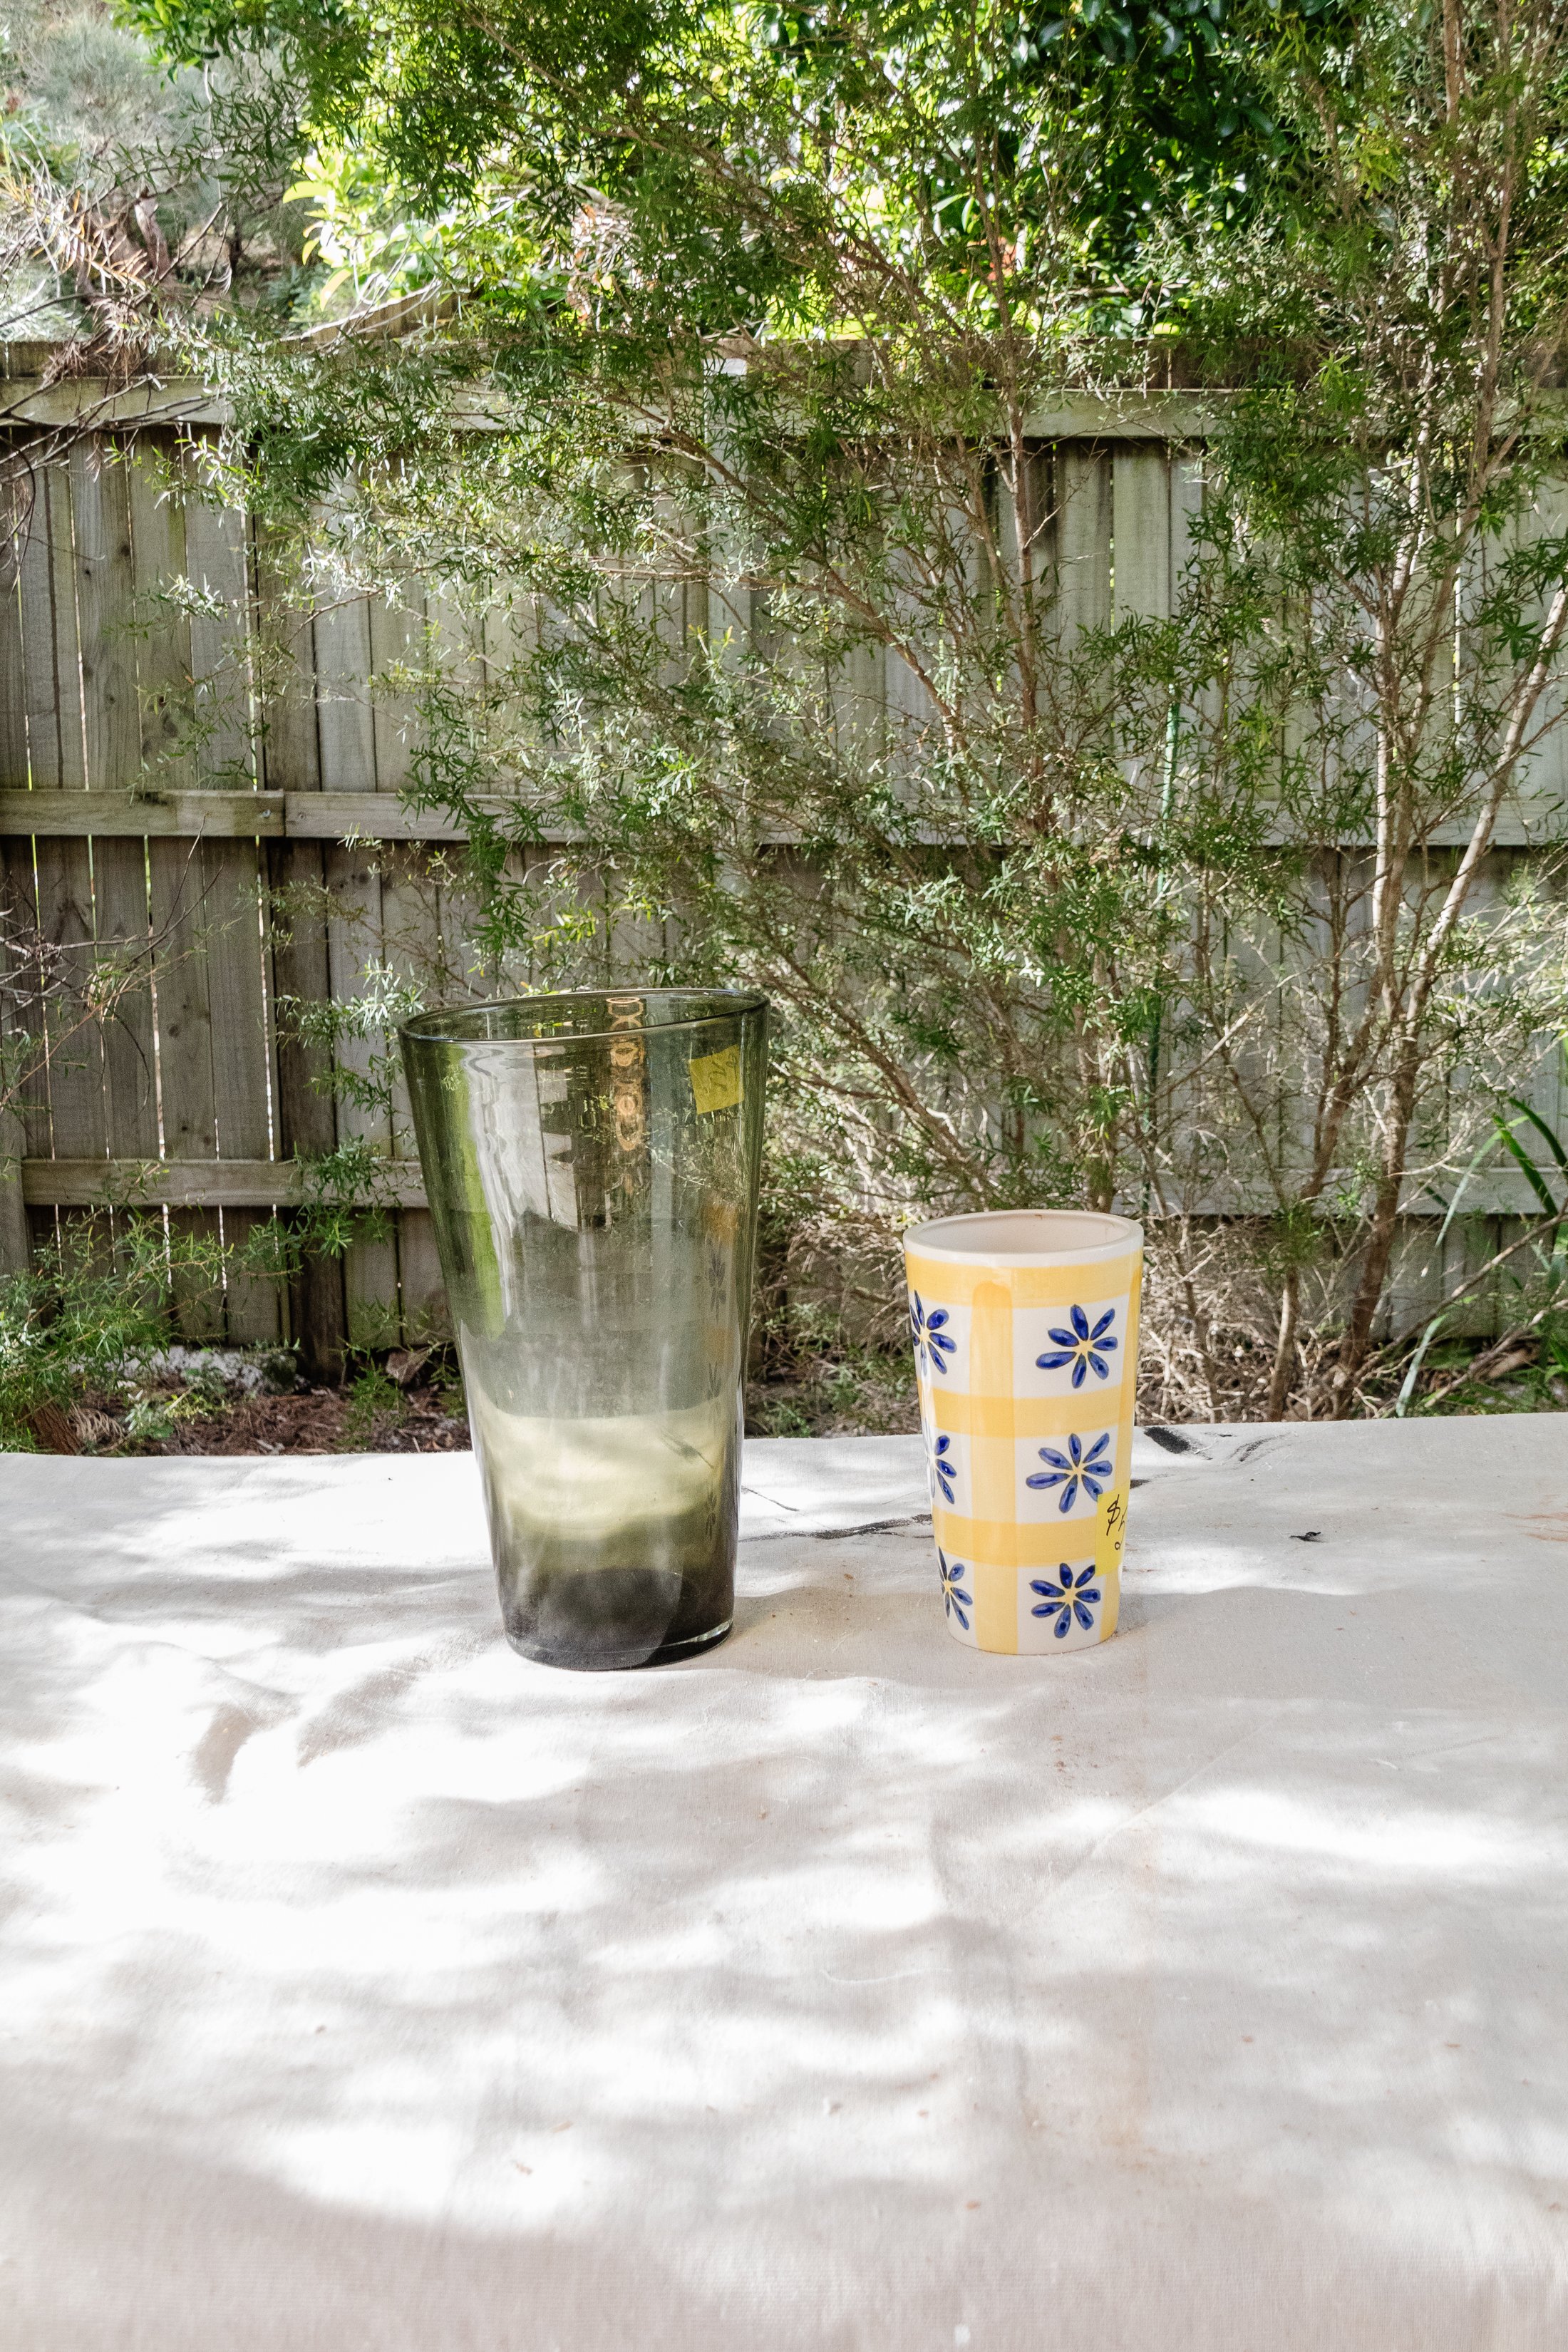
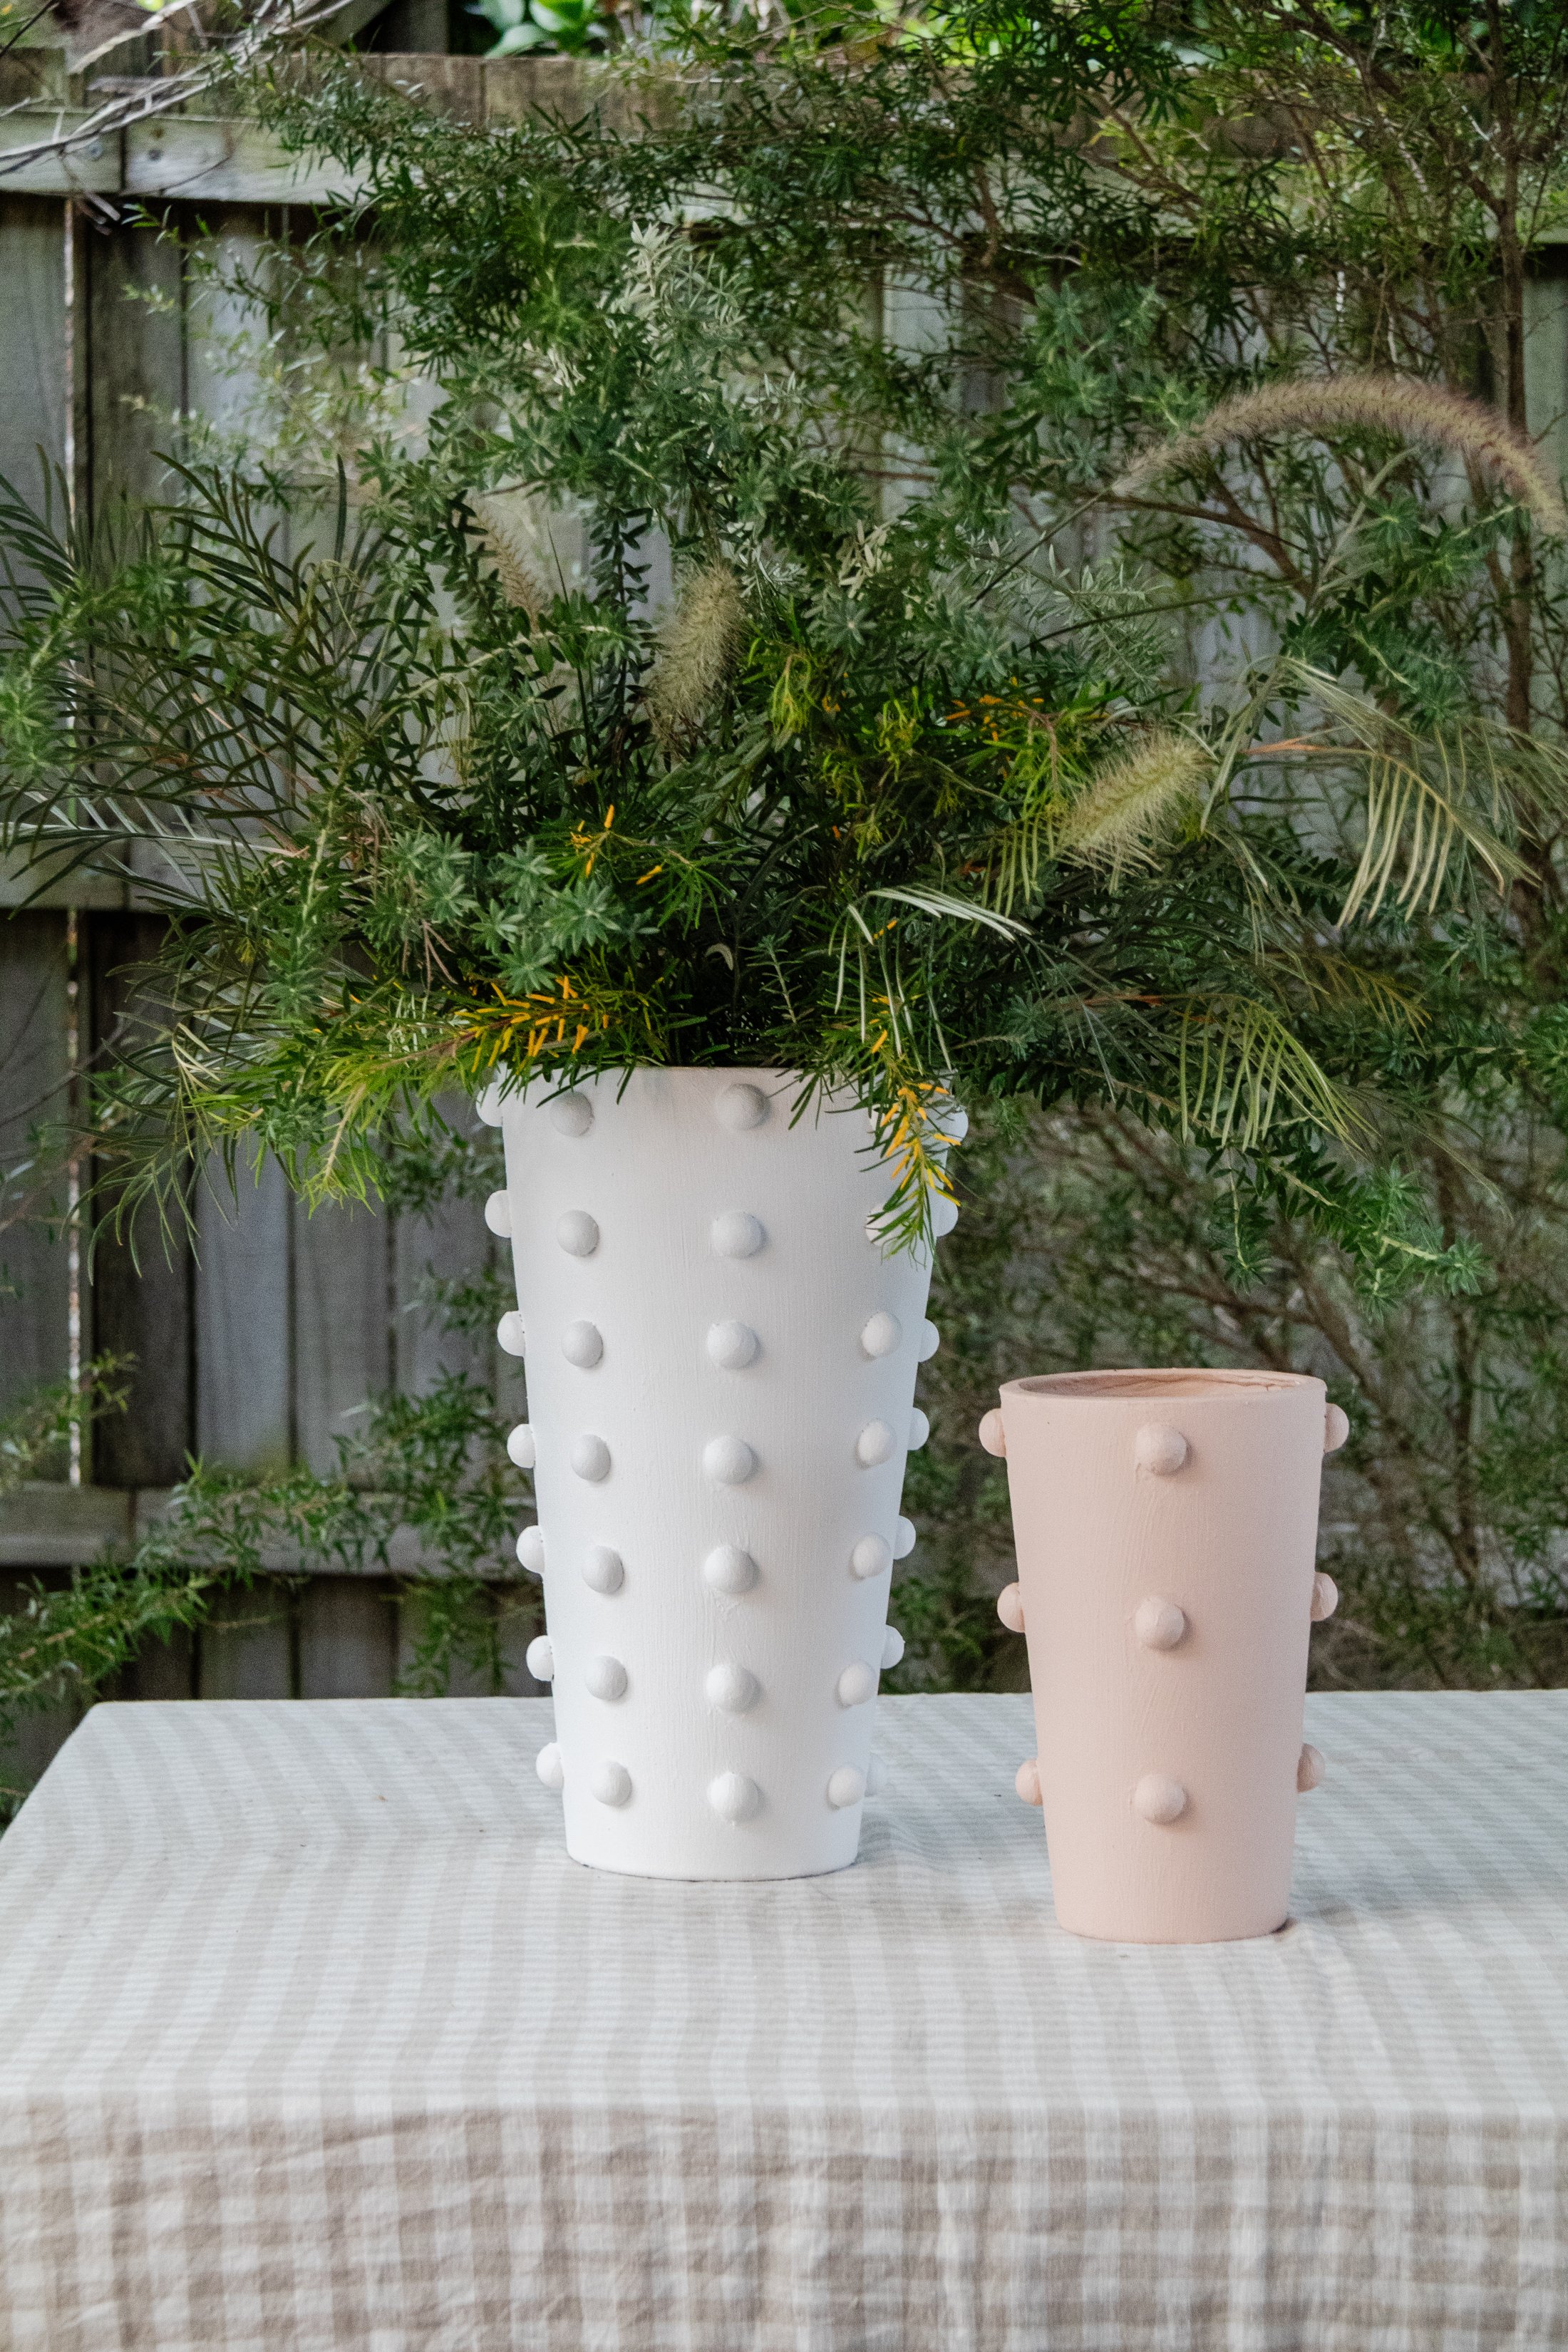
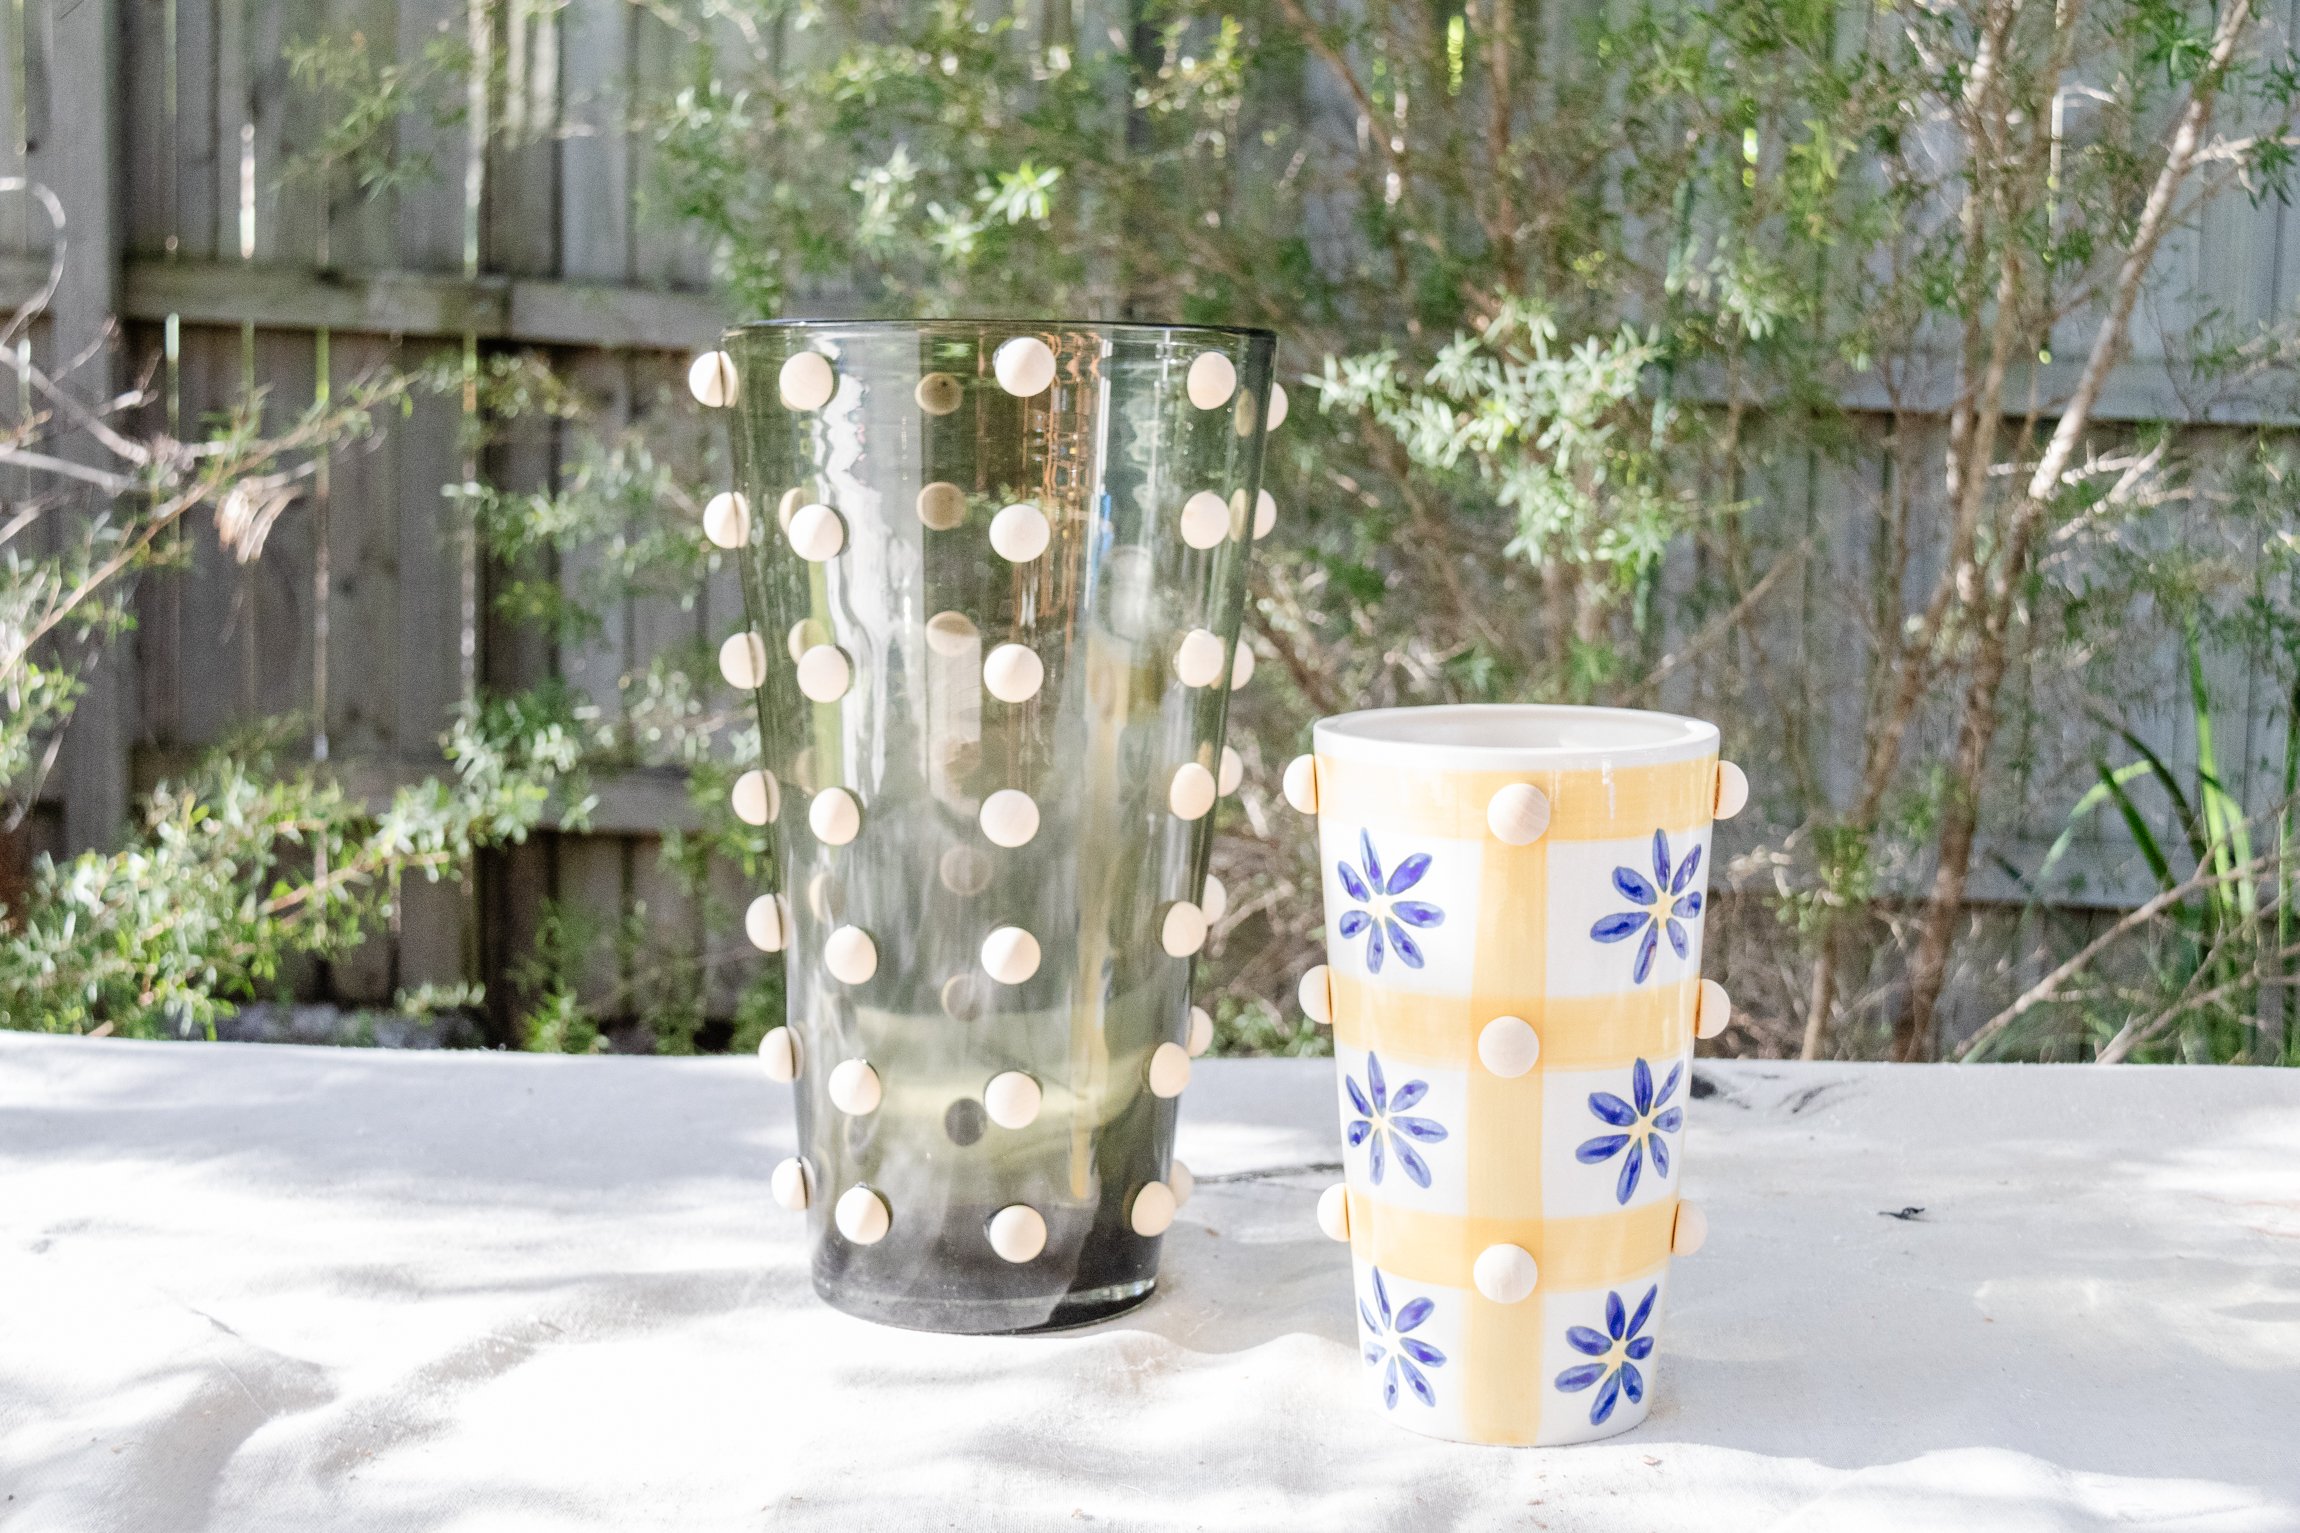
This is the perfect project for those who want a statement vase but don’t want to spend a lot of money. As you know I am all about making your dream home for less, so when I started seeing bubble vases it got me thinking. How could I make one myself? So, I rolled up my sleeves and put my own spin on it. I bought some wooden half beads and went on a thrifting adventure last week. I searched high and low through a couple of charity stores before finally stumbling across not one but two vases at my beloved tip shop. As soon as I saw them I knew they would be perfect for this project and I actually couldn’t believe I found two that were the same shape, but different sizes. I really loved that! A bit of gluten and painting later, and I am now the proud owner of two gorgeous upcycled Bubble Vases. And here we are. To learn how to make your own Upcycled Bubble Vase, tap the link in my bio. And as always, happy making!
Before & After
Materials
Vases - honeslty I think any shape would work! I’d love to try a more organic, curvy vase next.
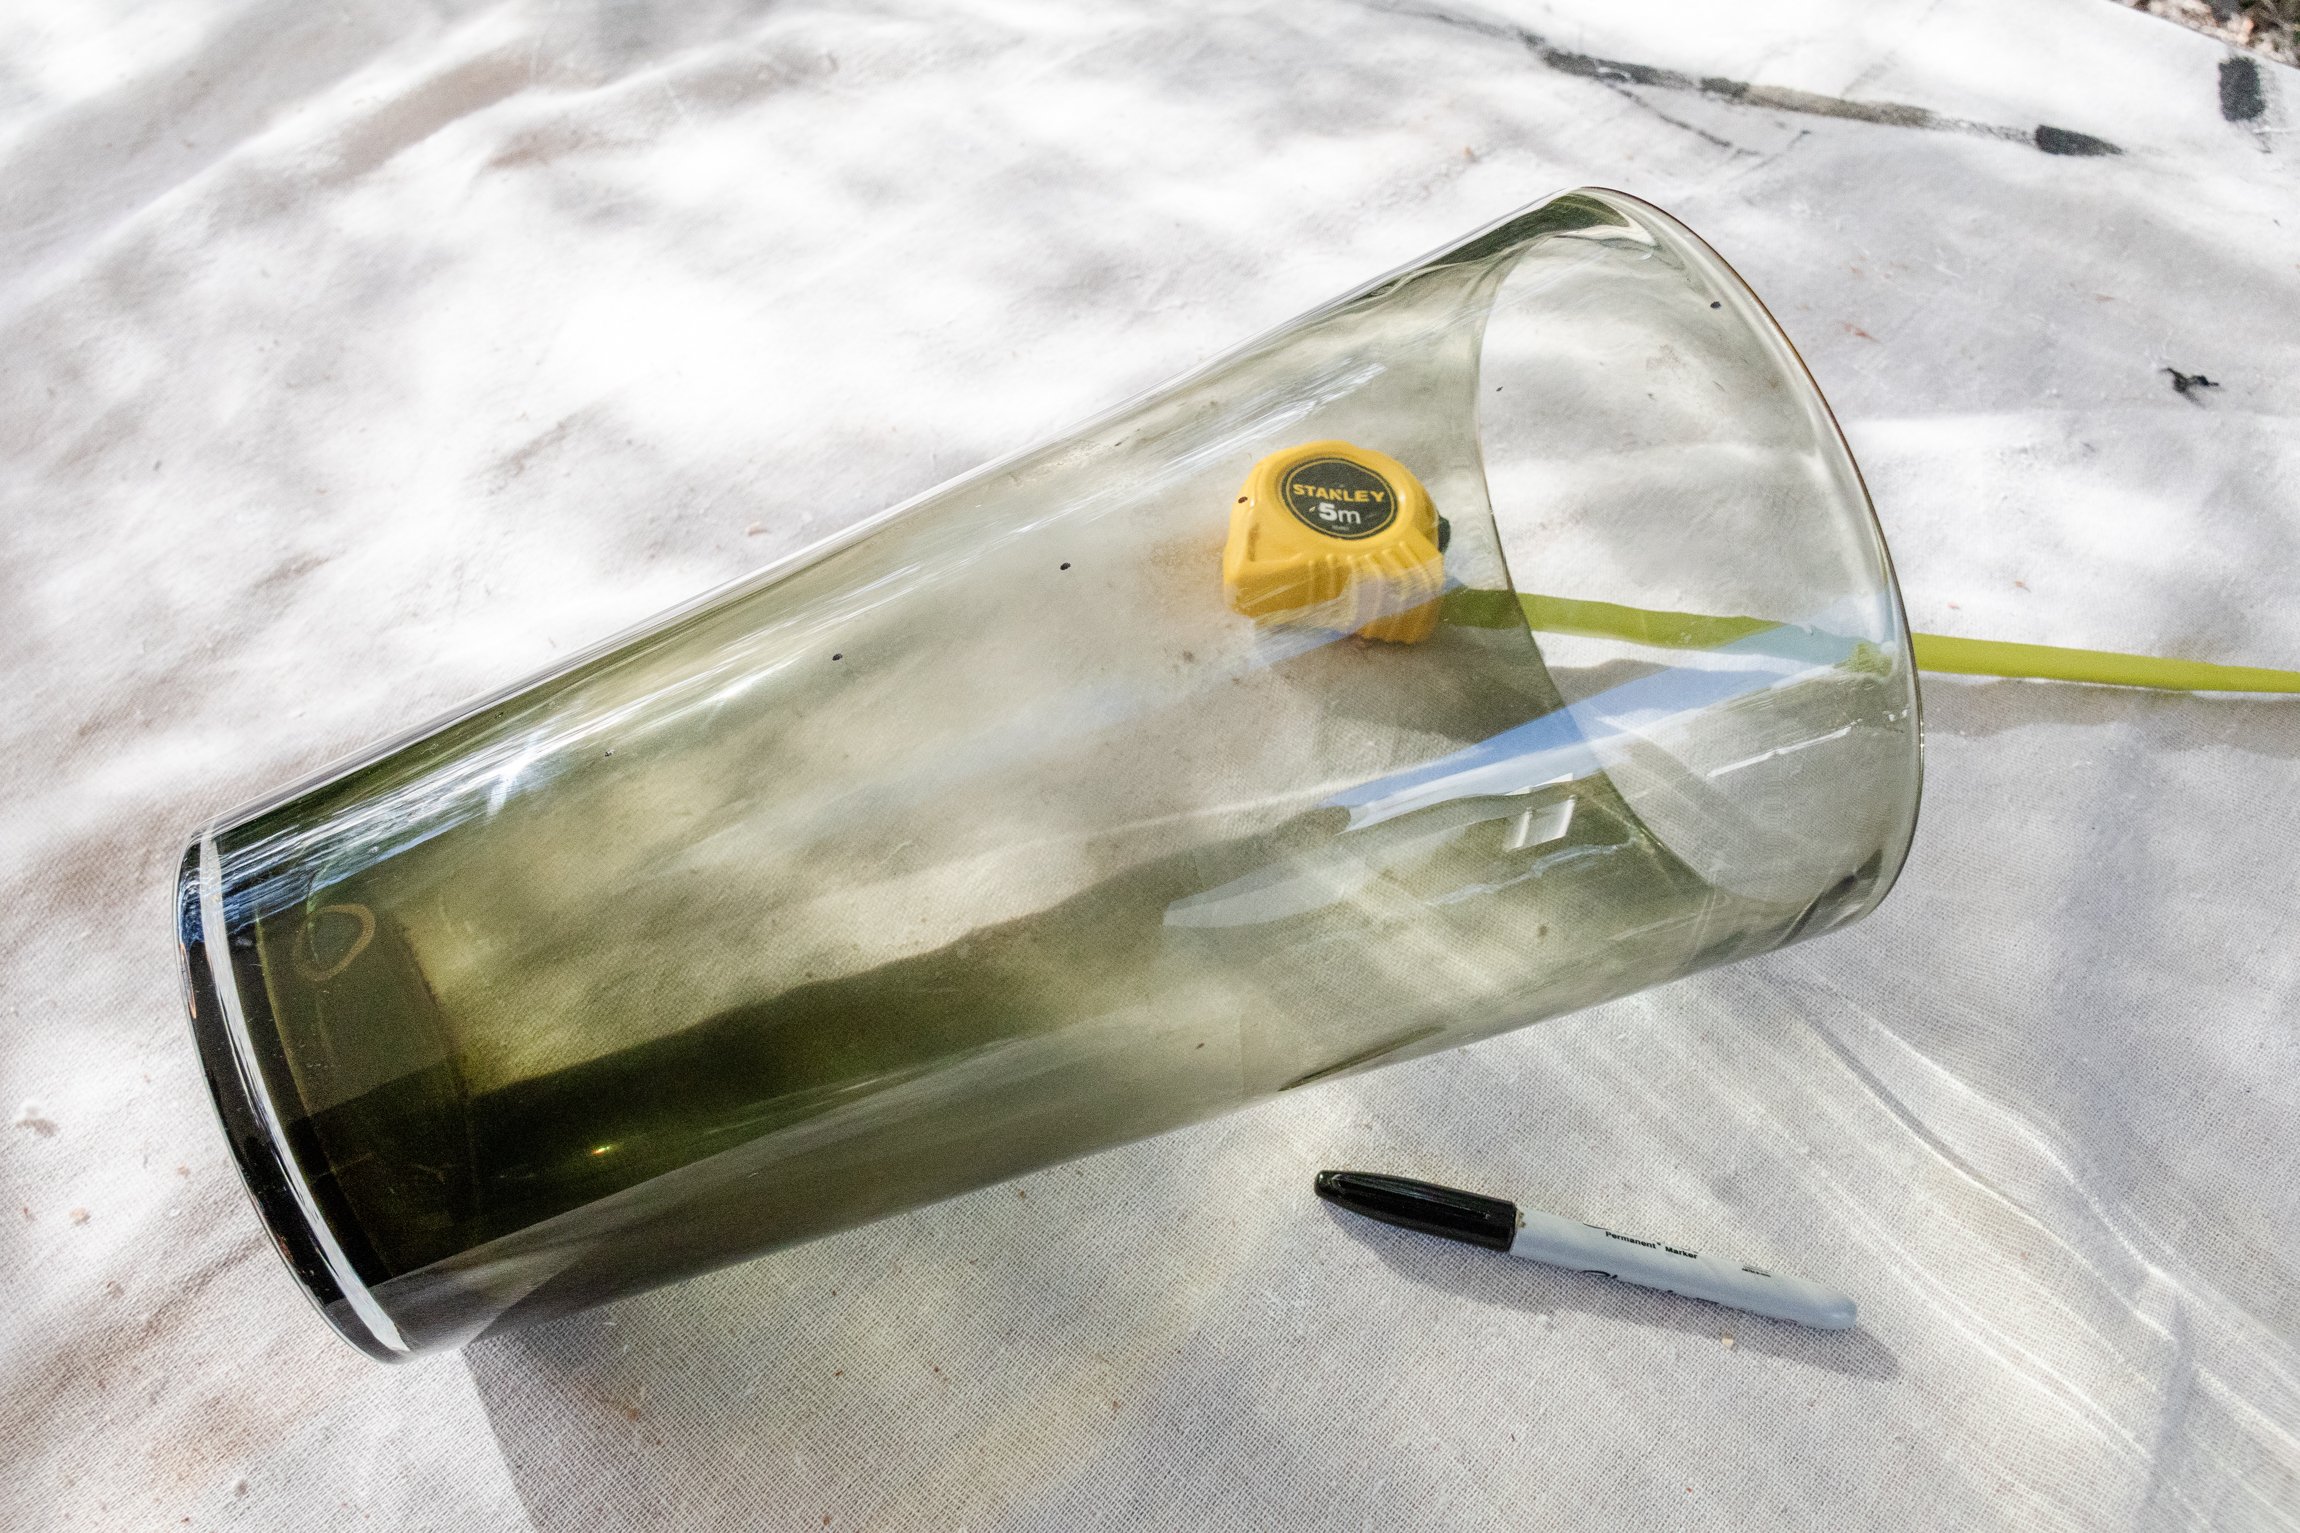
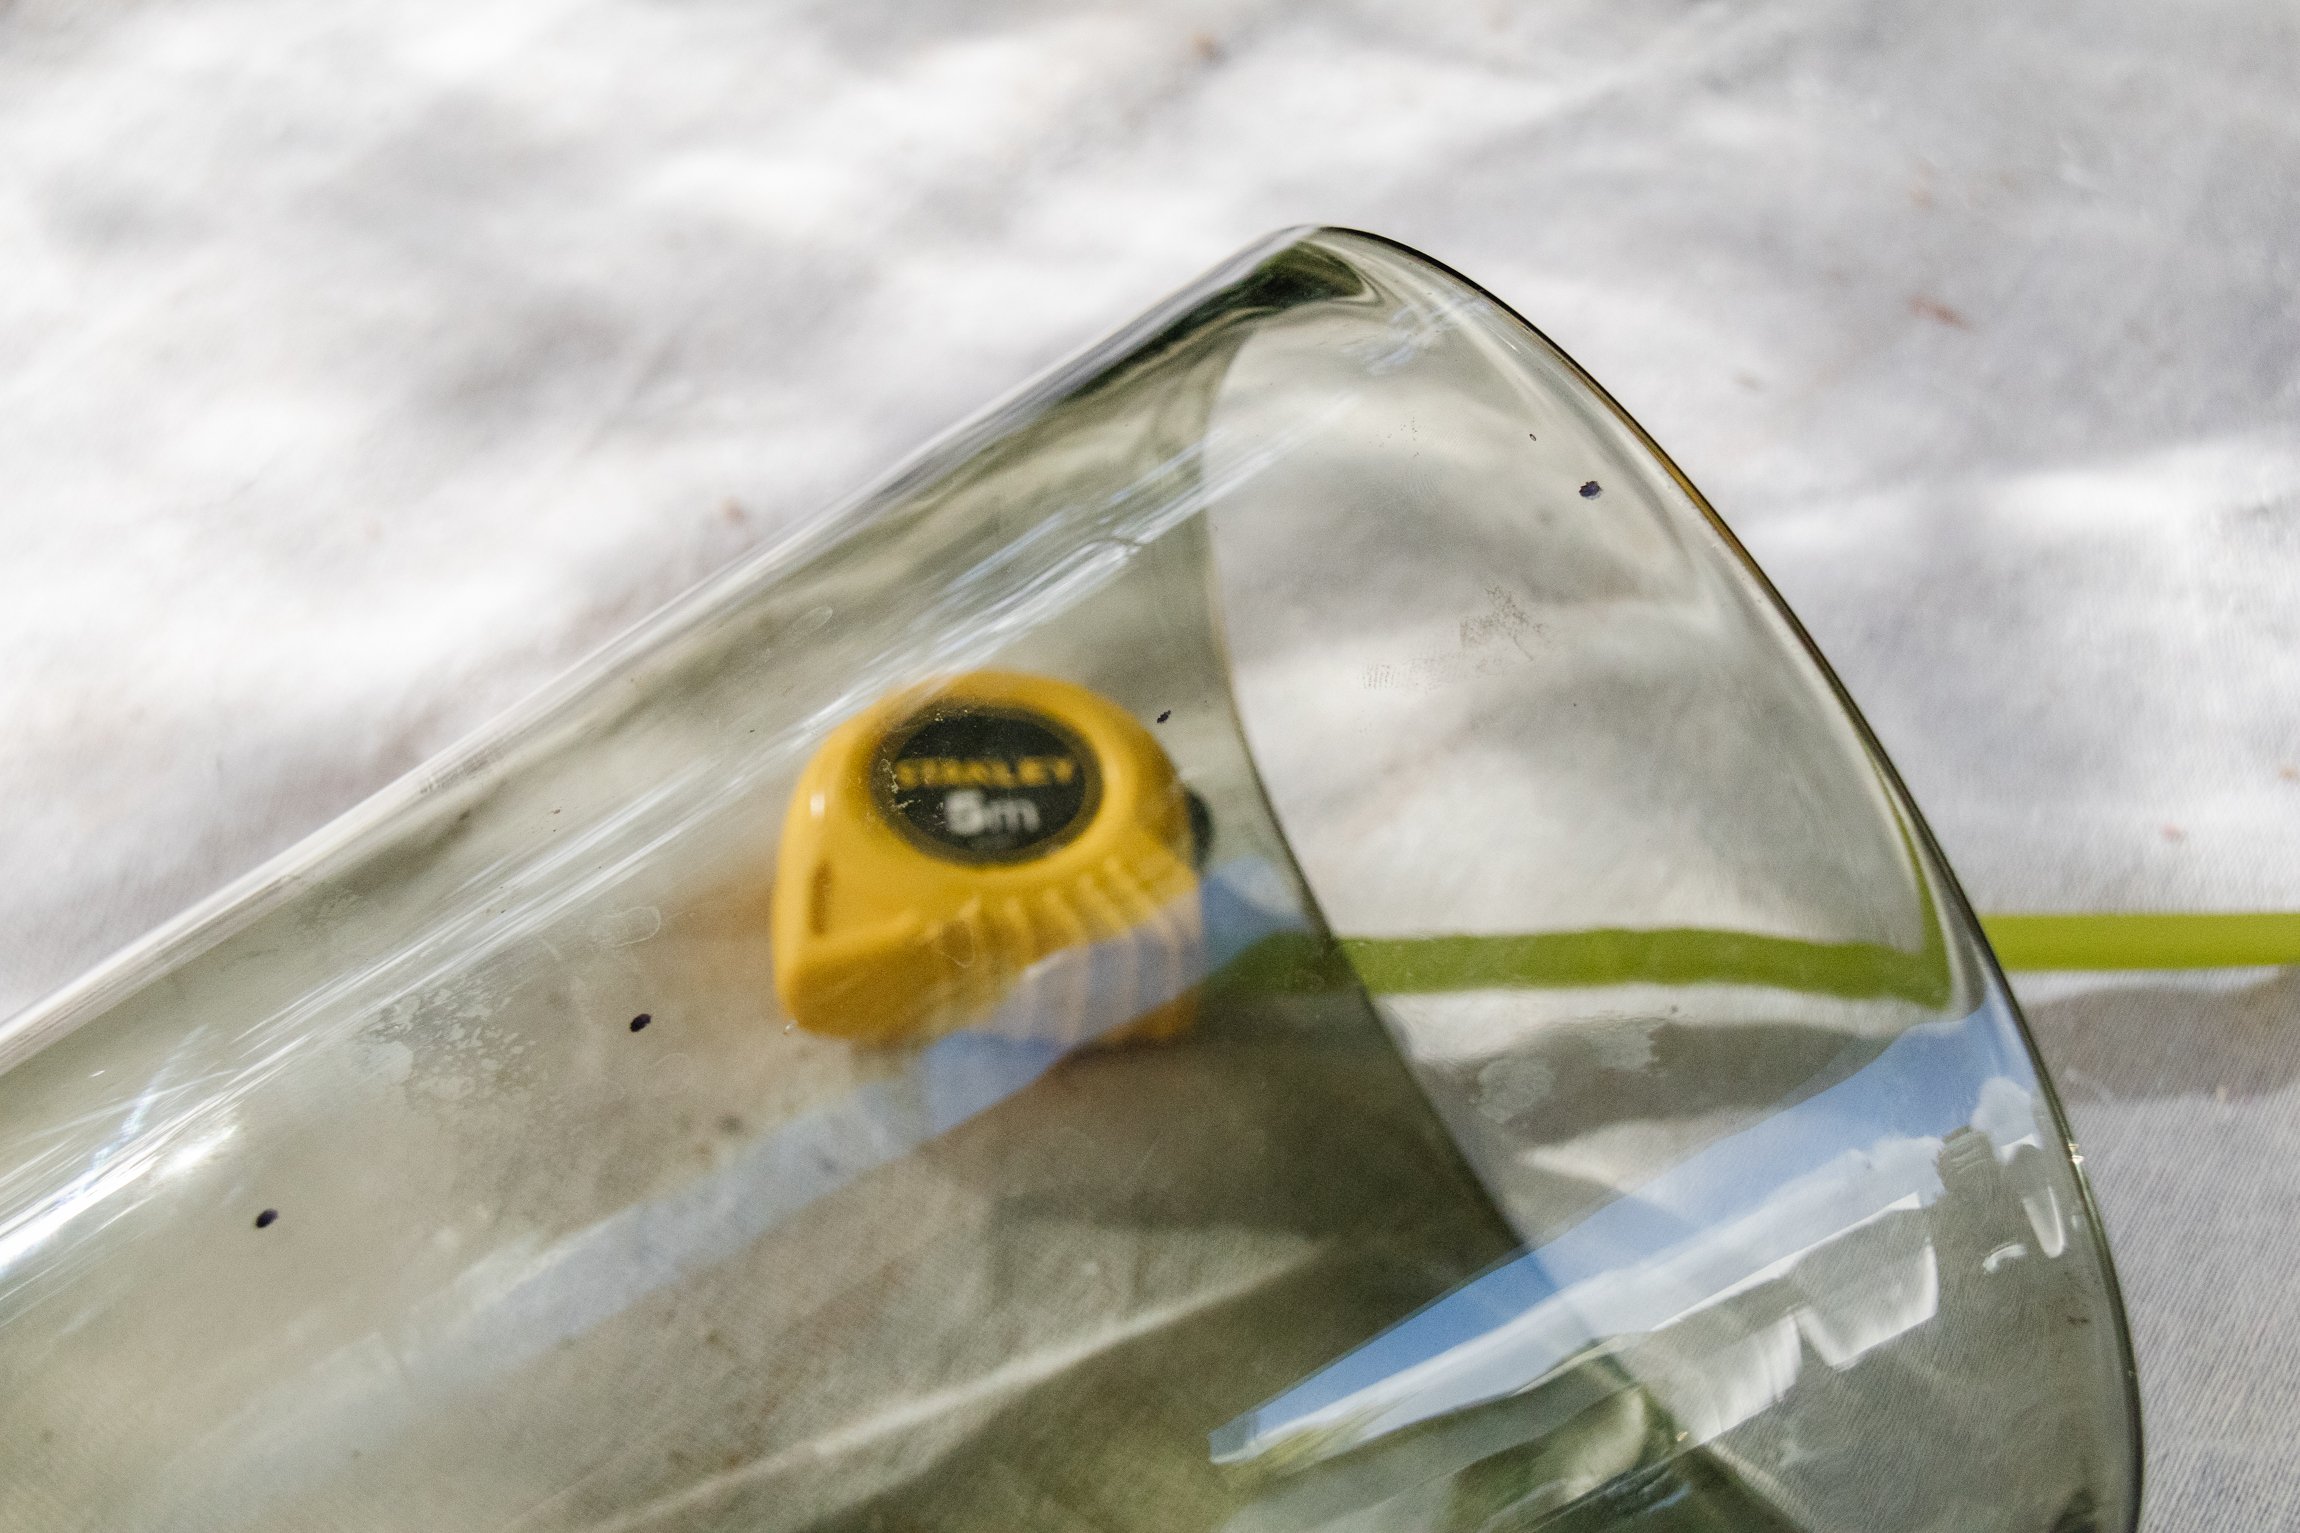
Measuring tape and permanent marker, like a Sharpie
Wooden Half Beads from Amazon
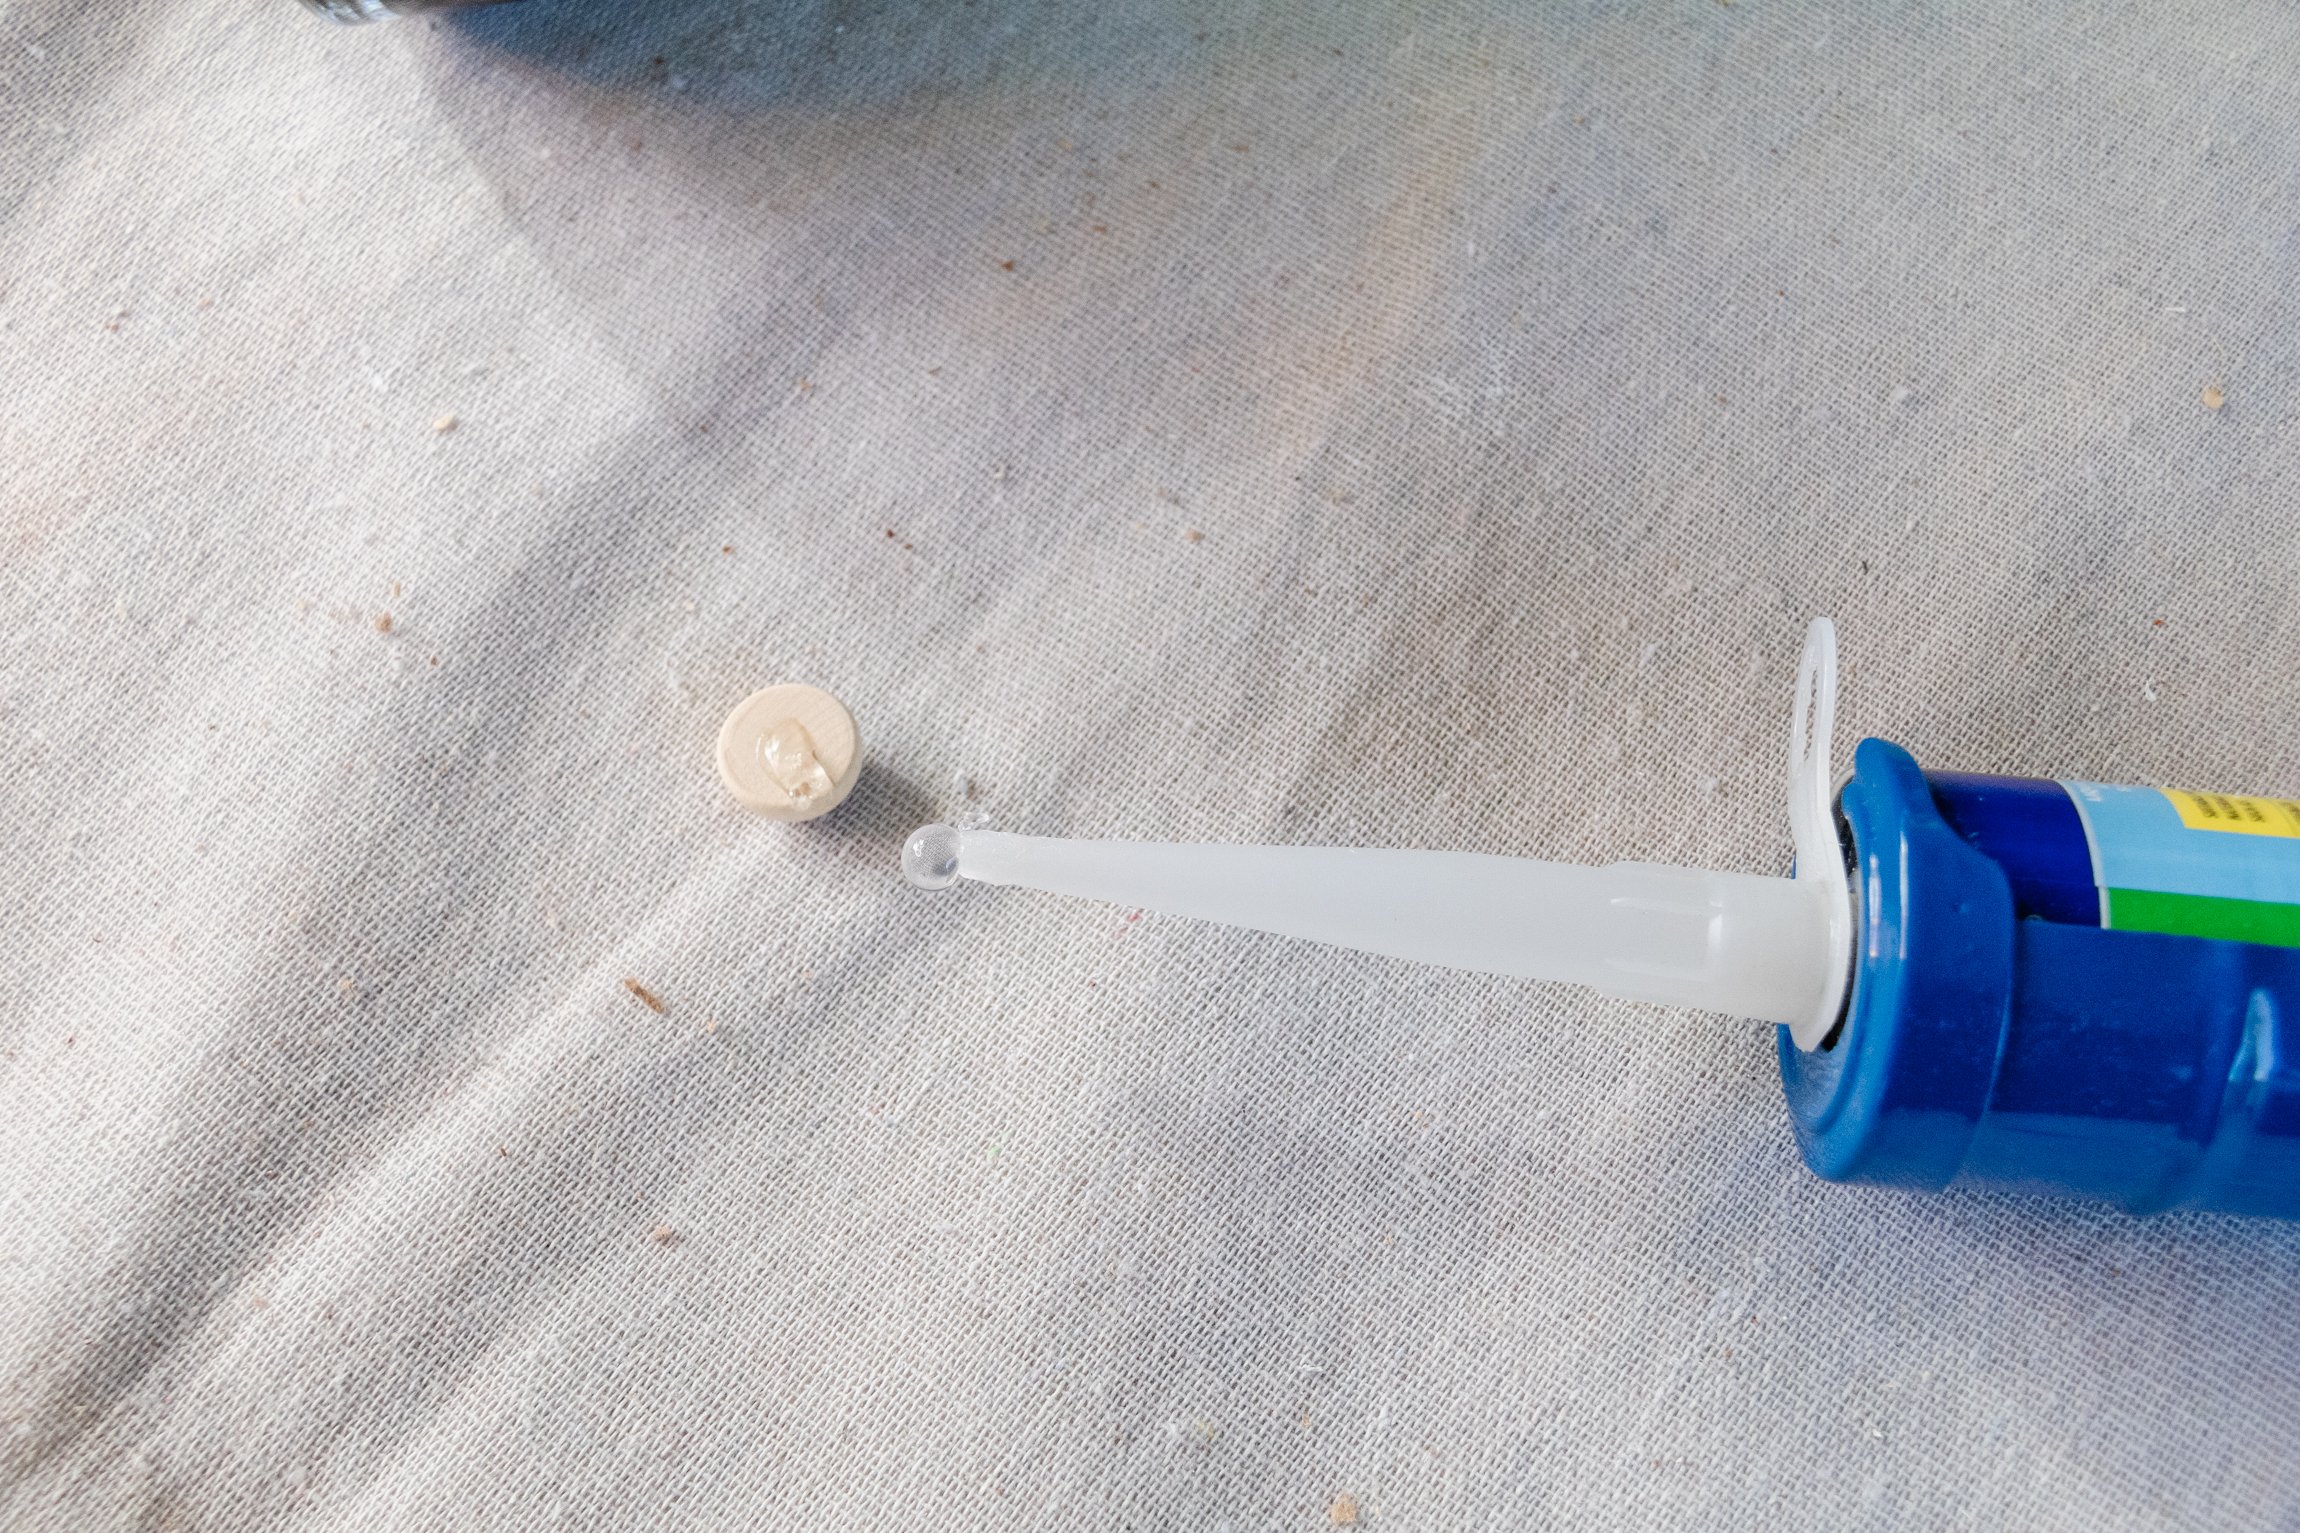
Selley’s Liquid Nails from Bunnings
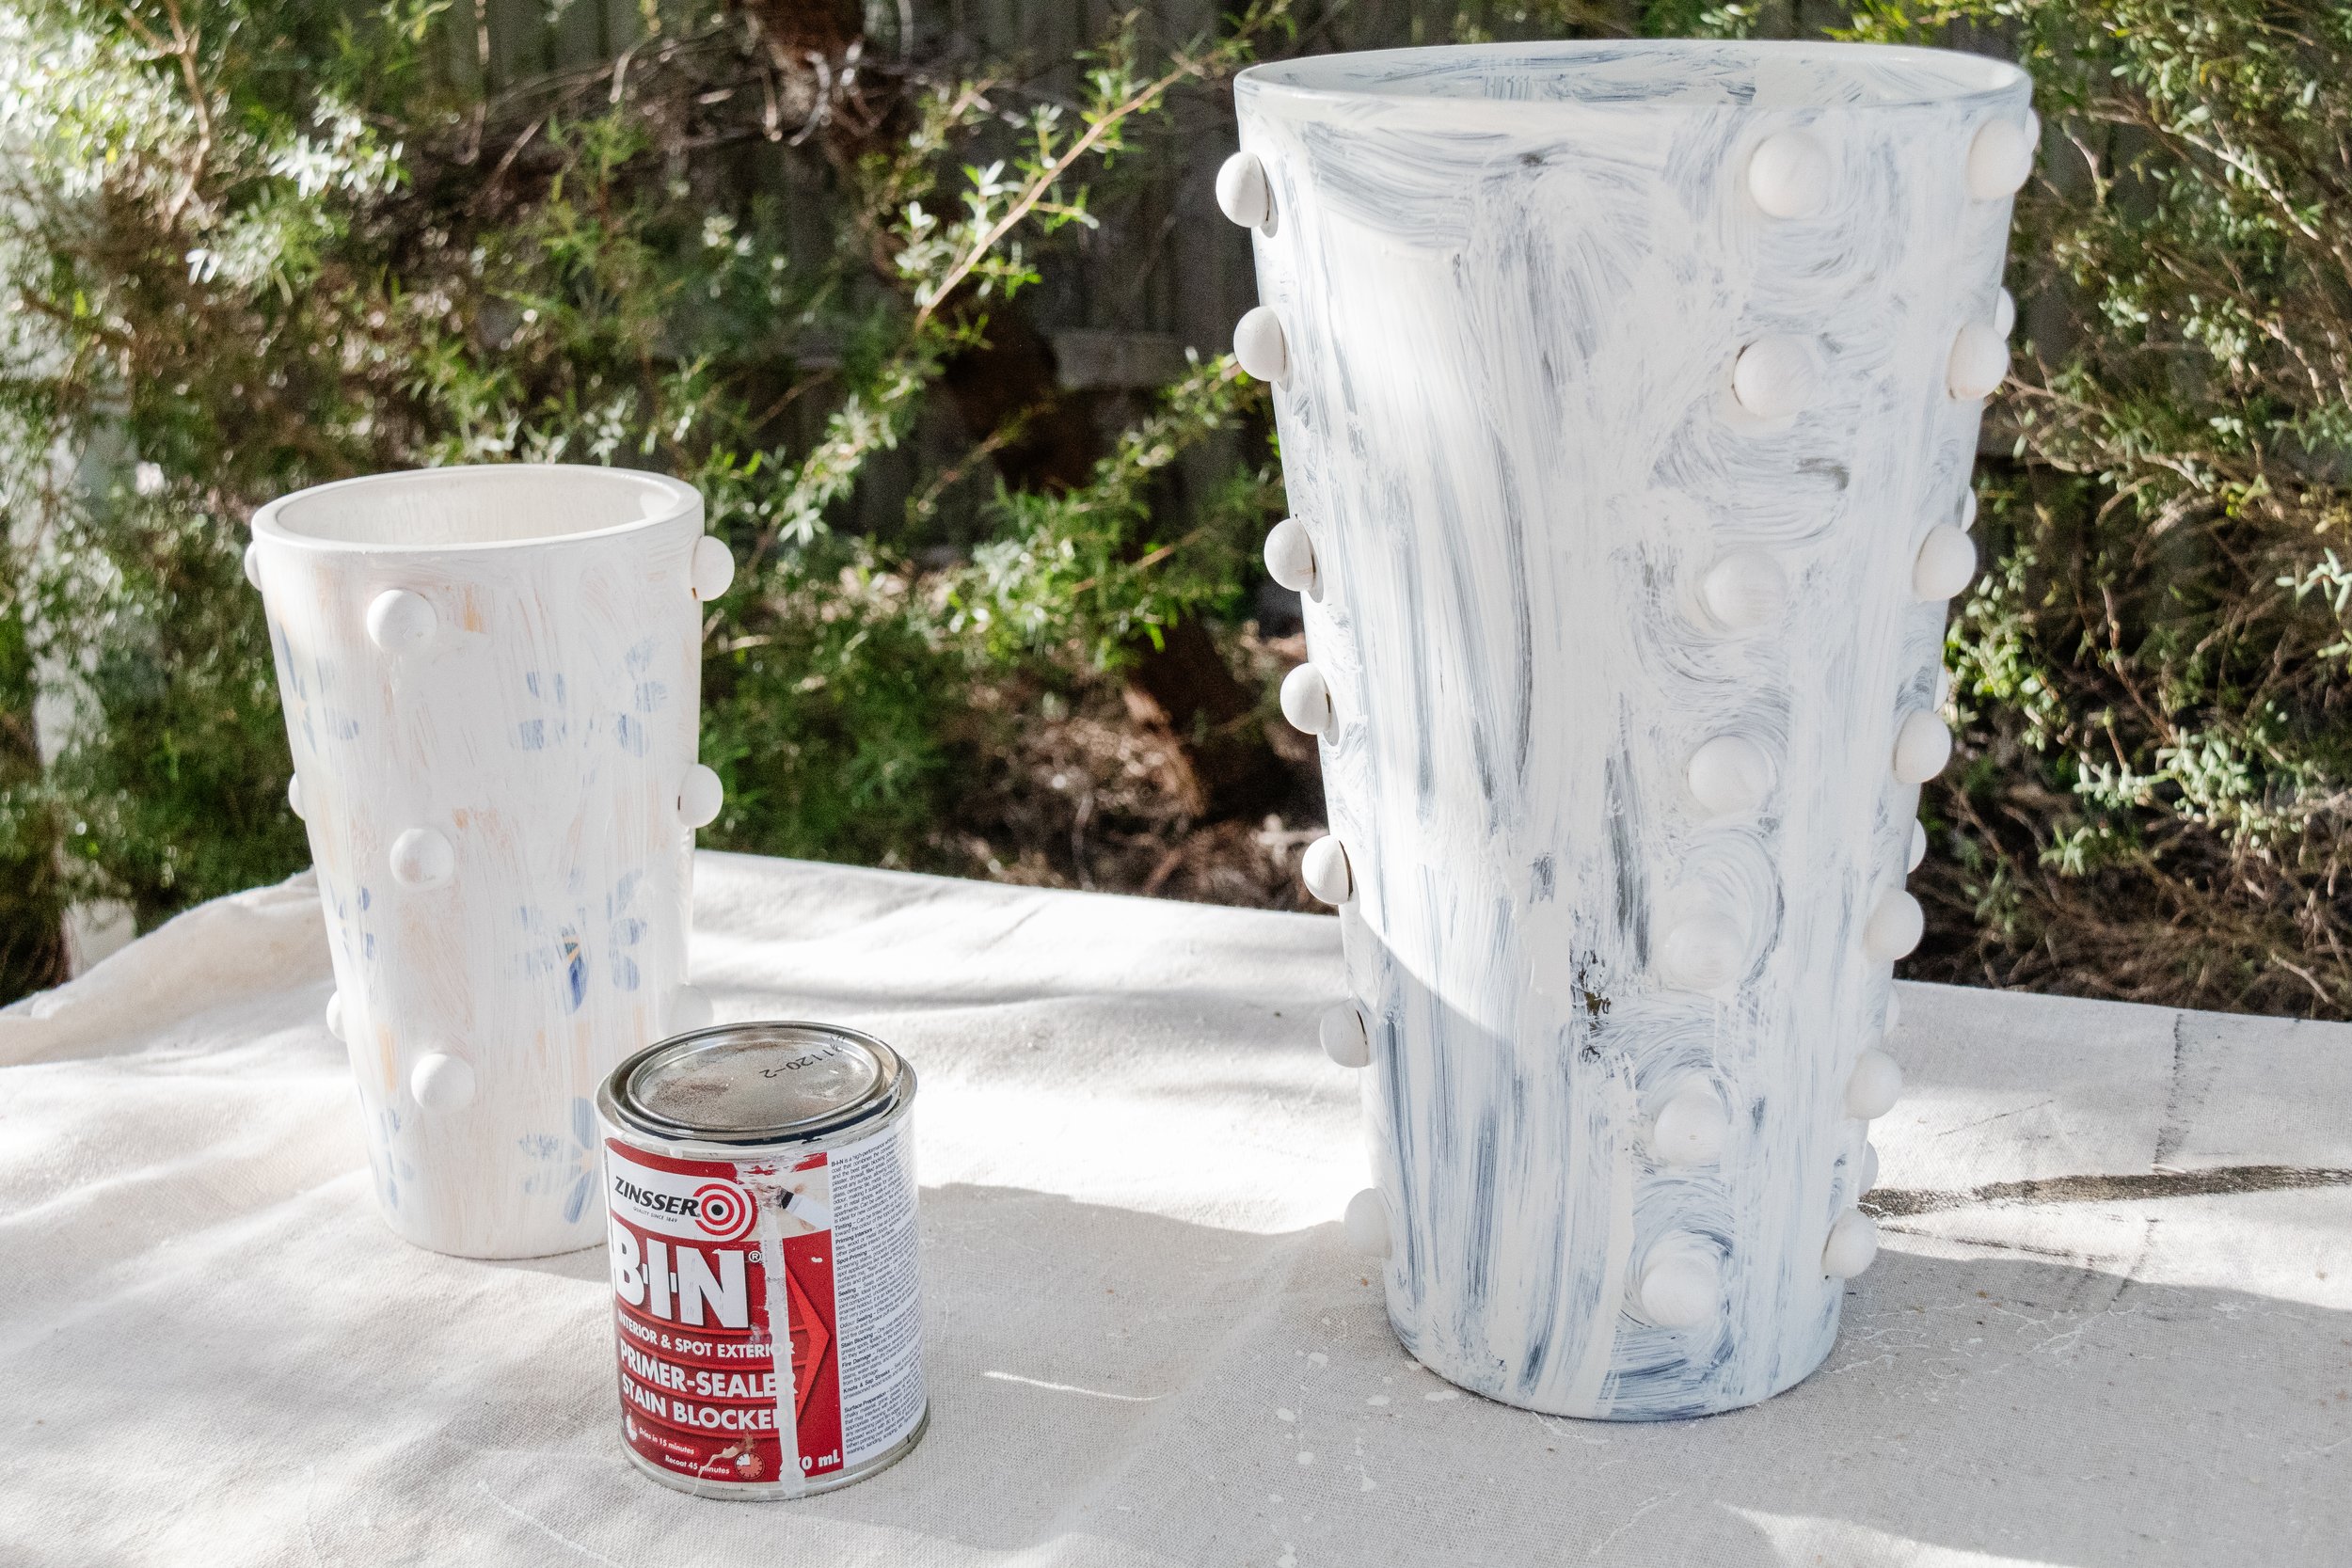
Zinsser Bin Sealer Primer Blocker from Bunnings
Disposable paint brush
Paint in your favourite colour
Tip: You will need methylated spirits to clean your paint brush after applying the primer. It’s ok if you don’t have this, however you will need to dispose of your paint brush.
How To
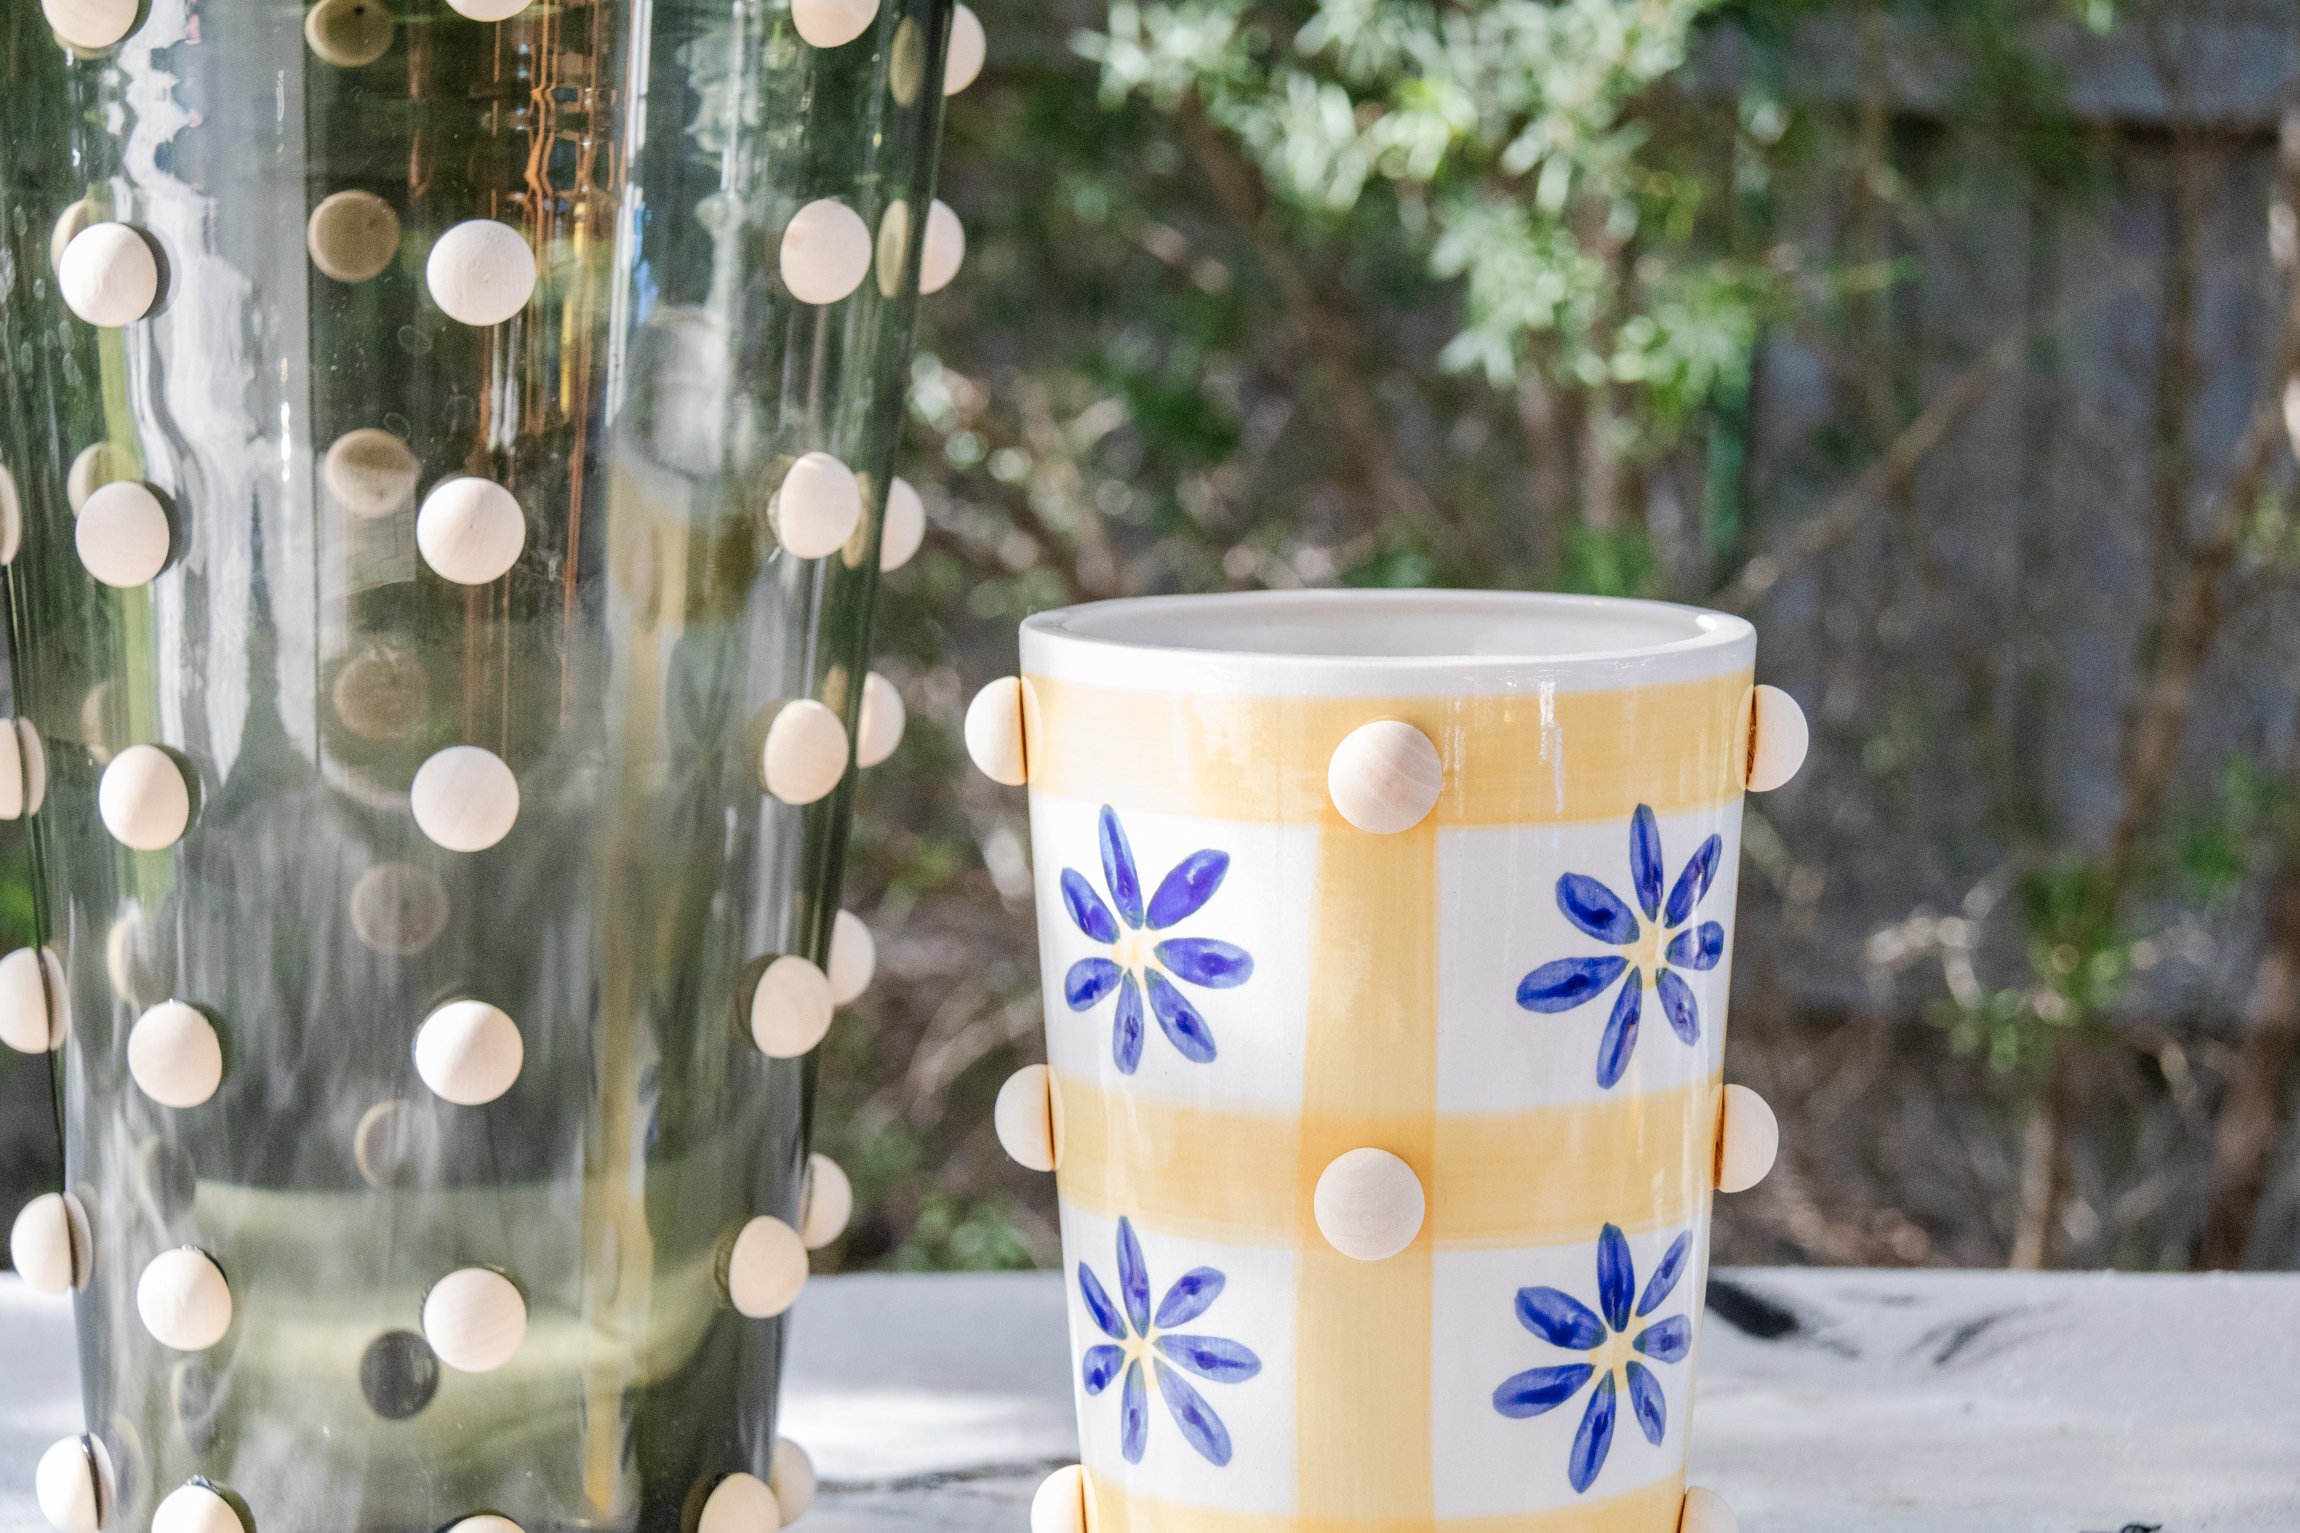
Start by cleaning your vases and removing any dust or residue with a clean cloth. Use the measuring tape and pen to evenly mark out where you want to glue the first column of wooden half beads.
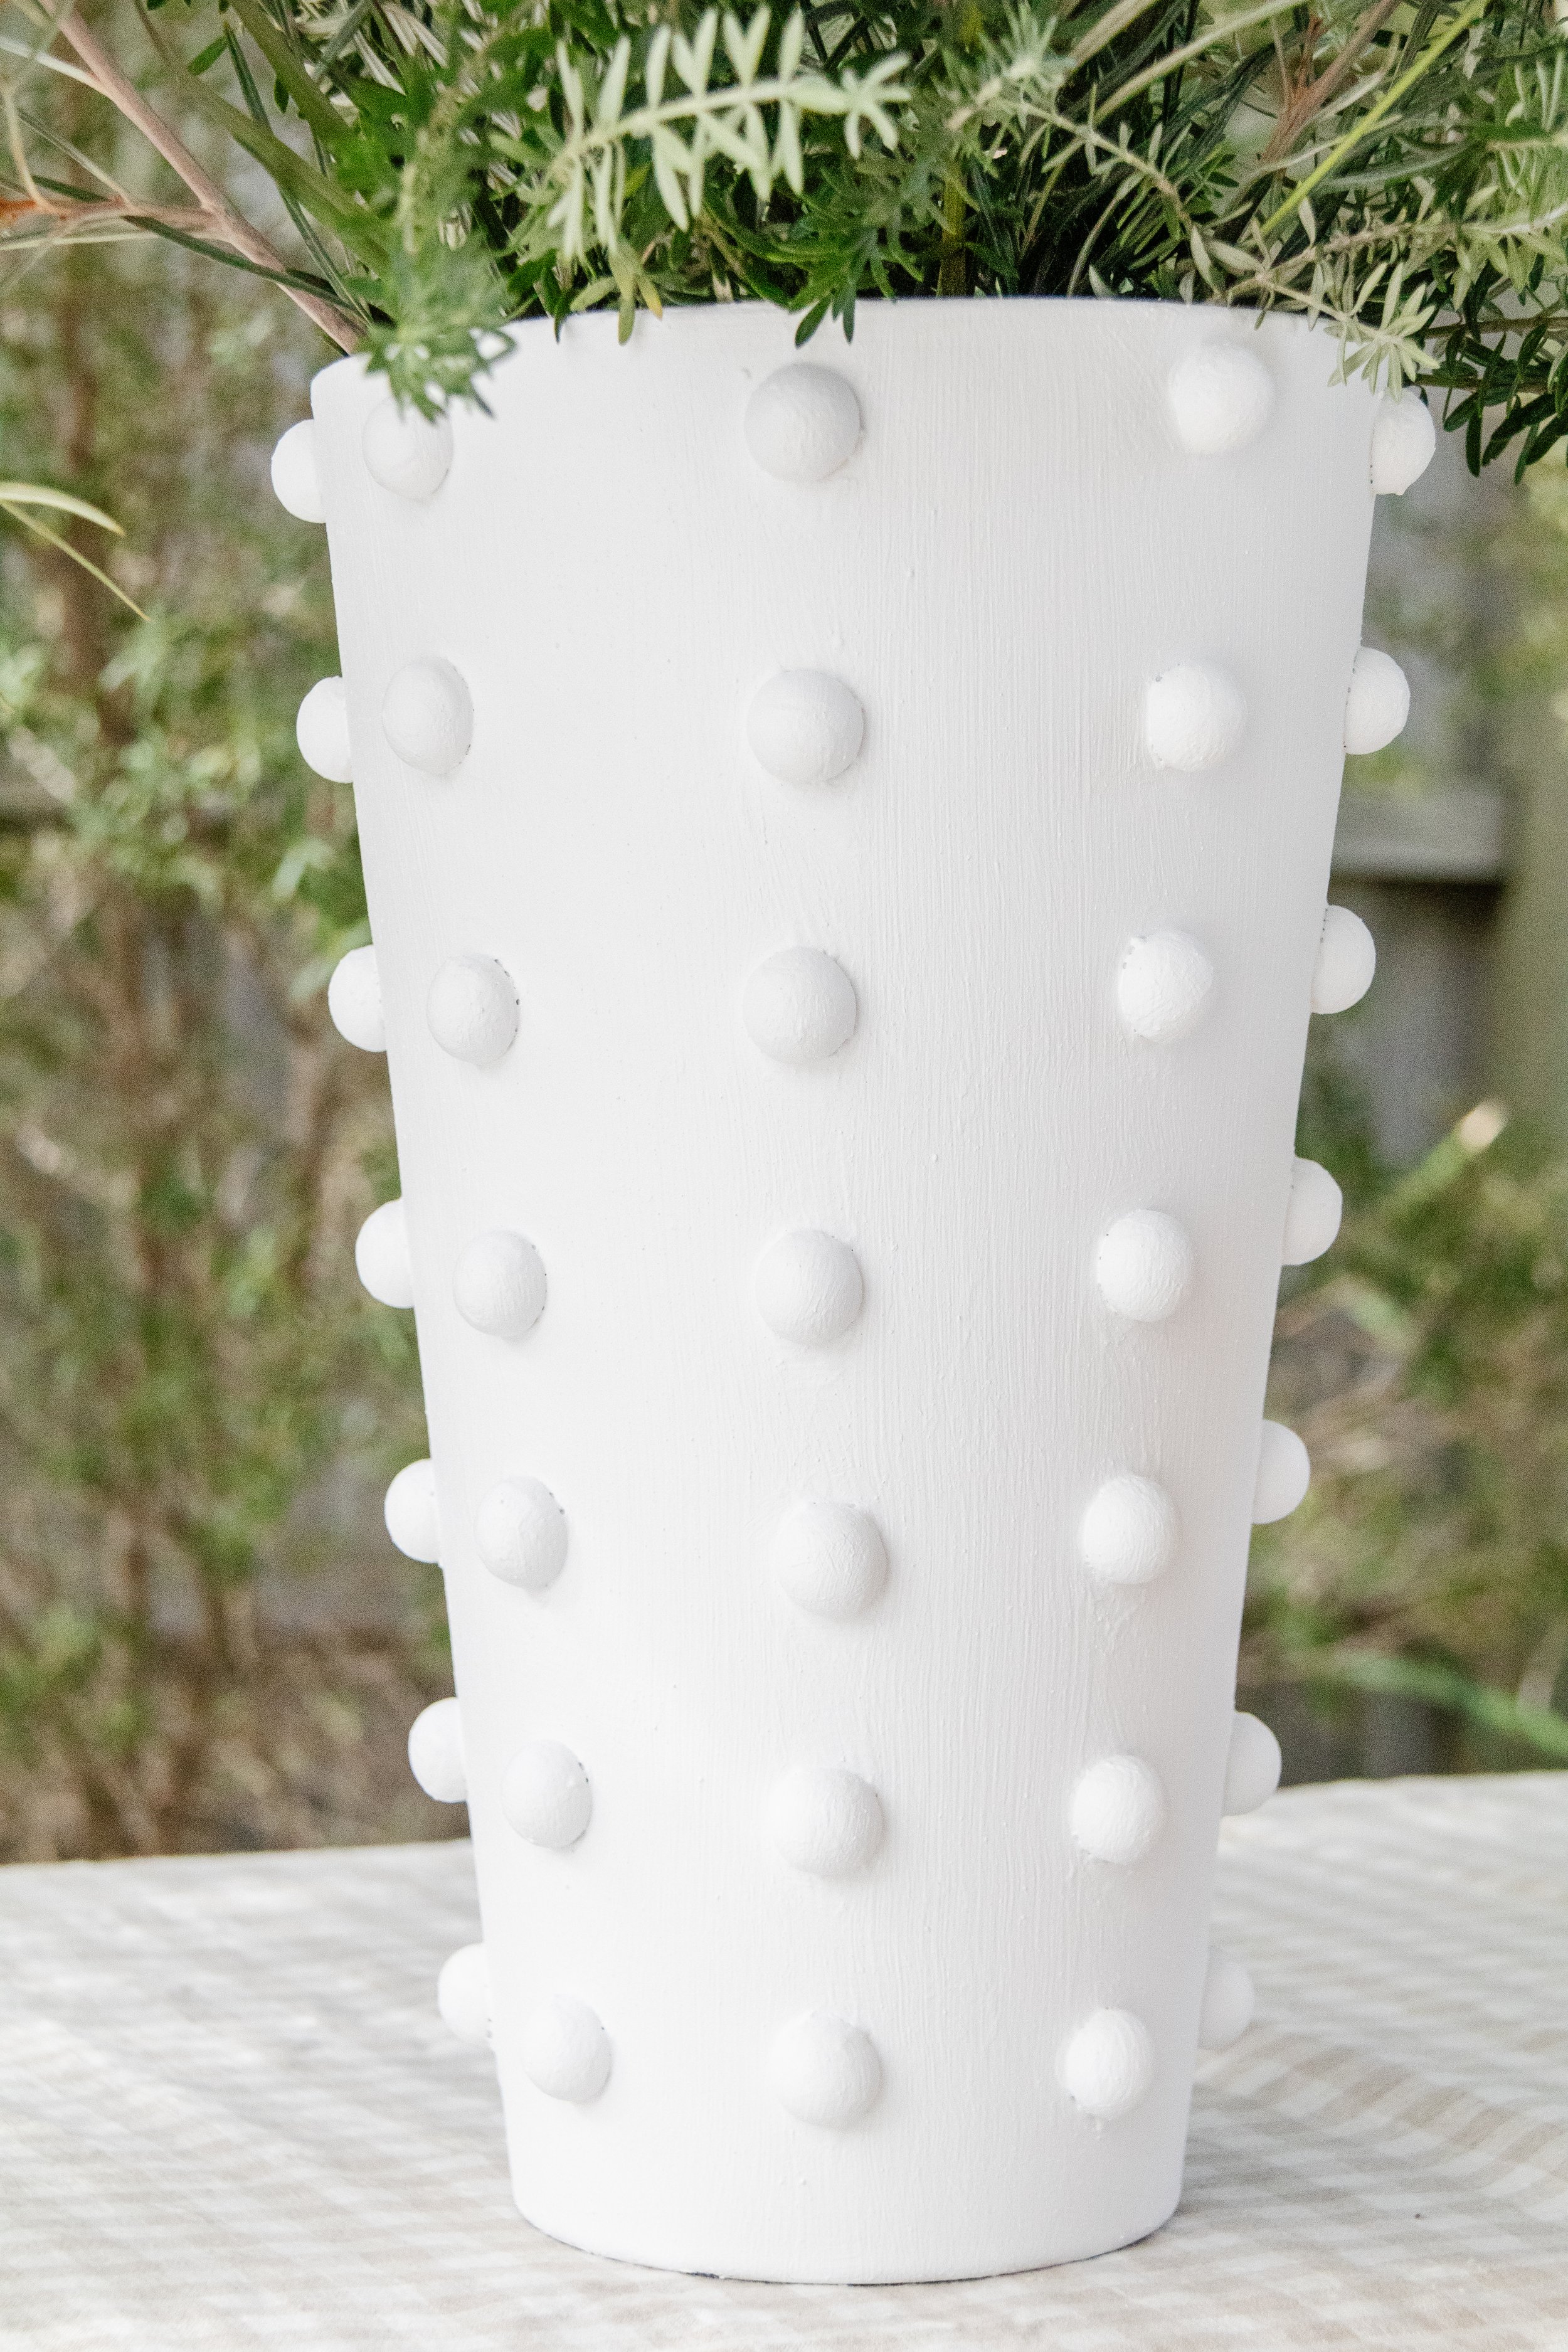
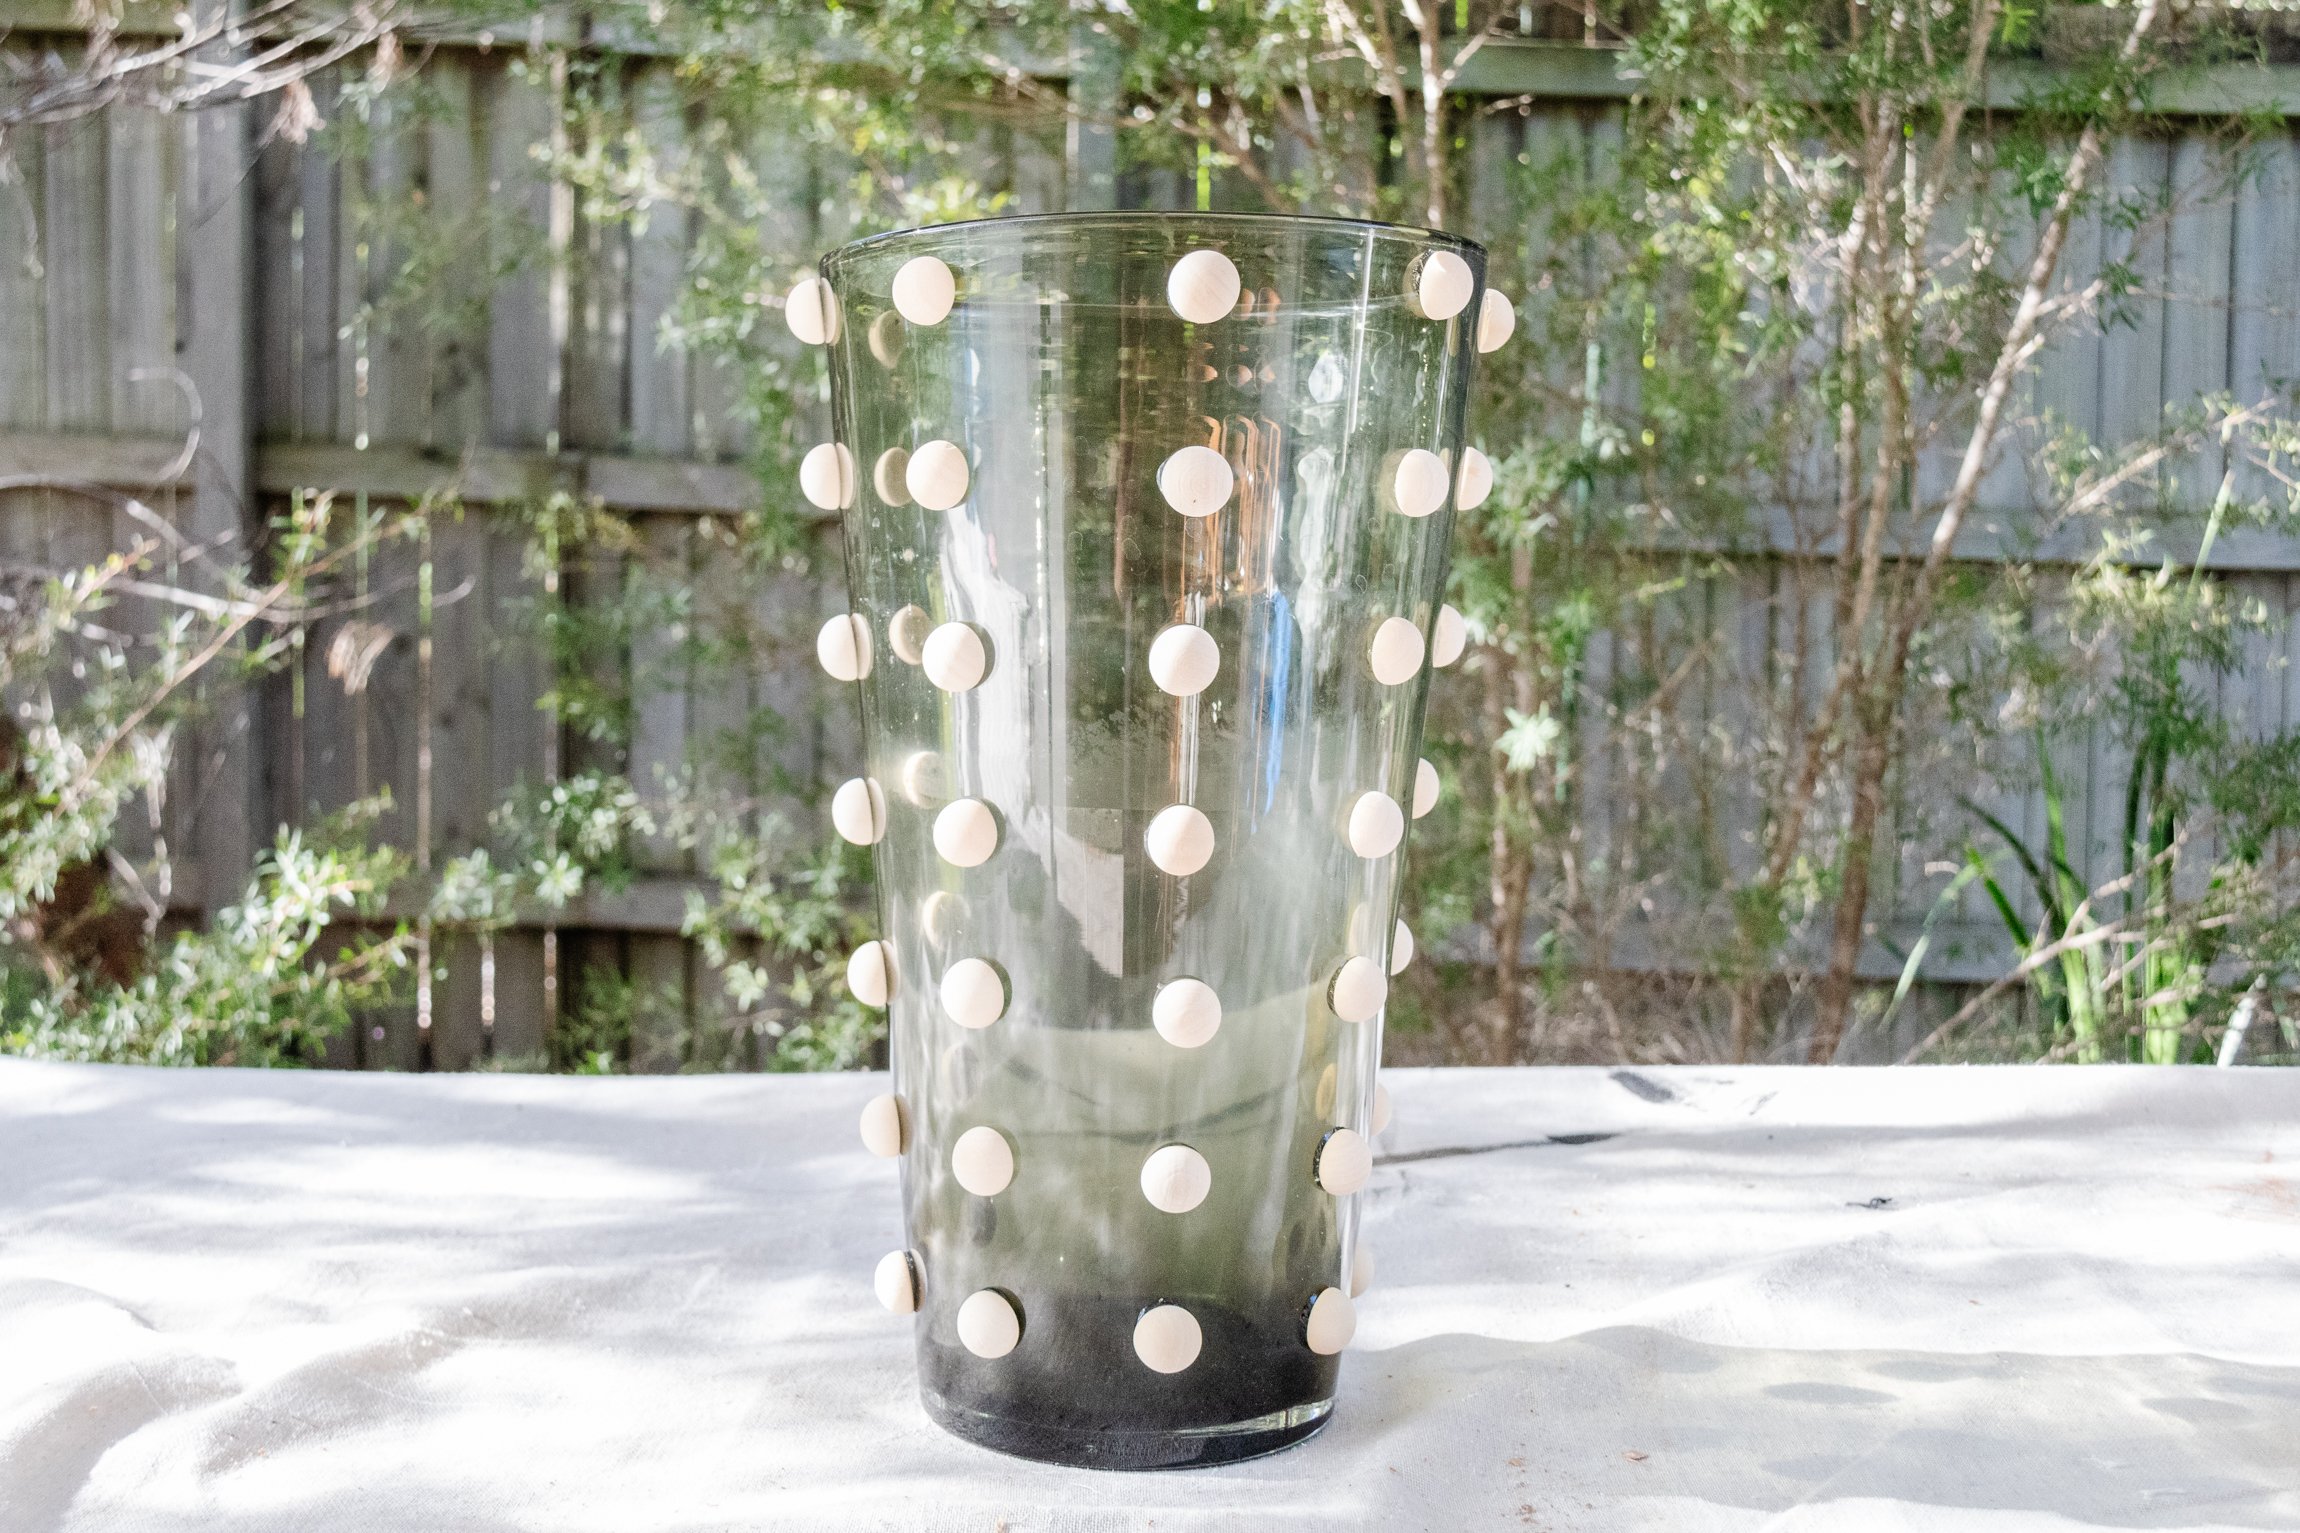
Apply glue to the back of the half beads and place them onto the markings on your vase. Repeat all around the vase until finished. Some beads may slip down slightly as the glue cures, so have a look and move them back into place. Set aside to dry overnight or for at least 24 hours.
Apply one coat of primer all over the vase and a portion of the inside too as you will be painting that later on. Don’t worry if the primer looks messy because you will be painting over it. When dry, apply the first coat of paint and set aside to dry. There will be some small gaps between the vase and half beads due to the glue, so apply more paint around the beads to ensure they are filled in. Repeat with another one or two coats of paint, and set aside to dry in between. You won’t need to apply more than 3 coats of paint.
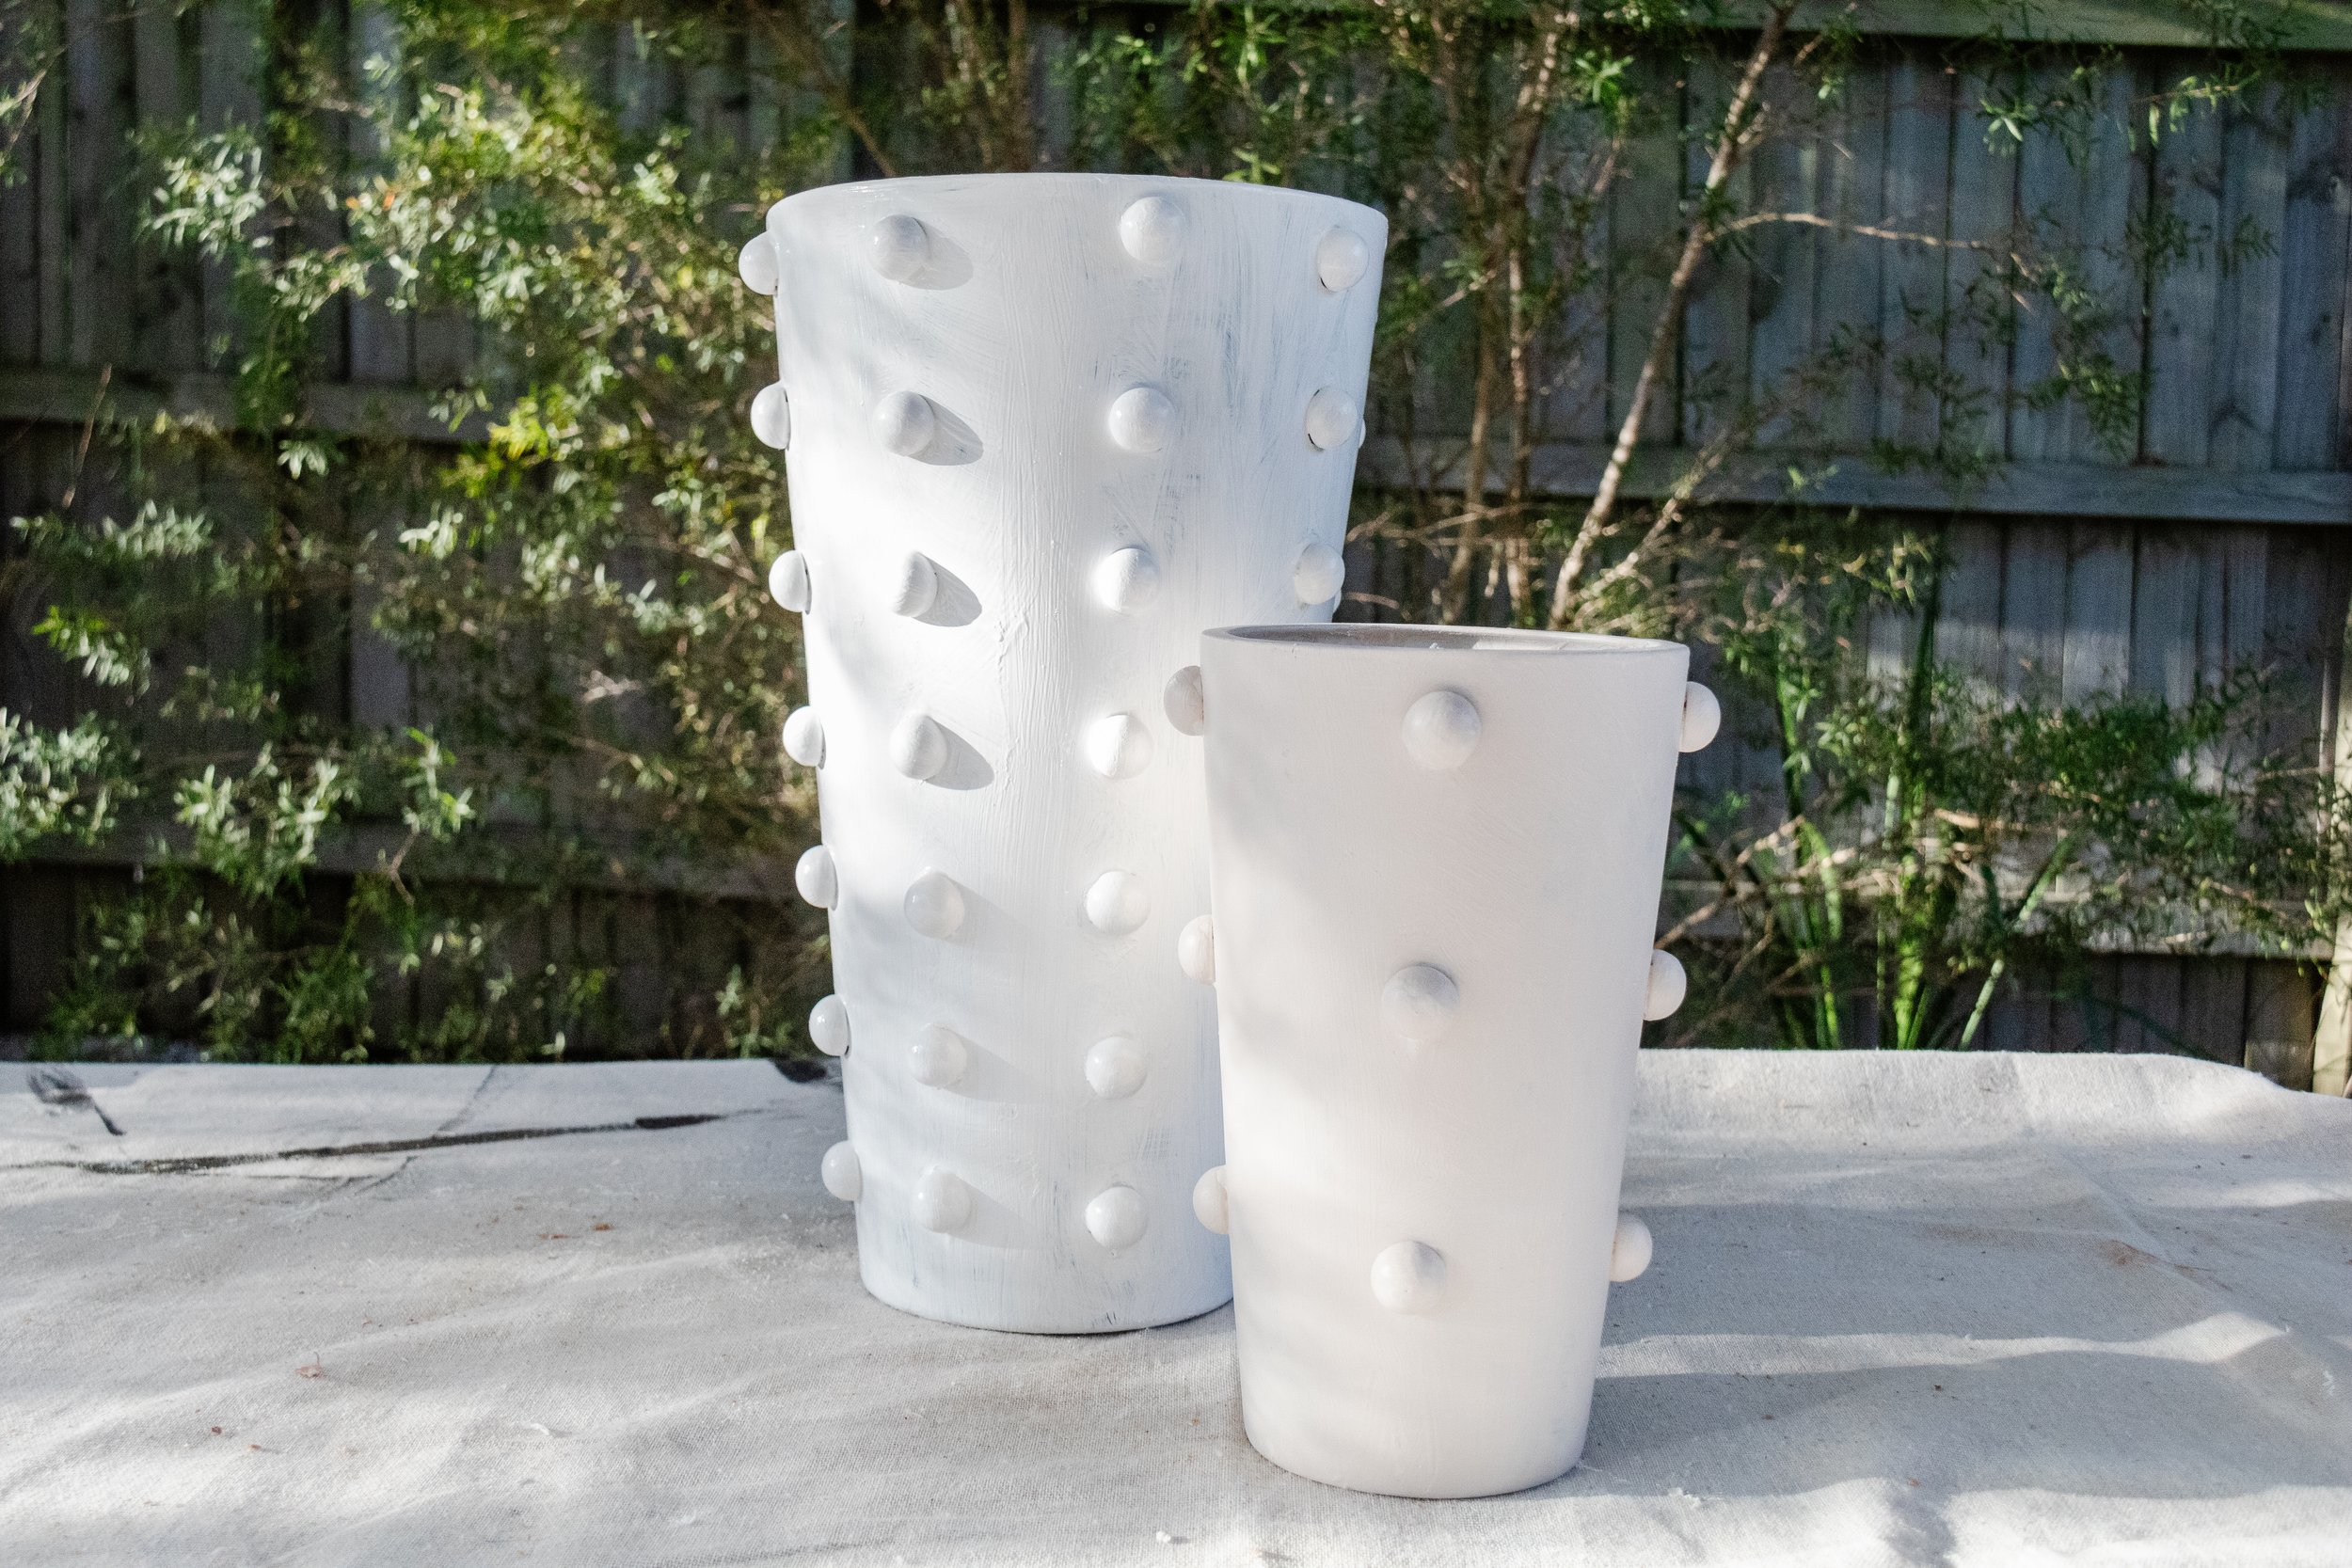
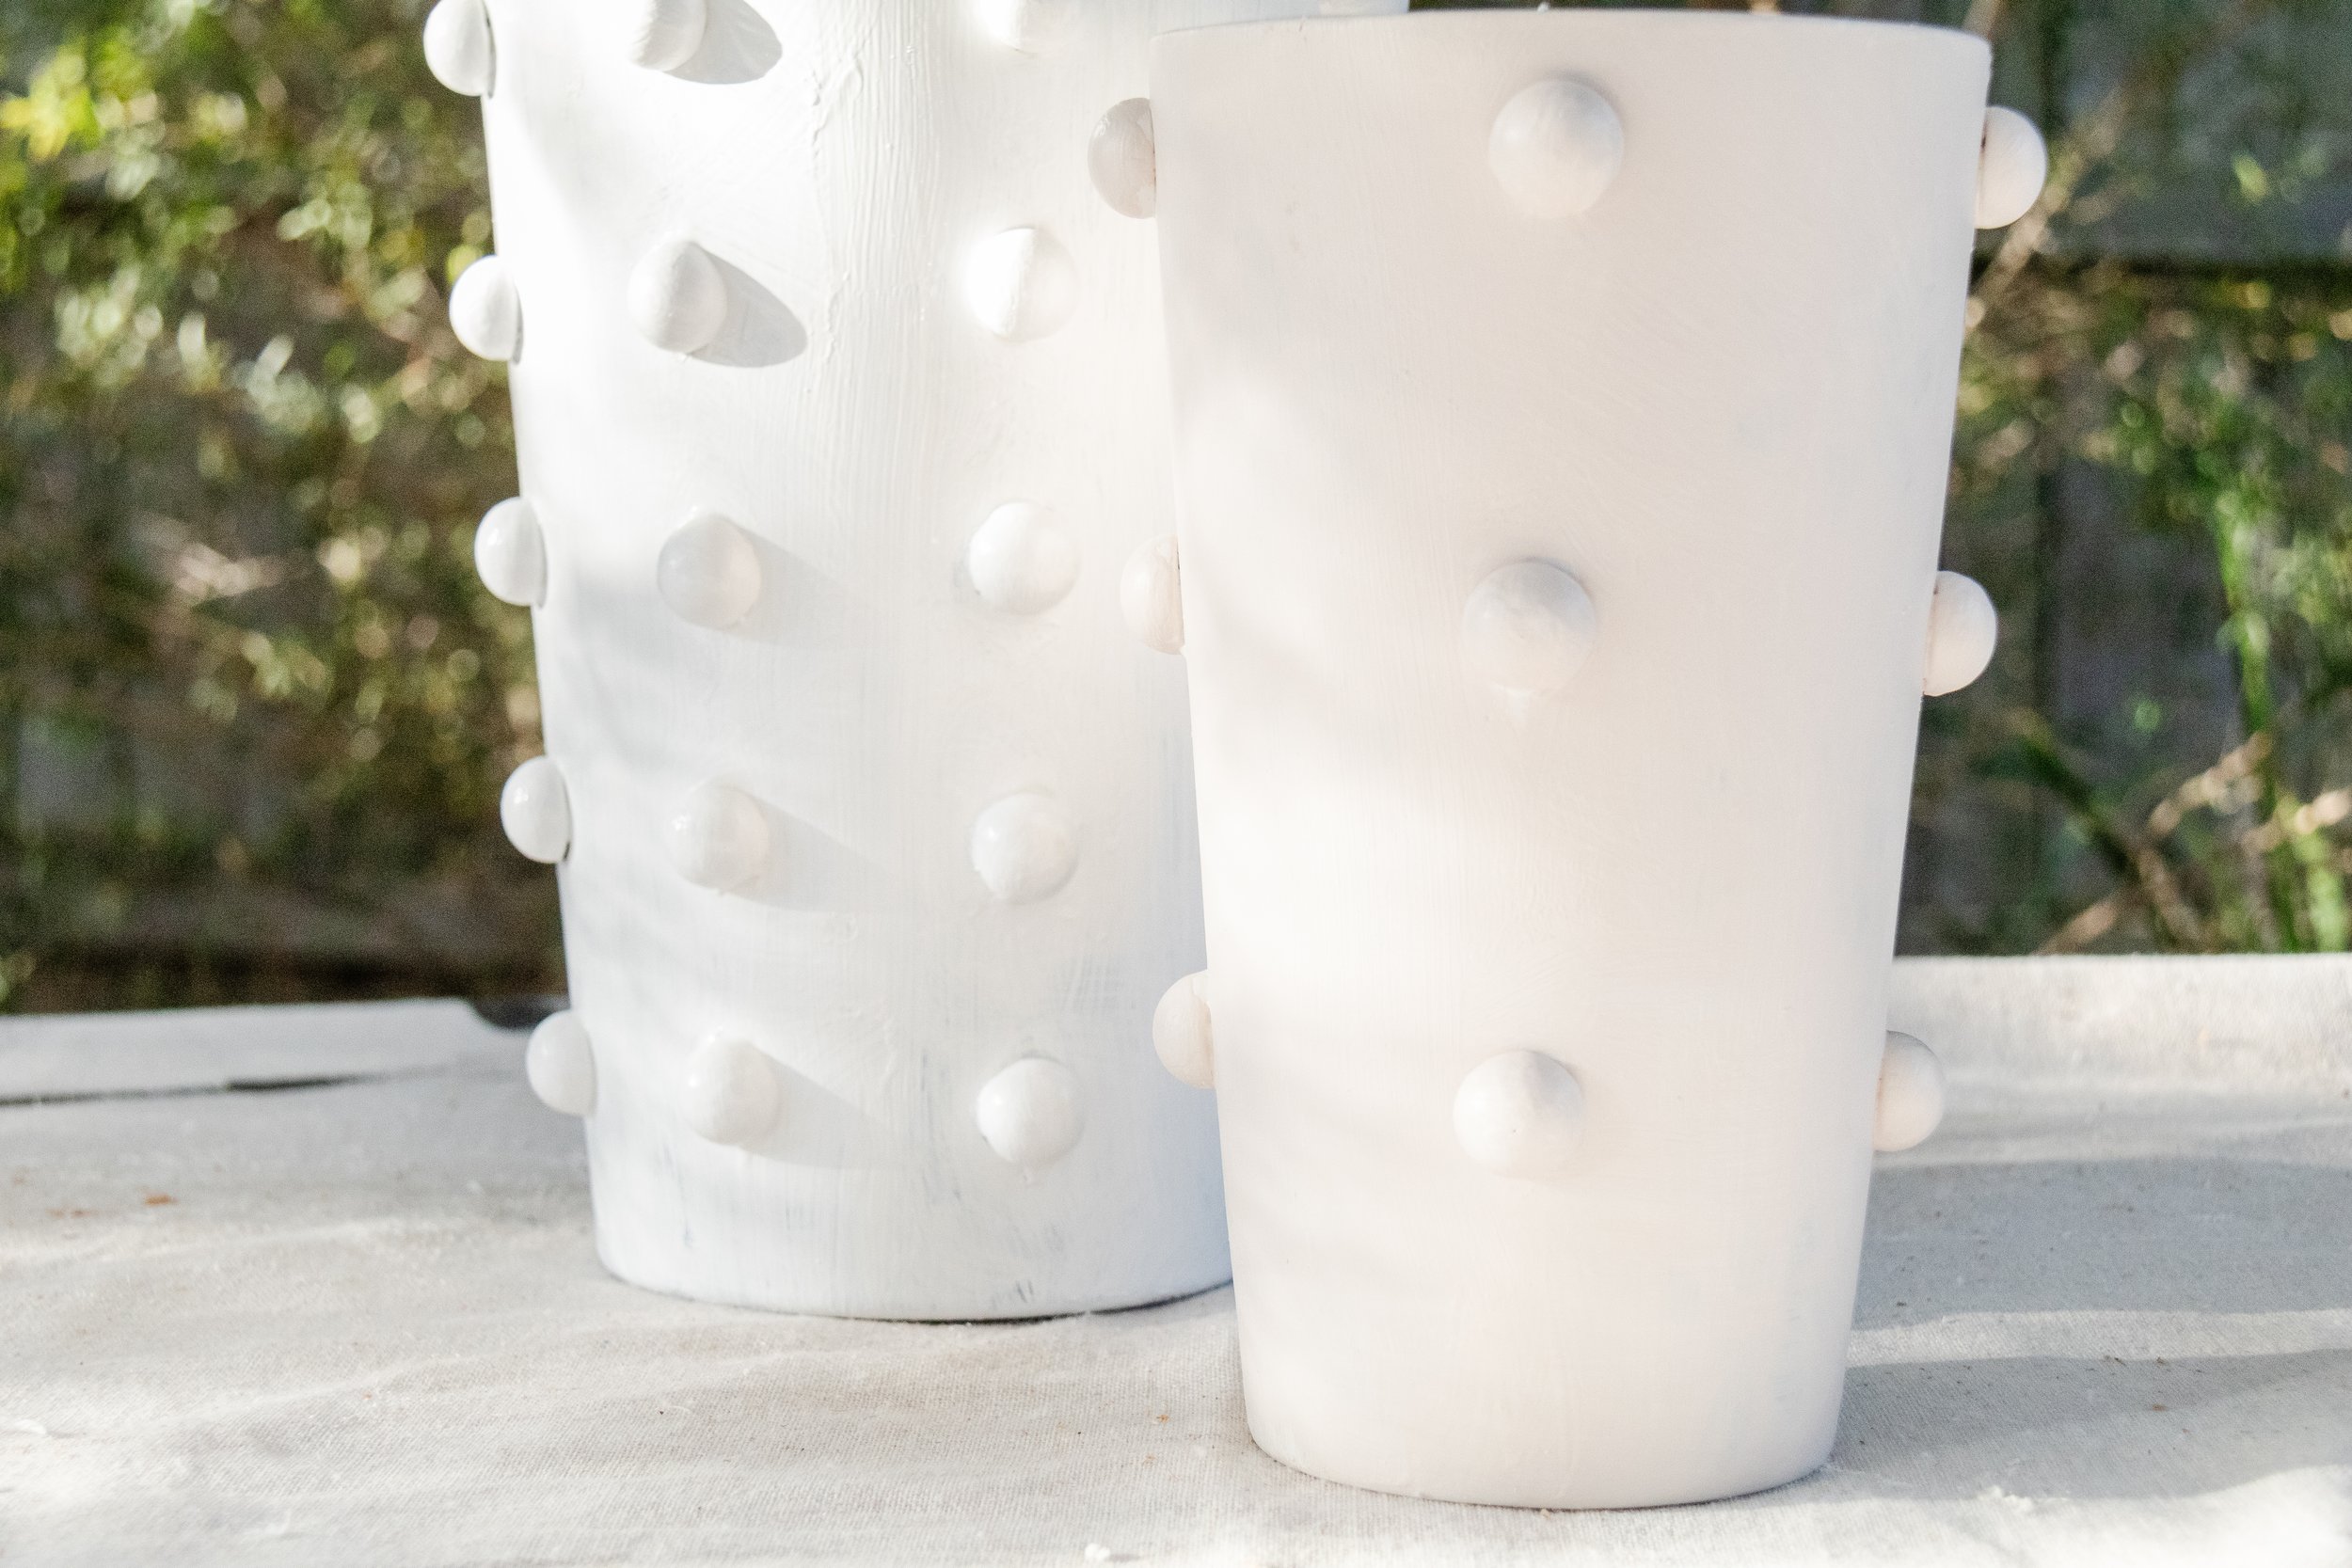
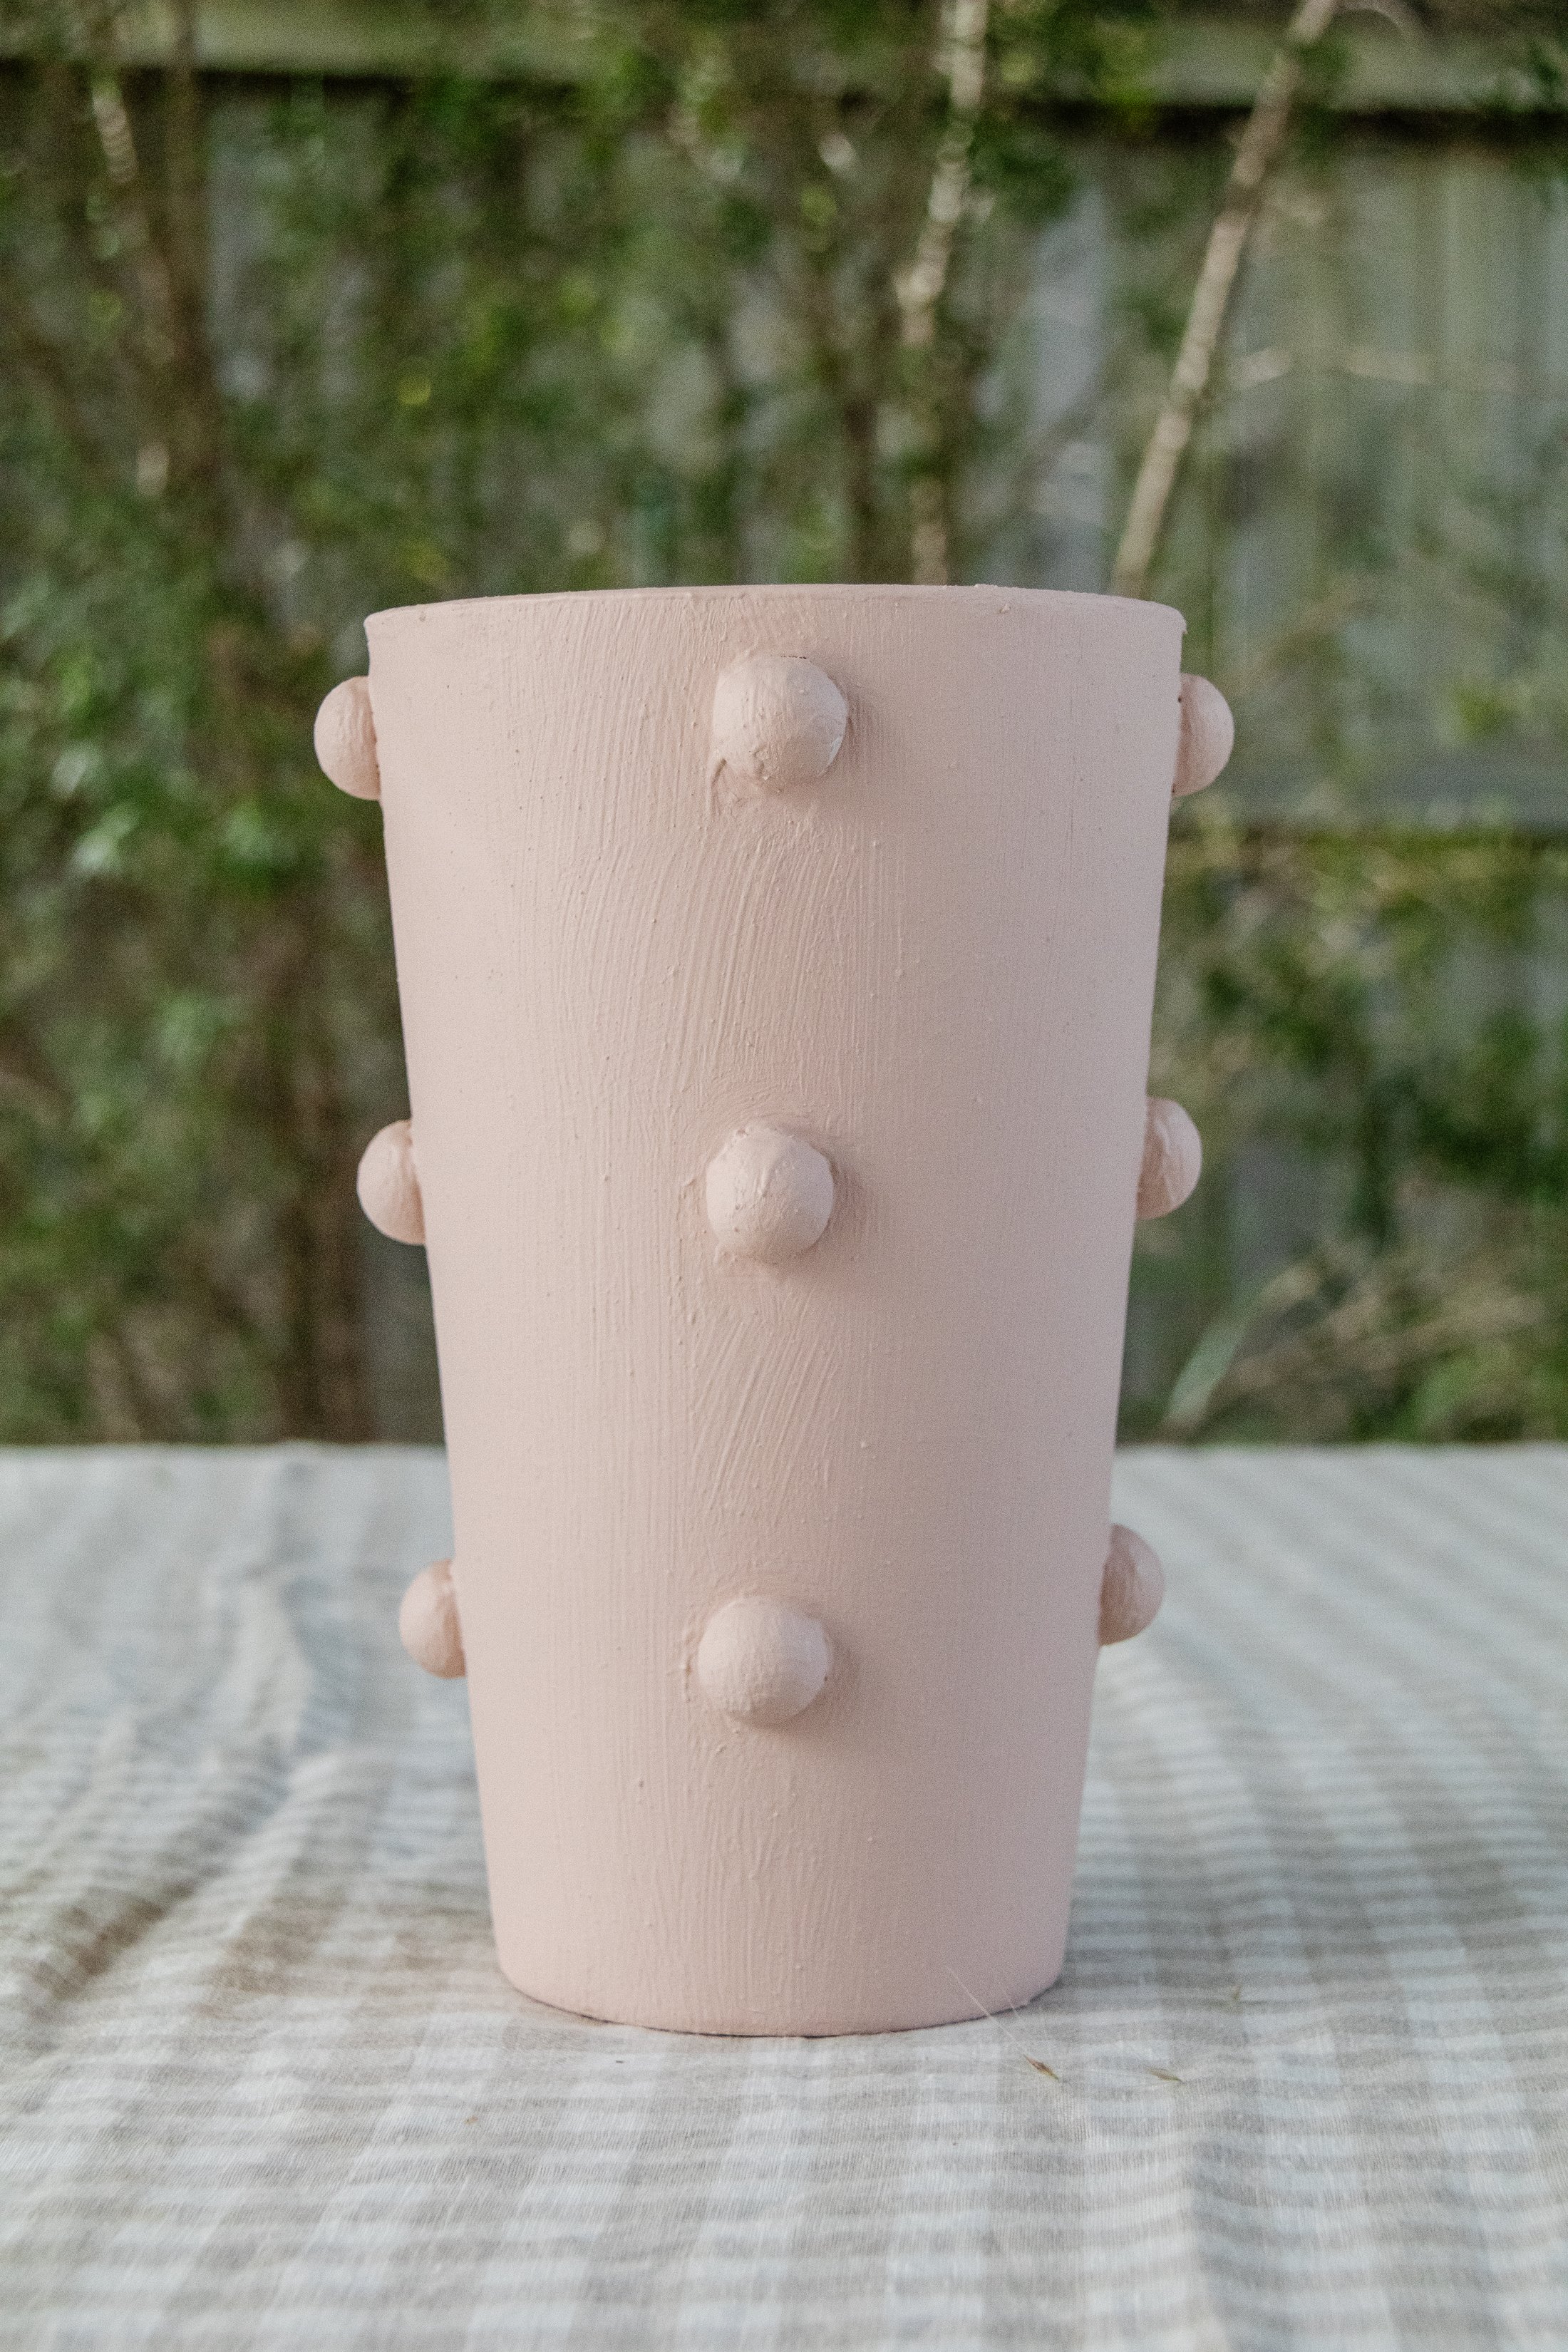
Ta daaaa! A beautiful Bubble Vase that will look beautiful on any table, mantle or side table at home.
I absolutely loved upcycling these vases! This is one of those quick and easy projects that will bring you so much joy and satisfaction. You can have lots of fun with the placement of the half beads too, create unique designs or completely cover a vase if you like. I really look forward to using these wooden half beads across a lot more of my upcoming projects, two of which I am about to get started on. So stay tuned! And as always, happy making!