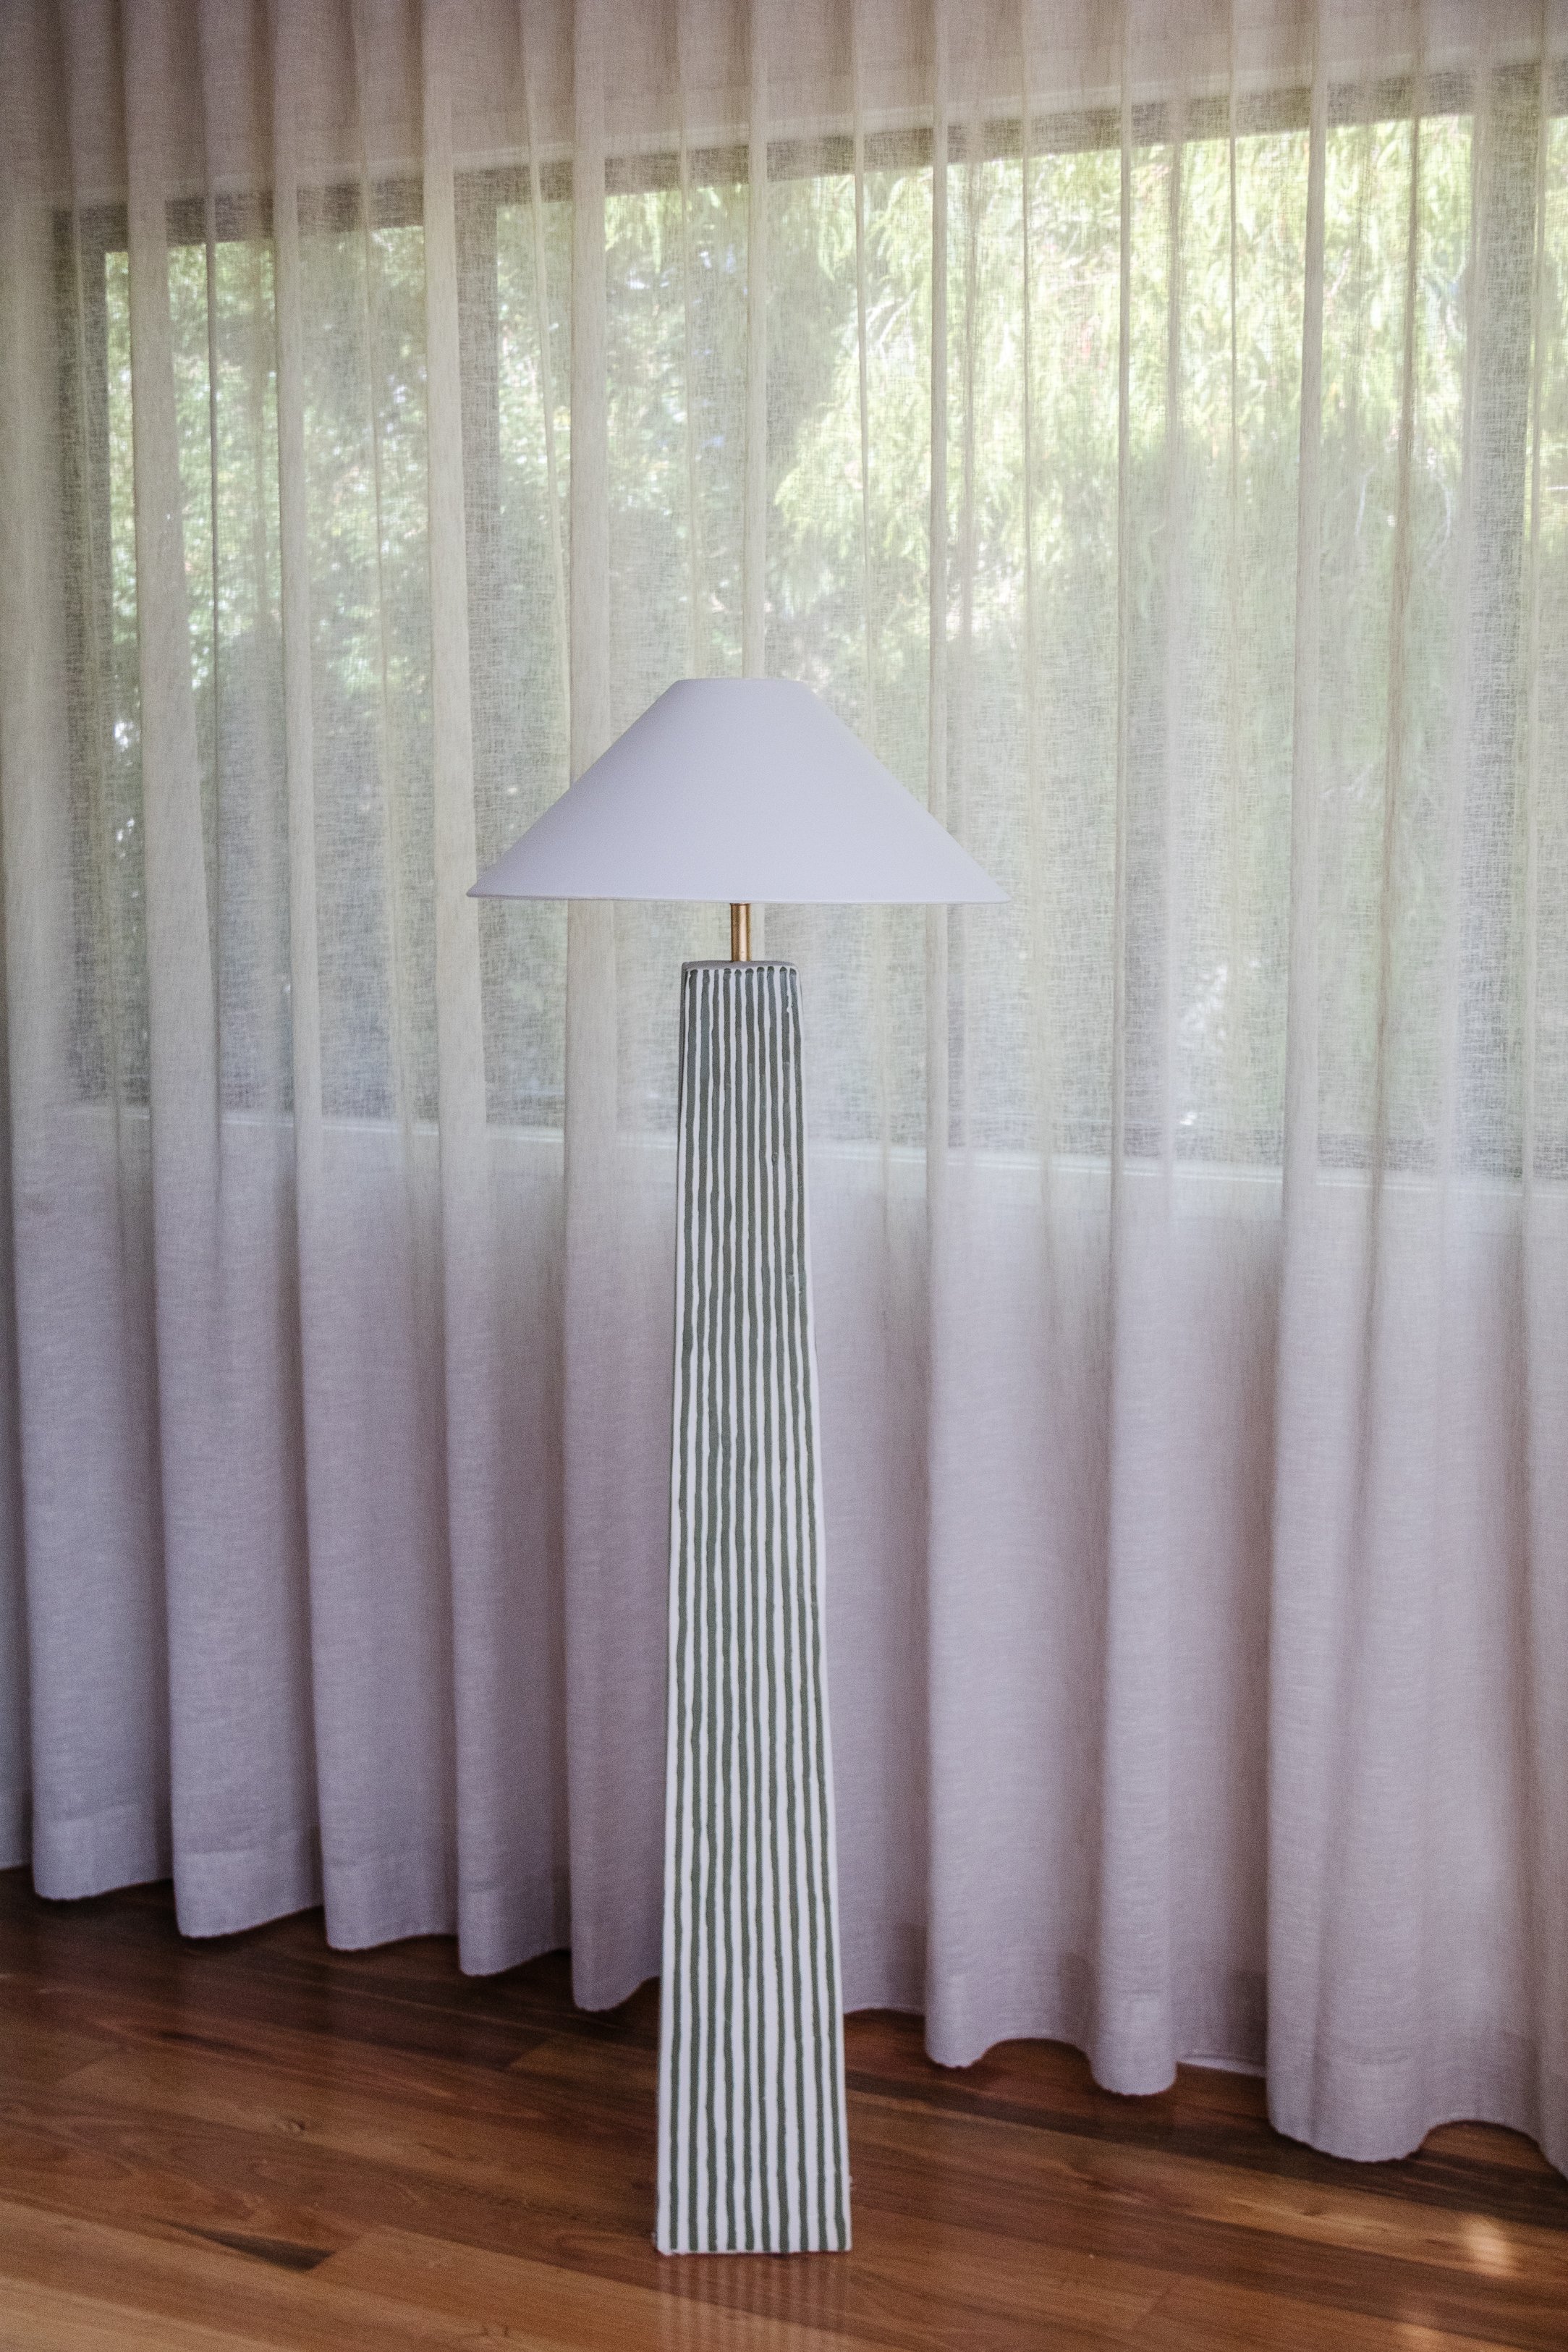
Upcycled Stripe Plaster Floor Lamp
I’ve been looking for a statement floor lamp to upcycle for a while and…
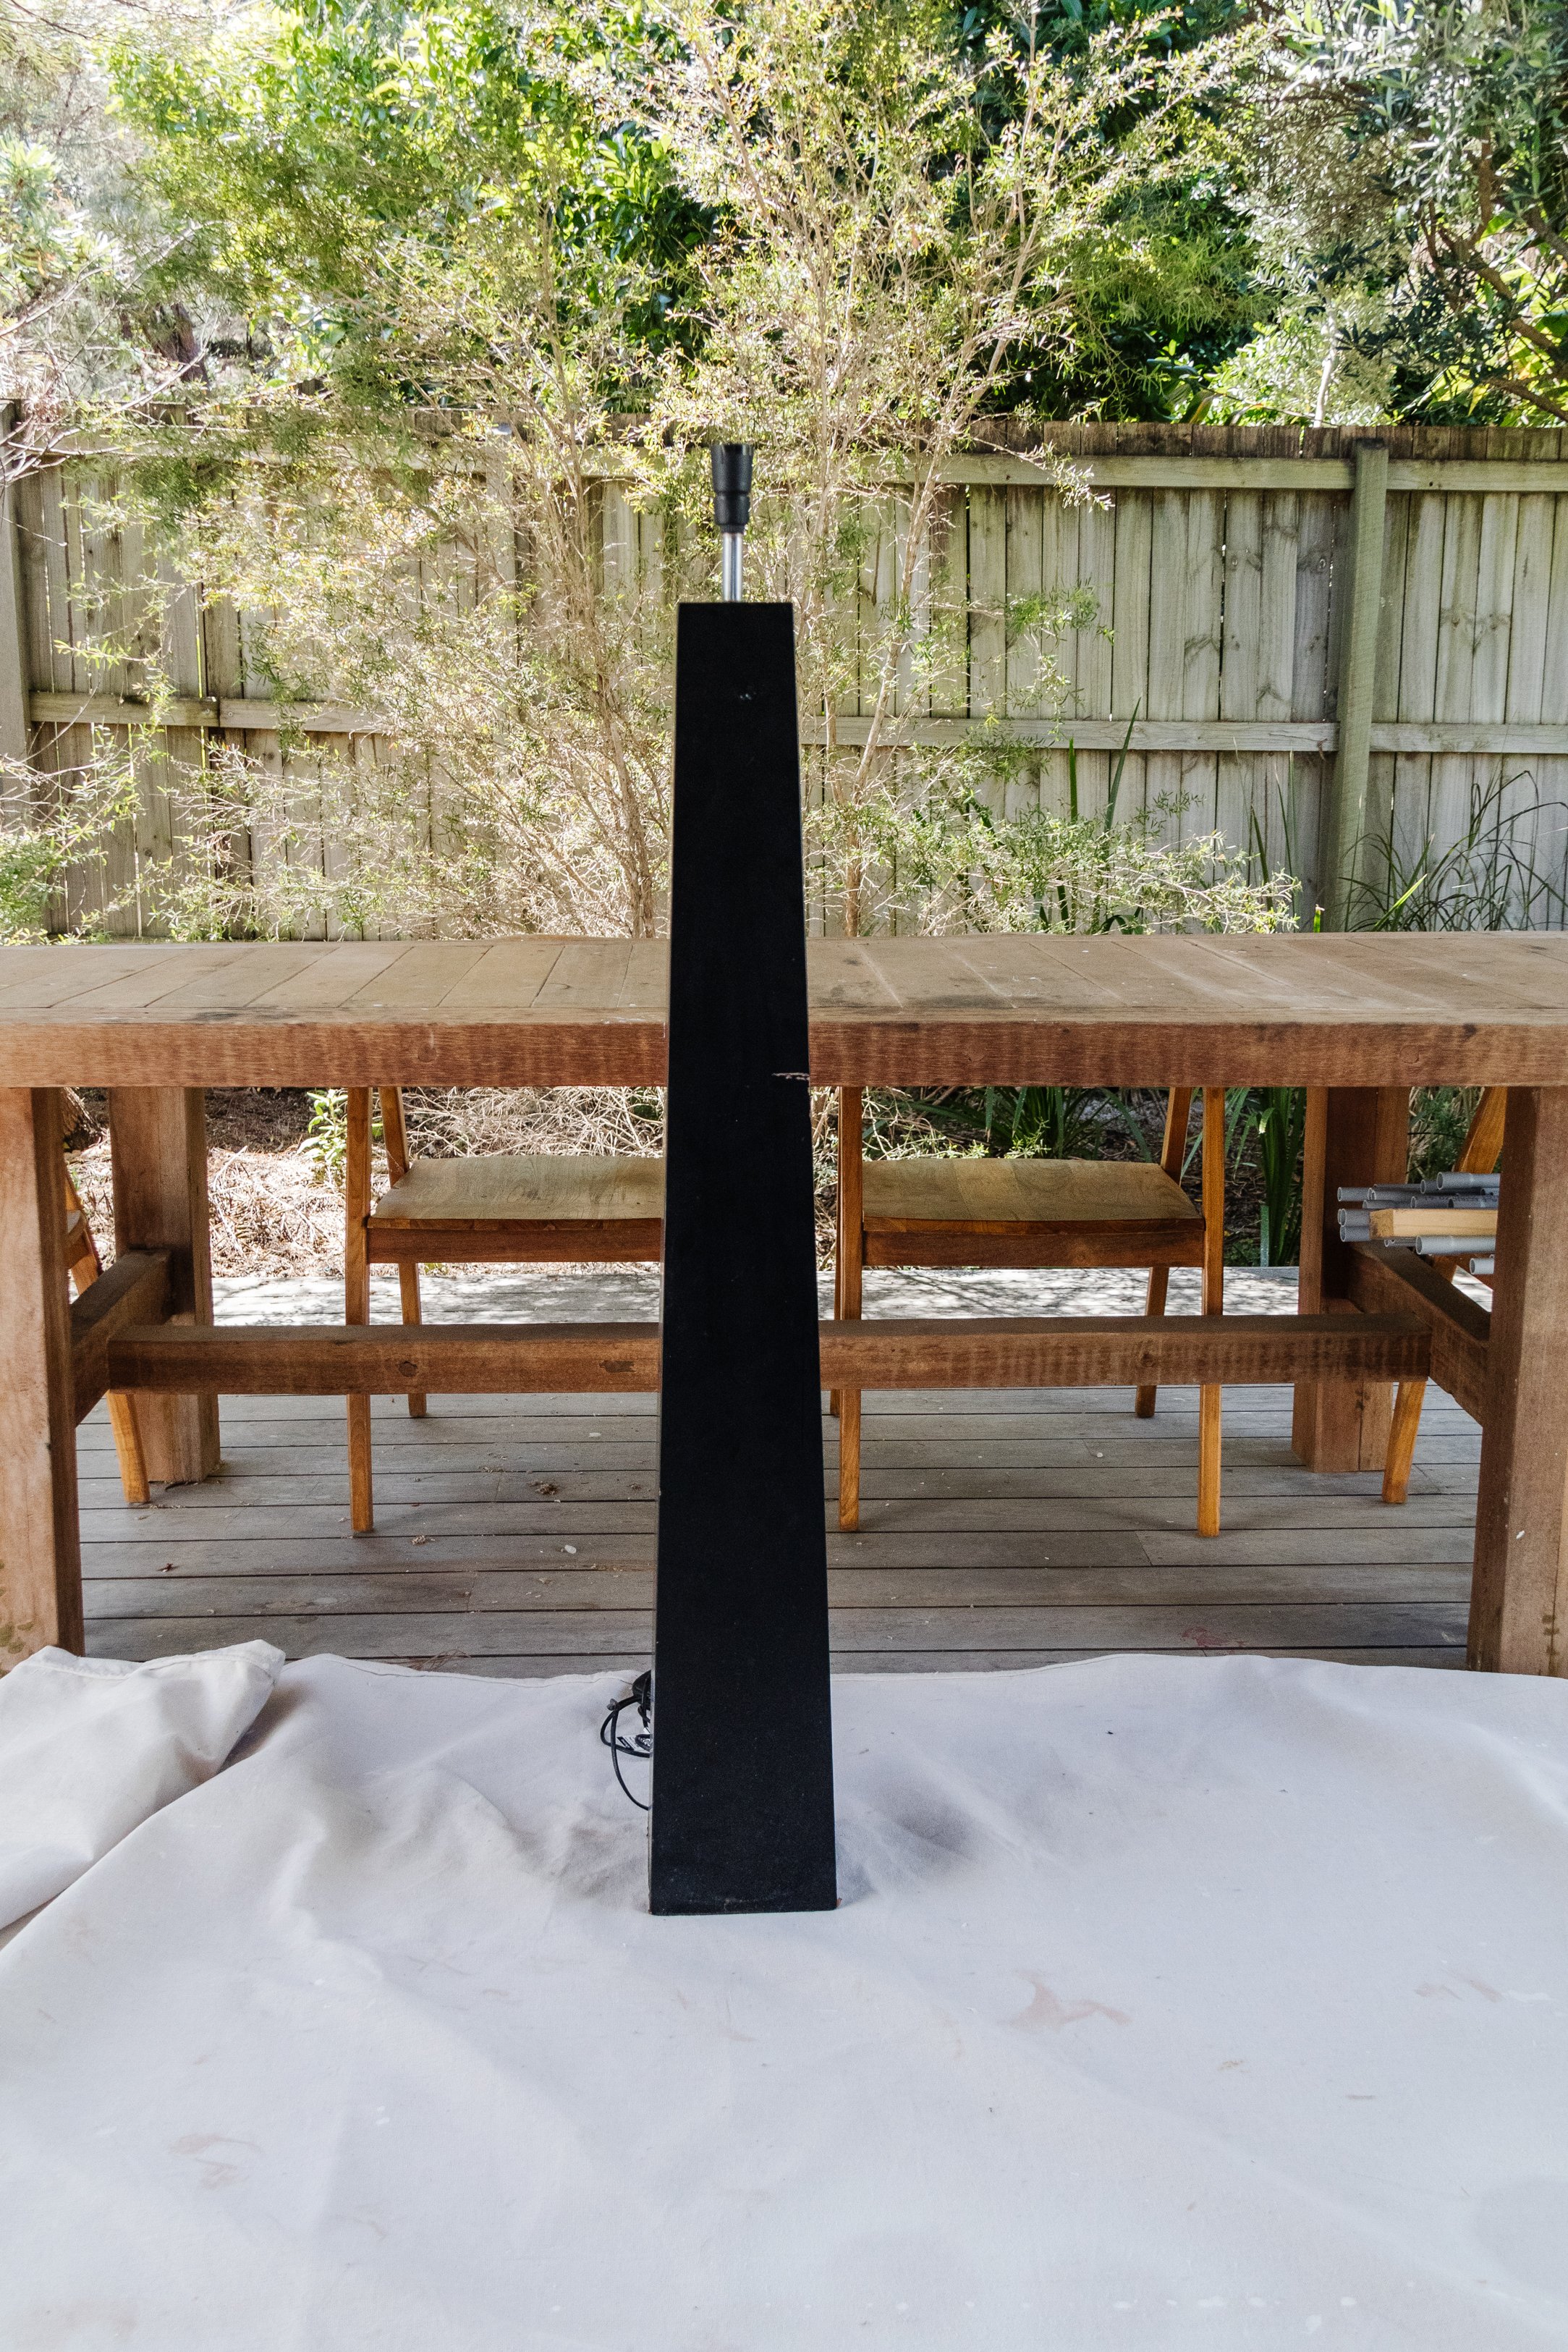
I was thrilled to stumble across one at a charity shop a couple of weeks ago for $10! It was tall, bold and chunky - in other words, it was perfect. I decided to leave the lampshade at the charity shop (didn’t love it, but I knew someone else would) and when I brought it home I started thinking about how I could upcycle it. Funnily enough, it was when I brought it home I realised I had upcycled a smaller version using paint and dowels earlier in the year!
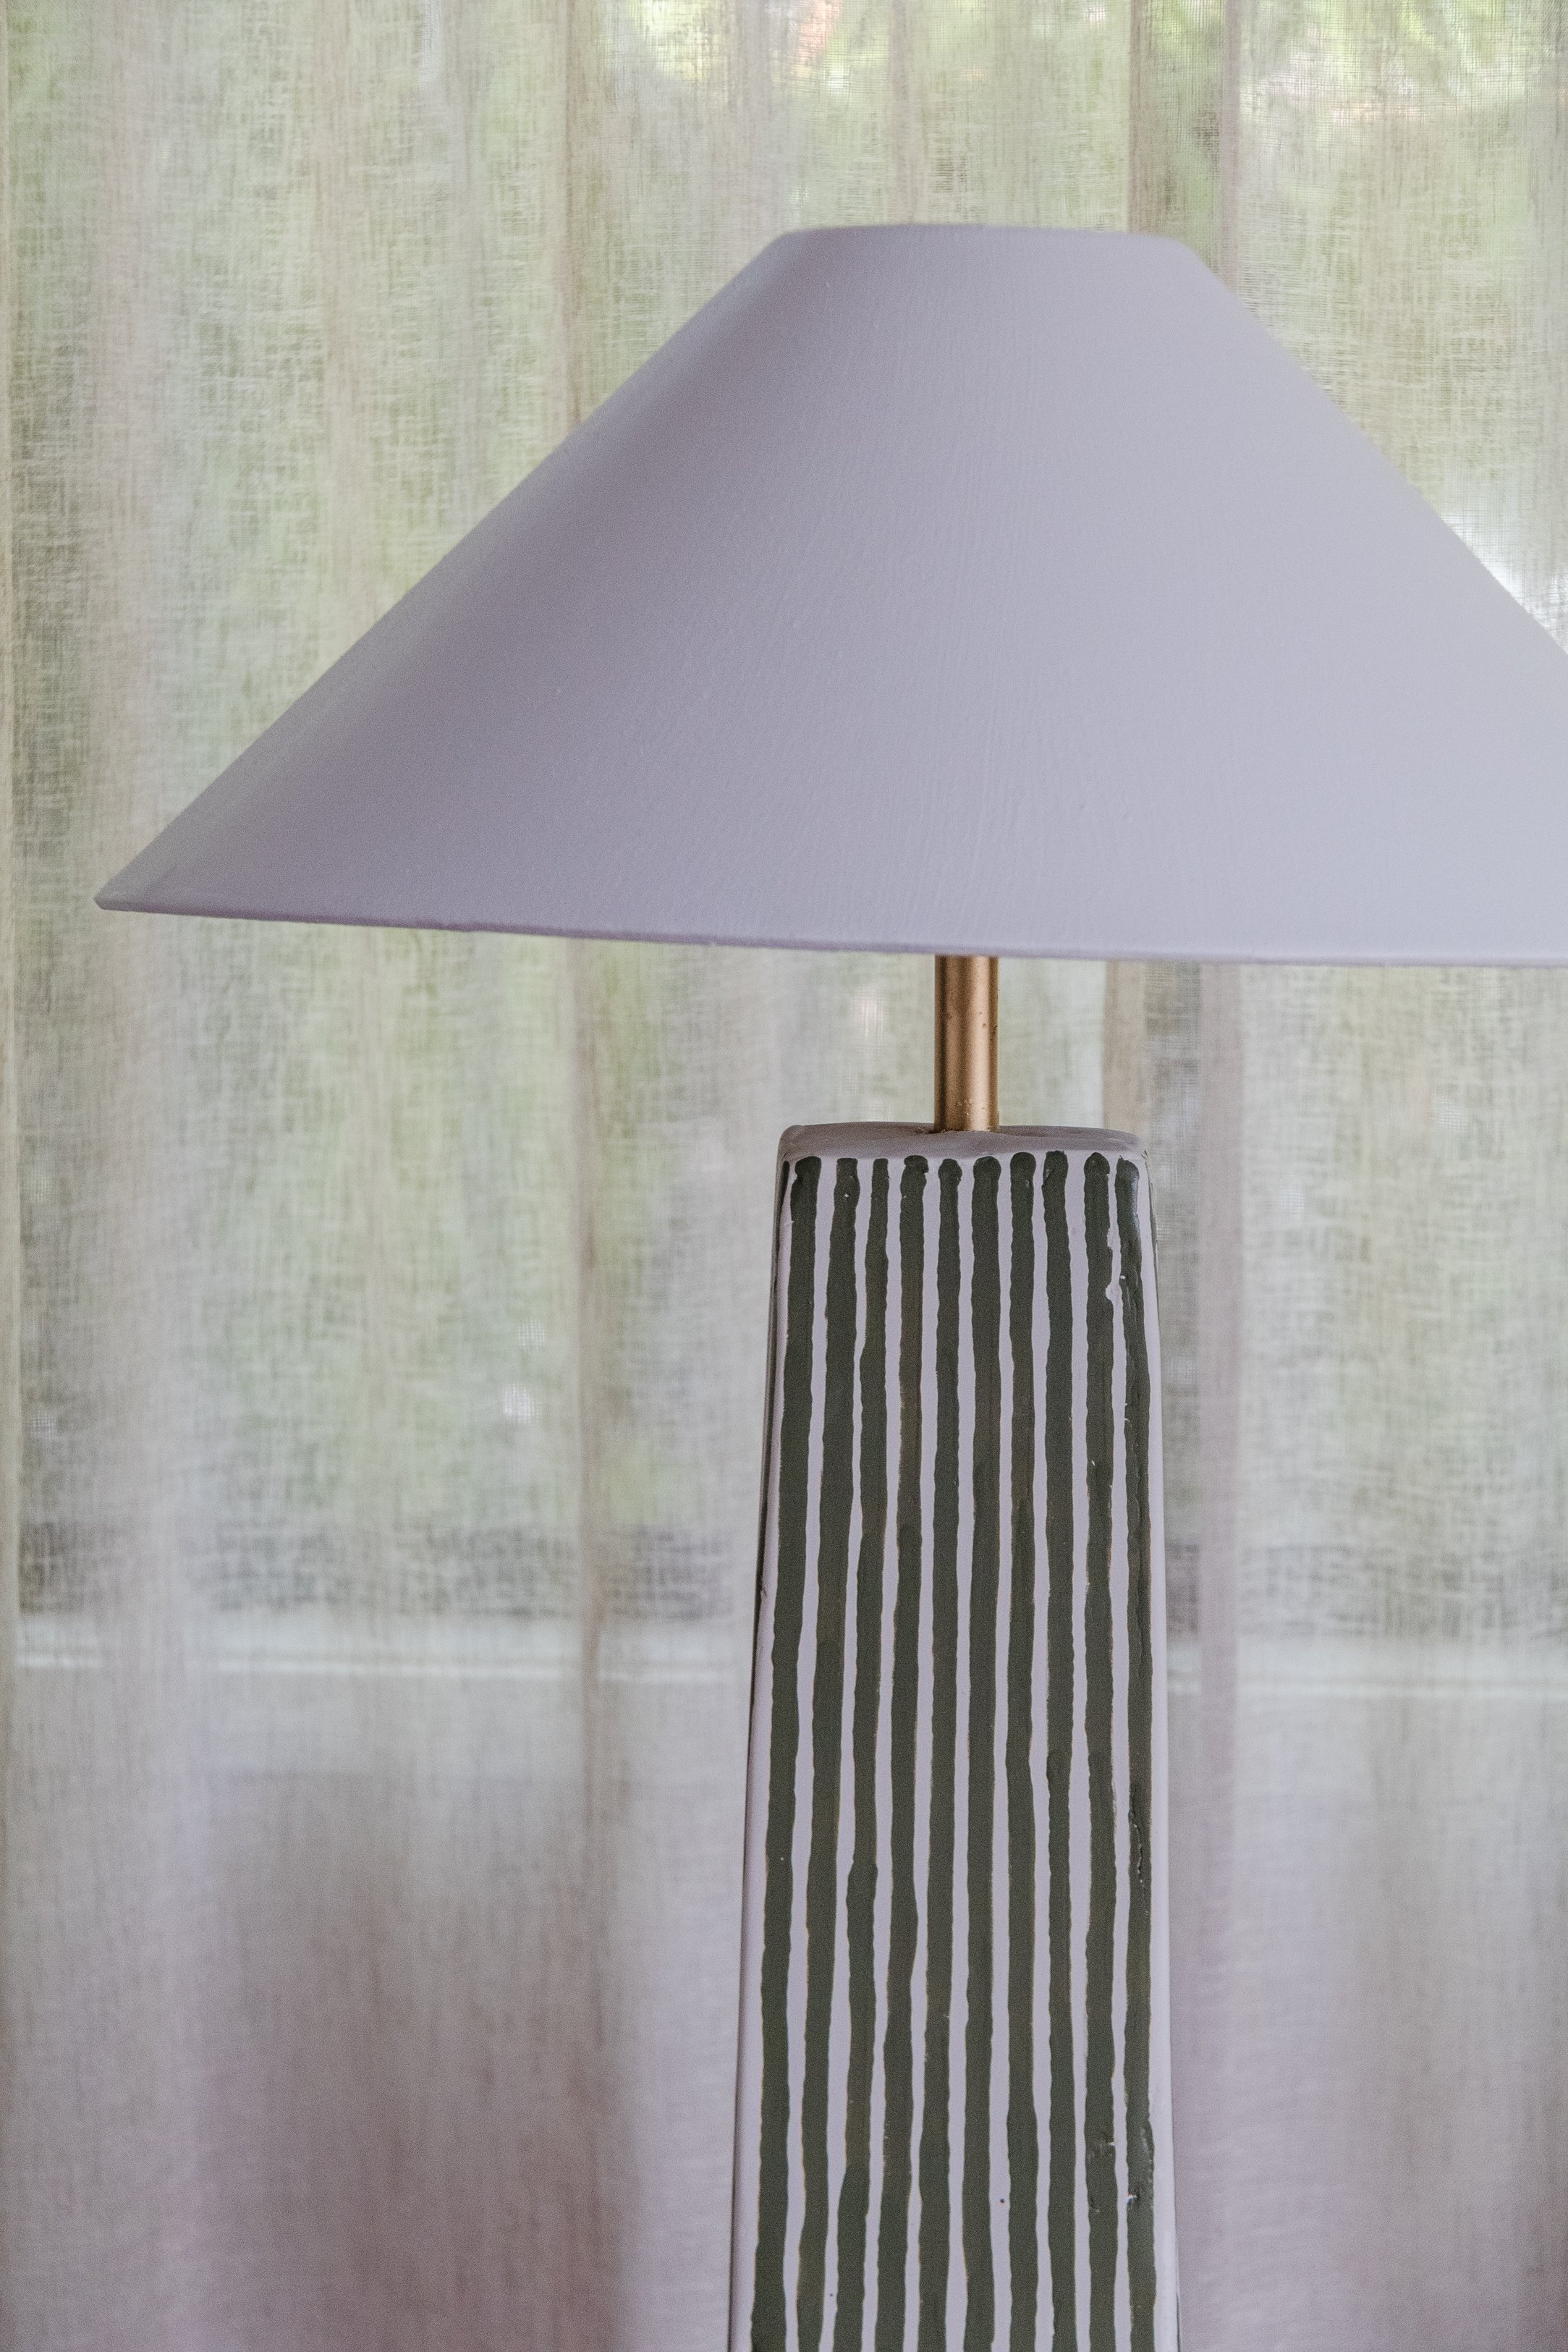
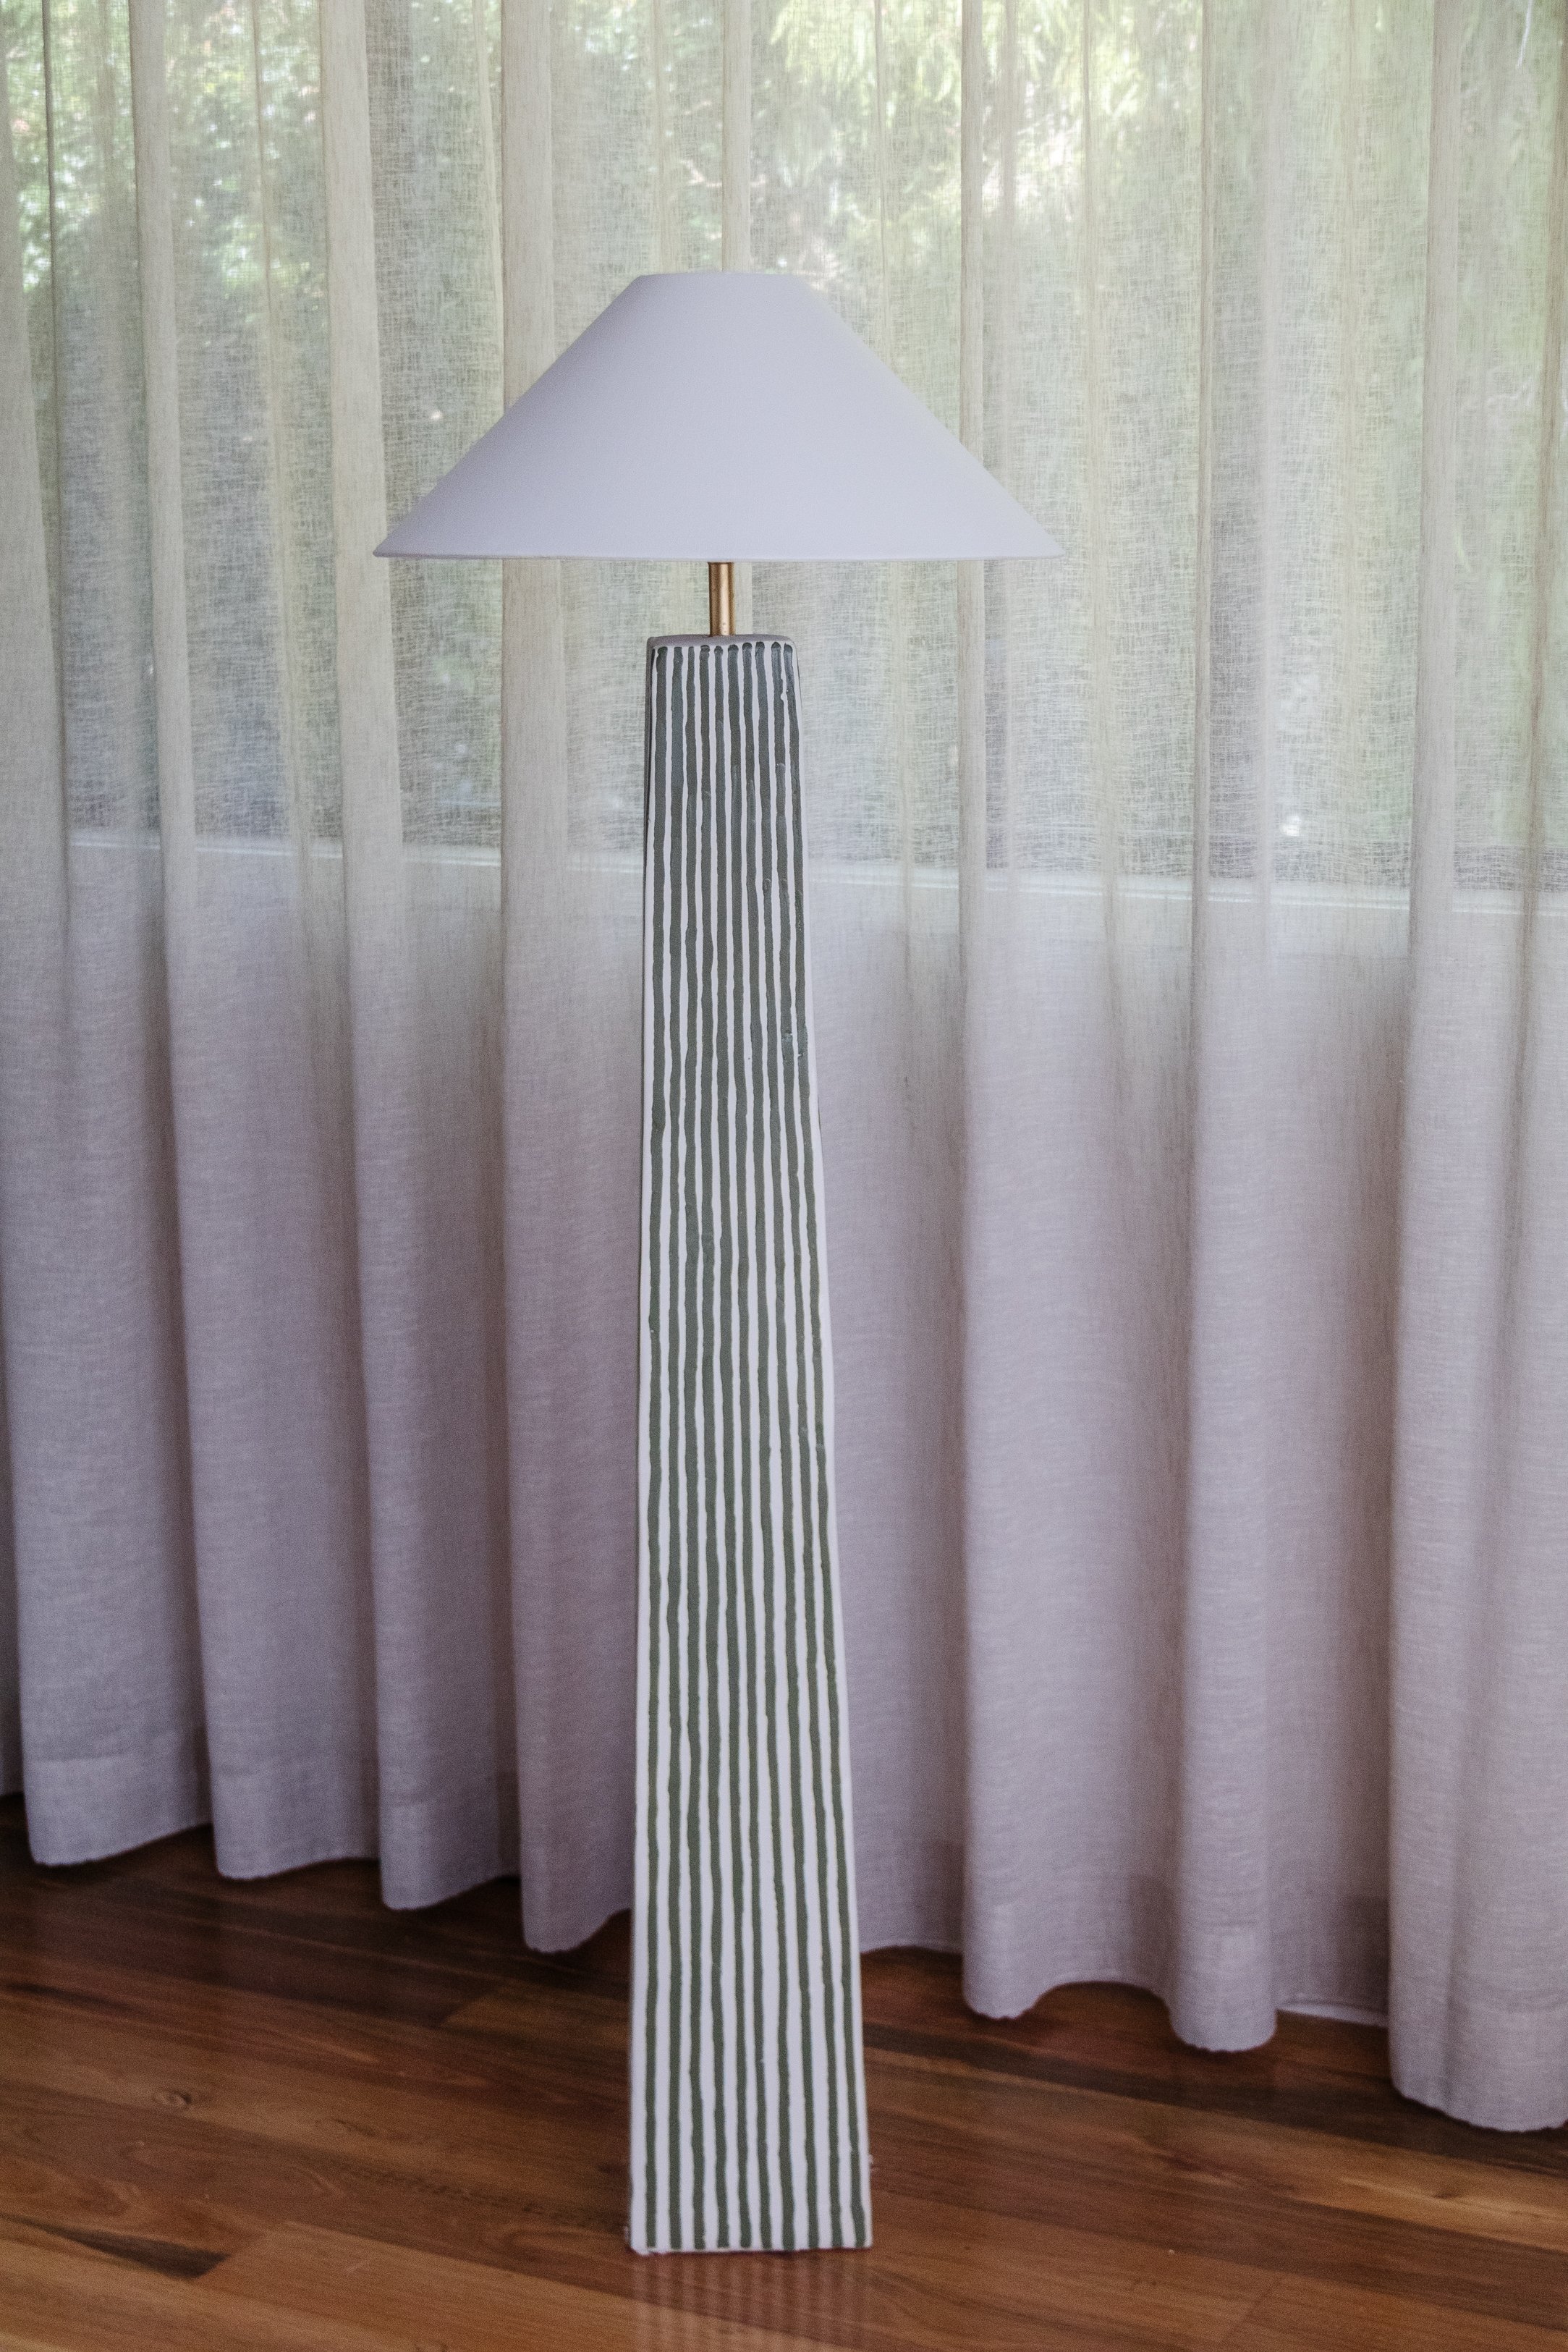
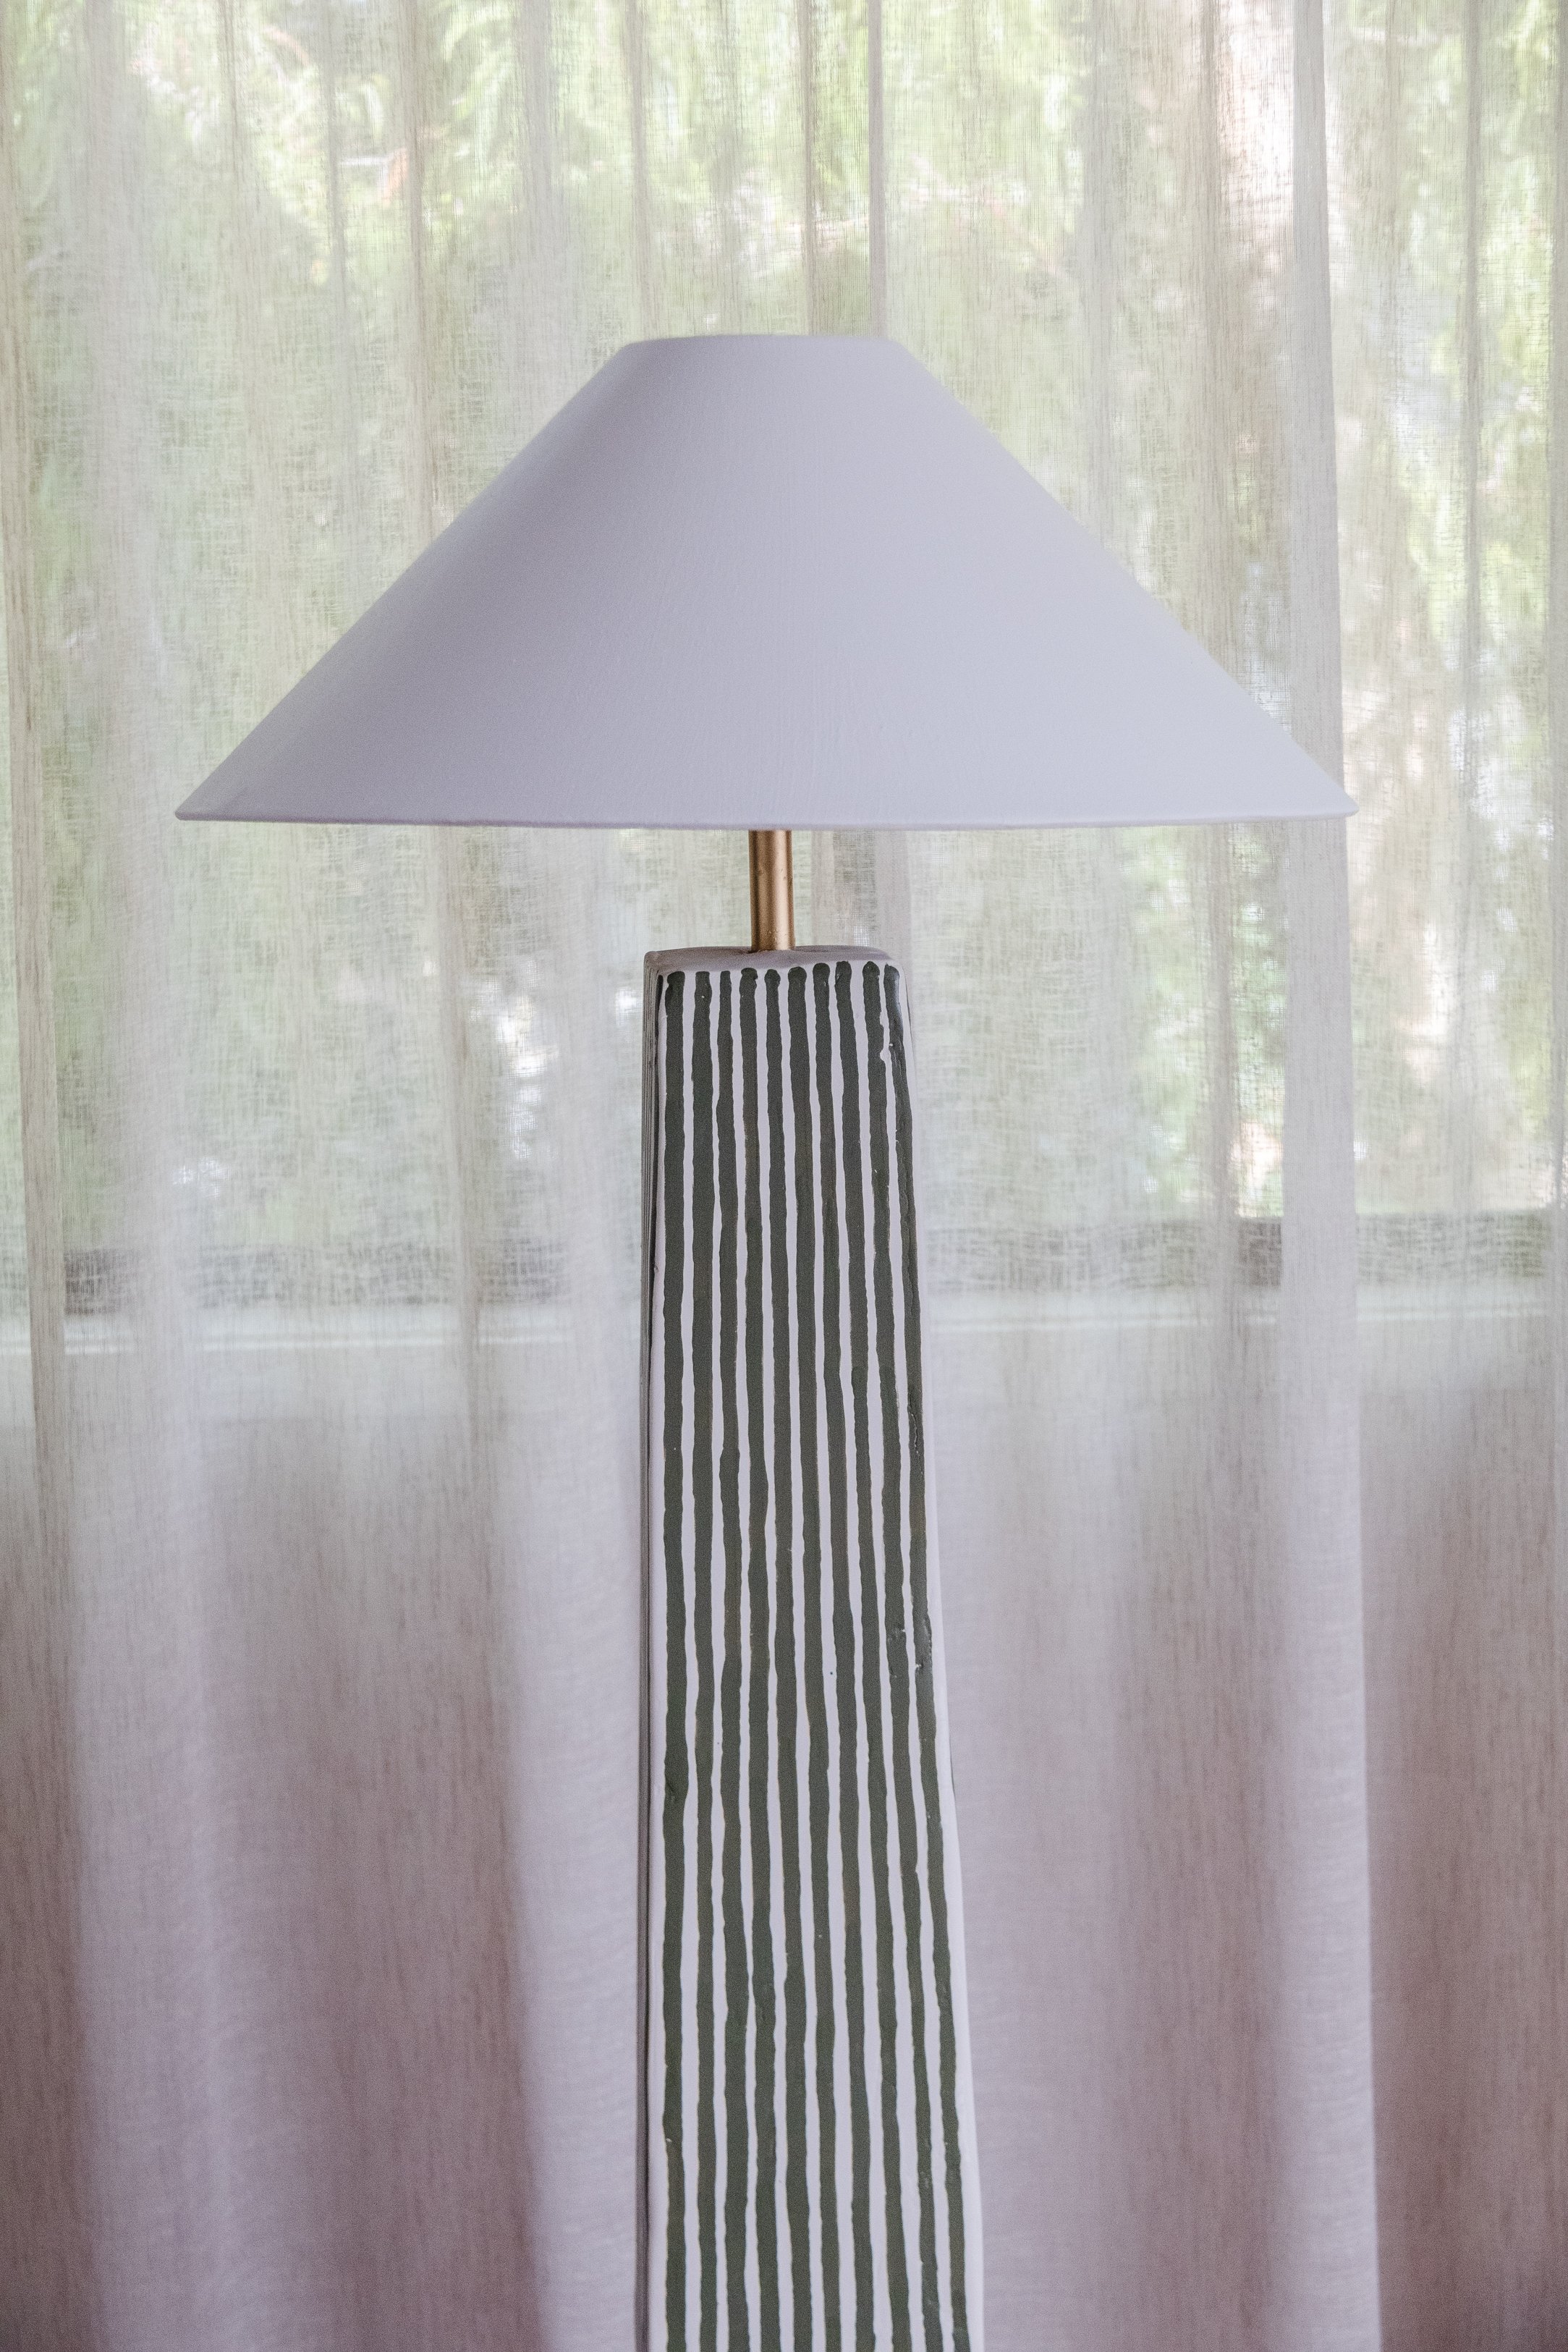
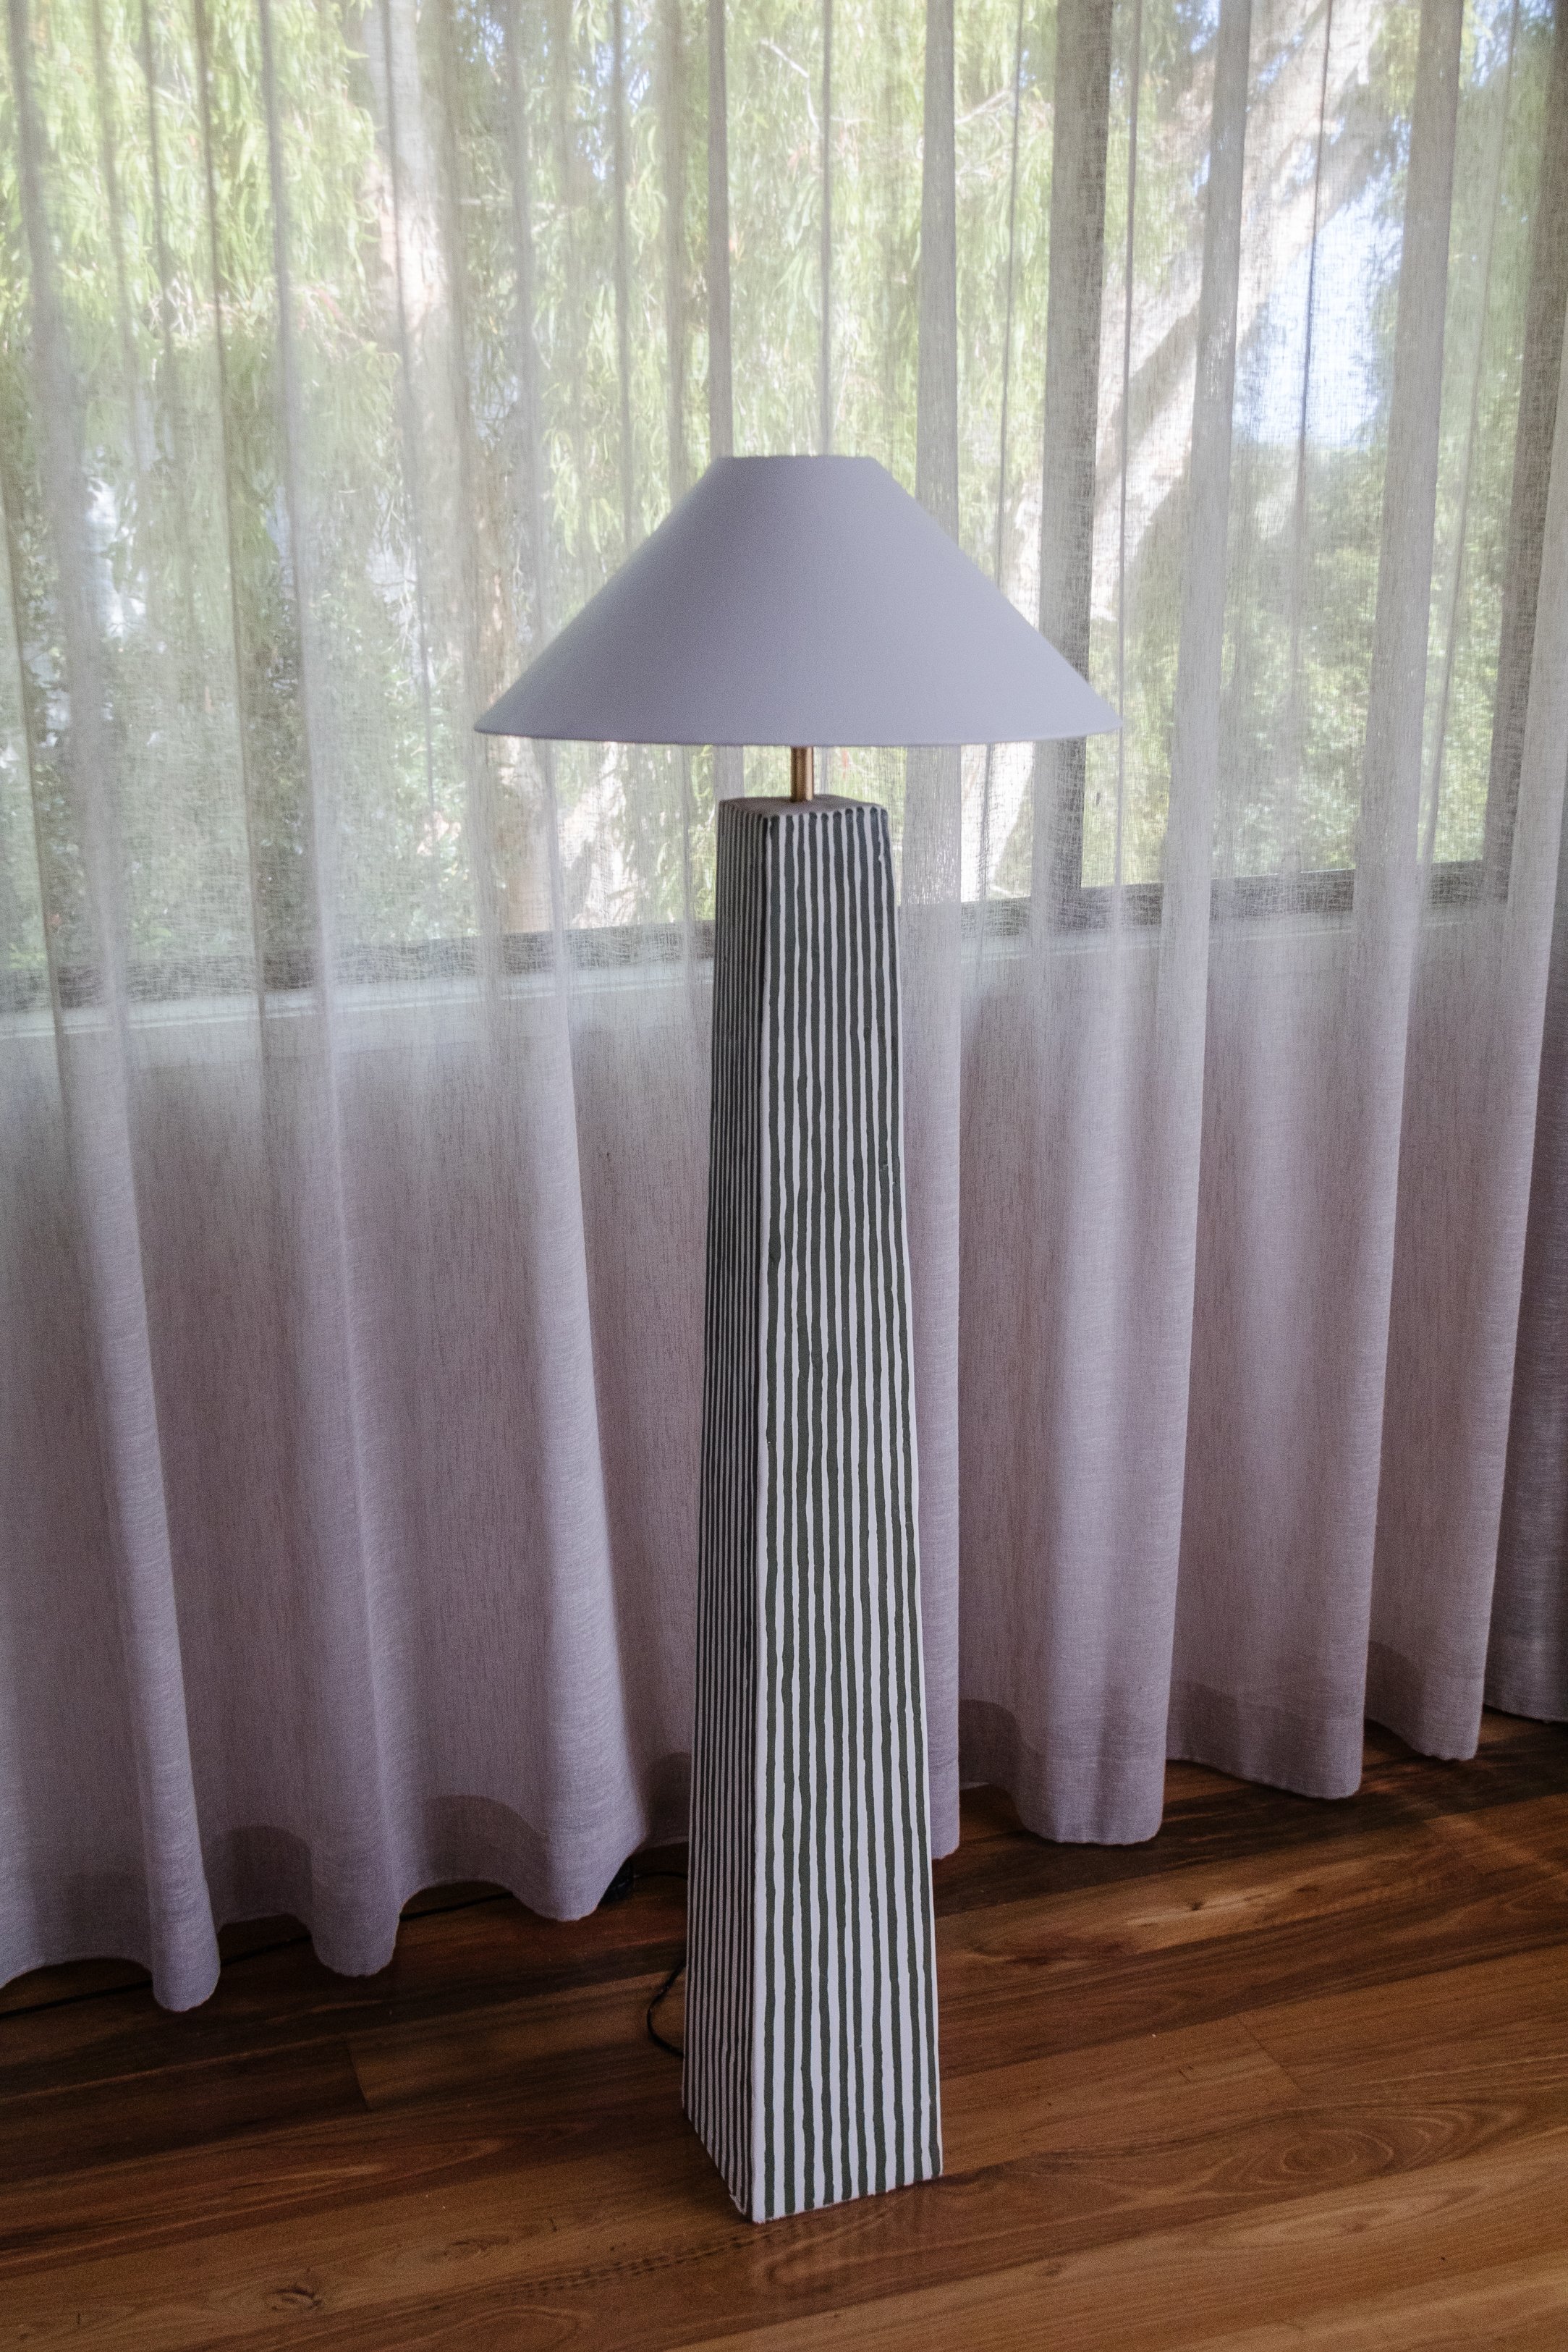
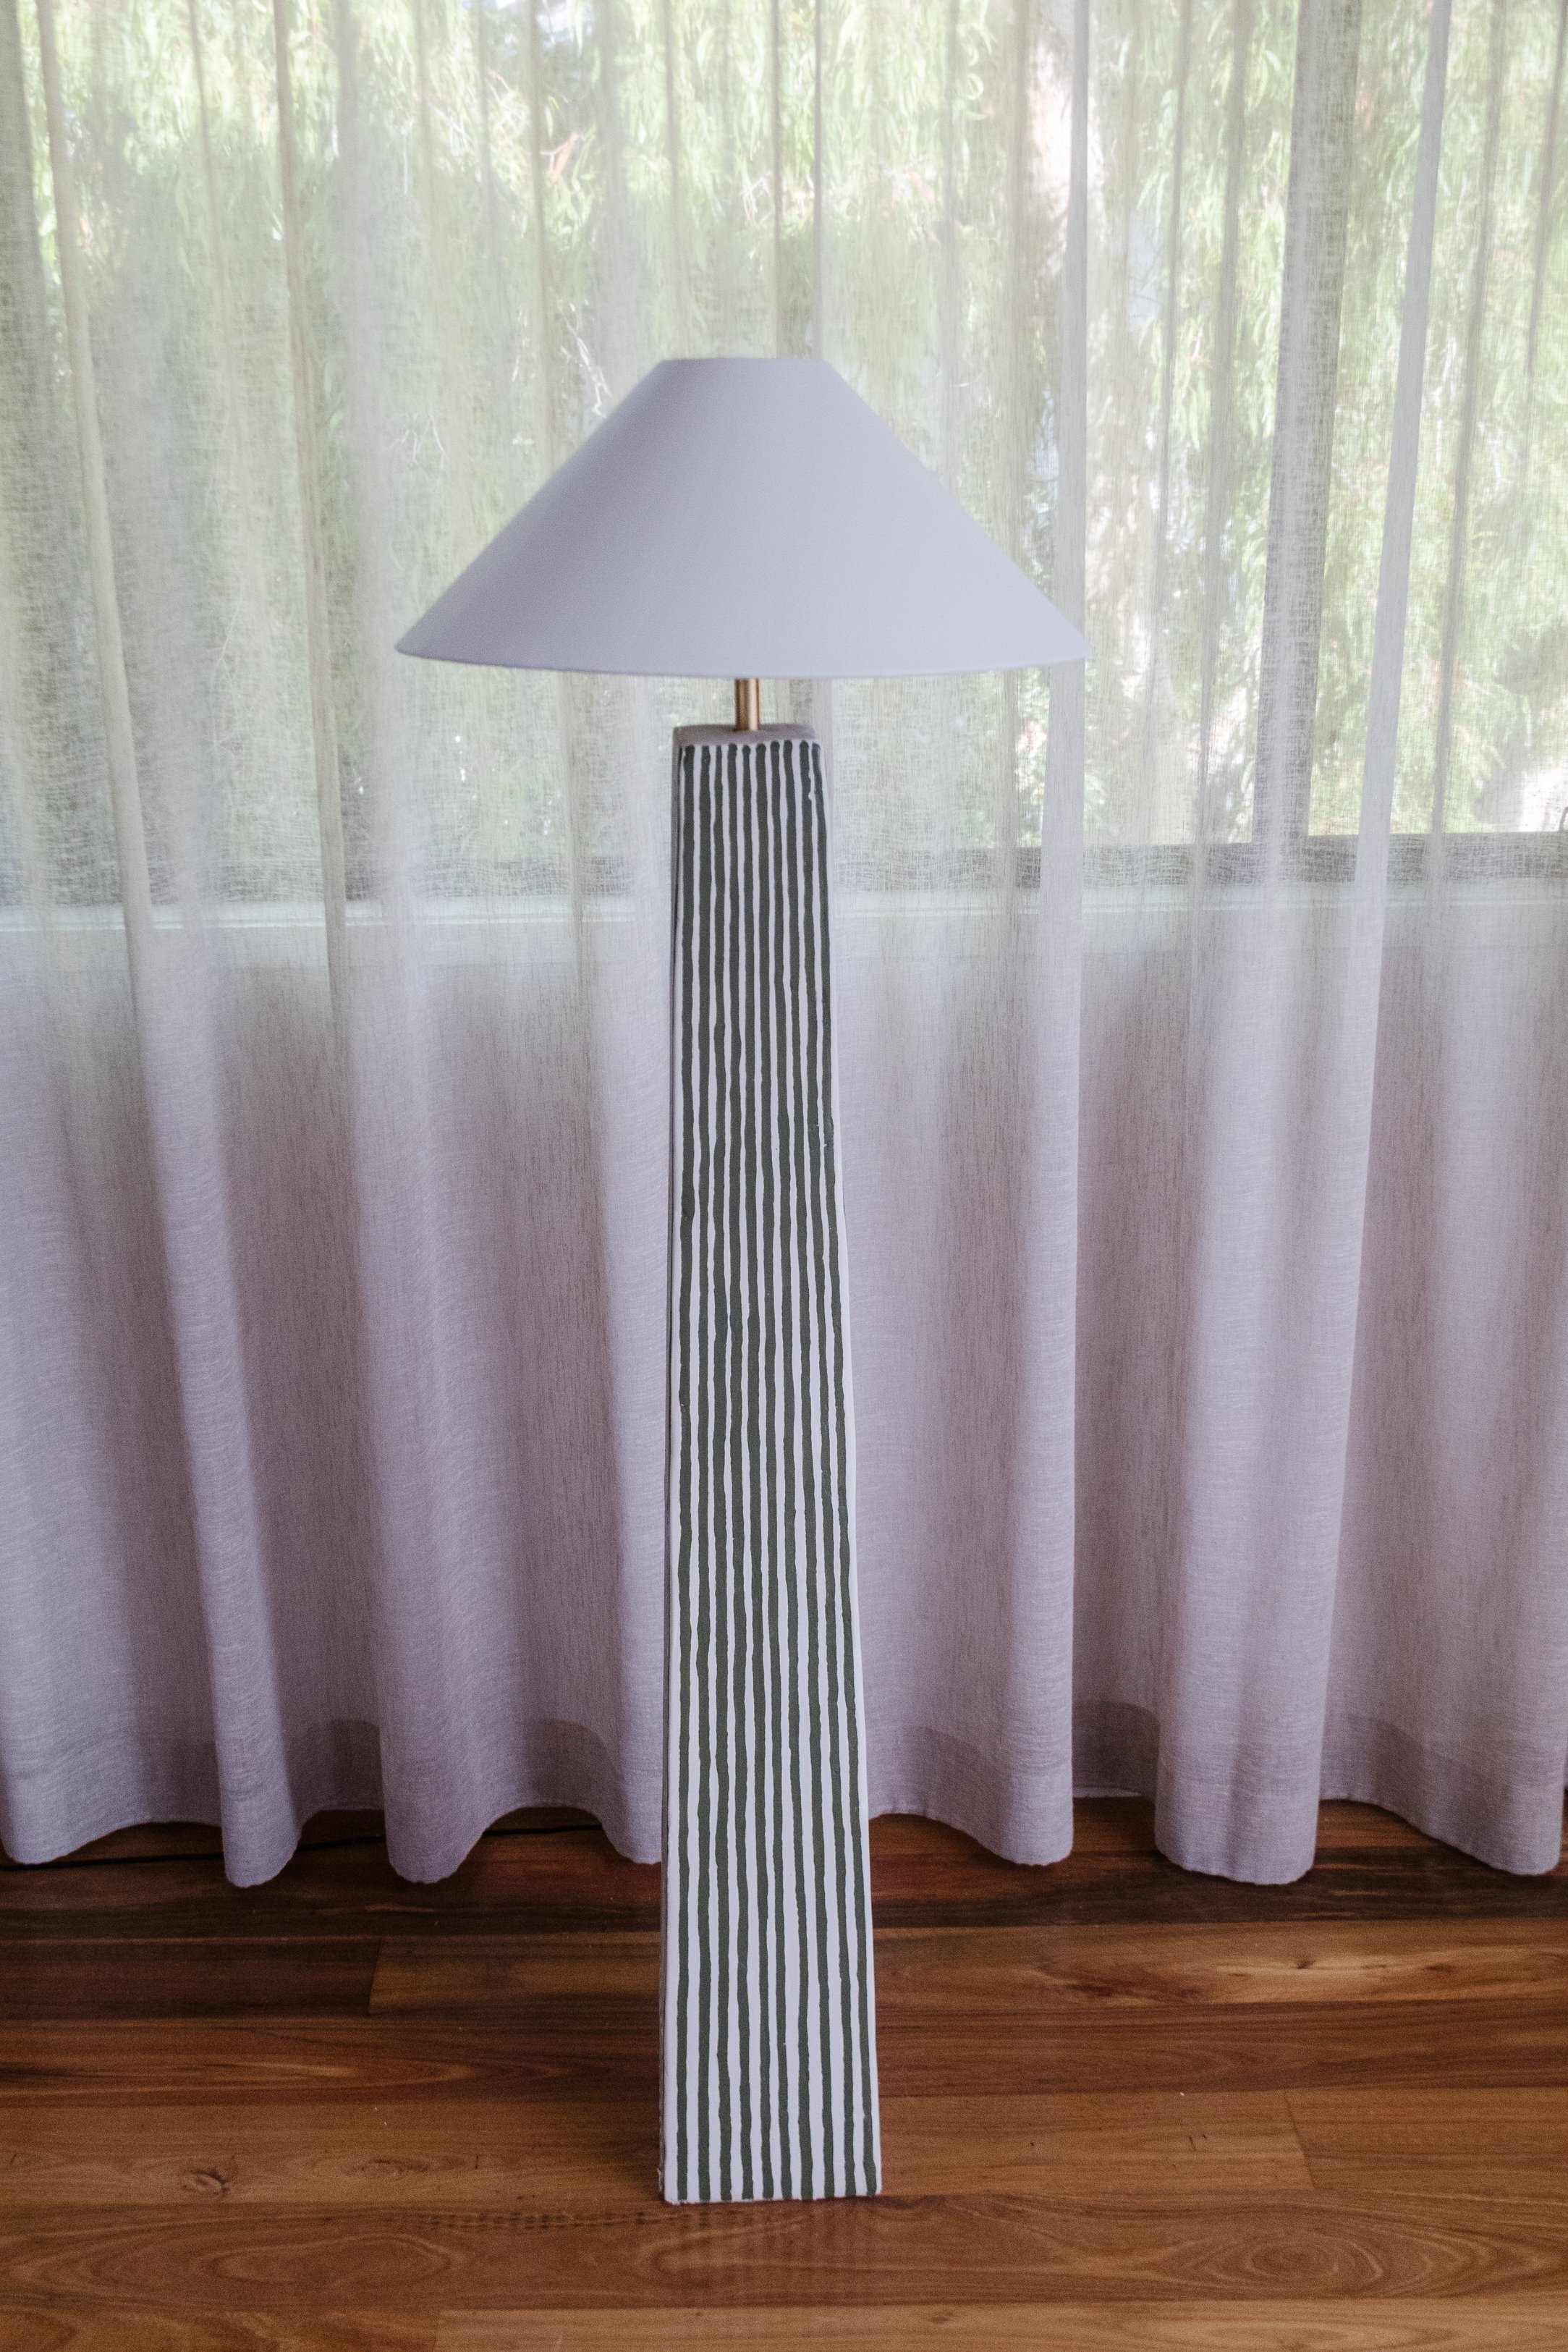
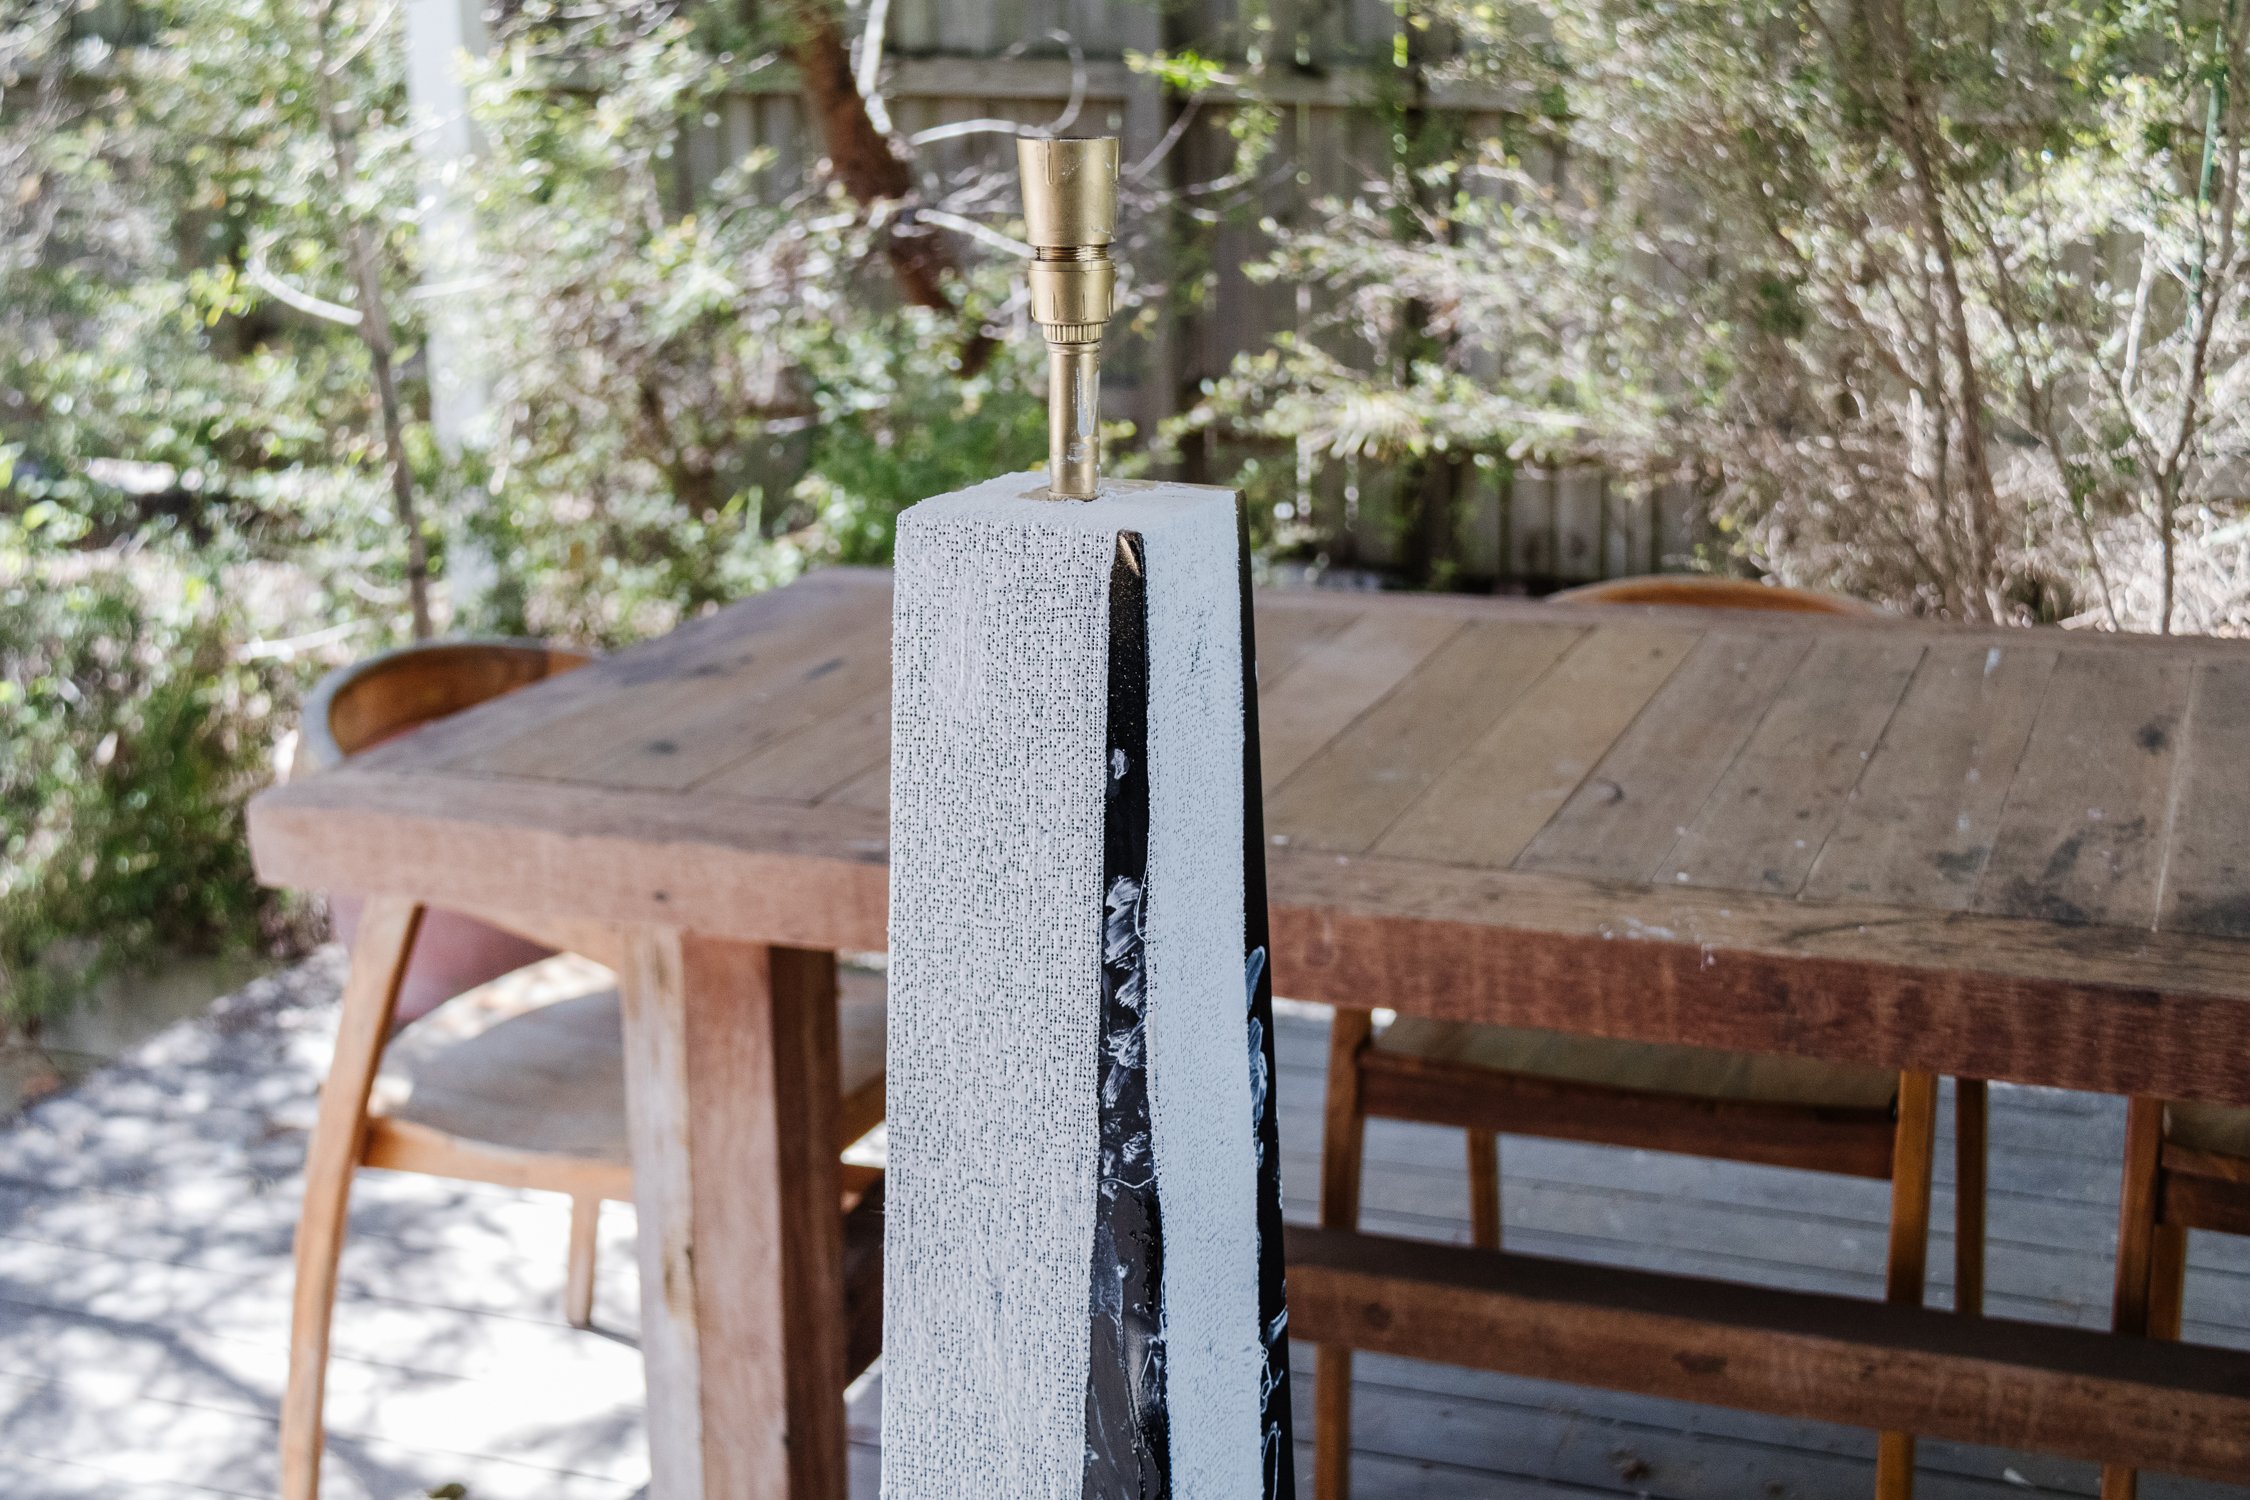
I really wanted to keep this project as simple and practical as possible, so I decided to cover the base in plaster and add a white painted lampshade that’s been collecting dust in our garage. As is, the floor lamp is gorgeous but as always I like to elevate my upcycles, so I decided to experiment with an idea I have been thinking about for a while. I love stripes, it’s my favourite “pattern” and I’ve been wanting to add stripes into our home in a subtle way. I noticed I kept saving photos of striped furniture for the last few months, so I decided to paint stripes onto the plaster! It was a big risk, but sometimes you’ve got to risk it for the biscuit. It took me a little while to figure out the direction of the stripes (vertical won the vote on Instagram!), how to evenly draw the stripes onto the plaster, and which colour paint the lamp base (that was covered in plaster). However, I am so glad I took my time as I am absolutely thrilled with the result!
Total project cost? $60 including the floor lamp. I know right? So good! Read on to learn how you can upcycle a floor lamp using plaster and paint.
And to see how this Upcycled Plaster Floor Lamp came together, make sure you check out this video!
Before & After

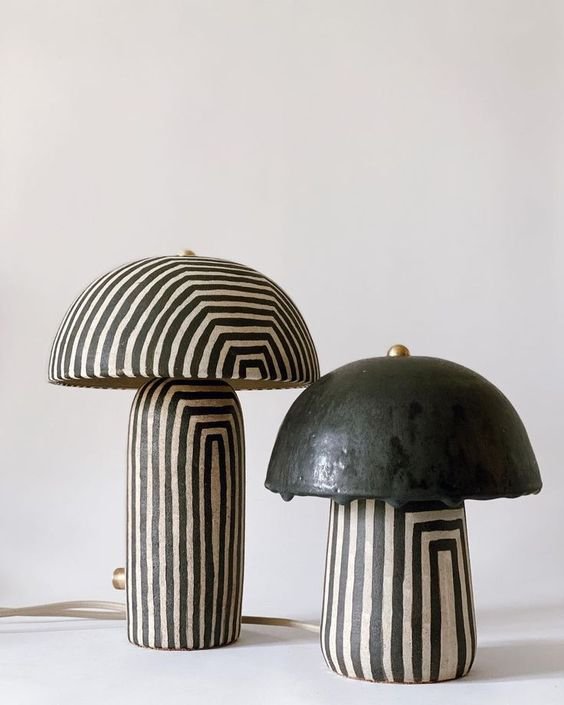
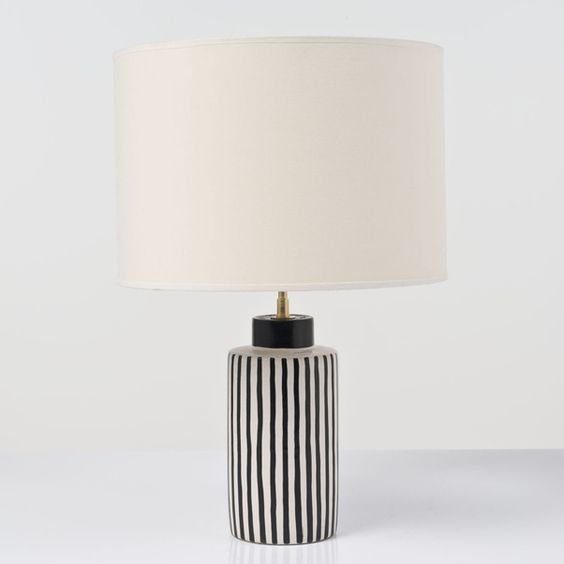
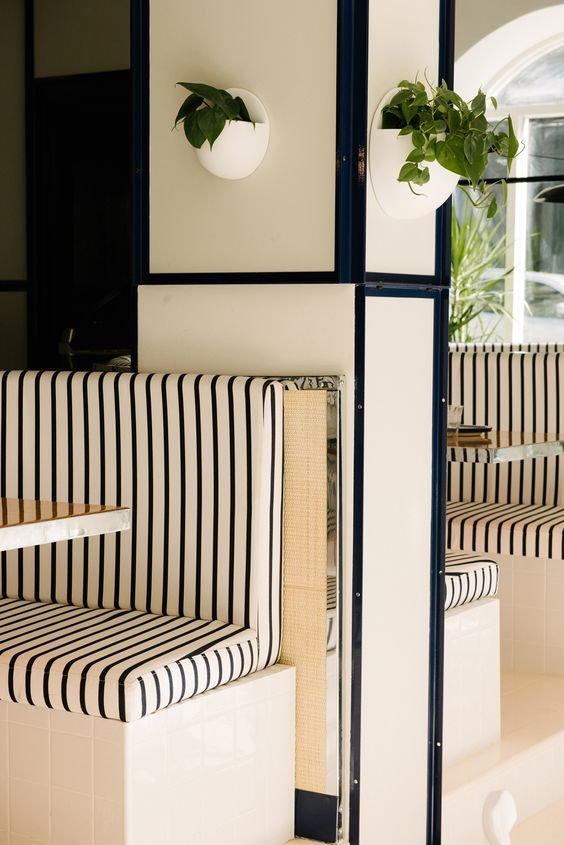
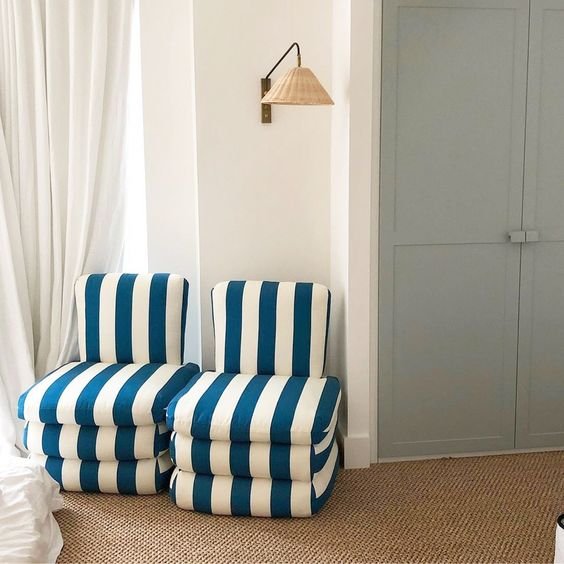
The Inspiration

Project Details
🕒 Project Time Estimate: 4 hours, not including plaster and paint drying time
💰 Materials Cost: $60
⚒️ Power Tools: None!
👷♀️ Skill Level: Beginner DIYer

Materials
Secondhand floor lamp (with lampshade)
Baby wipes
Multipurpose Joint Compound from Bunnings
Dulux “Flinders Green” interior paint
Rust Oleum 2X Ultra Cover Spray Paint in Clear Satin from Bunnings
Tools:
Joint Knife from Bunnings
Sanding sponge from Bunnings
Pencil and ruler
A spirit level or a long piece of timber to draw the long lines (it’s best that this is as long as the lamp base you have so you can draw one consistent line)
Fine paint brush

How To
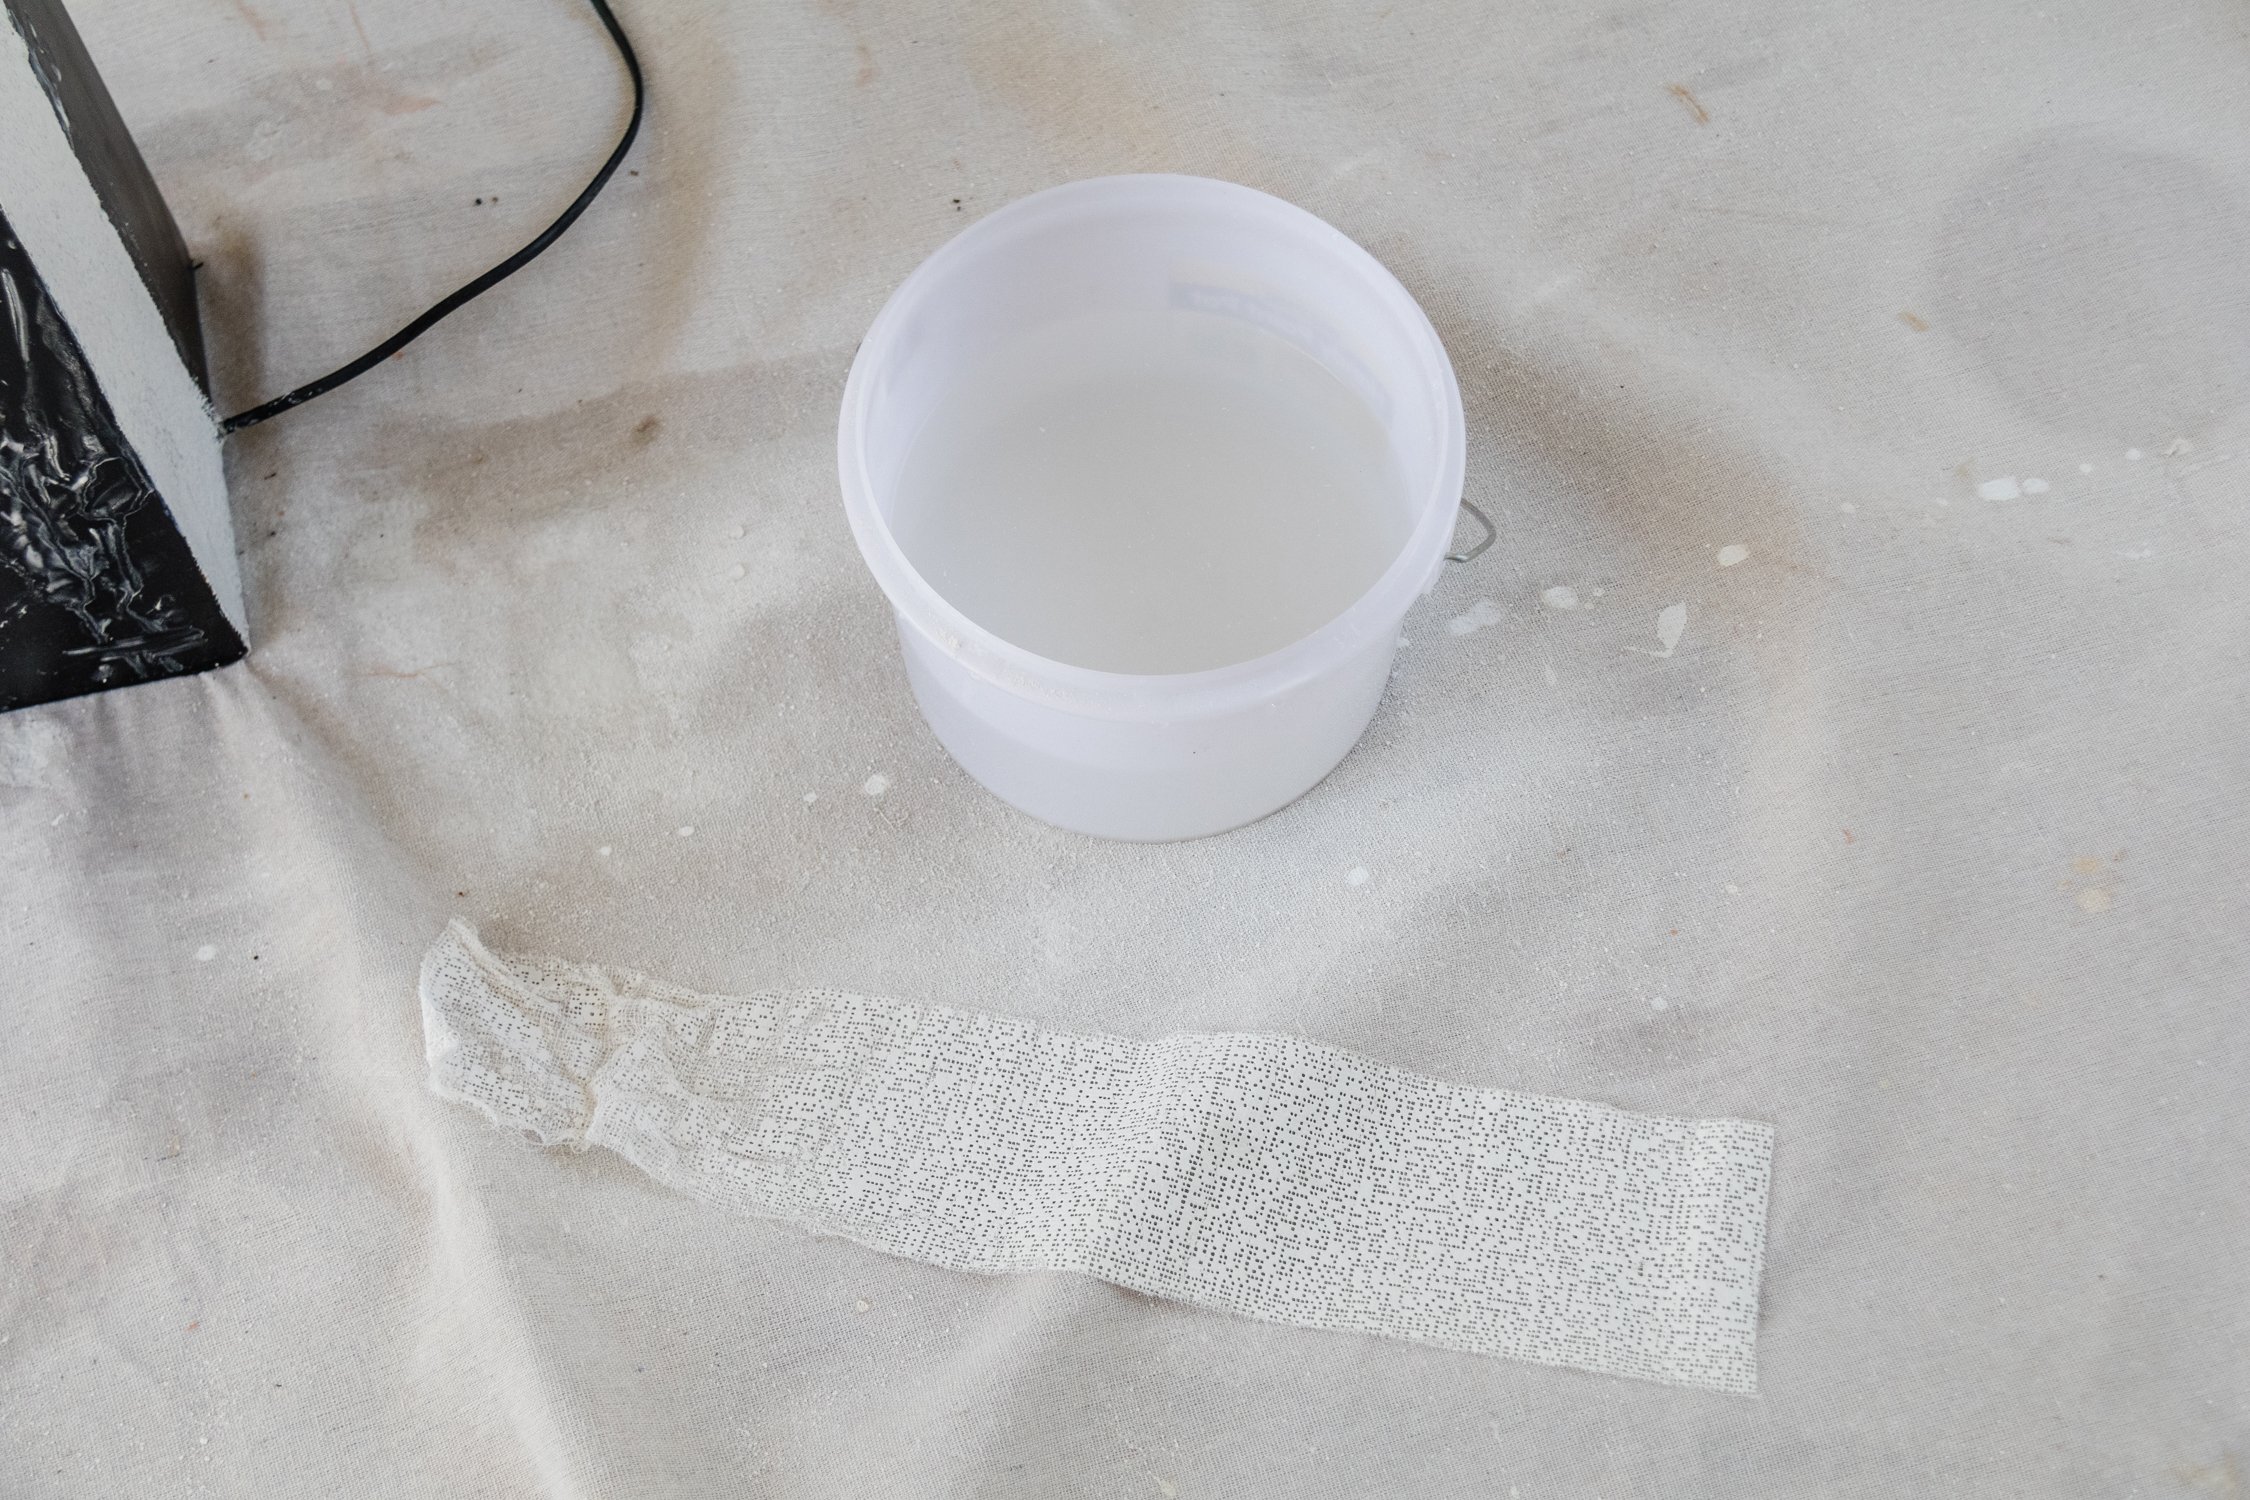
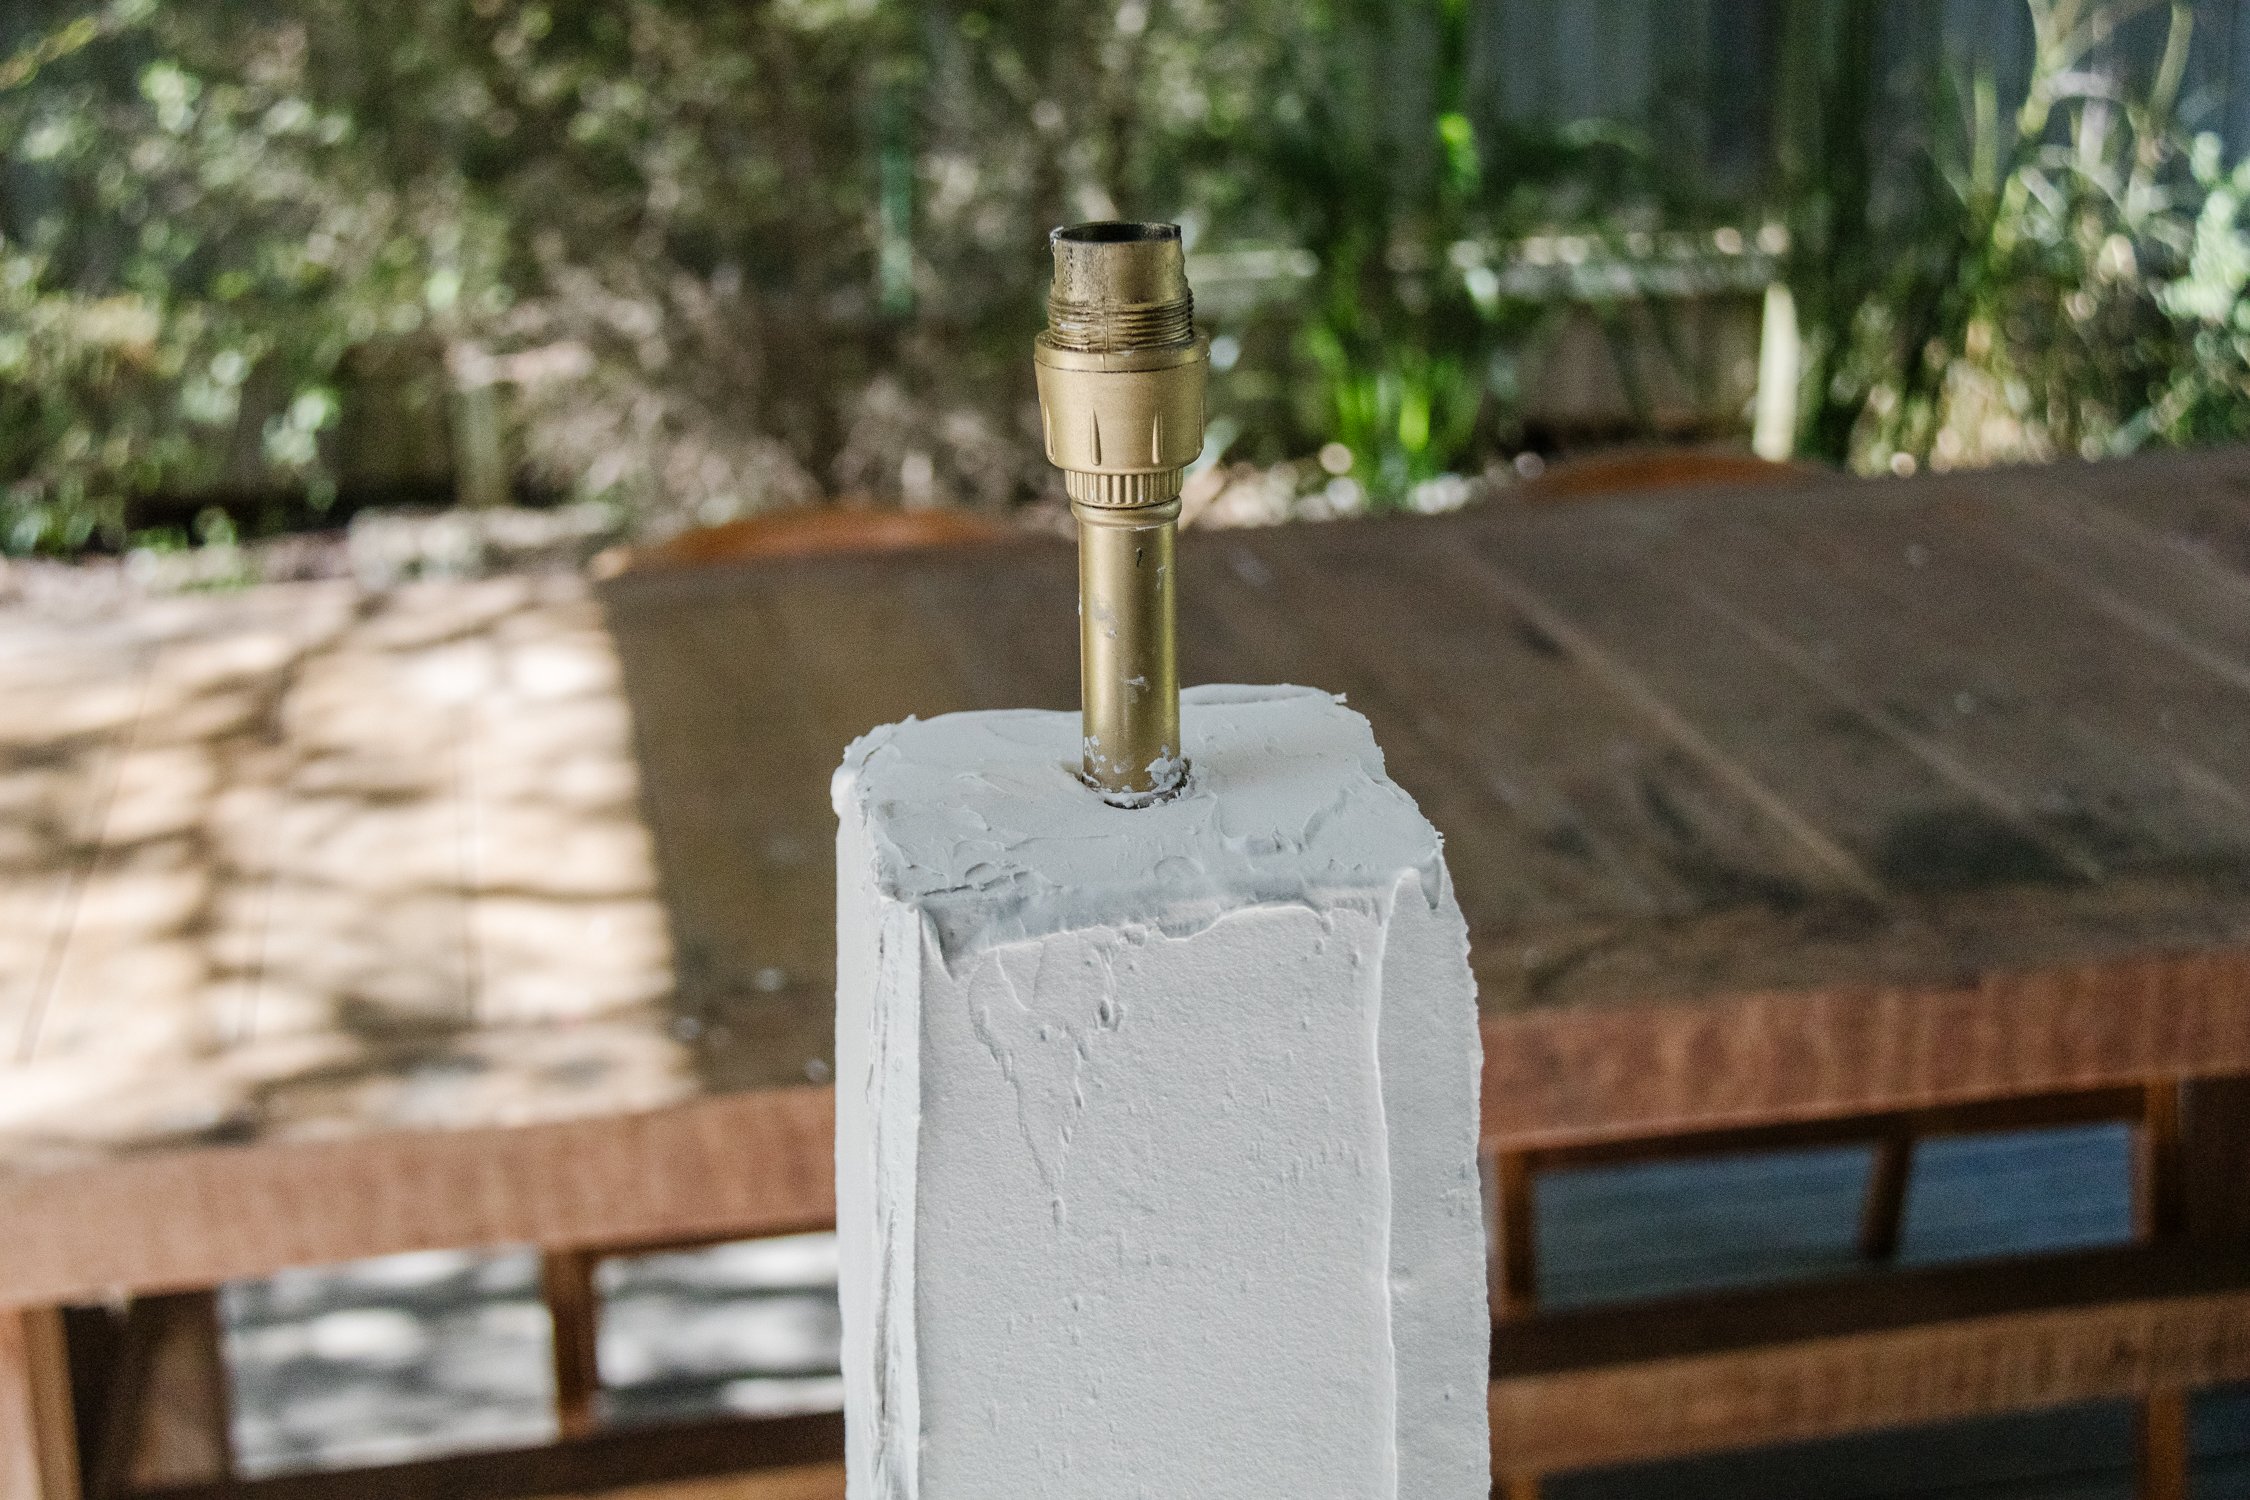
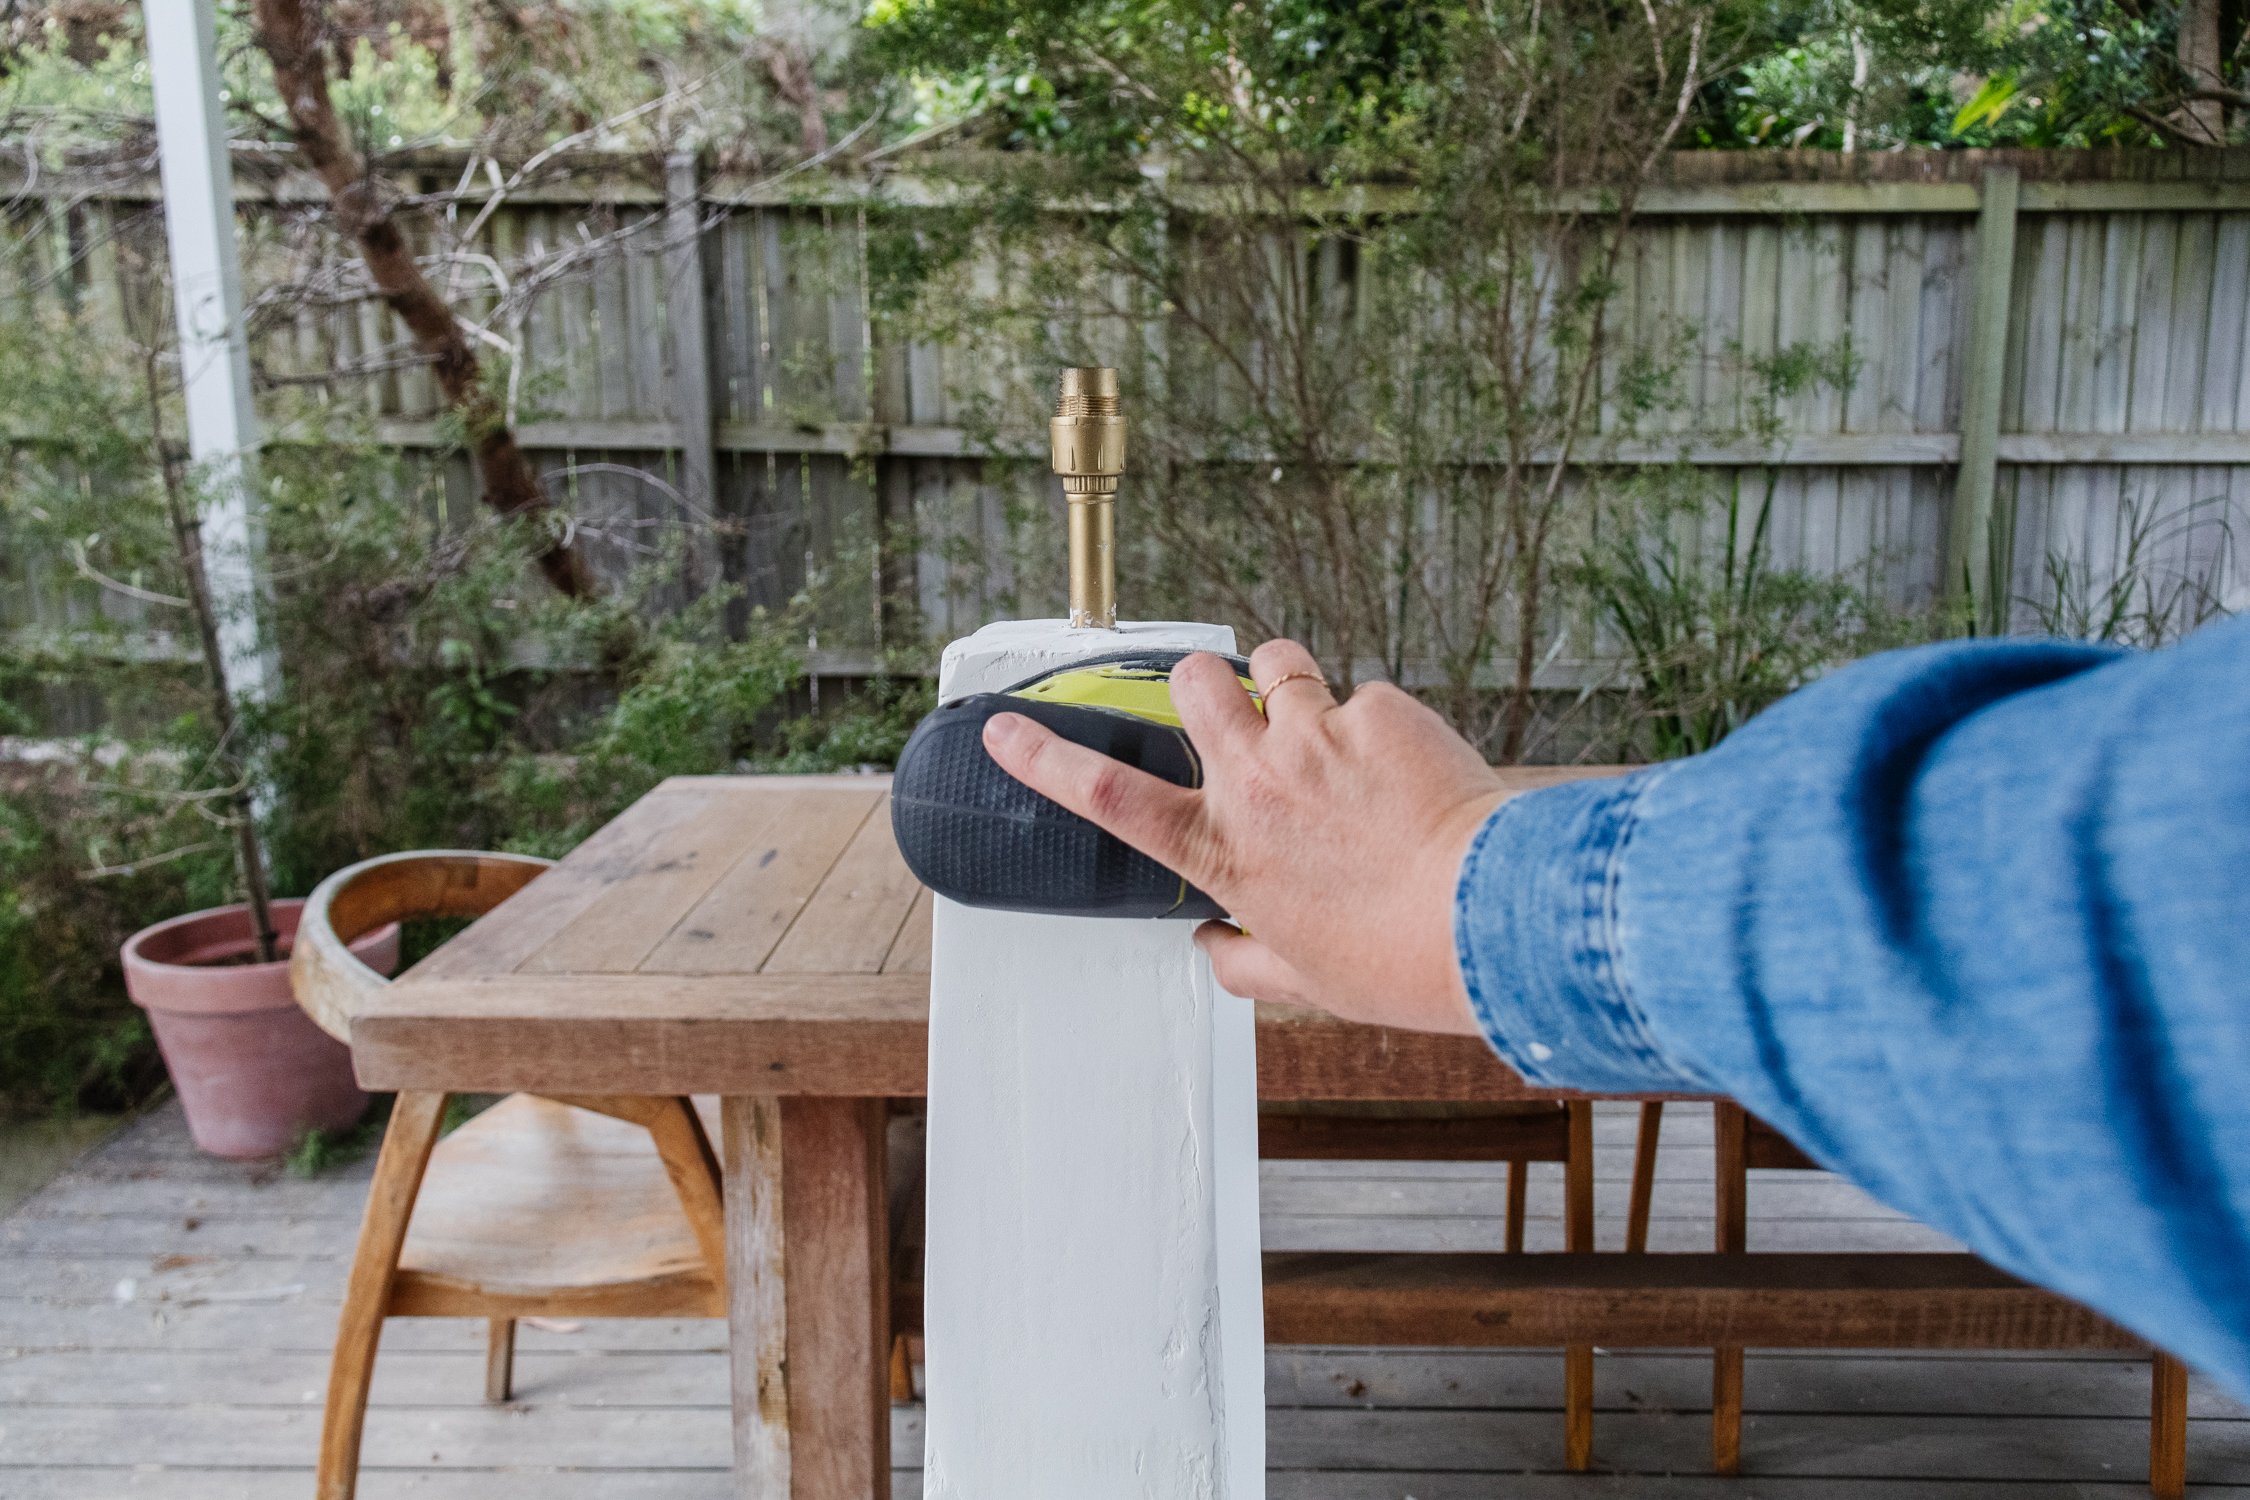
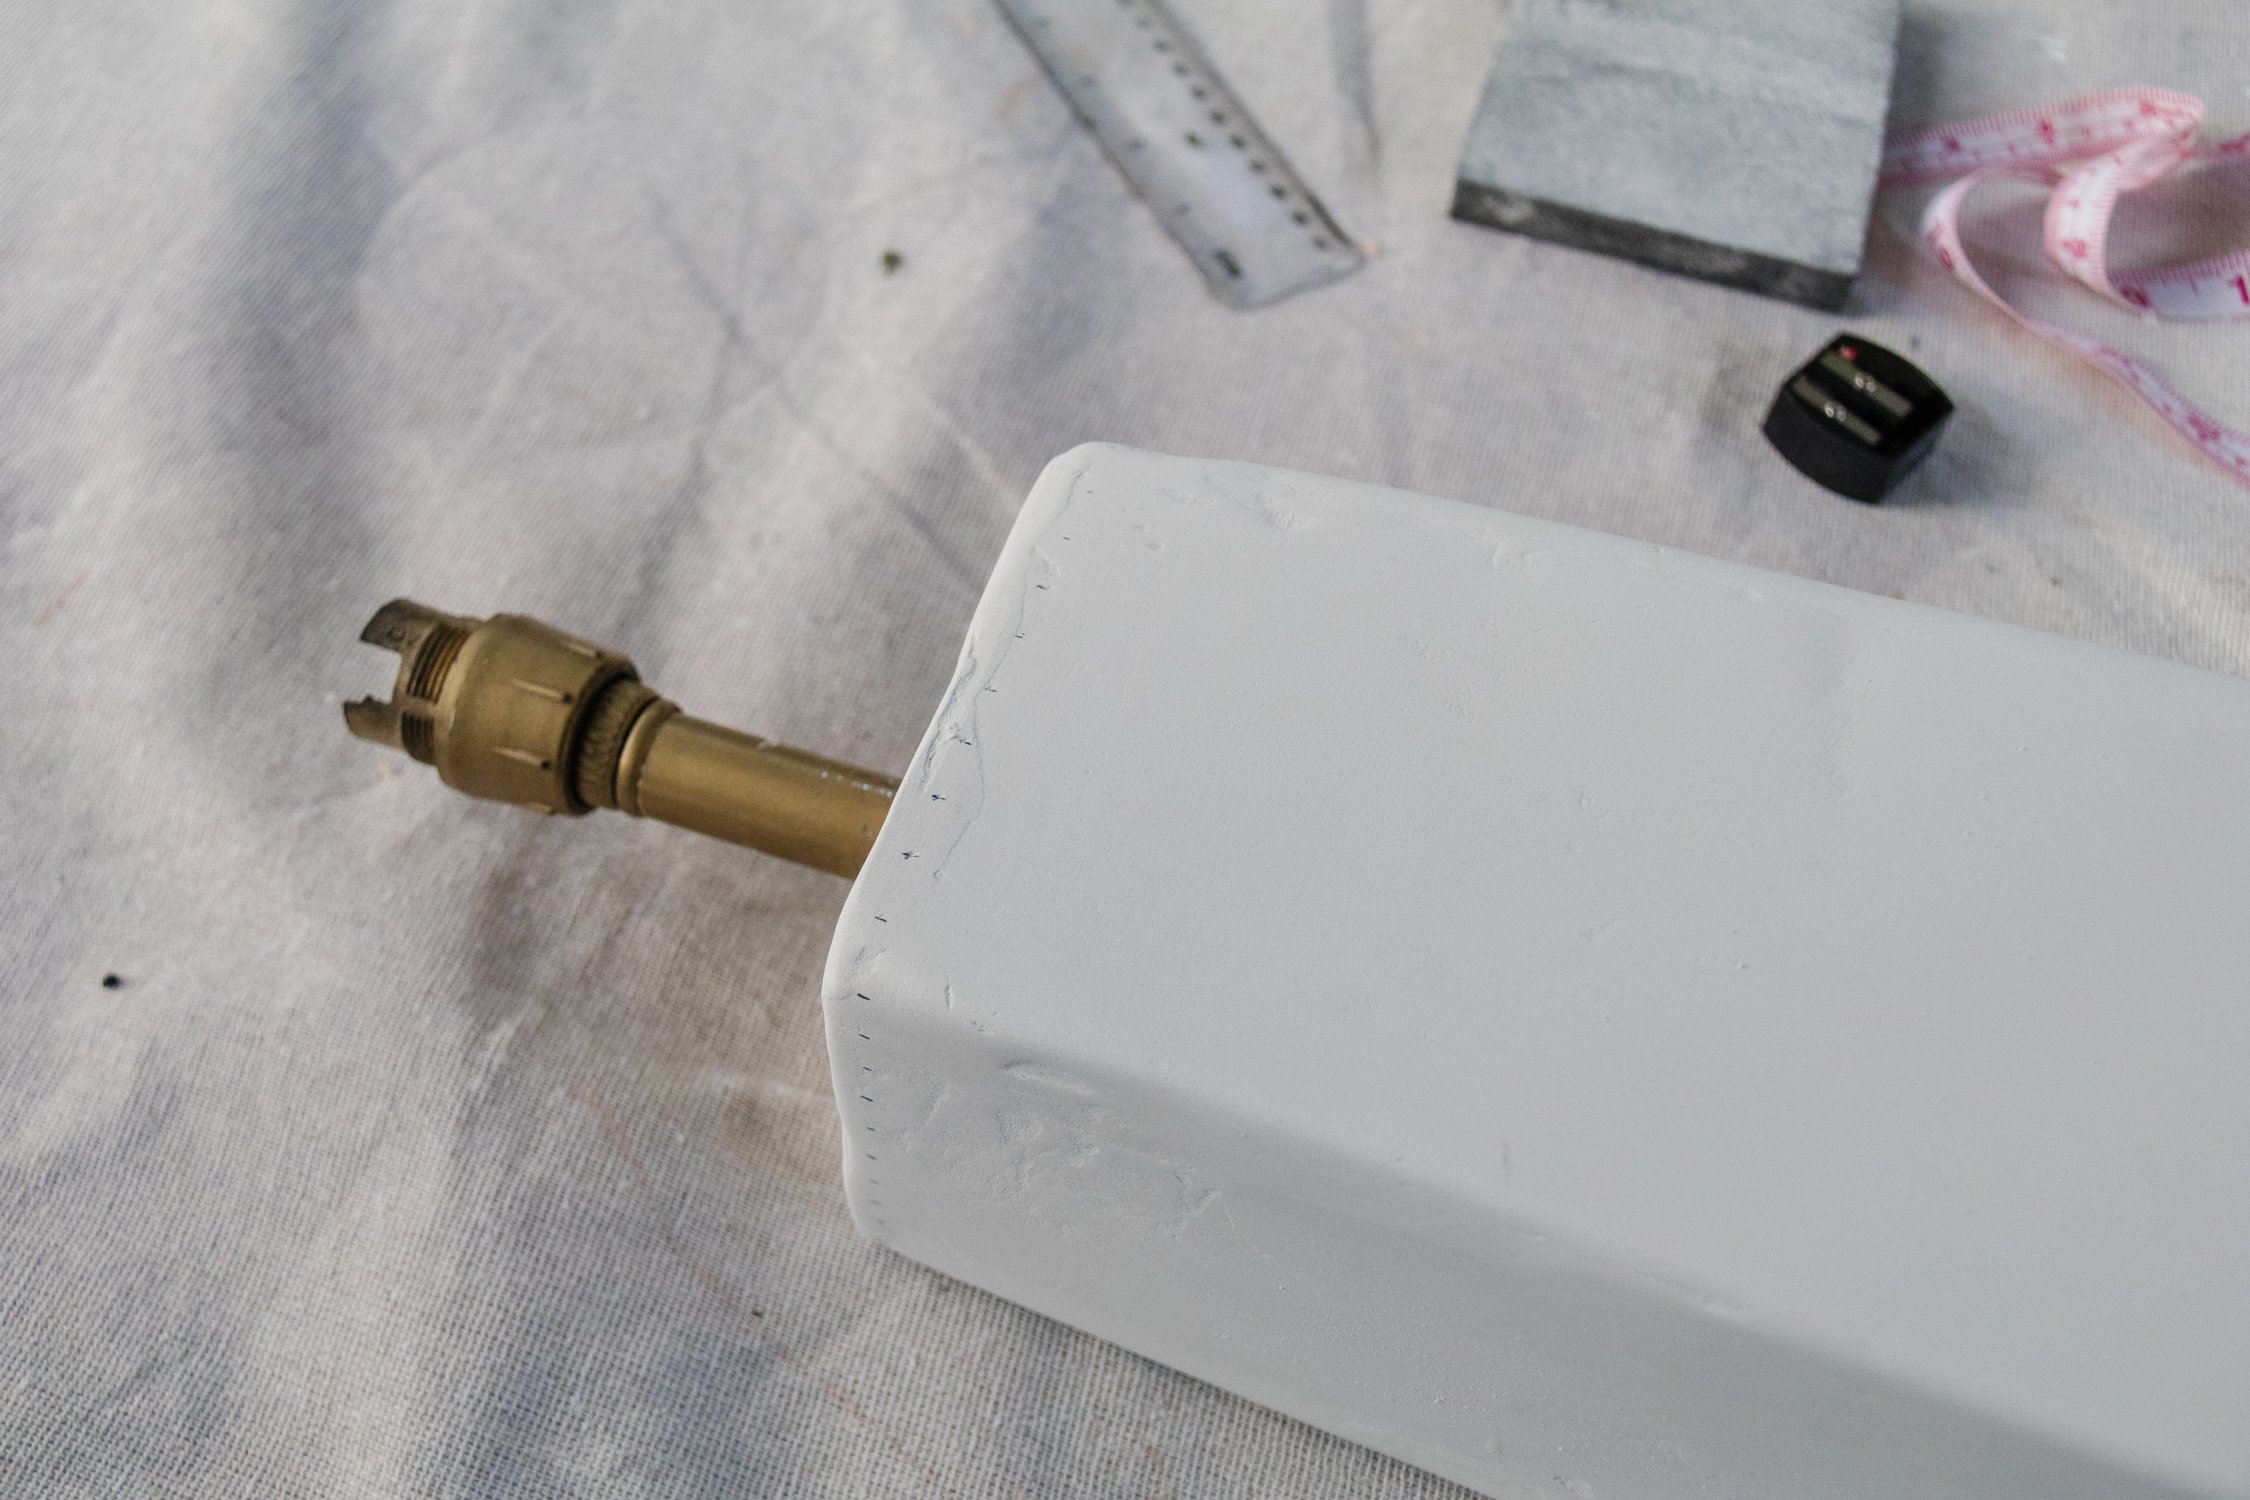
Start by removing the lampshade and clean the lamp base with baby wipes. Measure the plaster cloth (so it will cover the lamp base from top to bottom and ensure there is extra so you can fold it underneath the lamp base). Cut the cloth using scissors, fold it gently in water and apply directly onto the lamp base. Try not to wipe the plaster cloth down with your hand as it can remove some of the texture, which is necessary for the plaster to stick onto. Repeat until the lamp base is completely covered. Set aside to dry for a couple of hours (it may take a bit longer to dry in cooler conditions).

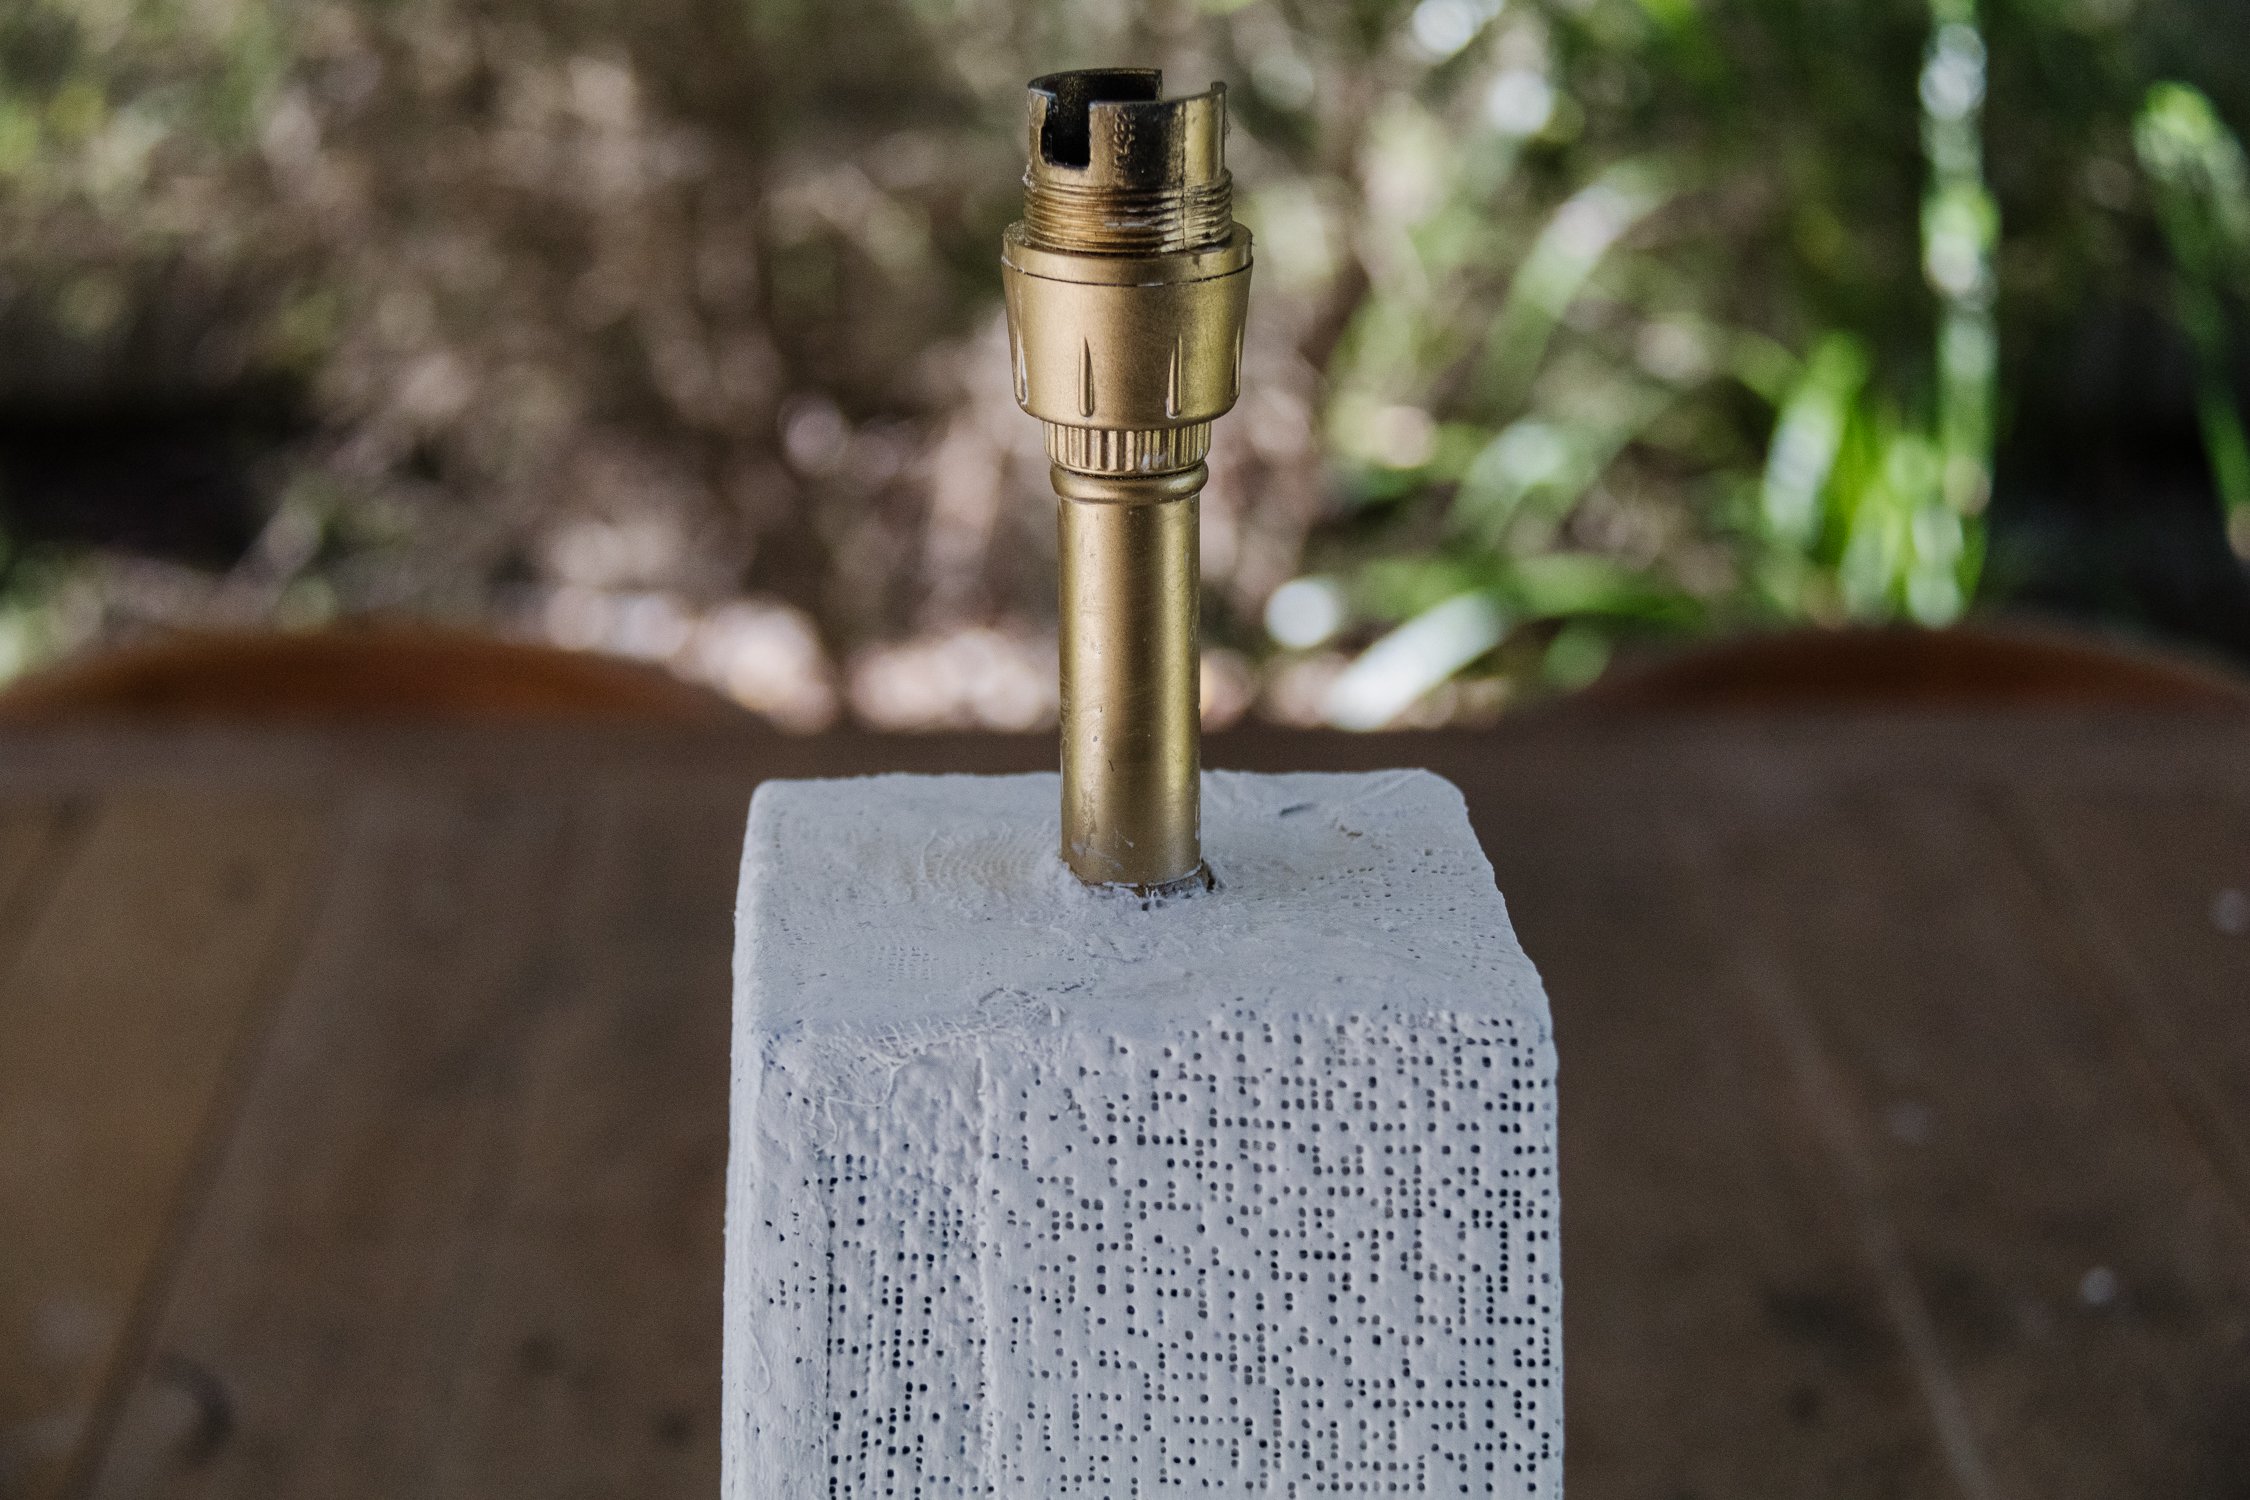
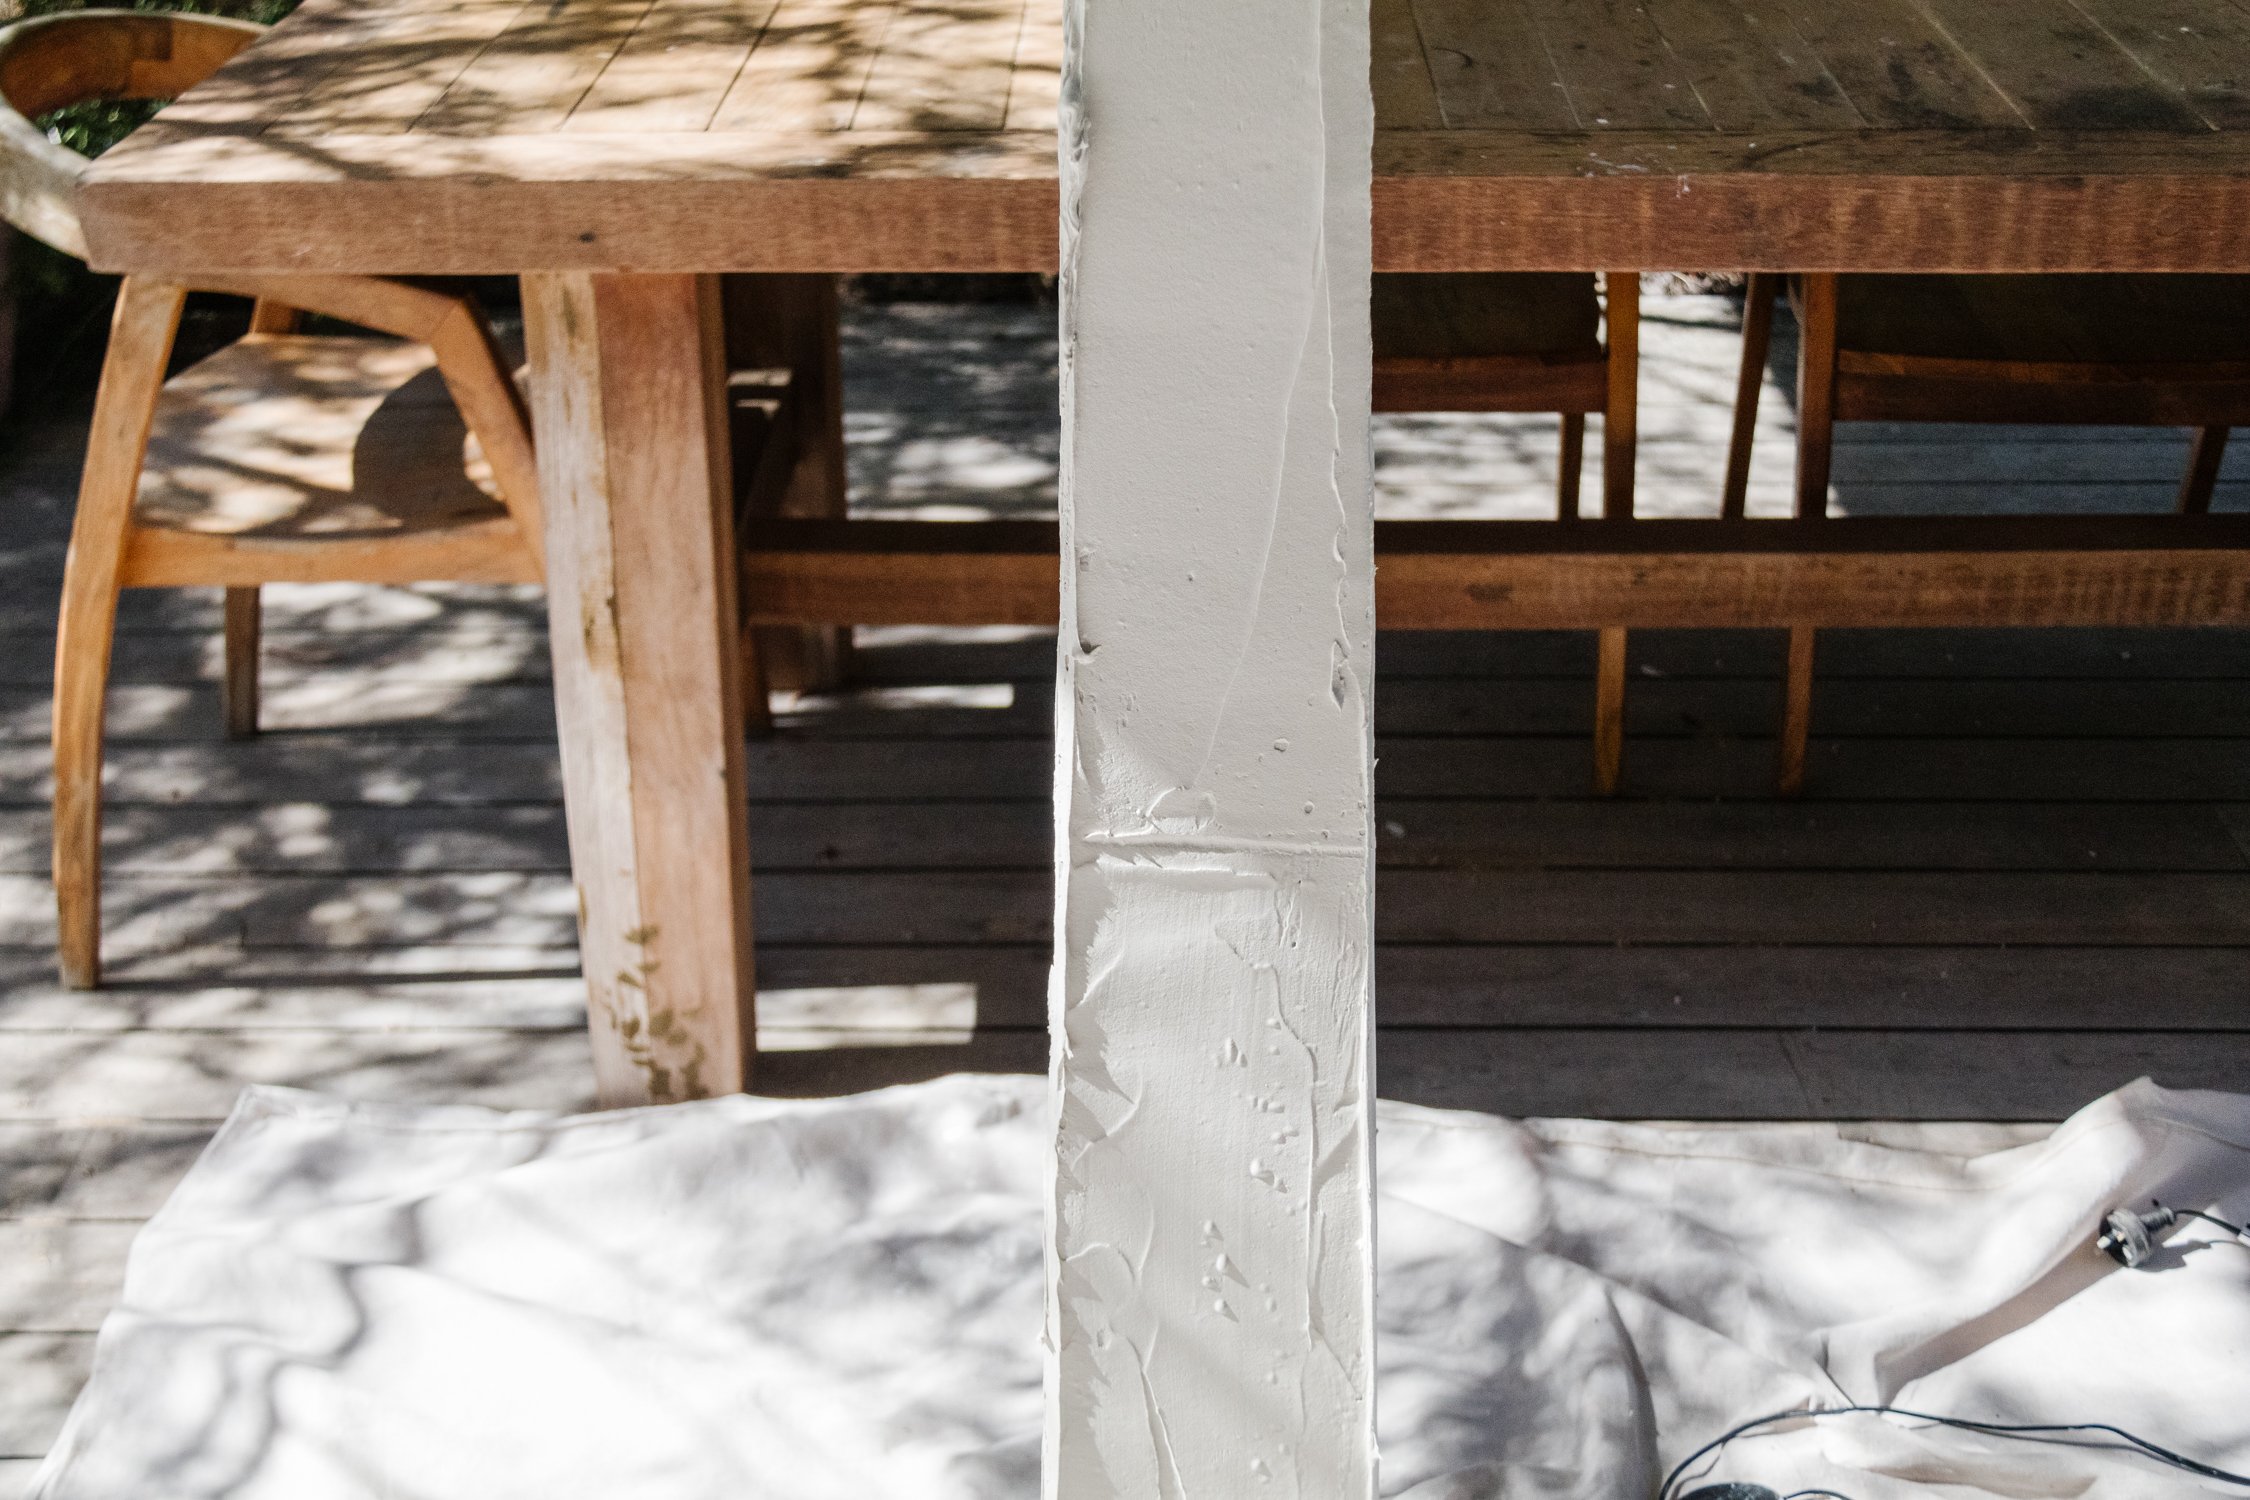
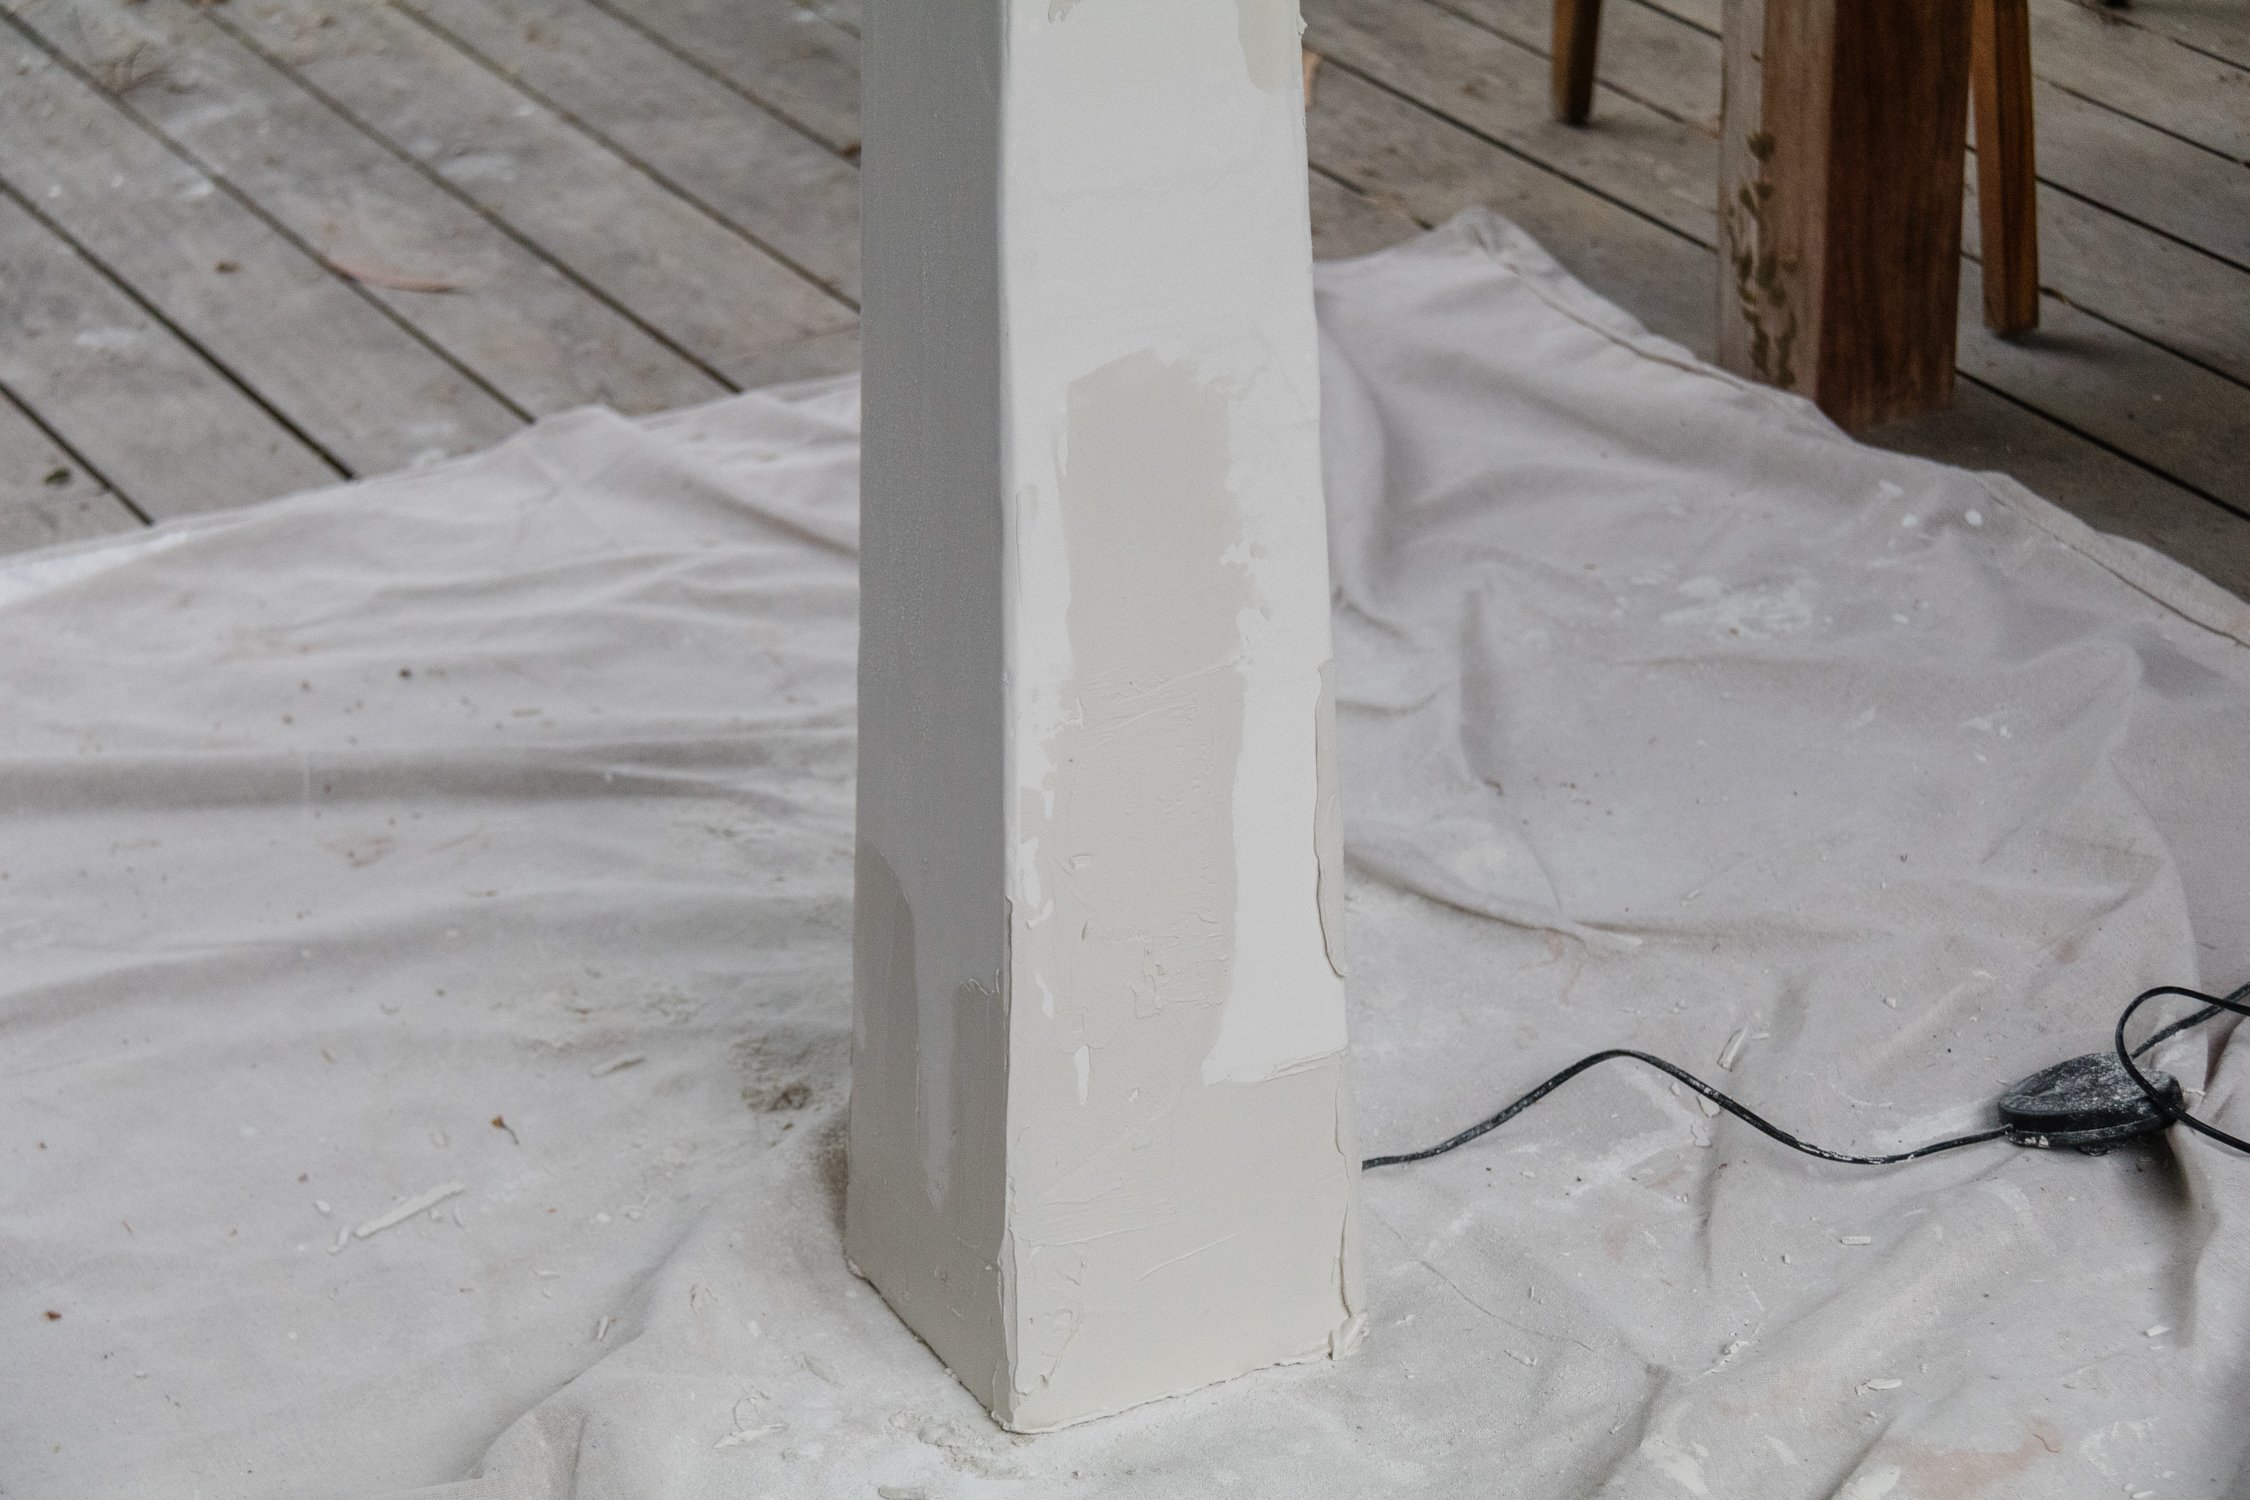
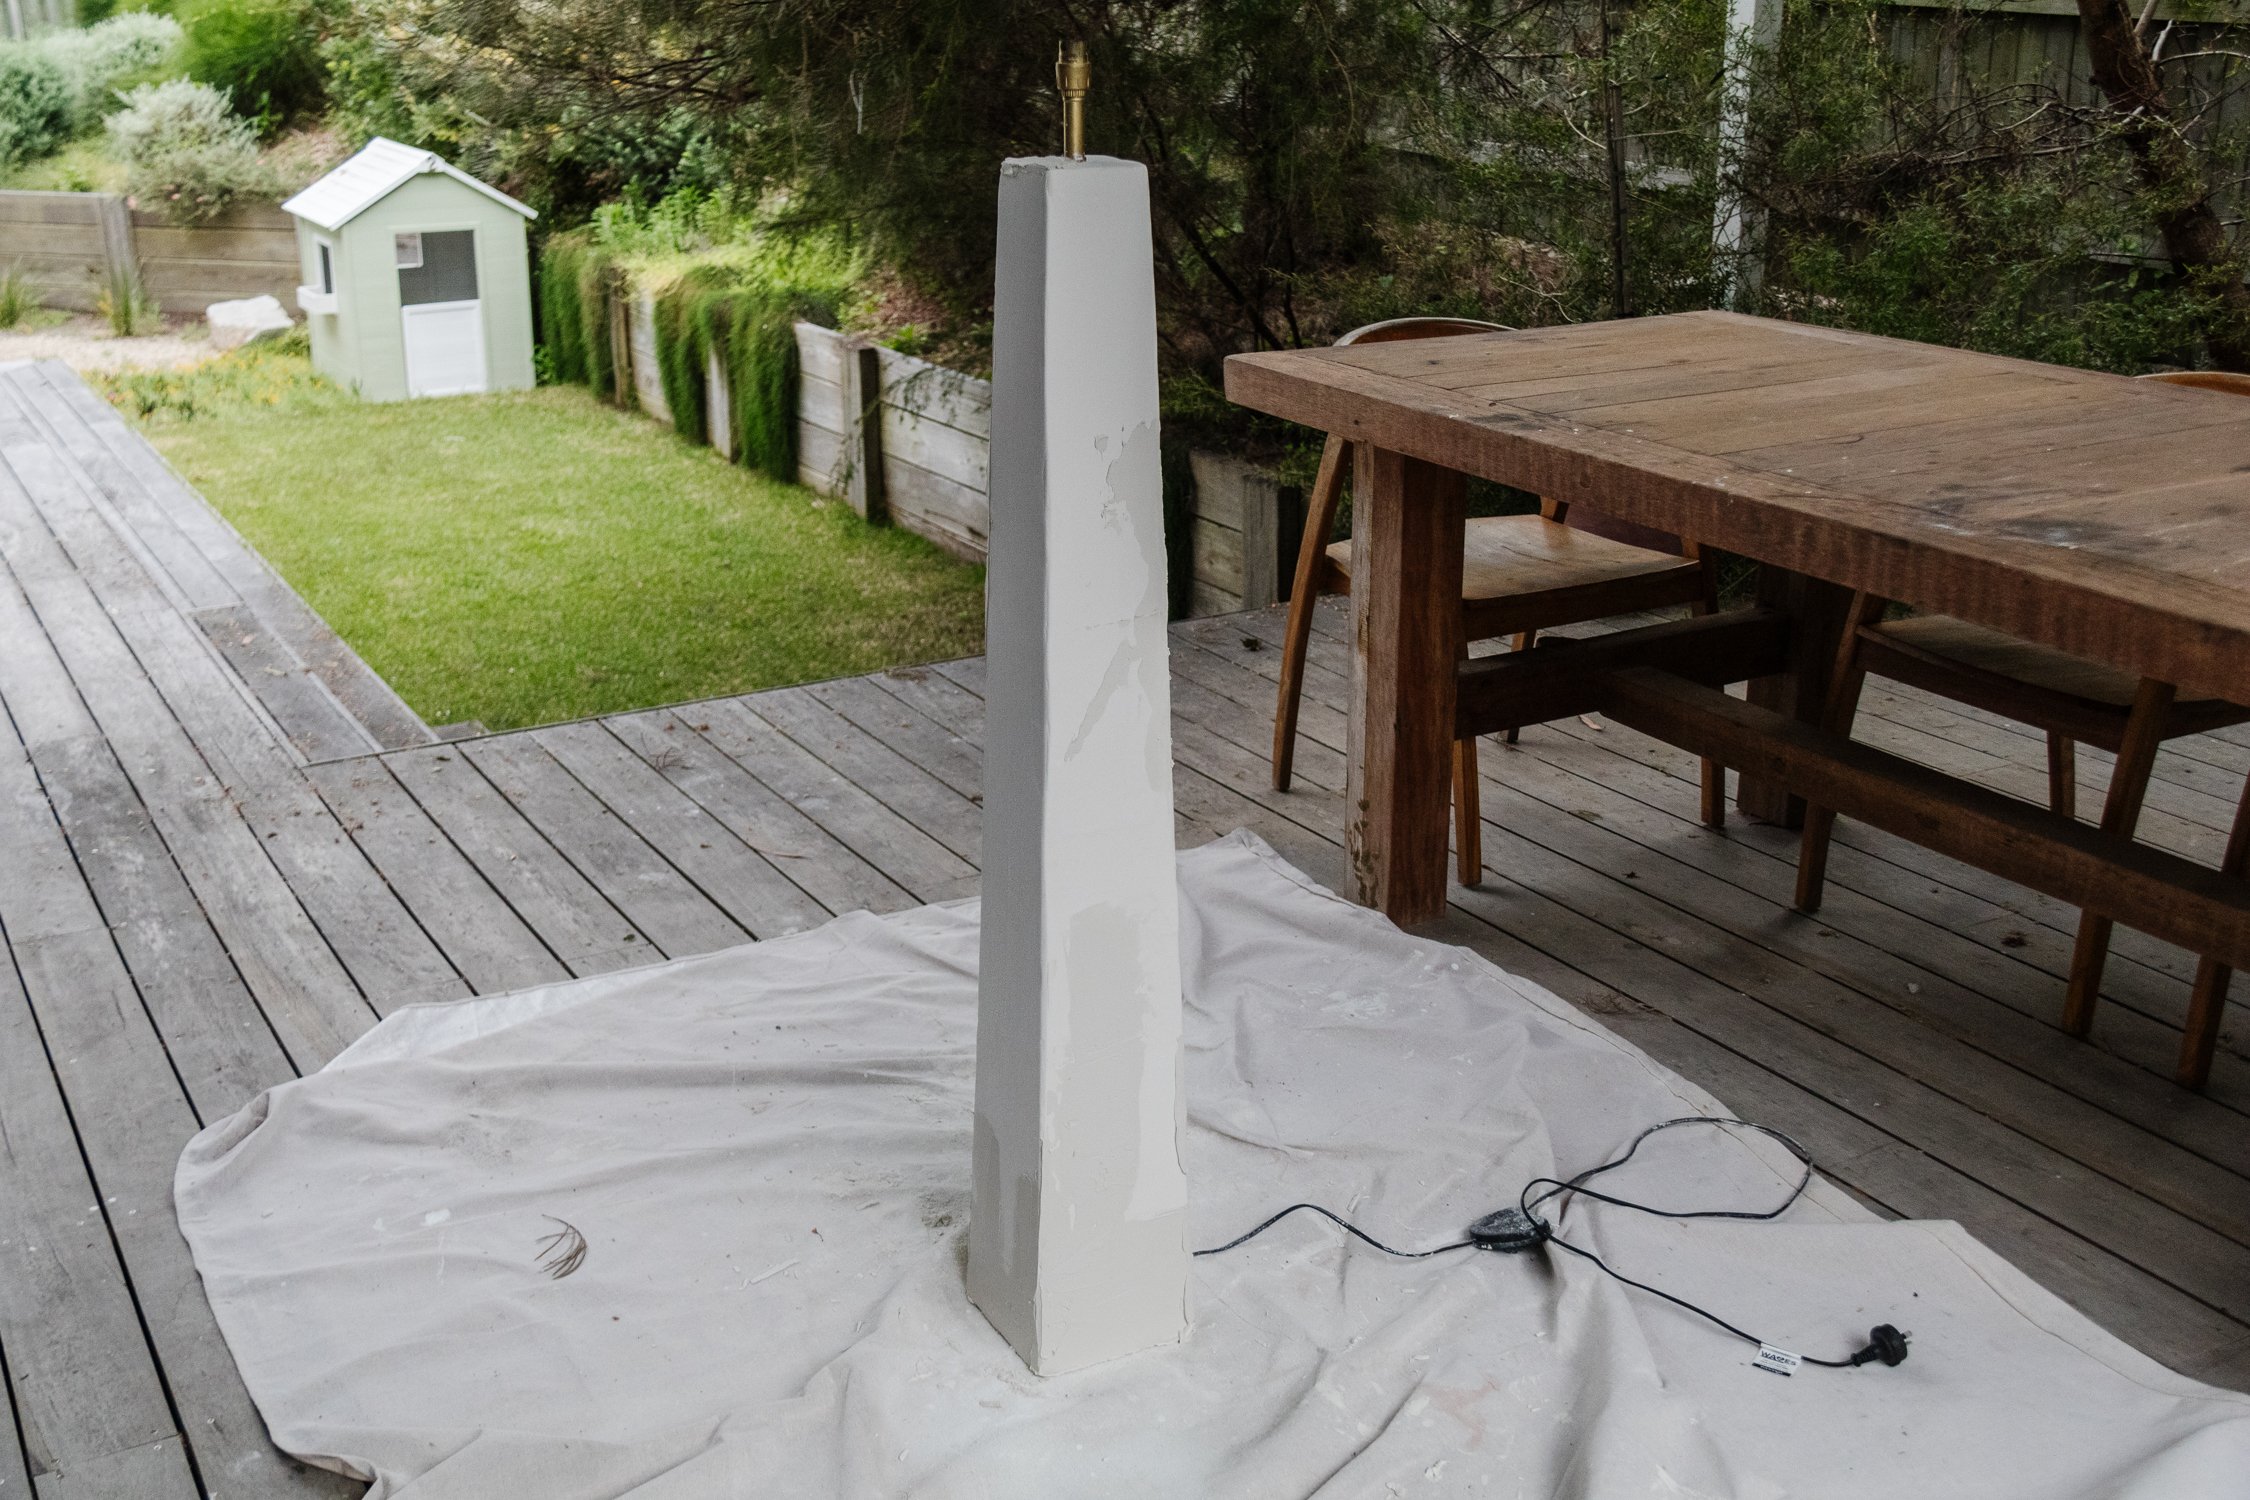
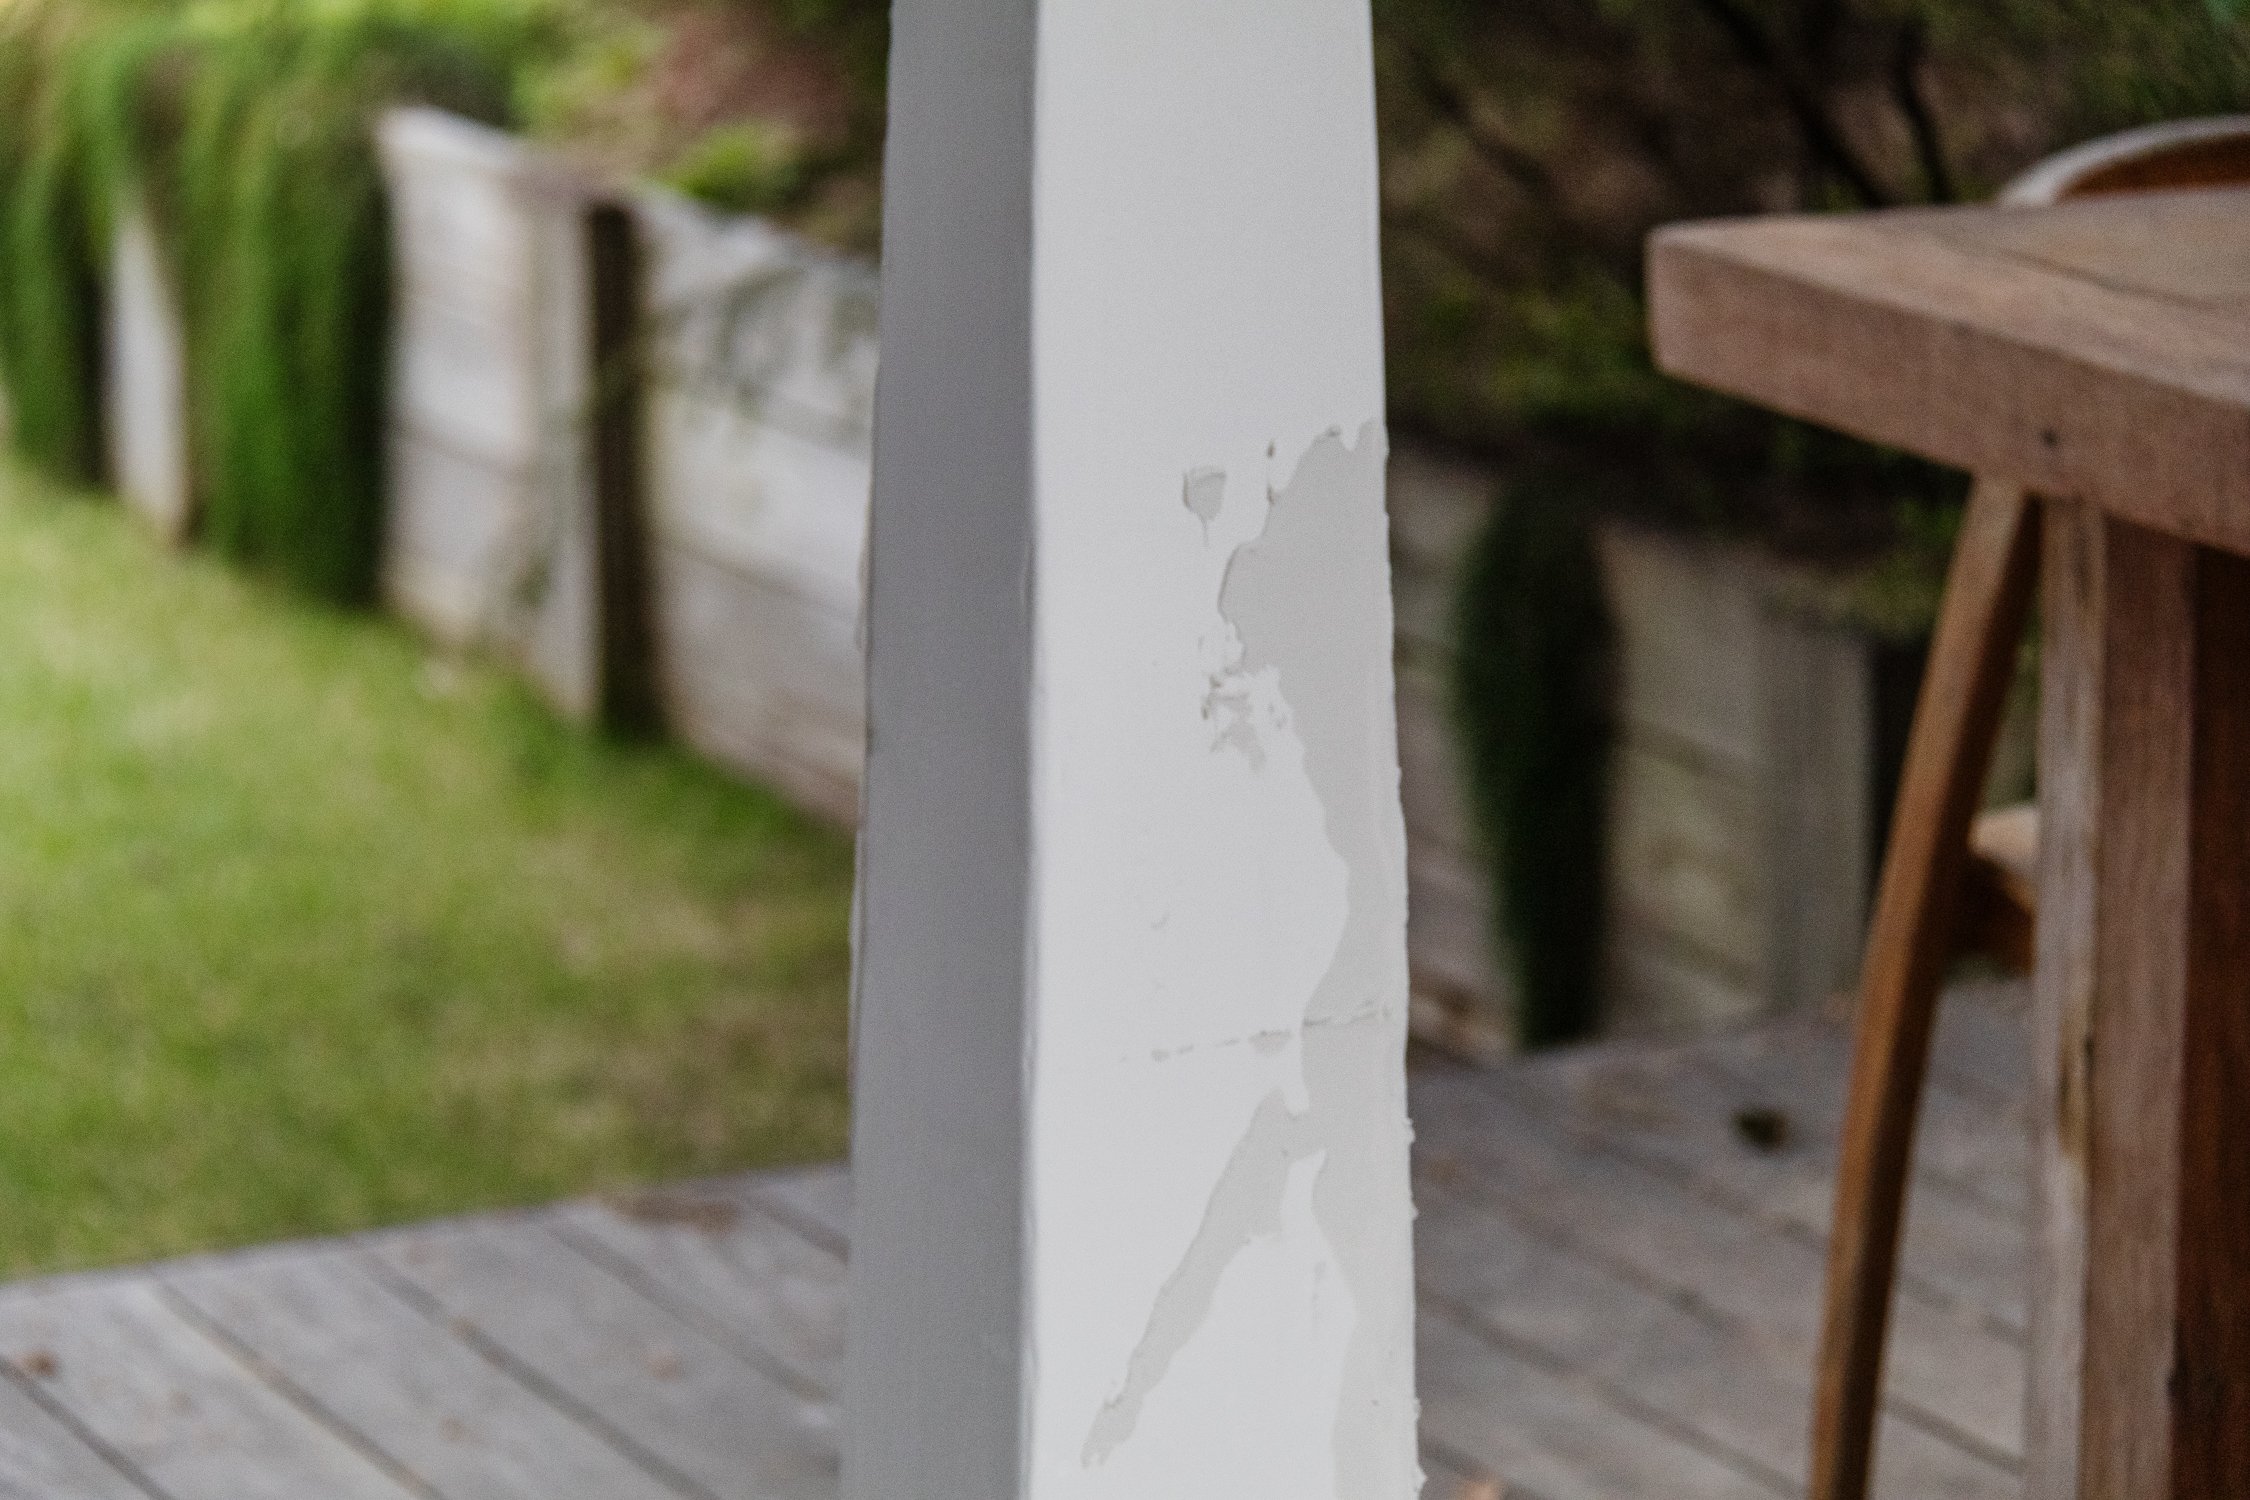
Using a joint knife, apply a thick coat of plaster directly onto the lamp base. Try to be as neat as possible but don’t obsesses over it. Set aside to dry overnight. When the plaster is completely dry, use a a detail sander in a circular motion and softly smooth the lumps and bumps in the plaster. You might see some cracks, that’s totally ok. Patch them up and let the plaster dry before sanding it again. Following this, use a sanding sponge to round the edges and to create an even smoother finish (which is what you are looking for). But don’t worry if it’s not perfect :)
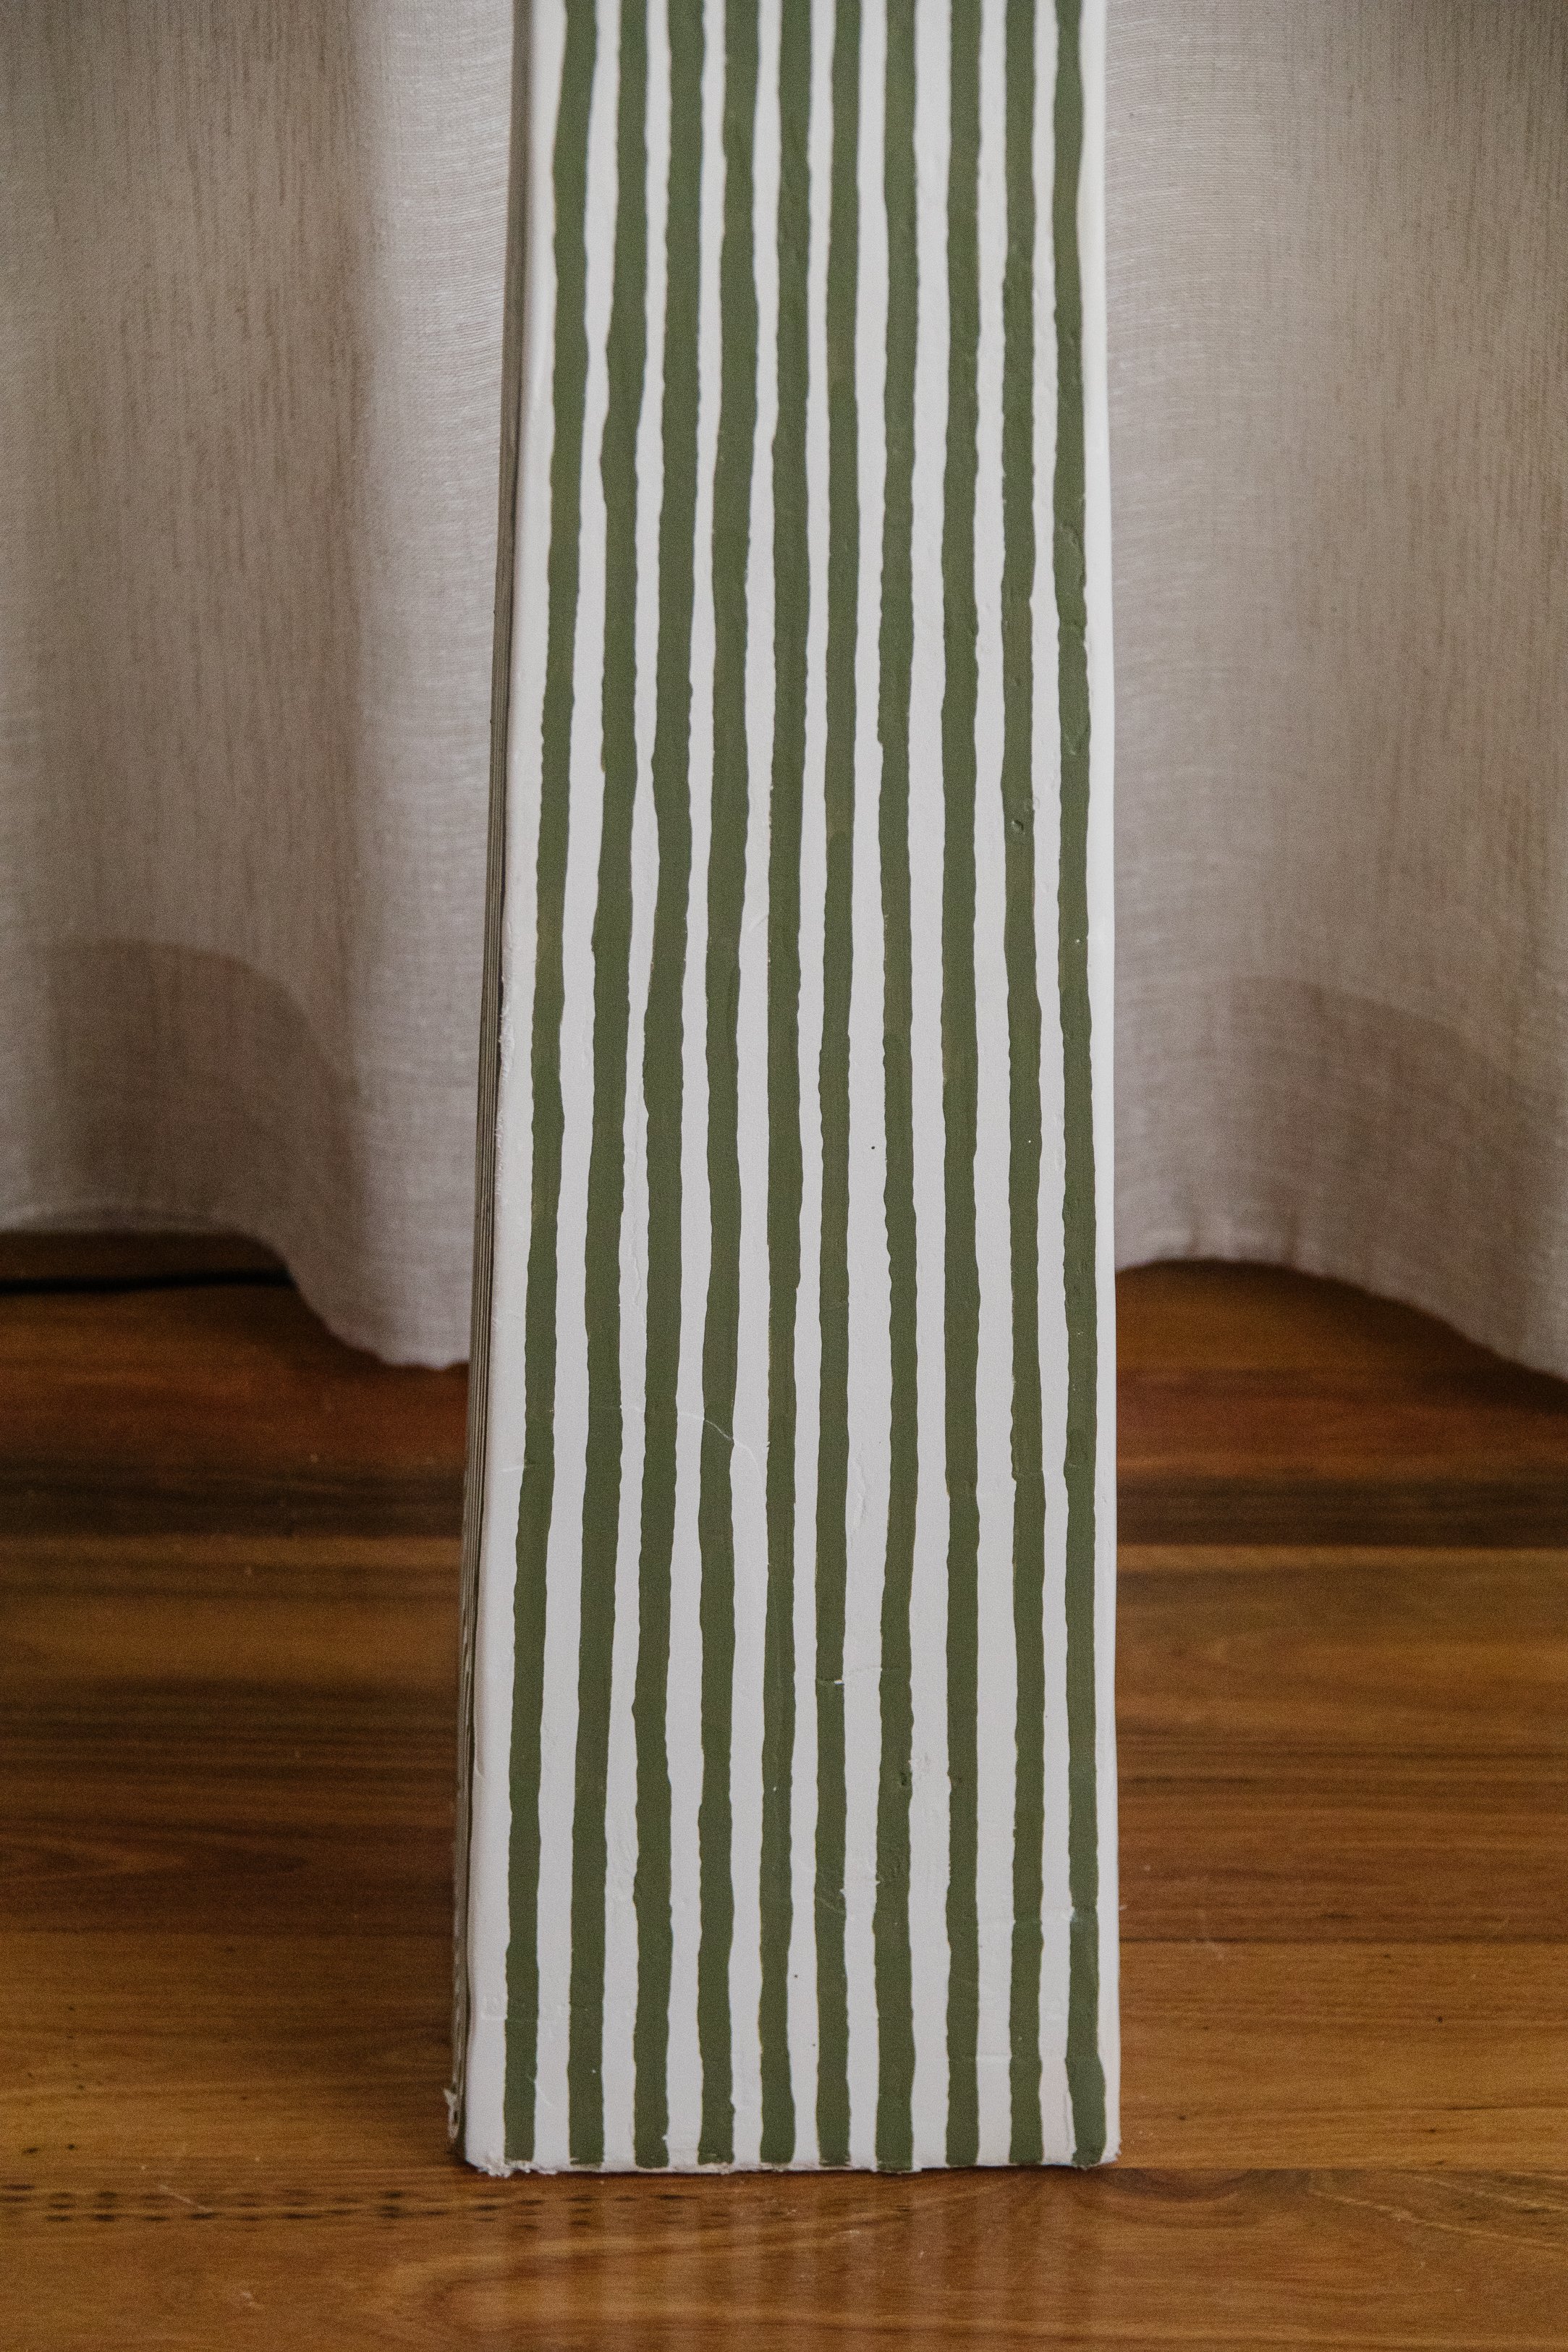
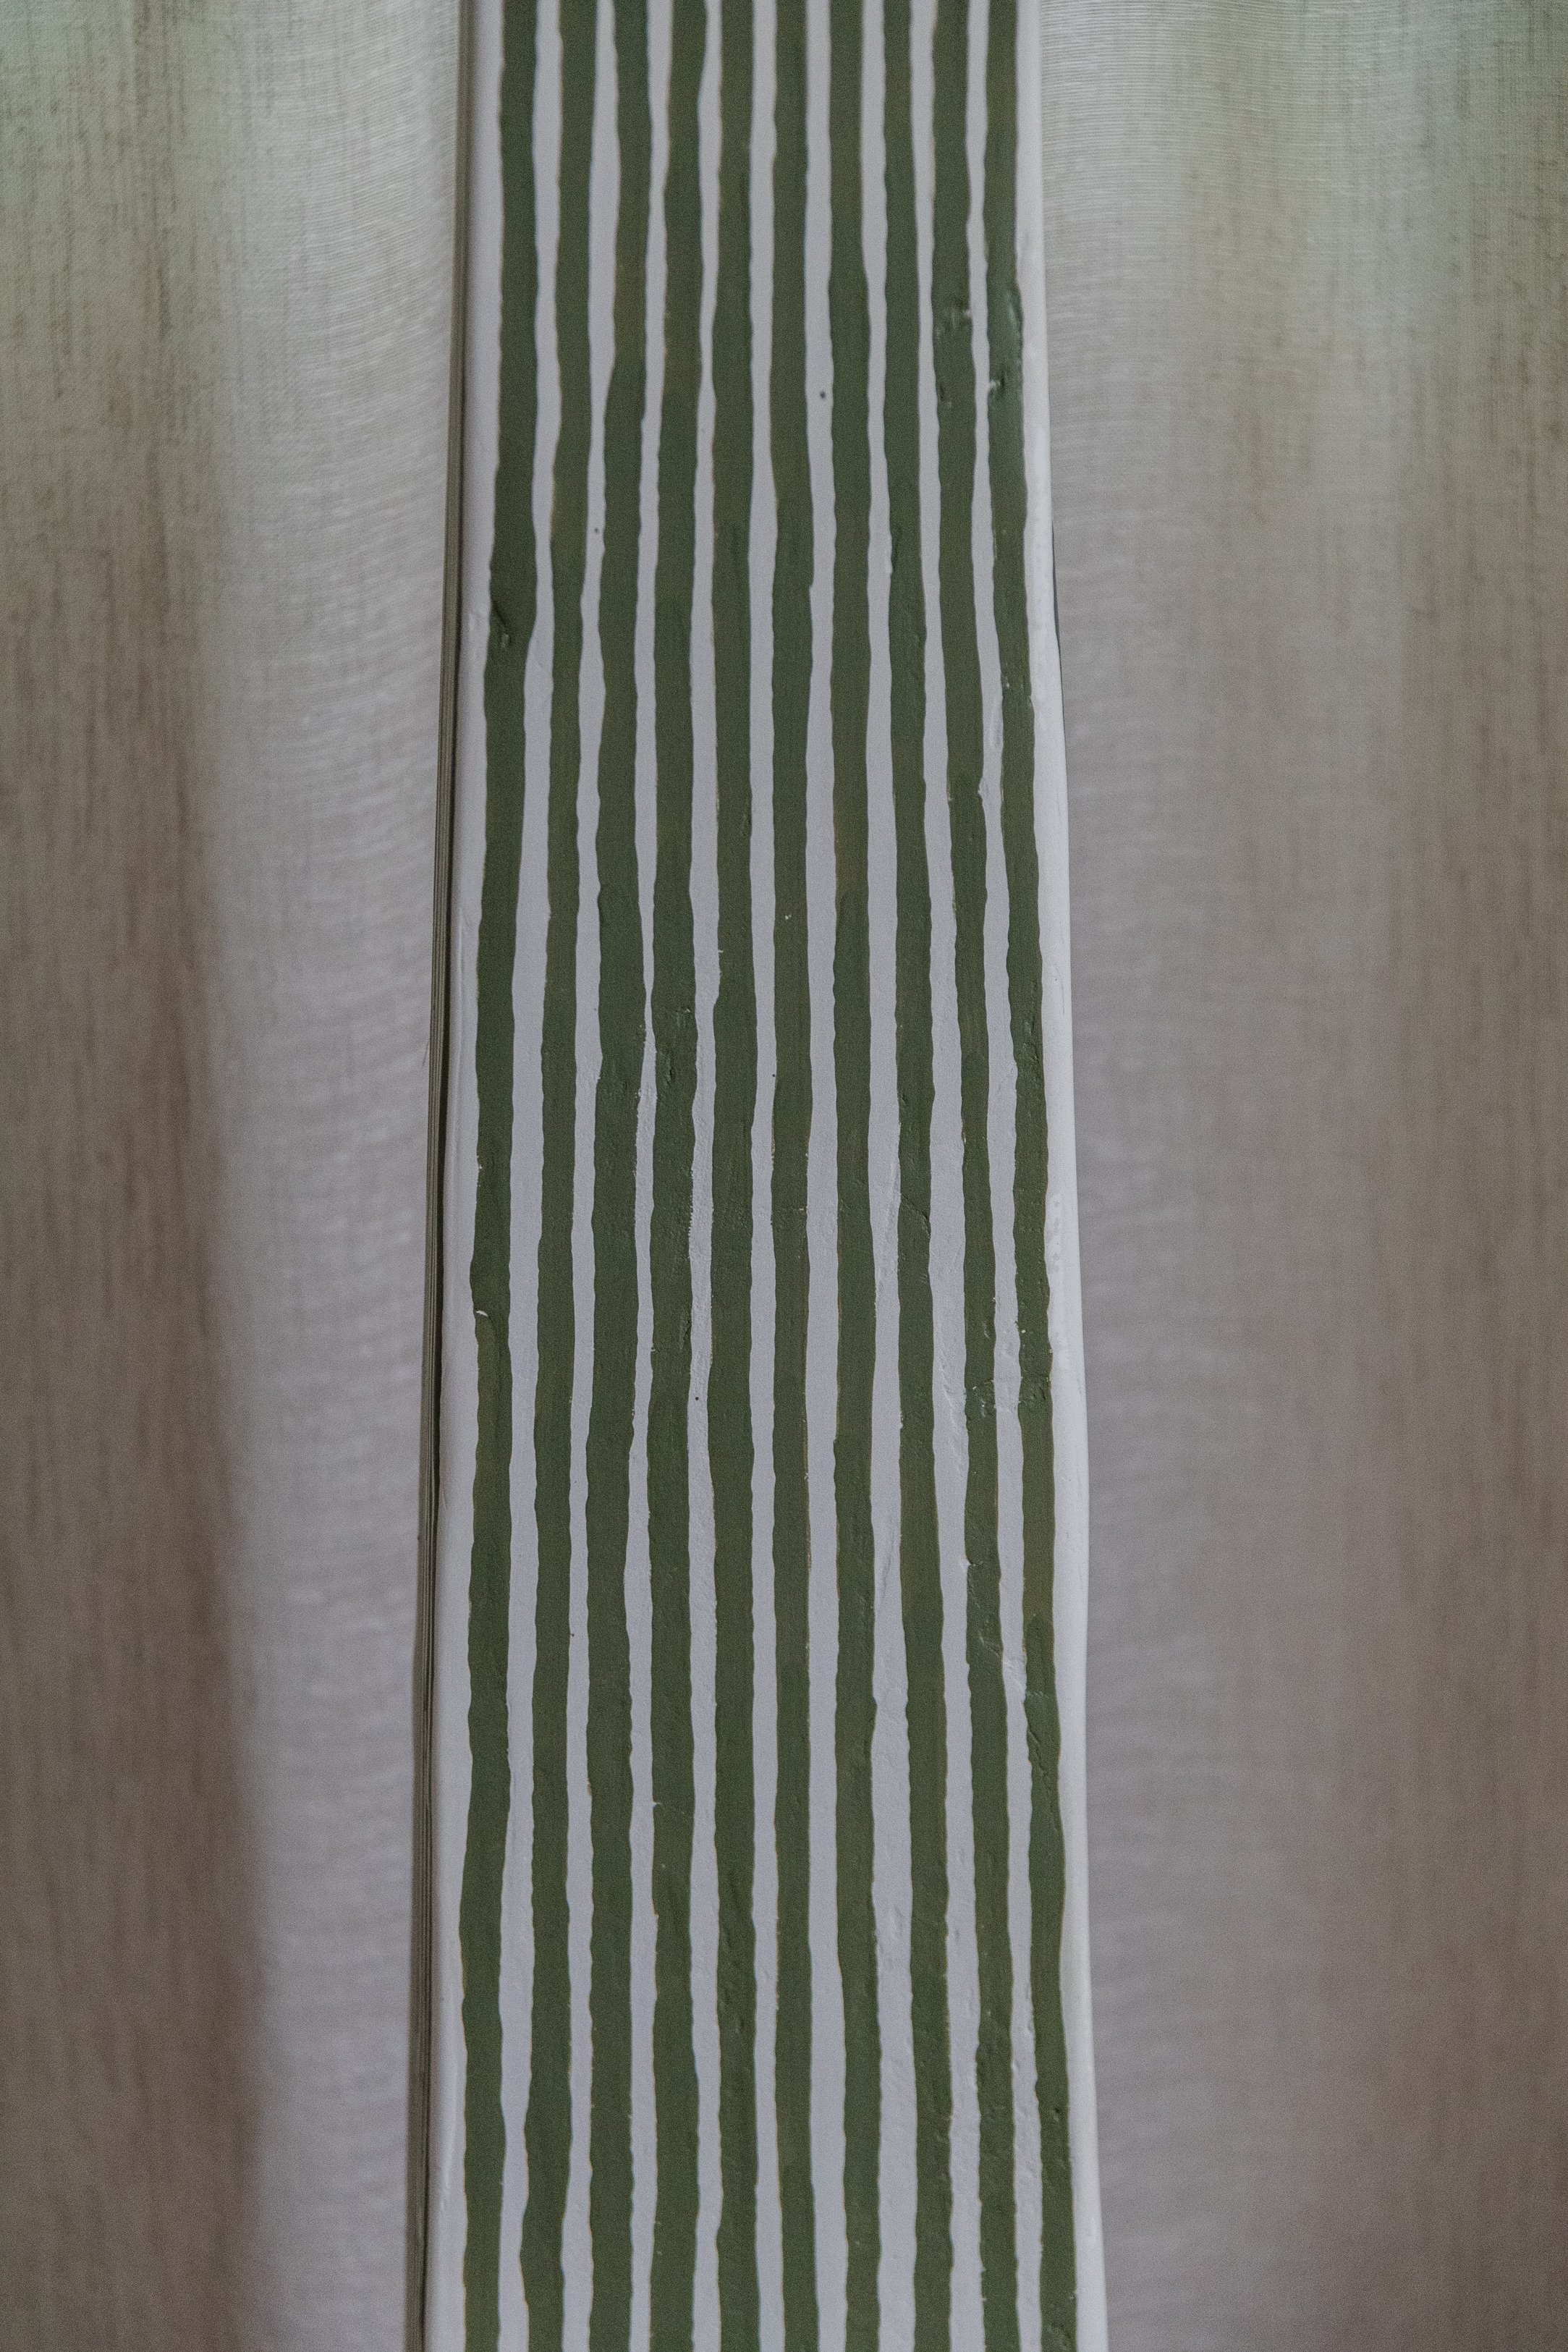
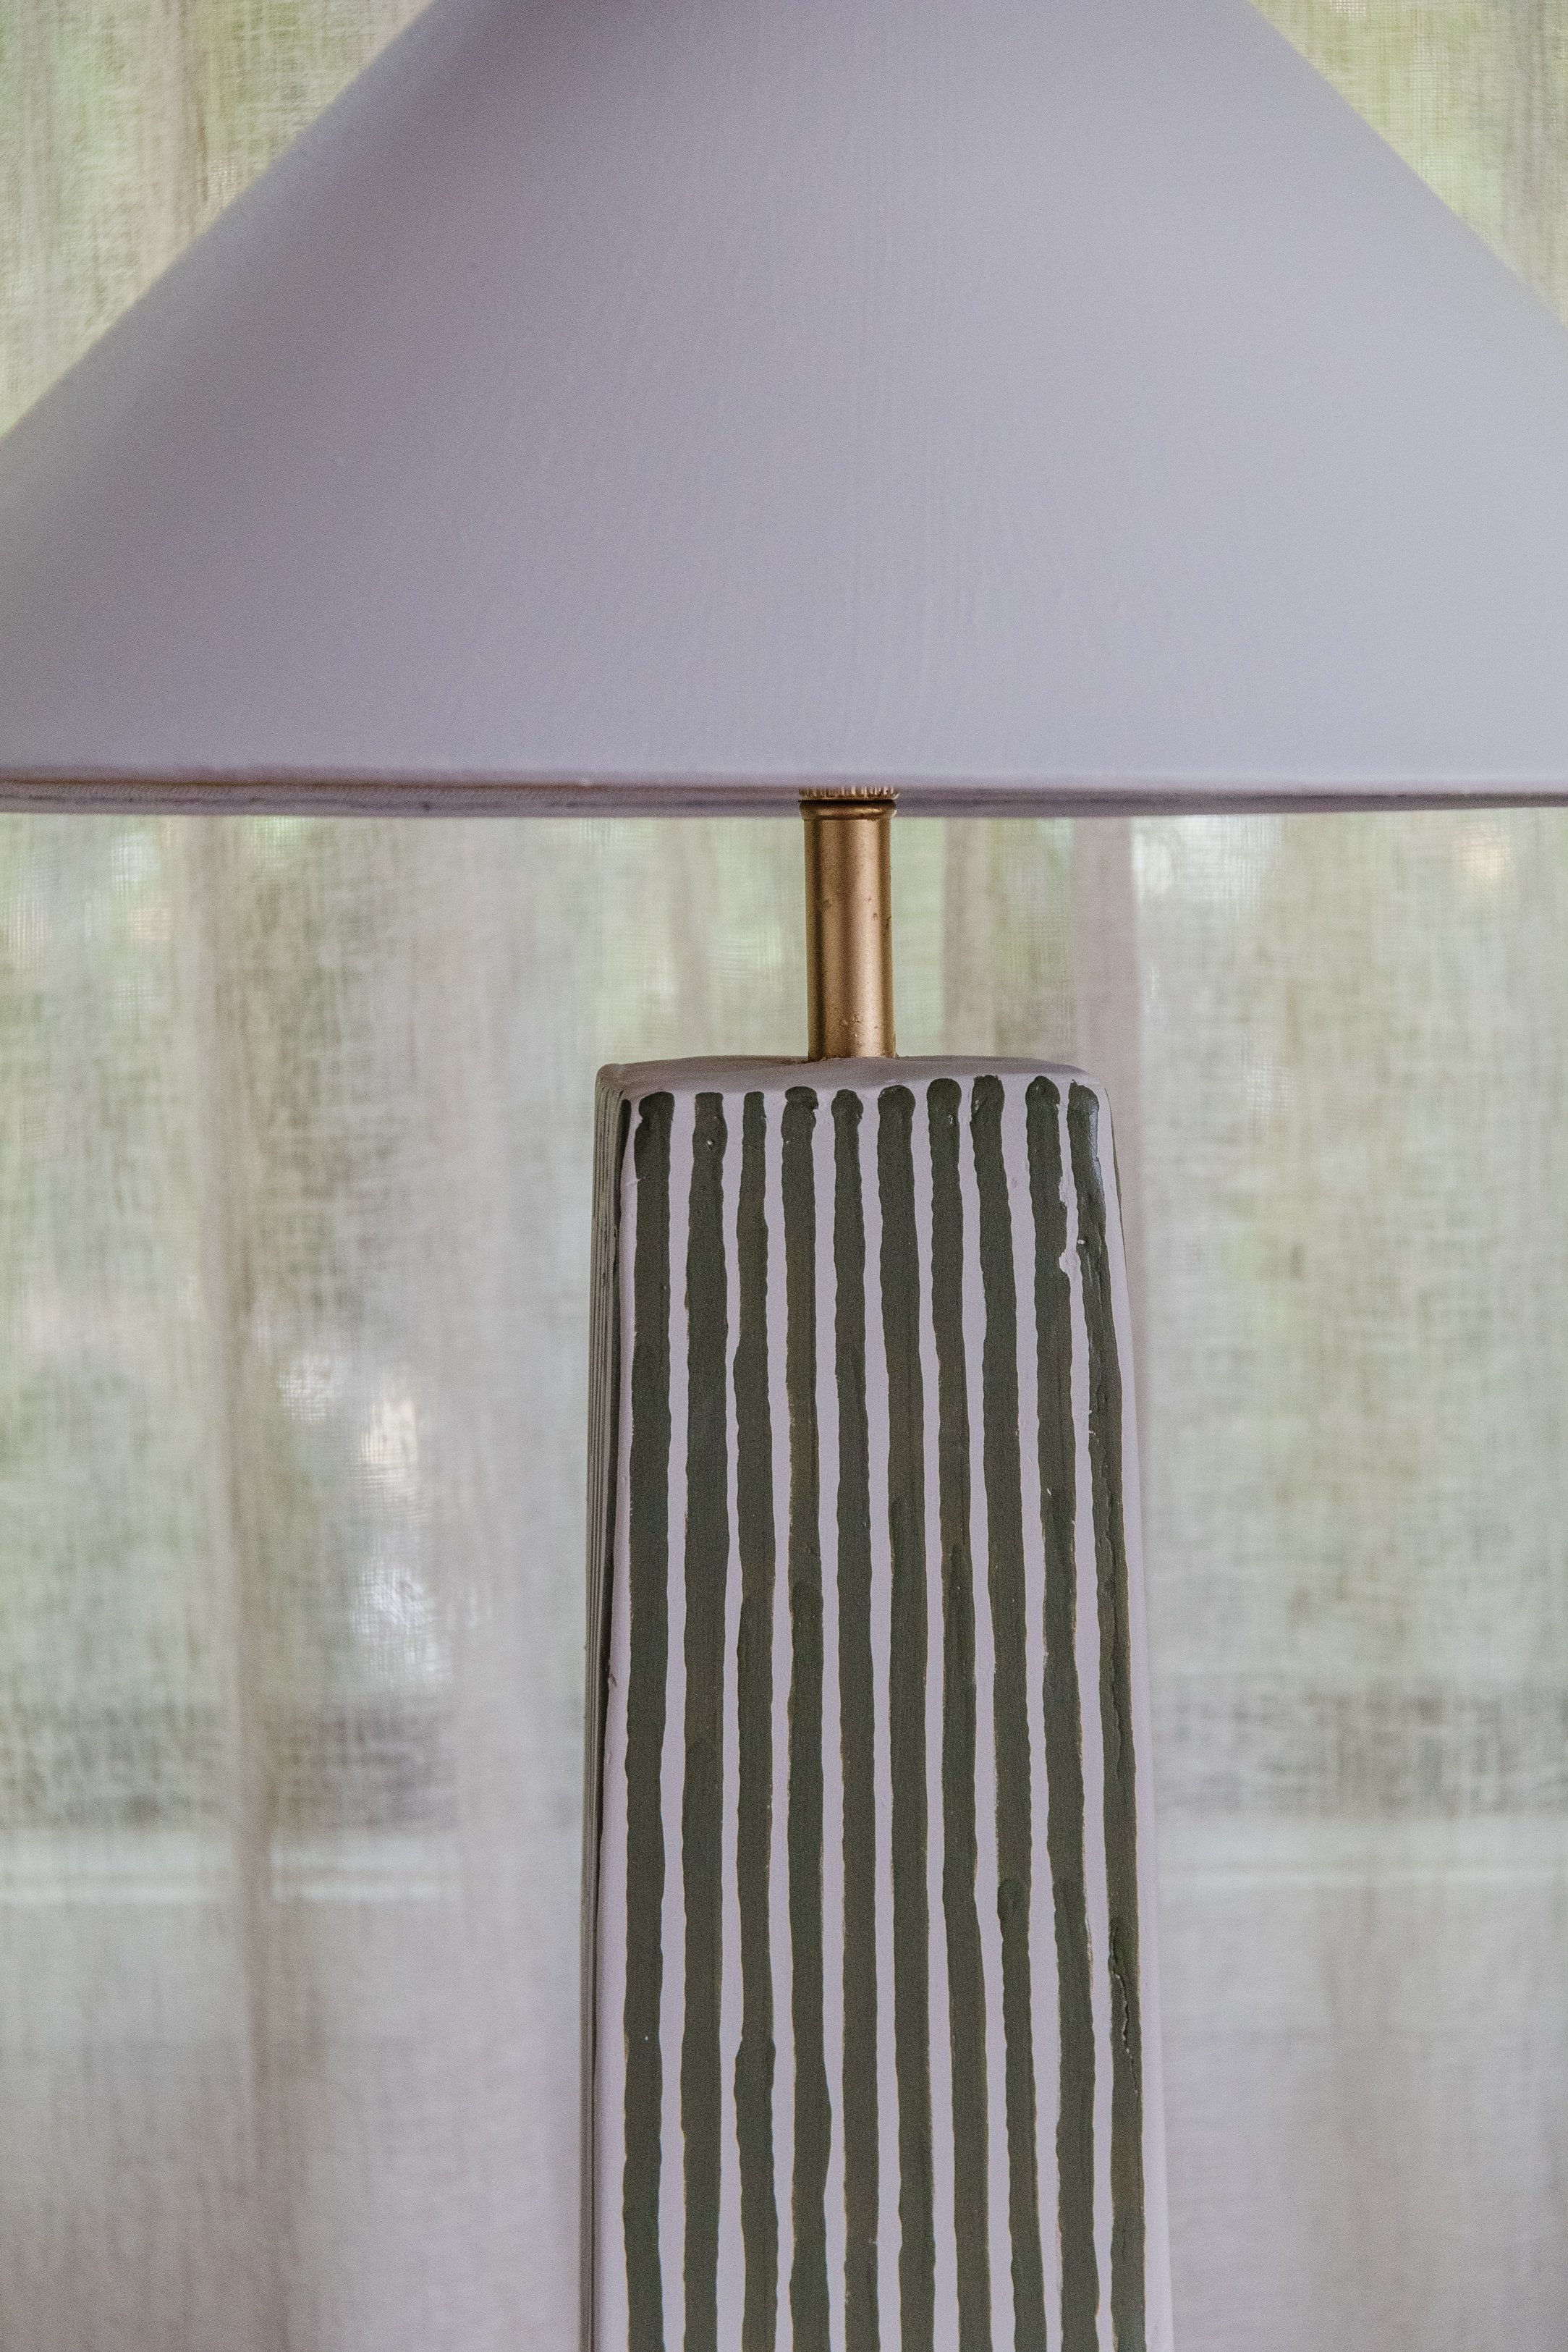
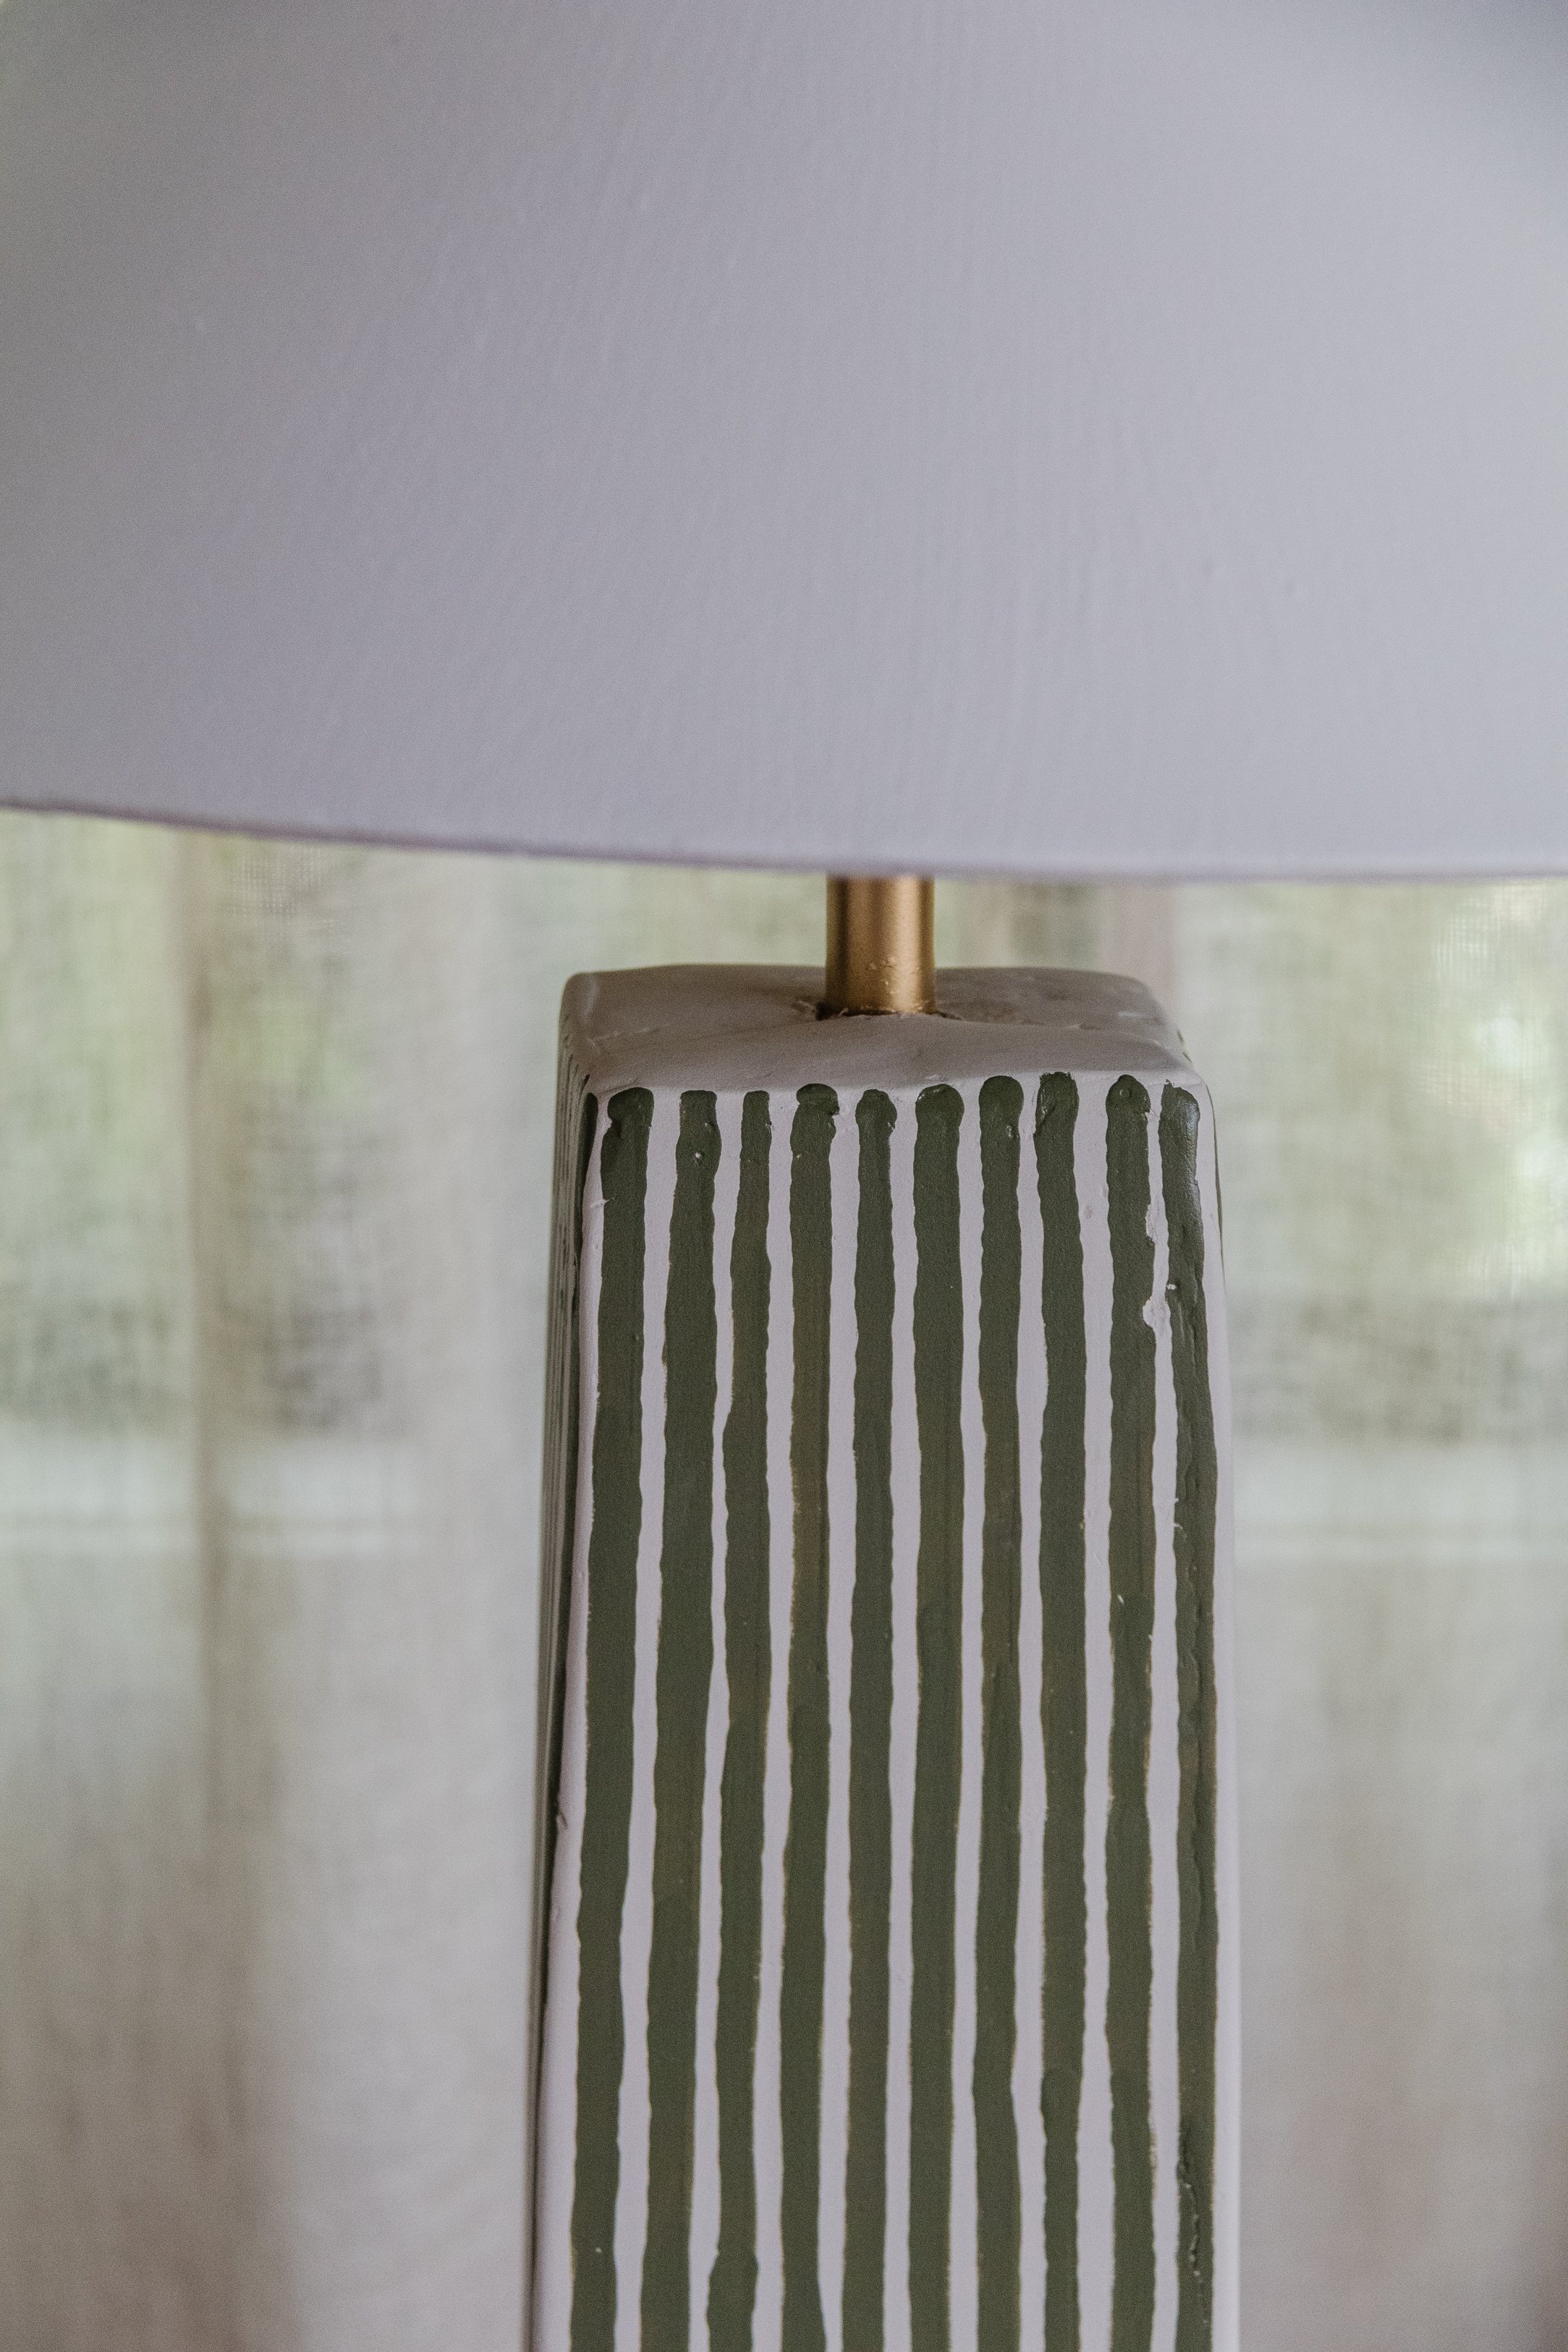
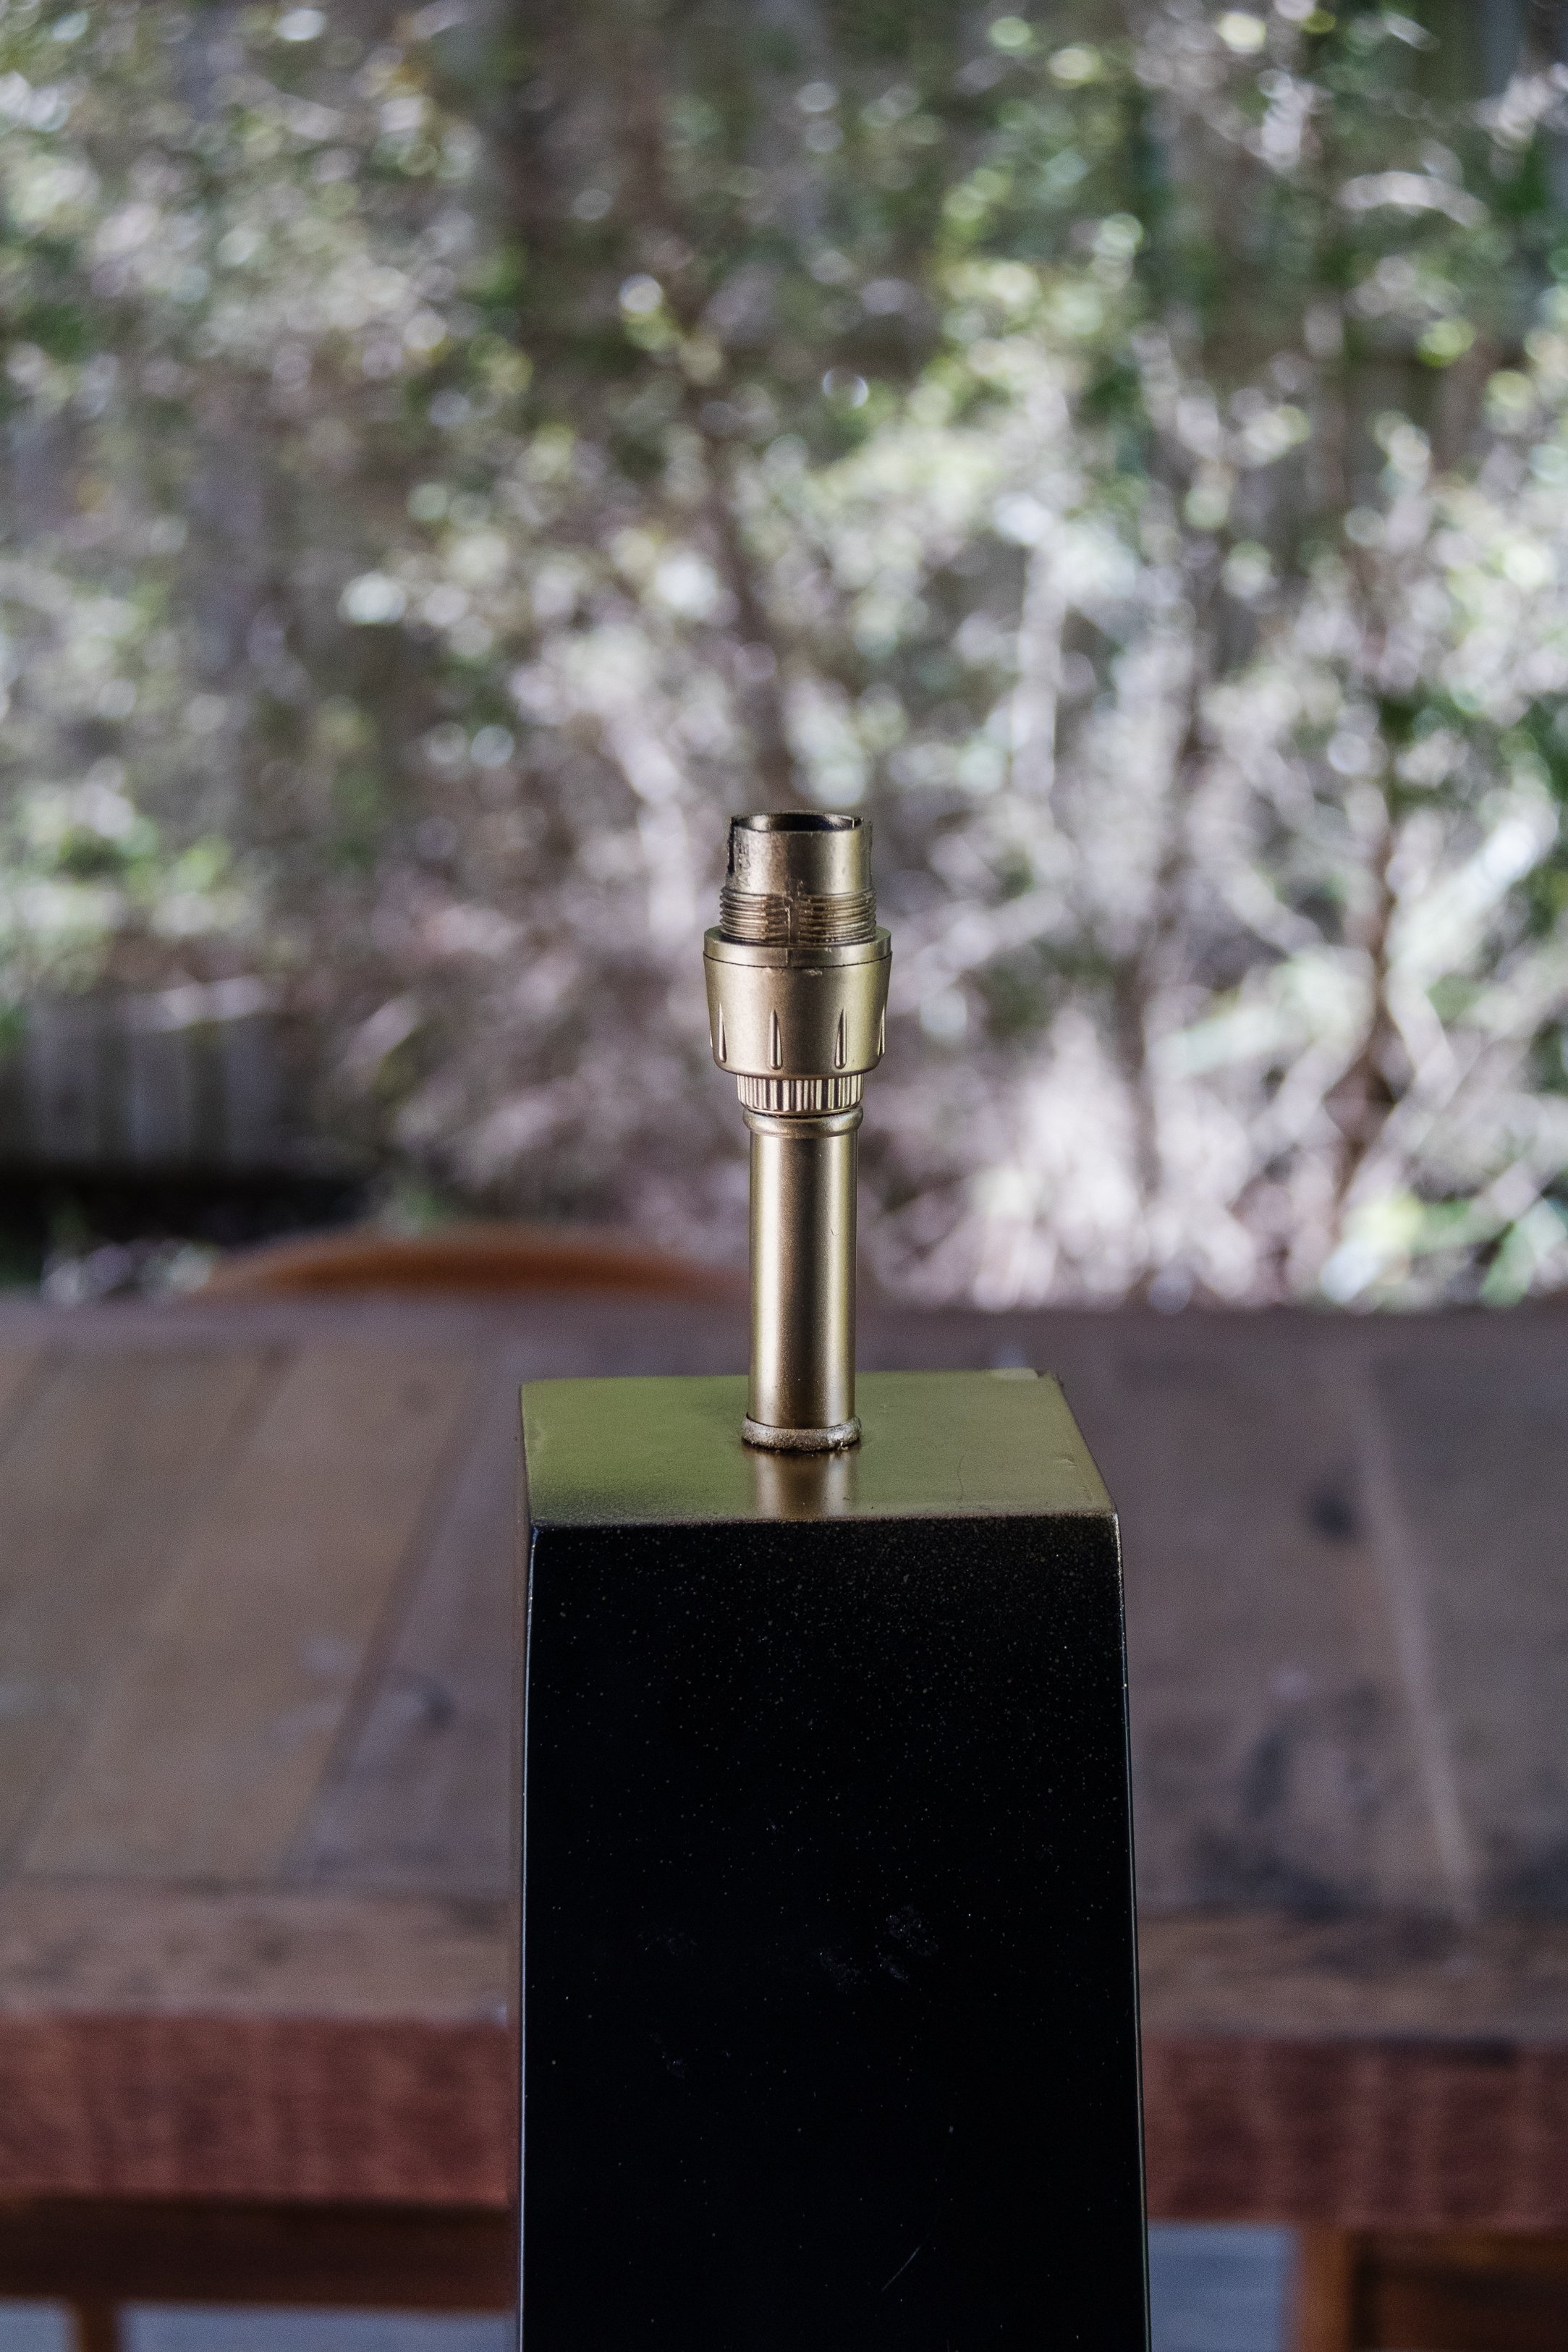
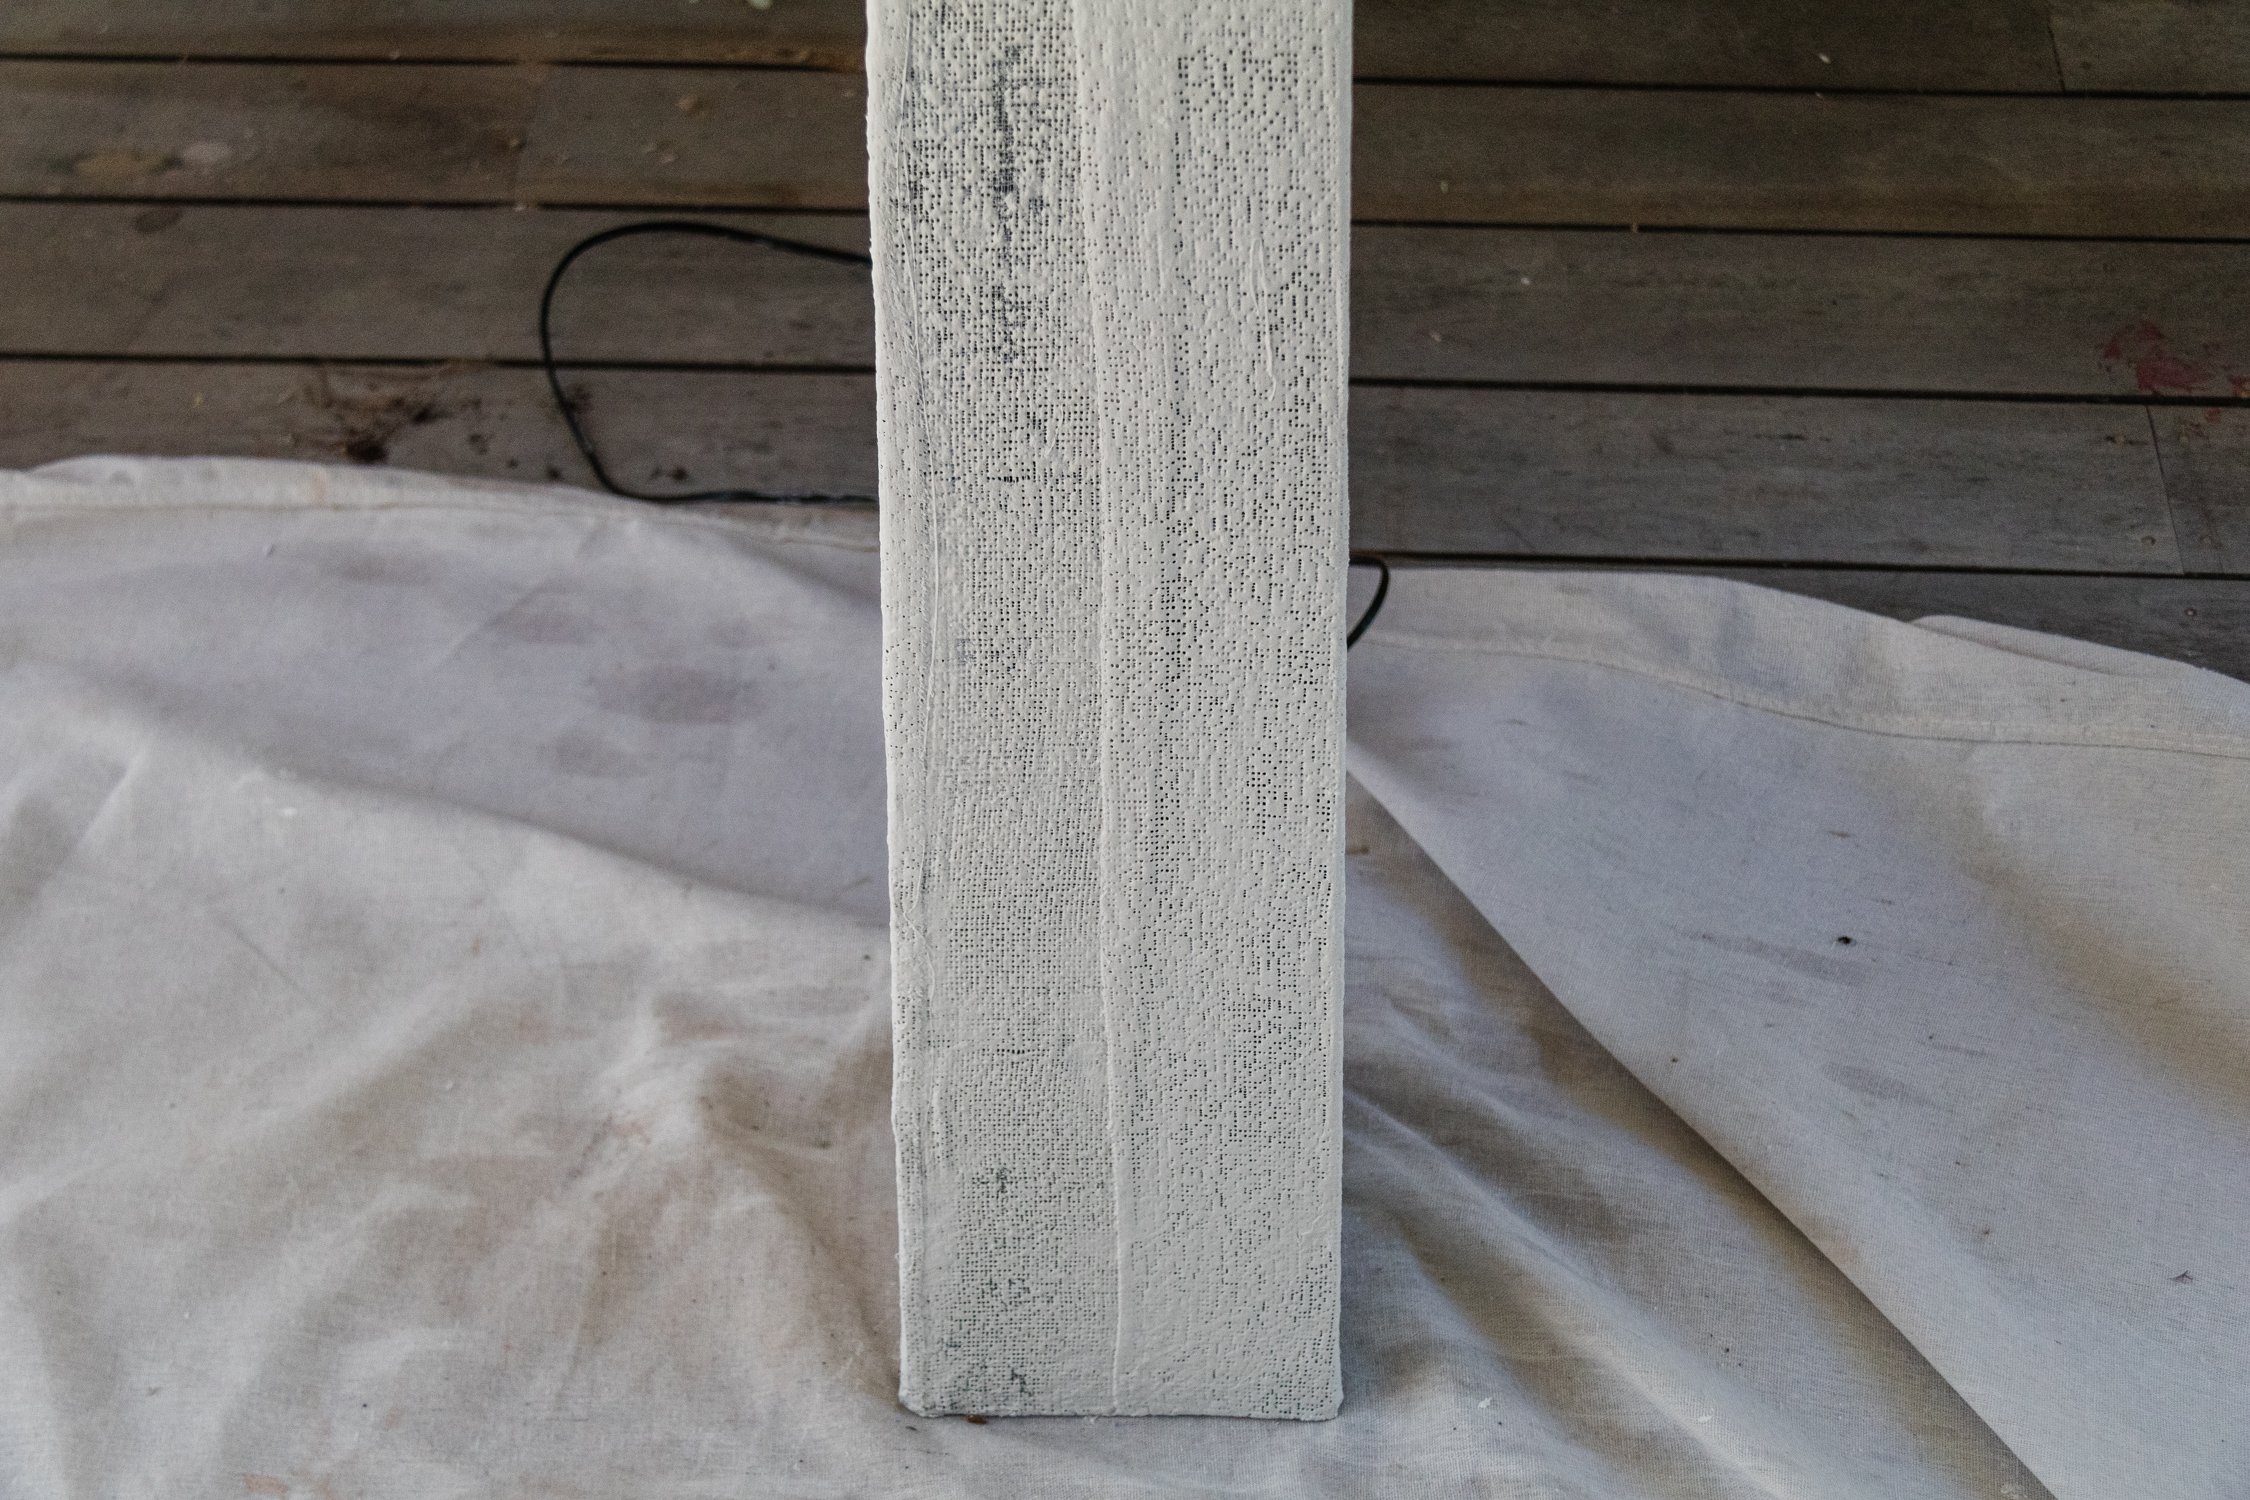
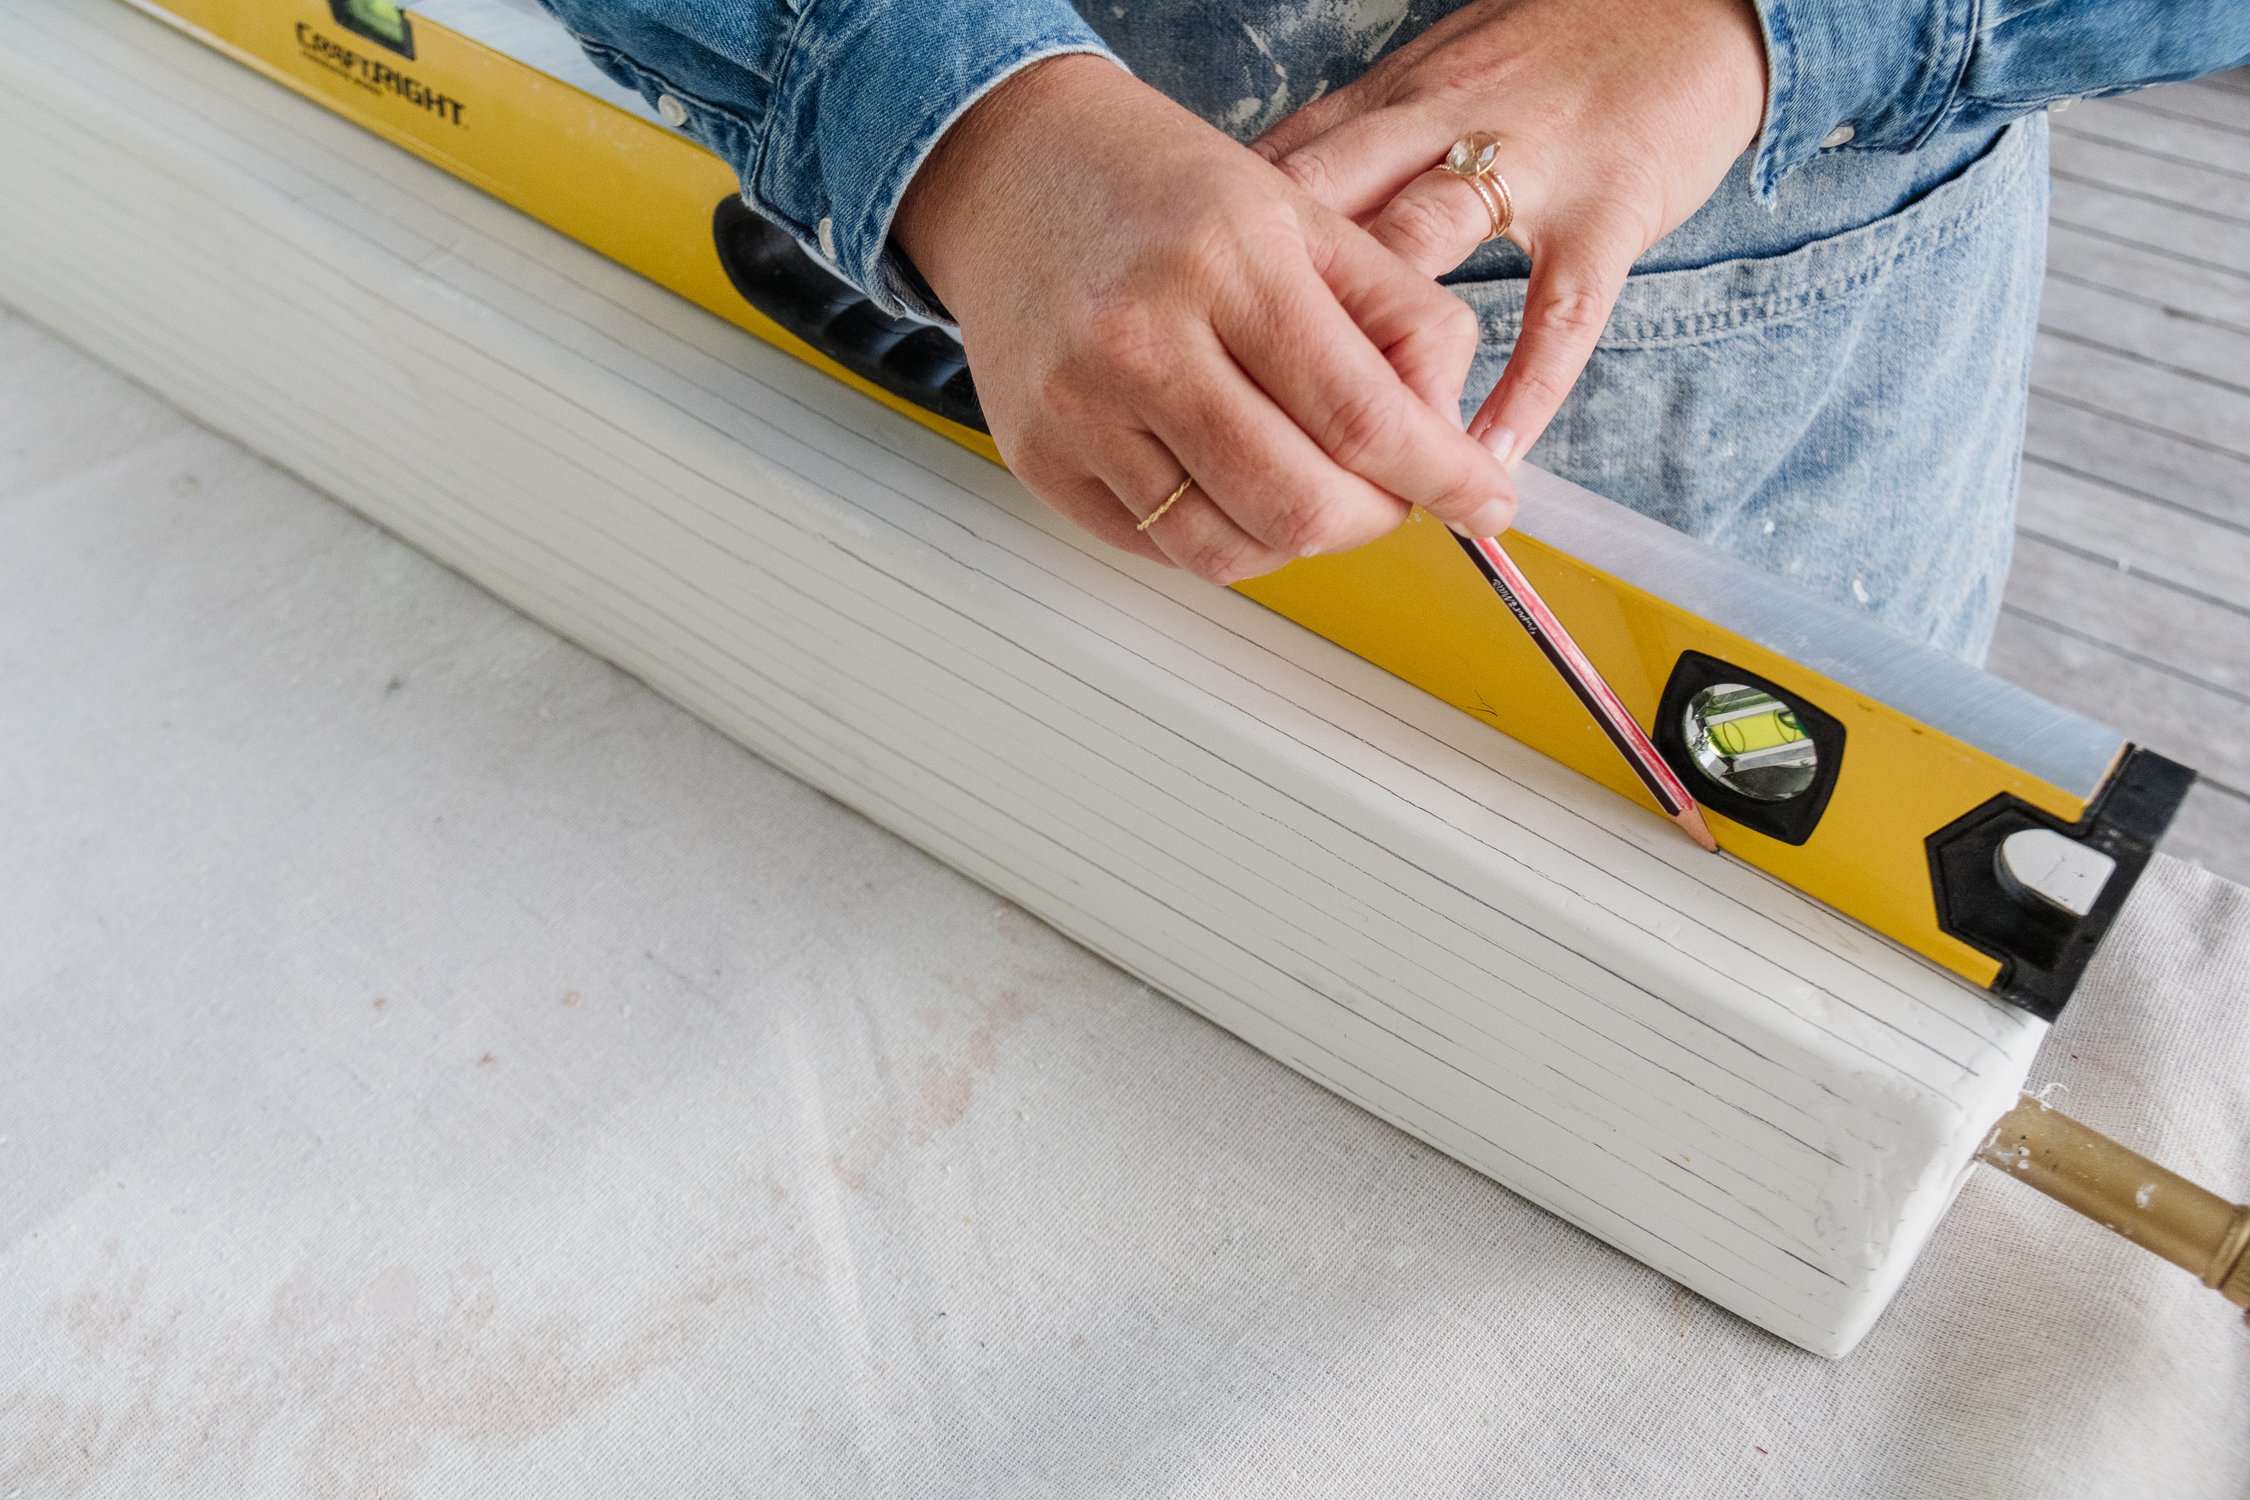
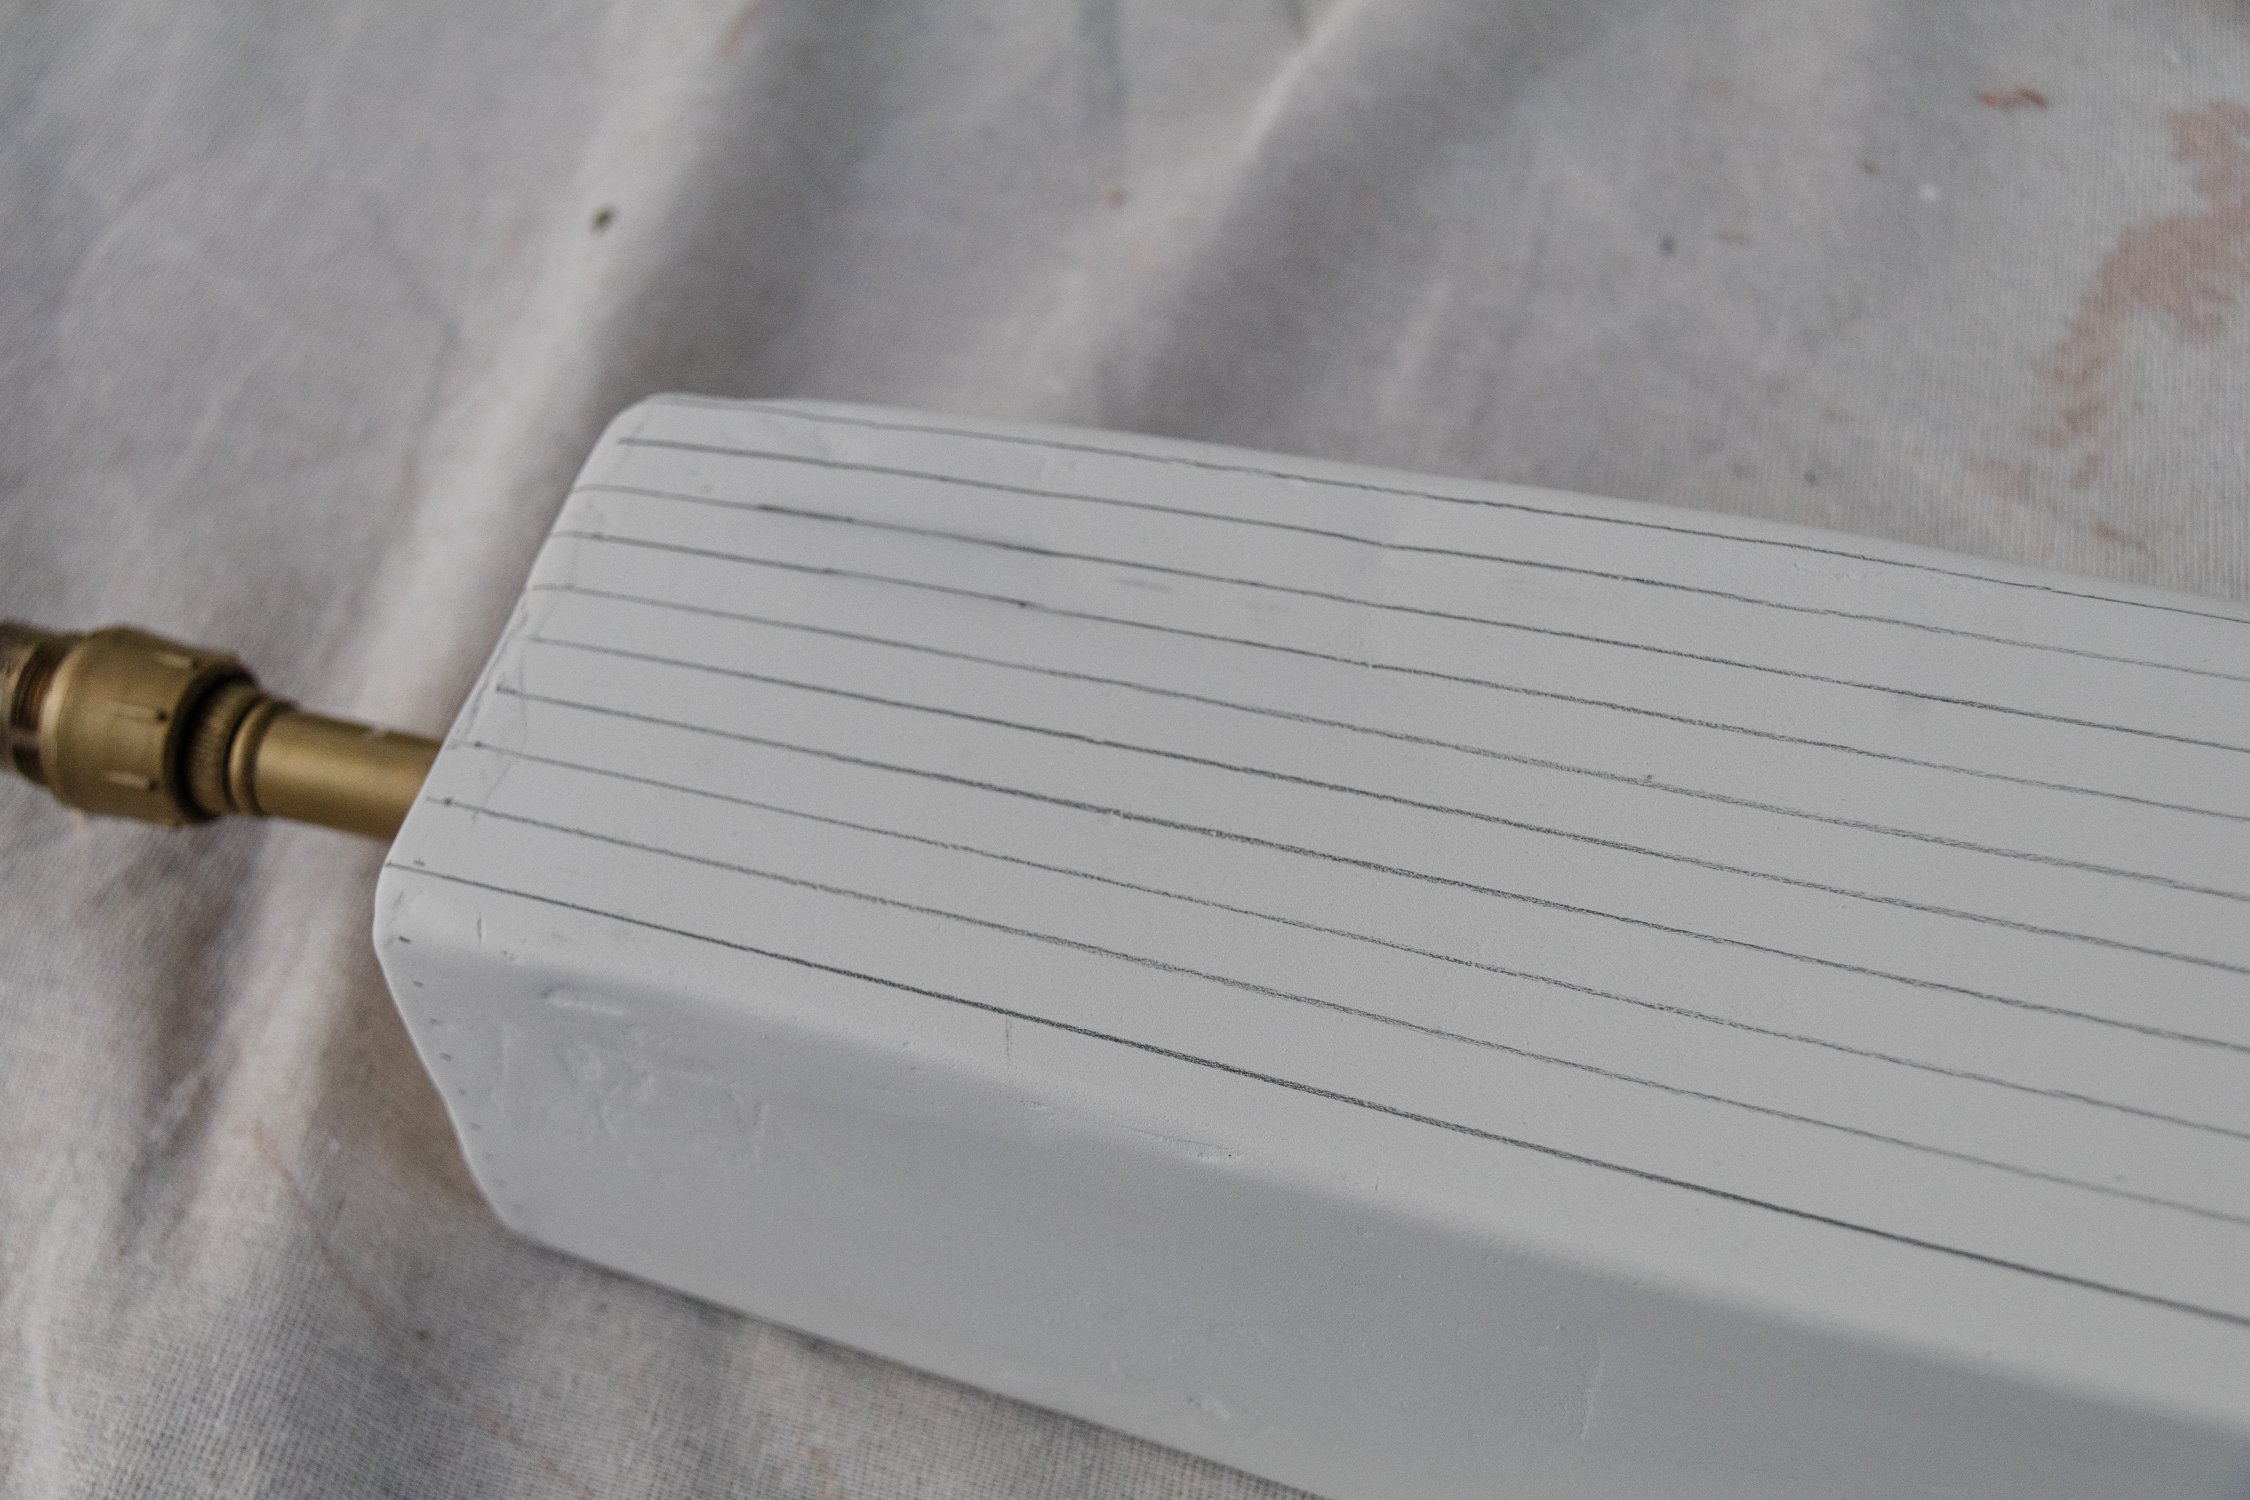
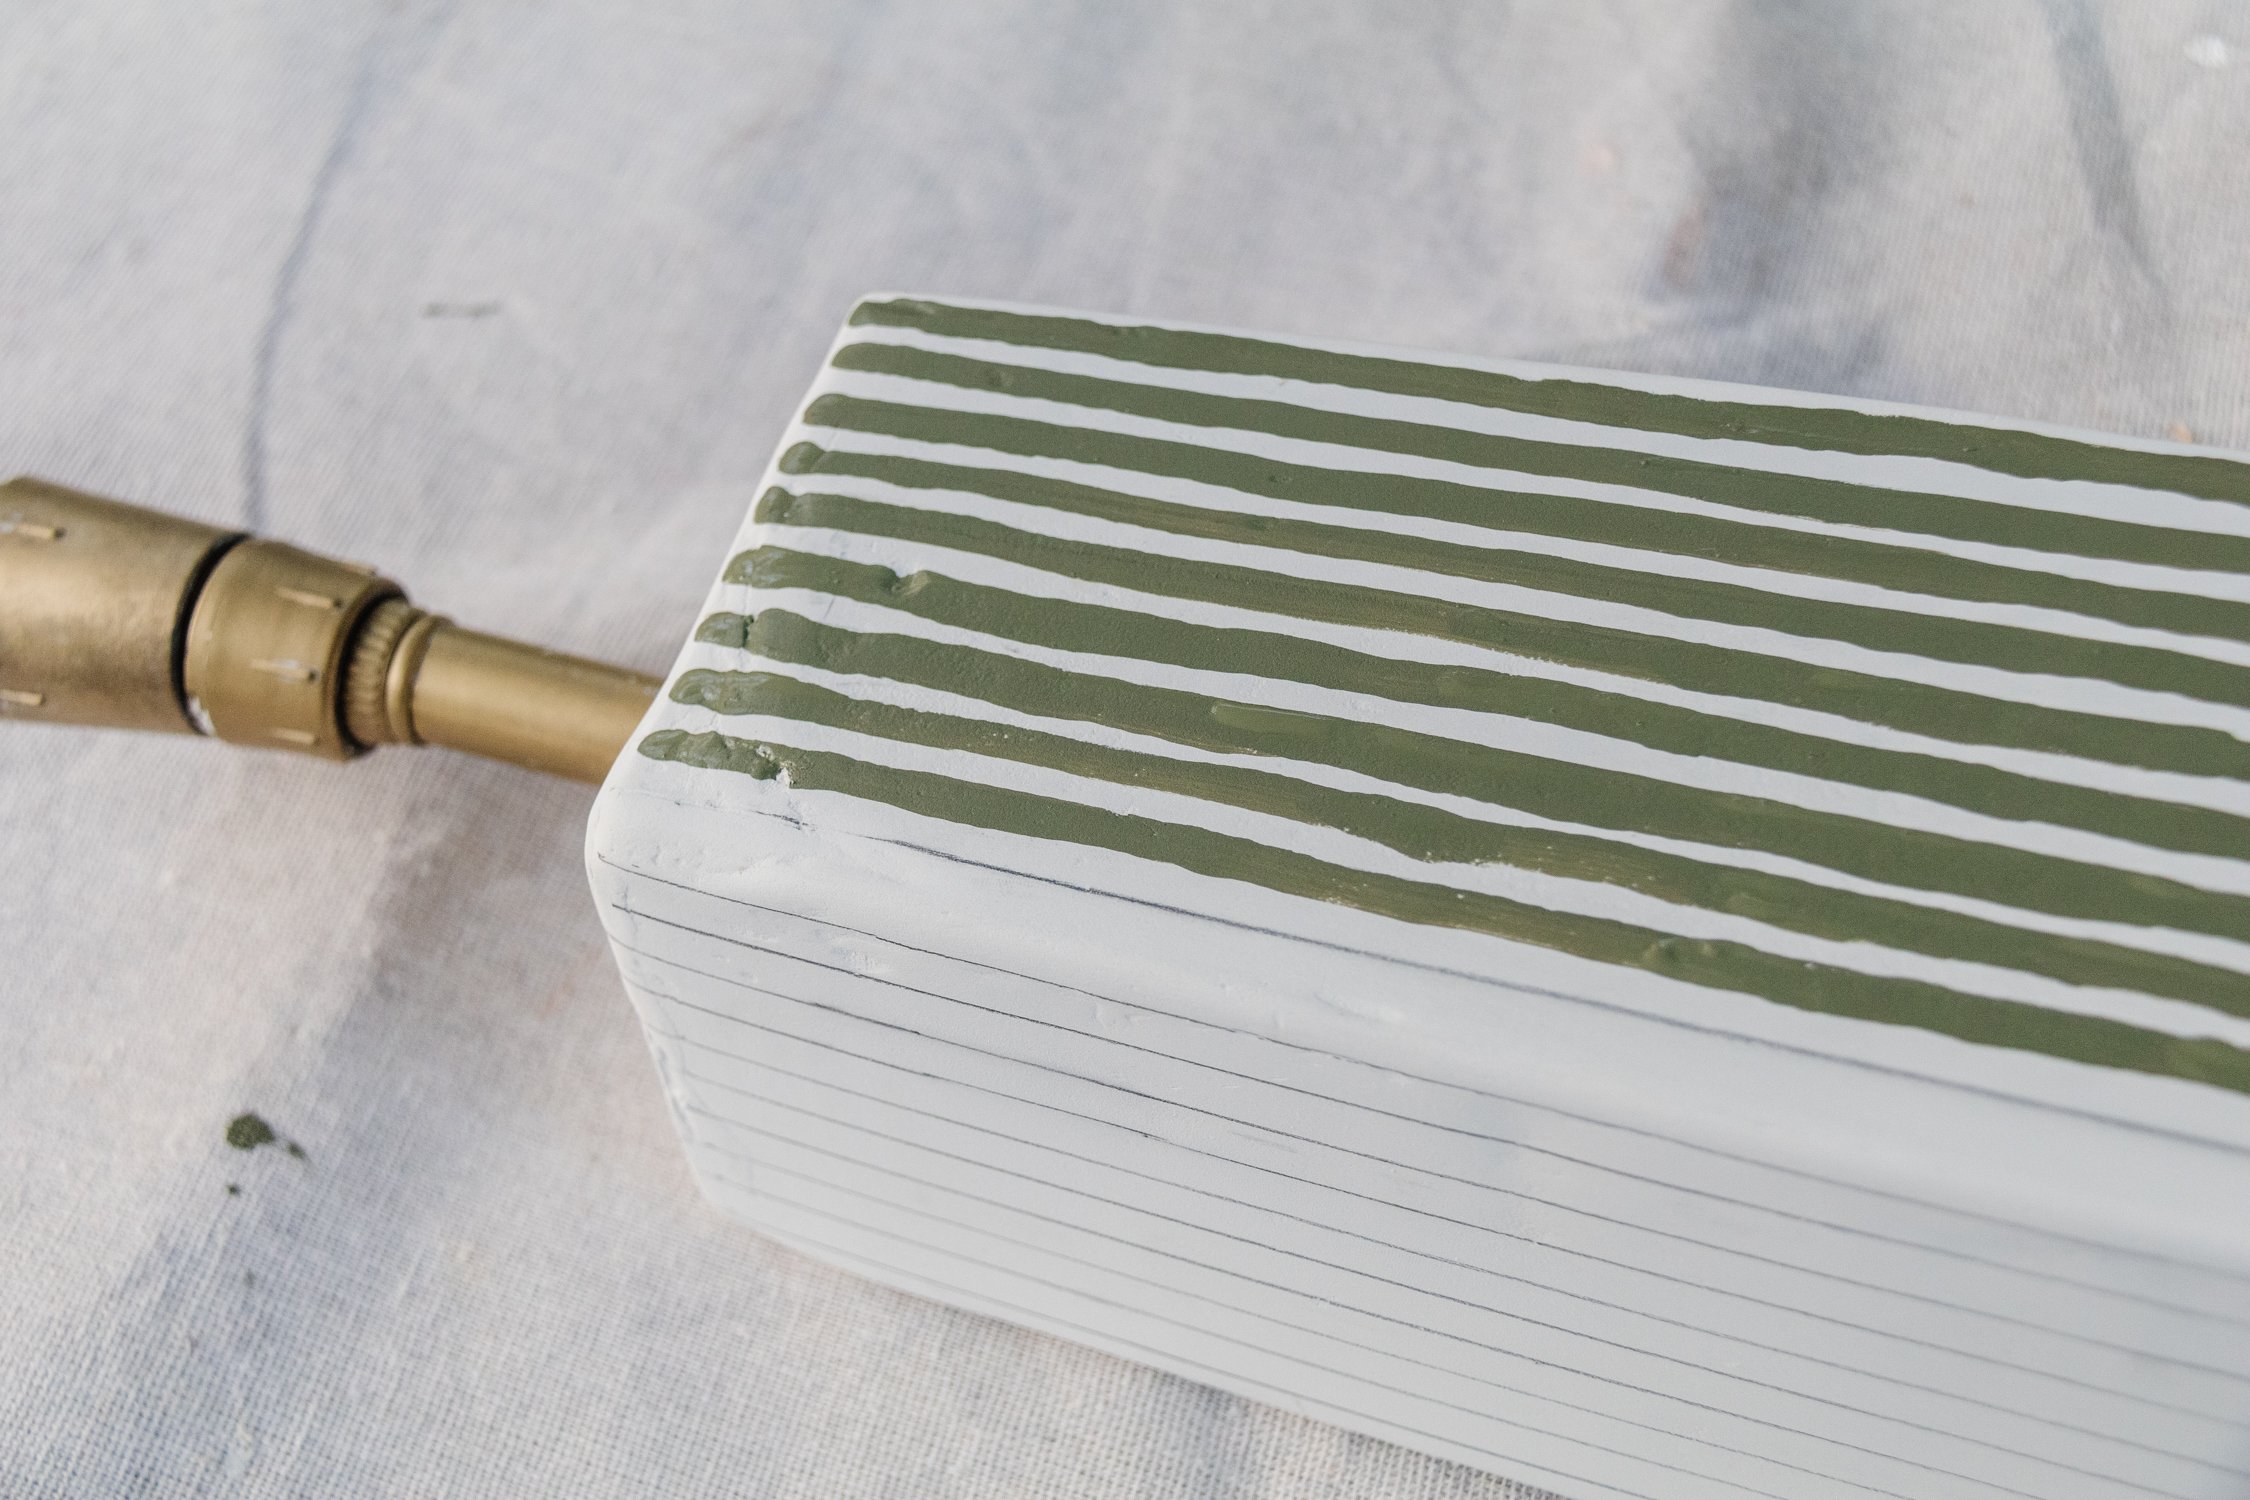
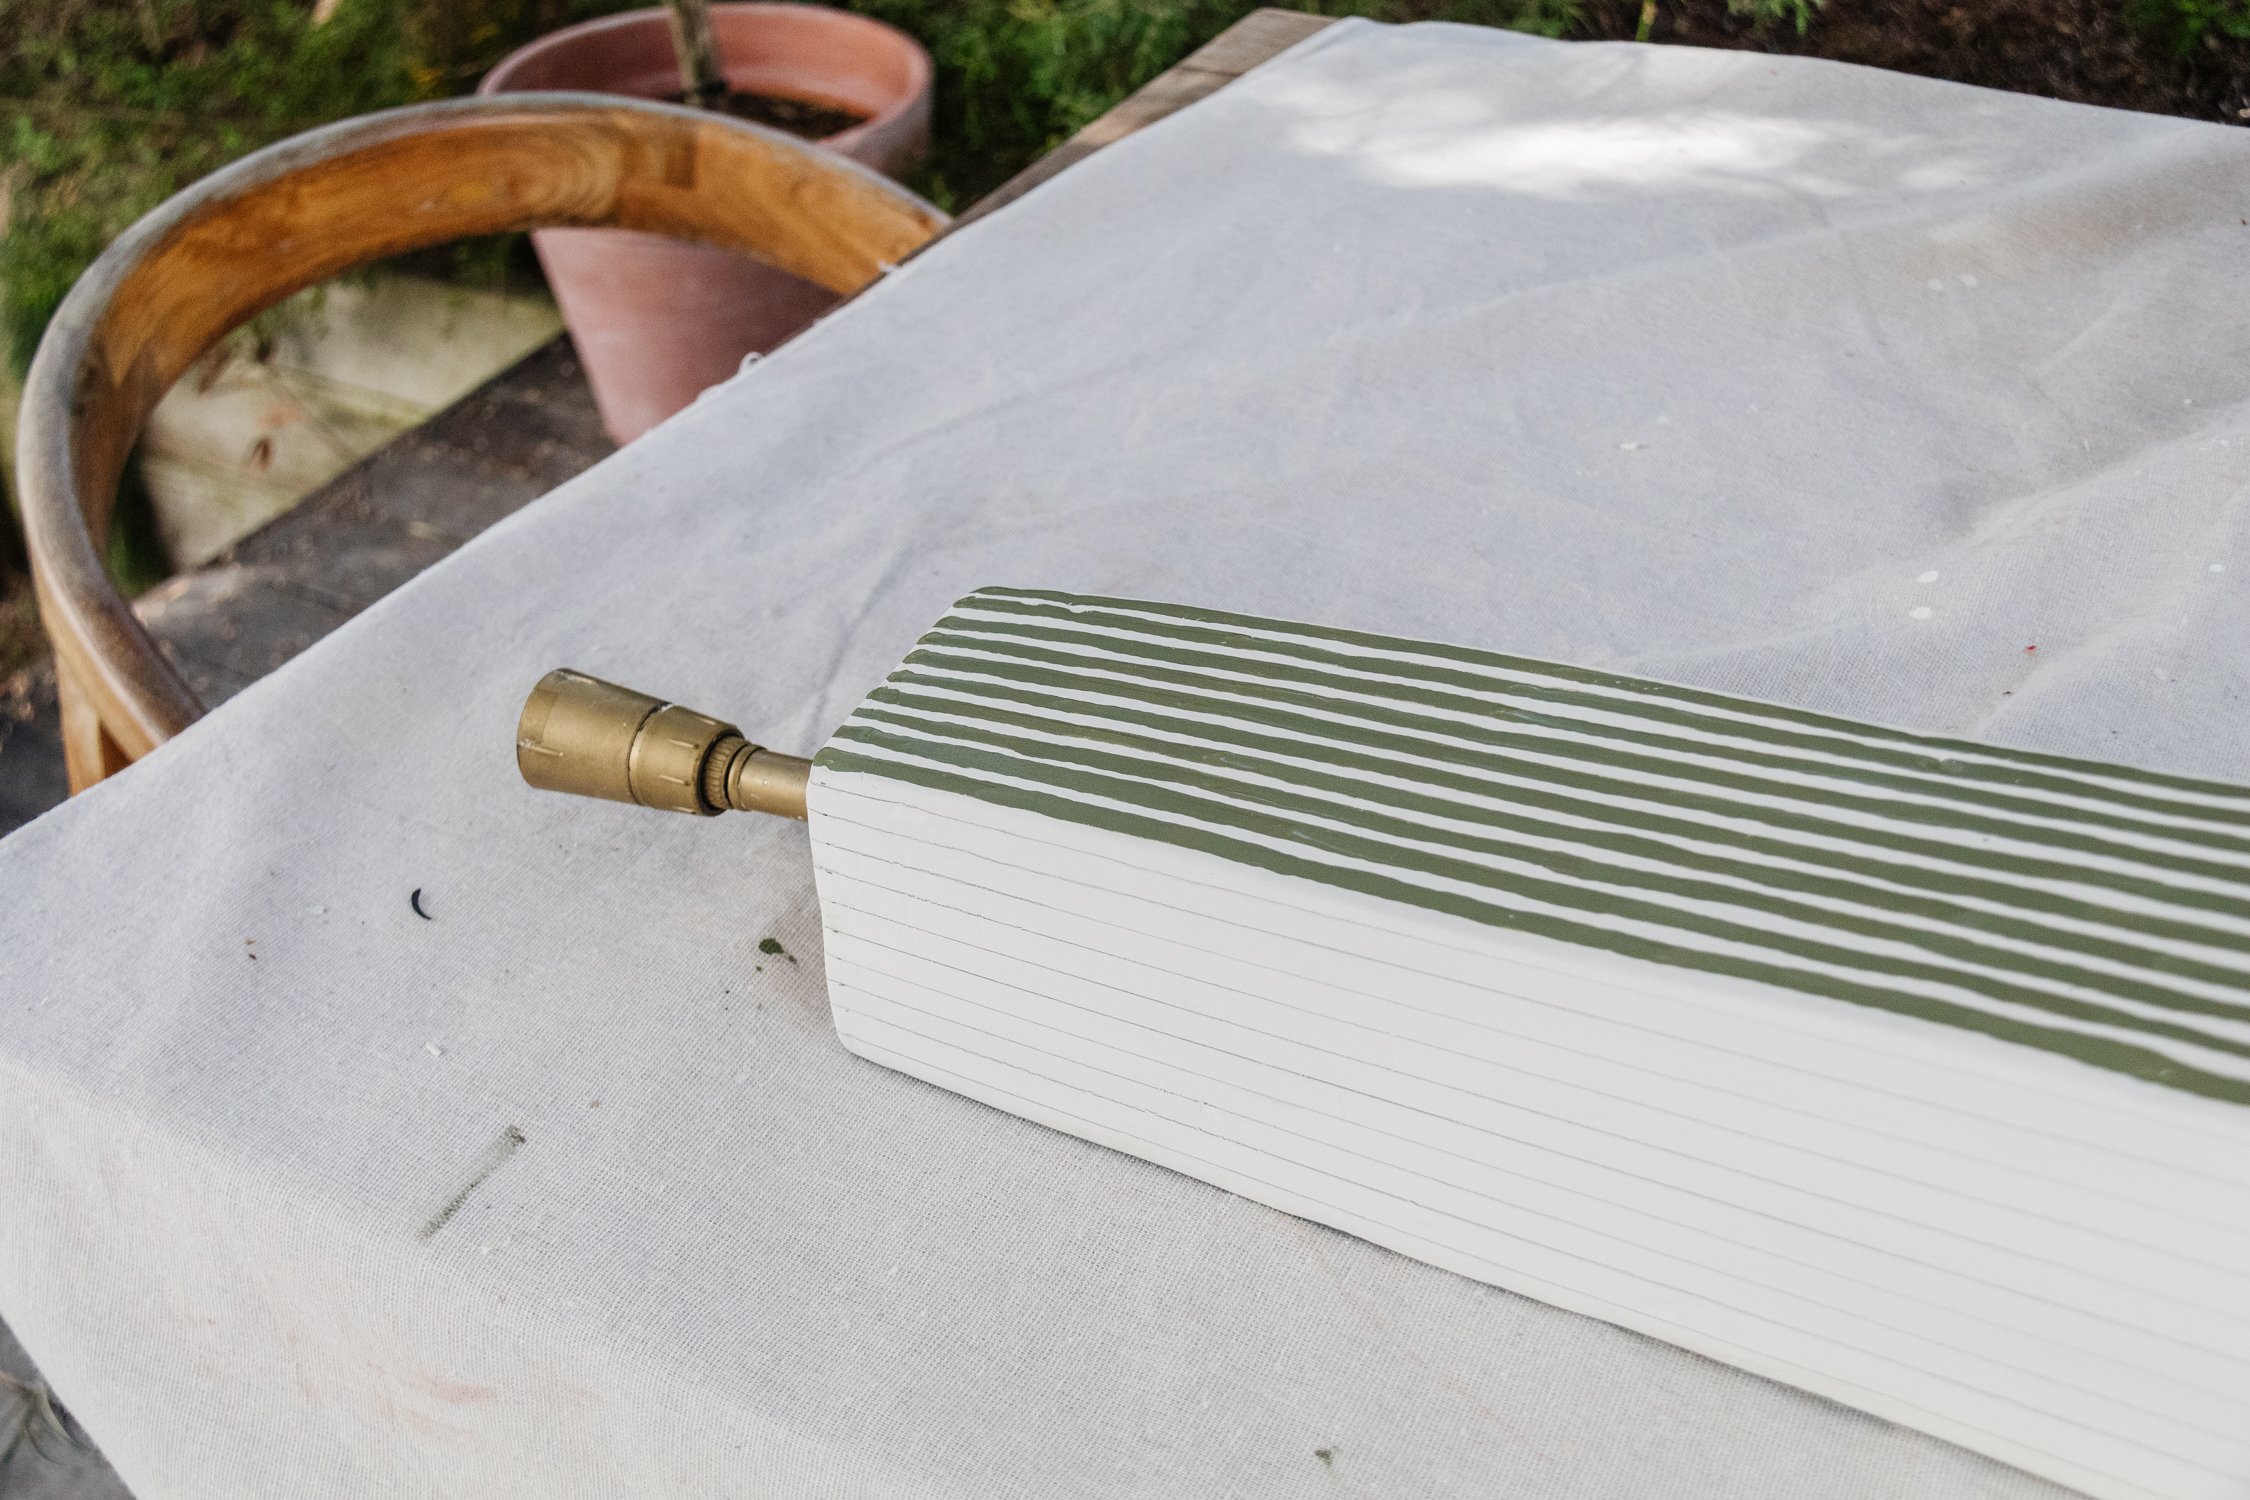
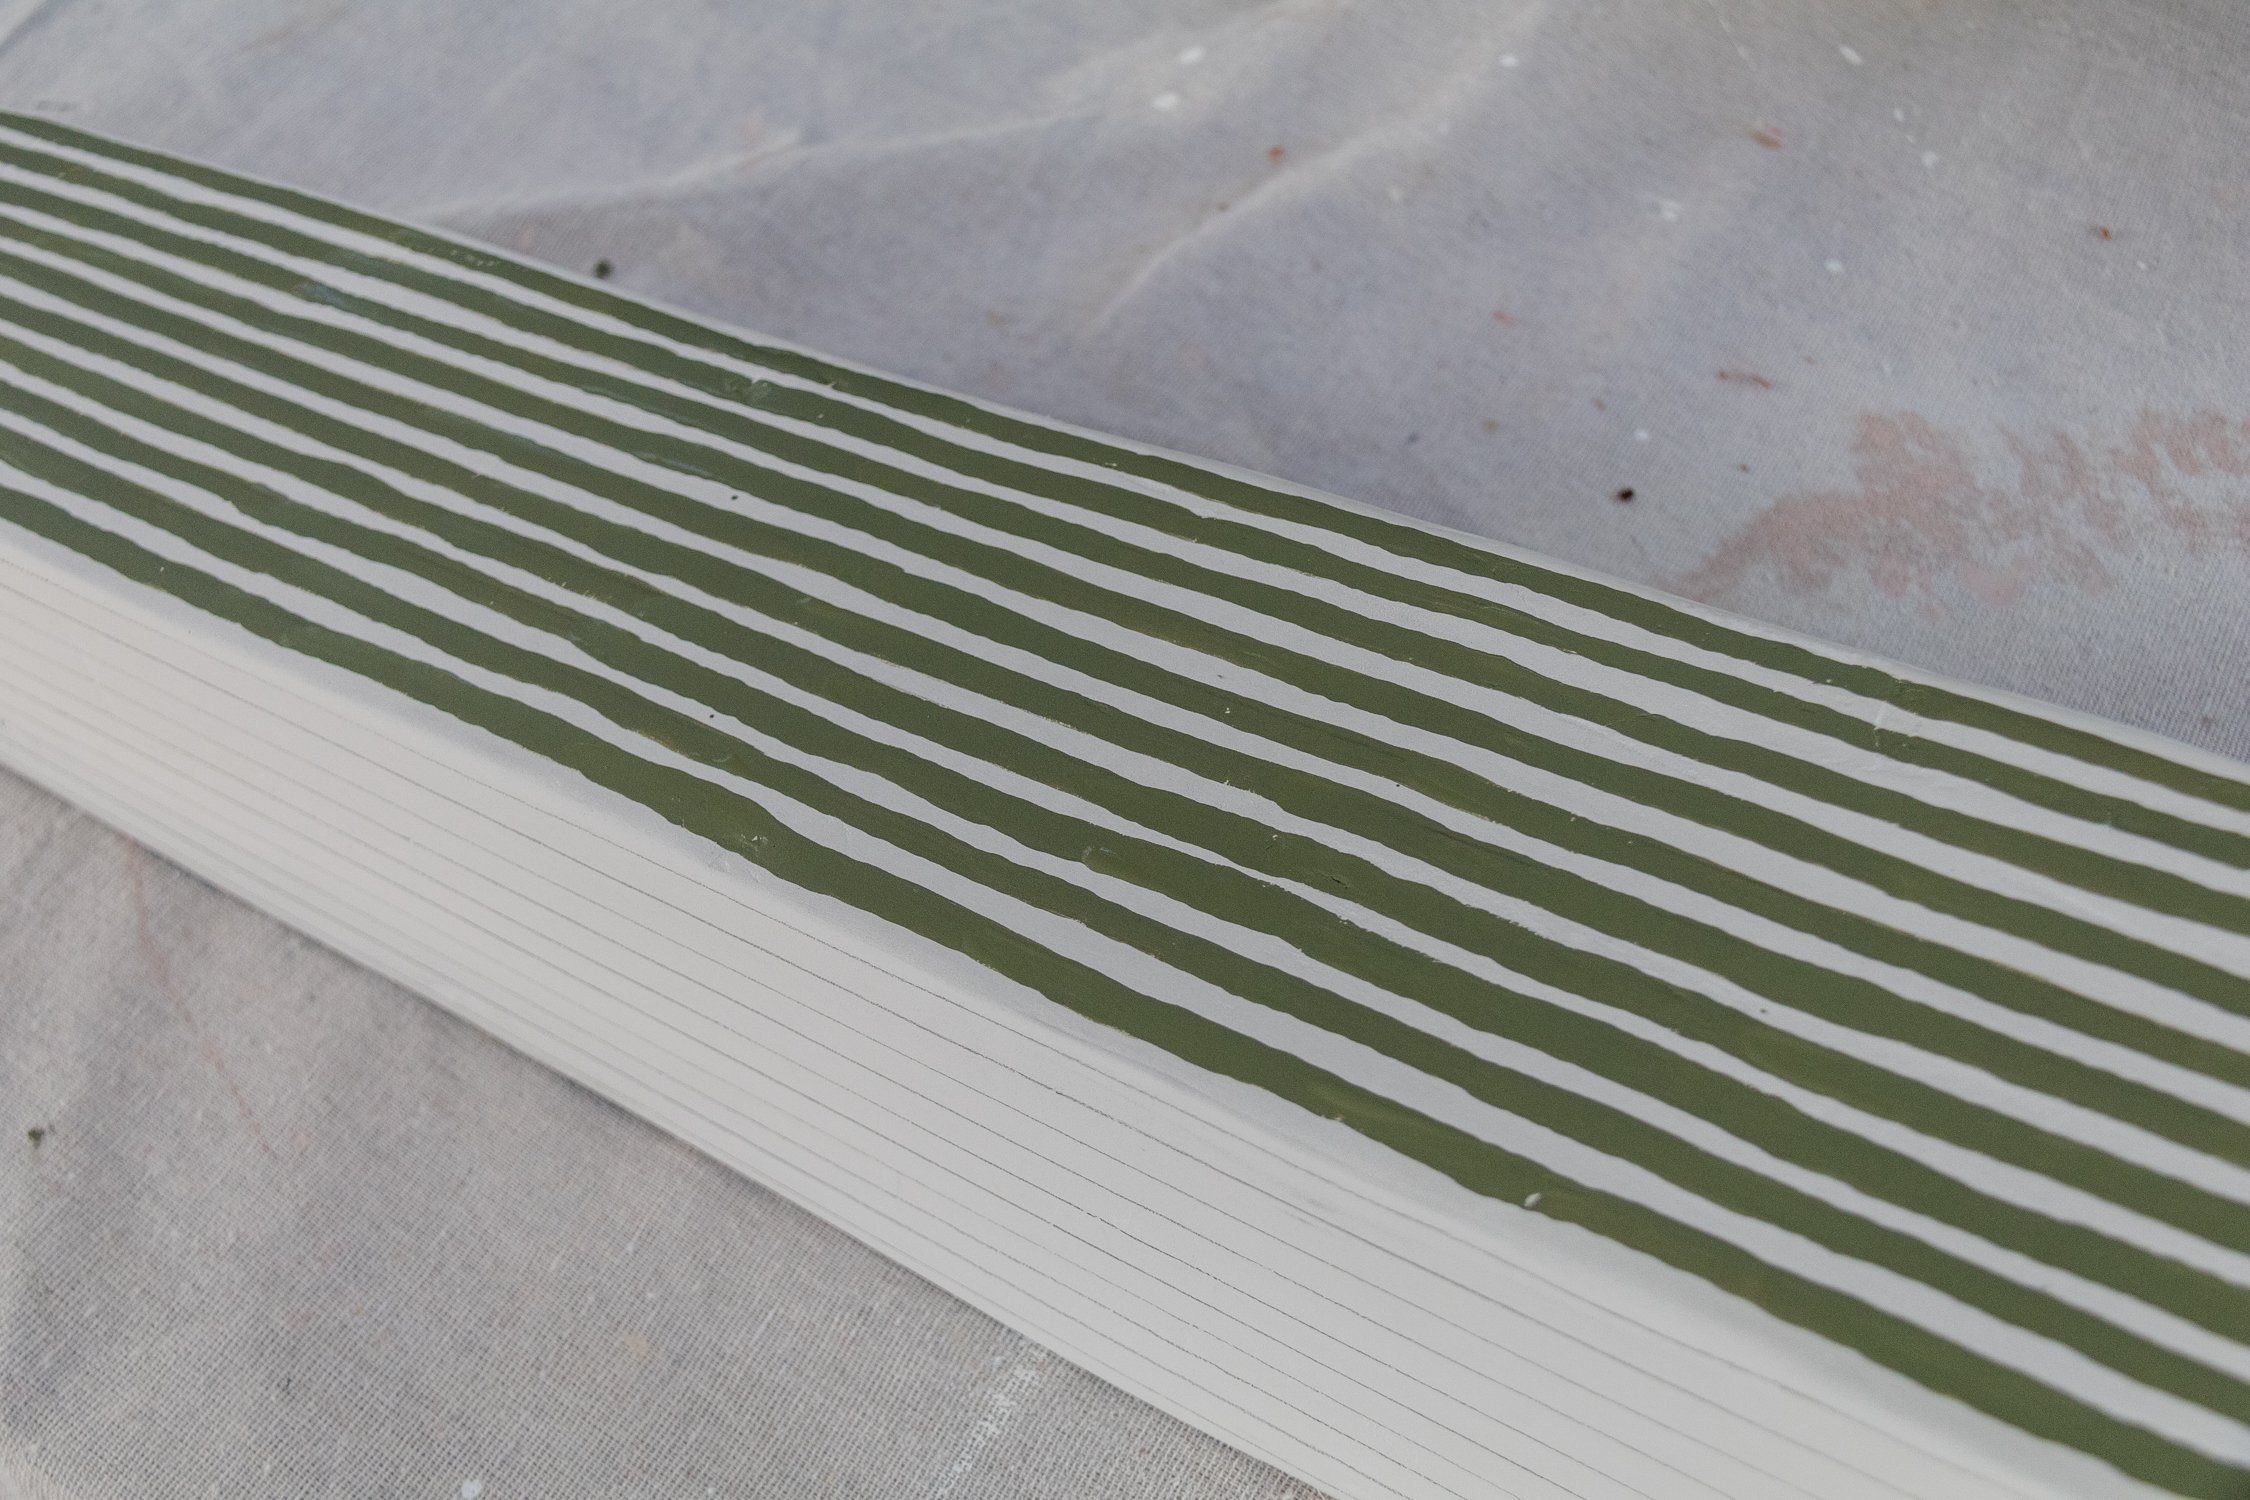
My lamp was a little intricate - the width at the top was 10cm and the width at the base was 18cm. So I marked at 1cm increments at the top using a pencil and ruler, and 1.8cm down the bottom. The lines fan out as they reach the bottom but you hardly notice it. You may not need to worry about this though! I used a spirit level to draw a vertical line down the lamp base between the top and bottom markings, and repeated until 10 lines has been drawn on each side of the lamp (that’s 40 lines in total).
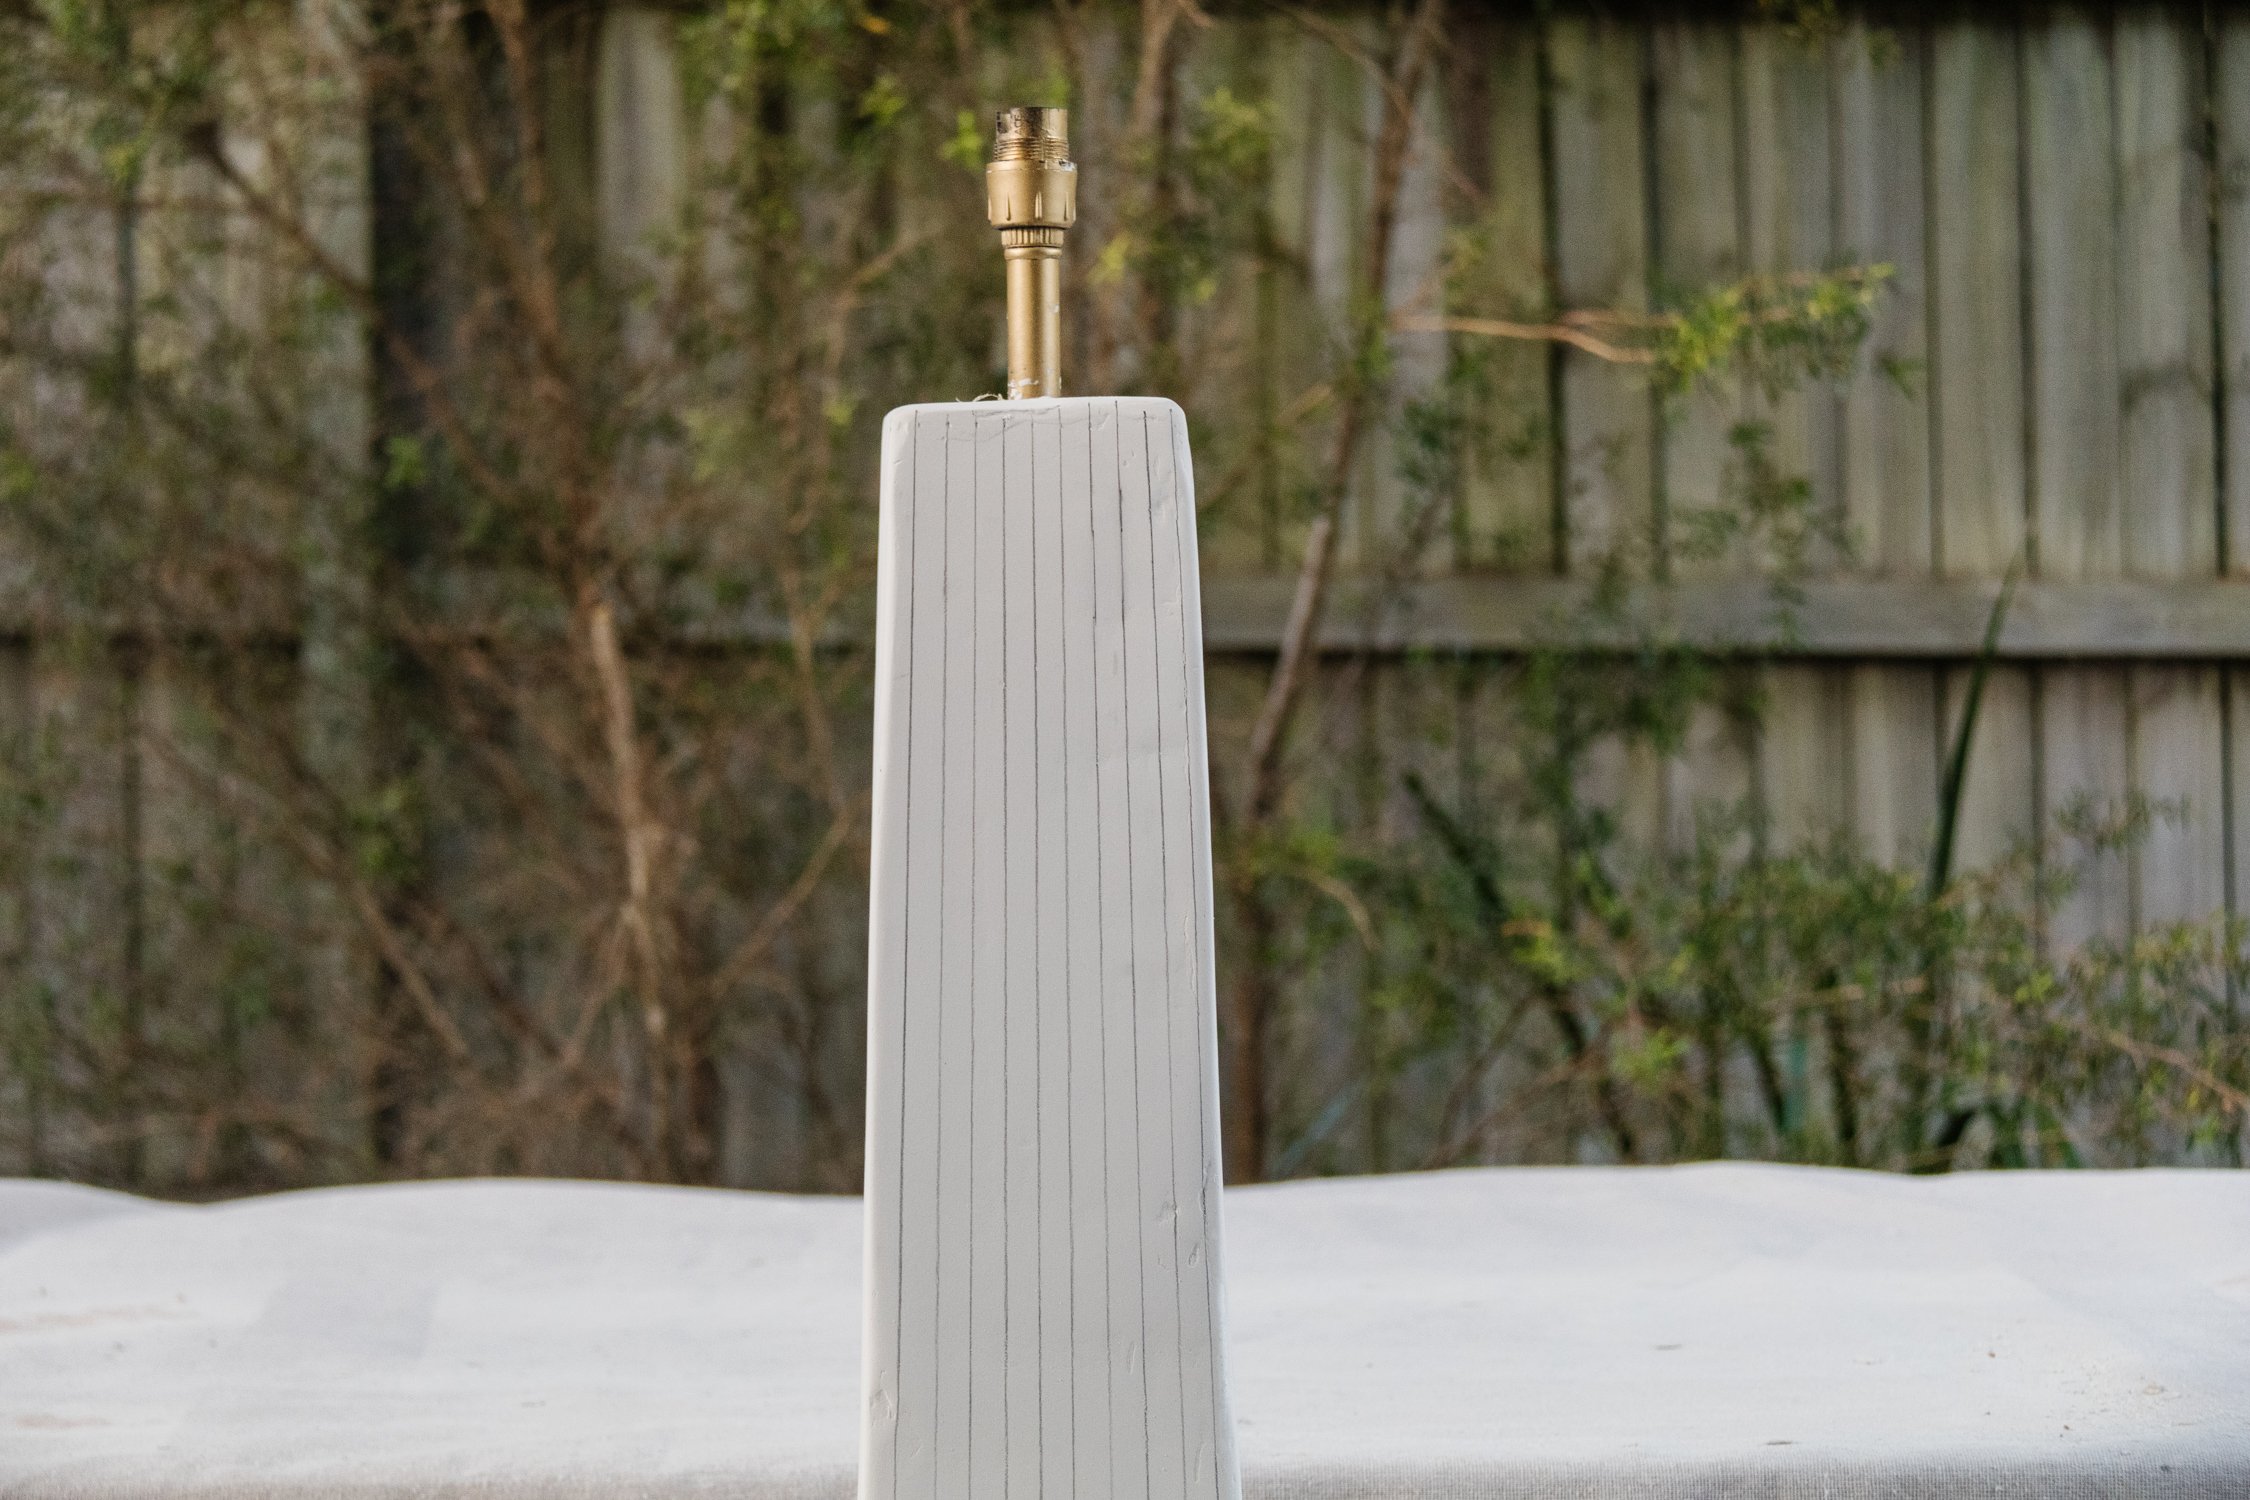
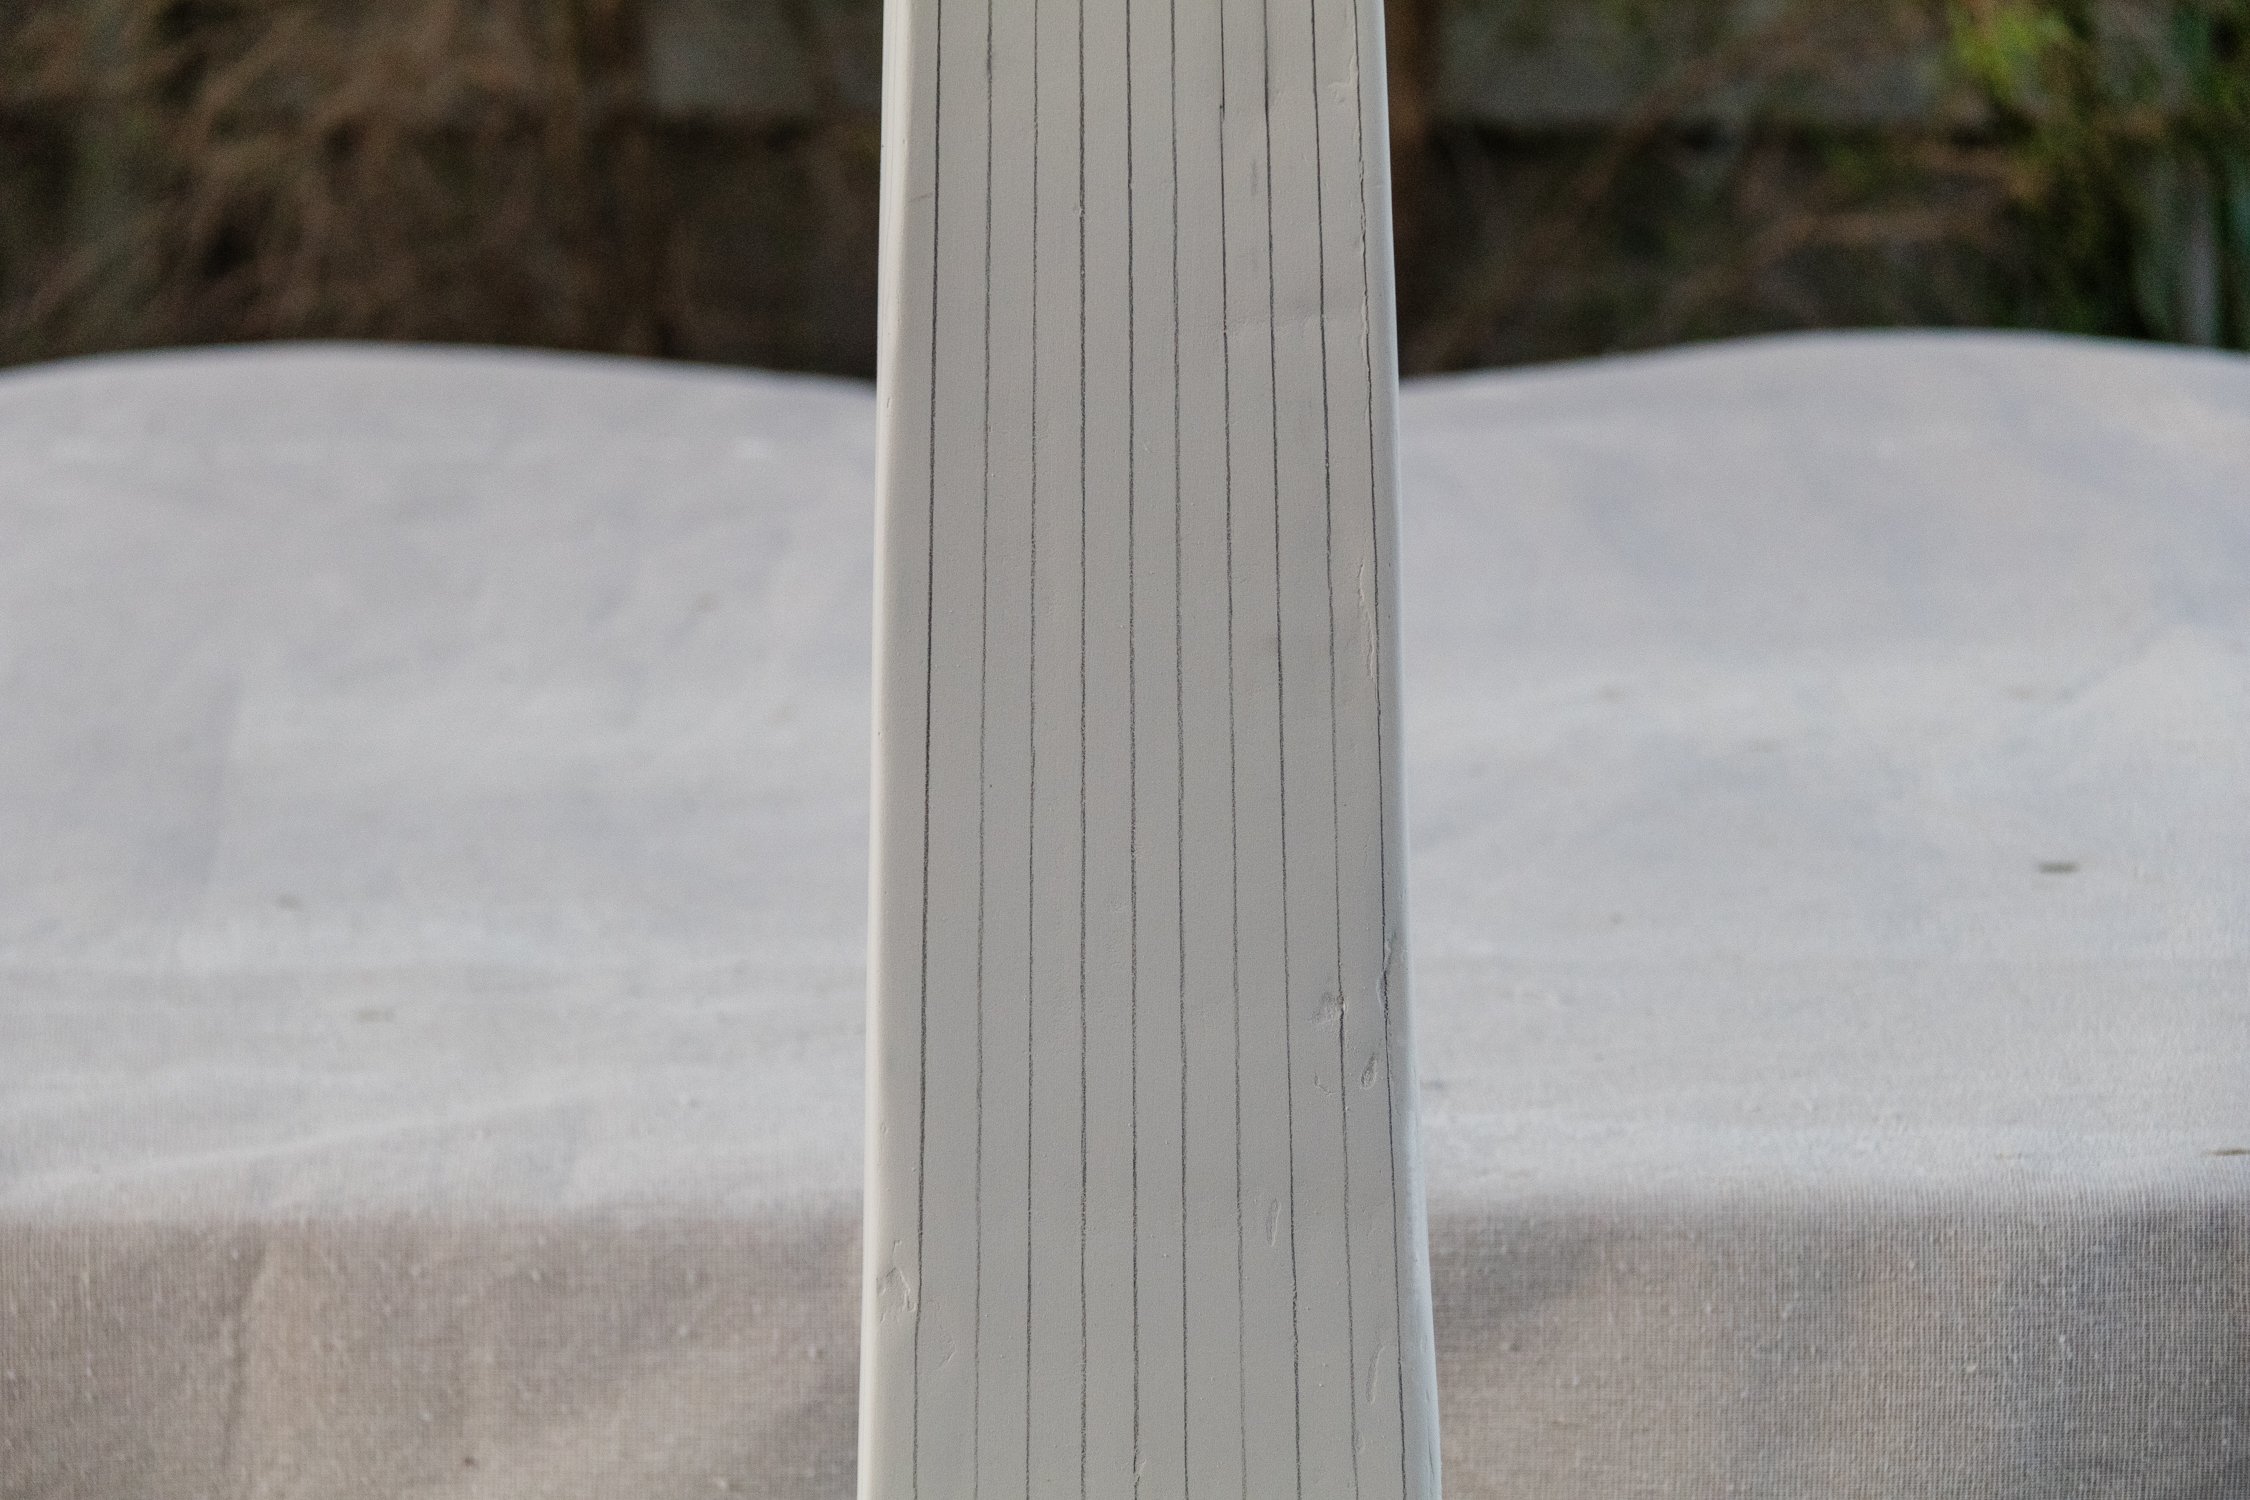
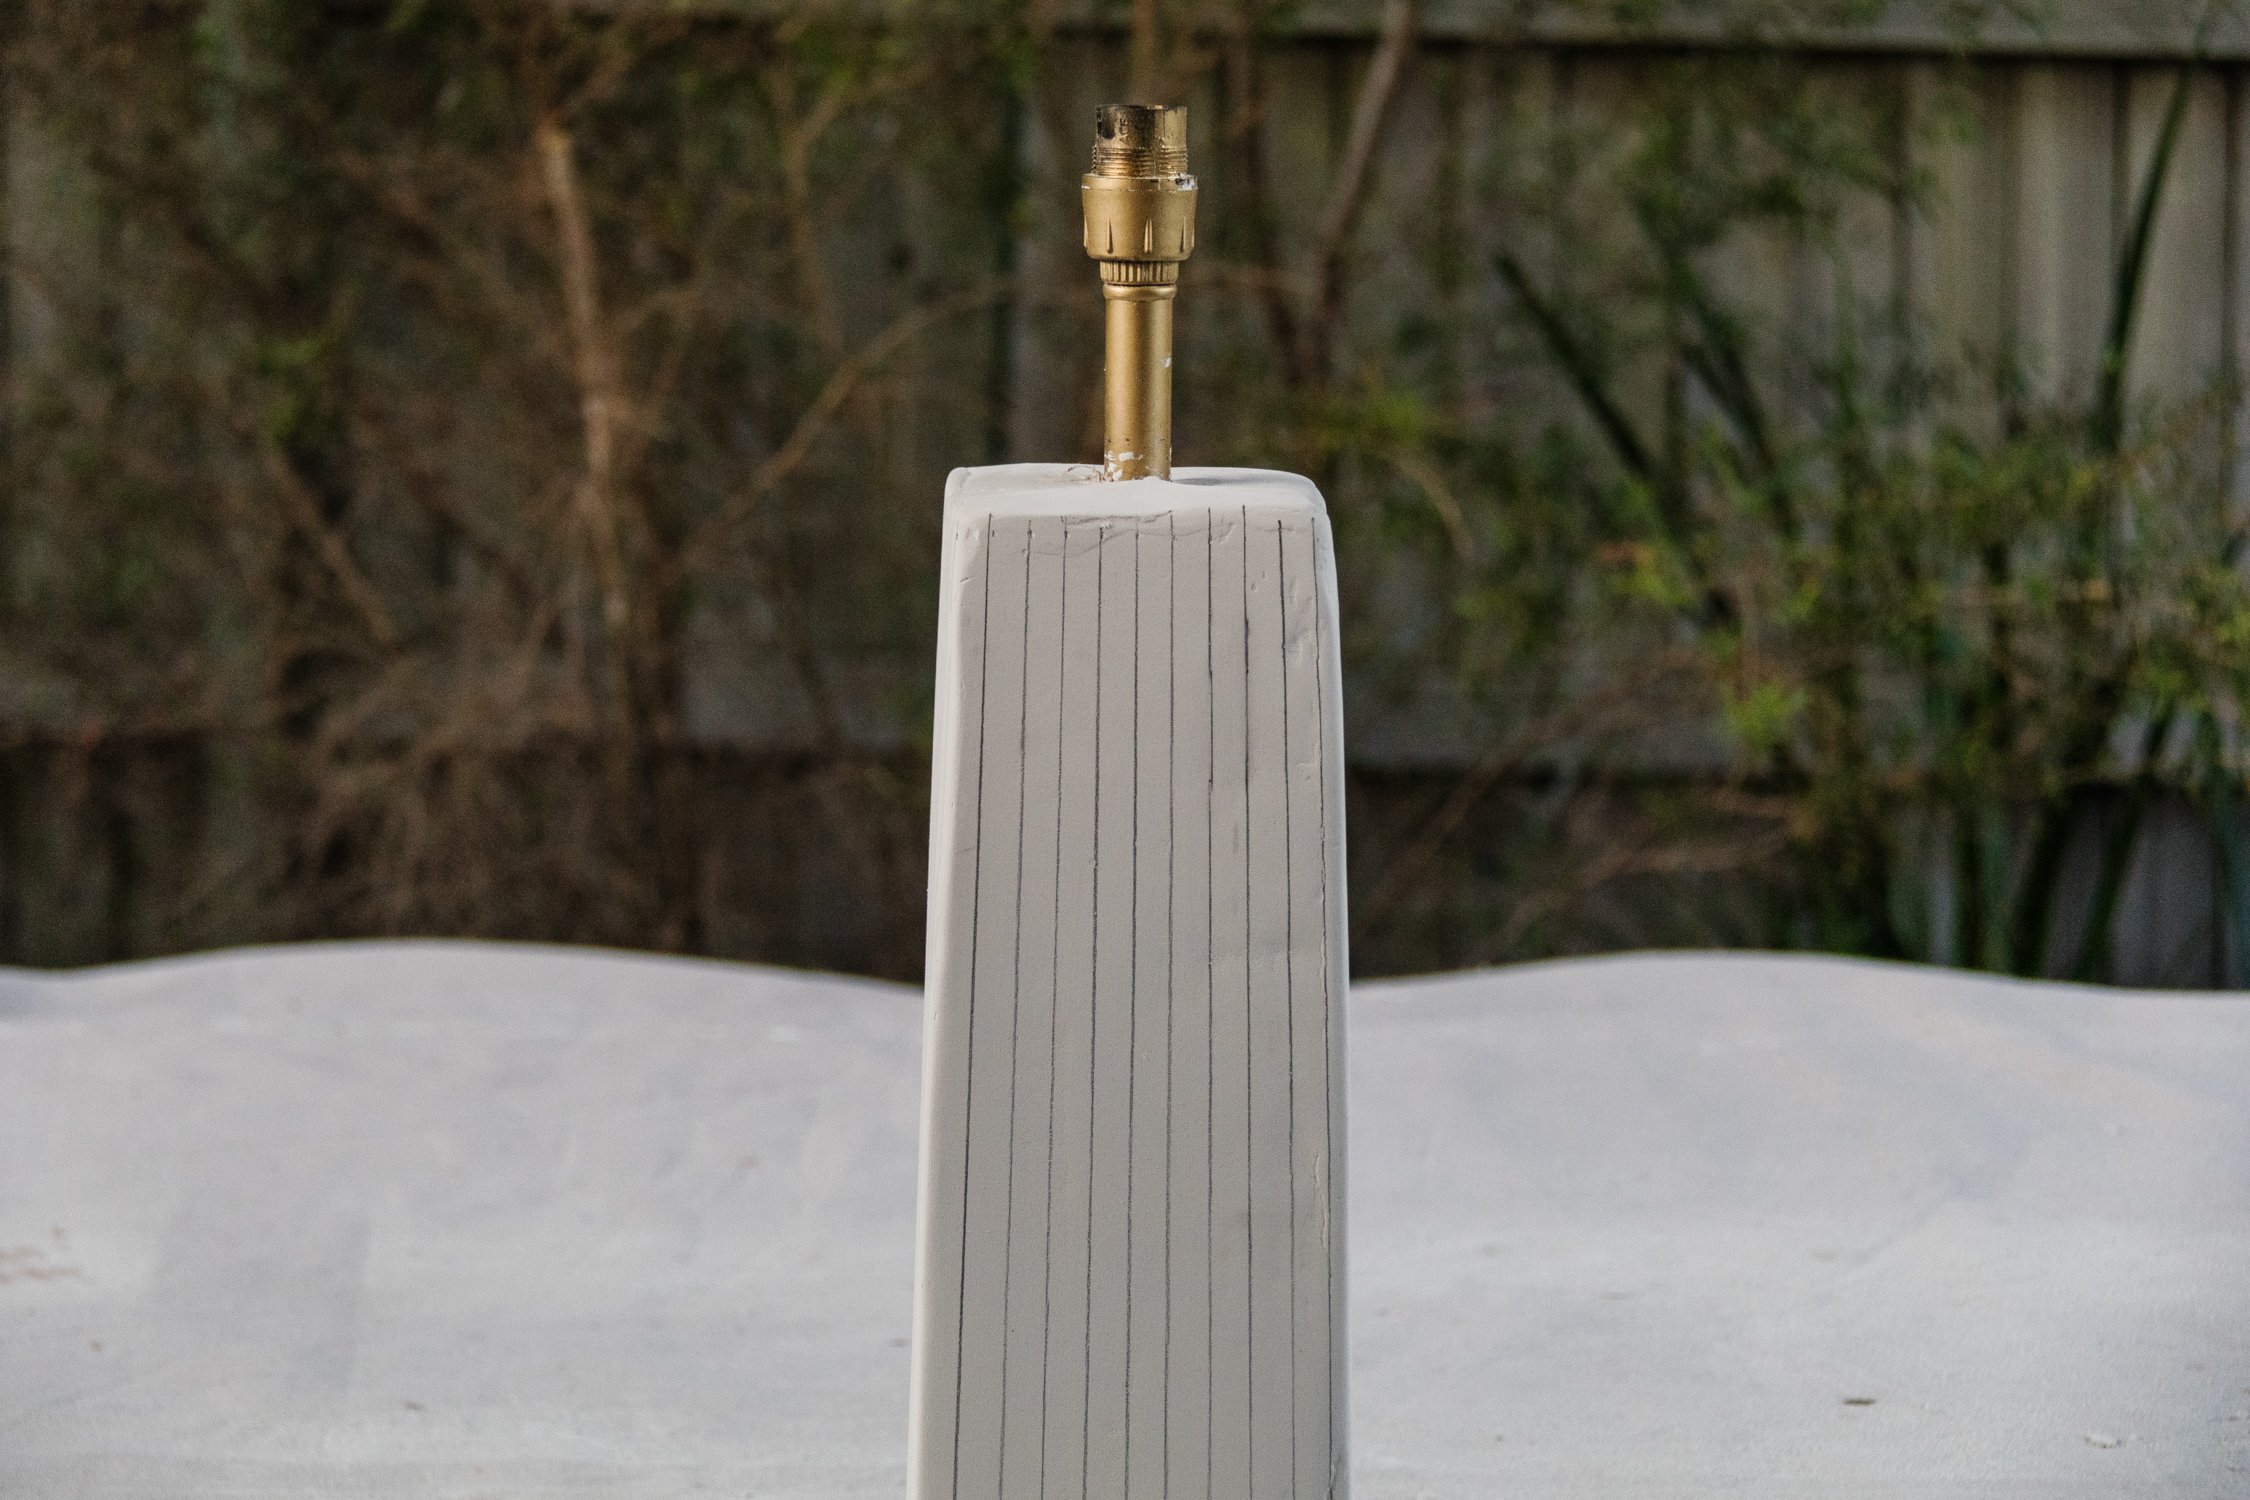
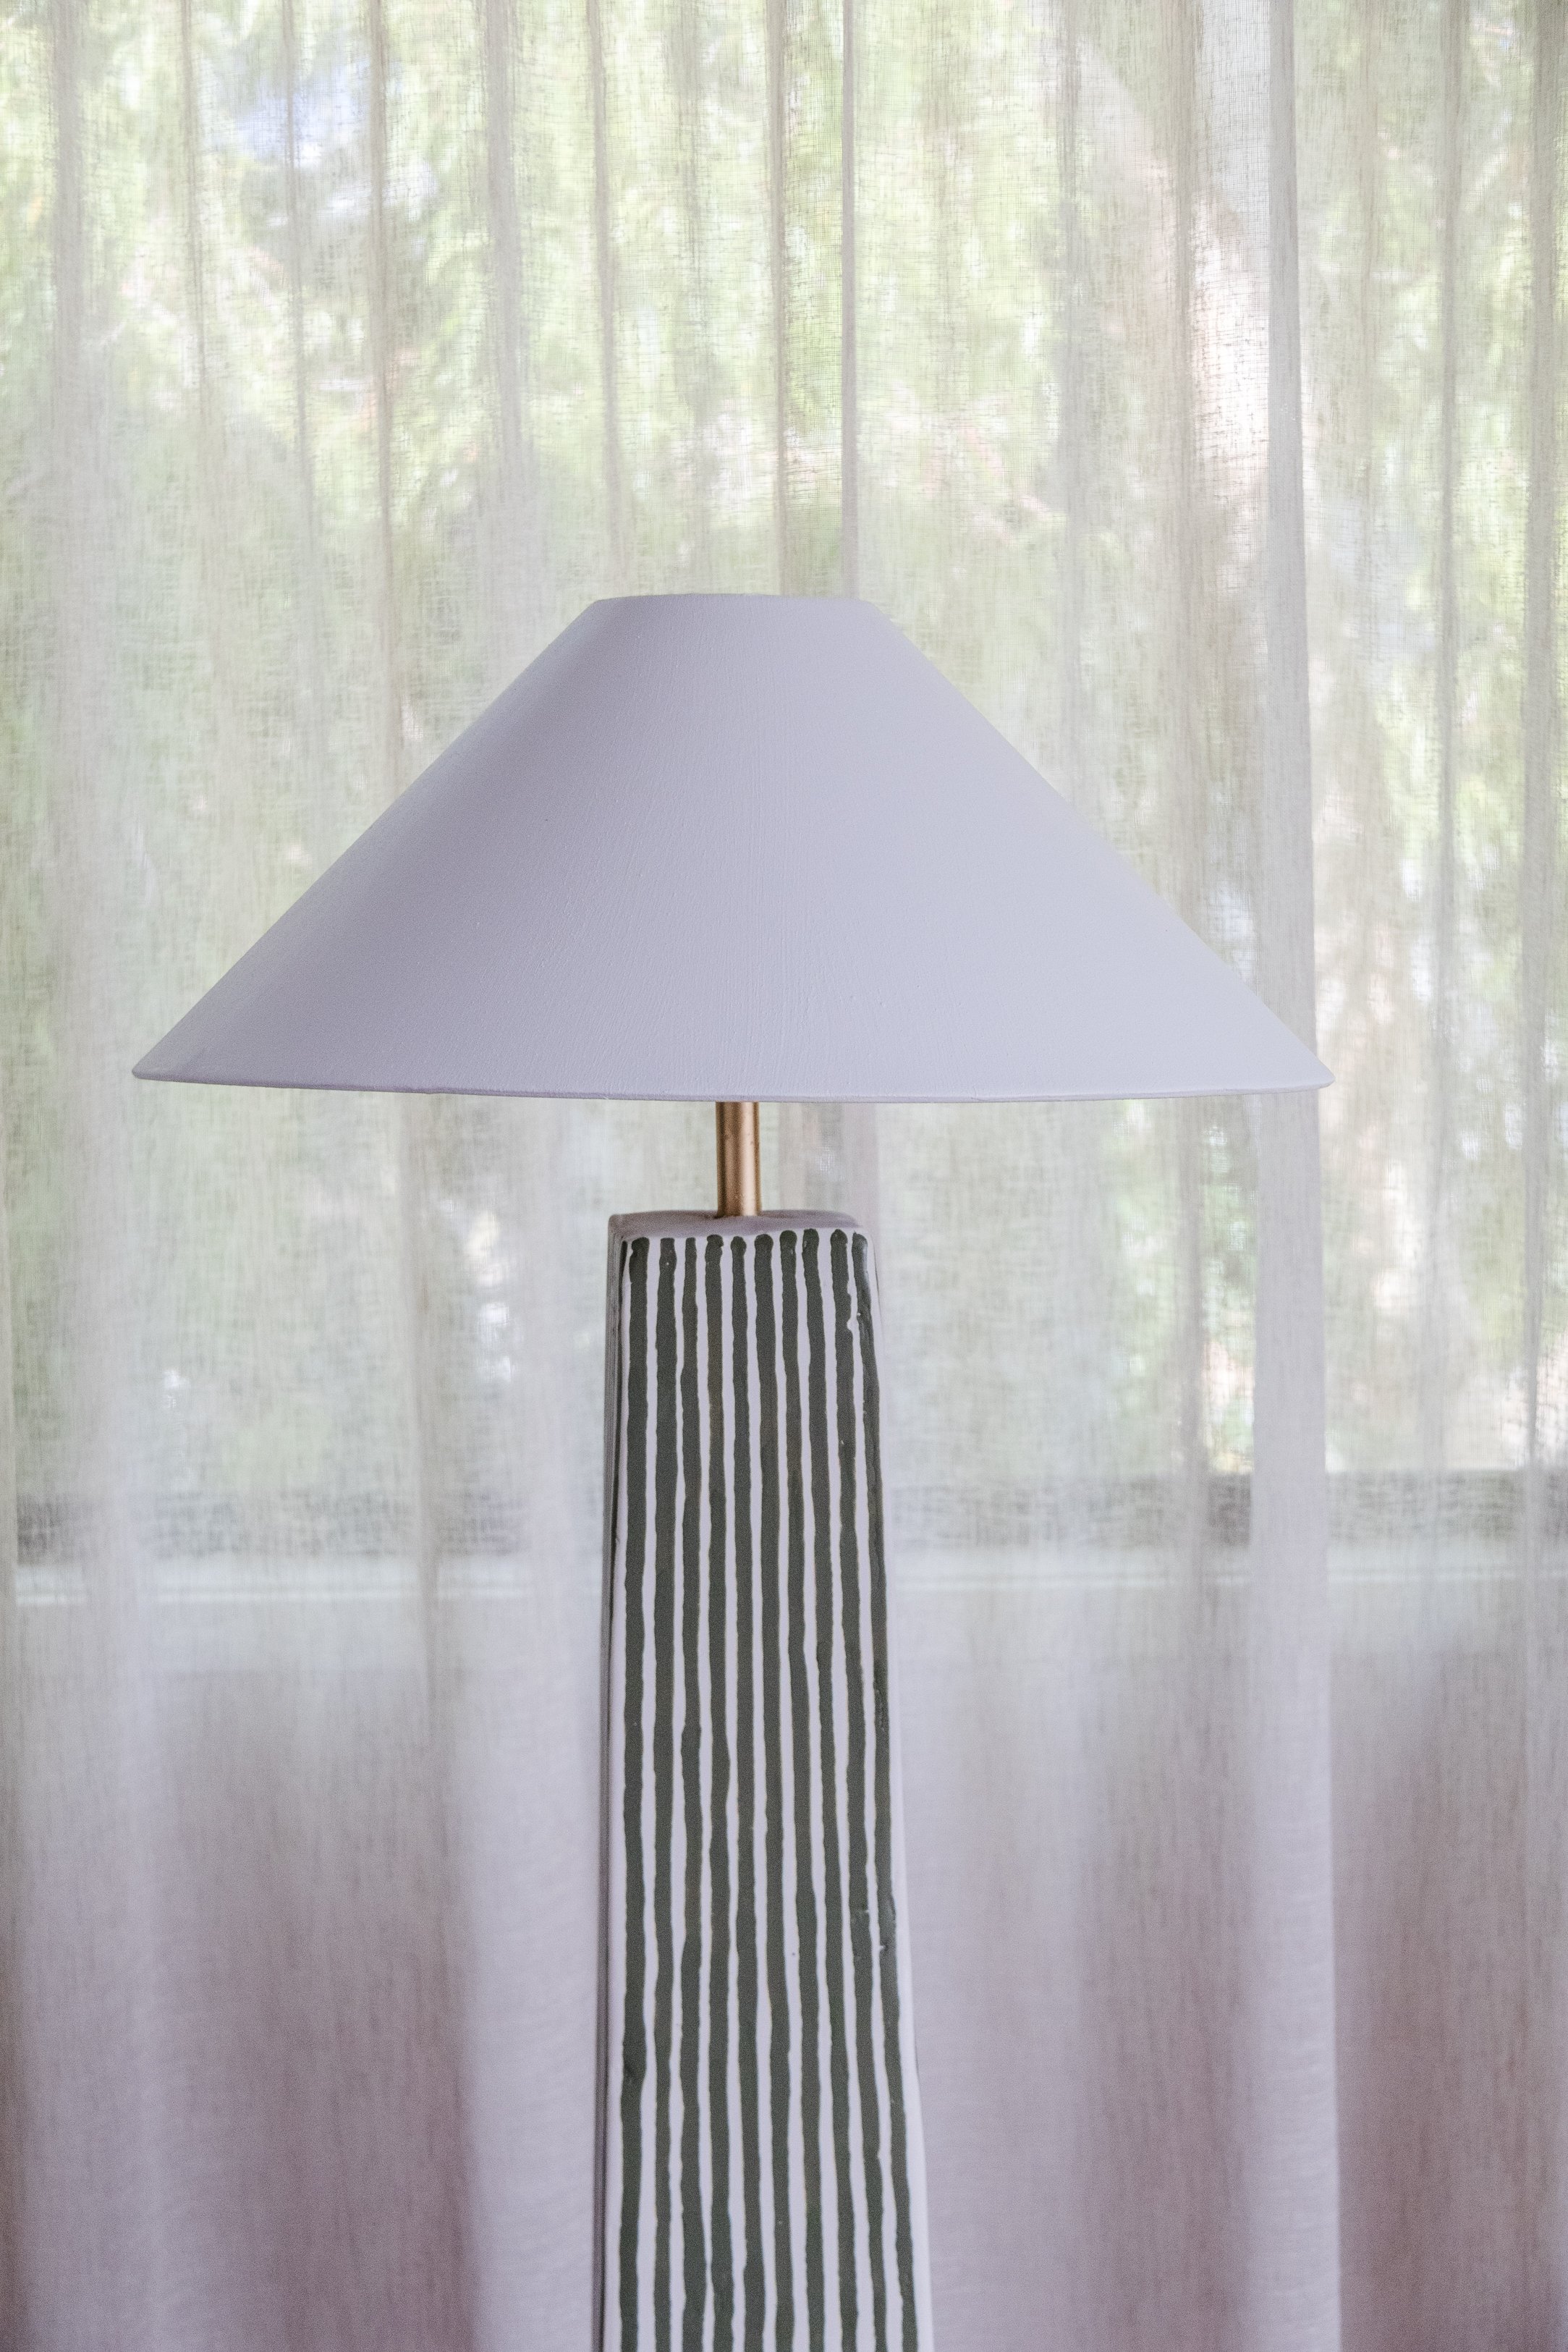
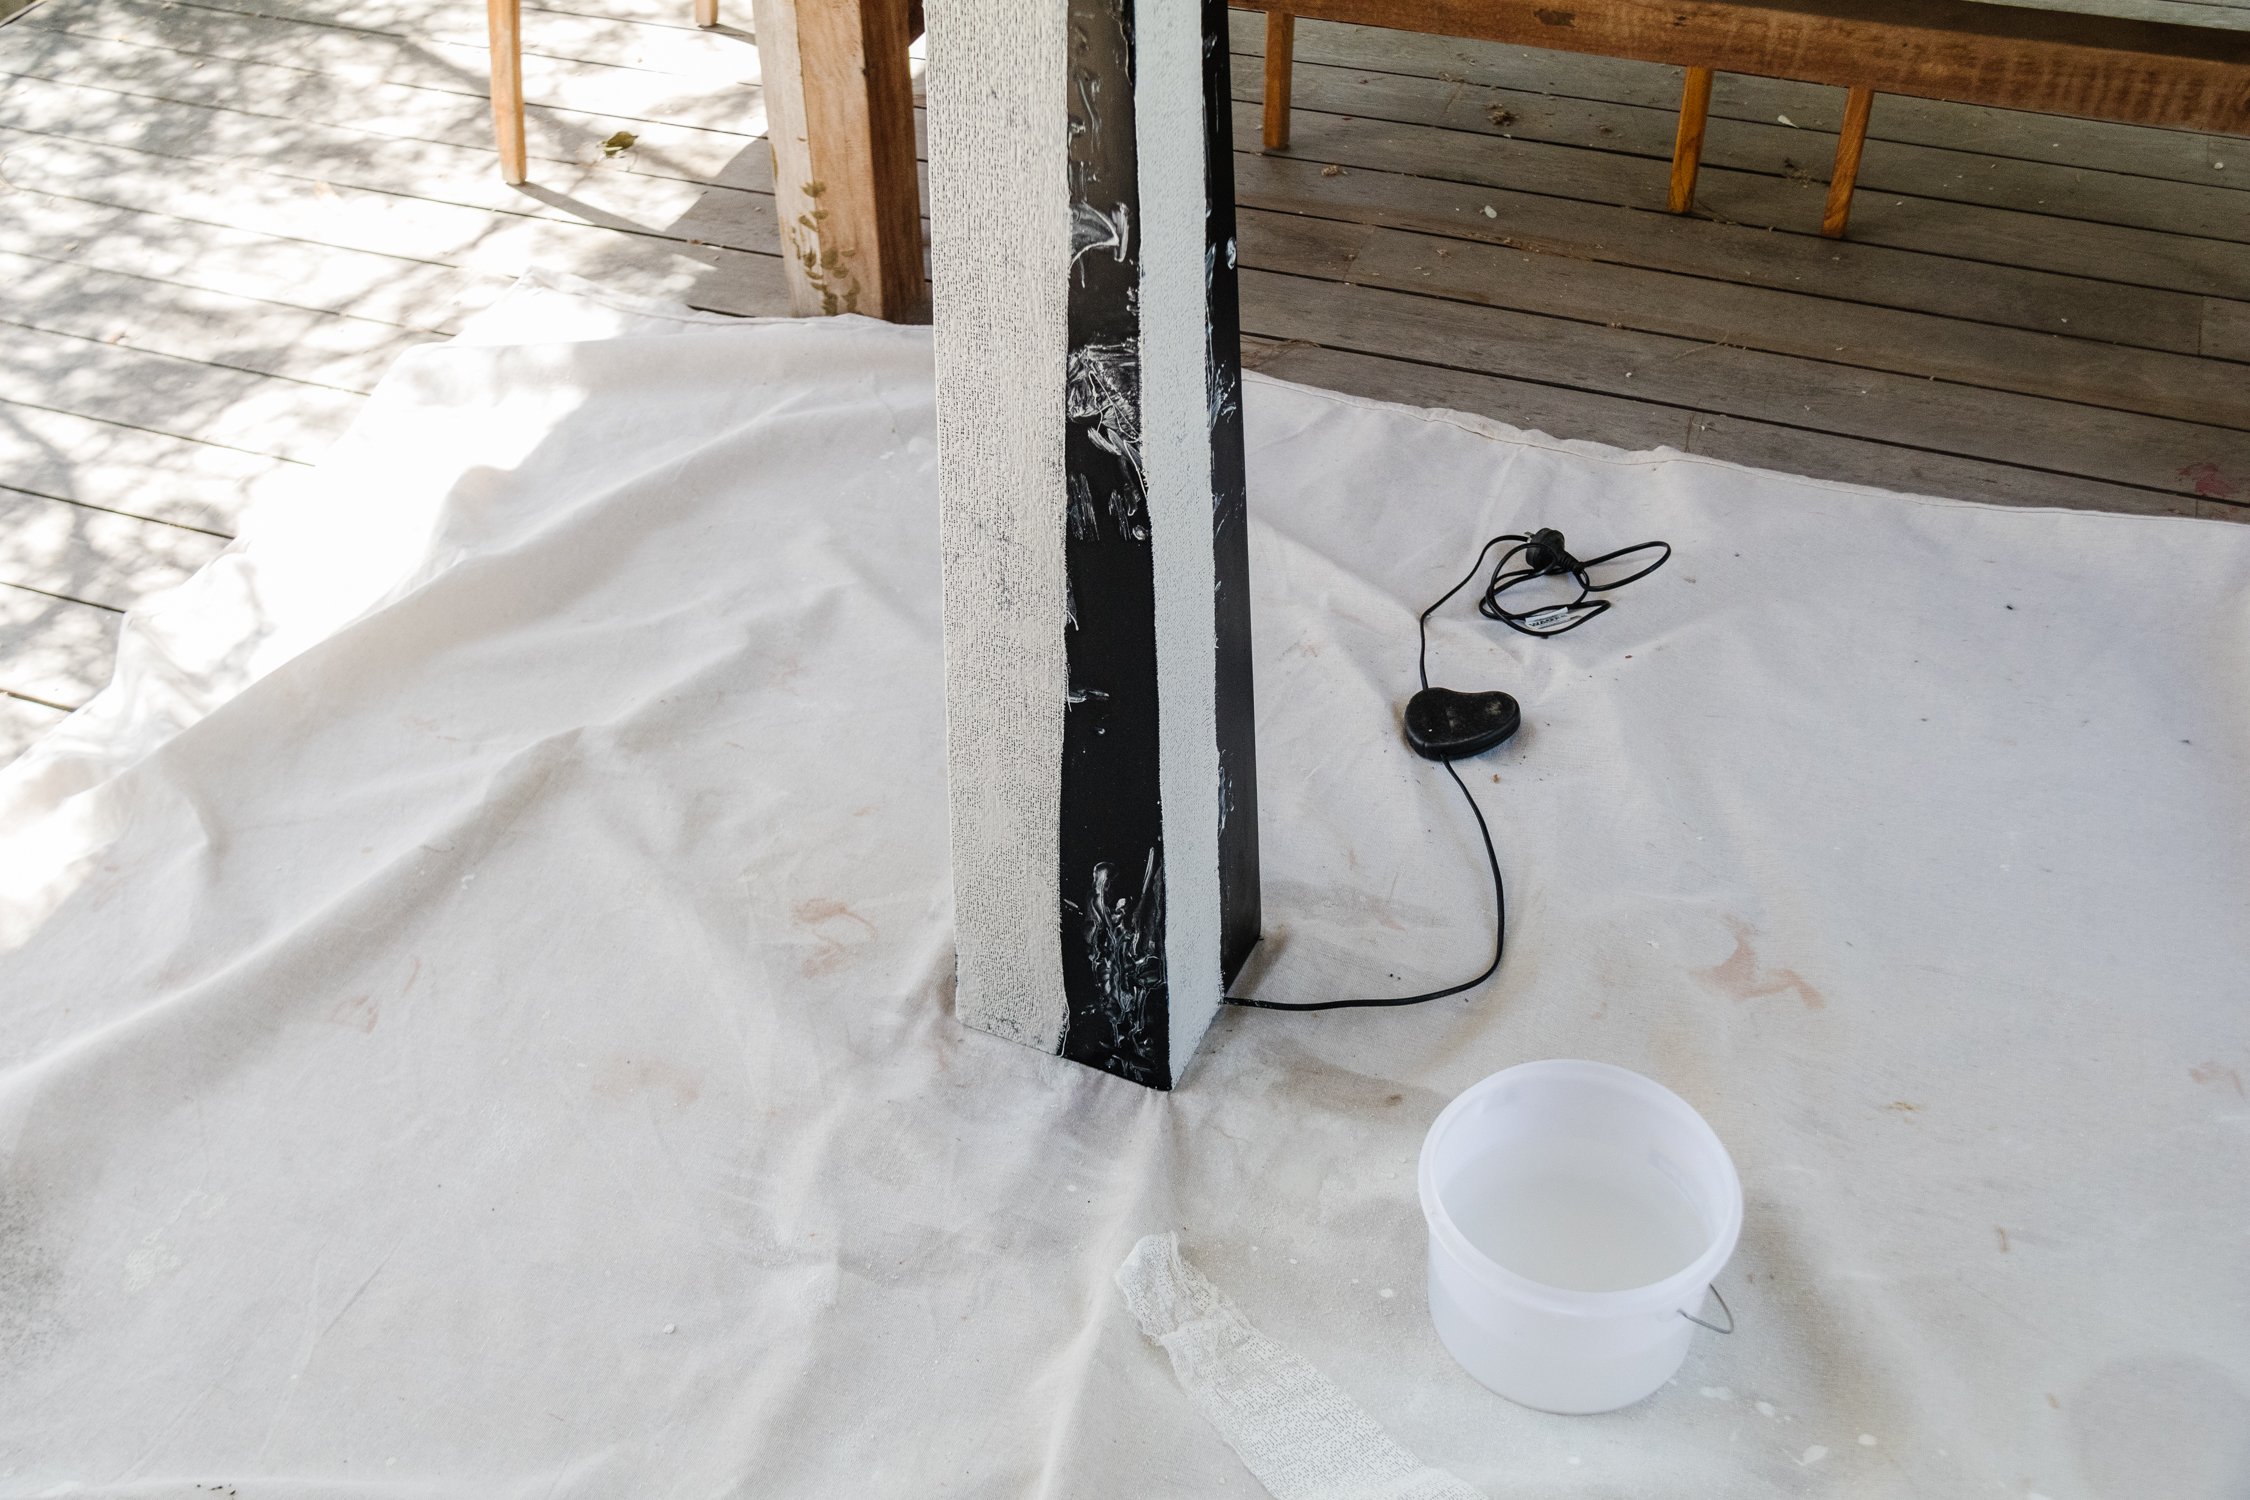
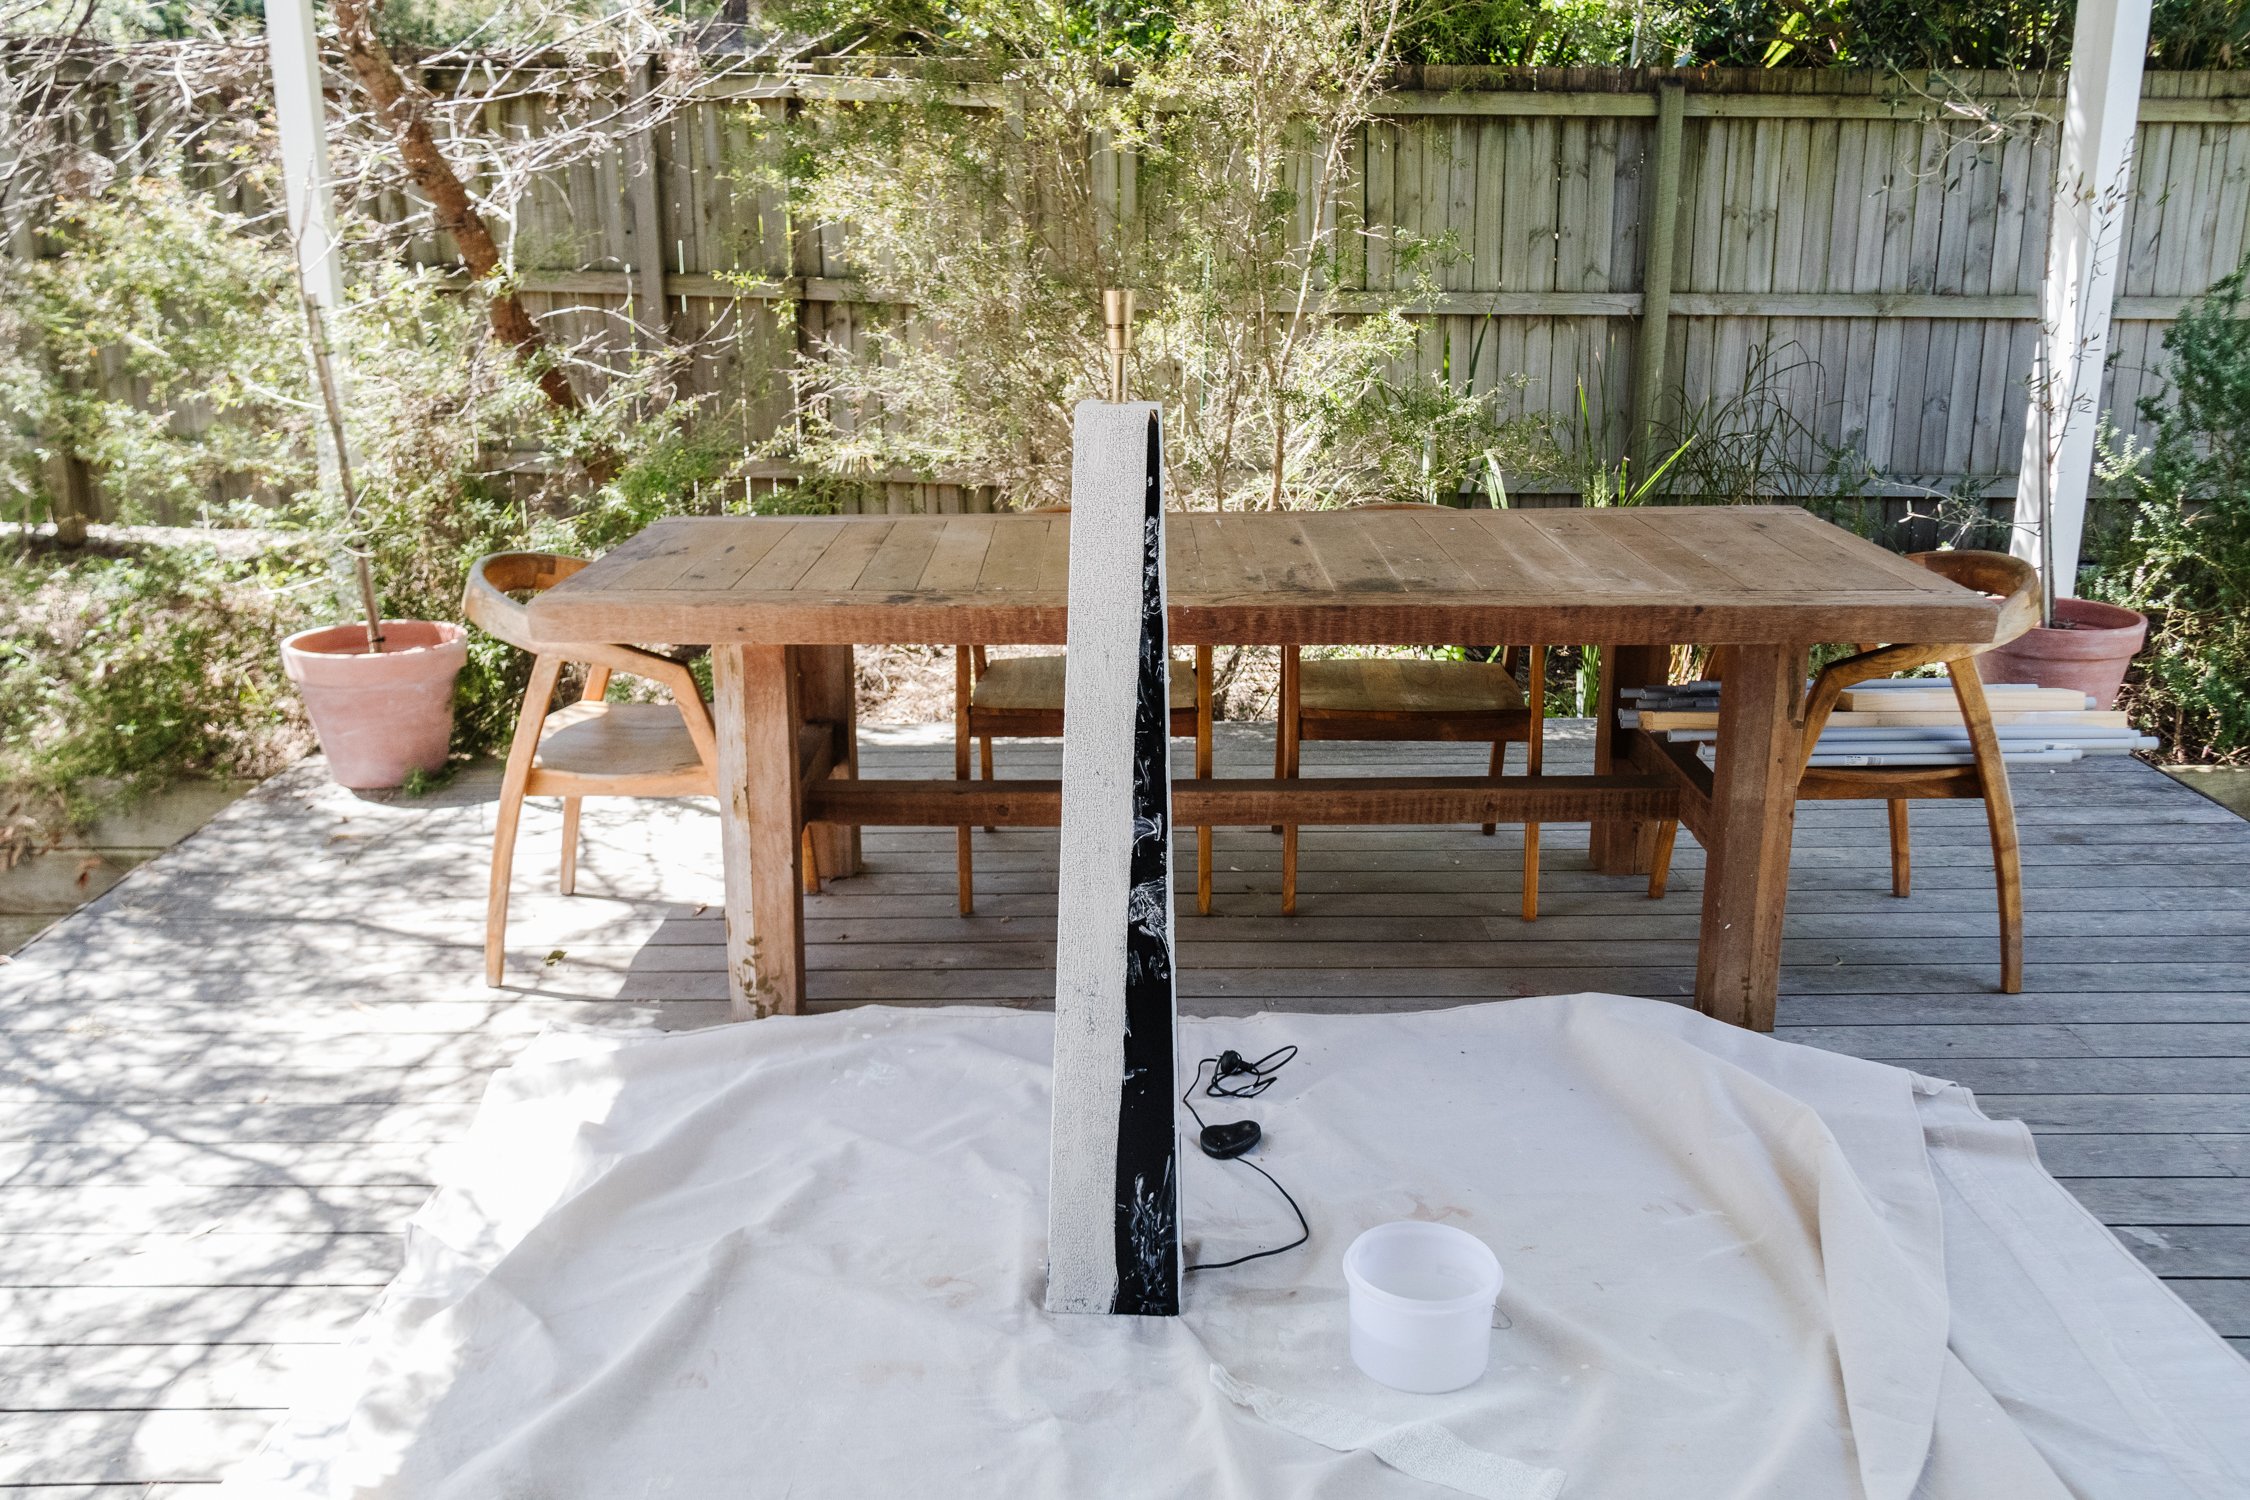
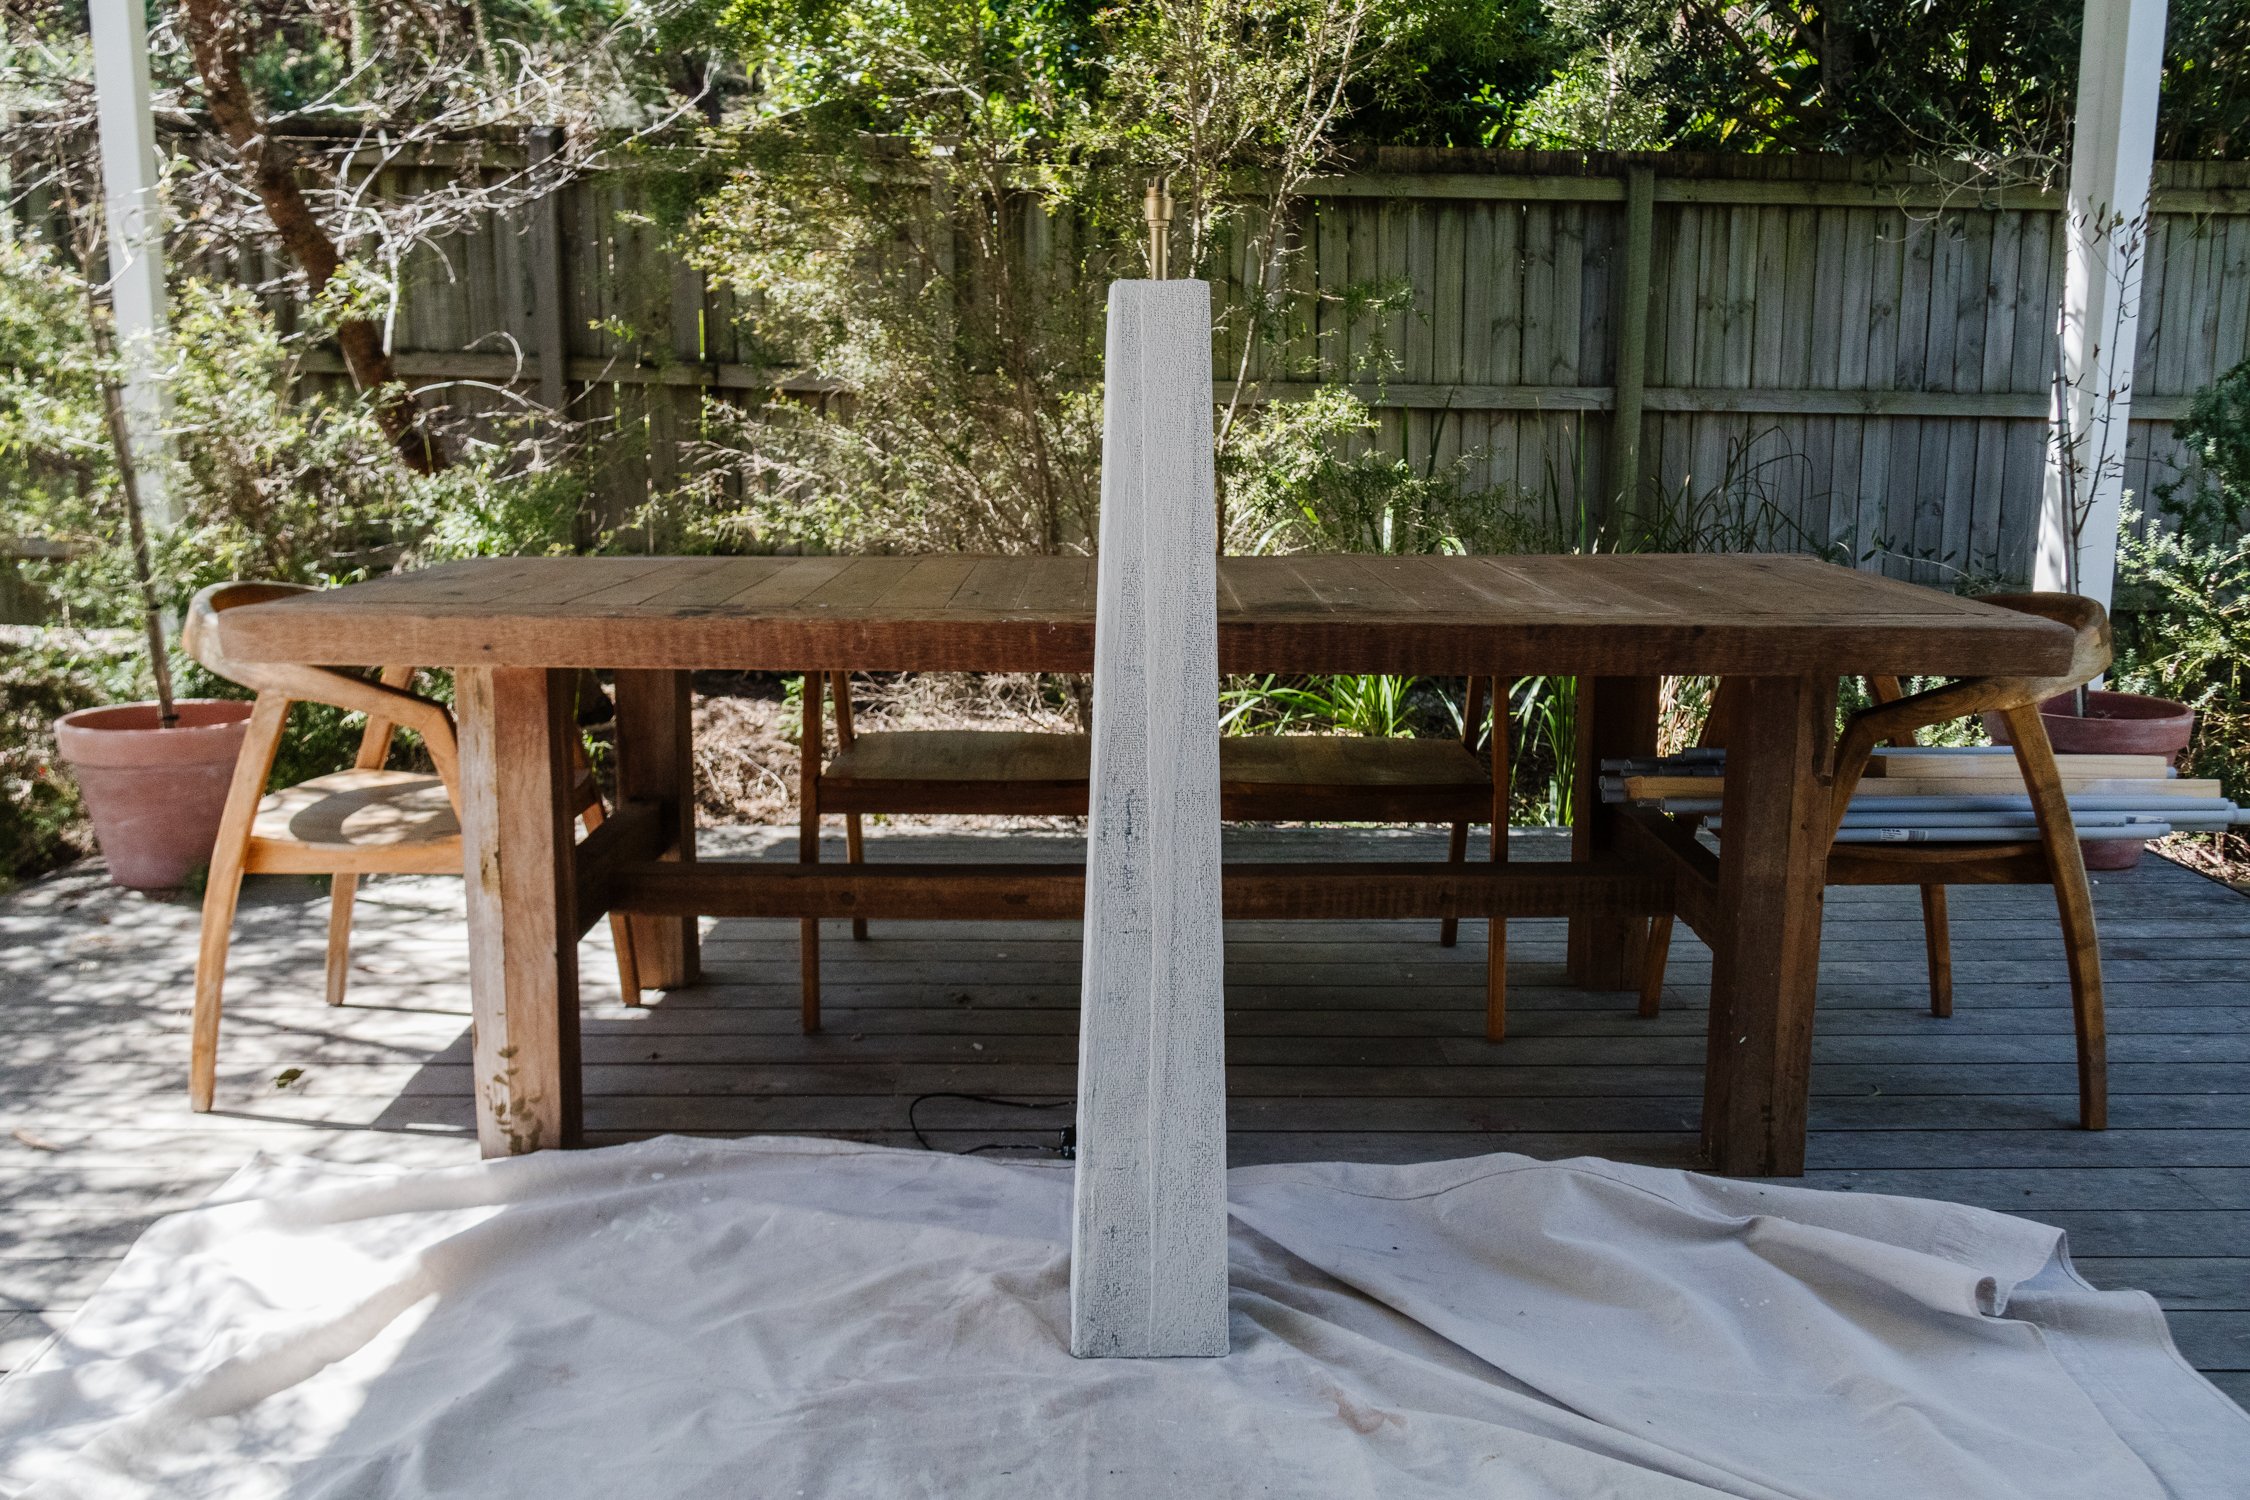
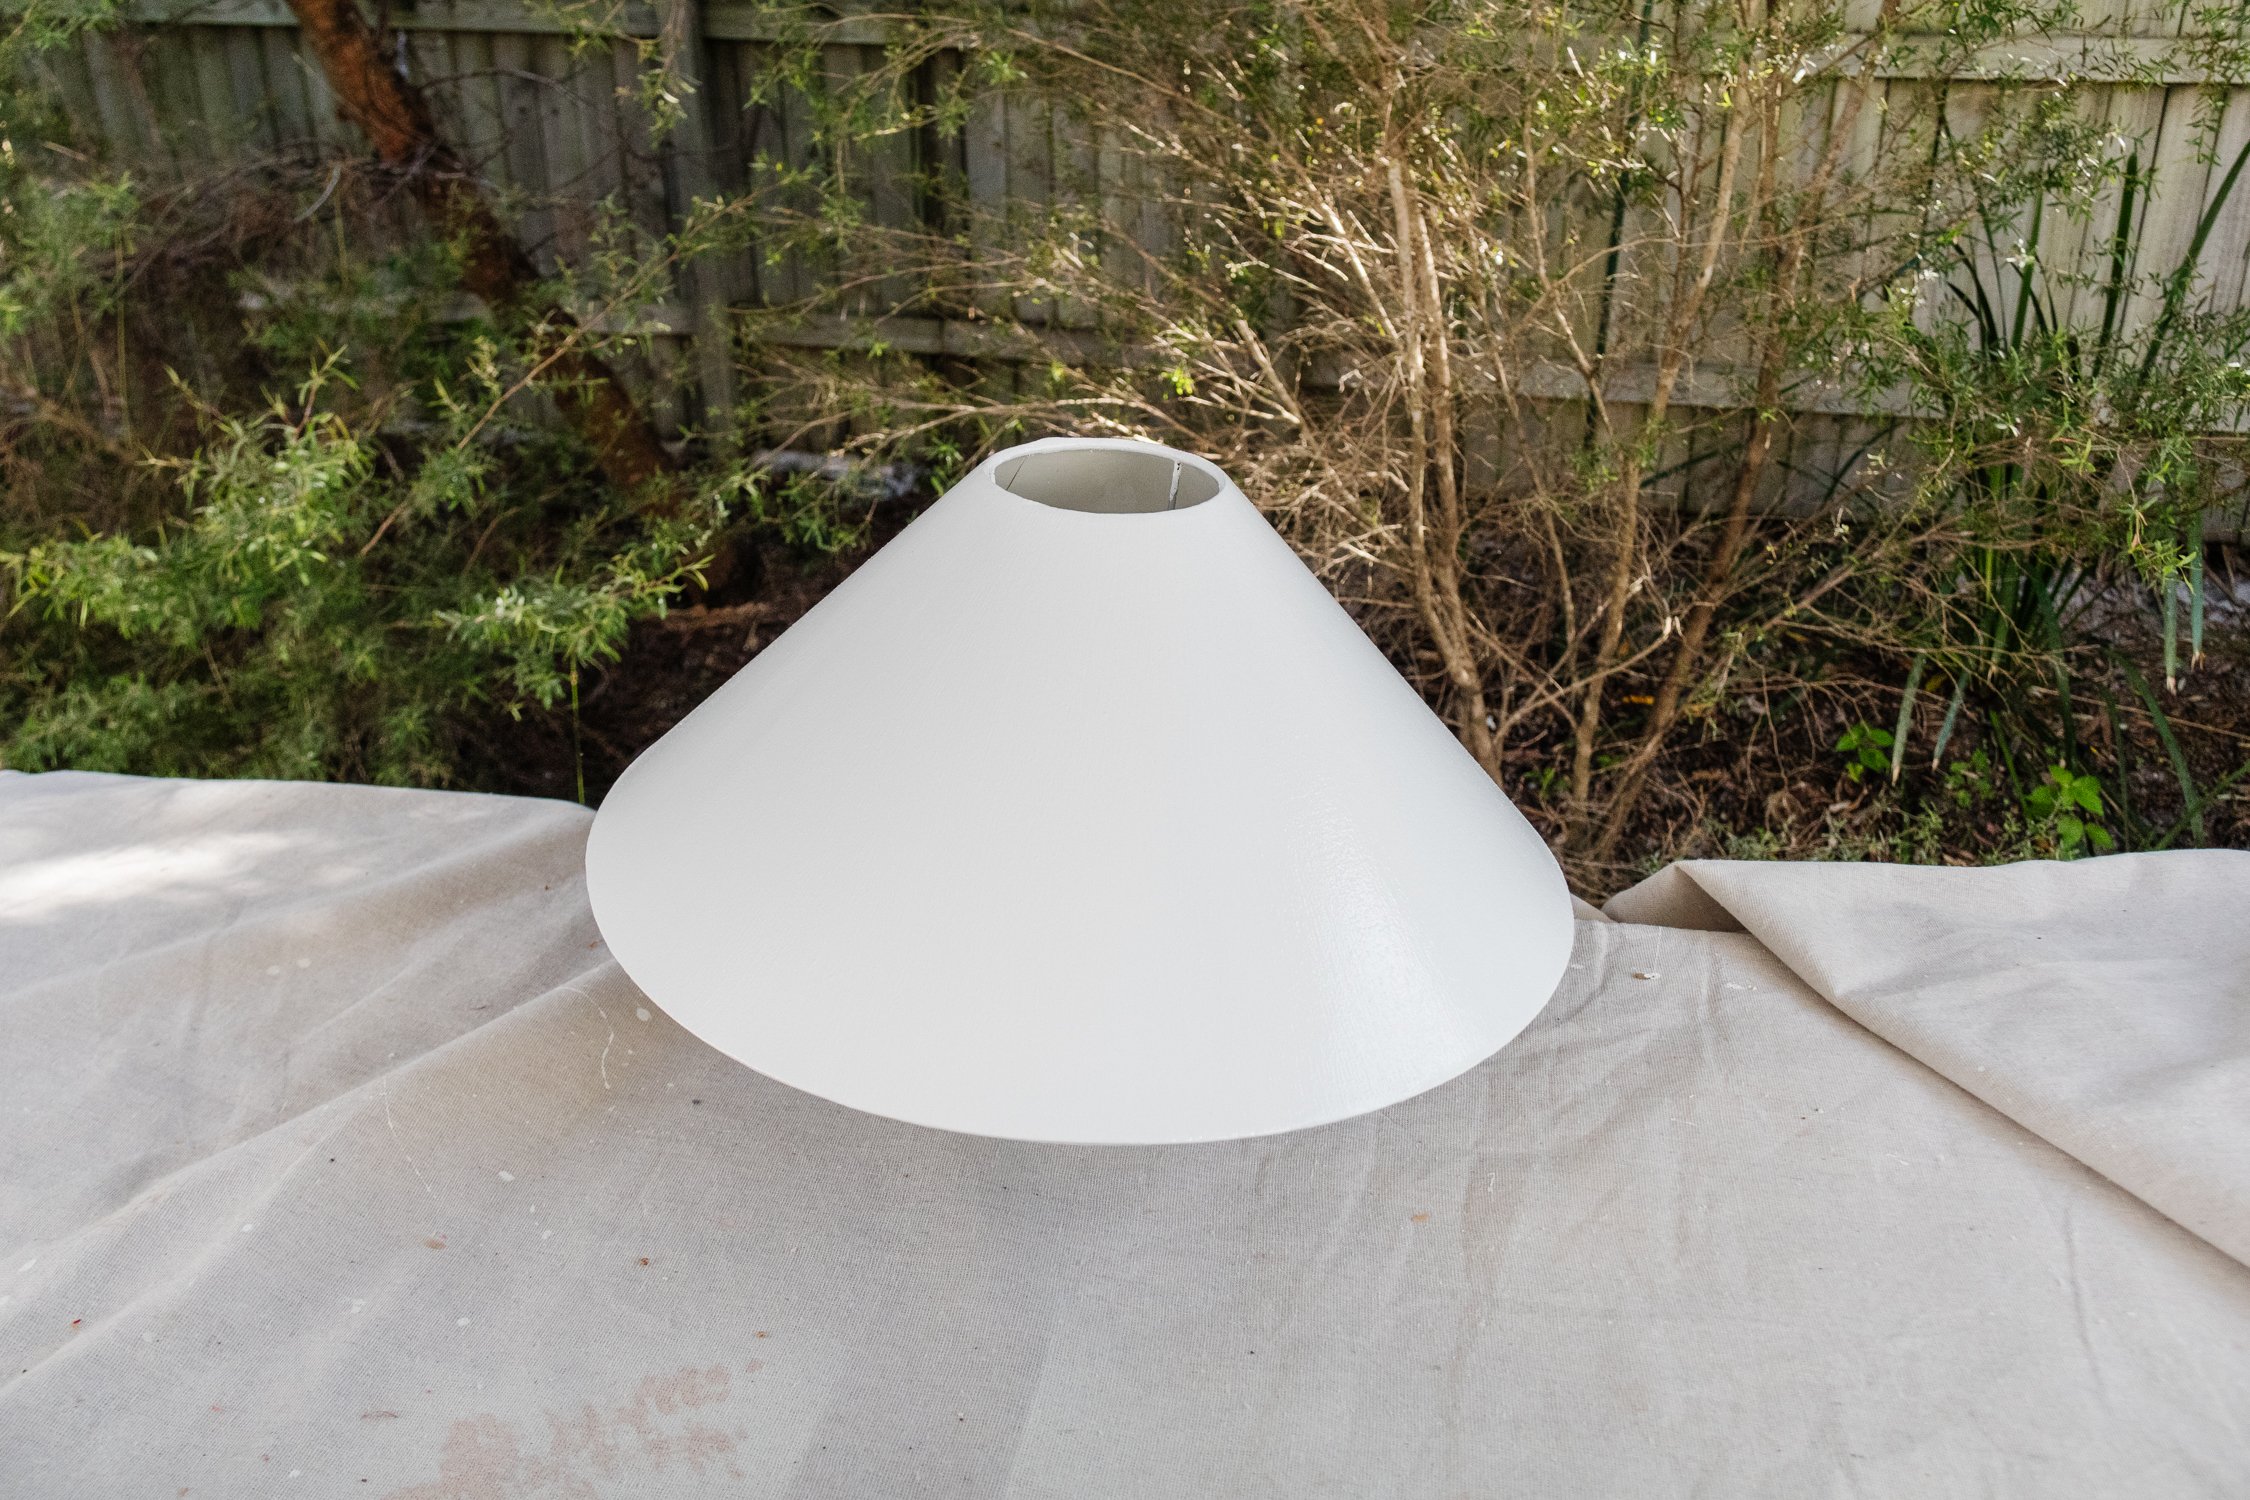
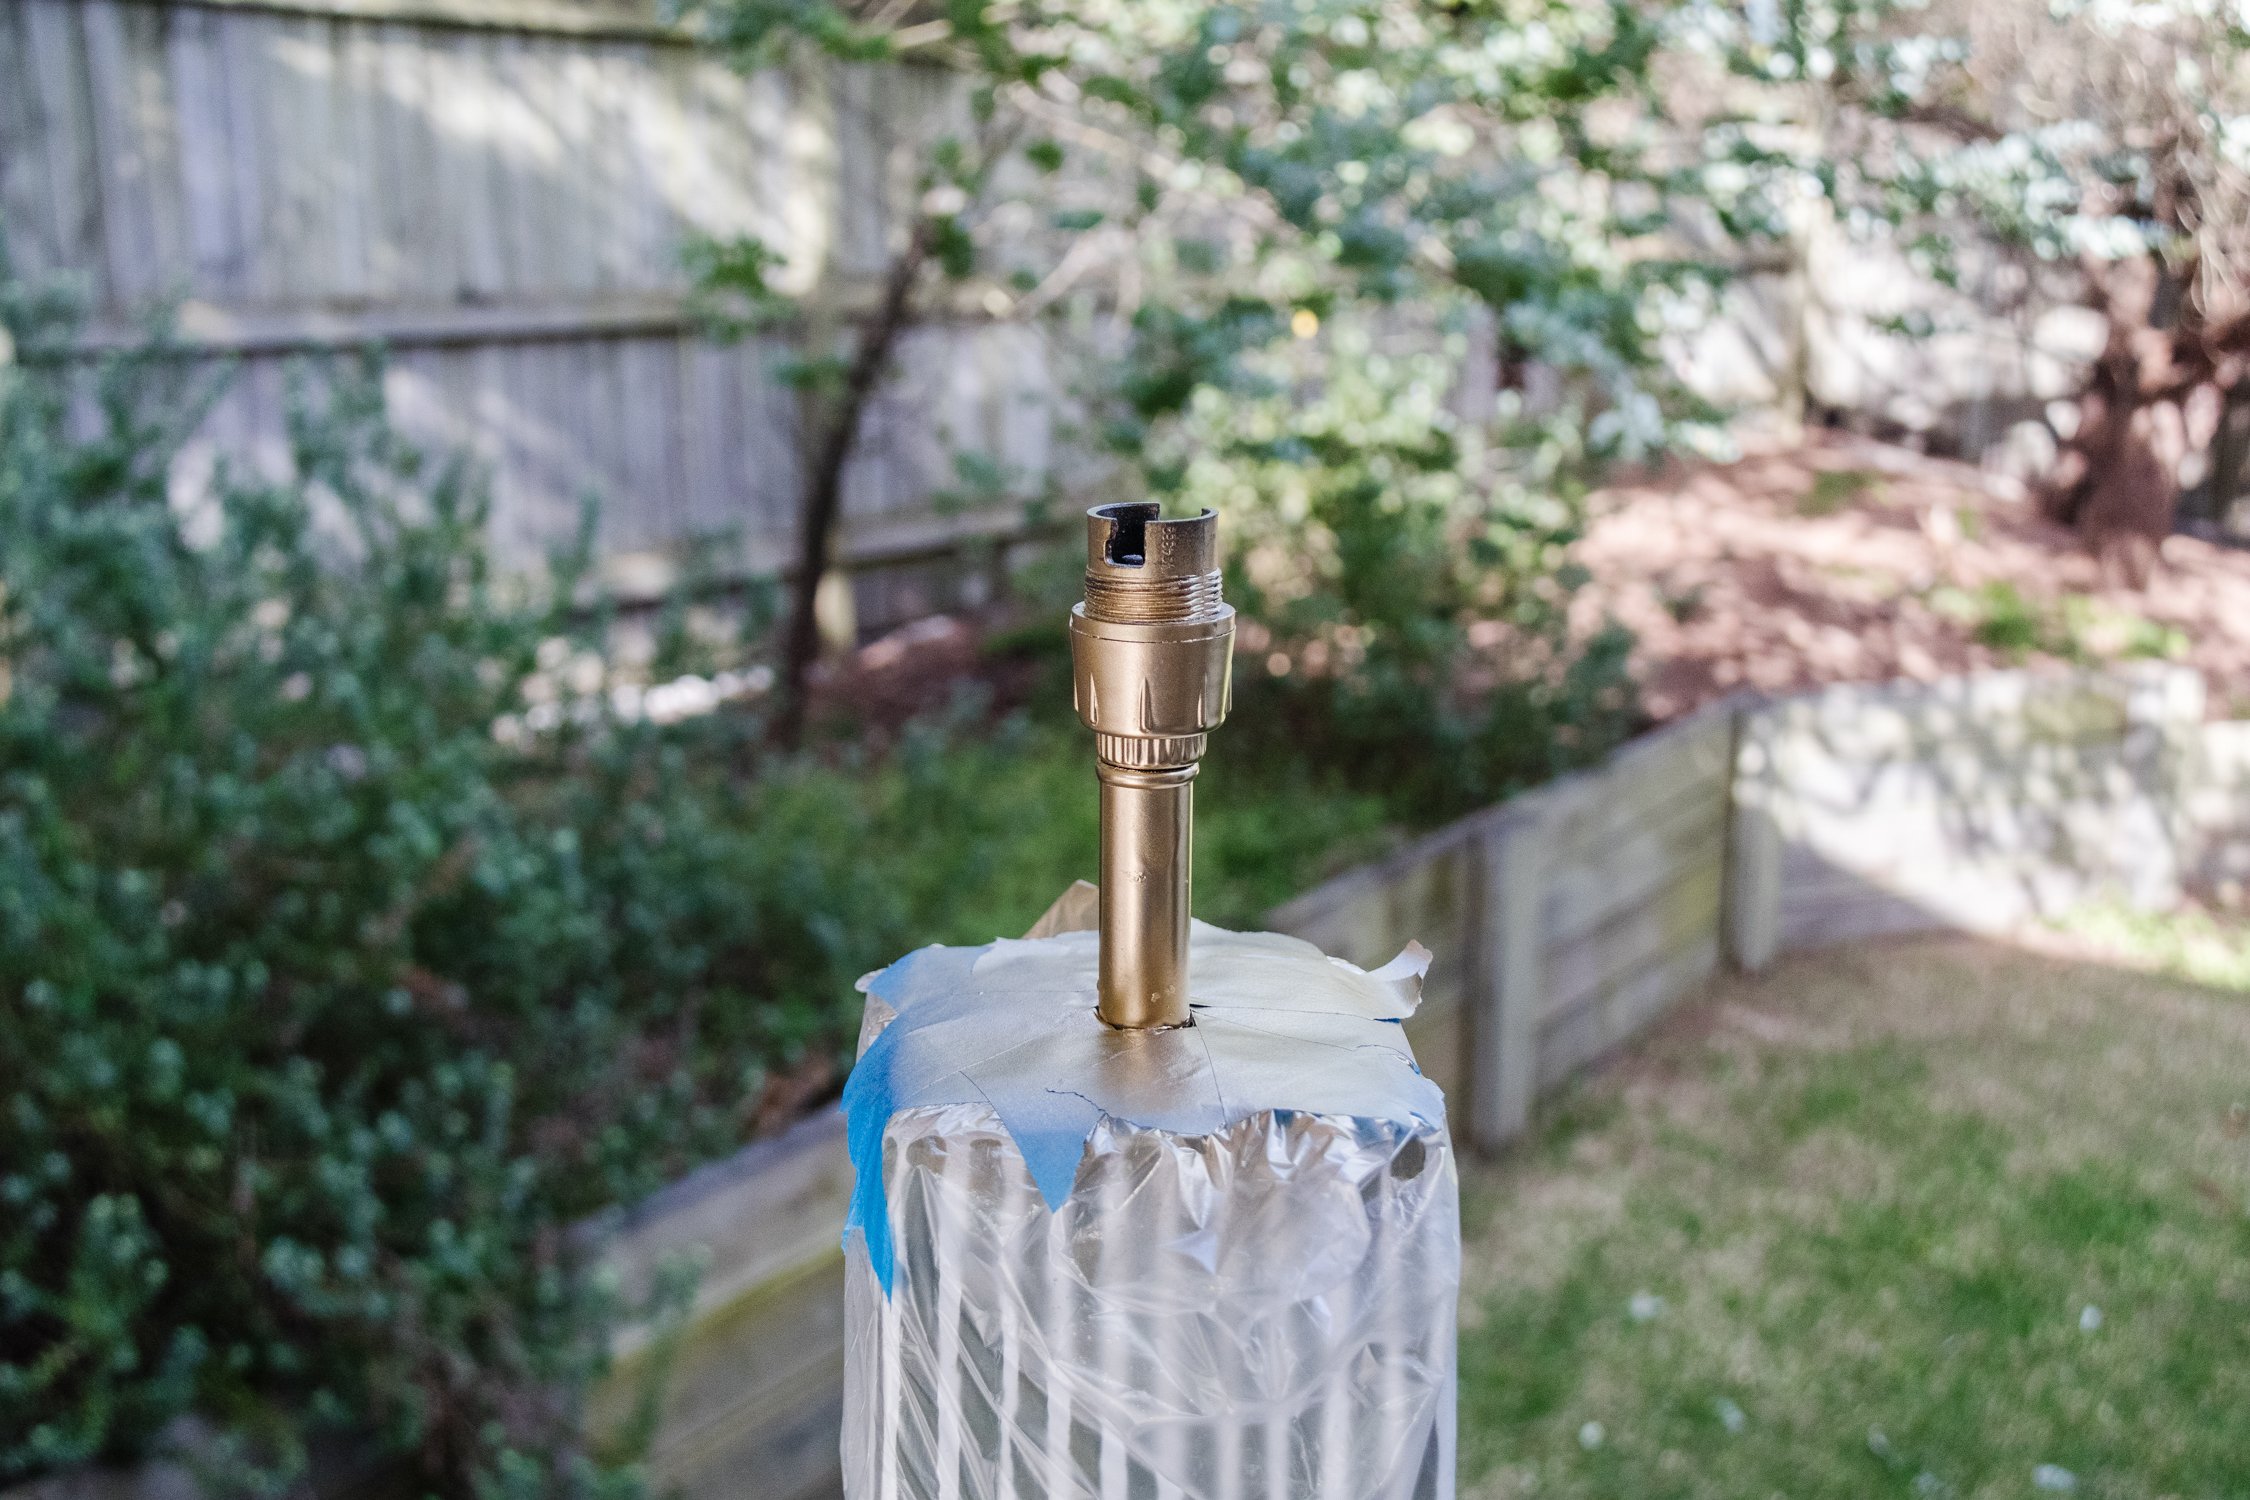
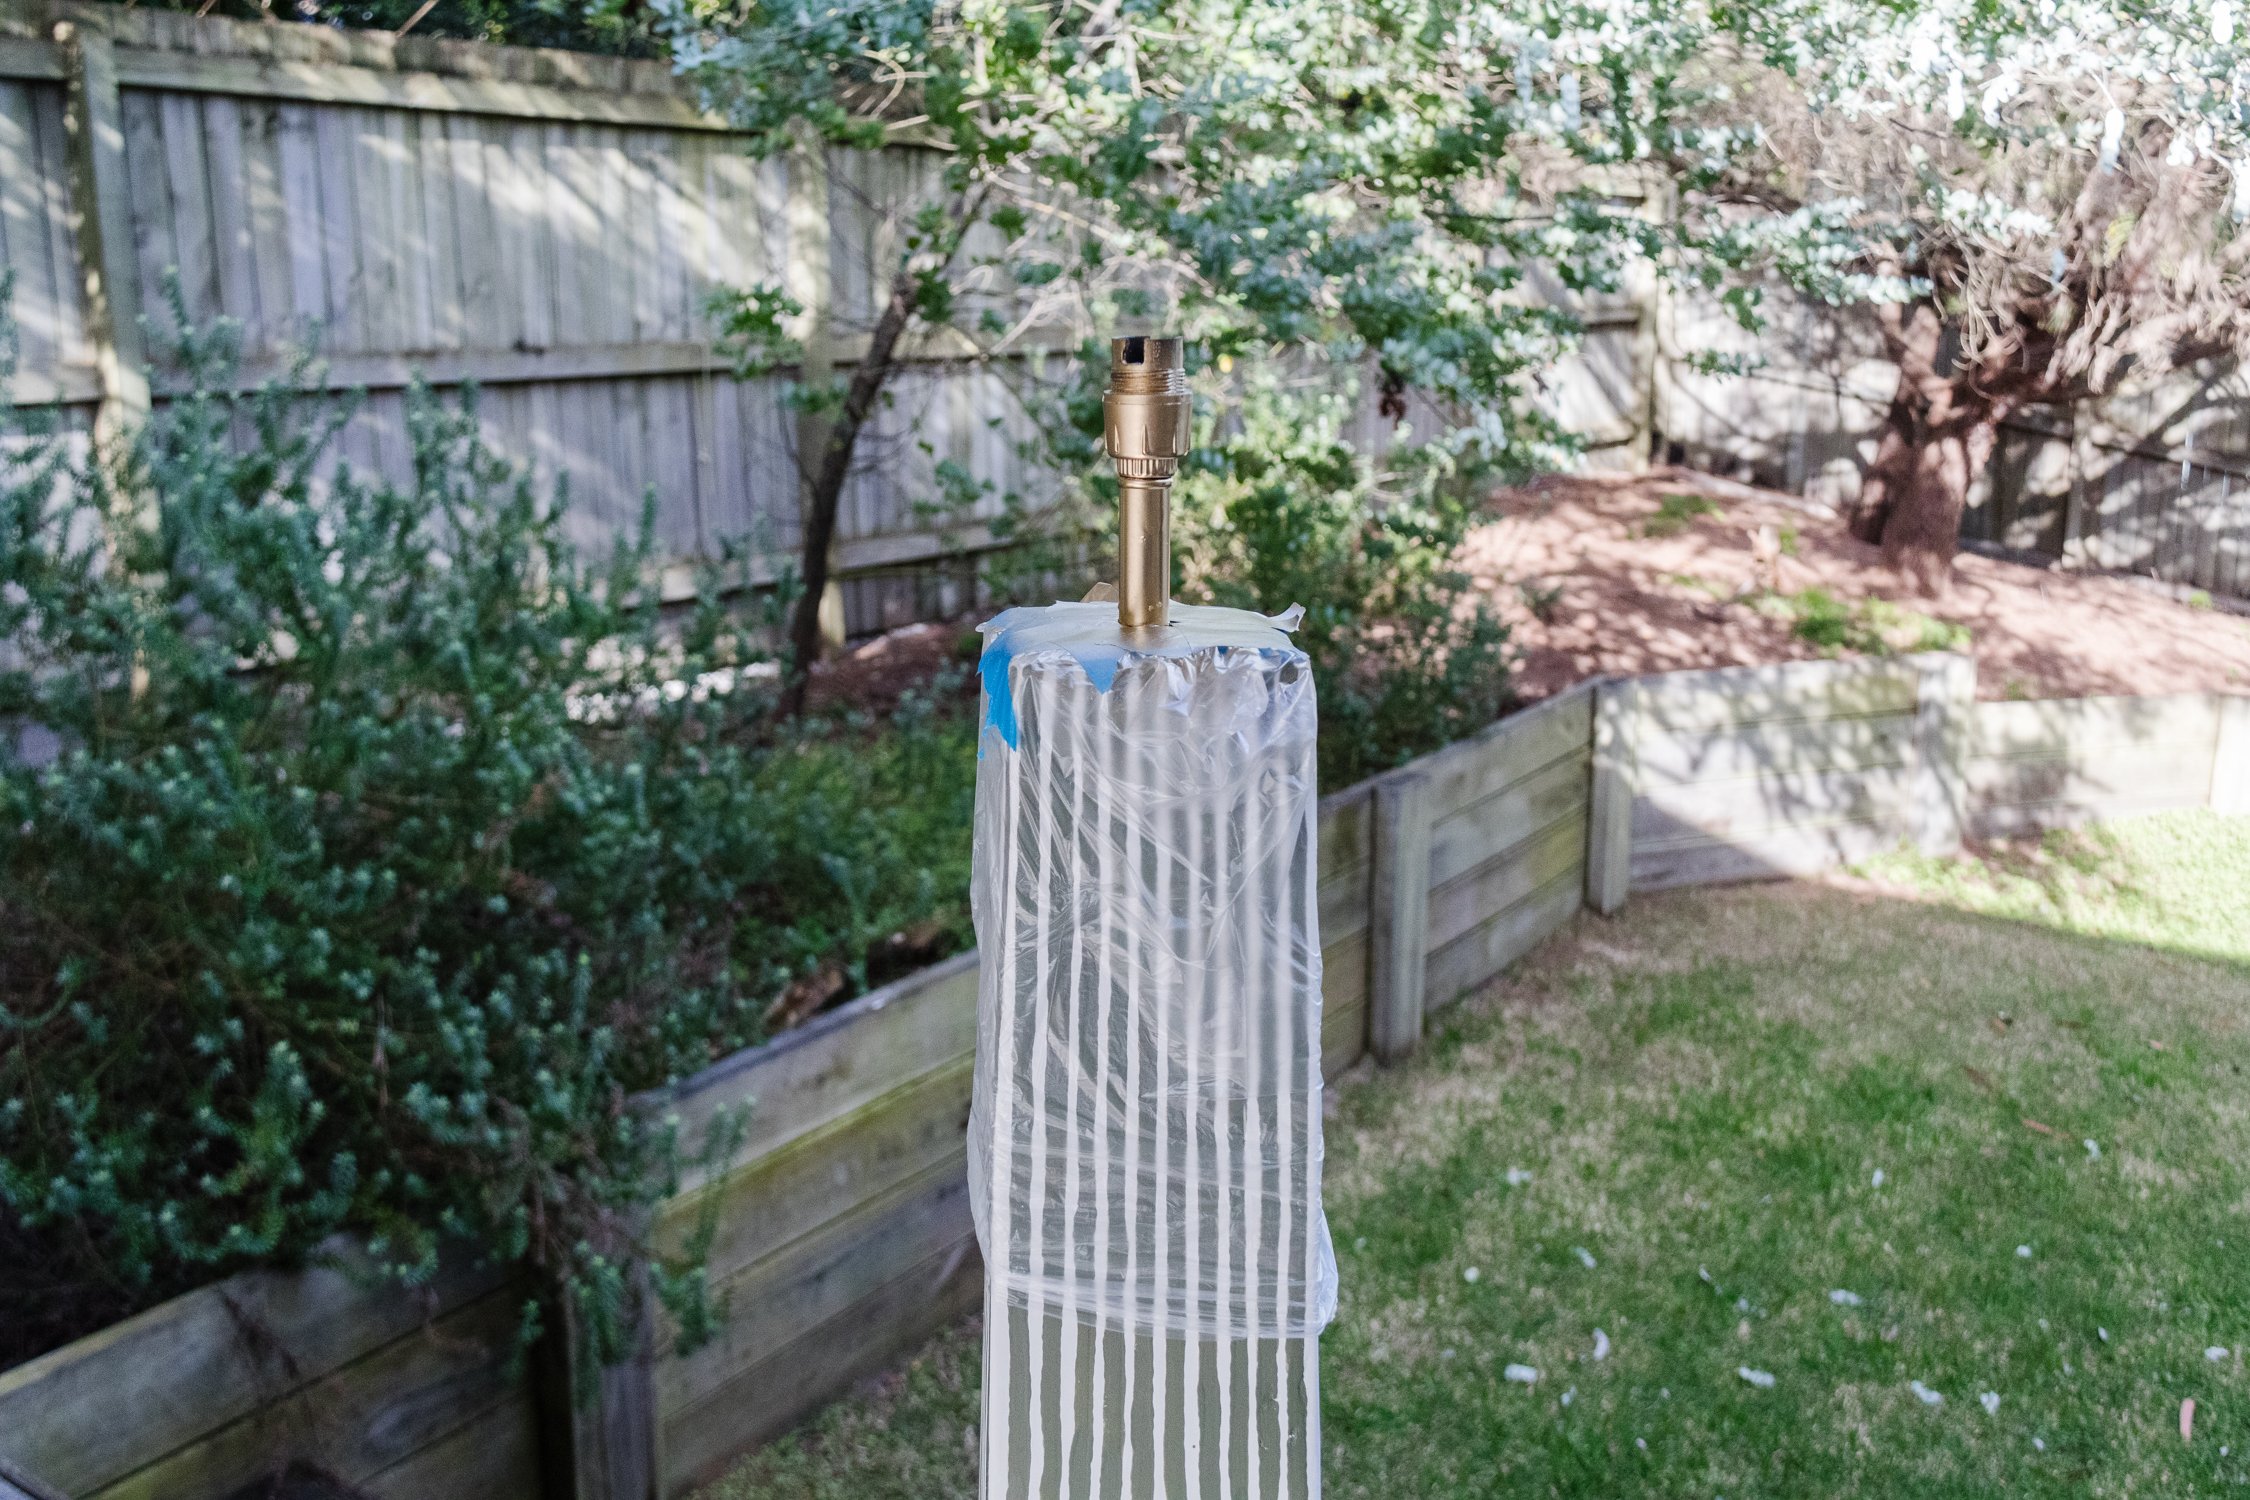
Using a fine paint brush, I painted over the penciled lines lines. I was after an organic, natural finish - as you can see by my inspiration photos above. So, don’t worry if they aren’t perfect. This project is all imperfectly perfect wabi sabi vibes. Set aside to dry. I needed to respray the hardware (you may not need to do this) so I popped a freezer bag over the top of the lamp, held it down with painters tape and gave the hardware another light coat of gold spray paint. Let it dry for about 10 minutes before putting the lampshade back on. Speaking of which, I painted over a lampshade that was collecting dust in our garage and I think it’s the perfect fit! Never be afraid to paint over a lampshade. The one I had was a made from suede, and when painted, gave the most insane texture!
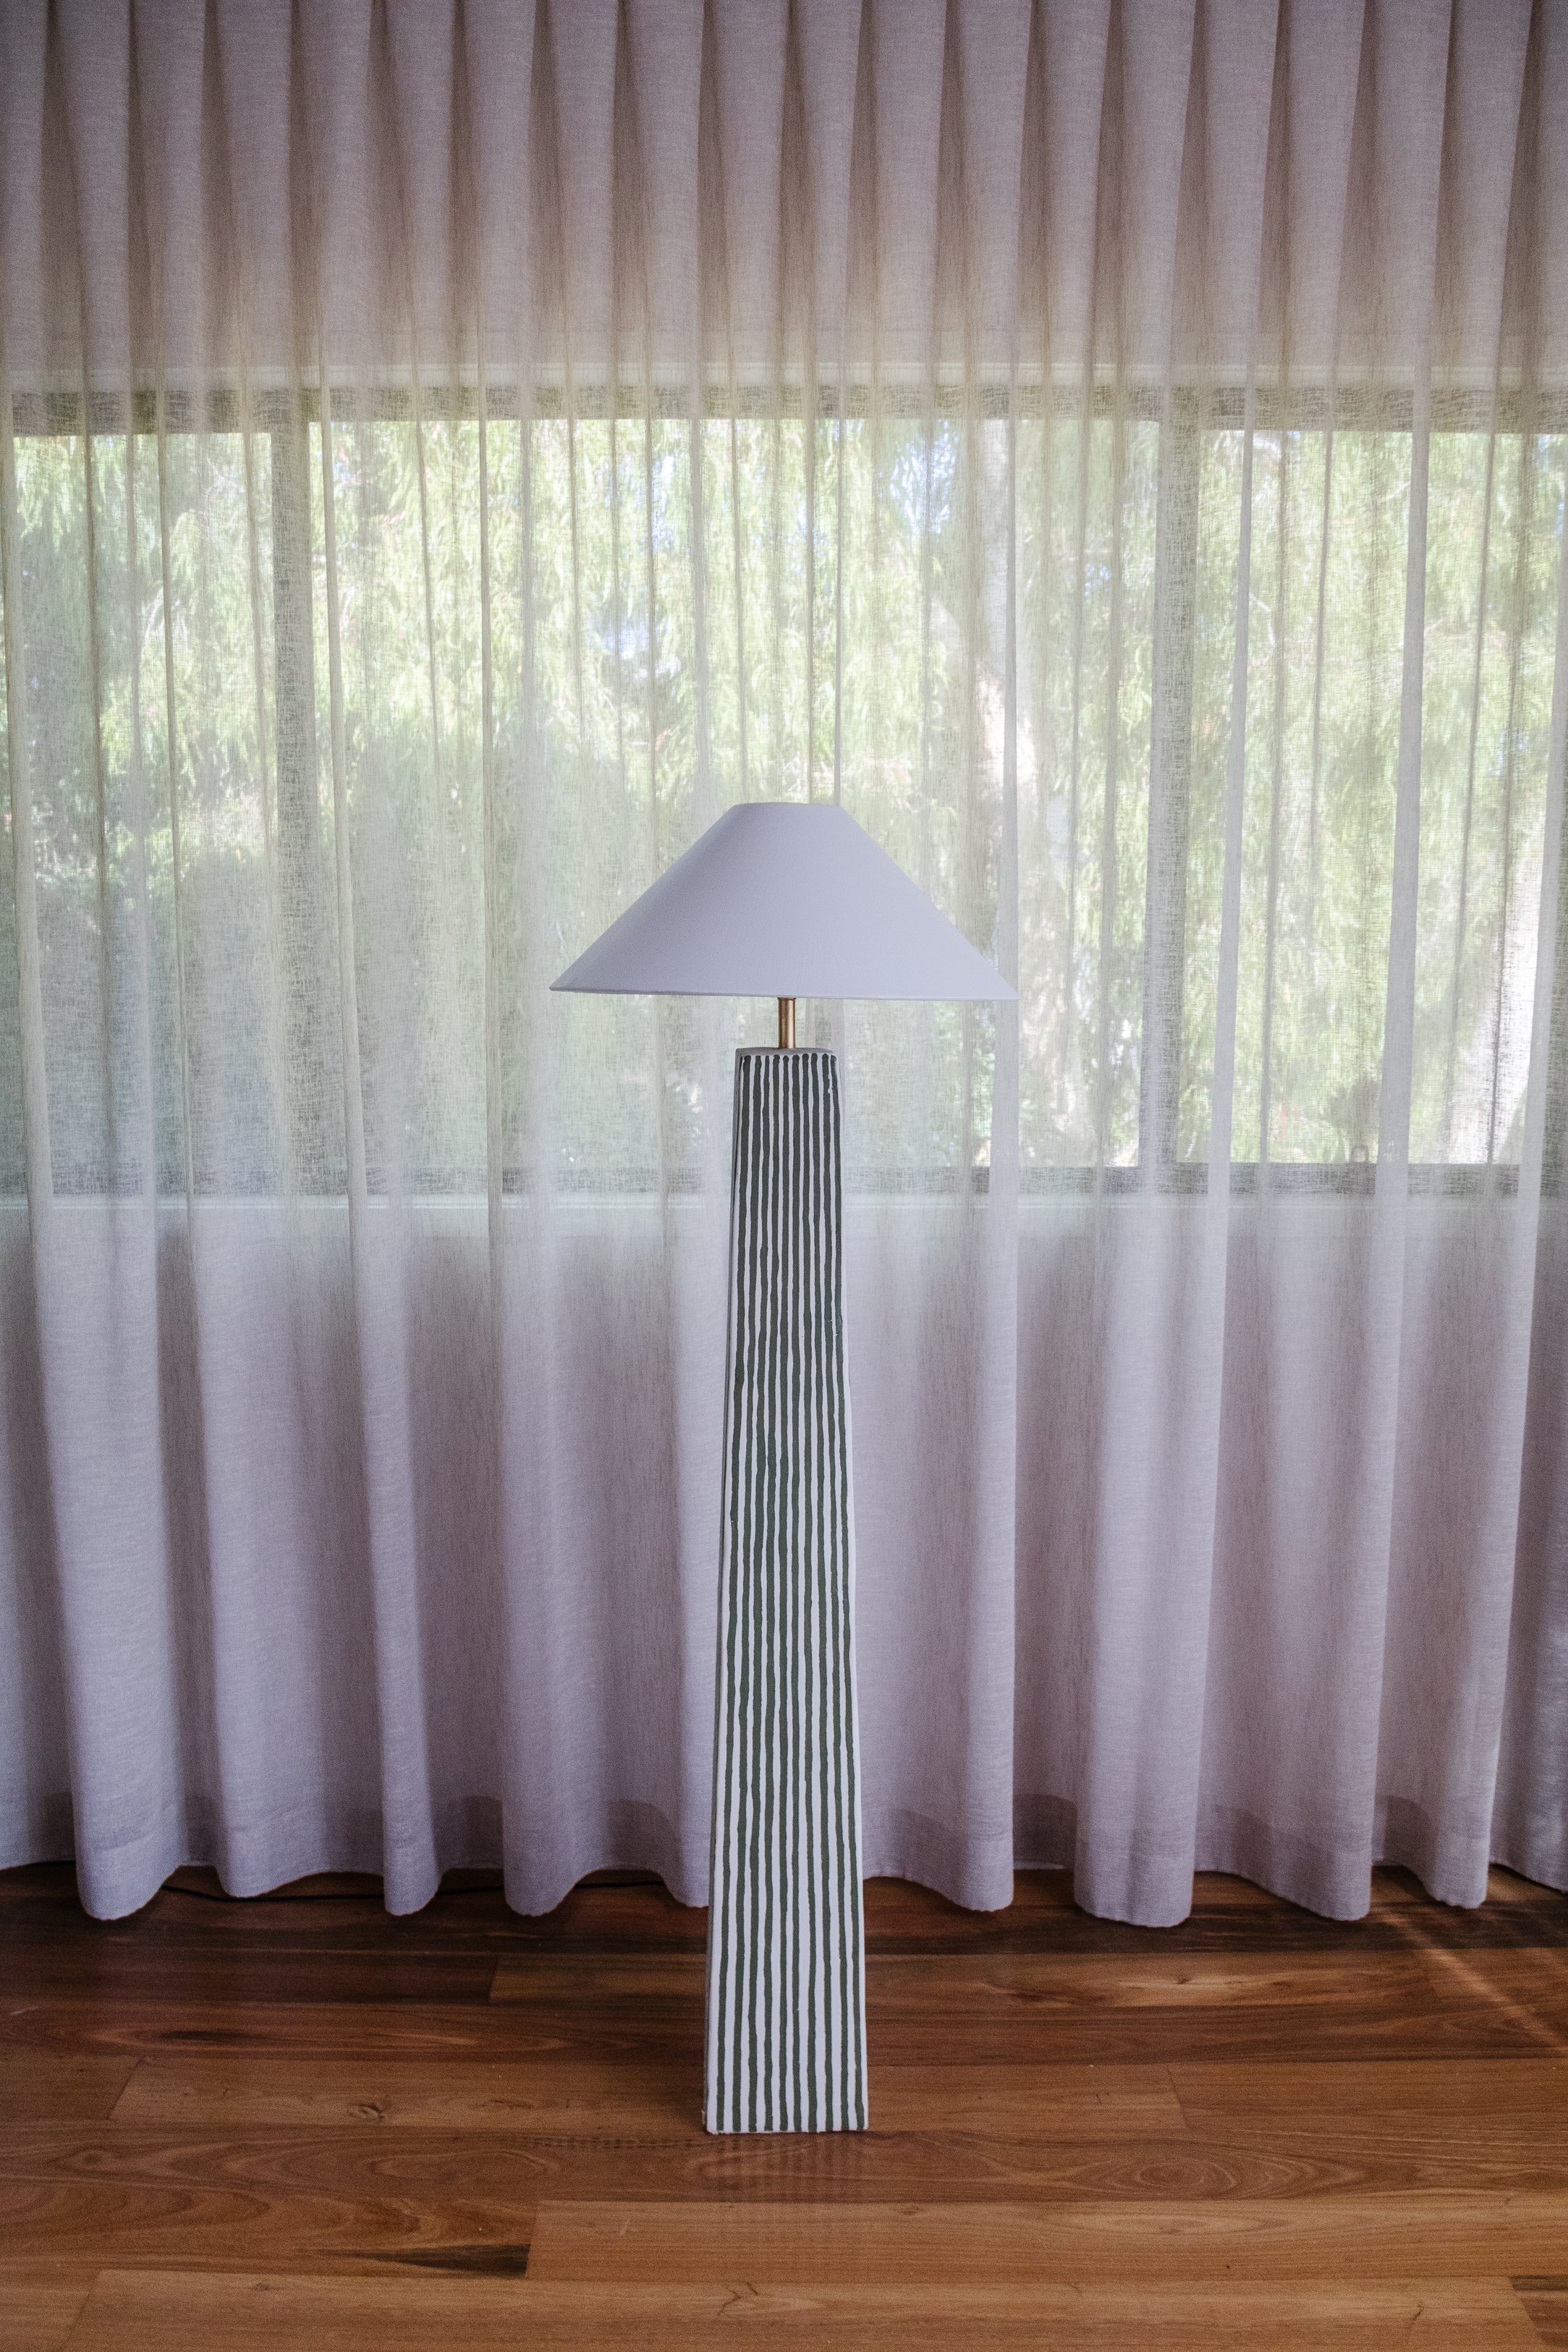
Ta daaaa! I am obsessed with this floor lamp!
I honestly cannot believe the transformation of this upcycle! I always knew I would plaster the lamp base but if I can be honest for a moment, I was very nervous about the painting the stripes. I wanted them to look organic, but also not as if my 2 year old daughter had painted them. In the end I just went for it and it turns out I had nothing to worry about. I hope you feel inspired to get some plaster and cover your lamp with it. Make sure you check out my other lamp upcycles: