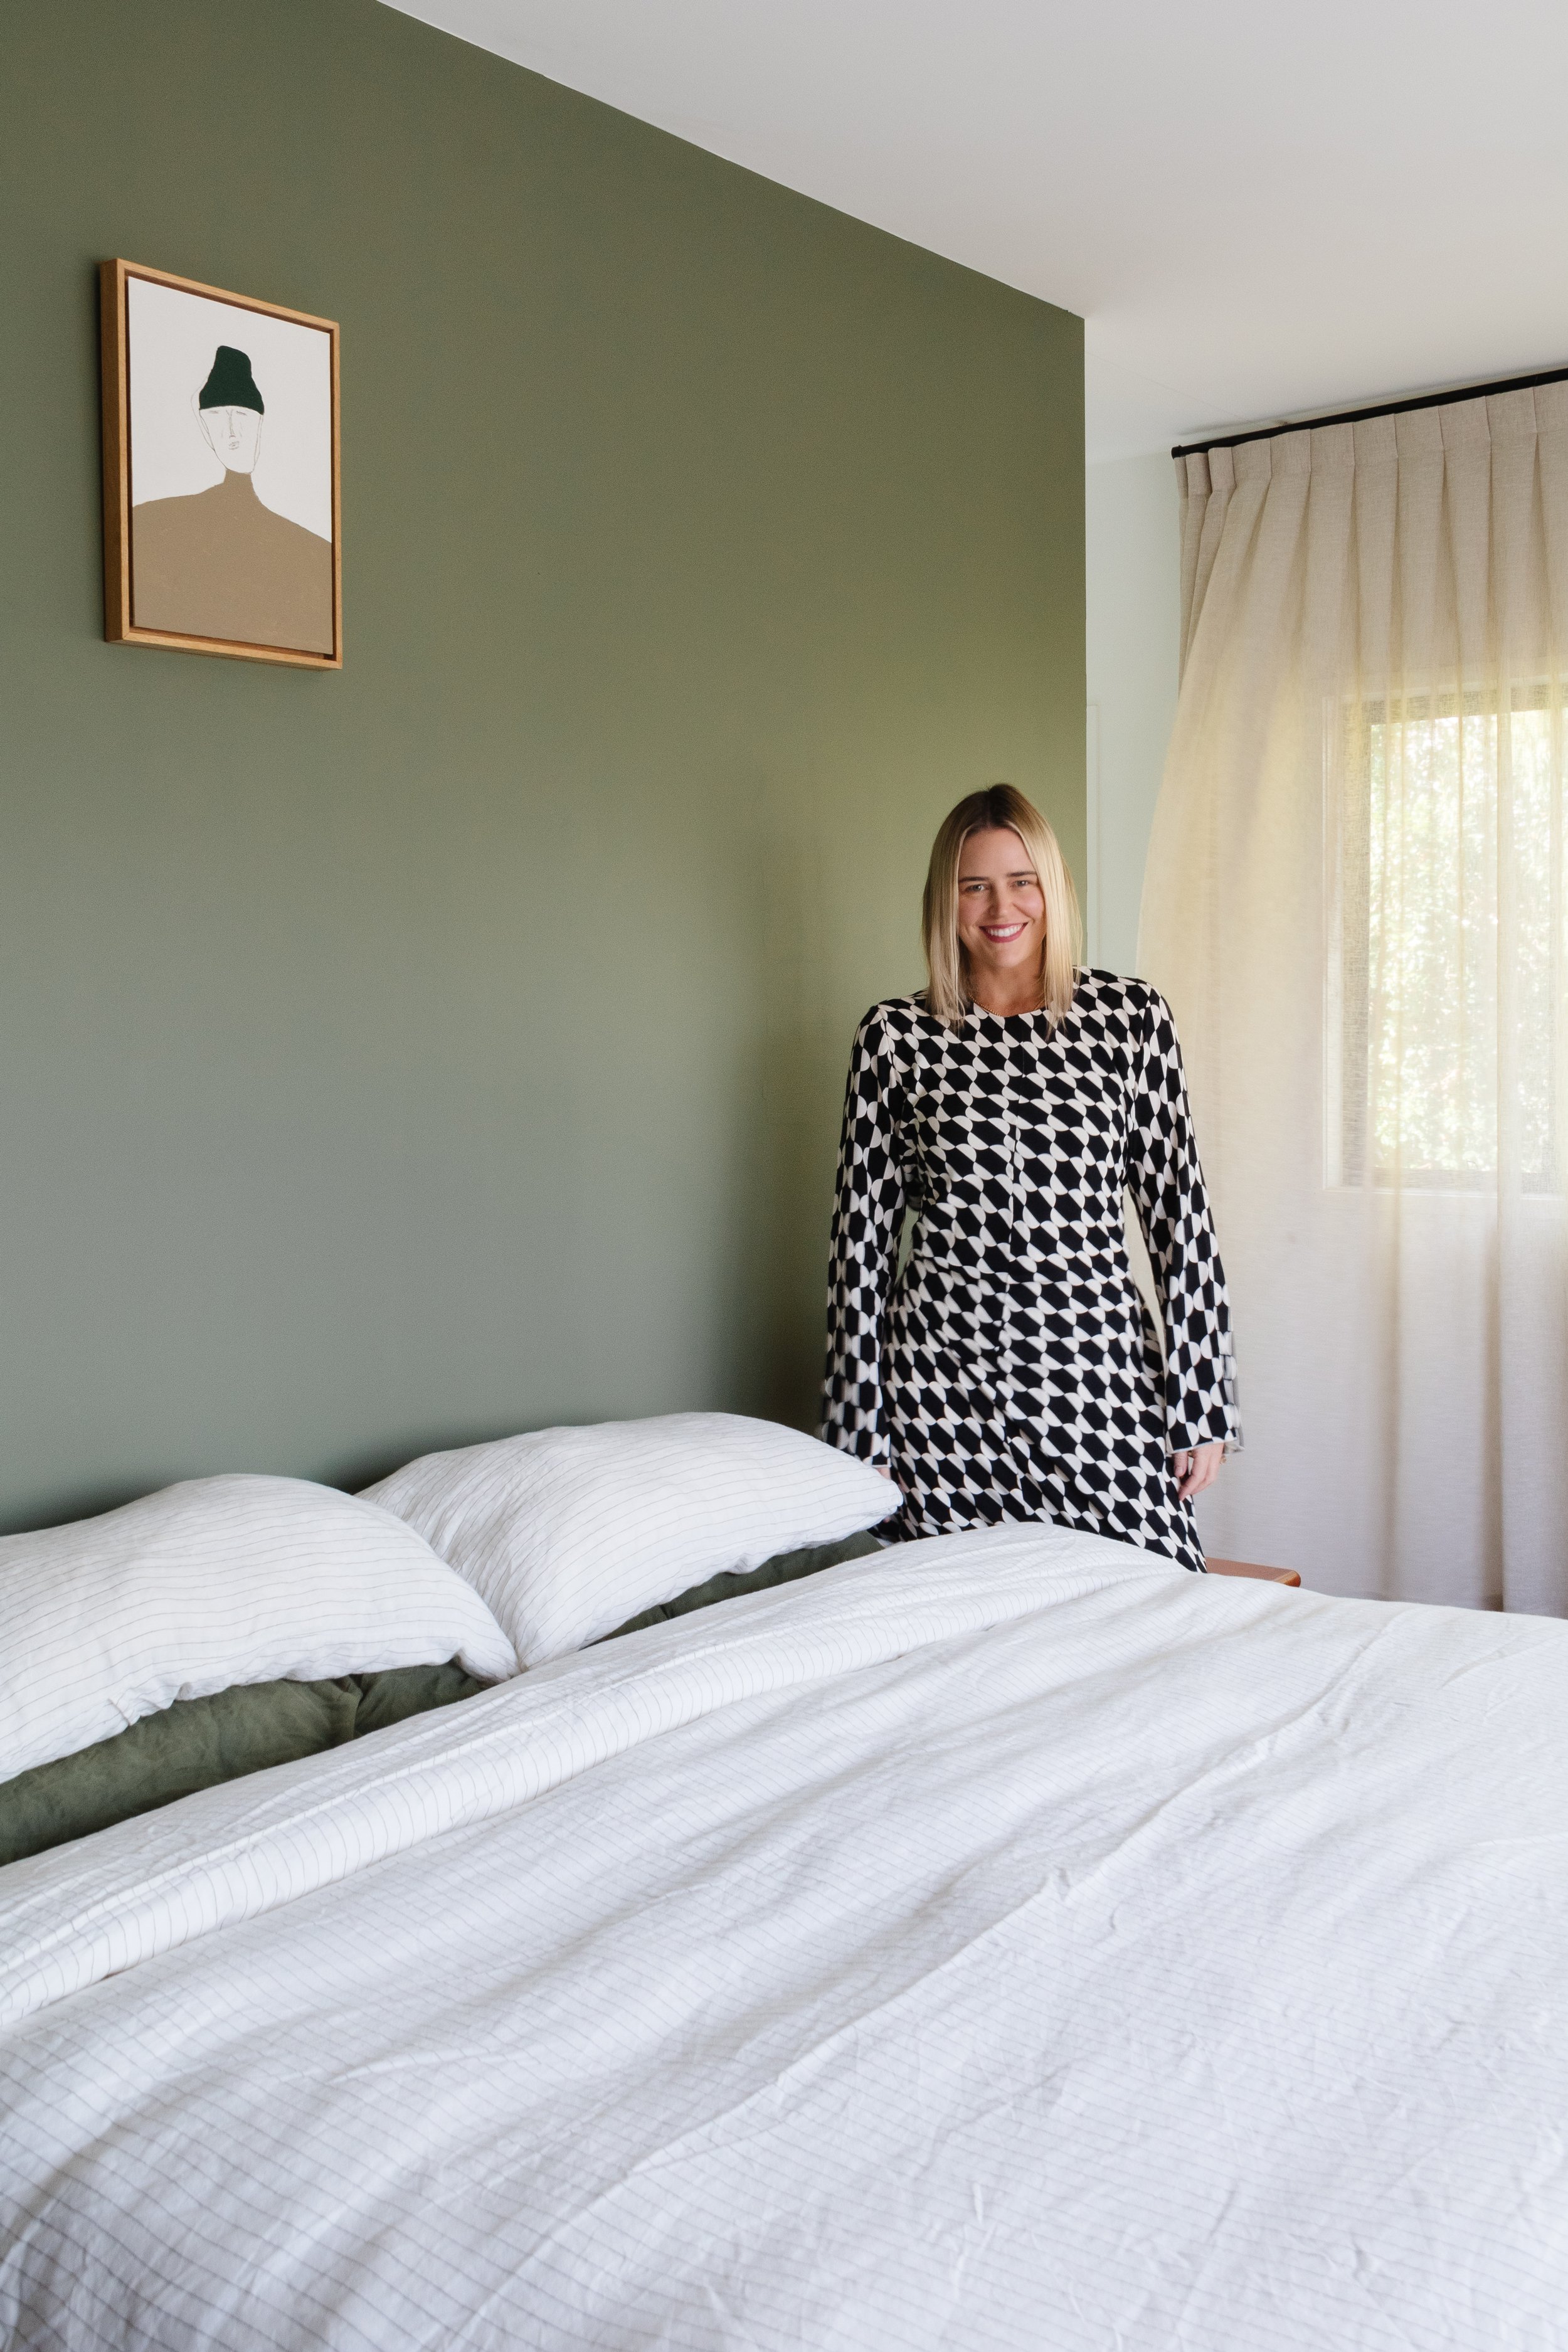
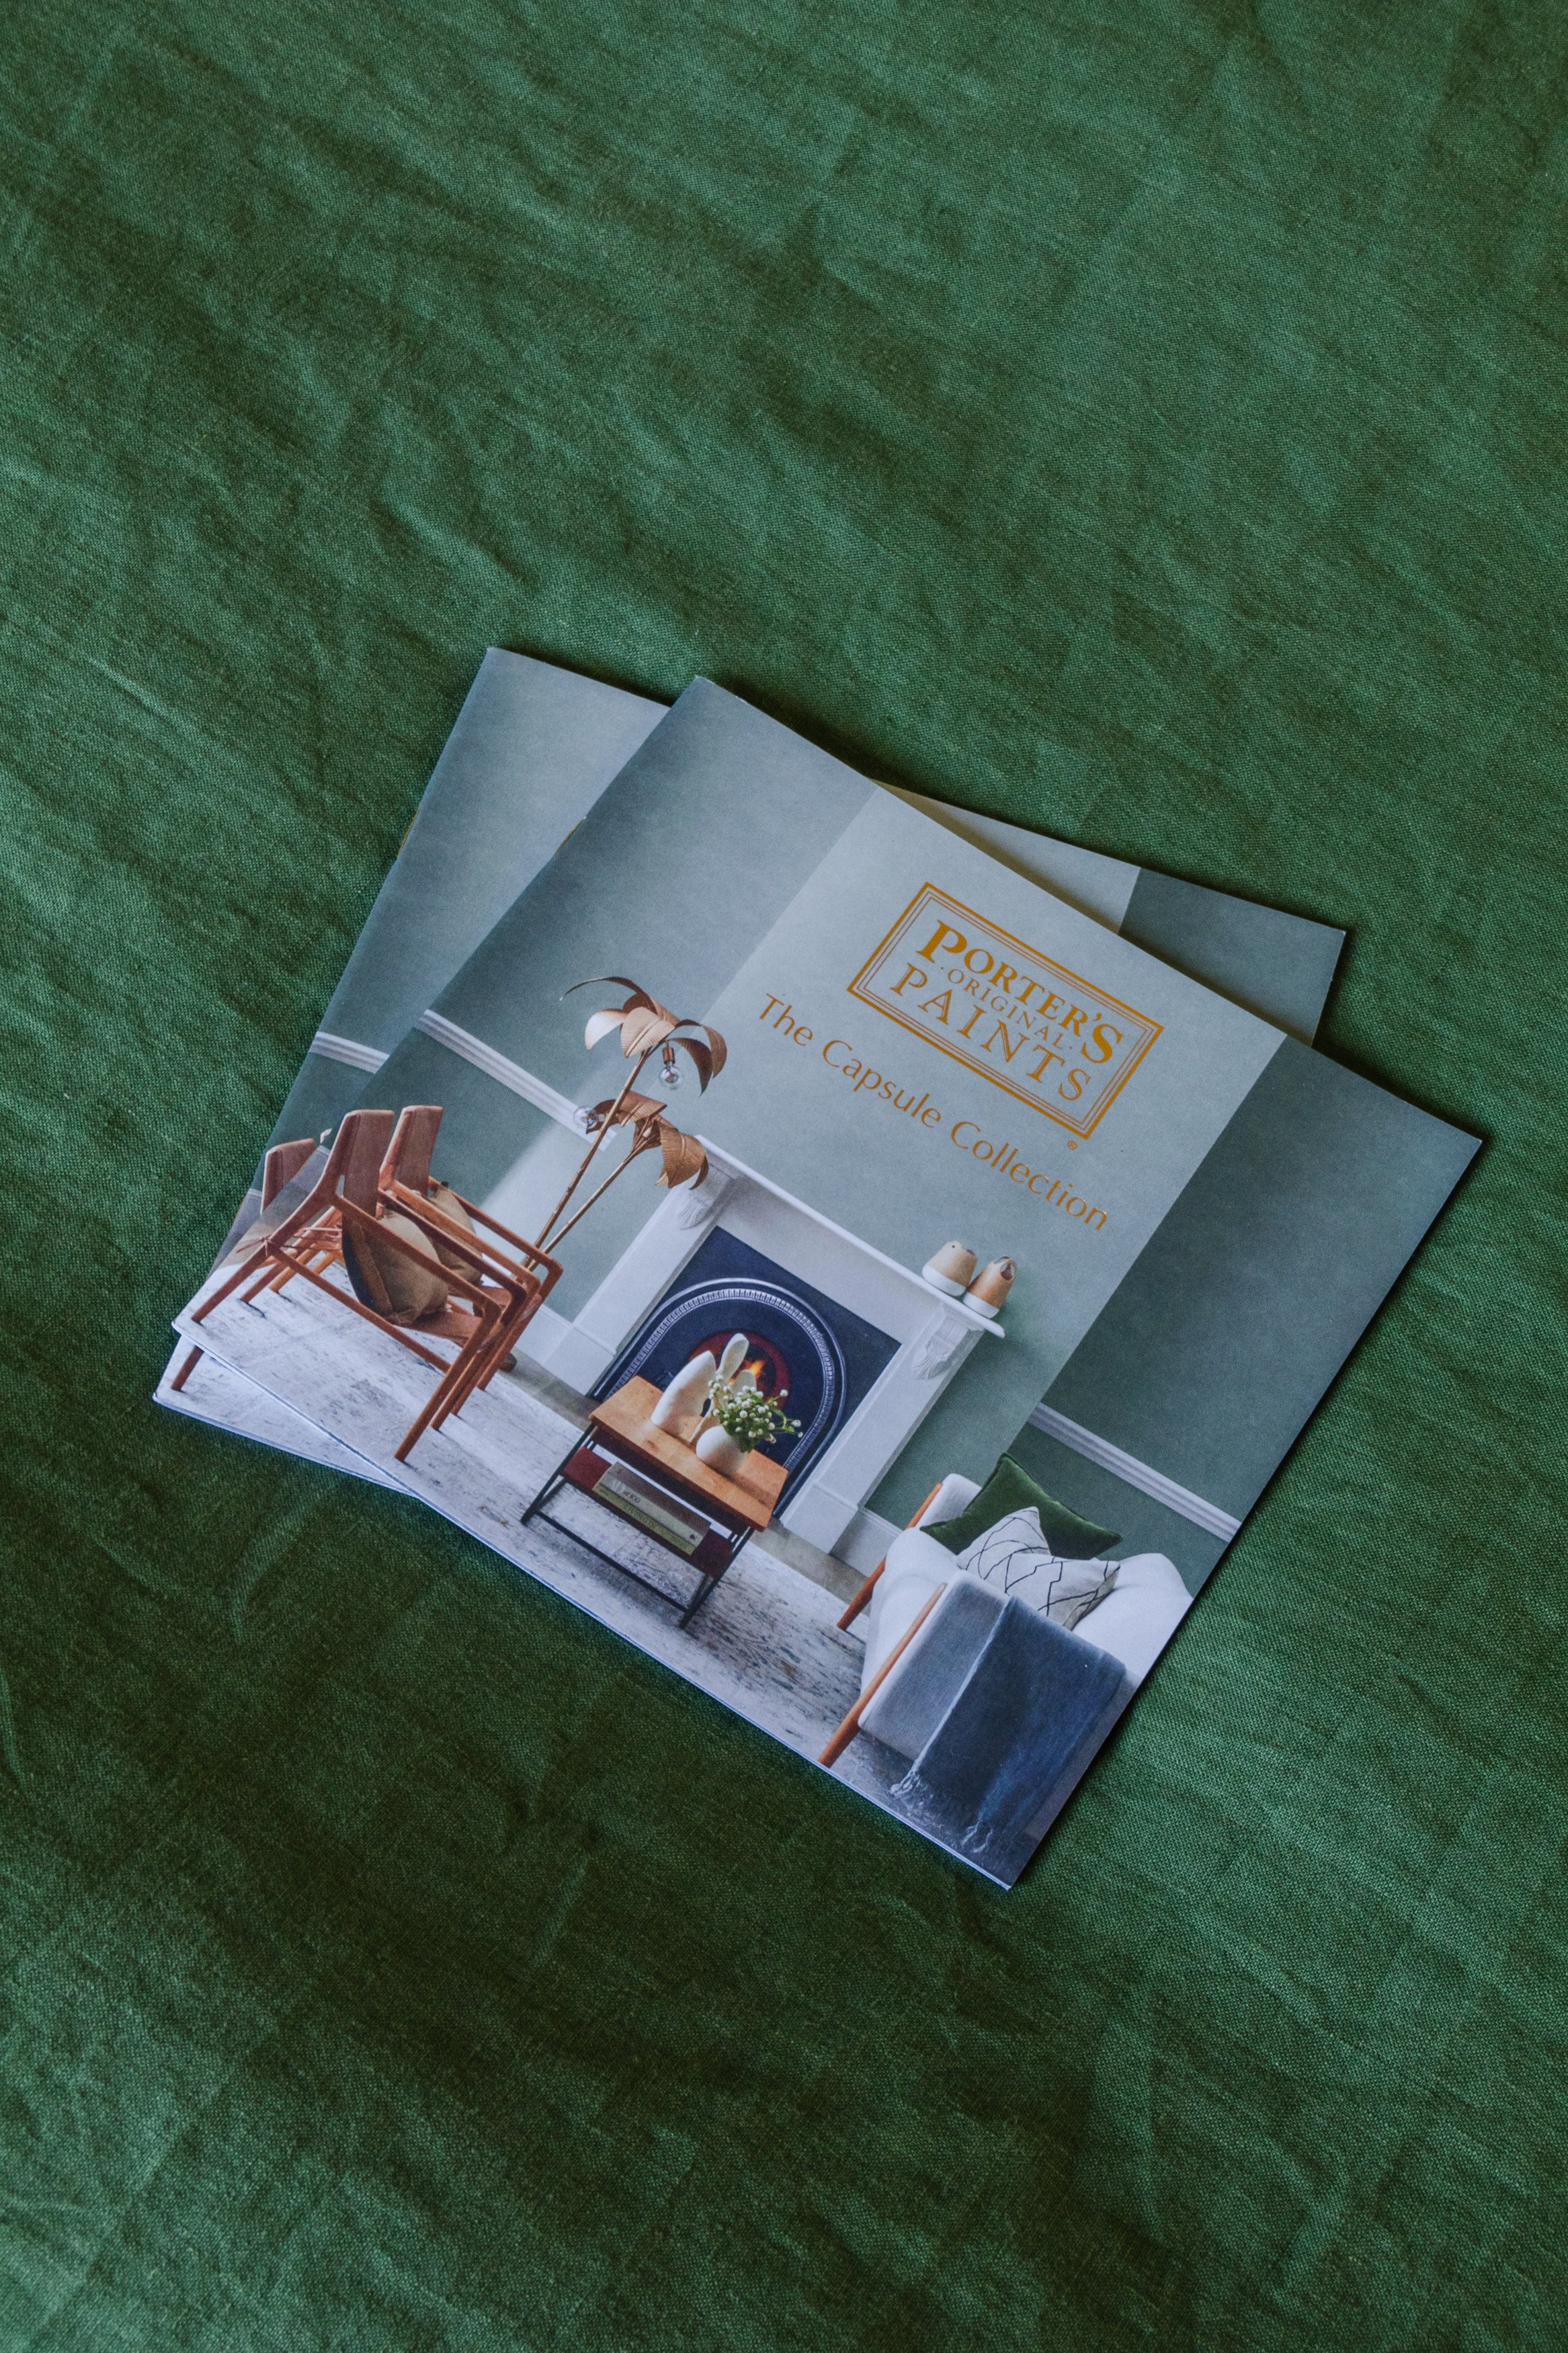
Giving Our Bedroom A Cosy Makeover with Porter’s Paints
Change the way your bedroom feels, with paint!
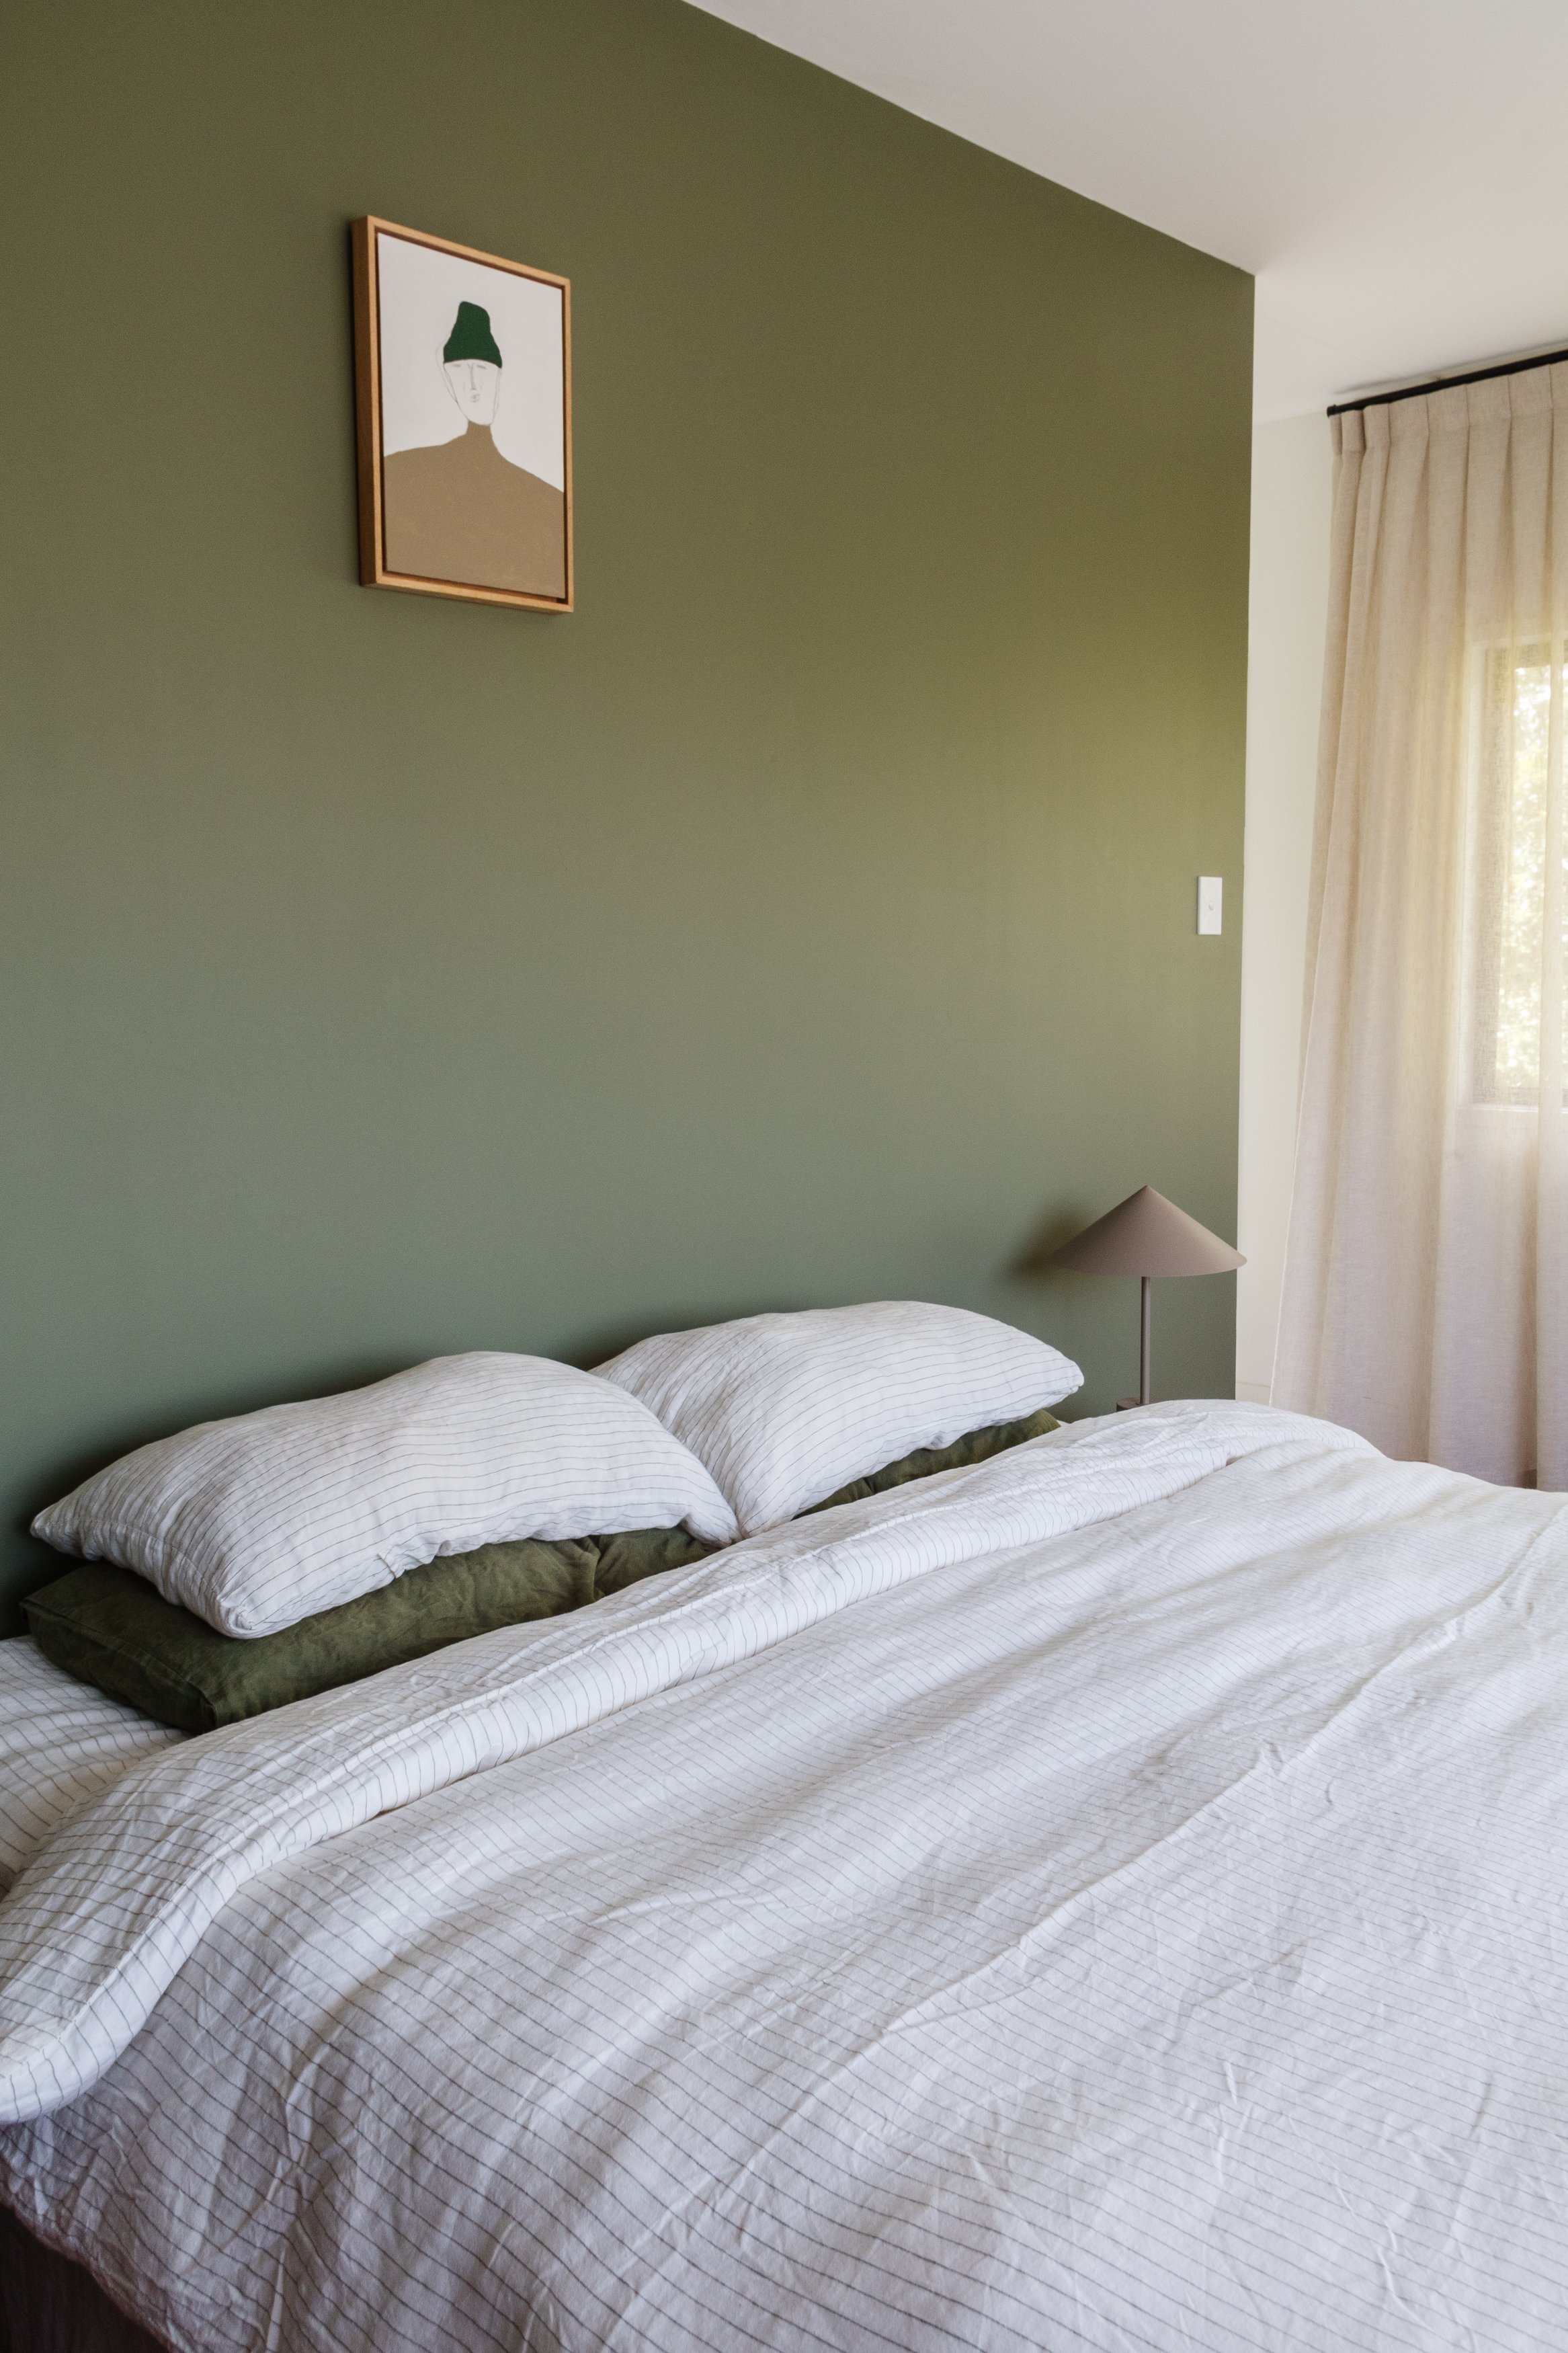
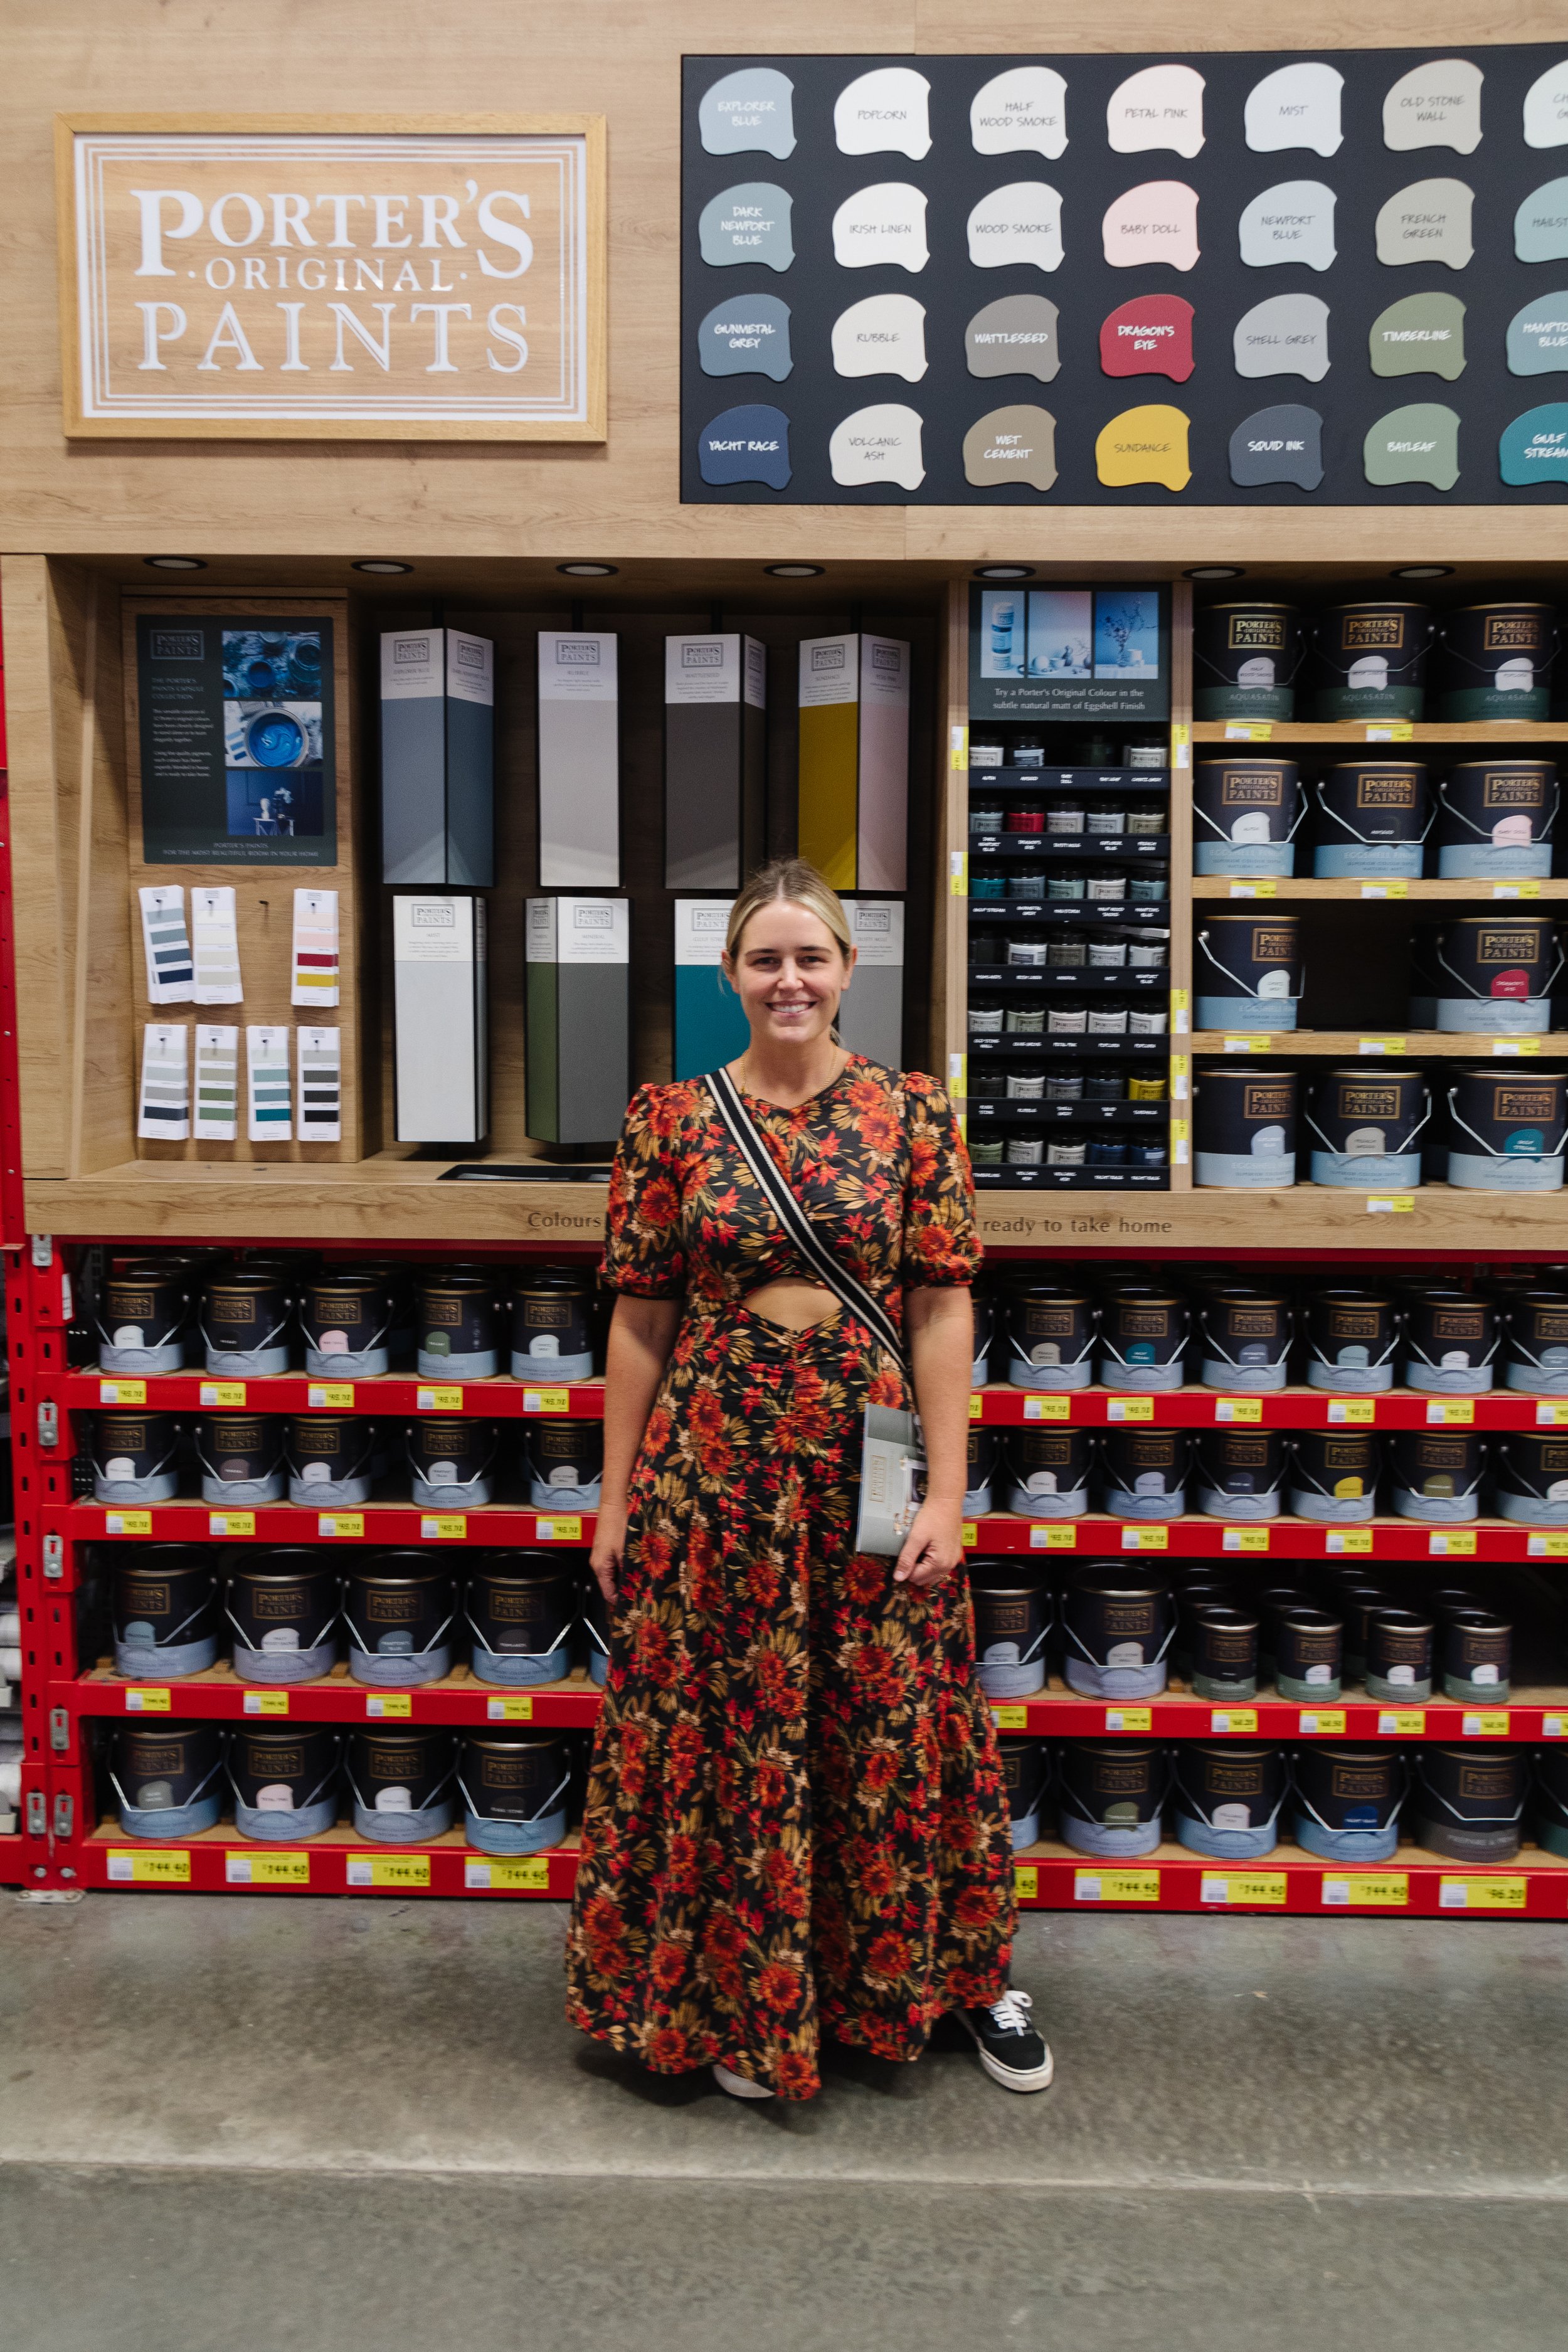
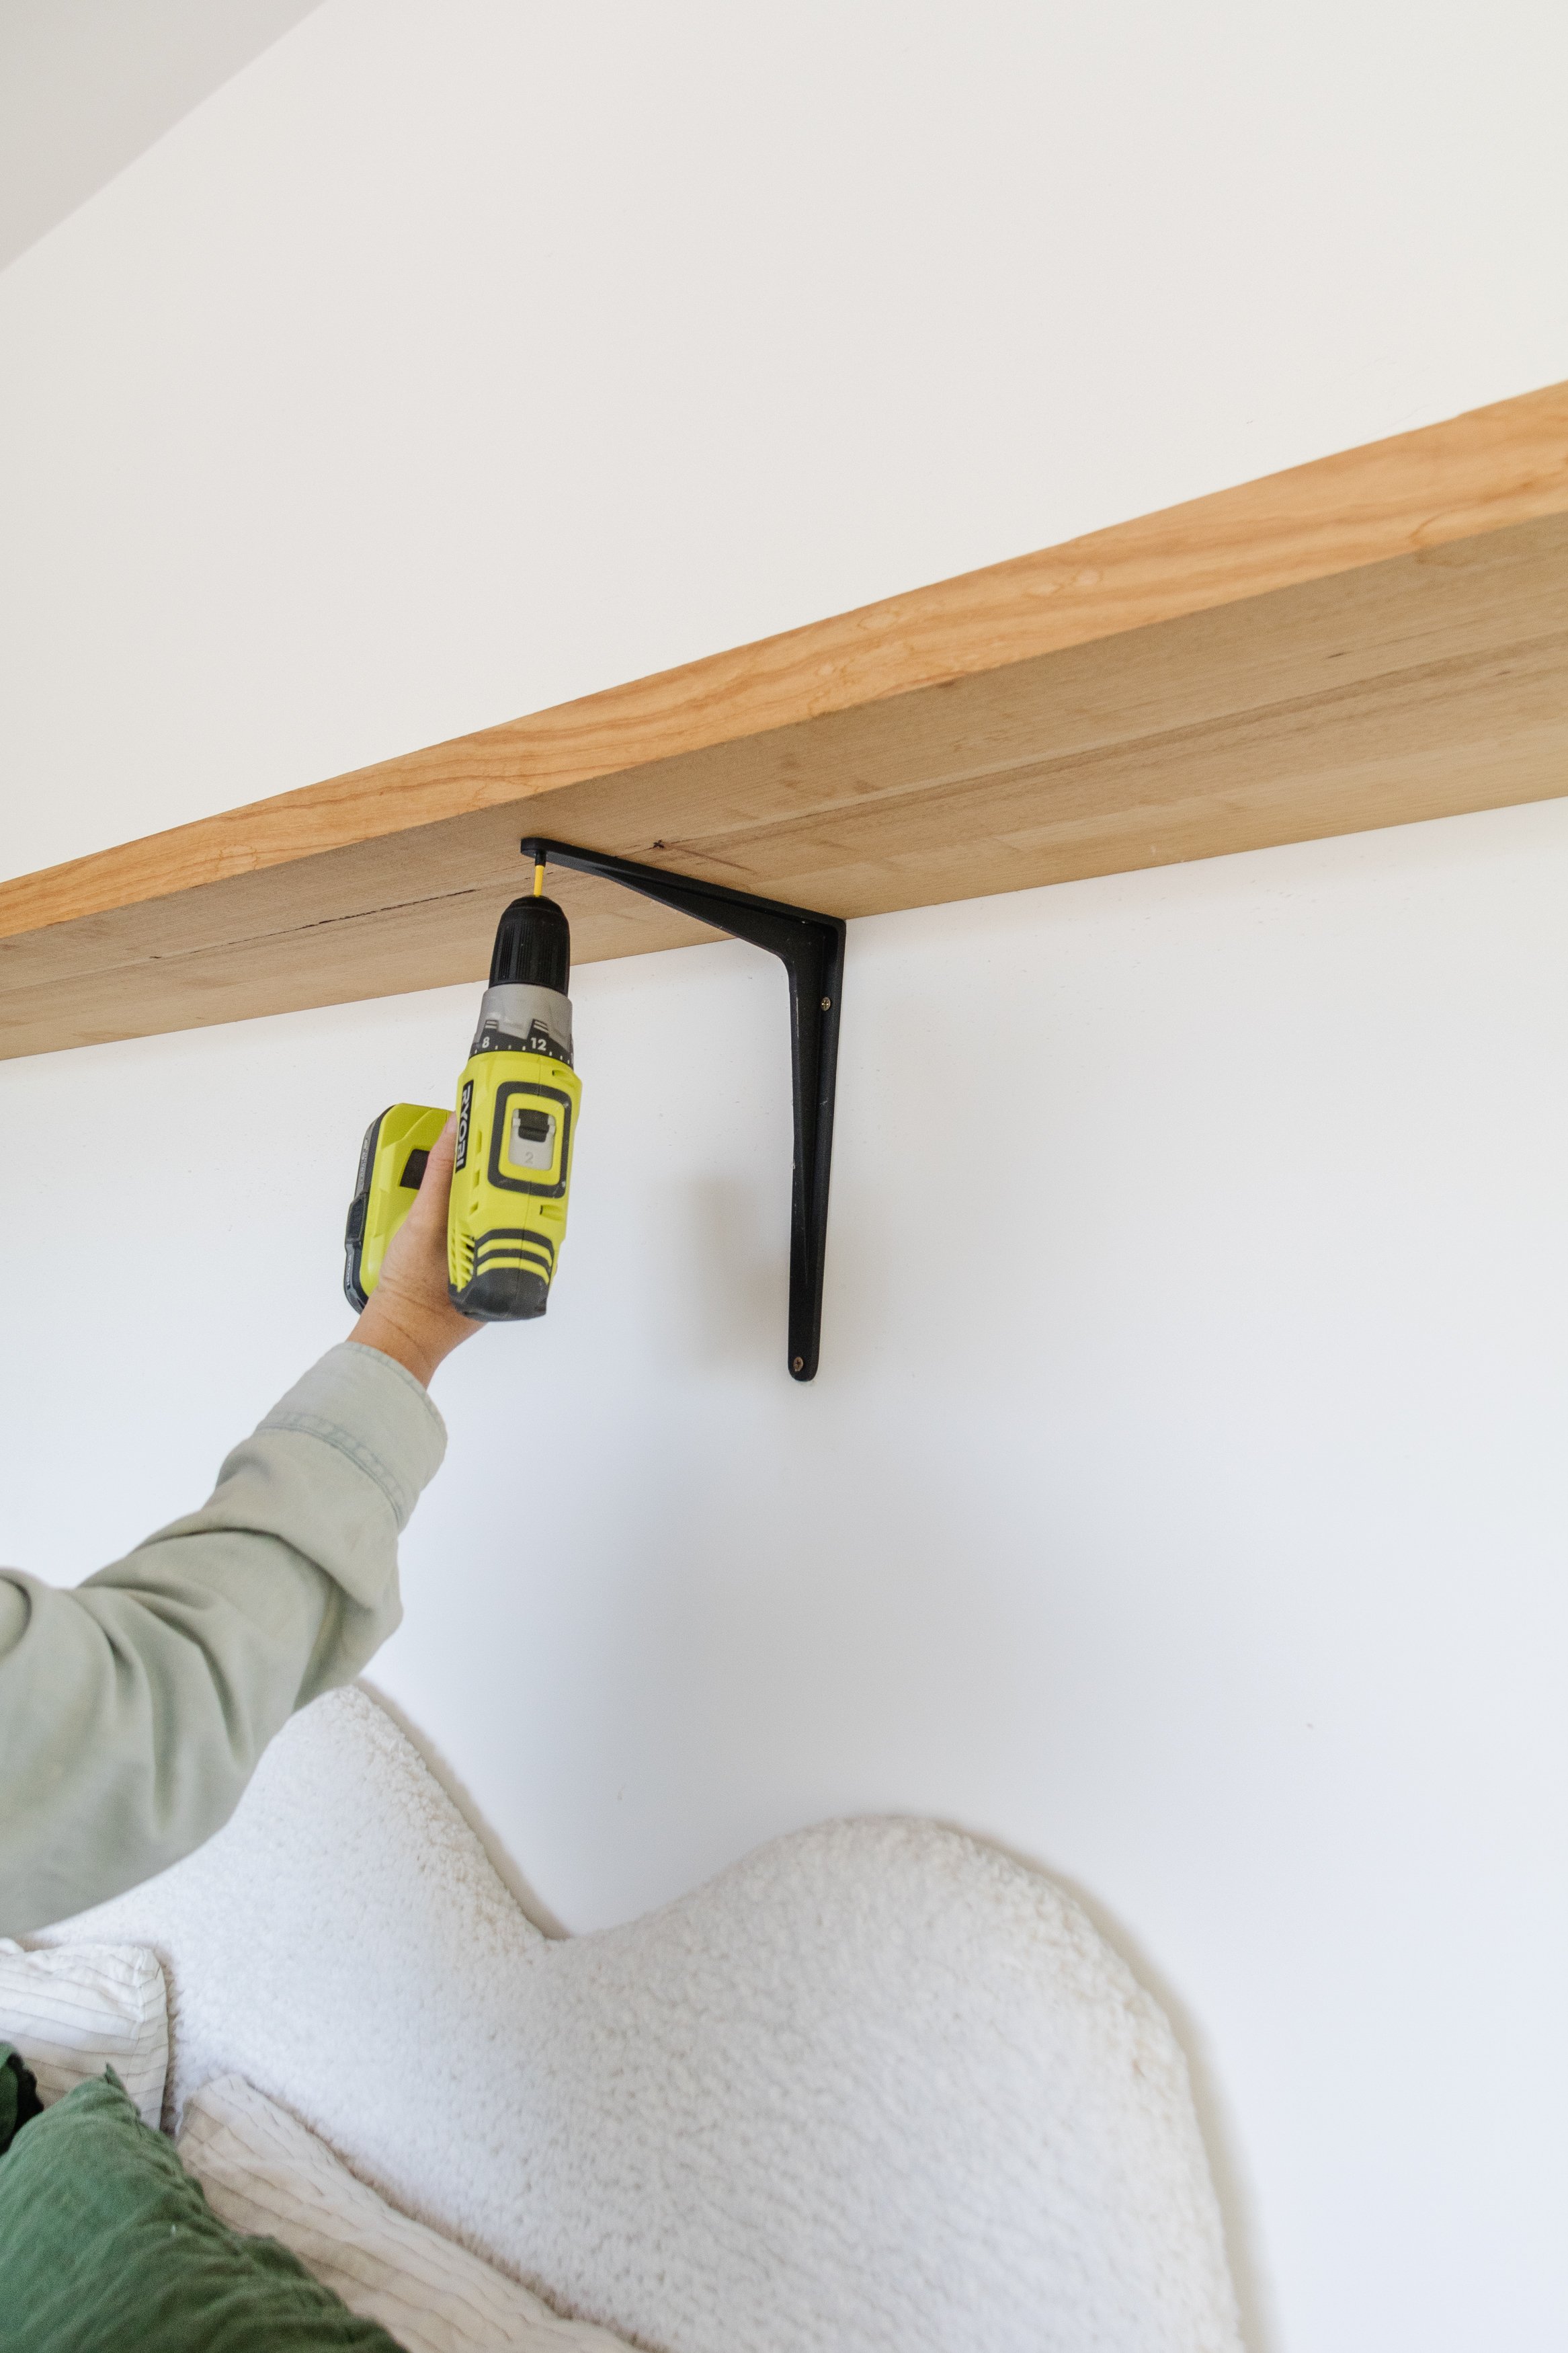
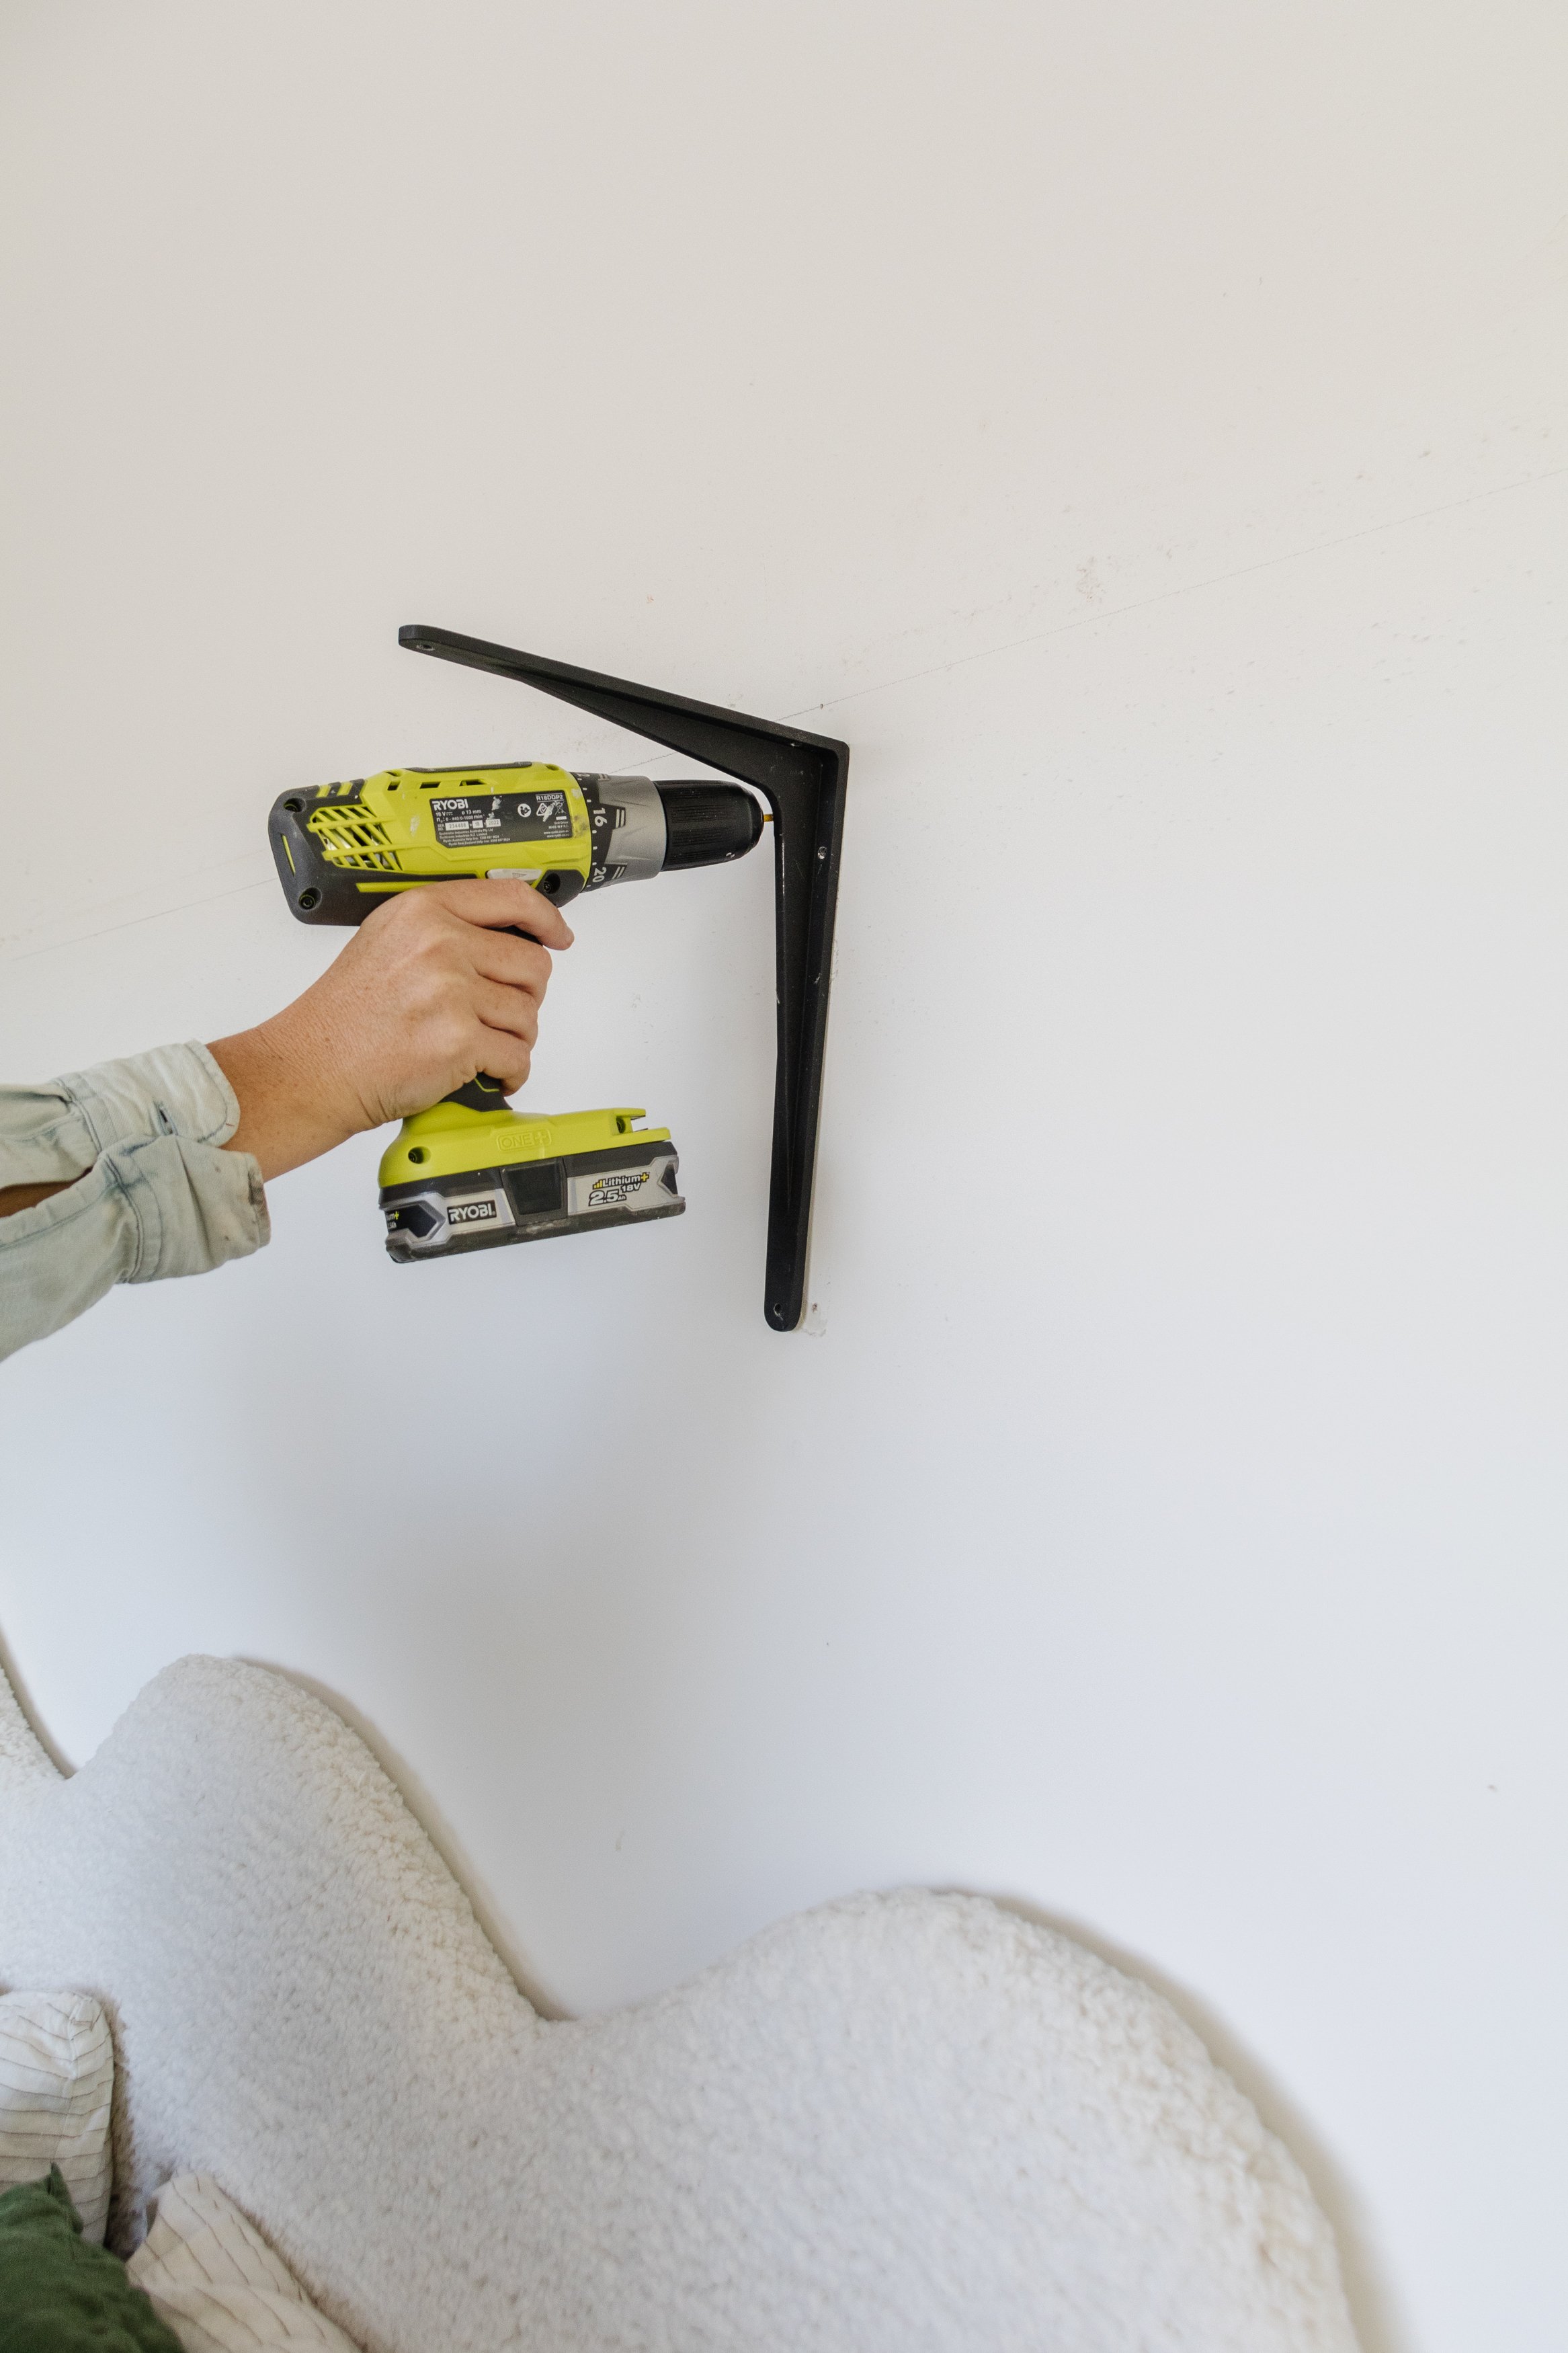
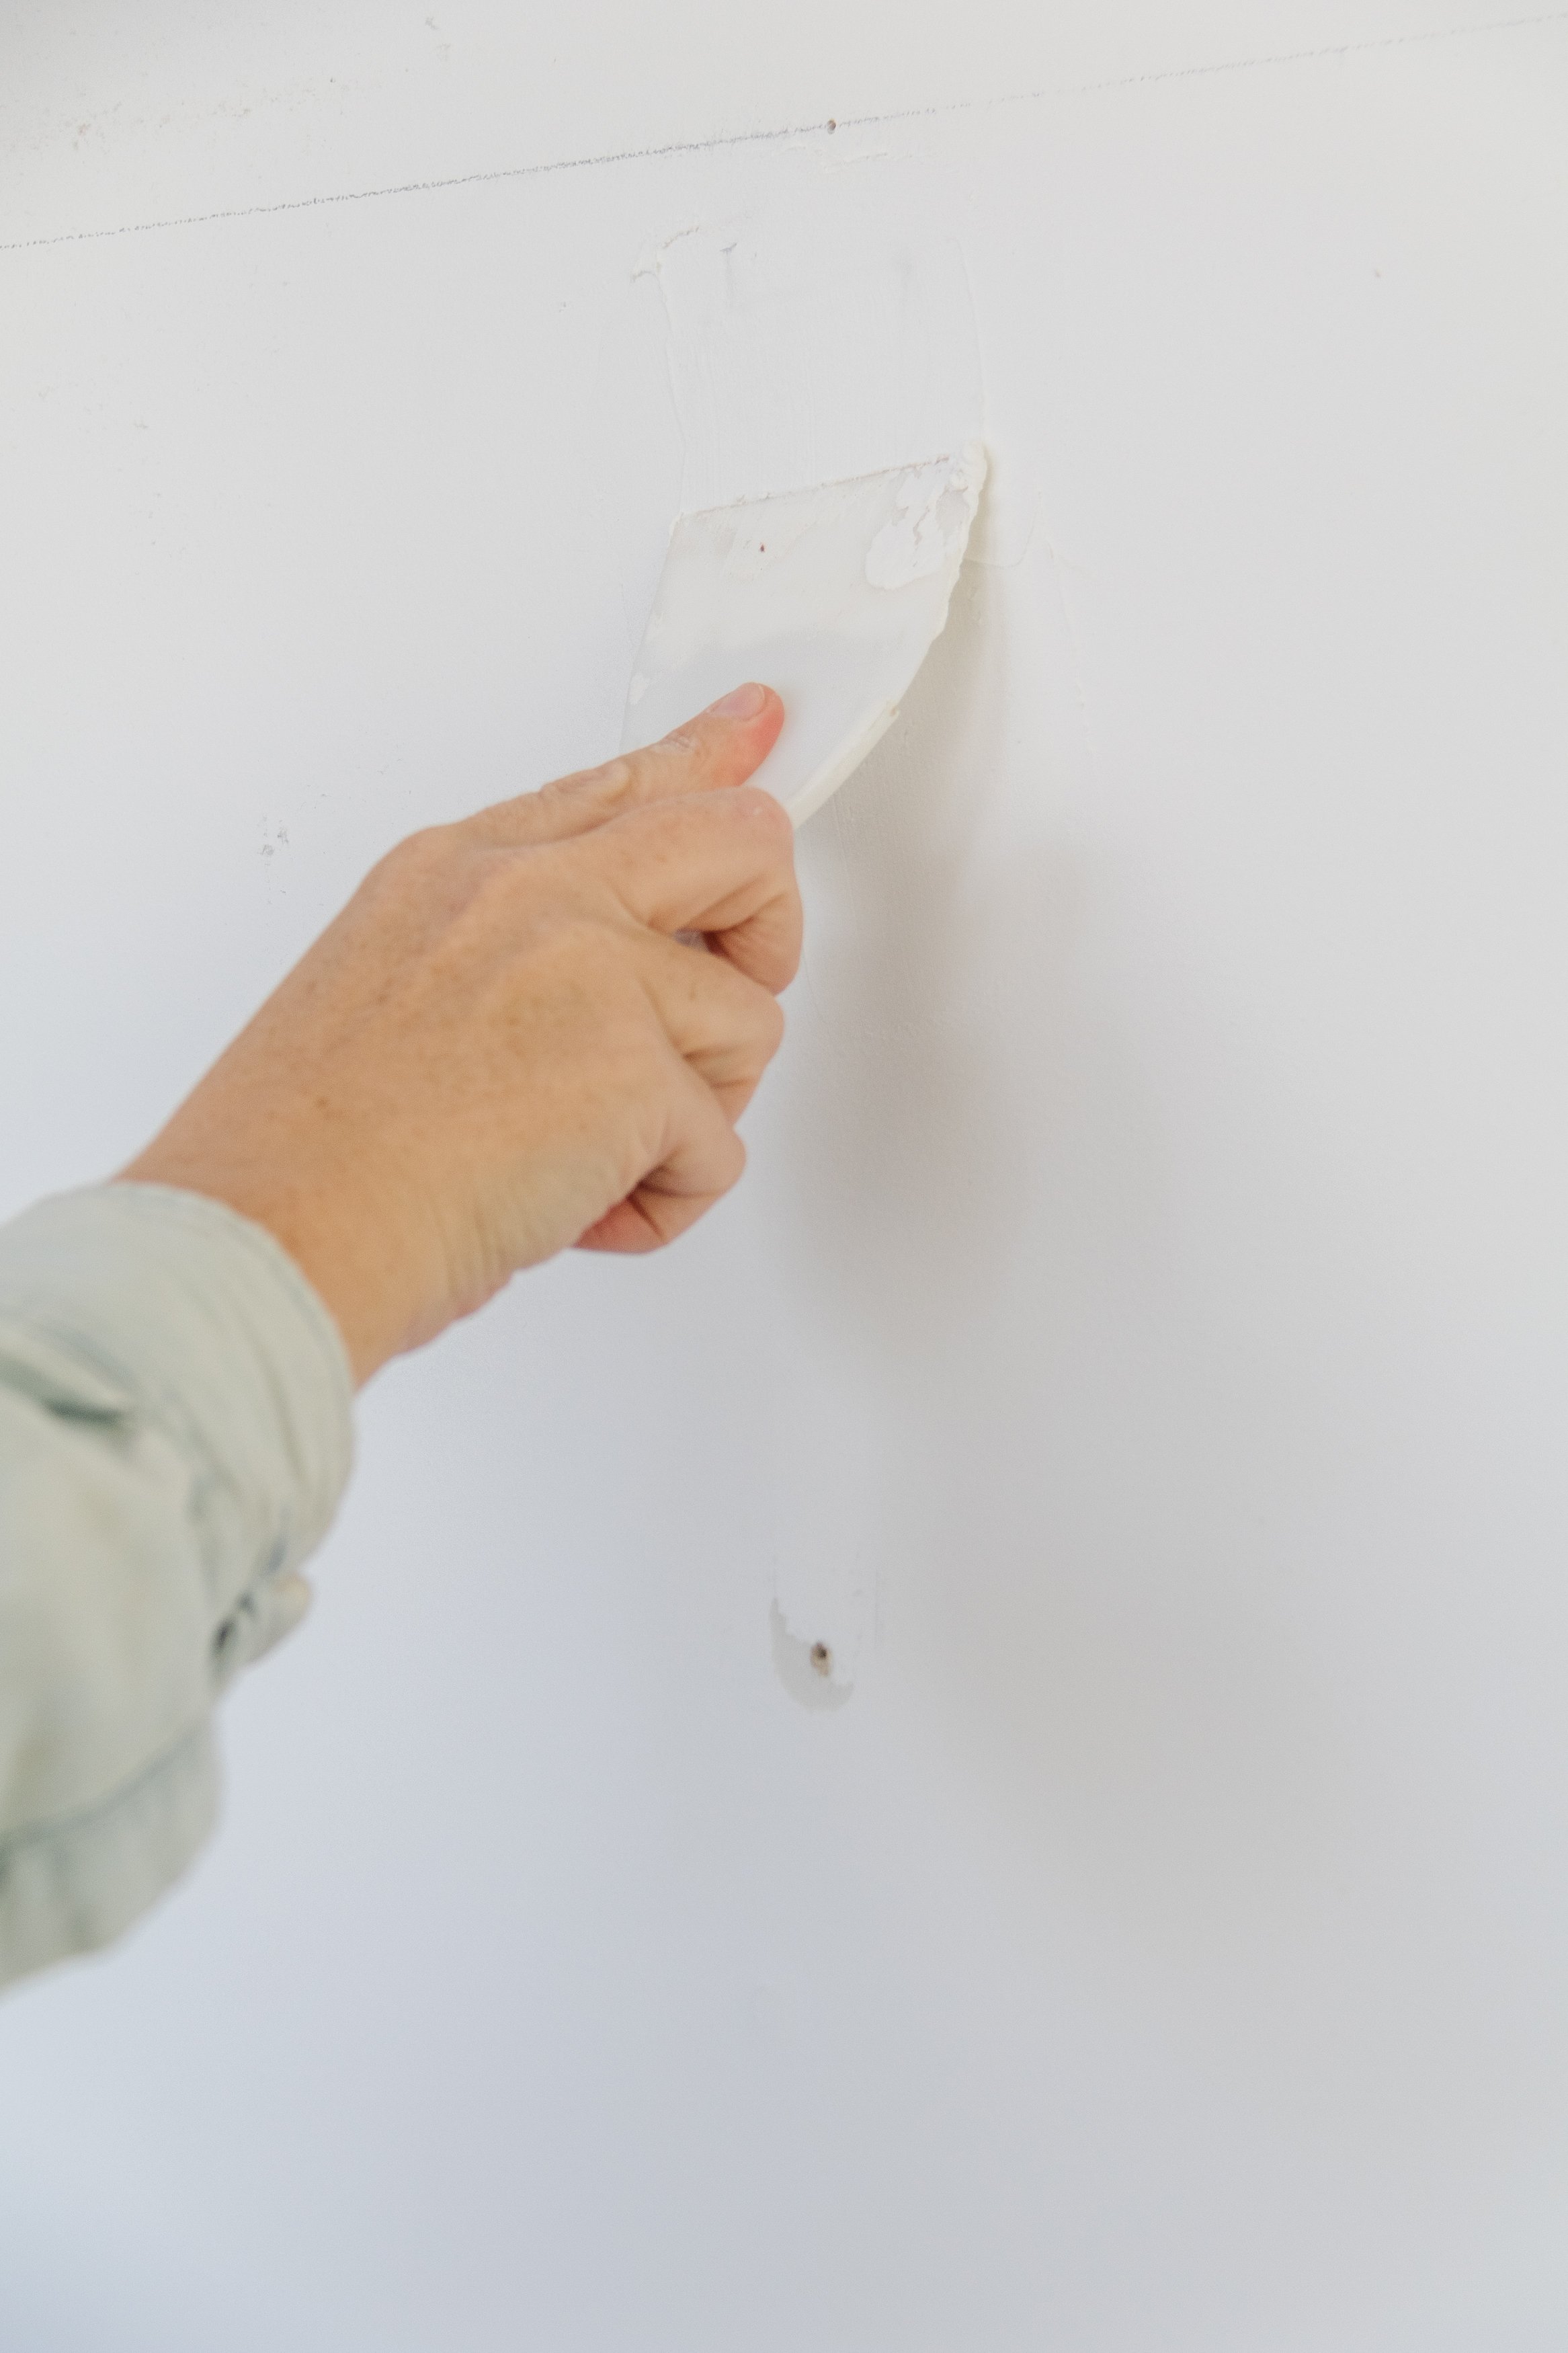
I have wanted to get rid of the shelf in our bedroom for ages and with the patched up holes on the wall, the space didn’t feel very inviting. Thankfully Porter’s Paints came to the rescue with their Capsule Collection! Knowing I had them by my side meant I finally felt confident to take the shelf down and give our bedroom a whole new look. Read on to see how I transformed our bedroom from a bland, uninspiring space to one that feels cosy, inviting and grown up.
To see how it all came together, make sure to watch this video.
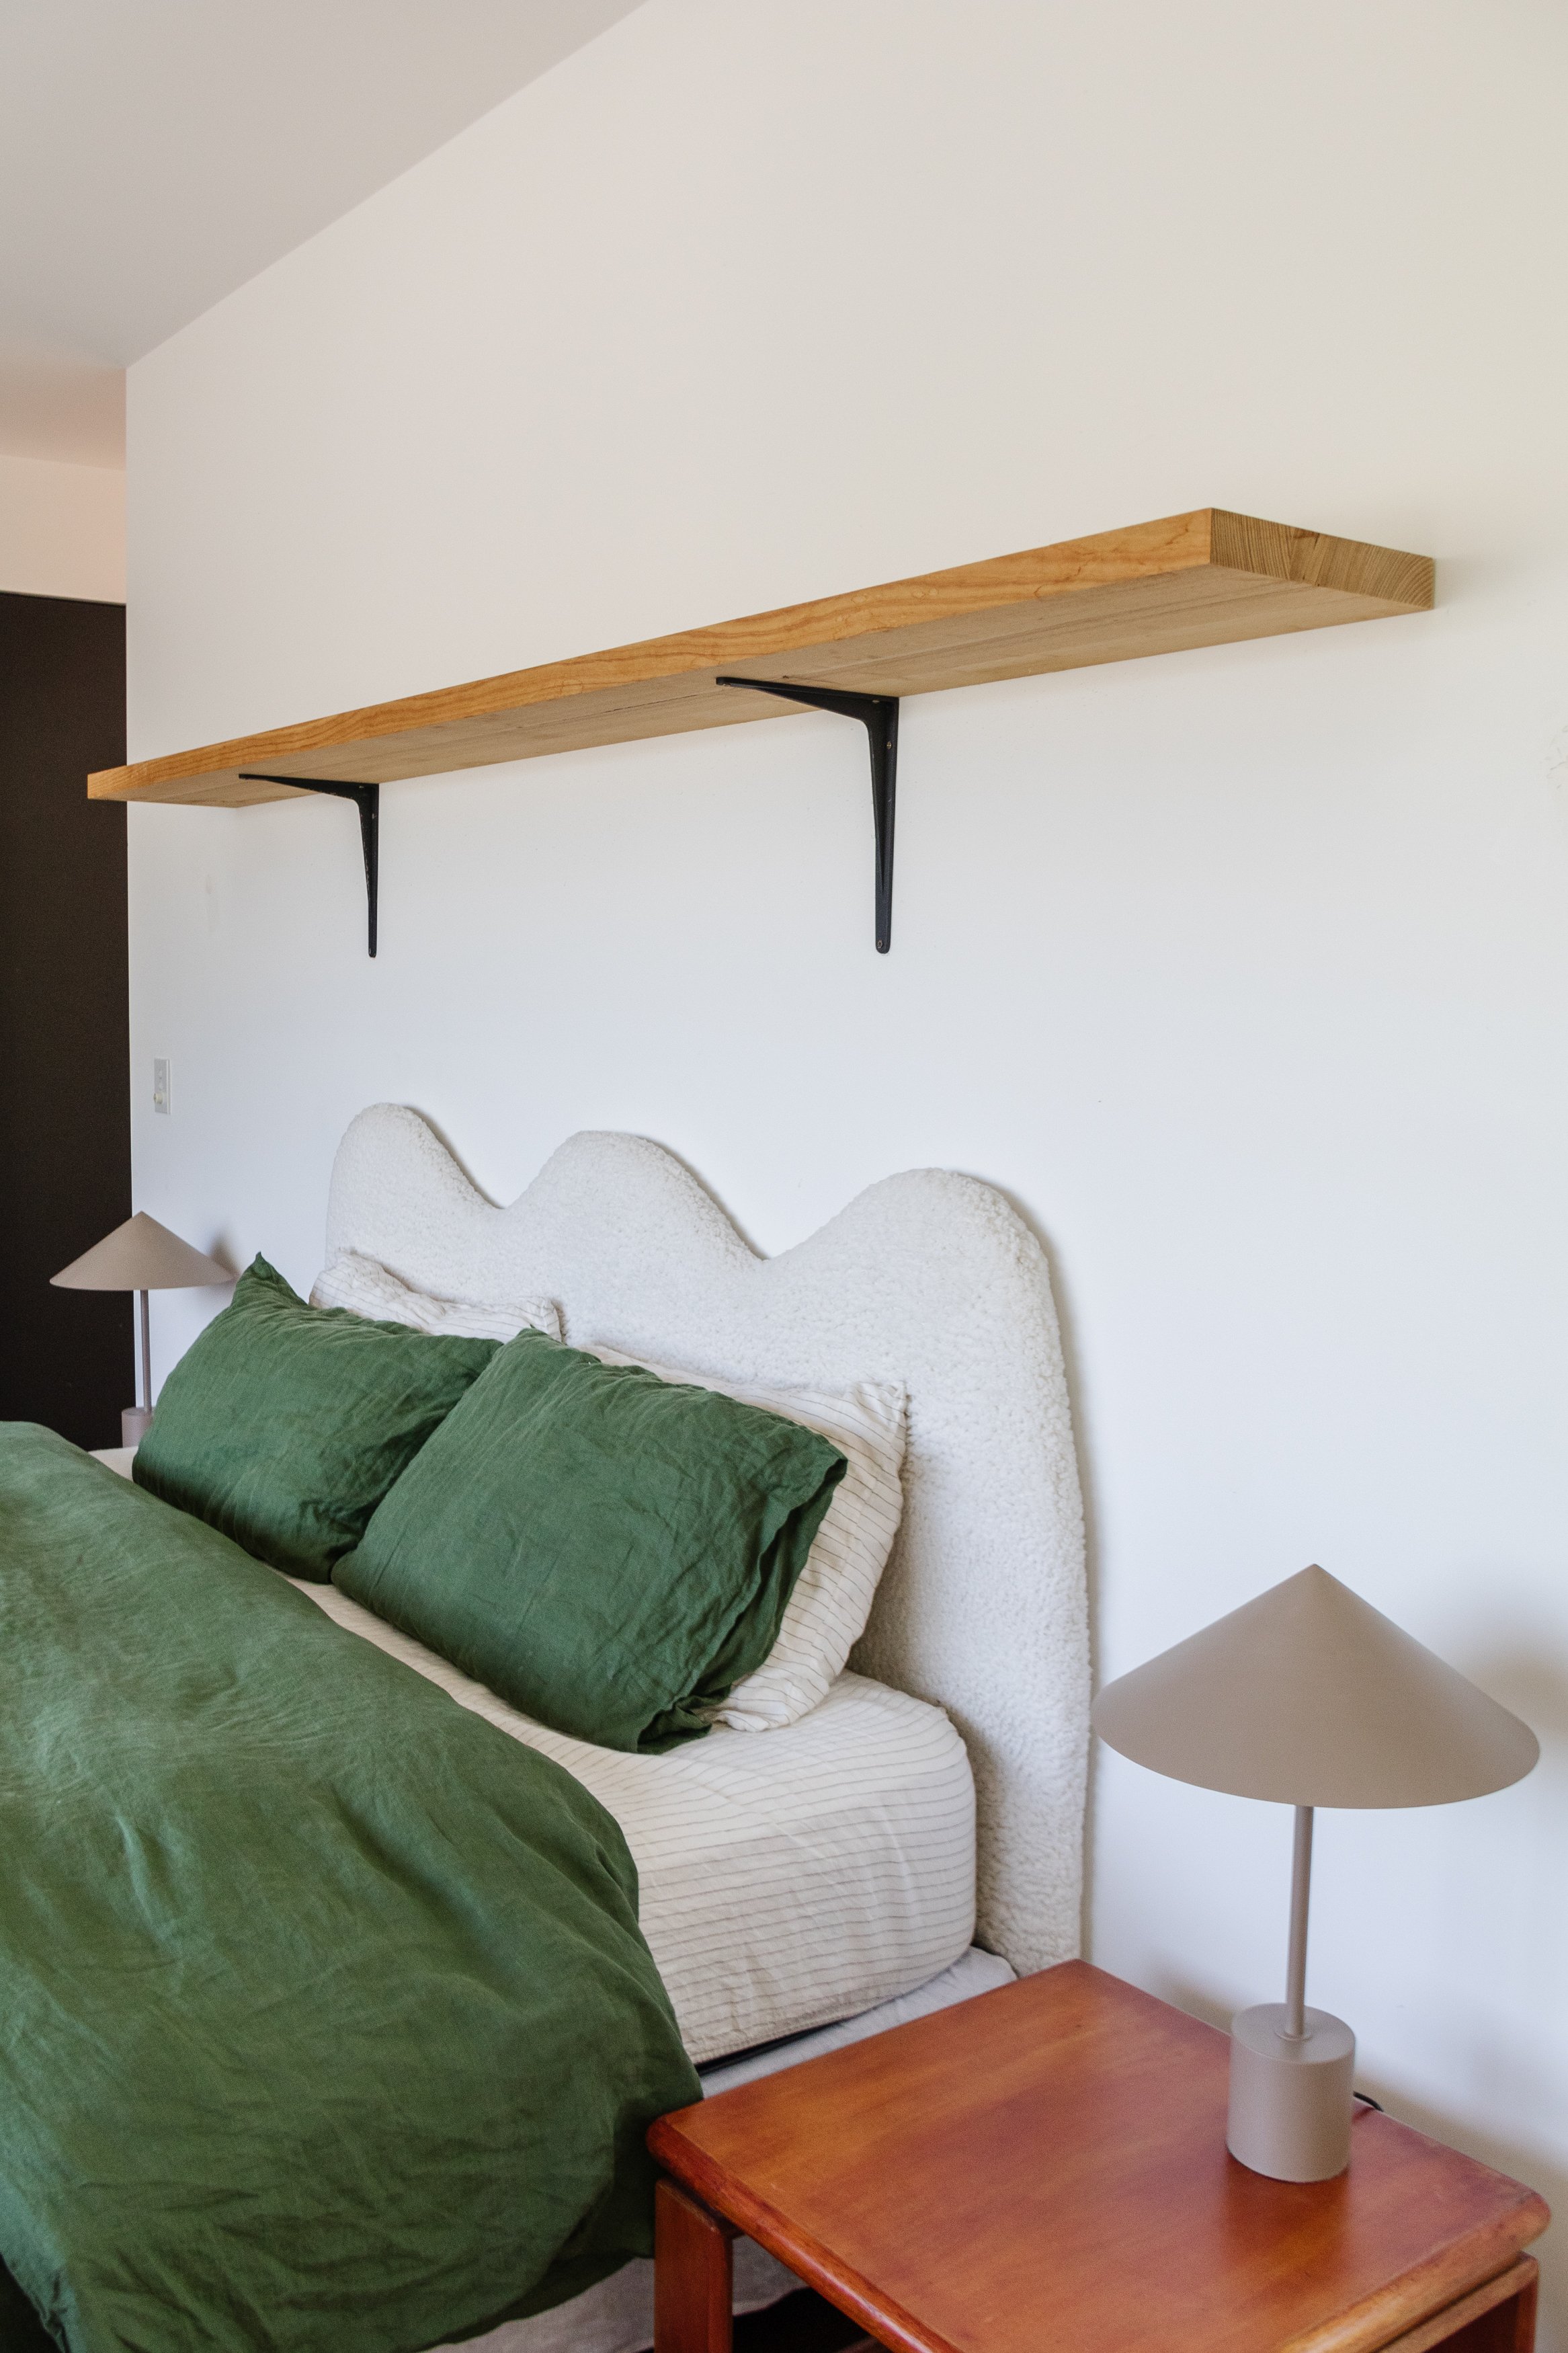
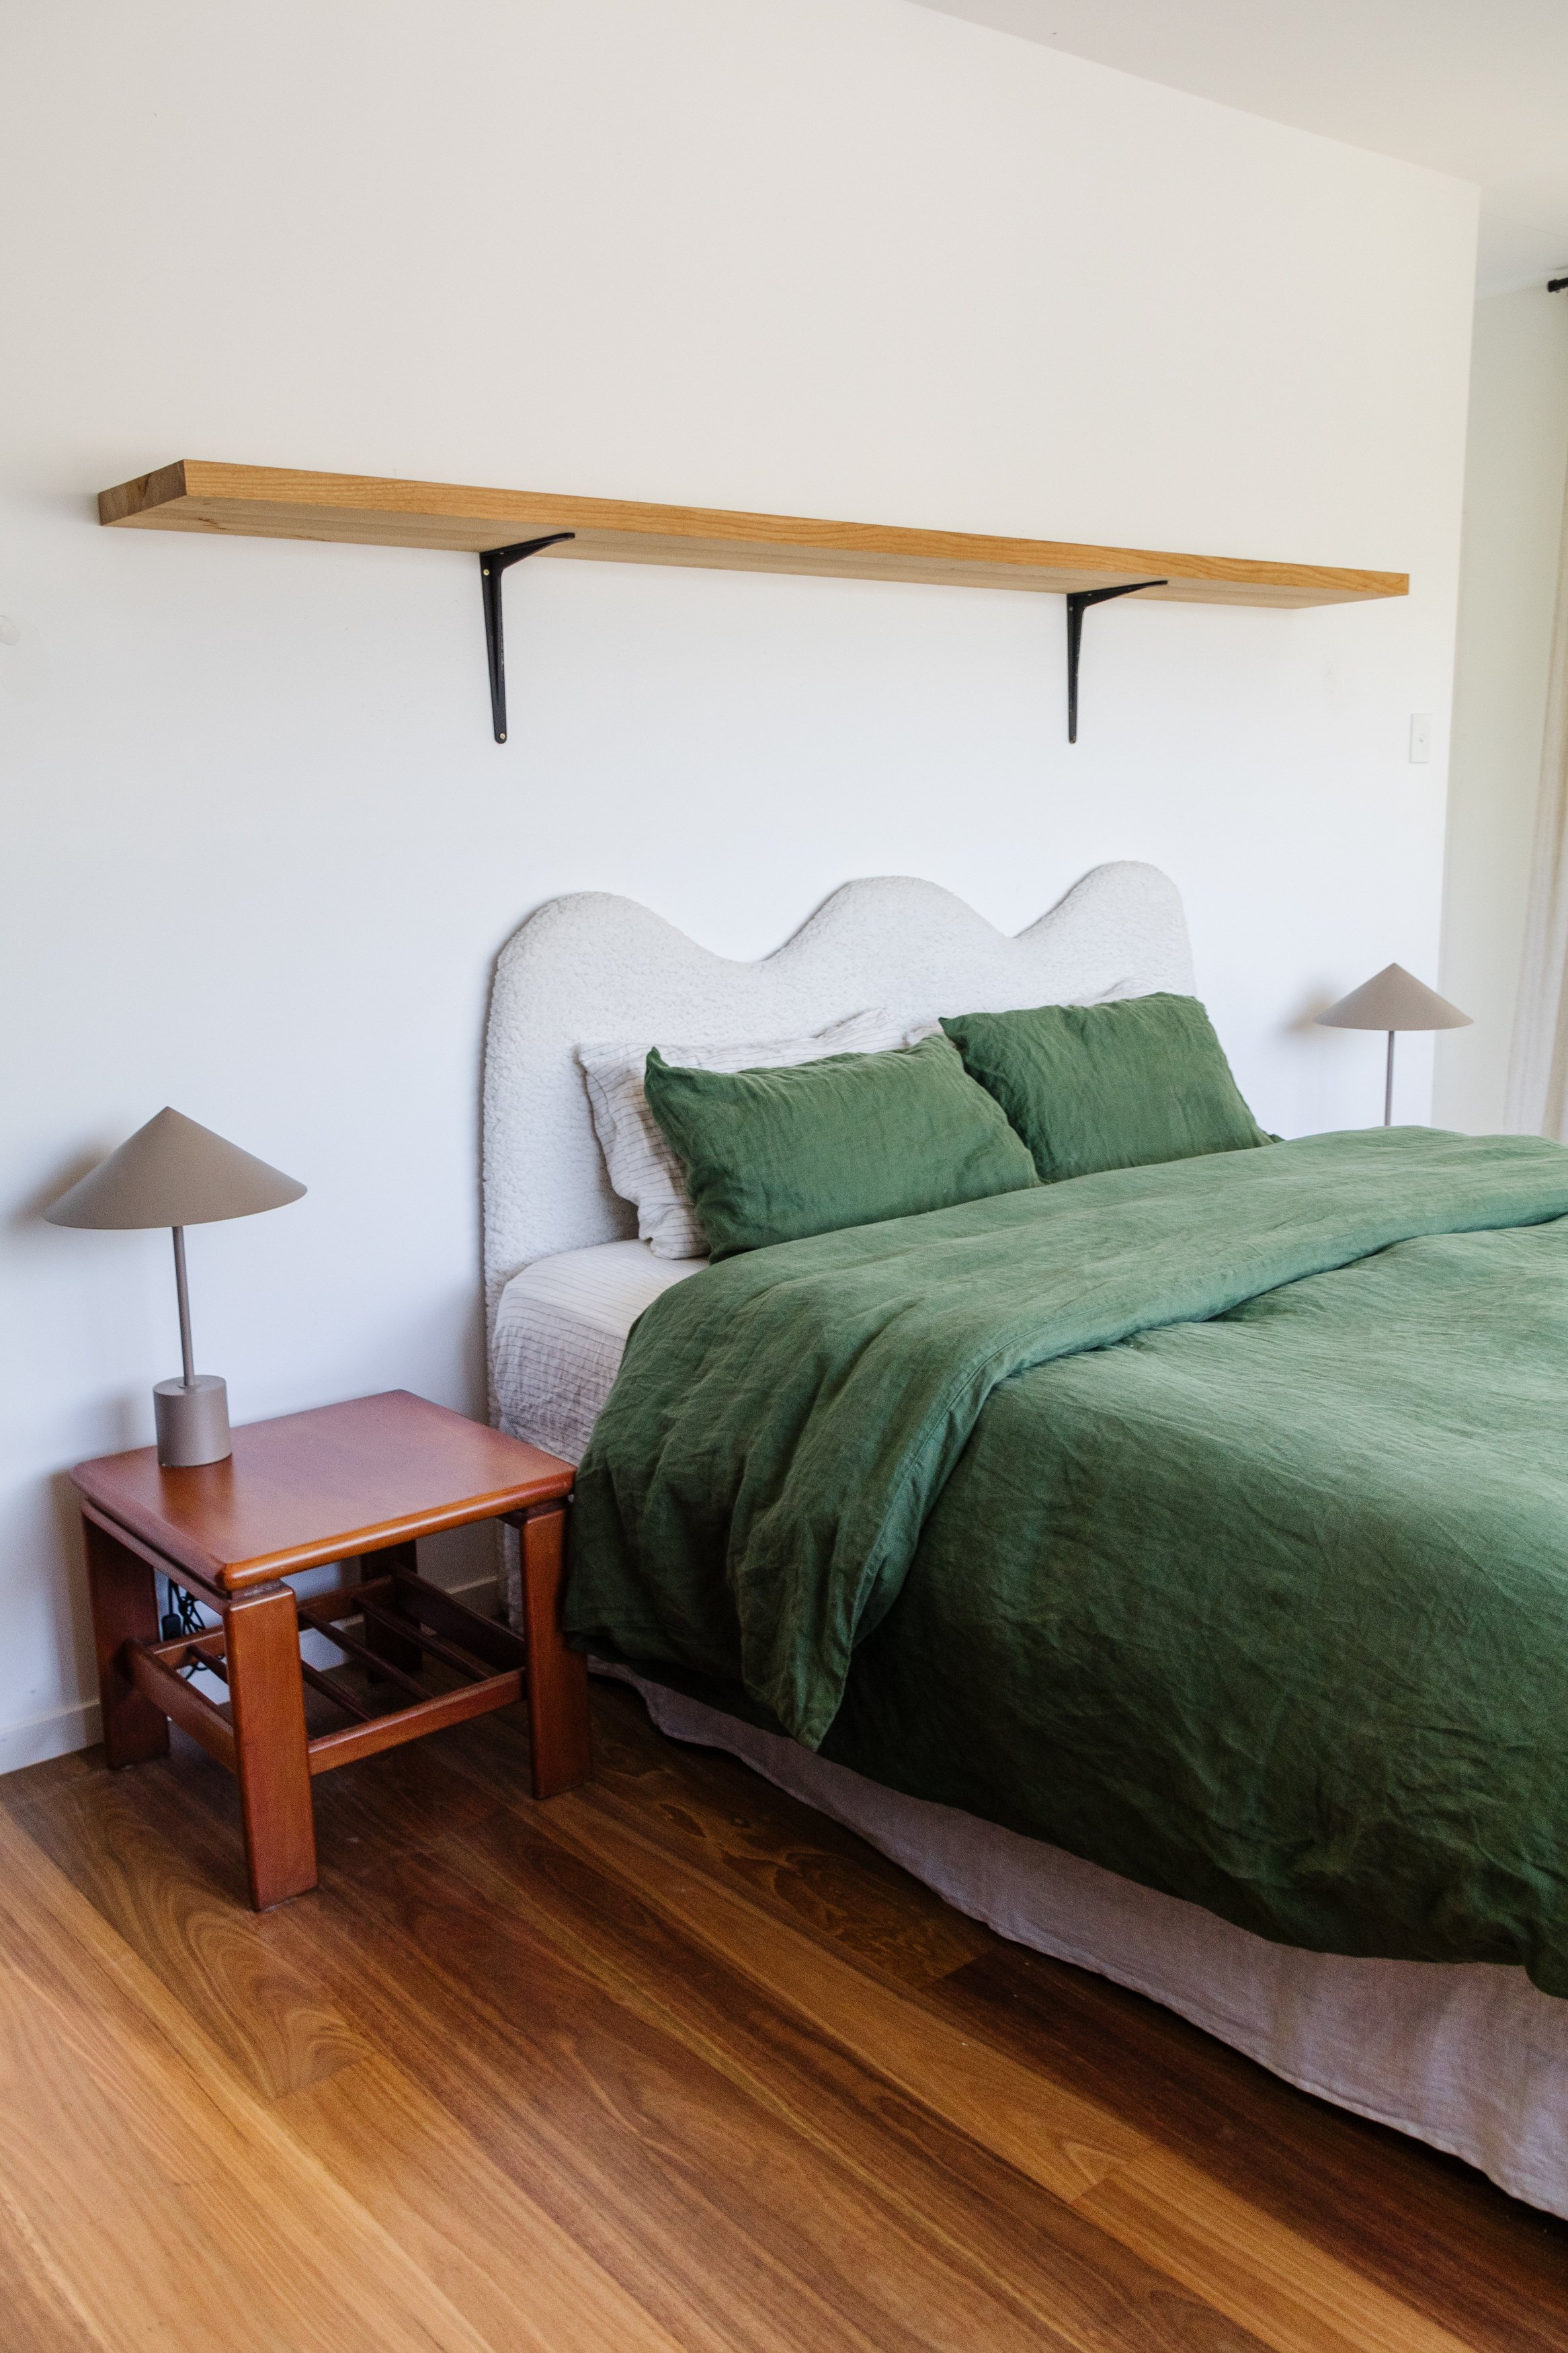
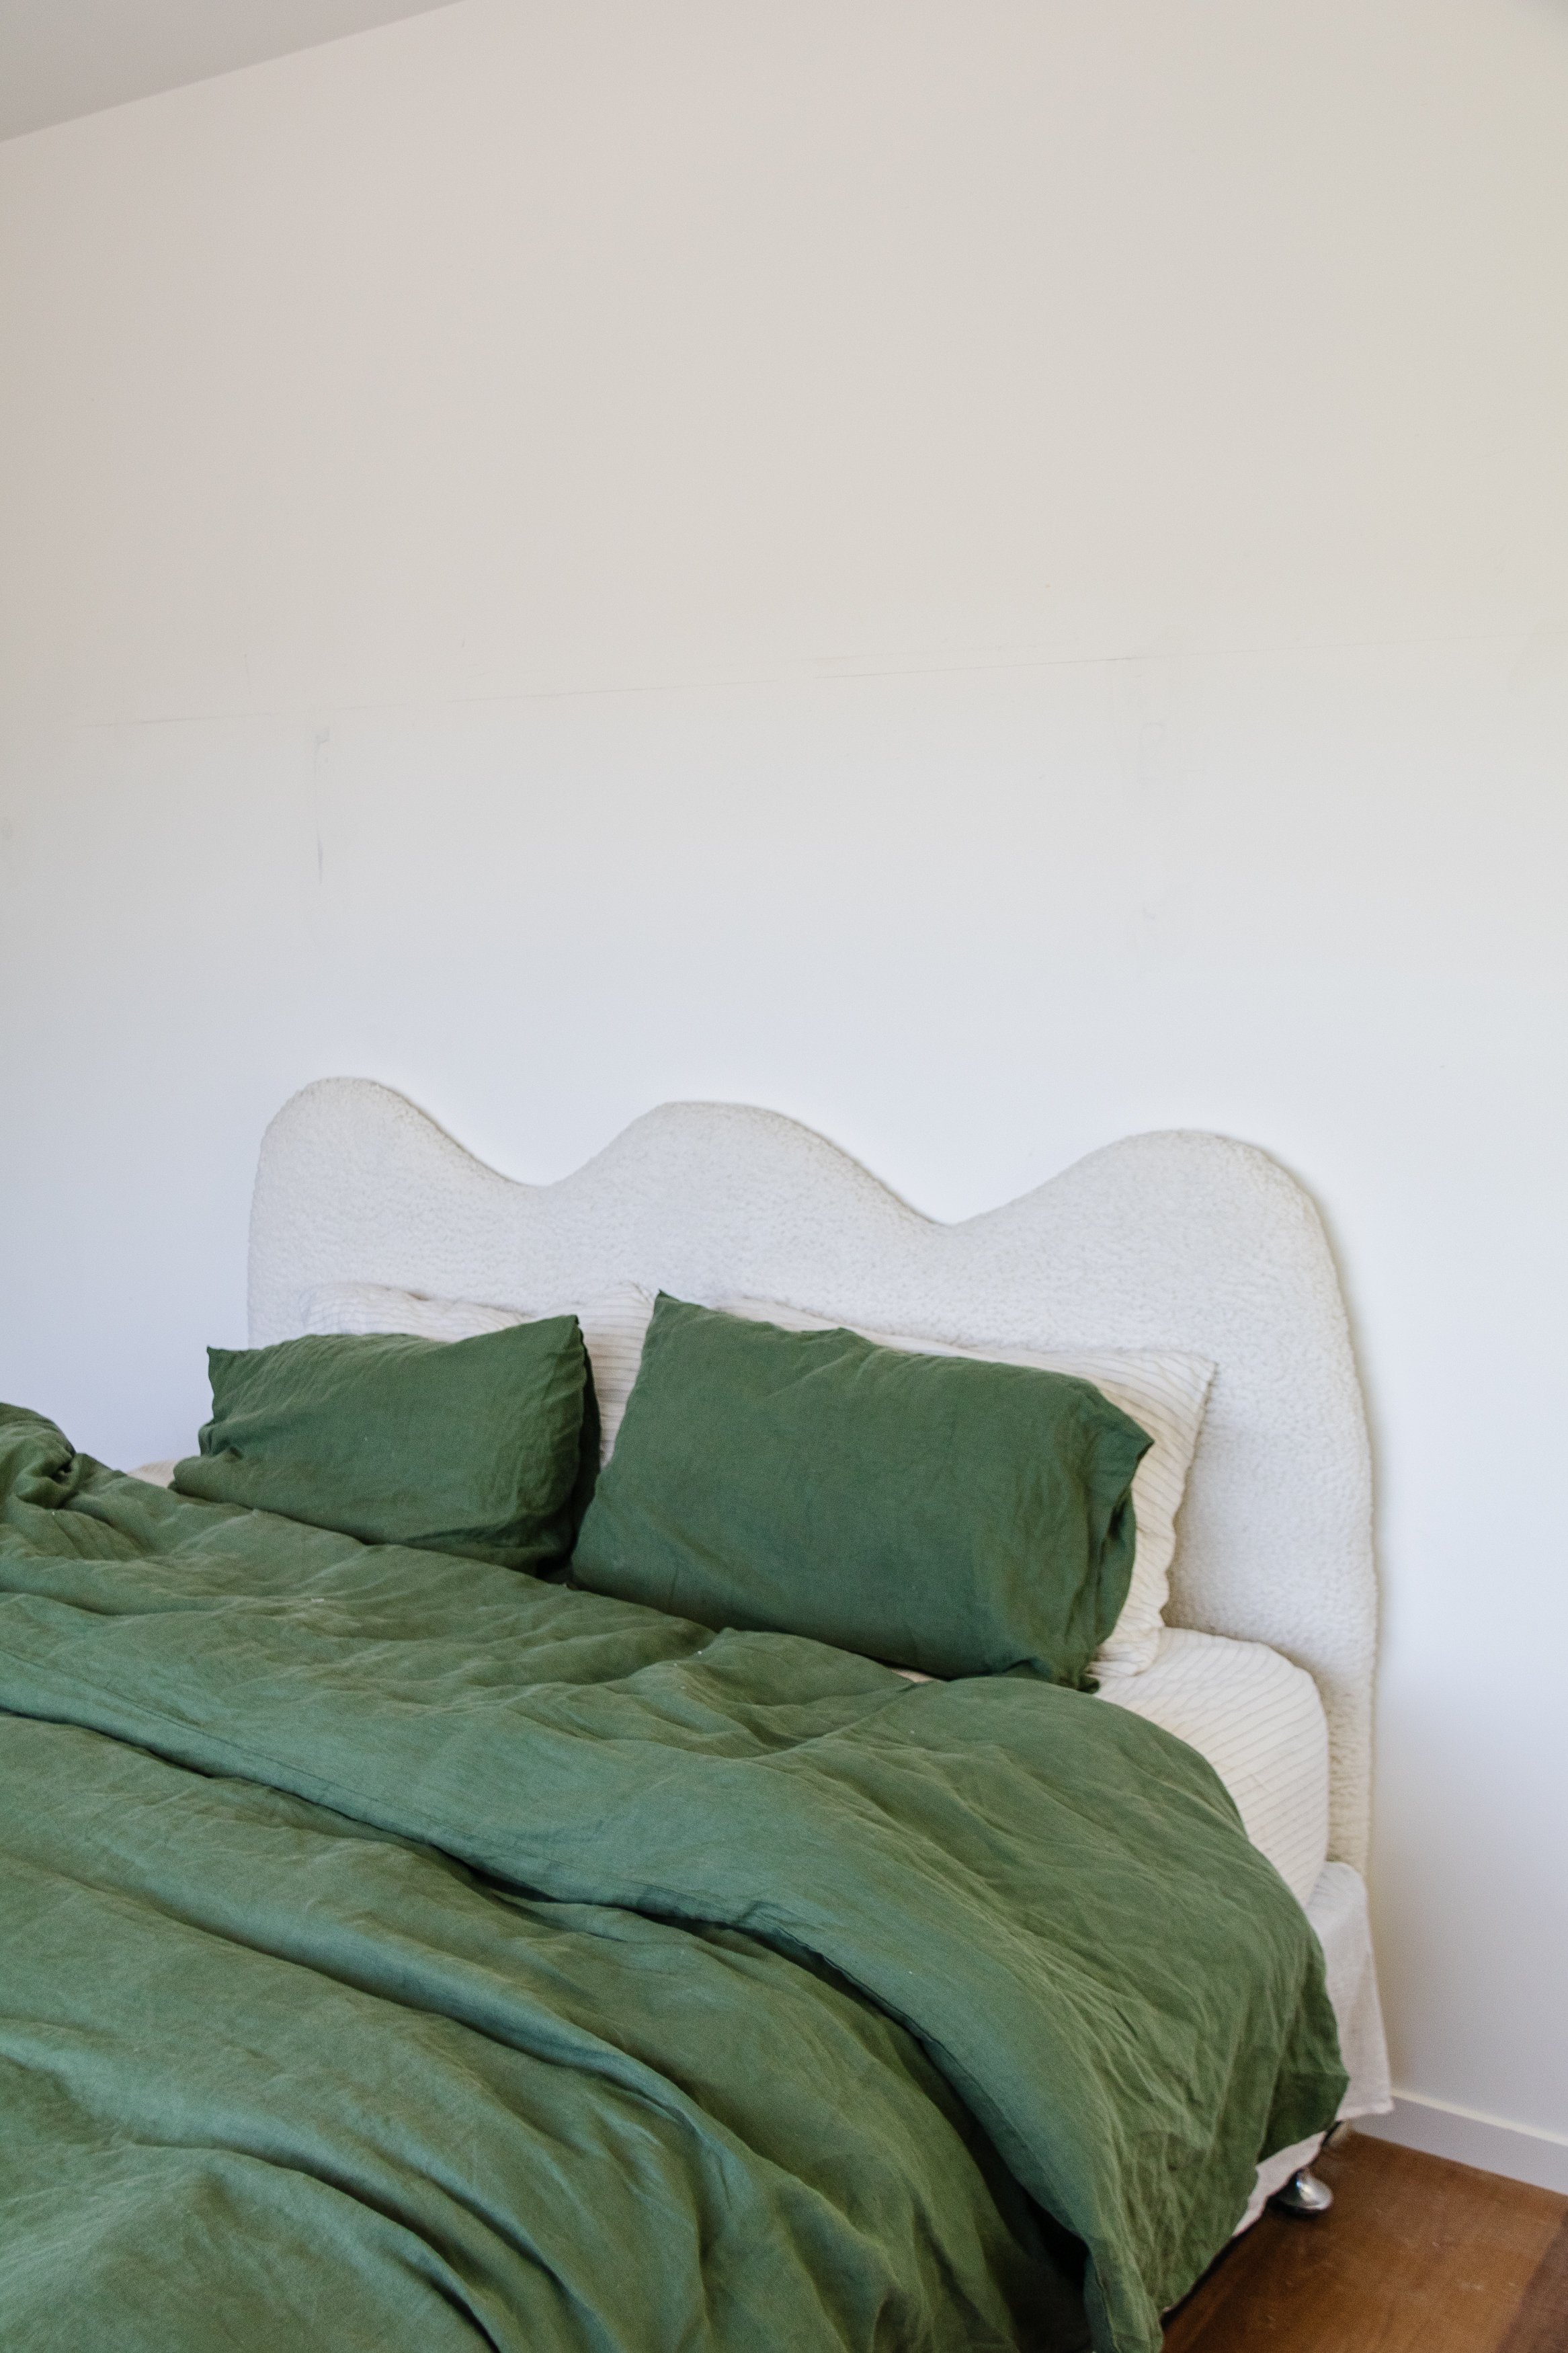
Before & After


Project Details
♻️ Painting: Our bedroom wall
🕒 Project Time Estimate: 1 day (including paint drying time)
💰 Materials Cost: $105
Materials
Painters tape
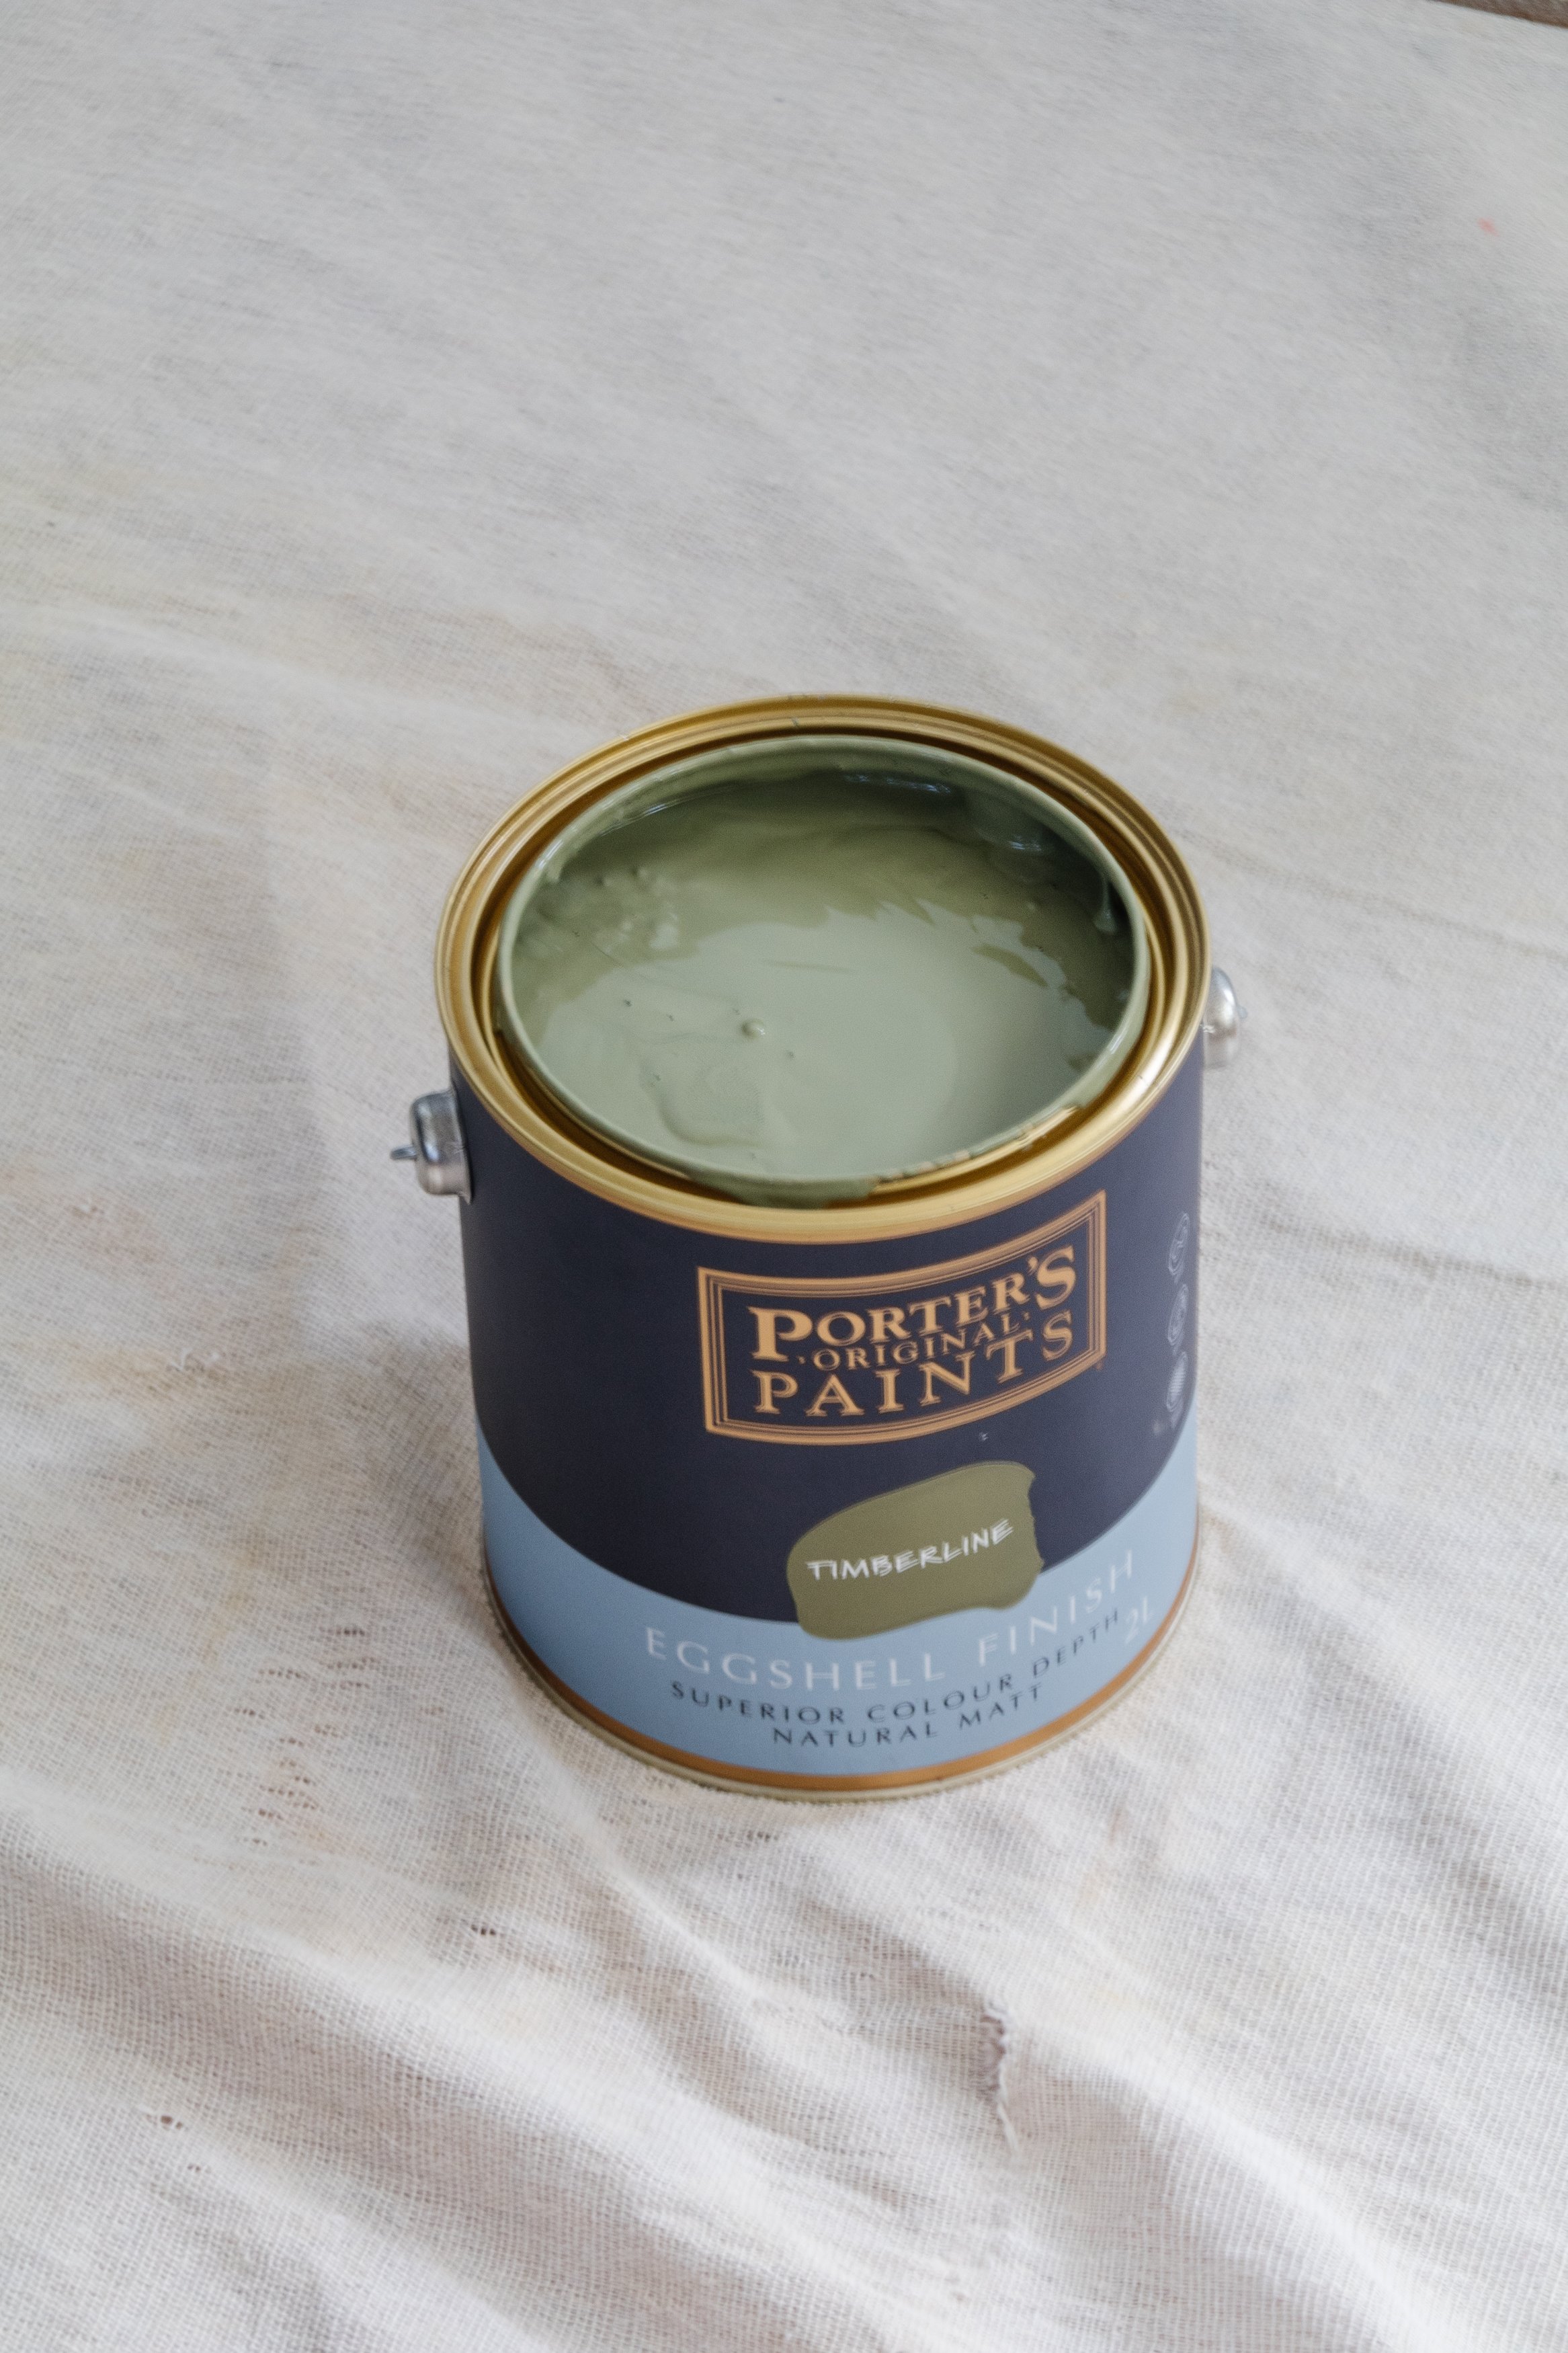
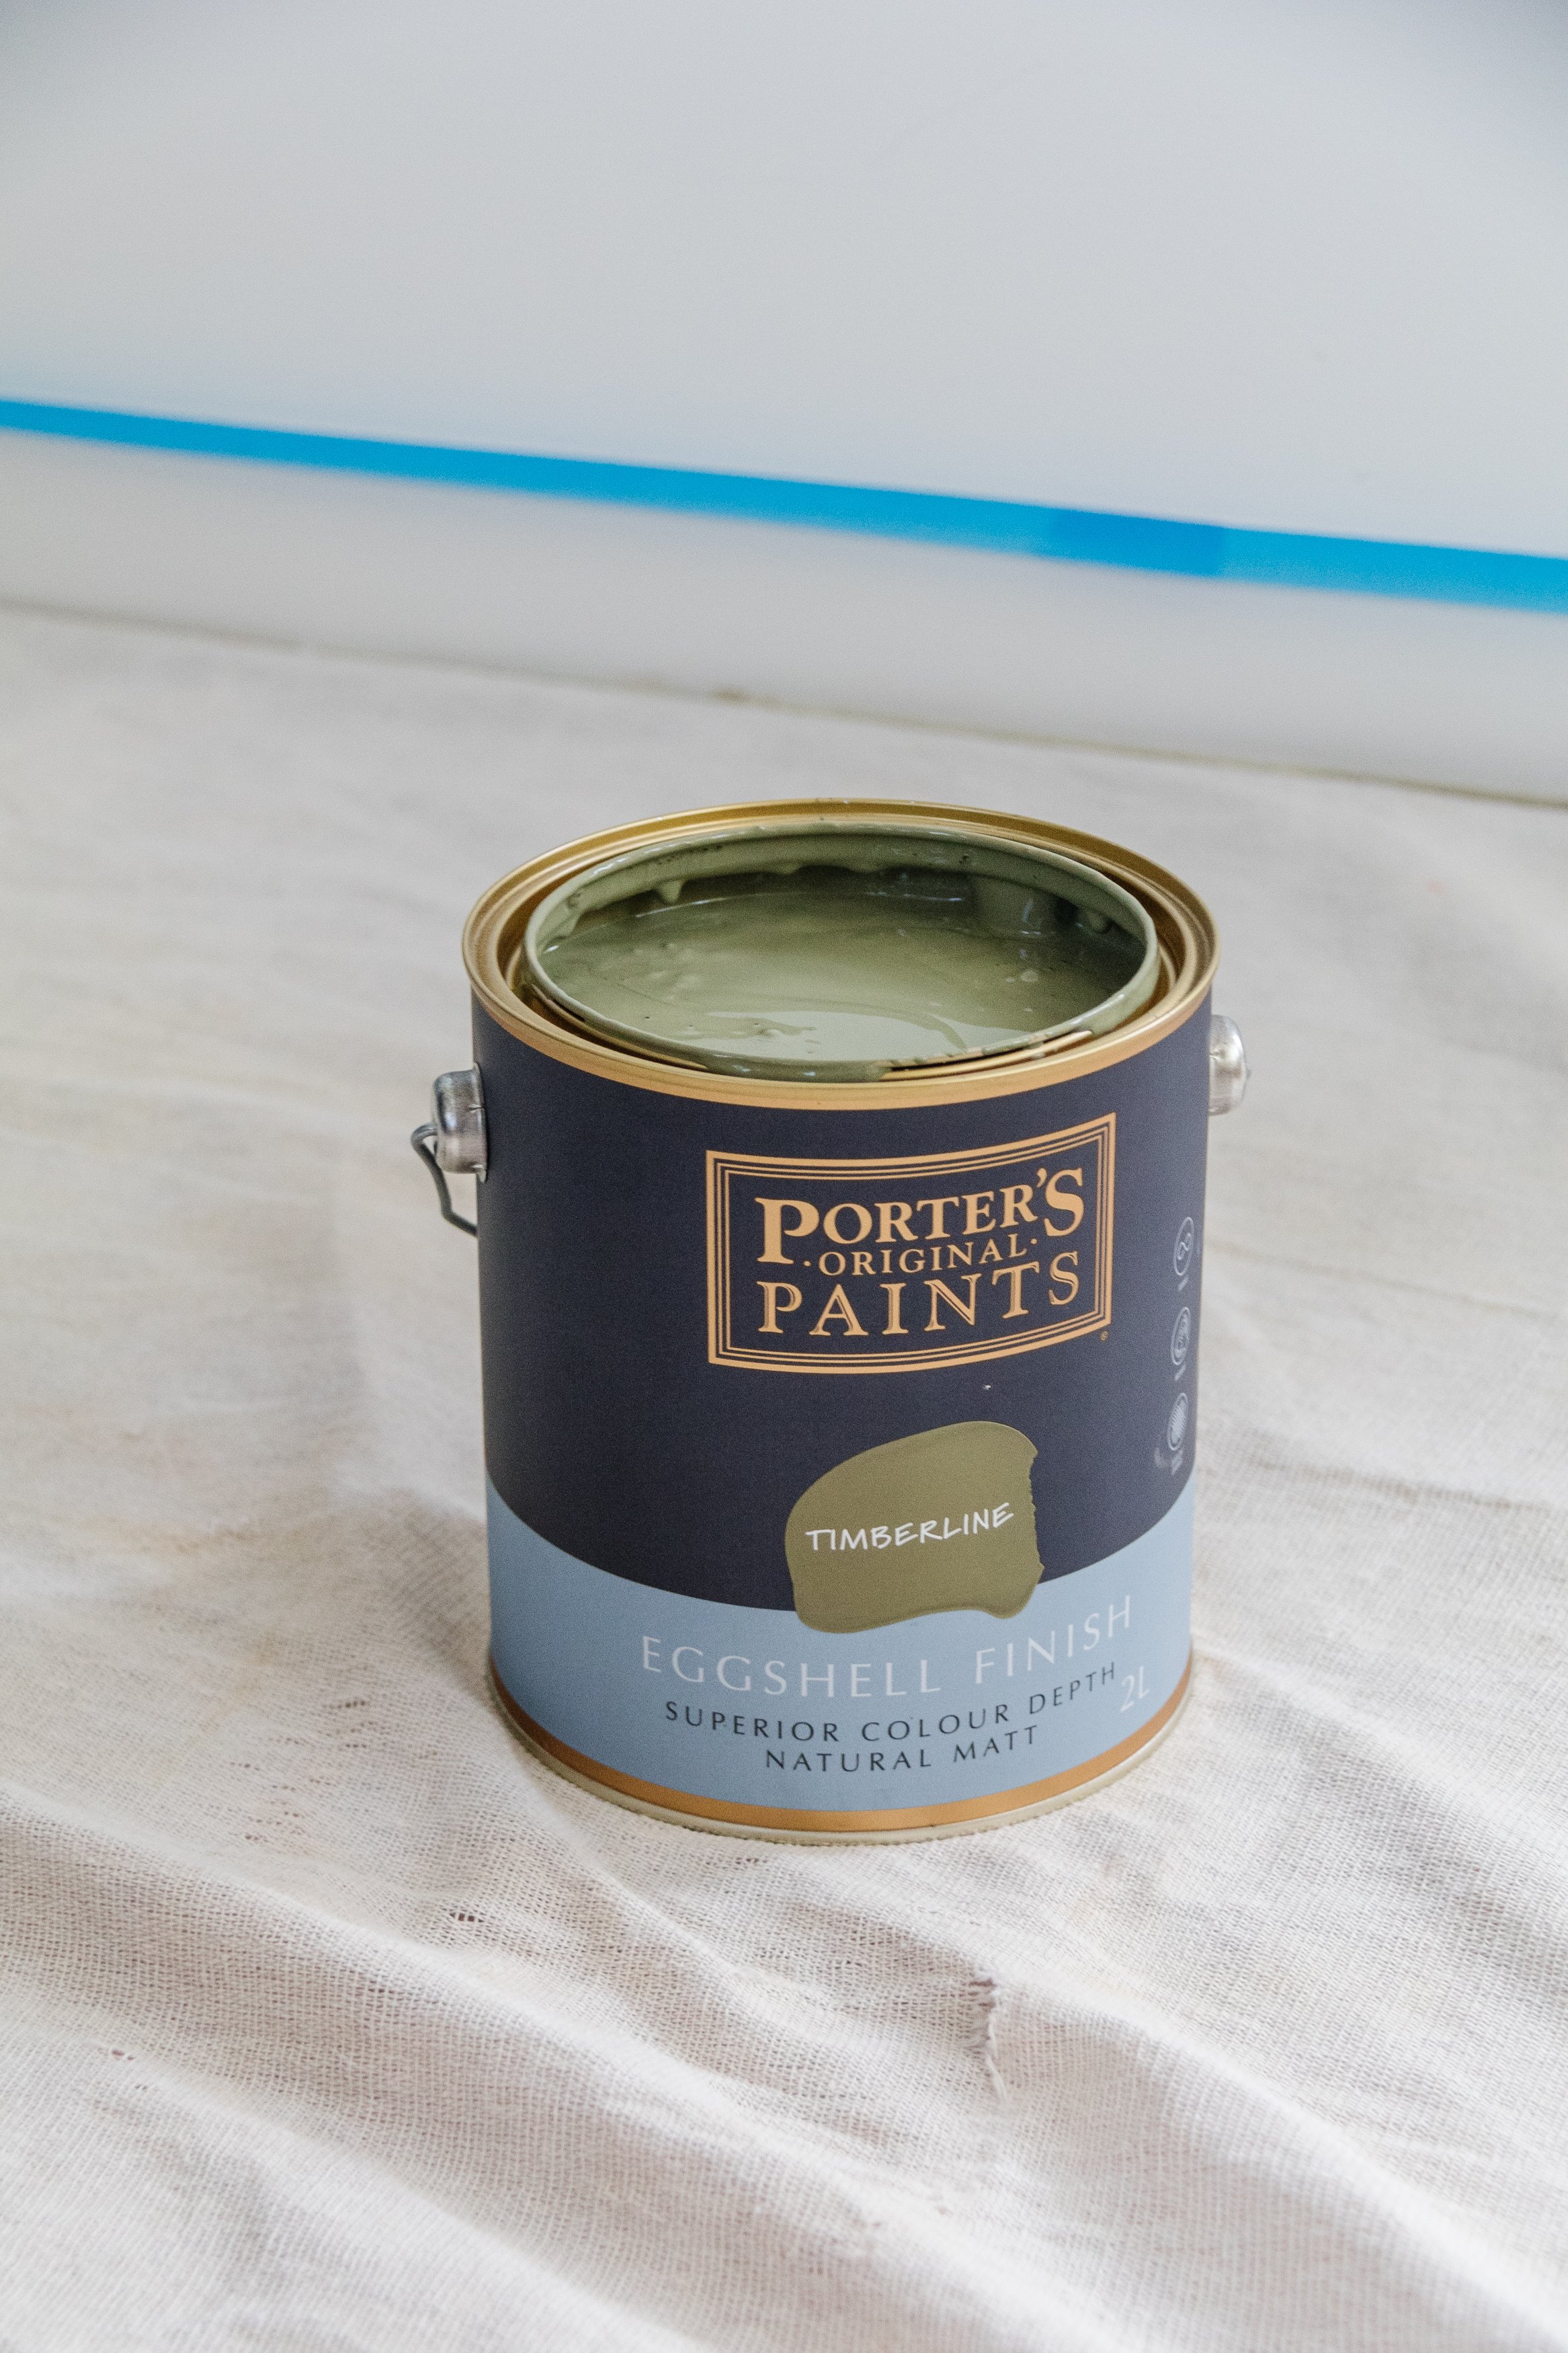
2L Porter’s Paints “Timberline”
Tools
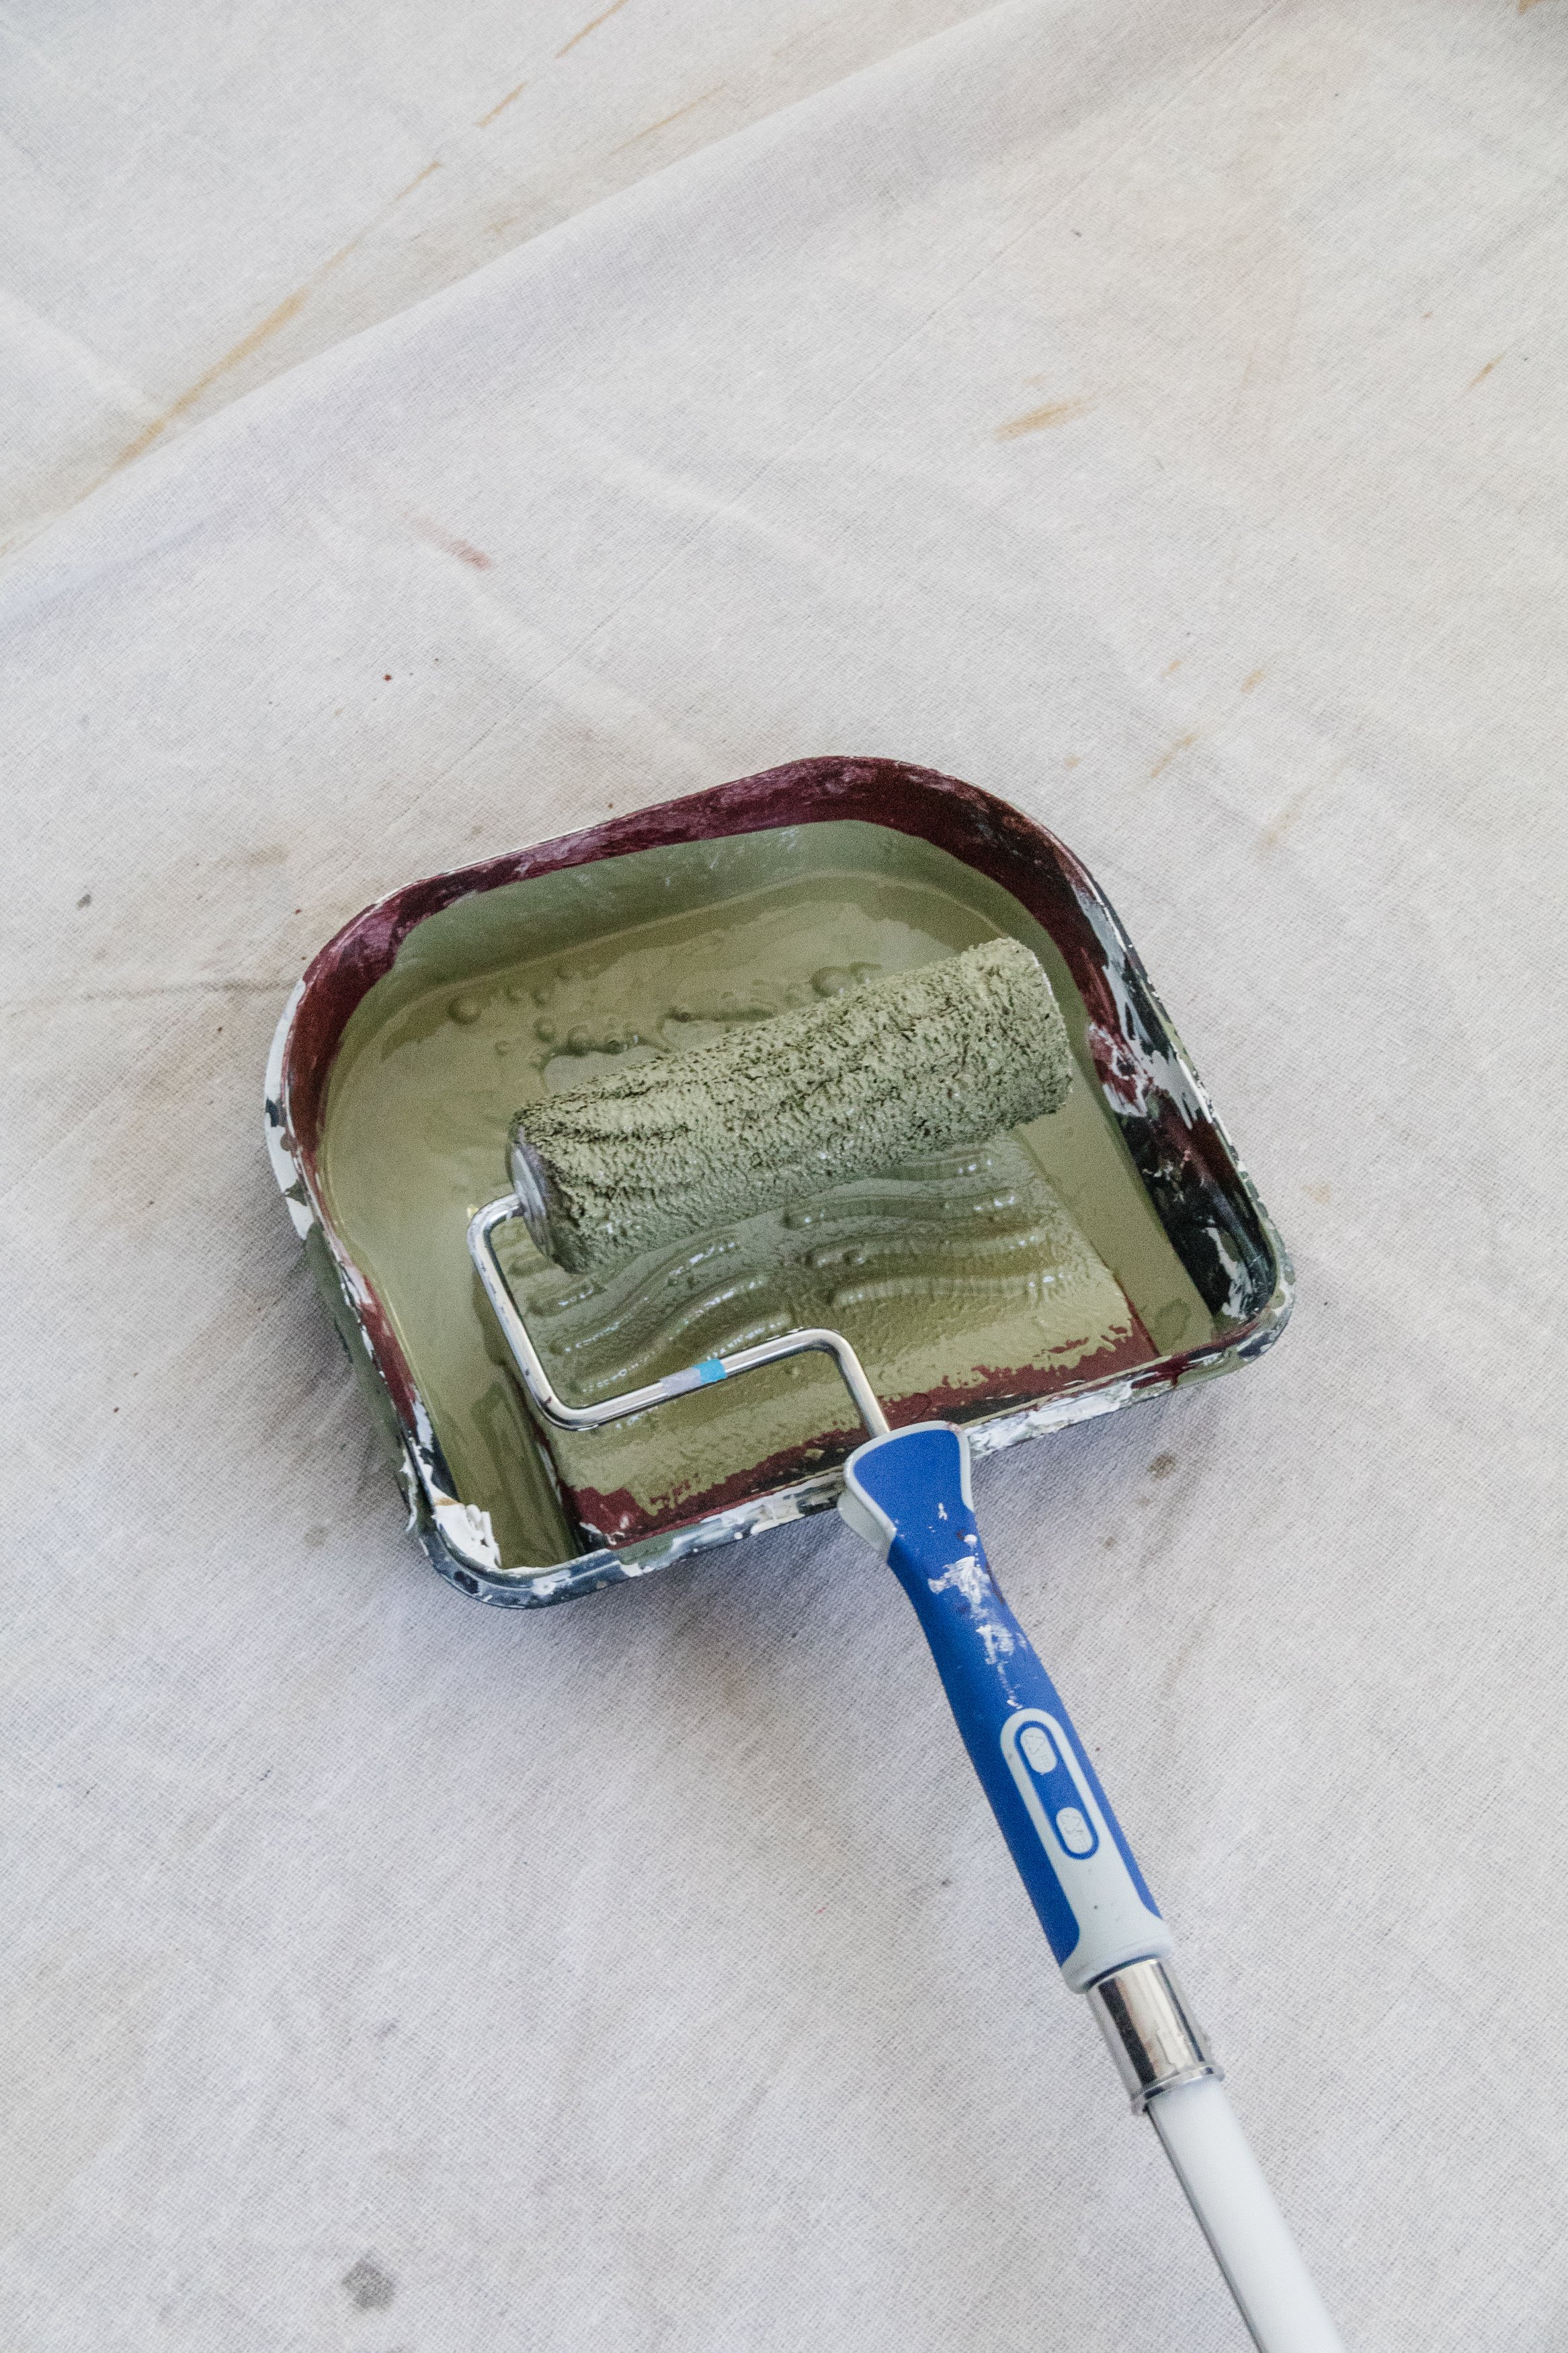
Paint roller (for walls)
Roller handle
Paint tray
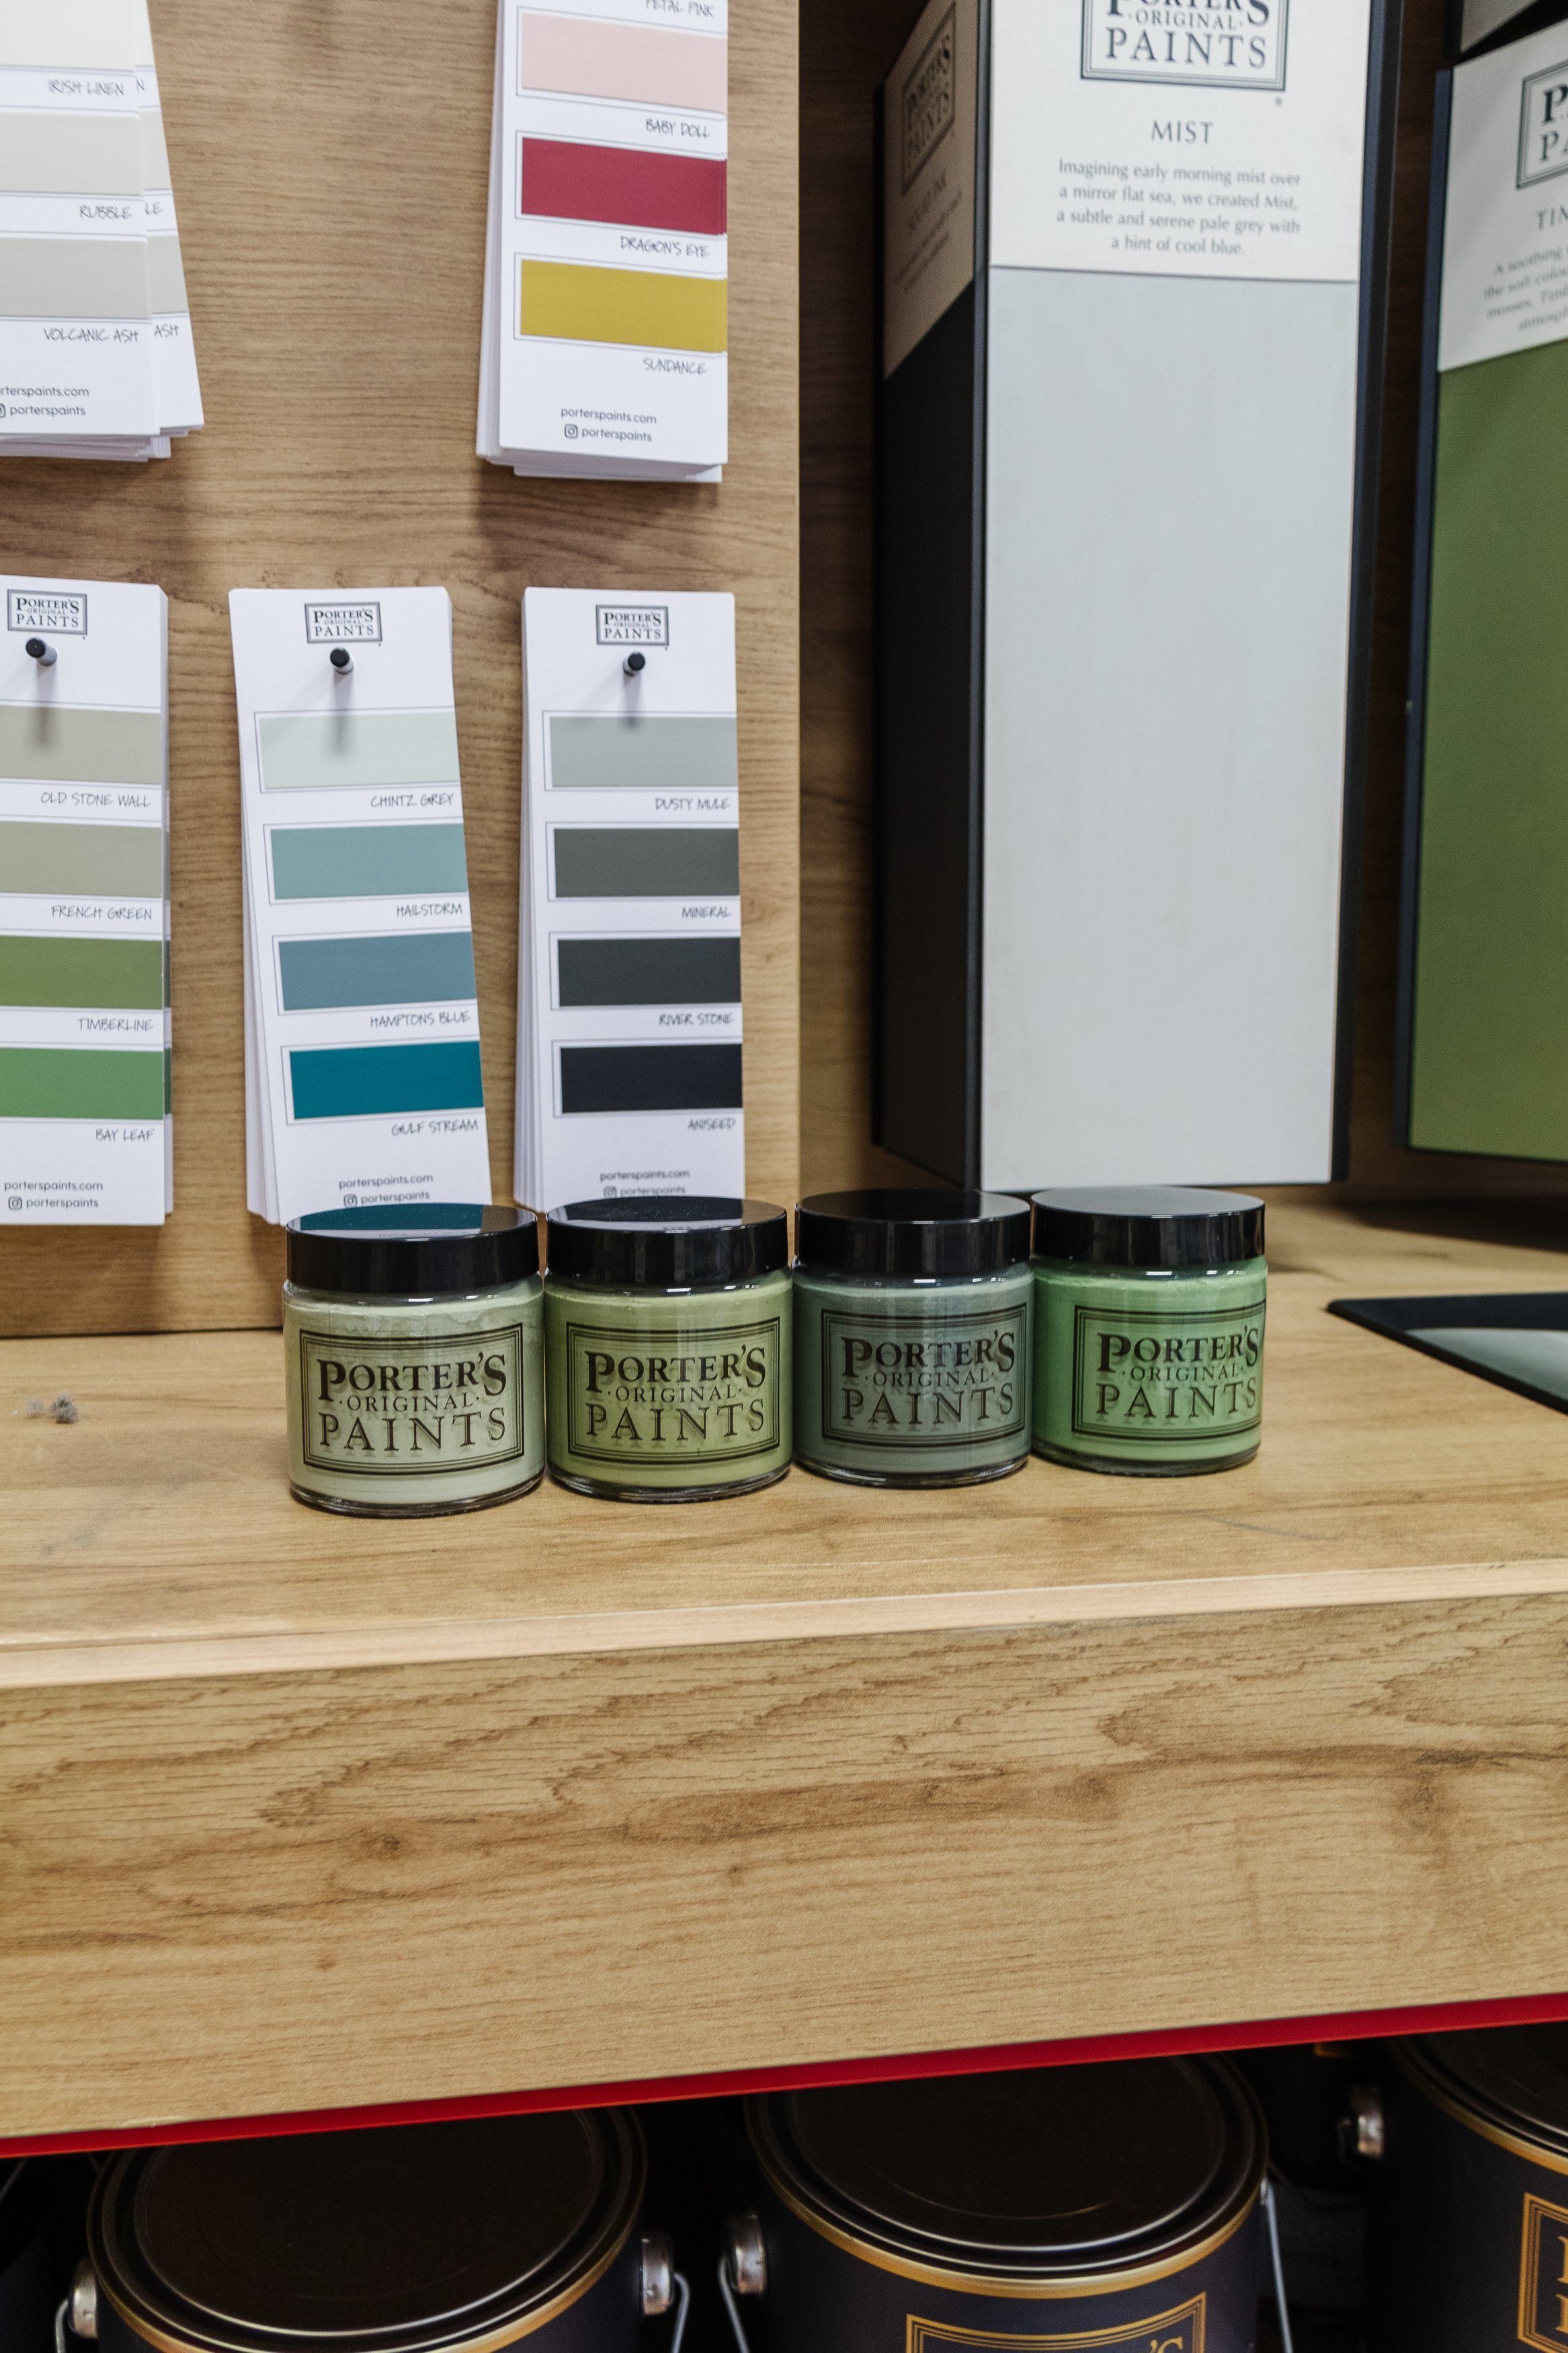
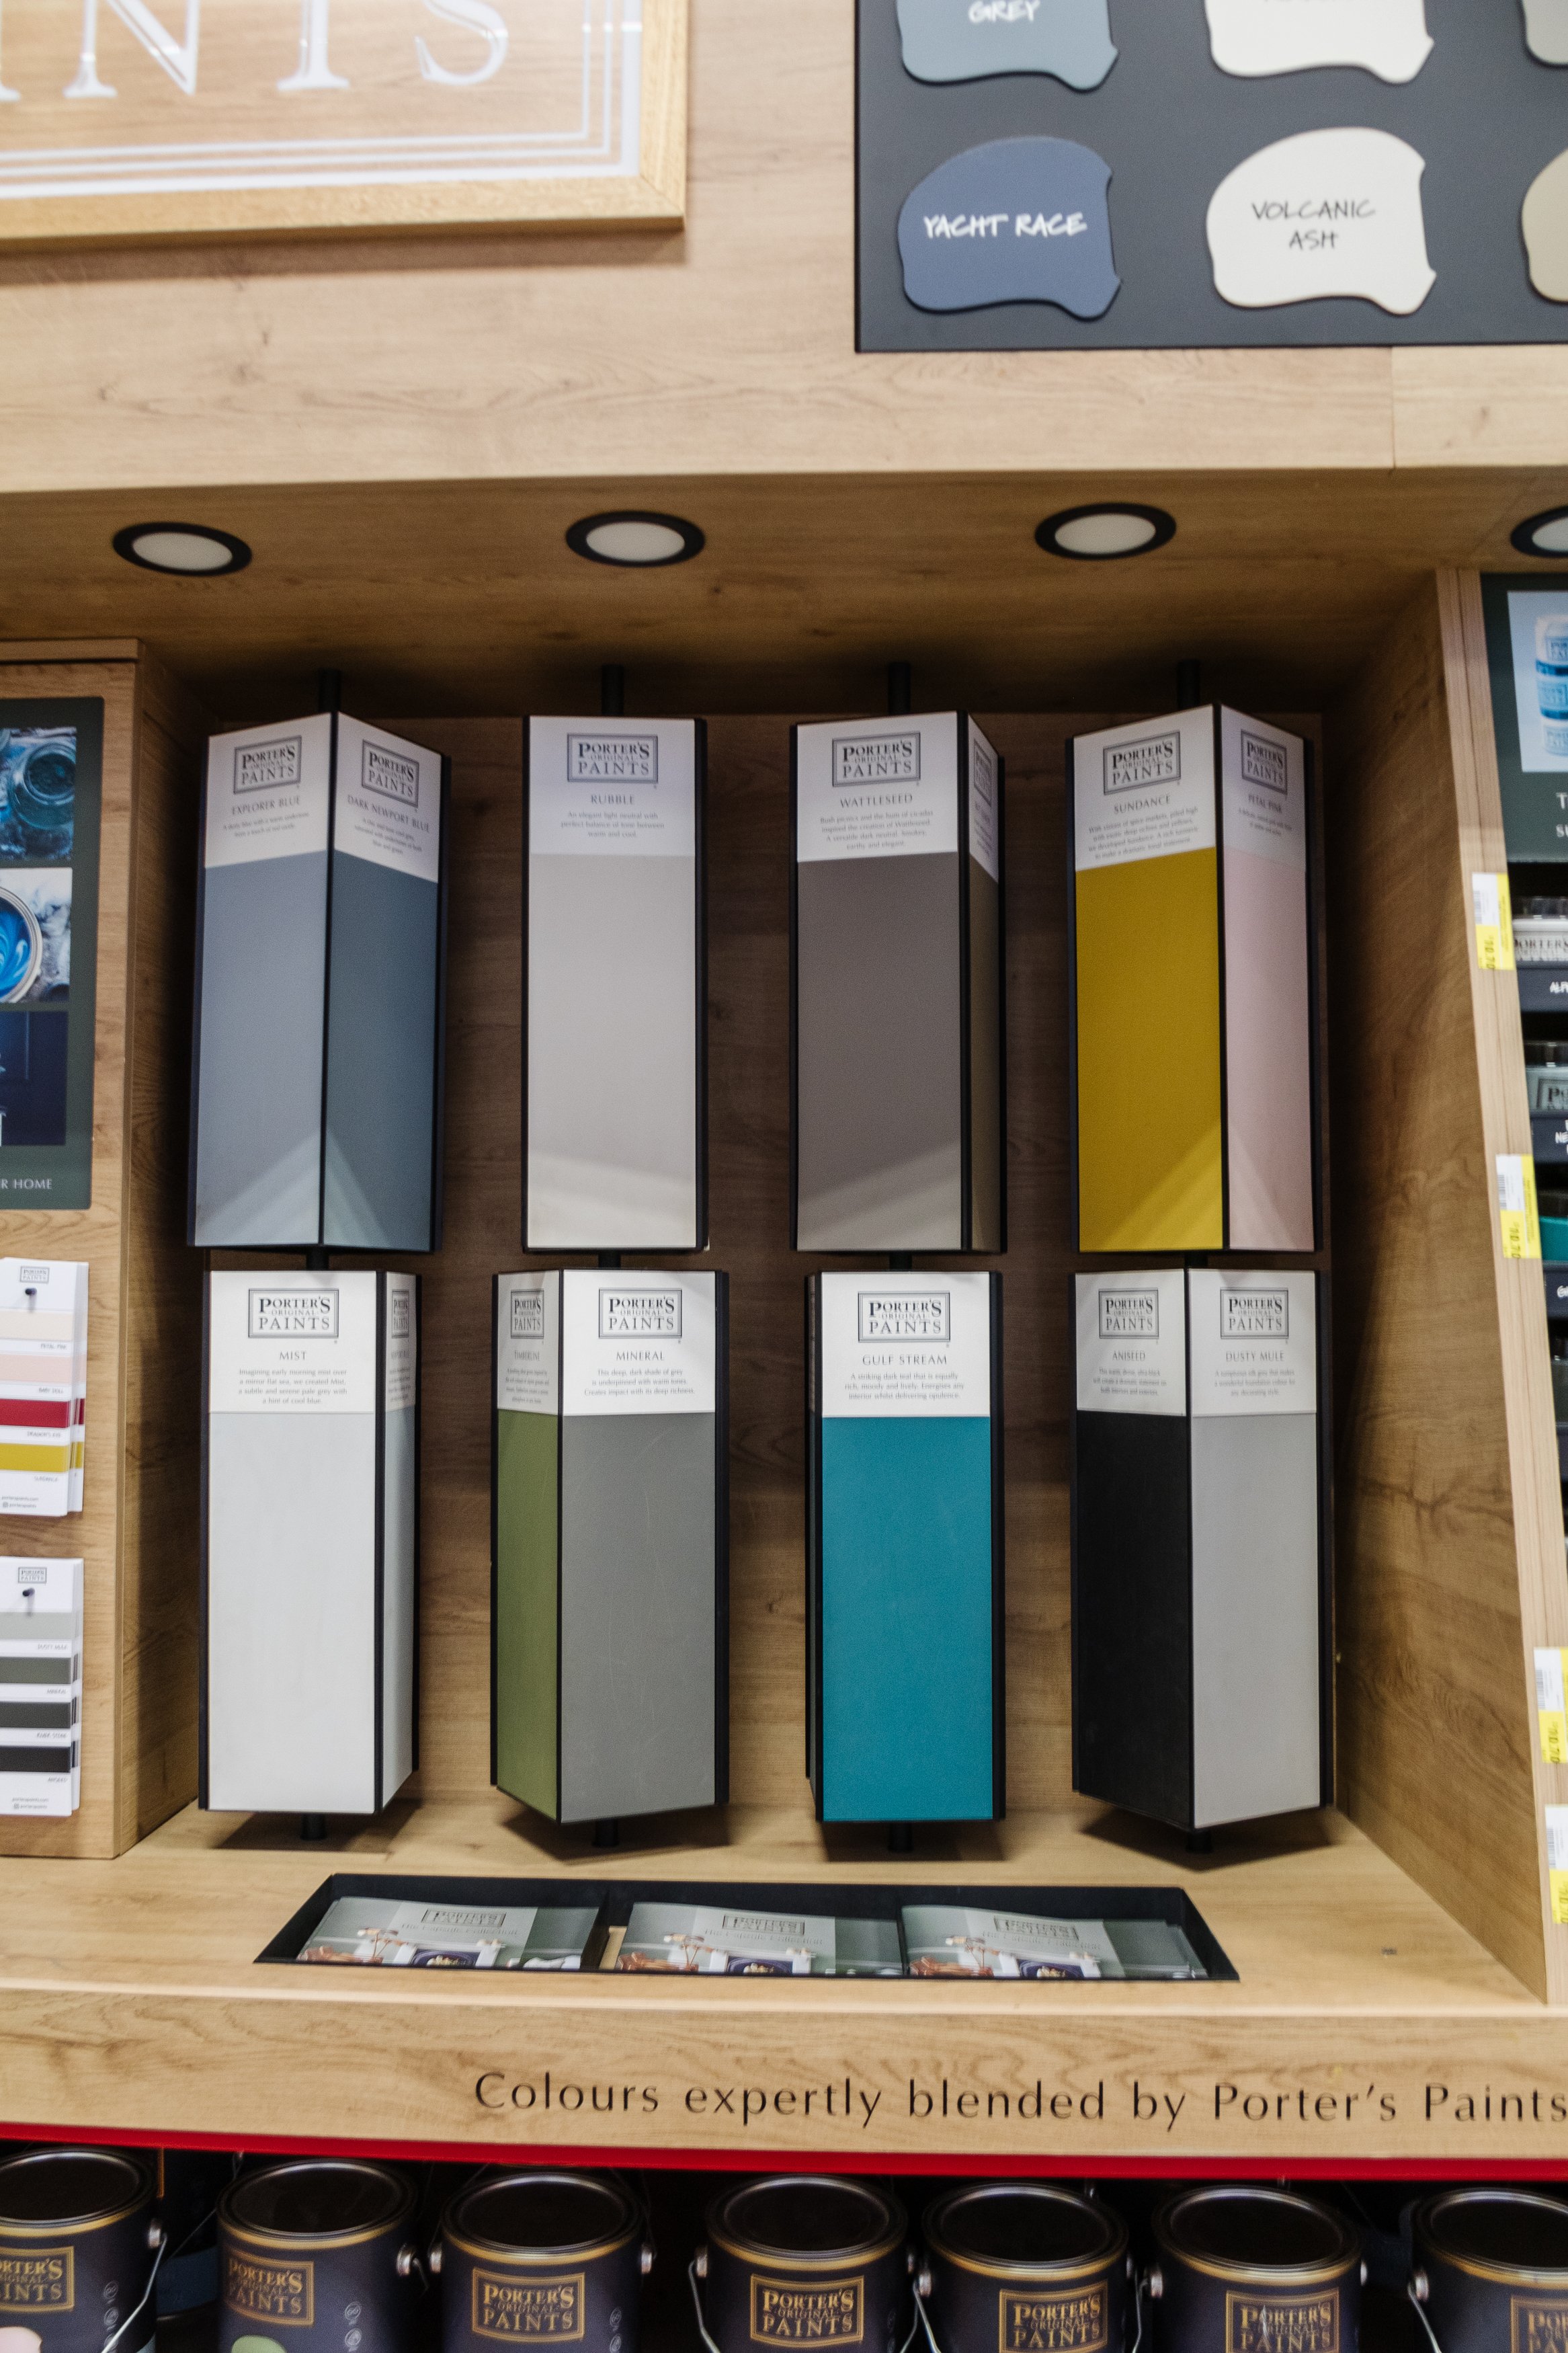
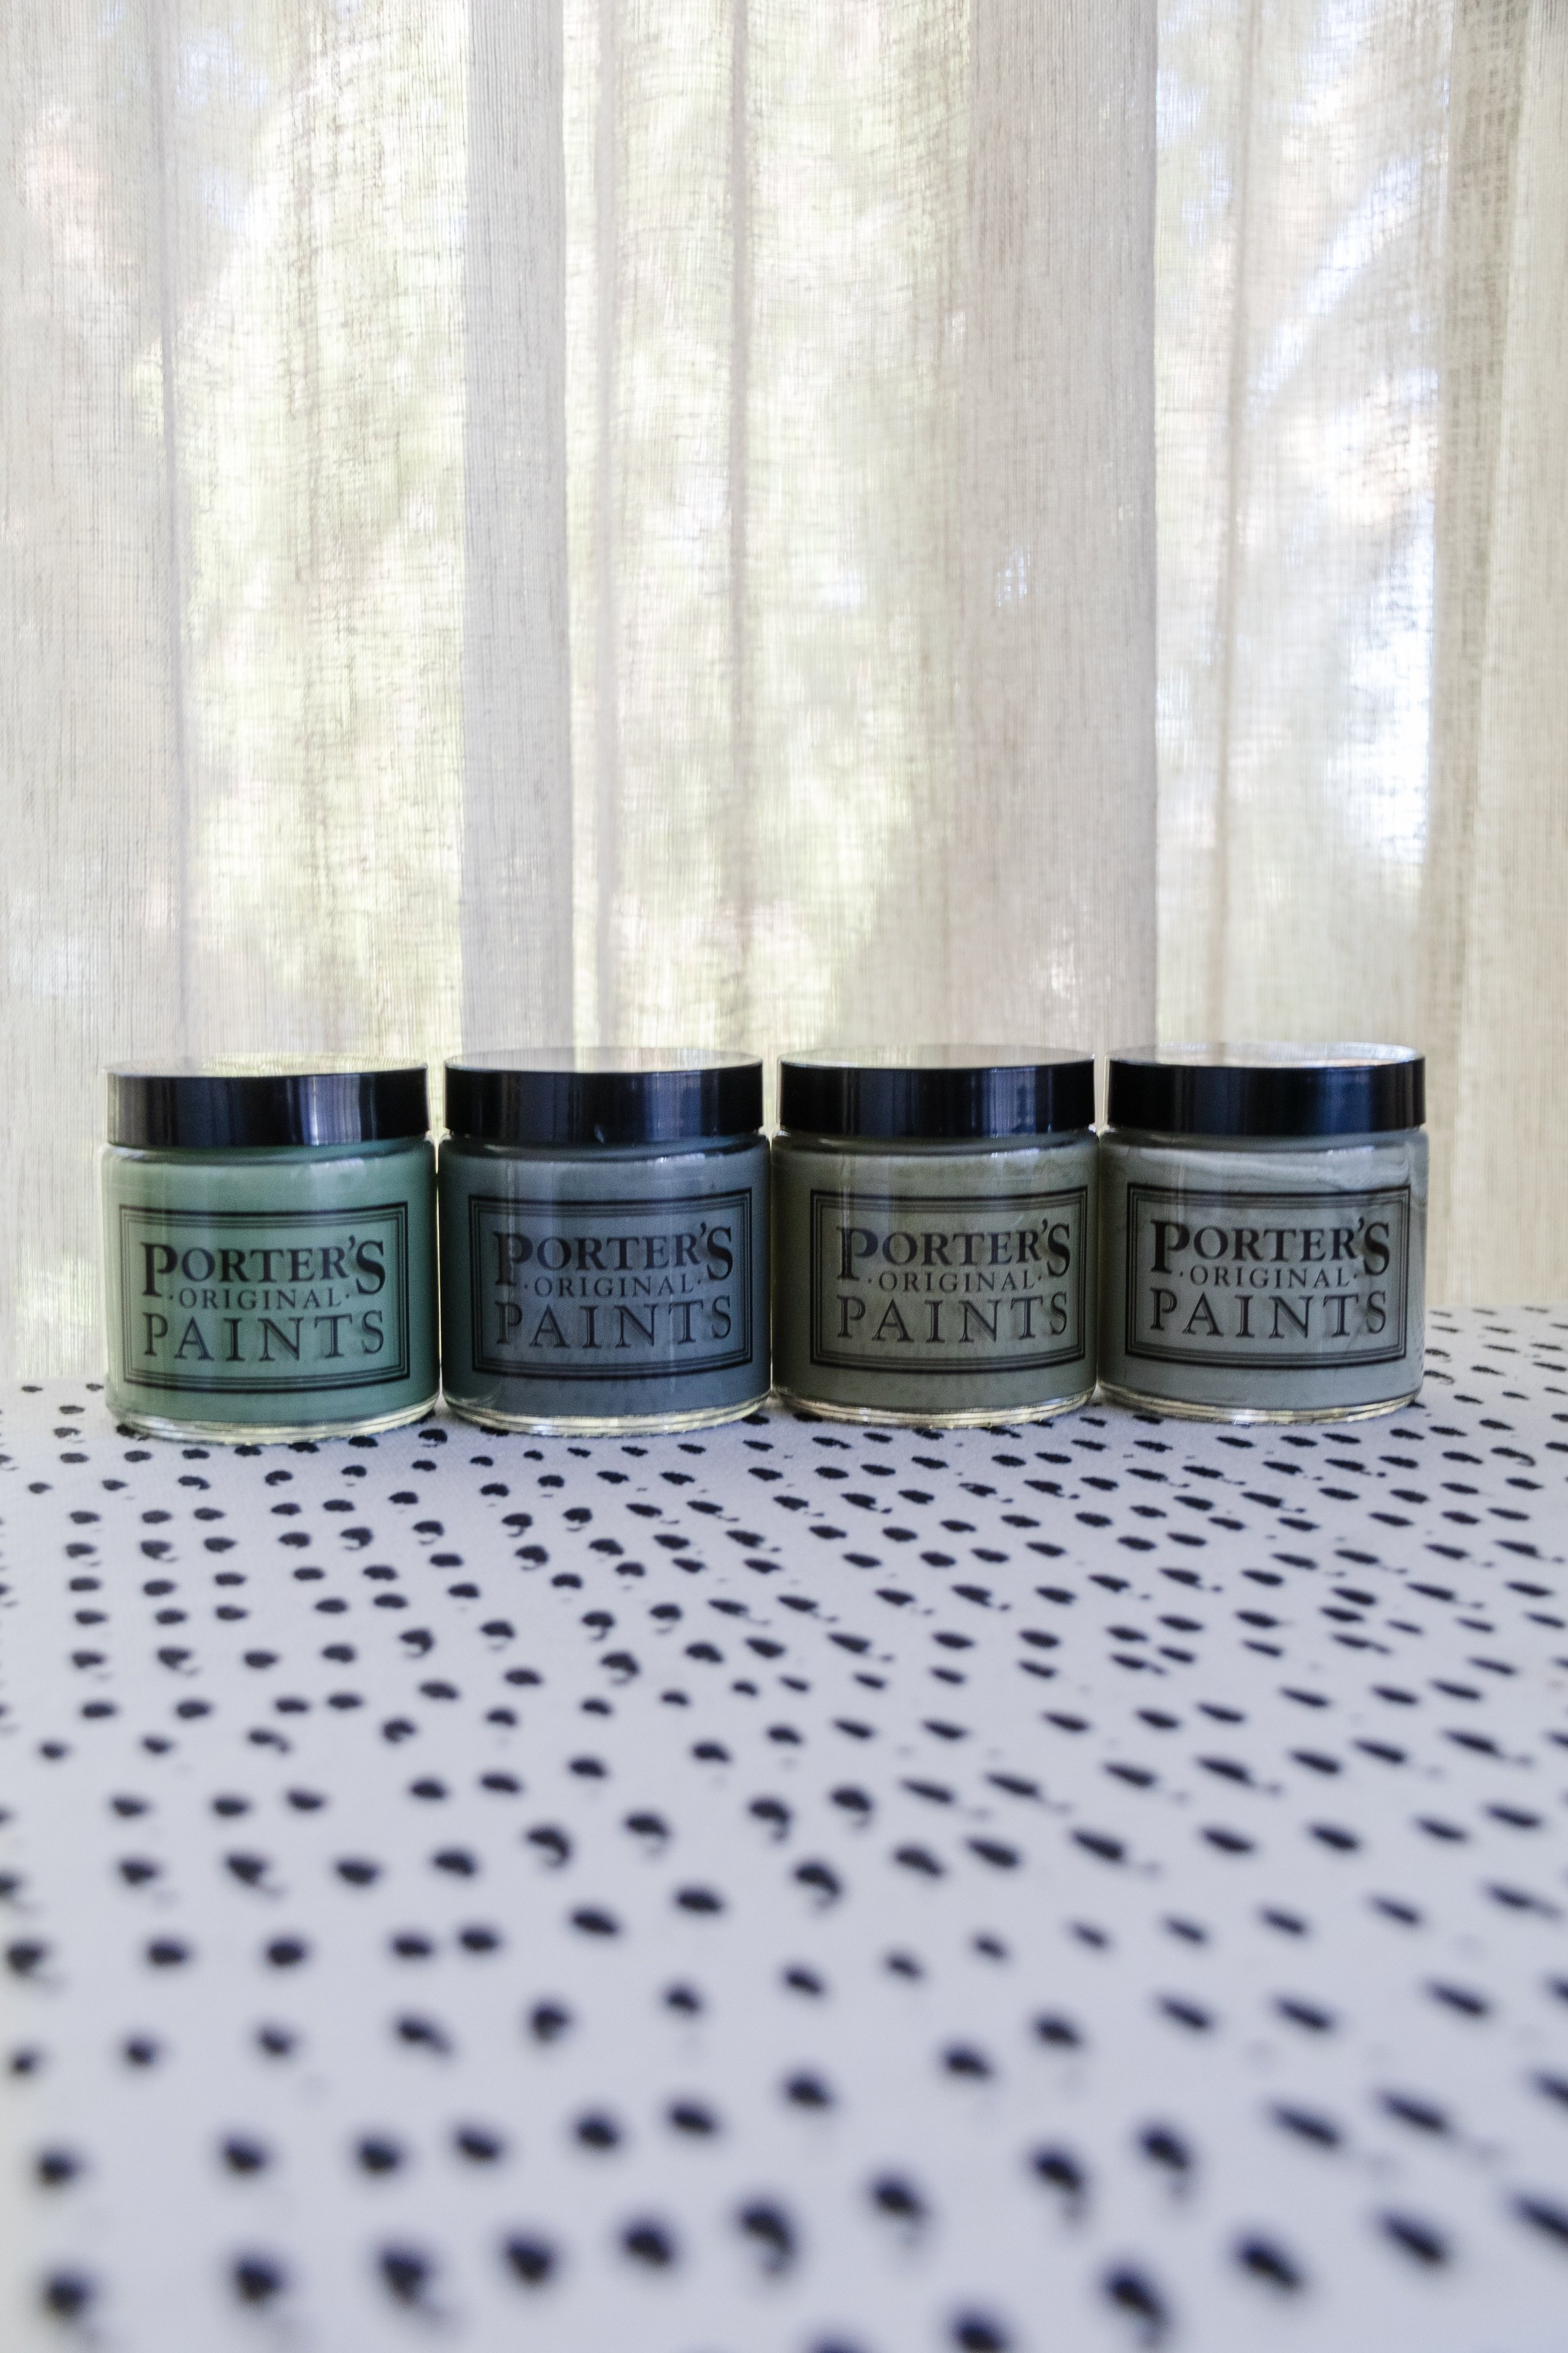
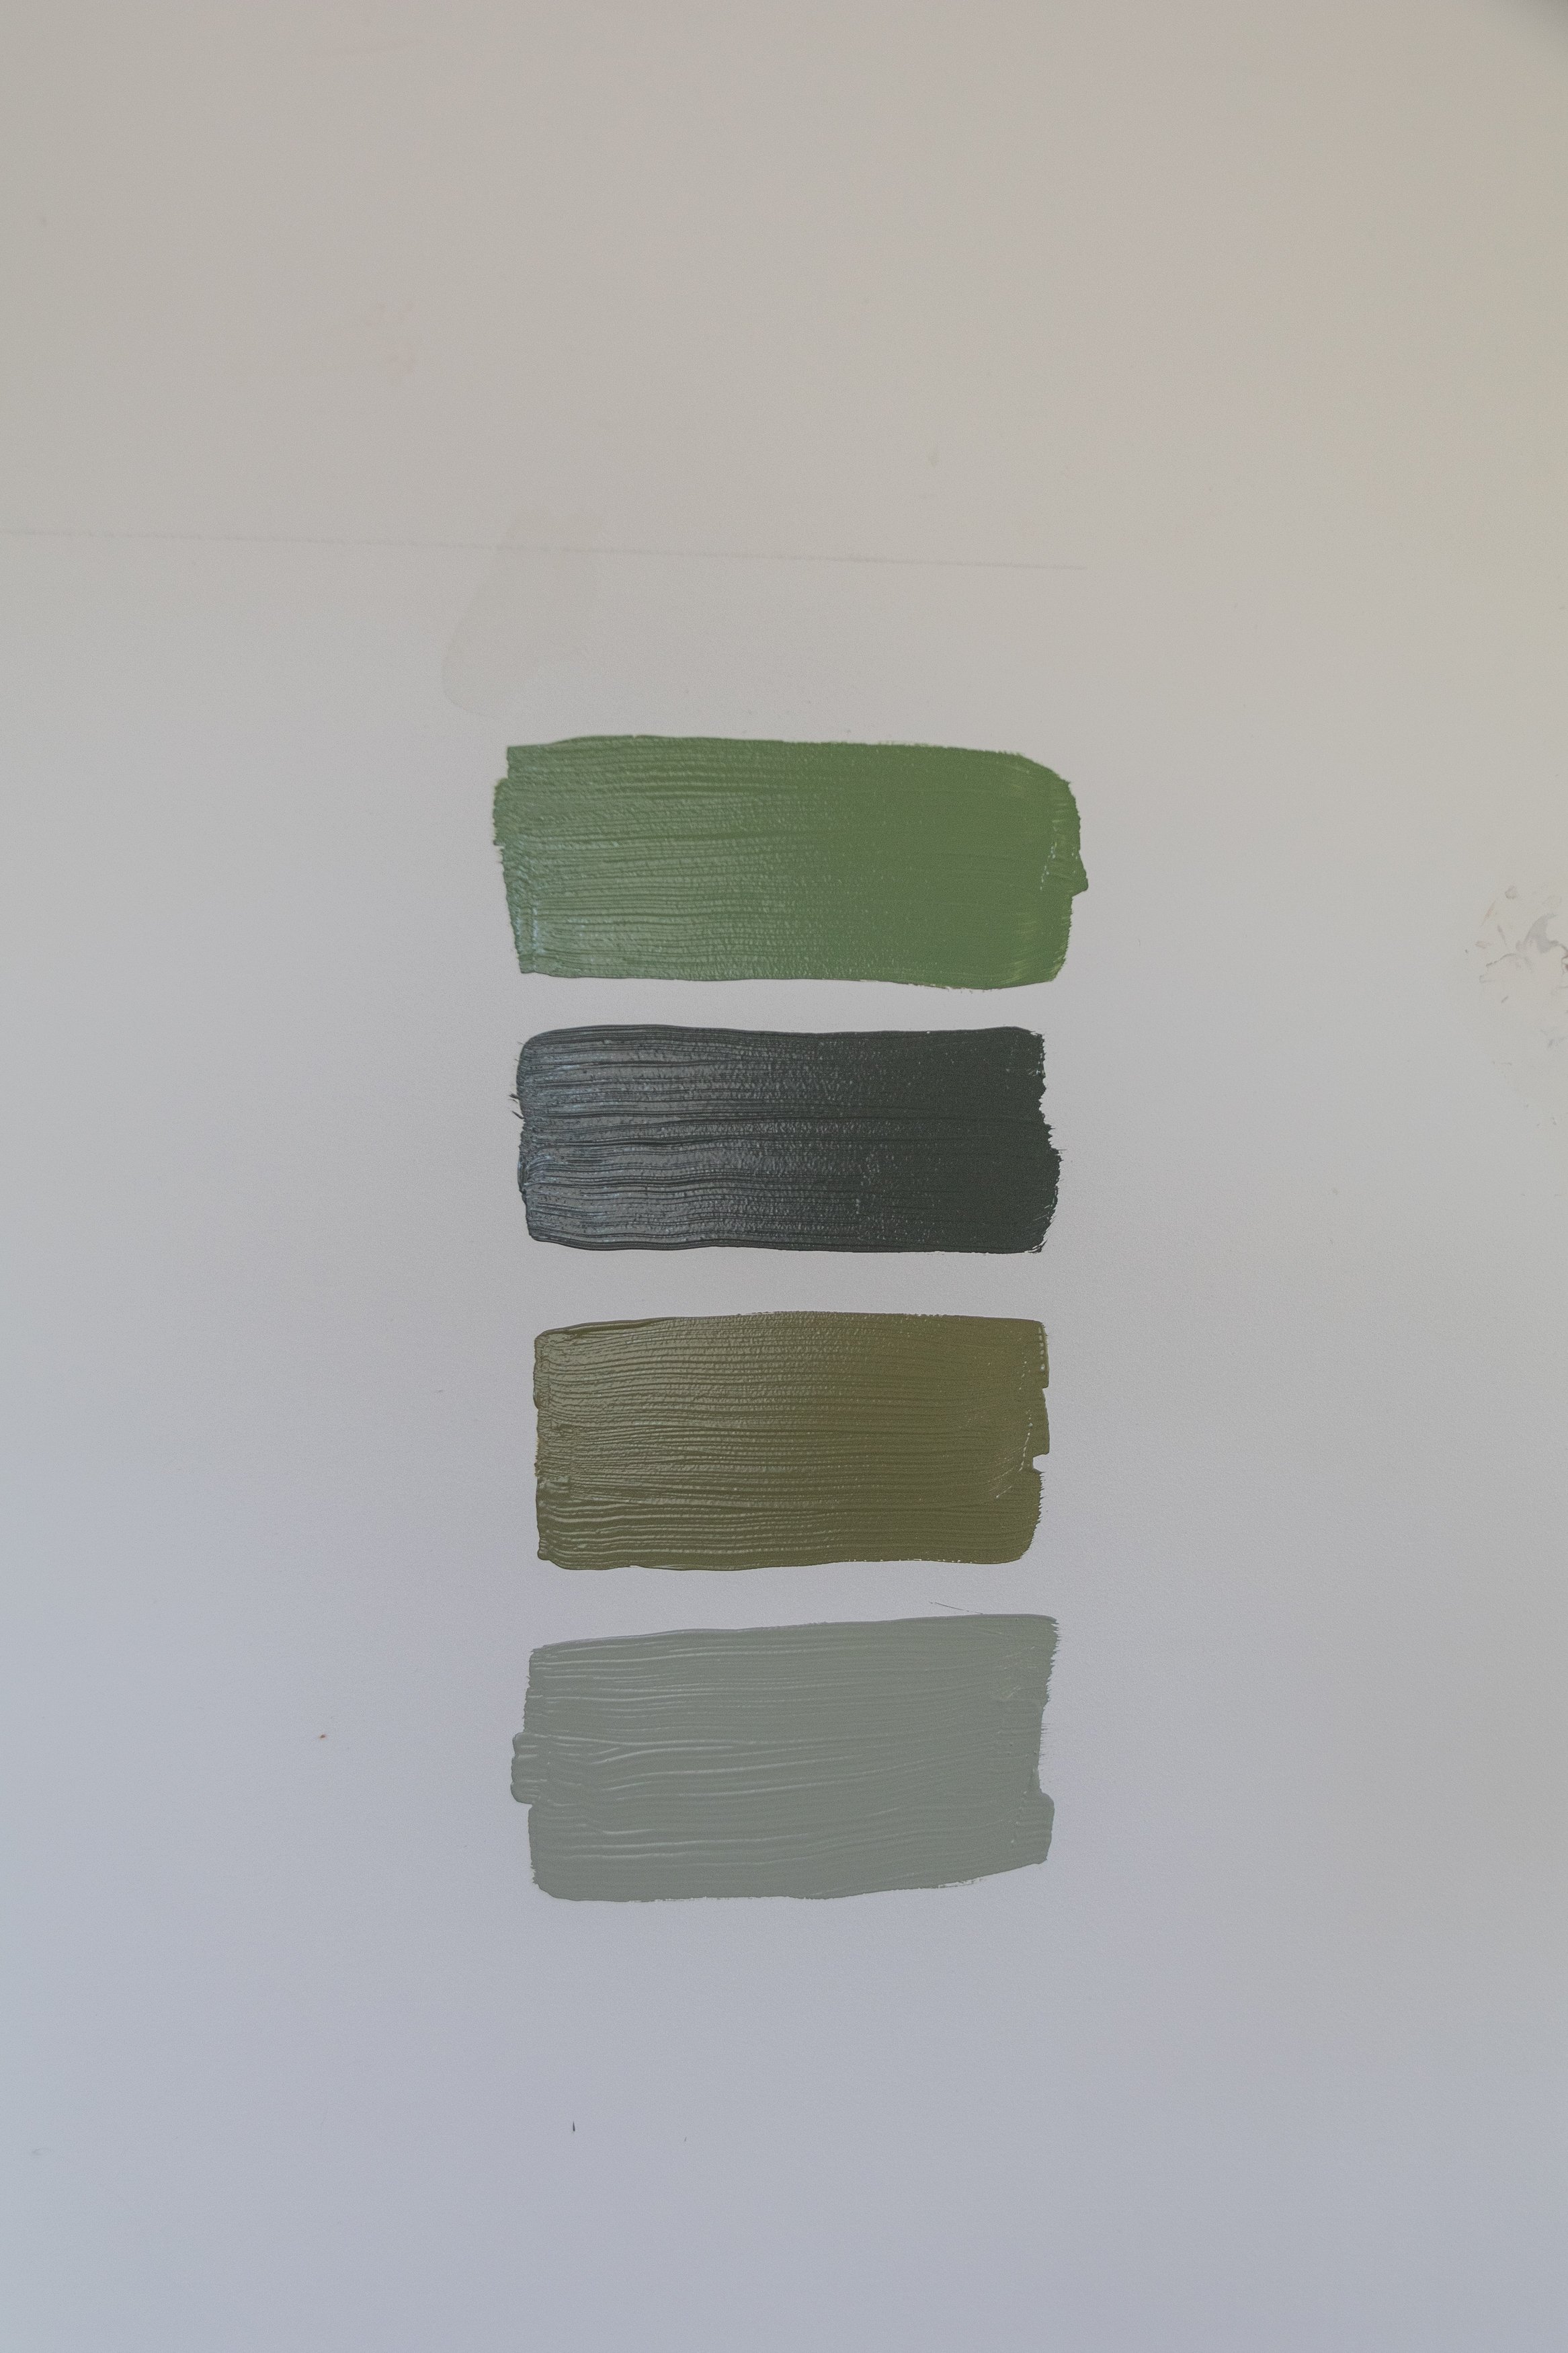
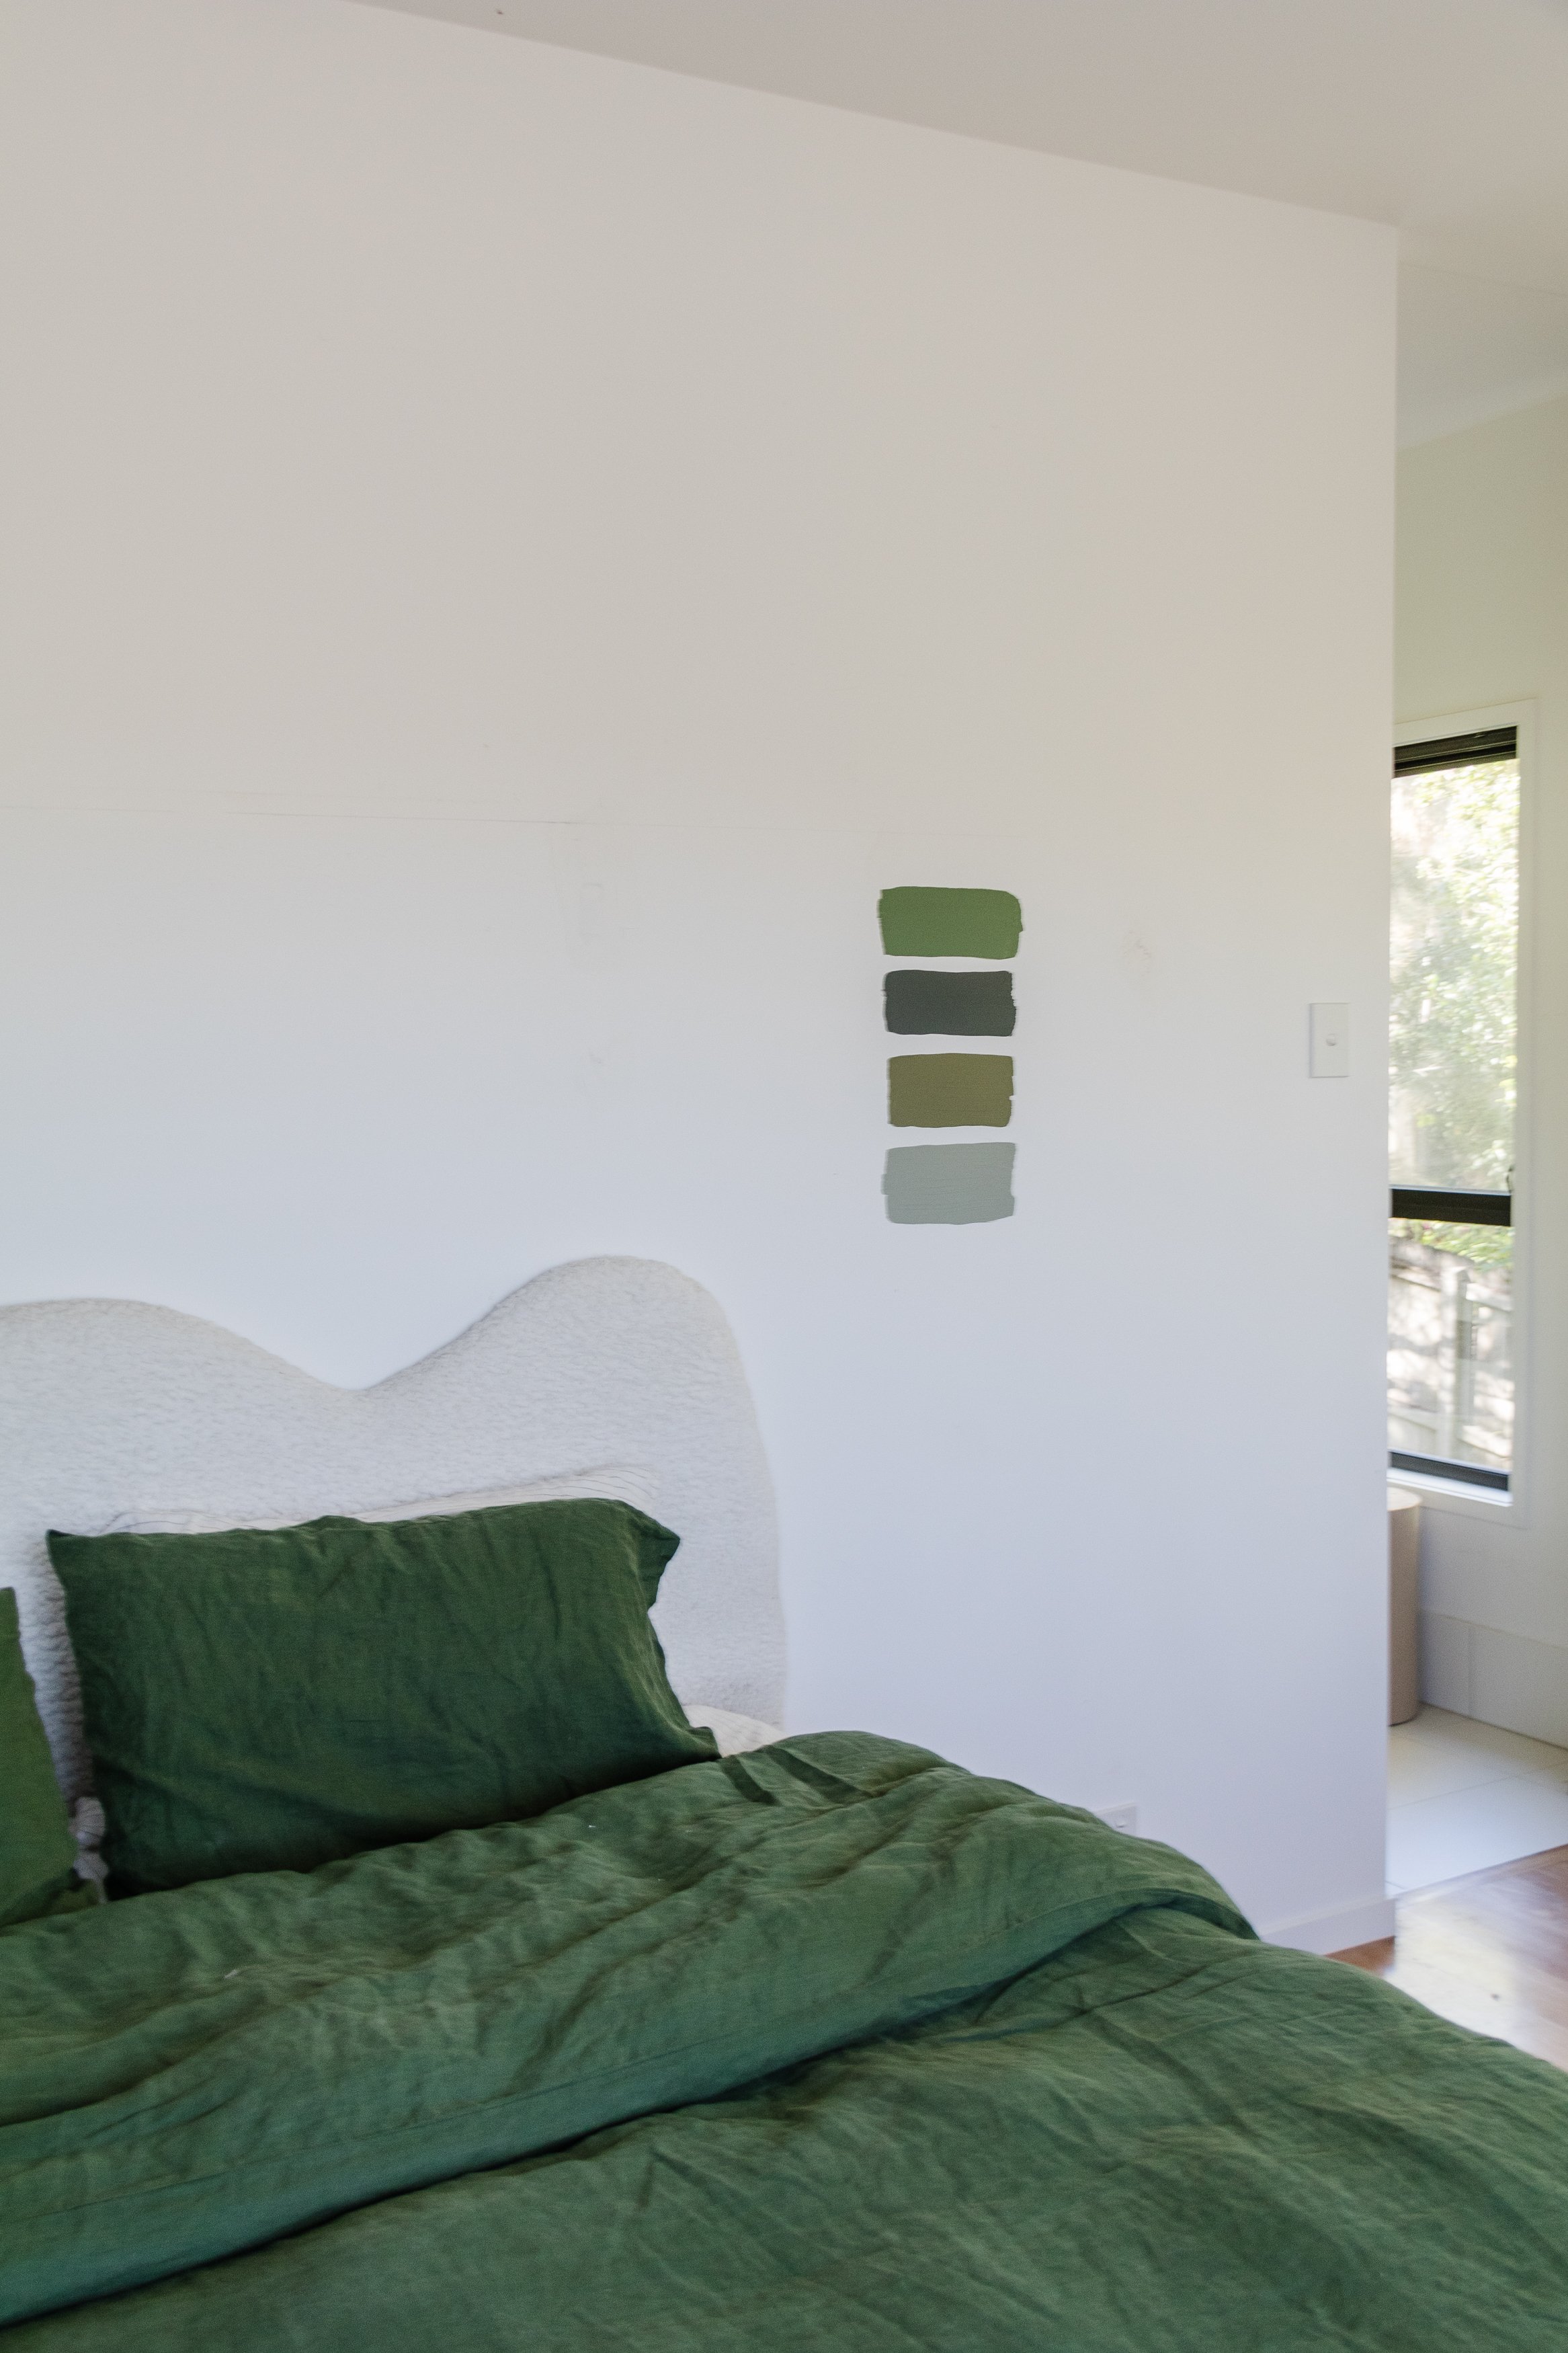
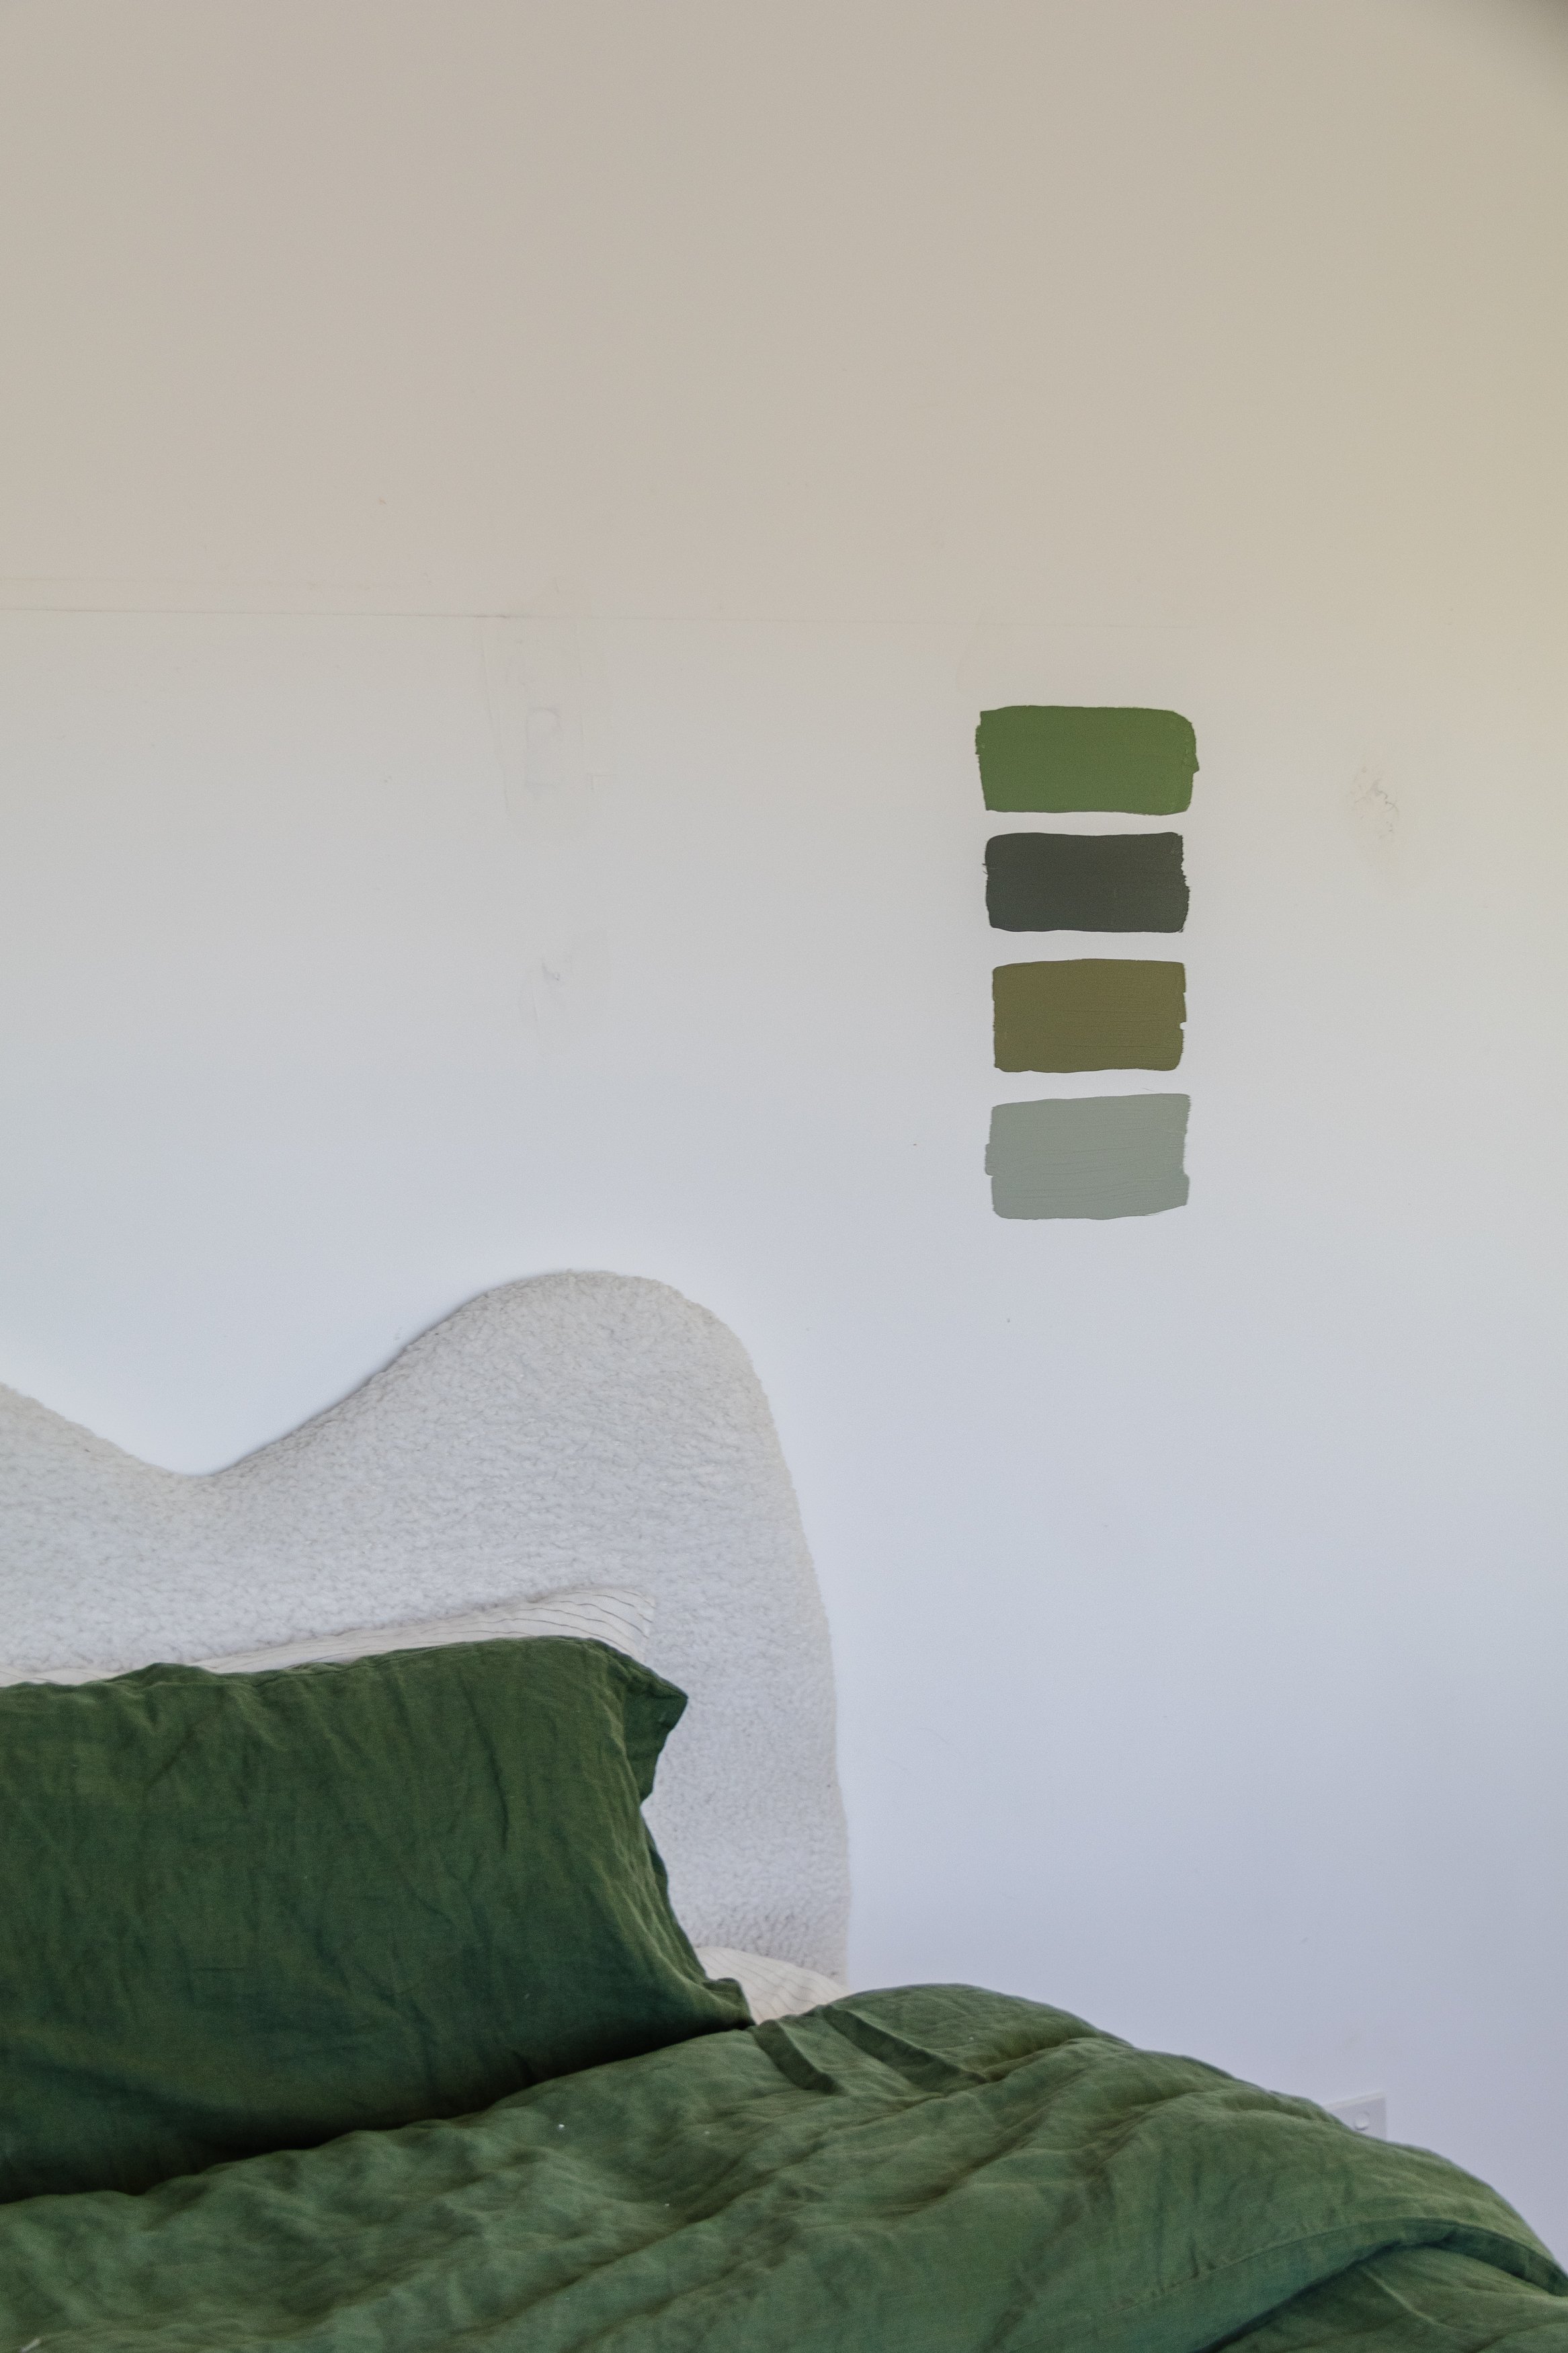
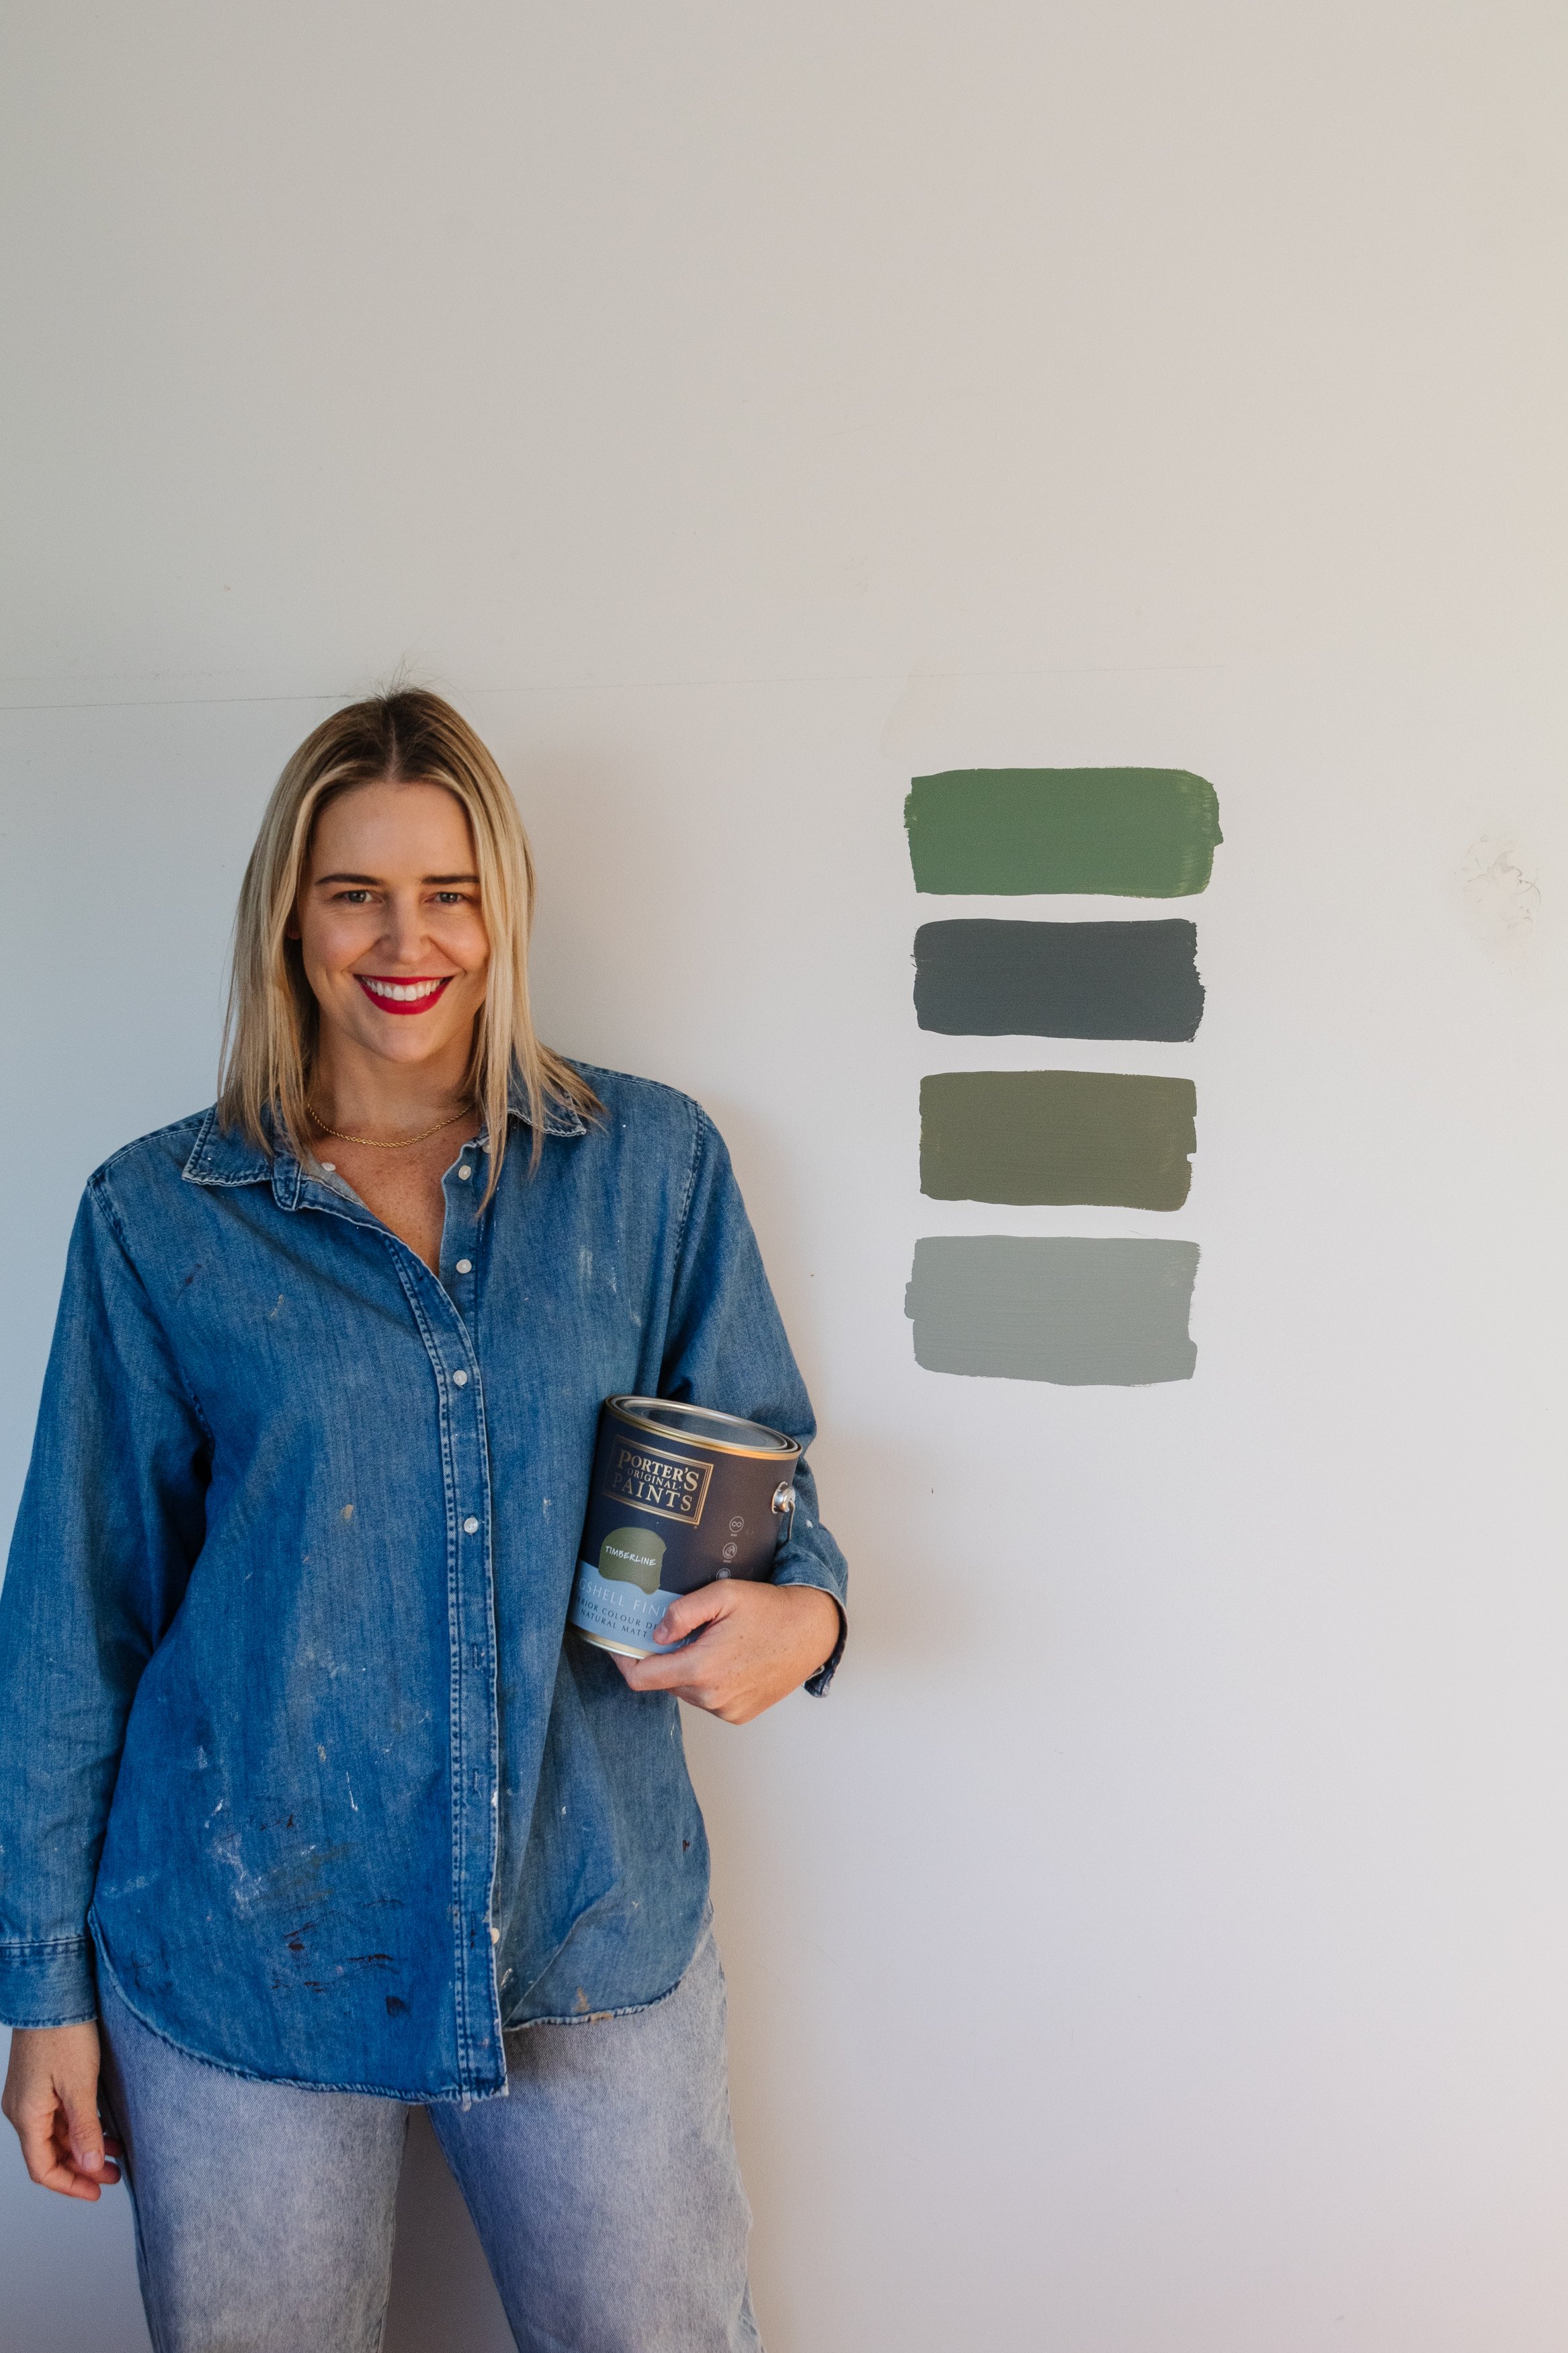
Testing Colours
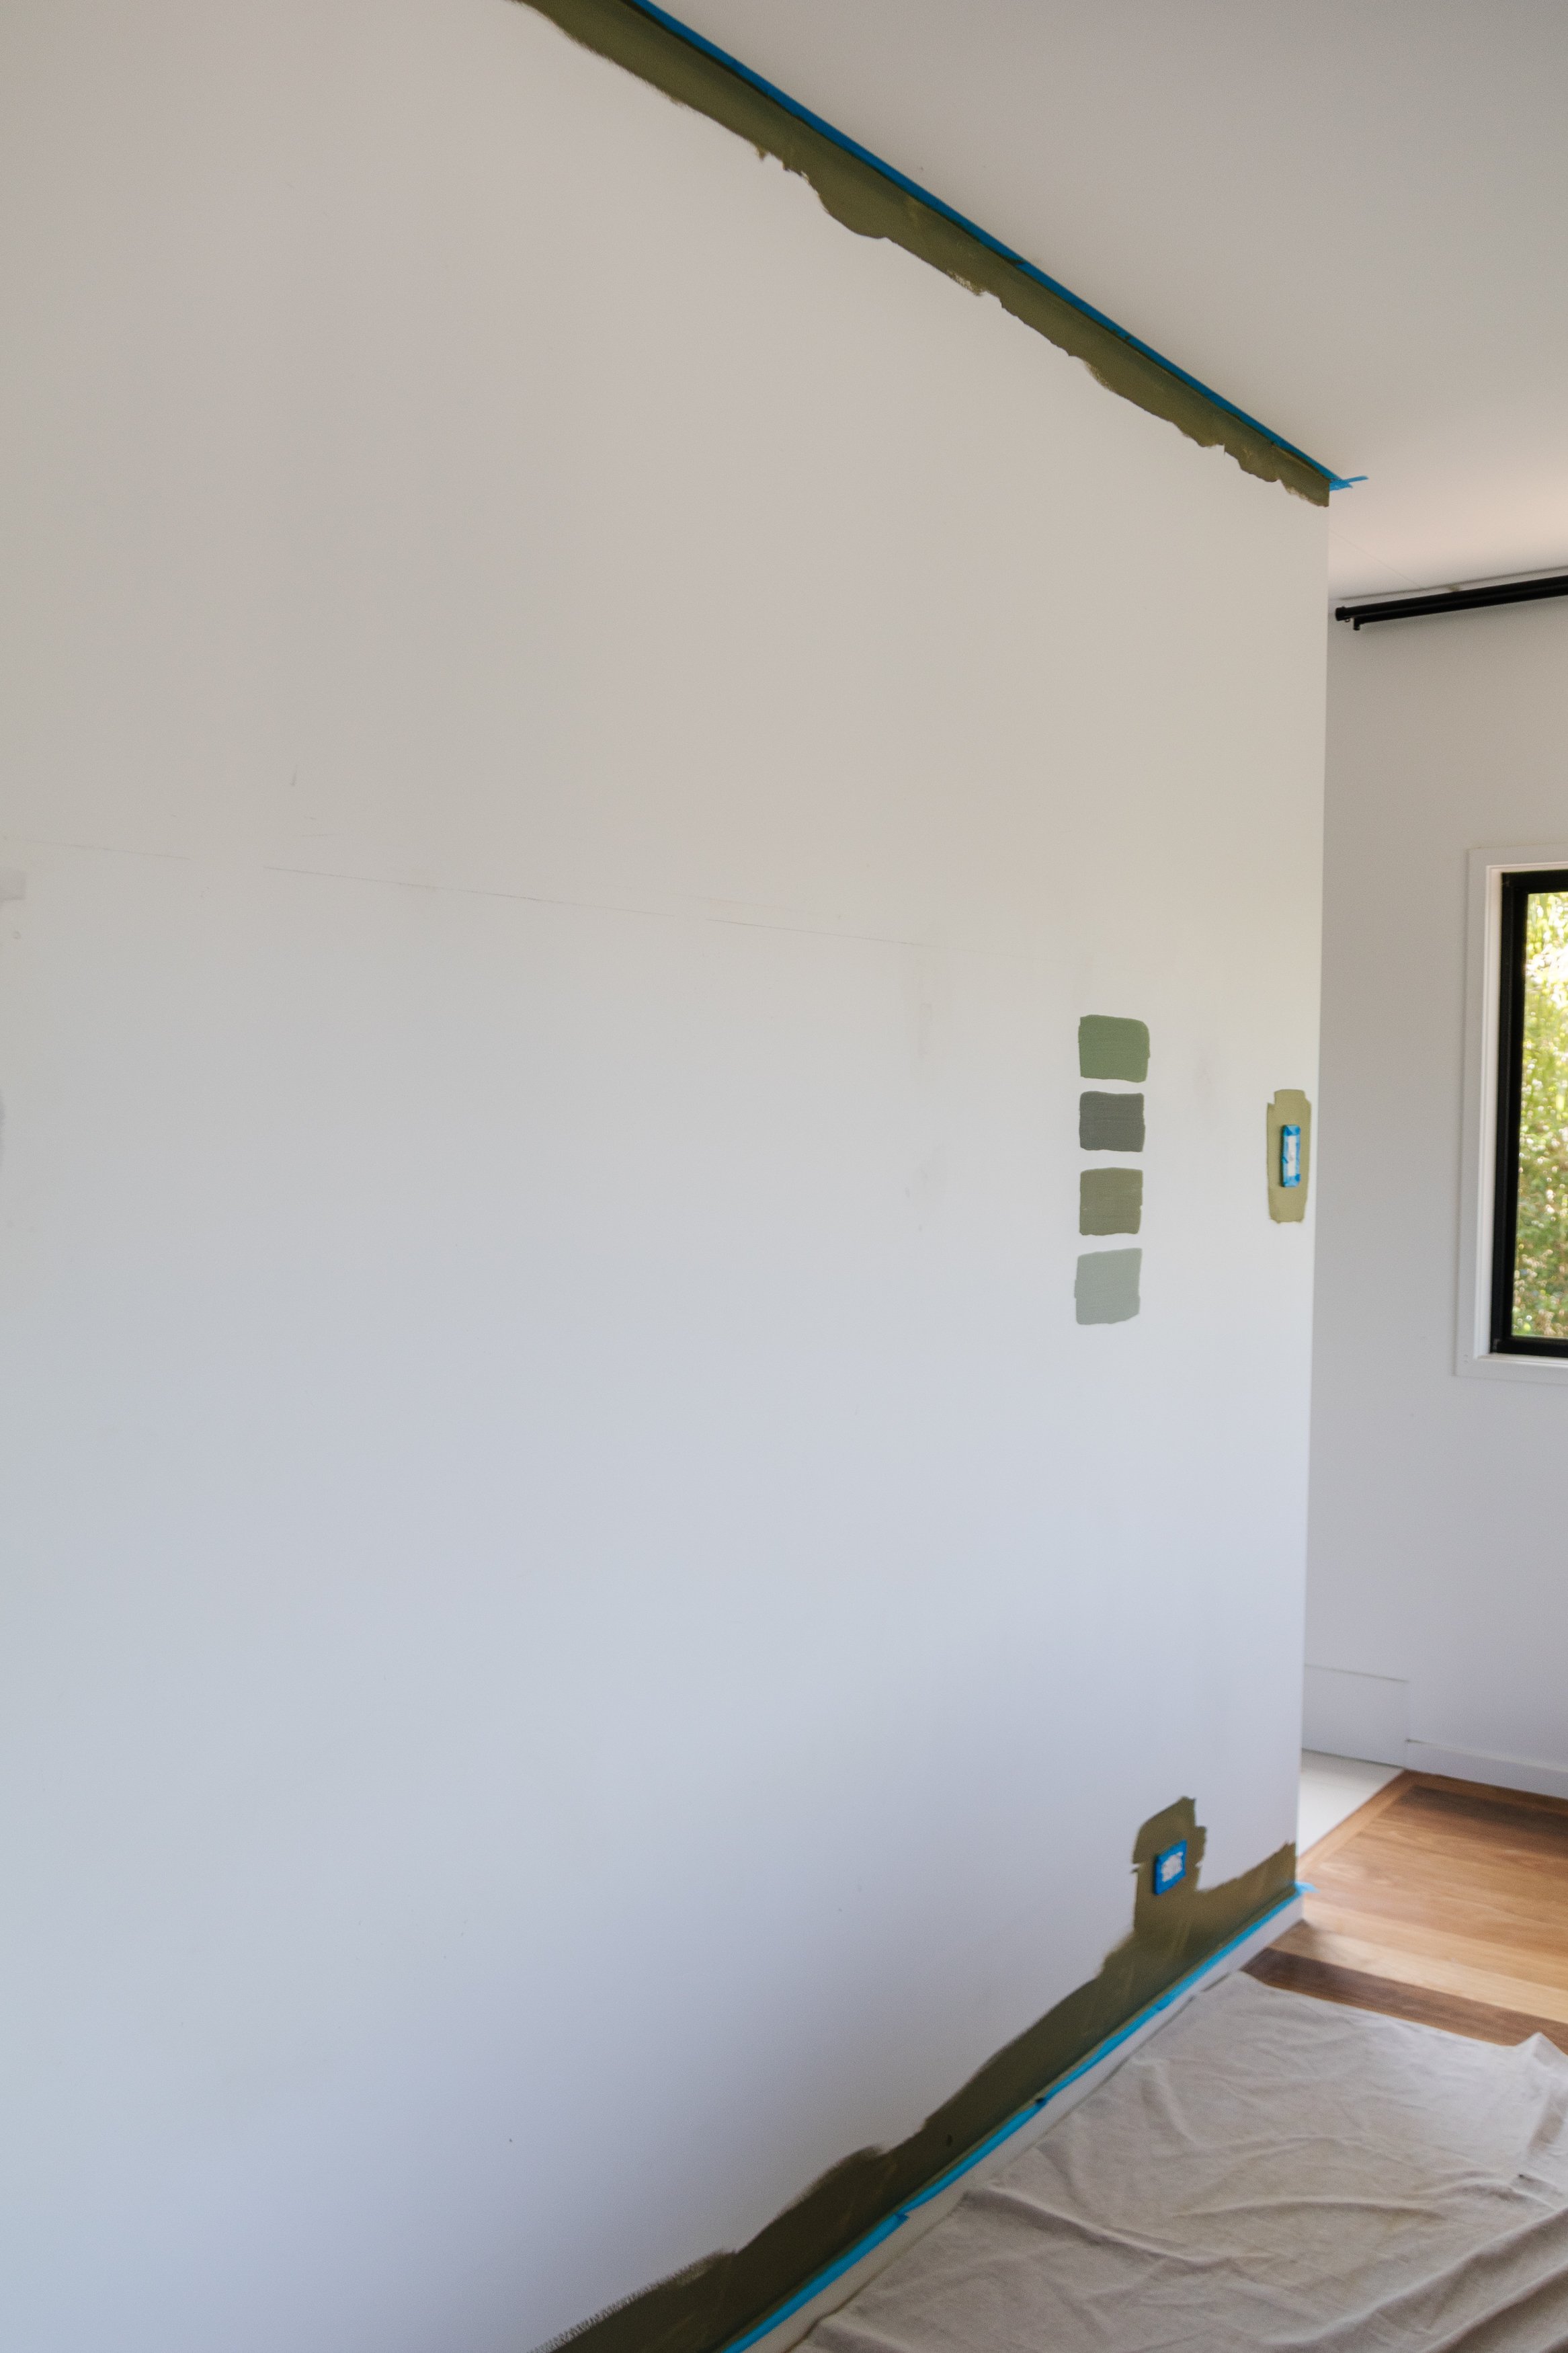
Before we dive into the project, I recommend spending time testing a few different colours in the Porter’s Paints Capsule Collection. I tested 4 different colours on the wall in our bedroom, and waited for the paint to try and to see how the colours transform throughout the day. By doing this, you’re able to see how the paint interacts with sunlight and at different times of the day, which will ensure you choose the best colour for your space and personal style. The colours I tested were:
Bayleaf: A warm green with earthy undertones.
Highlands: A stronger deeper muted grey green, with undertones of amber and olive.
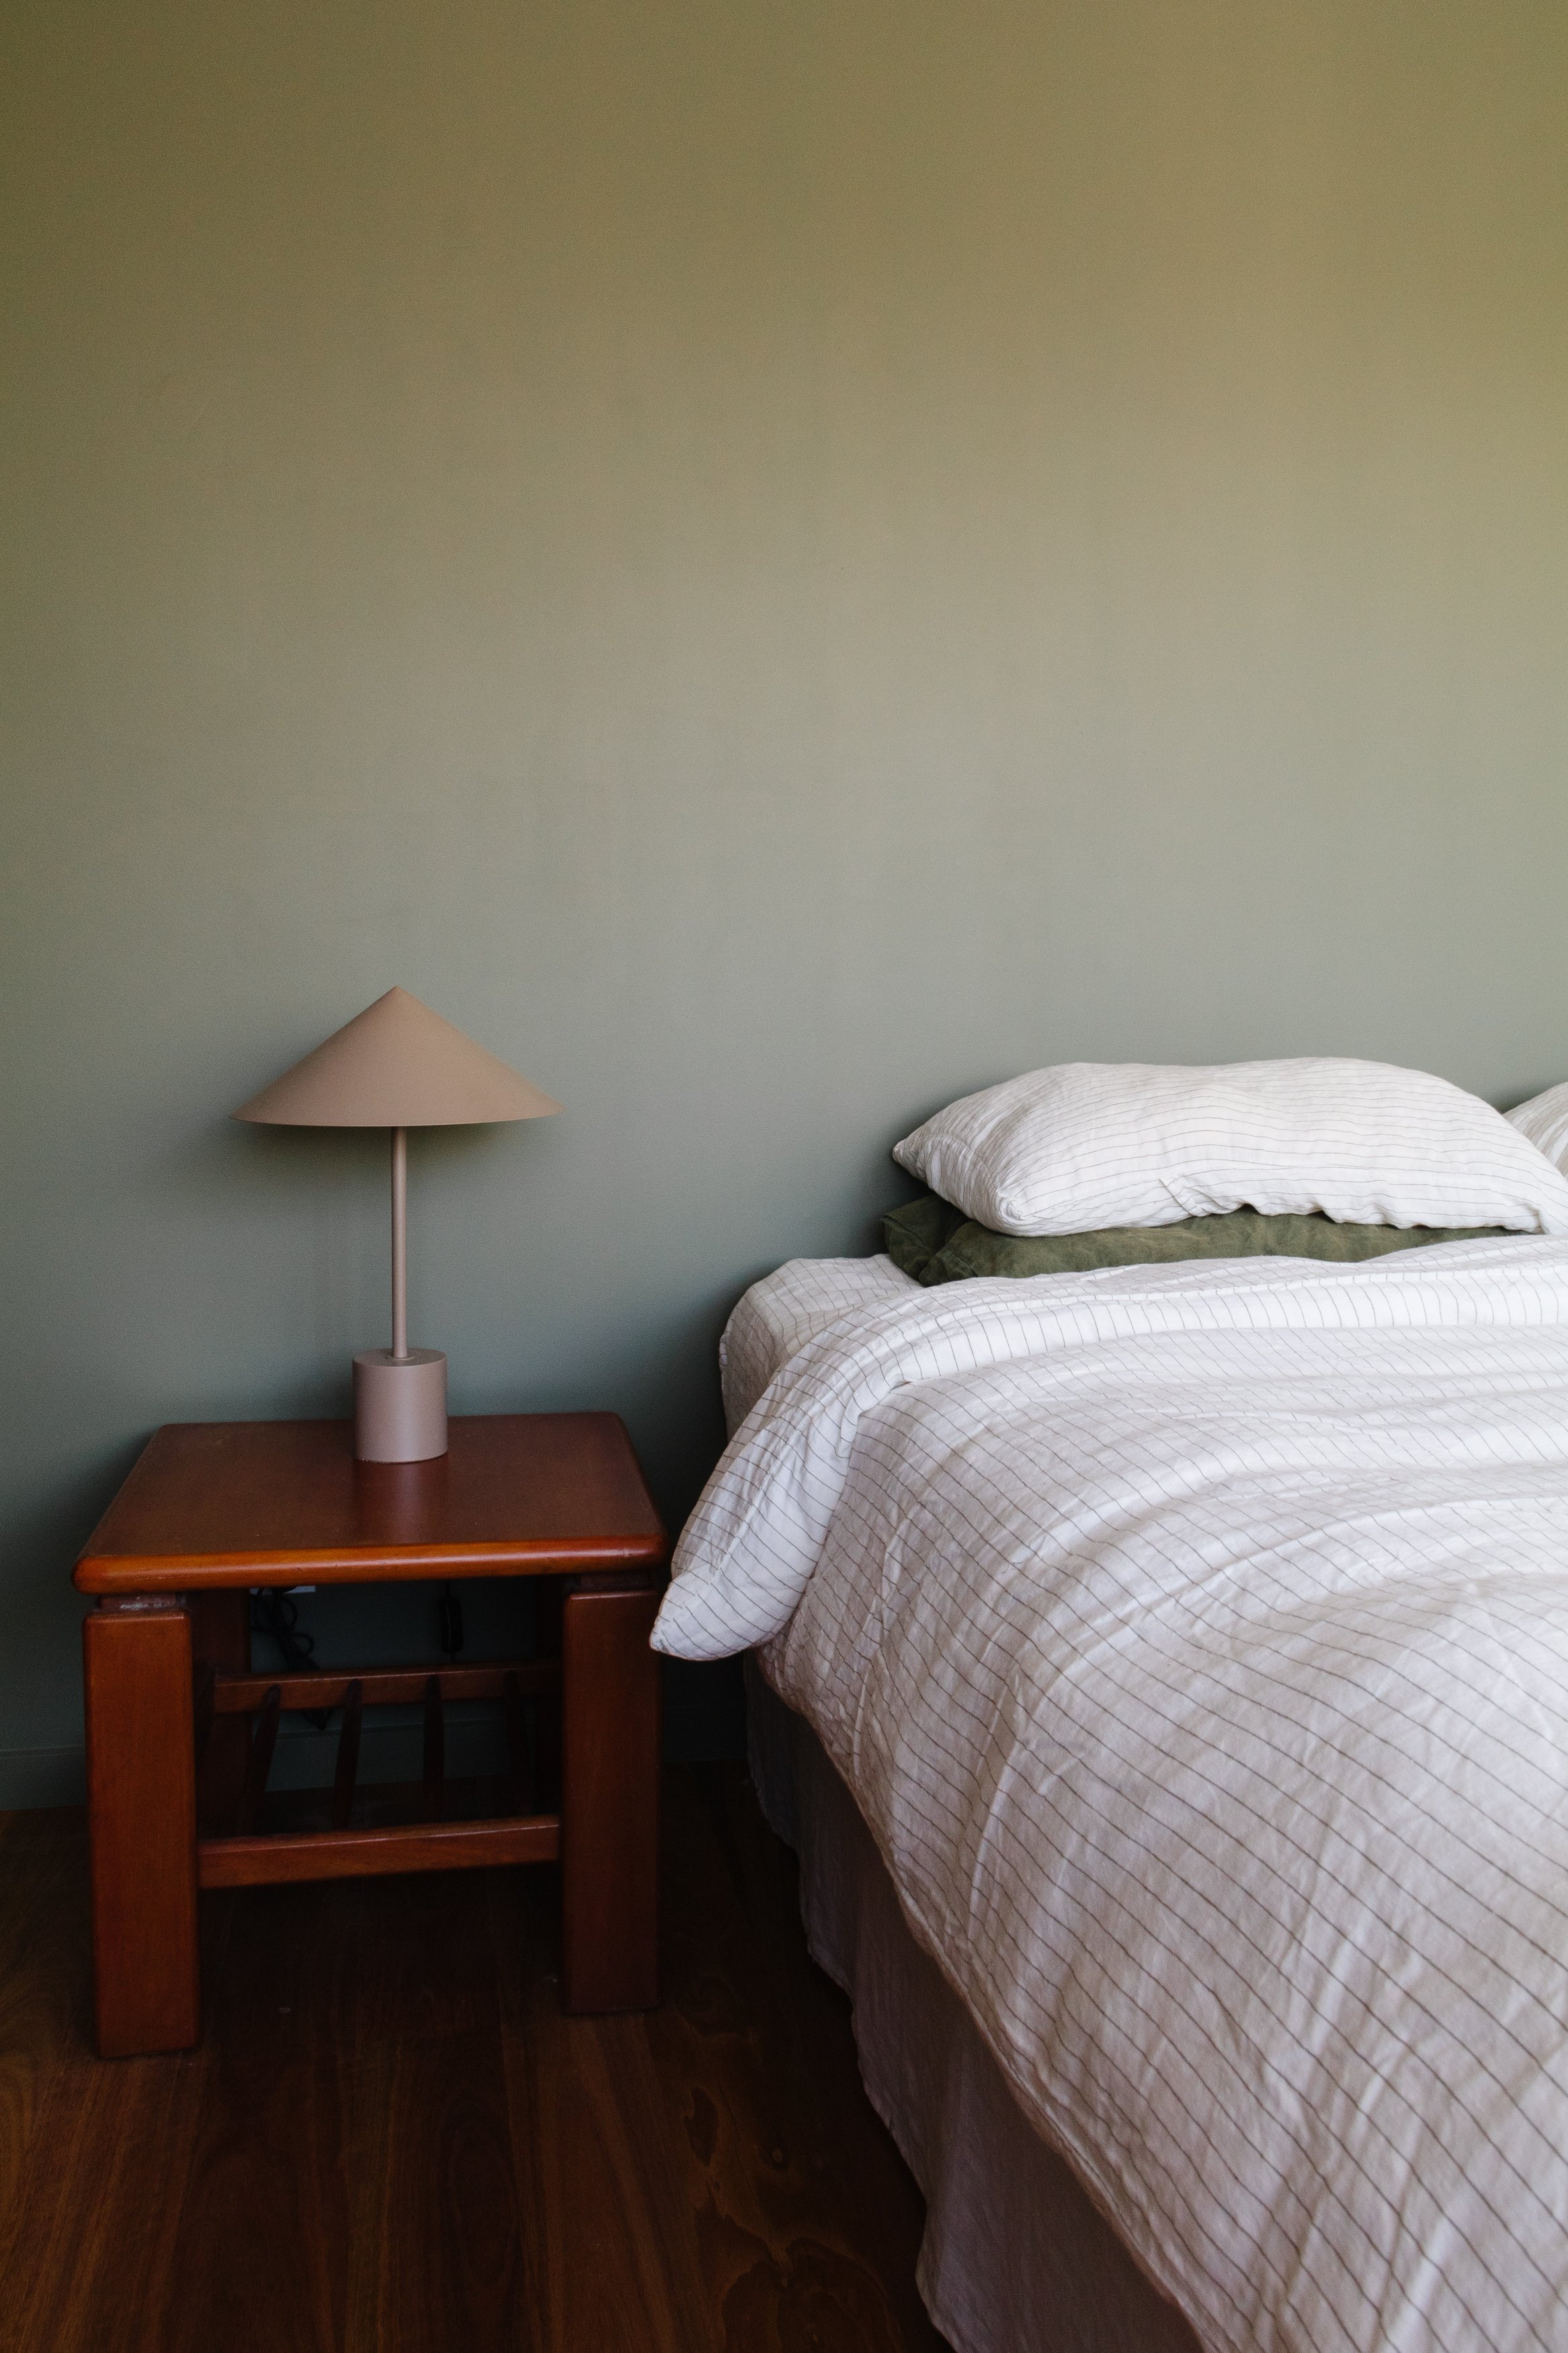
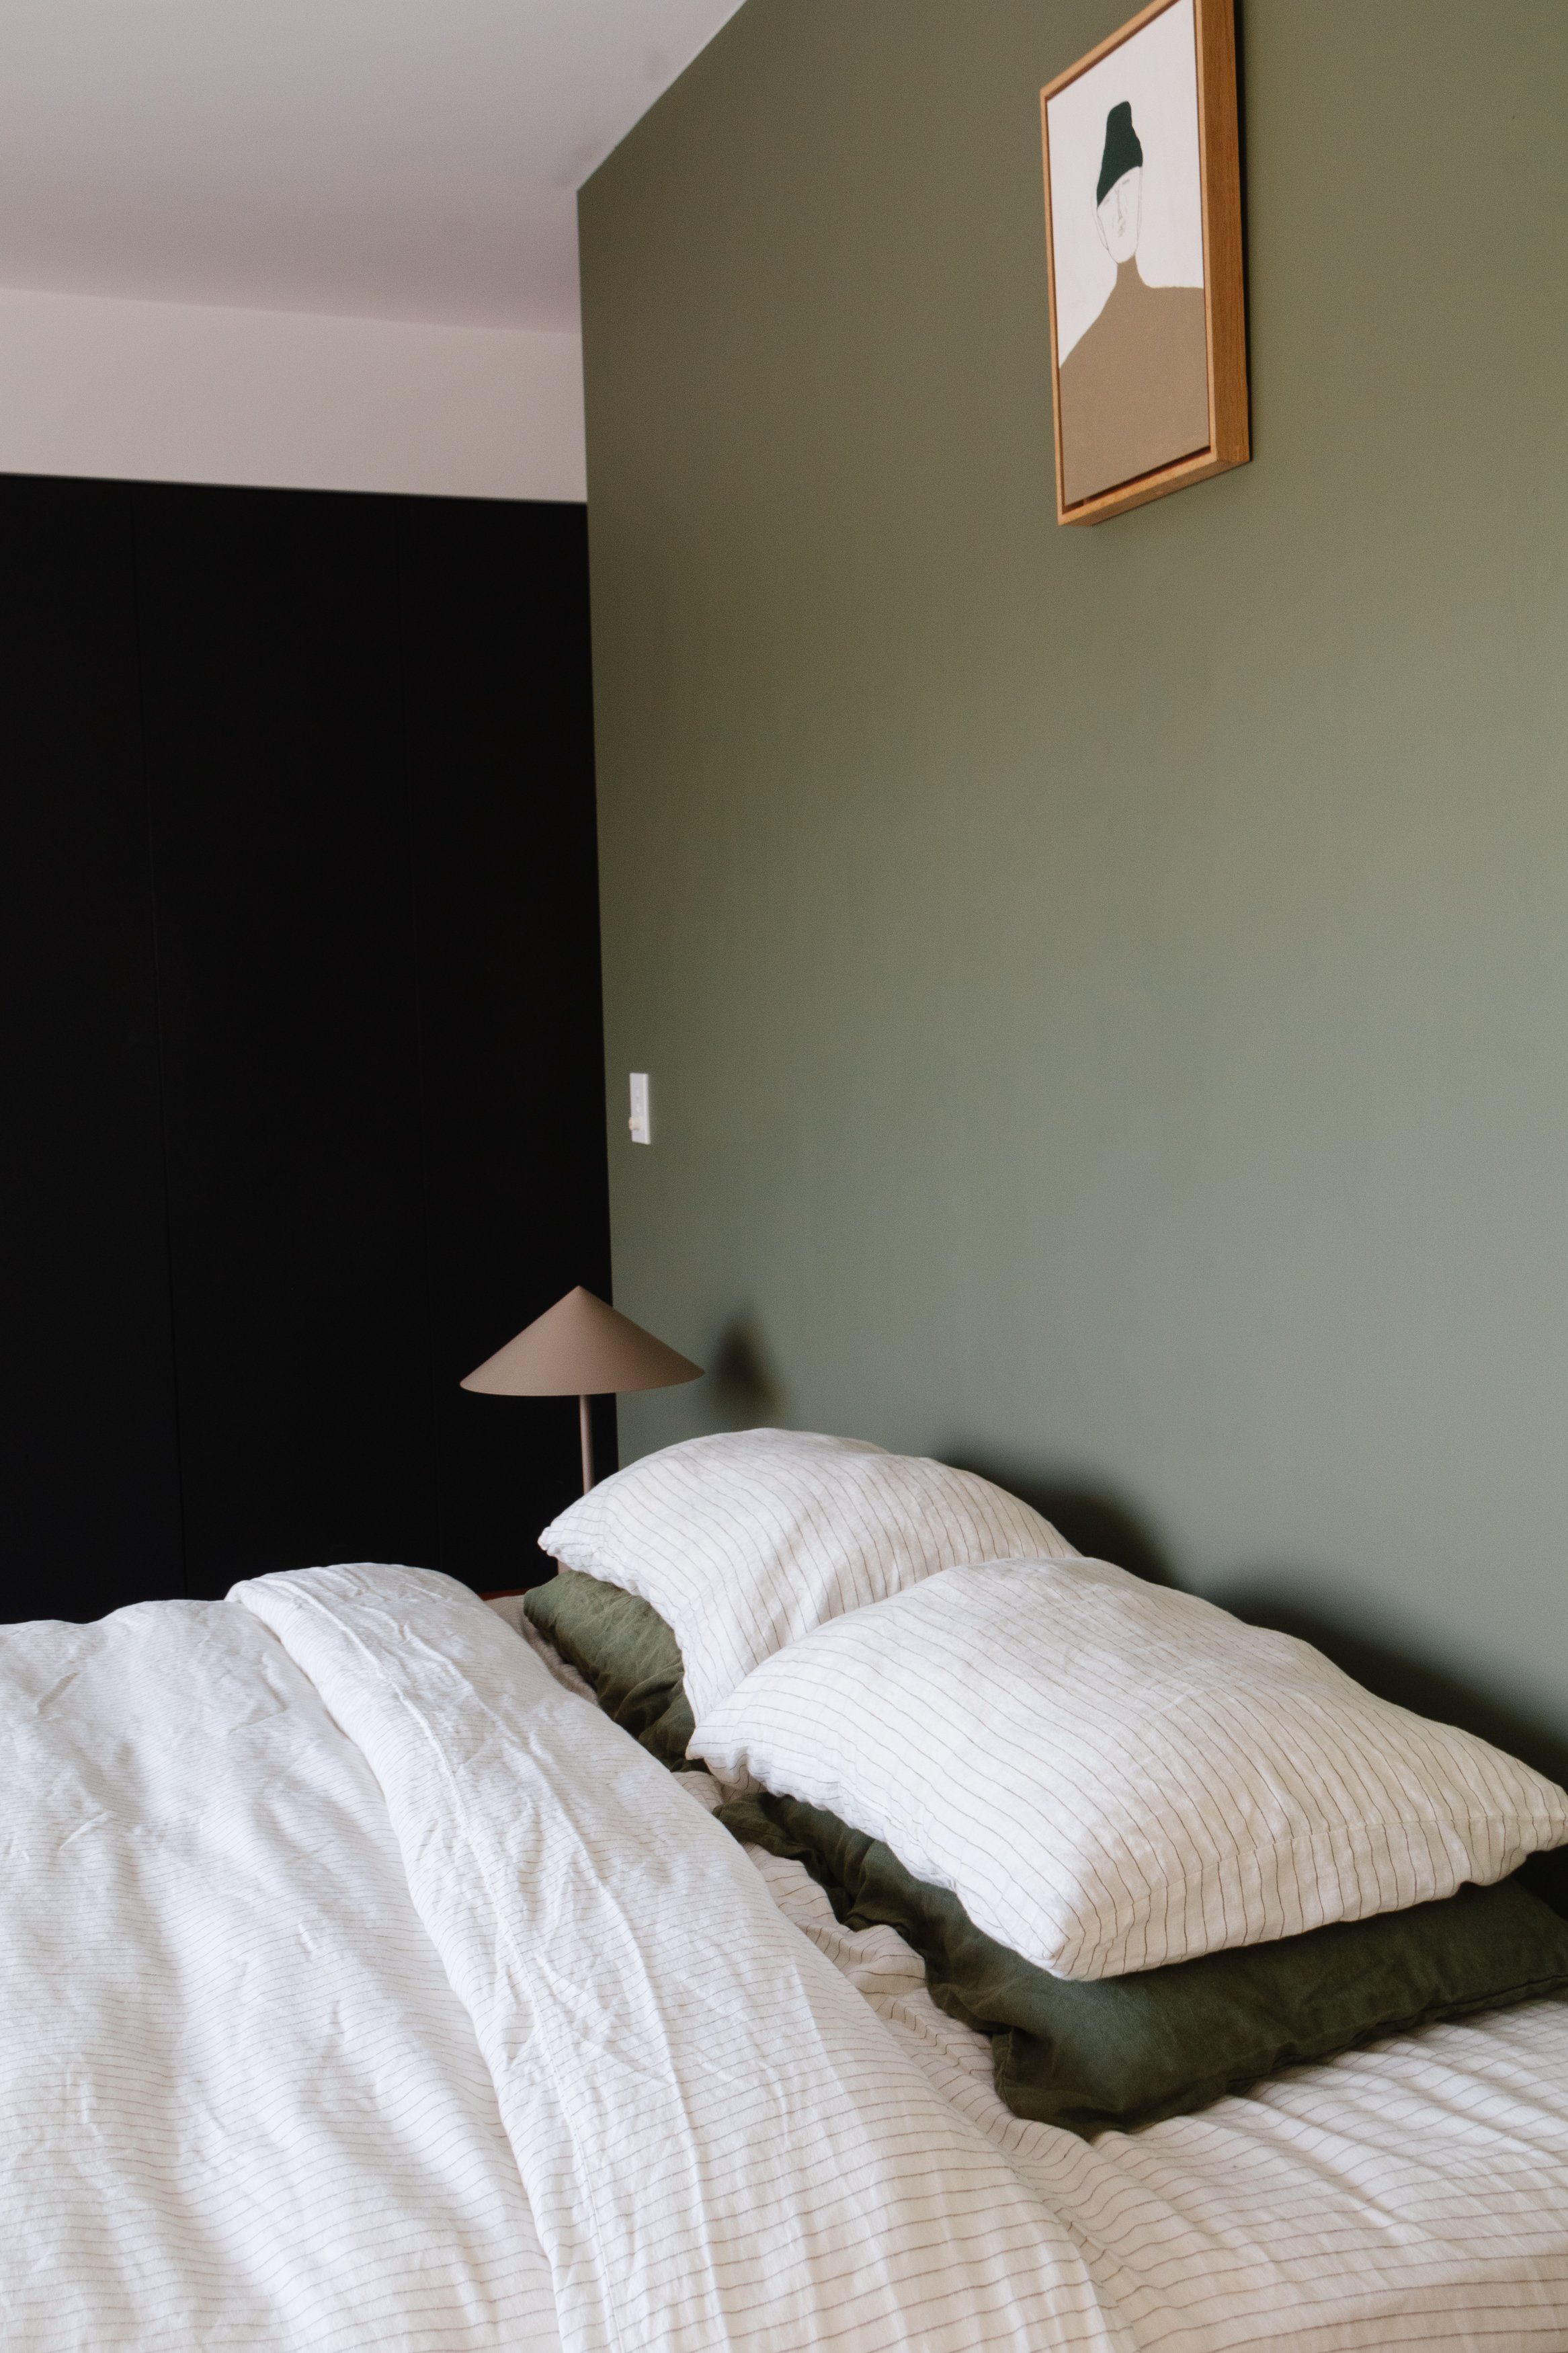
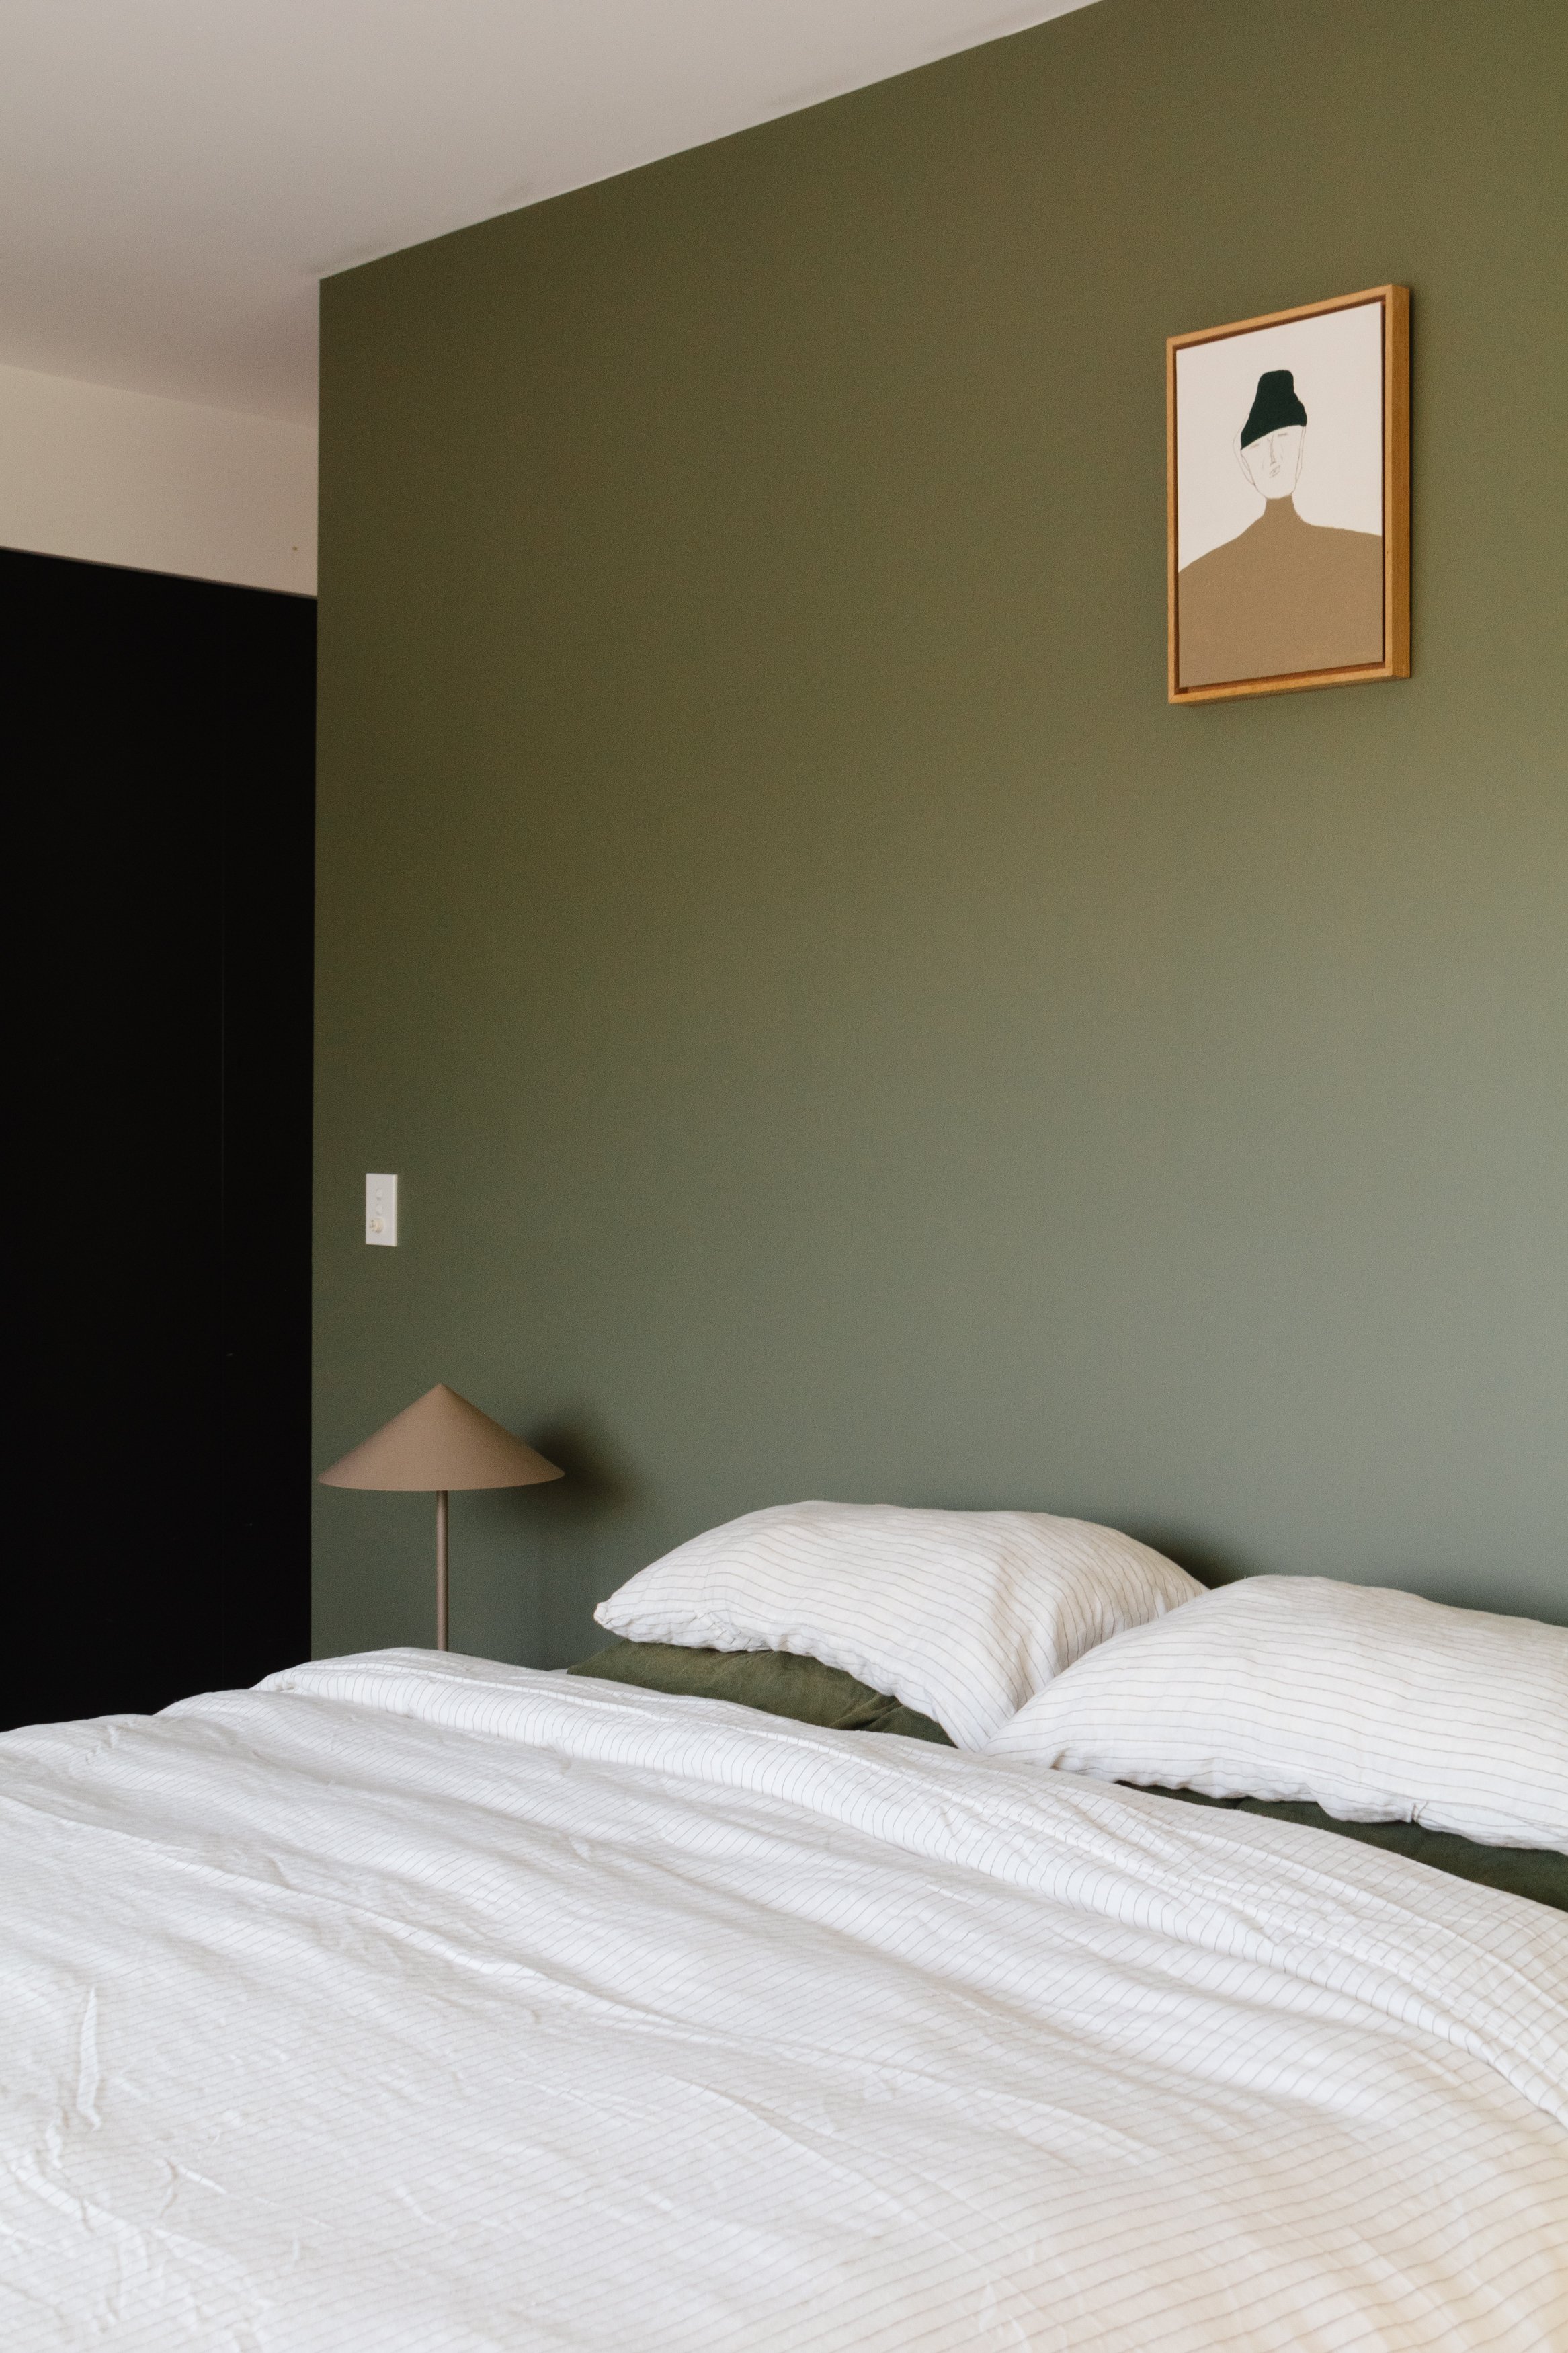
Timberline: A beautiful olive green, which would look serene in any room.
Olive Grove: It’s a neutral olive green with a slight grey undertone.
We really struggled choosing a colour because they are all so beautiful so I decided to do a poll on Instagram. Olive Grive was the most popular, with Timberline coming in at a close second. In the end we chose Timberline because it was more green than Olive Grove which was more grey green.

How To
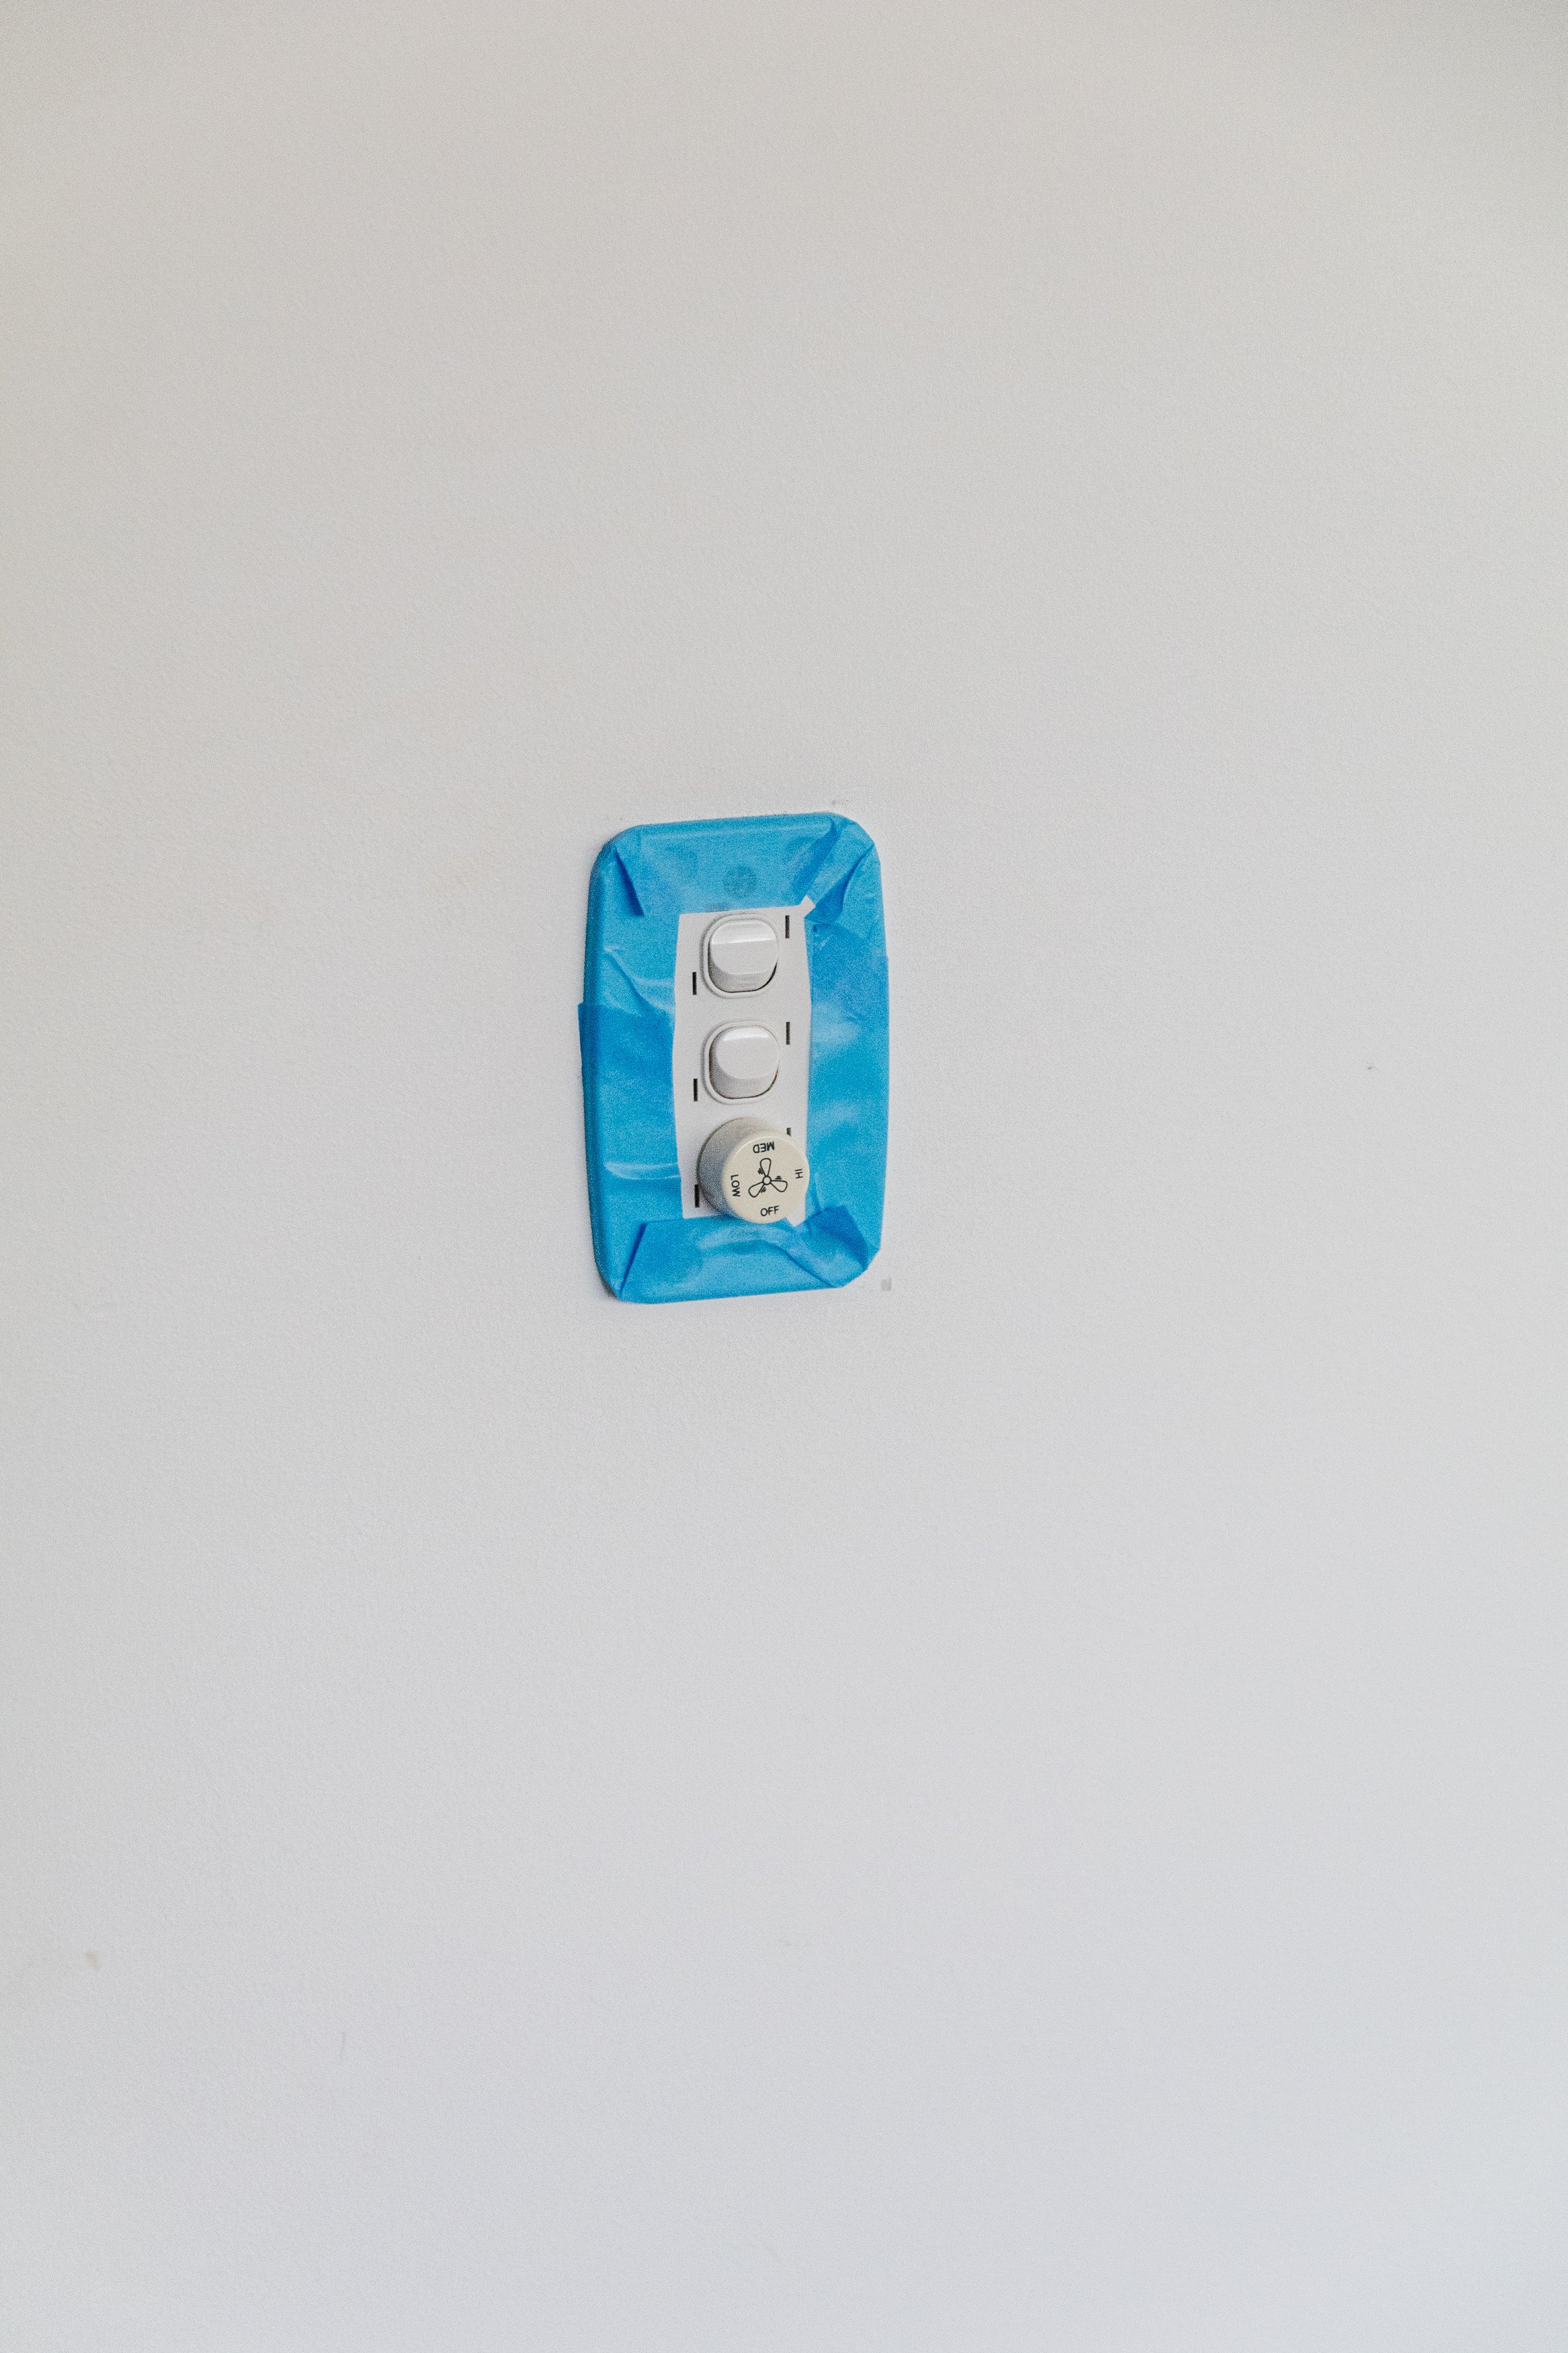
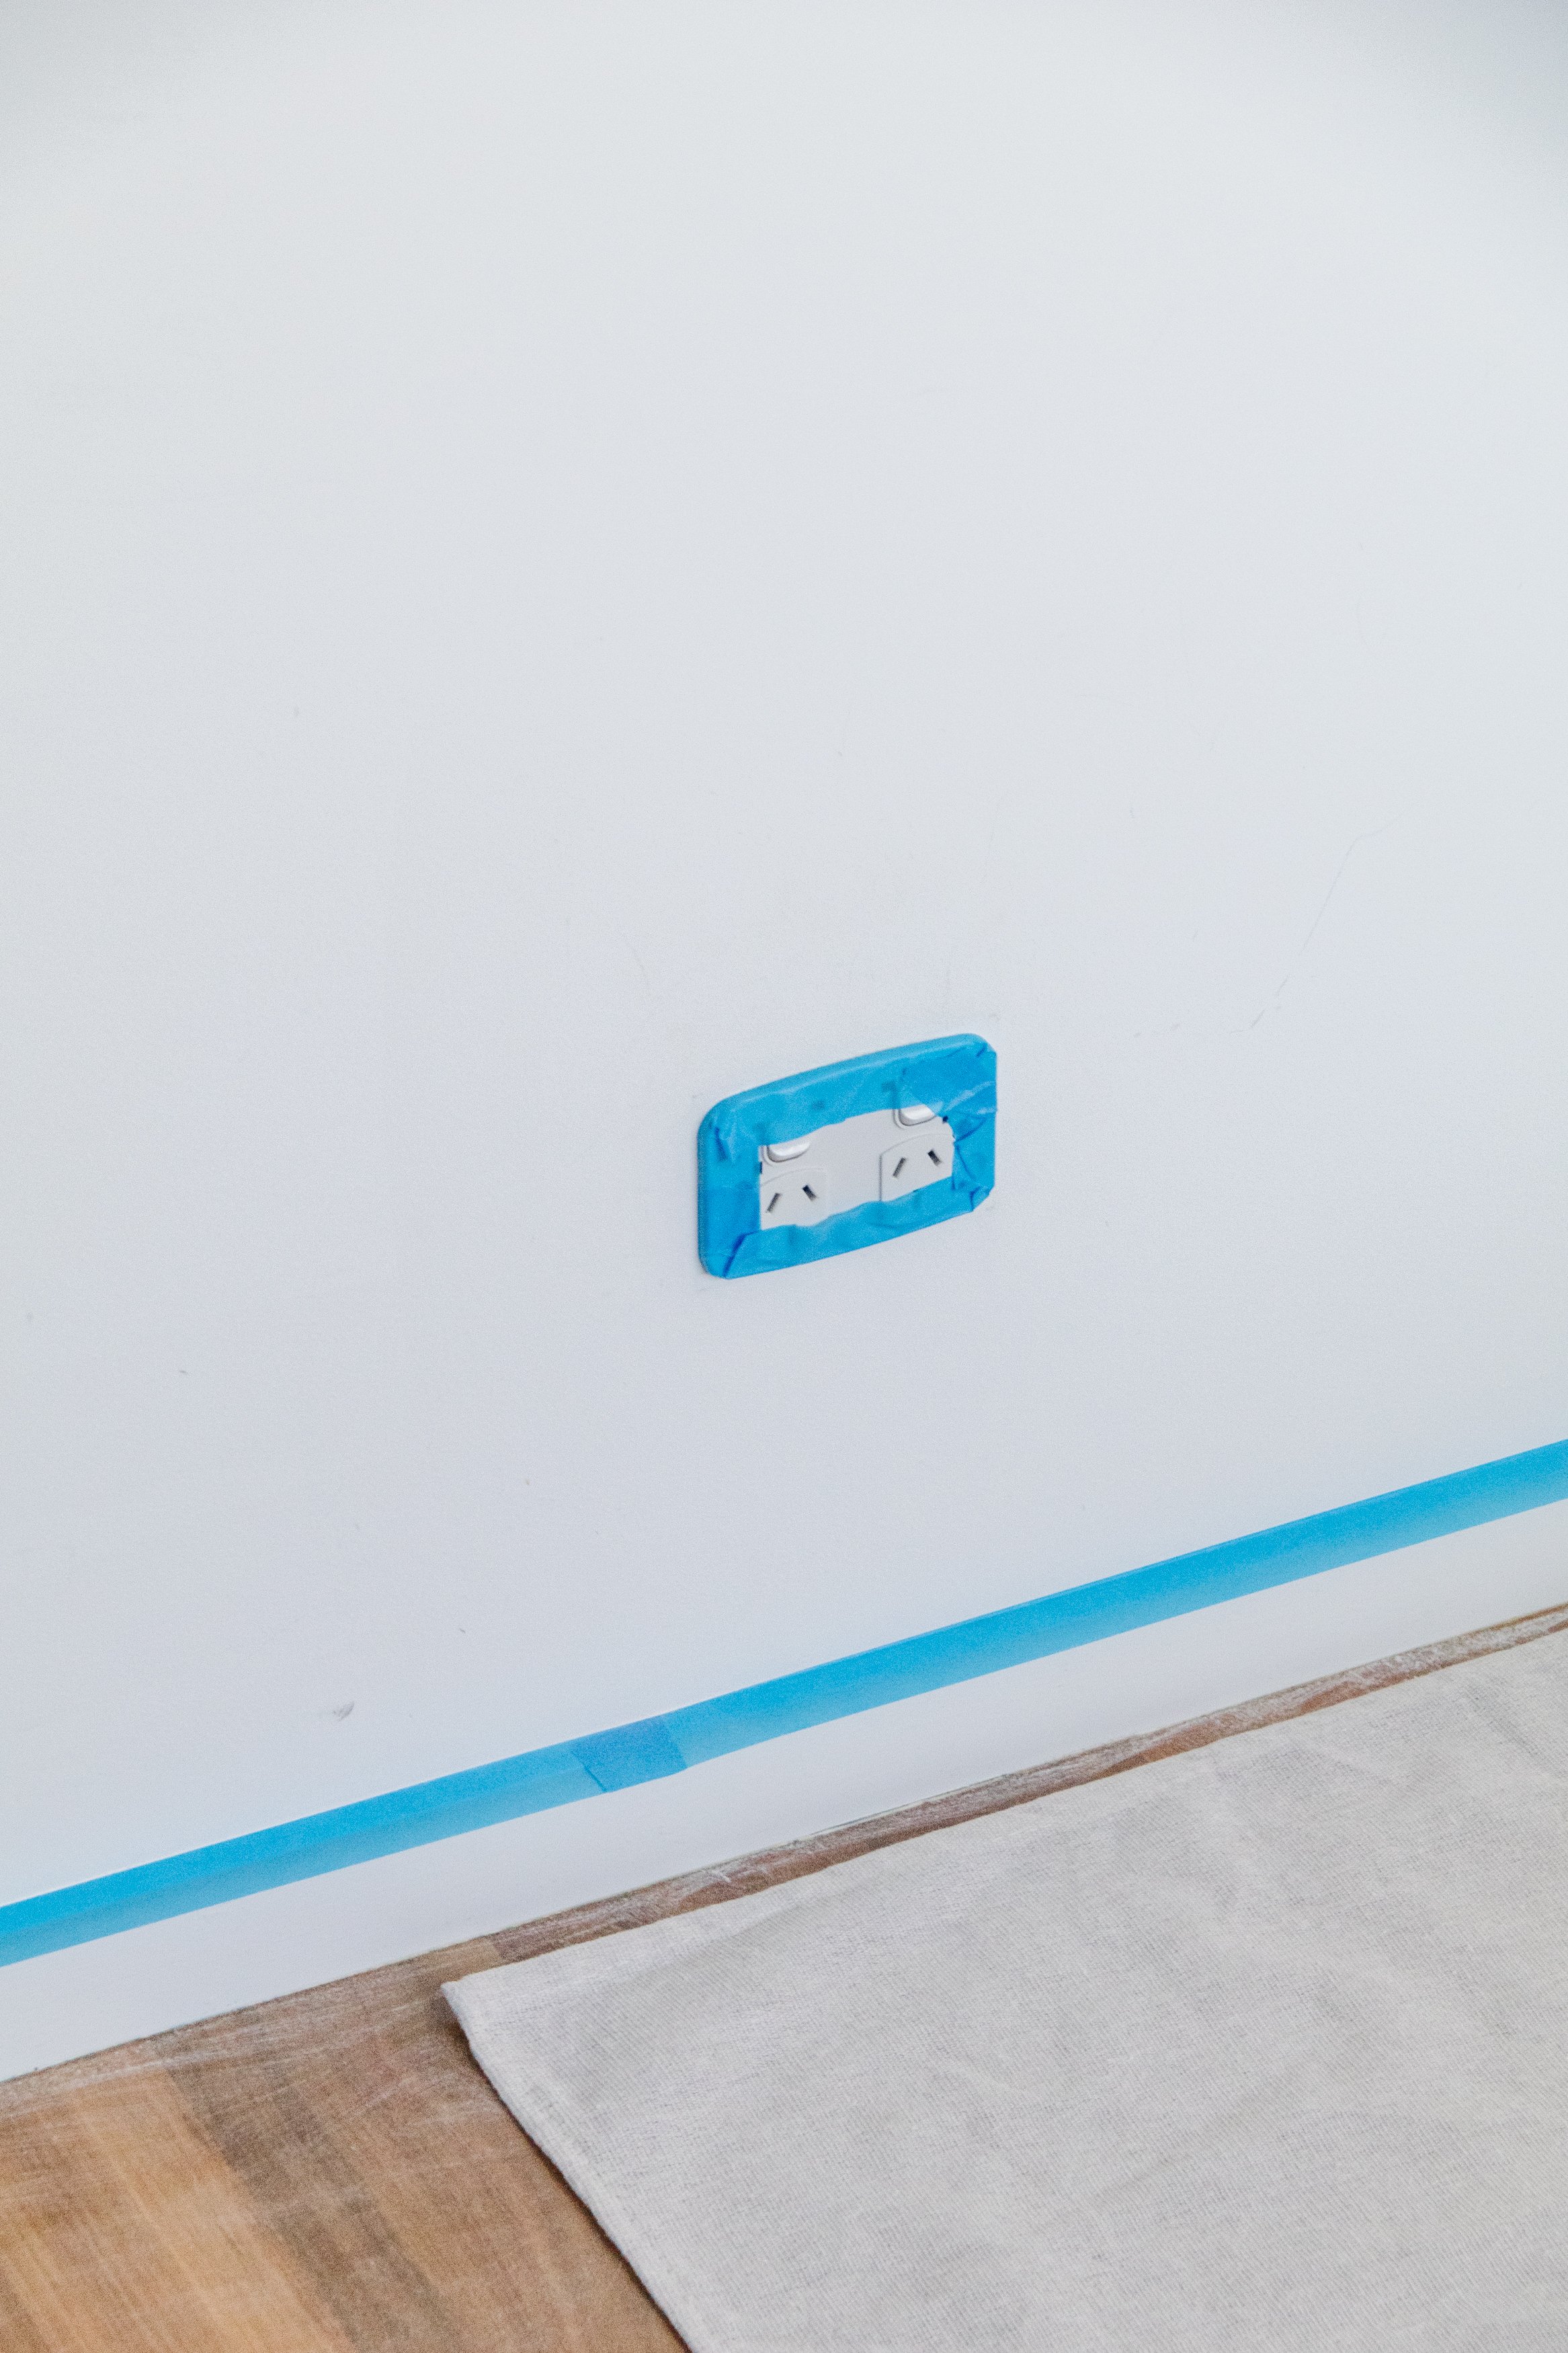
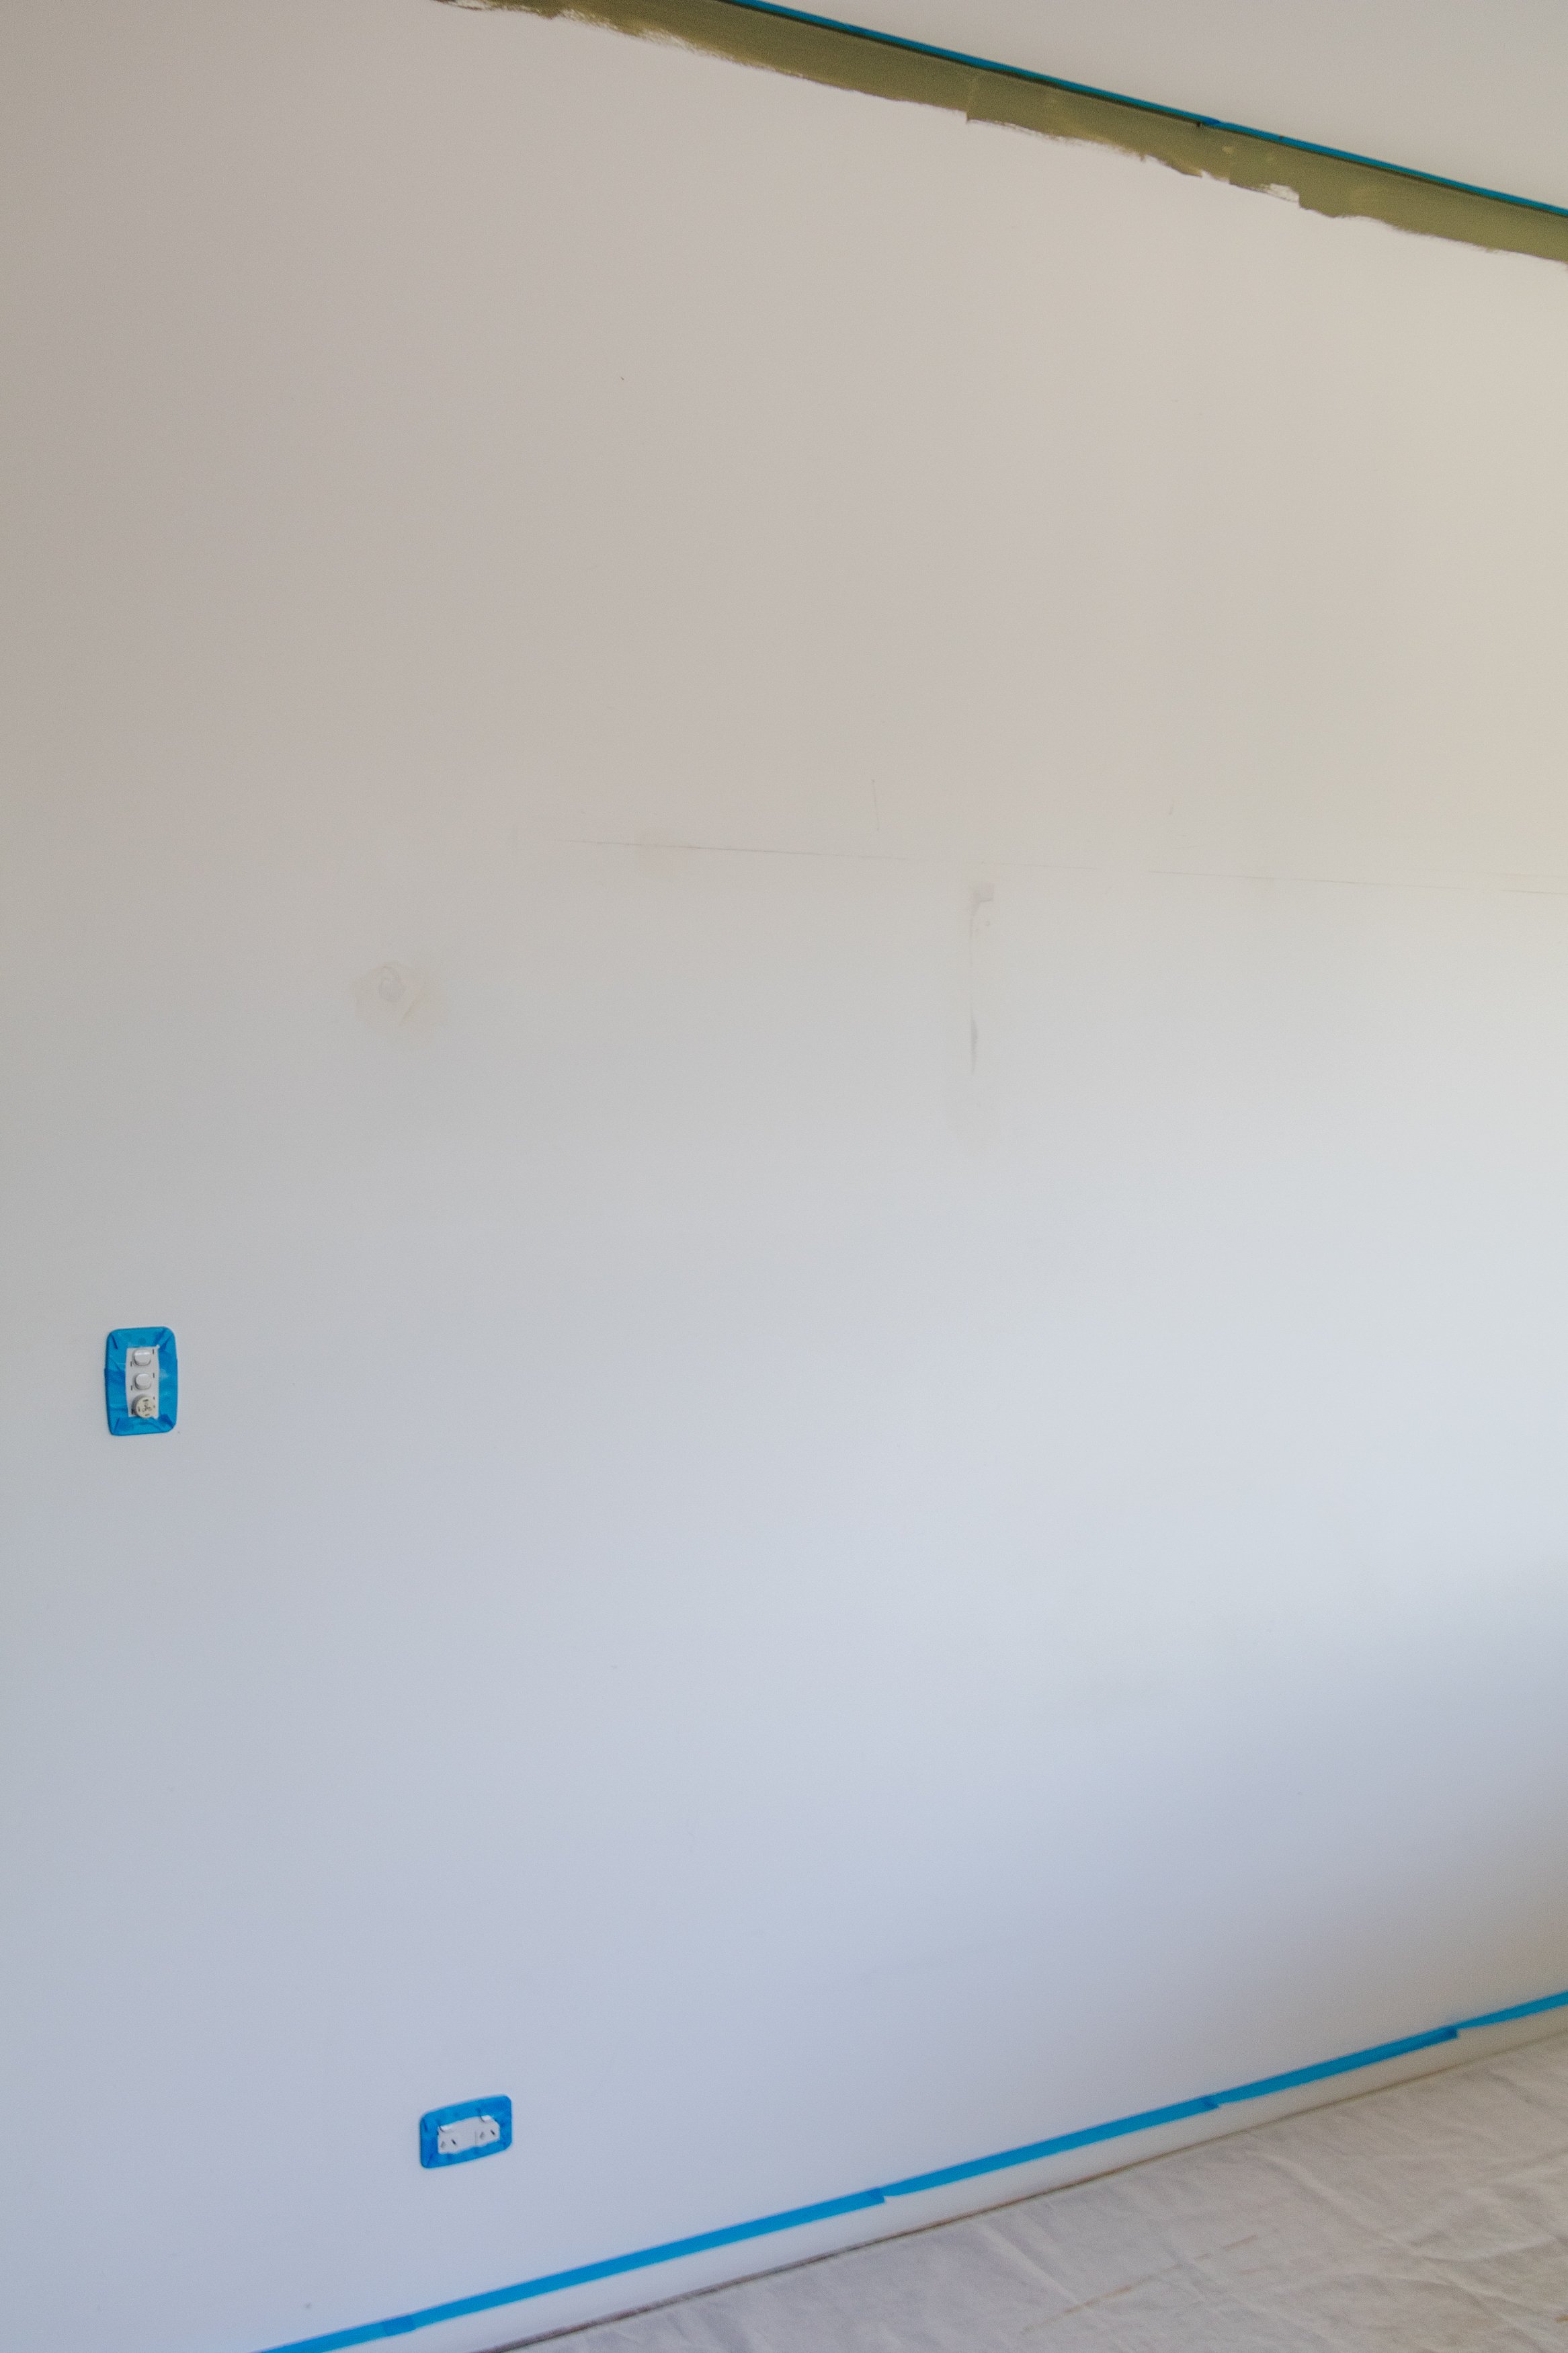
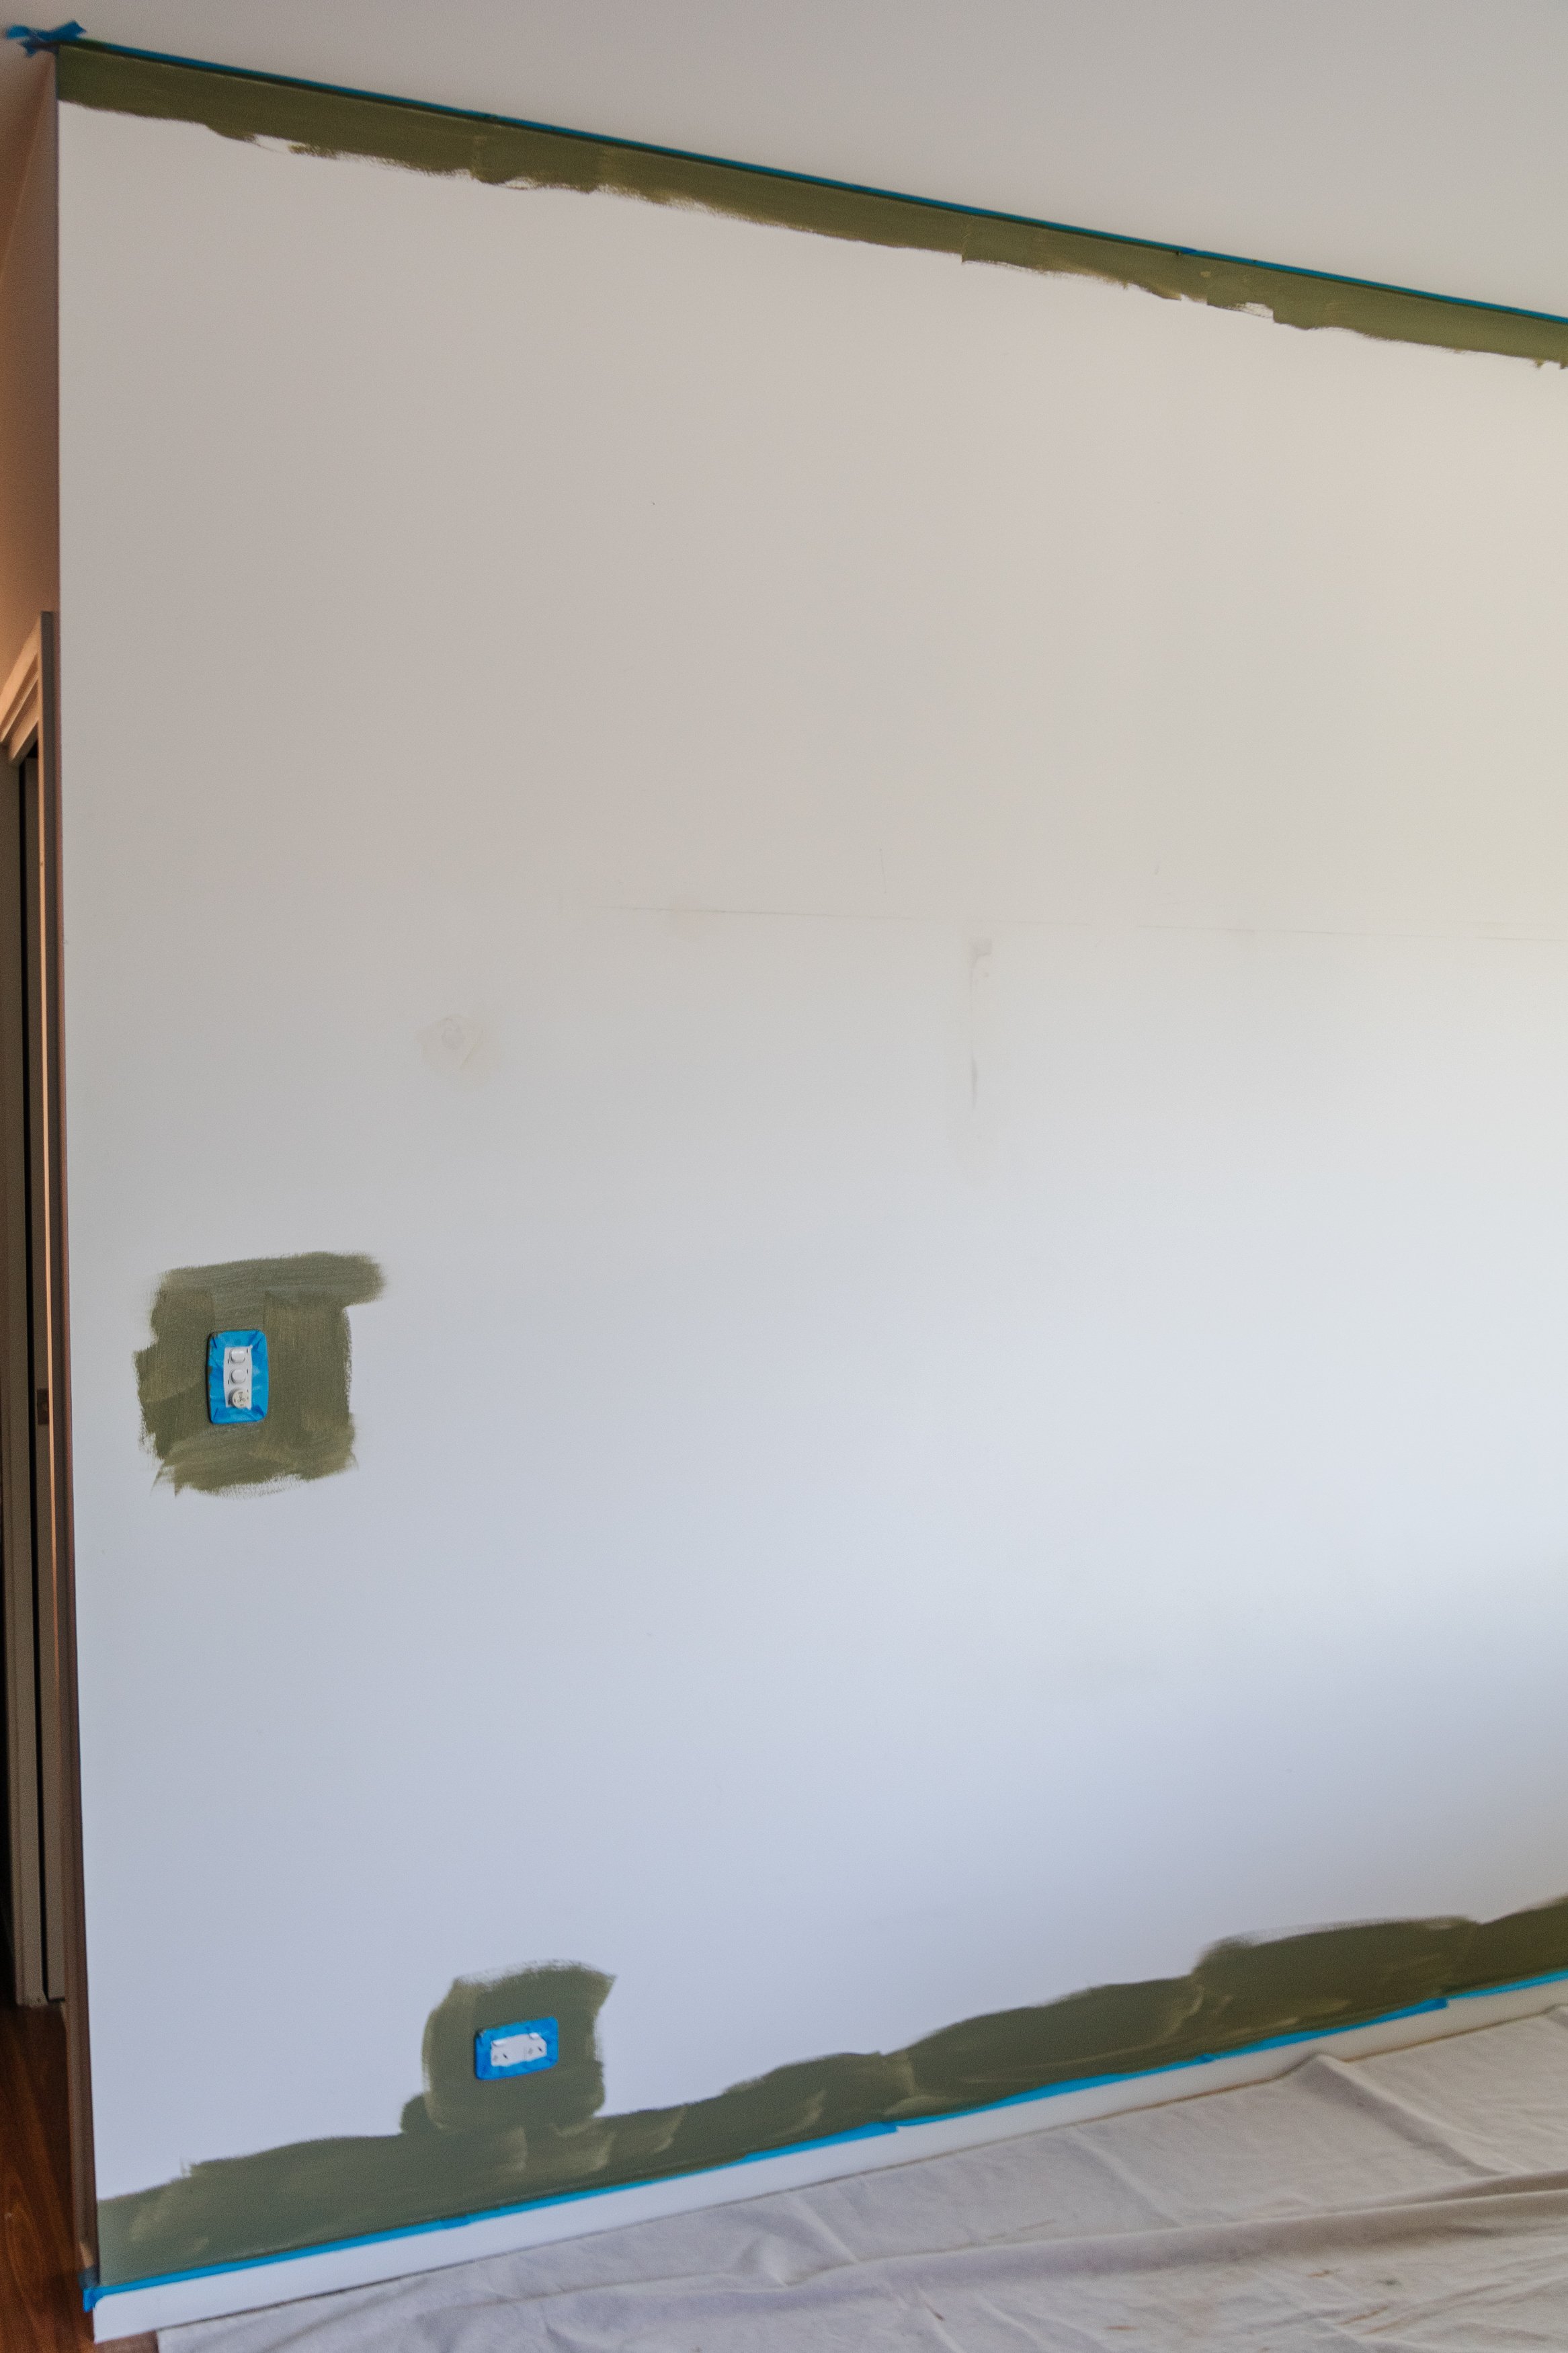
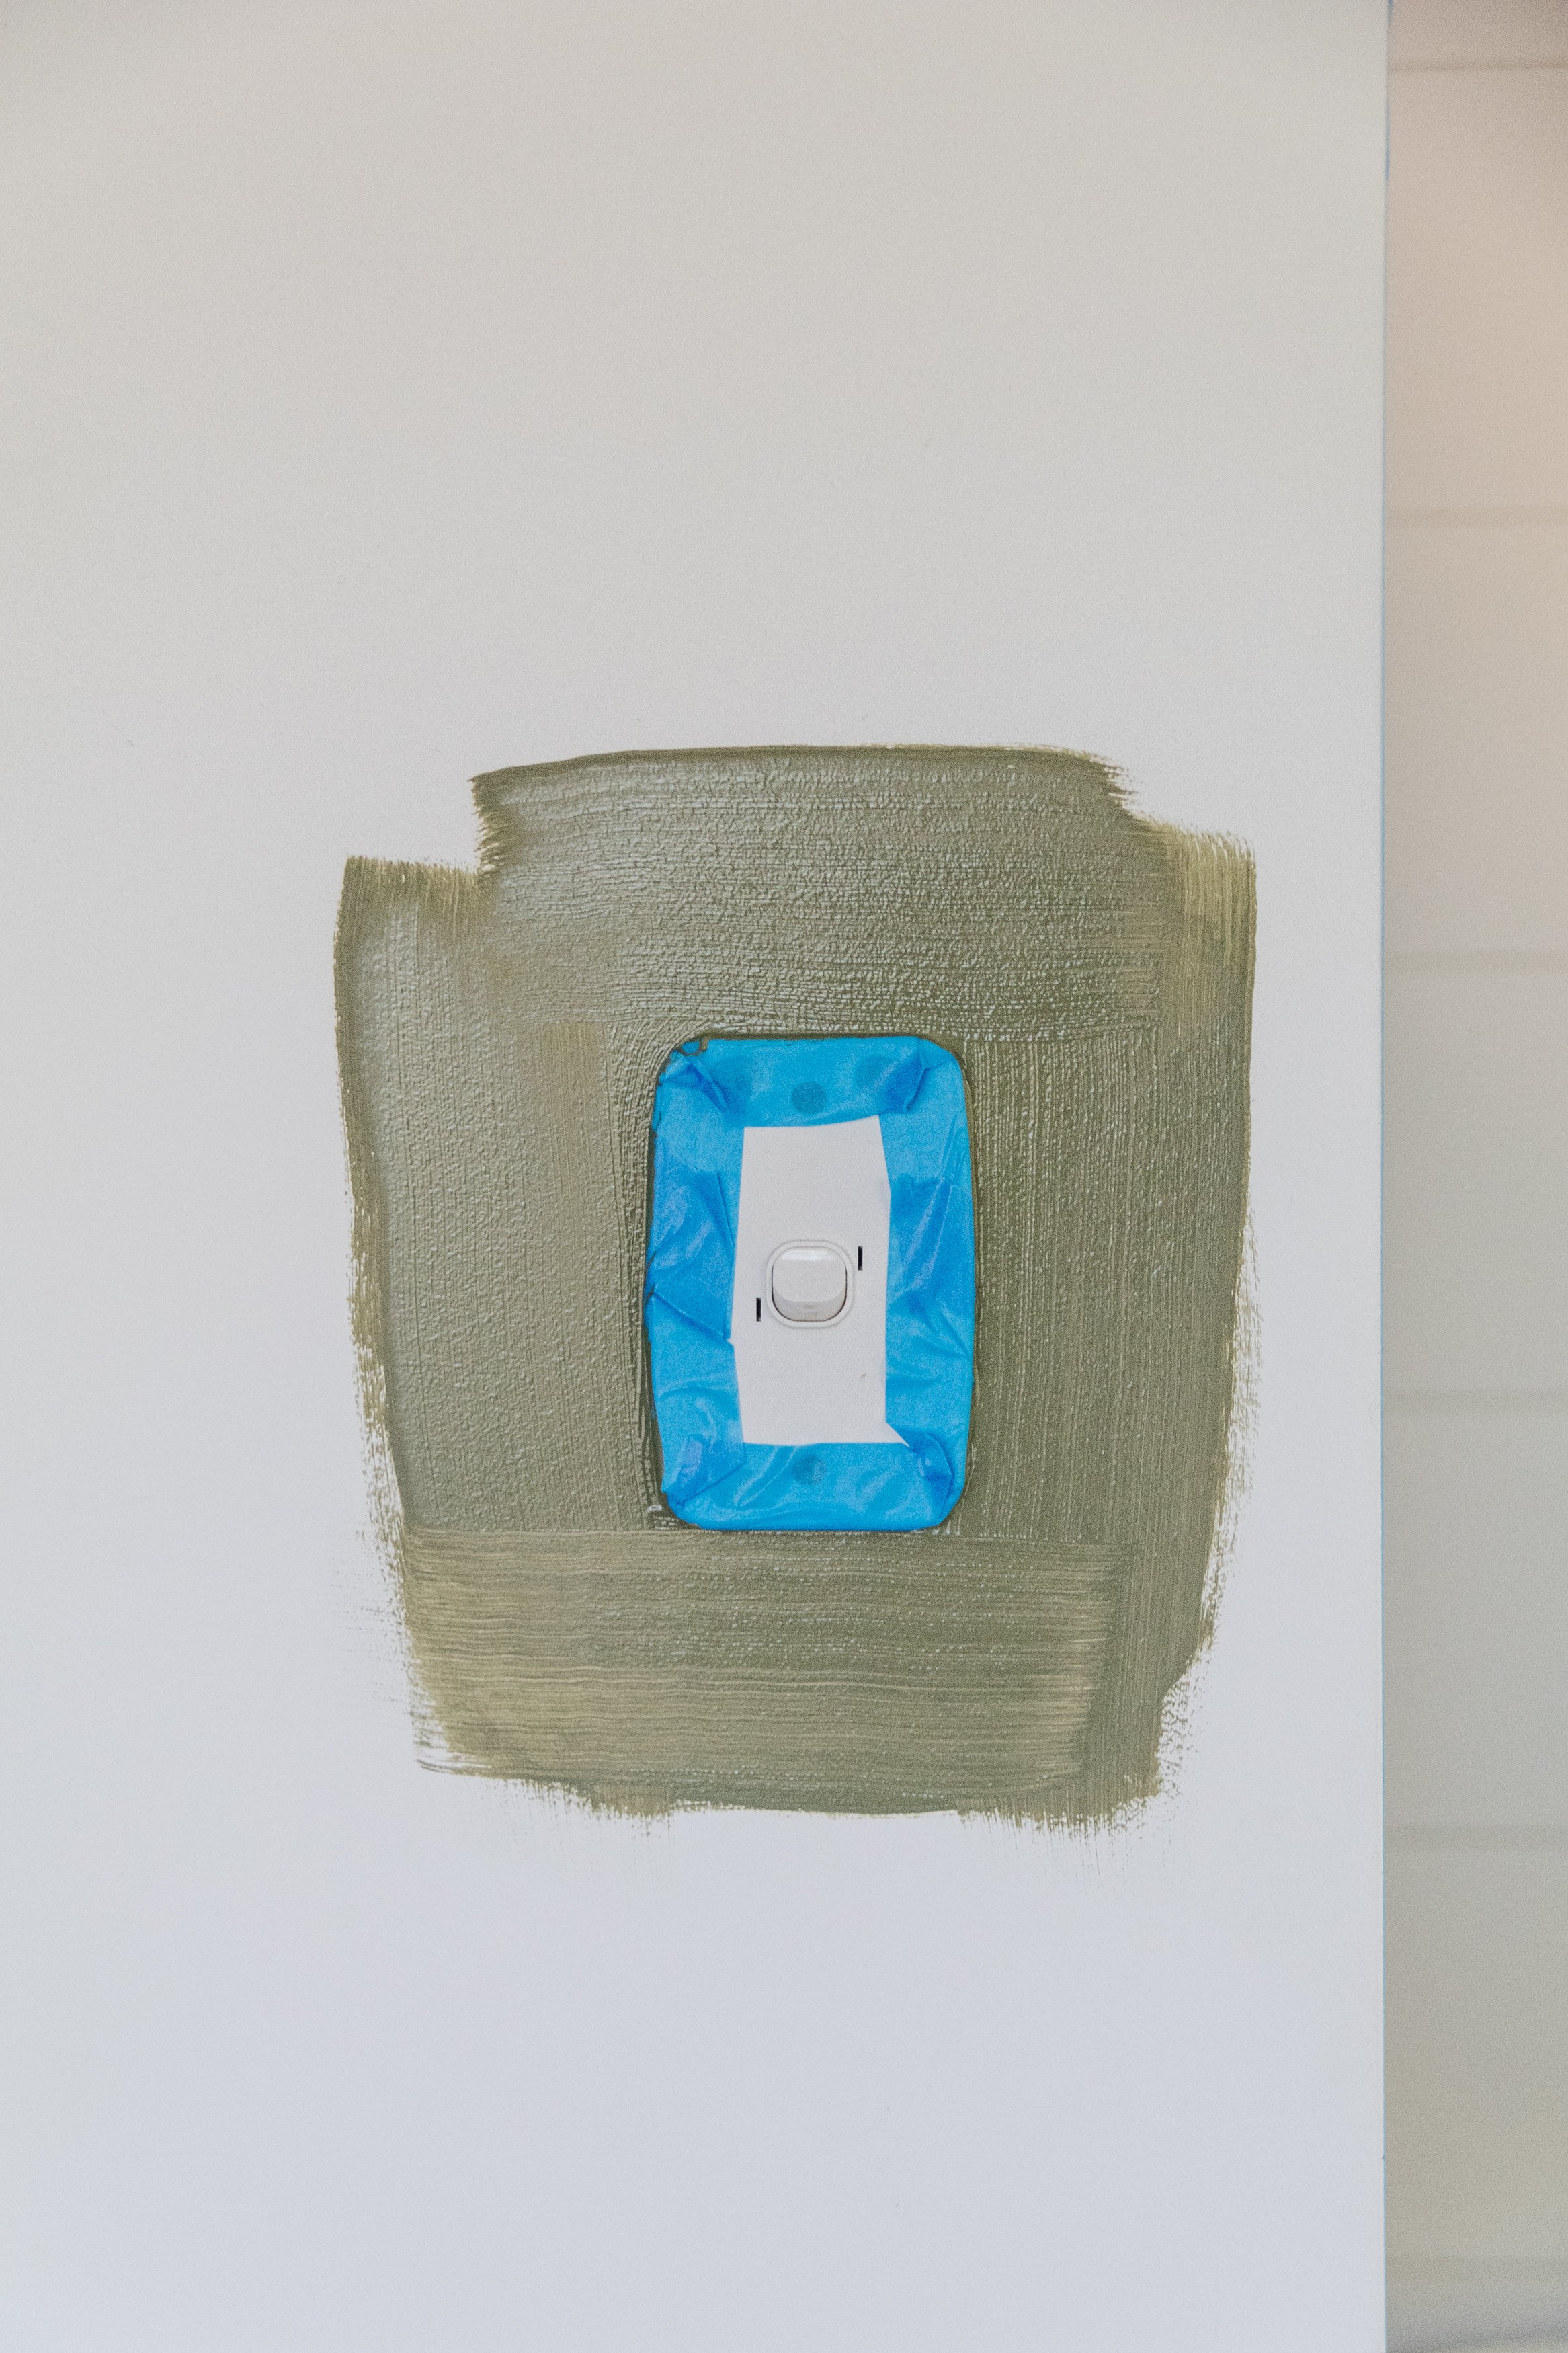
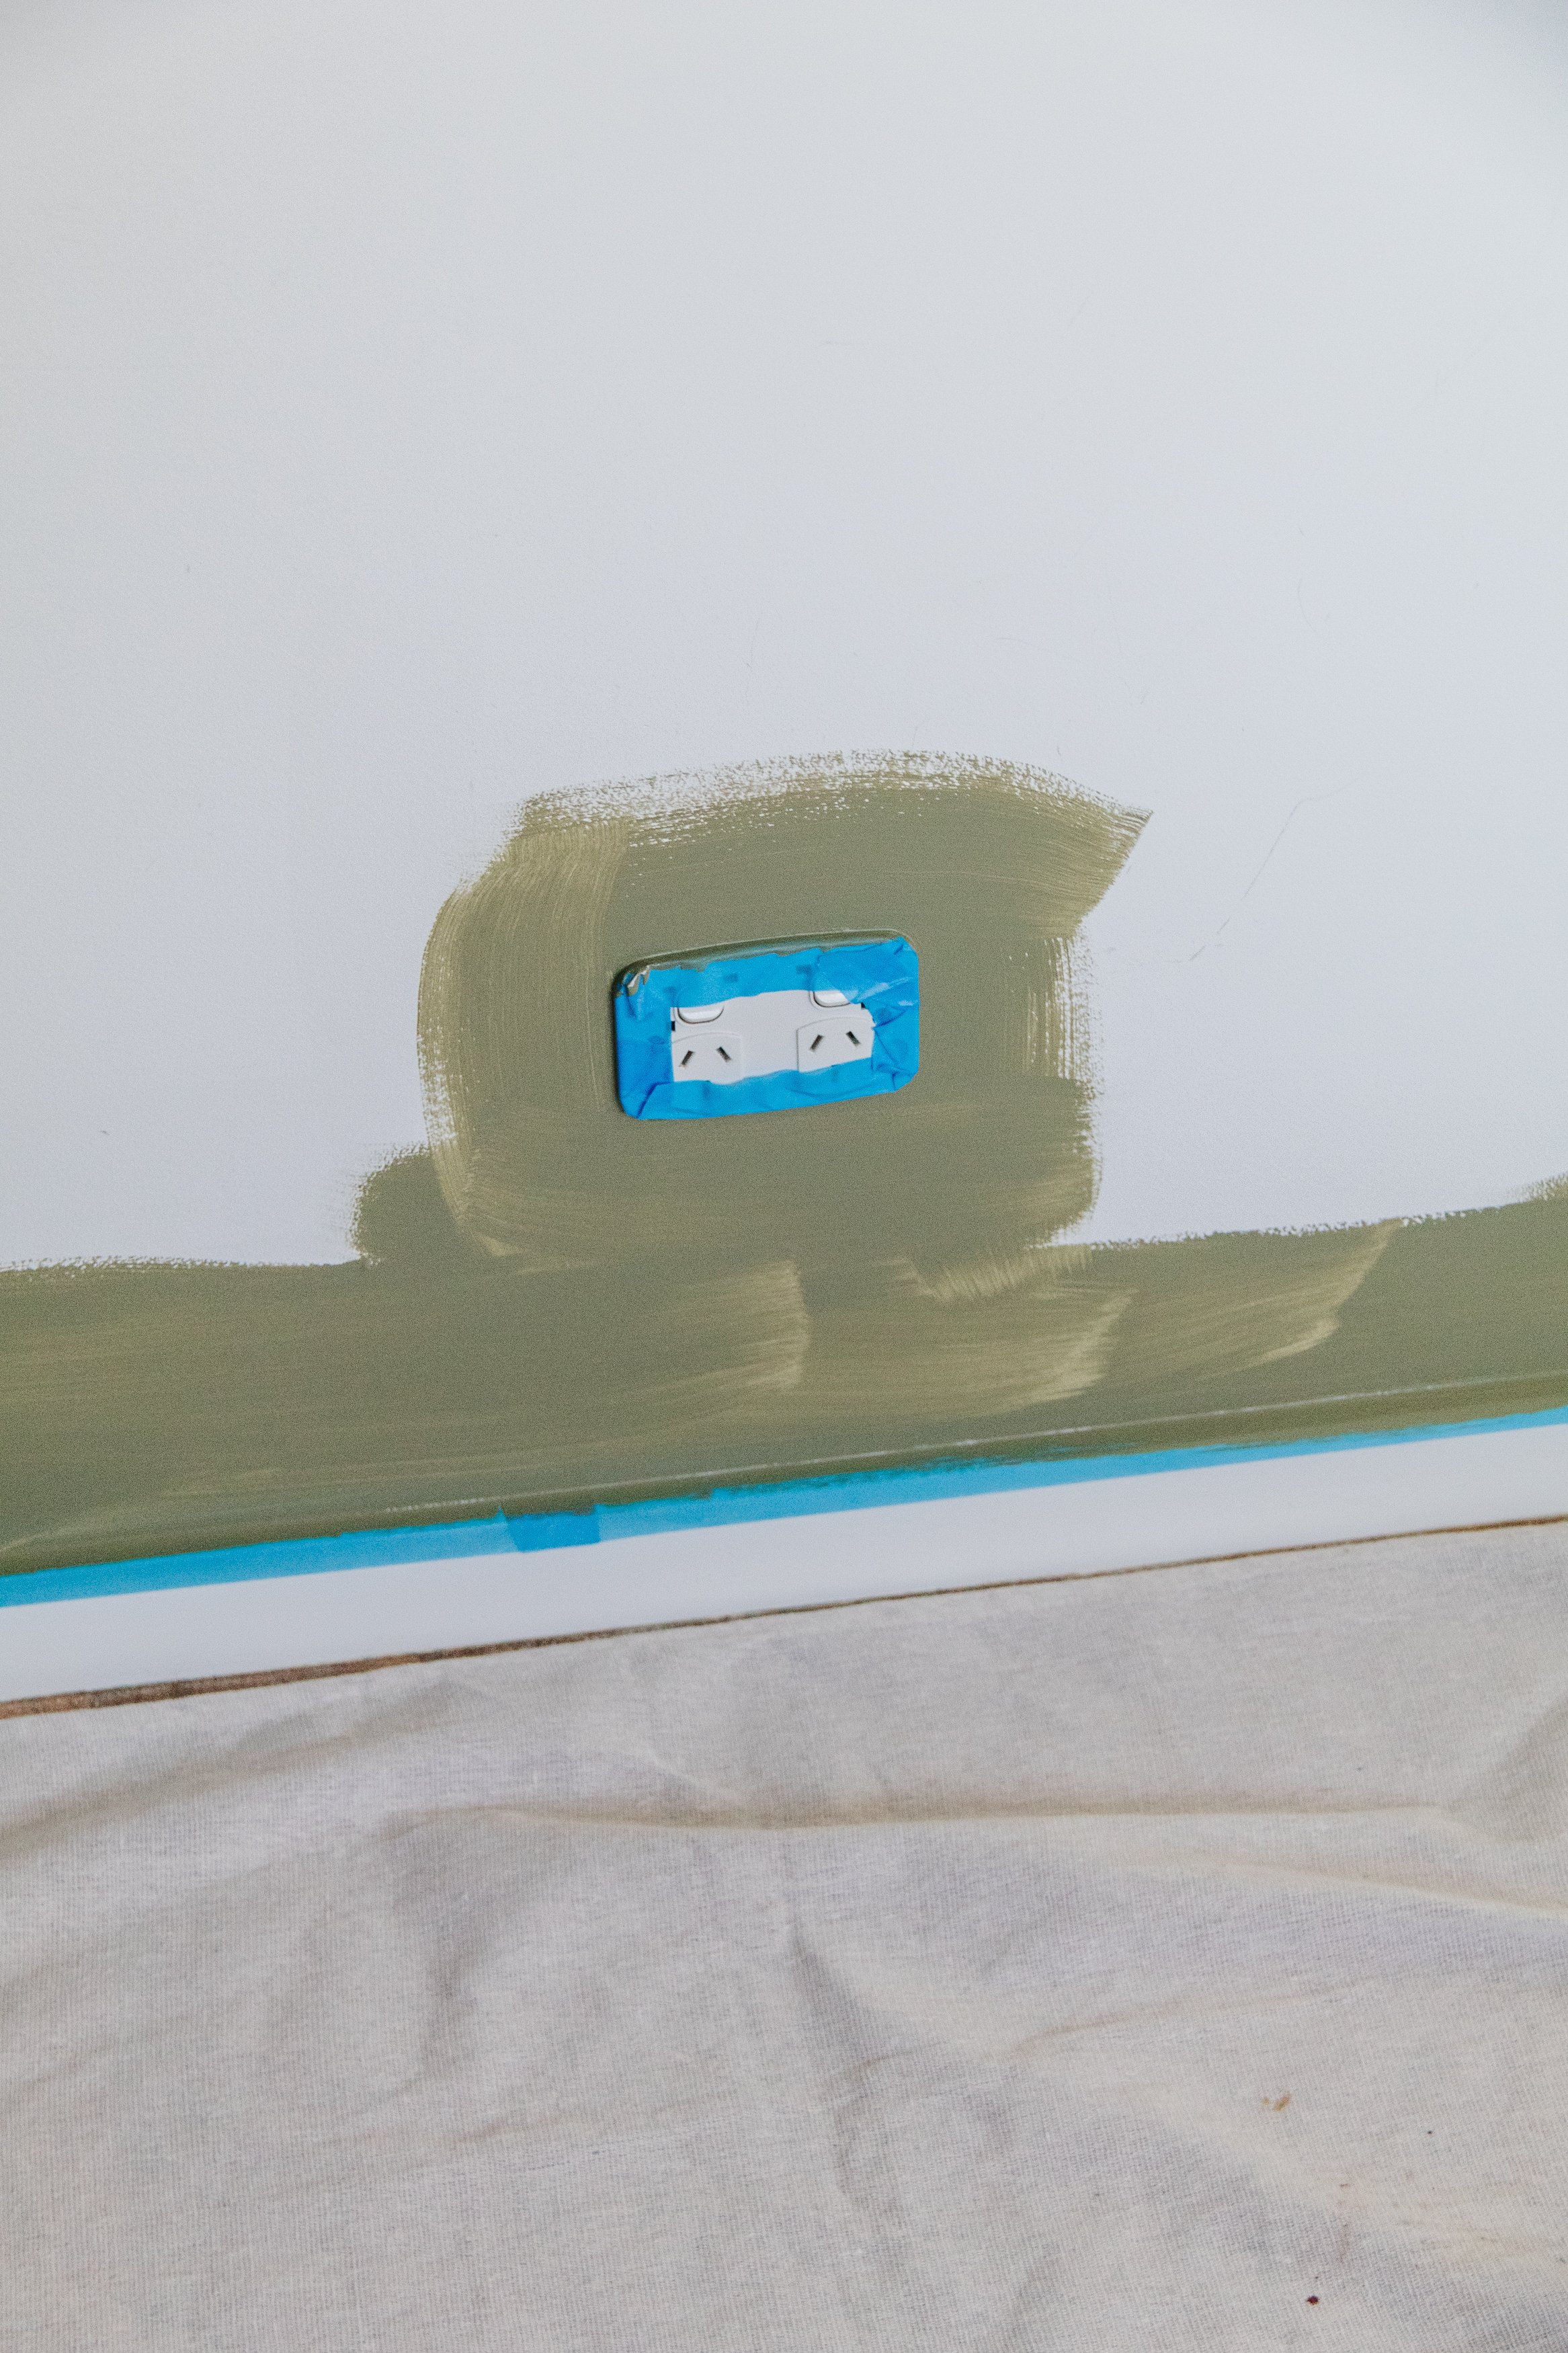
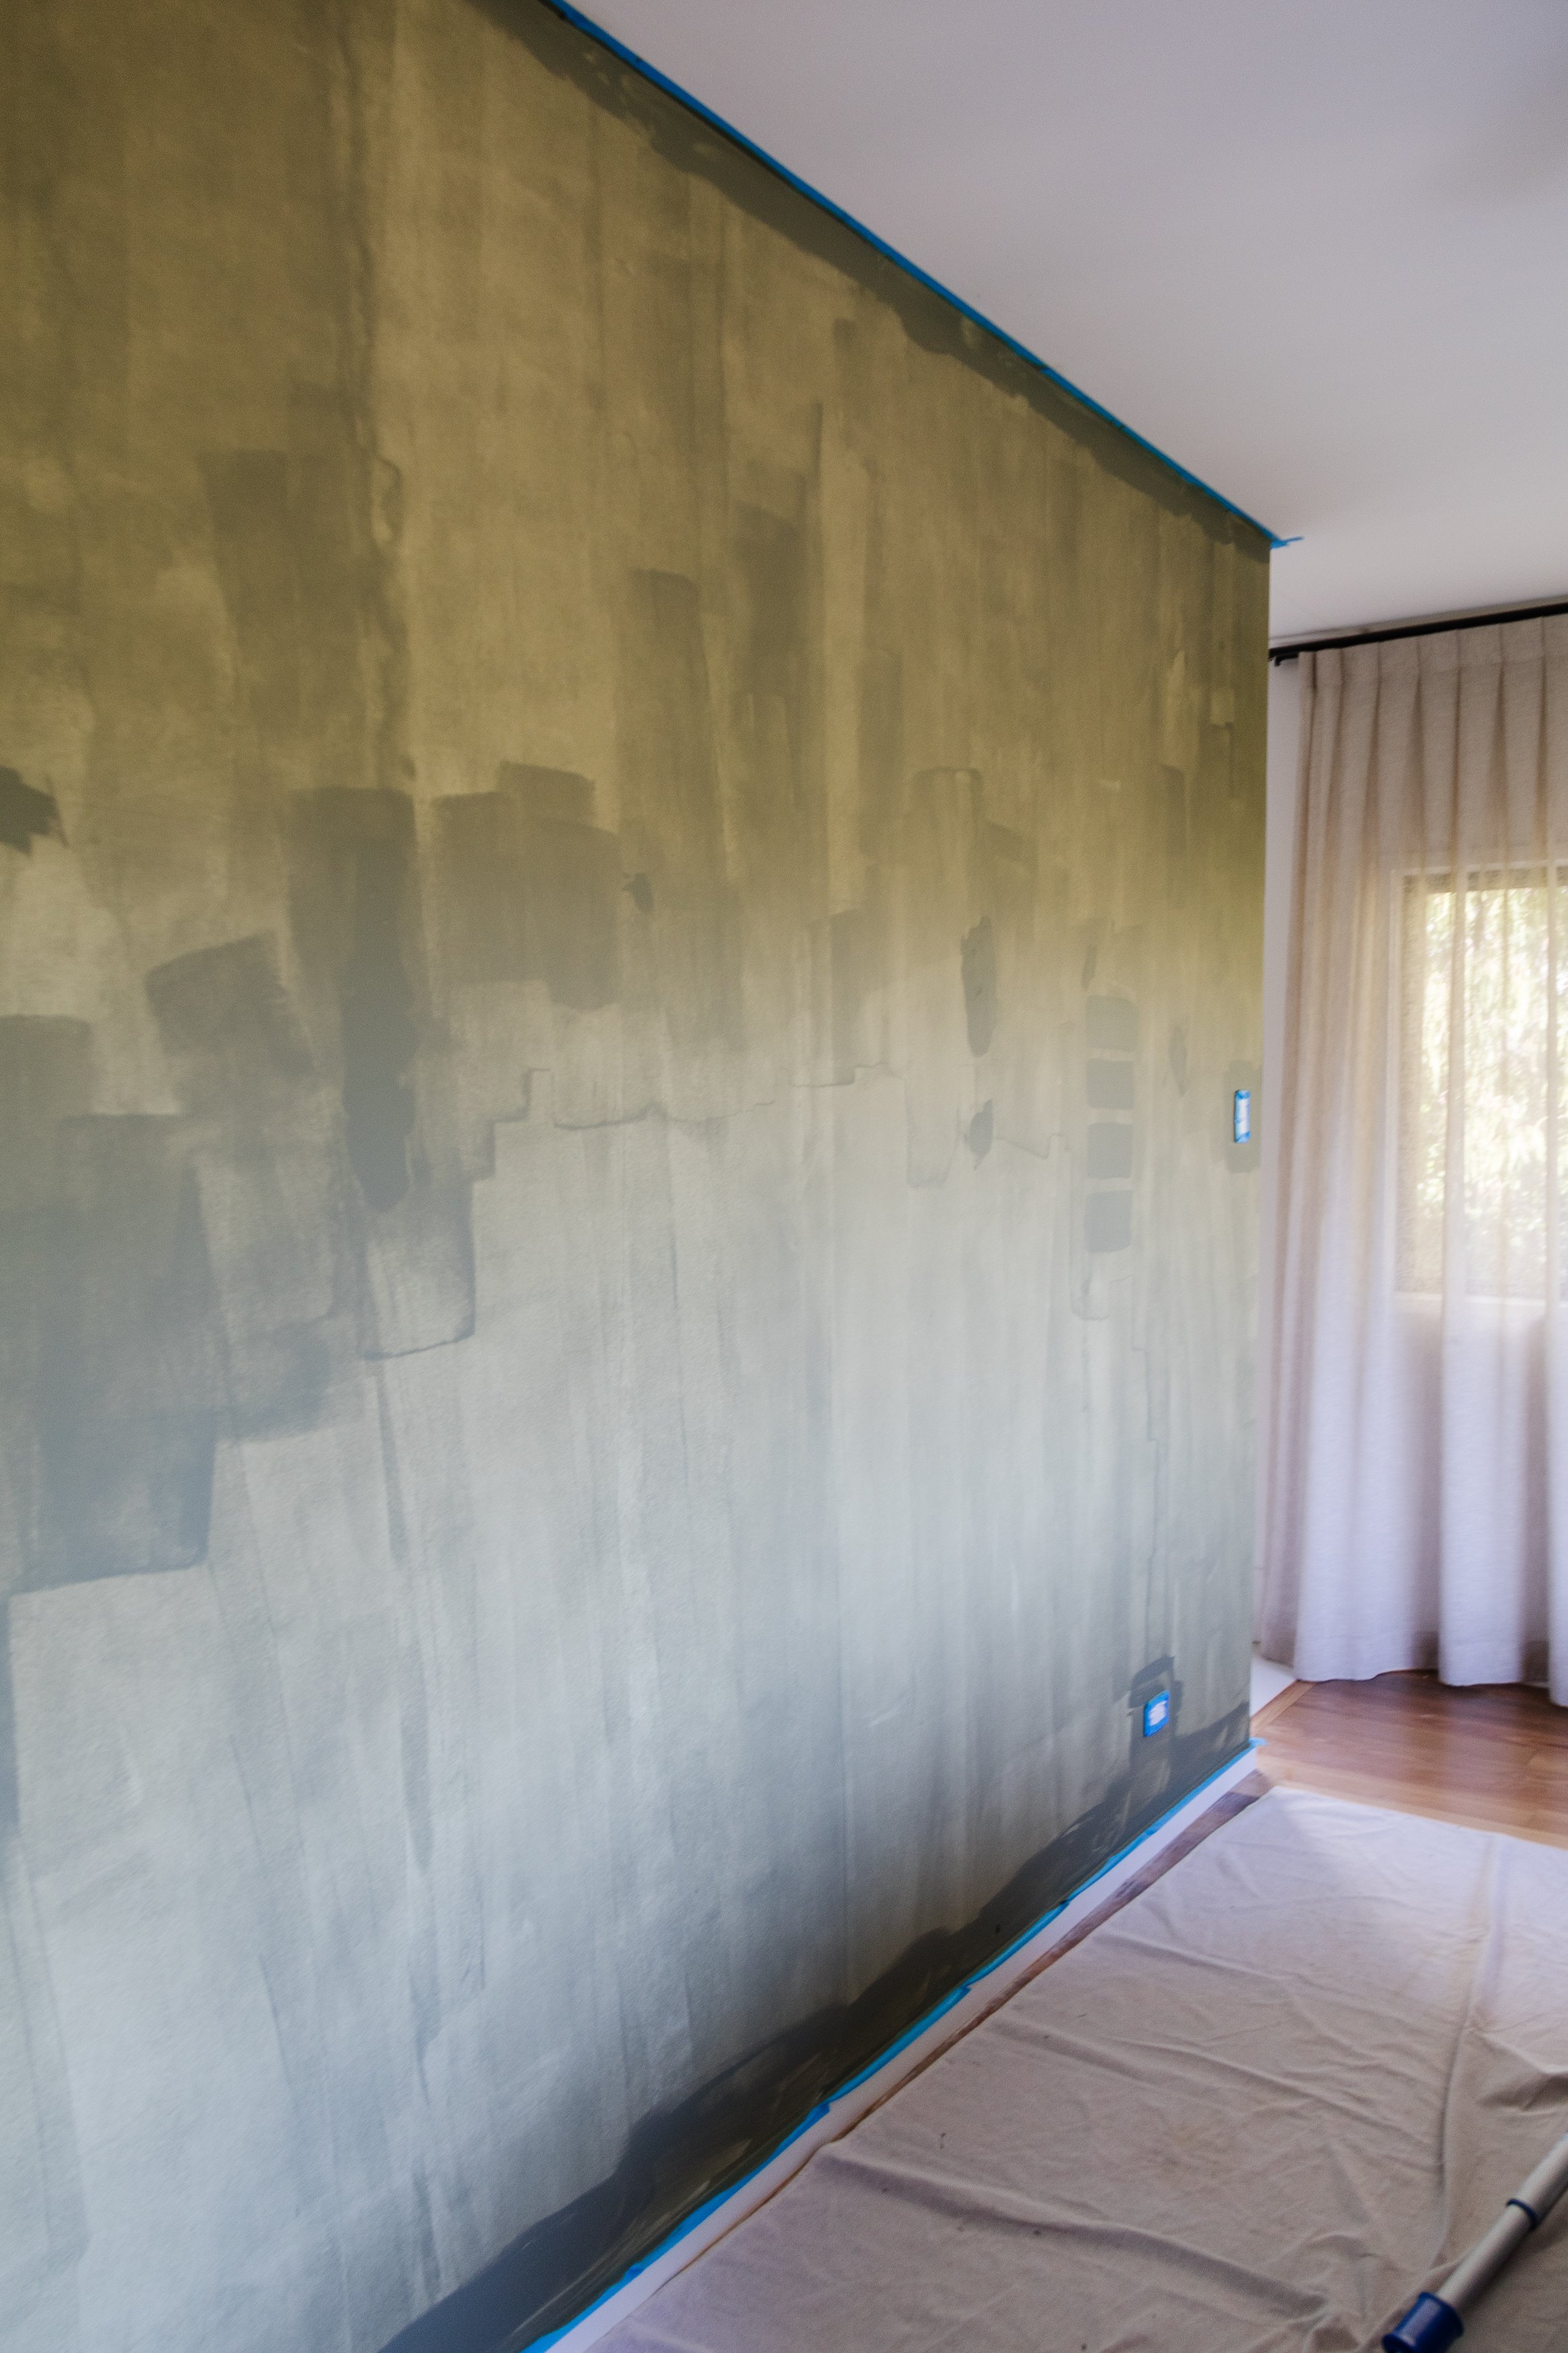
Step 1: The first thing I did was to remove the shelf and move furniture away from the wall, take the power outlet covers off and tape the wall using painters tape.
Step 2: Following this I cut in along the painters tape using an angled paint brush, which is called cutting in. Then I applied one coat of Timberline all over the wall. I wasn’t too worried about how this first coat looks because it always looks worse before it gets better.
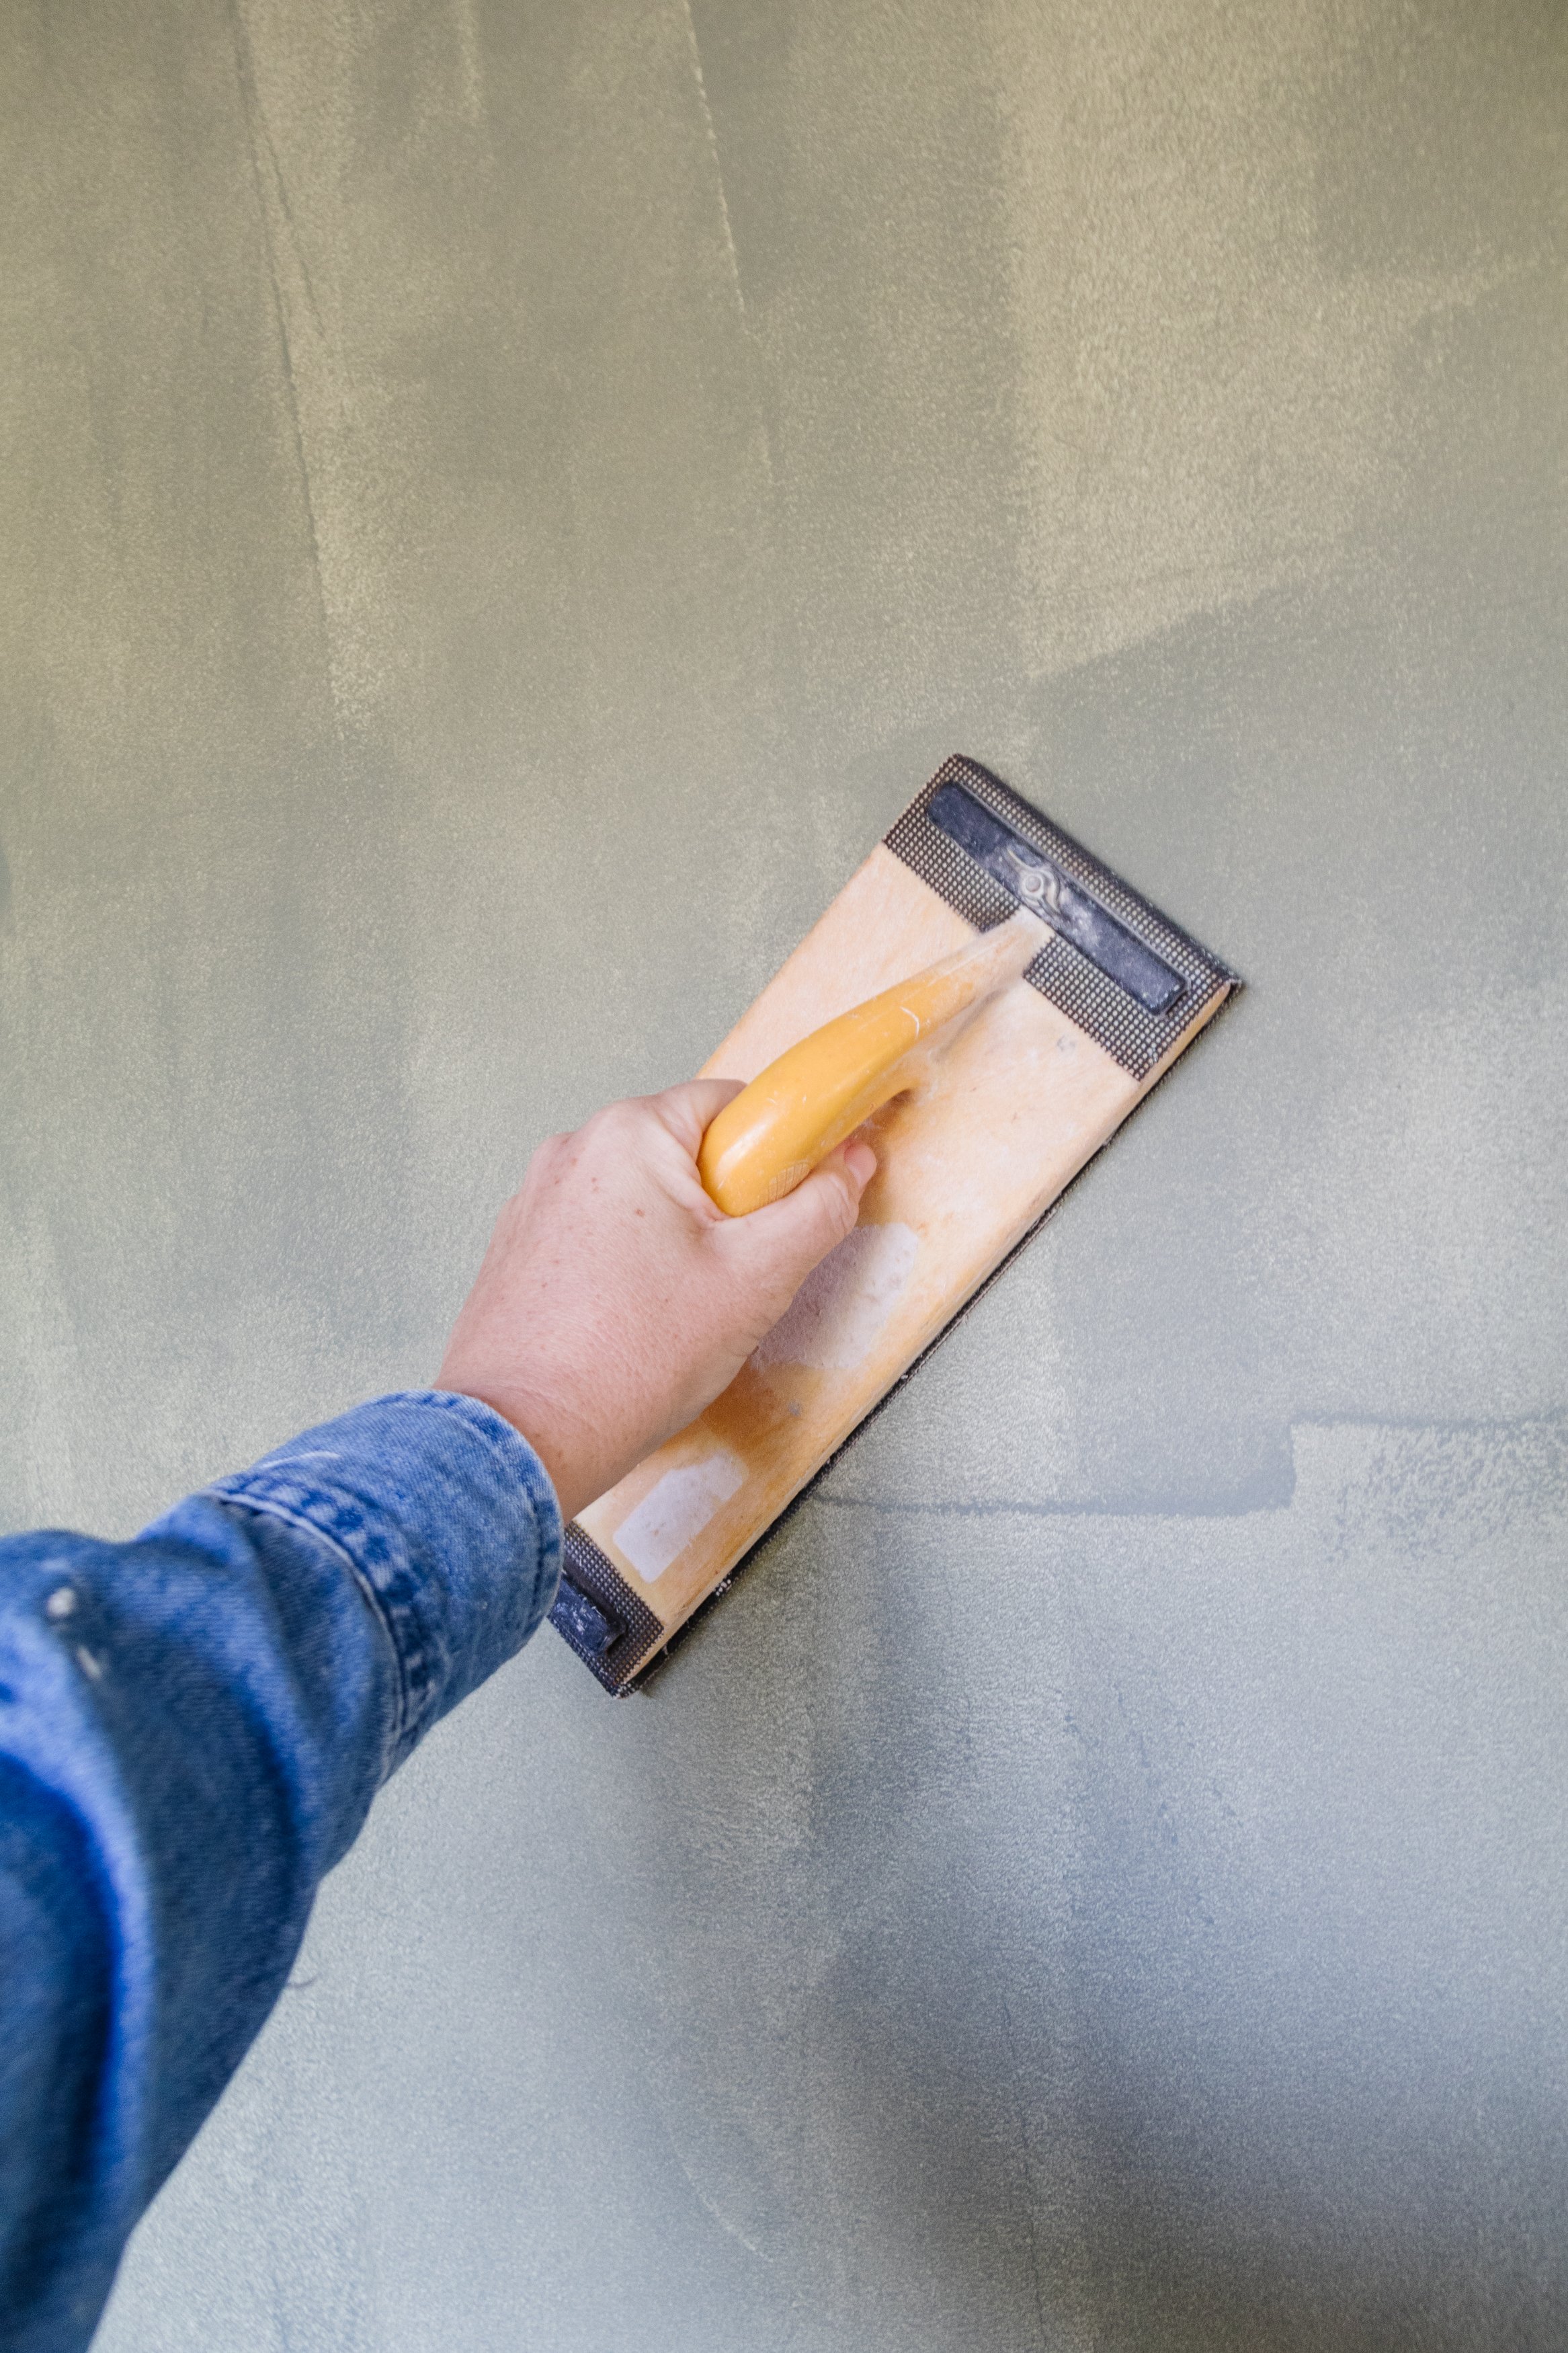
Step 3: The paint dried really quickly, so I sanded the wall smooth to get rid of any lumps and bumps from dust, the microfibre roller etc.
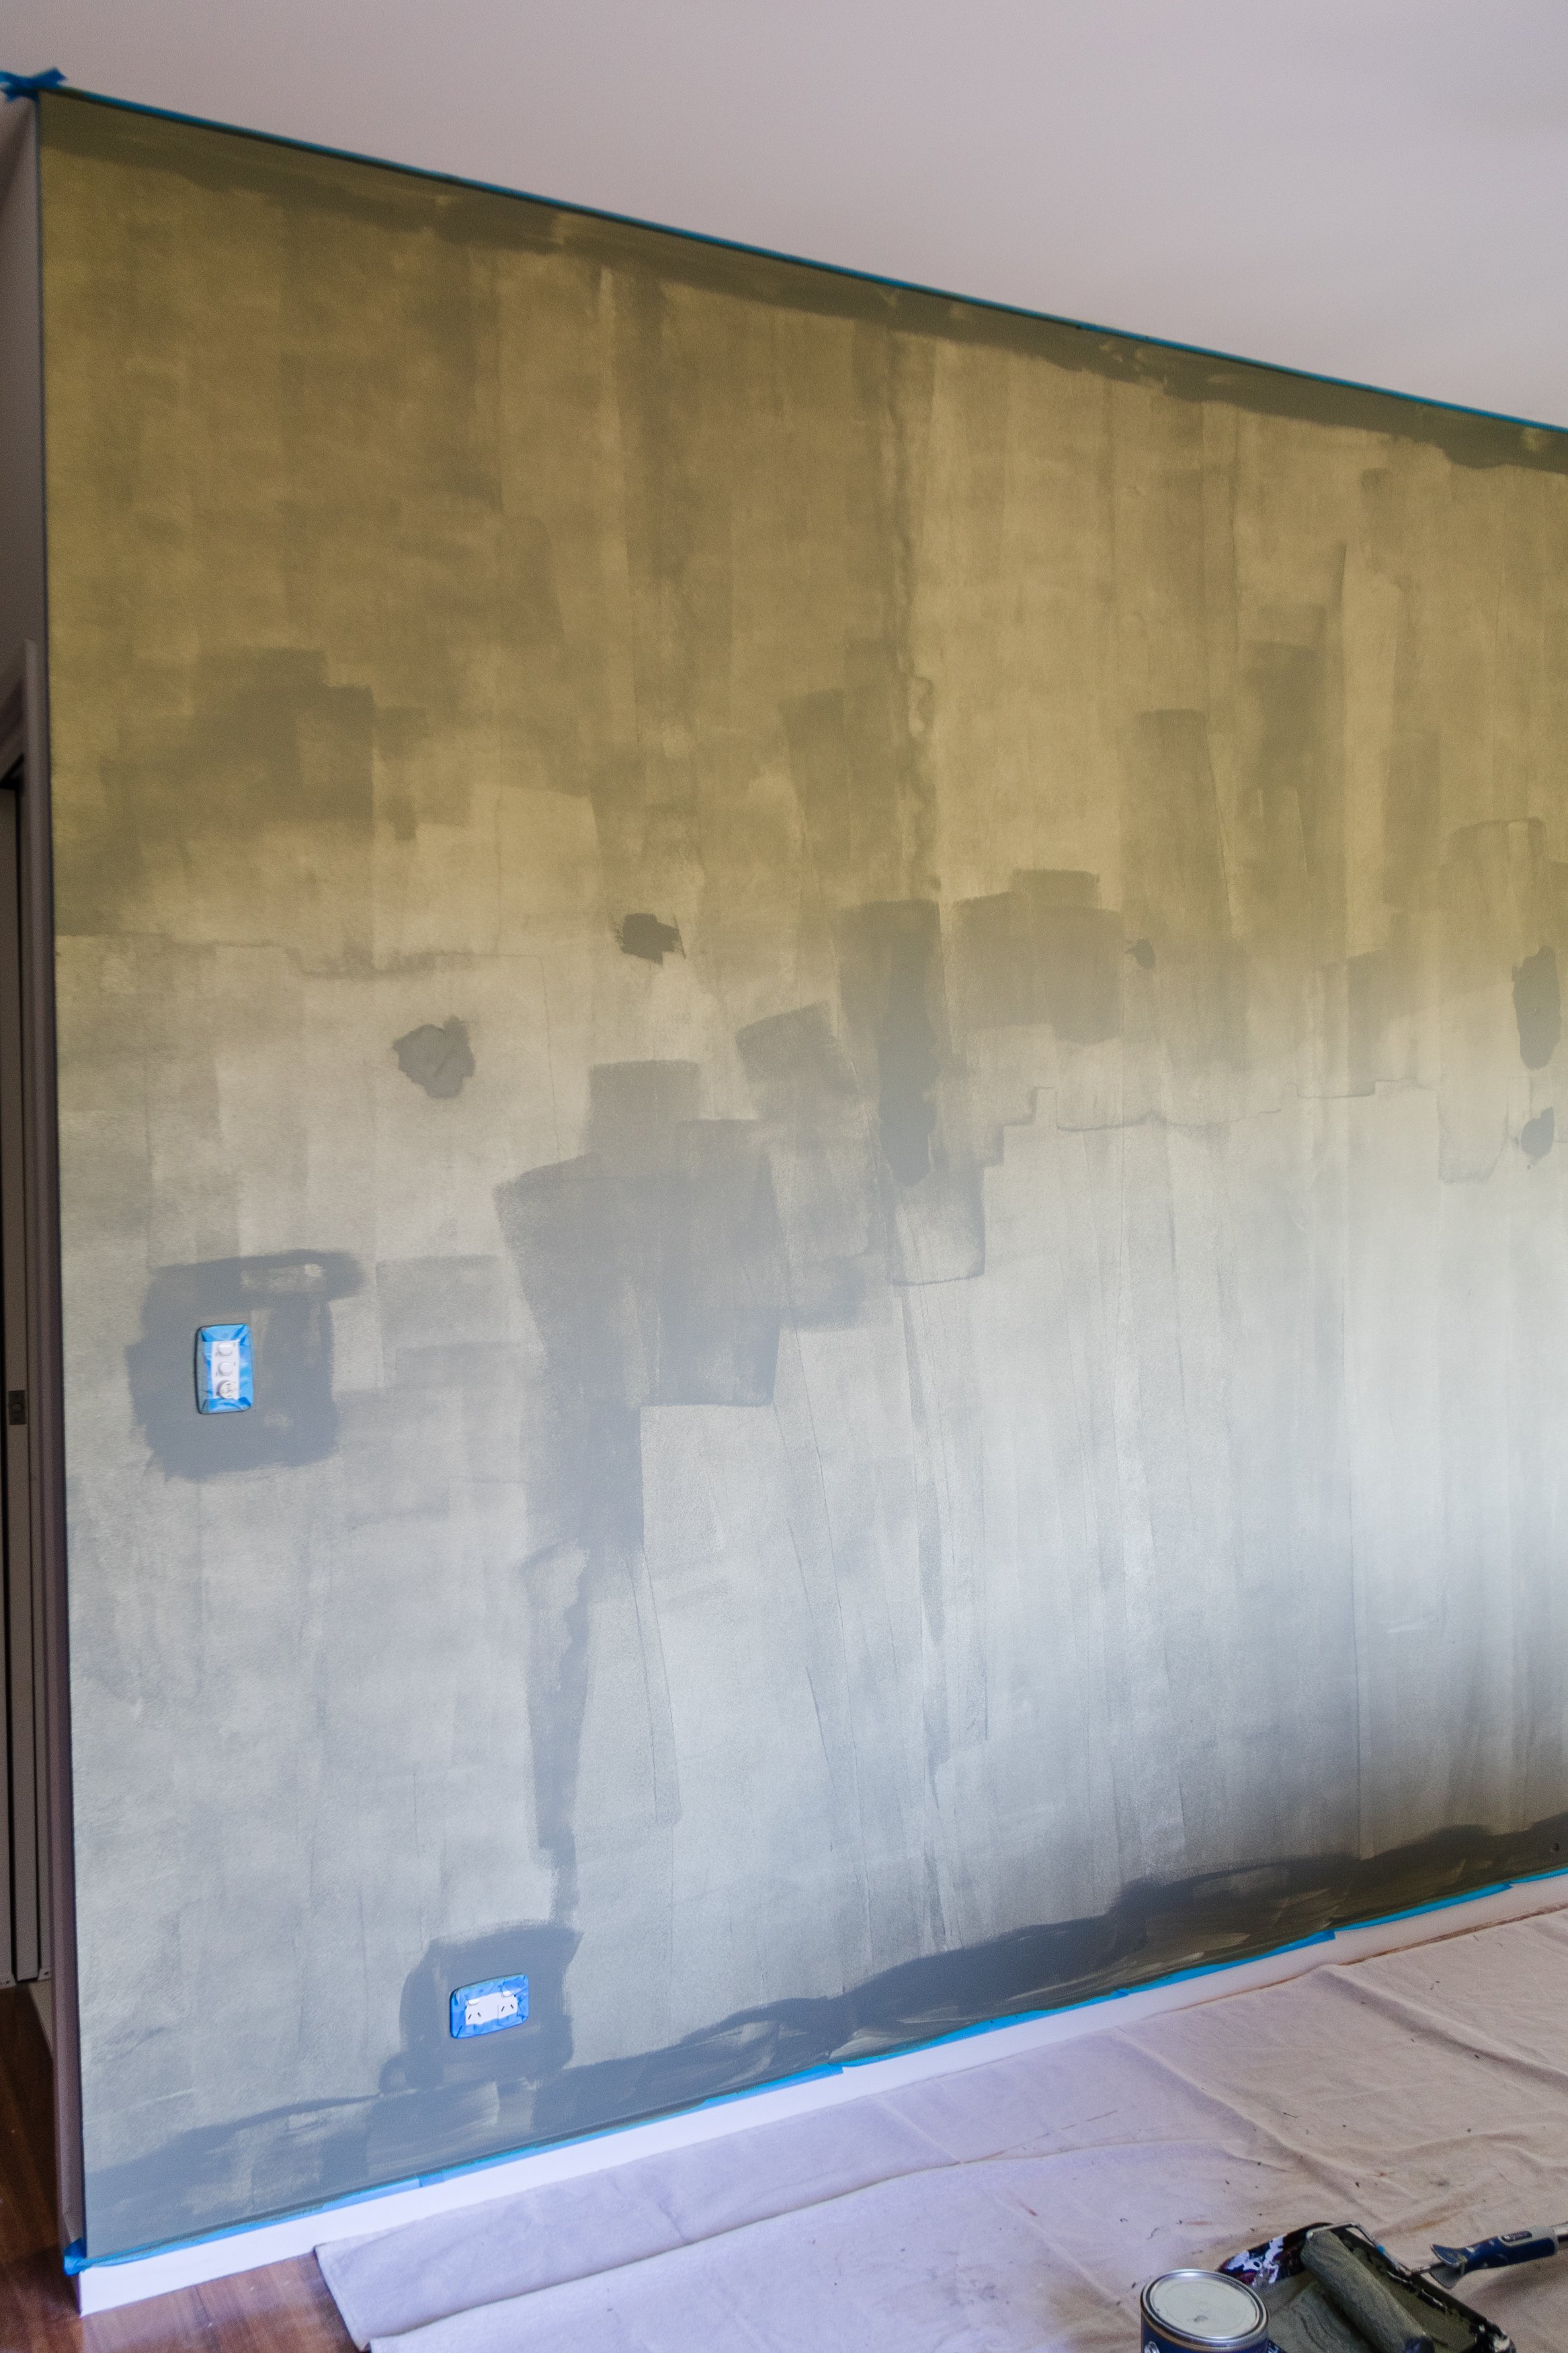
Step 4: Then I applied a liberal second coat and watched the room transform; it was incredible to say the least! I am so impressed! The coverage is incredible.
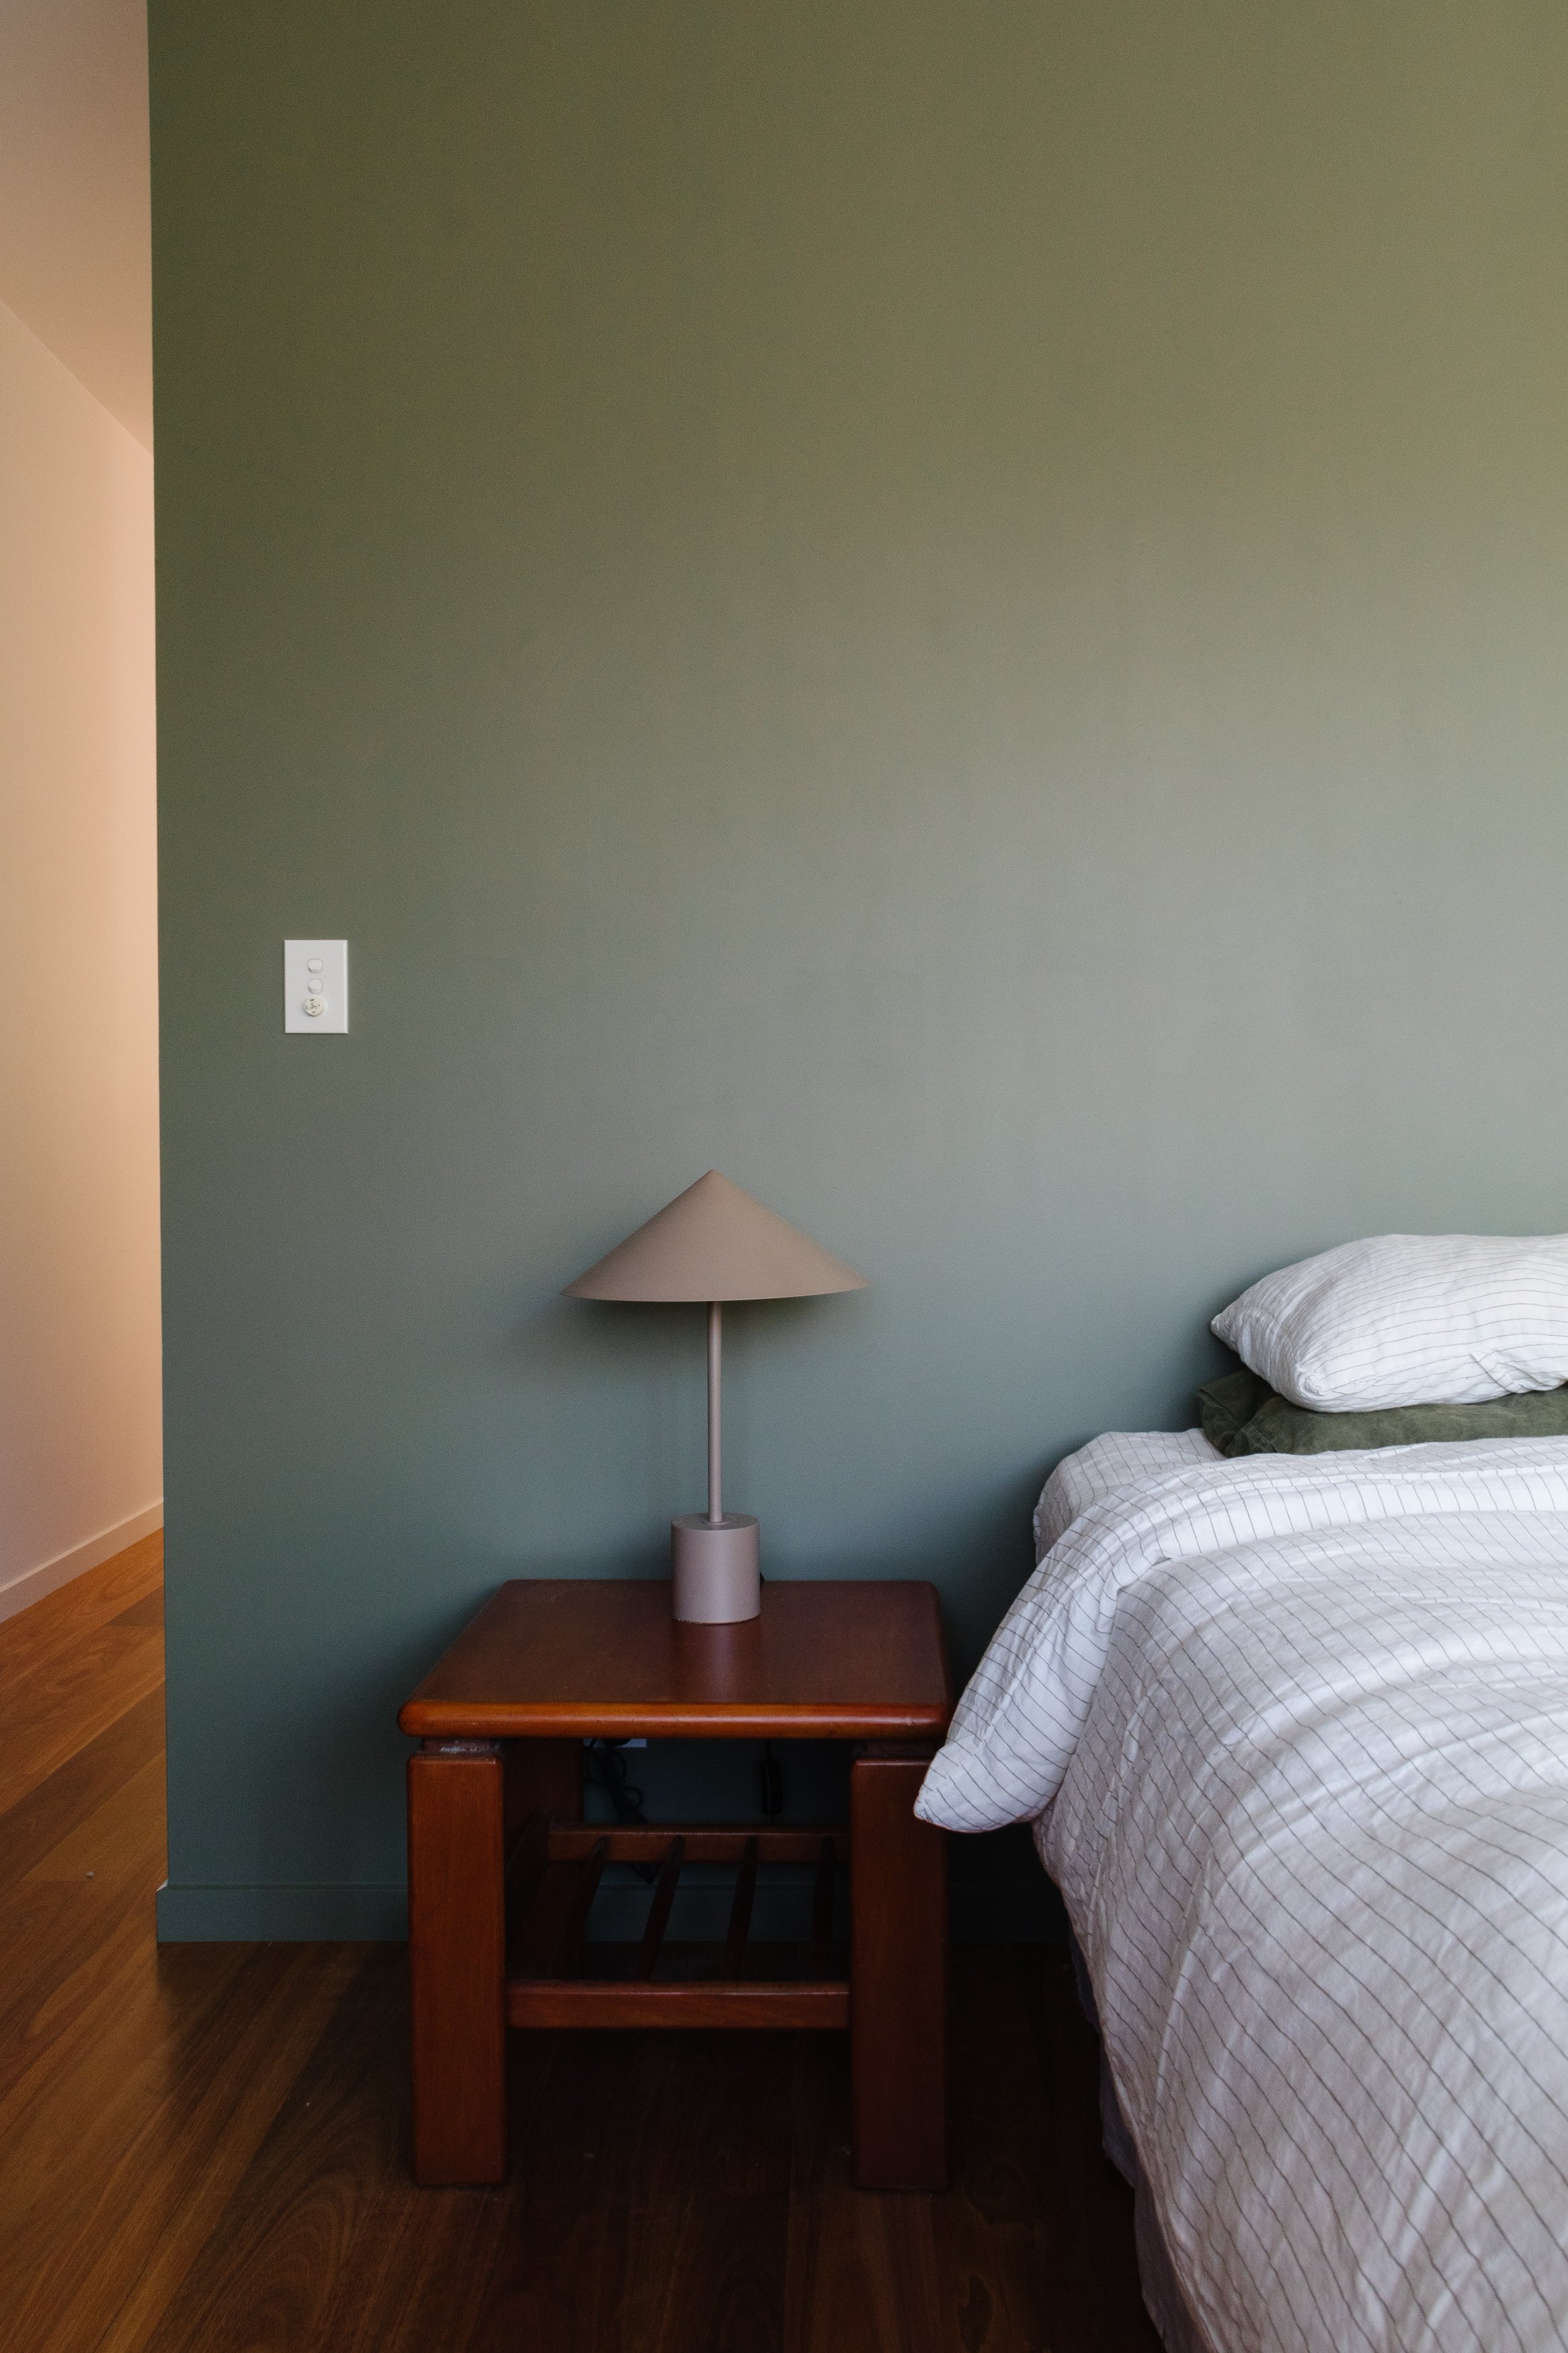
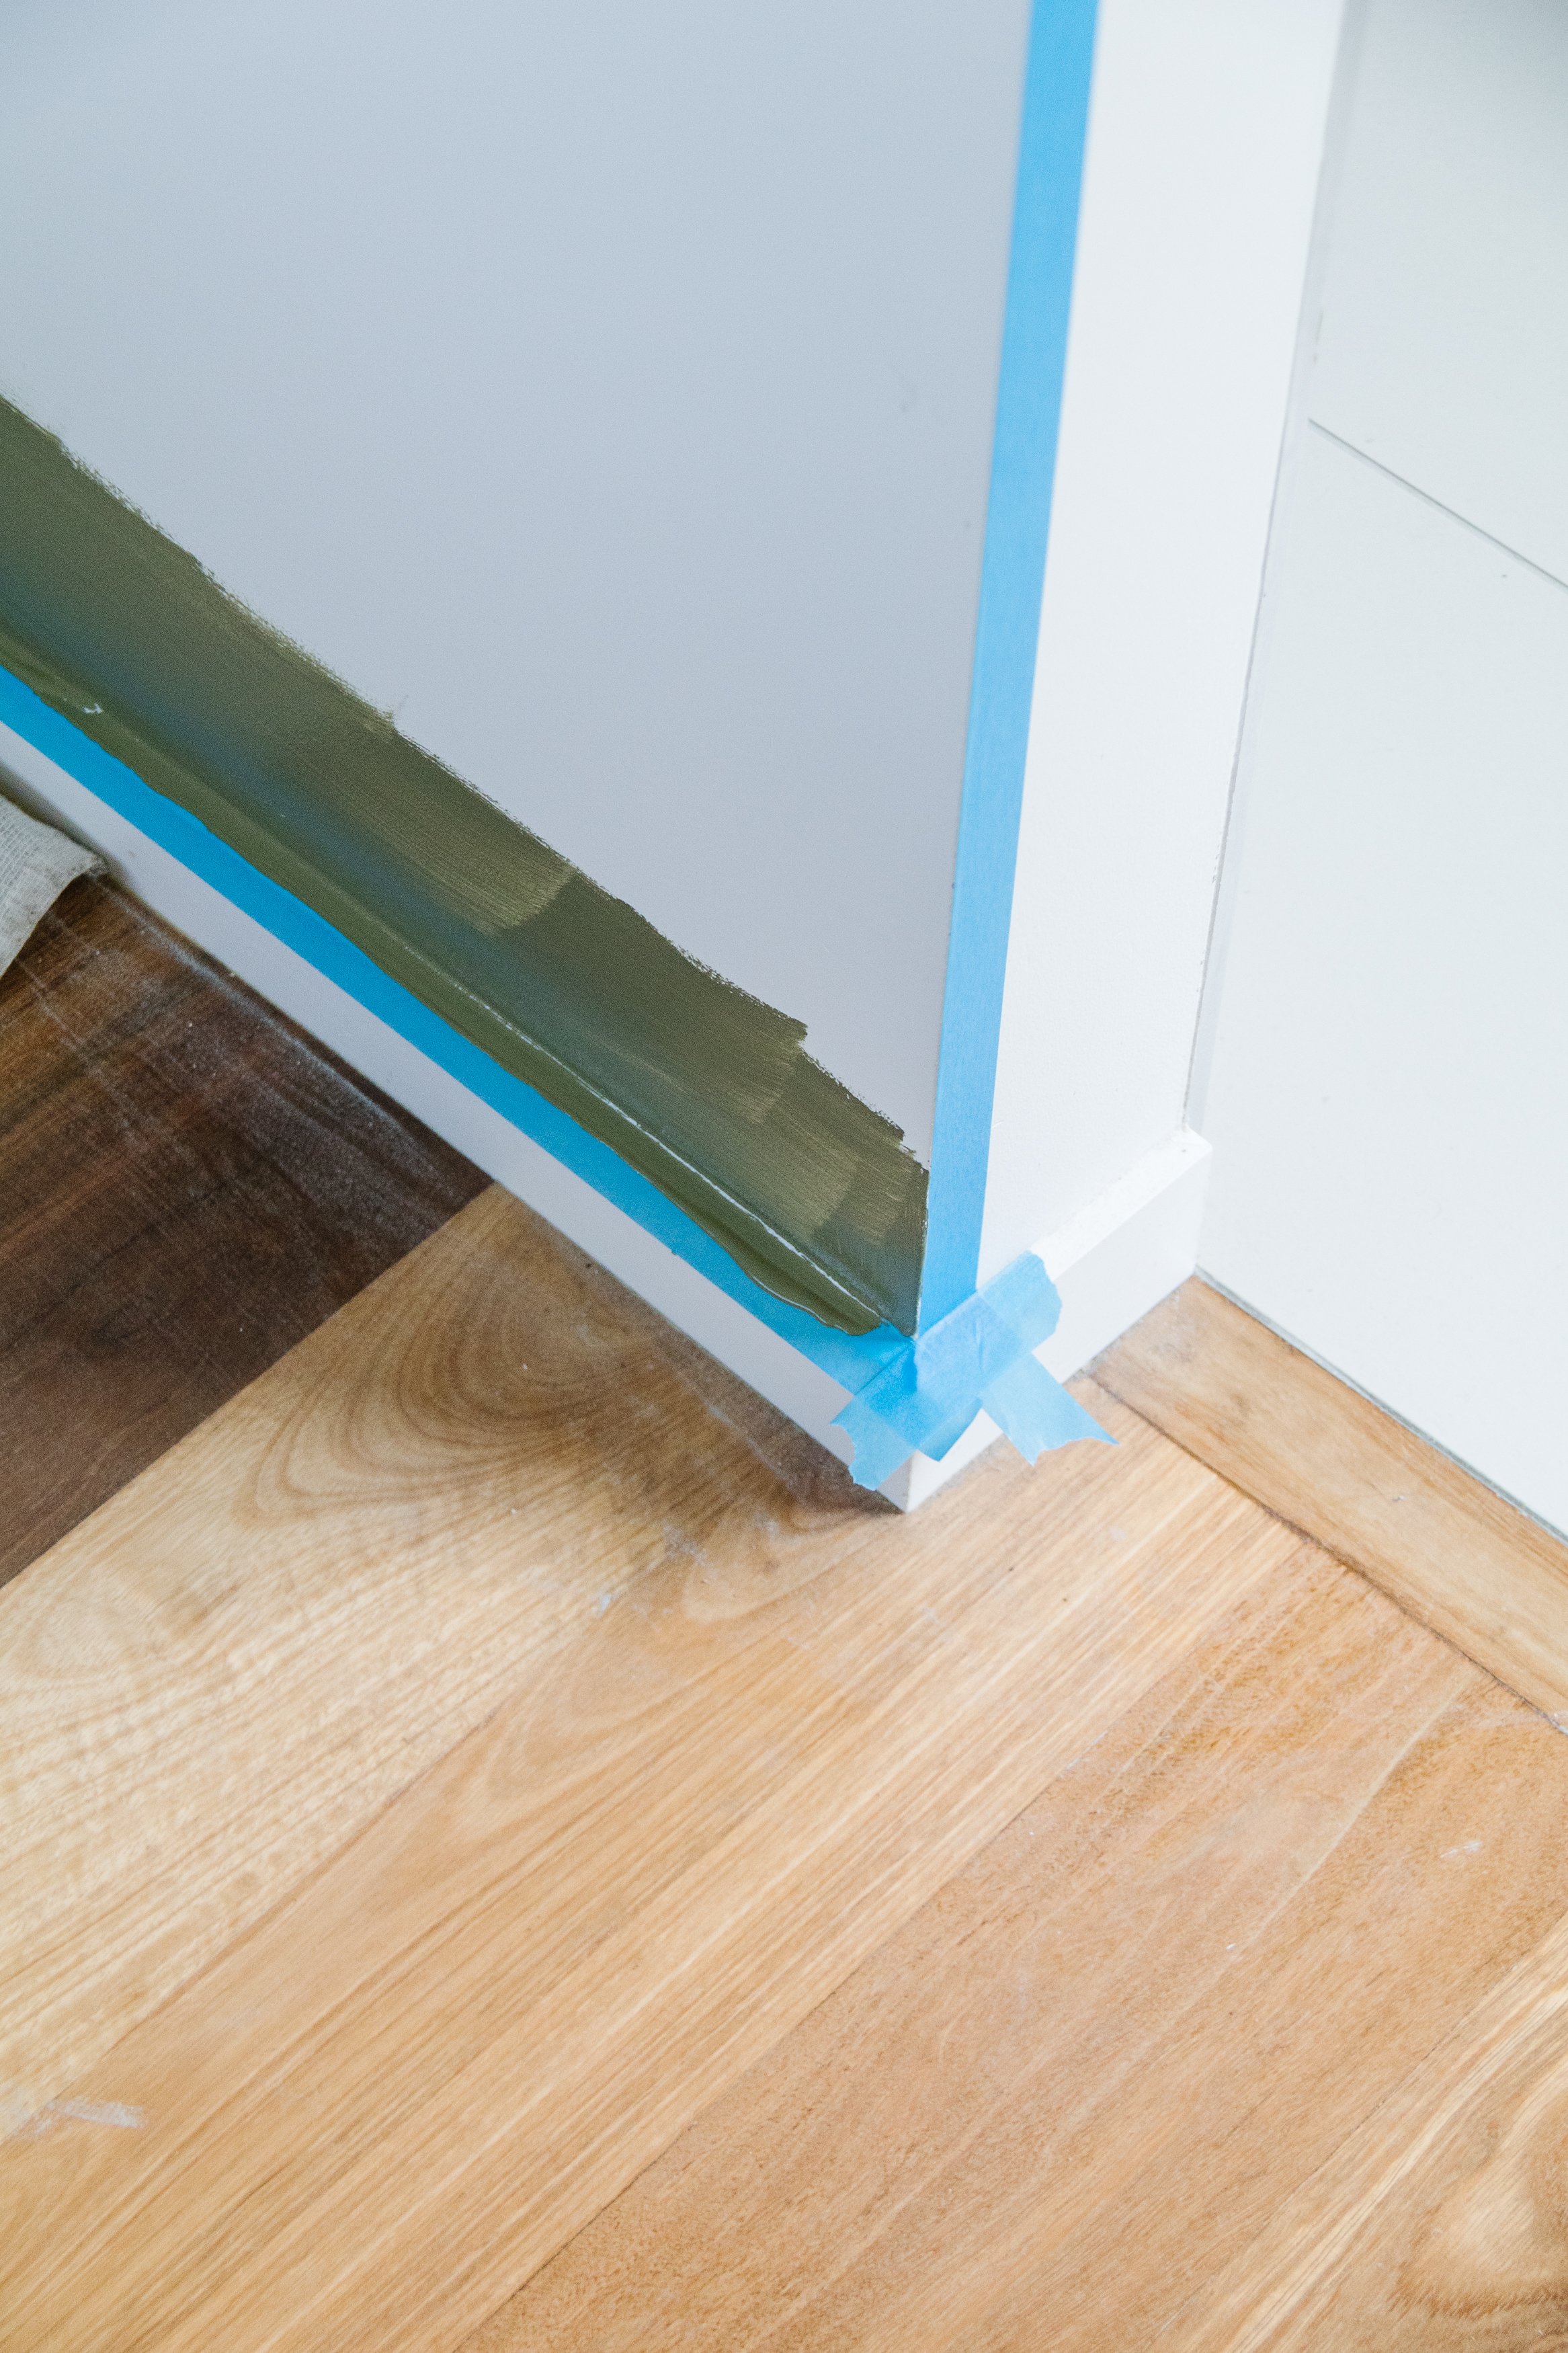
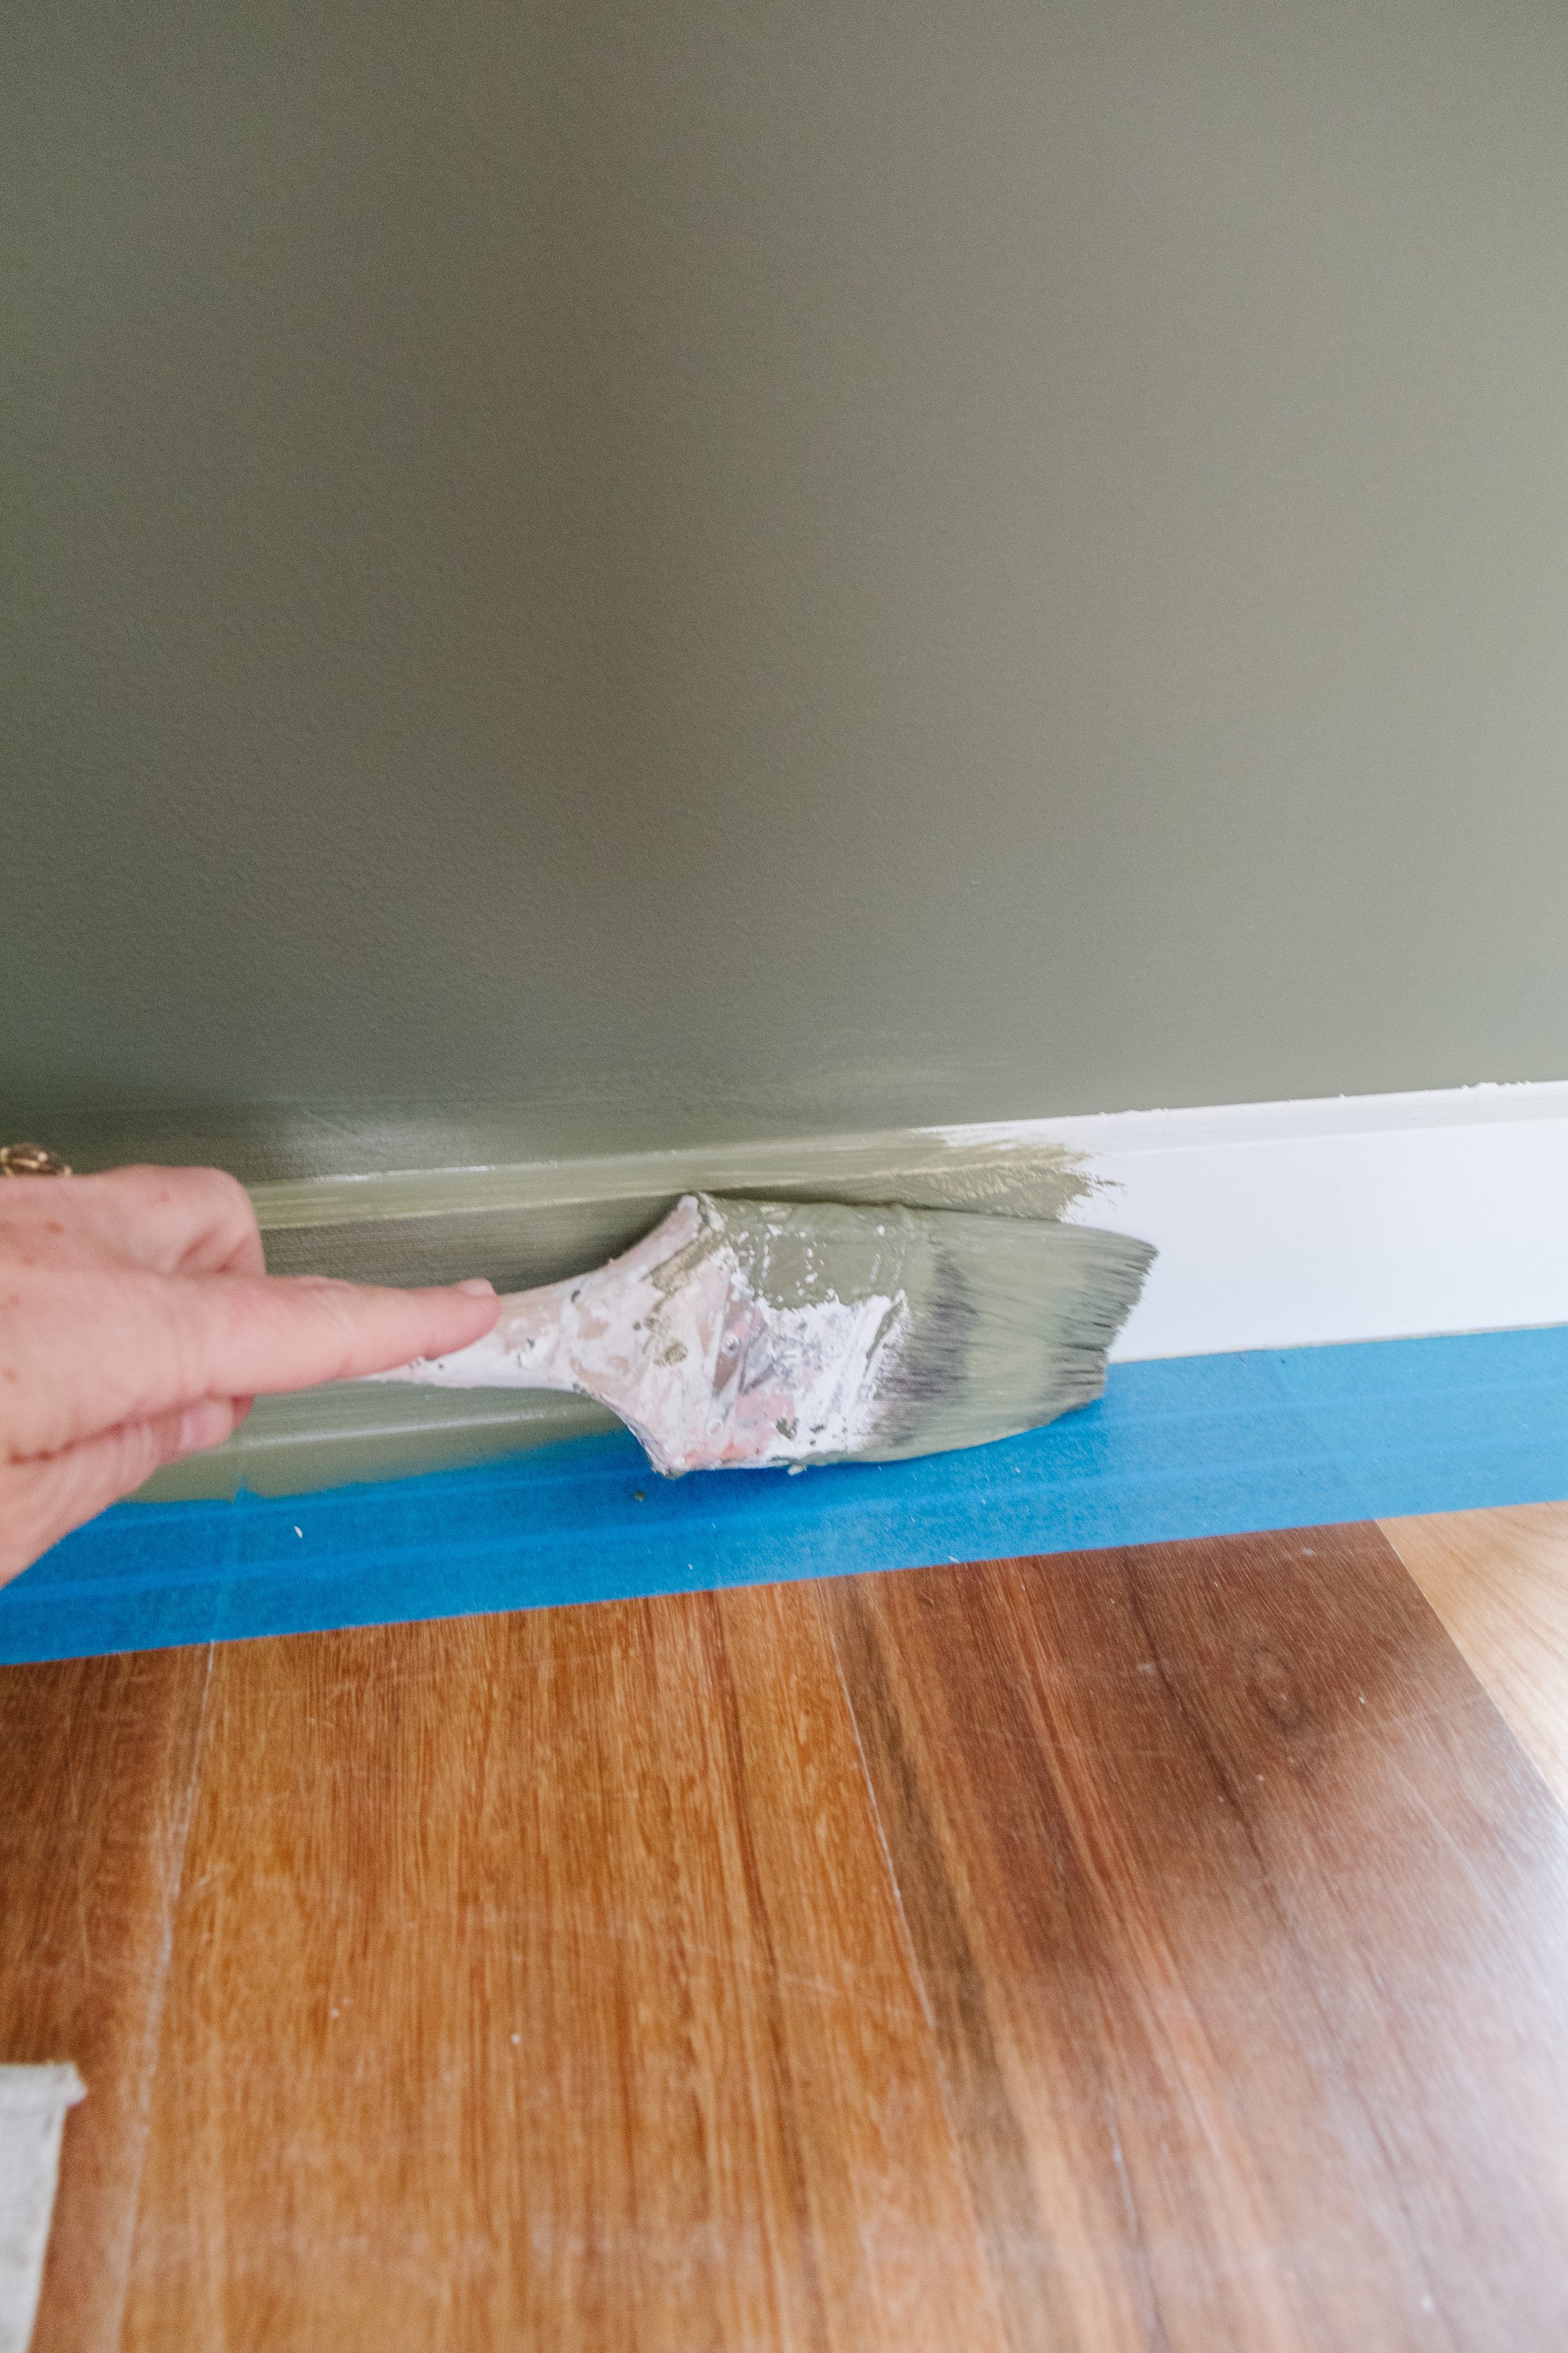
Step 5: I wasn’t planning on painting the baseboard/skirting board but it looked really stark against the Timberline painted wall, so I decided to paint it and I only needed to apply two coats. While the paint was still wet, I peeled the painters tape off.
Step 6: The paint dried really quickly, but I waited a couple of hours before putting the power outlet covers back on and the furniute back in place.
I was initially worried about sleeping in our bedroom after painting the wall, but Porter’s Paints is Low VOC/low odour, making it better for us and the environment. And honestly, I couldn’t smell a thing. So good!

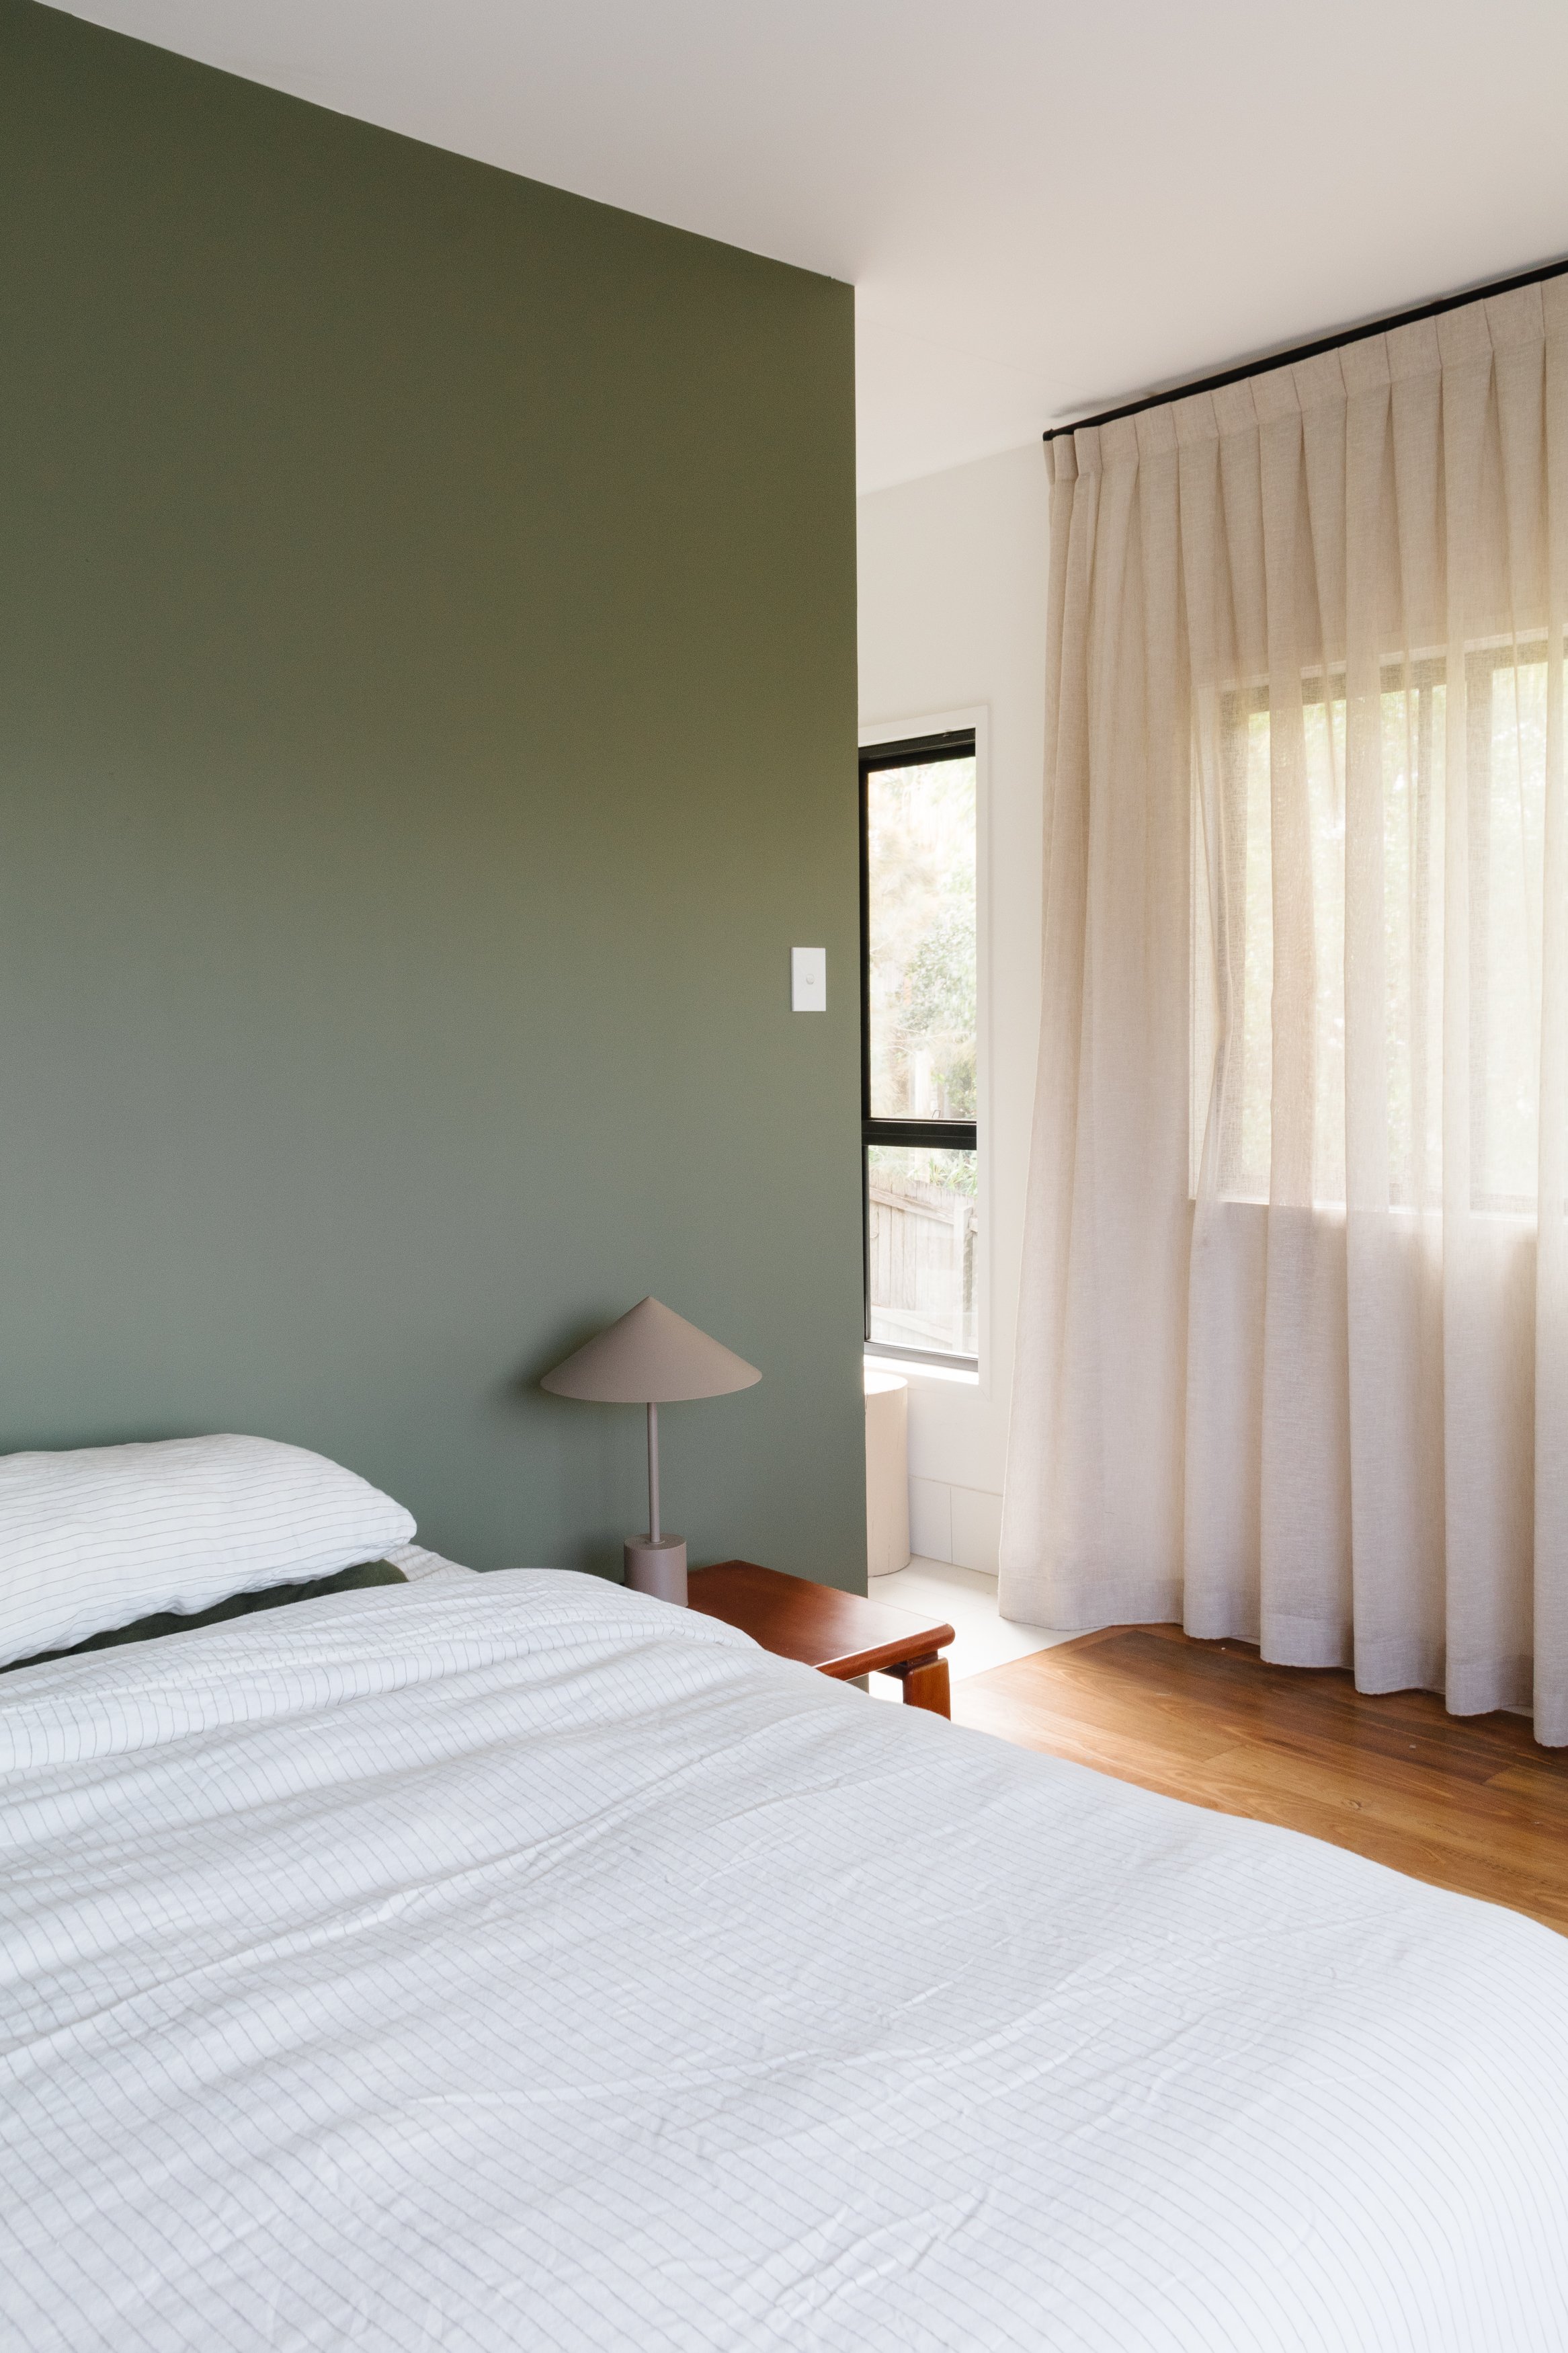

Ta daaaa!
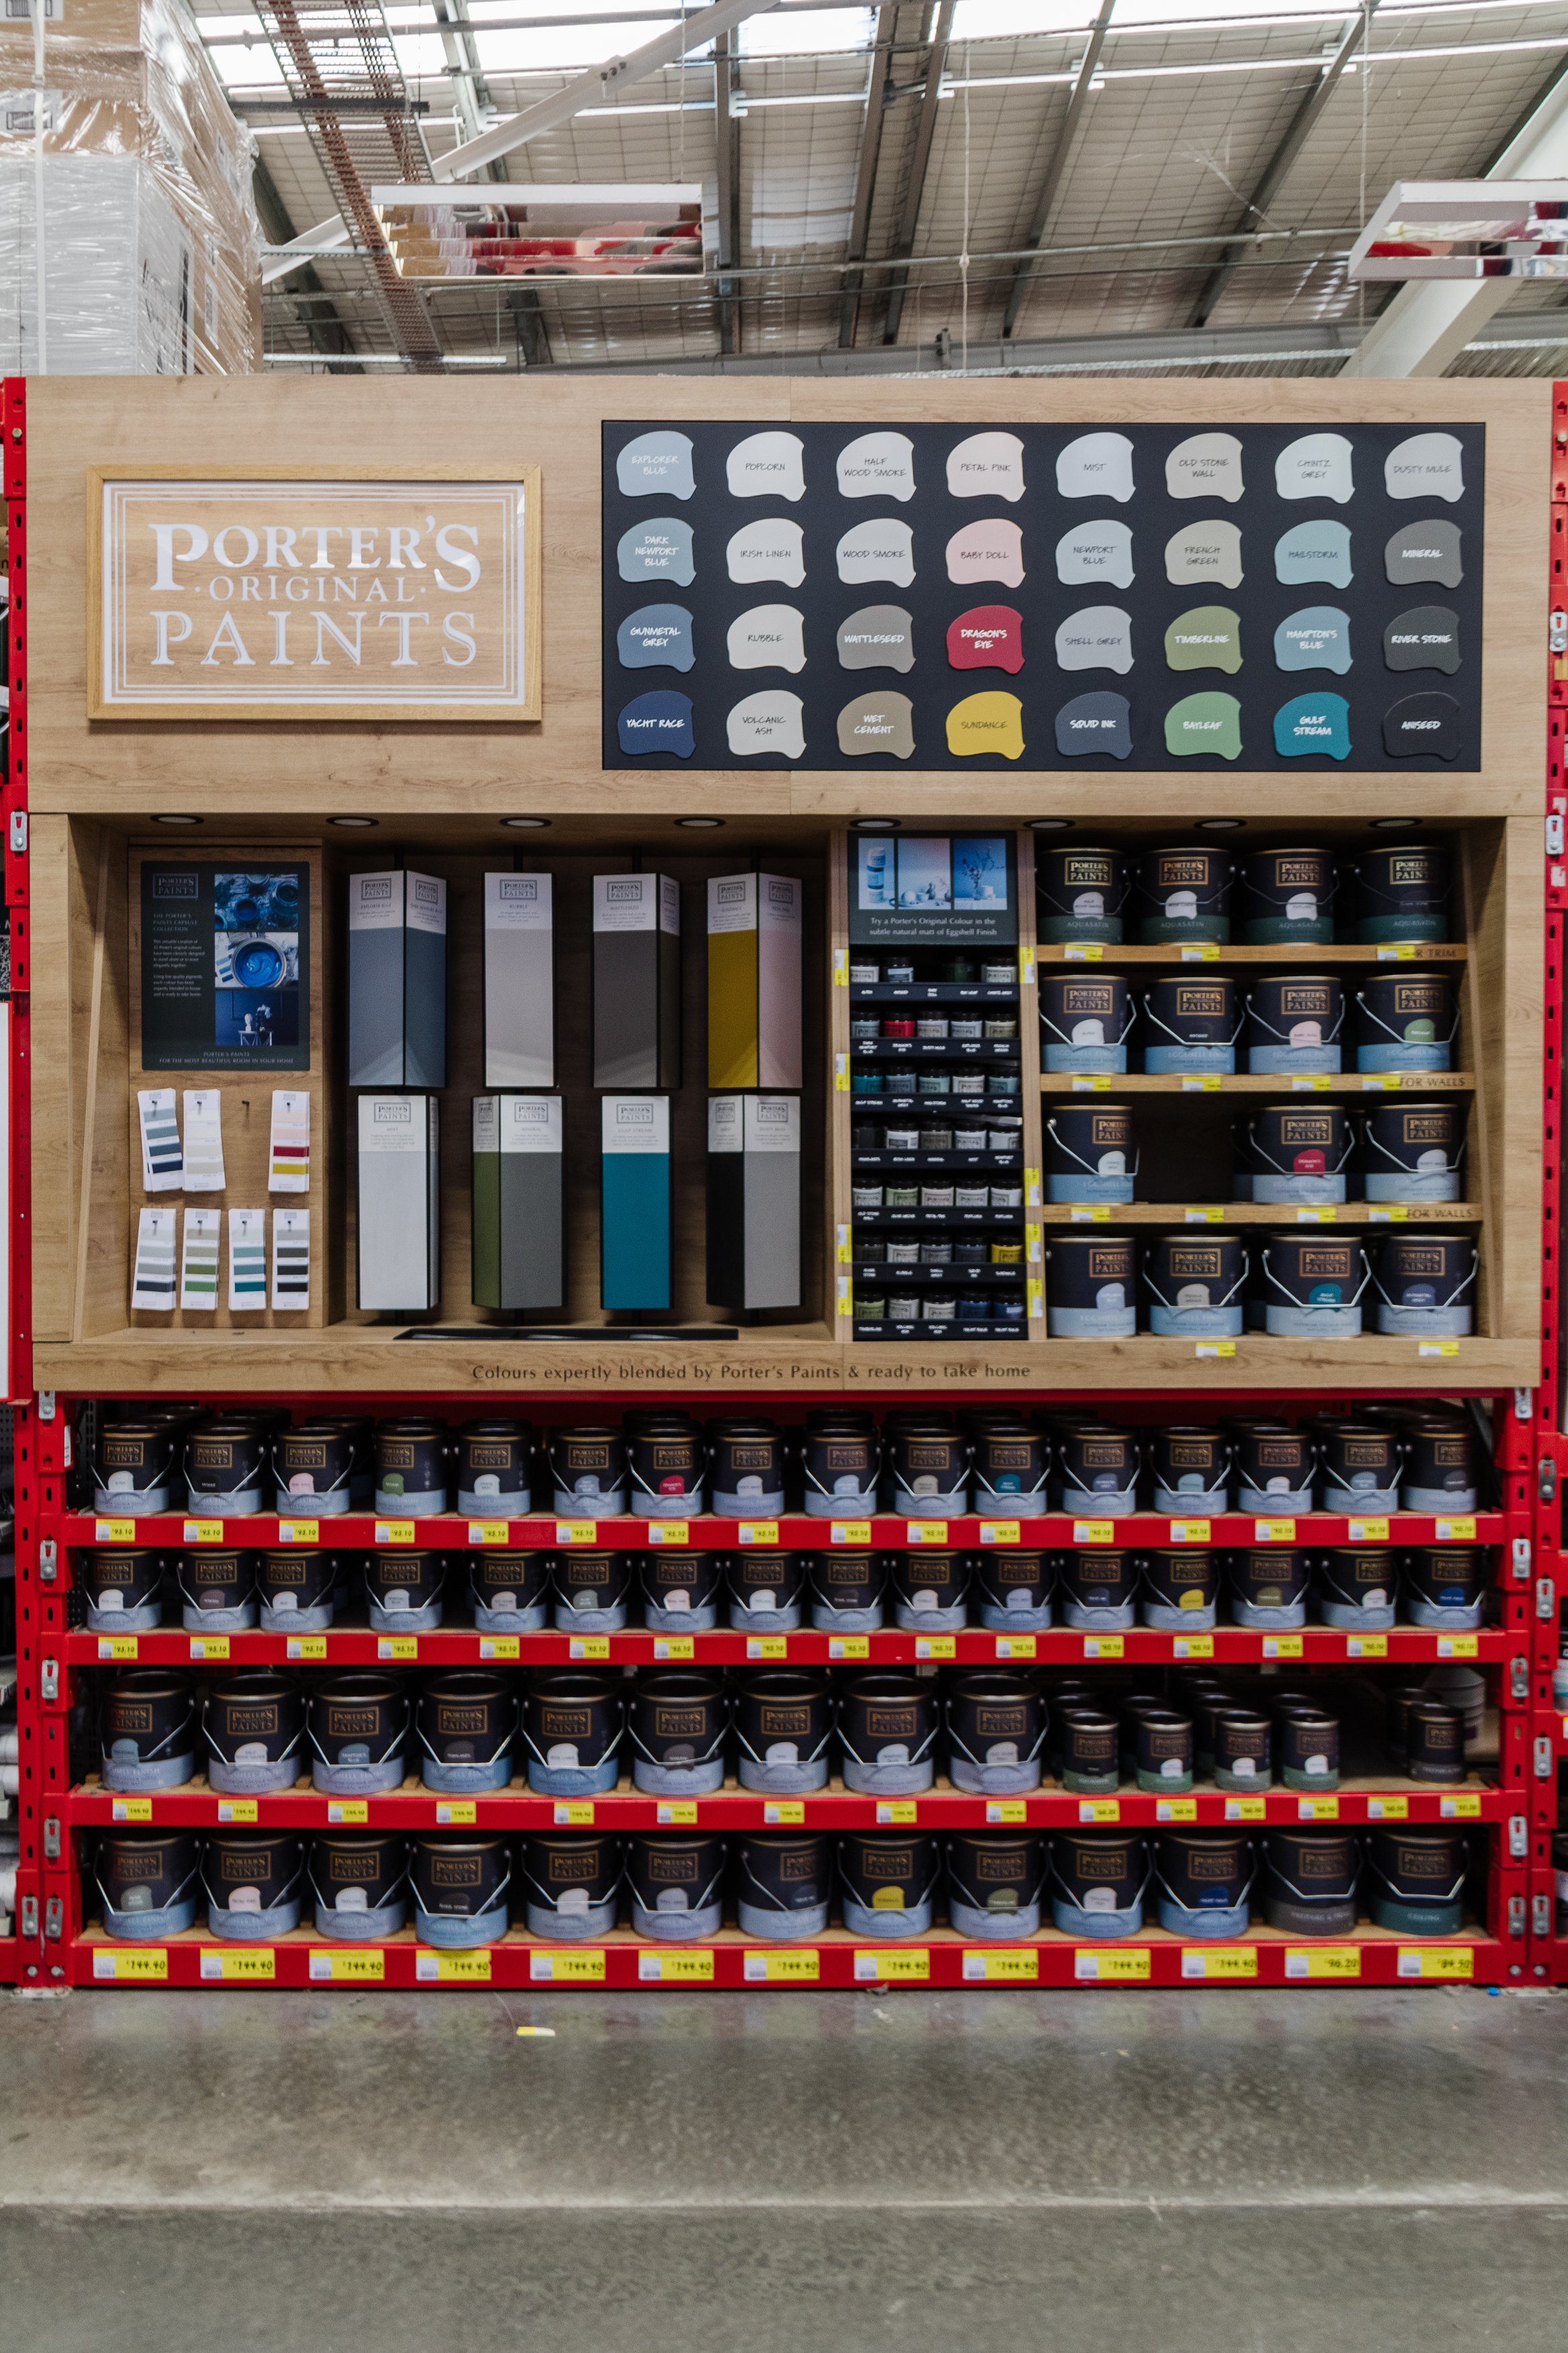
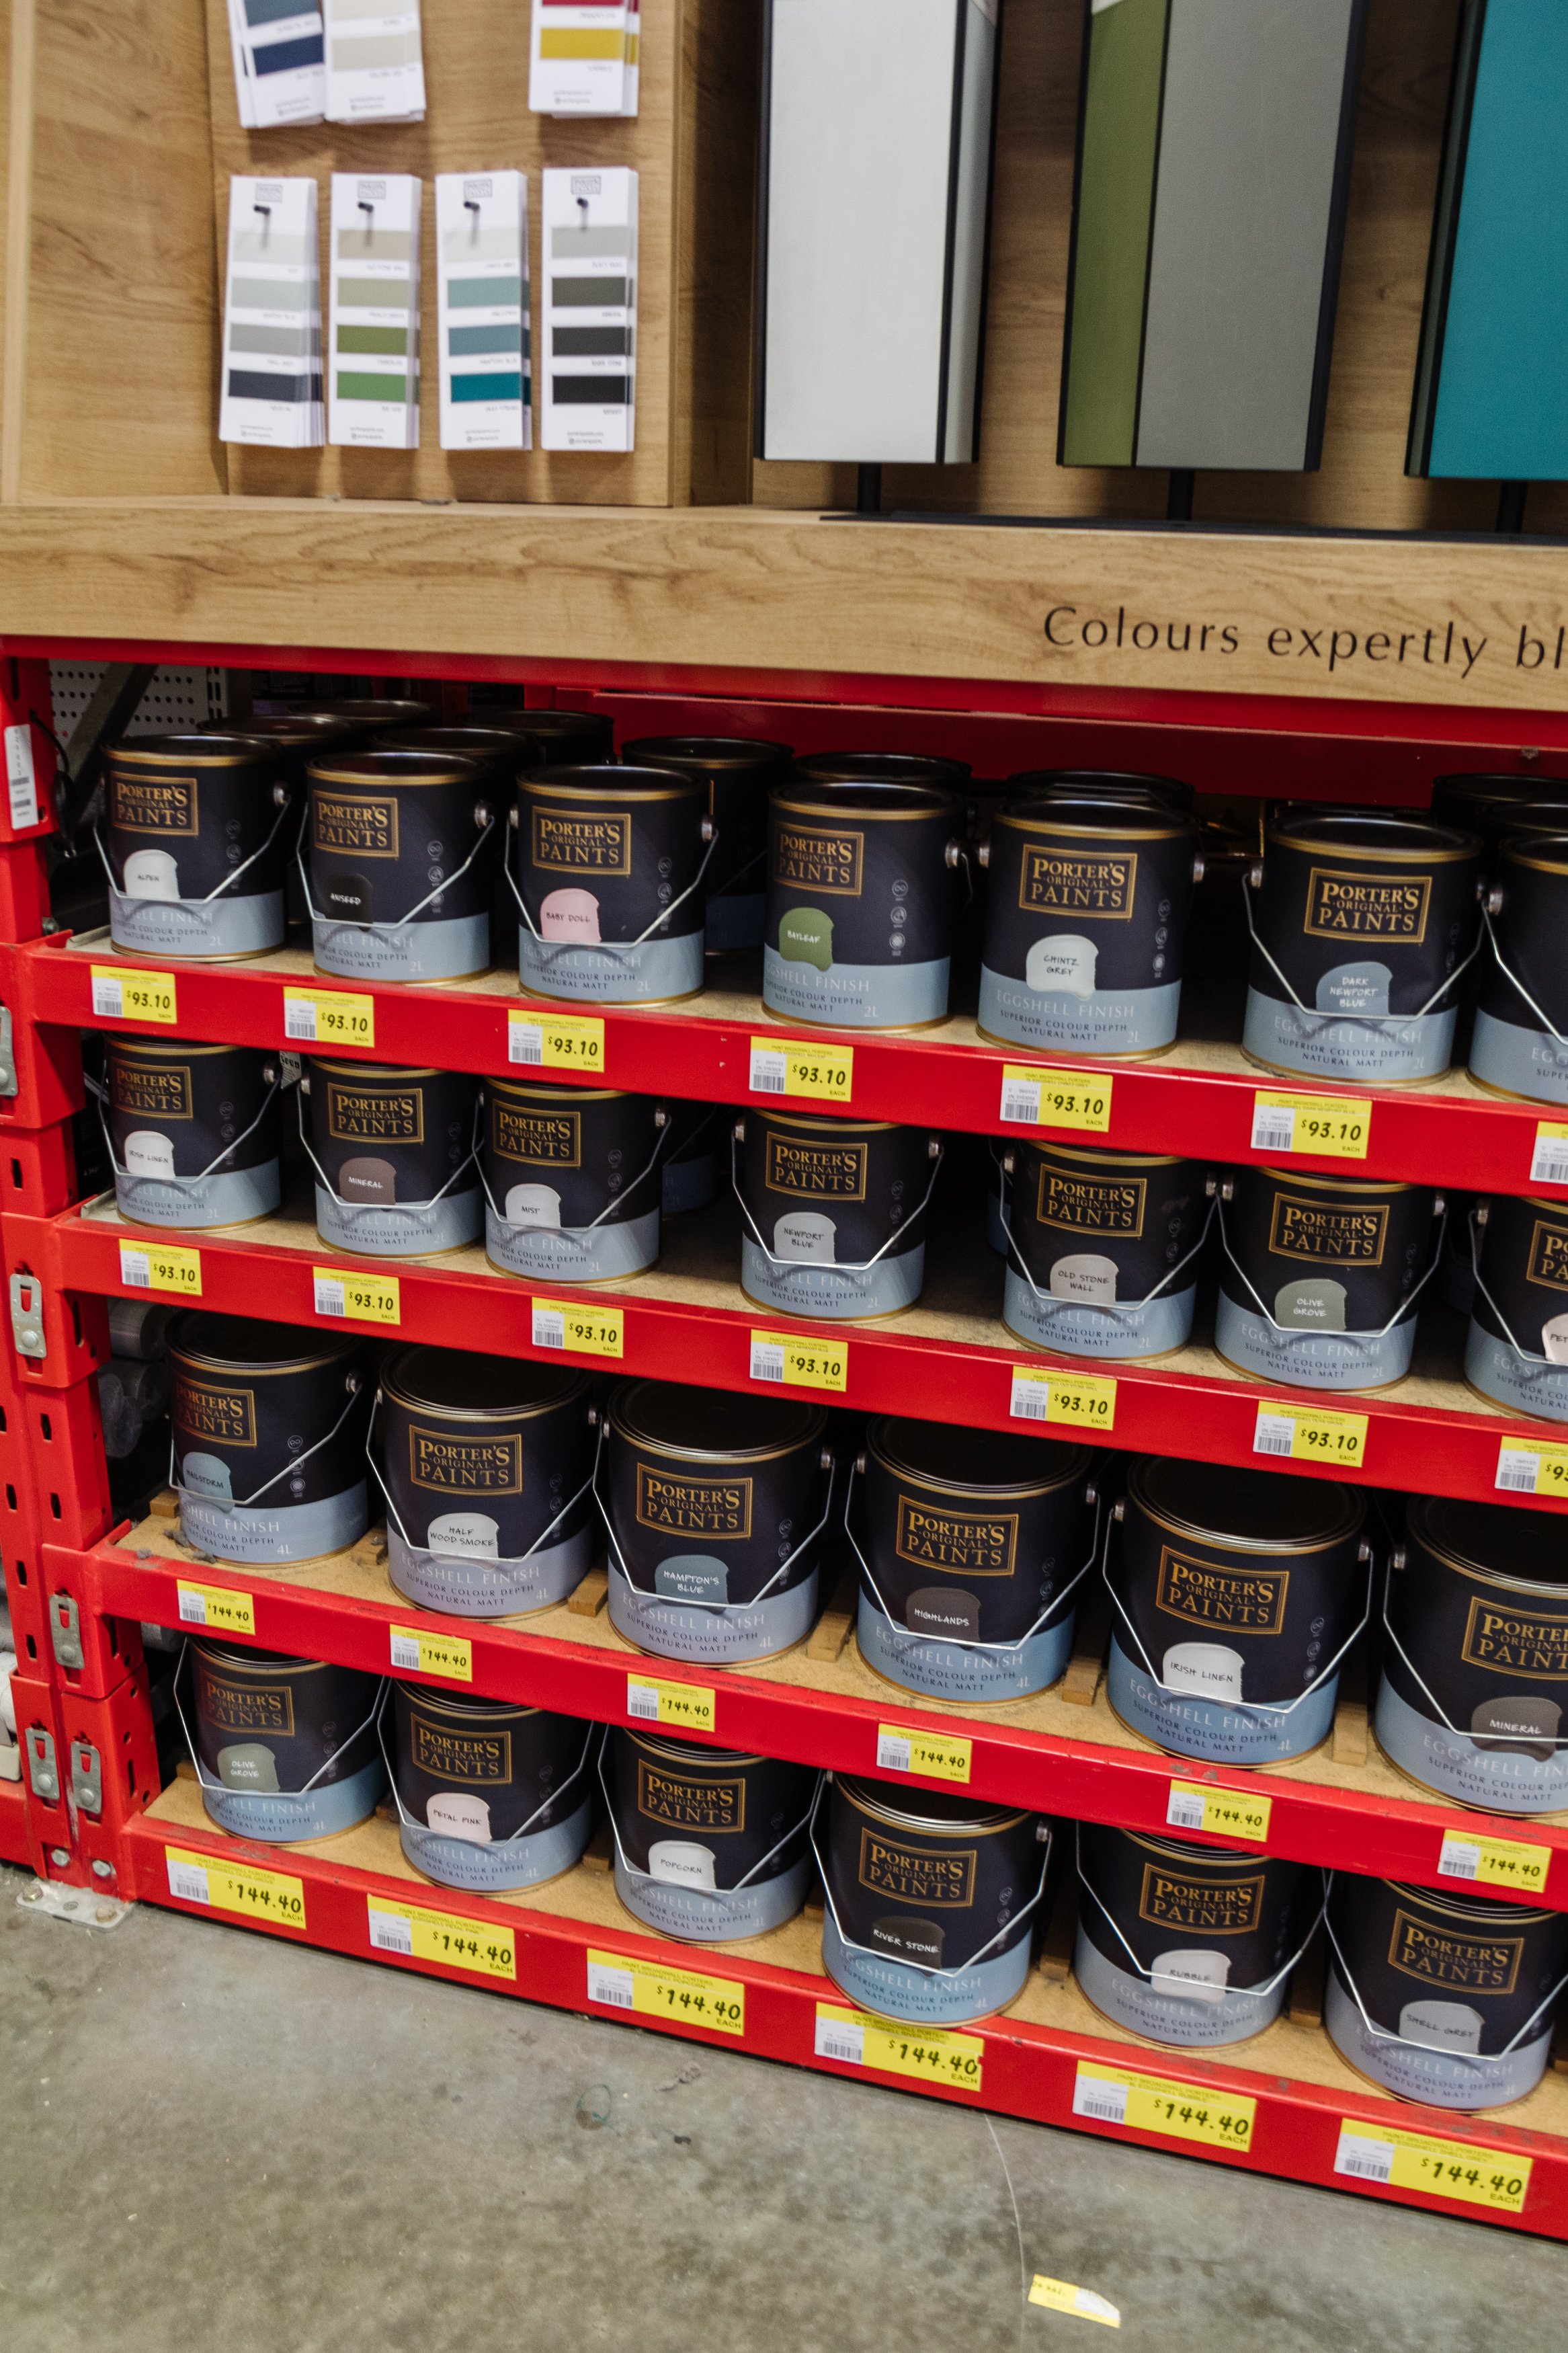
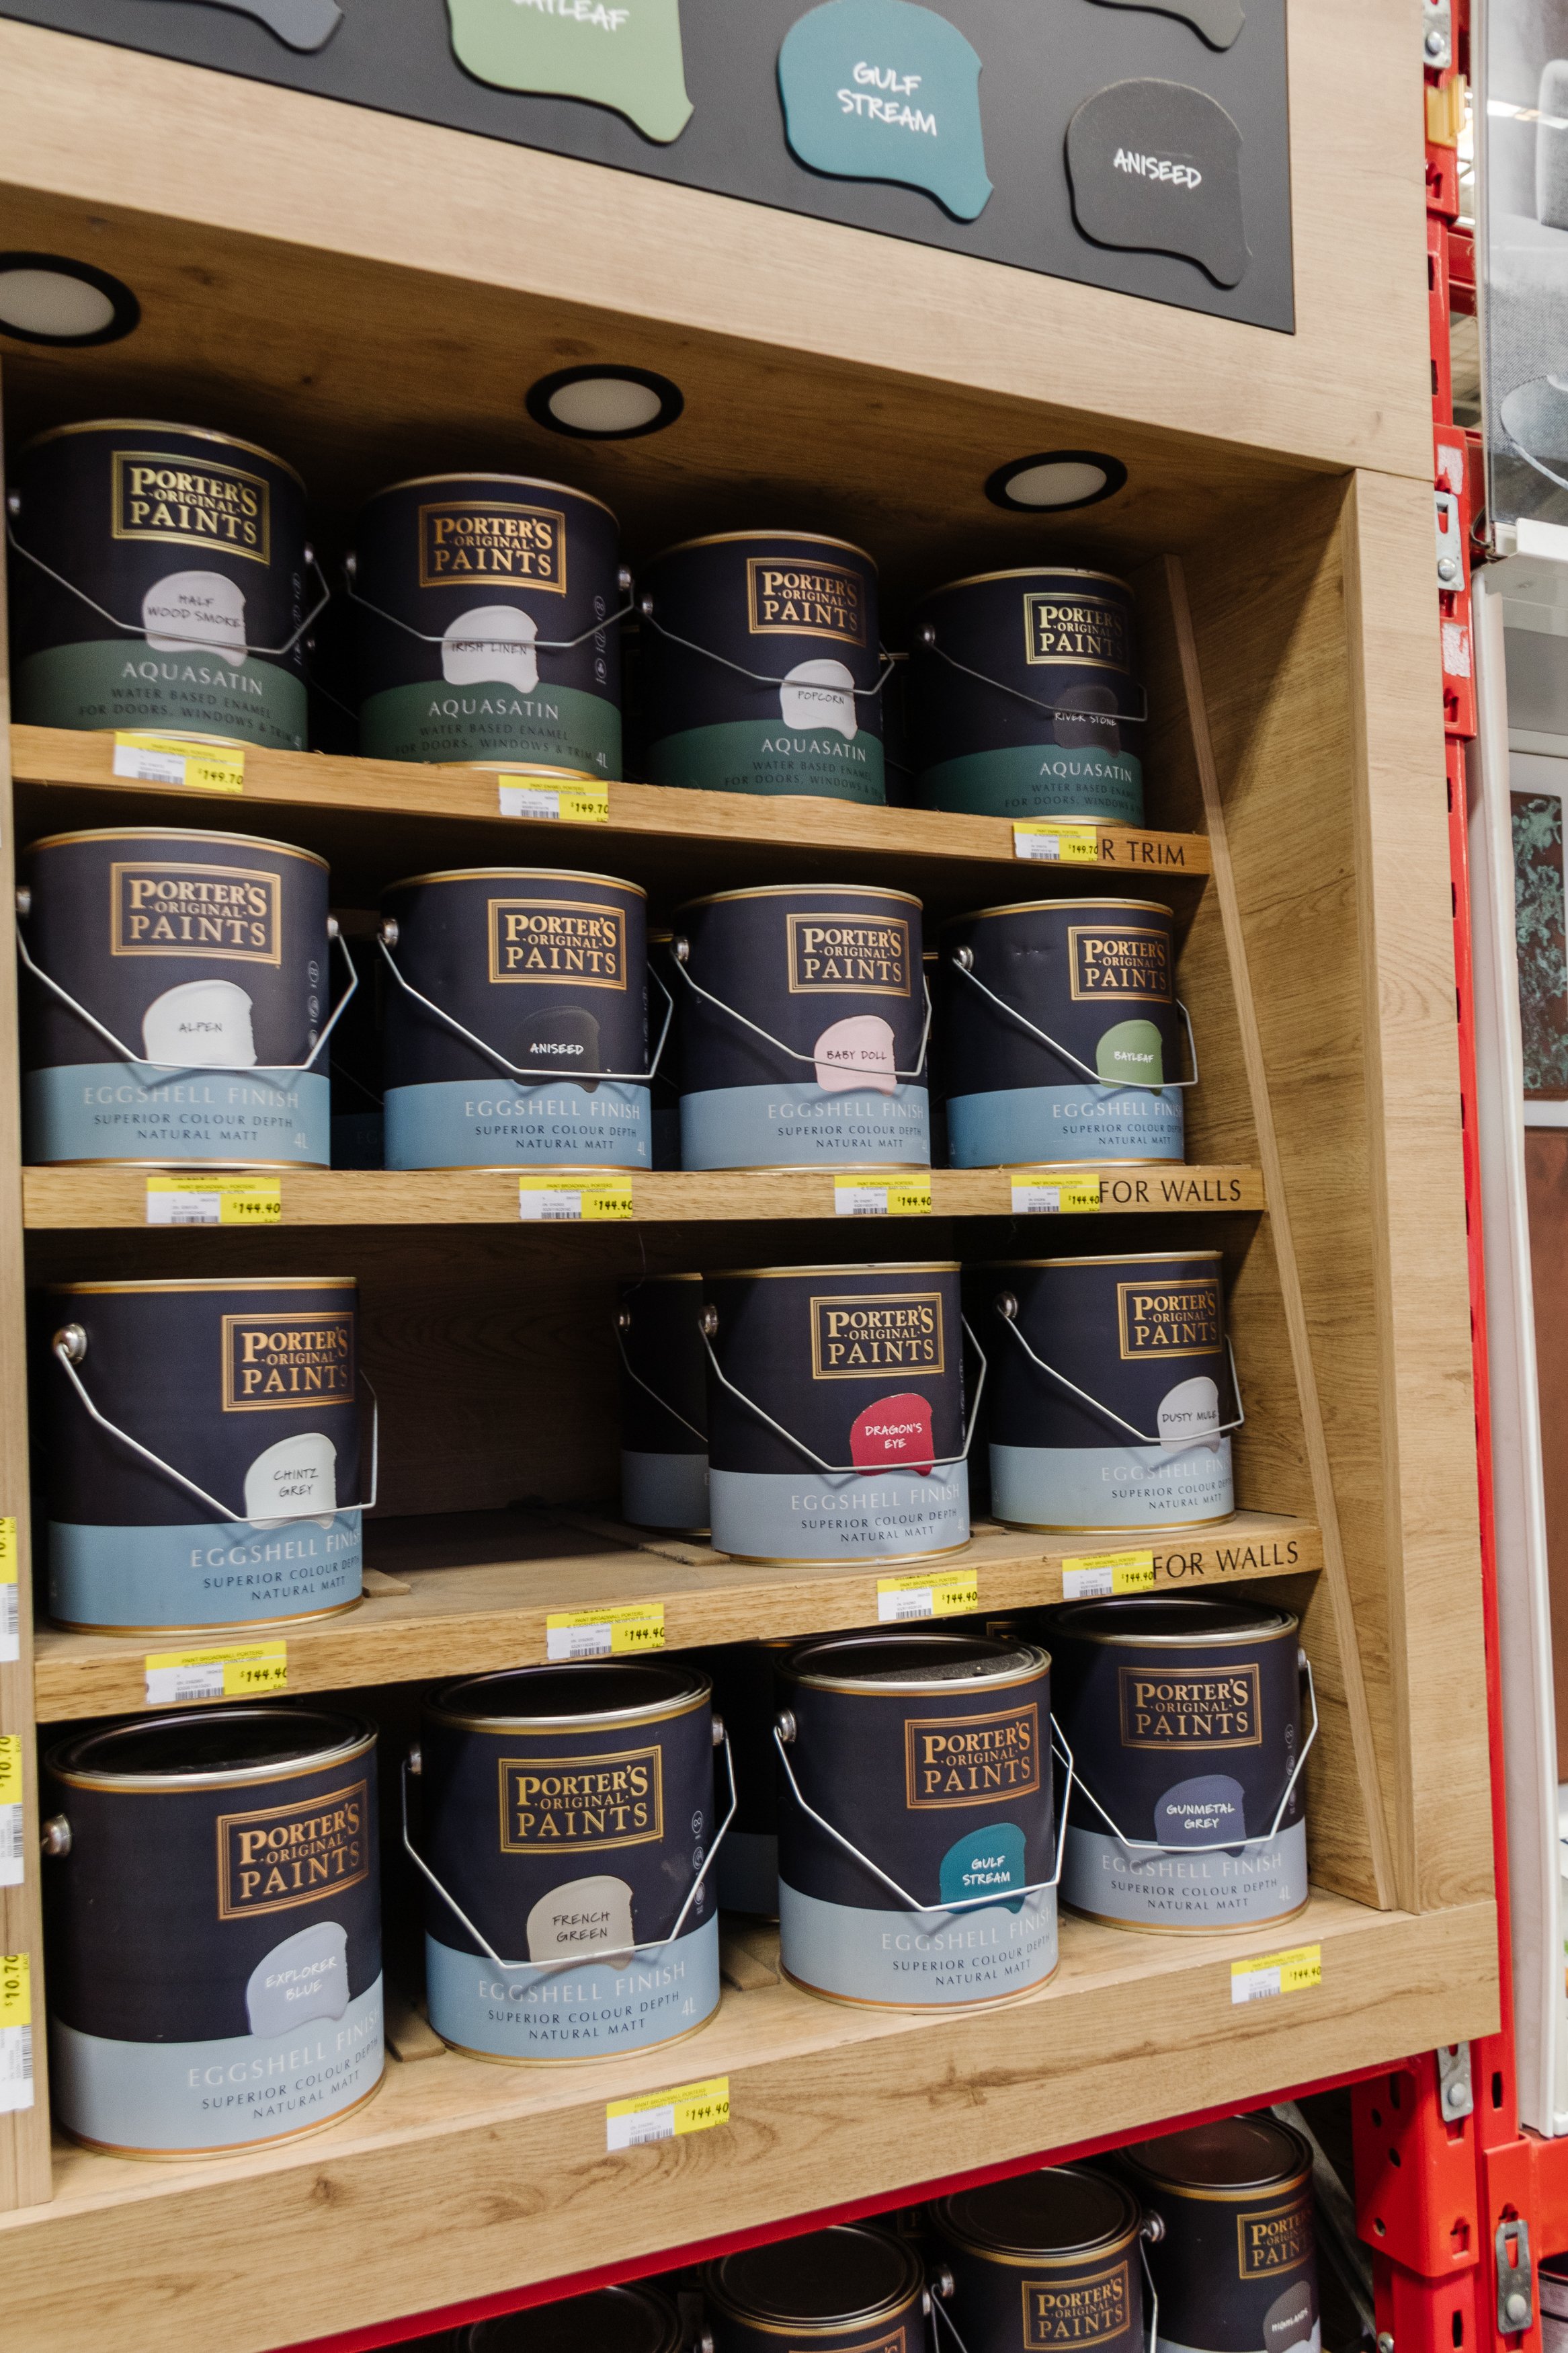
I’ve always believed that paint doesn’t just change the way your home looks, it changes how a room feels but this is on a whole other level! It now feels calm, cosy and grown up. Porter’s Paints low odour Eggshell Finish is fast drying, long lasting and suitable for interior and exterior use. When it’s dry it’s also fully washable, which is perfect for high traffic areas. It’s also available at Bunnings, pre-tinted and ready for you to take home and get started on your own project.
I also want to say a big thank you to everyone who helped me choose the perfect green and cheered me on as I embarked on this epic DIY project. It meant the world to me! Happy painting!
This project was in collaboration with Porter’s Paints