Making Upcycled Abstract Framed Wall Art - for under $70!
When you can’t find something you love that’s in your budget, make it!
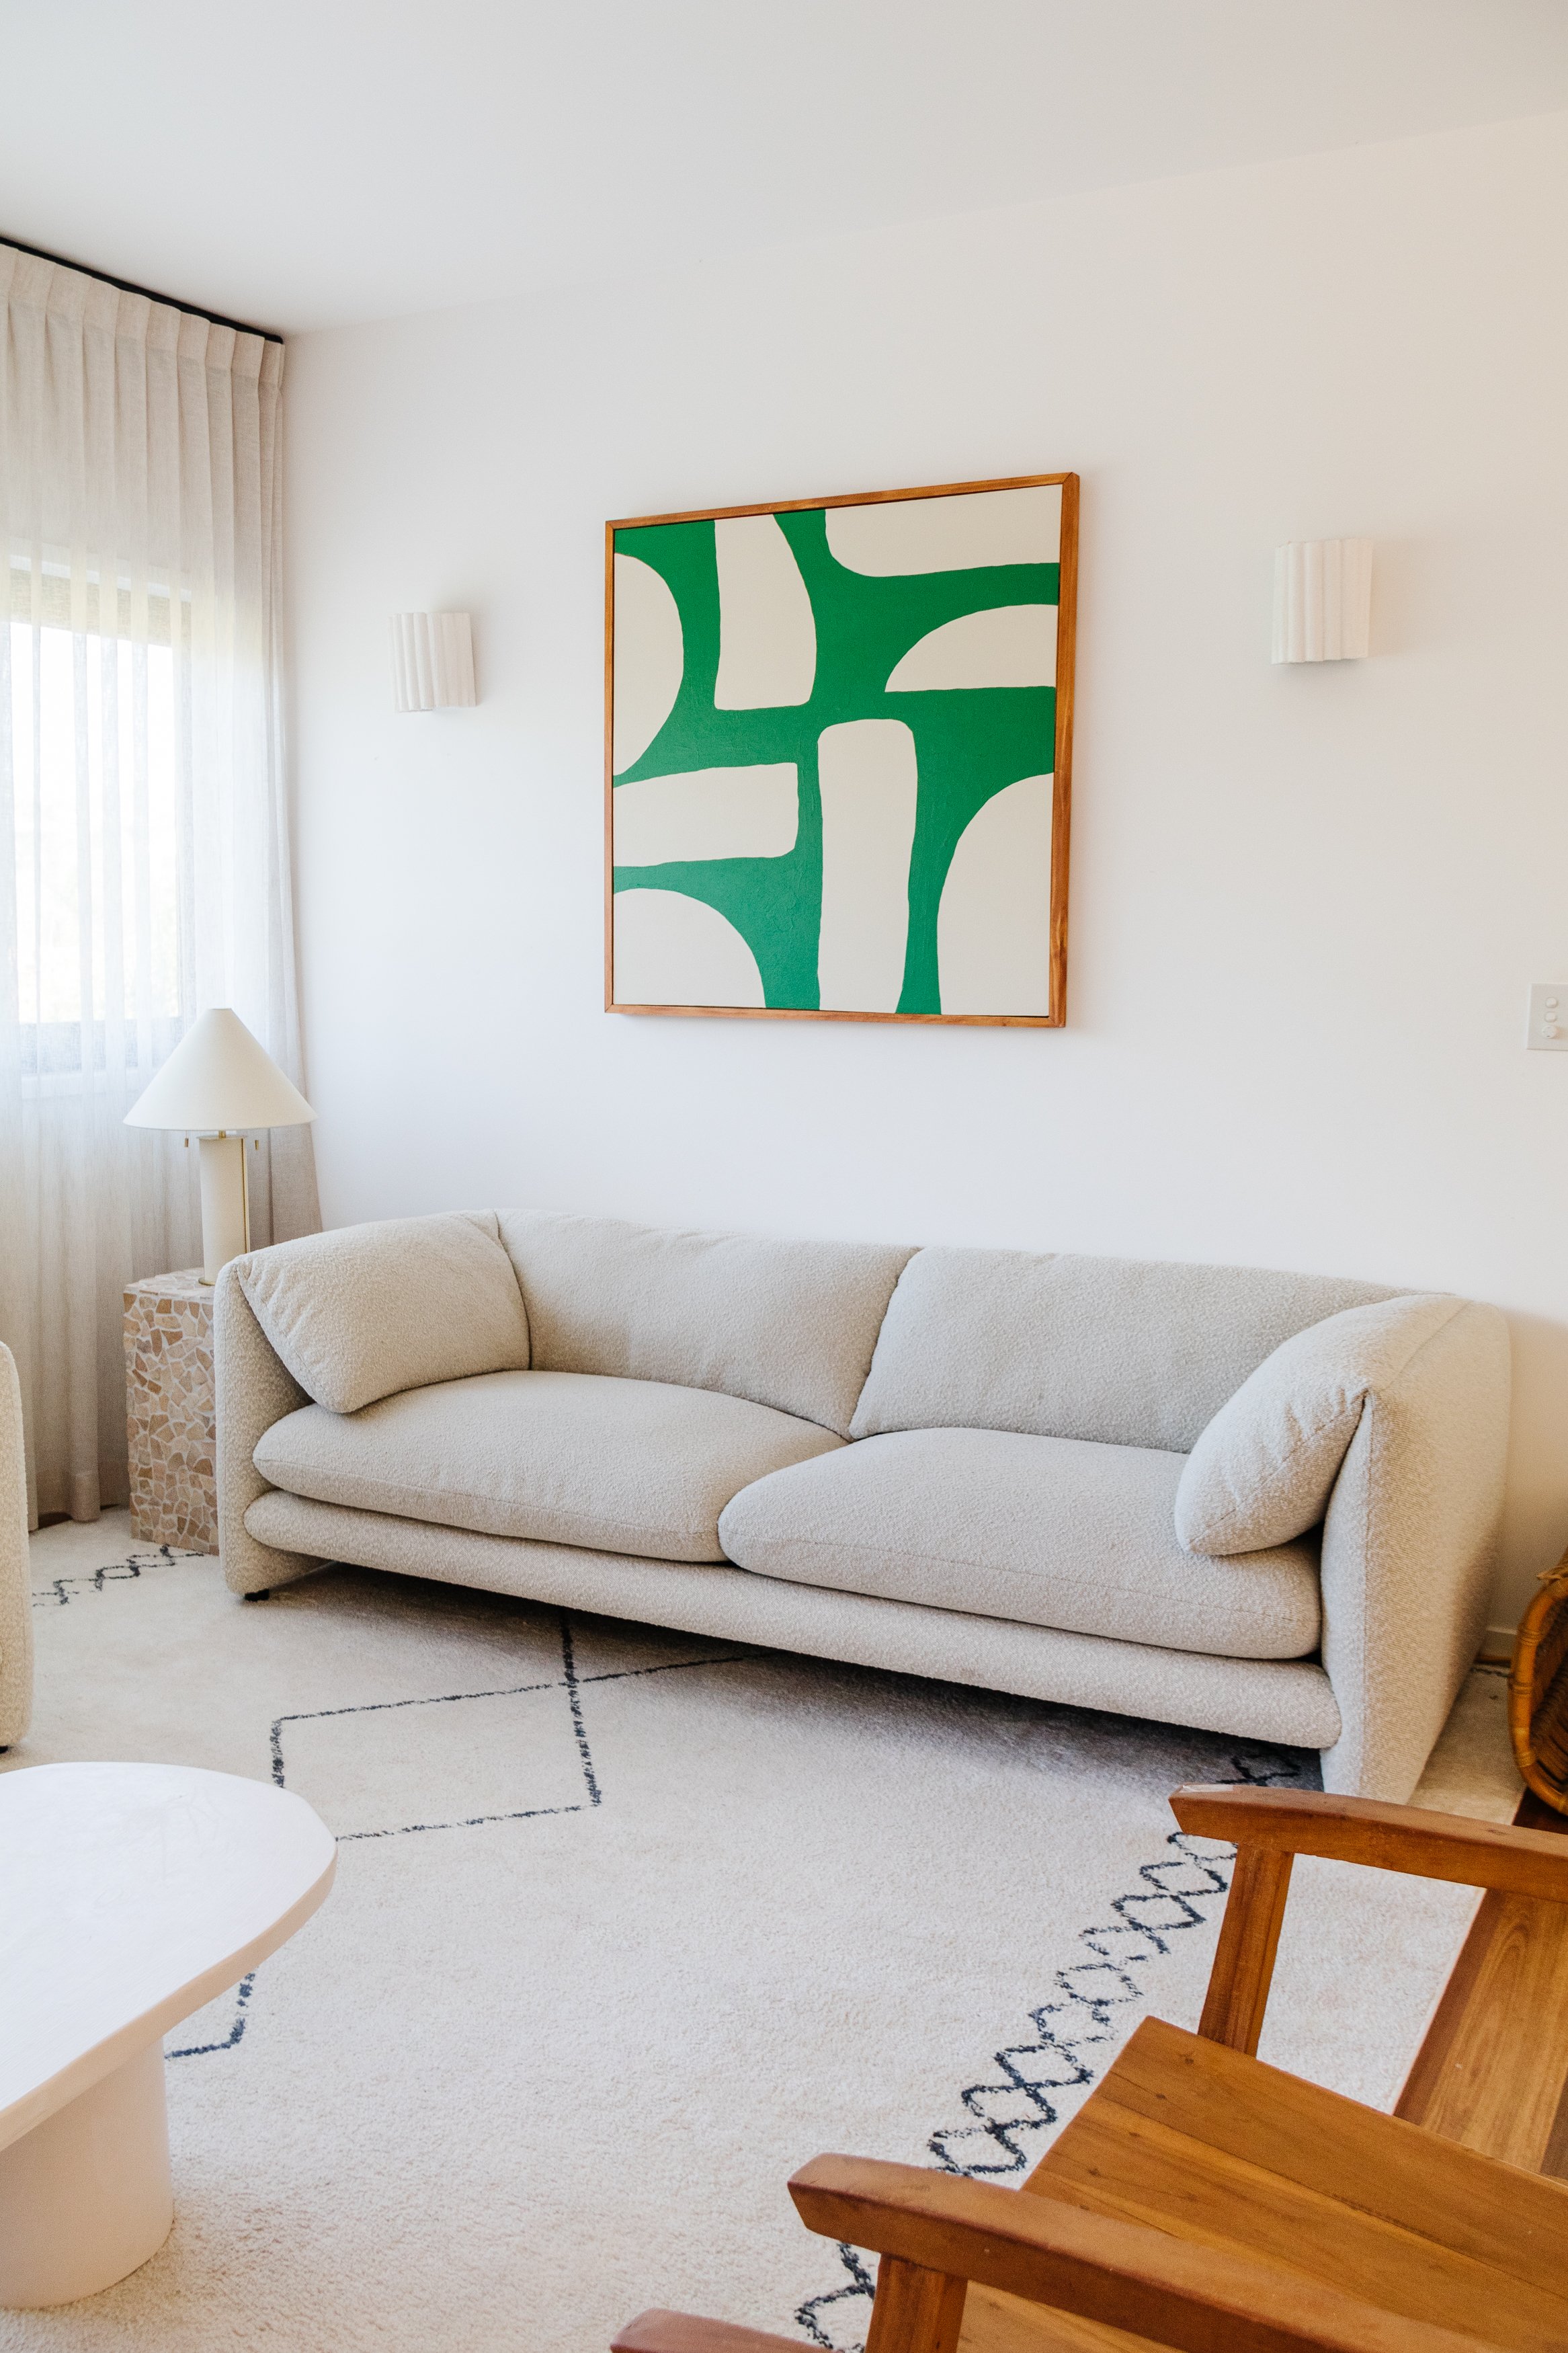
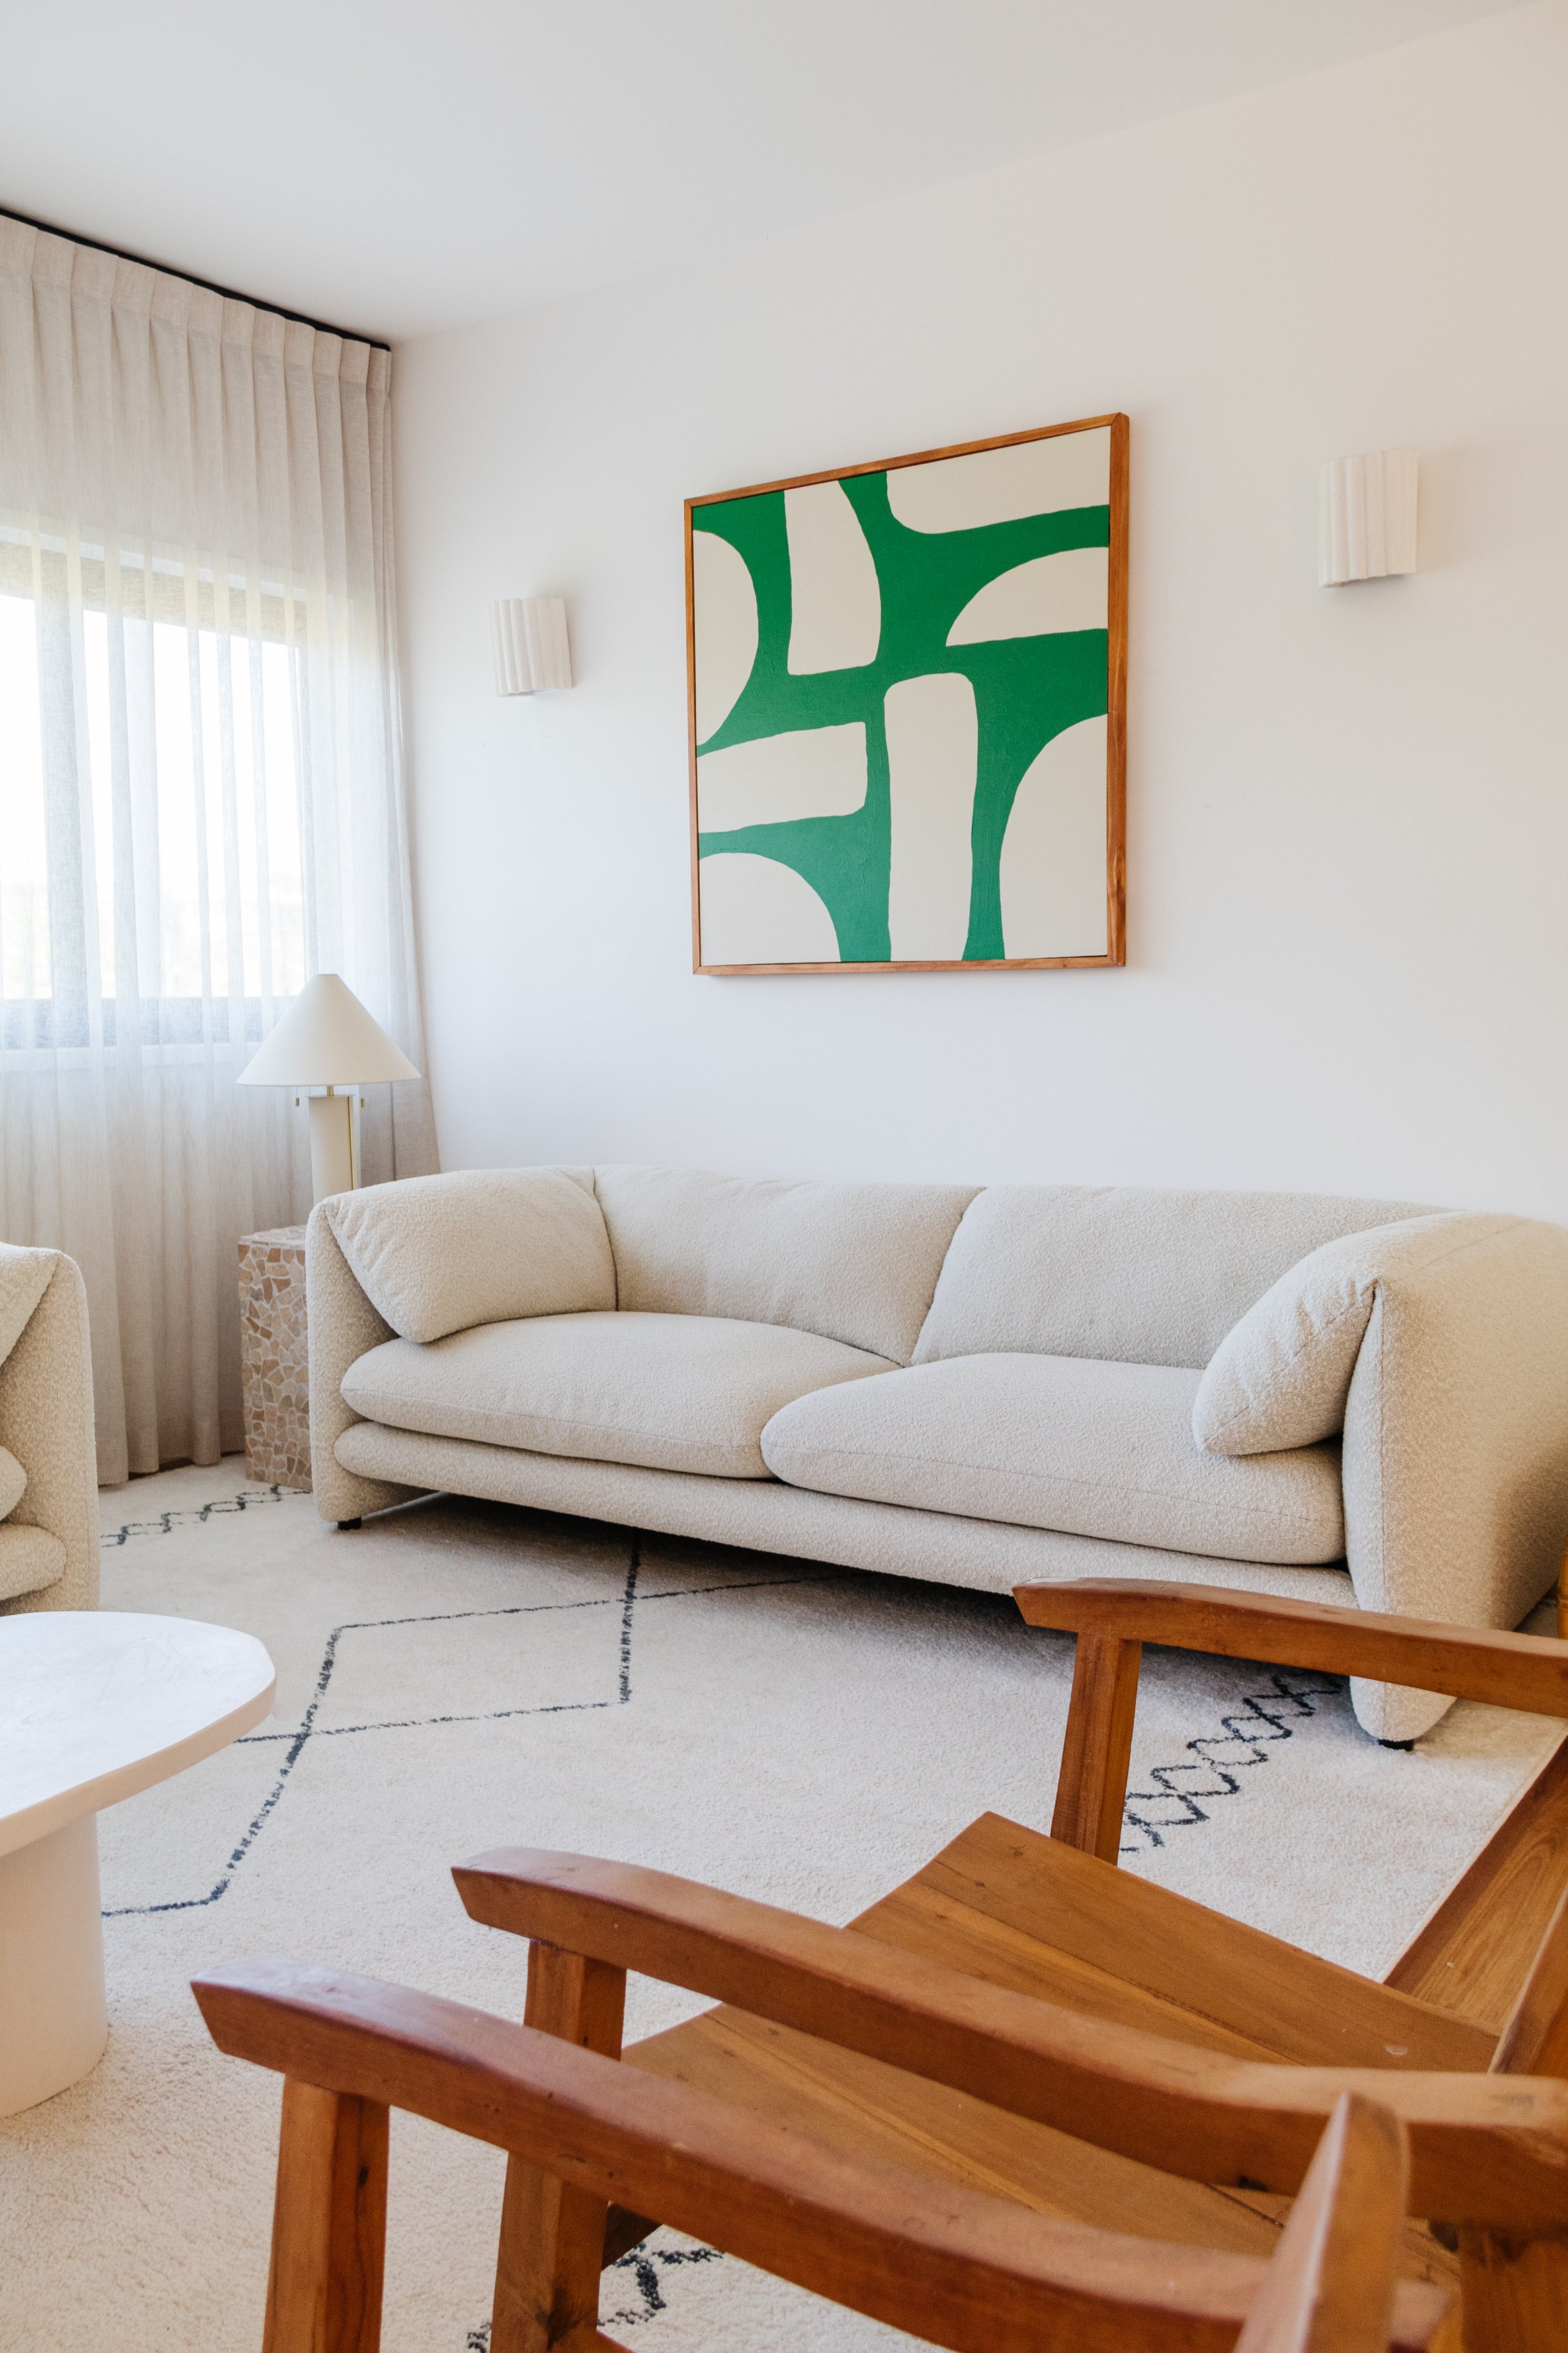
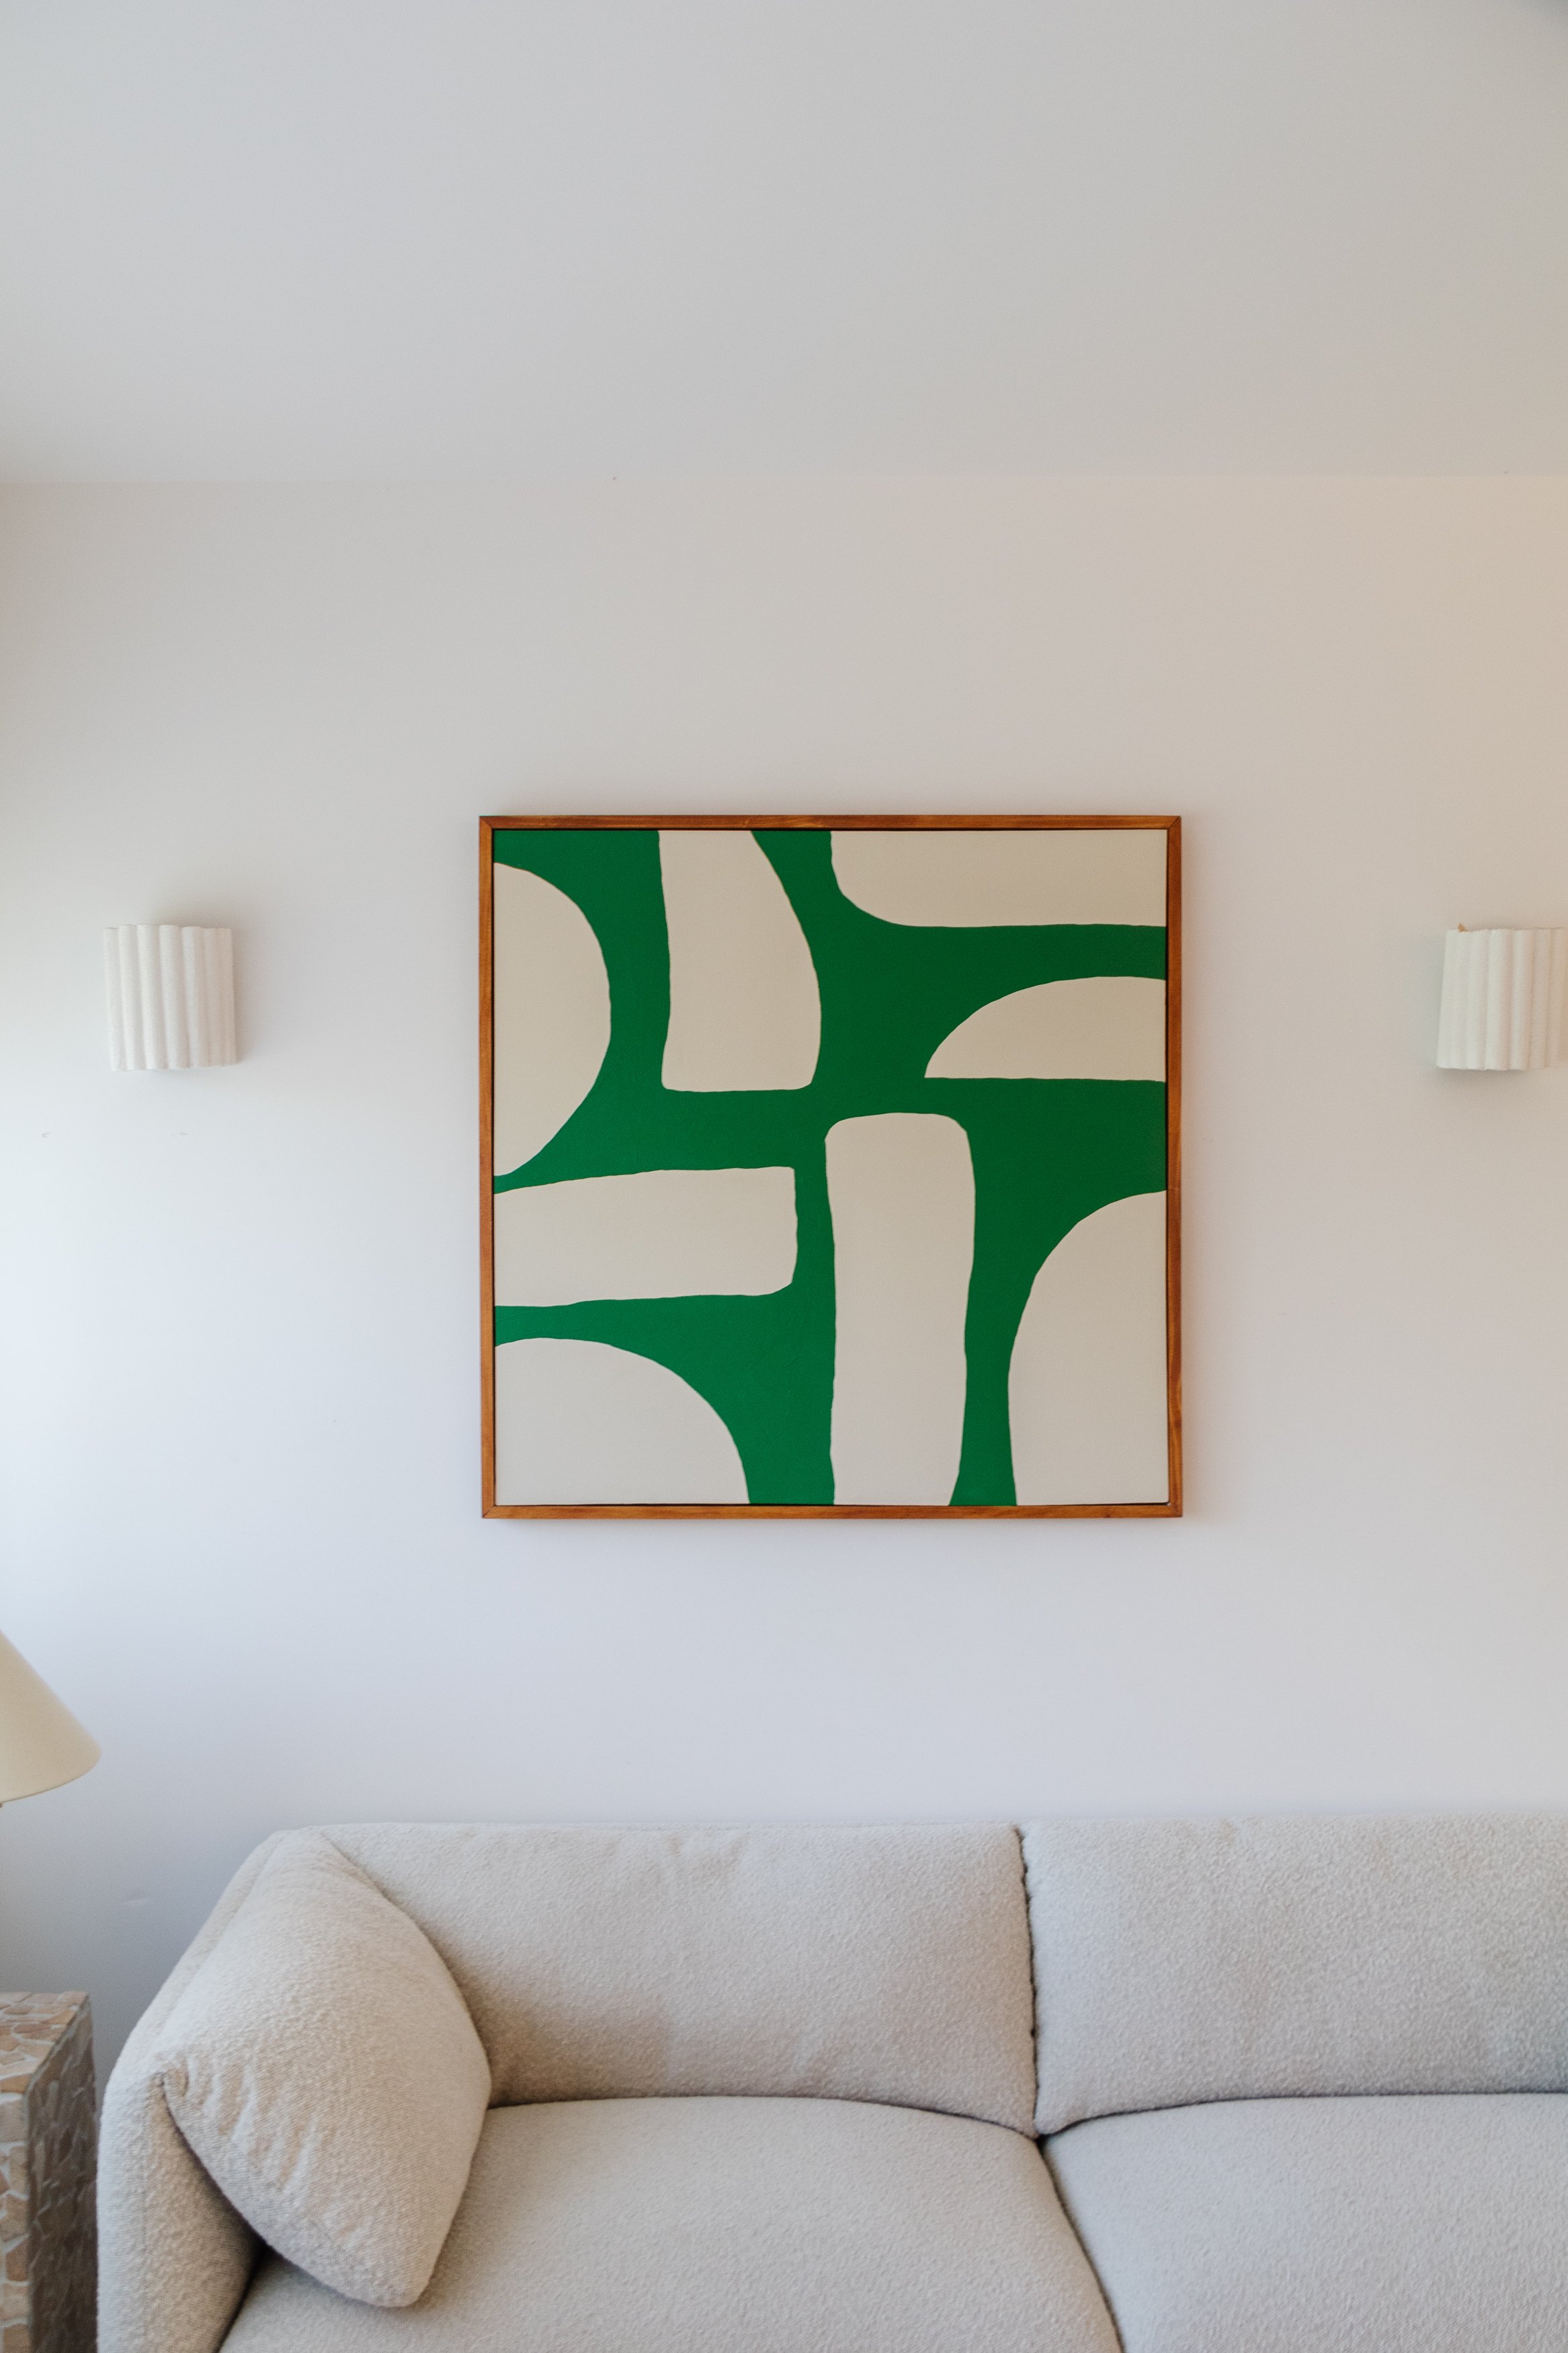
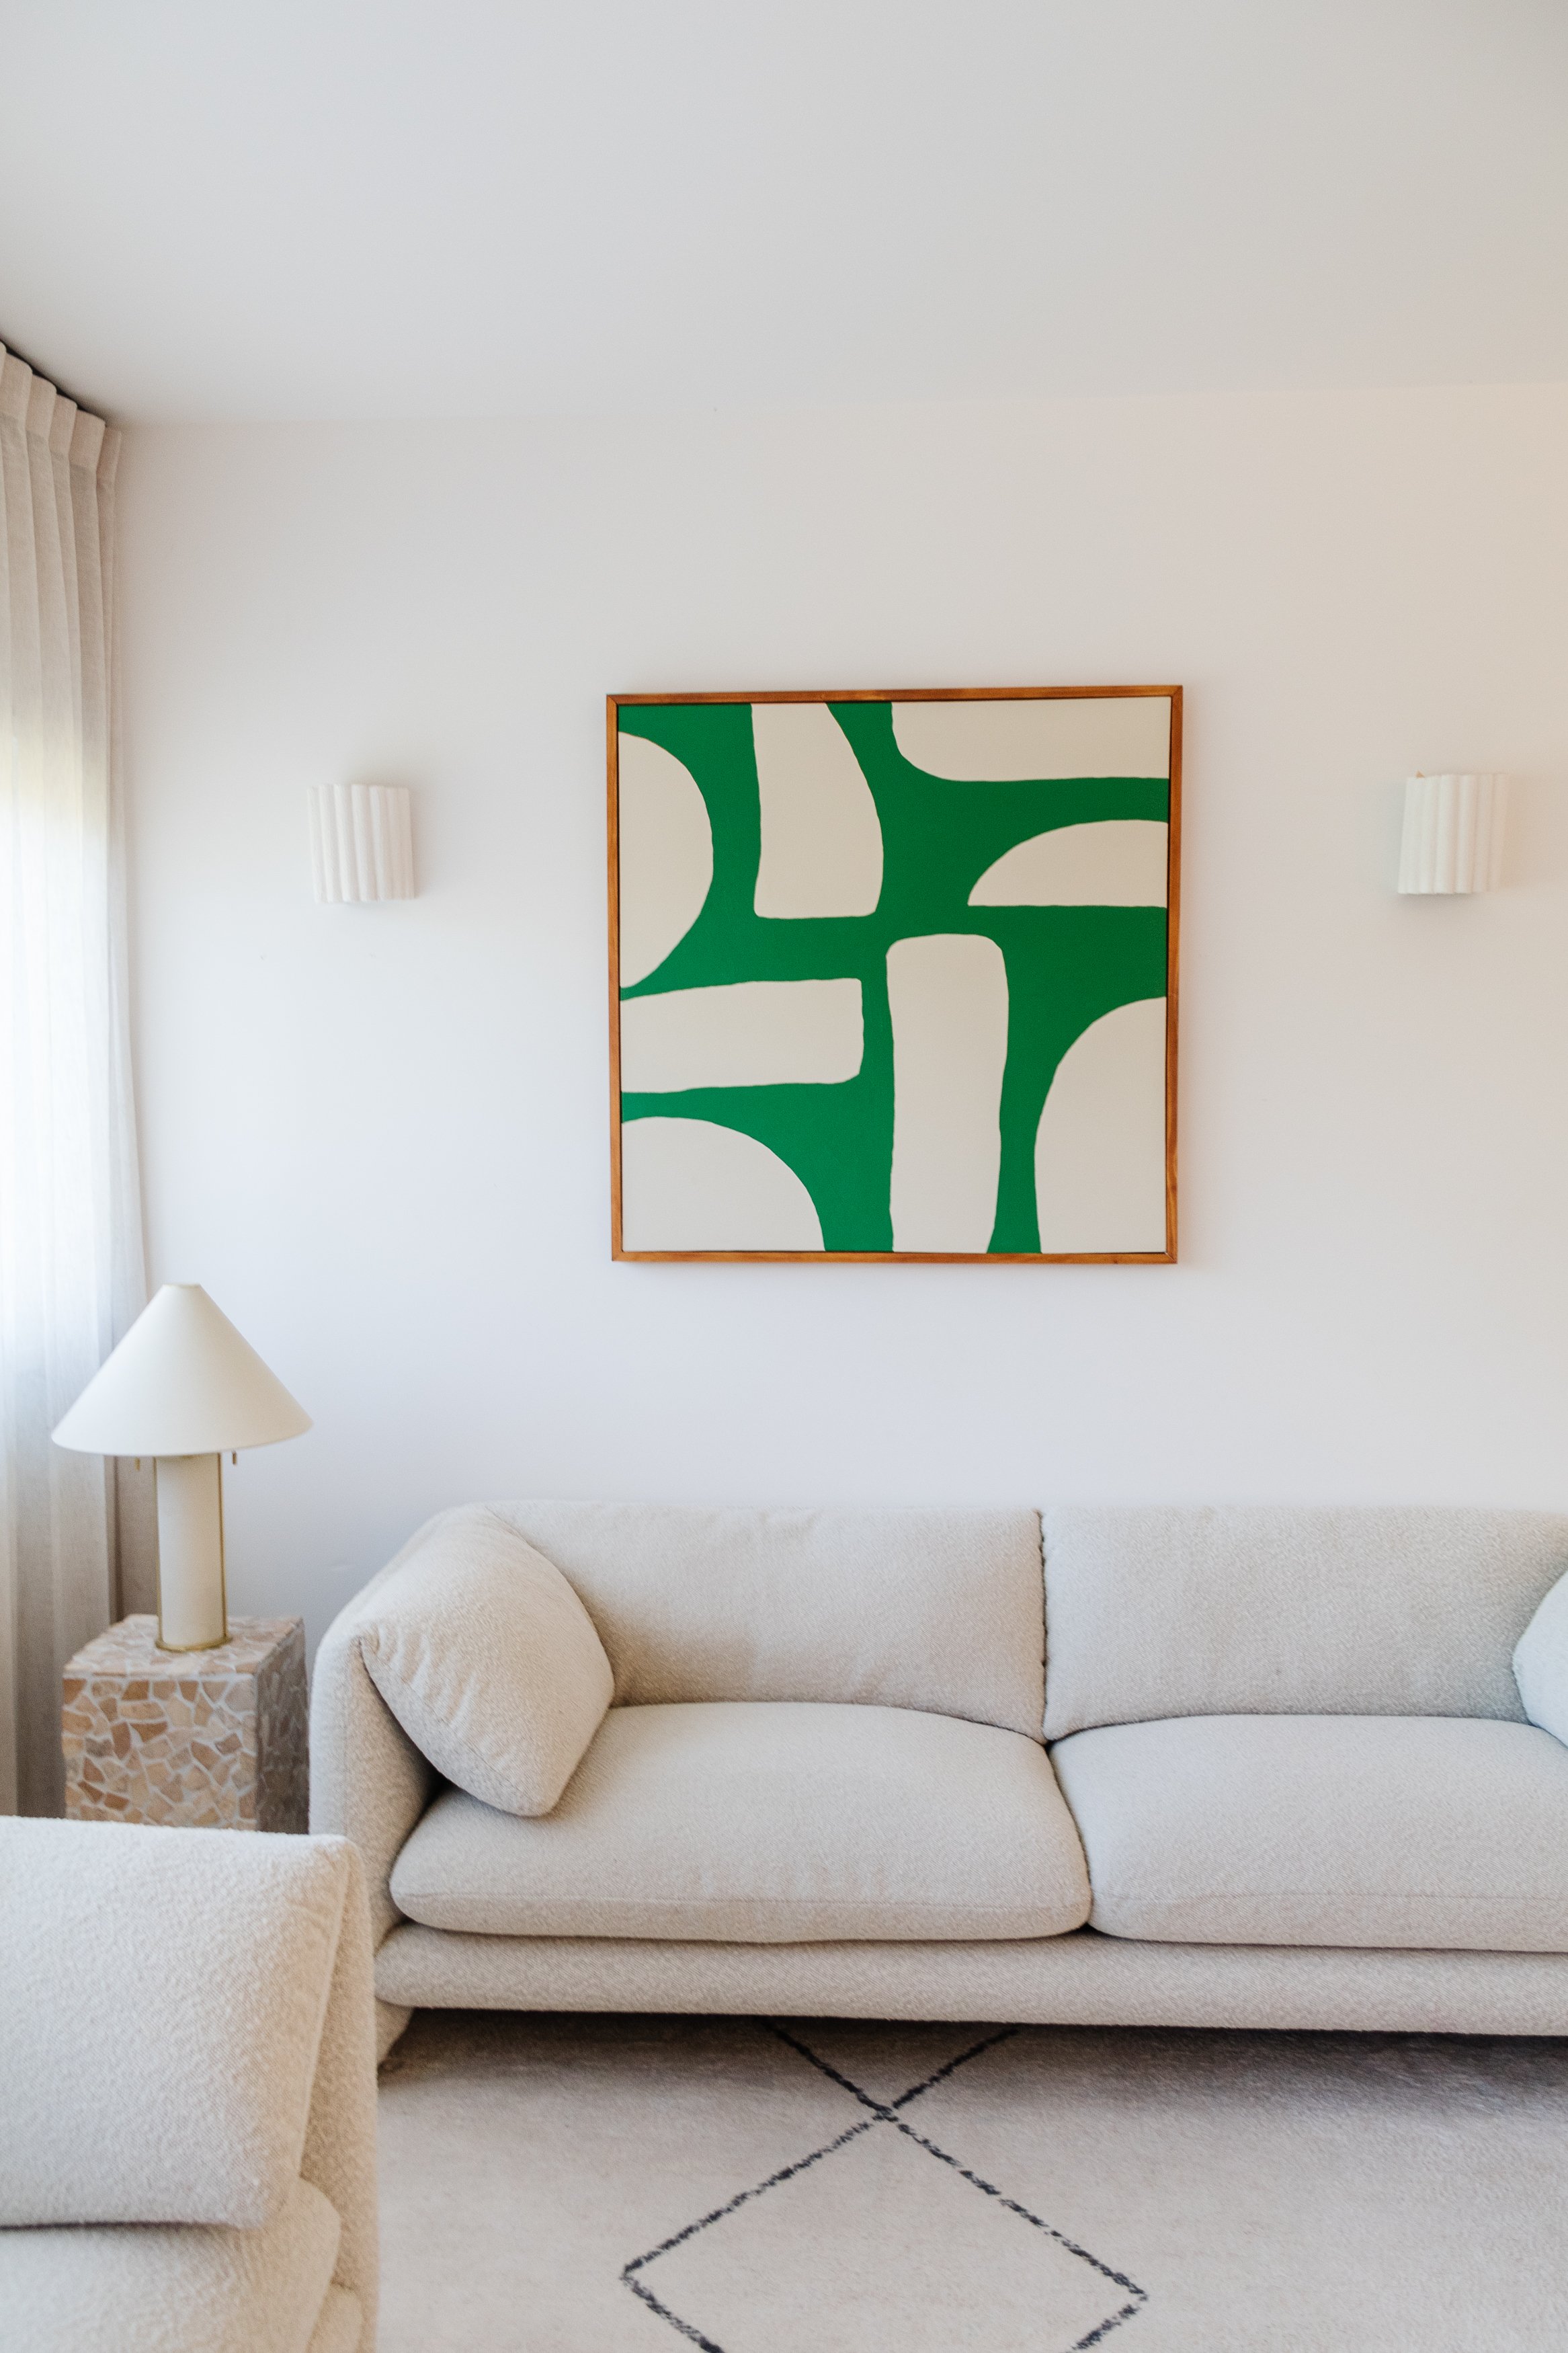
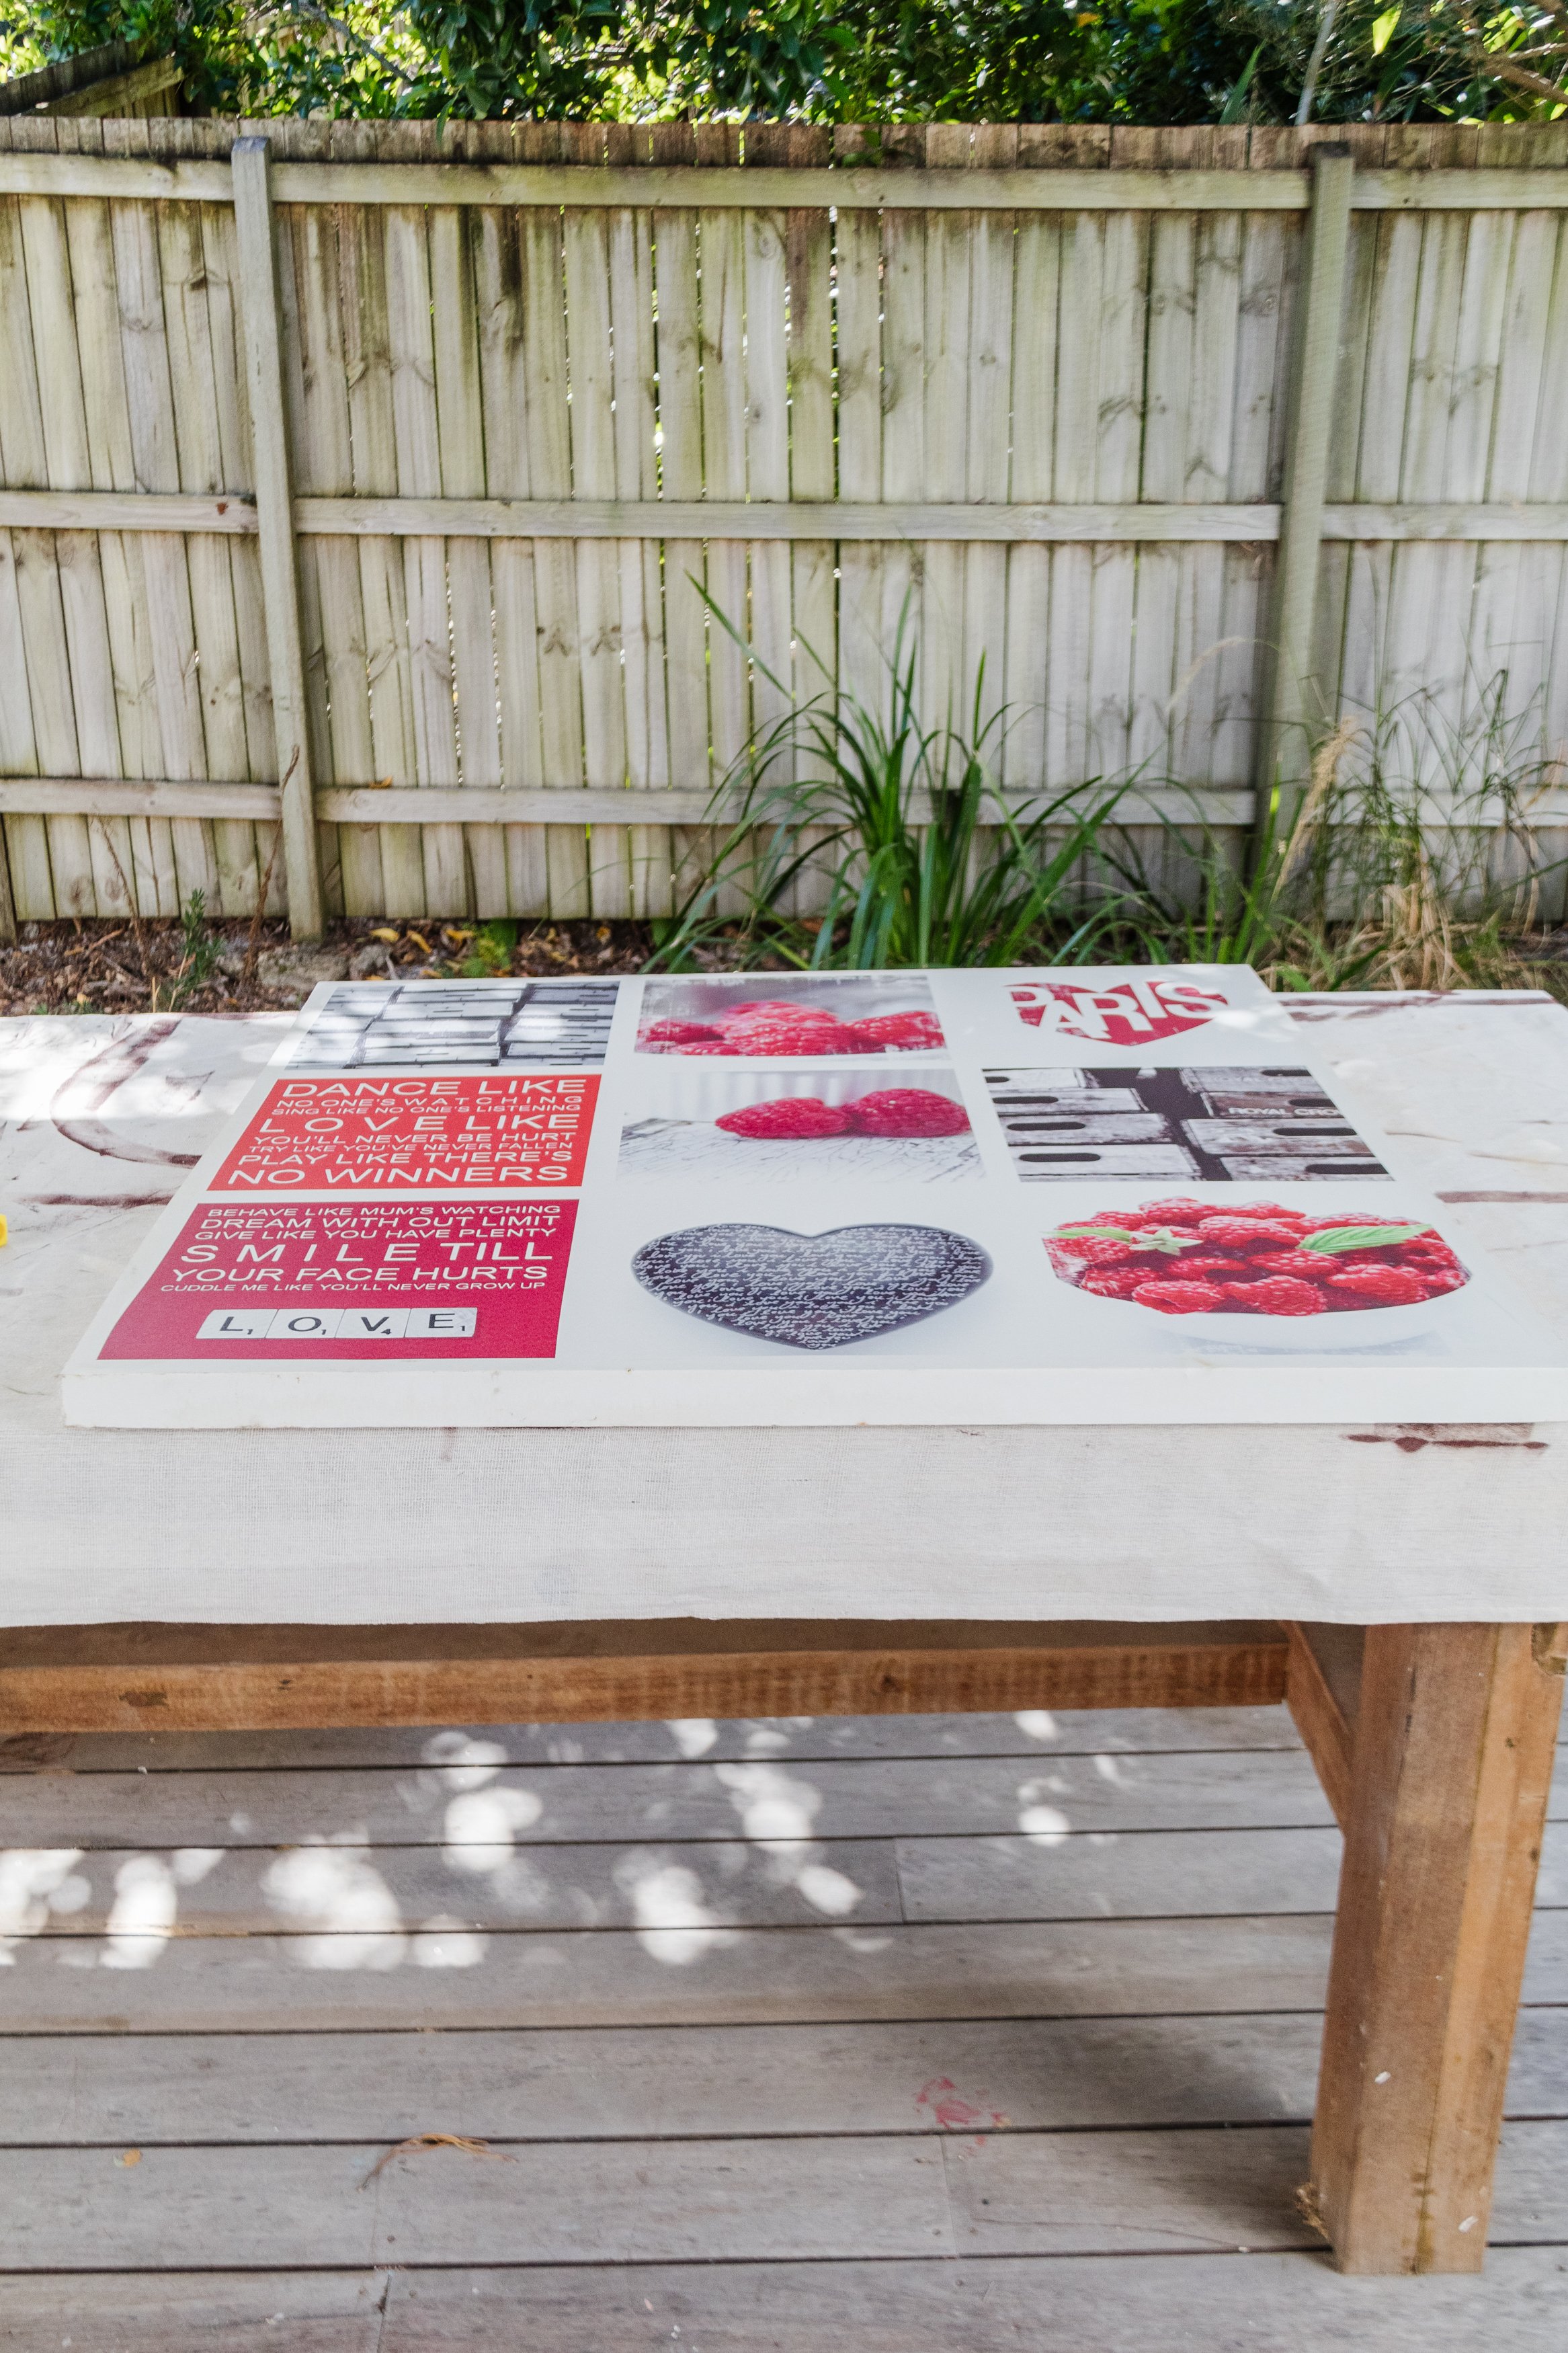
I’ve been on the lookout for a large piece of abstract art for our living room and I’ve spent a lot of time online trying to find something I love that’s also affordable. Unfortunately I wasn’t having much luck and it wasn’t until I found a large canvas at my local tip shop that I thought - “why don’t I just make my own?” All good in theory, right? When it comes to making your own art, you need to factor in a few things - the size of the canvas, the materials you’ll need, if you’re going to make your own floating frame or not, how heavy the final art piece will be and how will you hang it? Thankfully hanging the art is the easiest part in this project thanks to my beloved Command™ Hanging Strips. Read on to see how it all came together.
And make sure to watch this step by step video for more tips and tricks.
Before & After


Project Details
♻️ Making: Upcycled Abstract Framed Wall Art
🕒 Project Time Estimate: 3 hours
💰 Materials Cost: $70
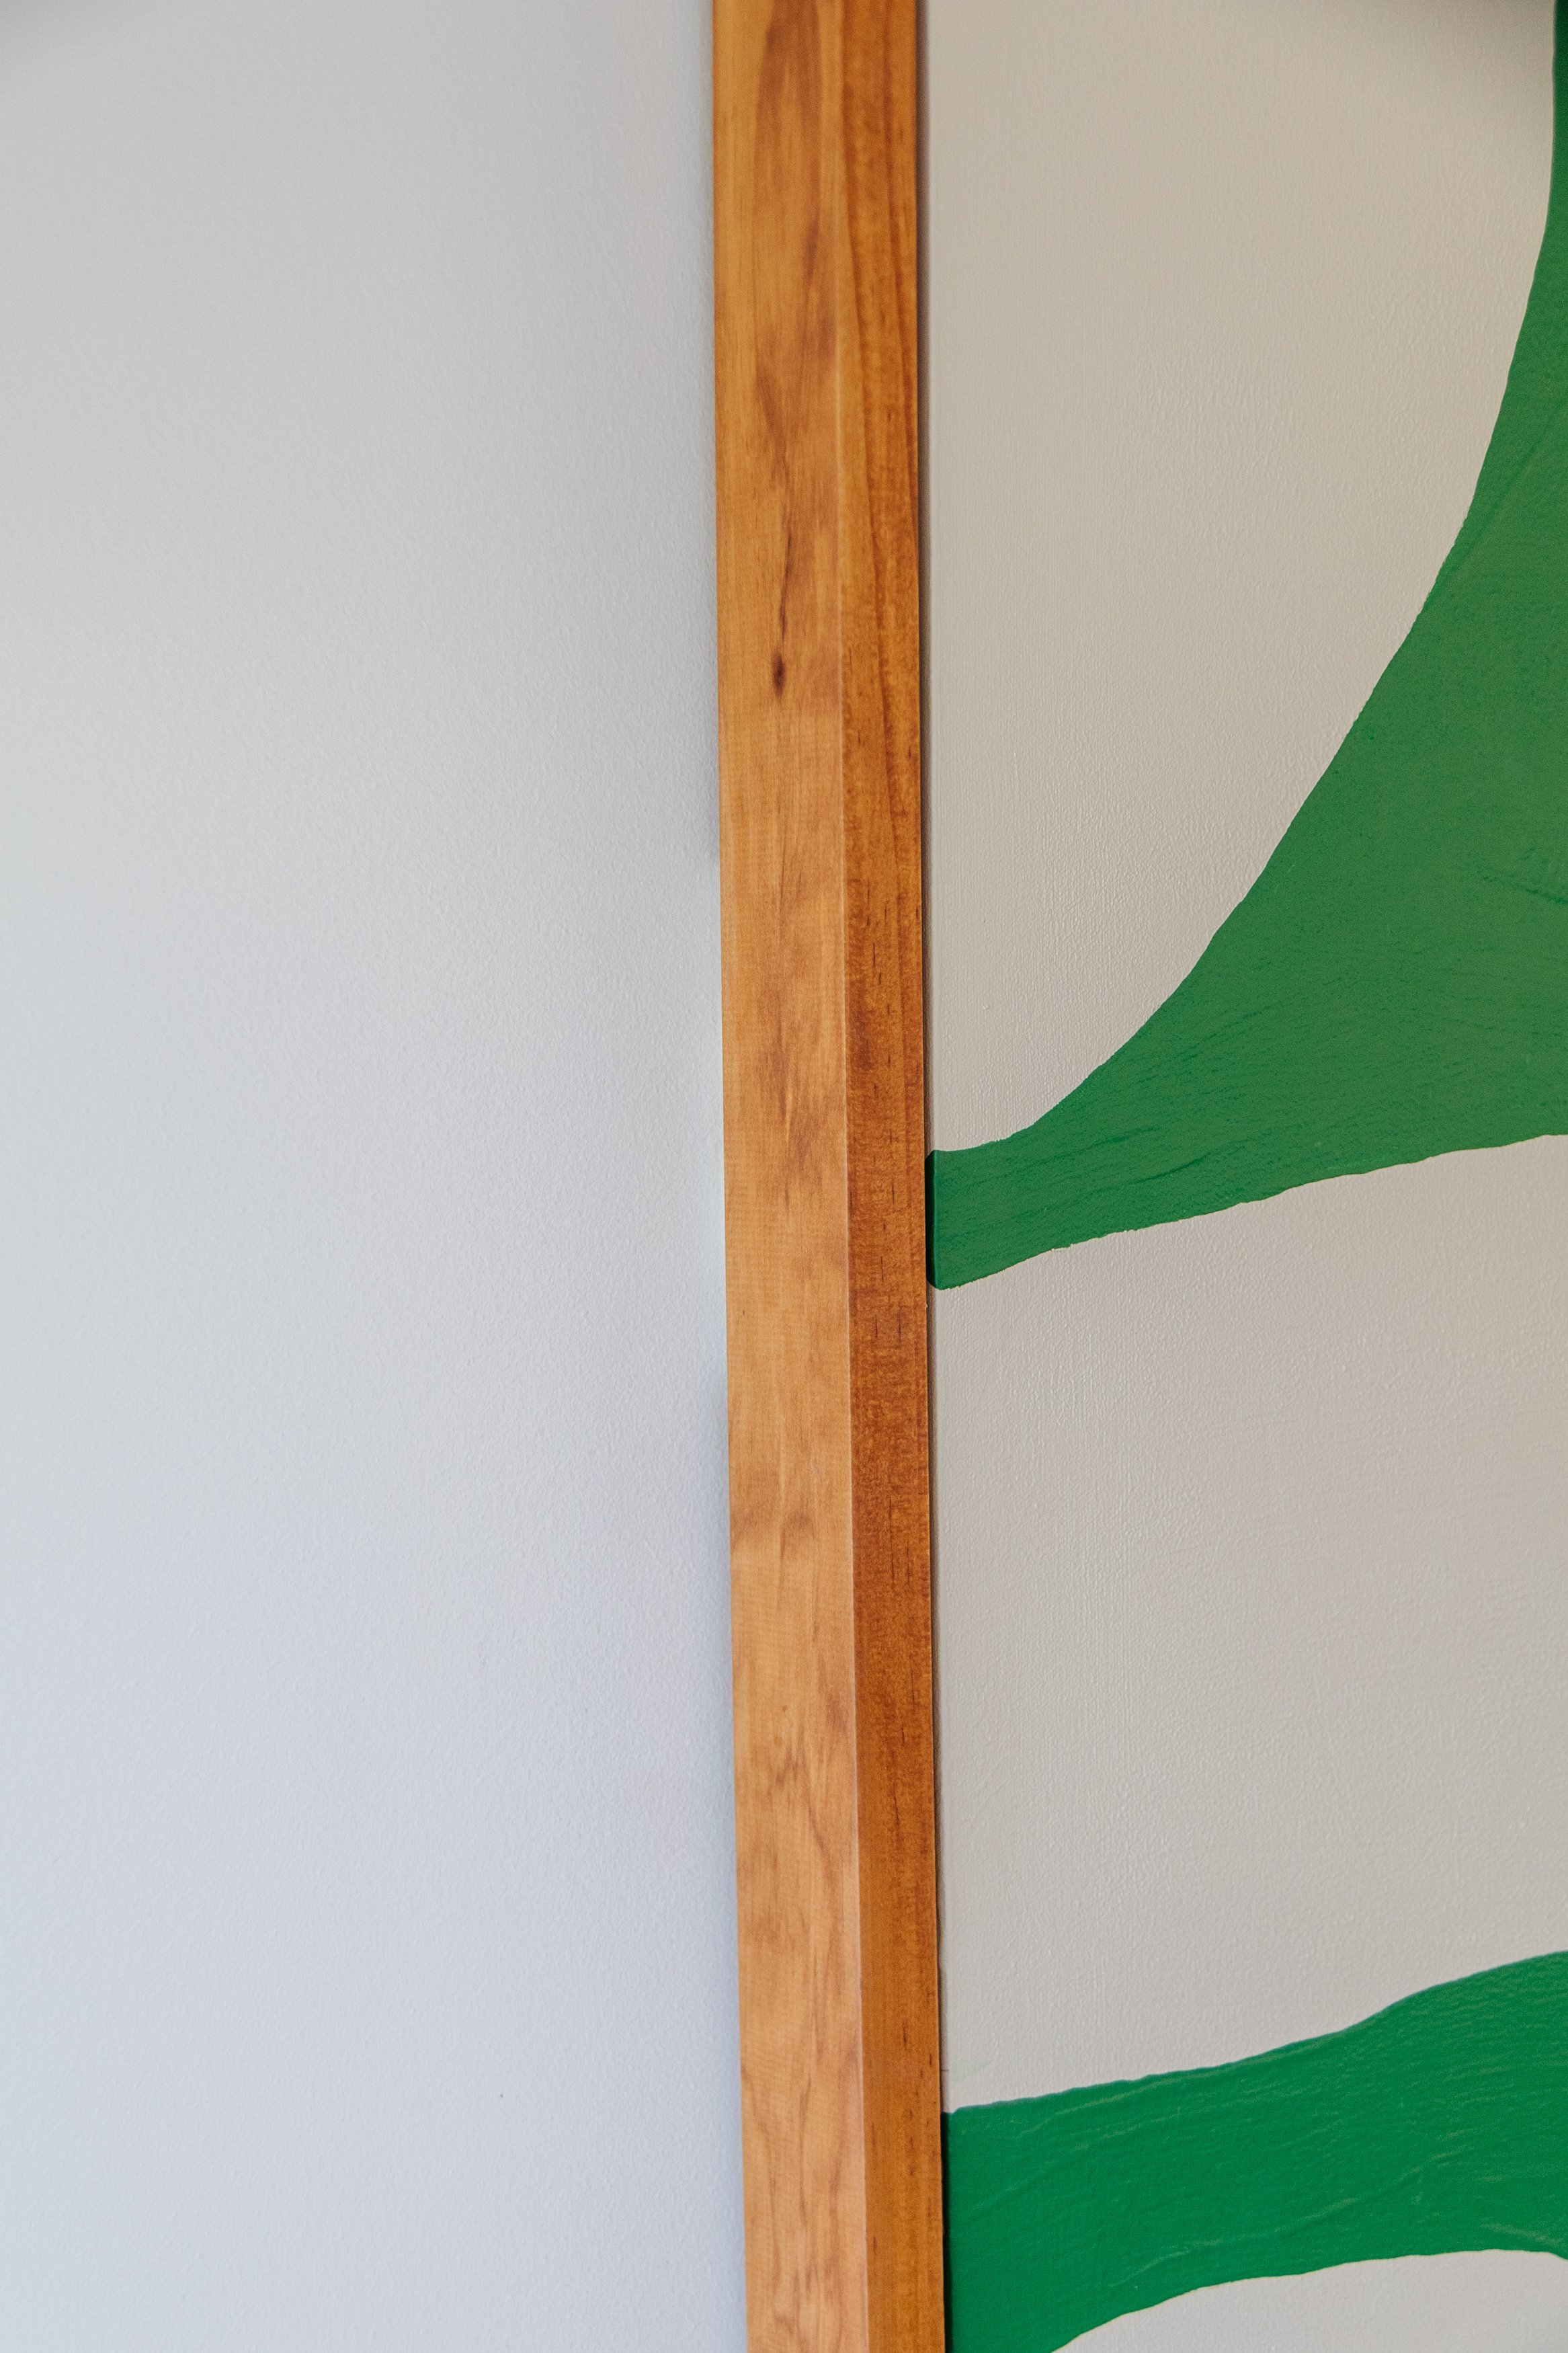
Optional: You can seal the timber with wax, oil or varnish of your choice. I chose to leave the Tasmanian Oak raw.
Materials
Secondhand canvas
Clean cloth
White primer paint
Pencil
2 x Paint colours if your choice
Paint roller
1 x fine paint brush
Tasmanian Oak timber
180 sanding sheet
Construction adhesive
Painters tape or masking tape
4 x Cardboard cut into 4 squares (don’t worry about the measurements as no one will see them but refer to my photos for reference)
Rubbing alcohol cleaner
Tools
Tape measure
Tenon saw
Mitre box
2 x Clamps
Caulking gun
How To
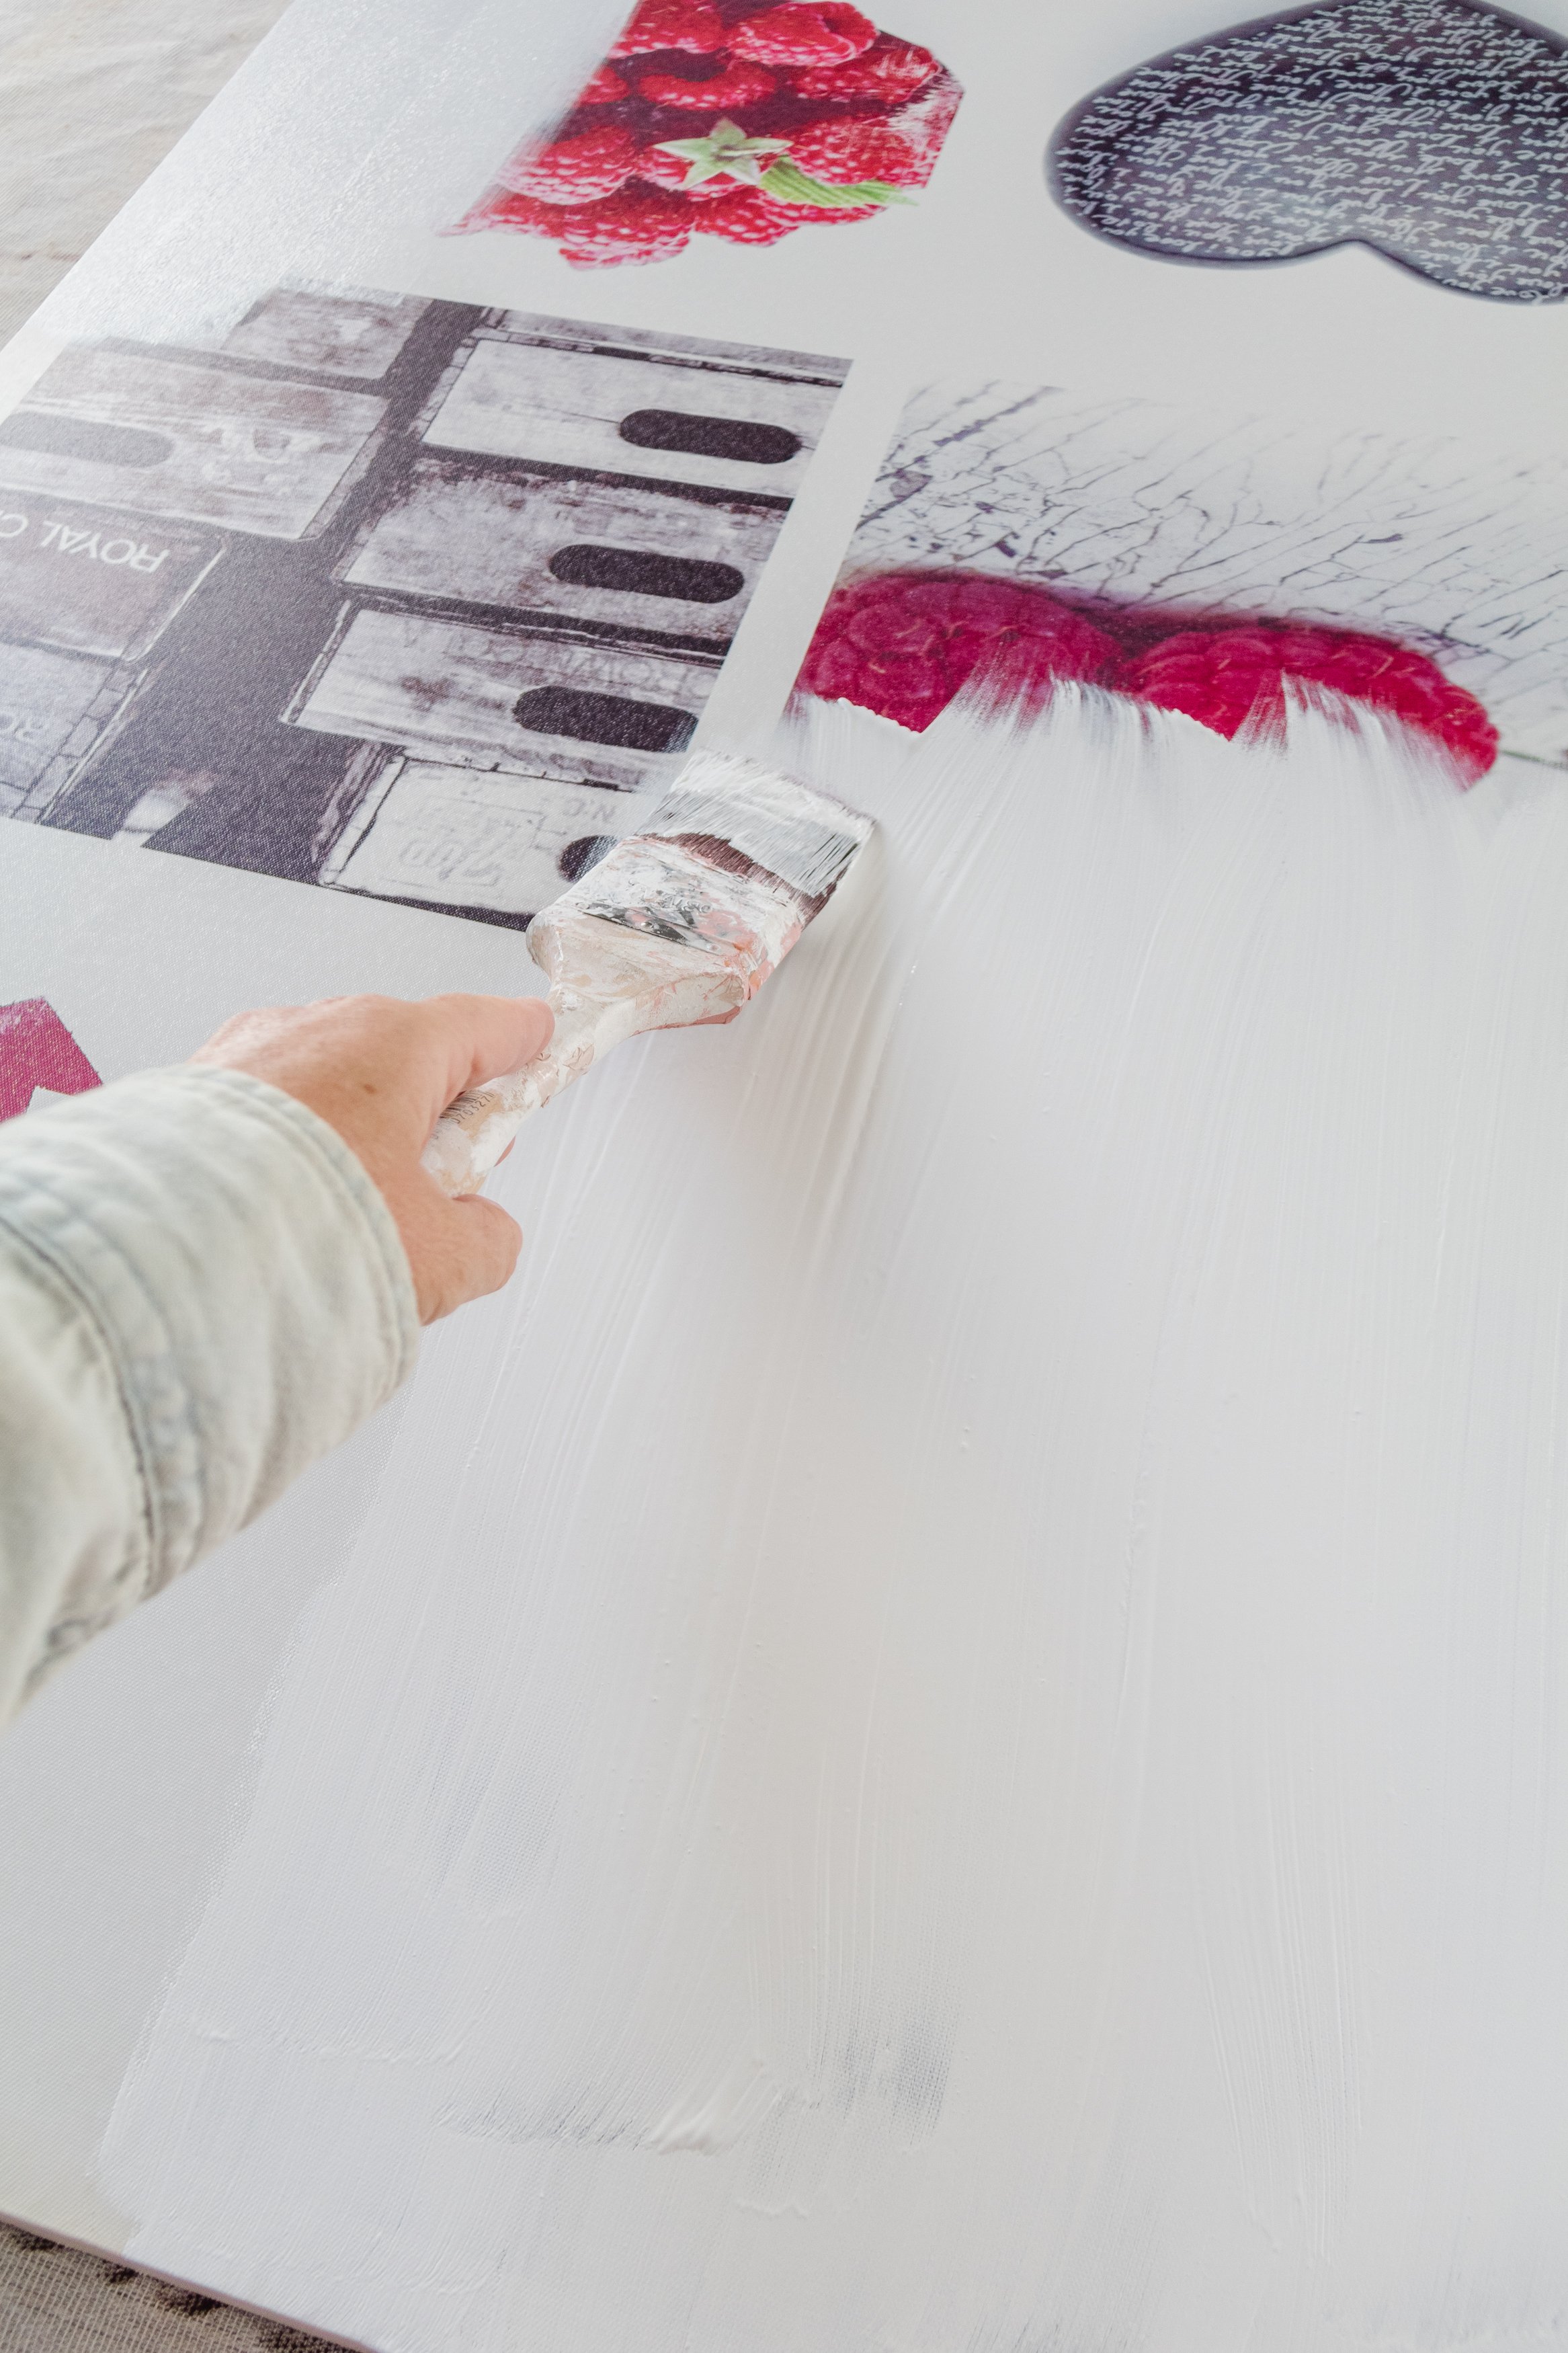
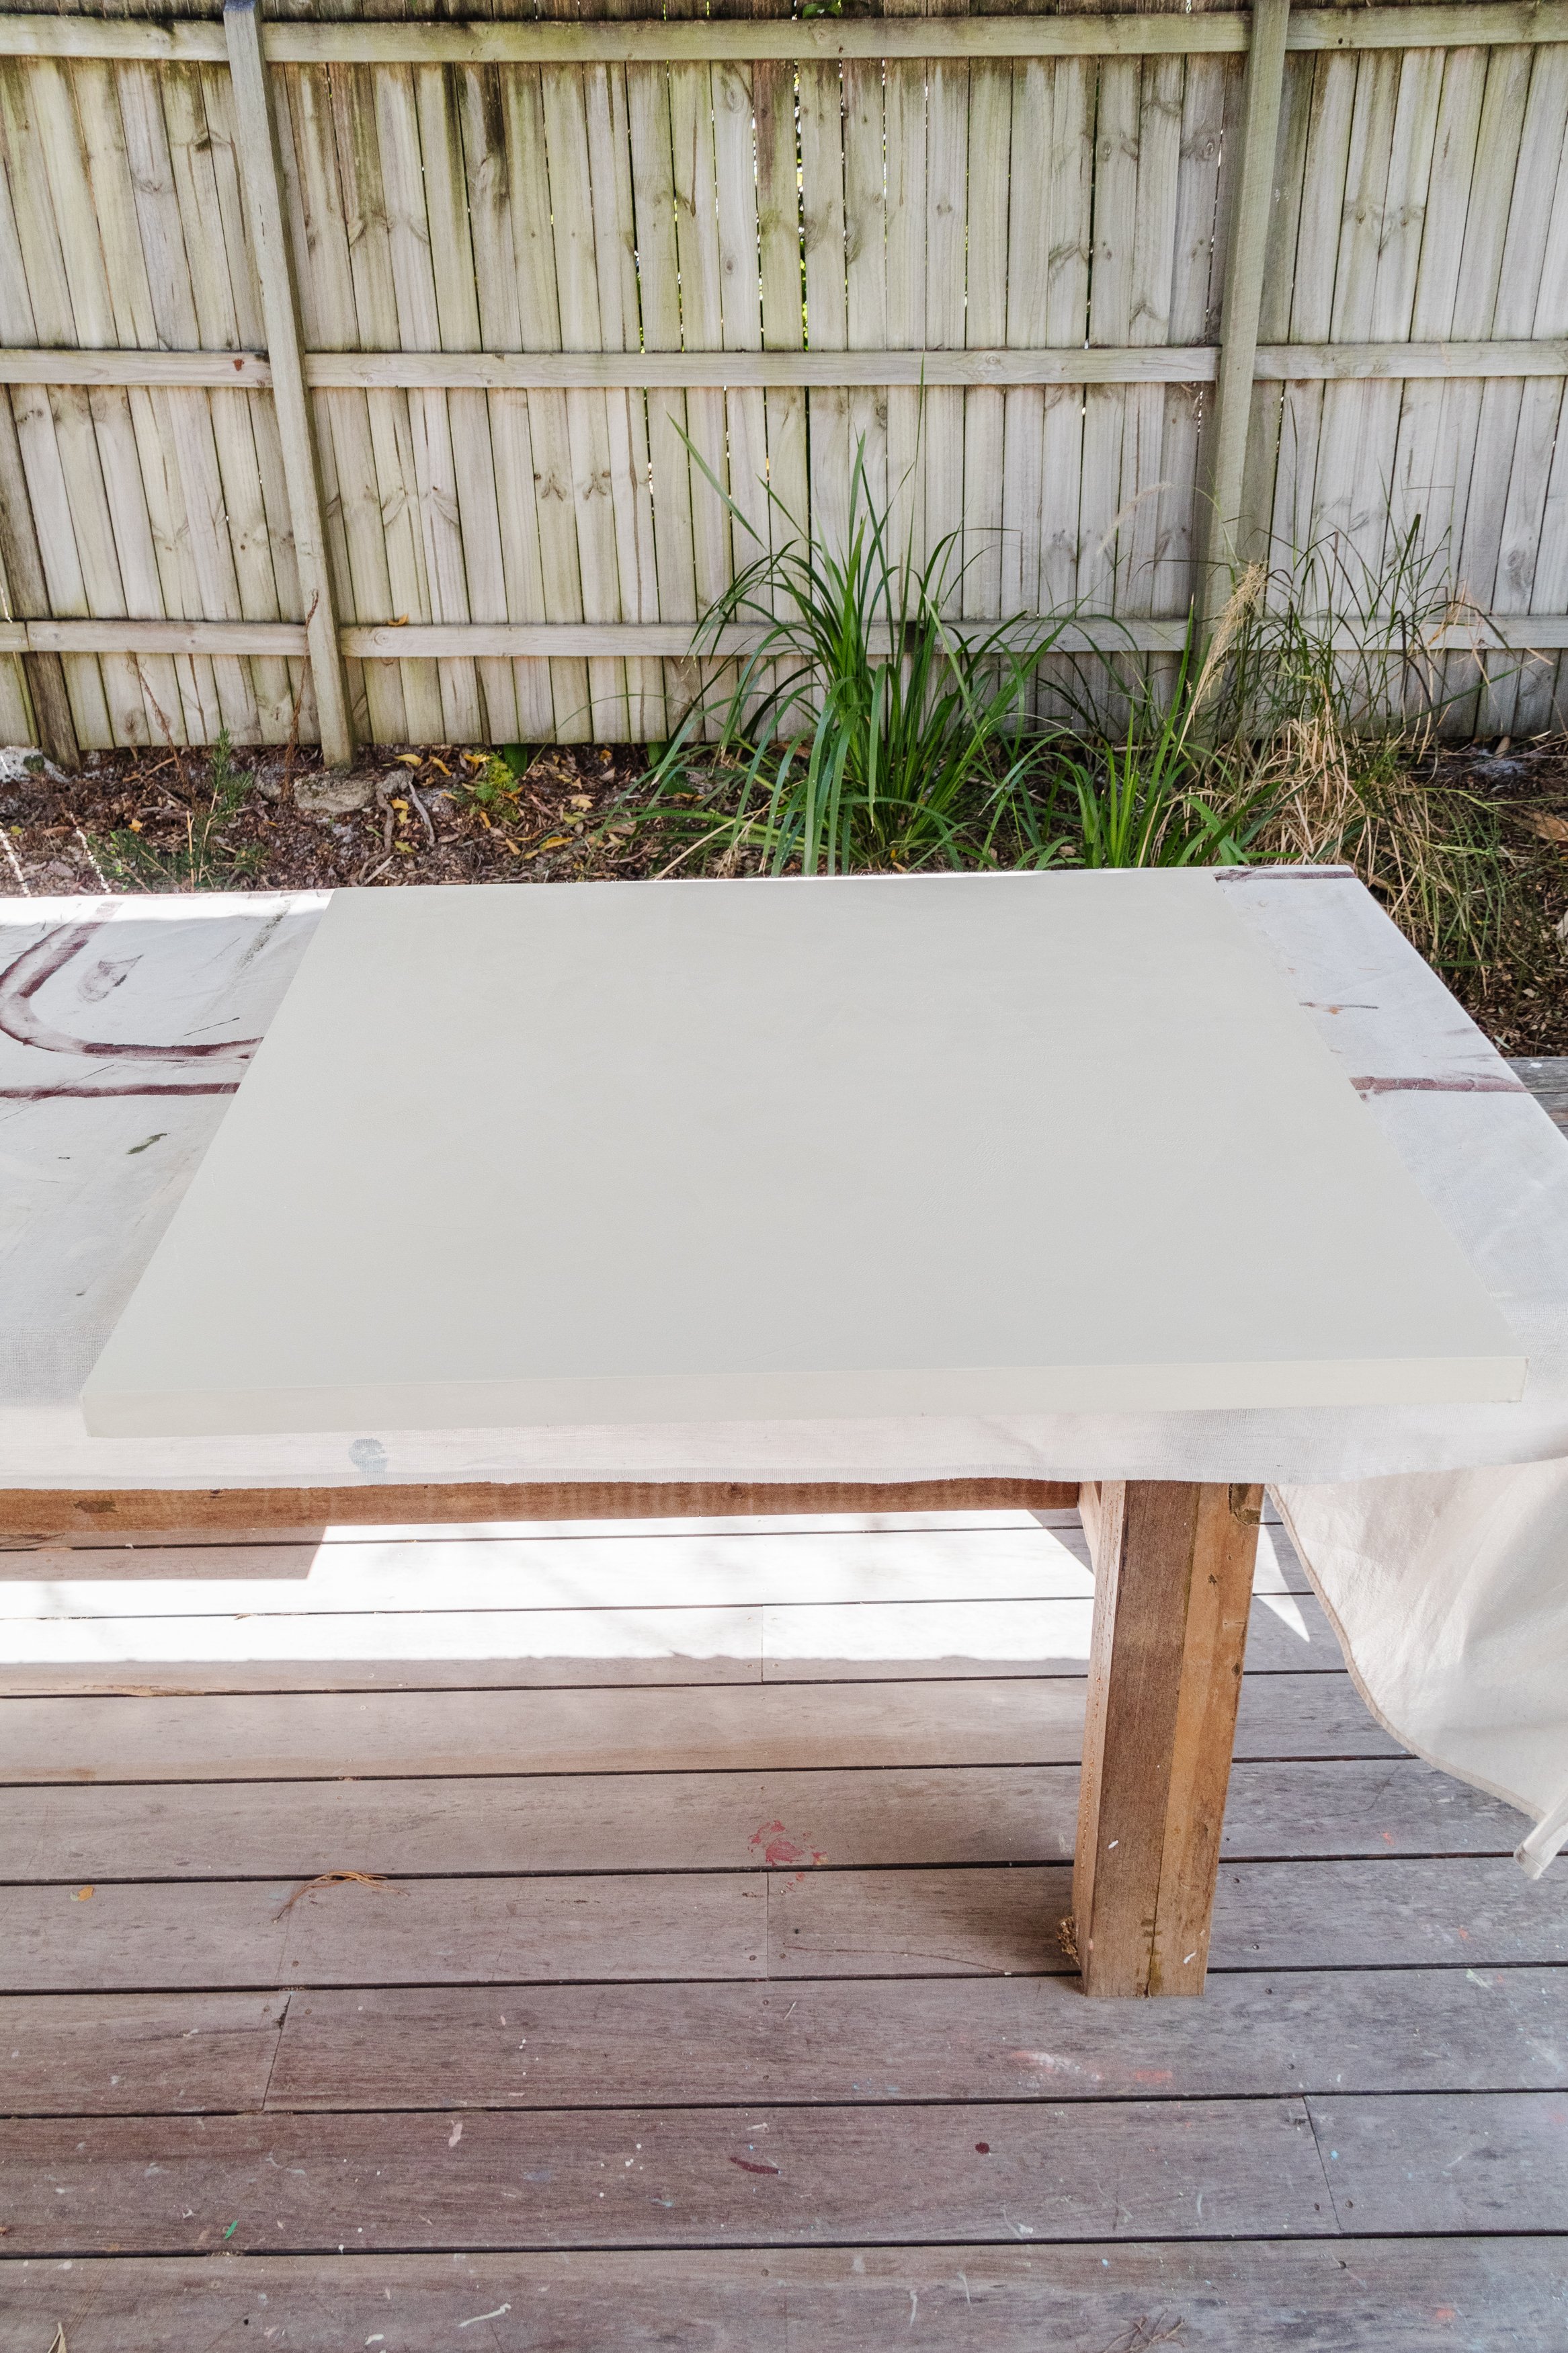
Step 1: To begin with, I wiped down the secondhand canvas with a cloth then applied one thick coat of white primer onto the canvas and sides using a paint brush. While the paint was tacky, I used a roller on top of the paint to create some lovely texture.


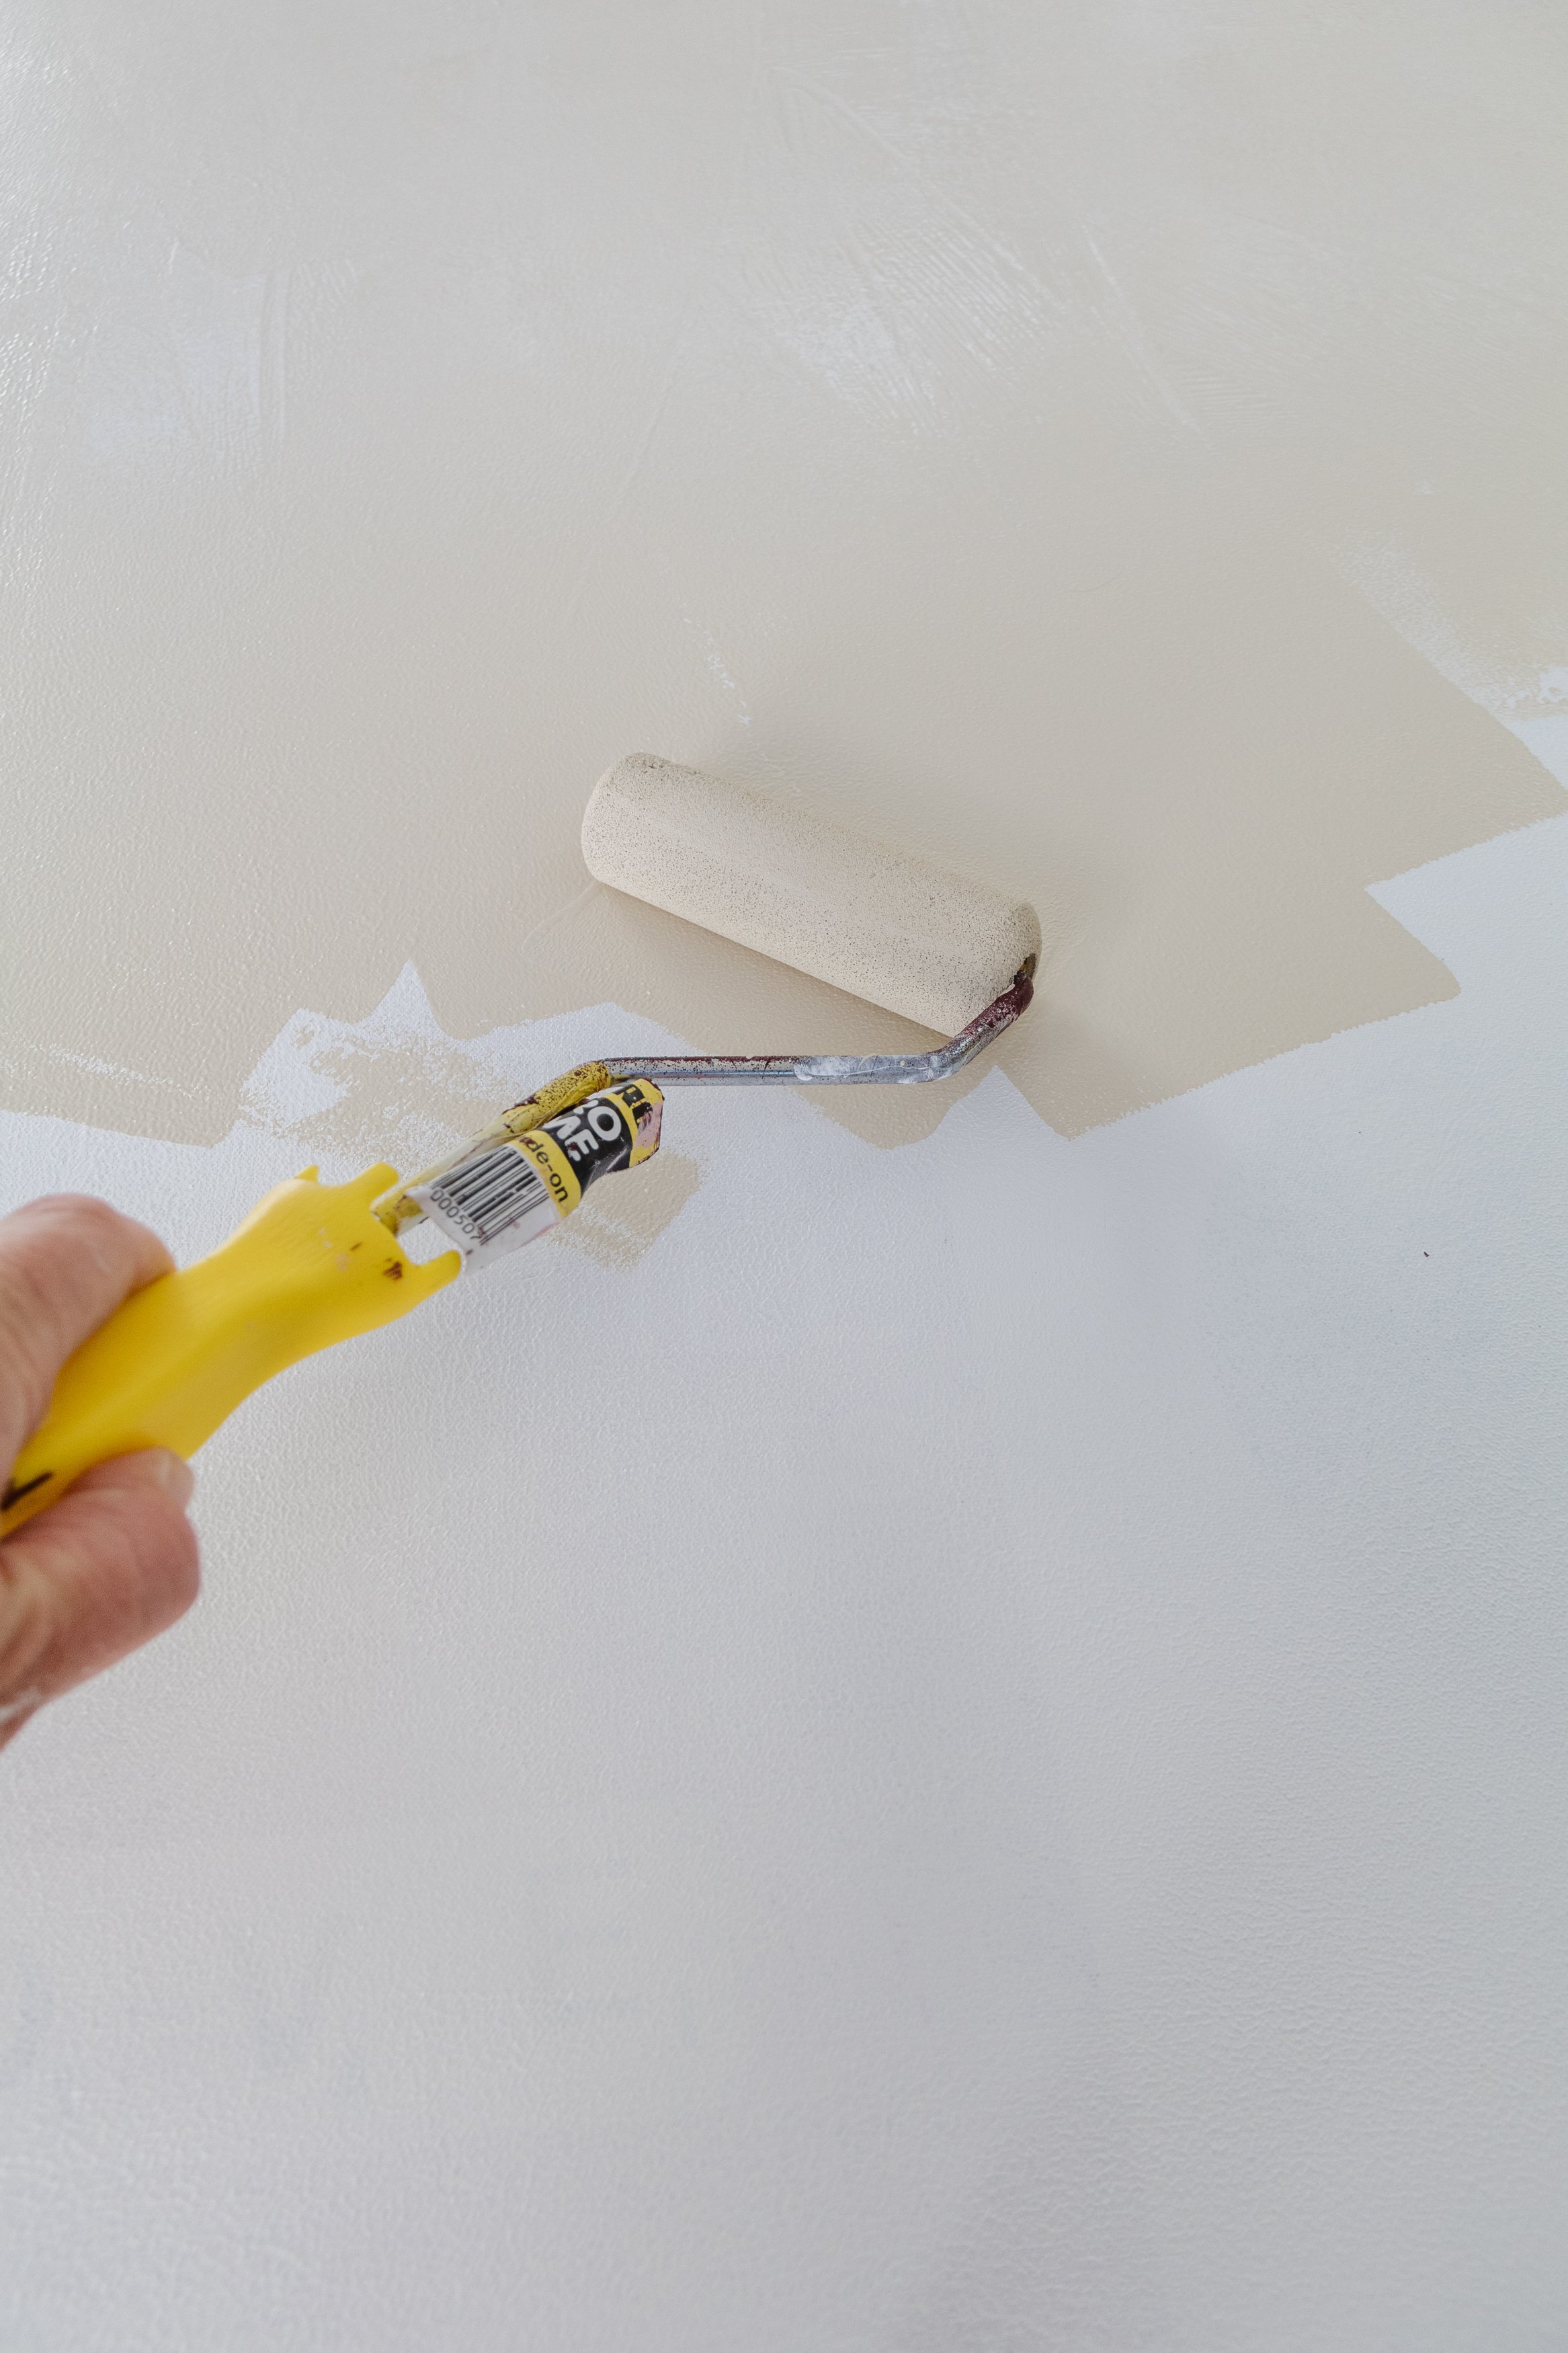
Step 2: Following this I painted the canvas with one thick coat of a light beige paint using a roller and to create even more texture I rolled the roller on top of the paint while it was tacky.
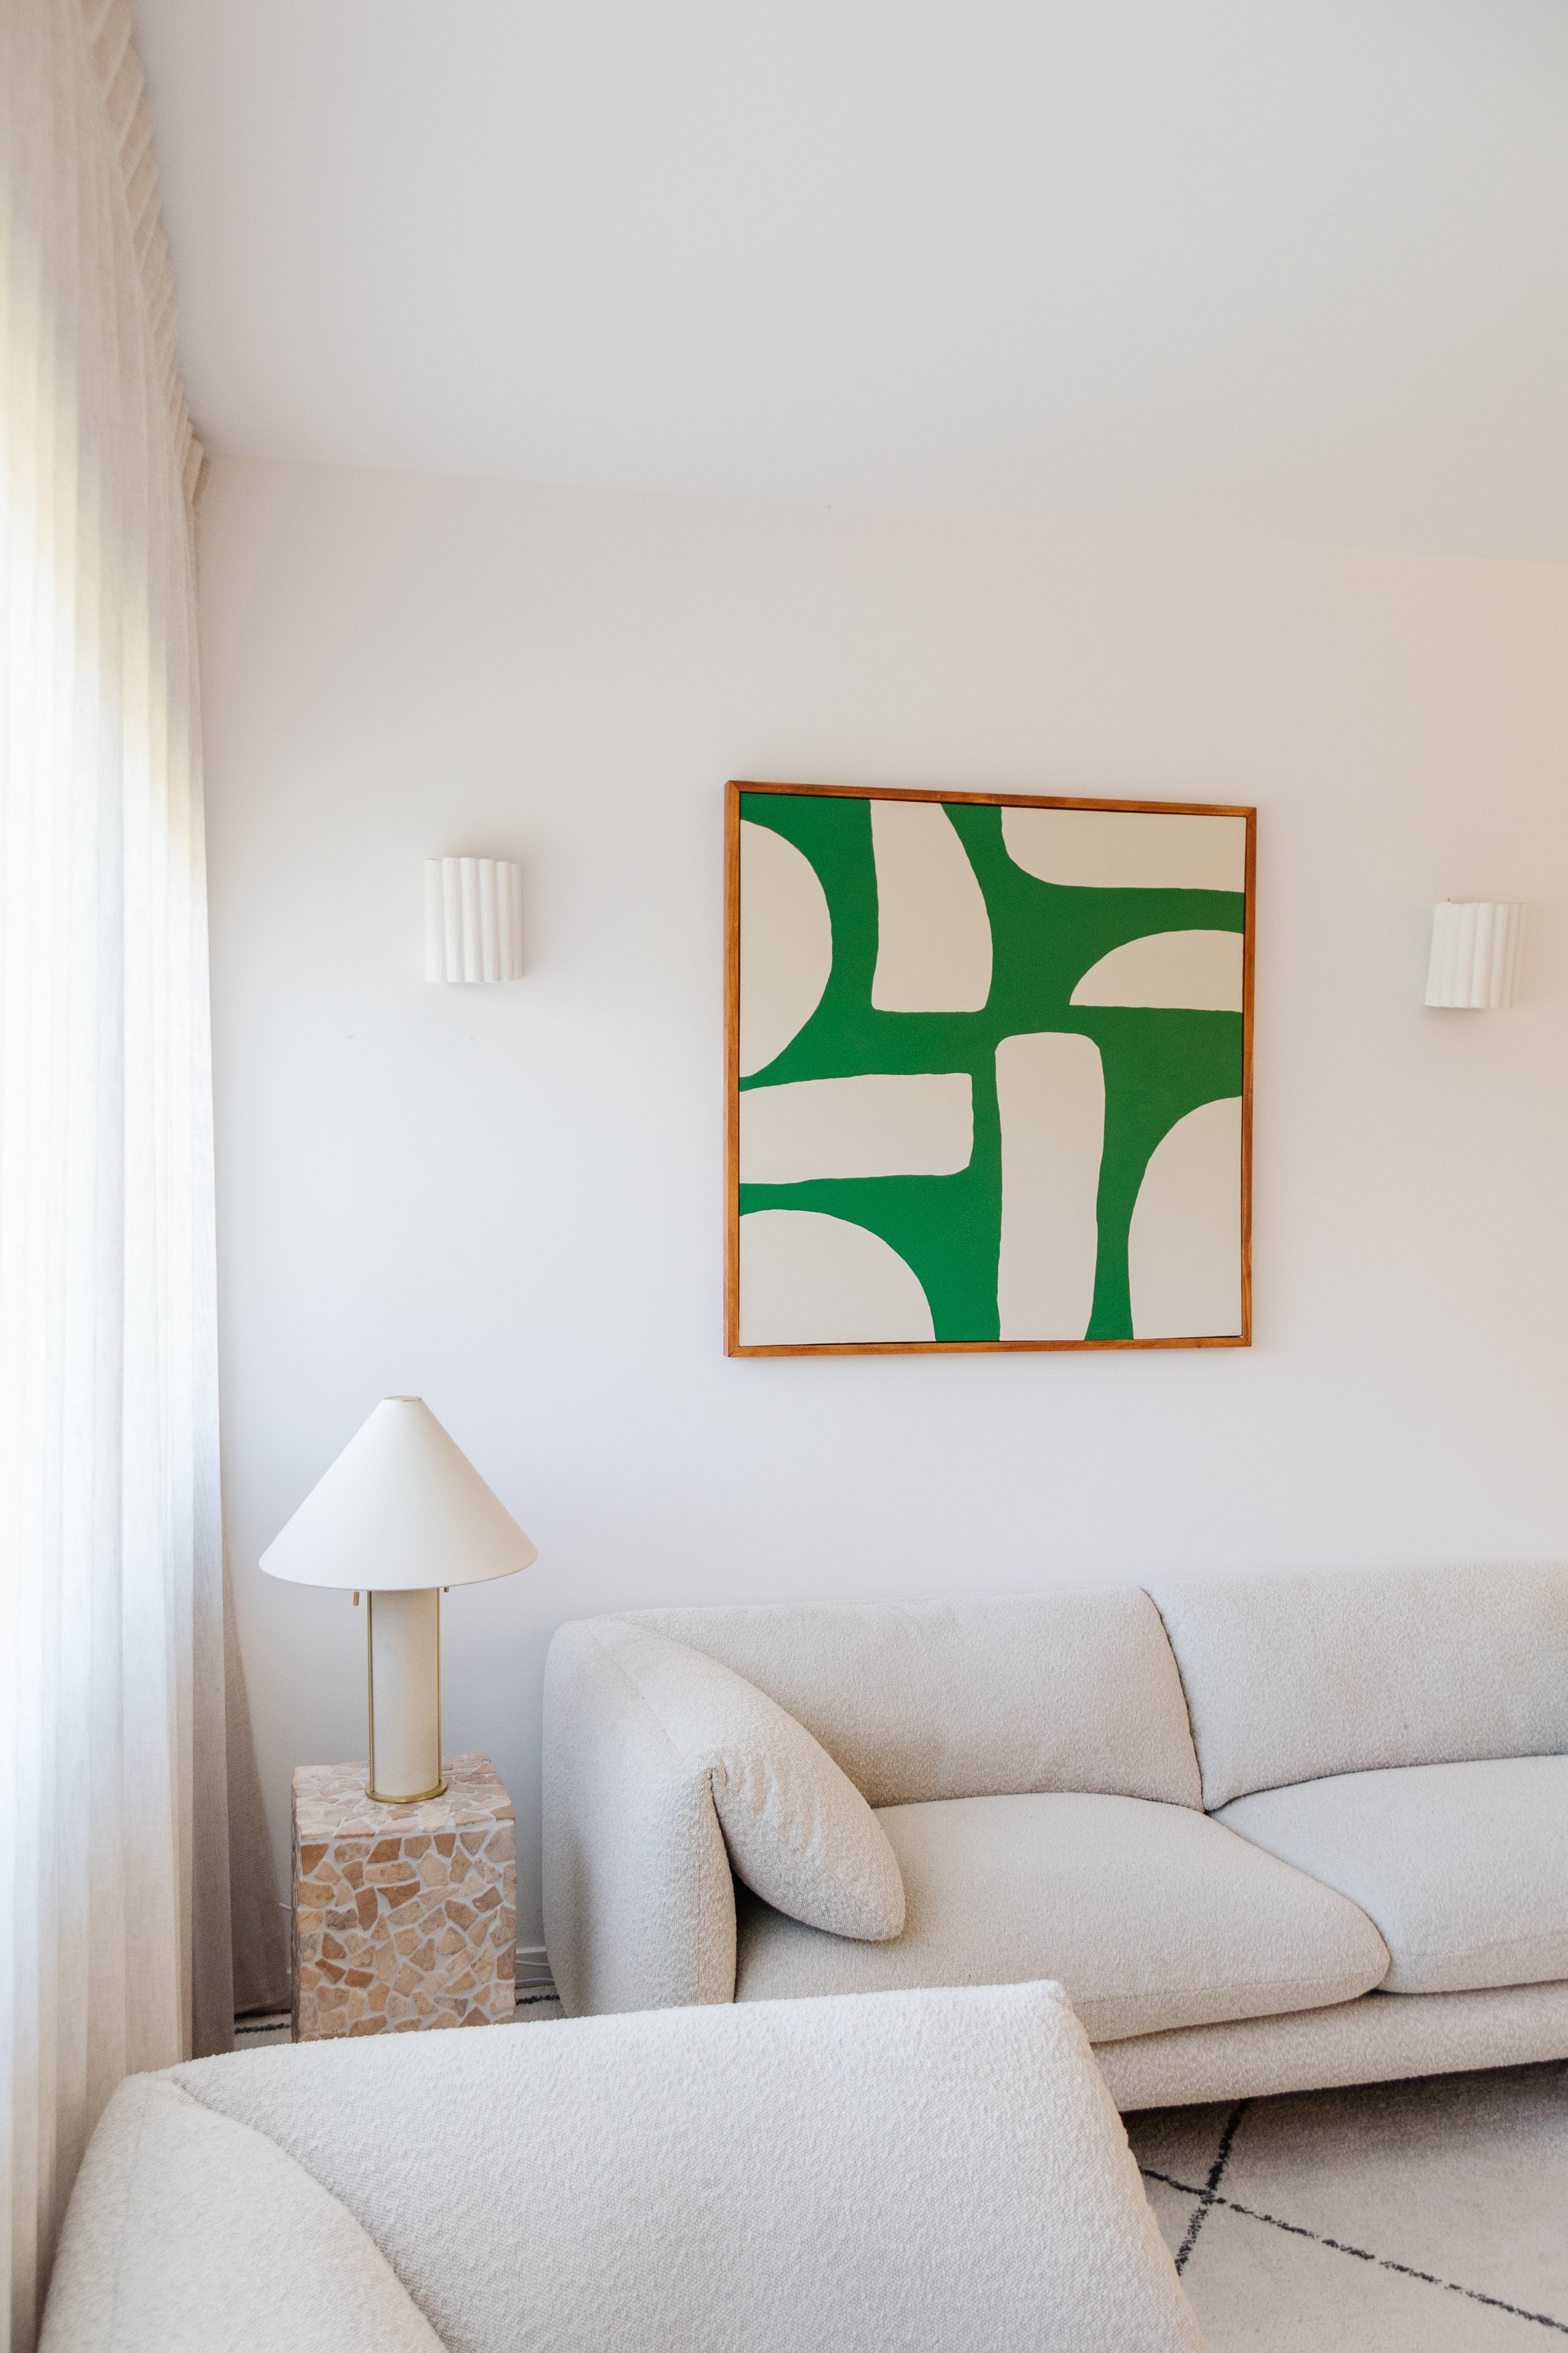
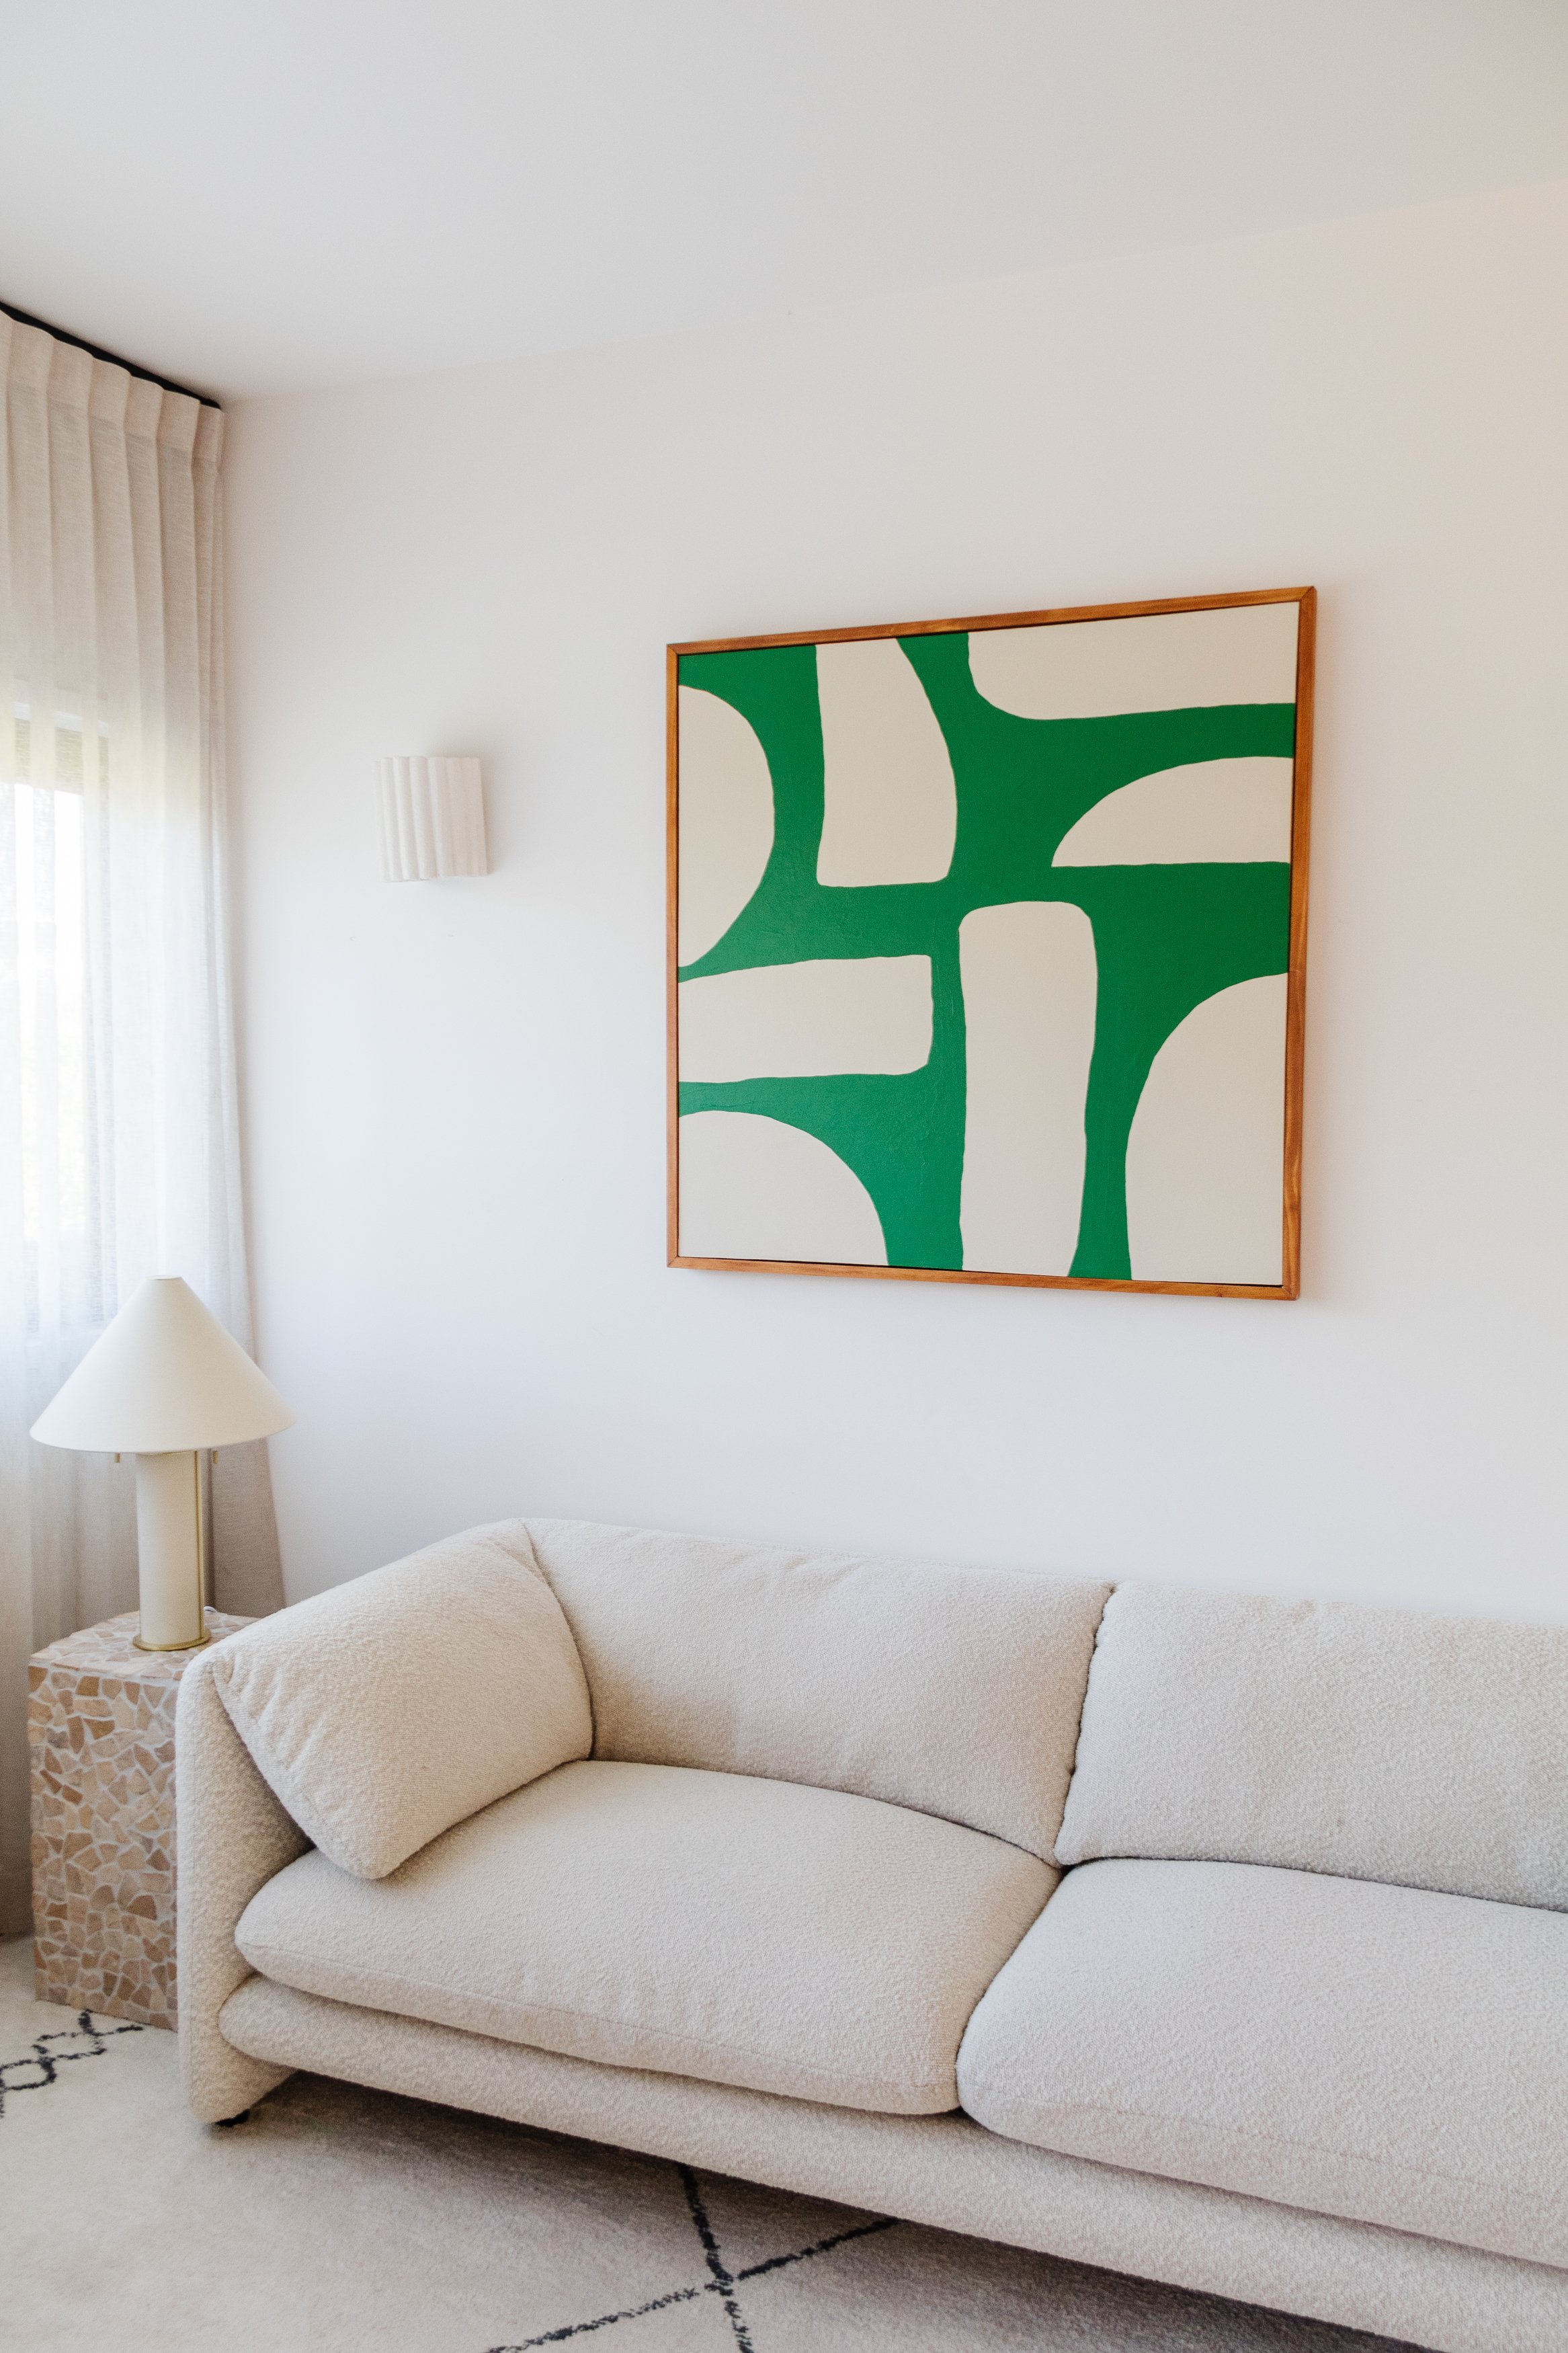
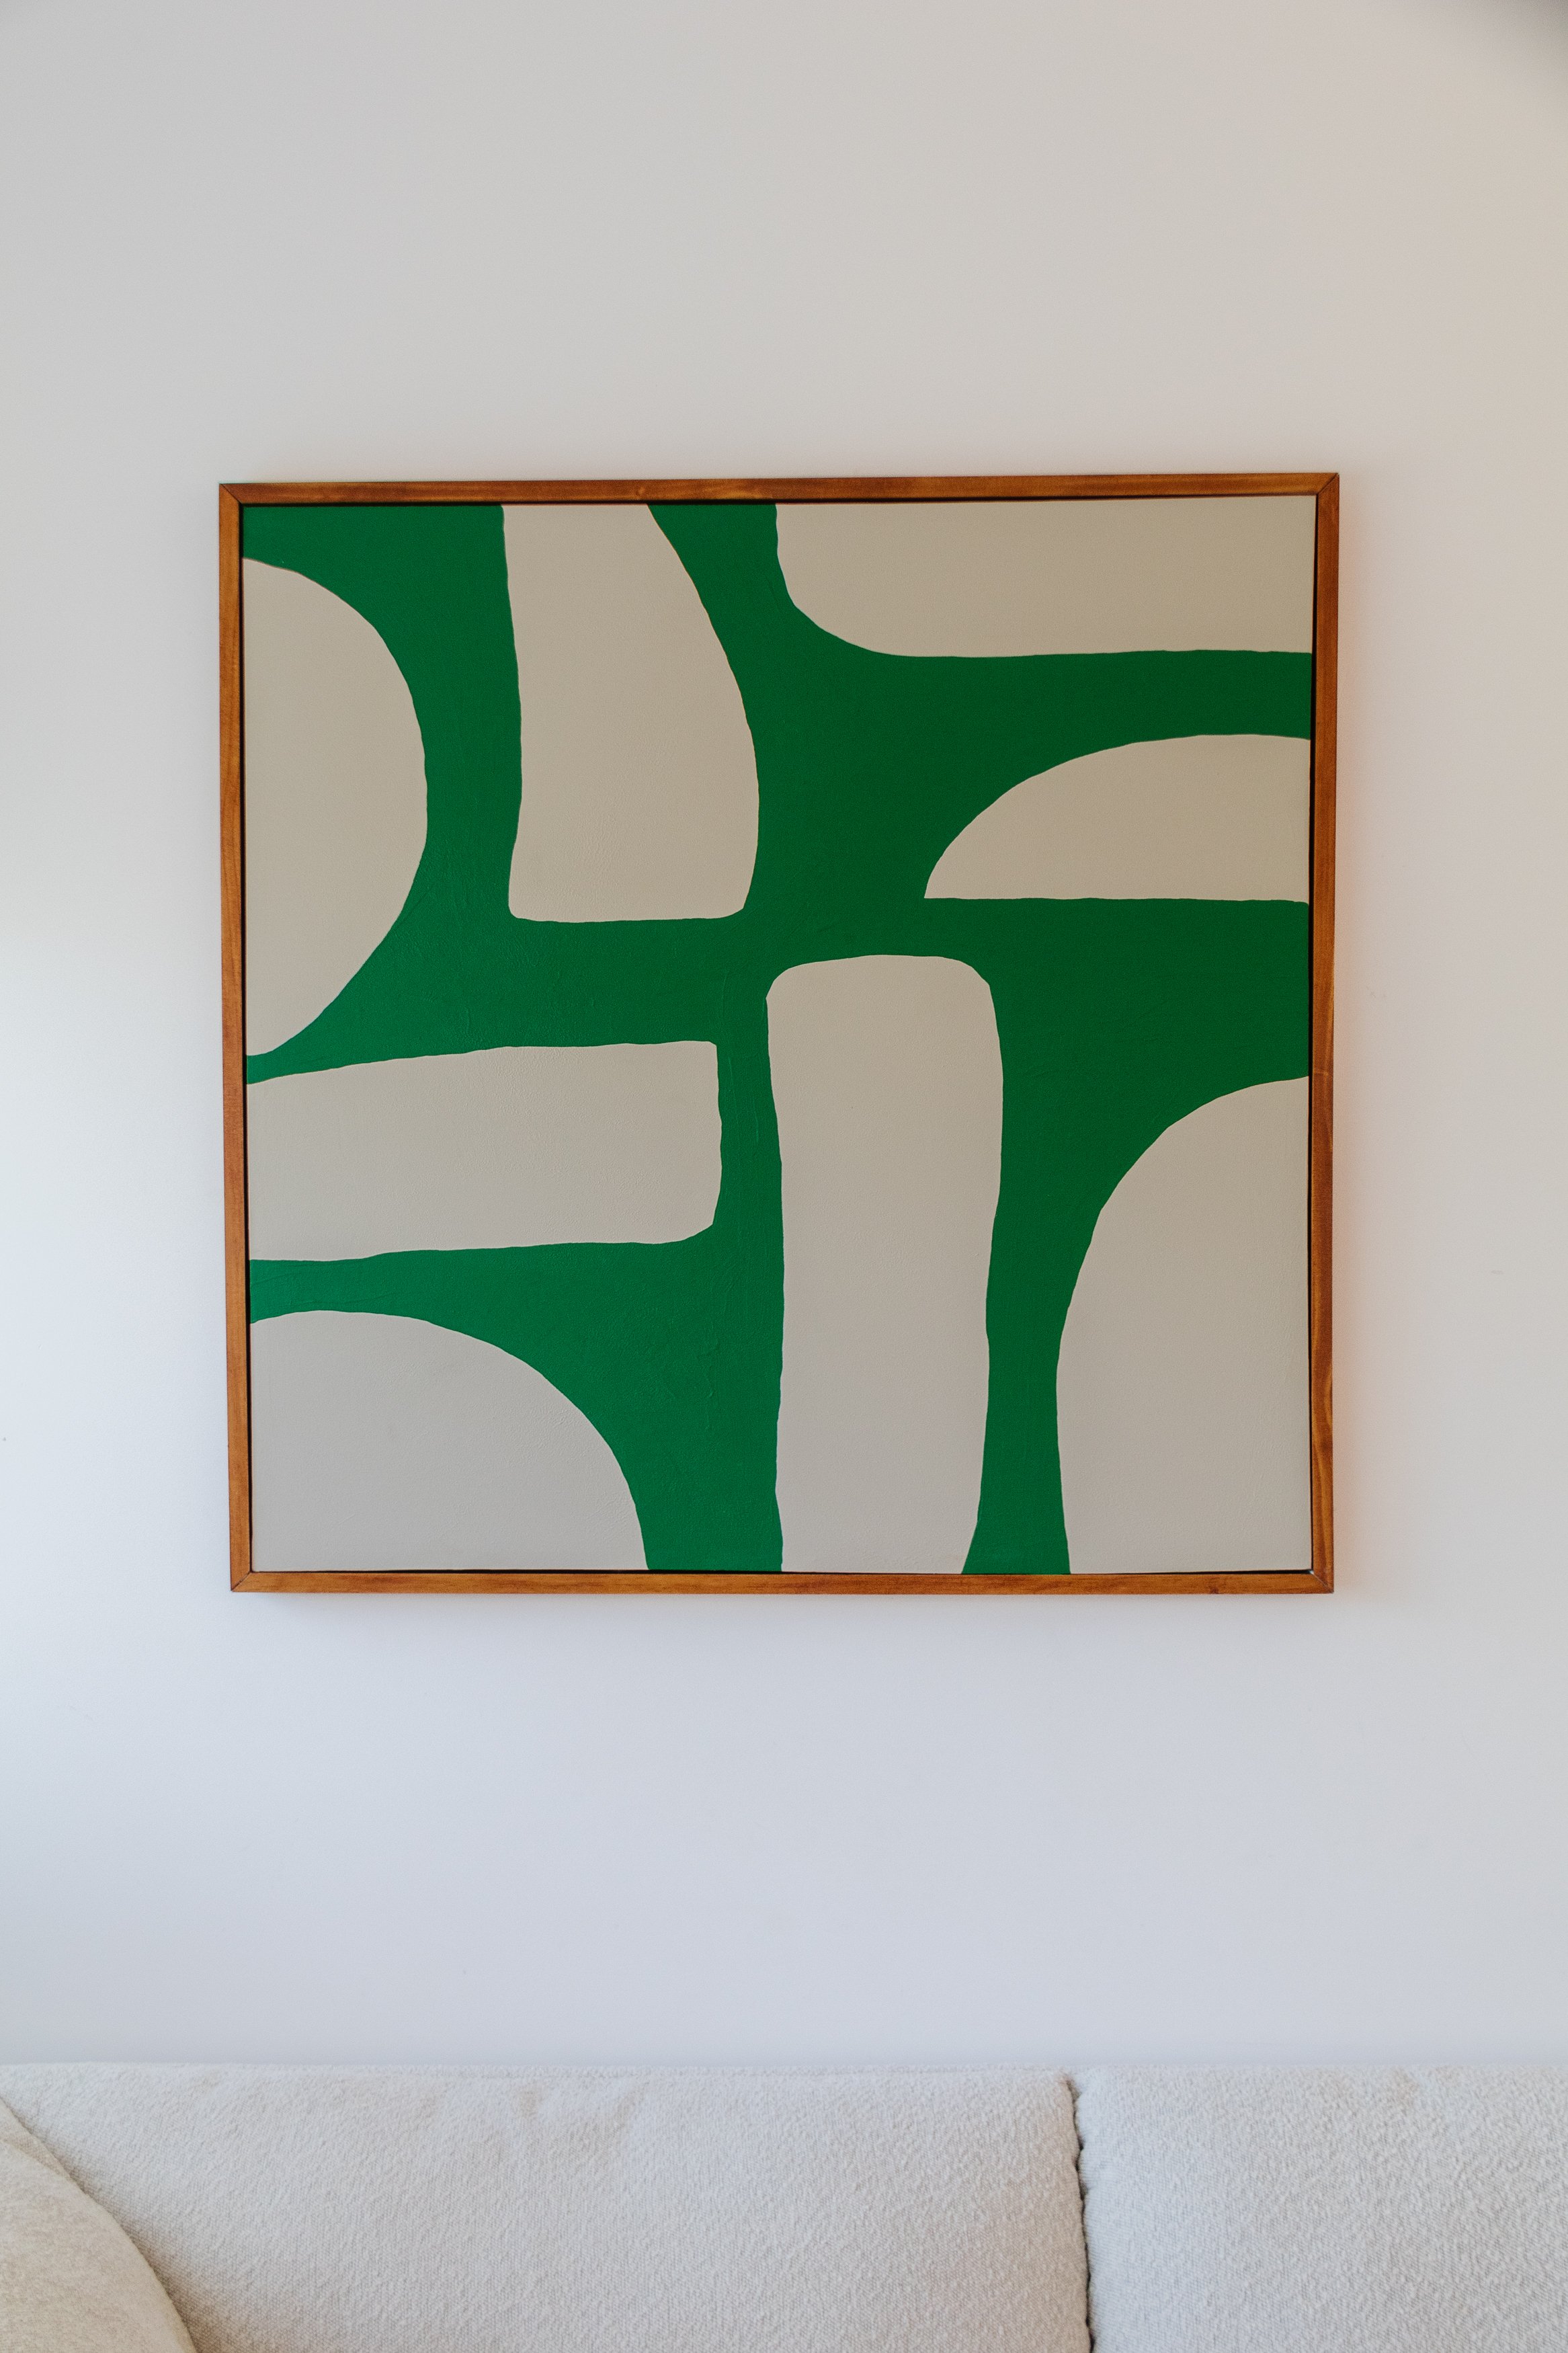
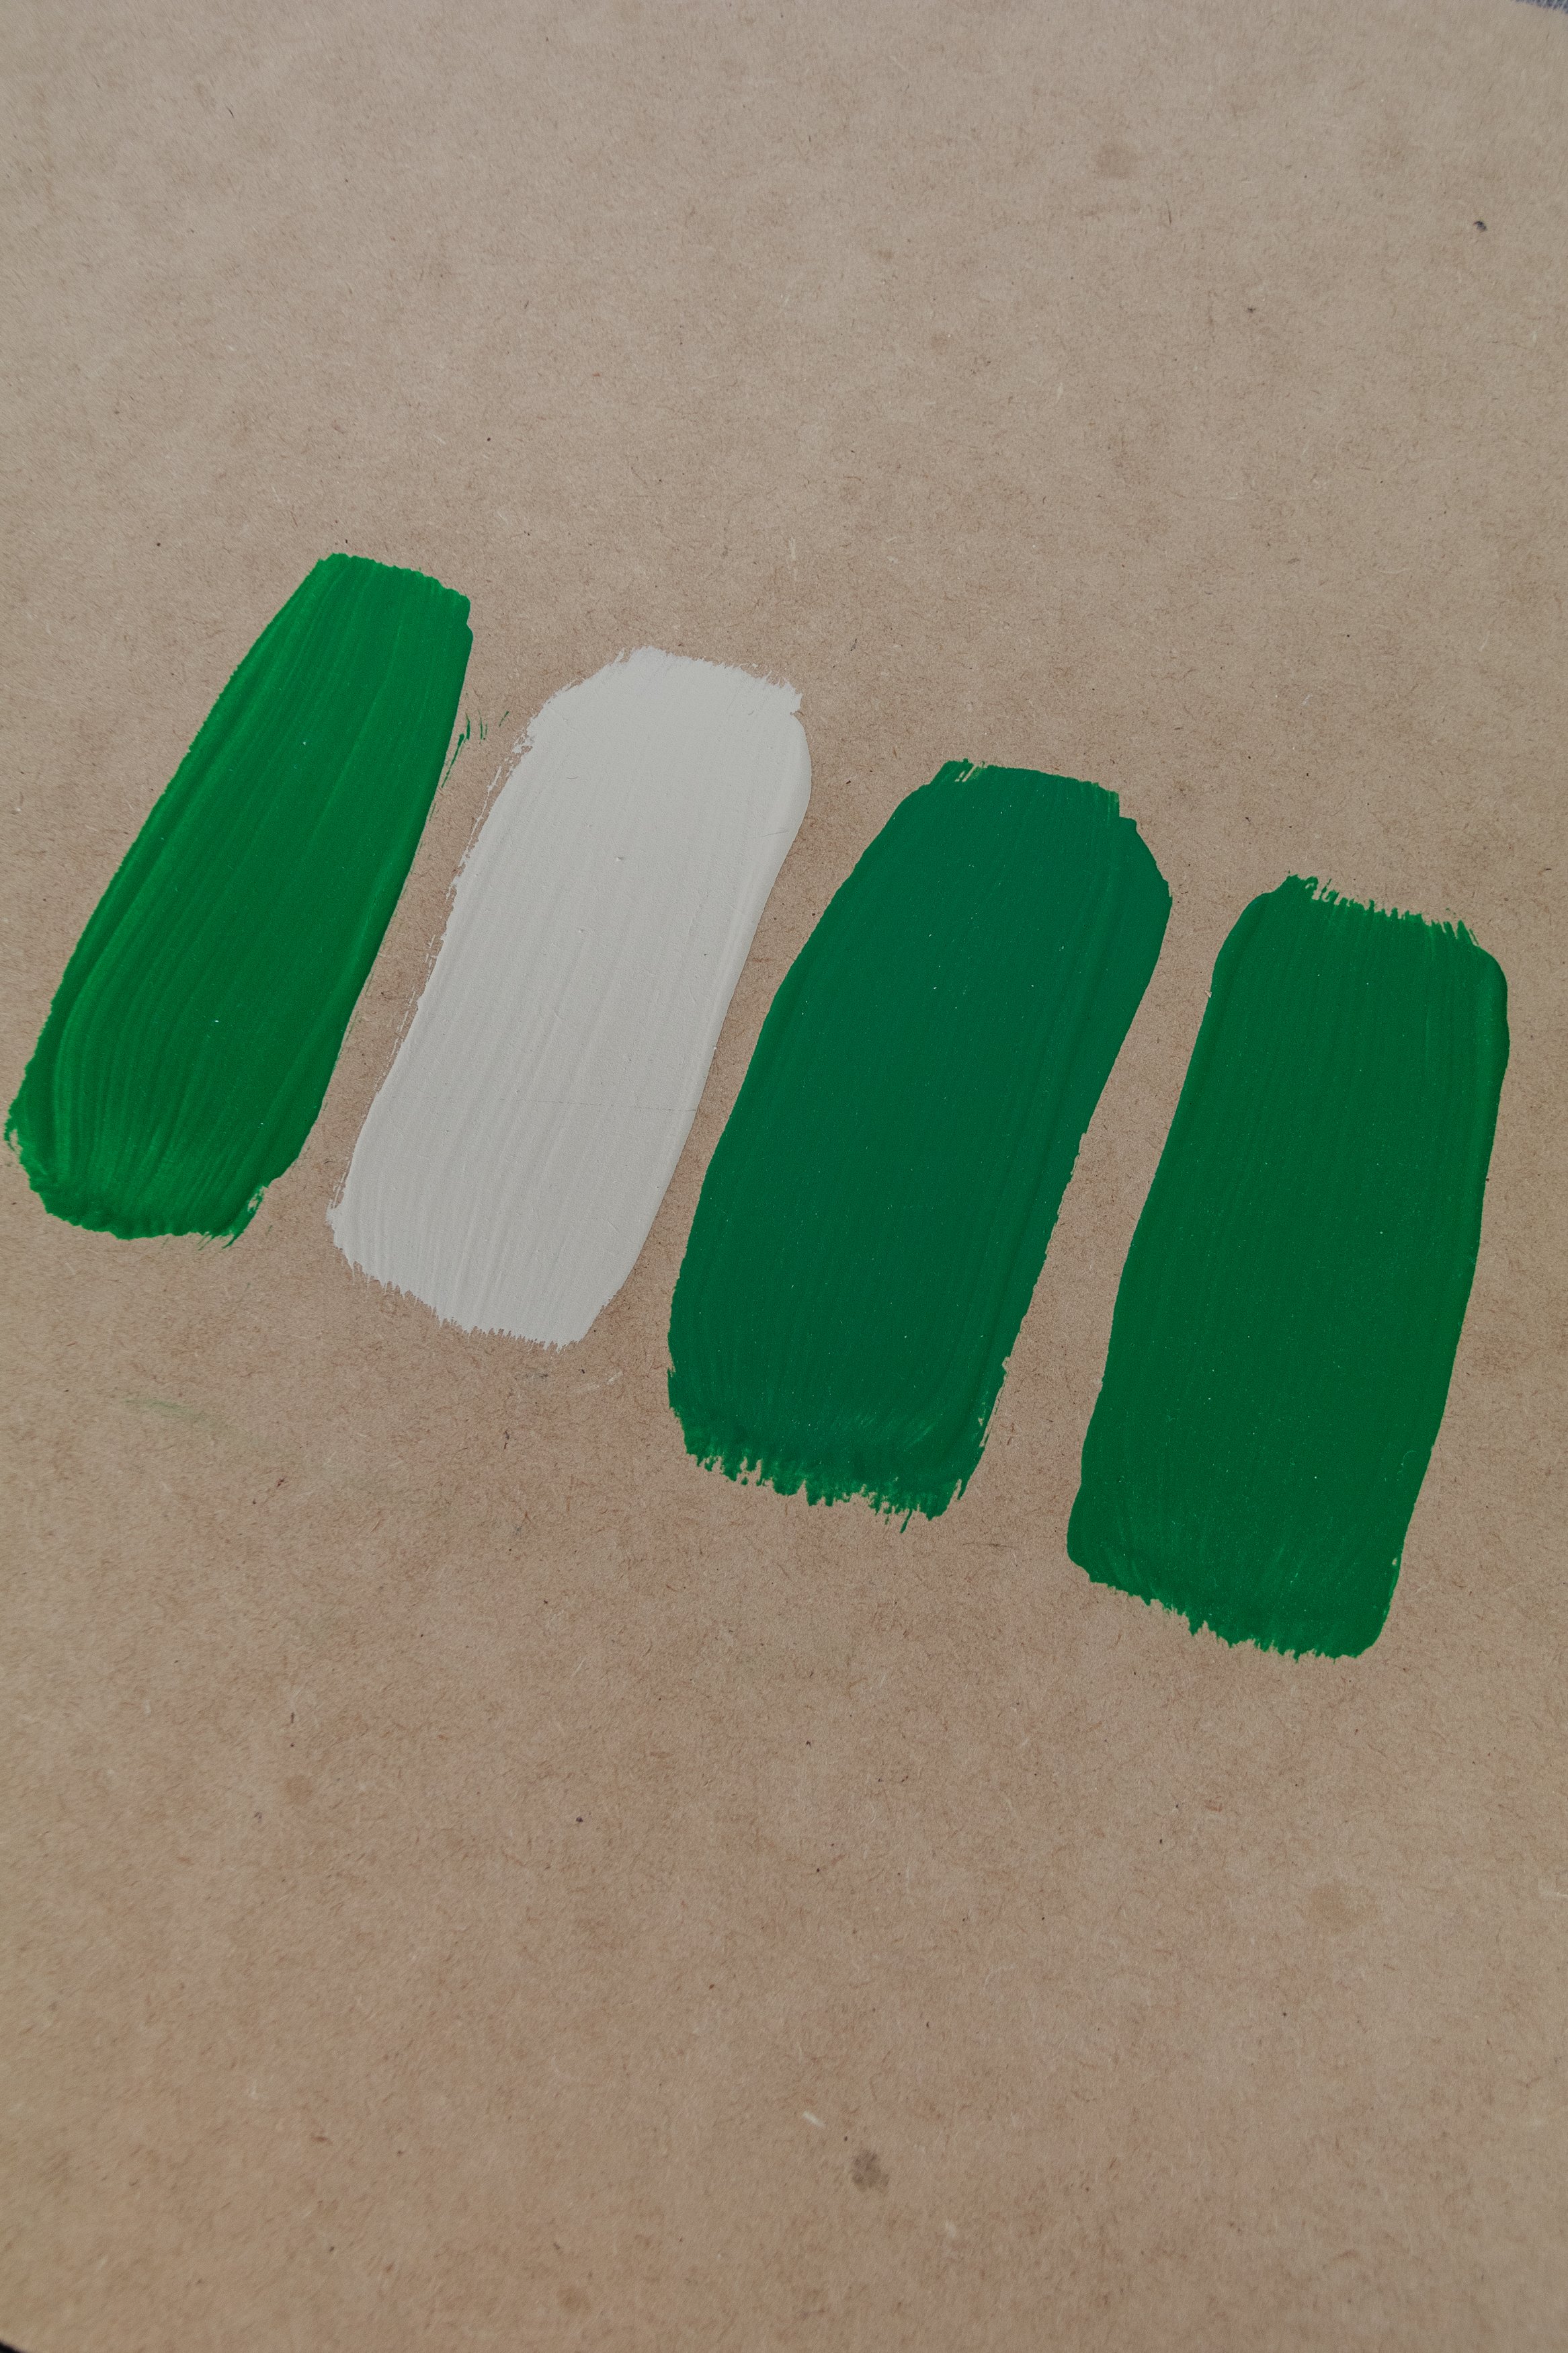
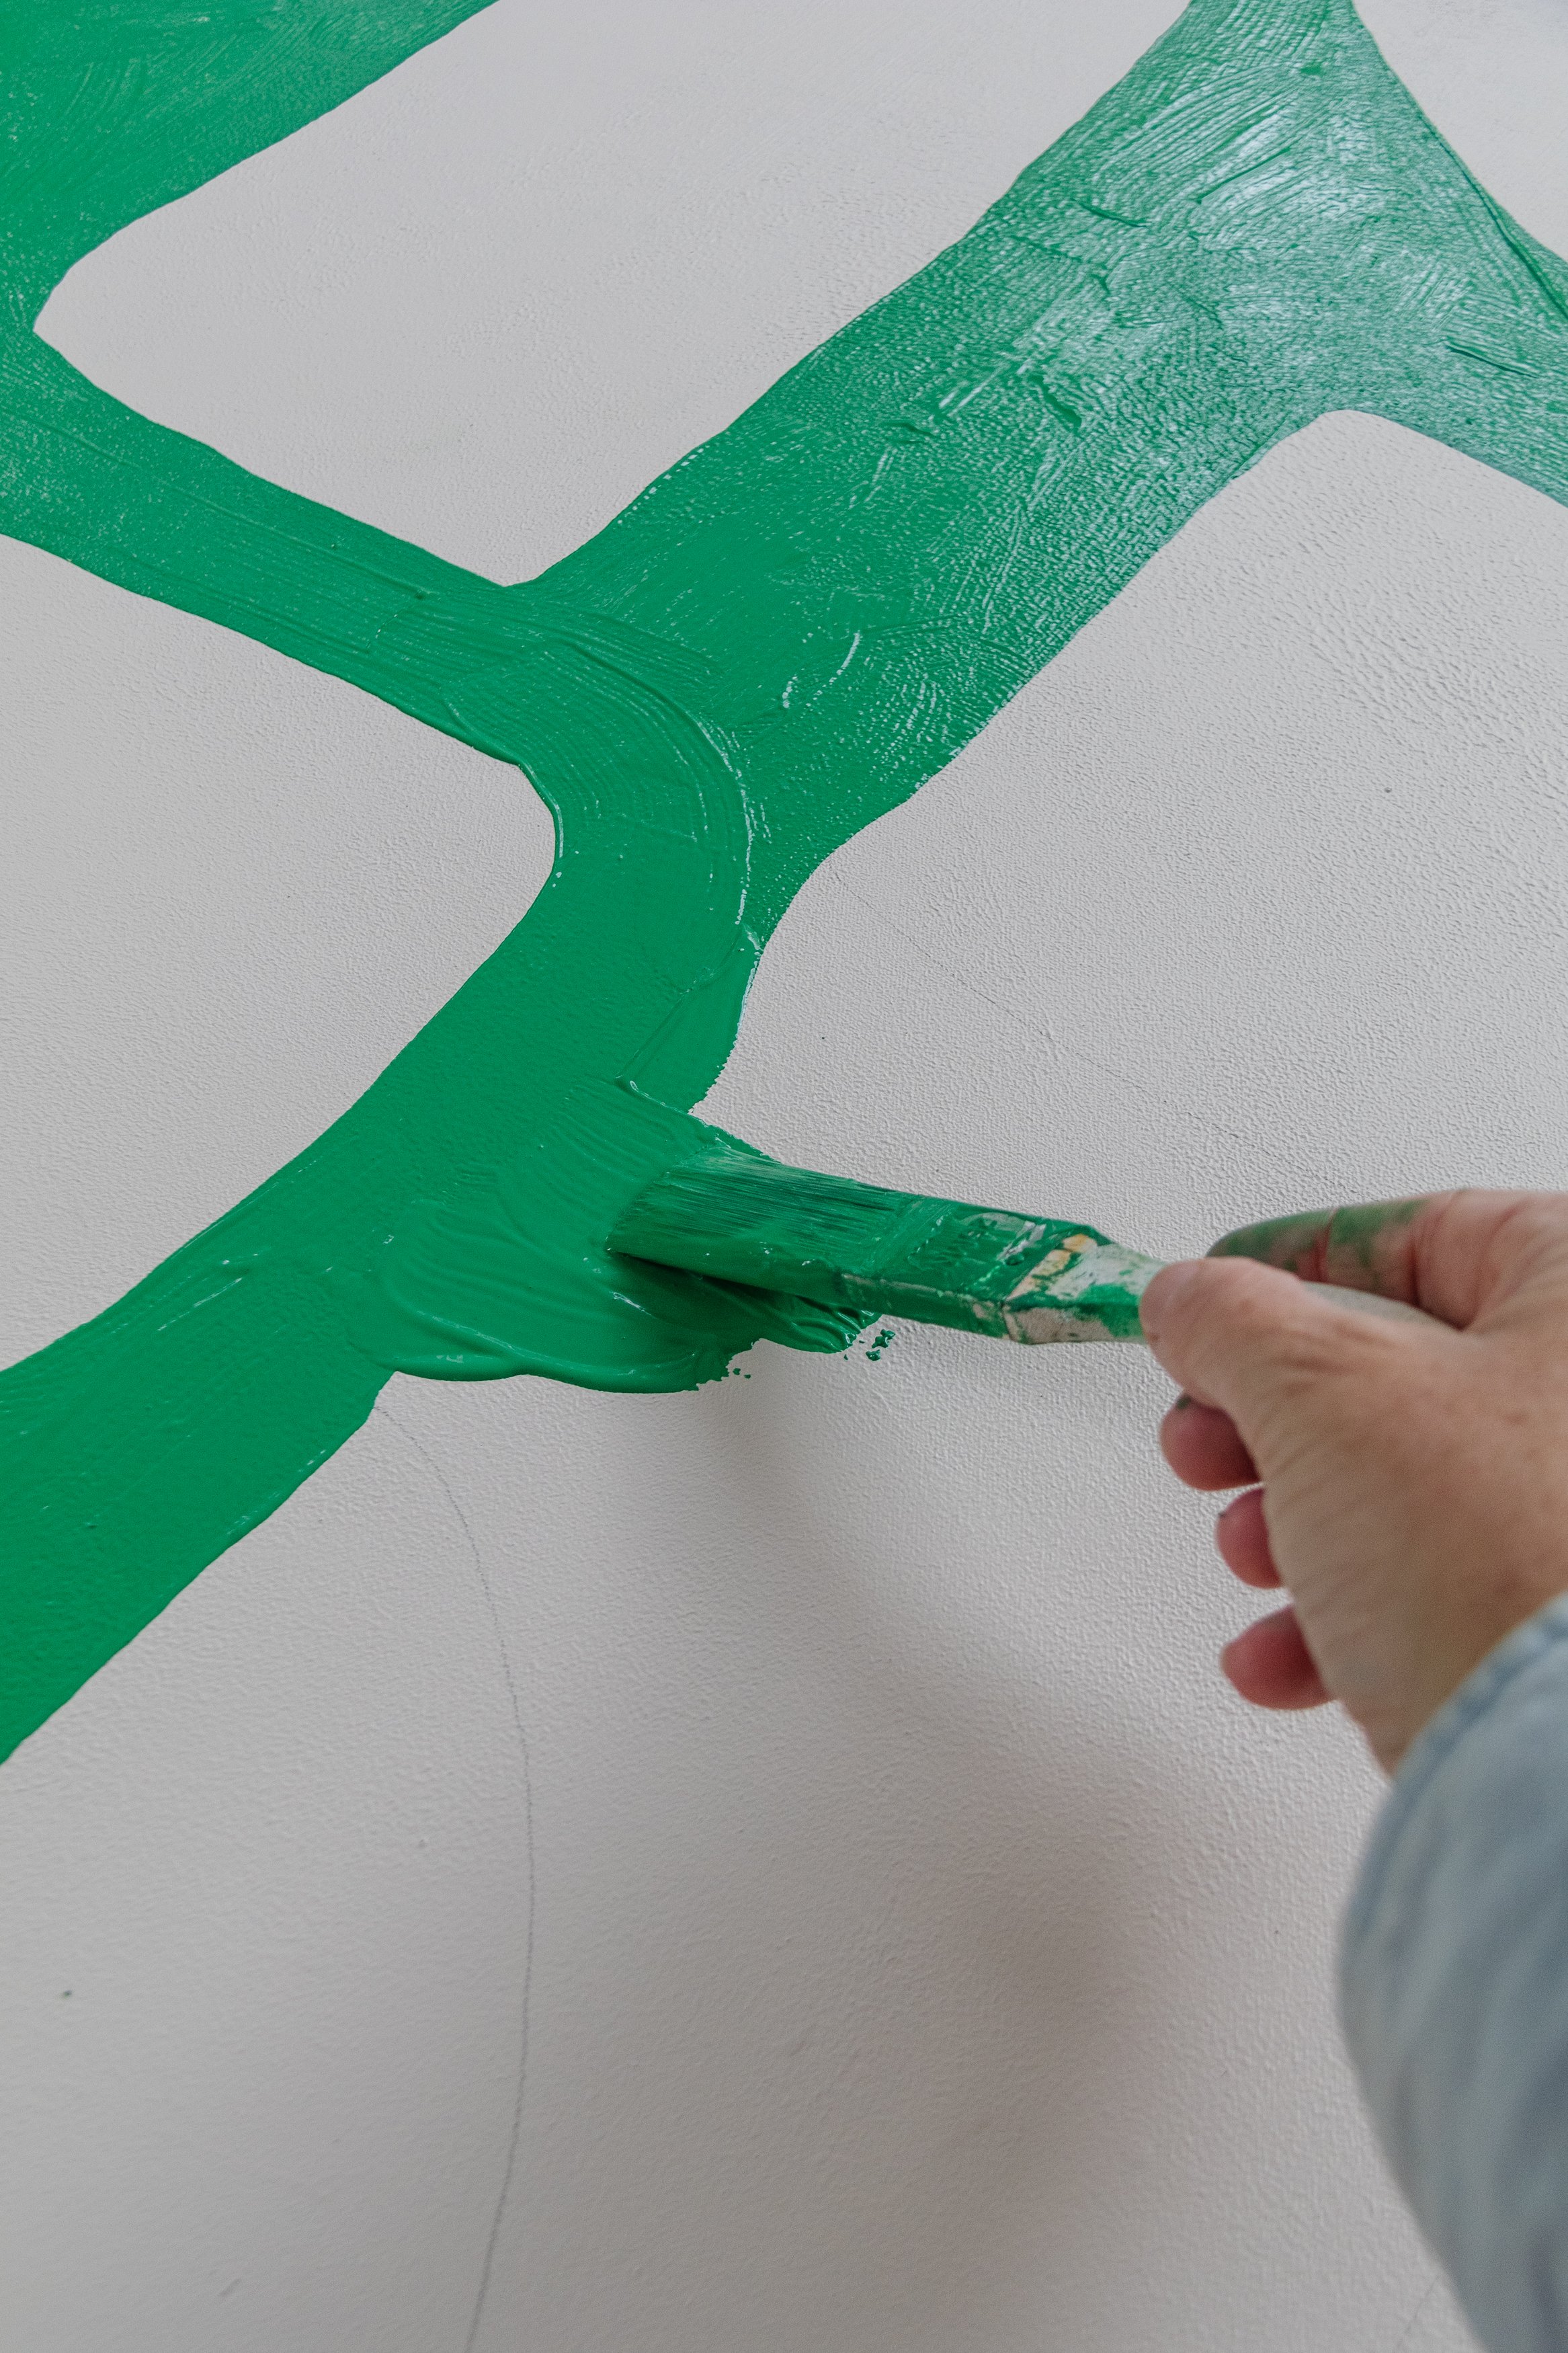
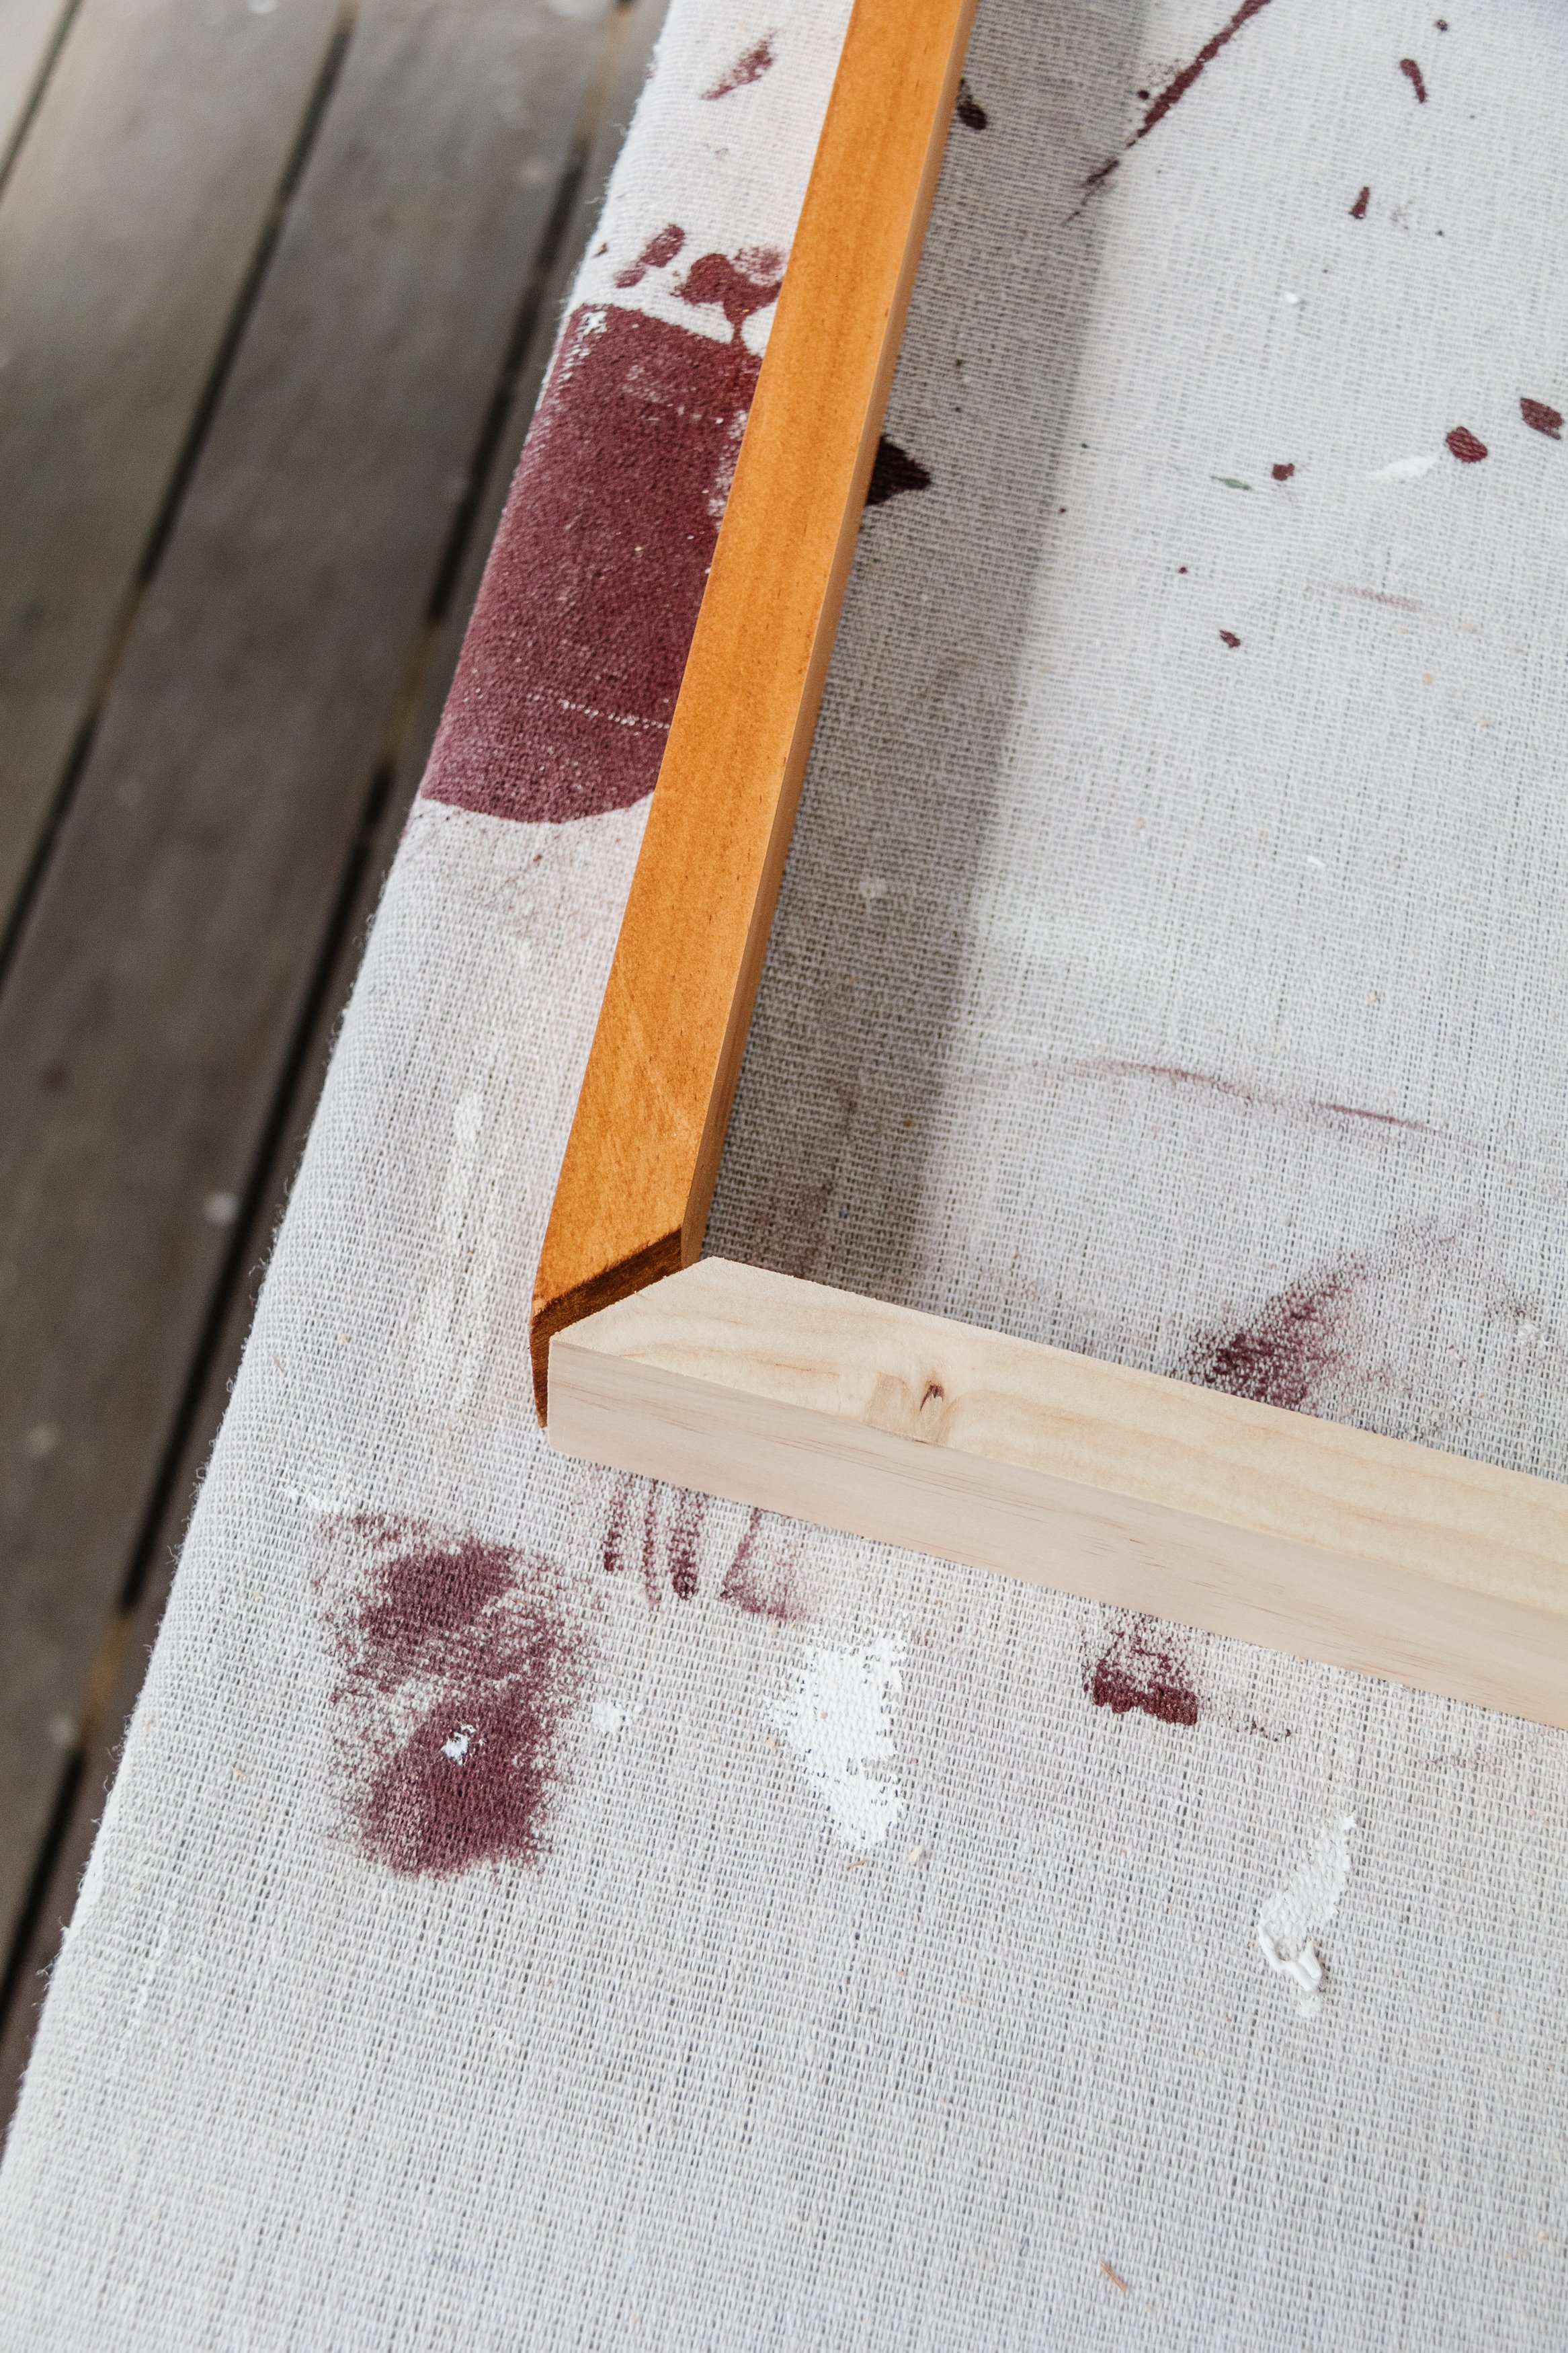
Step 3: When the paint had dried, I drew organic shapes directly onto the painted canvas using a pencil. Then I painted around the shapes with a fine paint brush with two greens I had at home, which I applied thickly to limit any mistakes. The edges don’t have to be perfect.


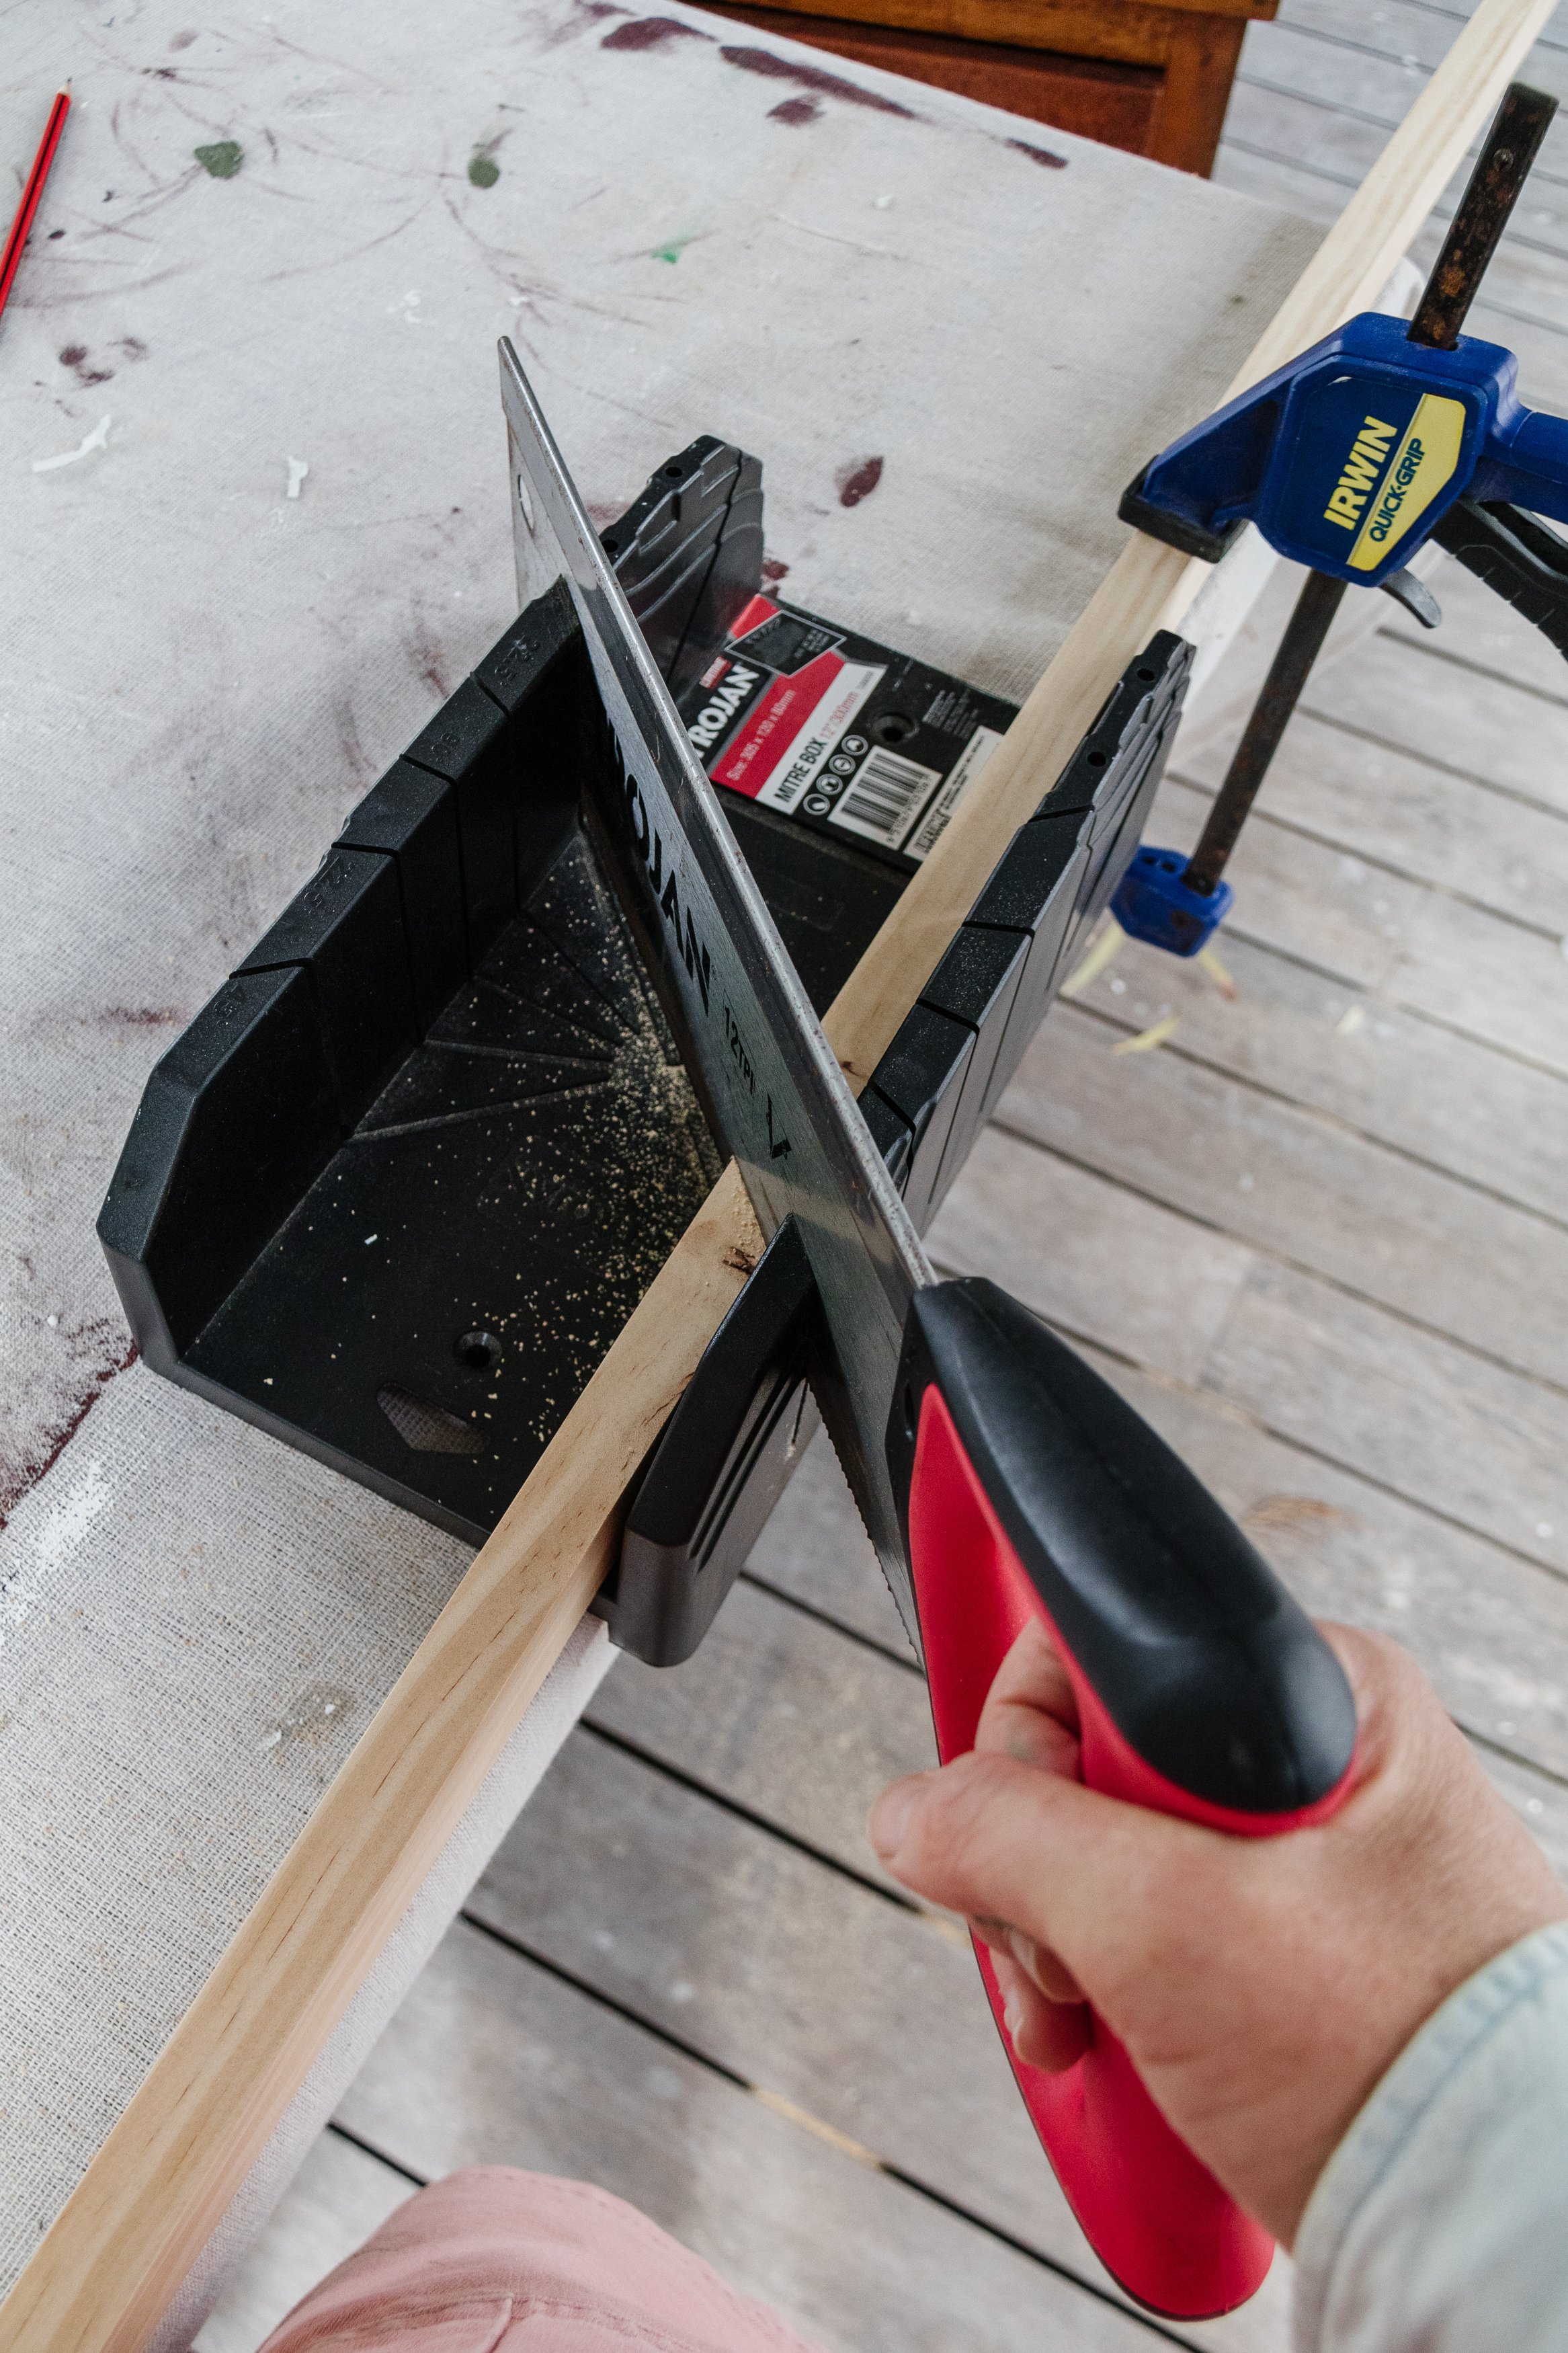
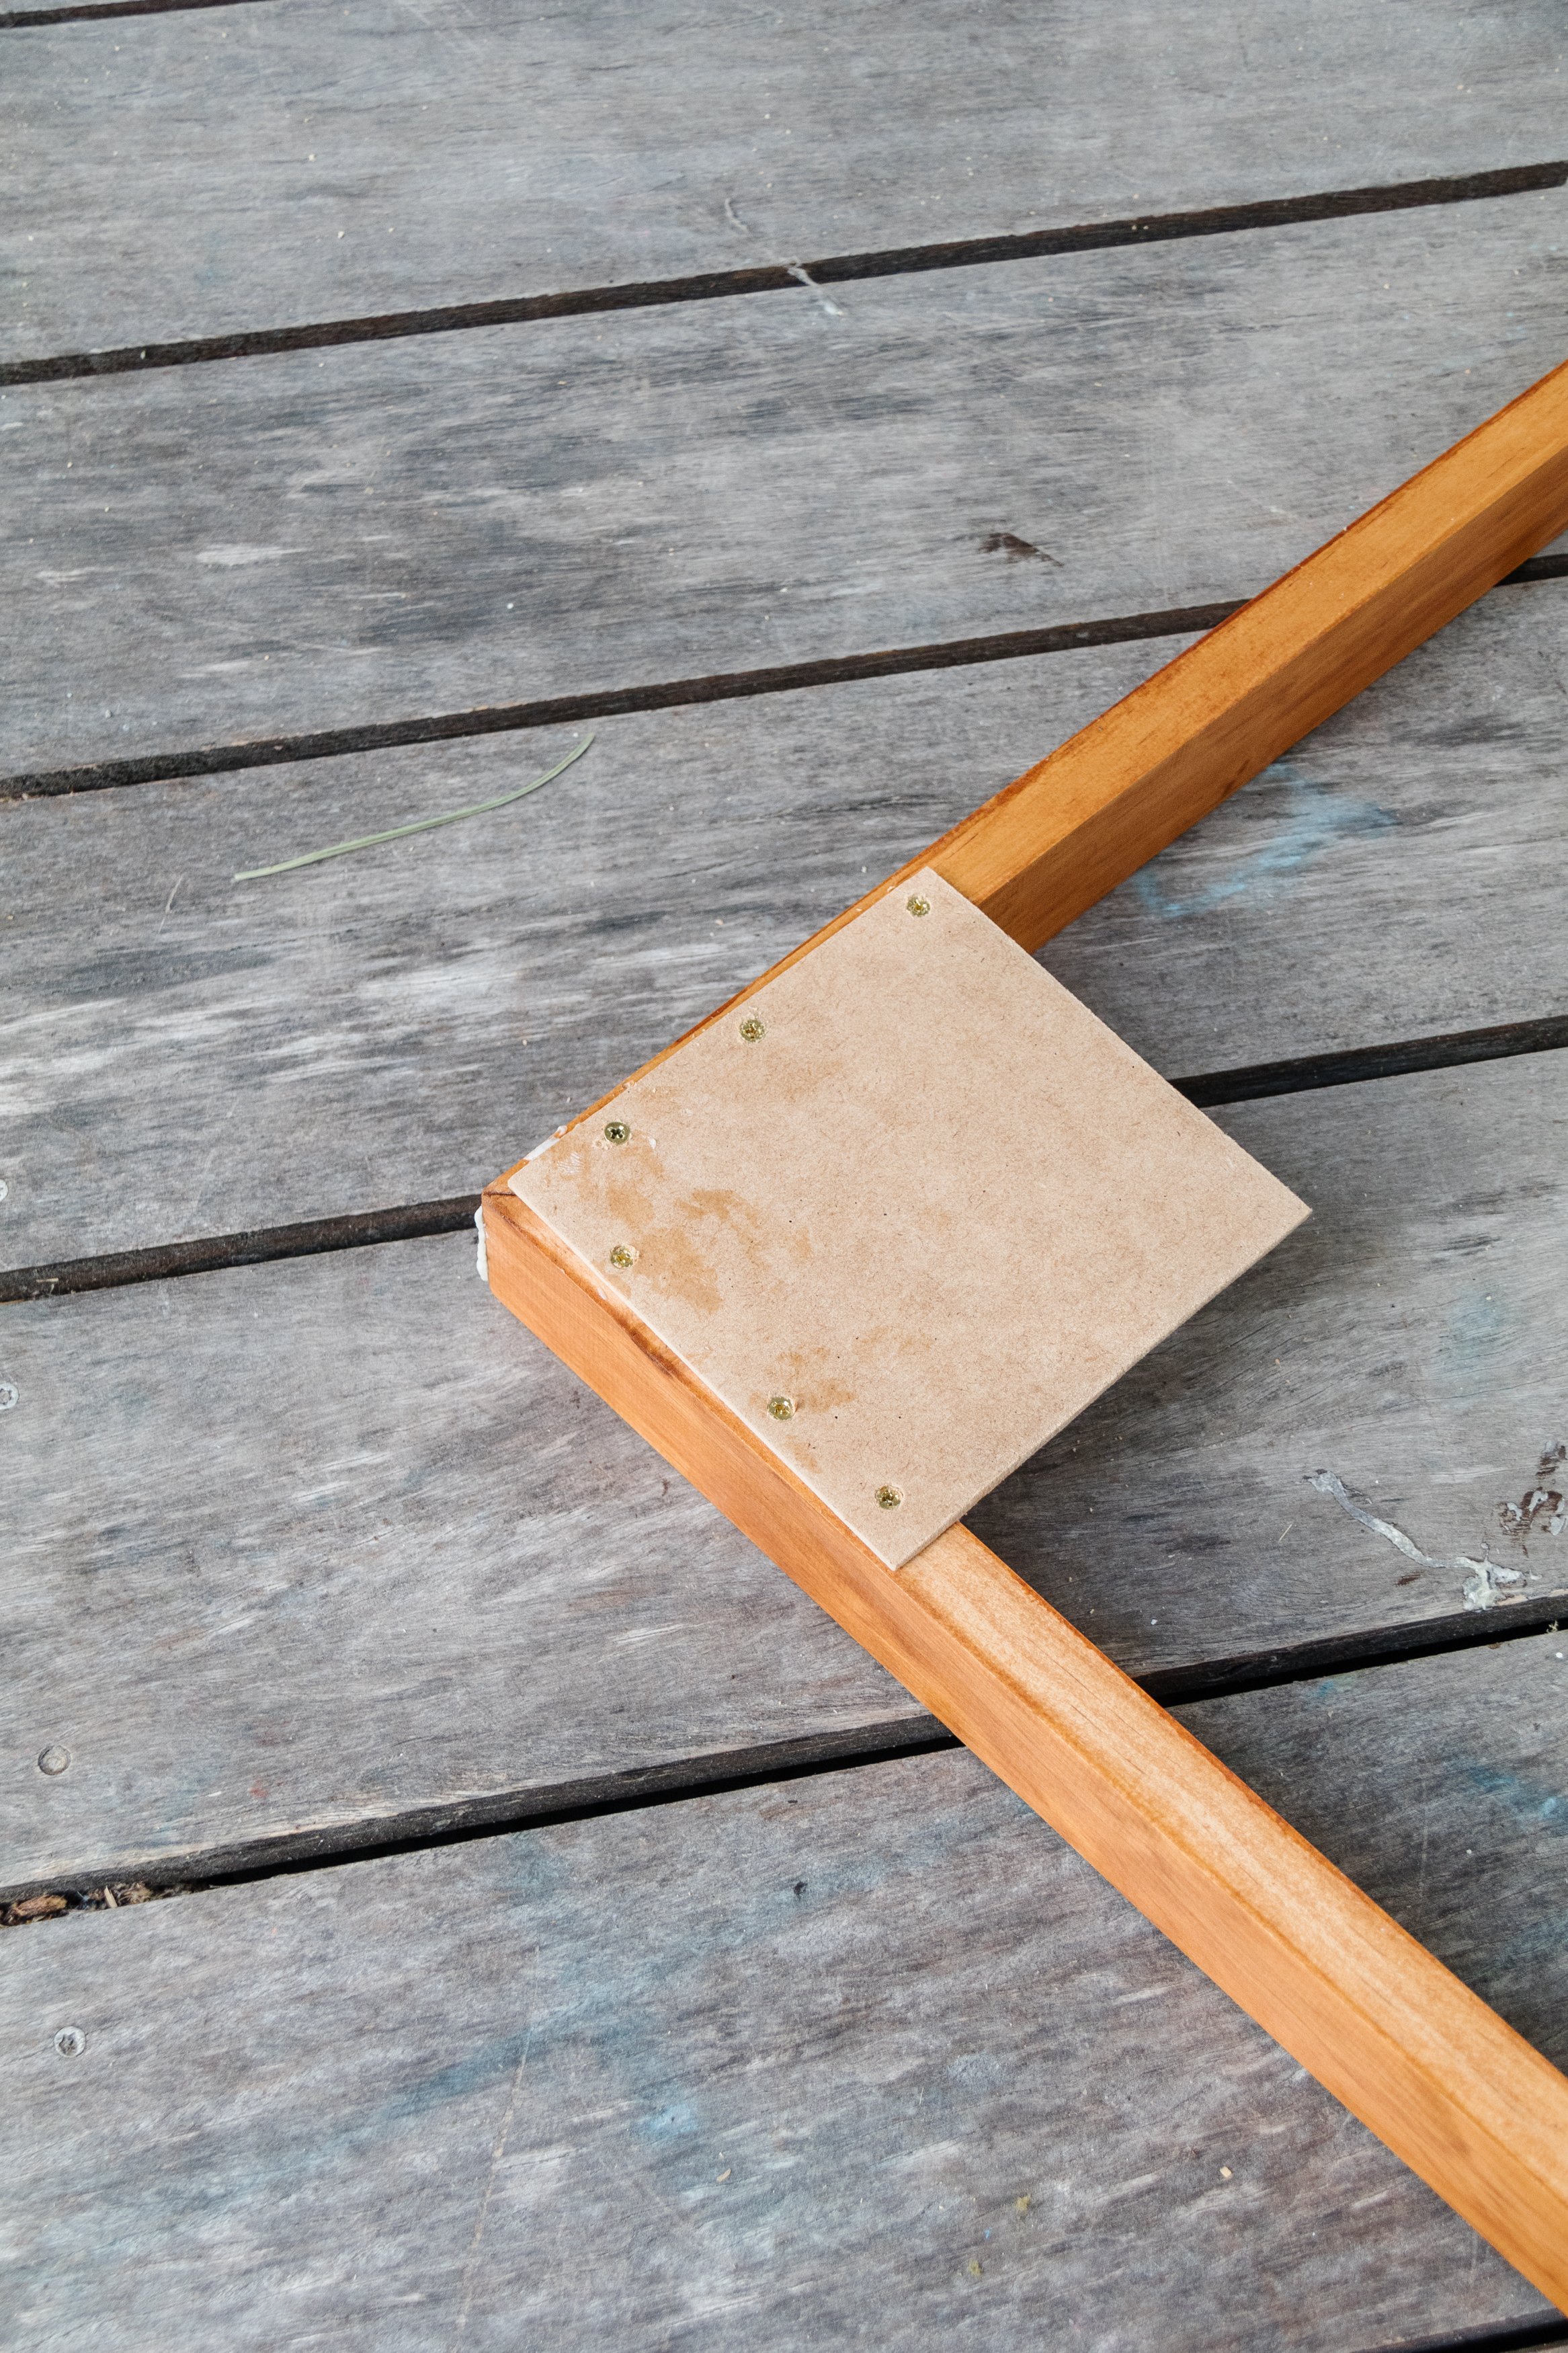
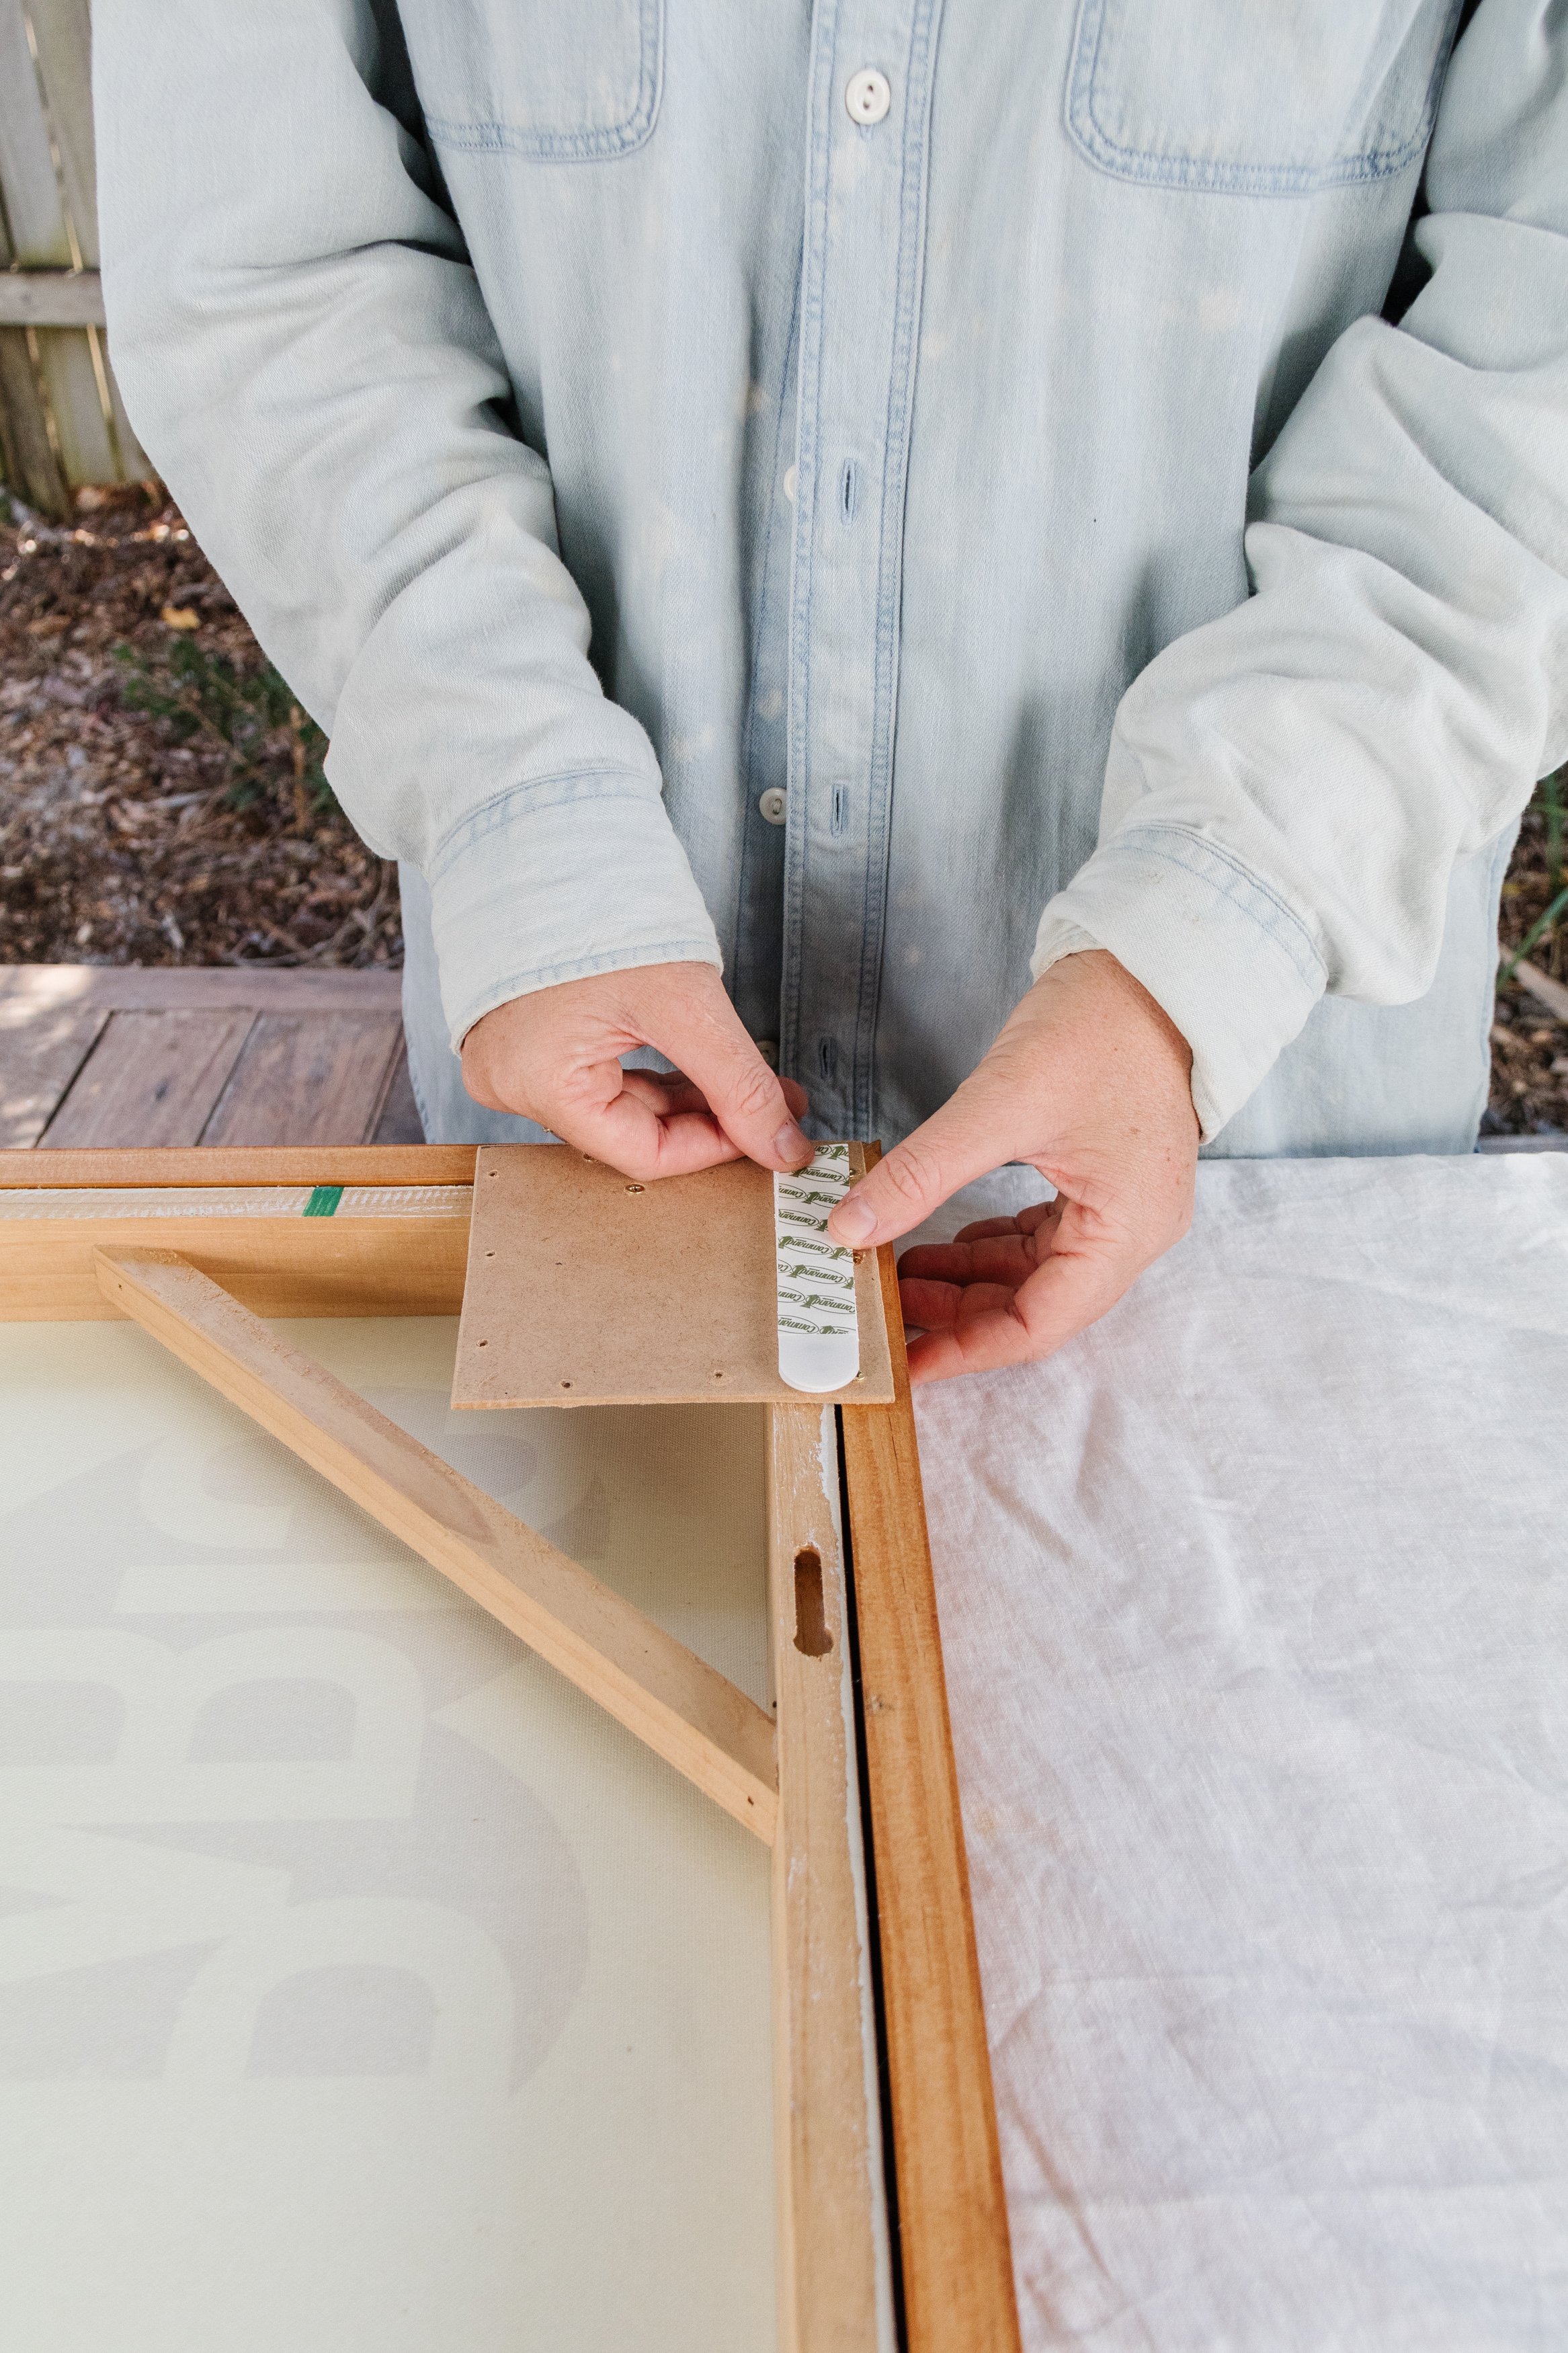
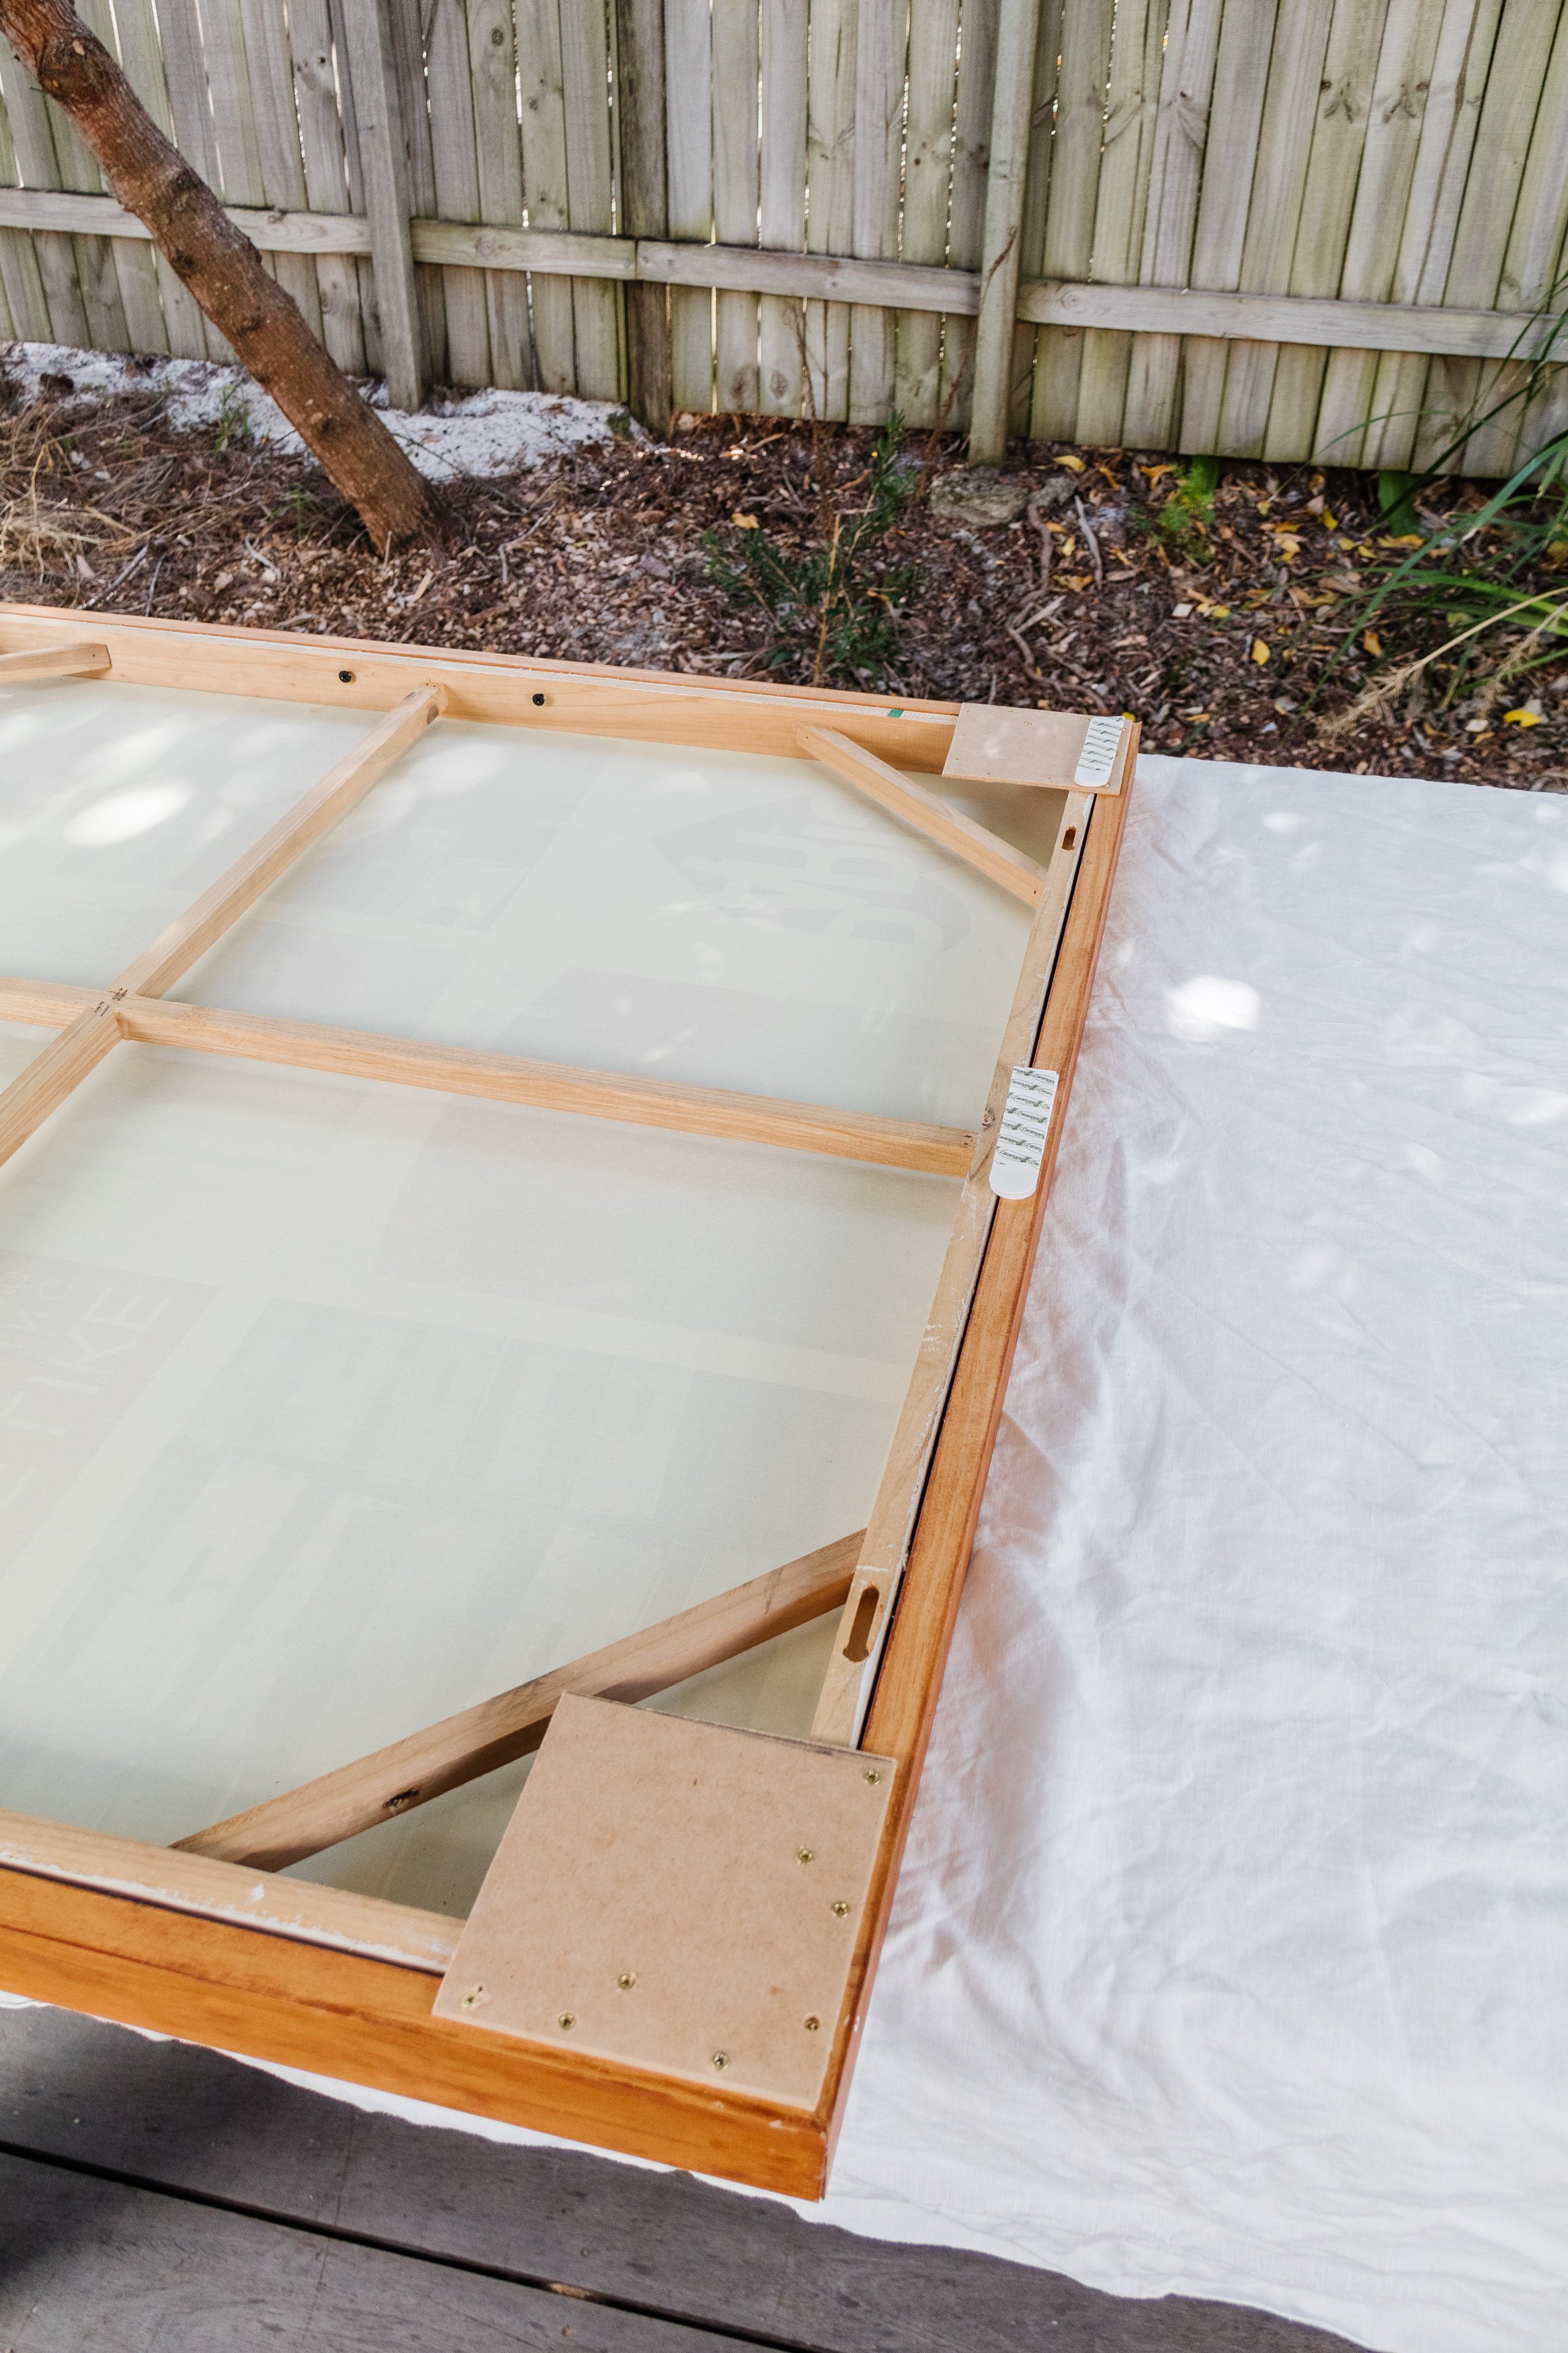
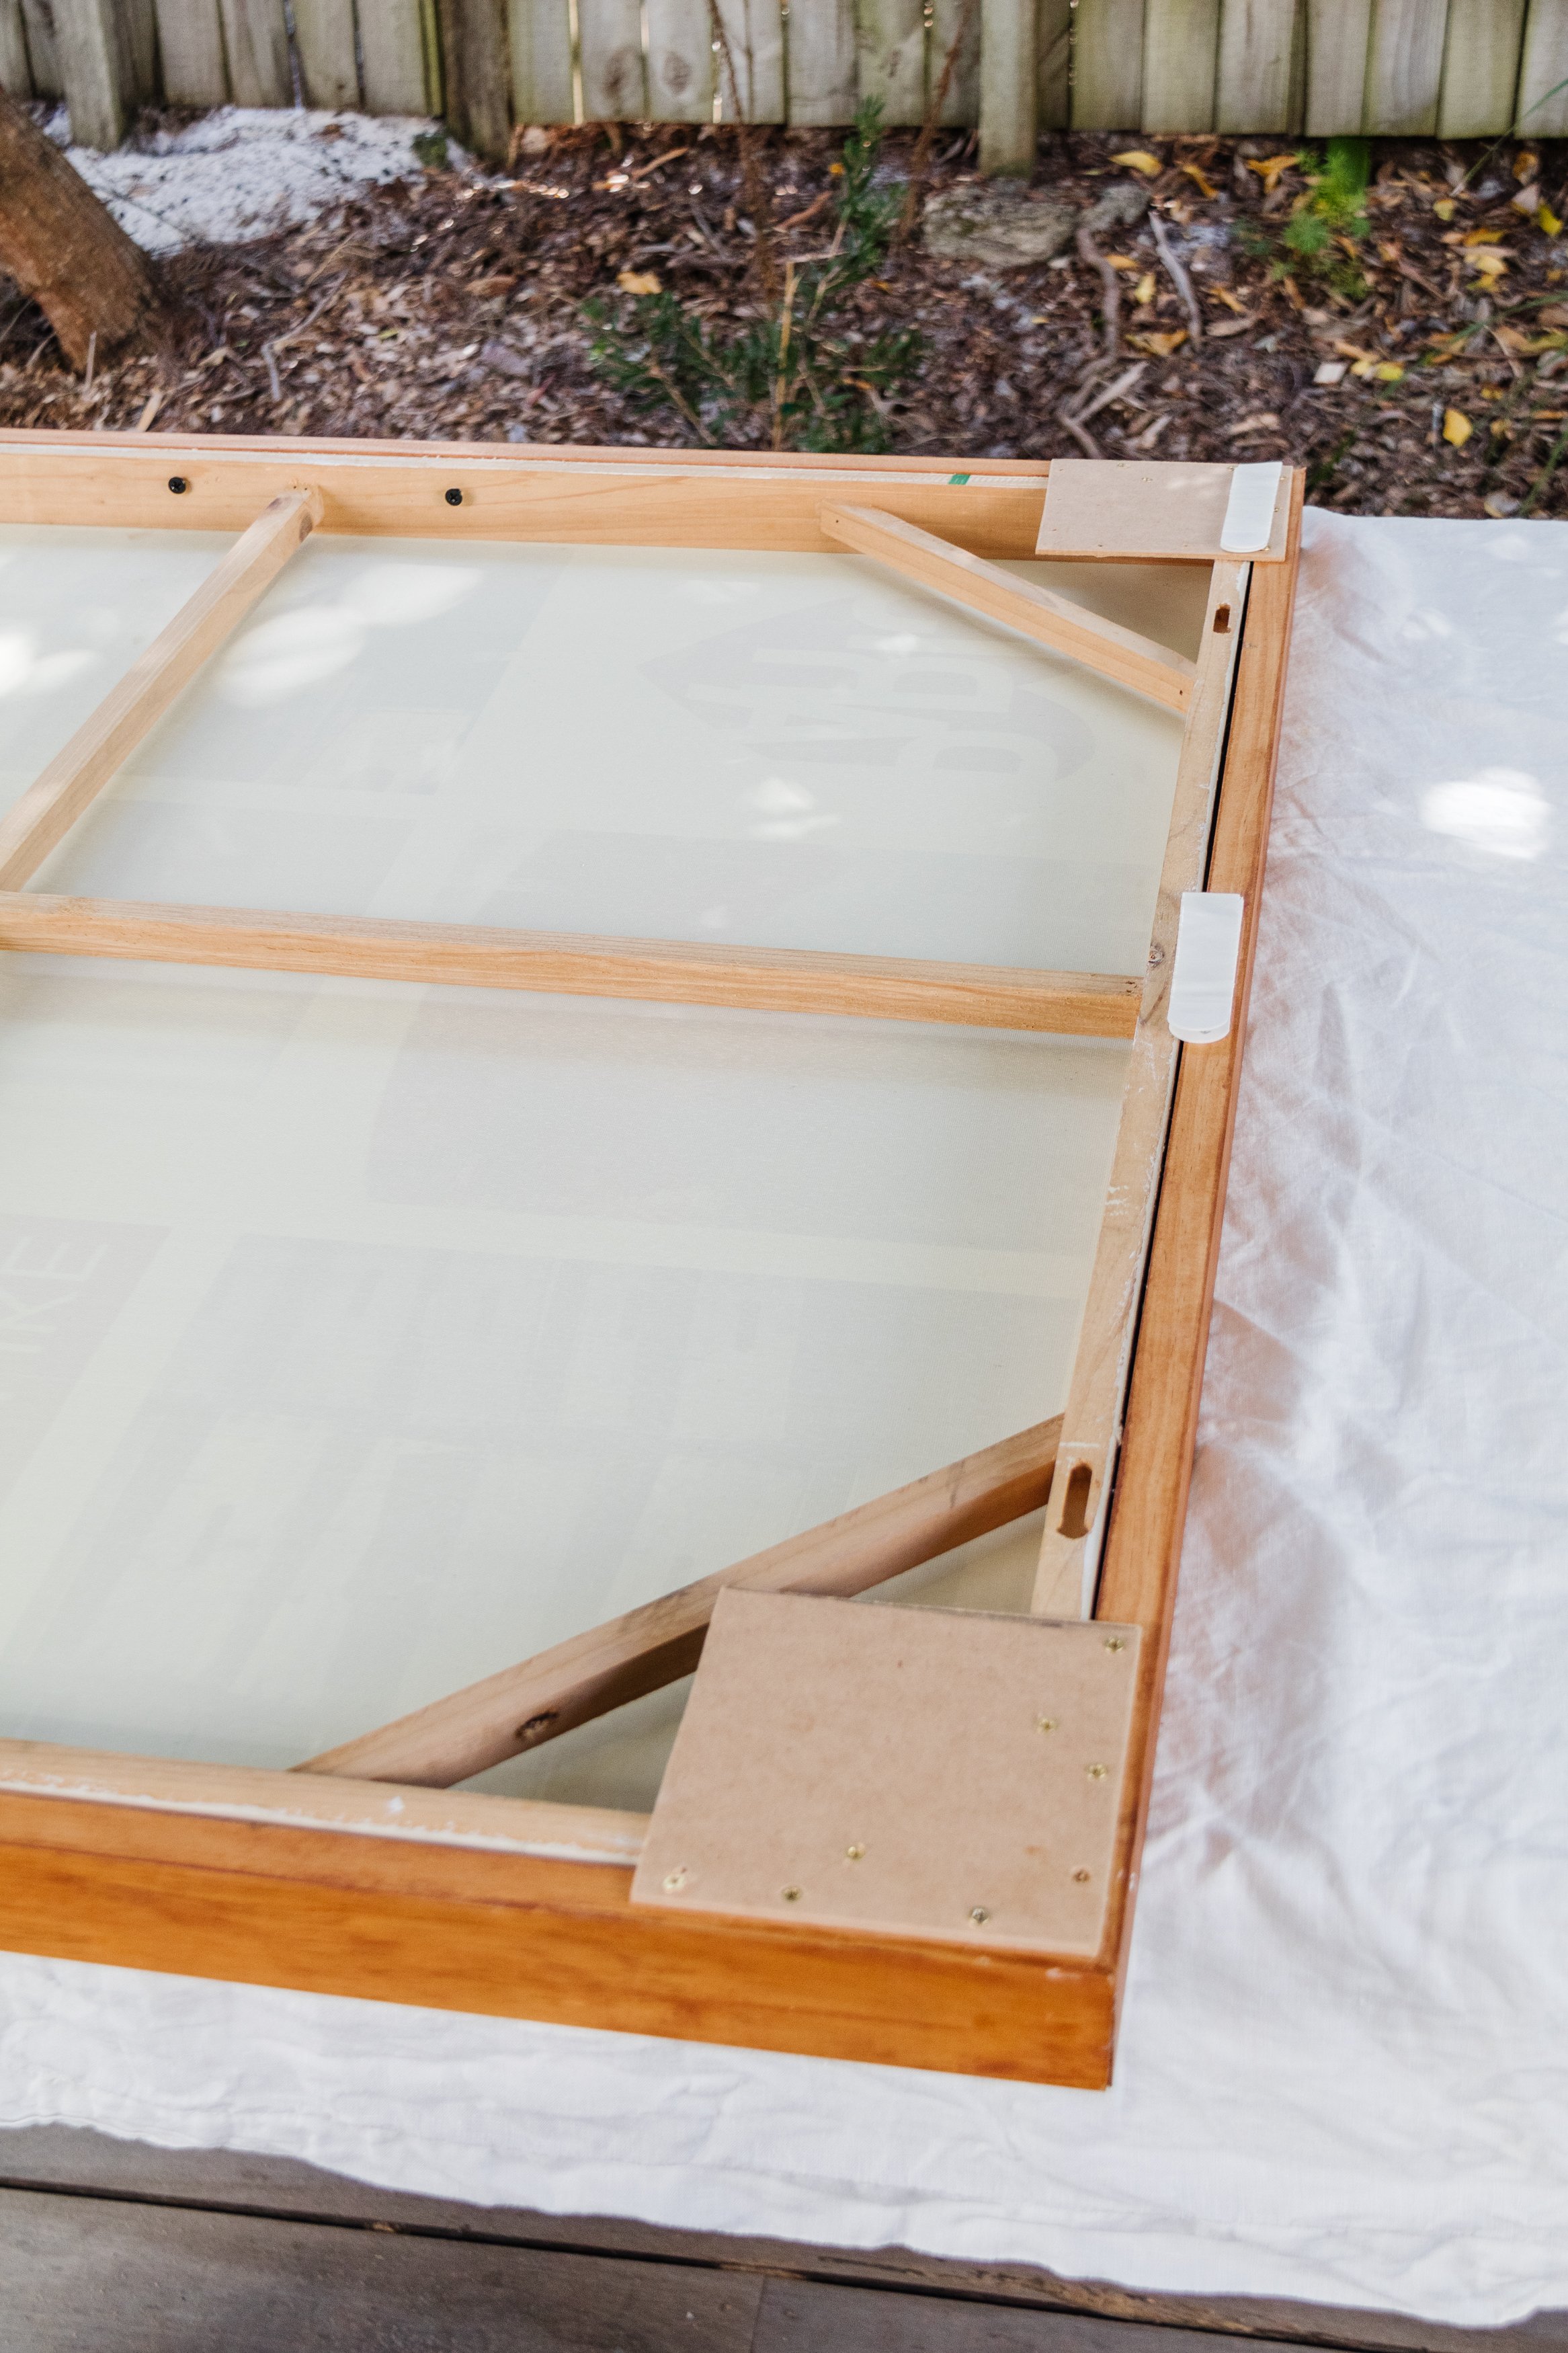
Step 4: When the art was completed, I created my own floating frame using my tutorial here.
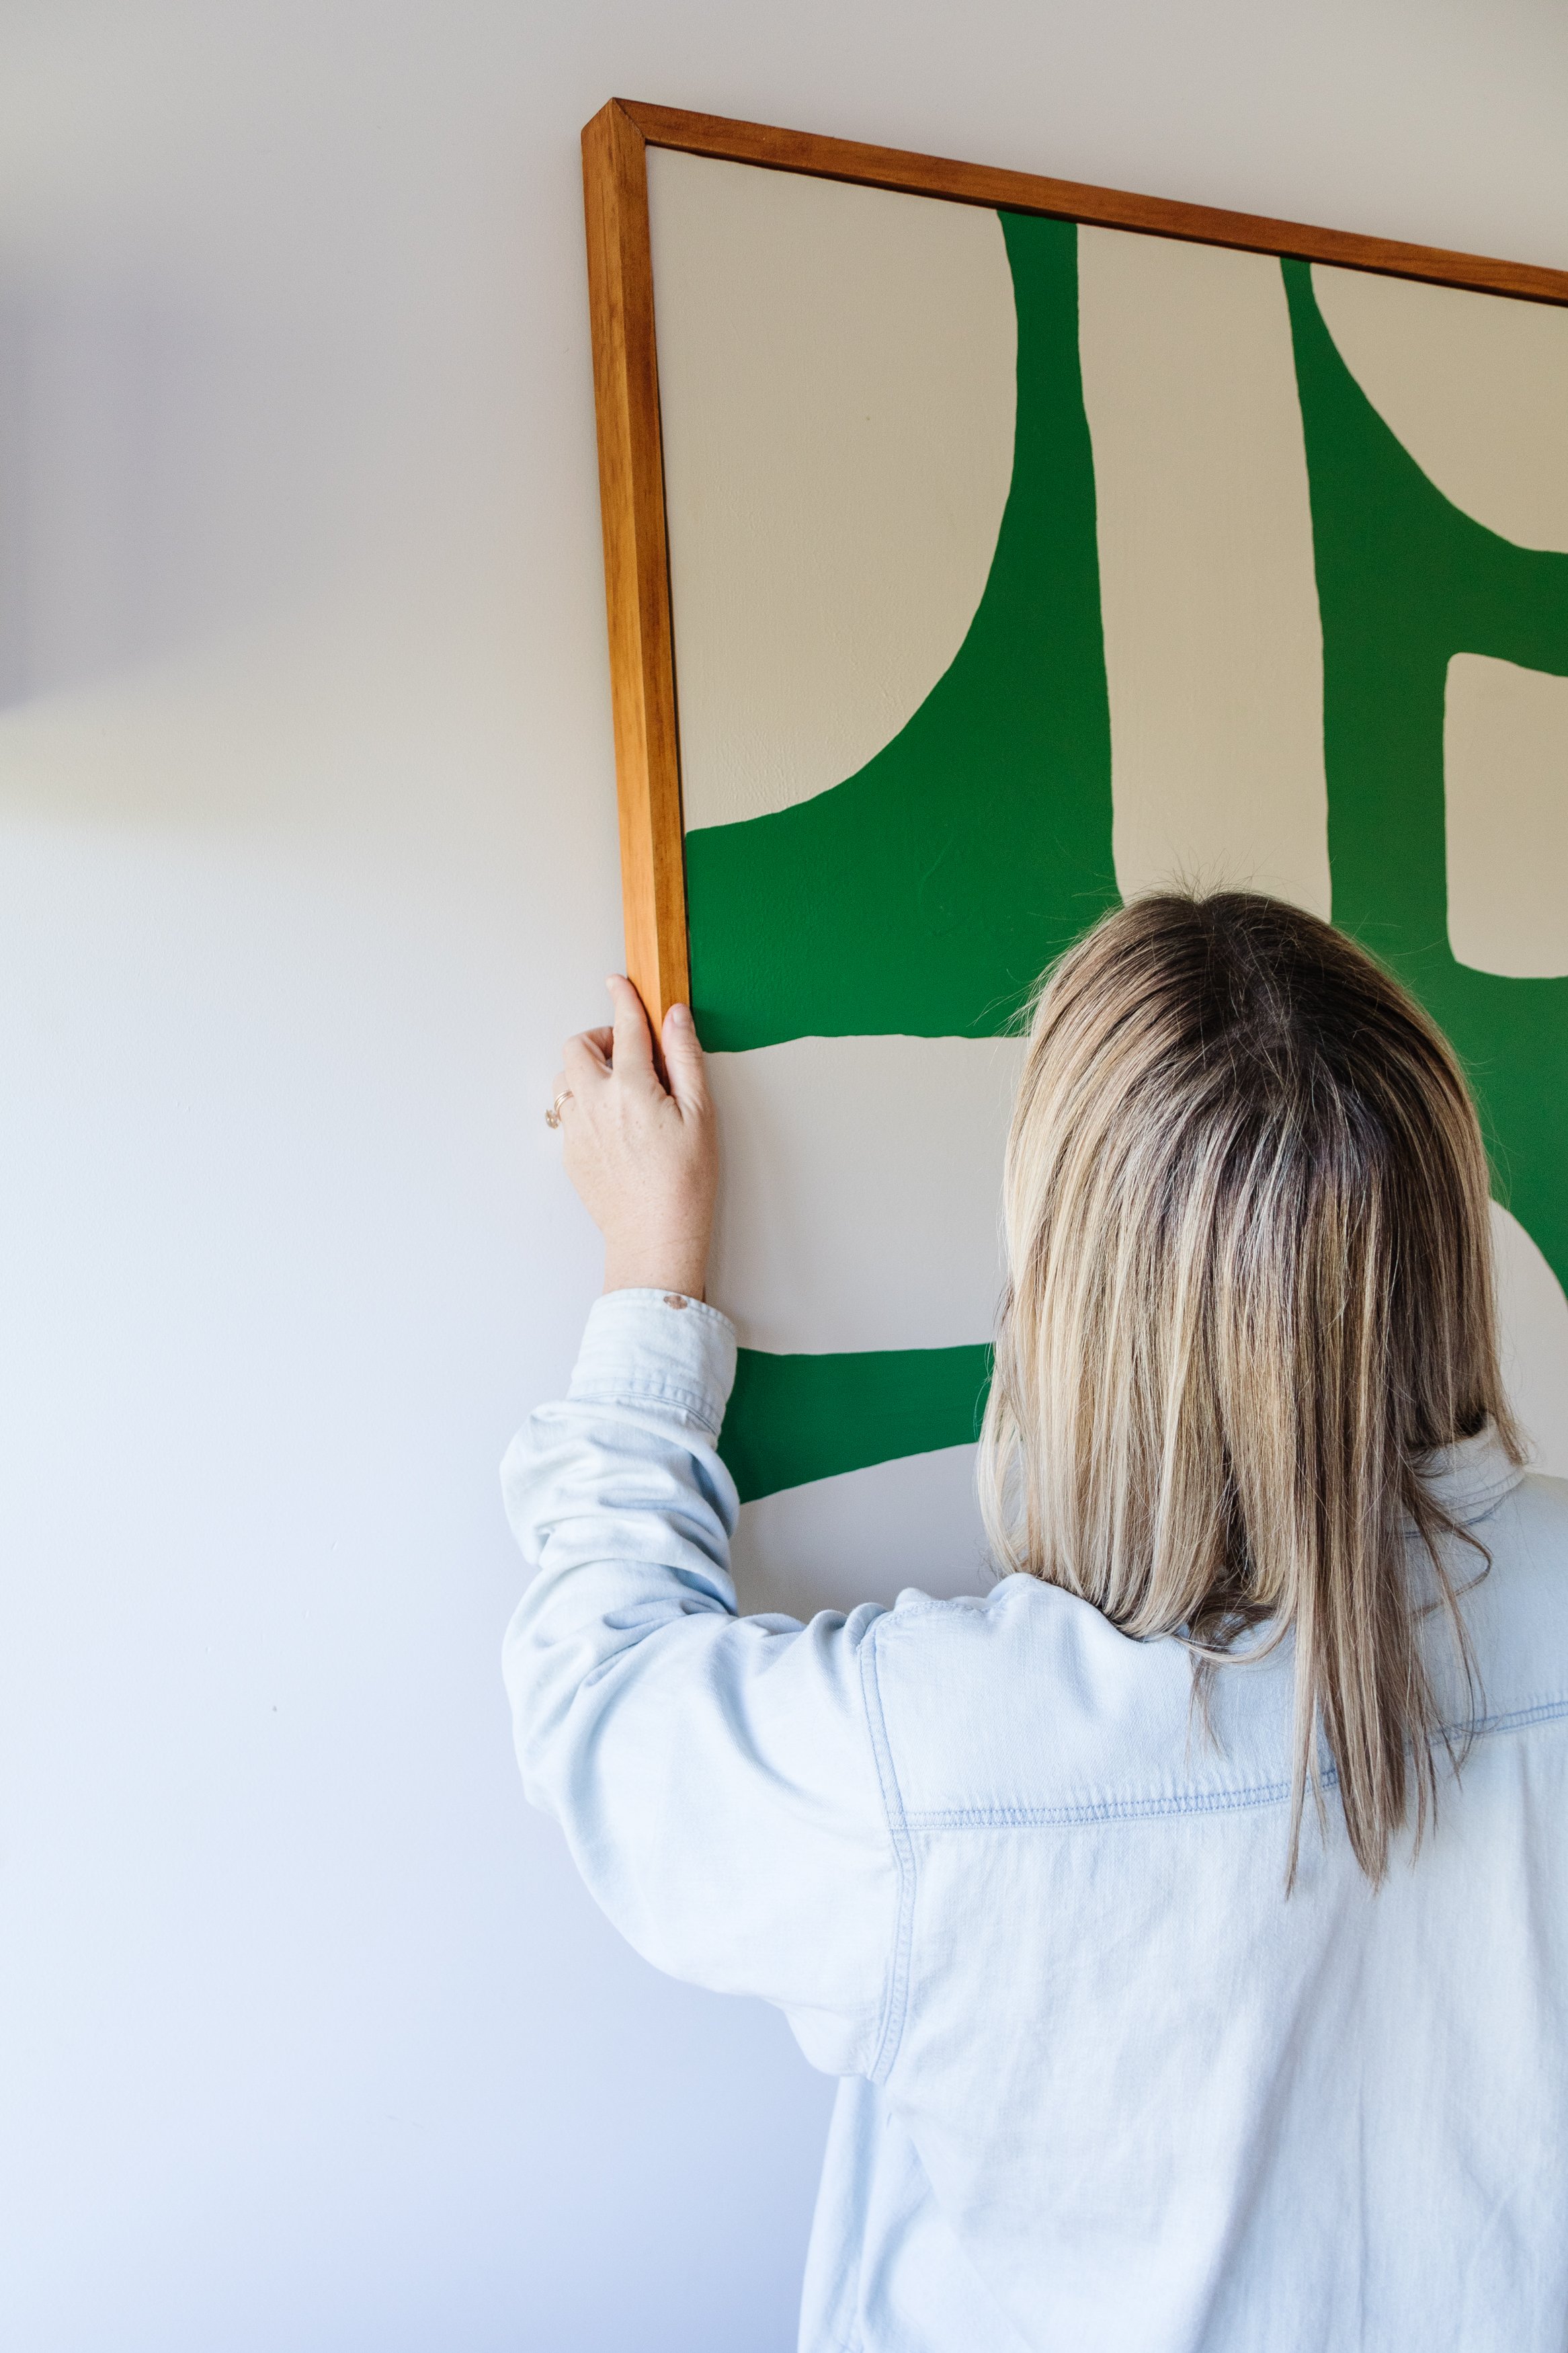
Step 5: Time to hang the art using Command™ Hanging Strips Value Pack from Bunnings!
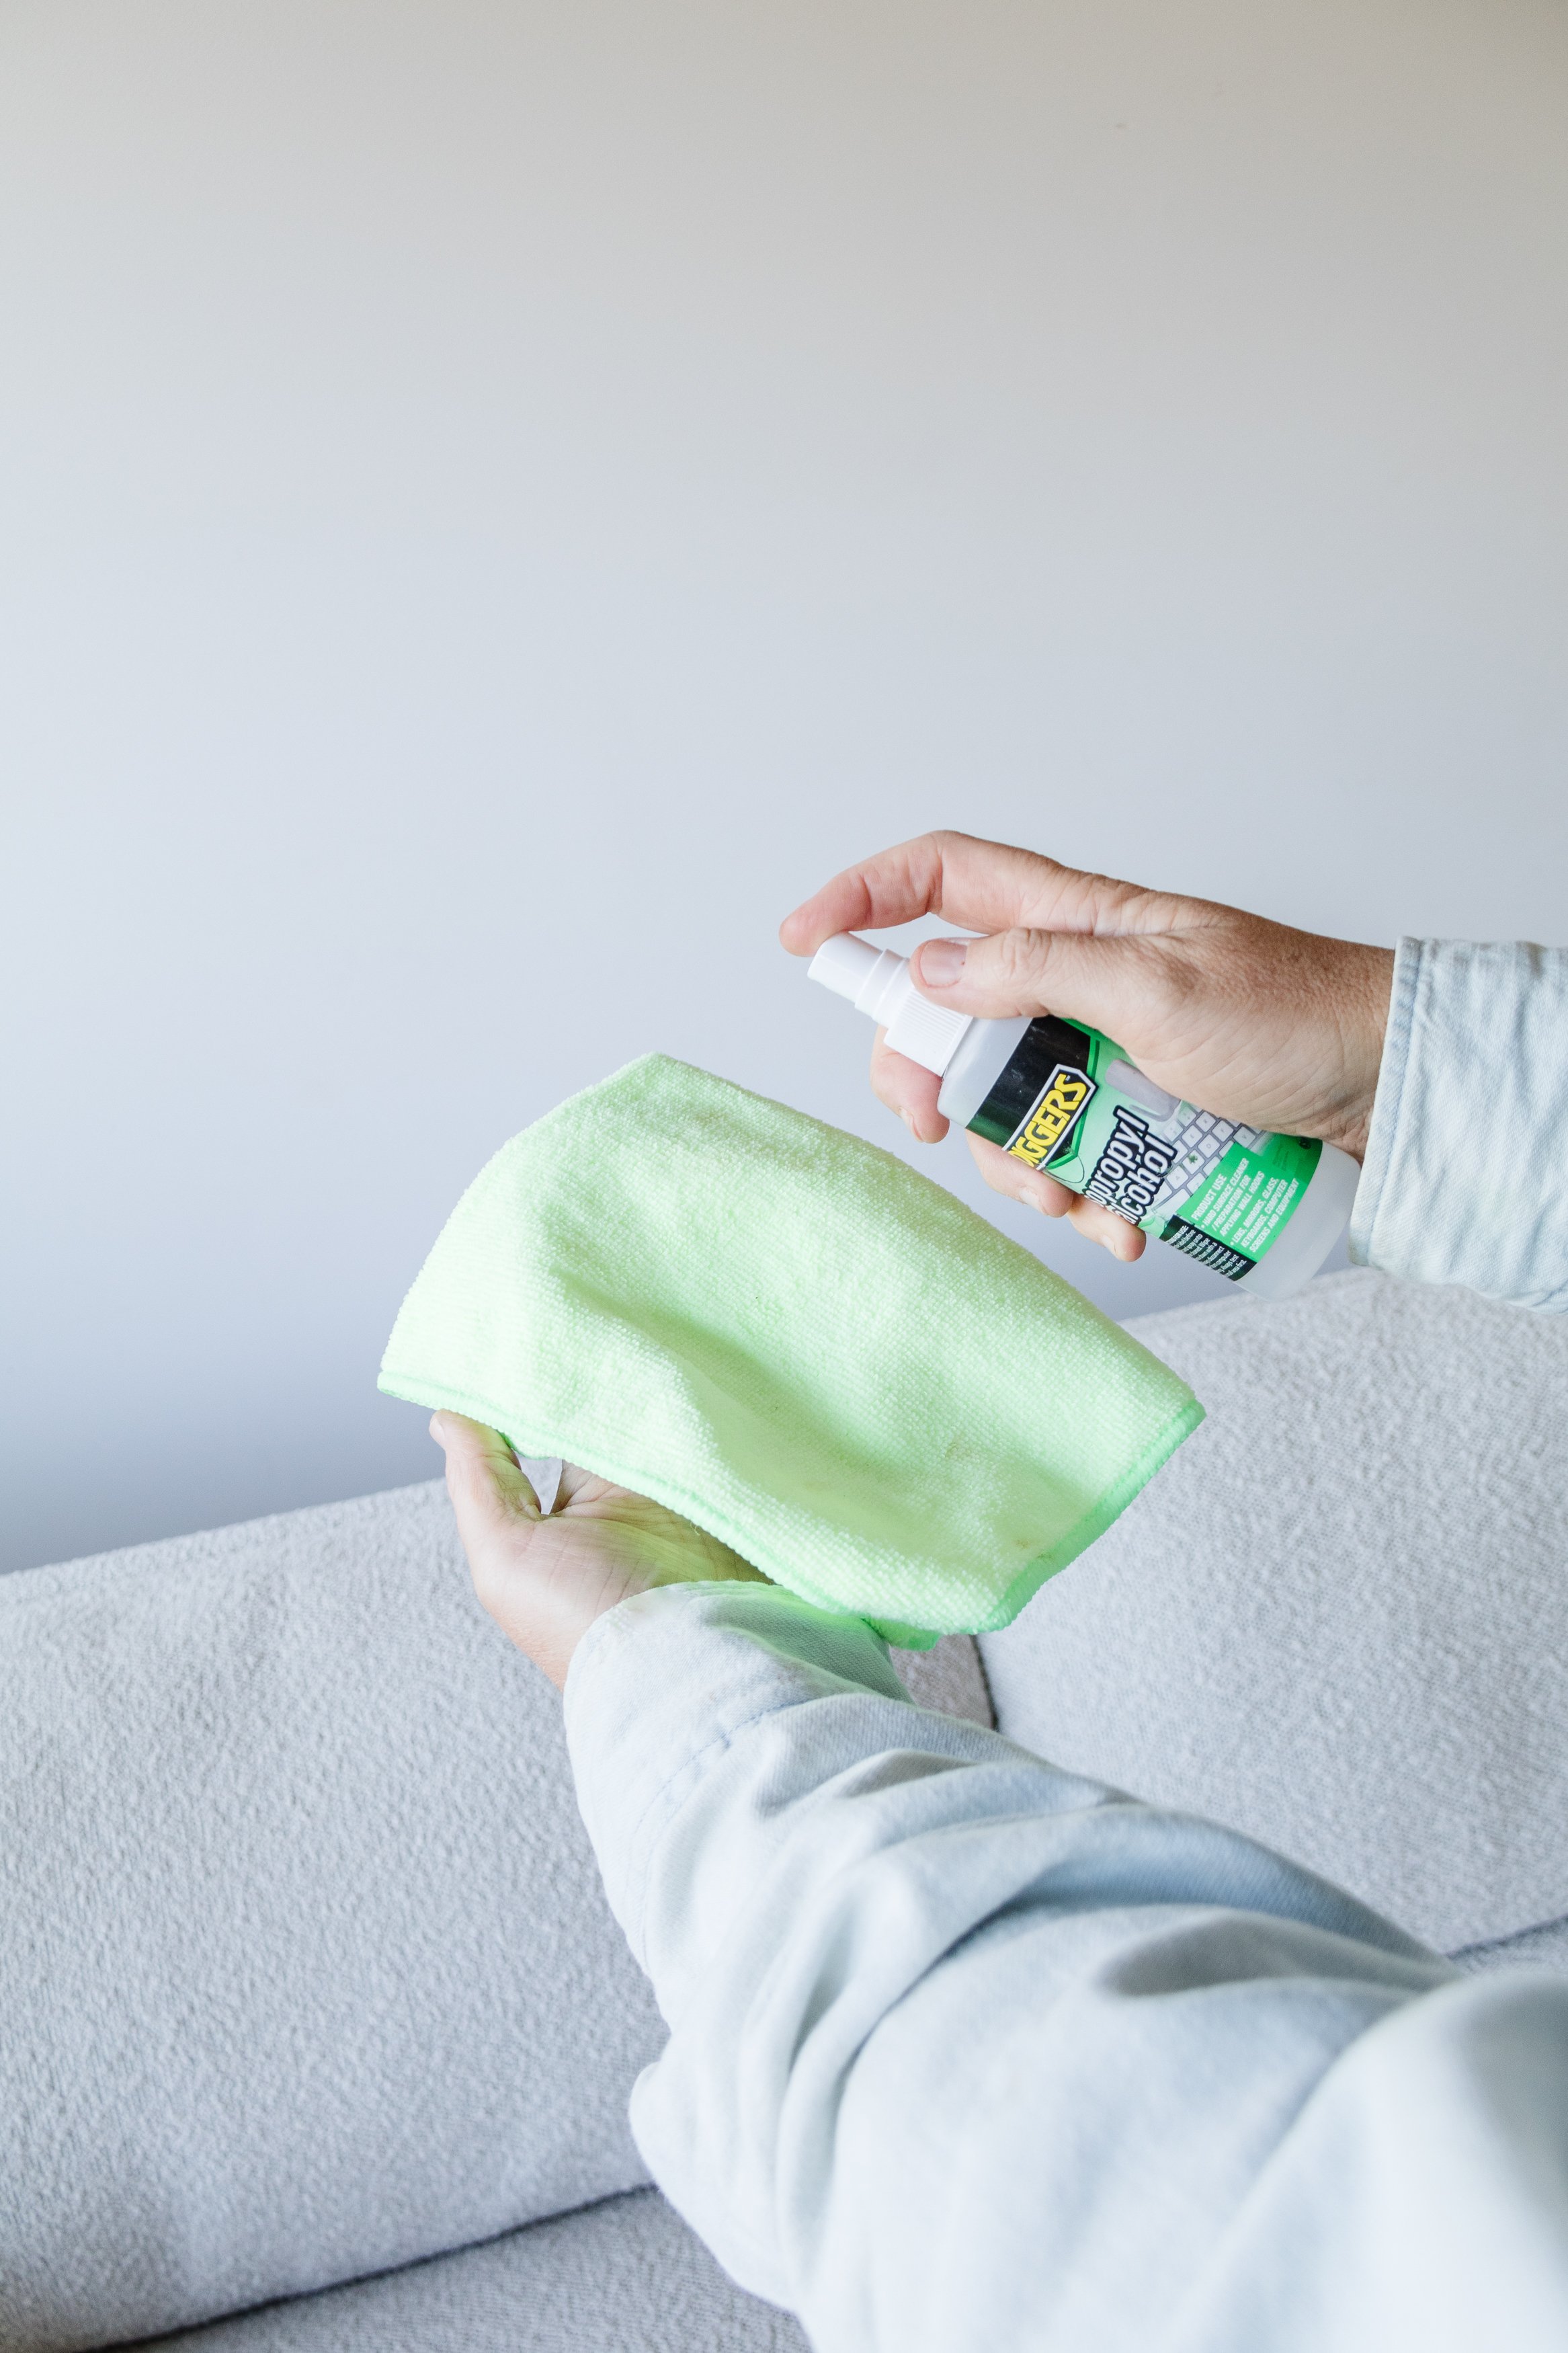
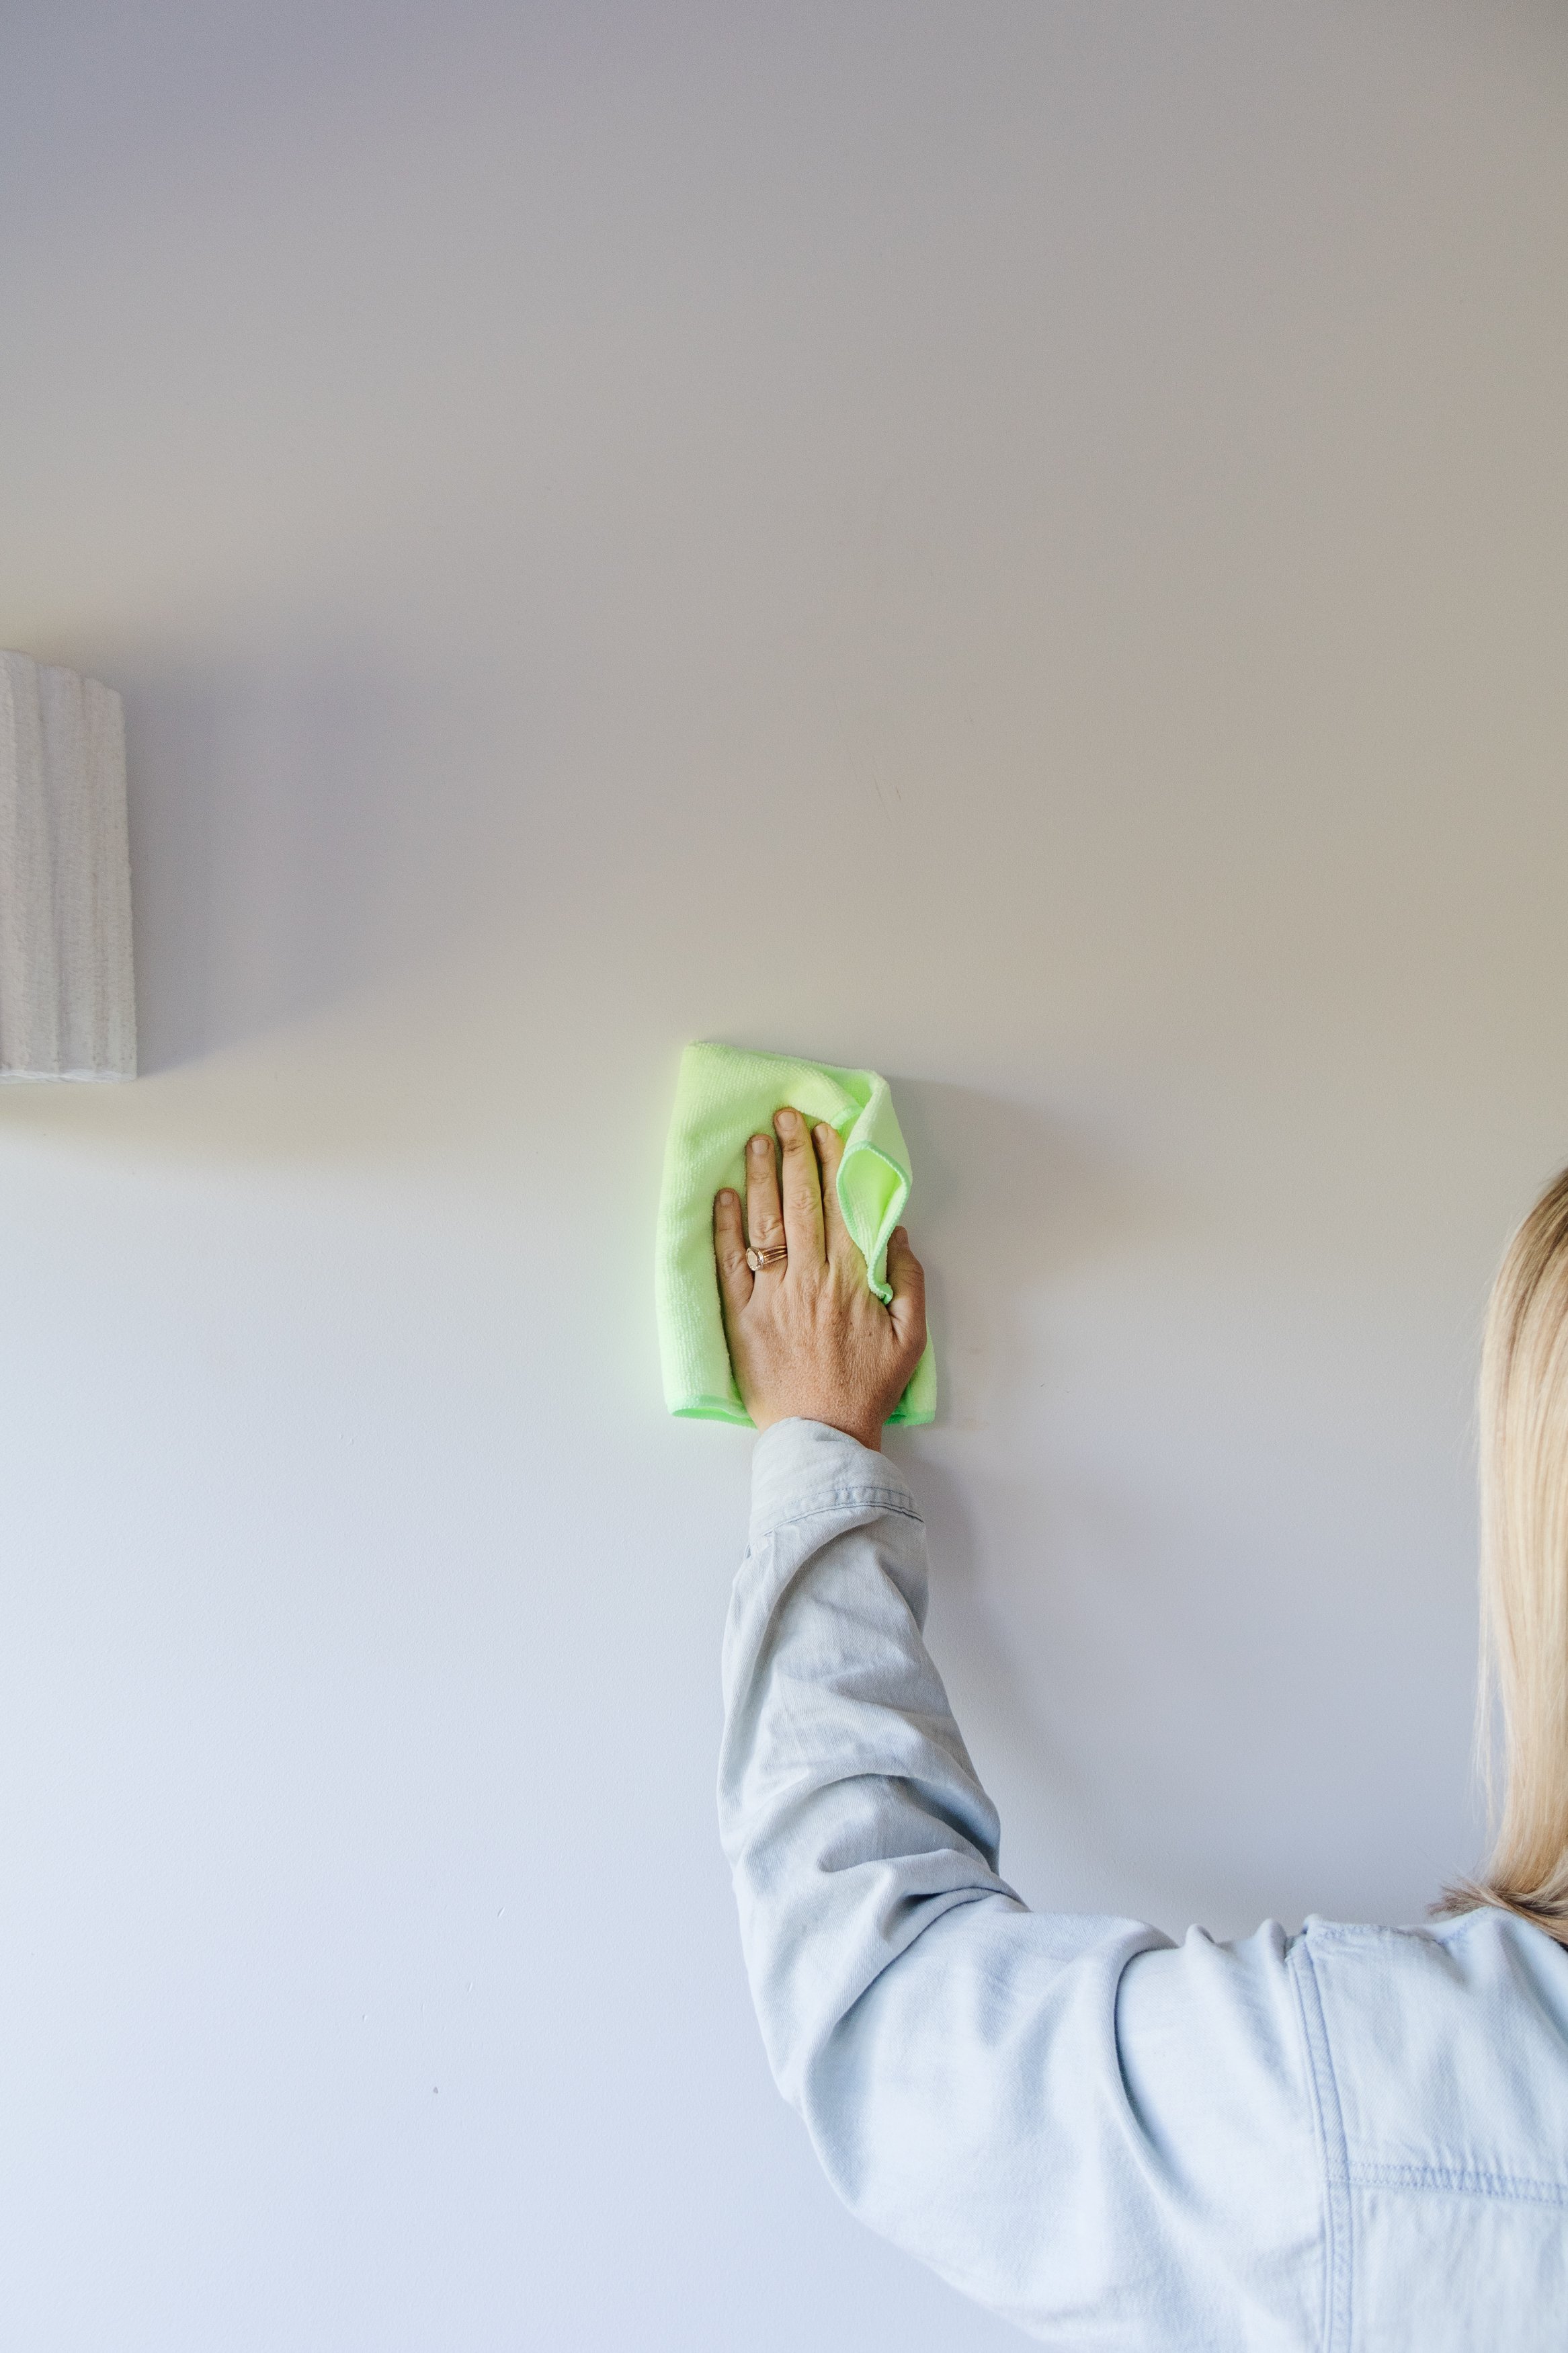
To begin with, I wiped the wall with rubbing alcohol cleaner and a clean cloth. Don’t use household cleaners or water because they leave behind a slippery residue.
If your art has hanging hardware, please remove all of it from the frame.
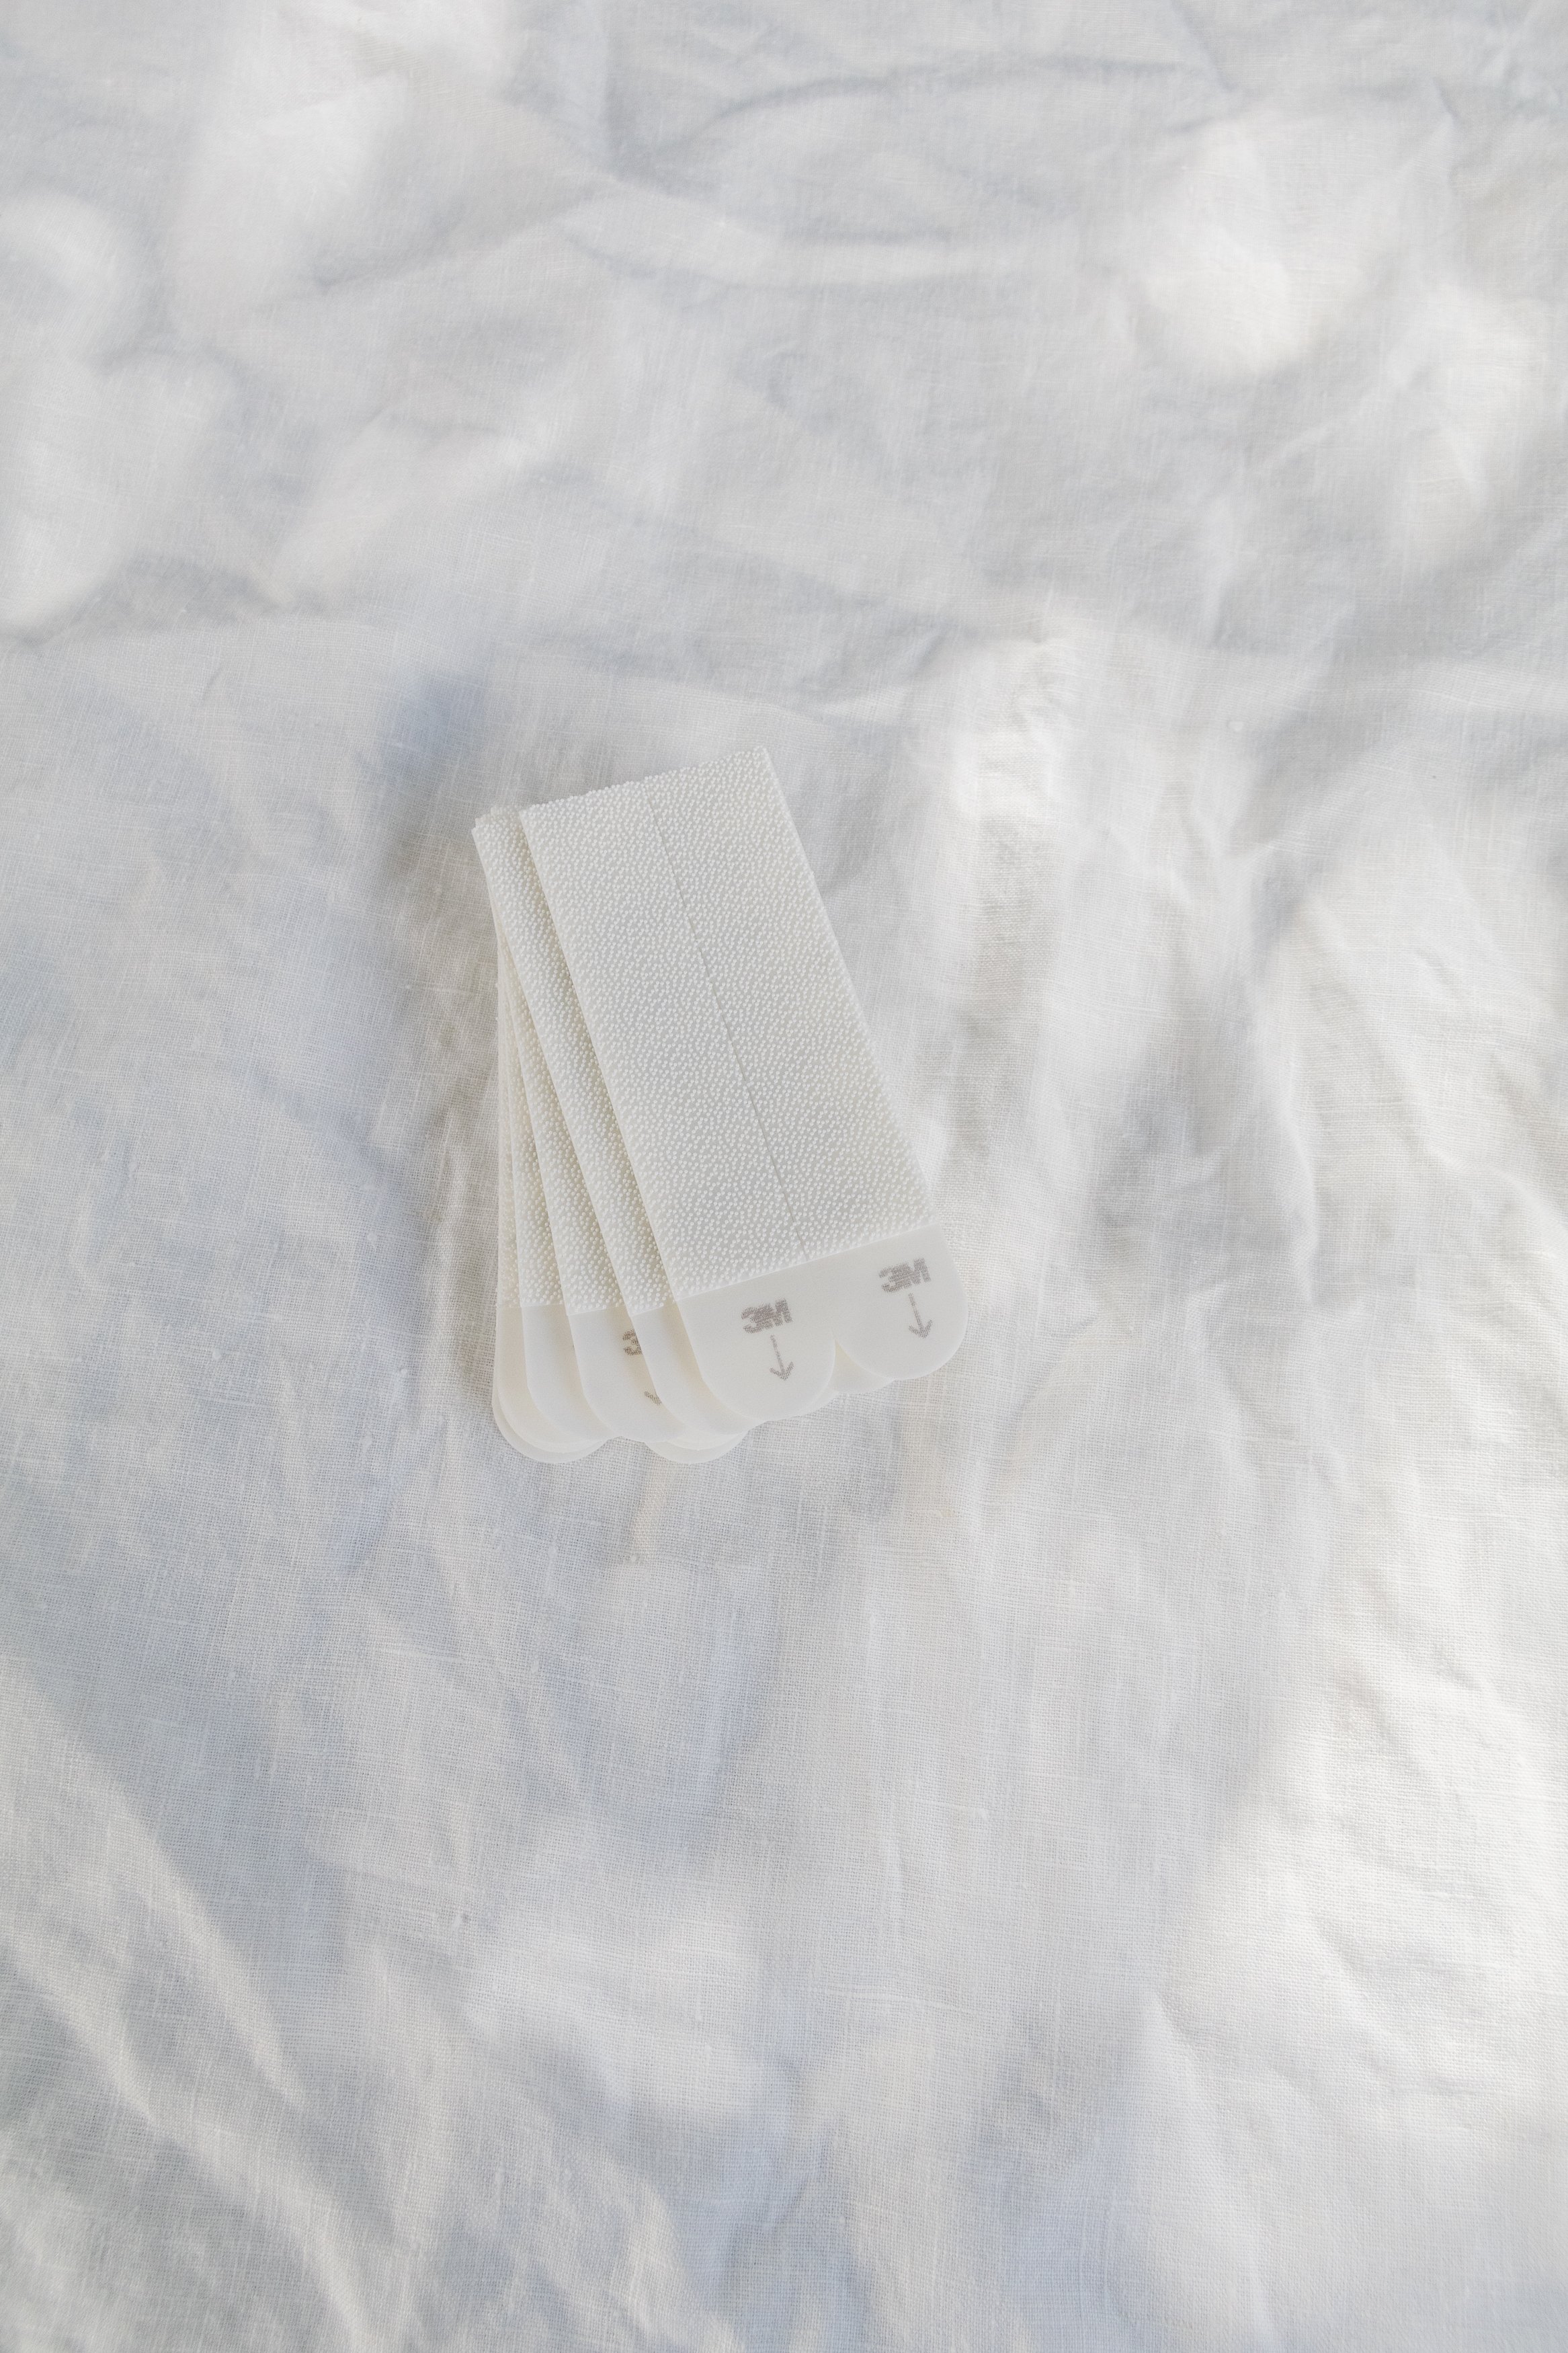
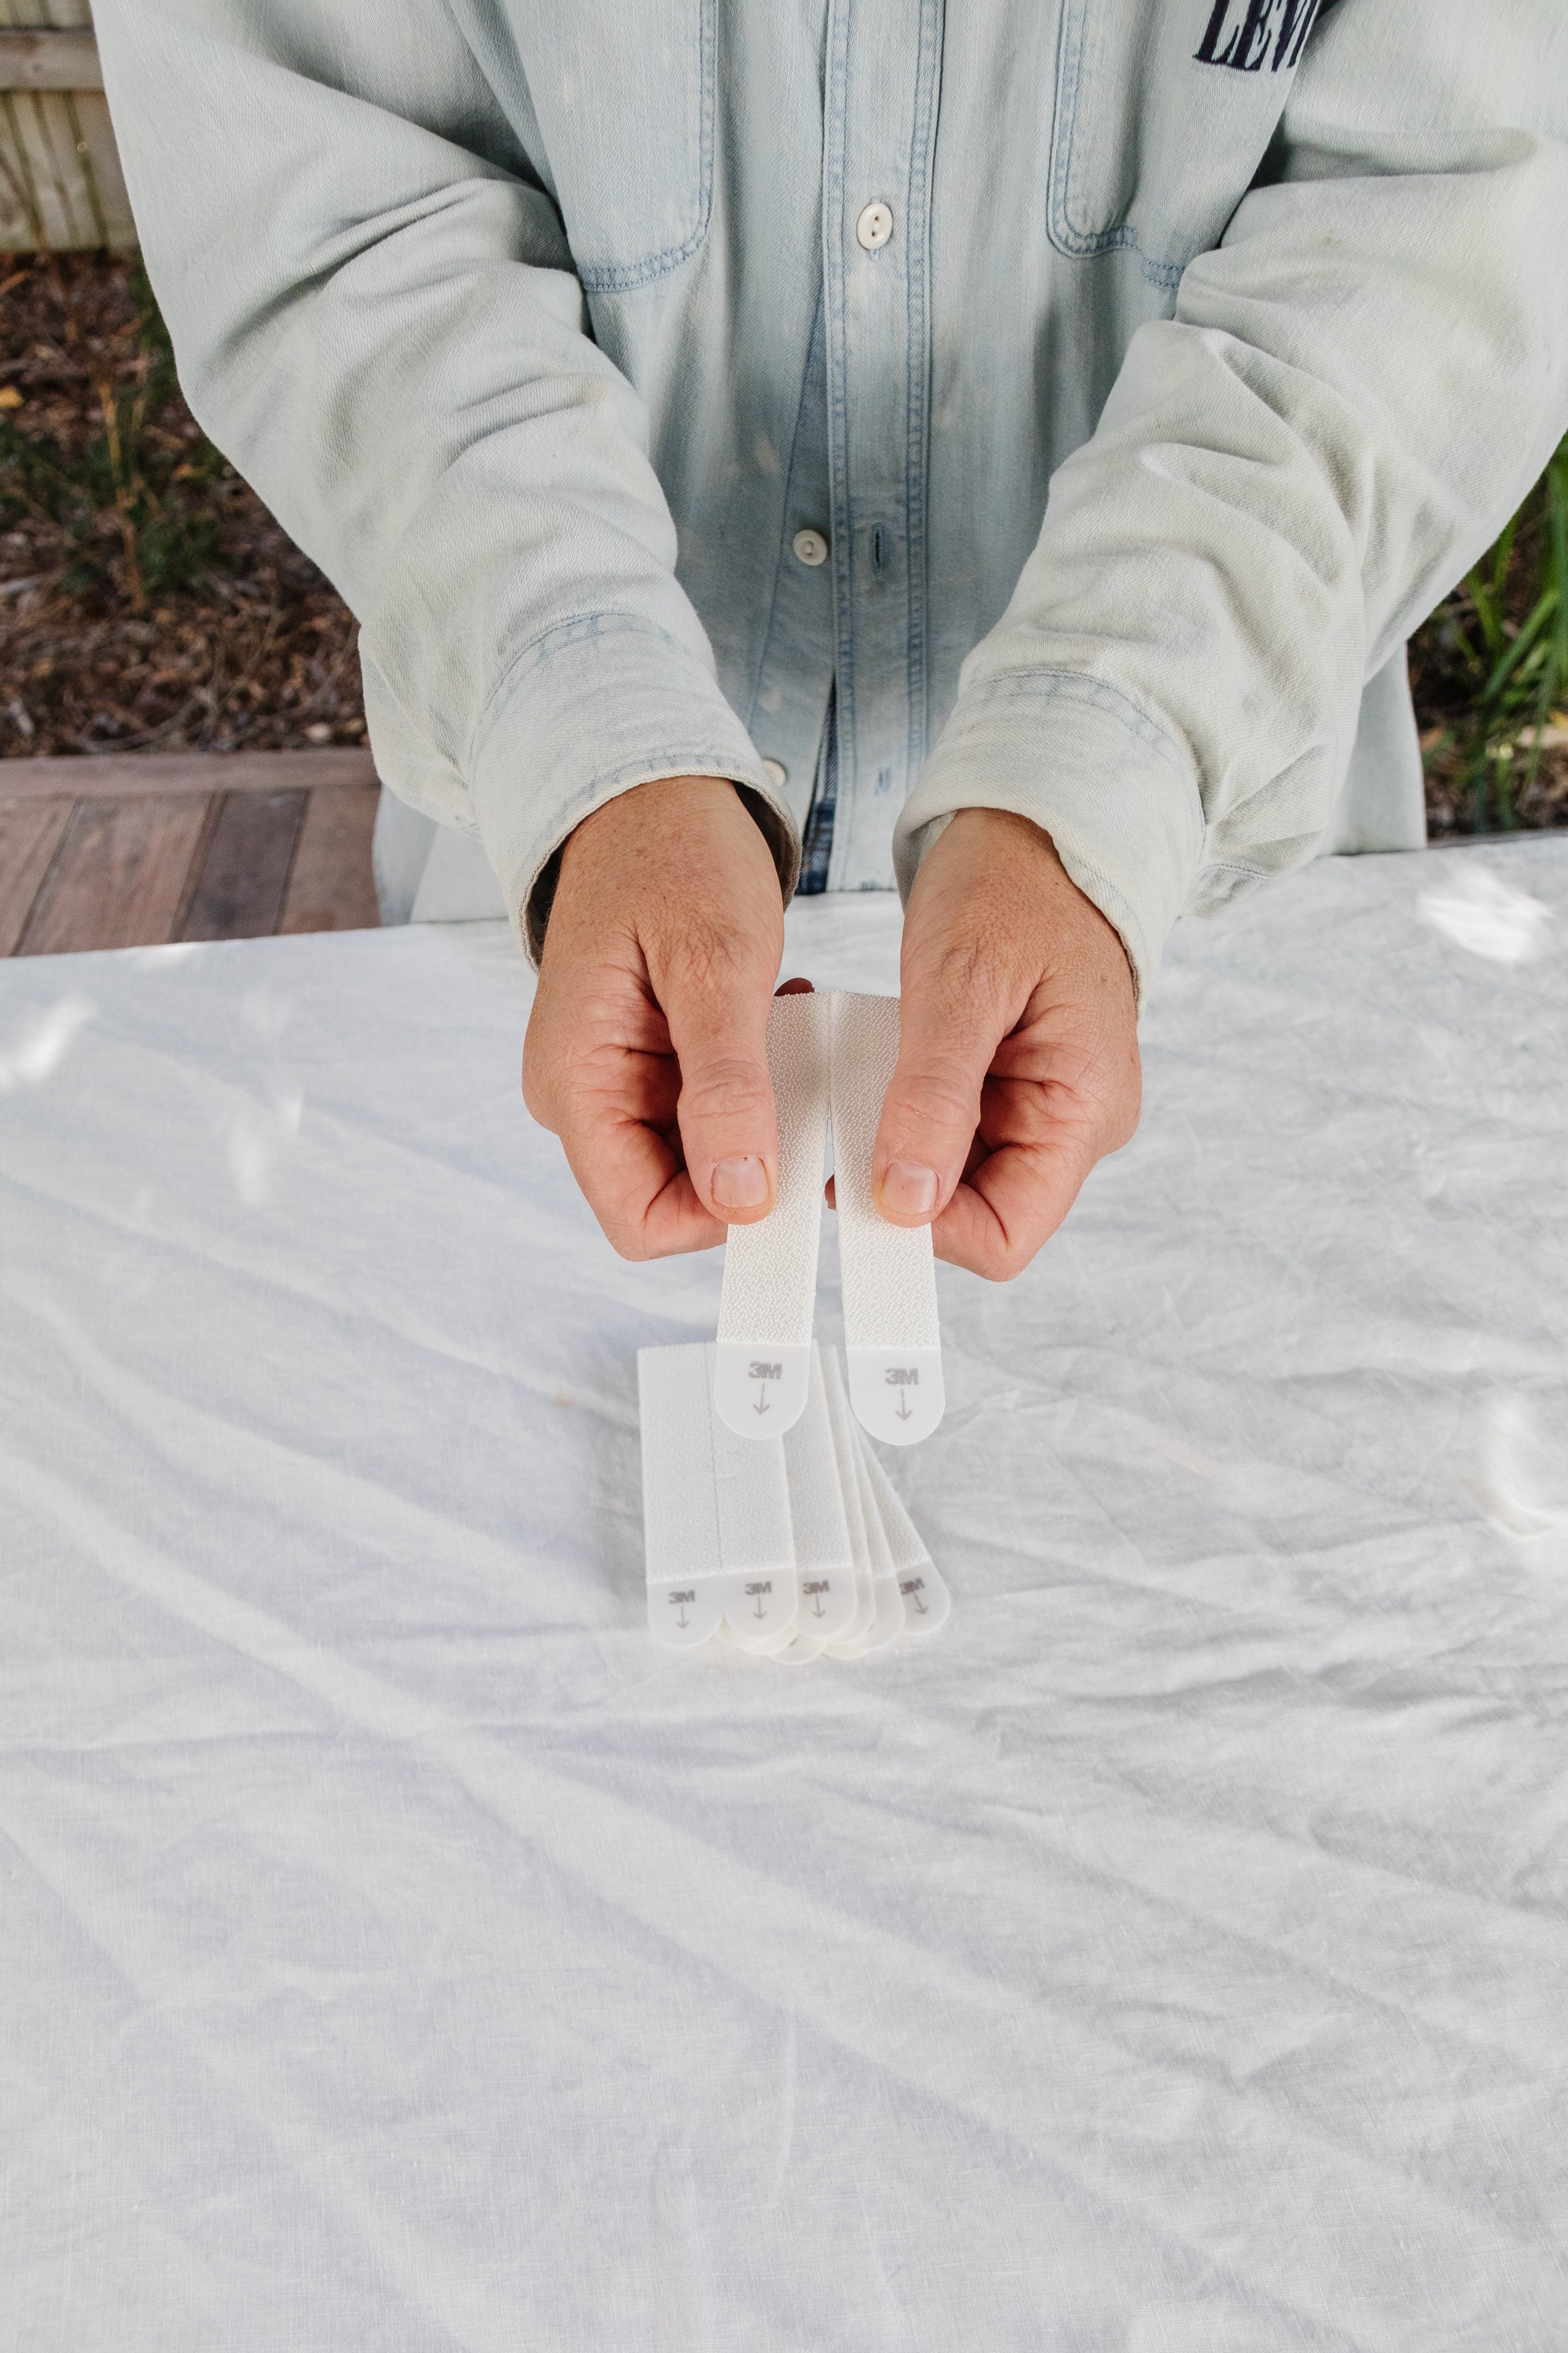
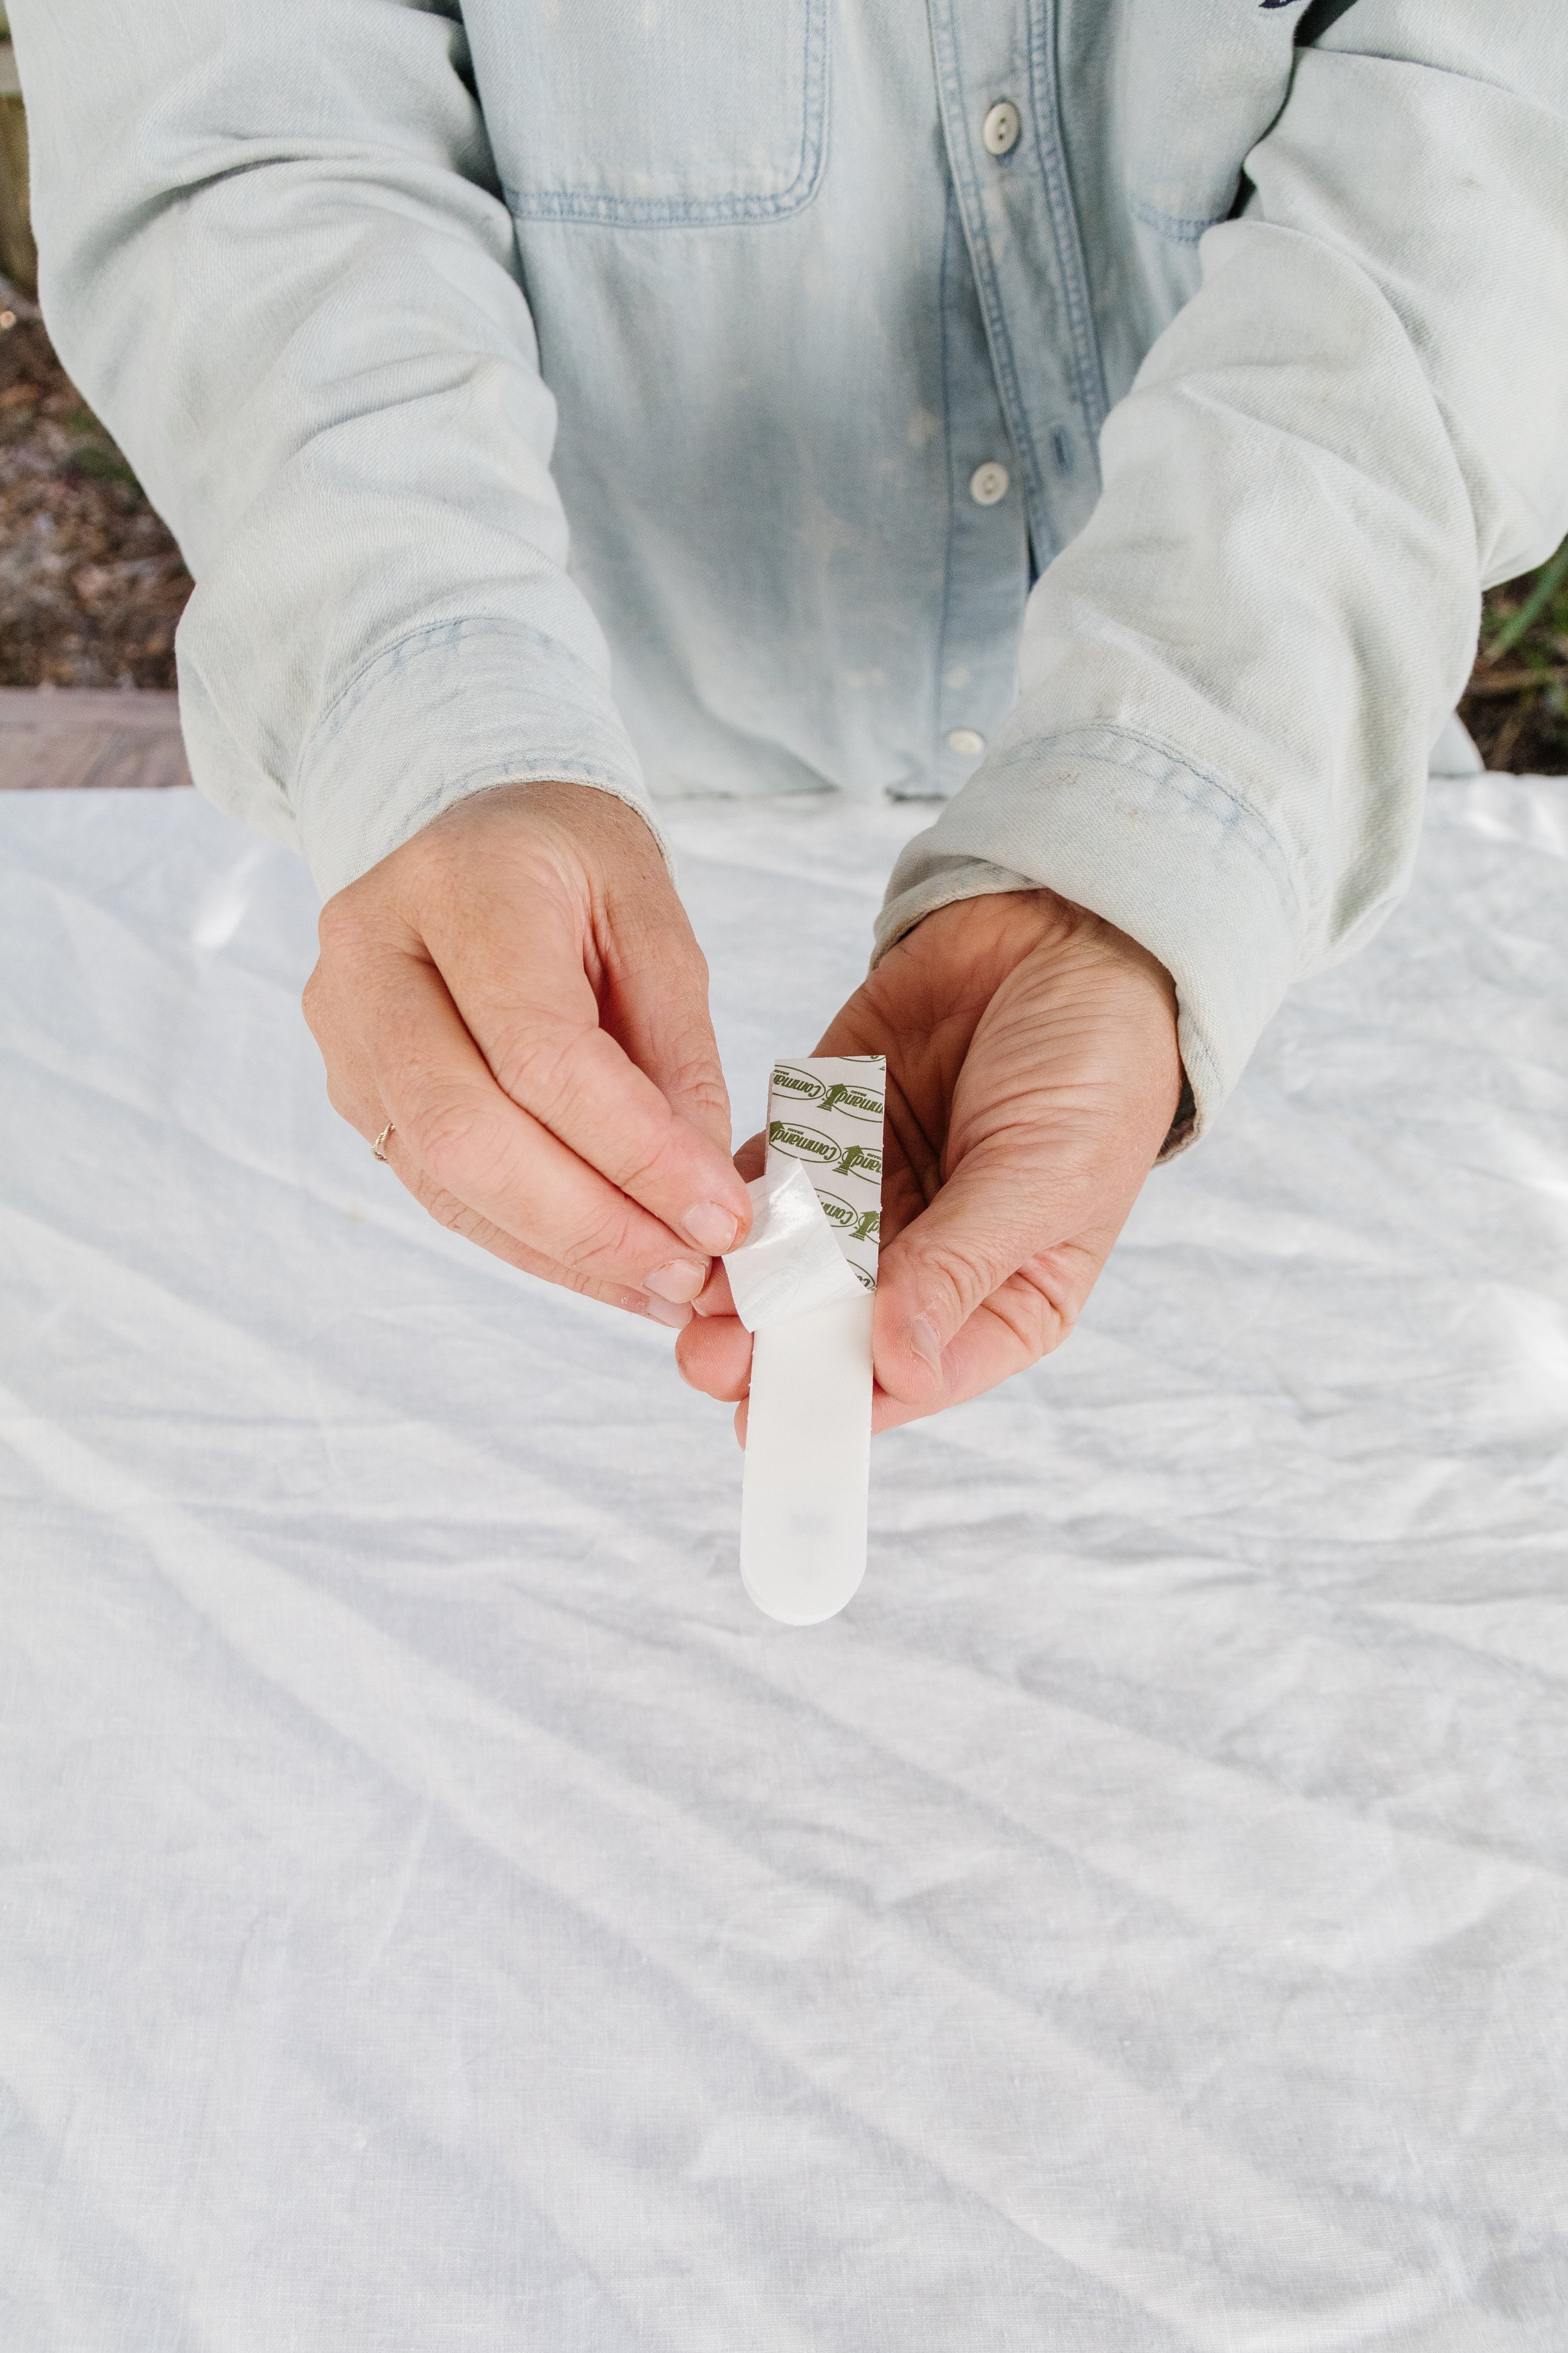
Seperate picture hanging strips by pulling them apart, do not fold them.
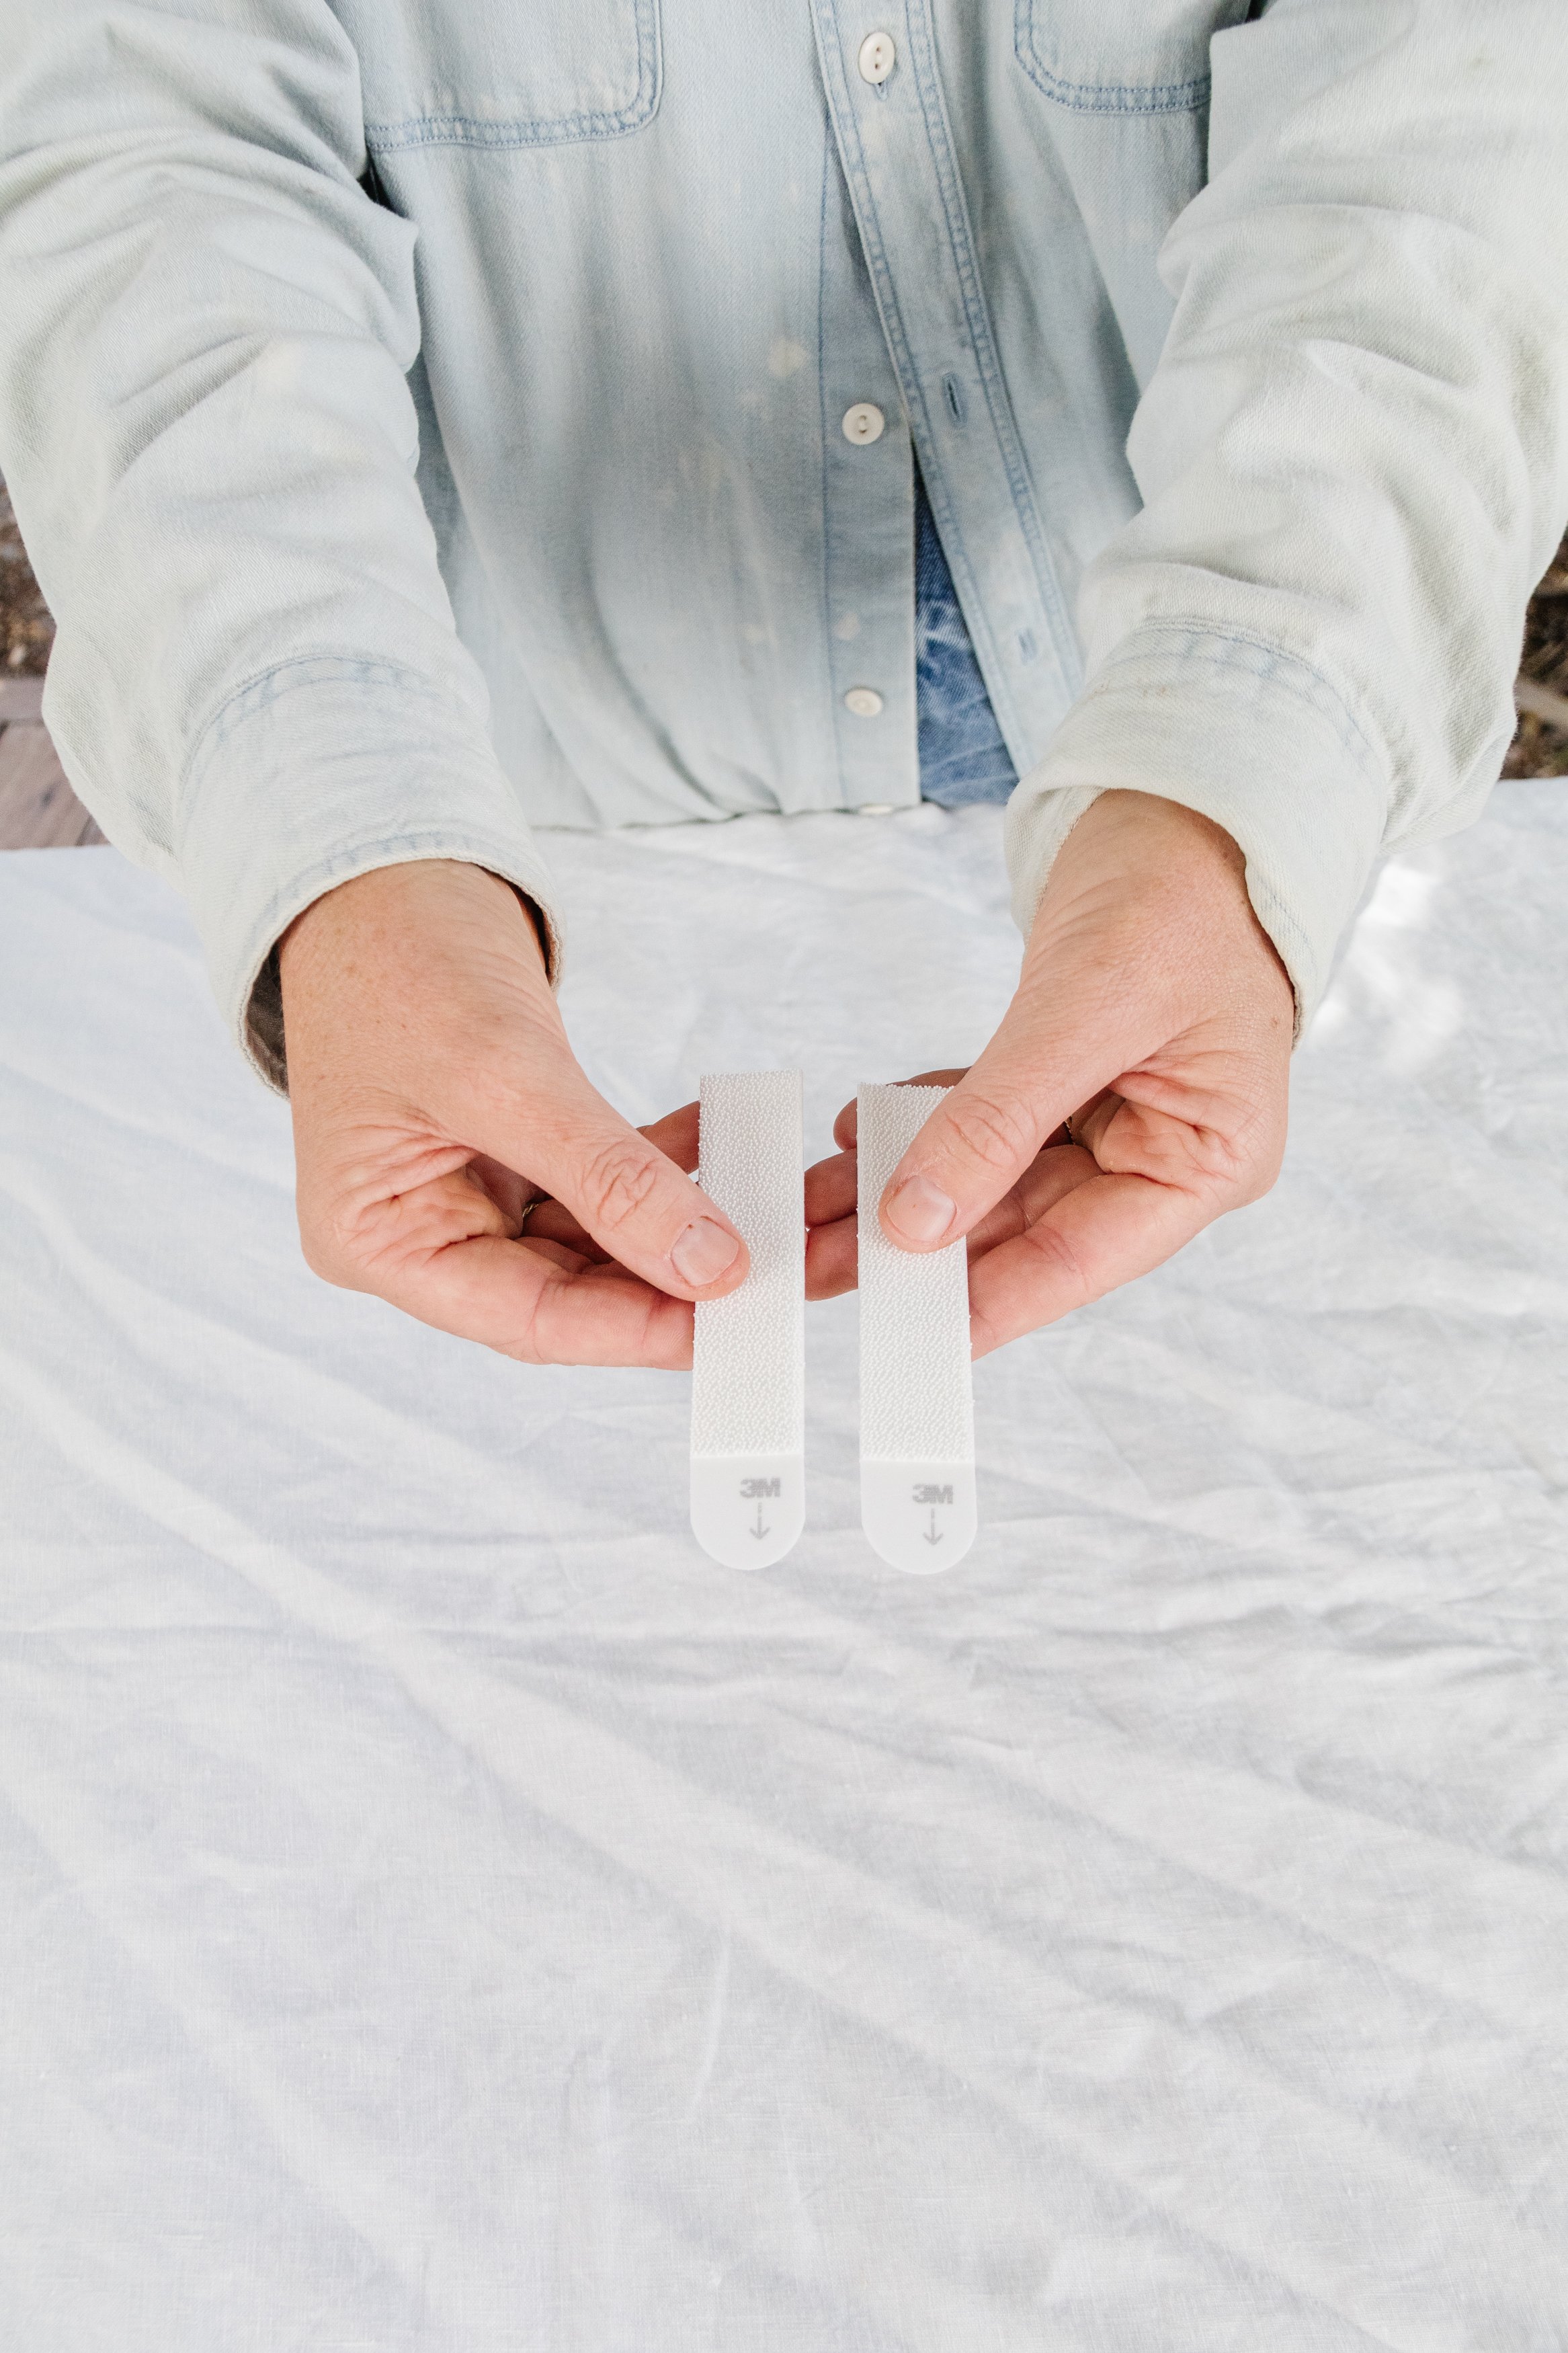
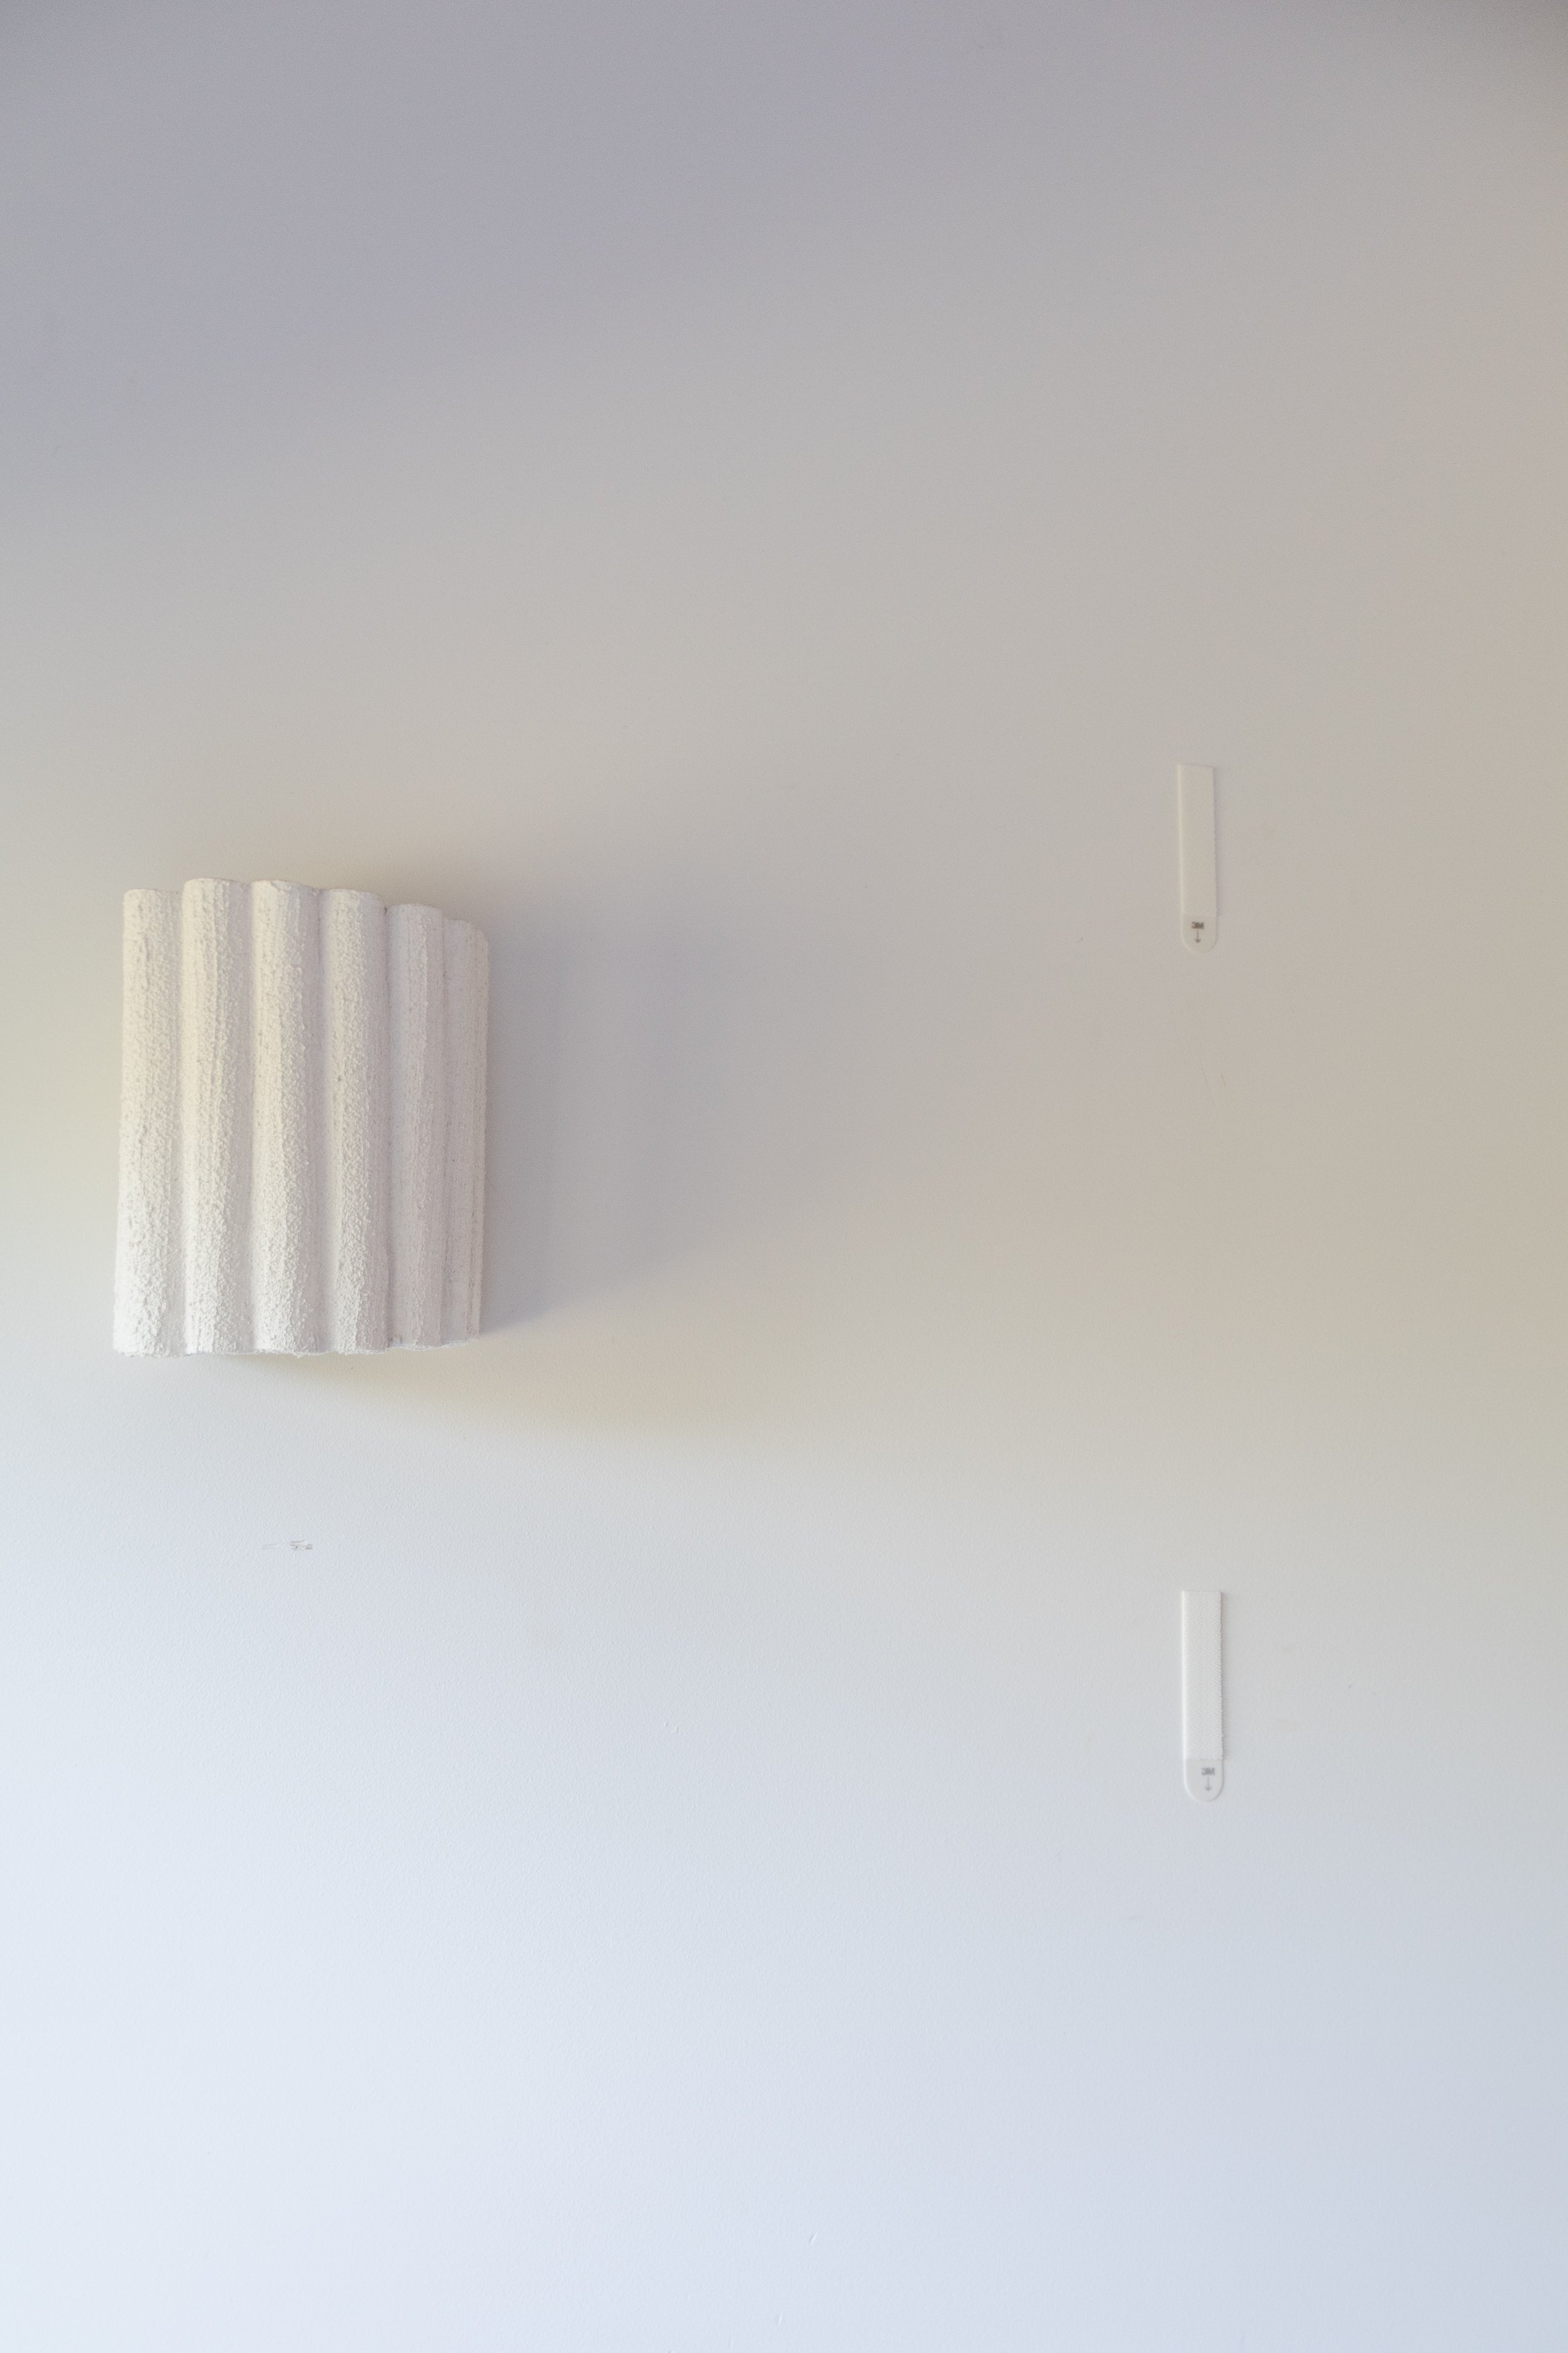
Click two picture hanging strips together to make one set. I used 4 sets for my art piece.
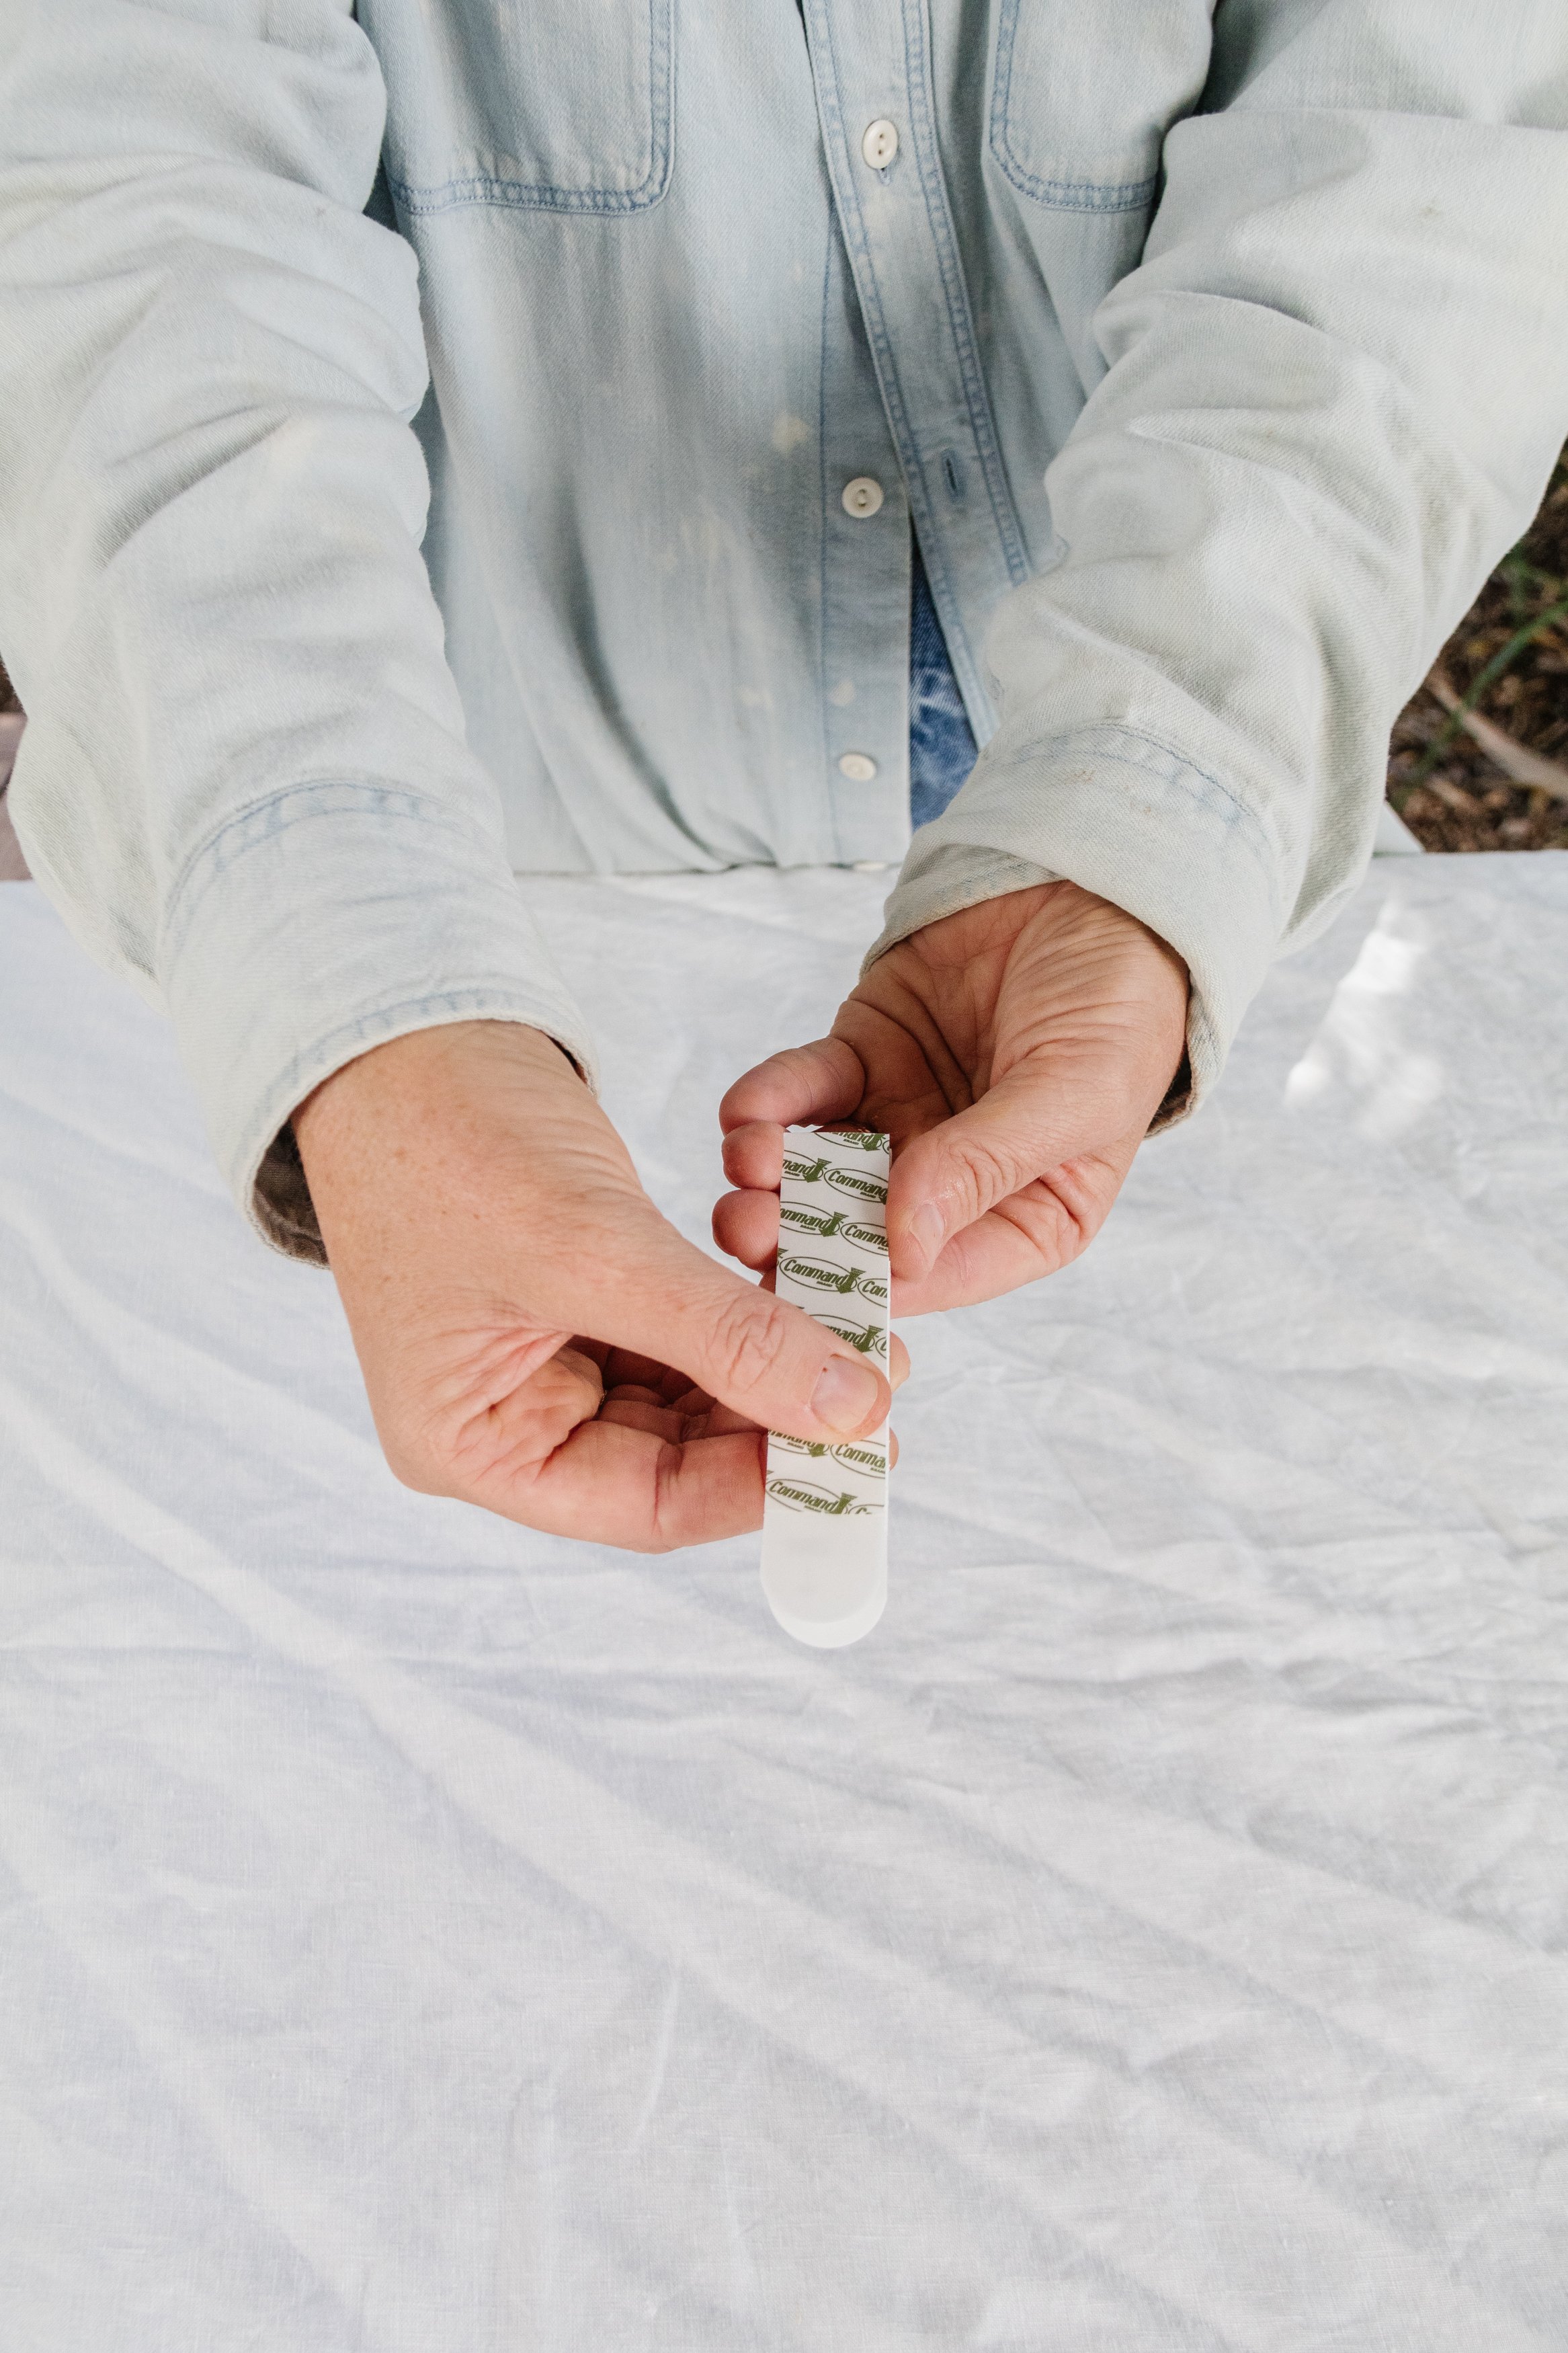
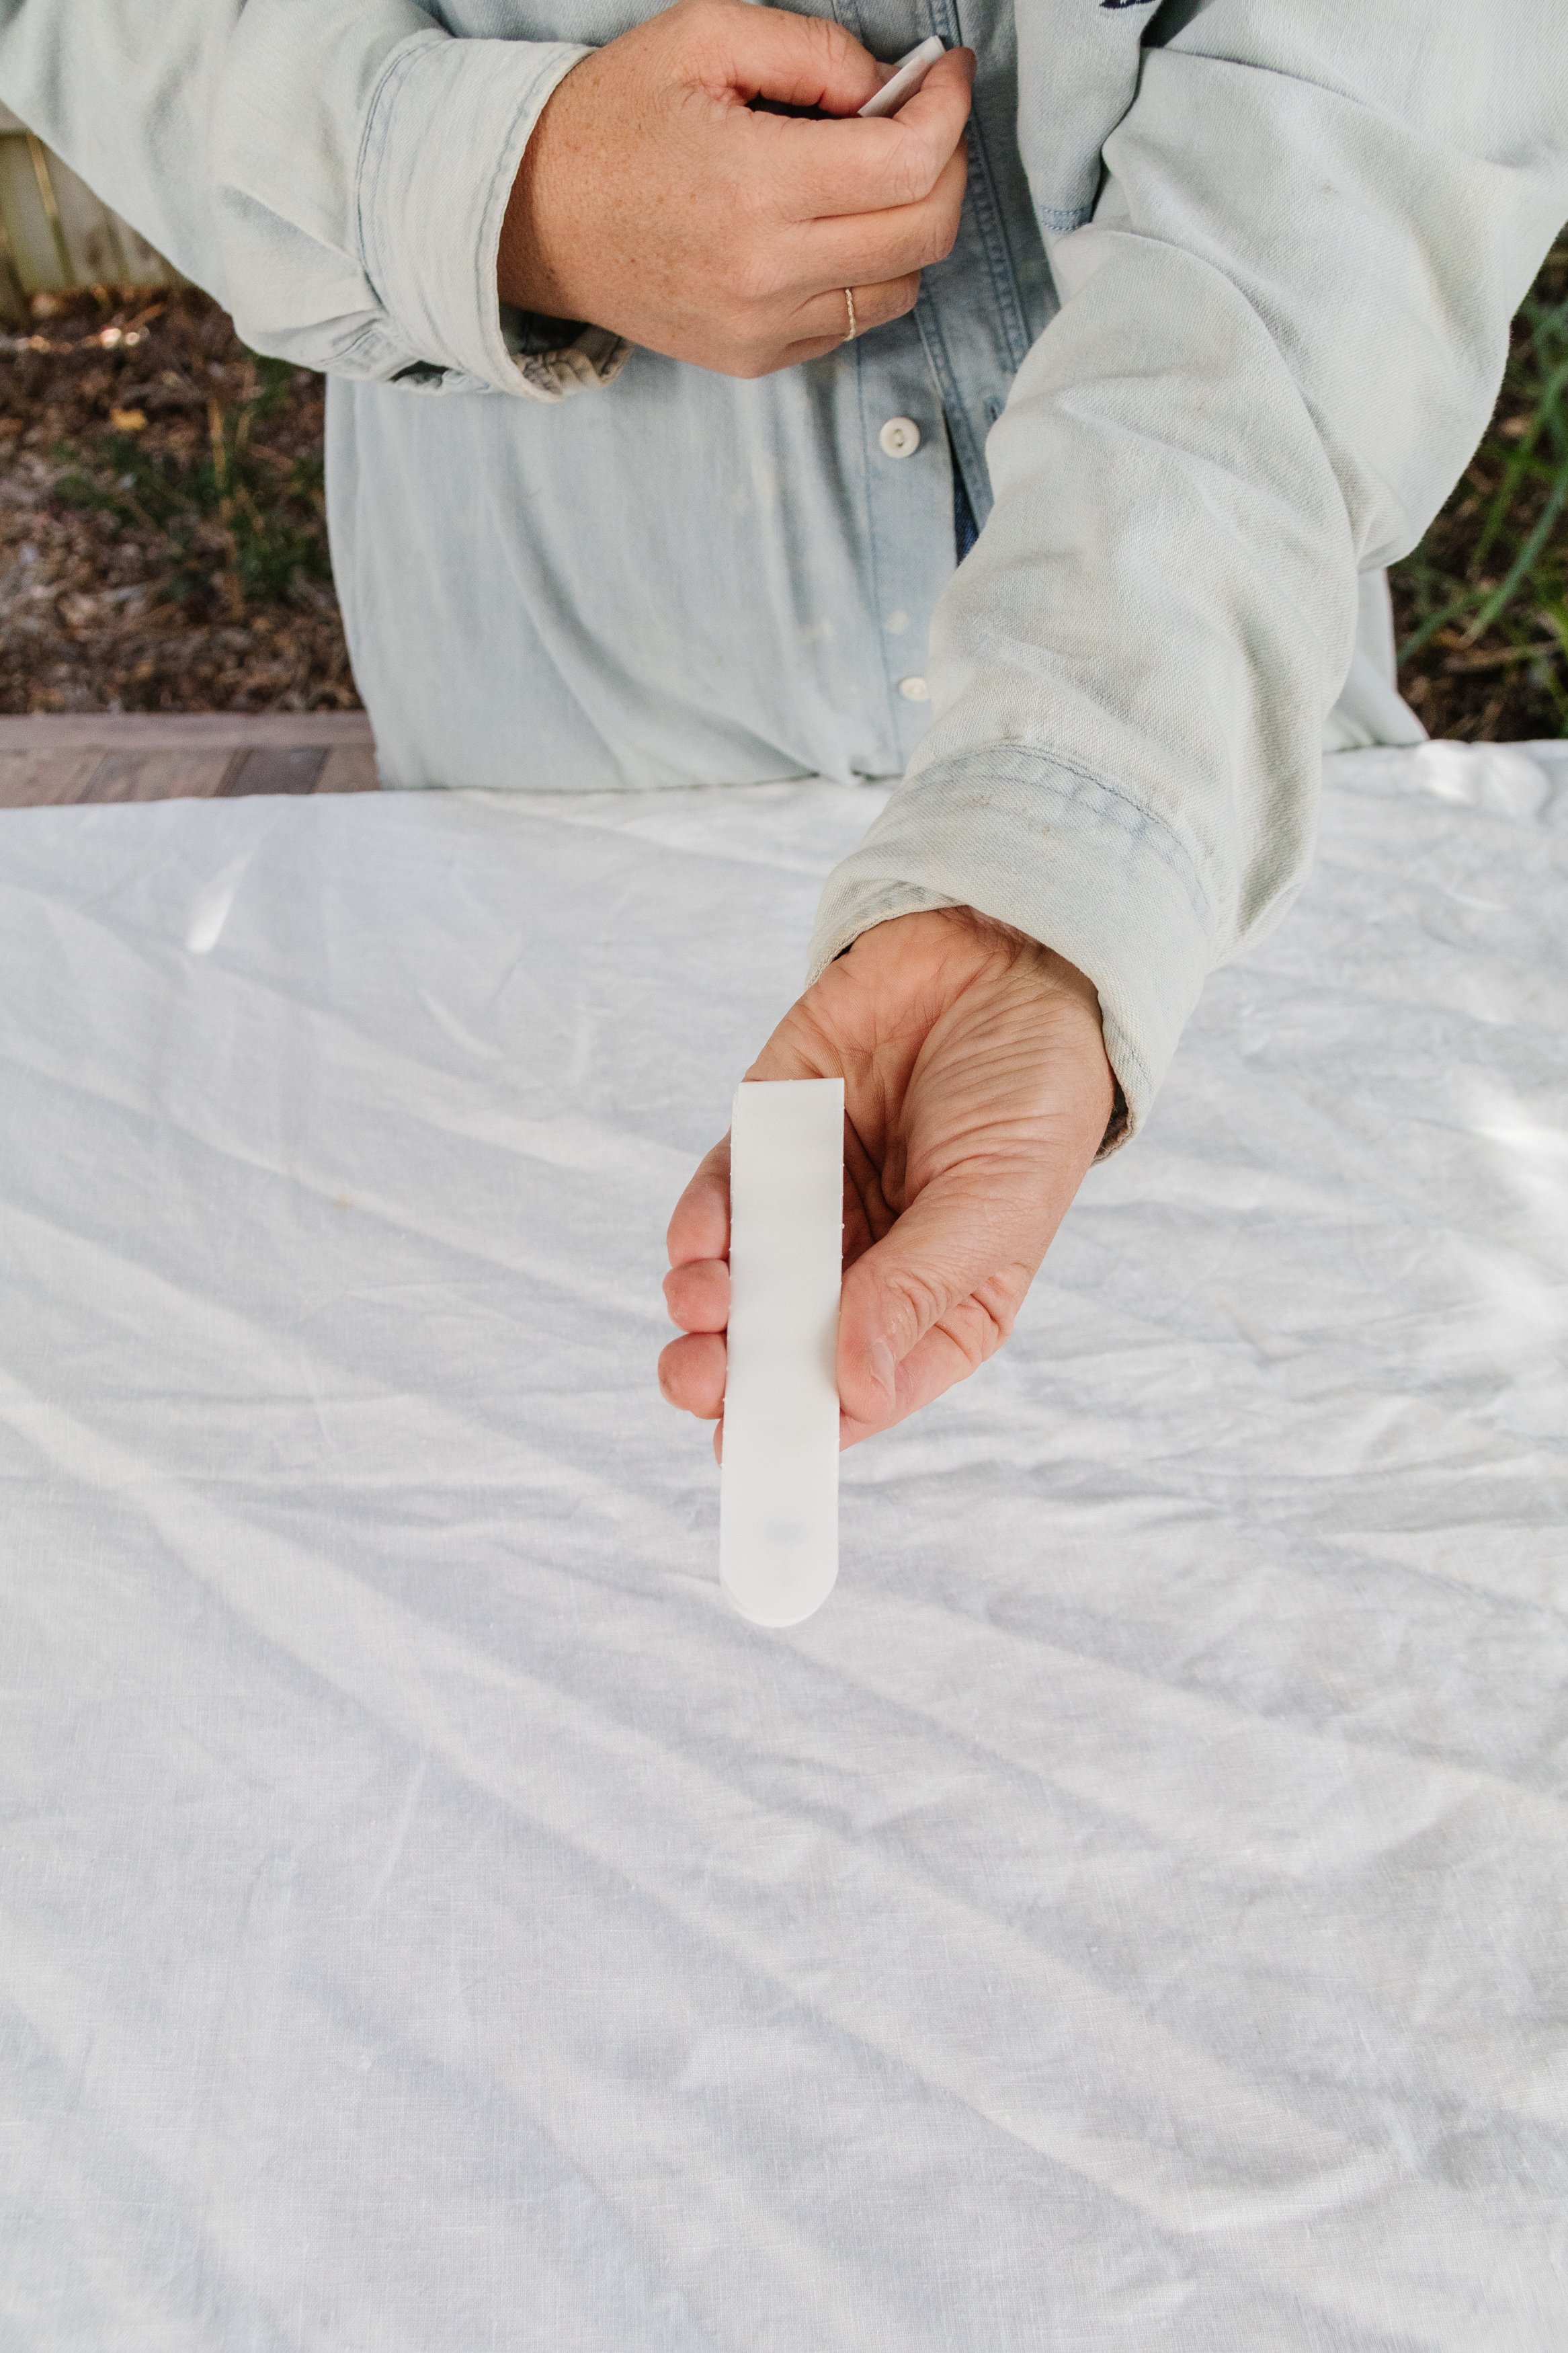
Remove the liners on two sets and stick them onto the top two corners. Repeat and place the other two sets halfway down, like shown below.
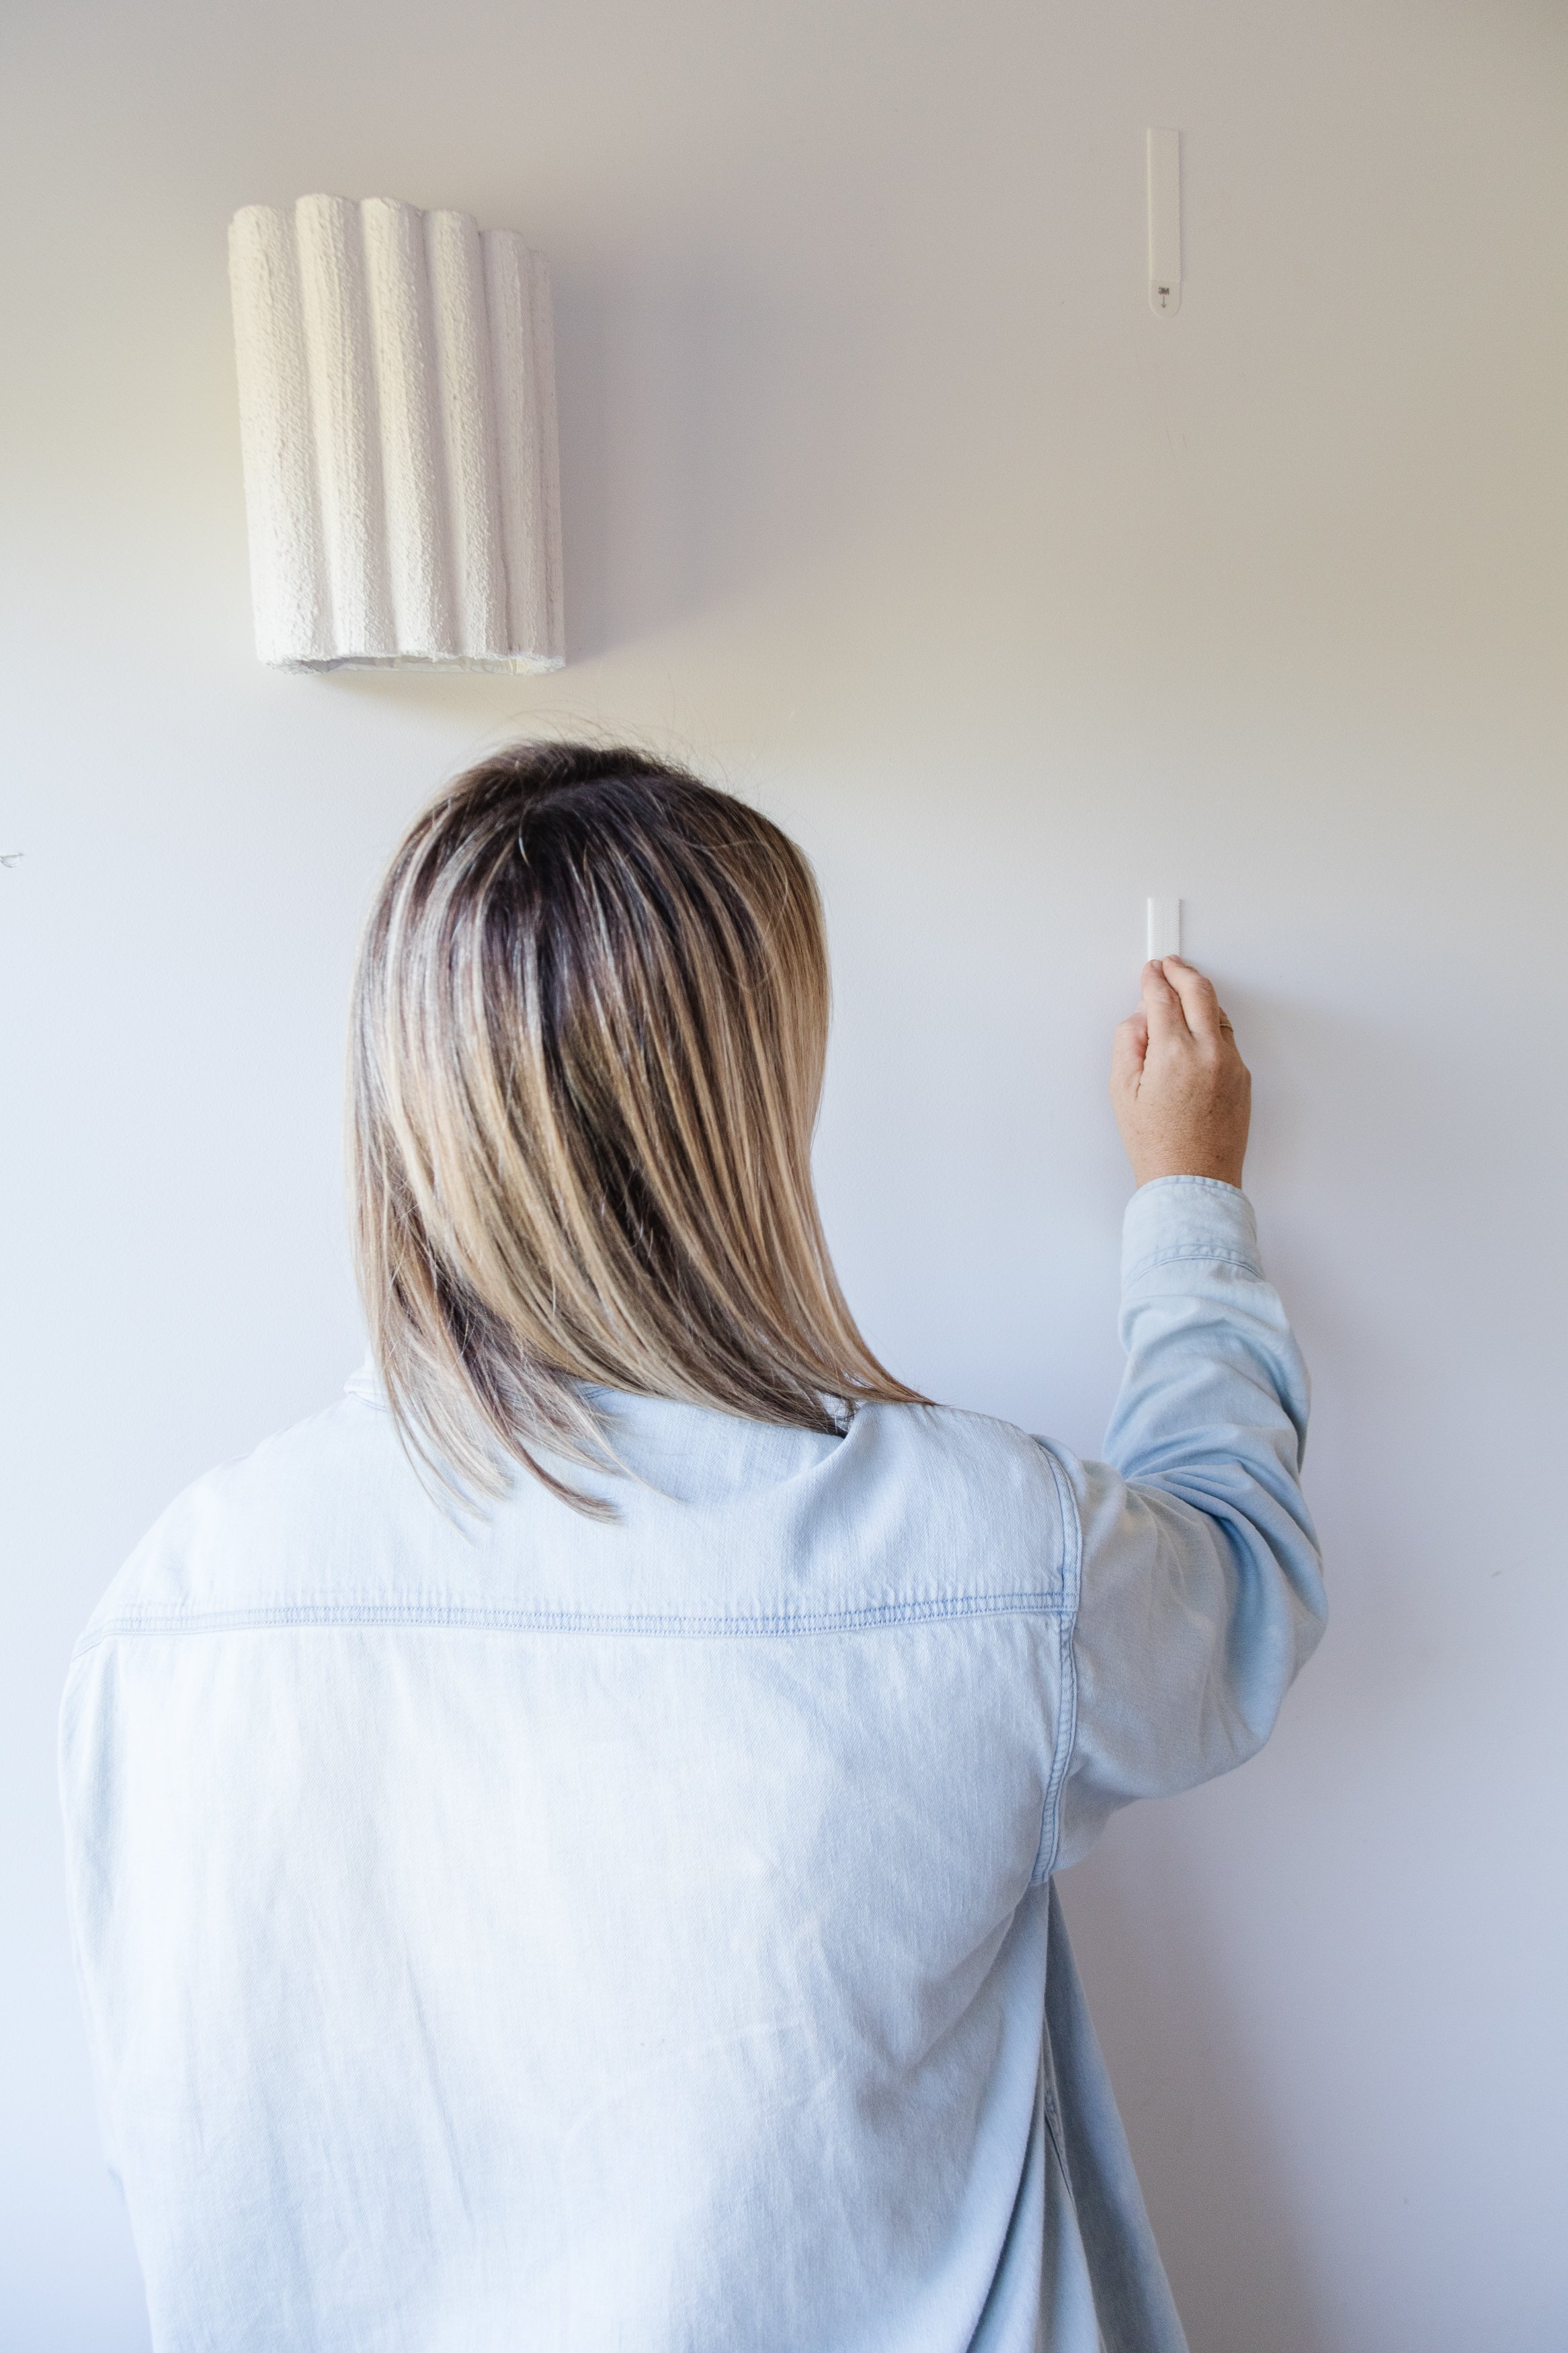
Remove the remaining liners.

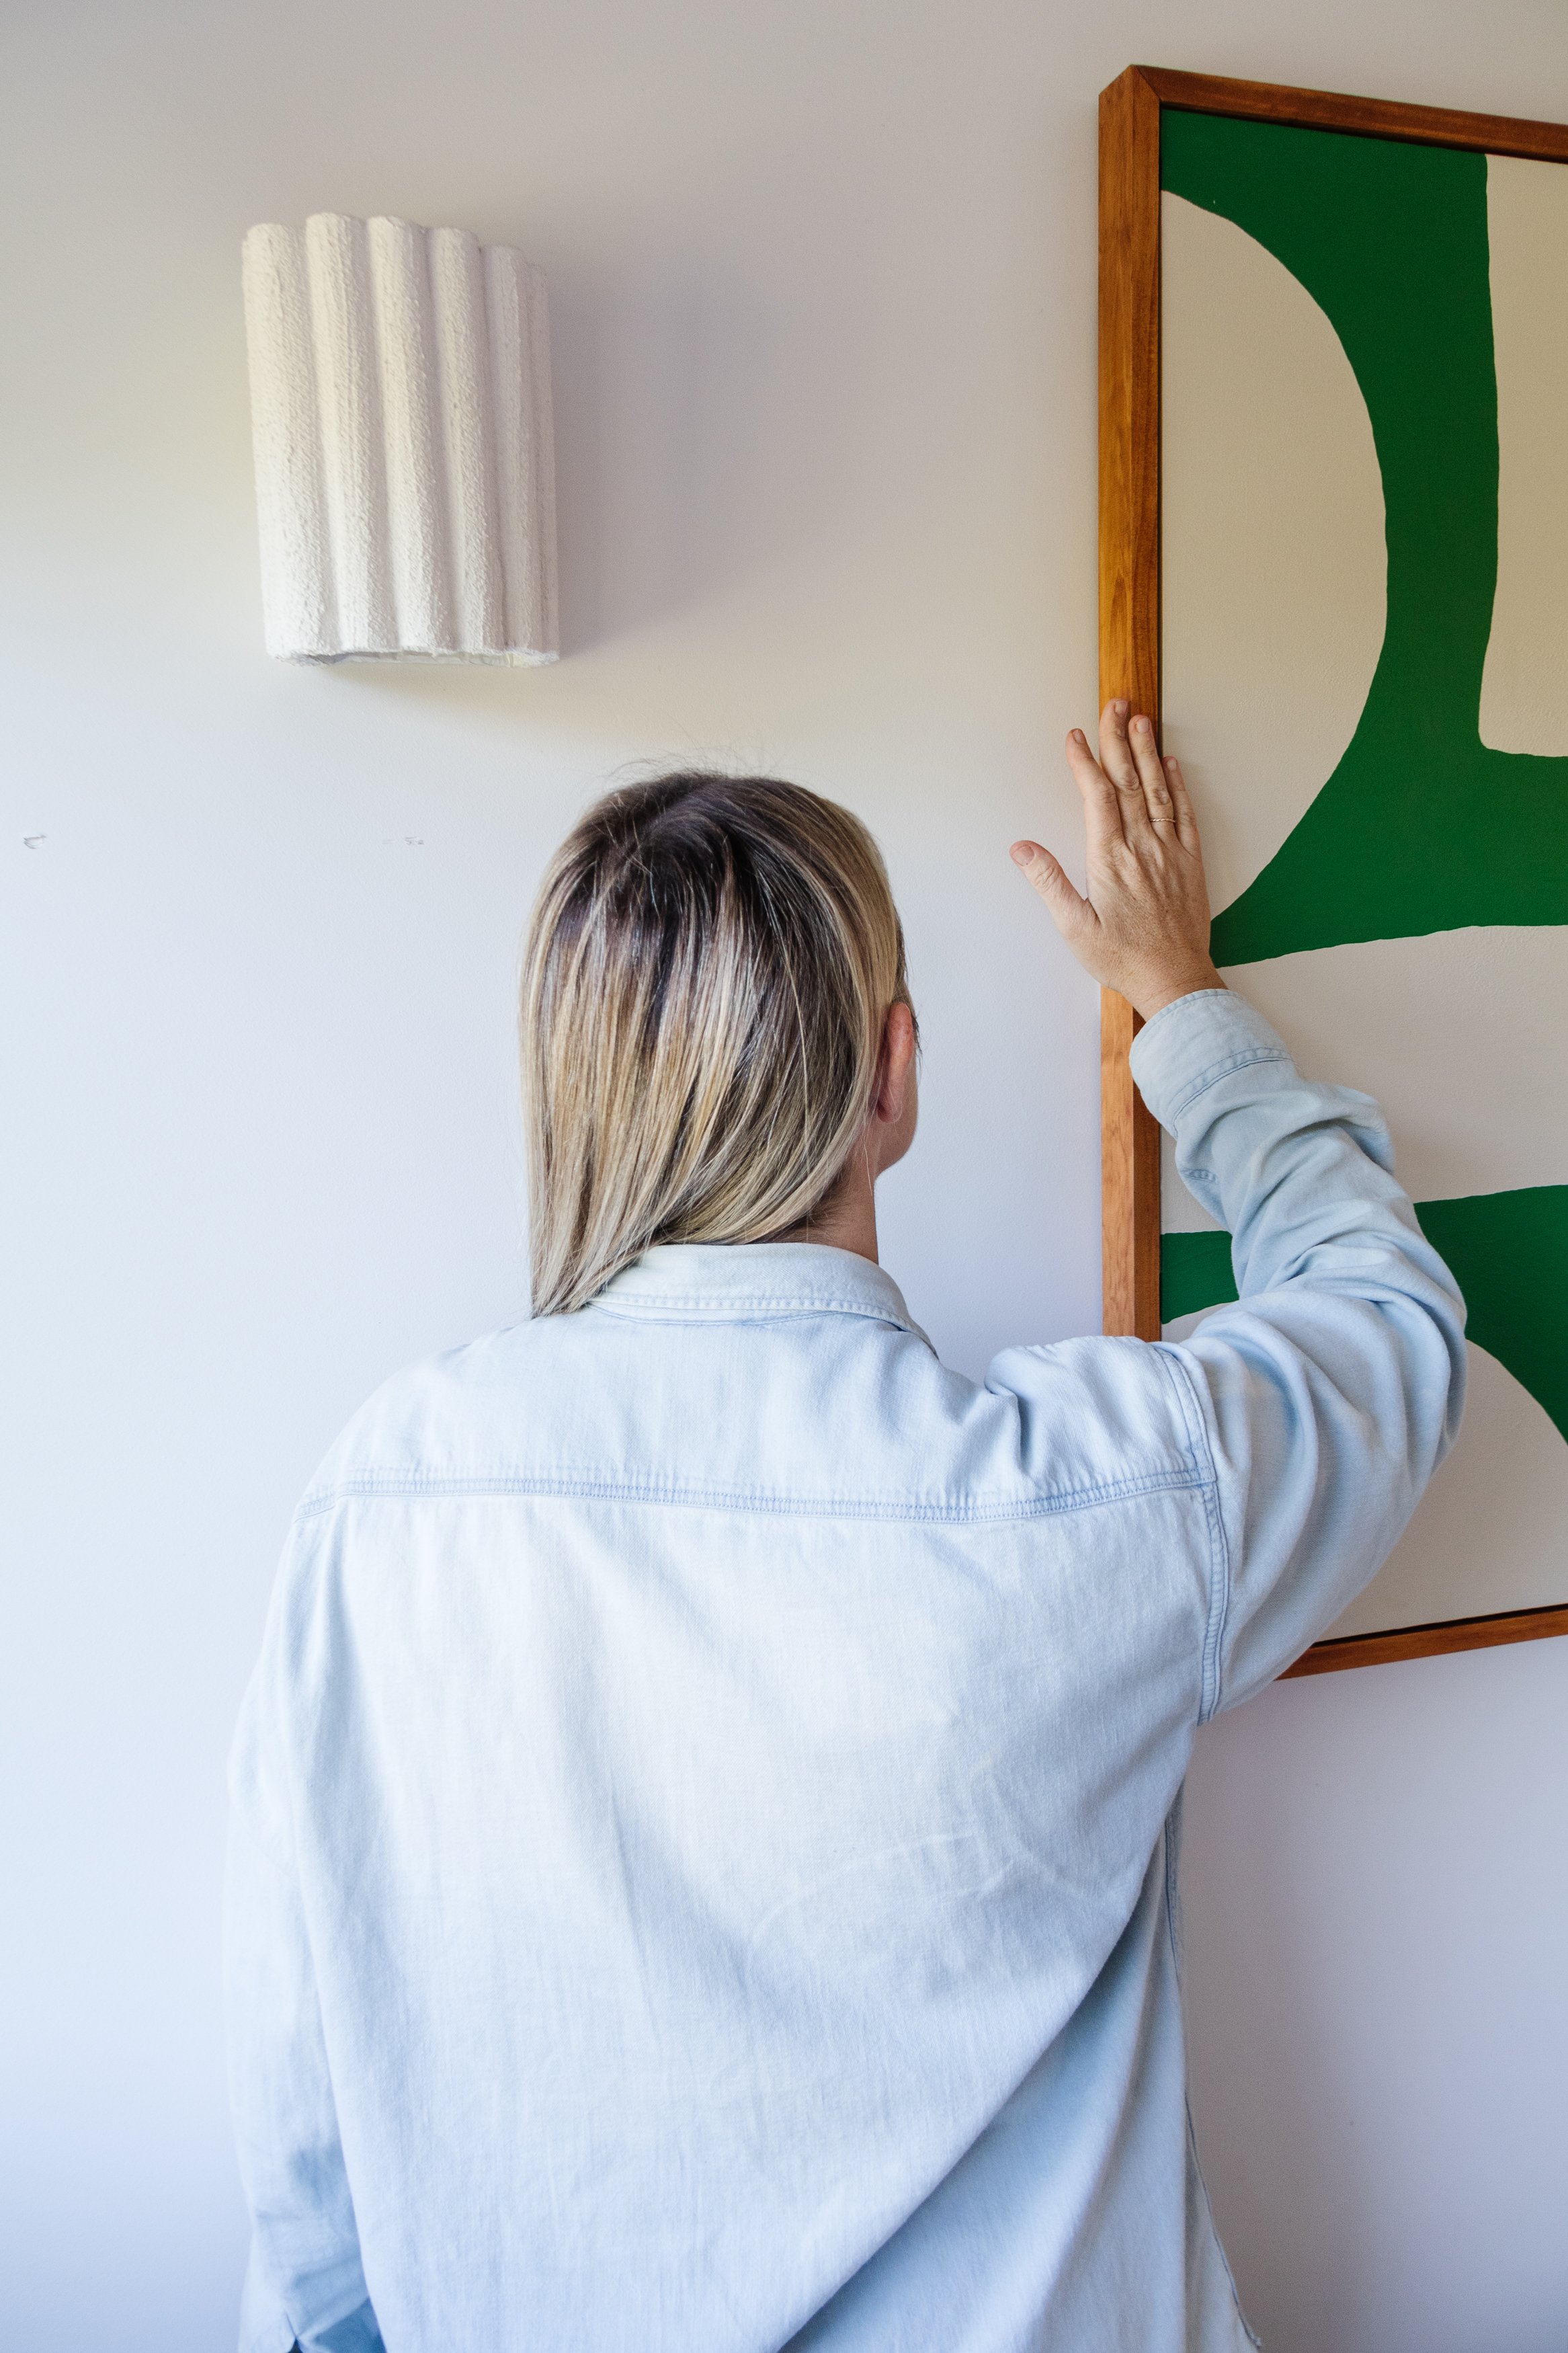
Using a pencil, mark a spot on the wall where you would like the top of the frame to be positioned.
Line the art onto the pencil mark and press the top set firmly for 30 seconds. Then press the bottom set firmly for 30 seconds.
Not done yet! To secure the strips onto the wall, temporarily peel the frame off from the bottom and press each strip firmly for 30 seconds. Wait one hour for the adhesive to bond.
After one hour, realign the strips and gently push the strips together until you hear four velcro style clicks/noises.
And that’s it!
Extra Tips for using Command™ Hanging Strips:
The hanging strips I used are for indoor use only
If your wall is freshly painted, please wait at least 7 days before applying the hanging strips
Do not hang irreplaceable items, over beds or on wallpaper
Do not clean the wall before applying the hanging strips with household cleaners or water because they leave behind a slippery residue
Do not apply picture hanging strips onto paper, fabric or soft surfaces
Make sure to watch this video before using the picture hanging strips
Ta daaaa!
This has been such a fun project! I’ve always wanted to create my own upcycled abstract art from scratch, but I’ve felt really intimidated because it’s not actually that easy to make abstract art look good. But when I stumbled across two beautiful paints colours I knew would work well together, I couldn’t resist giving it a try.
And better yet, this entire project was all made possible thanks to my beloved Command™ Hanging Strips. I’ve always personally used them to hang our art at home because they’re perfect for renters and home owners alike, they do no harm (remember to follow the application and removal instructions on the backside of the package), and you don’t have to worry about finding studs or leaving holes in your walls.
This project was in collaboration with 3M Australia