Making A Sculptural Totem
Also known as my most random idea ever!
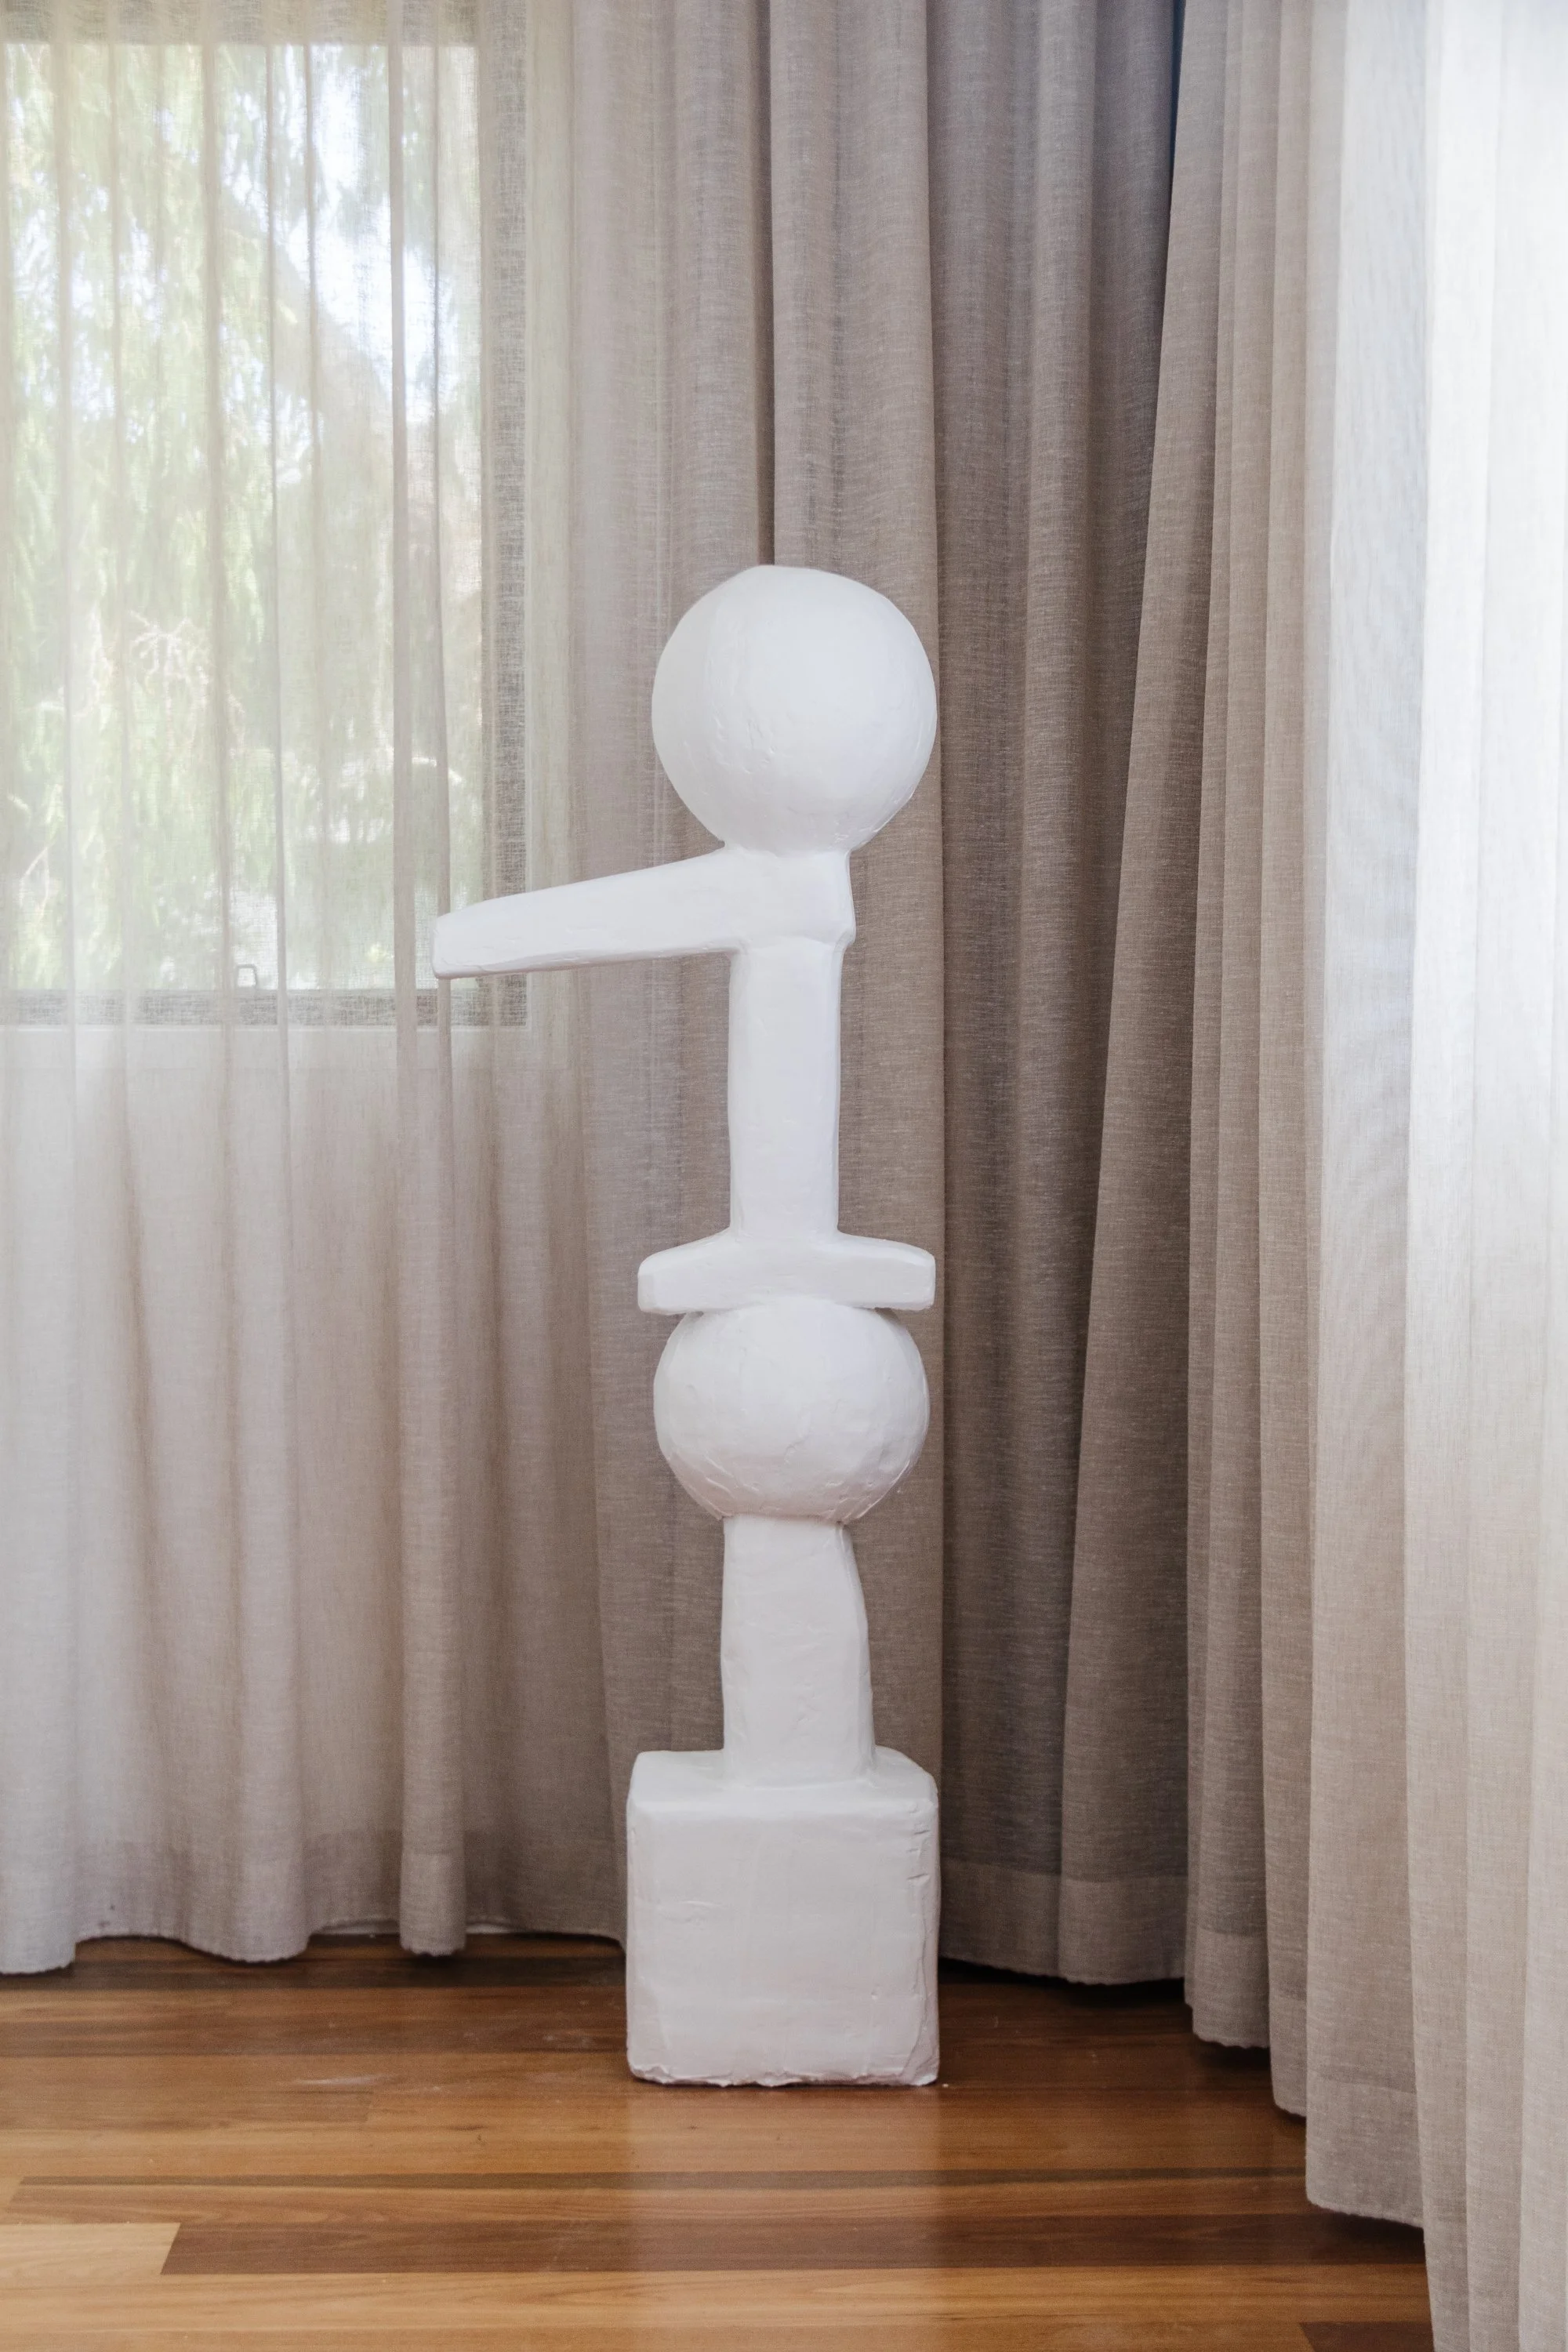
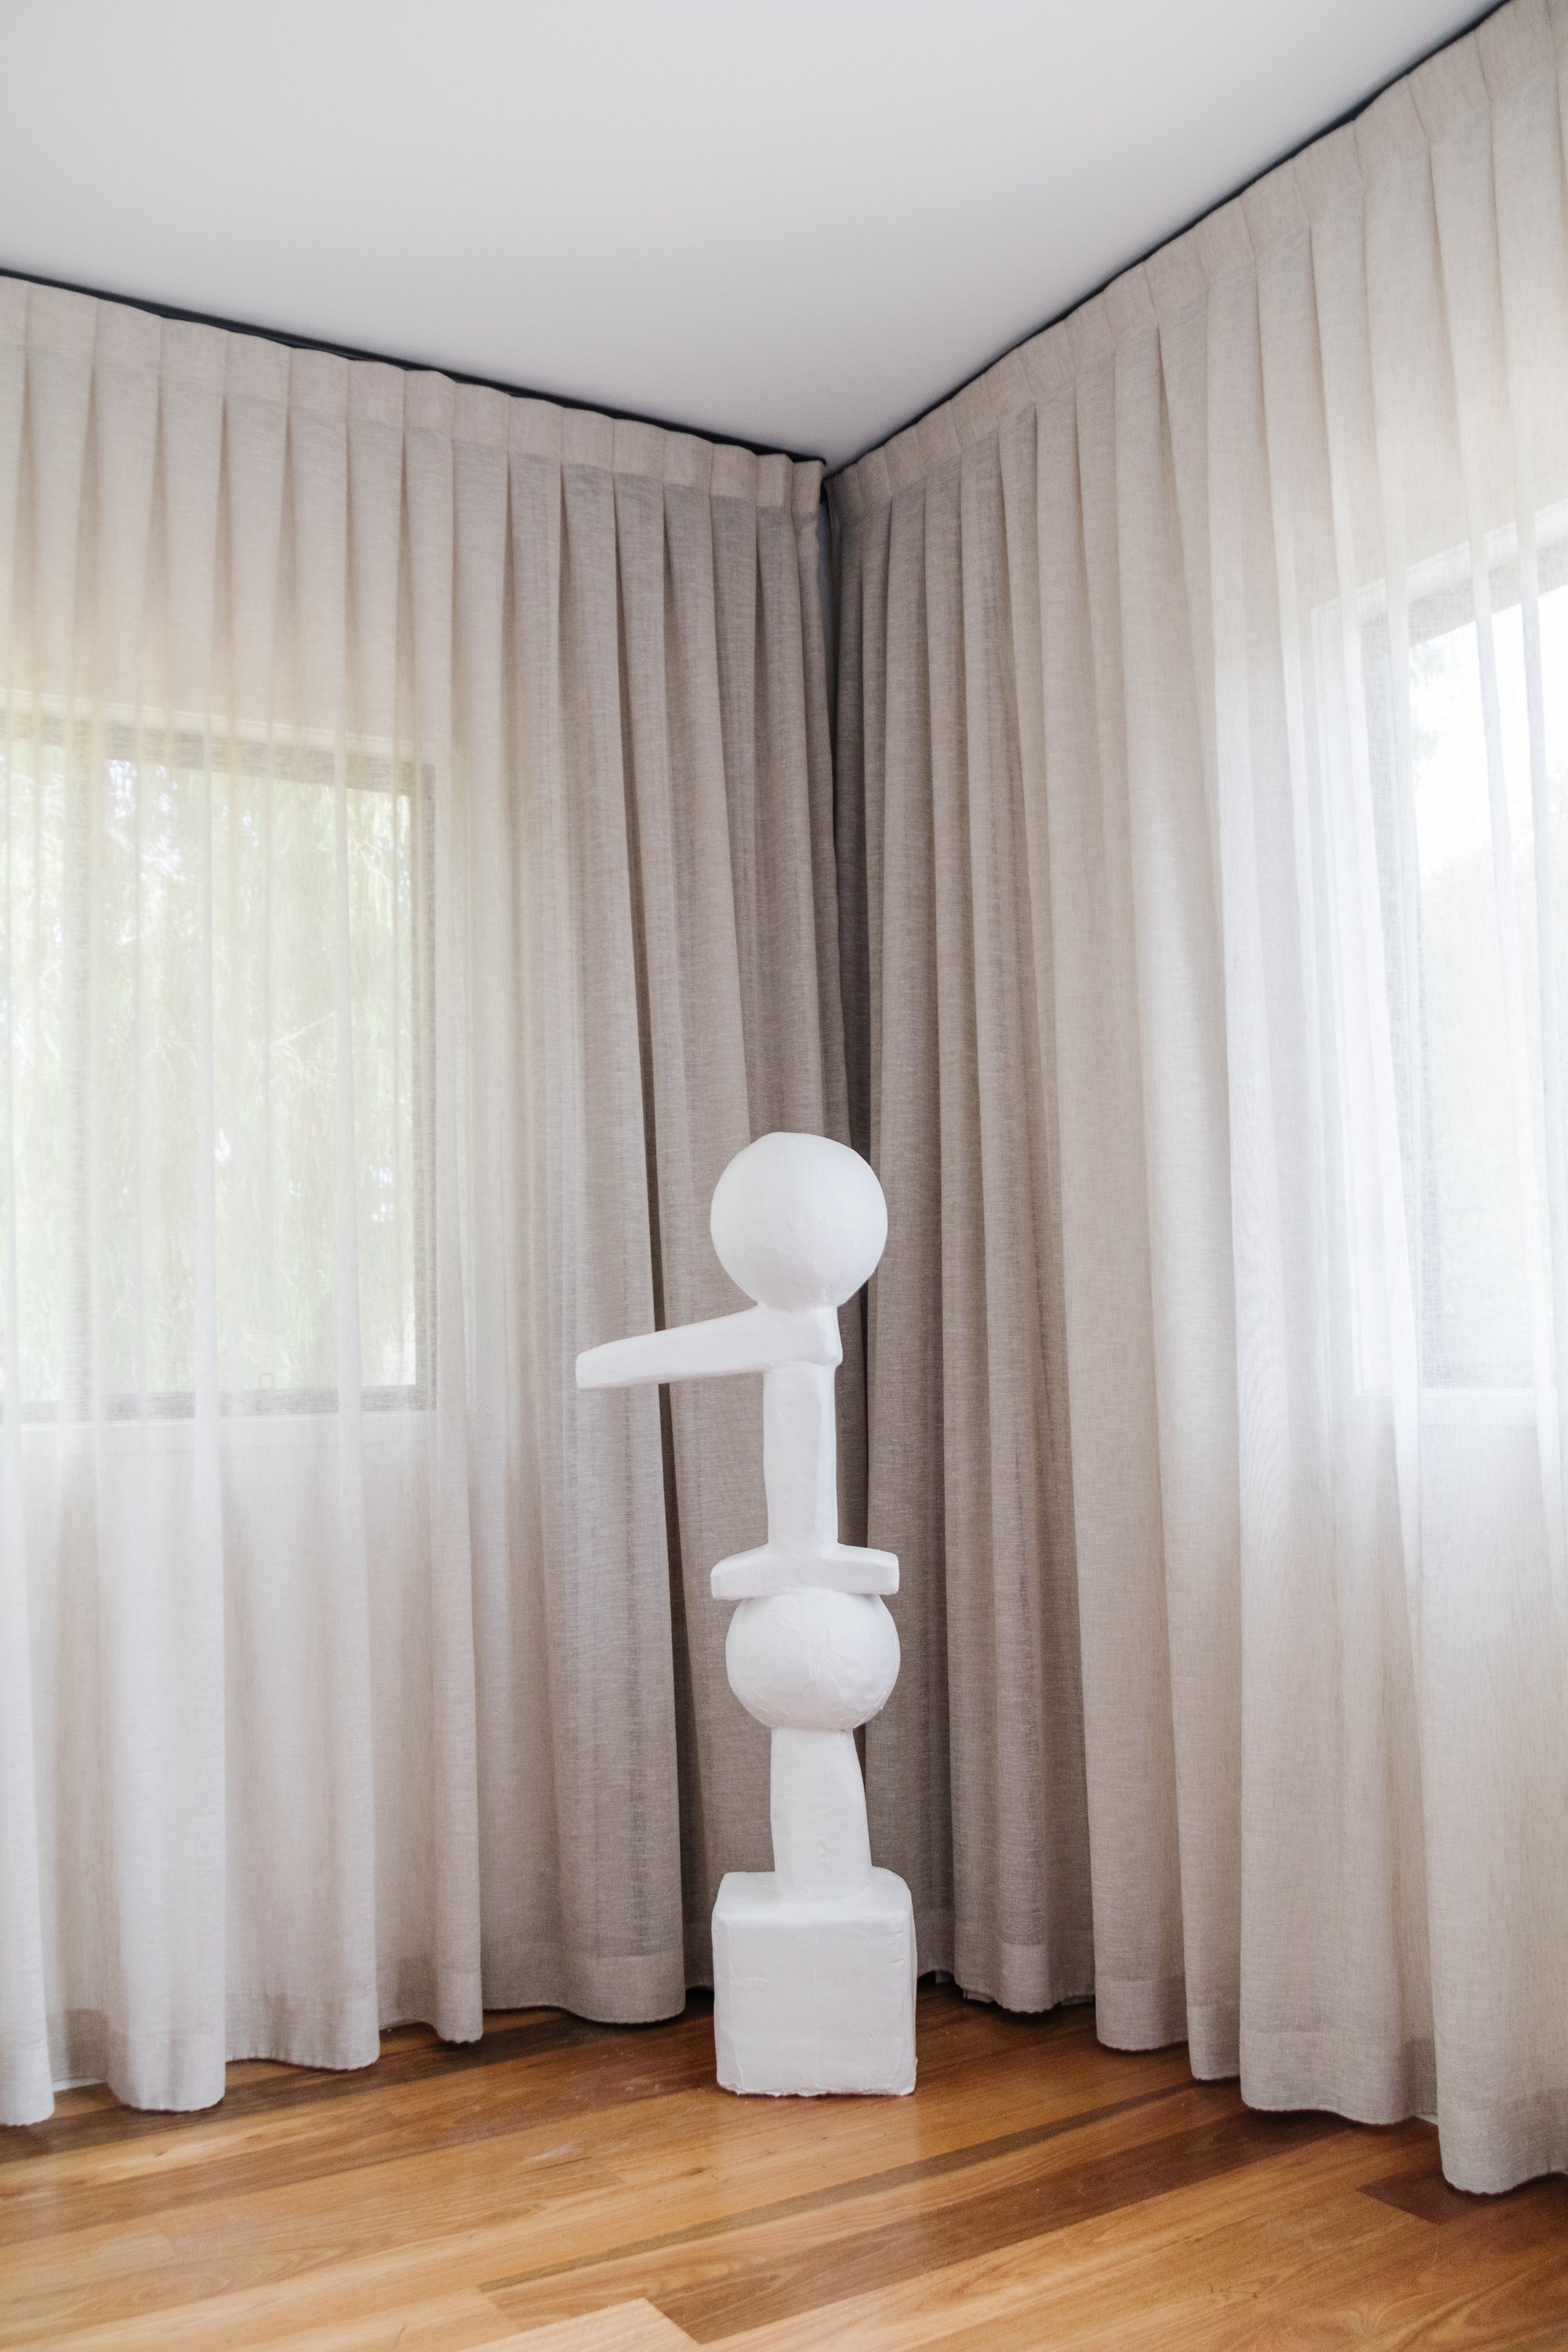
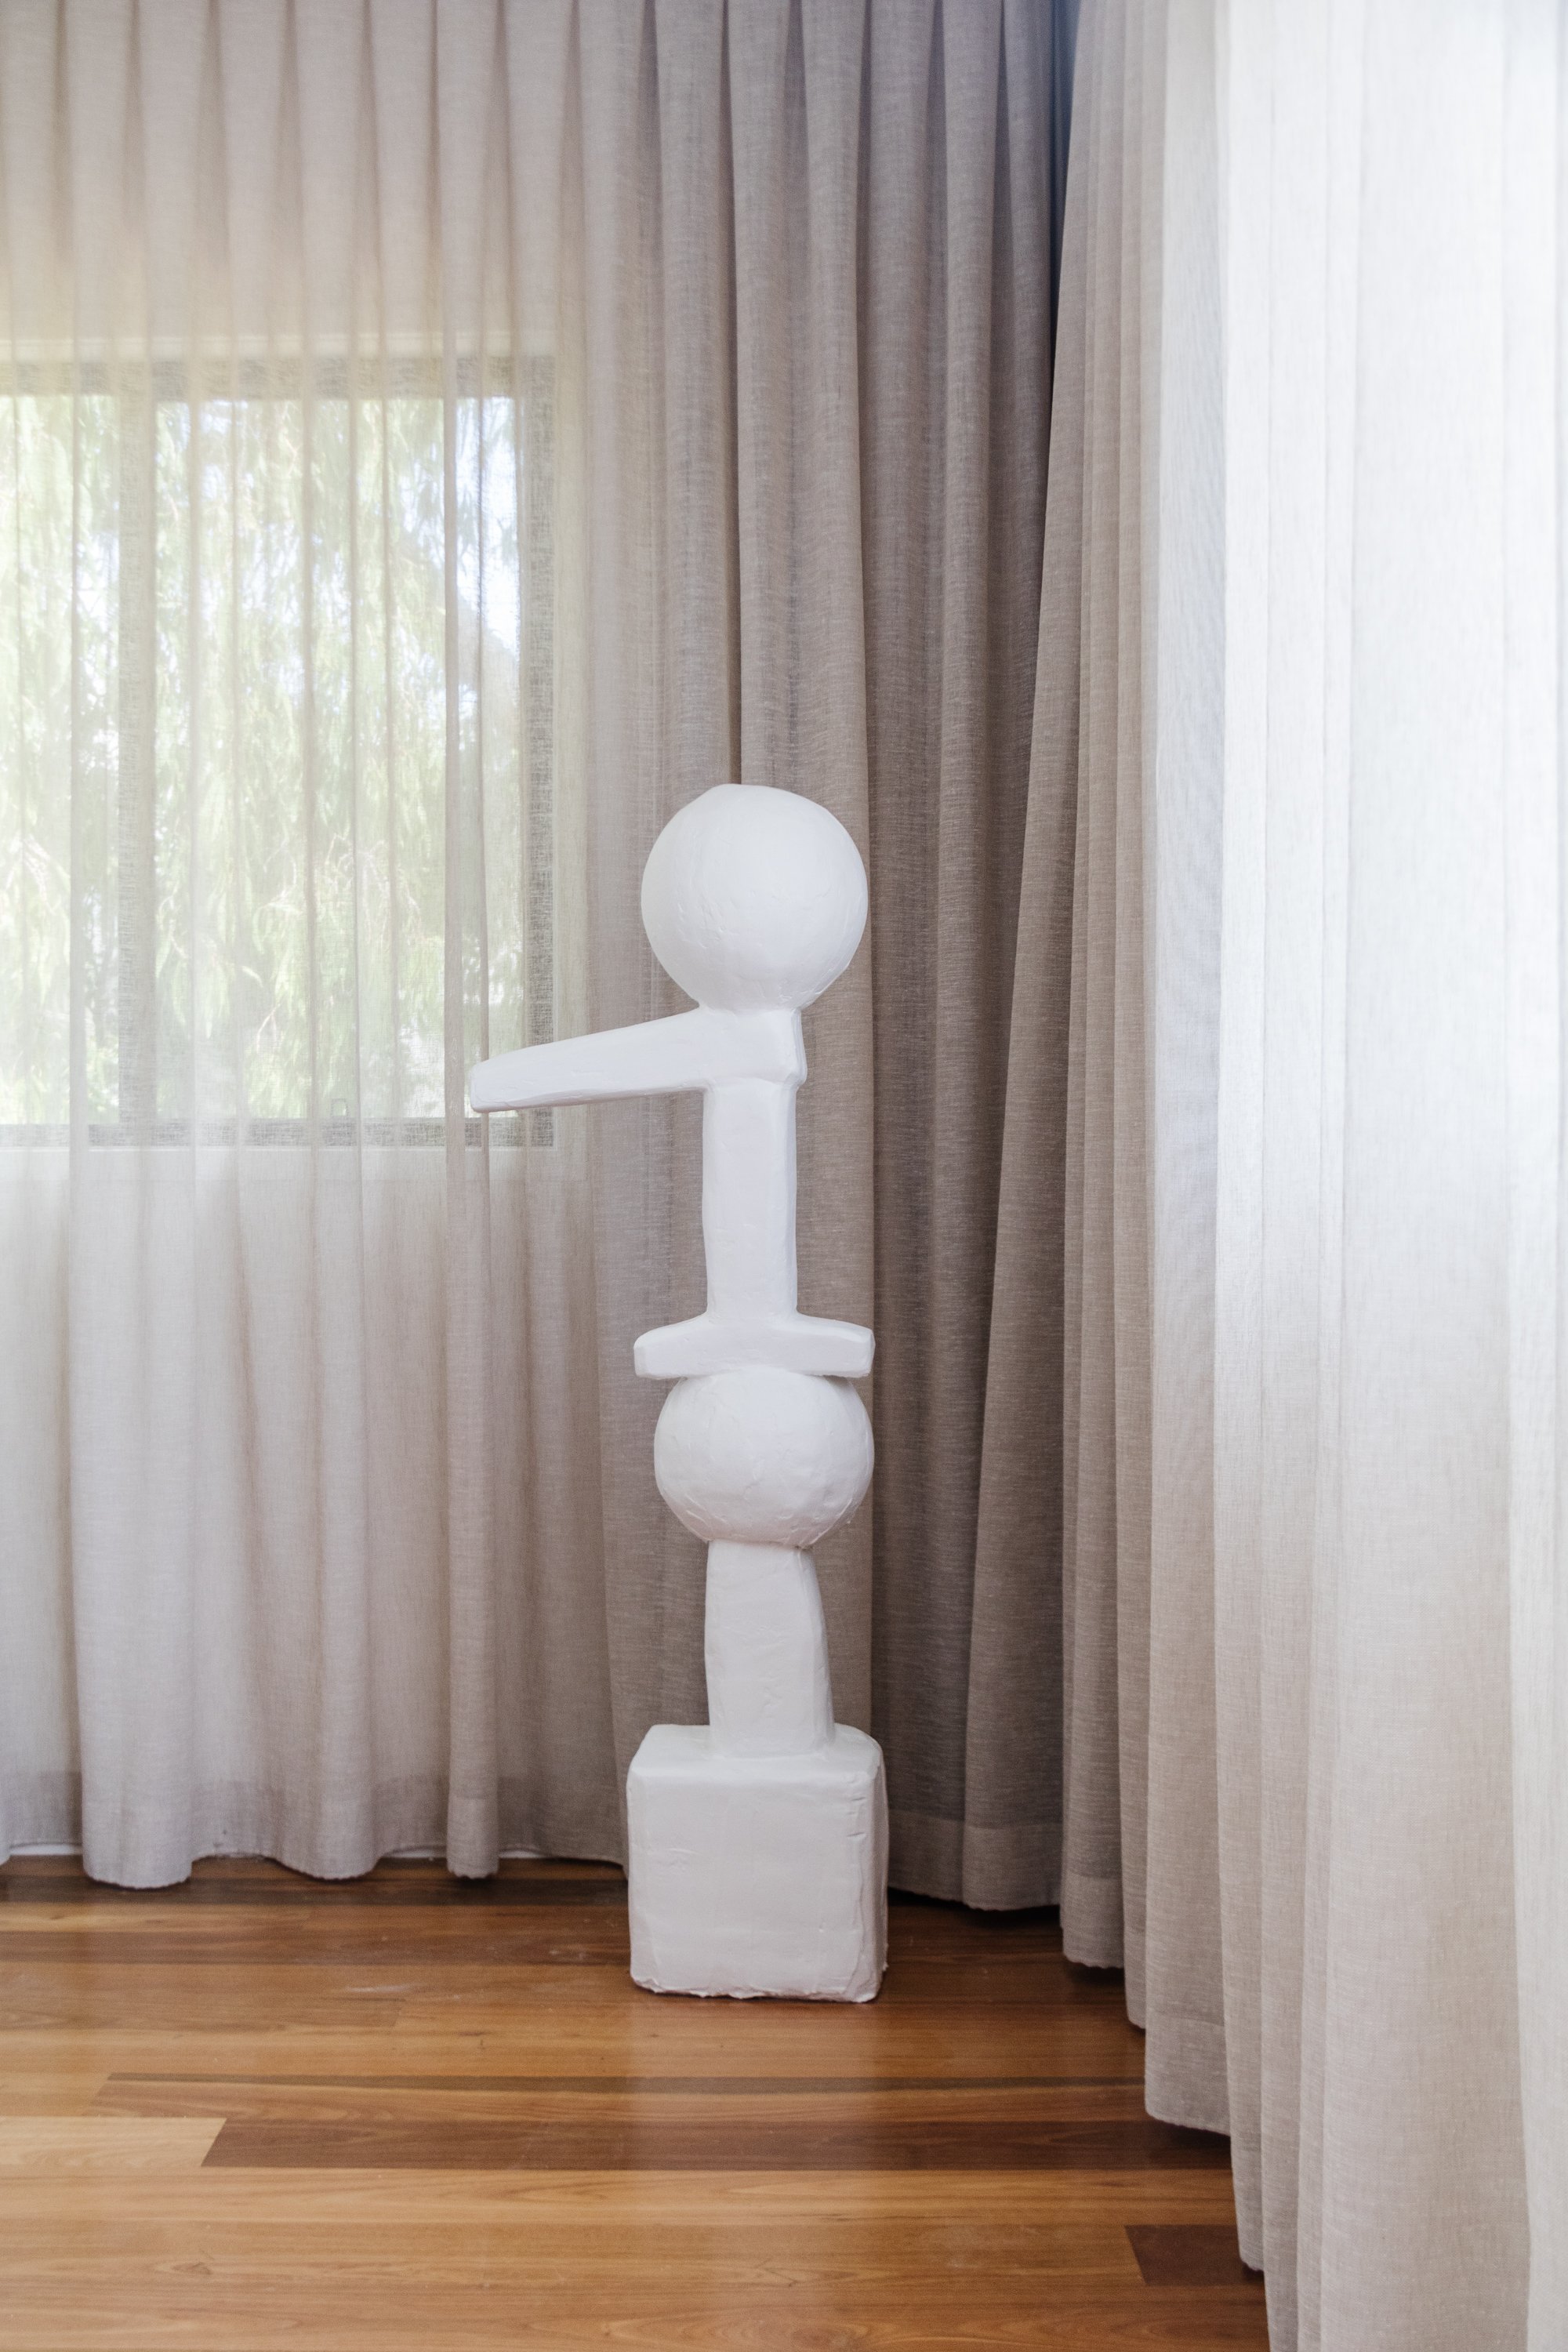
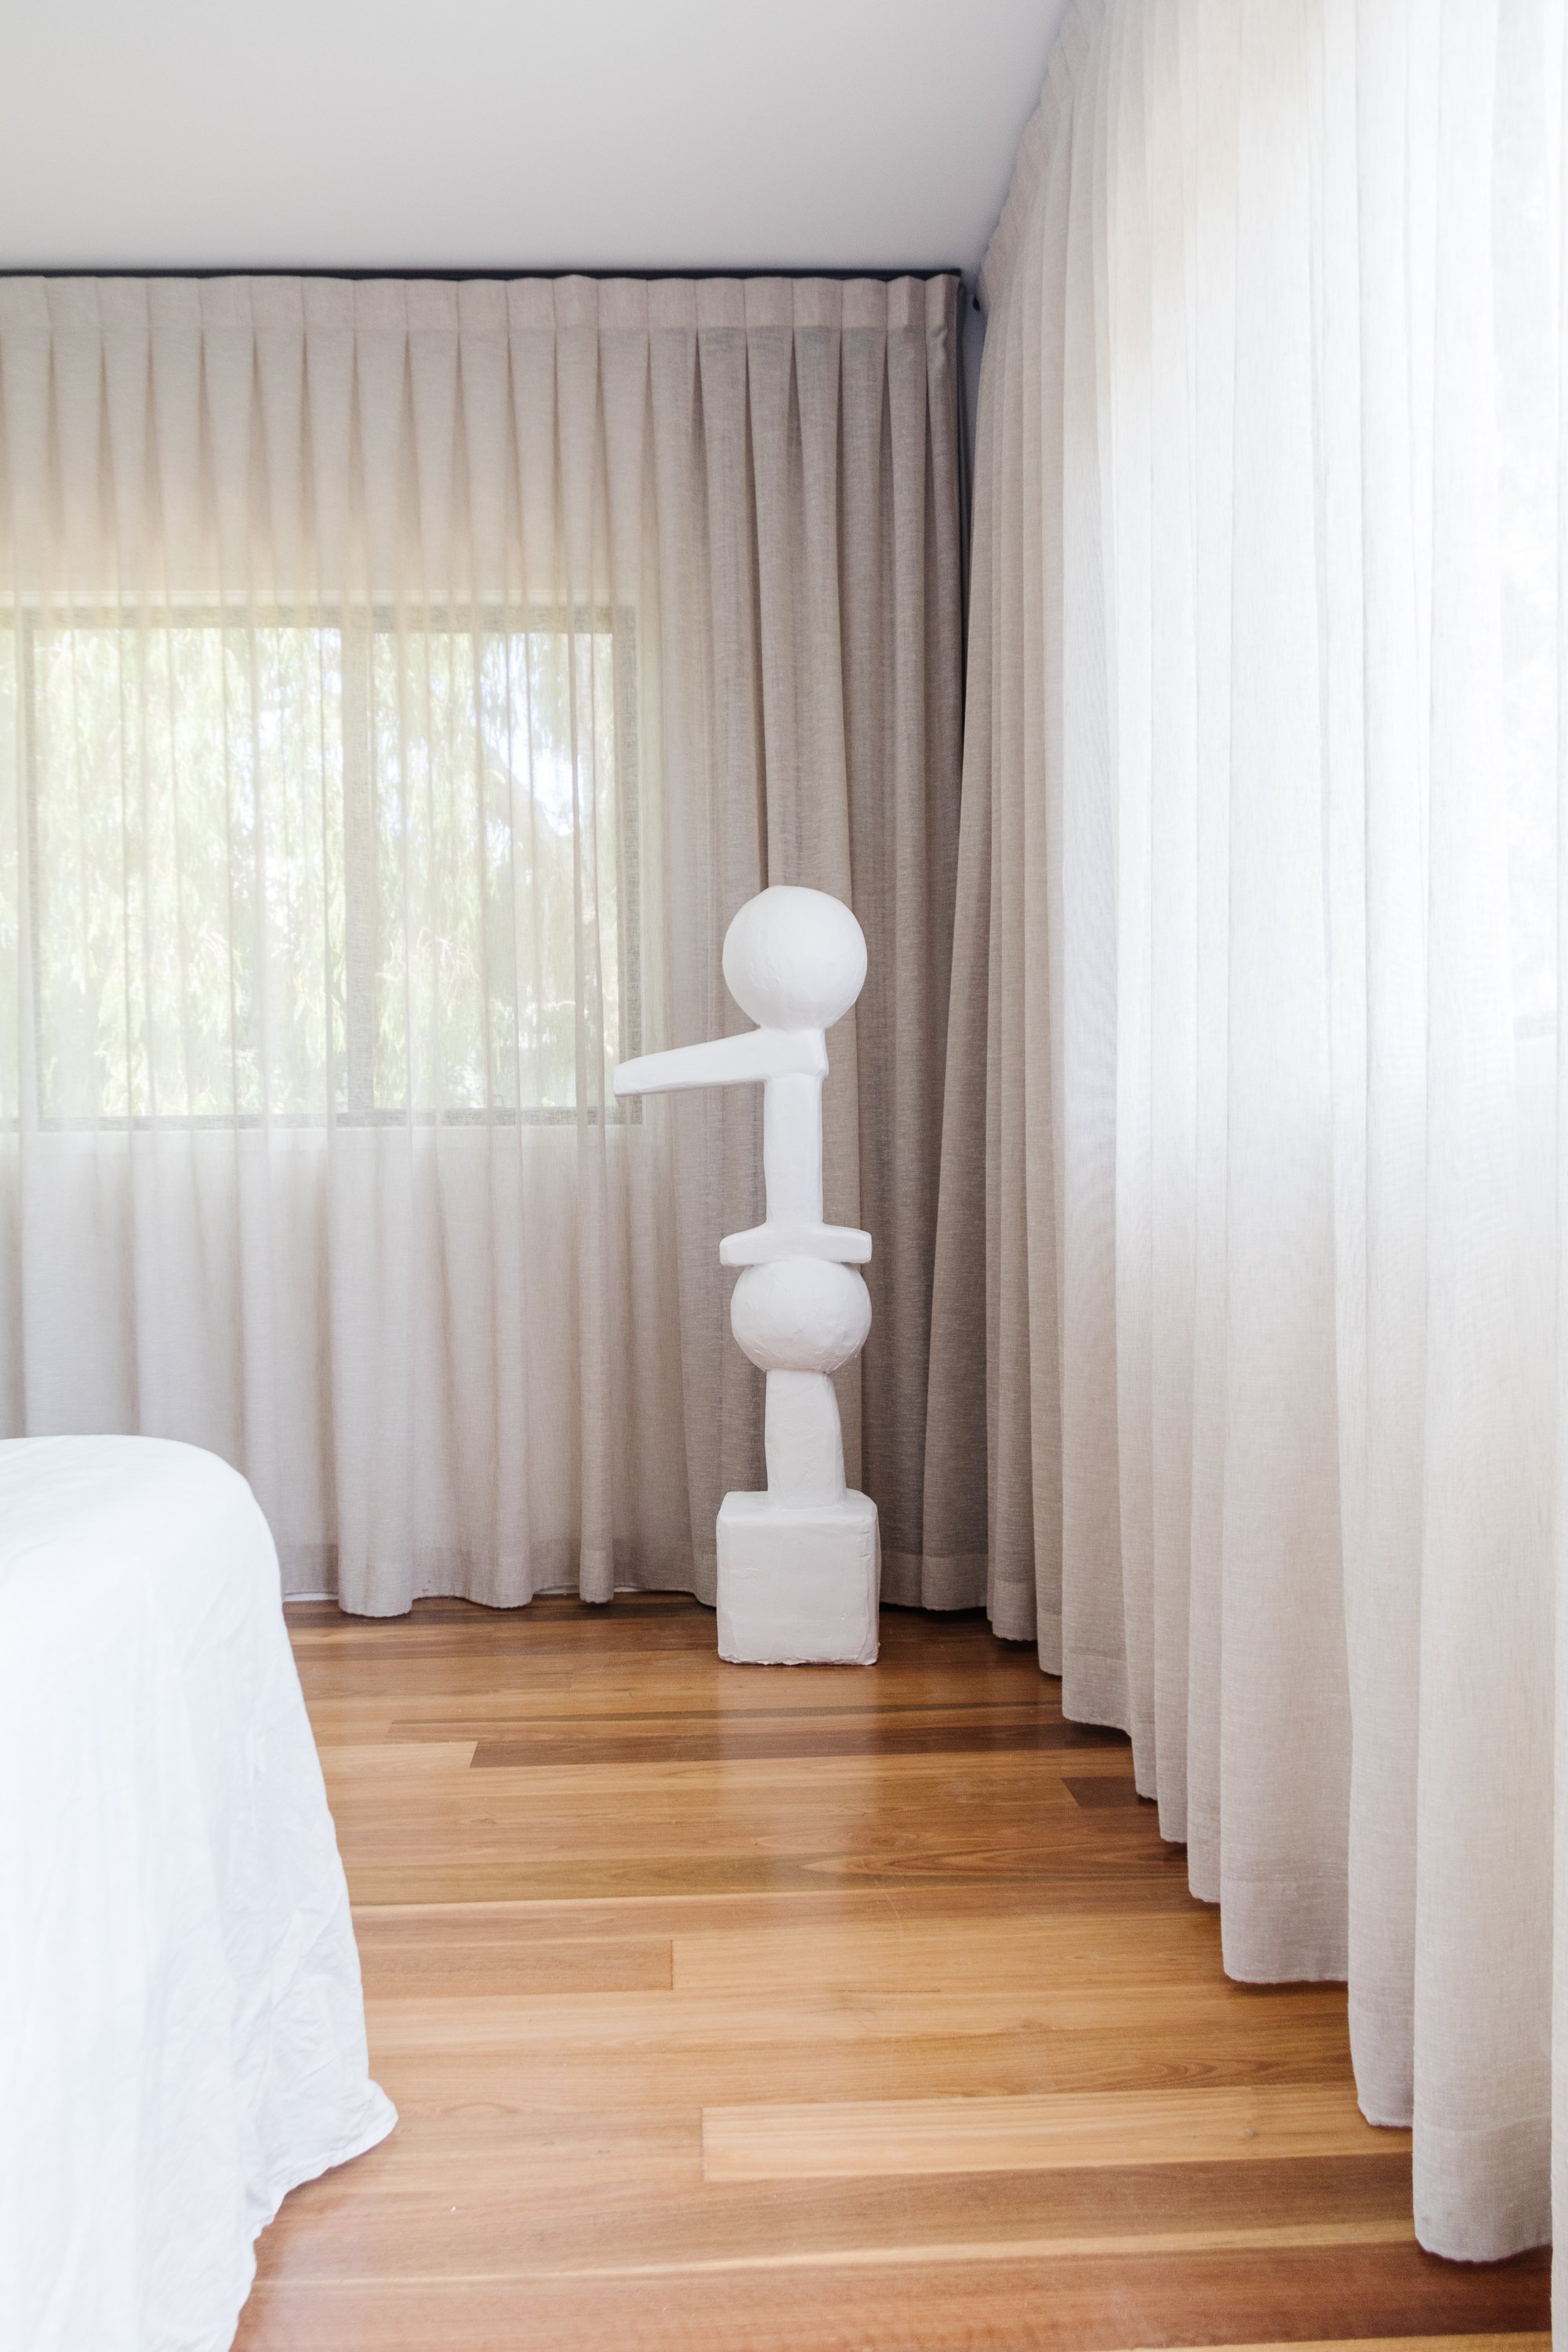
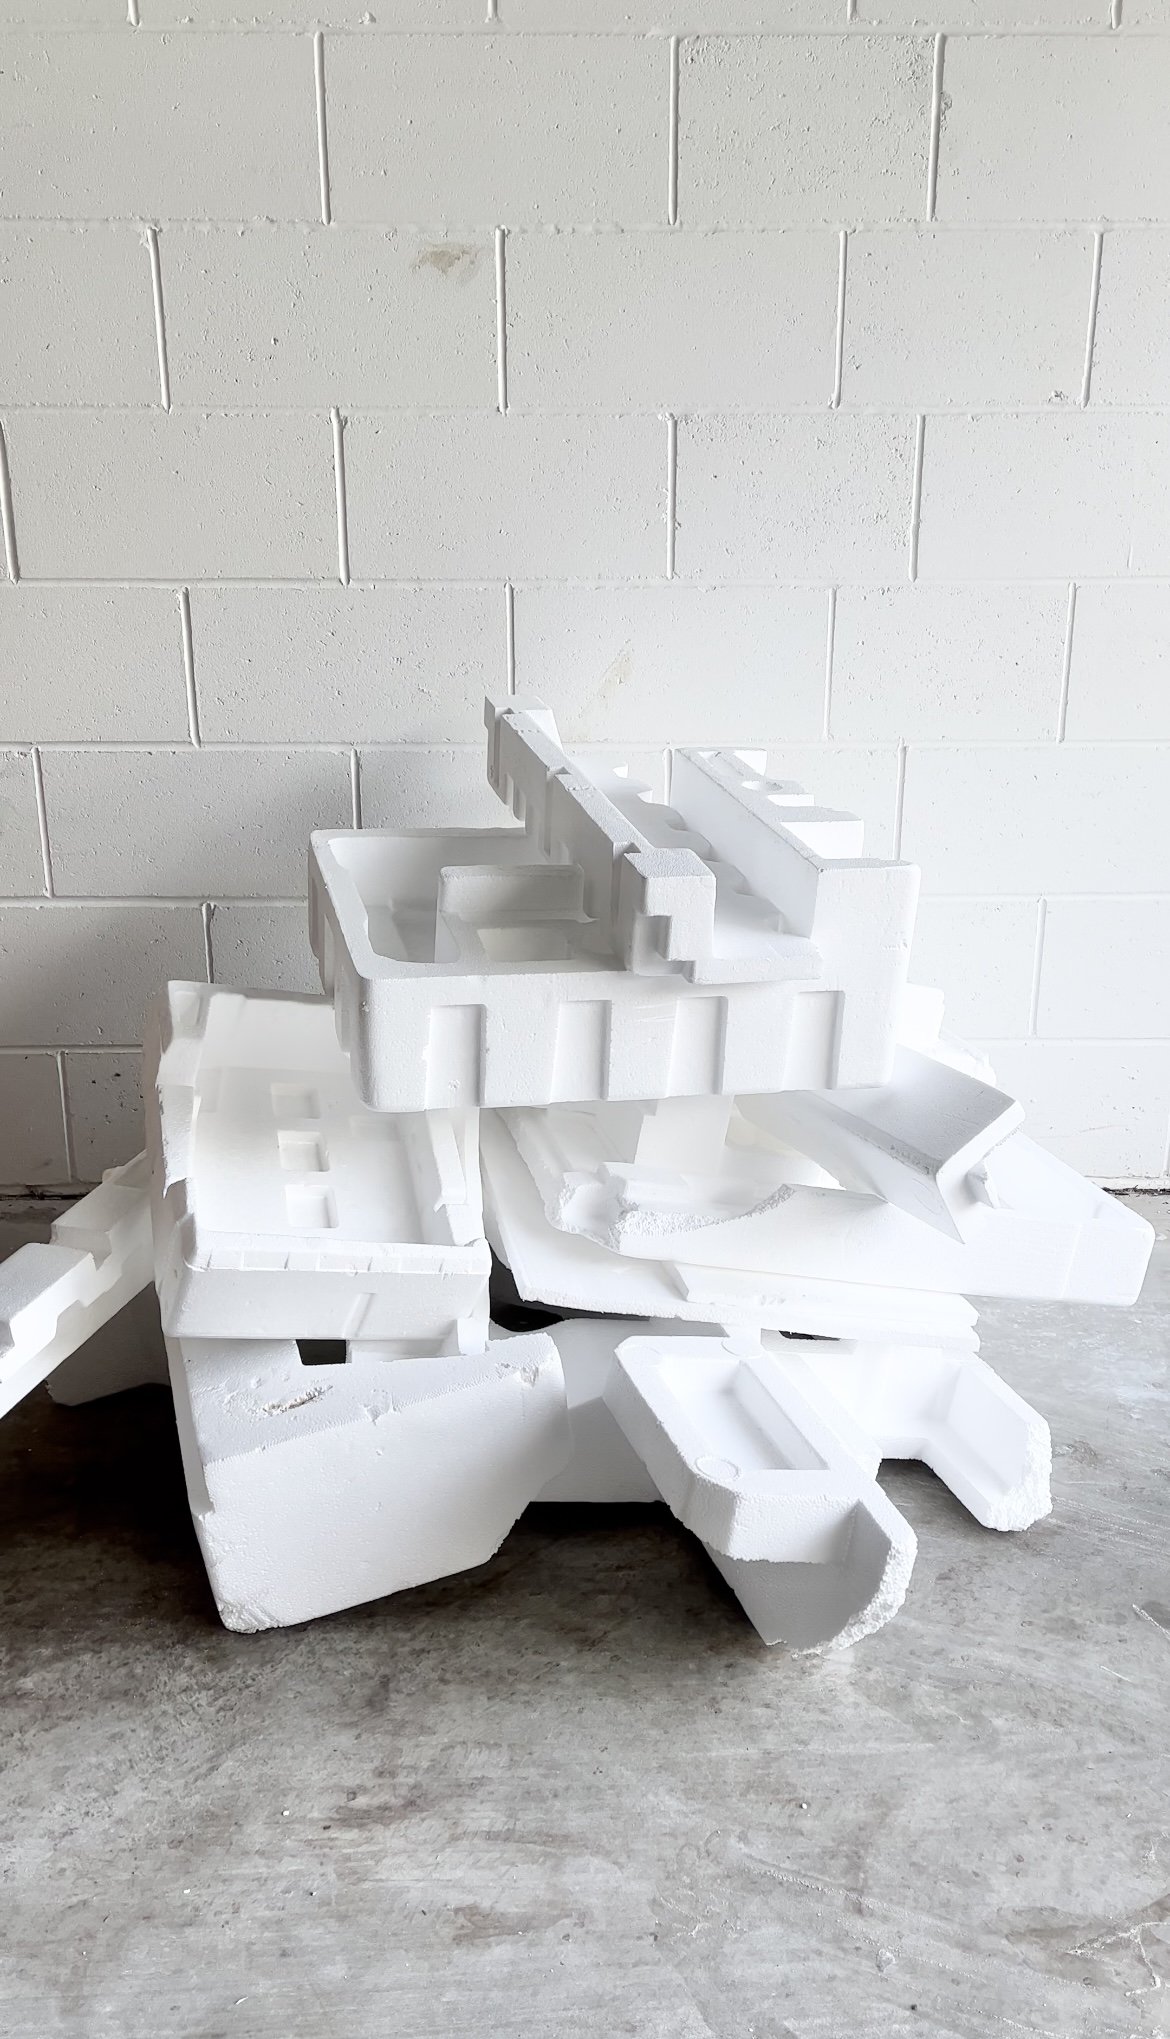
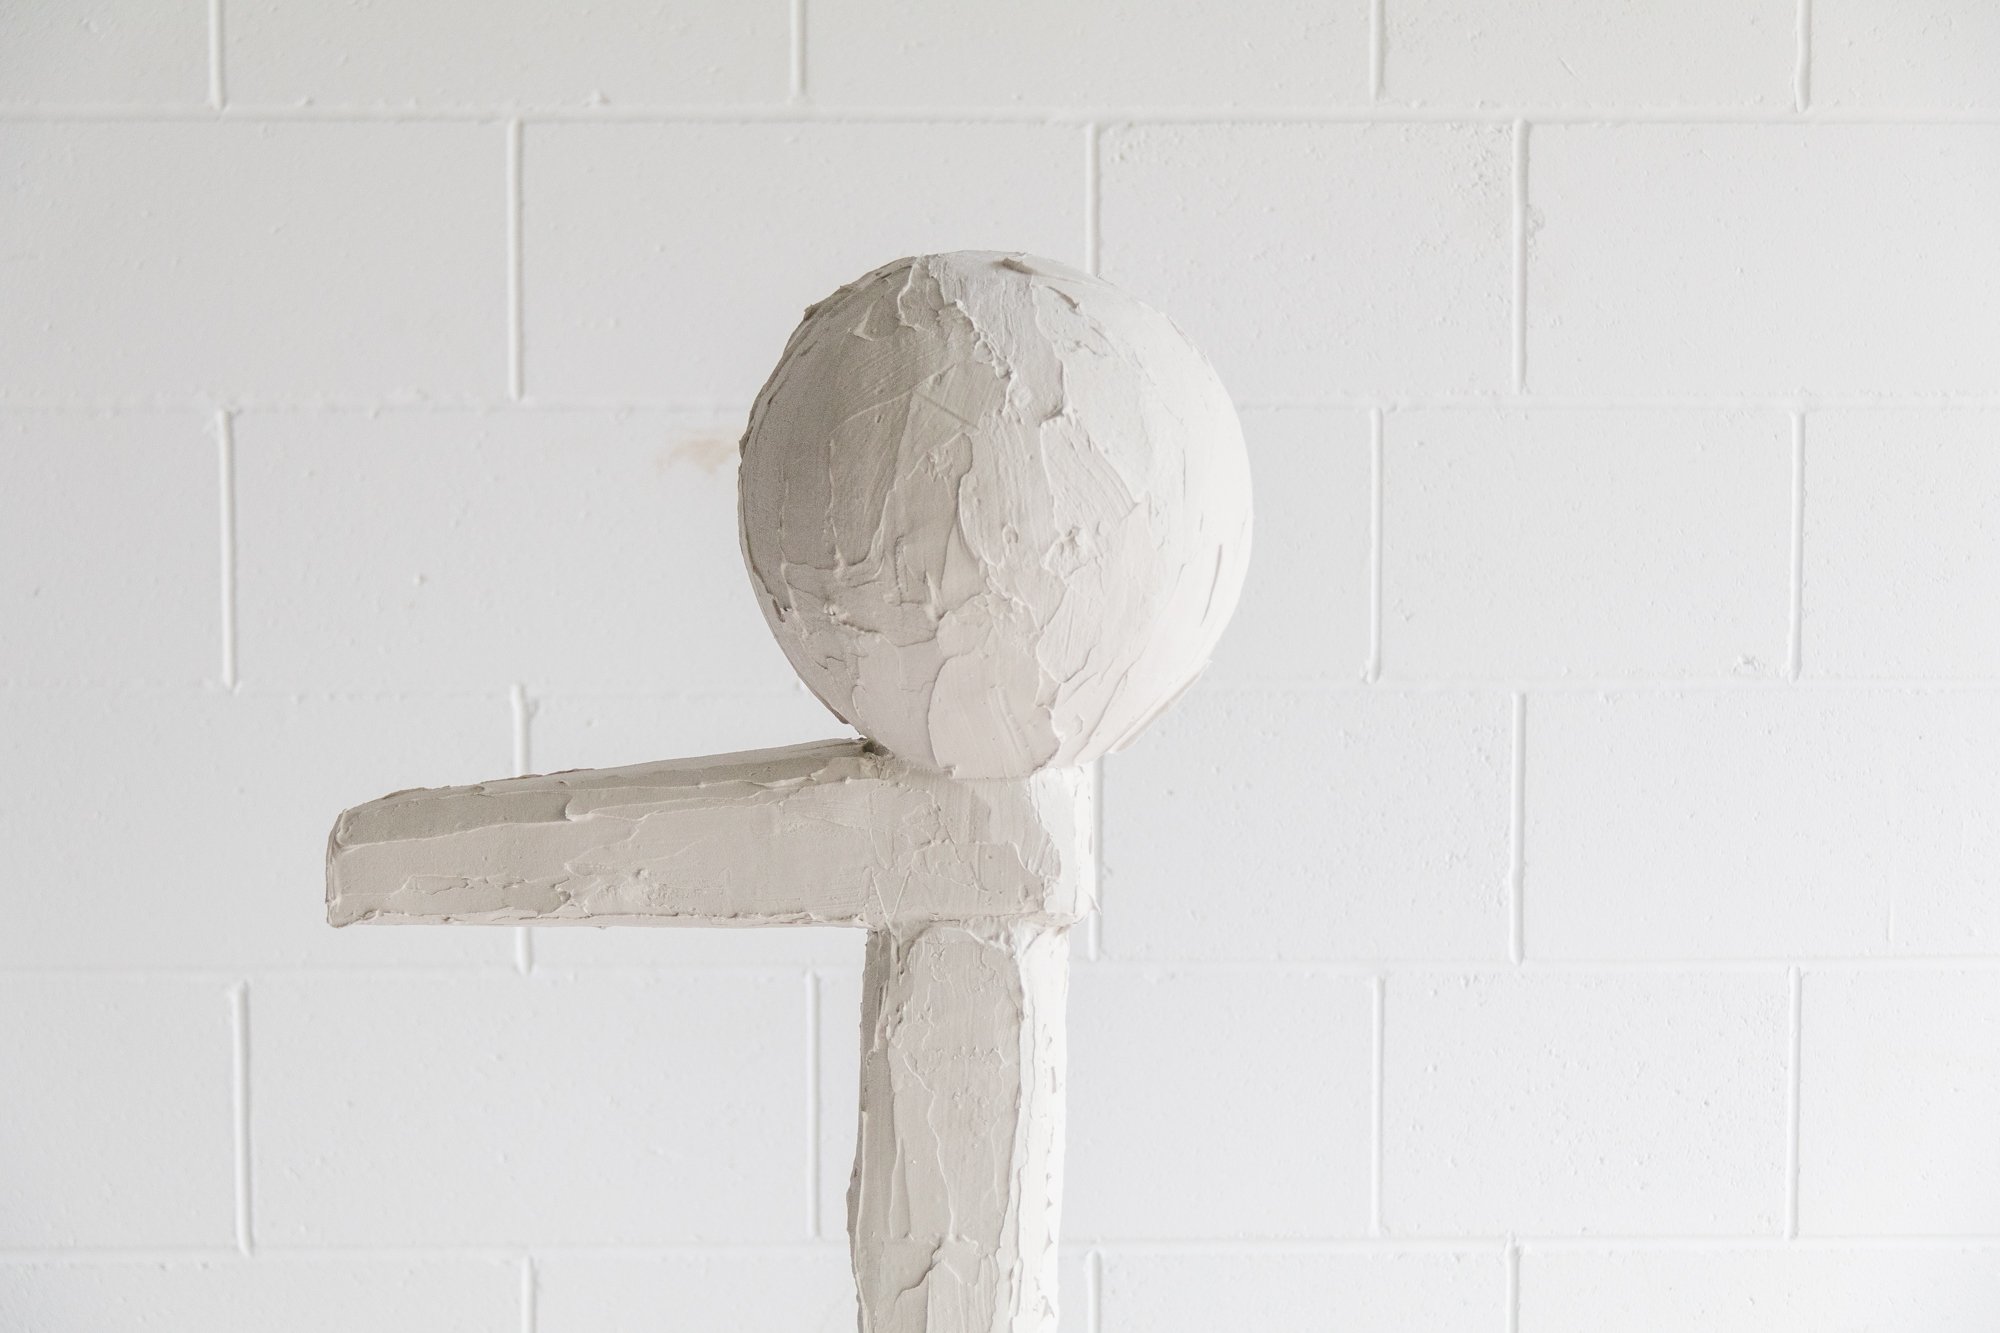
We have an awkward space between our television and curtain in our living room, and for ages I considered hanging art on the wall, but I knew it wouldn‘t look right. I started wondering about what else we could put in this space and when I saw saw this photo, I knew something similar would look incredible. I immediately started thinking about how I could make my own abstract sculpture, including the materials I would need and styrofoam kept popping into my head. I wanted the sculpture to be lightweight, easy to move and simple enough to shape, and then I remembered seeing a huge shed packed with pieces of styrofoam at my local tip, so I drove over and they let me take as much as I wanted for free.
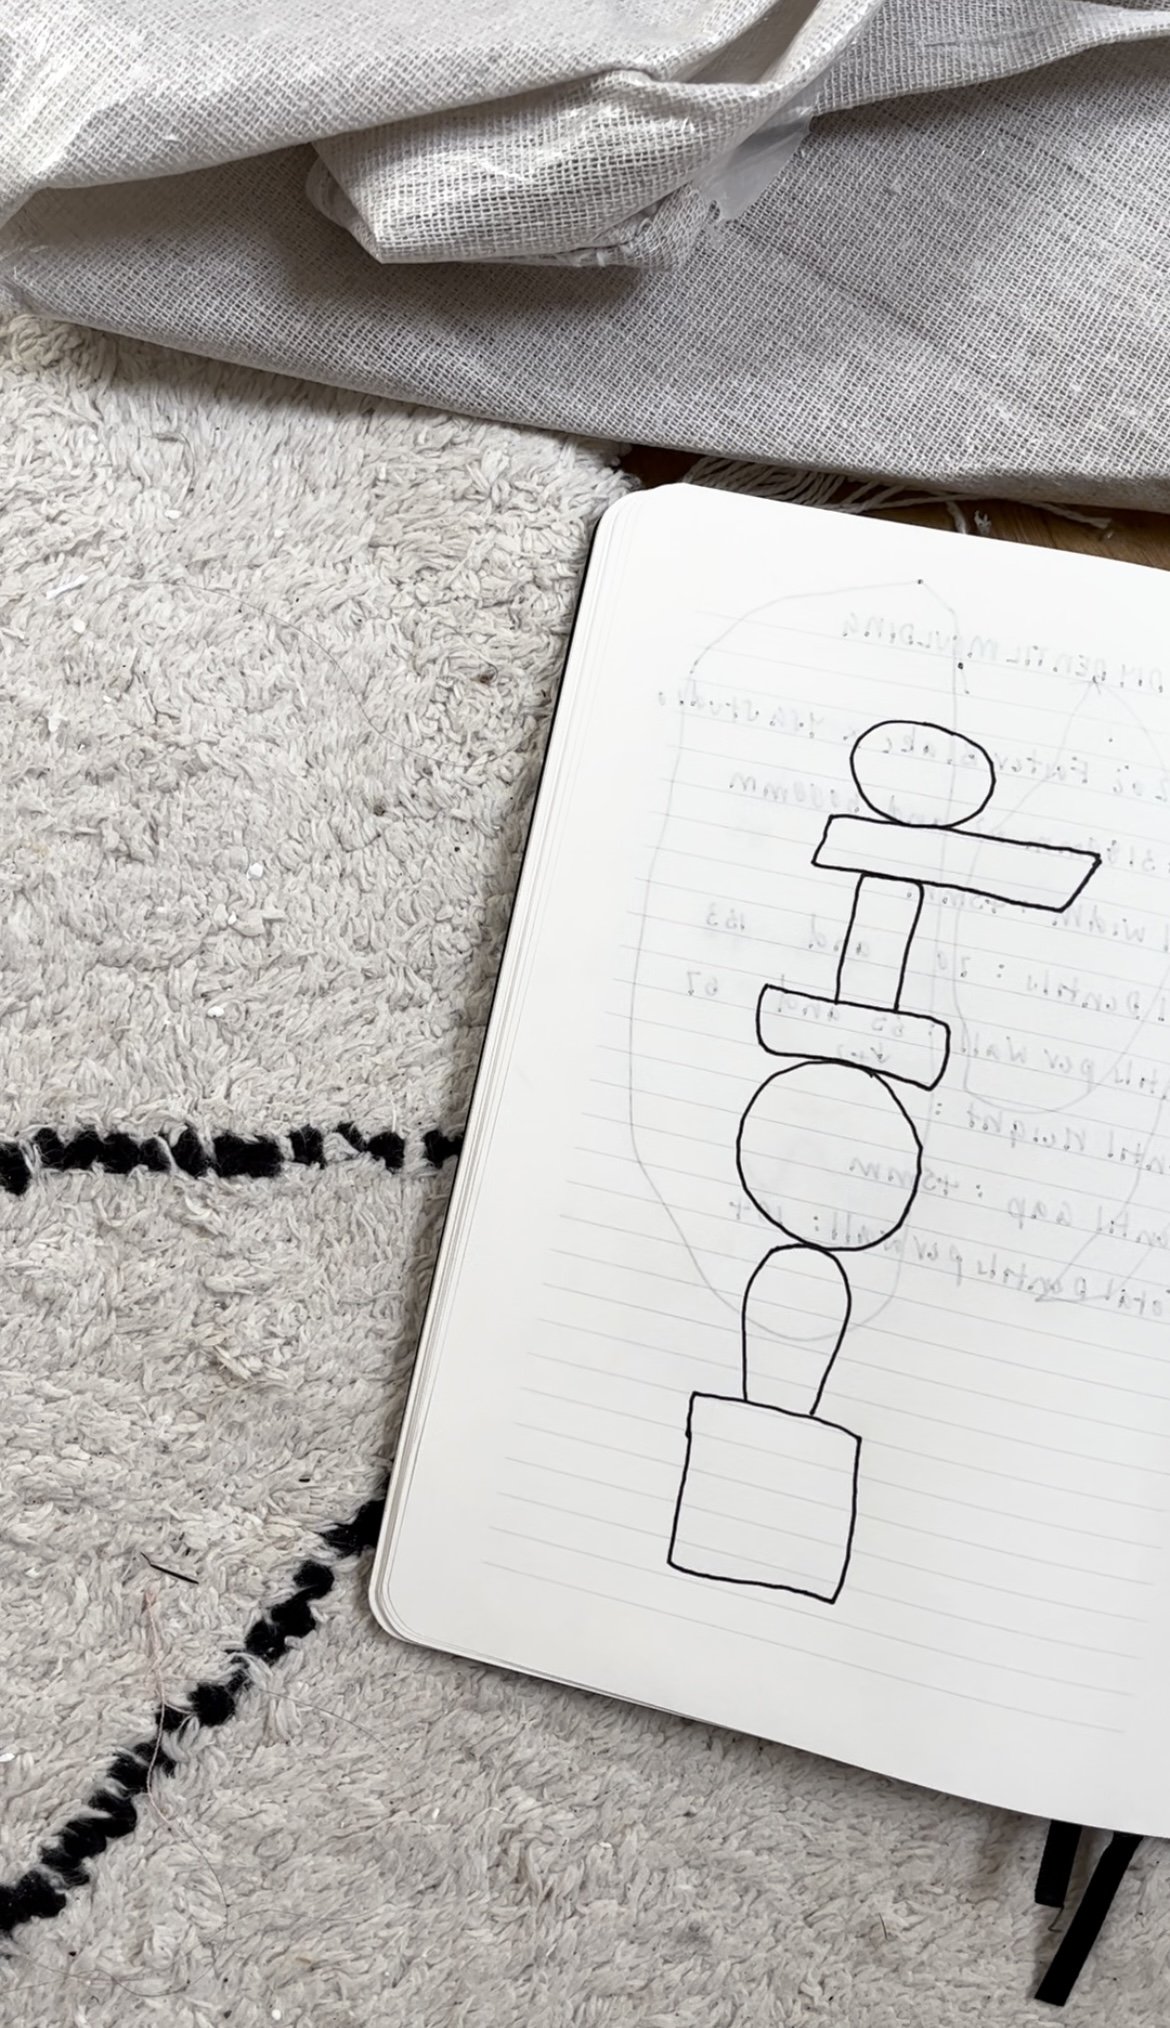
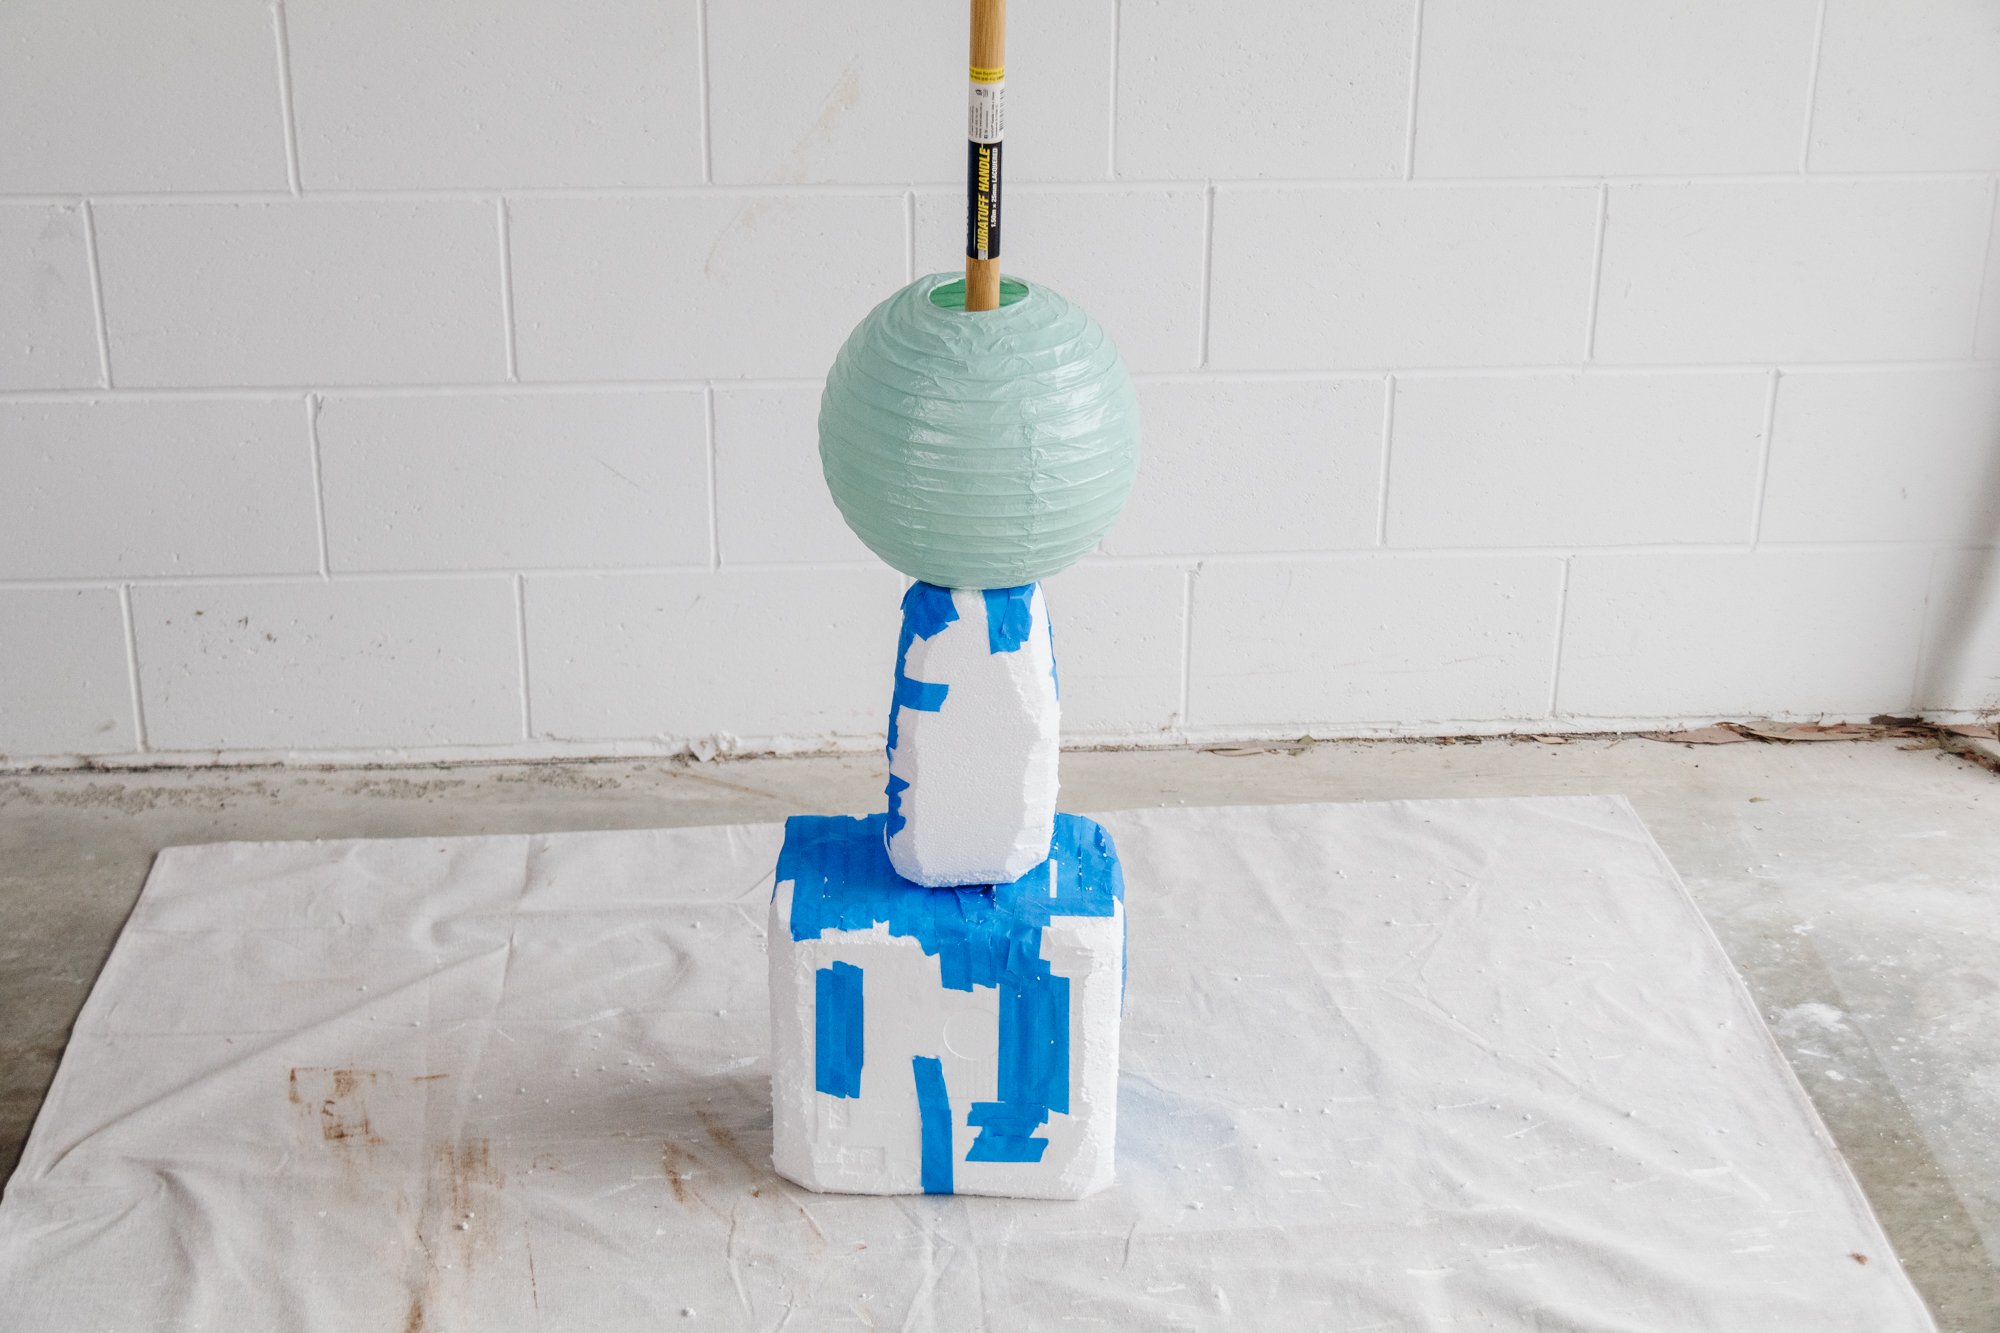
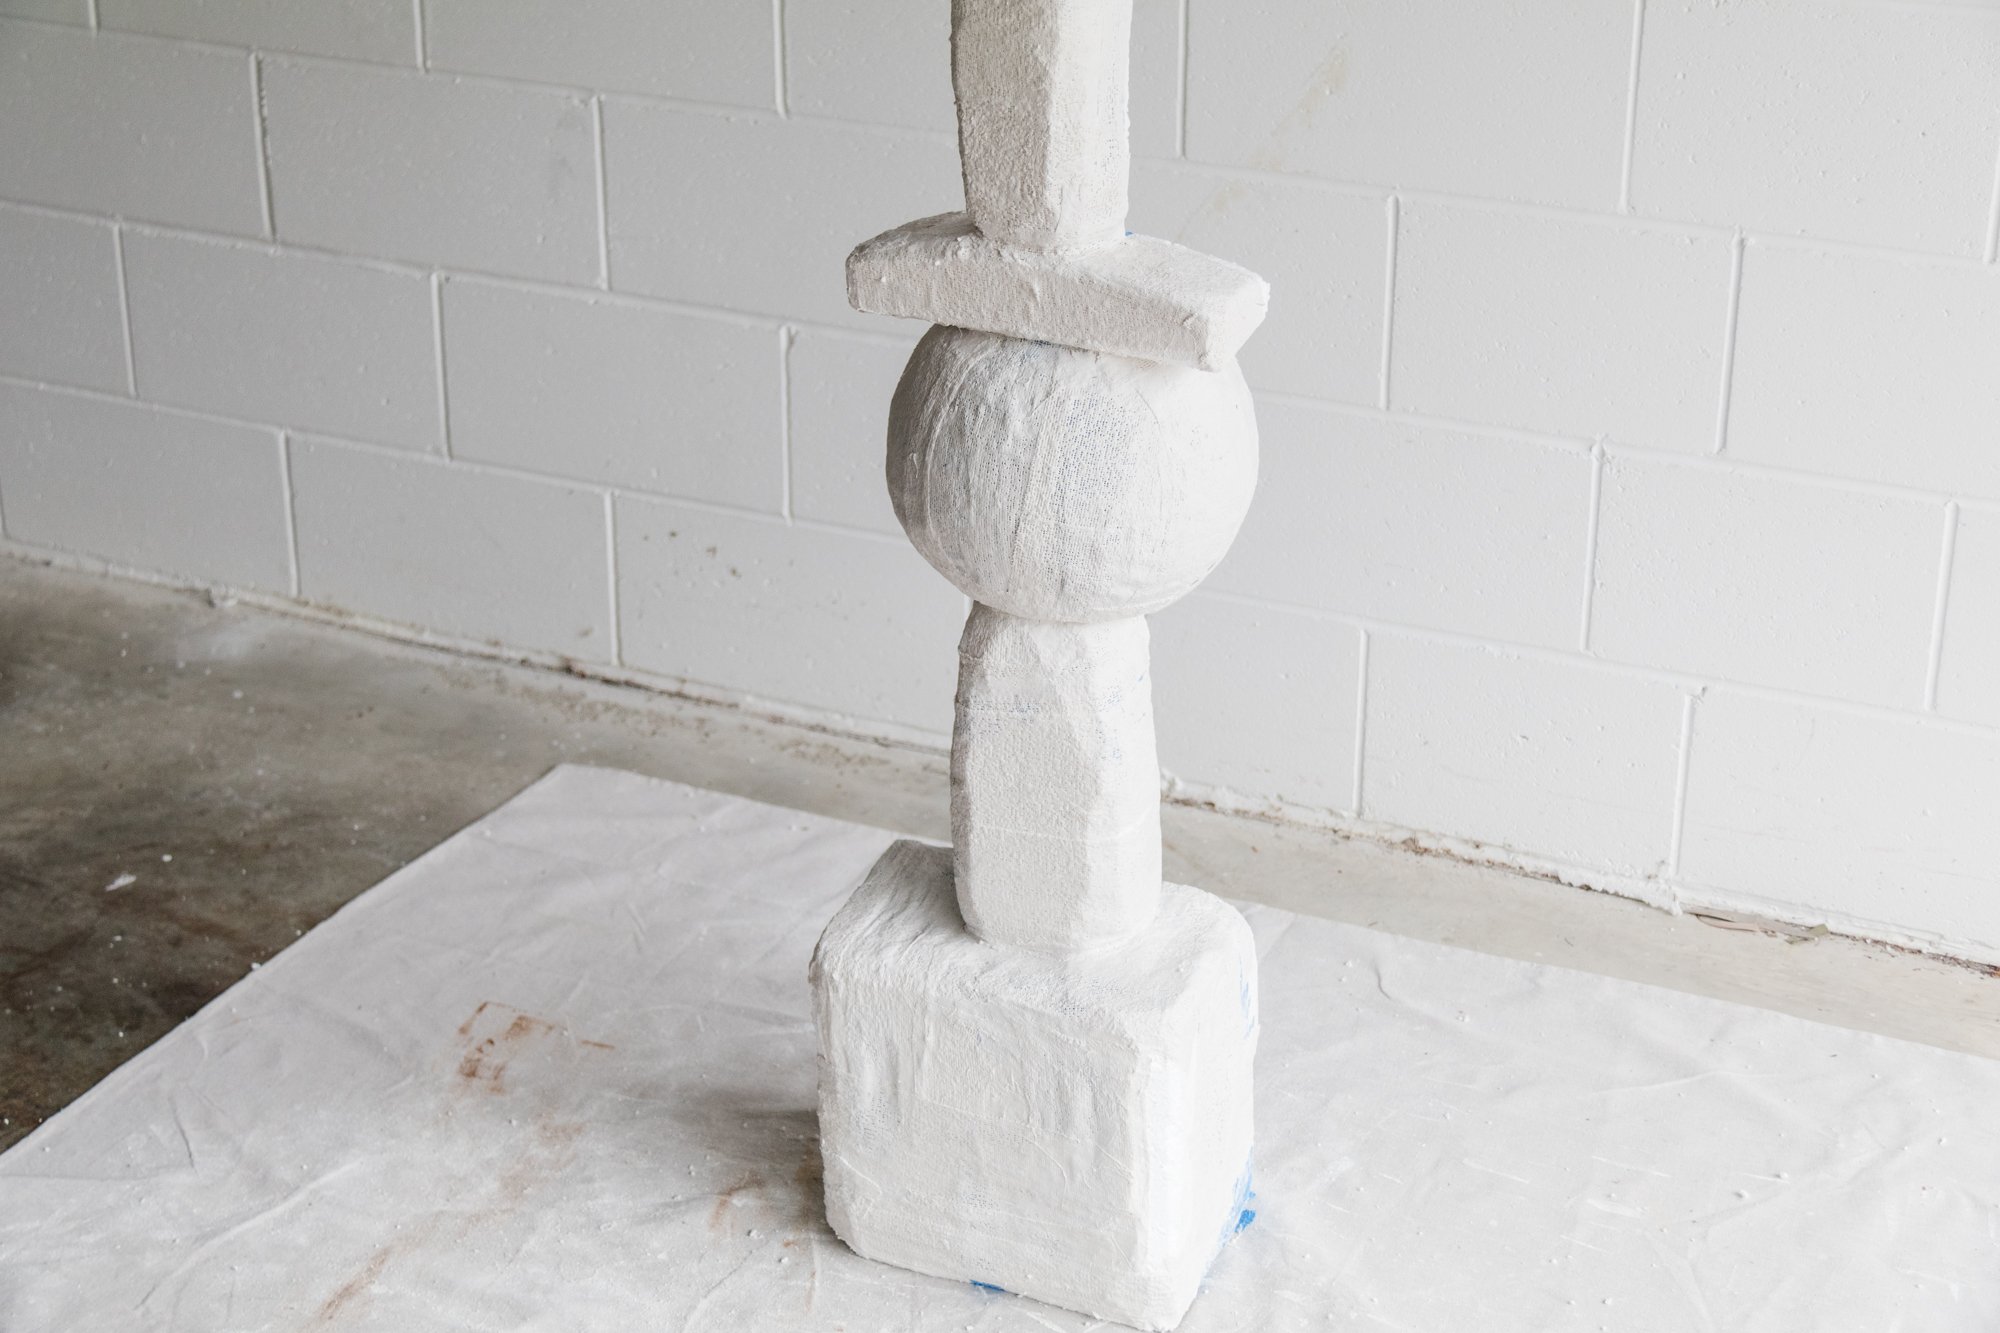
I sketched a rough design and anchored the sculpture with styrofoam taped together for the base and a mop handle. Honestly, I had no idea what I was doing and I’ve never felt so out of my comfort zone. There was styrofoam everywhere in my studio and it looked like a disaster. I was going to throw the towel in but when I stumbled across some round painted paper lanterns at a charity shop for $1 each, I knew this was what was missing - soft round spheres. I sketched another rough design and when I started layering the individual sculptures on top of each other, playing with the design, it all started coming together. Read on to find out how you can make your own standing Abstract Sculpture!
And to see how this project came together, check out this video!


Project Details
🕒 Project Time Estimate: 4 hours
💰 Materials Cost: Under $60 (less if you can source styrofoam for free)
⚒️ Power Tools: None!
👷♀️ Skill Level: Beginner DIYer
Tools
Utility knife and a kitchen knife you’re happy to cut styrofoam with
Scissors
Bucket
Scraper
Sanding sponge
Sander
Paint brush
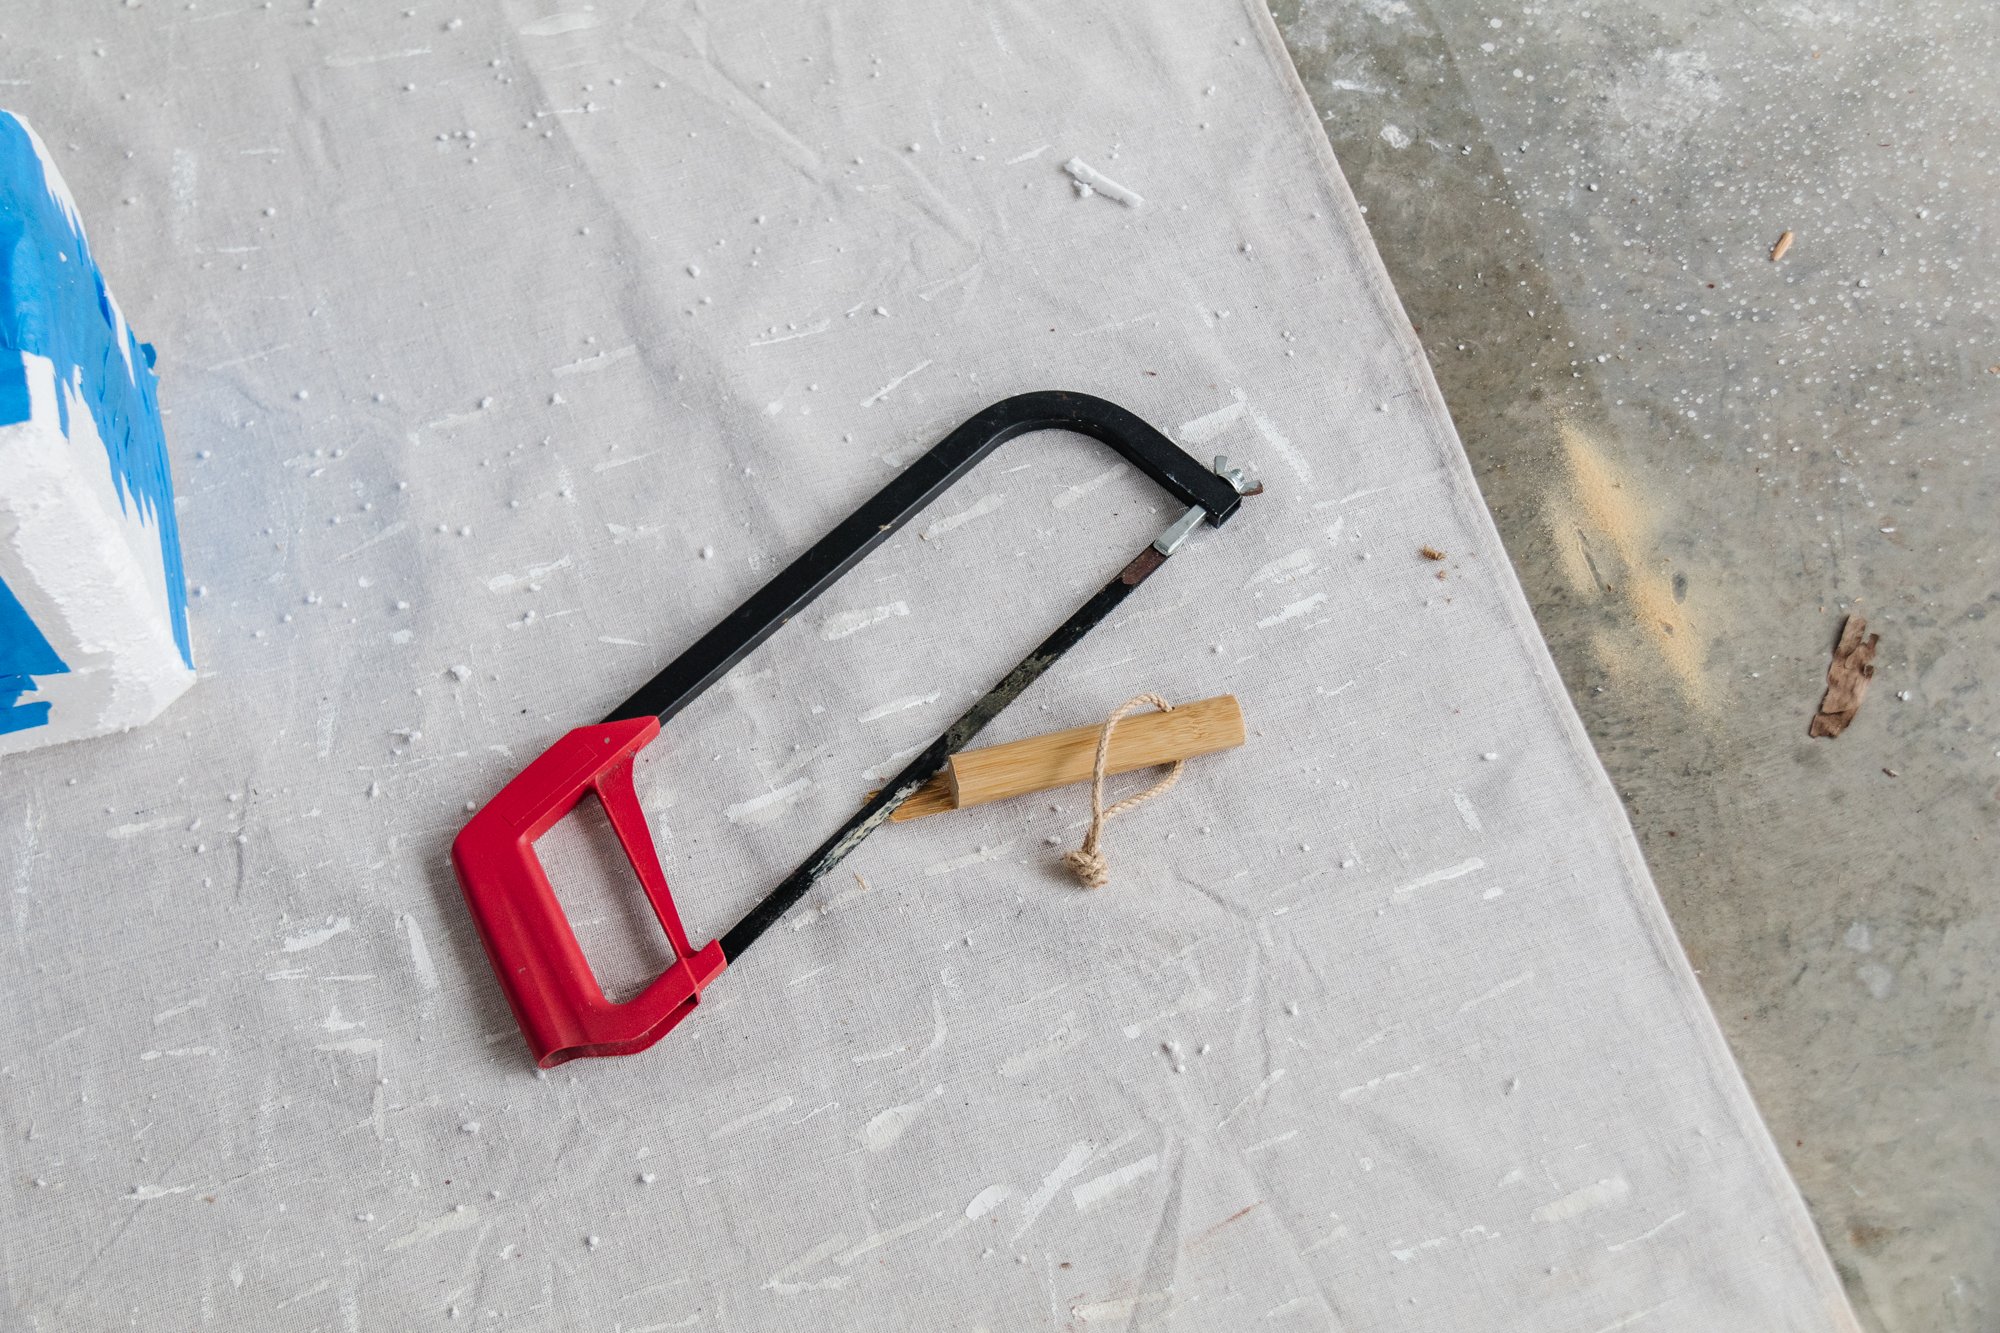
Optional: Mini saw if you’d like to cut the mop handle so it’s shorter

How To
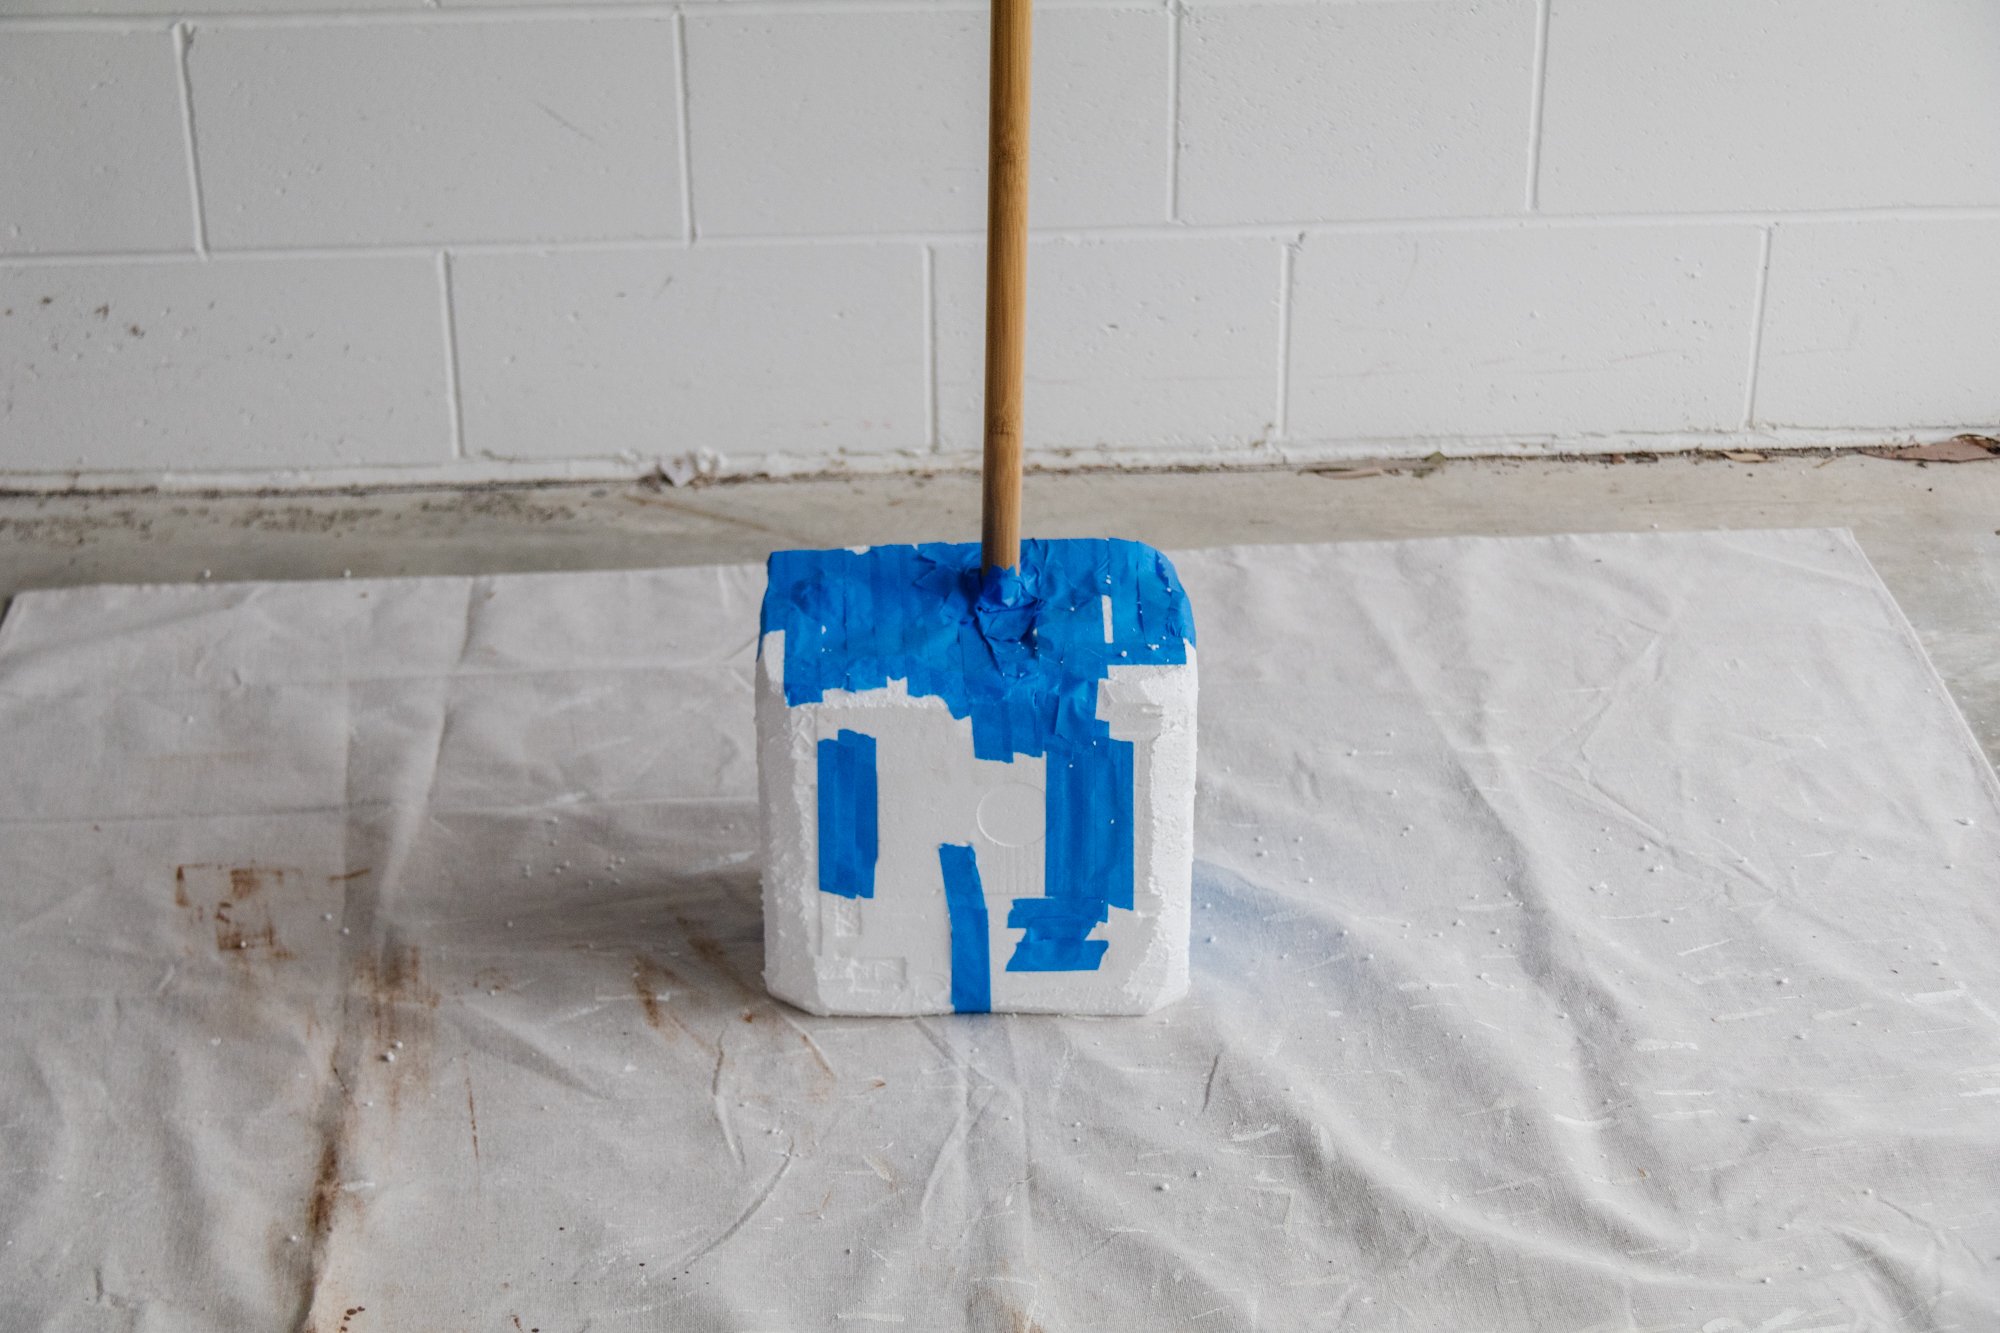
Step 1:
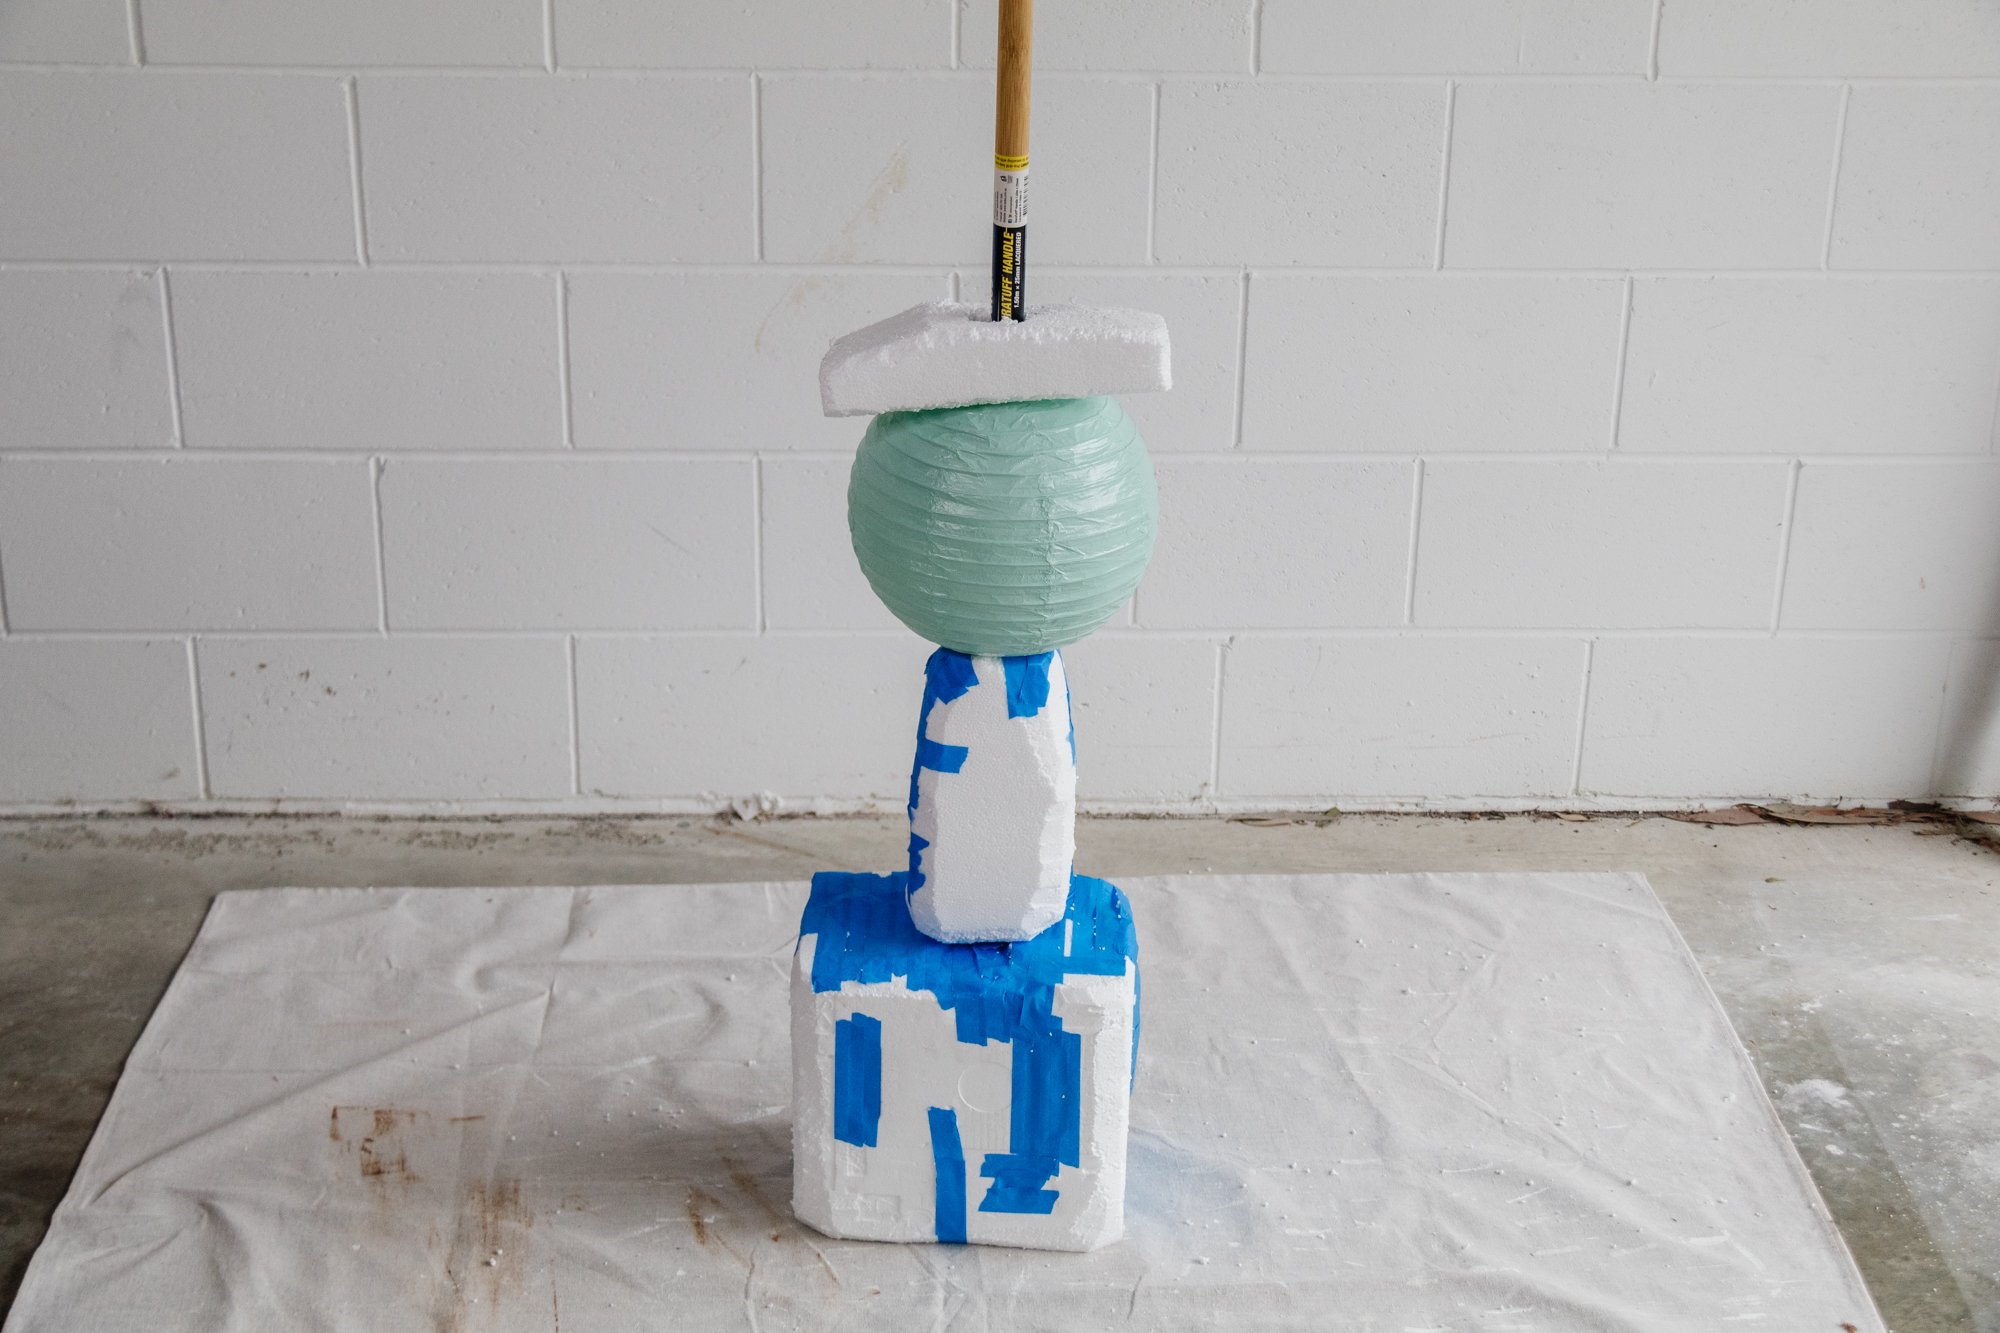
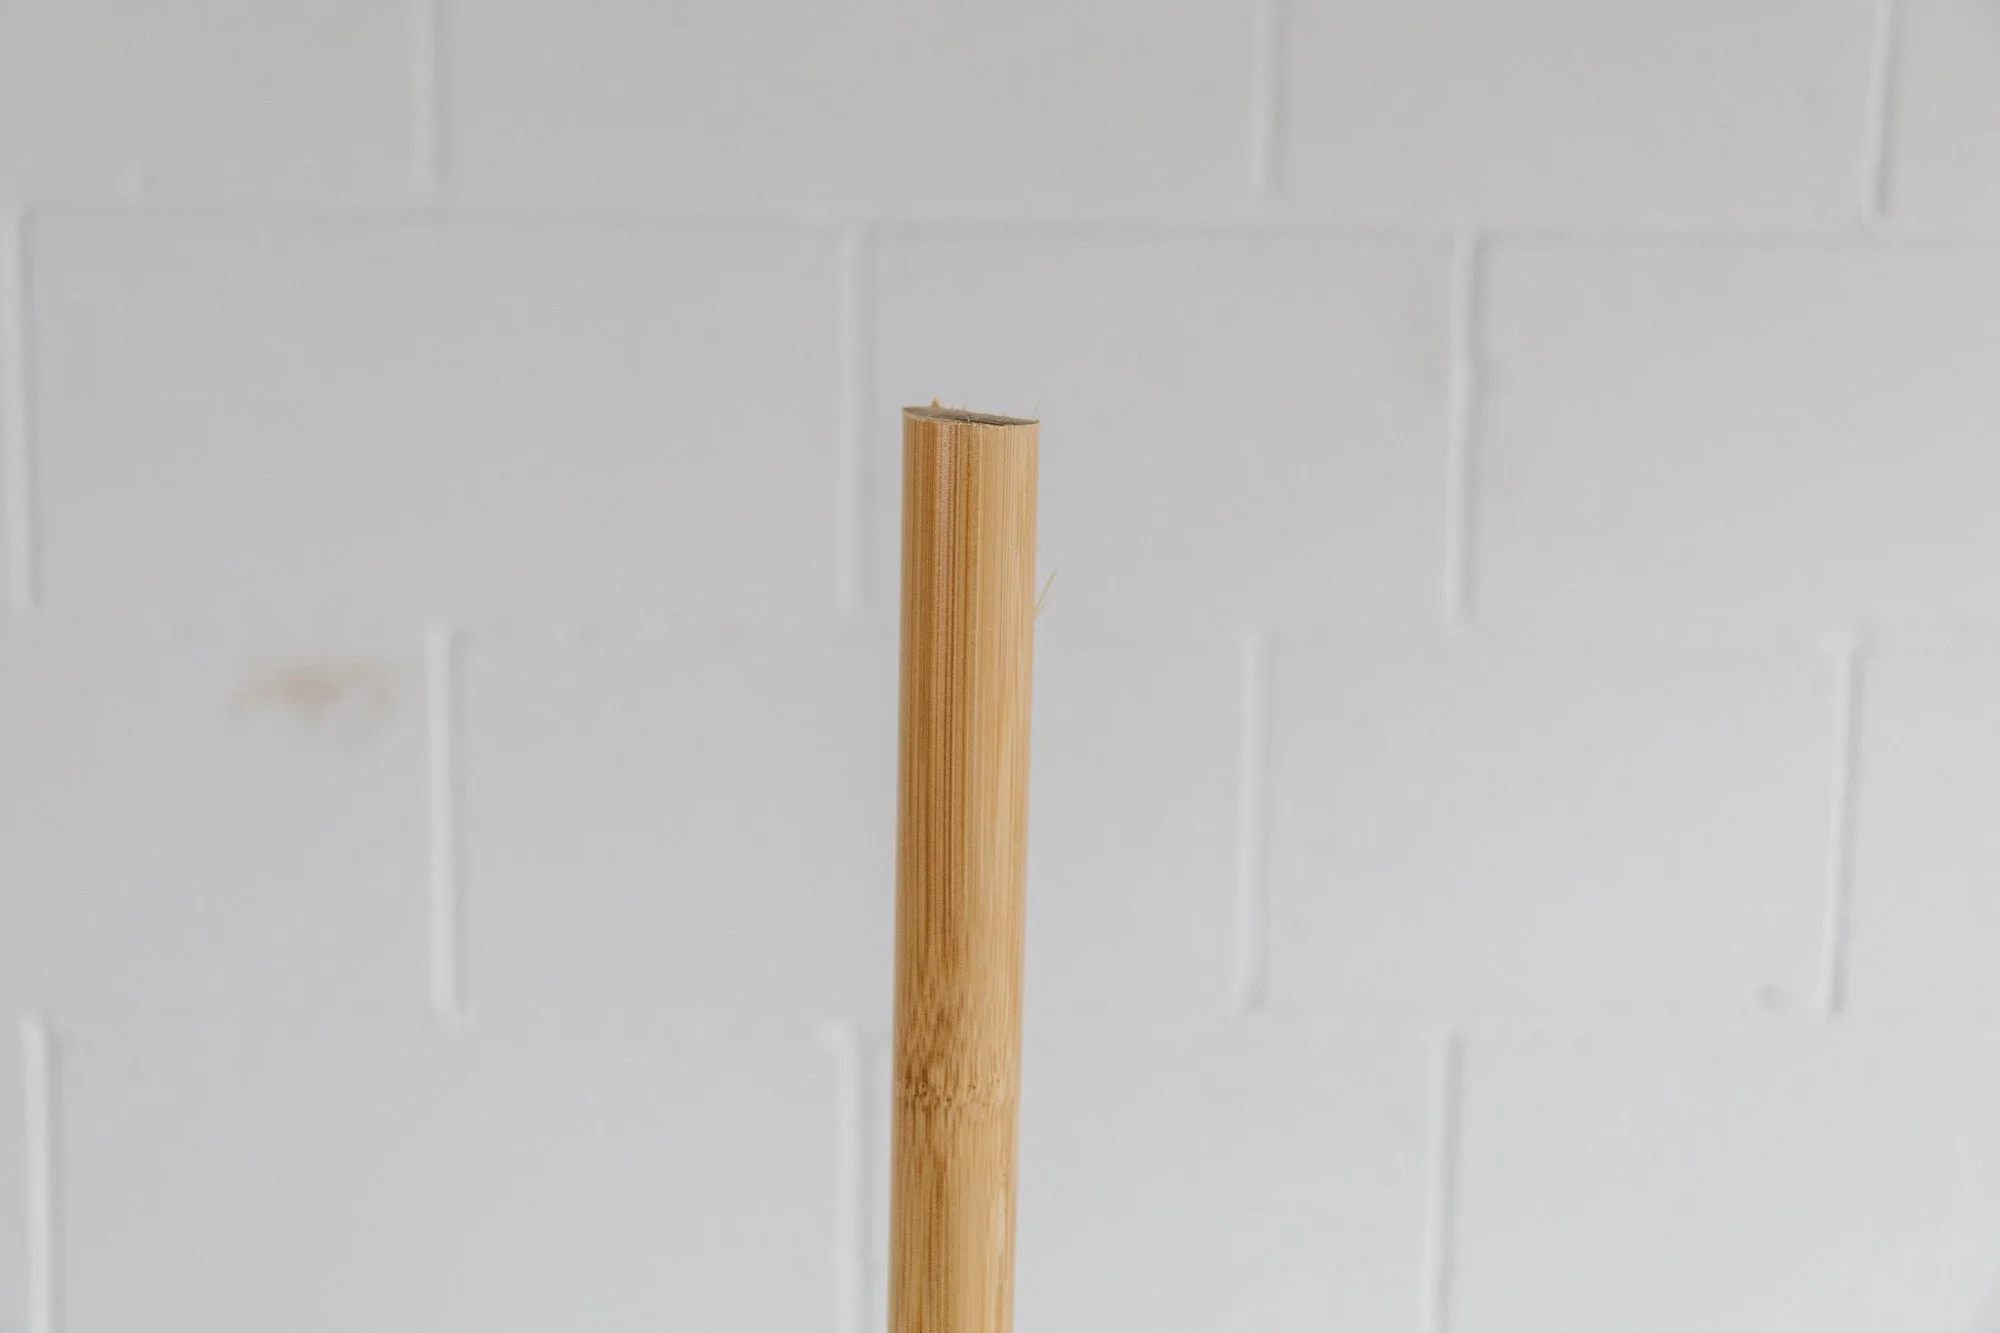
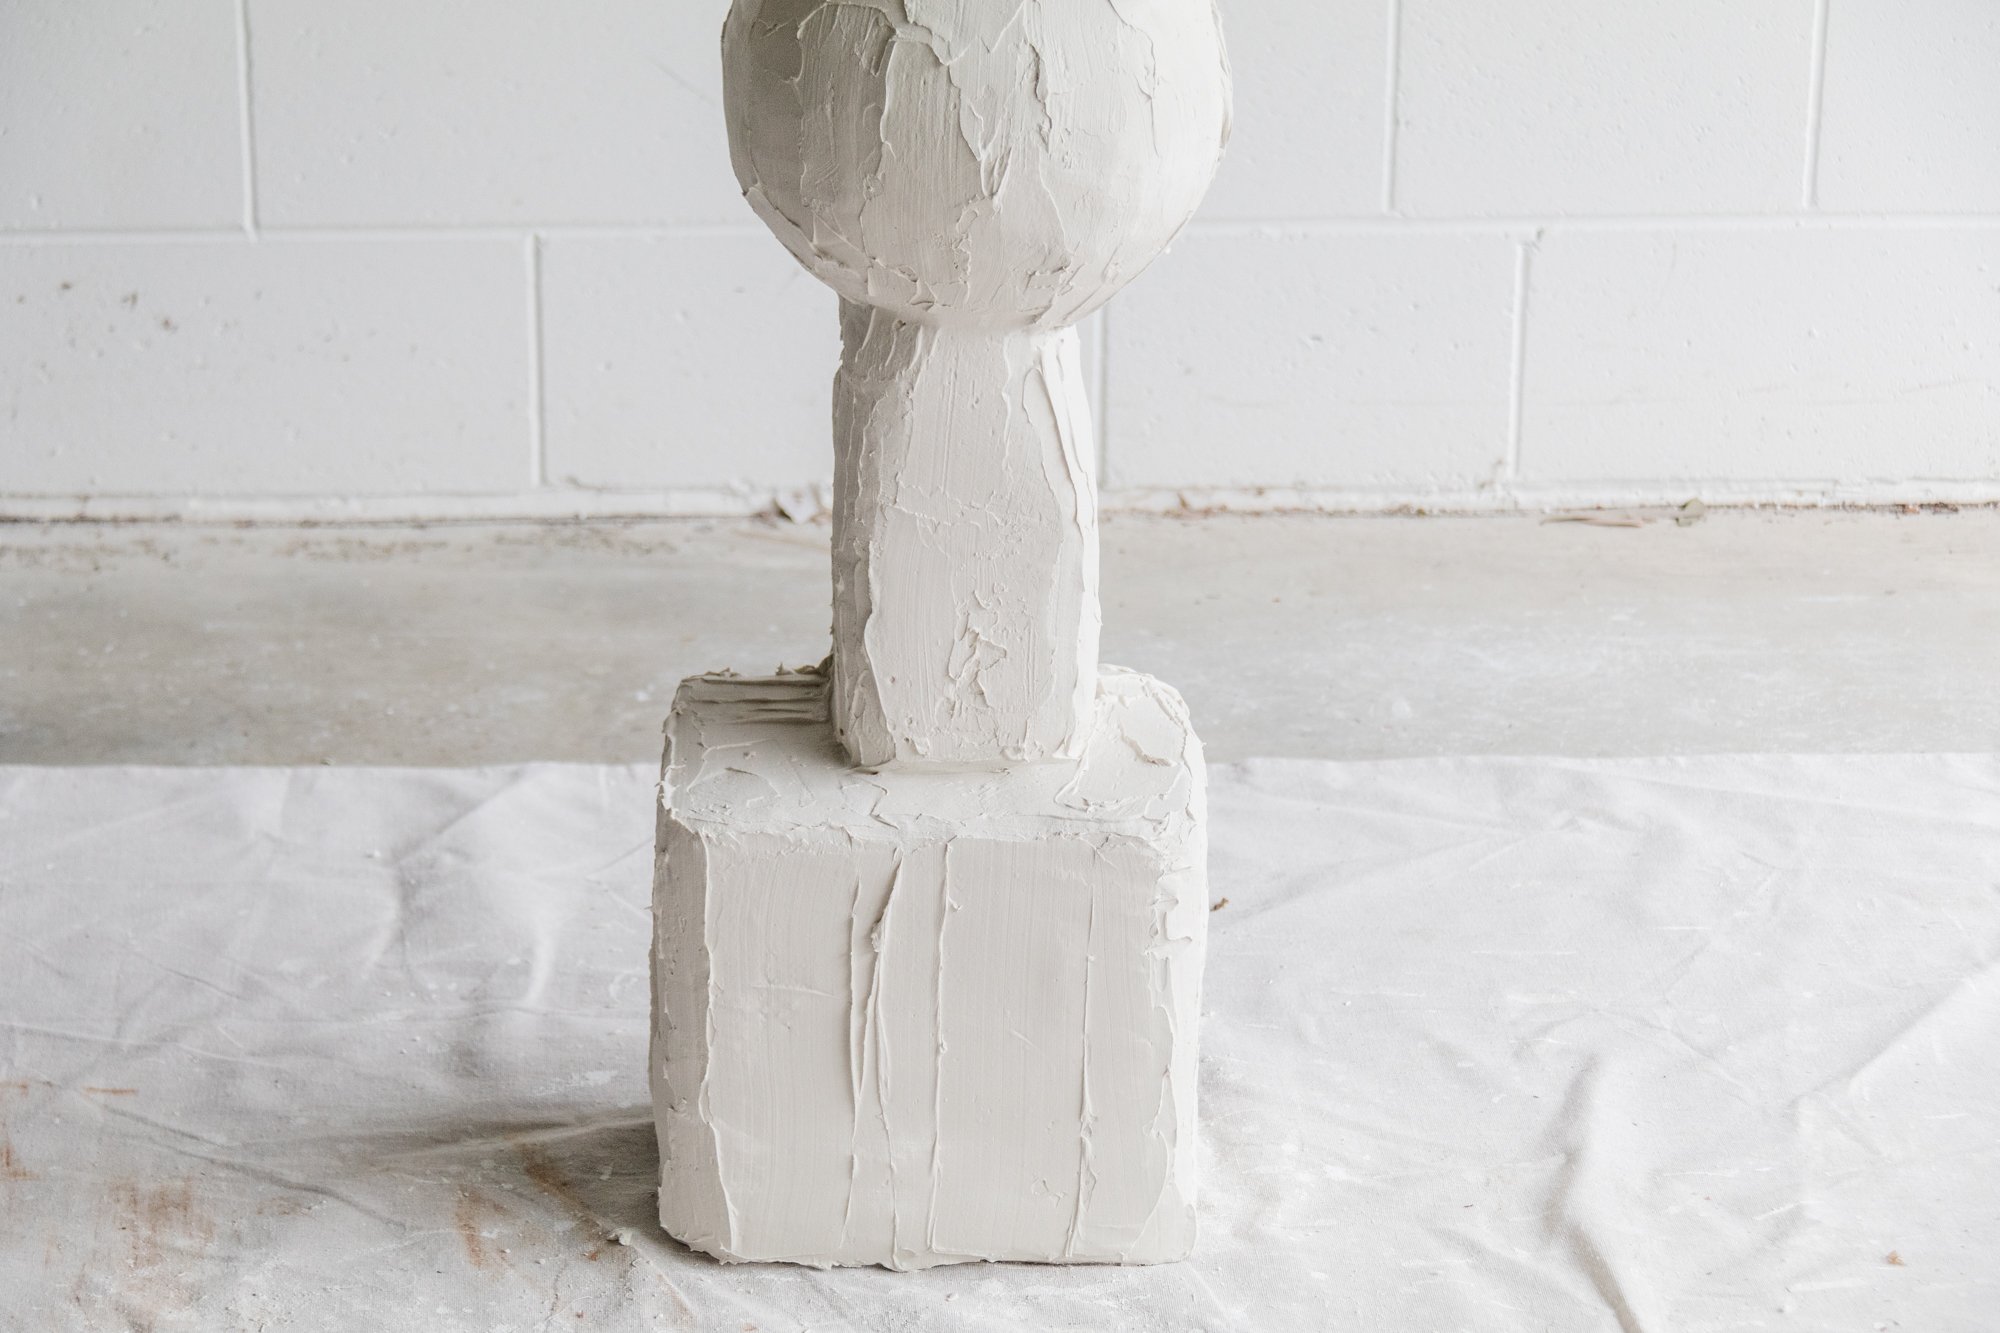
Start by sketching a rough design on paper. Then begin cutting the styrofoam with a knife and form a strong base around the bottom the mop handle using painters tape. You may need to place painters tape underneath the base to ensure the mop handle stays upright.
NB: The painters tape linked in the materials list above is the best IMHO because it sticks to the styrofoam and paper lanterns very well.
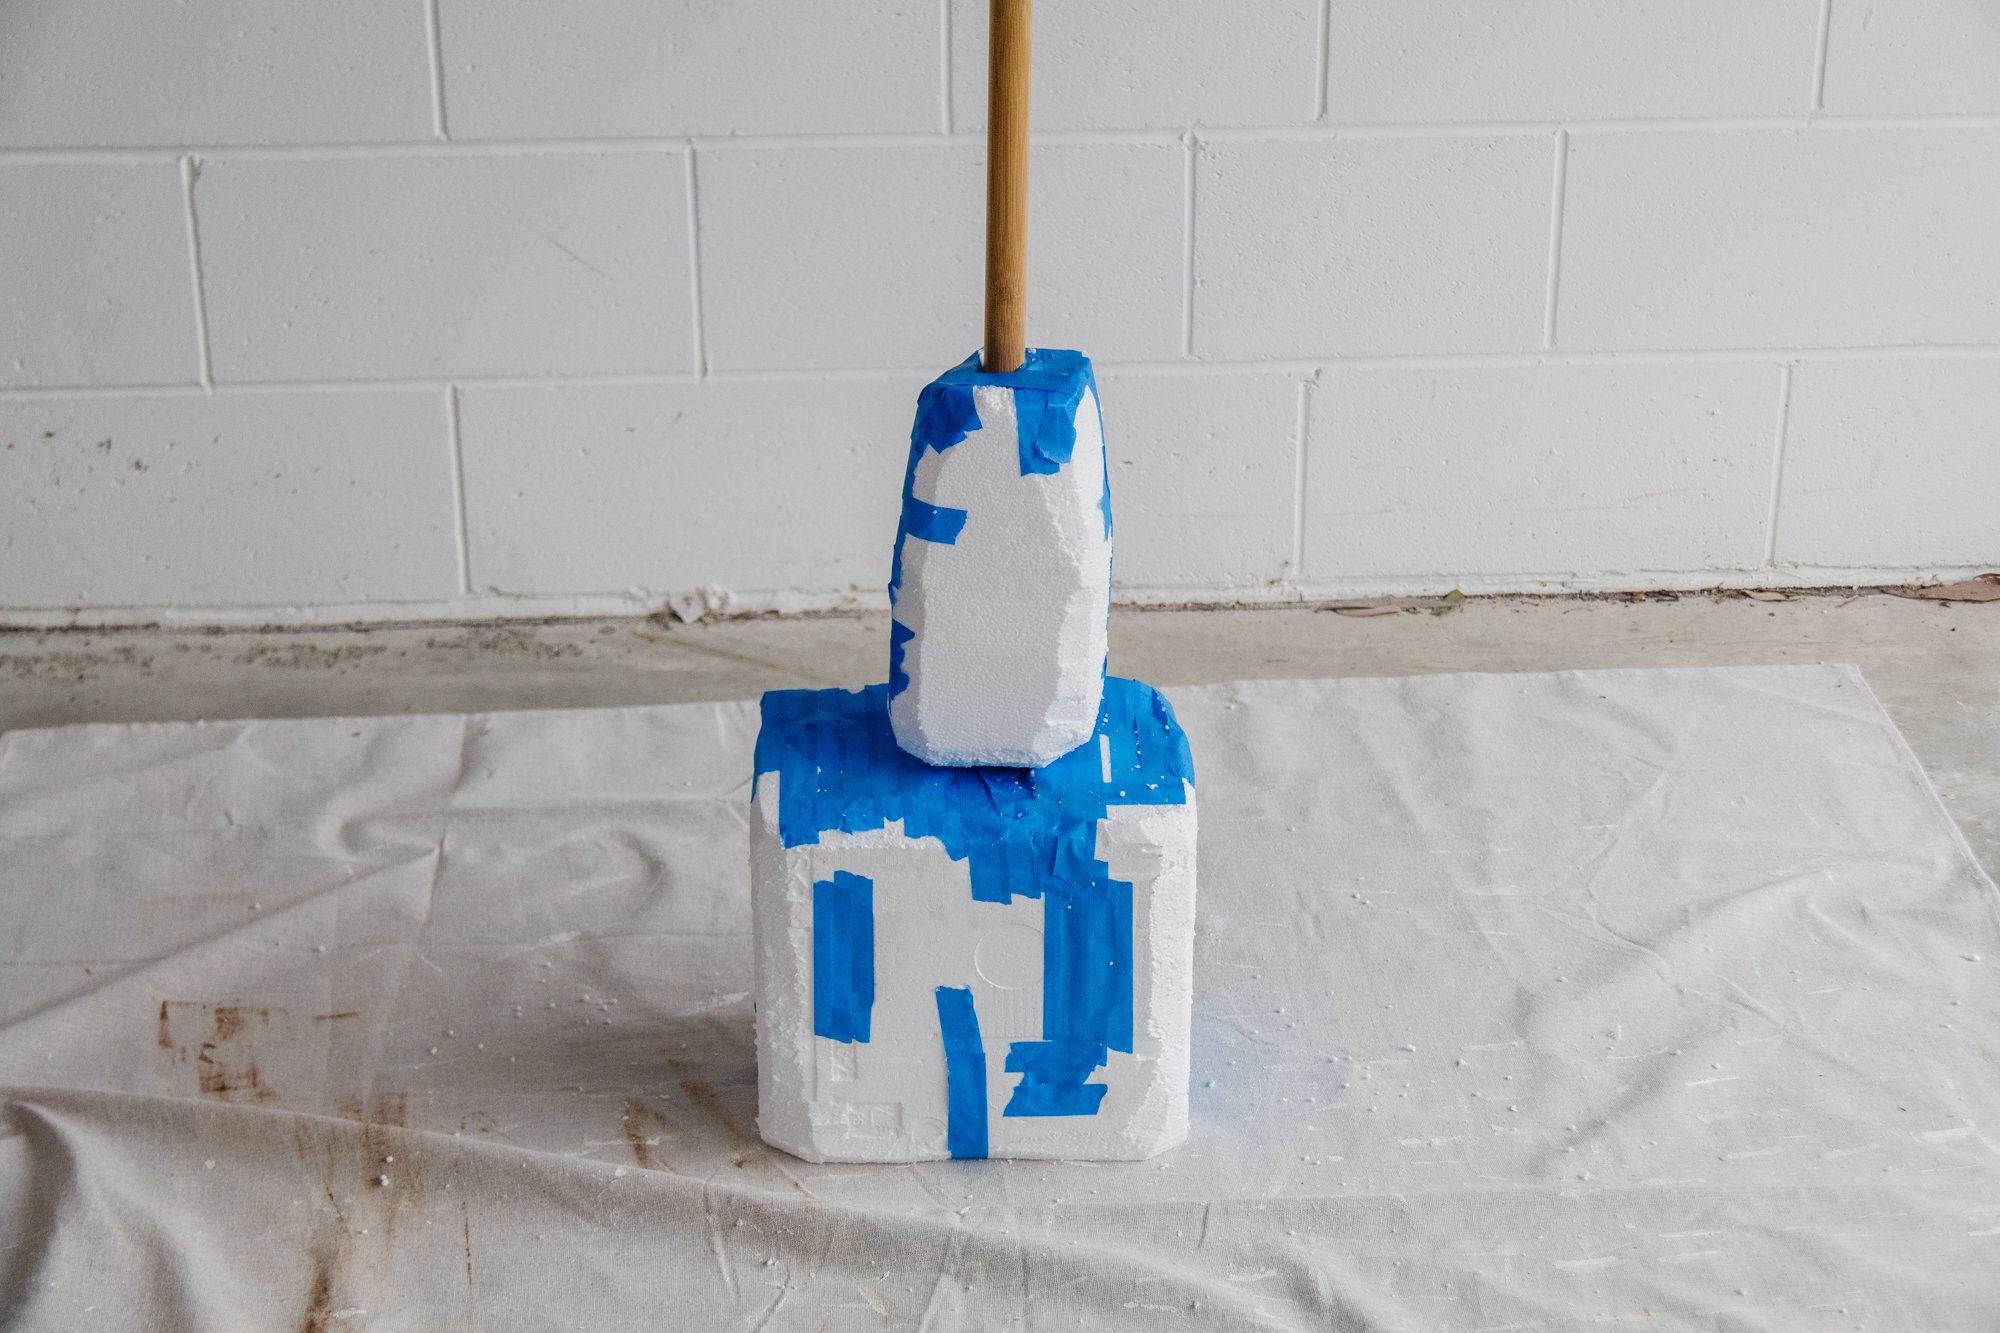
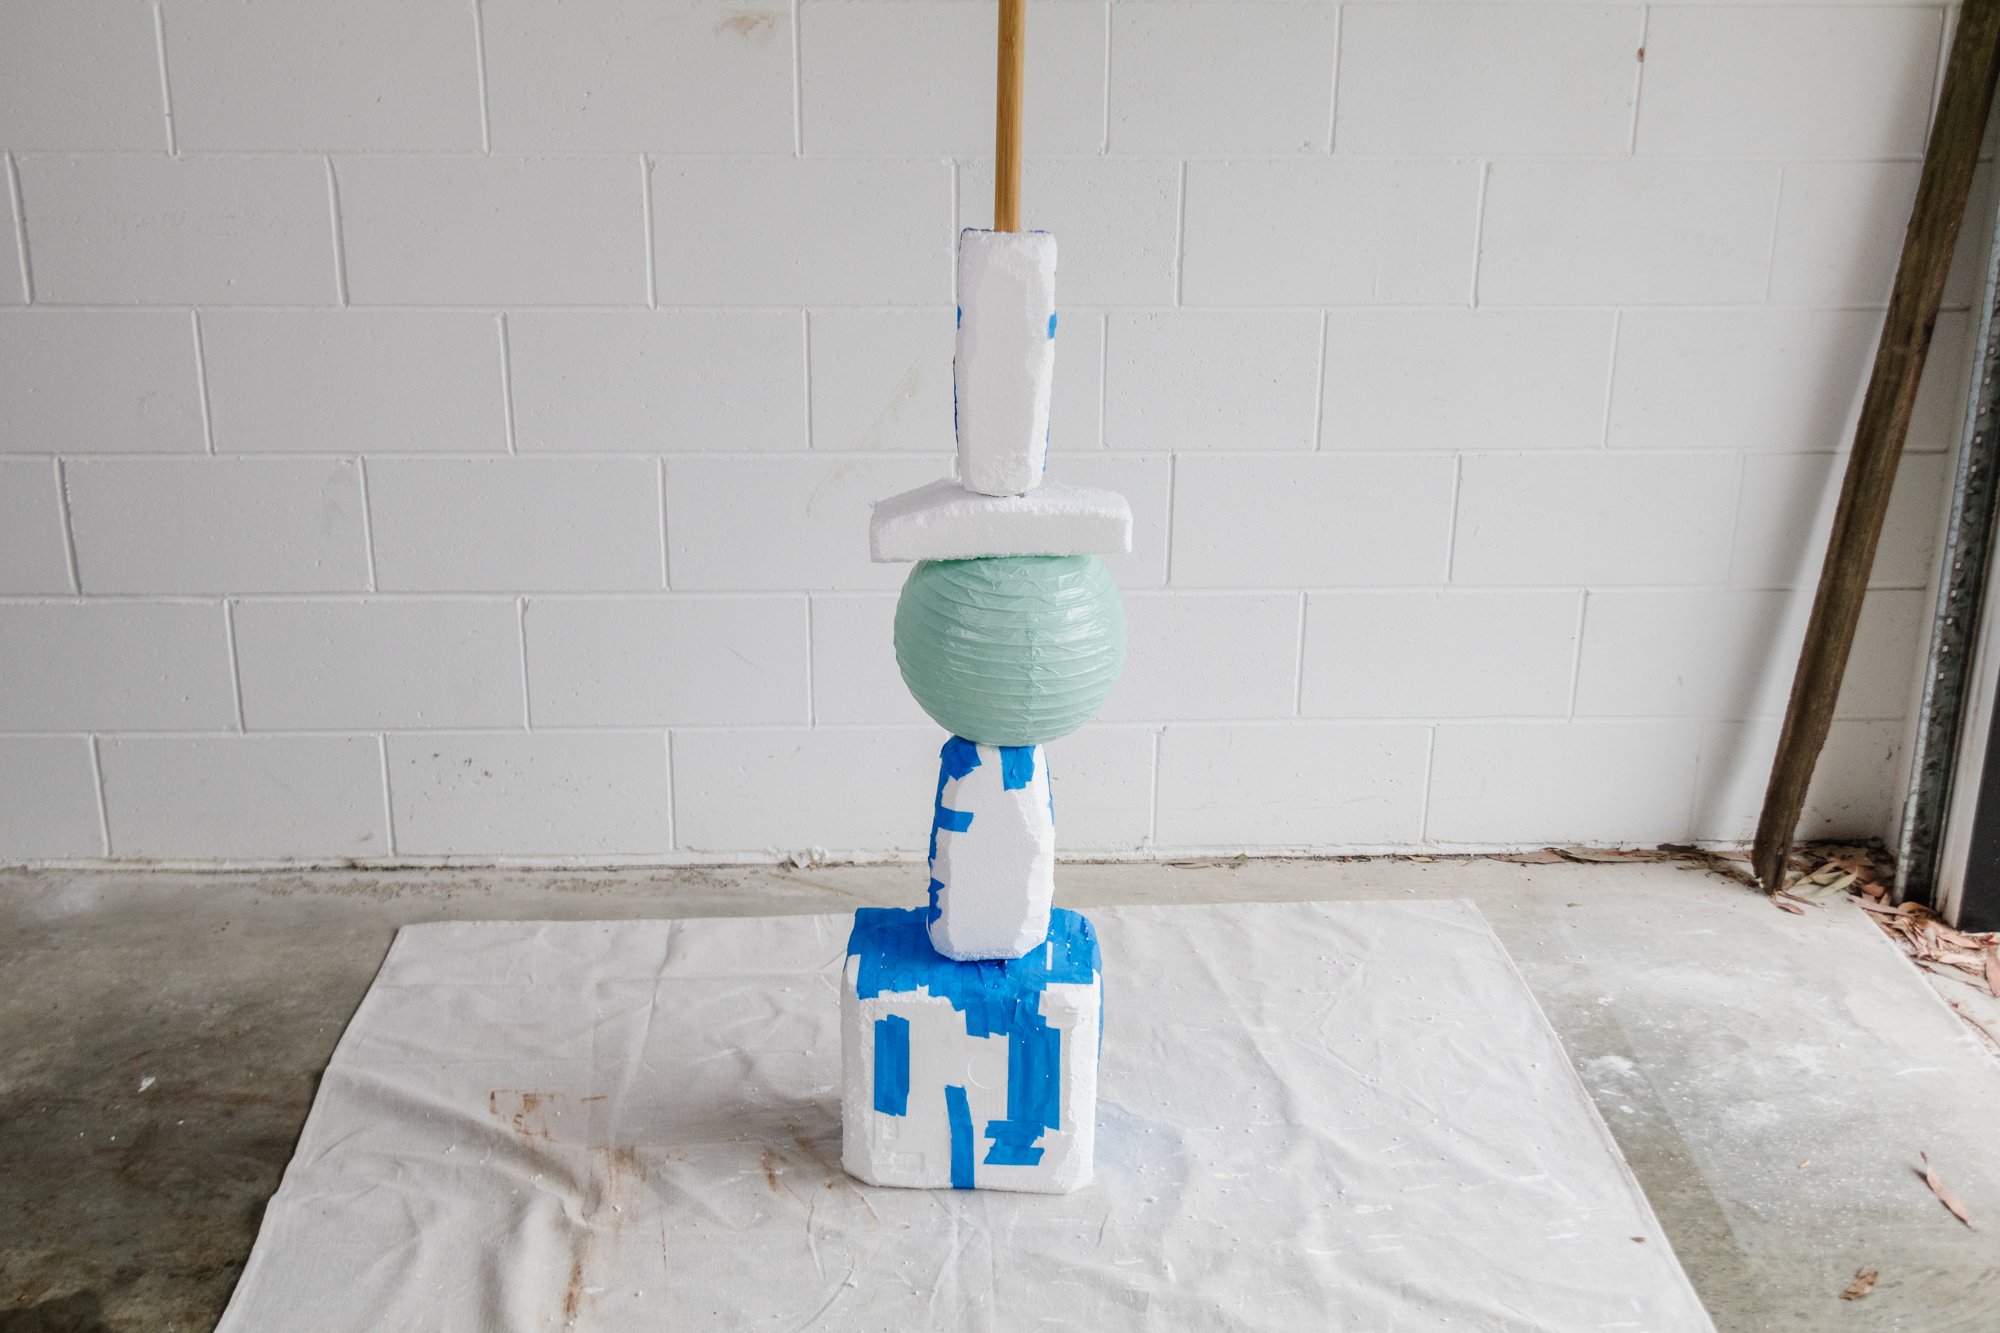
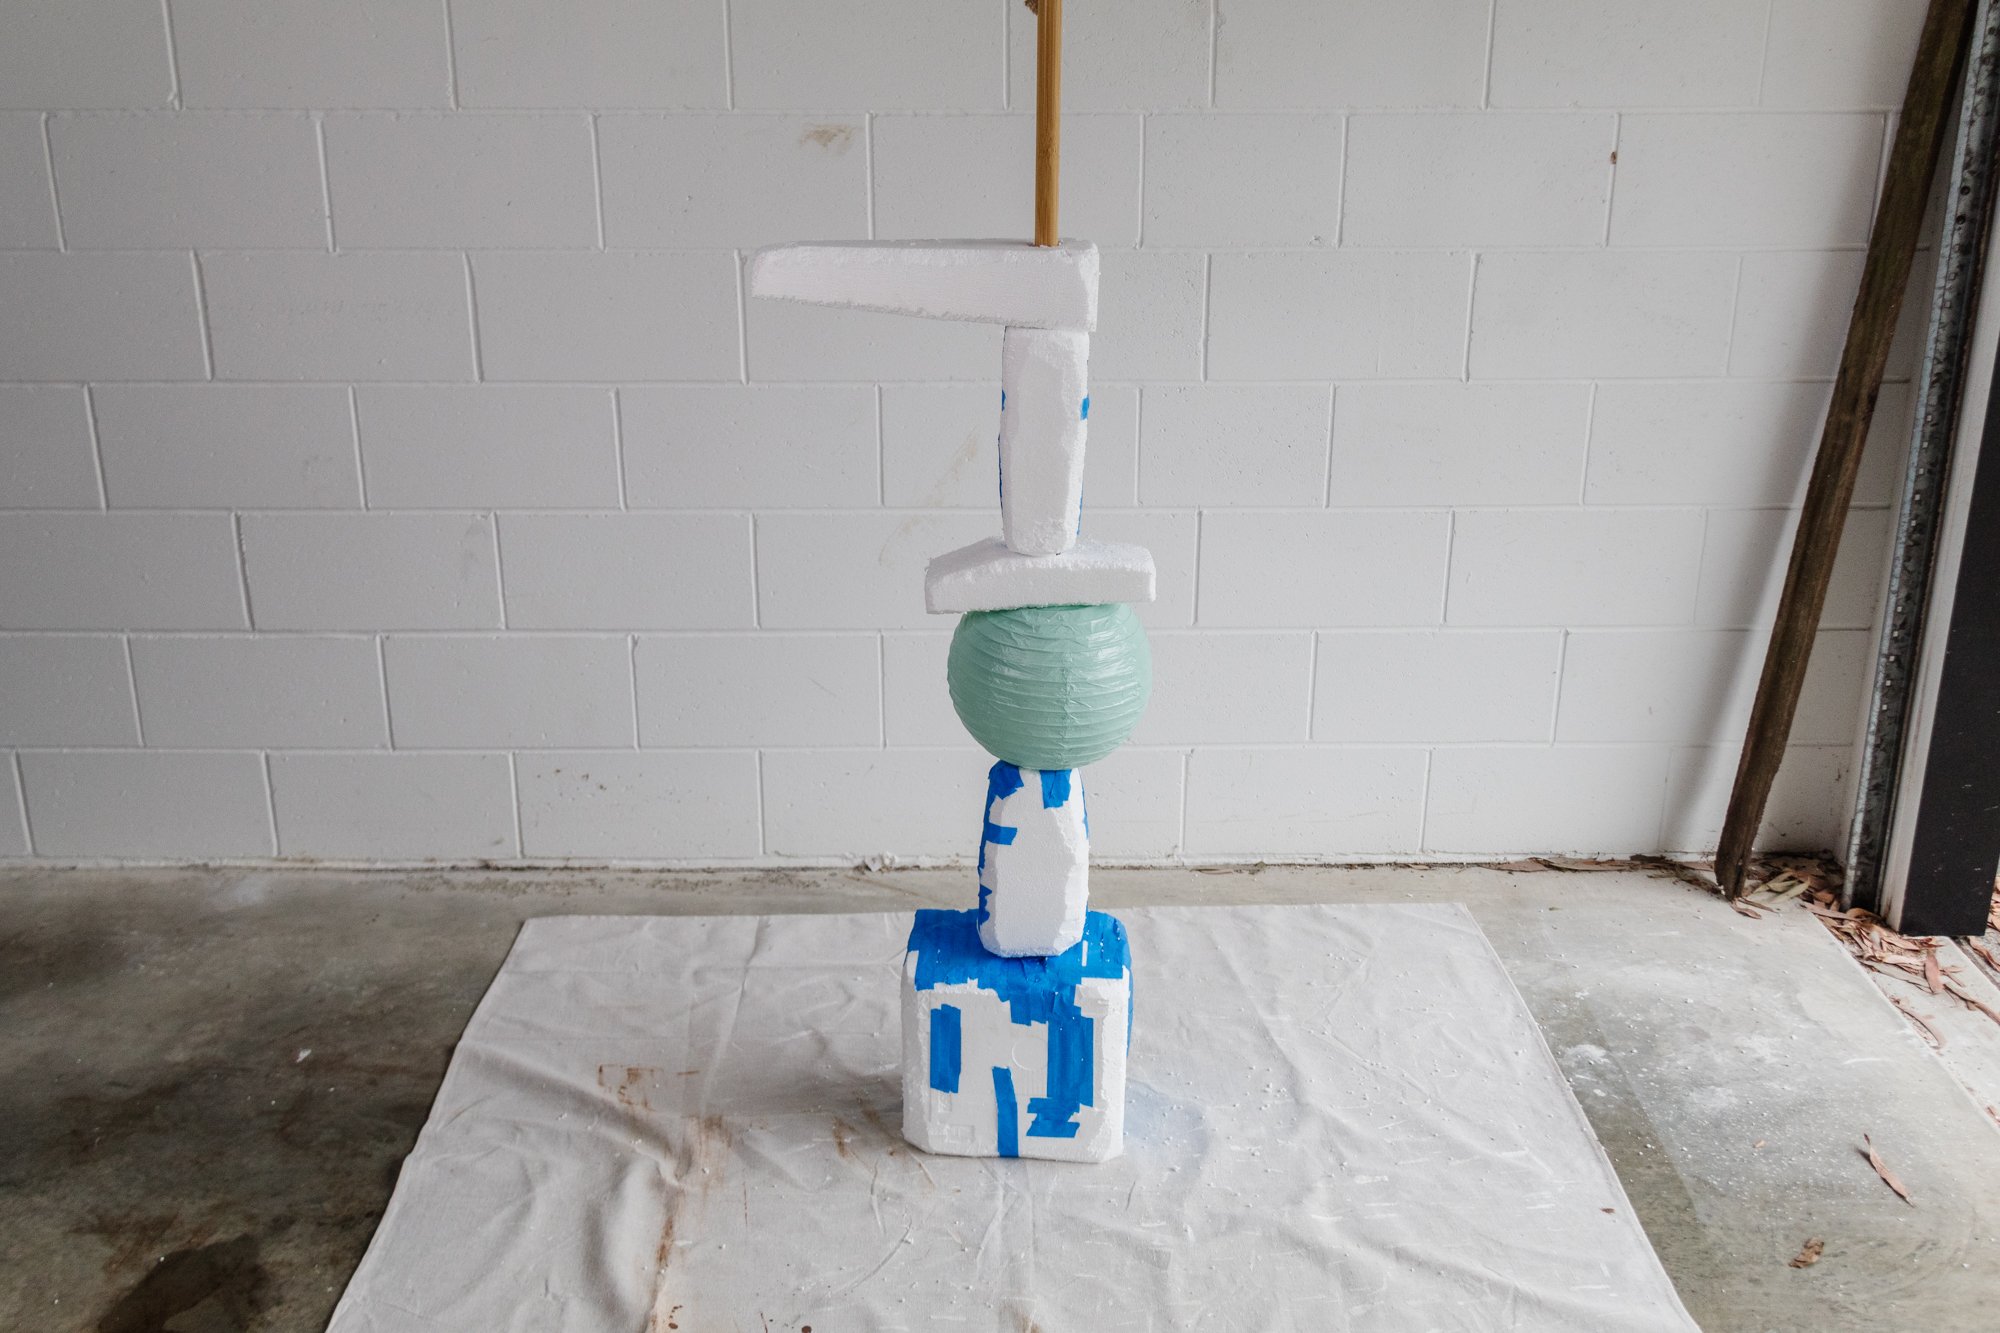
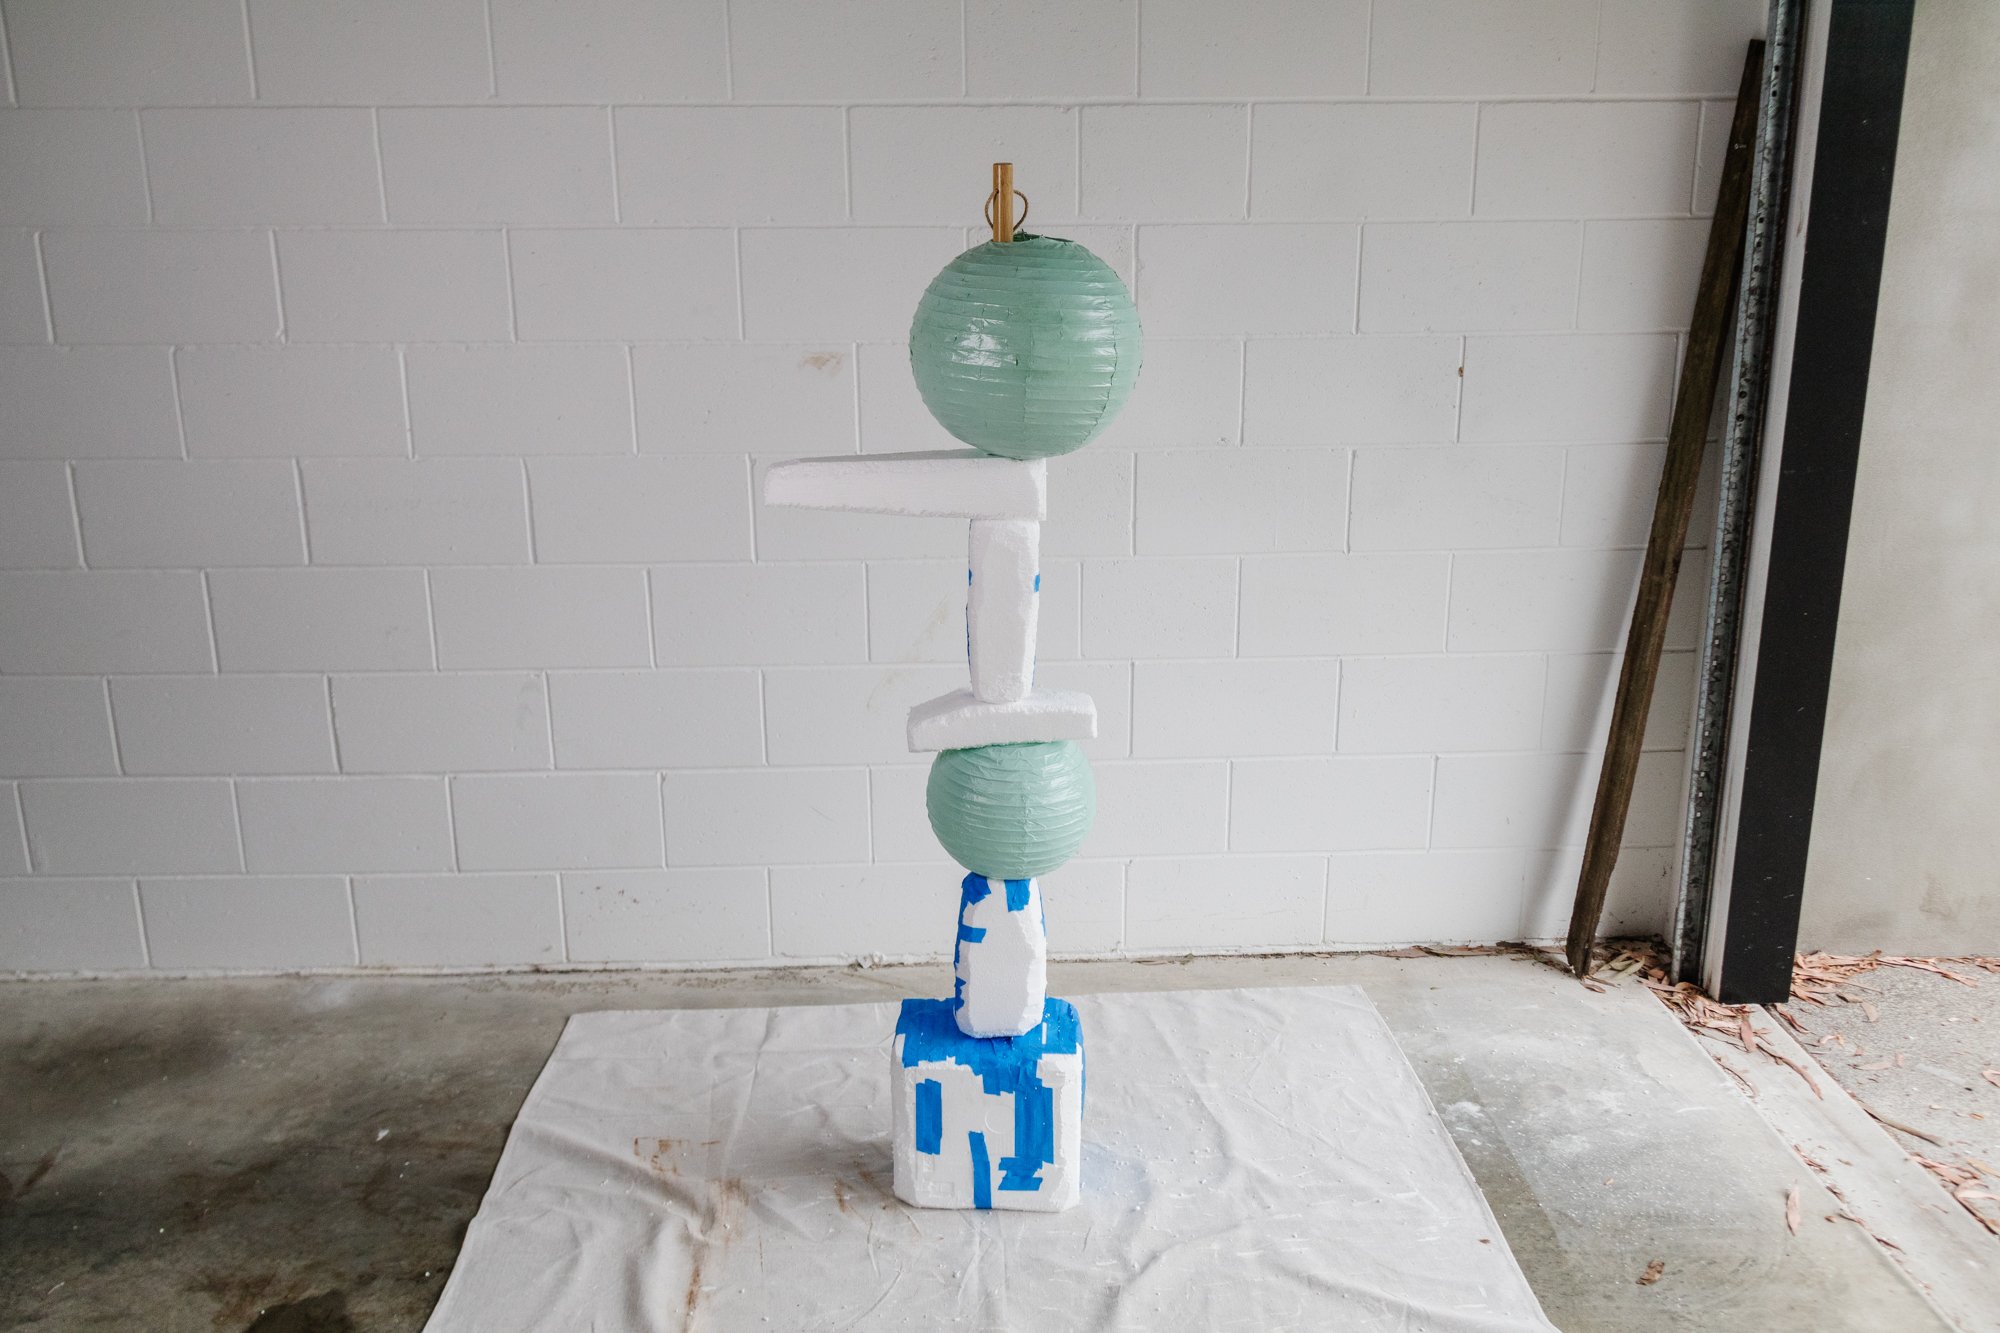
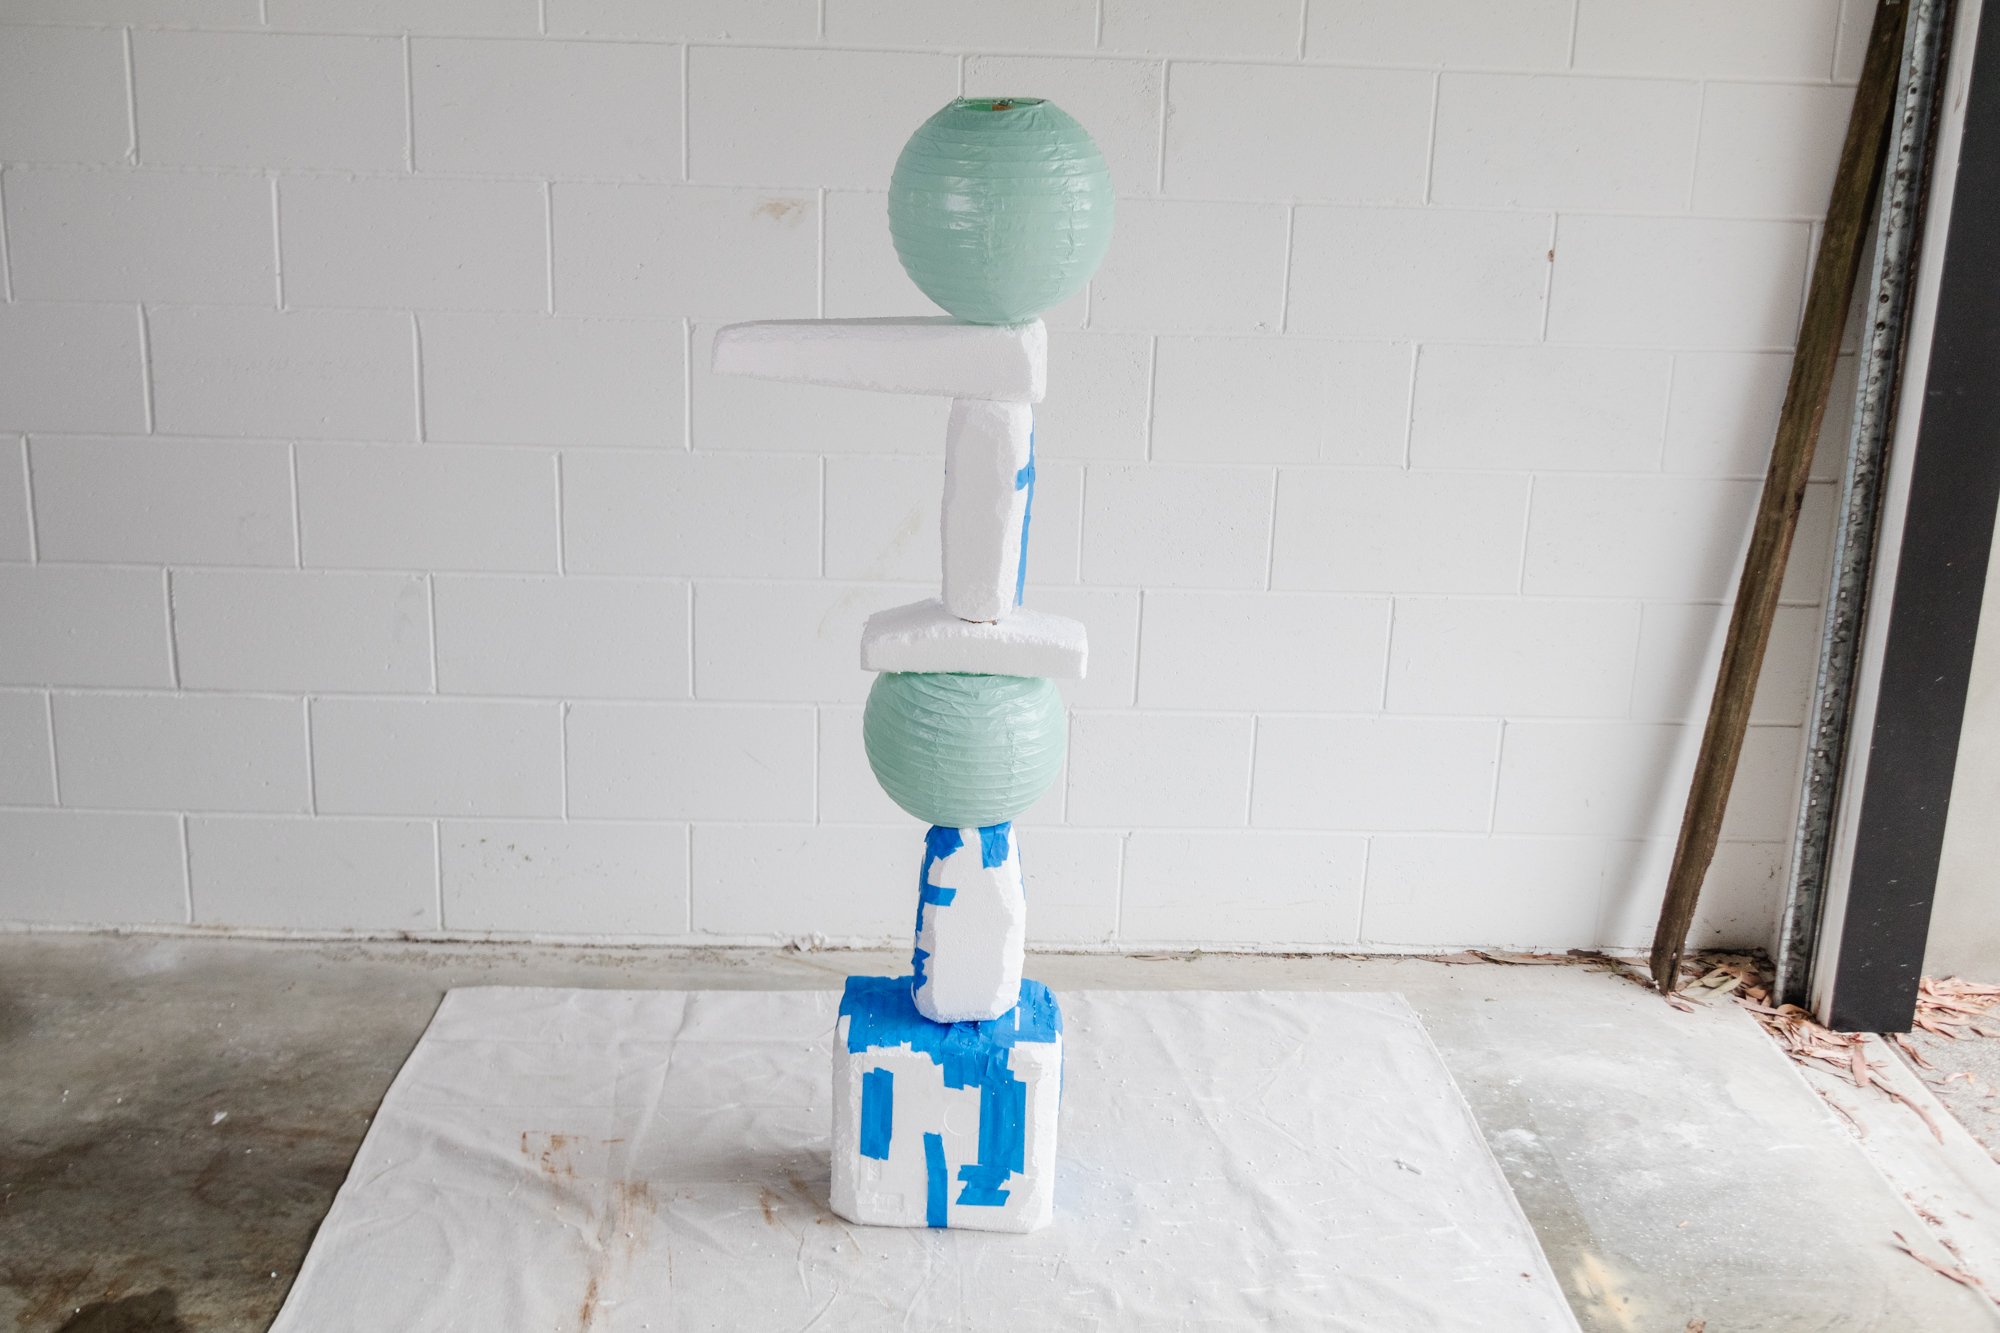
Step 2:
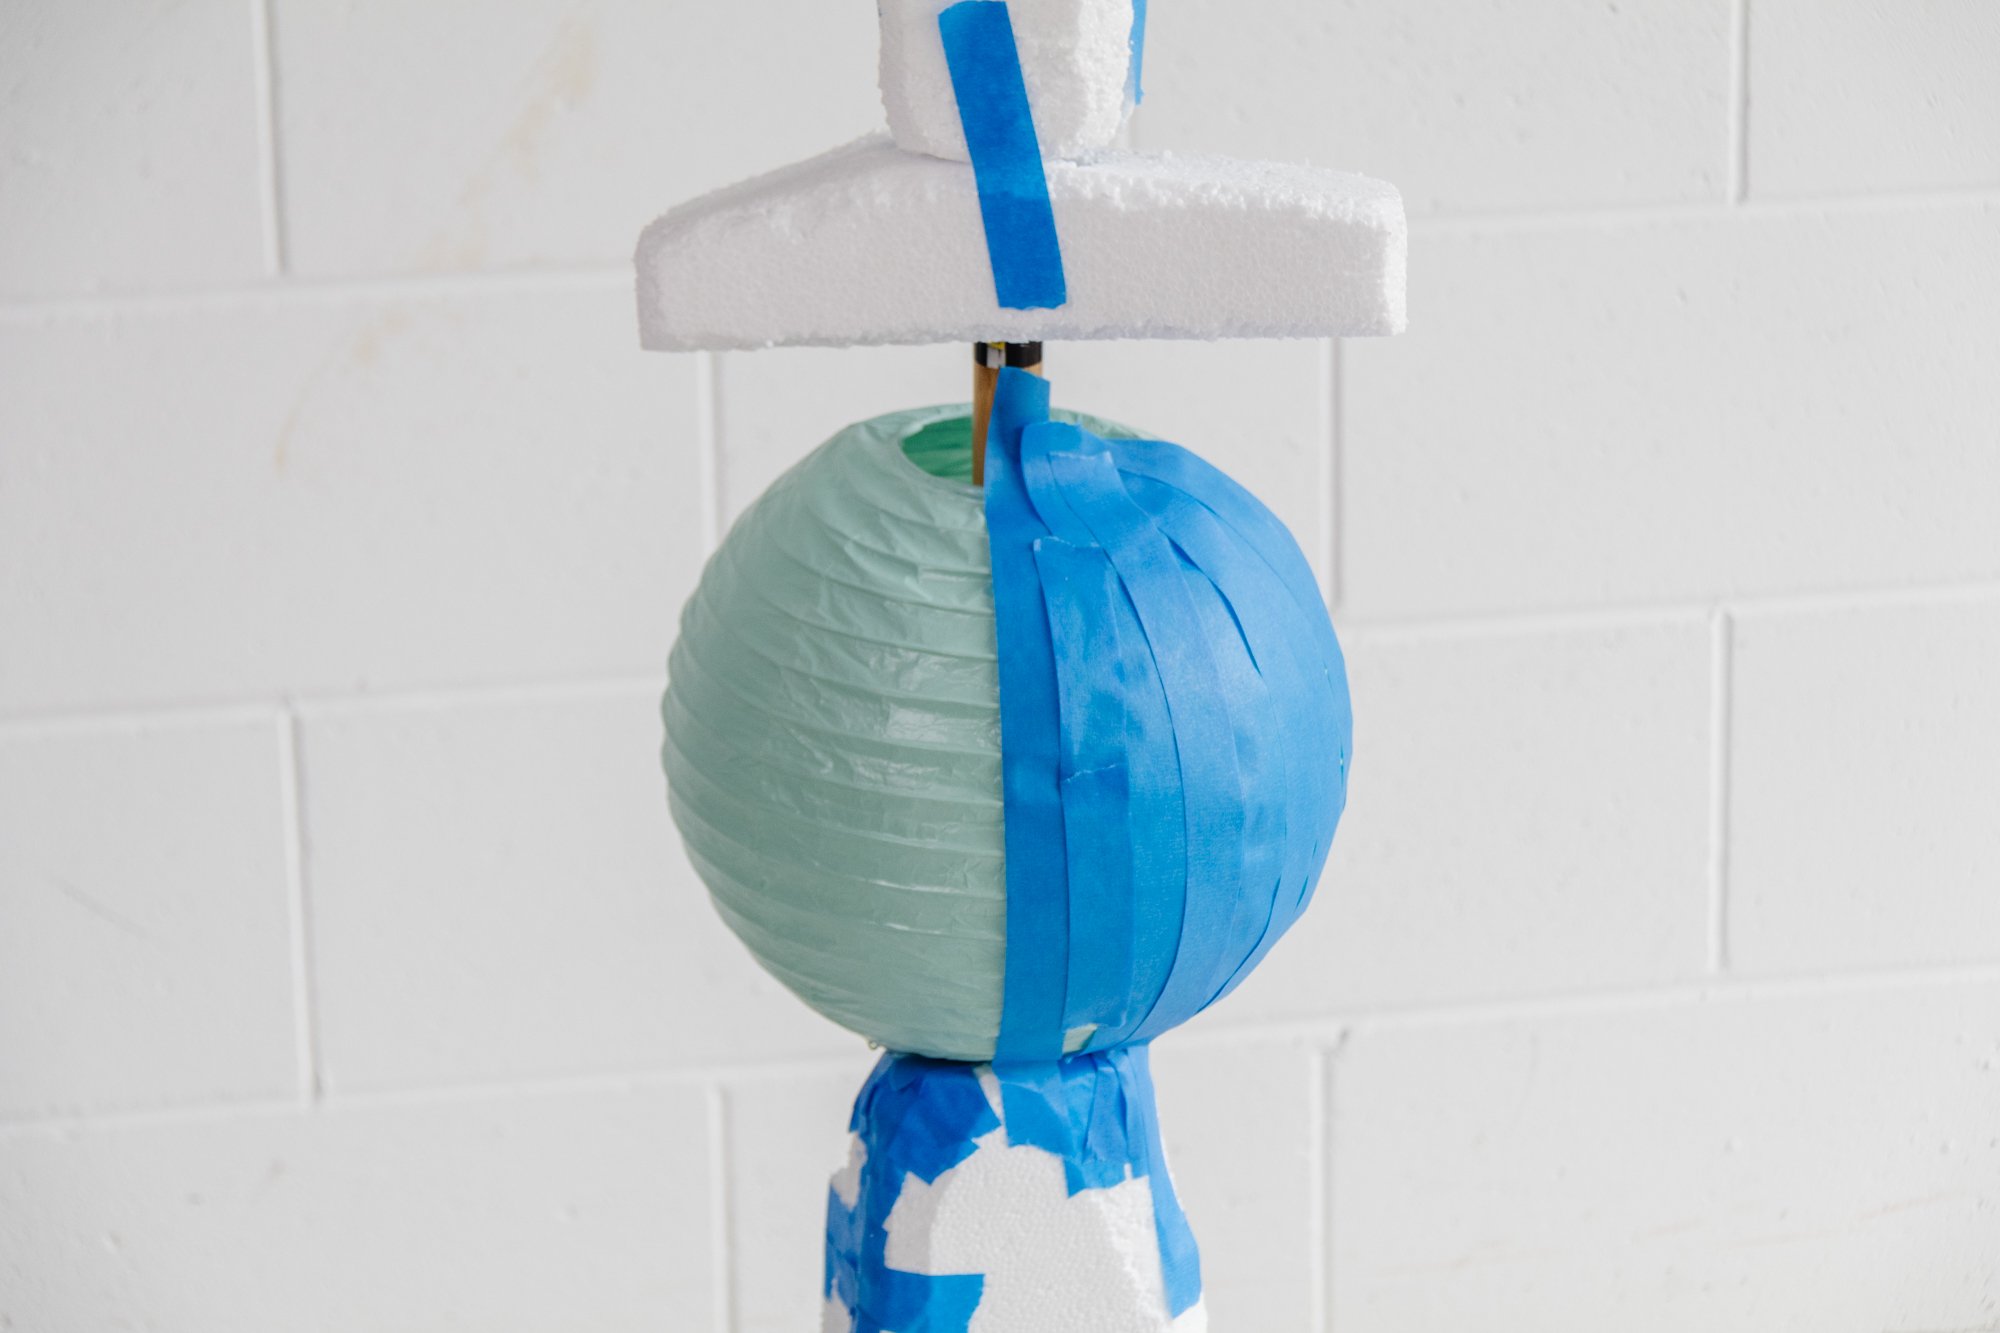
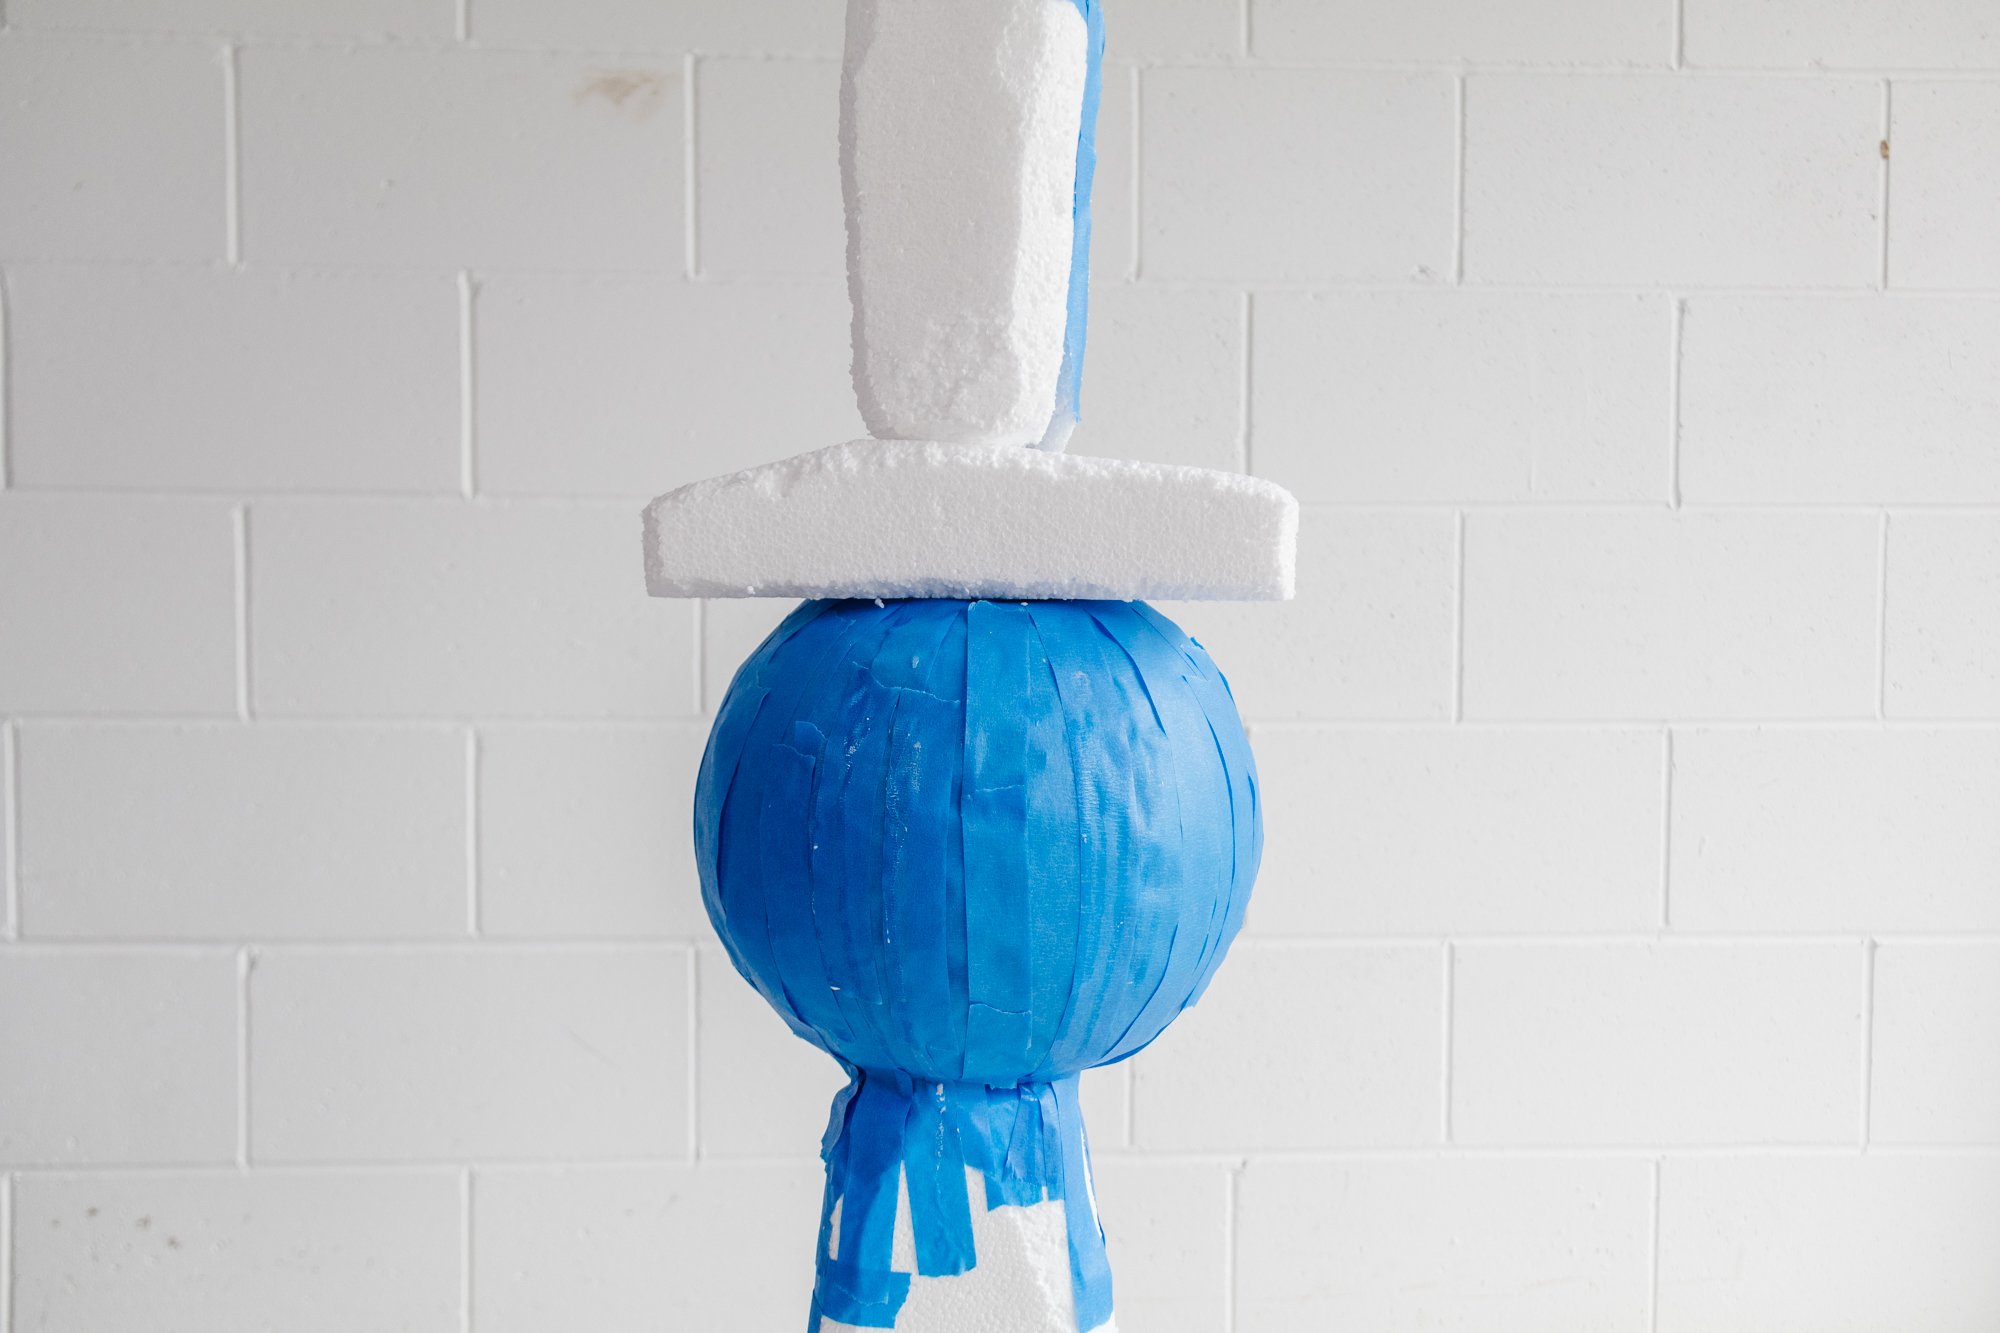
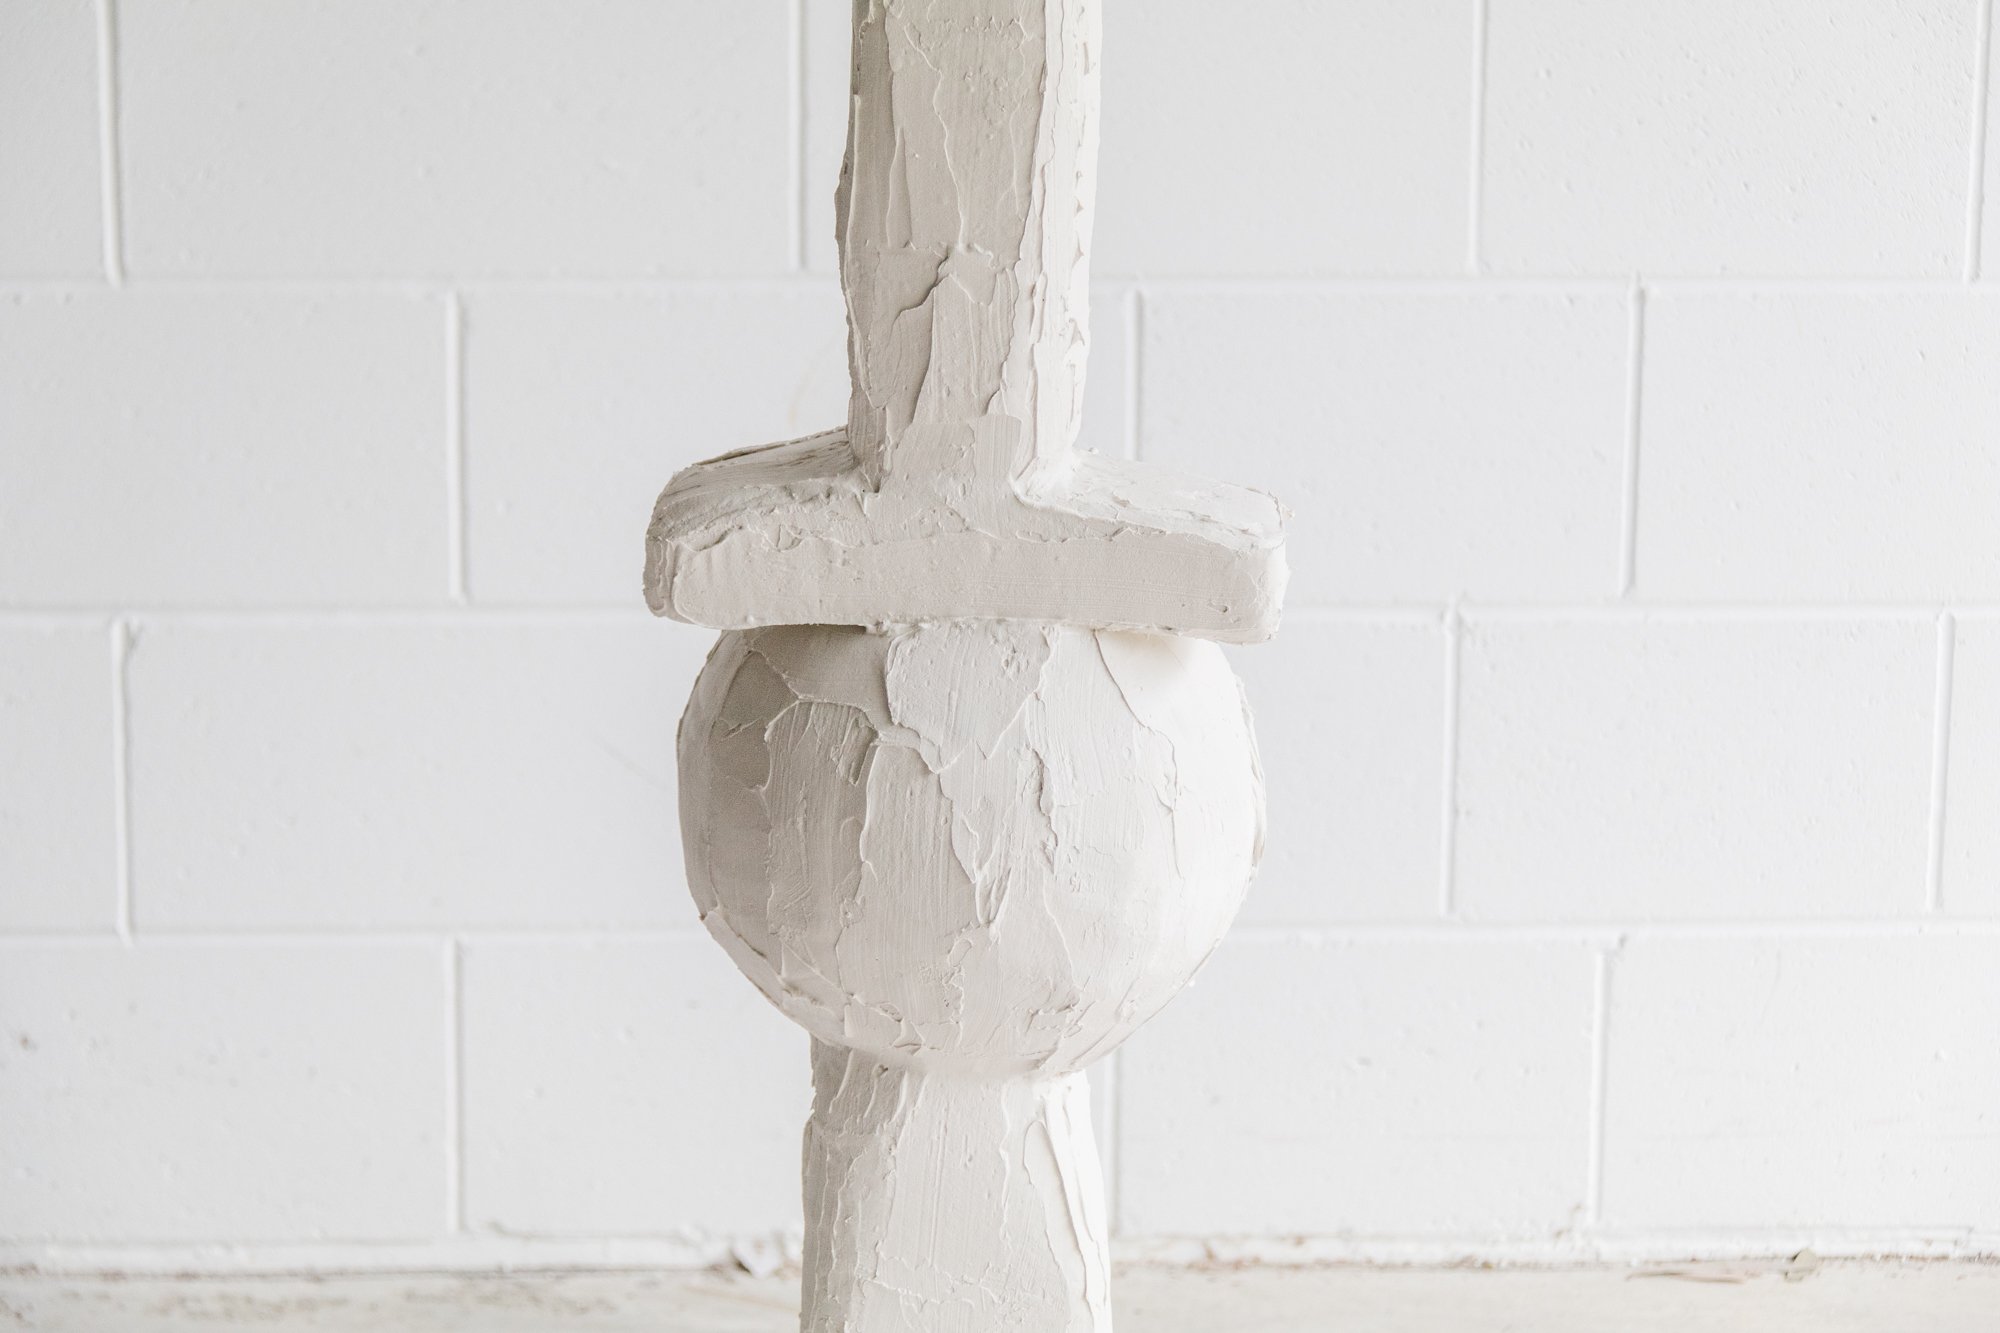
From here continue forming shapes with the styrofoam and painters tape, and the paper lanterns while ensuring they are taped securely to the mop handle for extra stability and durability. As you layer the shapes on top of each other, you may want to create a sculpture as tall as the mop handle or a bit shorter, depending on your personal style and preference. I decided to saw about 15cm off the top of the mop handle for my sculpture. Use painters tape to secure the layered pieces together as well and continue to make sure the sculpture can stand on its own without falling over.
Step 3:
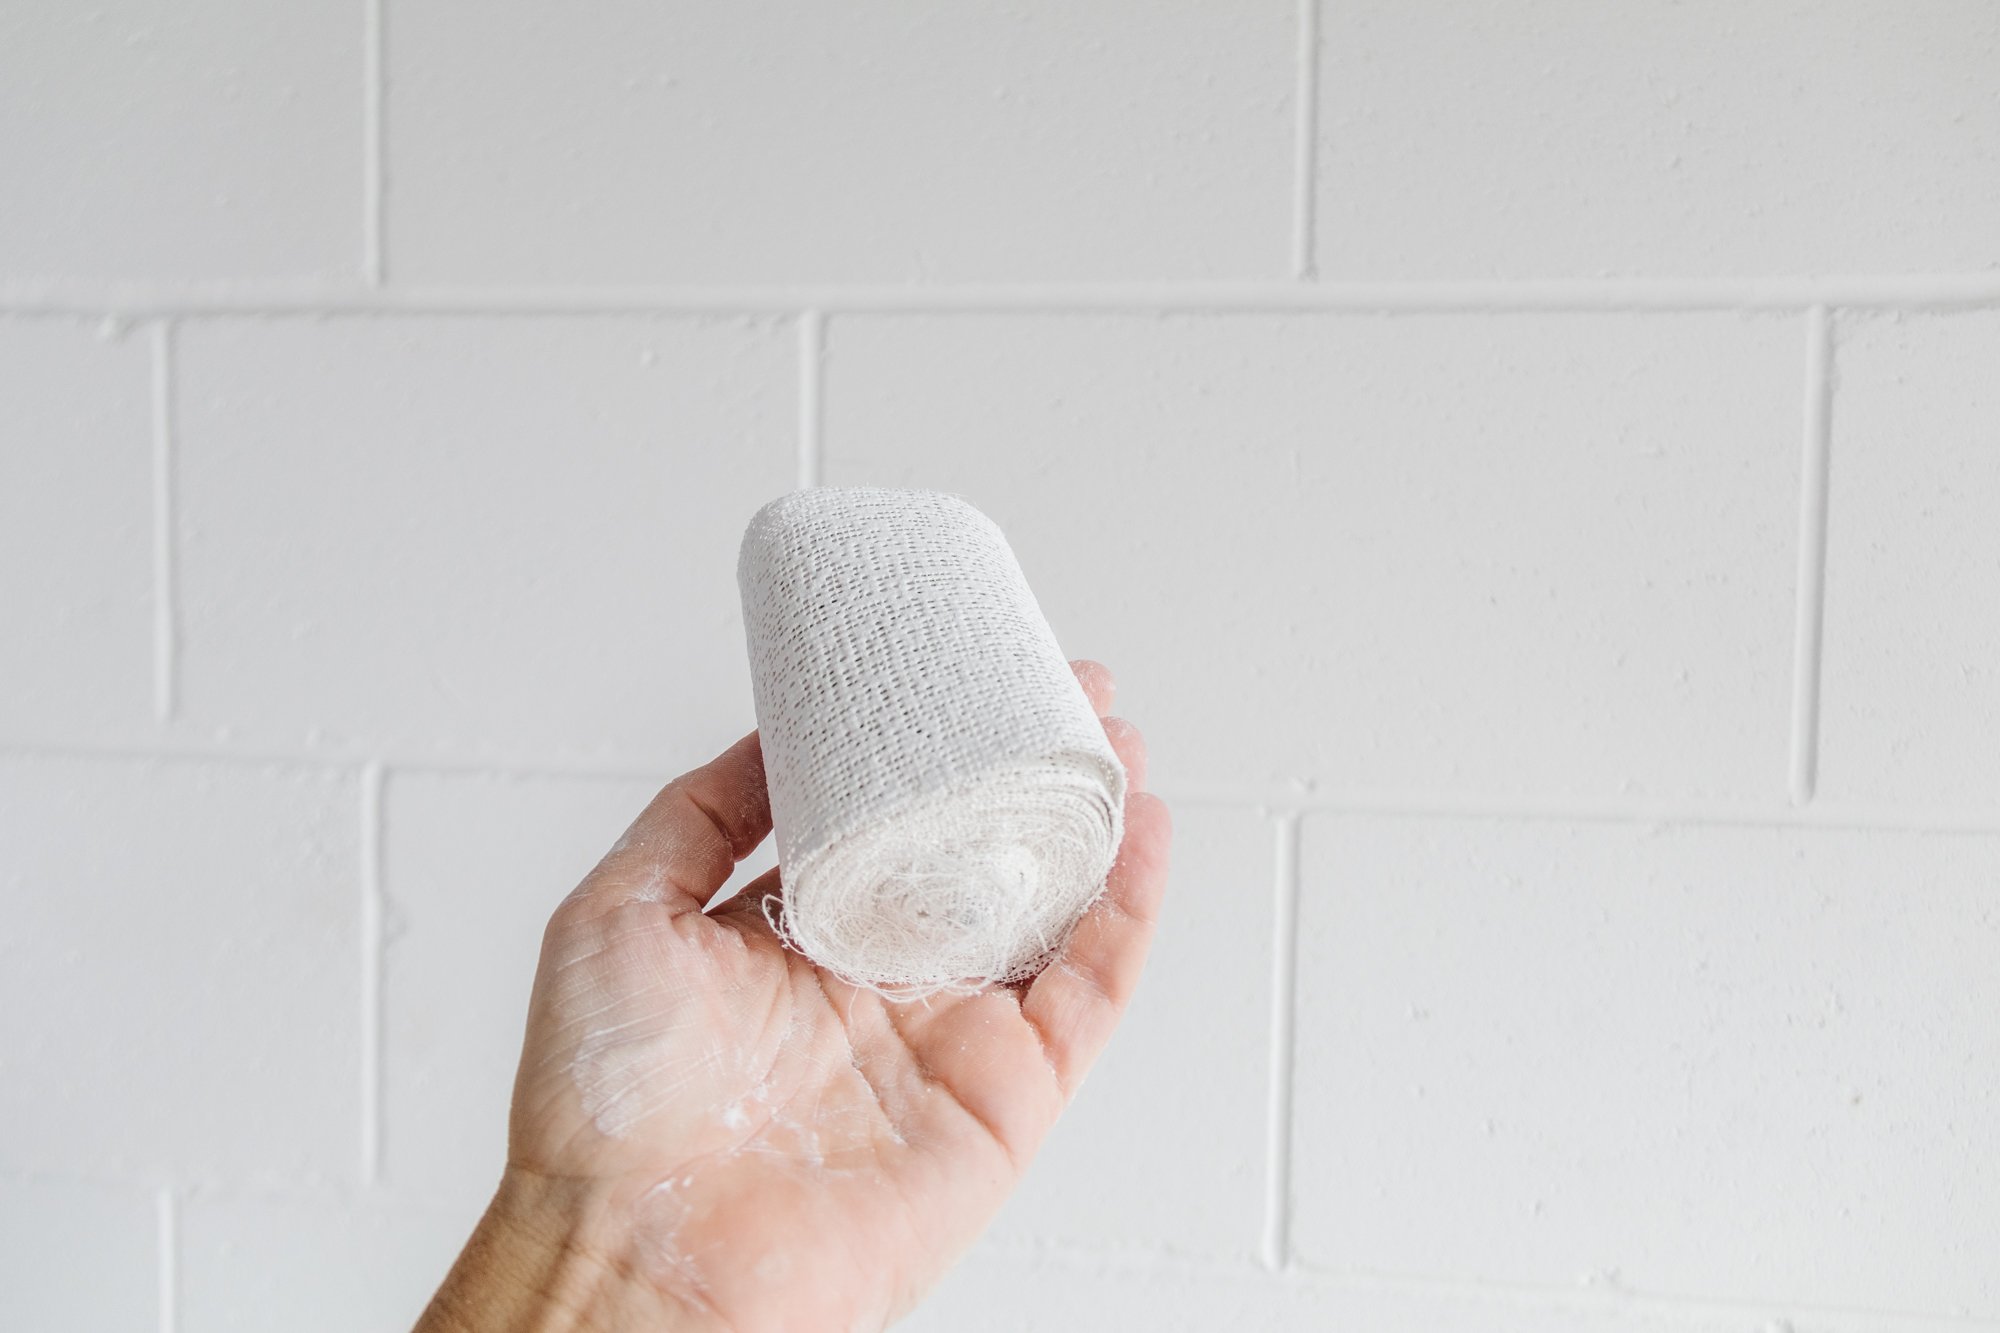
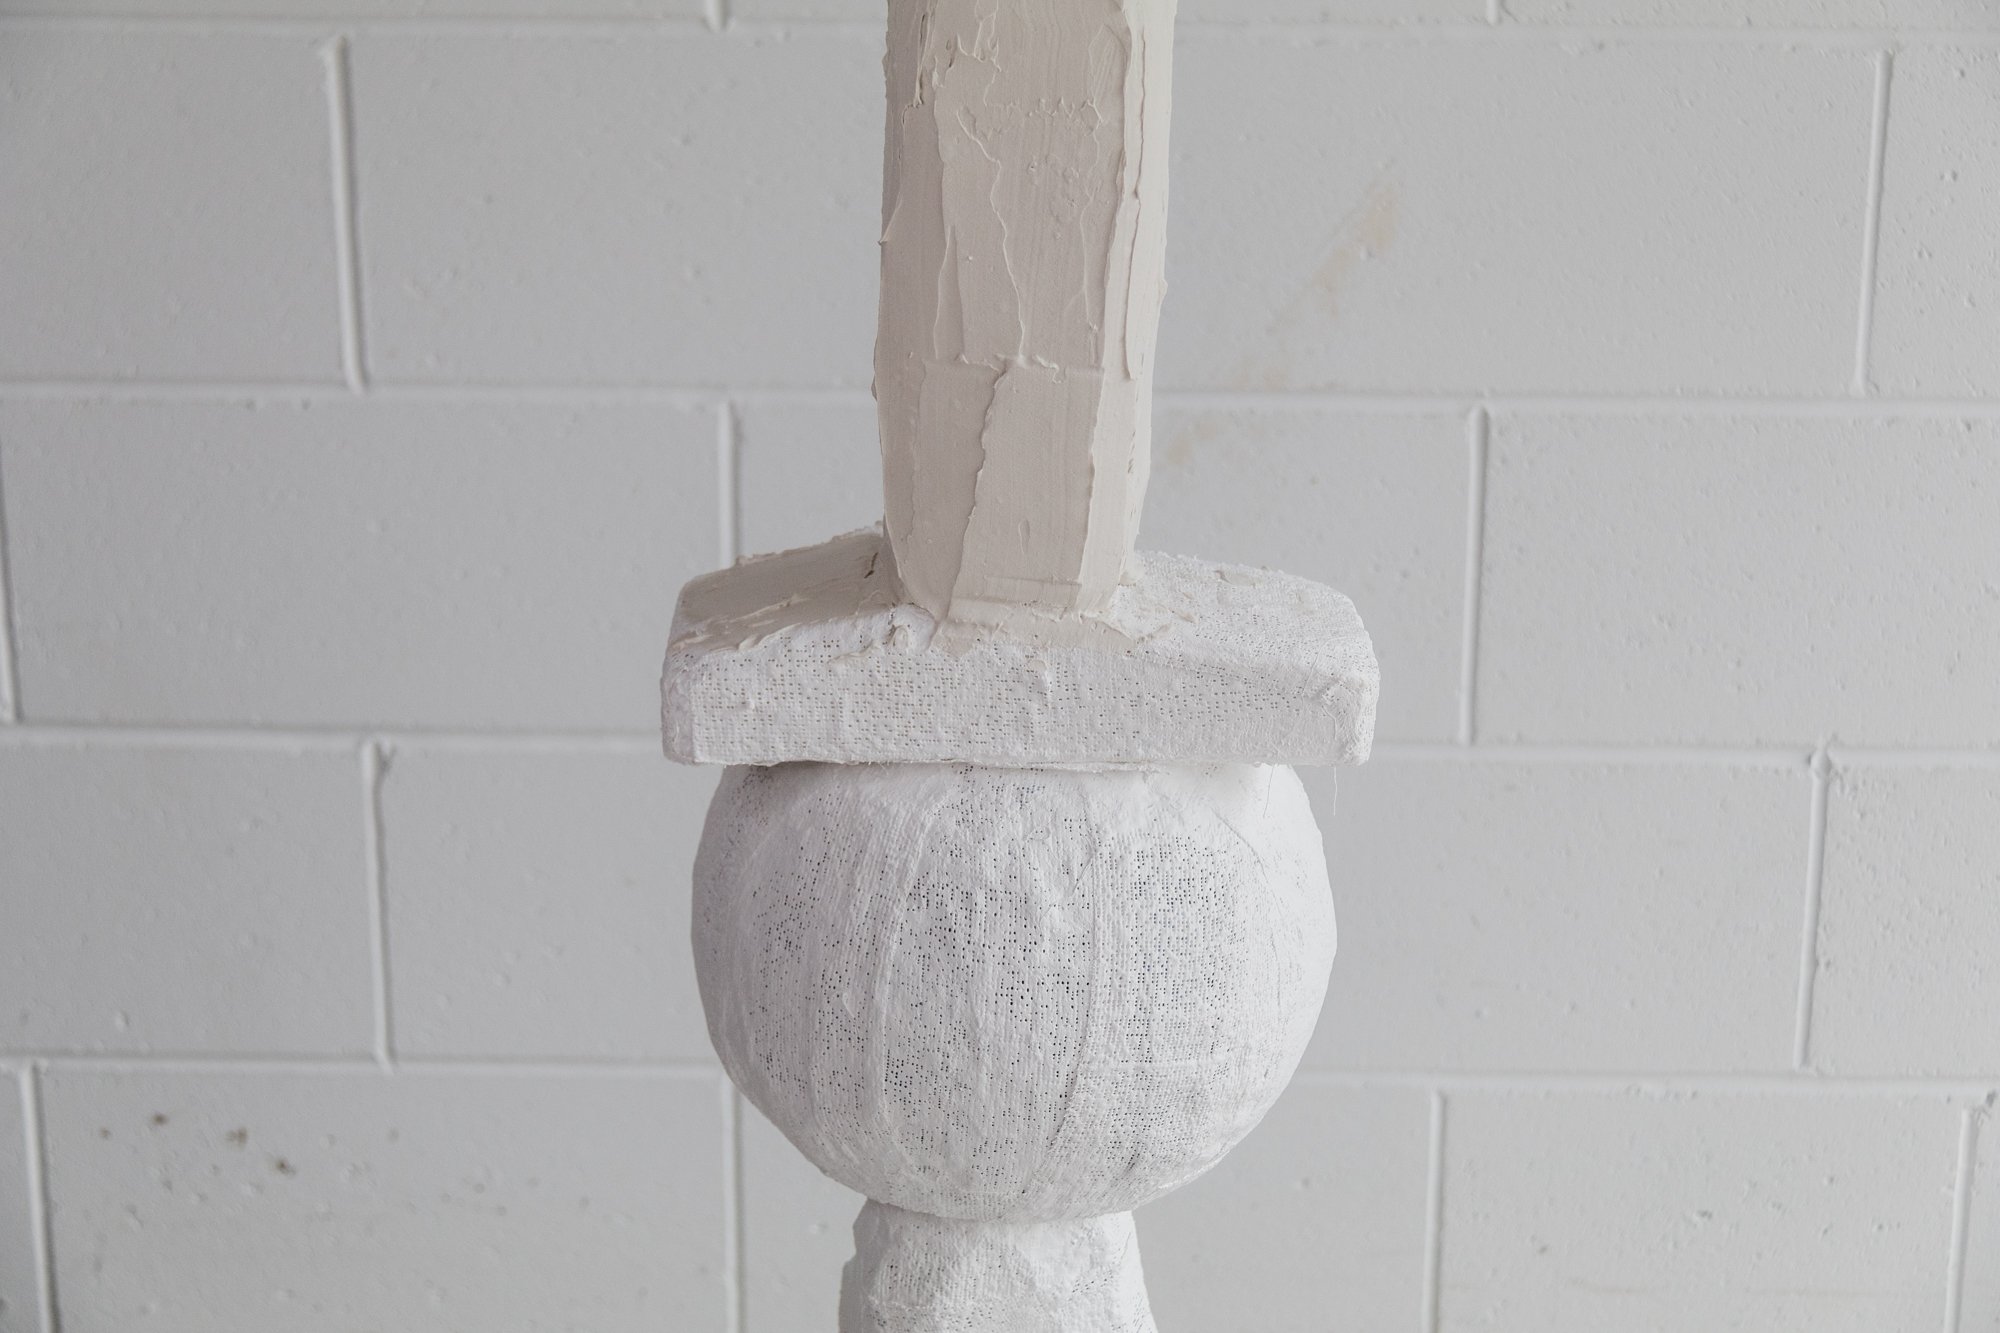
When you are satisfied with the design and stability of the sculpture, it’s time to cover the paper lanterns with painters tape. This is to ensure the plaster cloth sticks to them and doesn’t wet the paper. Following this, fill a bucket with water, cut the plaster cloth into smaller pieces, dip the cloth into water carefully making sure the cloth stays flat, slowly lift it out then place it onto the sculpture smoothly and pat it gently. Don’t be tempted to smooth the plaster cloth down with your hands and make sure the cloth doesn’t ripple (simply pat it down). When you have covered the entire sculpture, wait for it to dry completely before moving onto the next step. Apply plaster cloth all over the sculpture allows the plaster to stick to the sculpture in the next step.
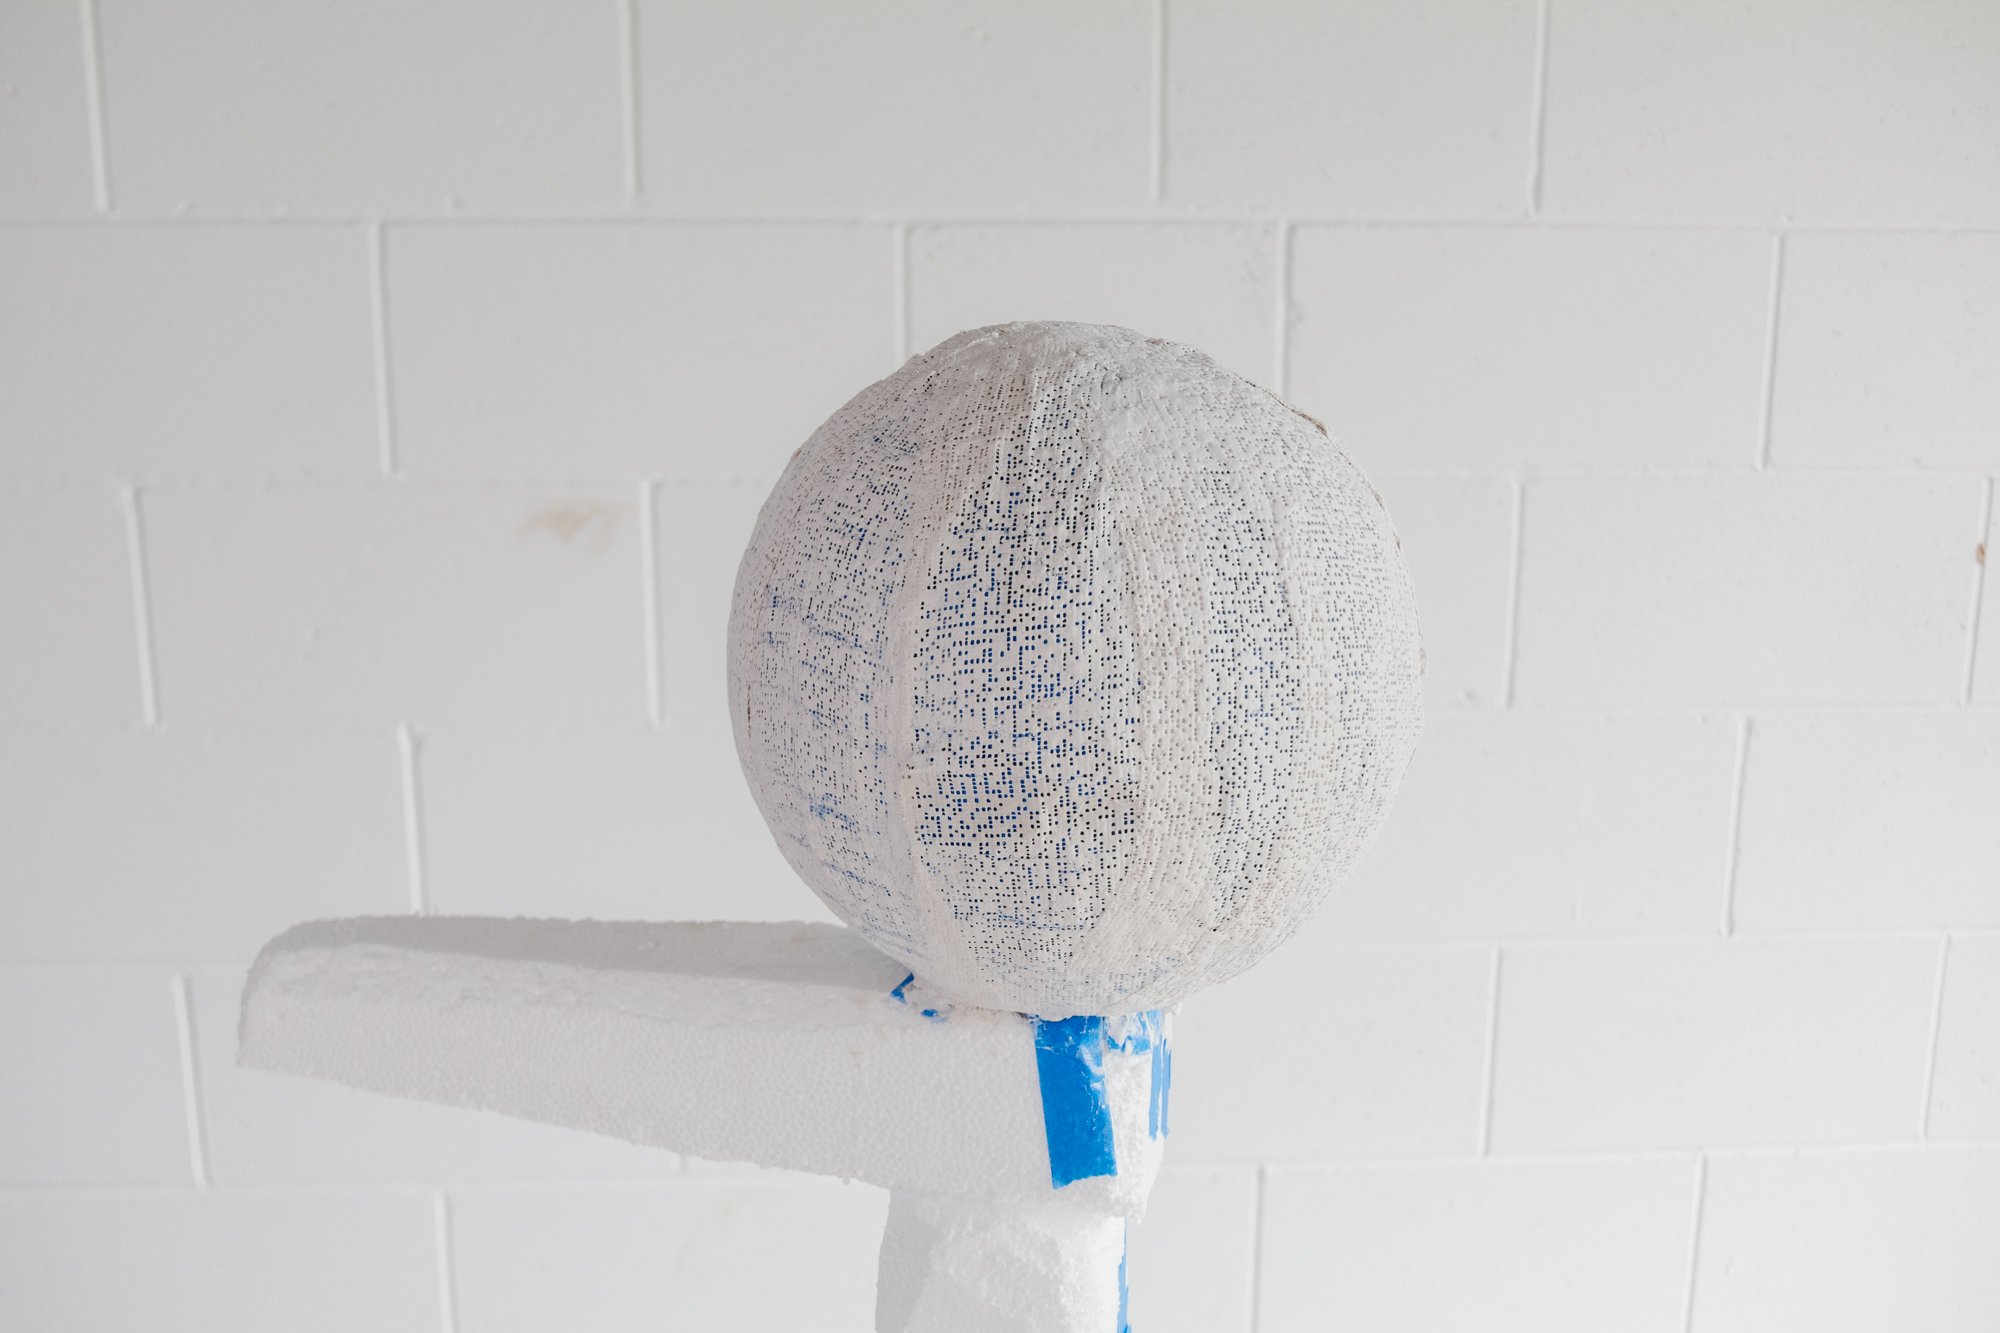

Step 4:
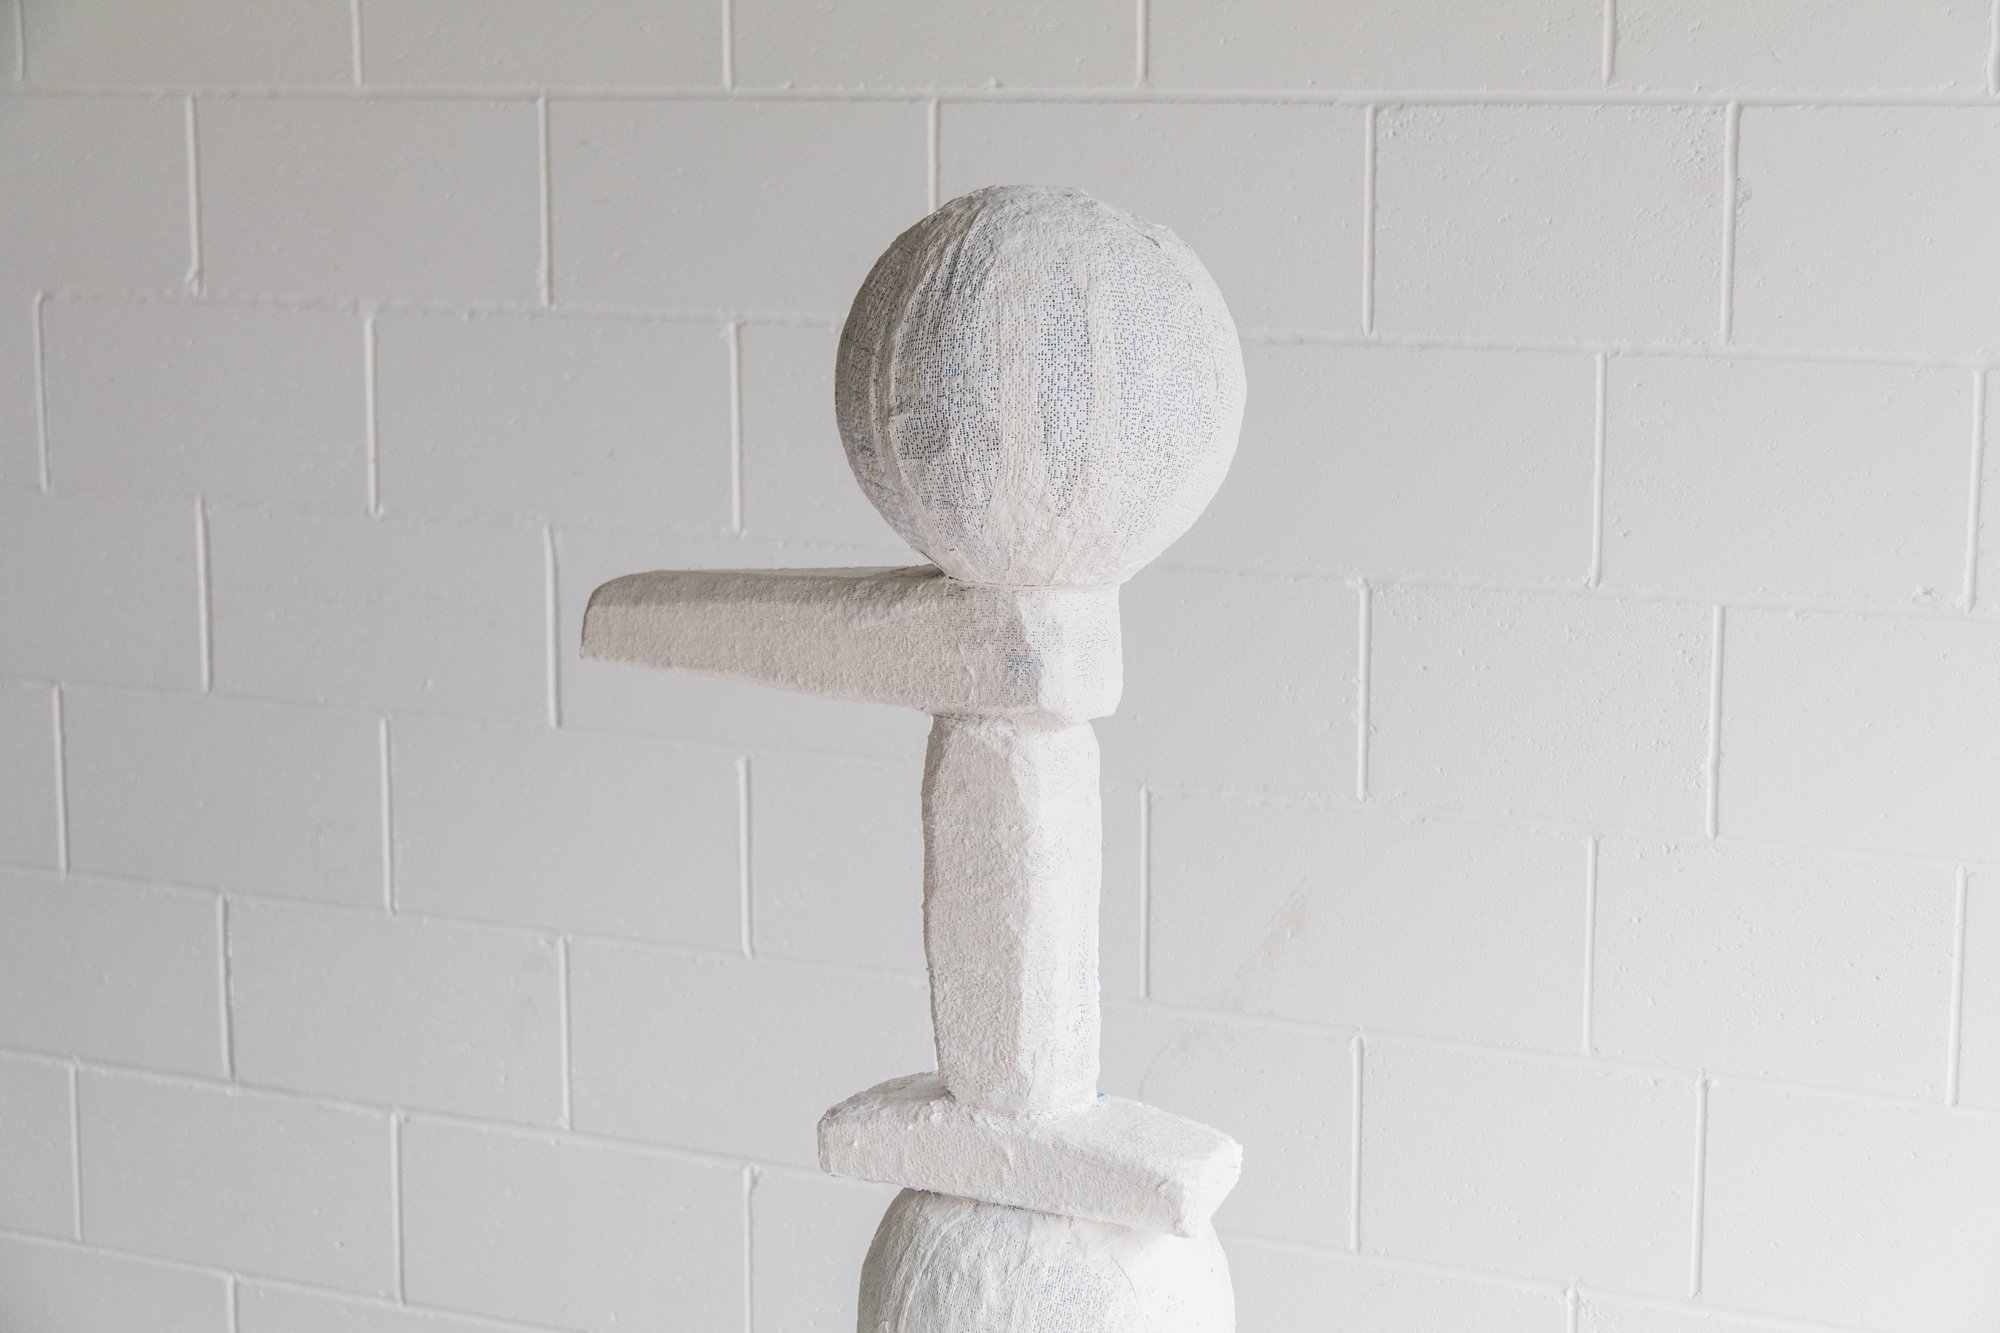
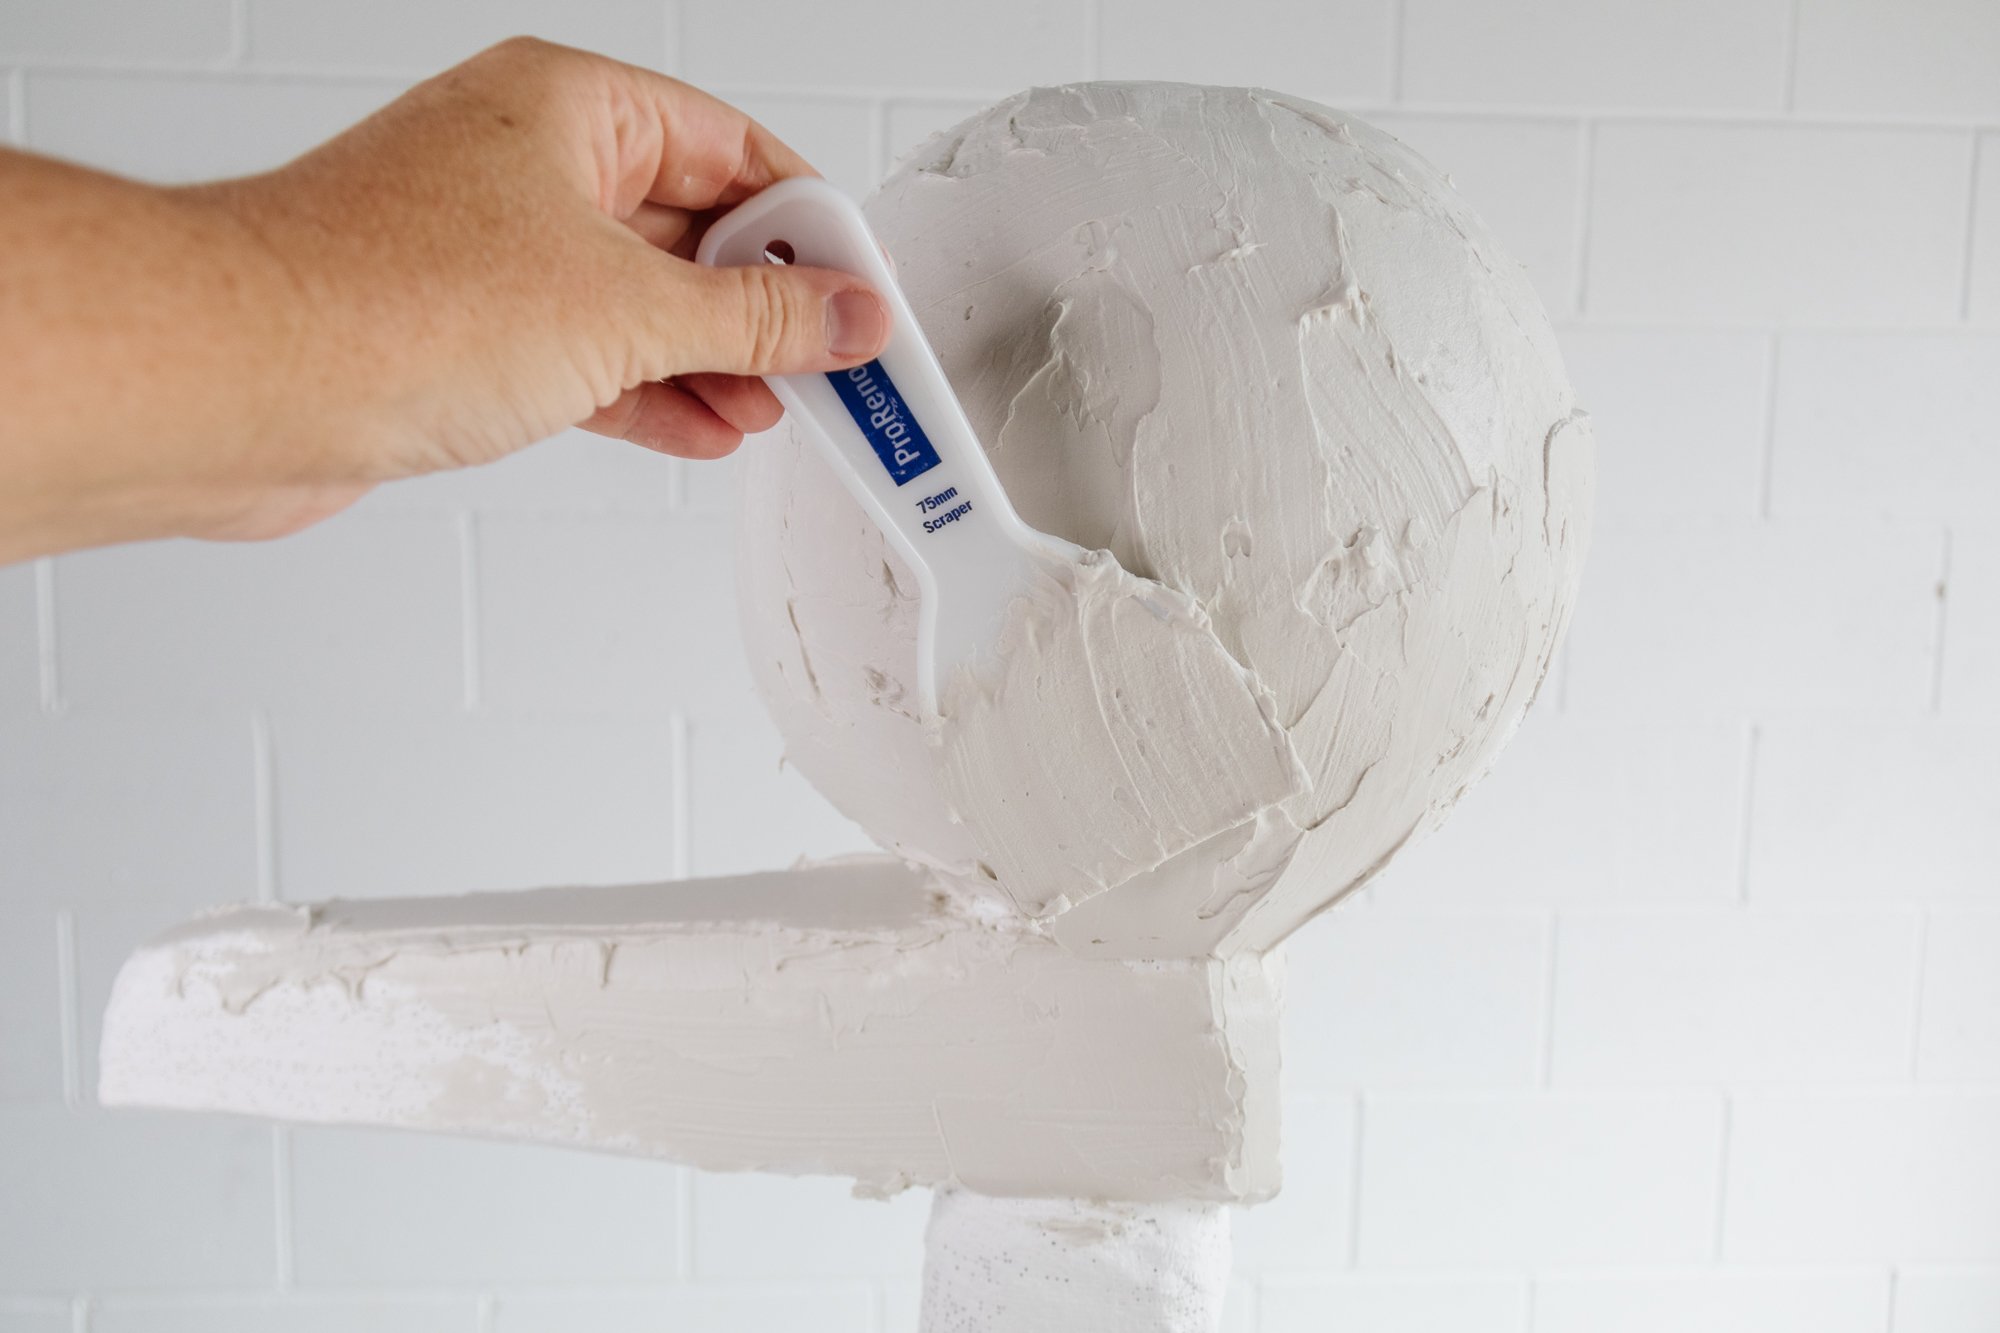
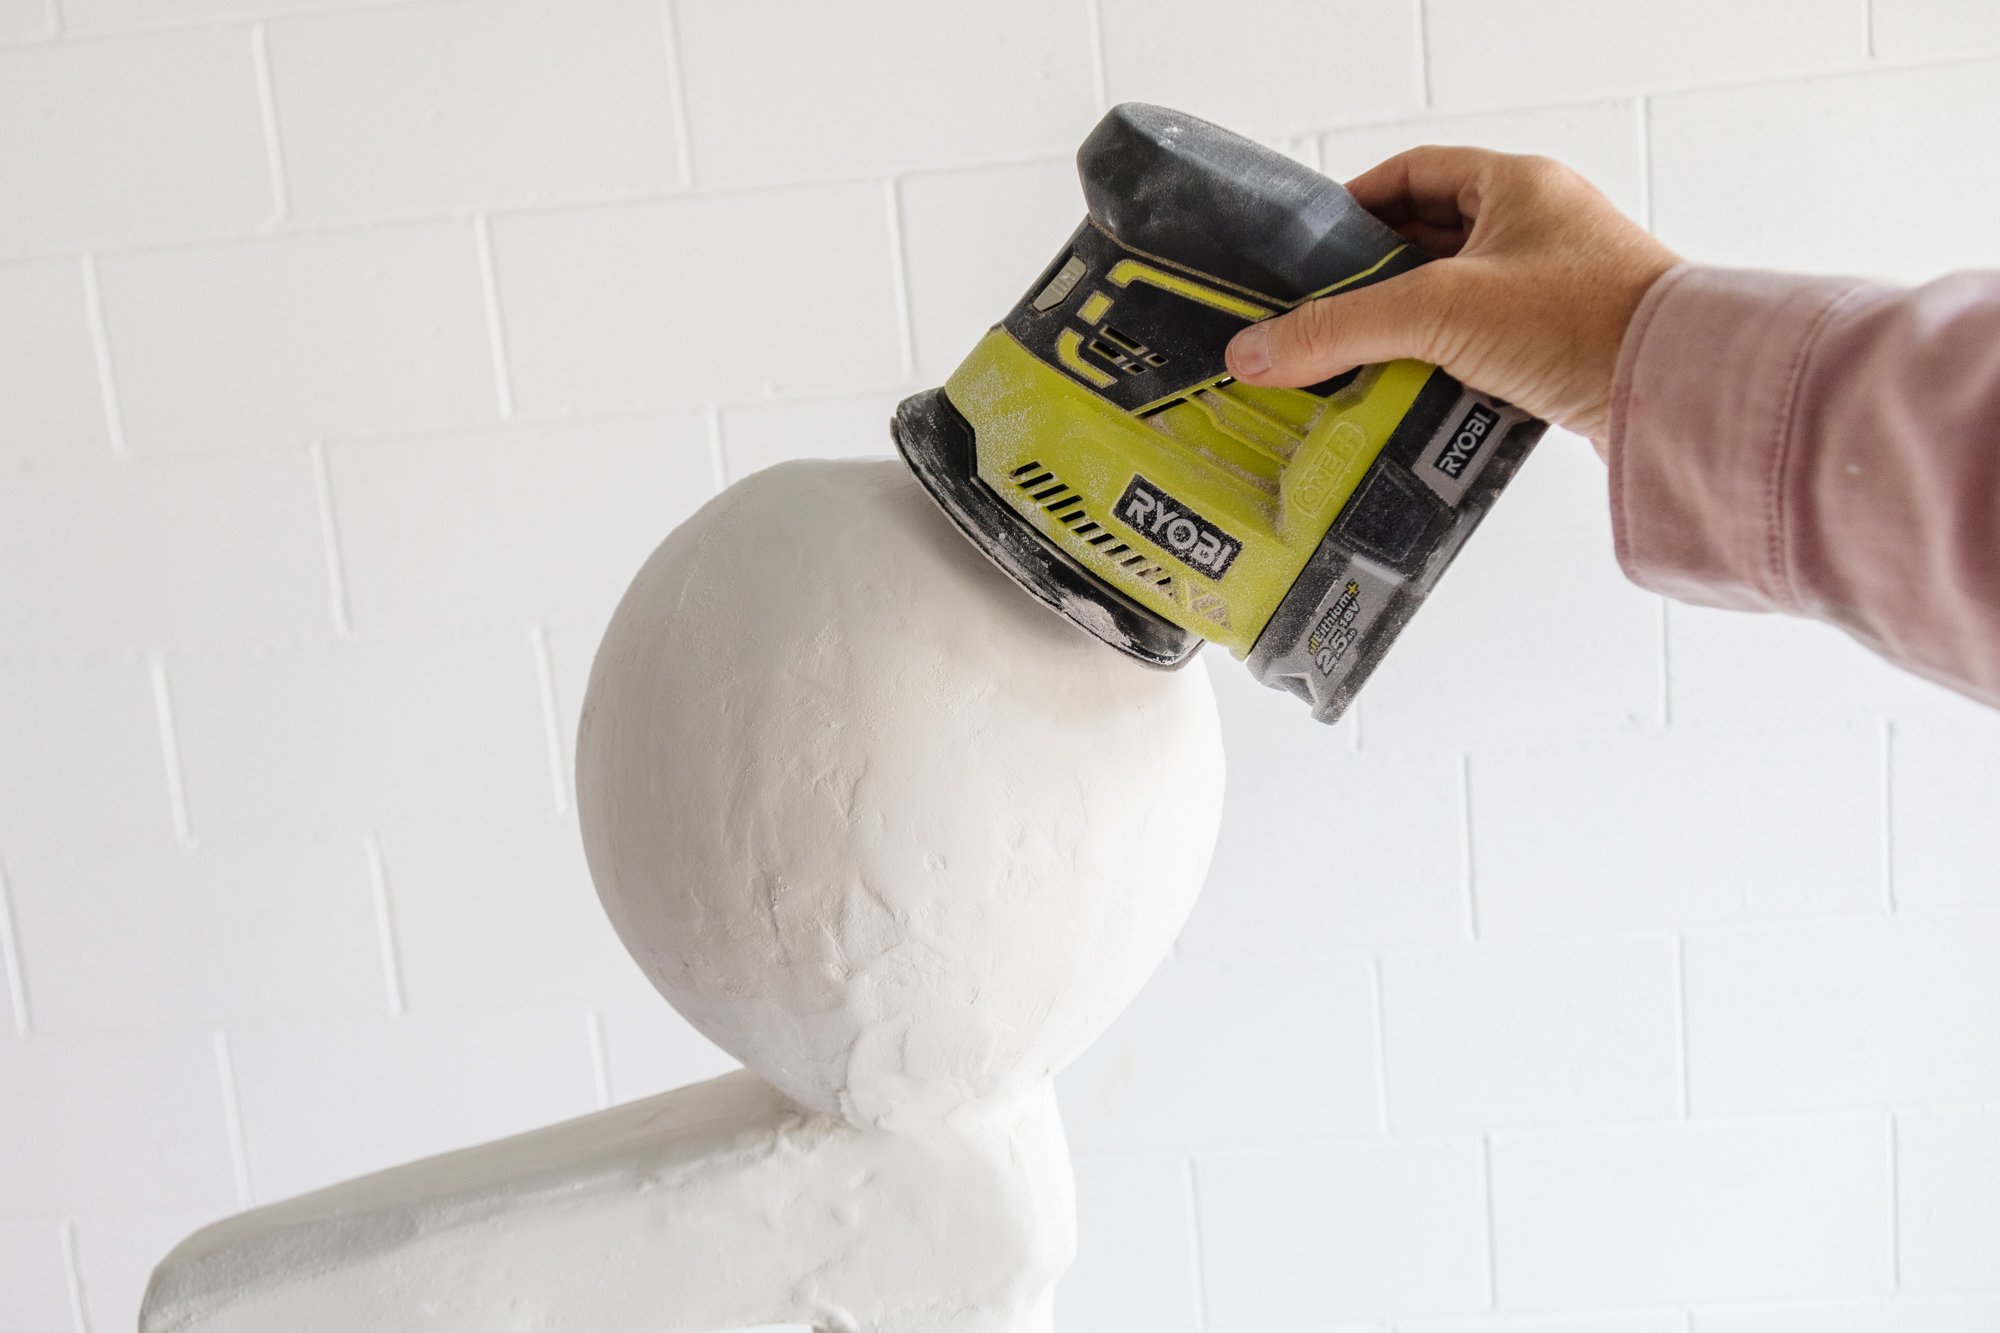
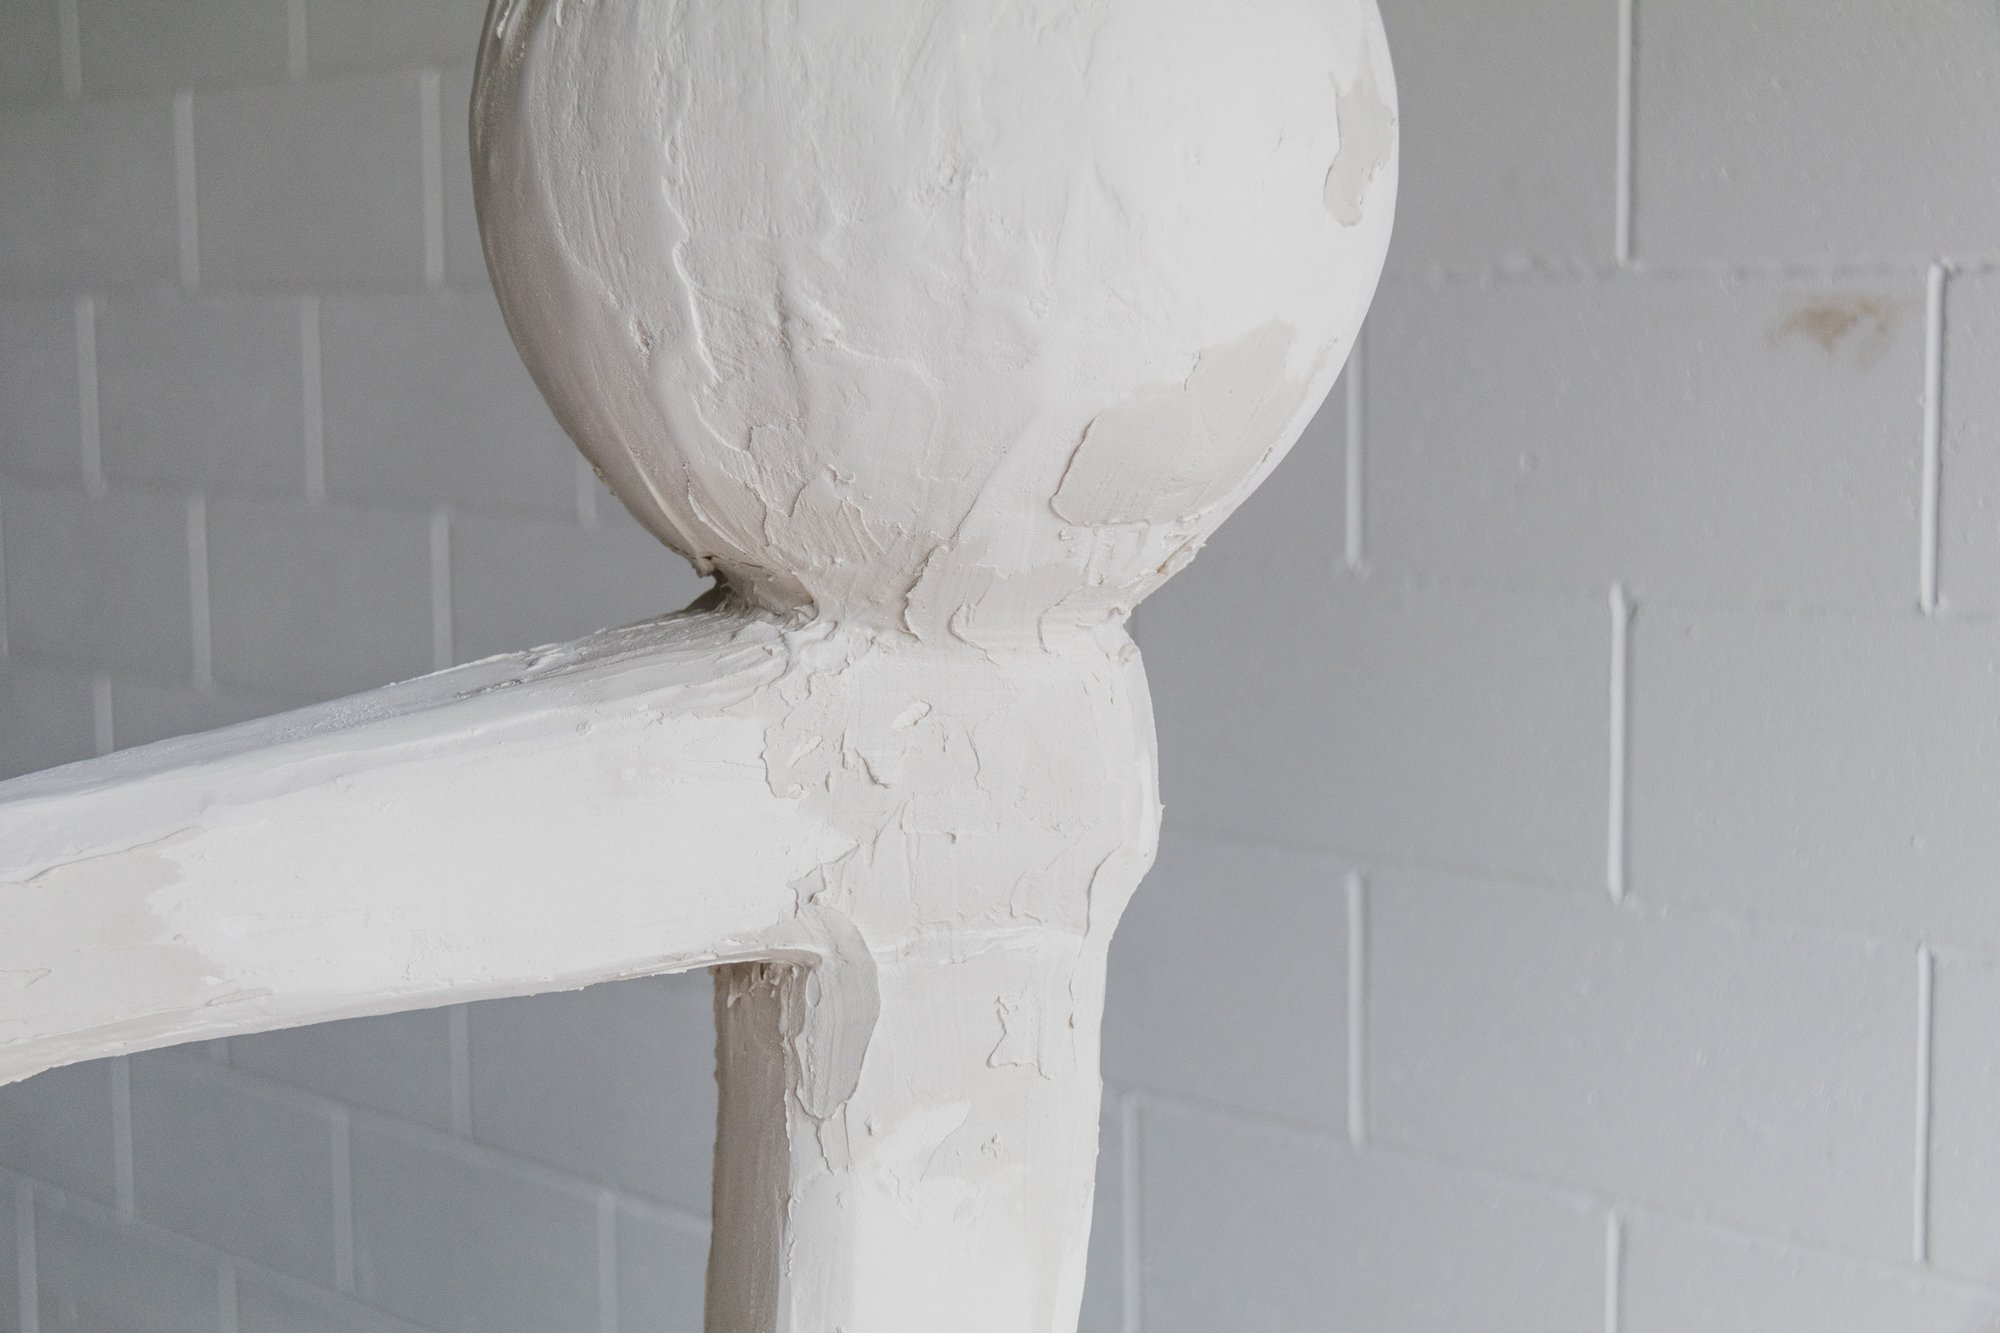
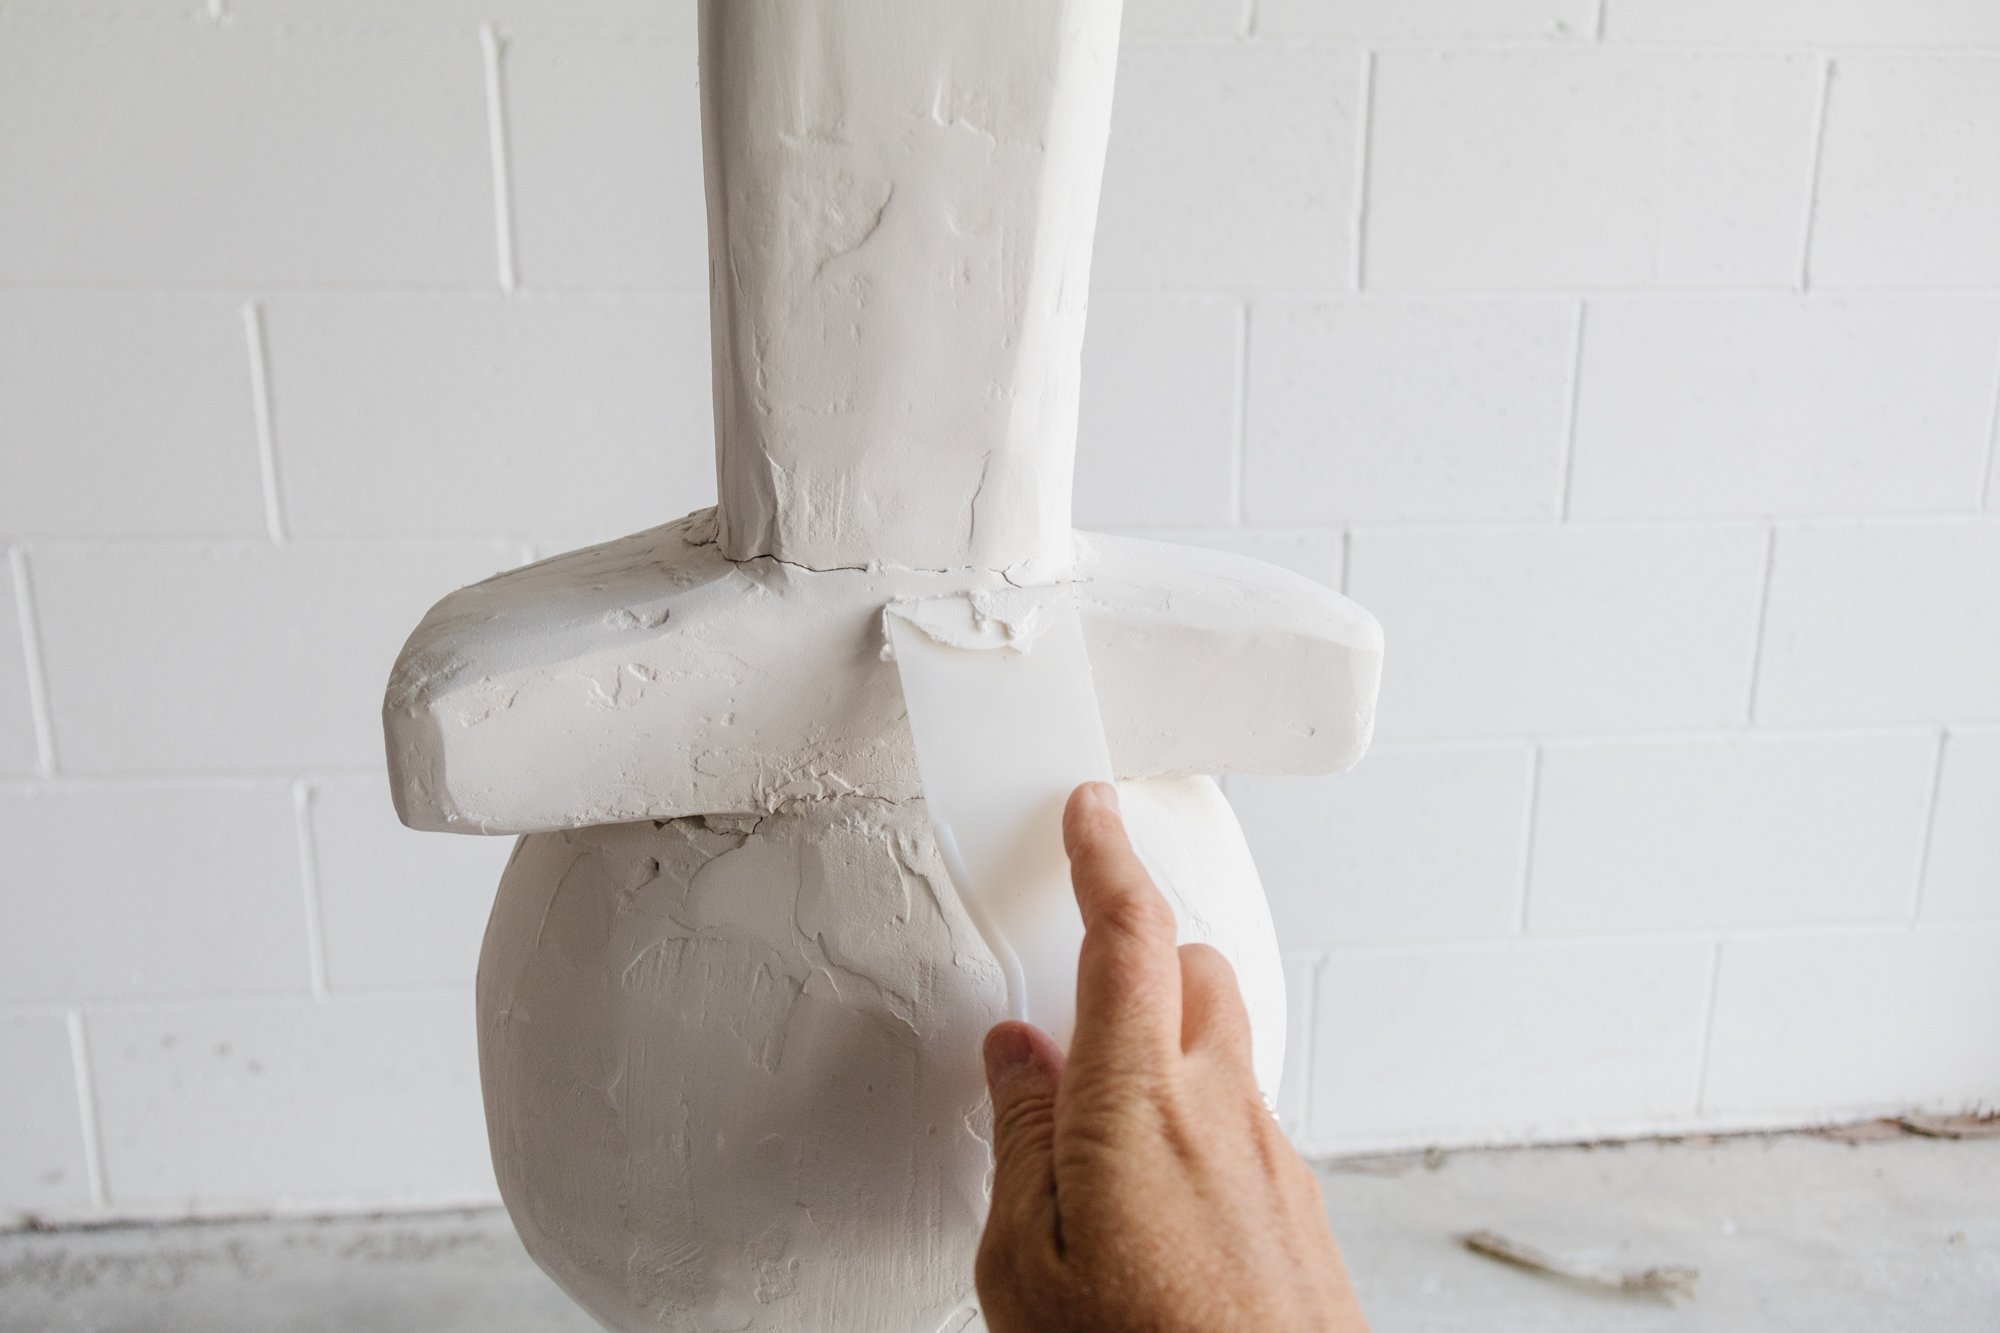
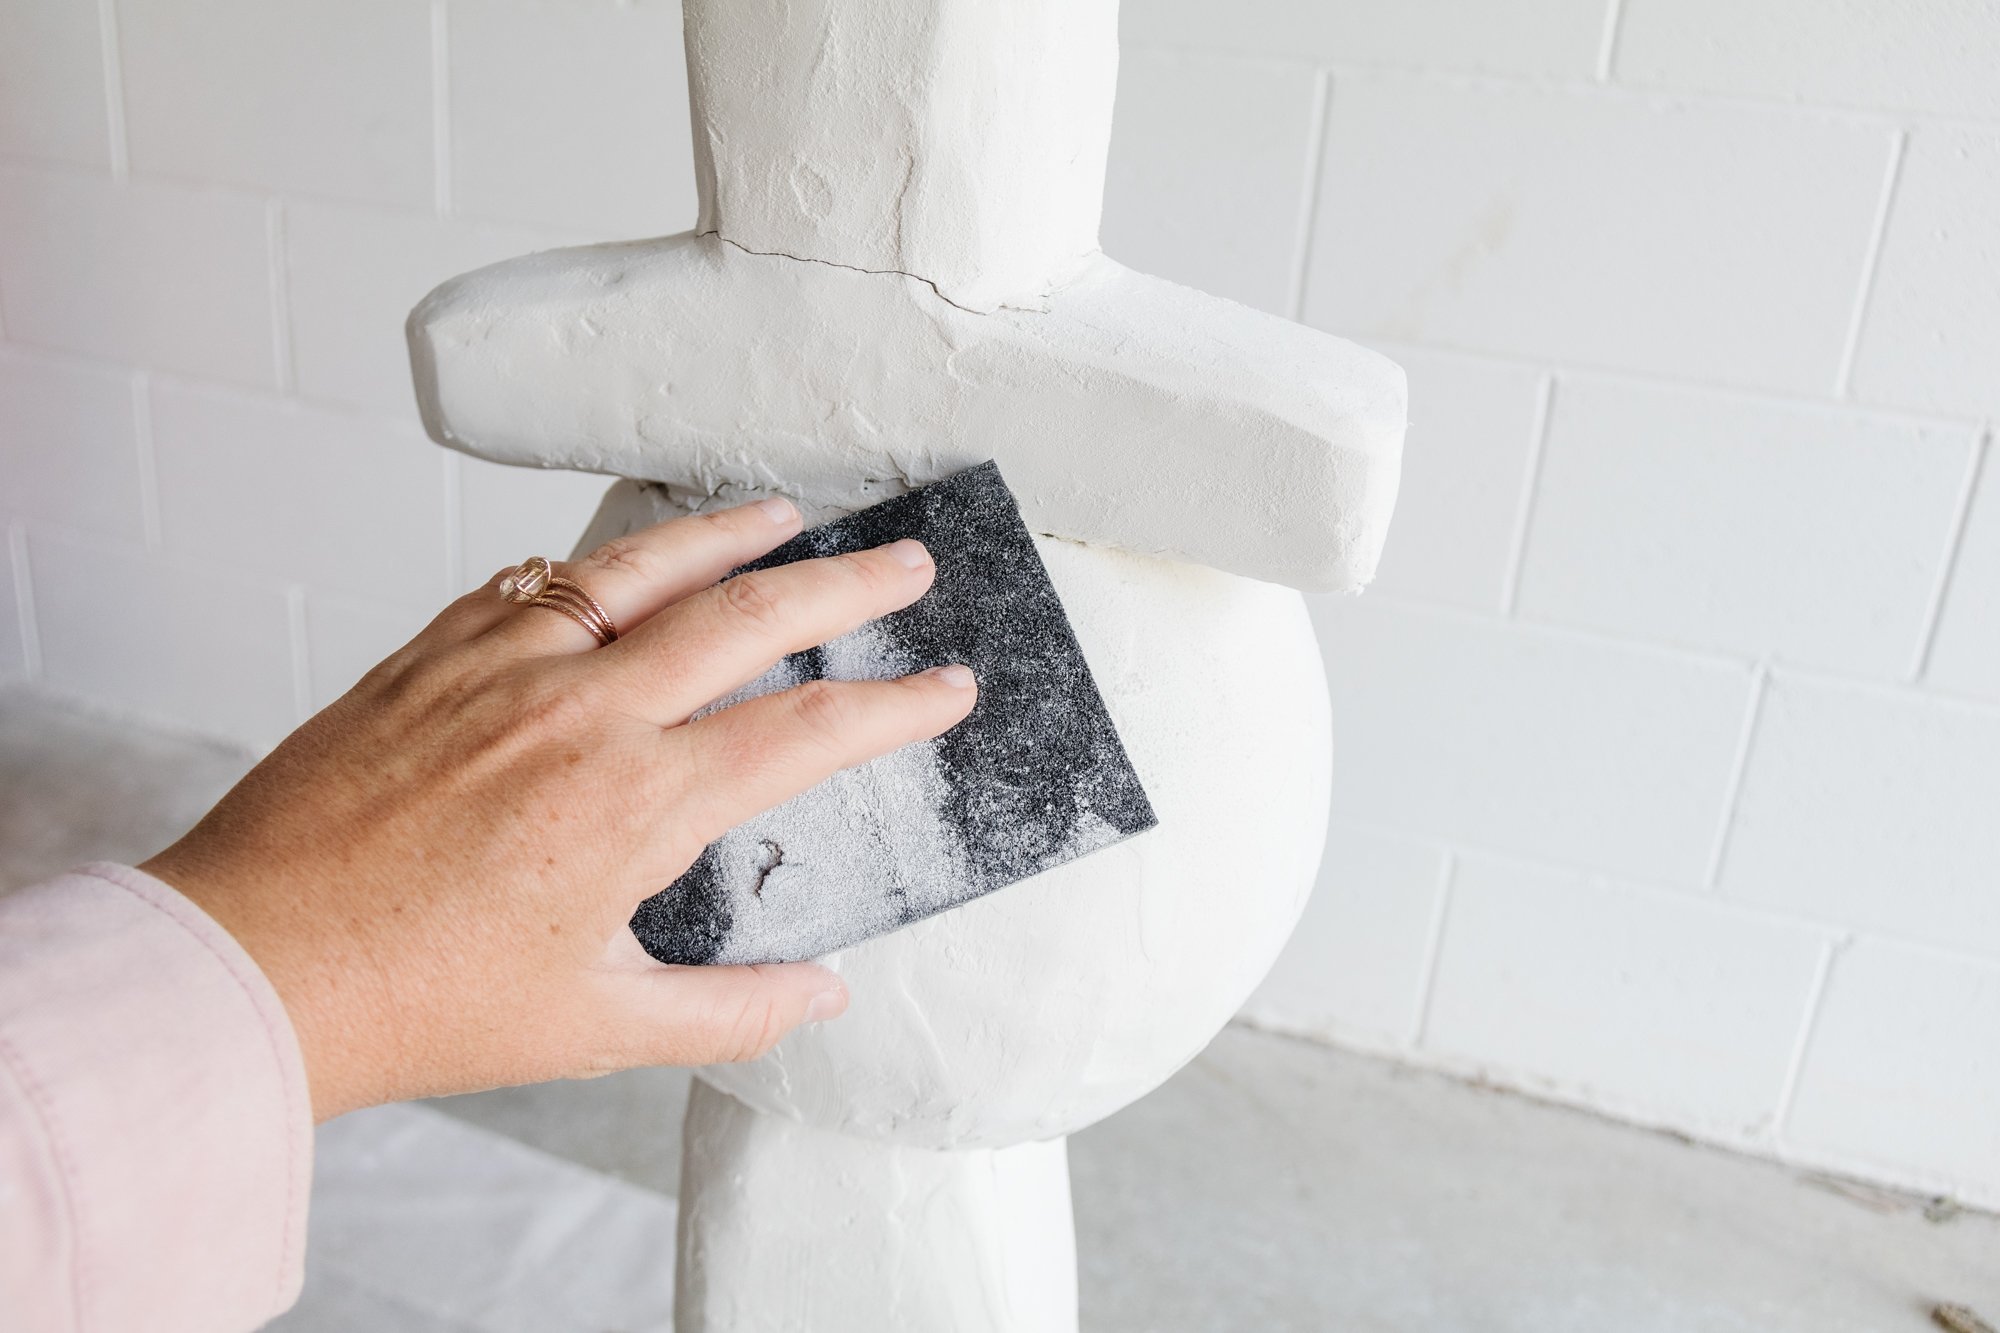
Now it’s time to cover the sculpture in plaster. Using the scraper, apply the plaster as neatly, smoothly and evenly as possible. Don’t be afraid to apply it thickly and consider this your crumb coat. Wait for the plaster to dry completely and give it a light sand with a sanding sponge and a sander.
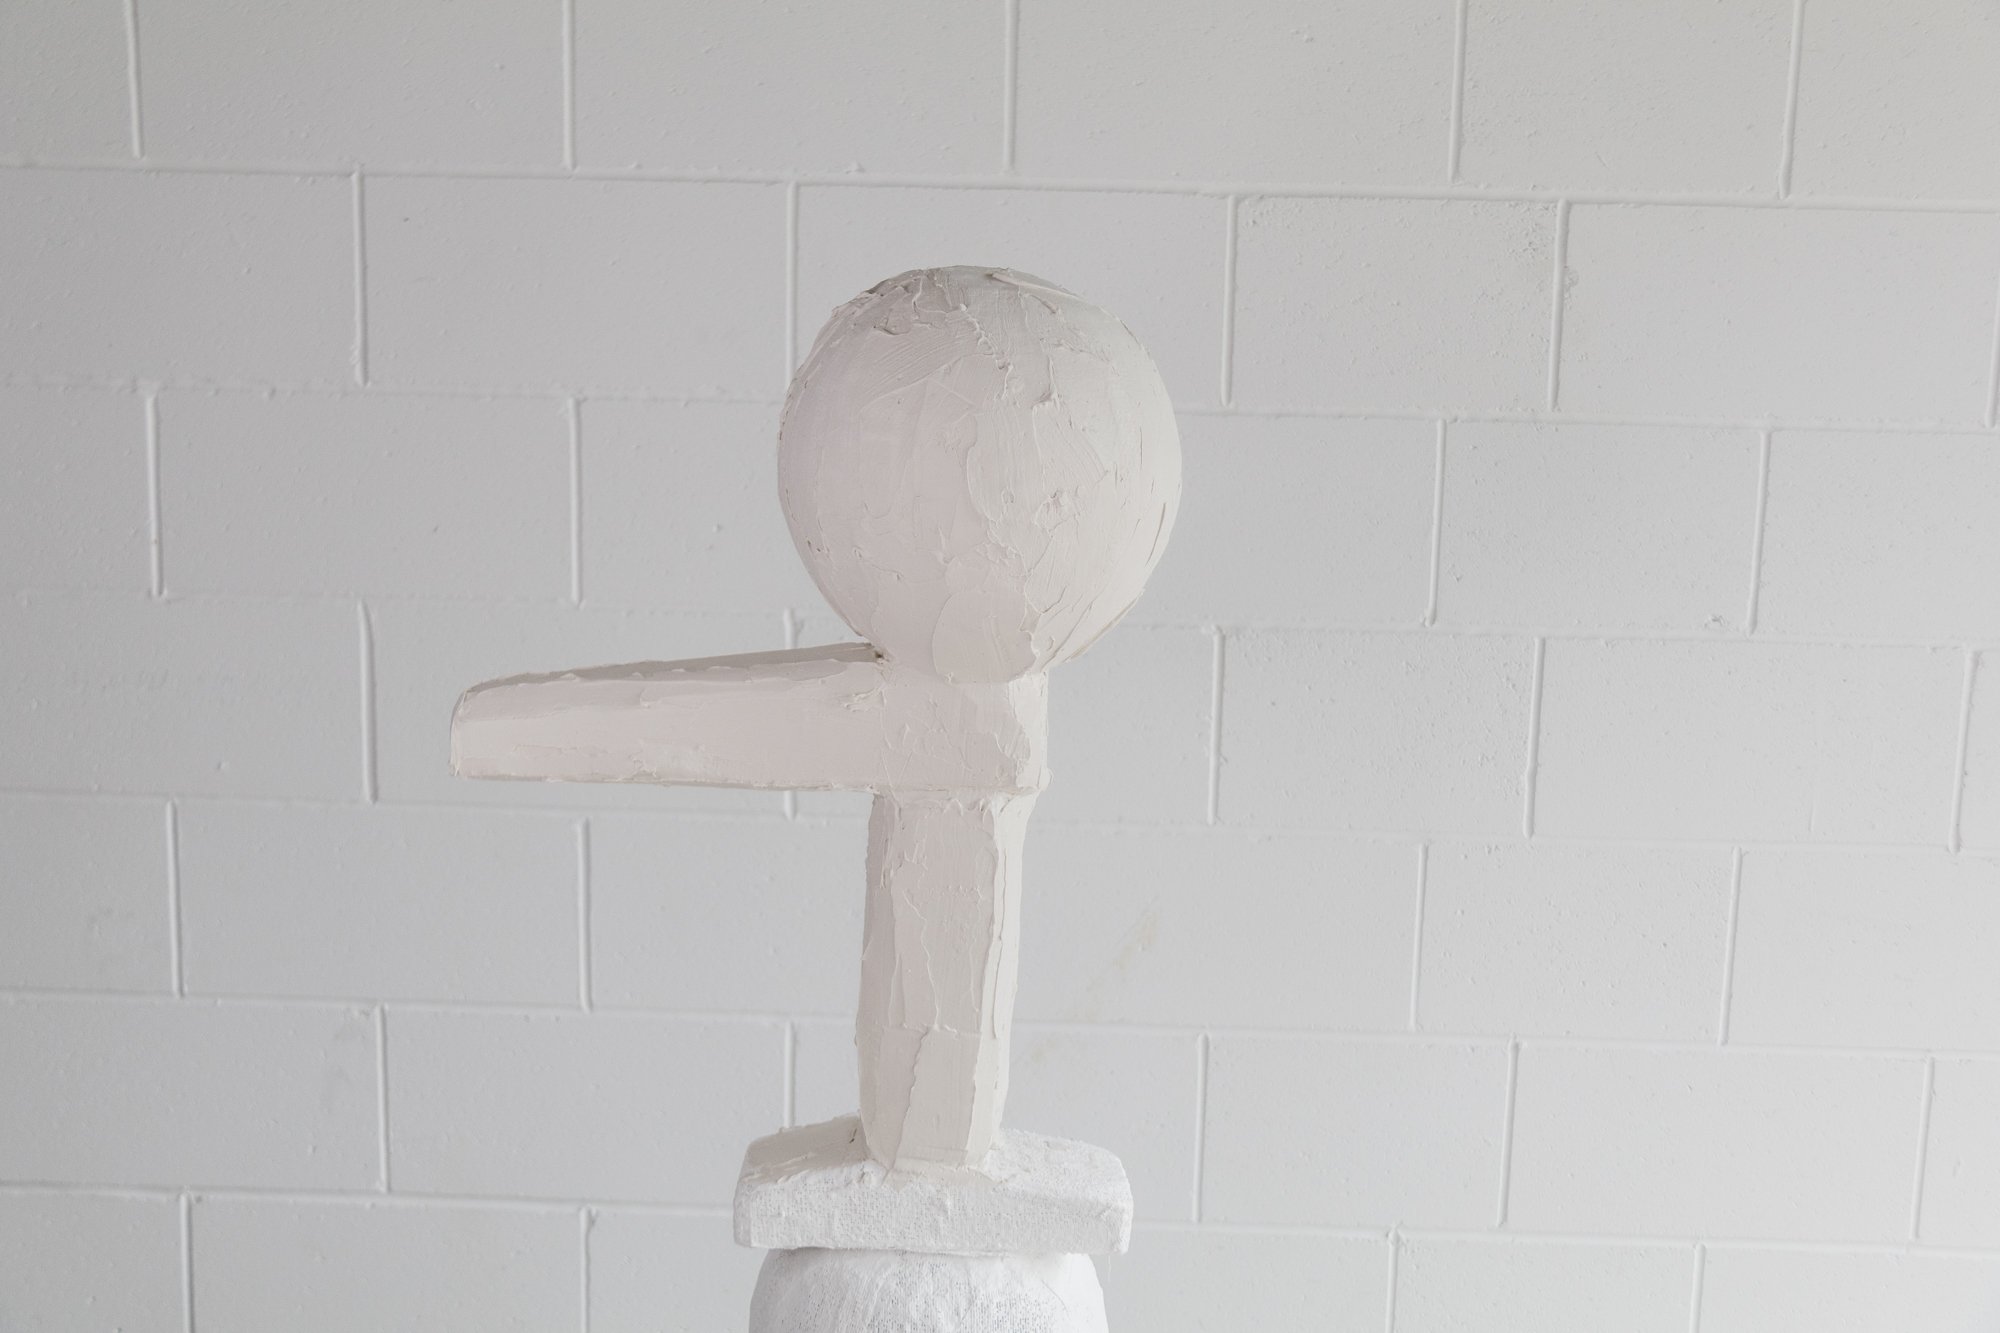
After sanding, you may want to fill in some sections with more plaster like I did. Or you could cover the sculpture in a second coat of plaster, if you like. If so, wait for the plaster to dry completely and sand it smooth with the sanding sponge.
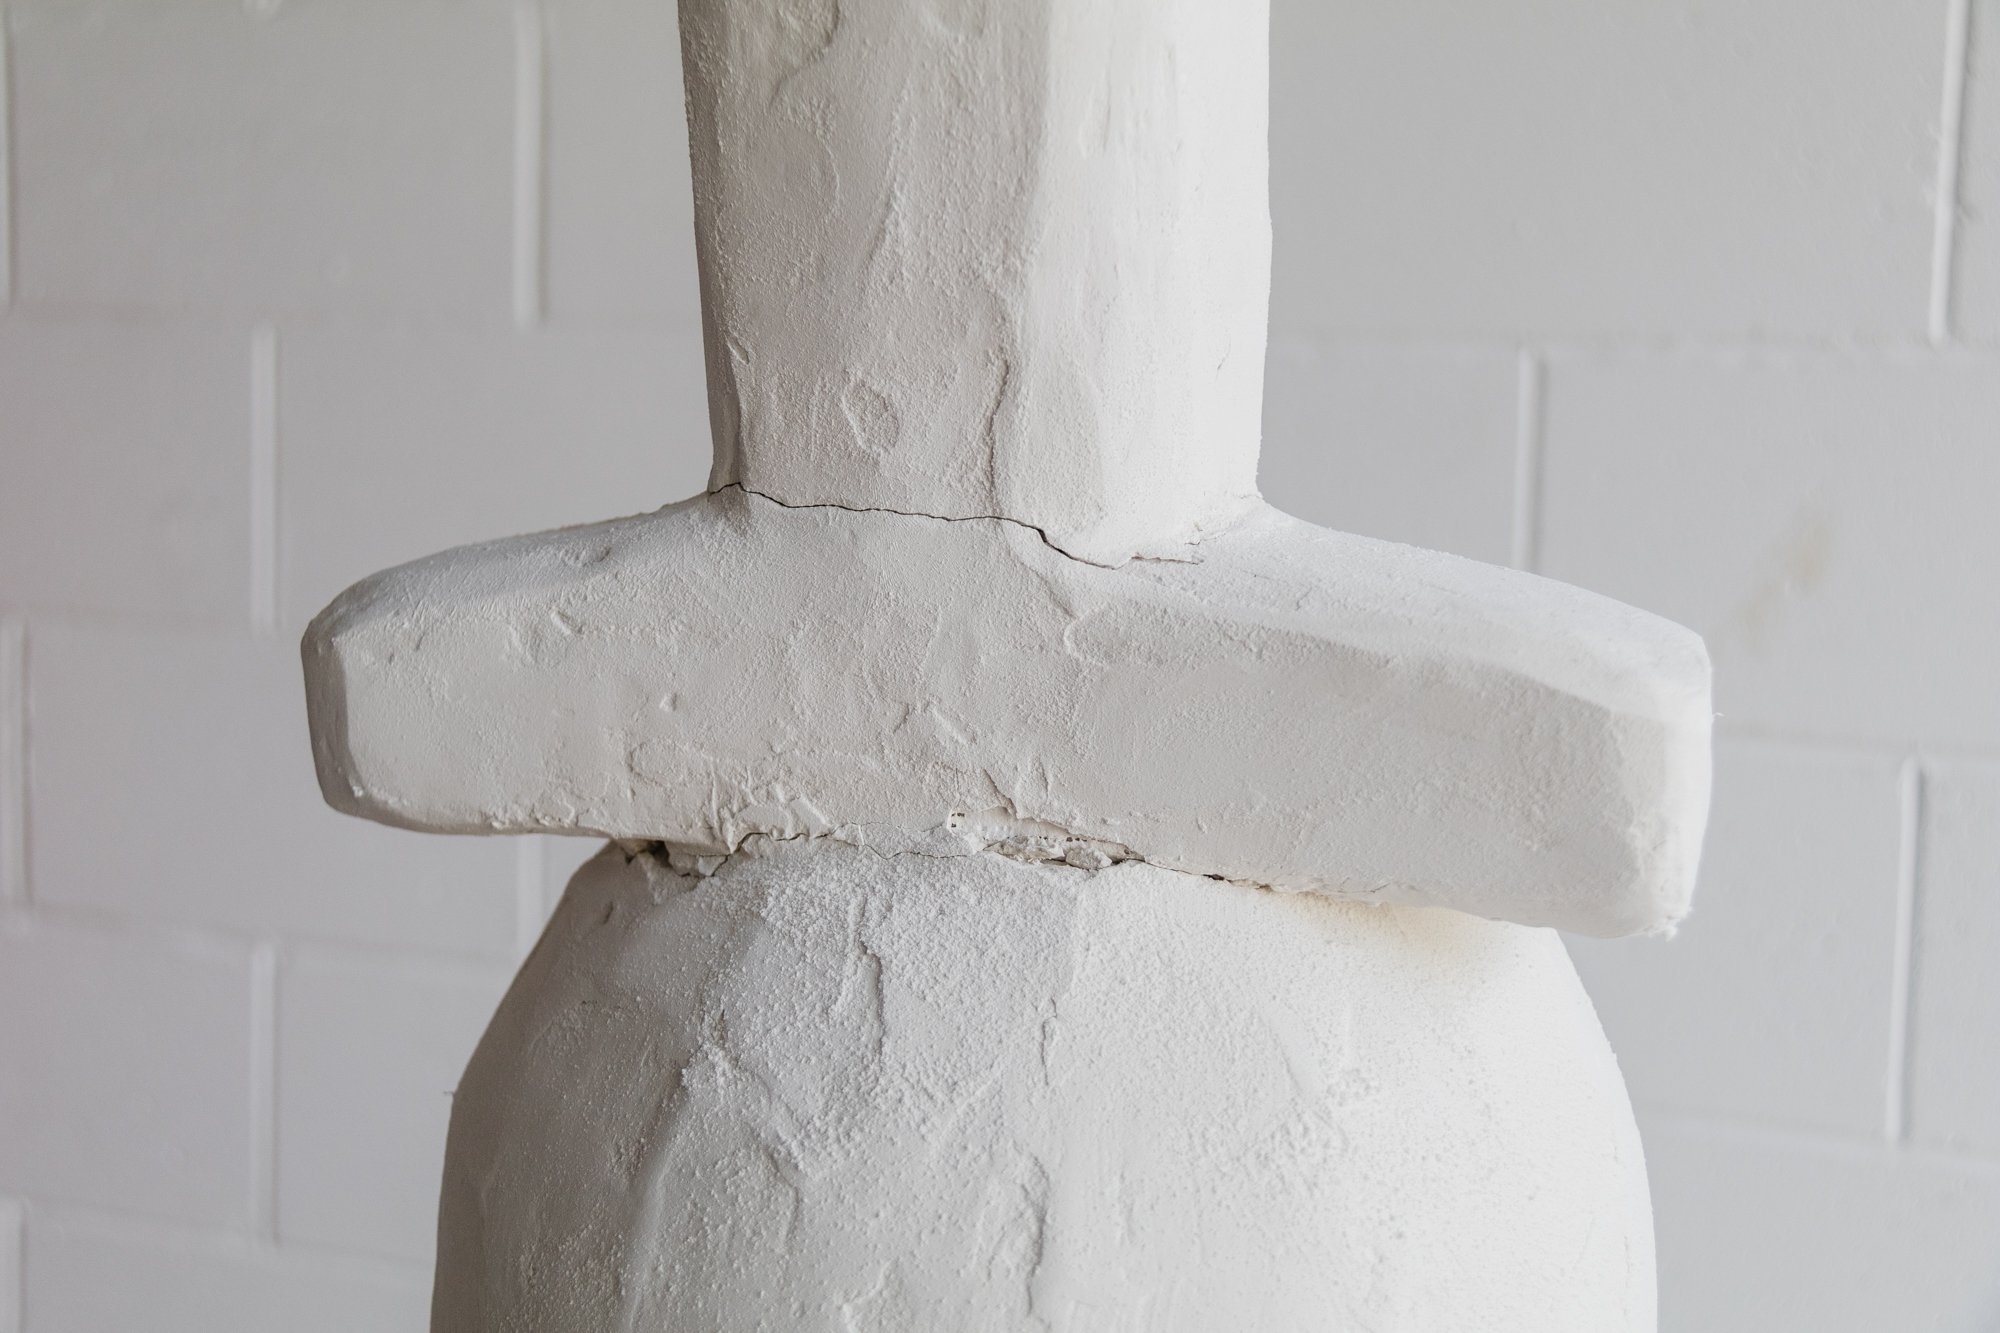
The plaster may crack in some areas and if this does happen, simply fill in the cracks with a quick dry gap filler (linked in the materials list above). Wait for the filler to dry, then gently sand the areas with the filler.
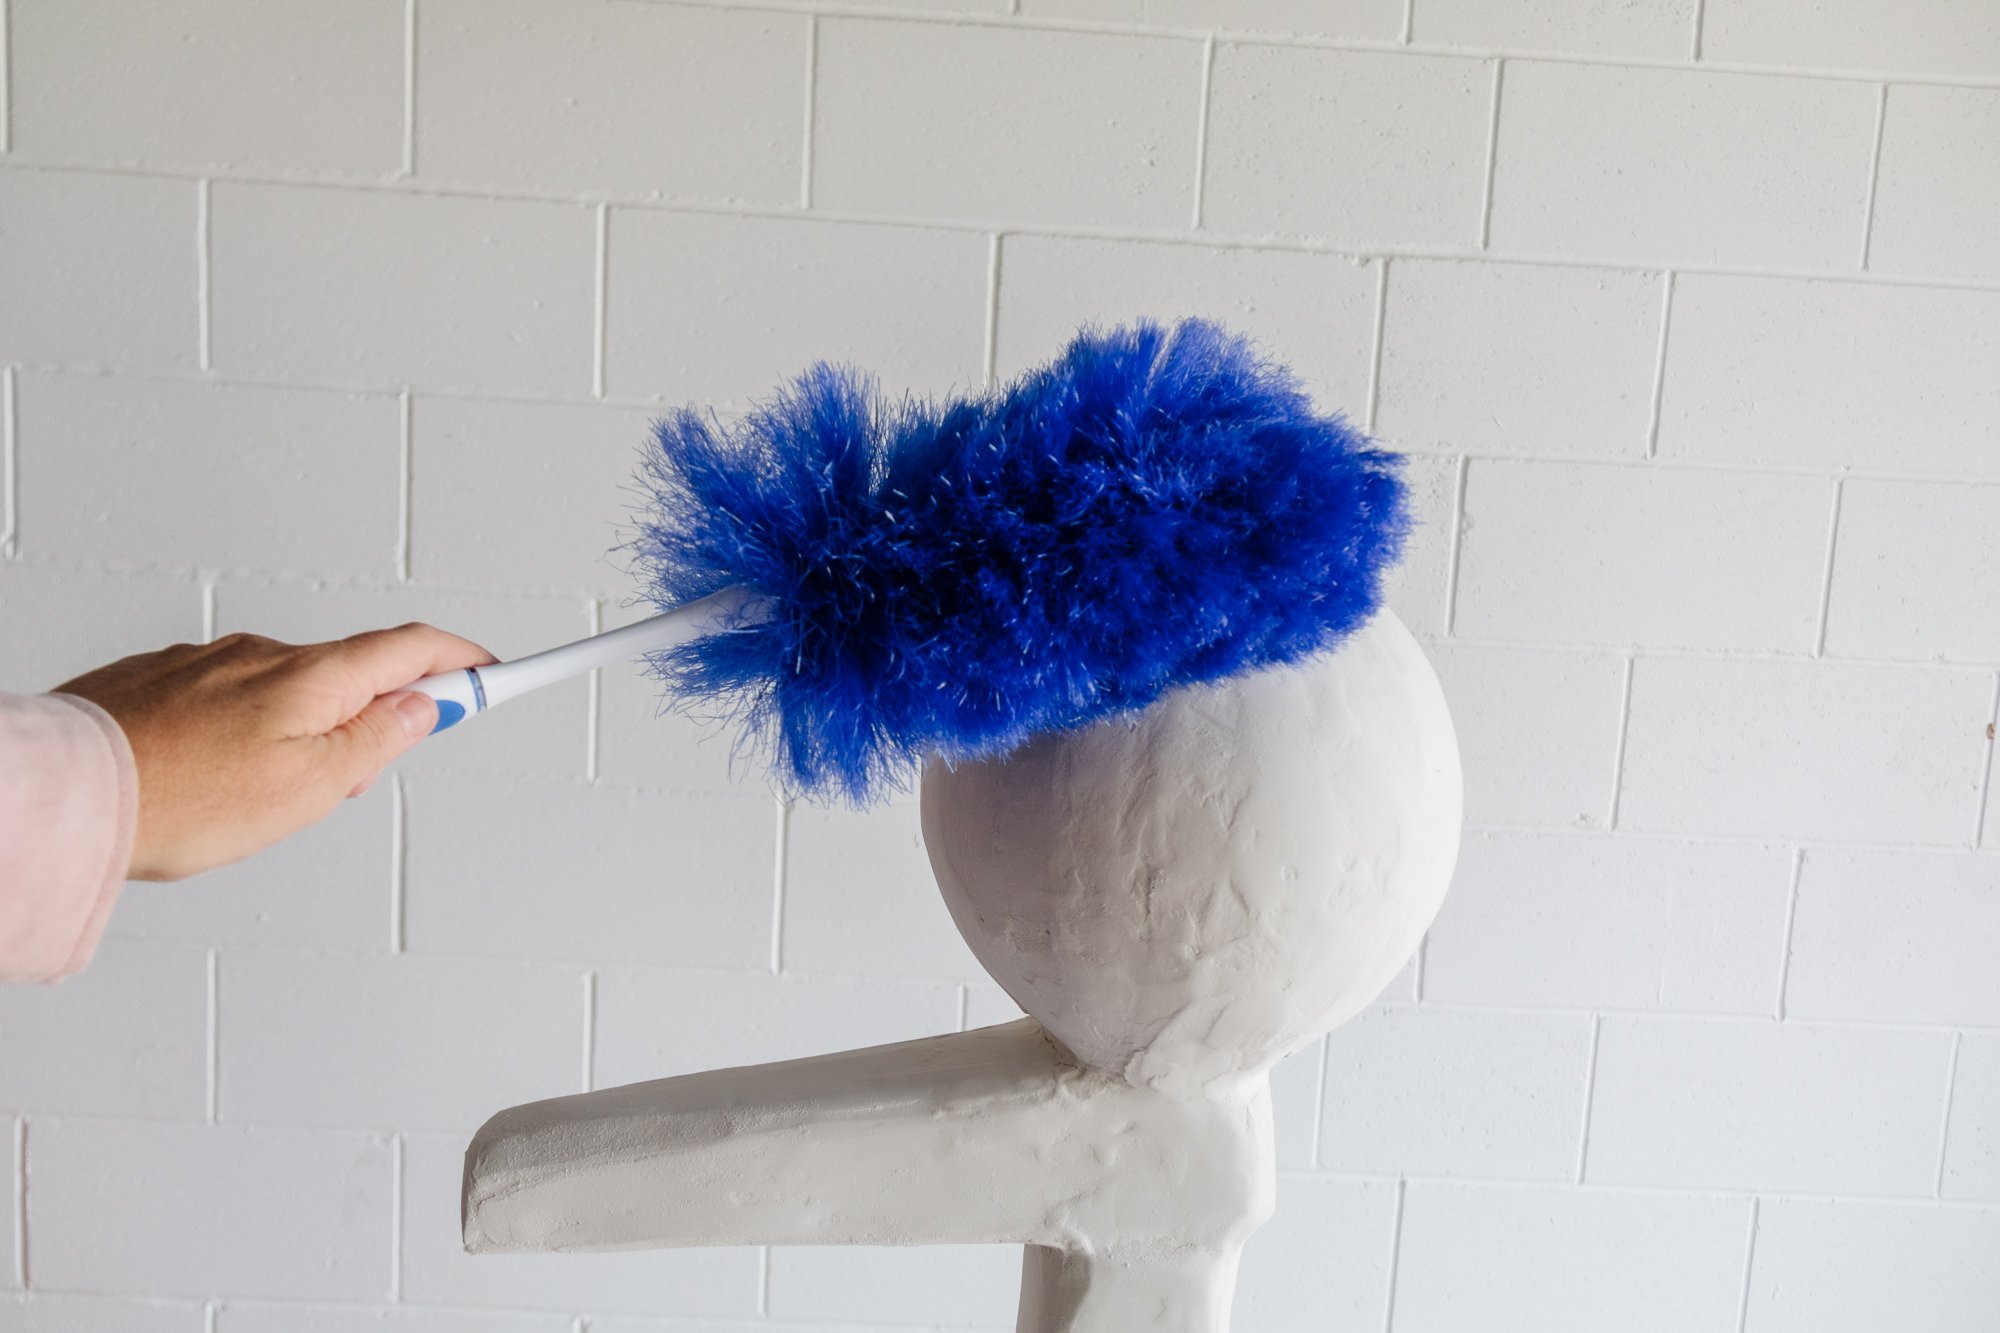
Once the sculpture is sanded and smooth, remove the plaster dust using a cloth or duster.
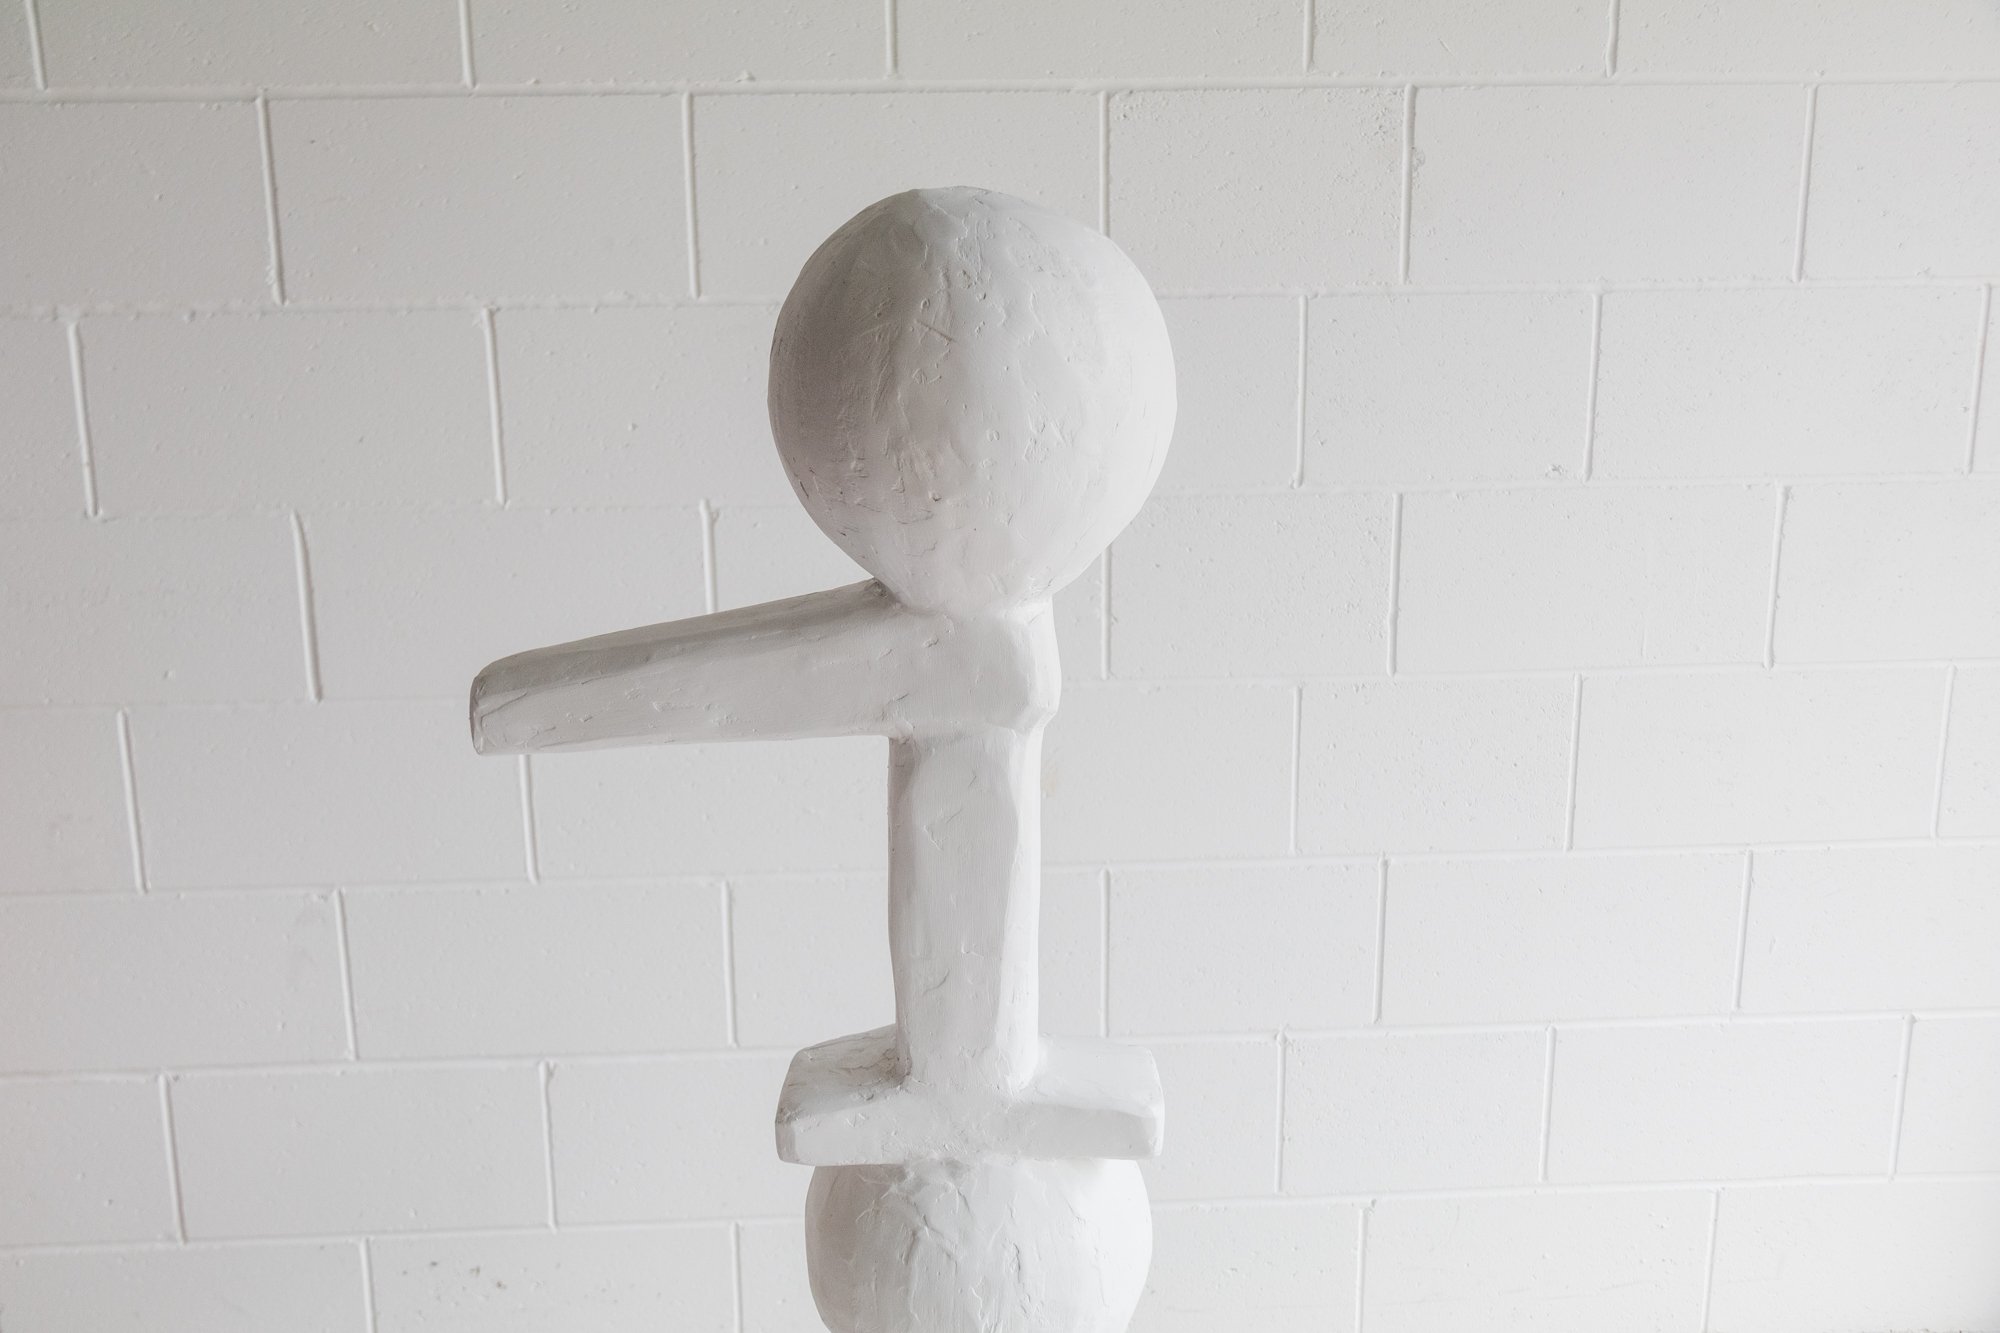
Step 5:
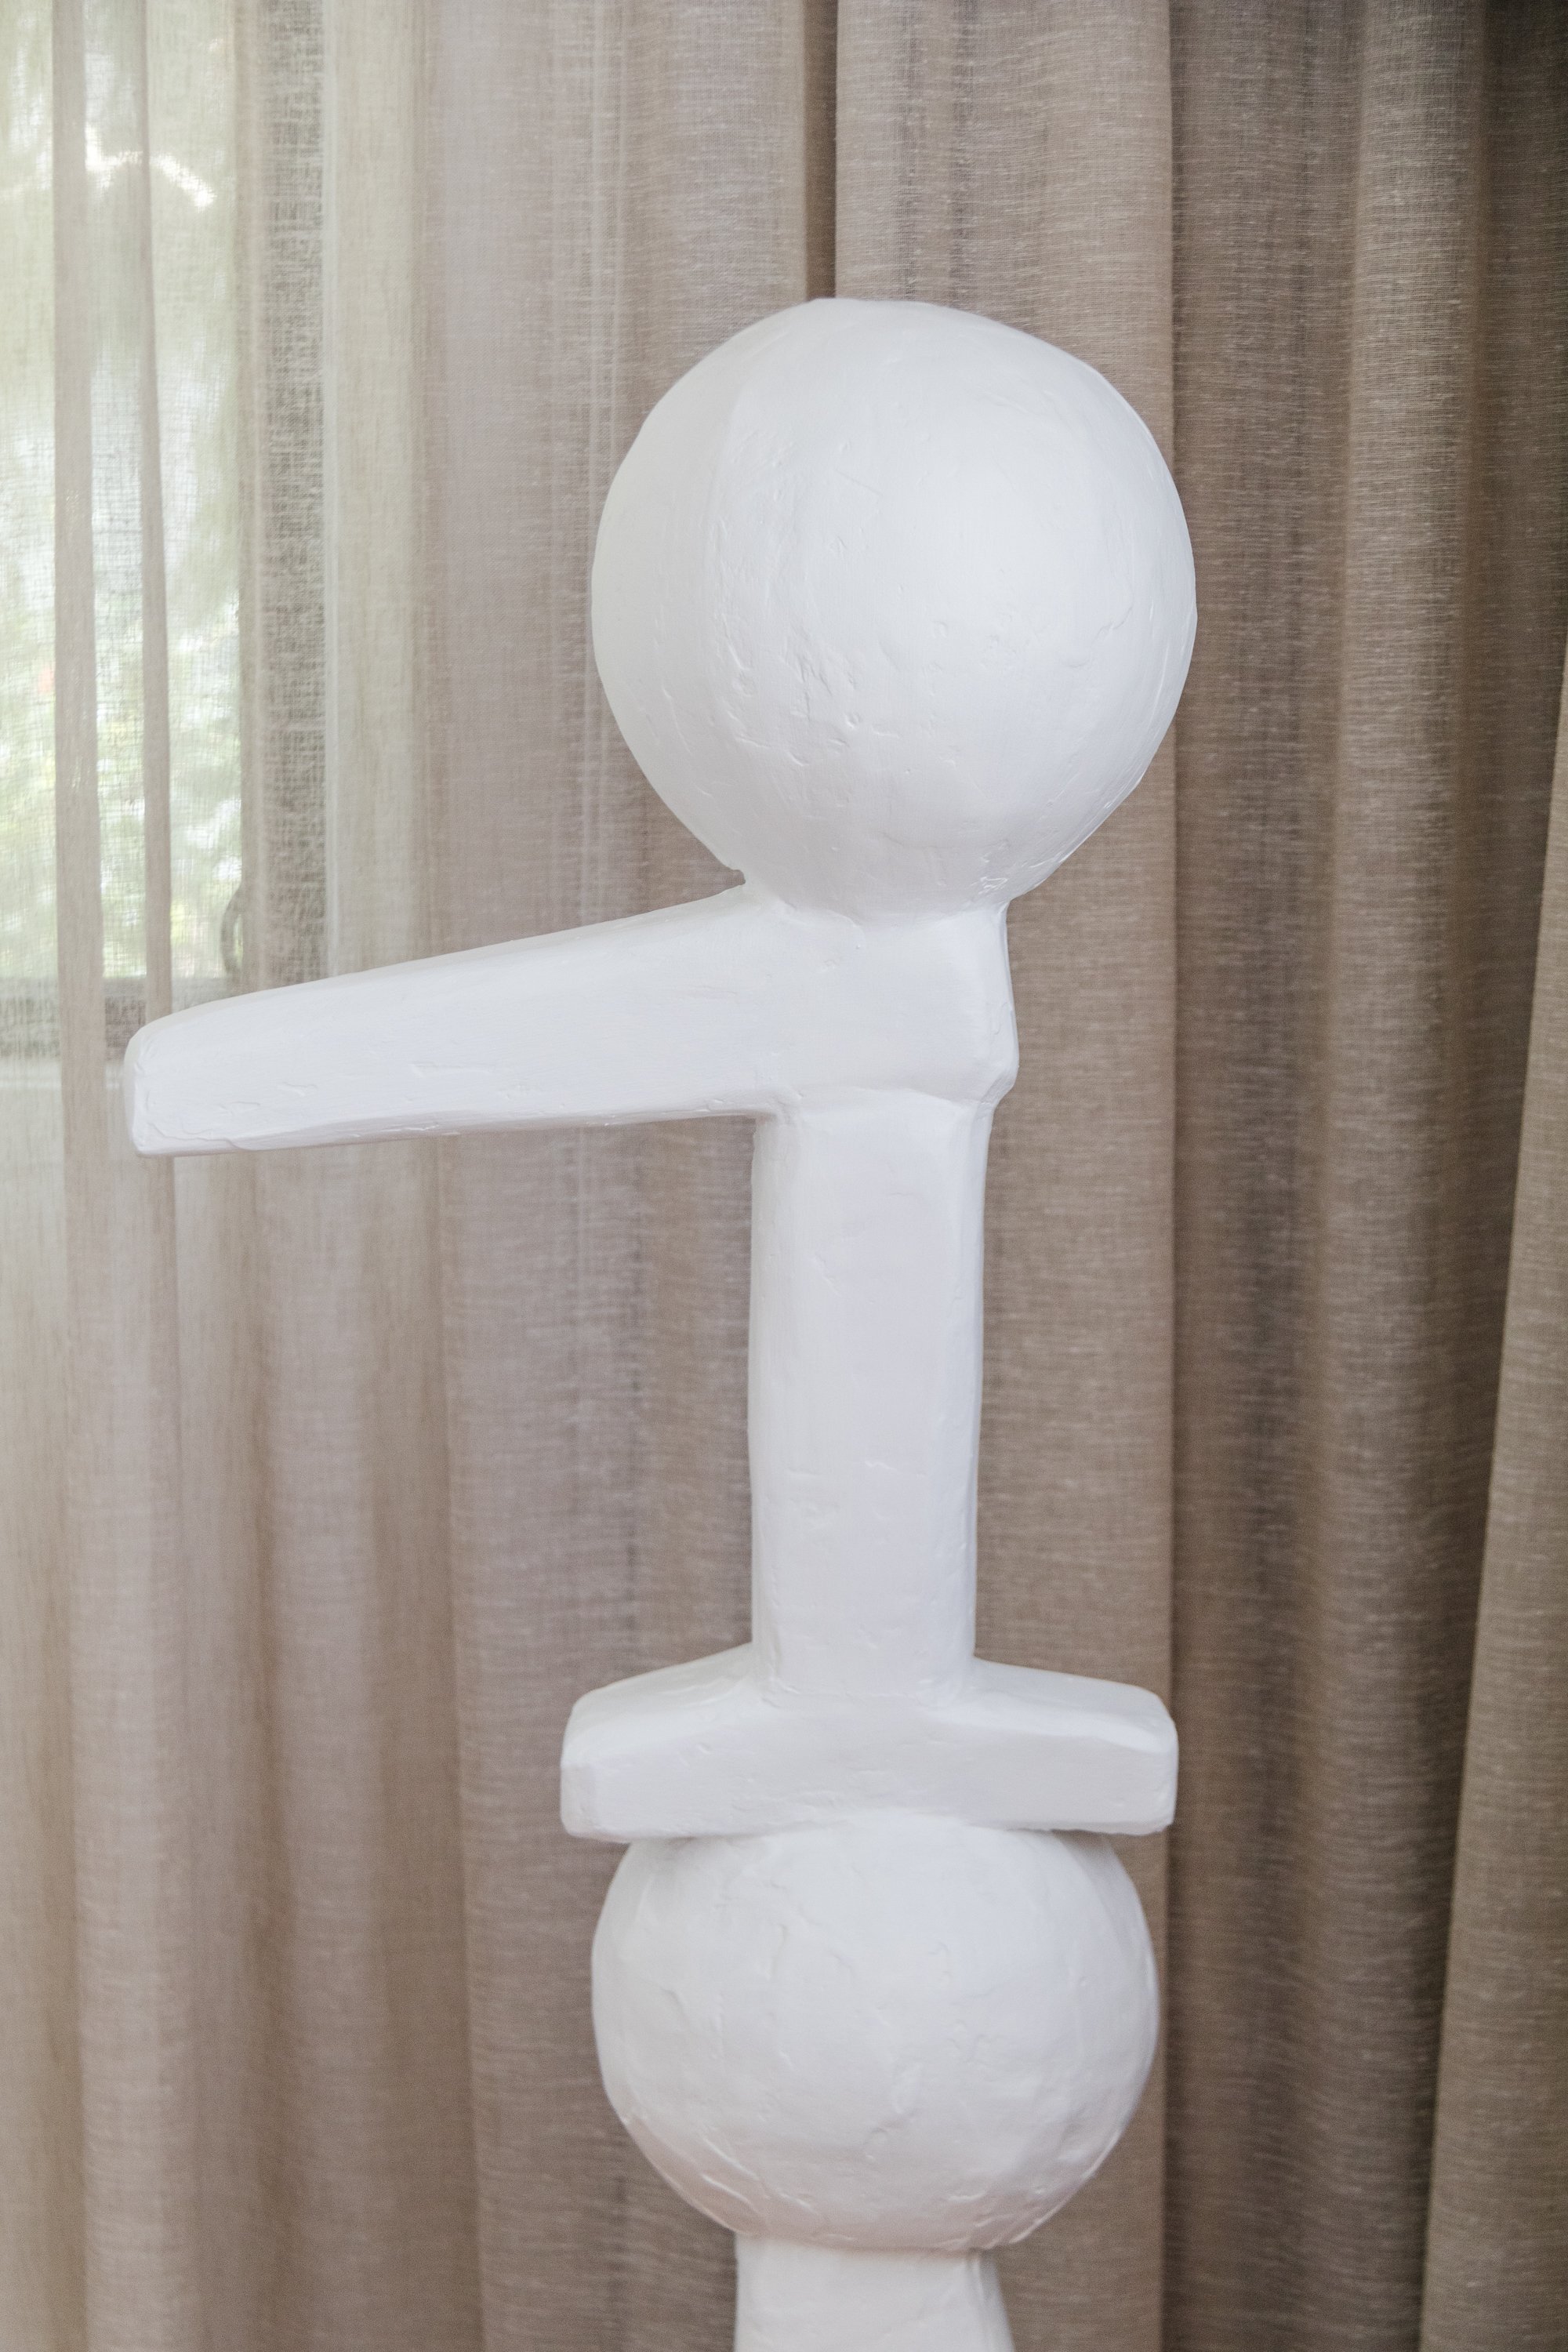
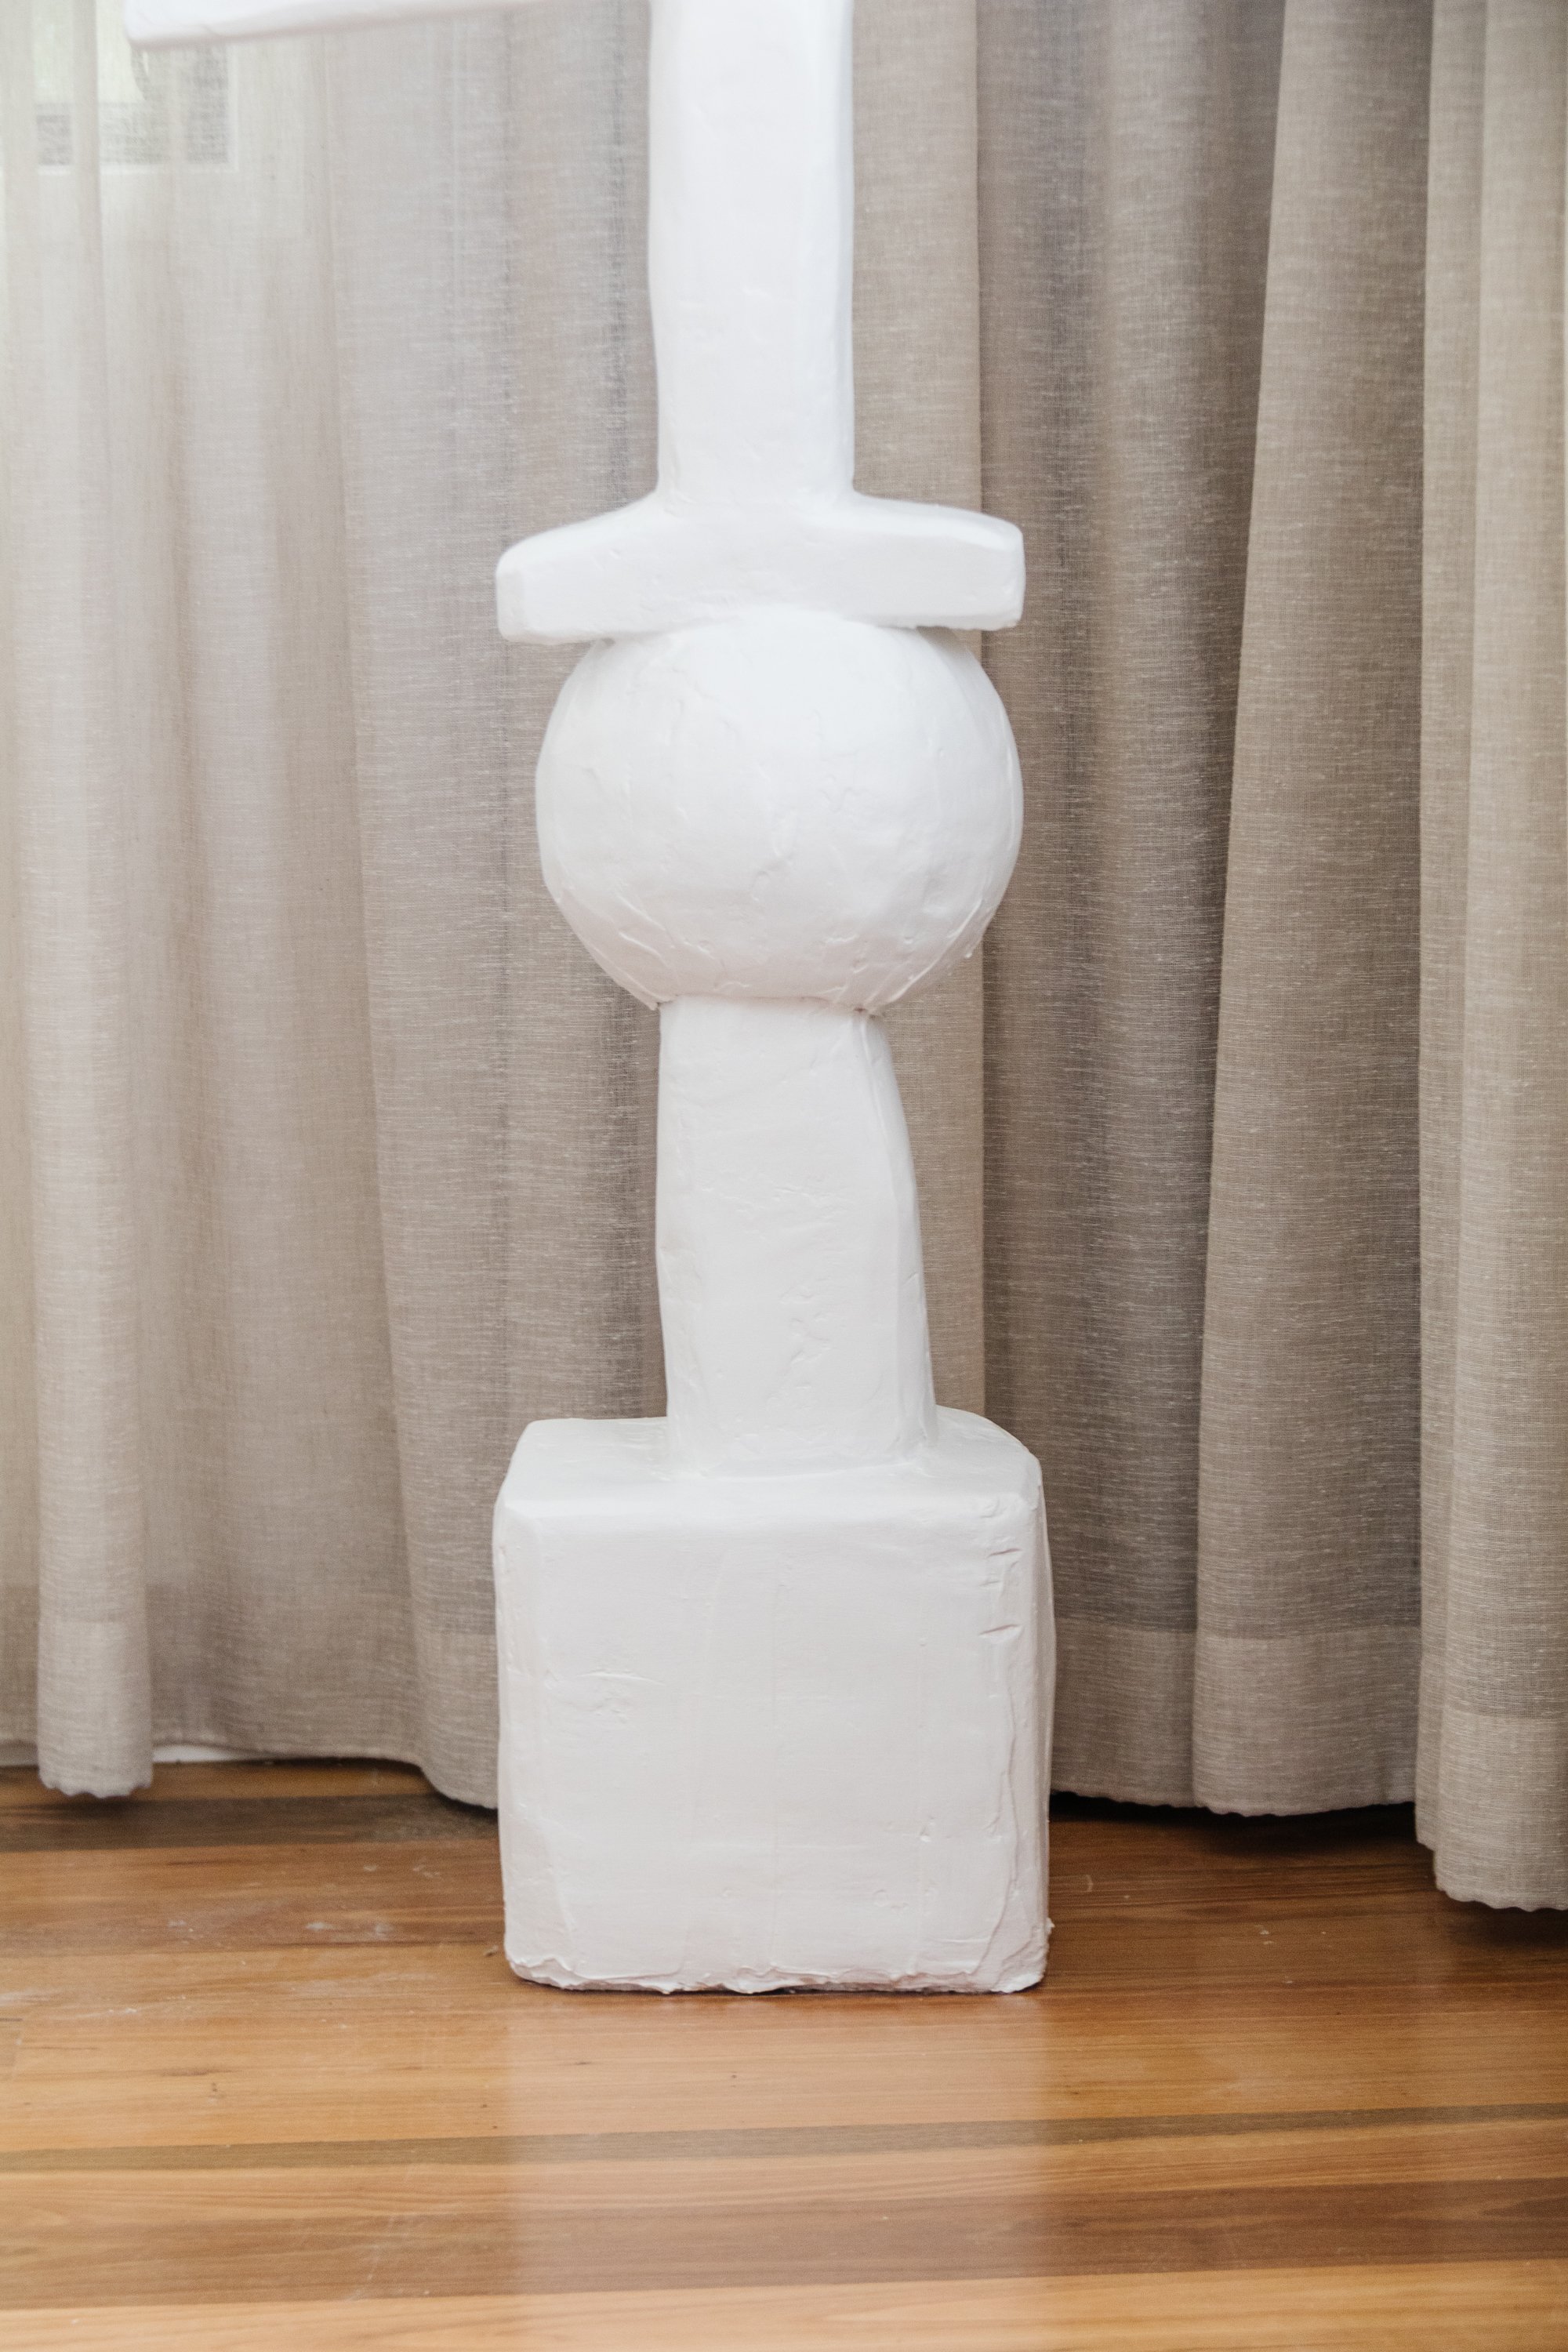
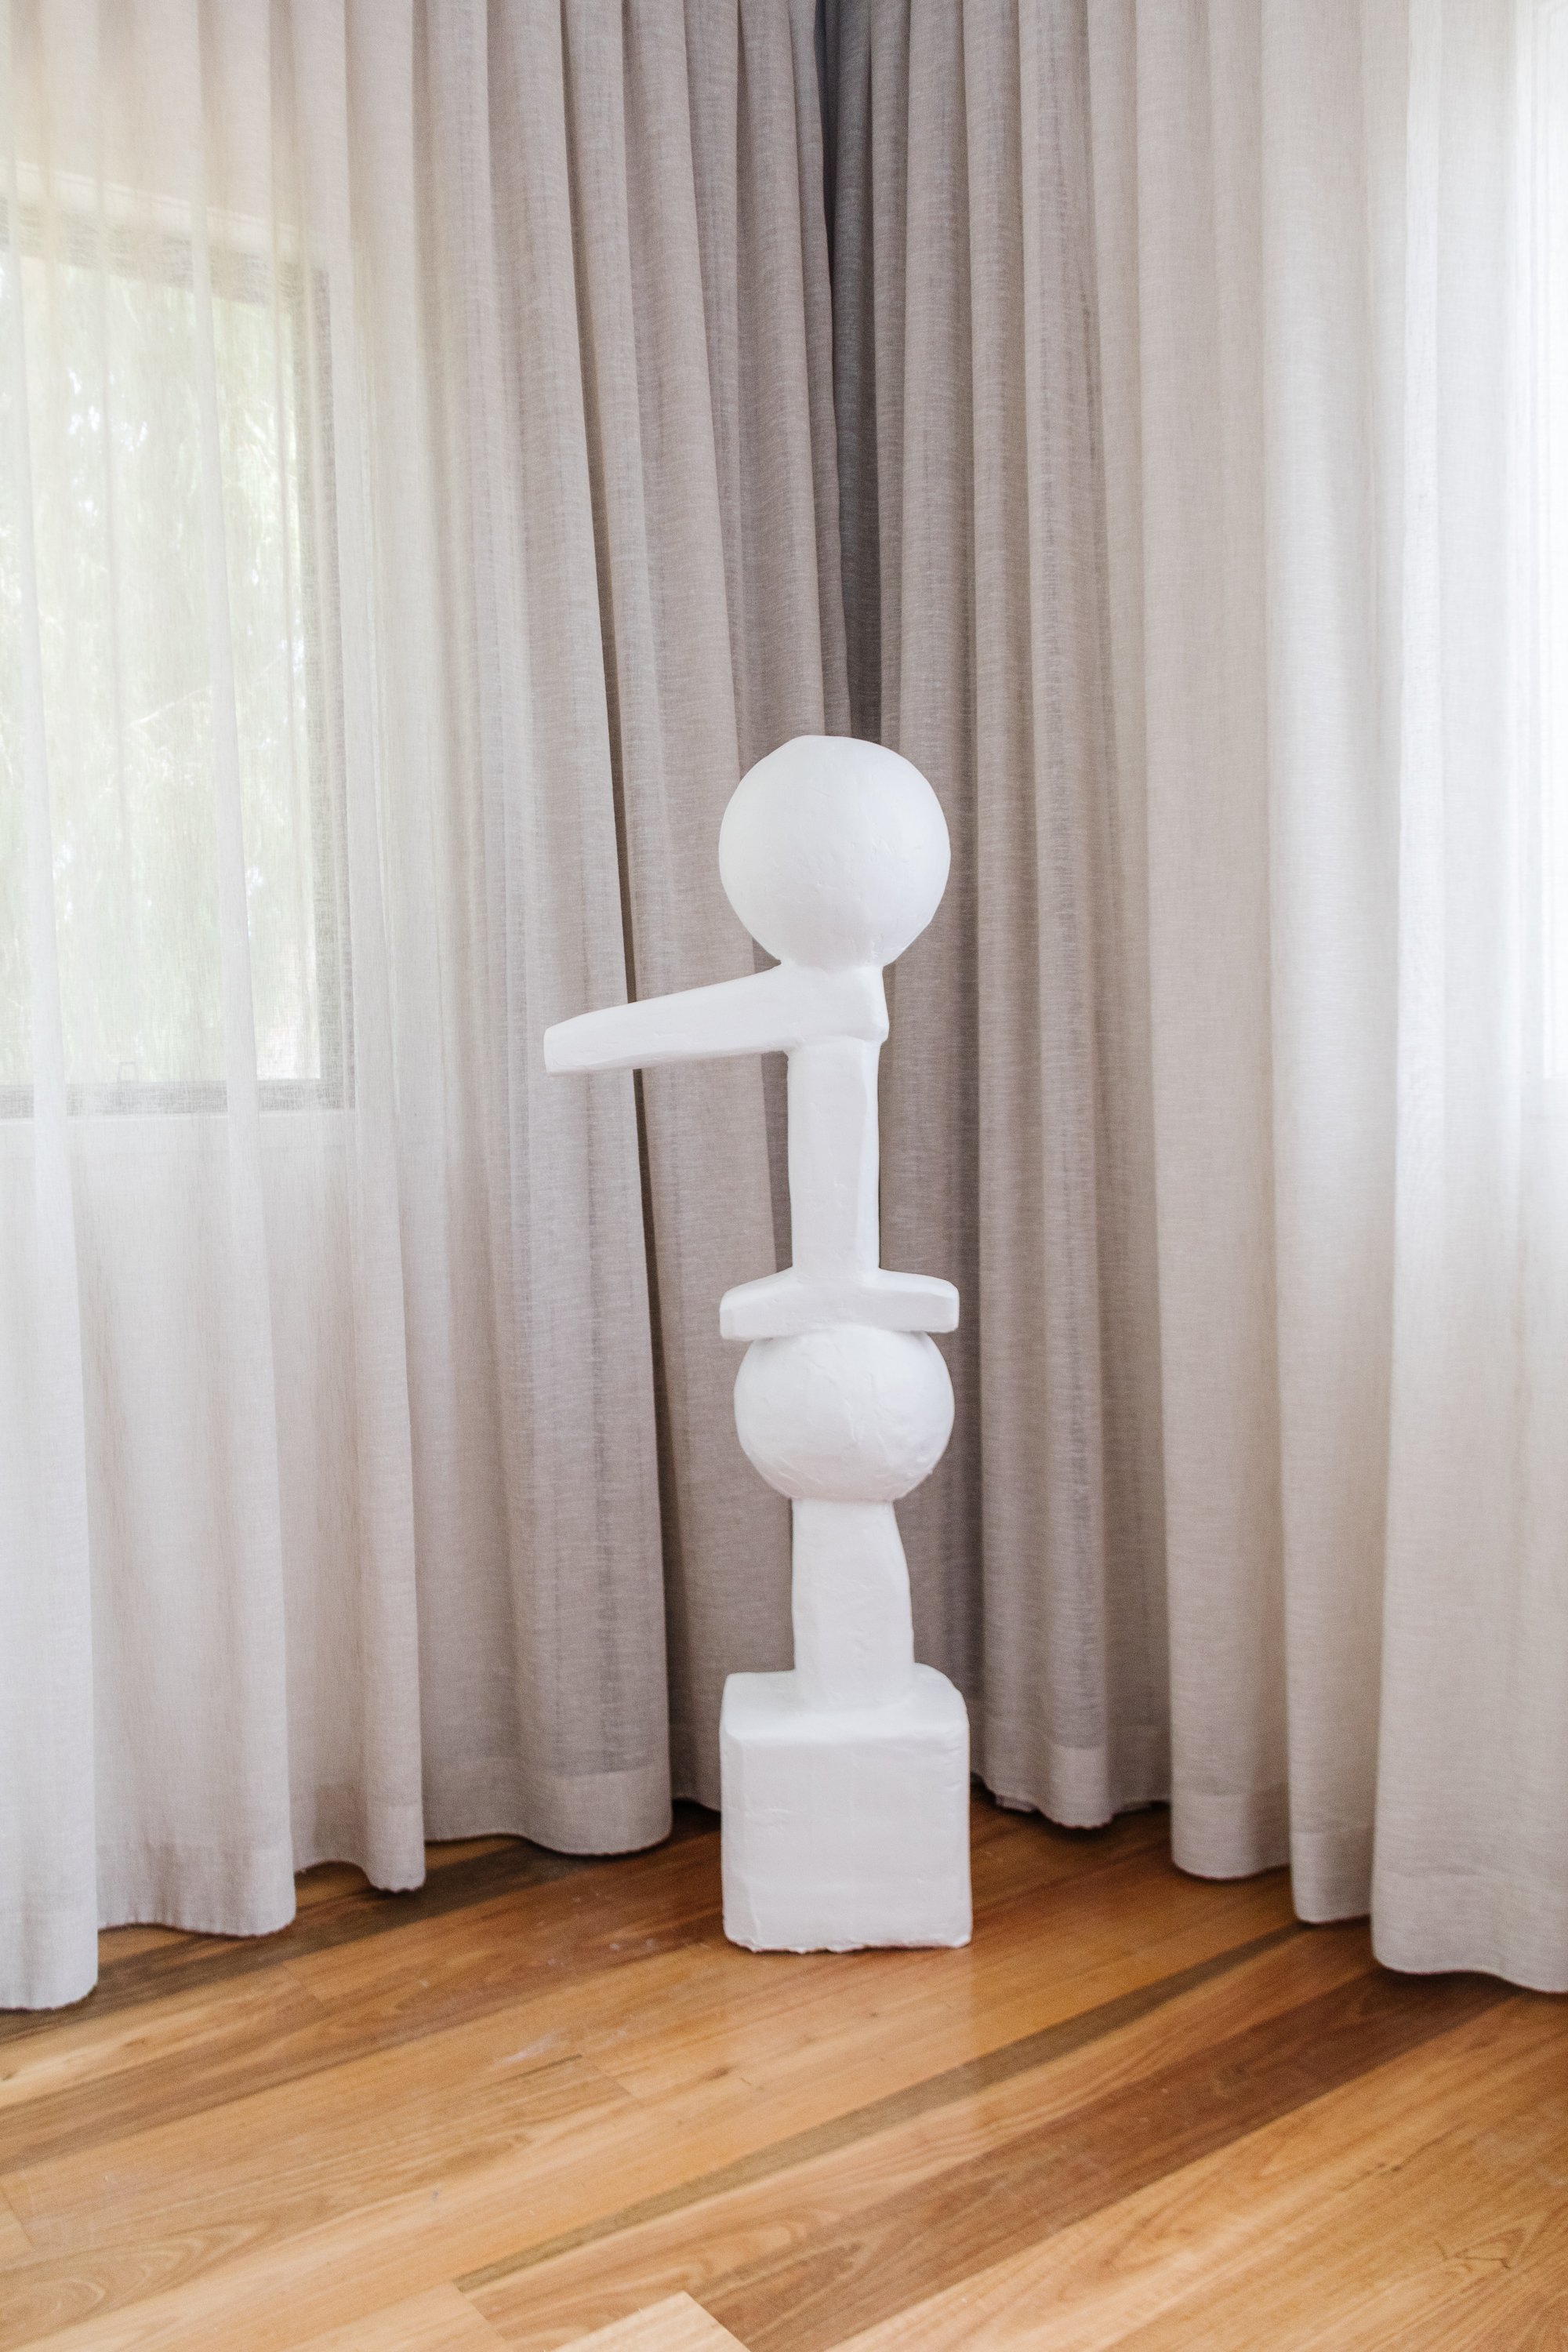
Now it’s time to choose how you would like to finish the sculpture and I’ve left some possible options below. In the end, I decided to paint my sculpture with “Lexicon Quarter” by Dulux. And I love how it looks!

Finishing Options
You can leave the plaster raw
You can seal the plaster with Rust Oleum 2X Ultra Cover Spray Paint in Clear Gloss to protect the plaster but still retain the colour of the plaster
You can paint over the raw plaster
You can paint over the raw plaster and seal the paint with Rust Oleum 2X Ultra Cover Spray Paint in Clear Gloss

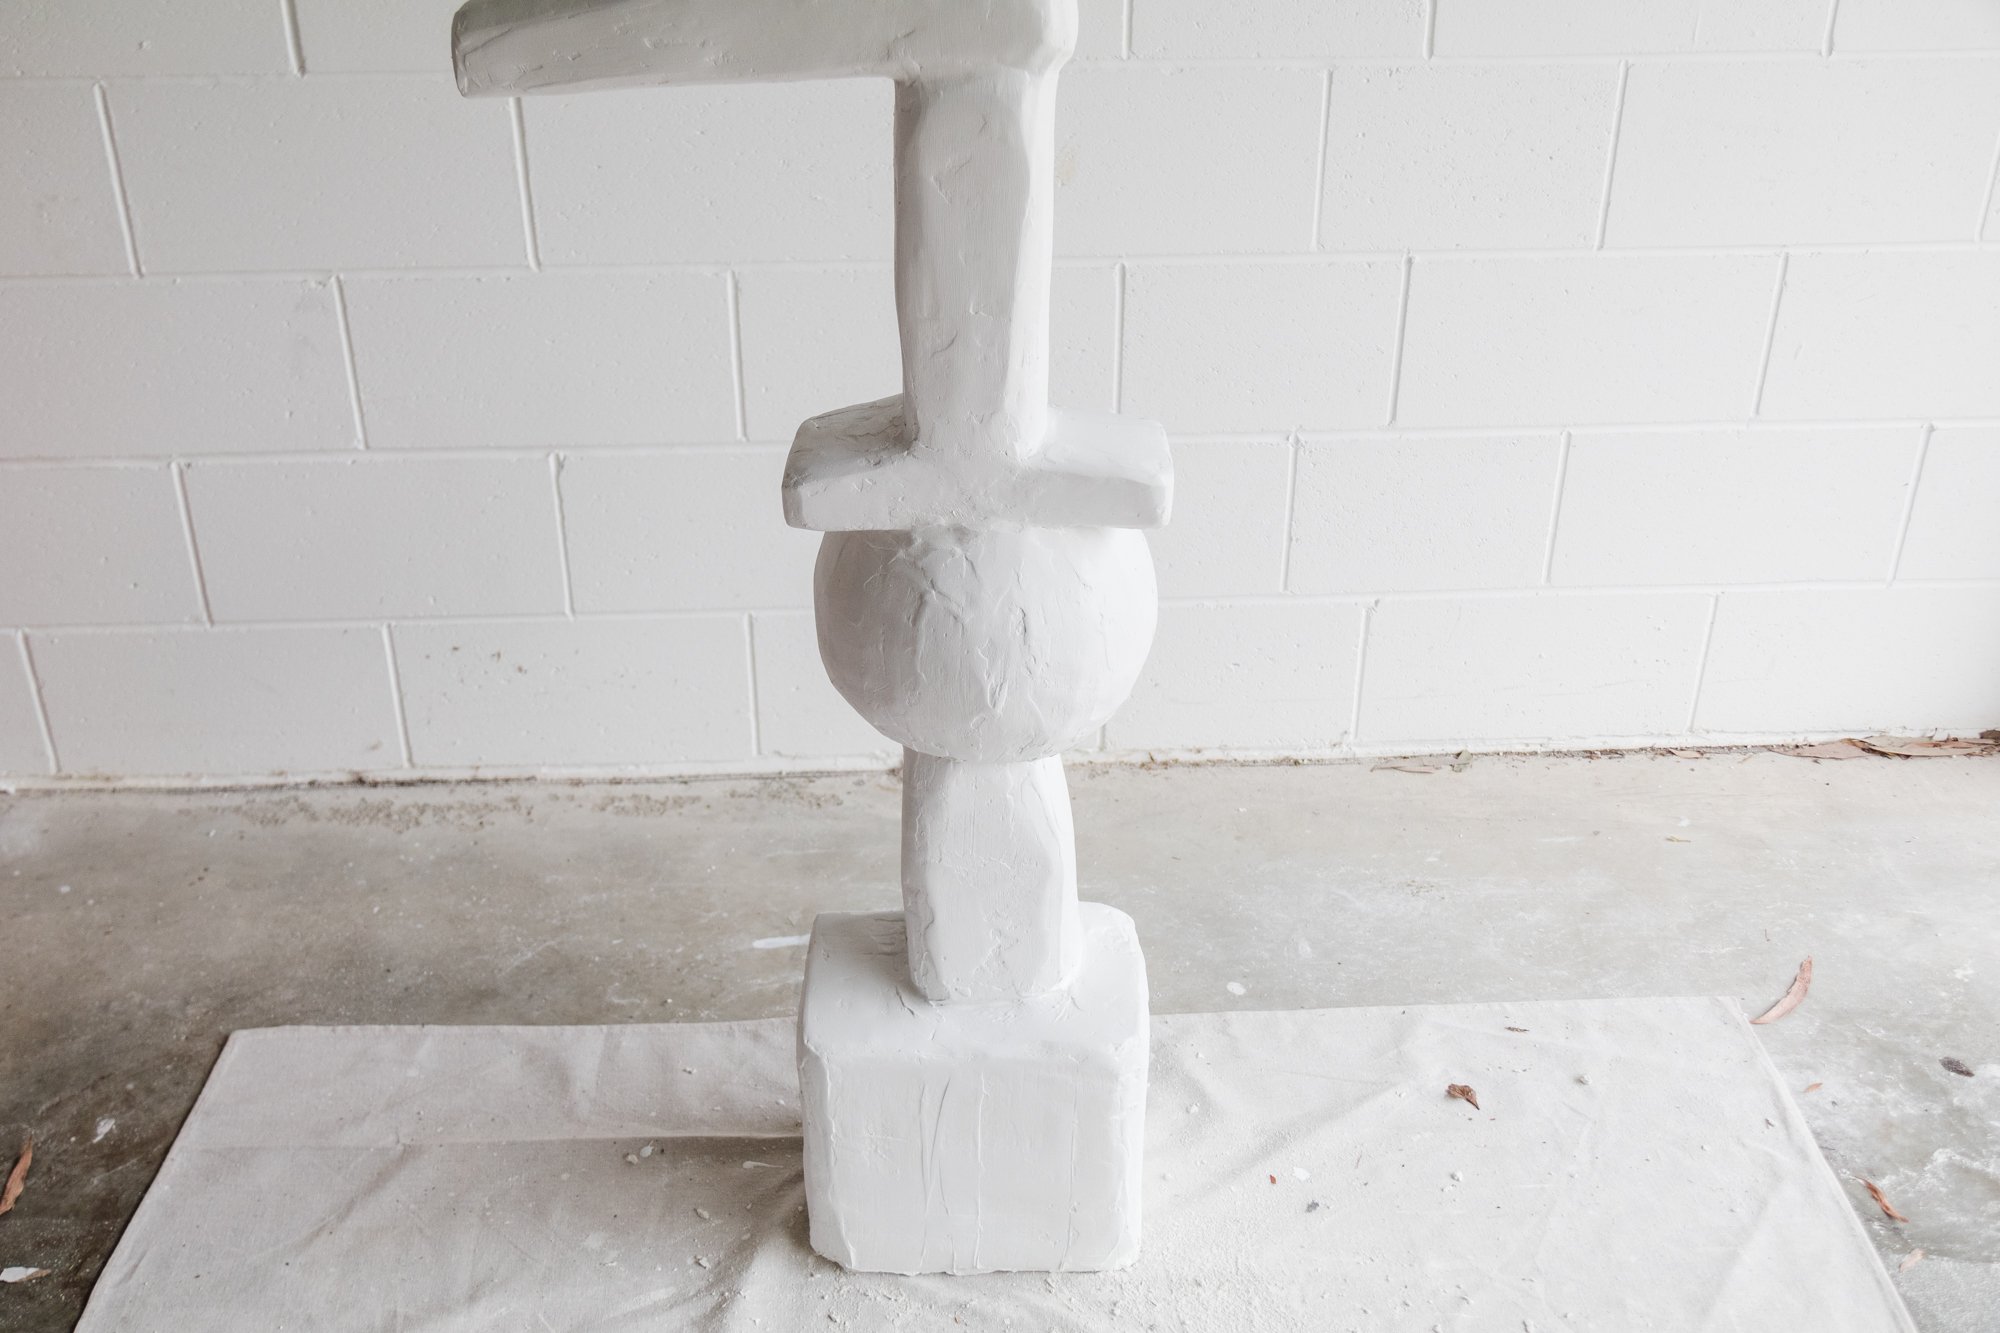
Ta daaaa!
And there you have it, an abstract sculpture using scrap styrofoam, paper lanterns, a mop and plaster! While I felt completely out of my depth the whole time I was making this sculpture, in the end I had so much fun coming up with the design, creating the abstract shapes using materials that could have ended up in landfill, figuring out how to make the sculpture stable (hello mop handle) and flip flopping between plaster and paint for the finish. And although I was constantly thinking “what have I gotten myself into?”, I kept going. And I can’t wait to see what standing abstract sculptures you make!