Upcycling A Fabric Framed Mirror
Elevate your mirrors at home with fabric!
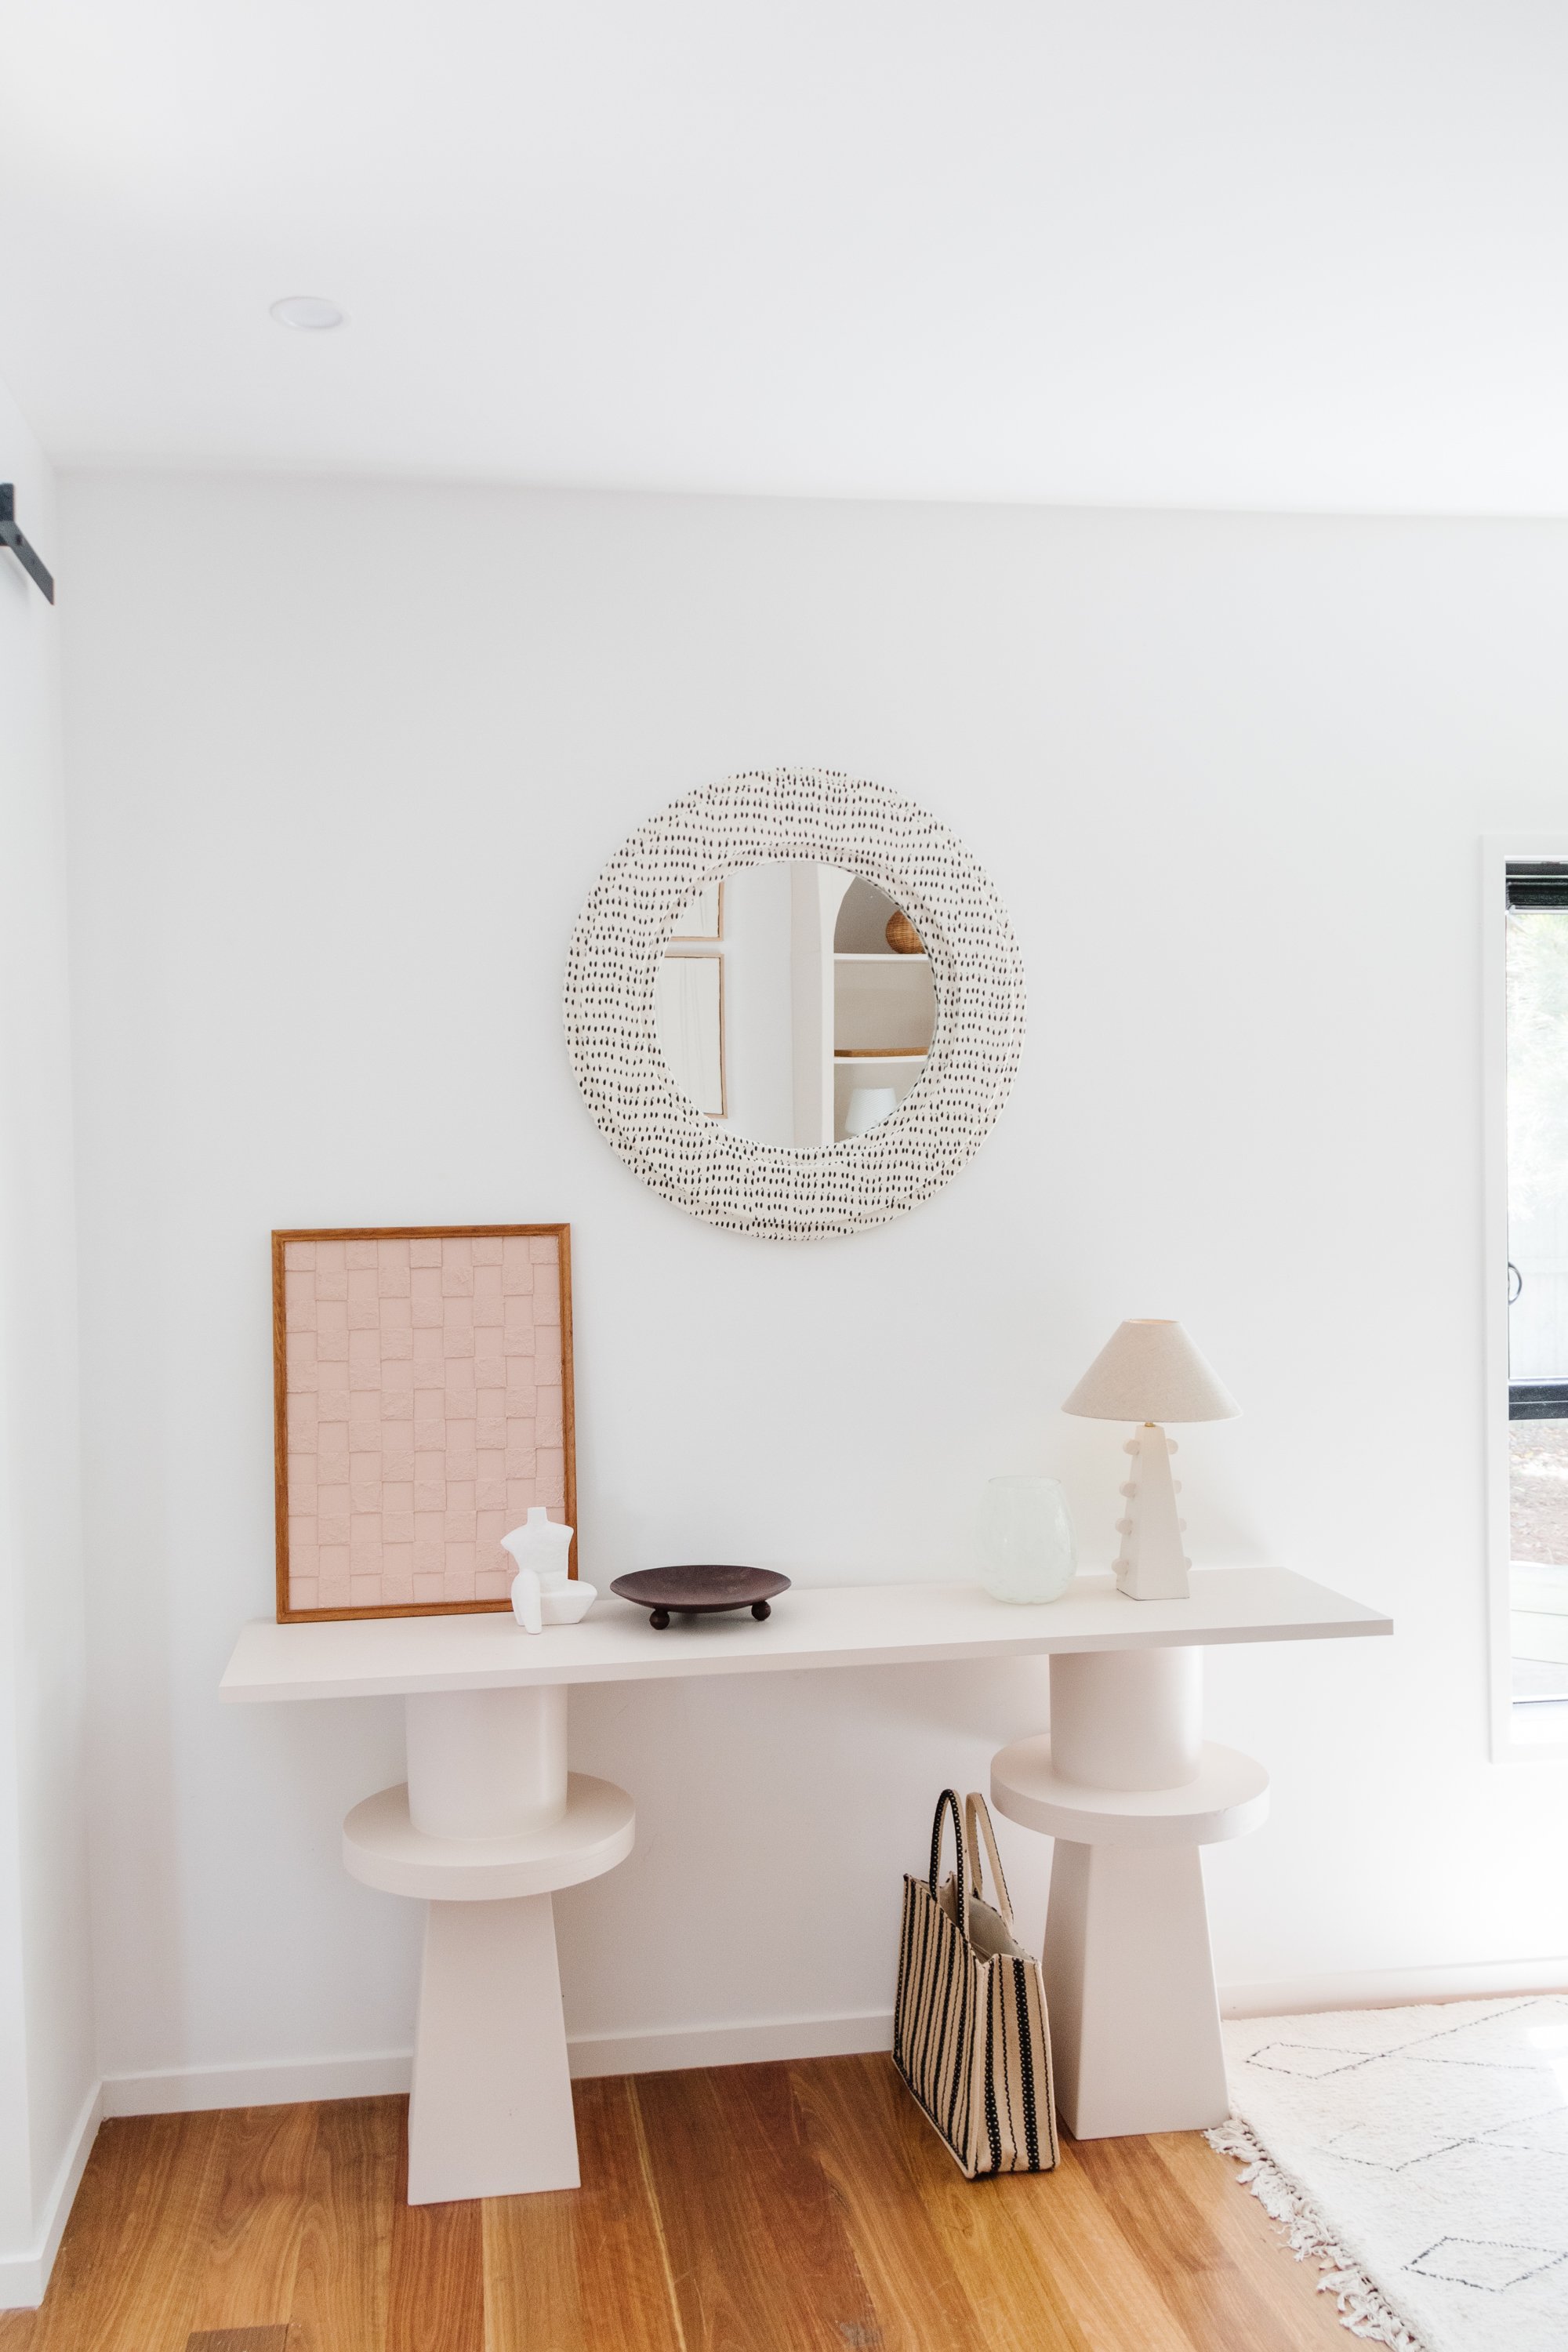
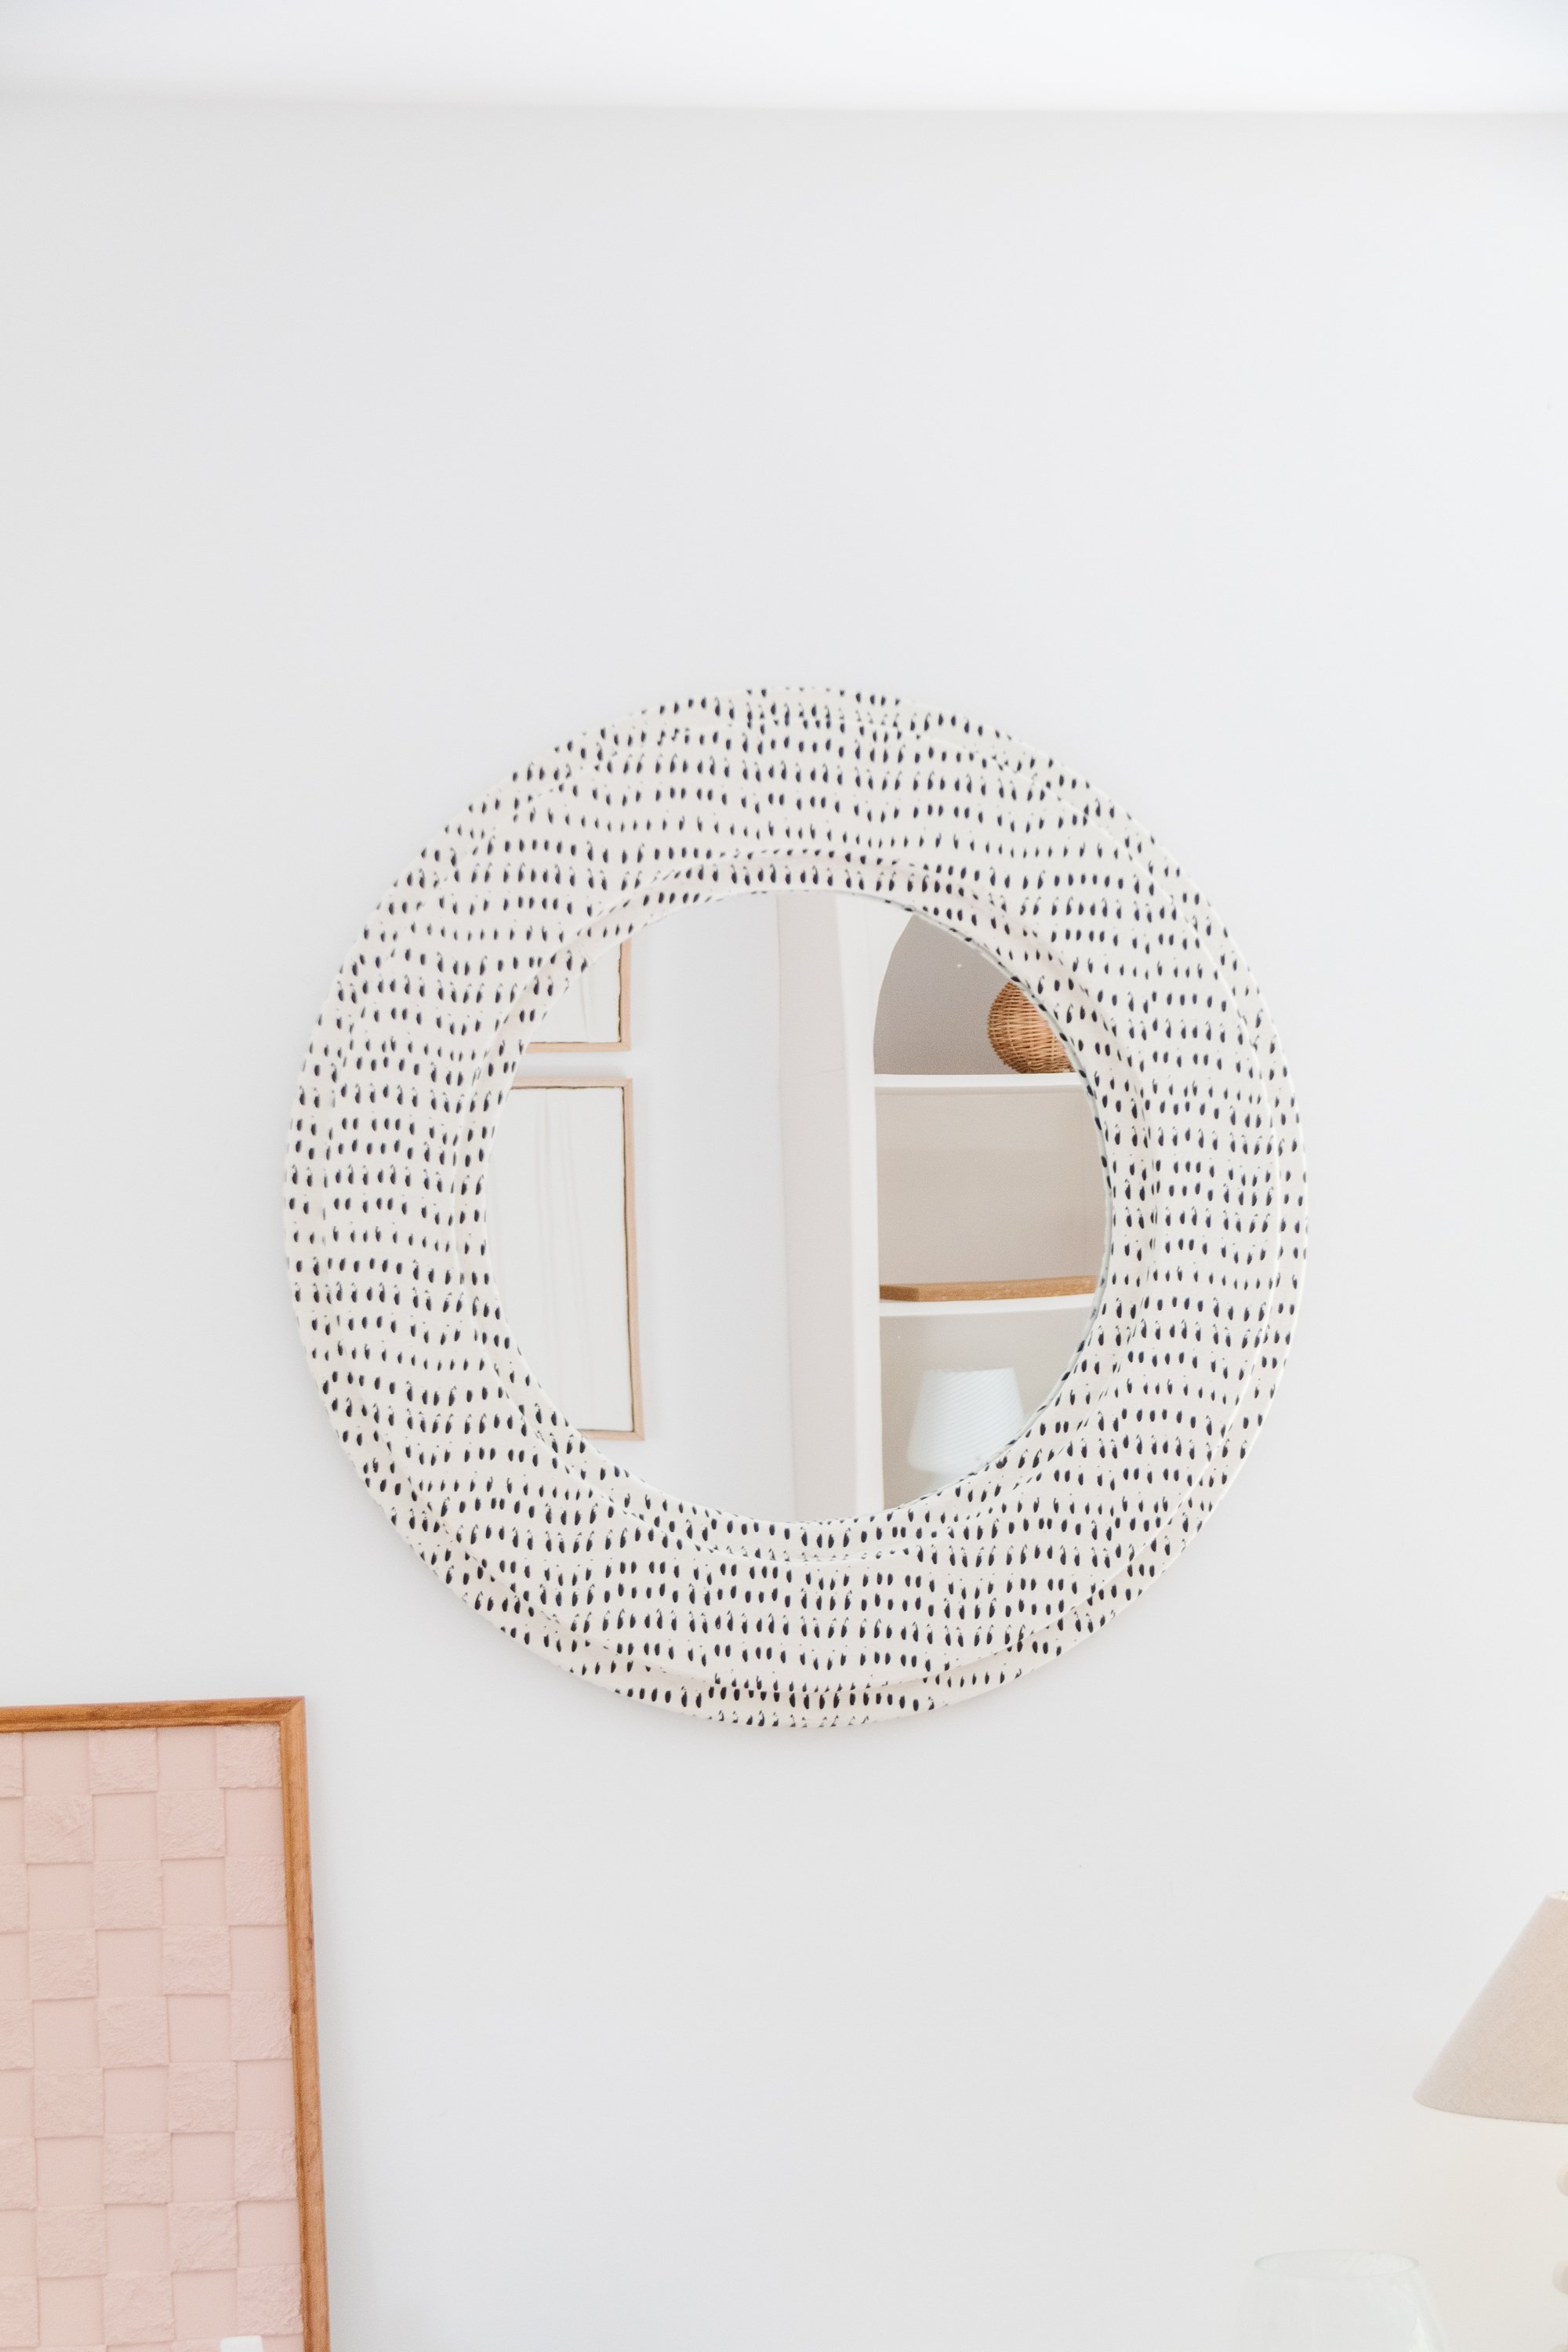
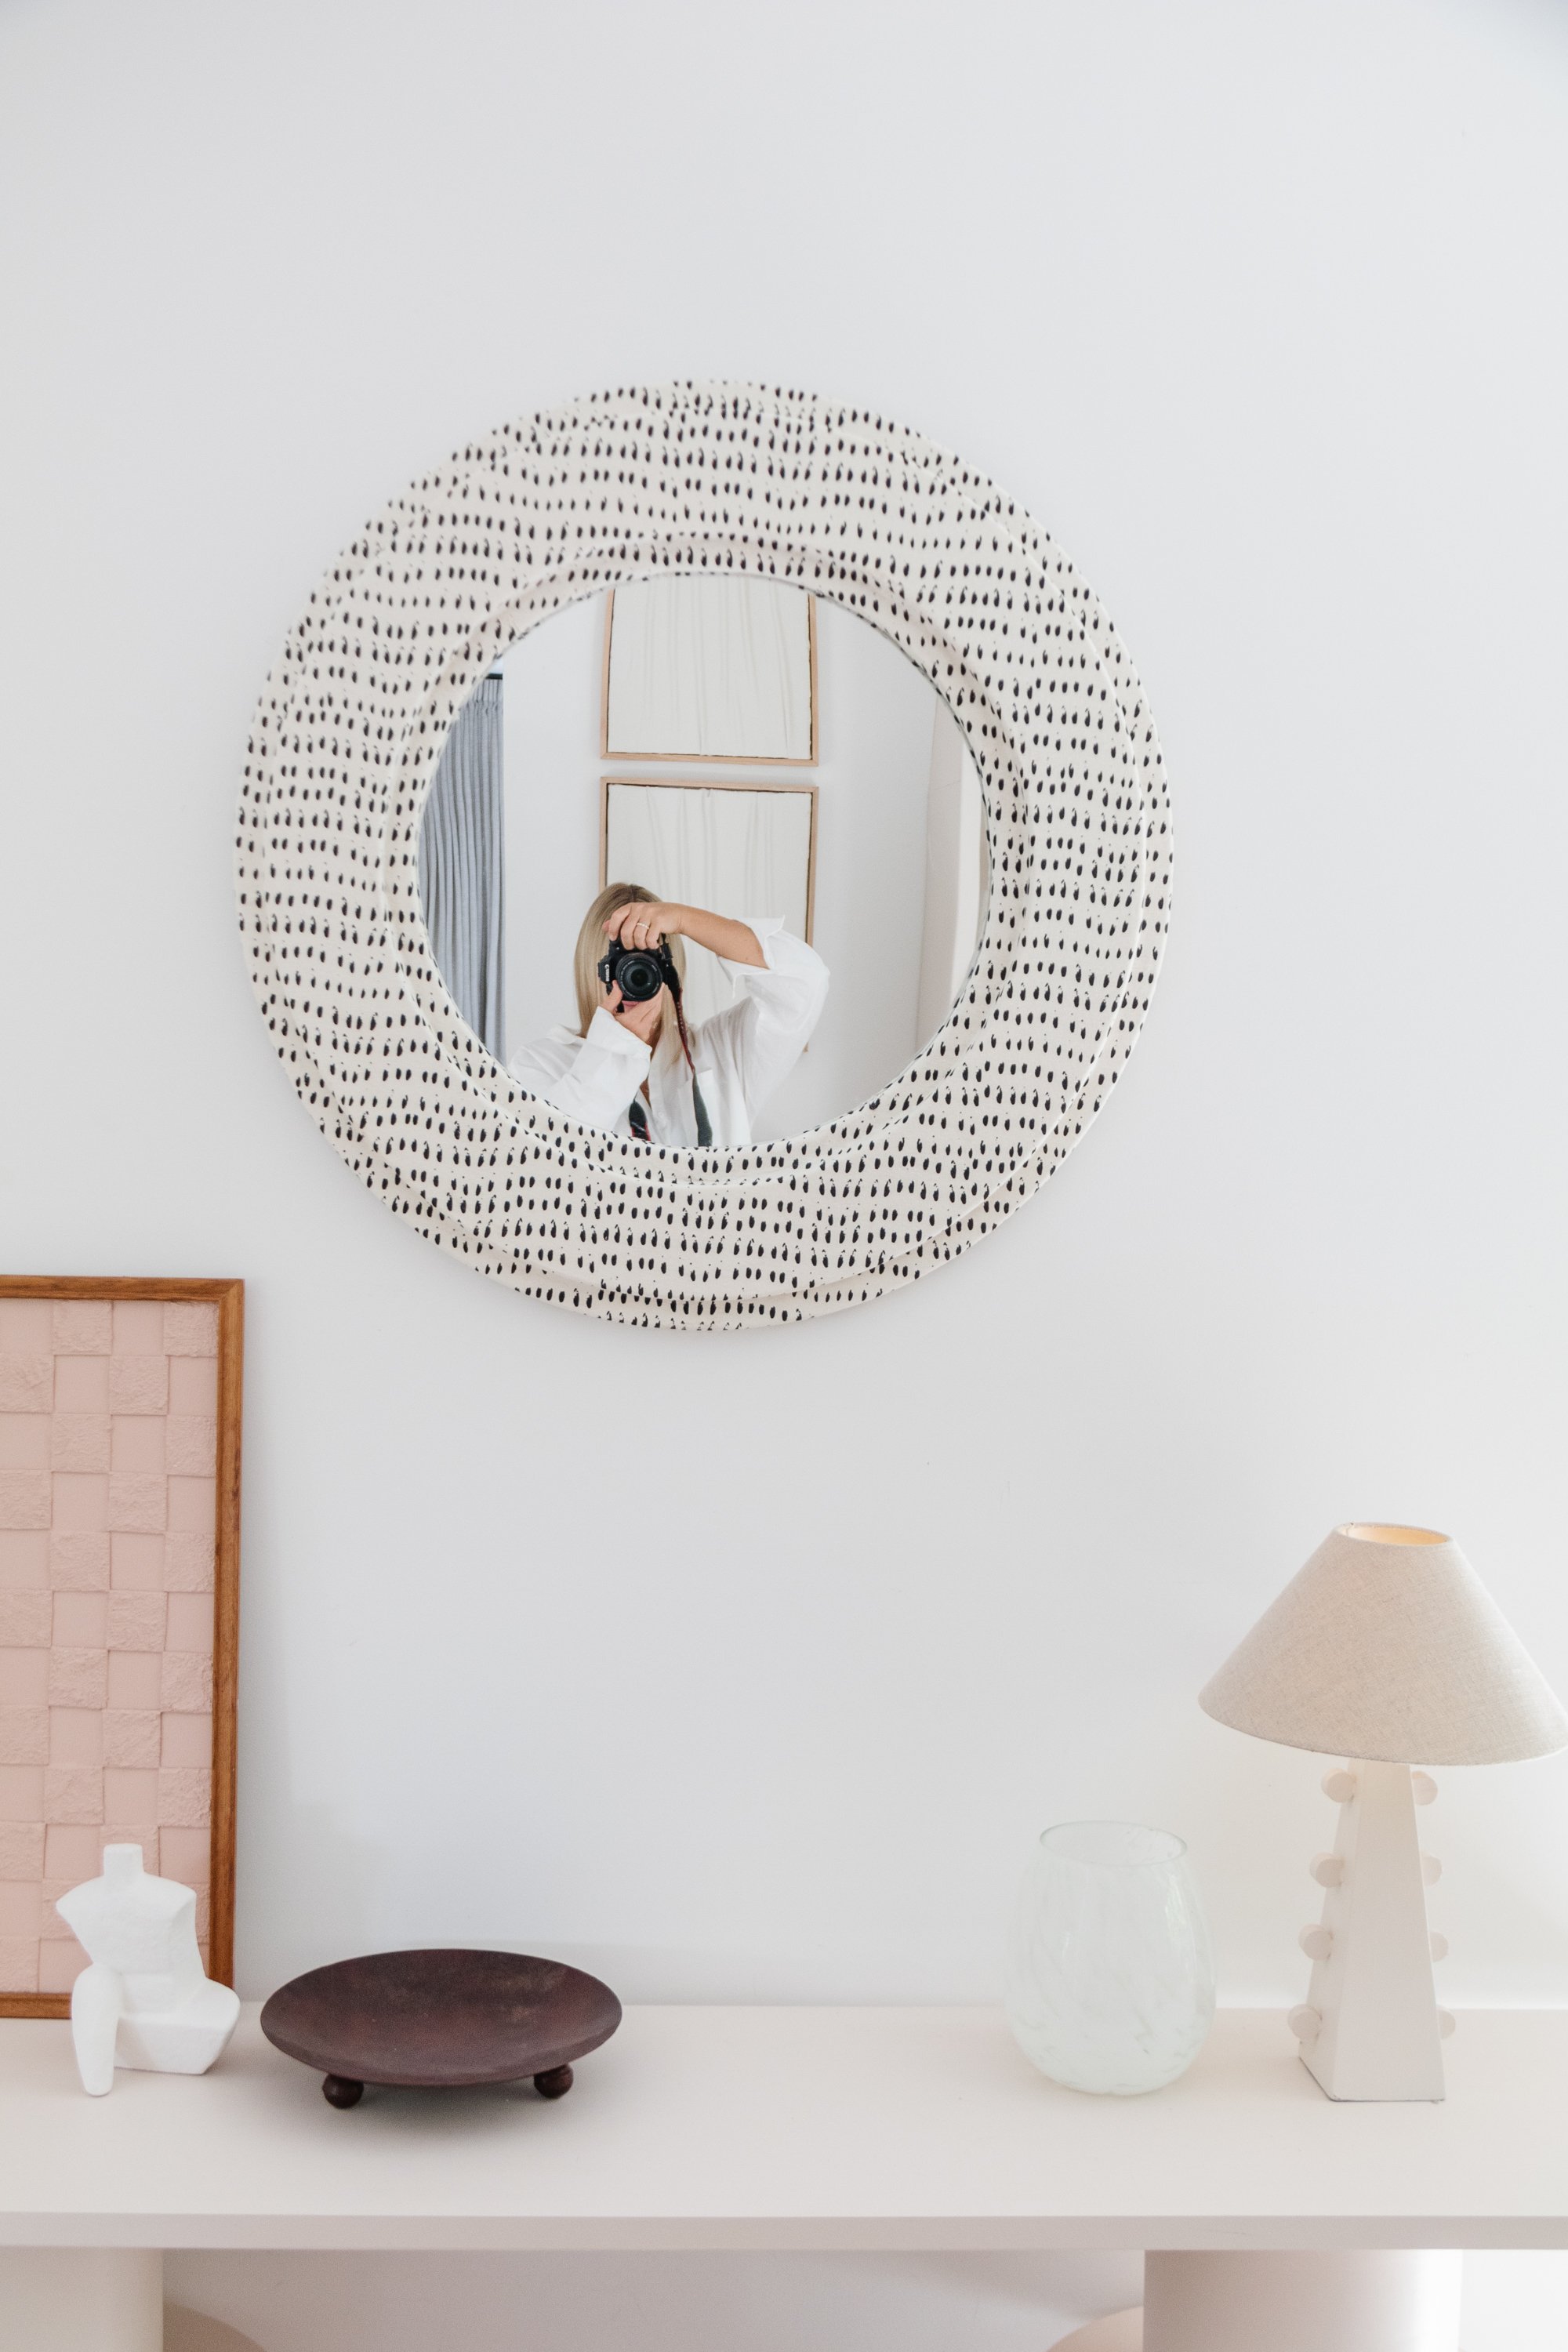
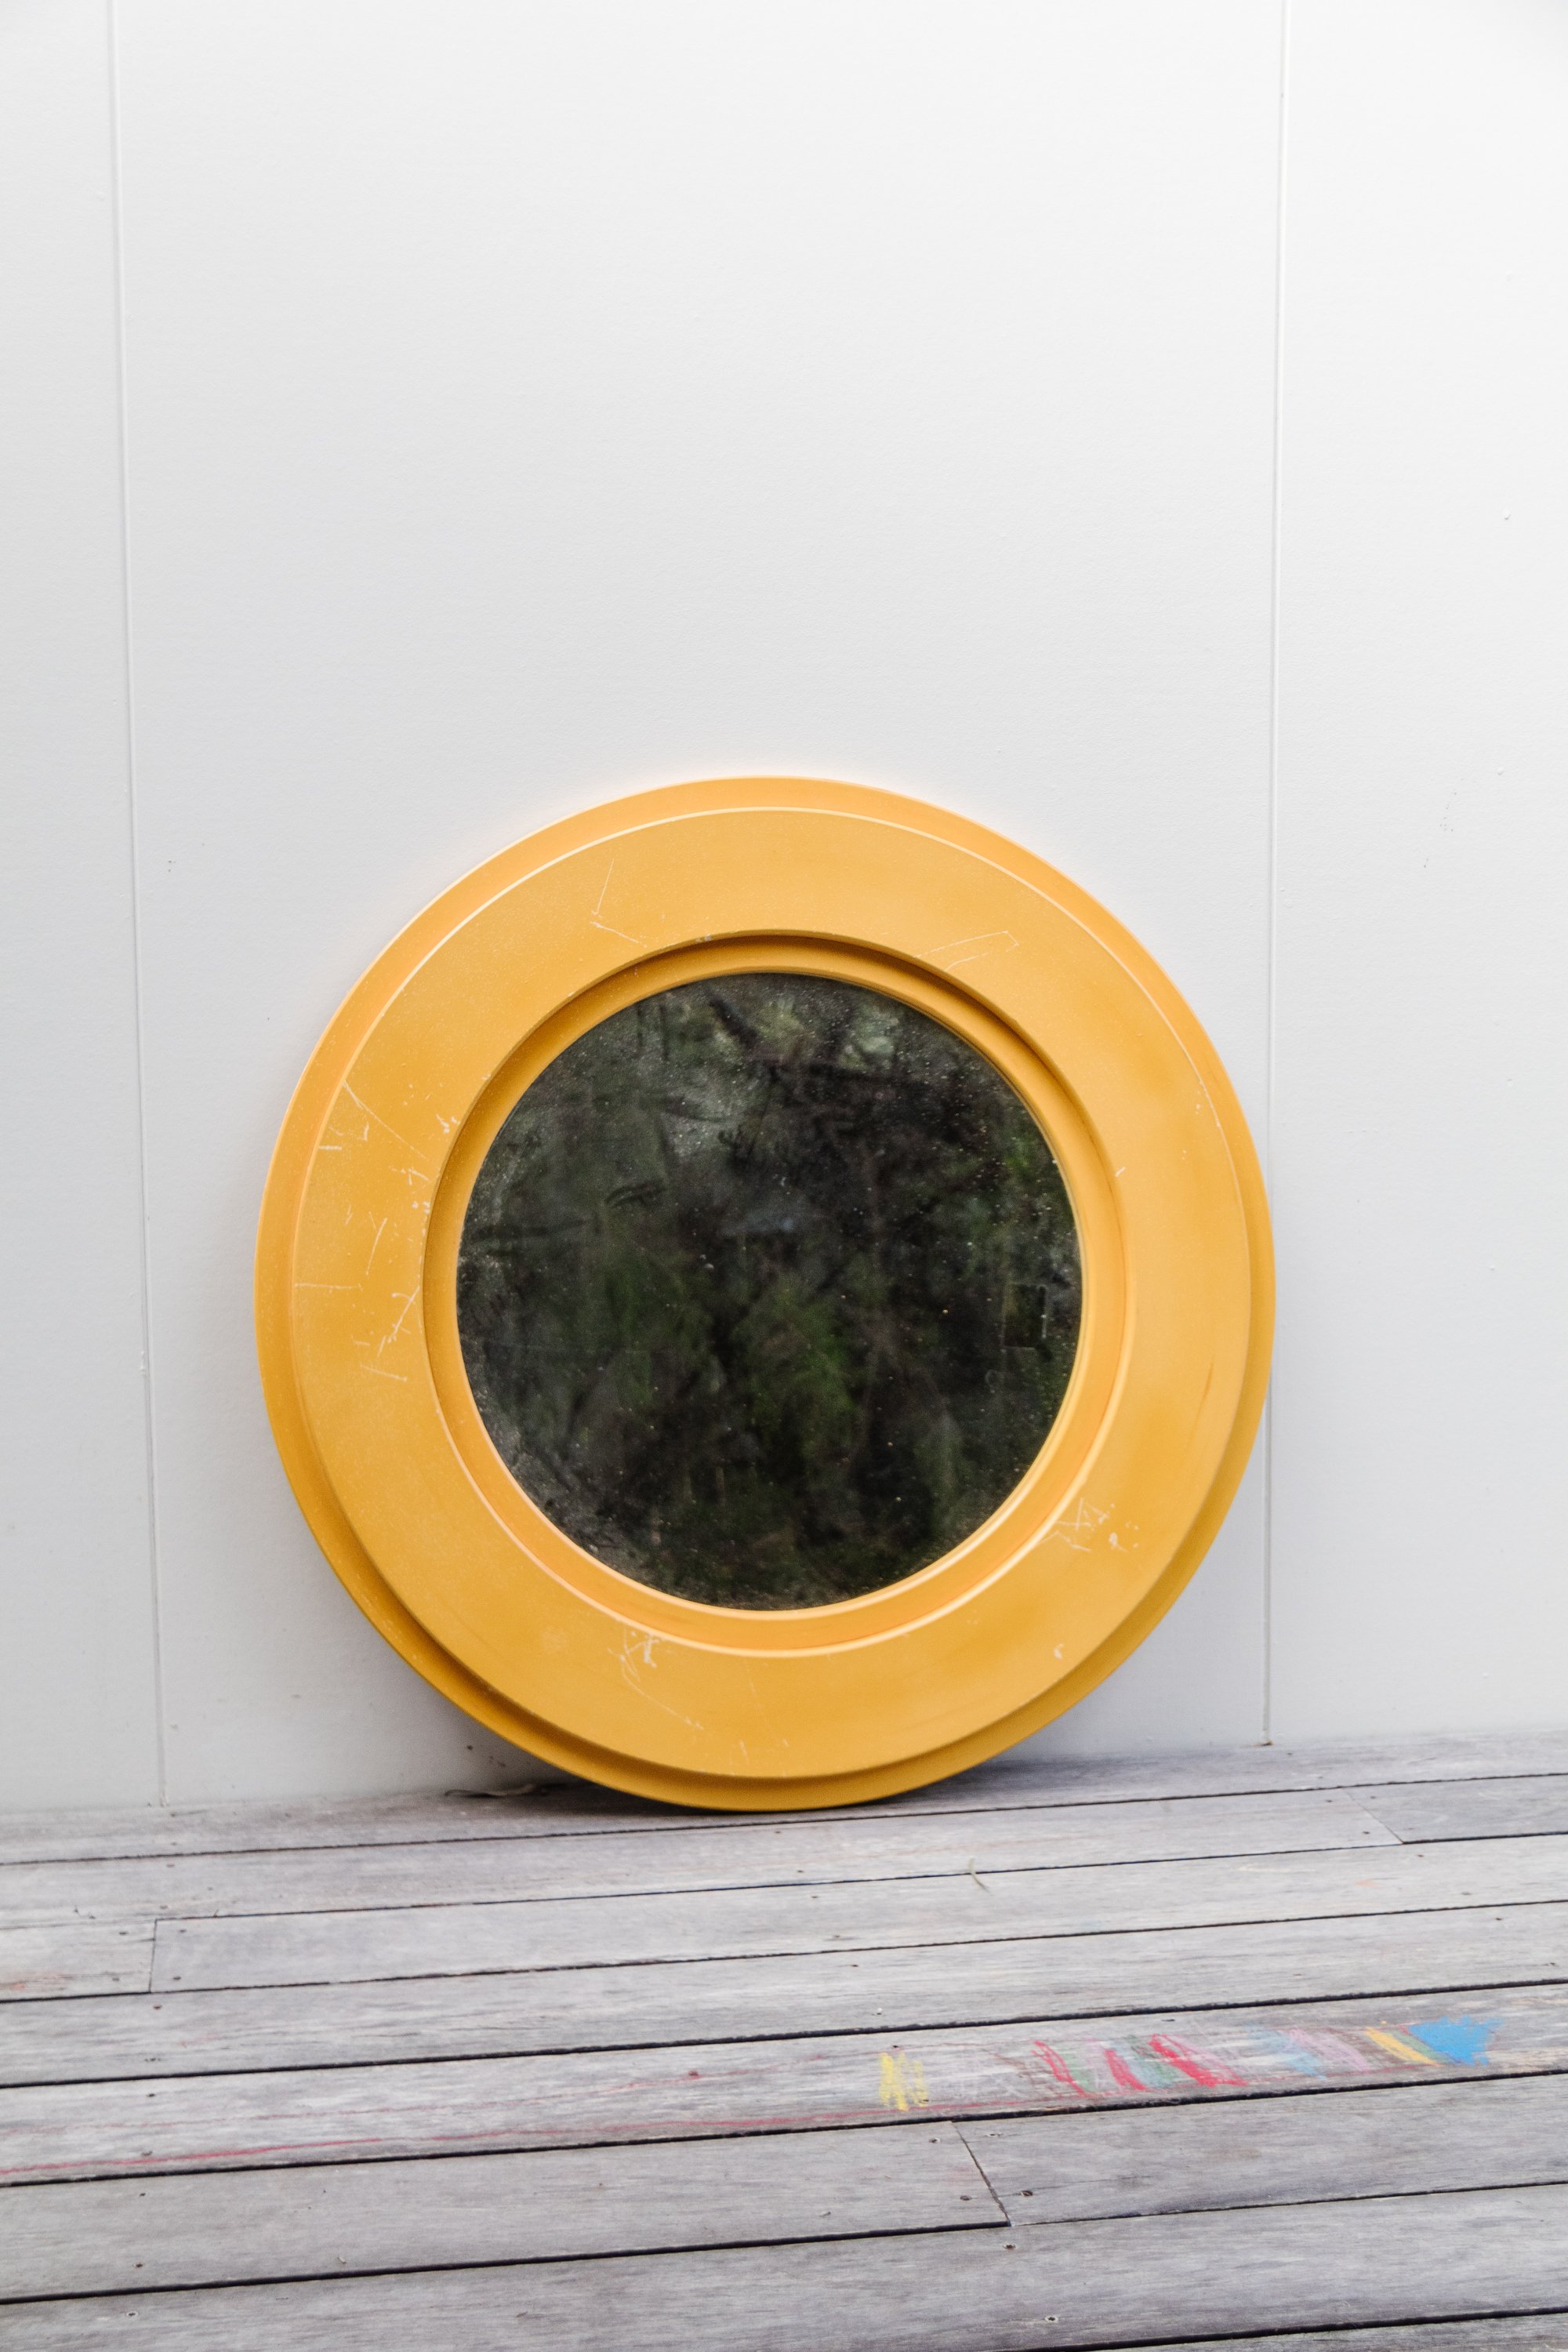
A few weeks ago I was relaxing with Jason at home and he told me he didn’t love the location of this round ball mirror I upcycled last year; it’s in my studio and we can see it when we sit in our lounge area. When I looked up, I couldn’t help but agree. It’s quite feminine and looked out of place with everything else. I do love having a mirror on that wall as it’s a great spot to quickly check how you look before we leave the house and I remembered I had a (very big, very ugly) mirror in our garage which I found at a charity shop for $5 last year. I knew it would be the perfect replacement but started thinking about how I could upcycle it. I thought about painting it but then I remembered seeing this fabric wrapped mirror a while back and knew this would be perfect. I went to Spotlight and found exactly what I was looking for - a monochromatic print fabric, and it was on sale for $10 p/m. Yay! I knew this would be the perfect statement fabric the mirror needed. Then I went home and go straight to work. Read on to find out how you can make your own Upcycled Fabric Framed Mirror for $30!
And to see how this project came together, check out this video!
Before & After


Project Details
🕒 Project Time Estimate: 1 hour
💰 Materials Cost: $30 (it cost me $15 because I already had the glue at home)
👷♀️ Skill Level: Beginner DIYer
Materials
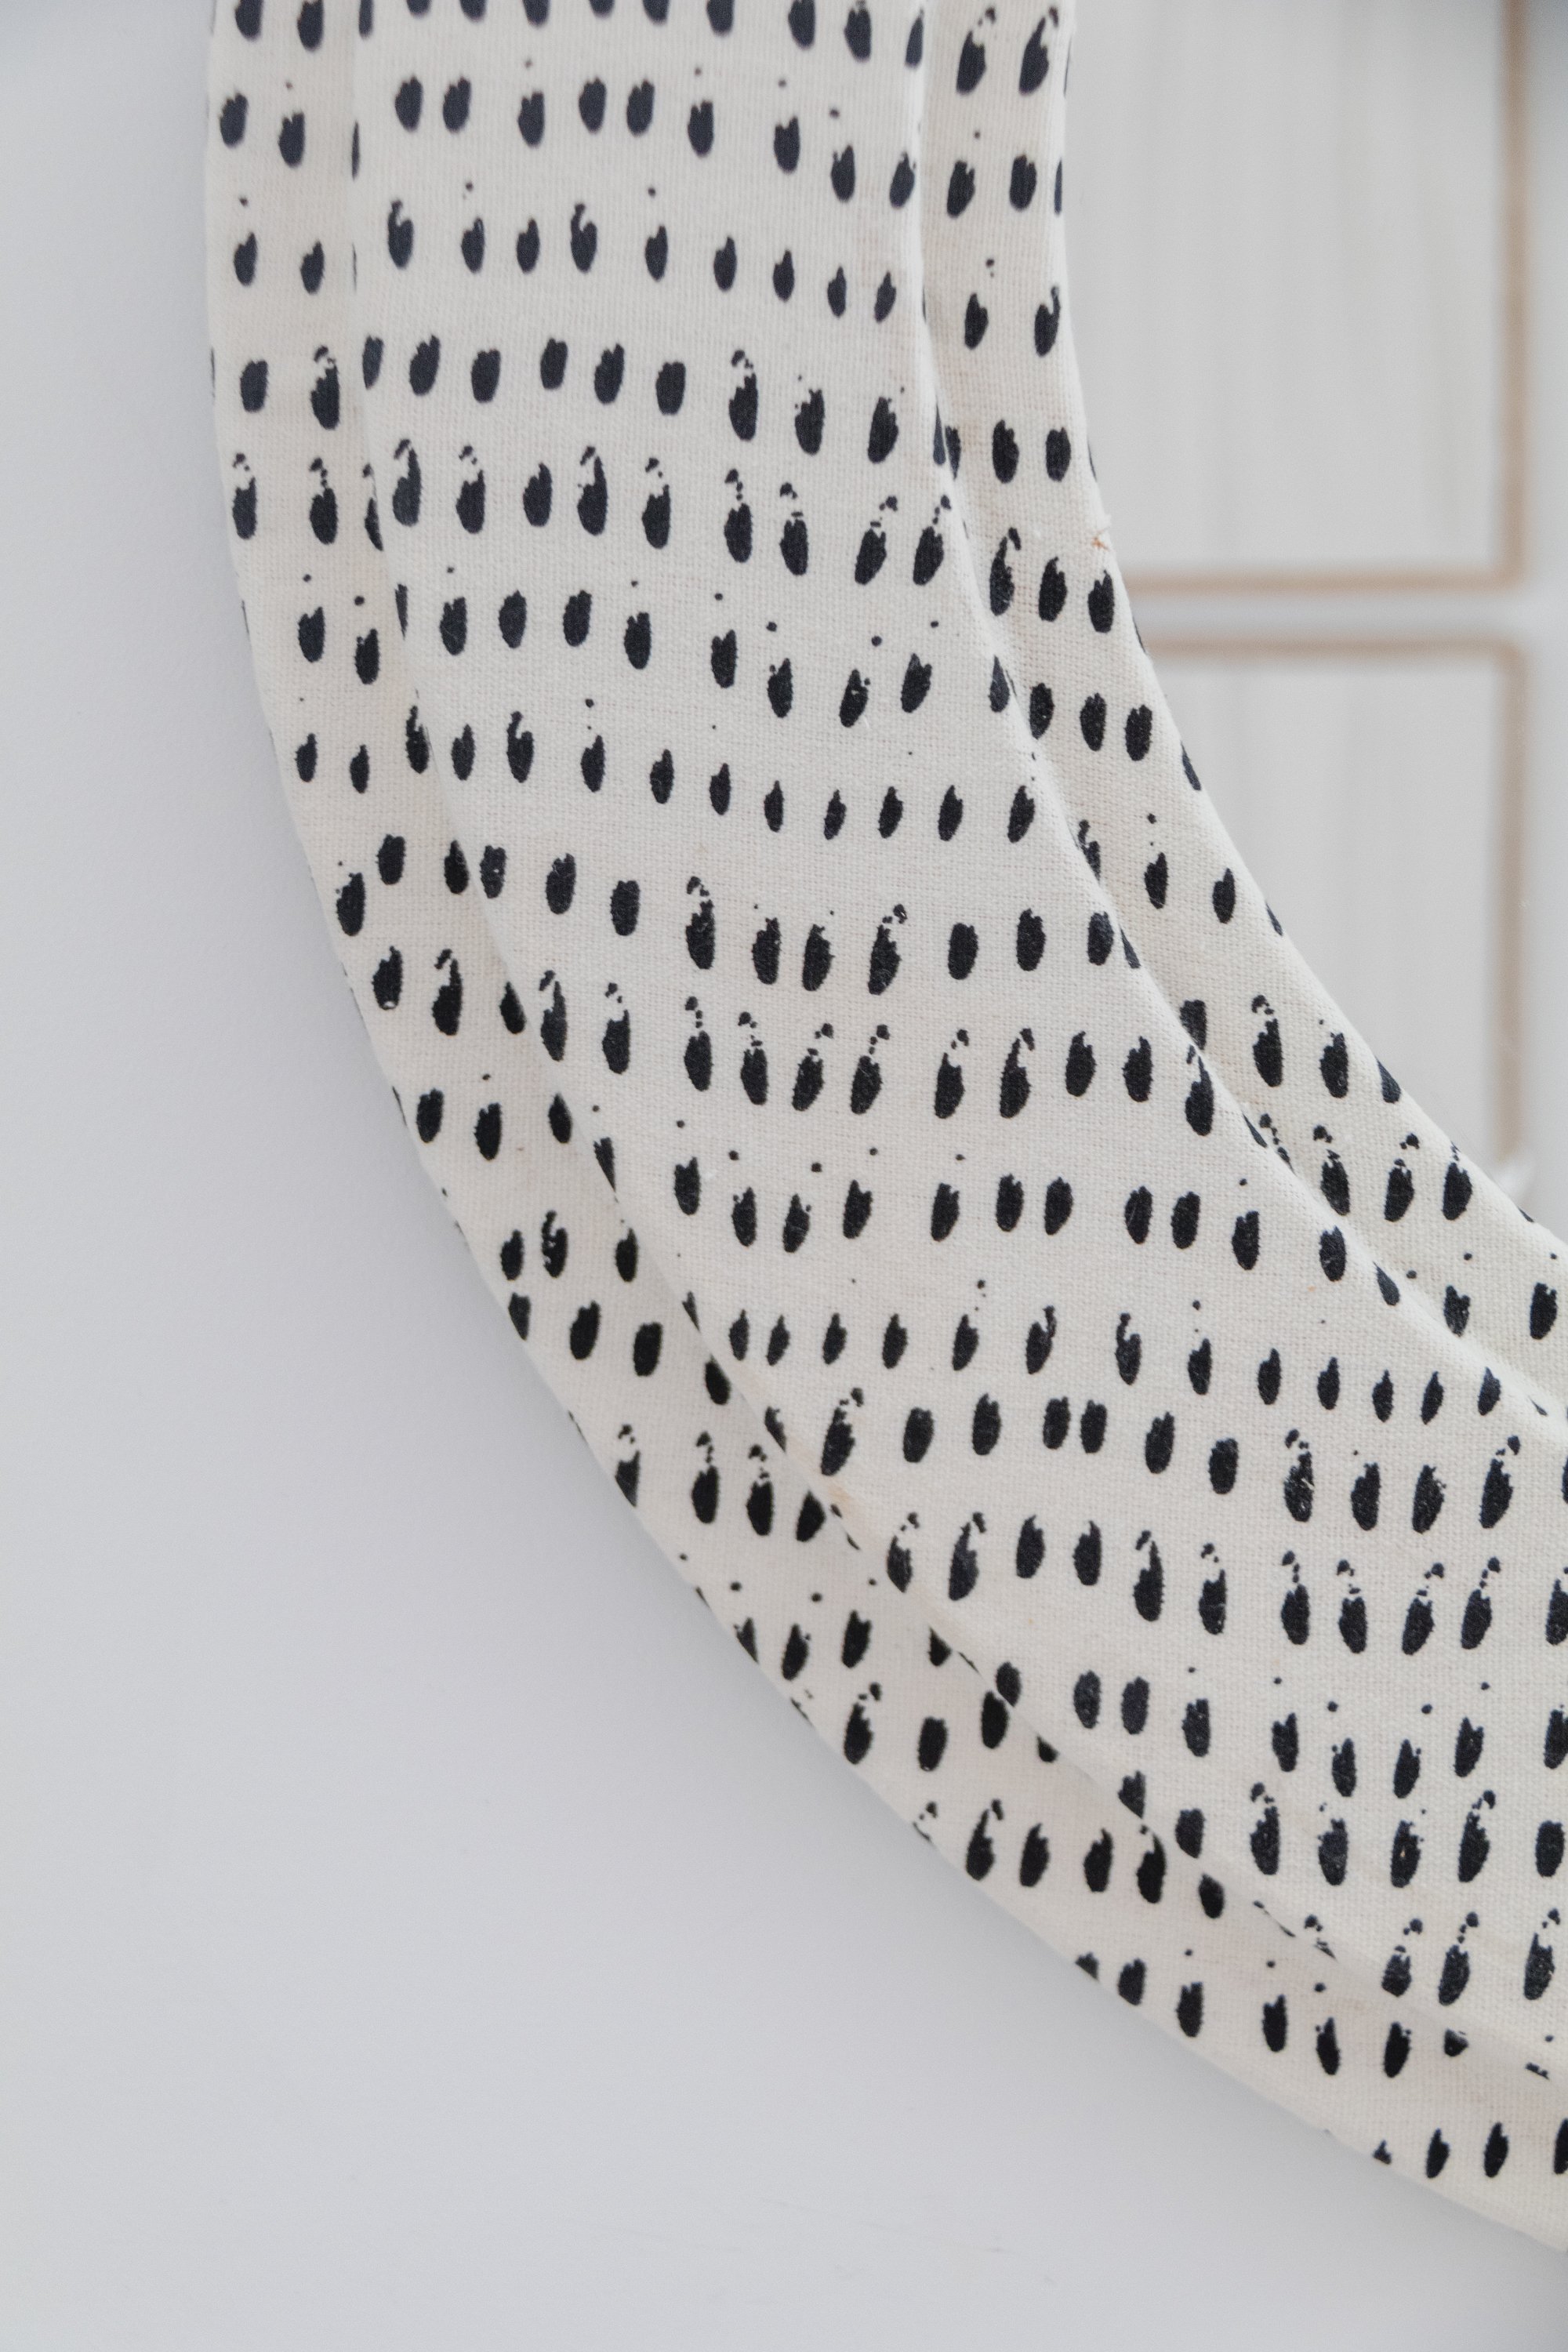
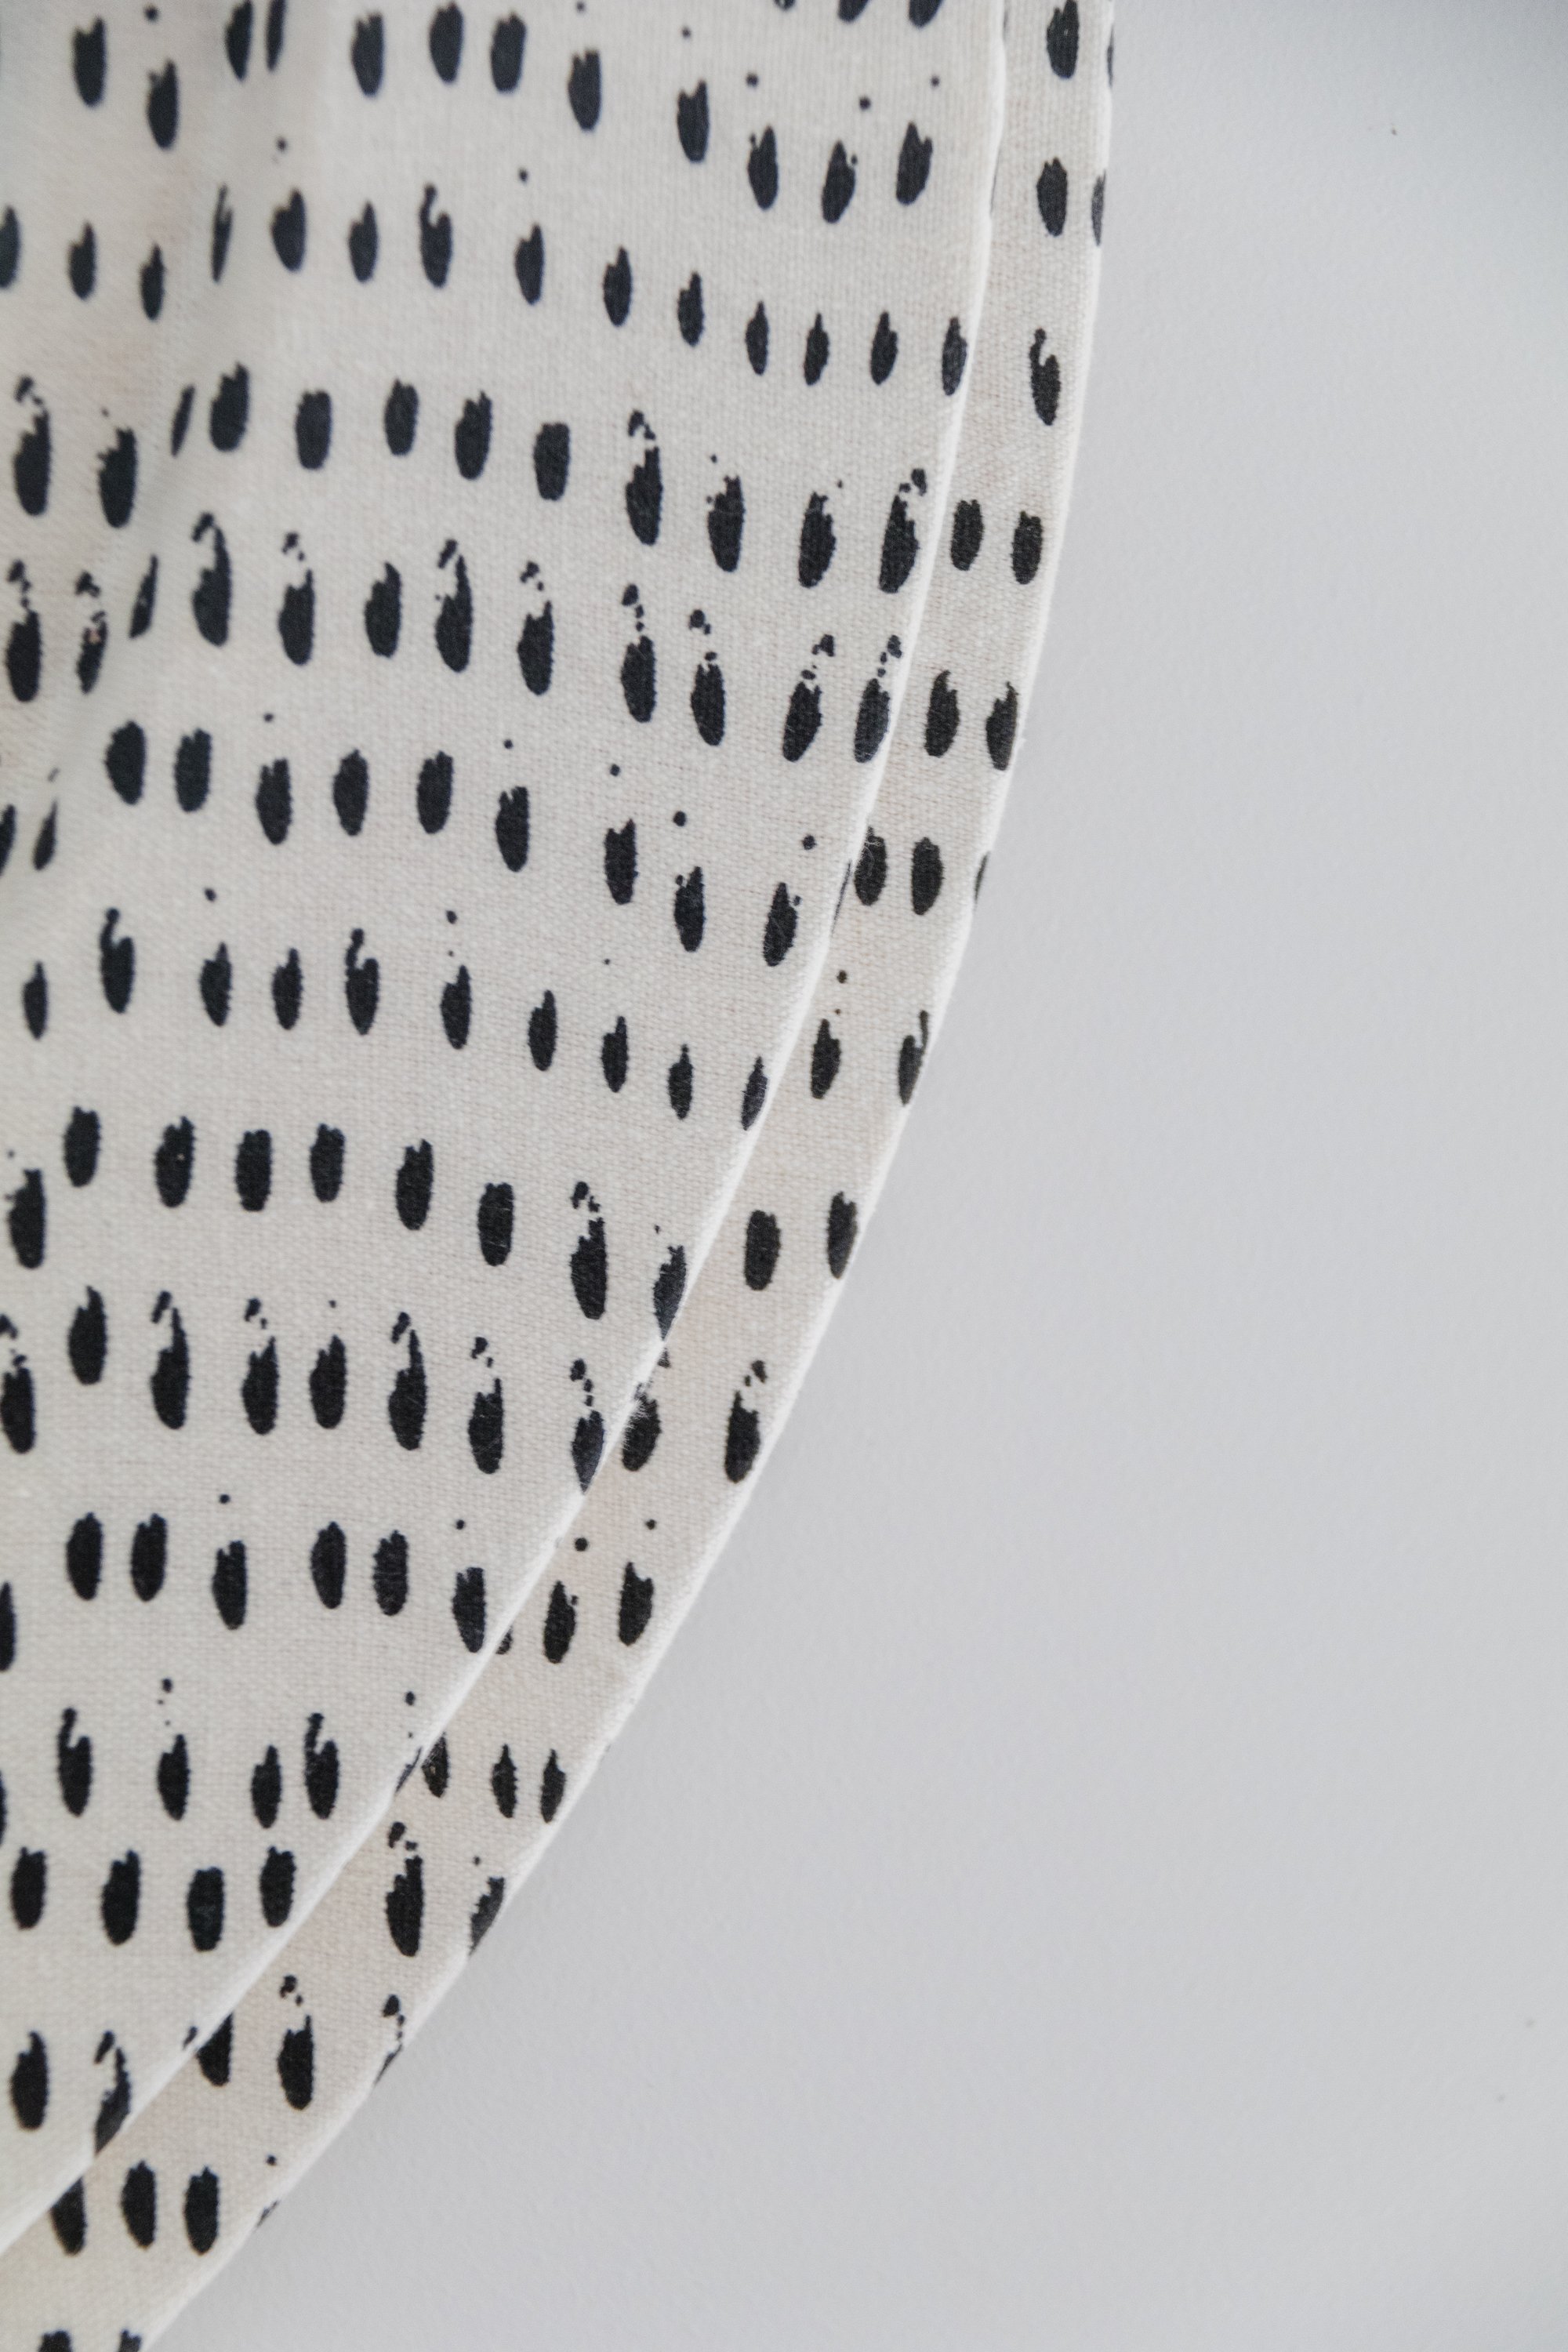
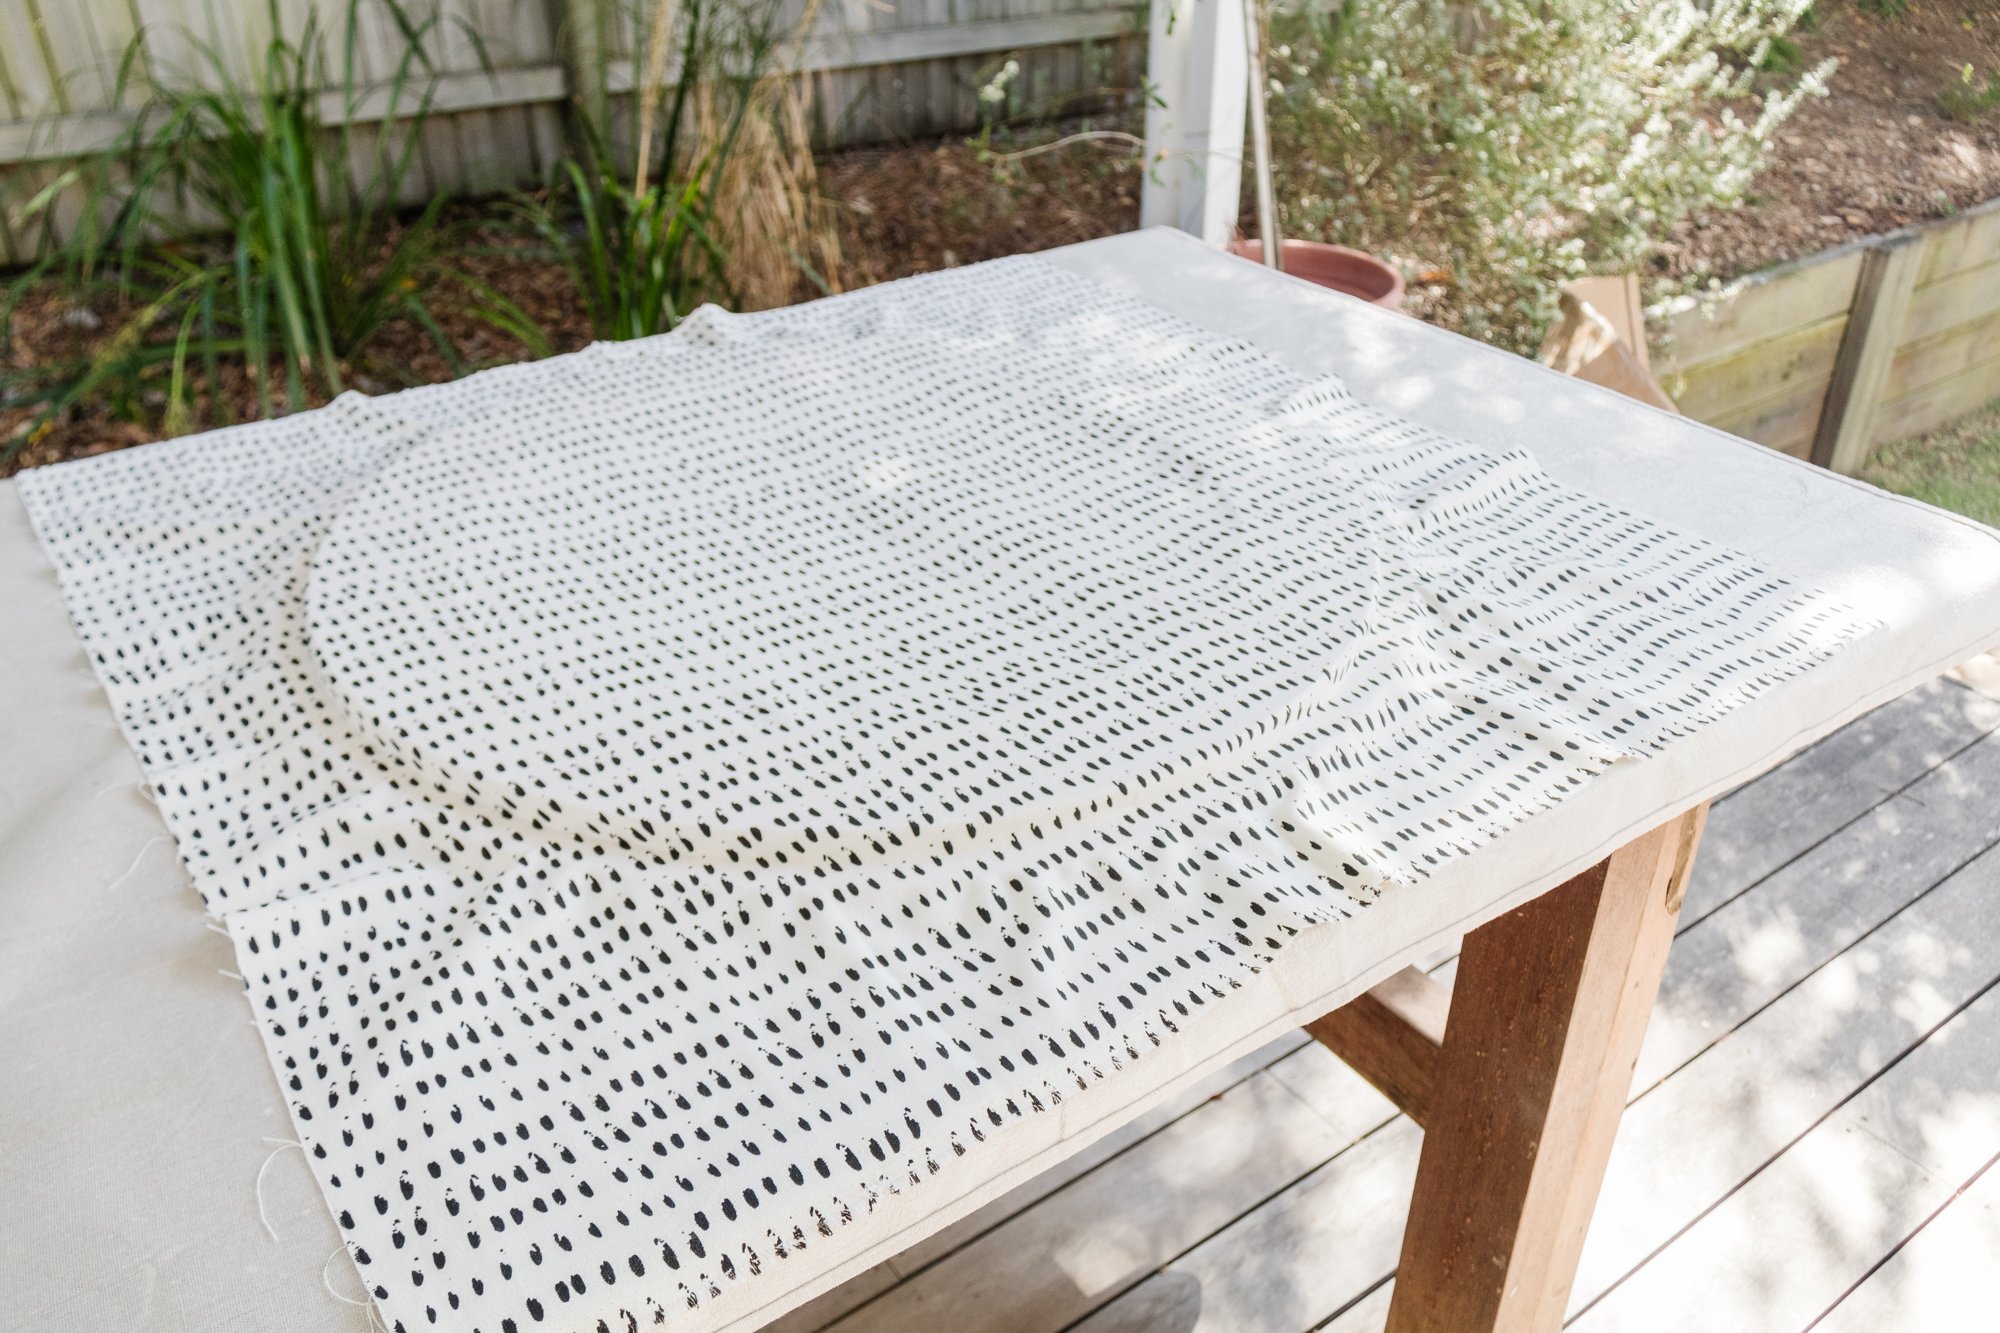
Thick fabric. I used “Asher Mini Prints” from Spotlight, which I can’t find on their website.
Tools
Drill or screwdriver
Scissors
Paint brush
Optional: Sanding sponge or a sander

How To
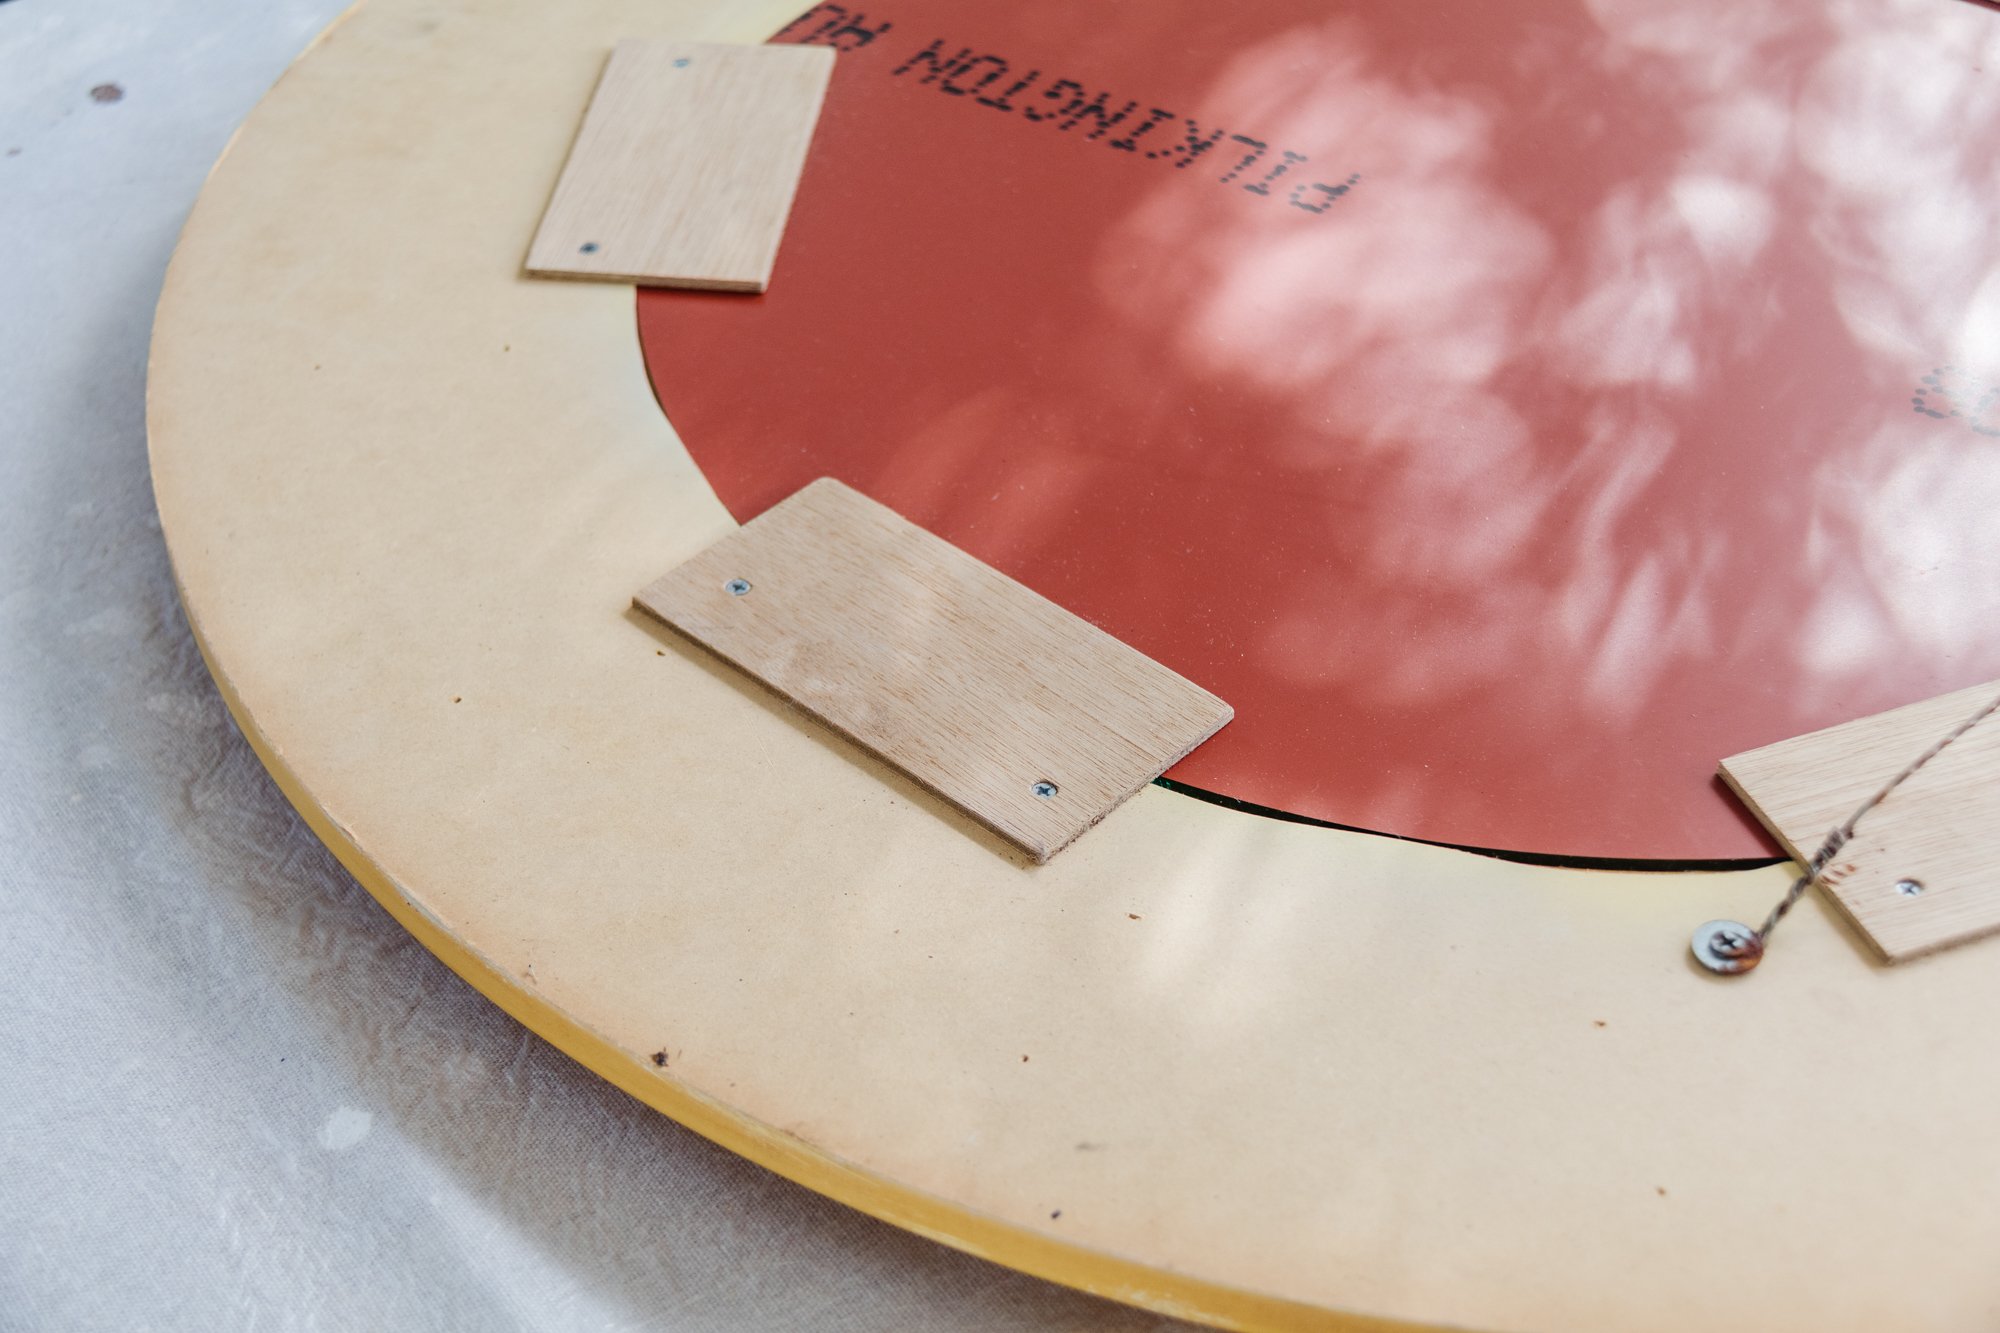
Step 1: To start, I removed the mirror from the frame using a drill. I actually broke the original mirror (oops!), but I was able to swap it out for the round ball mirror I had moved into Celeste’s room. I’ll have to make her another one as I planned on putting the round ball mirror in her room.
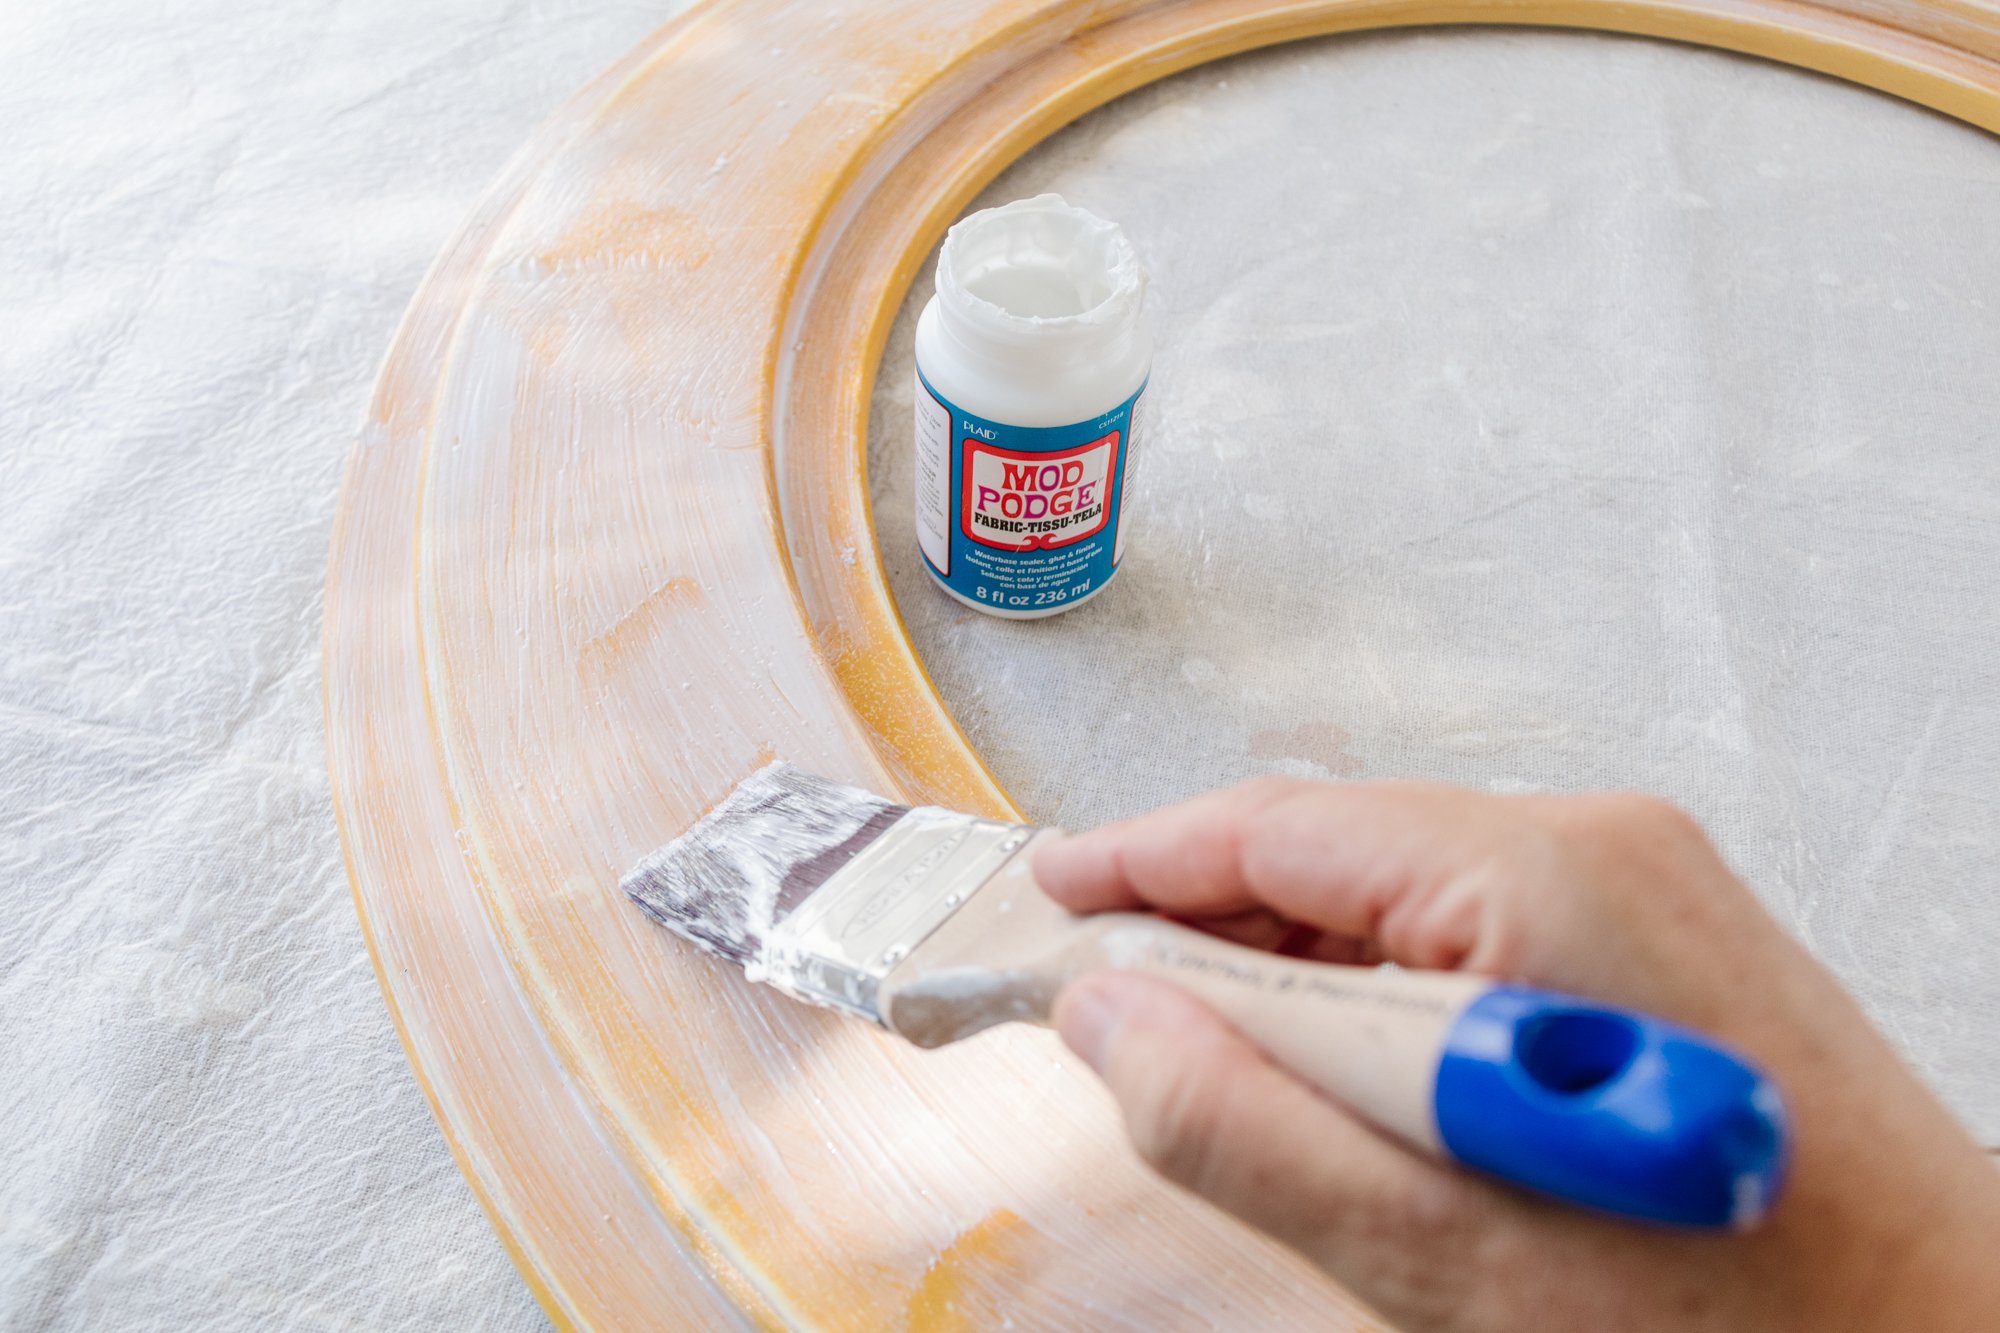
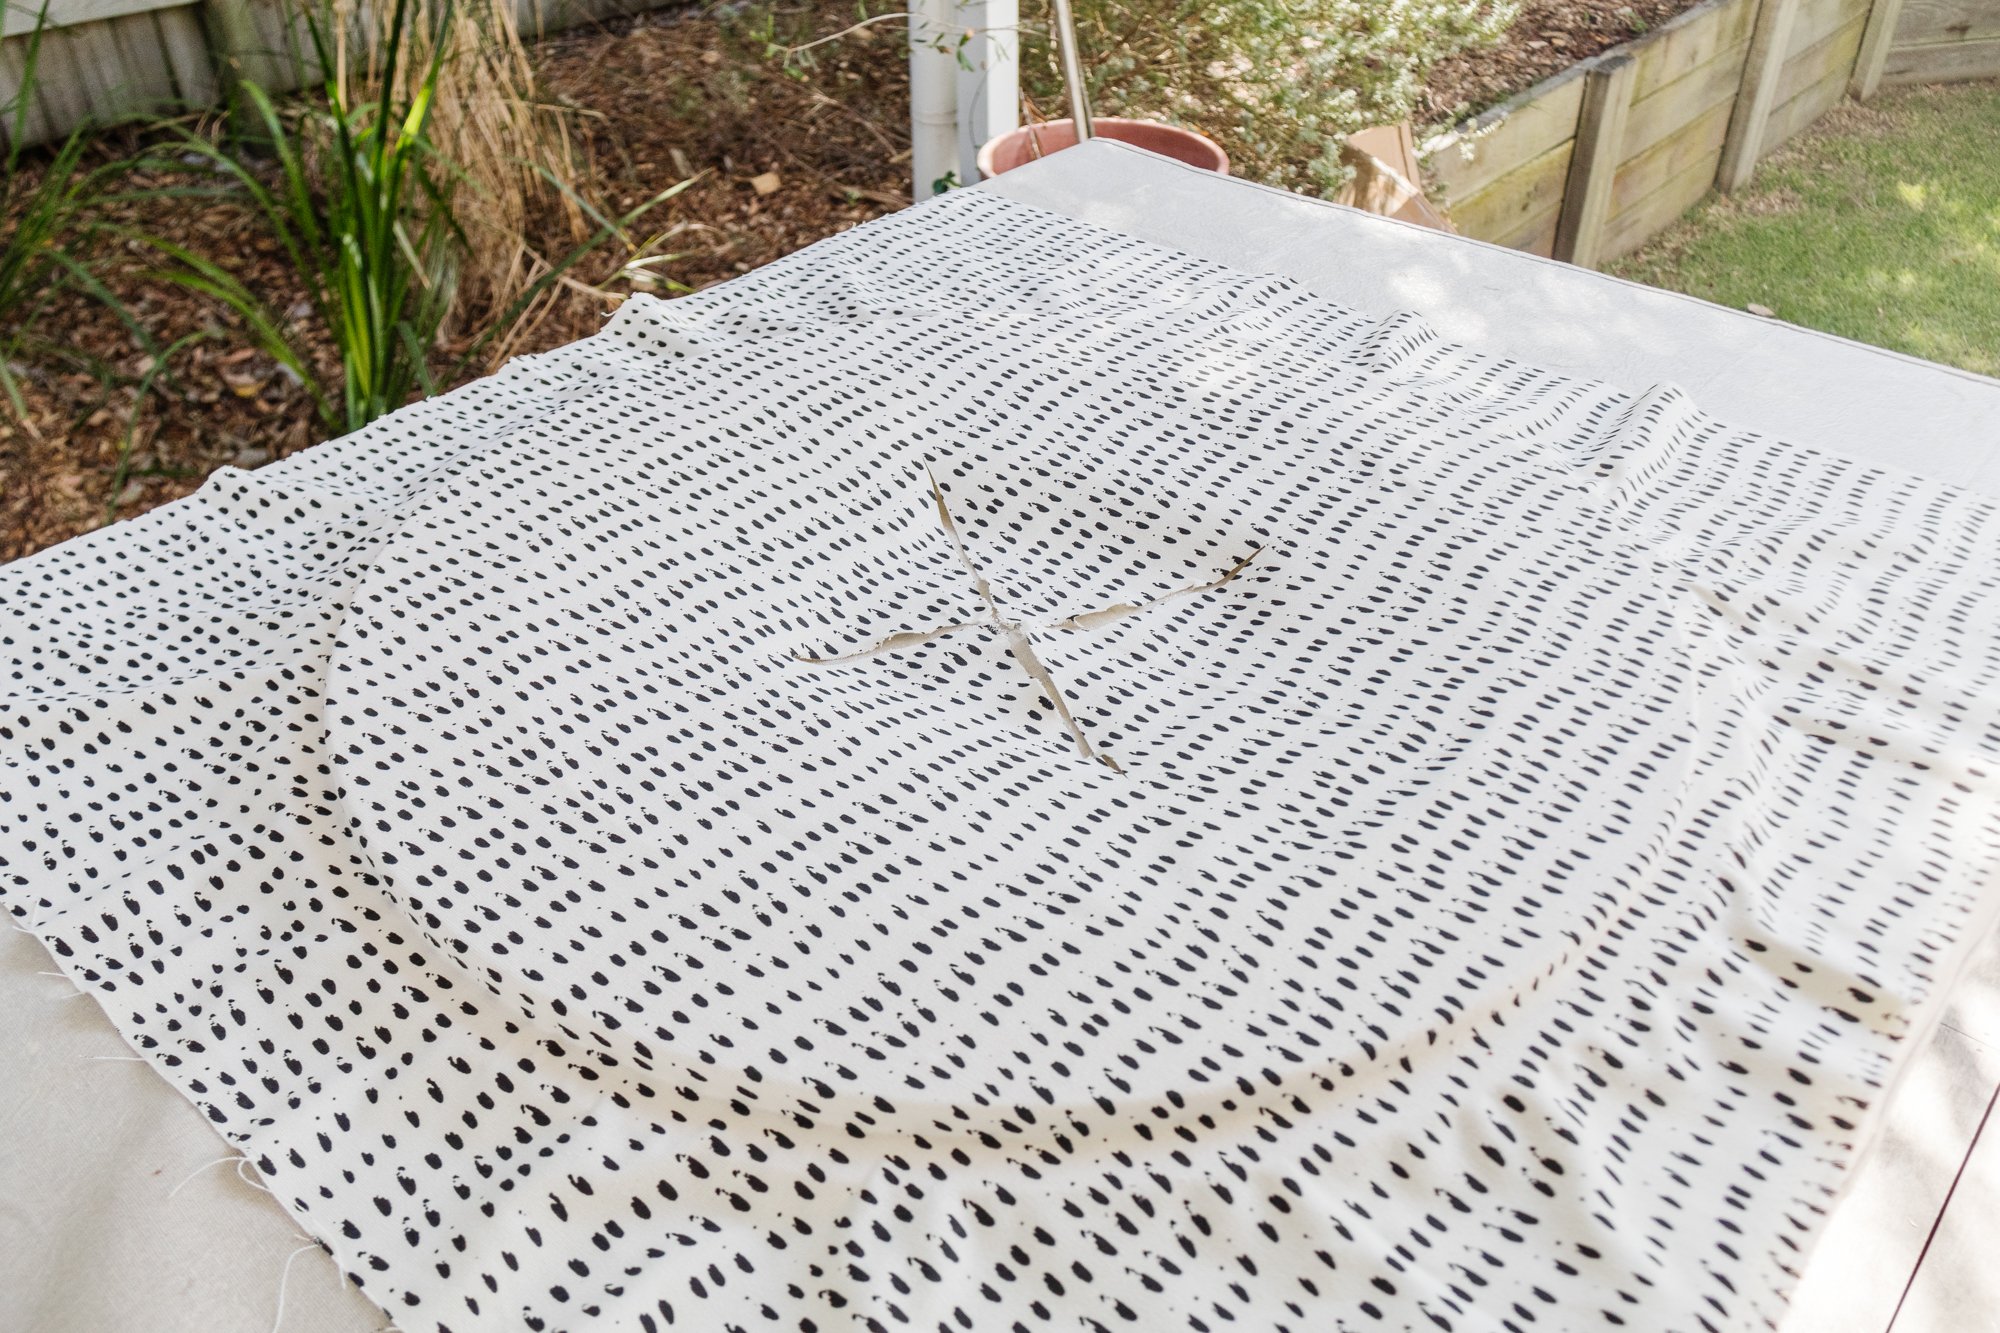
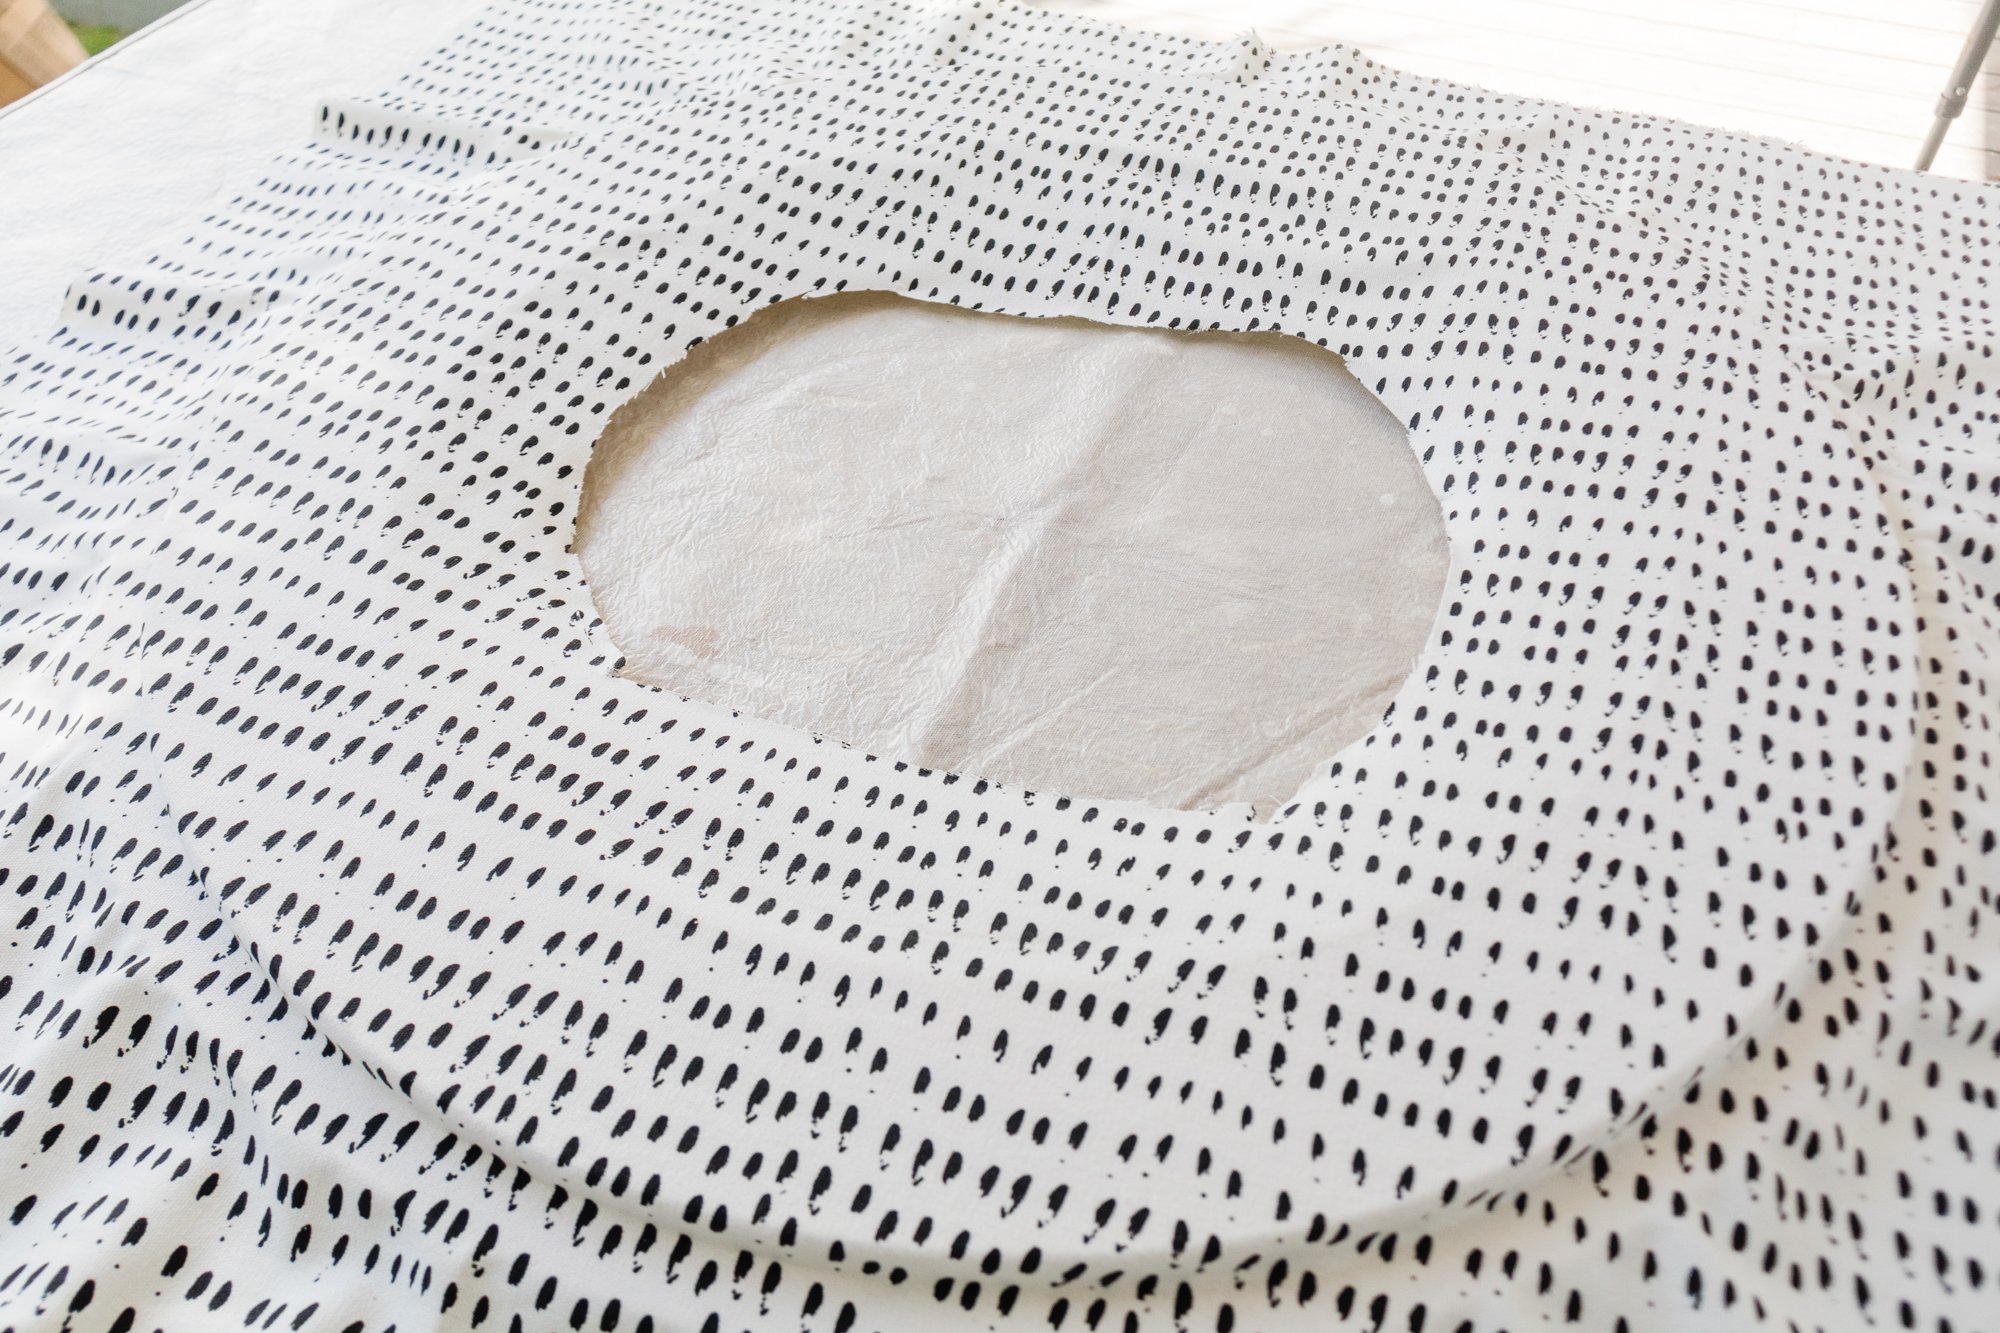
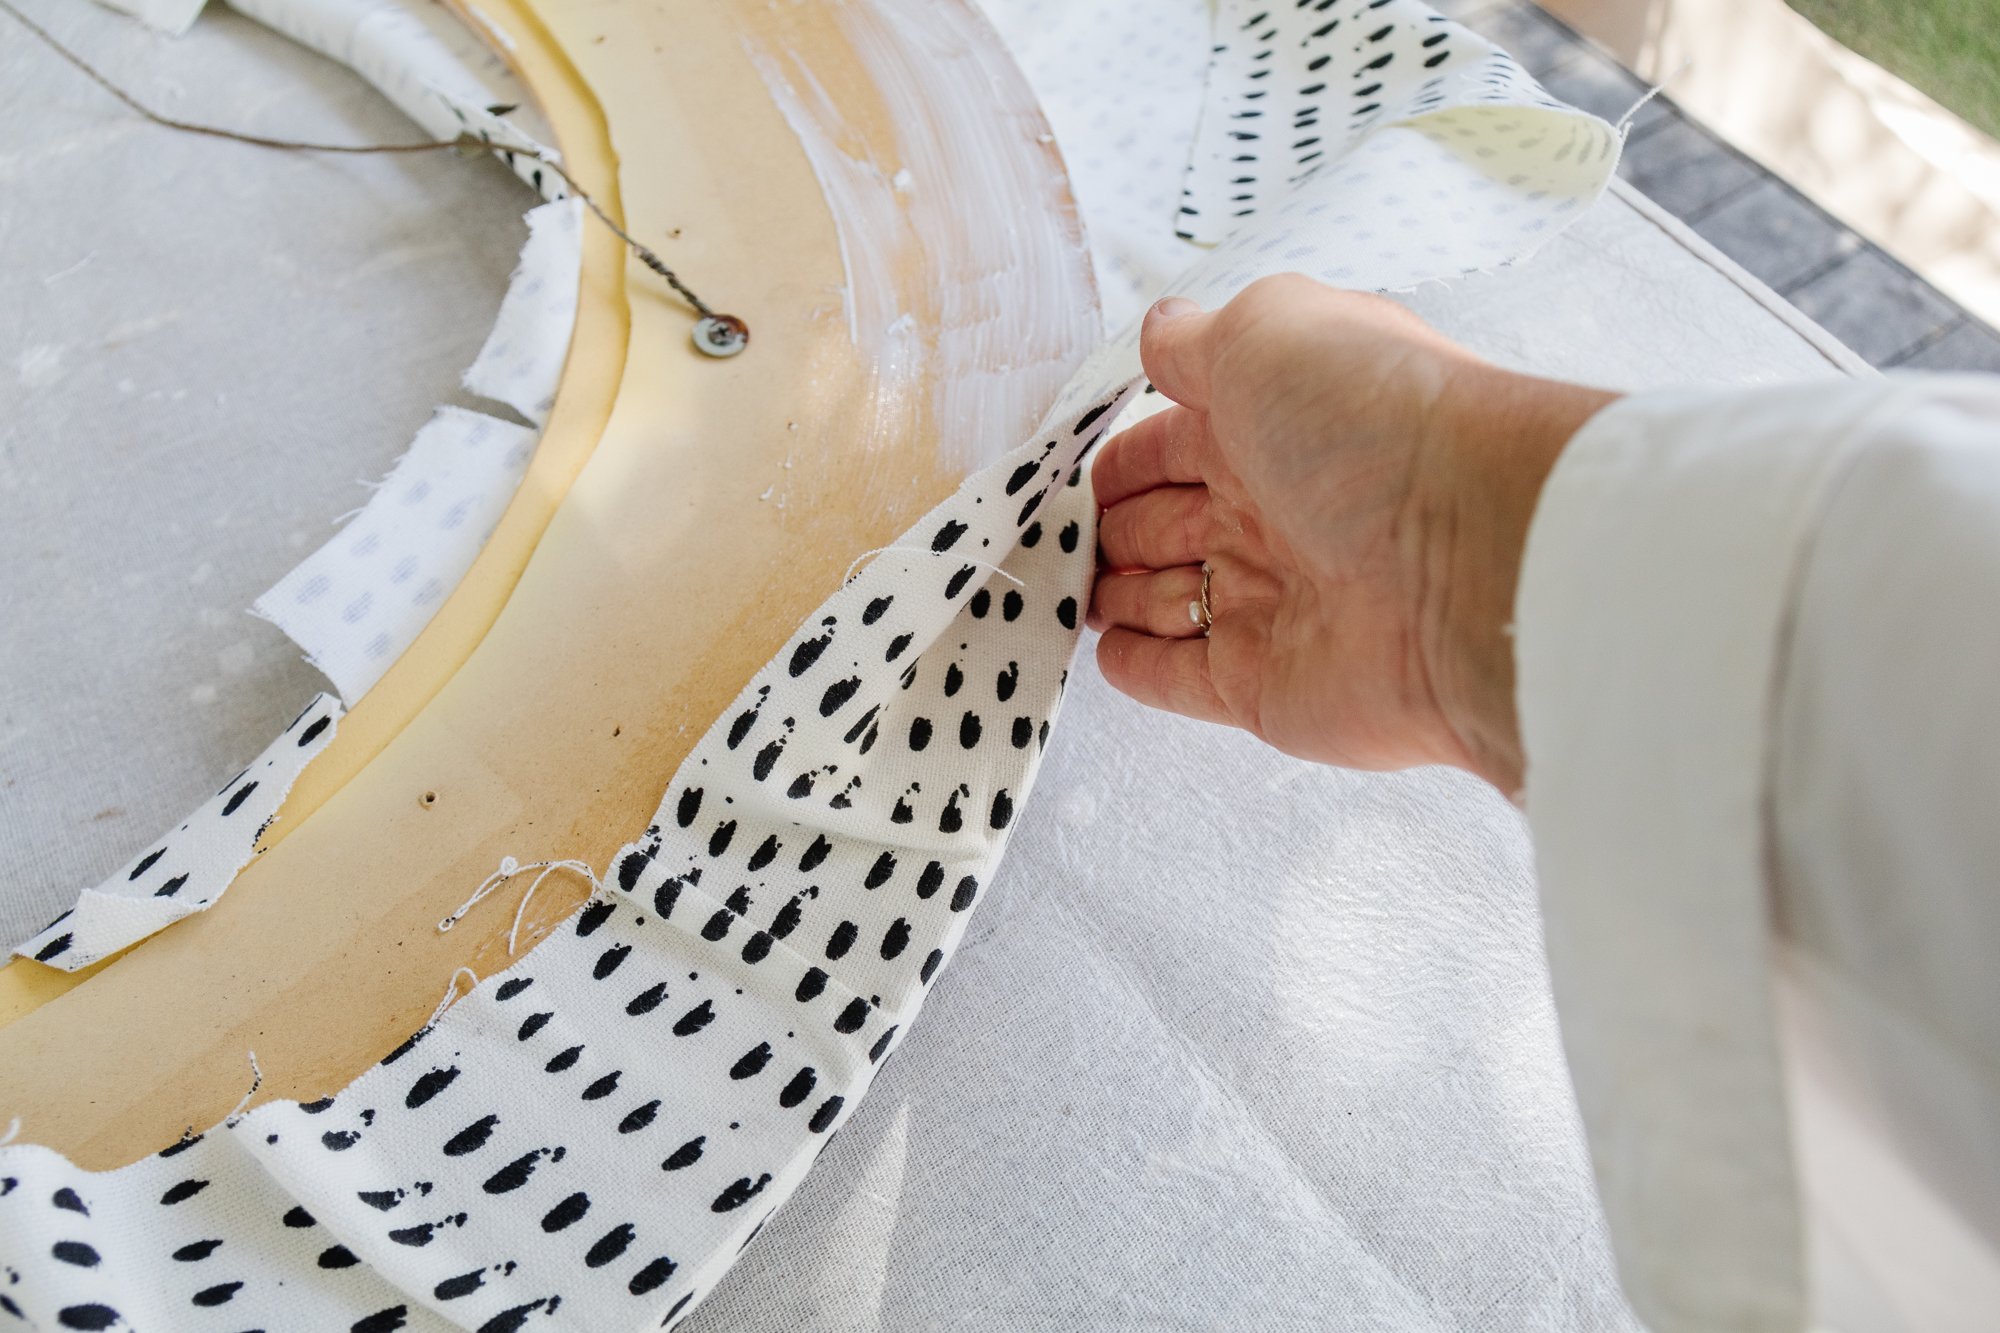
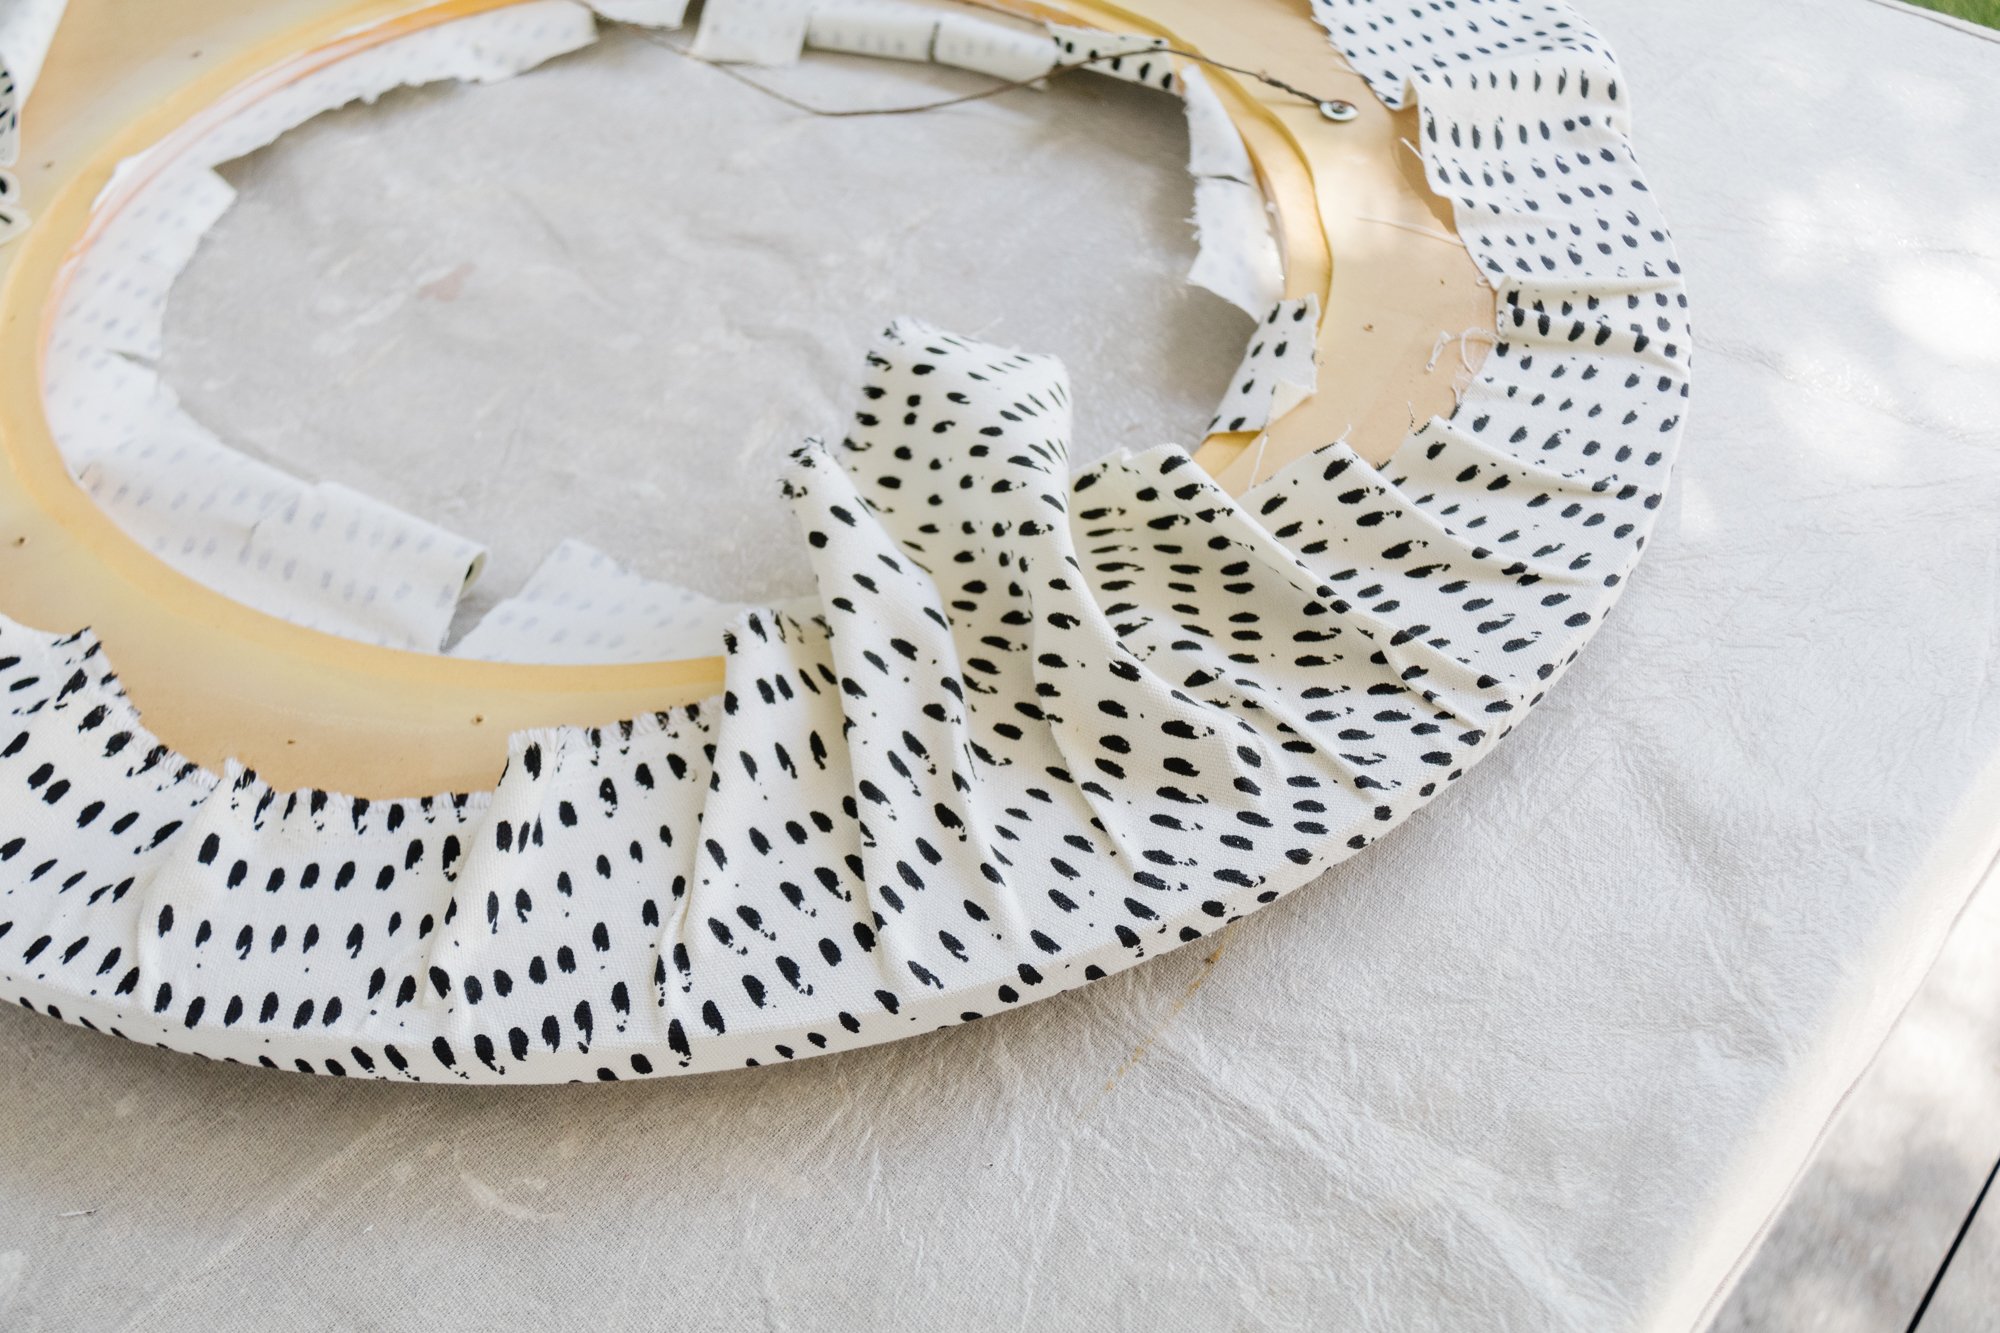
Step 2: I applied a thick coating of fabric glue to the surface of the frame and placed the fabric over the top. I pushed the fabric into the curved corners and cut a hole in the middle of the fabric so I could continue to glue it onto the frame. I made sure to hold the fabric tight to stop the fabric from bubbling.


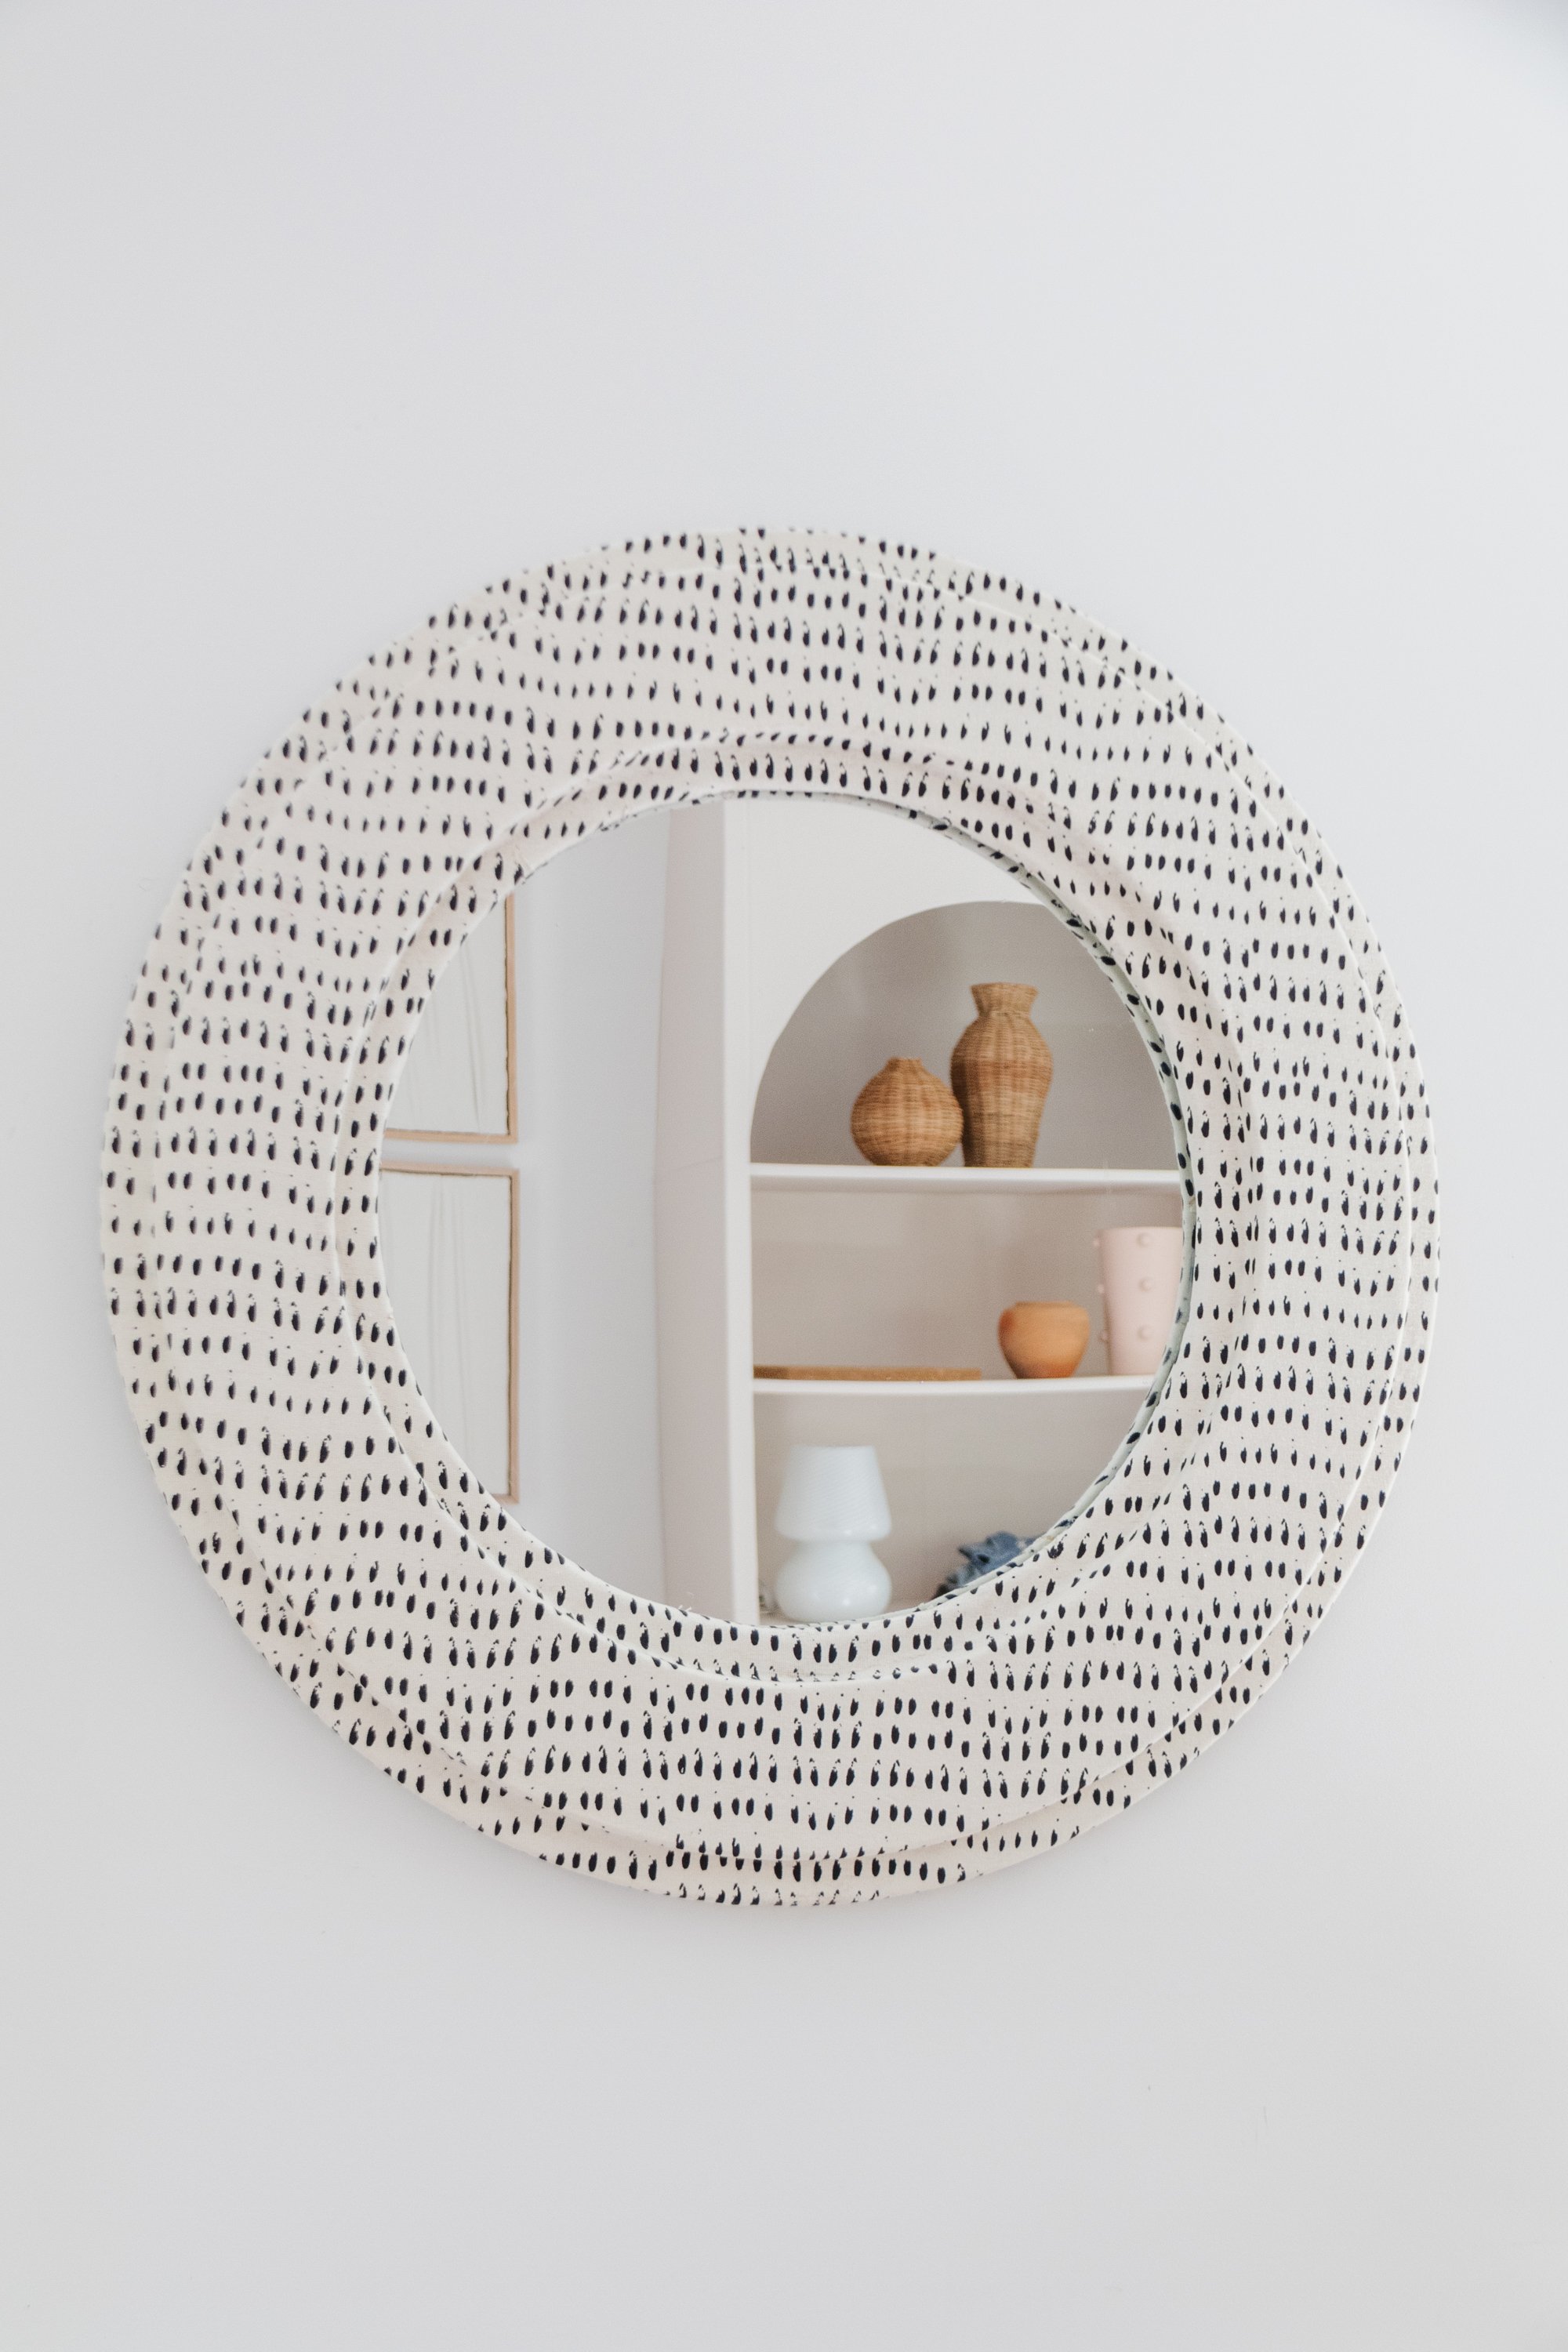
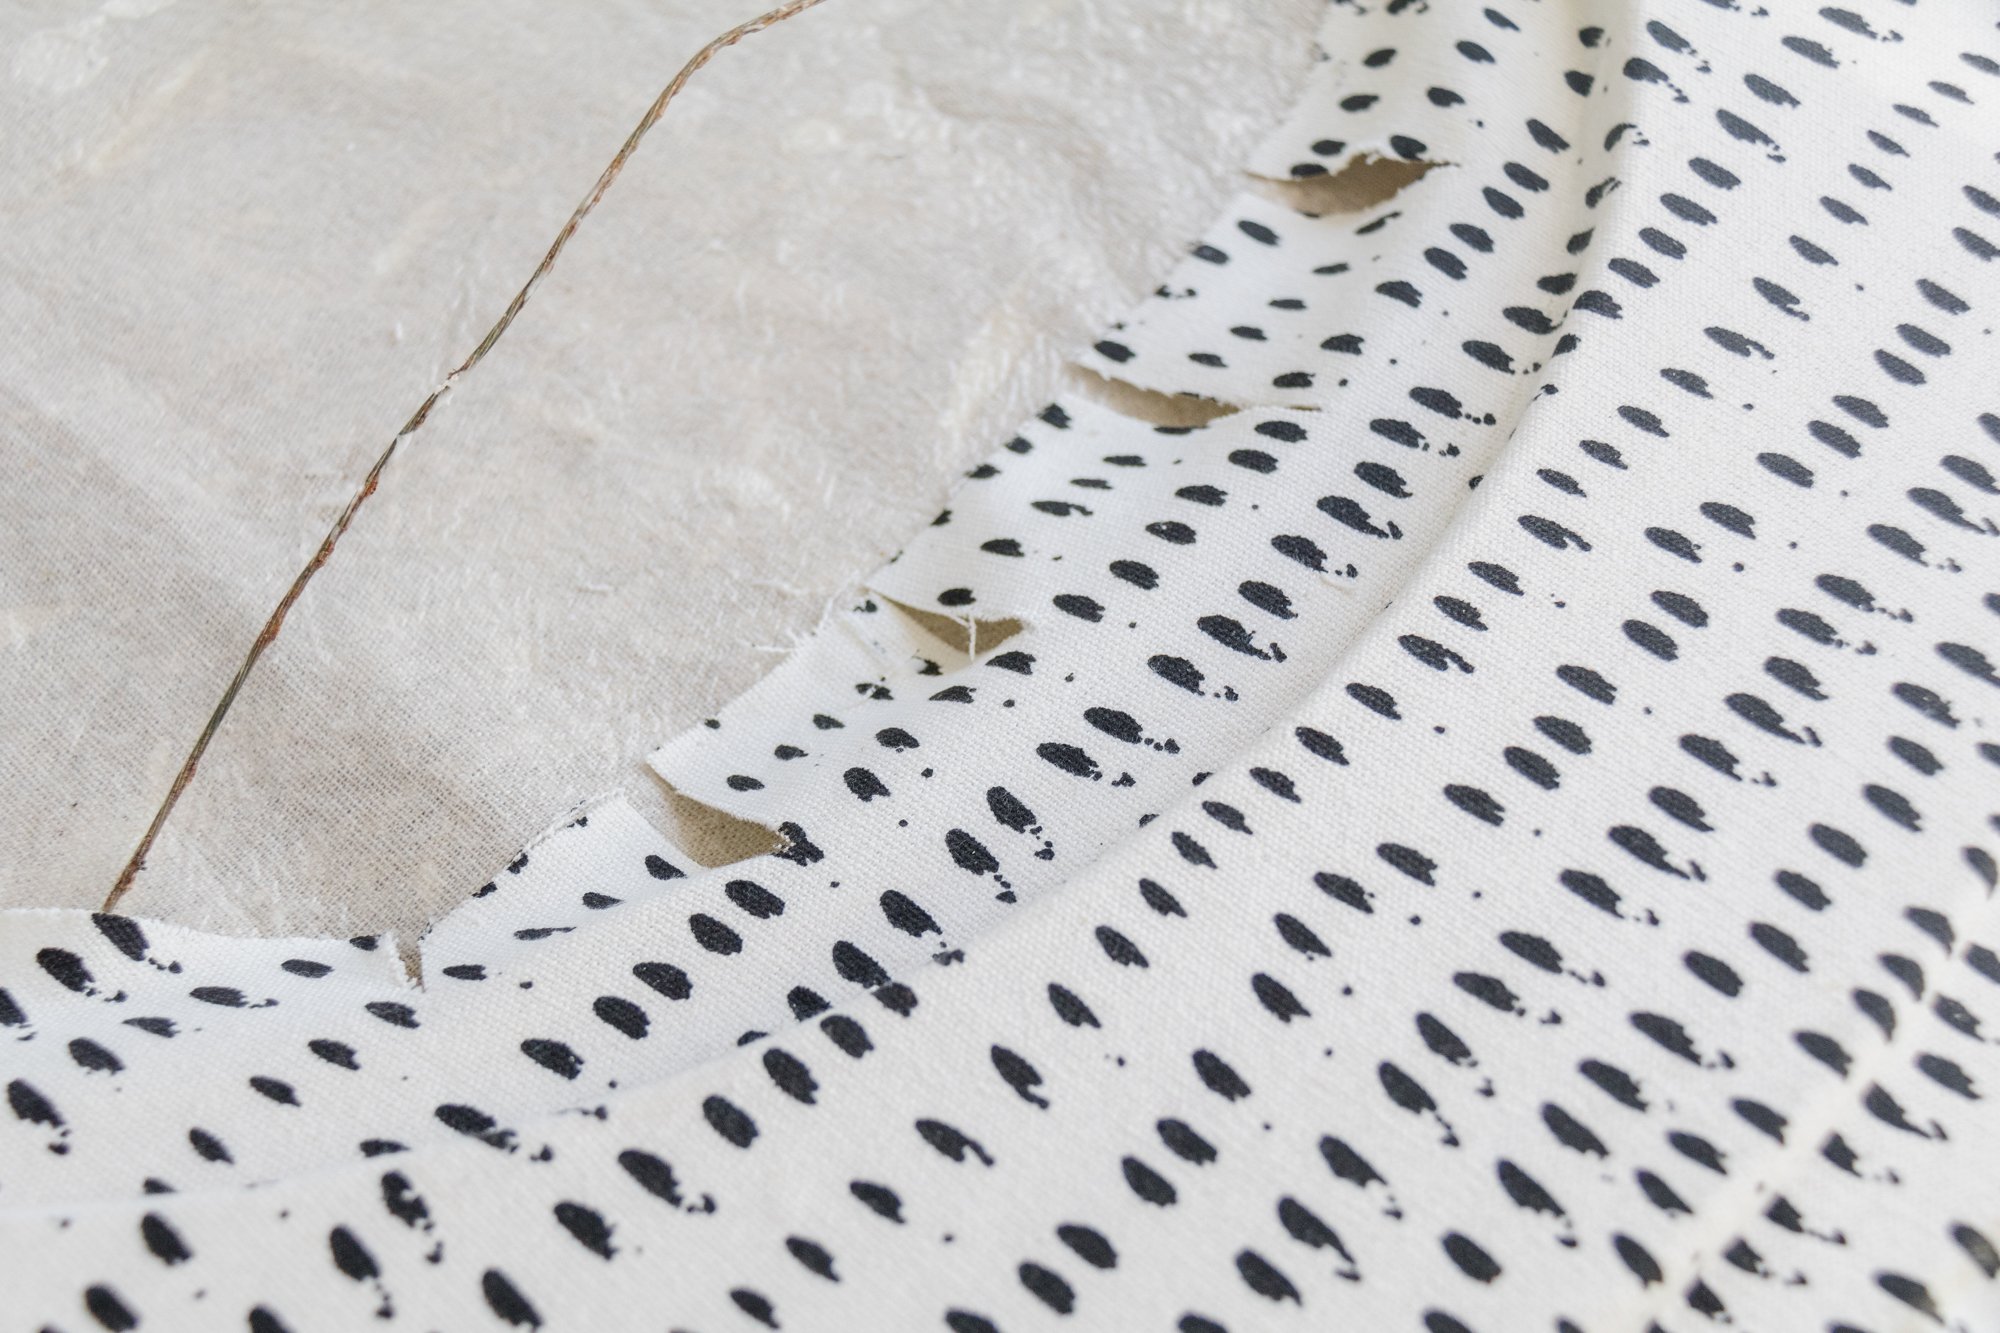
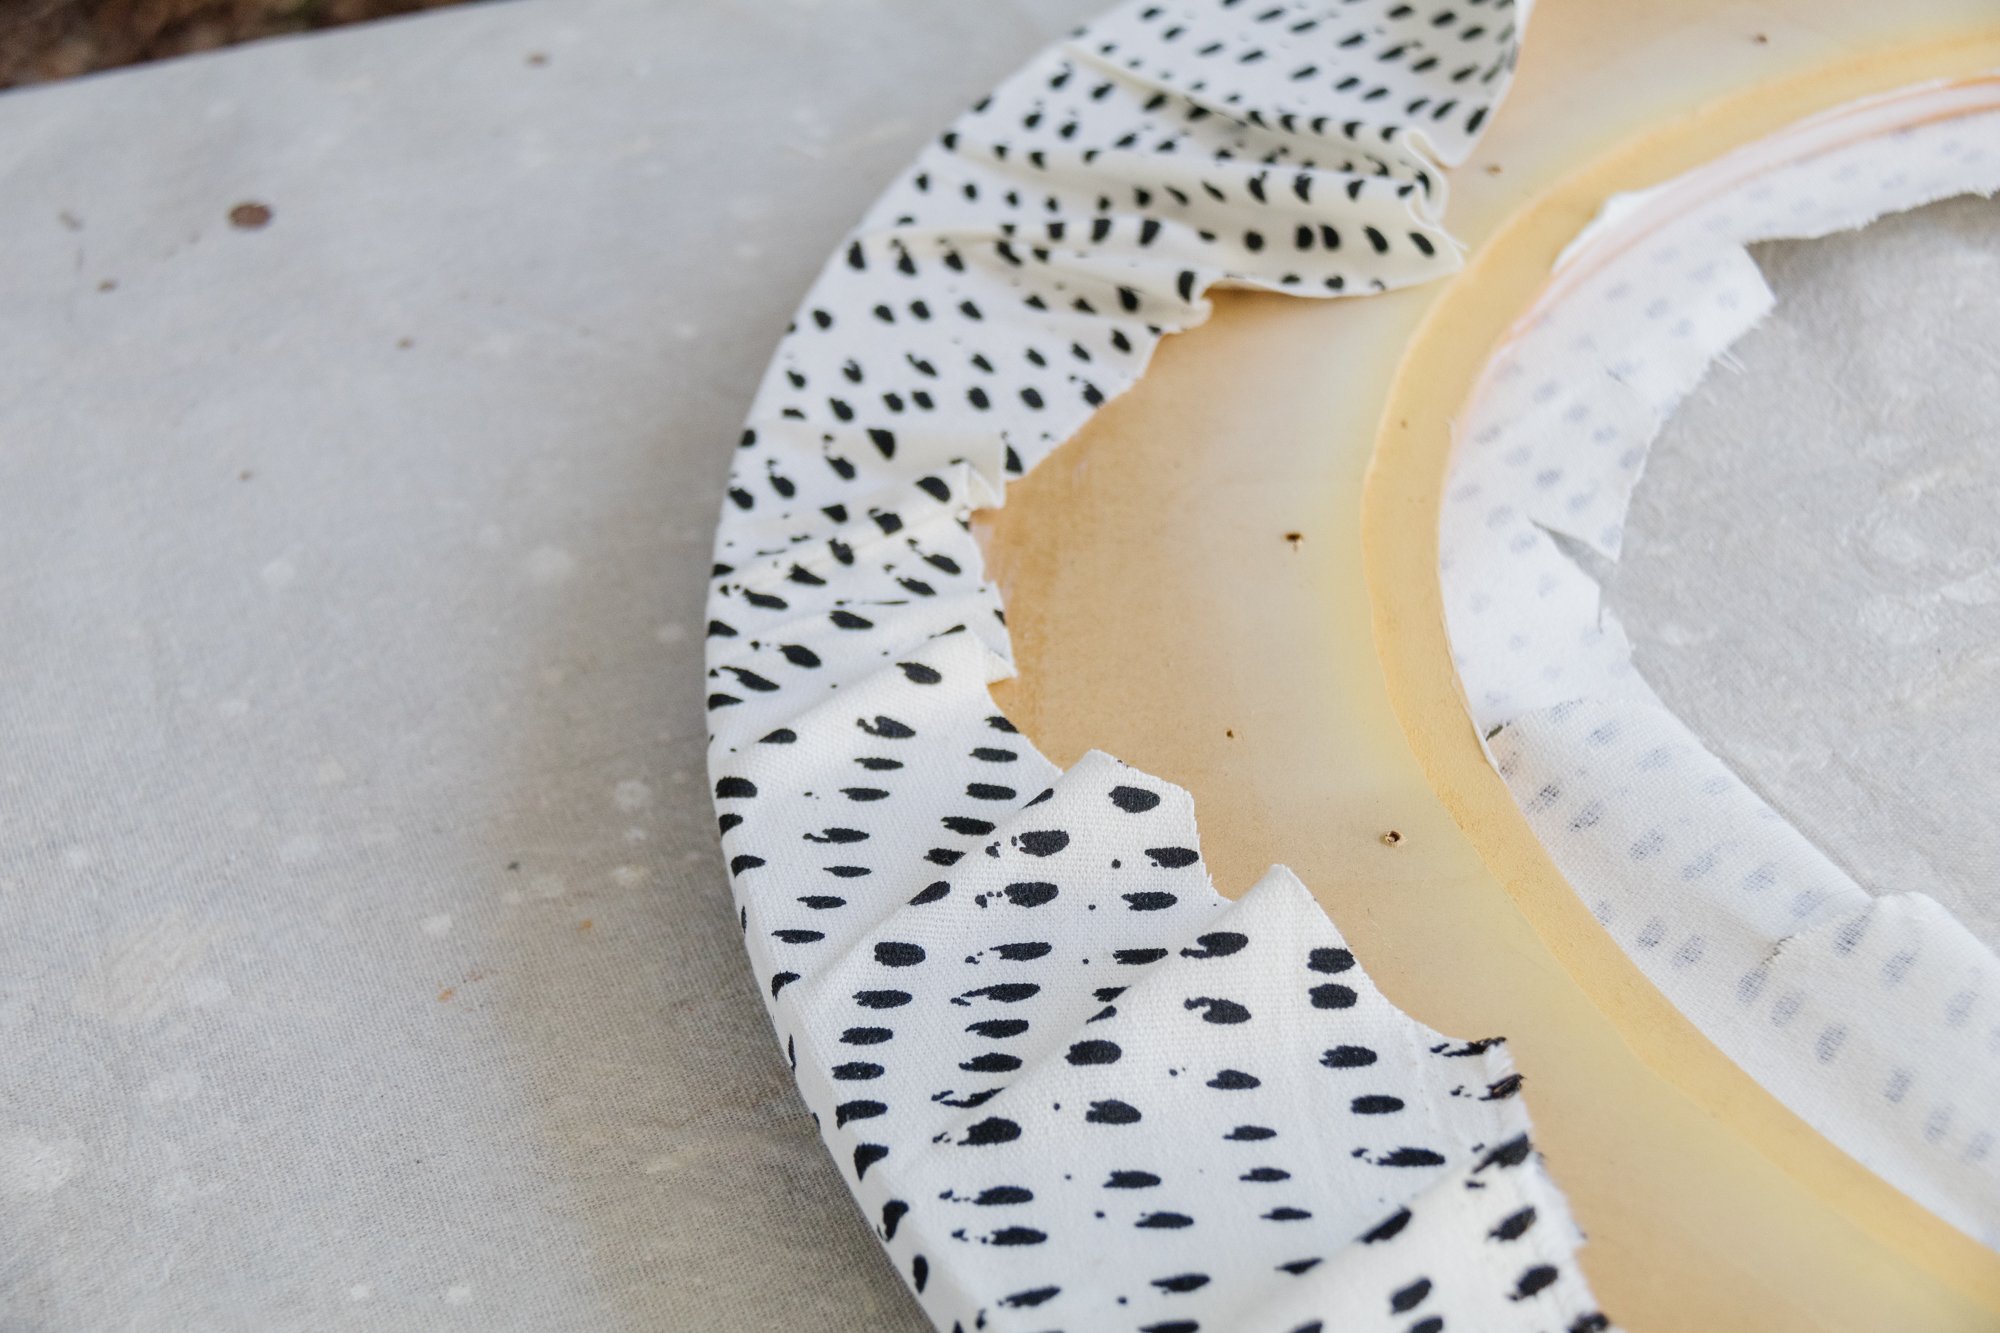
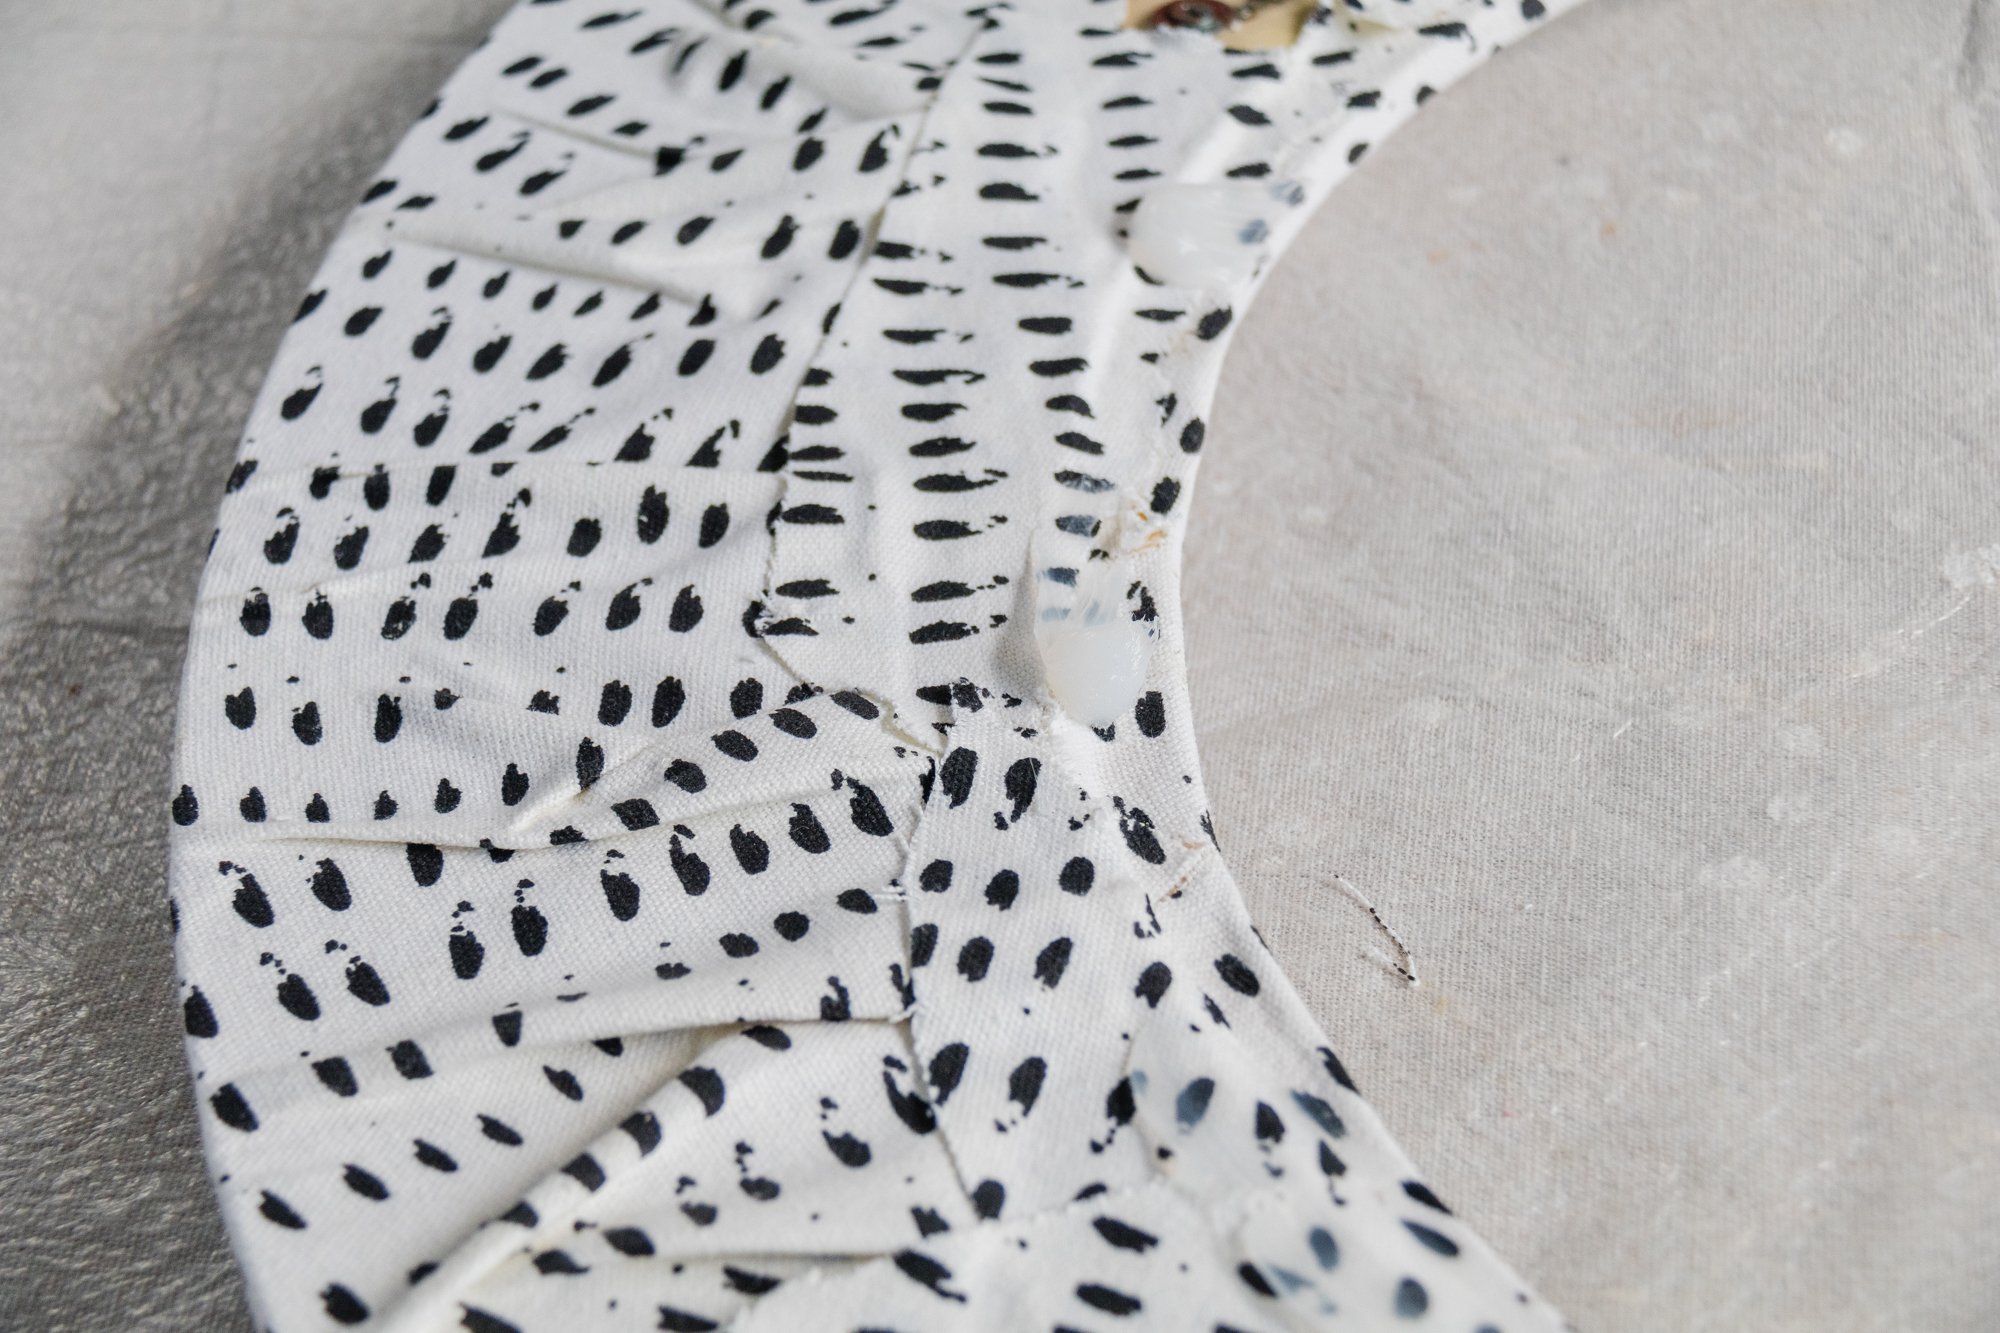
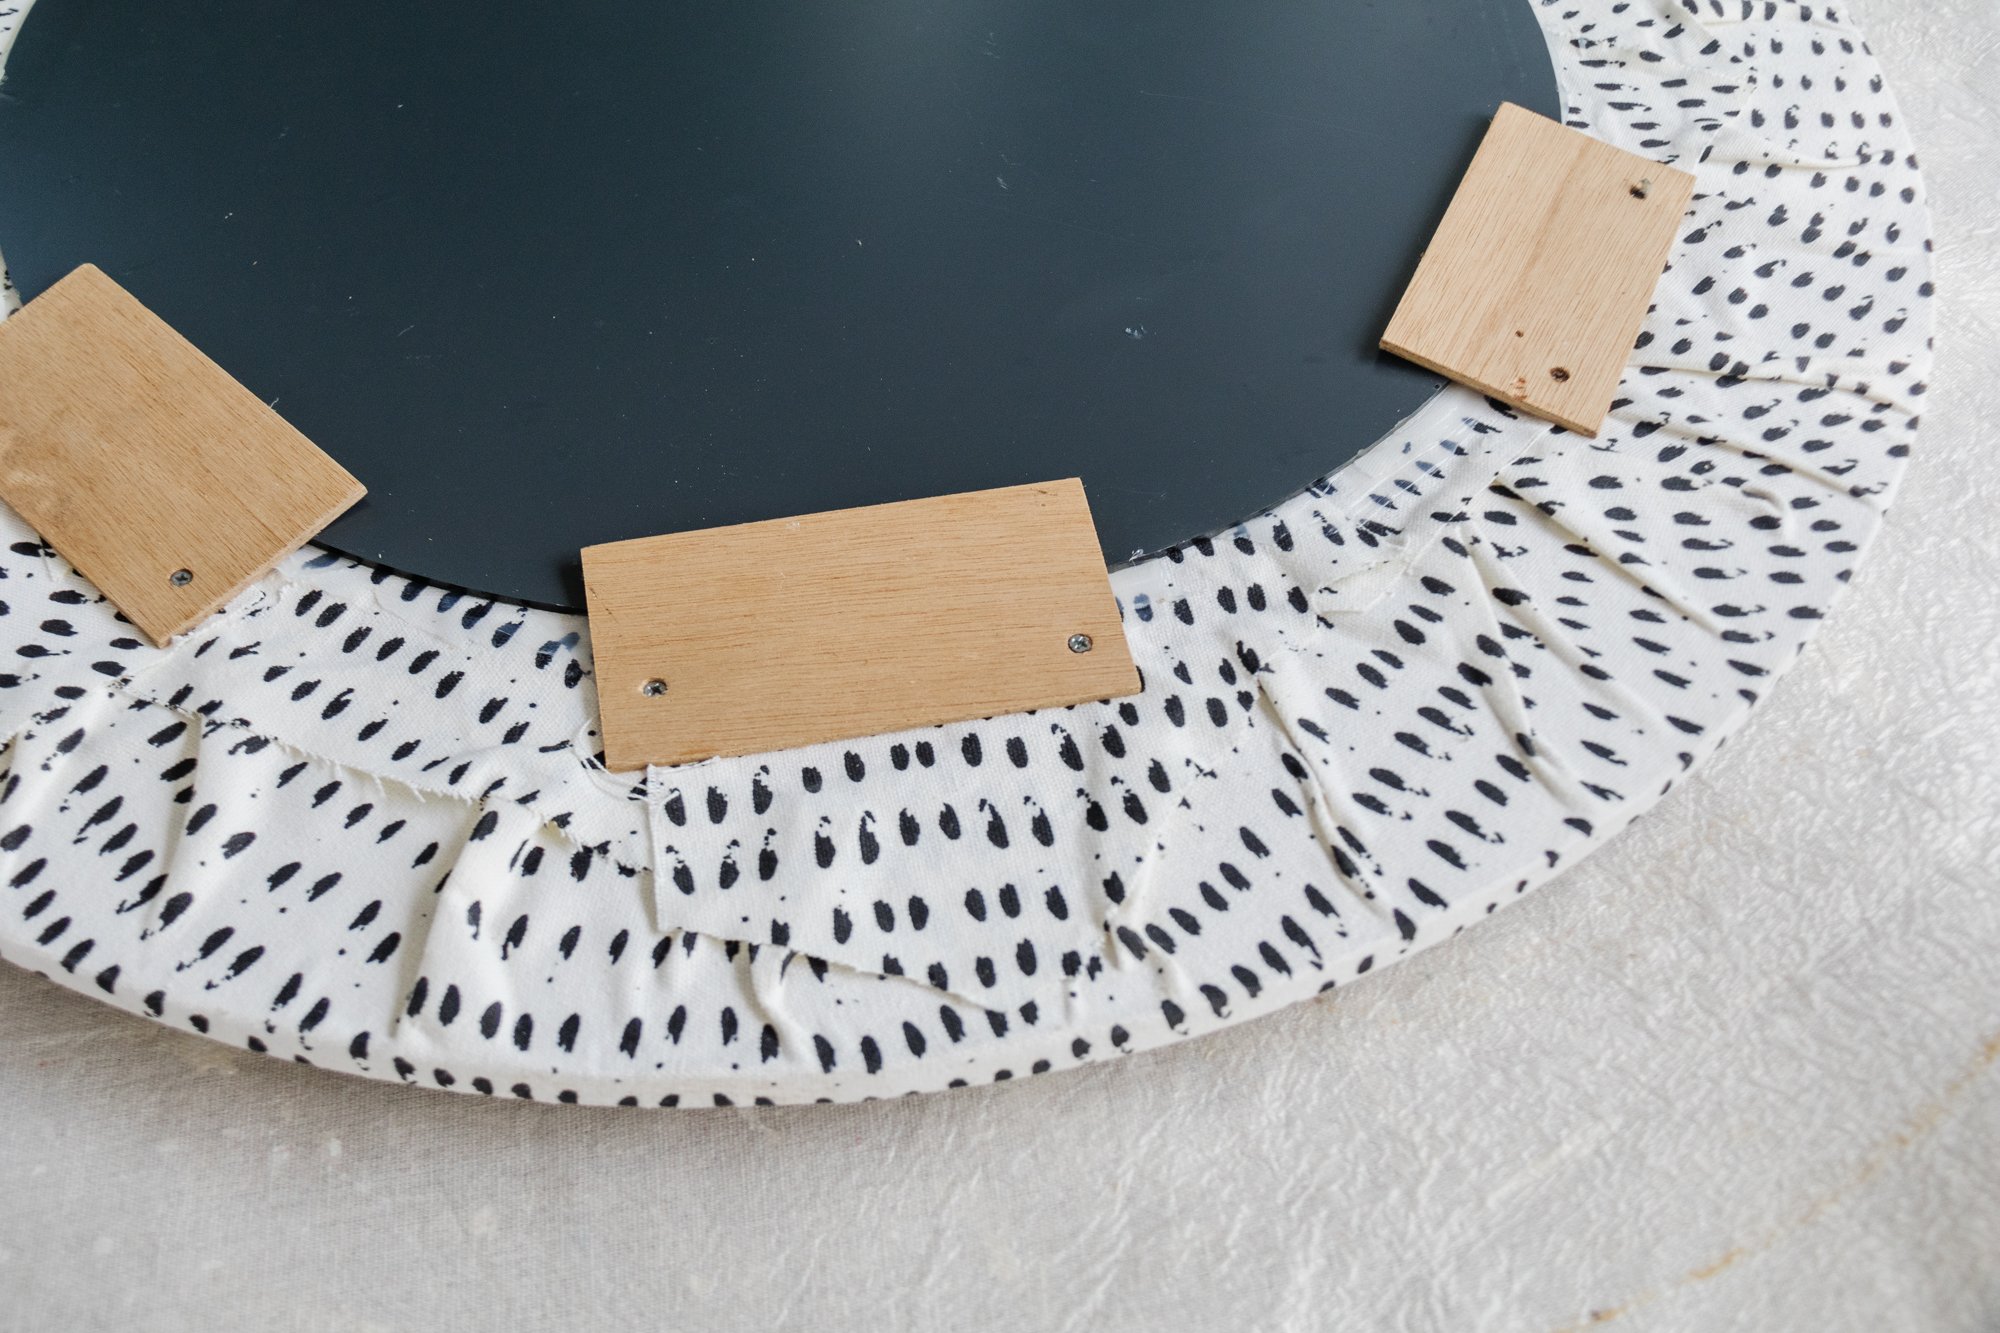
Step 3: I flipped the frame over and continued to glue the fabric to the back. I did have to cut the fabric on the inside to allow for it to be glued properly, which meant some of the frame was exposed. This wouldn’t happen if your mirror frame is square or a rectangle. So I filled in these little sections with more fabric and glue. The fabric is printed so you can hardly notice; if I was using a plain fabric, you would be able to see these little patches. So if you’ve got a round mirror, I would recommend a busy printed fabric. Then I made sure the back of the frame was covered in fabric to ensure the mirror wouldn’t reflect the back of the frame.
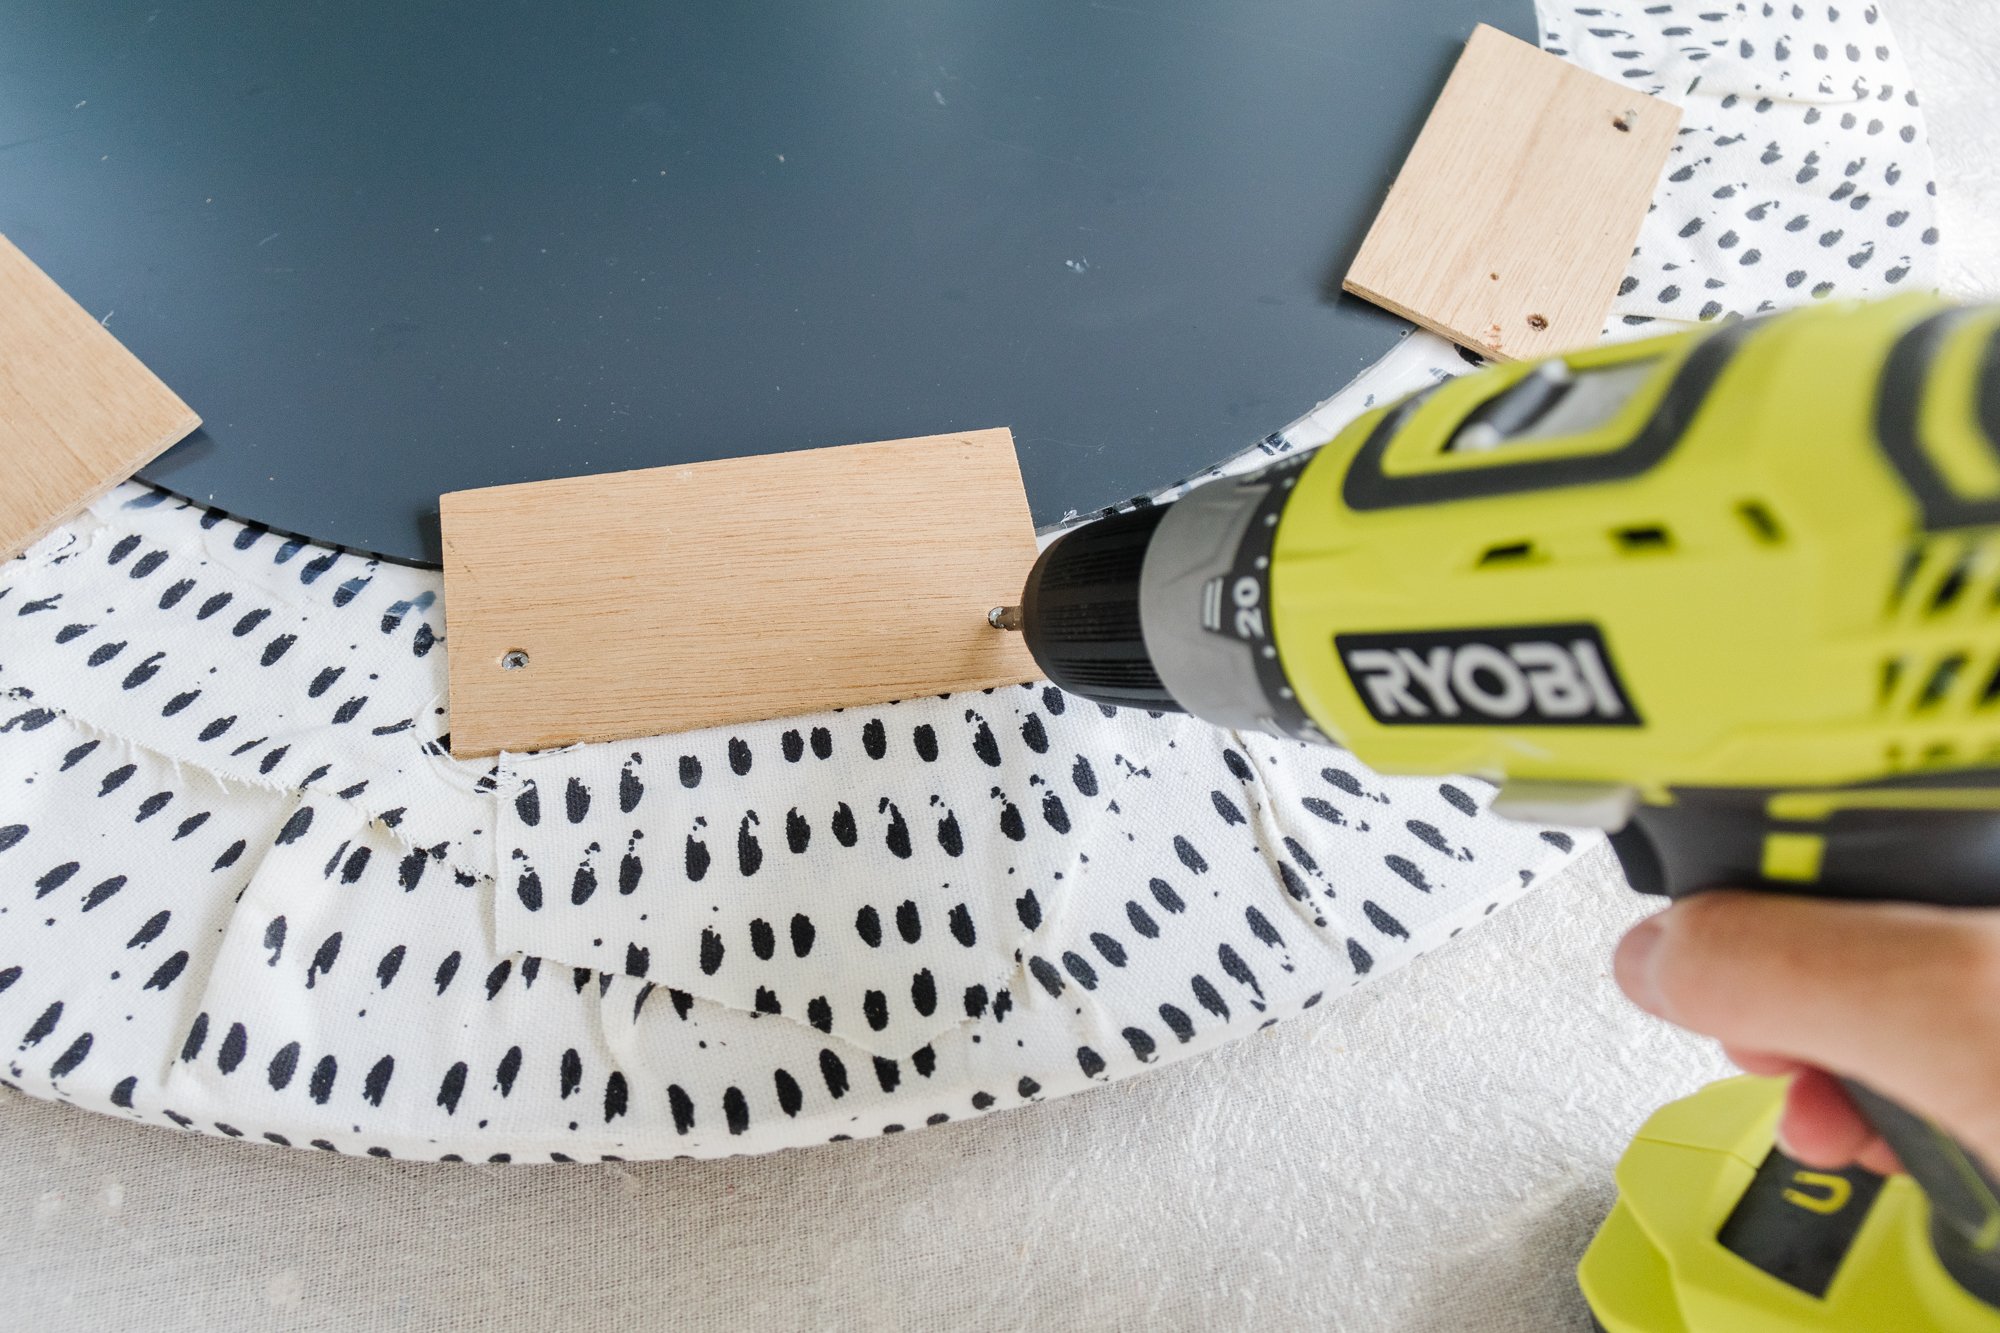
Step 4: Because I broke the original mirror, I had to glue the other mirror it to the frame as it was too big to sit into the back, and then I screwed the support pieces of timber on the back. And that’s it!
Ta daaaa!
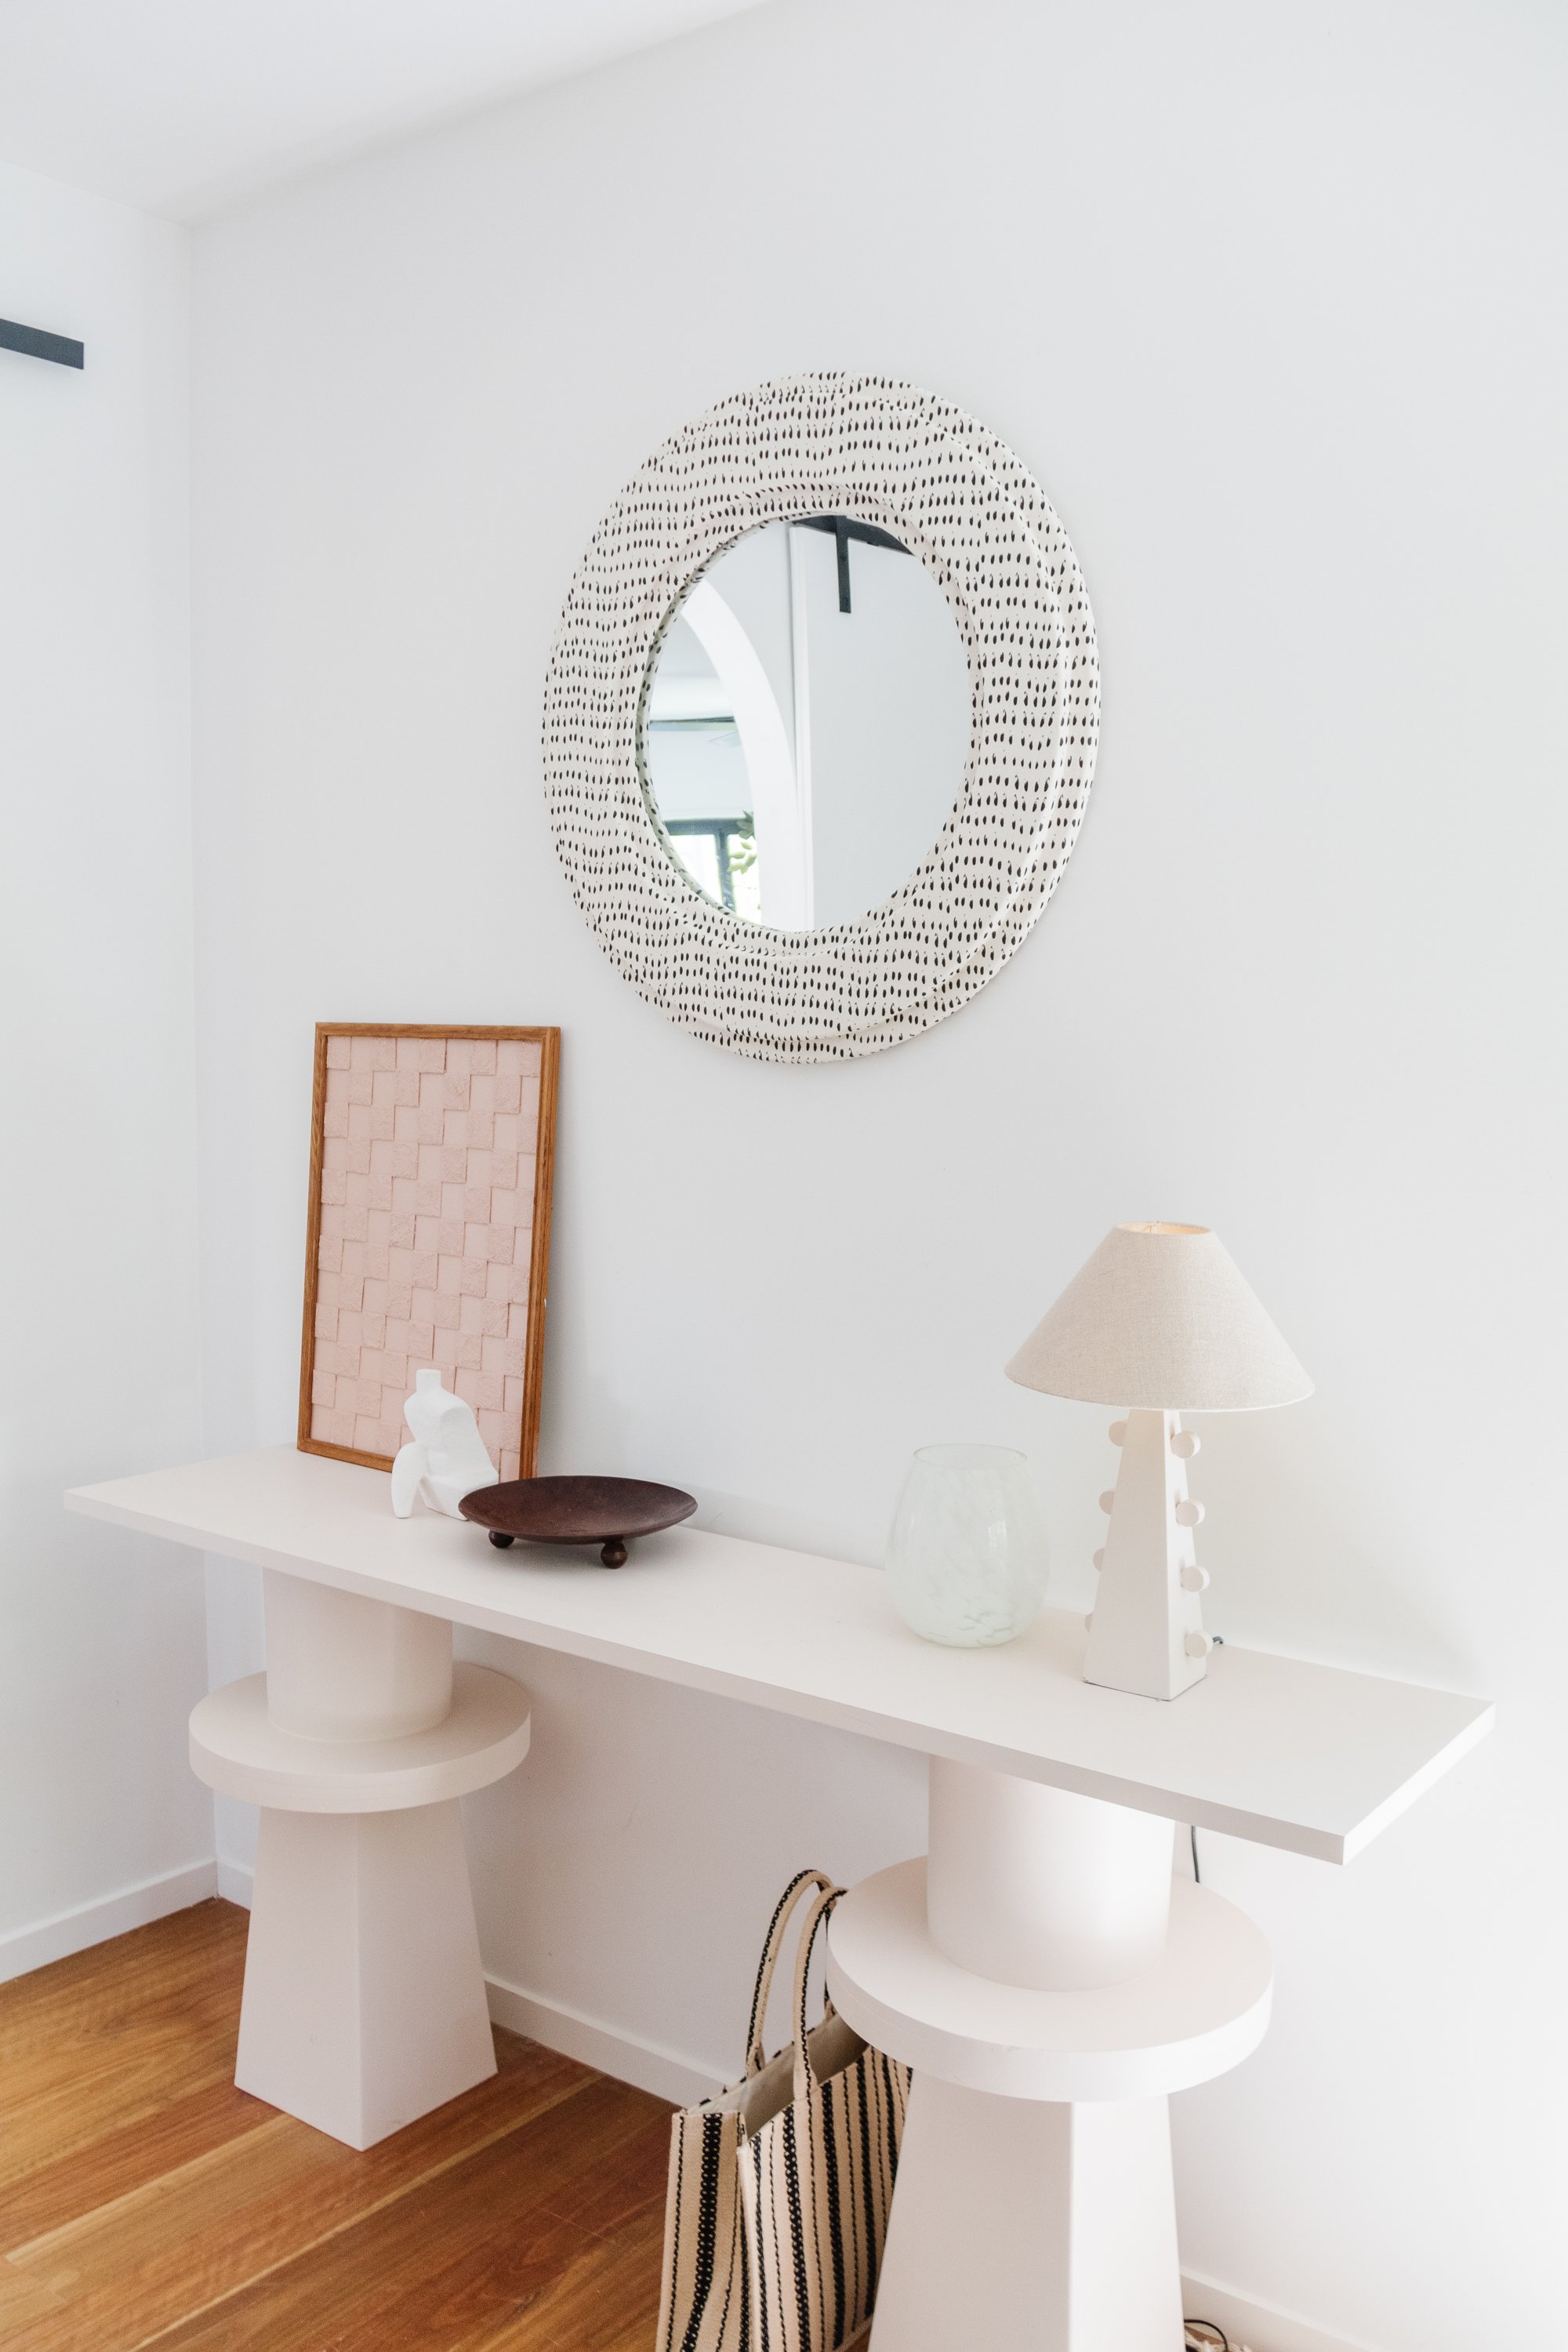
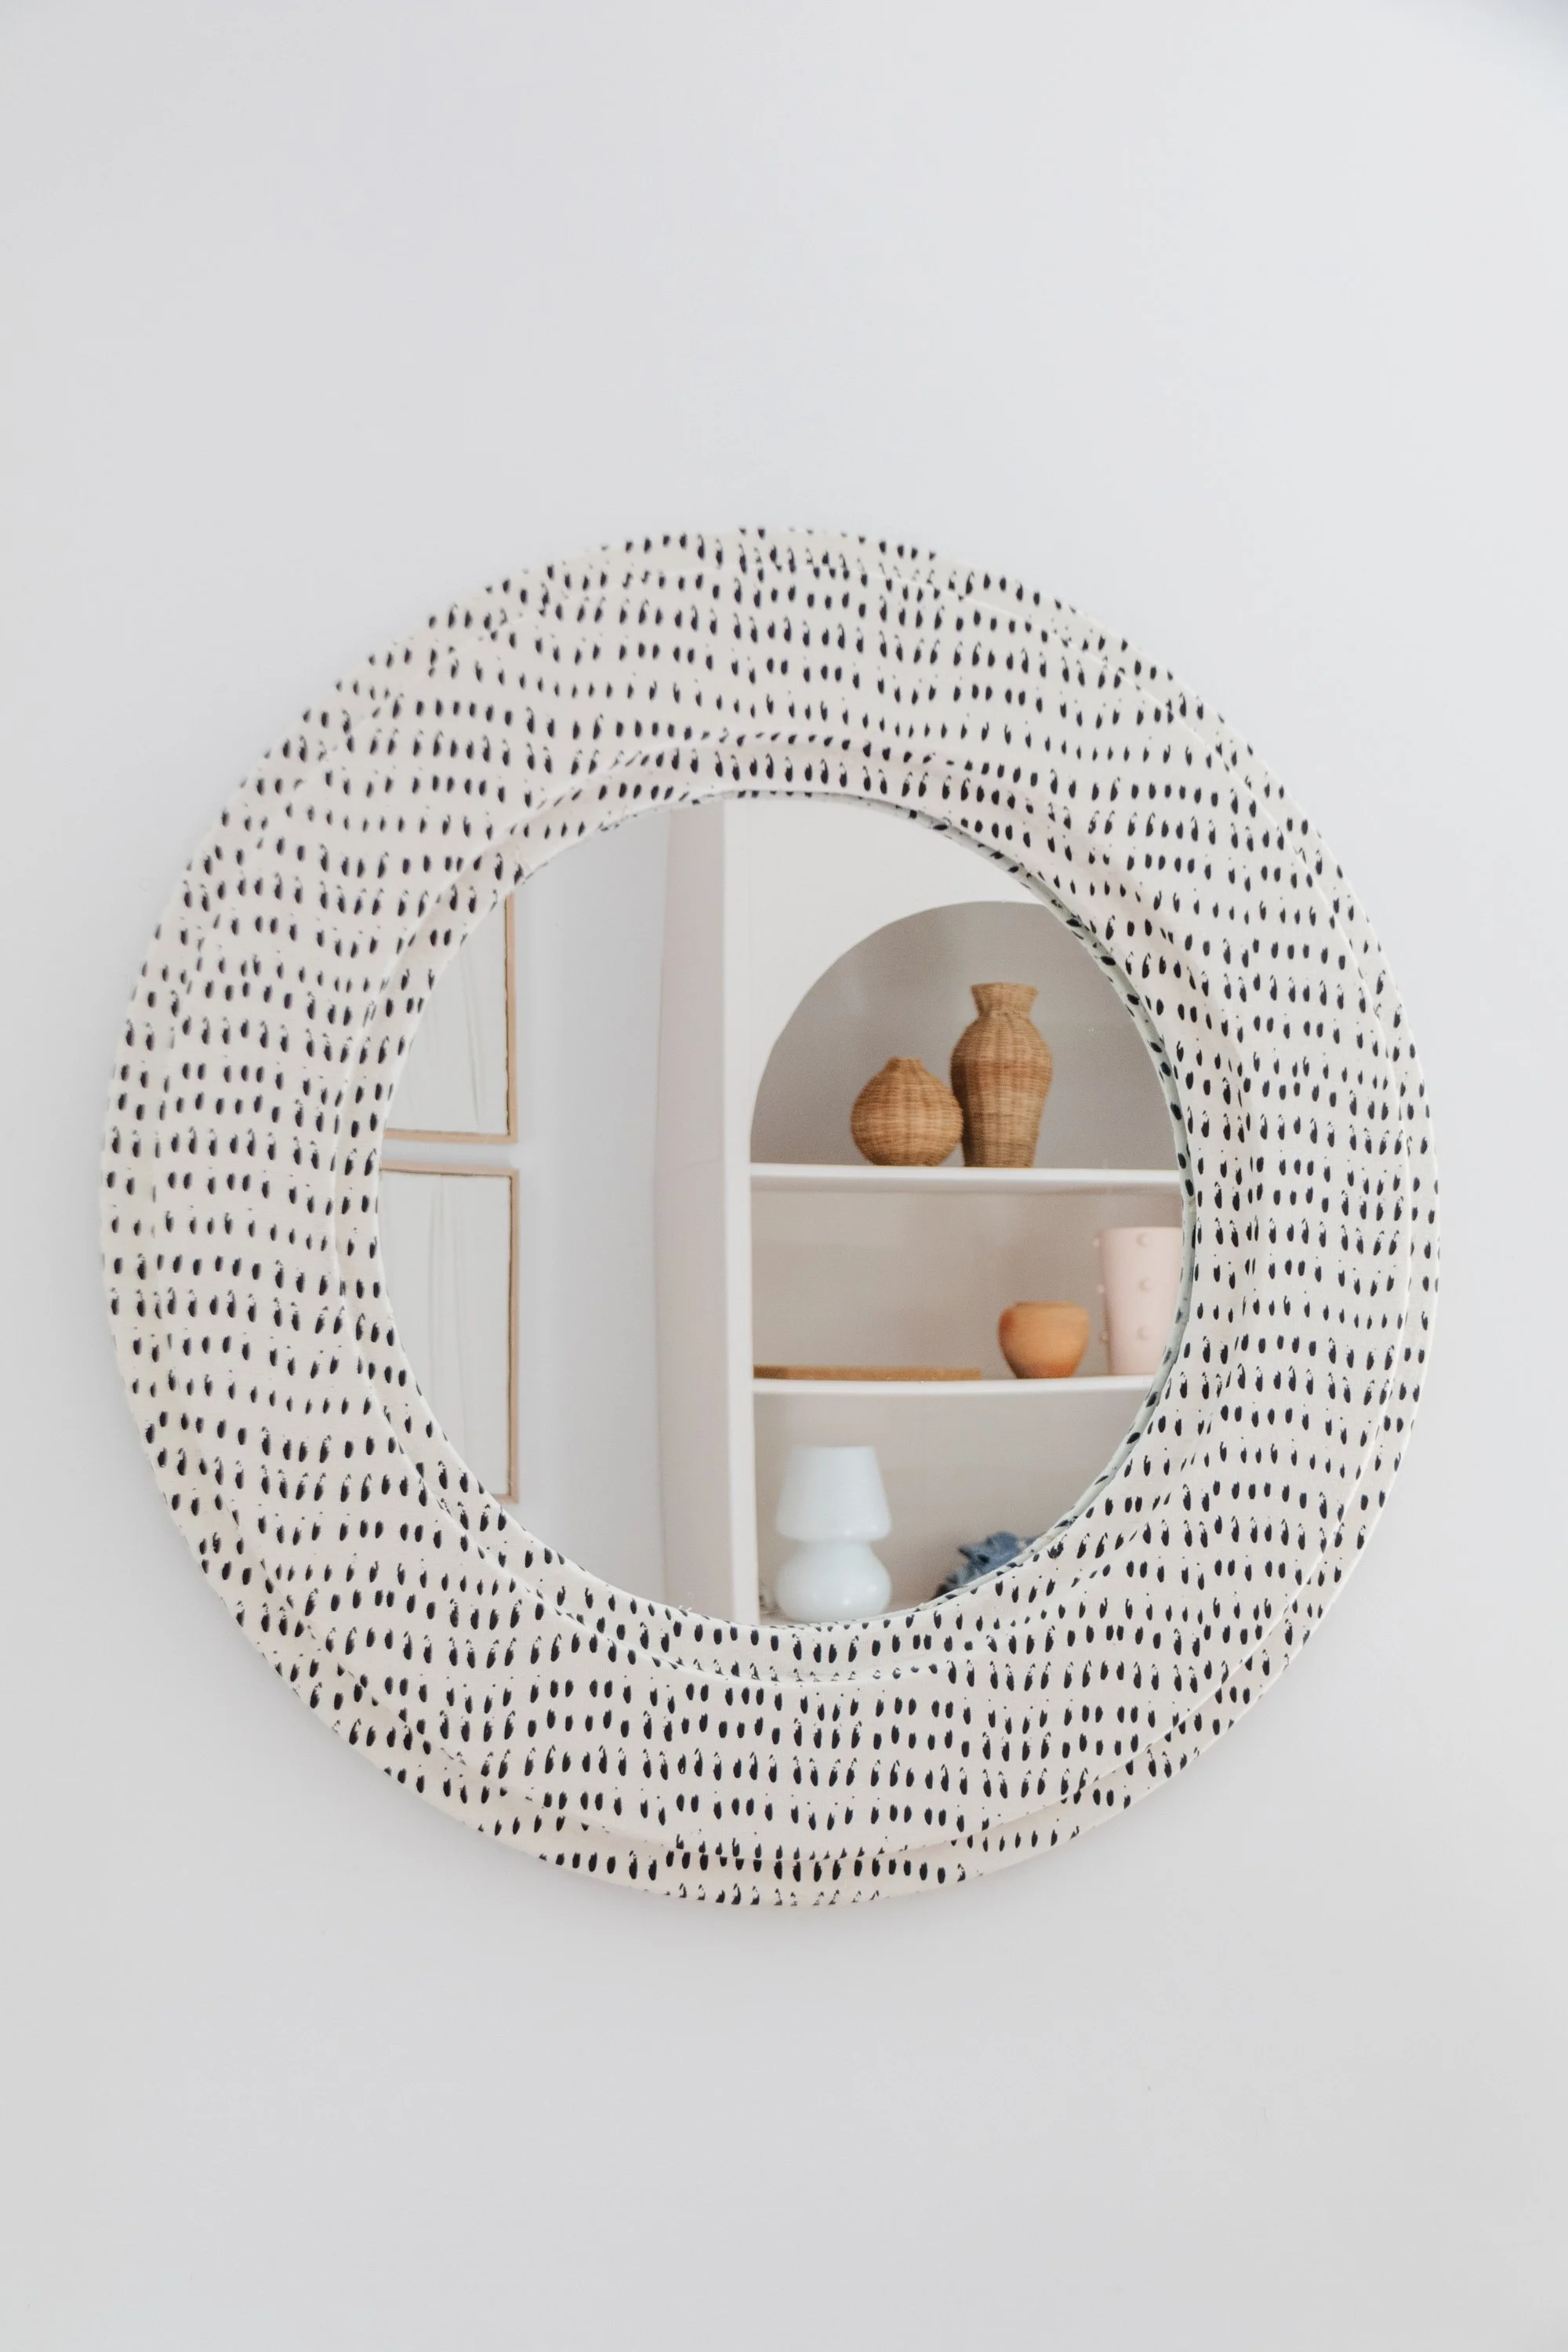
Isn’t it amazing what you can do with a bit of fabric and glue? And for a grand total of $15, I think this was a big success! The monochromatic fabric ties in beautifully with the rest of our home and it makes a big statement when you walk up the stairs, and look at it from our living area and my studio. So happy! Best of all? You could easily replicate this technique on any mirror frame shape, and you can go as wild or minimalistic as you like with the fabric you choose!