Upcycled Kids Mud Kitchen
Upcycling a workbench and turning it into a fun mud kitchen for the kids
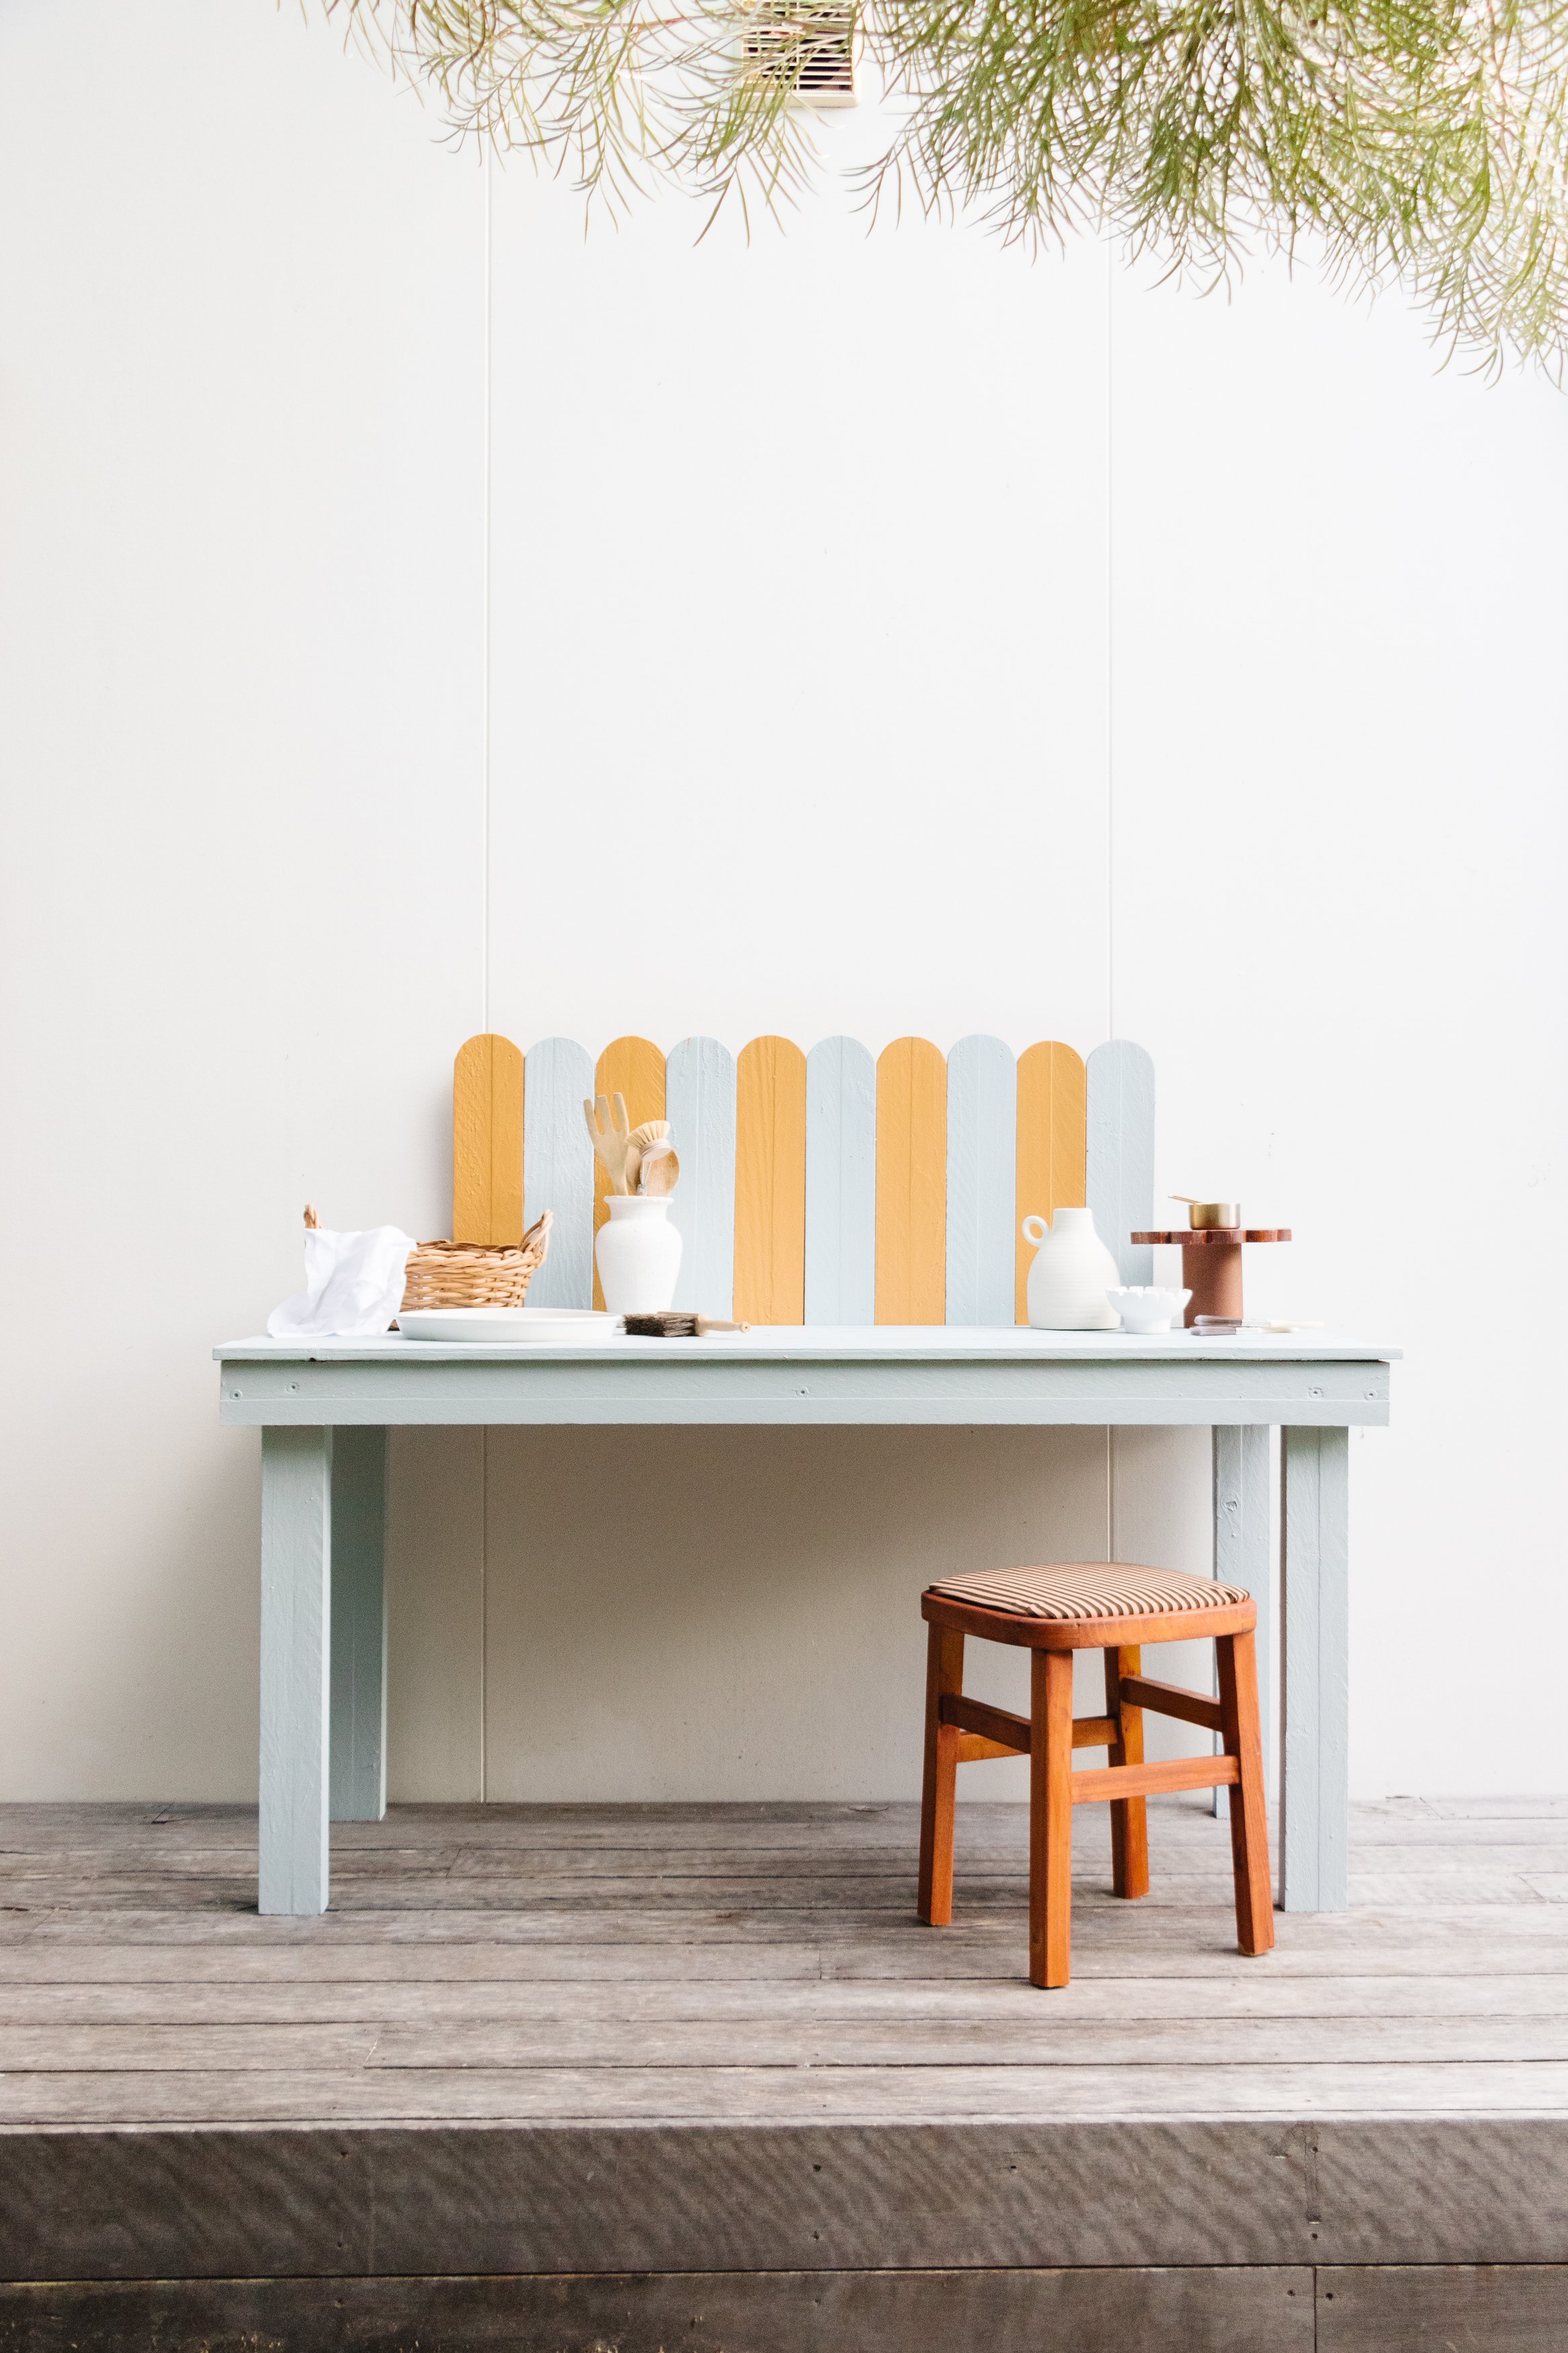
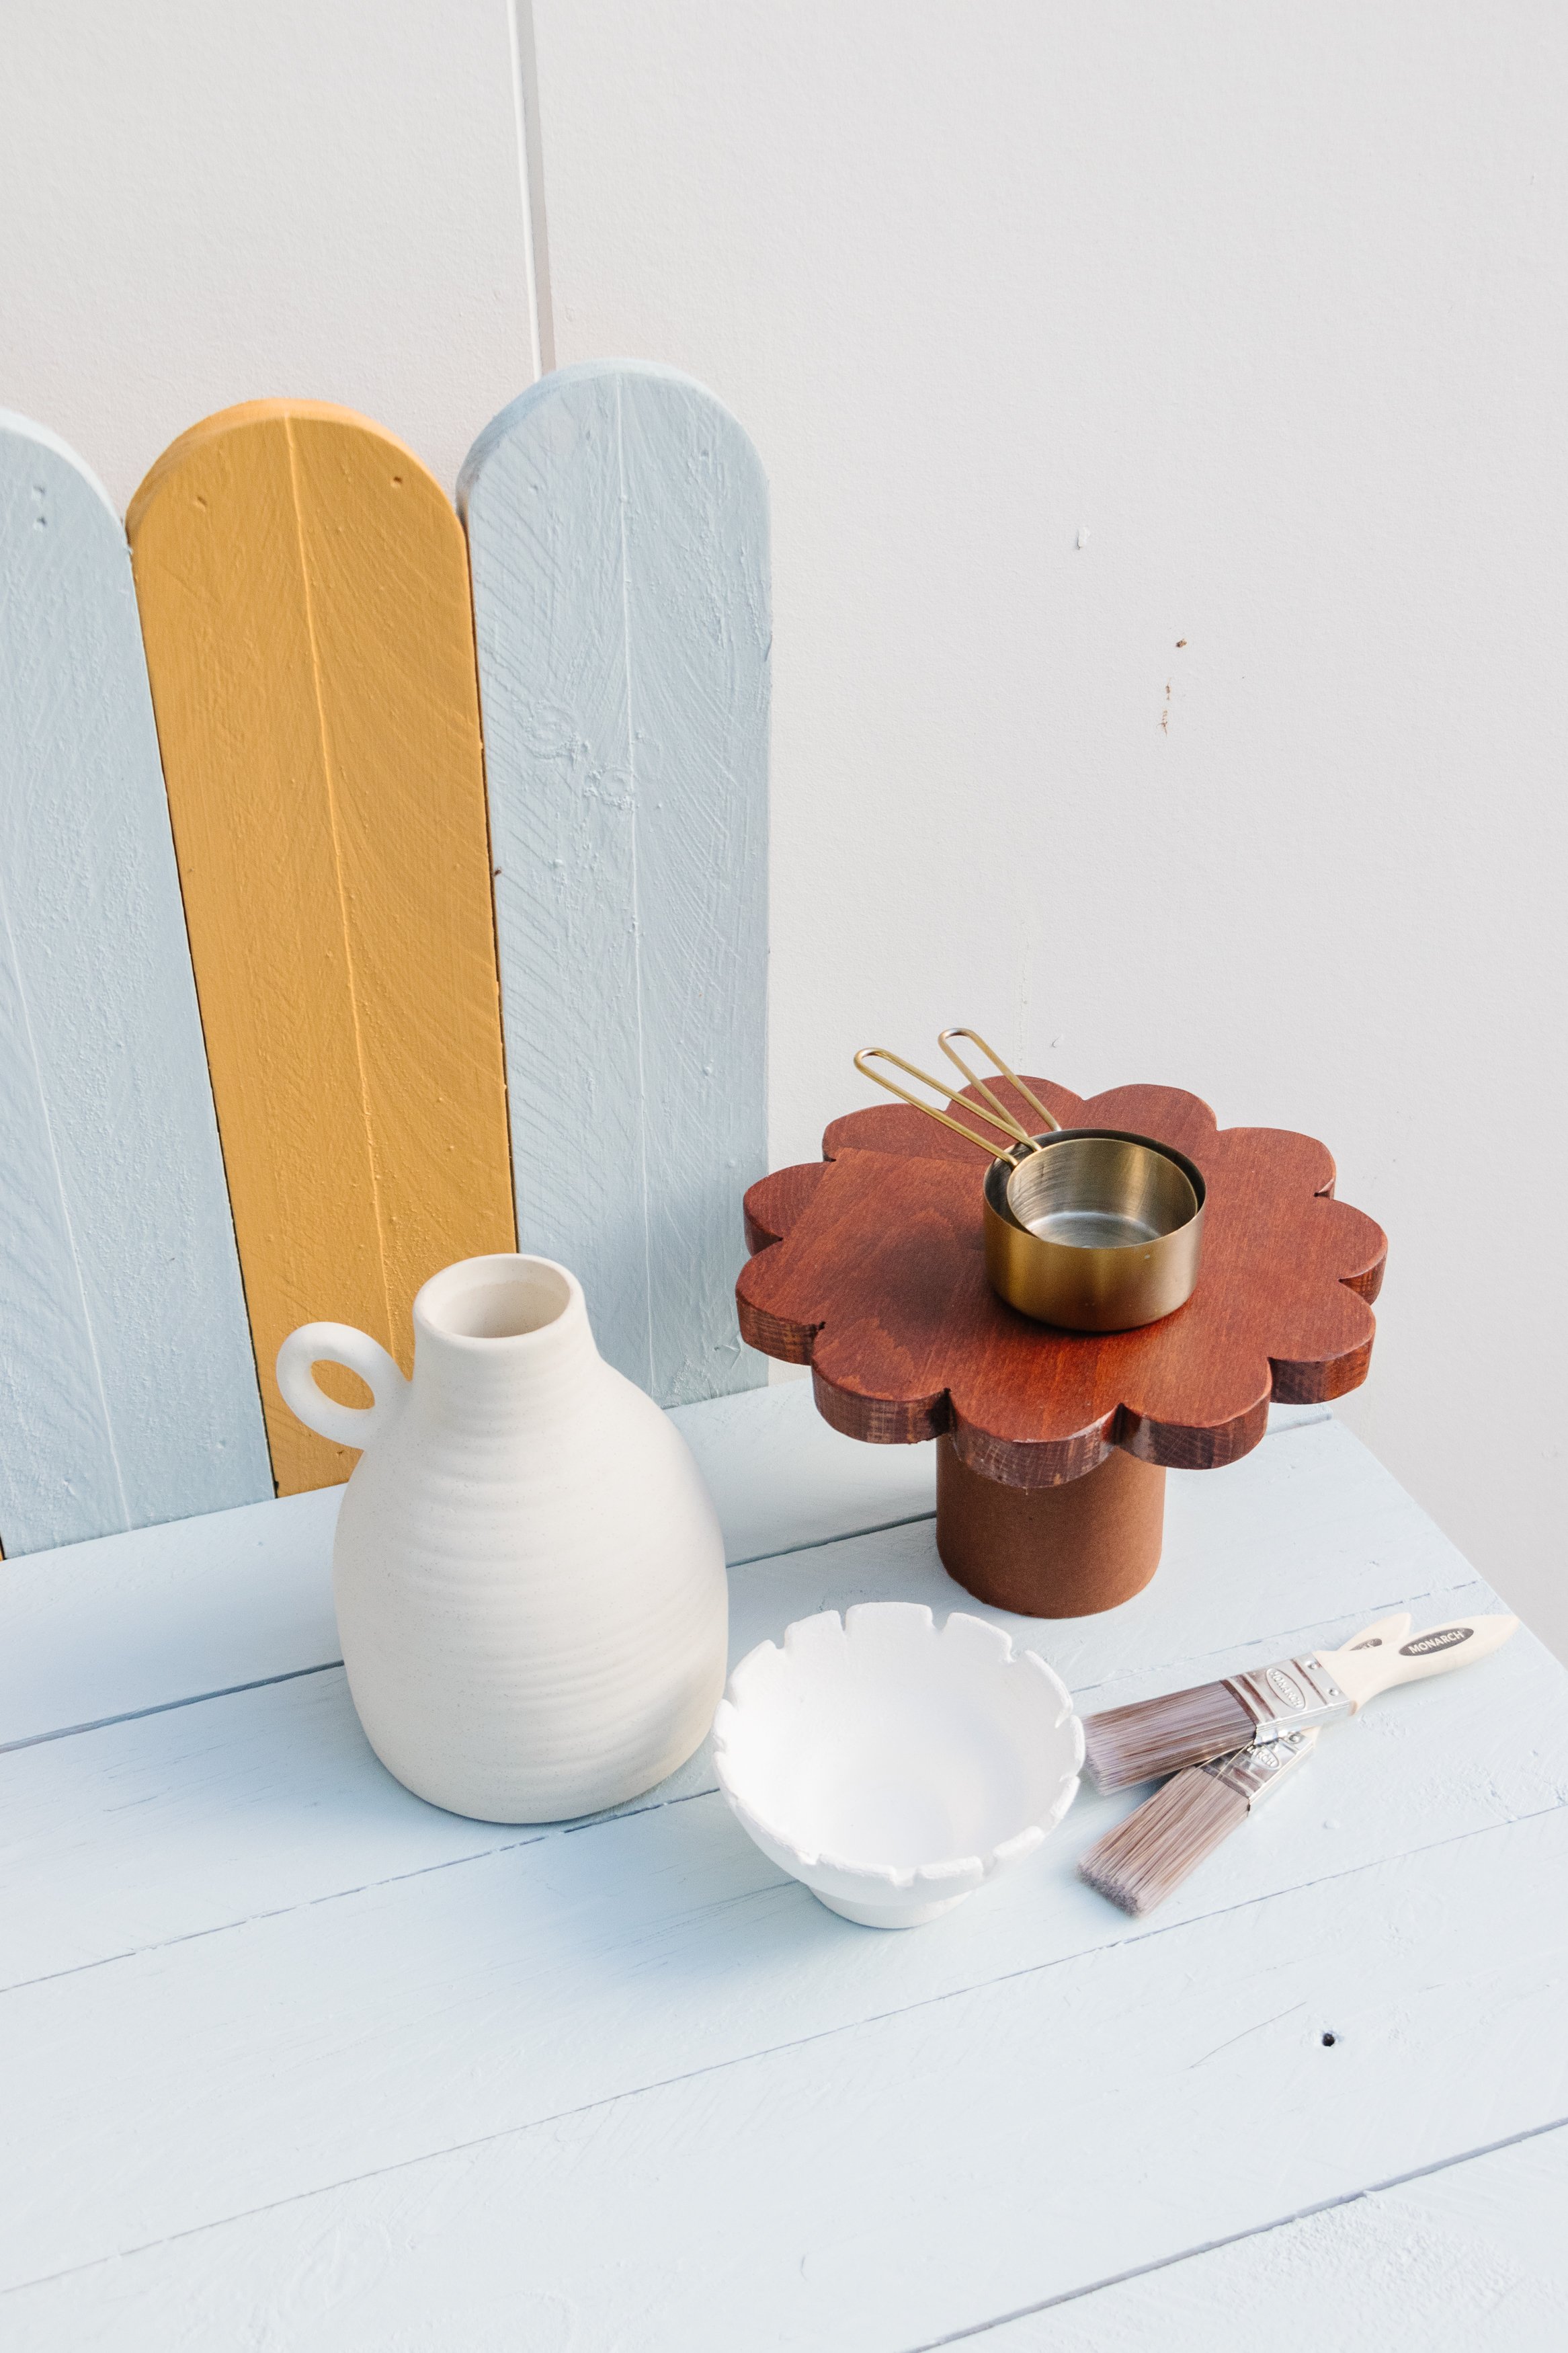
Our kids have been asking for a mud kitchen for a long while. When I realised I could transform an old workbench that's lived a thousand lives in our garden and is practically a family member, I knew I needed the best paint accessories by my side Monarch Painting. Read on to find out it all came together. And if you’re feeling inspired to upcycle your own kids mud kitchen, don’t worry if you don’t have a workbench. Any secondhand outdoor table made from timber will do! Check your local charity shop, recycle centre and tip shop to see what you can find.
Watch this video to learn how to make an Upcycled Kids Mud Kitchen
Before & After


Project Details
♻️ Upcycling: A workbench into a Kids Mud Kitchen
🕒 Project Time Estimate: 4 hours
🪑 Skill Level: Intermediate
💰 Materials Cost: $
Materials
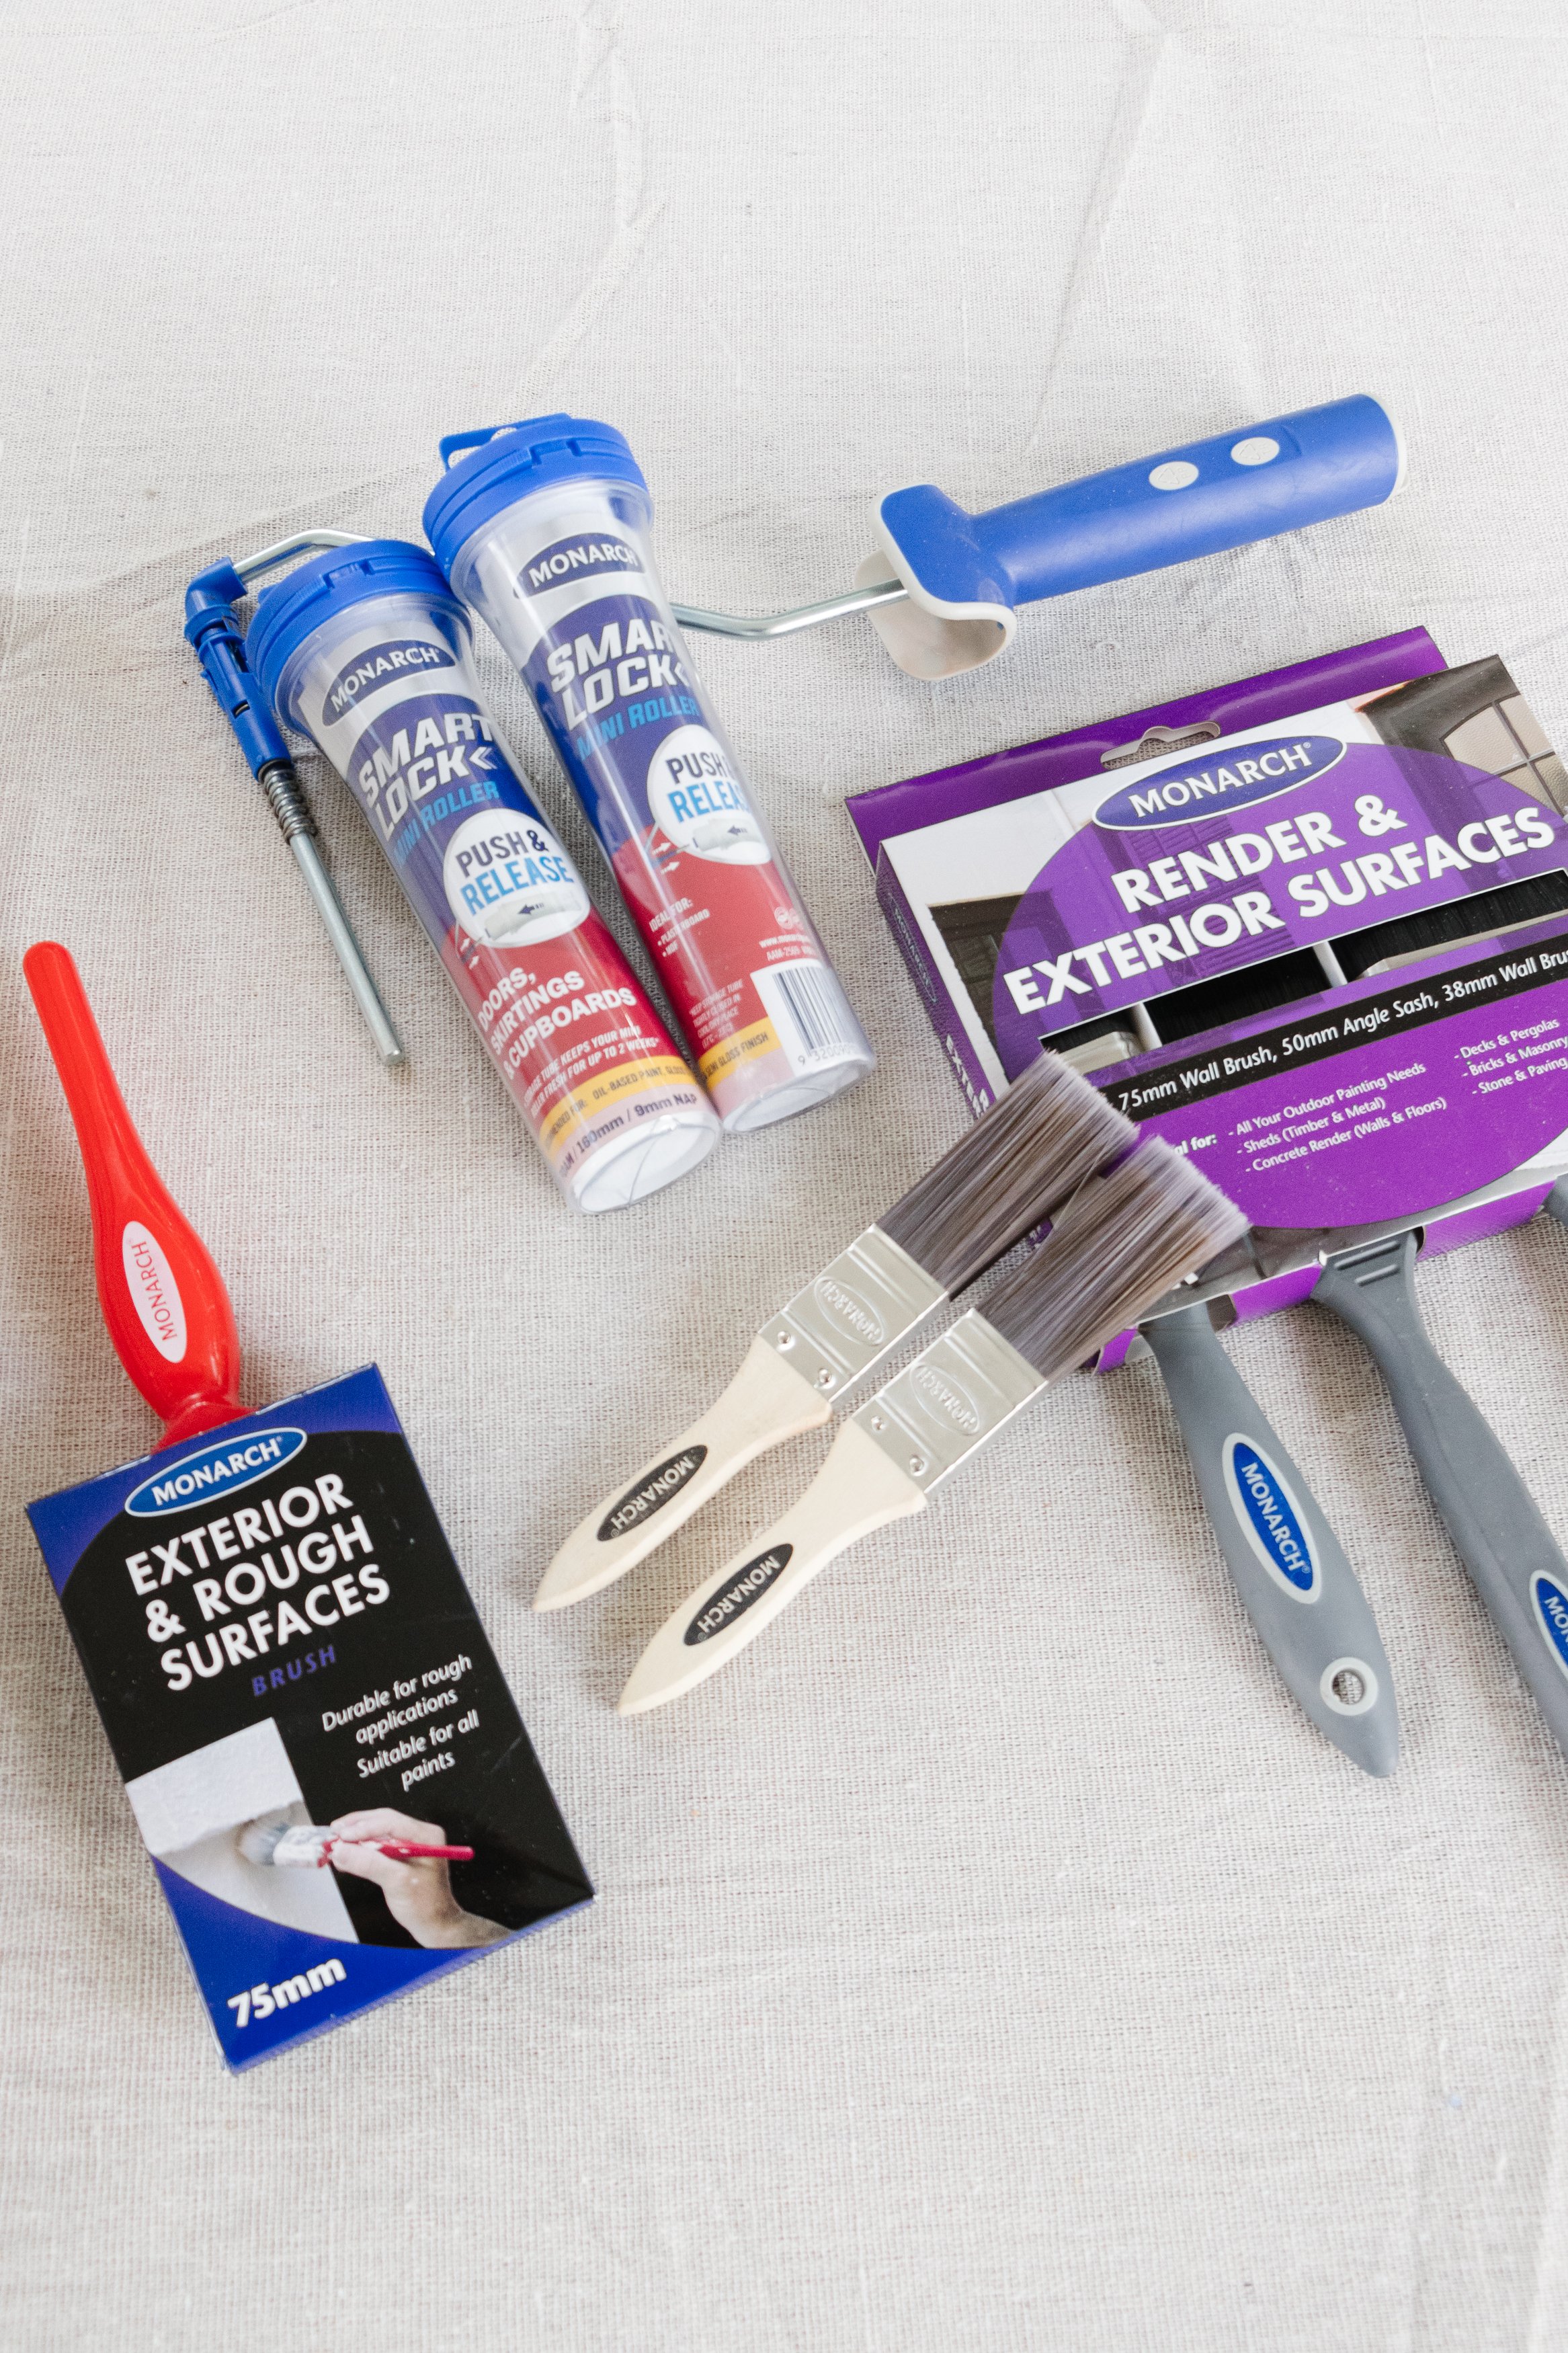
Exterior paint
Pencil
Coaster (or something round e.g. a cup)
Large Bowl
Piece of timber
Timber screws
Tools
Reciprocating saw
Chisel
Jigsaw
Detail sander
Table Cclamps
Drill

How To
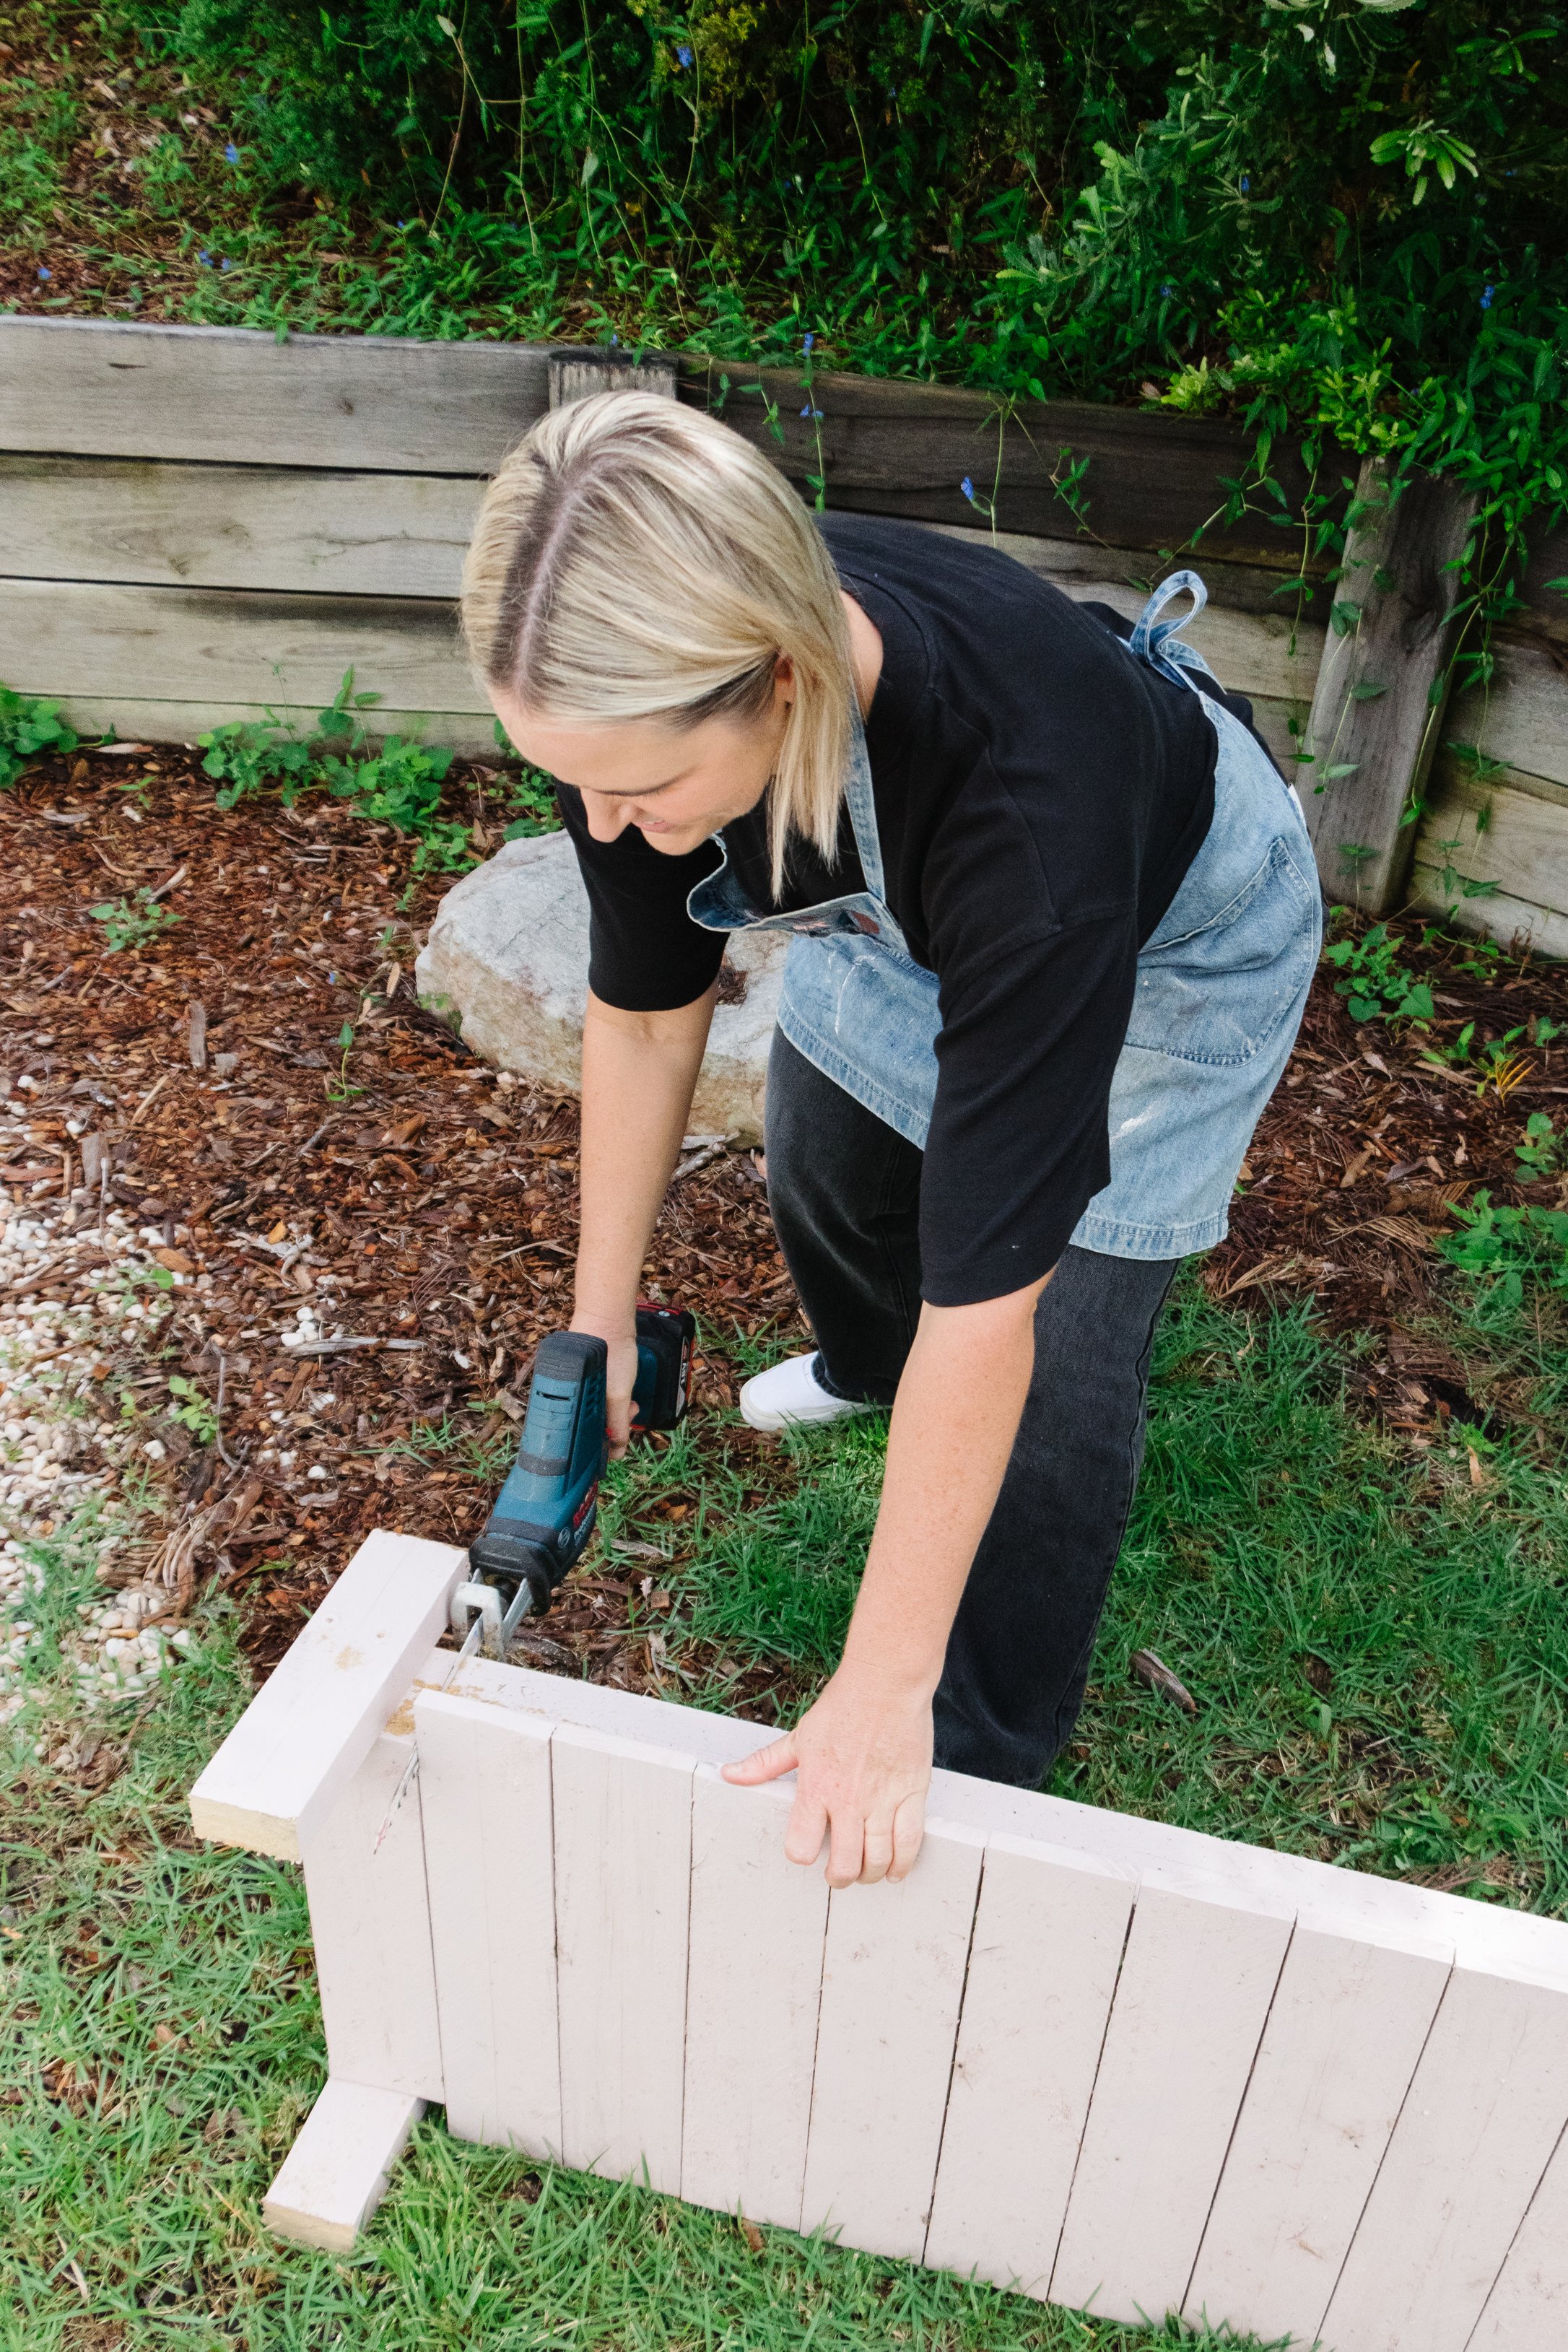
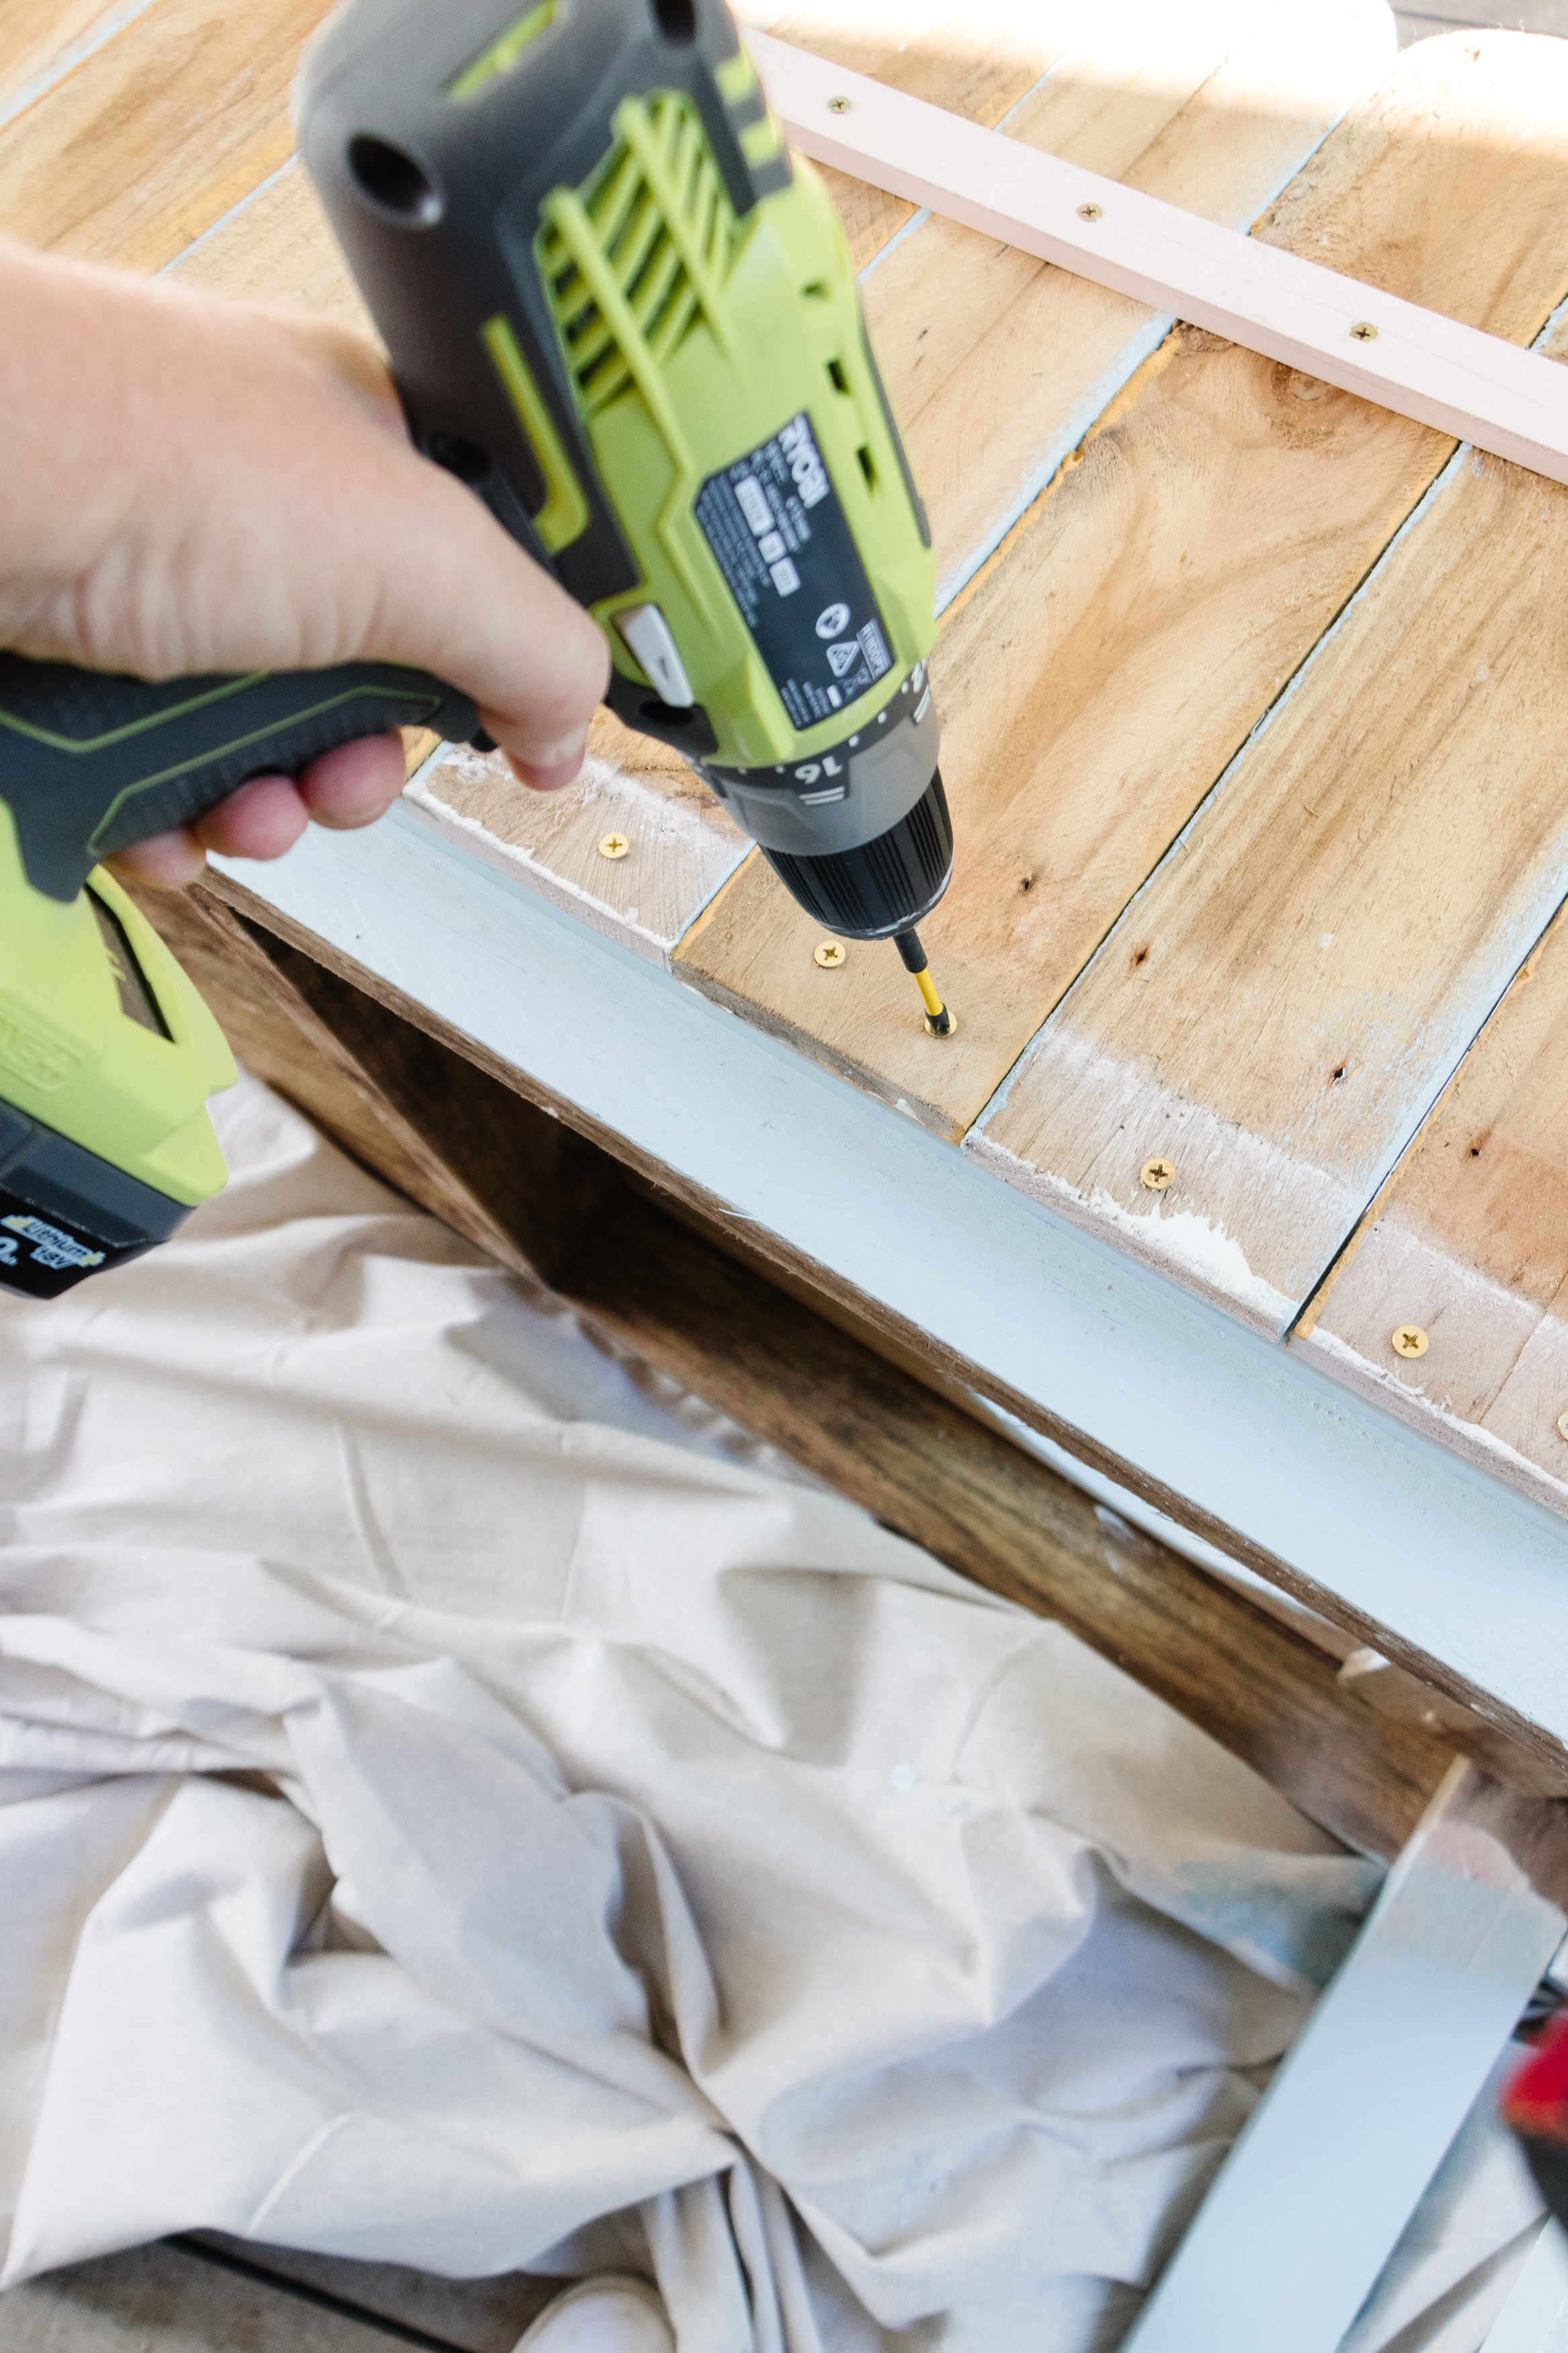
Step 1: I prepared my work area by placing a drop sheet on the ground and our table. Using a reciprocating saw I removed the bottom off the workbench.
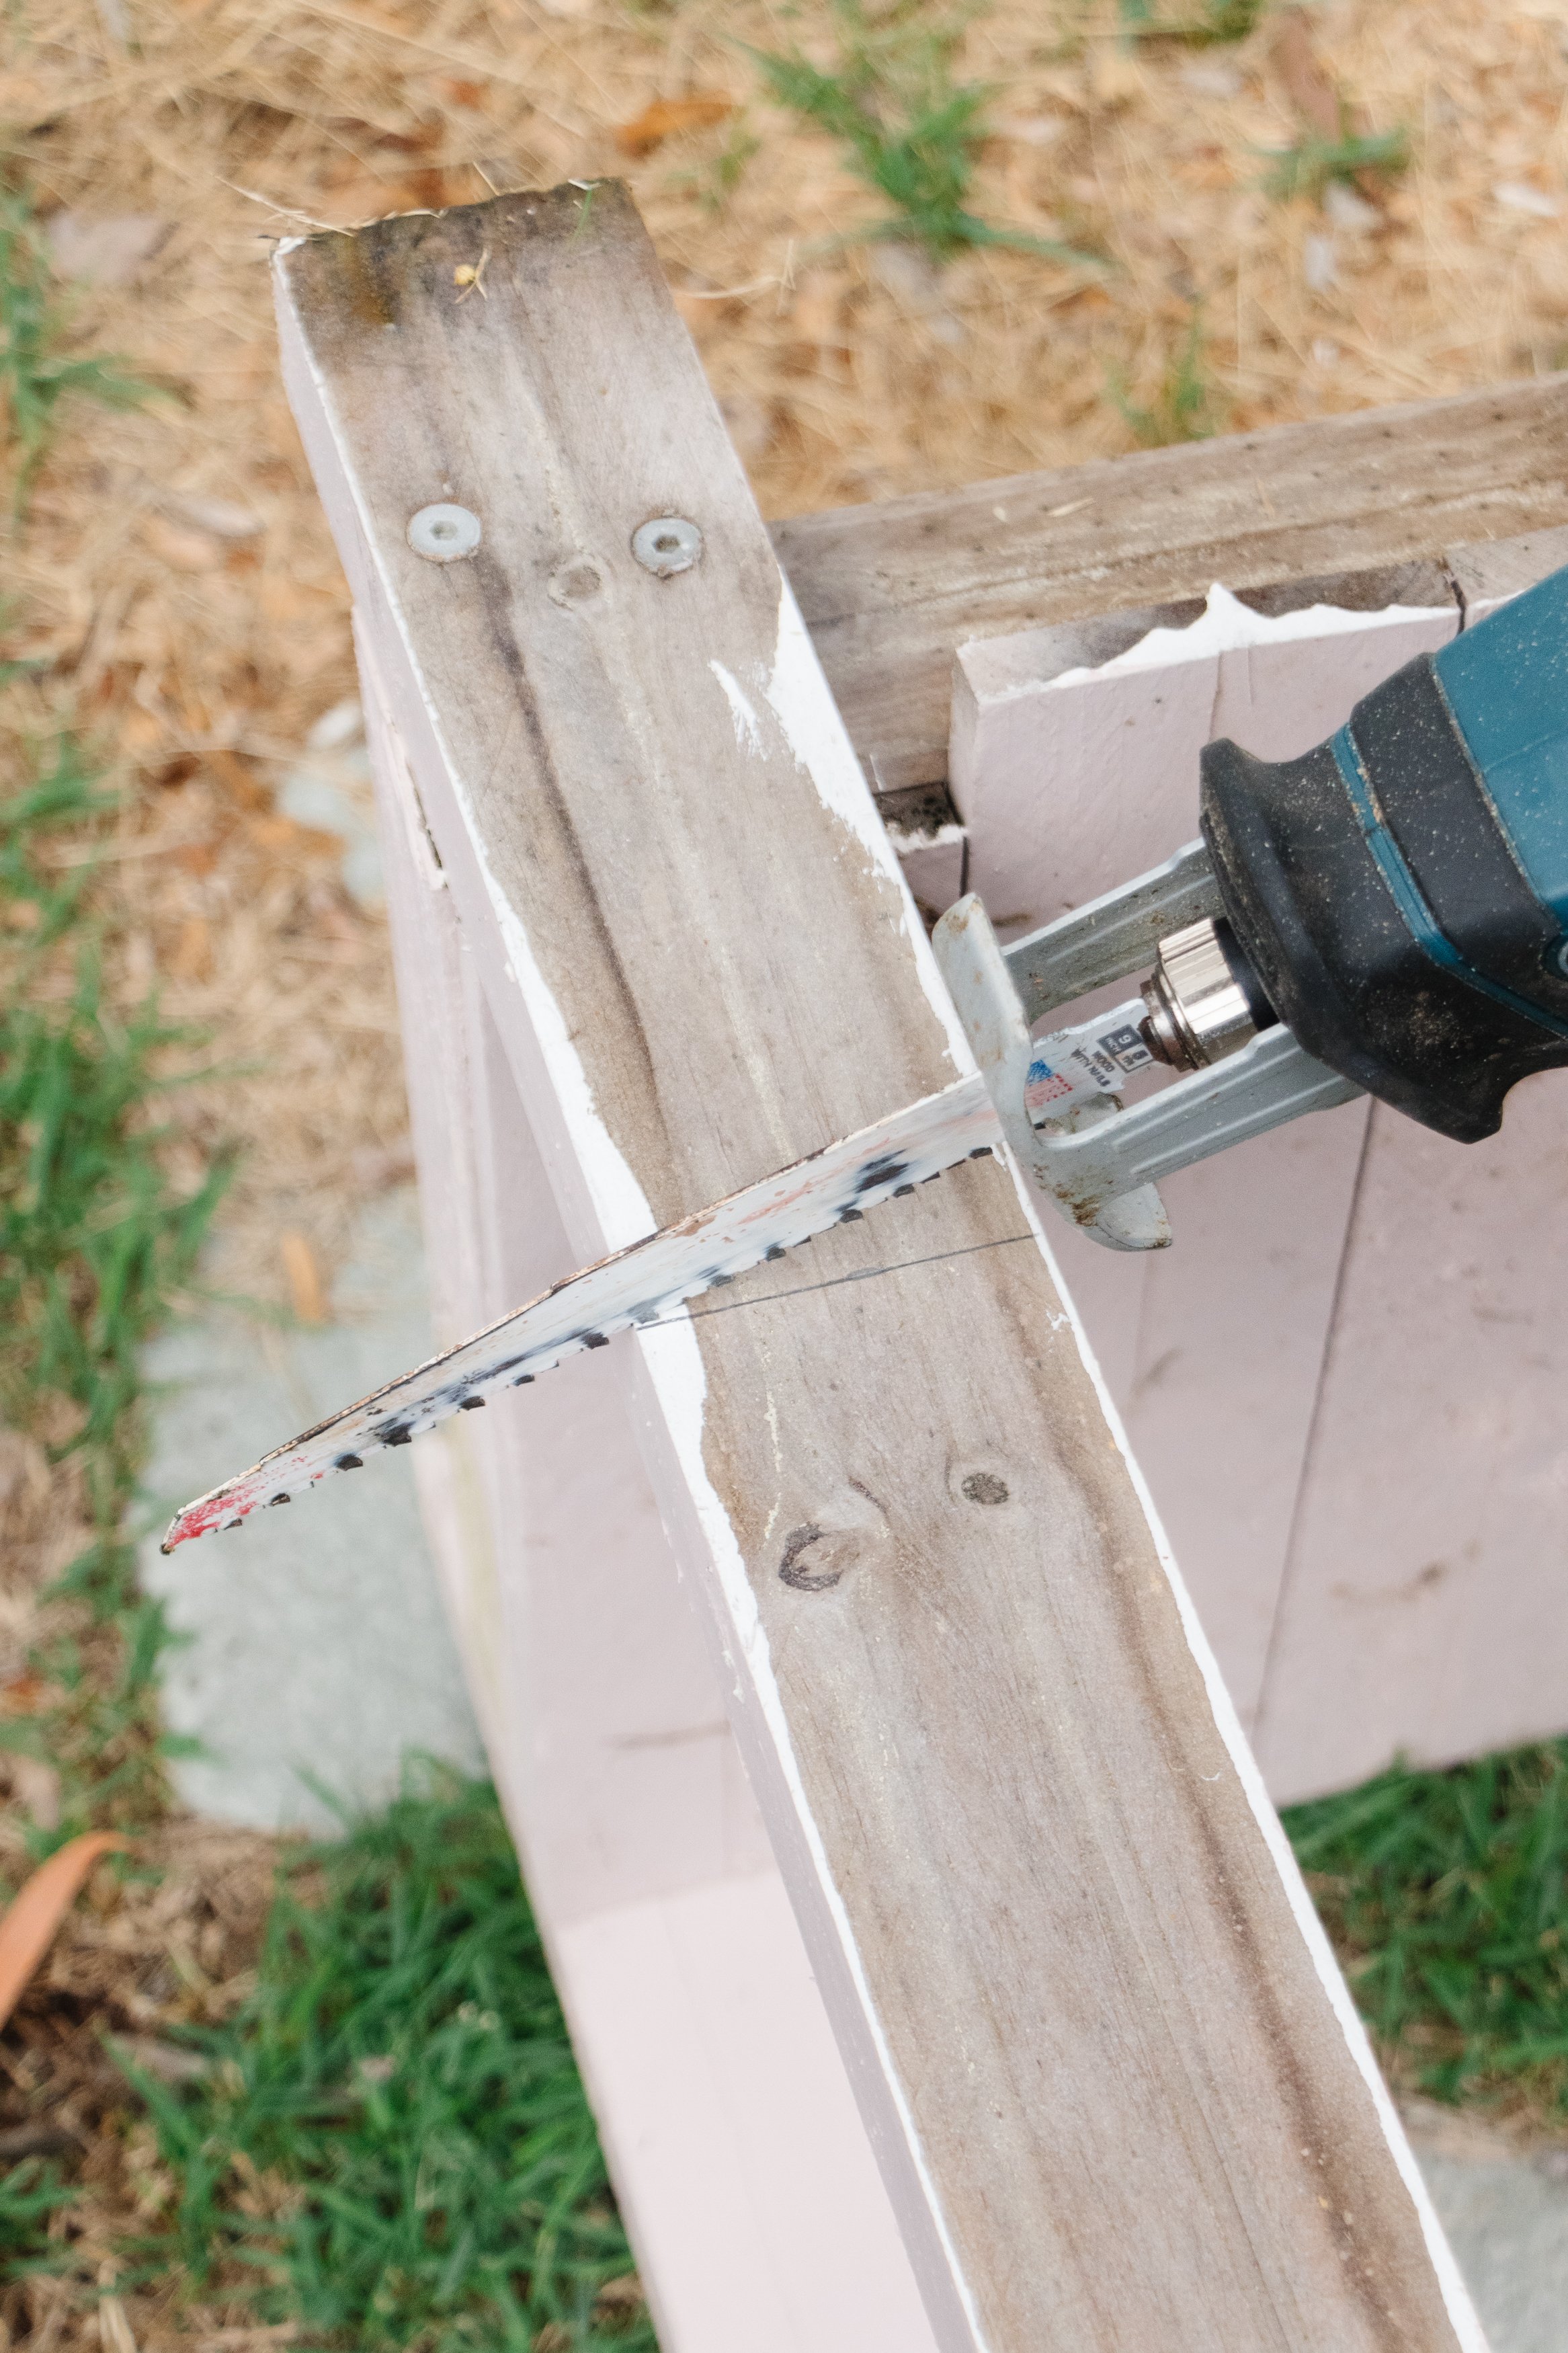
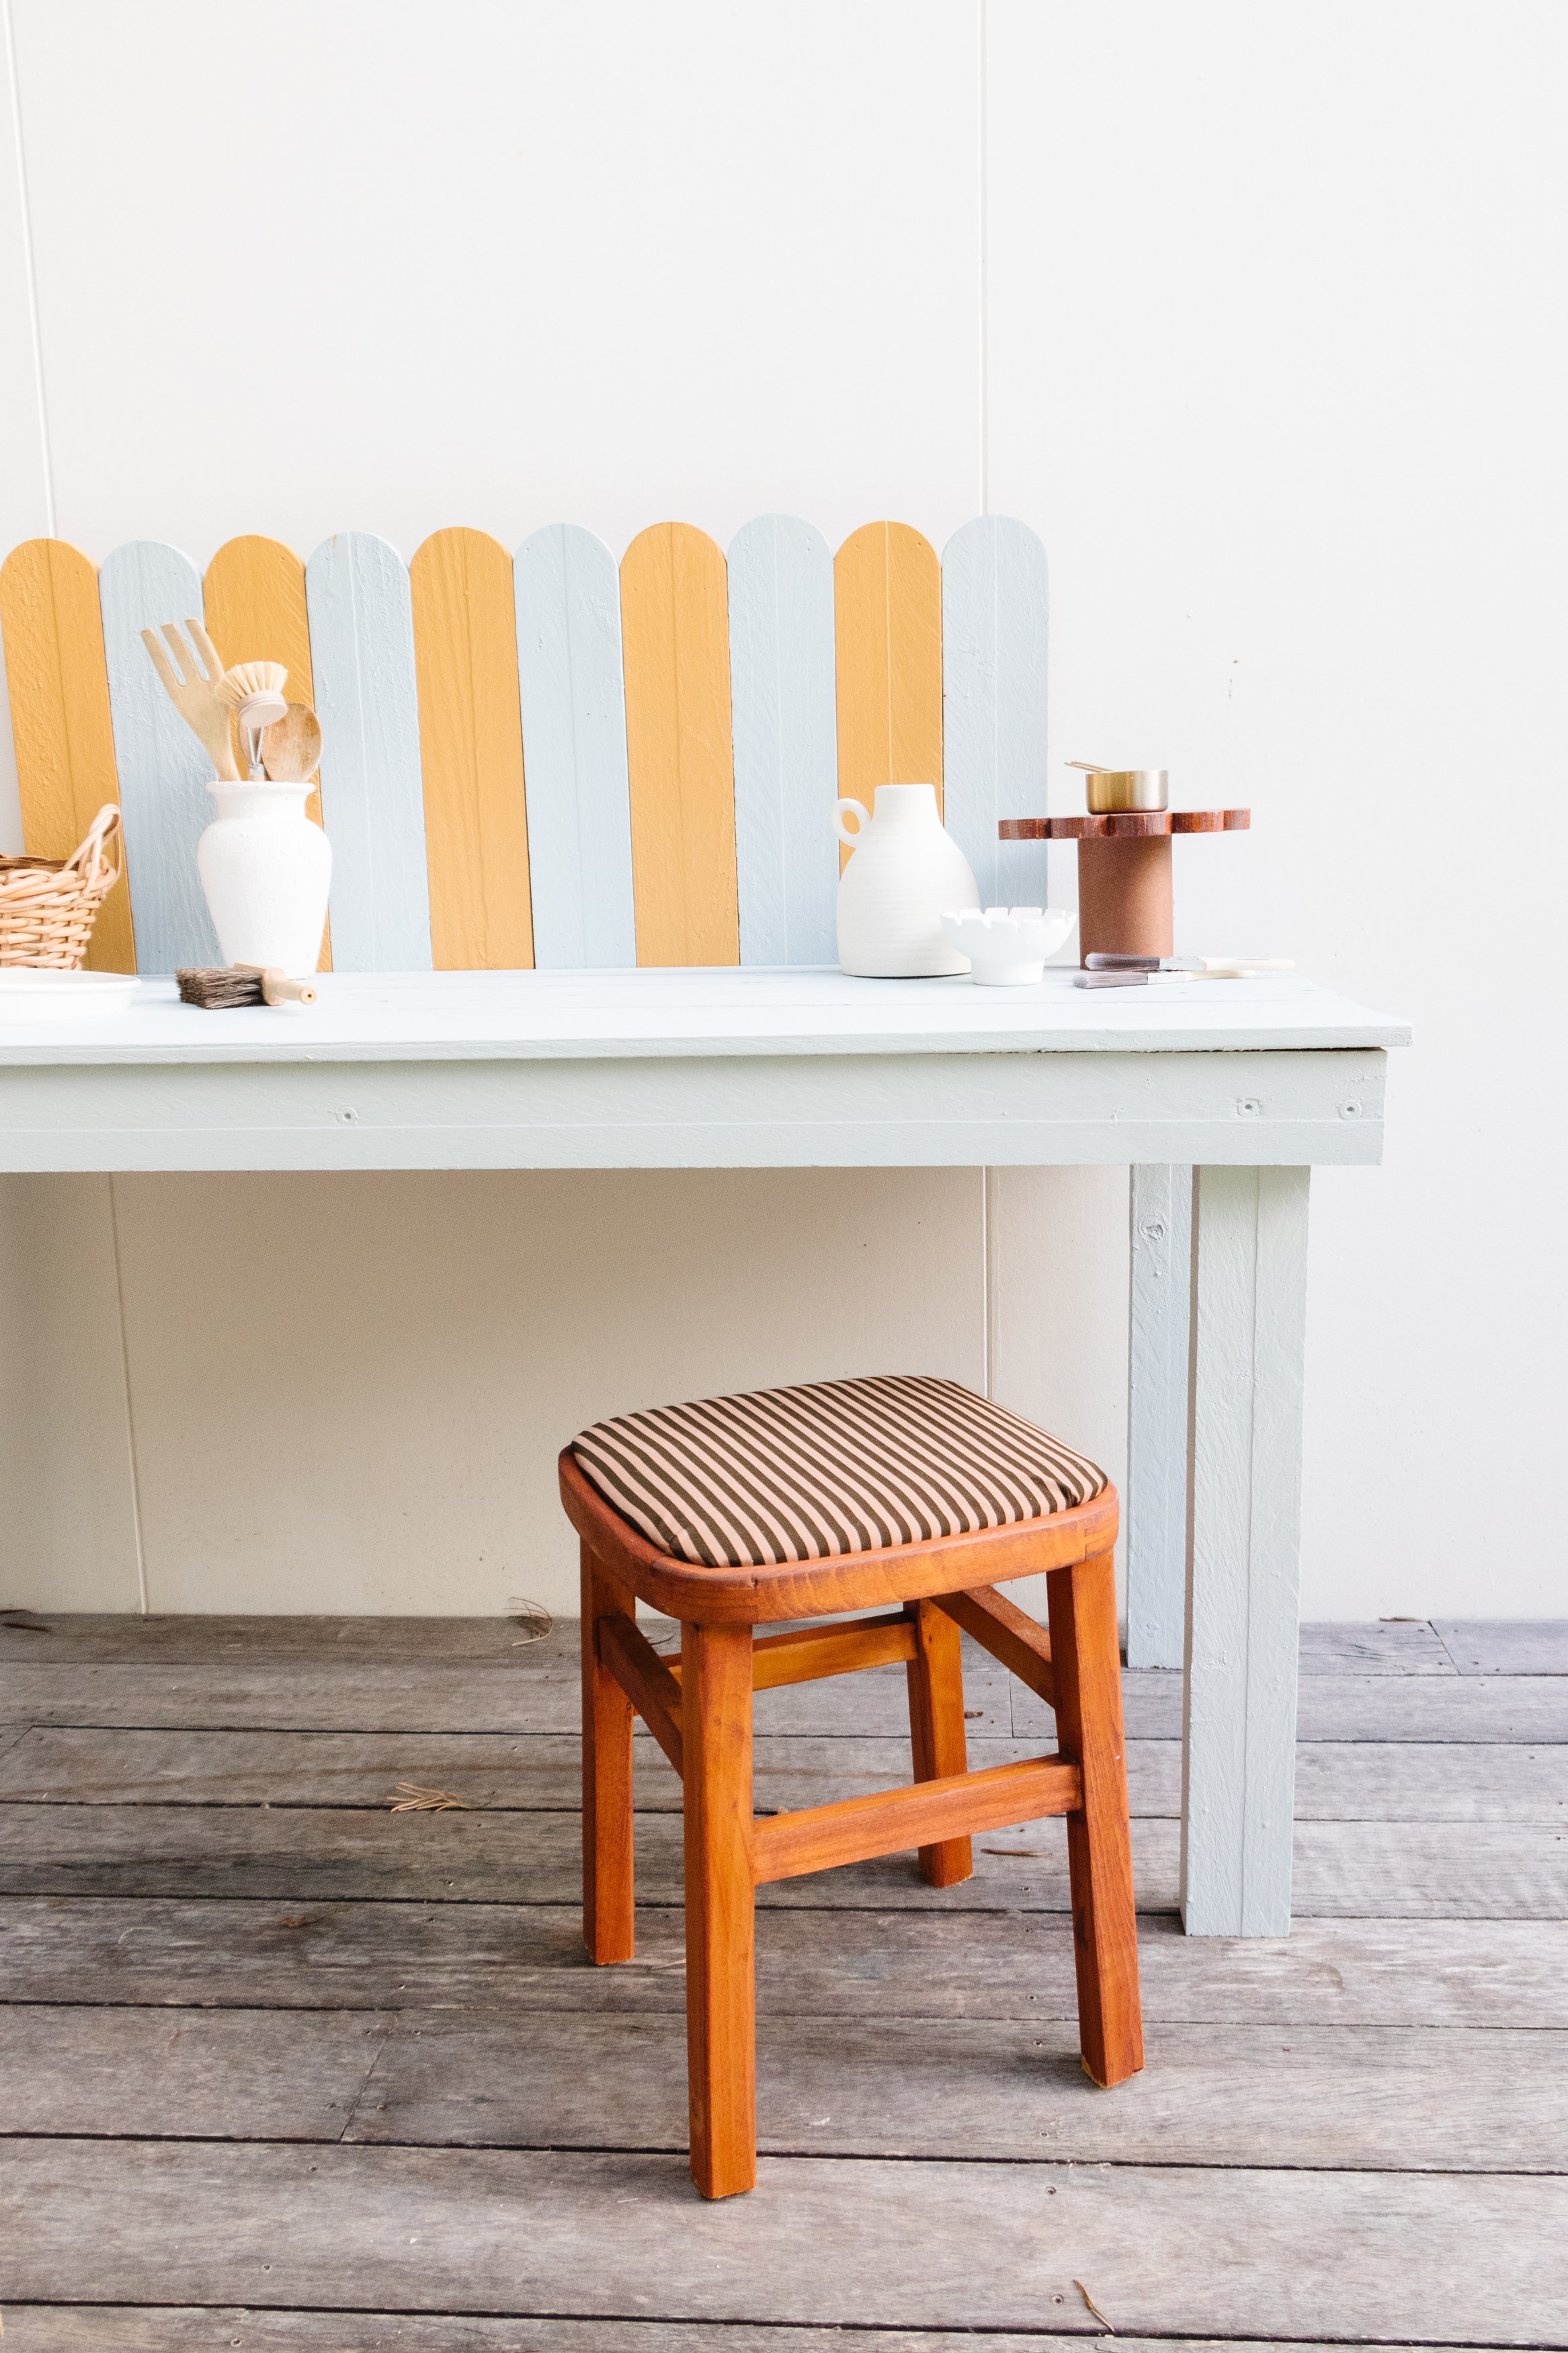
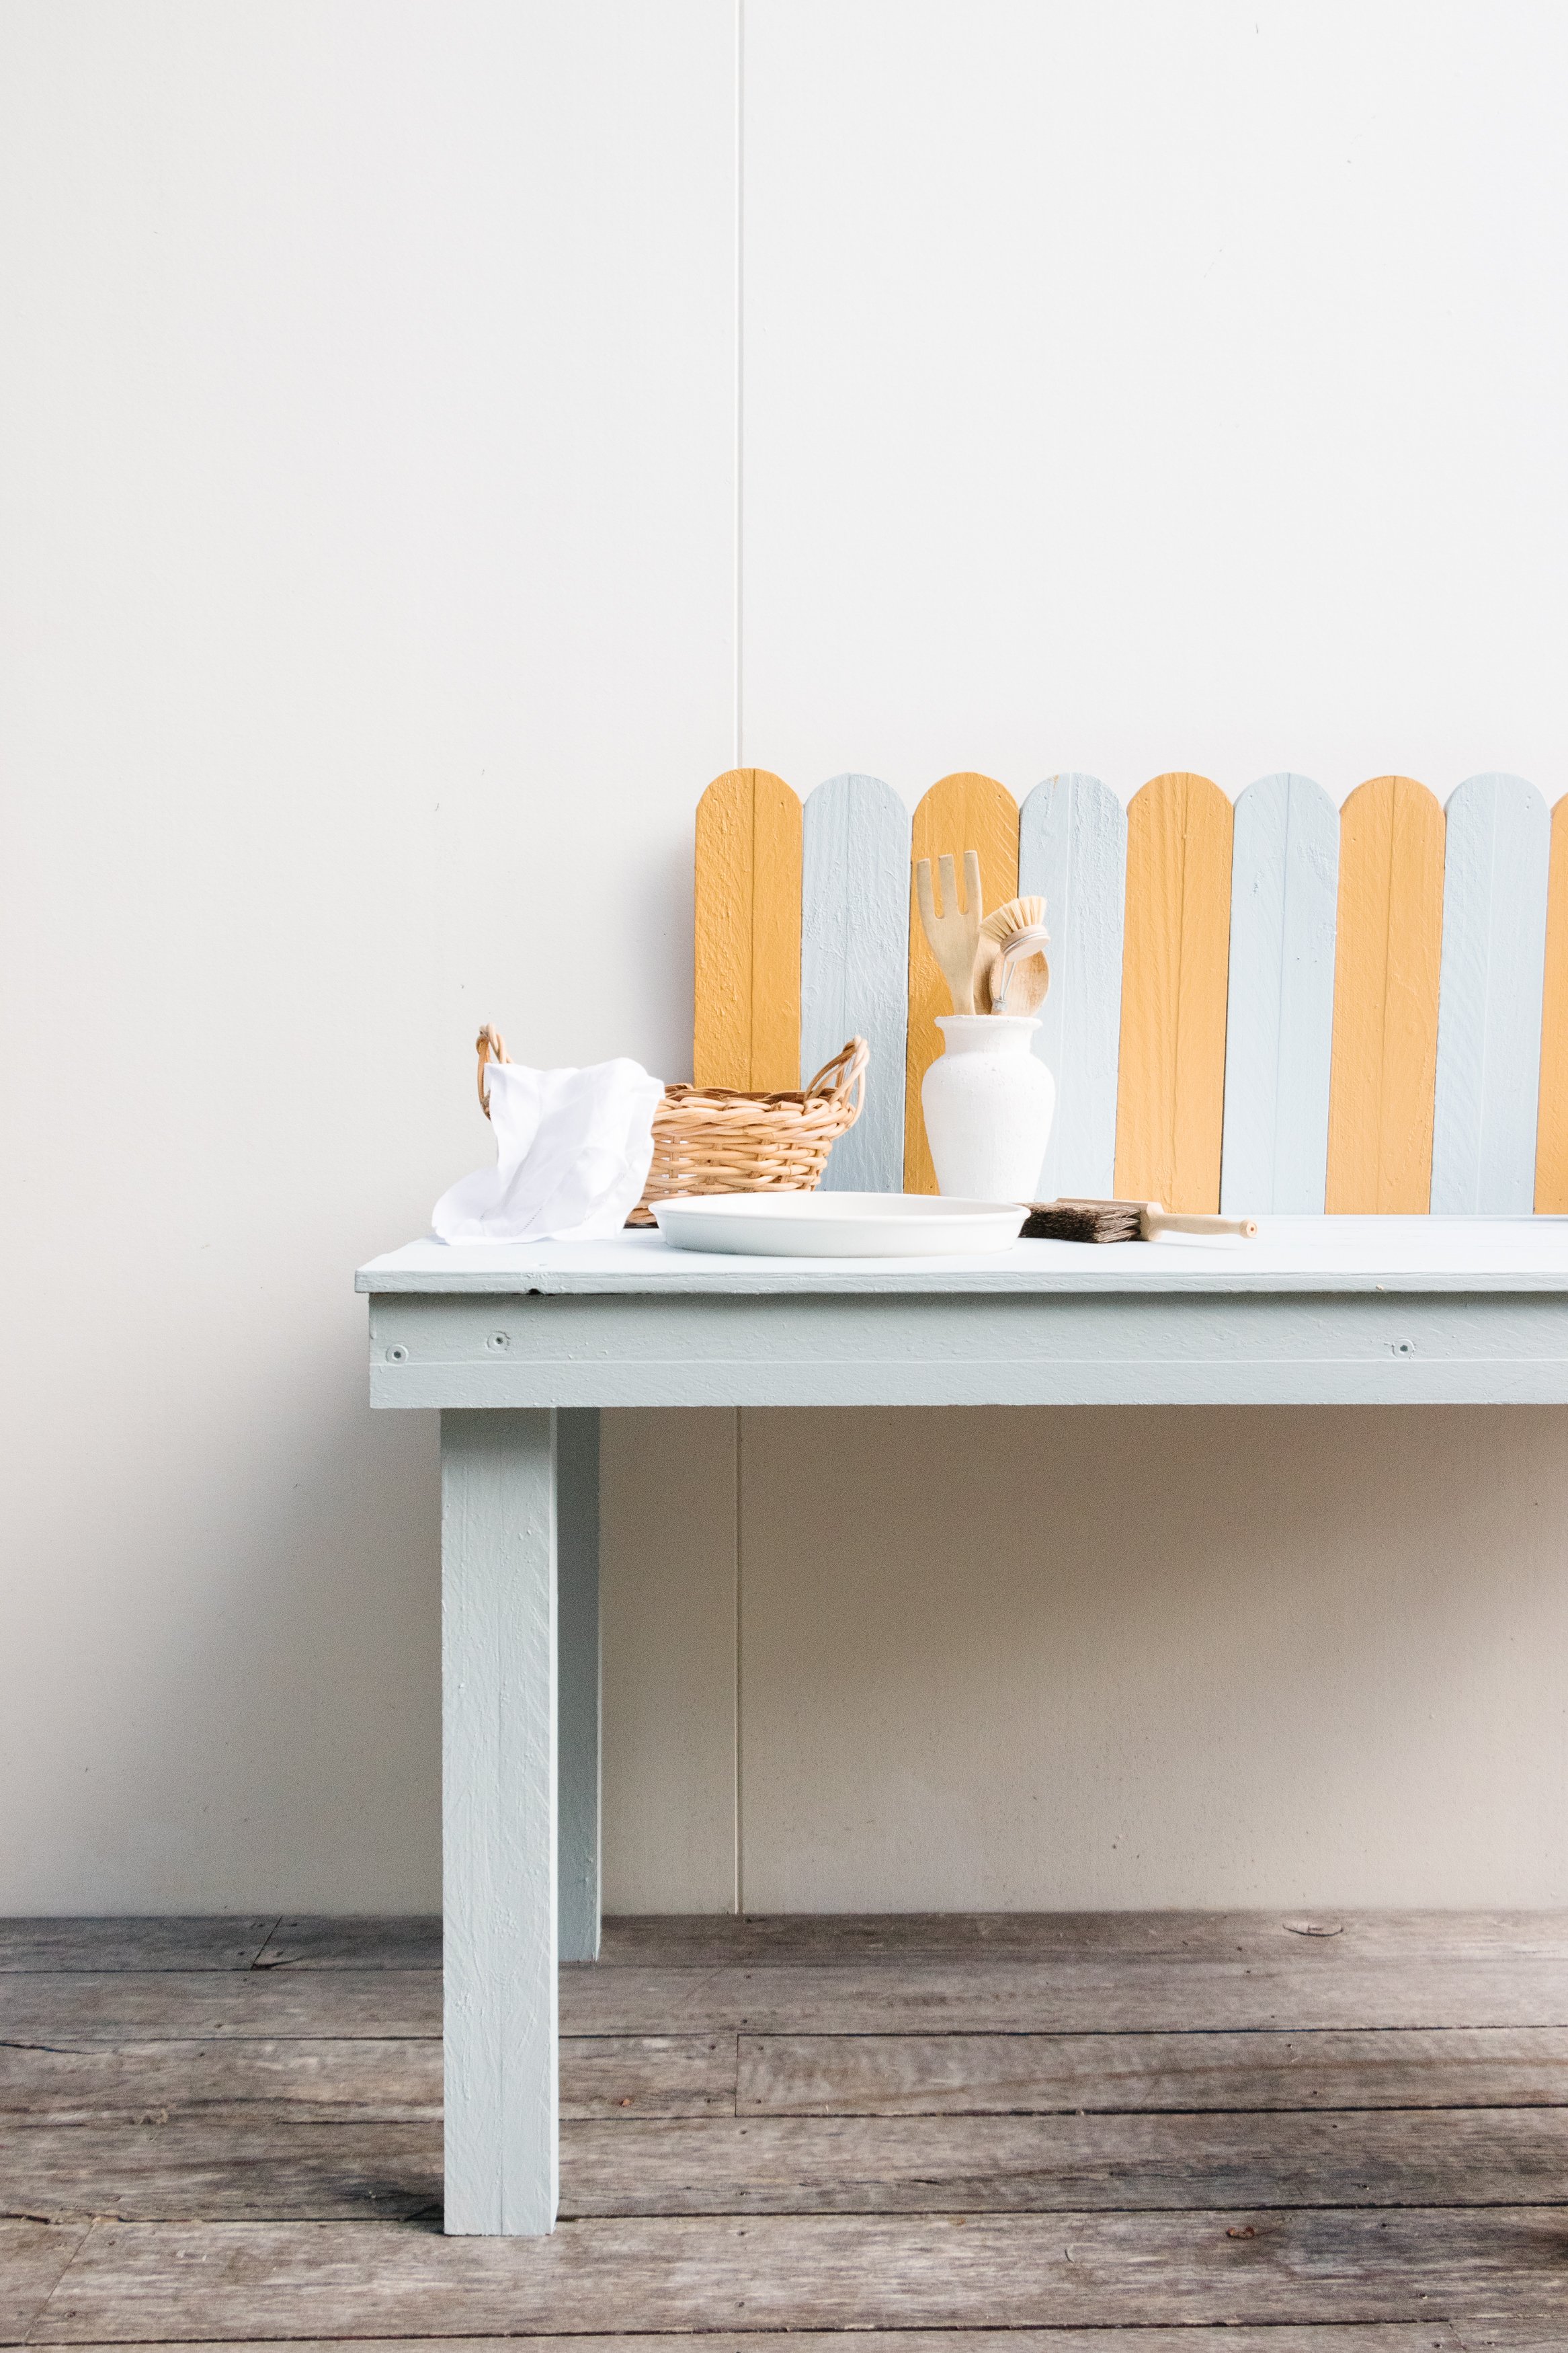
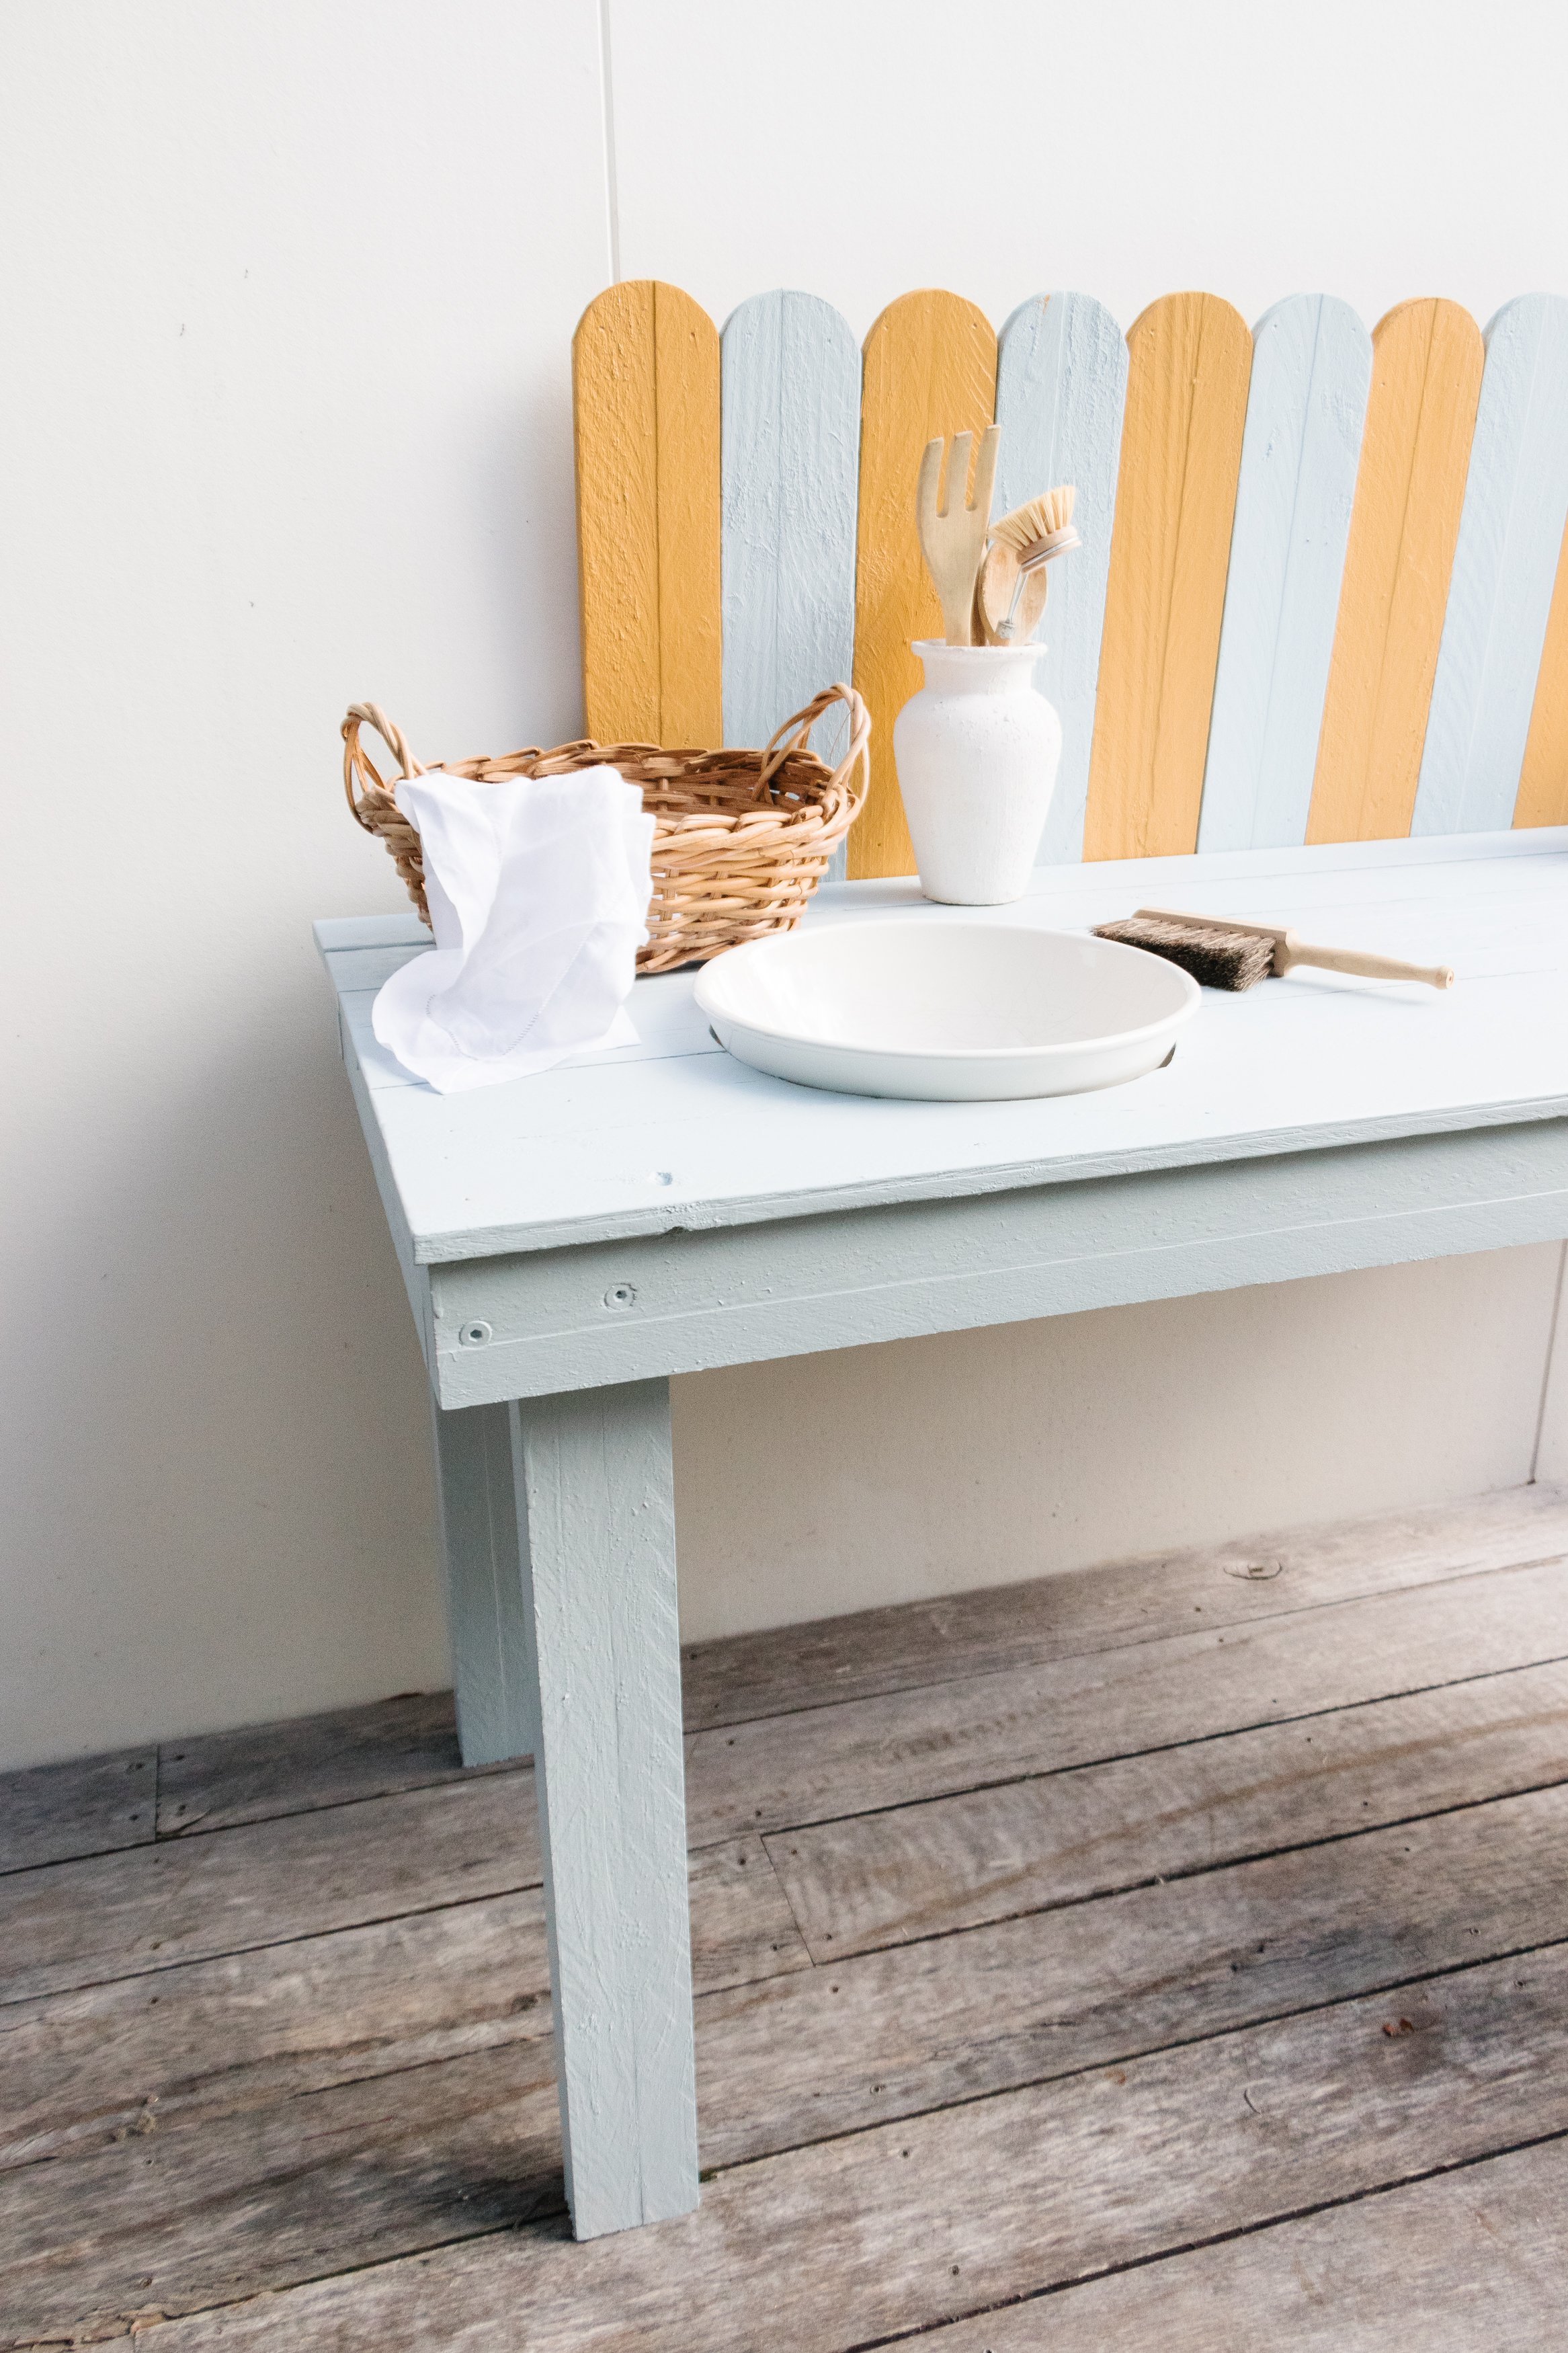
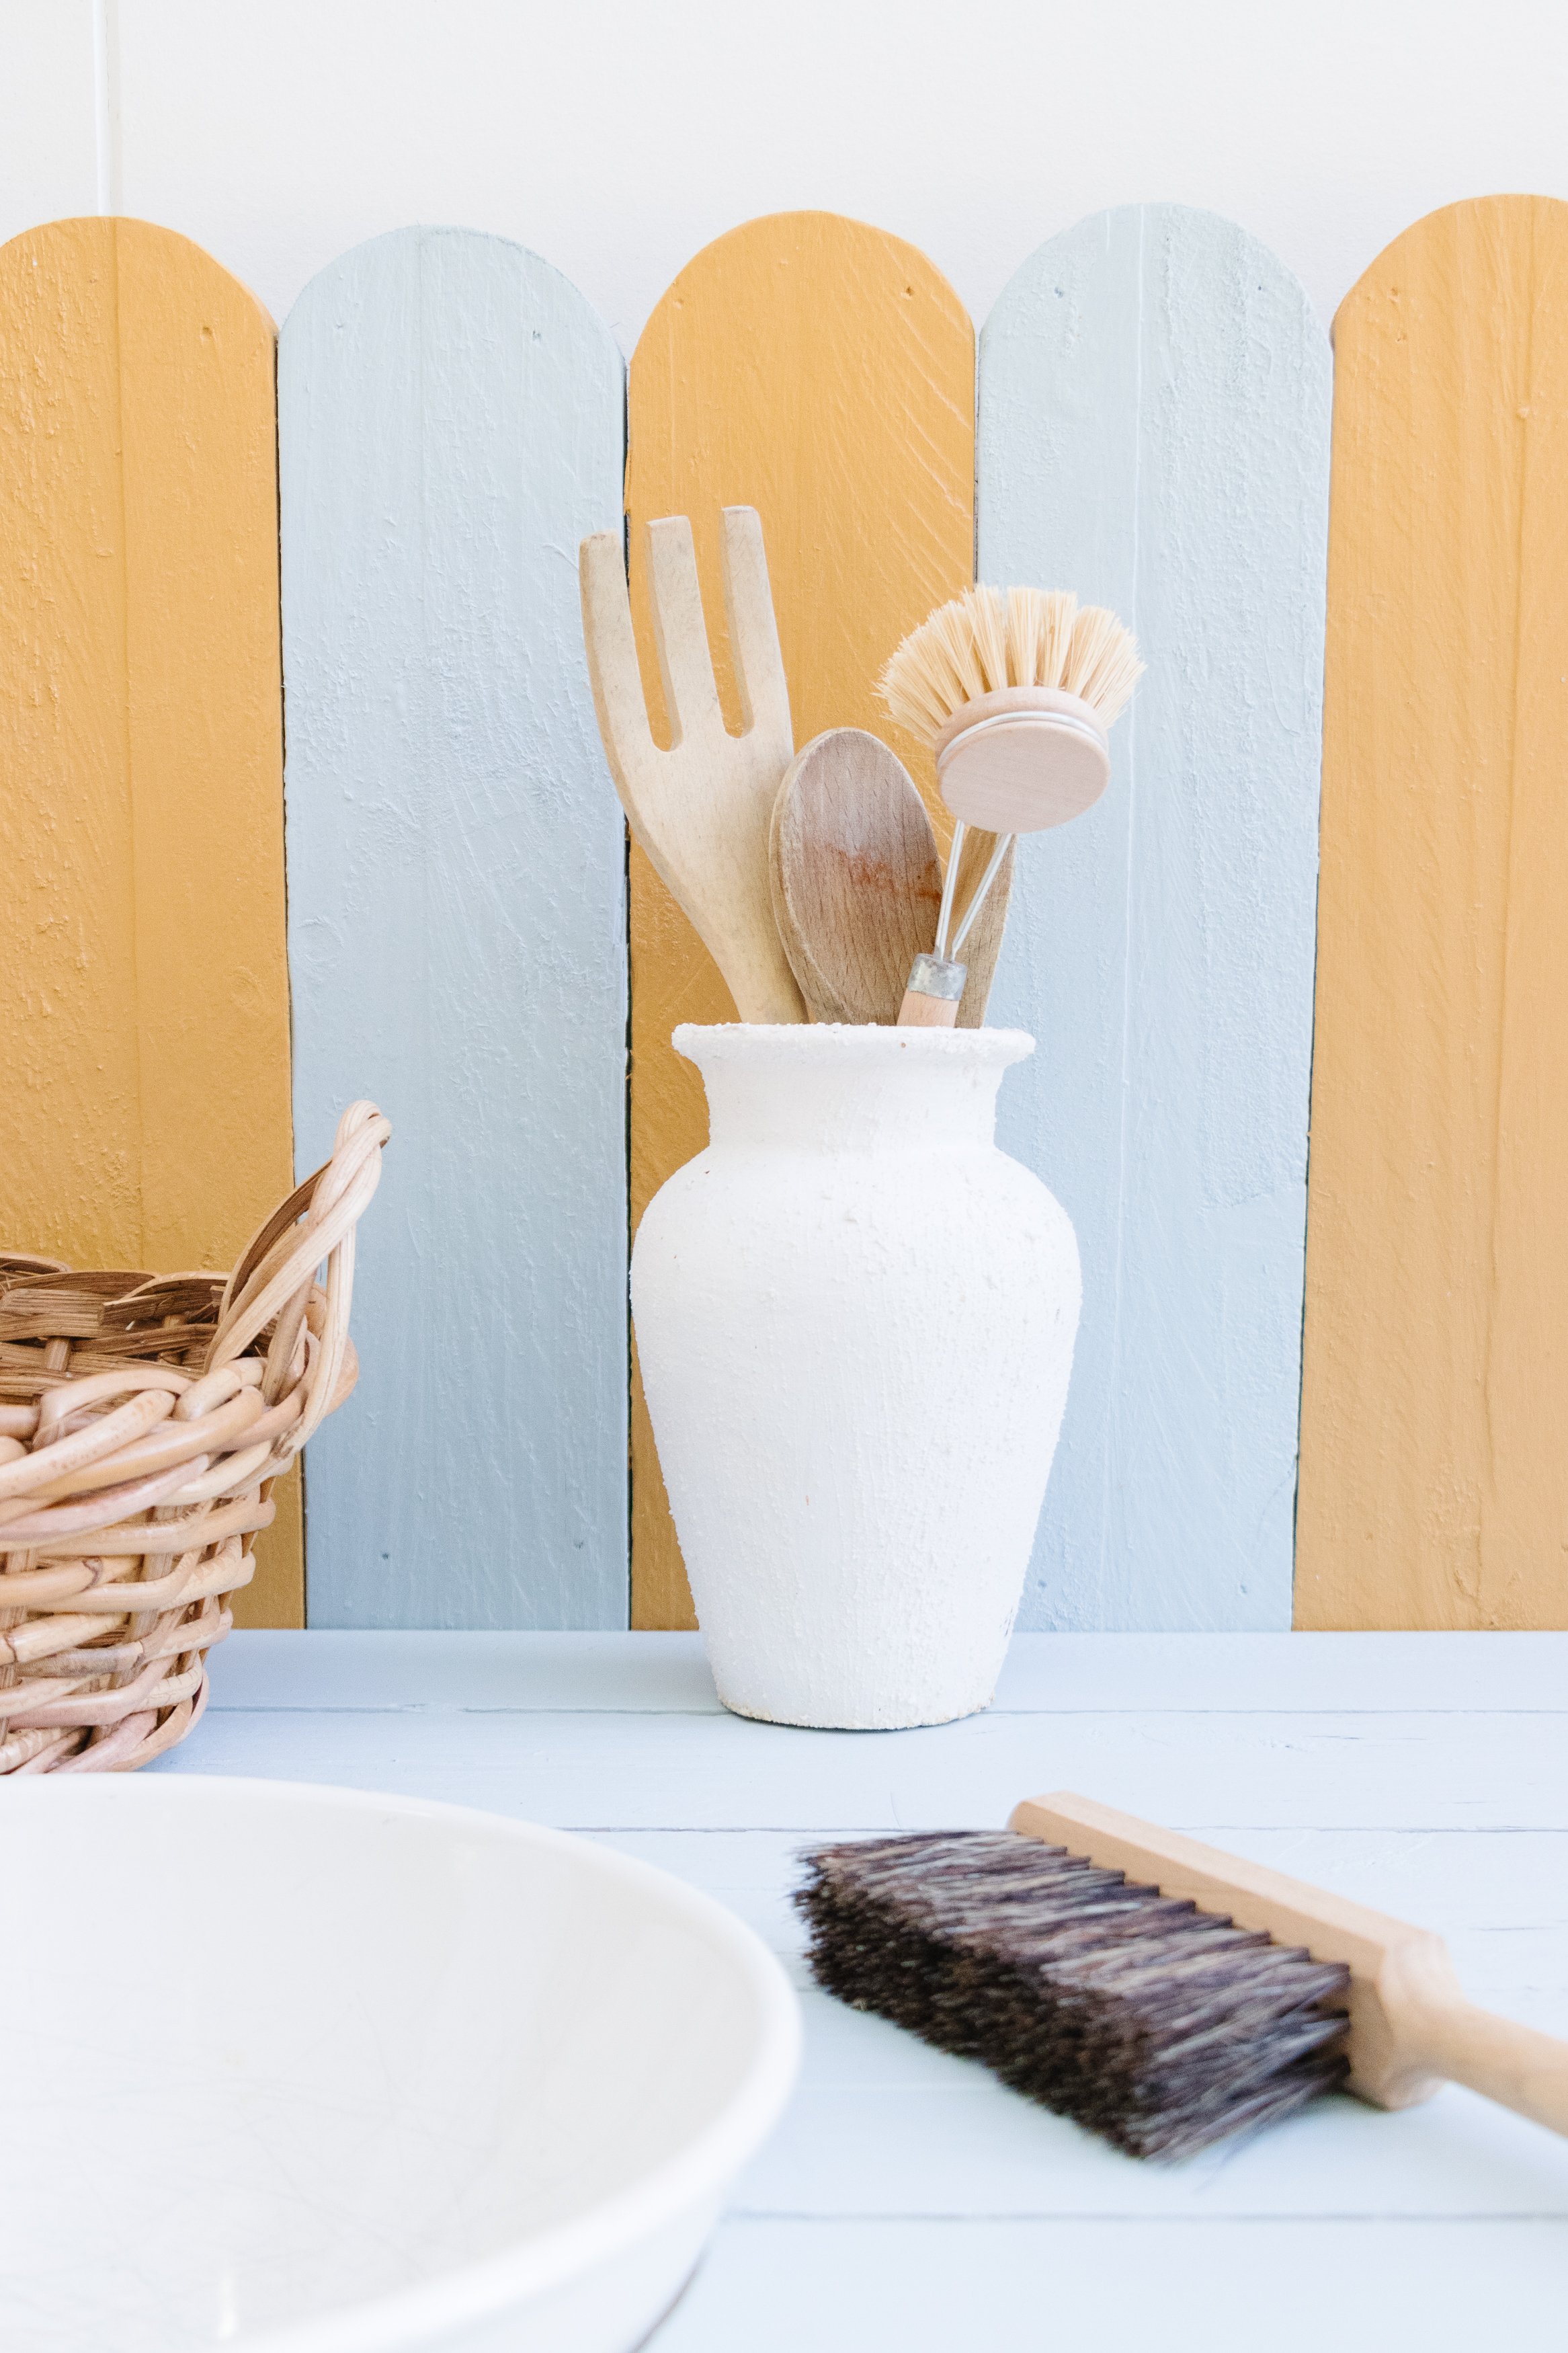
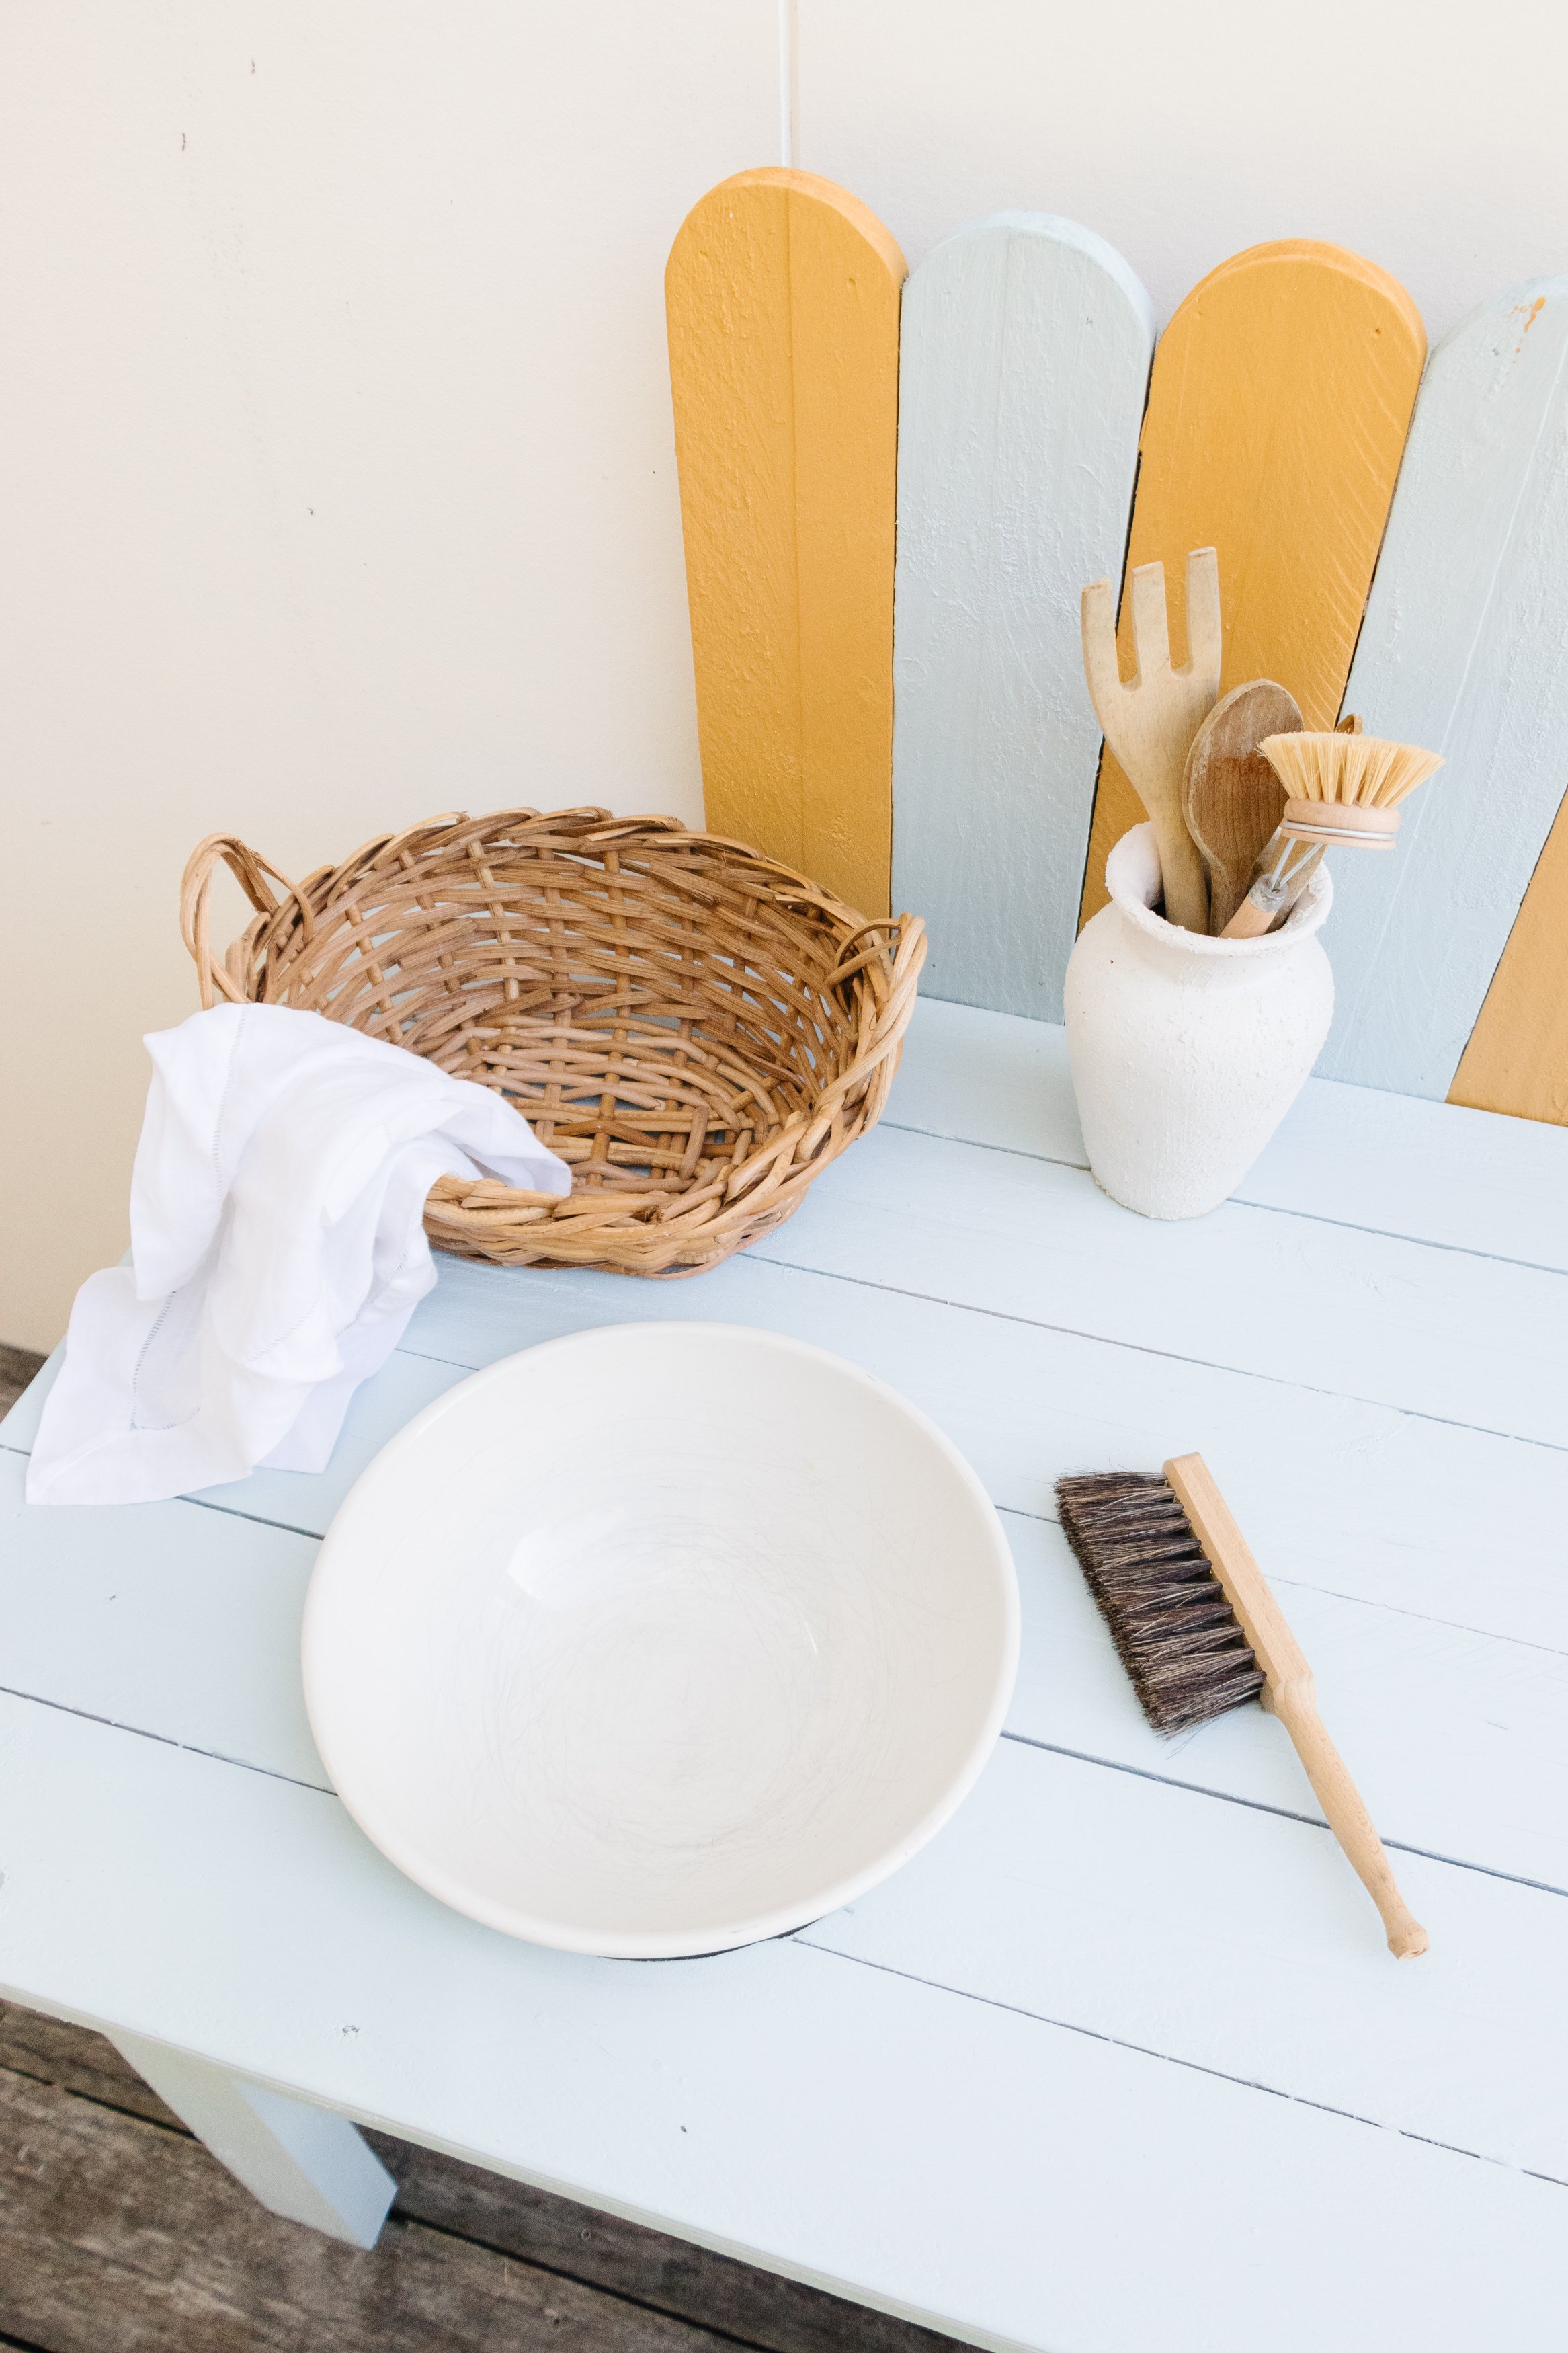
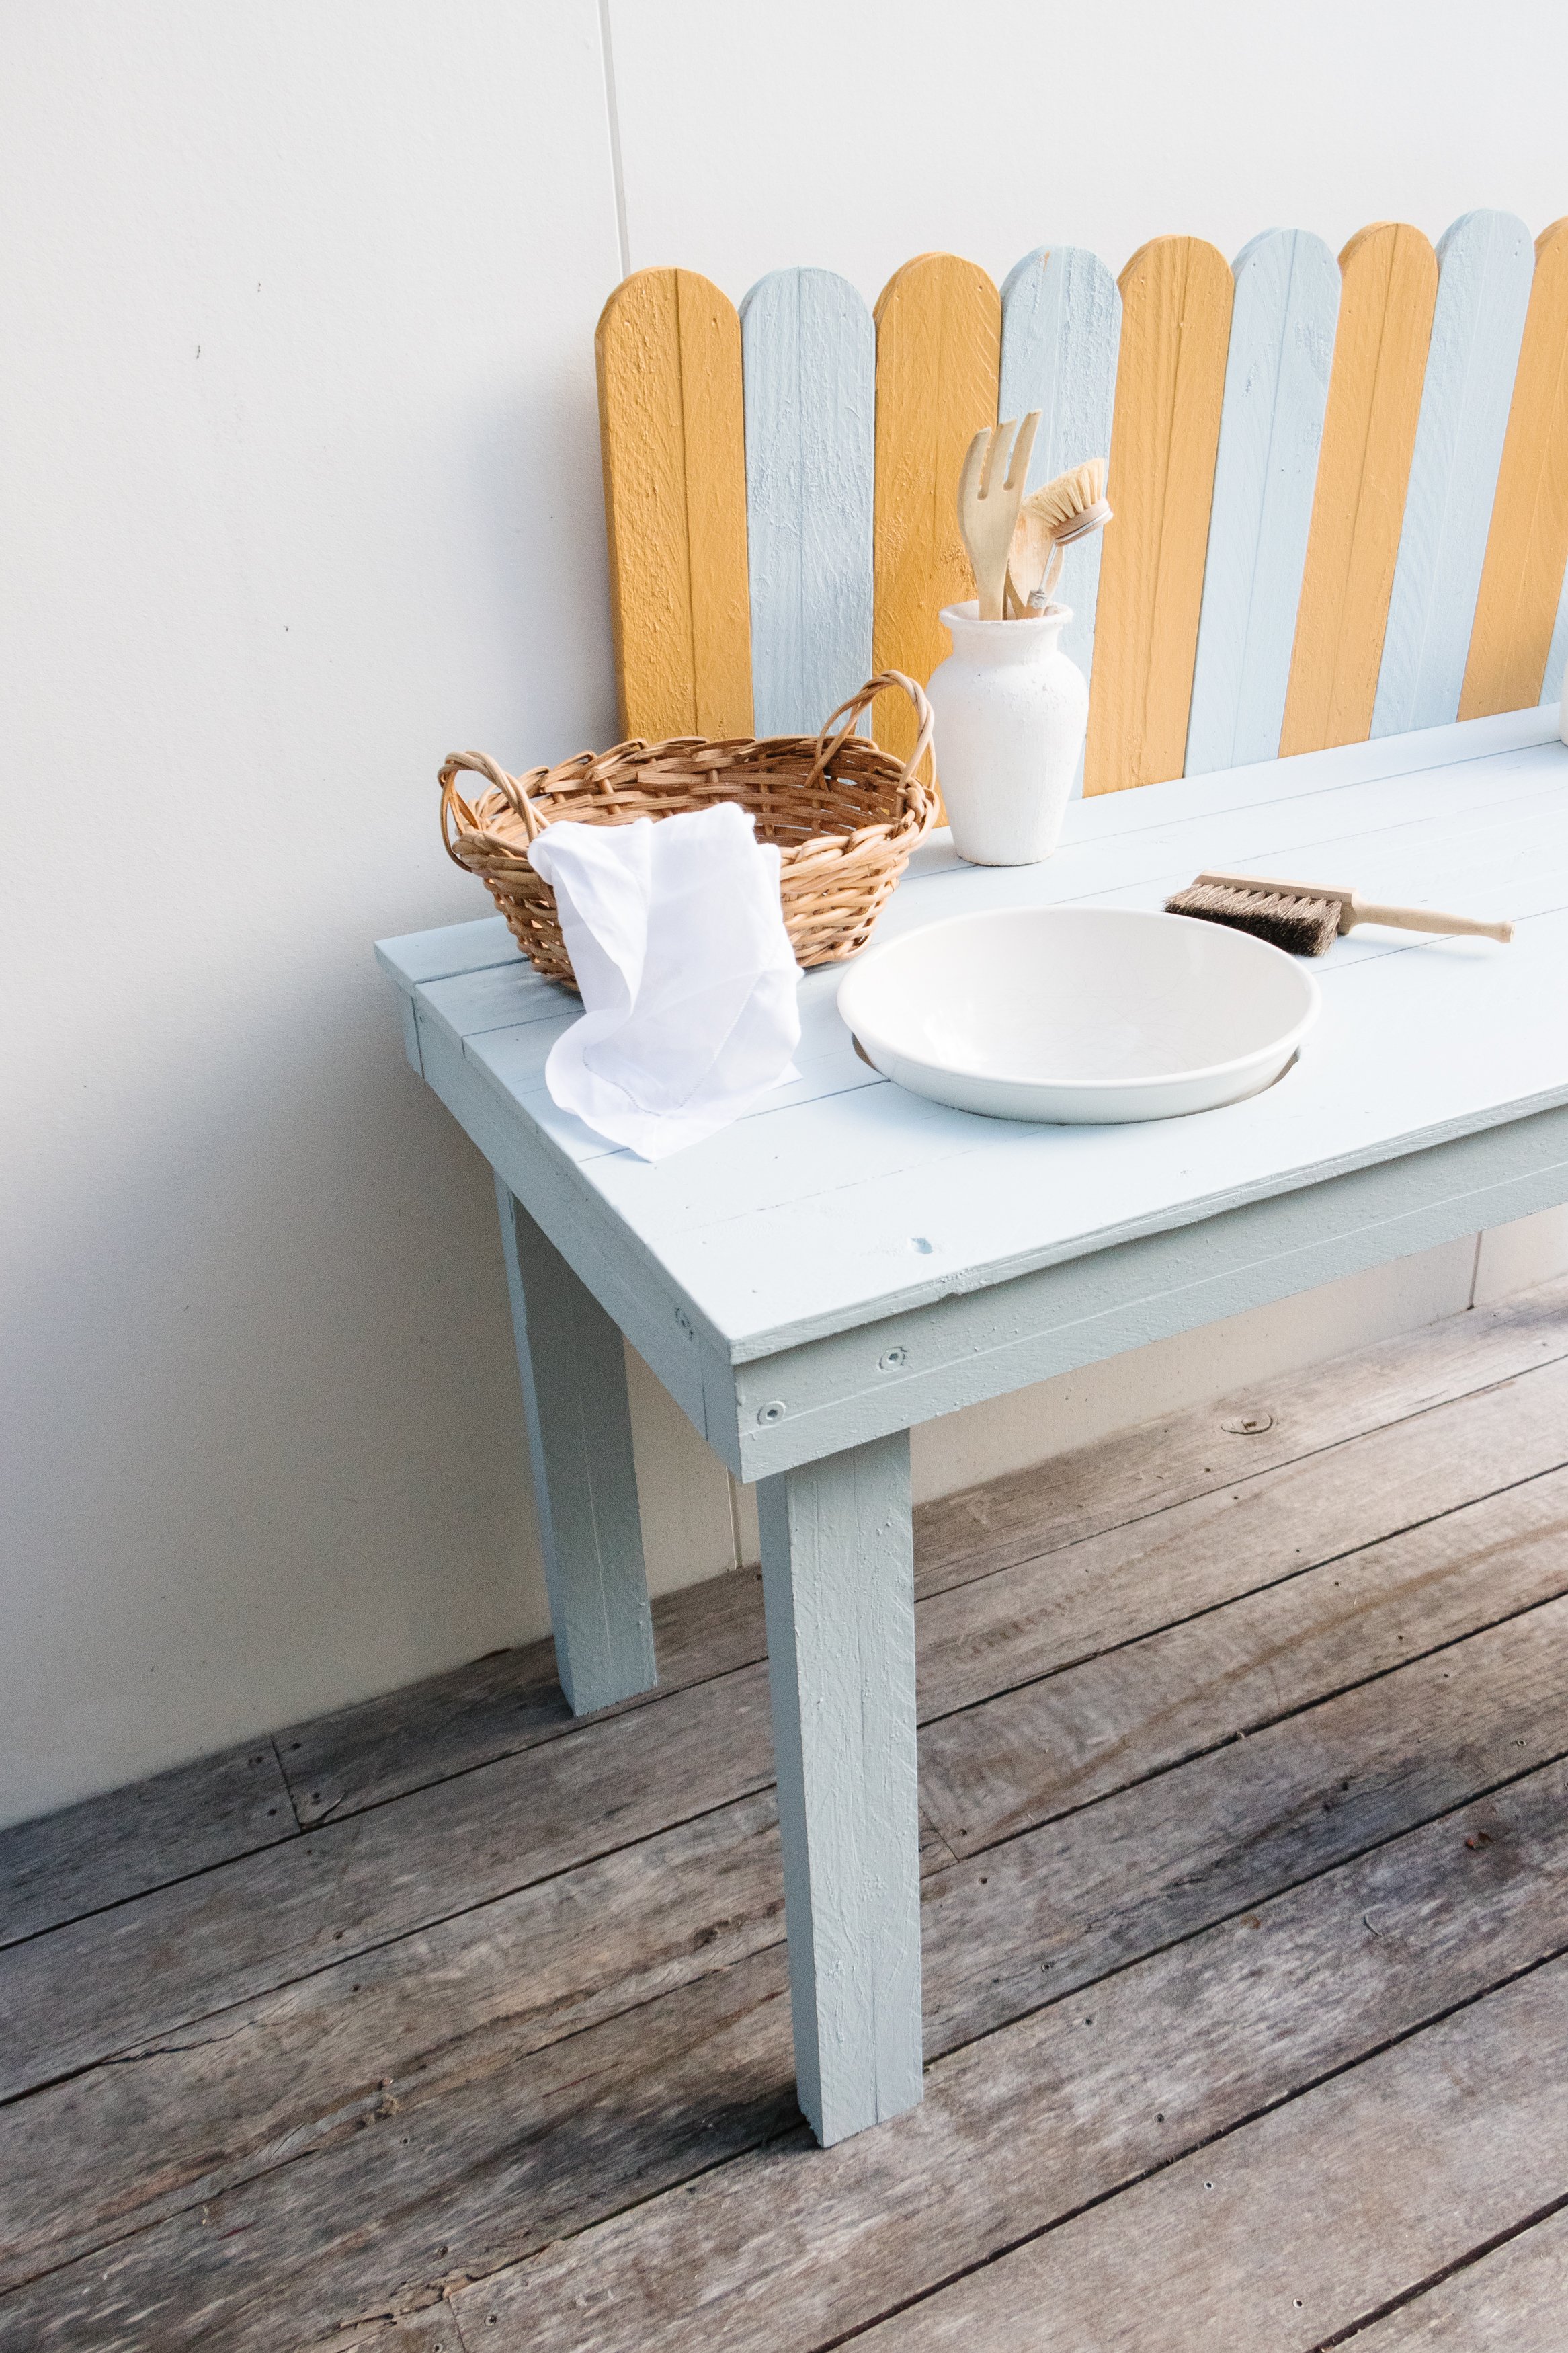
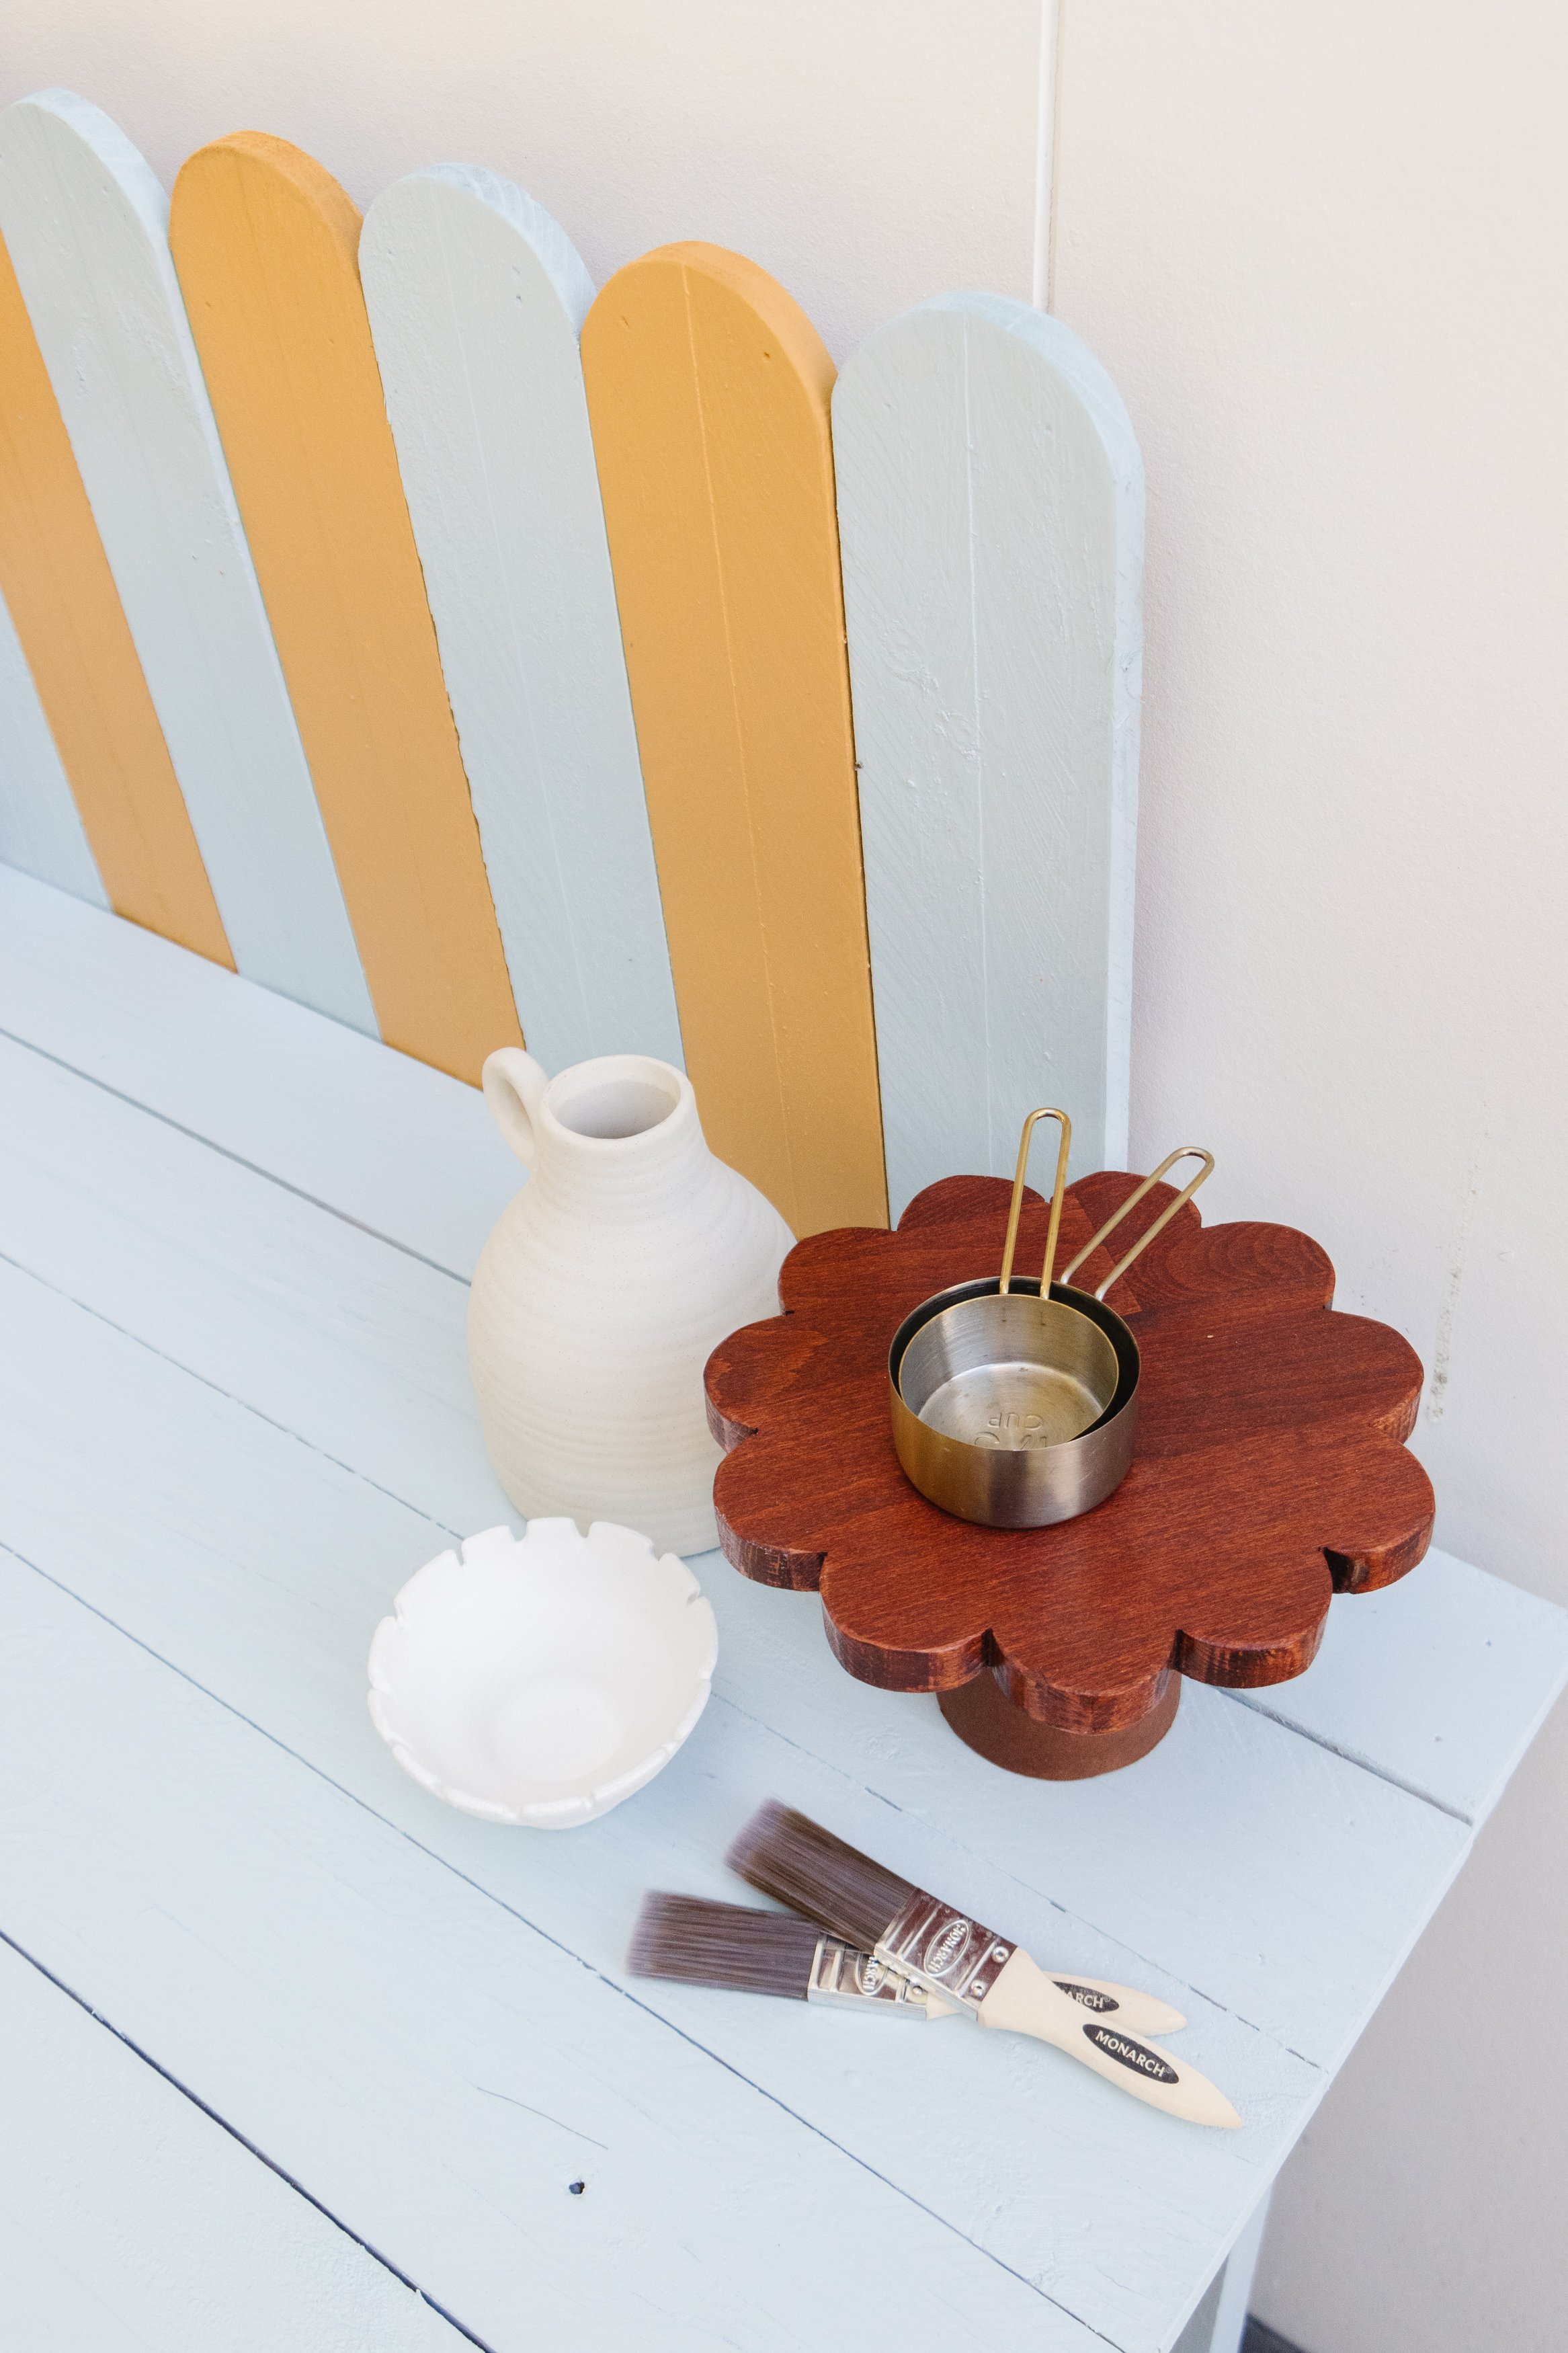
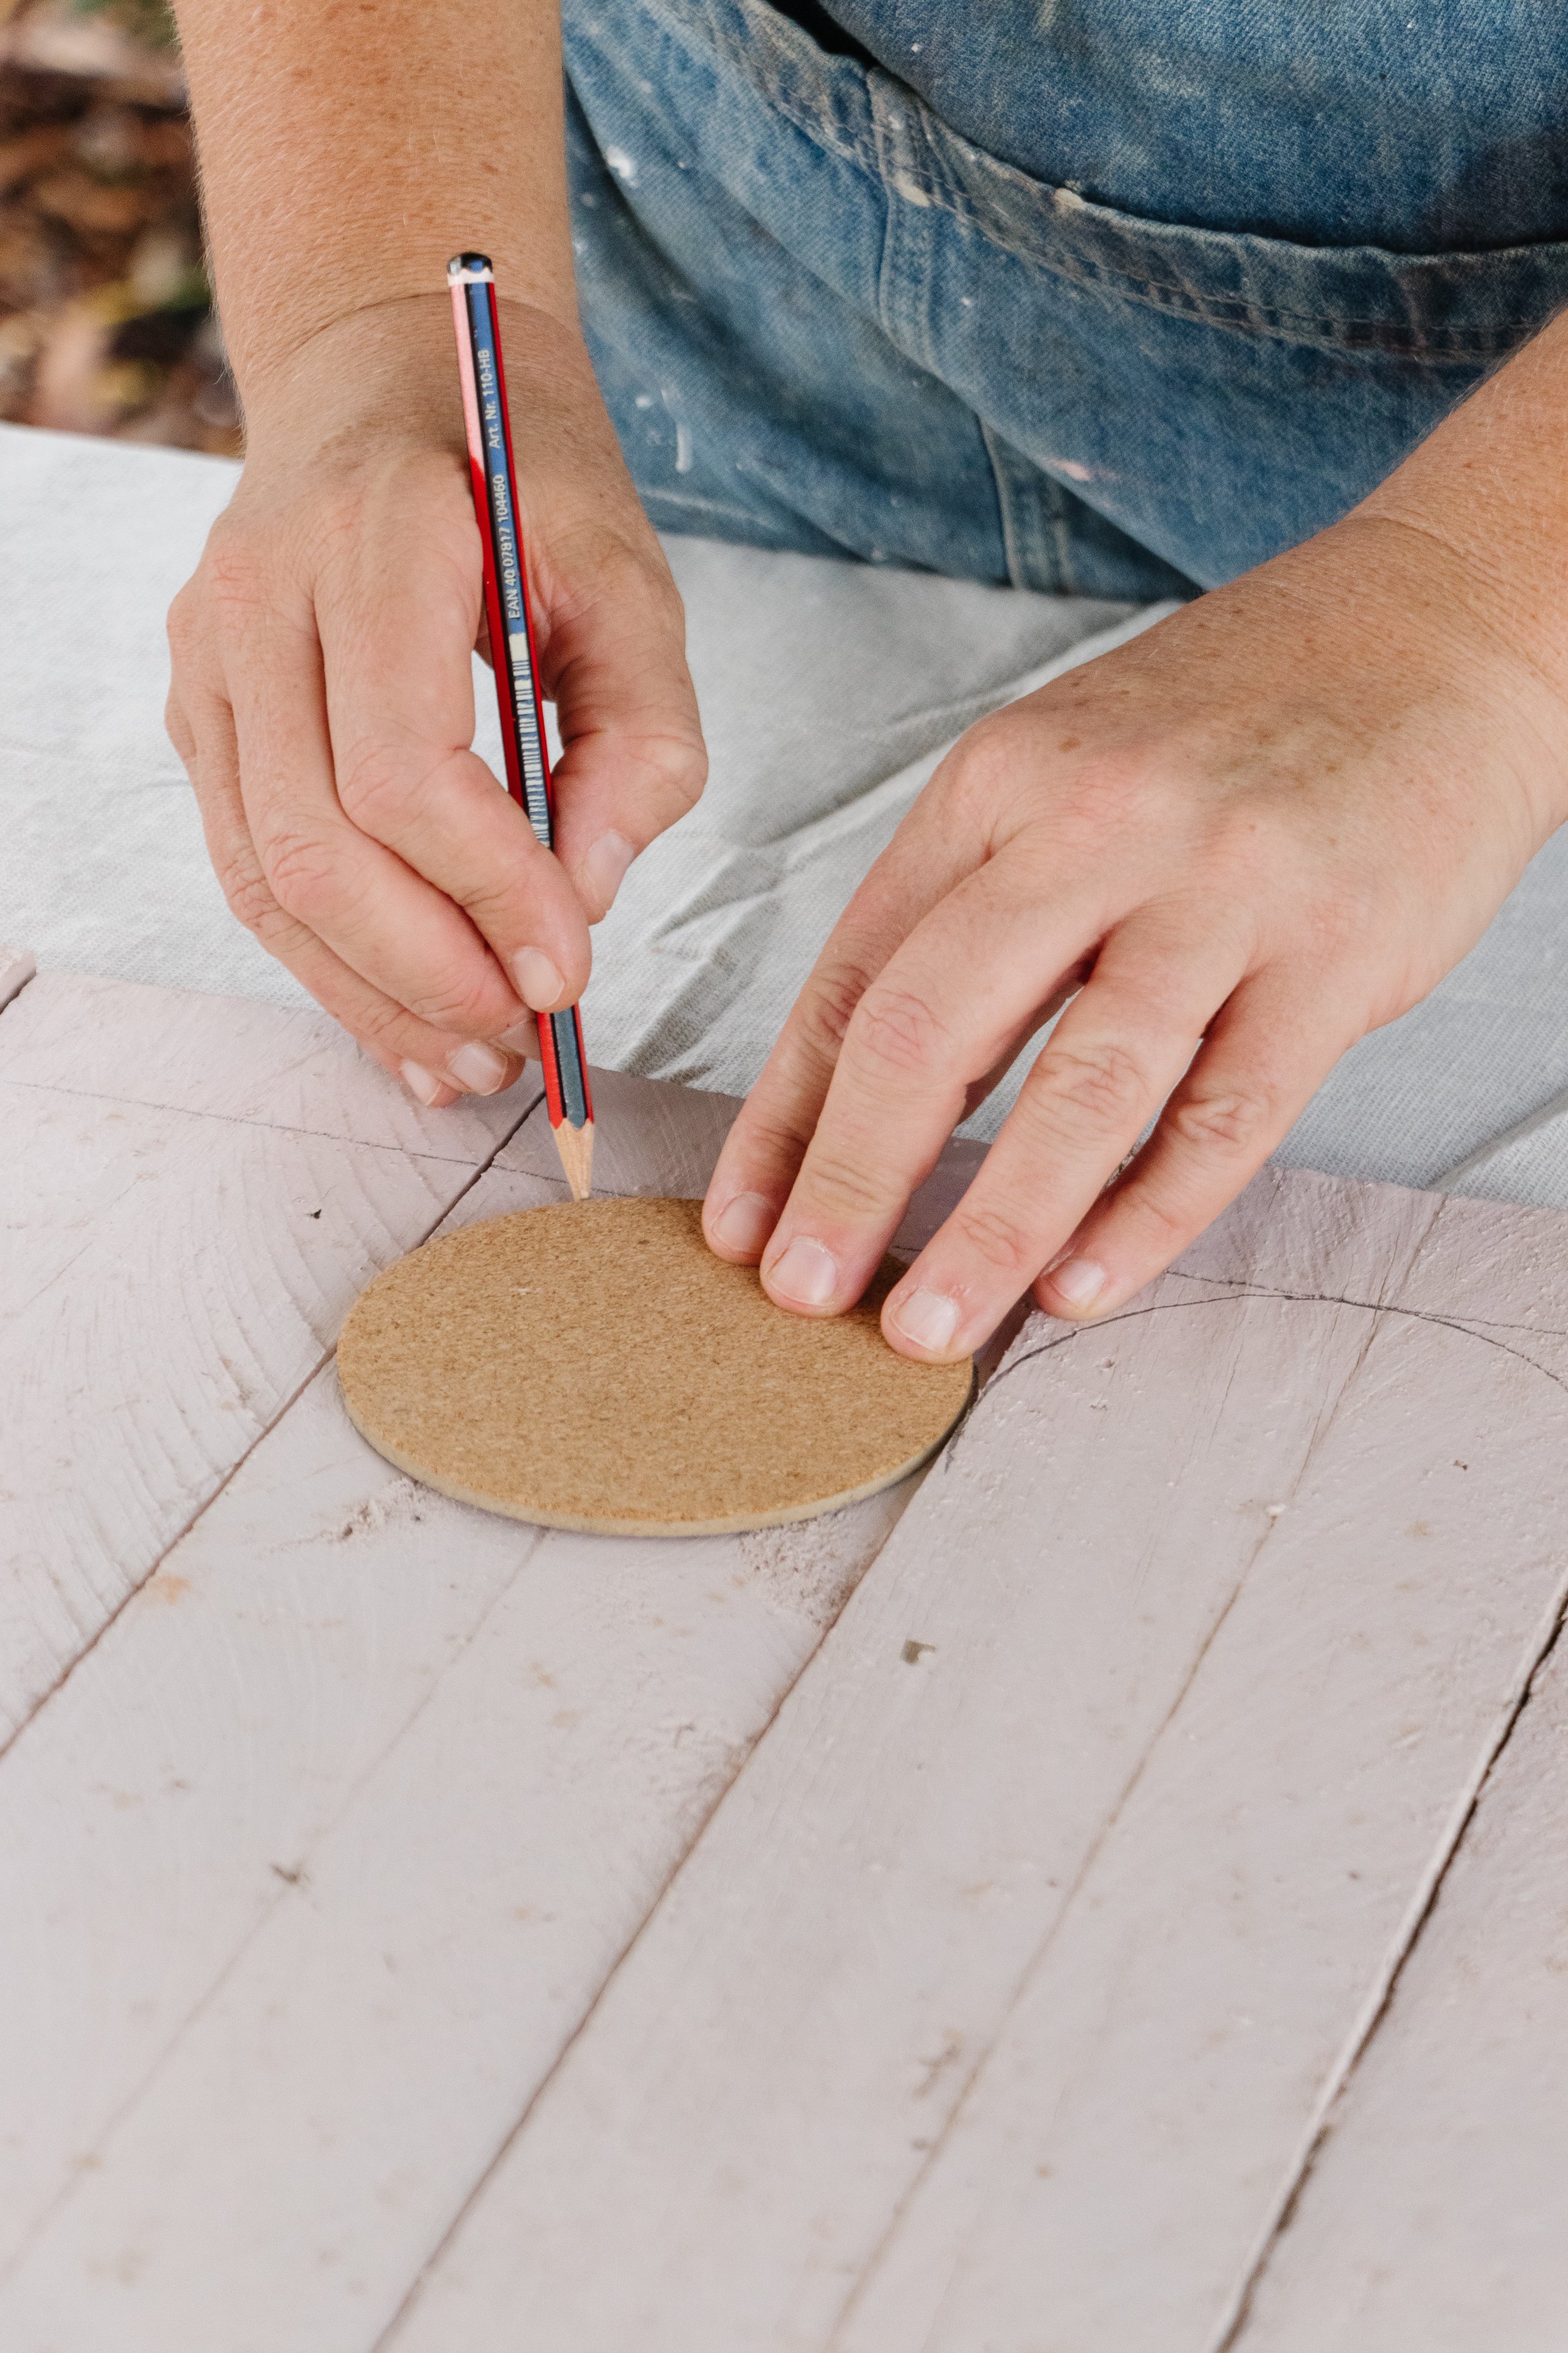
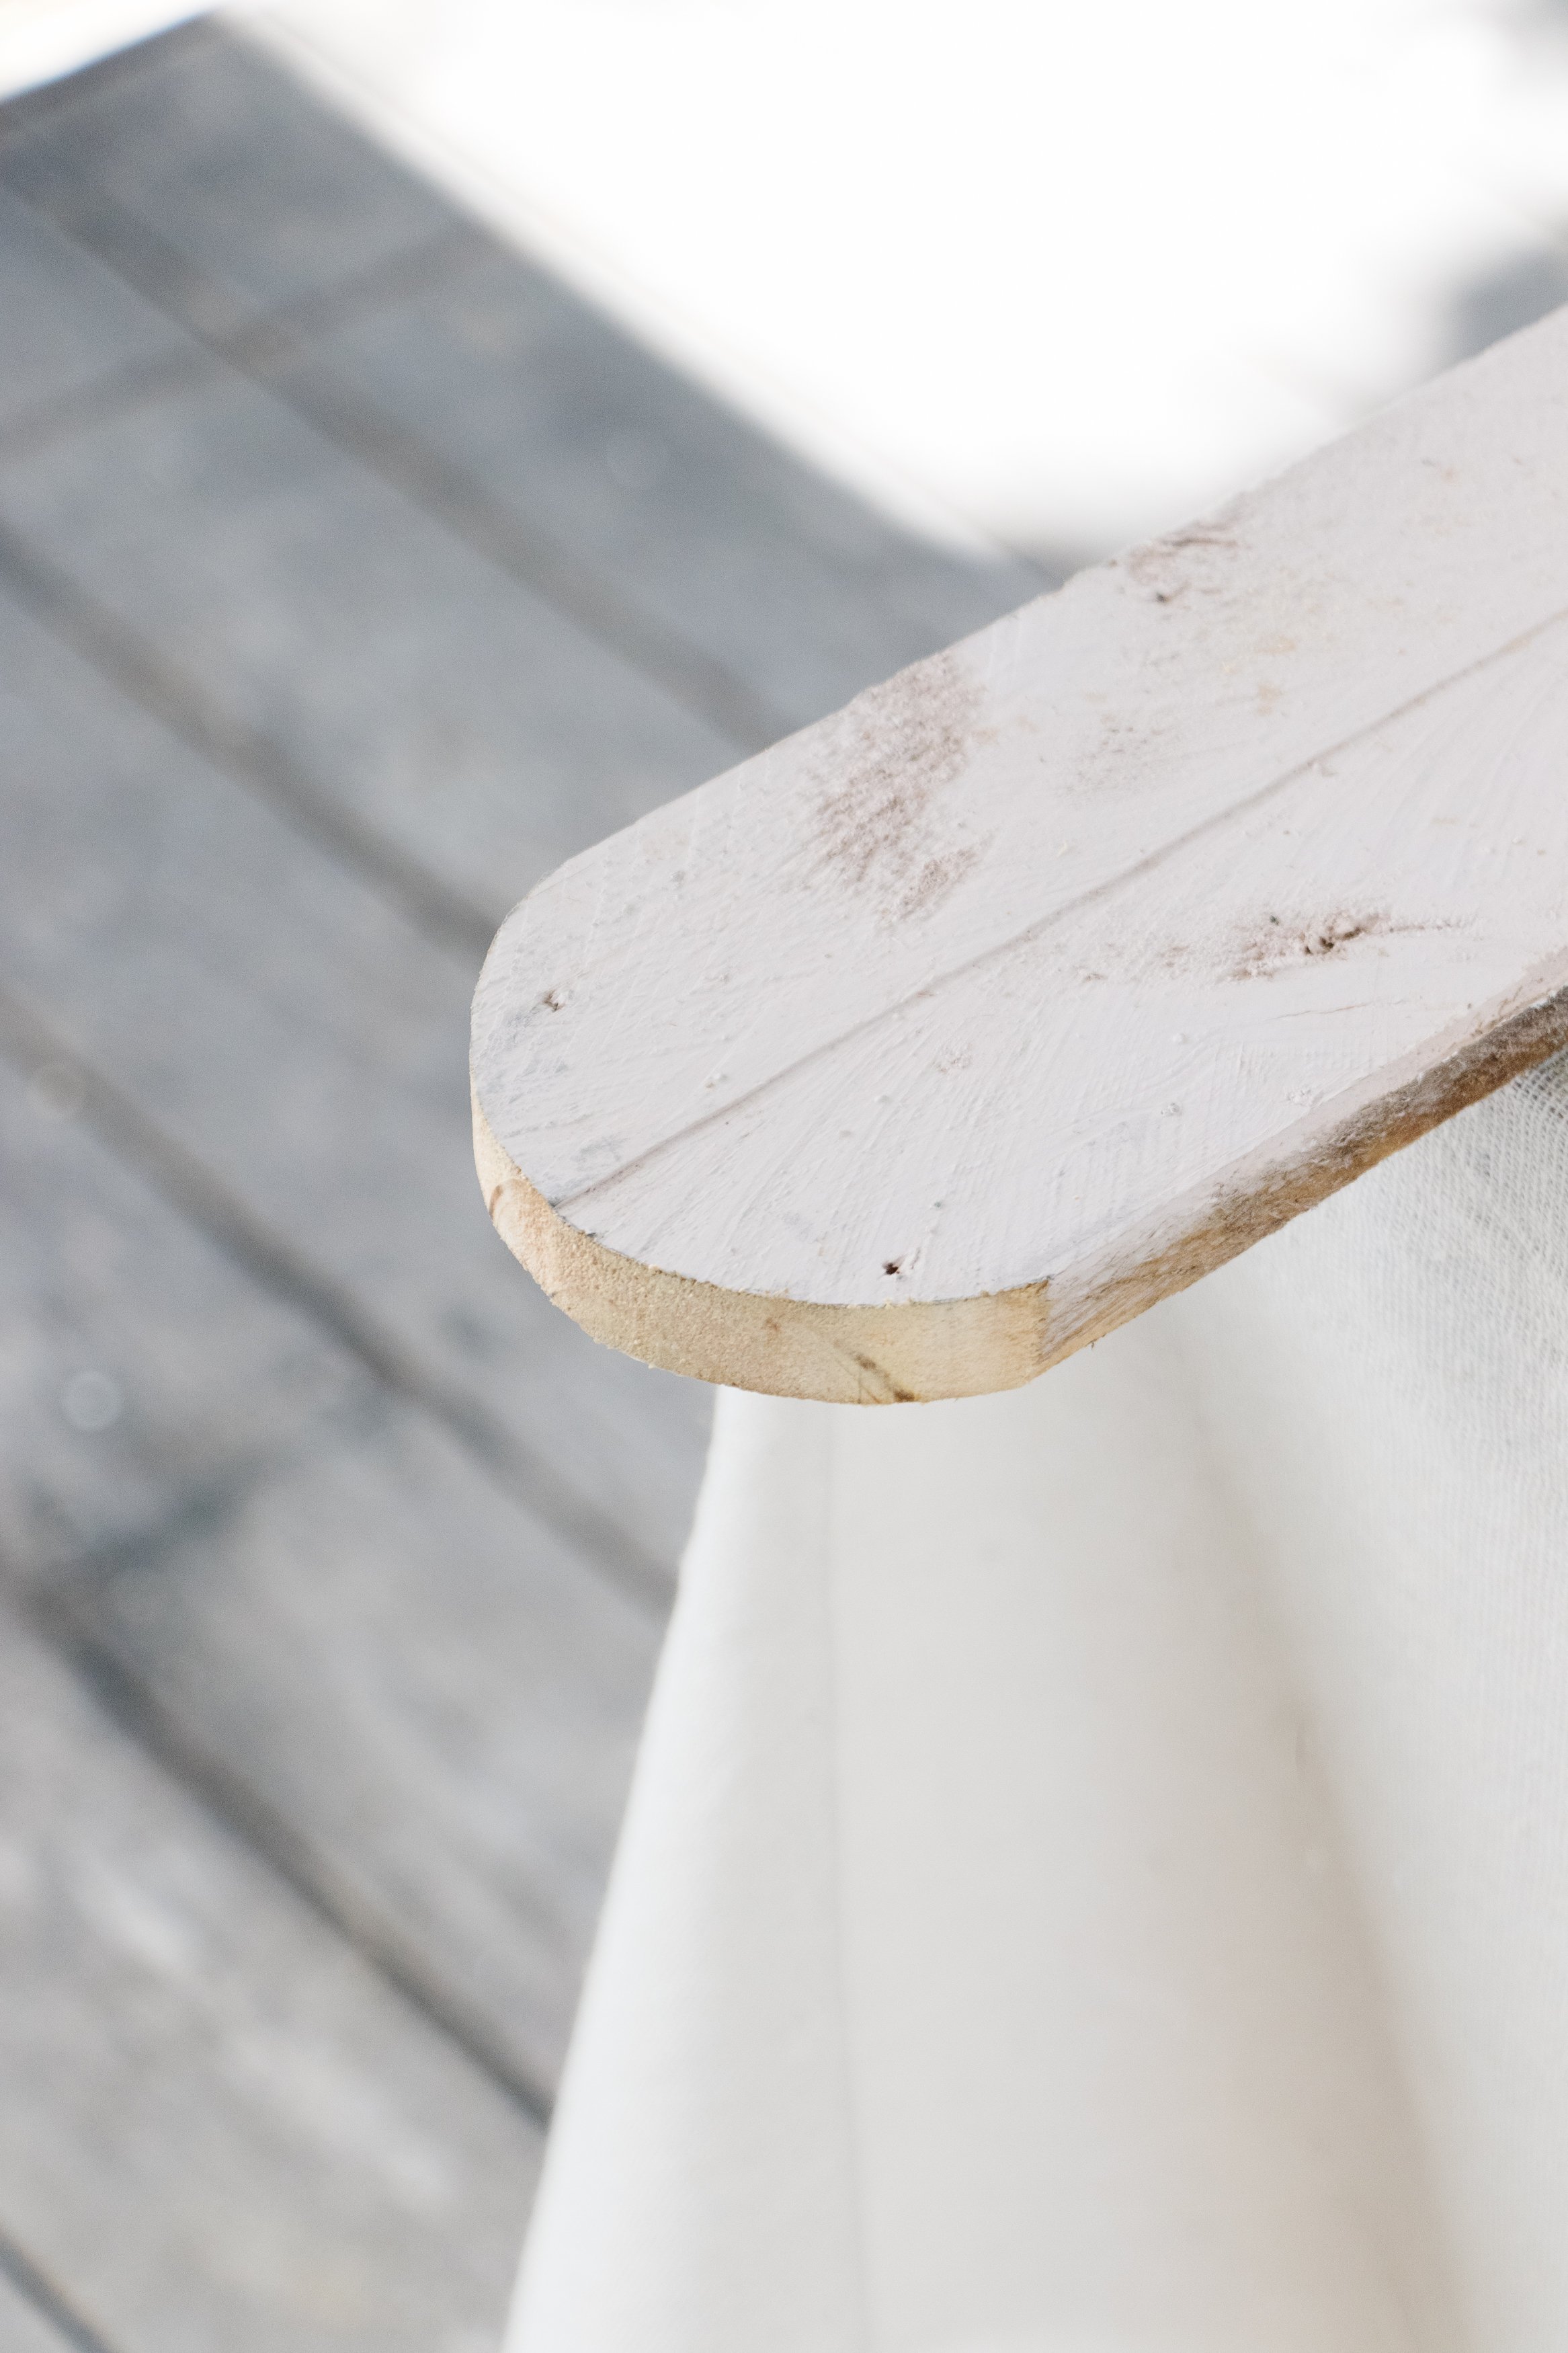
Step 2: I wanted to salvage and repurpose as much as possible, so I removed the timber planks from the base I had cut off using a chisel. I wanted to create a cute little scallop wall at the back of the kids mud kitchen. I used a coaster and a pencil to draw a semi-circle on each piece, which I individually clamped to my table and cut using a jigsaw. Then I used a detail sander to smooth the timber and round the edges.
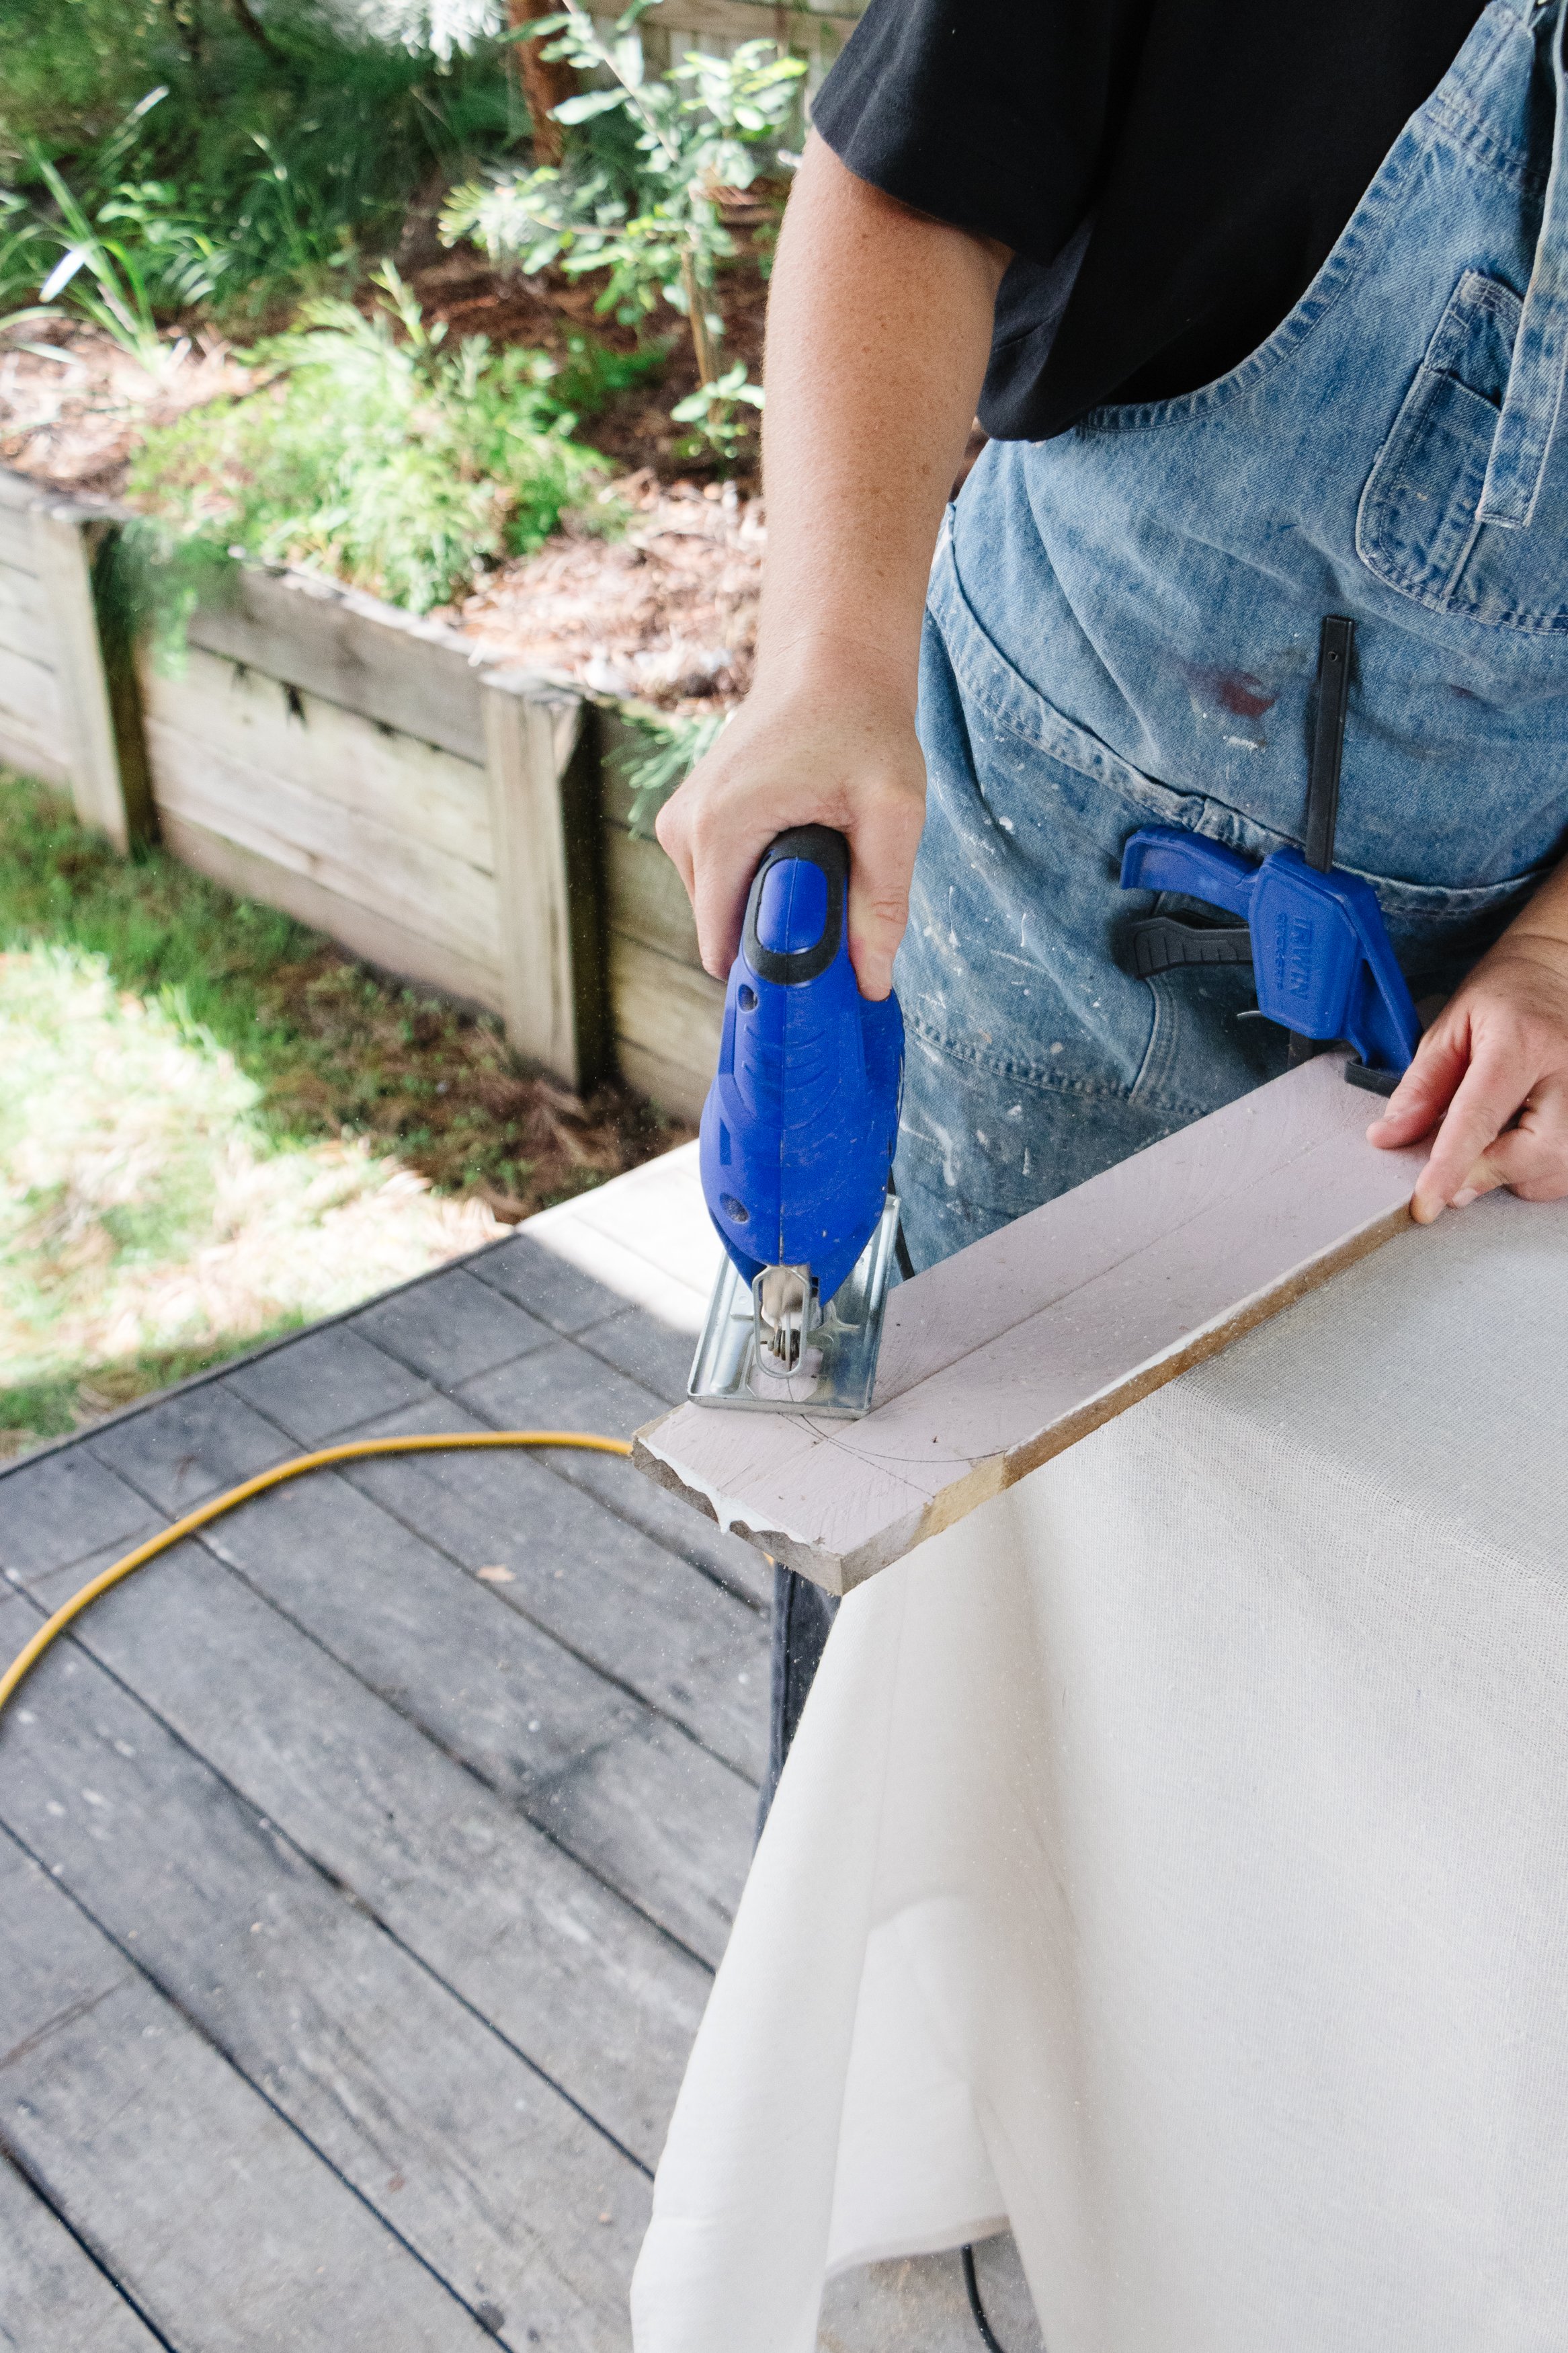
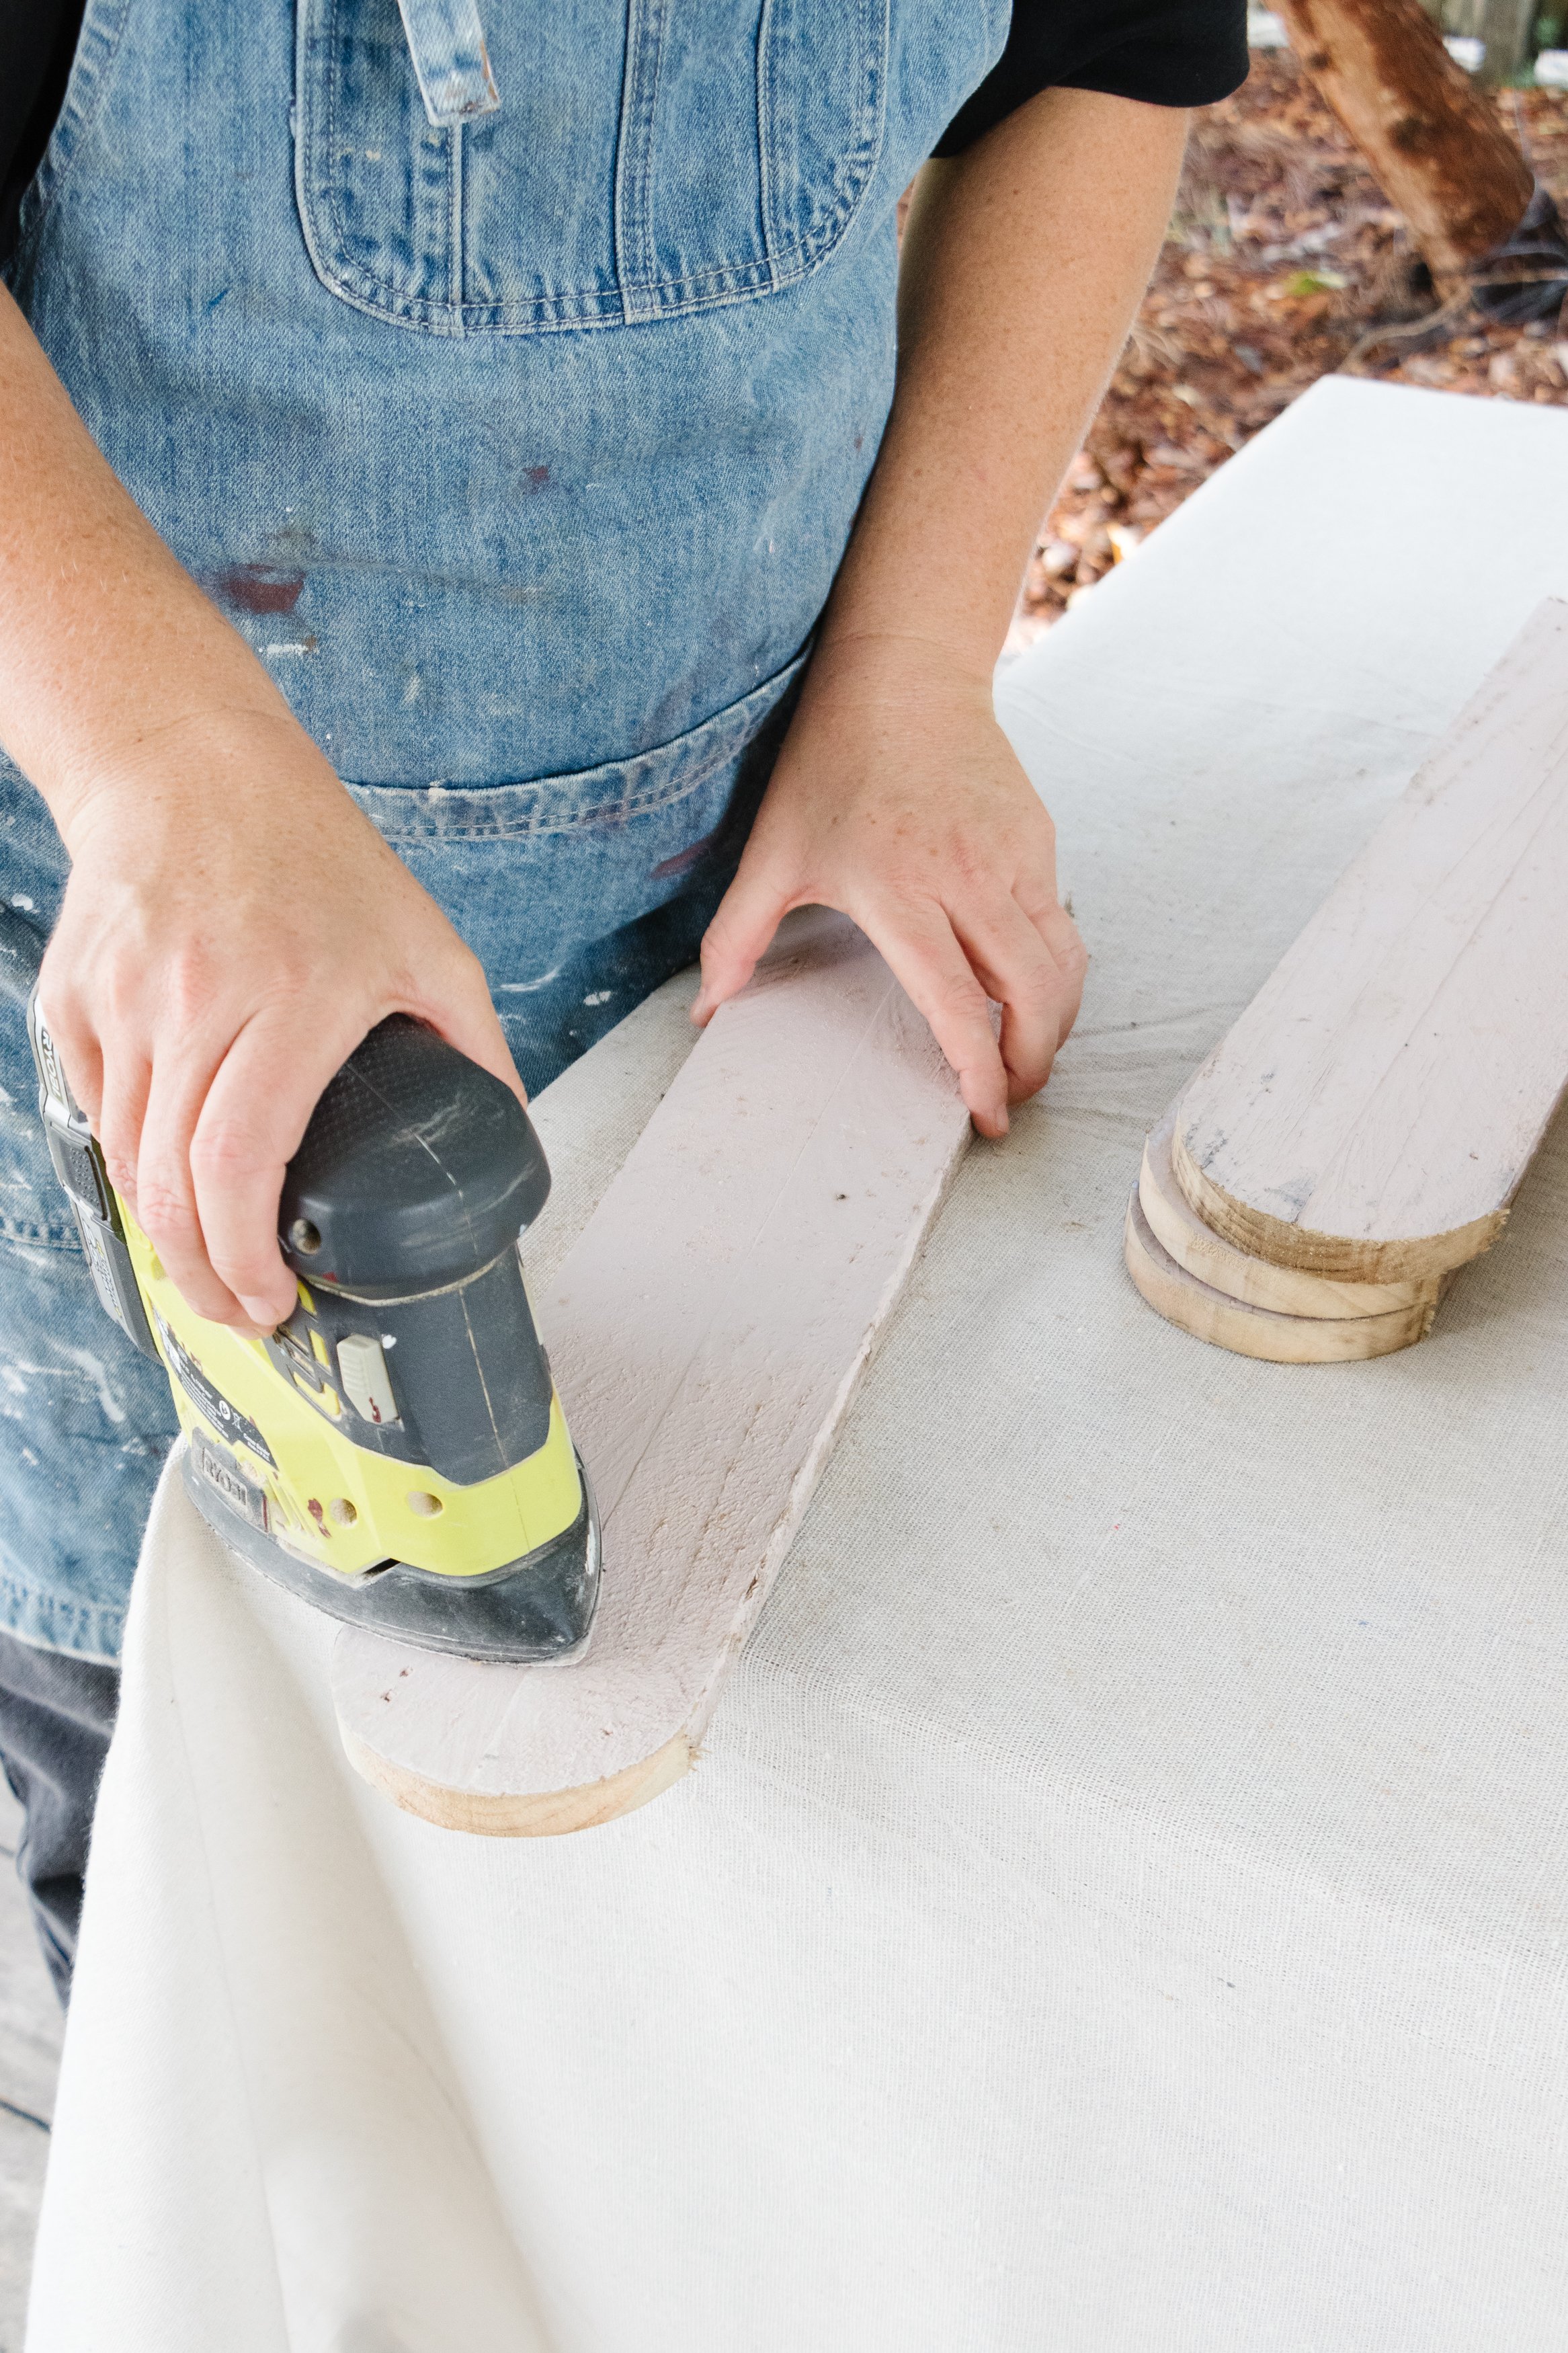
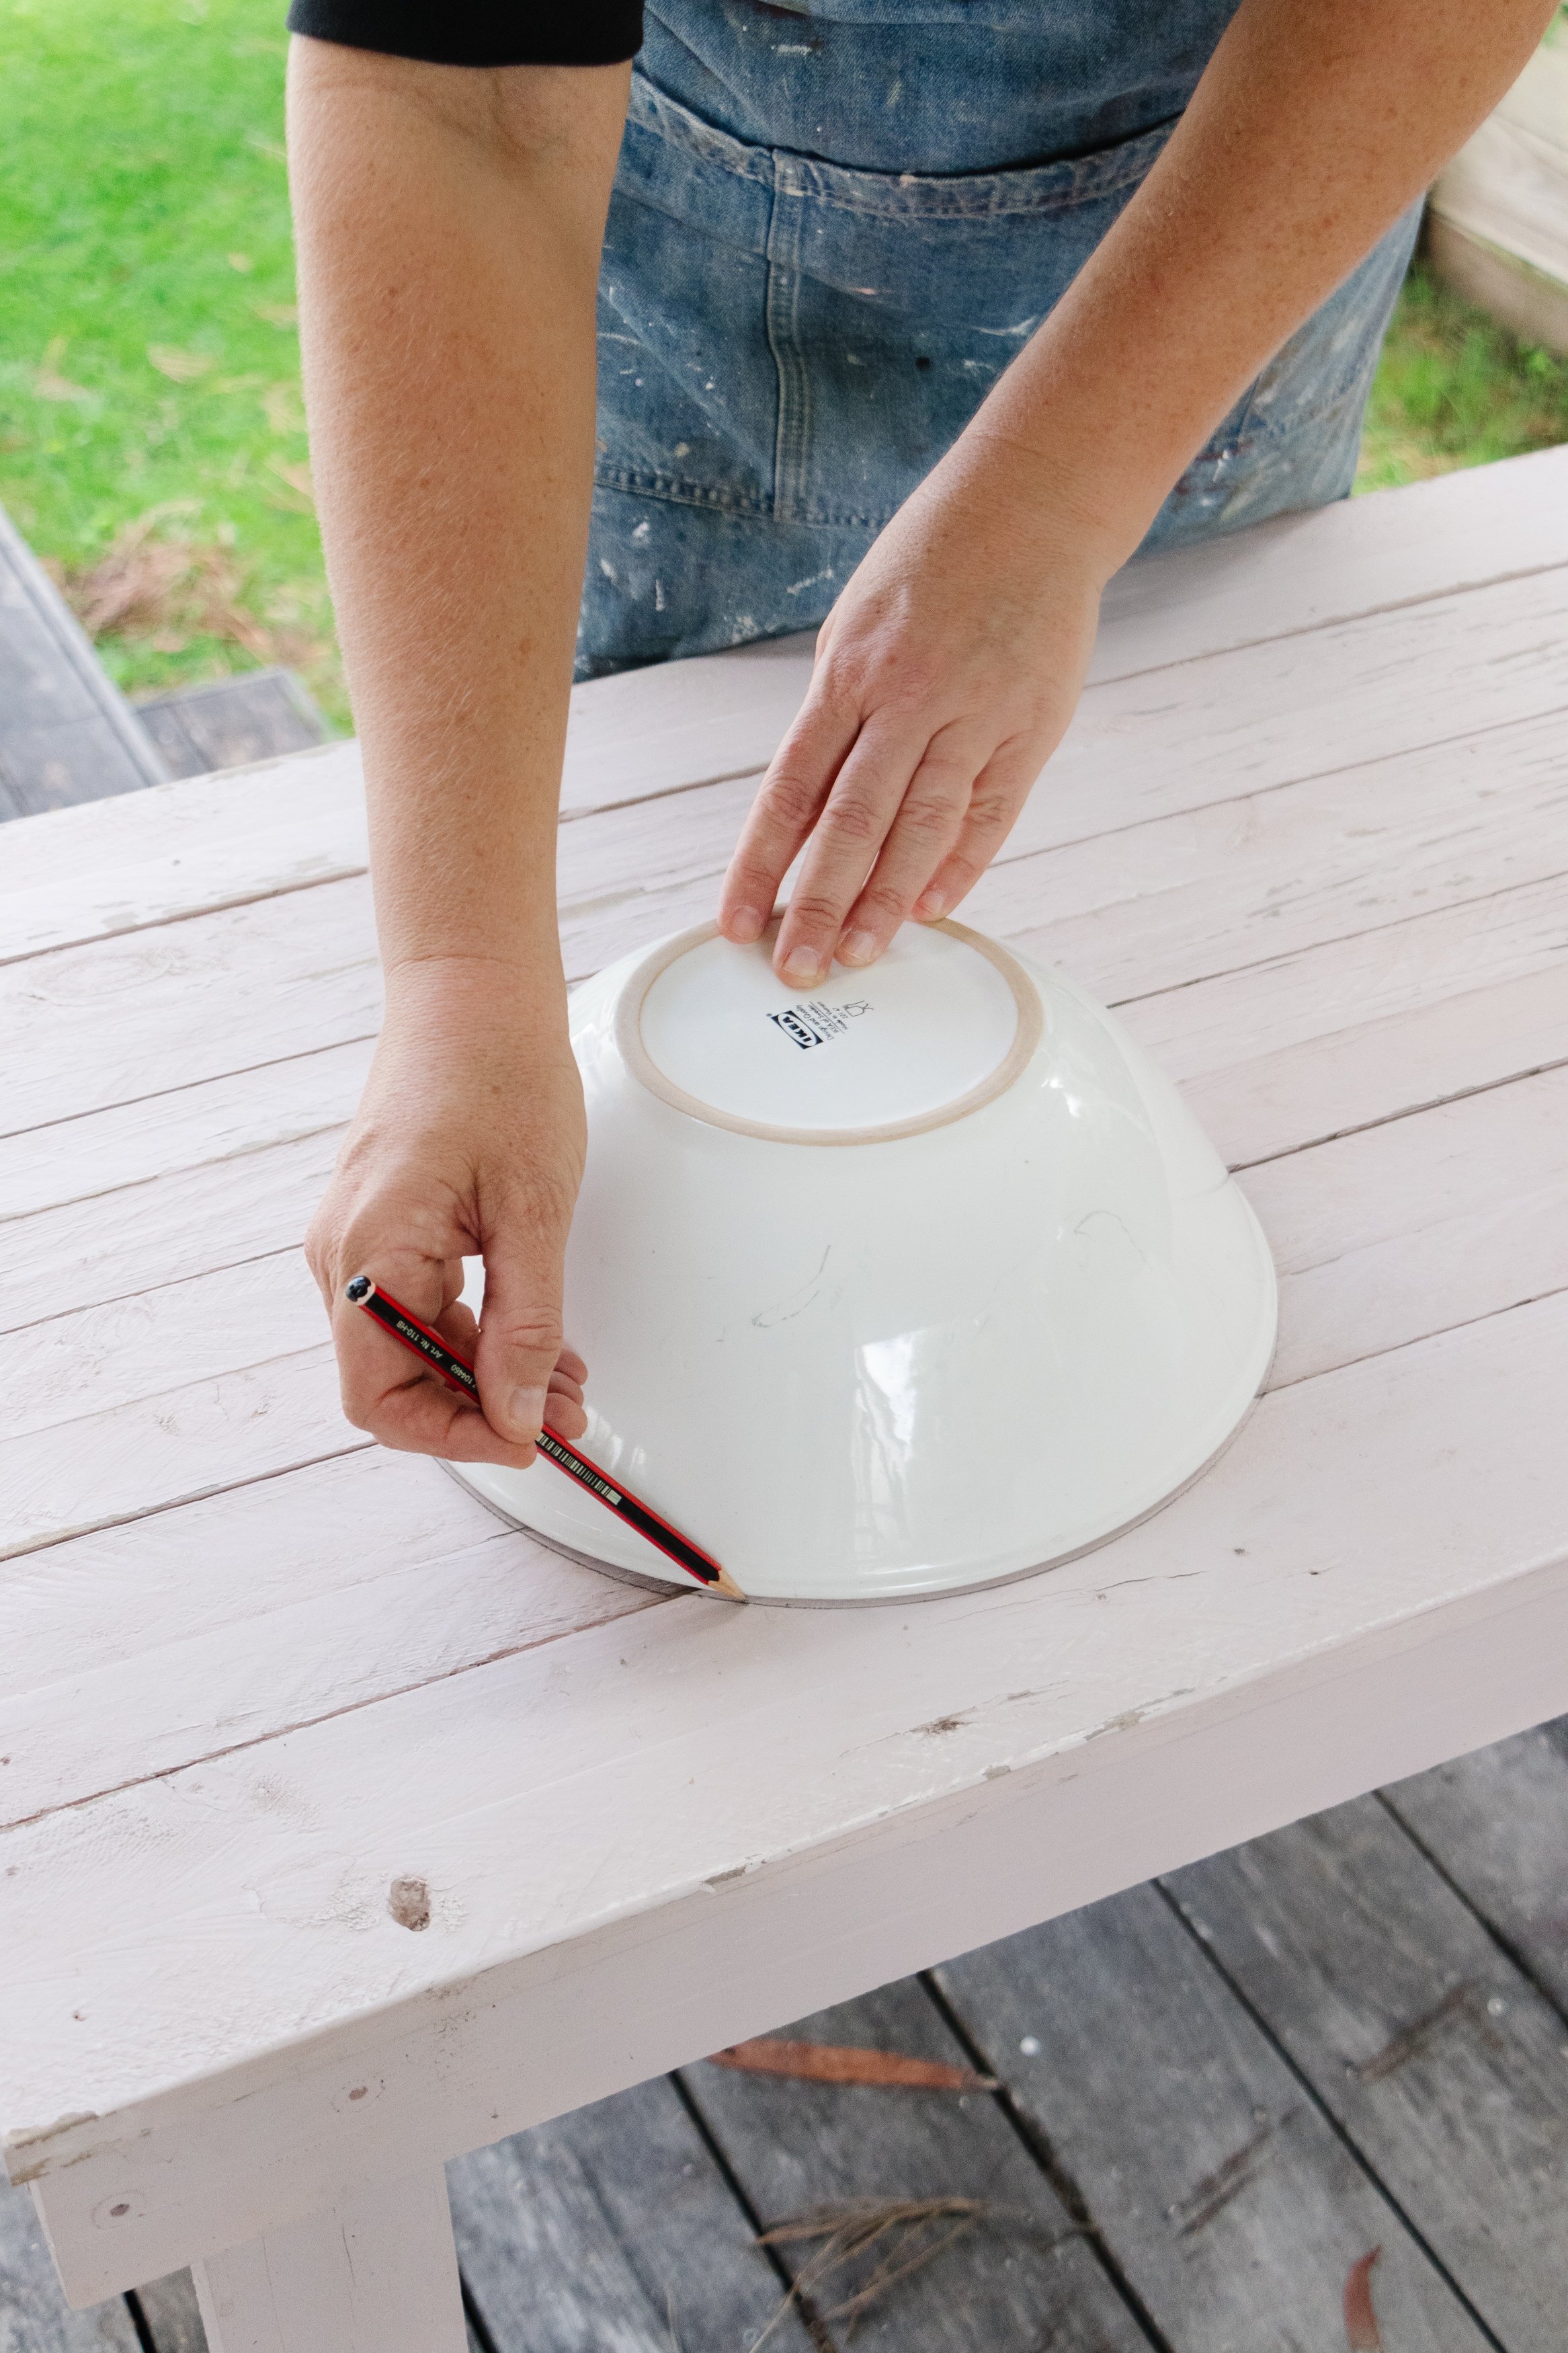
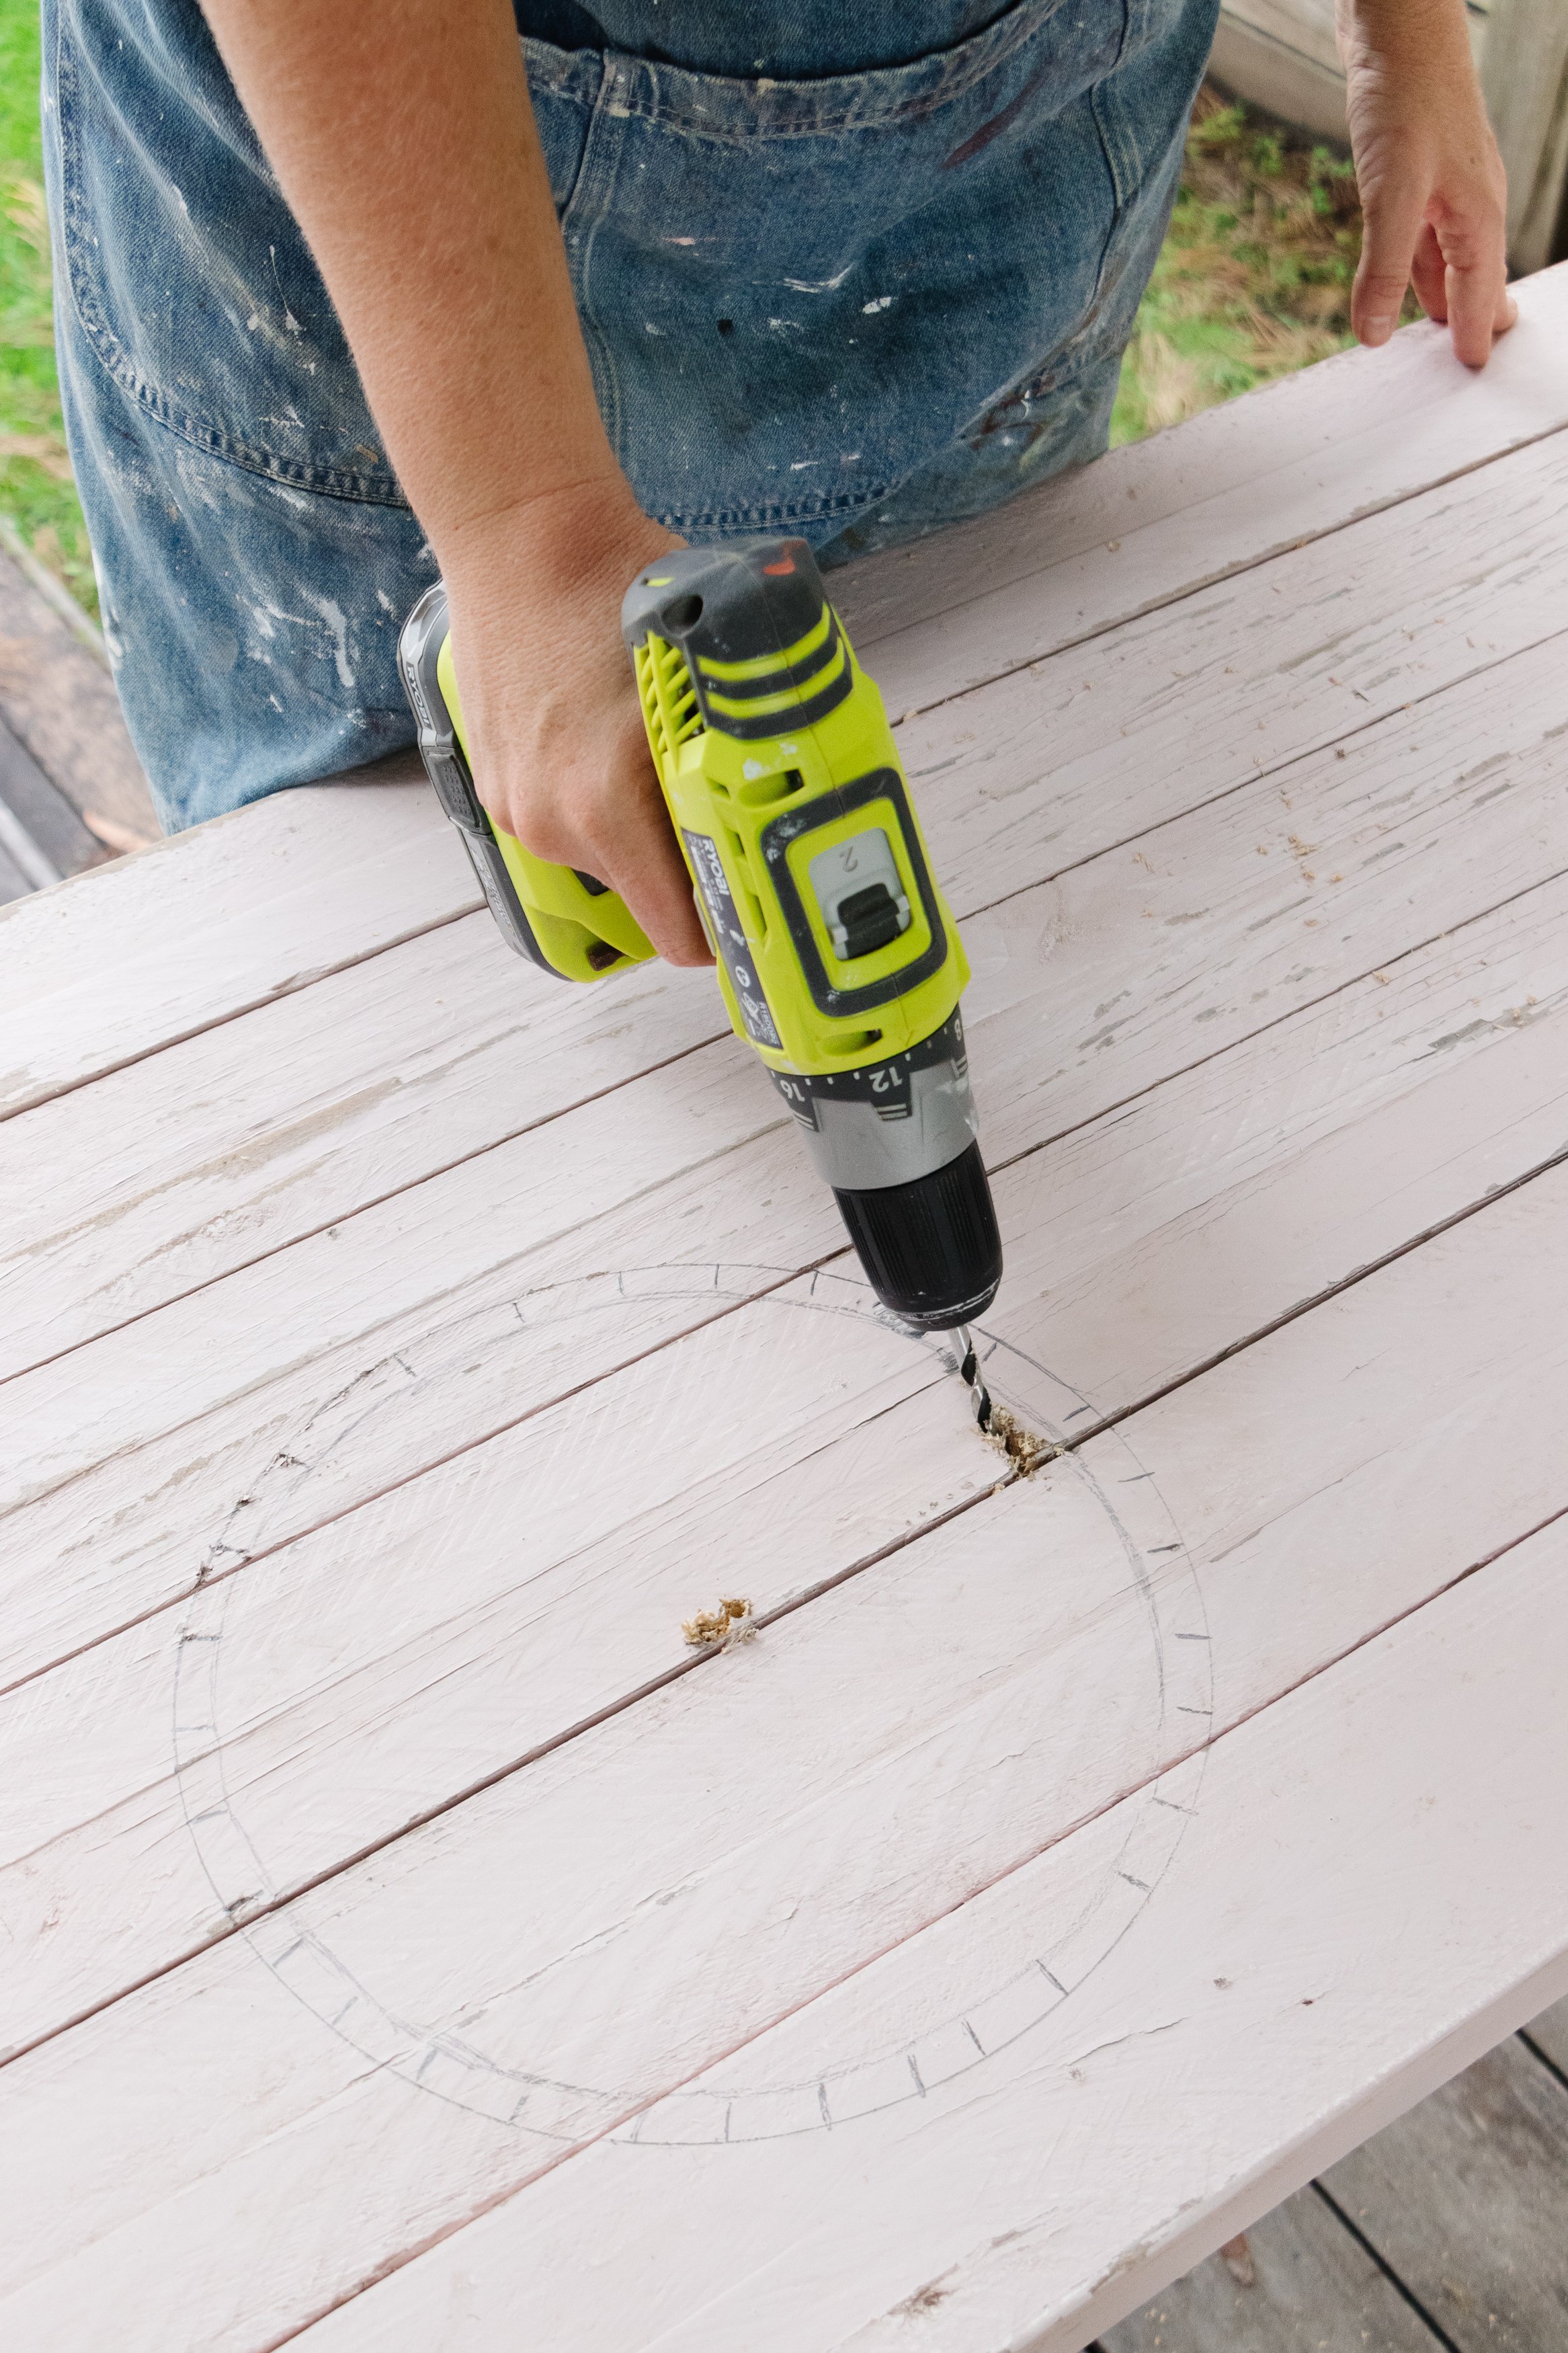
Step 3: Next I sanded the table. To make a sink for the mud kitchen I traced around a large salad bowl using a pencil onto the top of the table. I created a hole inside the circle using a drill and then I cut around the circle with a jigsaw.
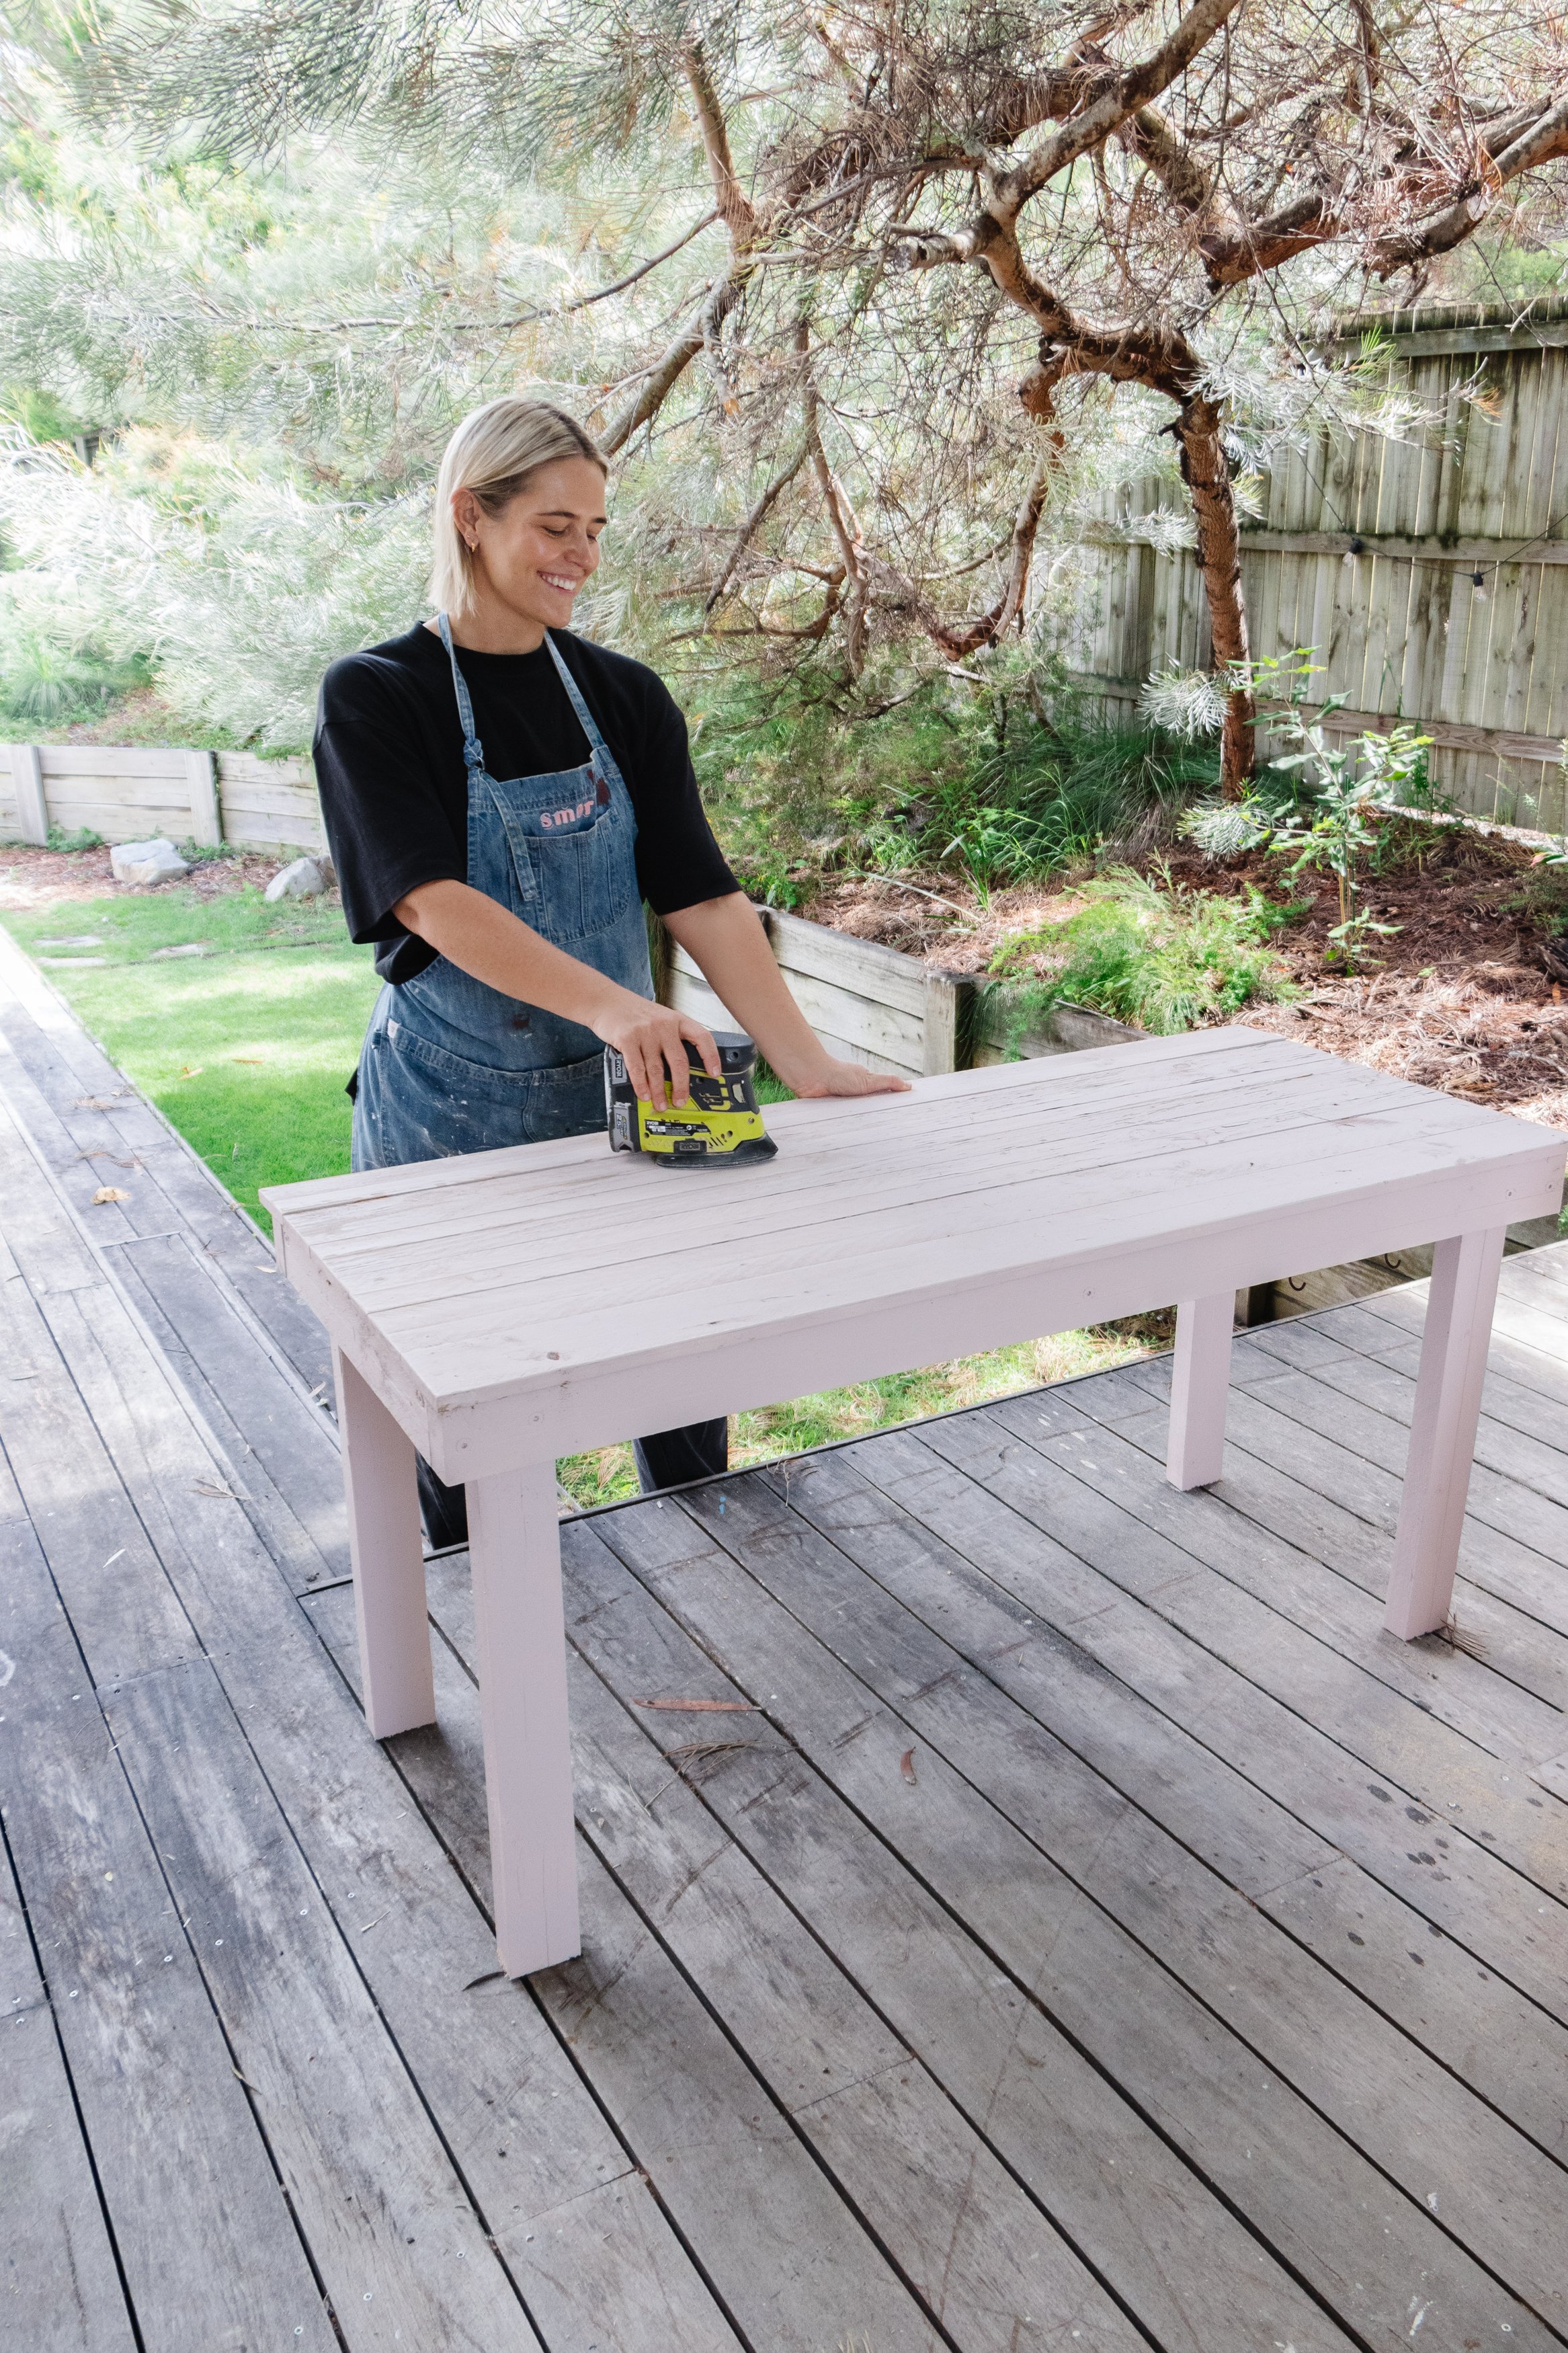

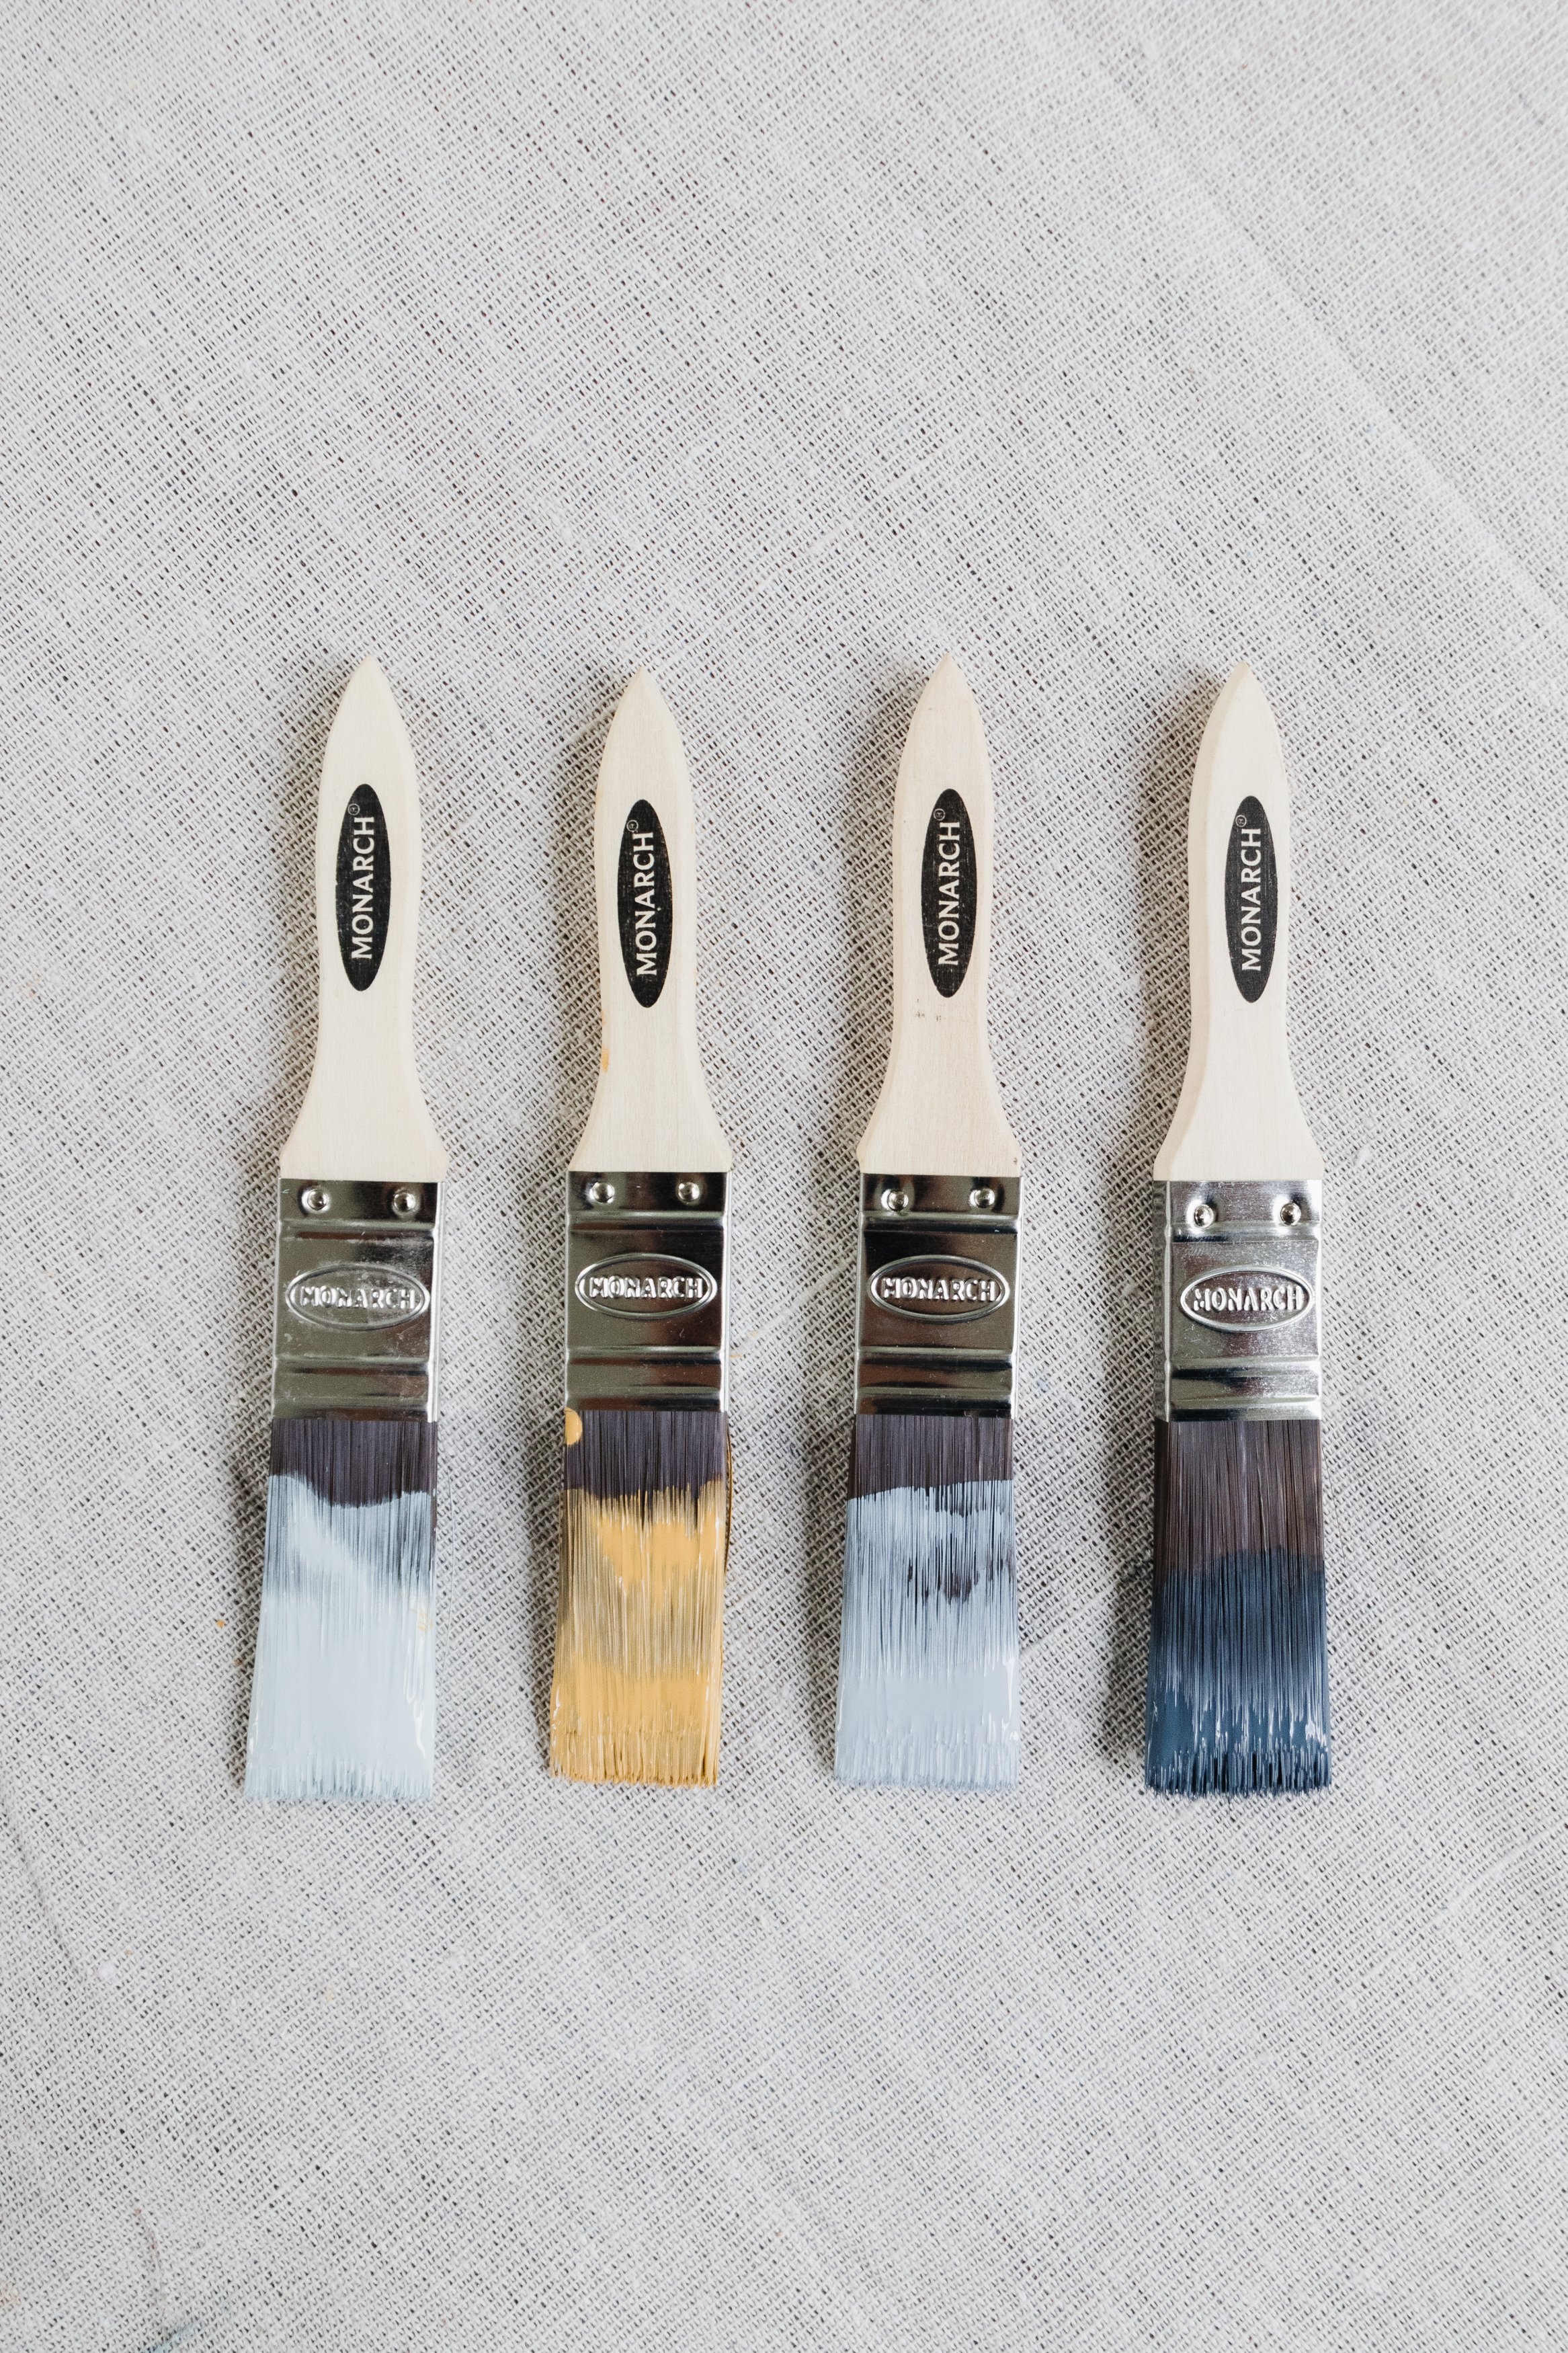
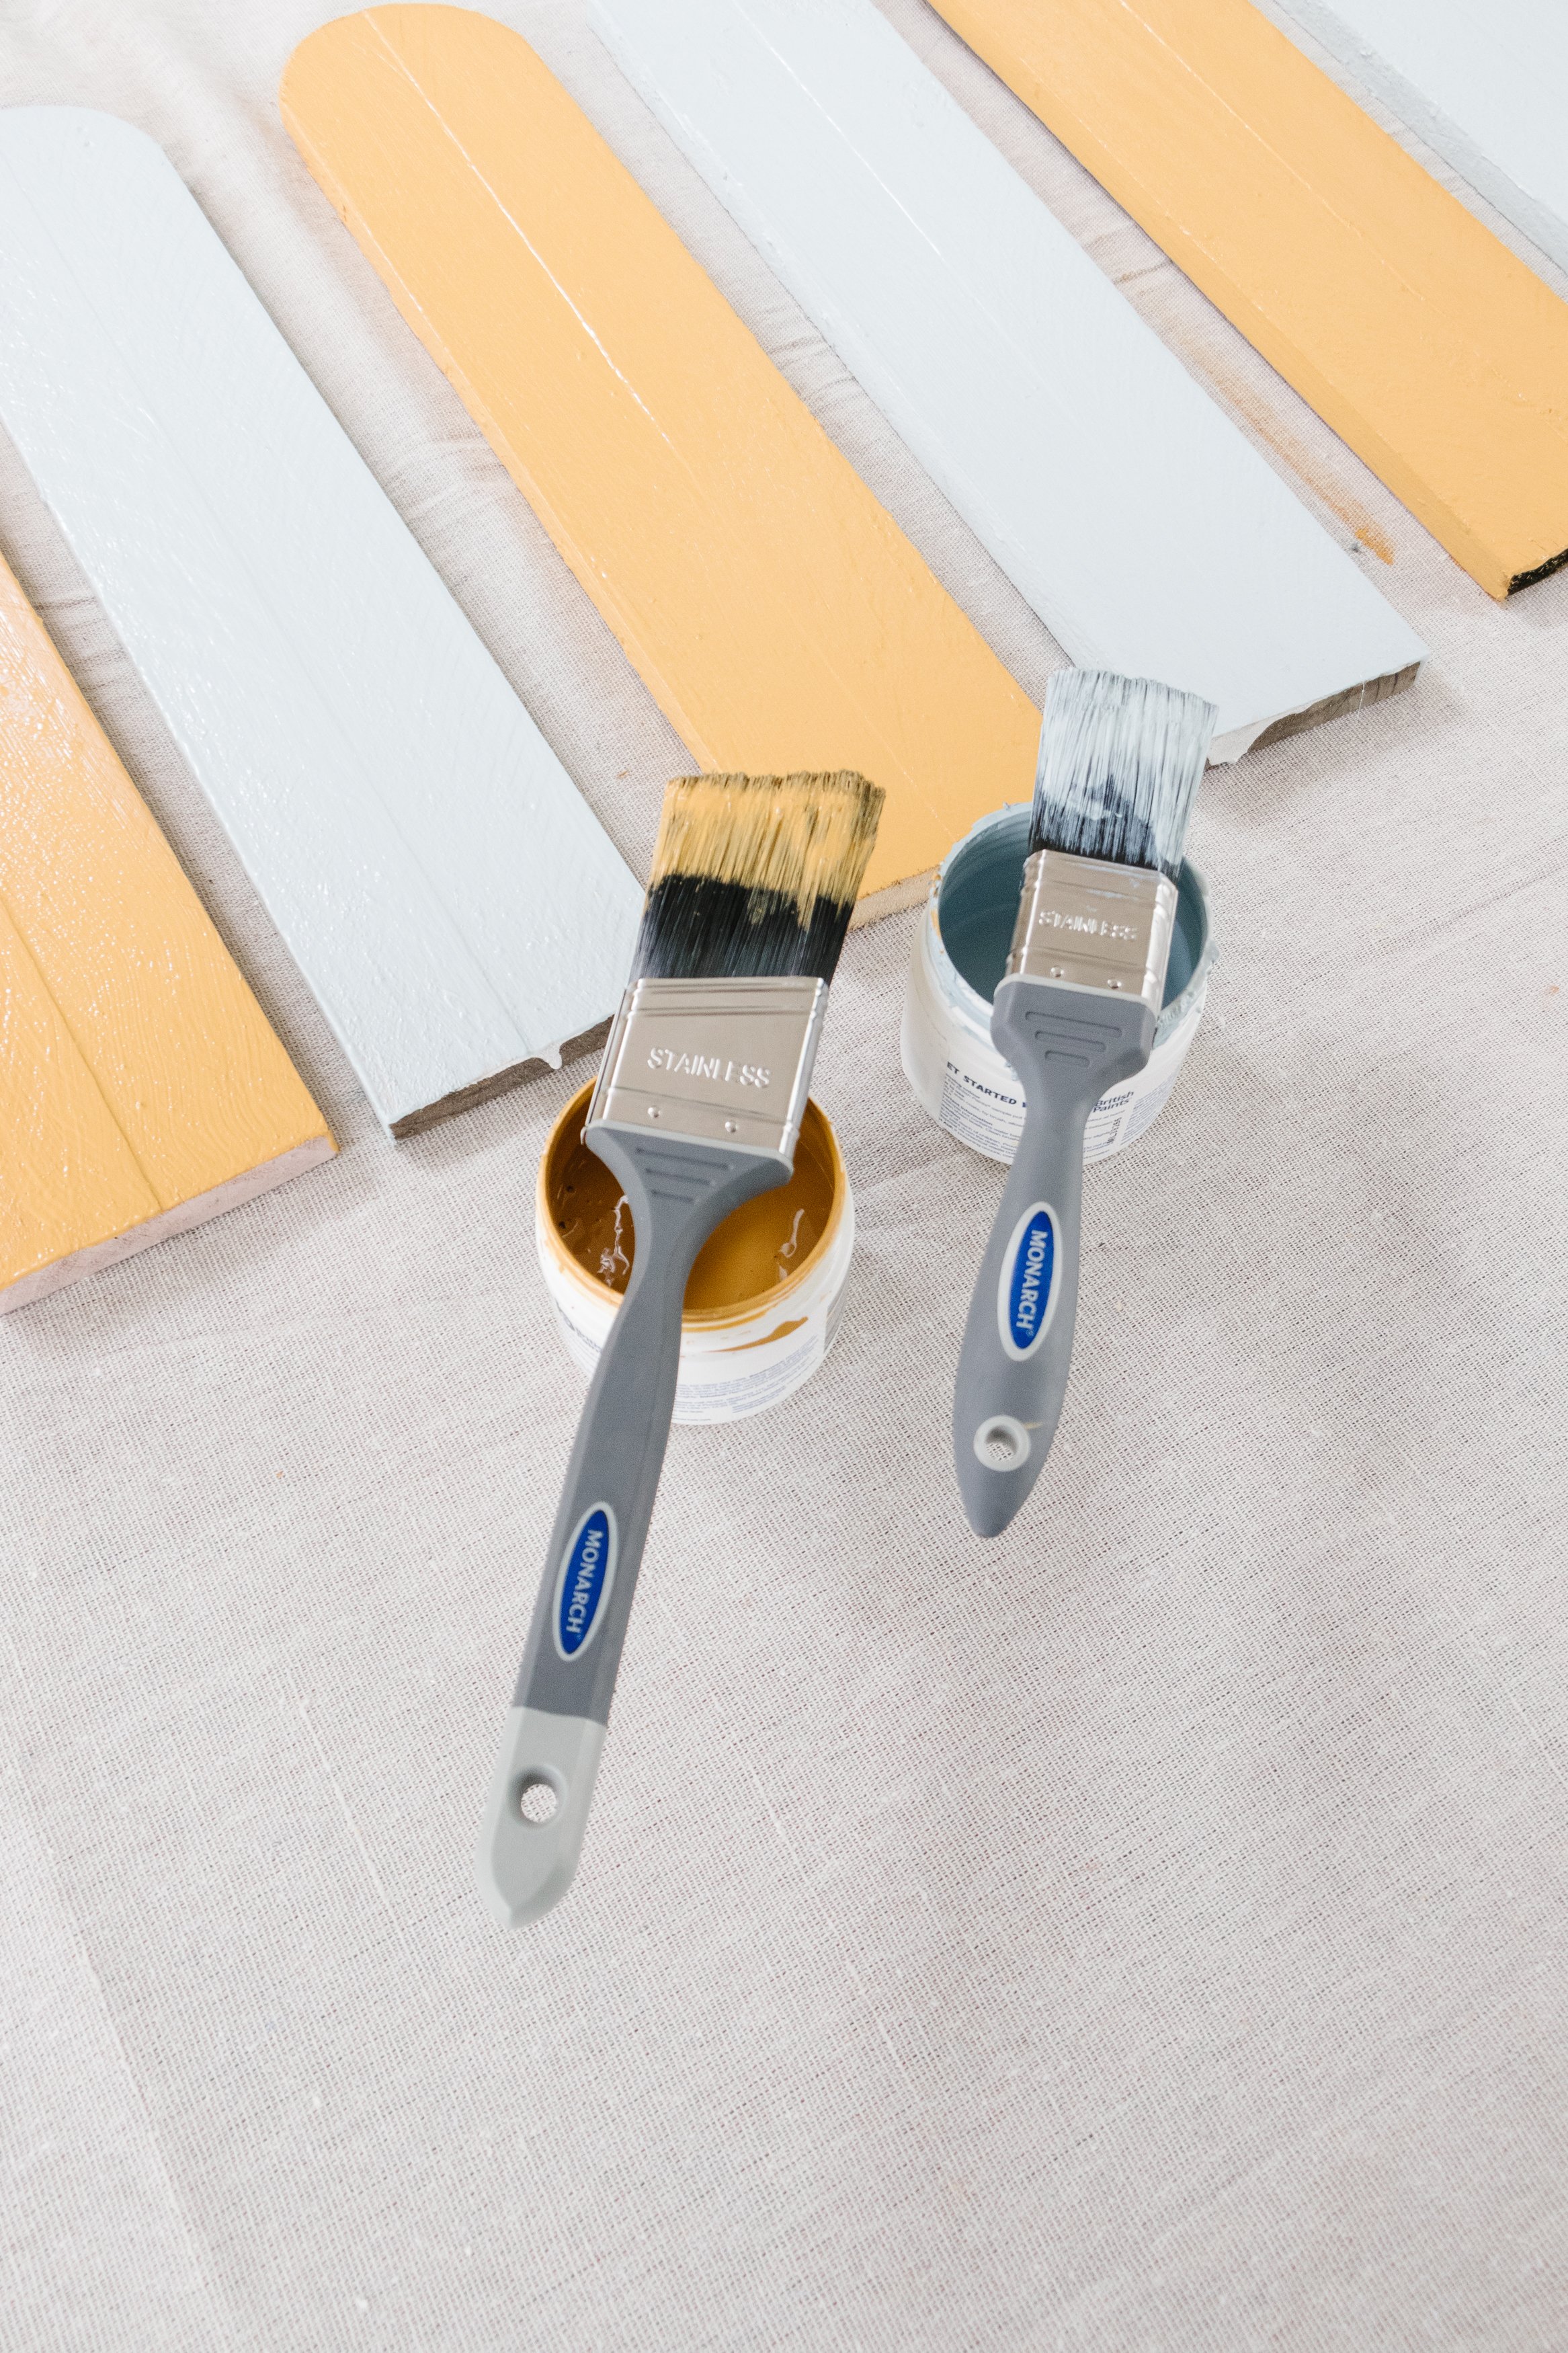
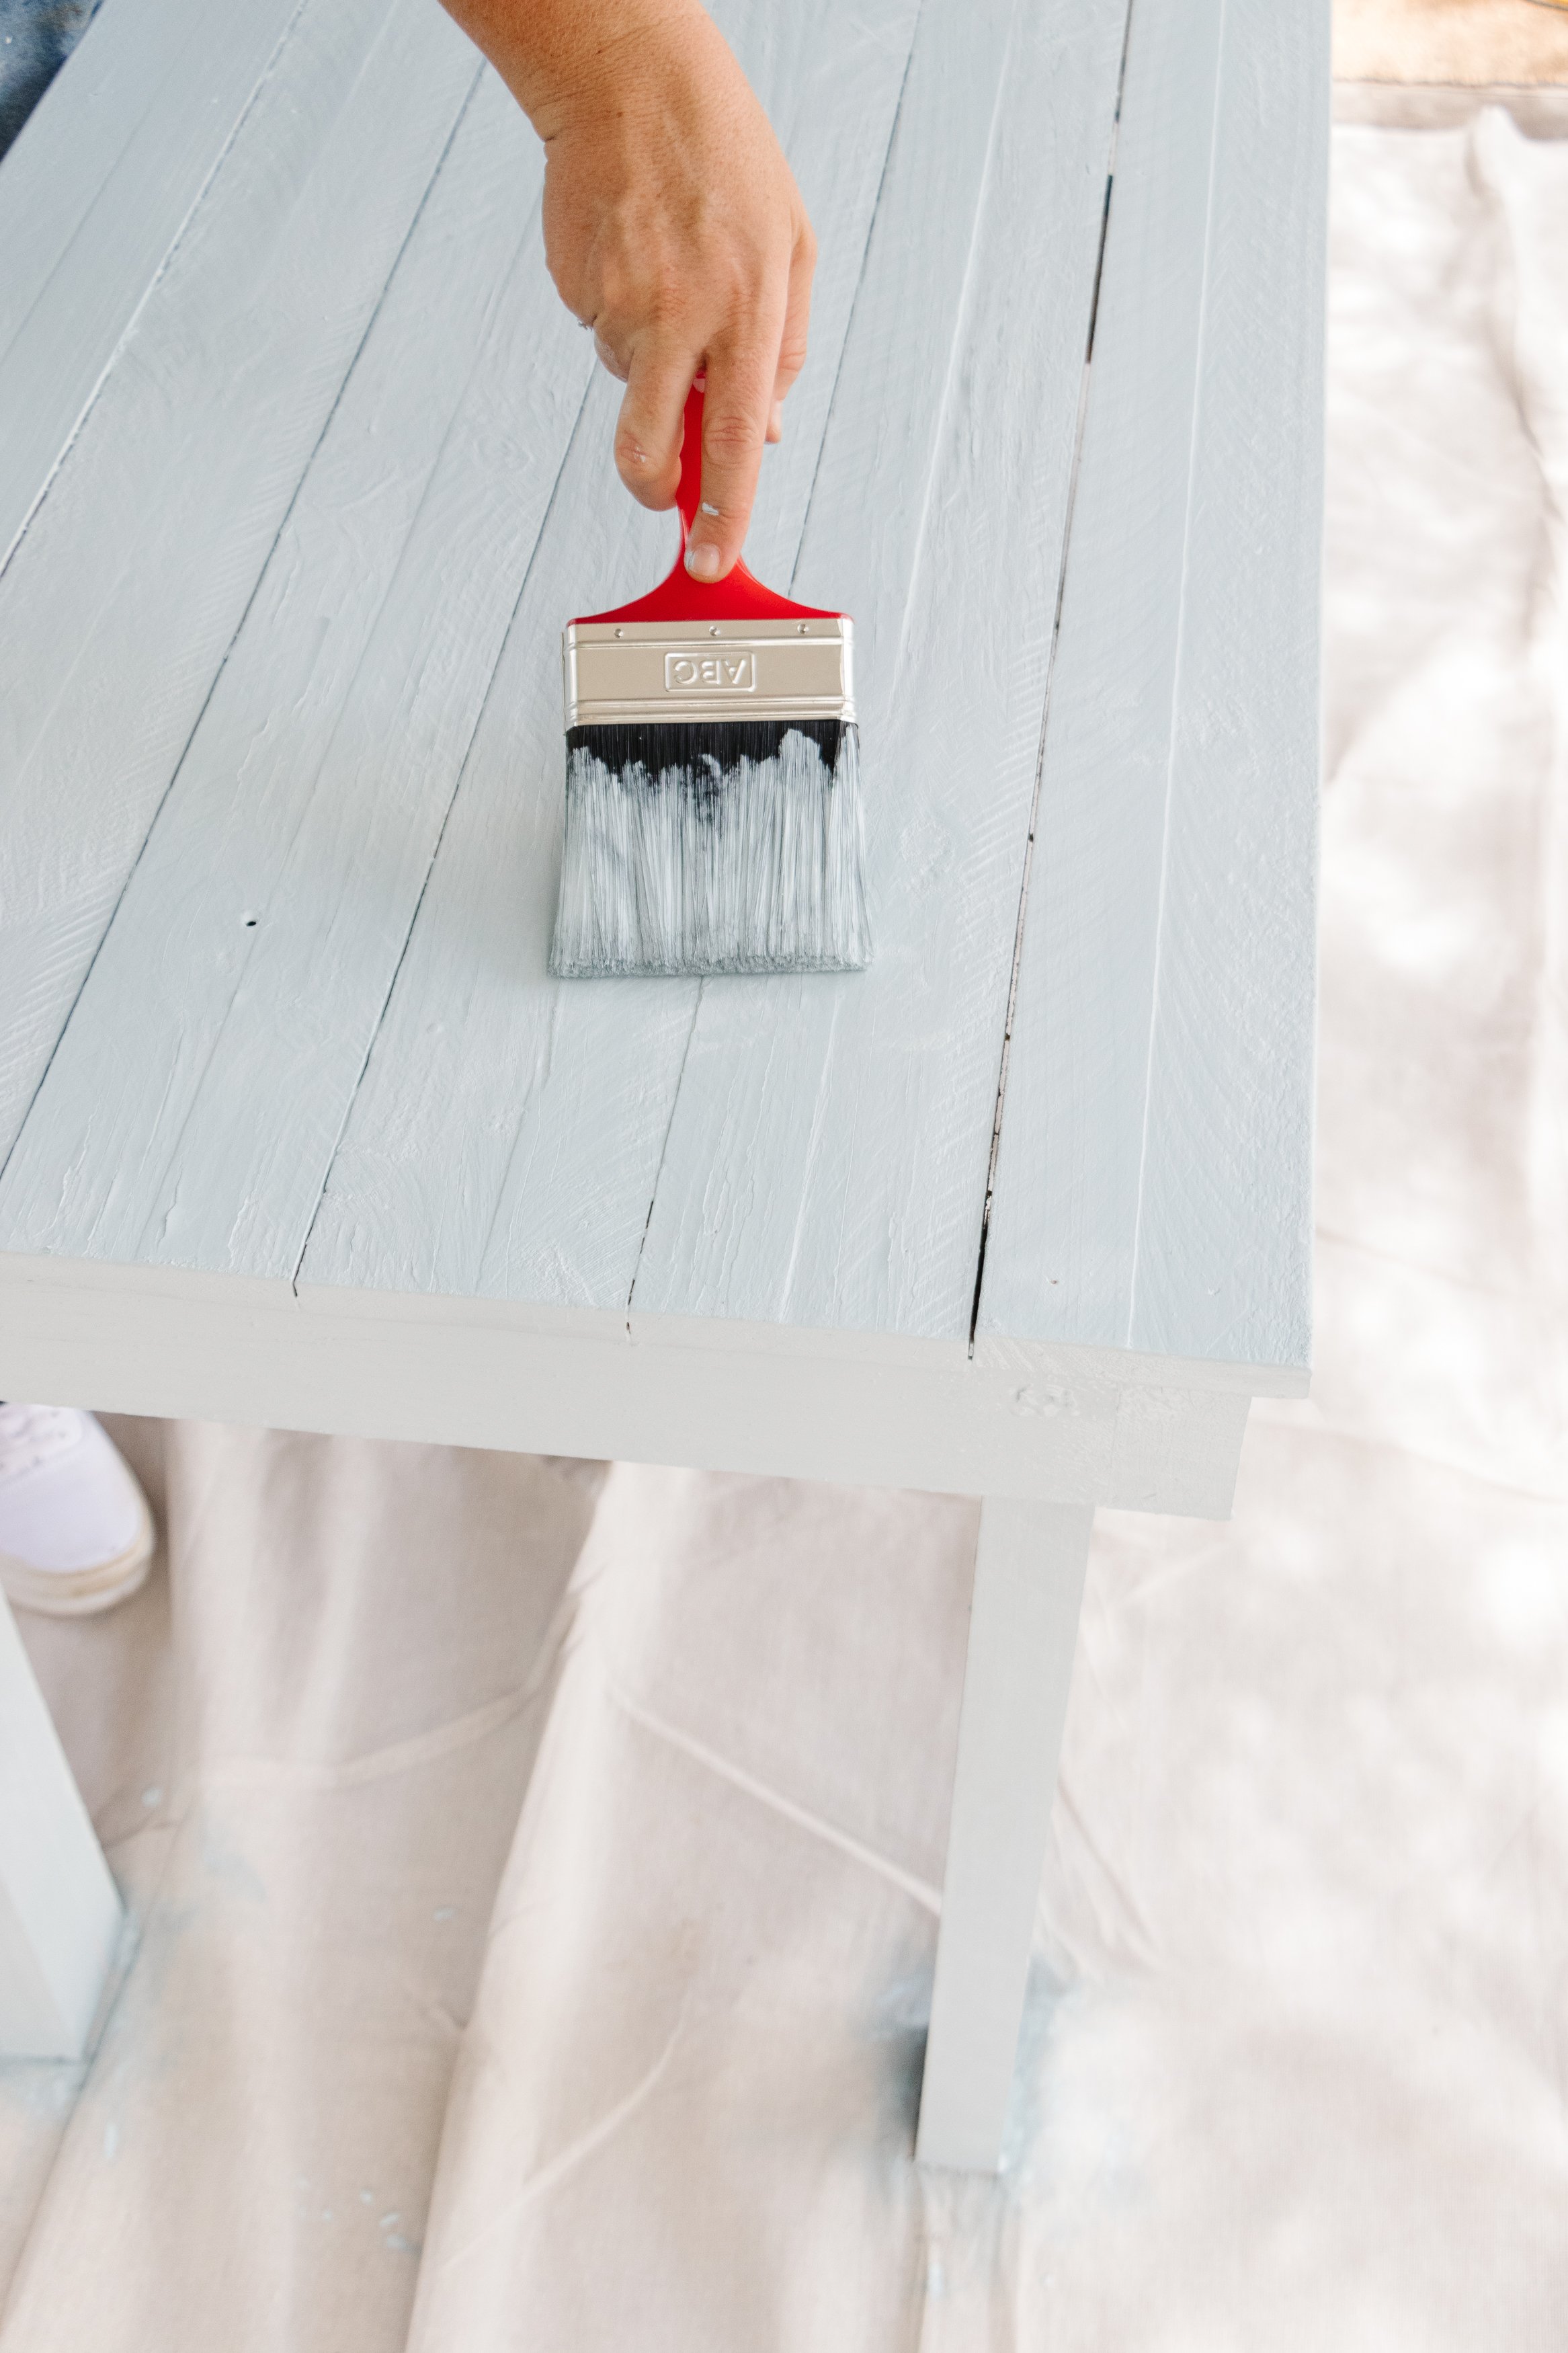
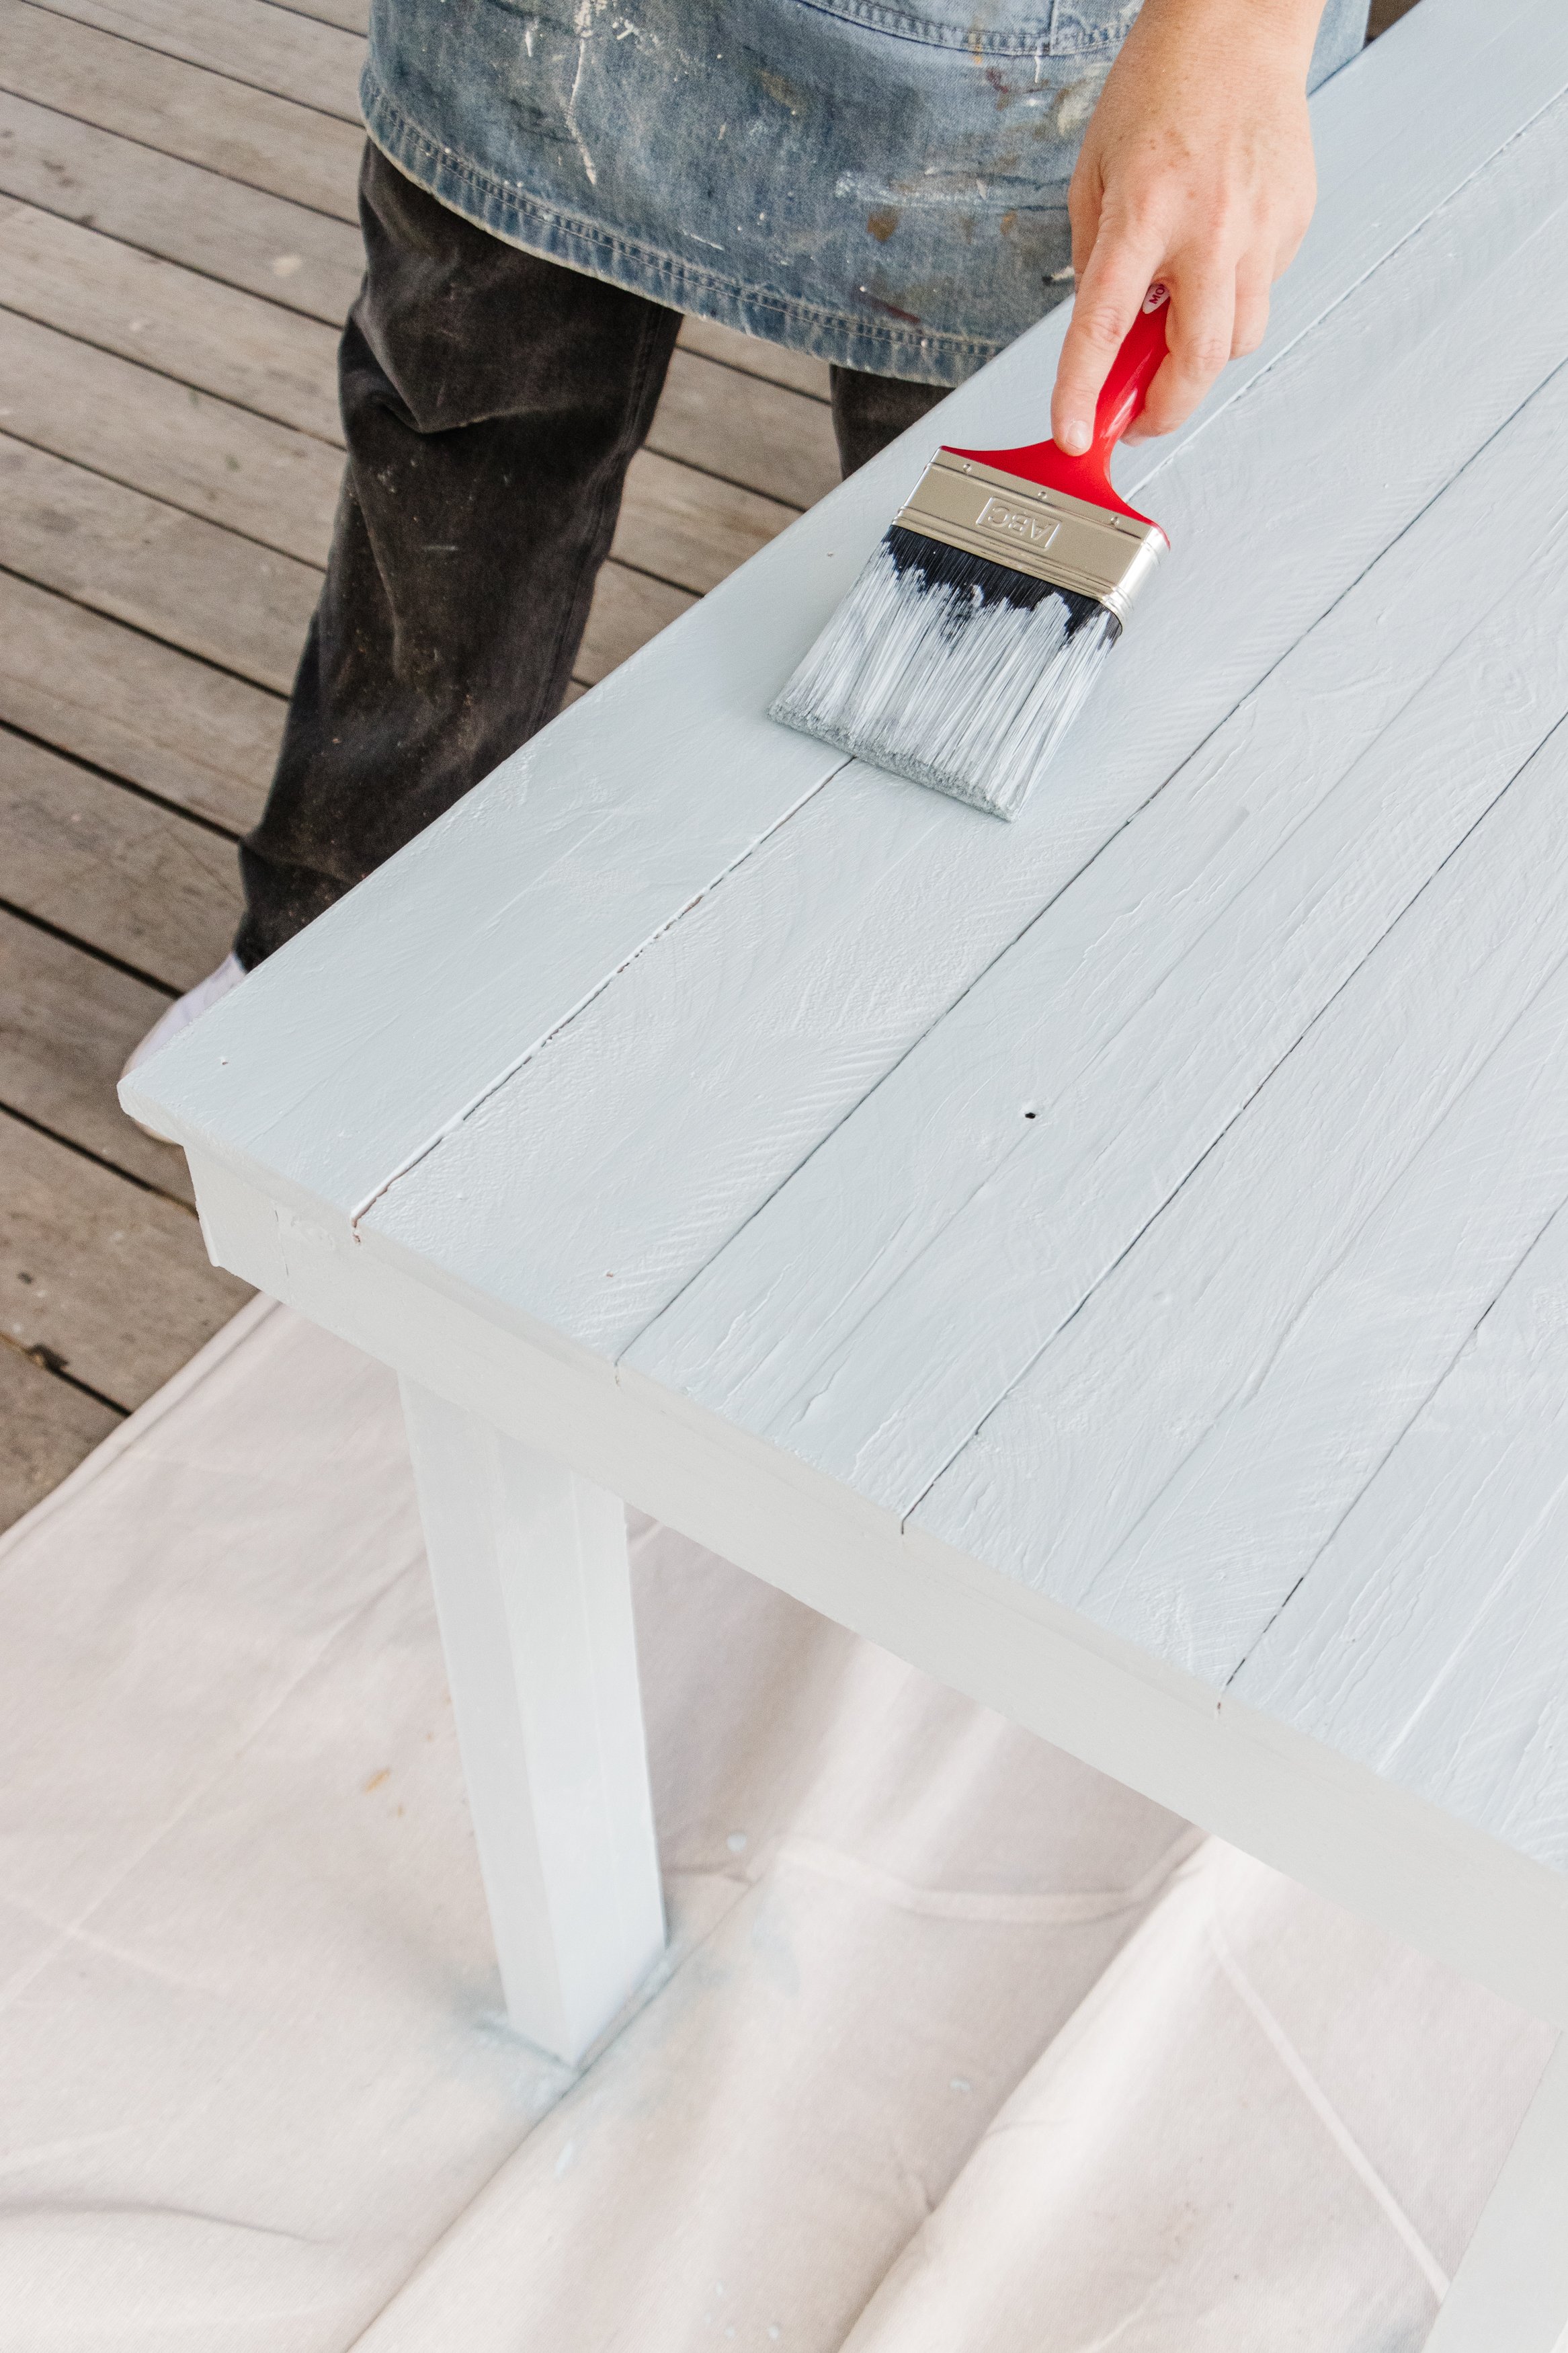
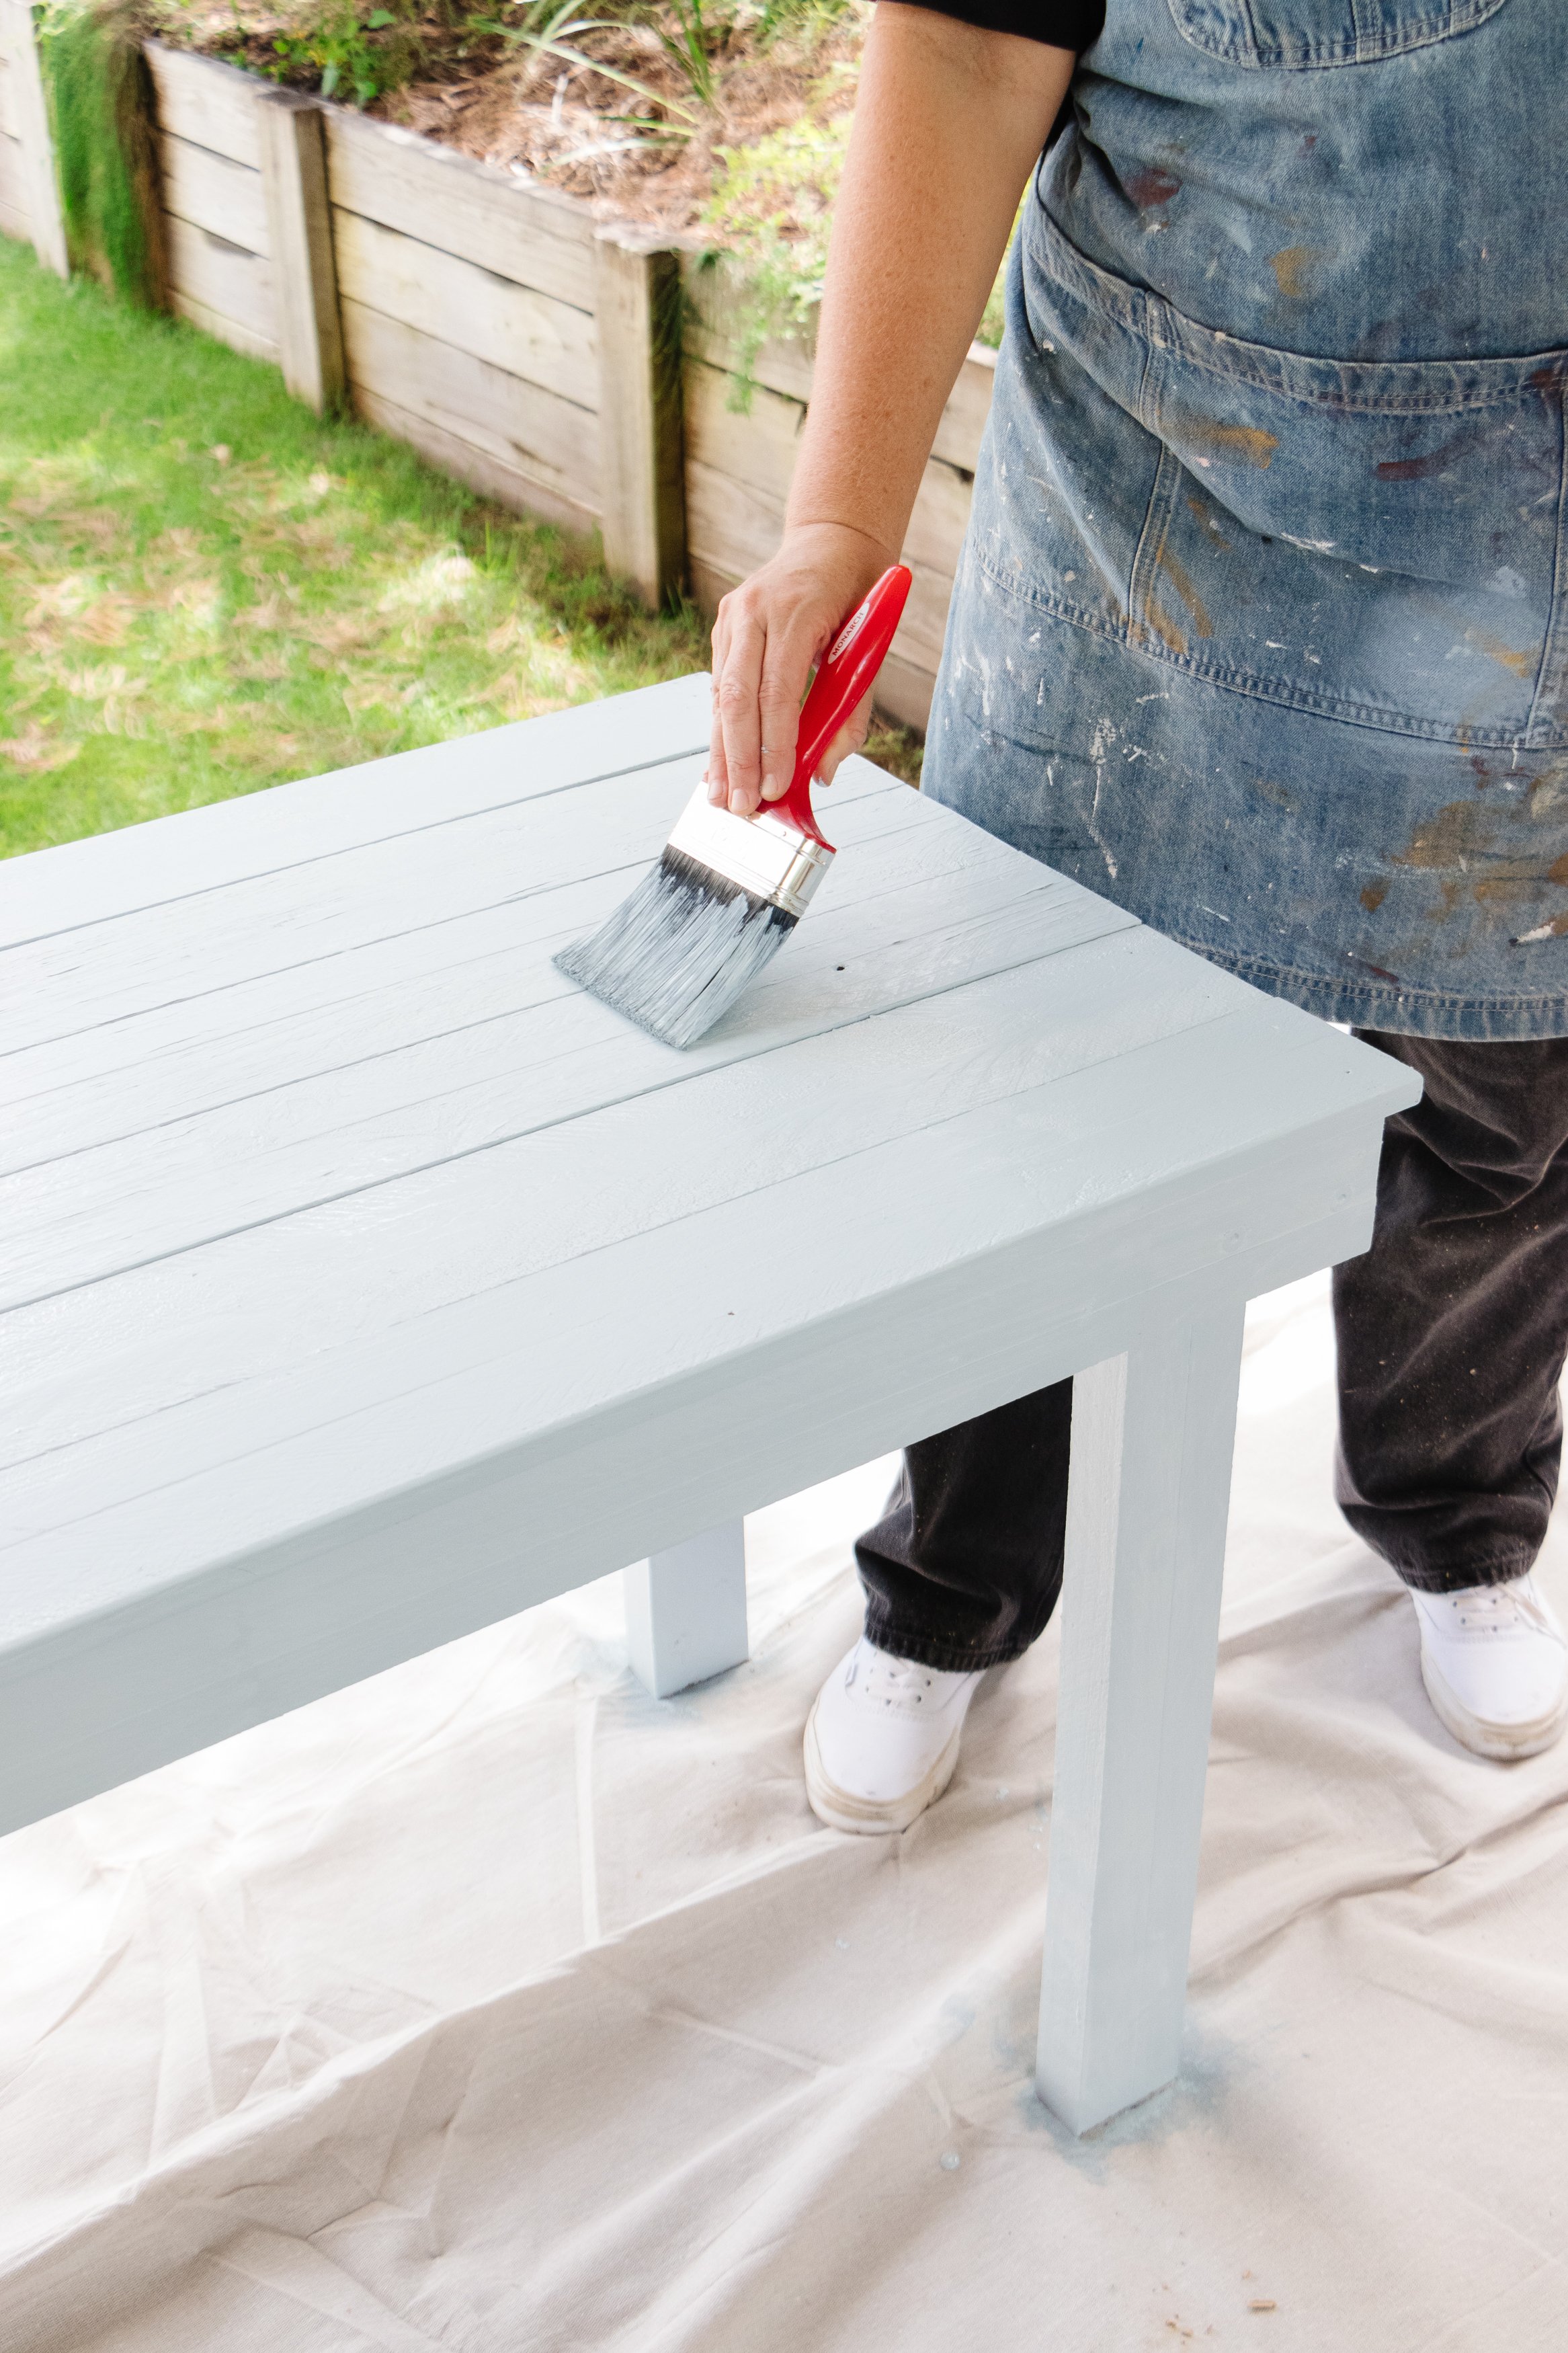
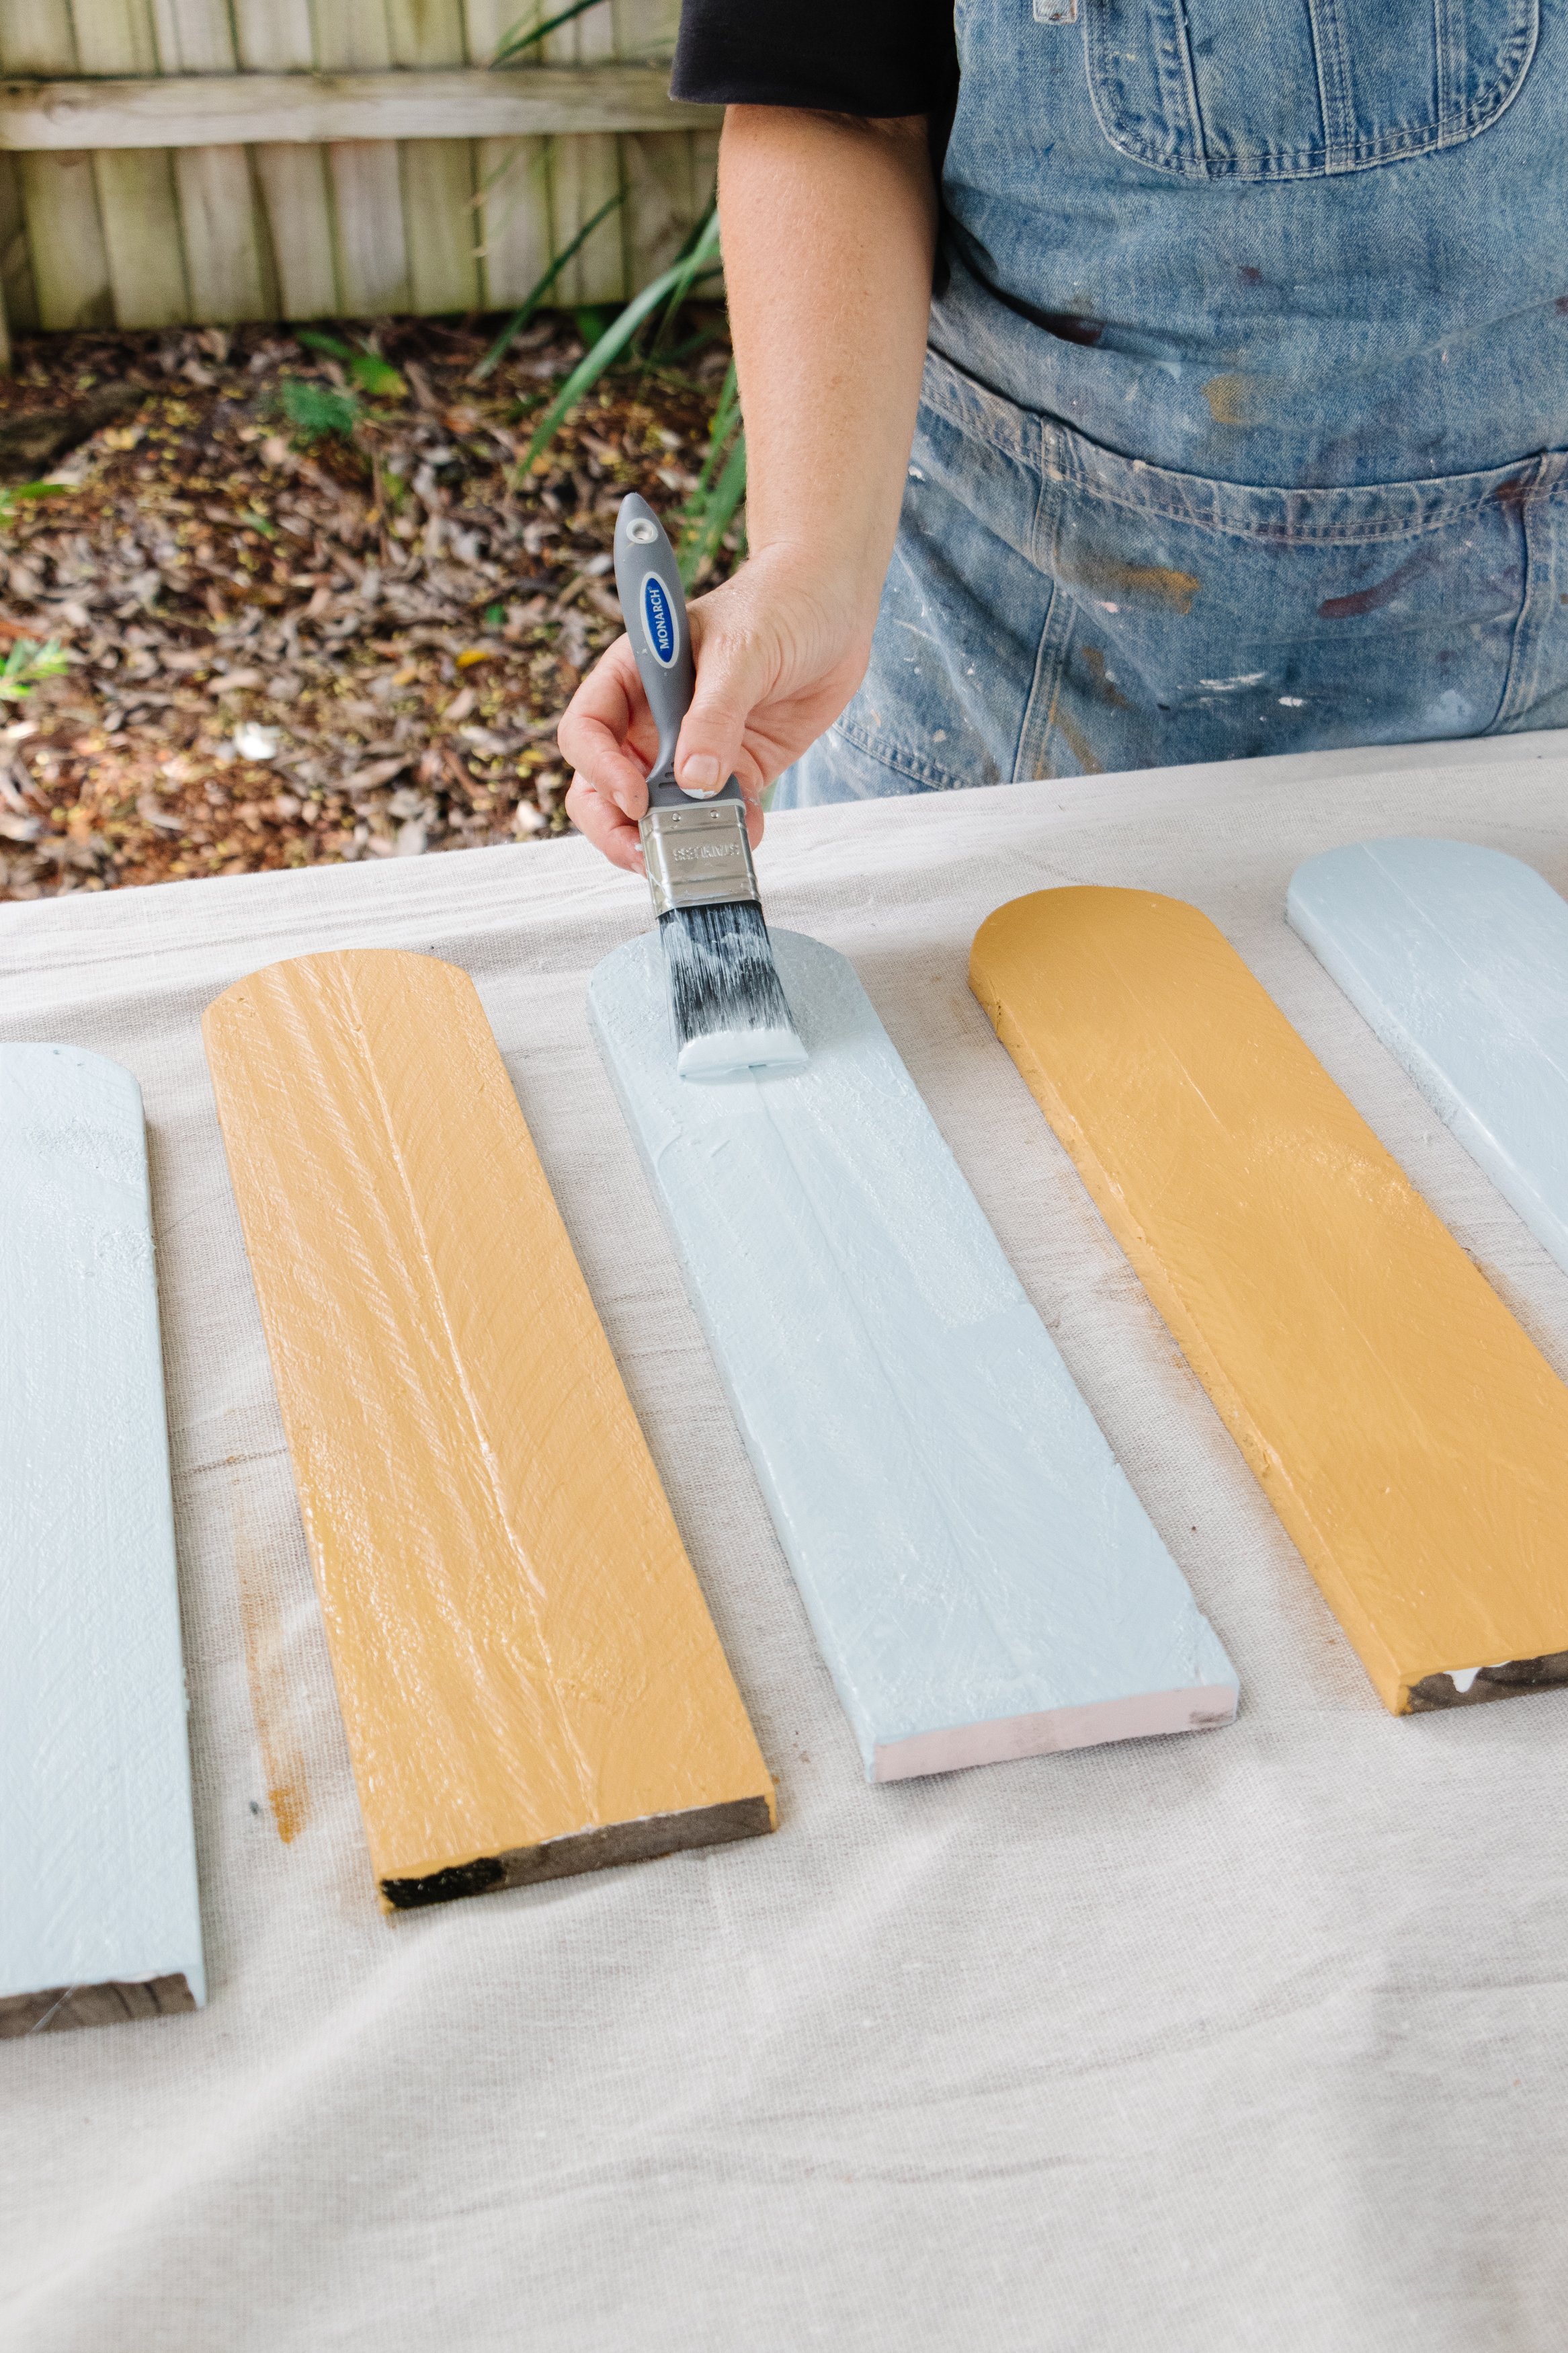
Step 4: I glued some spare timber to the back of the bench and then I painted the table. Following this, I painted the scalloped timber in two different colours.
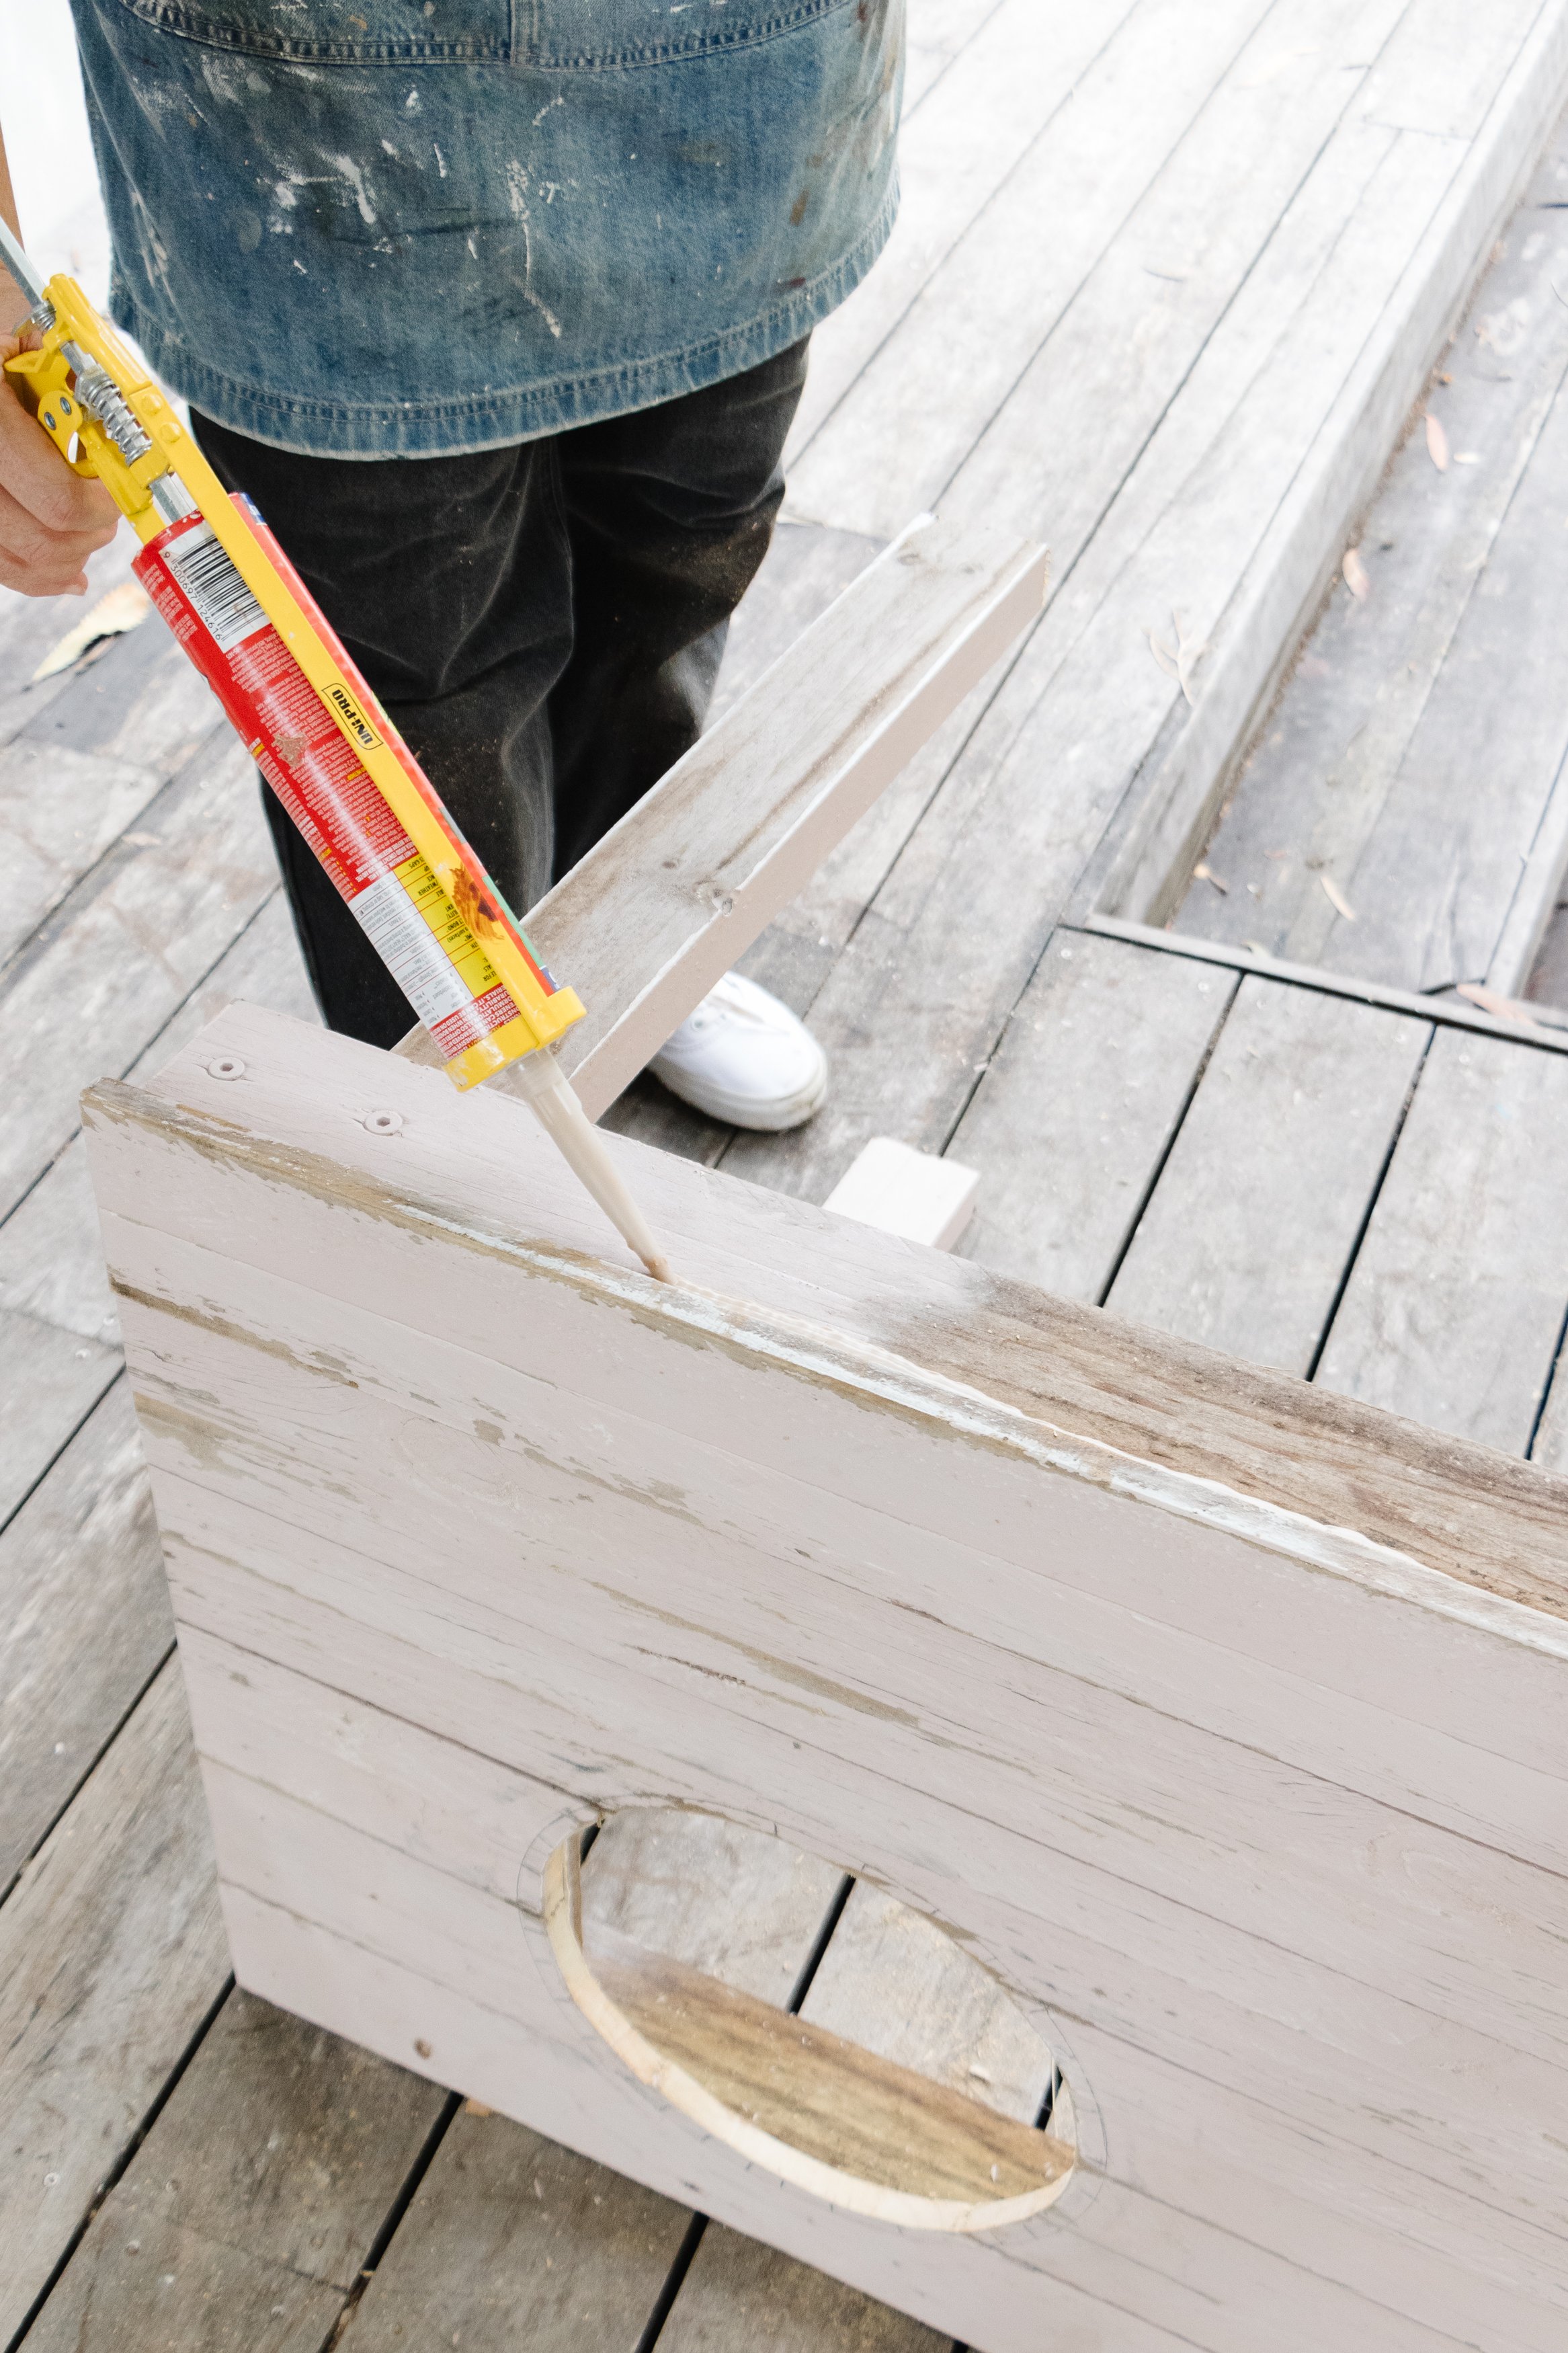
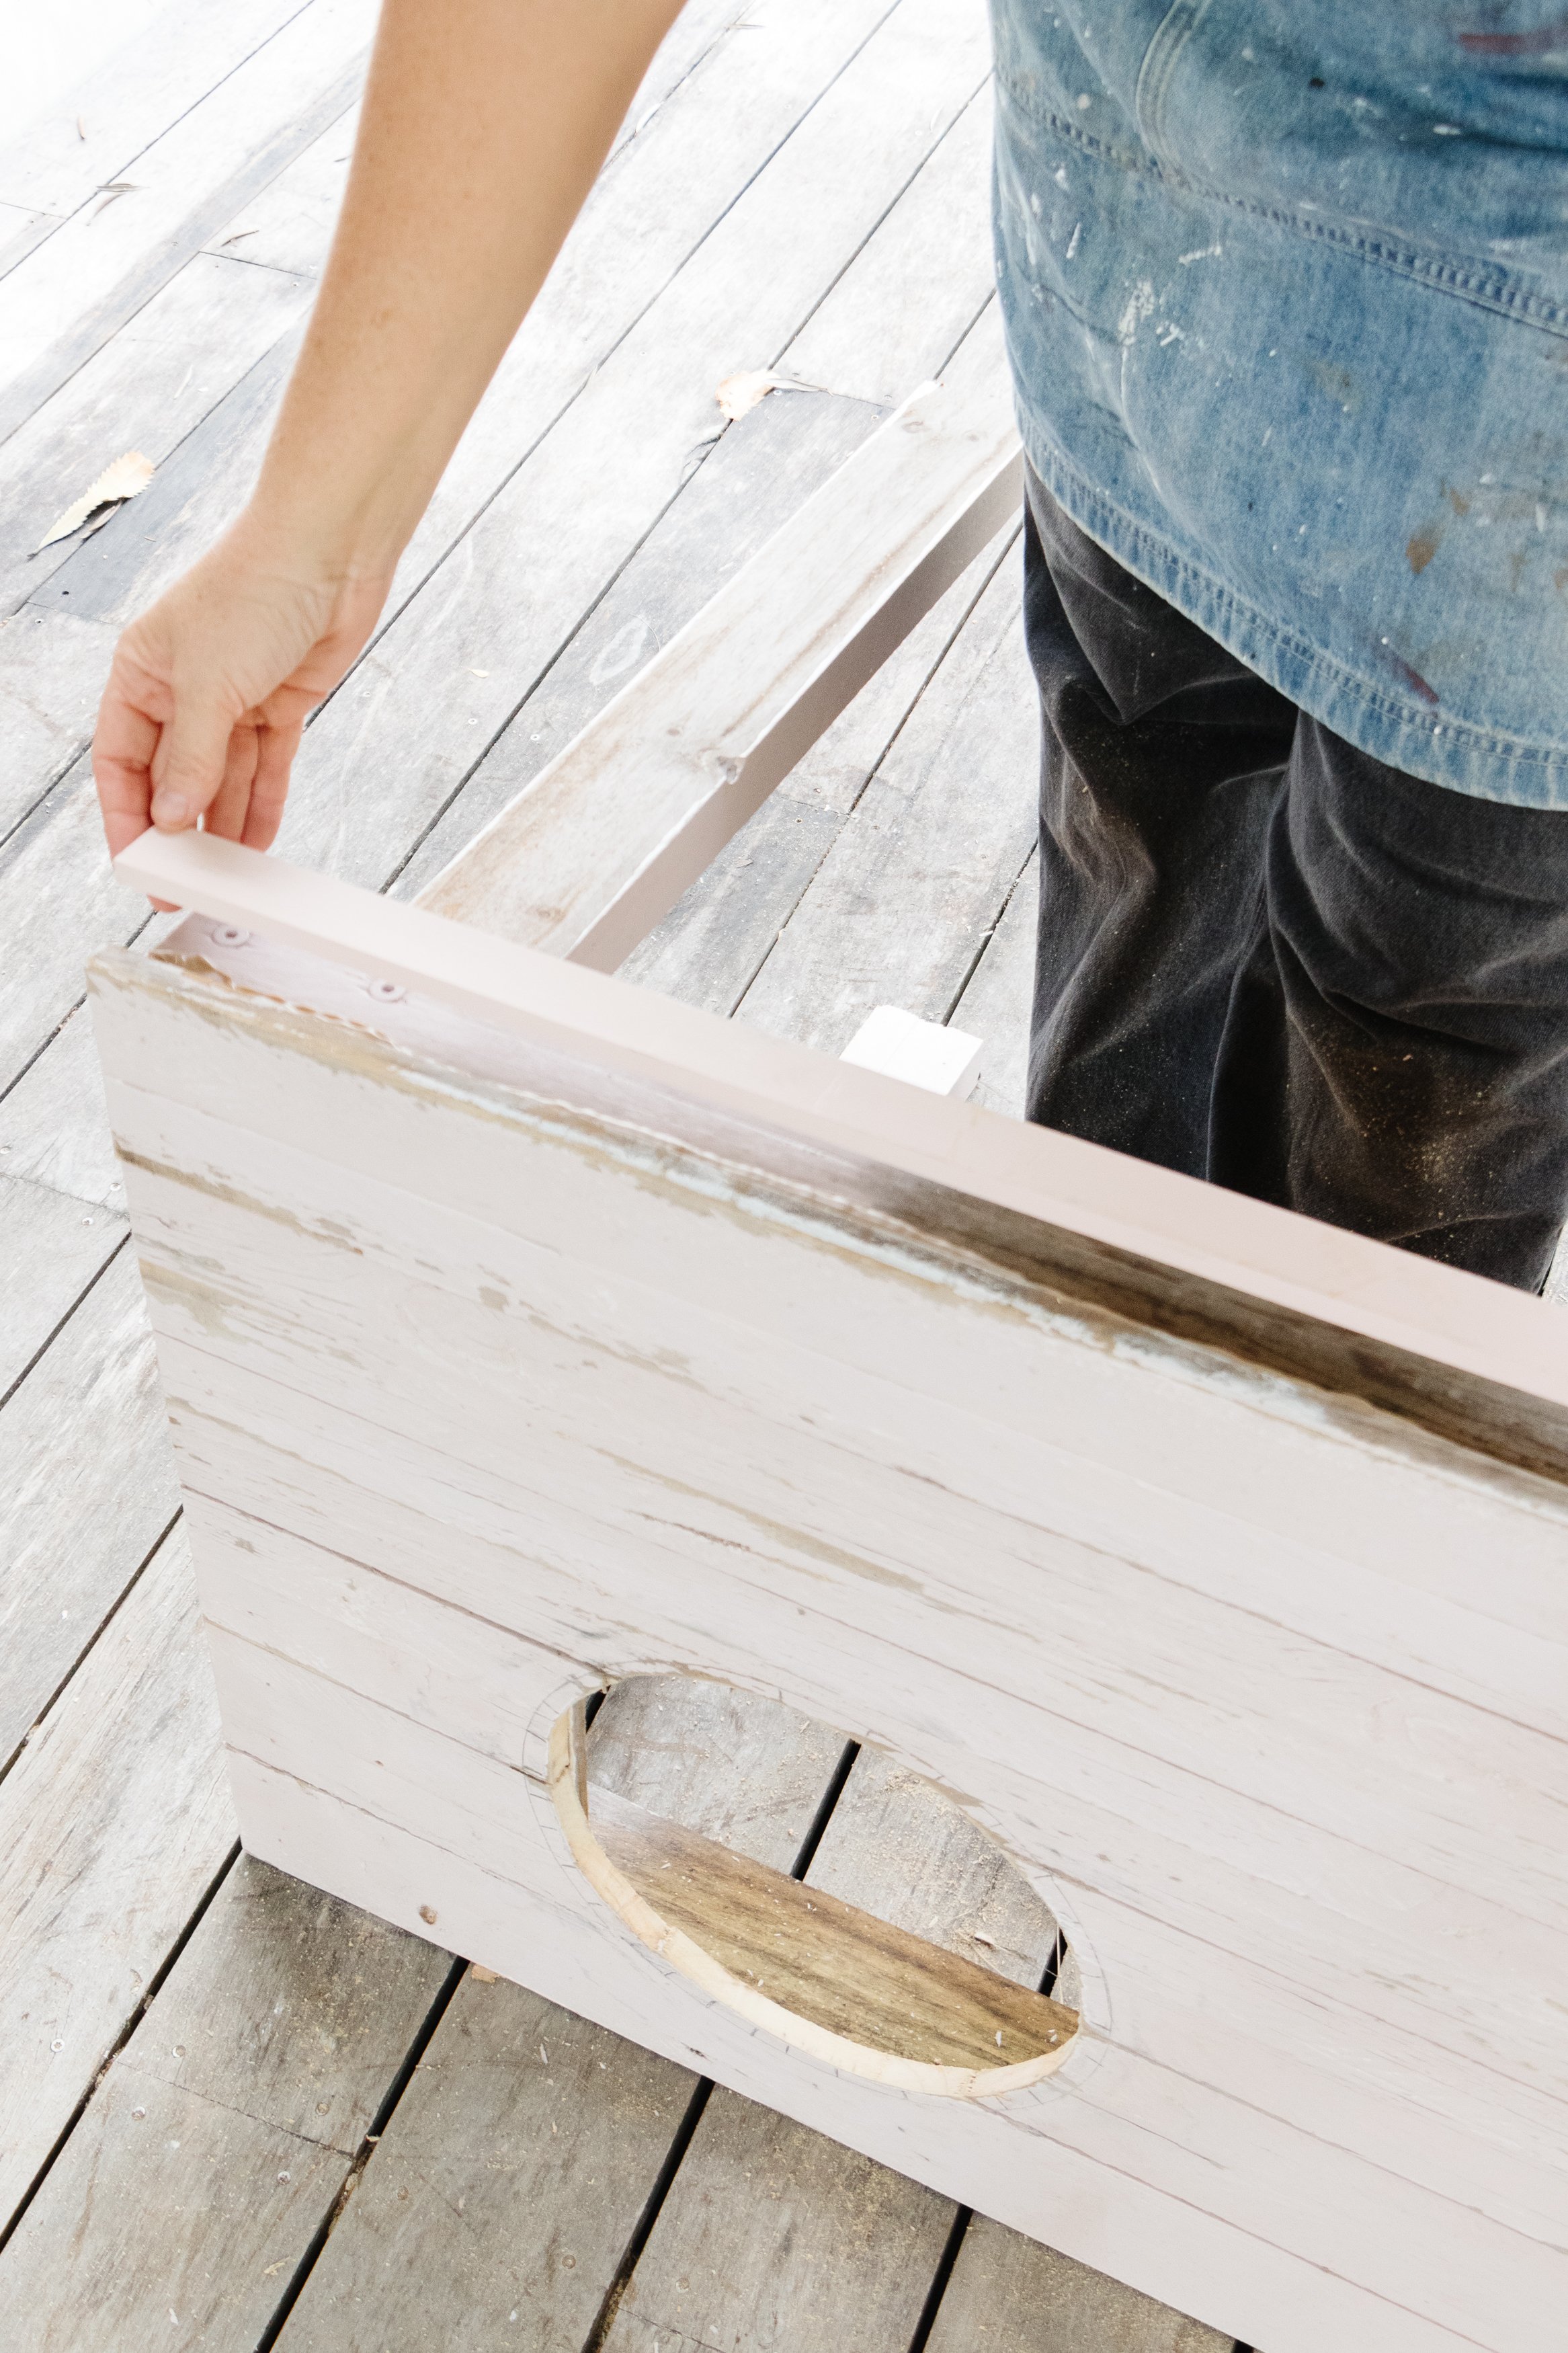

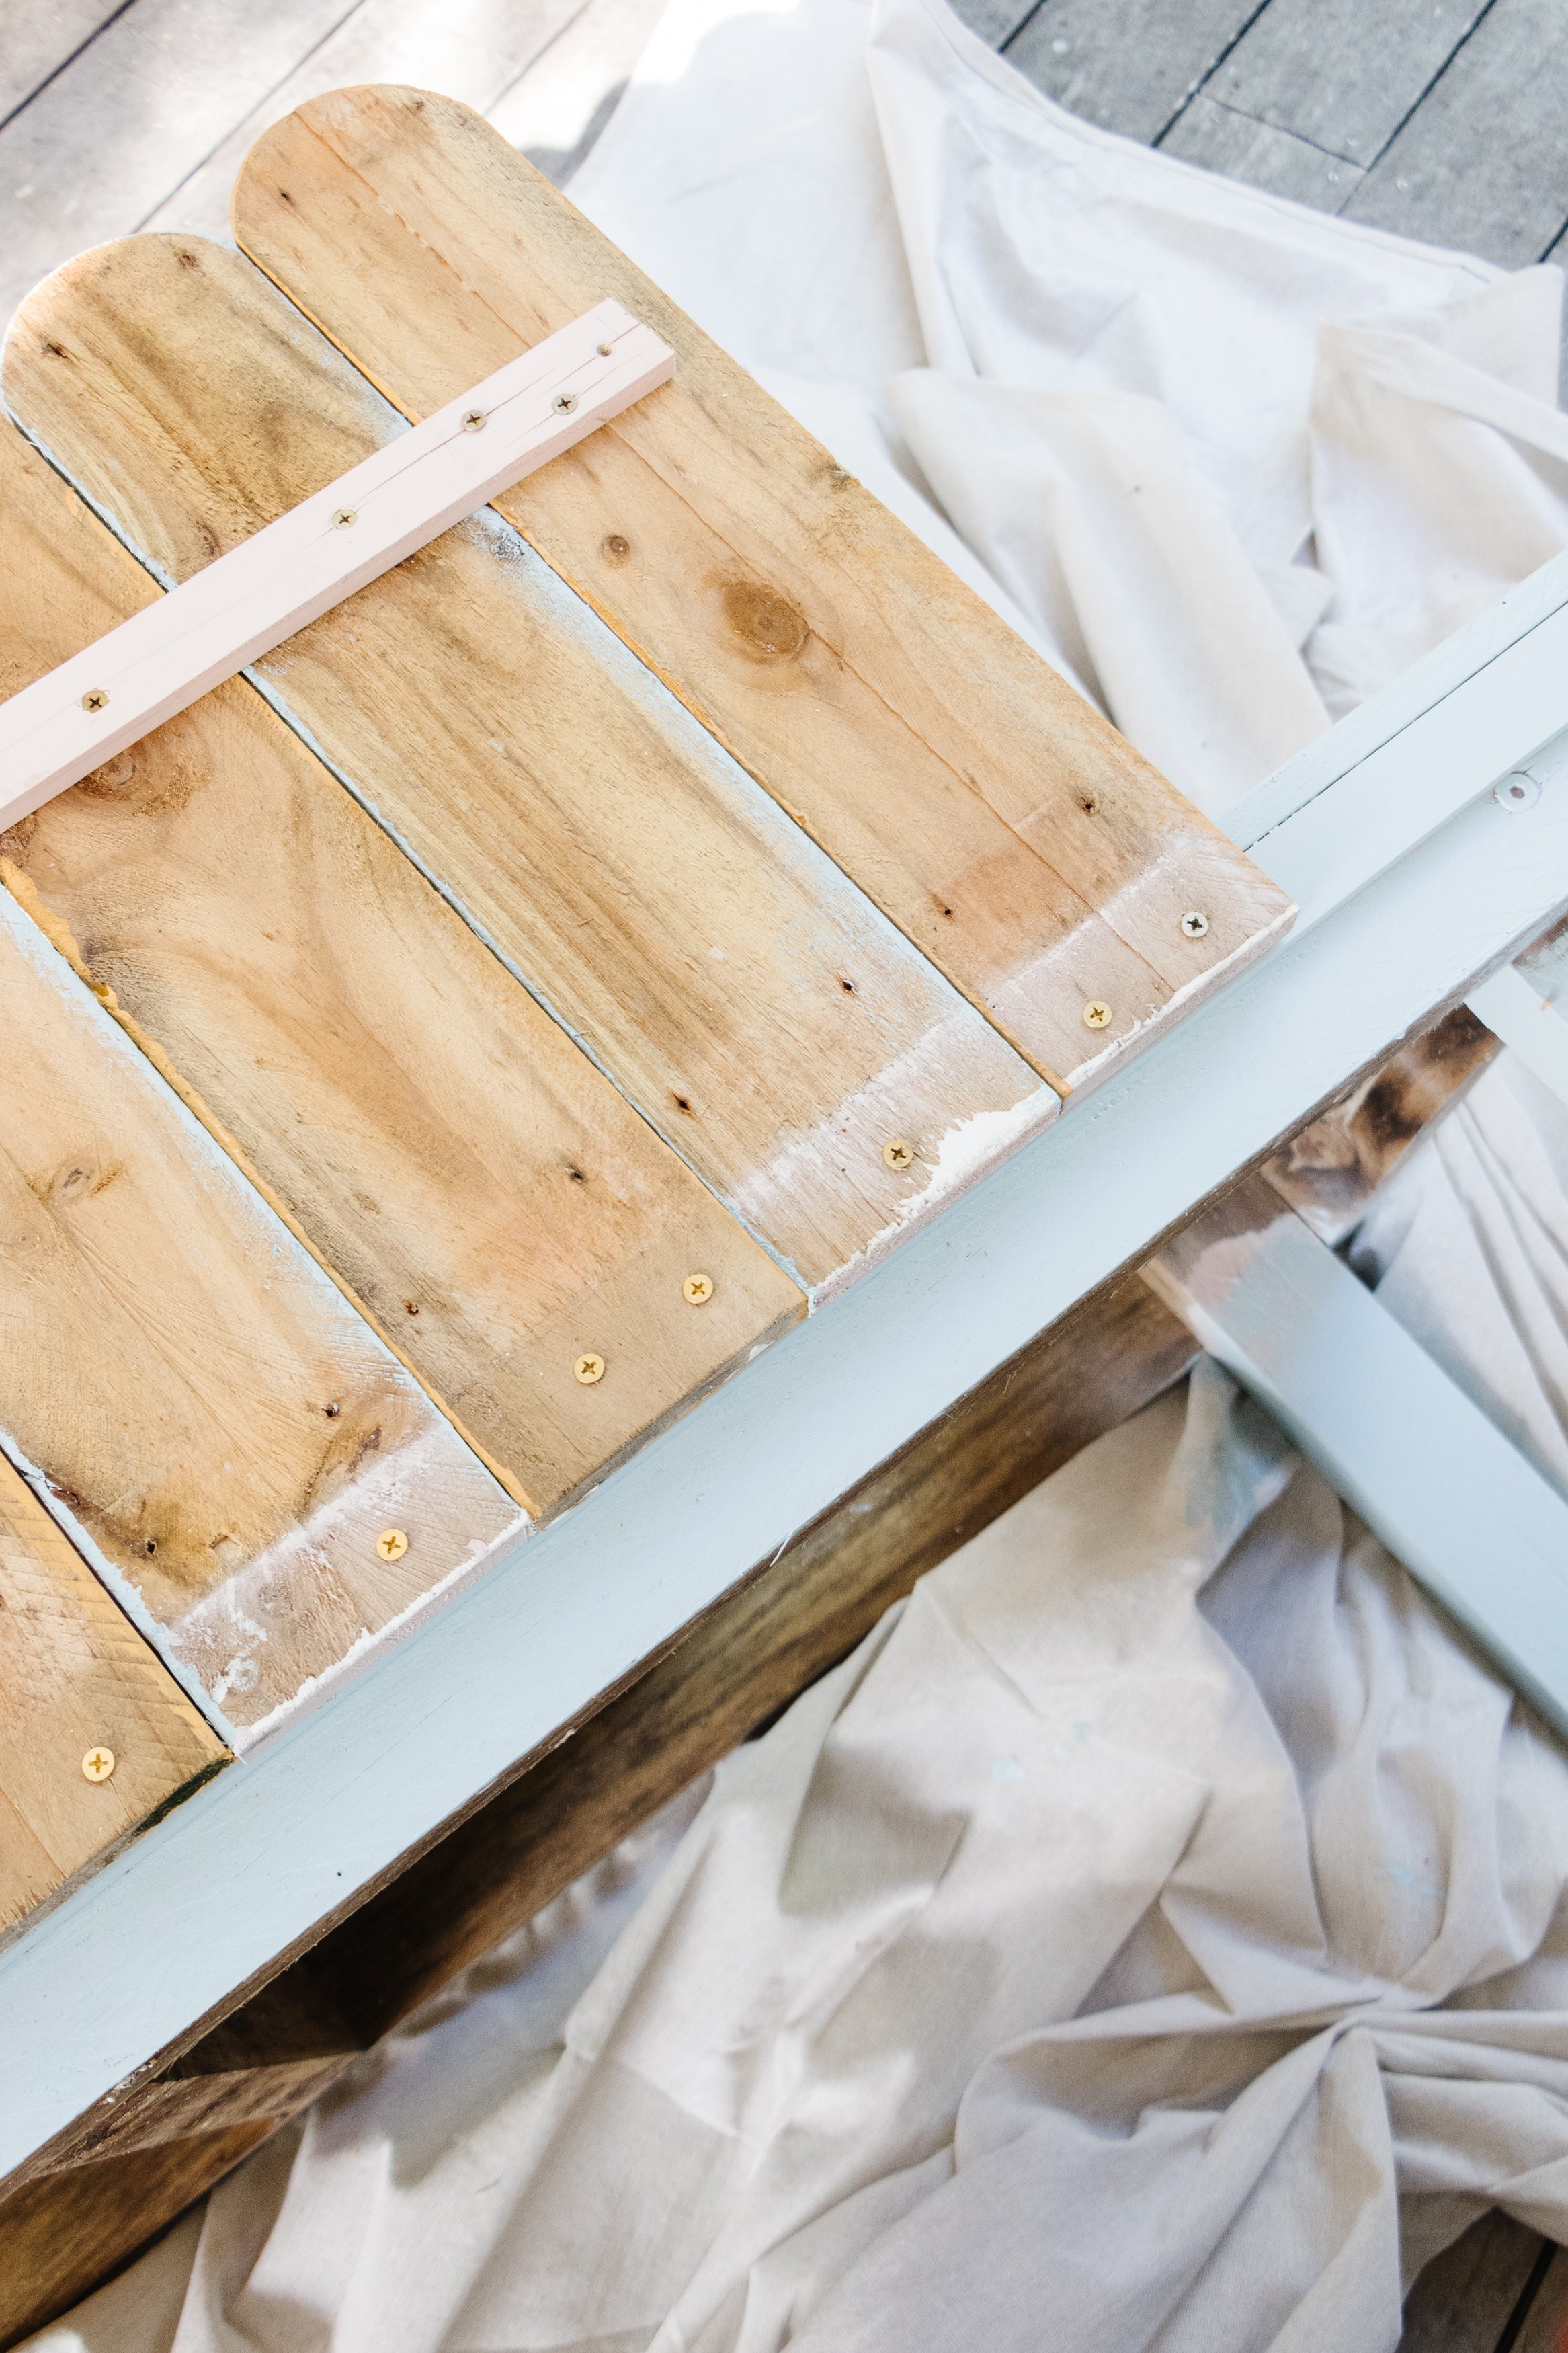
Step 5: I placed the scalloped pieces of timber paint side down onto my work table and secured them together using a piece of leftover timer and timber screws. Then I turned the table onto it’s front and drilled the scalloped timber onto the back. And that’s it!

Ta daaa!
I’ve always struggled painting rough exterior surfaces, but that changed today when I used Monarch’s Exterior Surfaces range. The paint glided on with ease and I barely used any, which was a pleasant surprise because in the past it’s ended with shredded rollers, an excessive amount of paint and lots of sweat and tears. But this couldn’t have been more effortless to execute. And thank you to everyone who helped me choose the paint colours over on Instagram! It’s been nice to try some new colours and the kids are obsessed!