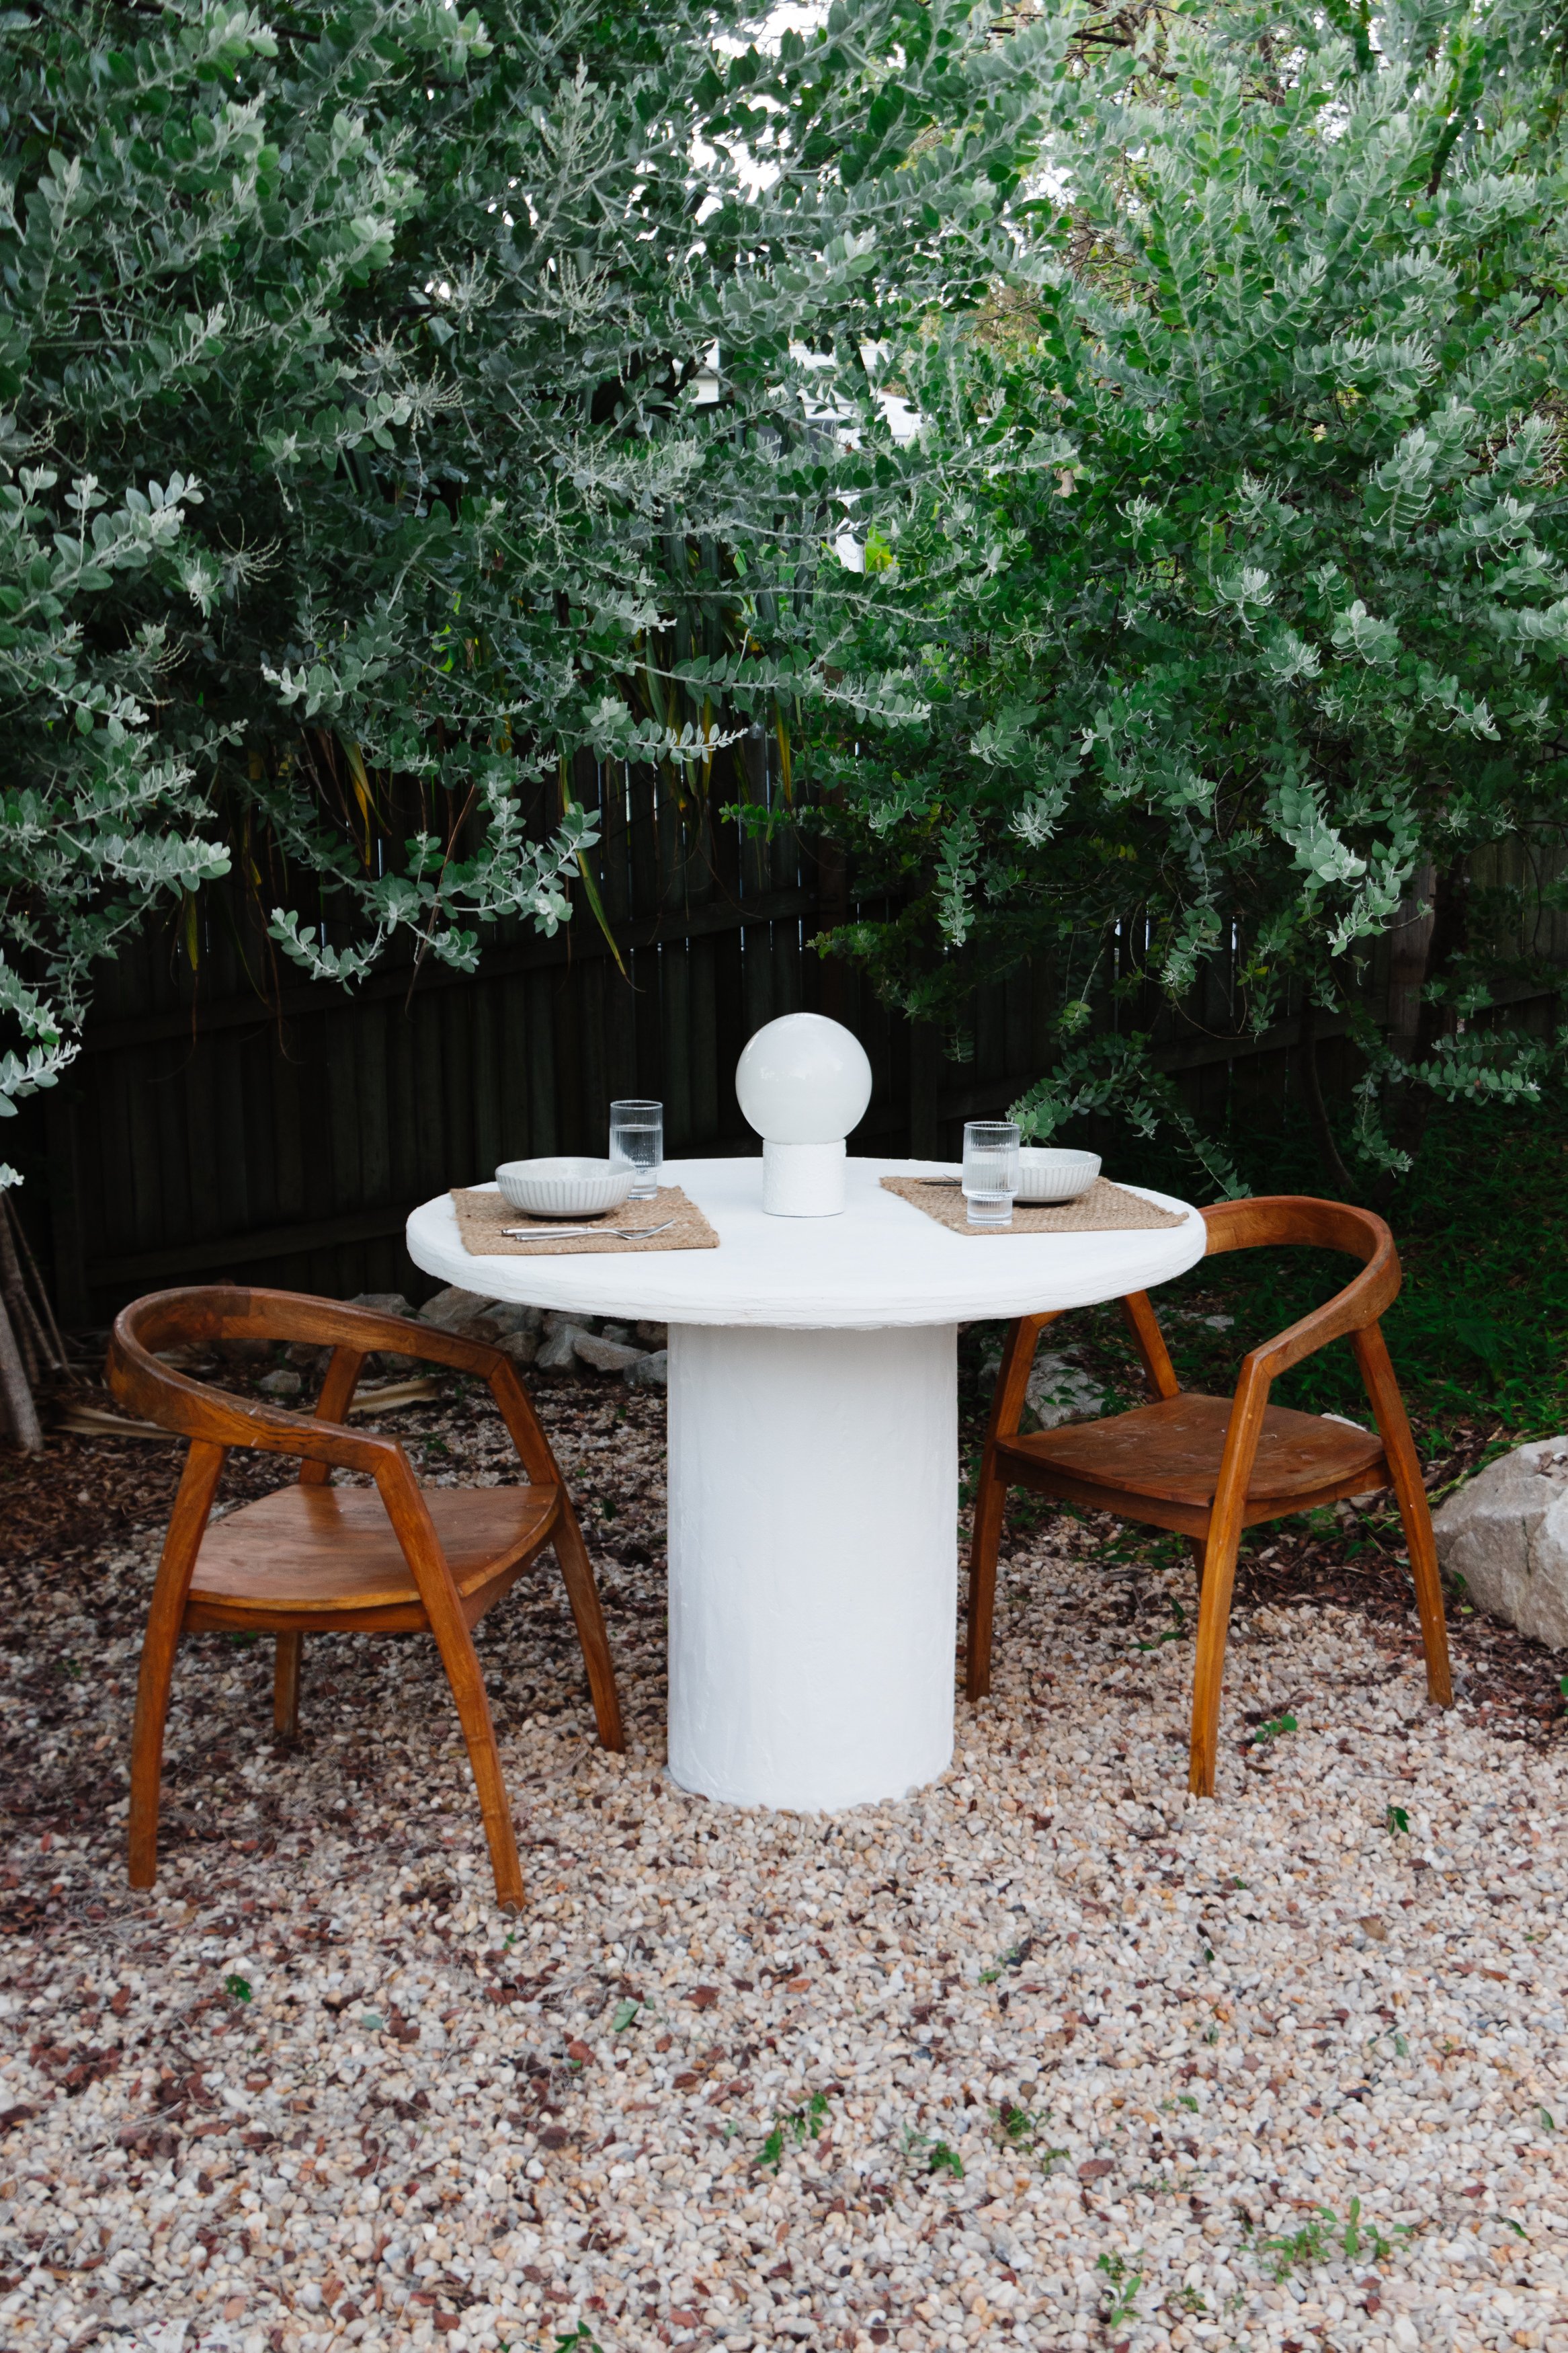
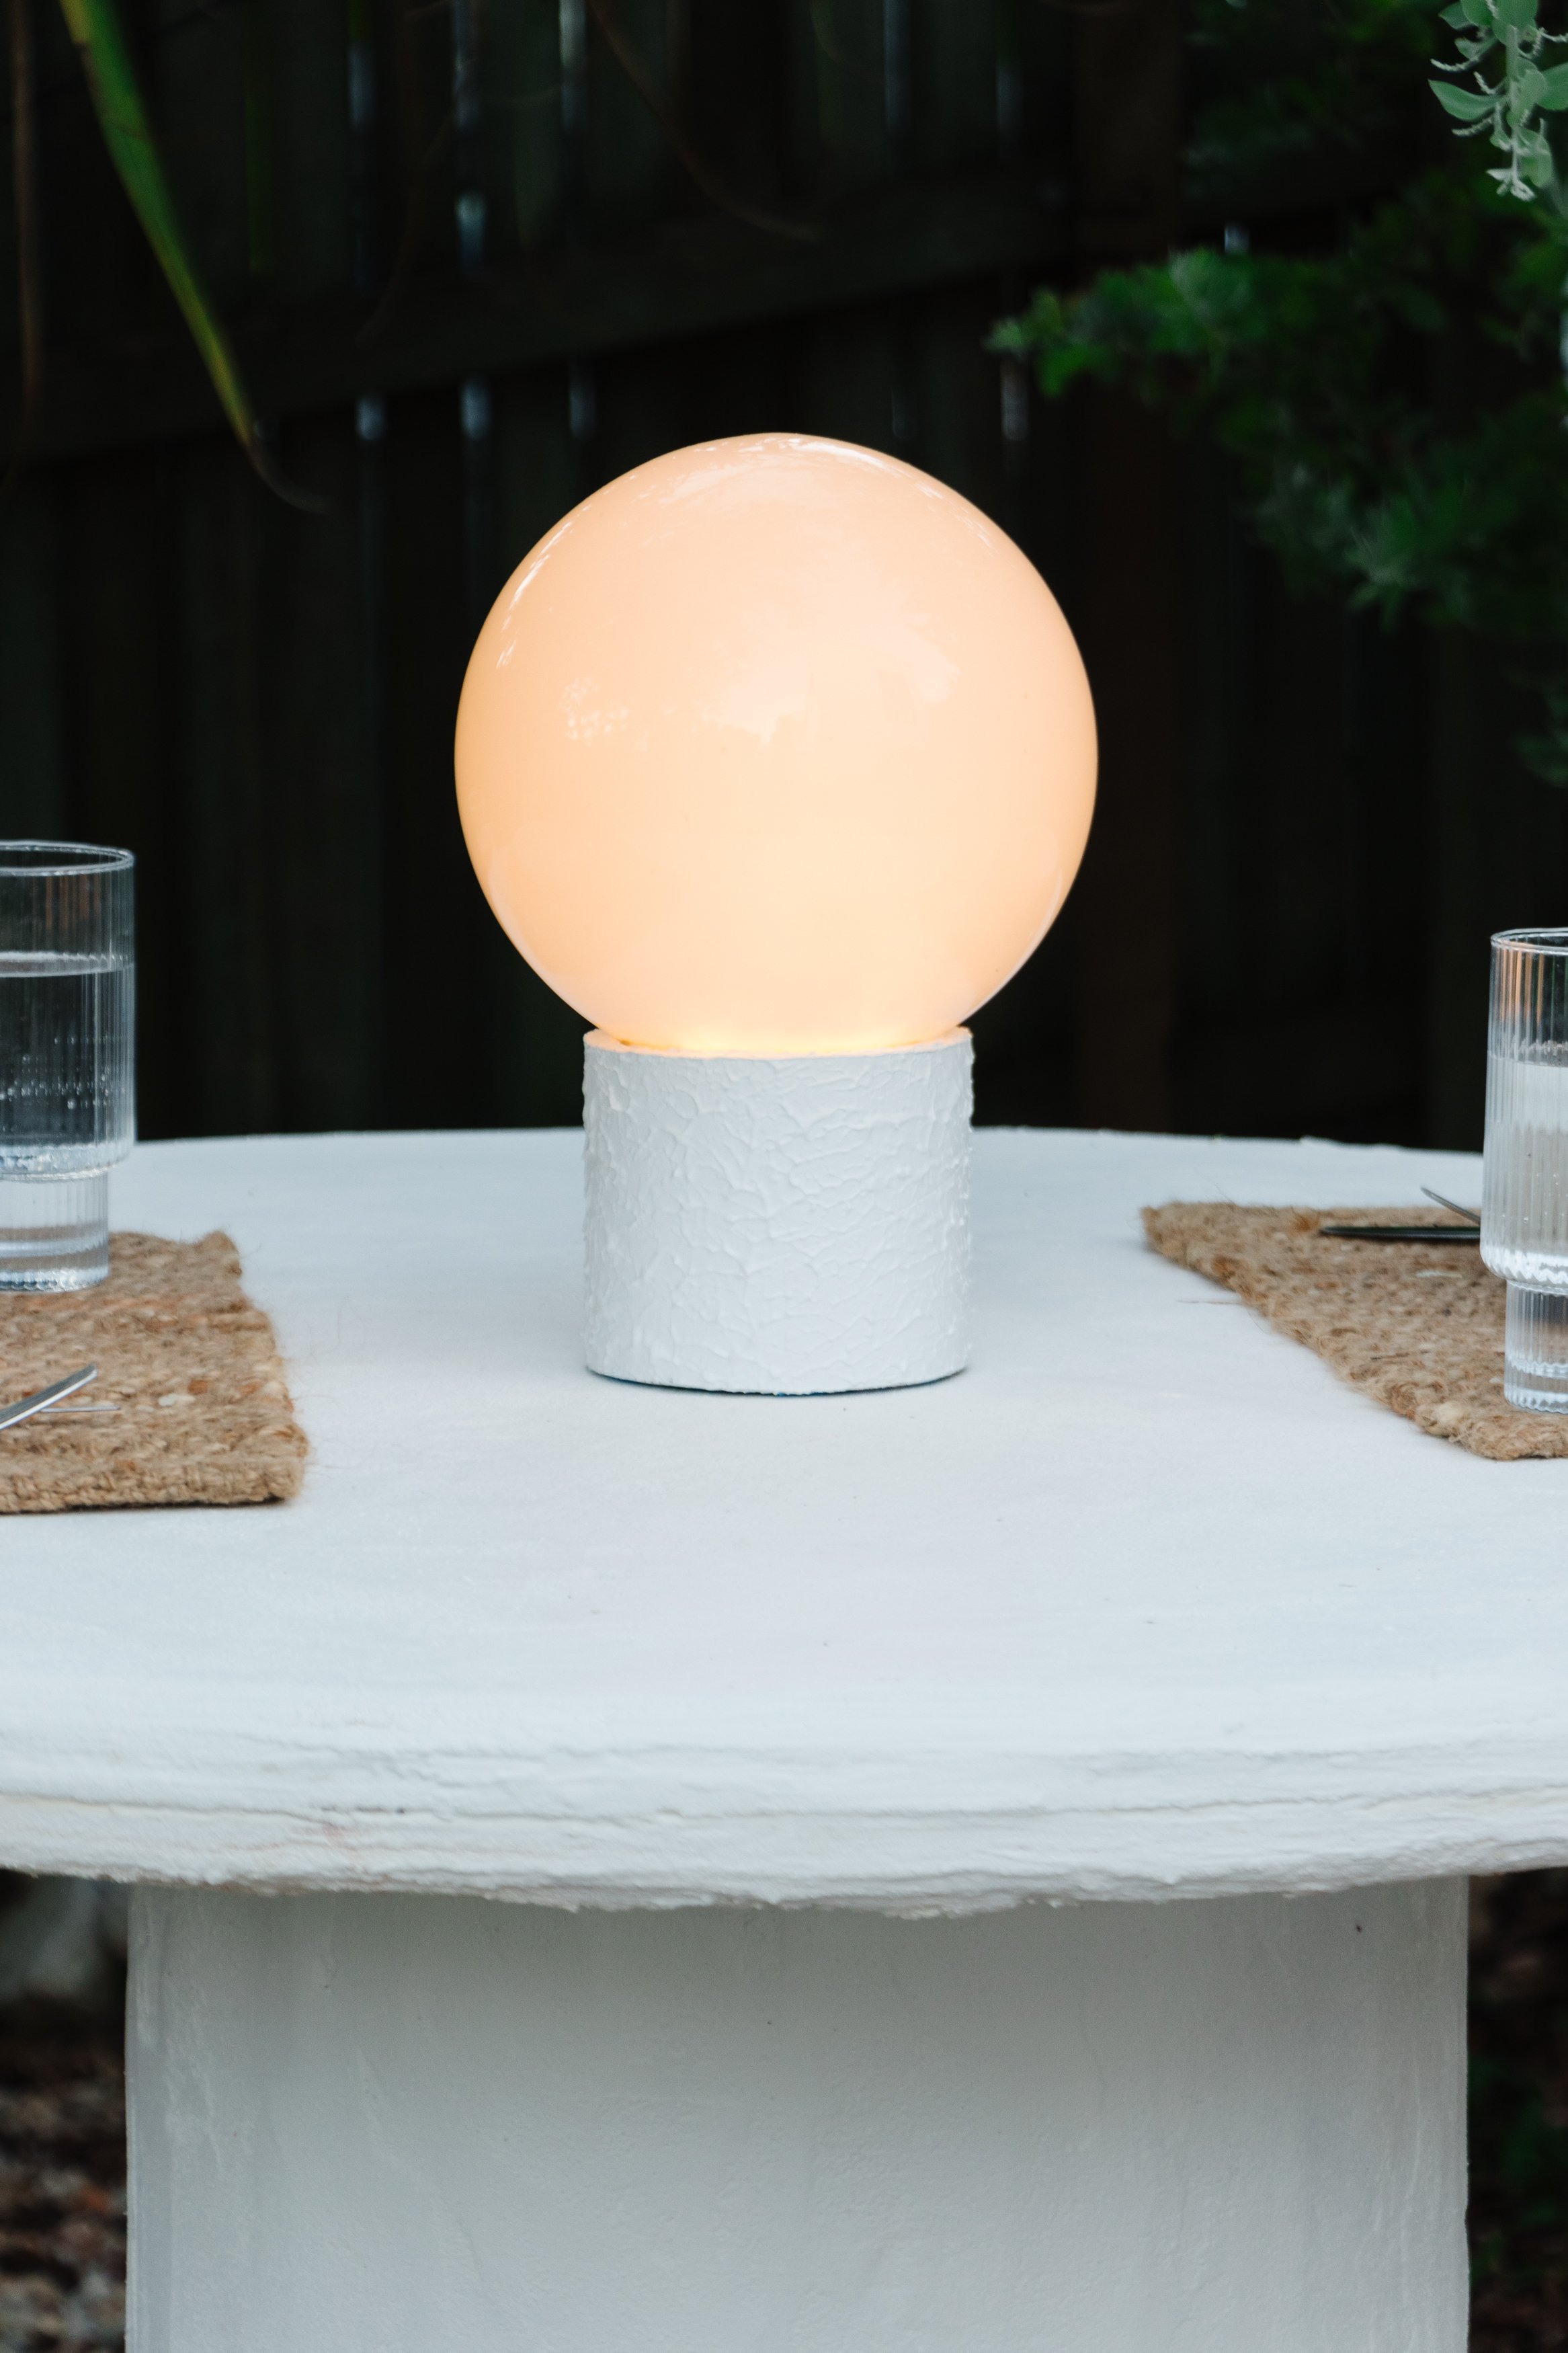
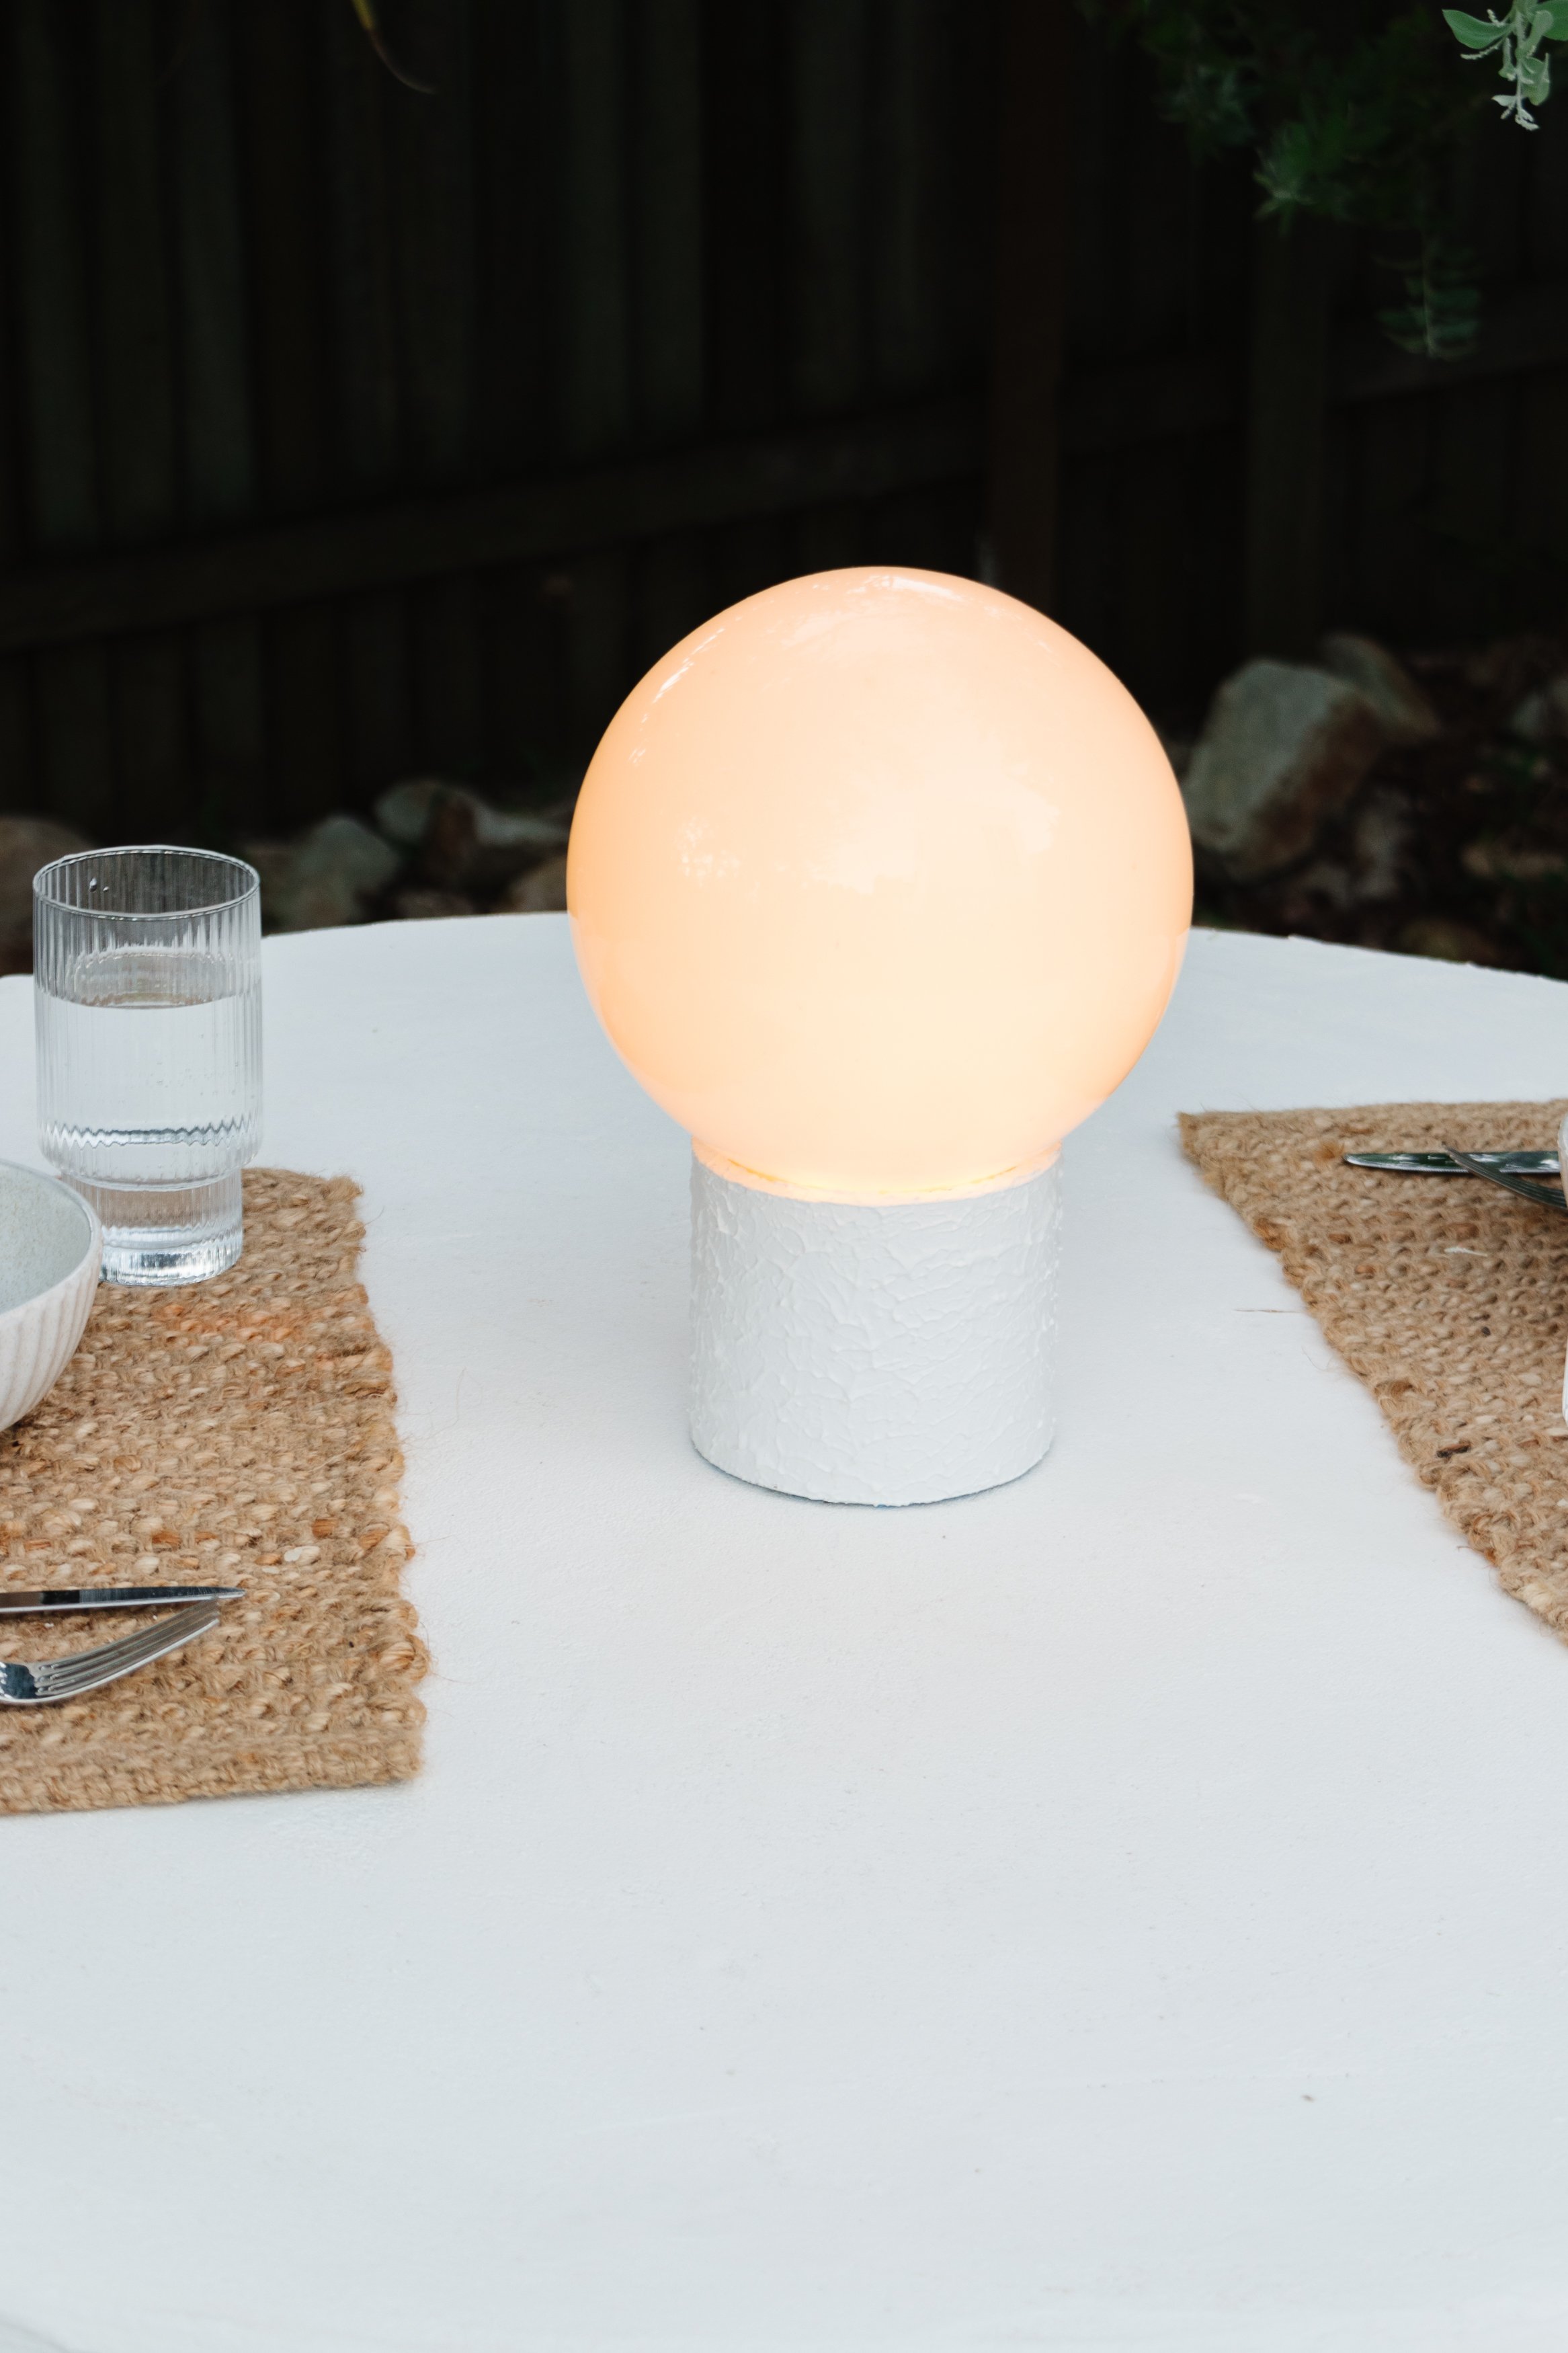
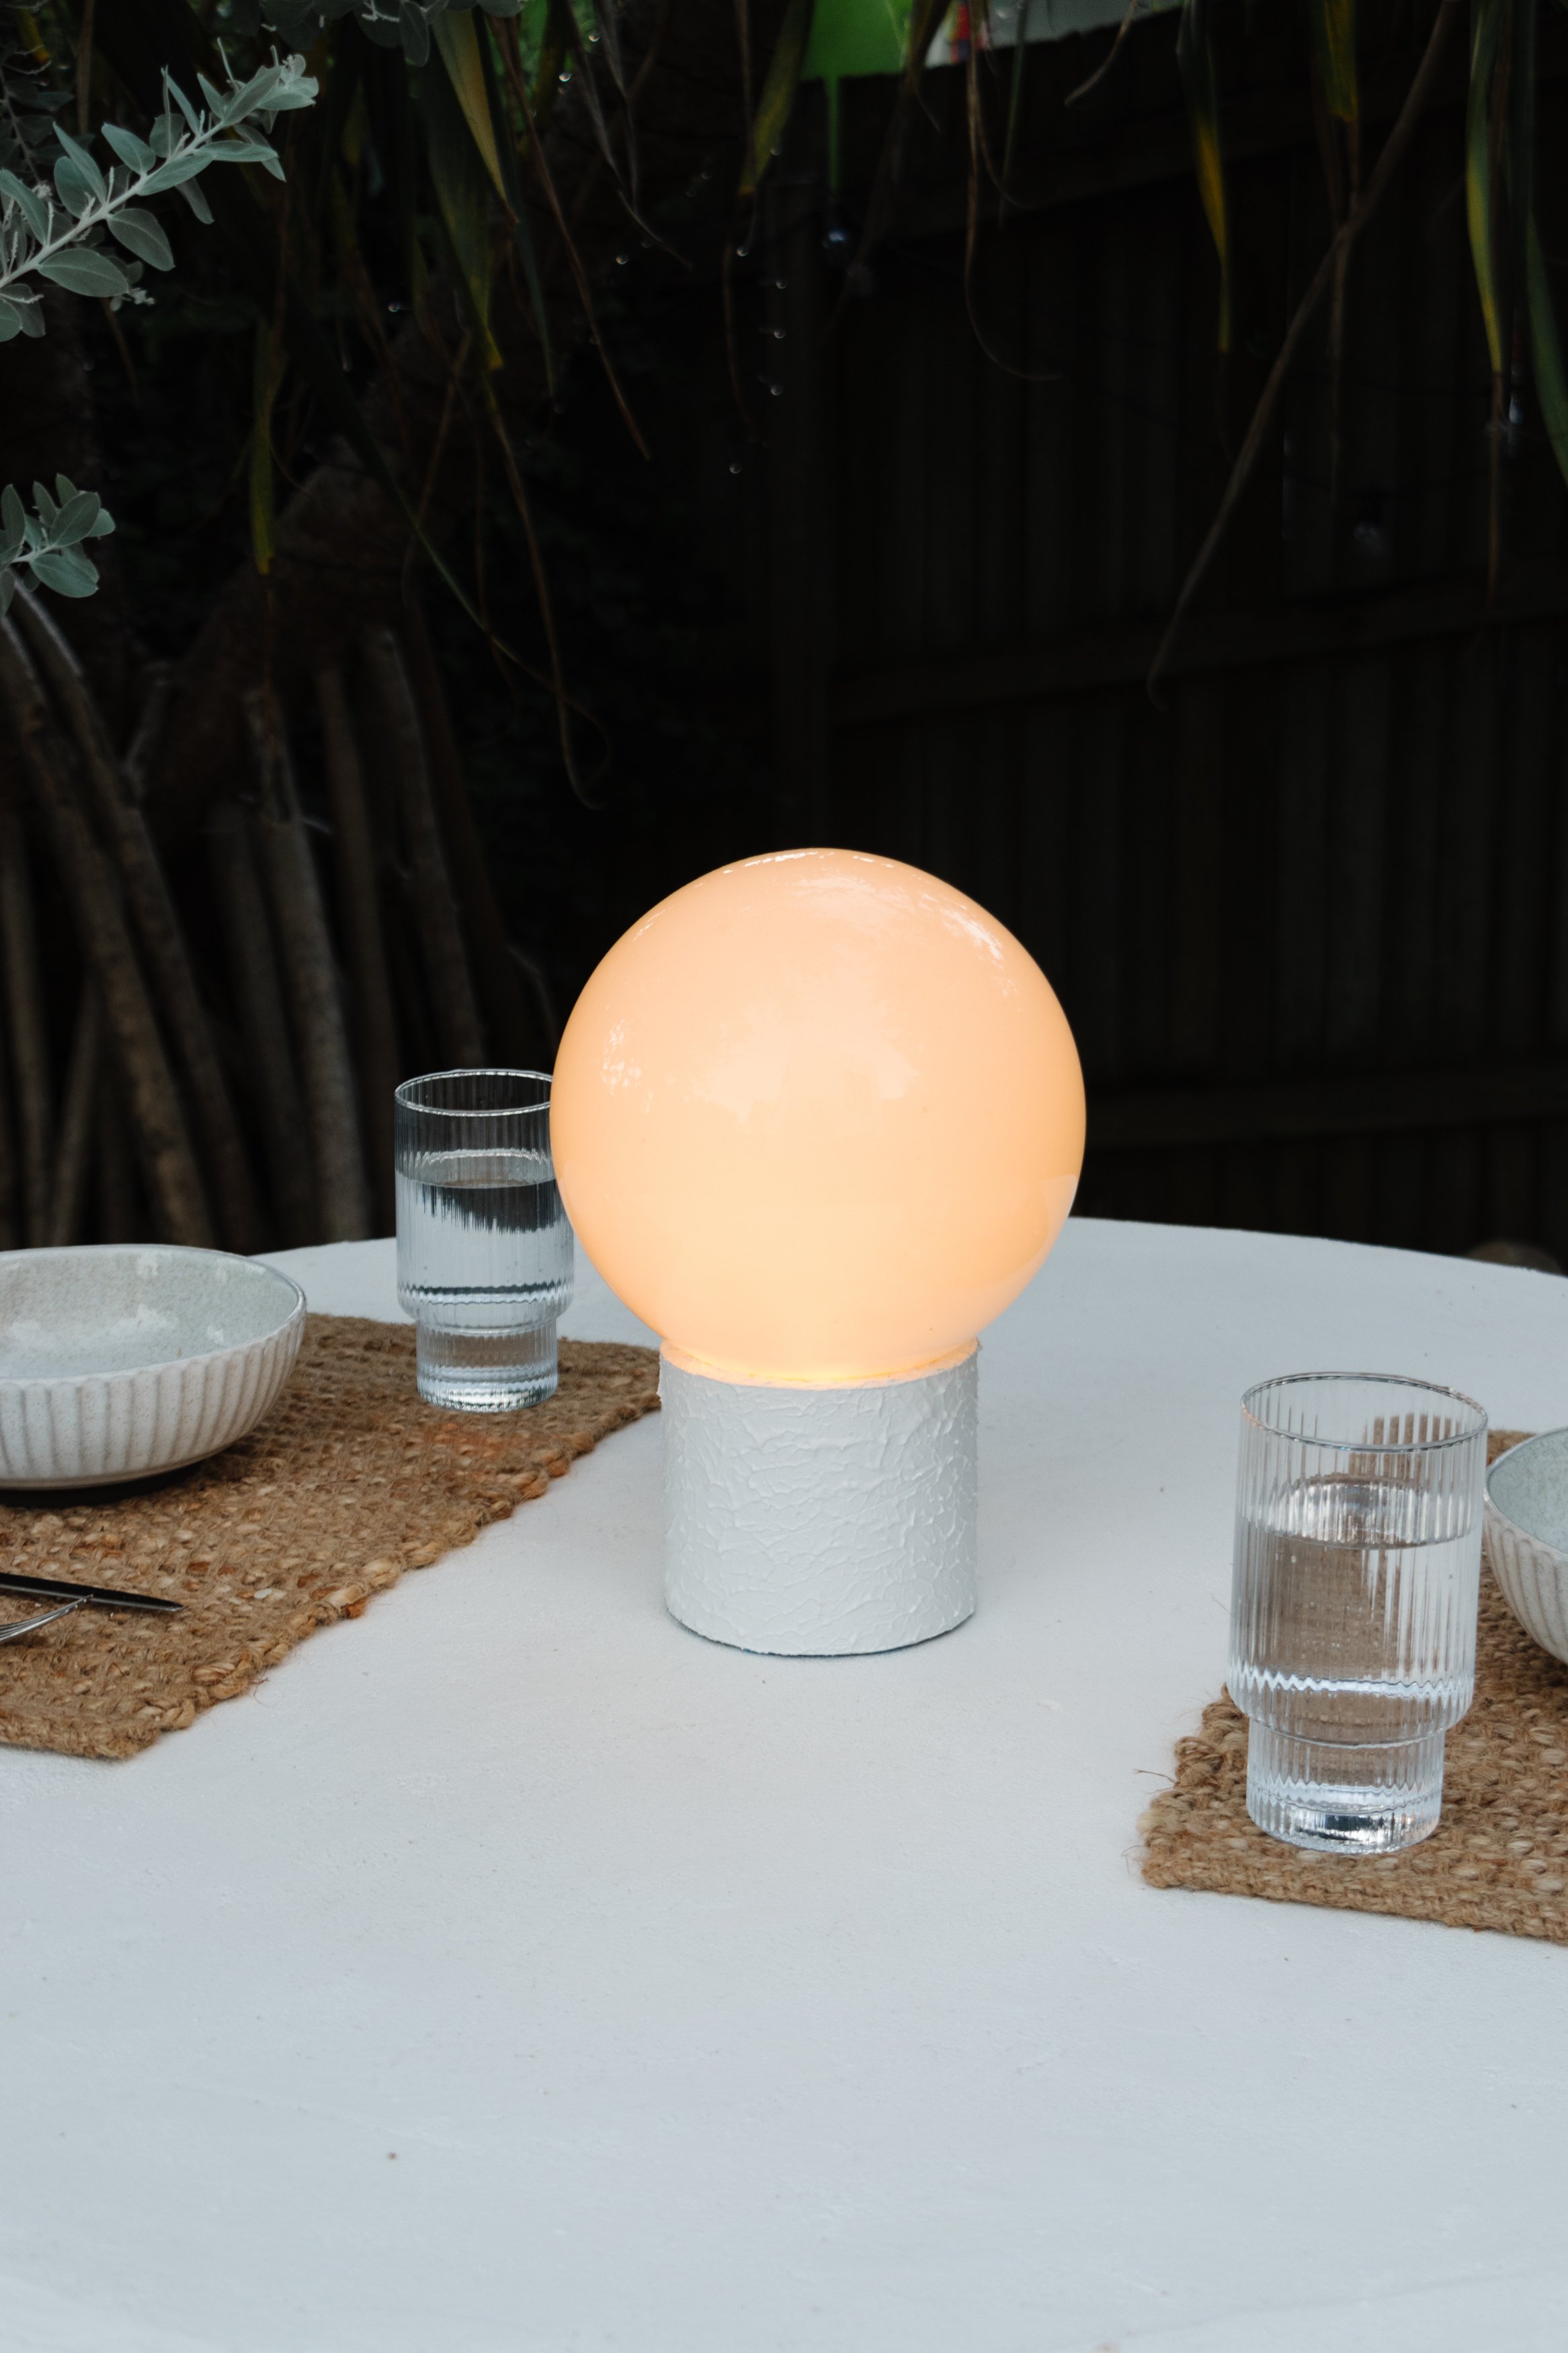
Upcycled Portable Table Lamp
Using a cardboard tube and my DIY Texture Paint!
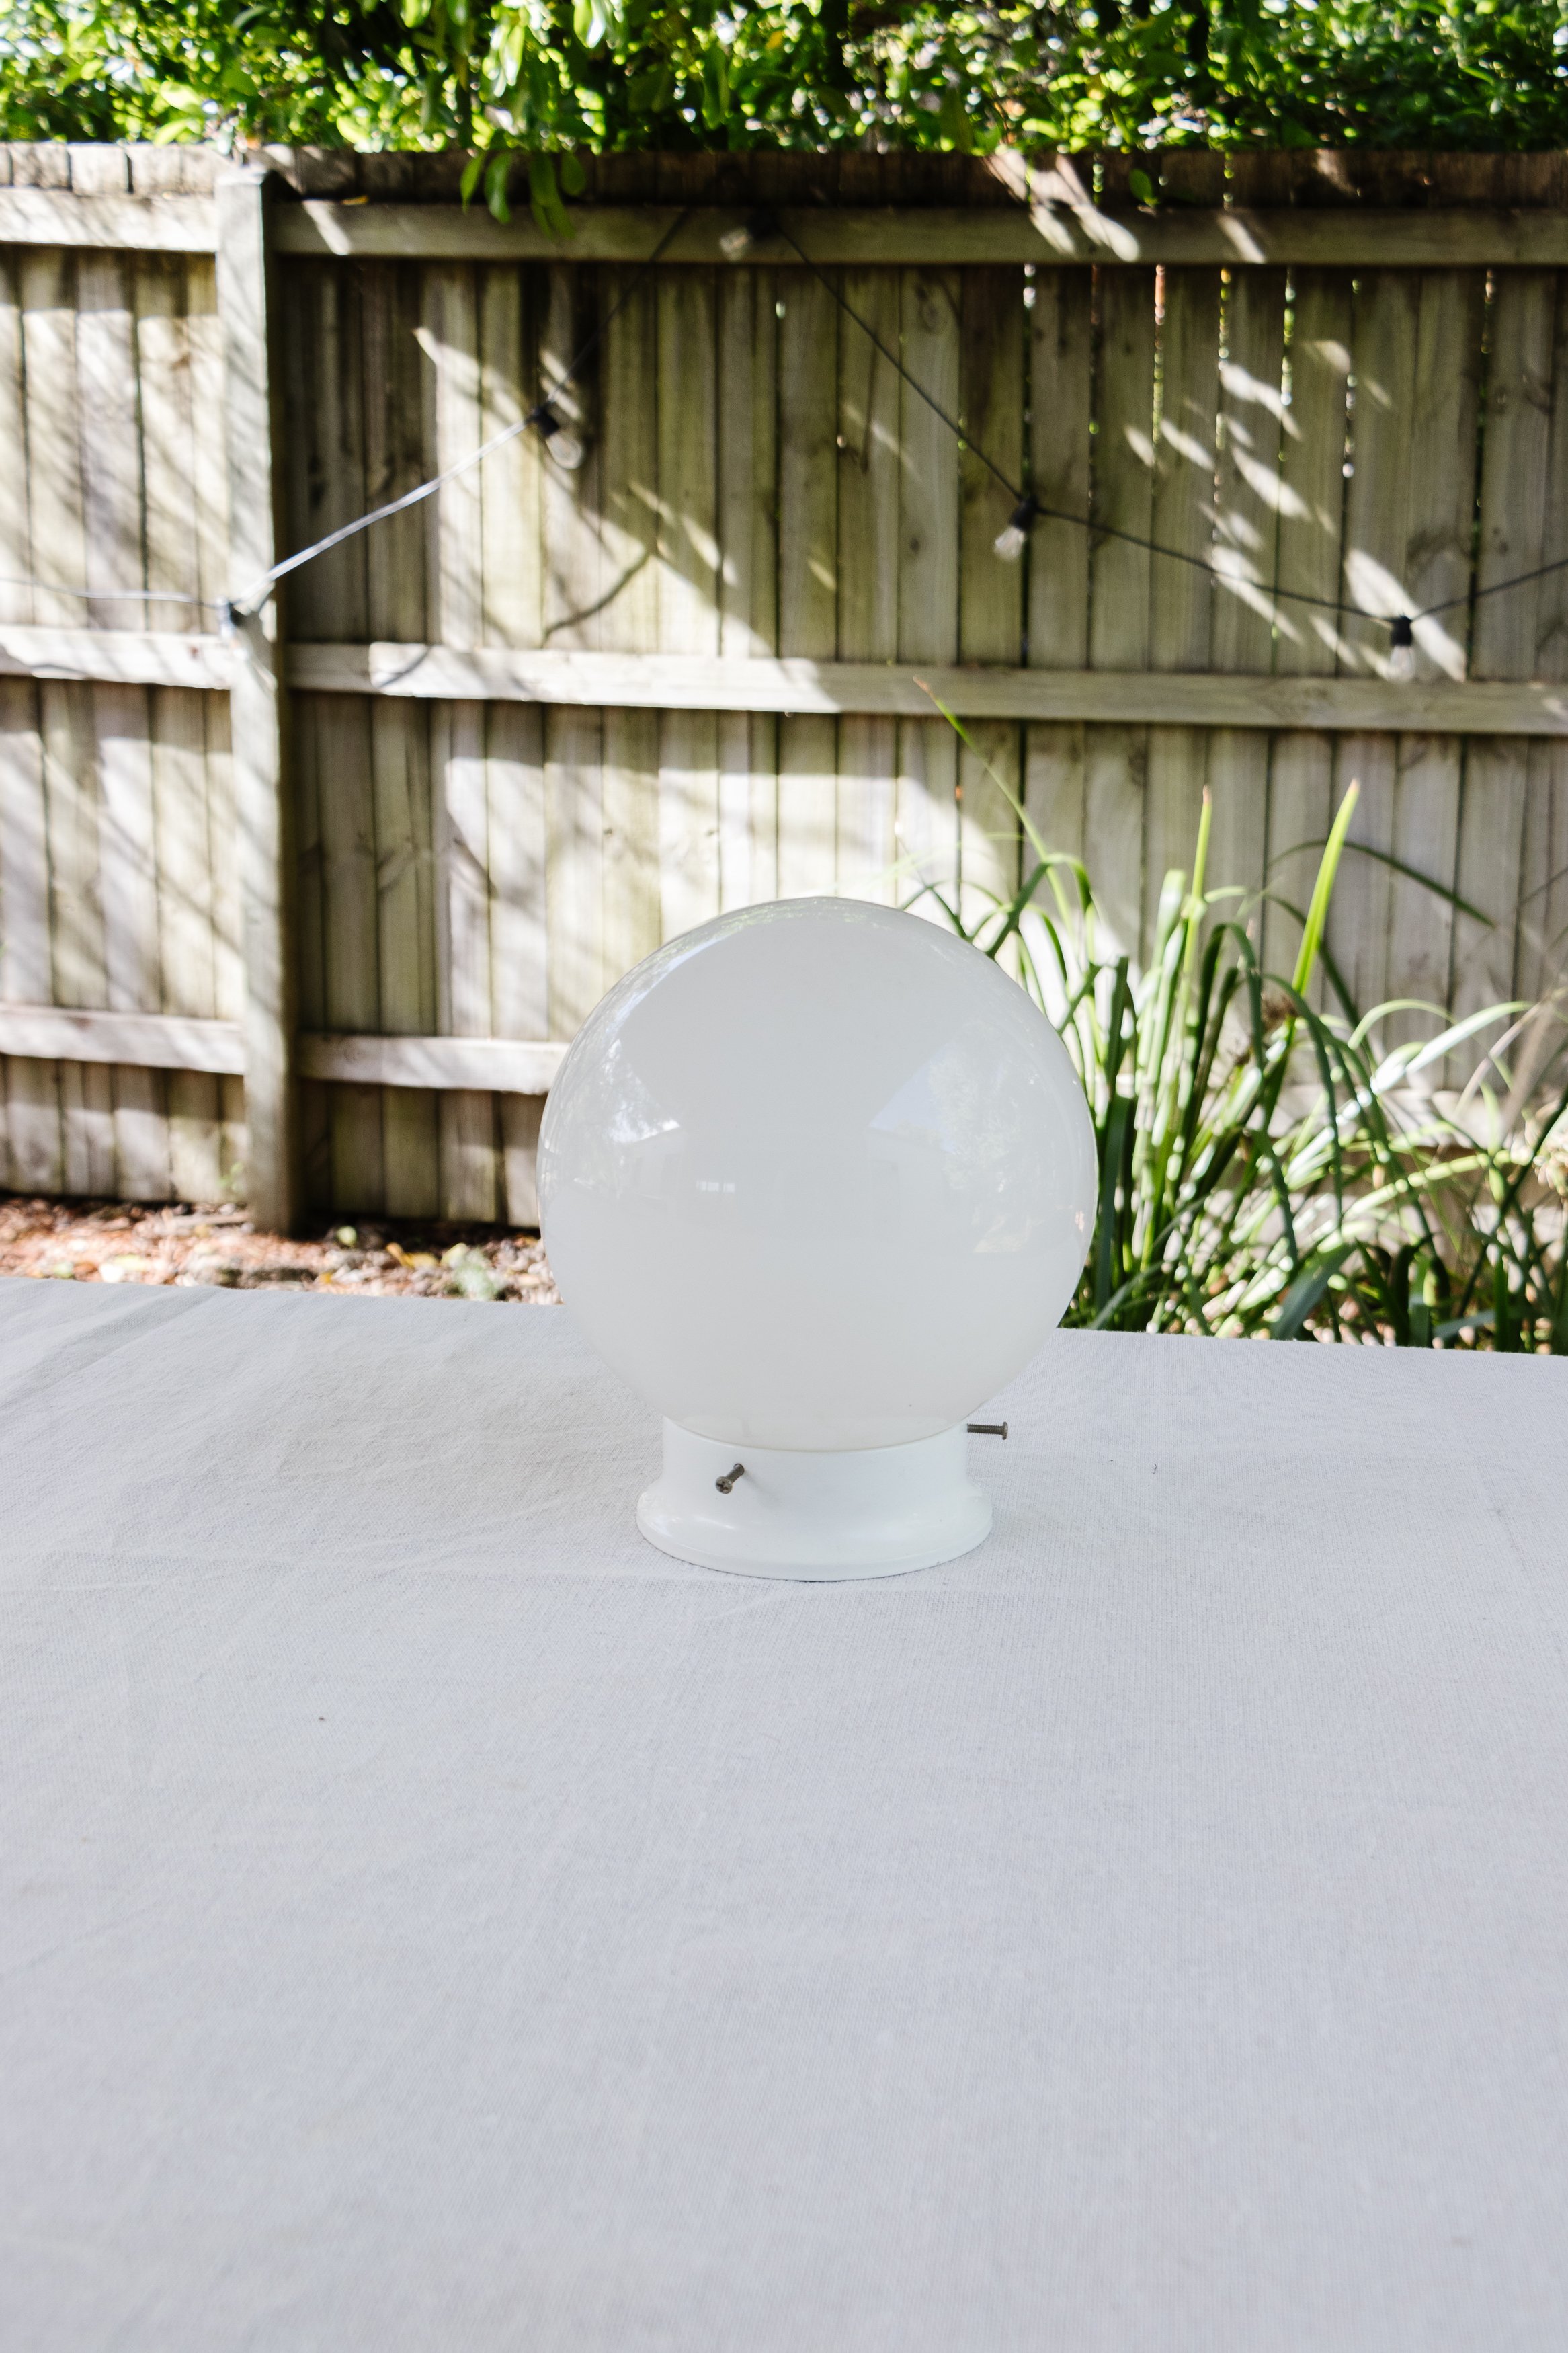
I recently popped into my favourite tip shops in Brisbane - Treasure Trove in Acacia Ridge and Geebung. I had a list in hand but as always, I stumbled across something that sparked a new idea. I saw some light fixtures and honestly, I’ve seen iterations of these secondhand light fittings for the past few years but haven’t been able to think about how I could upcycle them. But then I got an idea. And another. And another. And before I knew it I had a plan in mind. So let me show you how to make a table lamp using secondhand materials that is beautiful - and portable!
Watch this video to learn how to make this Upcycled Portable Table Lamp
Before & After


Project Details
♻️ Upcycling: Portable Table Lamp
🕒 Project Time Estimate: 45 mins (not including paint drying time)
🪑 Skill Level: Beginner
👷♀️ Protective Gear: Safety eyewear
💰 Materials Cost: $60
DIY Texture Paint
To make my DIY Texture Paint, you’ll find the tutorial here.
Tools
Pencil
Ruler or measuring tape
Handsaw
Paint brush

How To
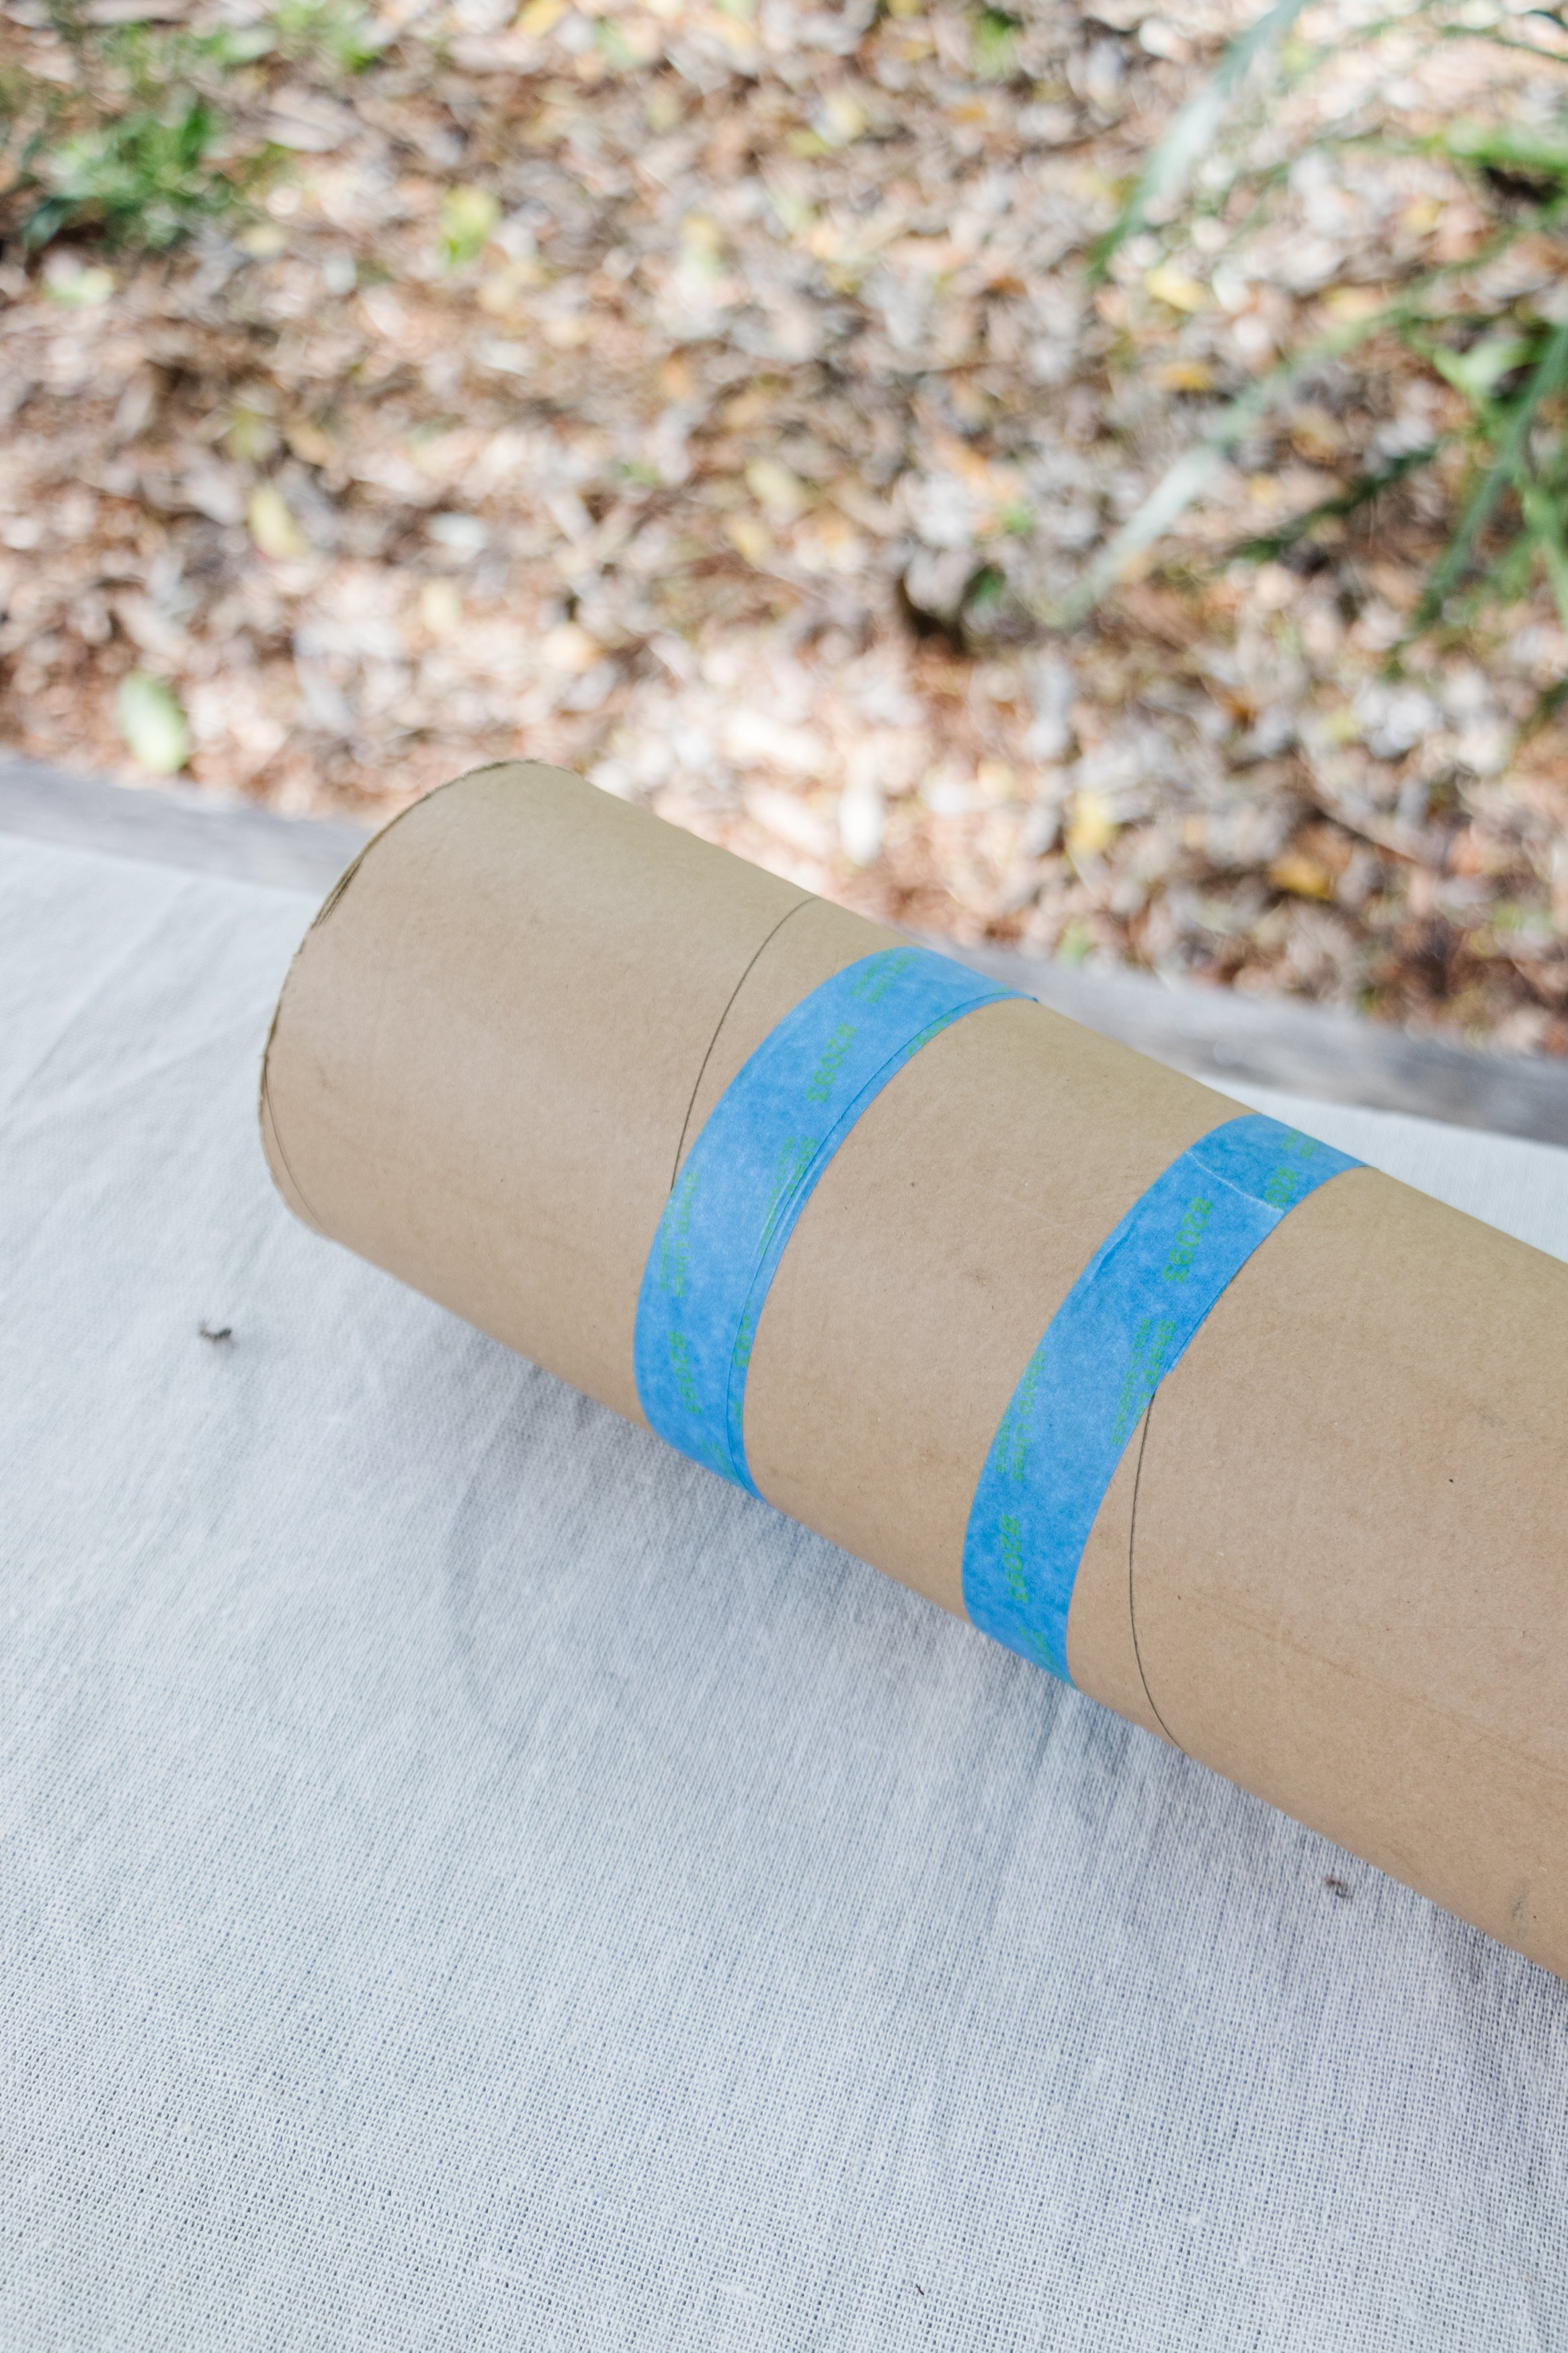
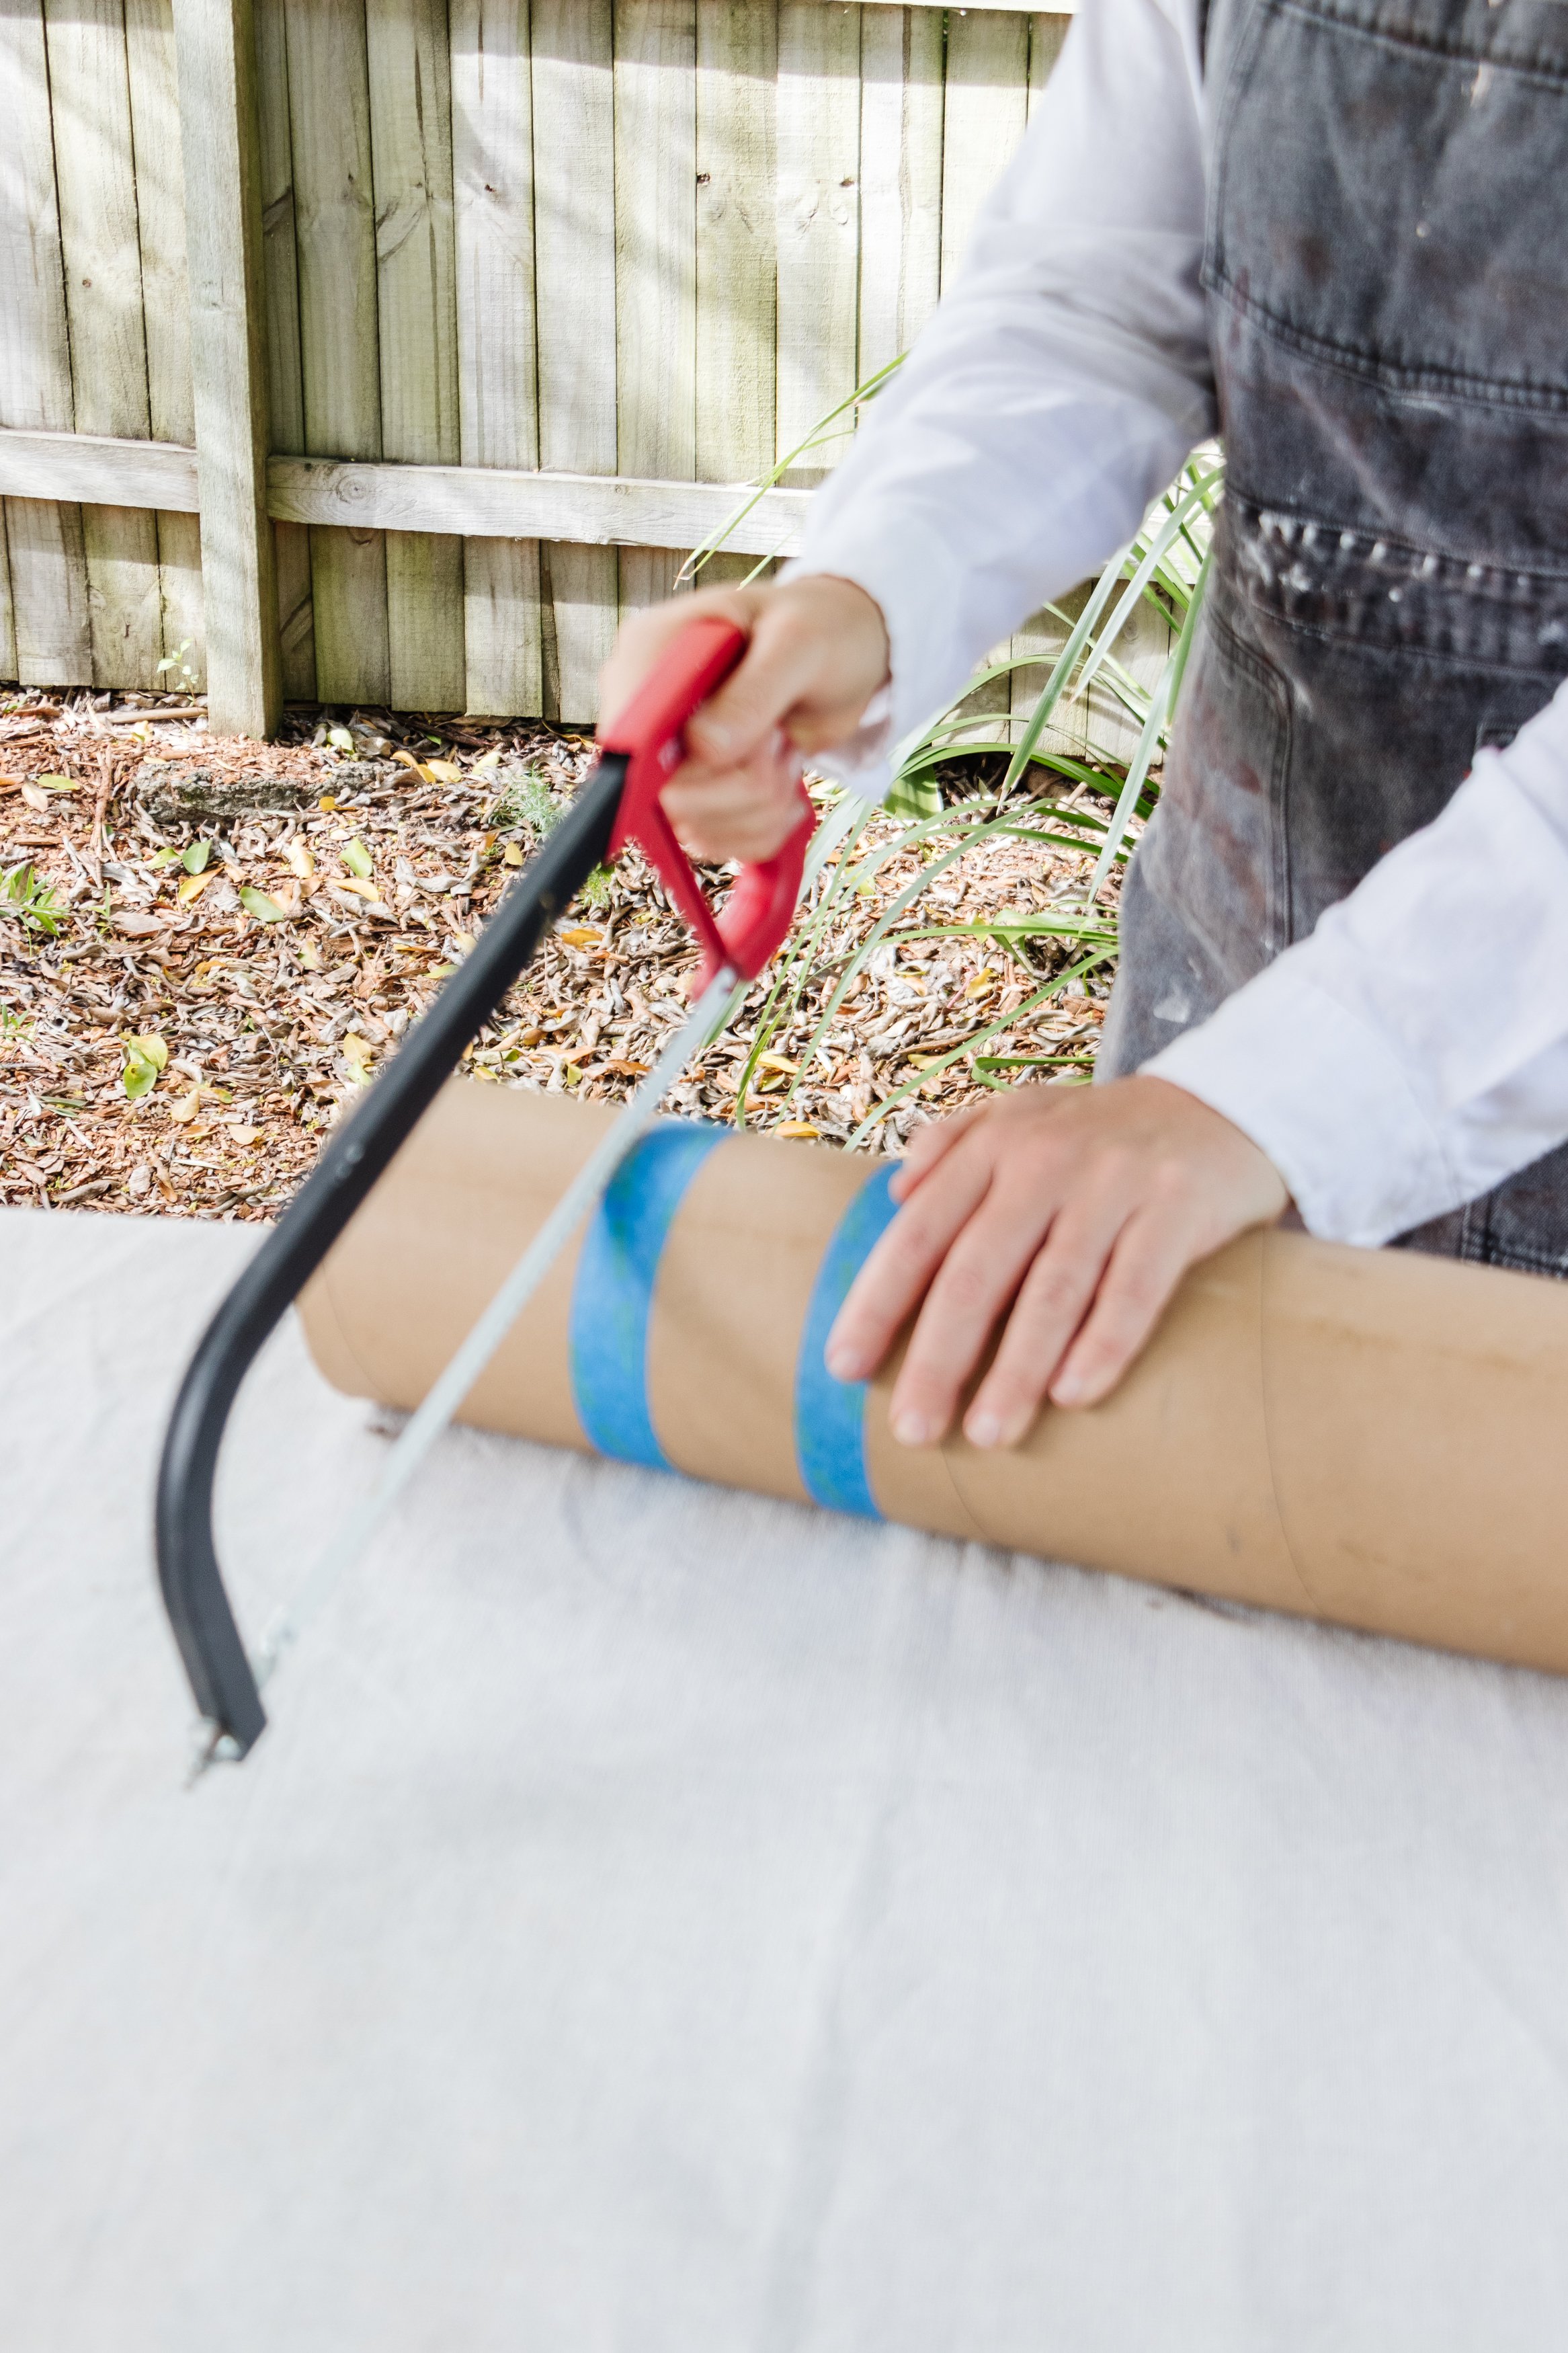
Step 1: Measure and mark 100mm along the cardboard tube with a ruler and pencil. Wrap painter’s tape around the cardboard tube. Cut the cardboard tube with a handsaw using the painter’s tape as a guide.
Step 2: Make my DIY Texture Paint. You’ll find my tutorial here.
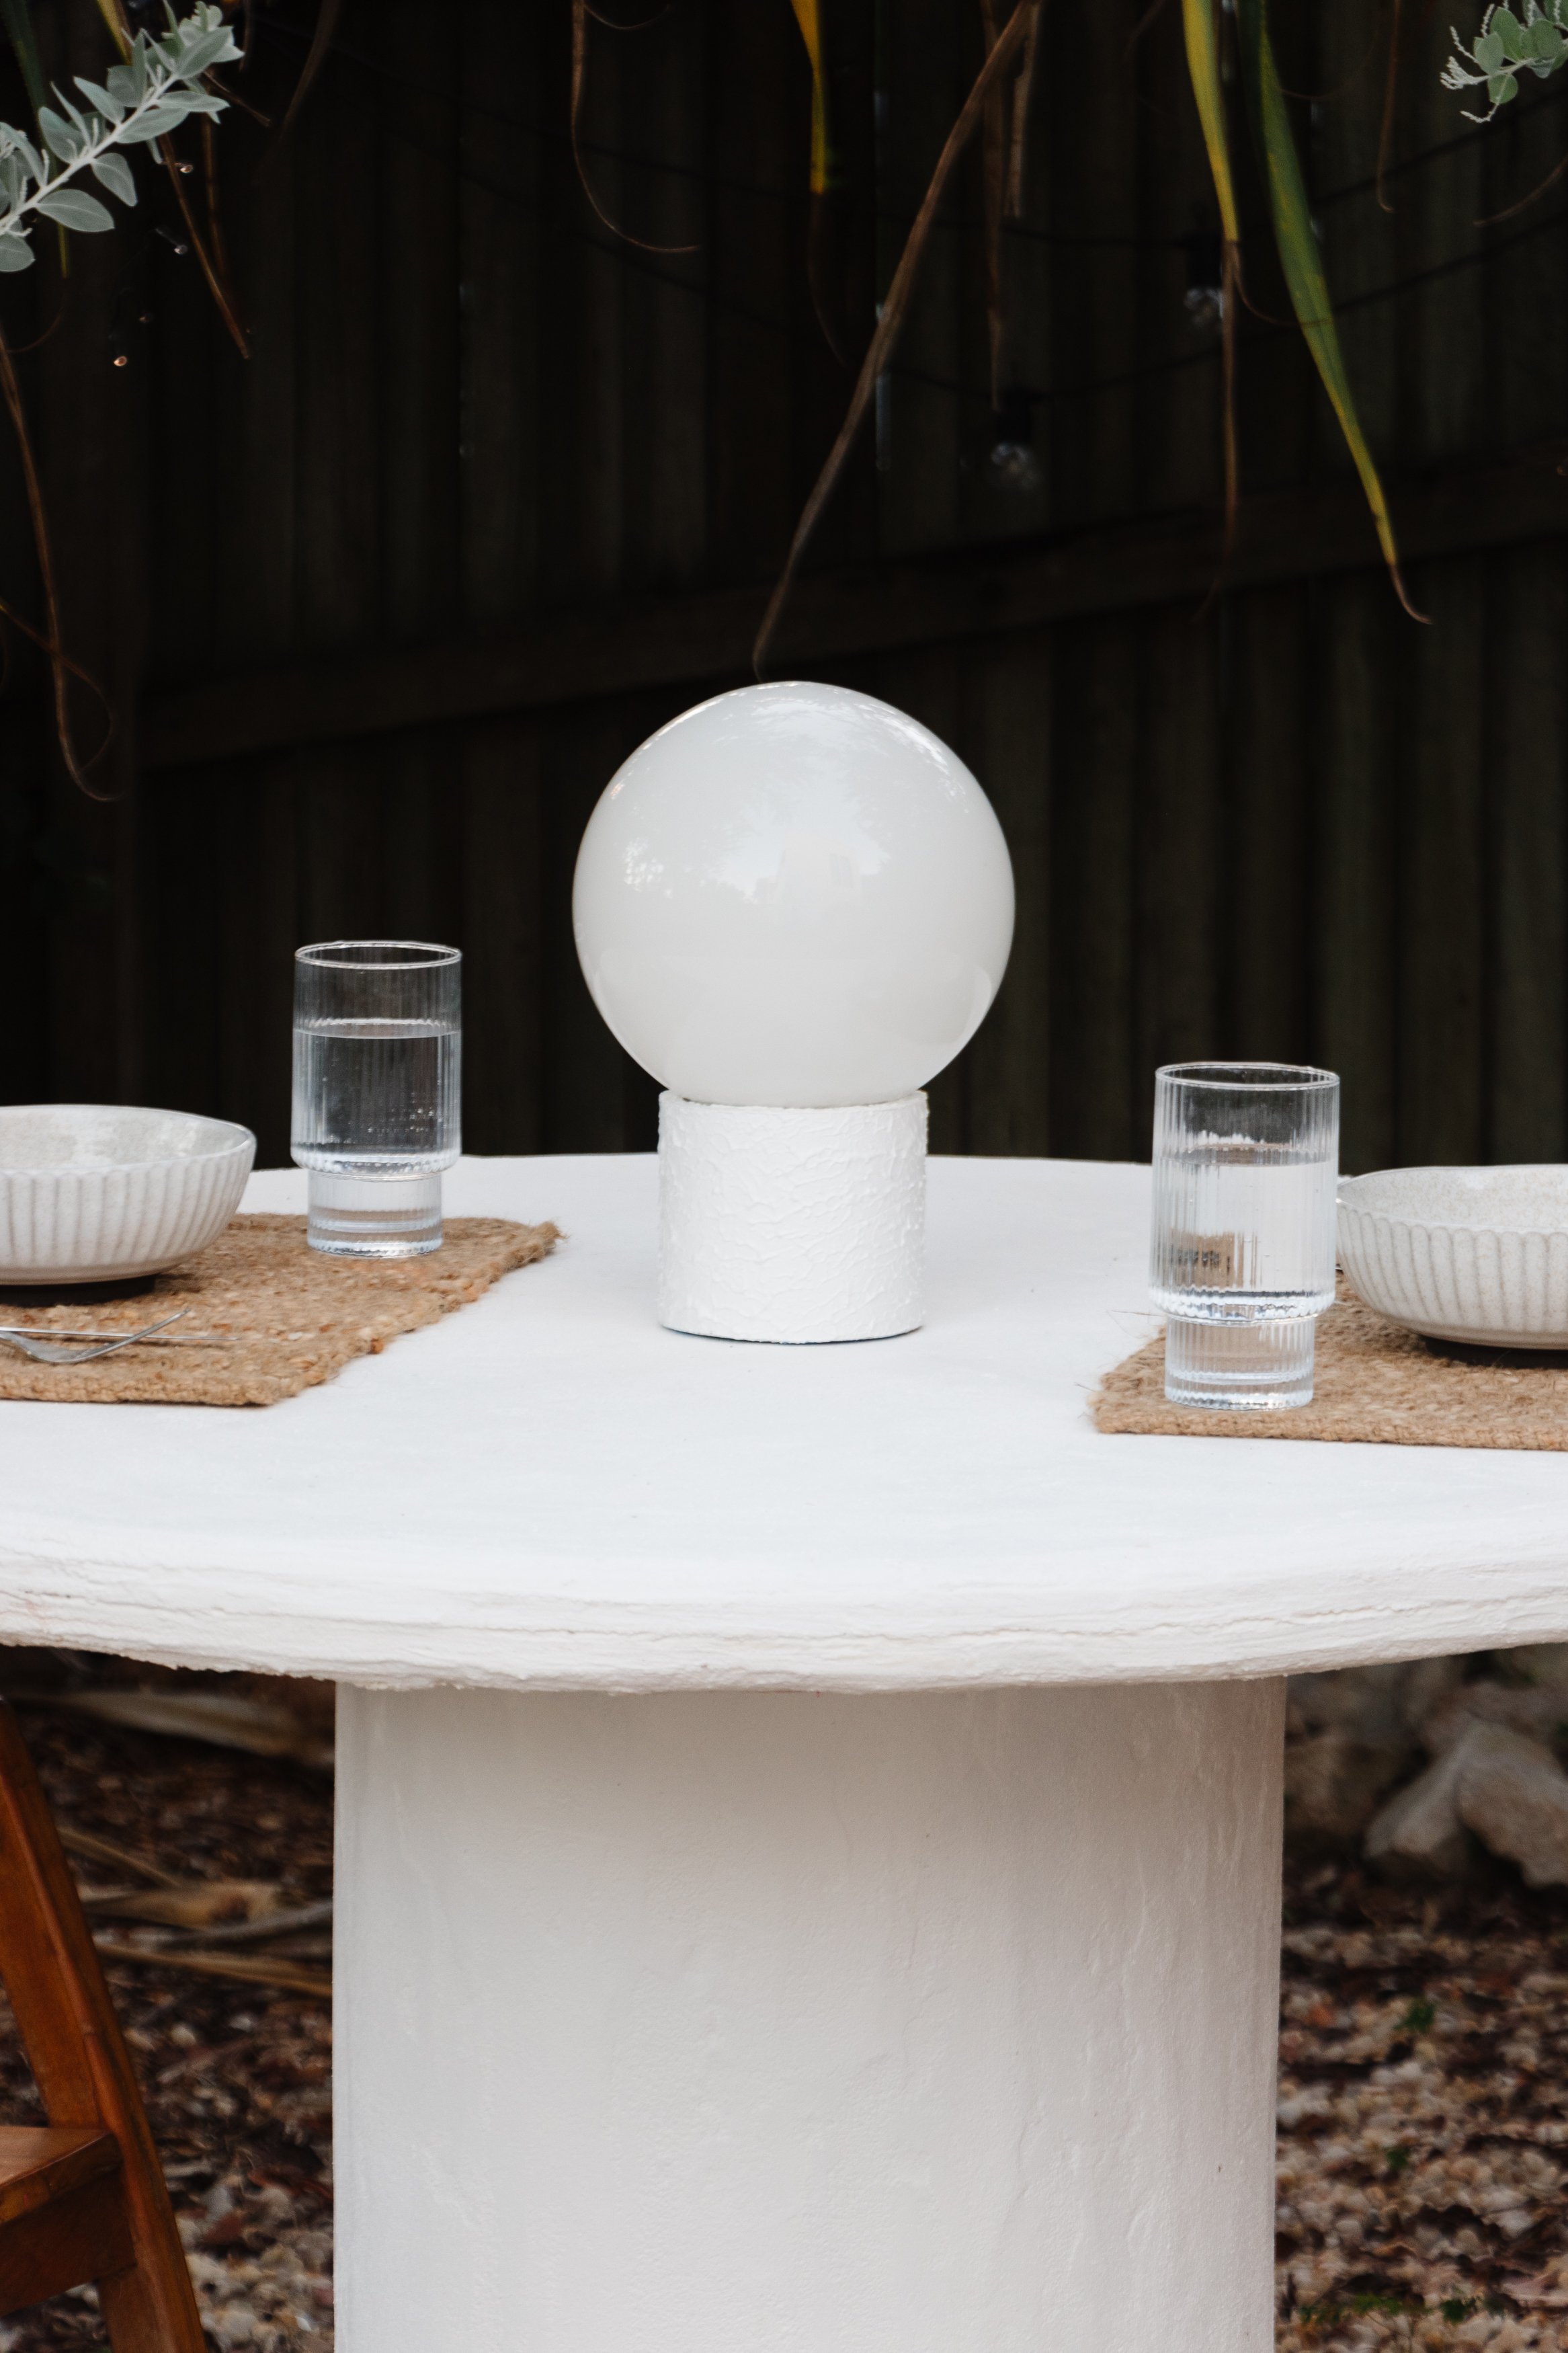
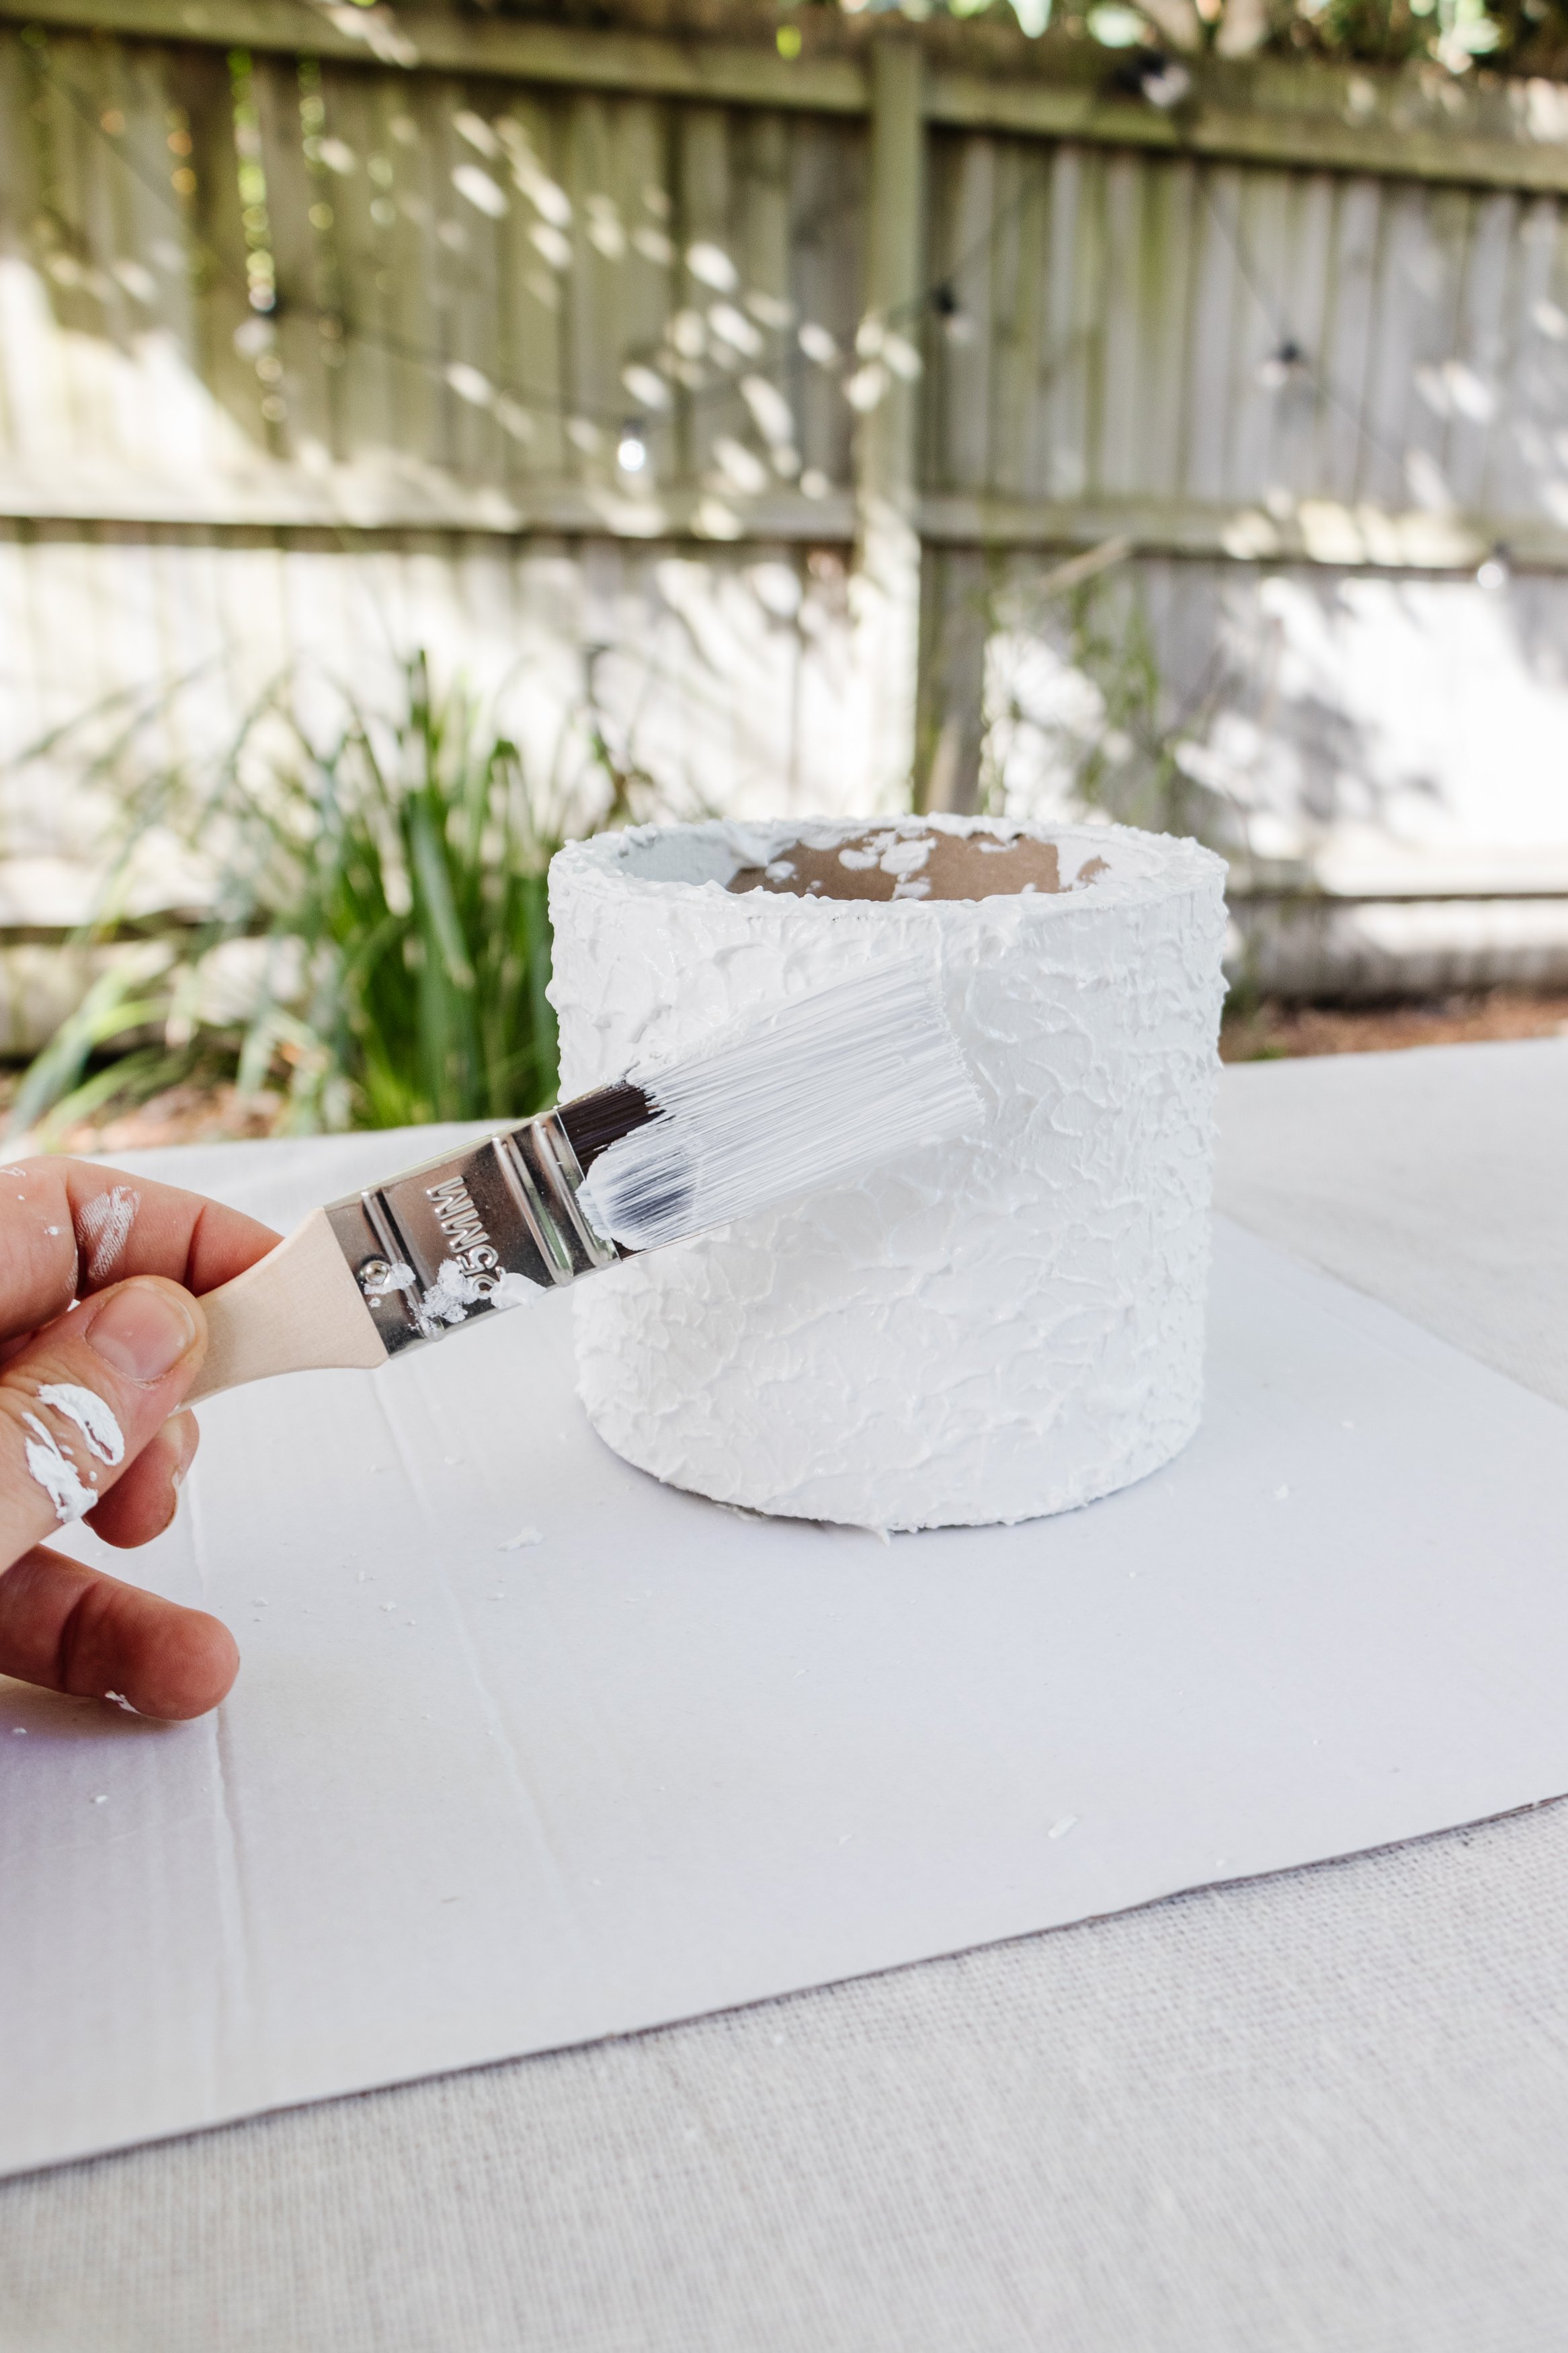
Step 3: Apply a thick coat of DIY Texture Paint onto the sides and top of the cardboard tube using a paint brush. This paint is really thick so it will hide certain things like the lines around a cardboard tube. It also creates a beautiful textured finish, and you have two options for the finish. You can leave the paint is (brush strokes) as is or you can use the side of the brushes and “slap” the paint brush onto the paint to create an even more textured finish, which is my personal favourite. Set aside to dry.


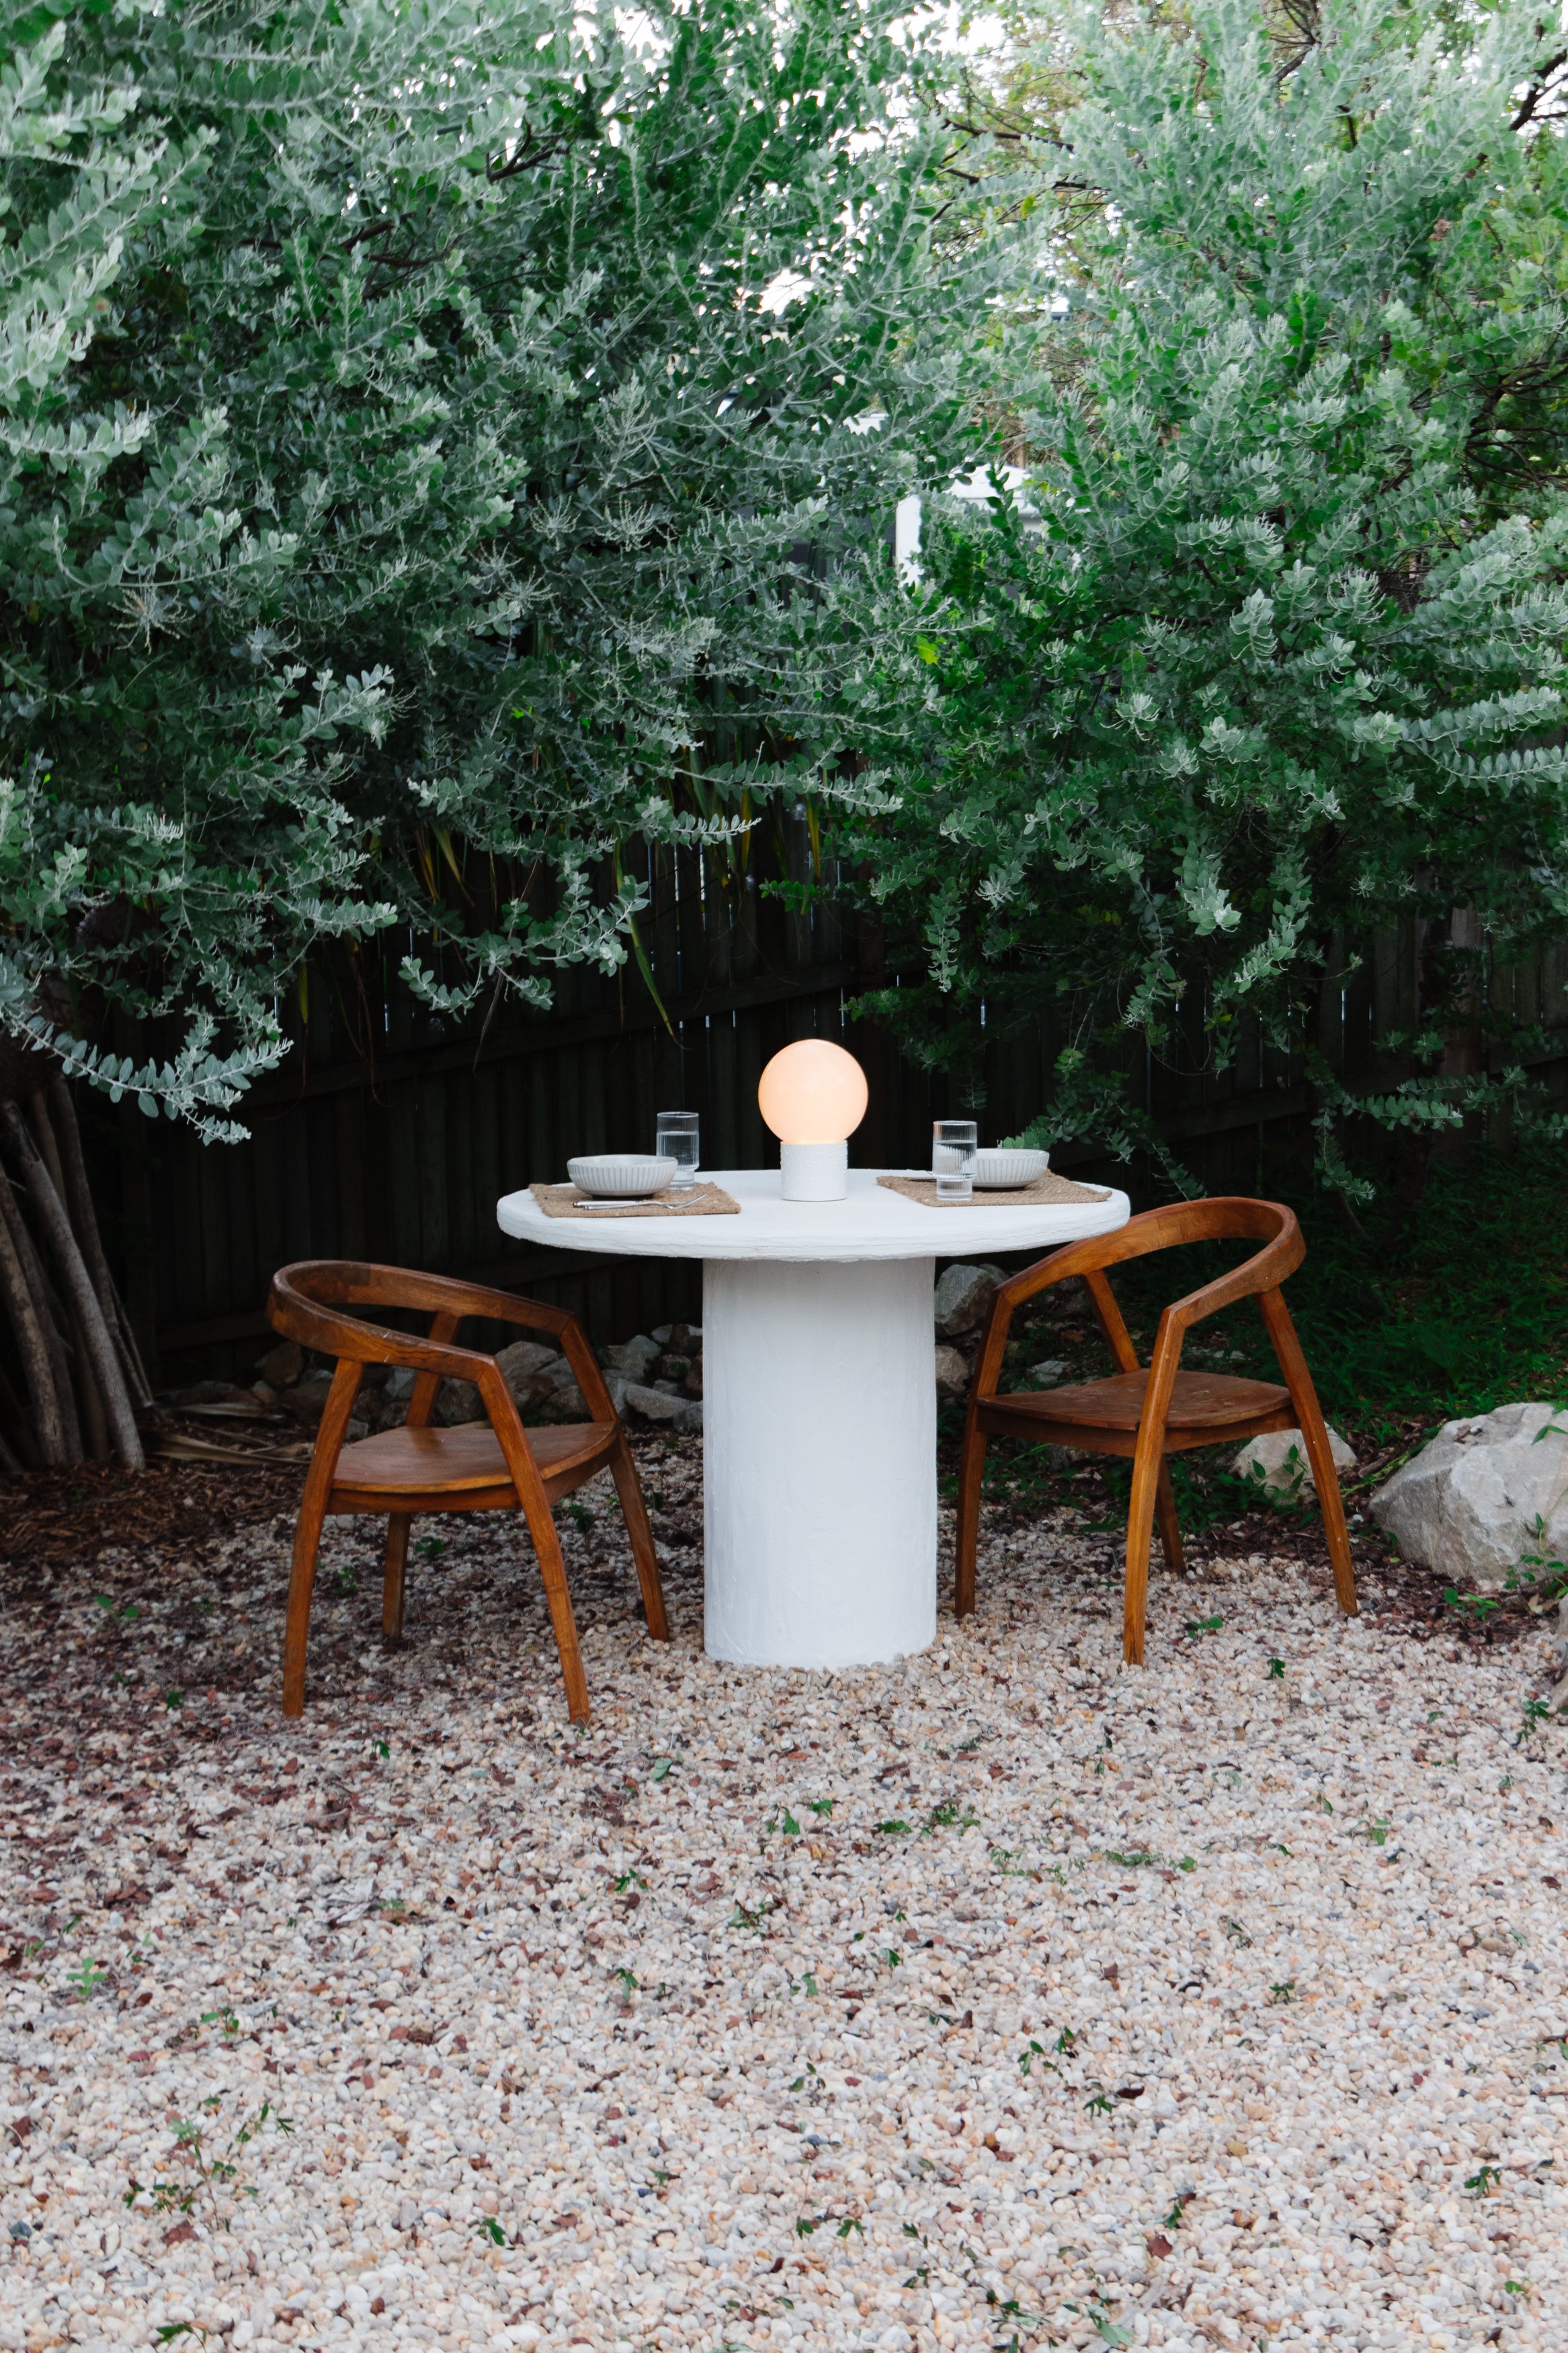
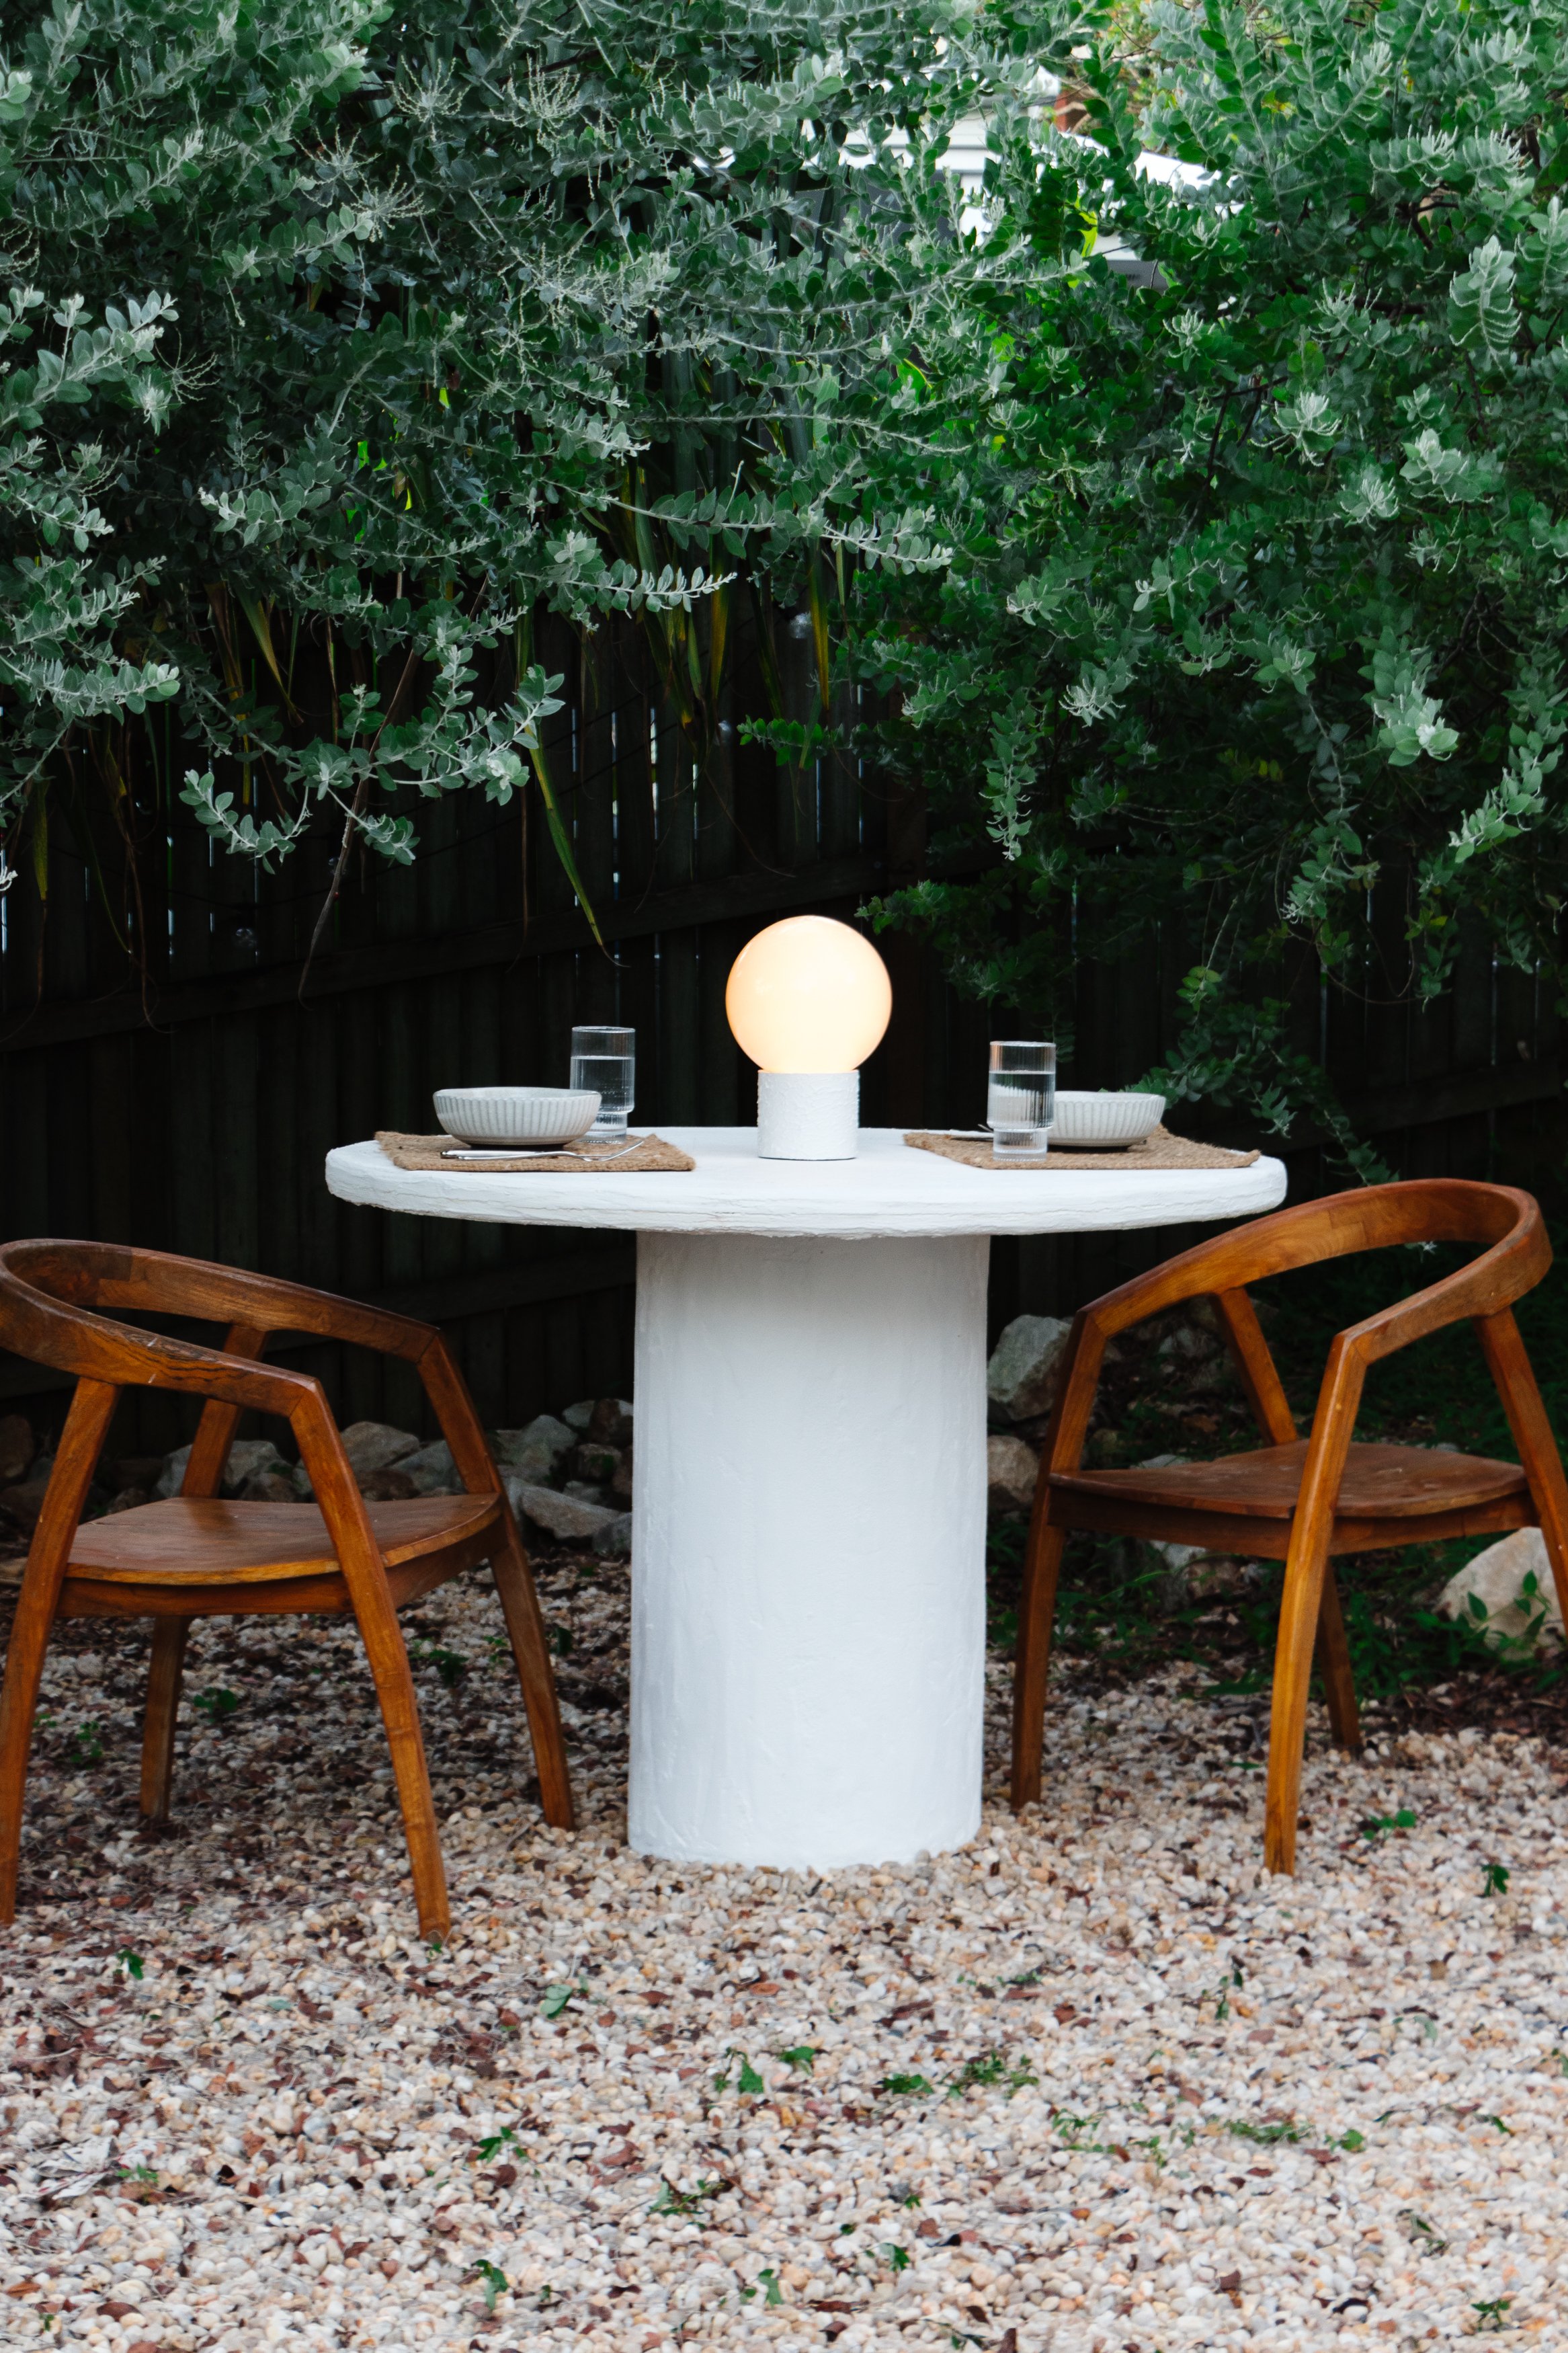
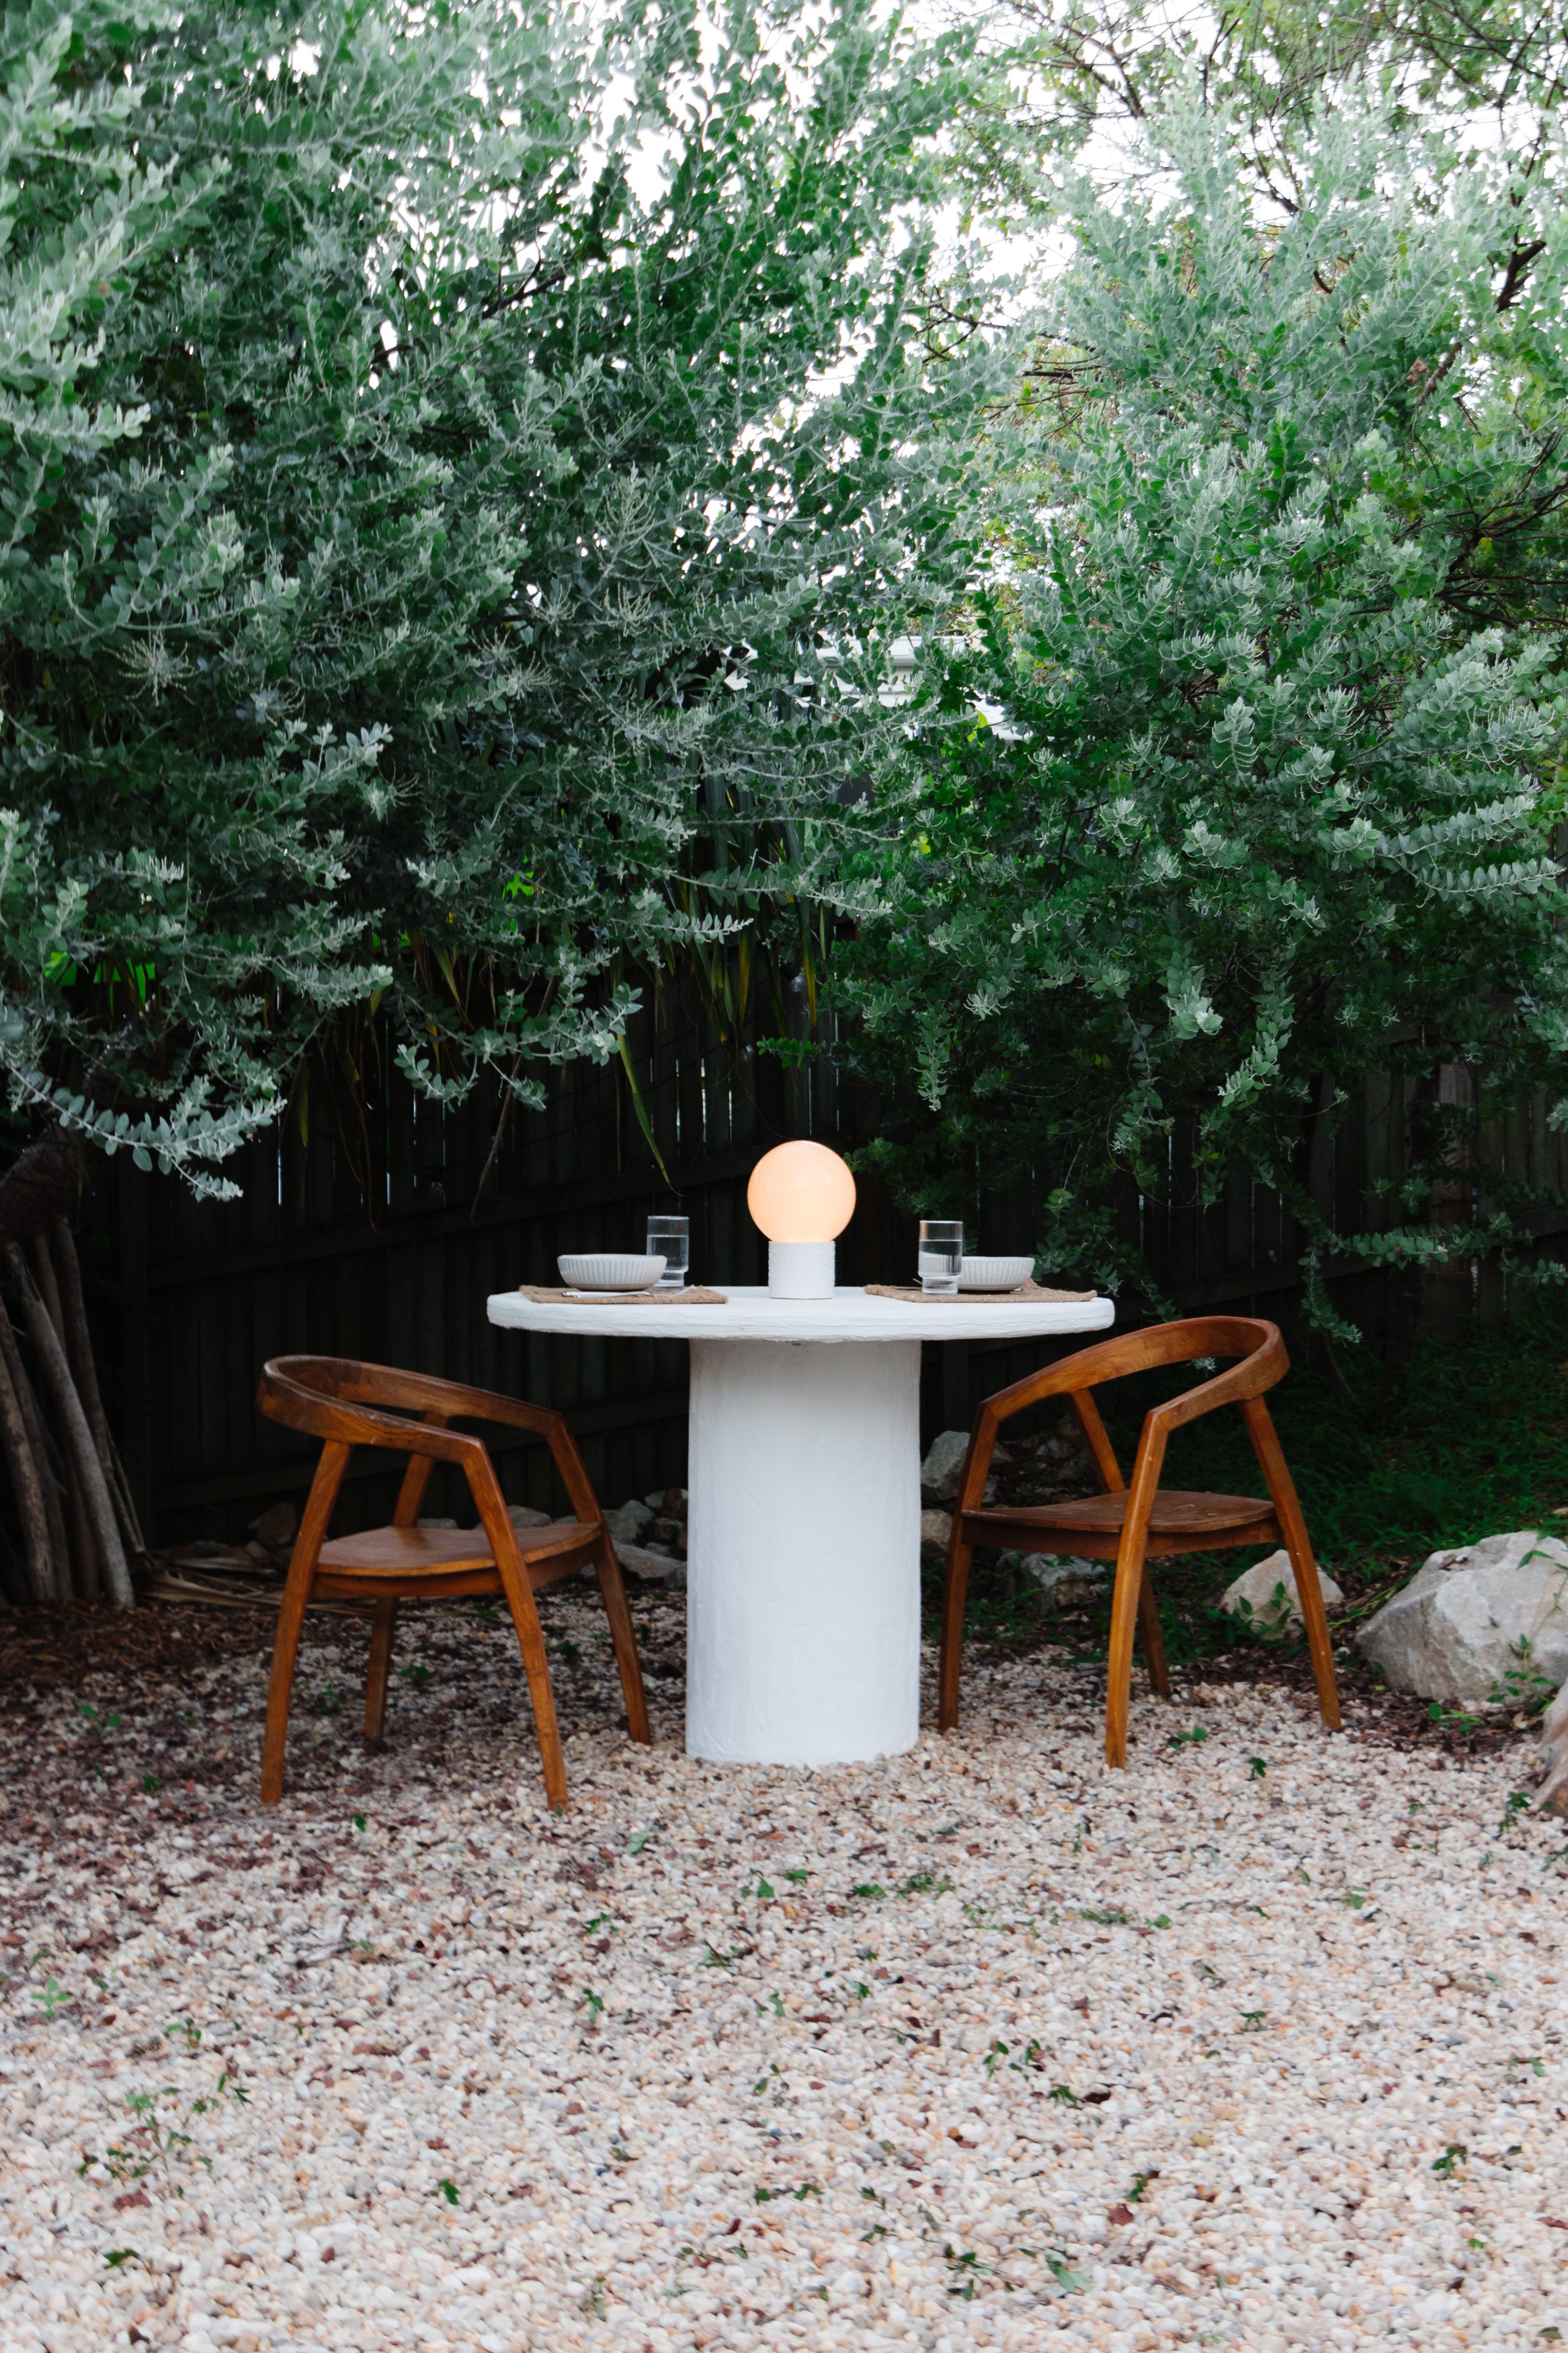
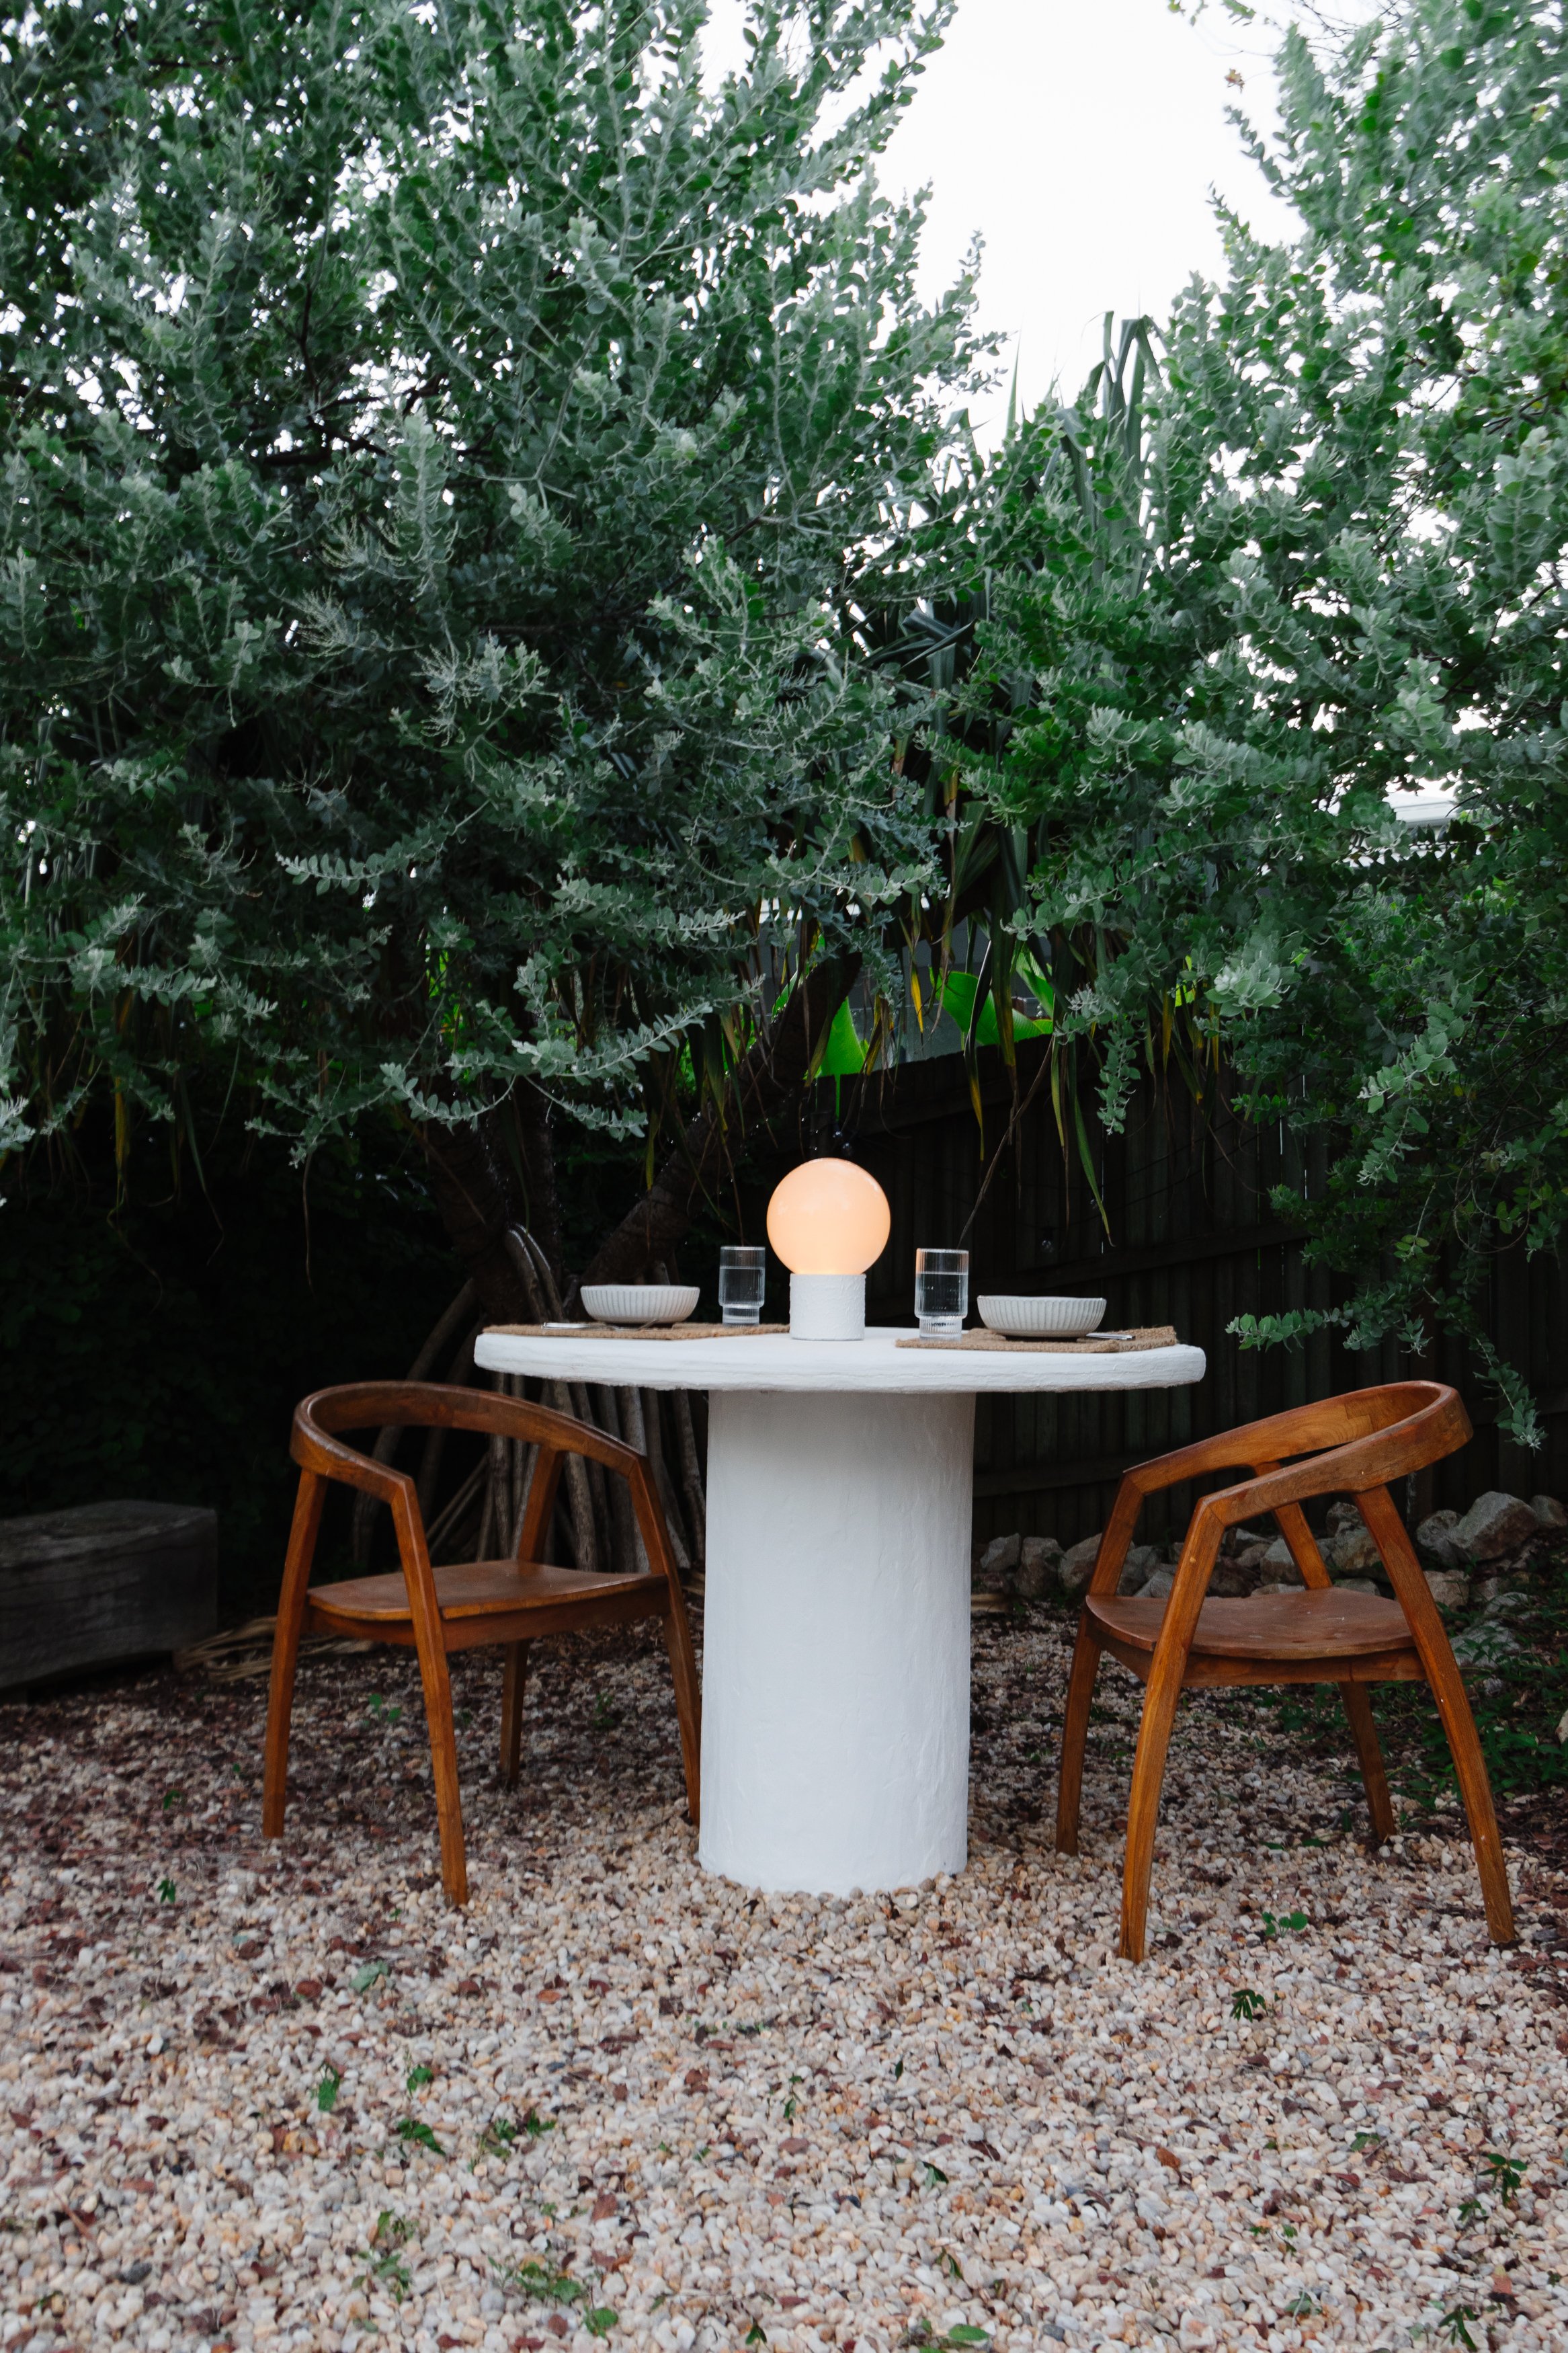
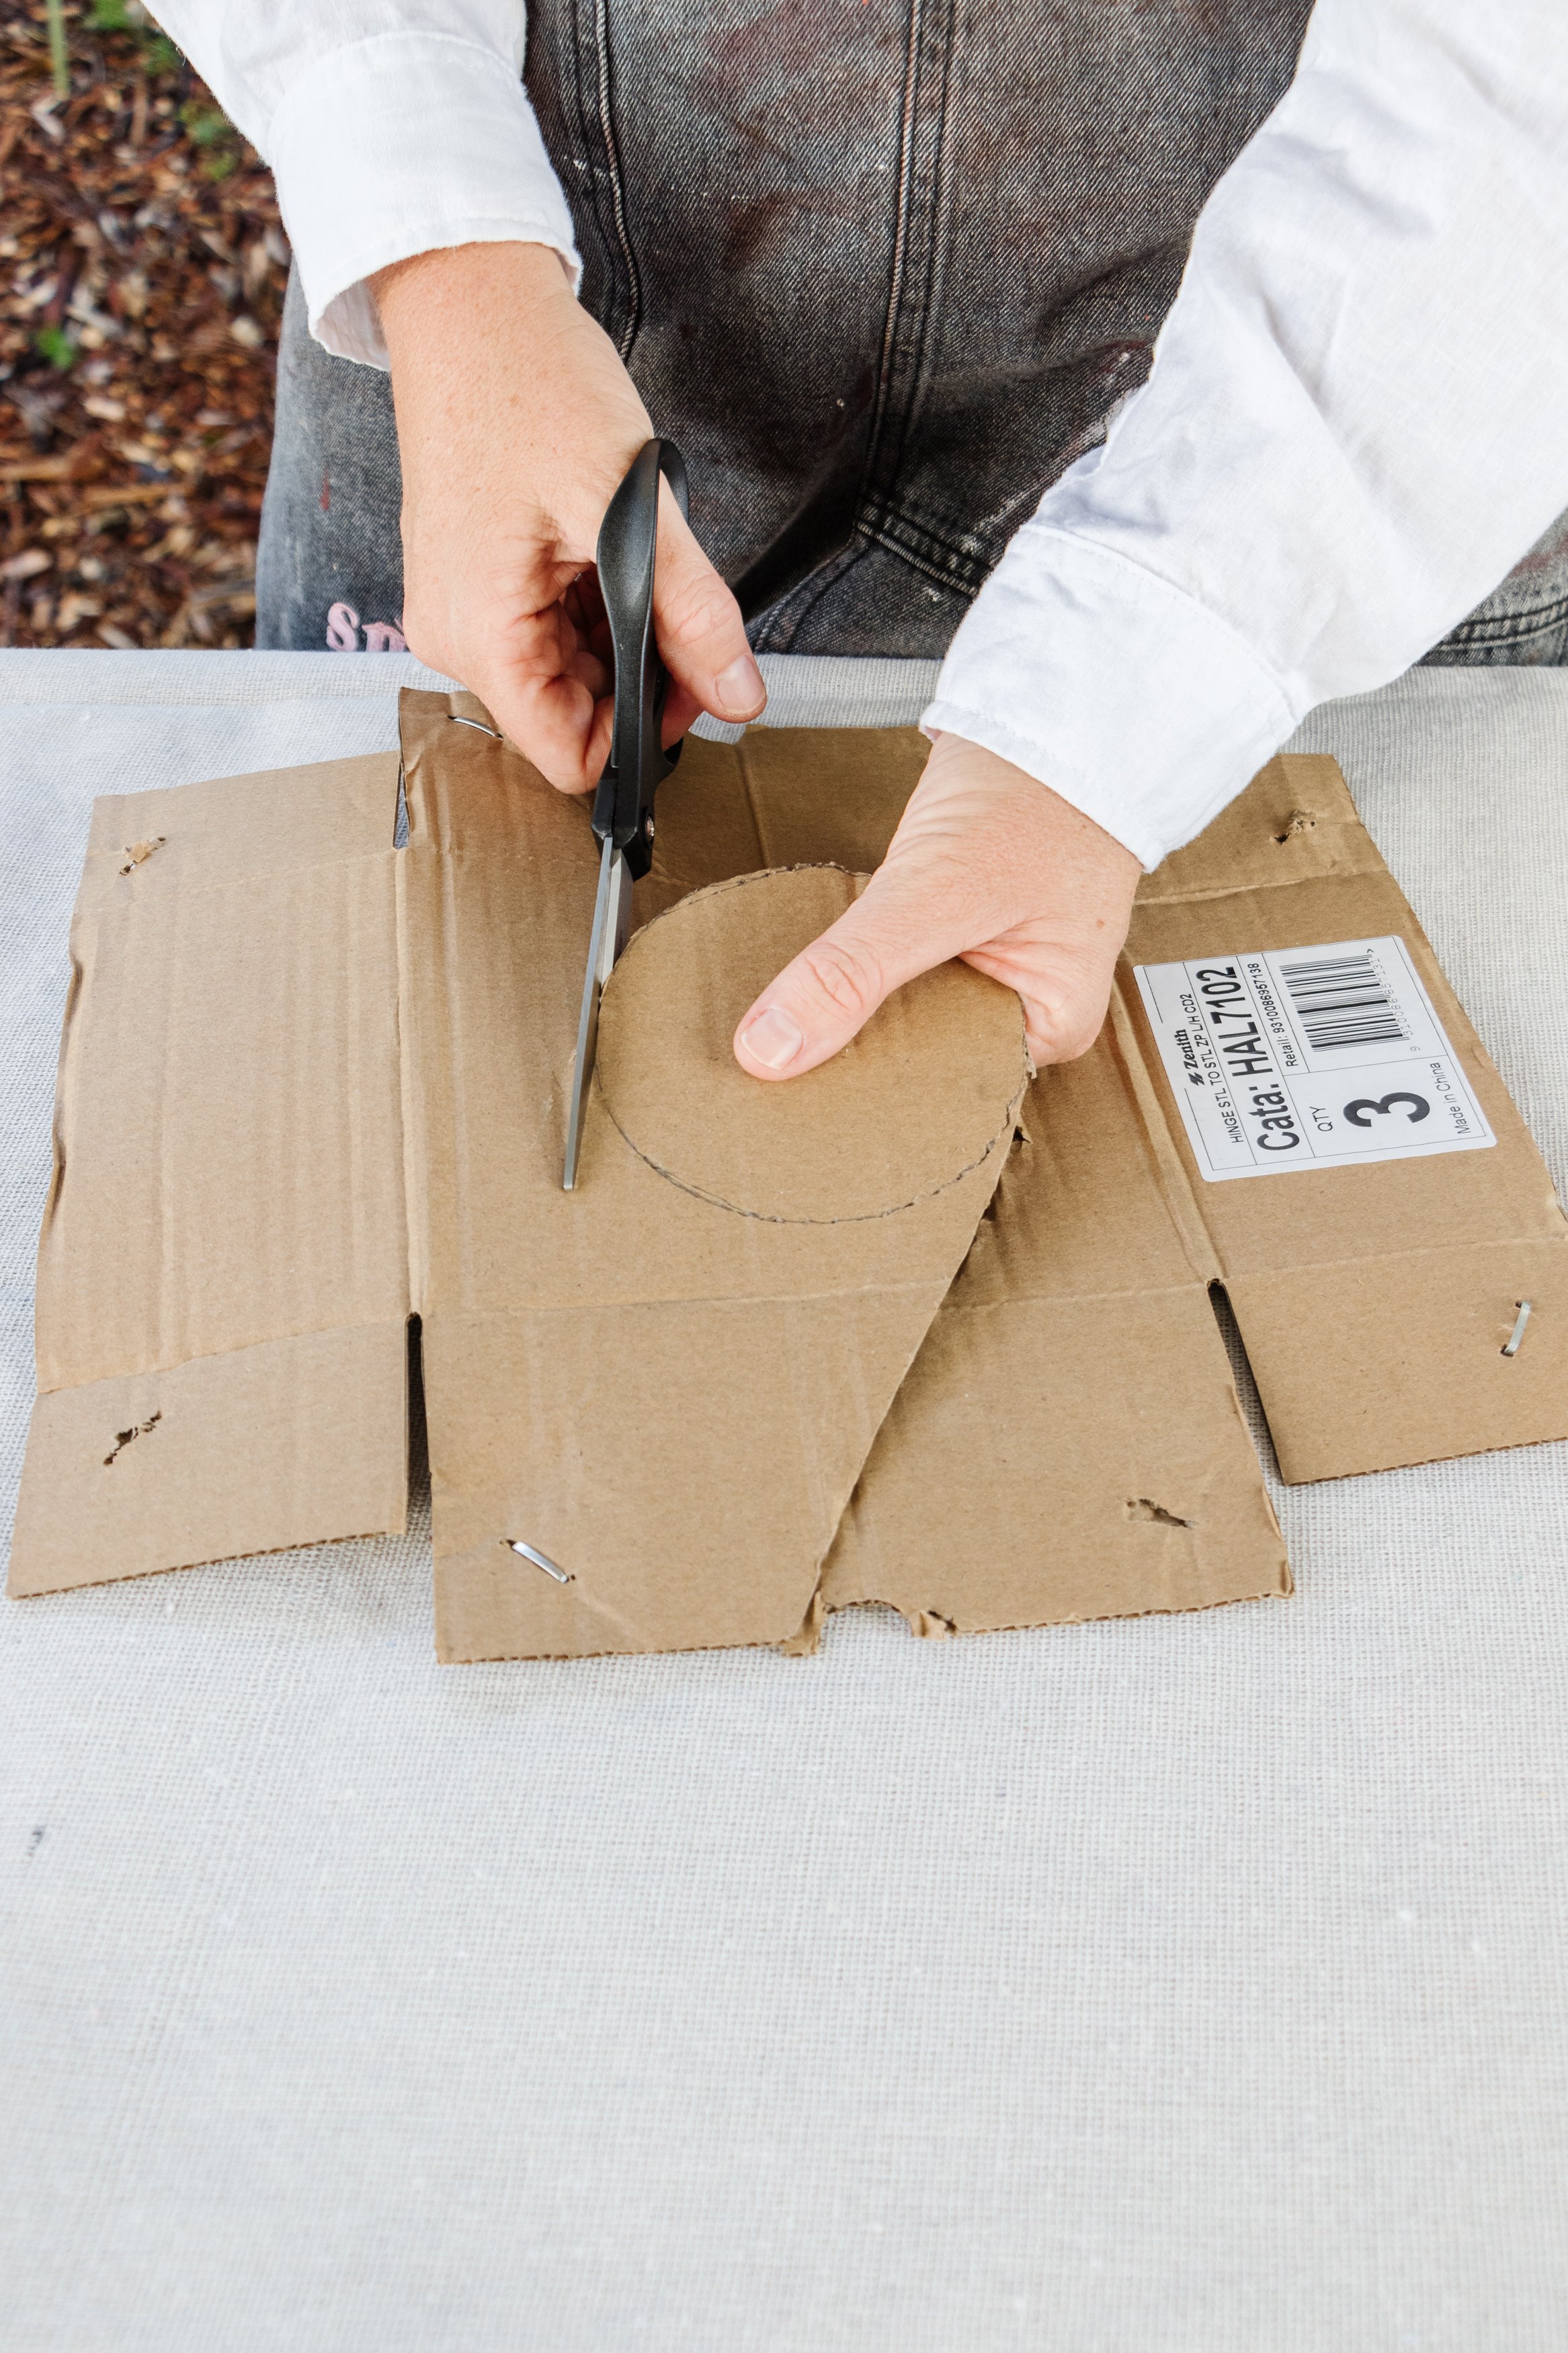
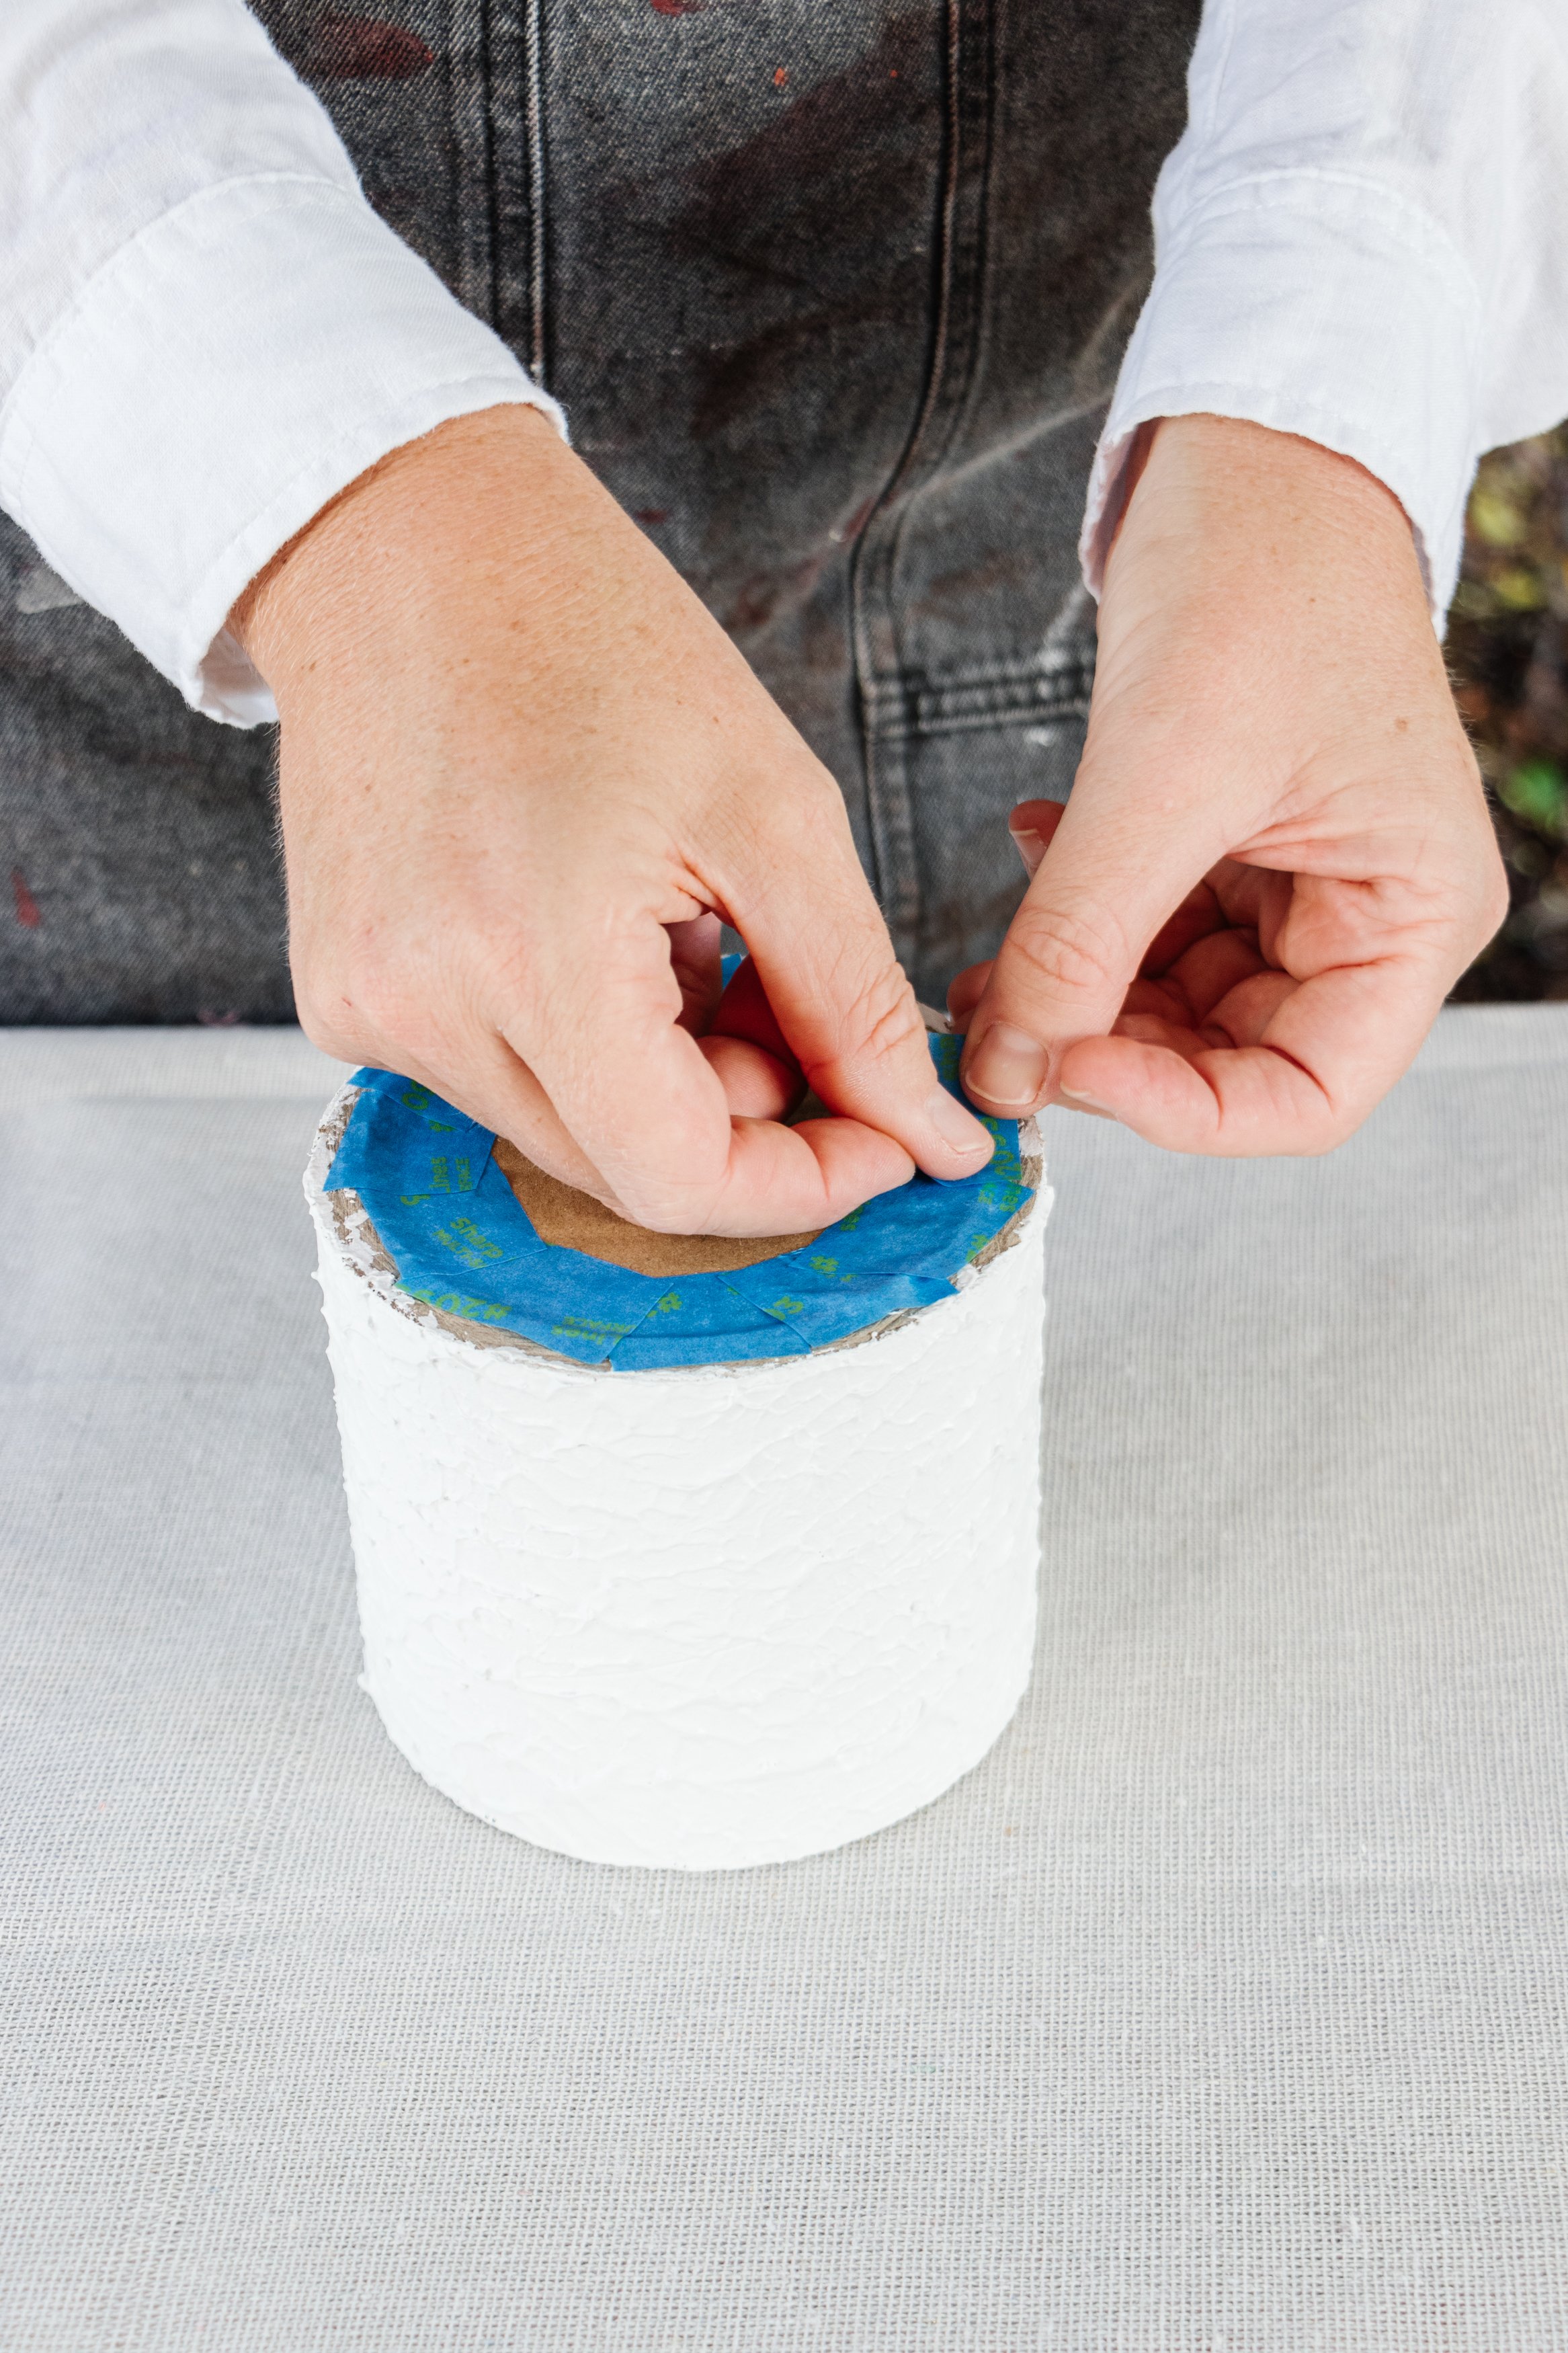
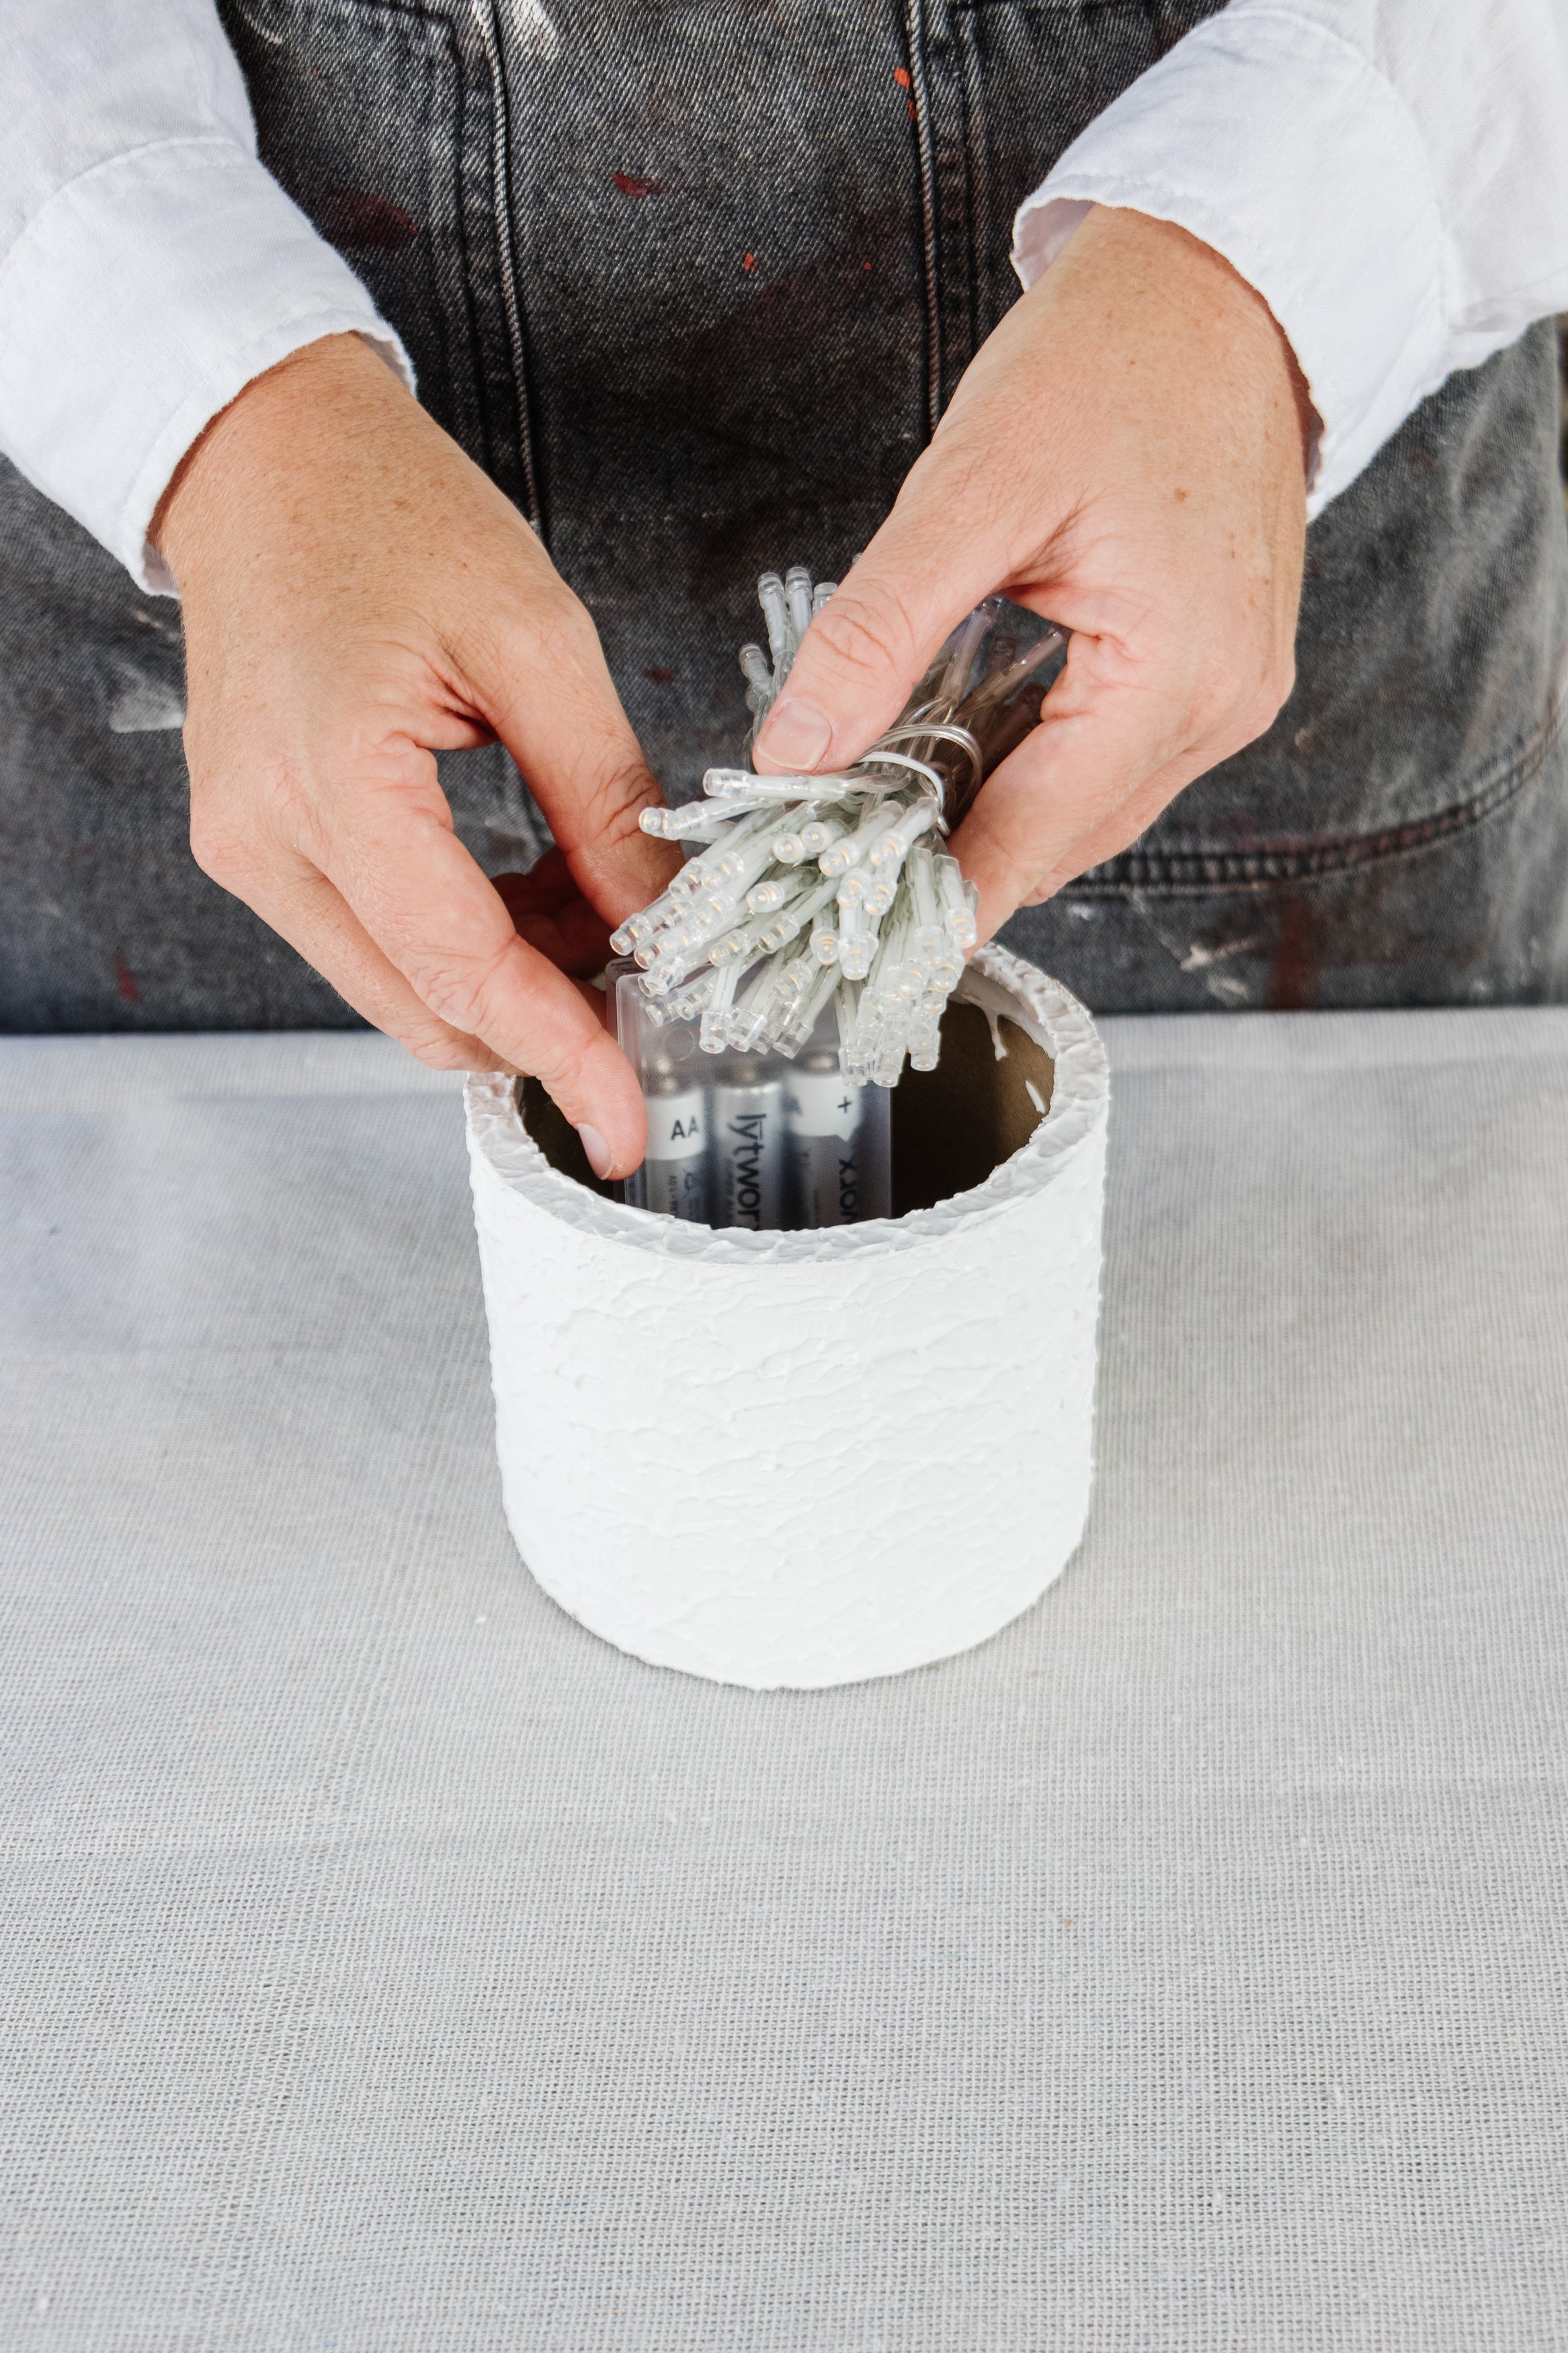
Step 4: Enclose the bottom of the textured lamp base using cardboard and painters tape. Place the fairy lights into the base, turn them on, and place the light fixture on top. Enjoy and move around to your heart’s content!


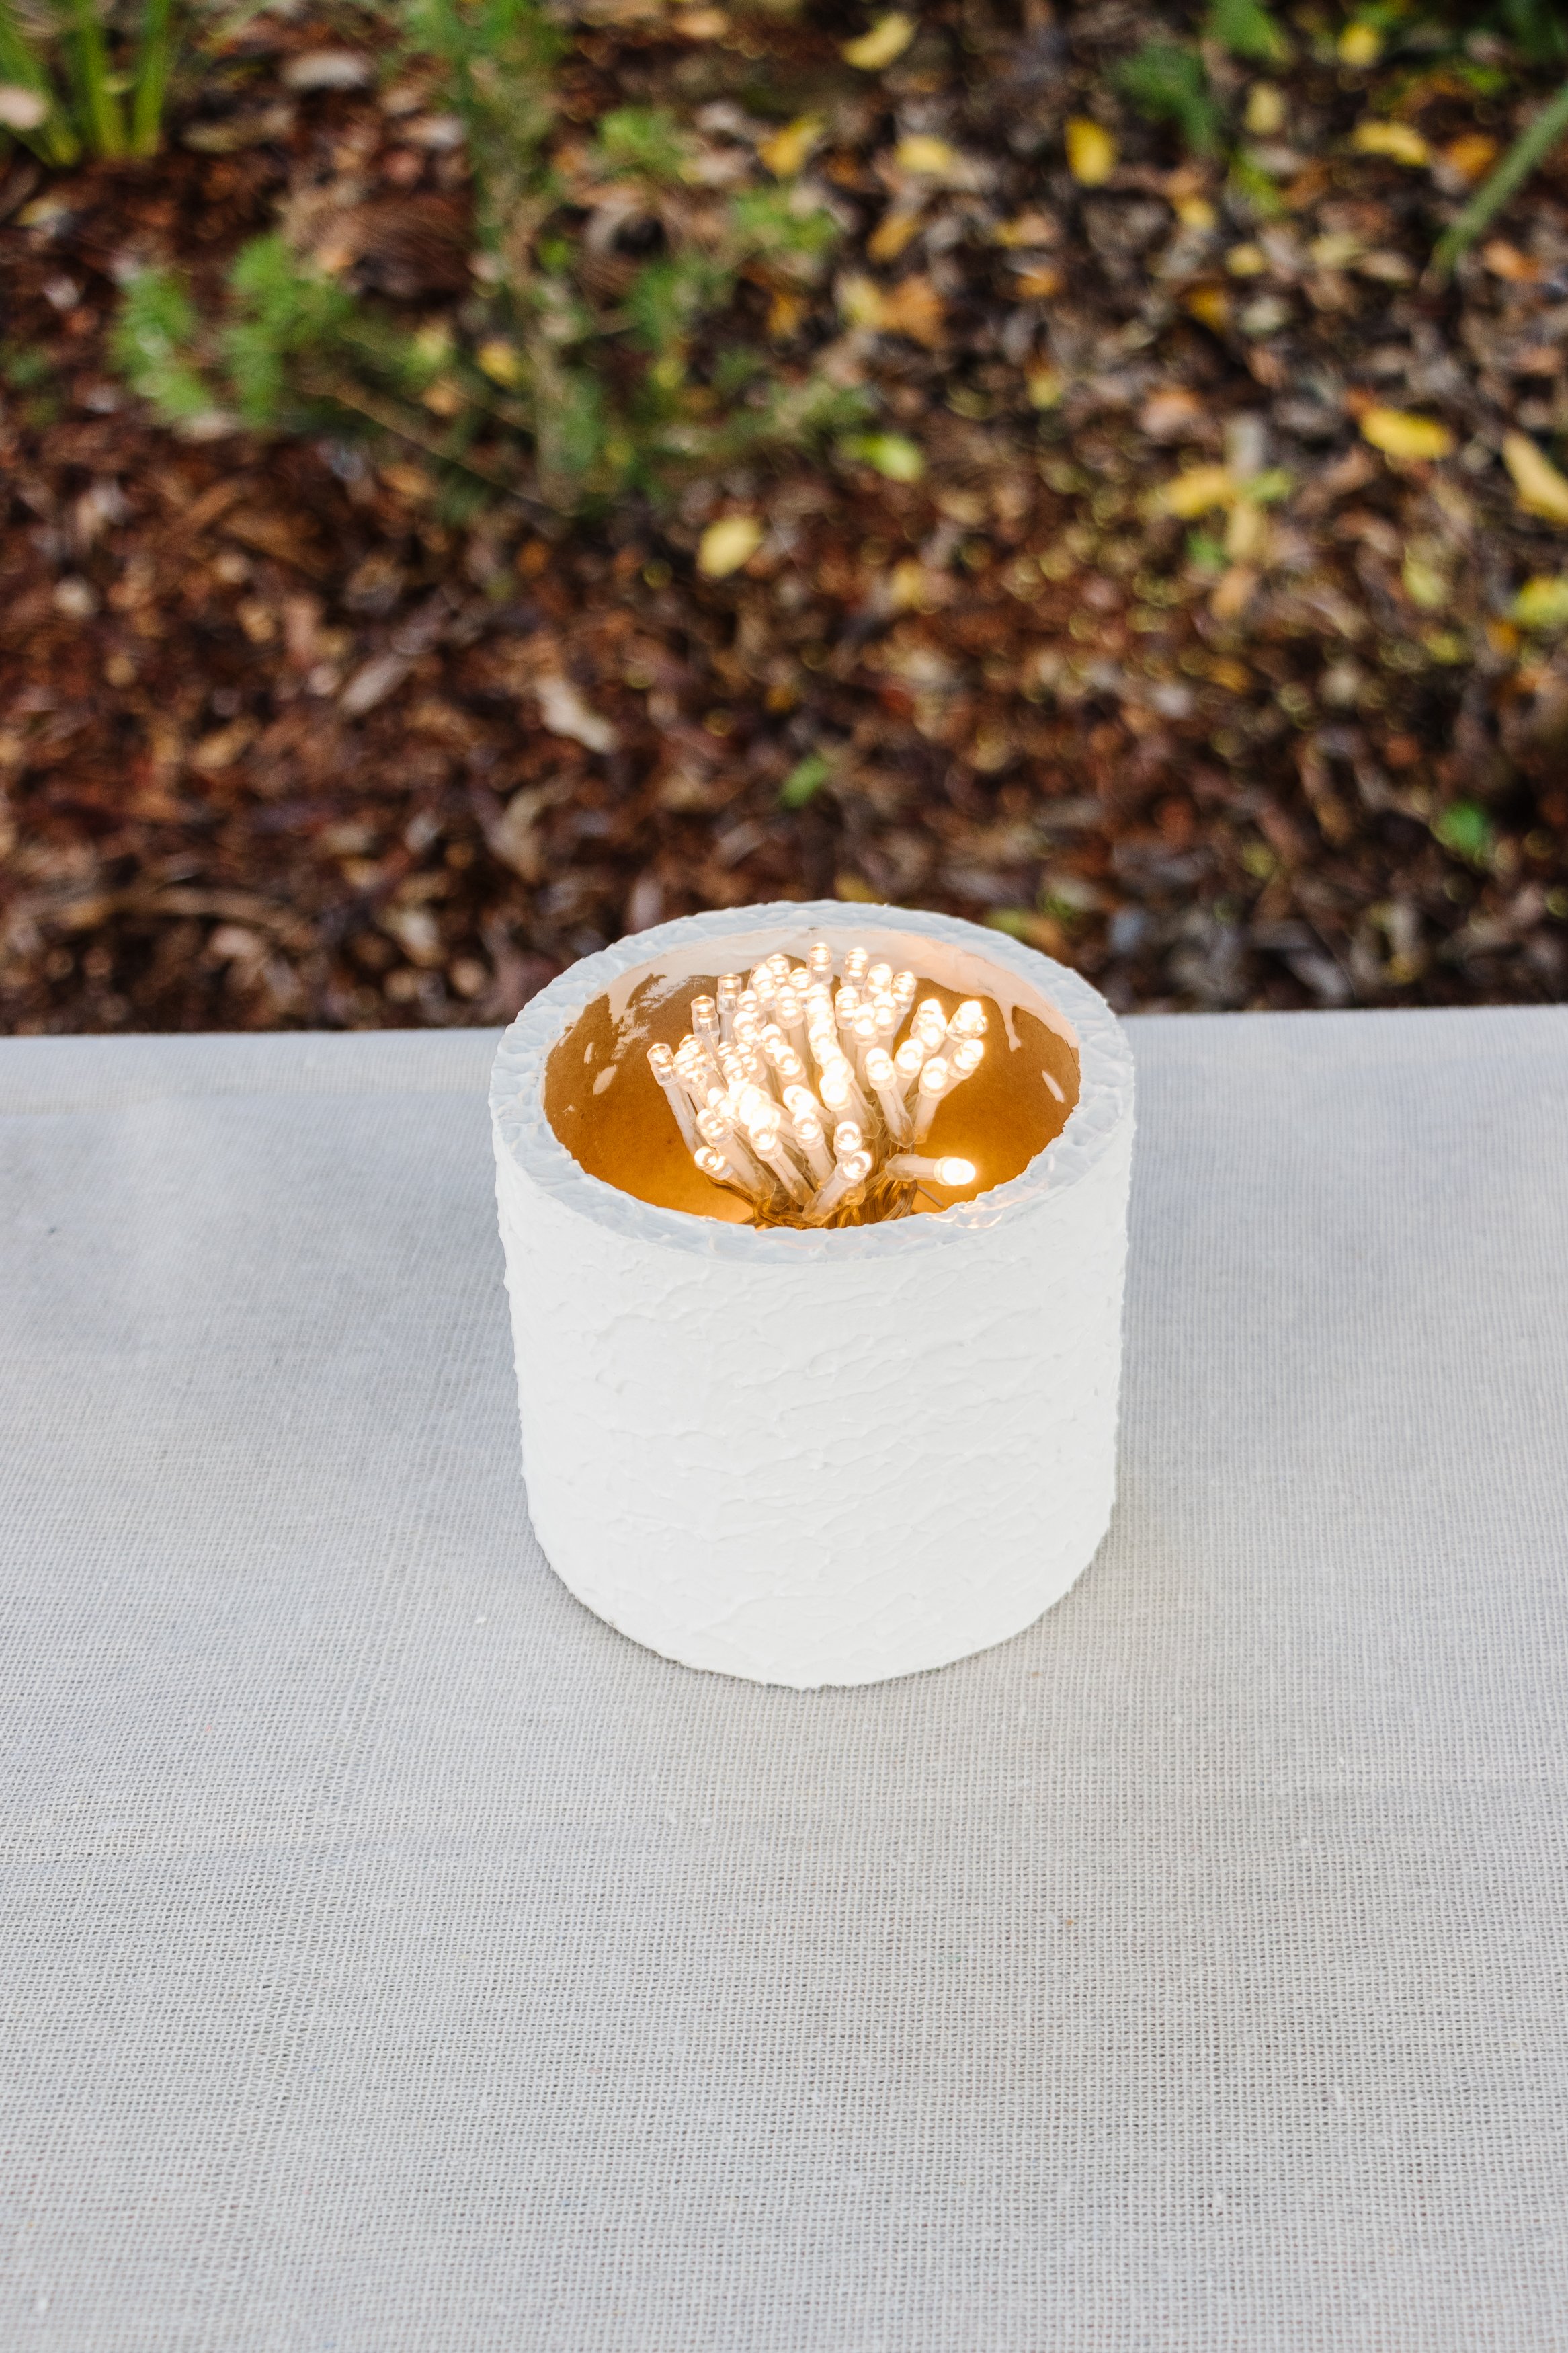


Ta daaa!
Did I just make a portable table lamp from scratch using secondhand materials? I sure did! And I am beyond thrilled with the transformation. I’m also very glad I was able to finally come up with a simple idea to reuse those round light fixtures I keep seeing when I go thrifting. Best of all? You can use any paint colour you like. Perhaps you’d like to choose a pop of colour or keep it more subdued like me. Whatever you end up choosing, you’ll have lots of fun! If you’d like to see some of my other upcycled lighting projects, feel free to check them out here.