My Thrifted Taylor Swift Concert Outfit!
My DIY Crop Top & Skirt Set
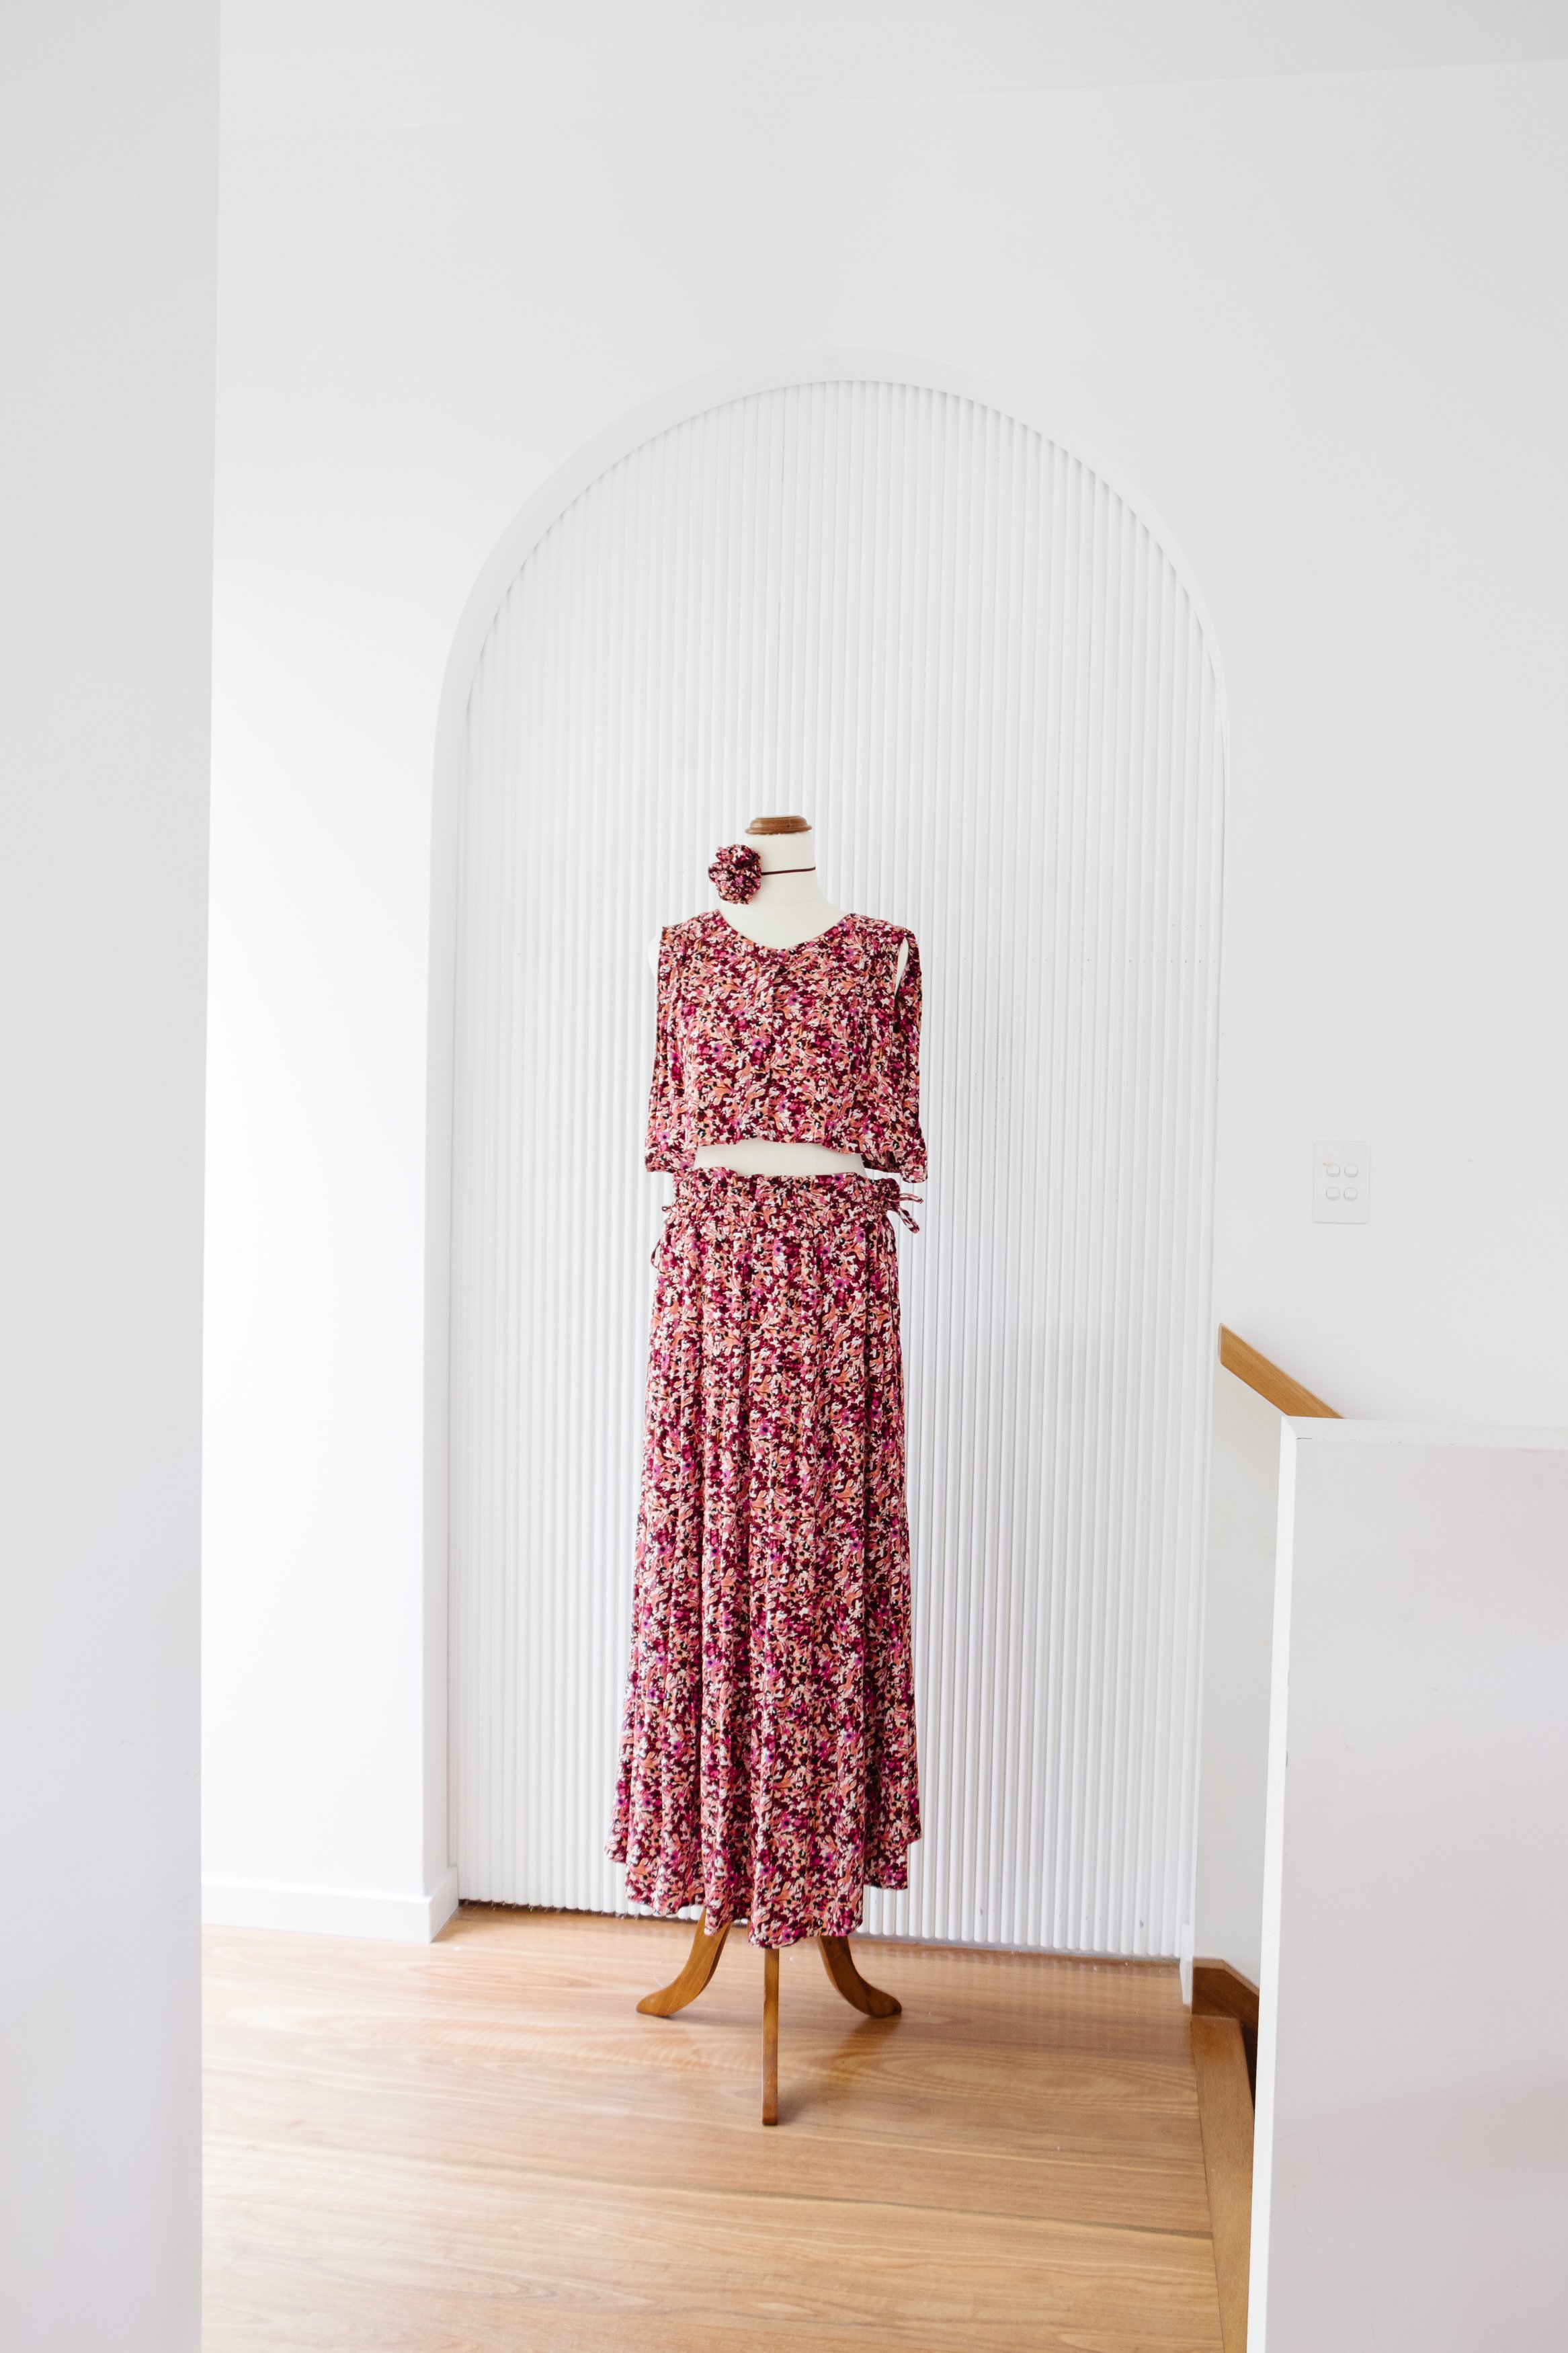
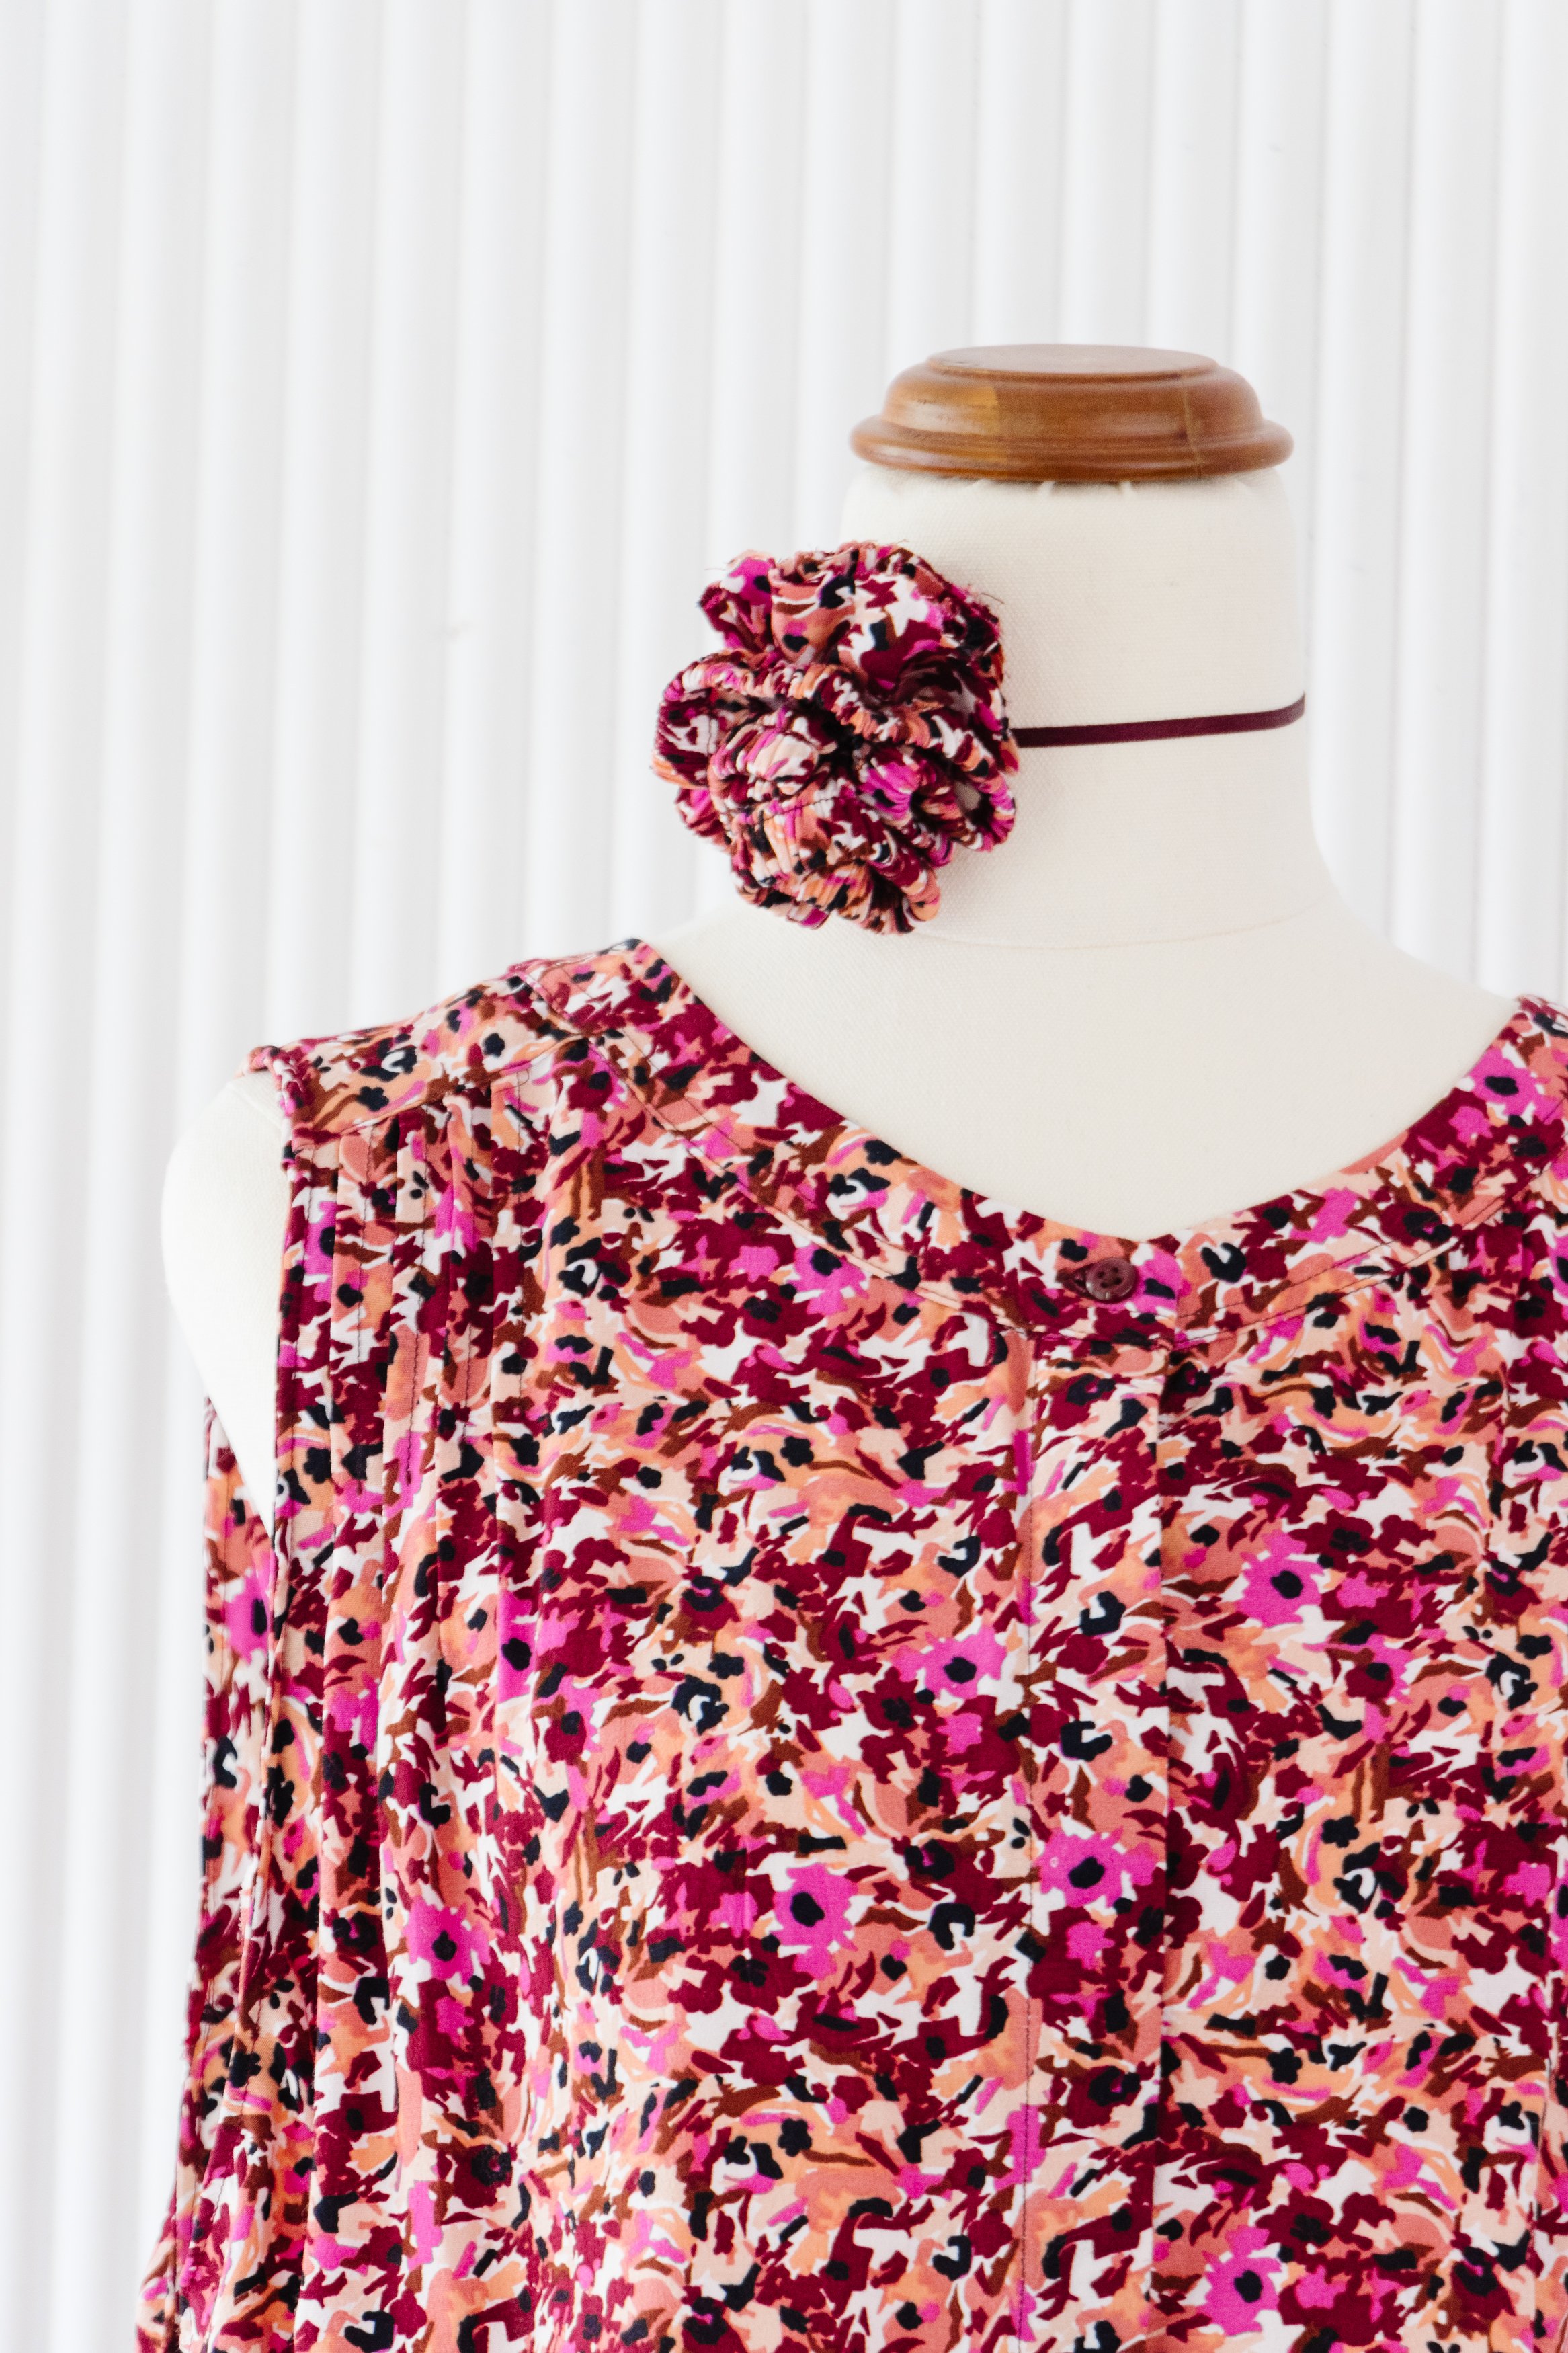
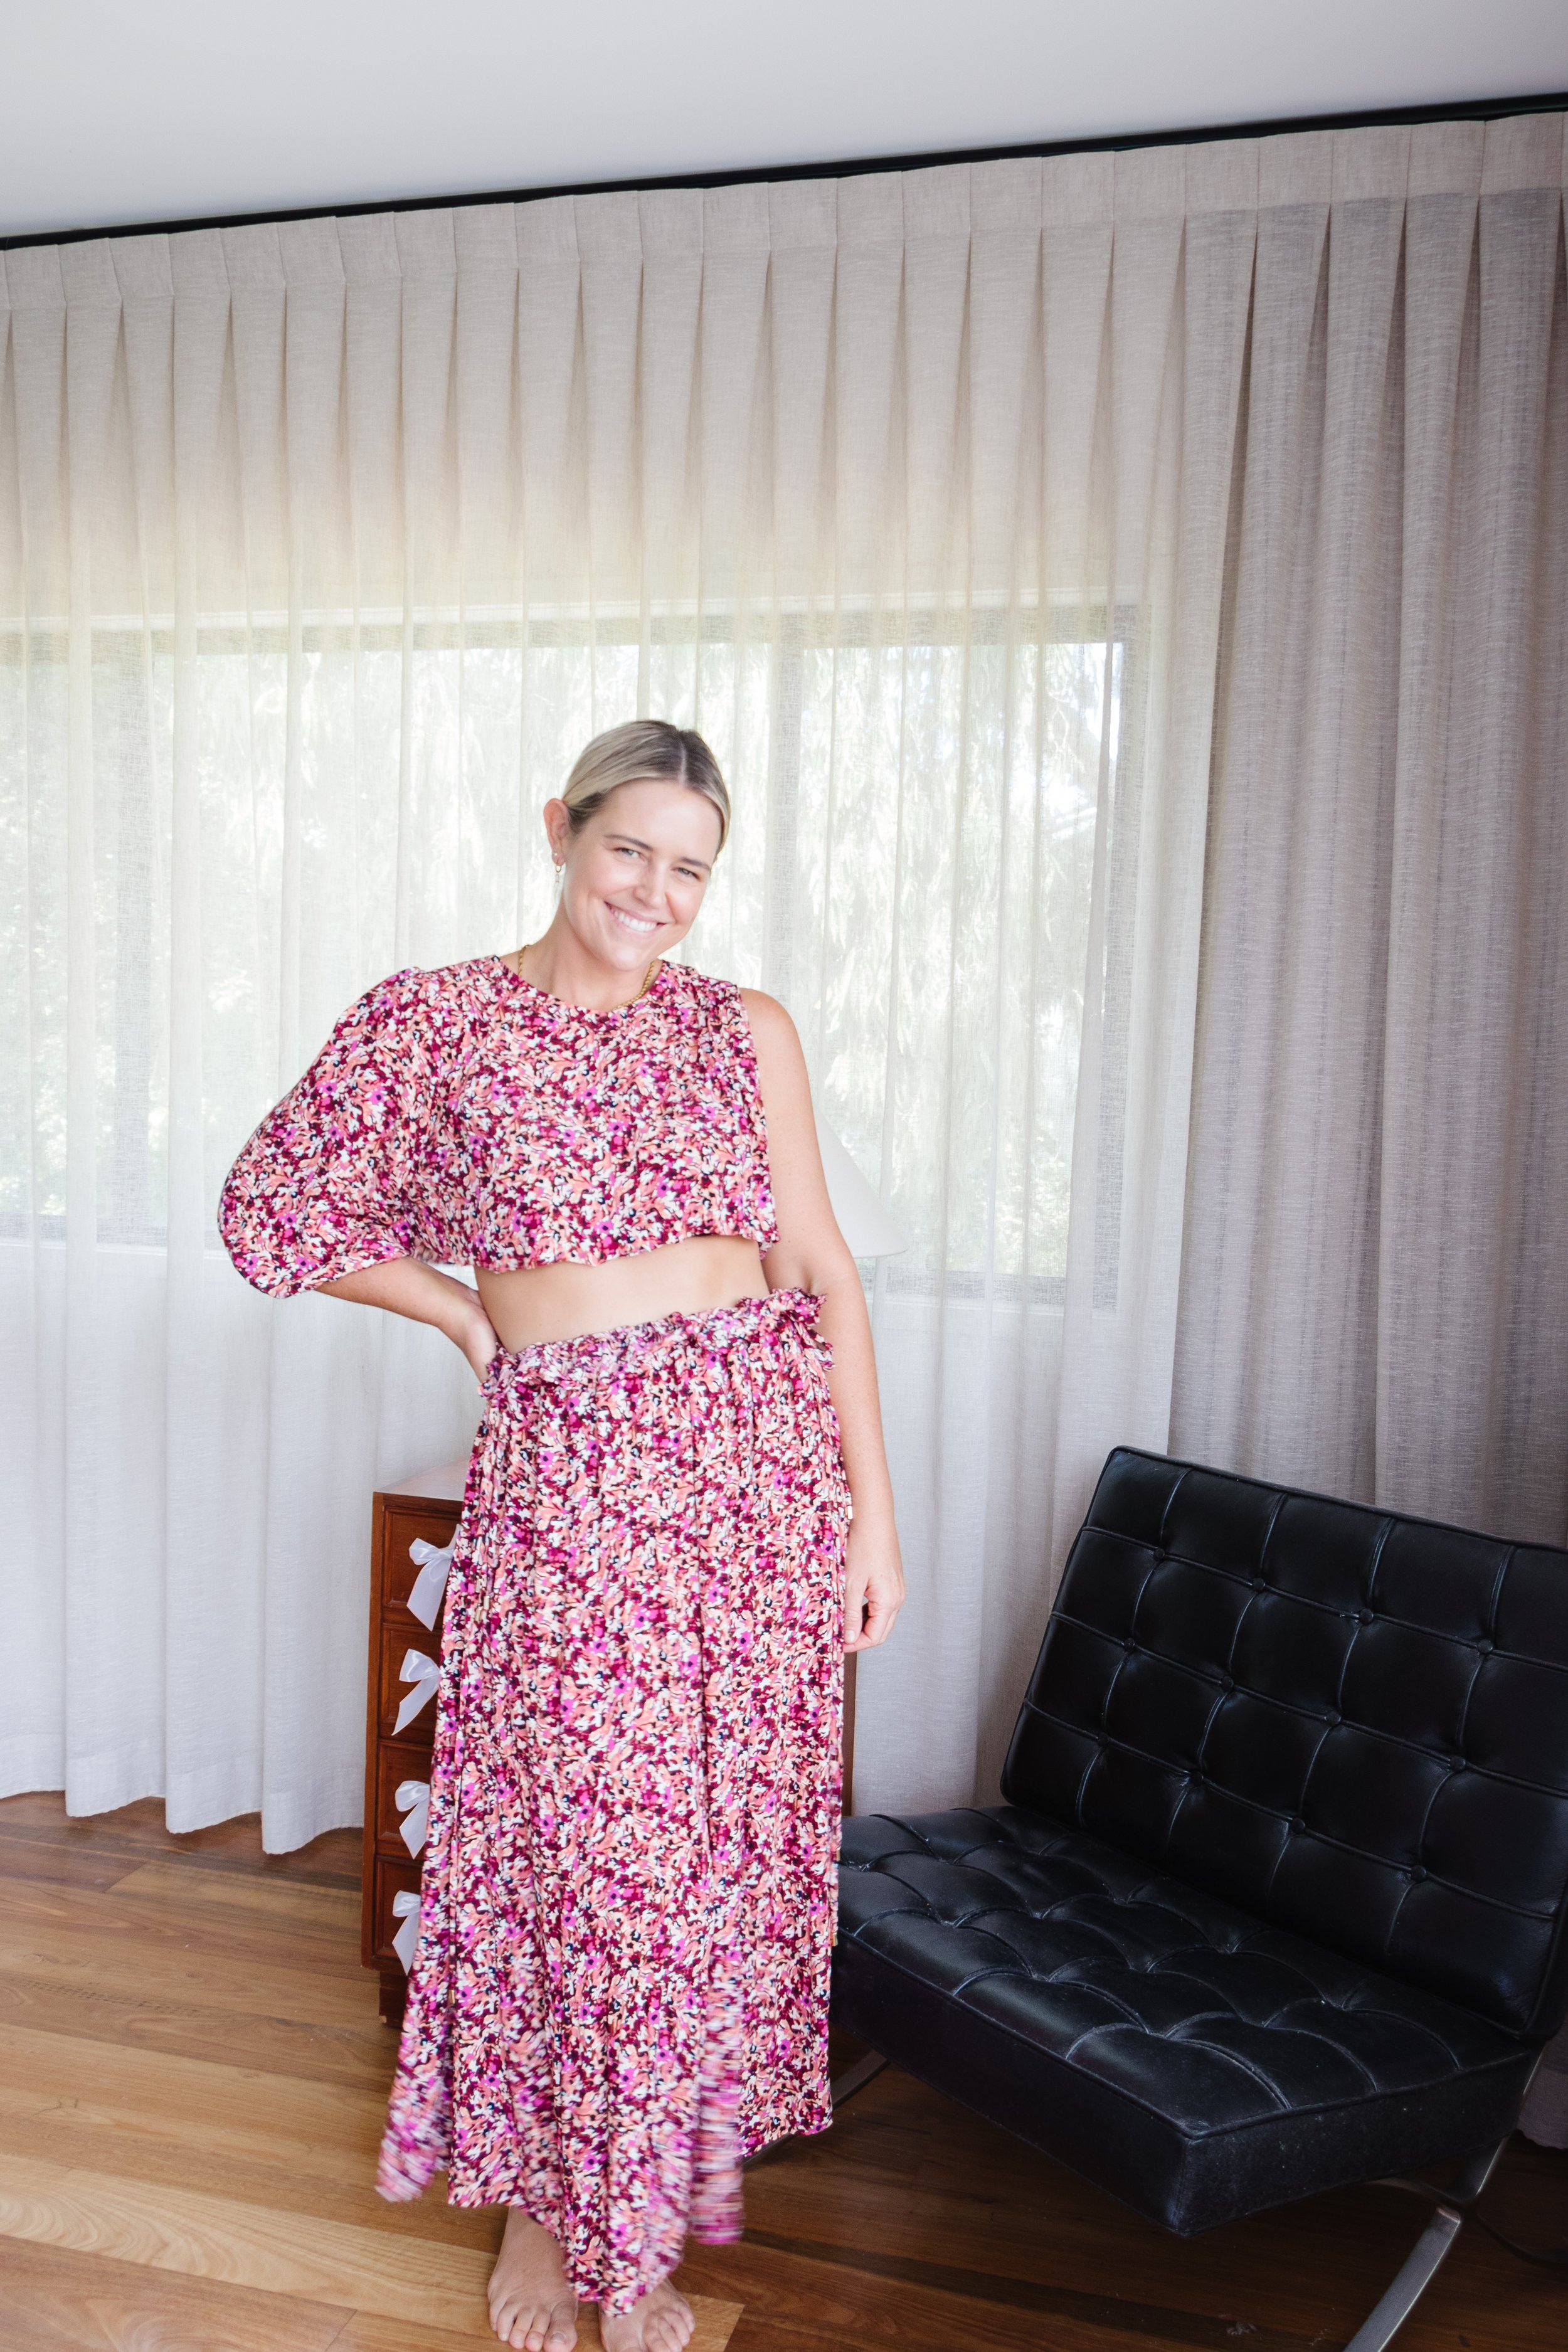
Come along with me as I make my outfit to see Taylor Swift in concert this weekend. When my nieces told me they were going all out and wearing sequins and tassels, I realised my jeans were not going to cut it. I take my aunty duties very seriously and I wasn’t about to let them down. I started thinking about outfits and remembered I fell madly in love with the dress Taylor wore to the Grammy's a couple of years ago. I was enchanted by the pink and burgundy flowers, so I went thrifting and I could not believe it when I found the perfect dress!
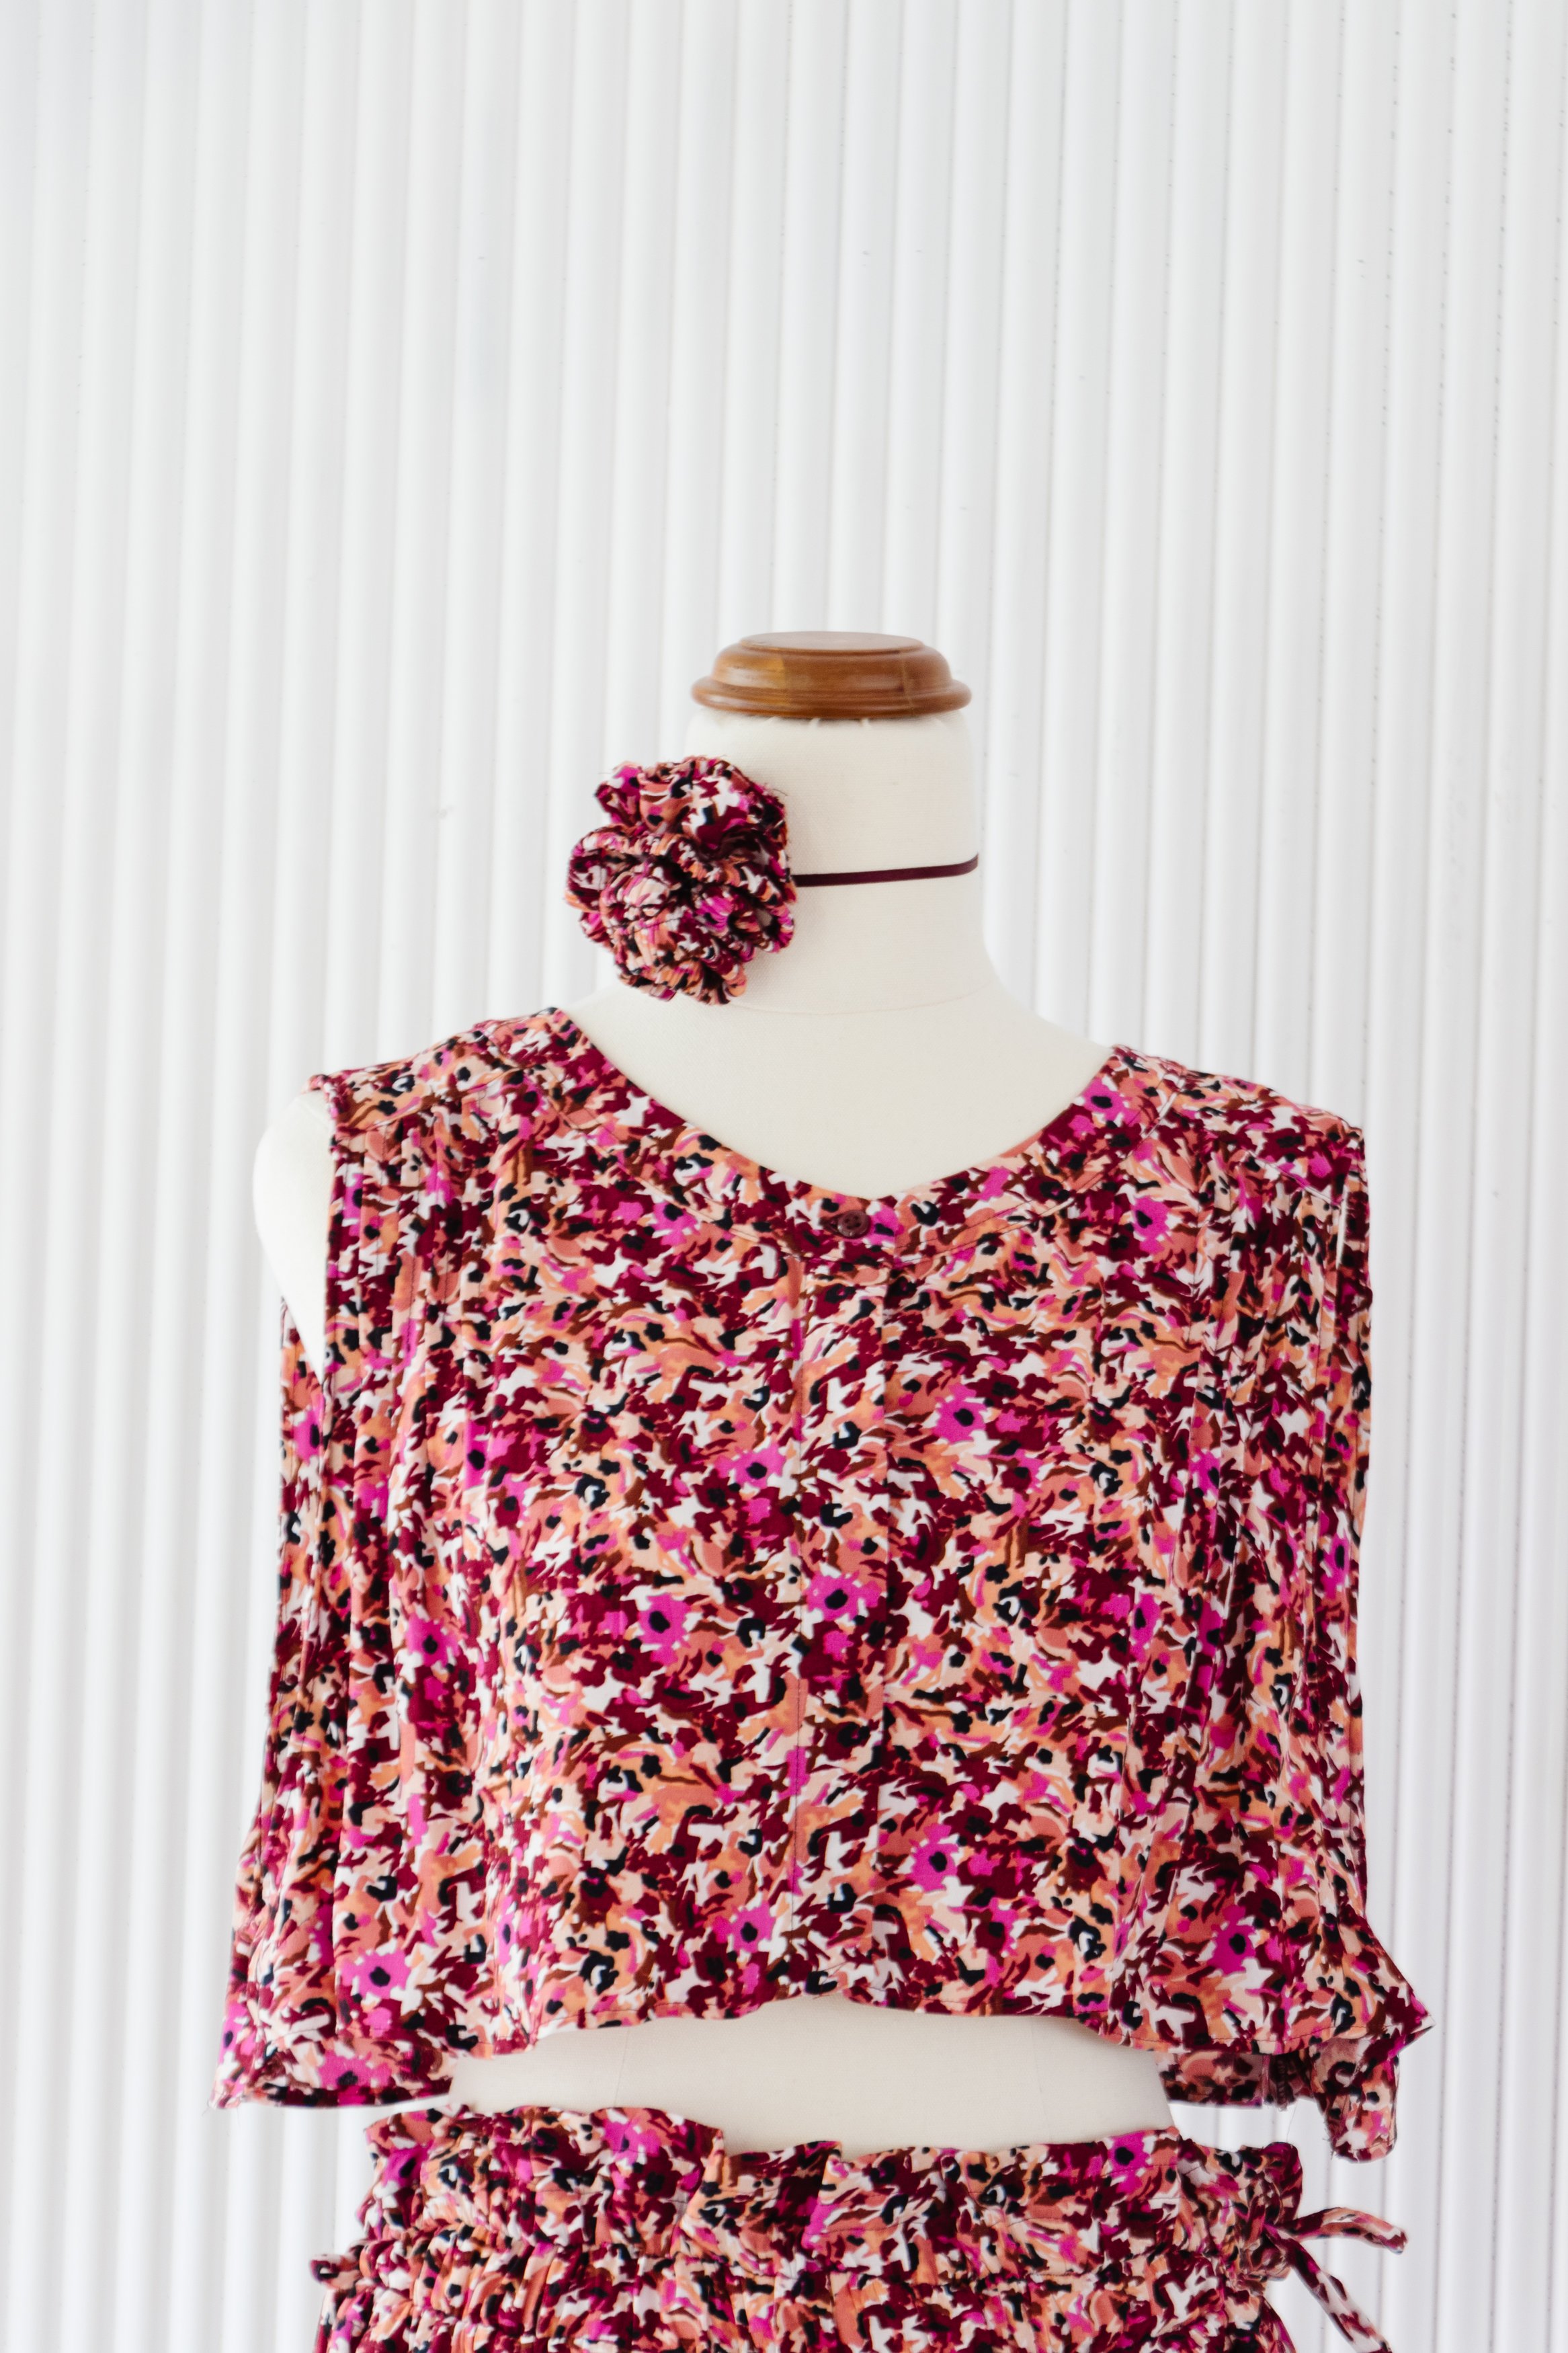
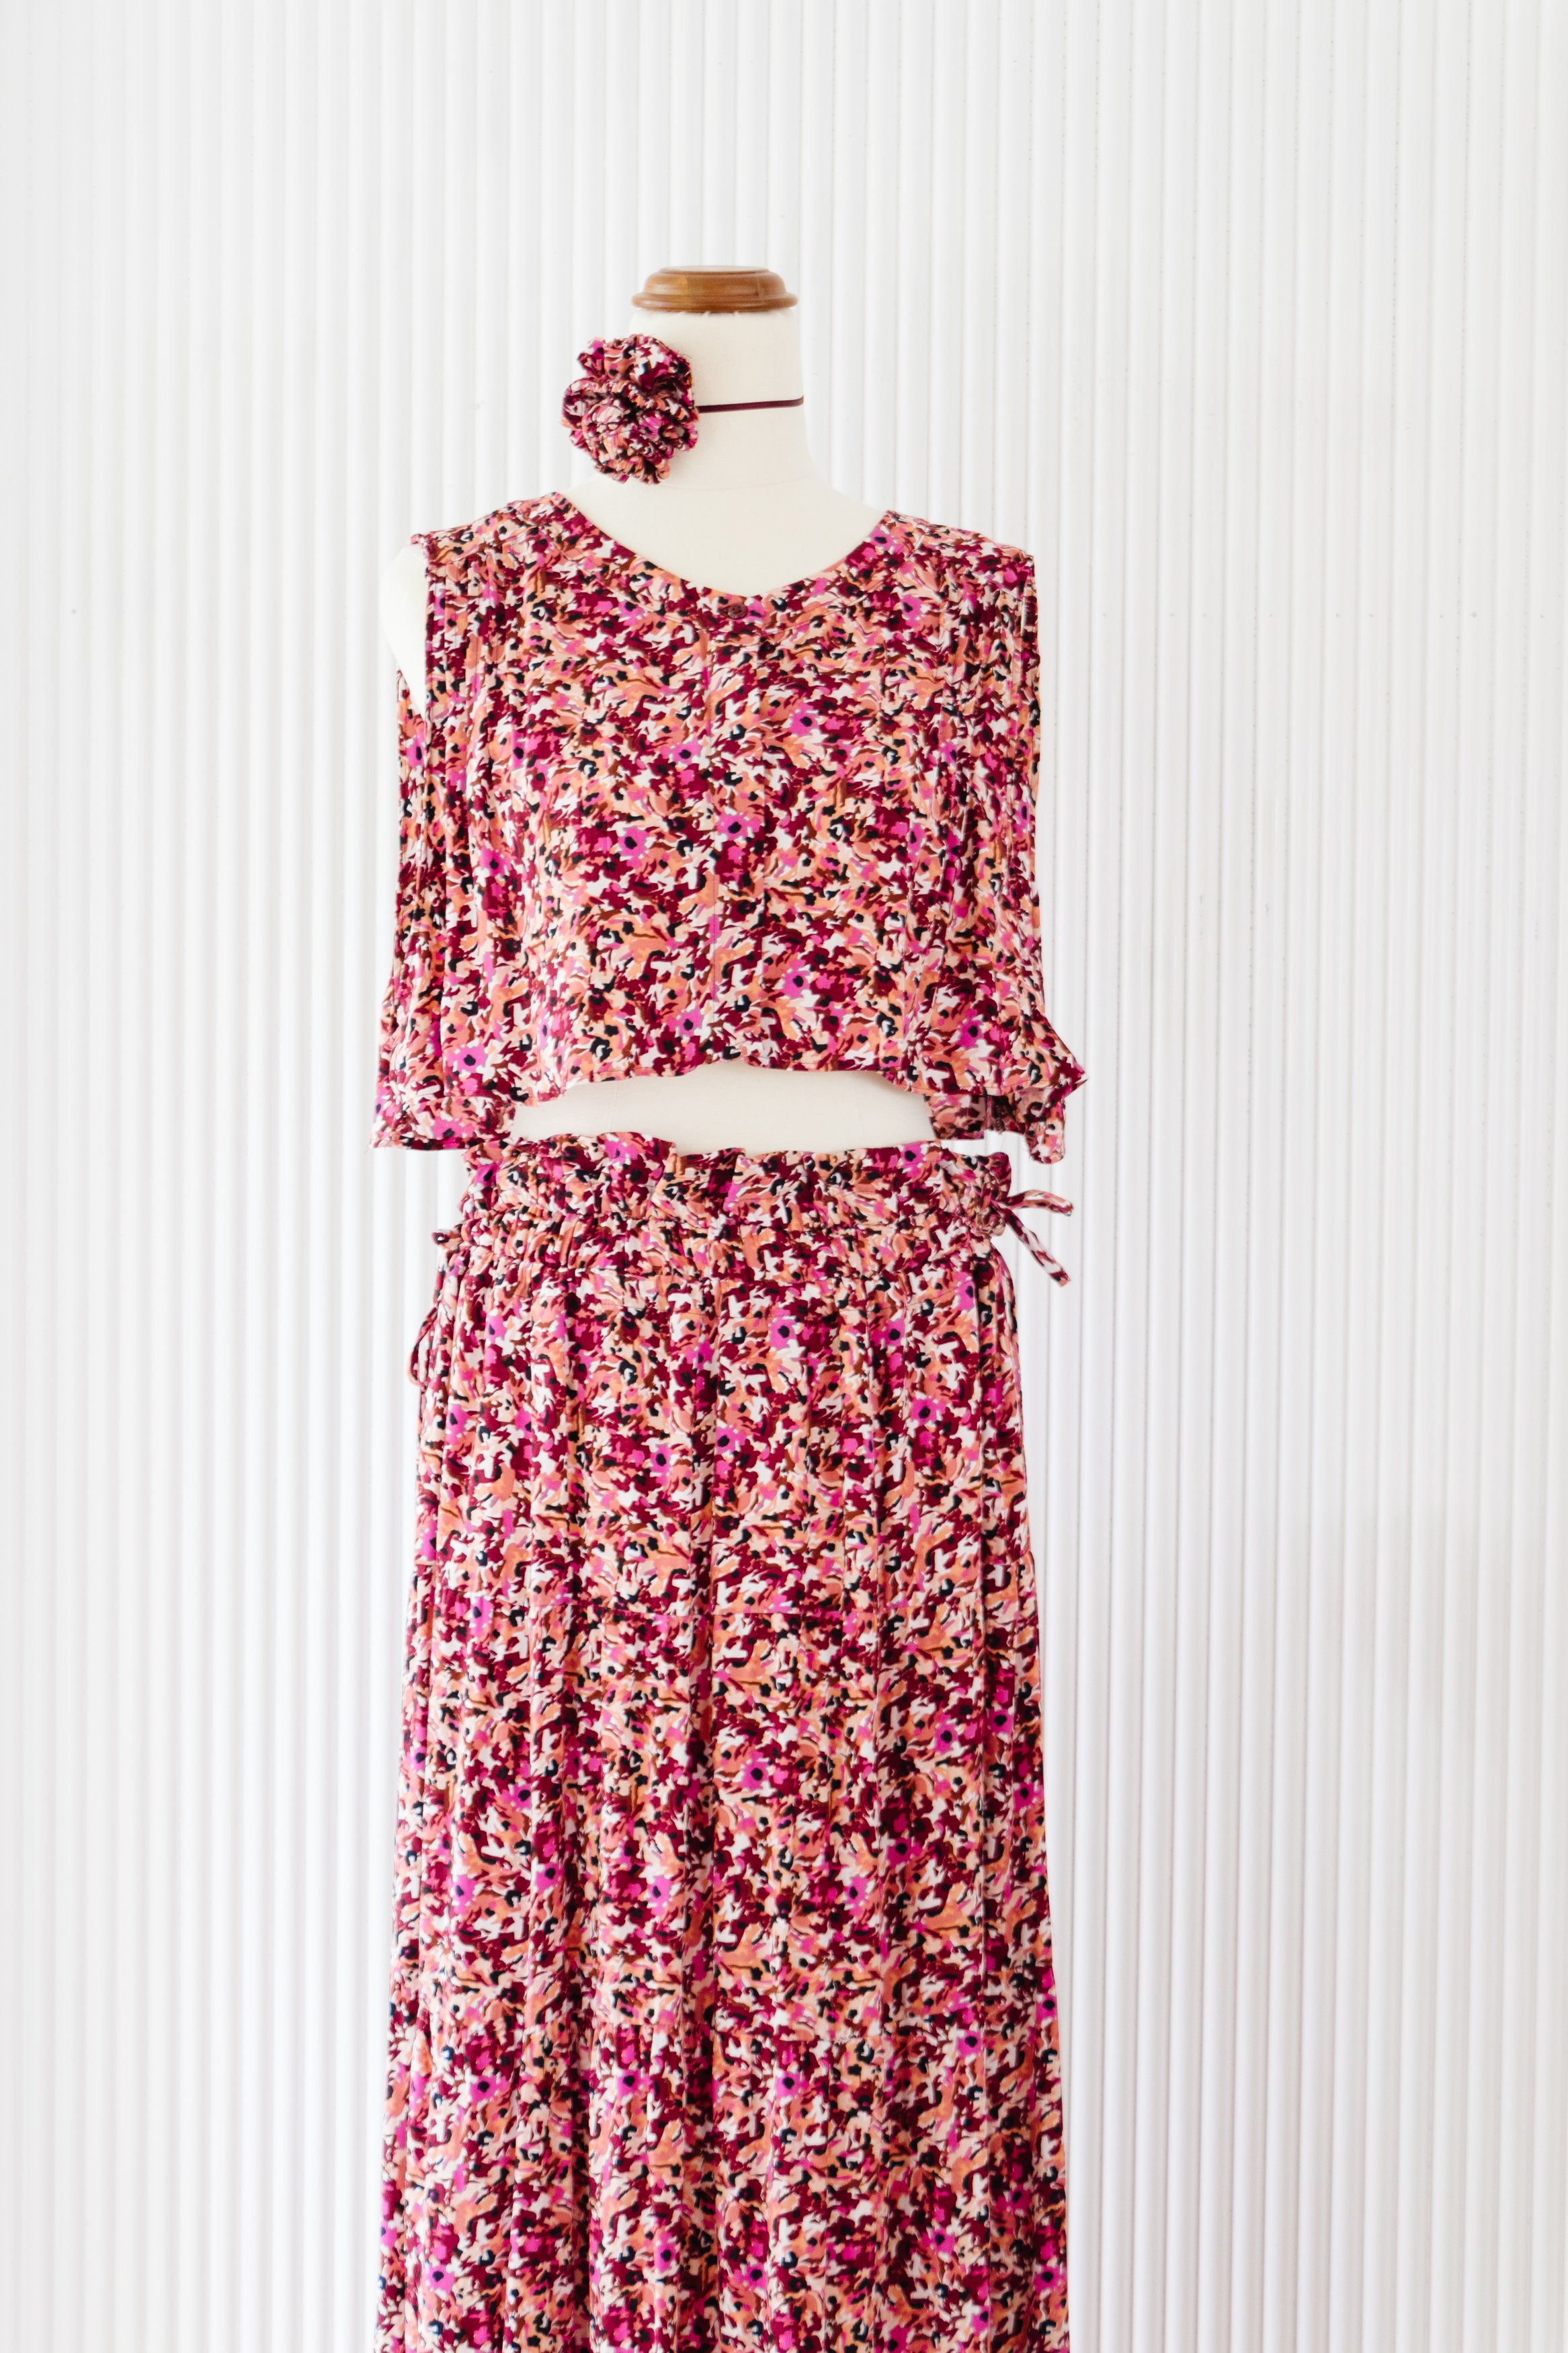
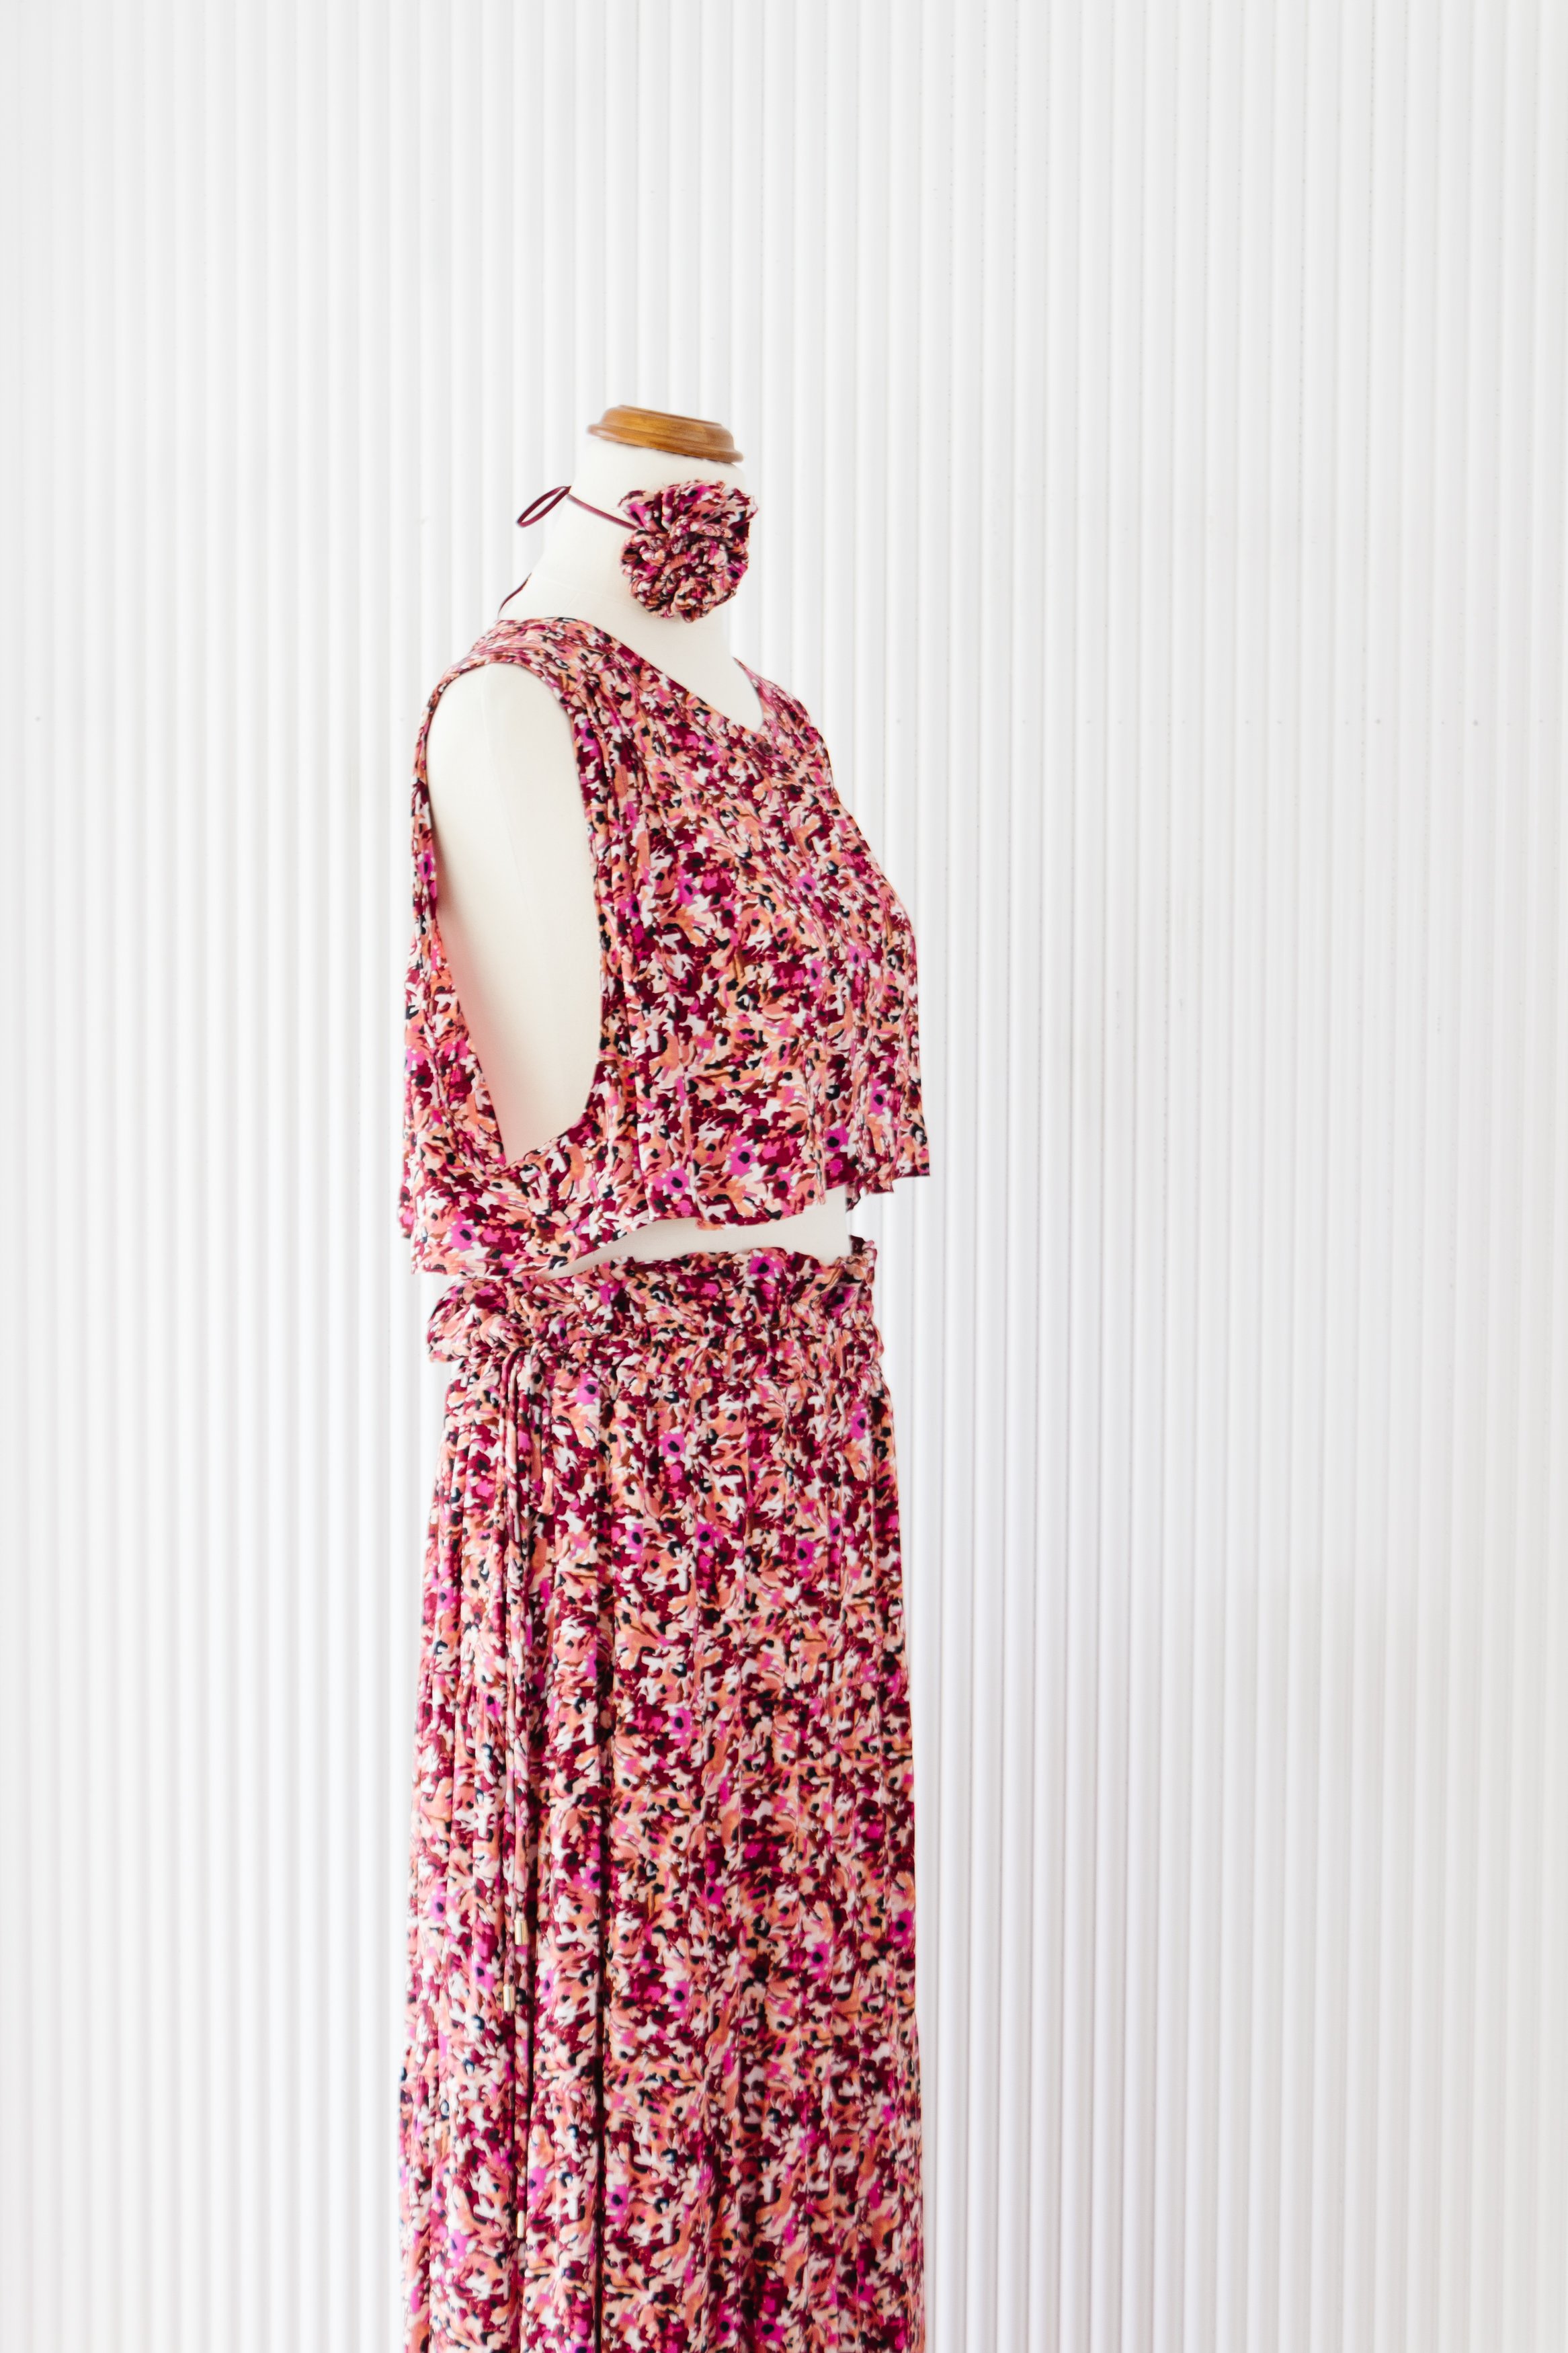
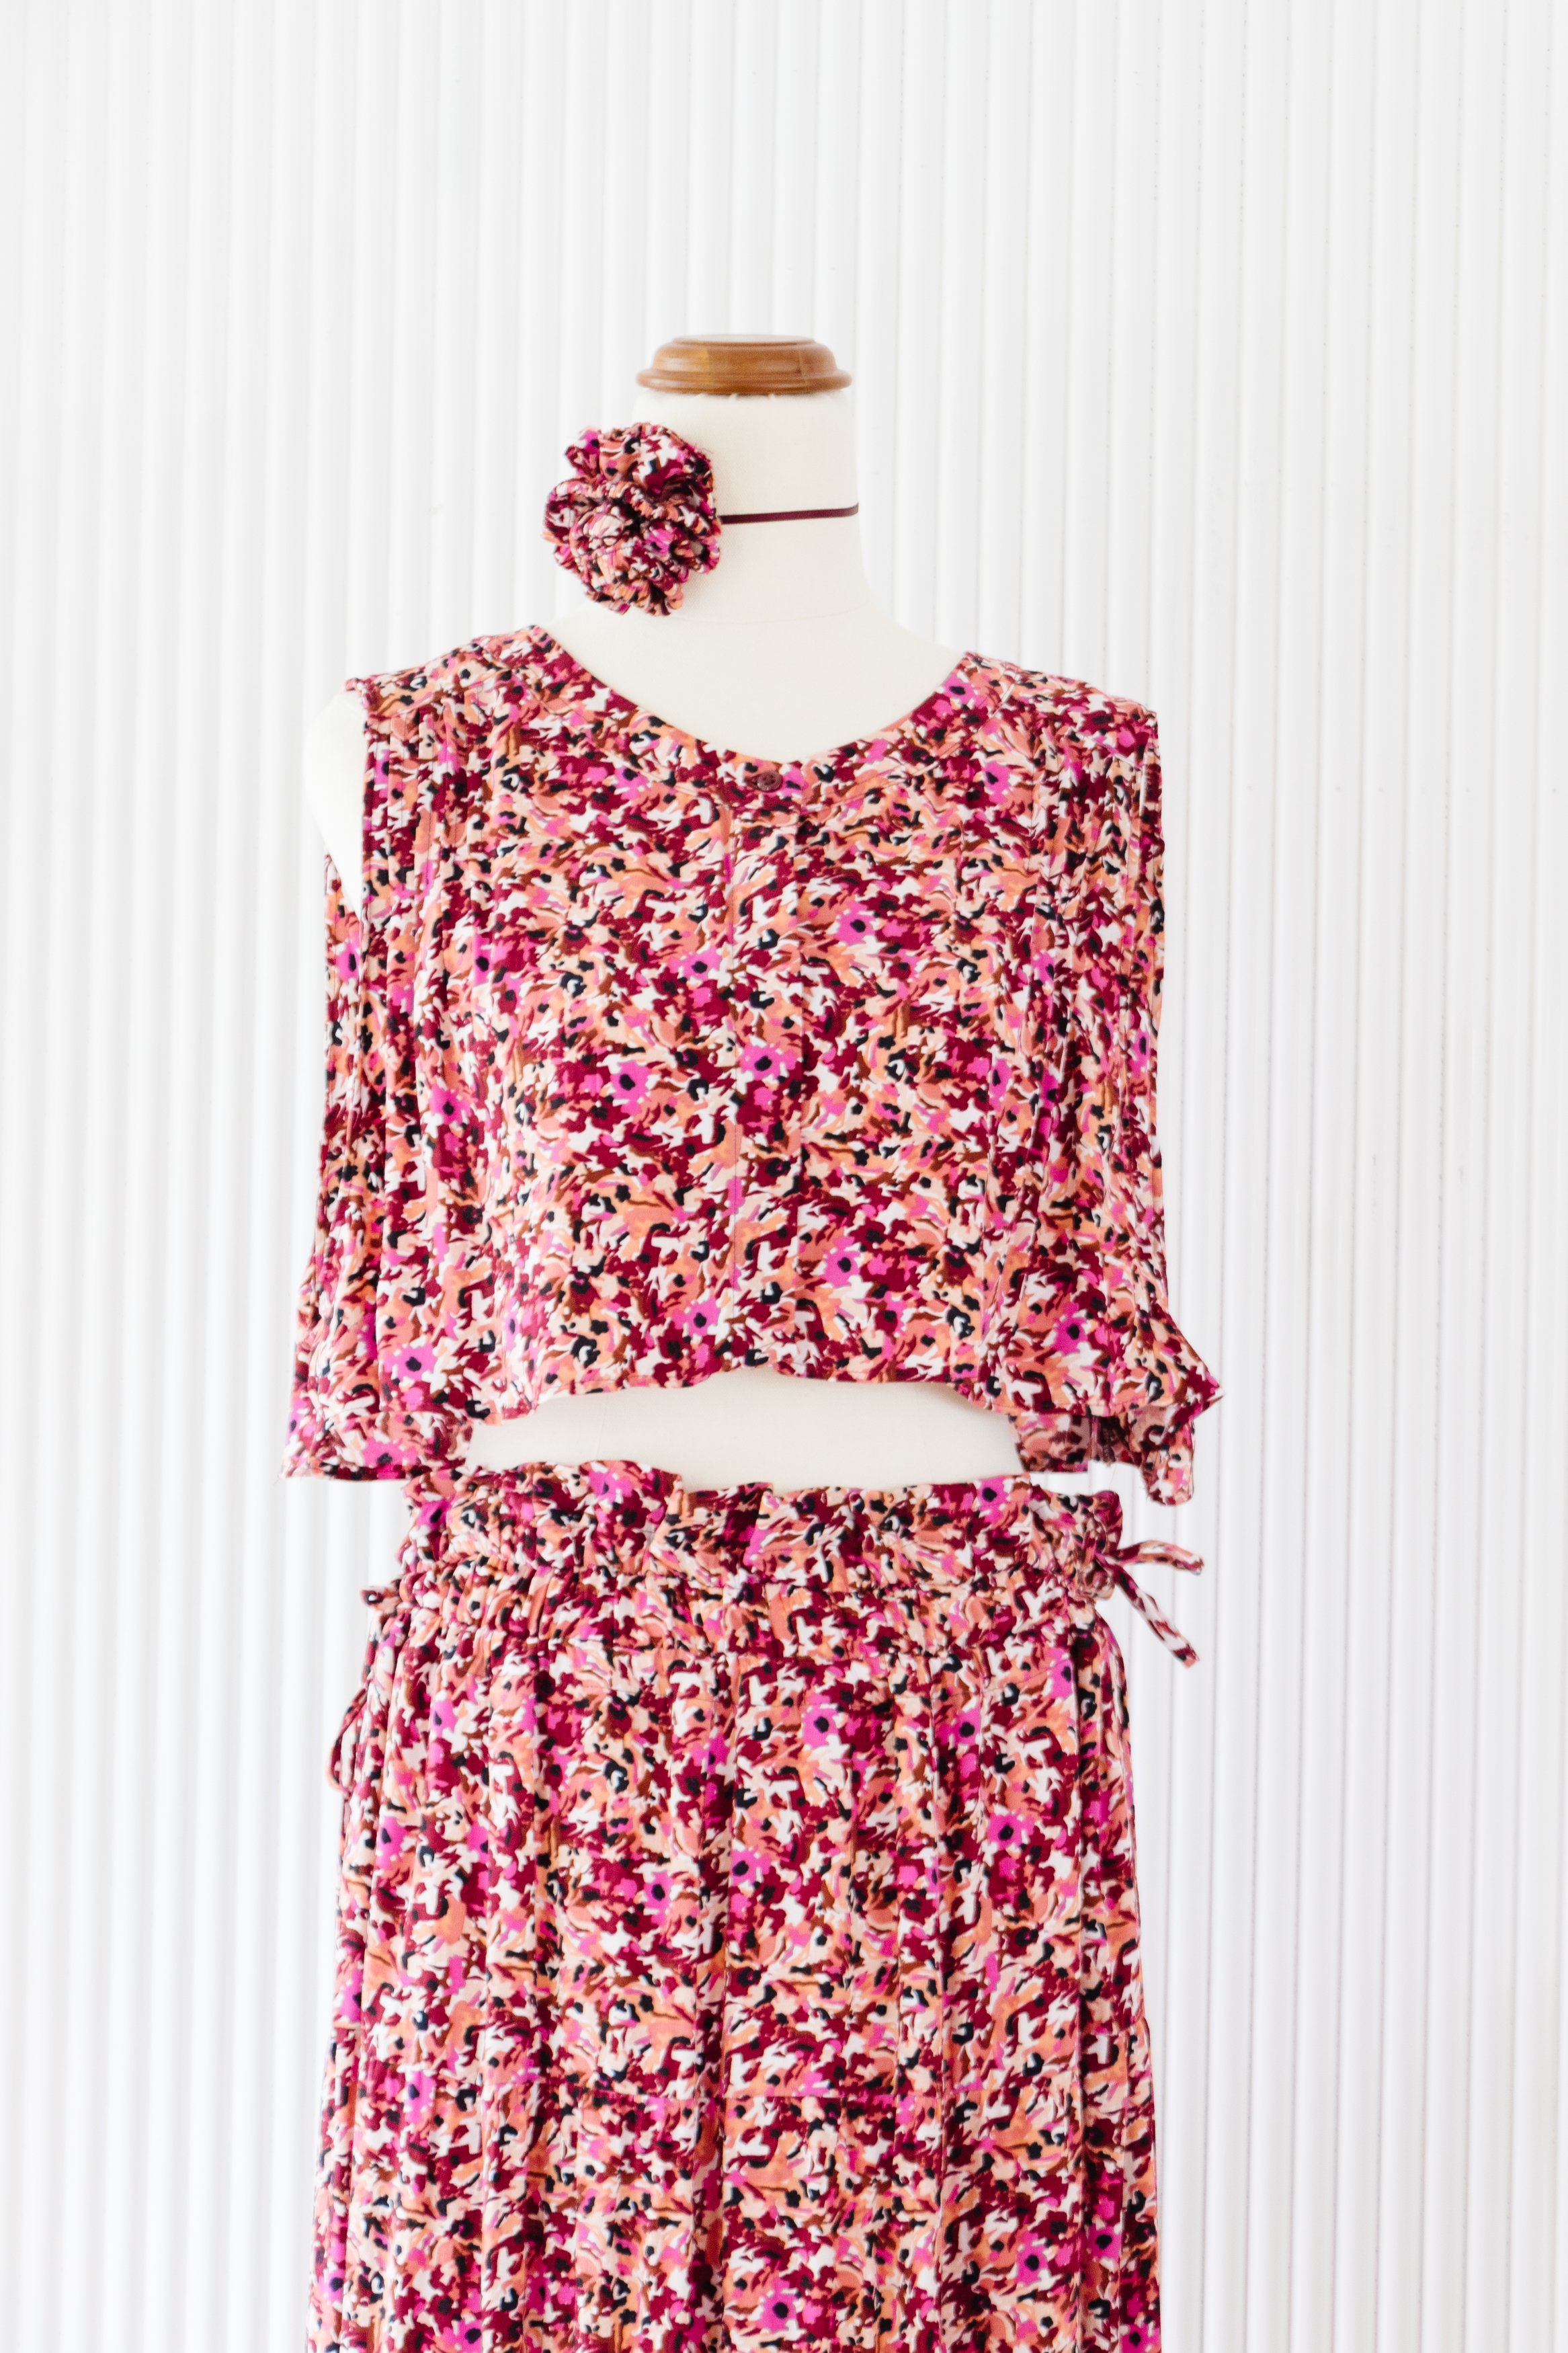
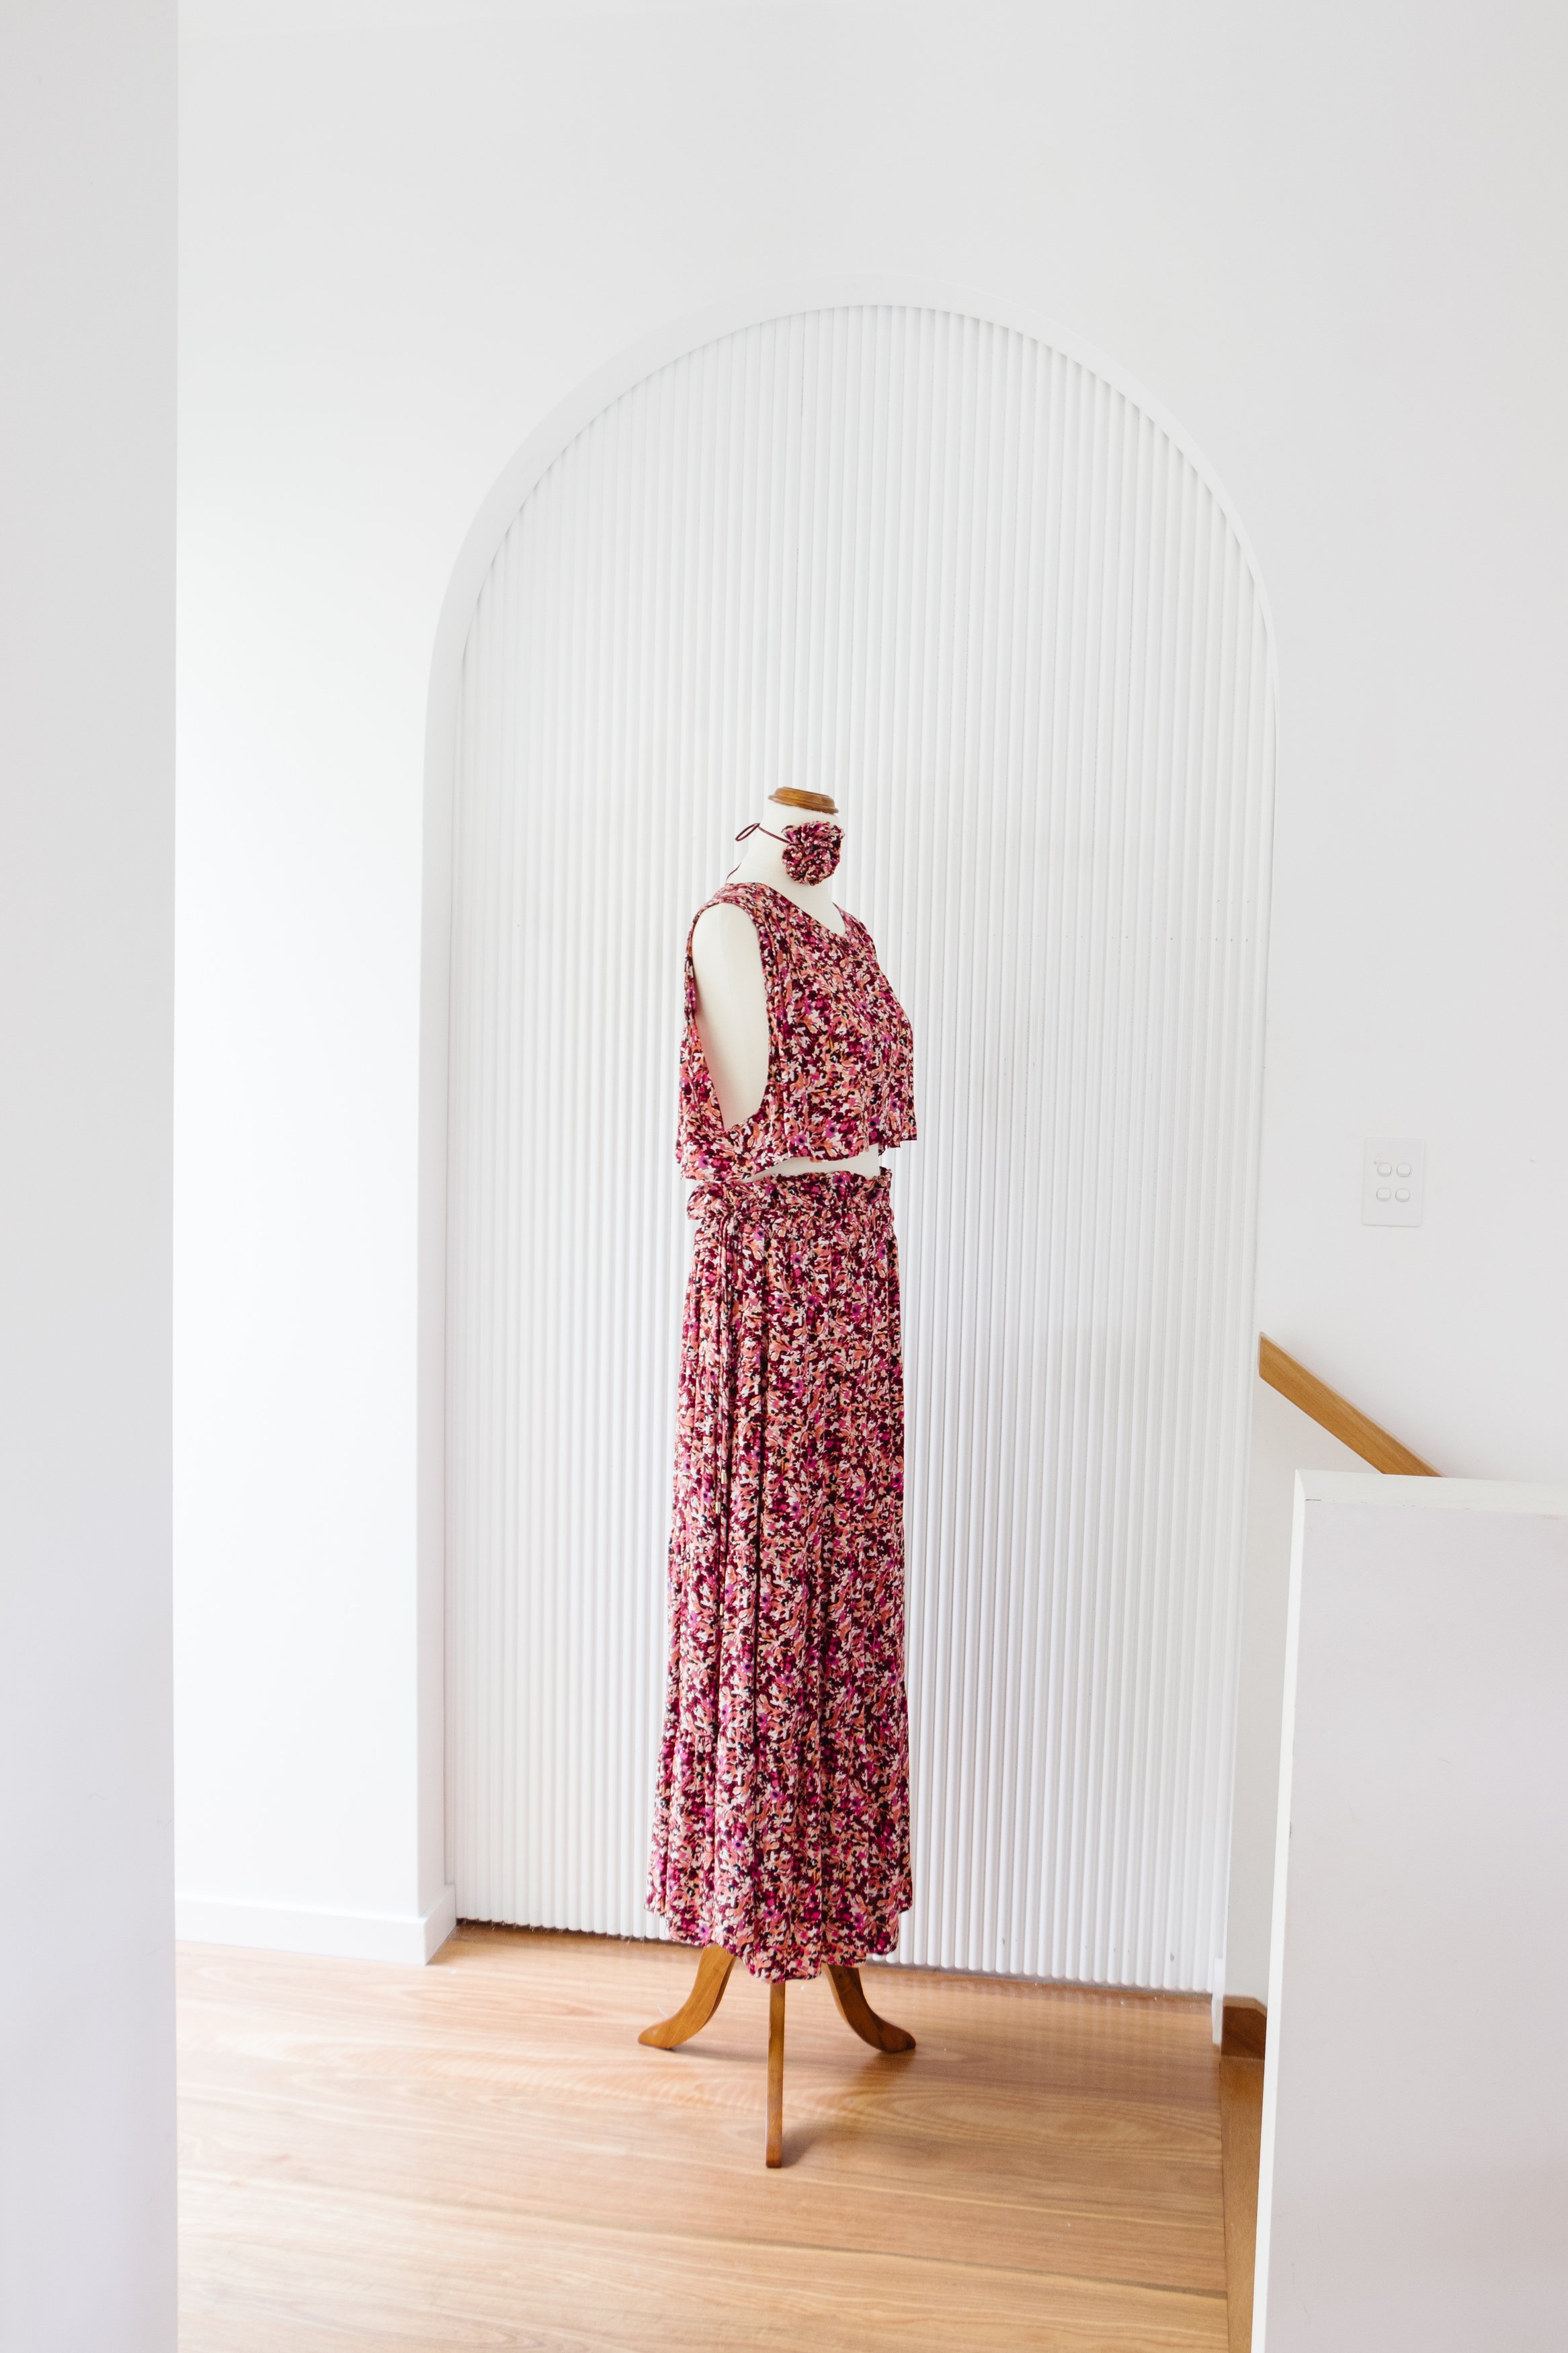
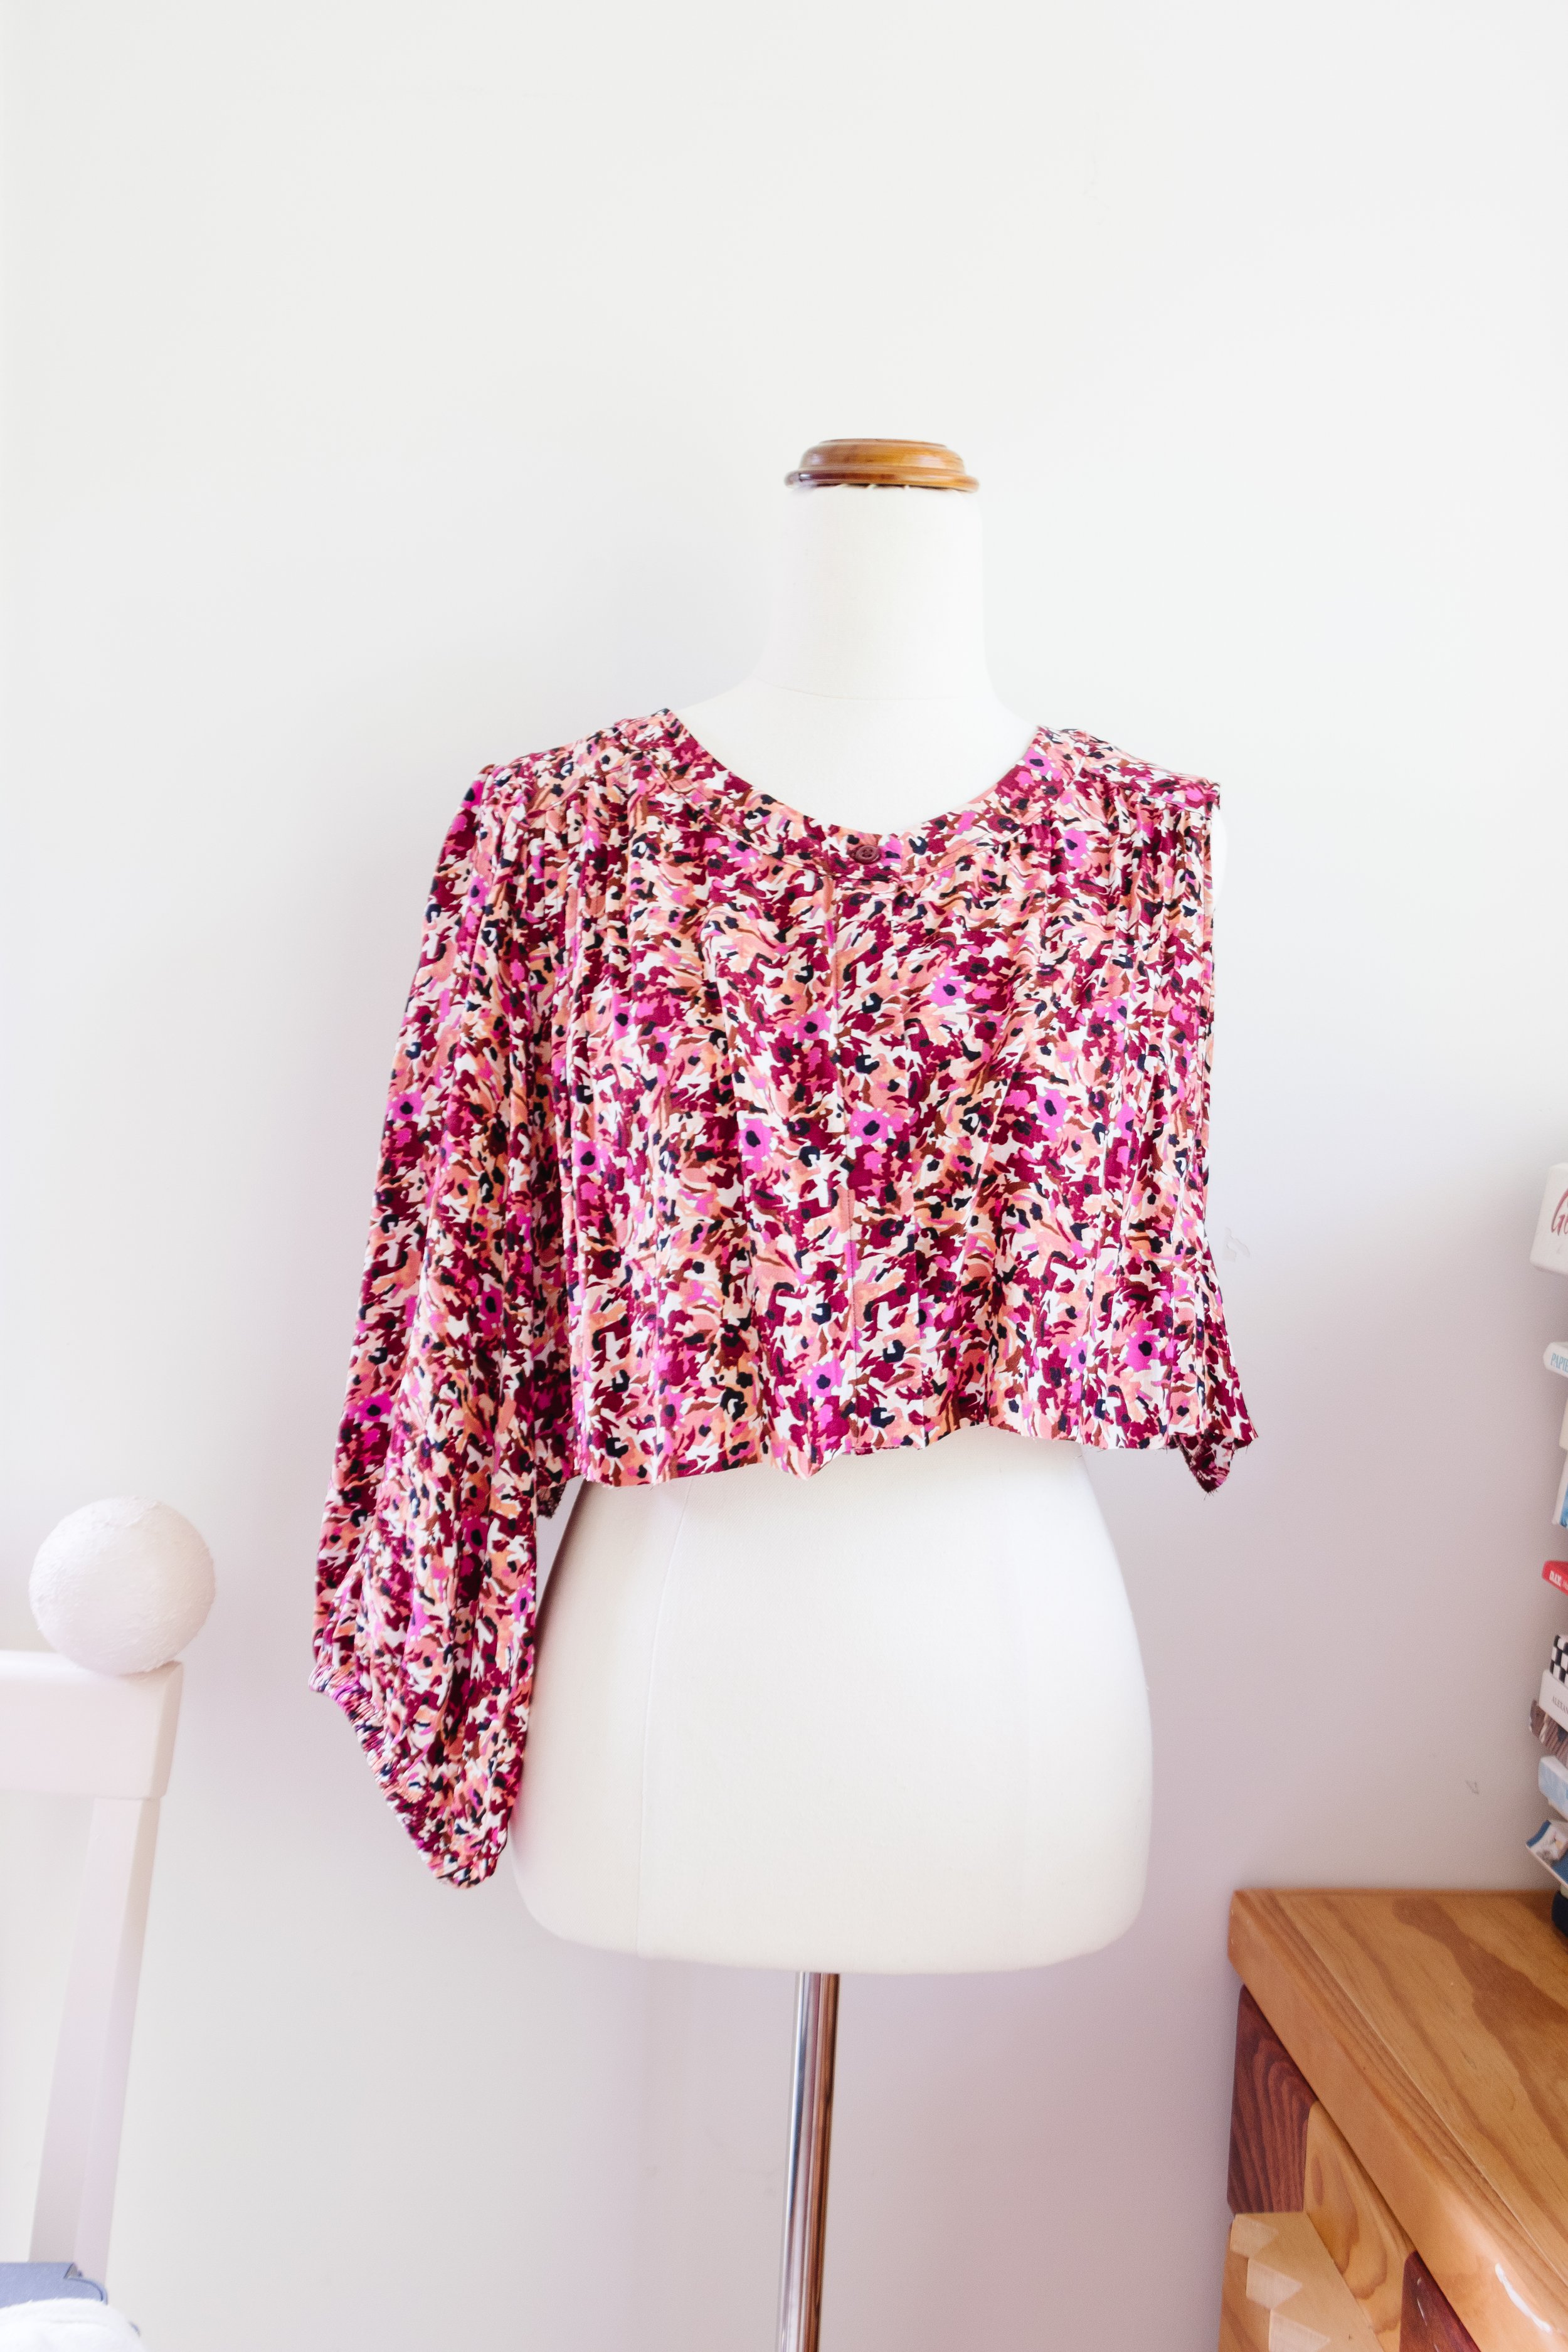
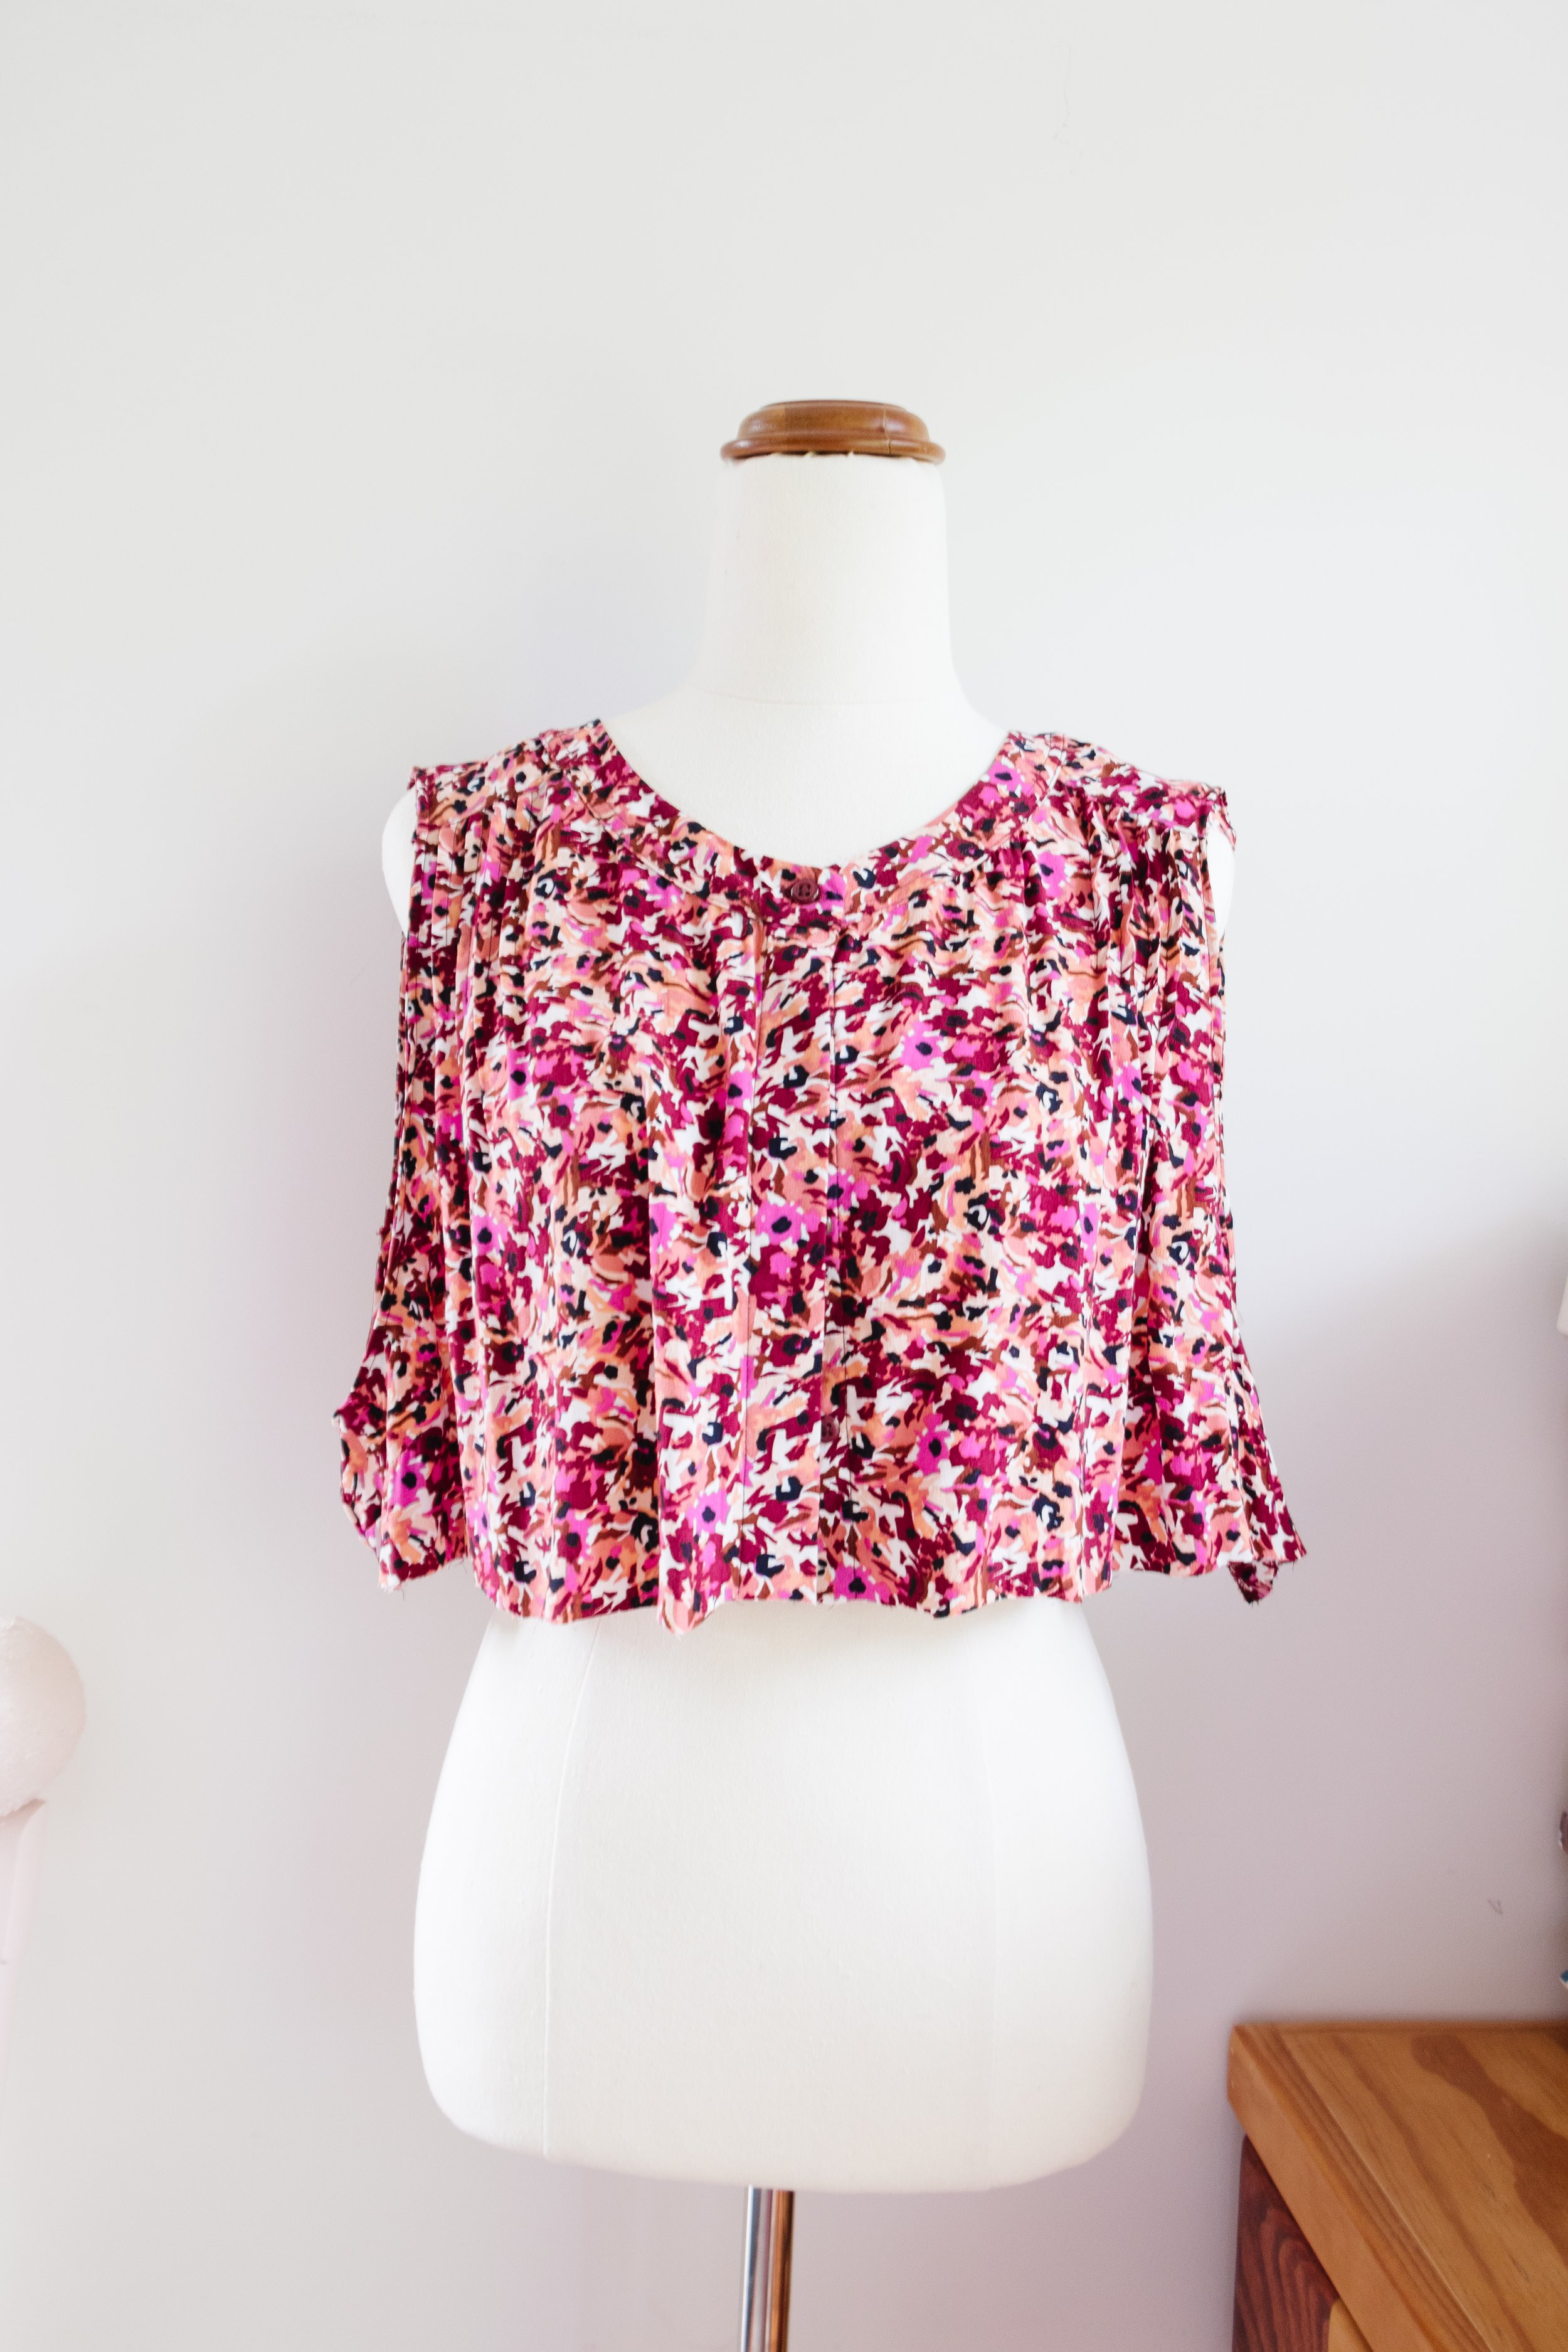
Look it wasn't horrible, but it certainly wasn’t flattering. And even though it didn't suit me I knew it had so much potential for an Eras Tour glow-up, so I pulled out my scissors, took to my sewing machine, and got straight to work. A couple of hours later, what do you think? I also made a rosette chocker using the sleeves and the ribbon used to hang the dress. This Eras ode to Taylor is going to be so fun to dance in and I can't wait to show you what it looks like from the concert.
To see how this came together watch this quick video
Before & After


Project Details
✂️ Making: Flipping a thrifted dress into a twin set to see Taylor Swift in concert
🕒 Project Time Estimate: 1.5 hours
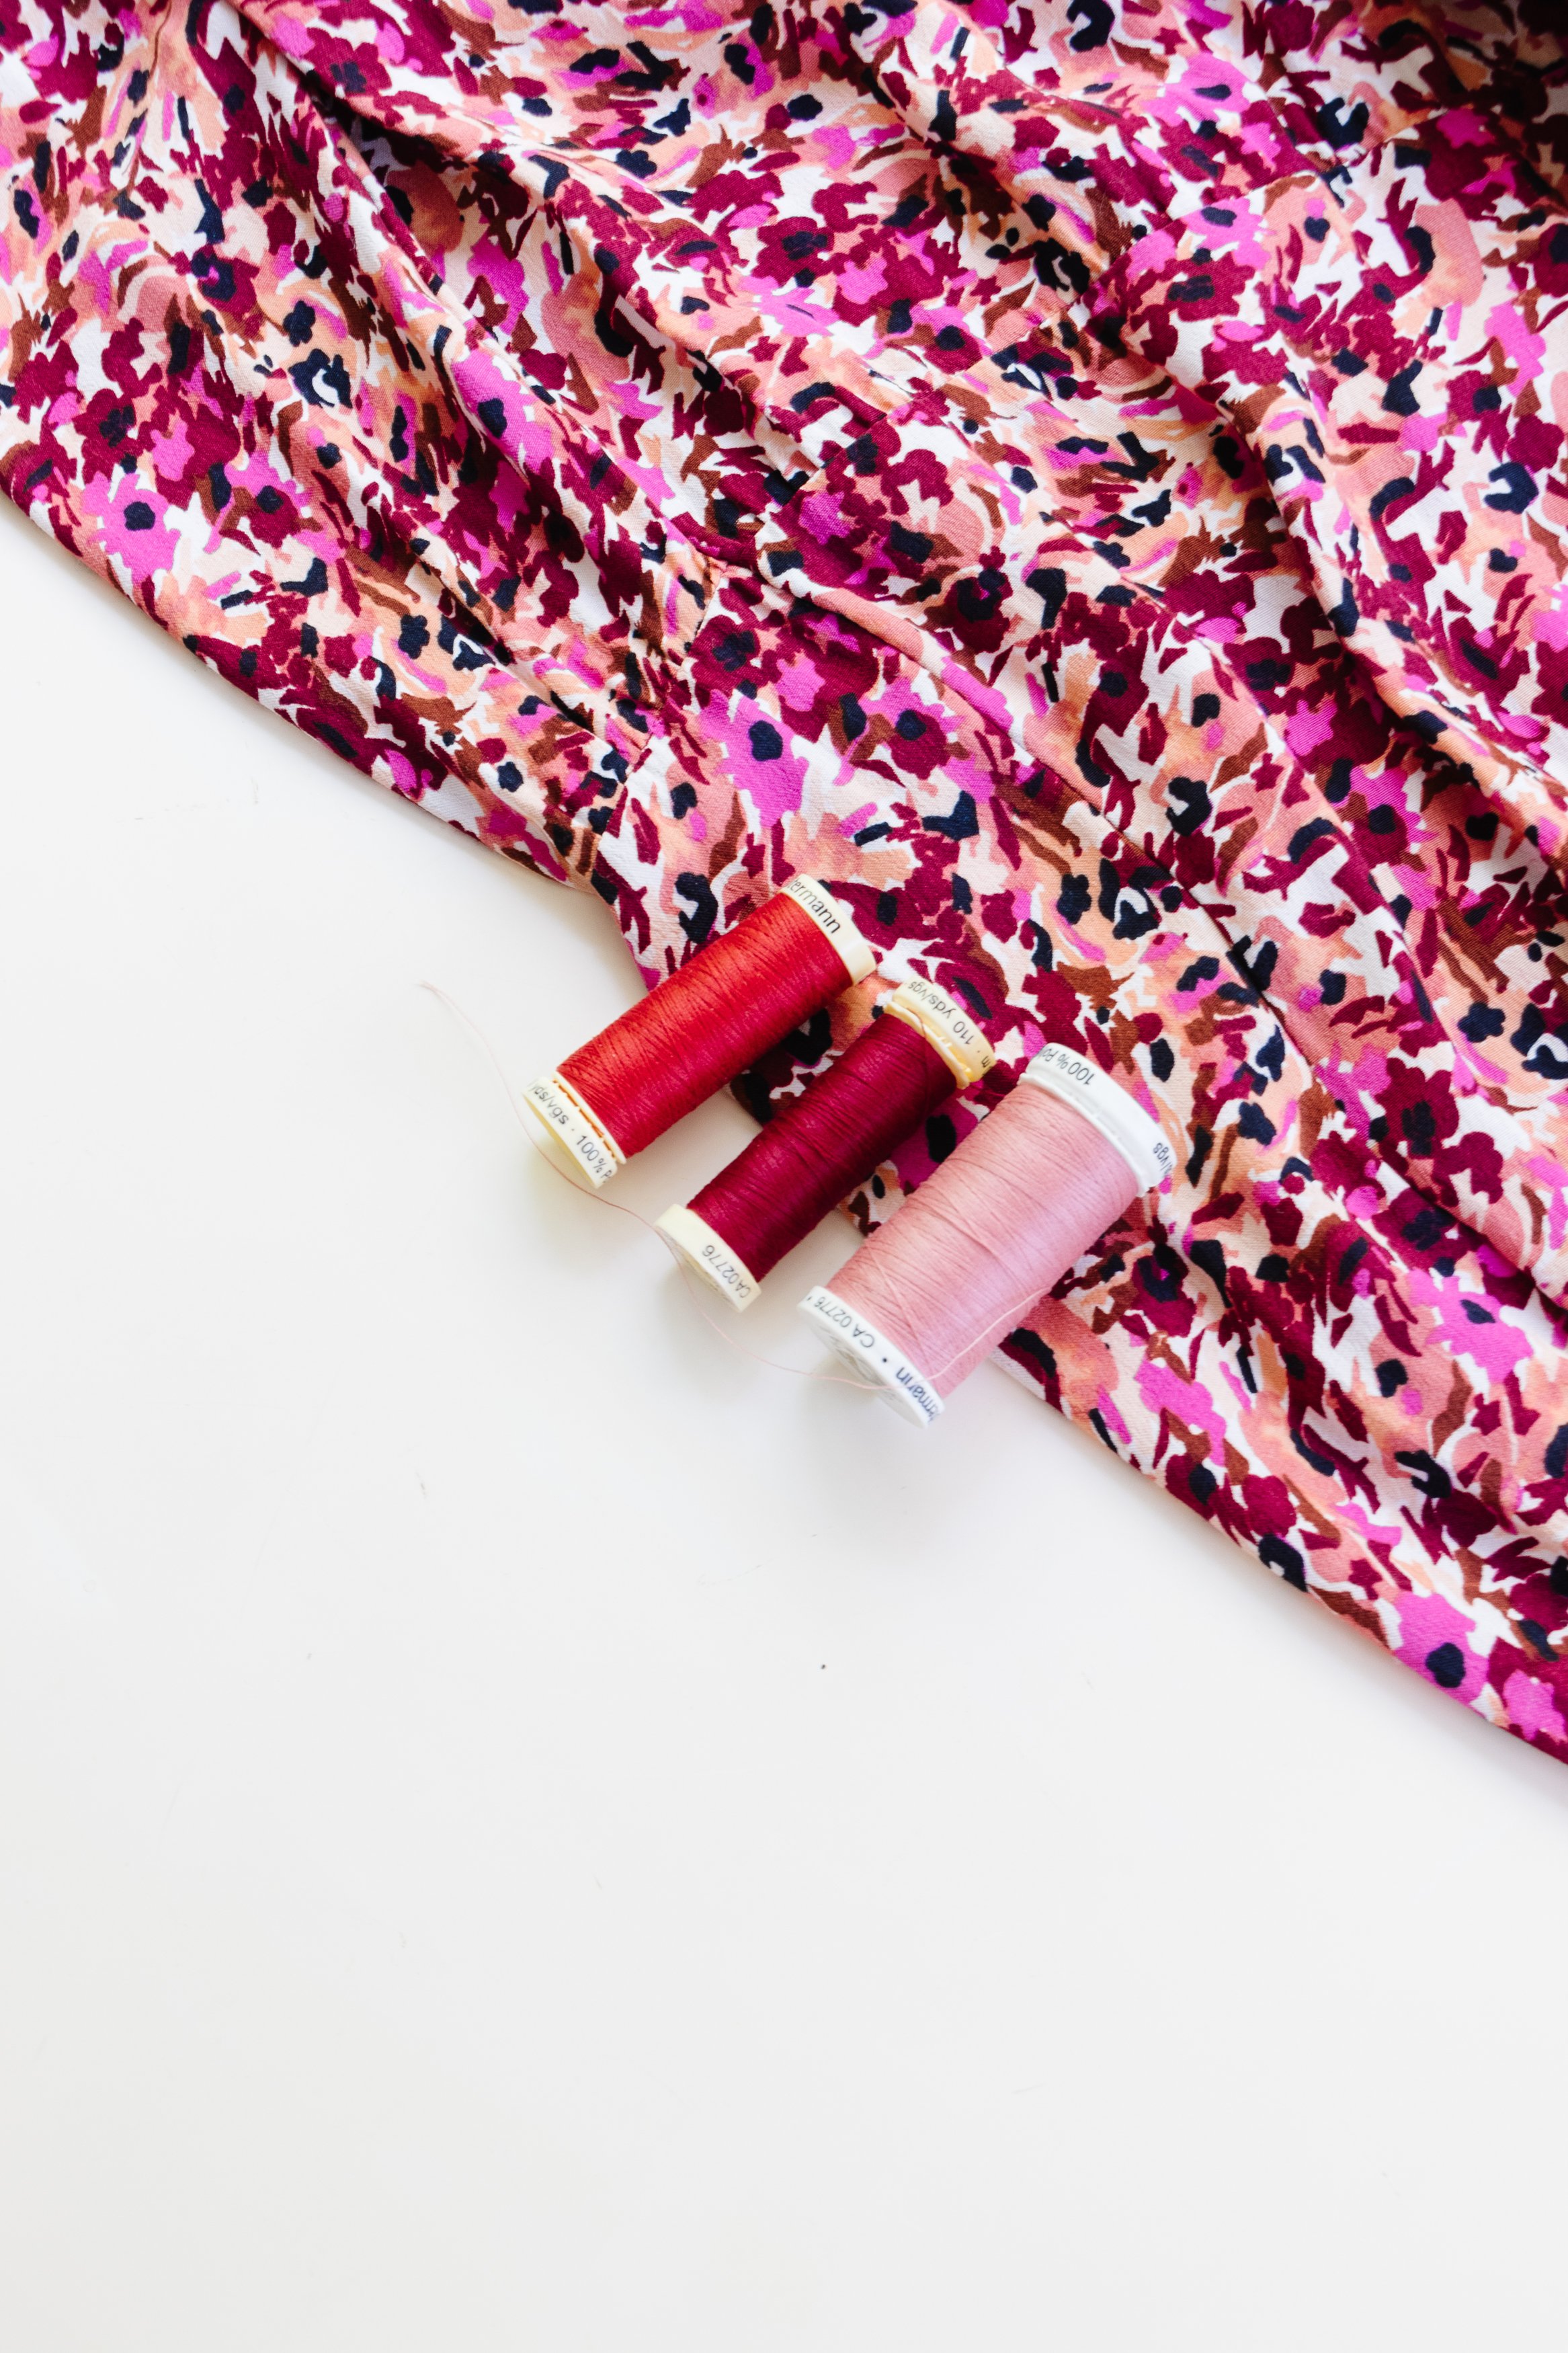
💰 Materials Cost: $12
Materials
Thrifted maxi dress
Cotton thread
Hair tie
Tools
Scissors
Sewing machine
How To
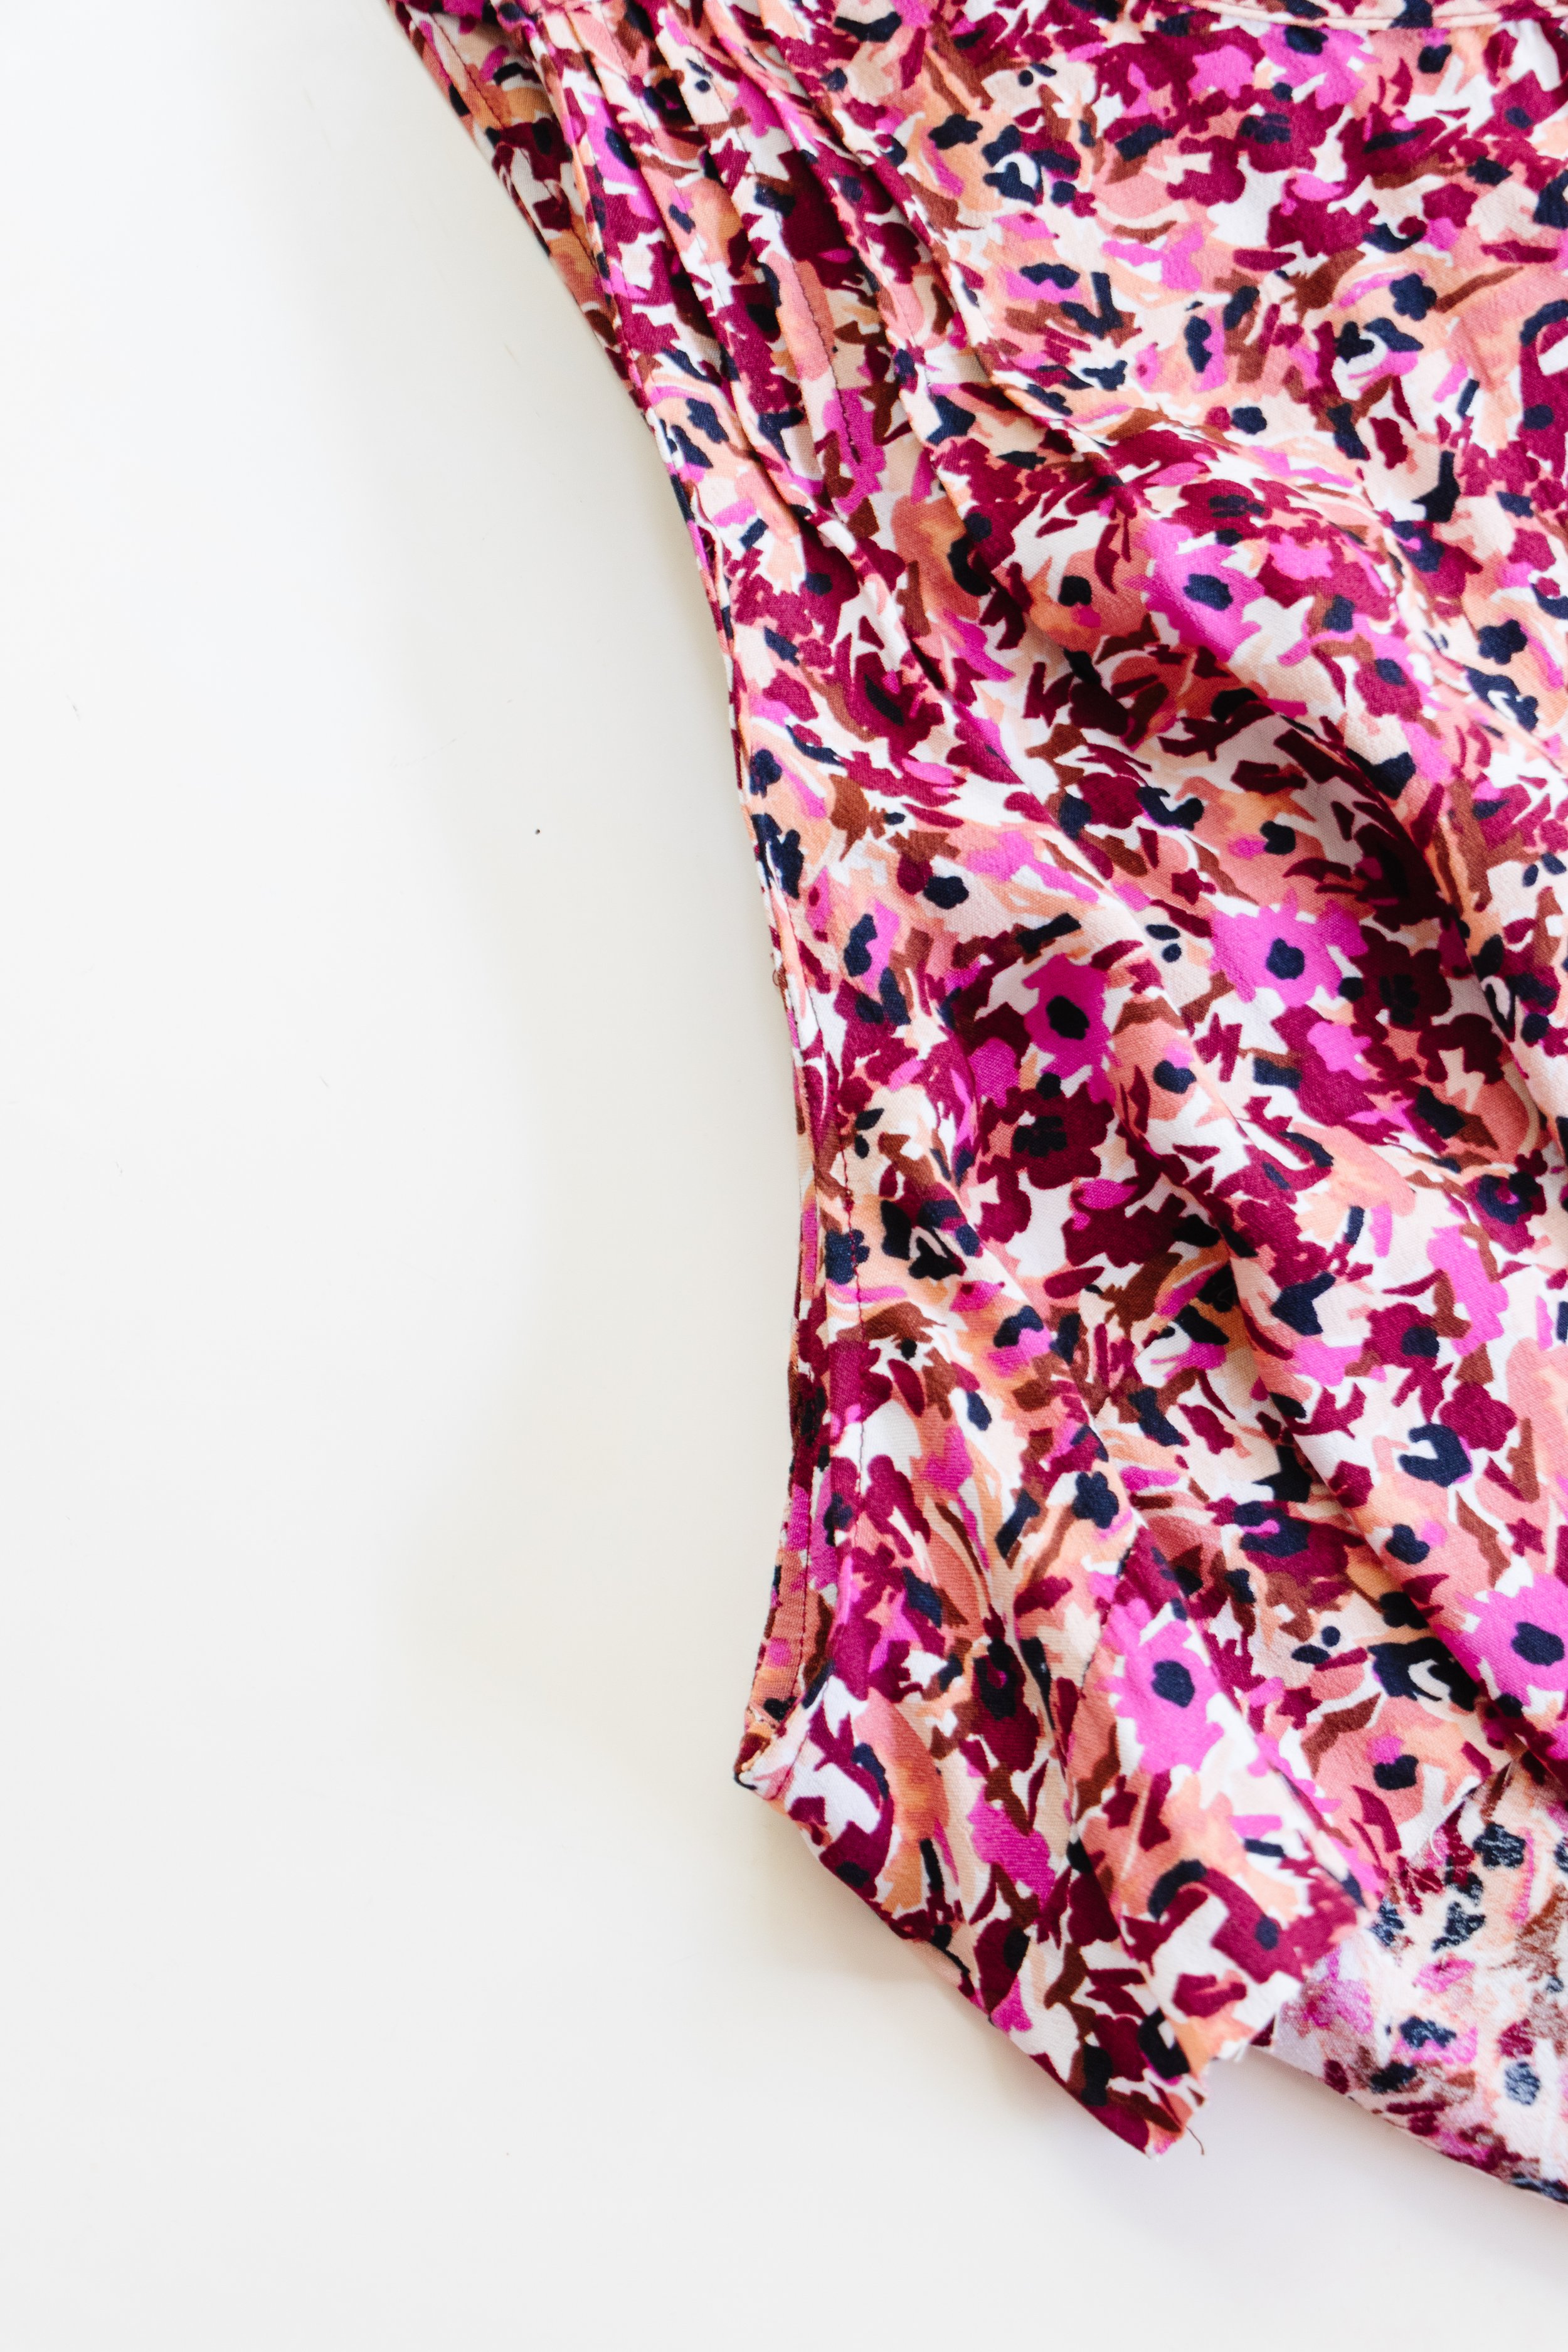
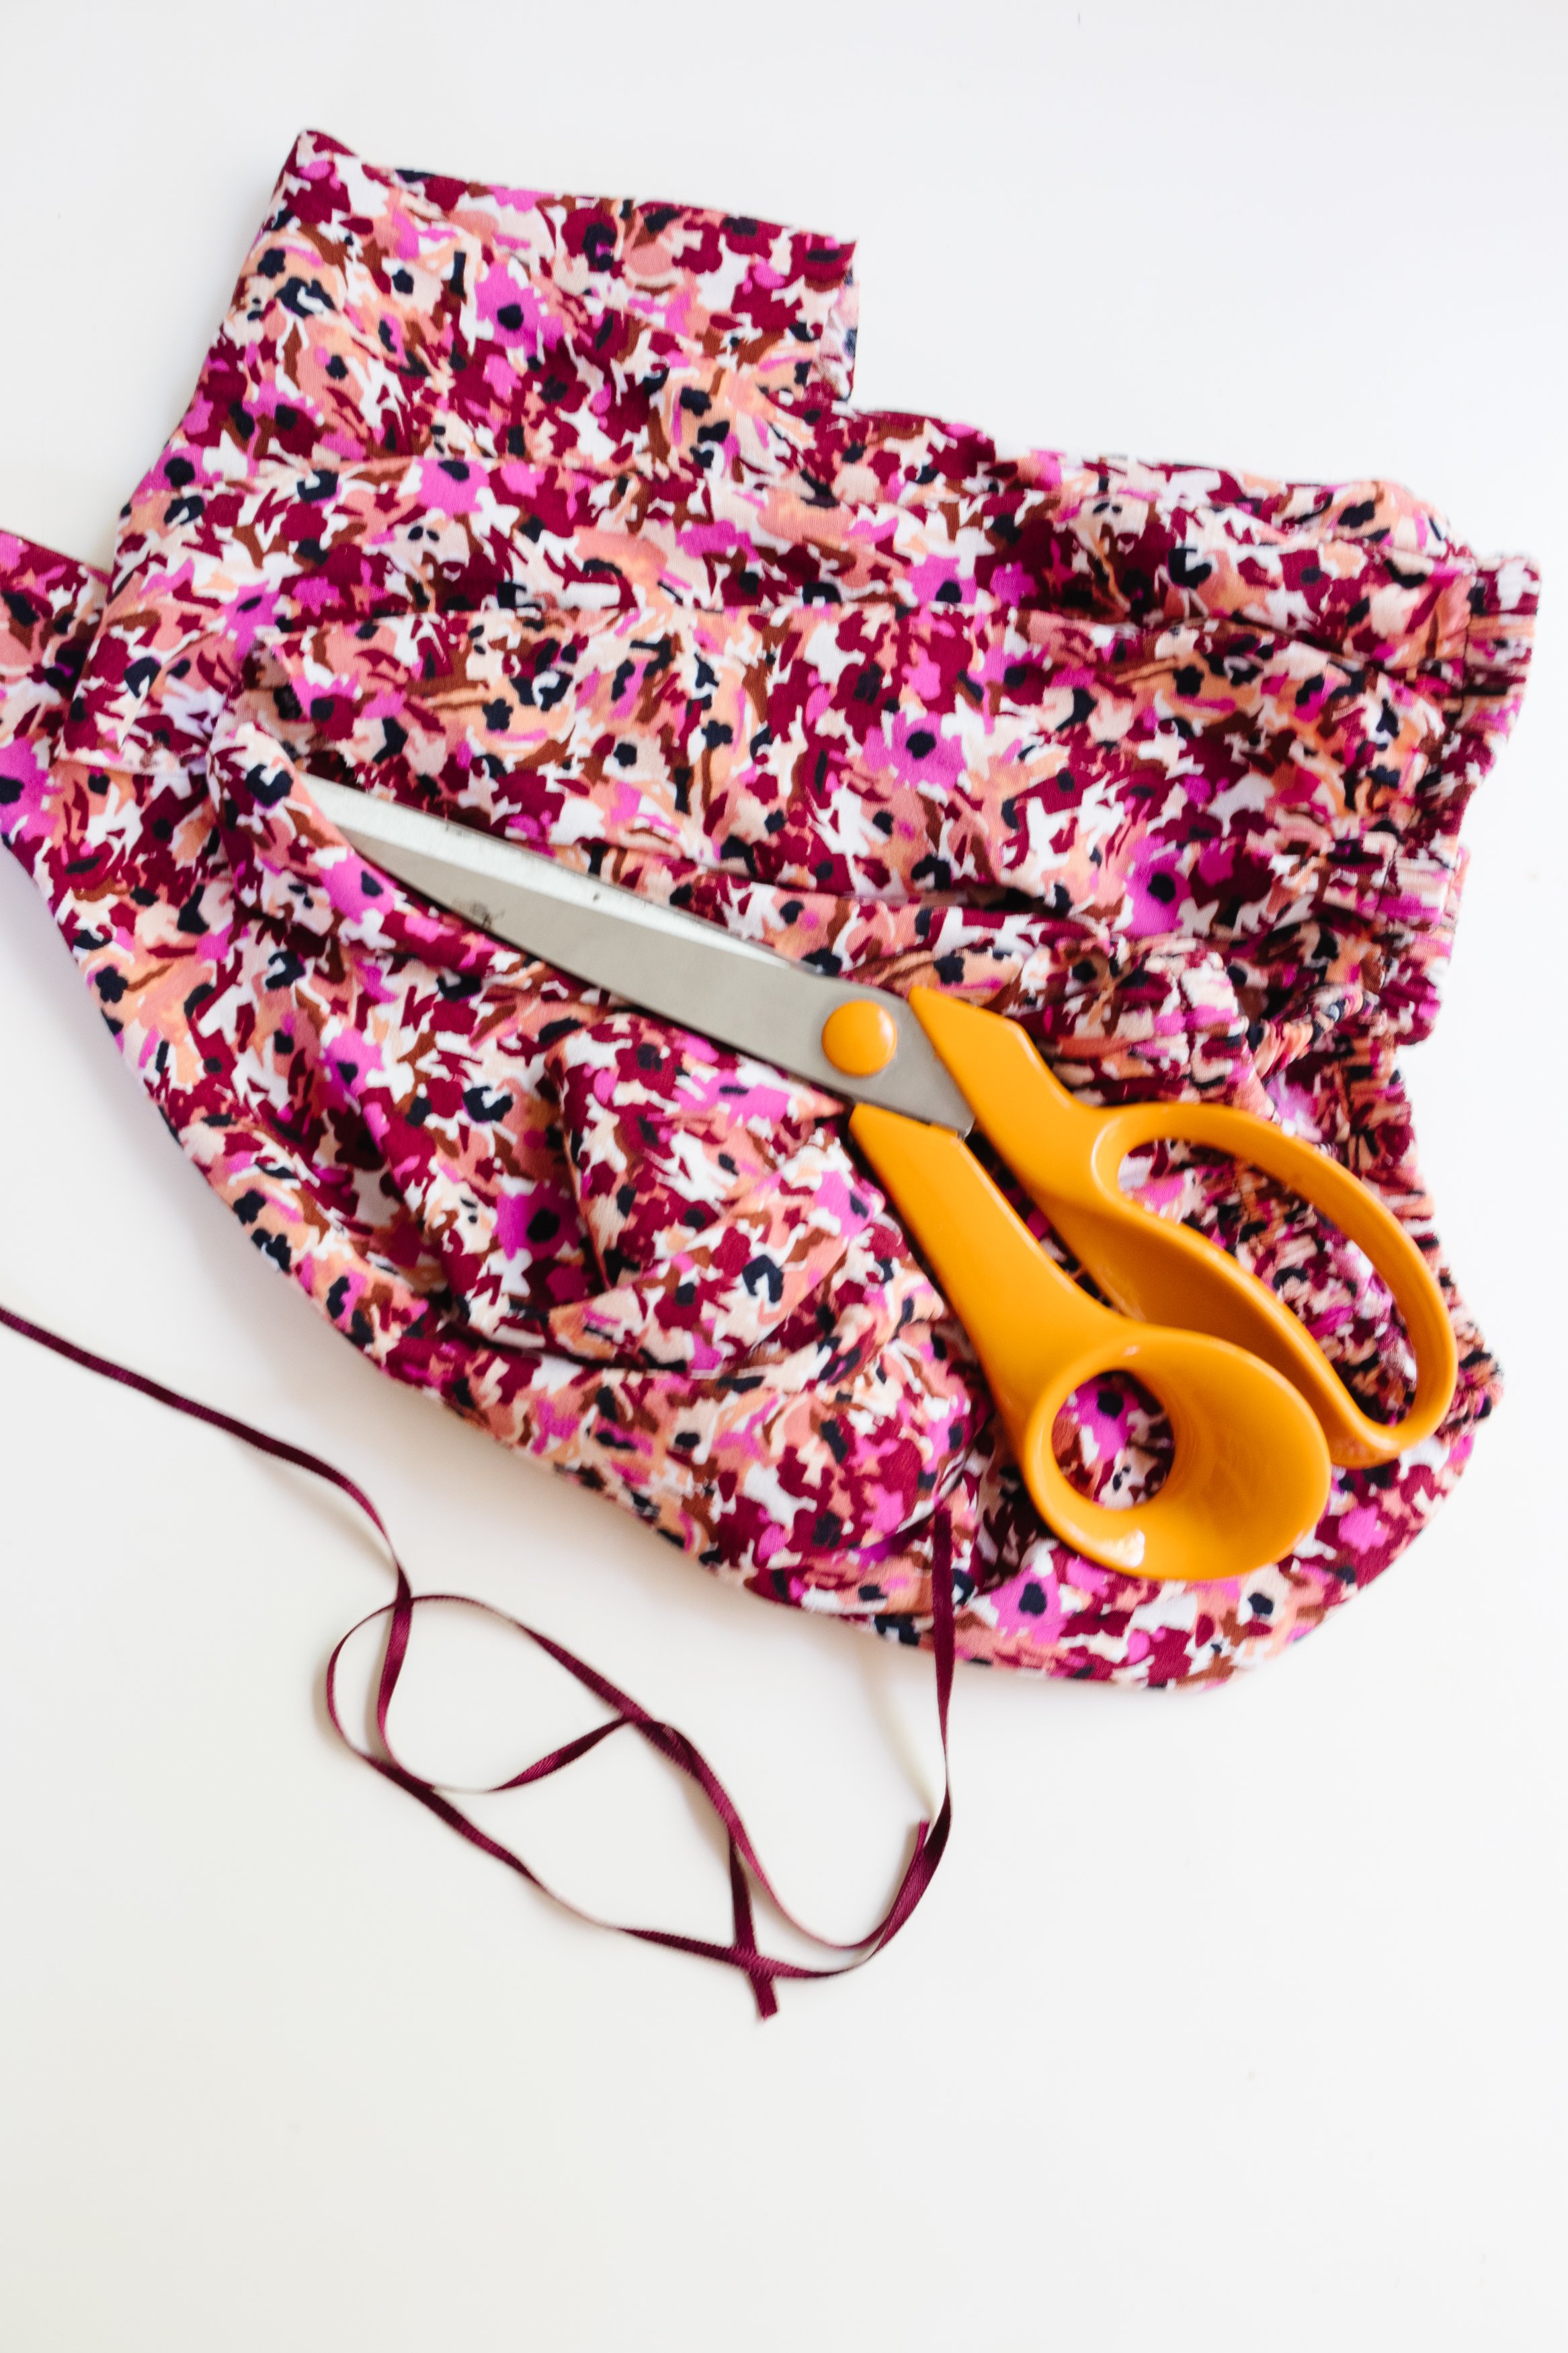
Step 1: To begin with I cut the dress in half above the waistline and sewed the hem down at the top to make a maxi skirt.
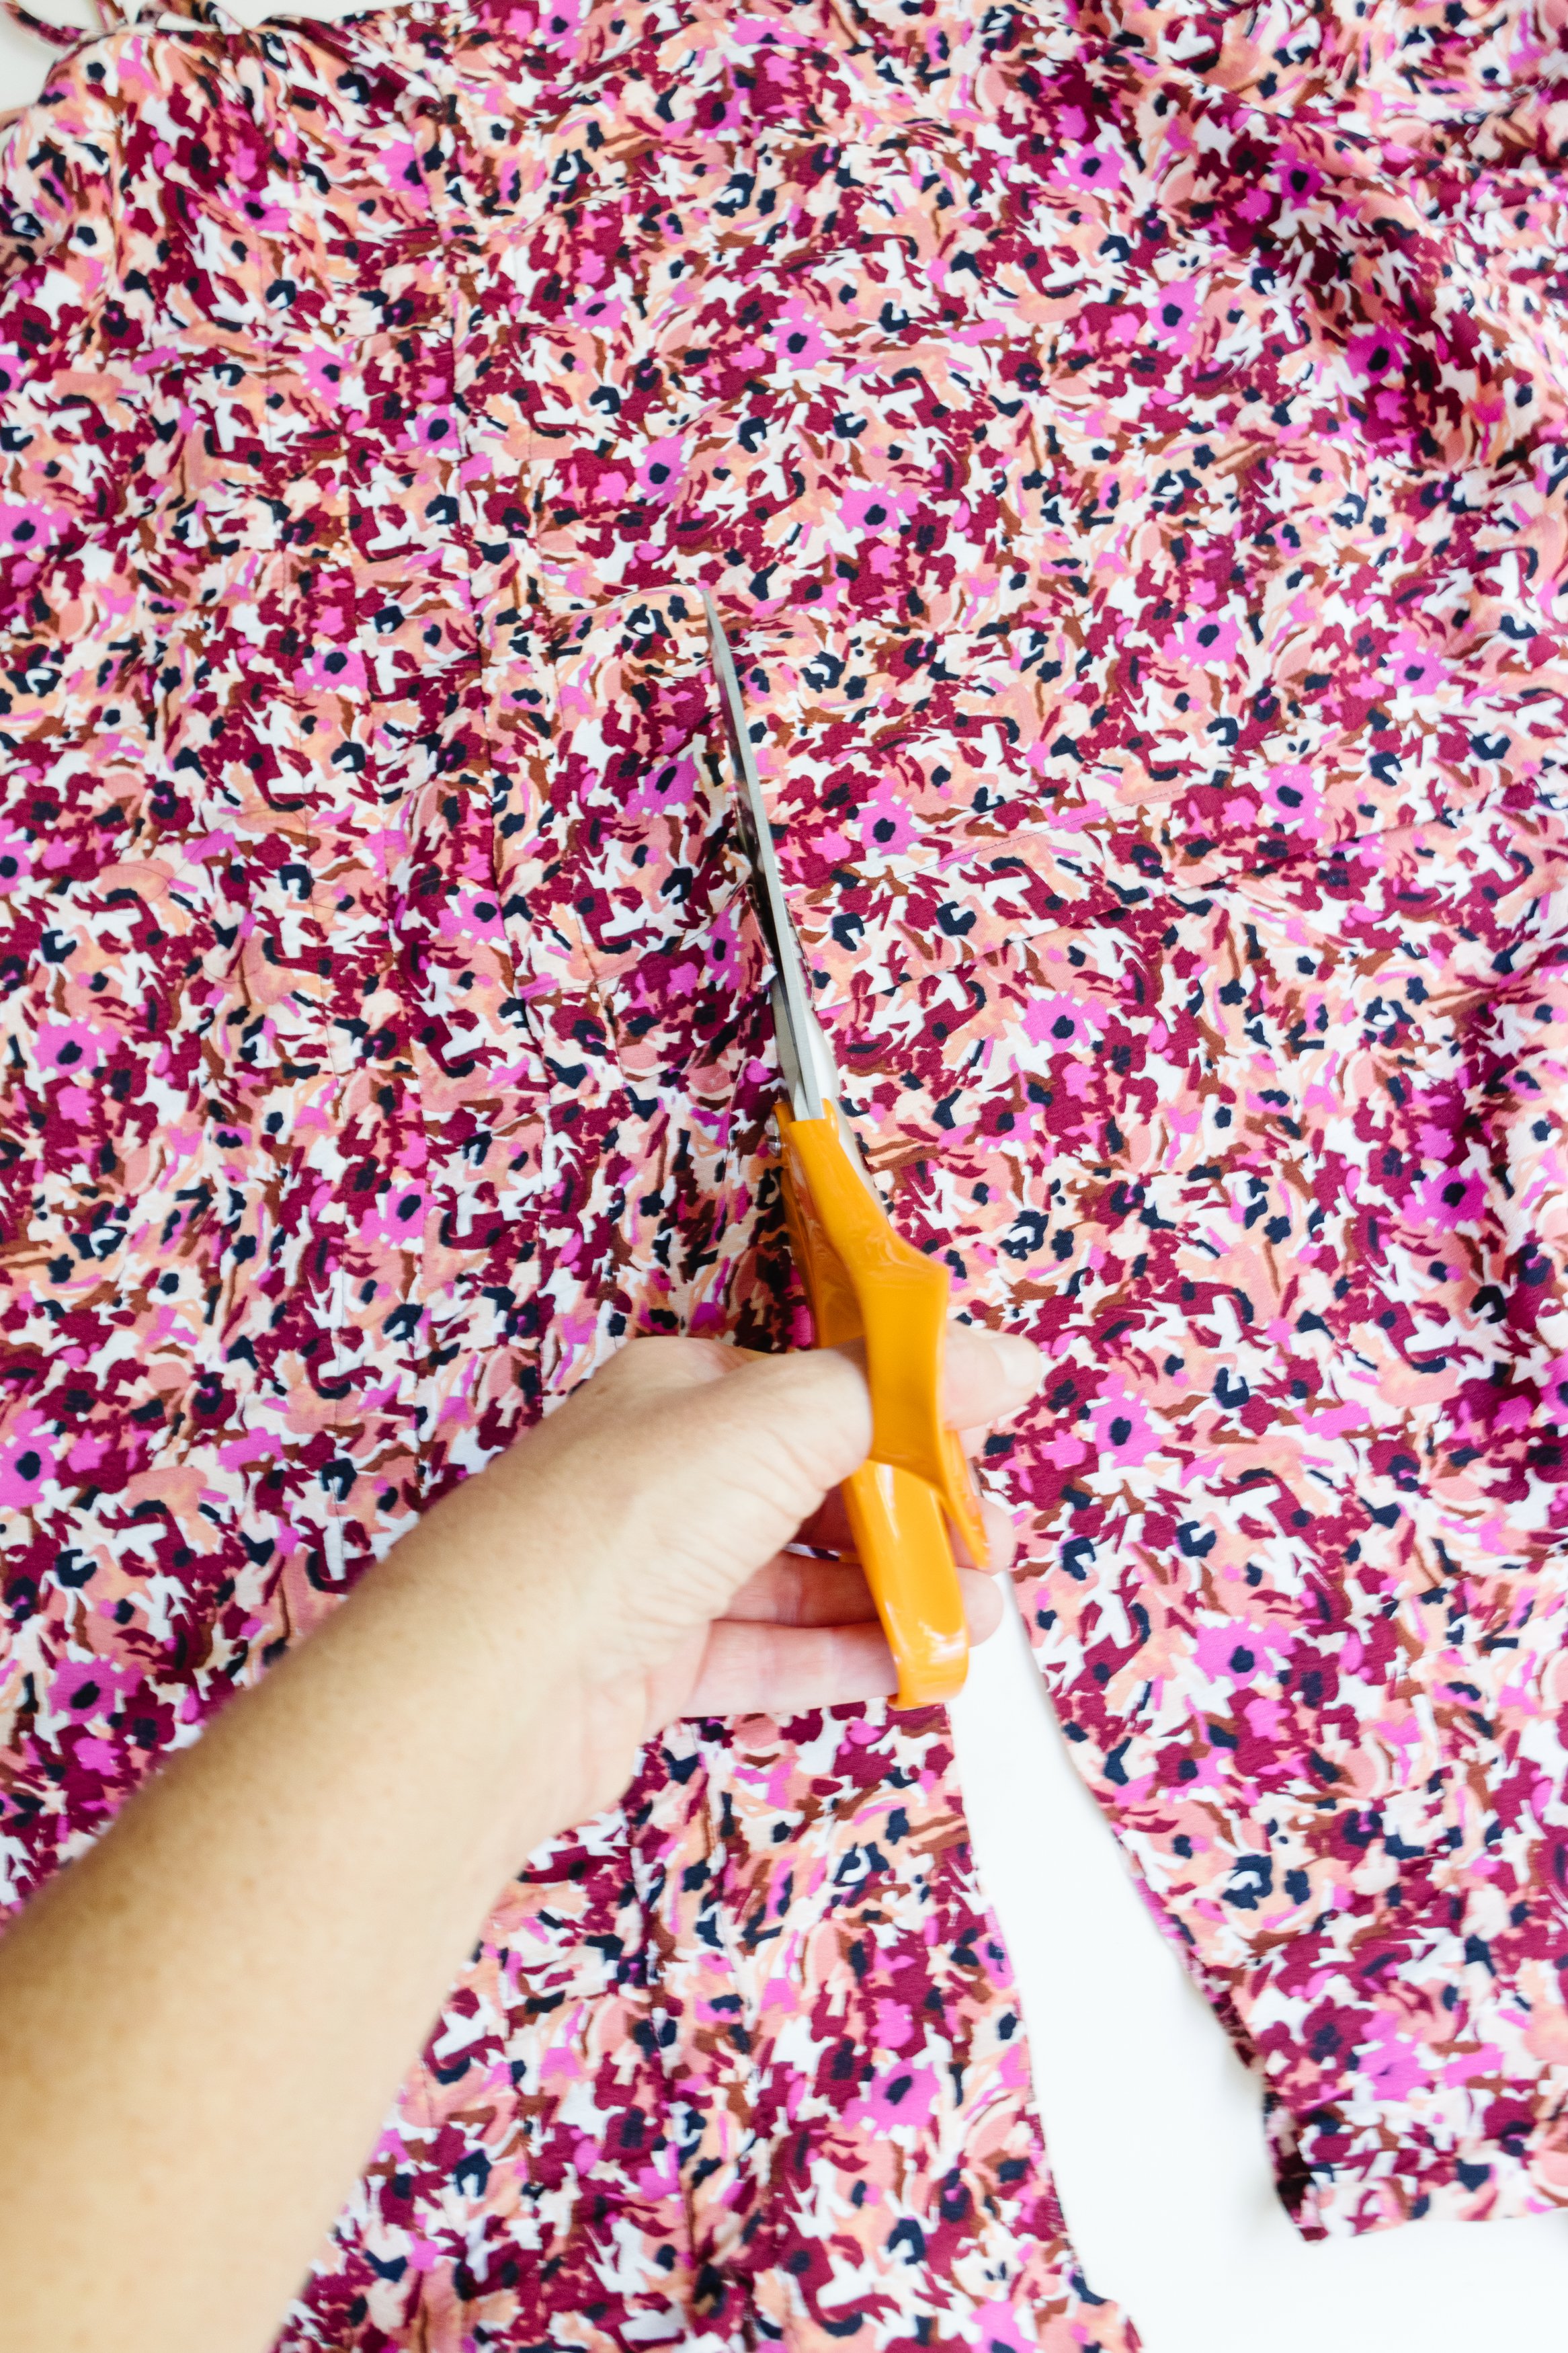
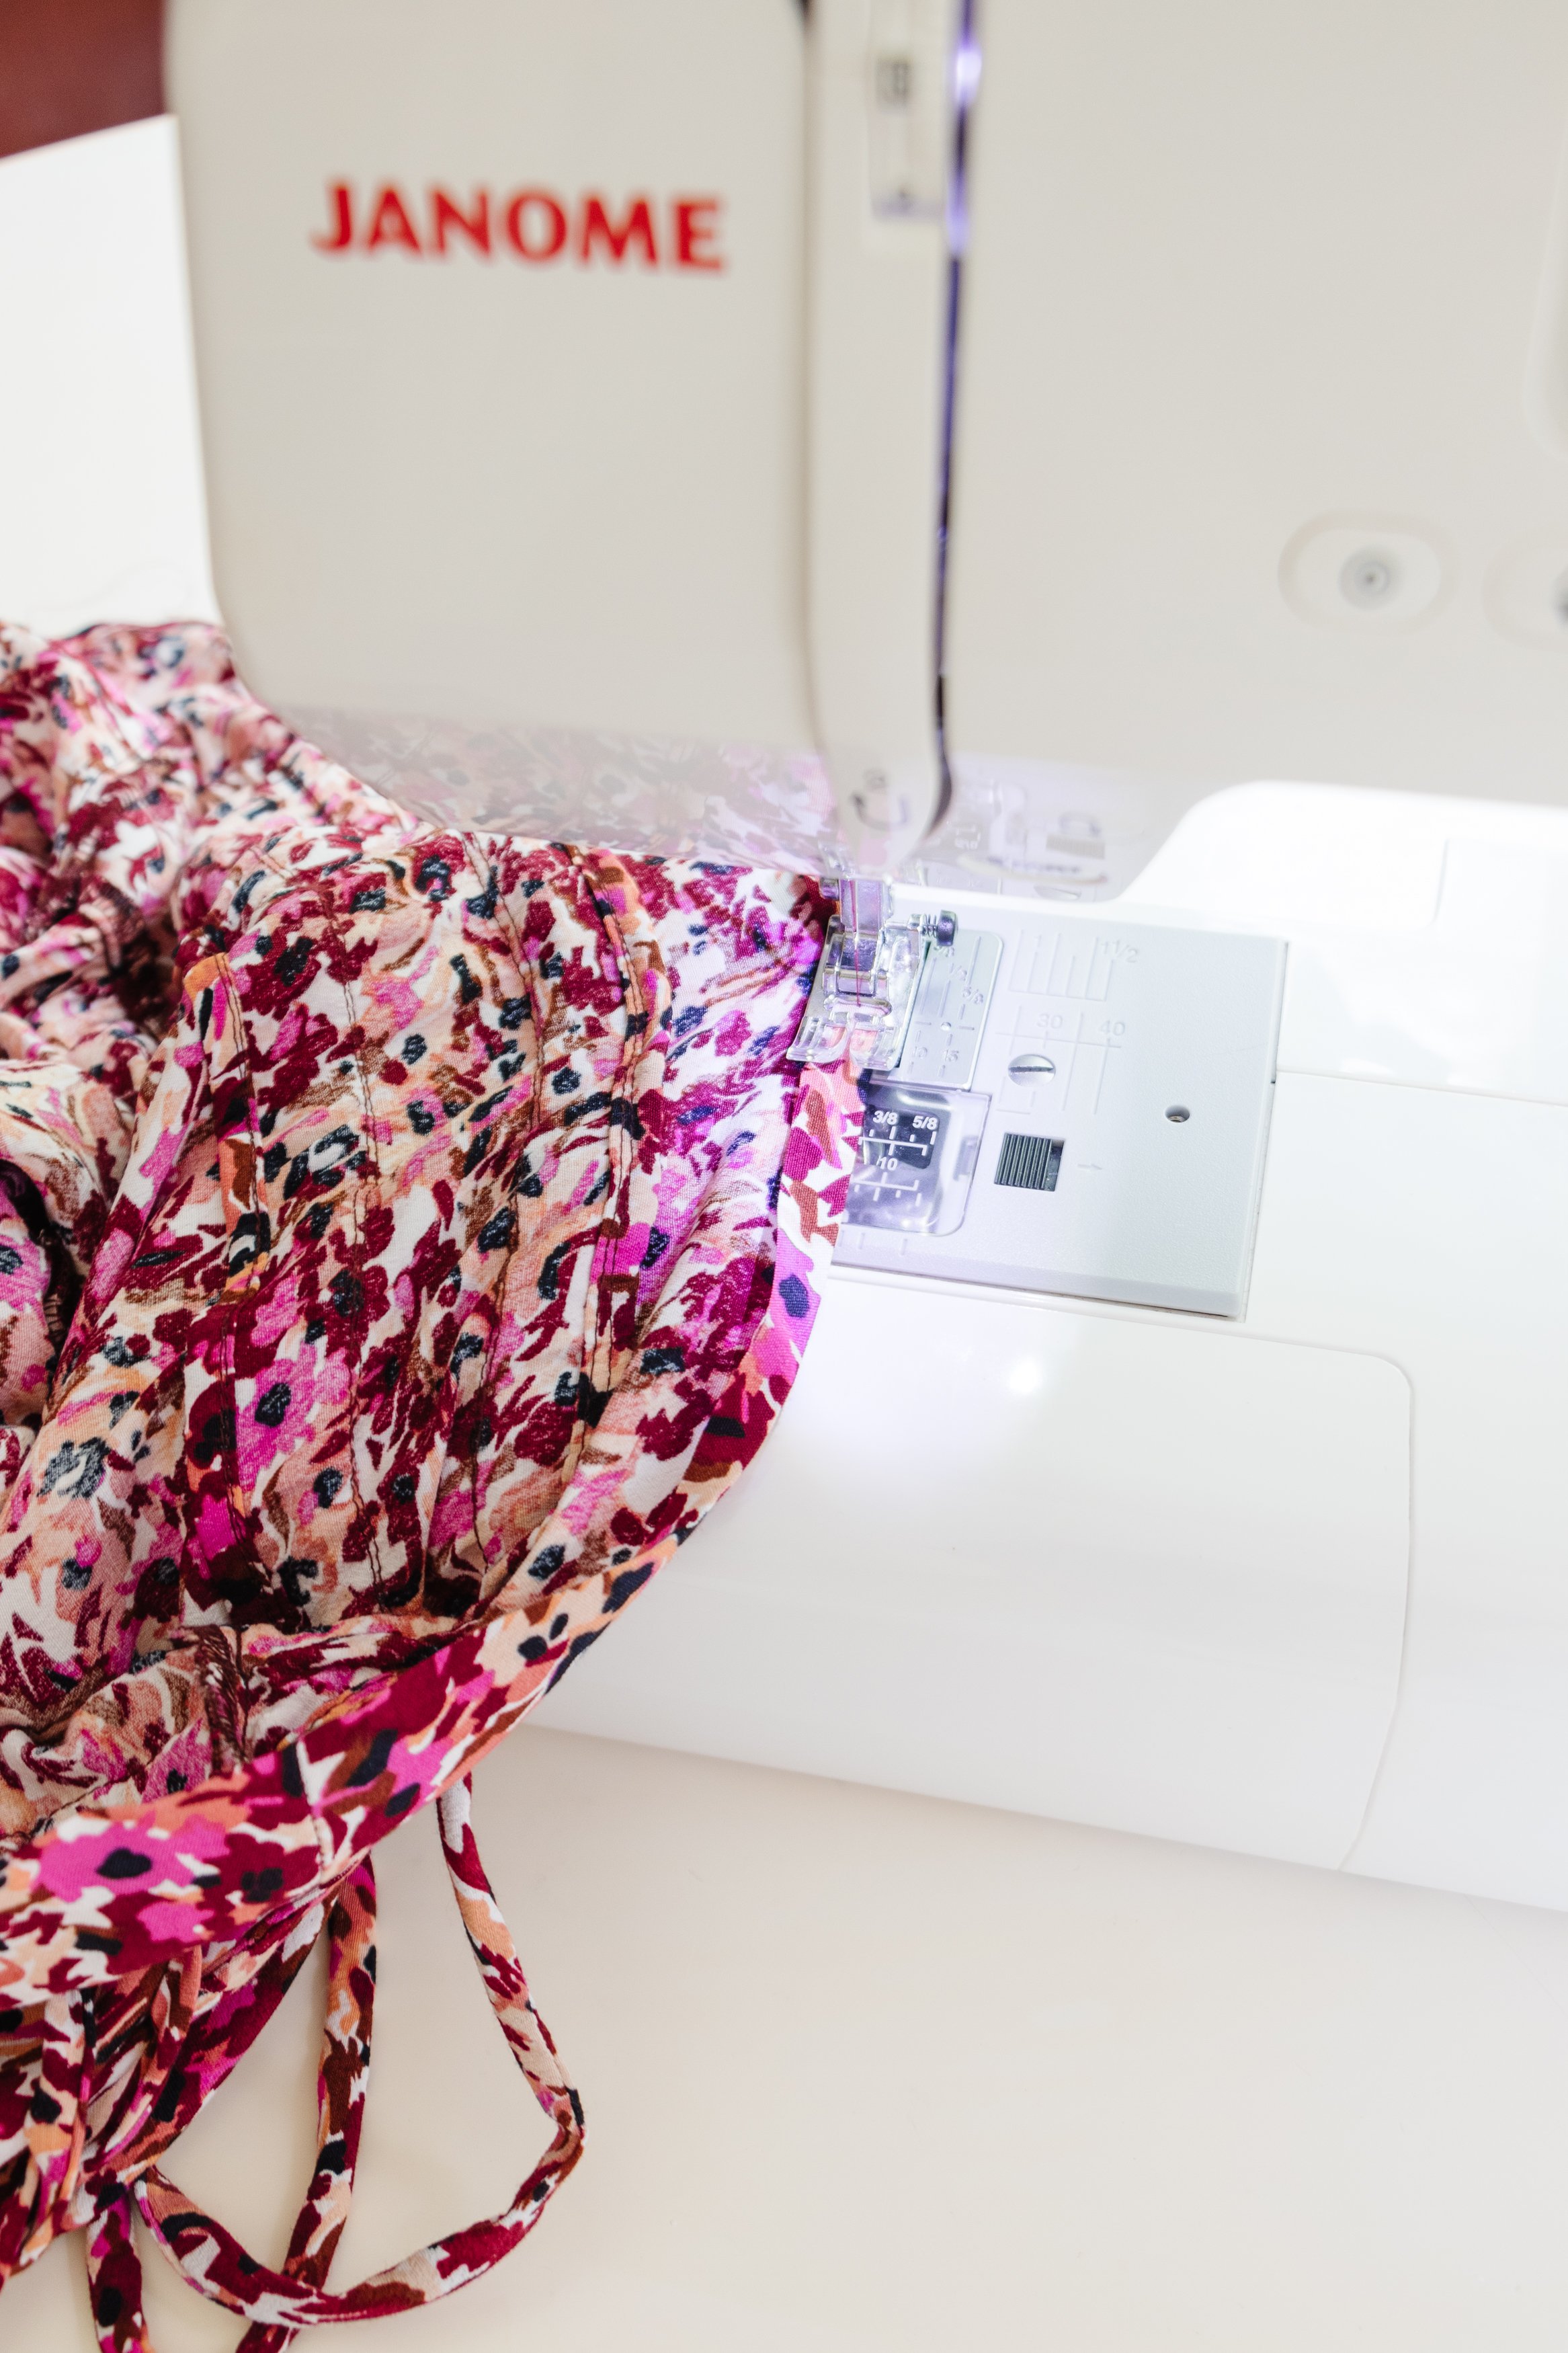
Step 2: Next I worked on the crop top. To remove the sleeves I pulled the them back through the inside of the top and using my sewing machine I sewed along the existing hem. Following this I cut the sleeve off approximately 2cm from the seam to make sure the top fit flat alongside the seam.

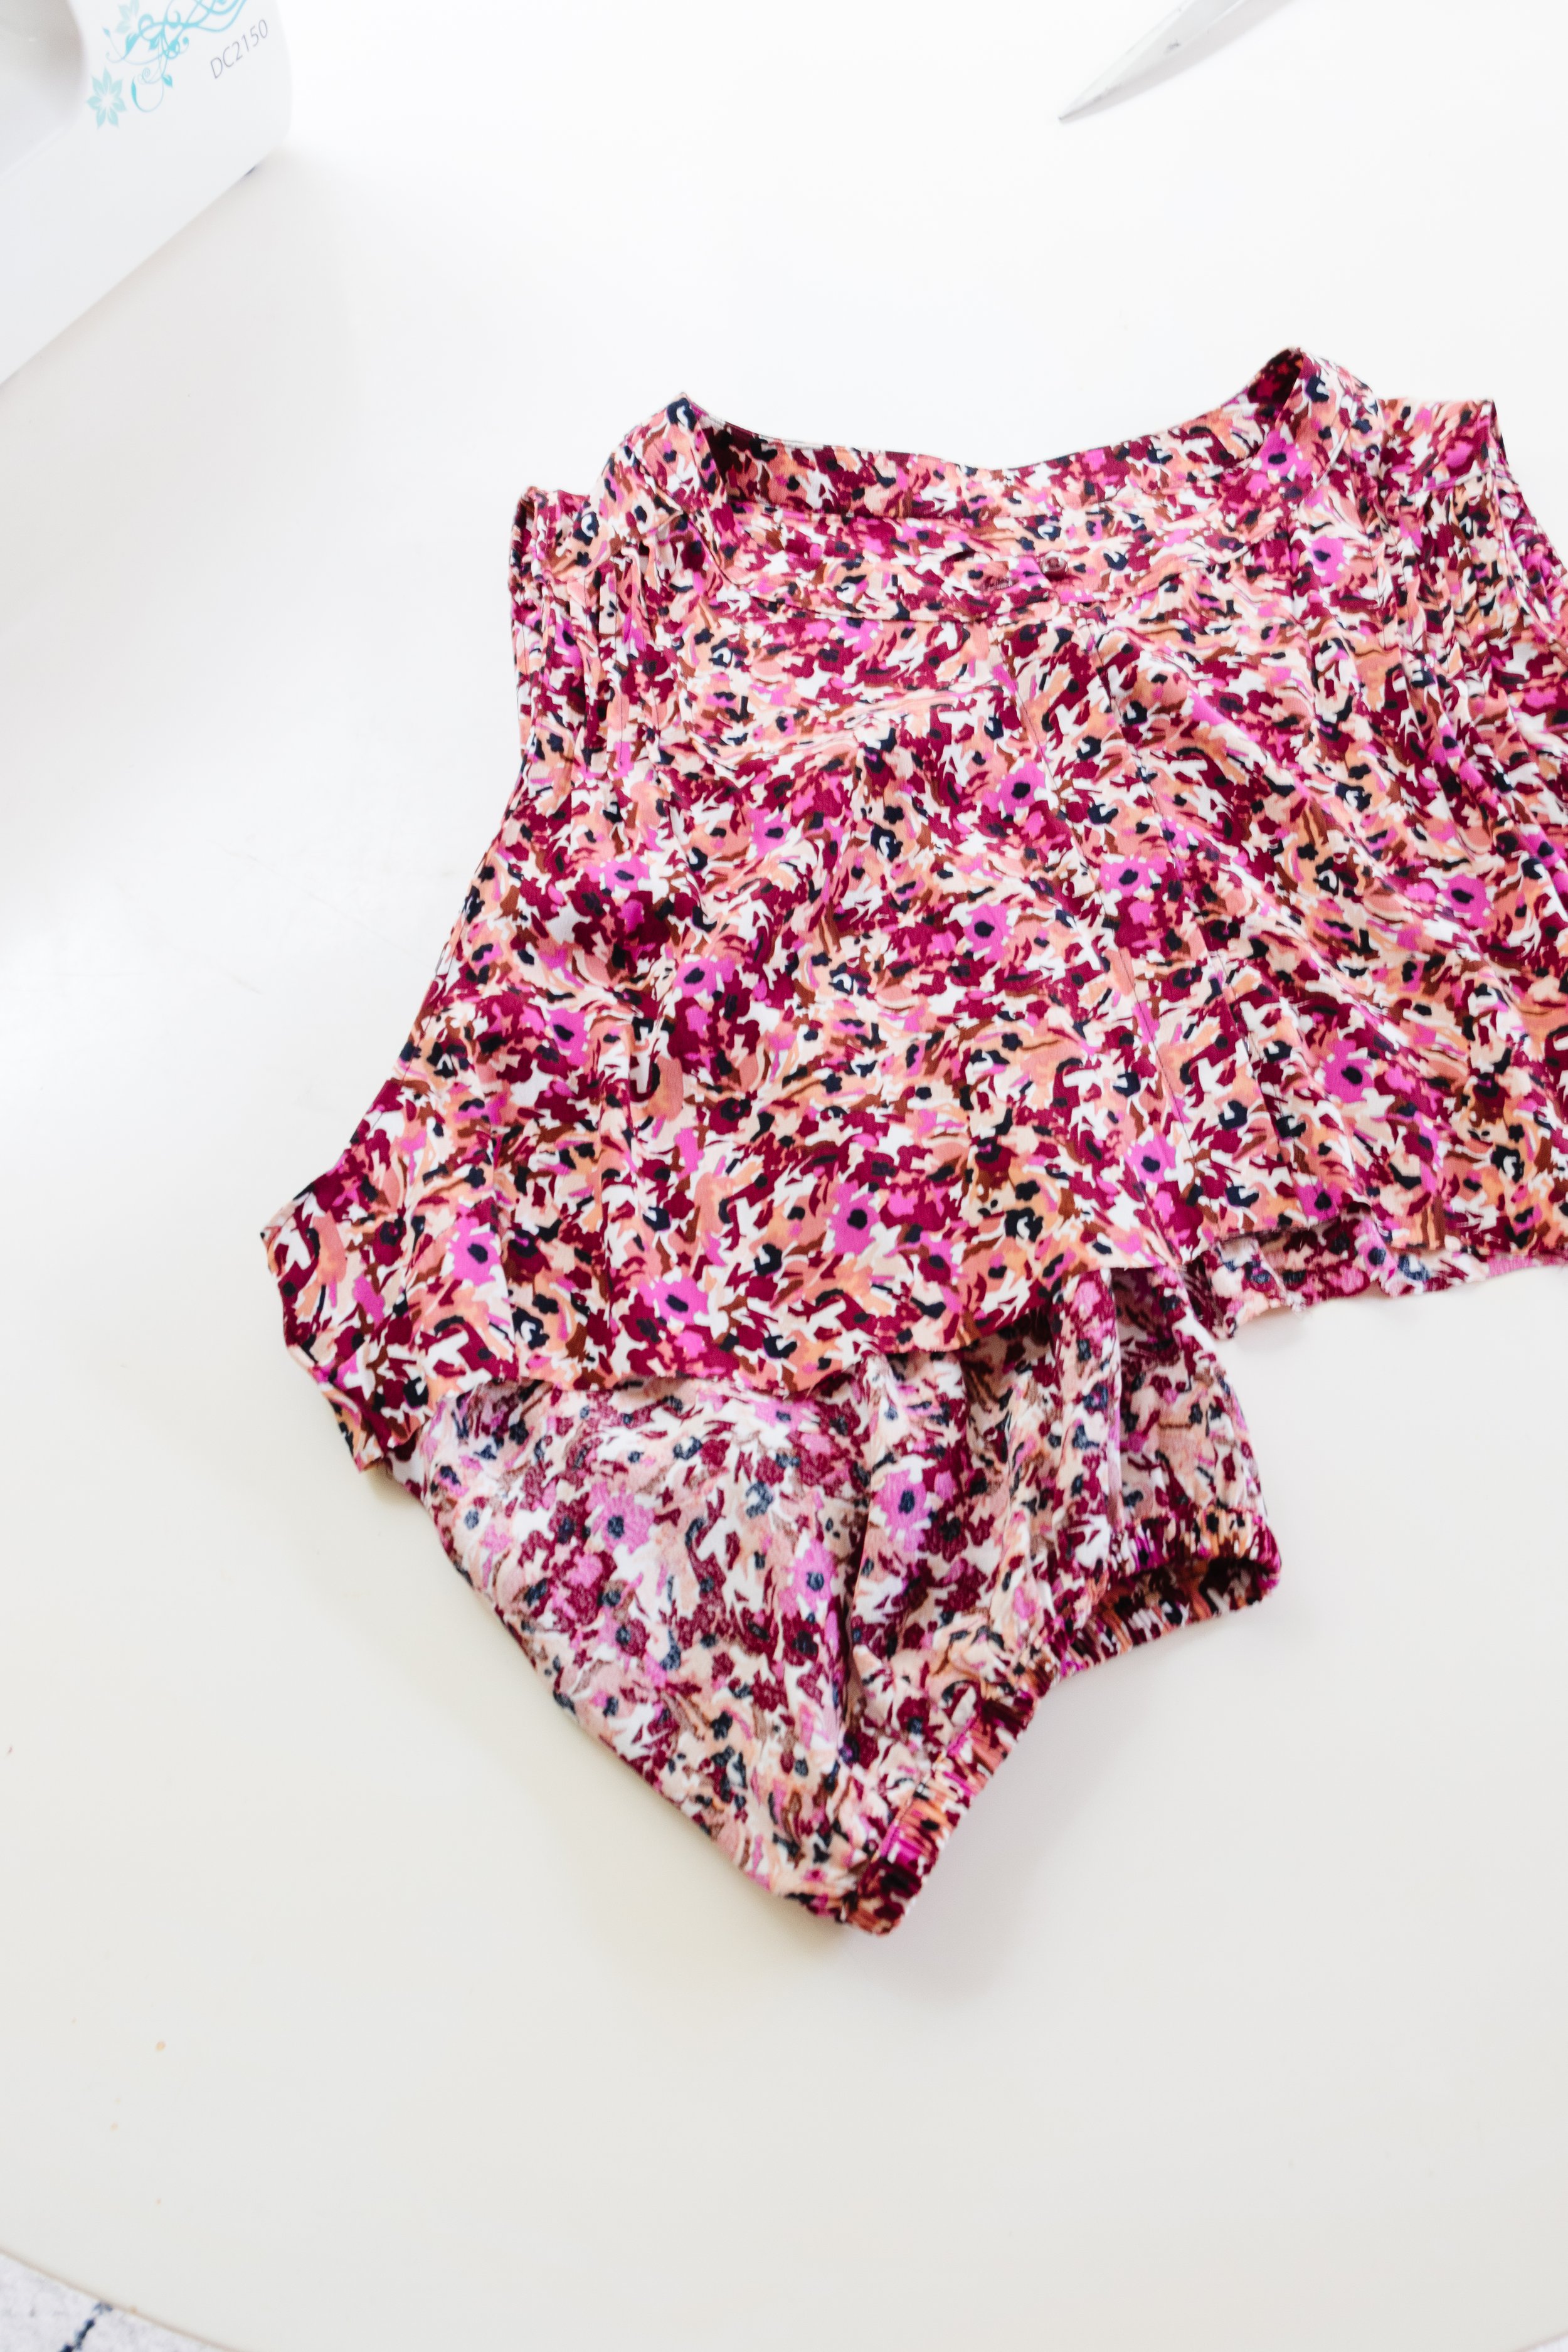
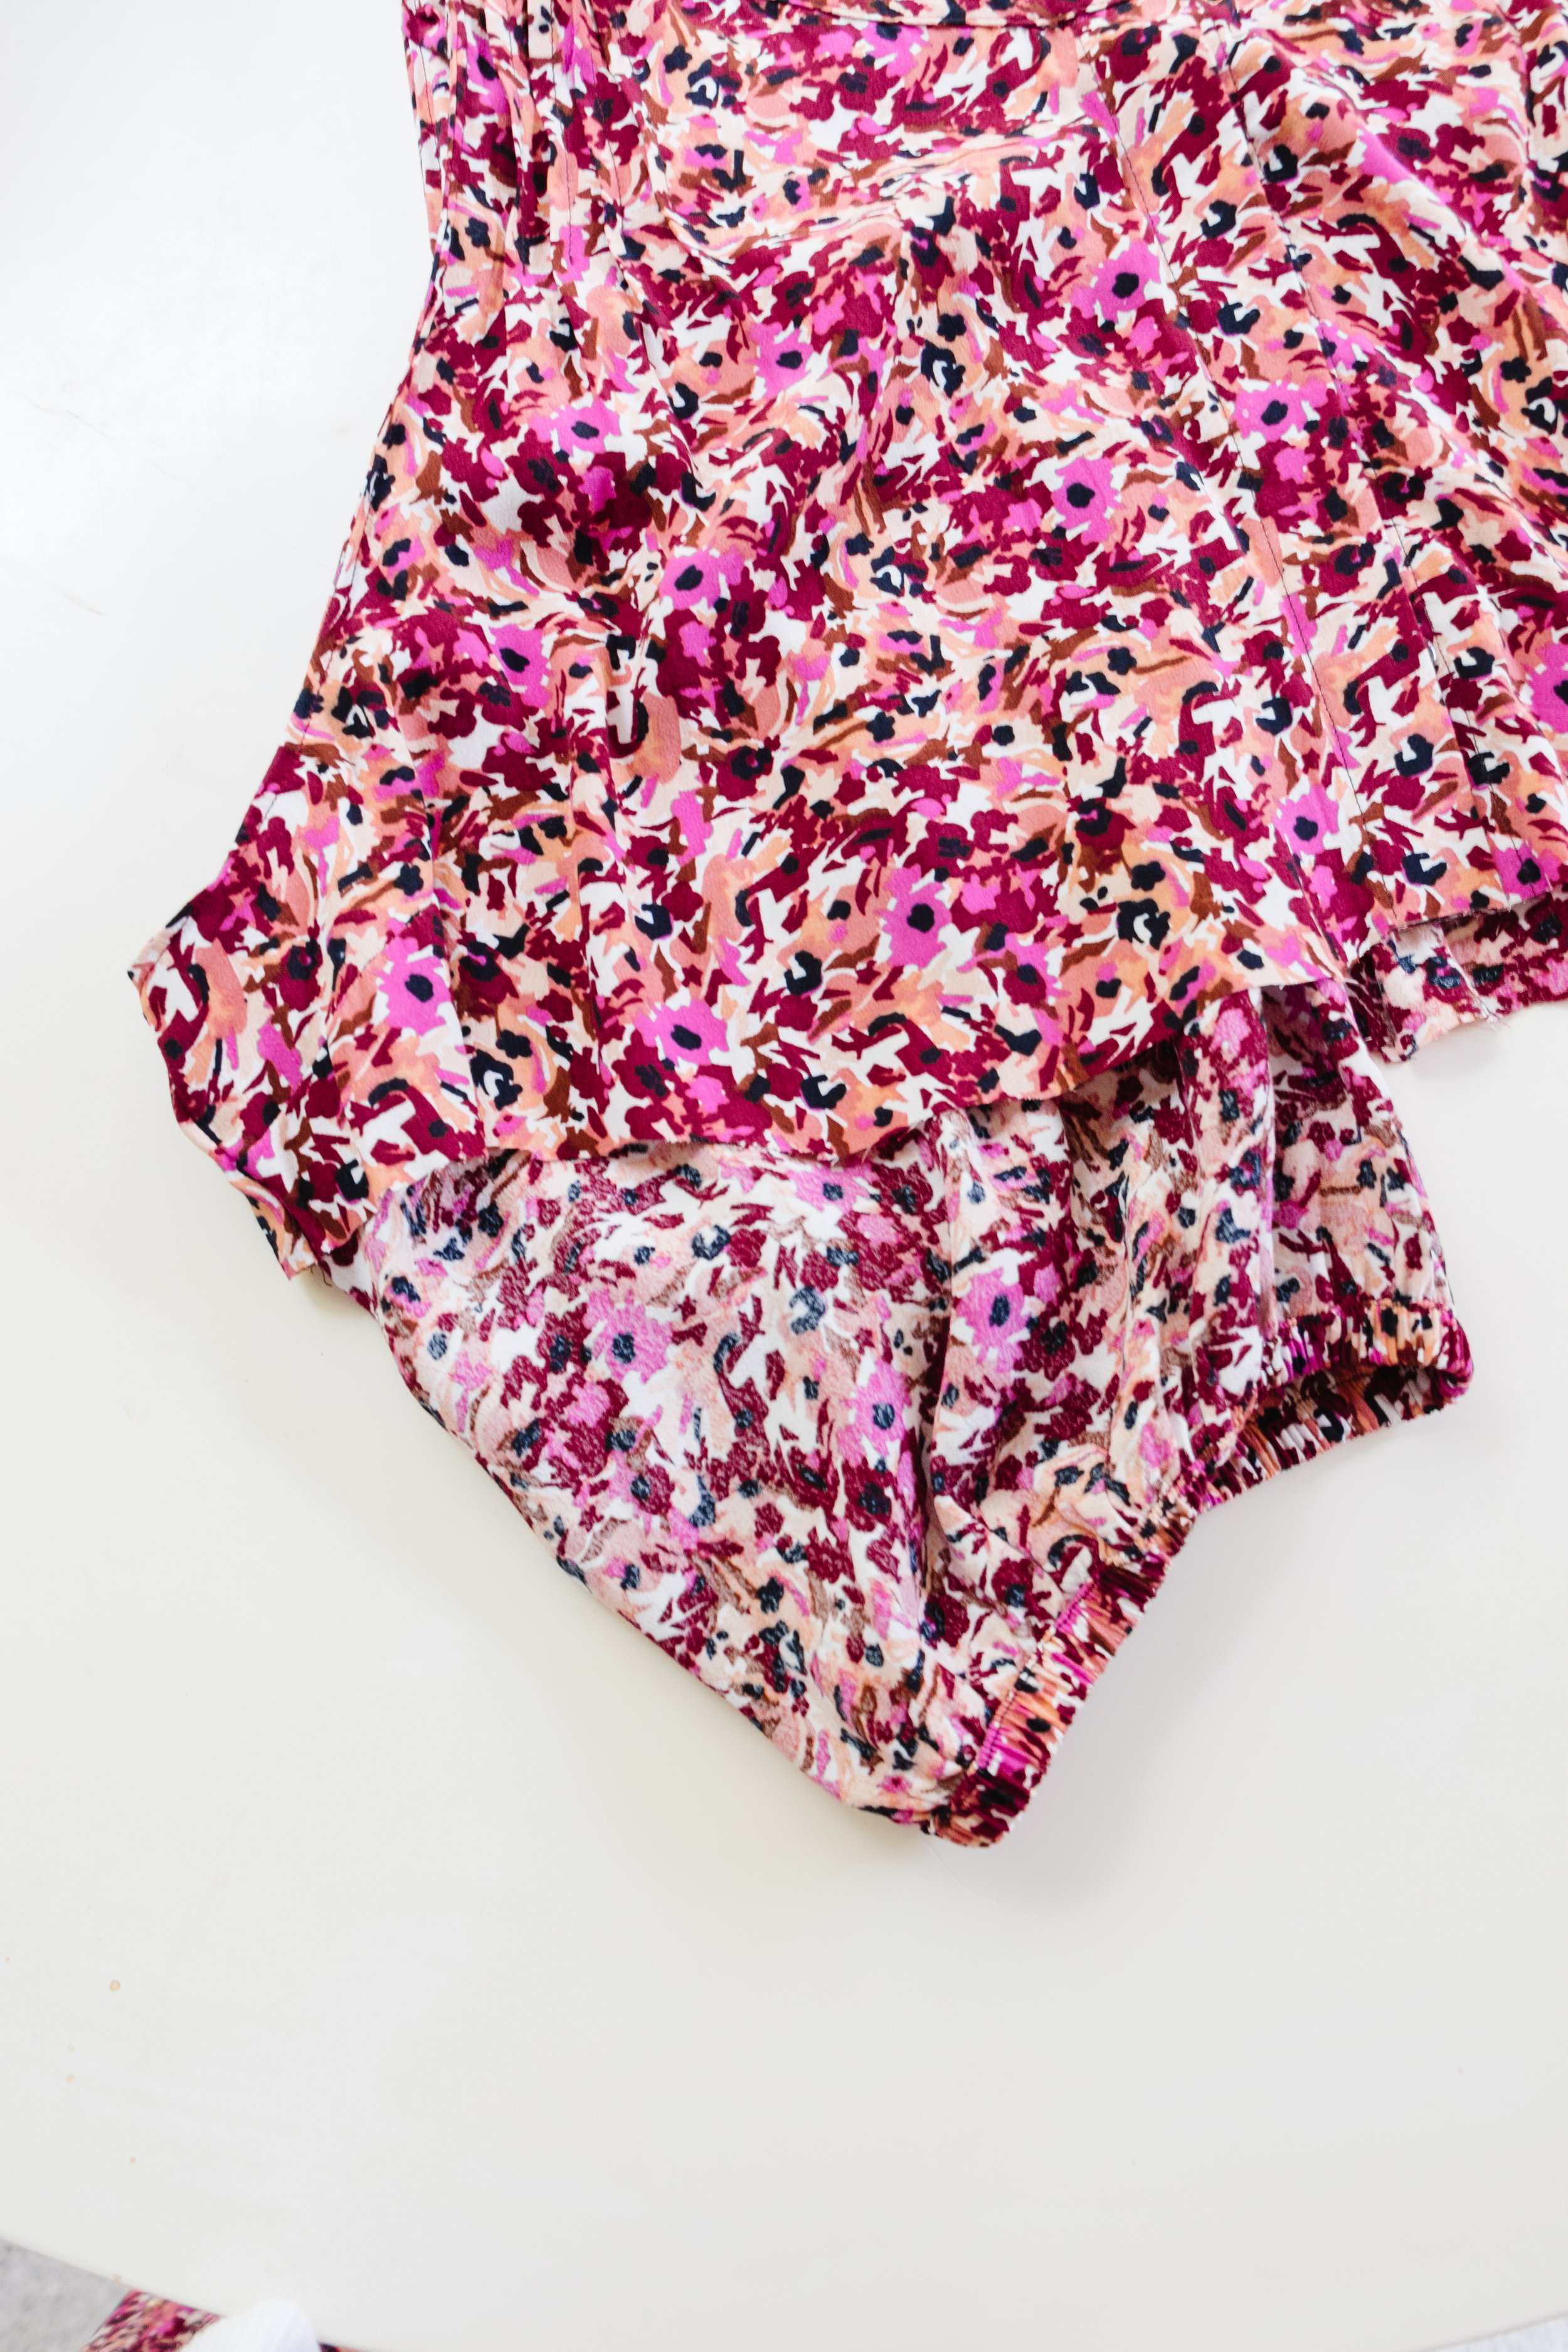

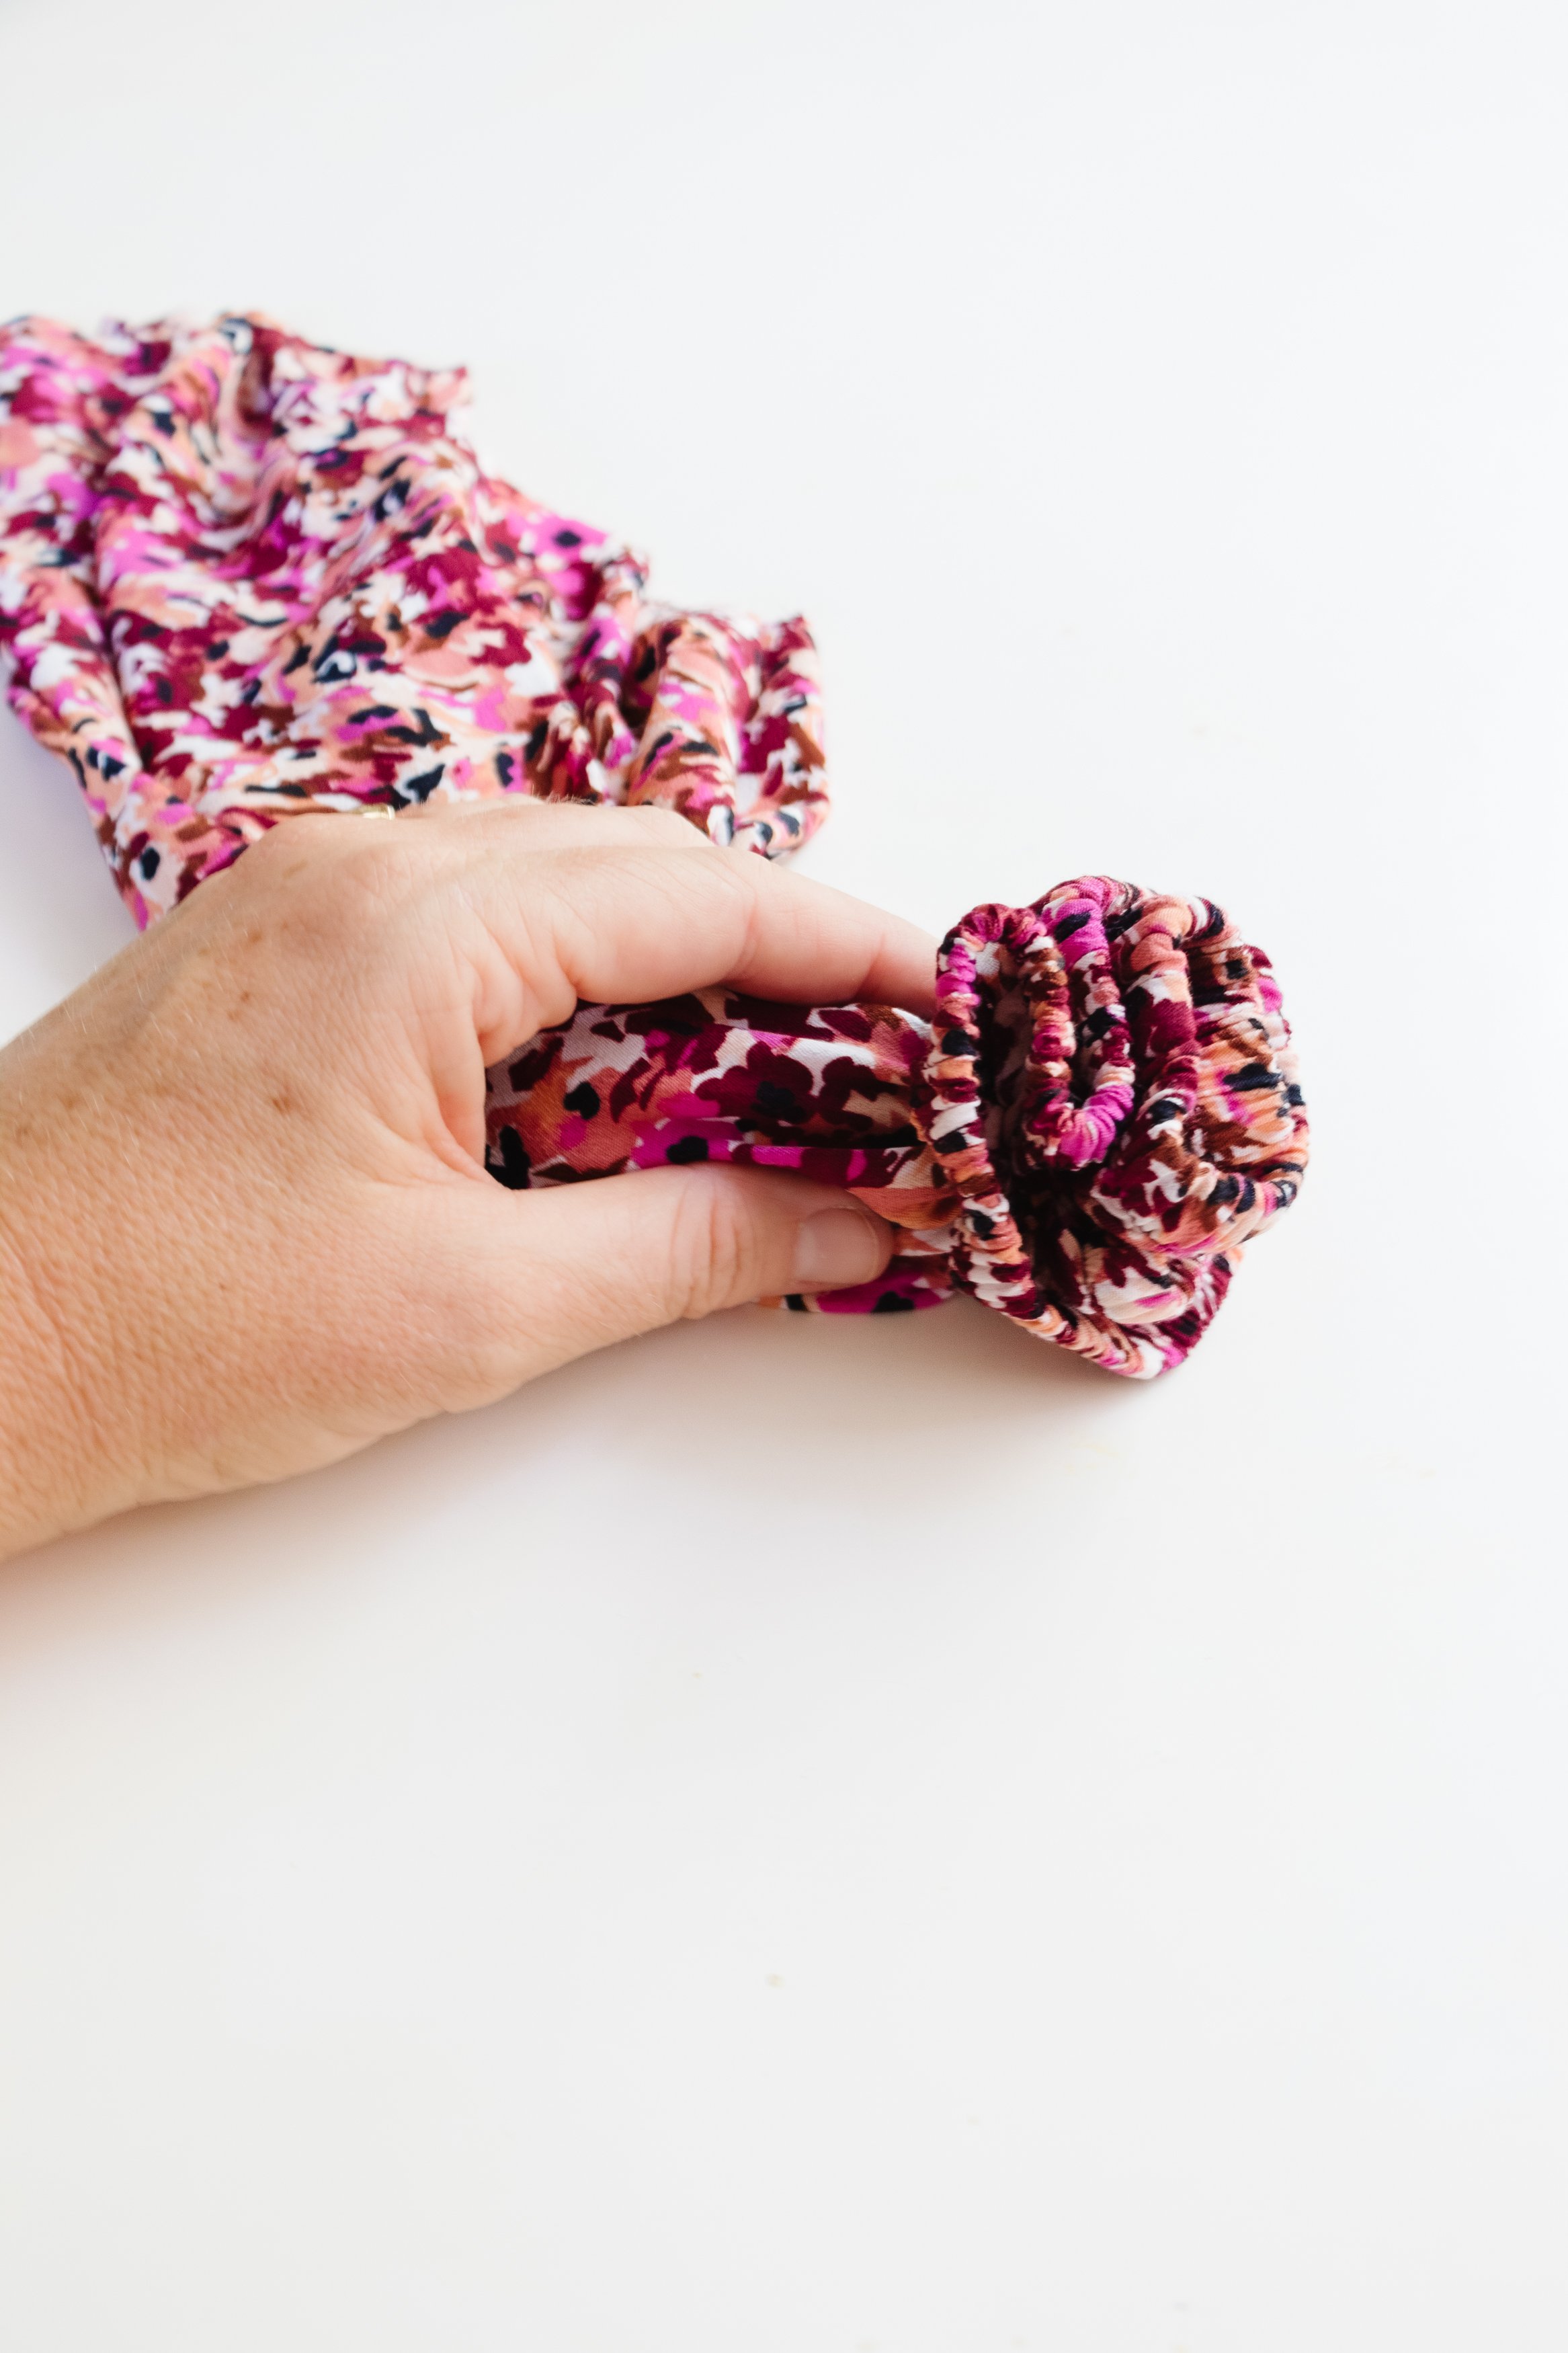
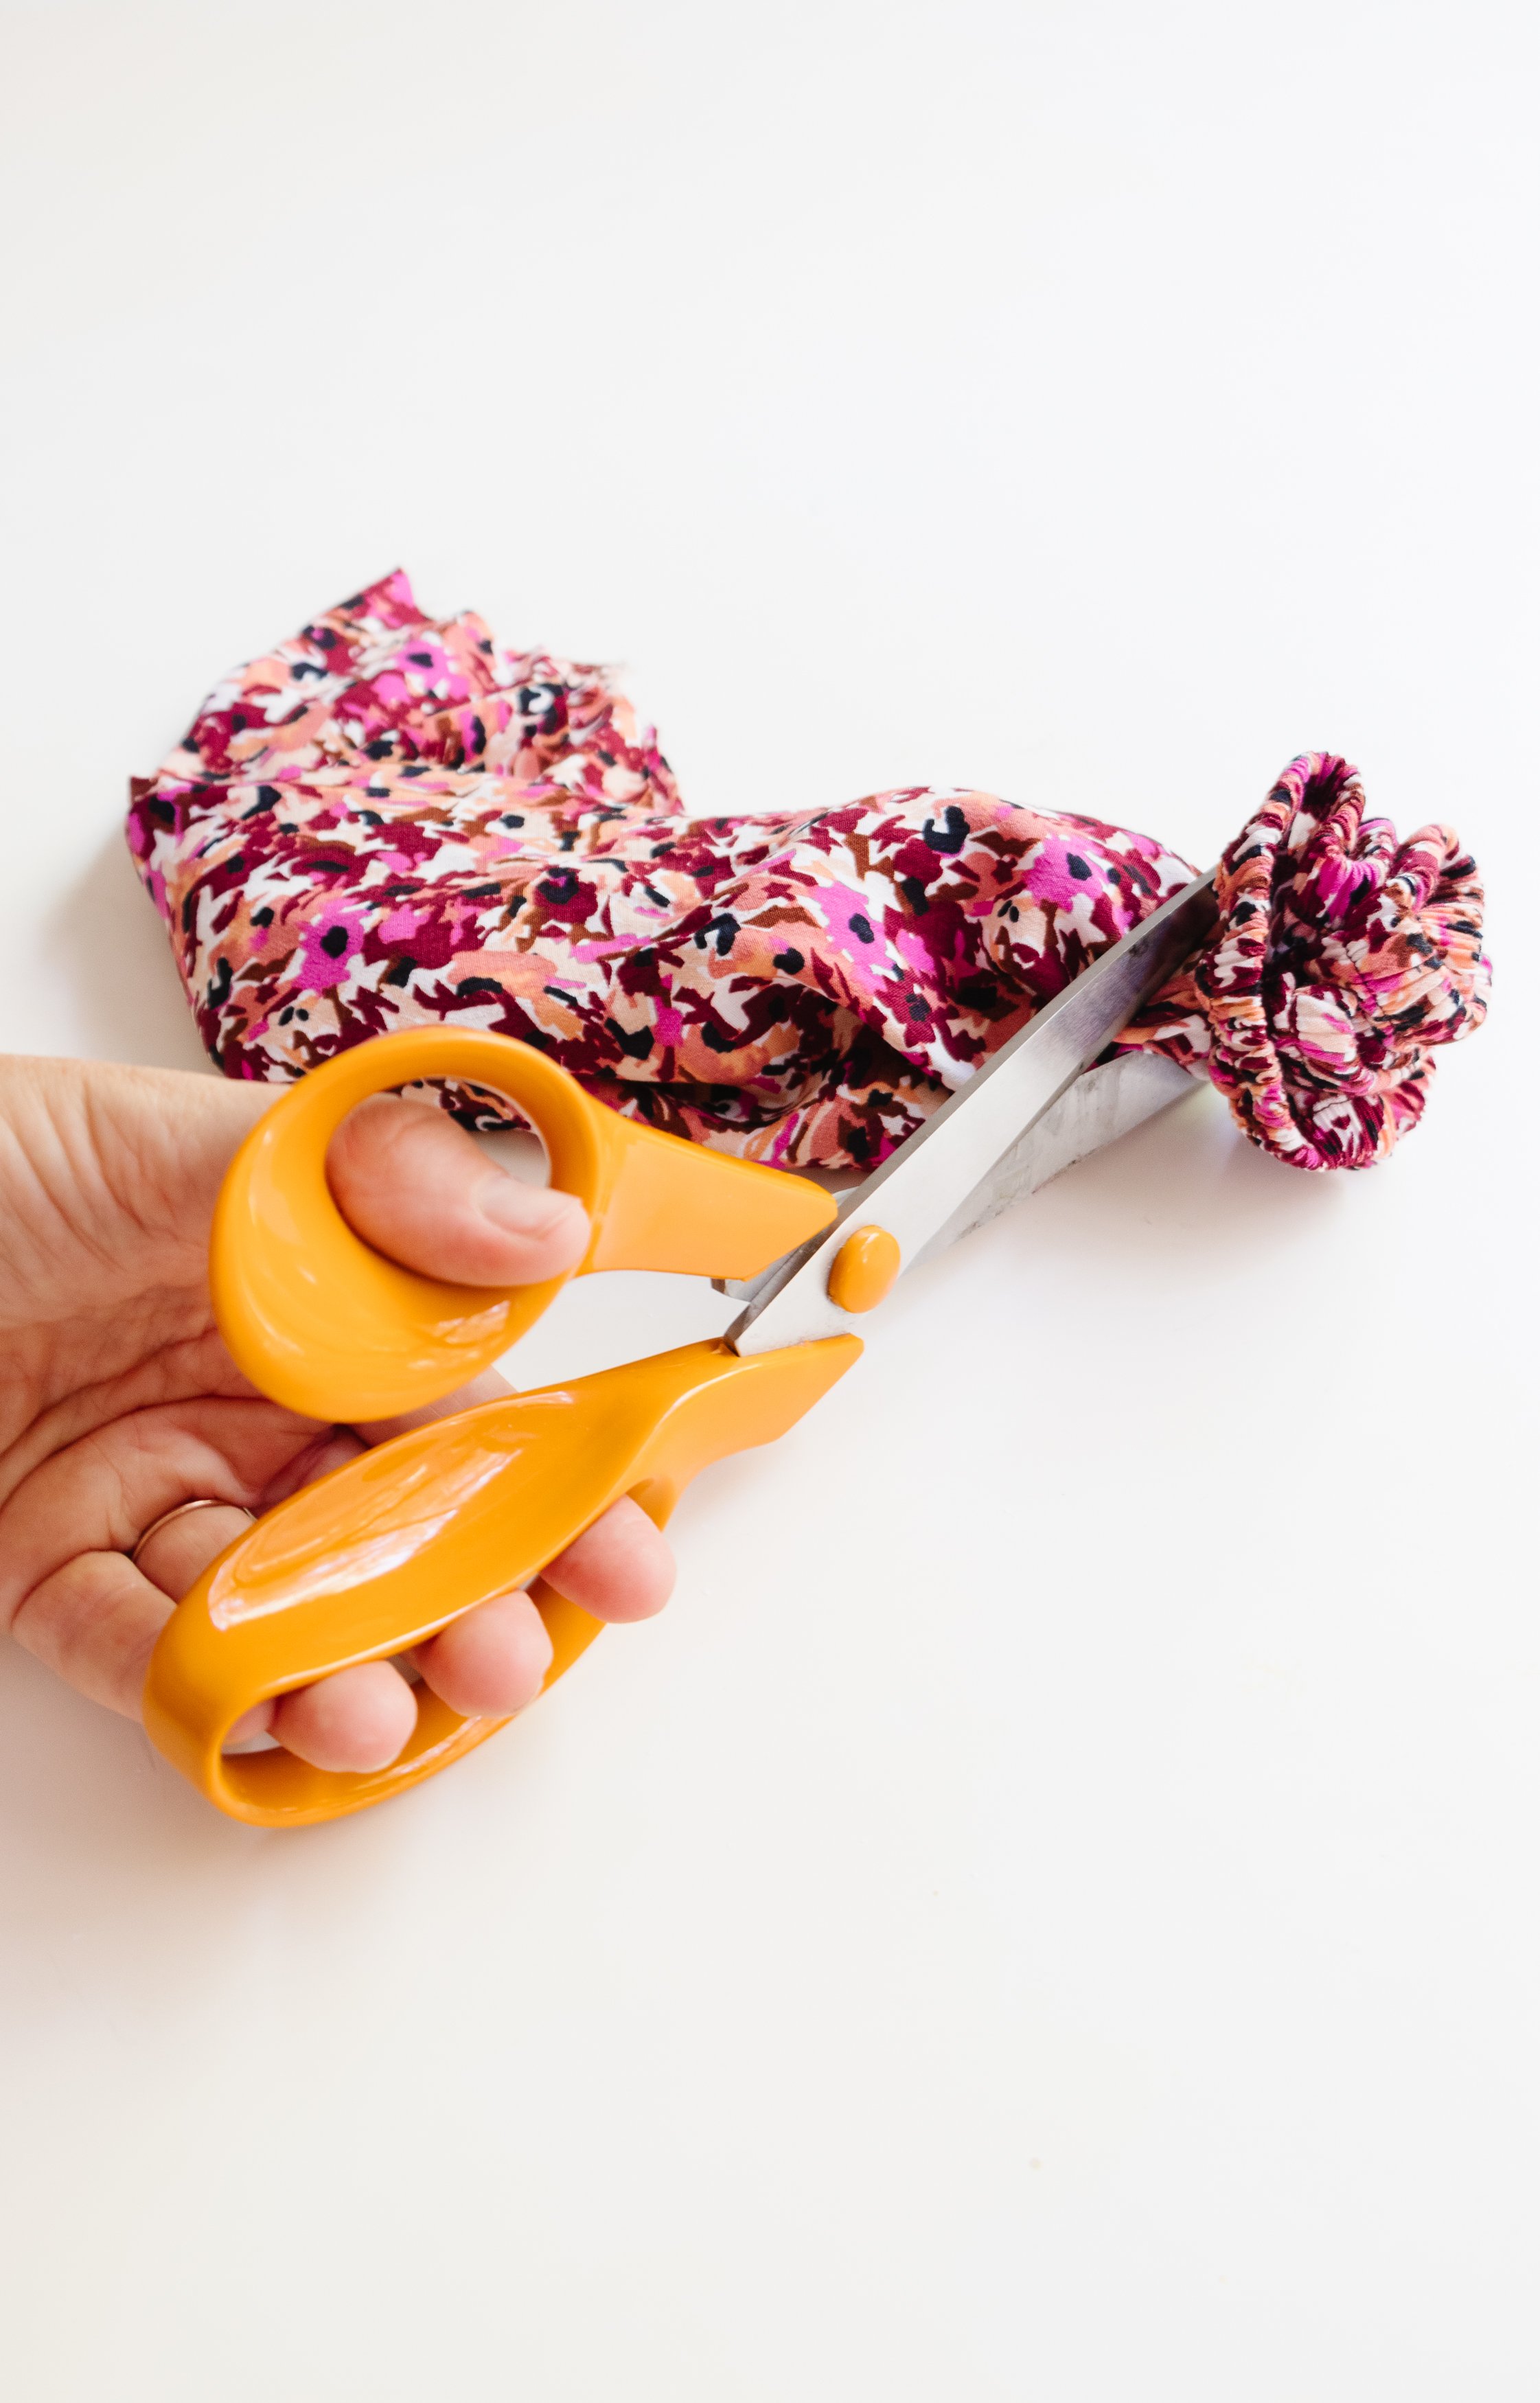
Step 3: I didn't want the leftover fabric to go to waste so I also made a rosette choker using the sleeves I had cut off and the ribbon used to hang the dress. I placed one sleeve inside the other then bunched the cuffs together to make a rosette shape. I used a hair tie to secure the rosette in place. I used my scissors to cut the rosette and thread the ribbon through to make the choker. And that’s it!

The Reveal
These bow shoe clips are soooooo cute! I love how versatile they are - you can make them big or small, match the colour of the ribbon to the colour of the shoe, use ribbon that contrasts with the shoe, and place the bows in different positions on the shoe. What a dream! And best of all, the DIY Bow Shoe Clips easily come on and off.
And if you love sewing as much as I do, check out these projects: