Making An Upcycled Timber & Glass Coffee Table
A trash to treasure love story
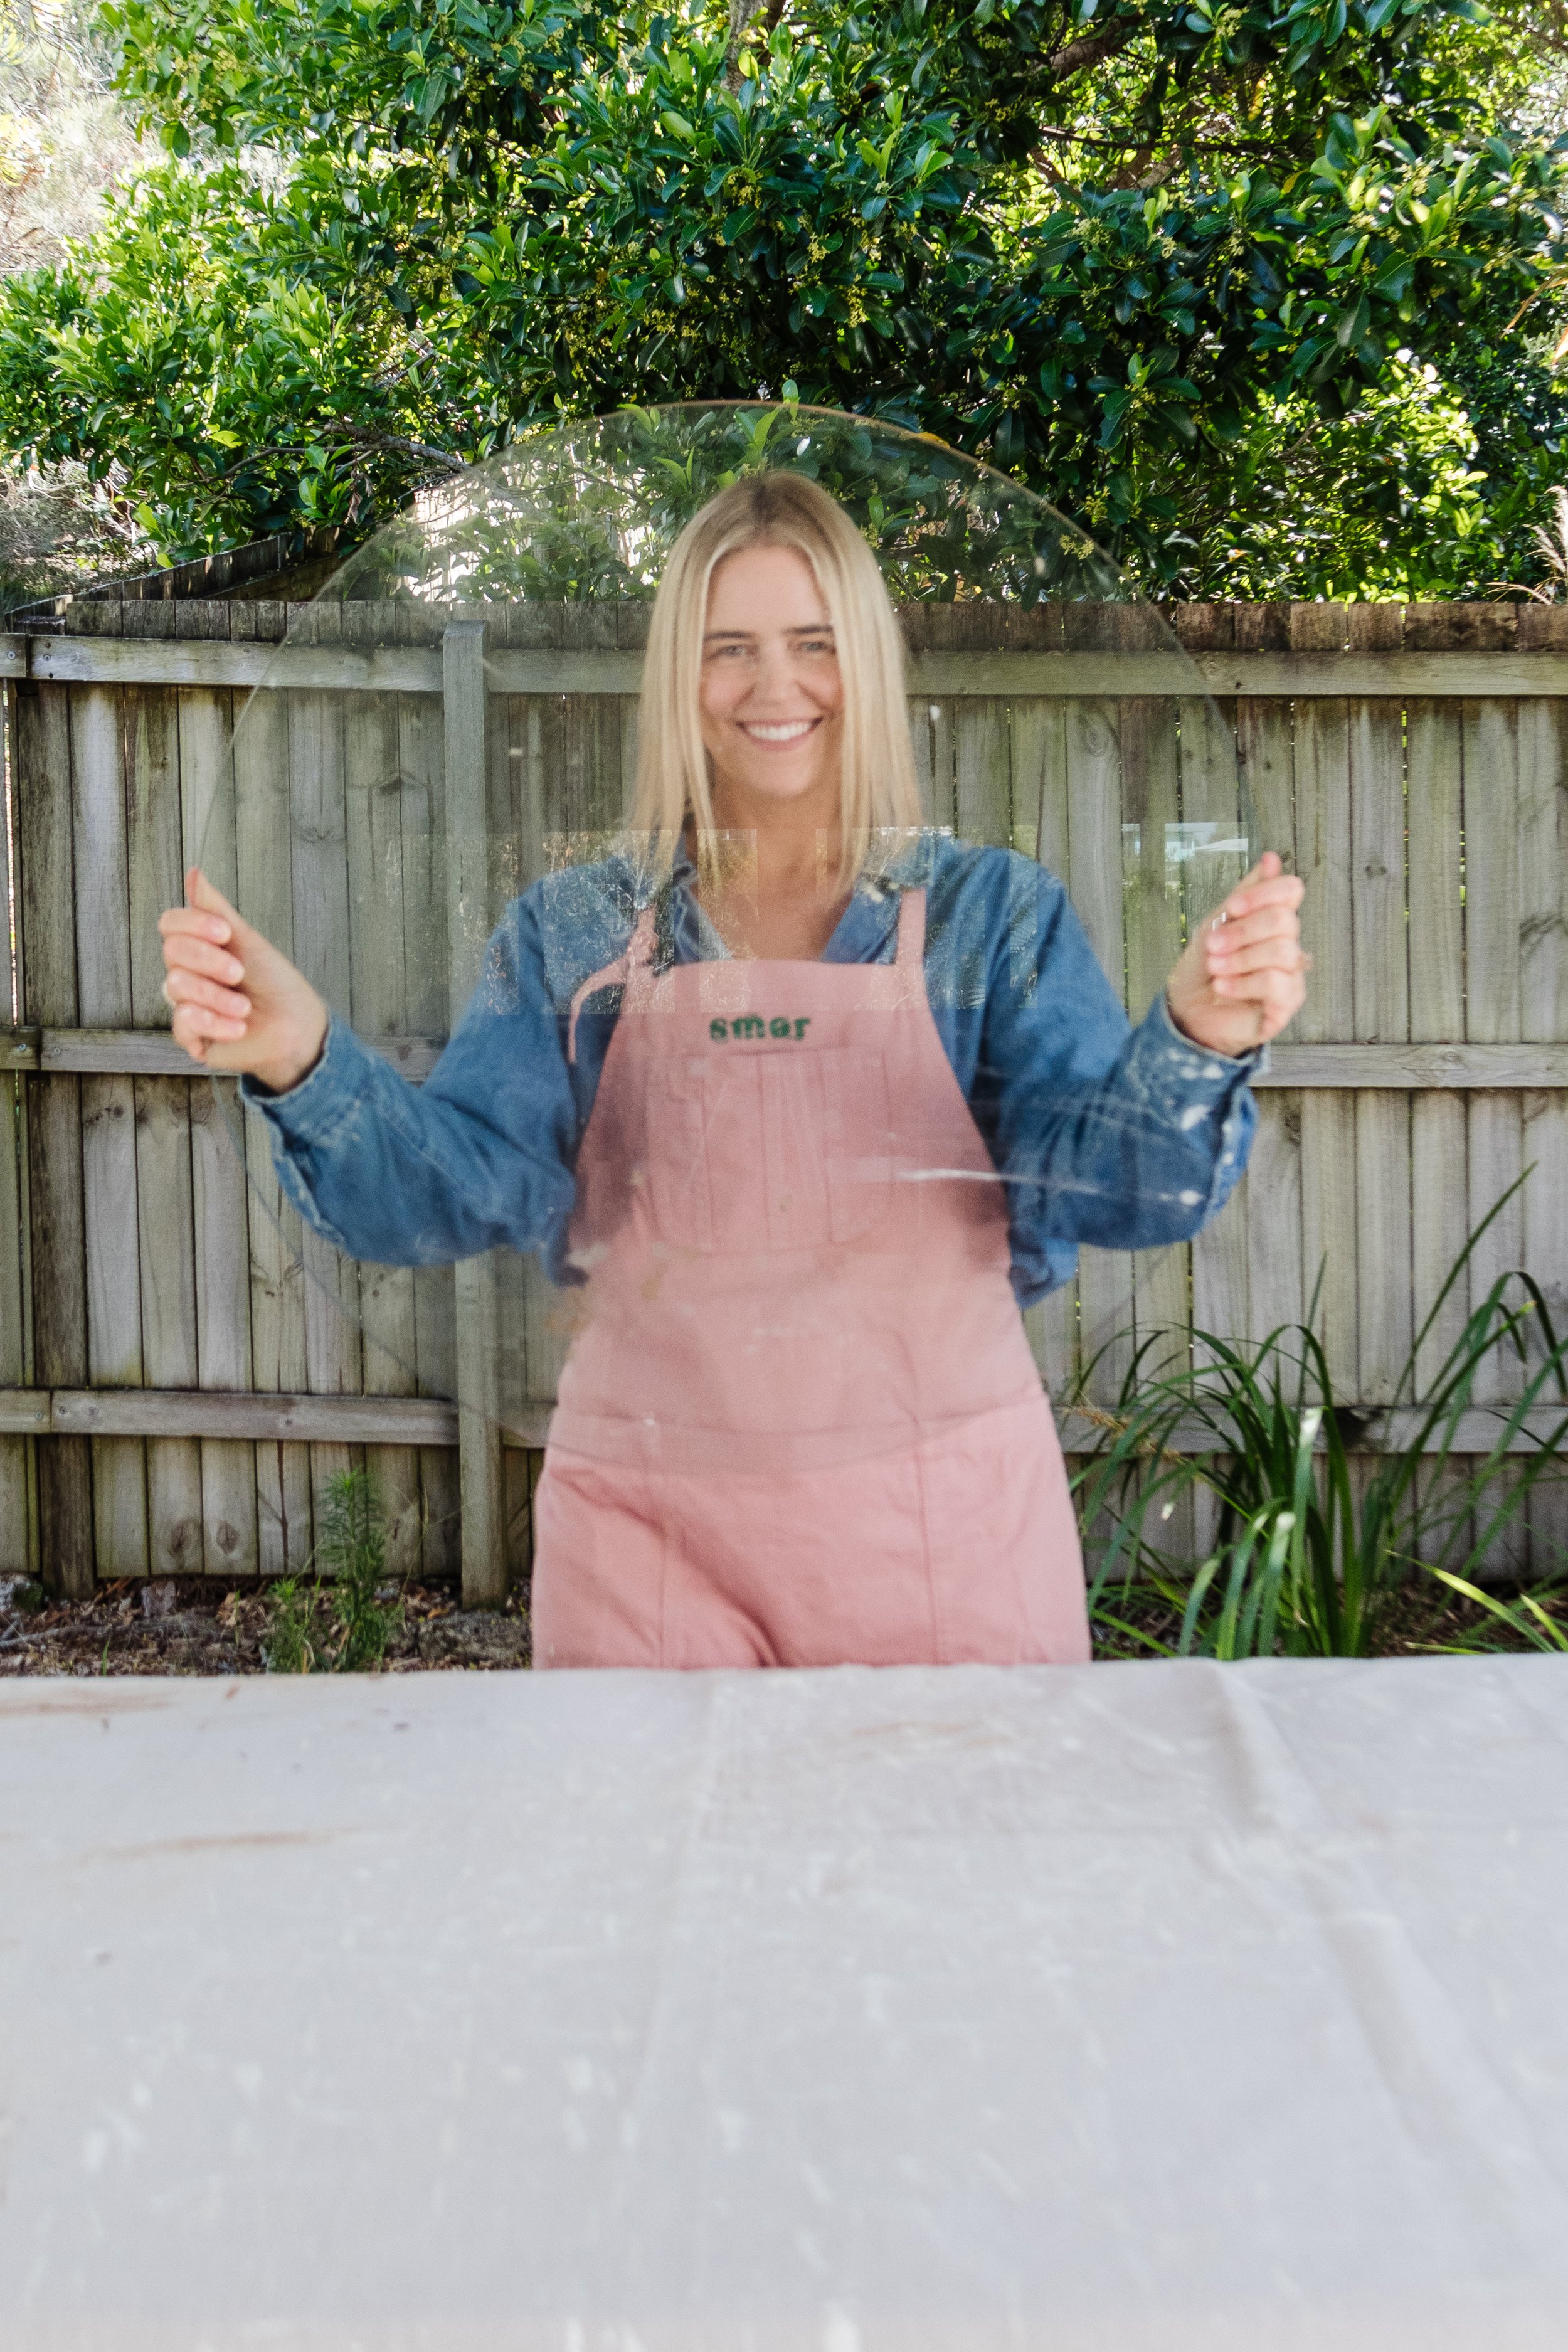
Welcome back to my Upcycled Glass Coffee Table Series! Over the next couple of weeks I’m going to show you how to transform a round glass panel I found at the tip shop and make 3 different coffee tables. If you haven’t already checked out the first coffee table, make sure you do. It’s beautiful! IMHO. And feel free to see how it all came together by watching this video. Onto the second Upcycled Glass Coffee Table…
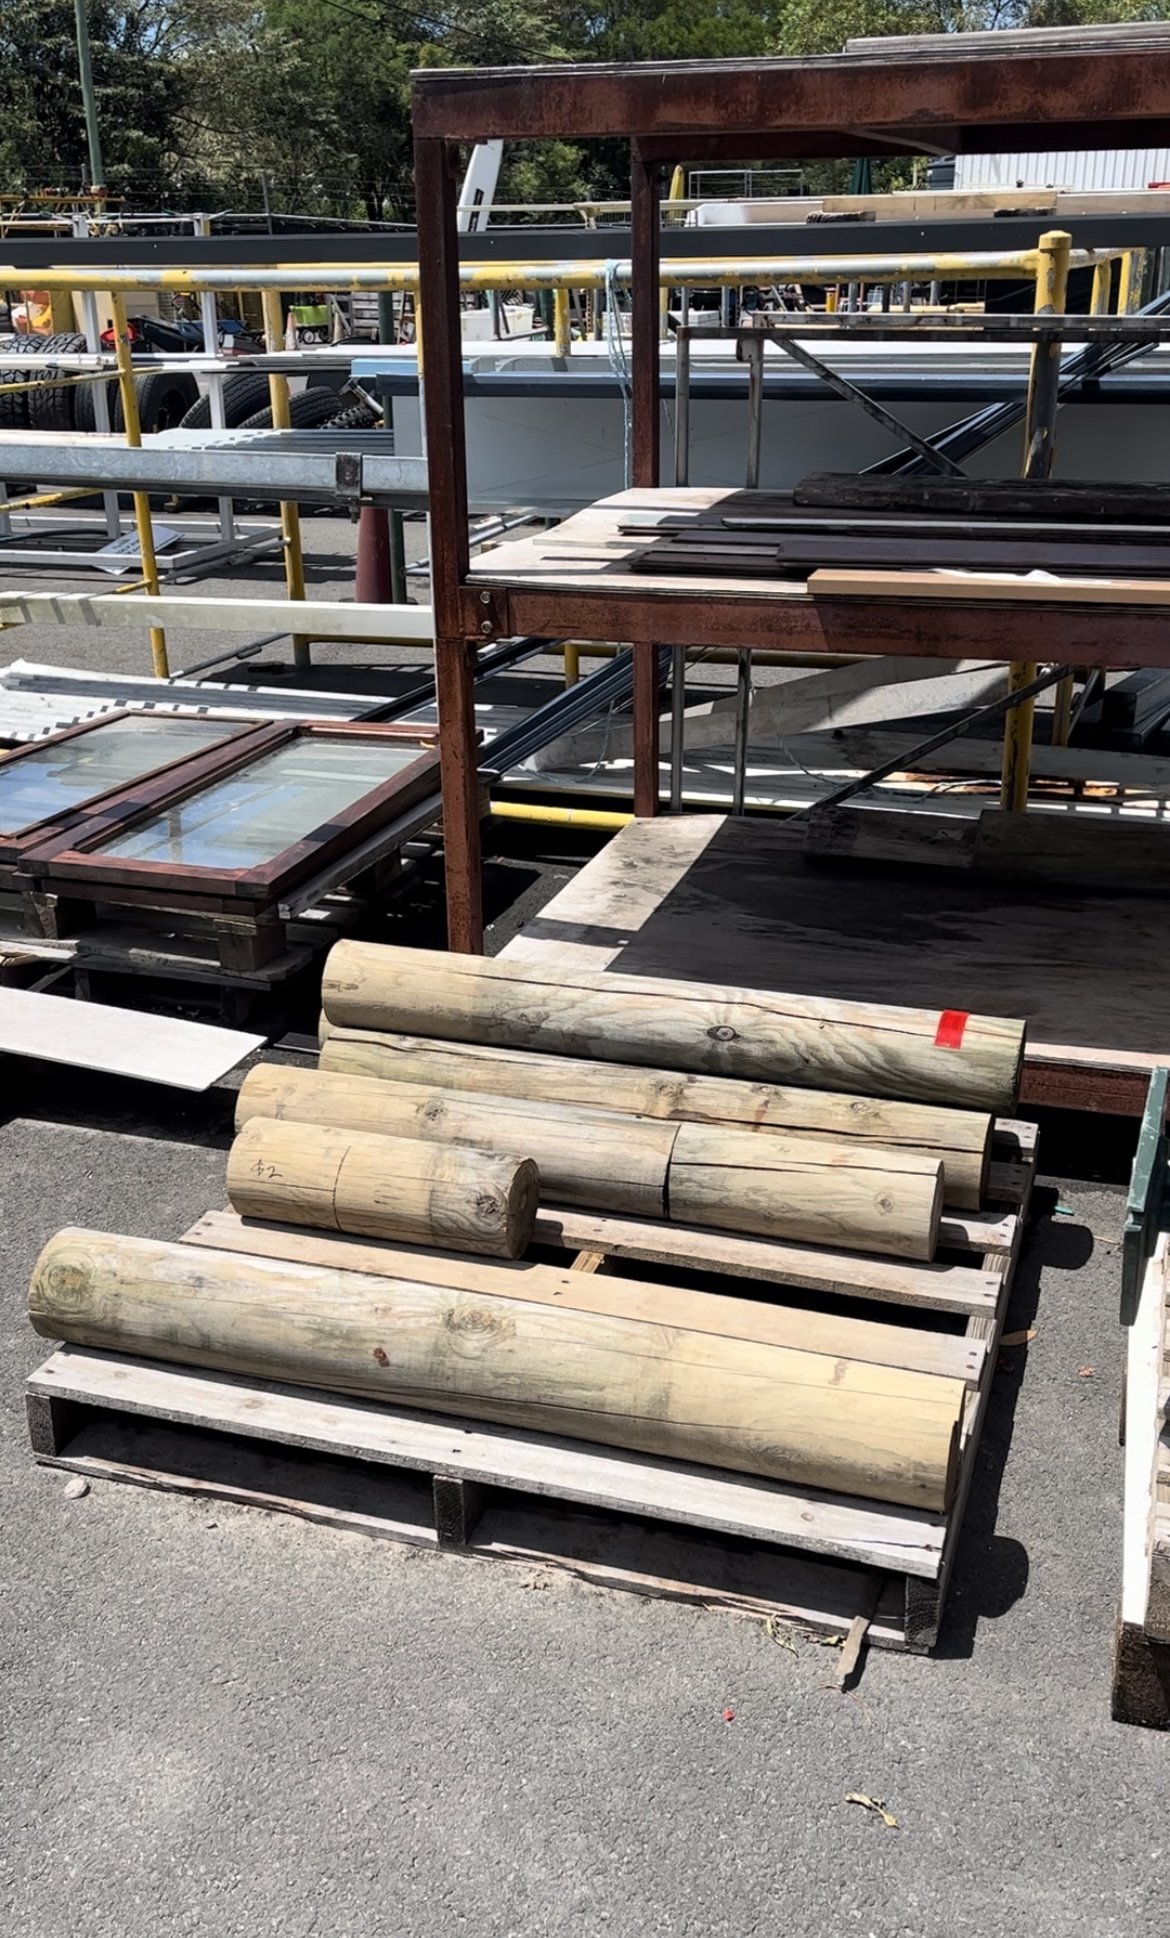
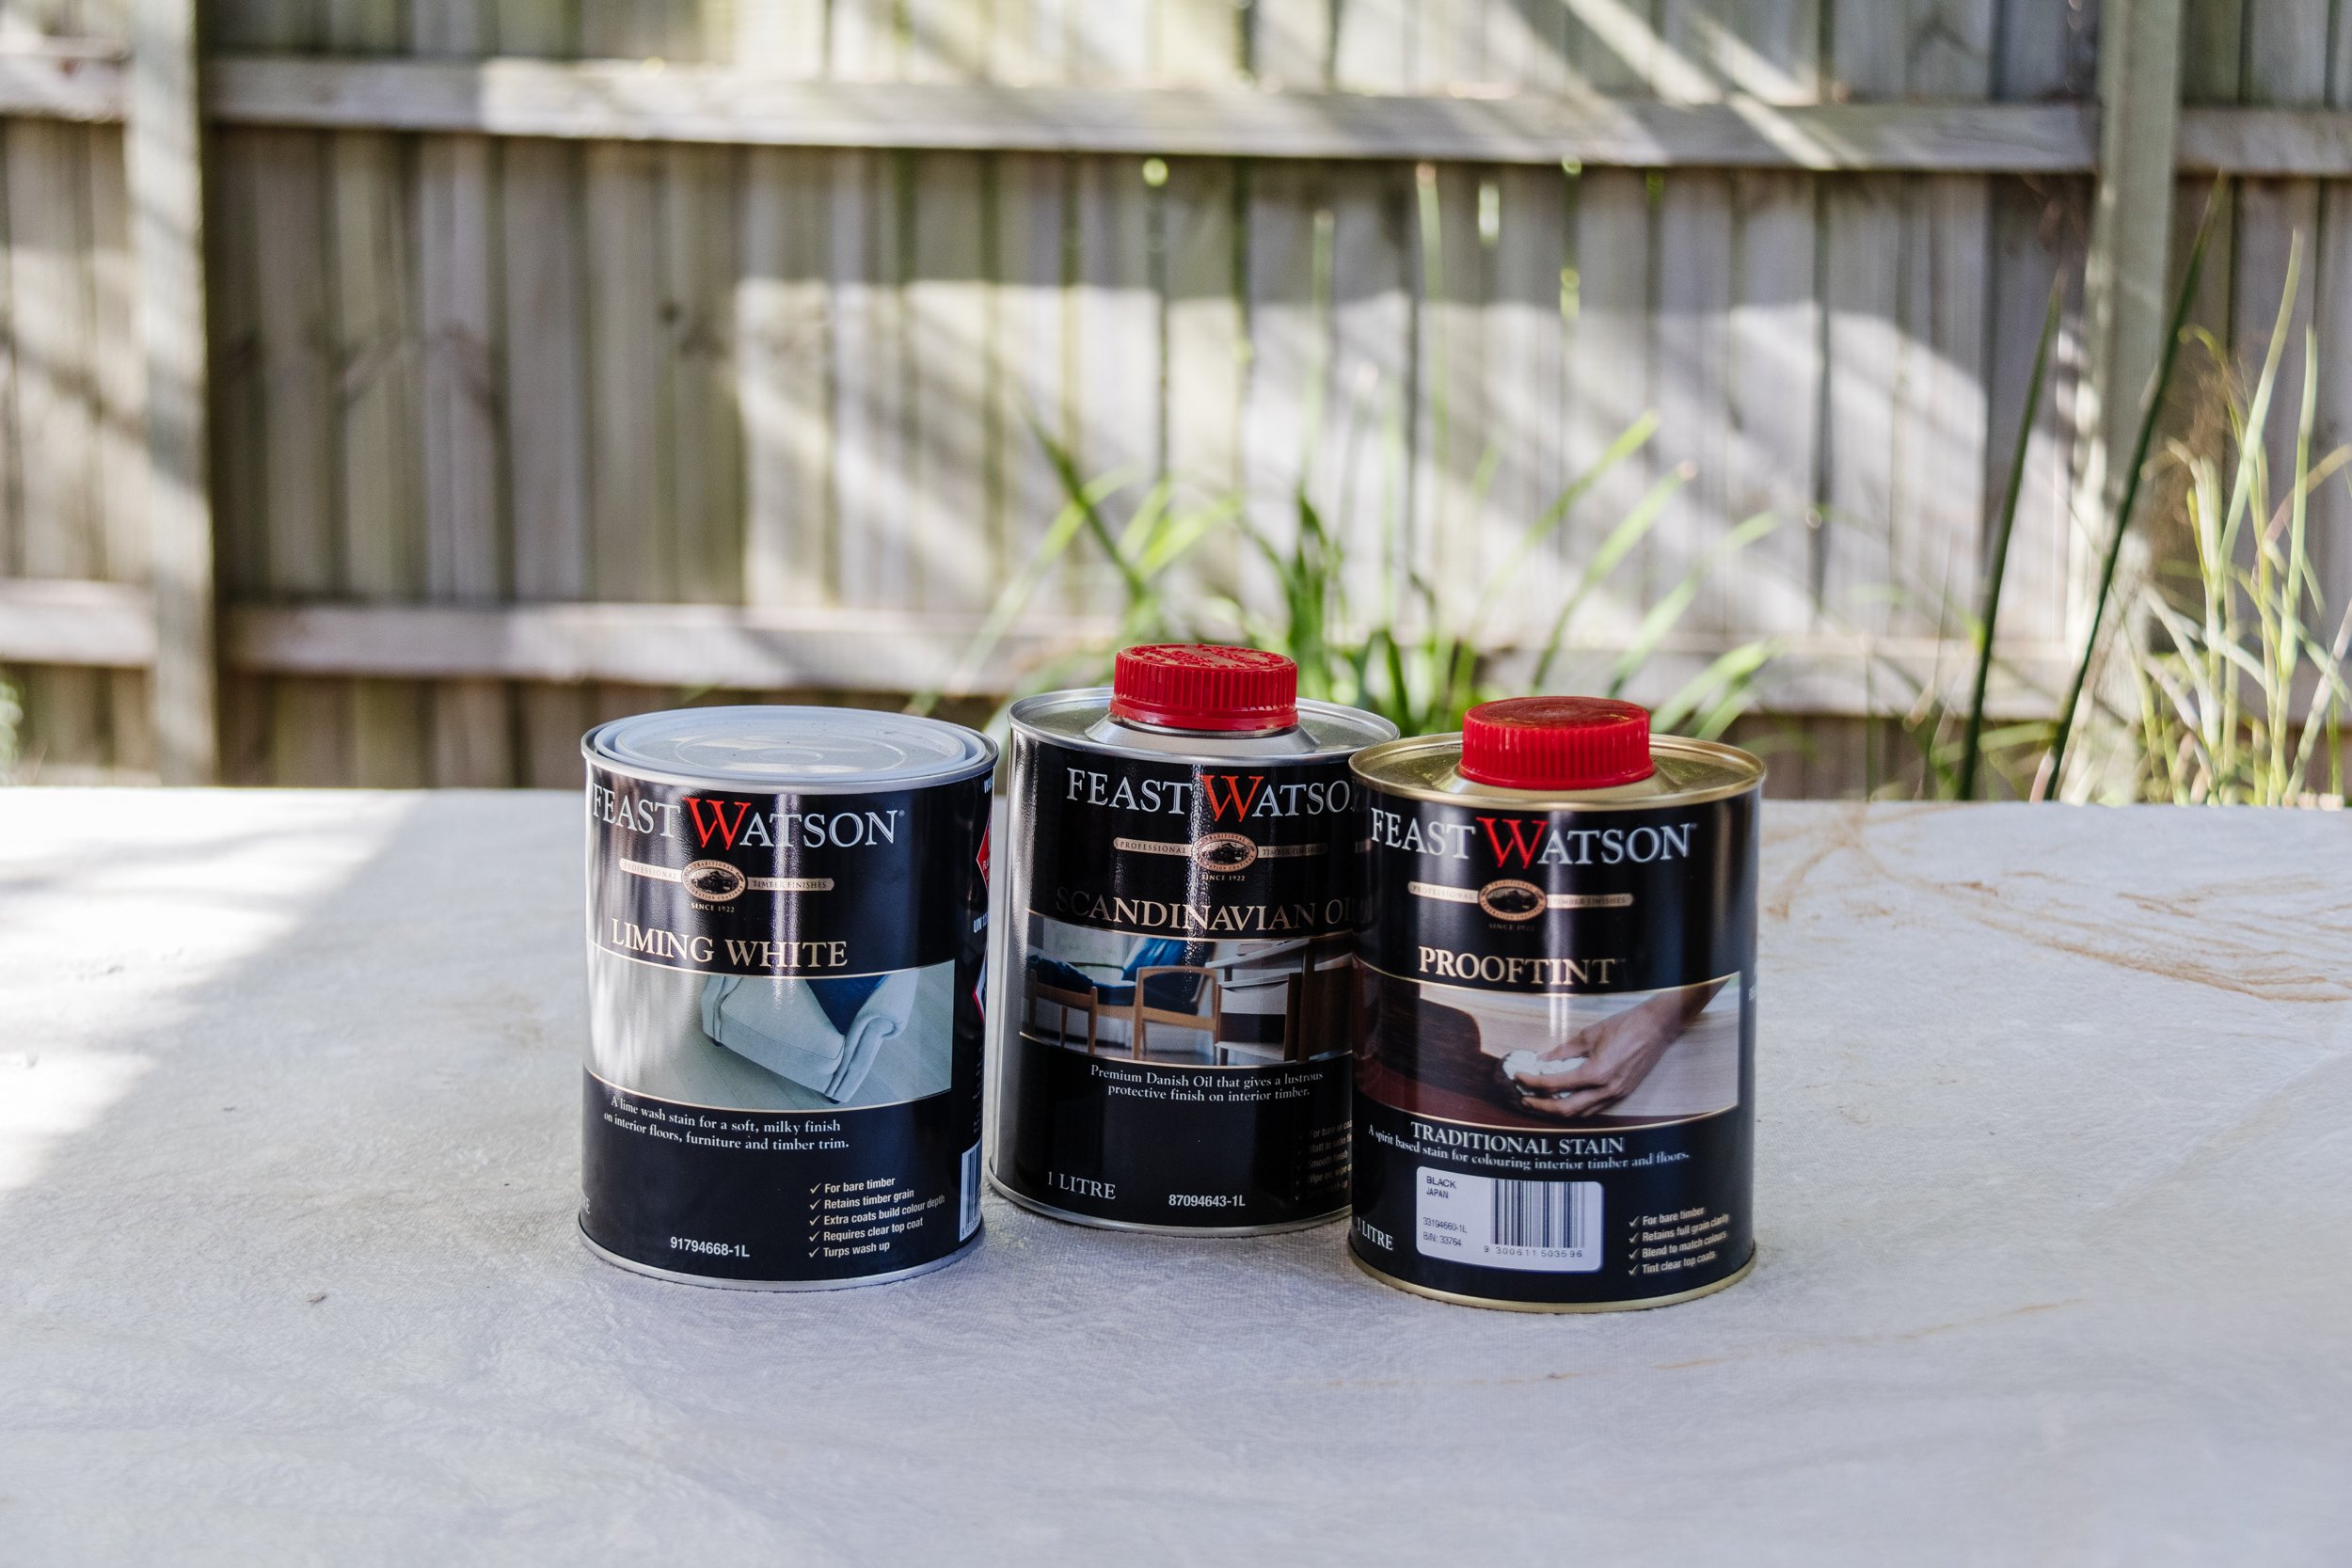
A while ago I saw this coffee table and I was intrigued with how the glass was positioned into the marble. And of course, it got me thinking. How could I recreate this in my own way? When I found the round glass panel I also walked past some timber posts and even though I was intrigued, I didn’t buy any. However, I couldn’t stop thinking about the timber so I went back and grabbed a couple of pieces. If they didn’t work, I could aways use them for something else or donate them back to the tip shop. Thankfully, they were perfect for this project! Last month Feast Watson sent me some of their products to try, and I knew their Liming White and Prooftint Black Japan would be perfect for this project. I couldn’t decide which finish I should choose, so I leaned on my Instagram community and they voted for Prooftint Black Japan. So, that’s what I did!
To see how it all came together, make sure to watch this video.
Before & After

Project Details
♻️ Upcycling: A Timber & Glass Coffee Table
🕒 Project Time Estimate: 1 hour (not including stain/sealing drying time)
💰 Materials Cost: $60 (not including the timber posts)
Materials
Tempered glass panel. If you can’t find a secondhand panel, you can buy one here, here and here.
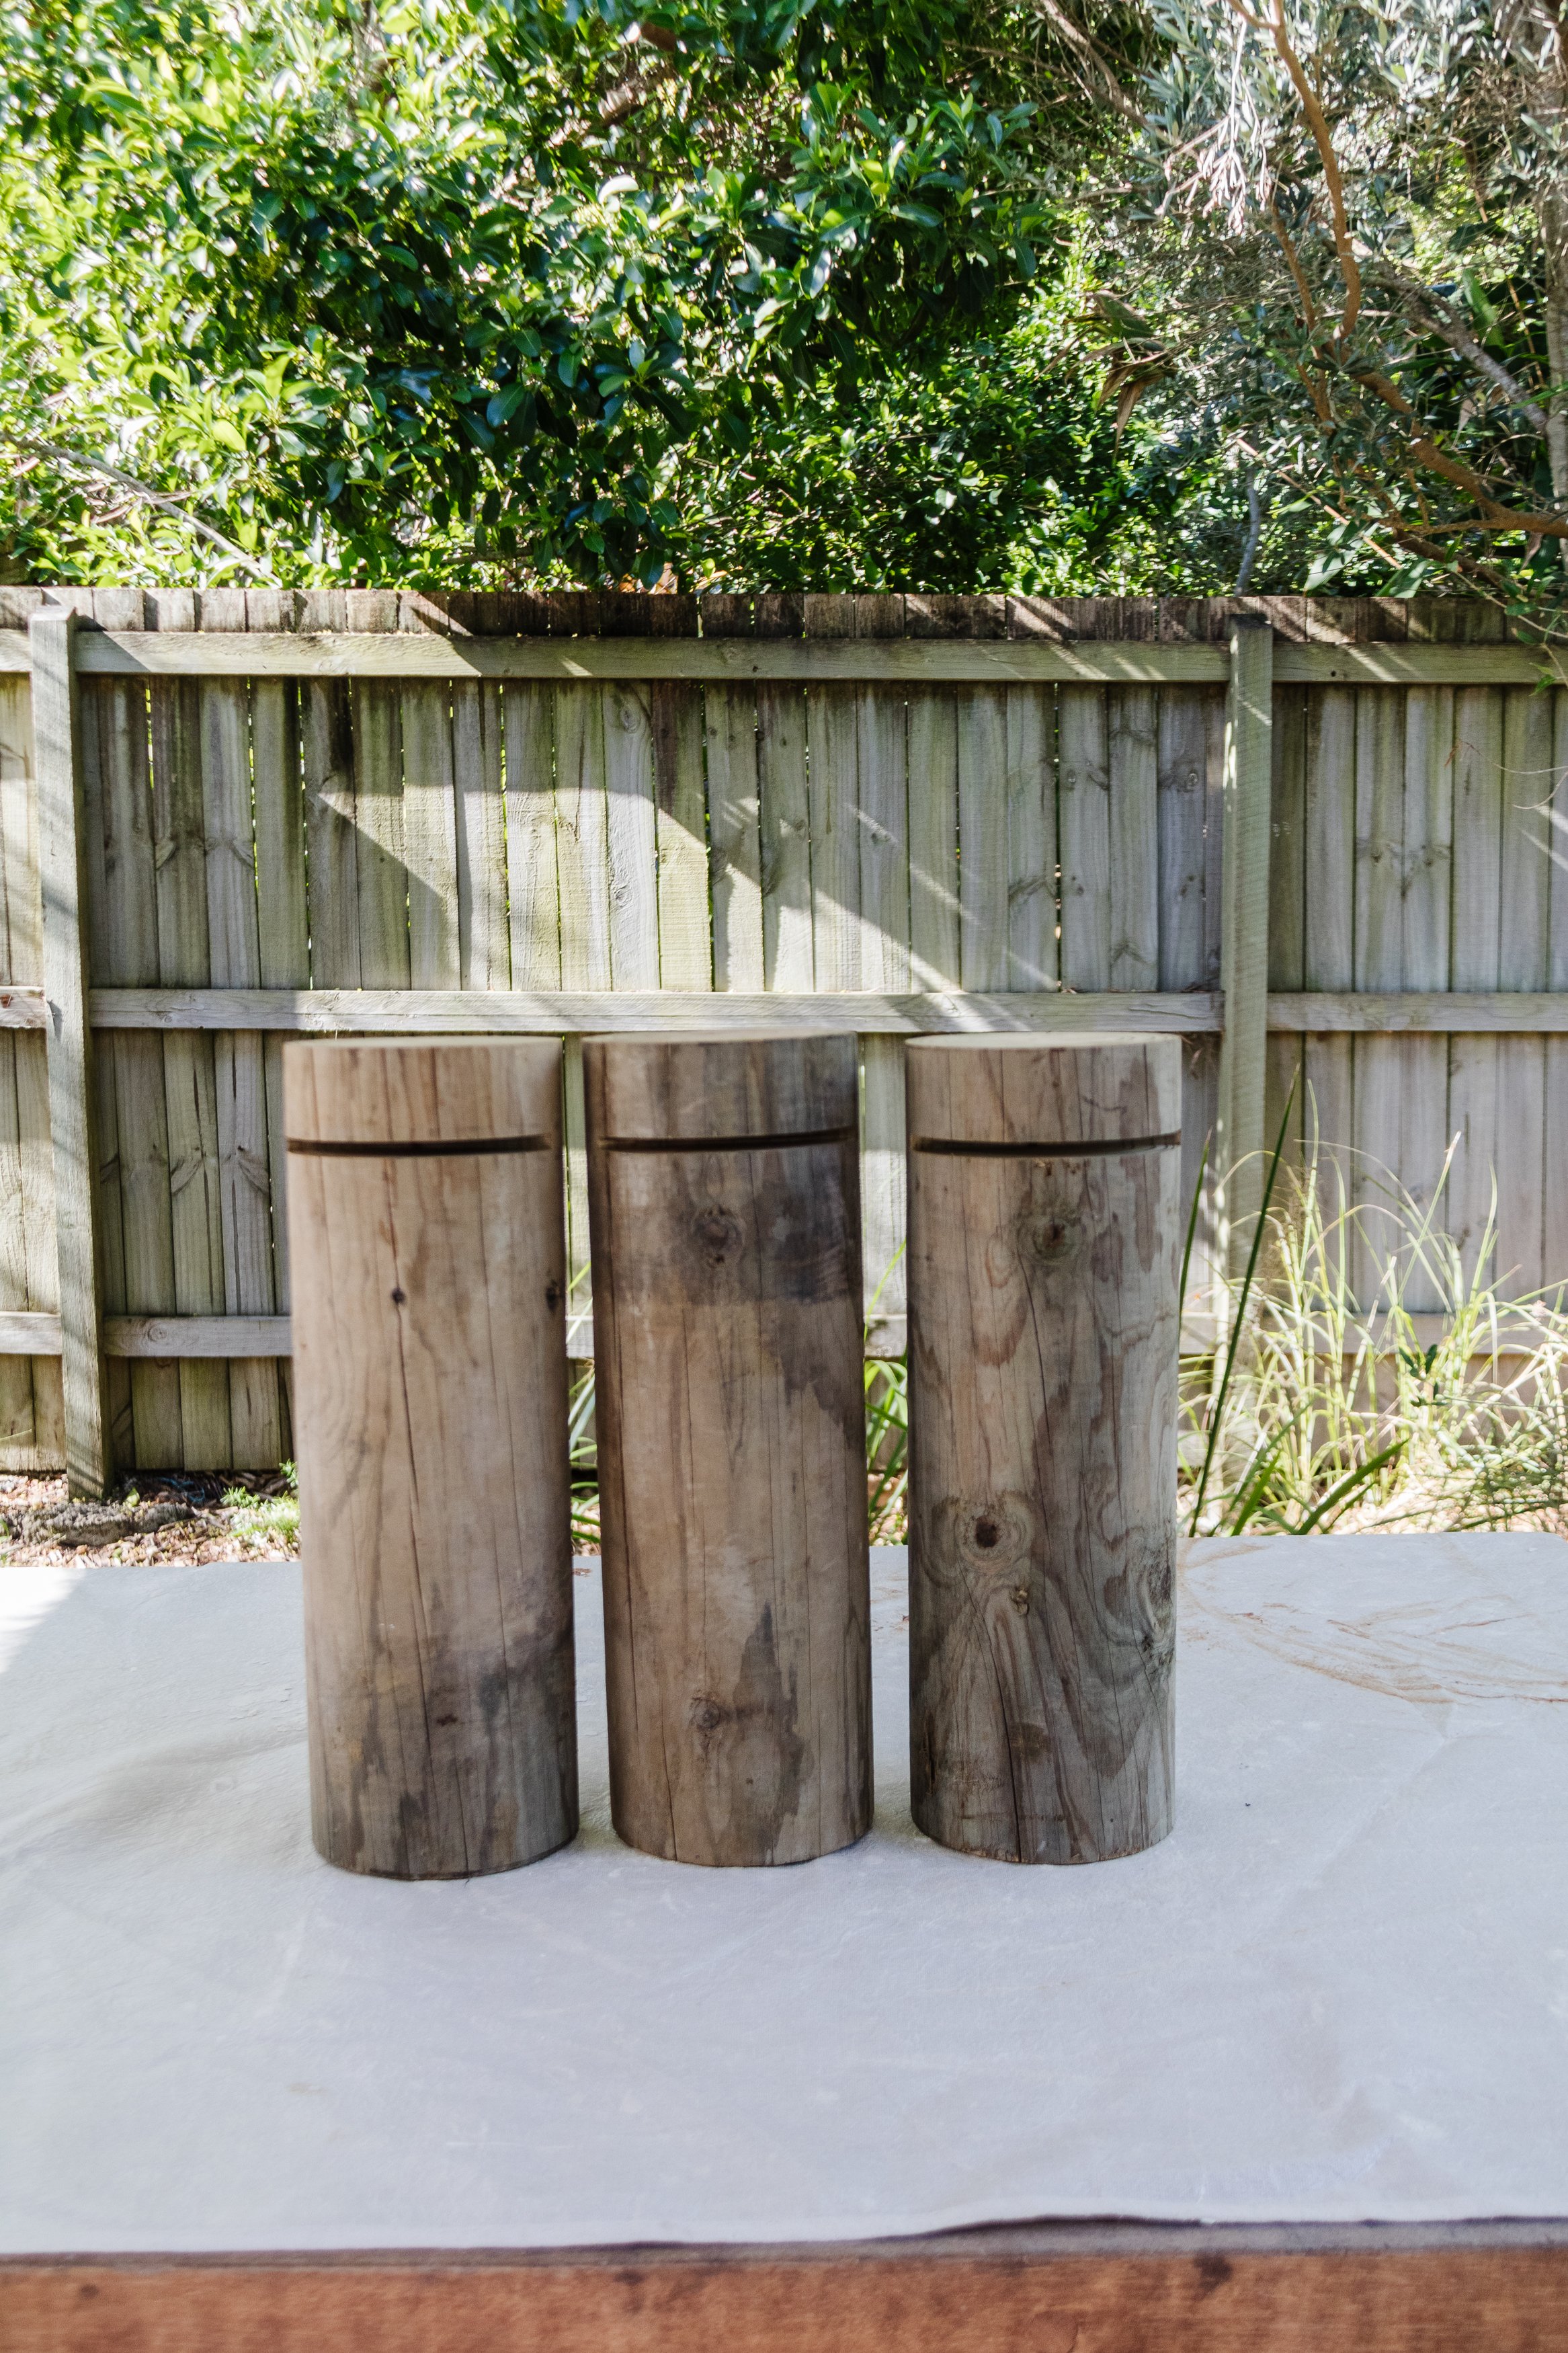
Round timber posts, which you can also get from Bunnings
Tools
Measuring tape
Mitre saw or circular saw
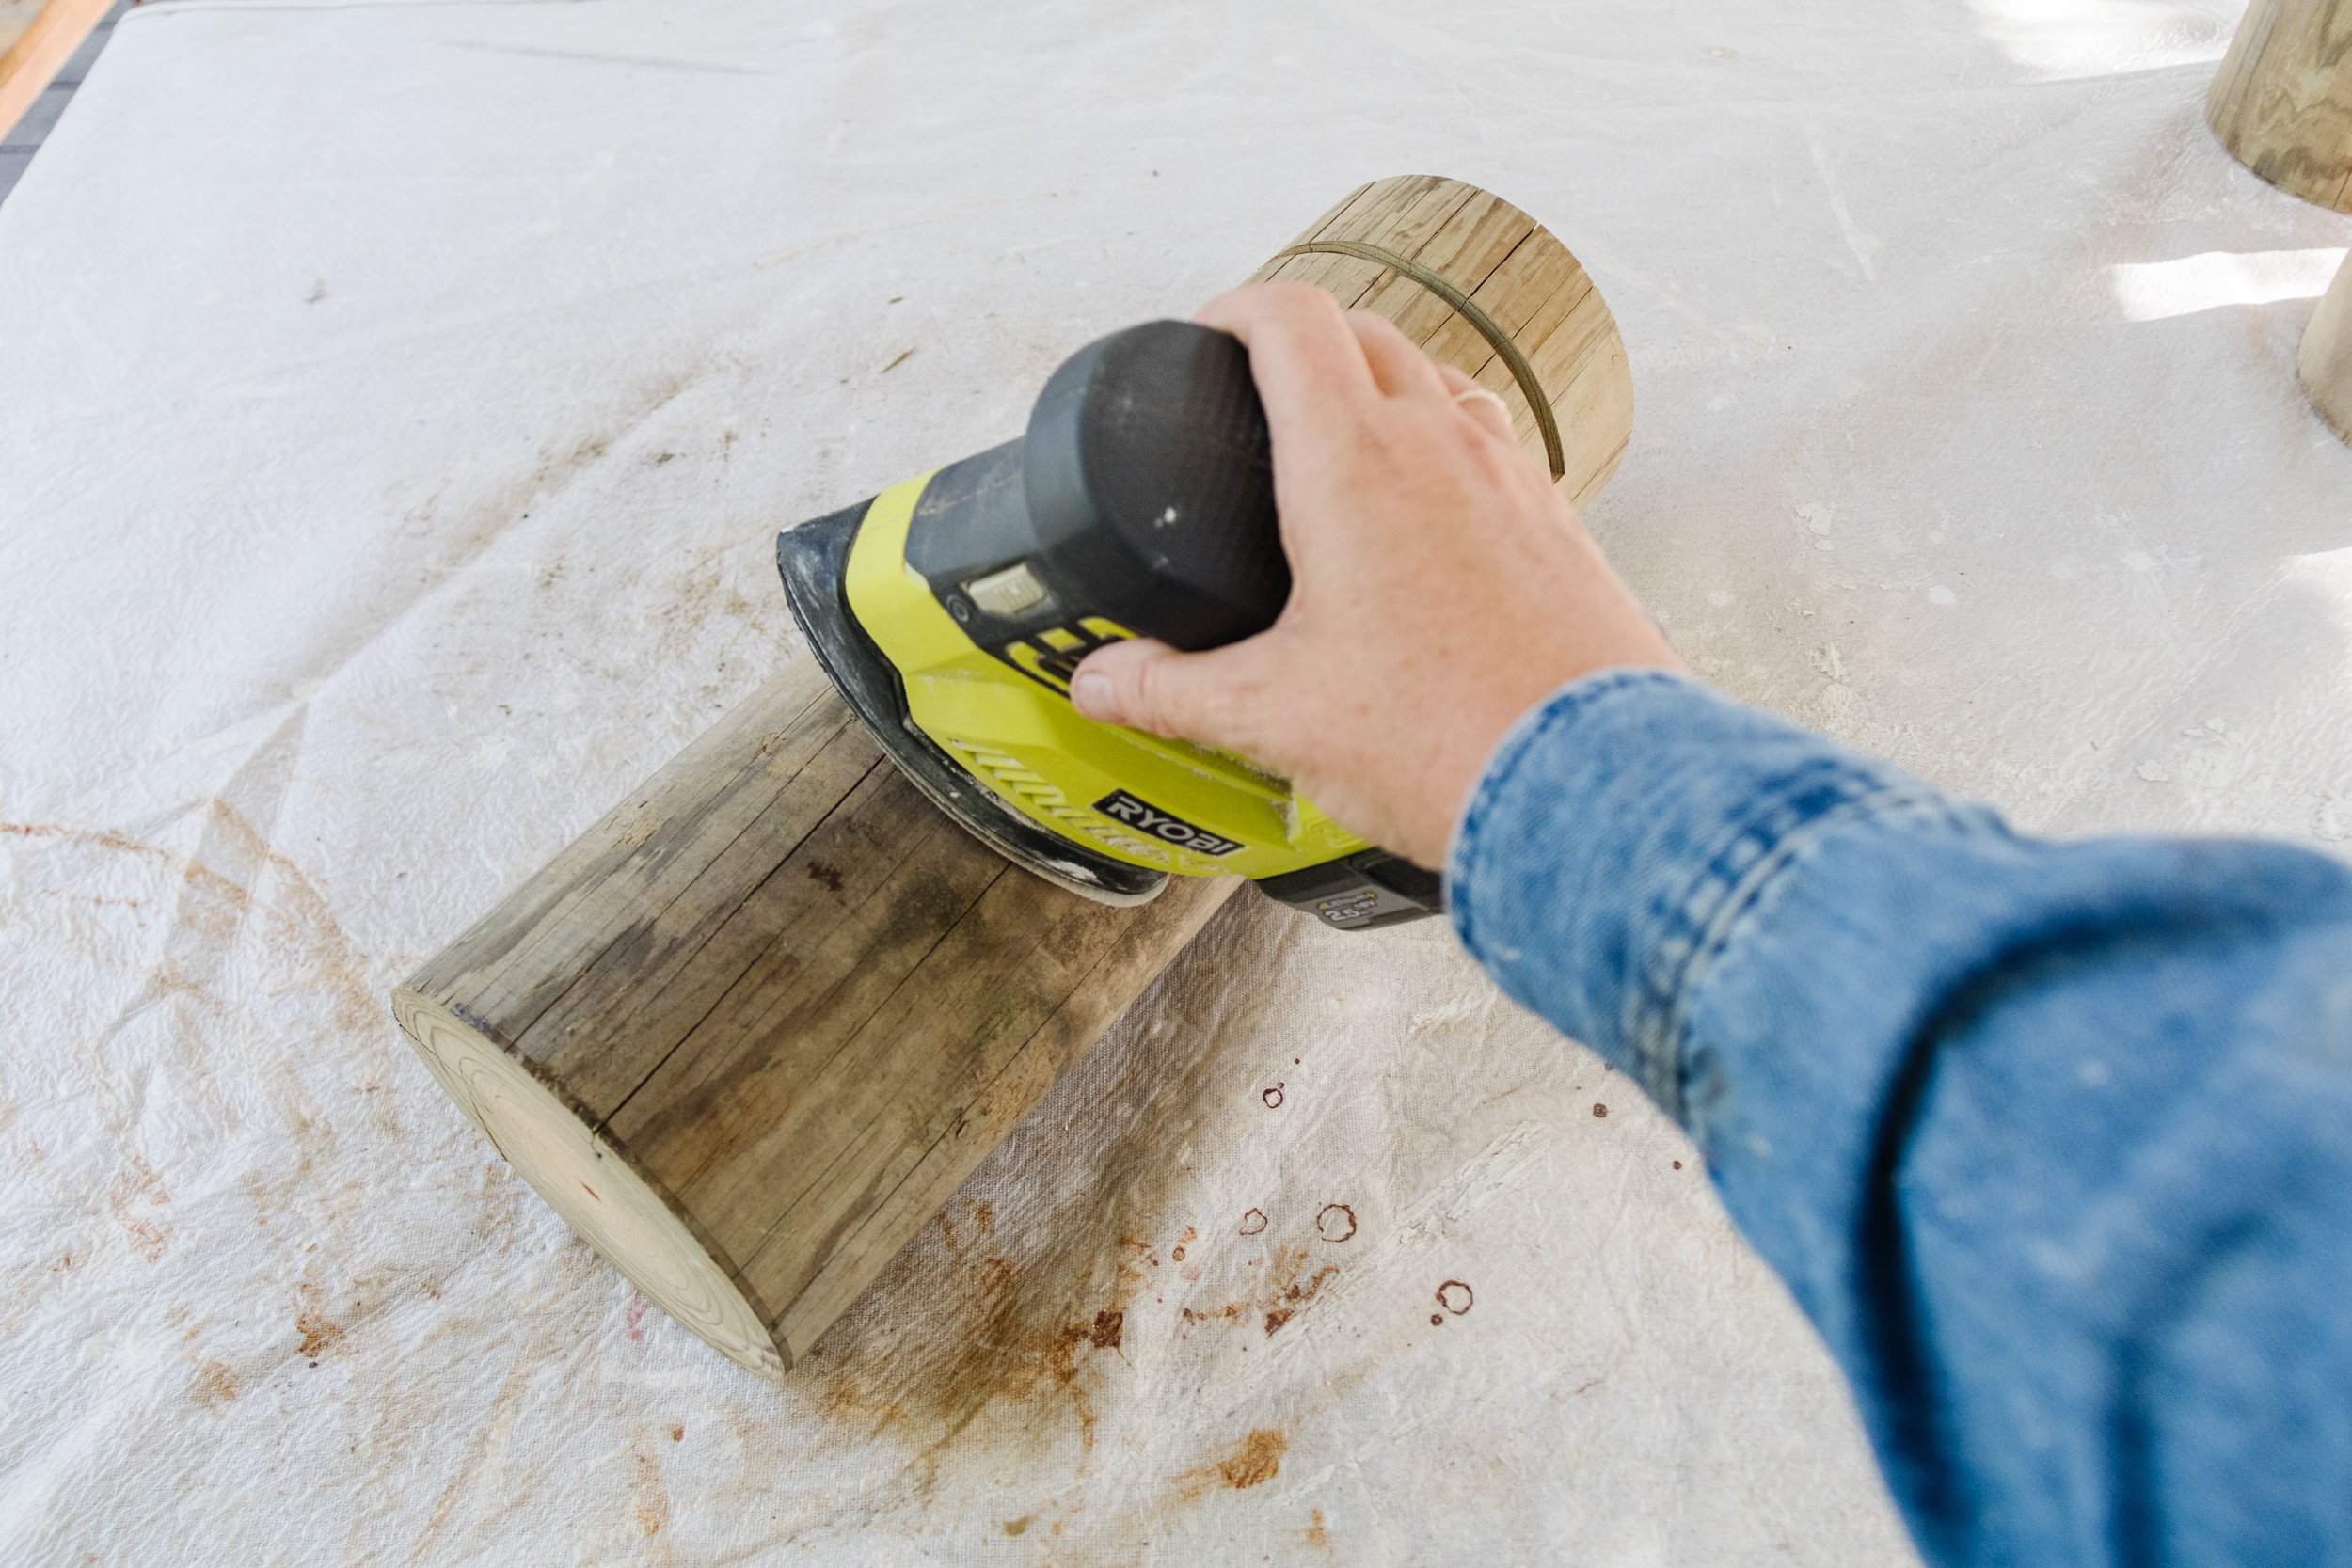
Sander
Optional: Hand saw
Tip: If you have small children at home and you’re conscience about having a glass coffee table around them, you can replace the glass with a piece of acrylic perspex.
How To
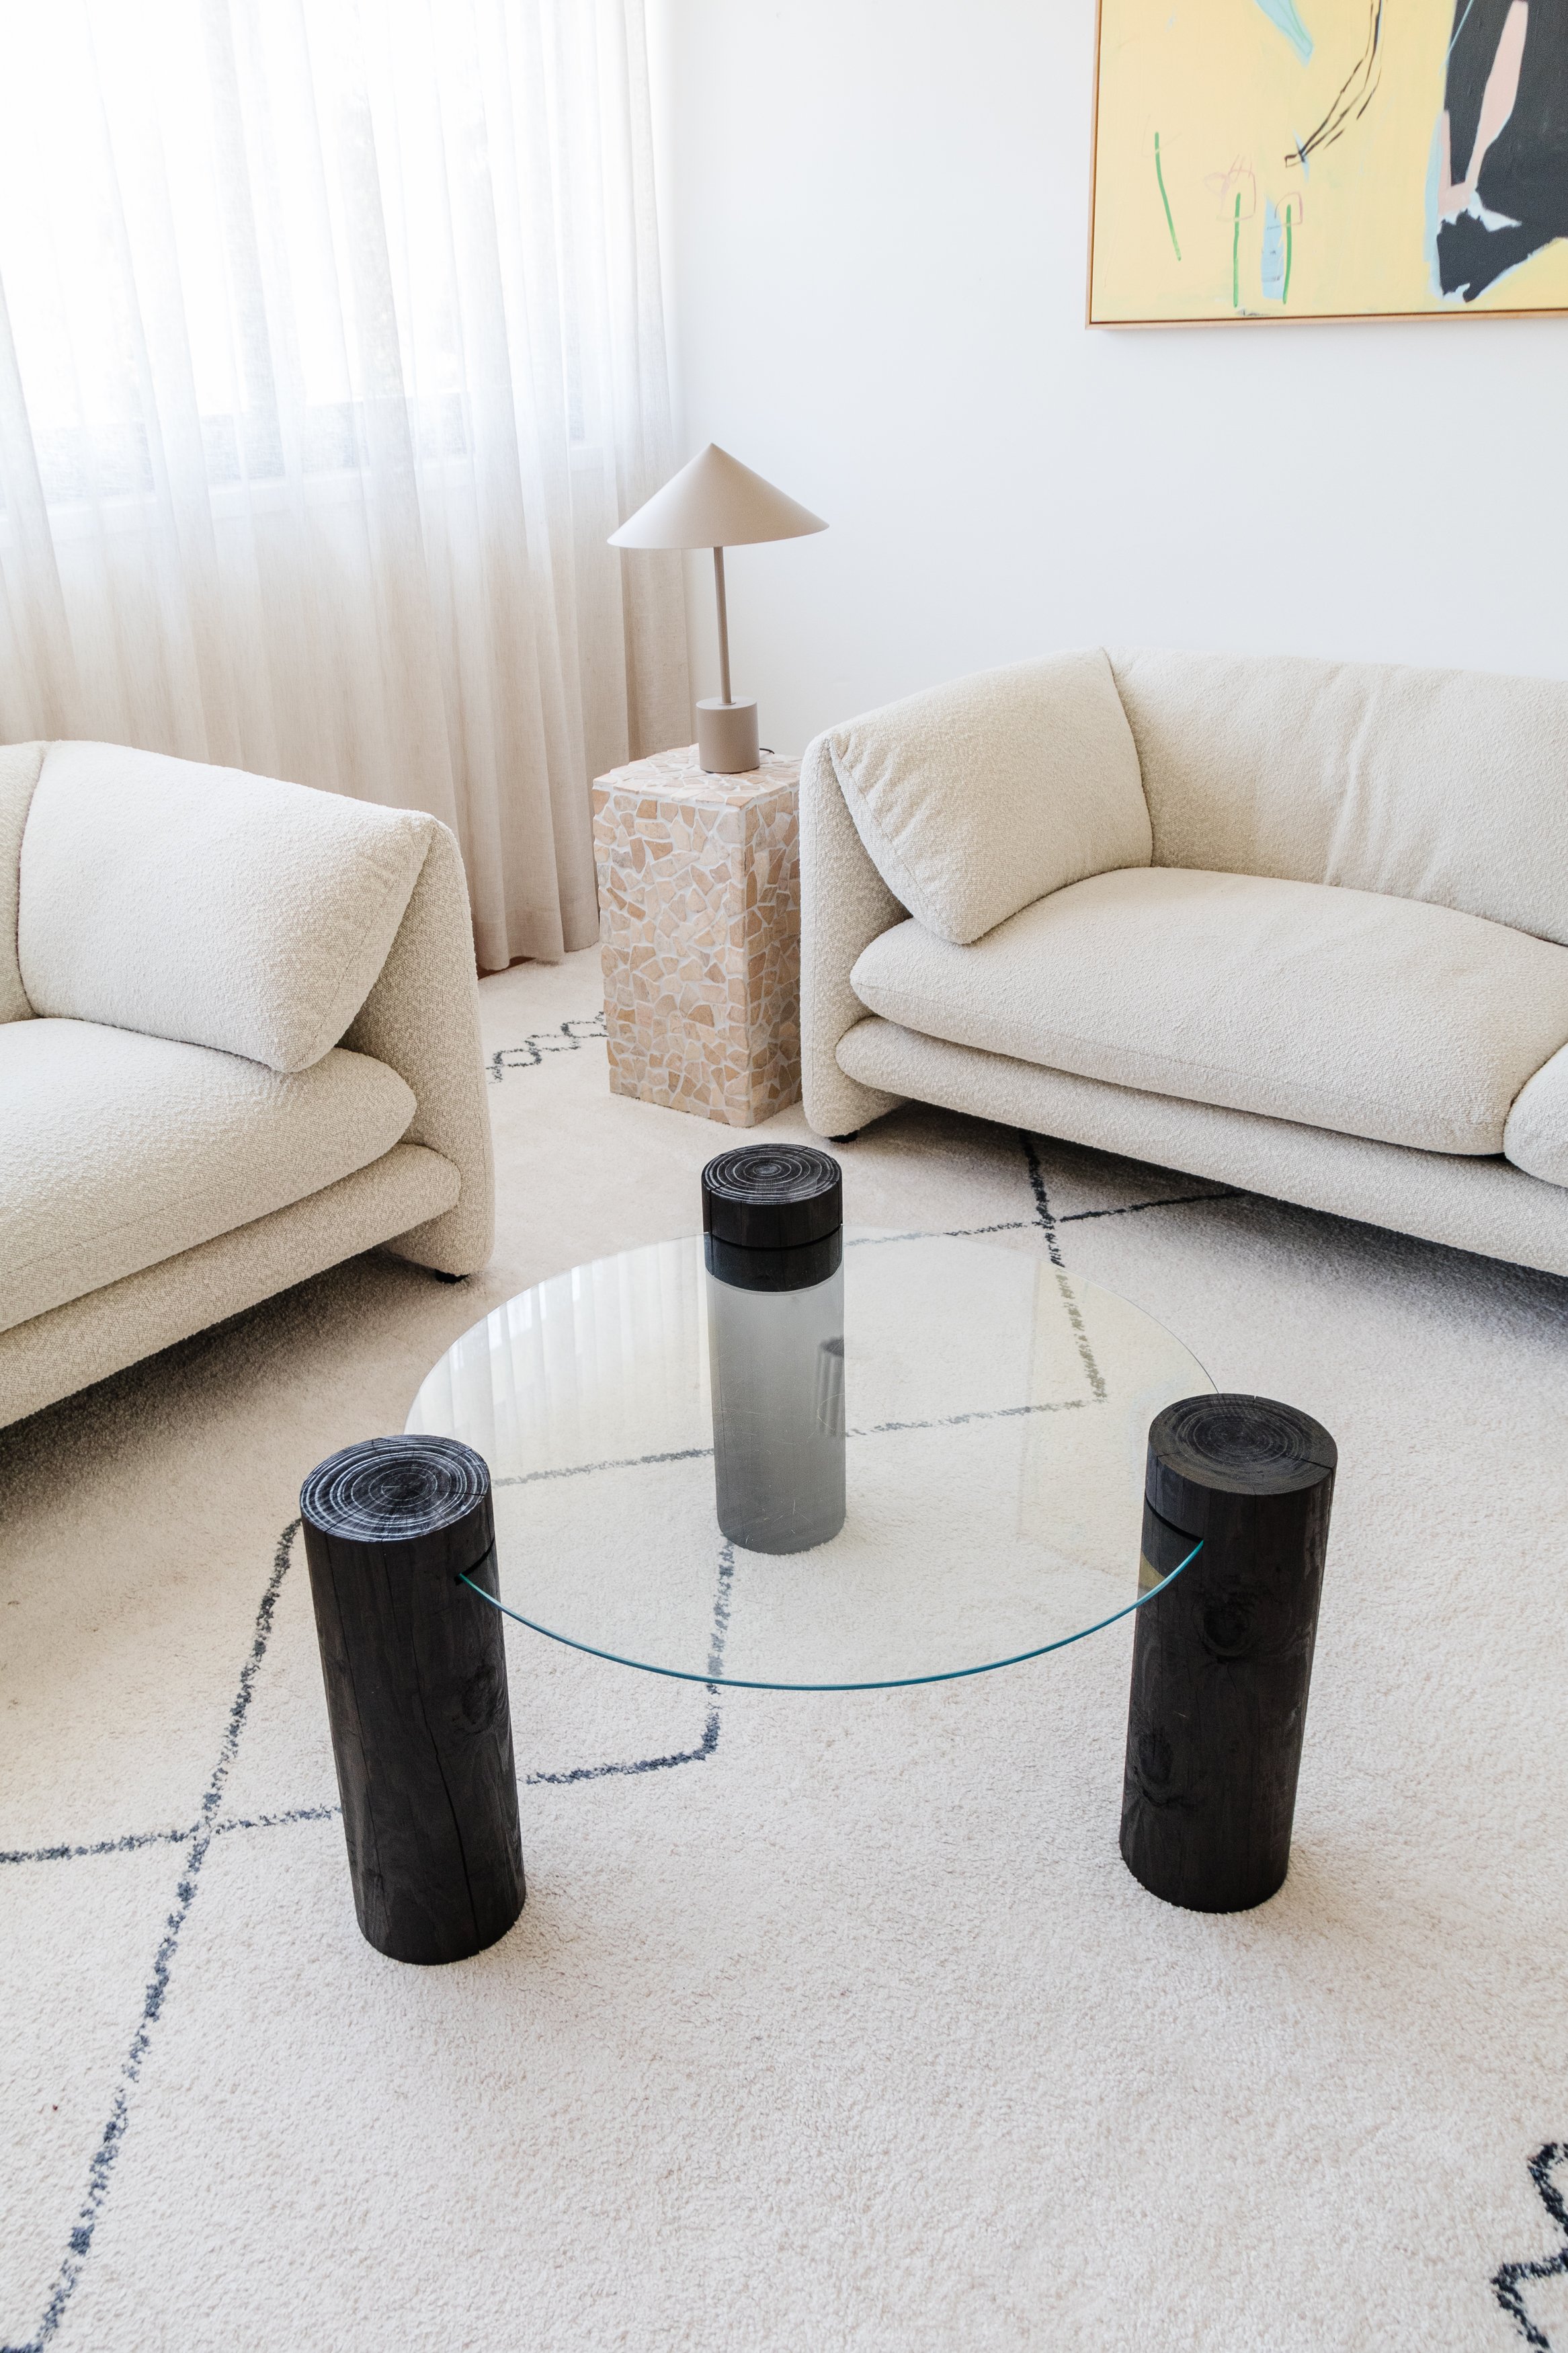
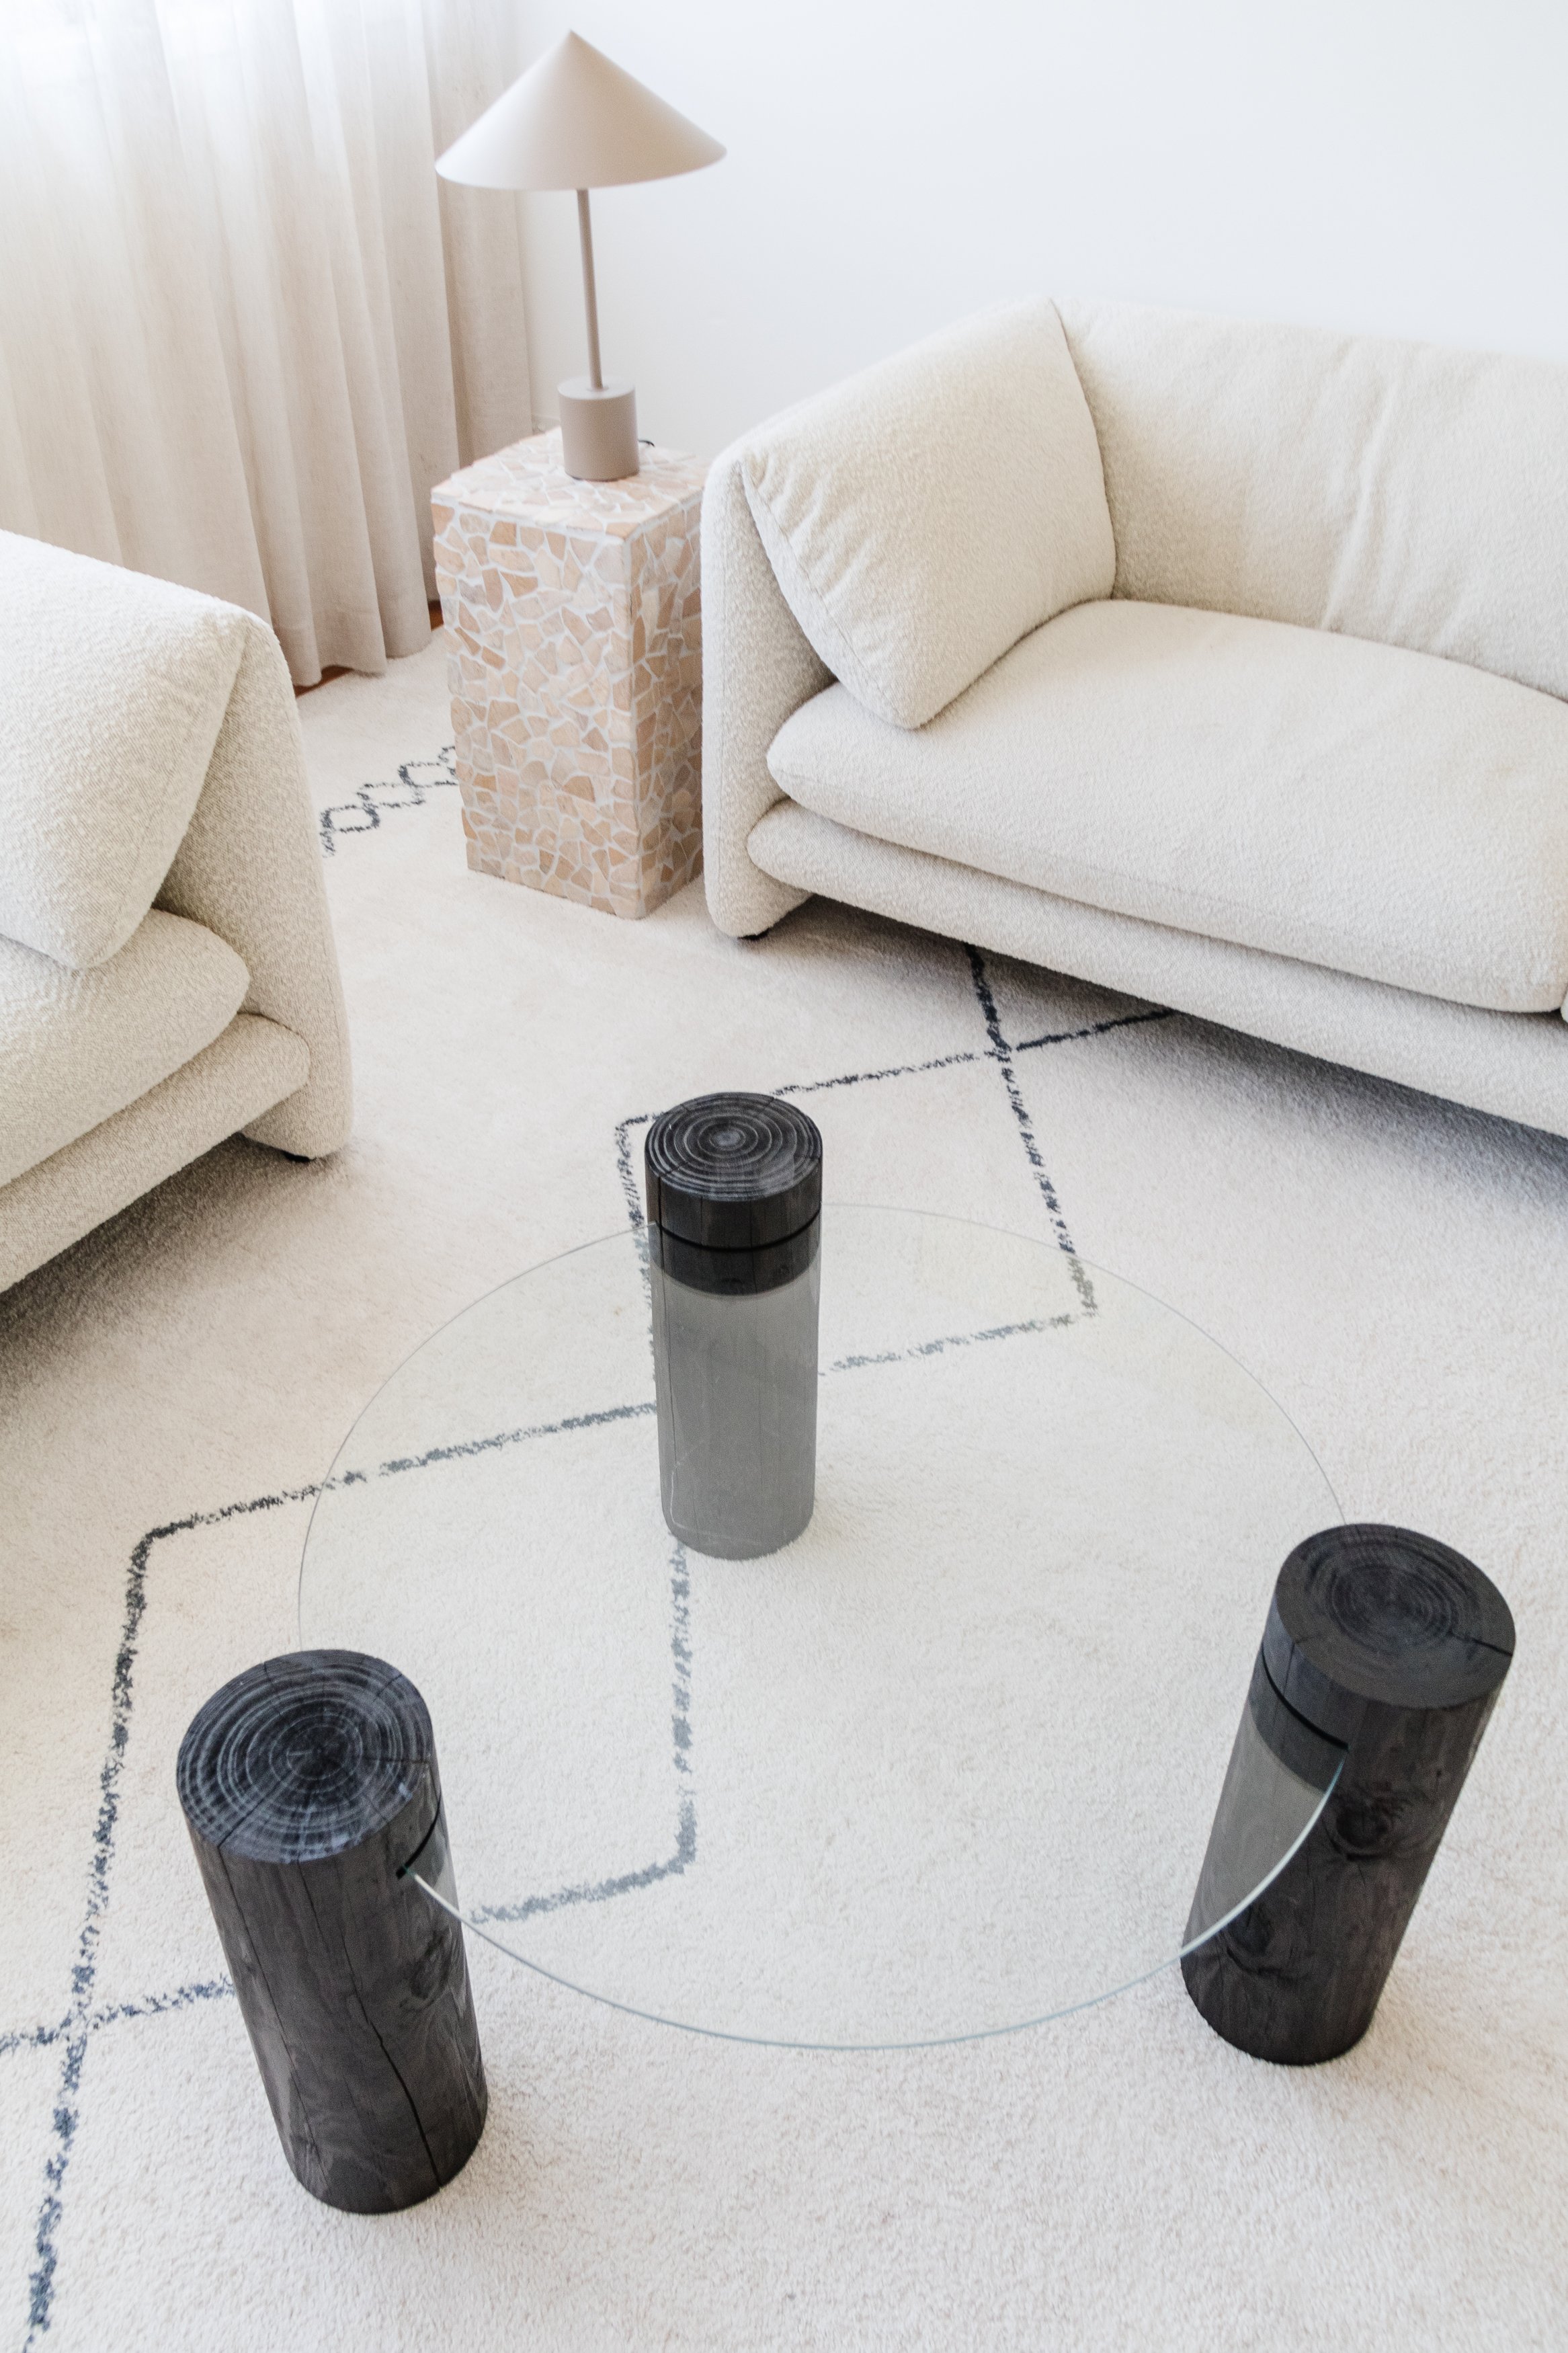
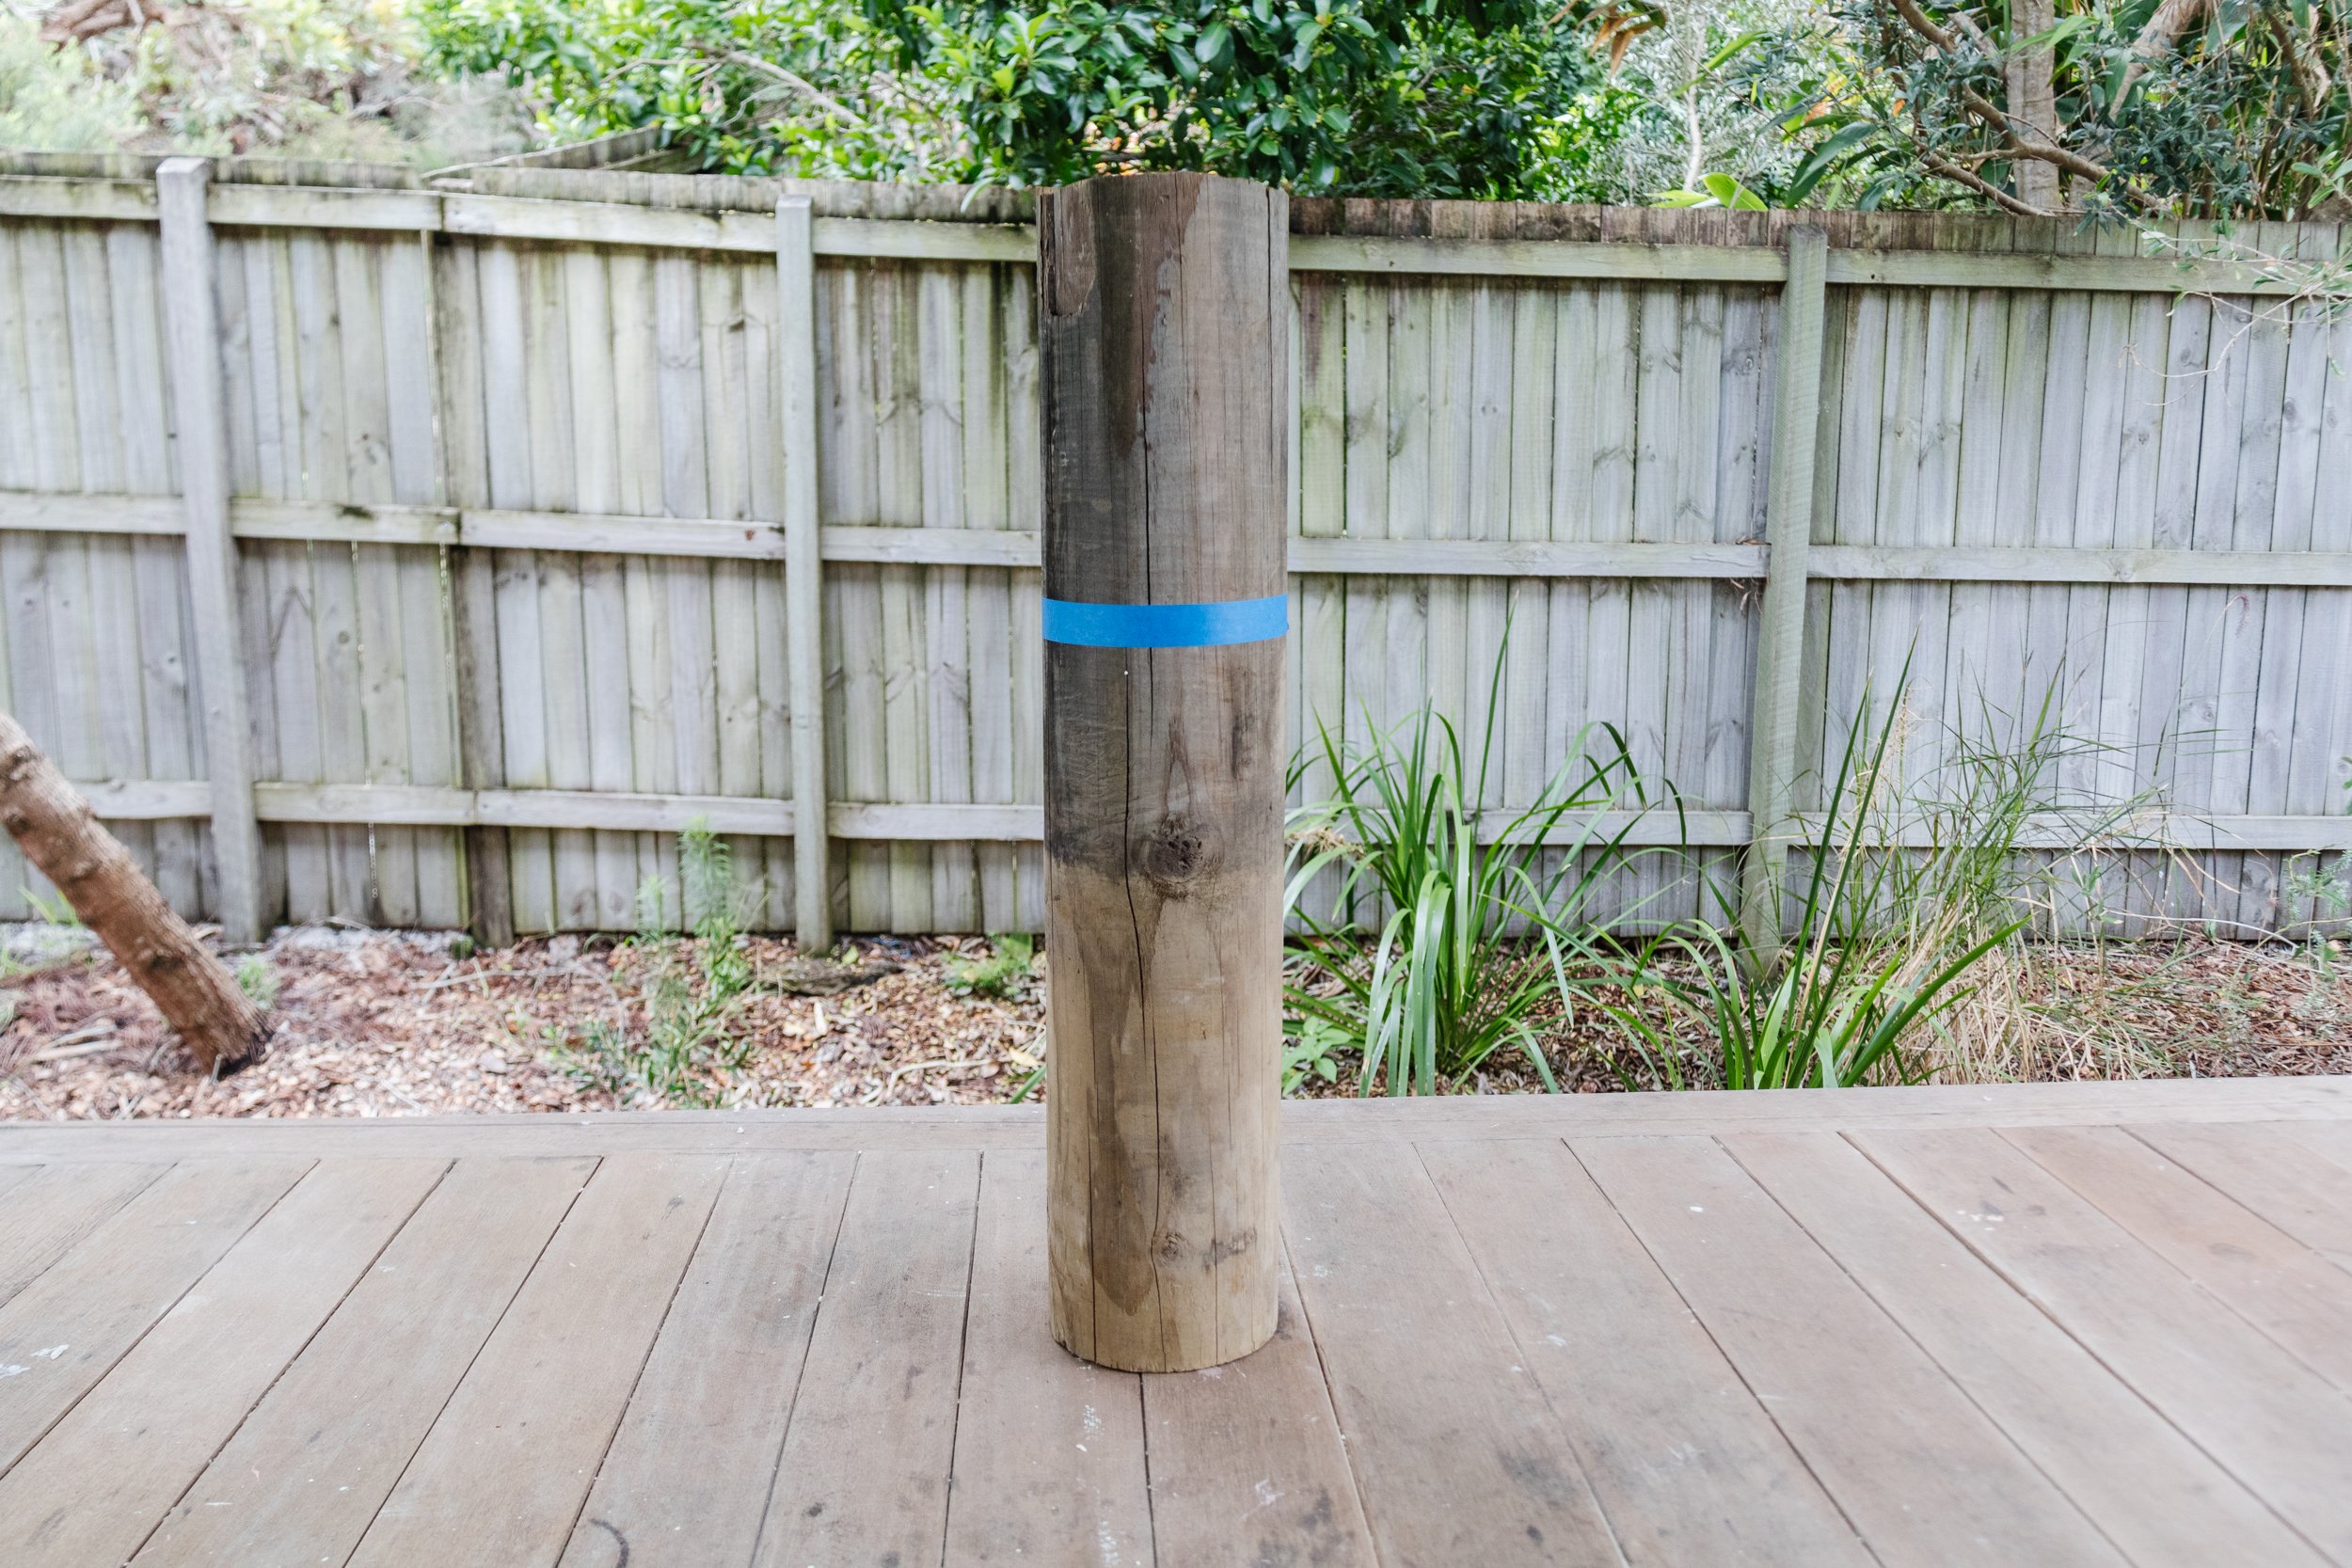
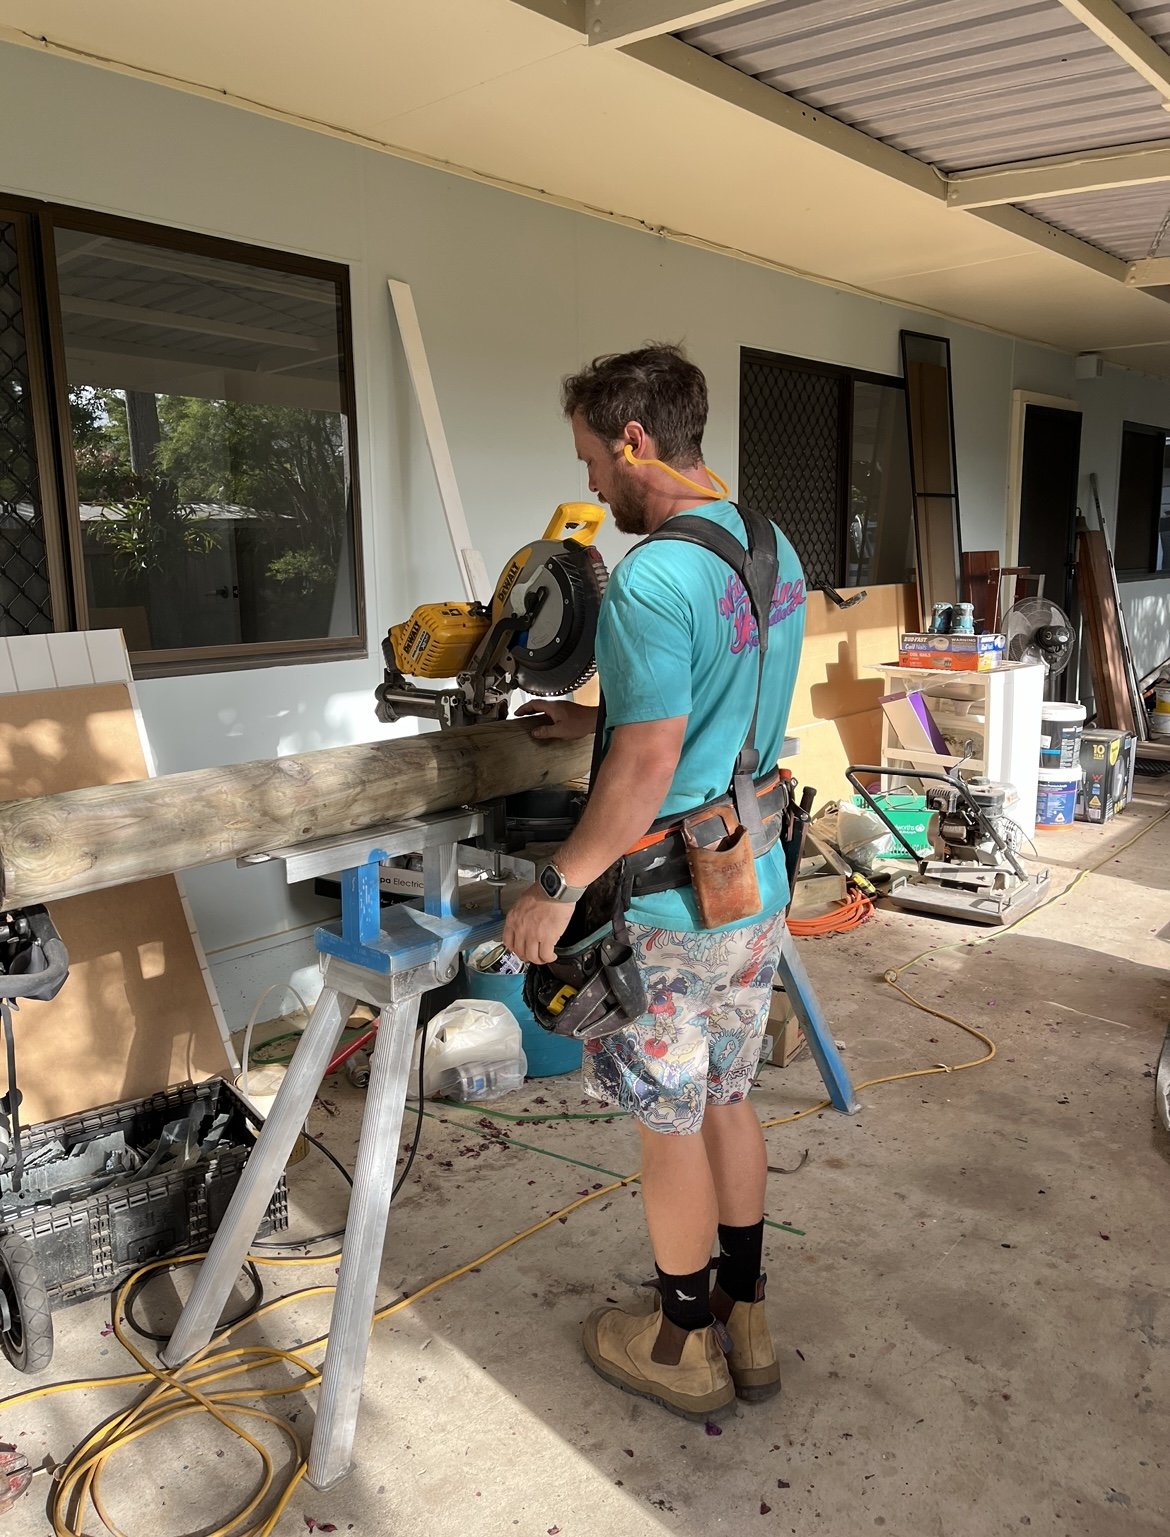
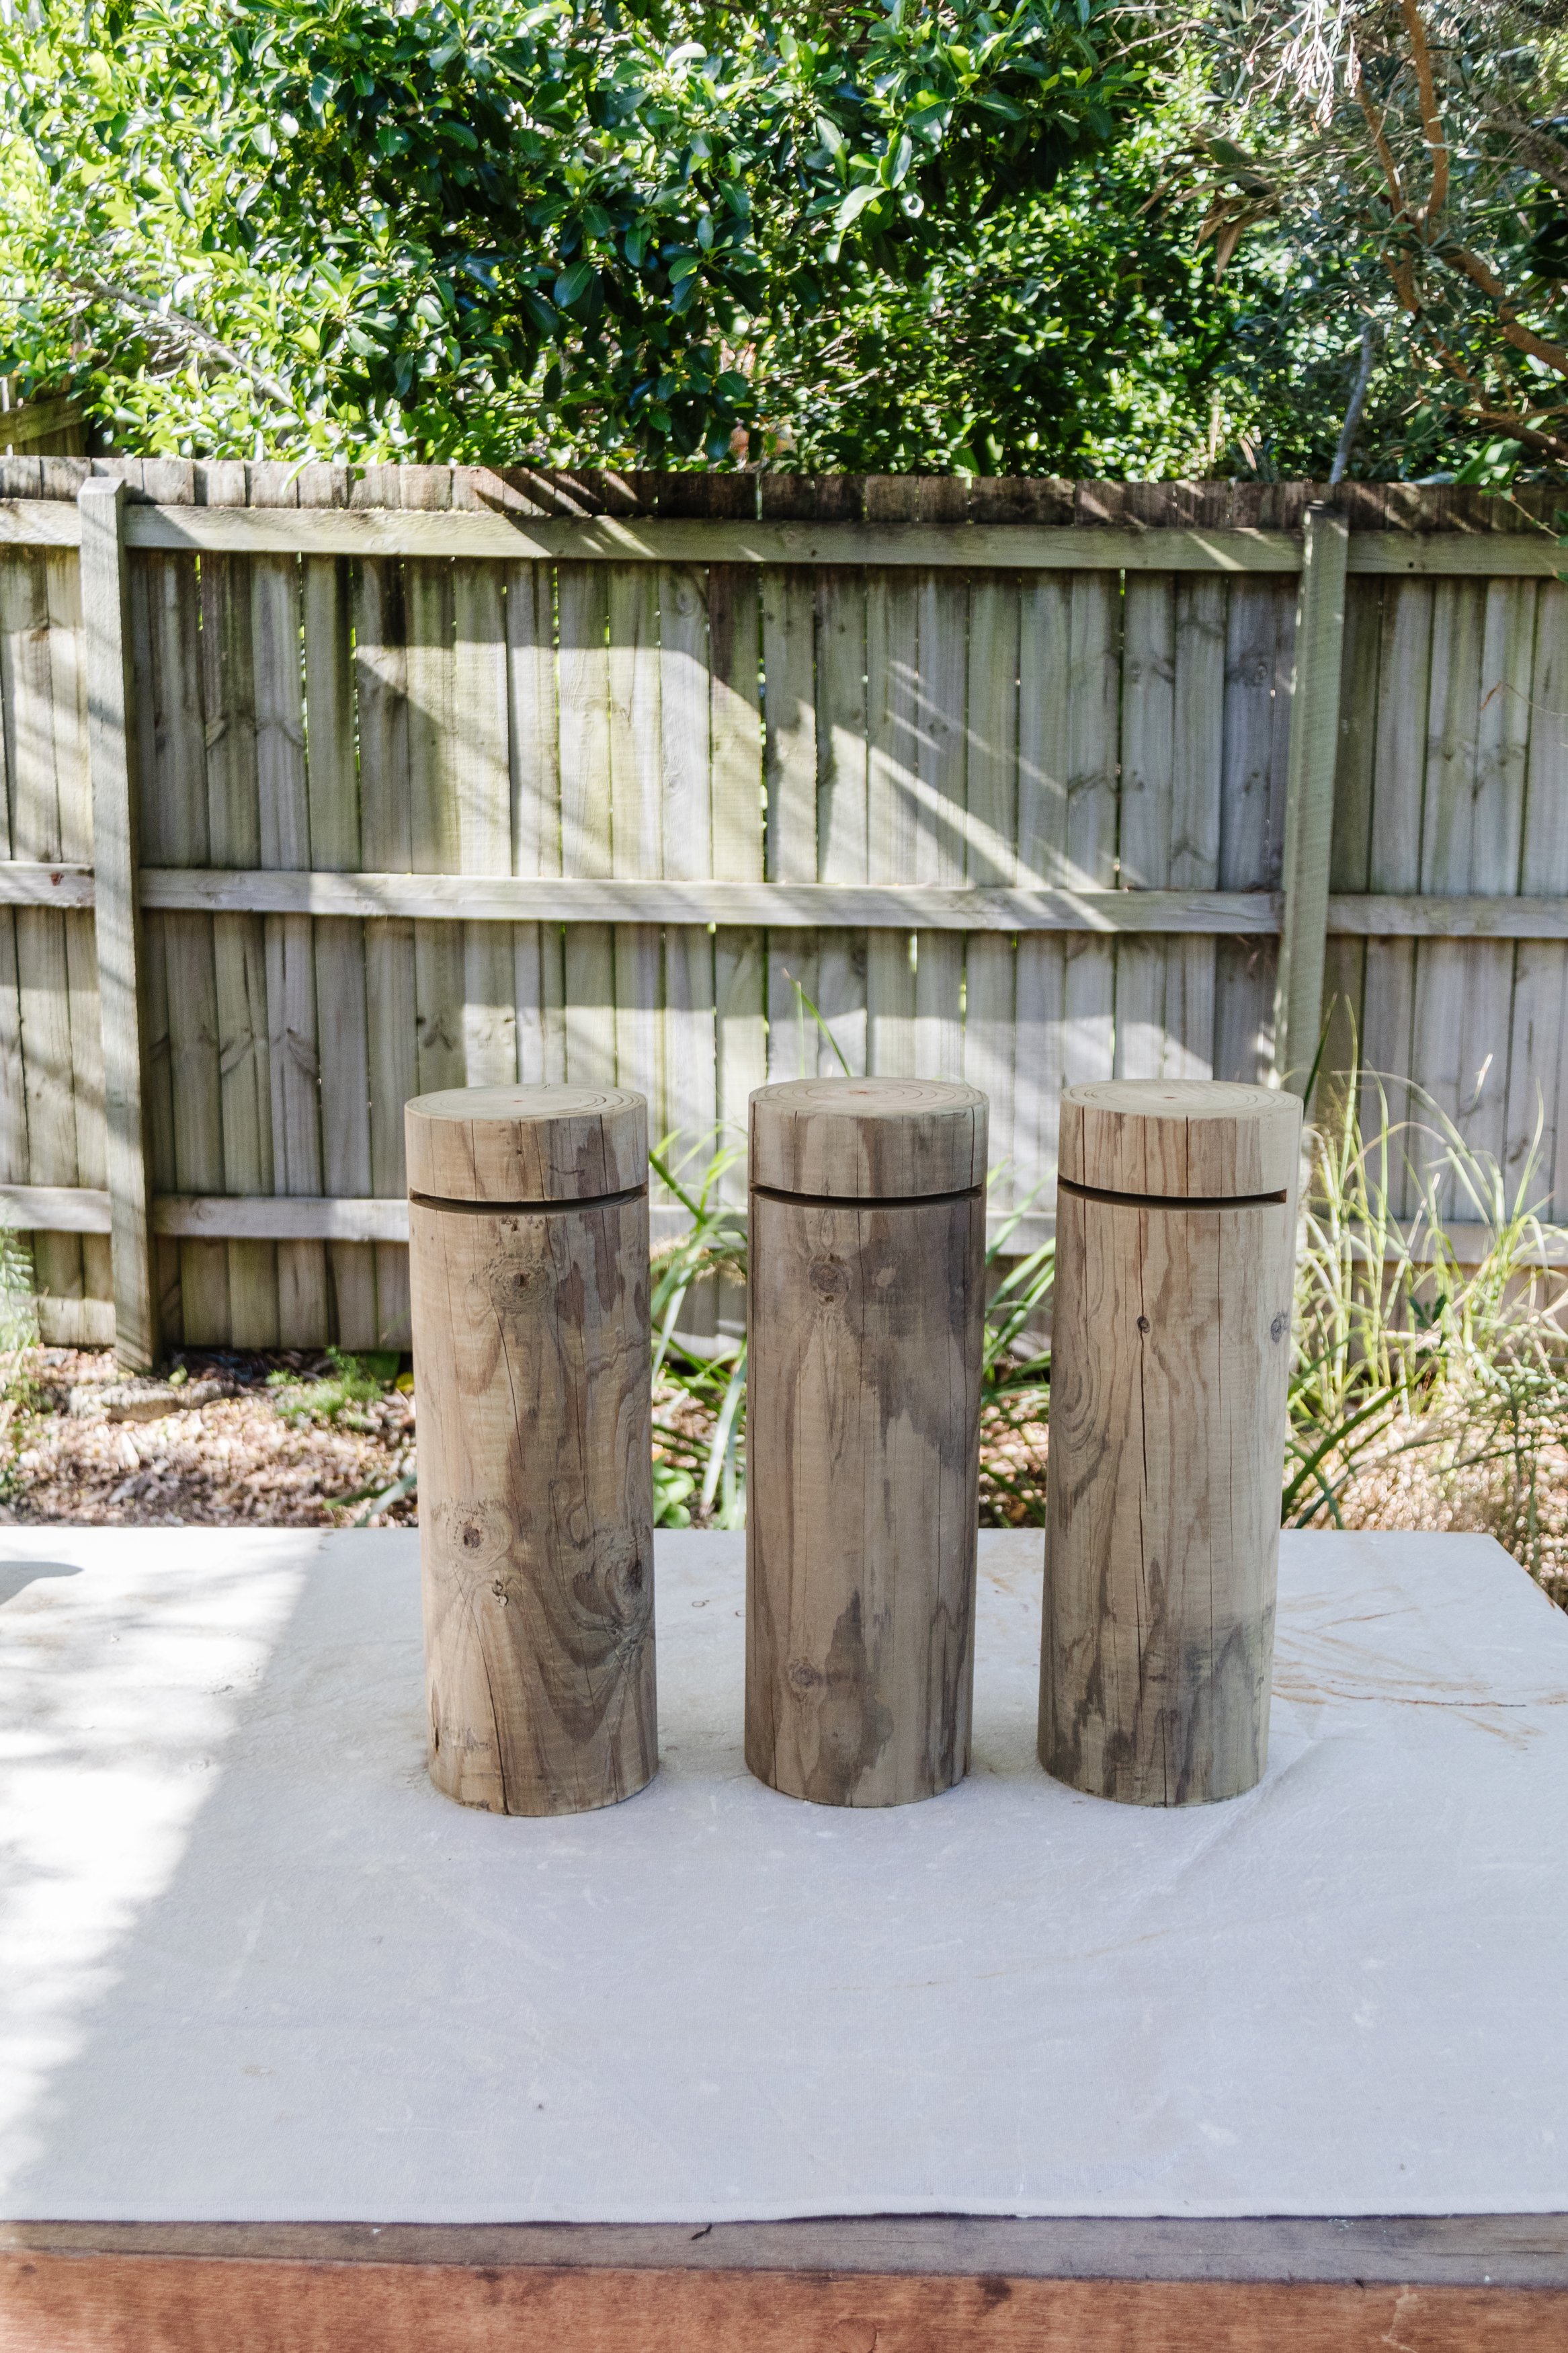
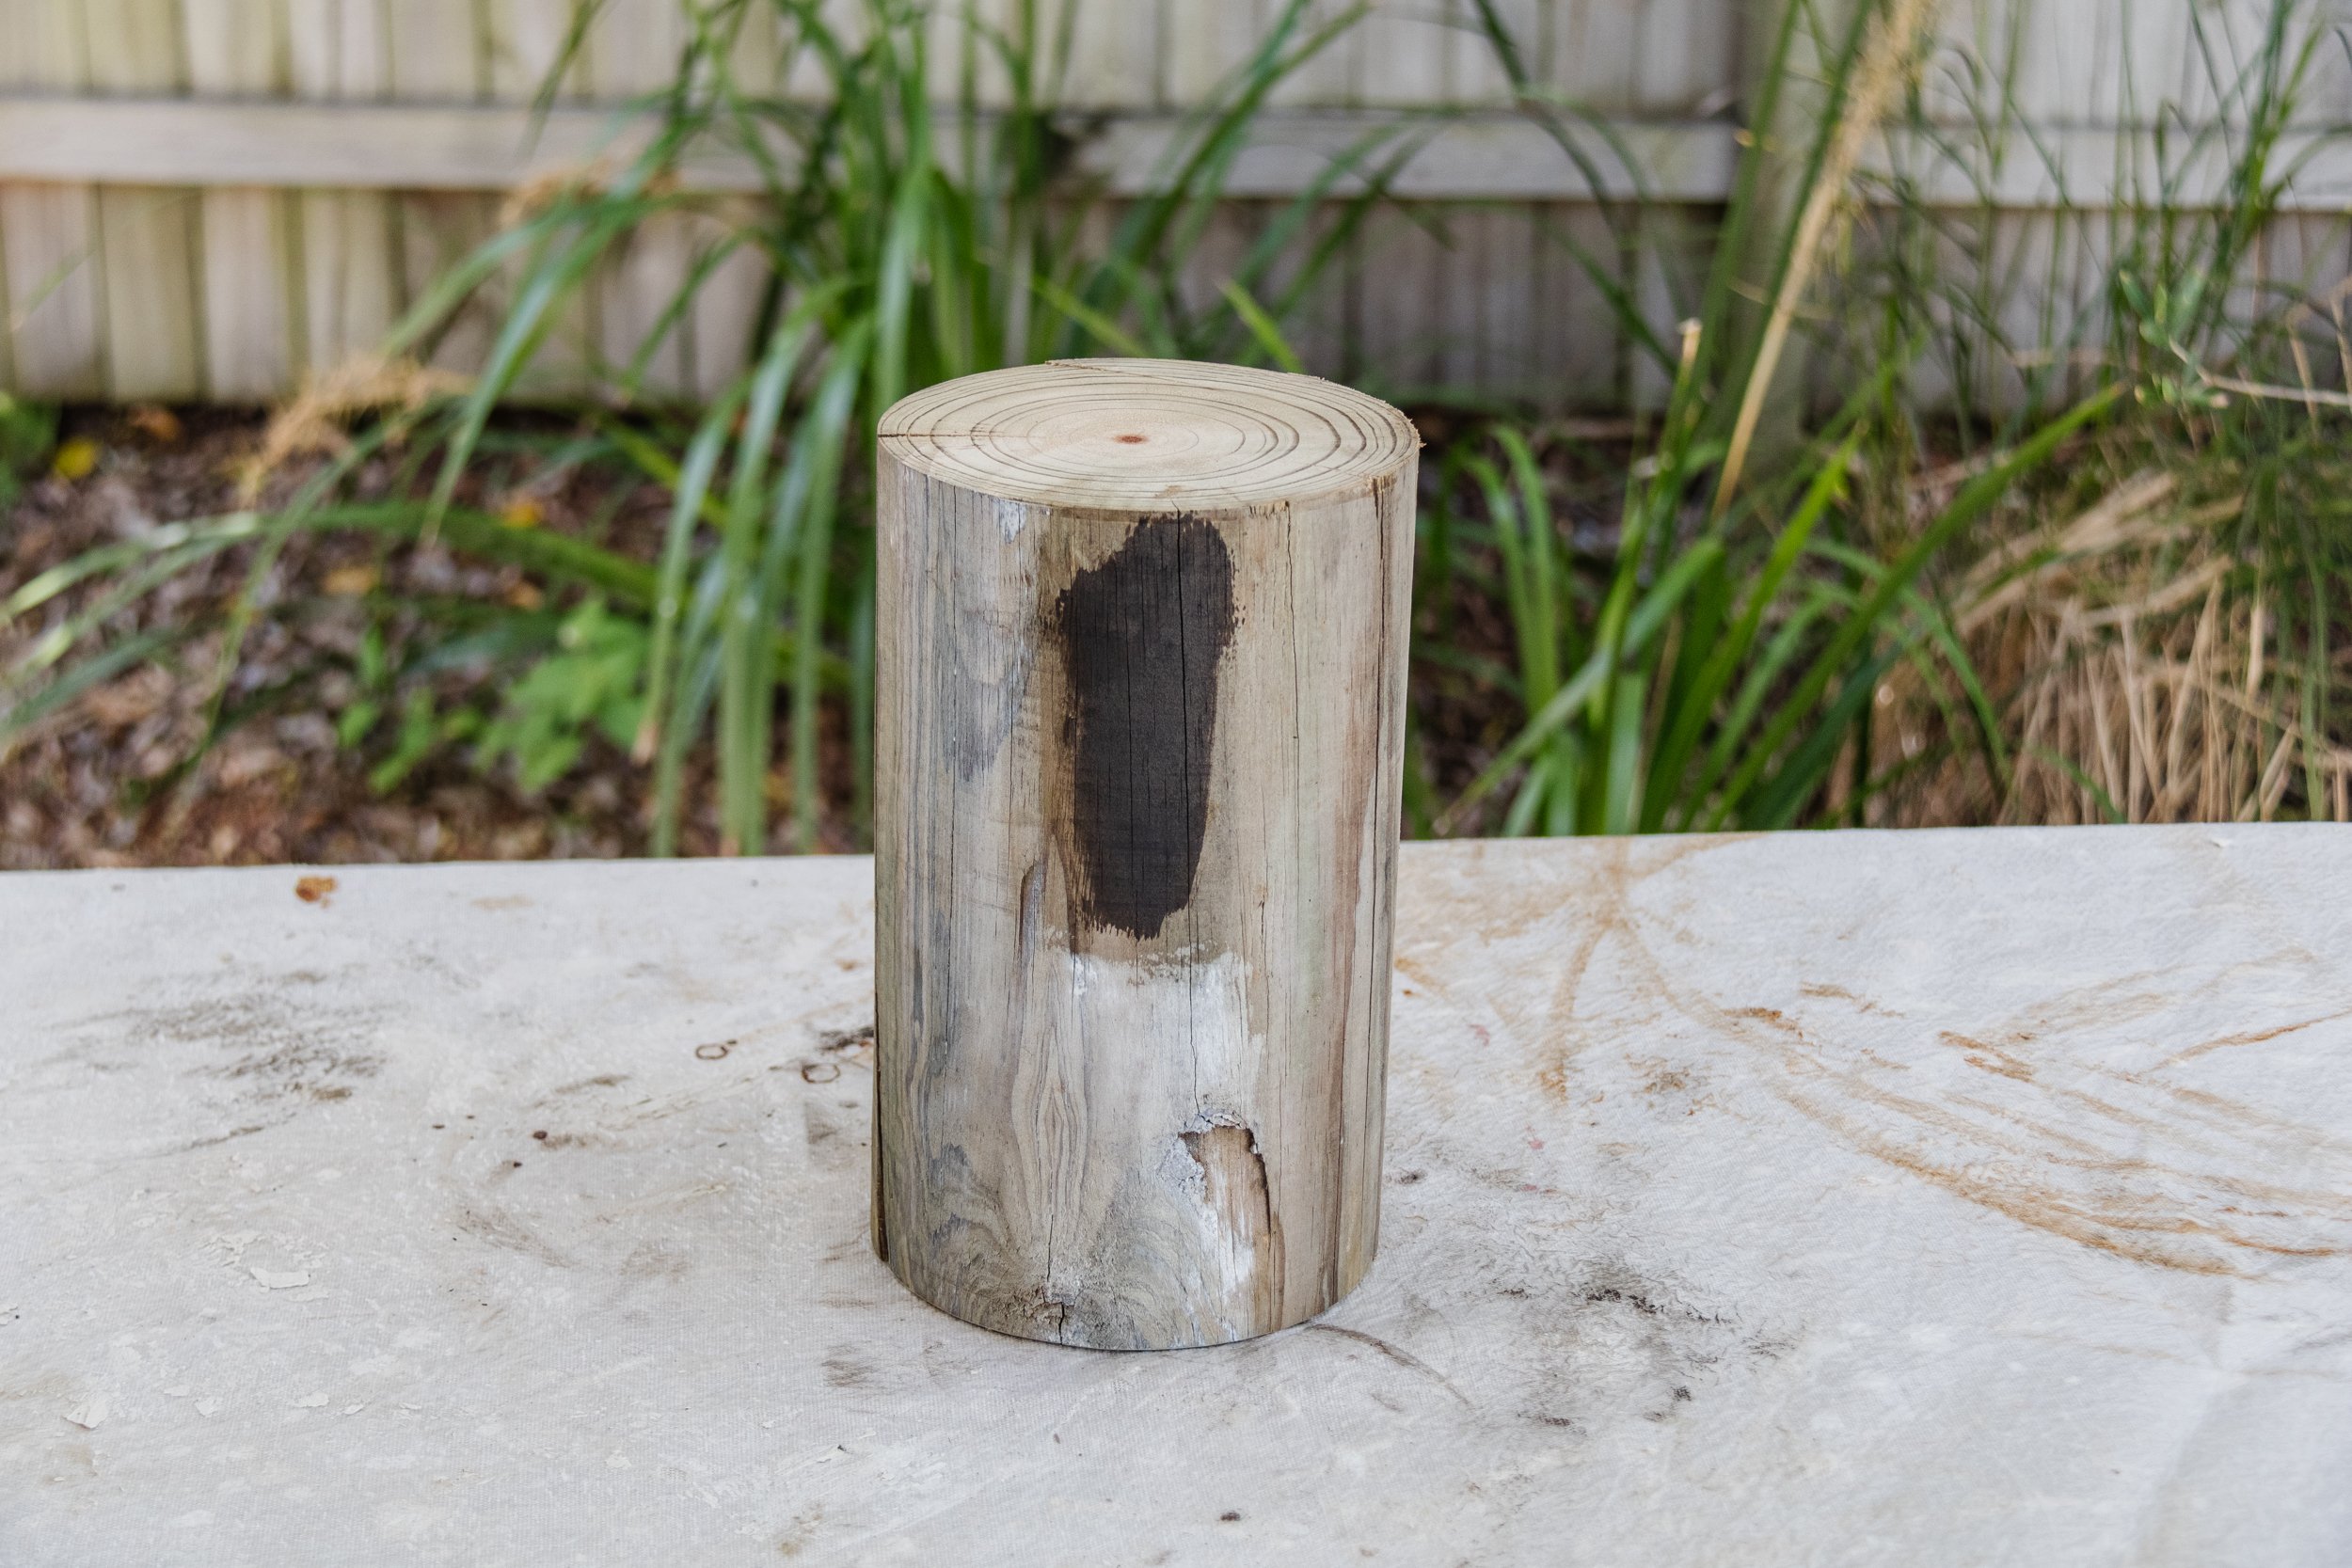
Step 1: Using a measuring tape, I worked out that I wanted the timber posts to be 450mm high and the slit to be cut at 385mm. My friend Dave cut the posts and the slits using a mitre saw. The timber posts were very old so I used a sander to clean them up and remove the dirt and grime. I made sure not to sand the posts too hard as it looks as though they have been treated in the past.
Tip: If you buy the timber posts from Bunnings, they will be able to cut them for you and you won’t need to sand them (which I wouldn’t recommend doing to treated timber). For the slits, you will need to do this using a handsaw or a circular saw. I would only recommend using a mitre saw if you know how to use to properly. I didn’t feel confident doing this myself, so that’s why I got my friend to help me.
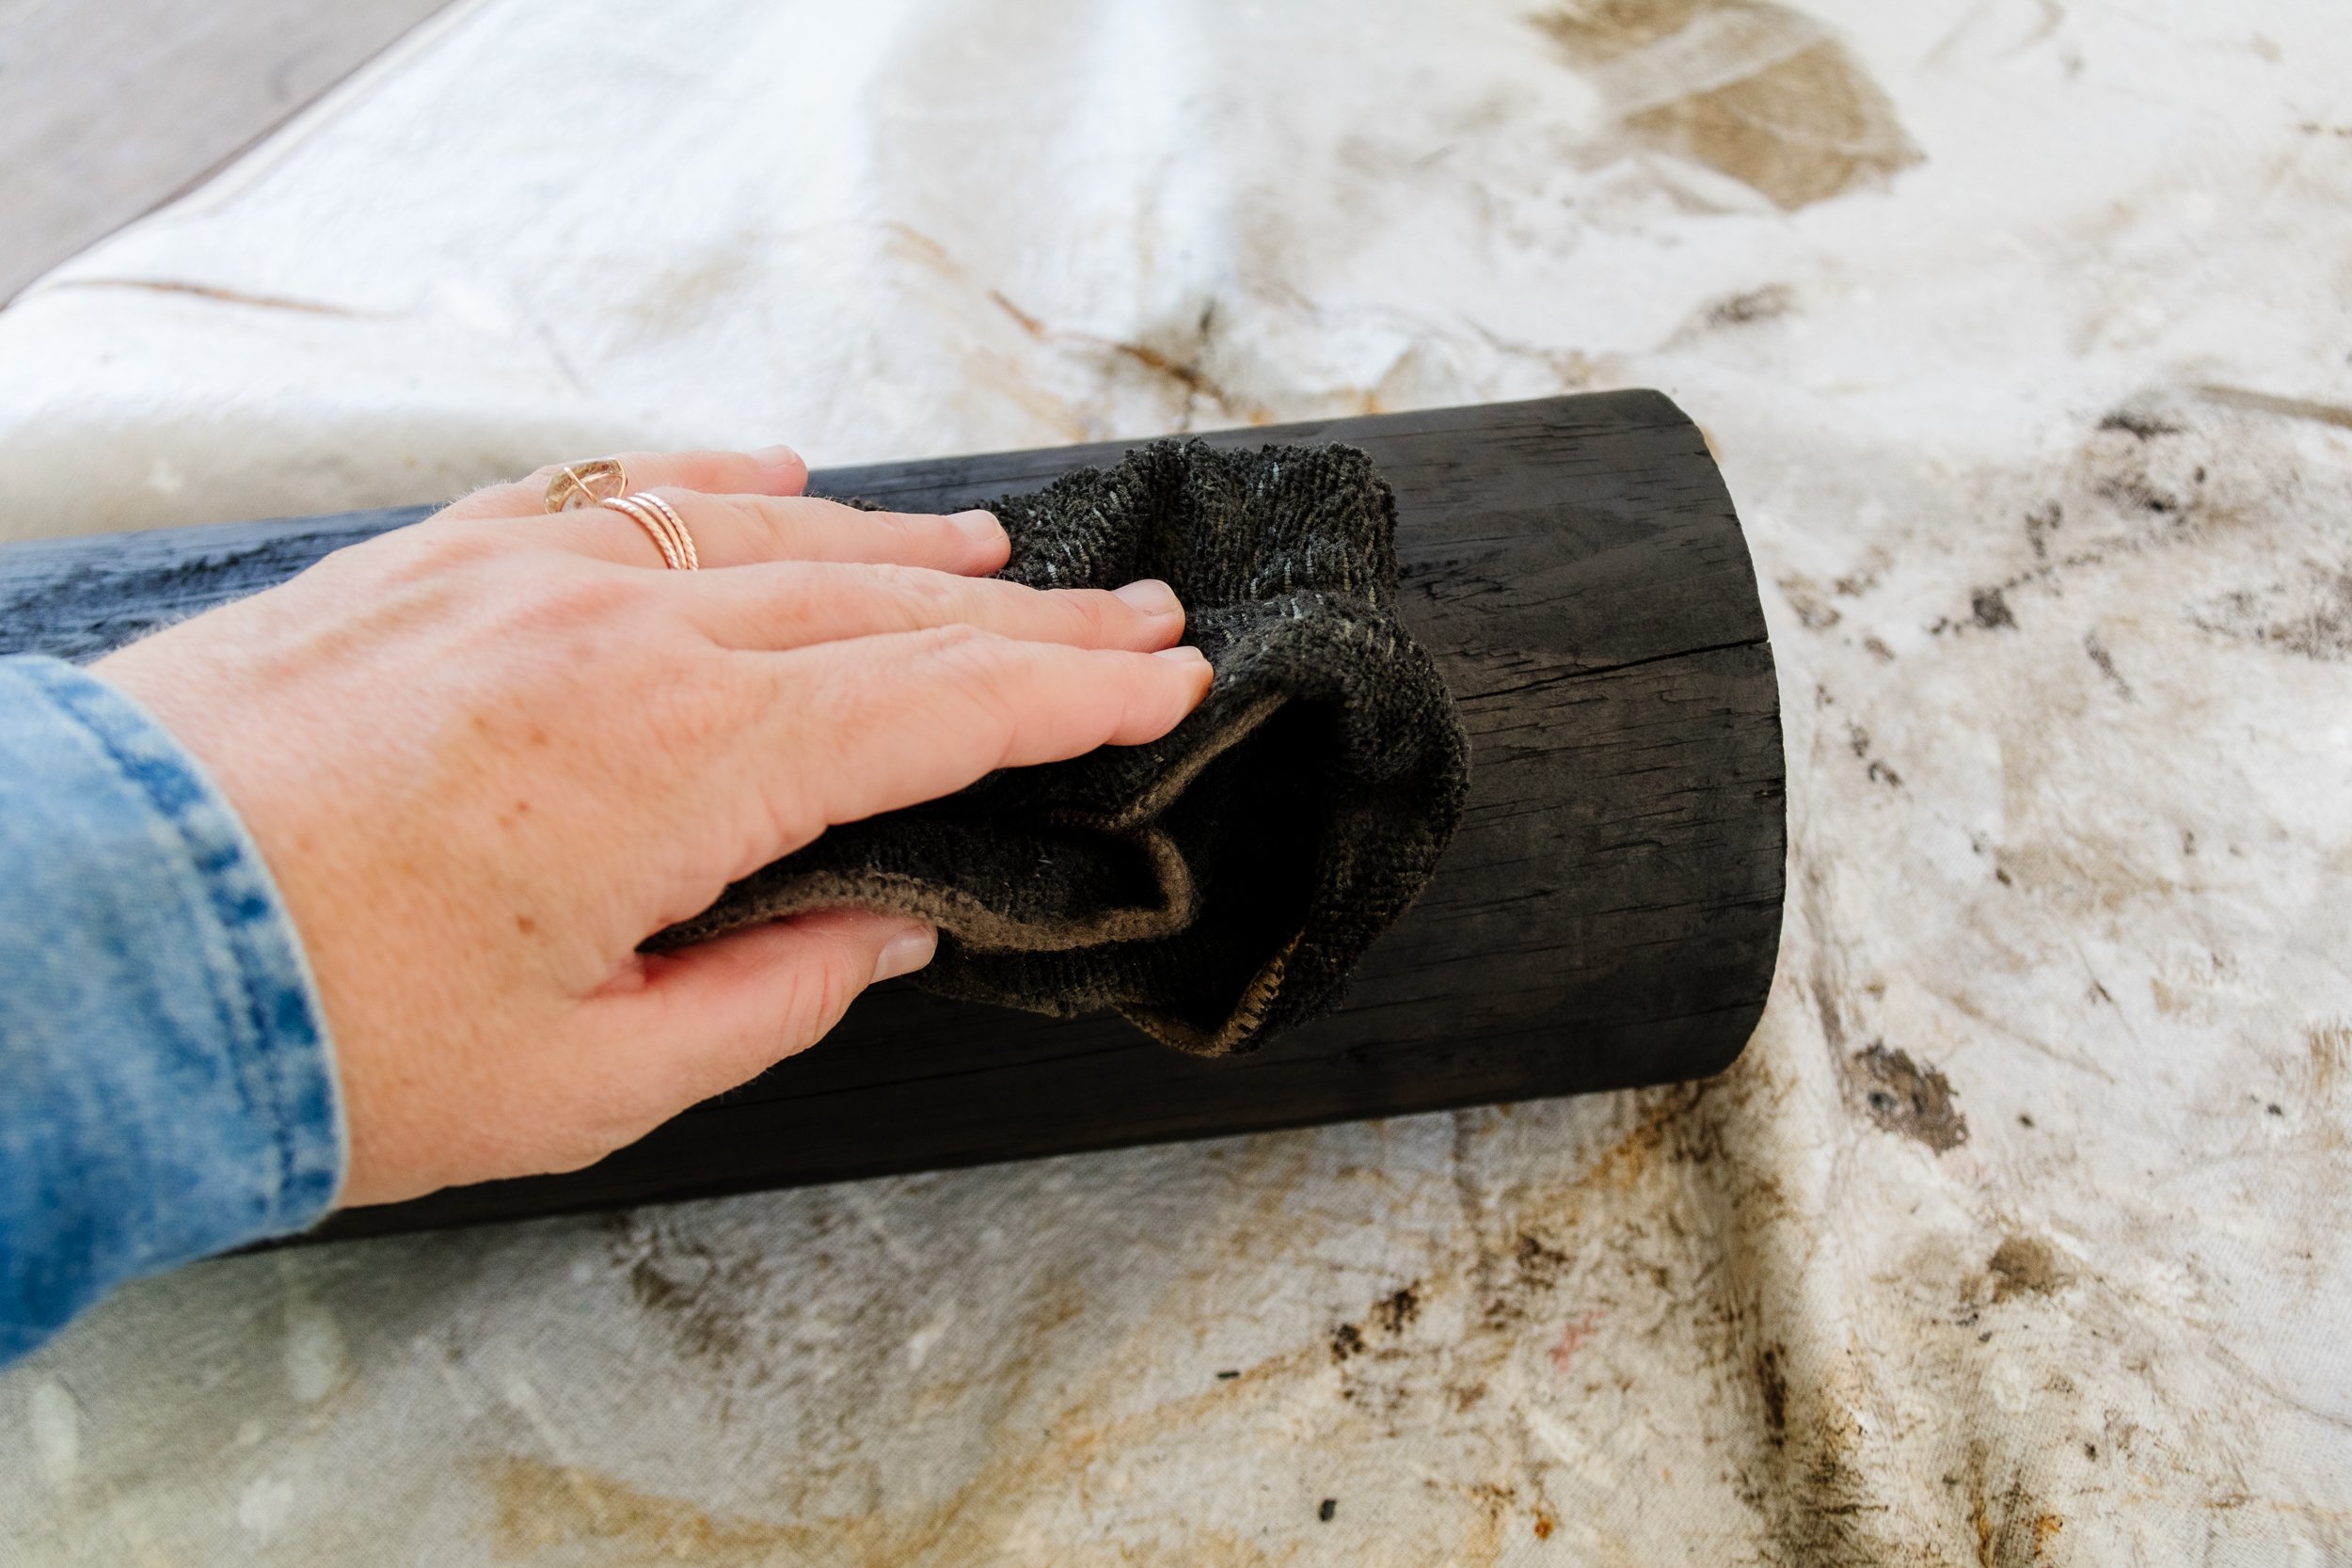
Step 2: I applied 6 coats of Feast Watson Prooftint Black Japan all over the timber using a clean cloth. I recommend using disposable gloves.
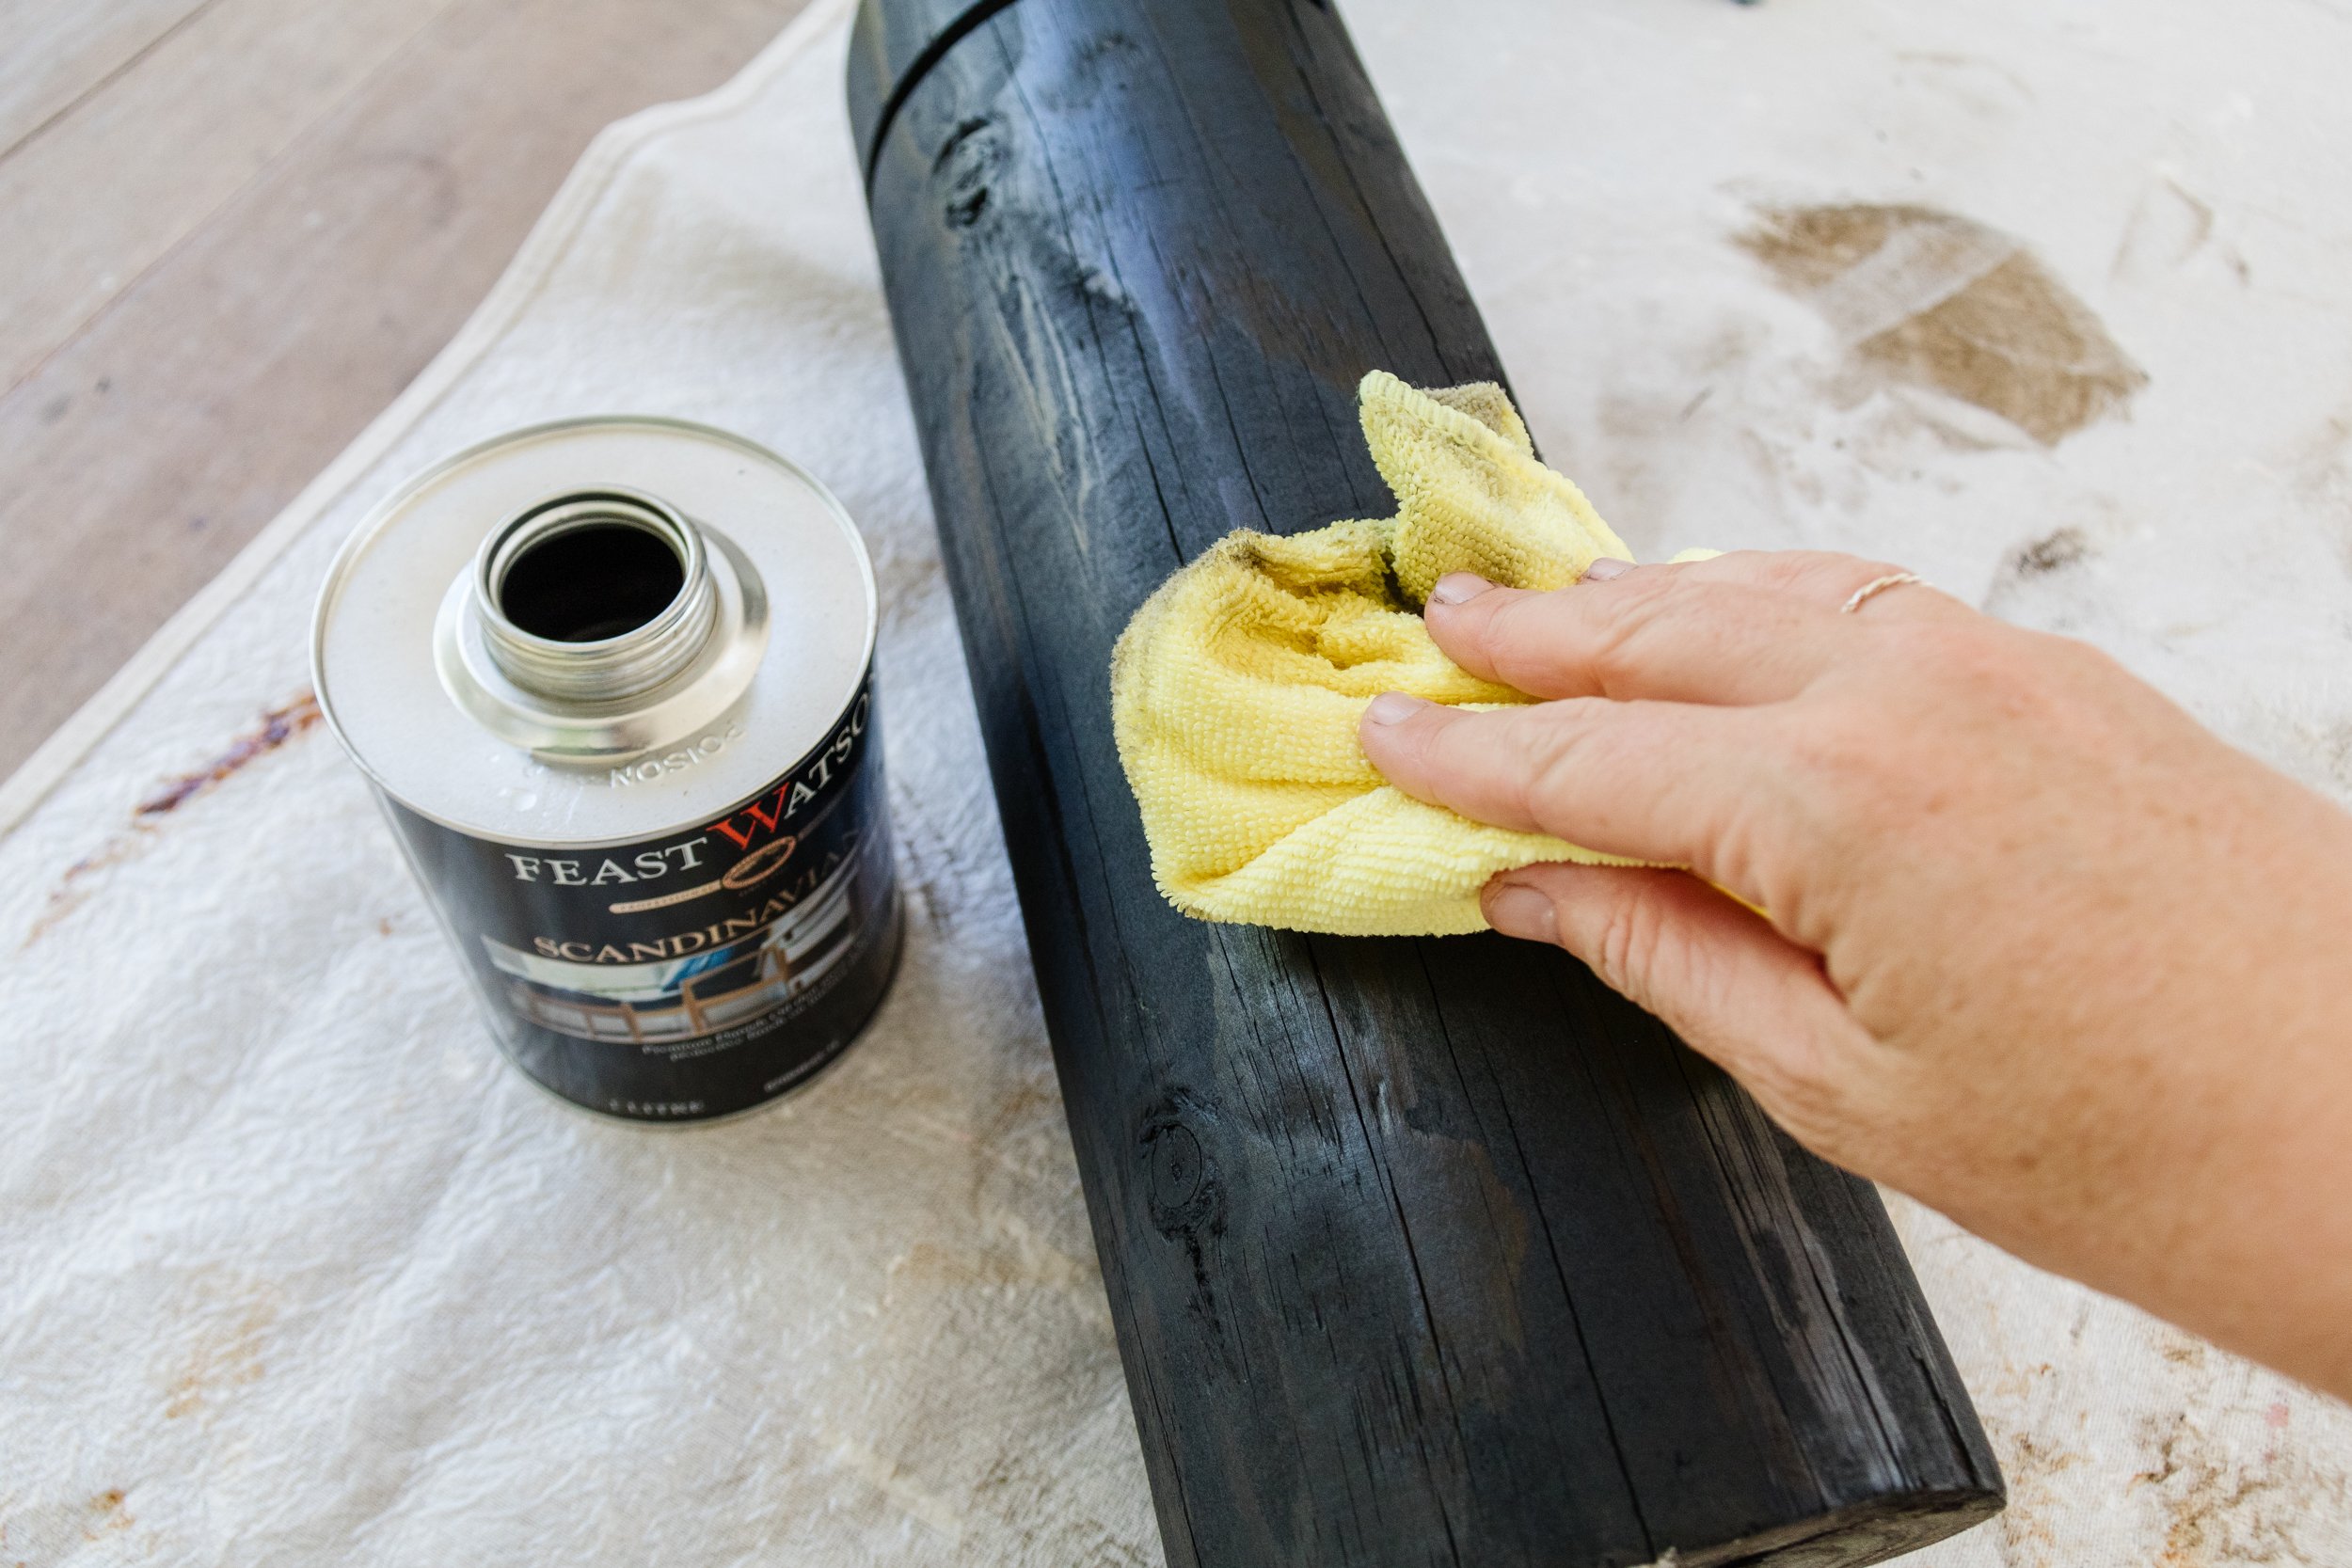
Step 3: Following this I applied one coat of Feast Watson Scandinavian Oil all over the timber.
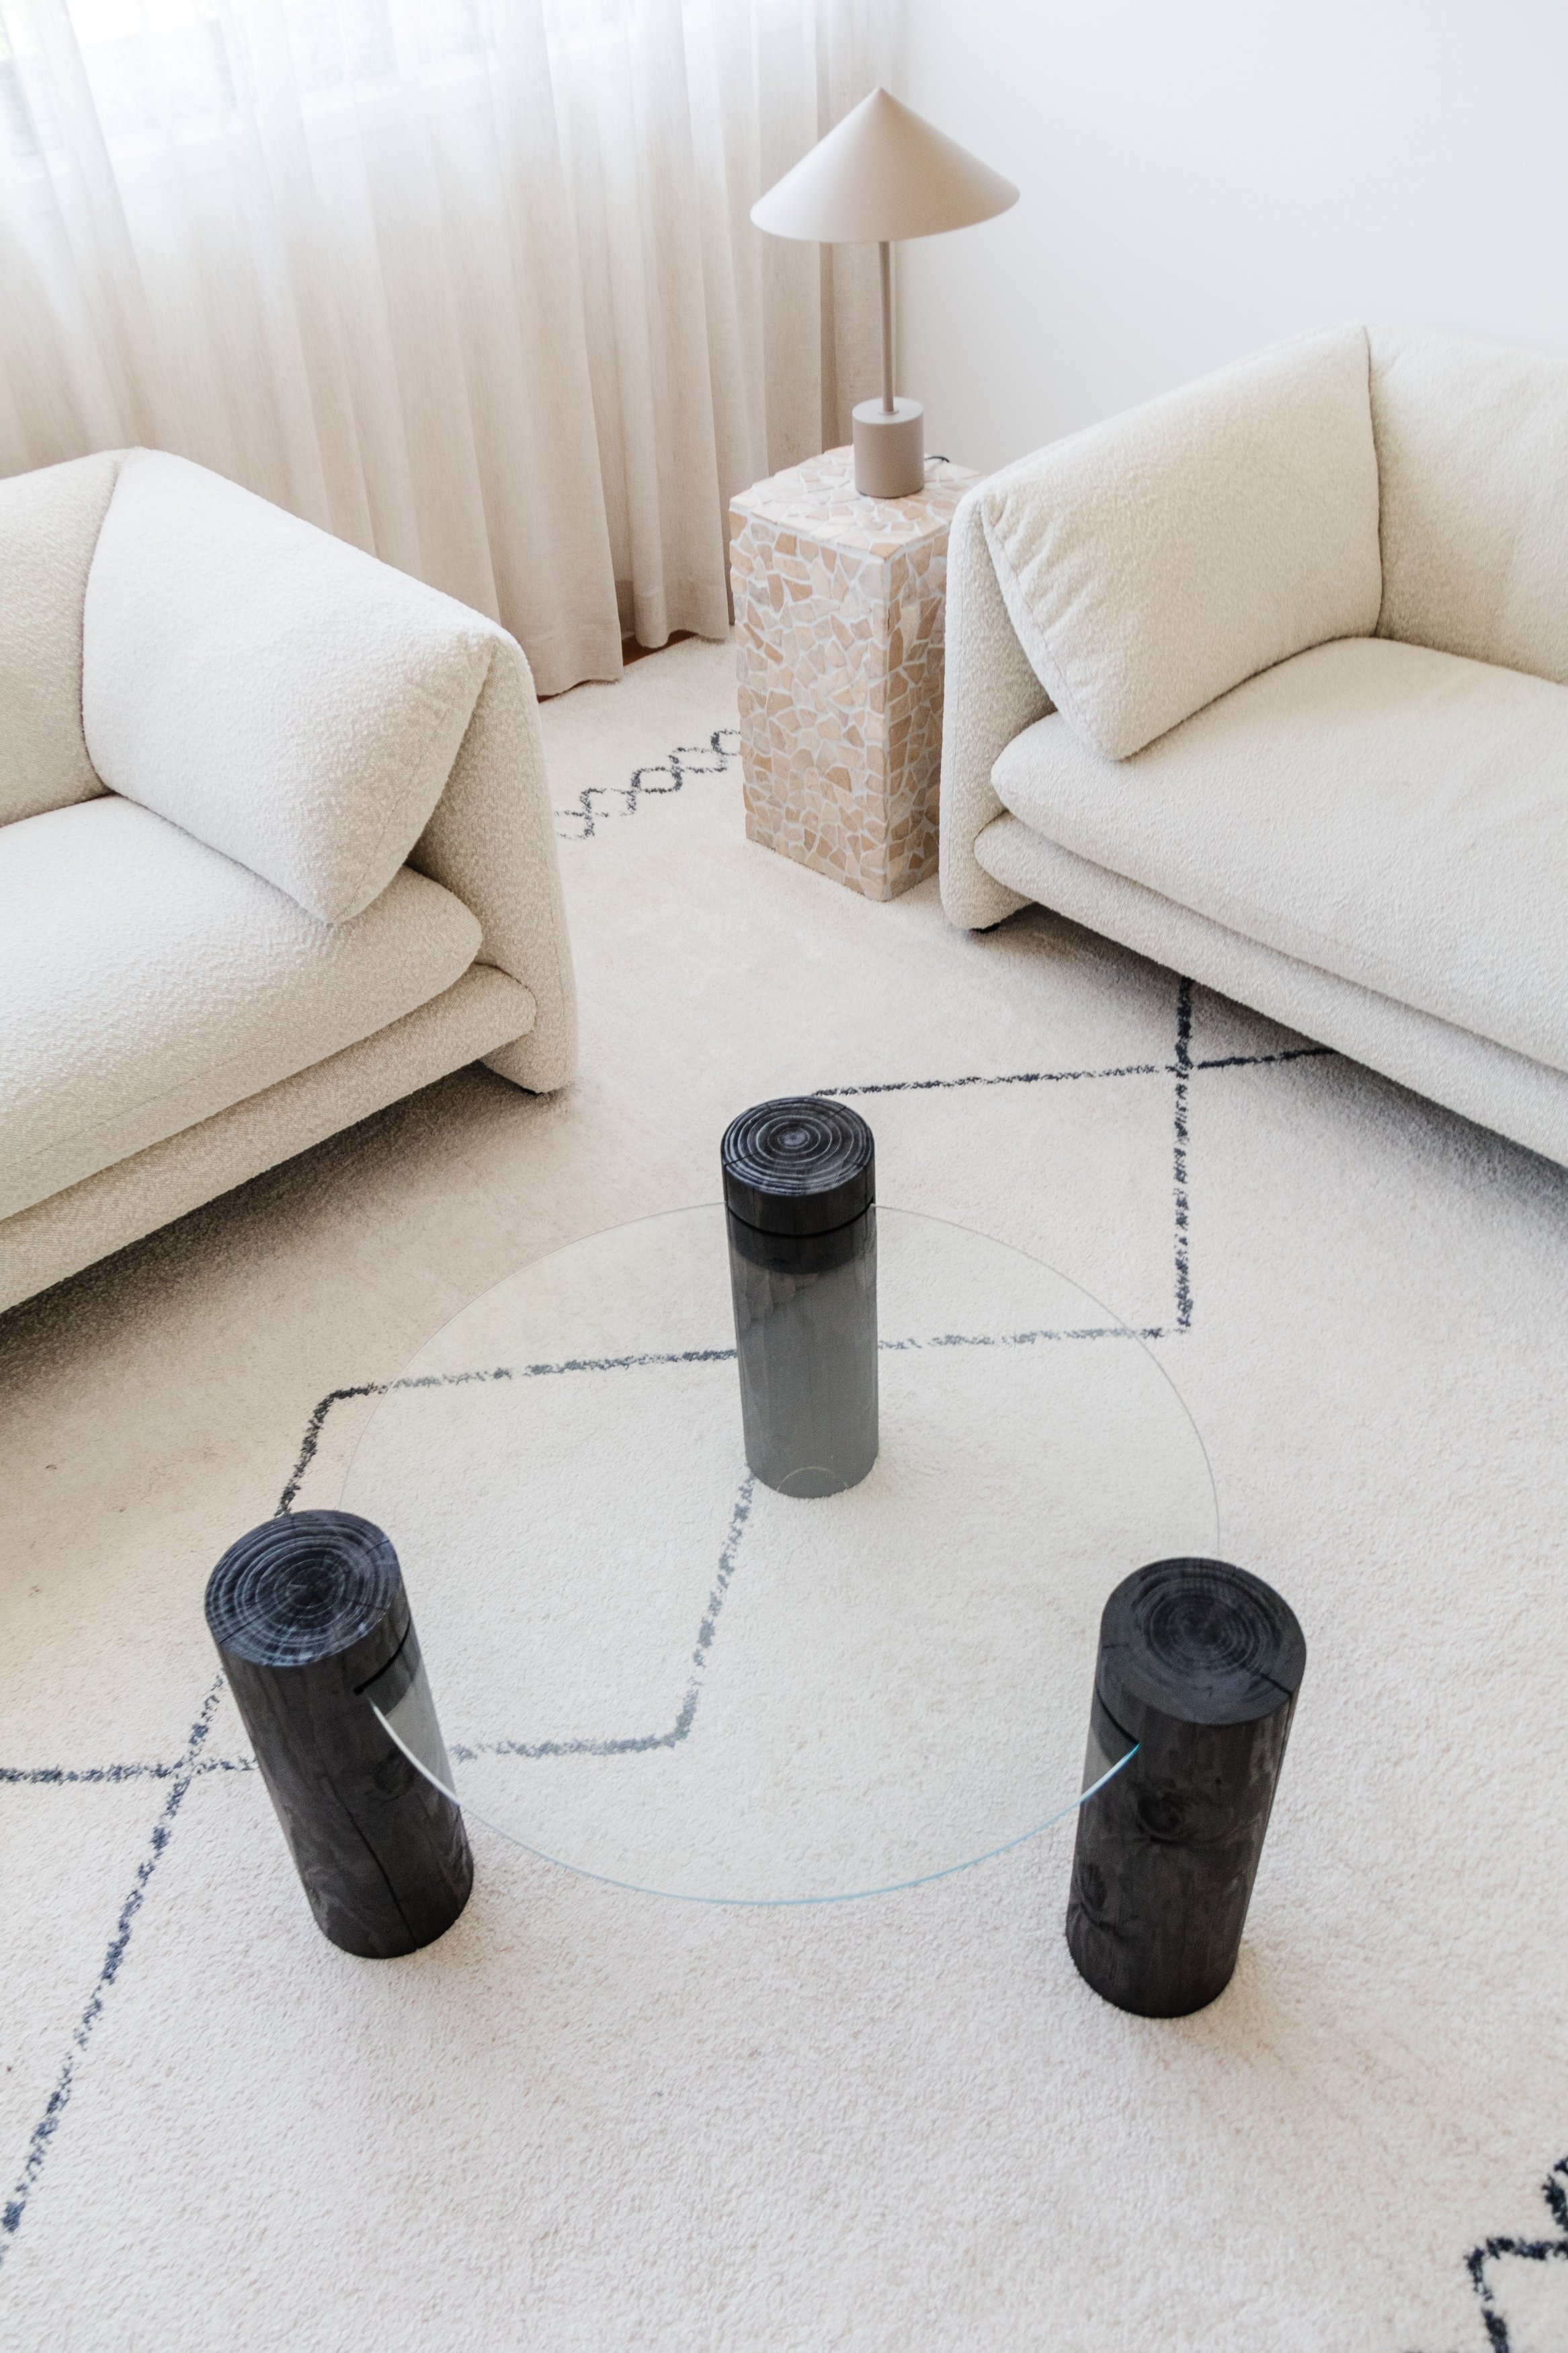
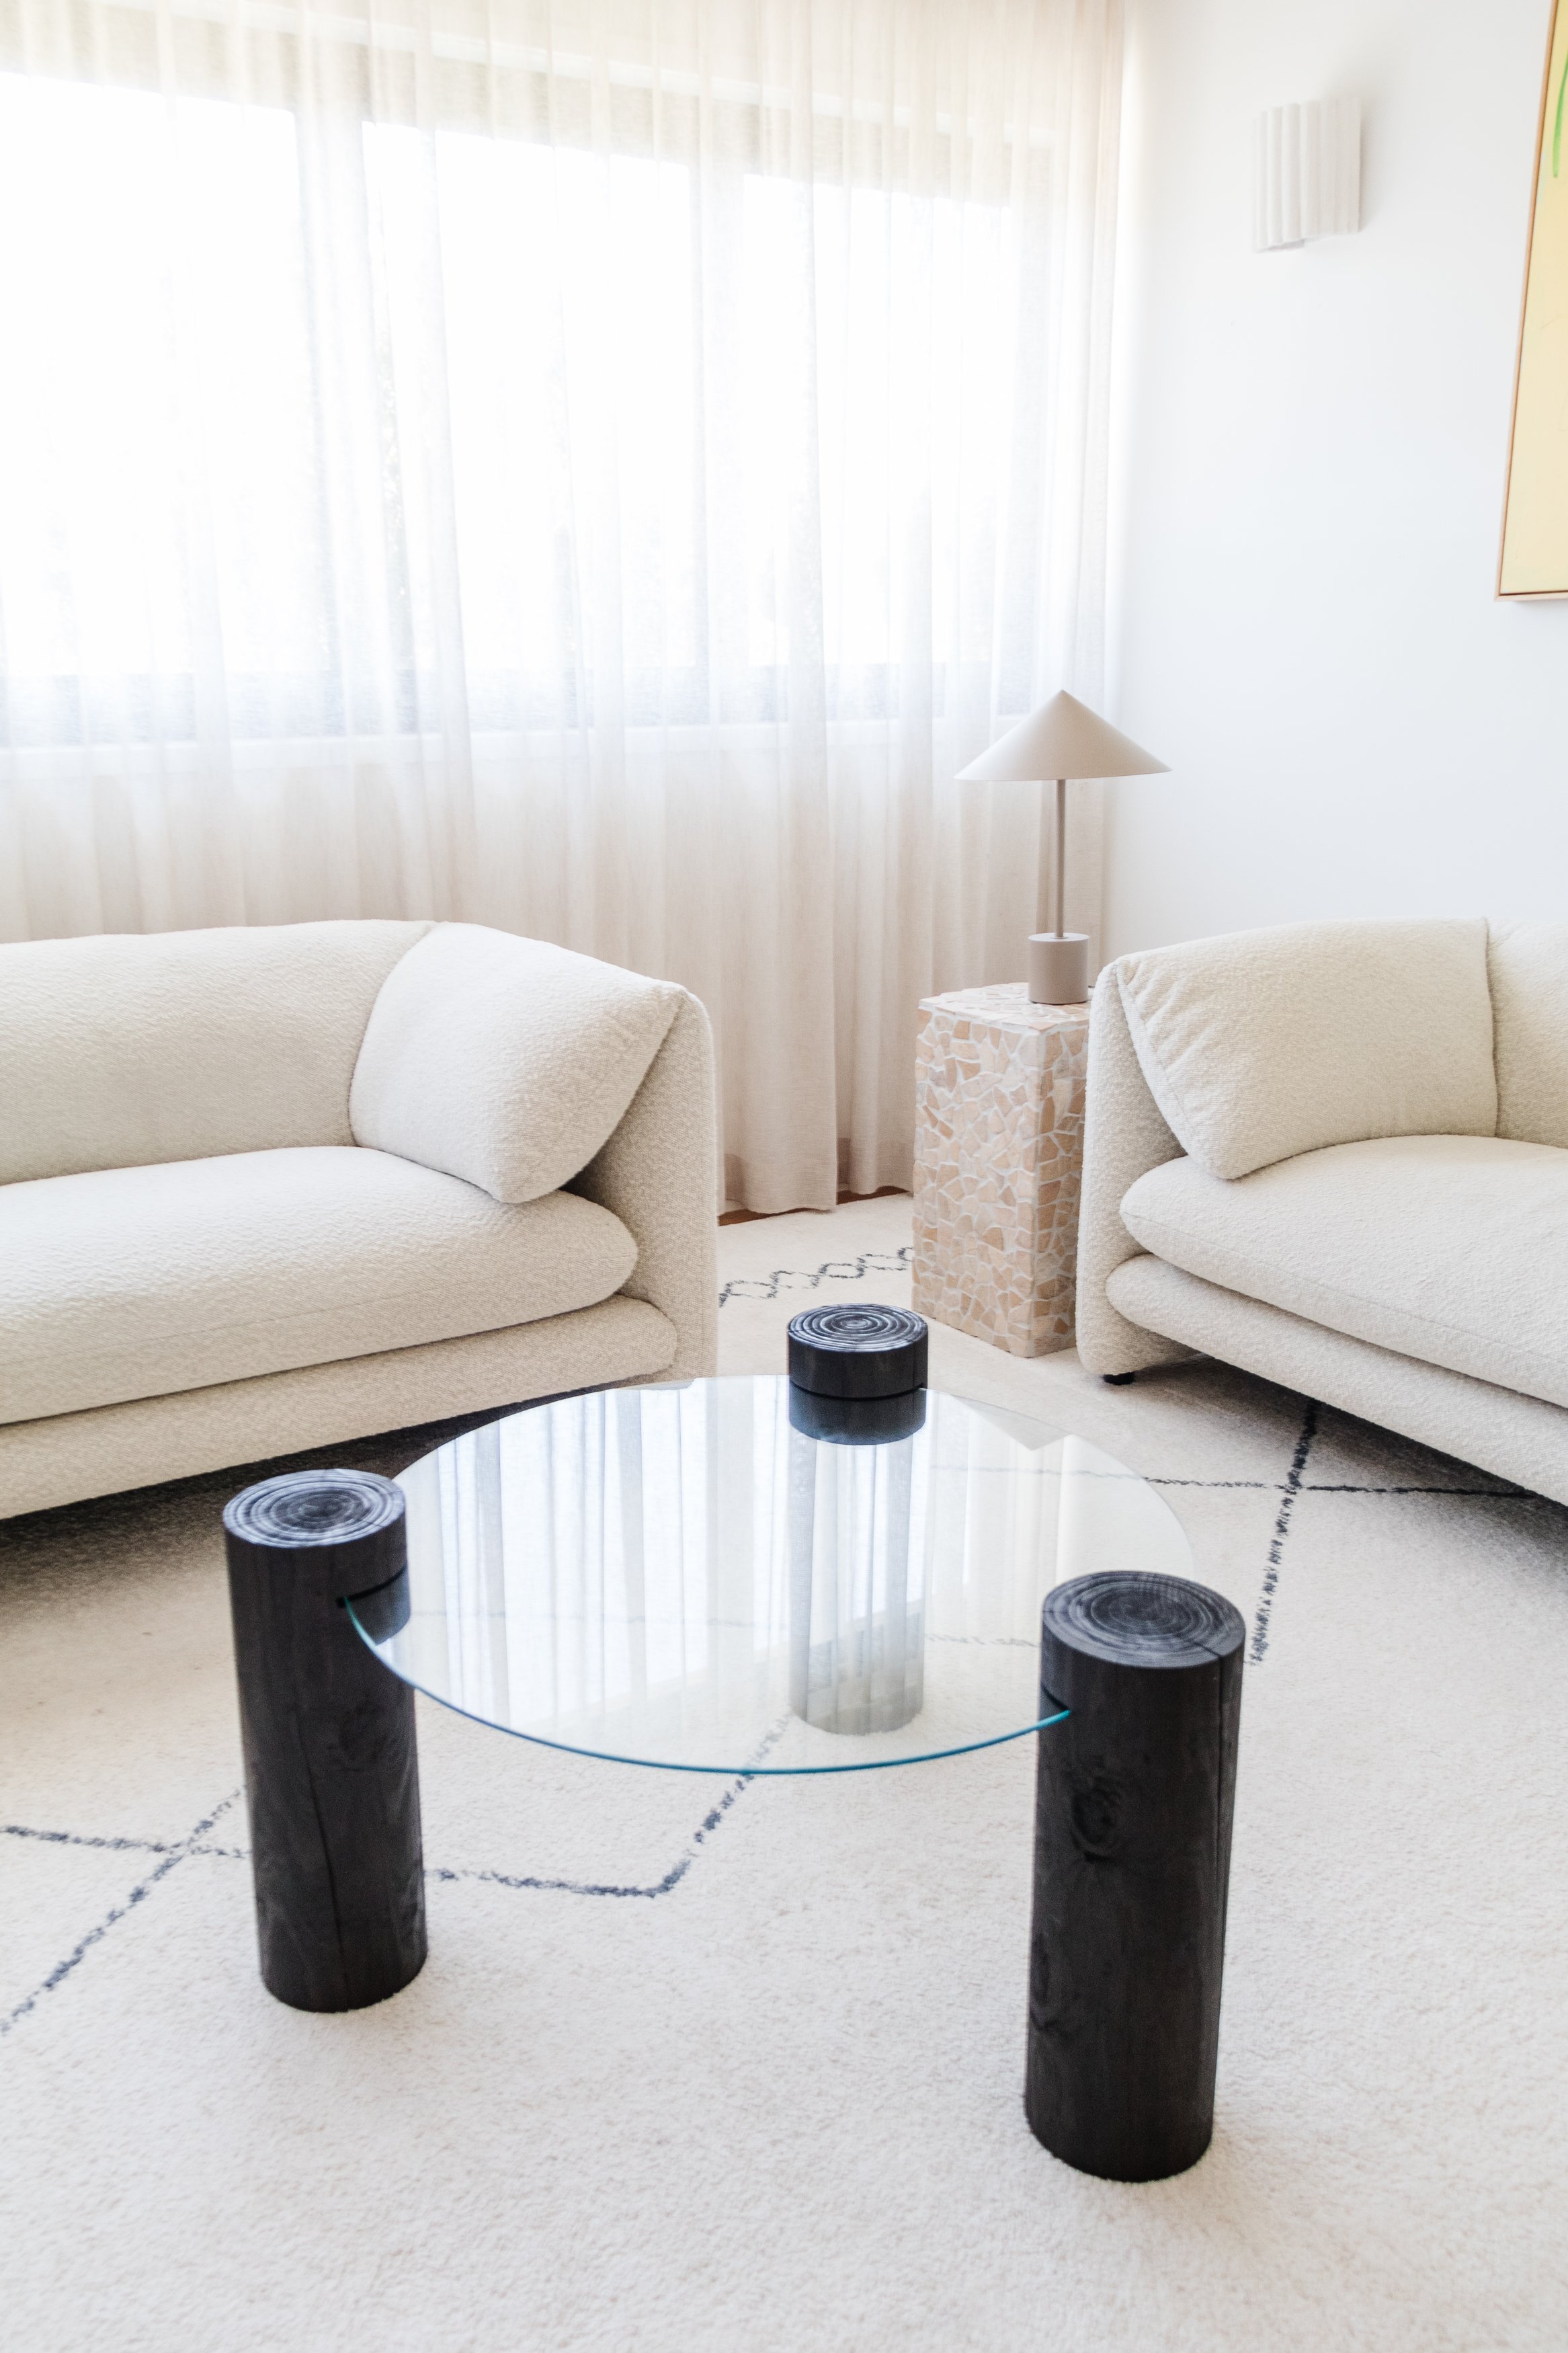
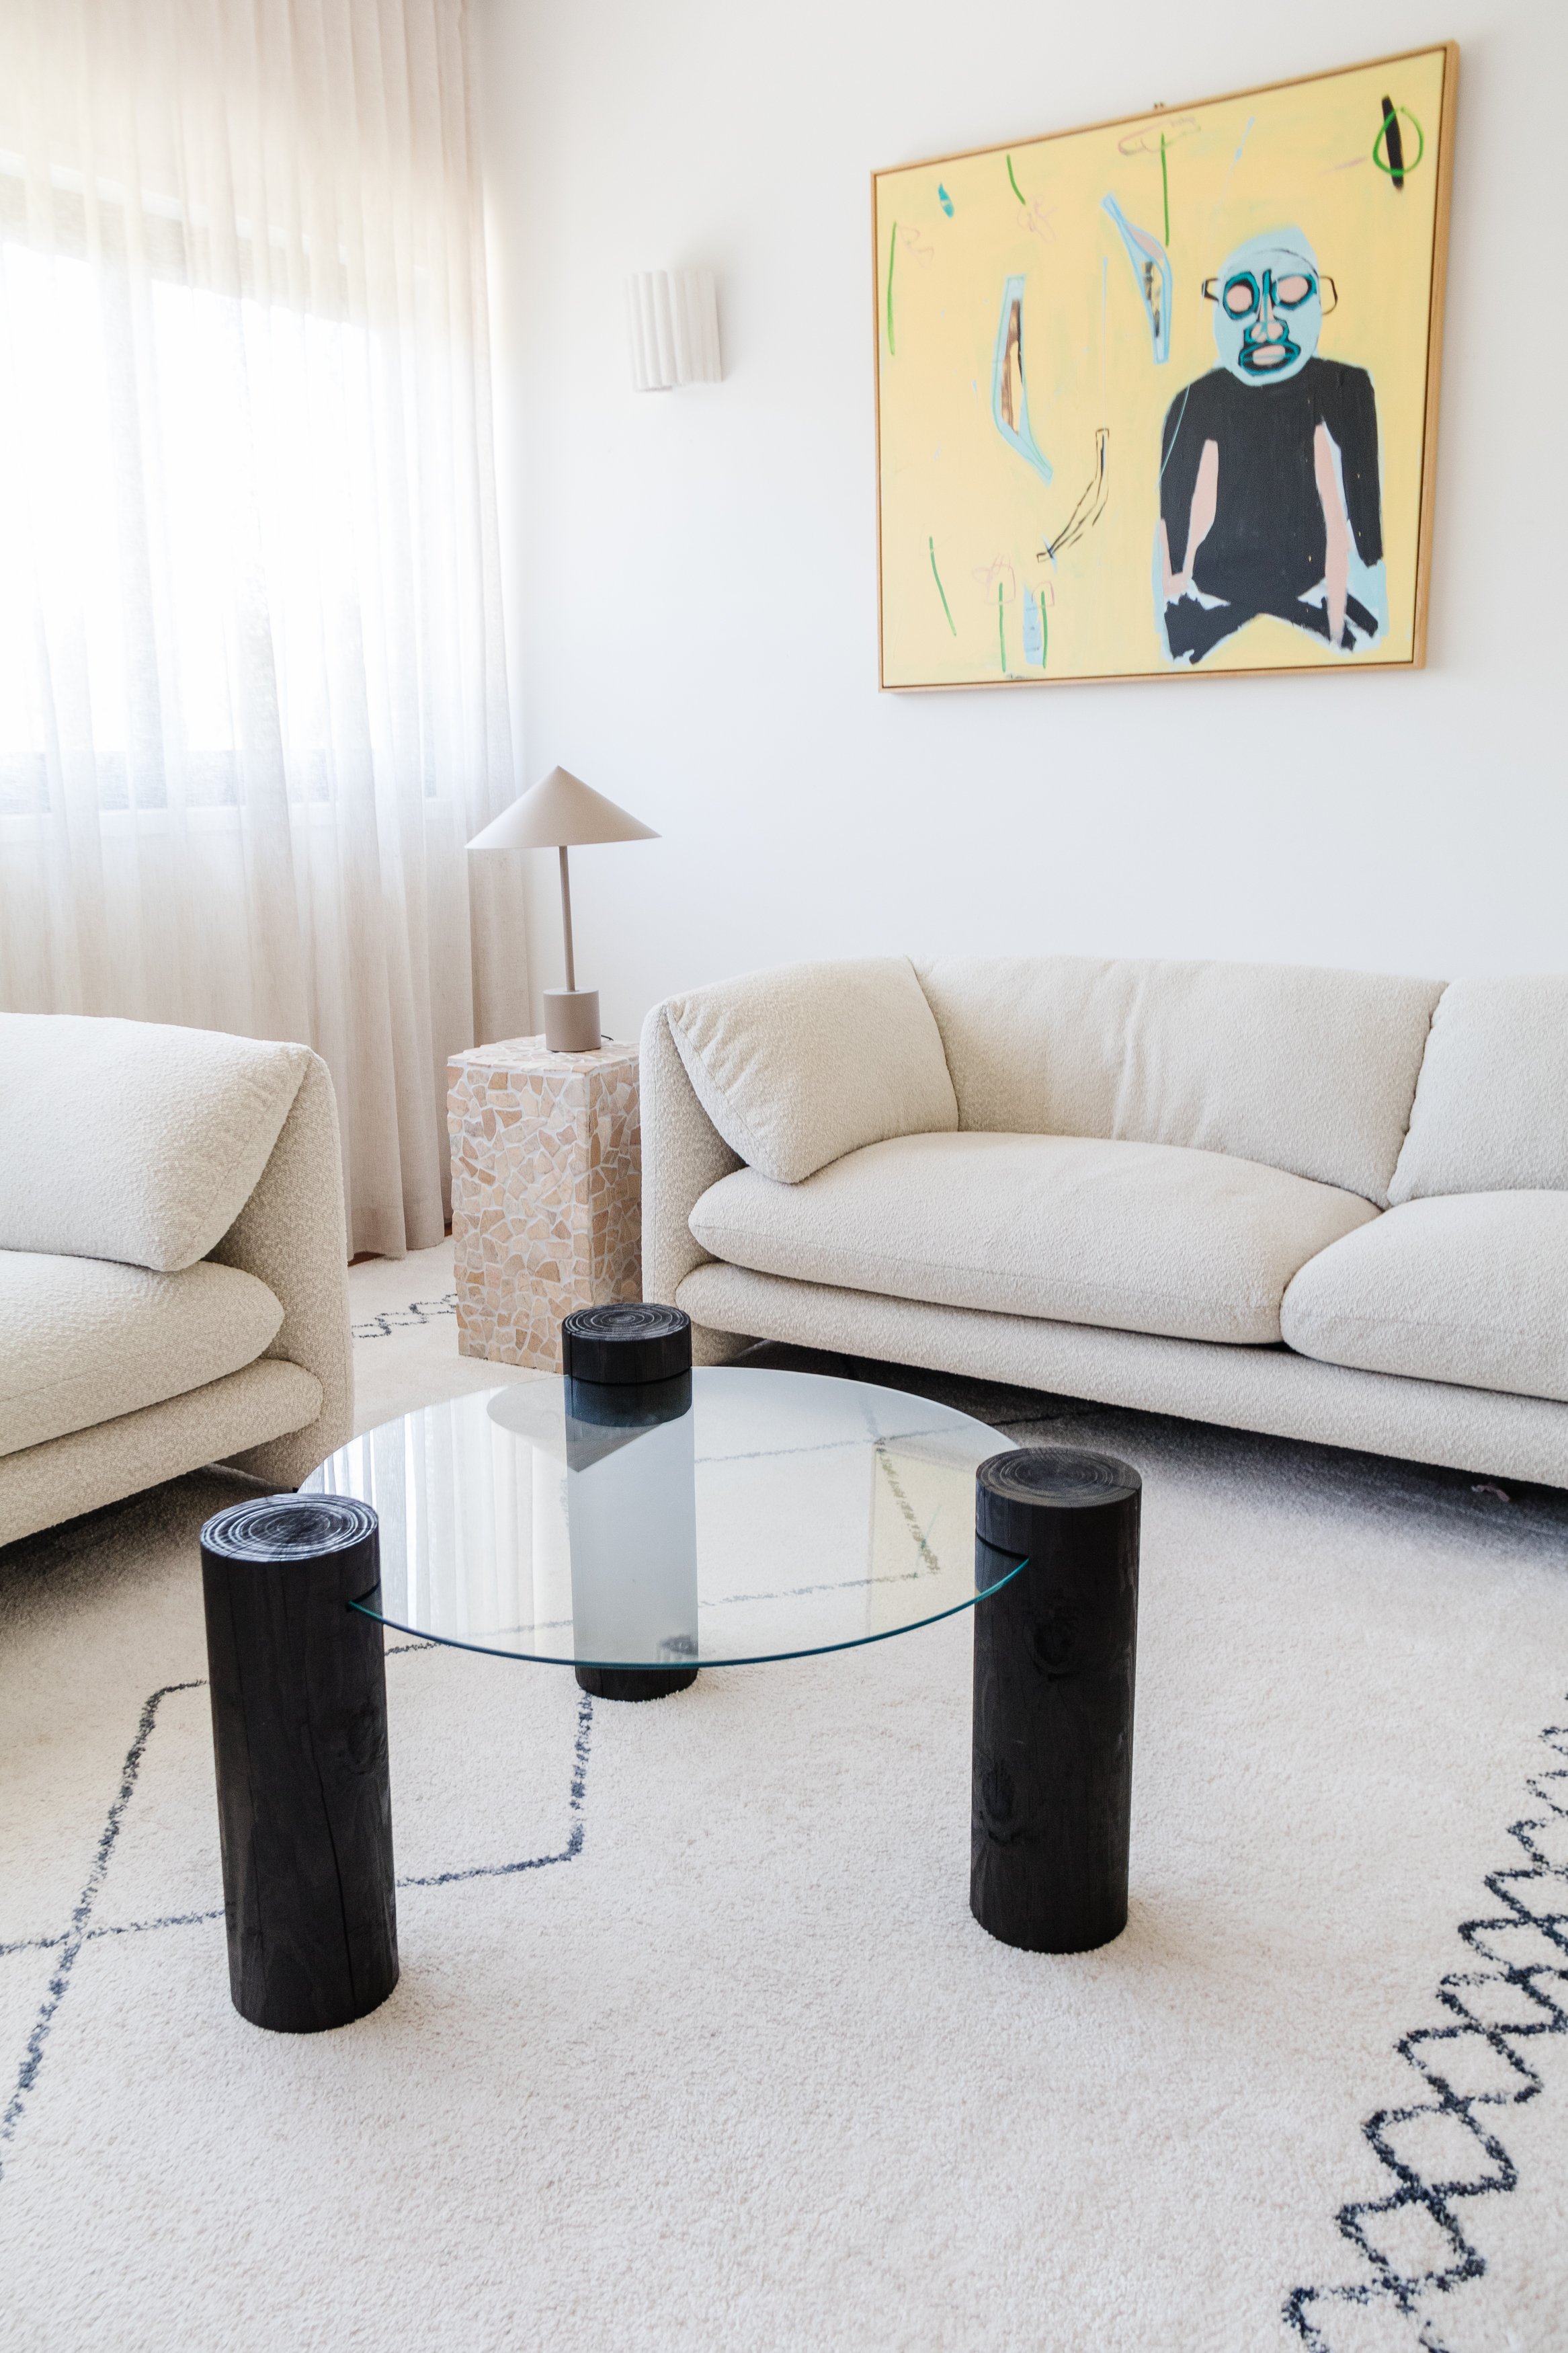
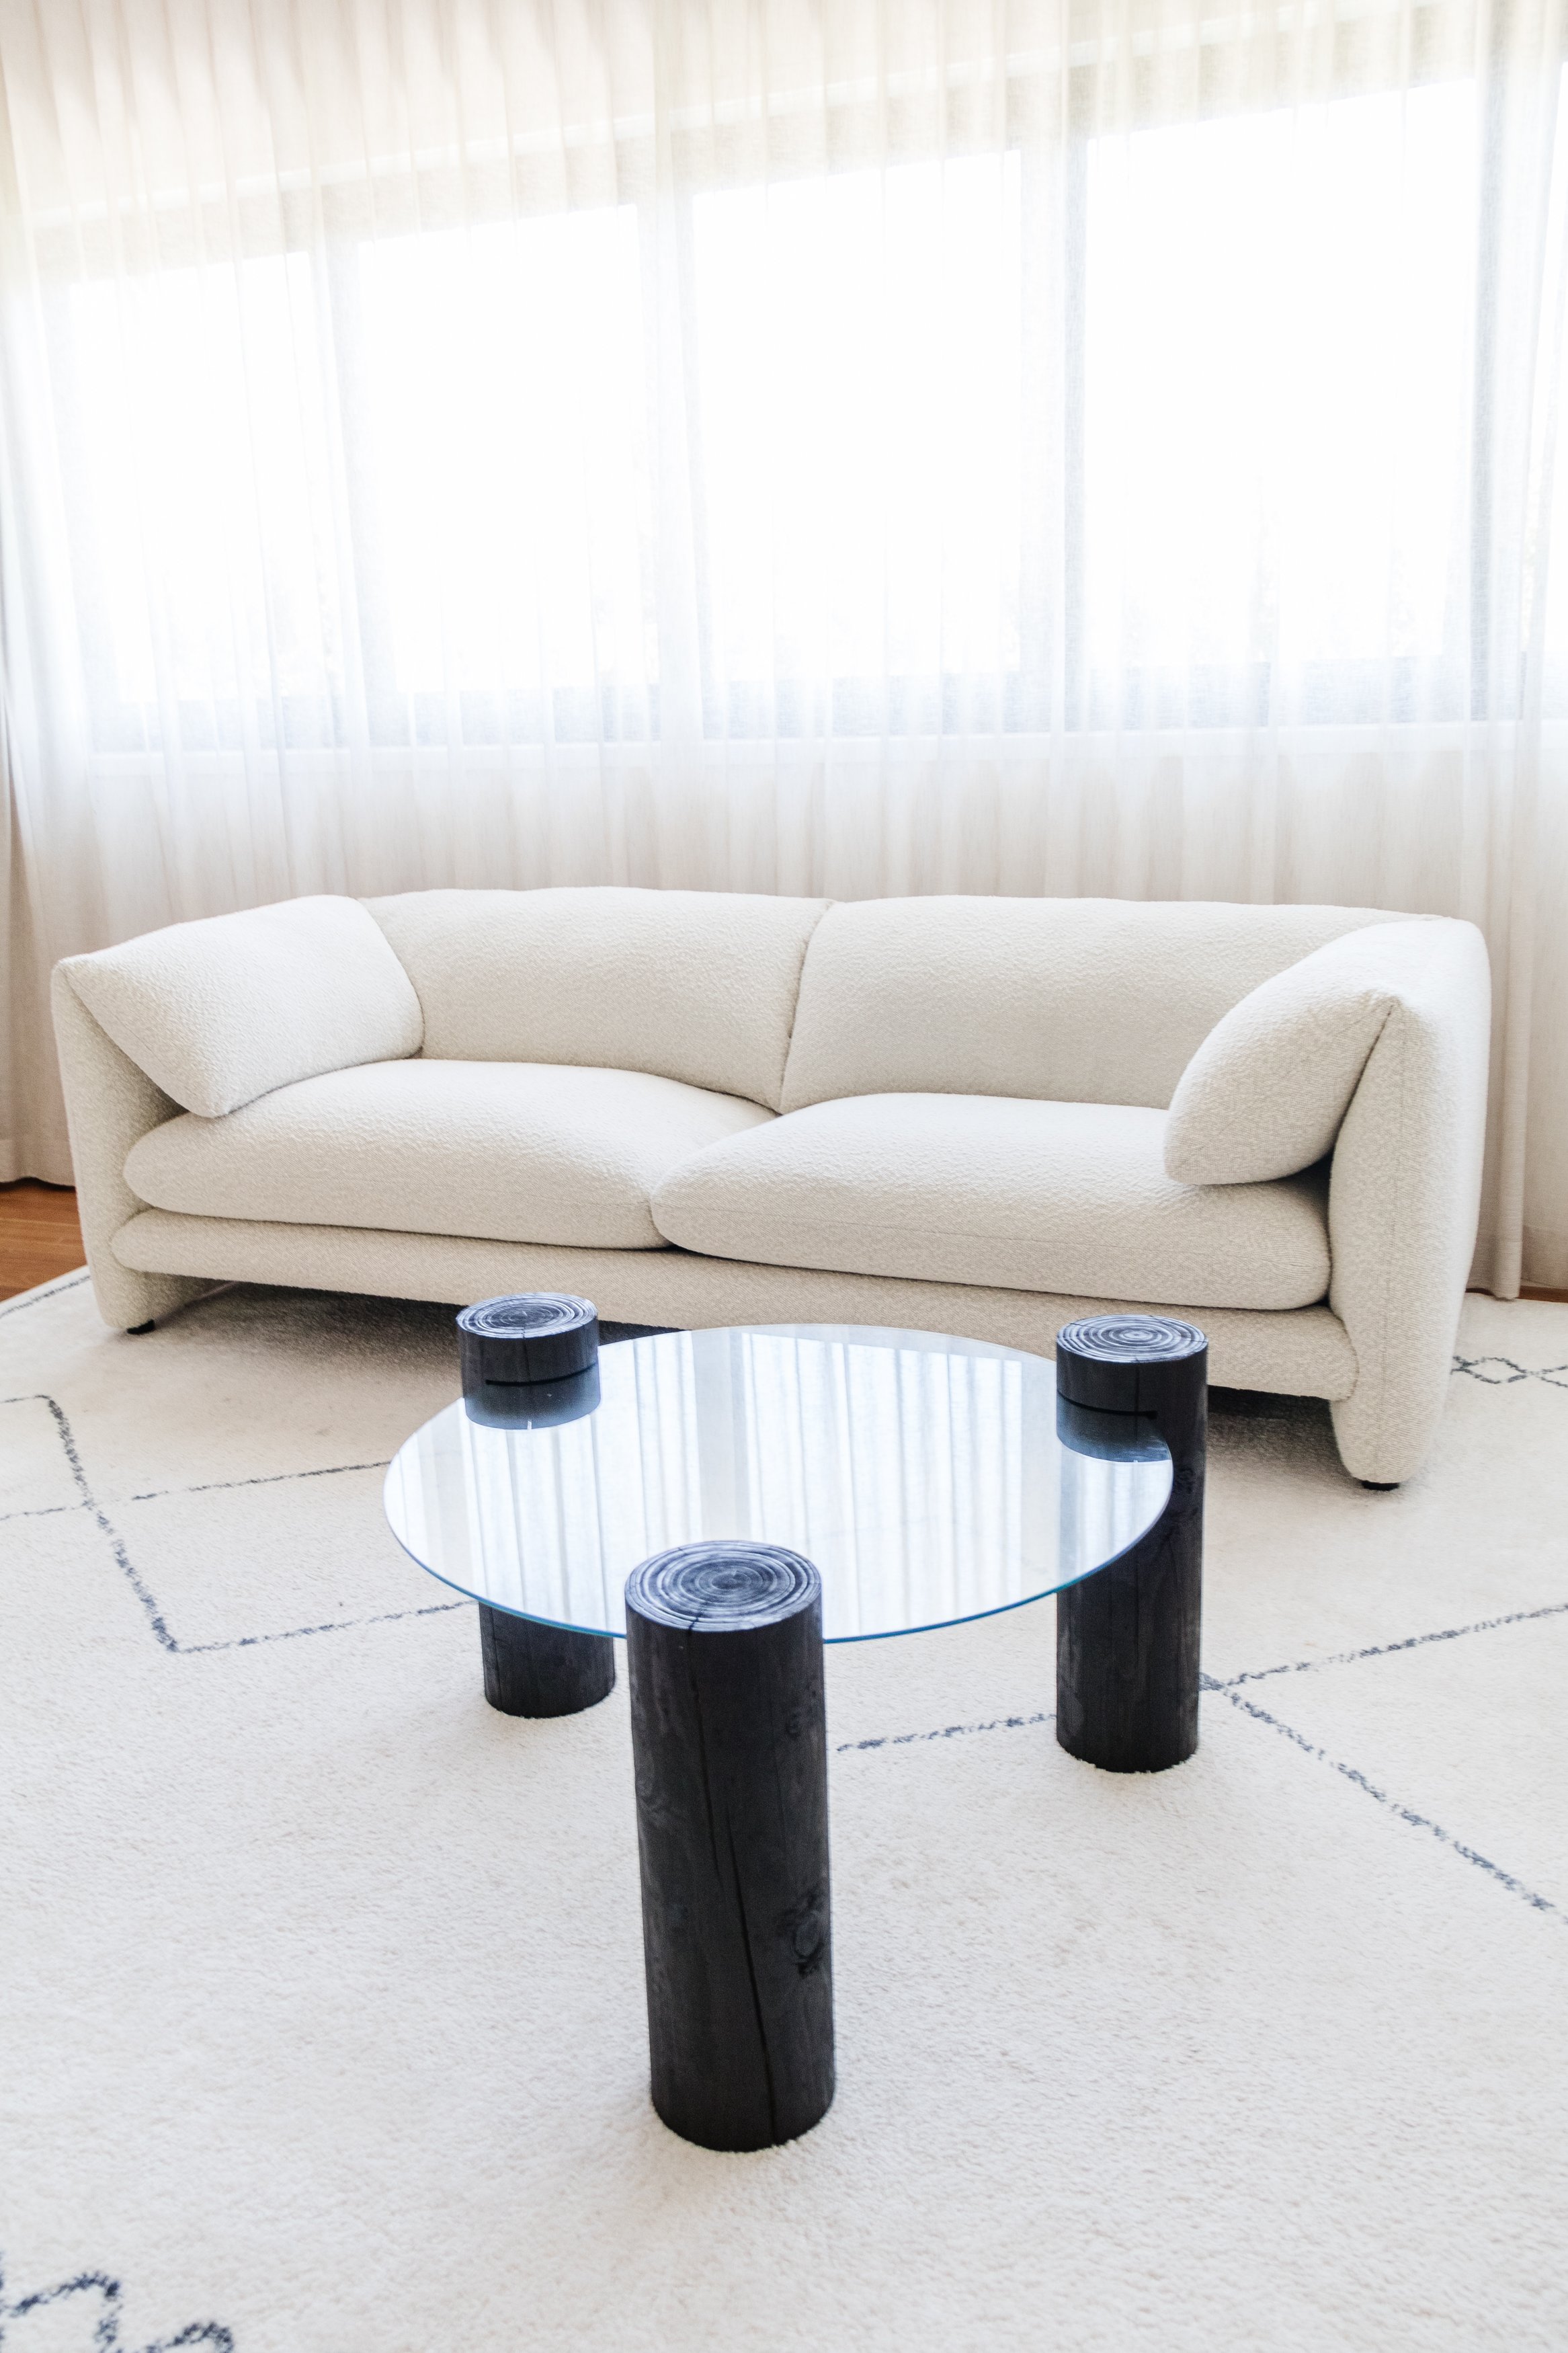
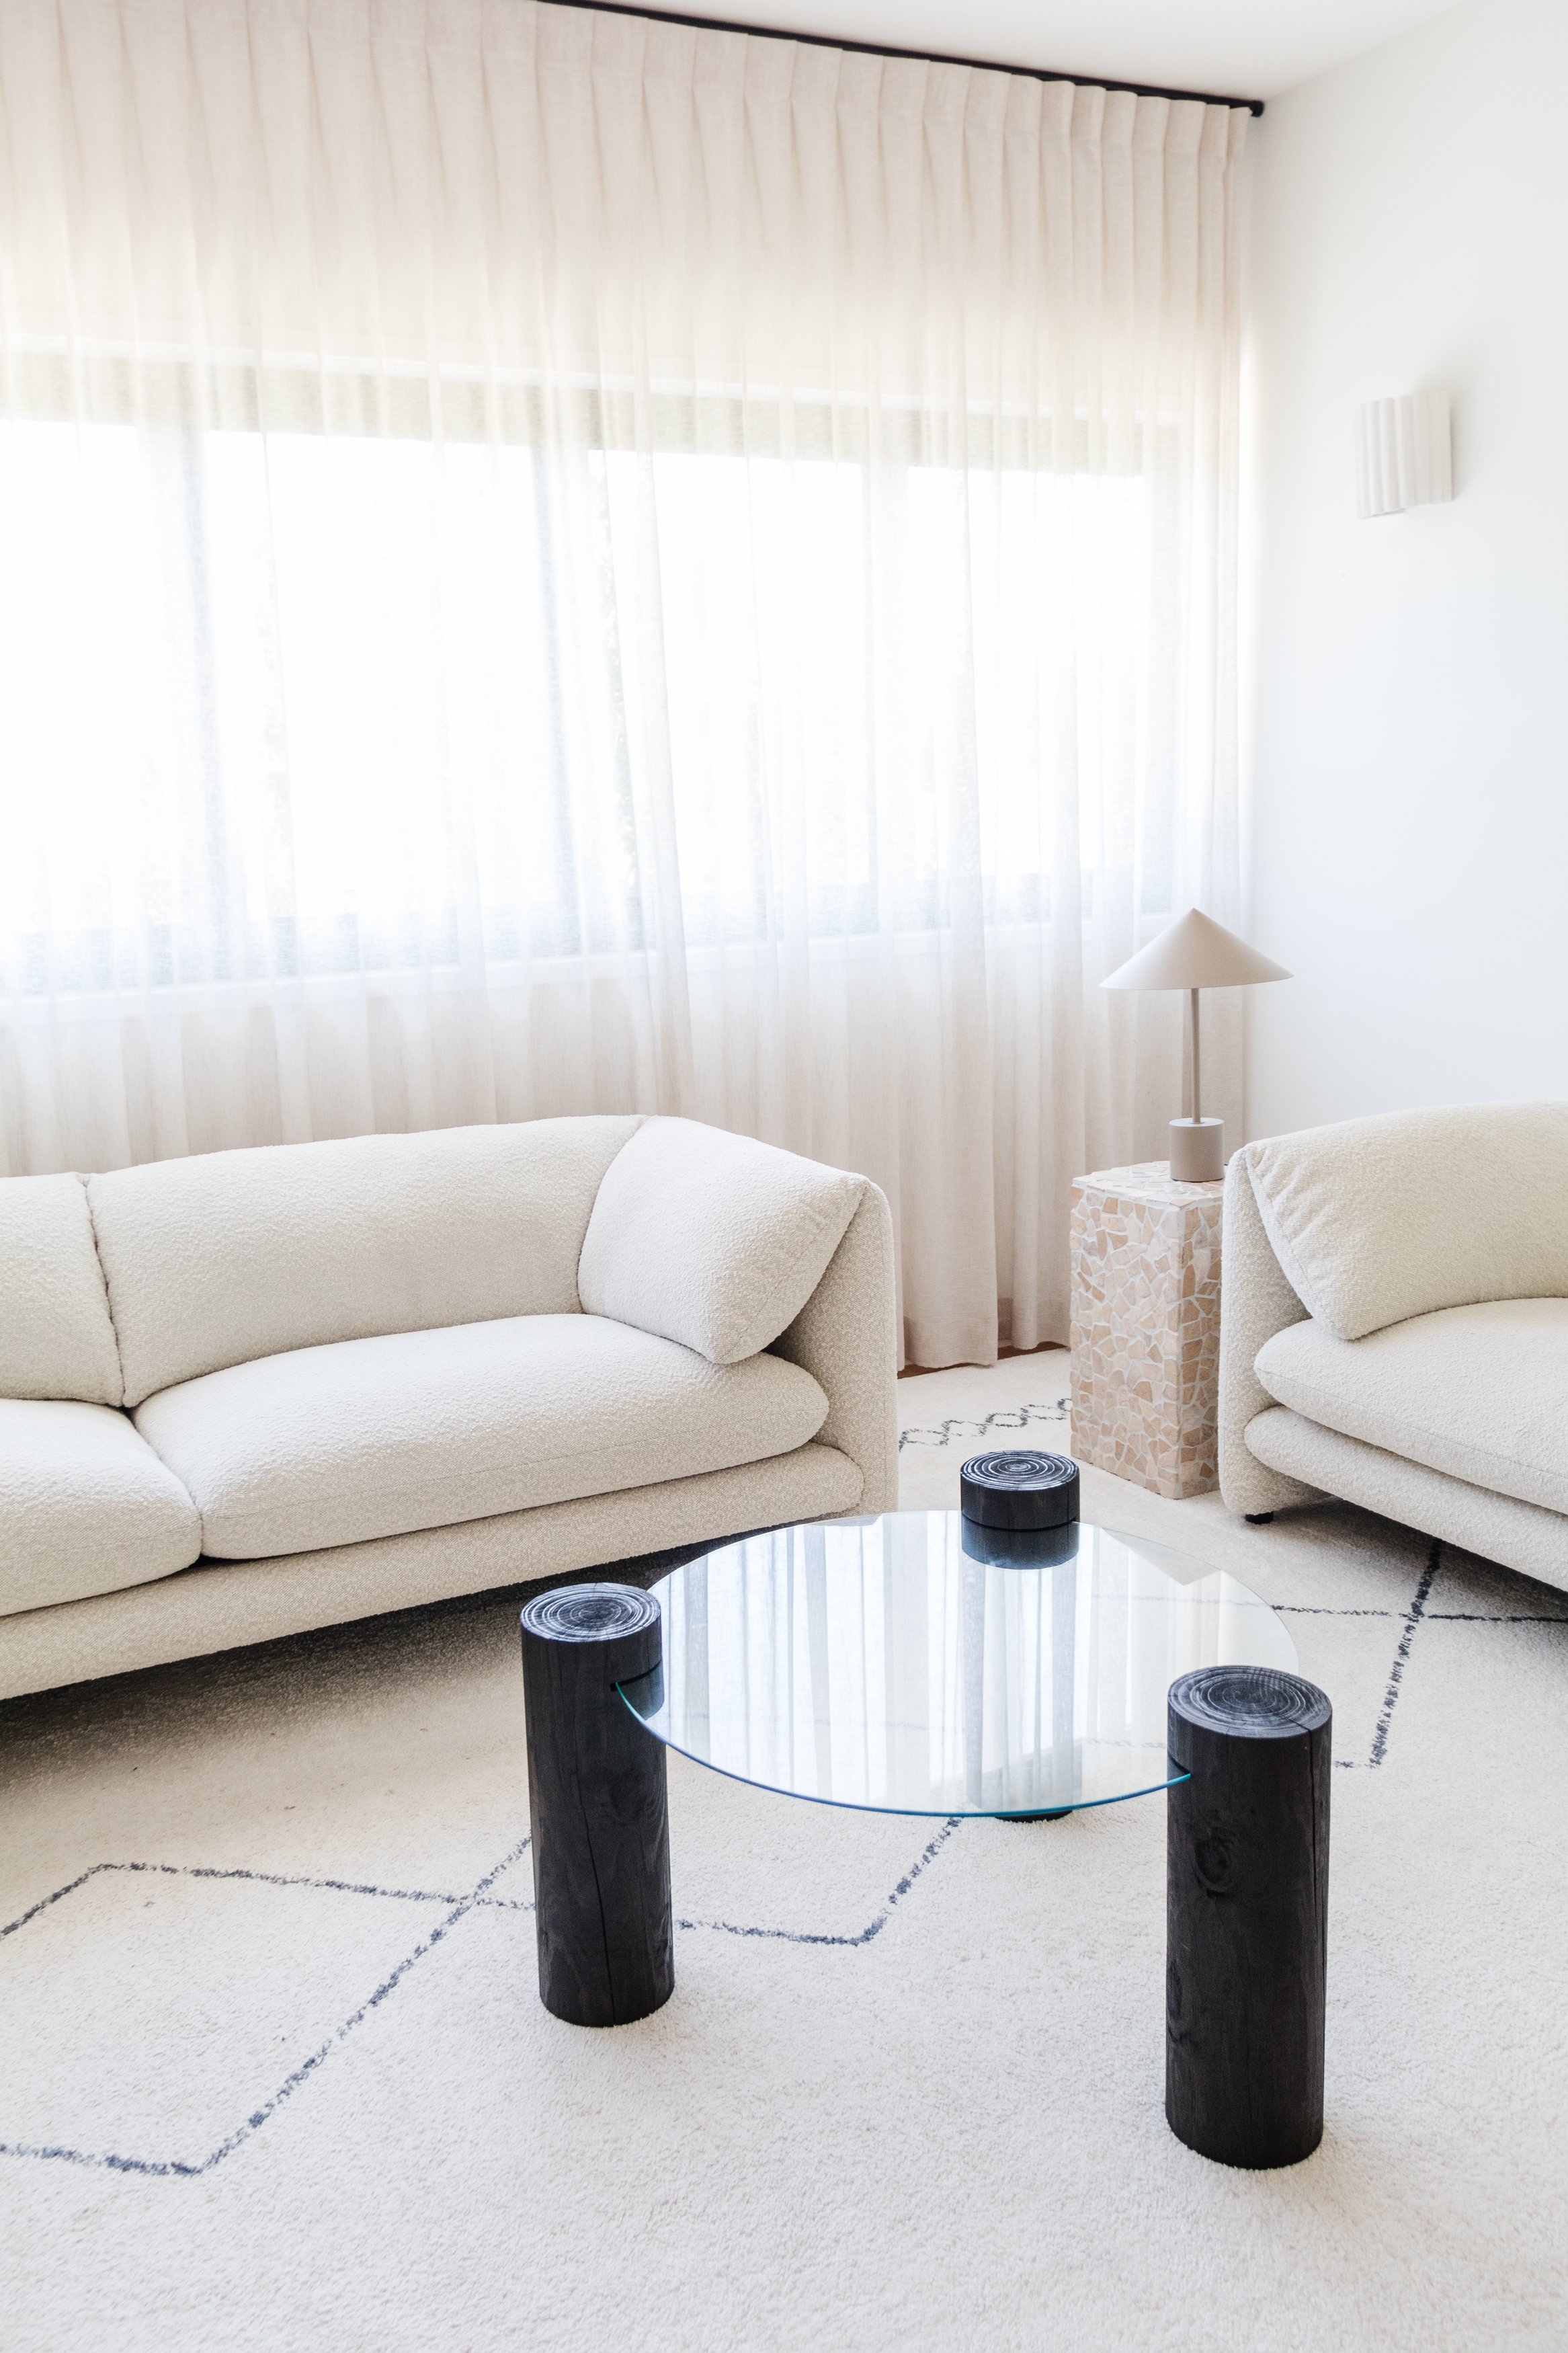
Step 4: I carefully inserted the glass panel into each piece of timber, one at a time and ensured the distance between each piece of timber was the same.
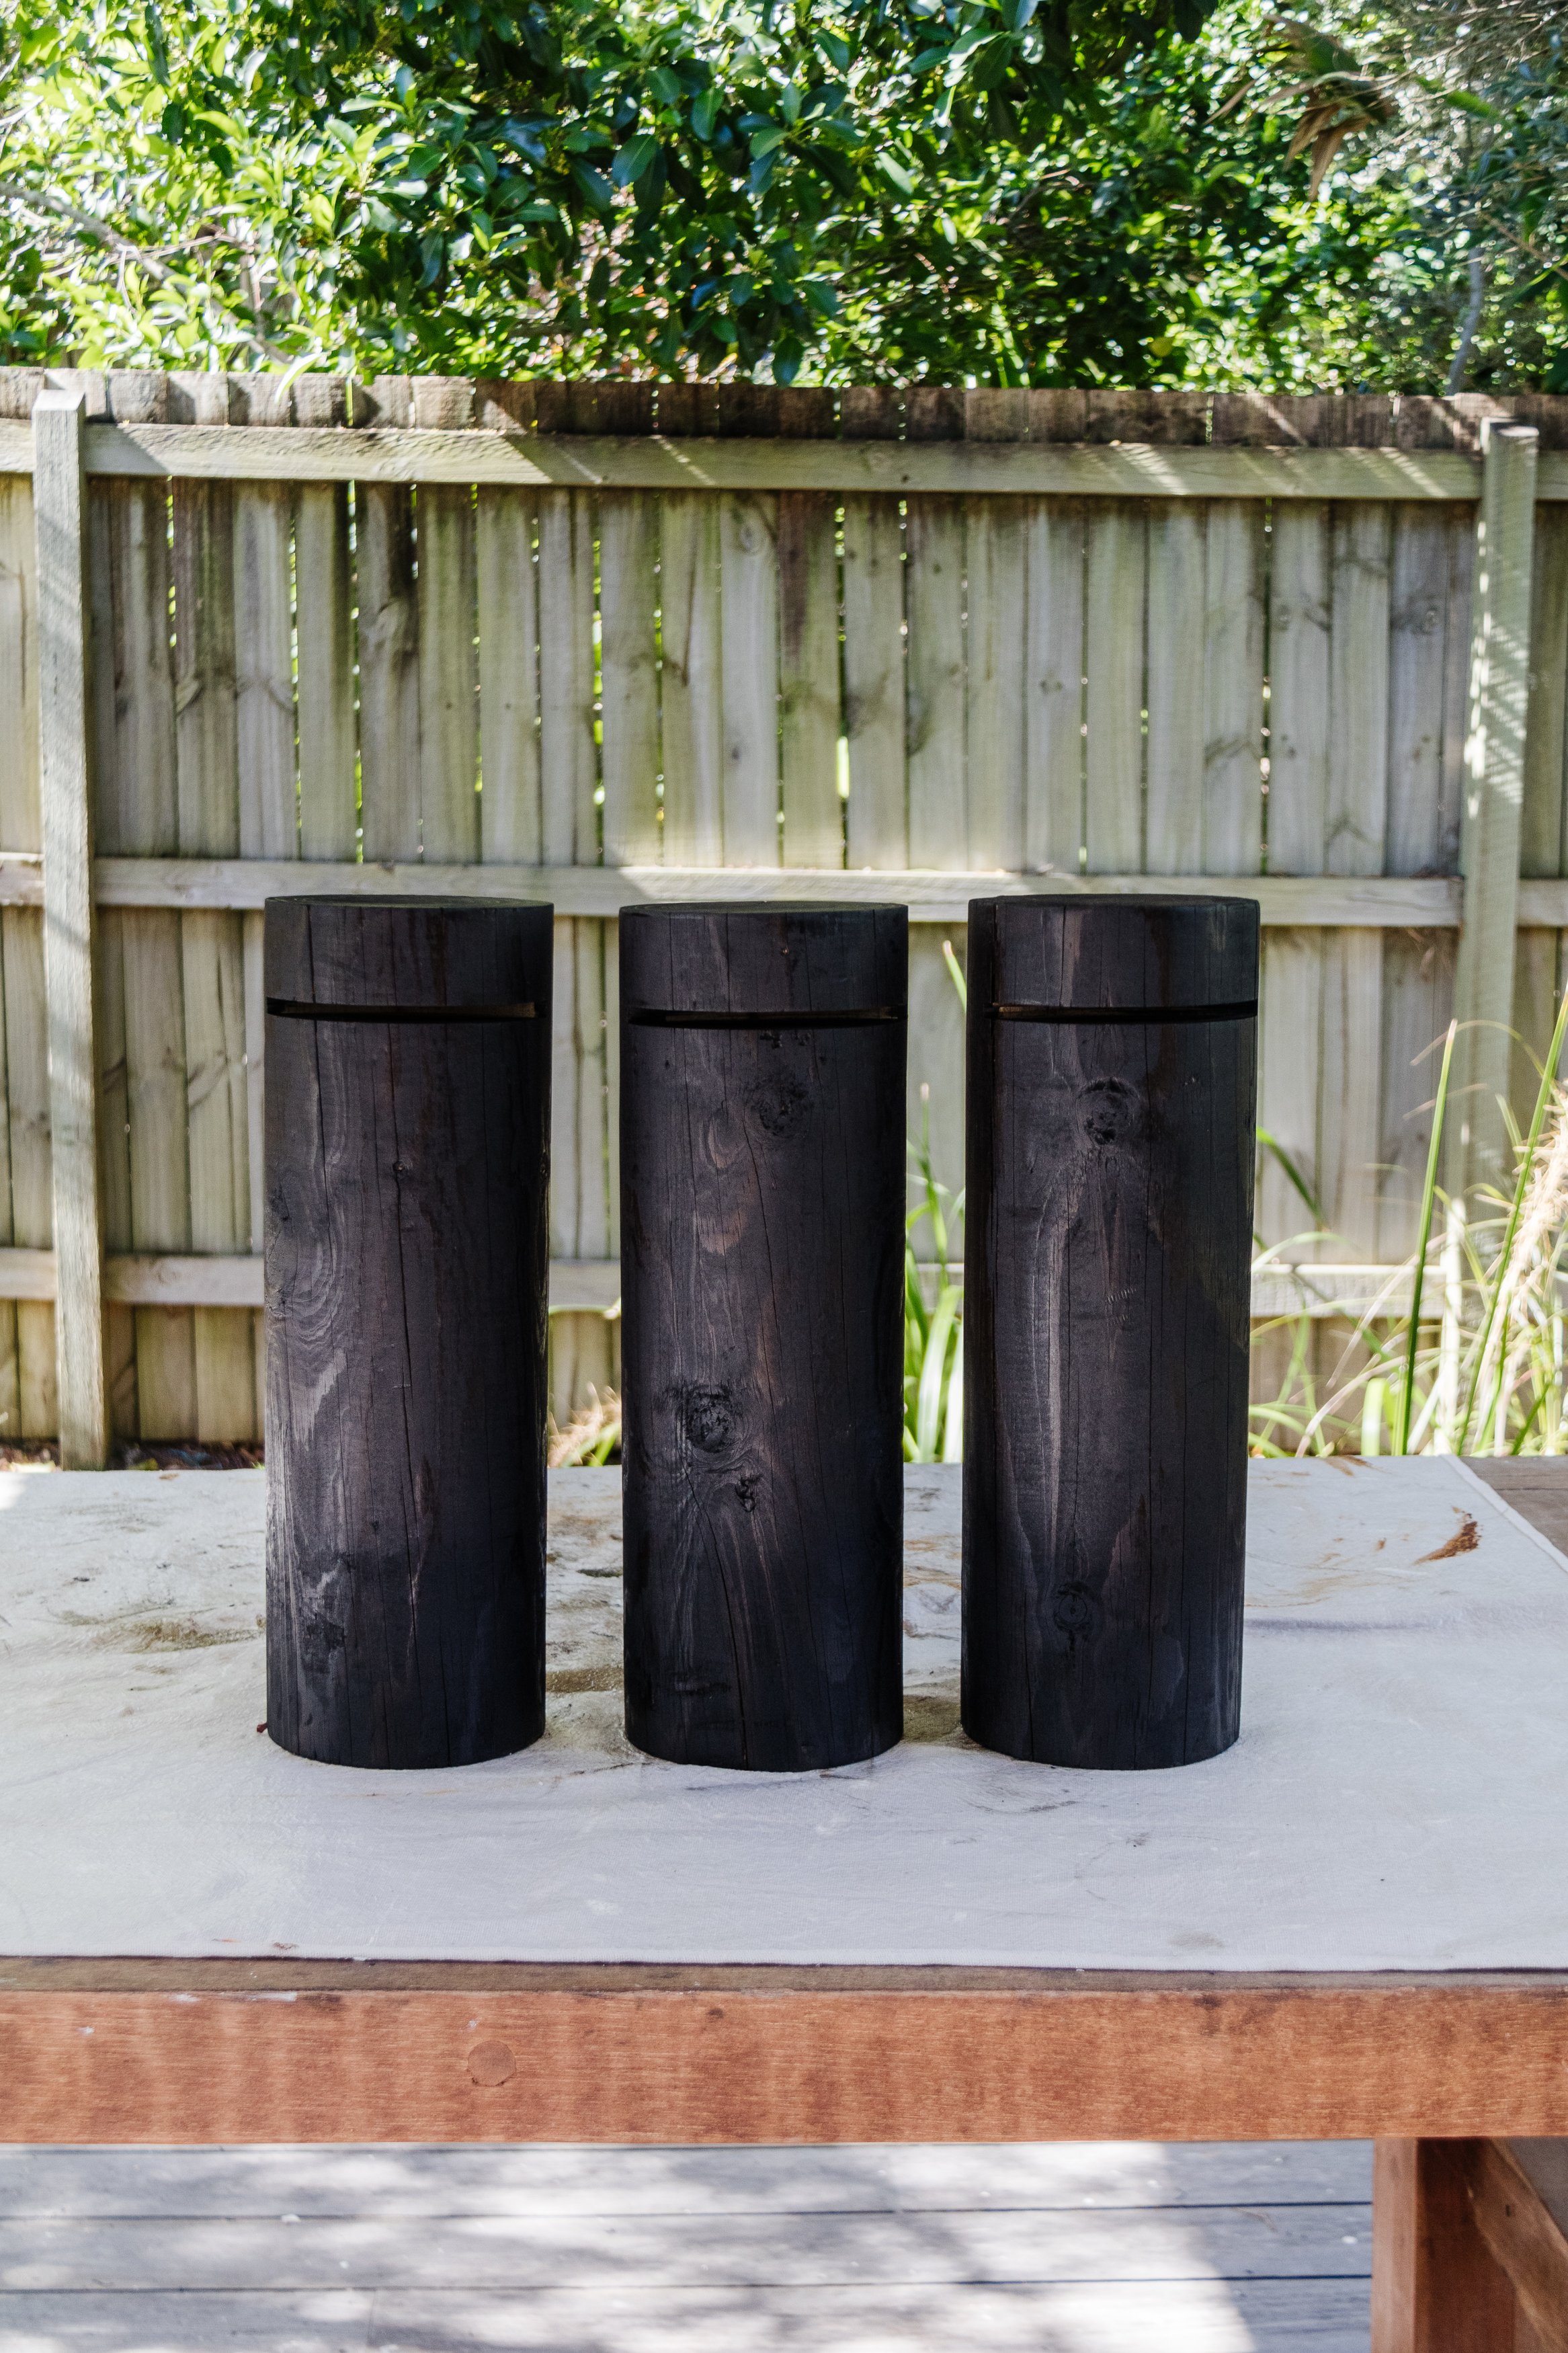

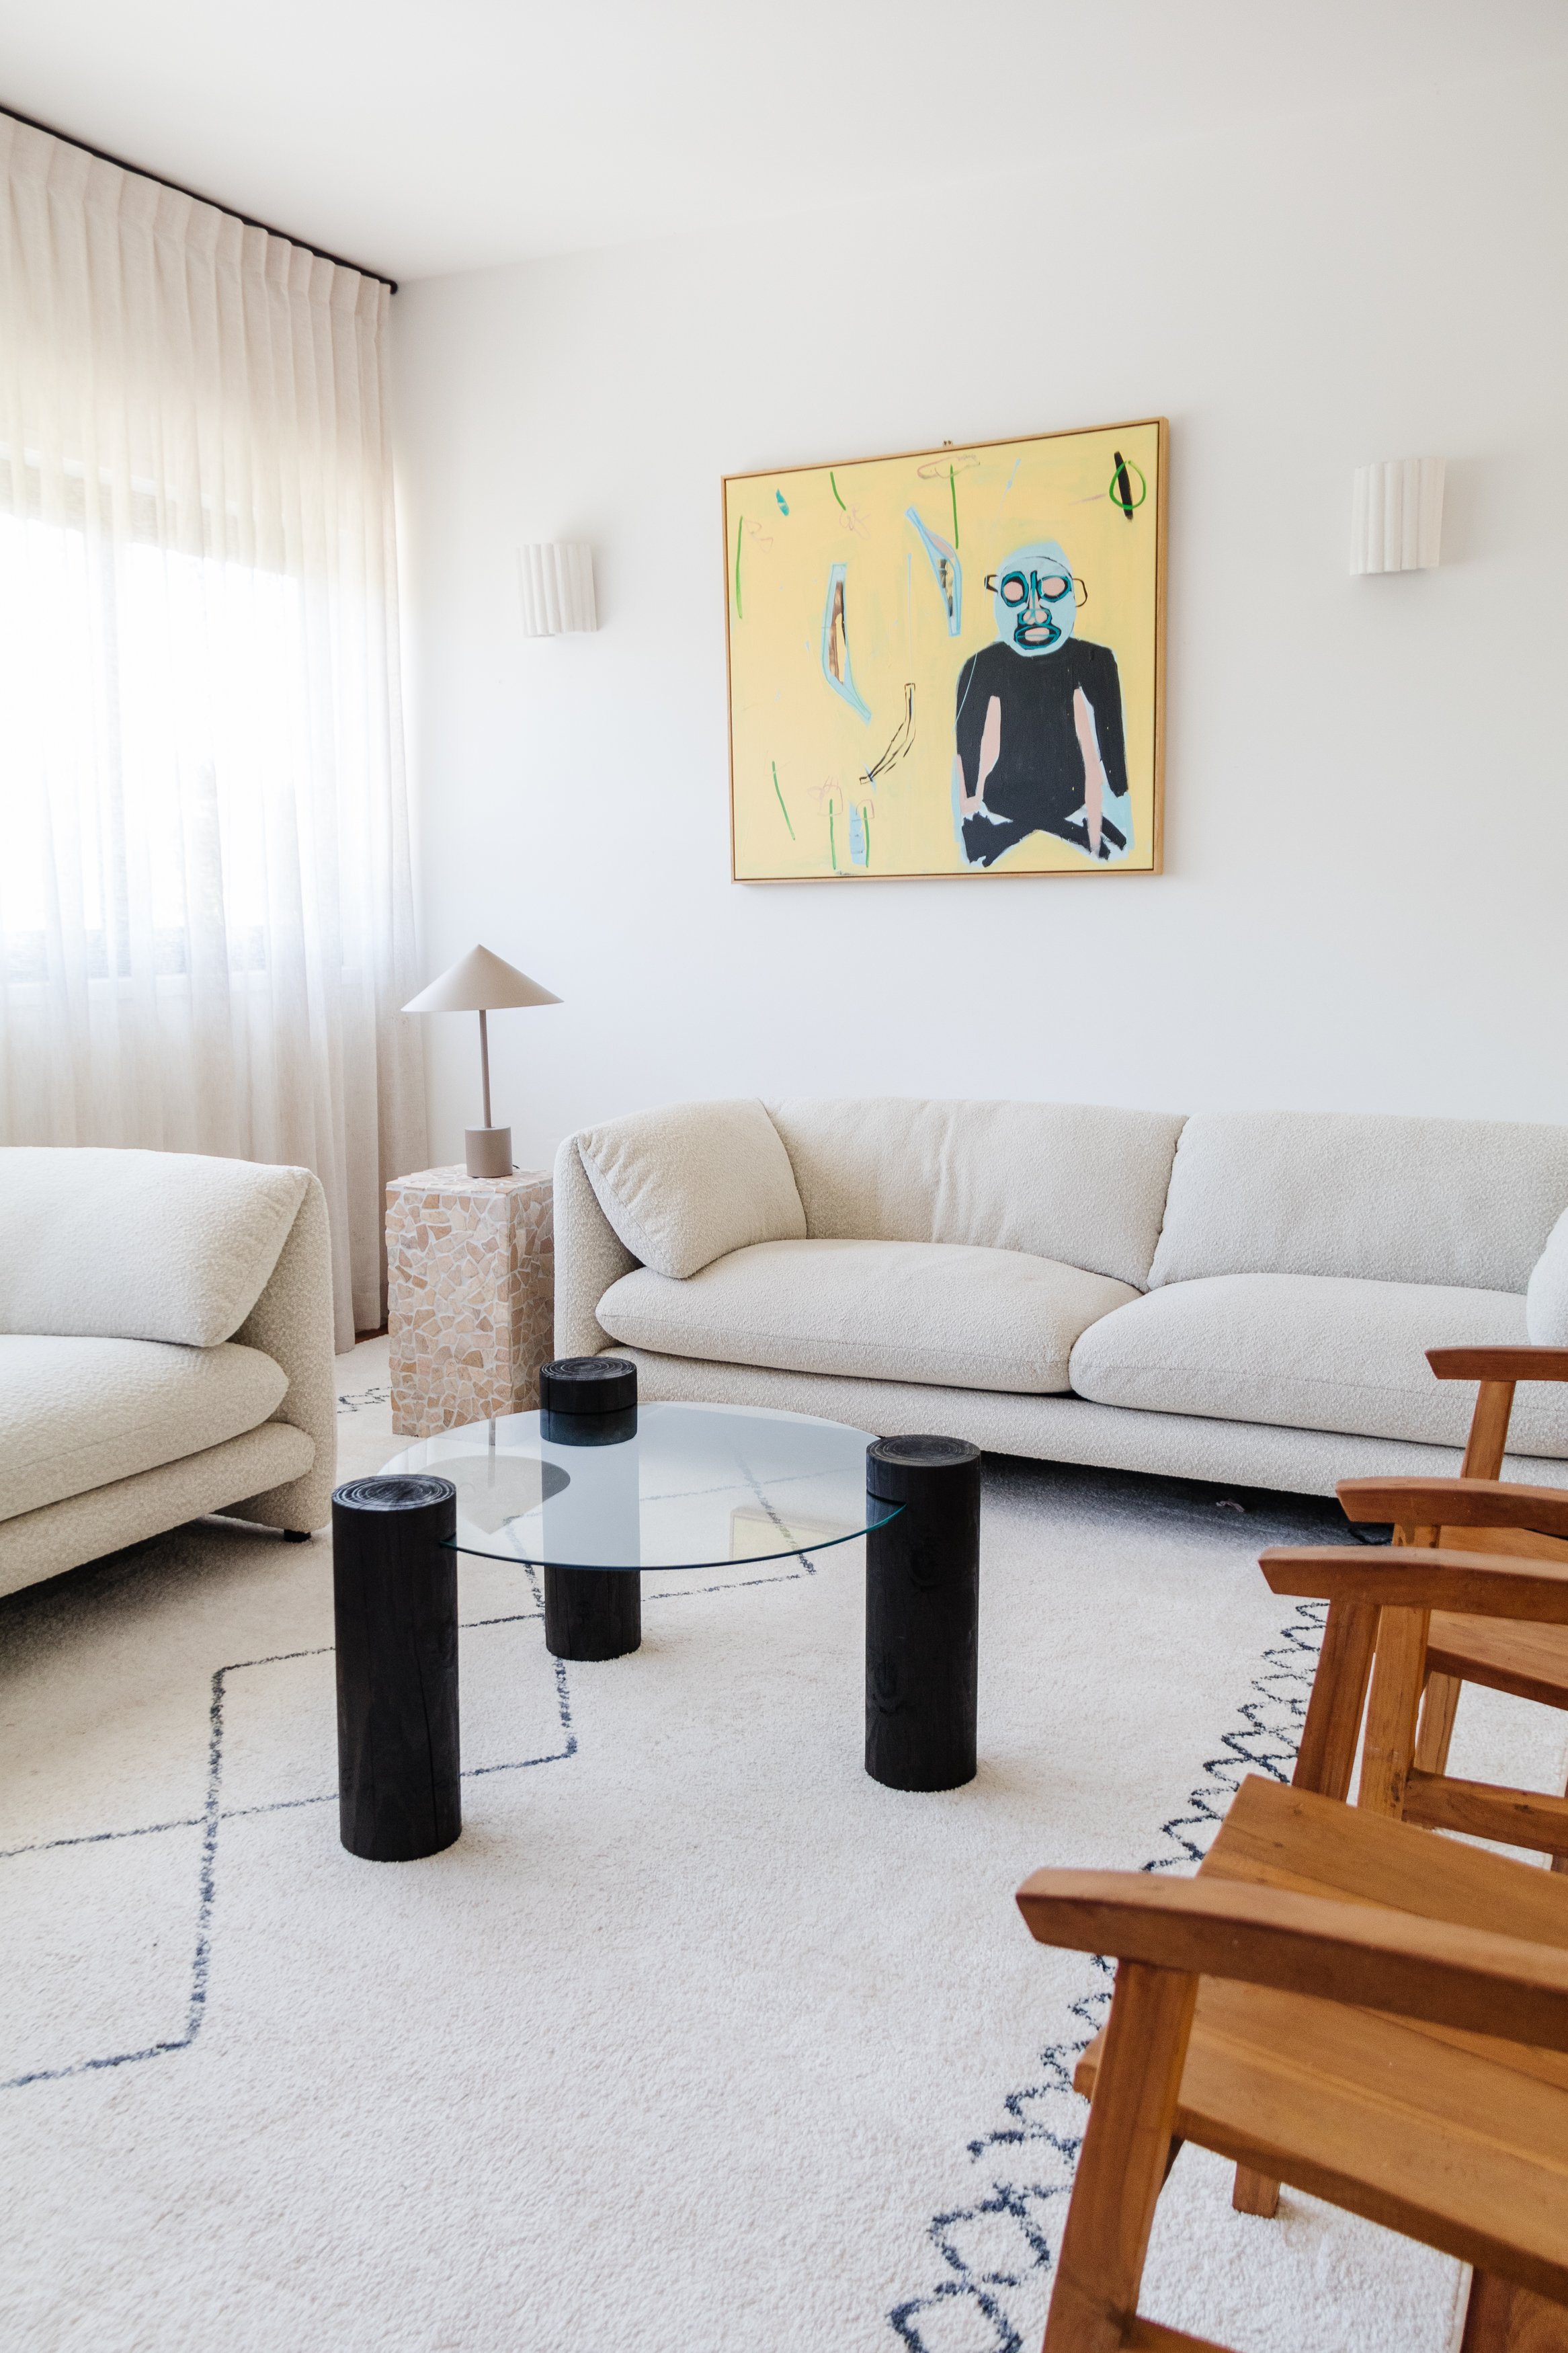
Ta daaaa!
Isn’t it amazing when you can salvage the materials you need to make your dream coffee table from the tip? And to think the glass panel and timber posts could have ended up in landfill! Well, not on my watch. This upcycled glass coffee table sparks so much joy, and I love that the Prooftint and Scandinavian Oil enriches the timber and draws out the natural patterns of each piece, and almost making it look like Yakisugi, a Japanese method of charring and preserving (typically cedar) timber. I hope this project inspires you to make your own Upcycled Timber & Glass Coffee Table. I am also very excited to explore the concept of having materials (like the marble in my inspiration photo and timber in this project) sit in other materials, so stay tuned for more projects like this!
Ps. I am also aware how lucky I was to find the round glass panel and the timber posts, so as you will see in the Materials List, I’ve included links to where you can buy these.
The Feast Watson products used in this project were gifted