DIY Board & Batten Wall
If you don’t love something in your home, change it!
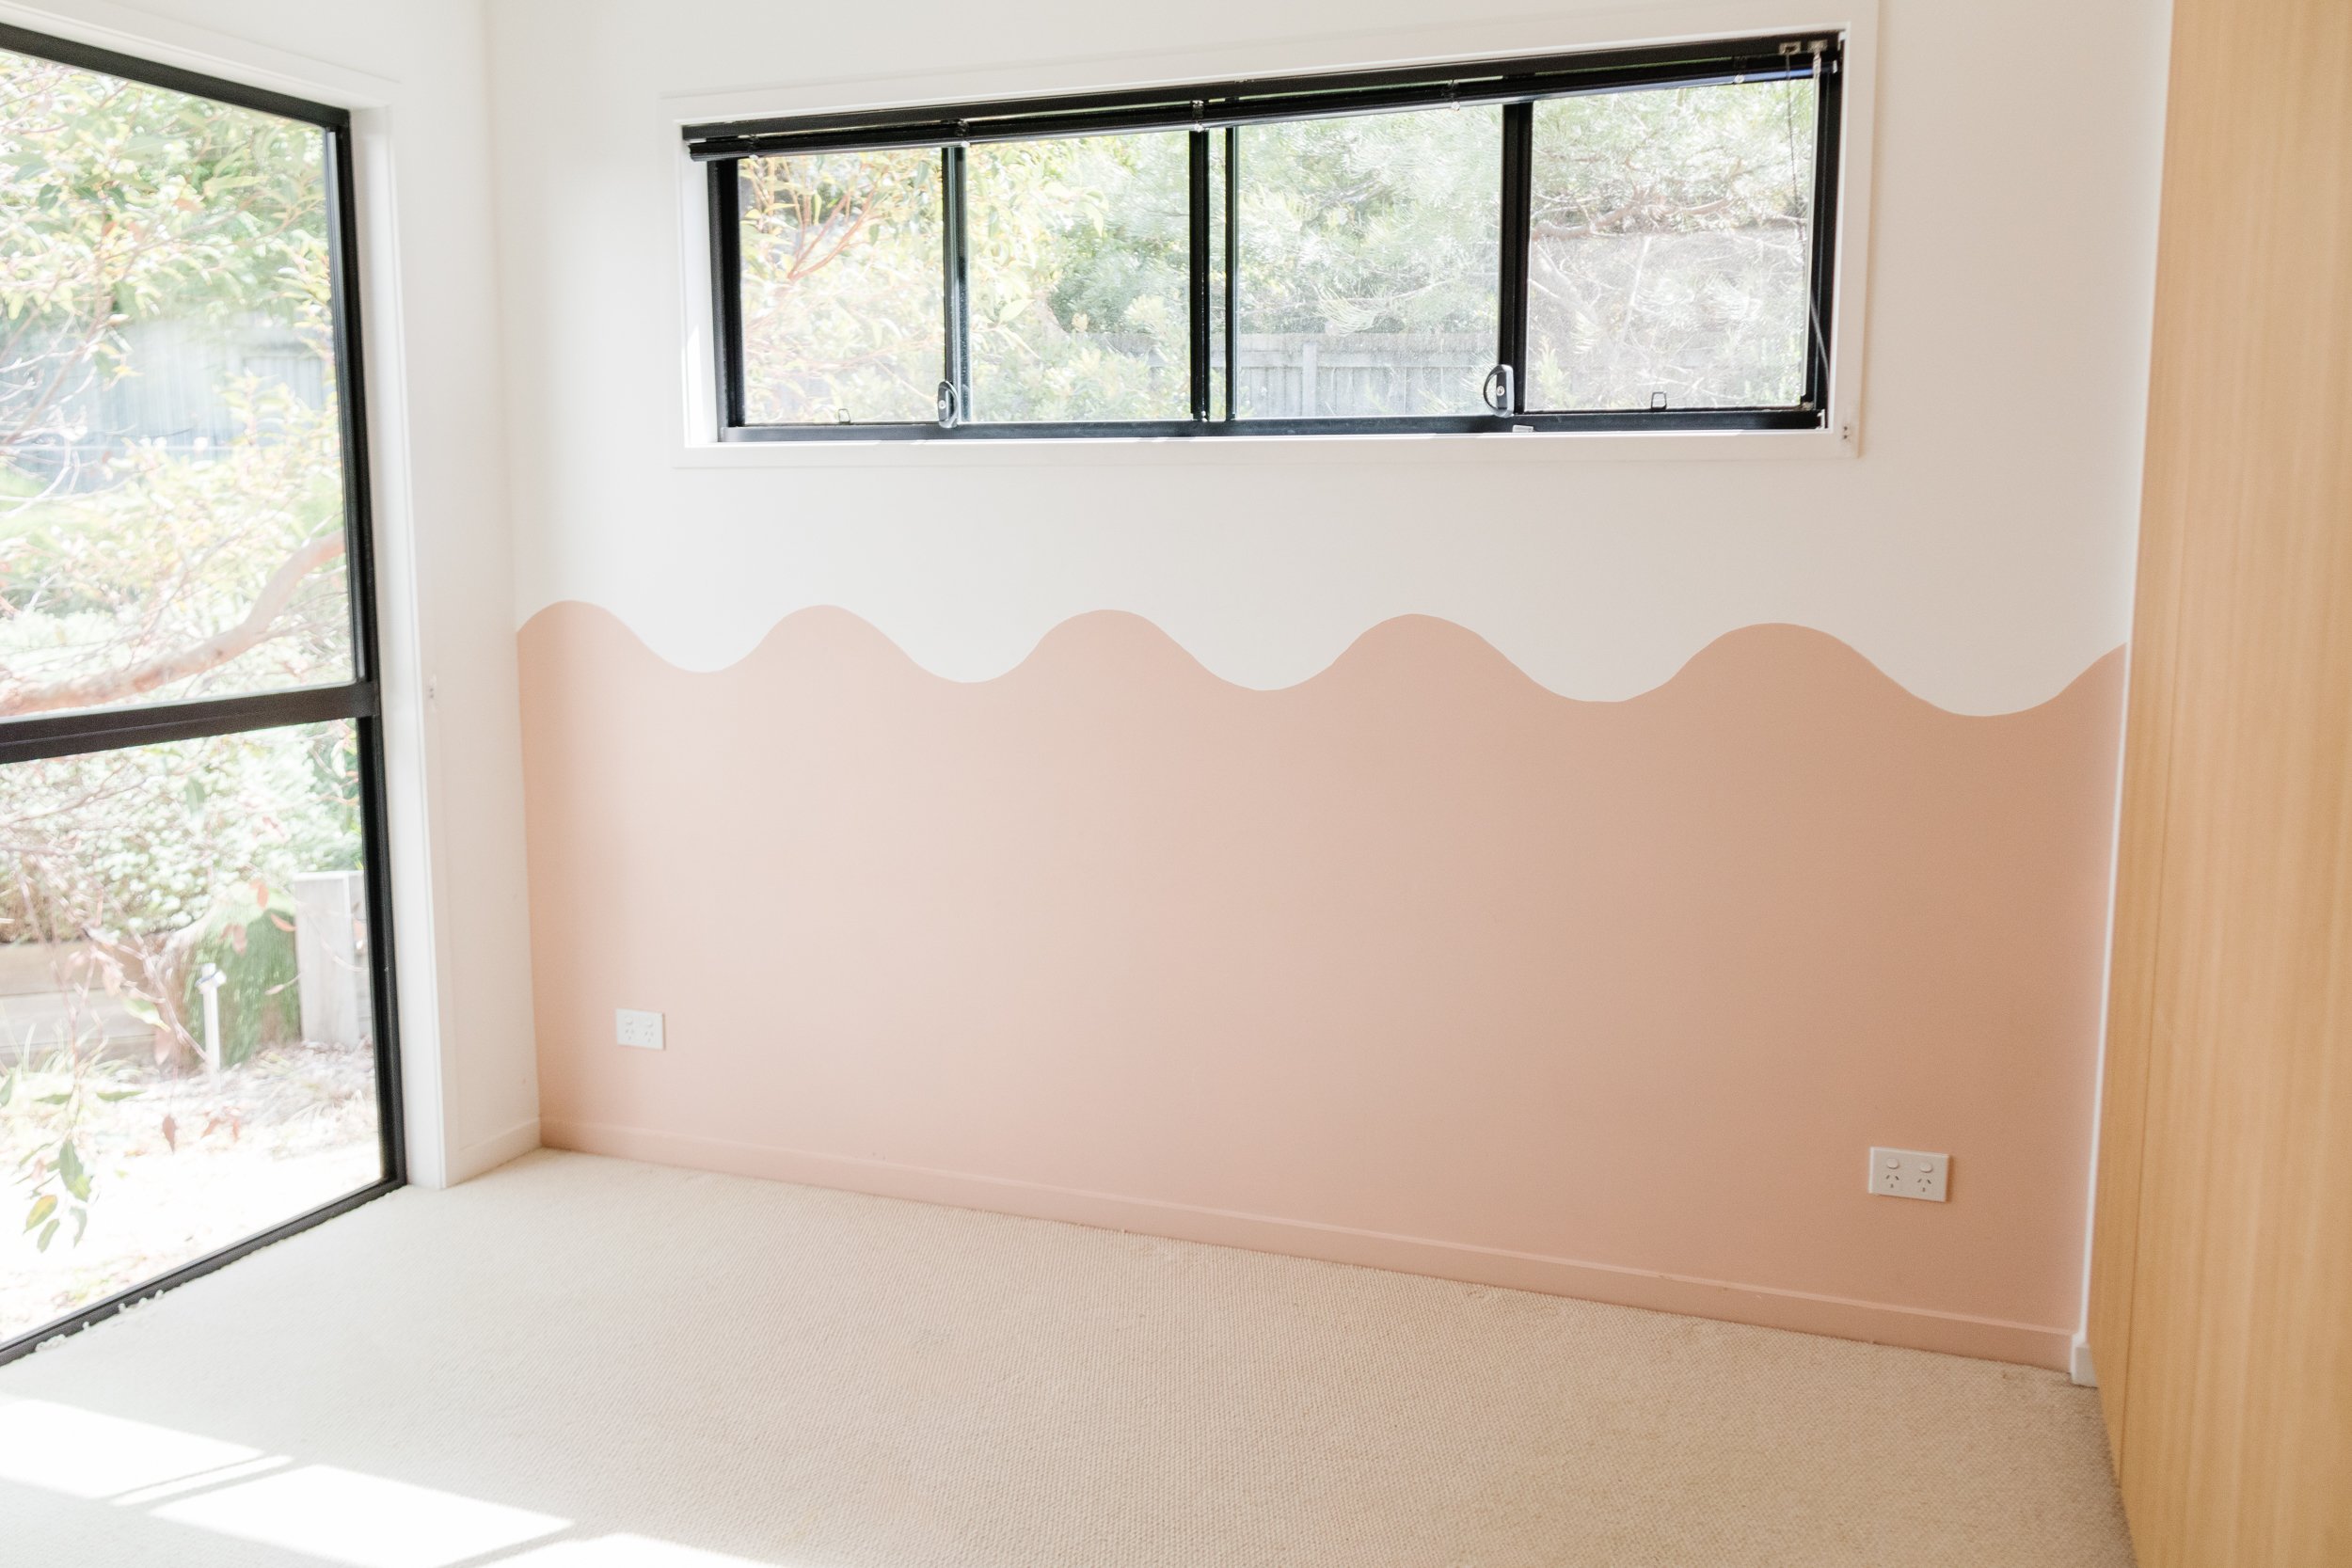
And so goes that tale of my latest DIY project at home. You may remember last year I gave our guest room a makeover and painted a feature DIY Wavy Painted Wall. I love this joyful statement painted wall, however recently I’ve been thinking about changing it for a more modern, grown up feel. It doesn’t really go with the rest of our house and after doing some research, I decided to cover it up with DIY Board & Batten. I knew I was going to need a range of quality, versatile painting tools and accessories to make this project effortless to execute, and I’m so excited to be partnering with Monarch!
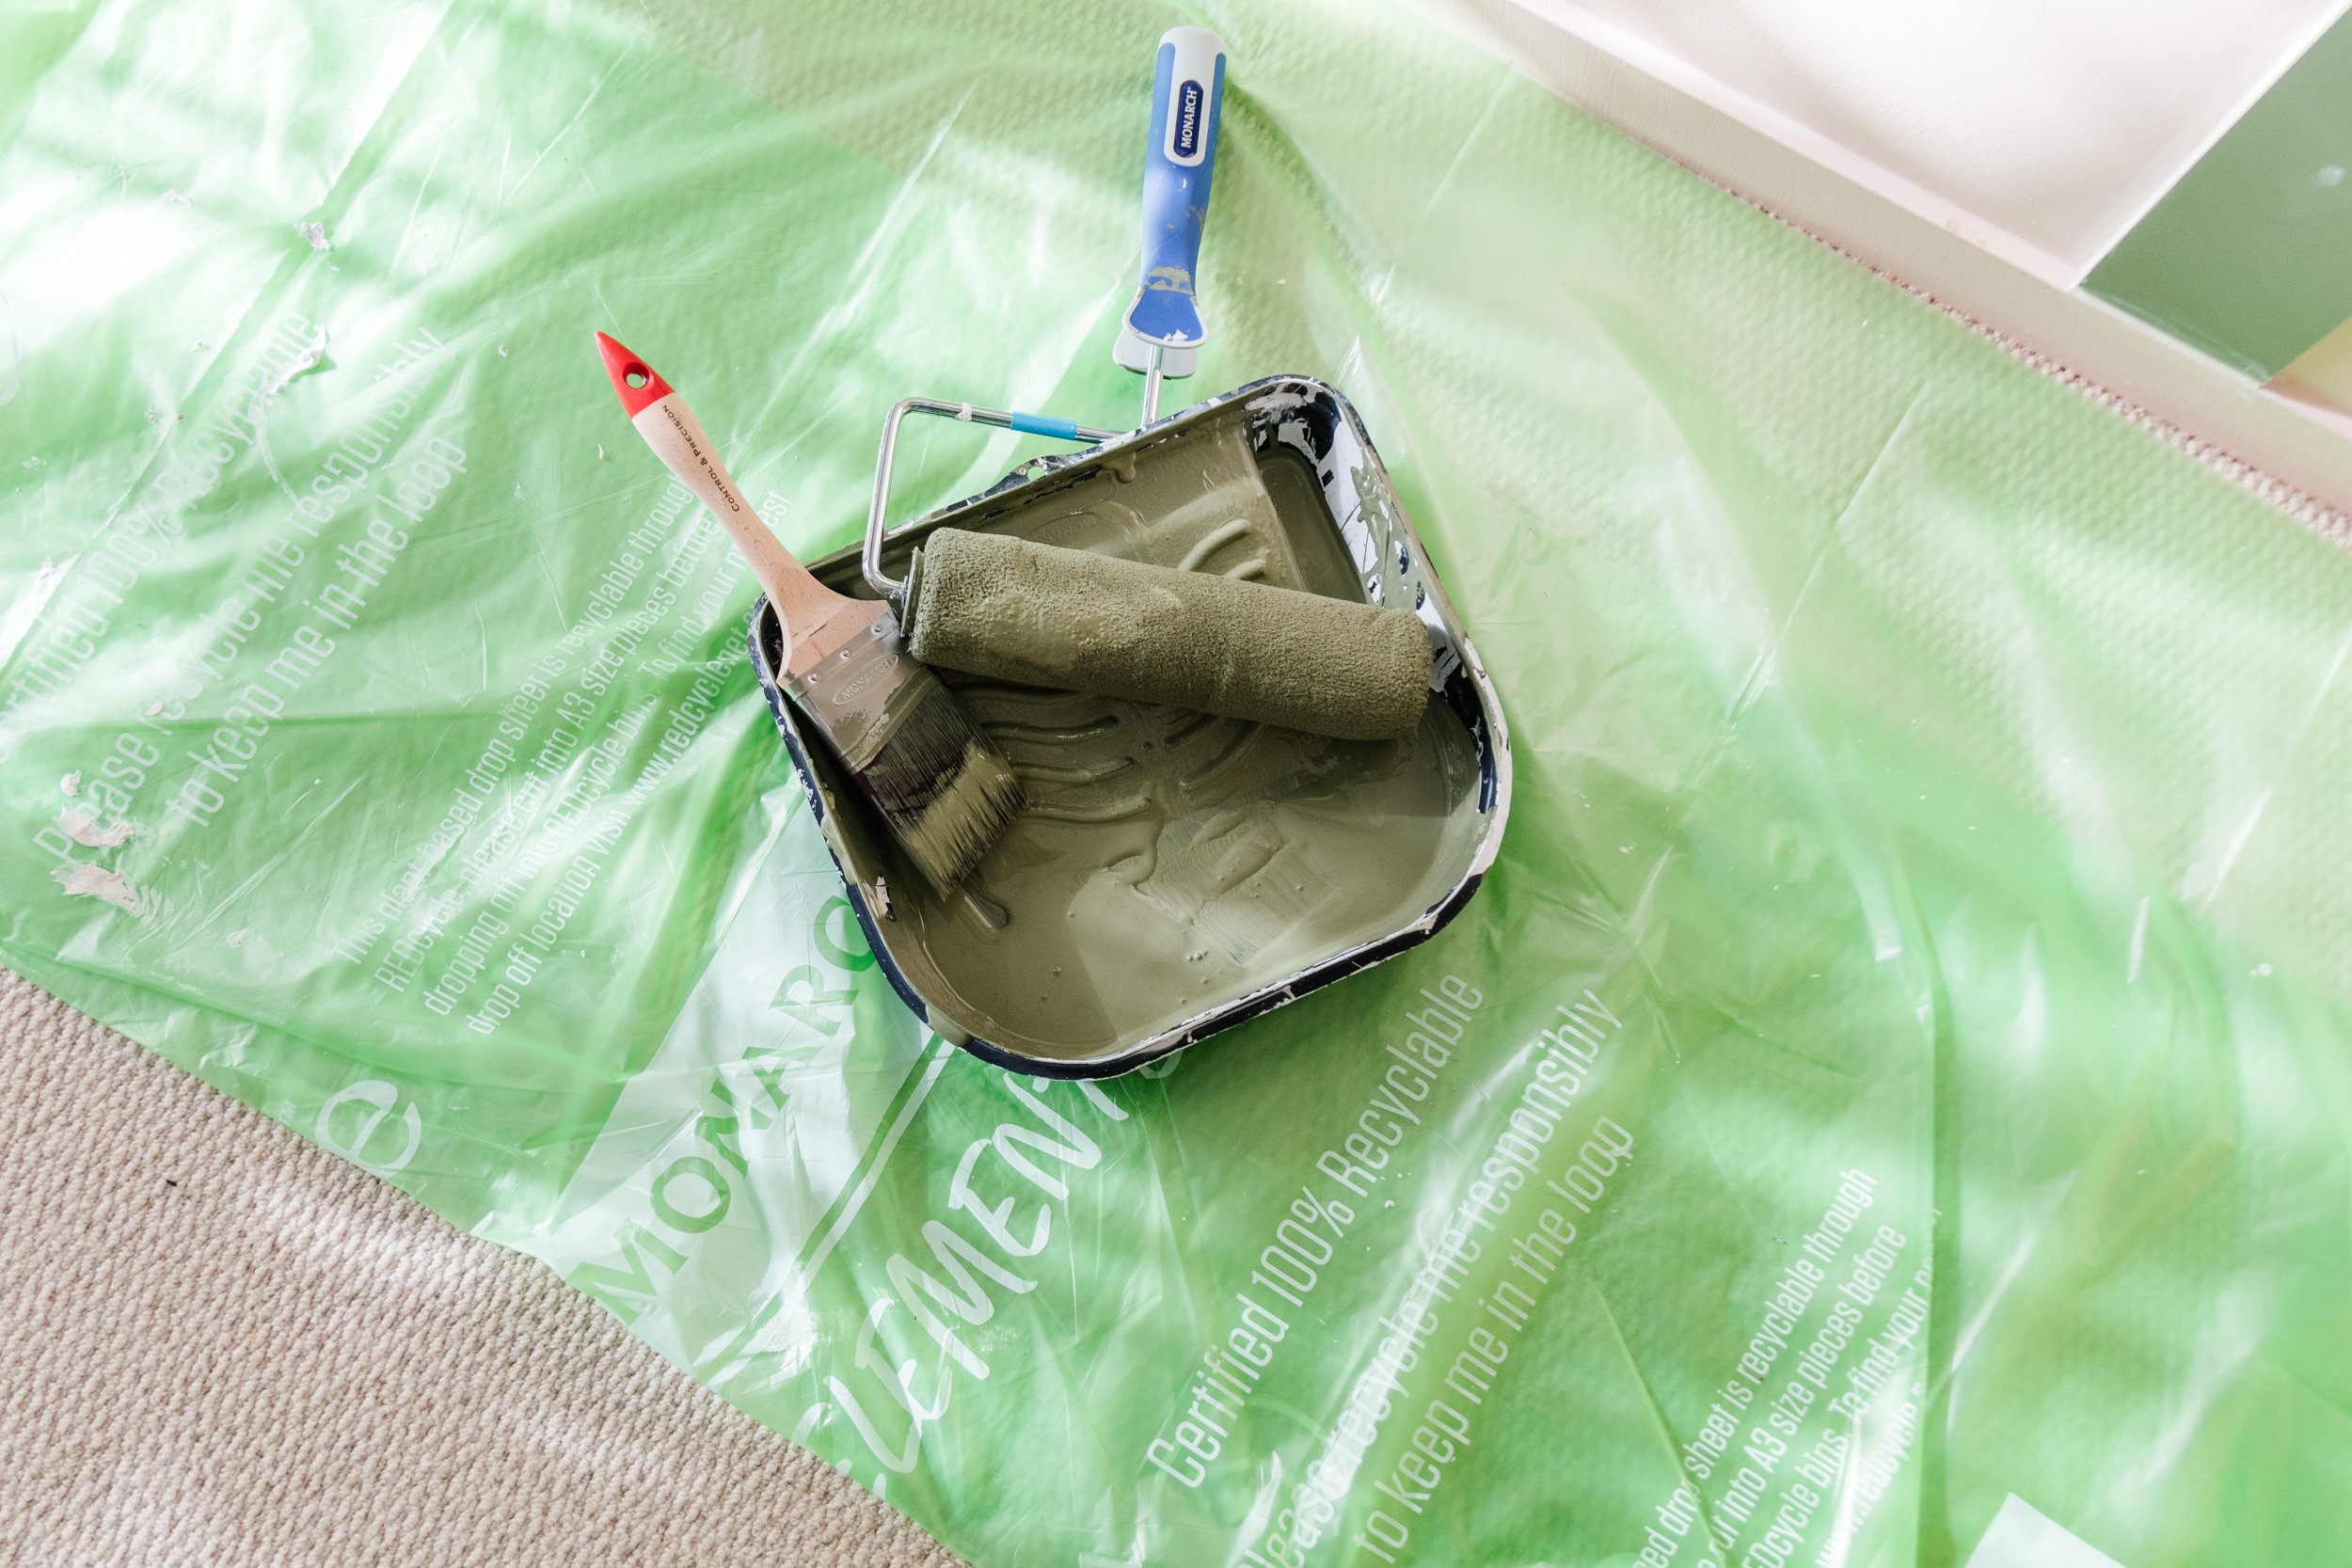
What’s even more exciting is that I used Monarch’s brand new Plant Based Drop Sheet (incredible, right?) and their Mini sealant, adhesive and filler range. The new Plant Based Drop Sheet is certified 100% recyclable, is a greener alternative and Bunnings first ever plant-based drop sheet! I honestly feel so honoured to be one of the first people to use it and knowing that it won’t end up in landfill is so humbling. And if that’s not enough, I decided to challenge myself and build my own DIY Board & Batten in a day. Let’s go!
To see how this project came together, make sure you watch this video.
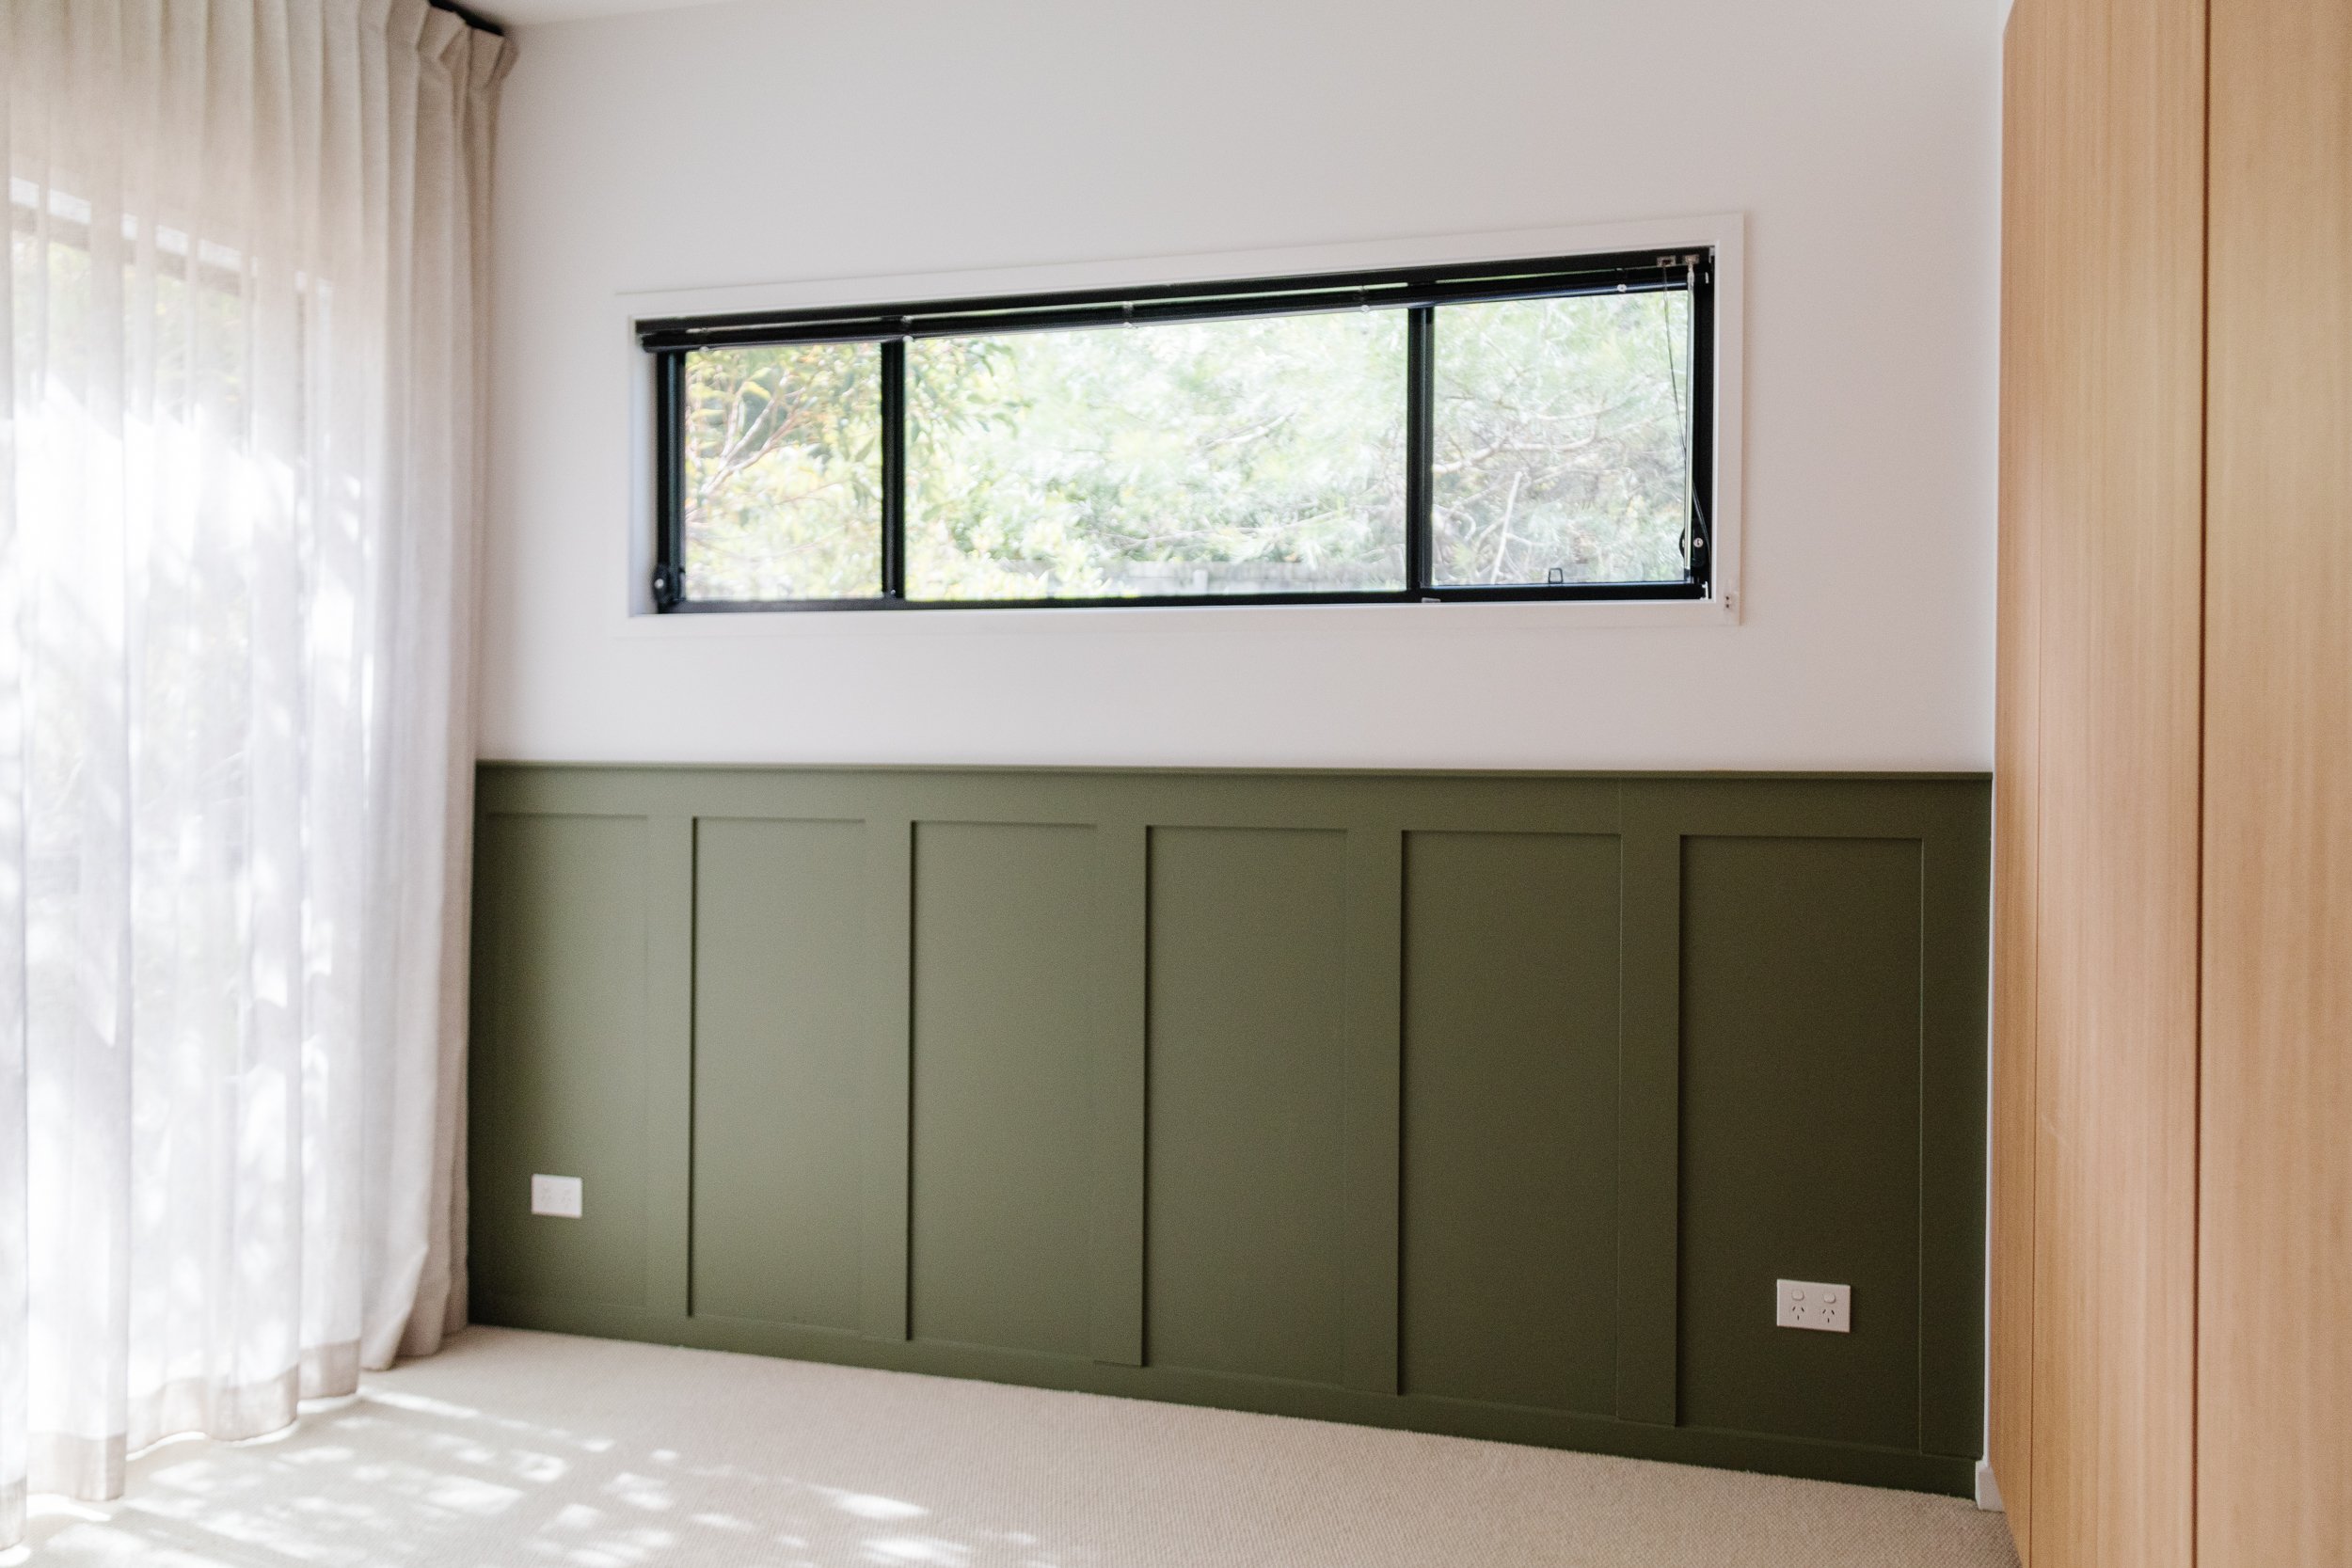
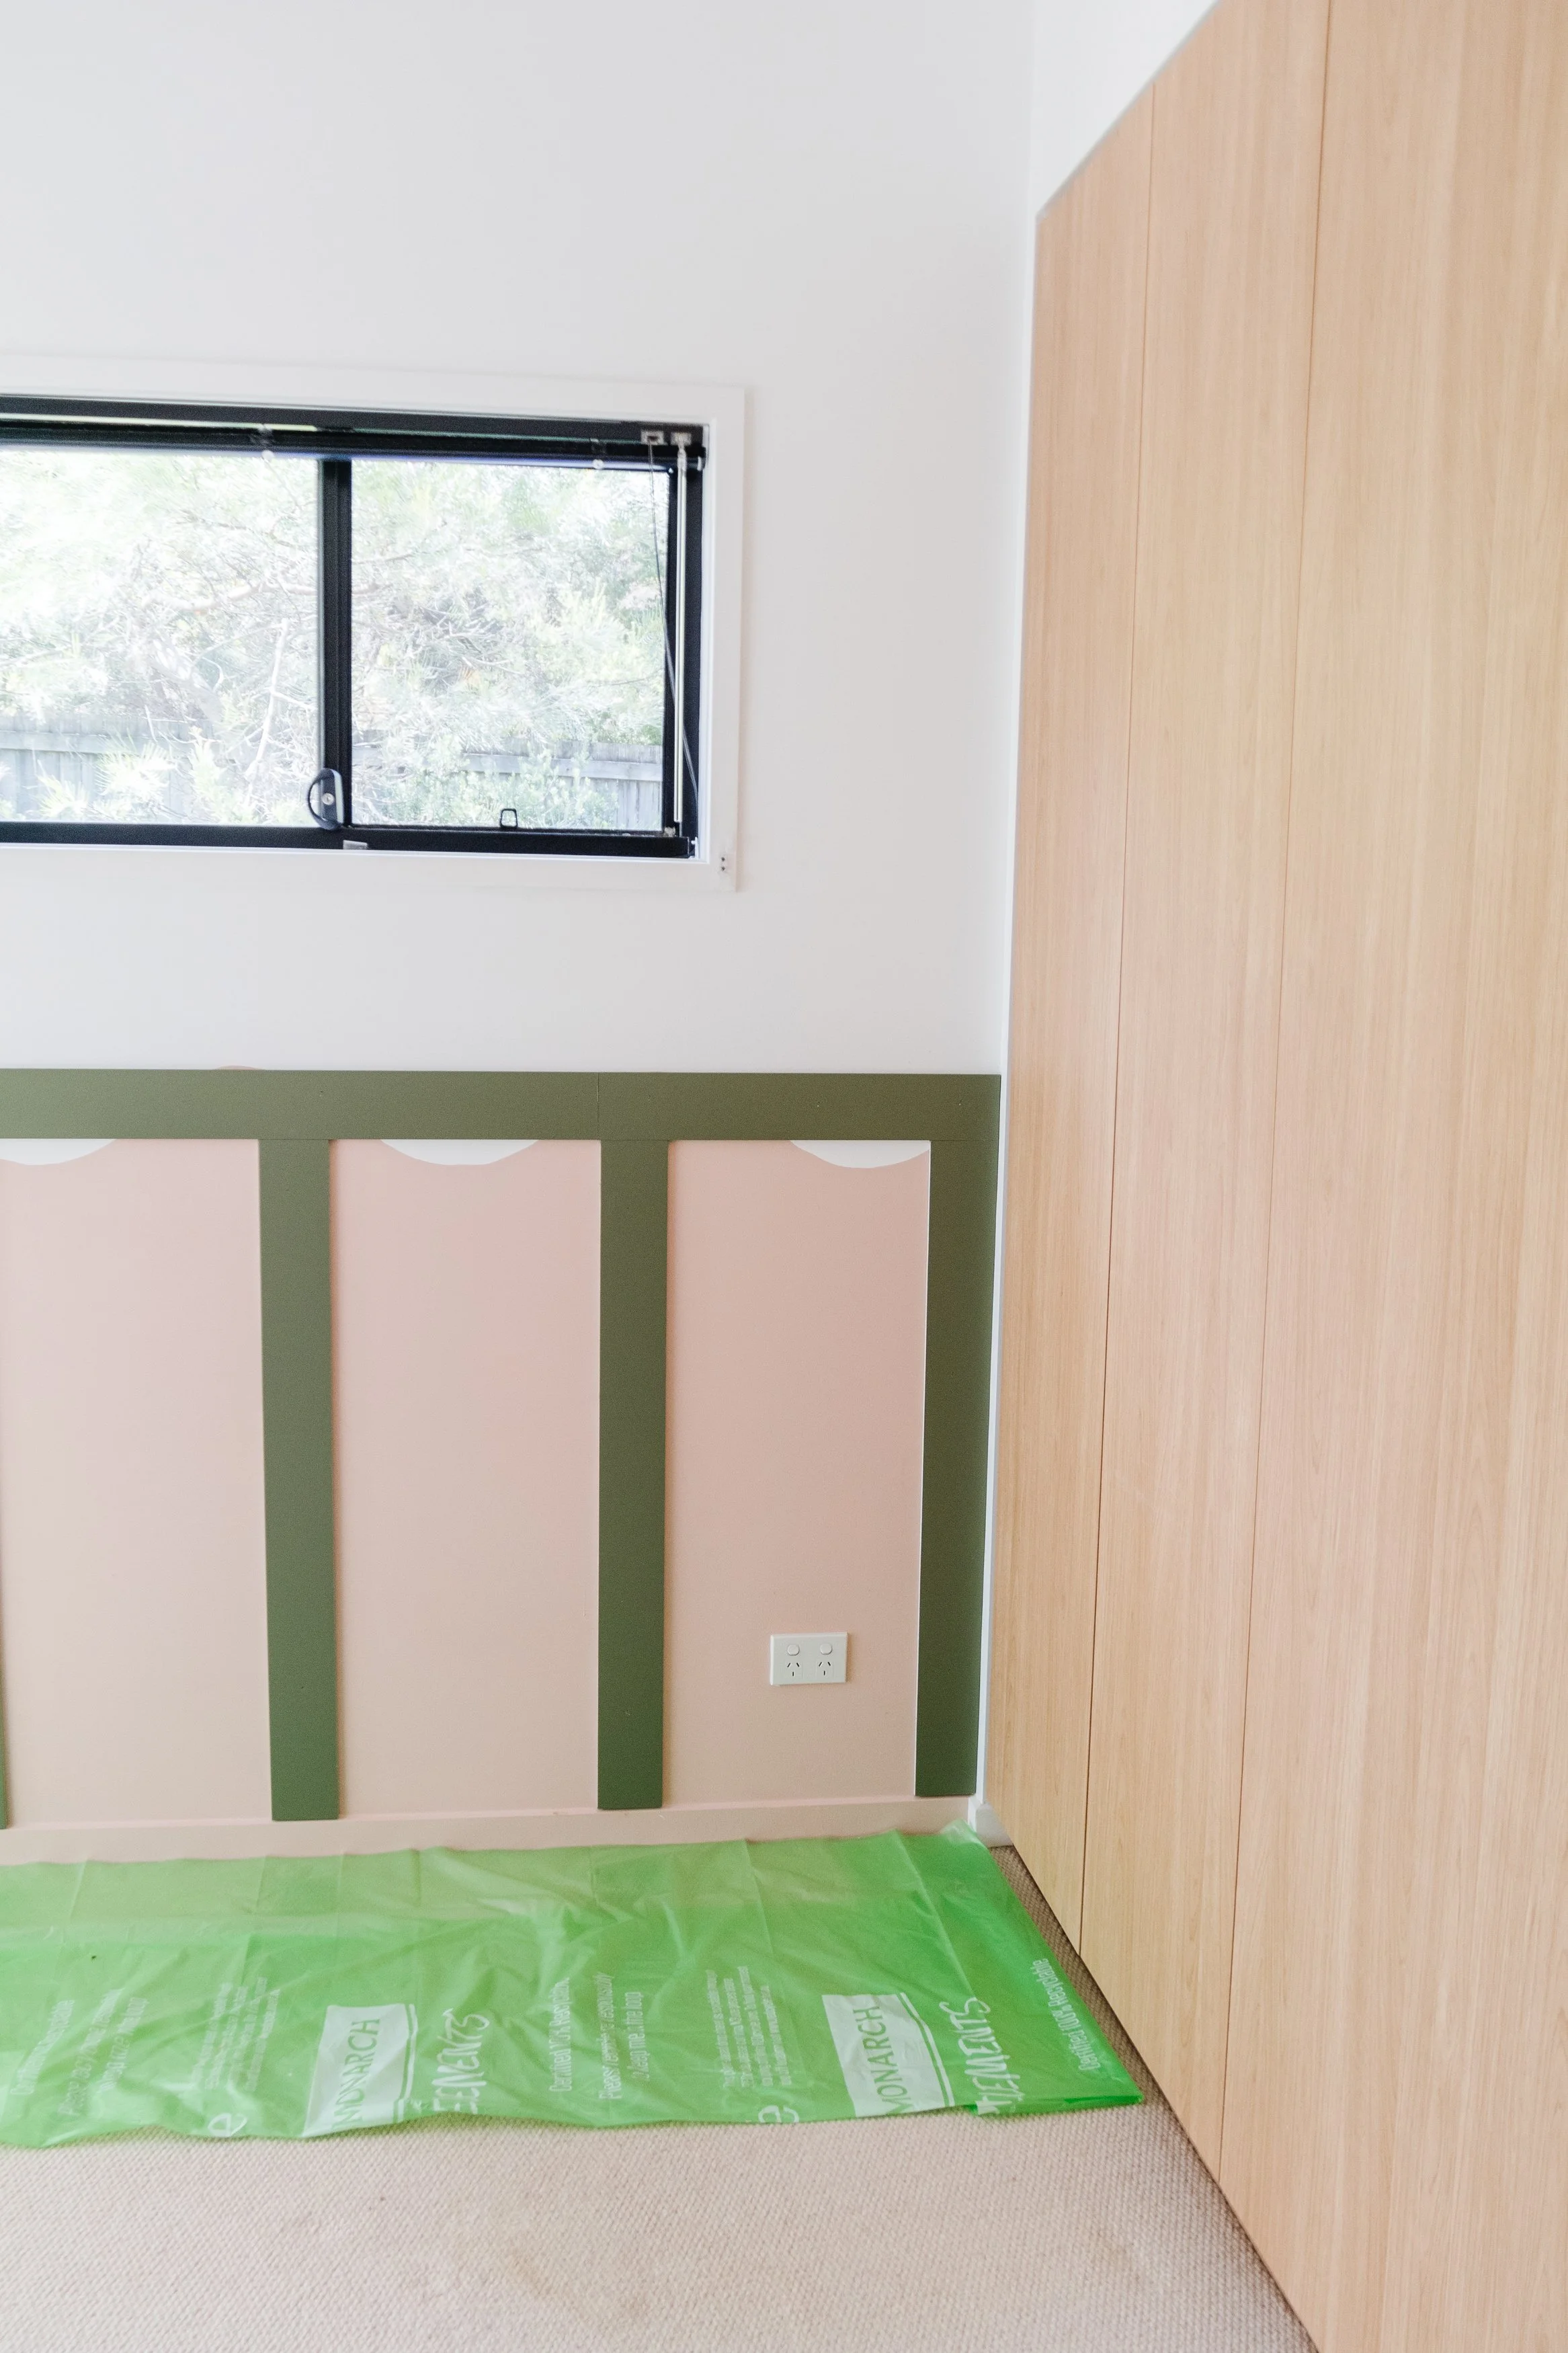
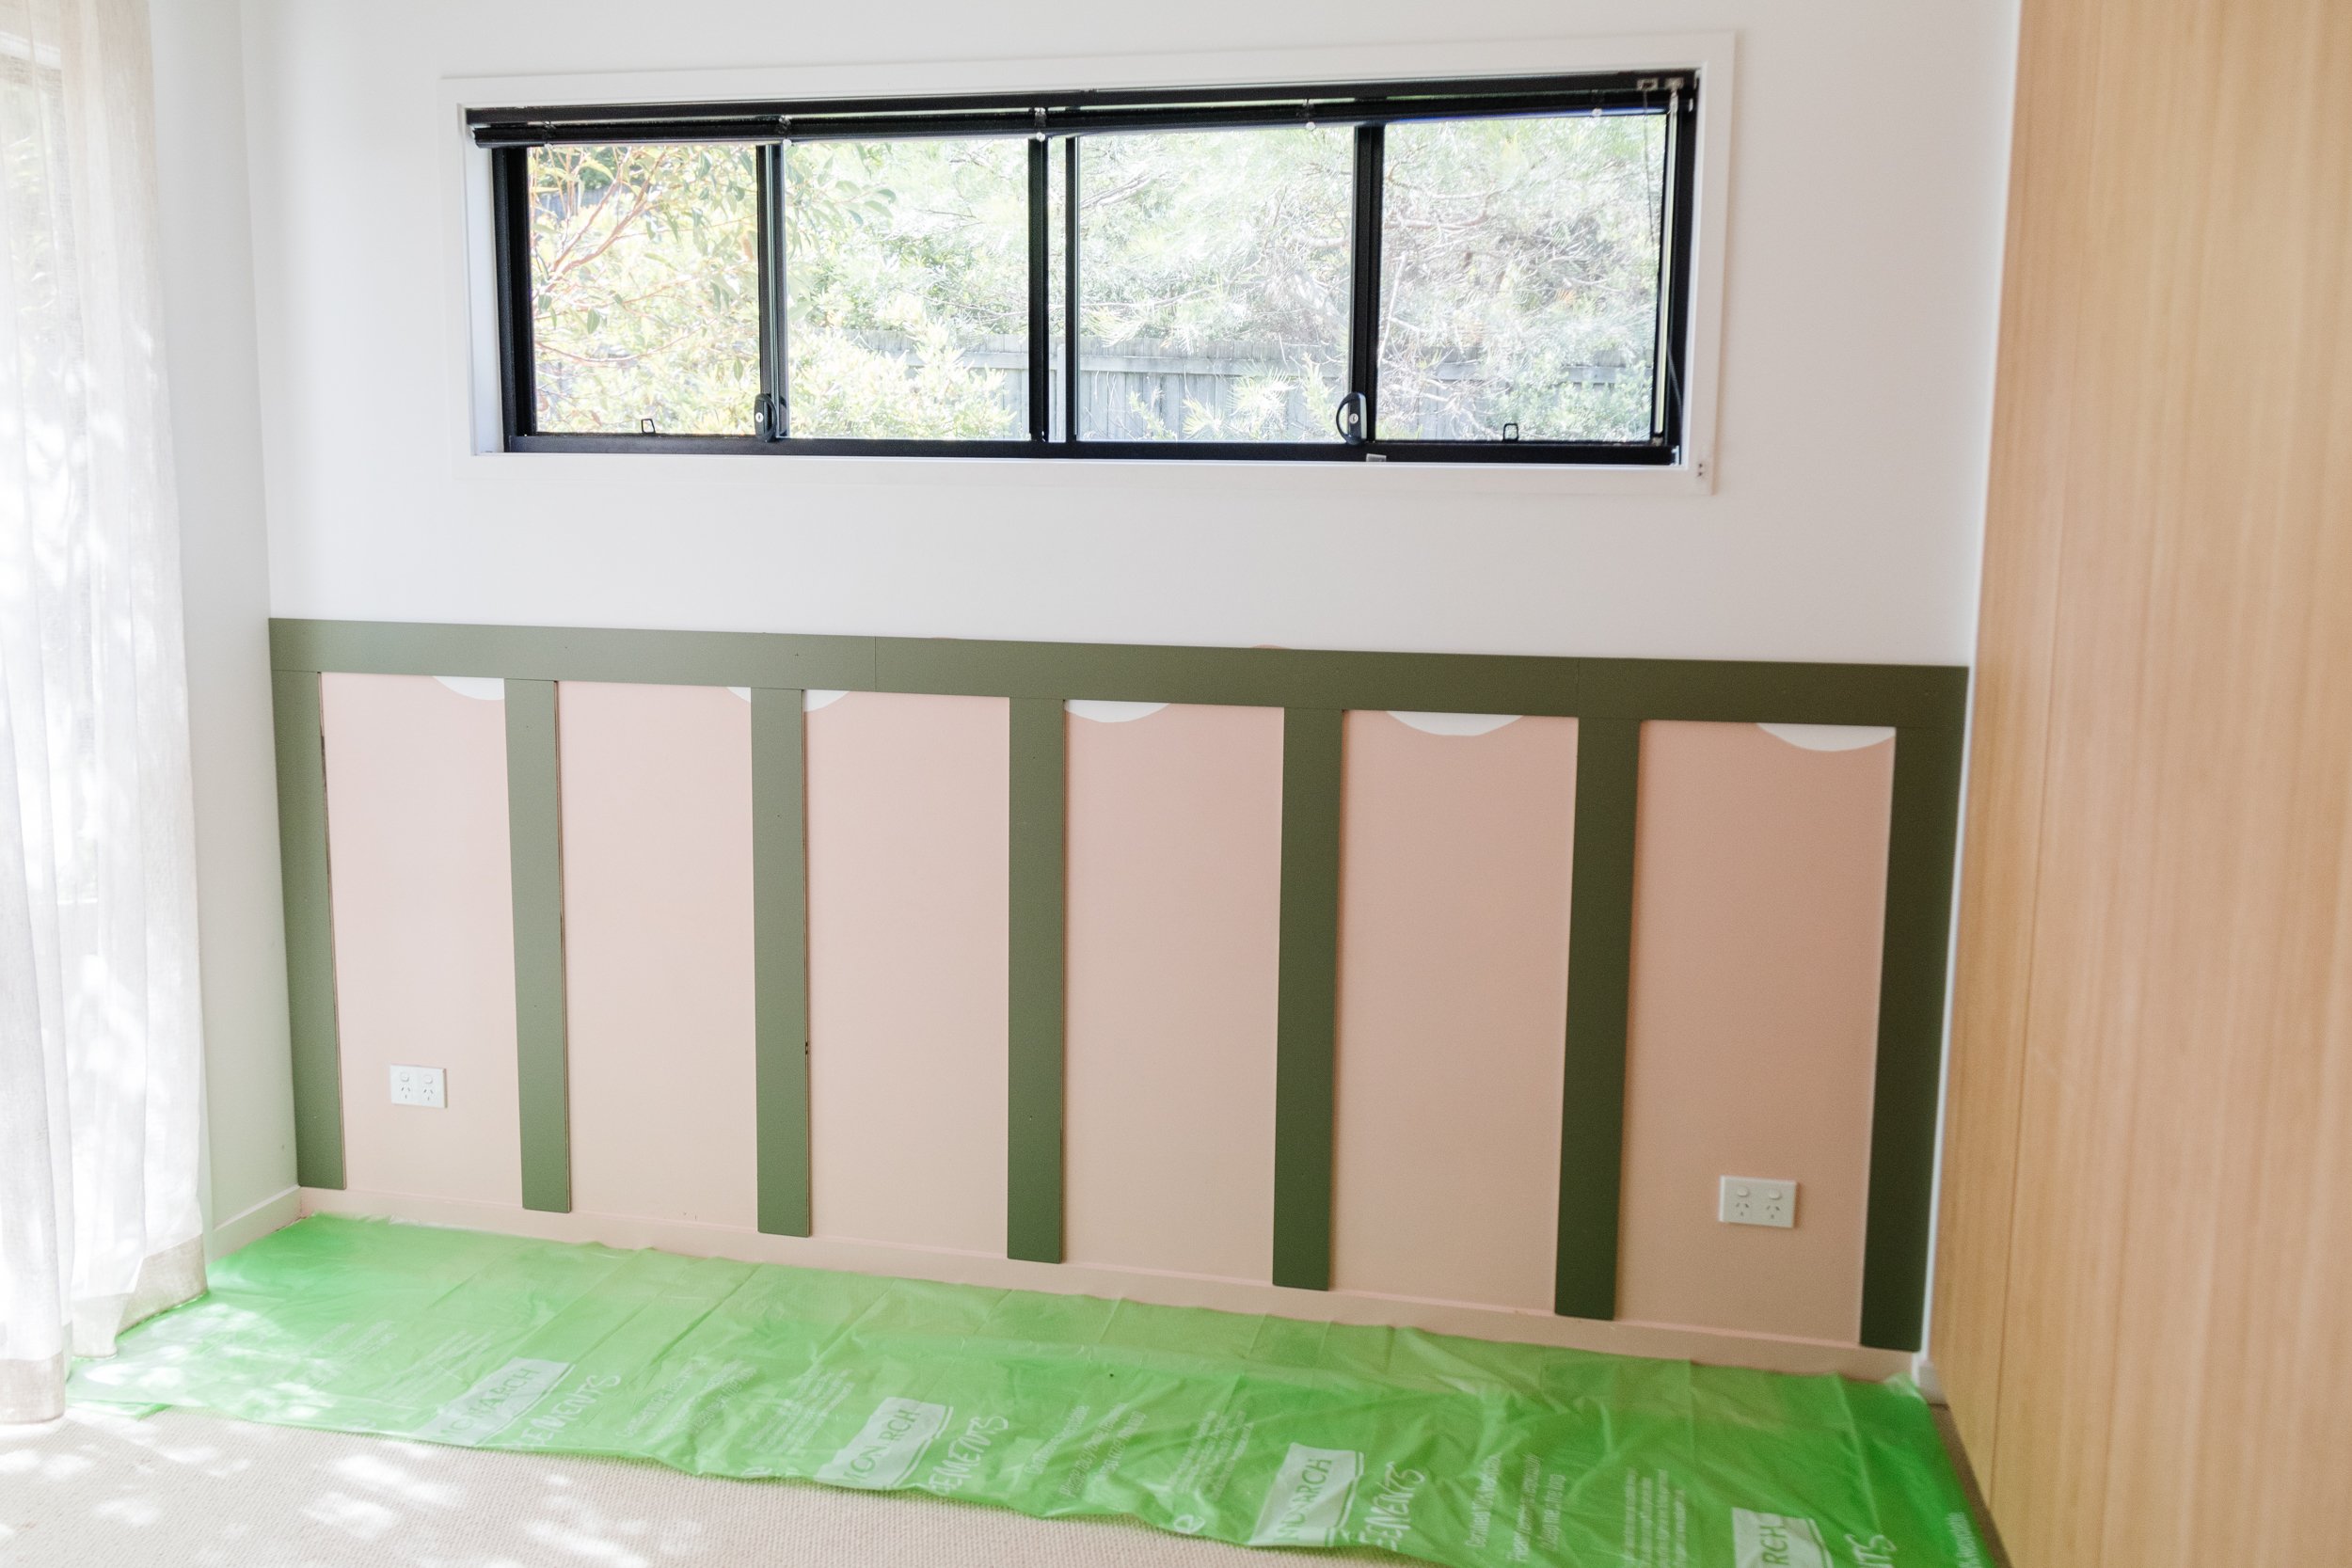
Before & After

Project Details
♻️ Upcycling: DIY Board & Batten
🕒 Project Time Estimate: 1 day
💰 Materials Cost: $250
Materials
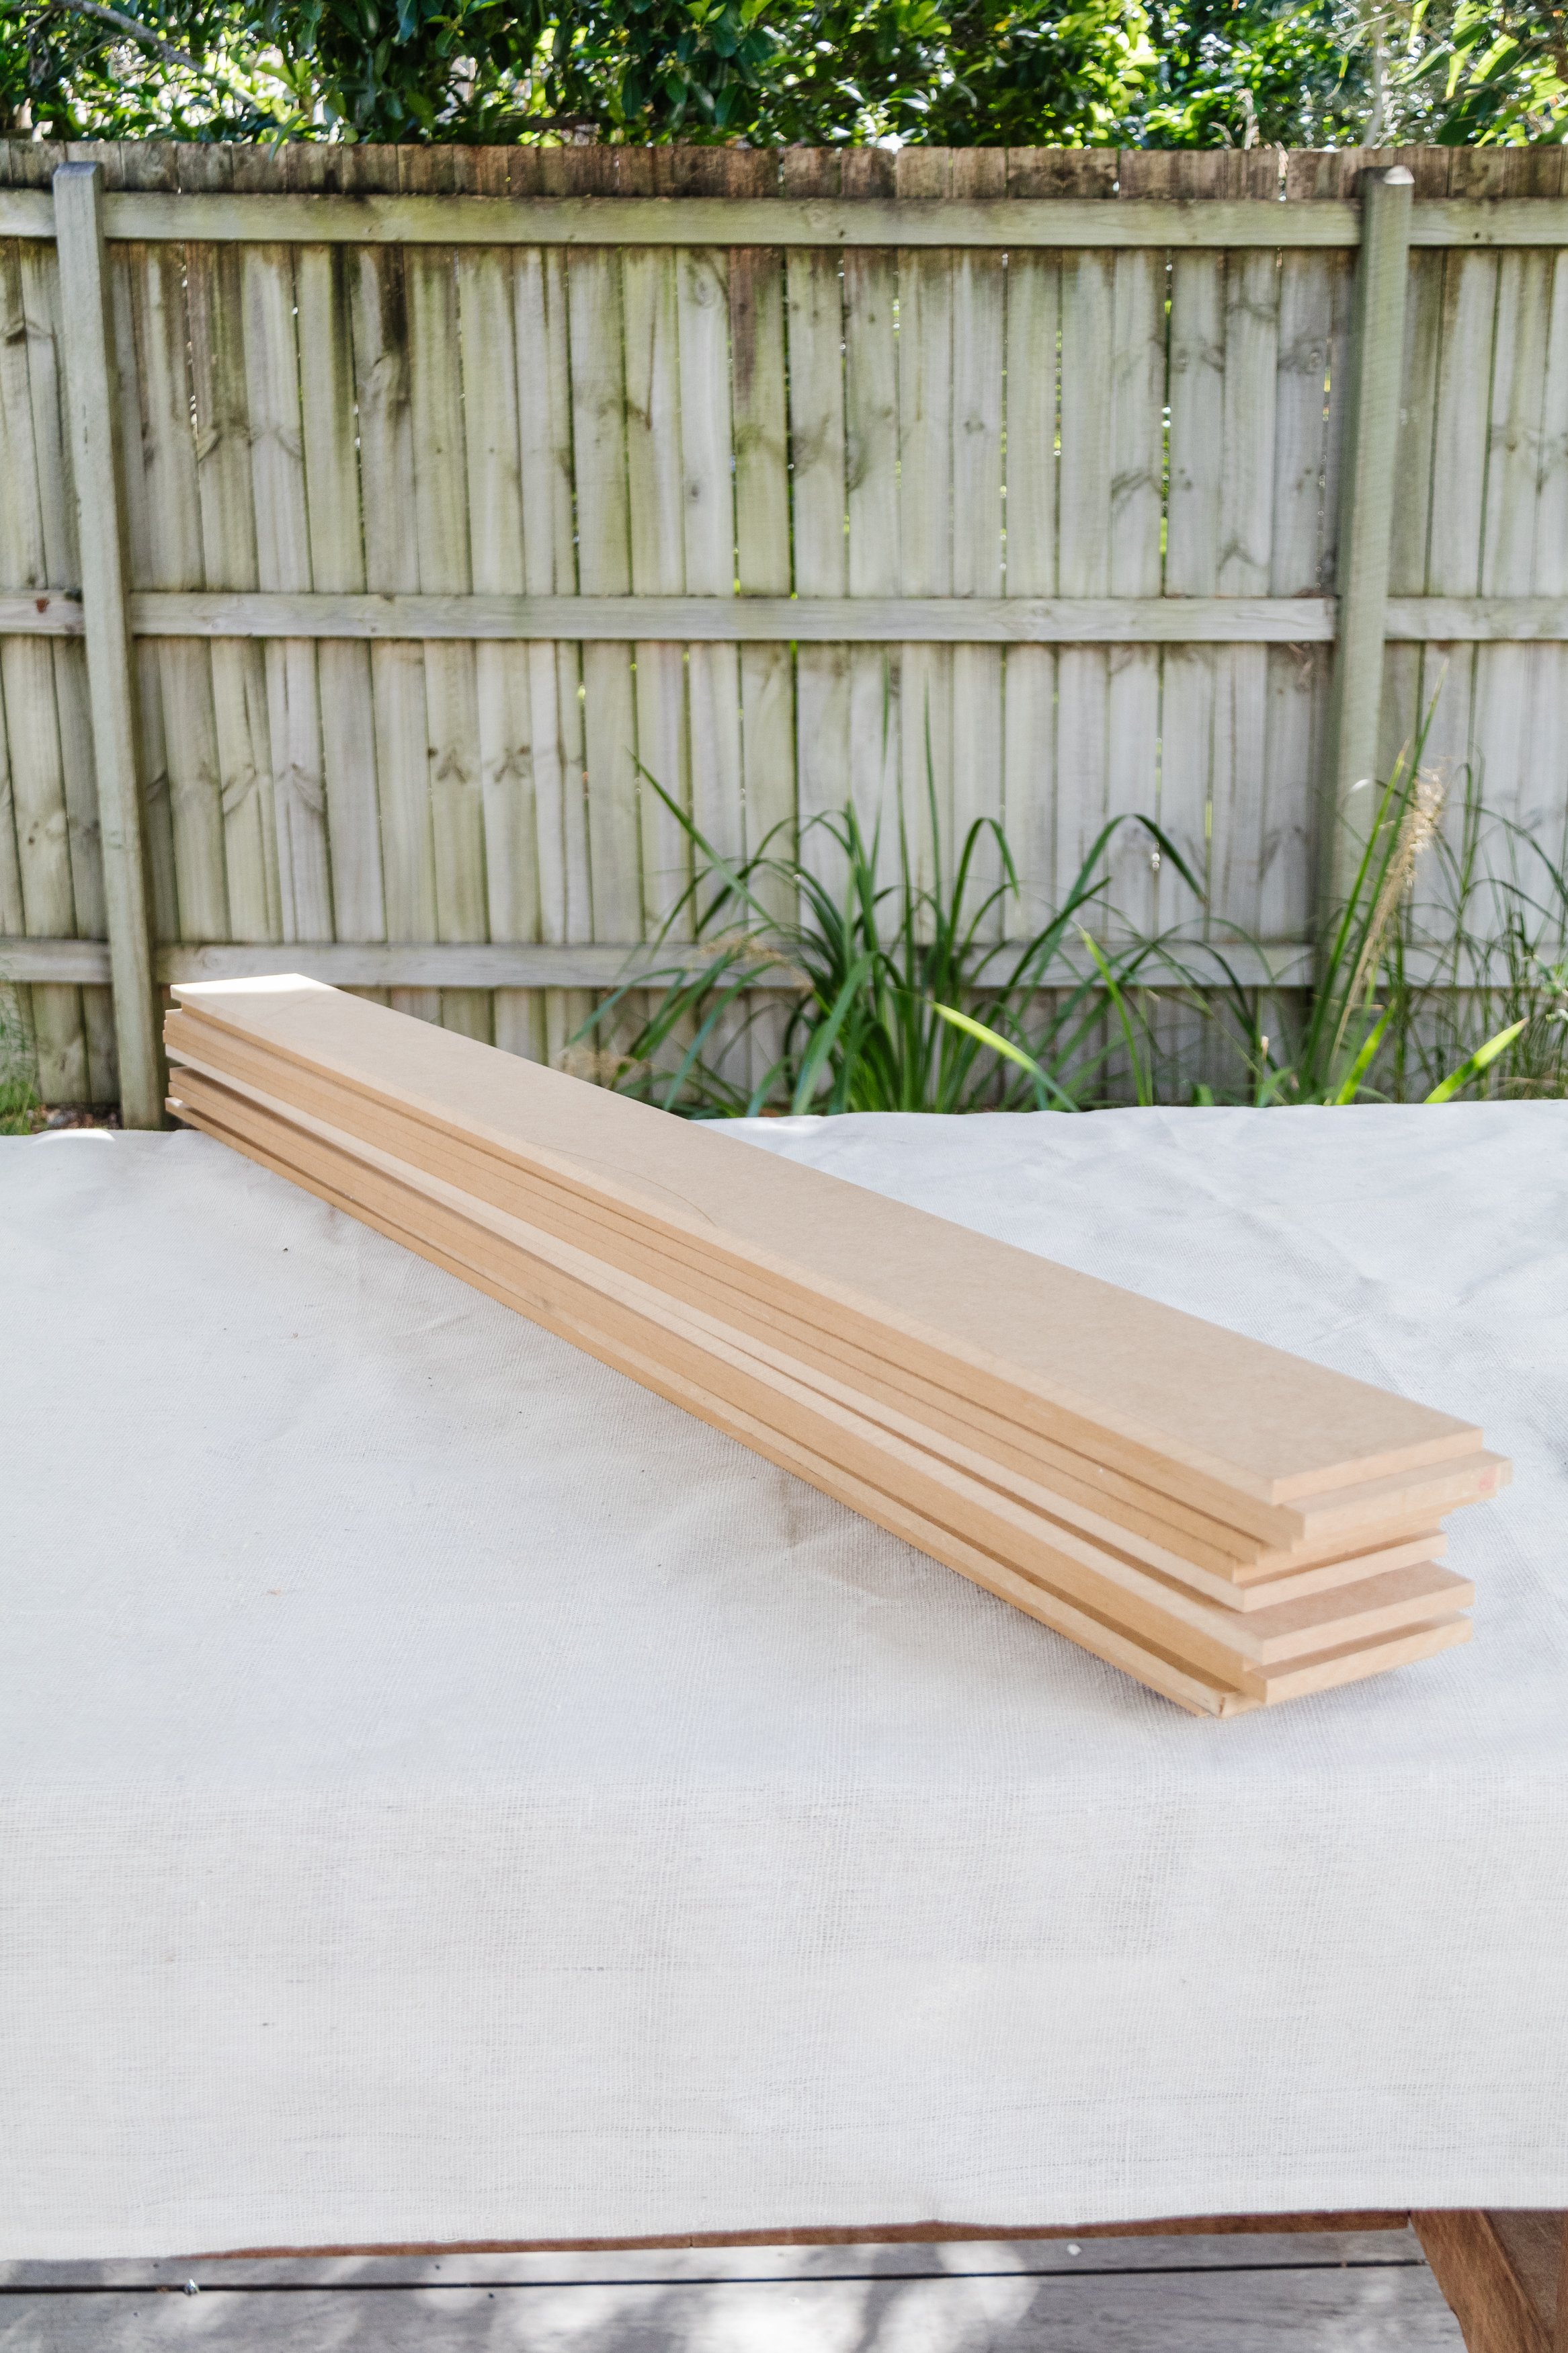
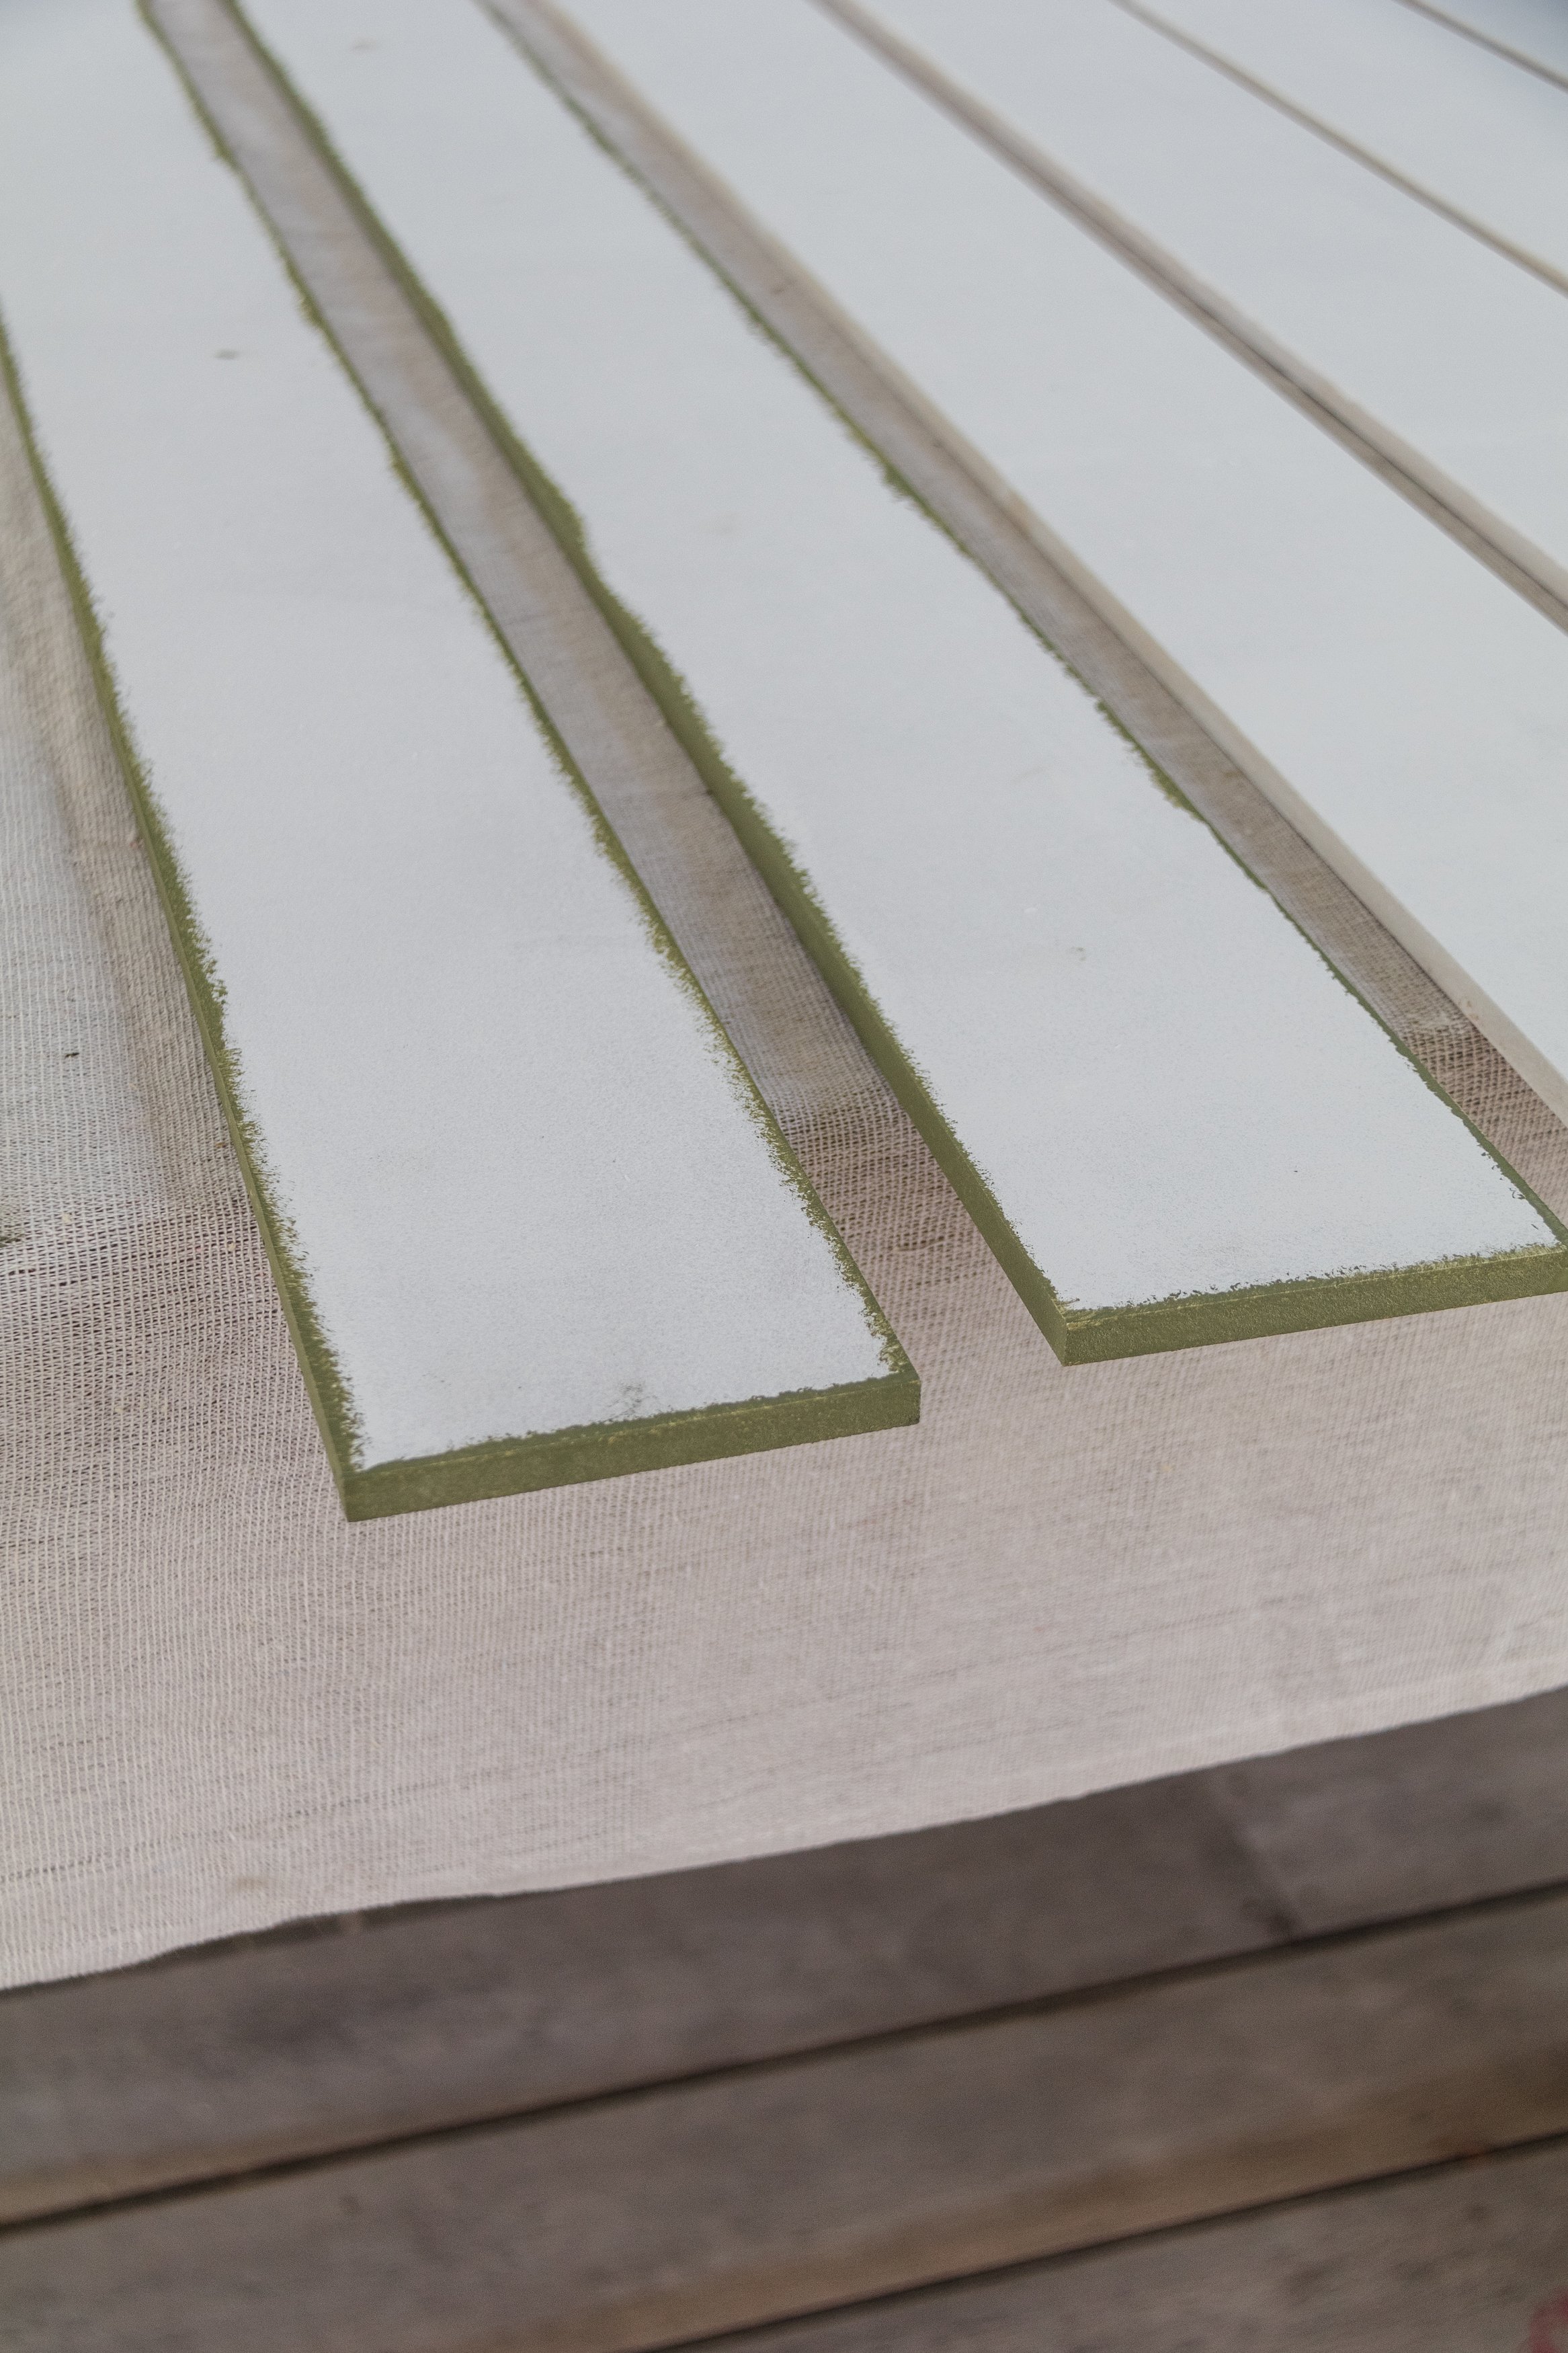
12 pieces 1200mm x 100mm 12mm MDF
White primer paint
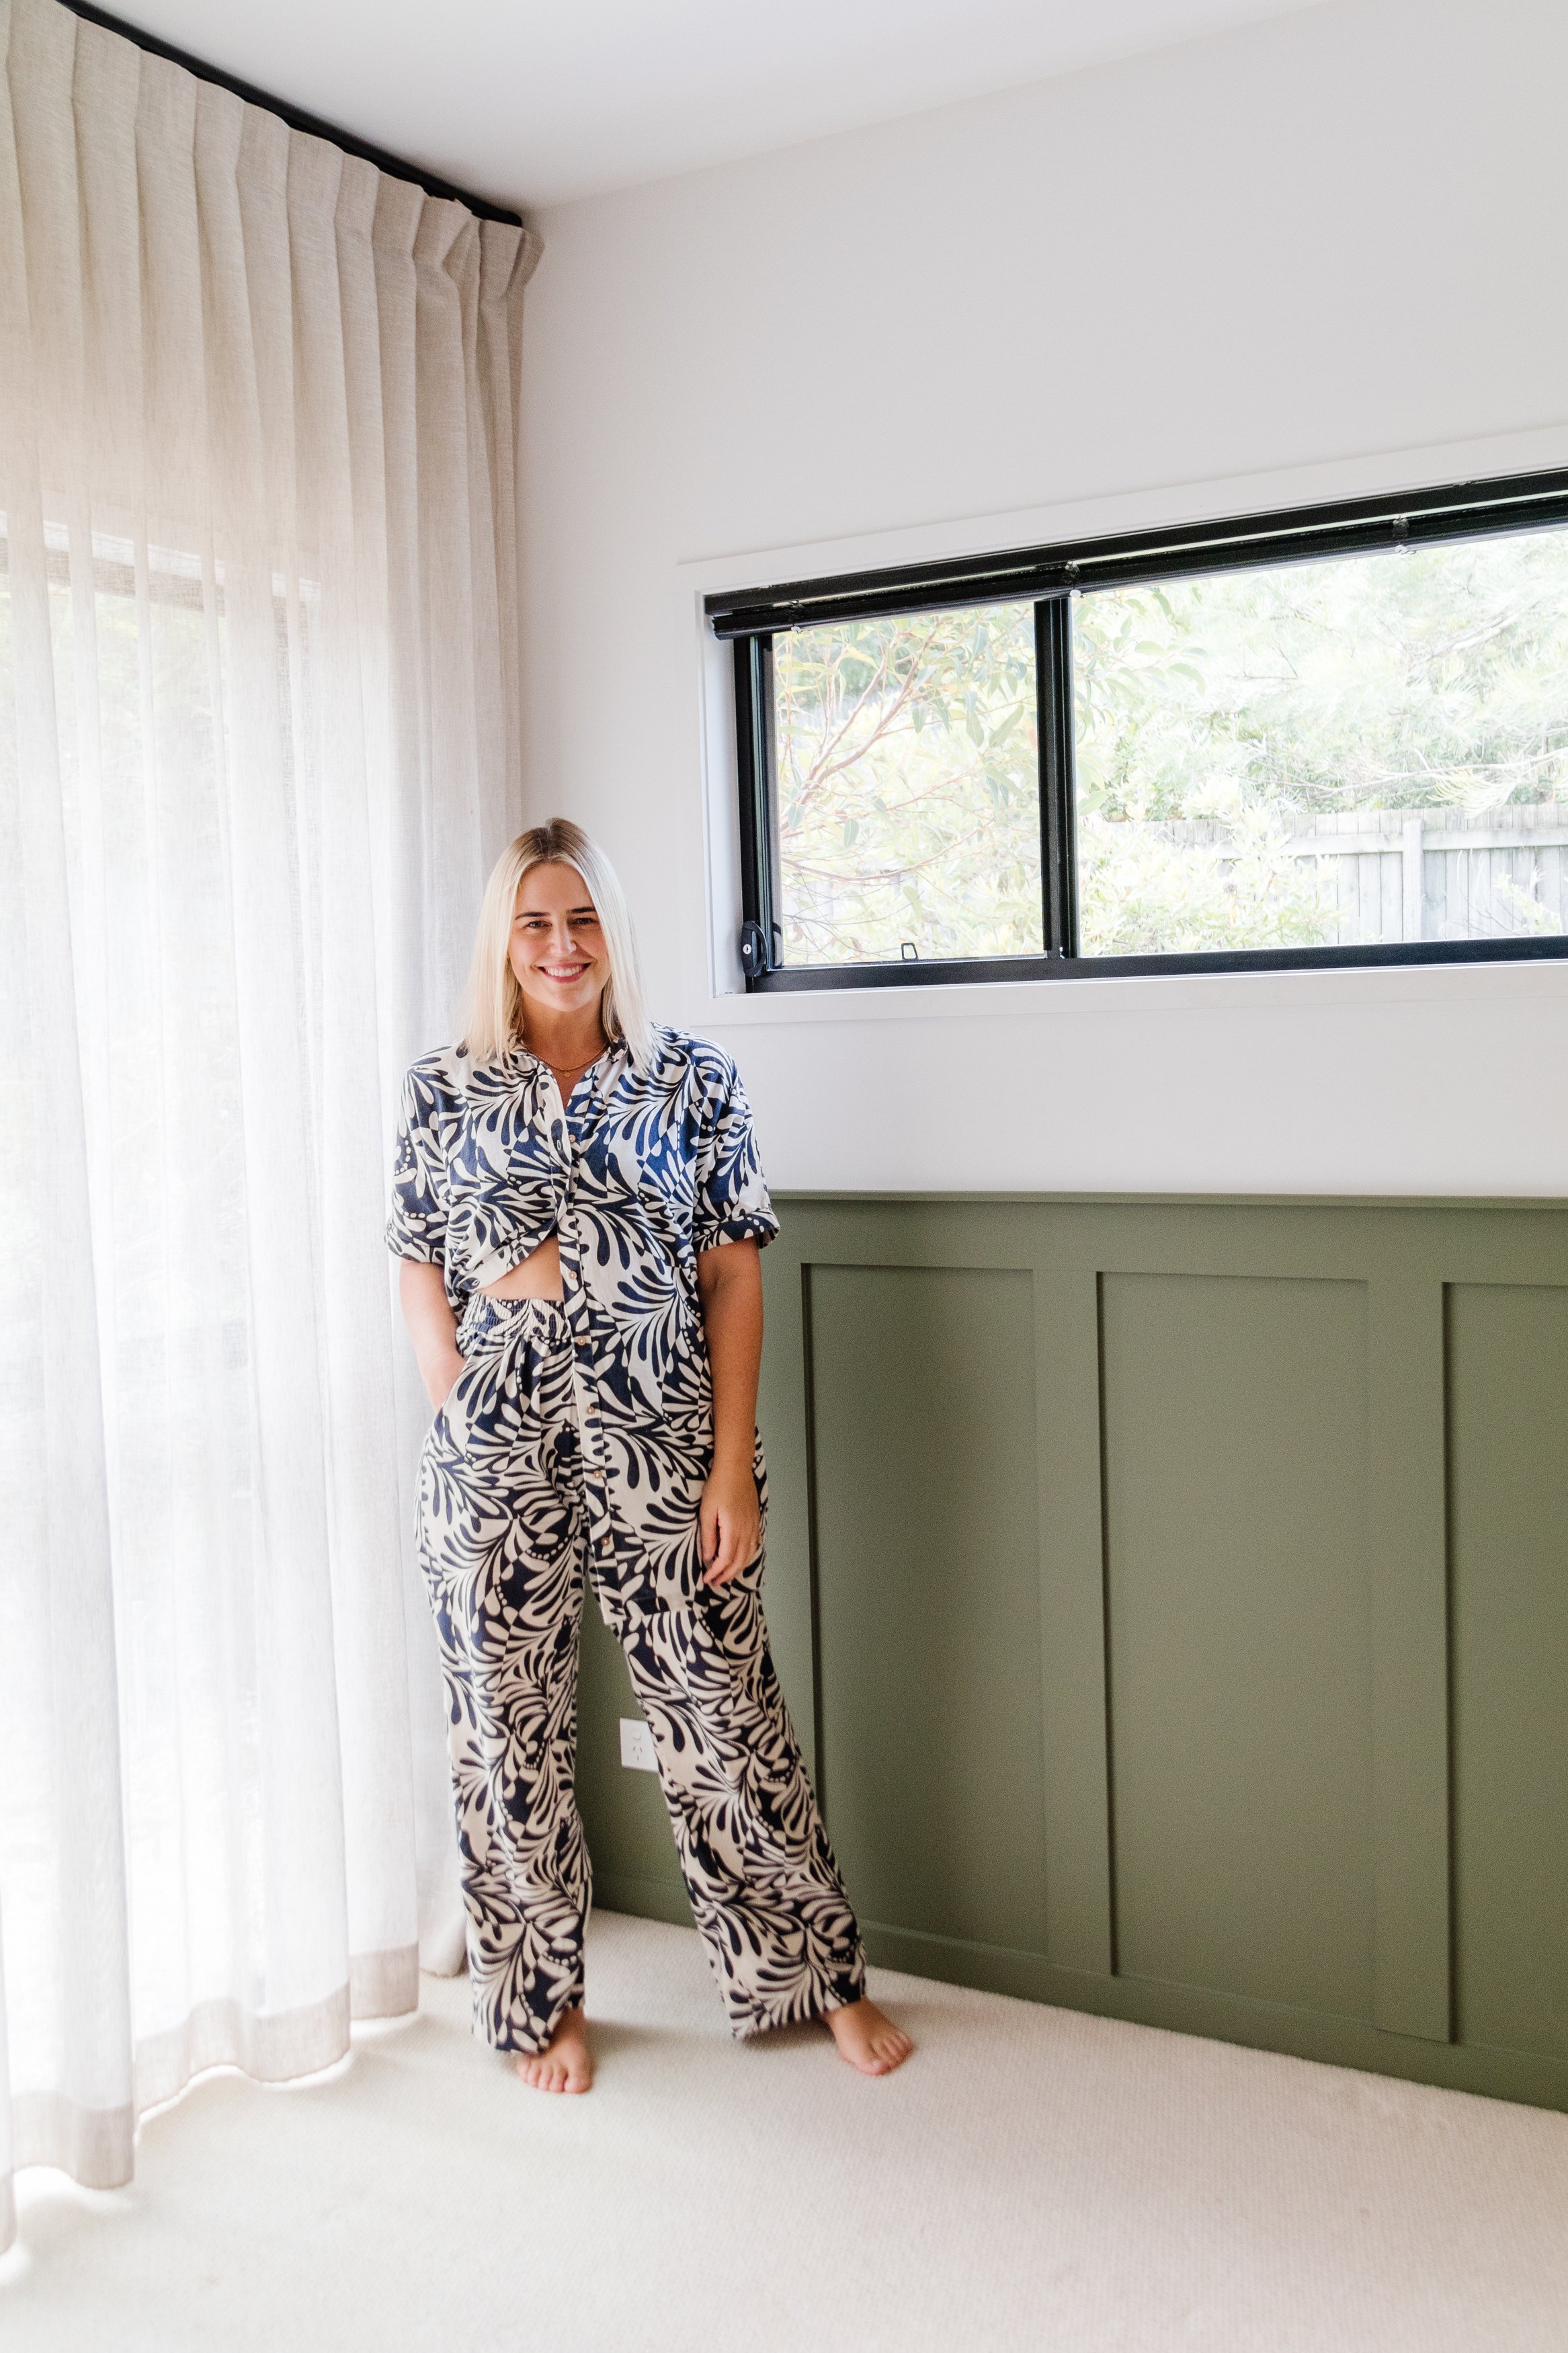
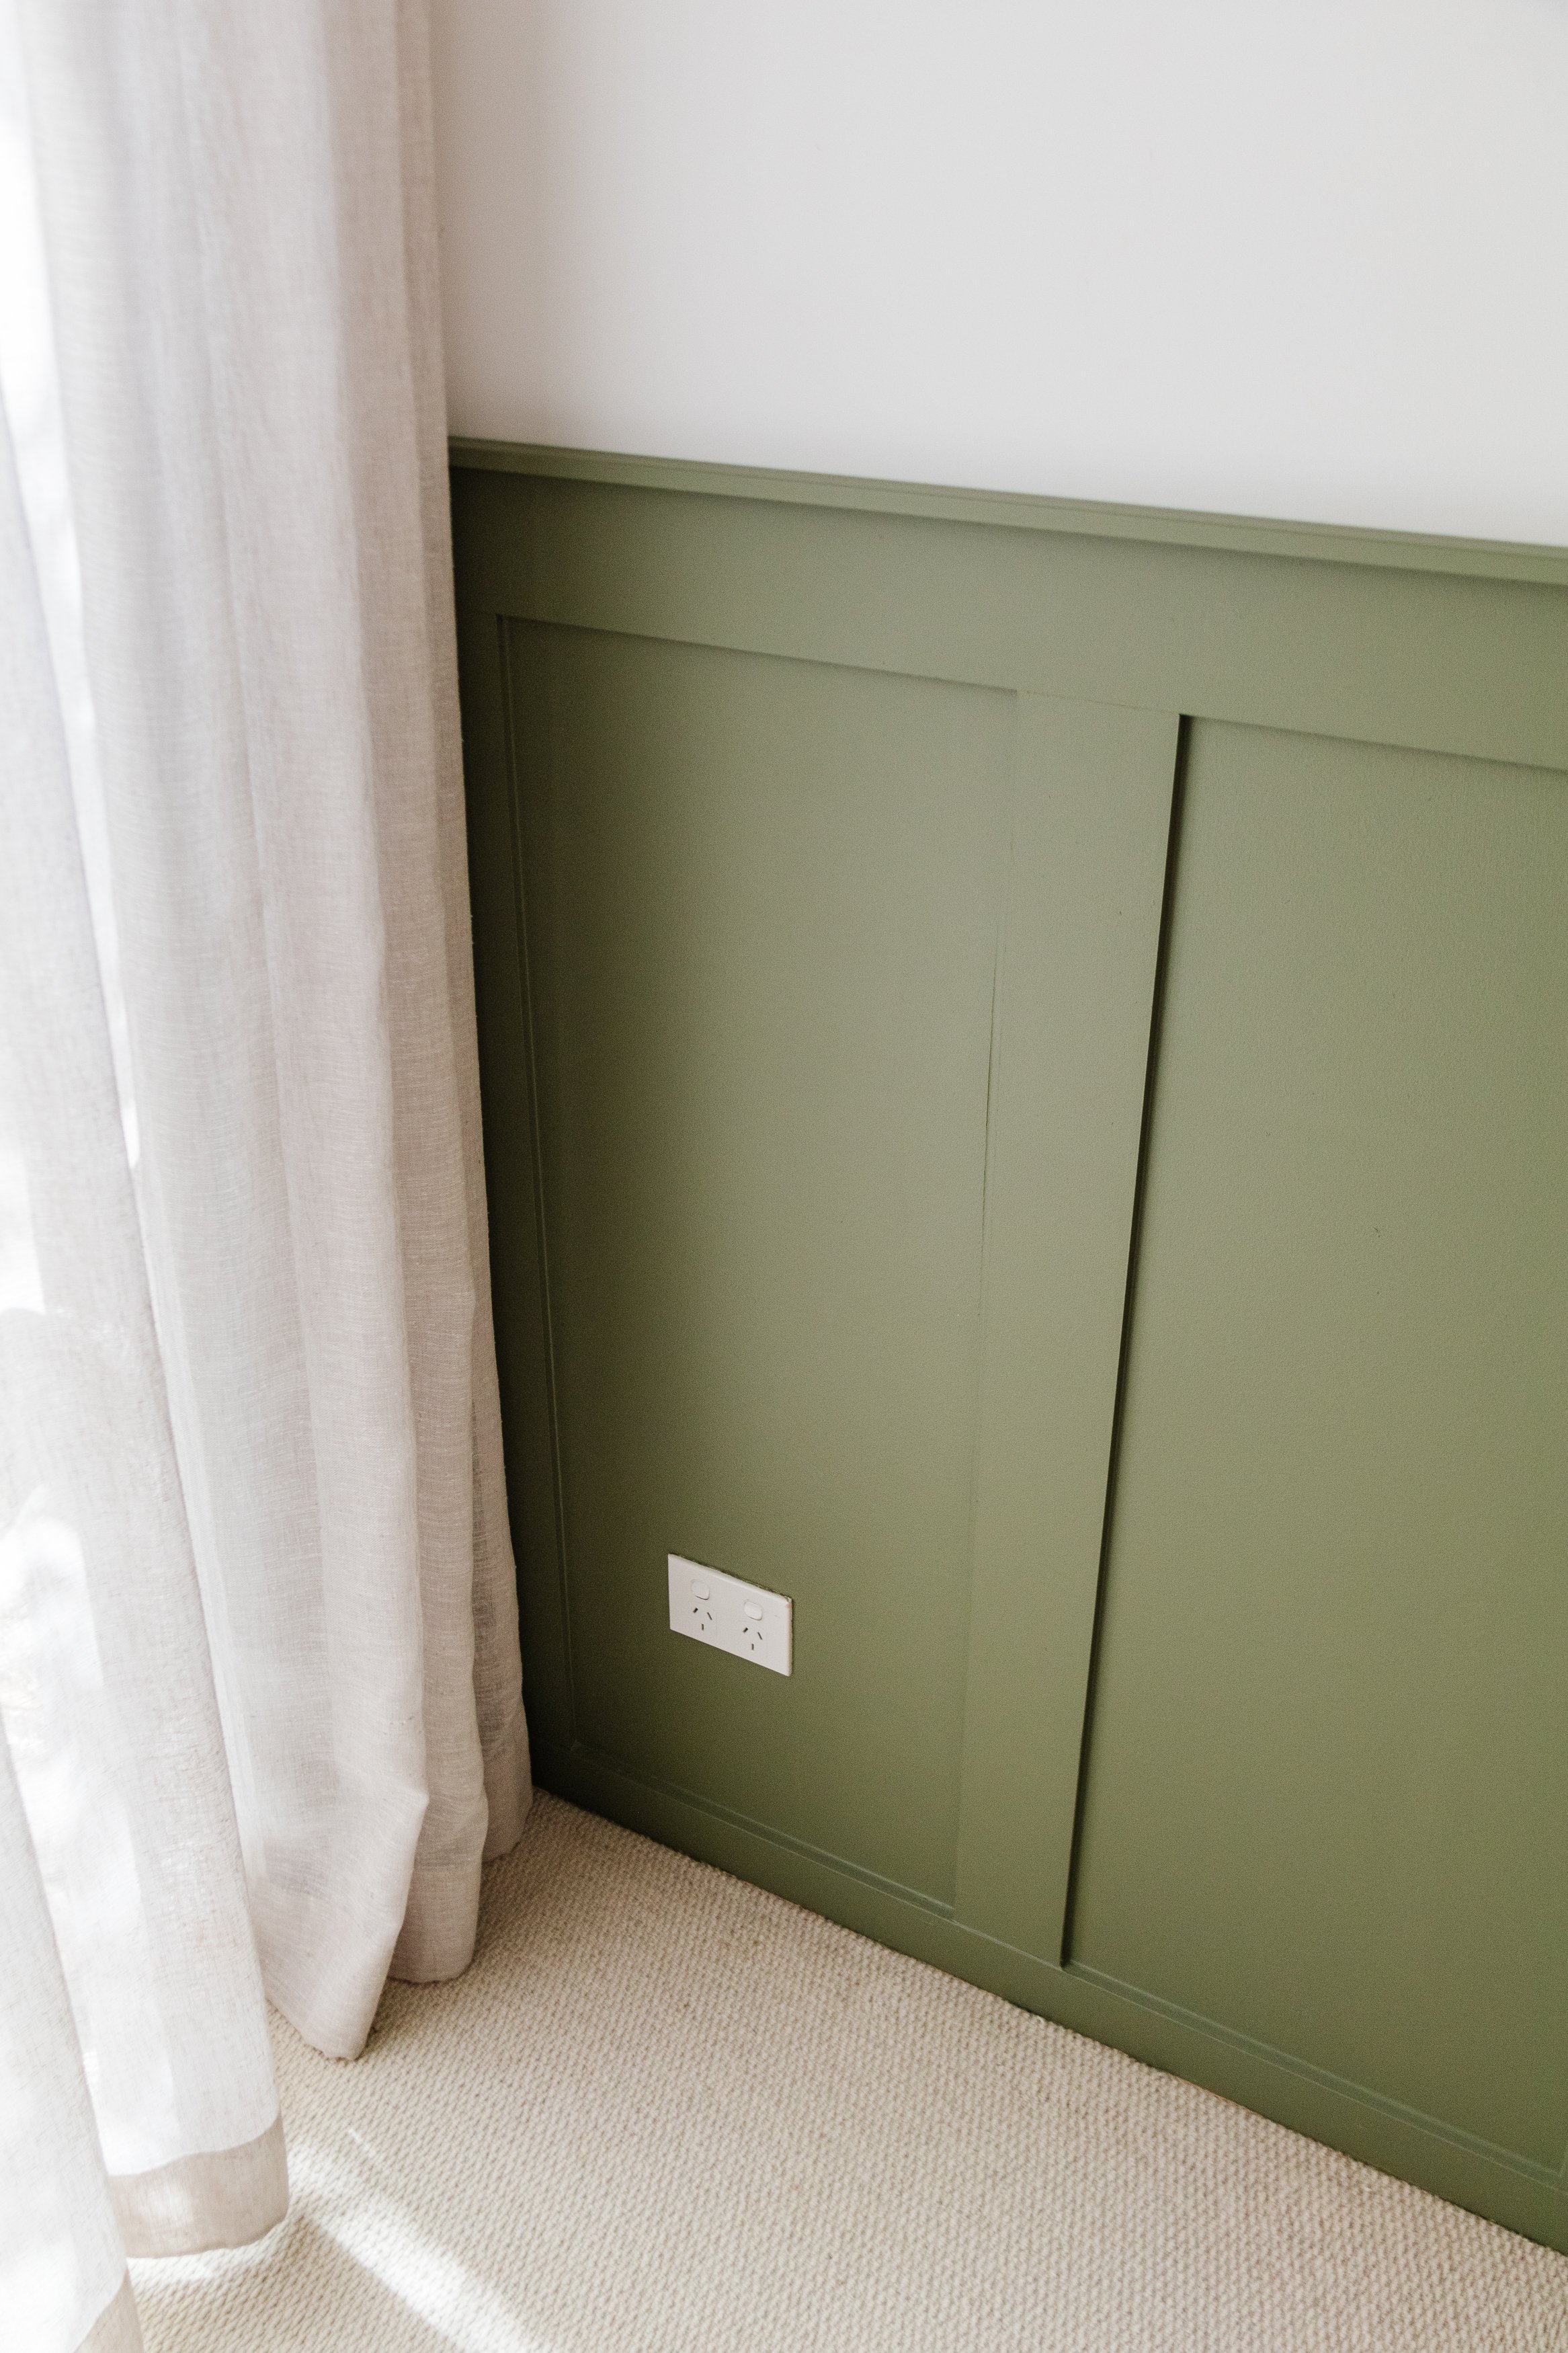
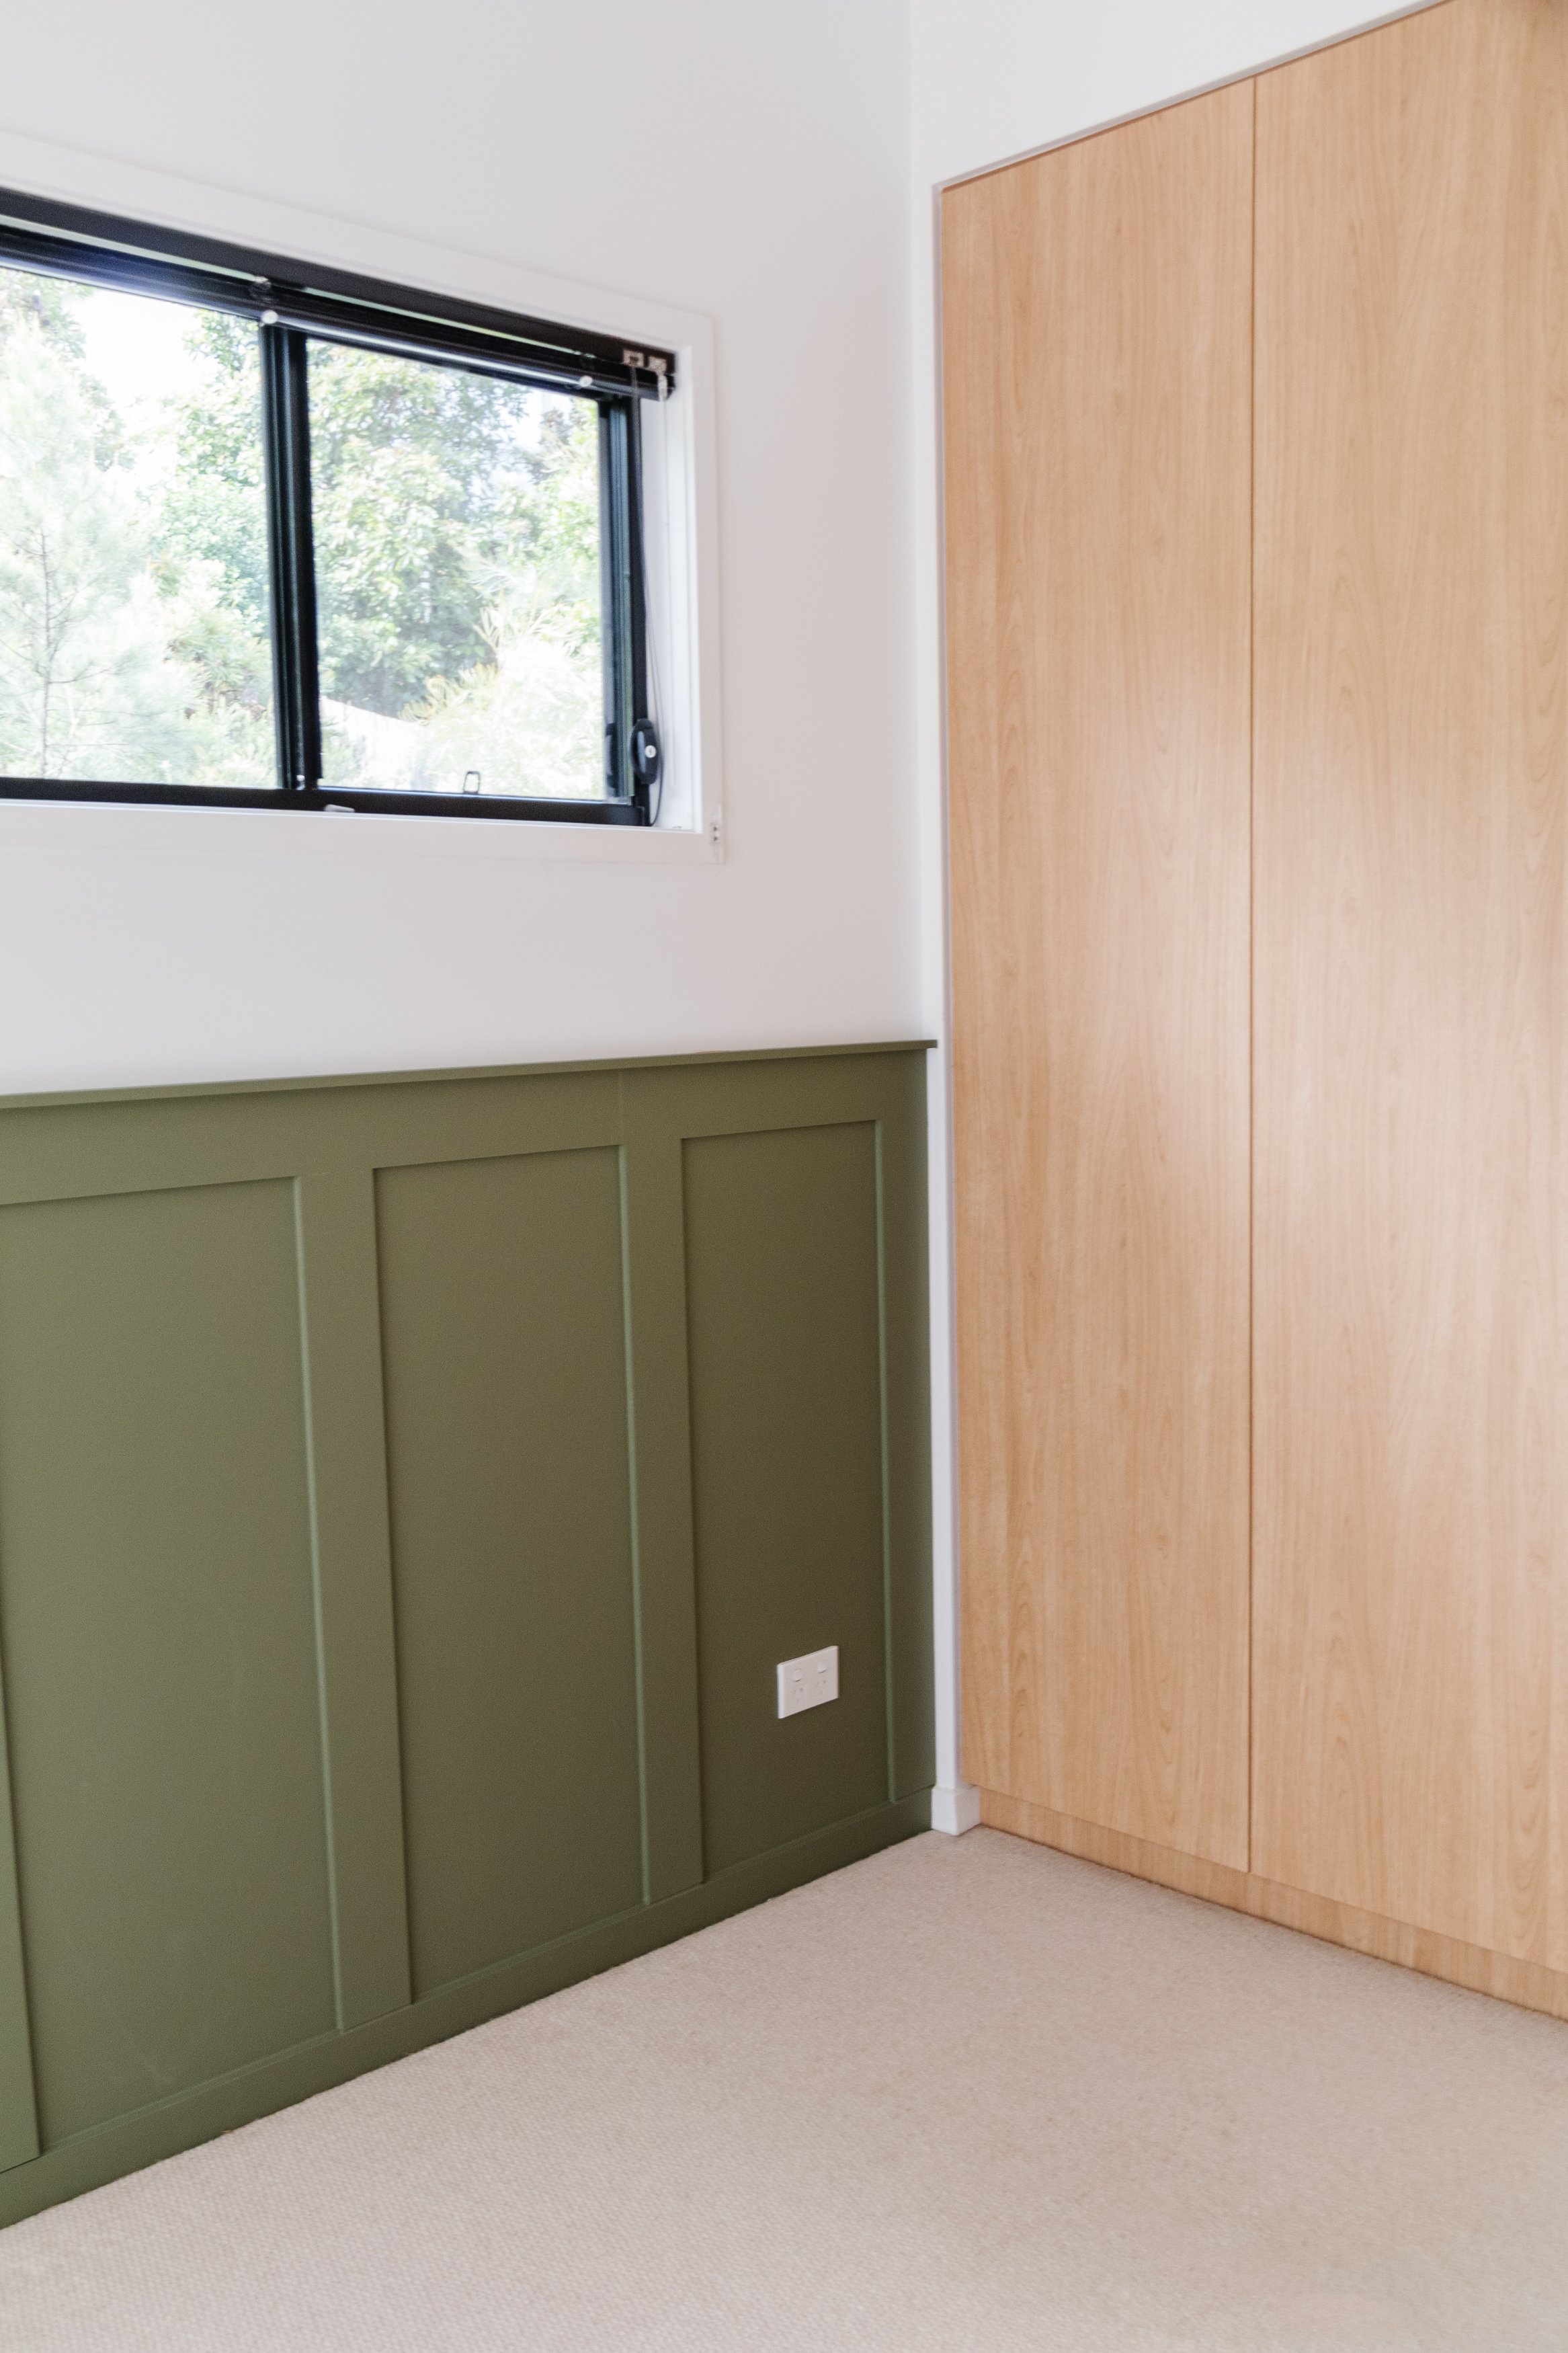
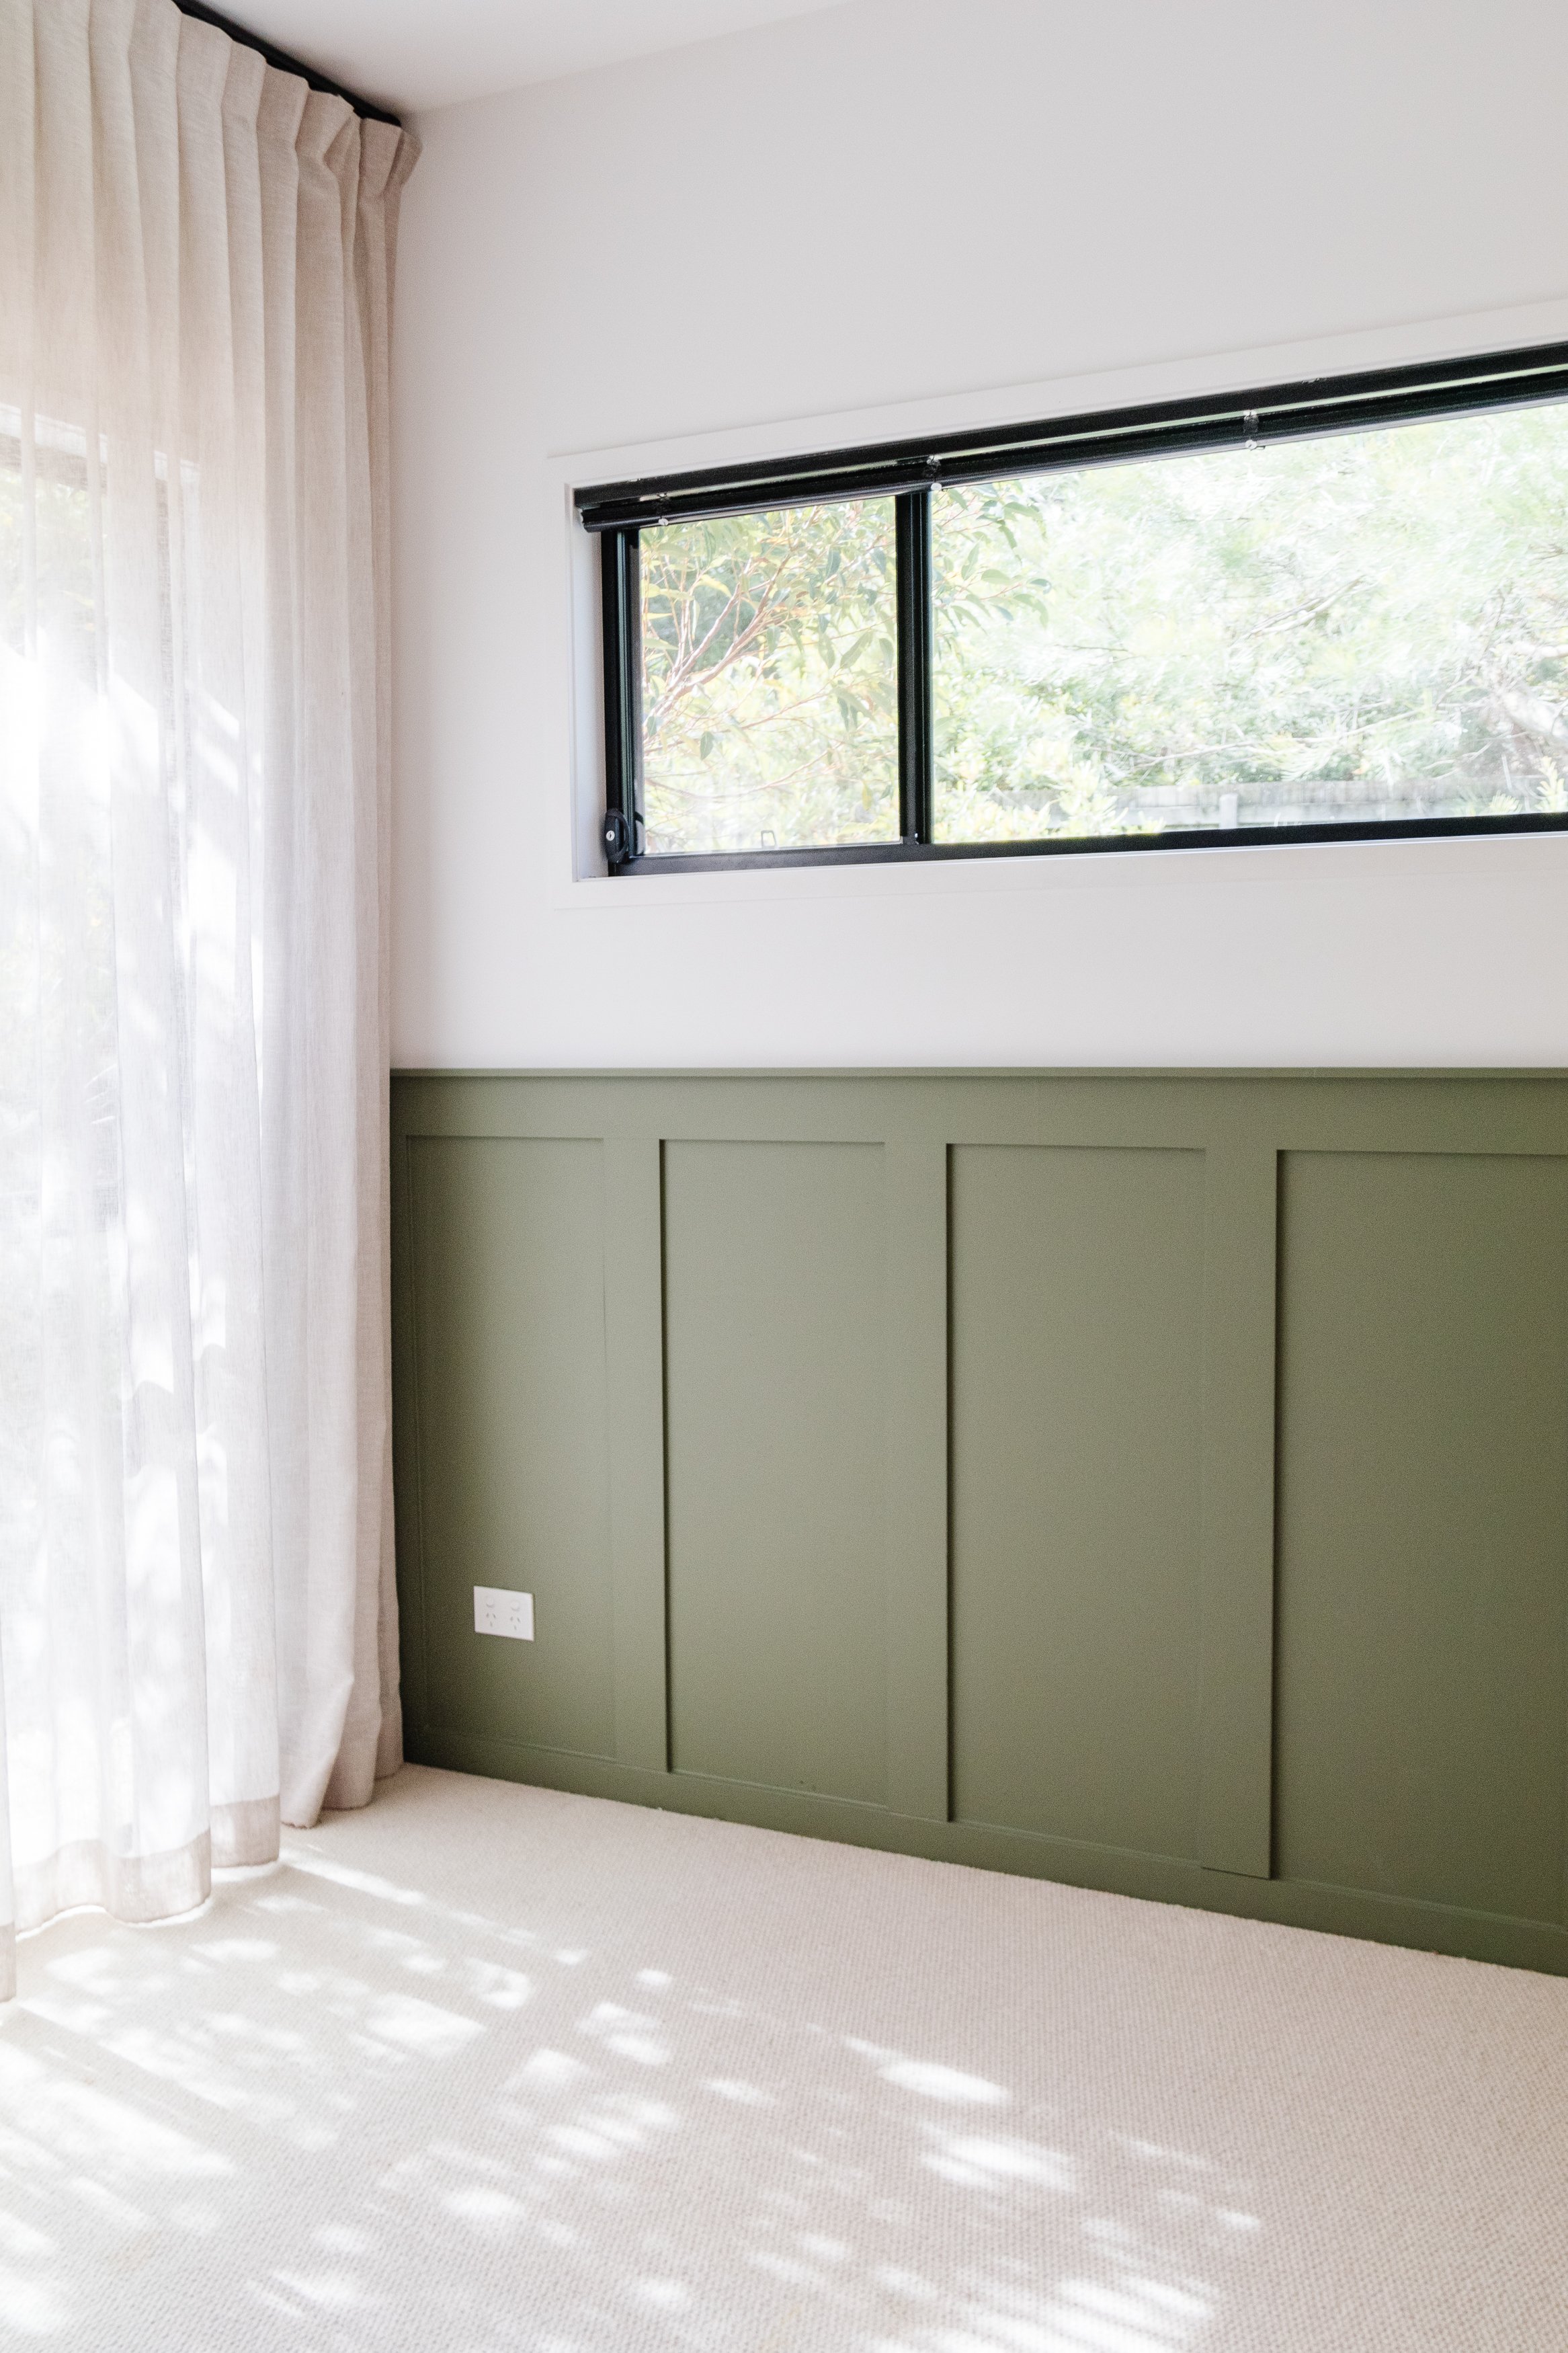
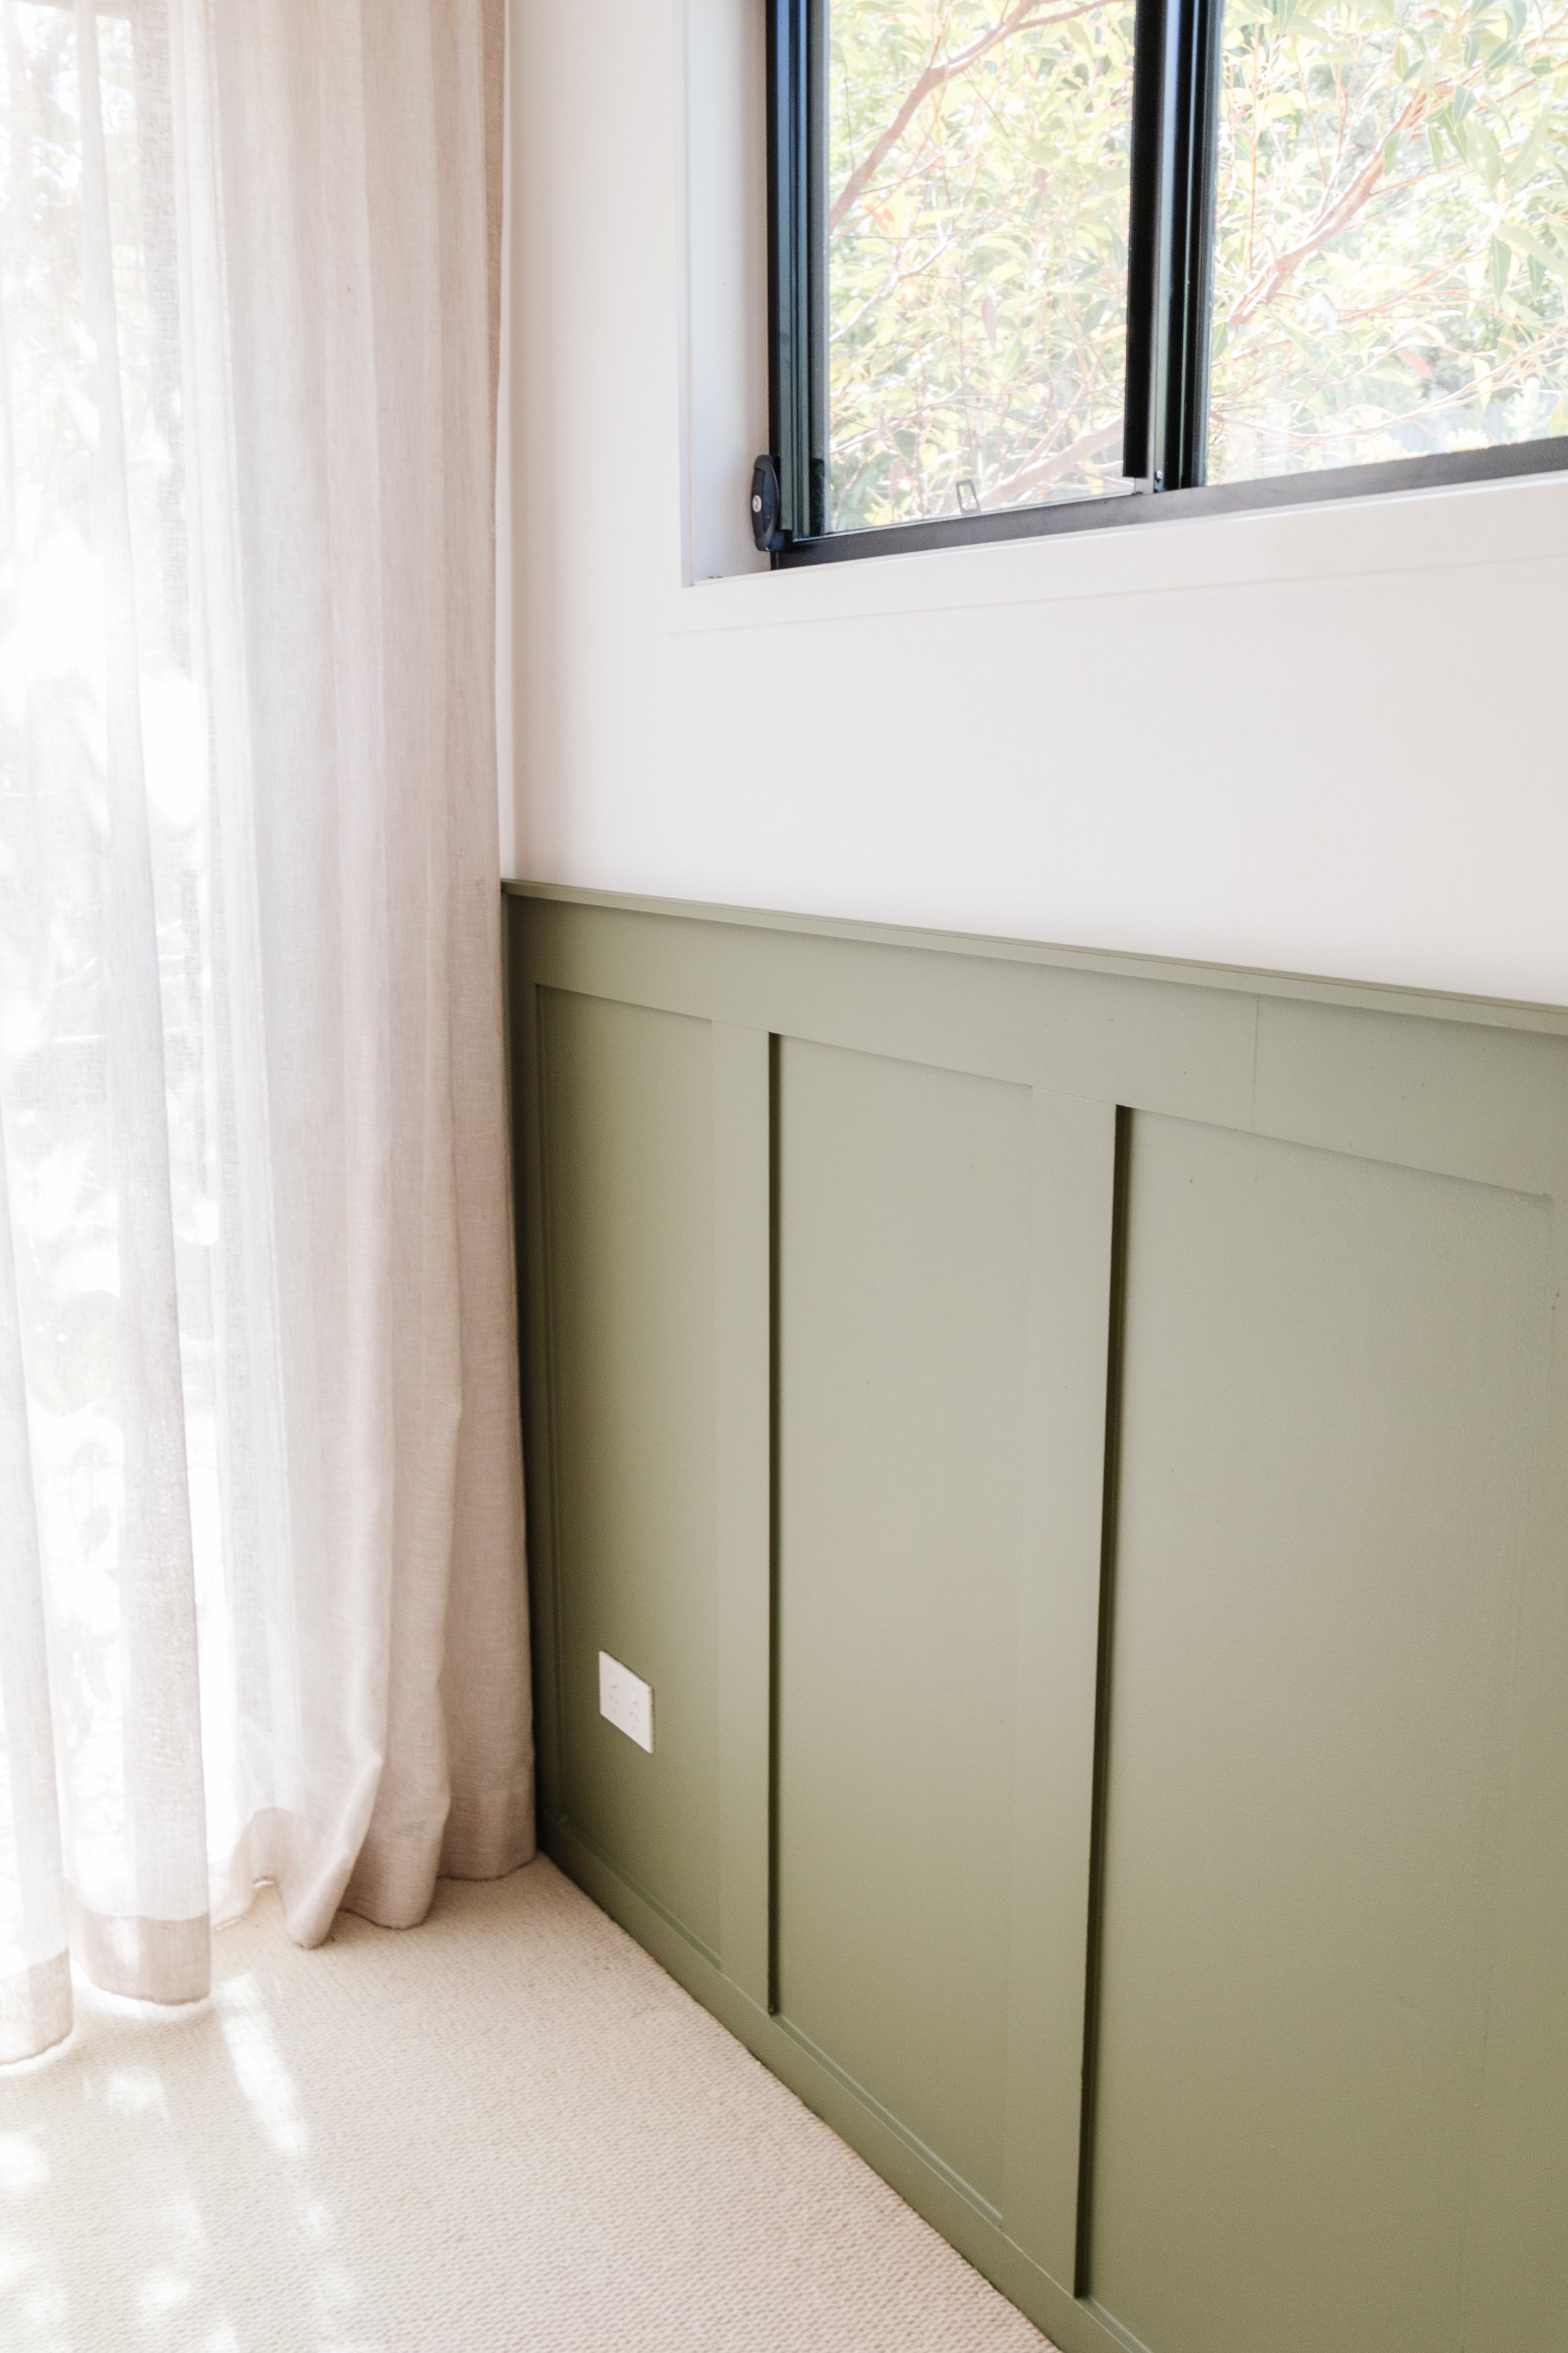
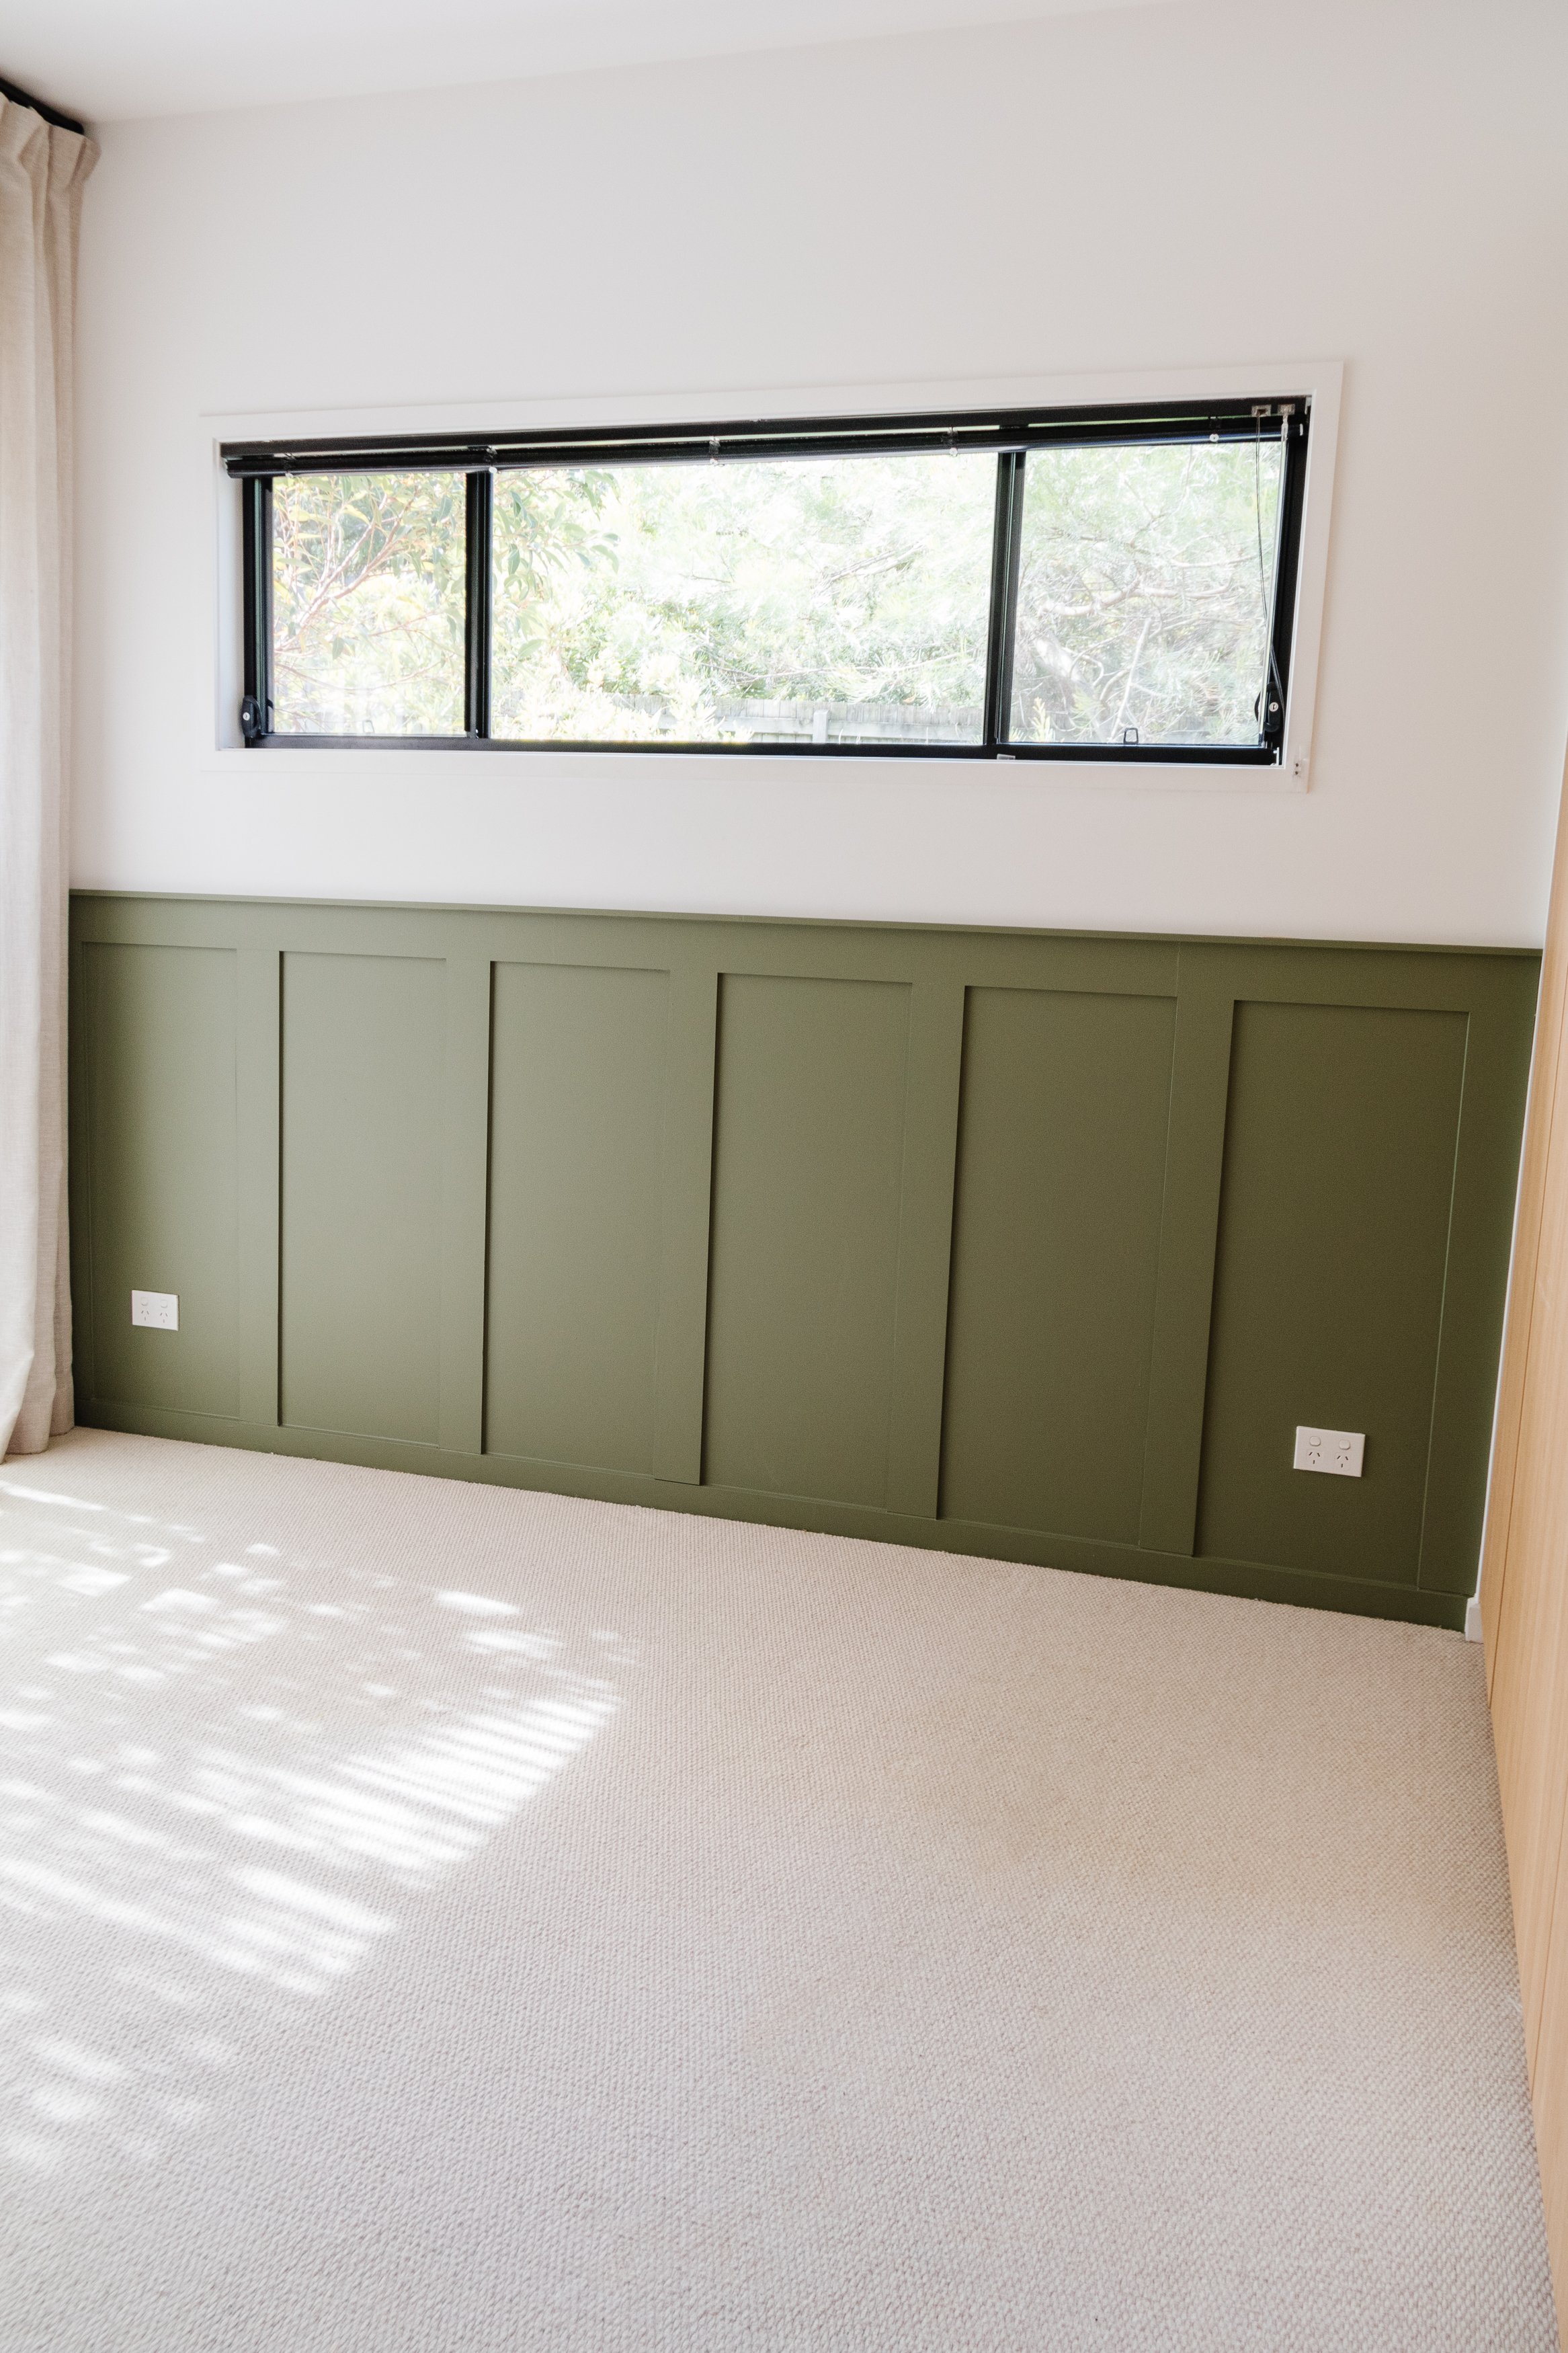
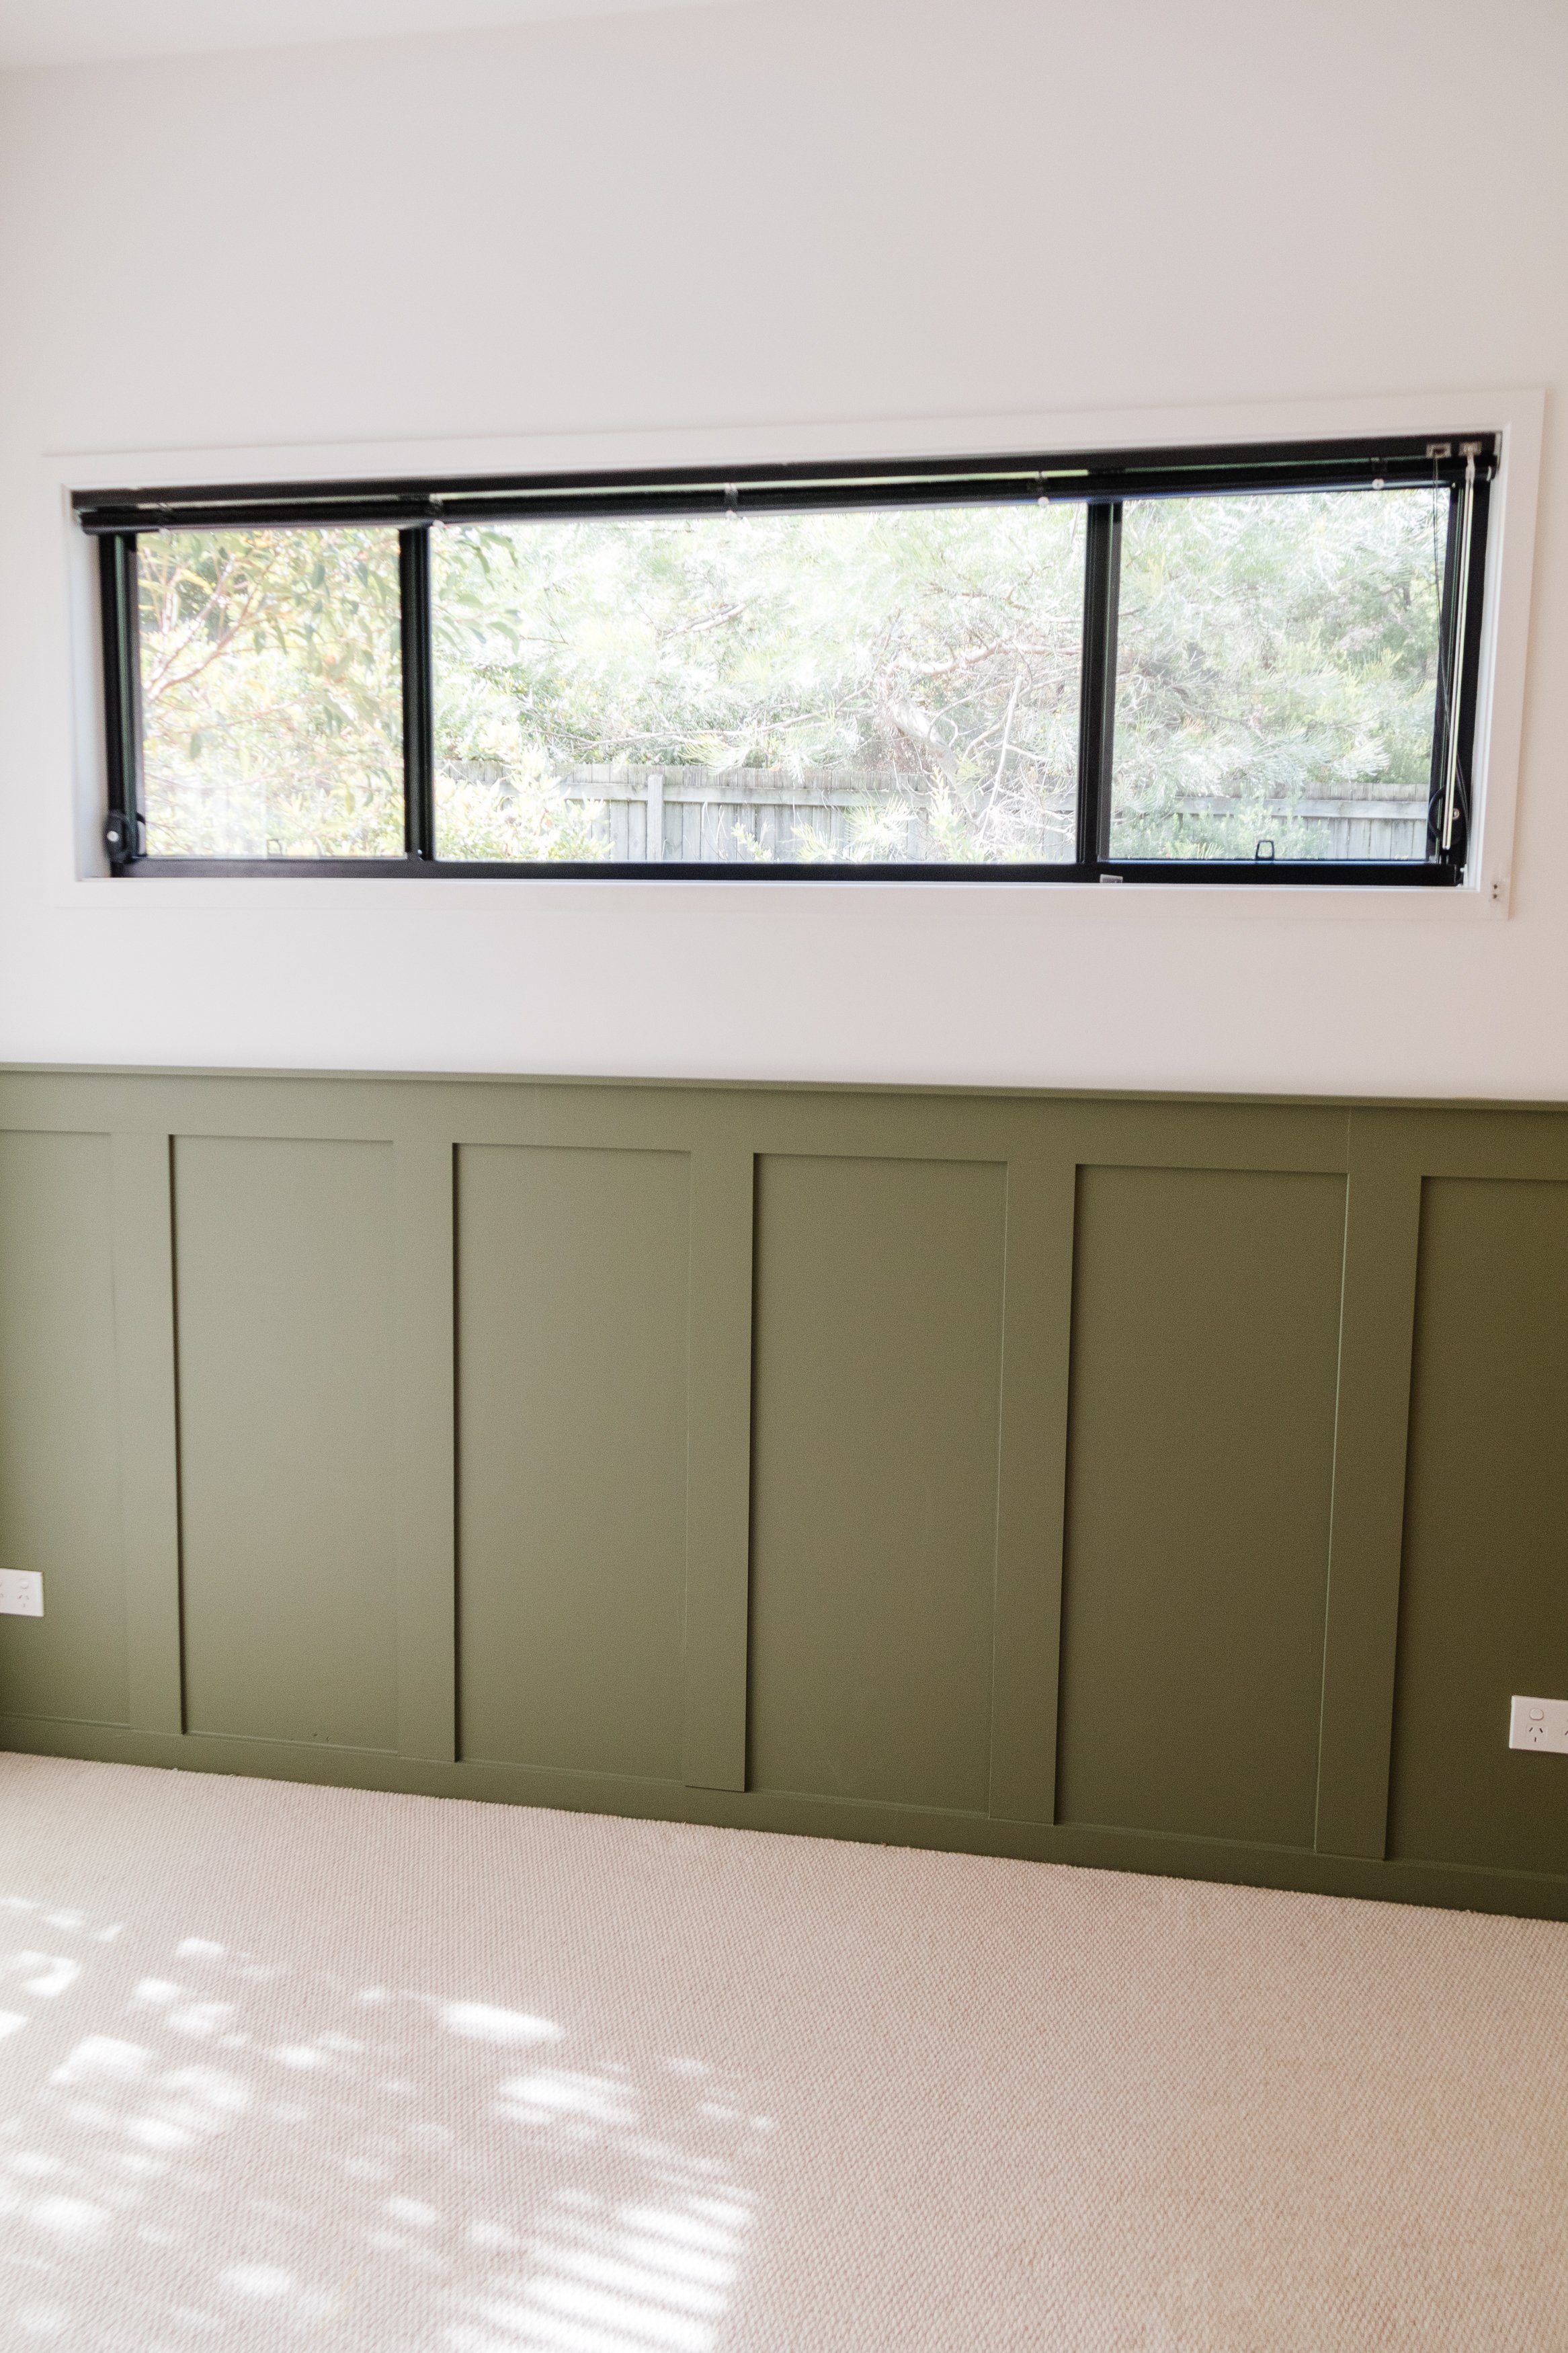
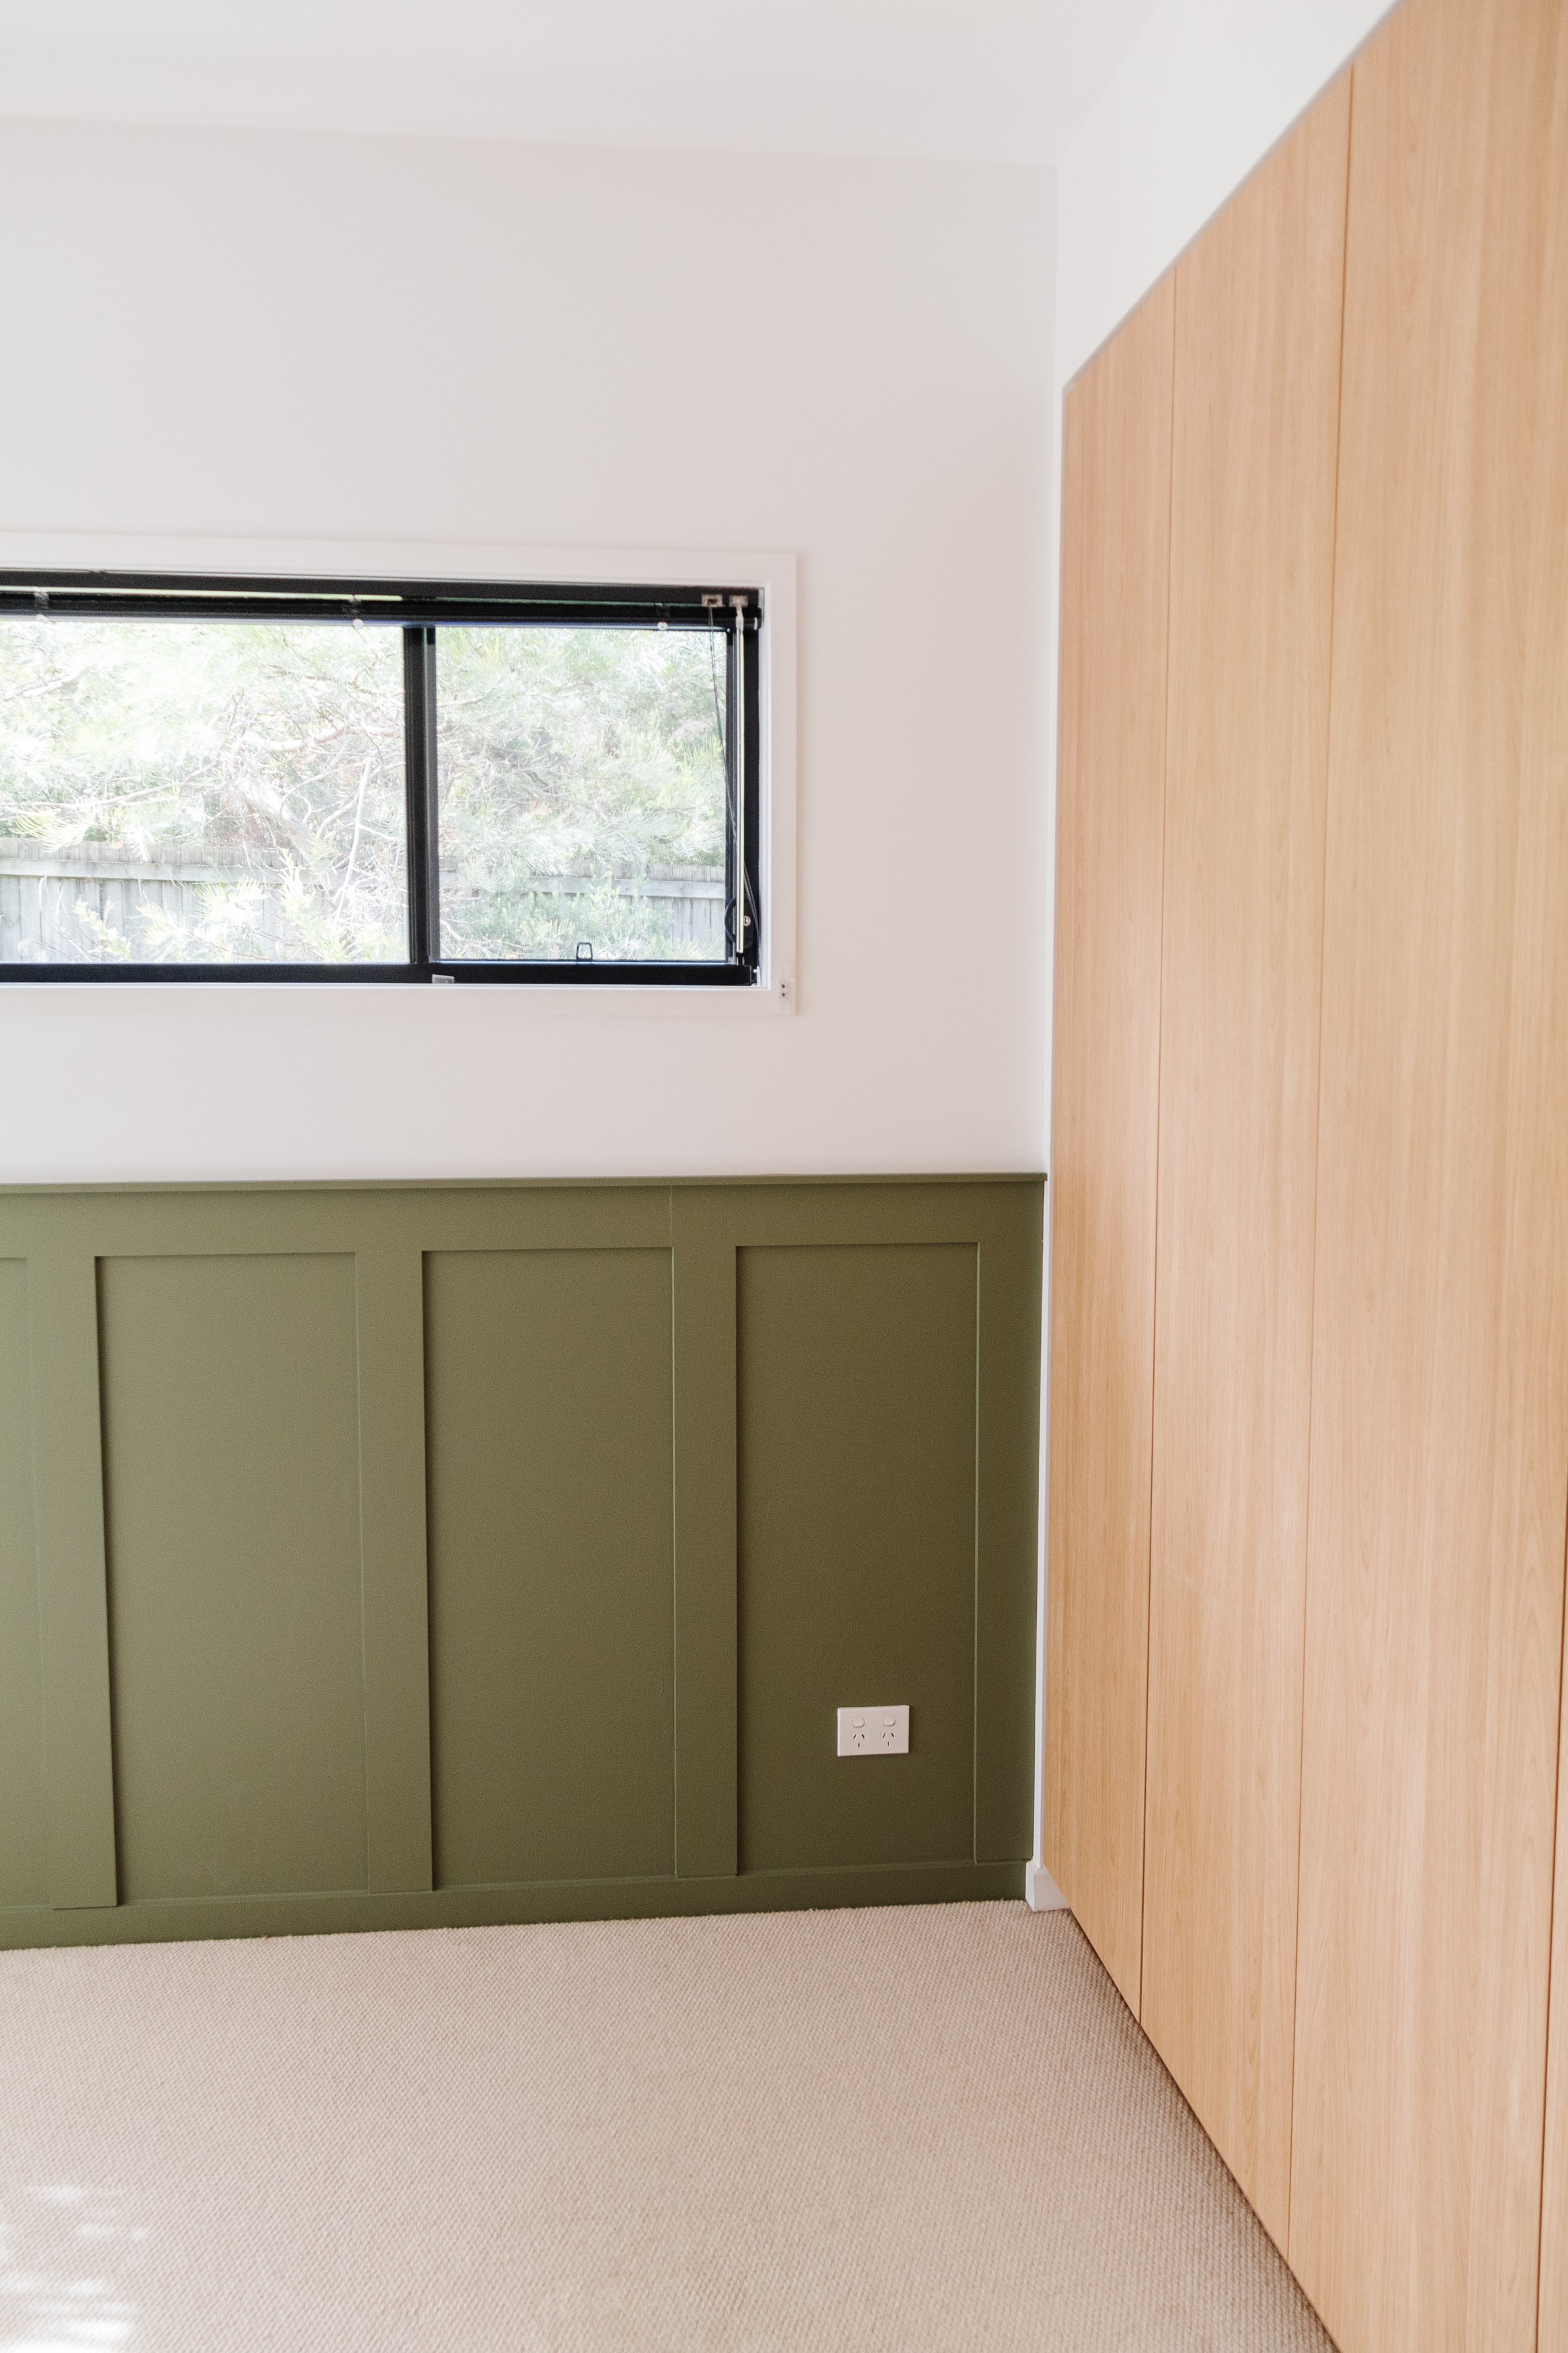
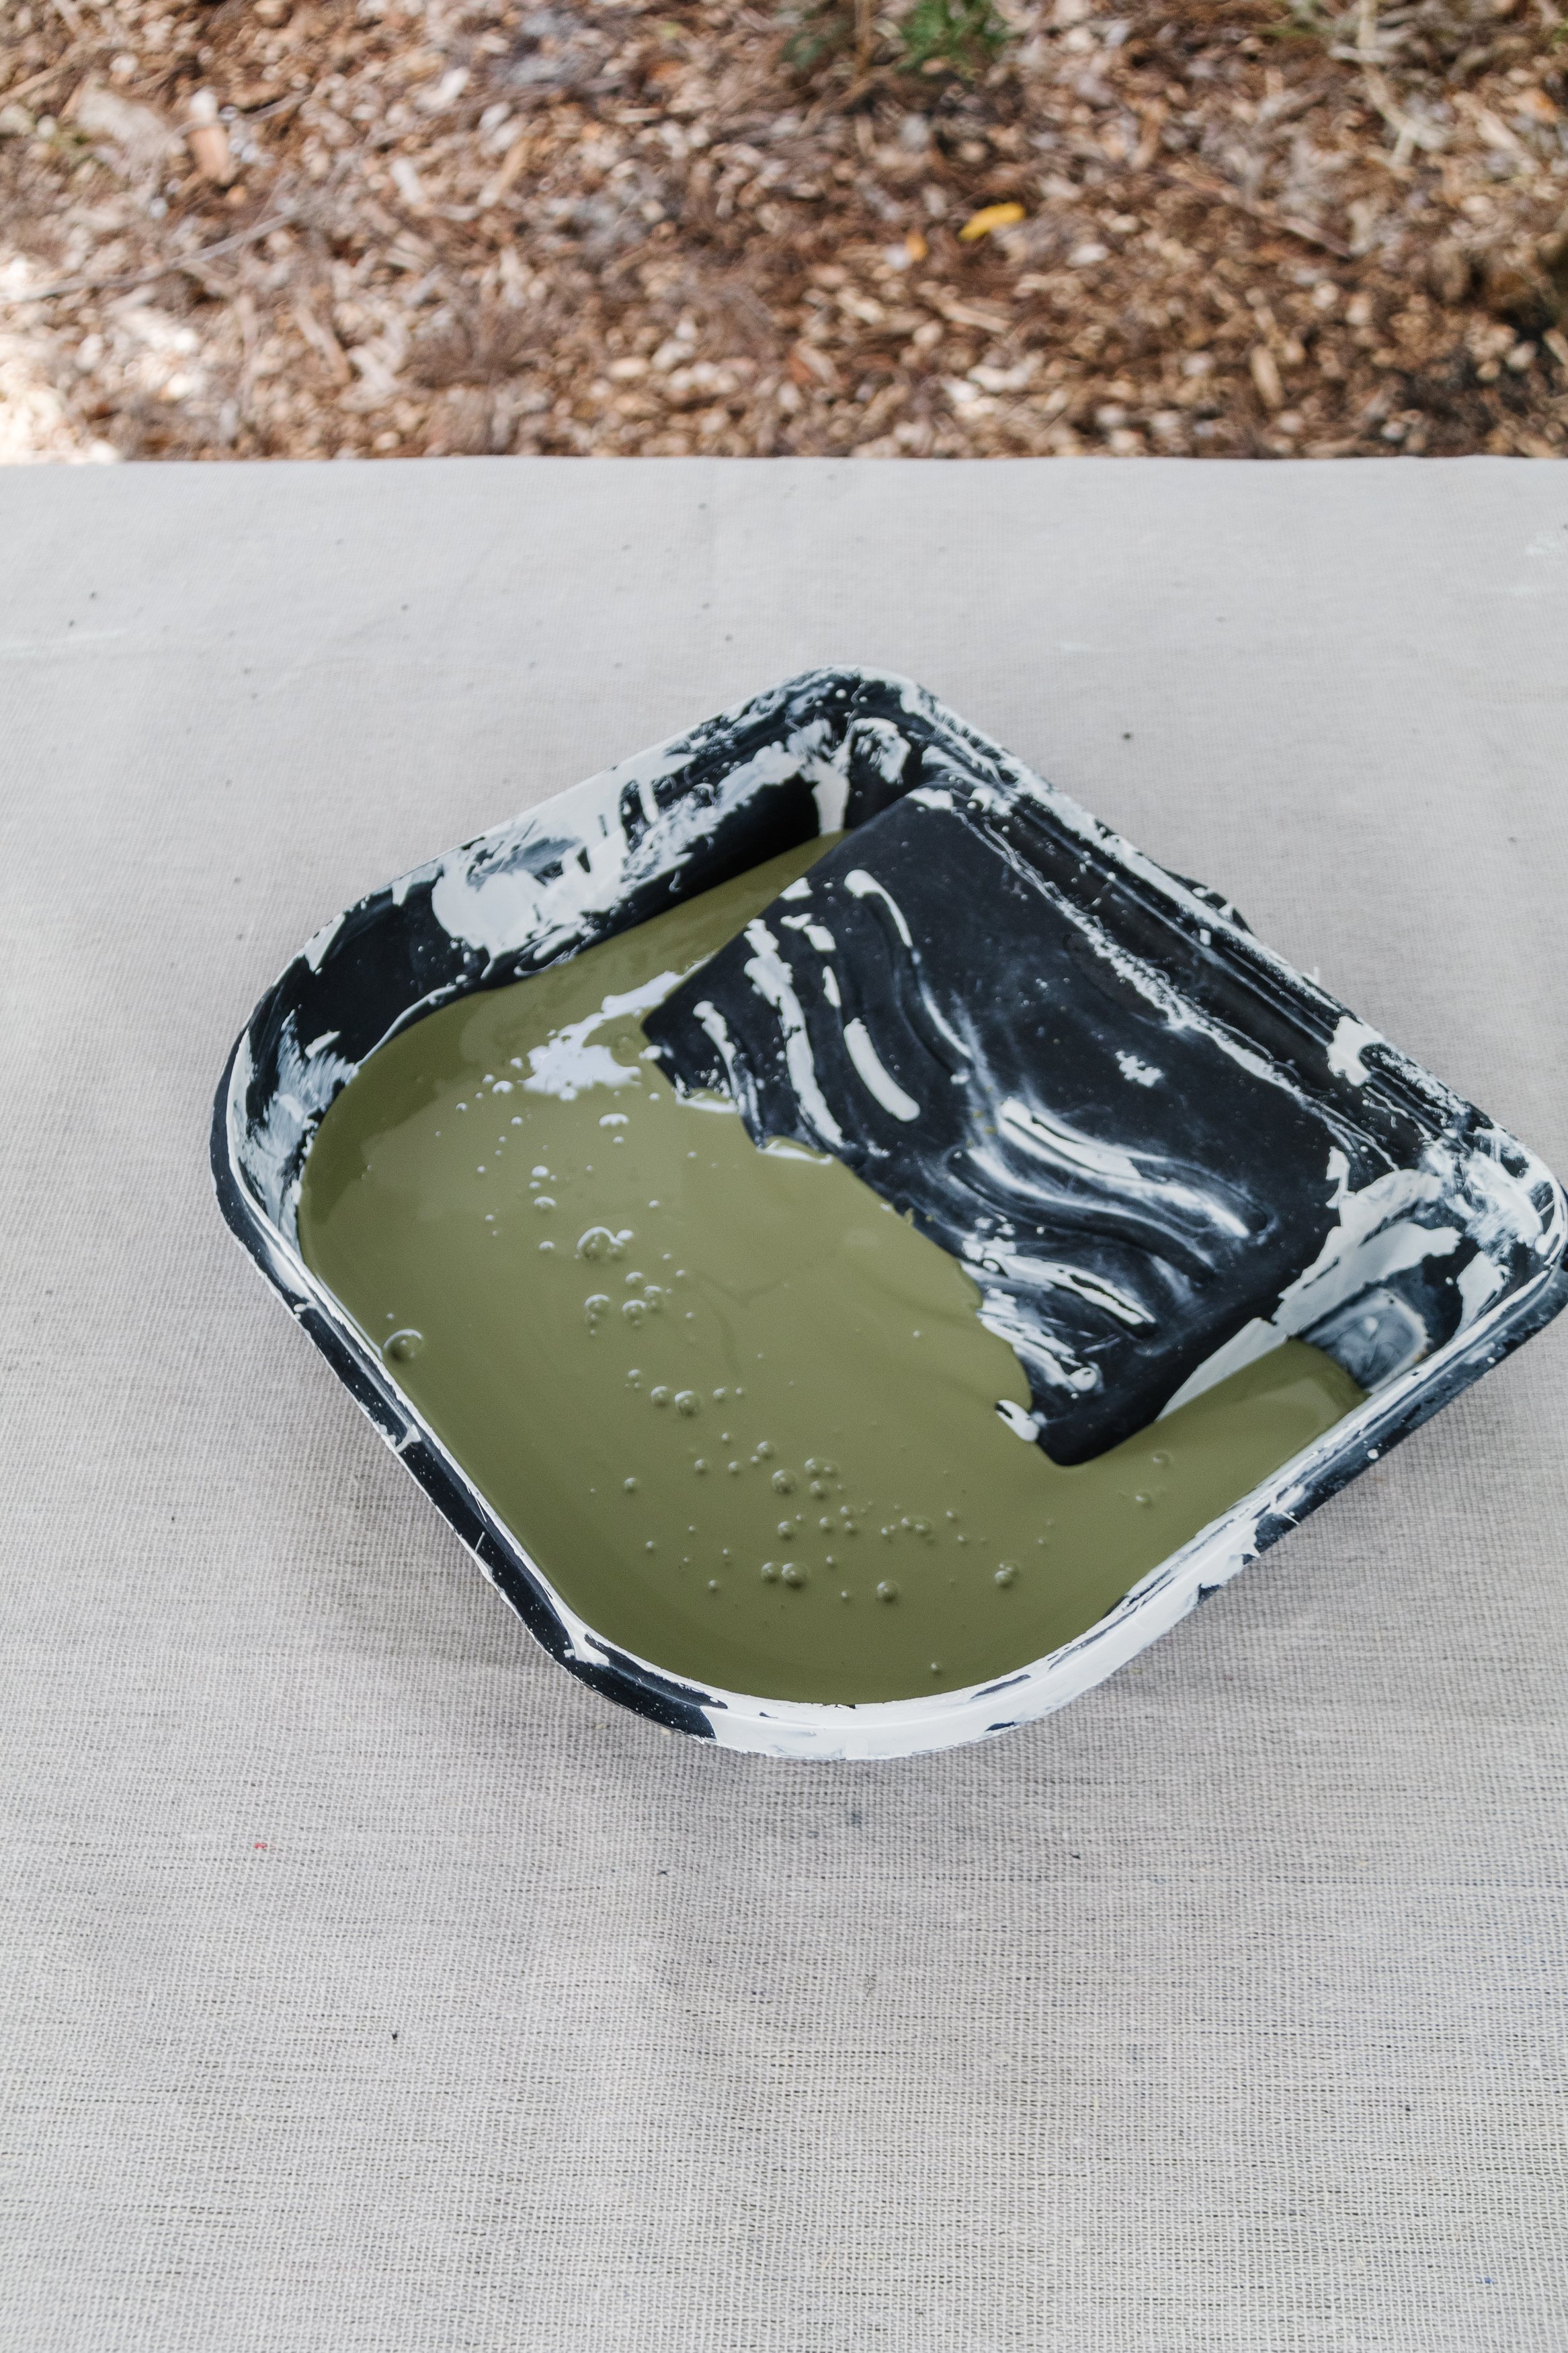
Dulux low sheen wall paint in “Flinder’s Green”
30mm brad nails
Painters tape
3000mm primed timber moulding 30mm x 12mm
Tools
Measuring tape
Pen
Level
Mitre saw
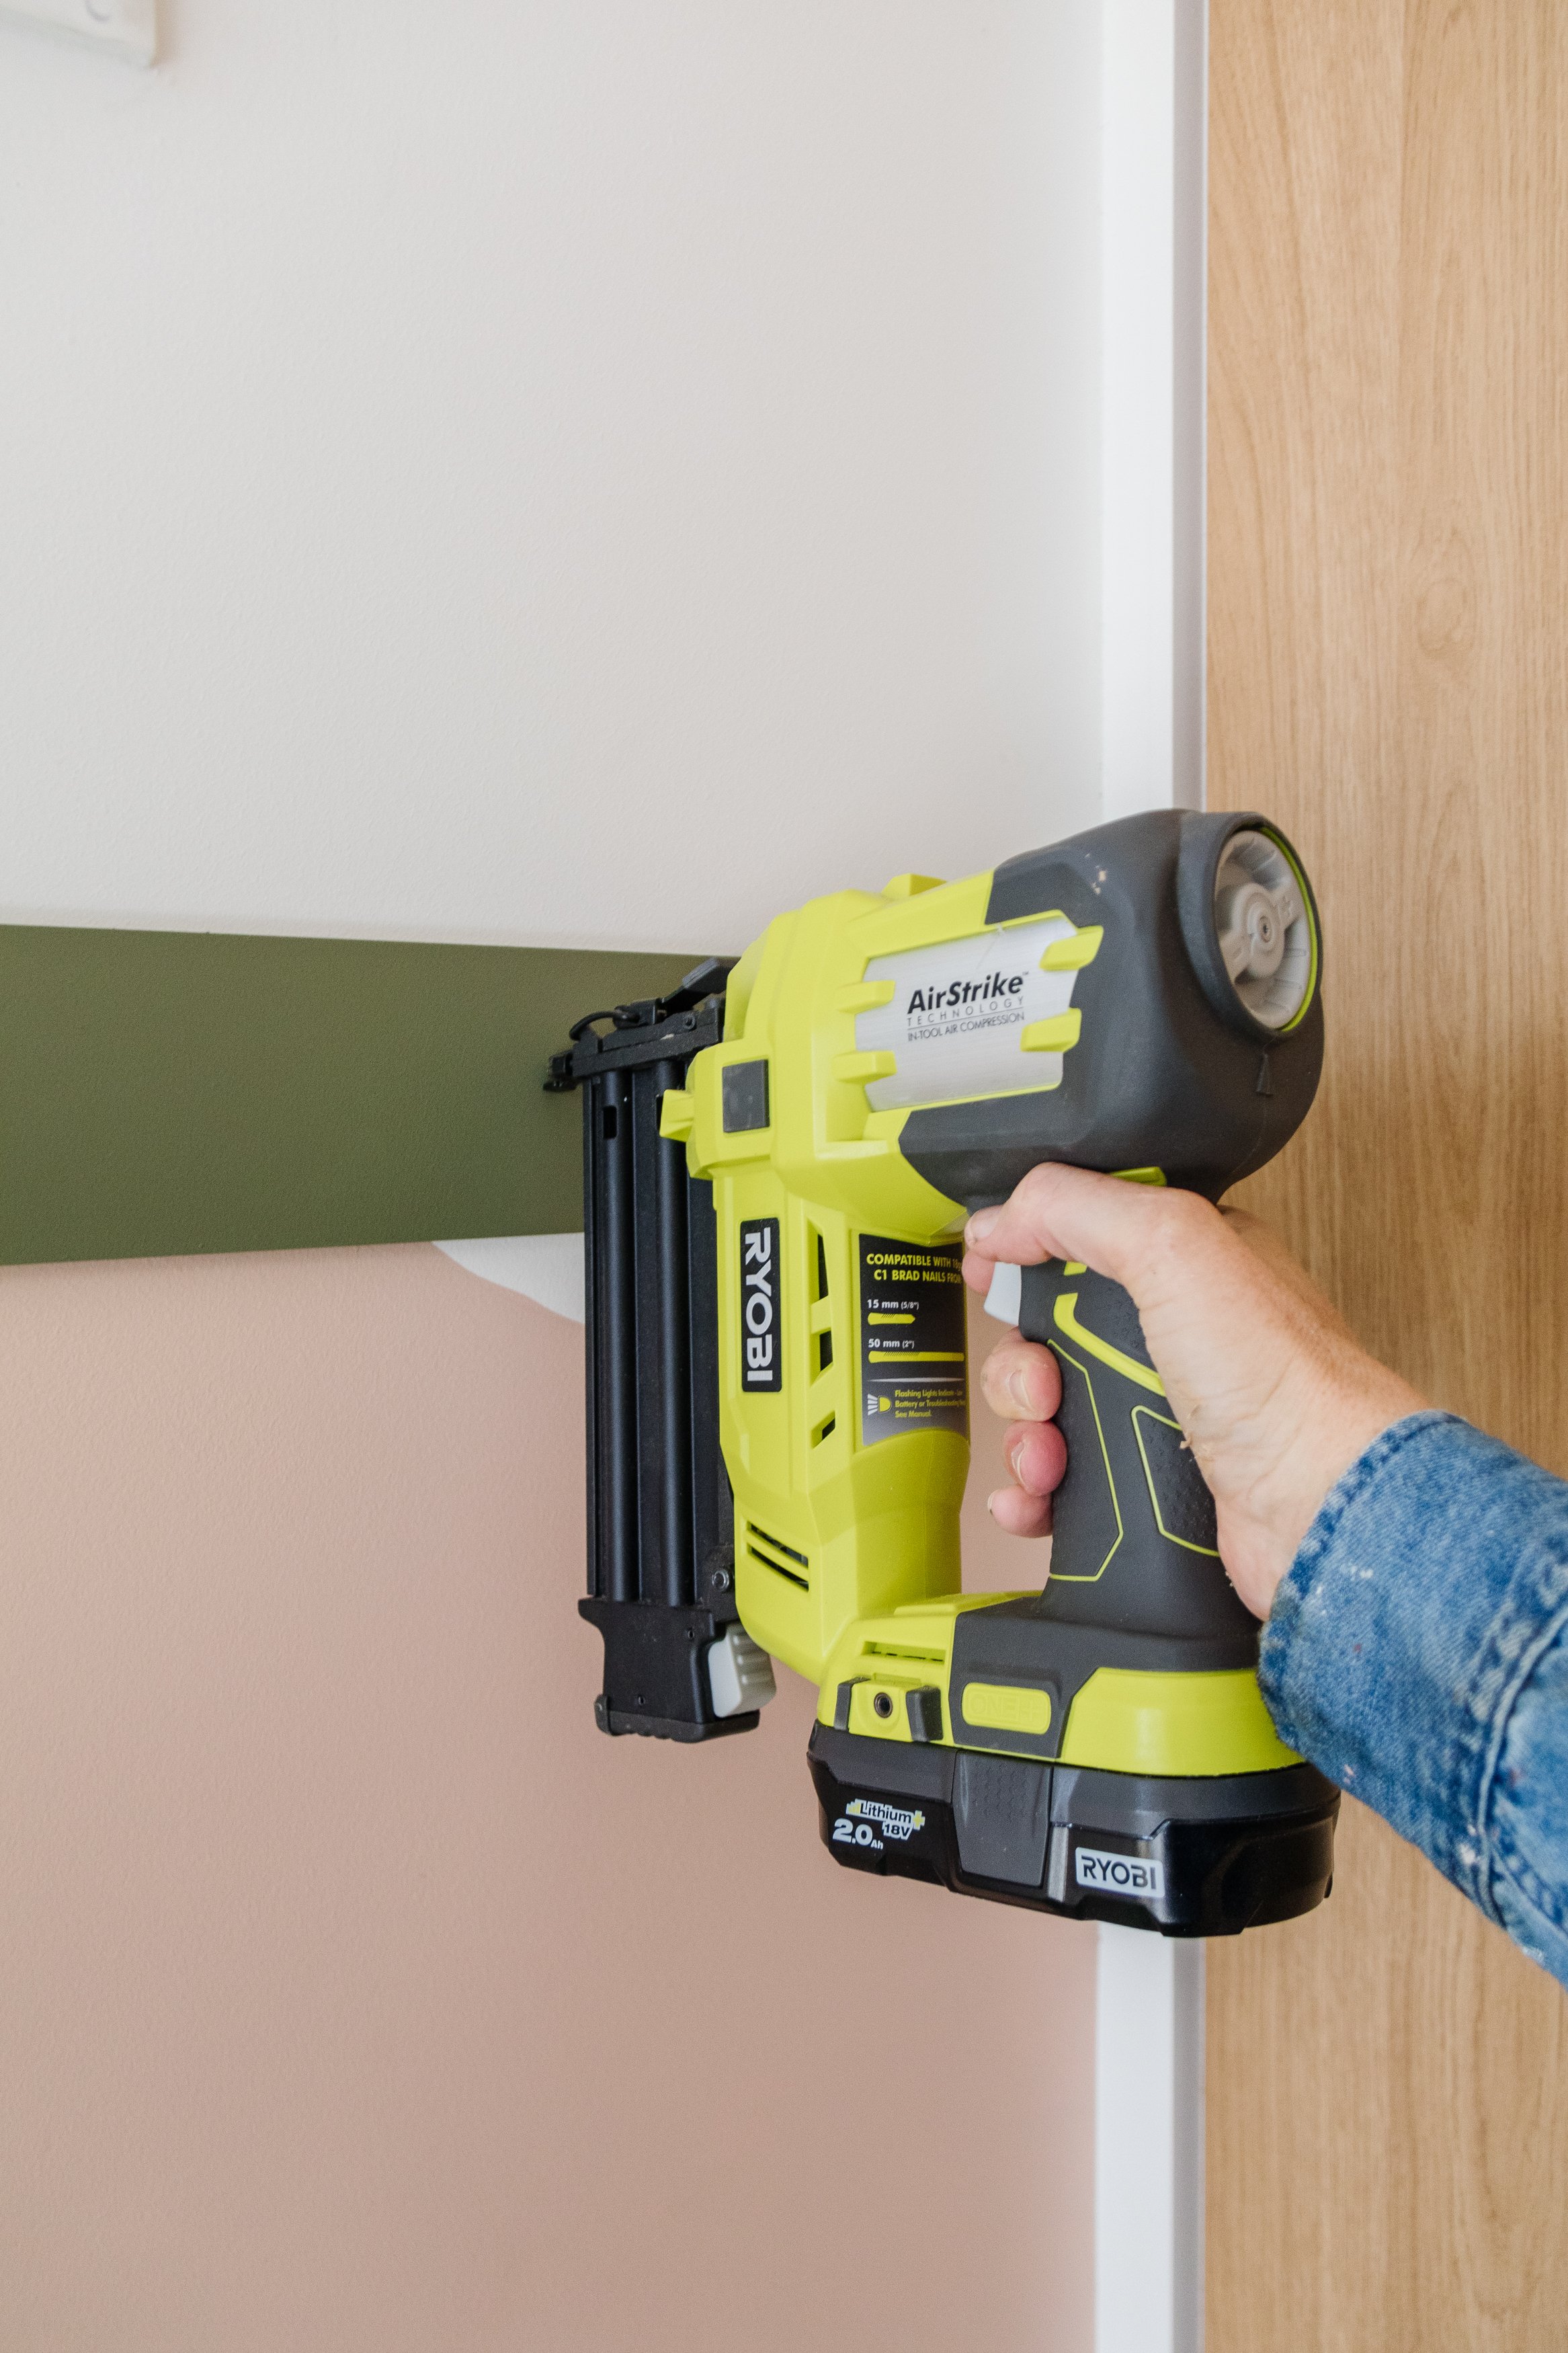
Brad nail gun

The Design
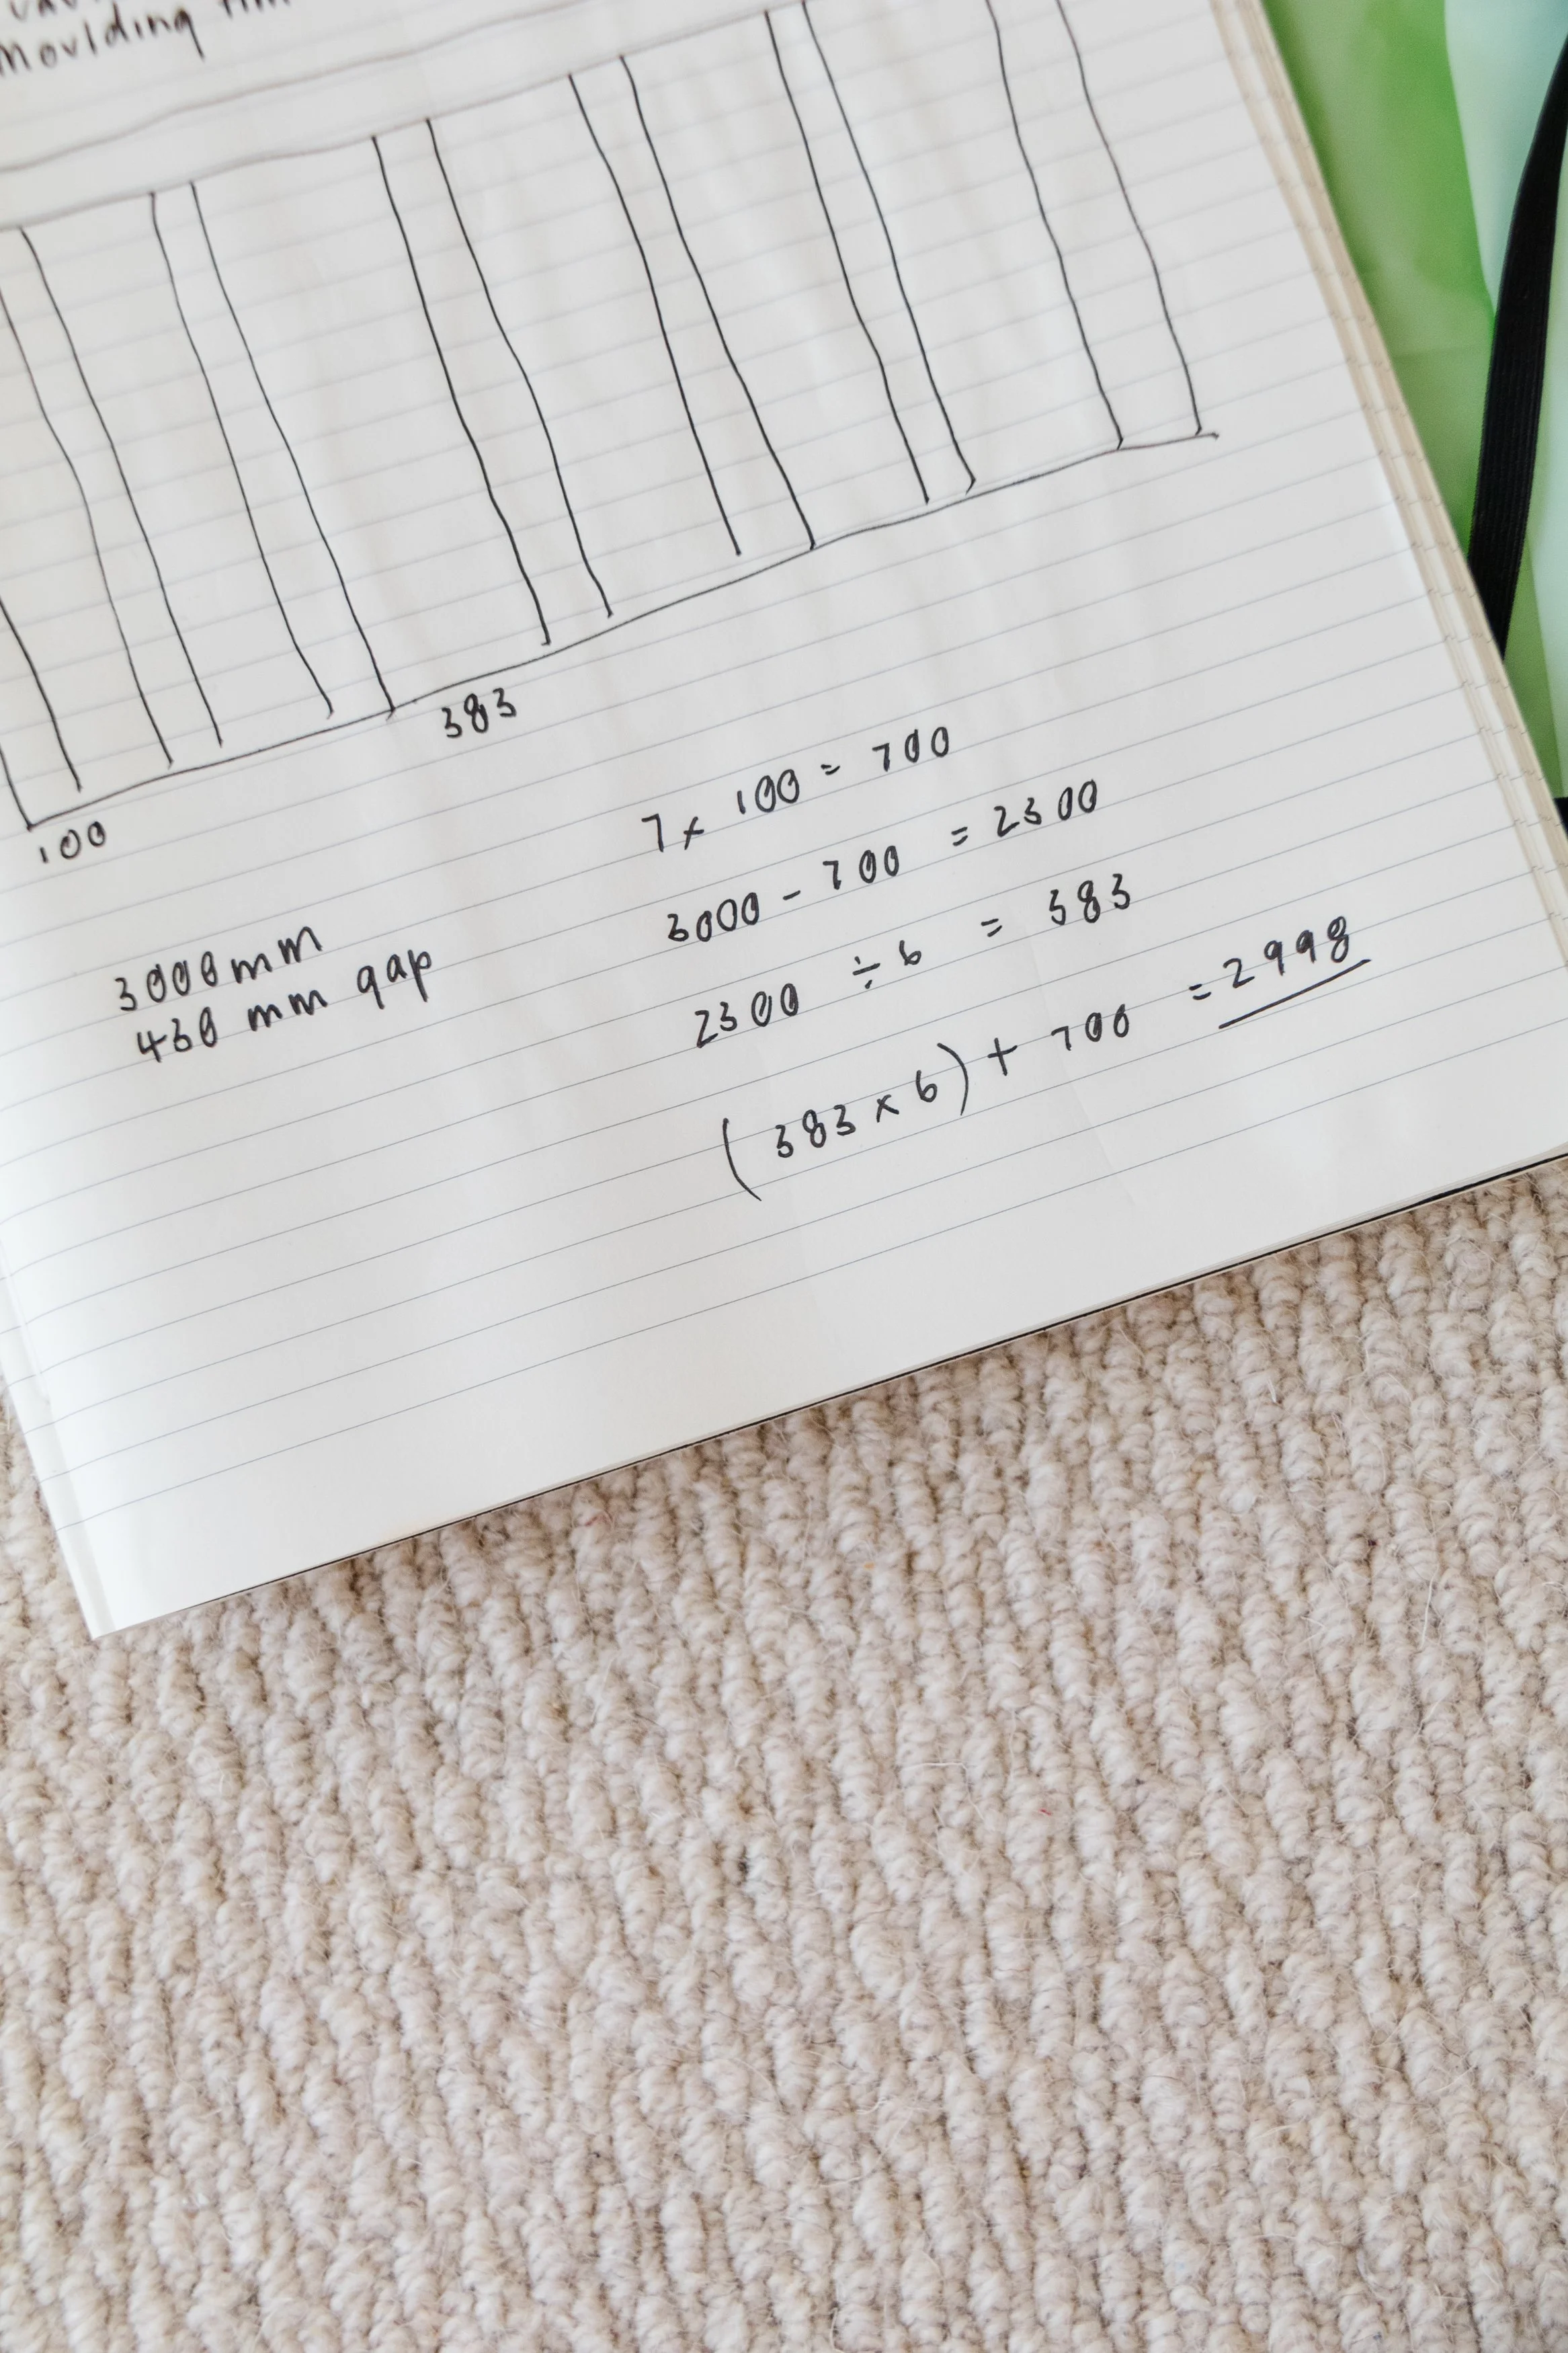
The wall in our guest room is 3000mm and I knew I wanted the gap between each 100mm board to be about 350mm, so I needed to figure out how many battens I would need. The total length of the wall is 3000mm so I divided that by 350mm, which equated to 7 boards. Then to get the exact spacing I did the following calculations:
7 batten boards x 100mm (the width of the boards) = 700
3000 (length of the wall) - 700 = 2300
2300 / 6 (the number of spaces between the 7 boards) = 383
The gap between each board would be 383mm. To triple check my calculations, I simply did the following:
(383 x 6) + 700 = 2998 (which is super close to the length of the wall 3000, and I was very happy with that).
Quick note: If you are cutting all the battens yourself, it may take another hour or so, but you could easily squeeze that into a day if your wall is about the same size as mine.

How To
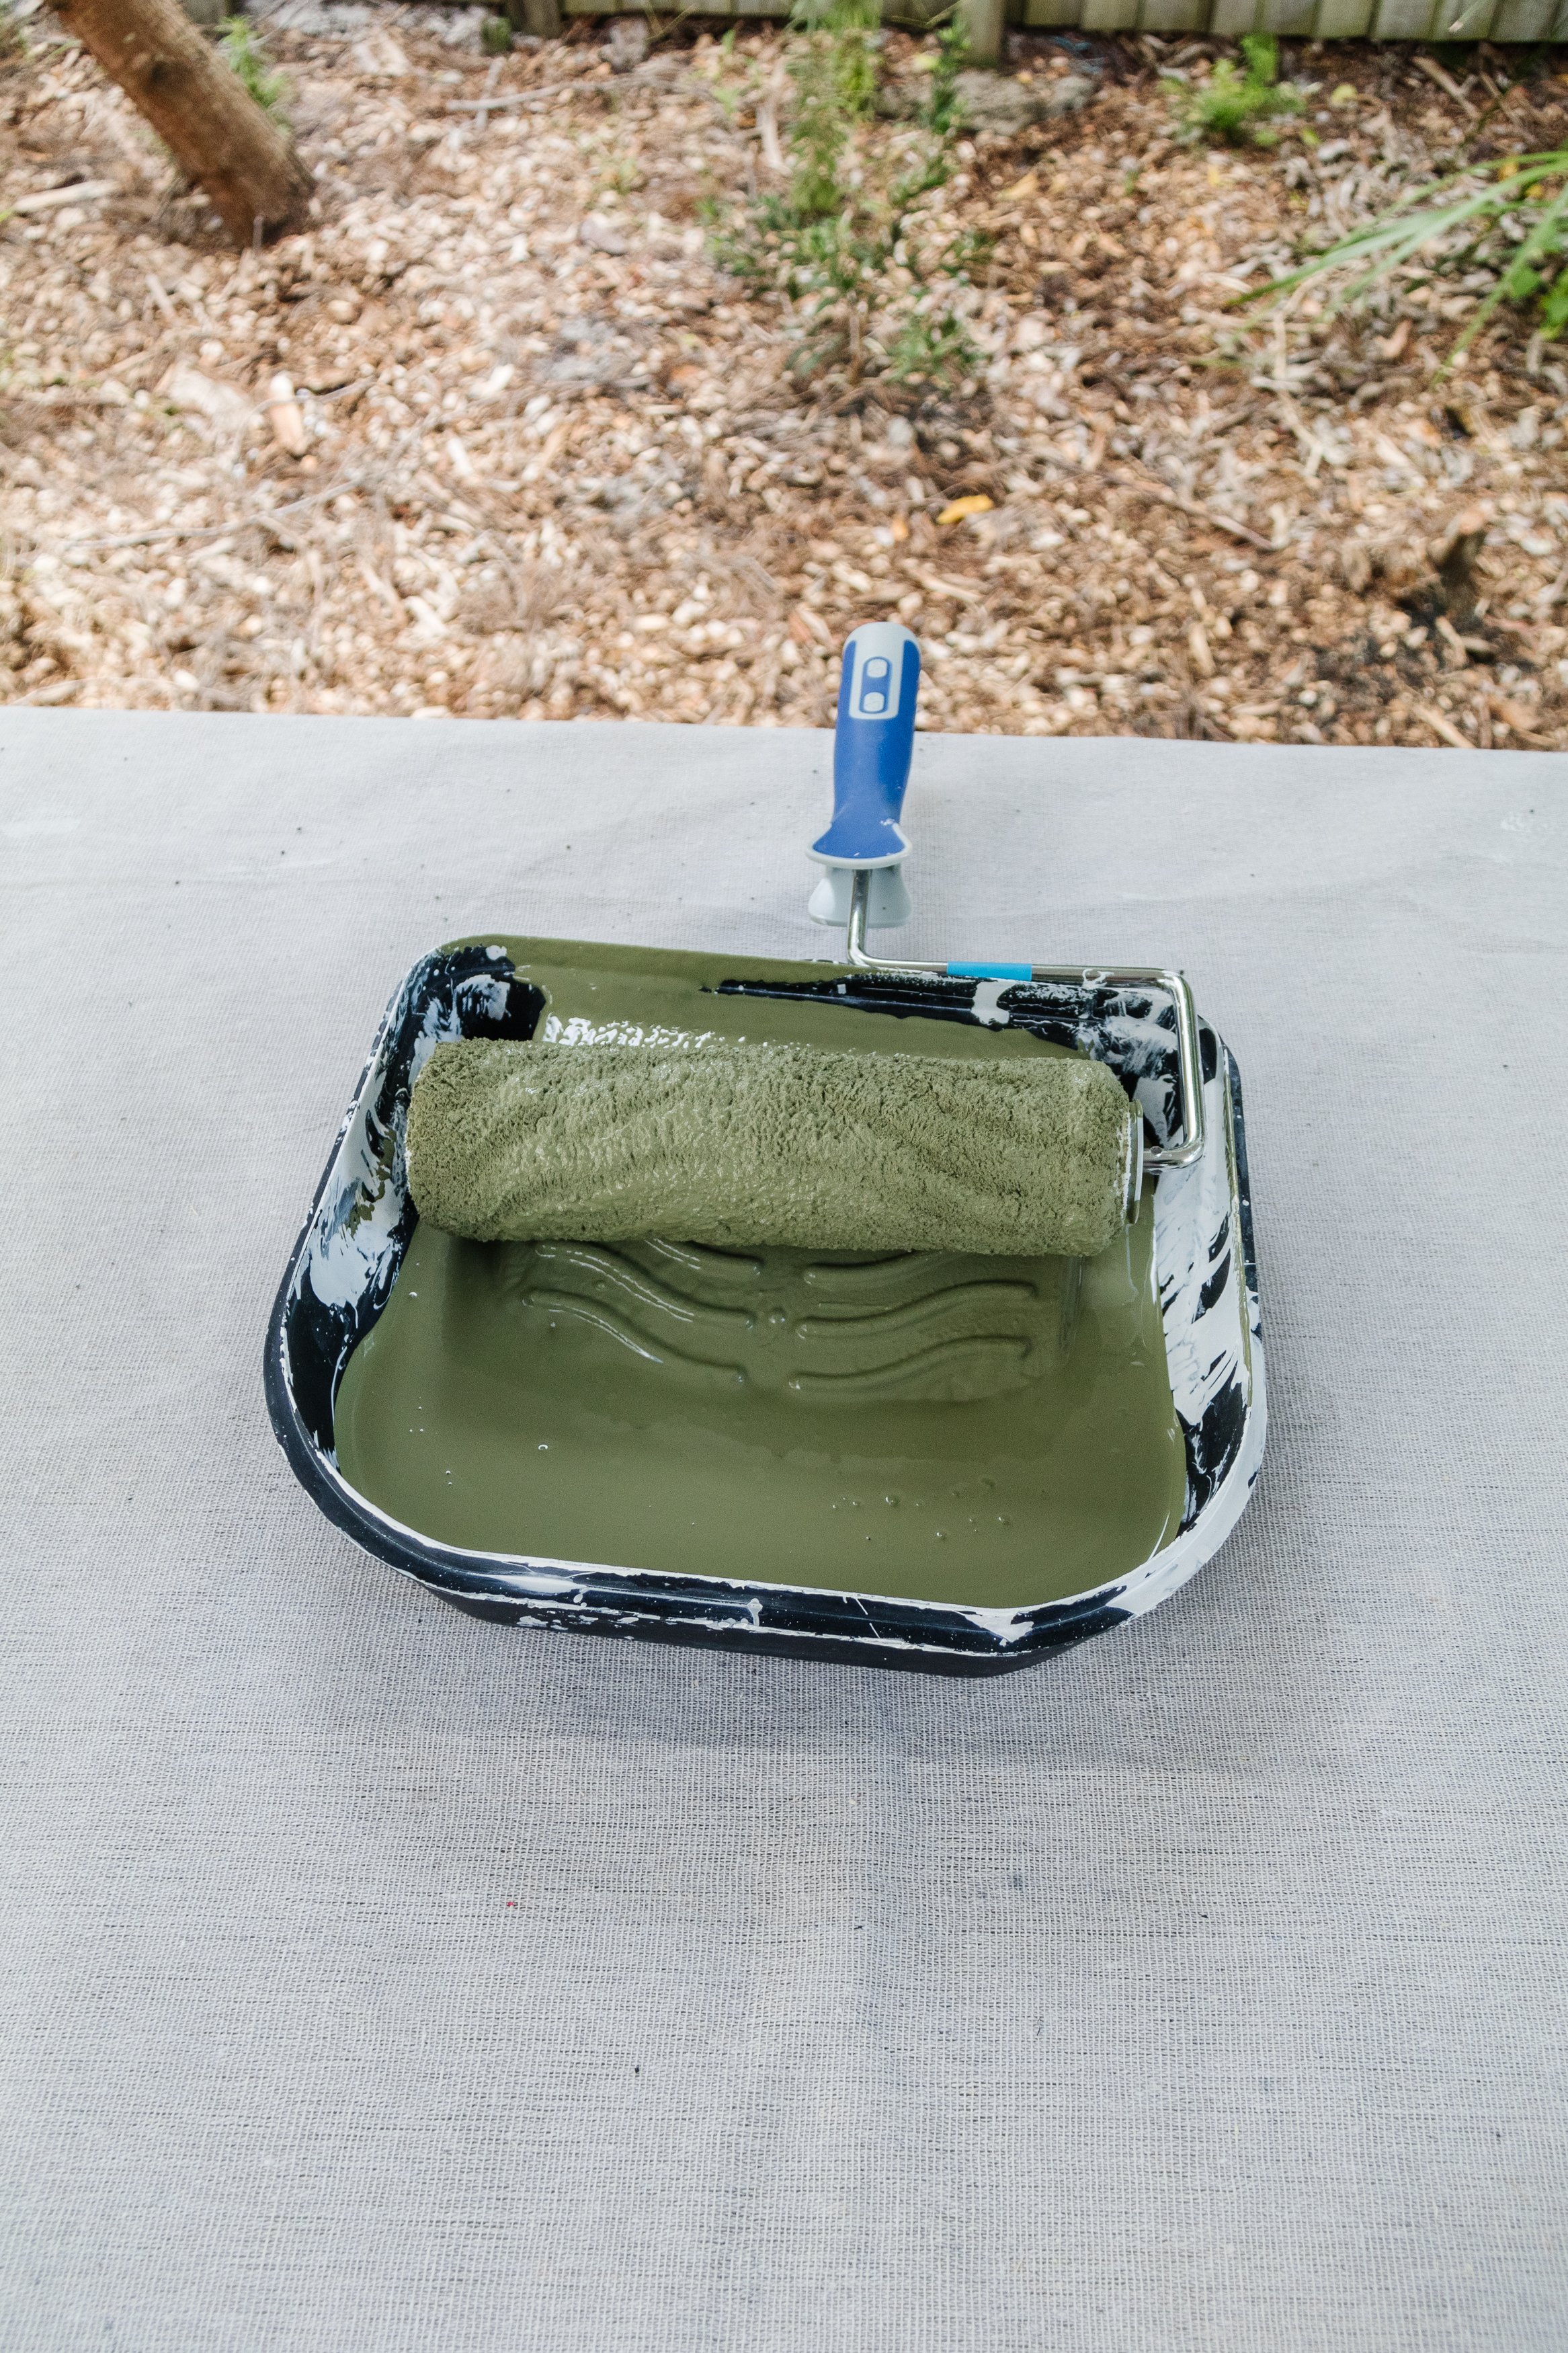
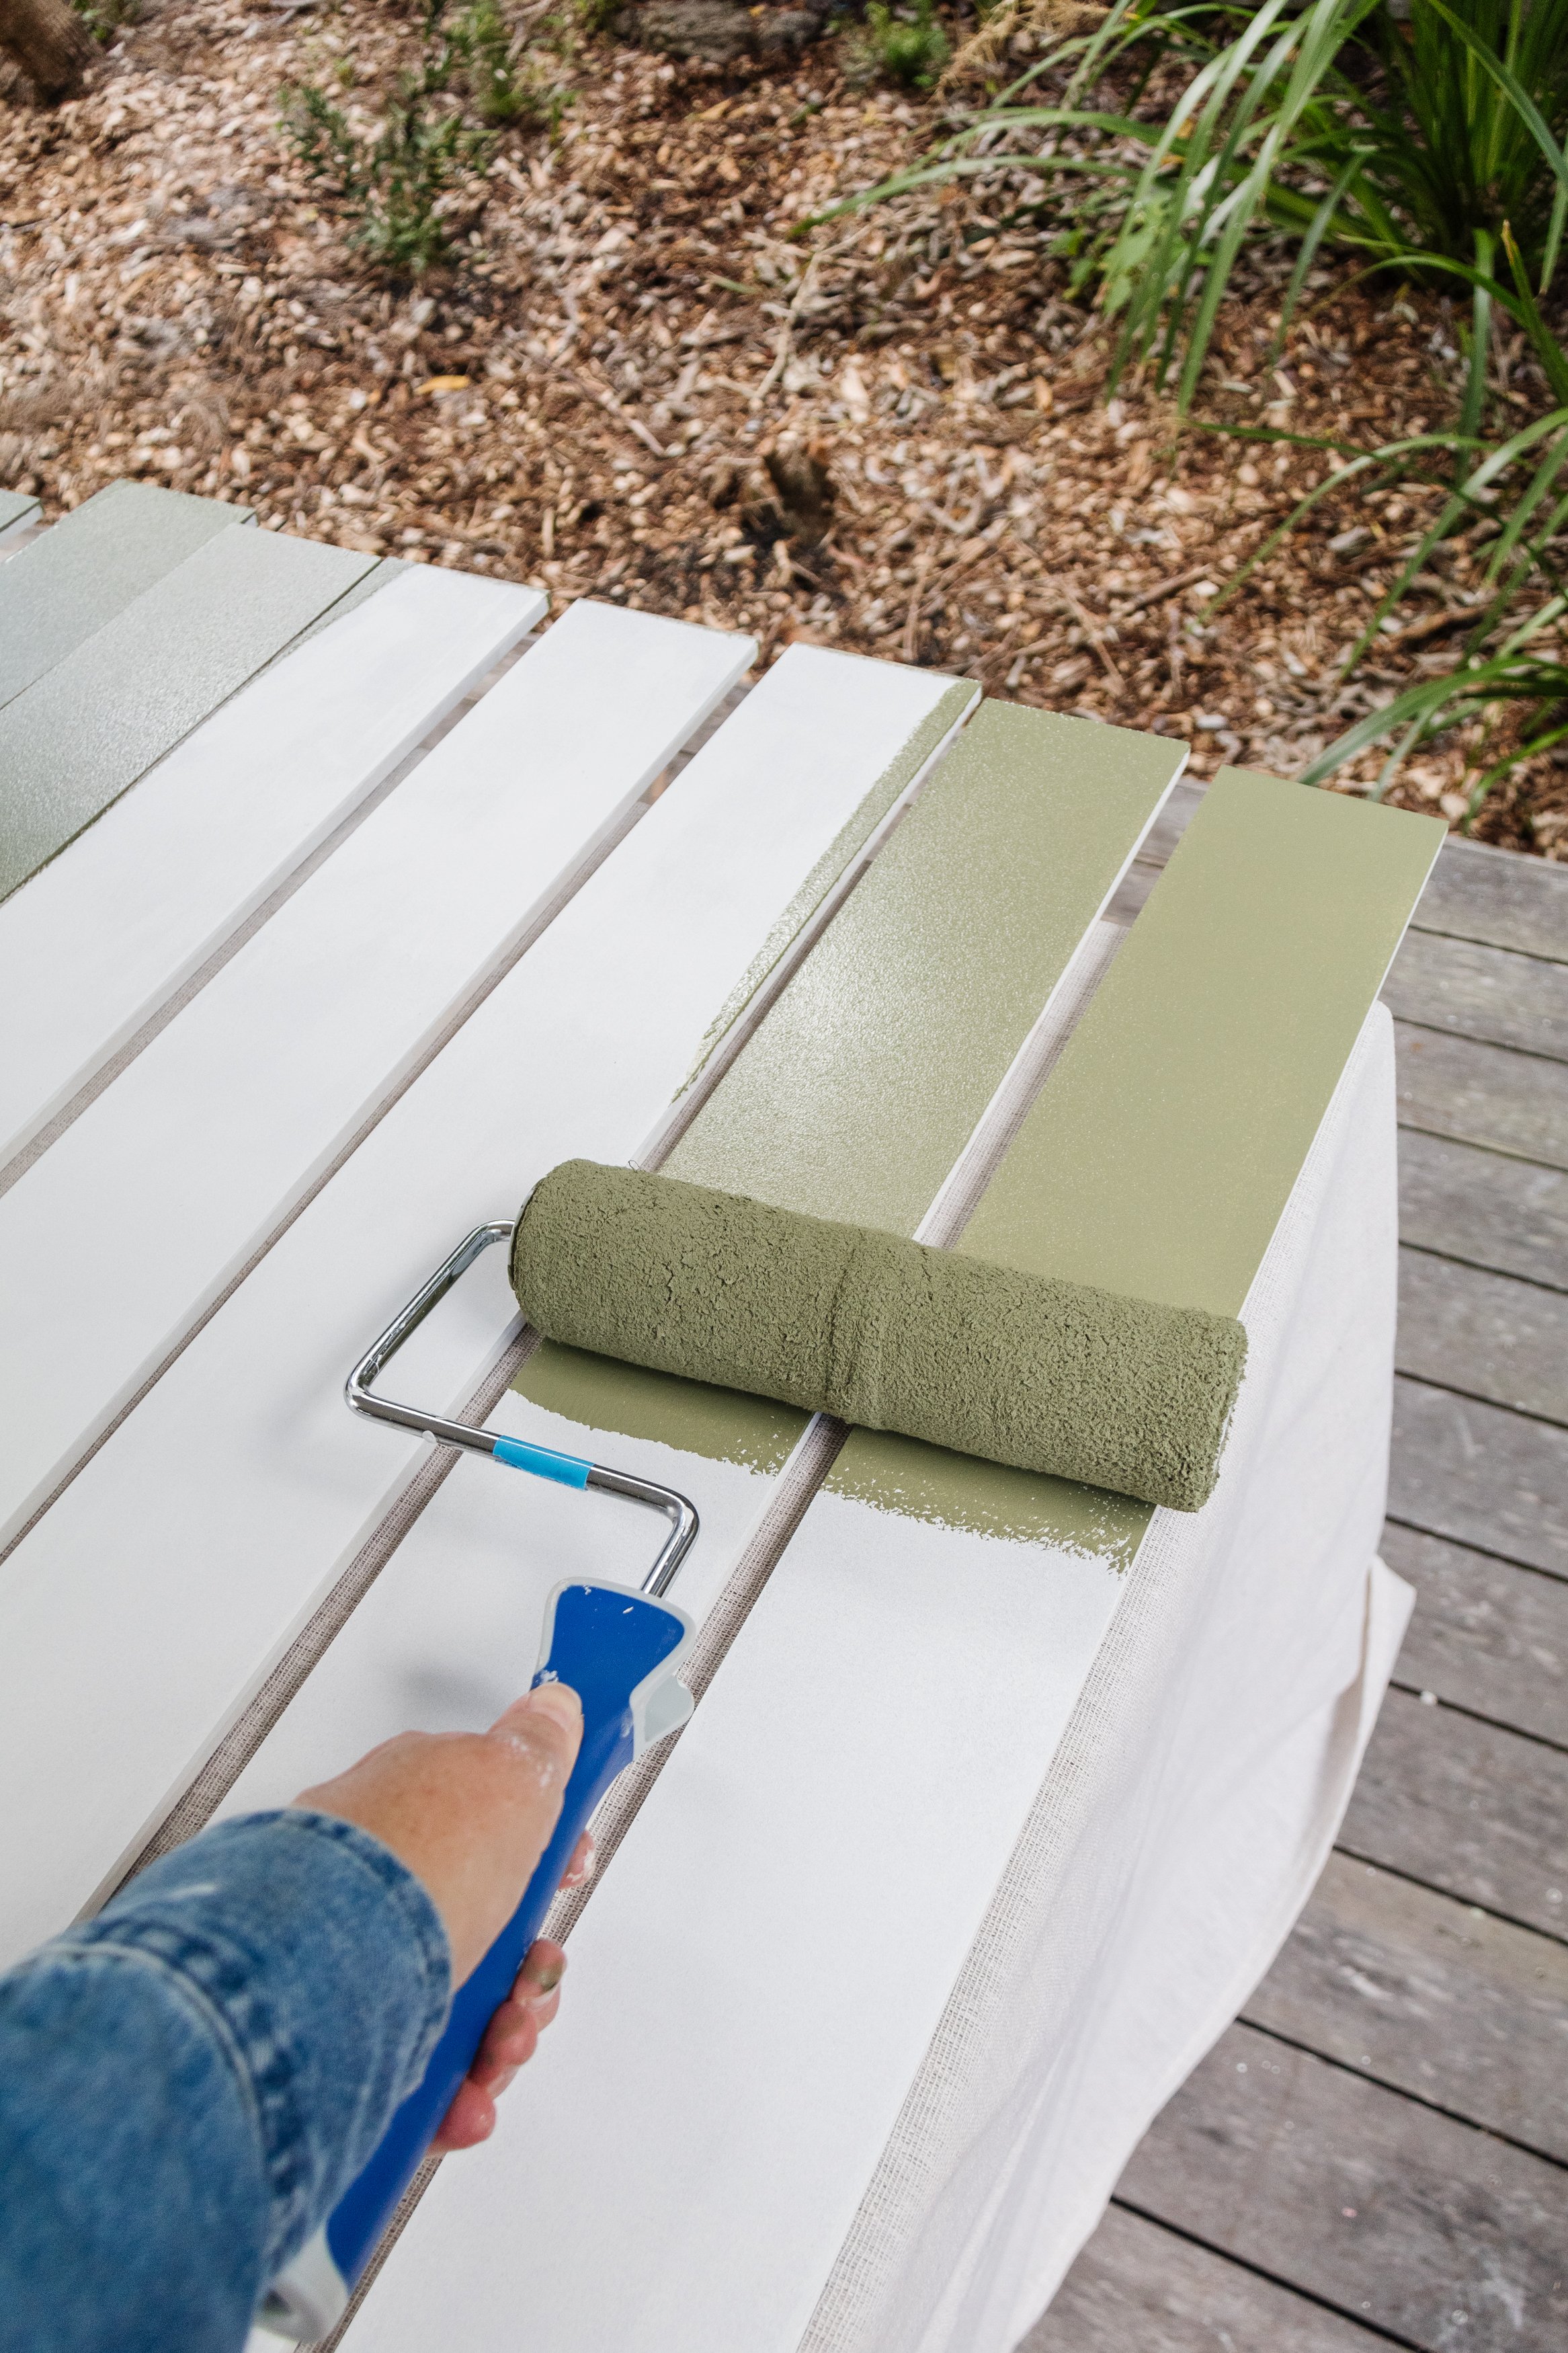
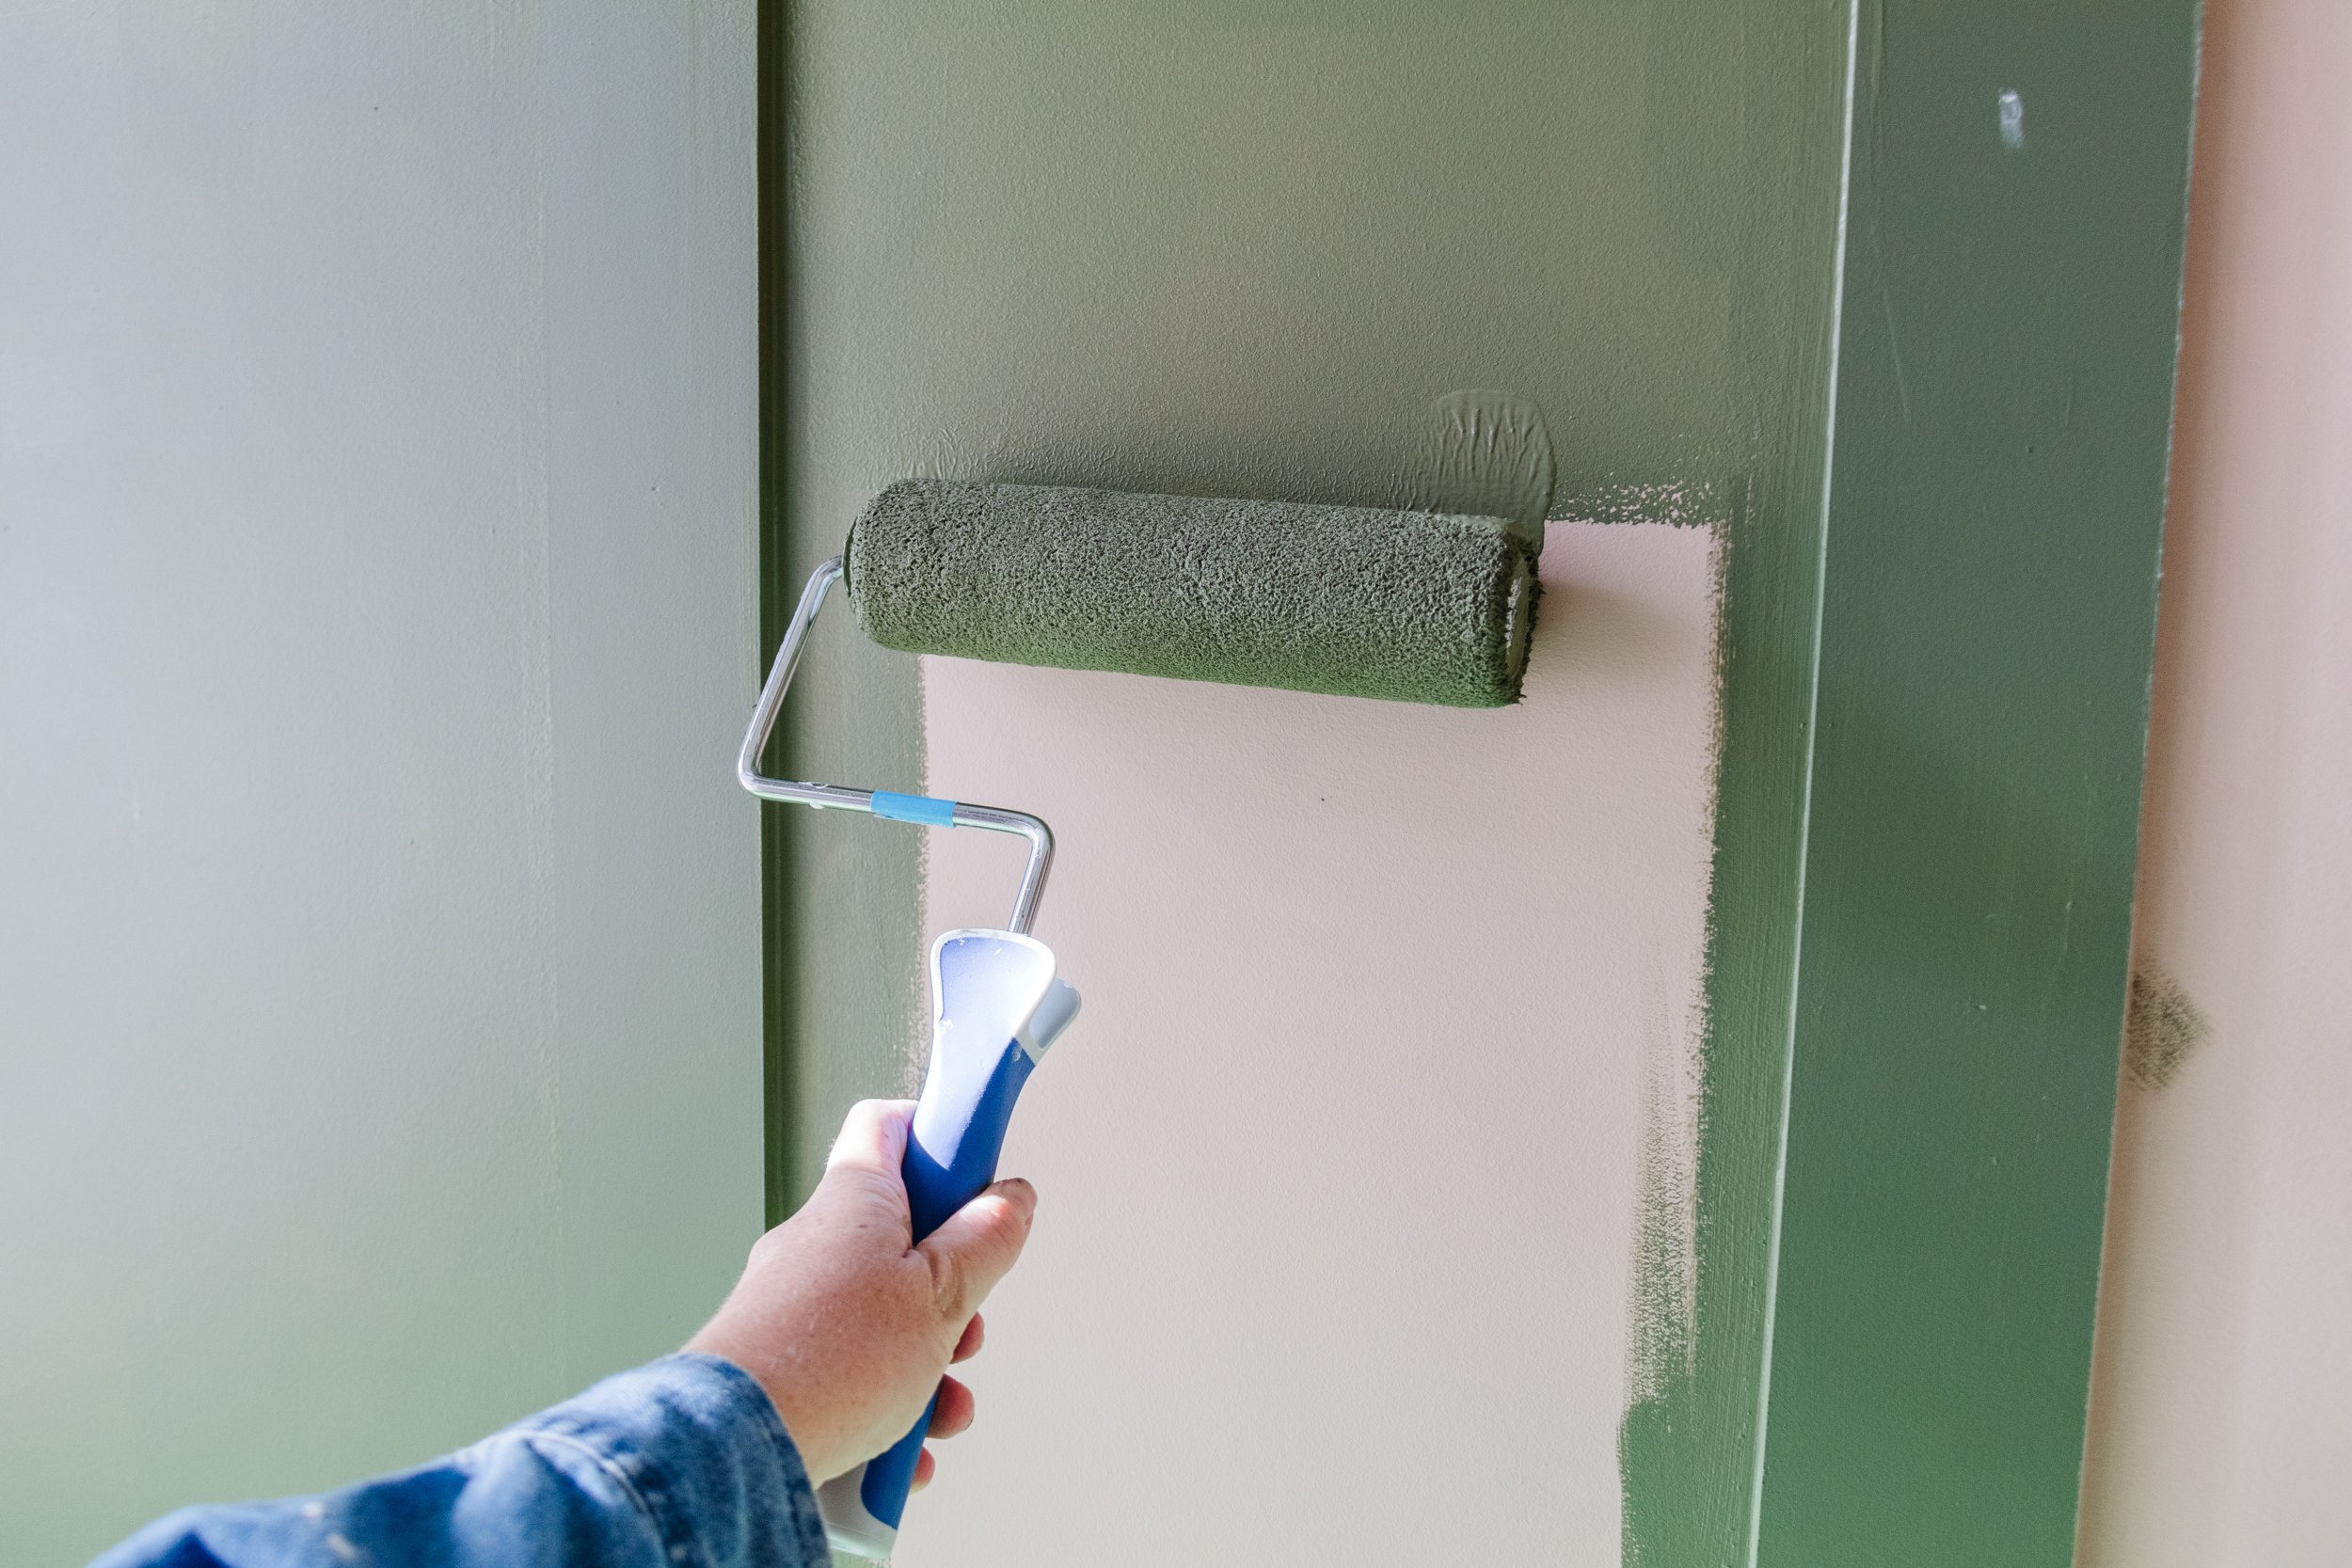
Step 1: To start, I applied one coat of primer to the sides and face of the MDF battens using the Monarch Walls & Ceilings Roller Cover and Monarch Comfort Grip Roller Frame . The moulding was already primed so I didn’t need to prime it. After I had finished priming the MDF battens, I thoroughly washed and squeezed the excess water from the roller cover.

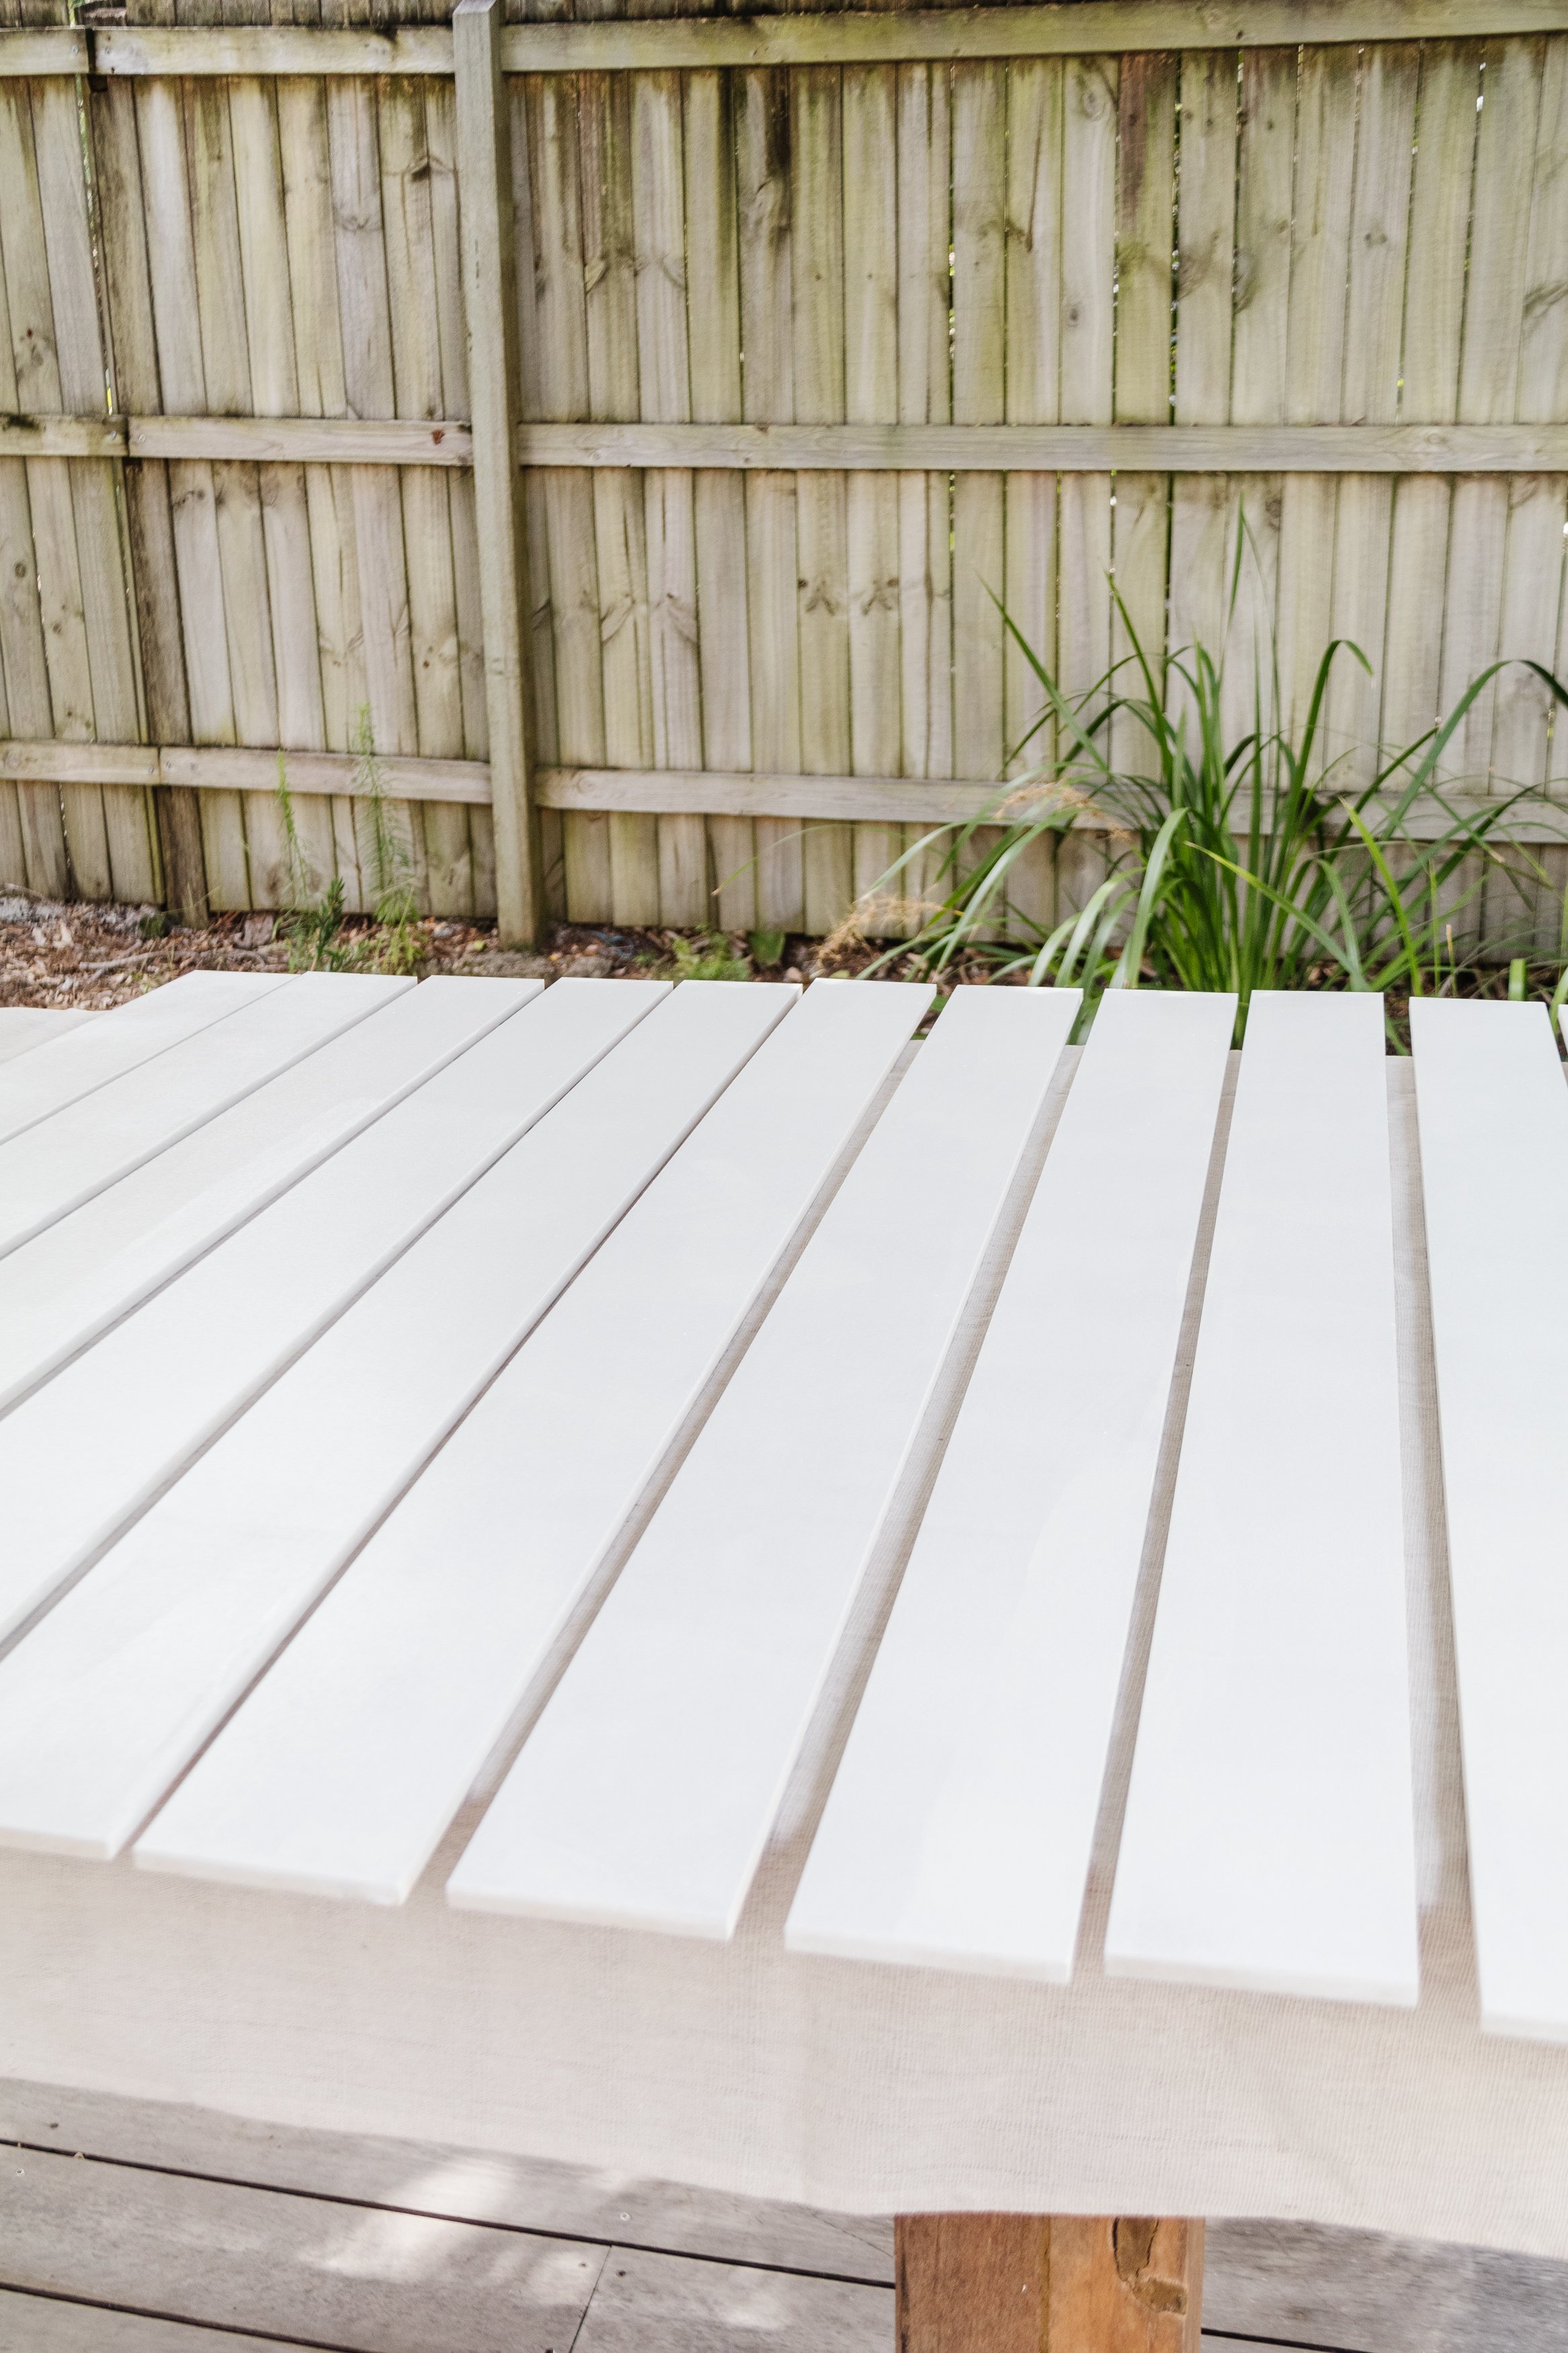
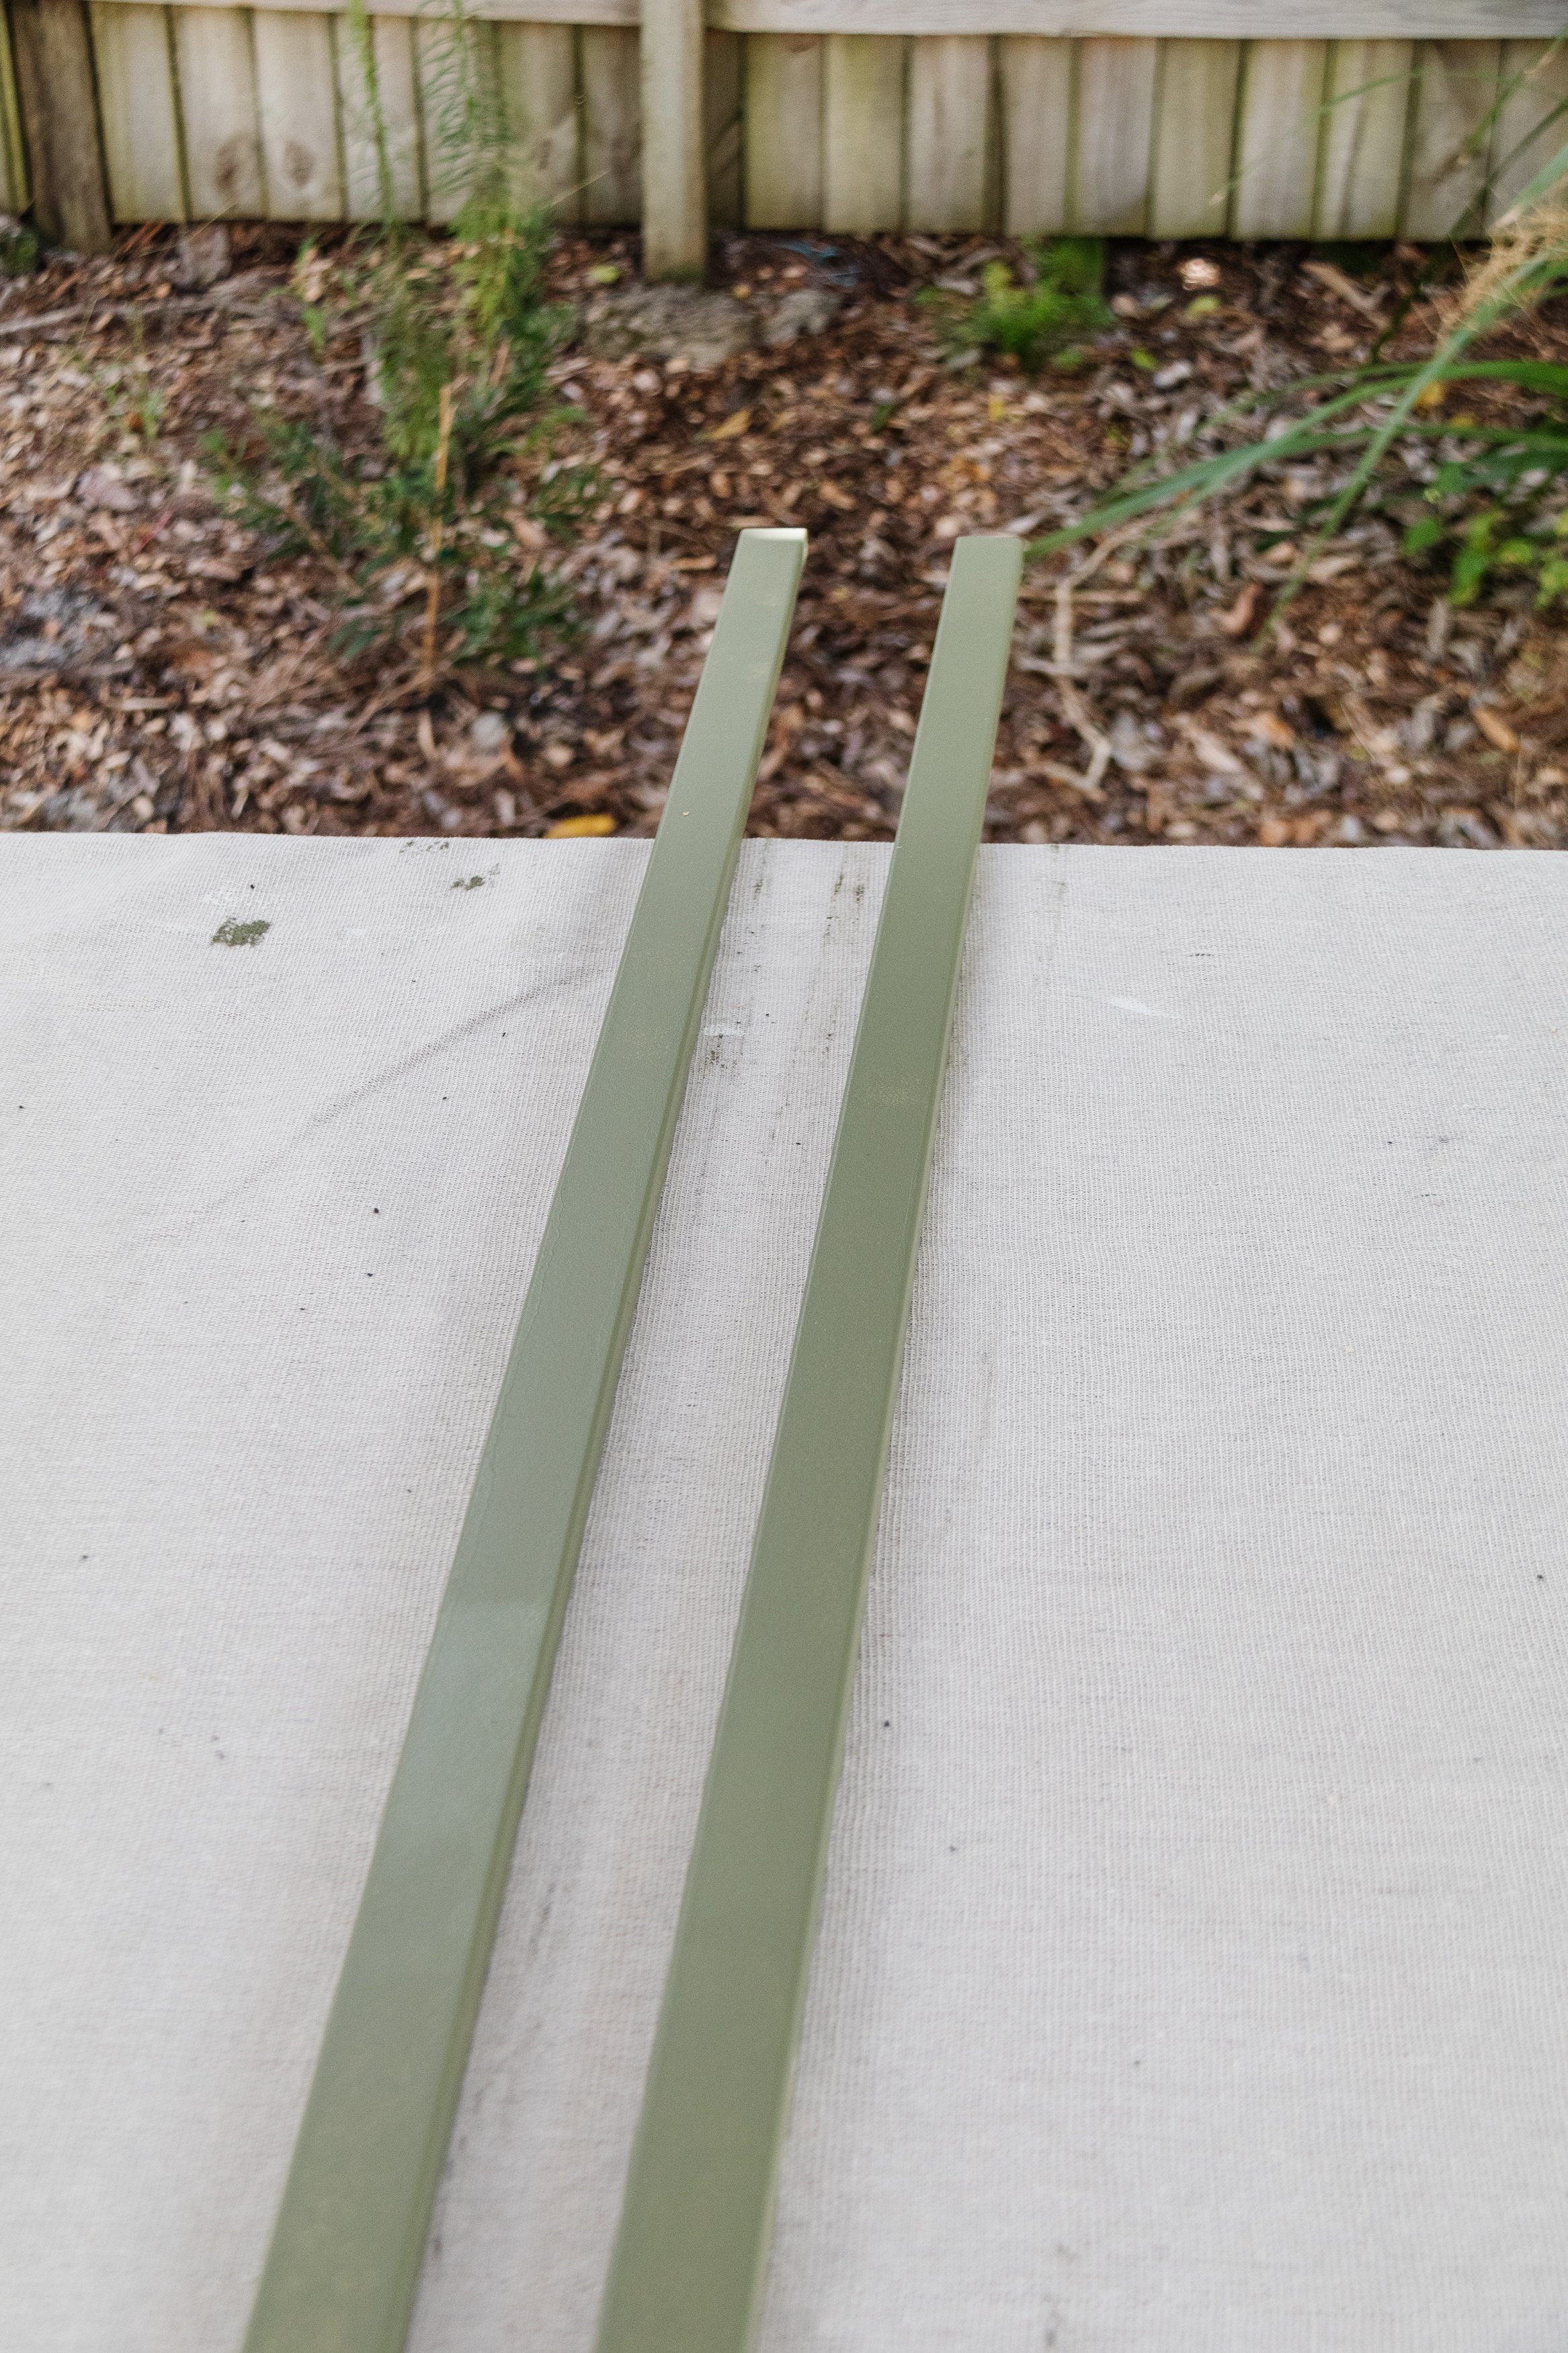
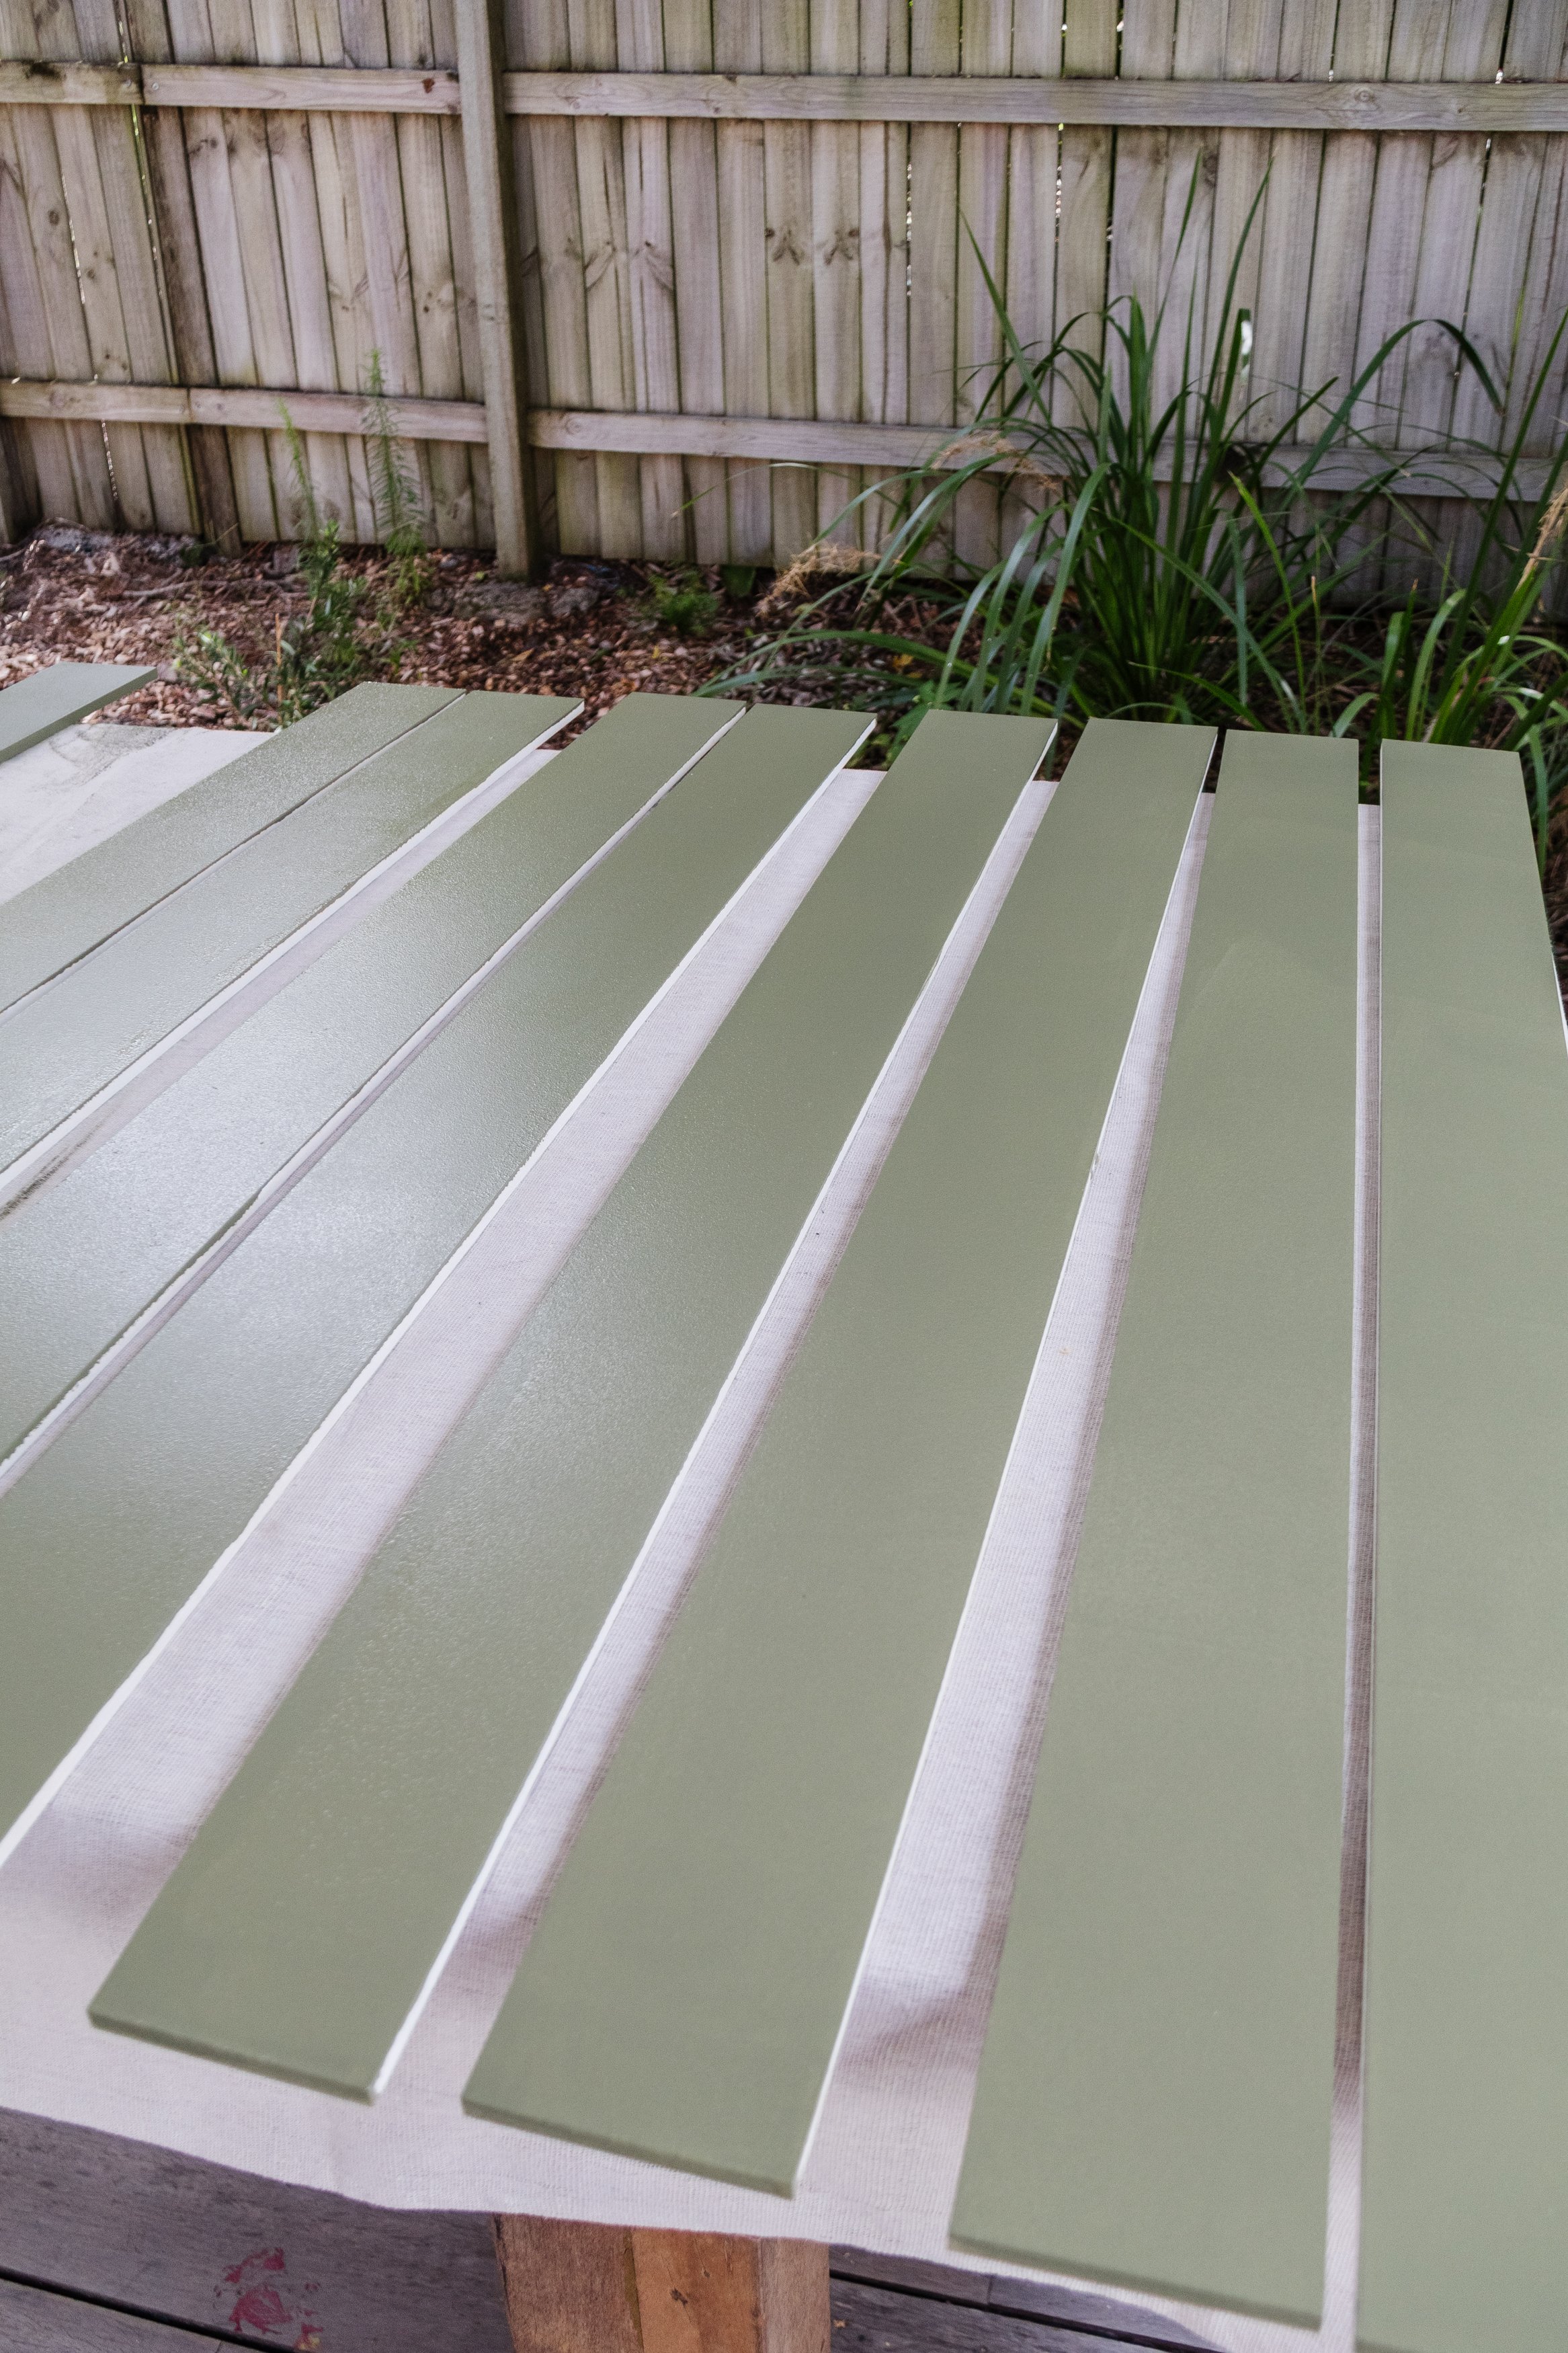
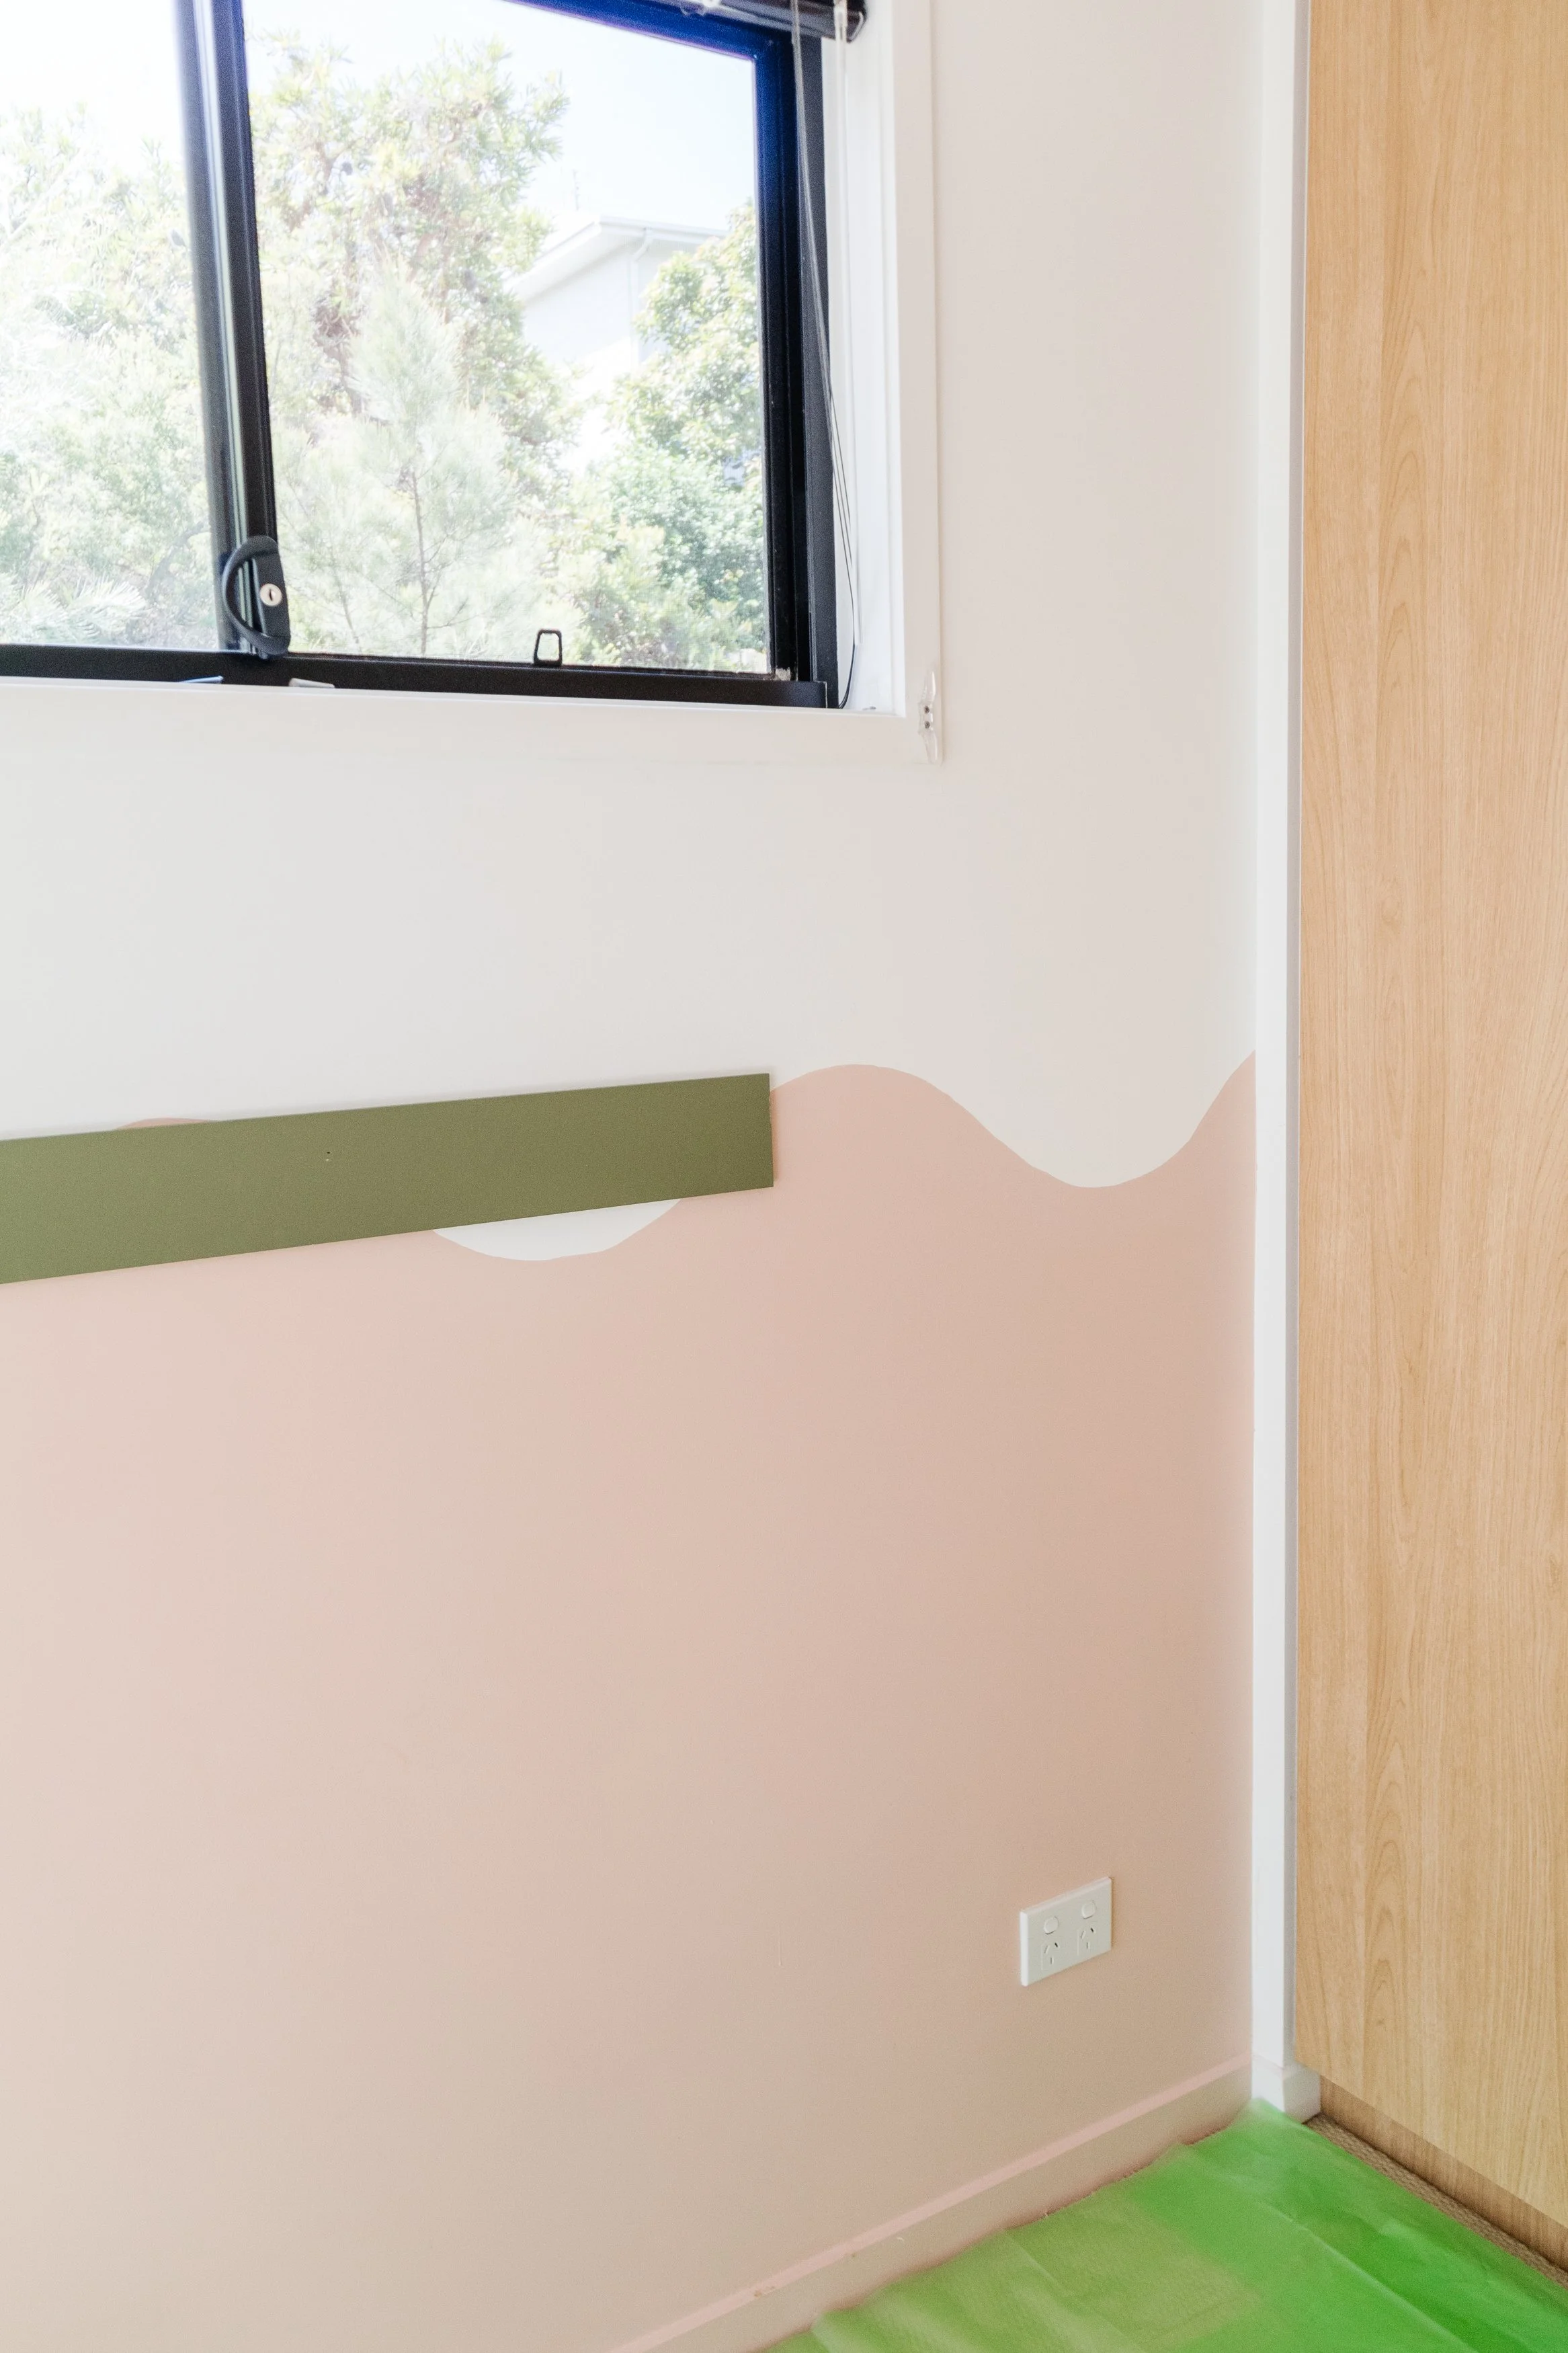
Step 2: When the primer dried, I applied two coats of low sheen wall paint over all the sides of the moulding. While this was happening, I applied two coats over one side of every MDF batten. I also came up with a little time saving hack and decided to paint 5 battens properly (sides and face) with two coats of paint; the horizontal MDF battens (3) and the first and last vertical MDF battens (2). This meant I didn’t have to worry about painting them on the wall and fussing around with painters tape; it’s a neat trick if you’re not a professional painter.

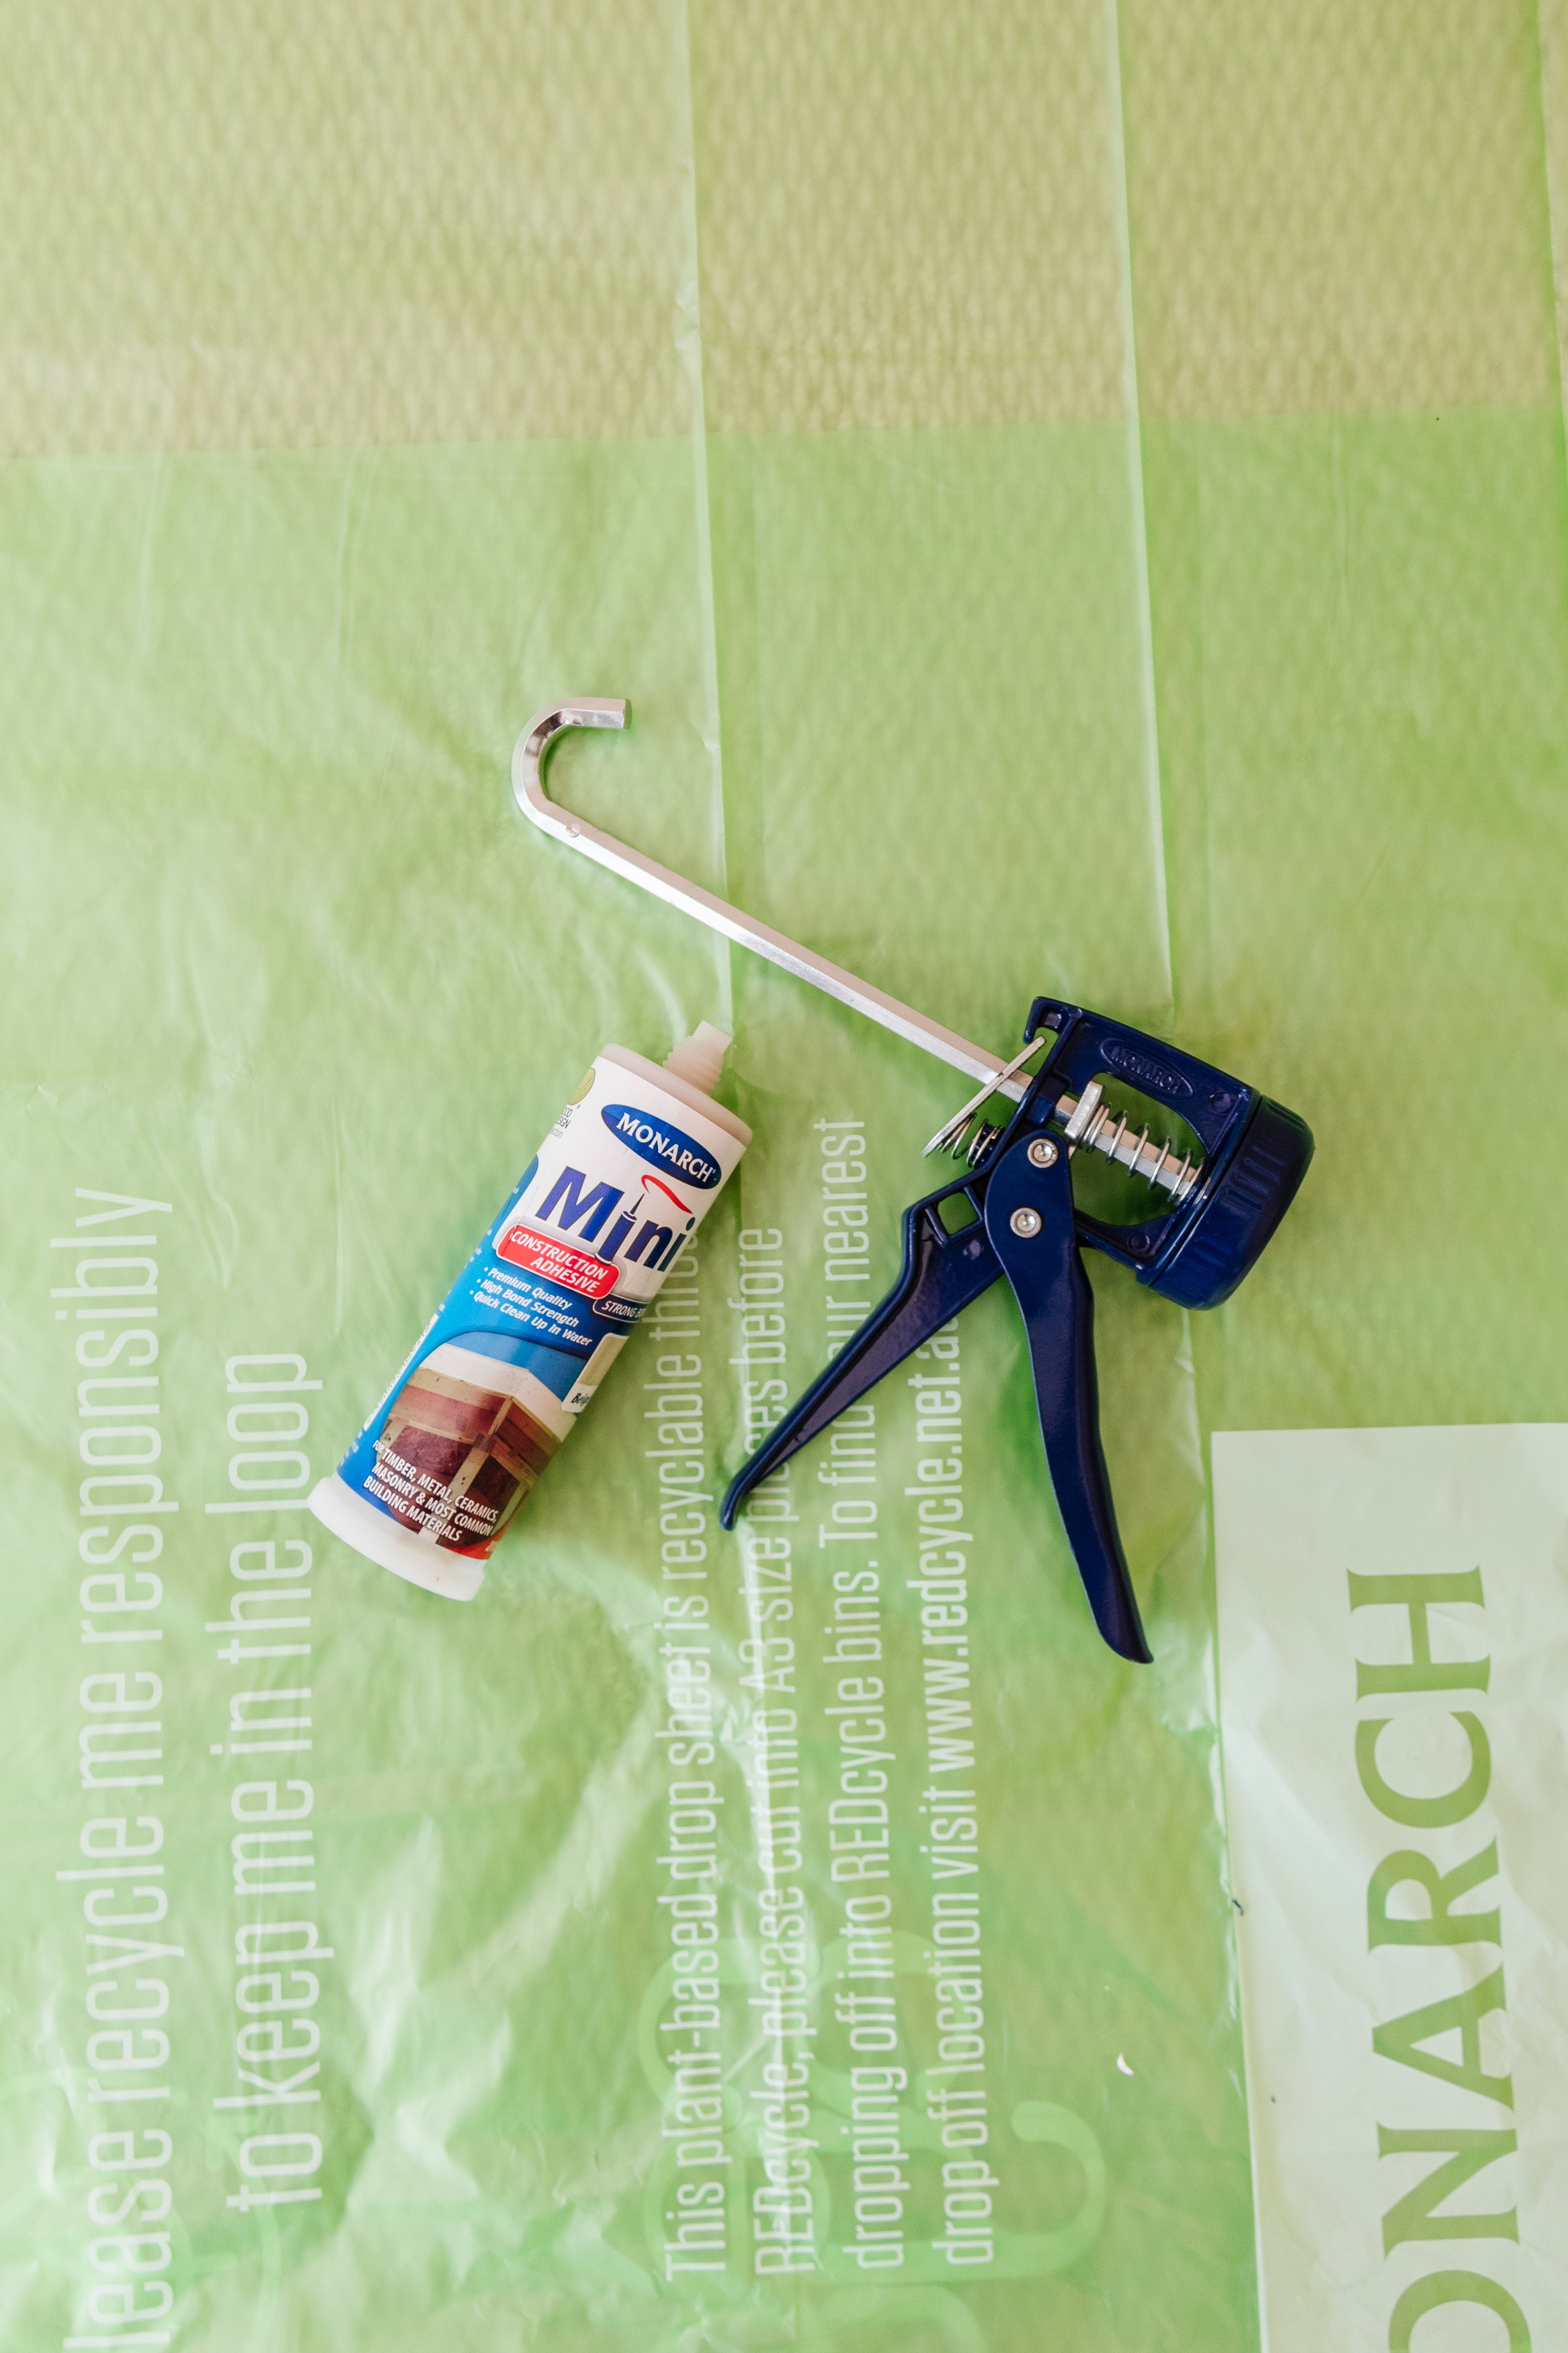
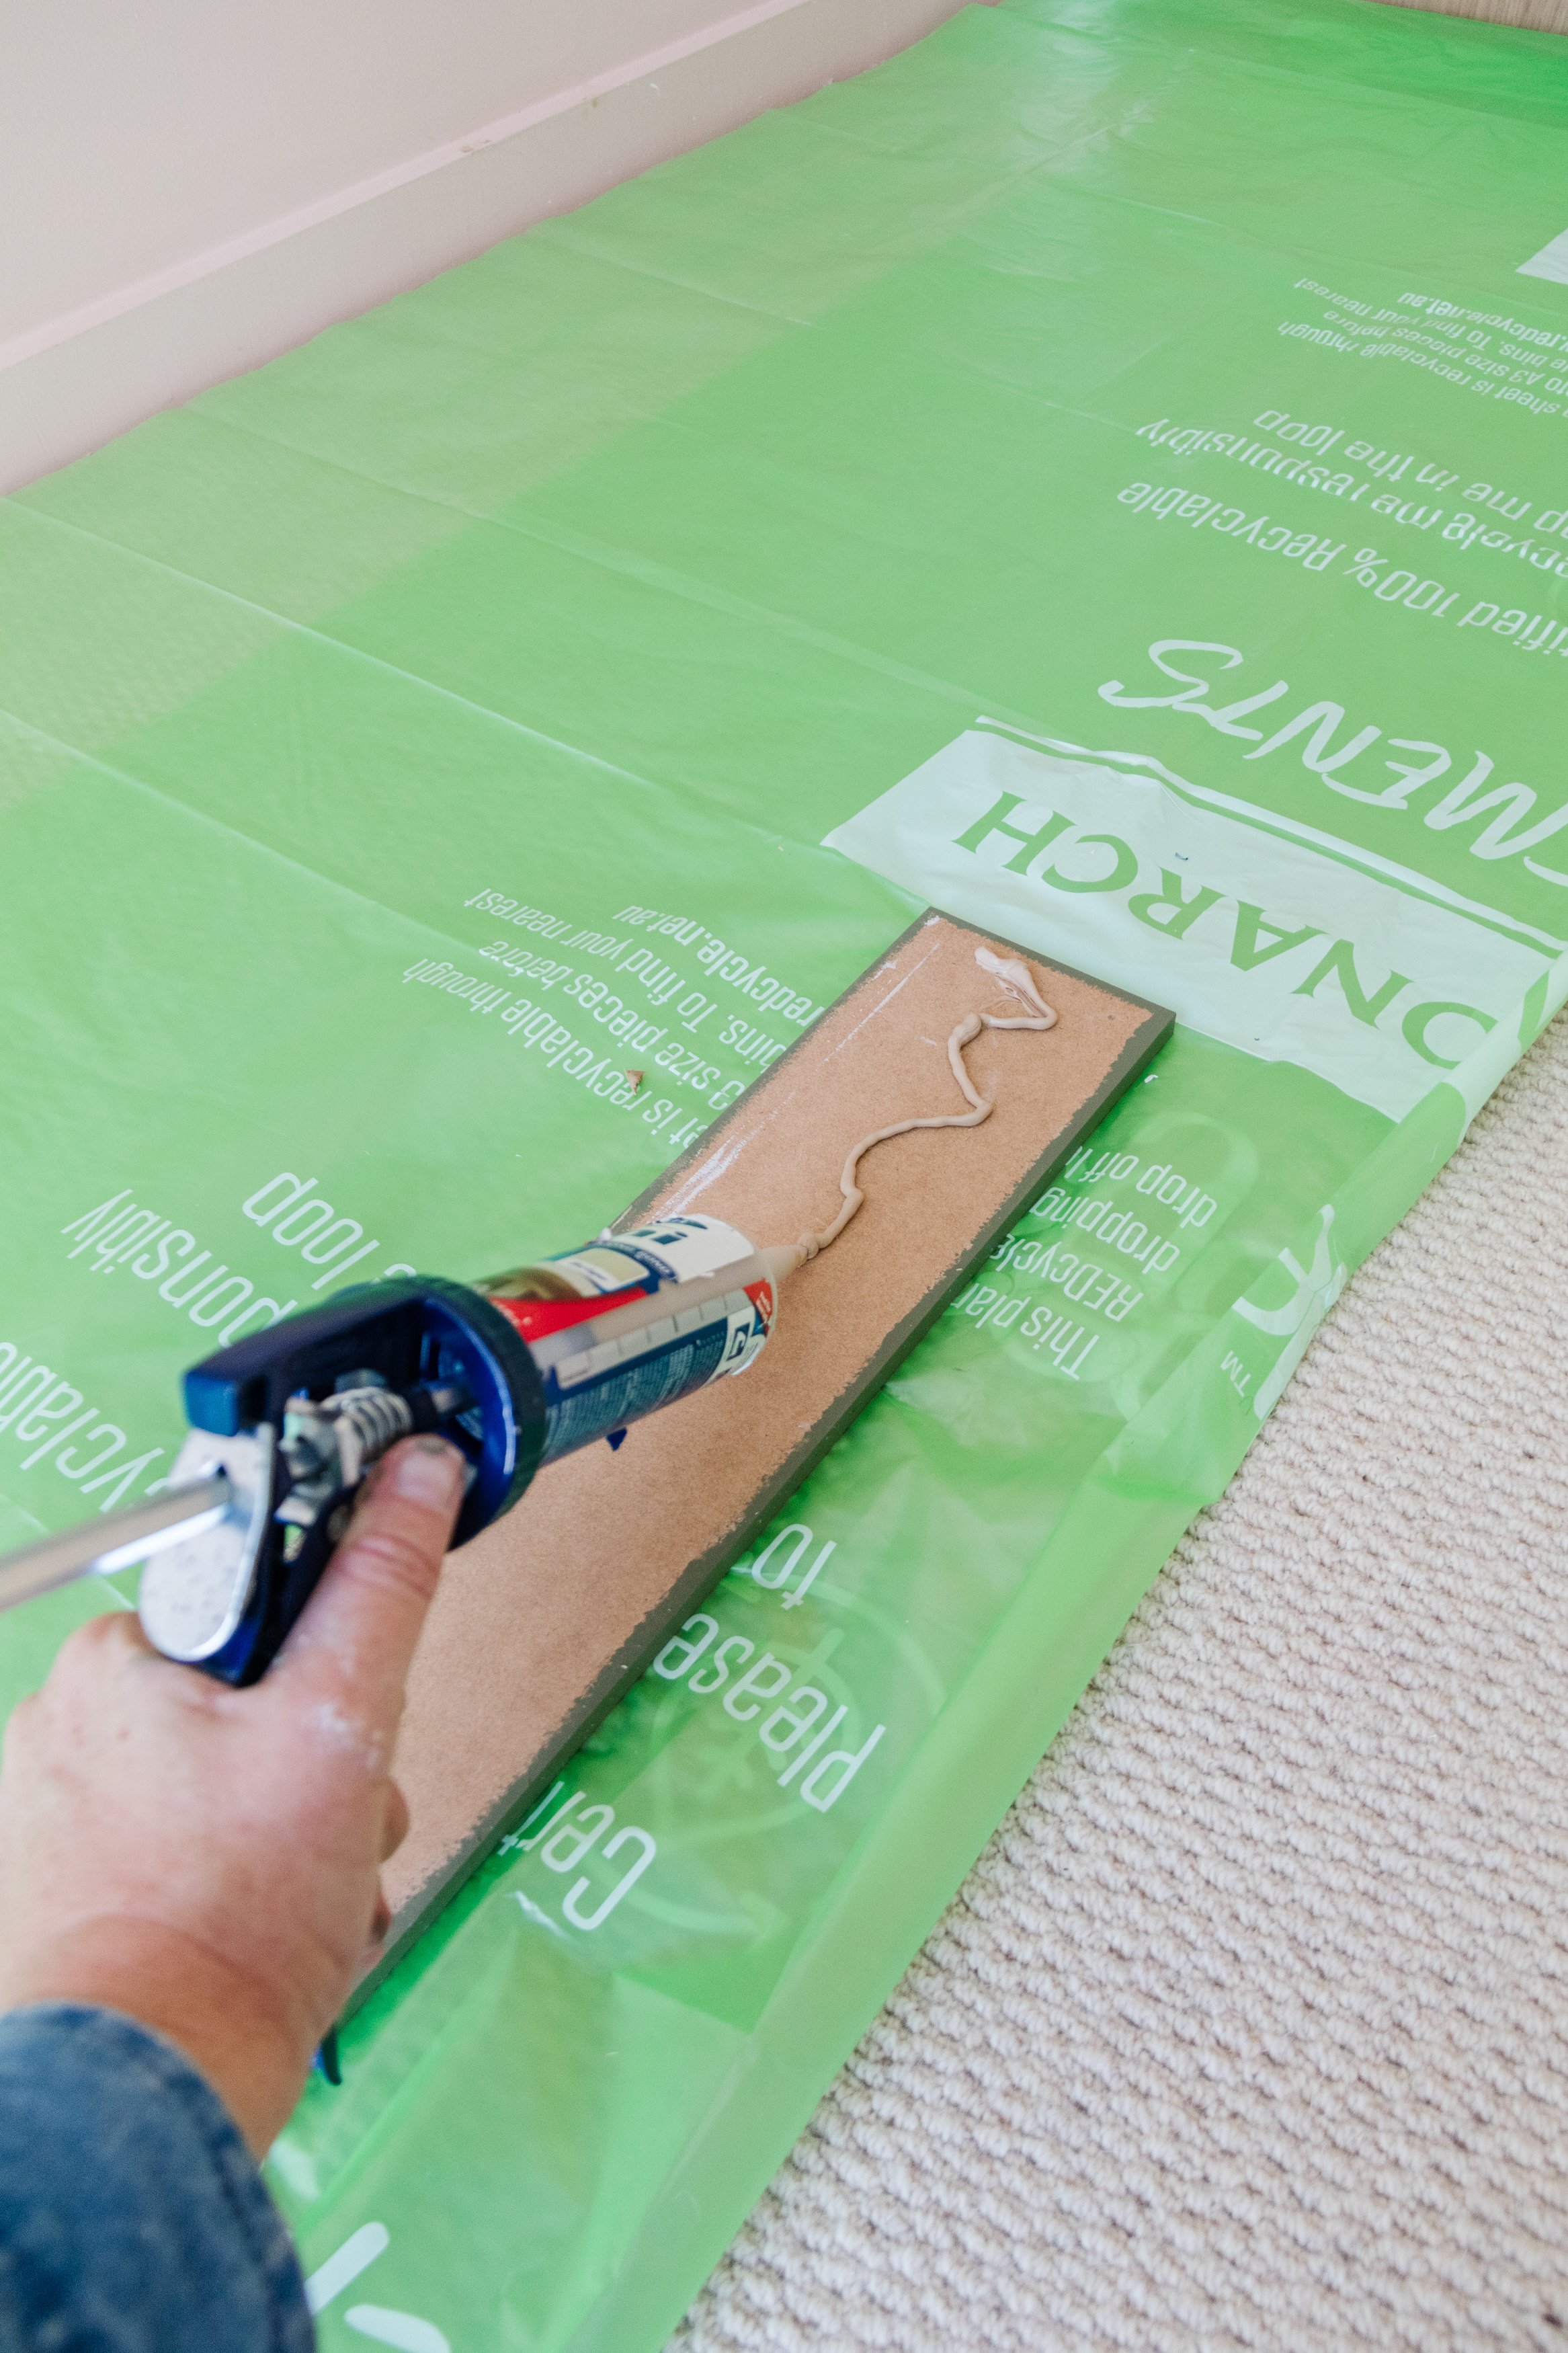
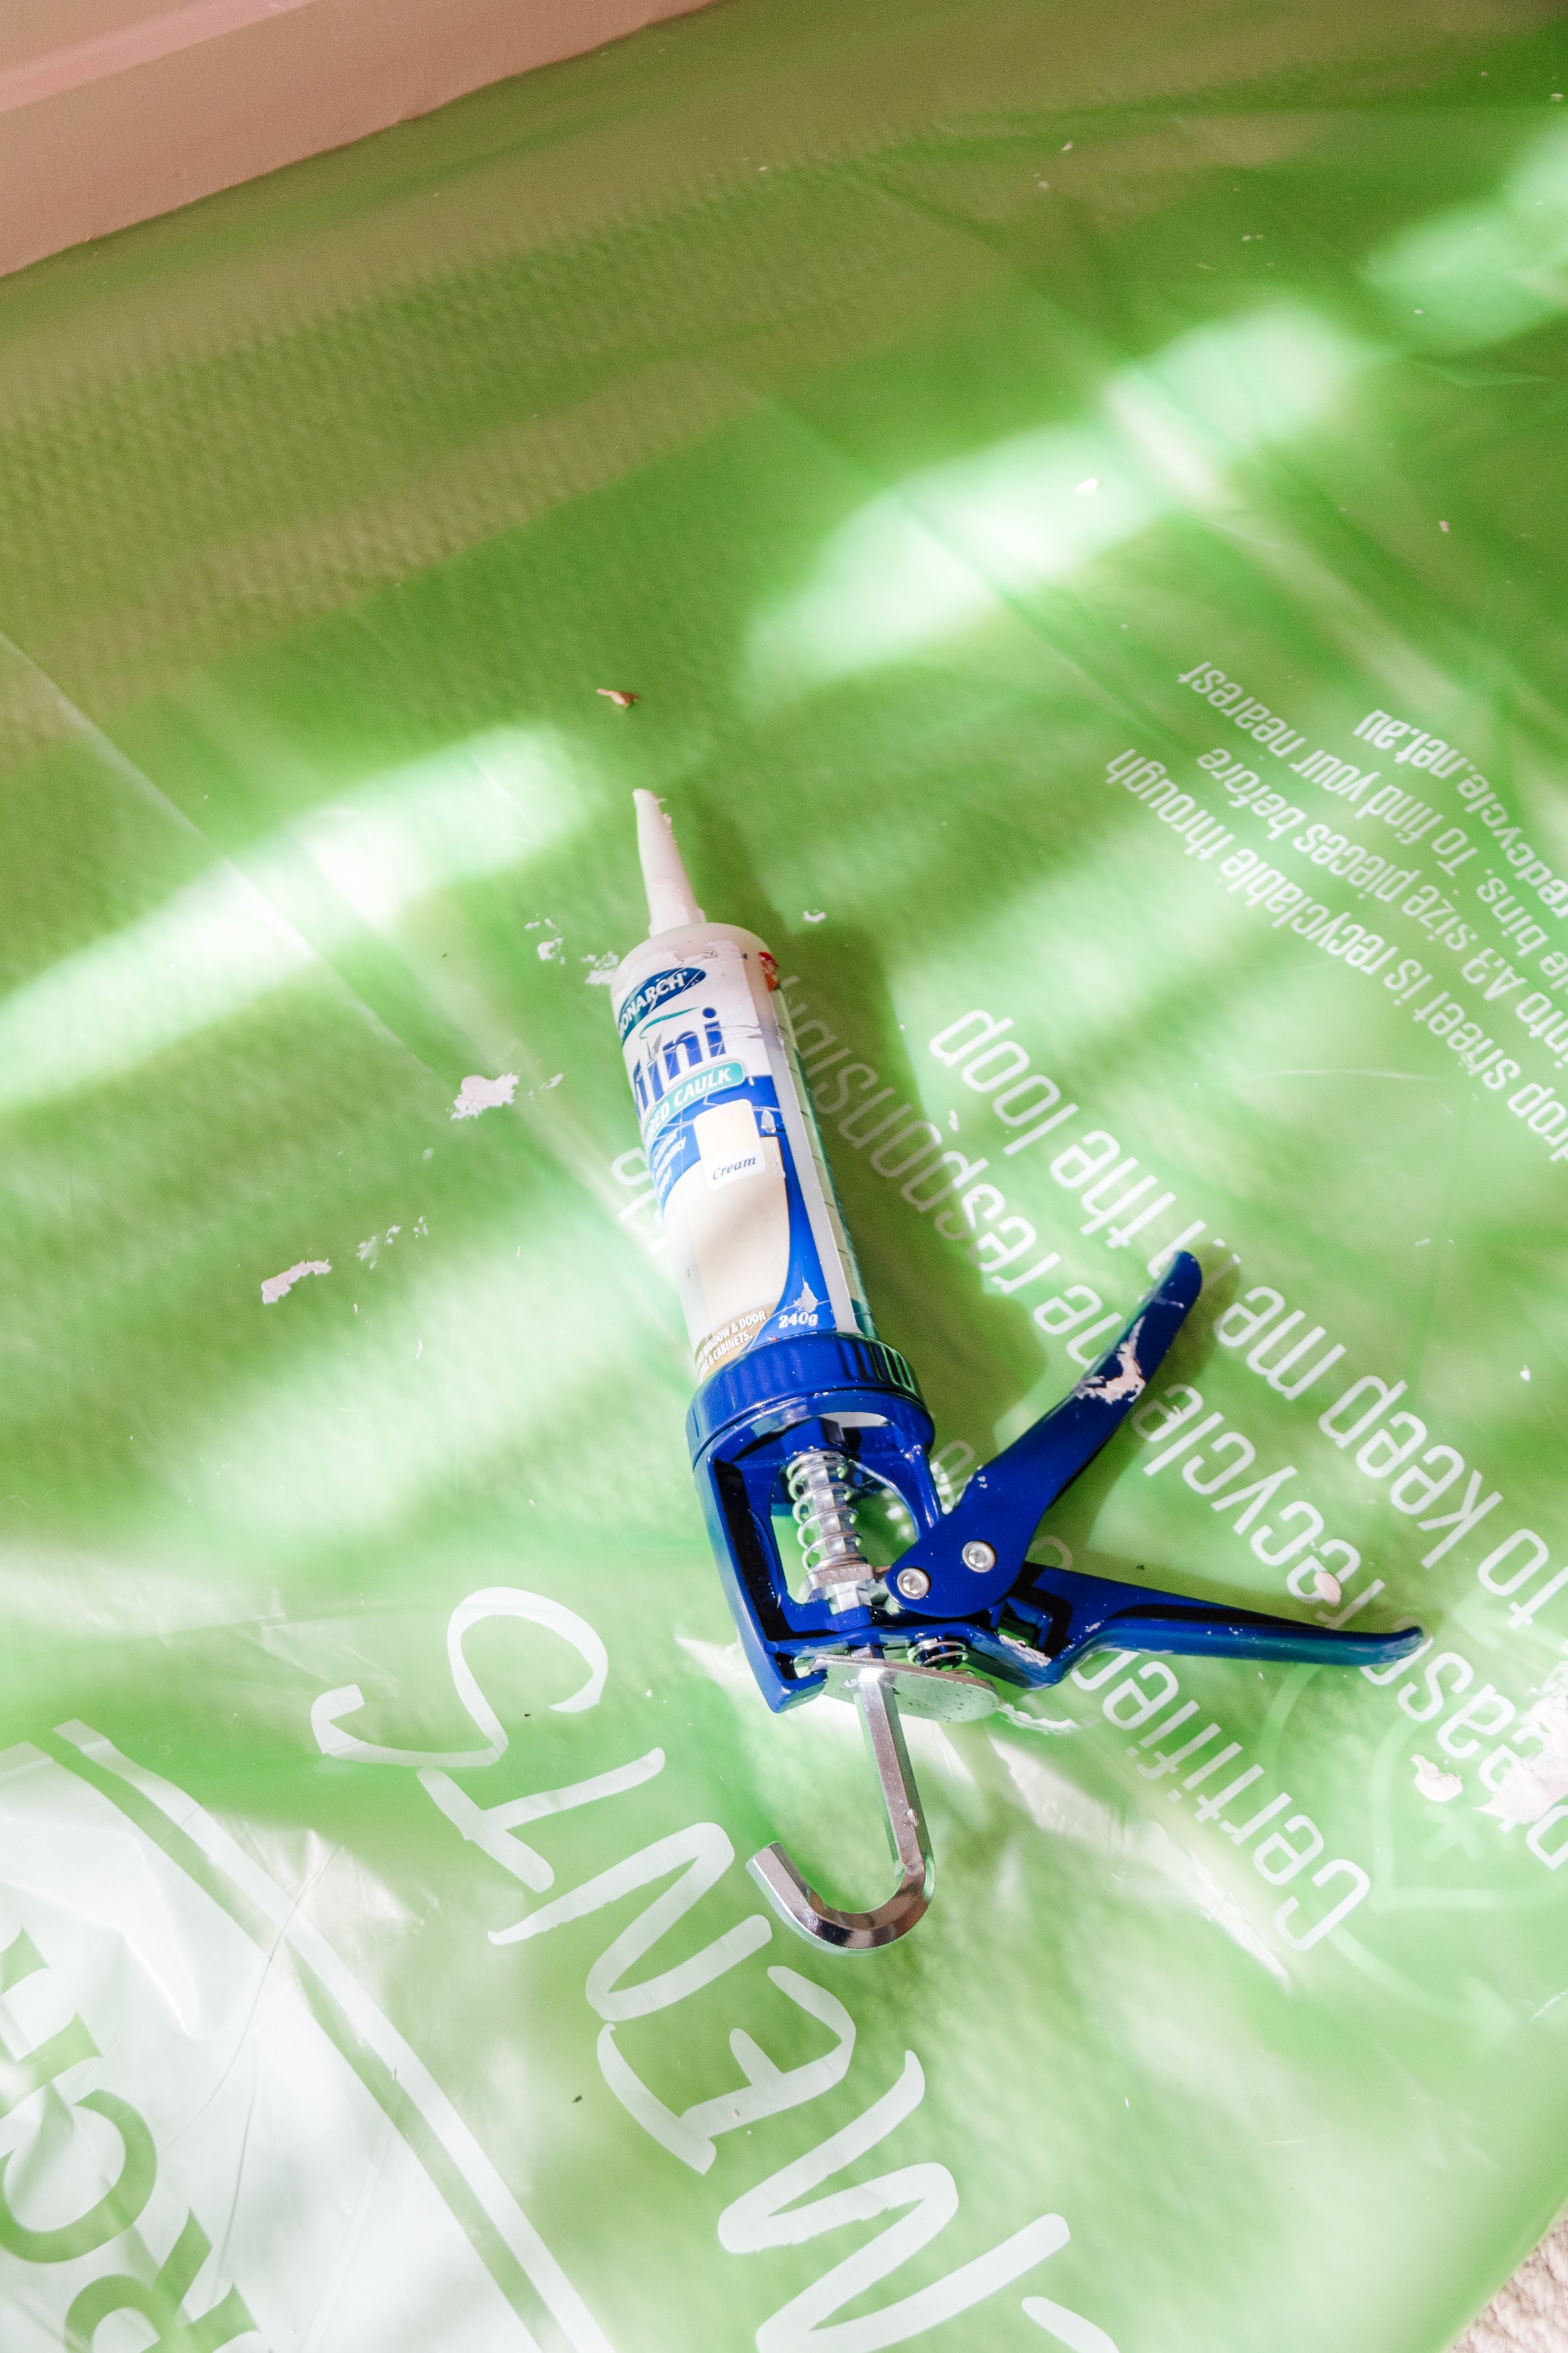
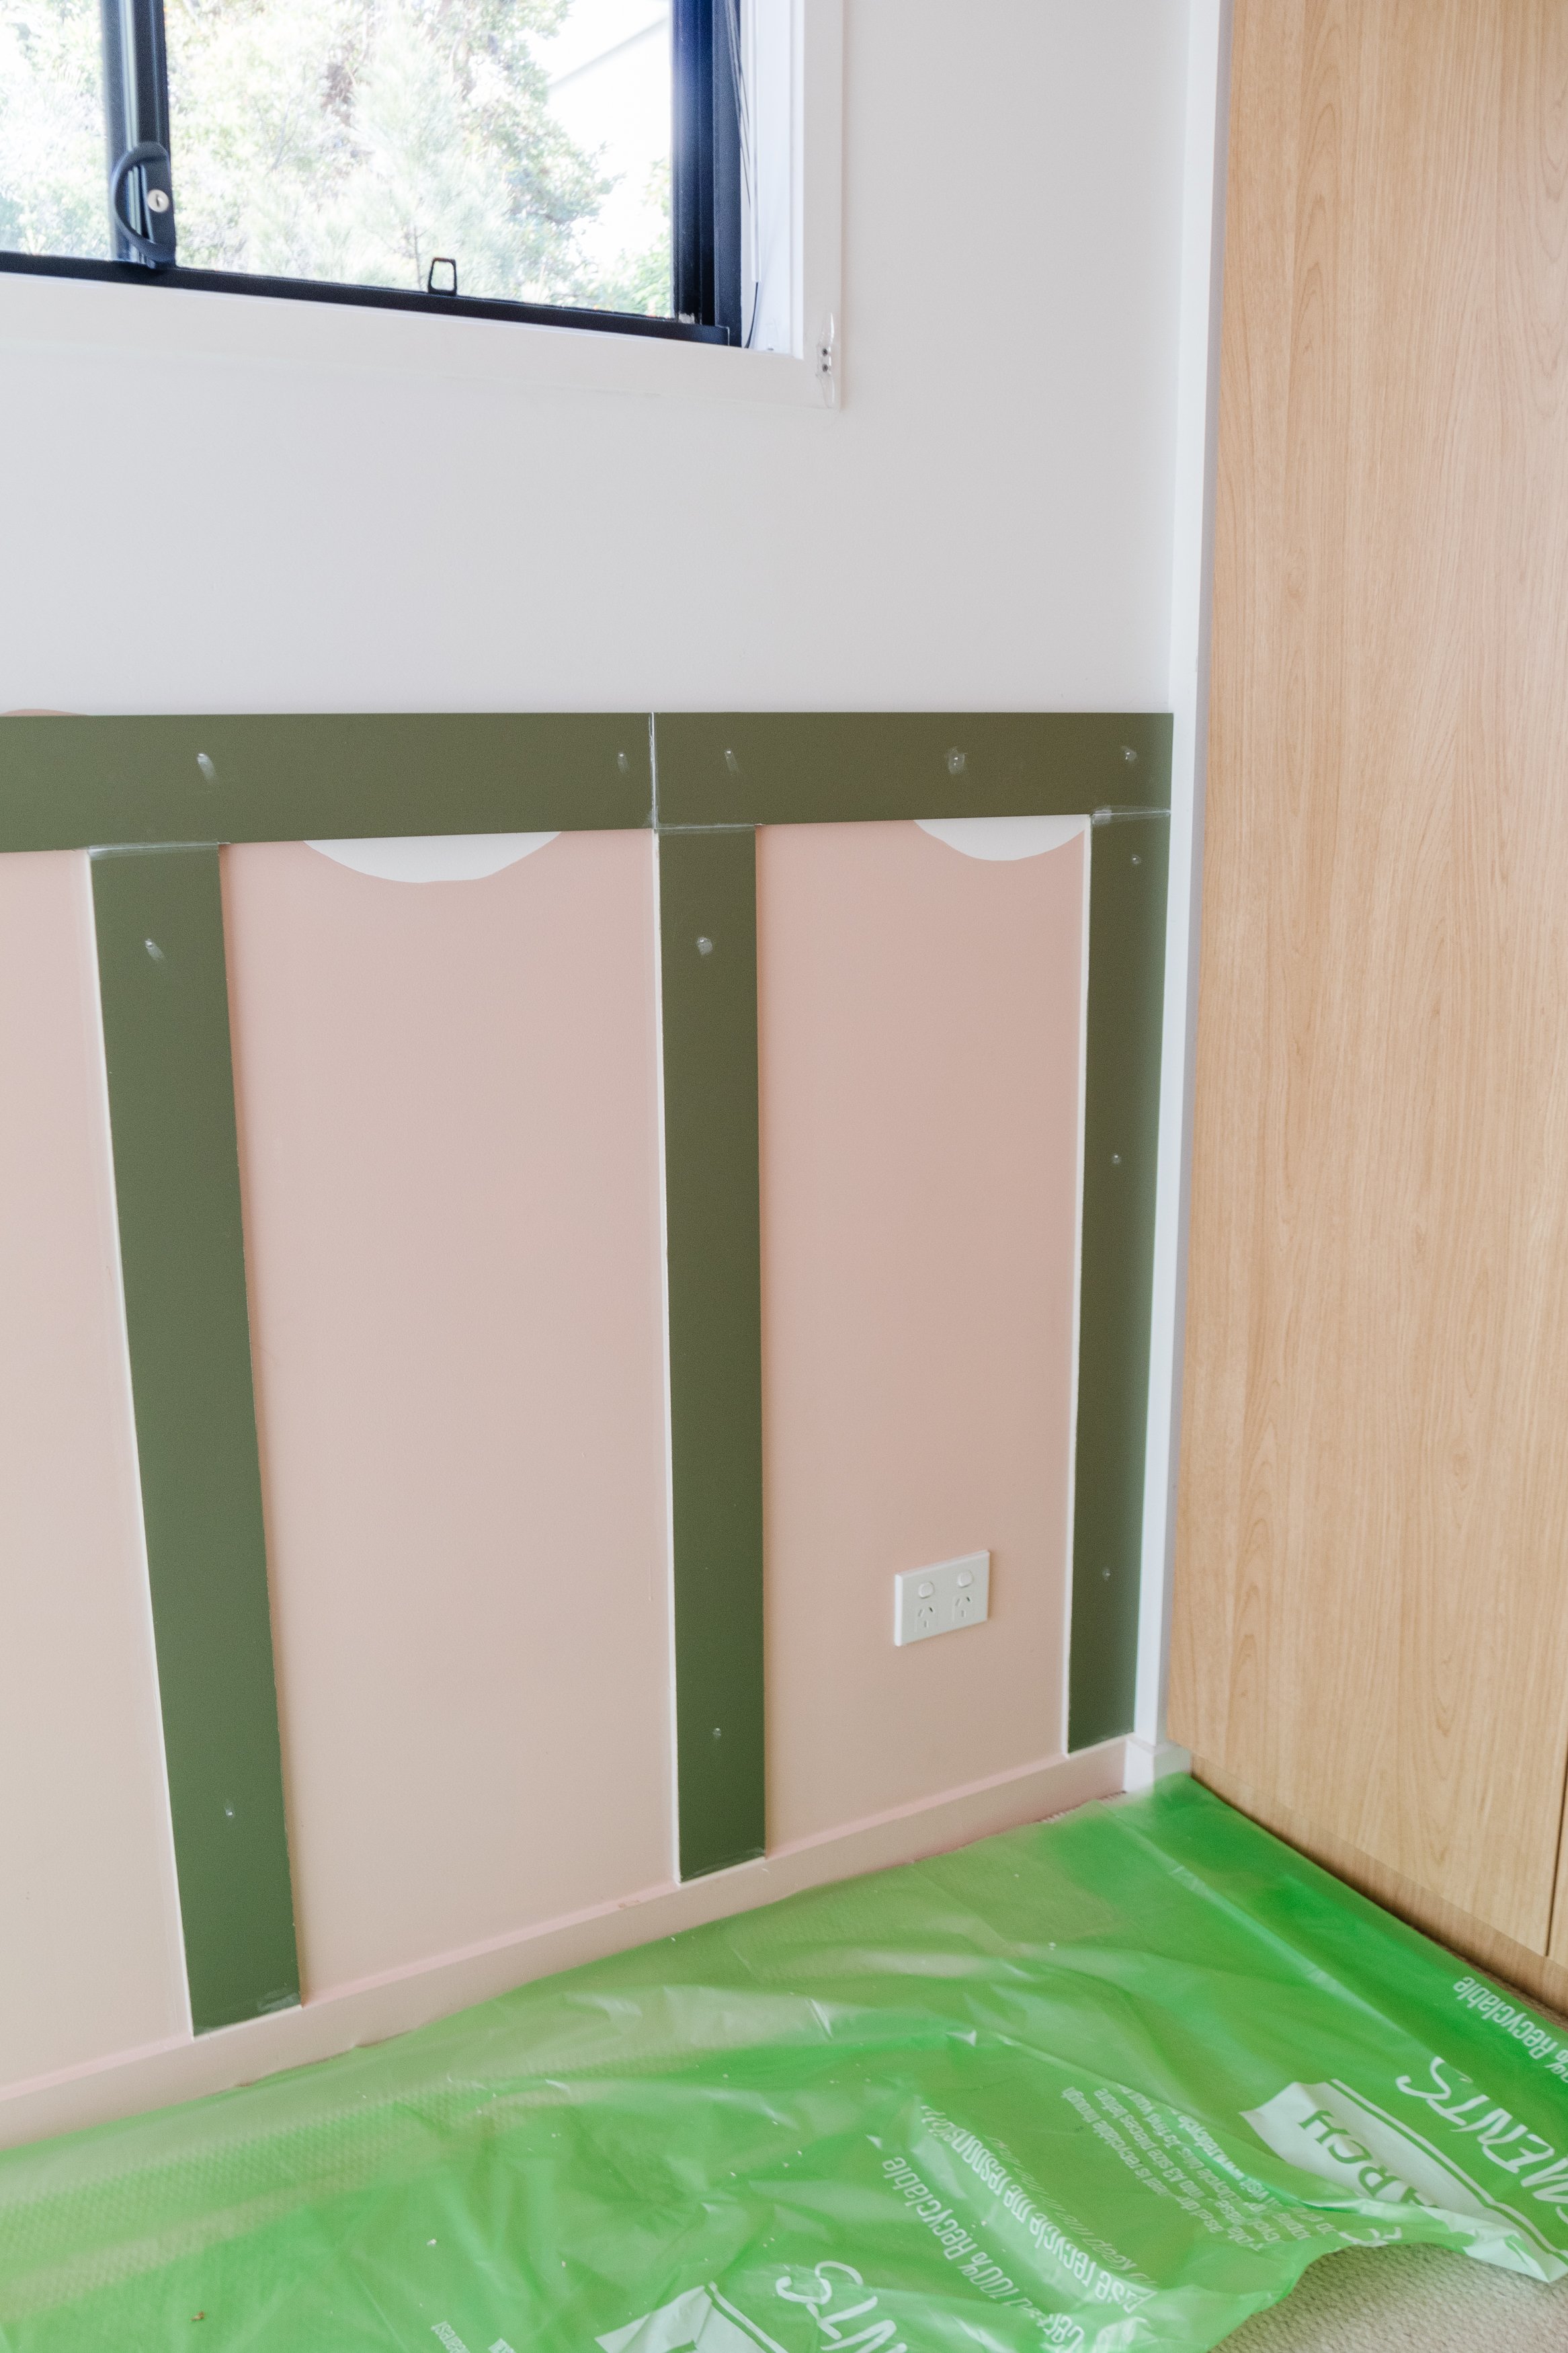
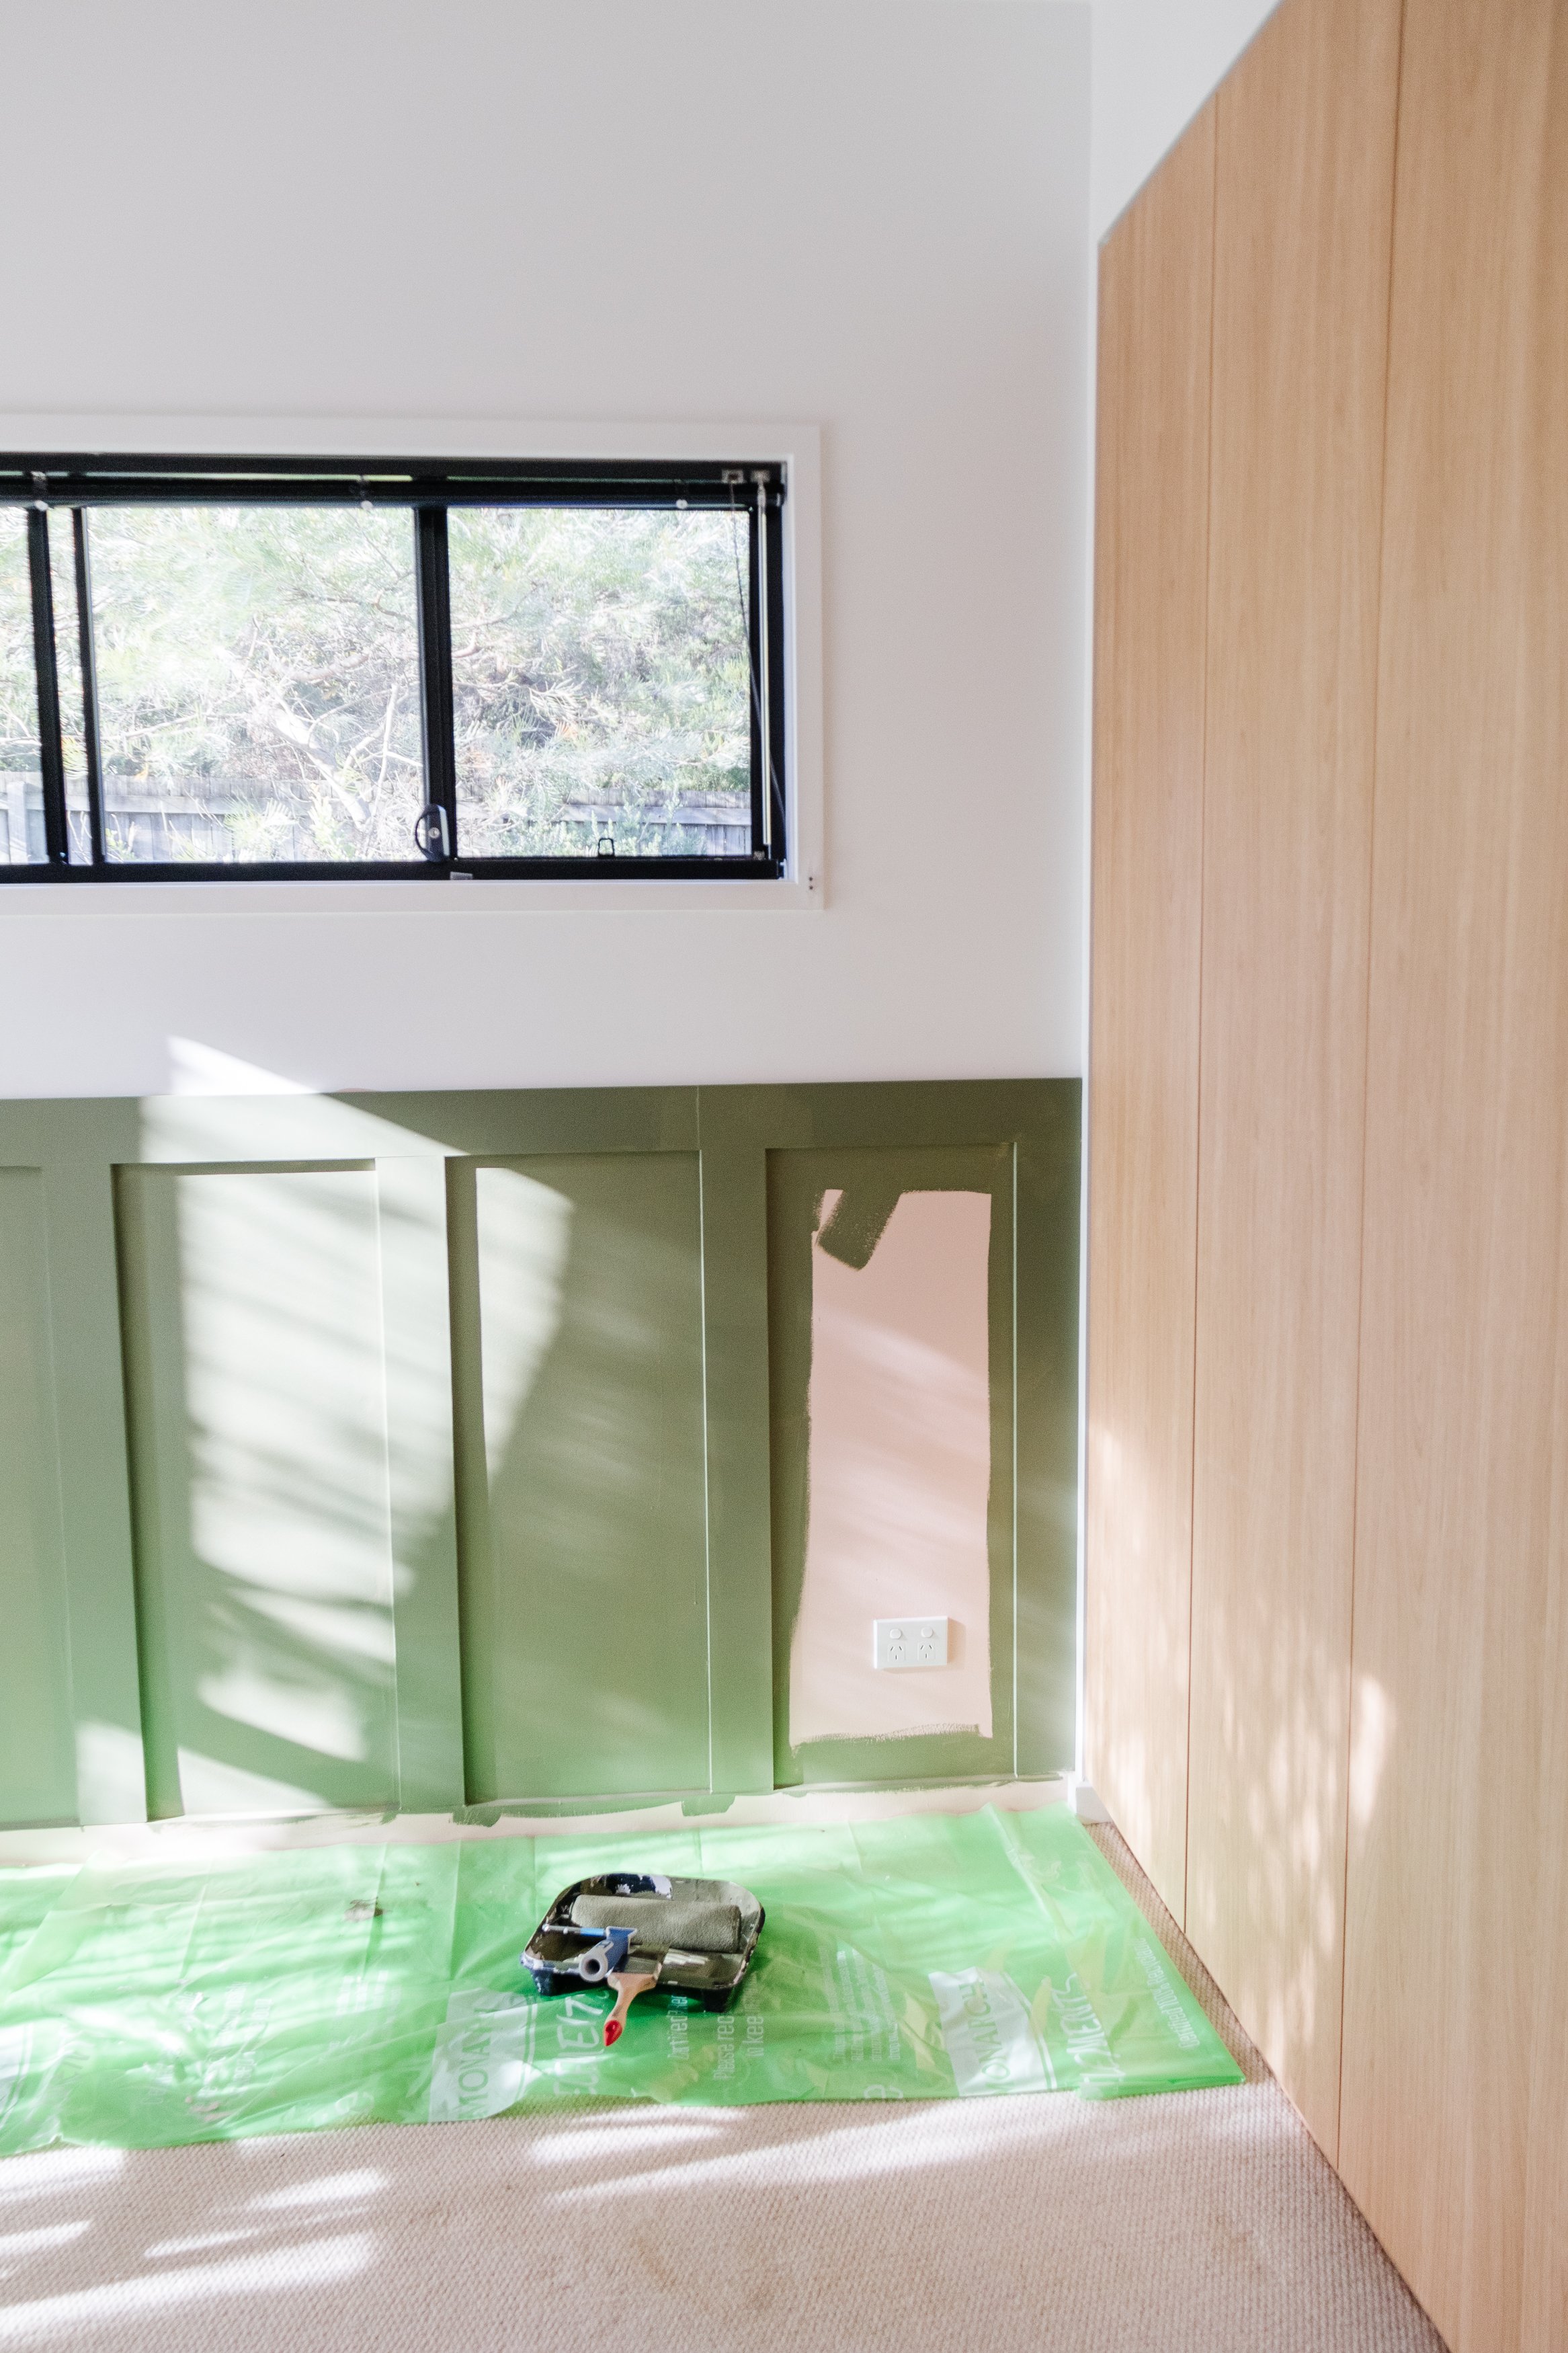
Step 3: When the paint had dried, I placed the Monarch Plant Based Drop Sheet onto the carpet and installed the horizontal boards using Monarch Construction Adhesive, Monarch Mini Caulking Gun, a level and a brad nail gun. I had to trim one batten using my mitre saw to ensure a perfect fit.
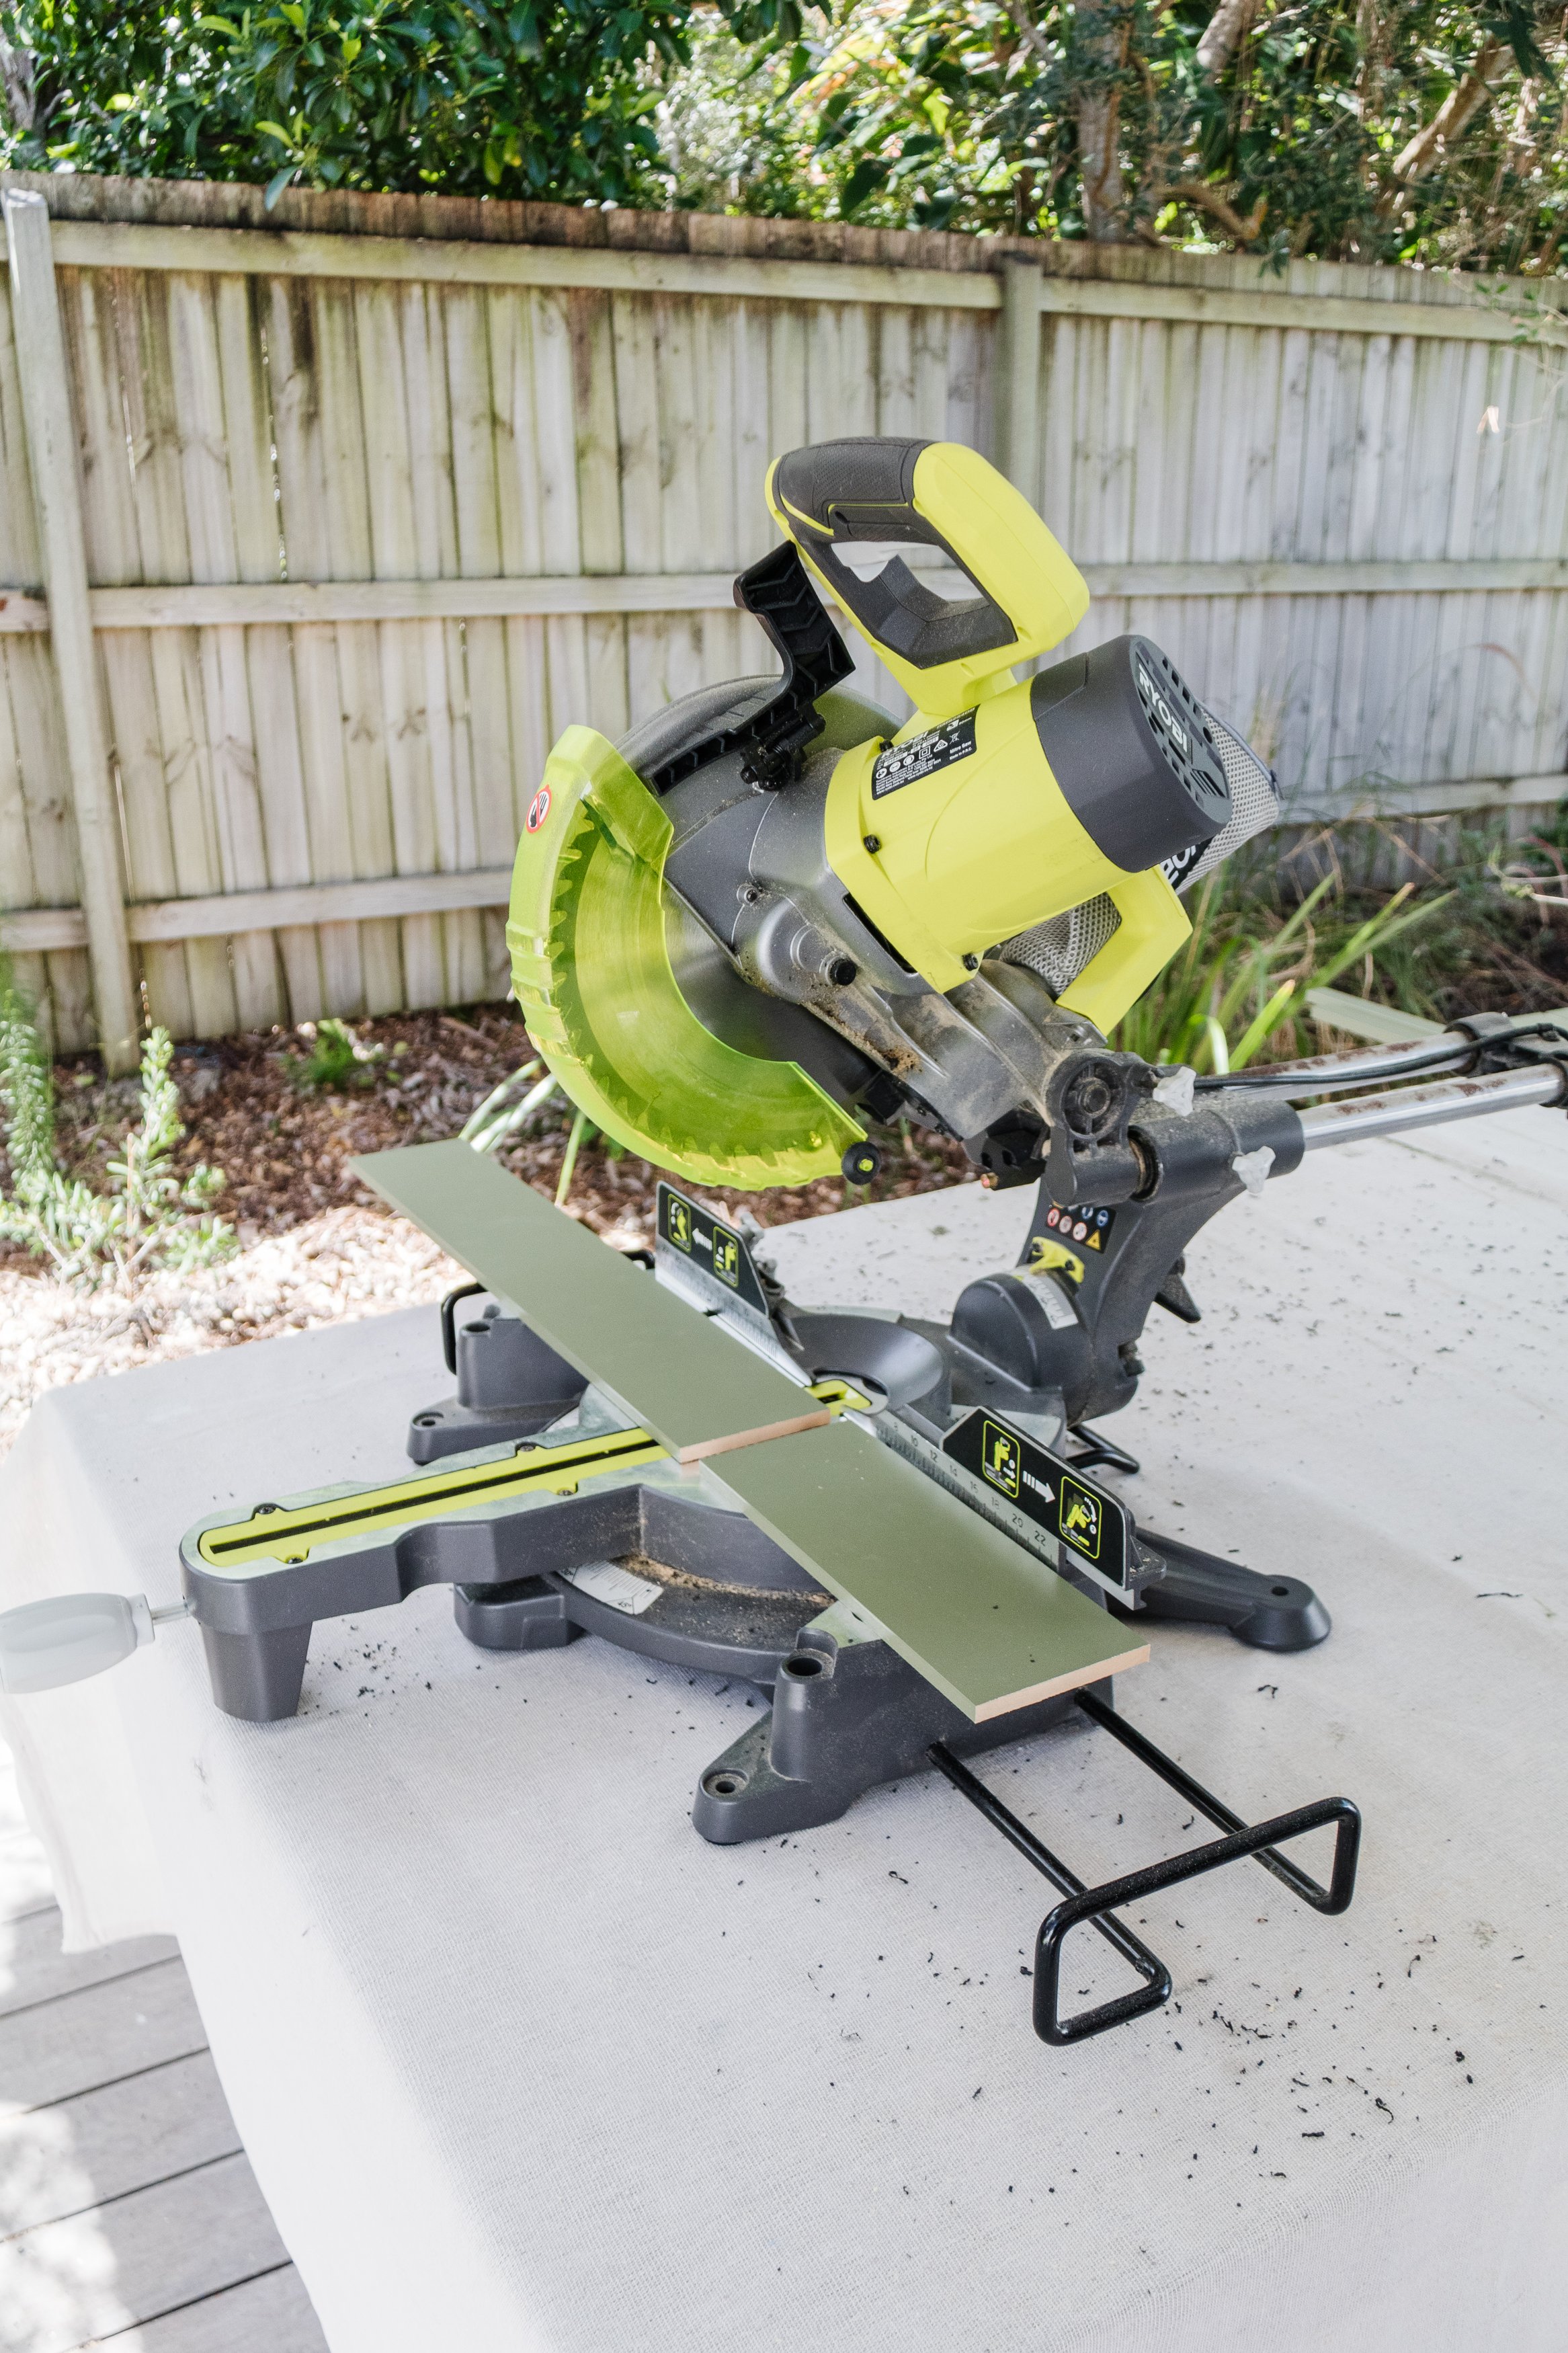
Step 4: The MDF battens are 1200mm, which is too long for the vertical battens, so I individually measured and cut the first and last vertical board using a measuring tape, pen and mitre saw. Repeating the same installation step above, I secured the first and last batten to the wall.
Tip: Walls and baseboards have quirks; they’re not always perfectly flat or straight, some are wonky, even if you can’t see it with your own eyes. No matter how hard you try (even if you use a level), the wall, baseboard and the horizontal batten you install might not be perfectly straight, so it’s important that you individually measure and cut each horizontal and vertical batten.
Step 5: Referring to my design measurements, I used my measuring tape and pen to measure each vertical batten before cutting it down to size with the mitre saw. This may have taken a bit more time but it was worth it.
Step 6: I used my measuring tape and pen to measure the distance between the boards (383mm) and marked this on the wall, then I installed one vertical batten at a time as I did in Step 3 until all the vertical battens were in place.
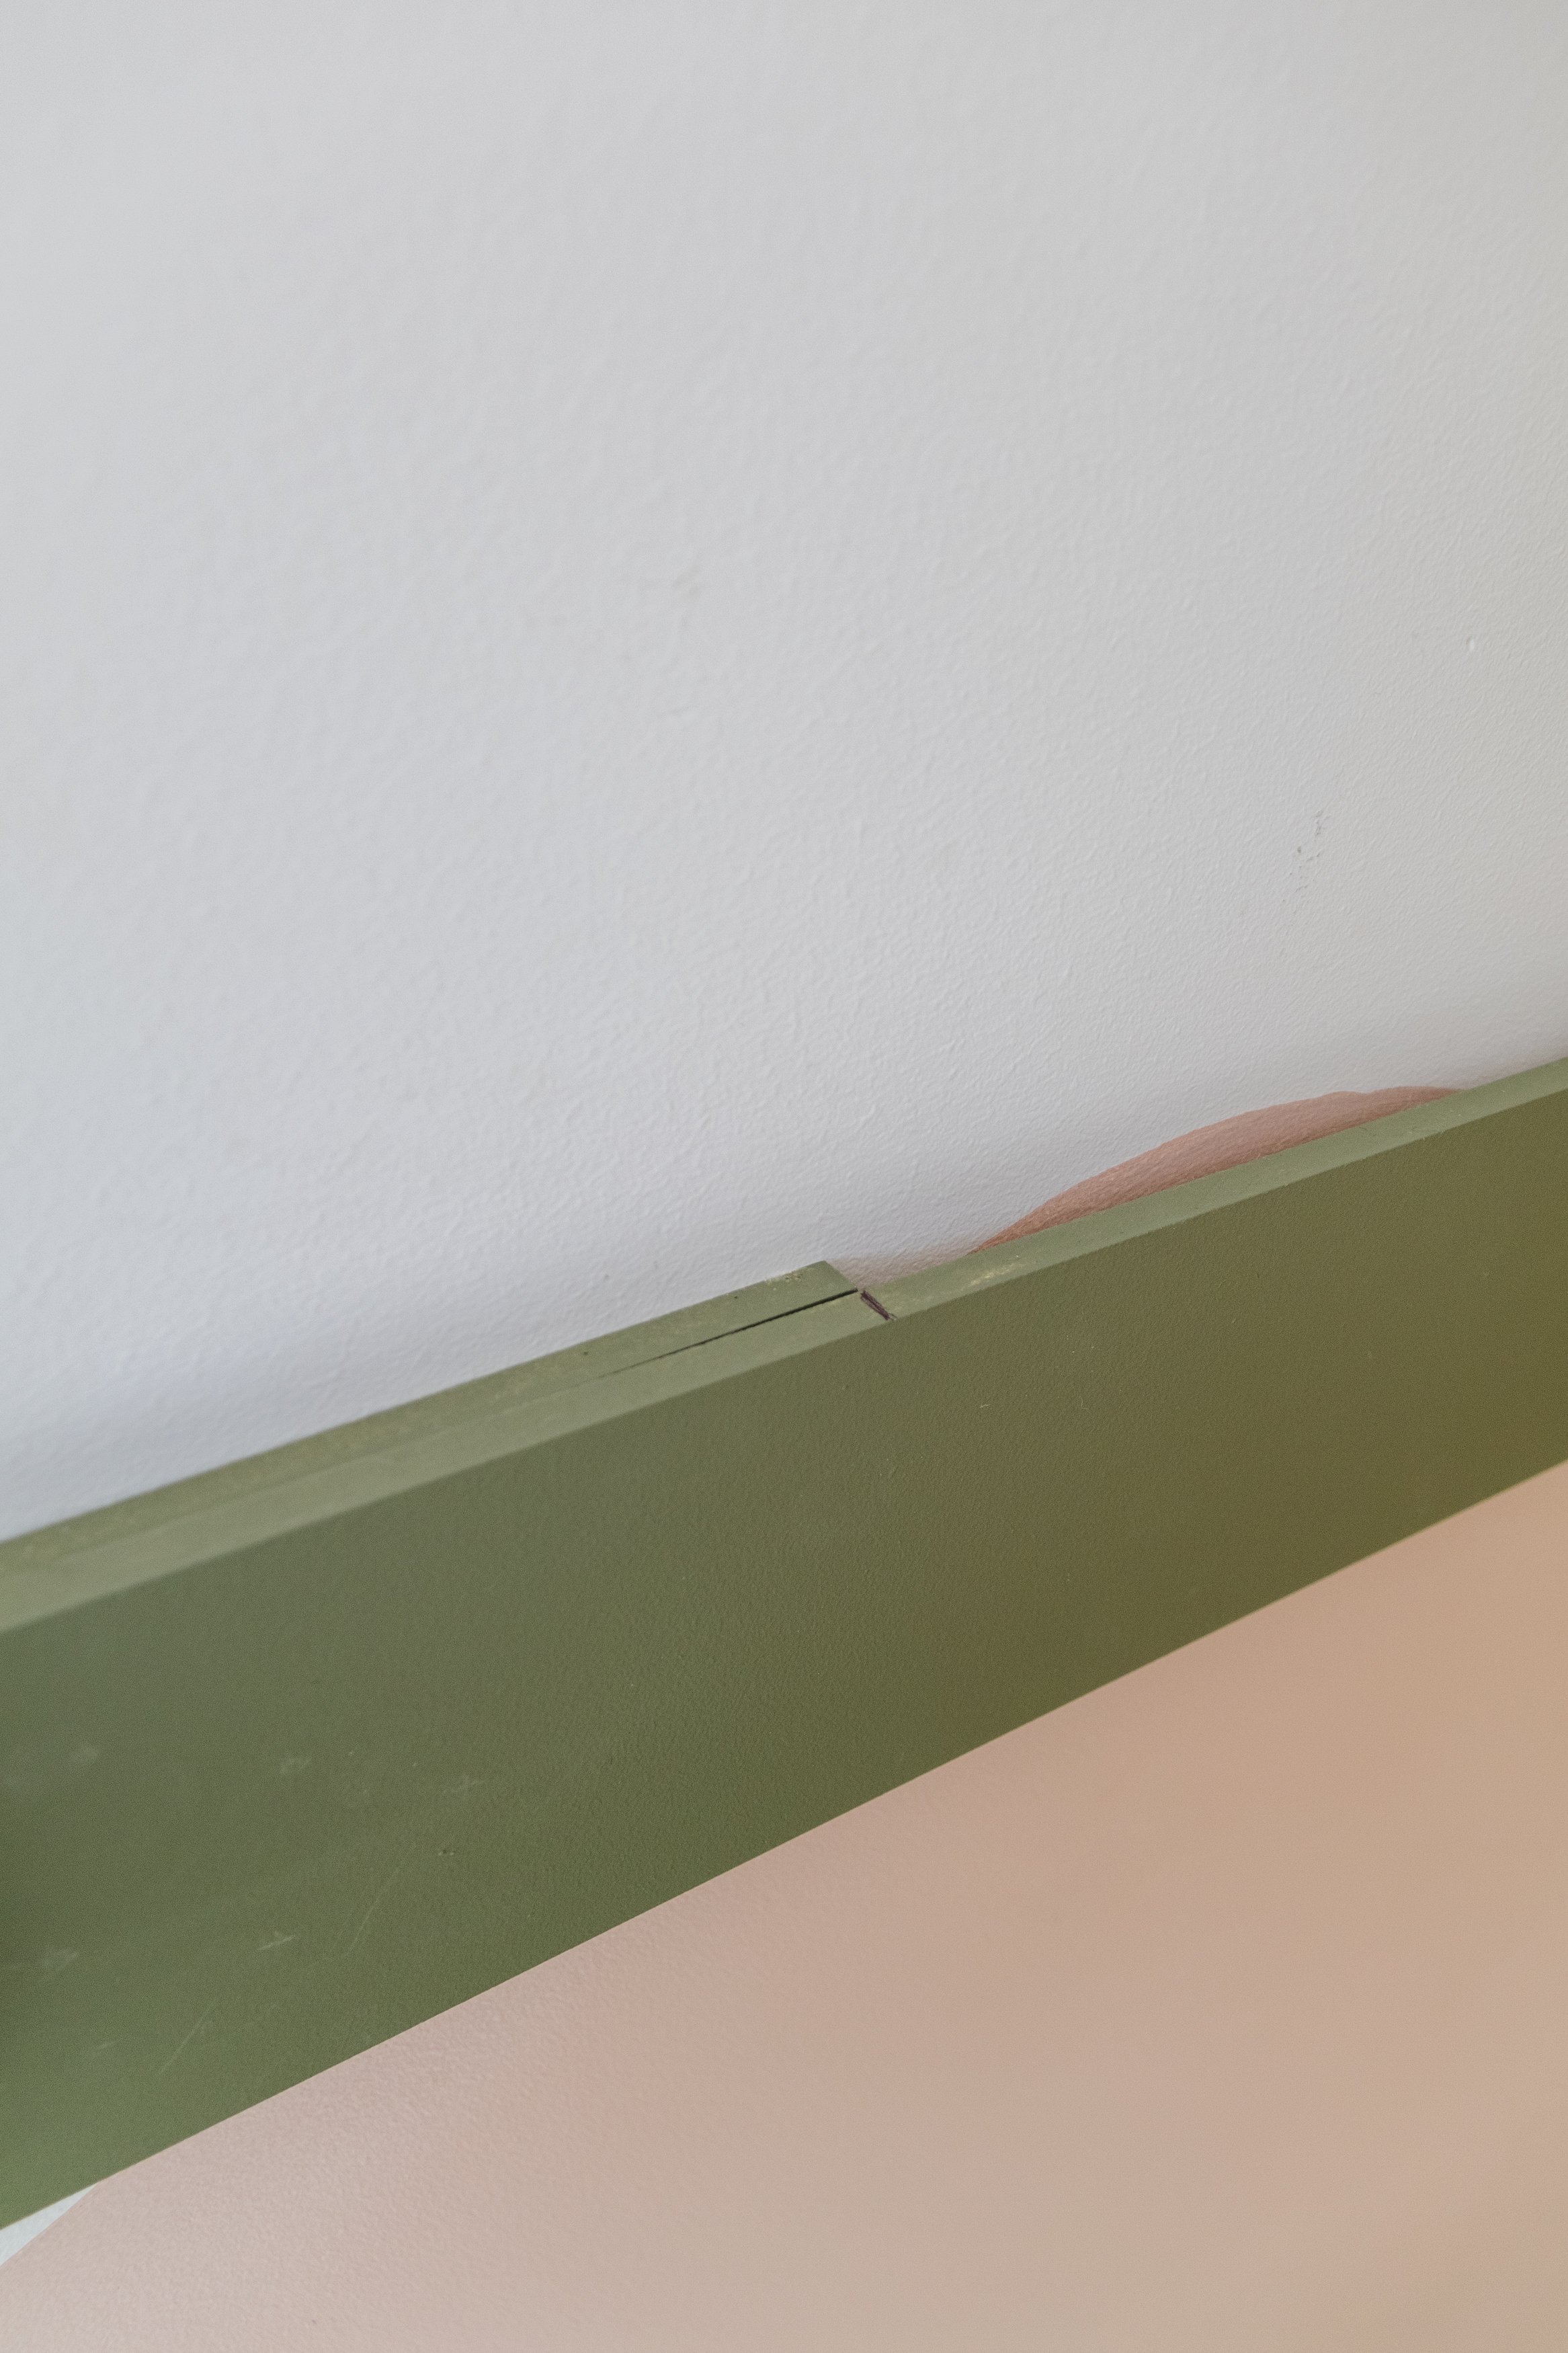
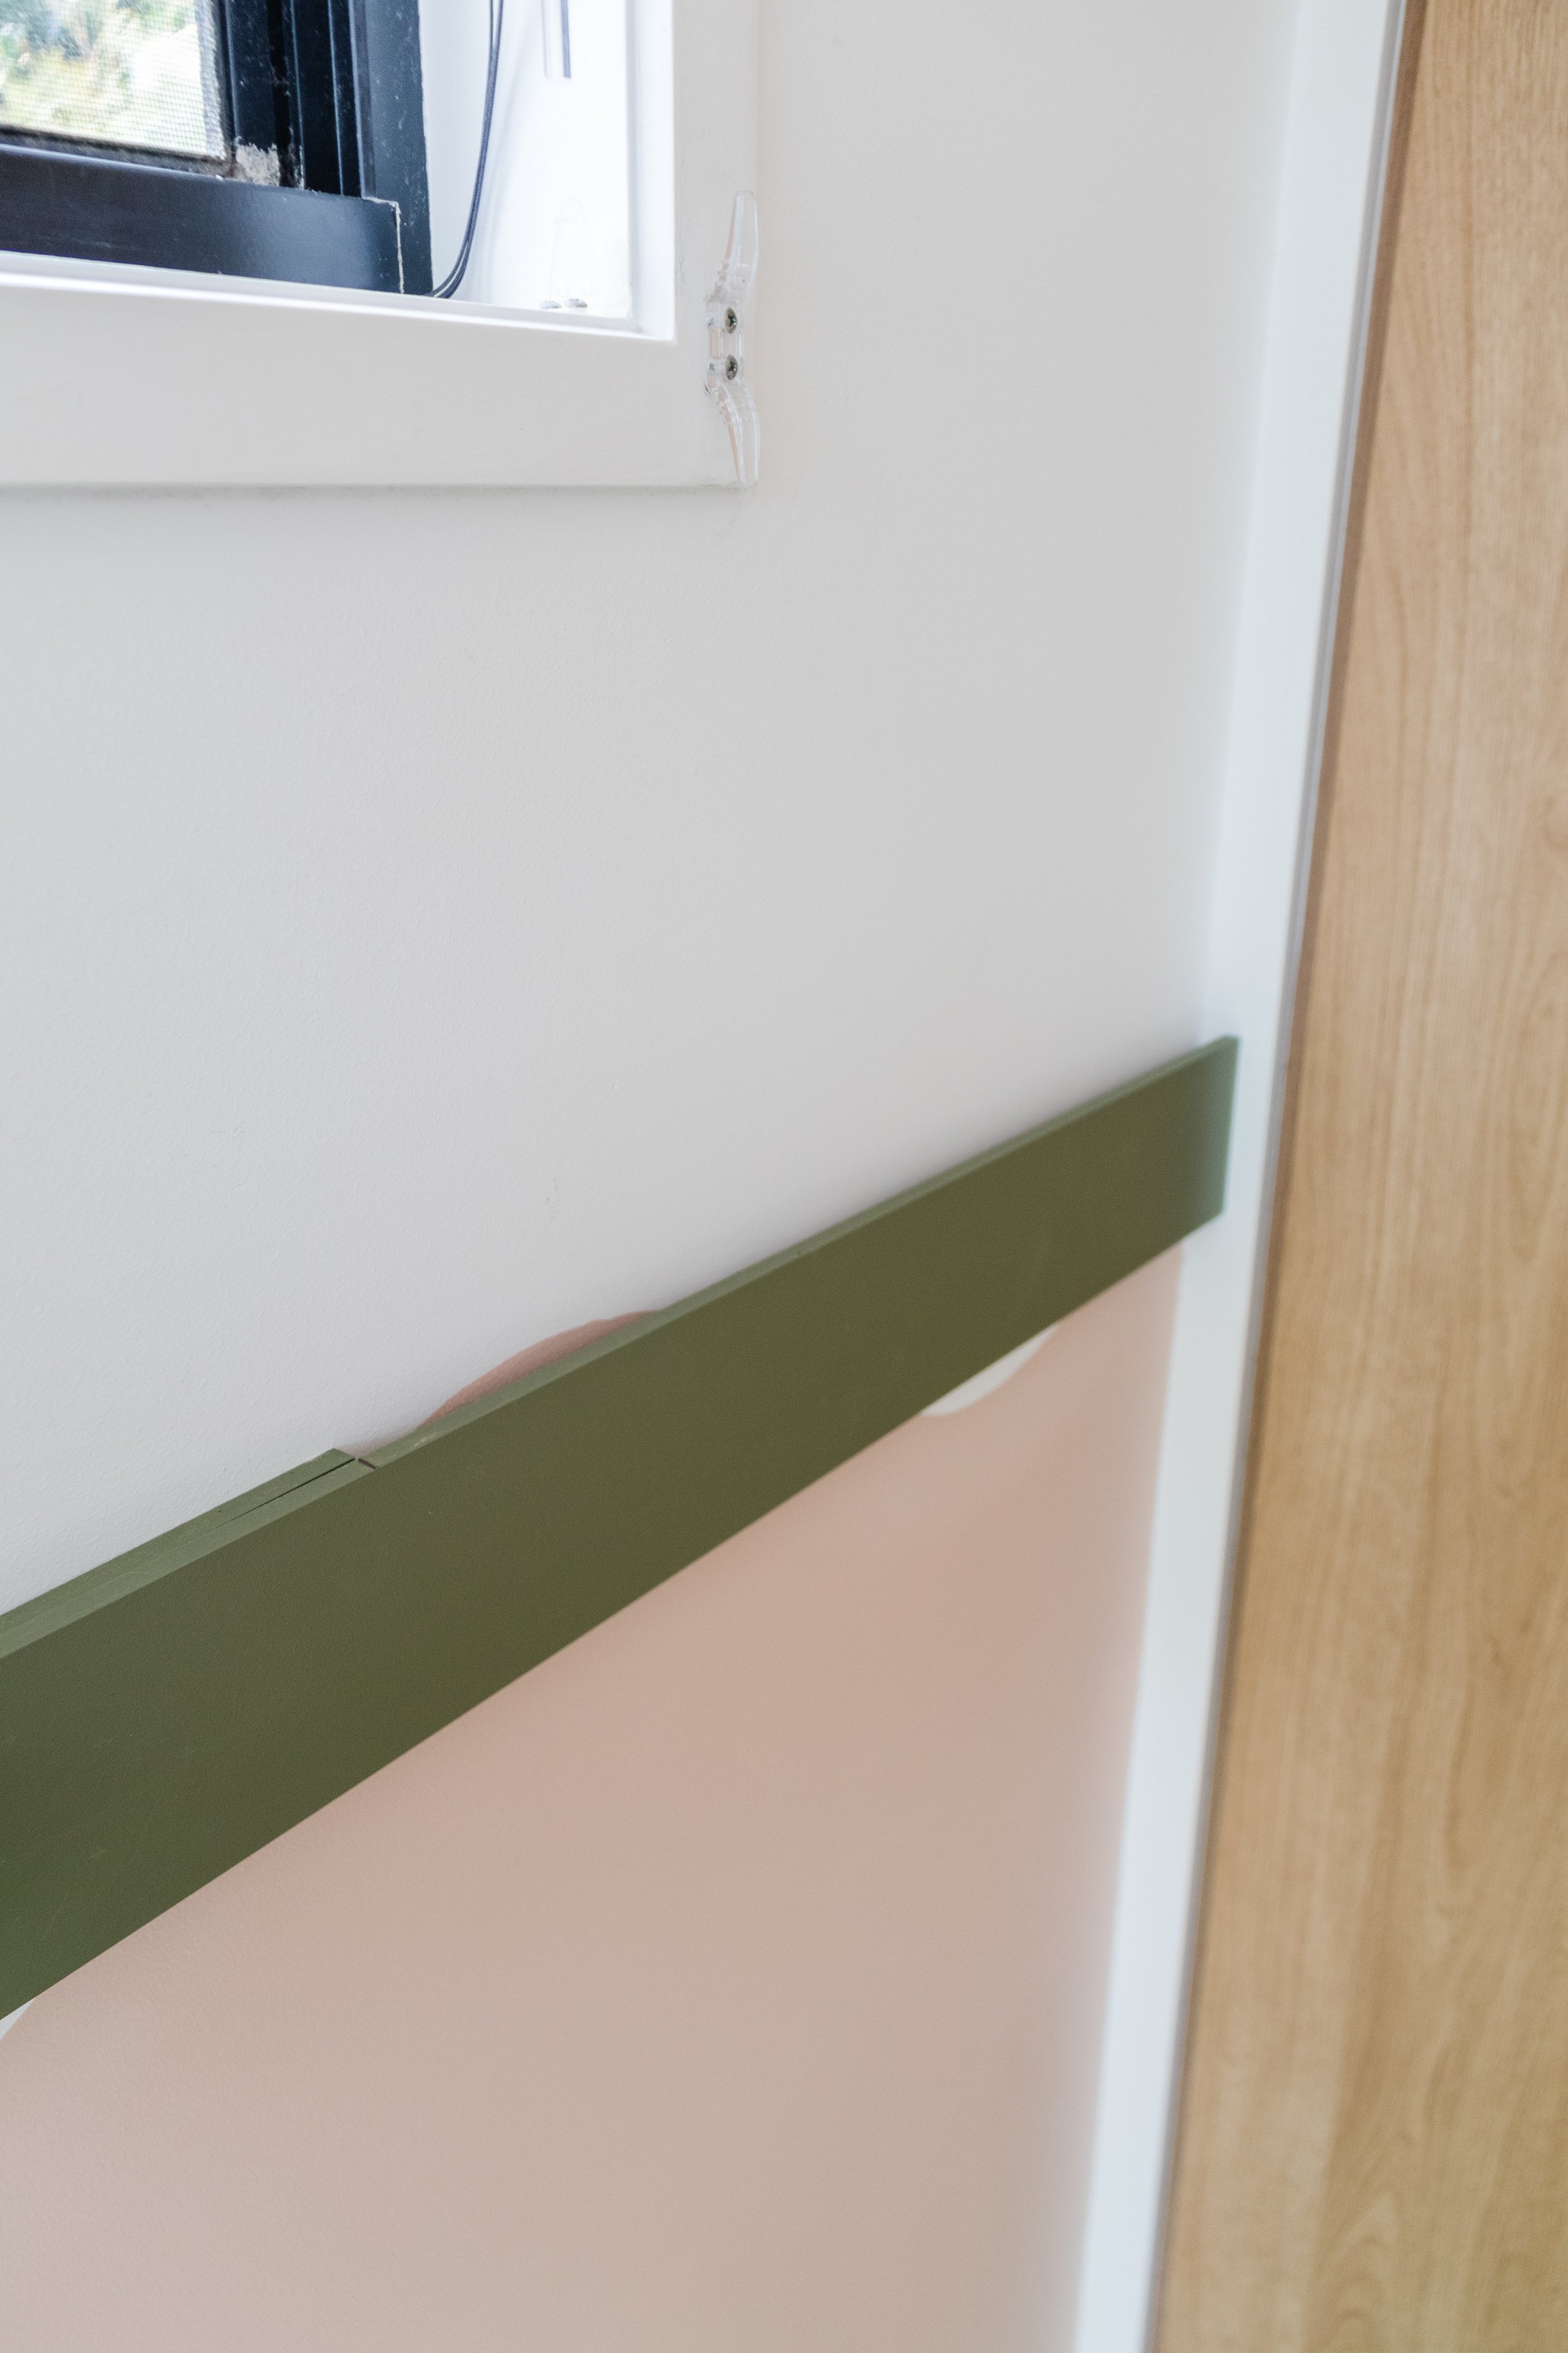
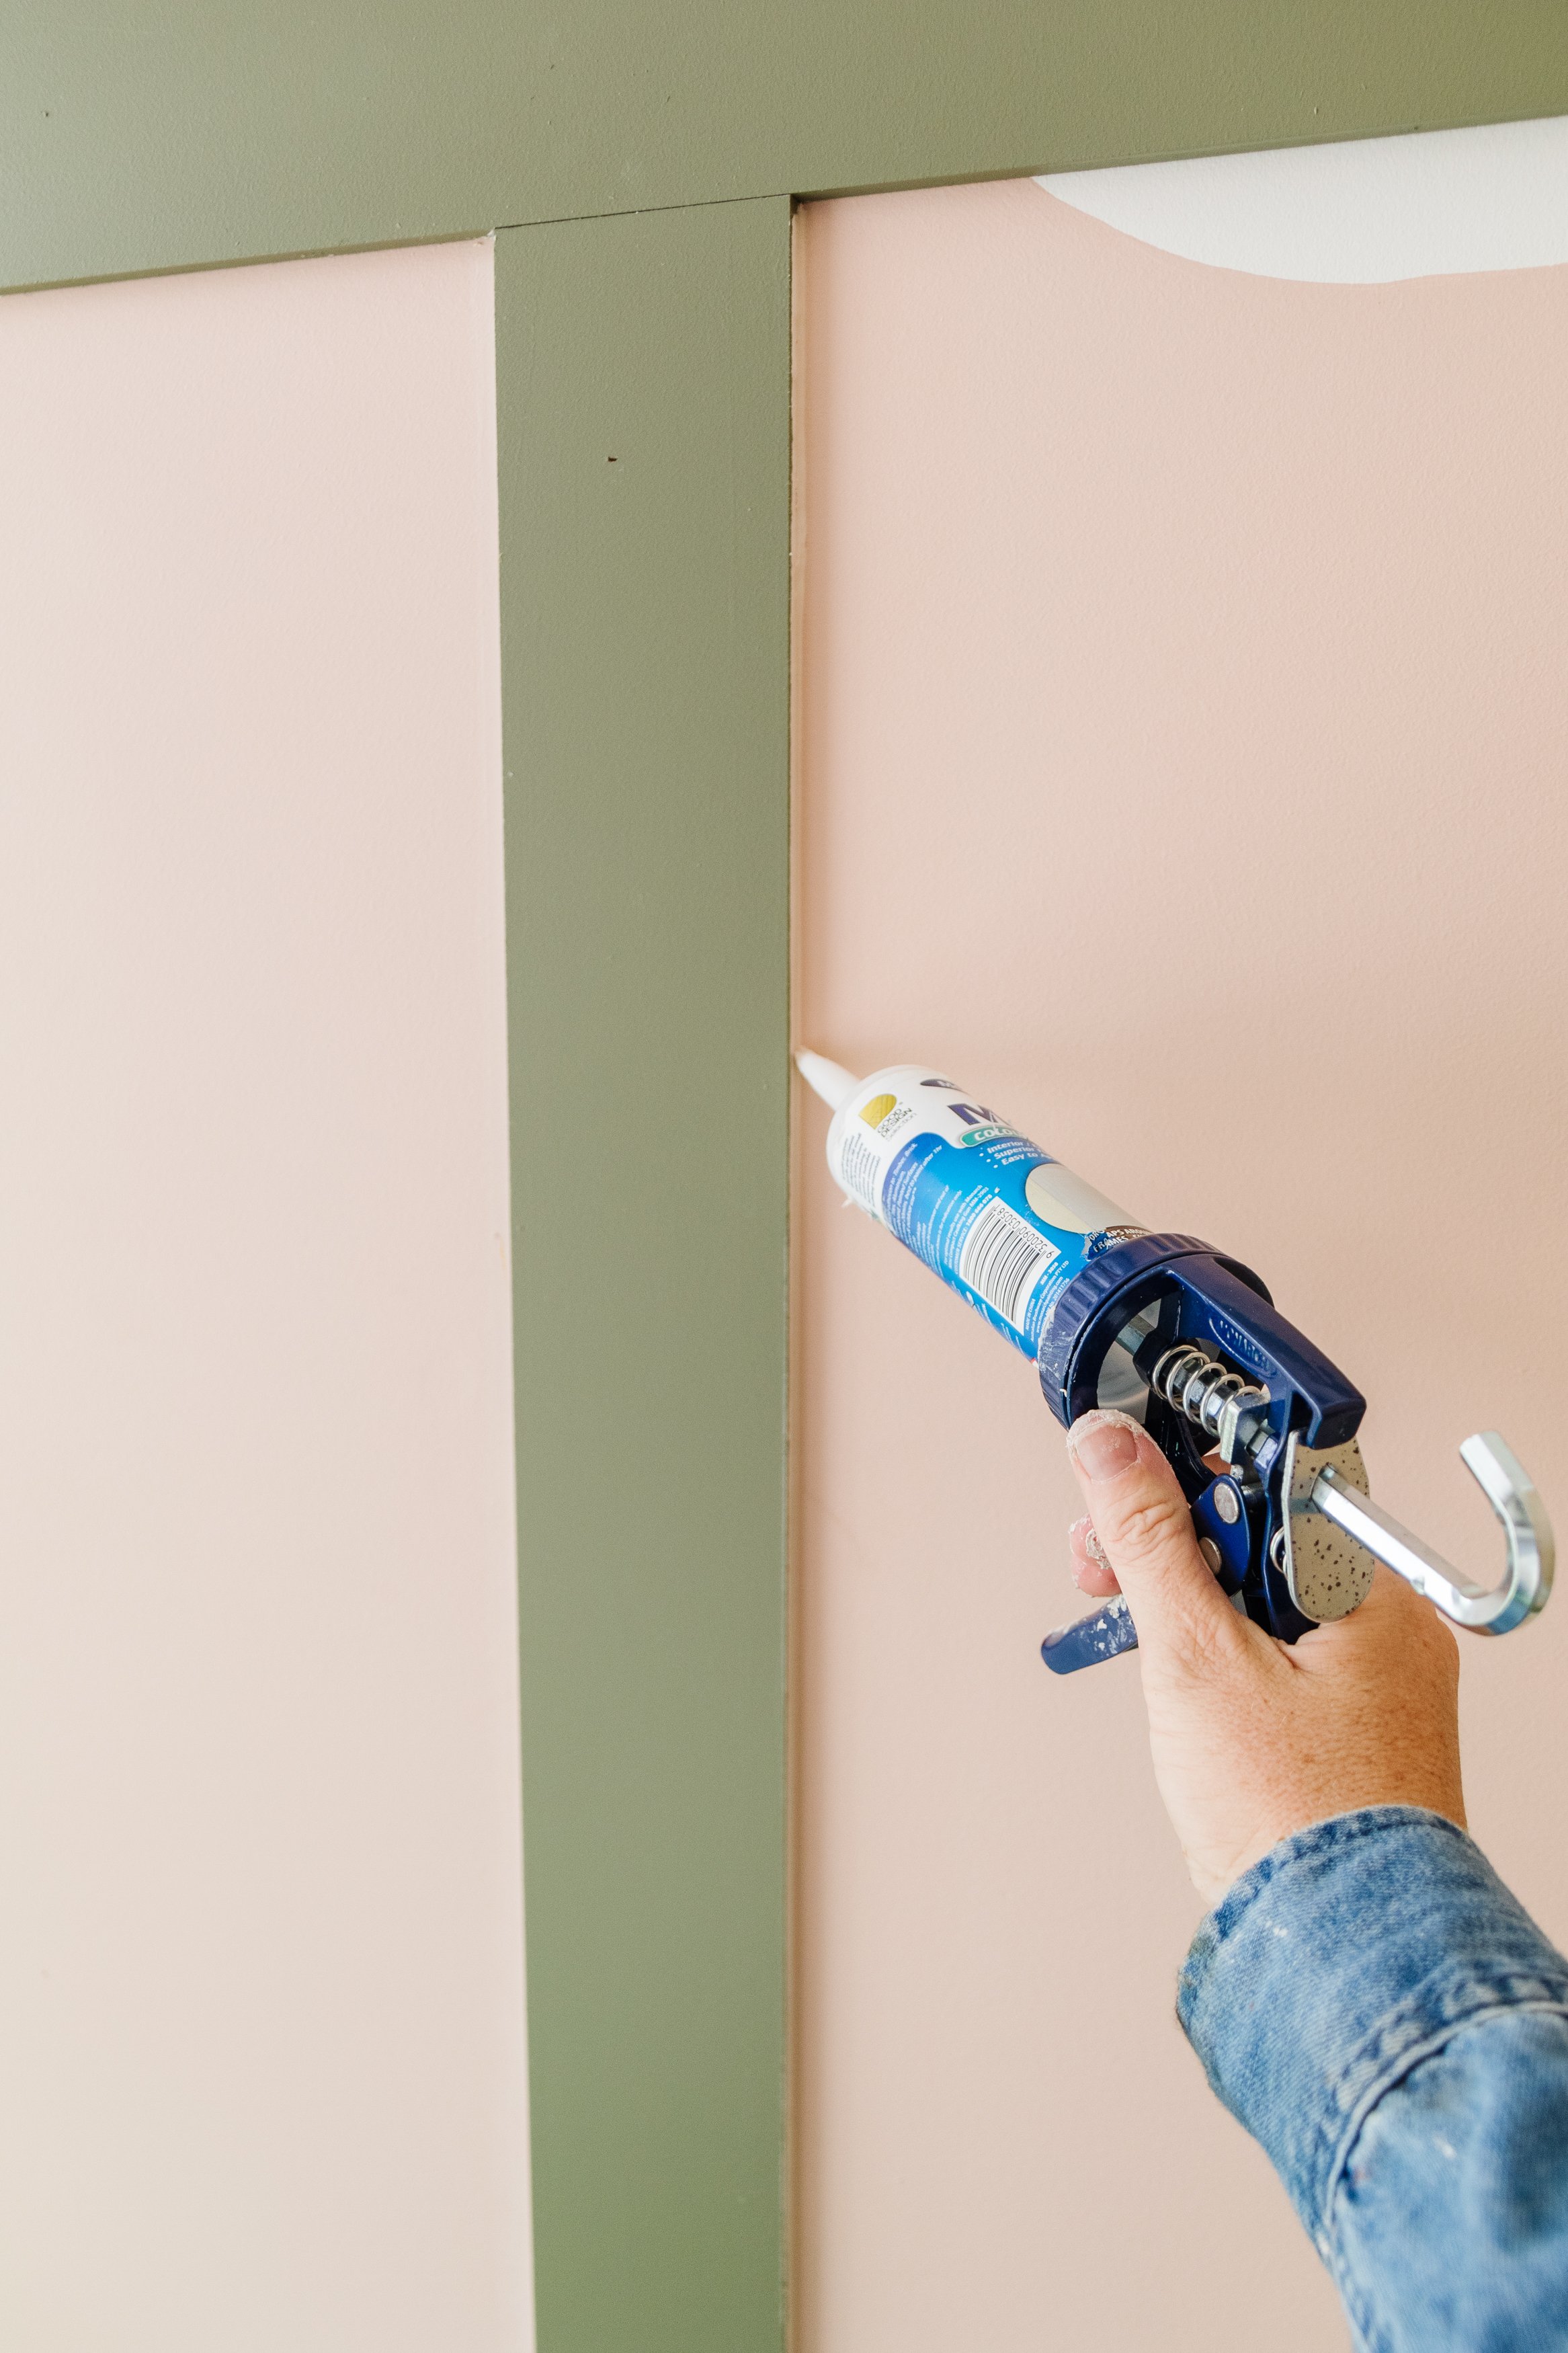
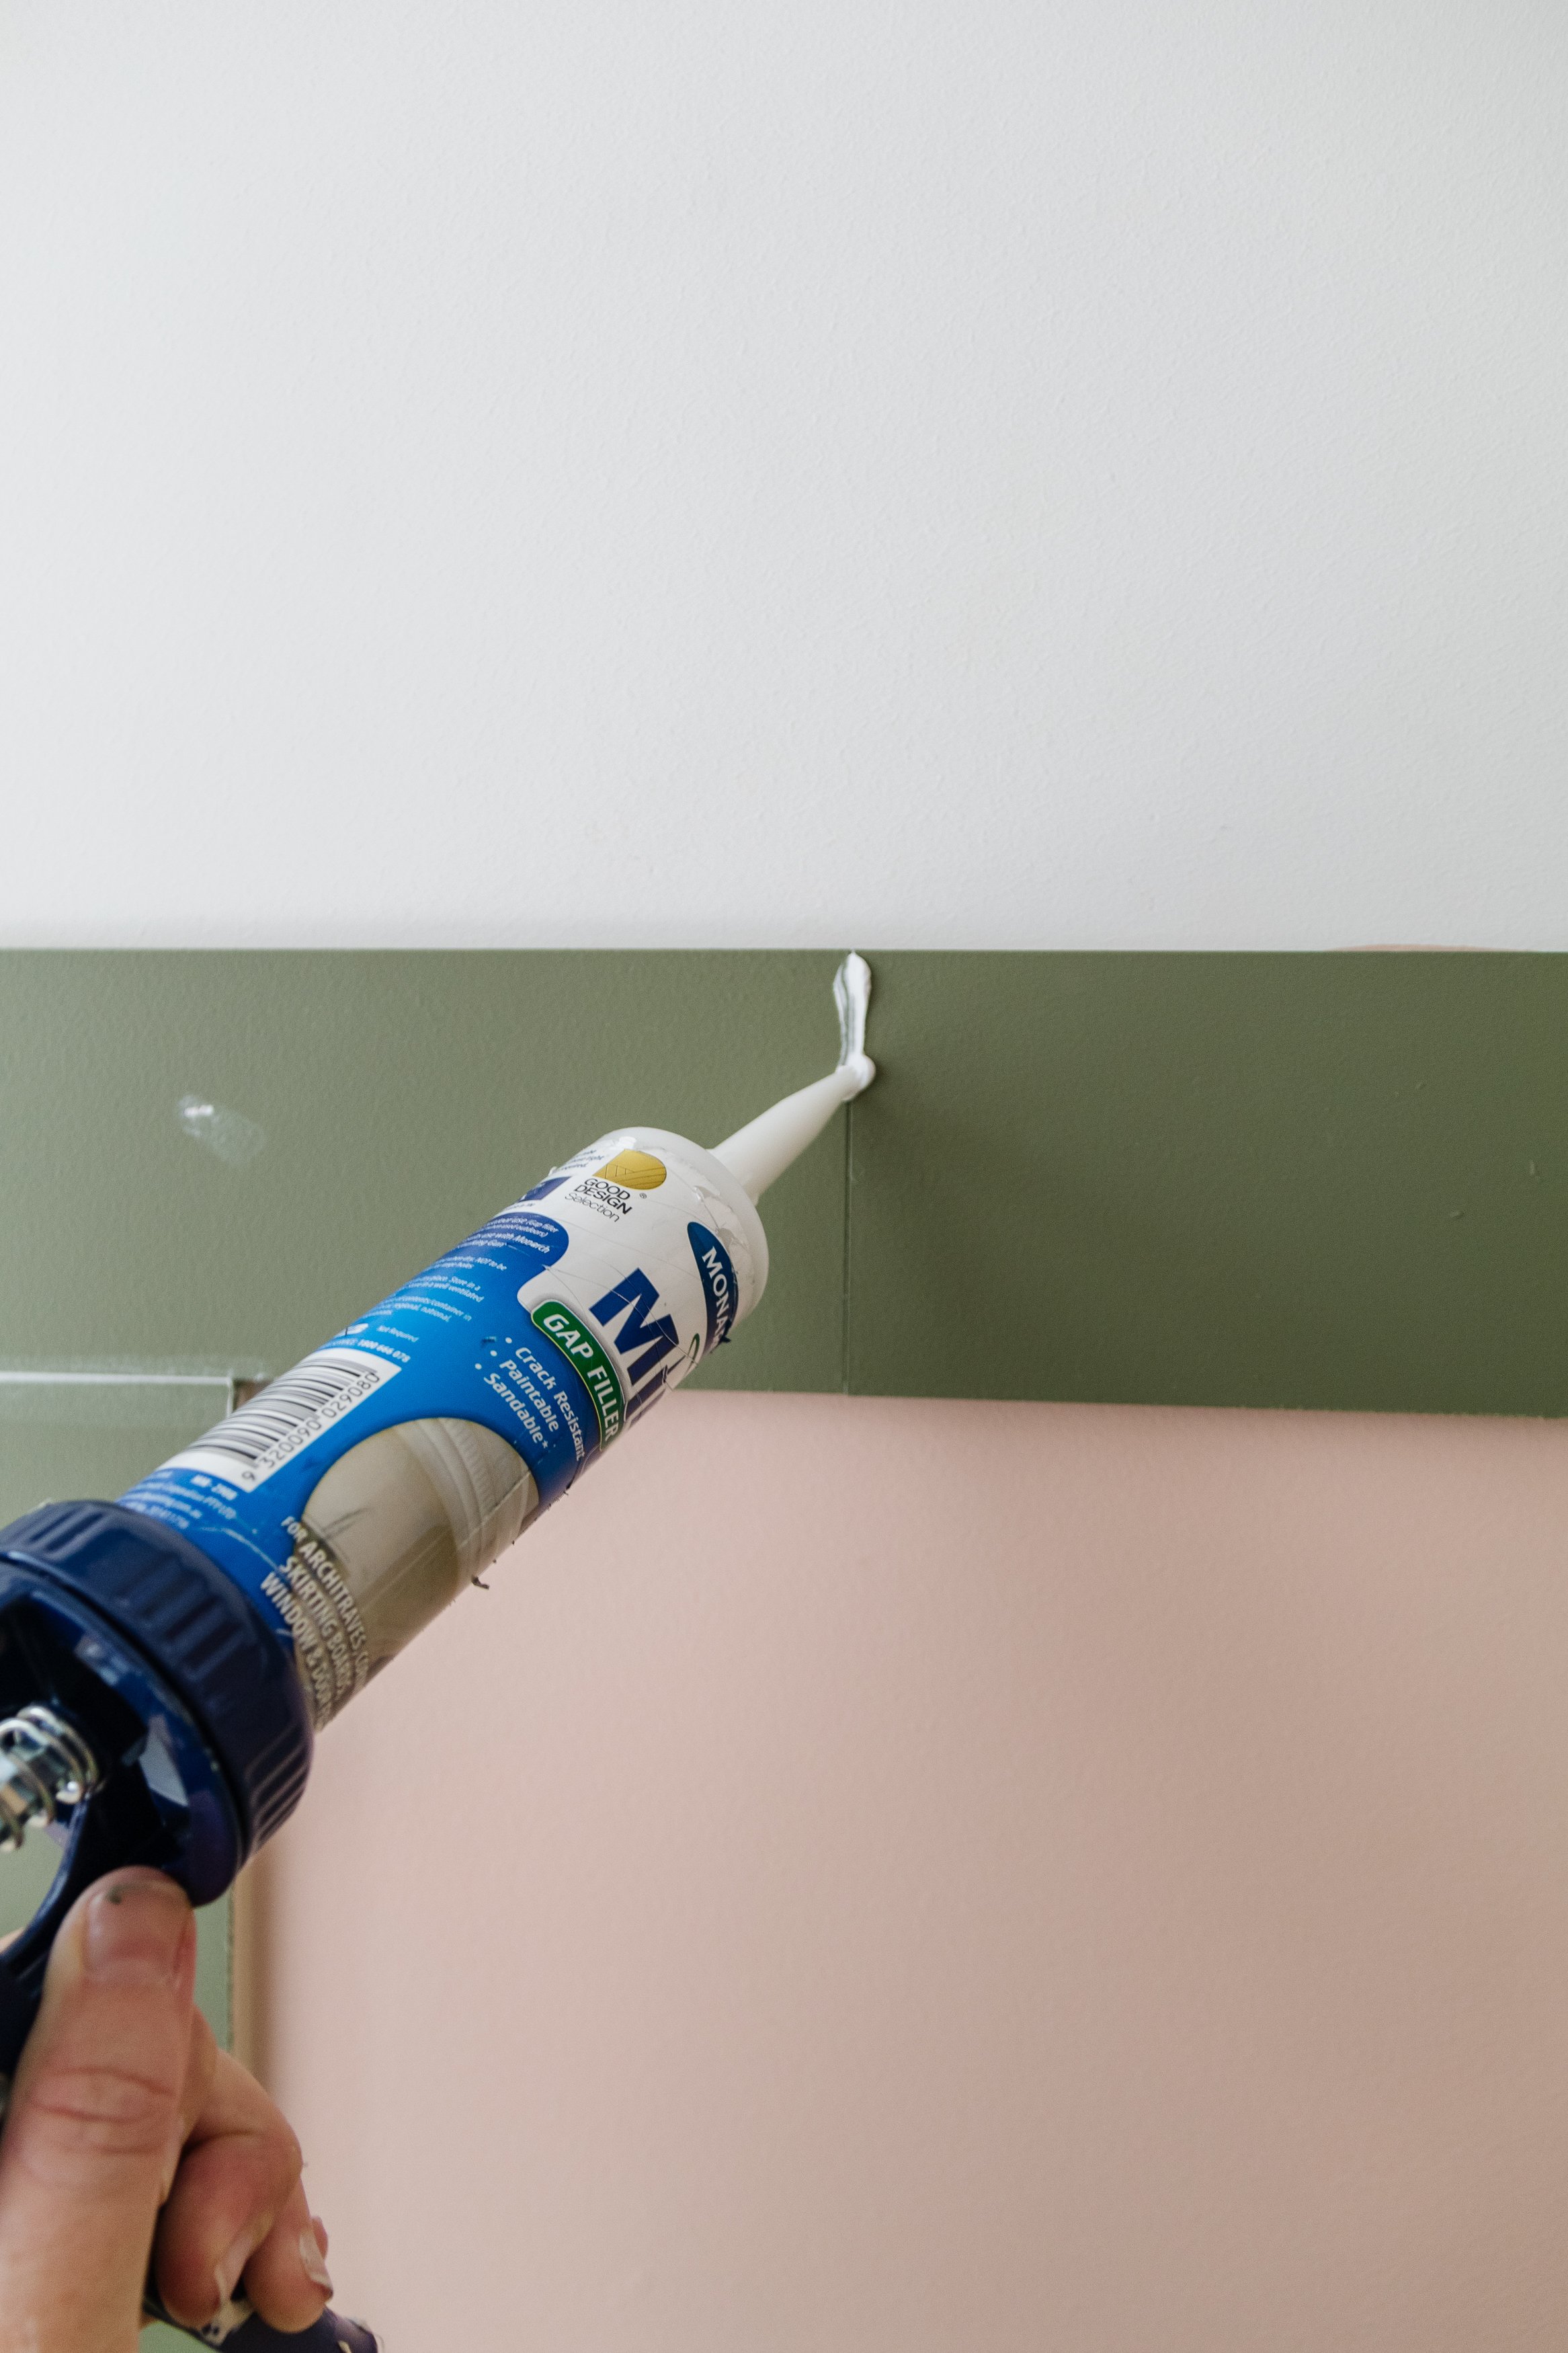
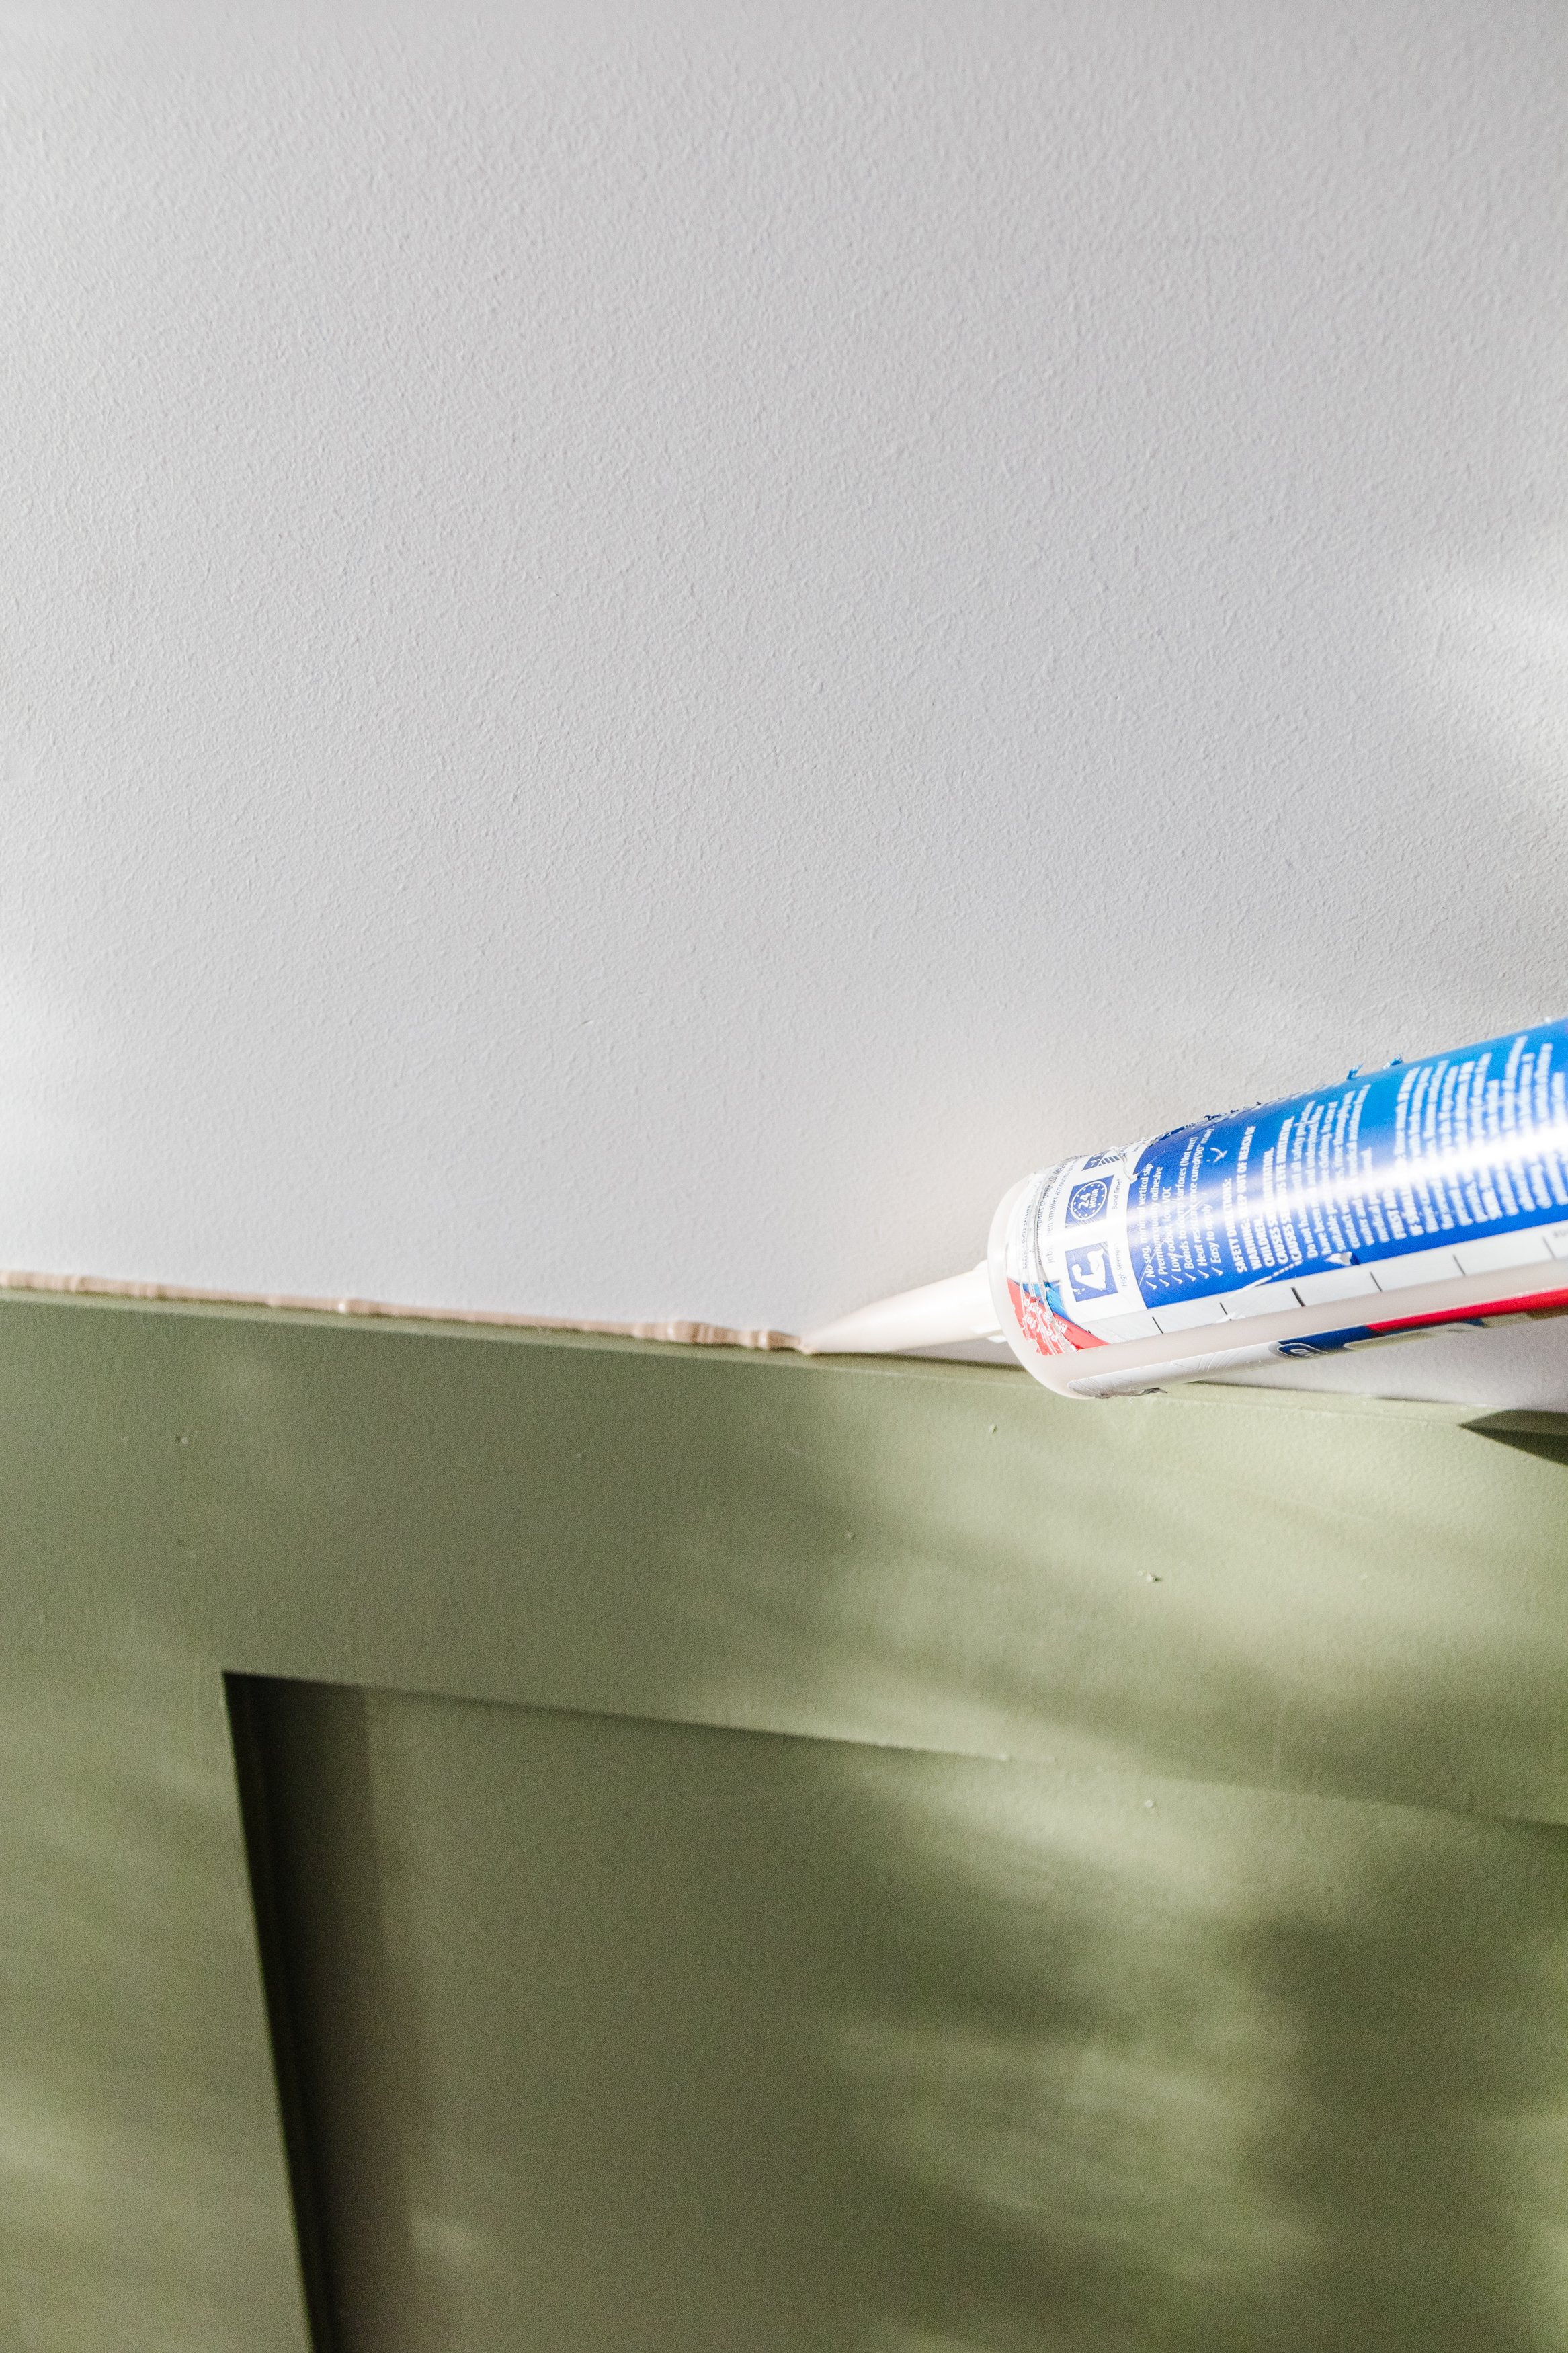
Step 7: I filled in the gaps between the wall and the battens using Monarch Caulk and Monarch Mini Caulking Gun. I used a cloth to tidy up the caulk but I recommend you use this Monarch Caulking Tool. I waited an hour for the caulk to dry before I moved onto Step 9.
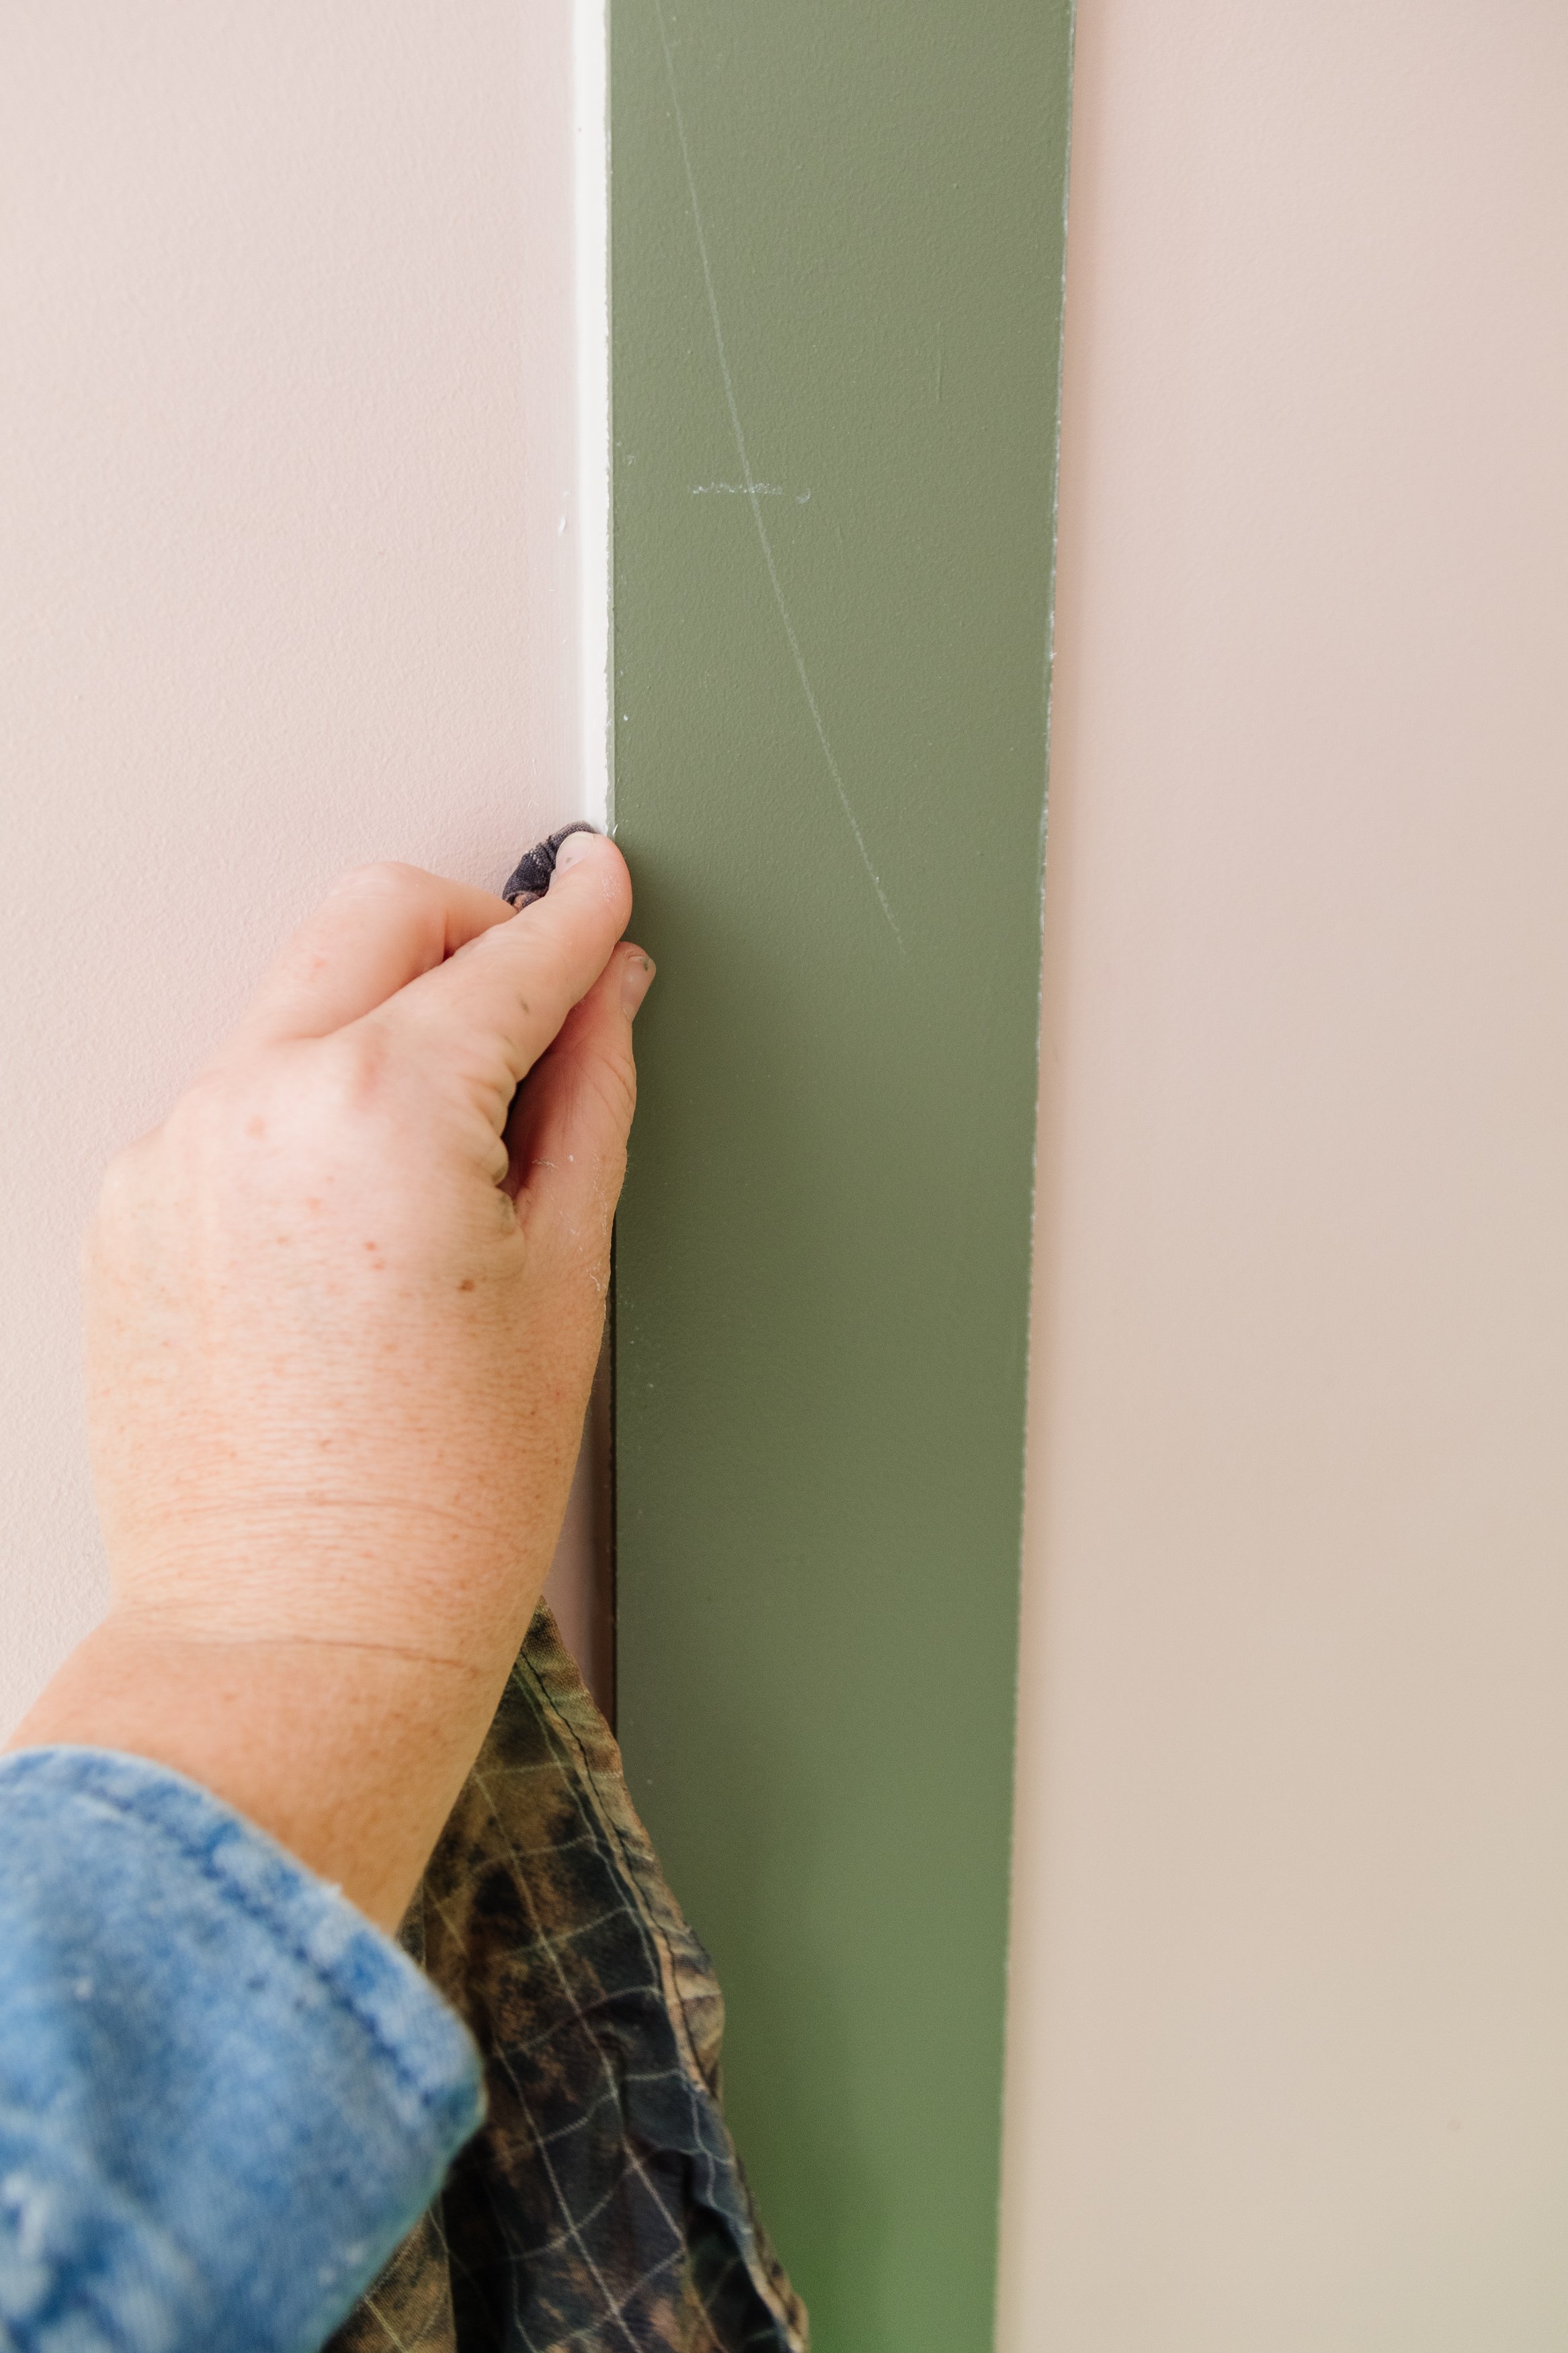
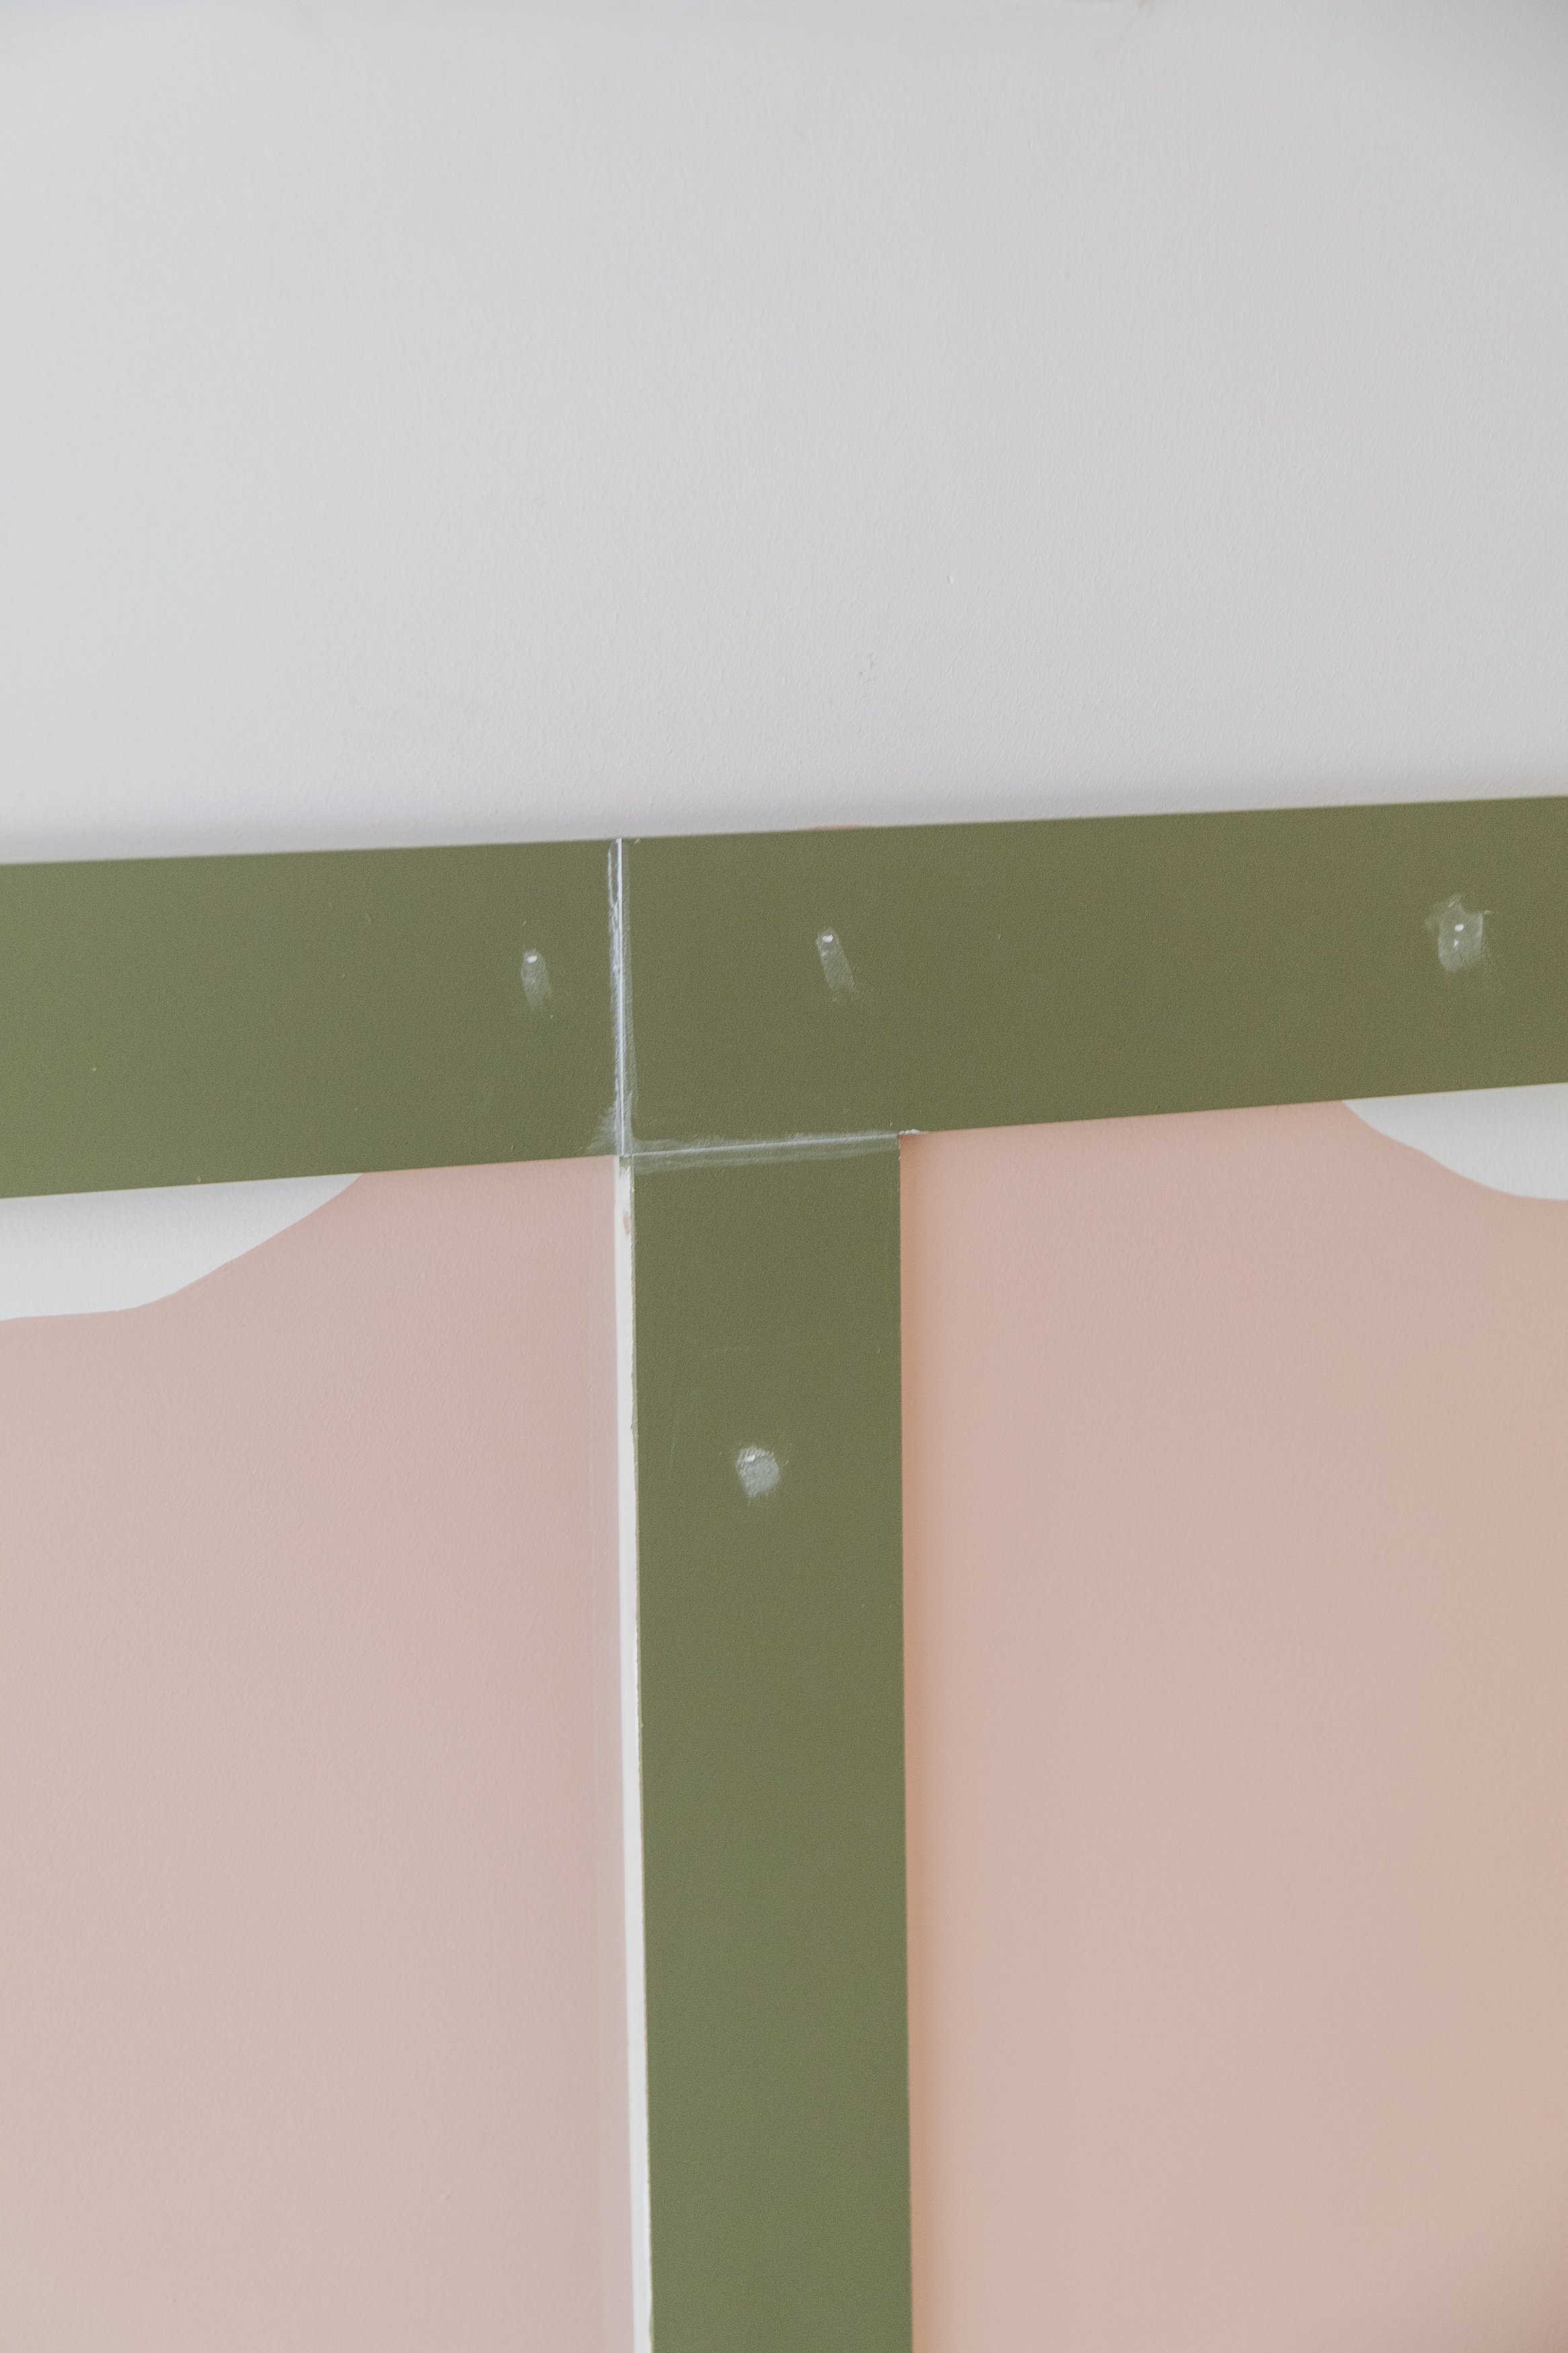
Step 8: I filled in the creases between the battens and the holes from the brad nails using Monarch Gap Filler and Monarch Caulking Tool. I used a cloth to tidy up the caulk but I recommend you use this Monarch Caulking Tool. I waited an hour for the gap filler to dry before I moved onto the next step.
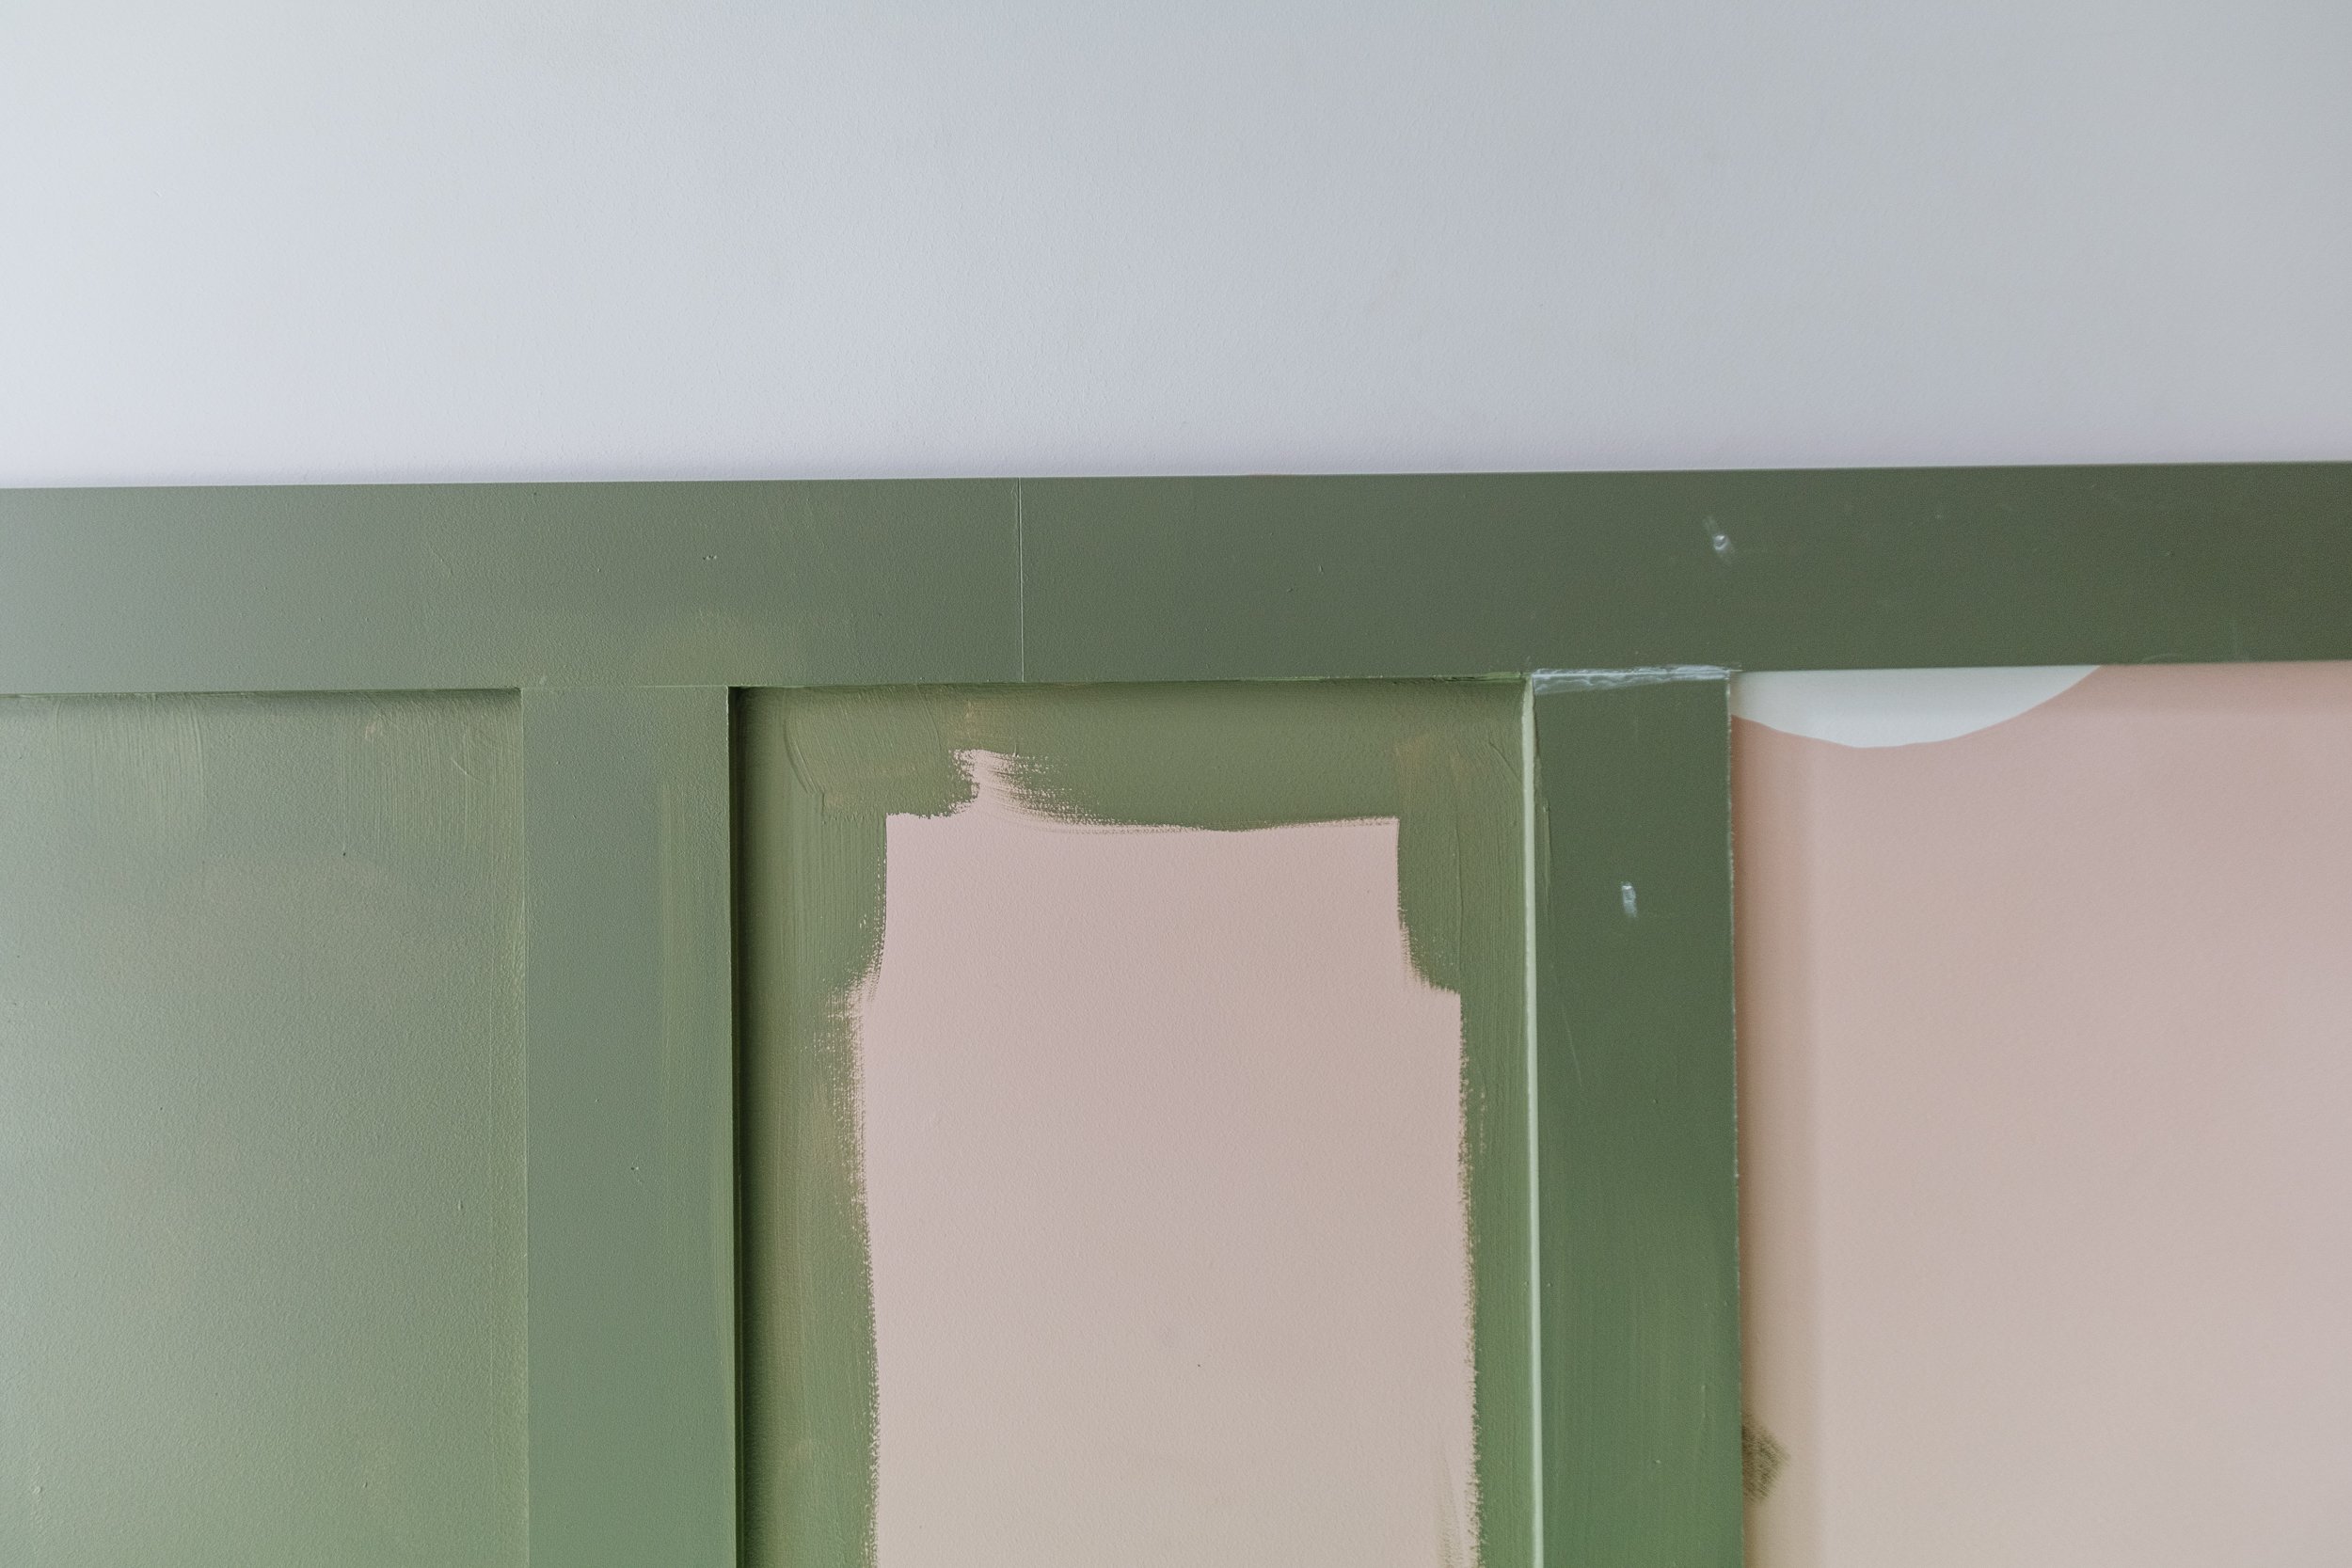
Before moving onto Step 9 and 10, please read this tip. Paint one batten area at a time, and quickly transition between cutting in with the brush and painting the walls with the roller to ensure a cohesive, seamless finish.
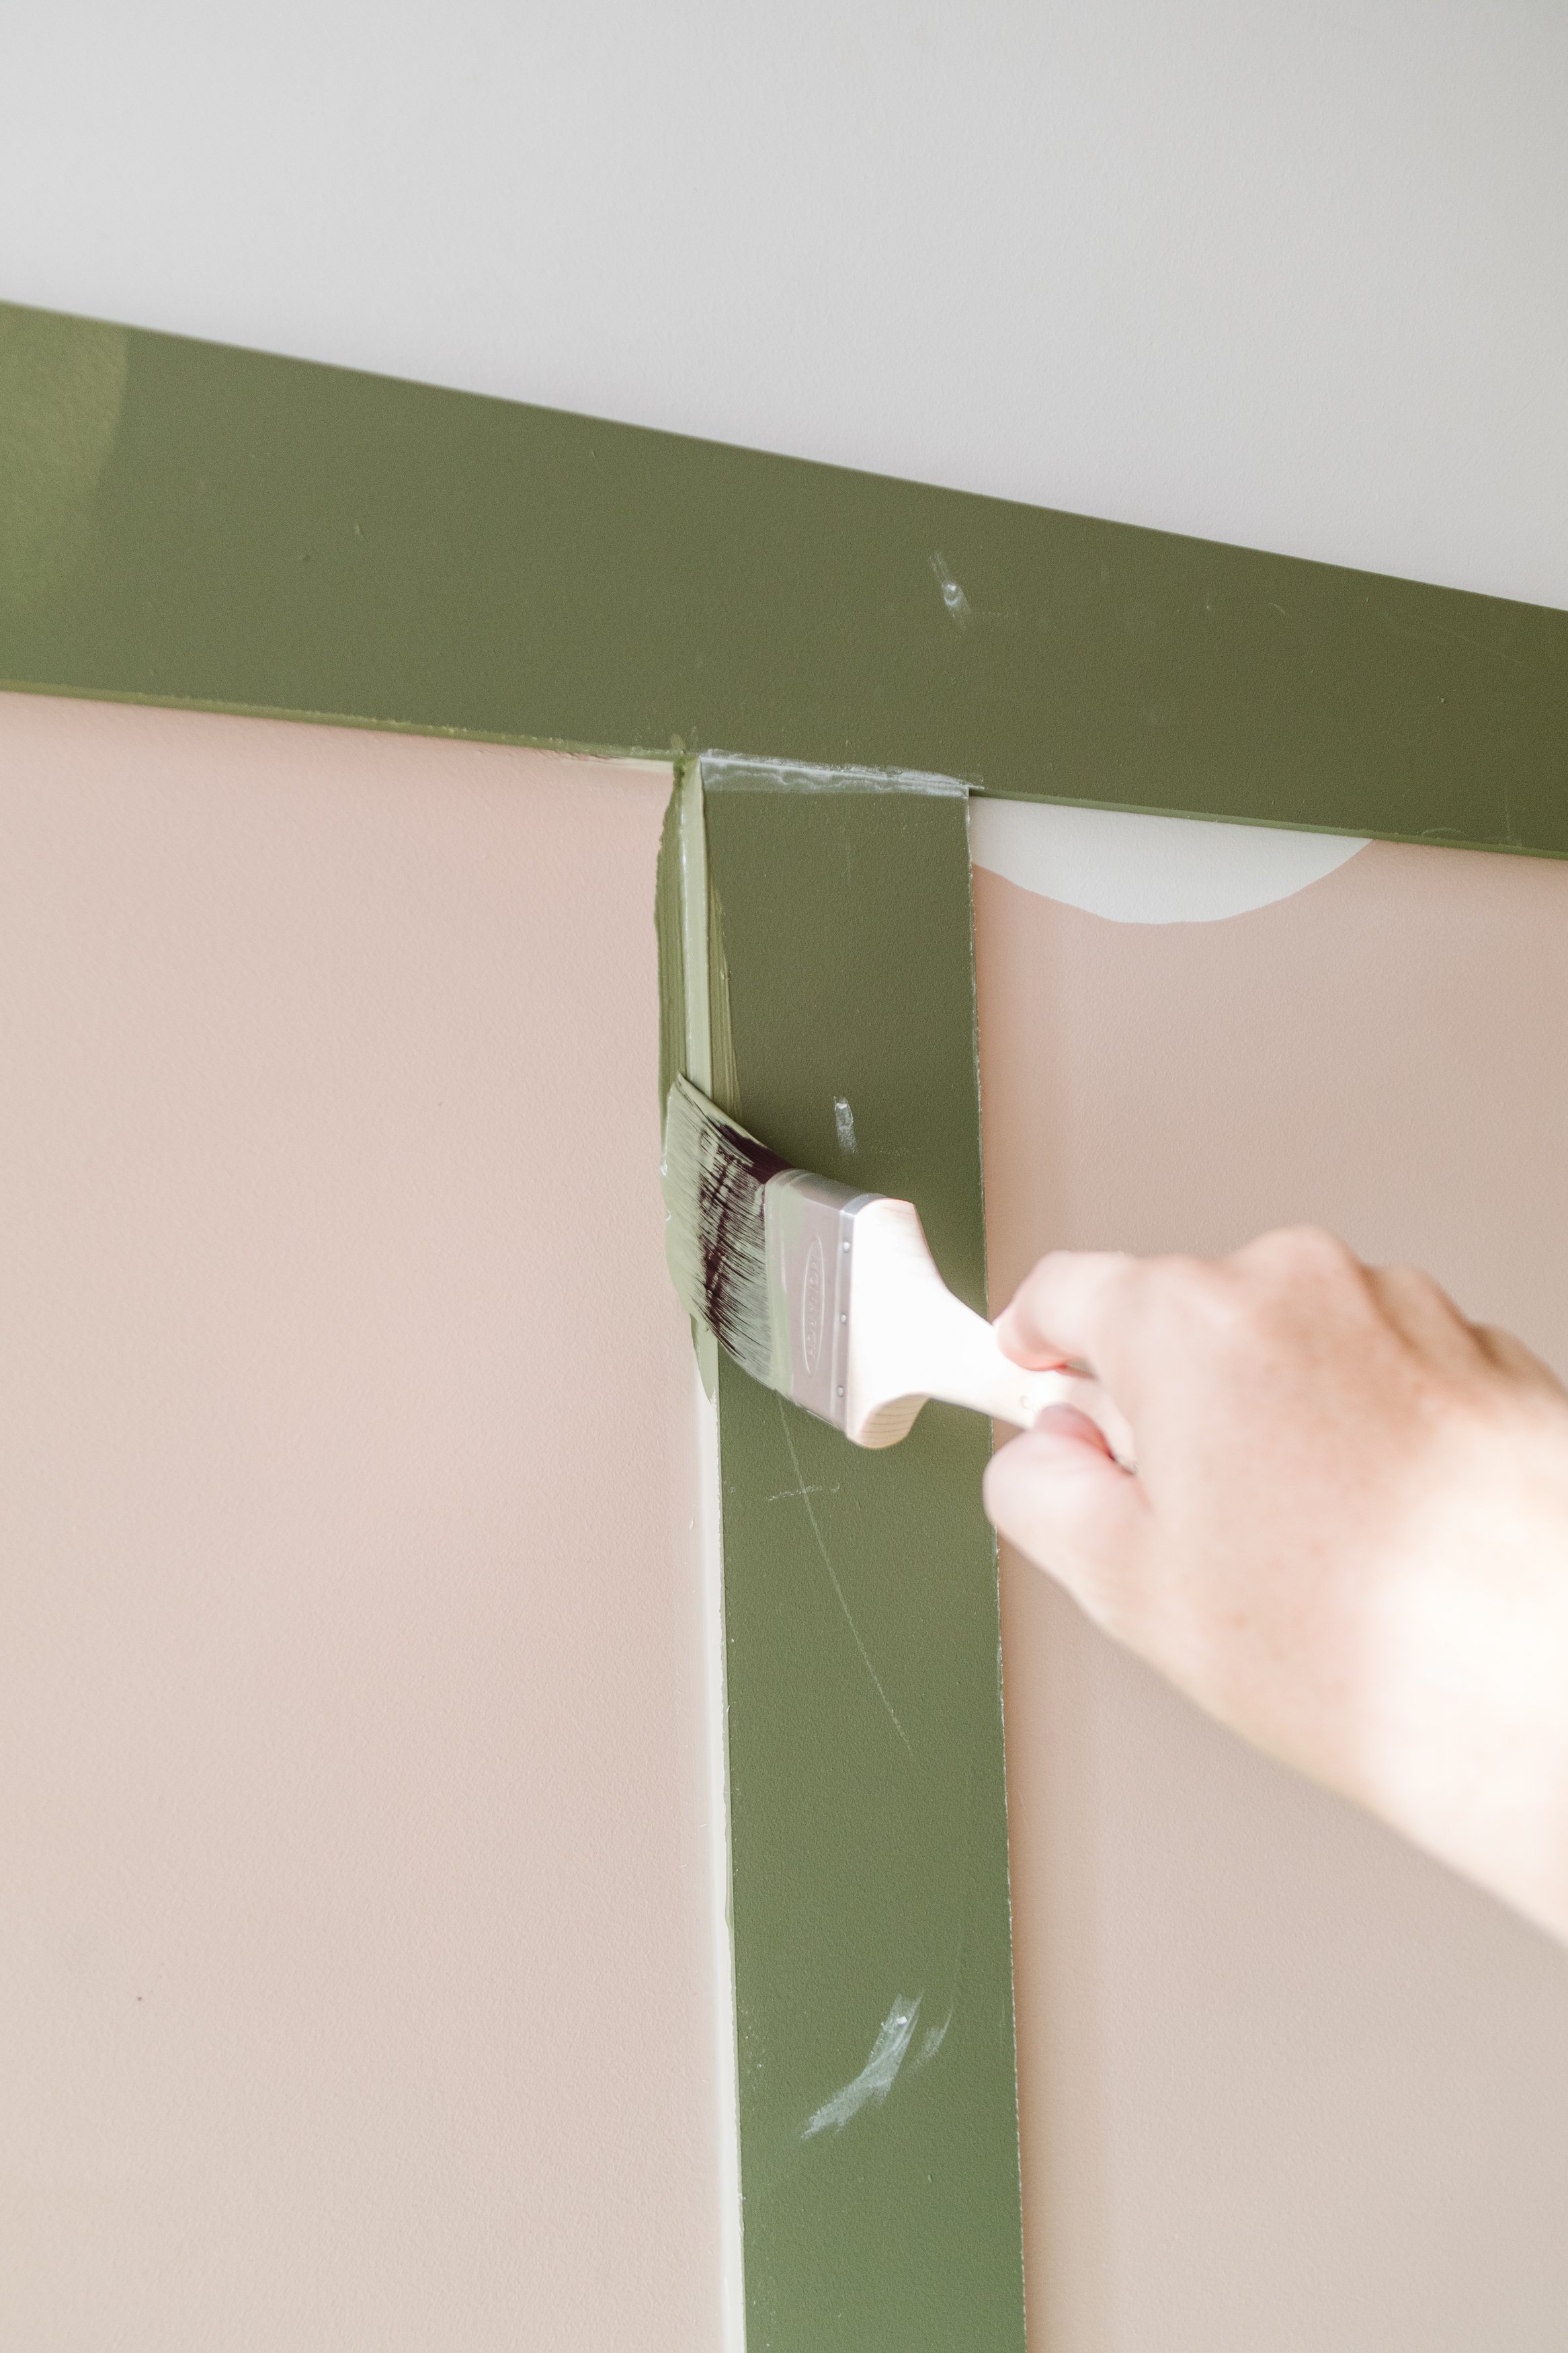
Step 9: Working one batten area at a time and working my way across, I started by cutting in the walls, baseboard and battens with the Monarch Moulding & Skirting Brush.
Step 10: Using the Monarch Walls & Ceilings Roller Cover and Monarch Comfort Grip Roller Frame, I filled the walls in with more paint.
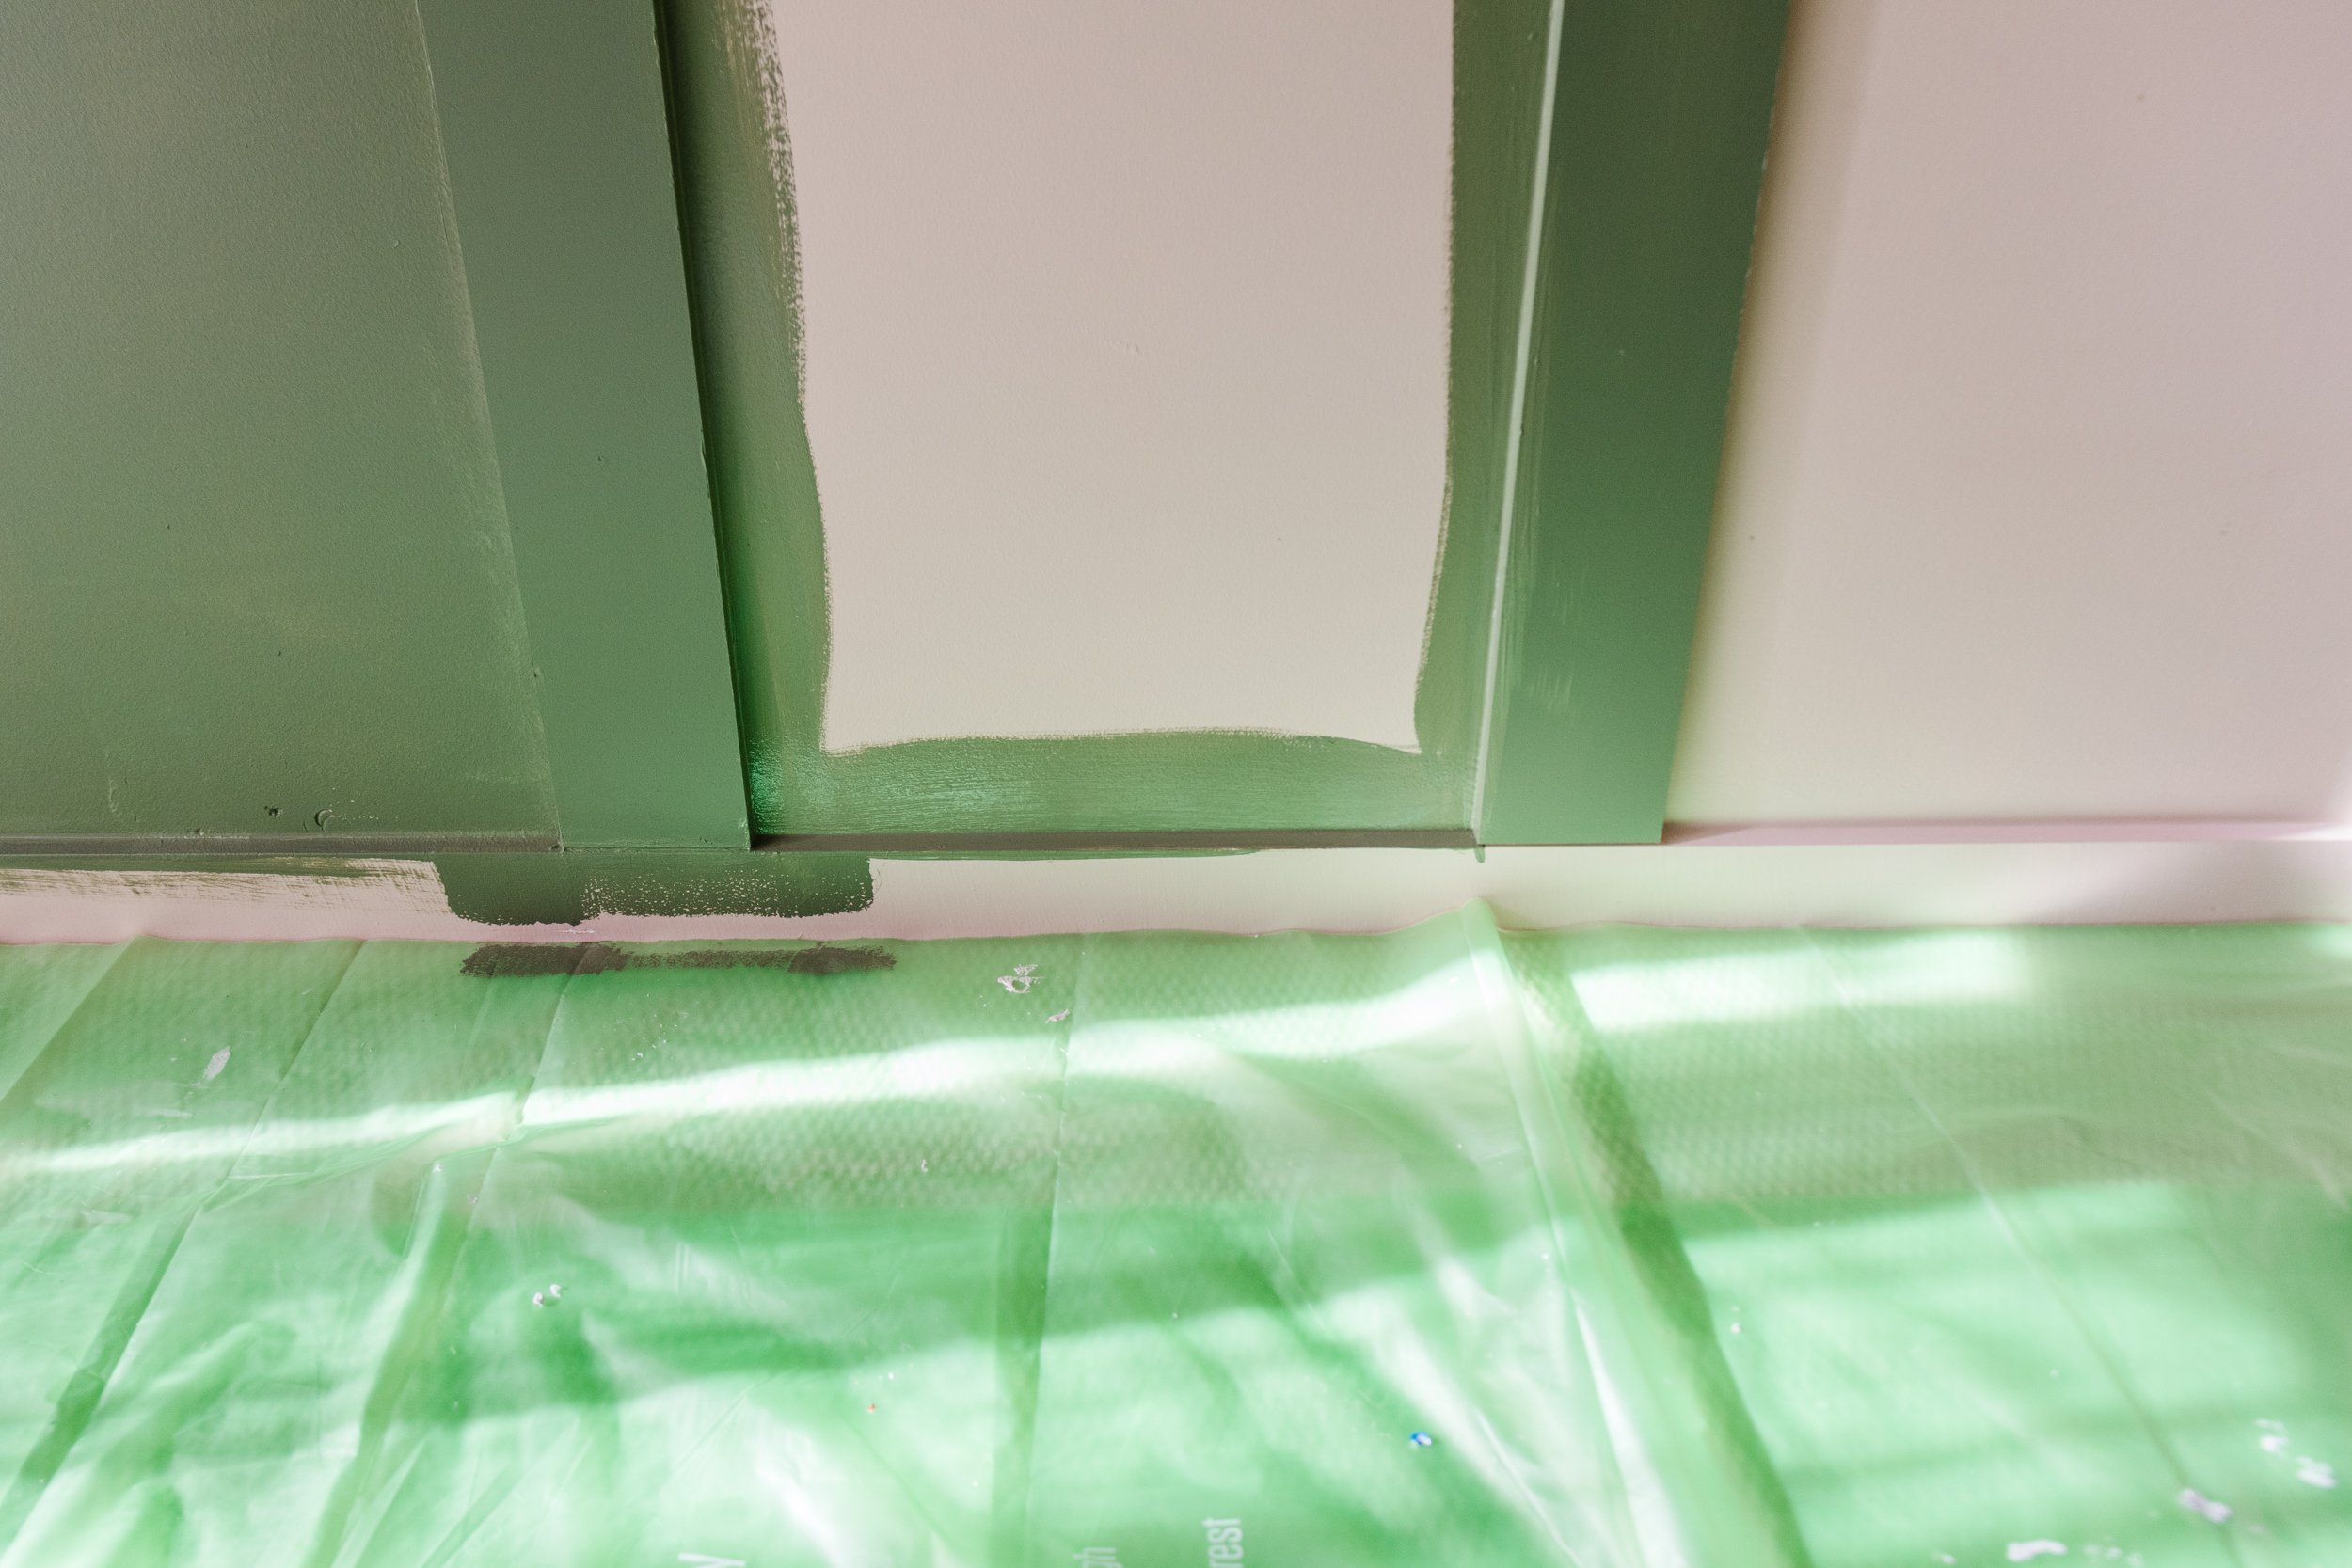
Step 11: I secured the Monarch Plant Based Drop Sheet to the carpet and the edge of the baseboard with painters tape. I used the Monarch Walls, Doors & Trims Brush 25mm to paint the baseboard/skirting board.
Step 12: I applied two more light coats of paint to the board and batten using Monarch Walls, Doors & Trims Brush 25mm first, and then the Monarch Walls & Ceilings Roller Cover and Monarch Comfort Grip Roller Frame.
A little tip from me - I like to apply a few thin coats (instead of a couple of thick coats) because the paint dries quicker and the finish is better.
Step 13: I measured the moulding and cut it to size with the mitre saw. I applied Monarch Construction Adhesive with the Monarch Mini Caulking Gun on top of the horizontal board and then I positioned the moulding into place.
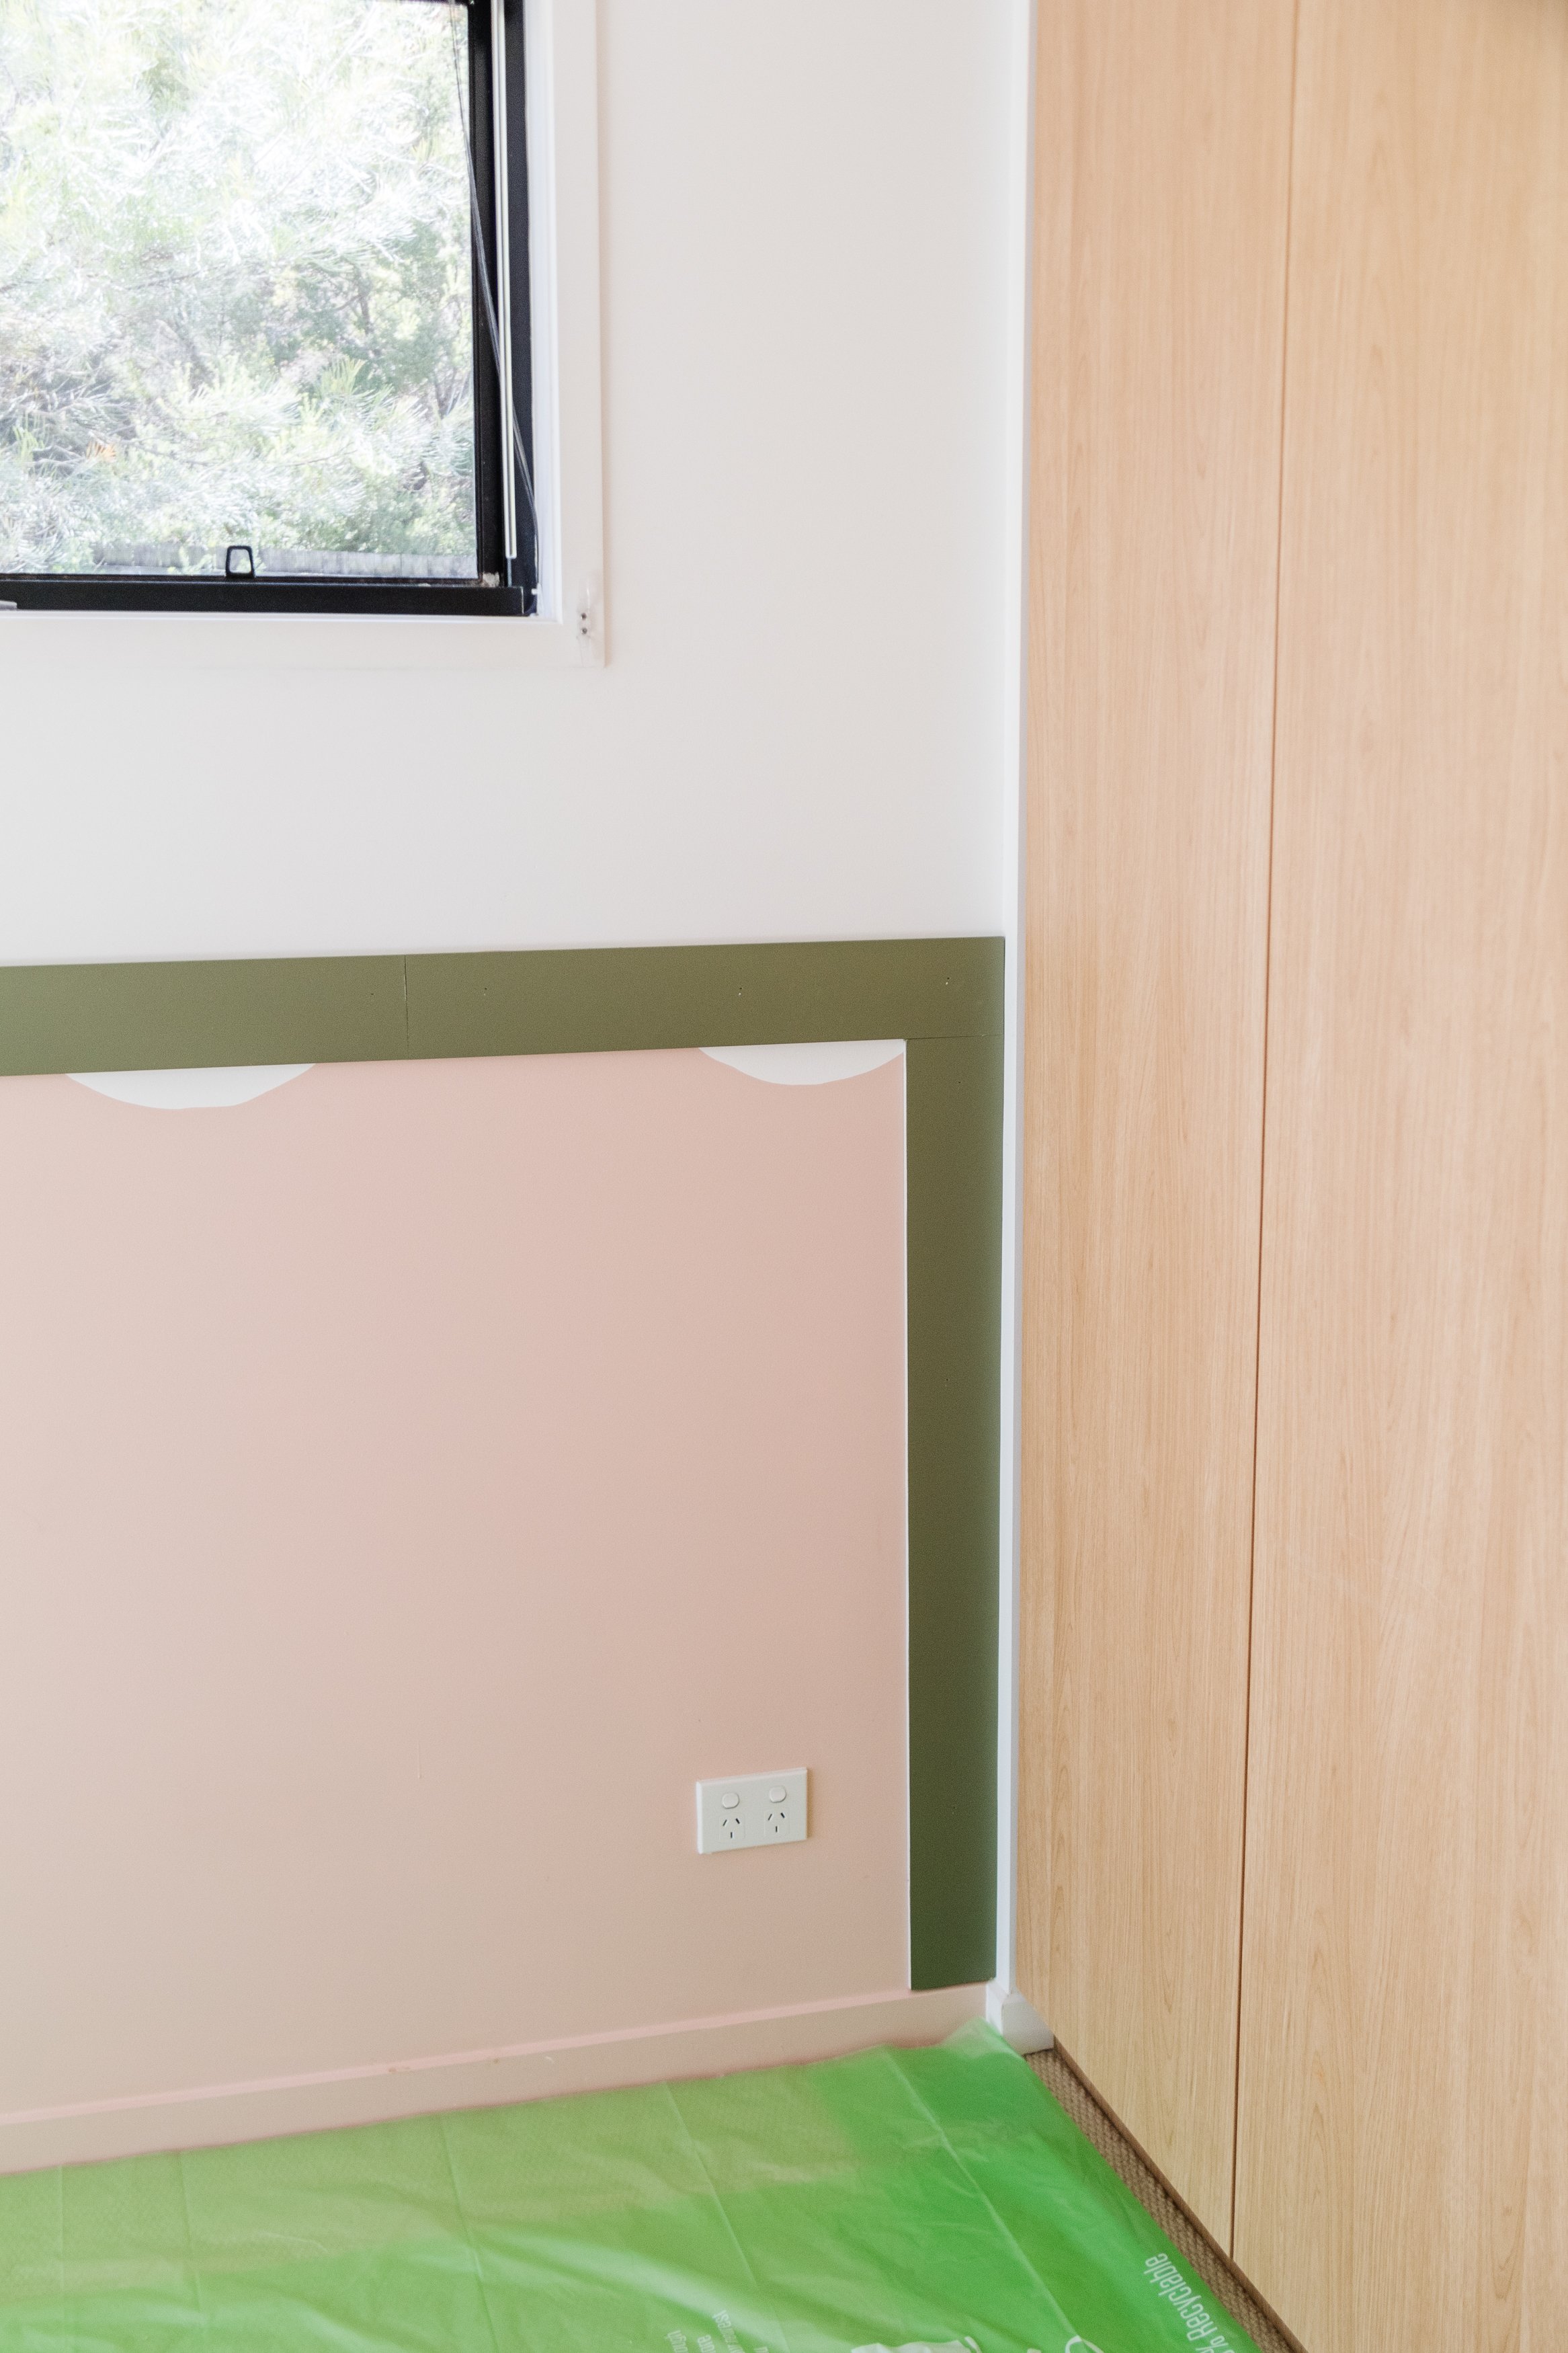
Ta daaaa!
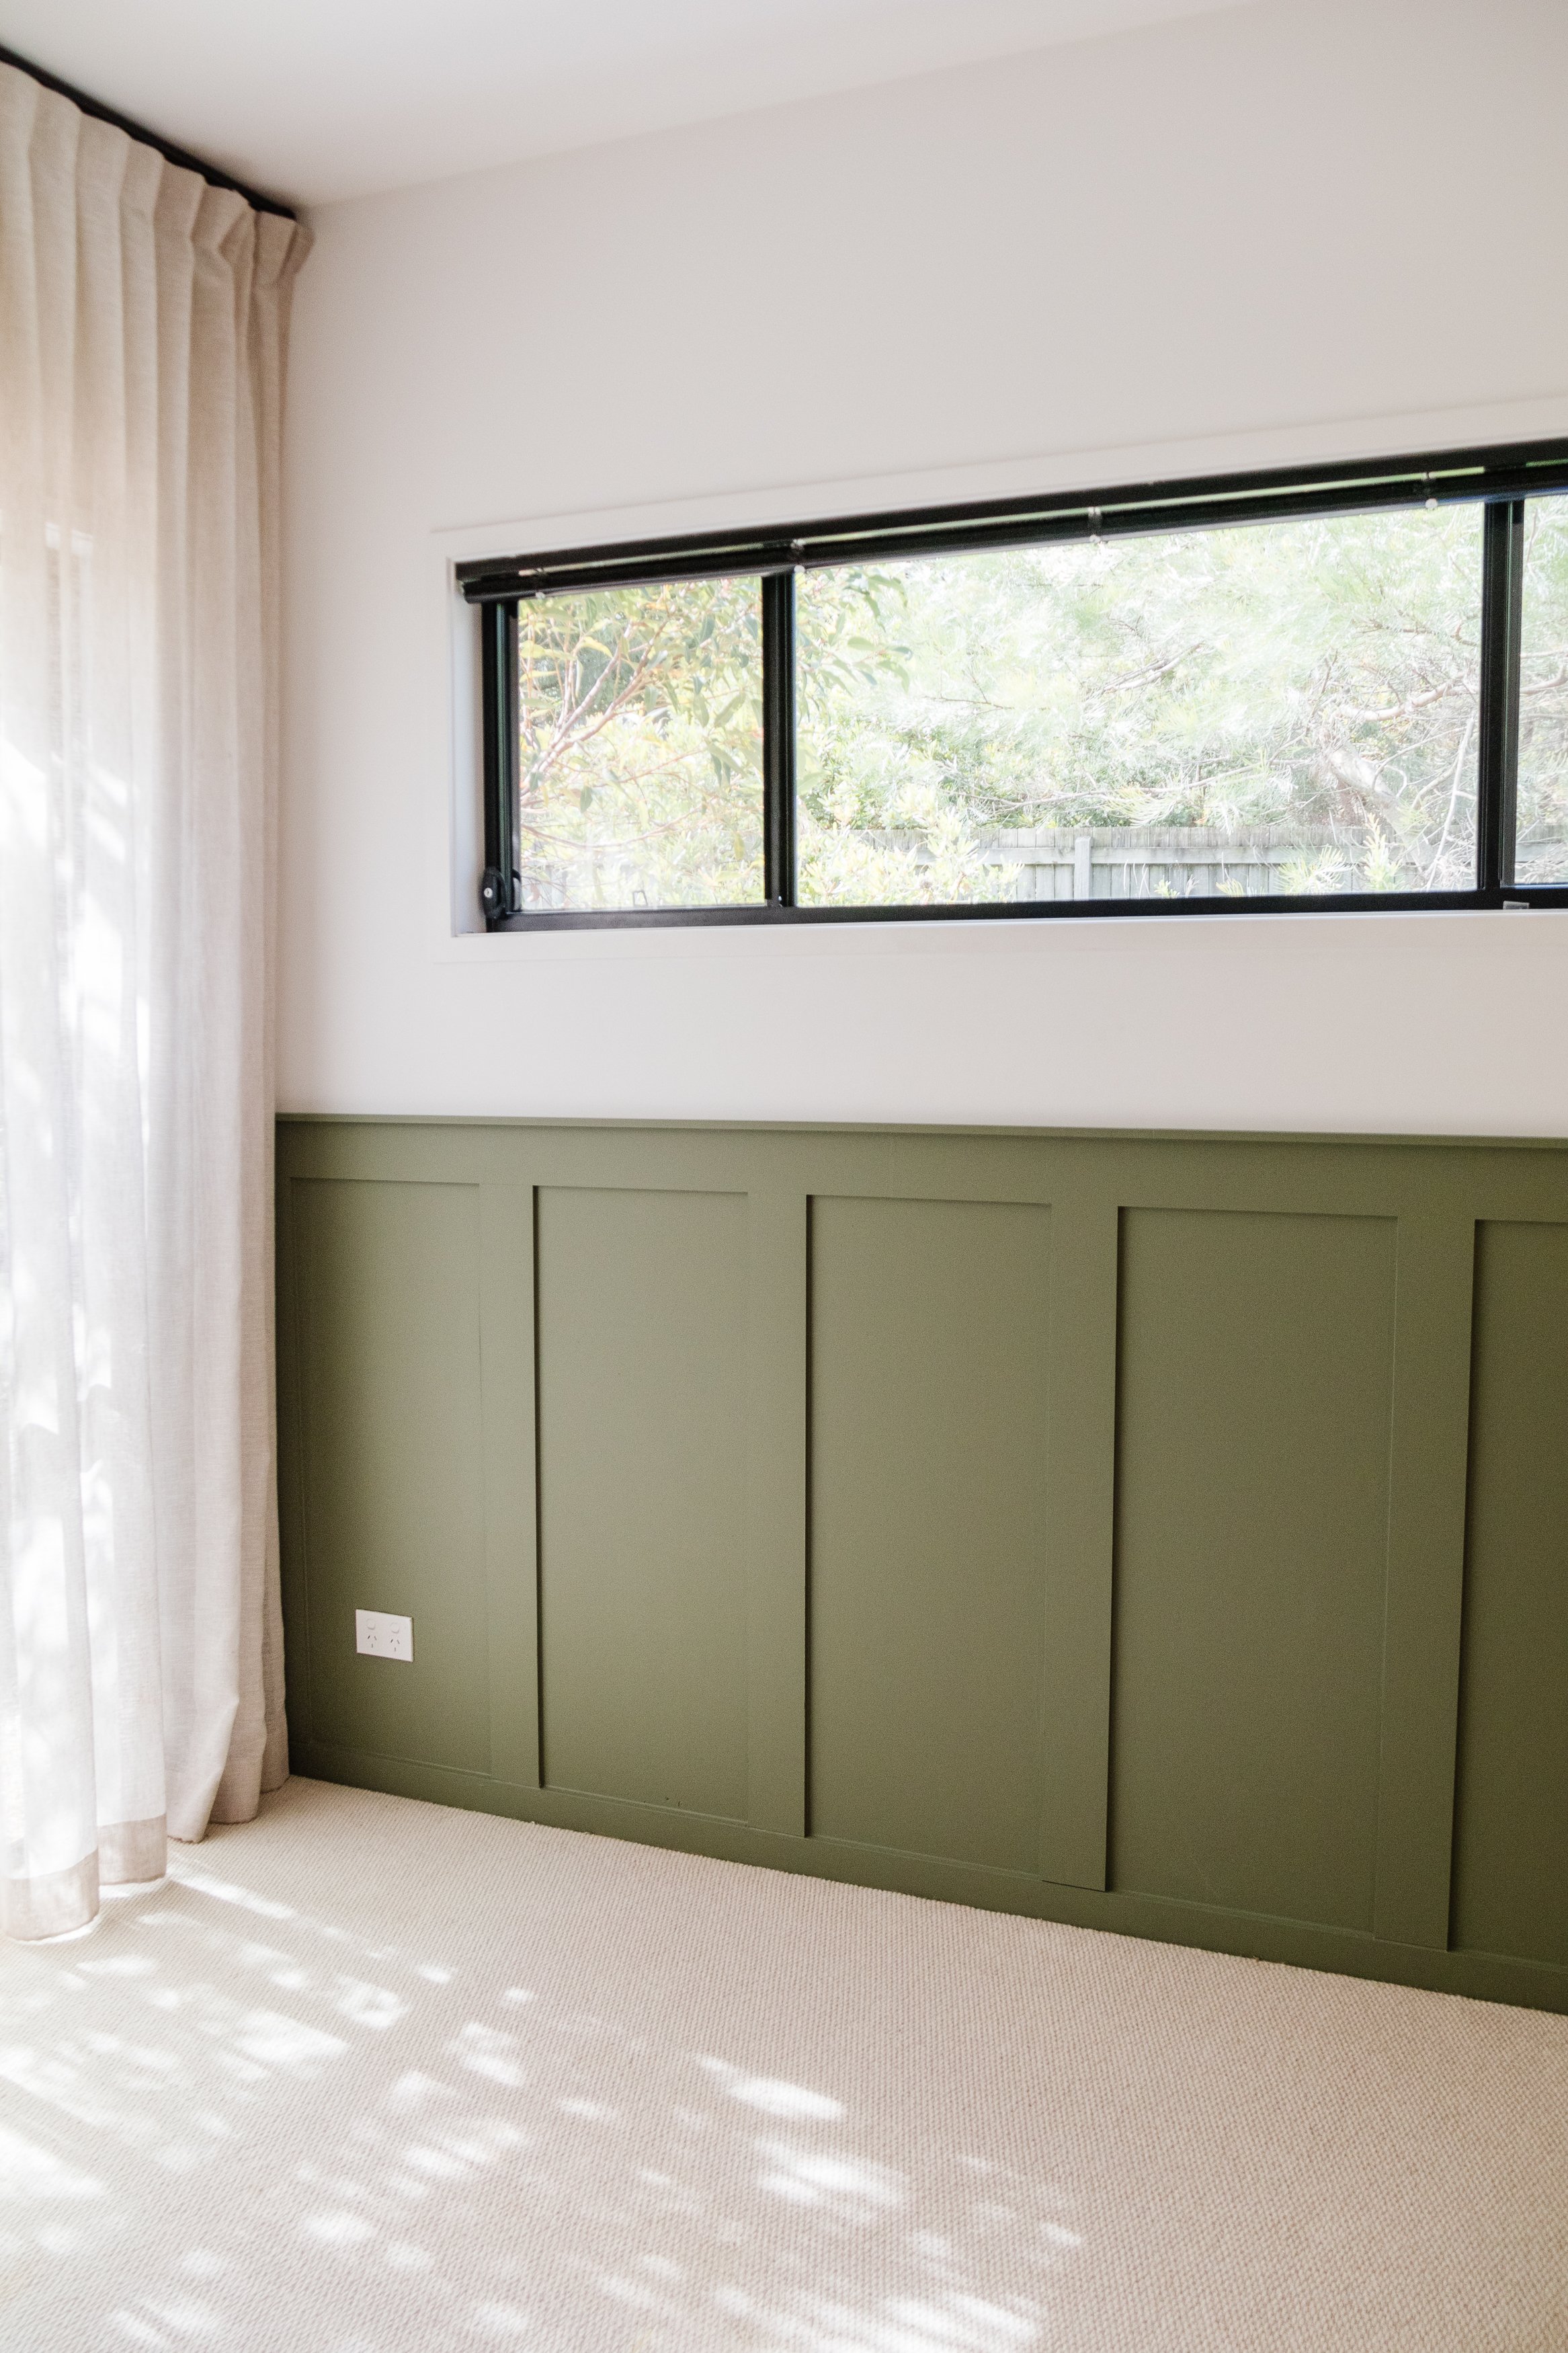
I cannot tell you how happy I am every time I walk past our guest bedroom; it looks so much better with the DIY Board & Batten! There is no way I could have finished this in a day if it wasn’t for having the best painting accessories by my side to get the job done. I’ve always admired how paint can change the way a room looks and feels, however the quality of Monarch made the process so quick, easy and effortless to execute. I hope this project has inspired you to pick up your paint brush at home and build your own DIY Board & Batten.
This project was in collaboration with Monarch