Upcycled Timber Stained Checker Drawers

Use timber stain to create a checker pattern on furniture!
I am so excited to finally bring this project to life! Back in August last year I found a beautiful bar cart and knew it would be perfect to upcycle, so I shared an idea I had been thinking of for ages - timber stained stripes. My plan was to sand the timber and using painters tape with timber stain to create a stripe pattern. Unfortunately I couldn’t remove the glass panels, so I had to improvise and paint the stripes on instead. The bar cart looked stunning and I decided to save my idea to create timber stained striped for another piece of secondhand furniture - I just needed to find the perfect piece. I tried again in December when my friend and I were upcycling her vintage footstool, but sadly the timber was too dark so we painted the stripes instead.
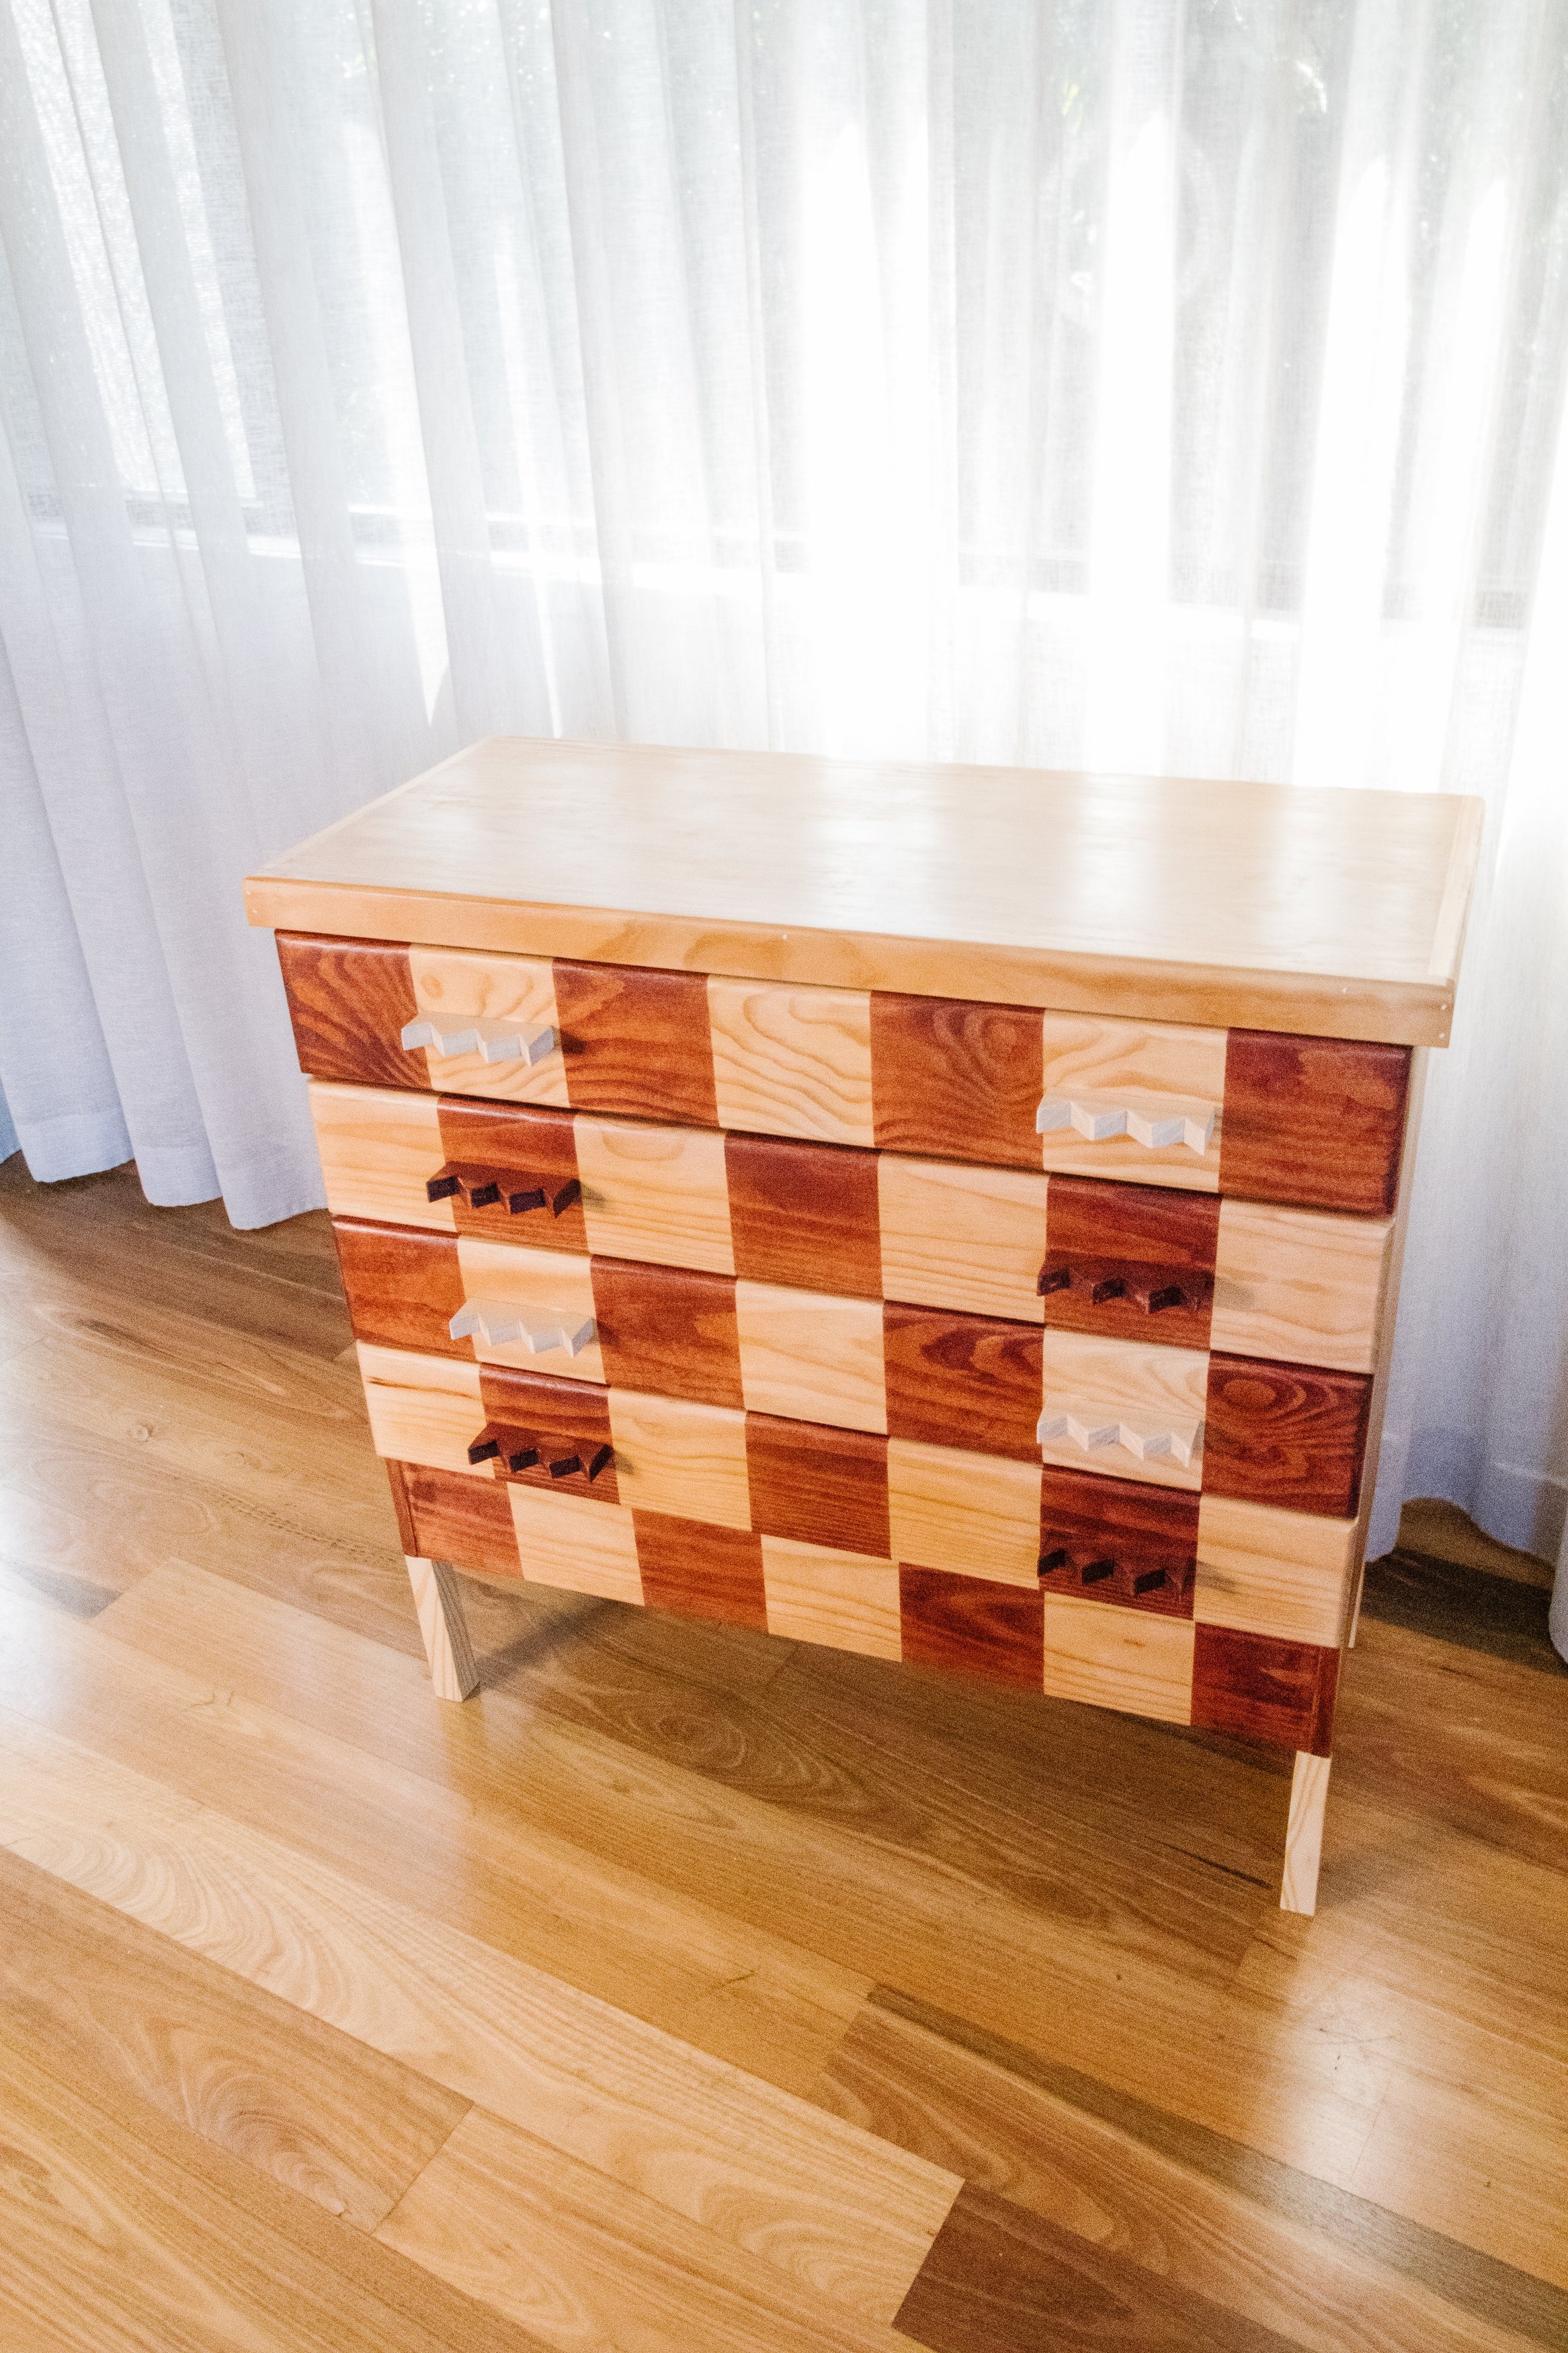
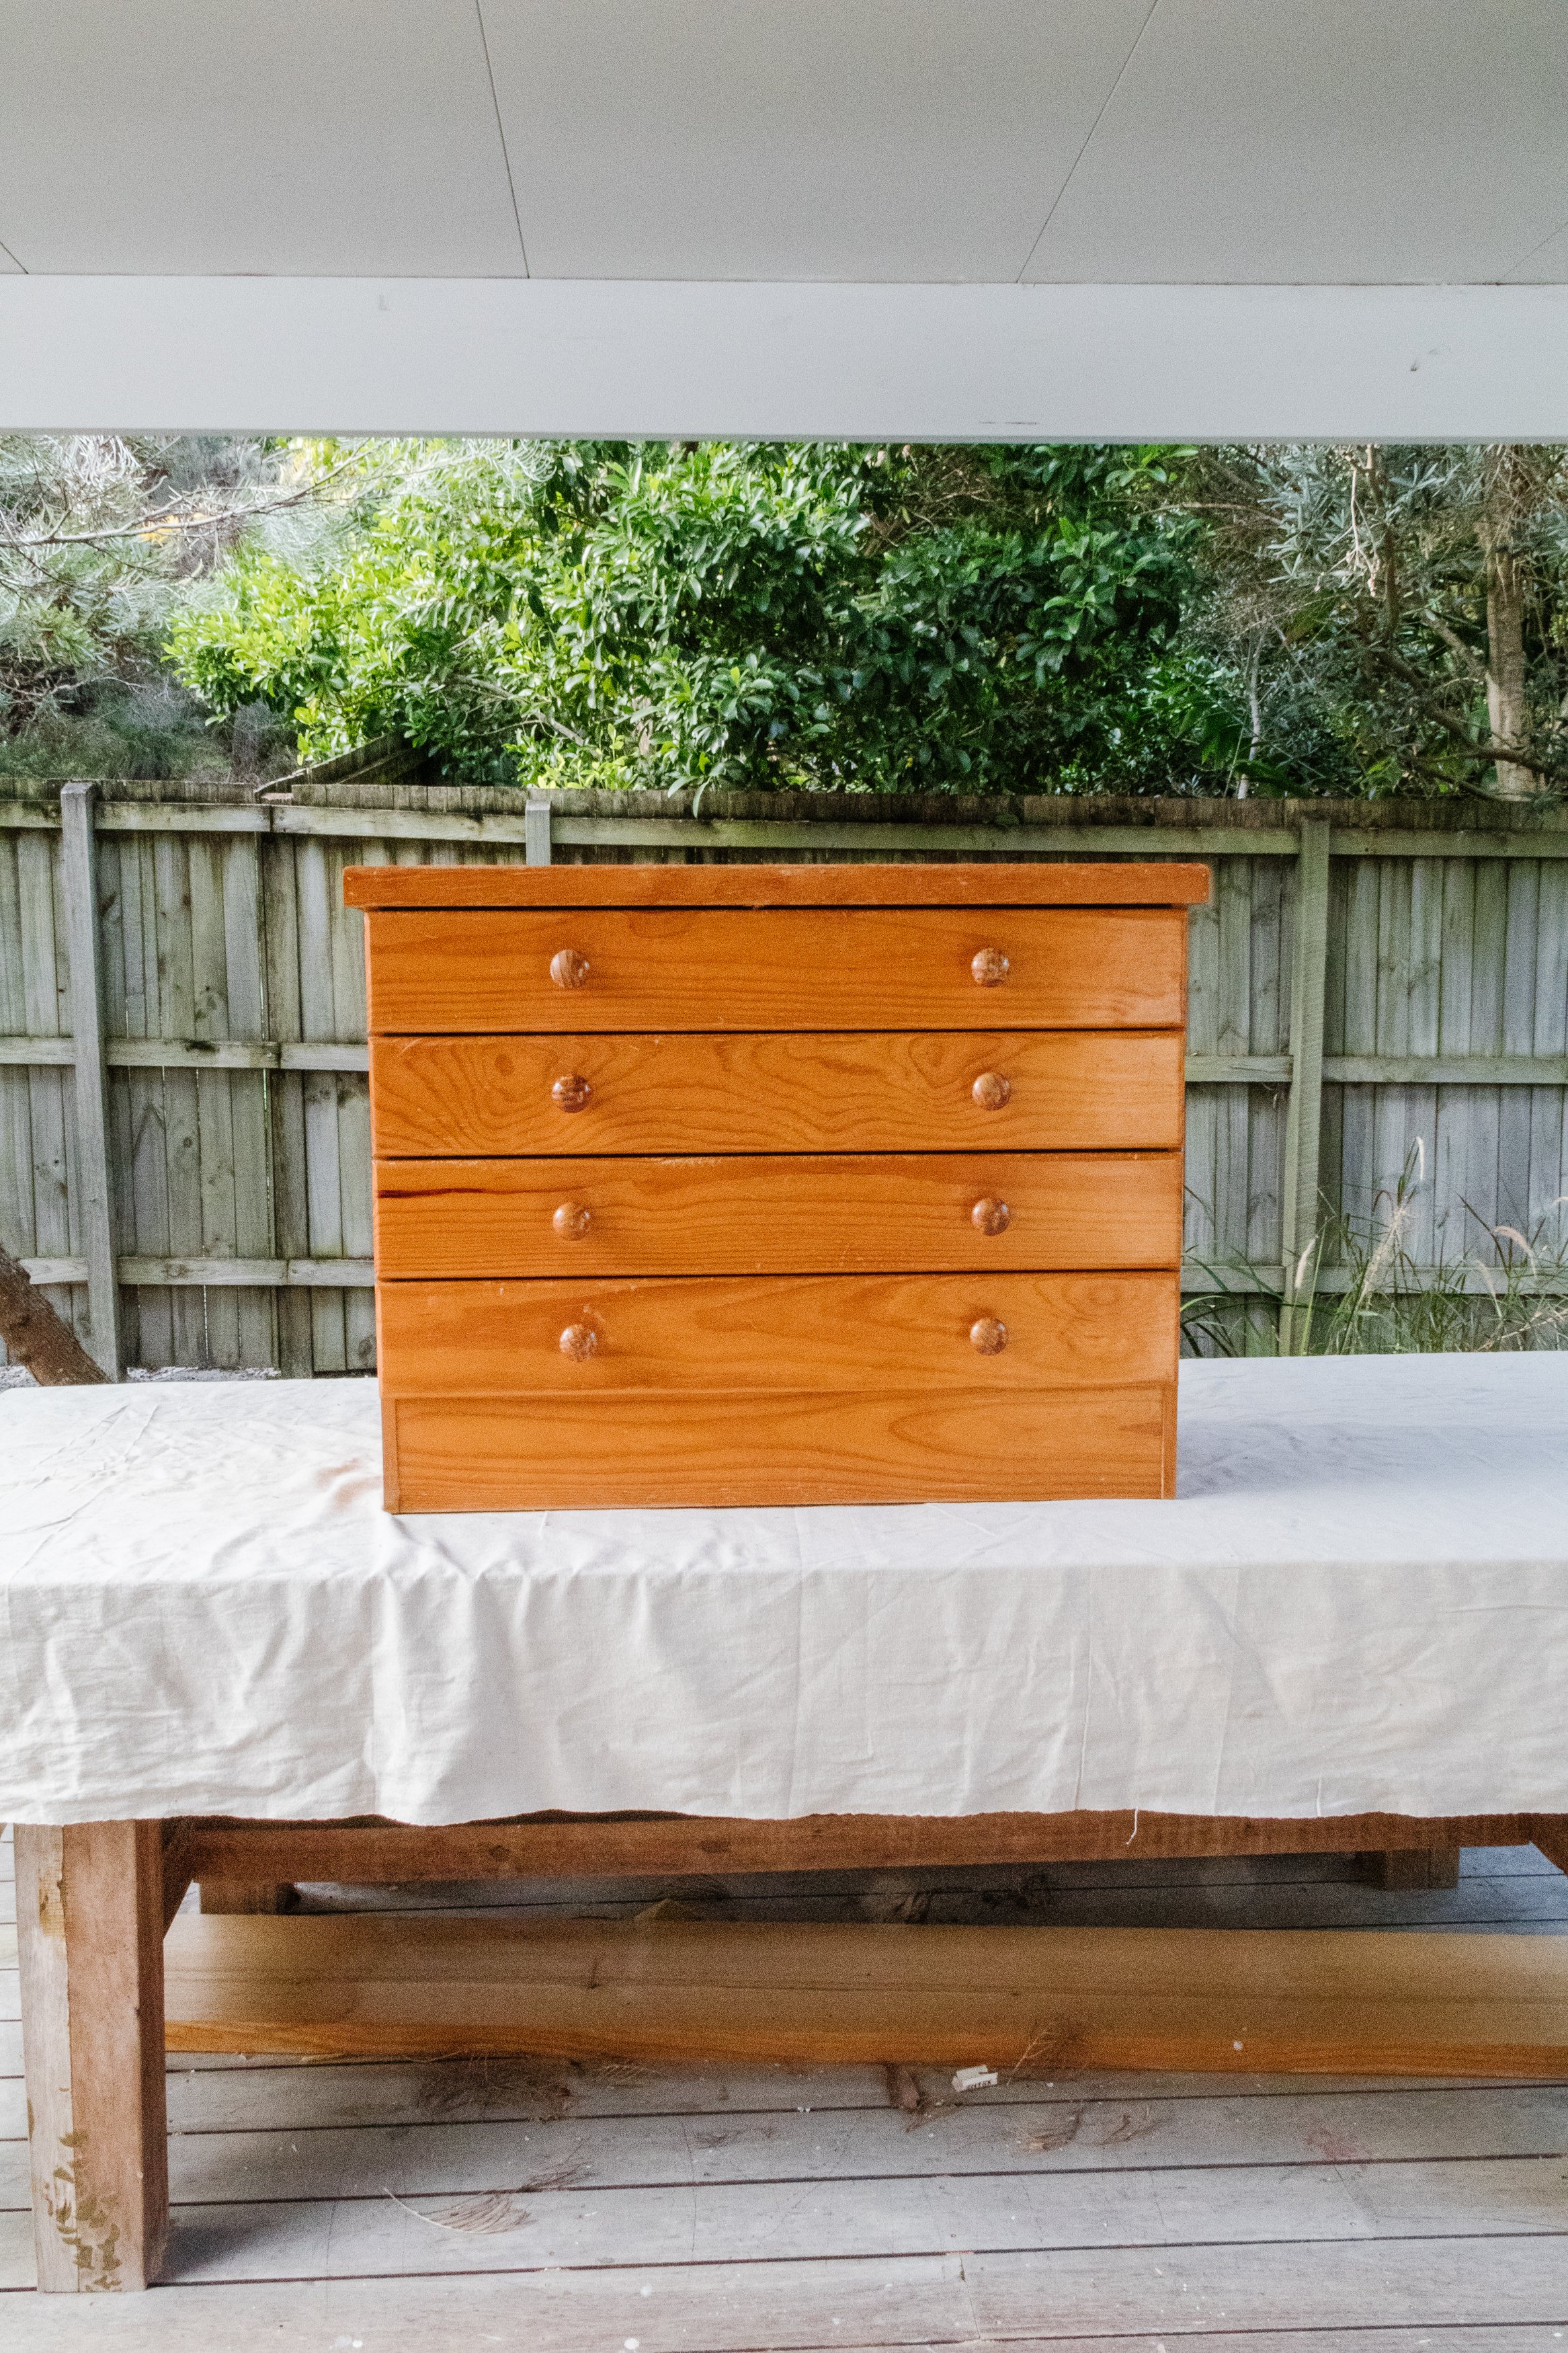
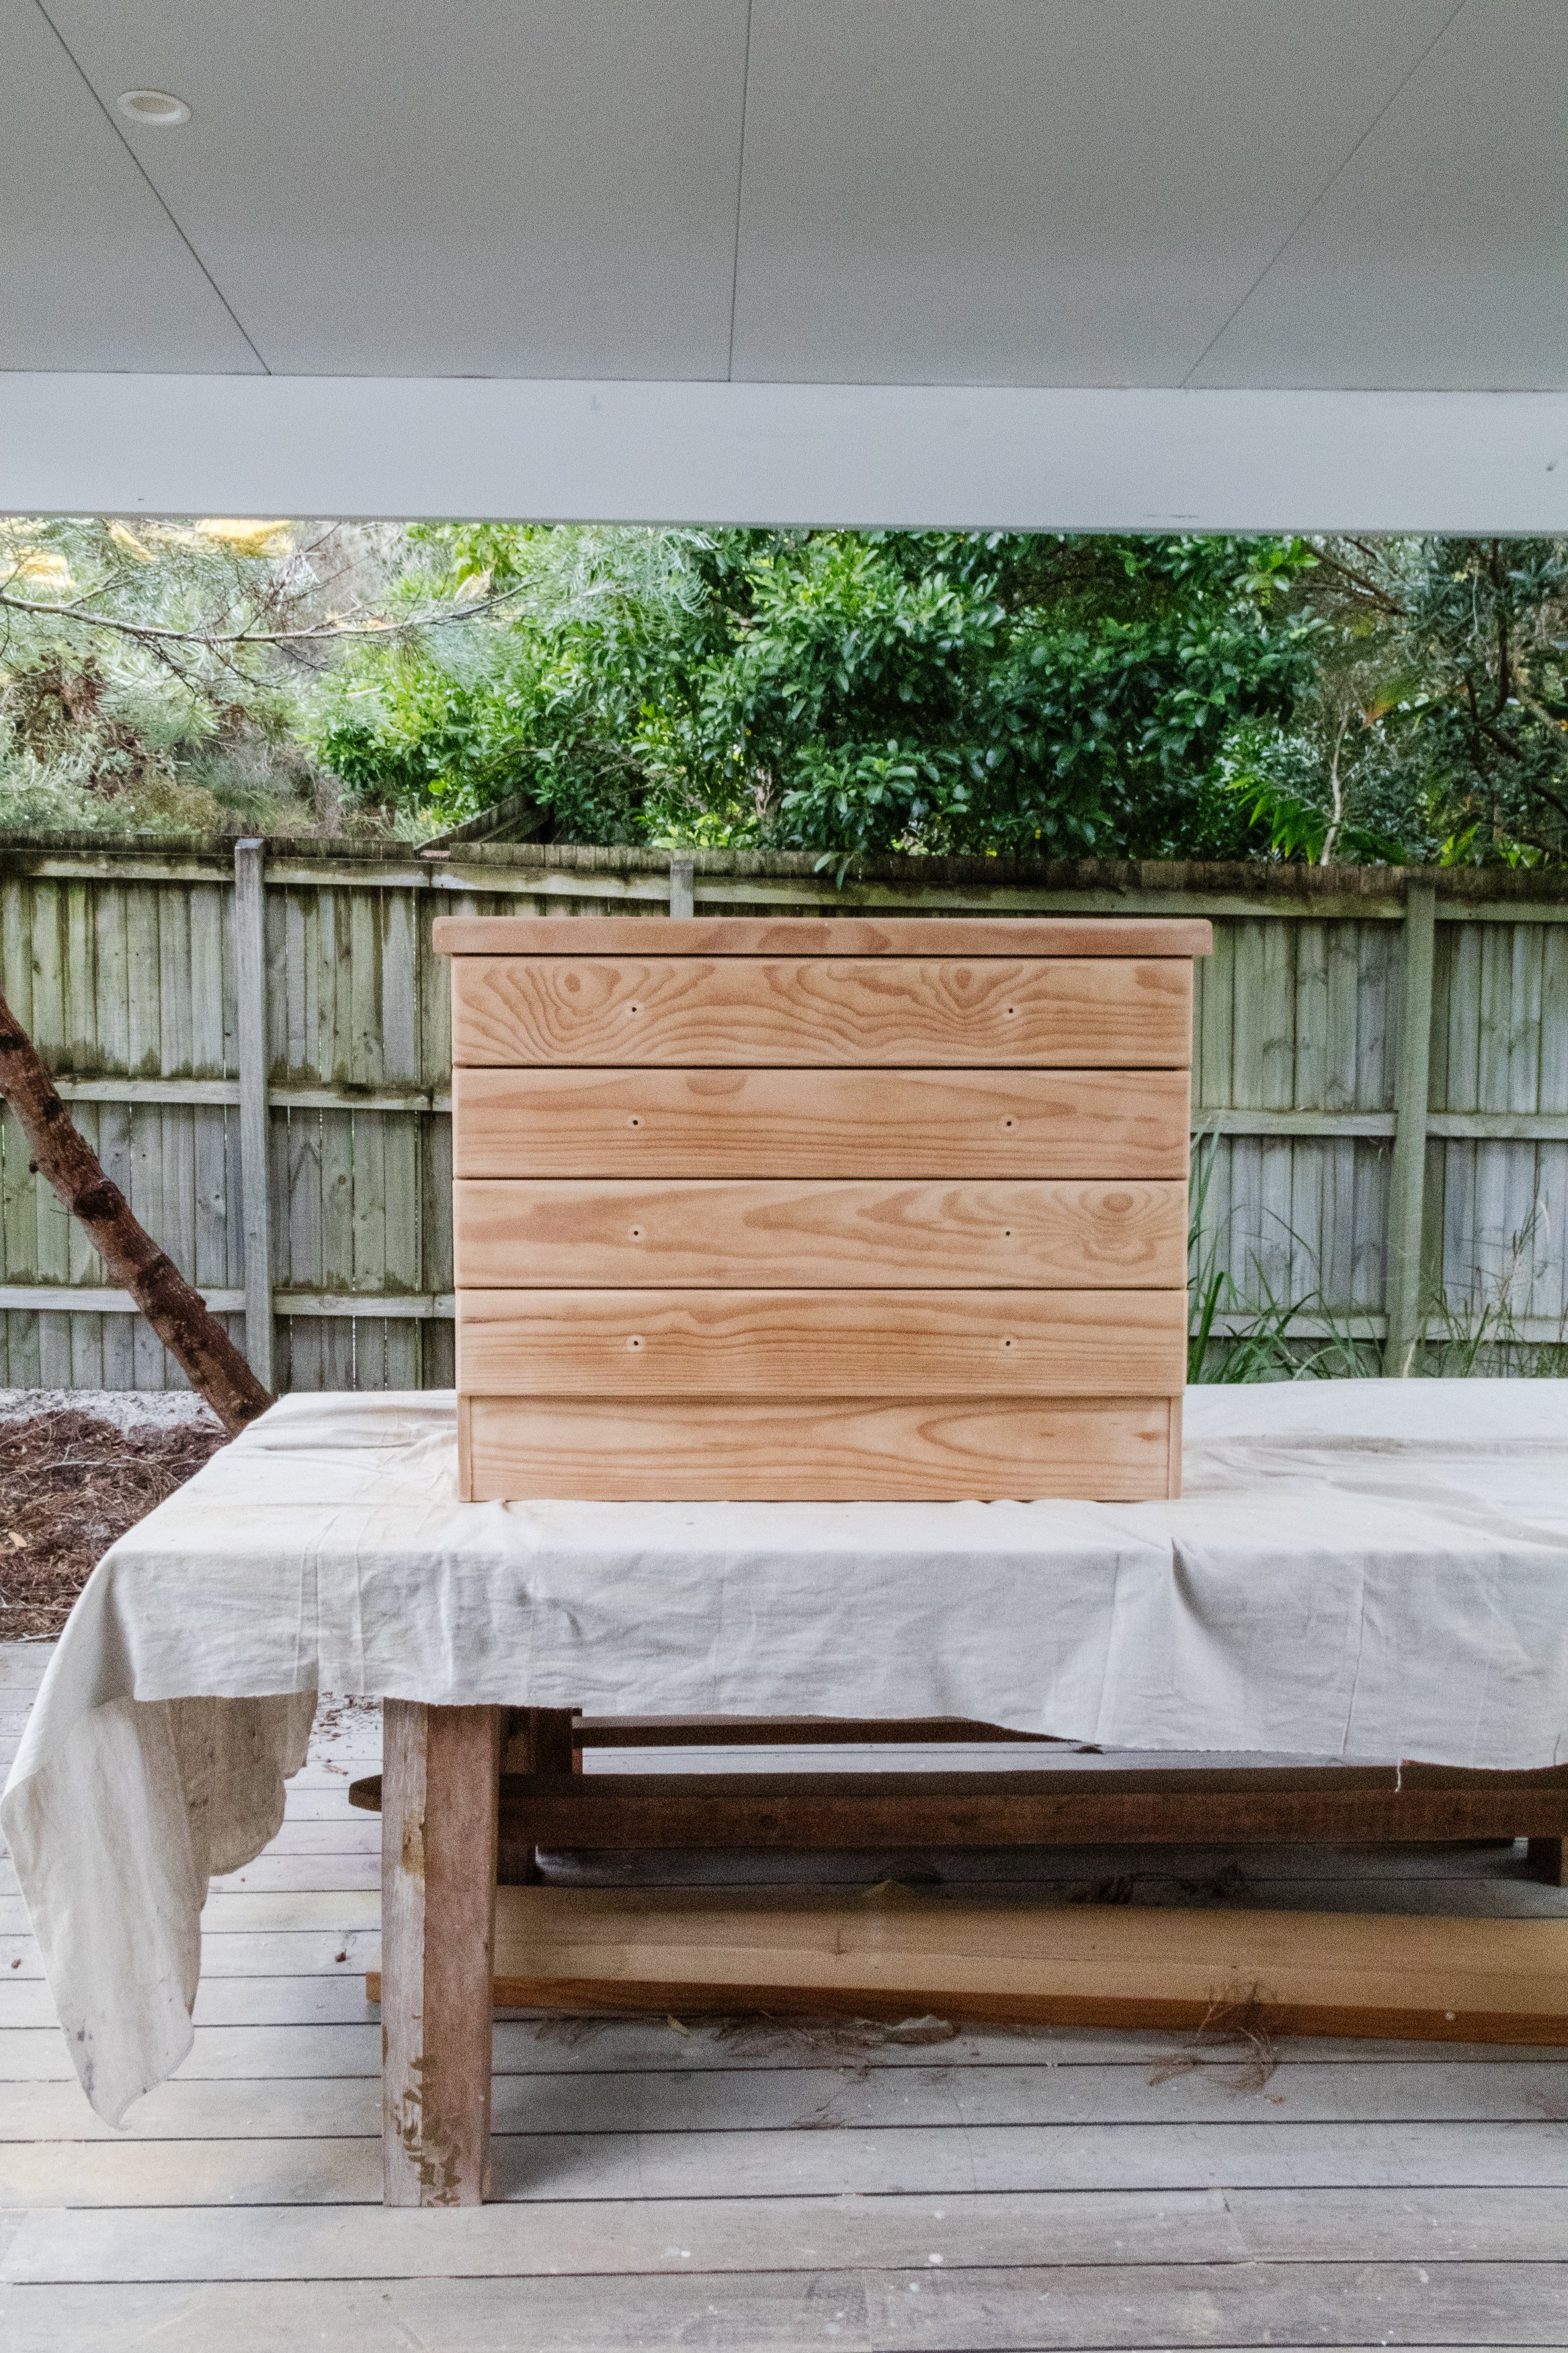
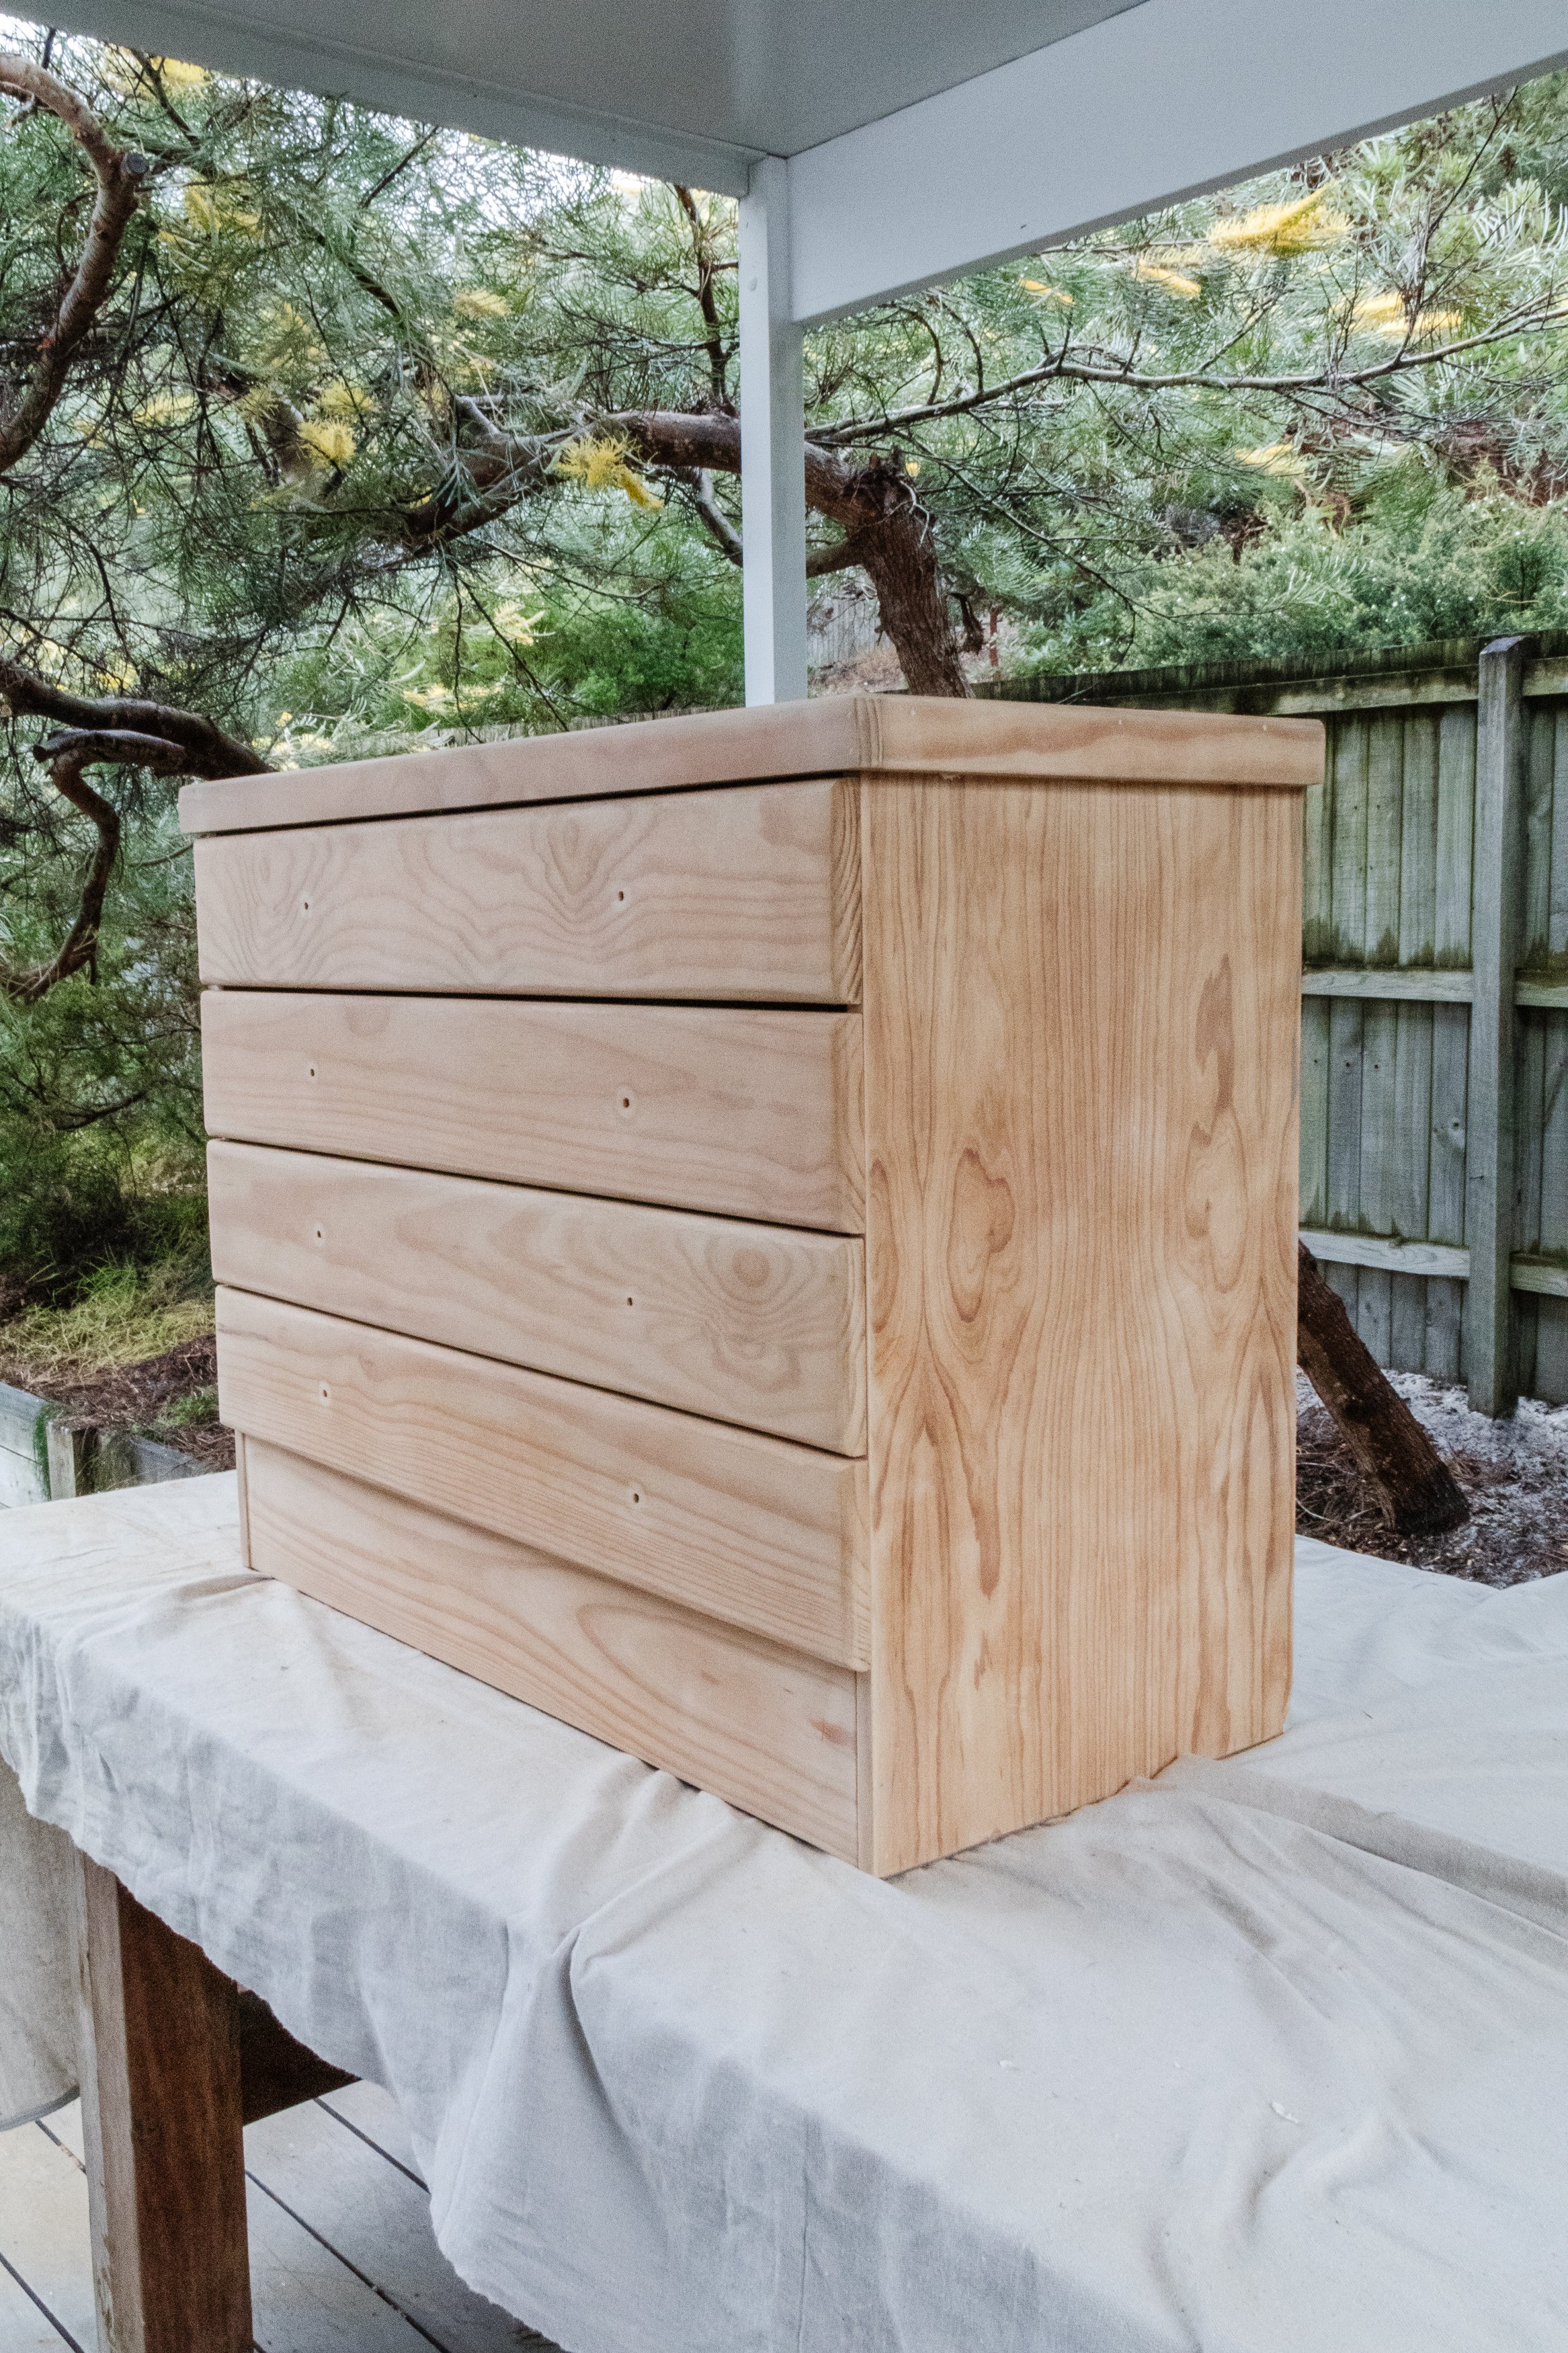
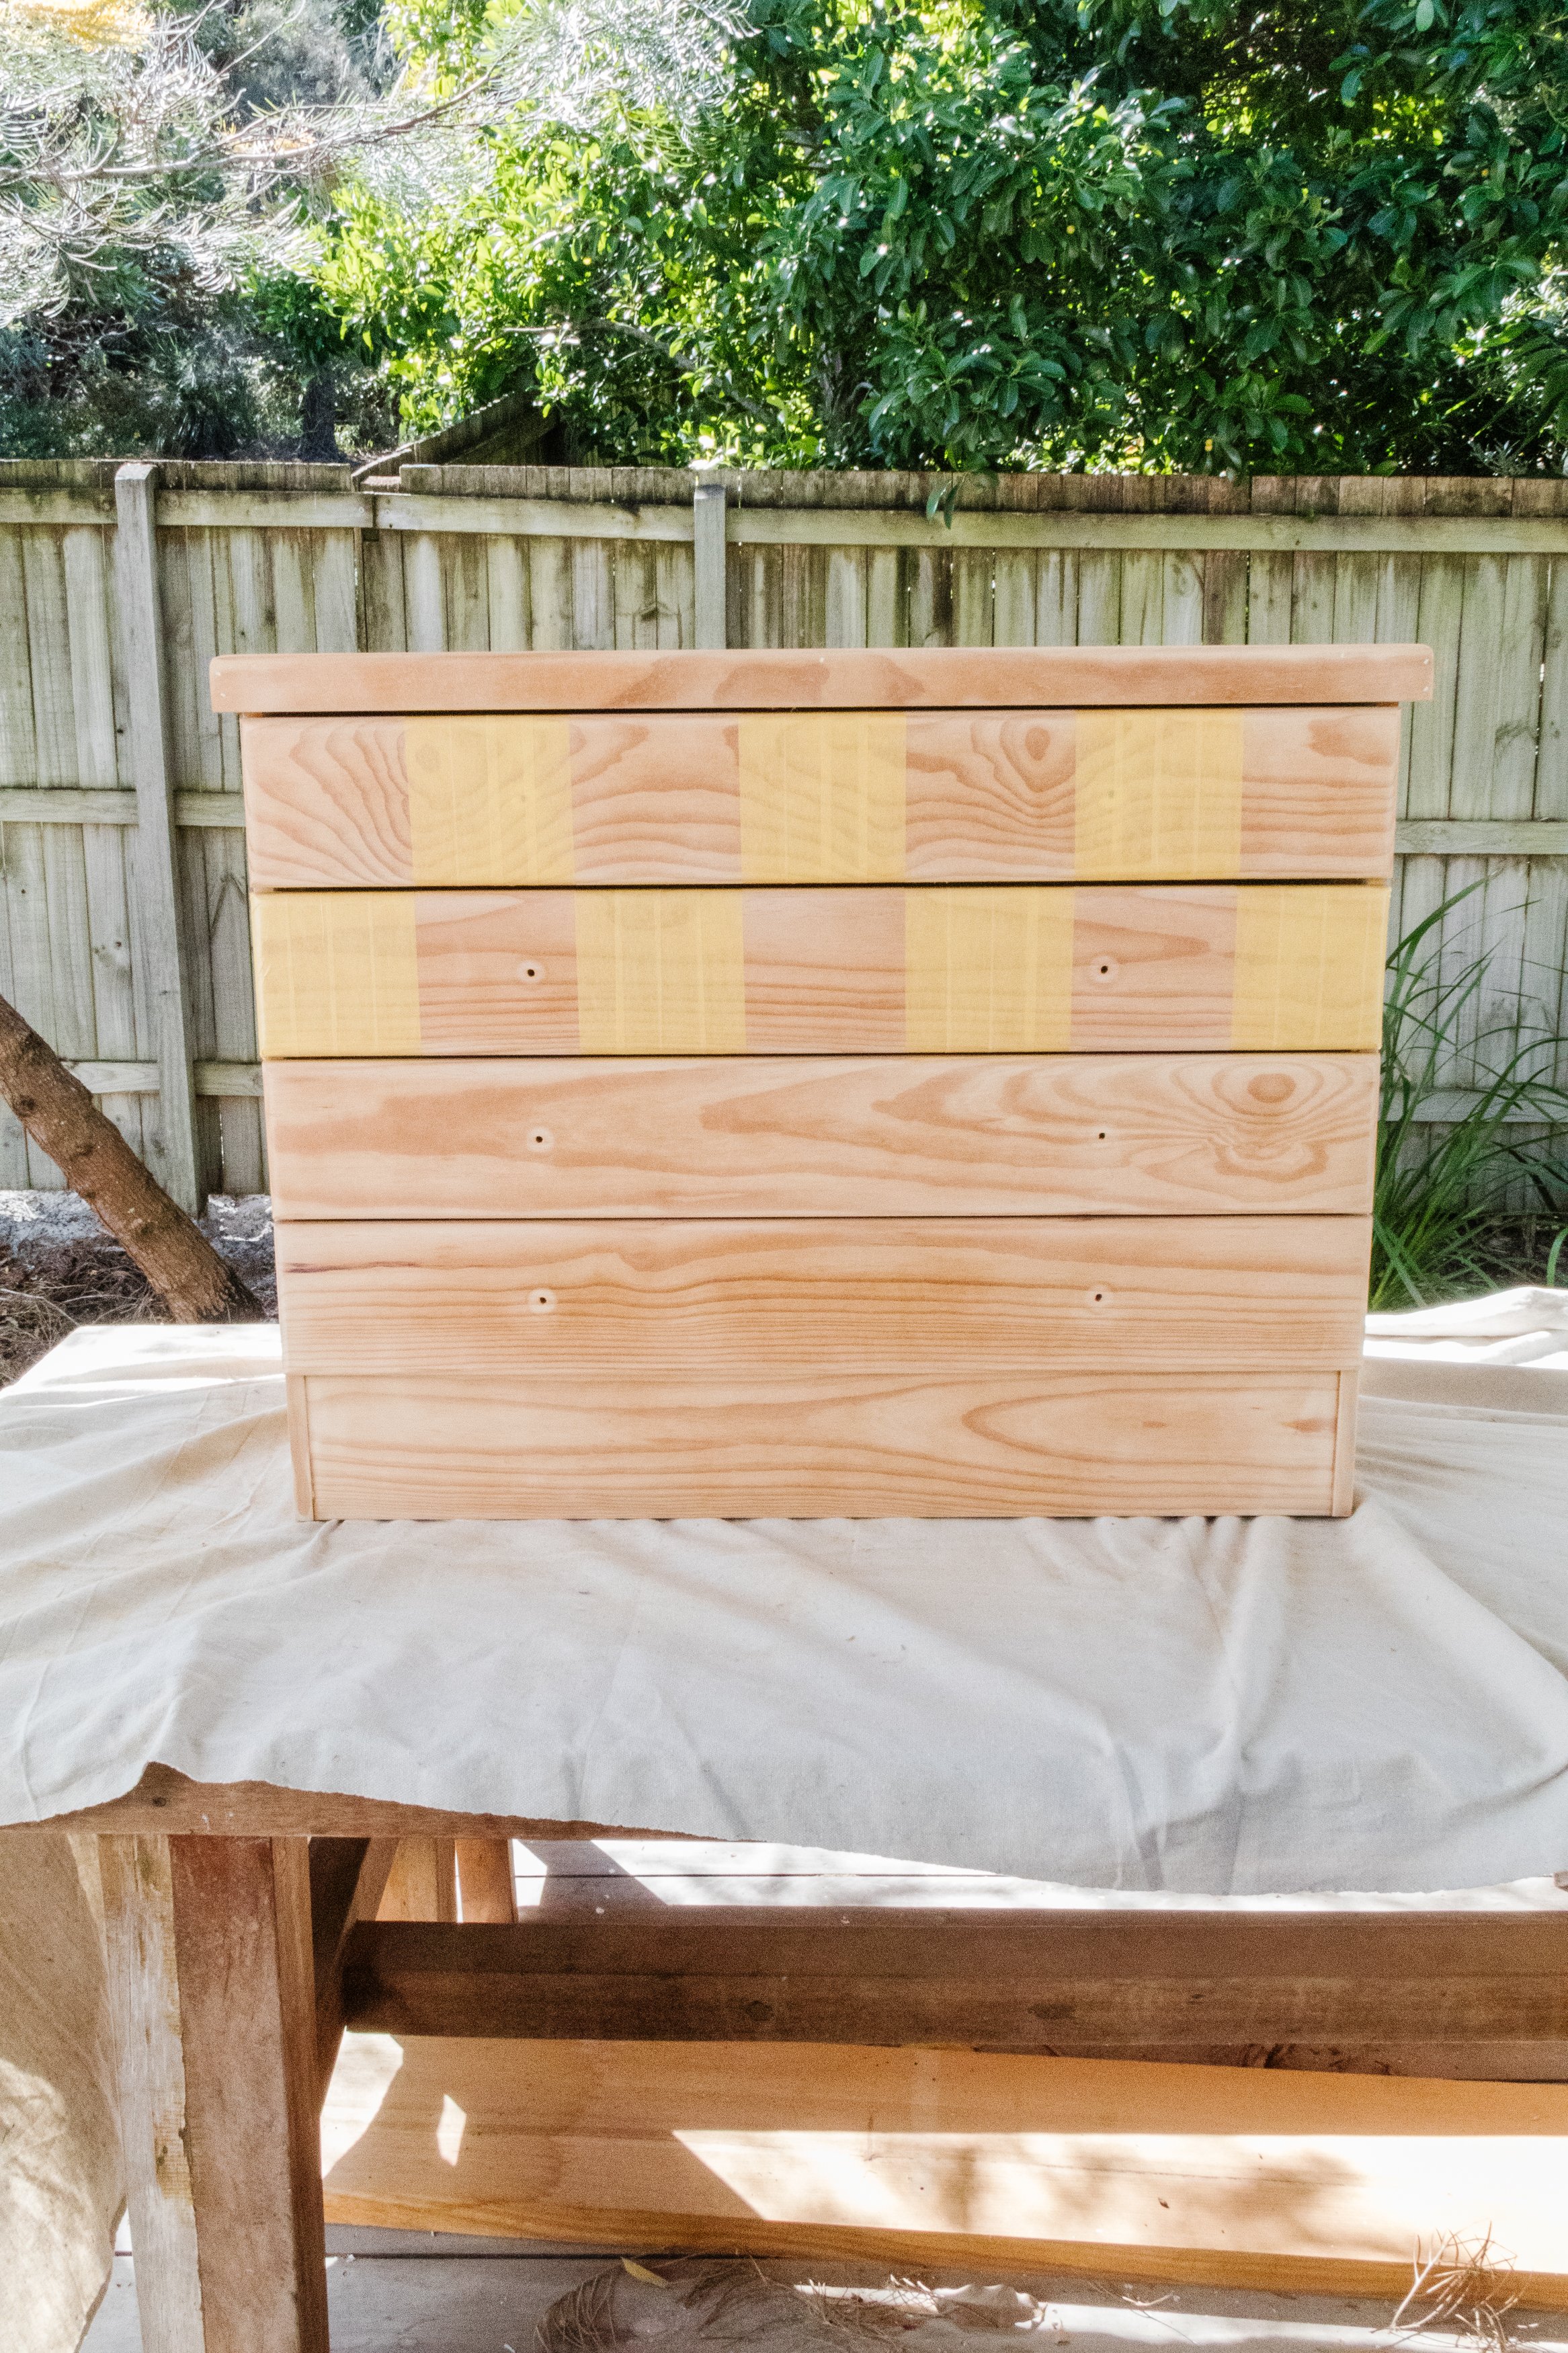
I’ve said it before and I’ll say it again, when I have an idea in mind sometimes it can take weeks or months to find the perfect piece to upcycle. There are some great secondhand stores and recycle centres where I live, but finding bigger pieces that have been beautifully made is not as easy as you think. In fact it’s taken me almost a year to find “the” piece and she’s gorgeous. I found these timber drawers at a recycle centre tucked behind a couple of bedside tables. I was immediately drawn to the craftsmanship, the beautiful timber grain (I could tell the maker saved the best pieces for the face of the drawers) and that the piece was entirely made from timber (except for the back which is made using hardboard but no one sees it anyway). And there was no laminate pretending to be timber either - so happy!
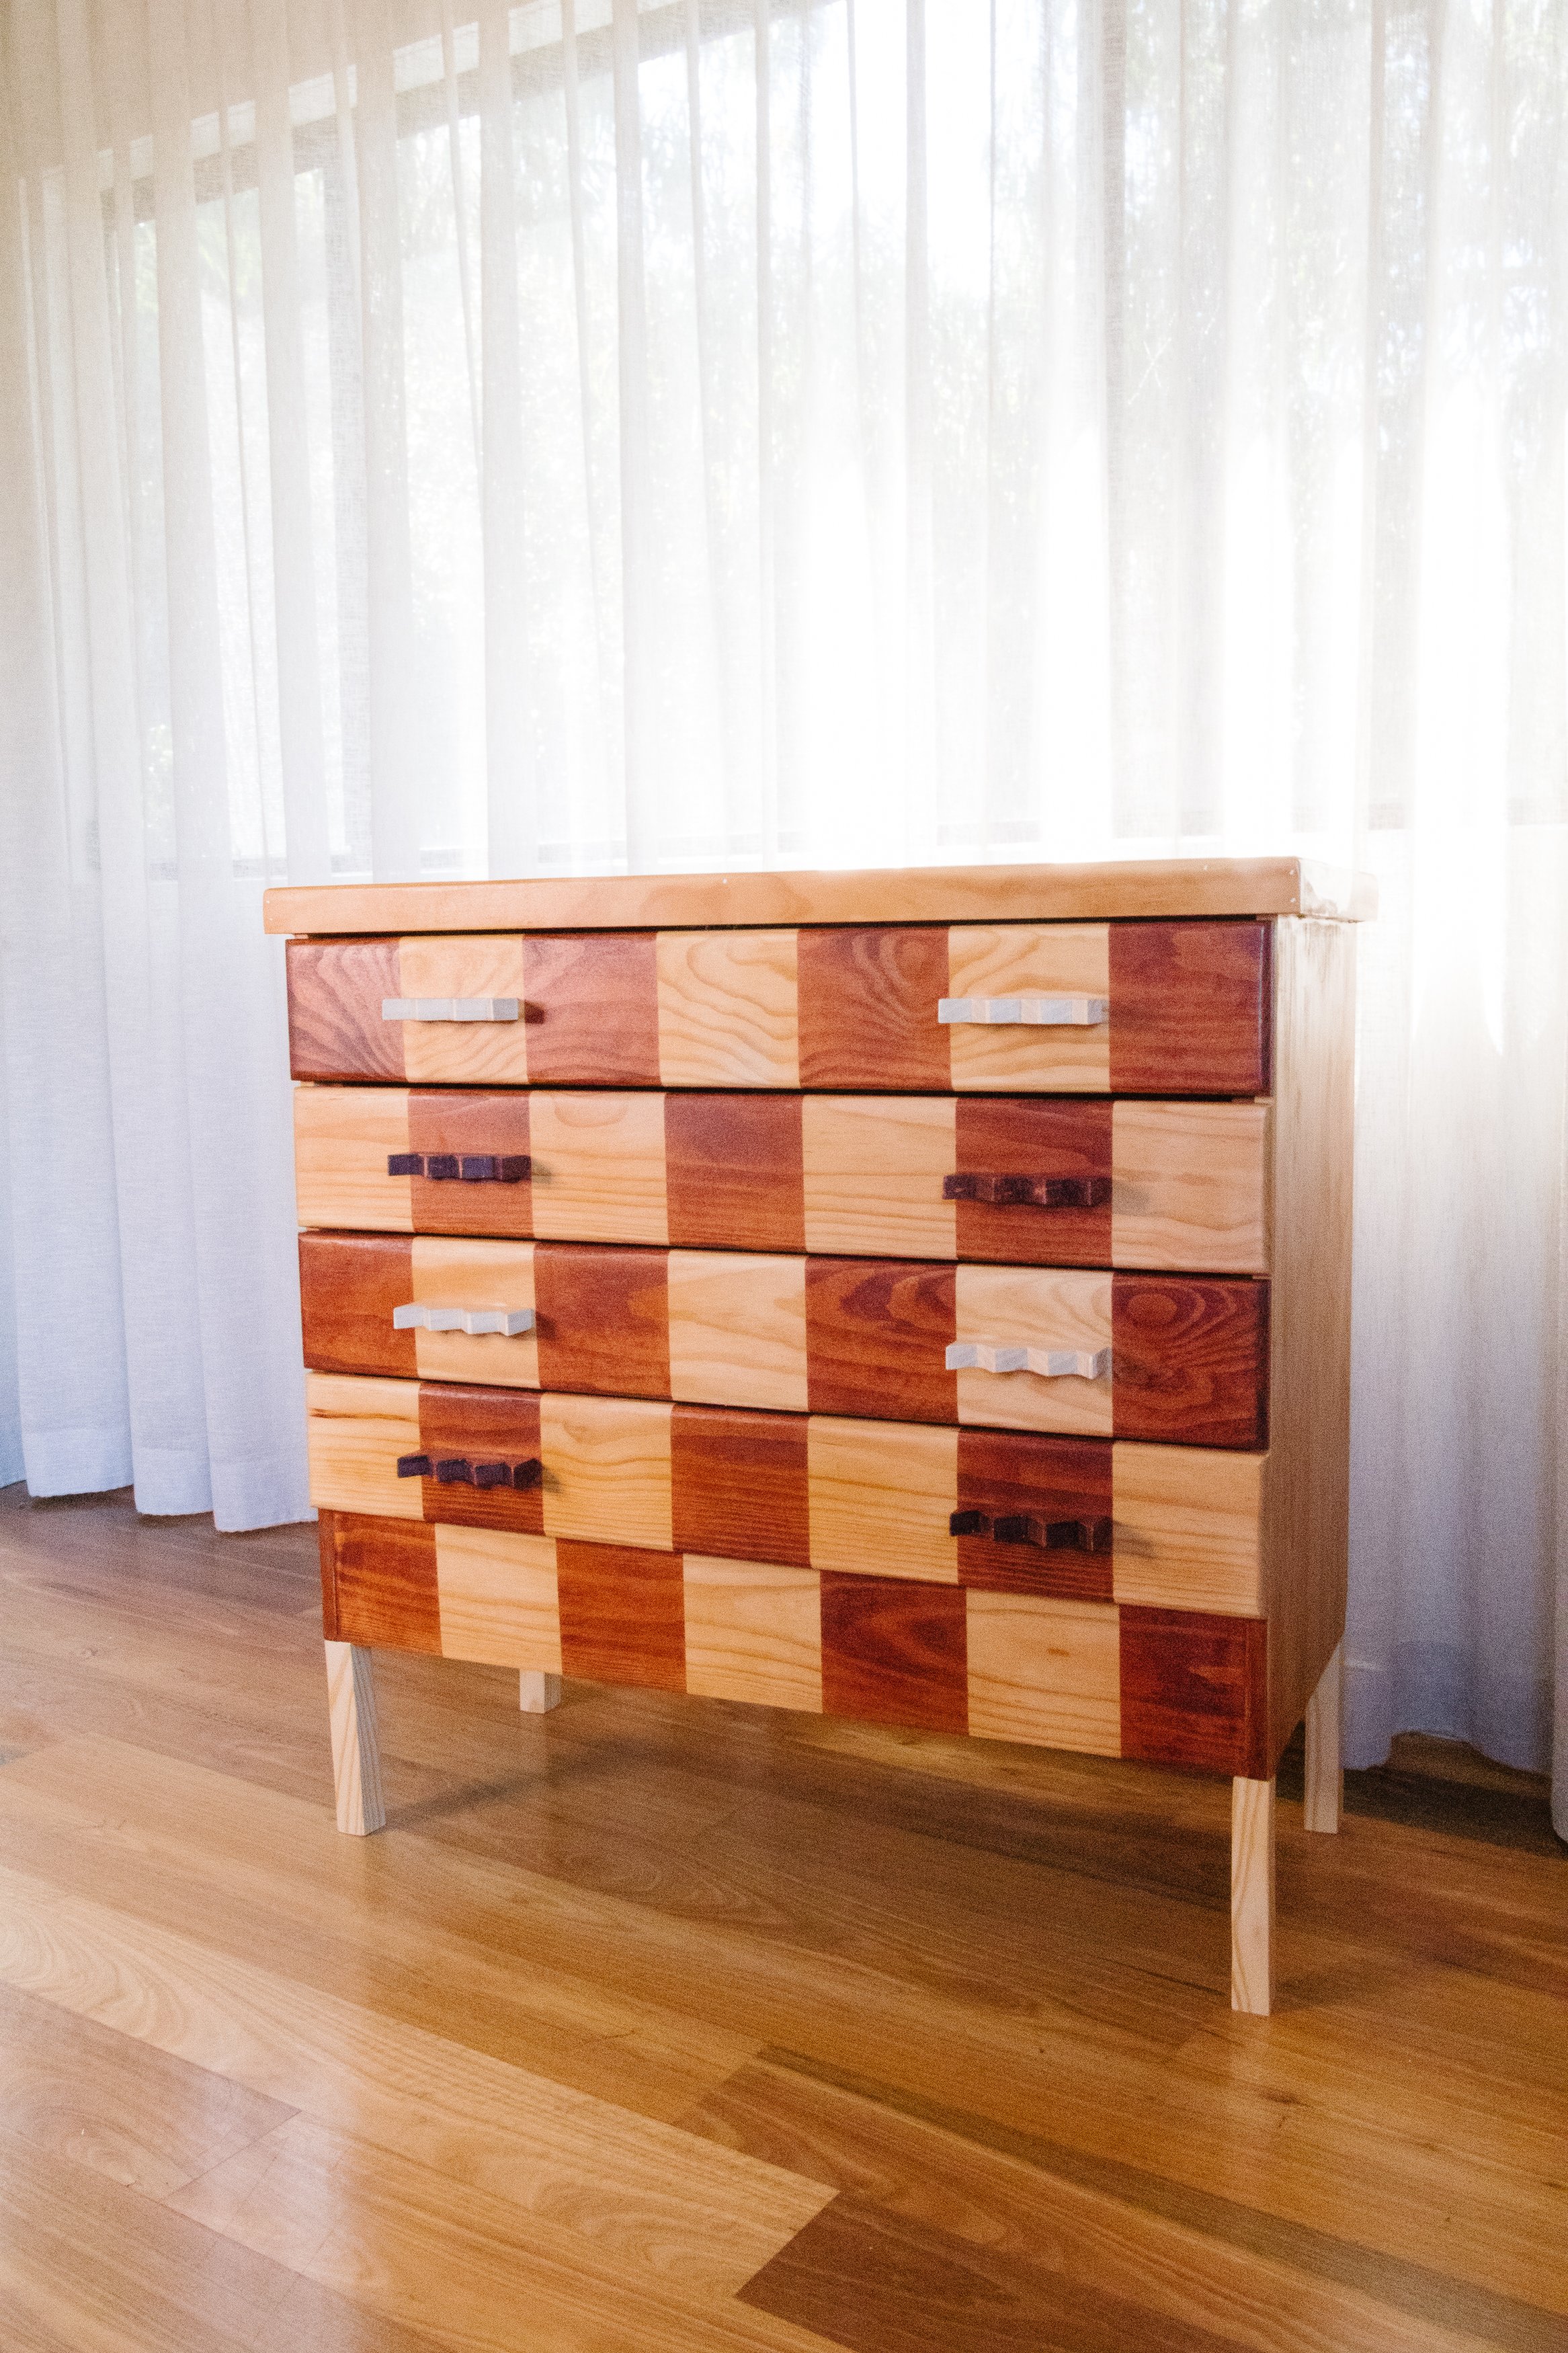
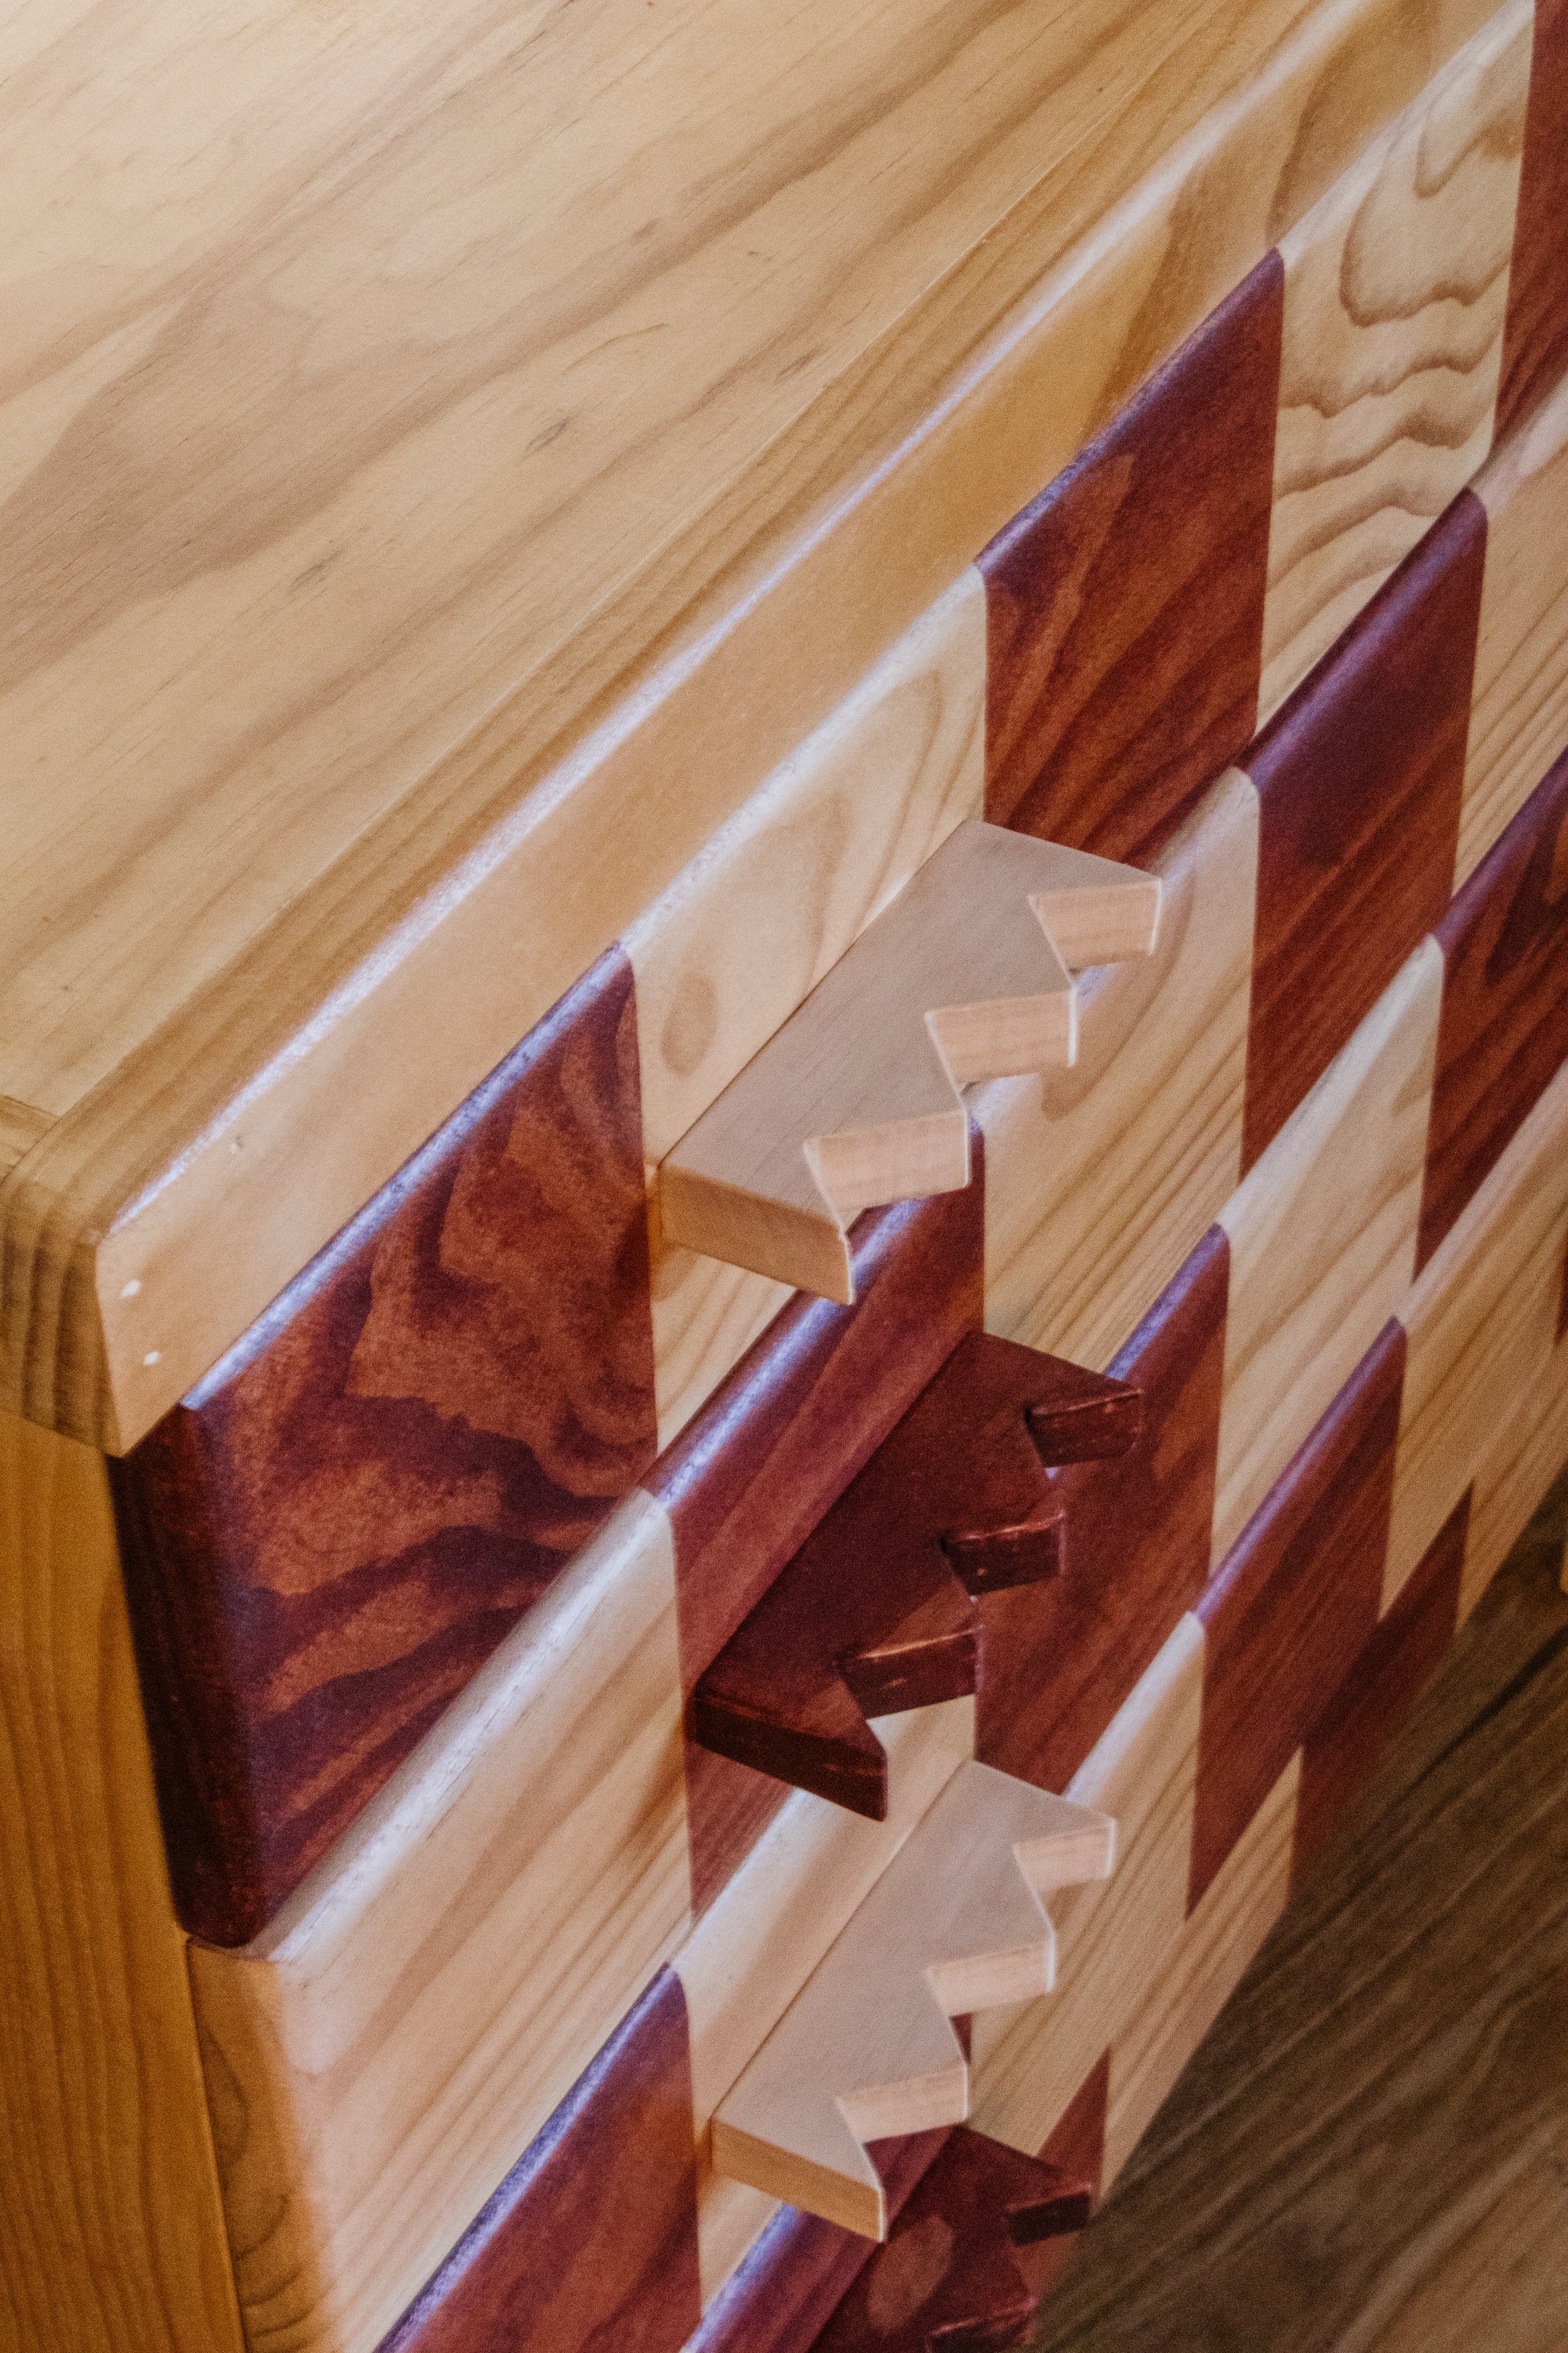
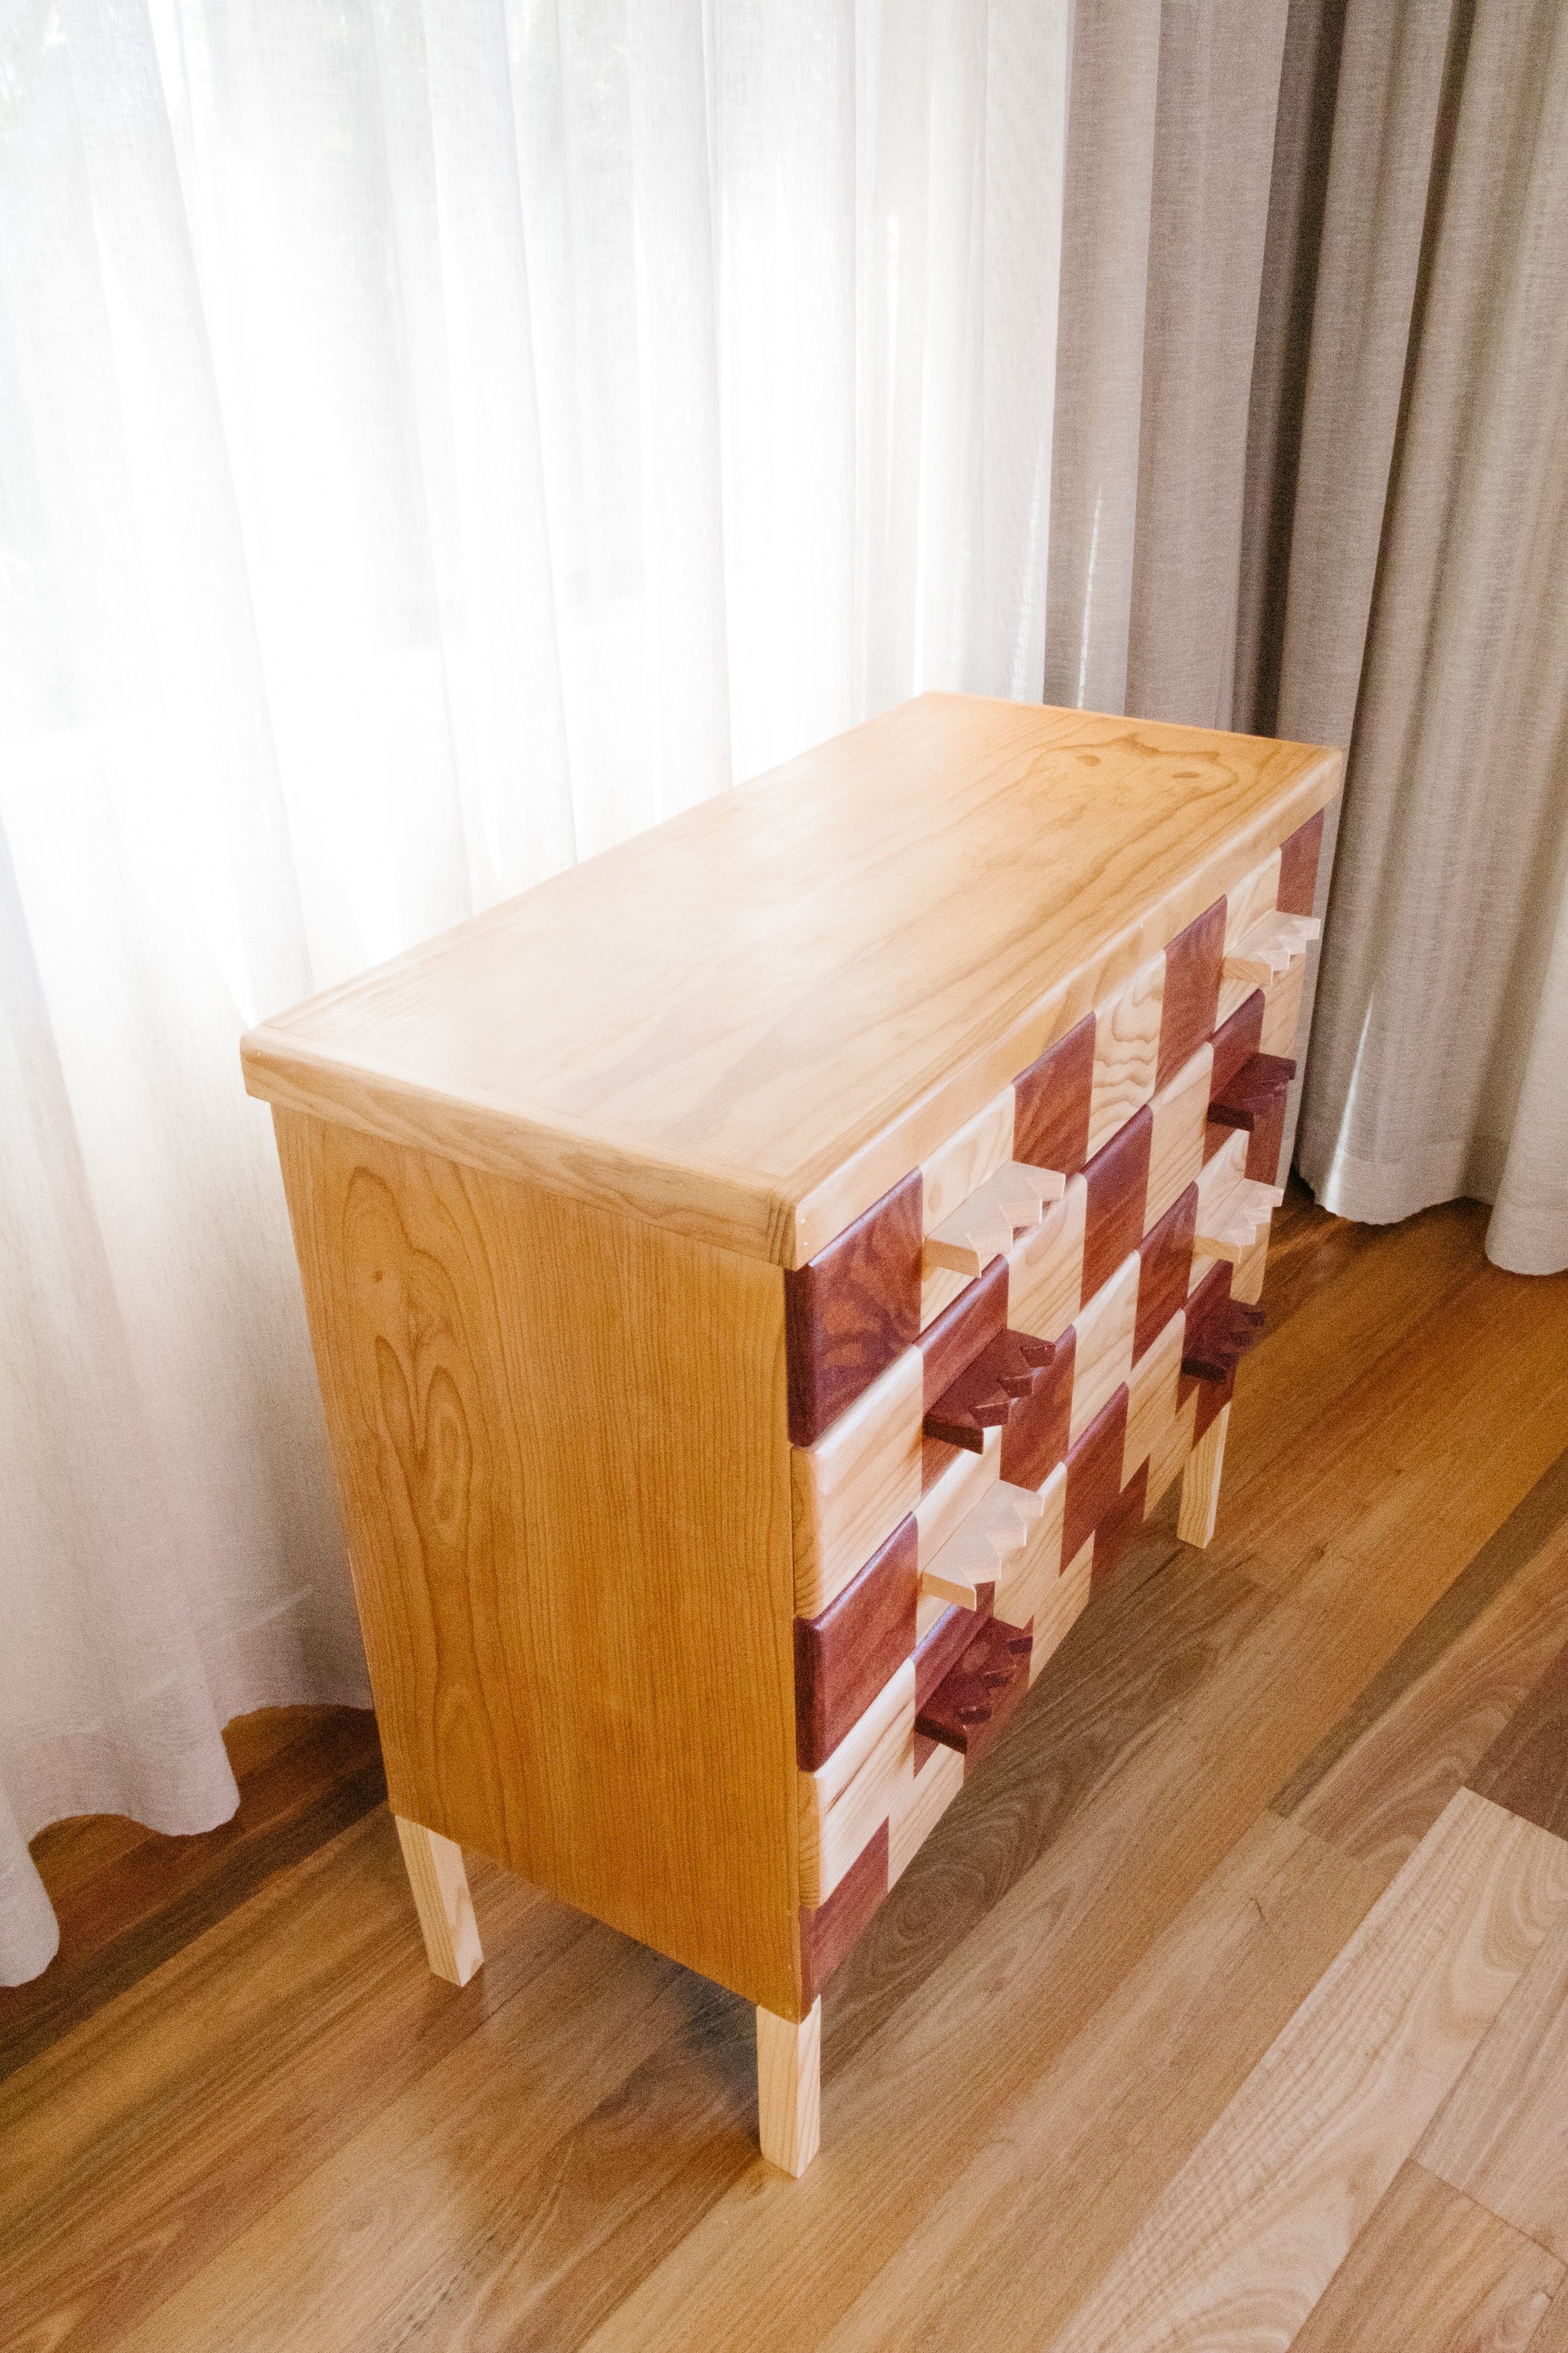
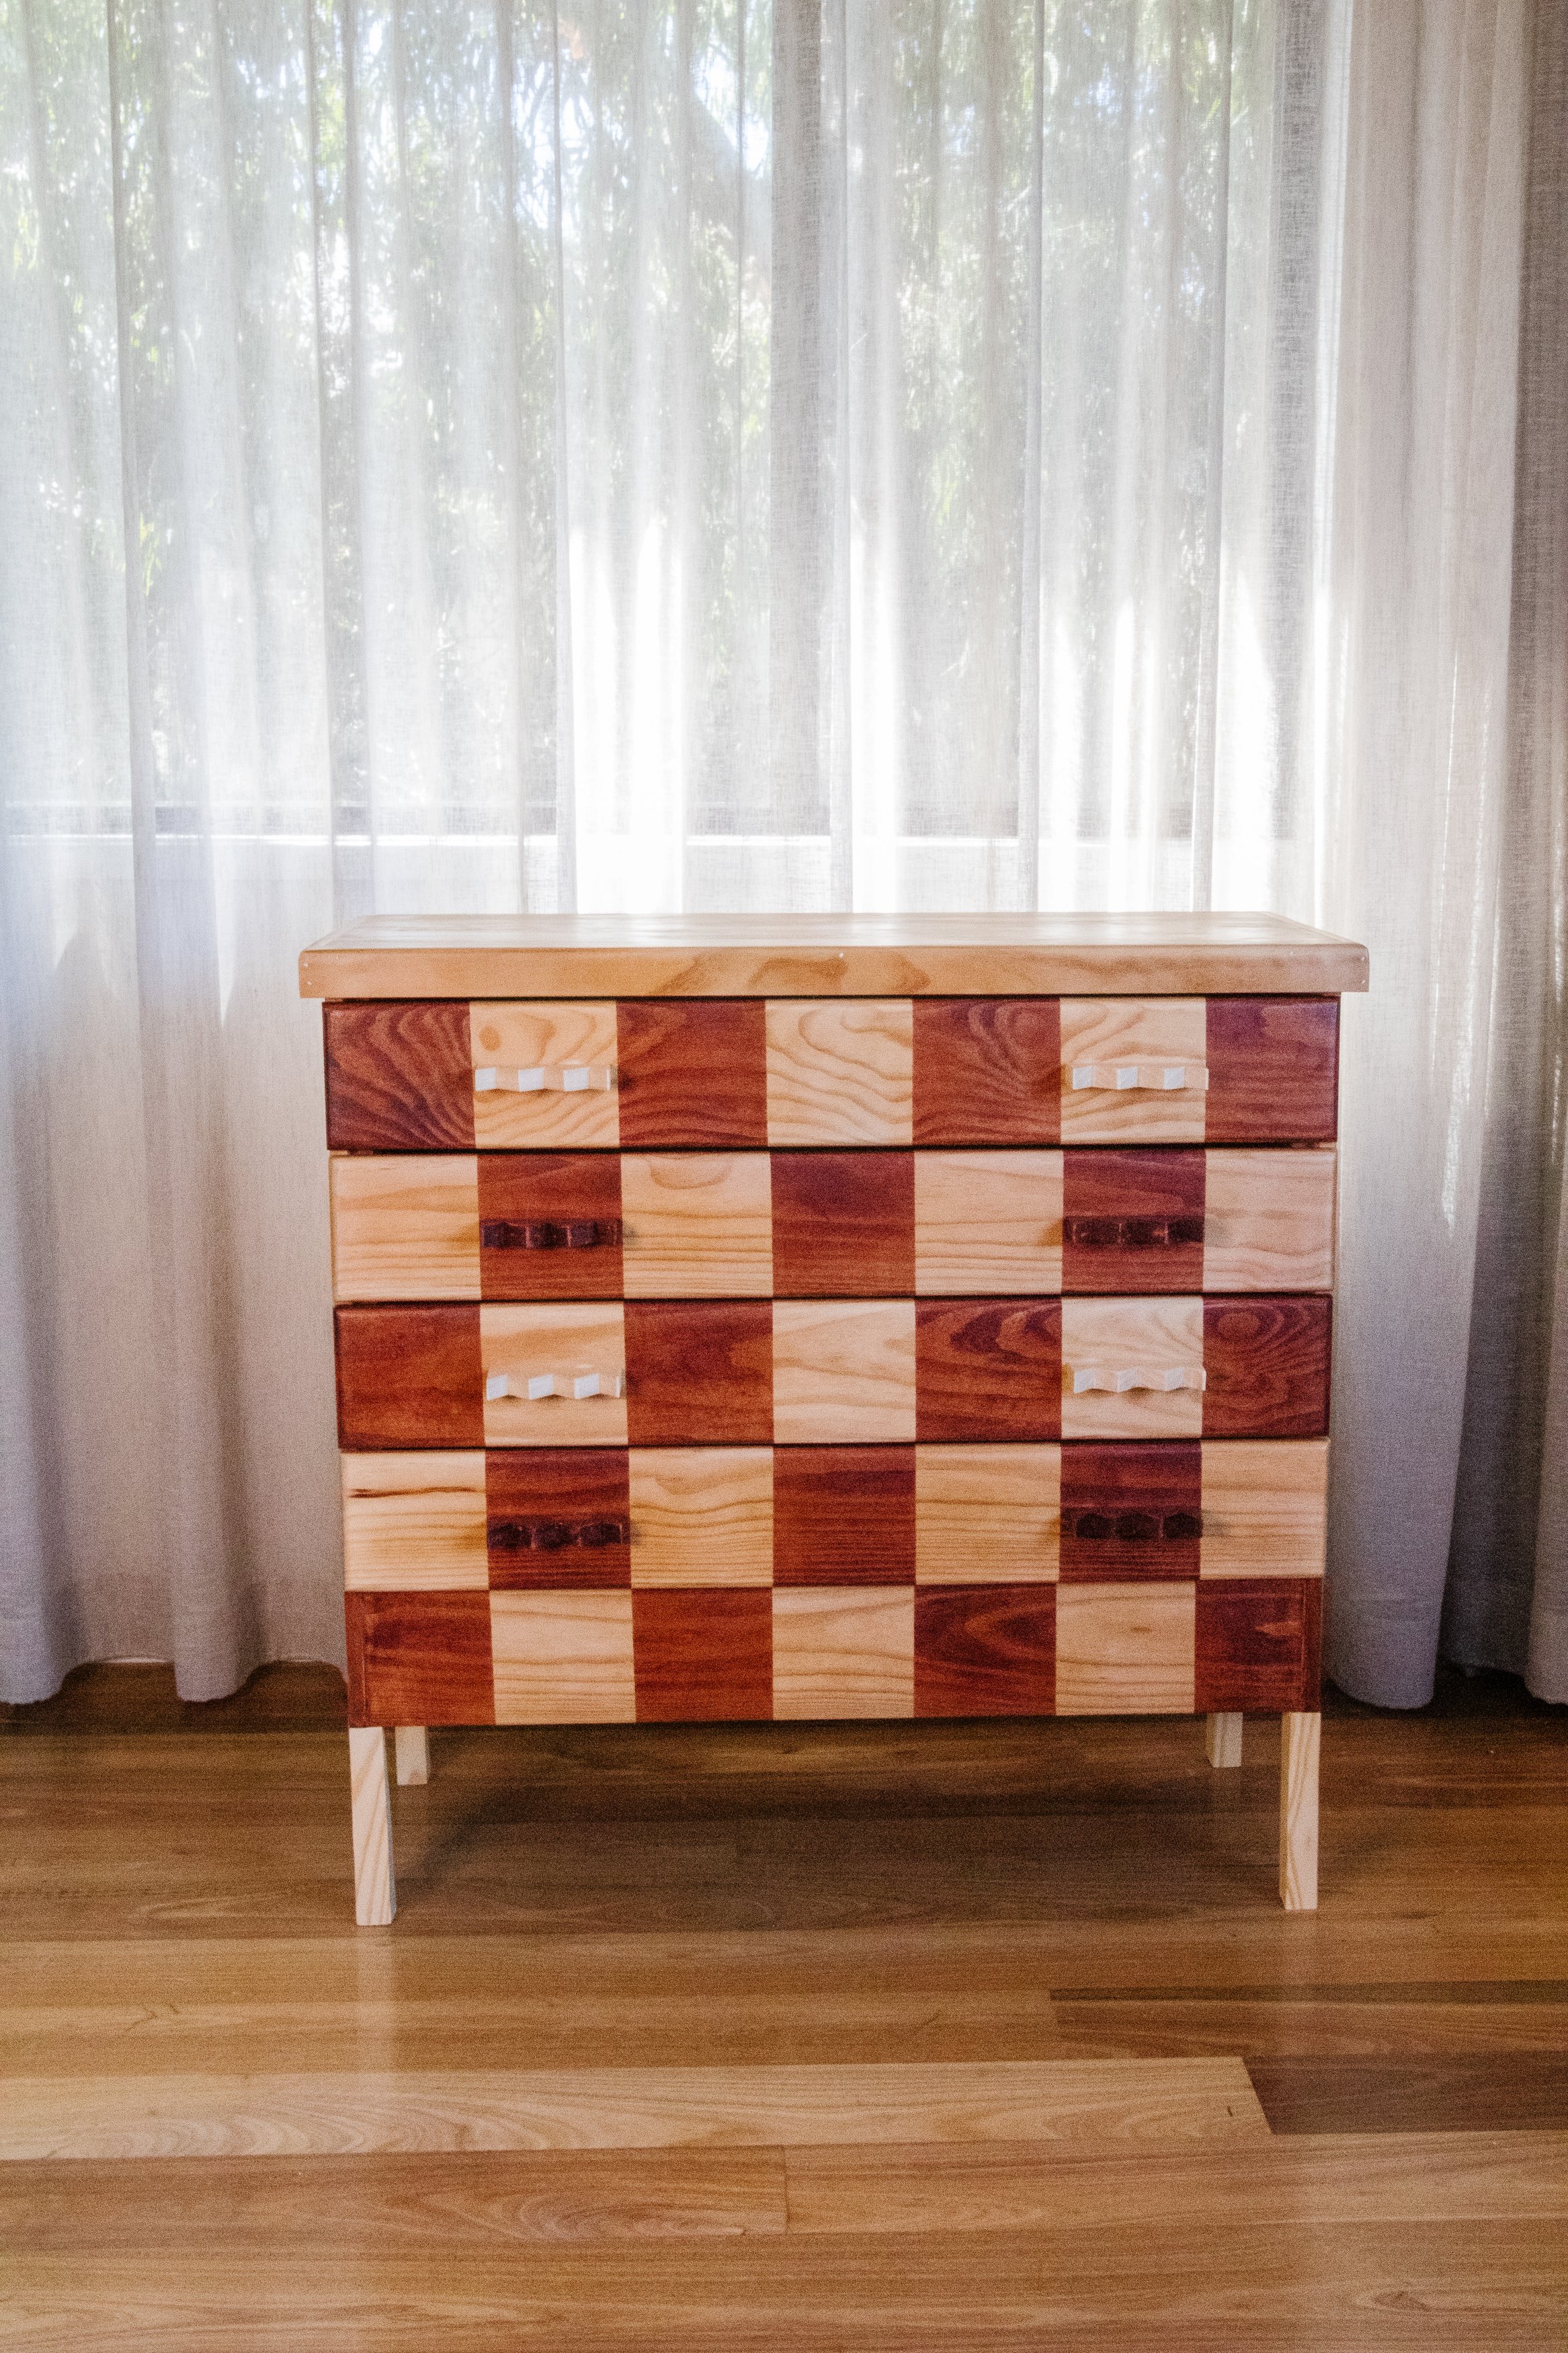
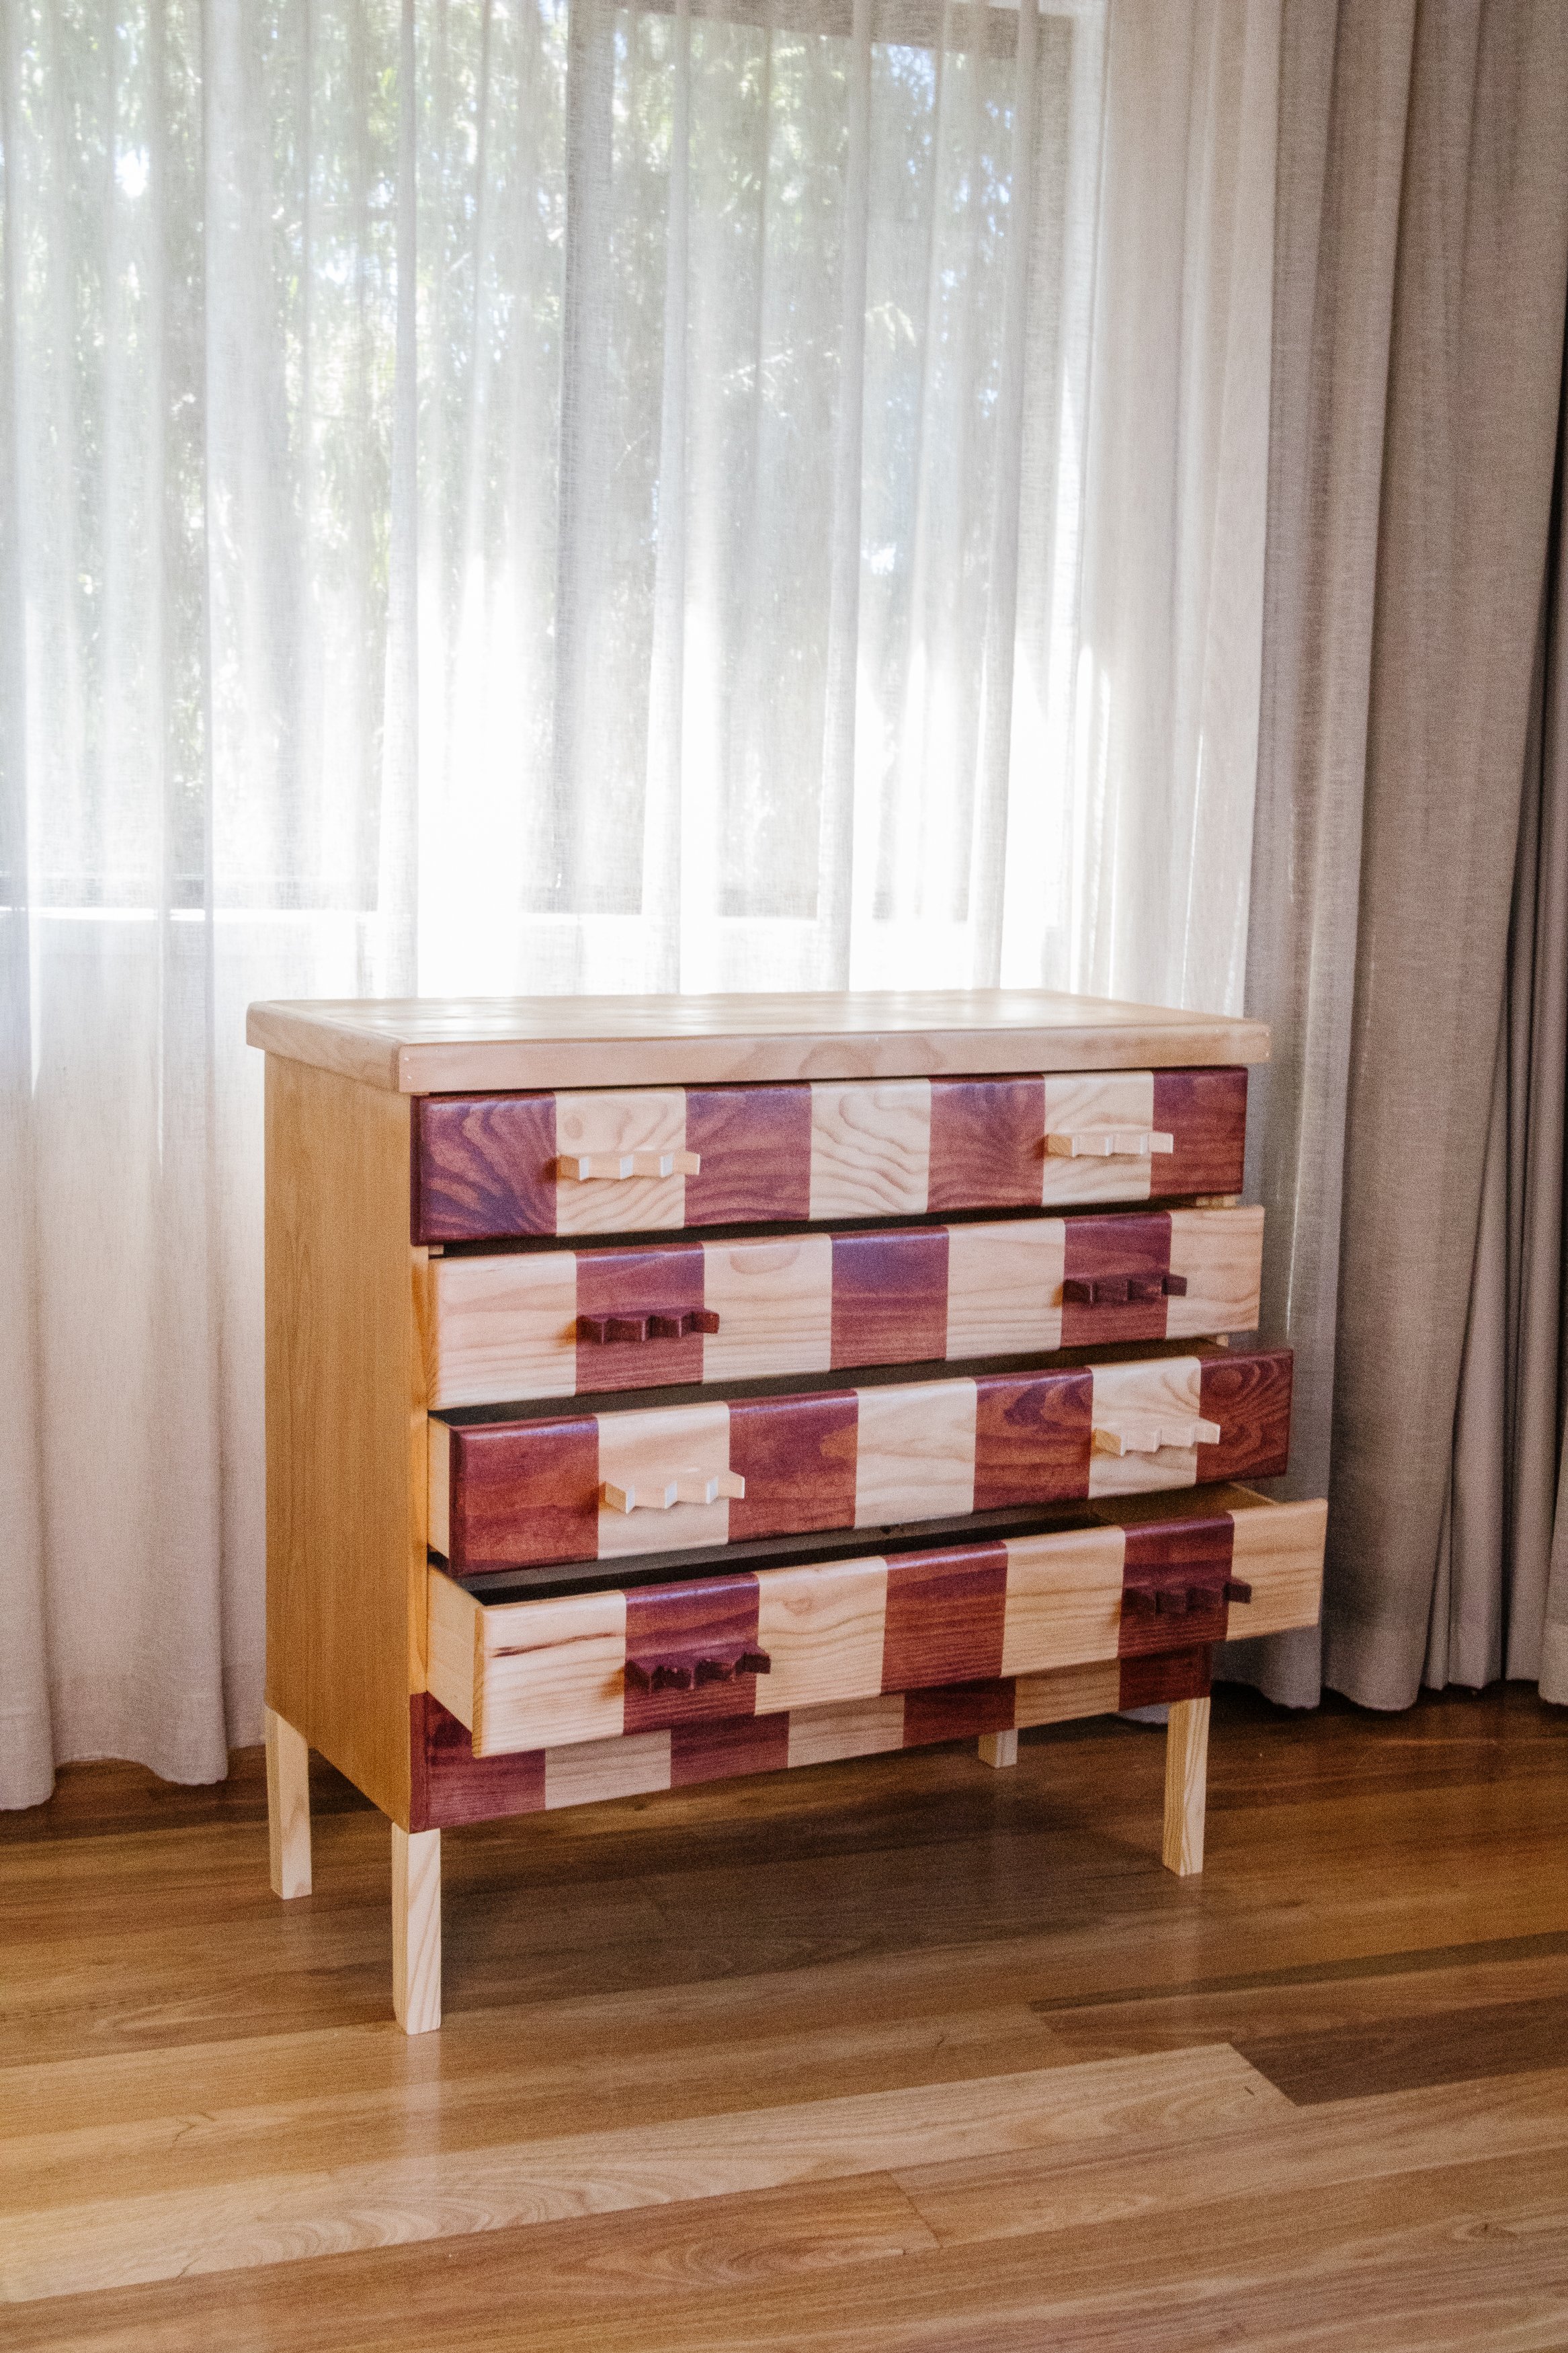
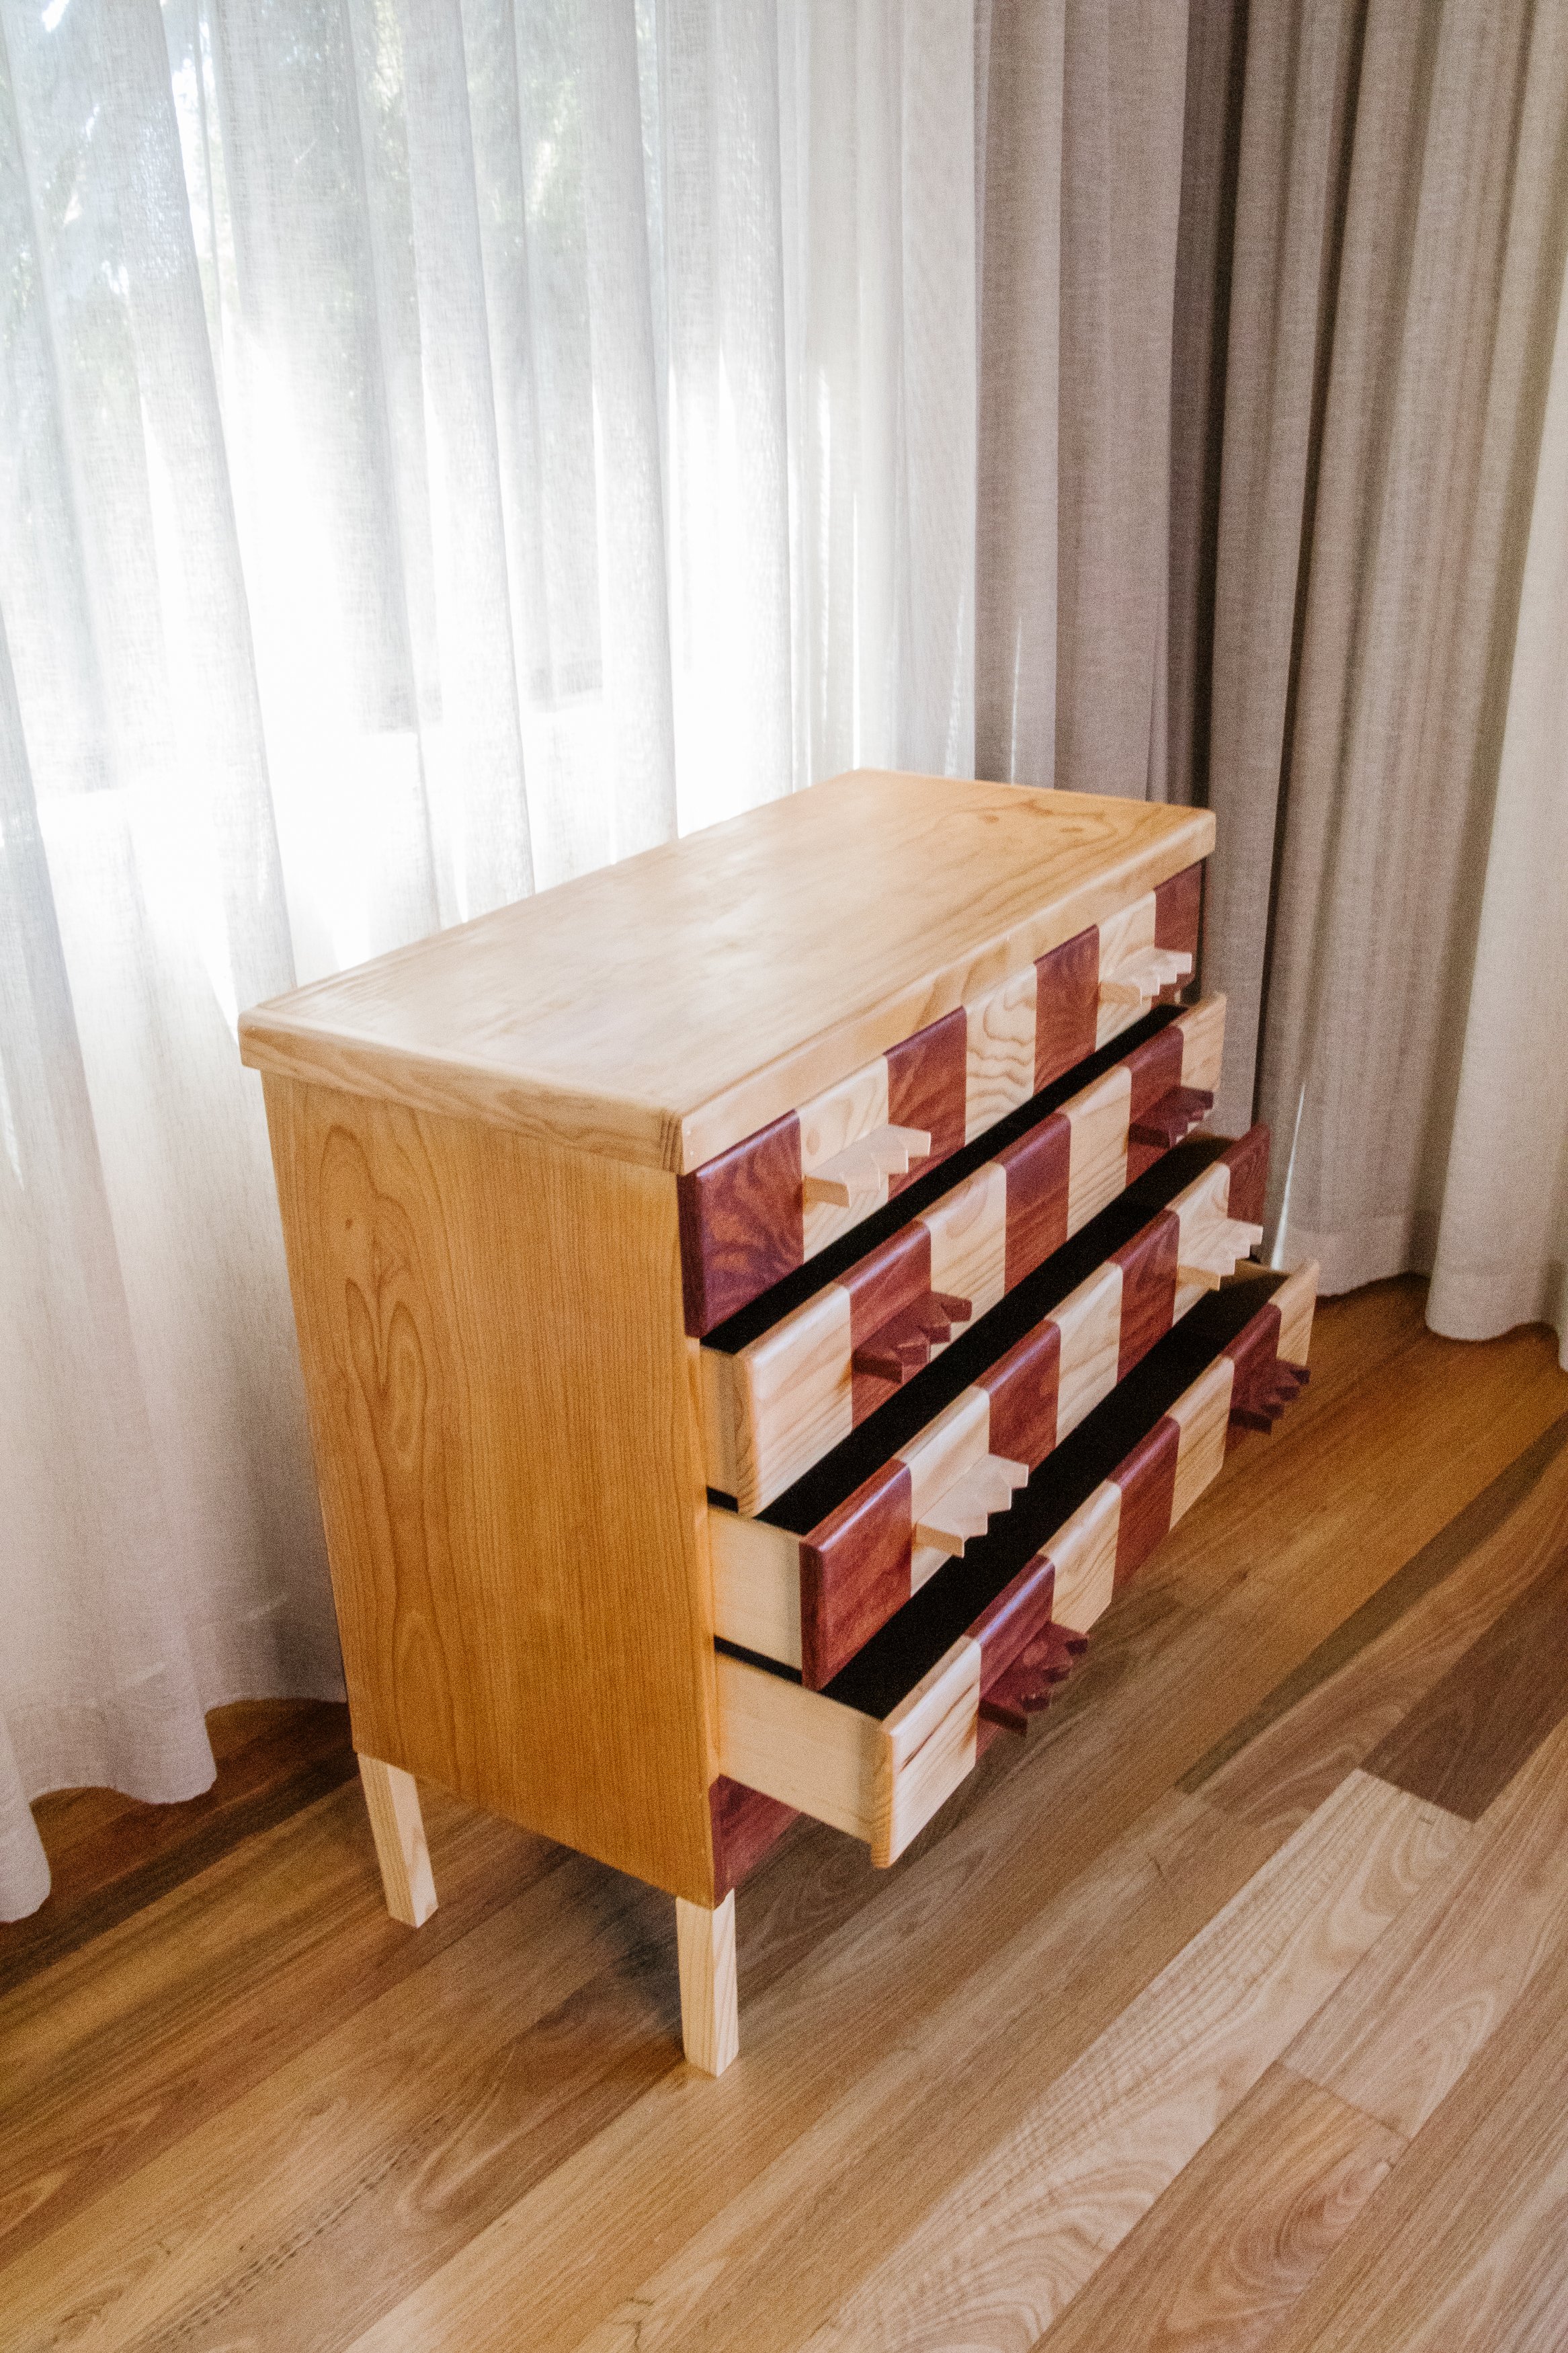
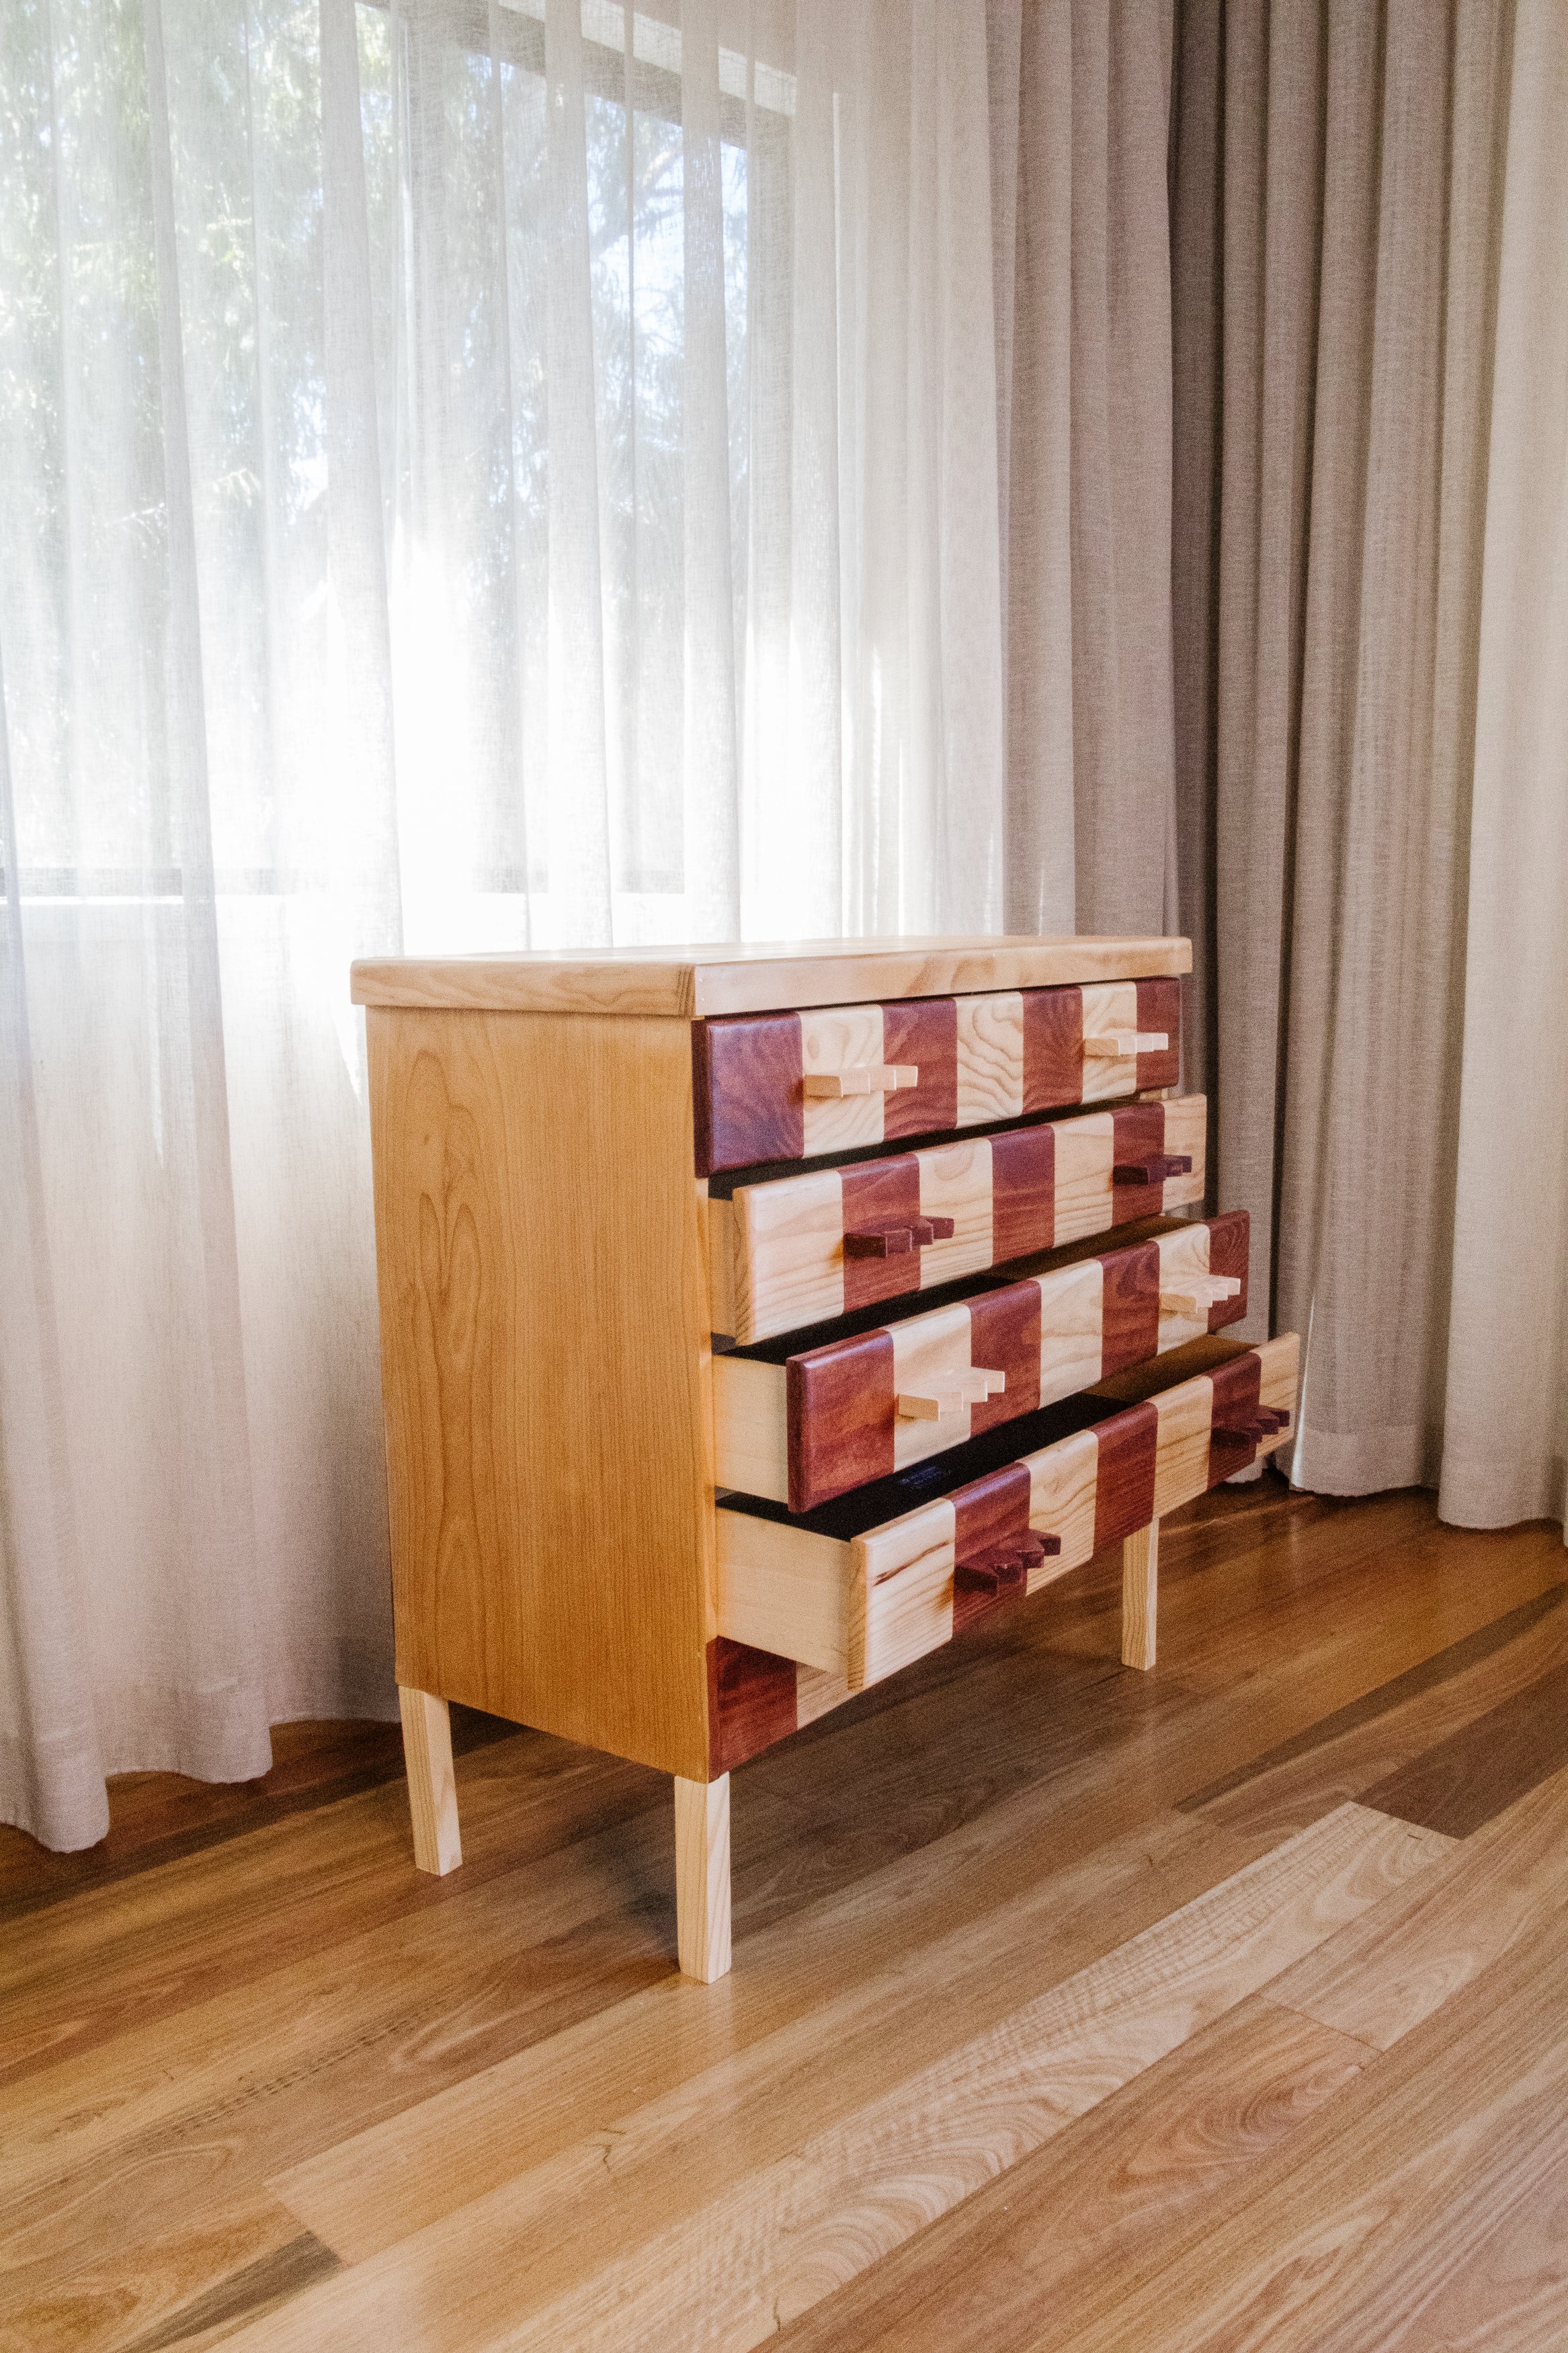
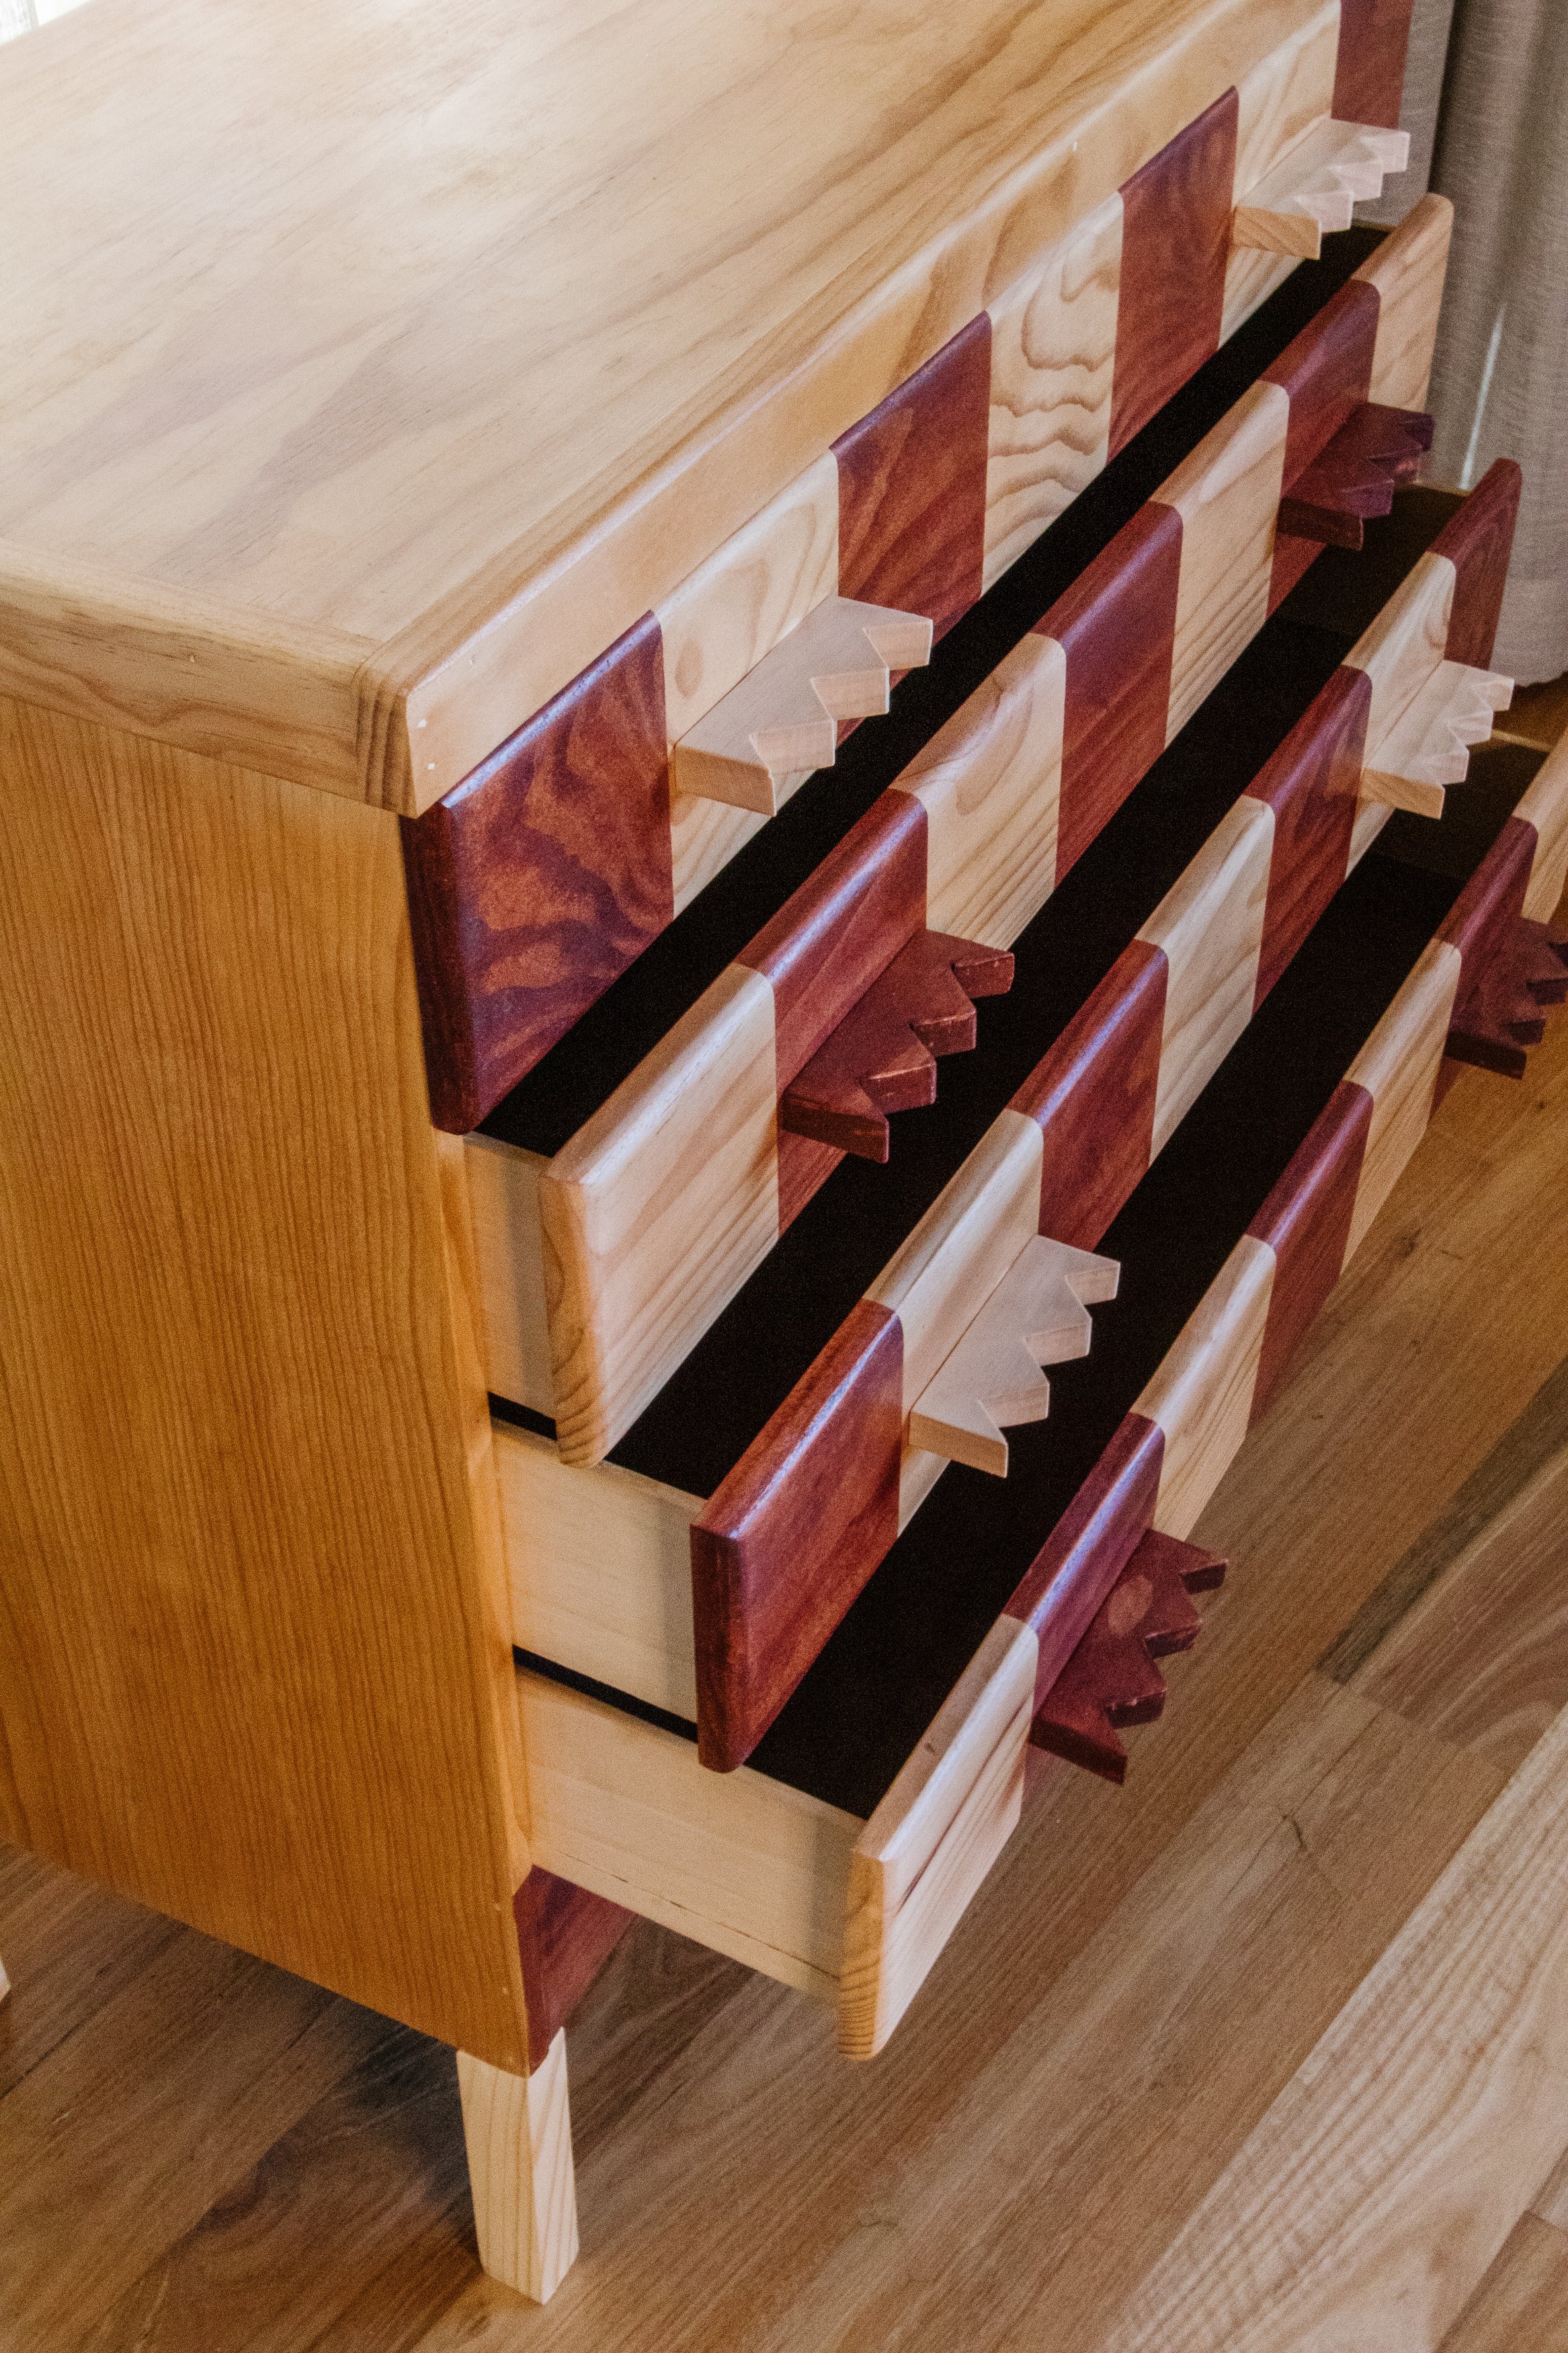
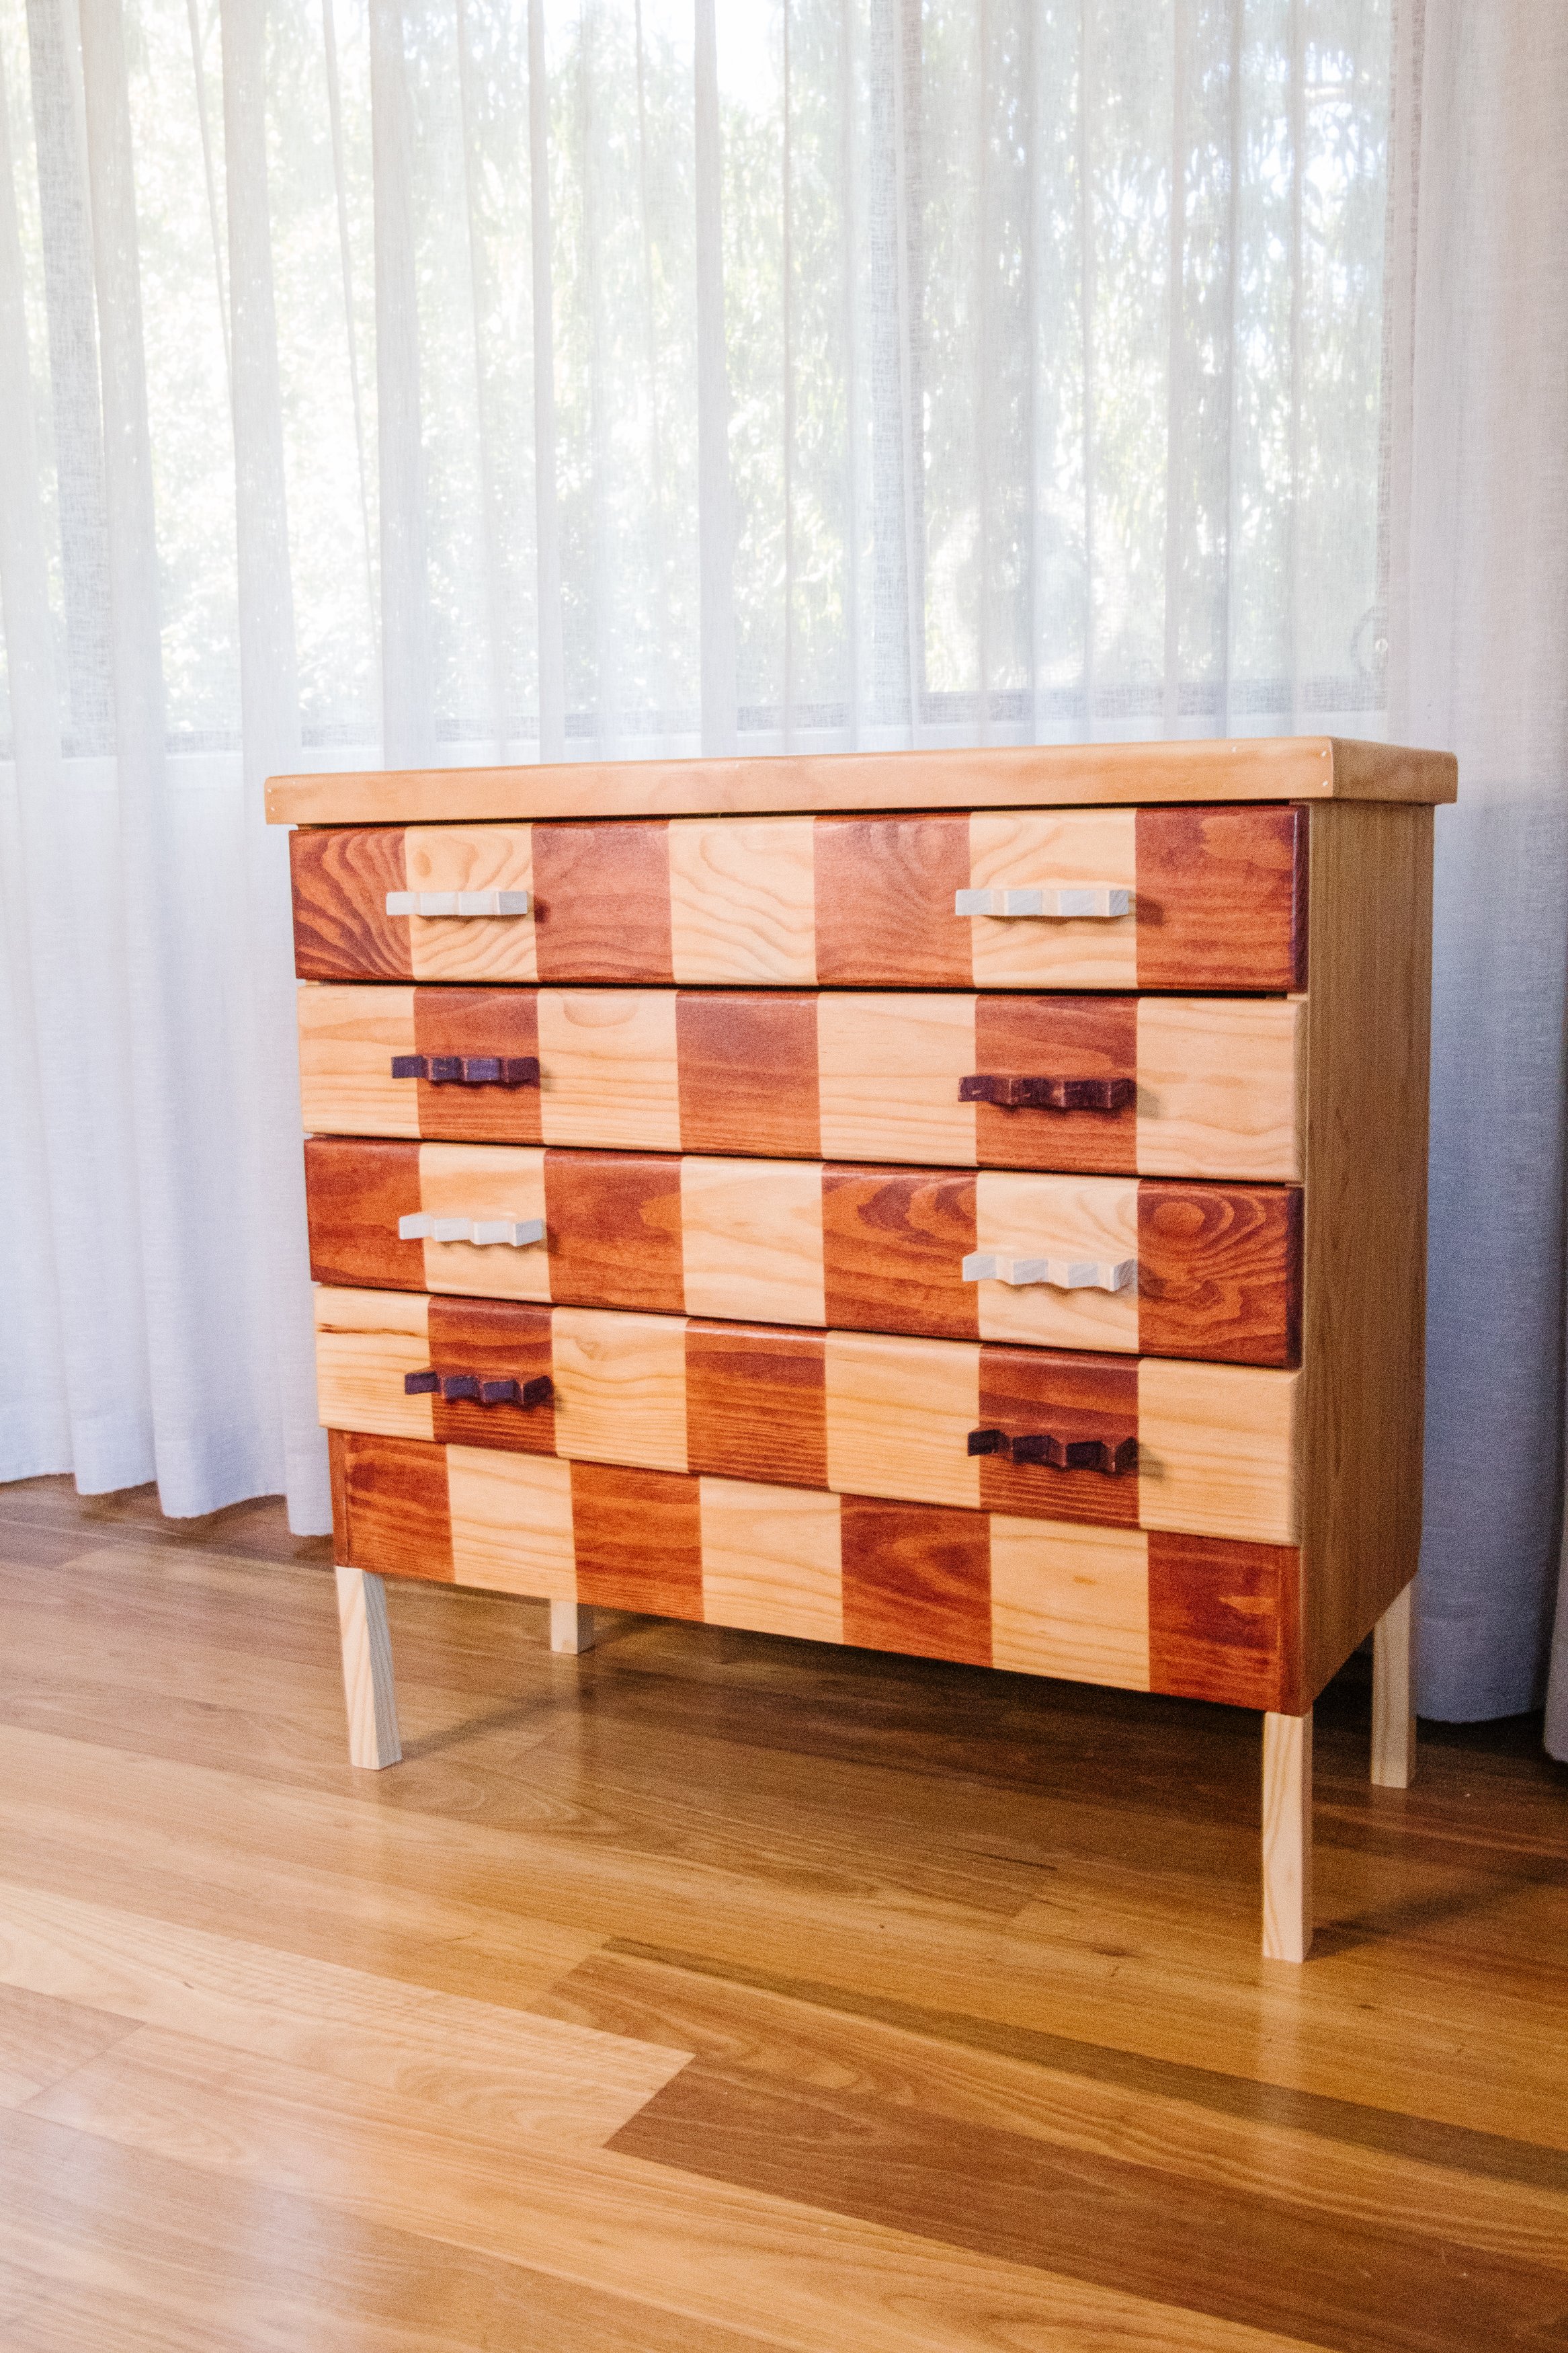
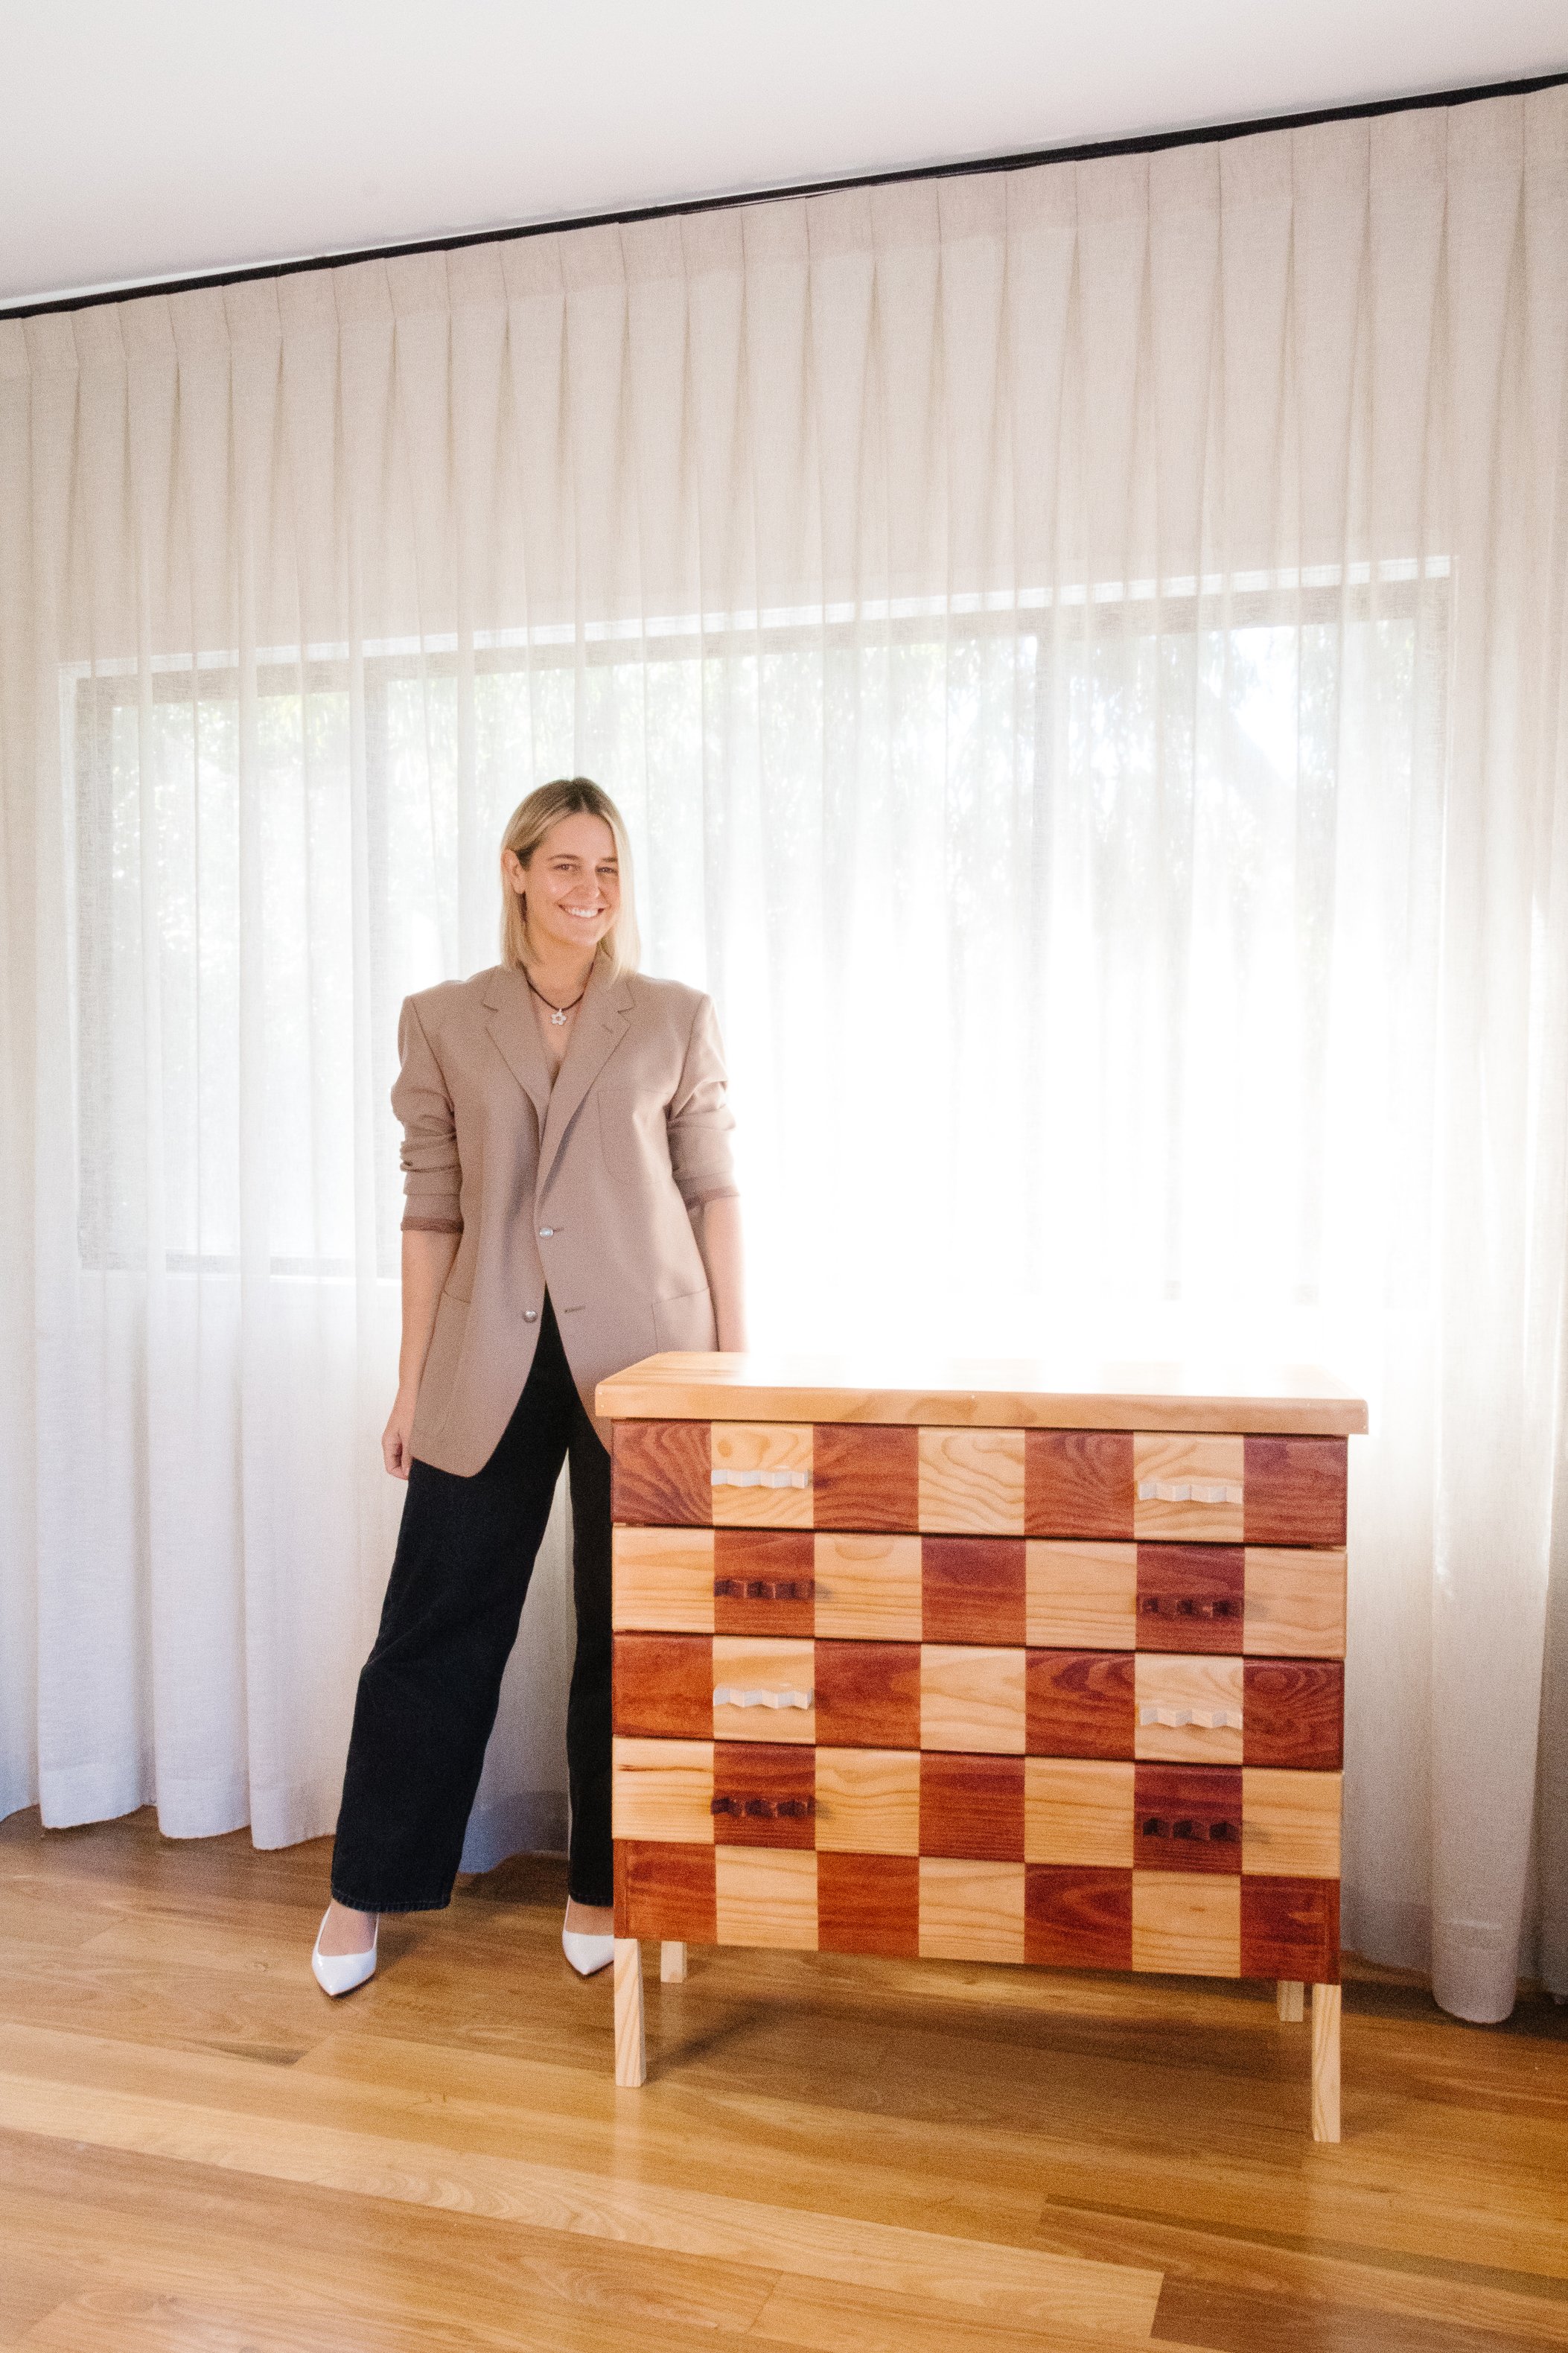
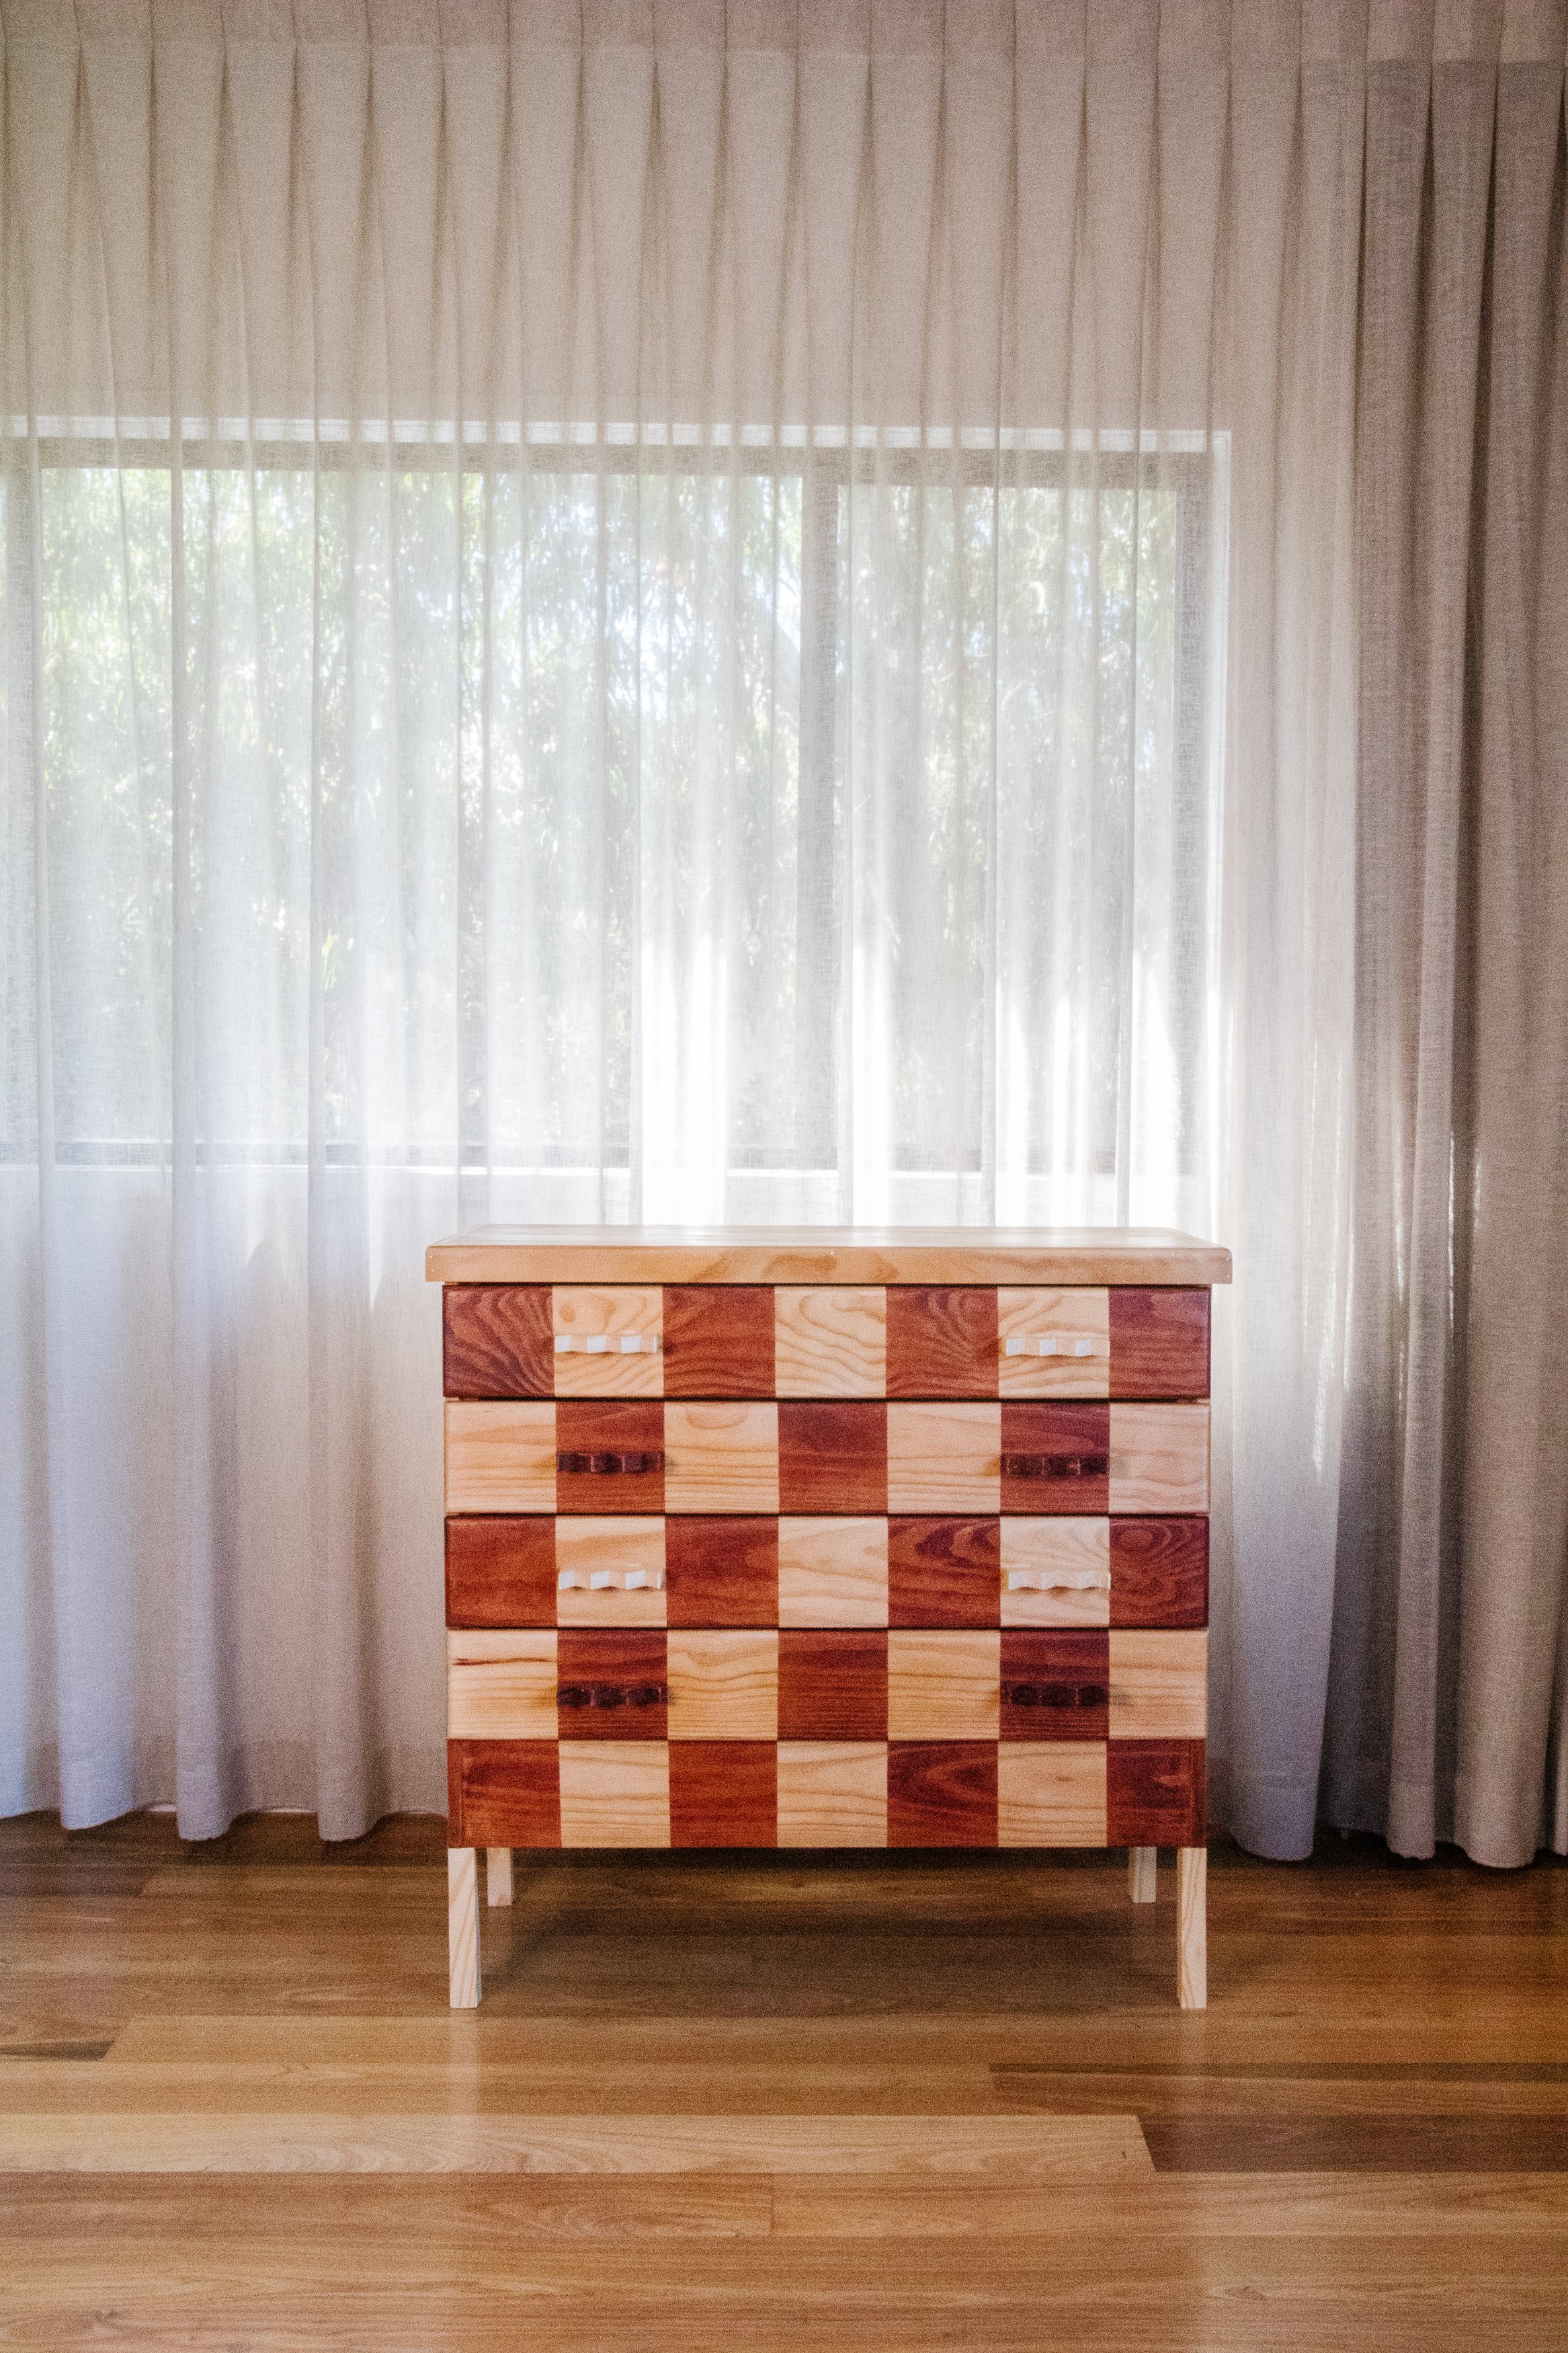
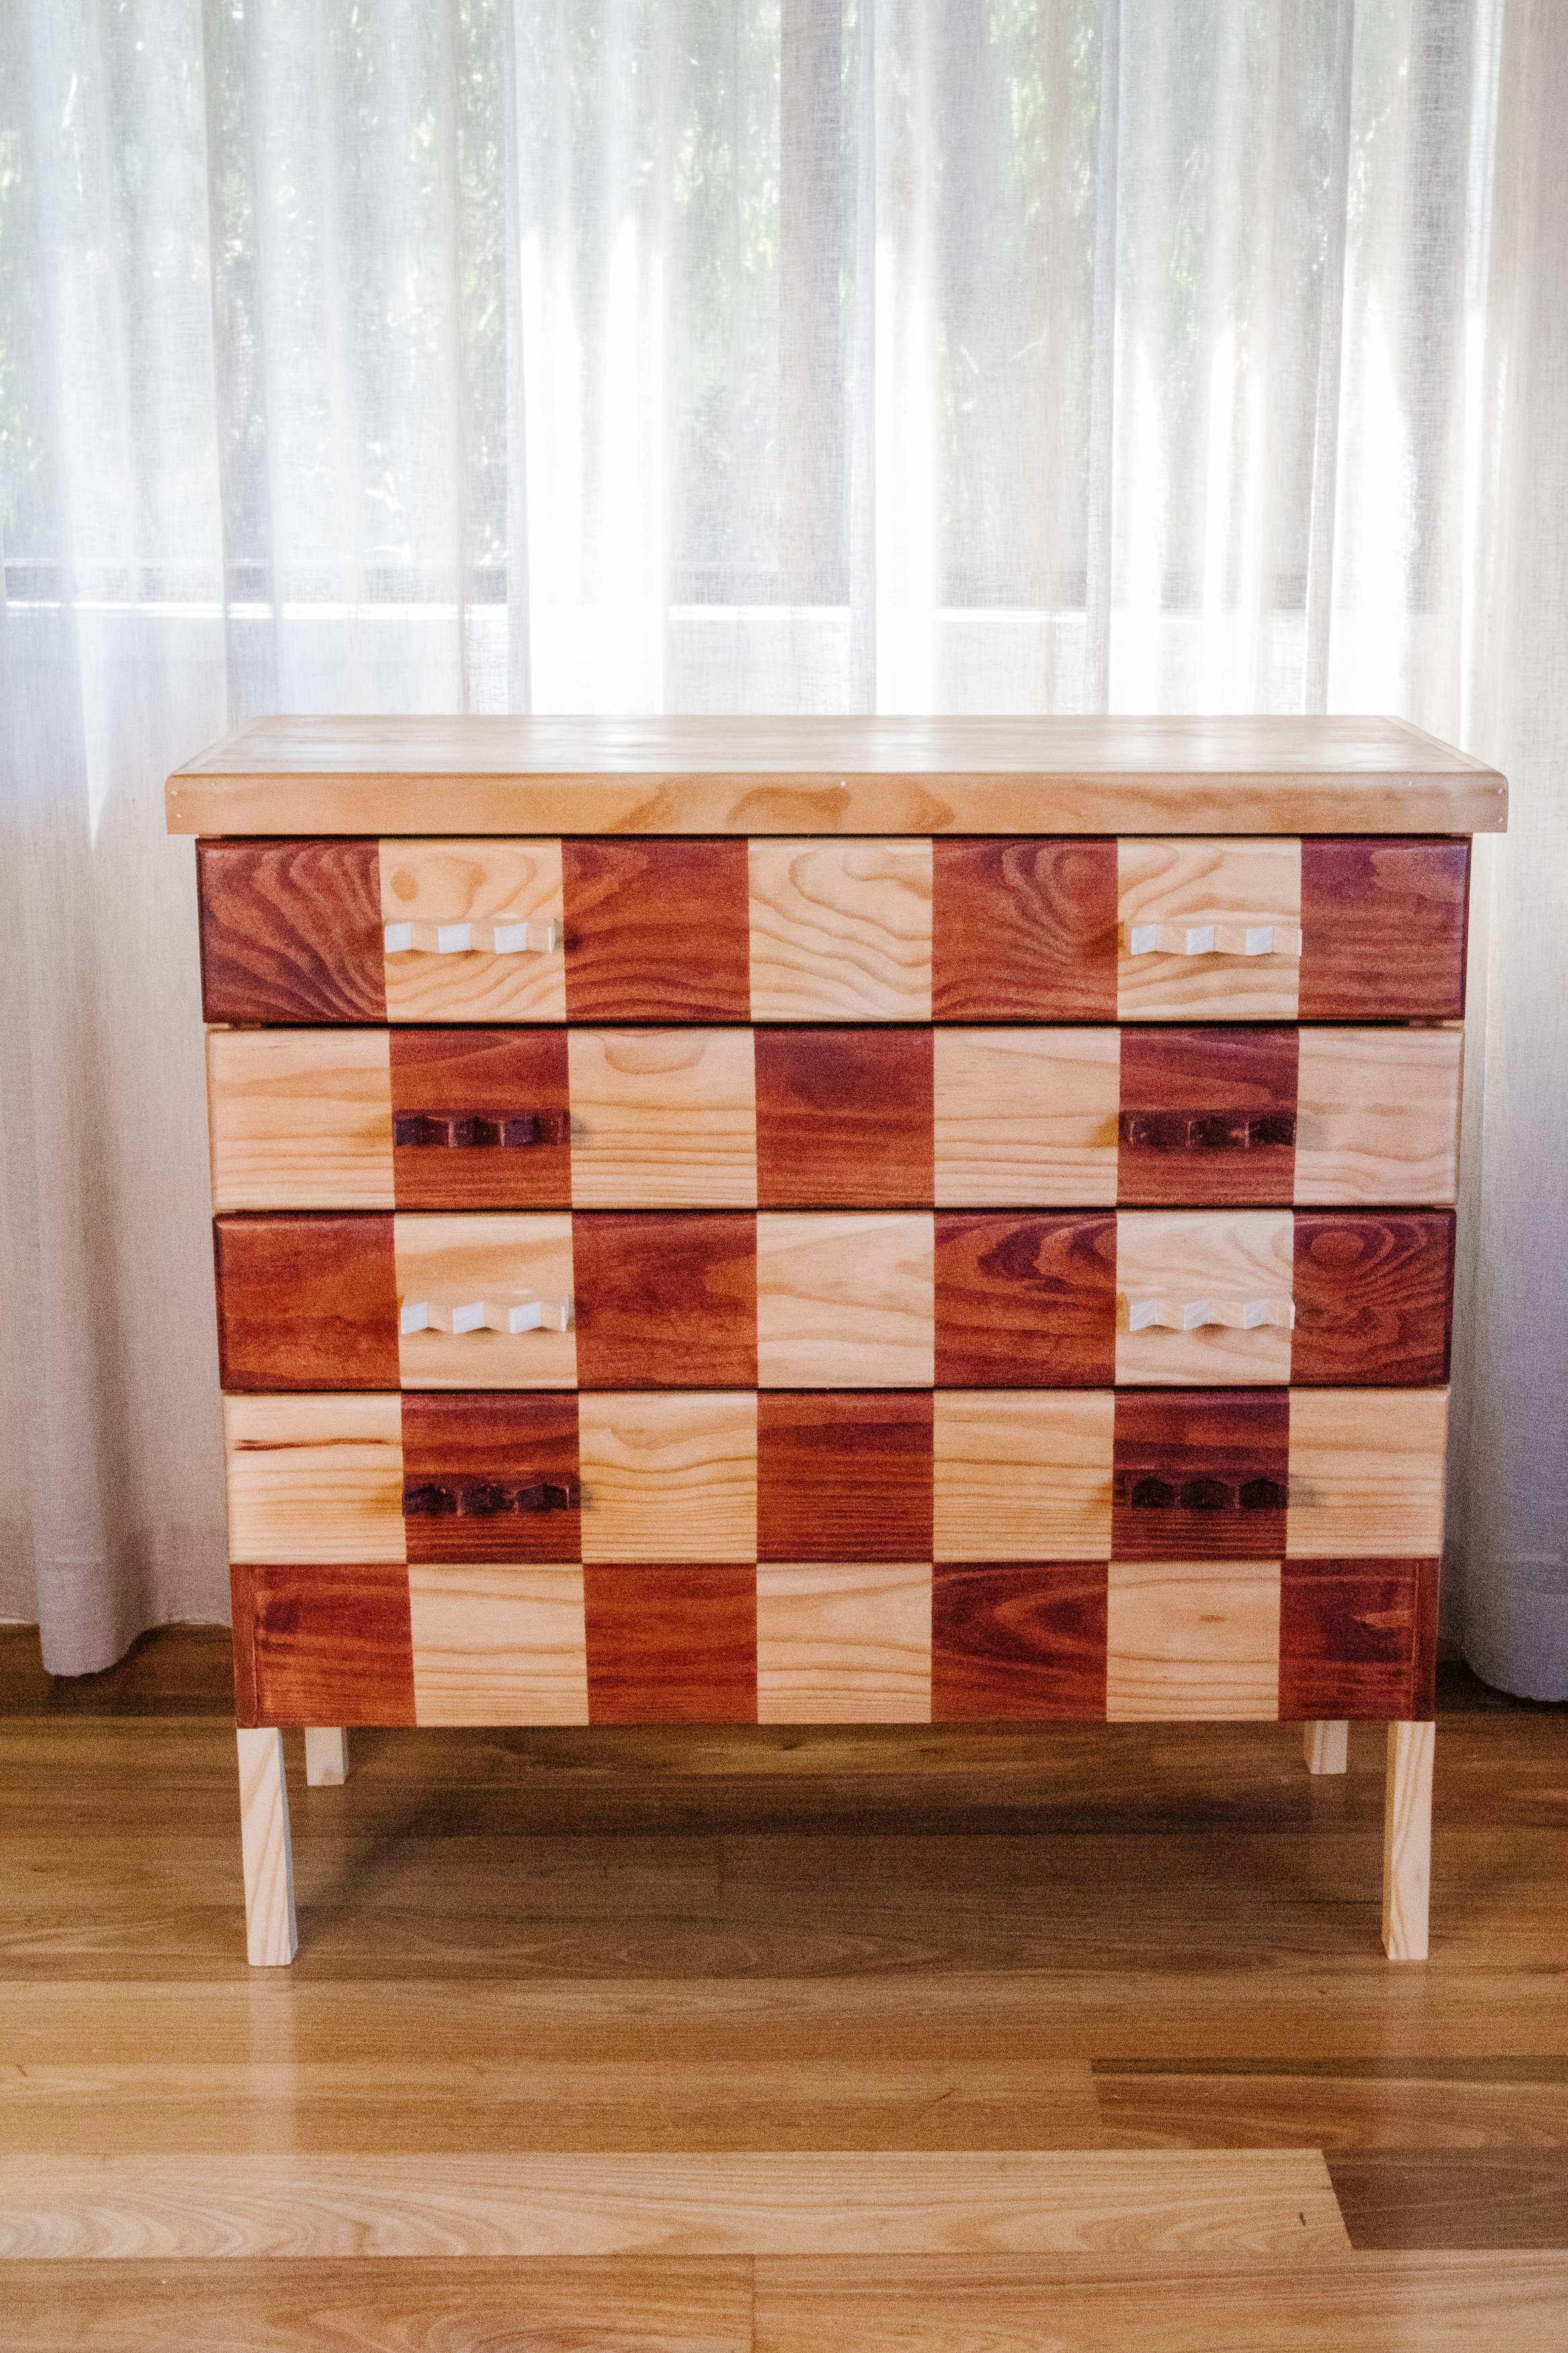
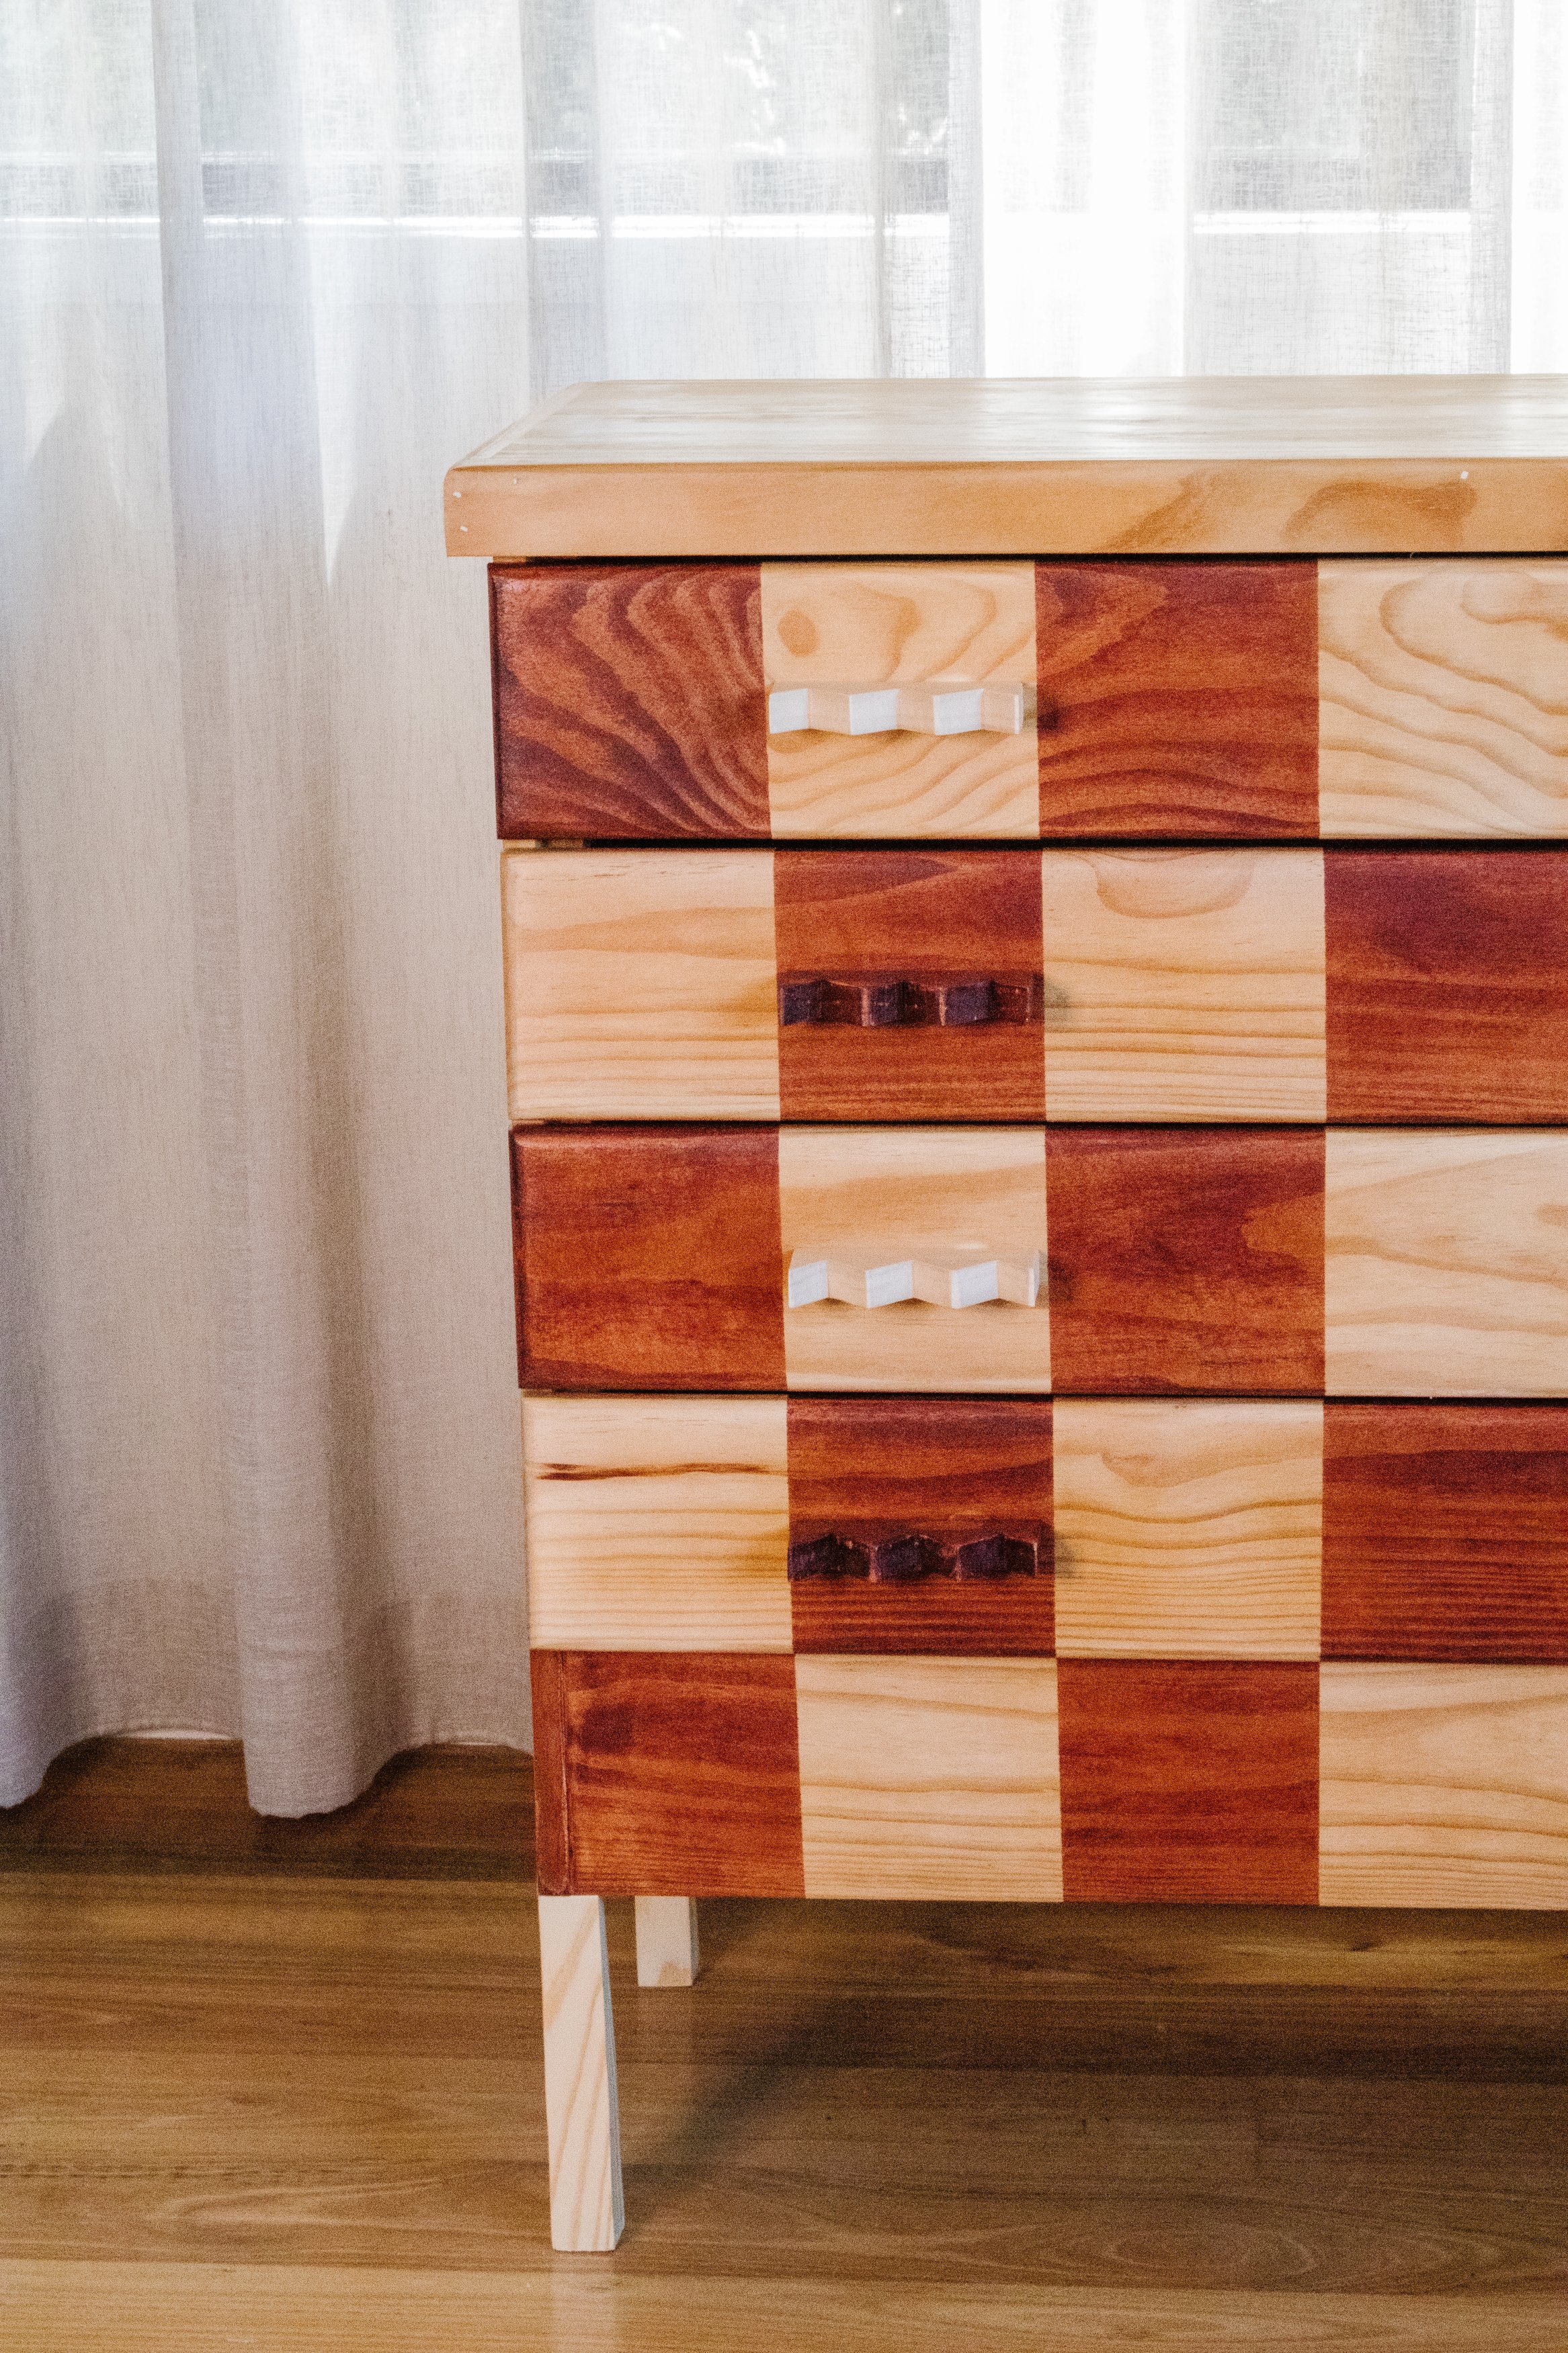
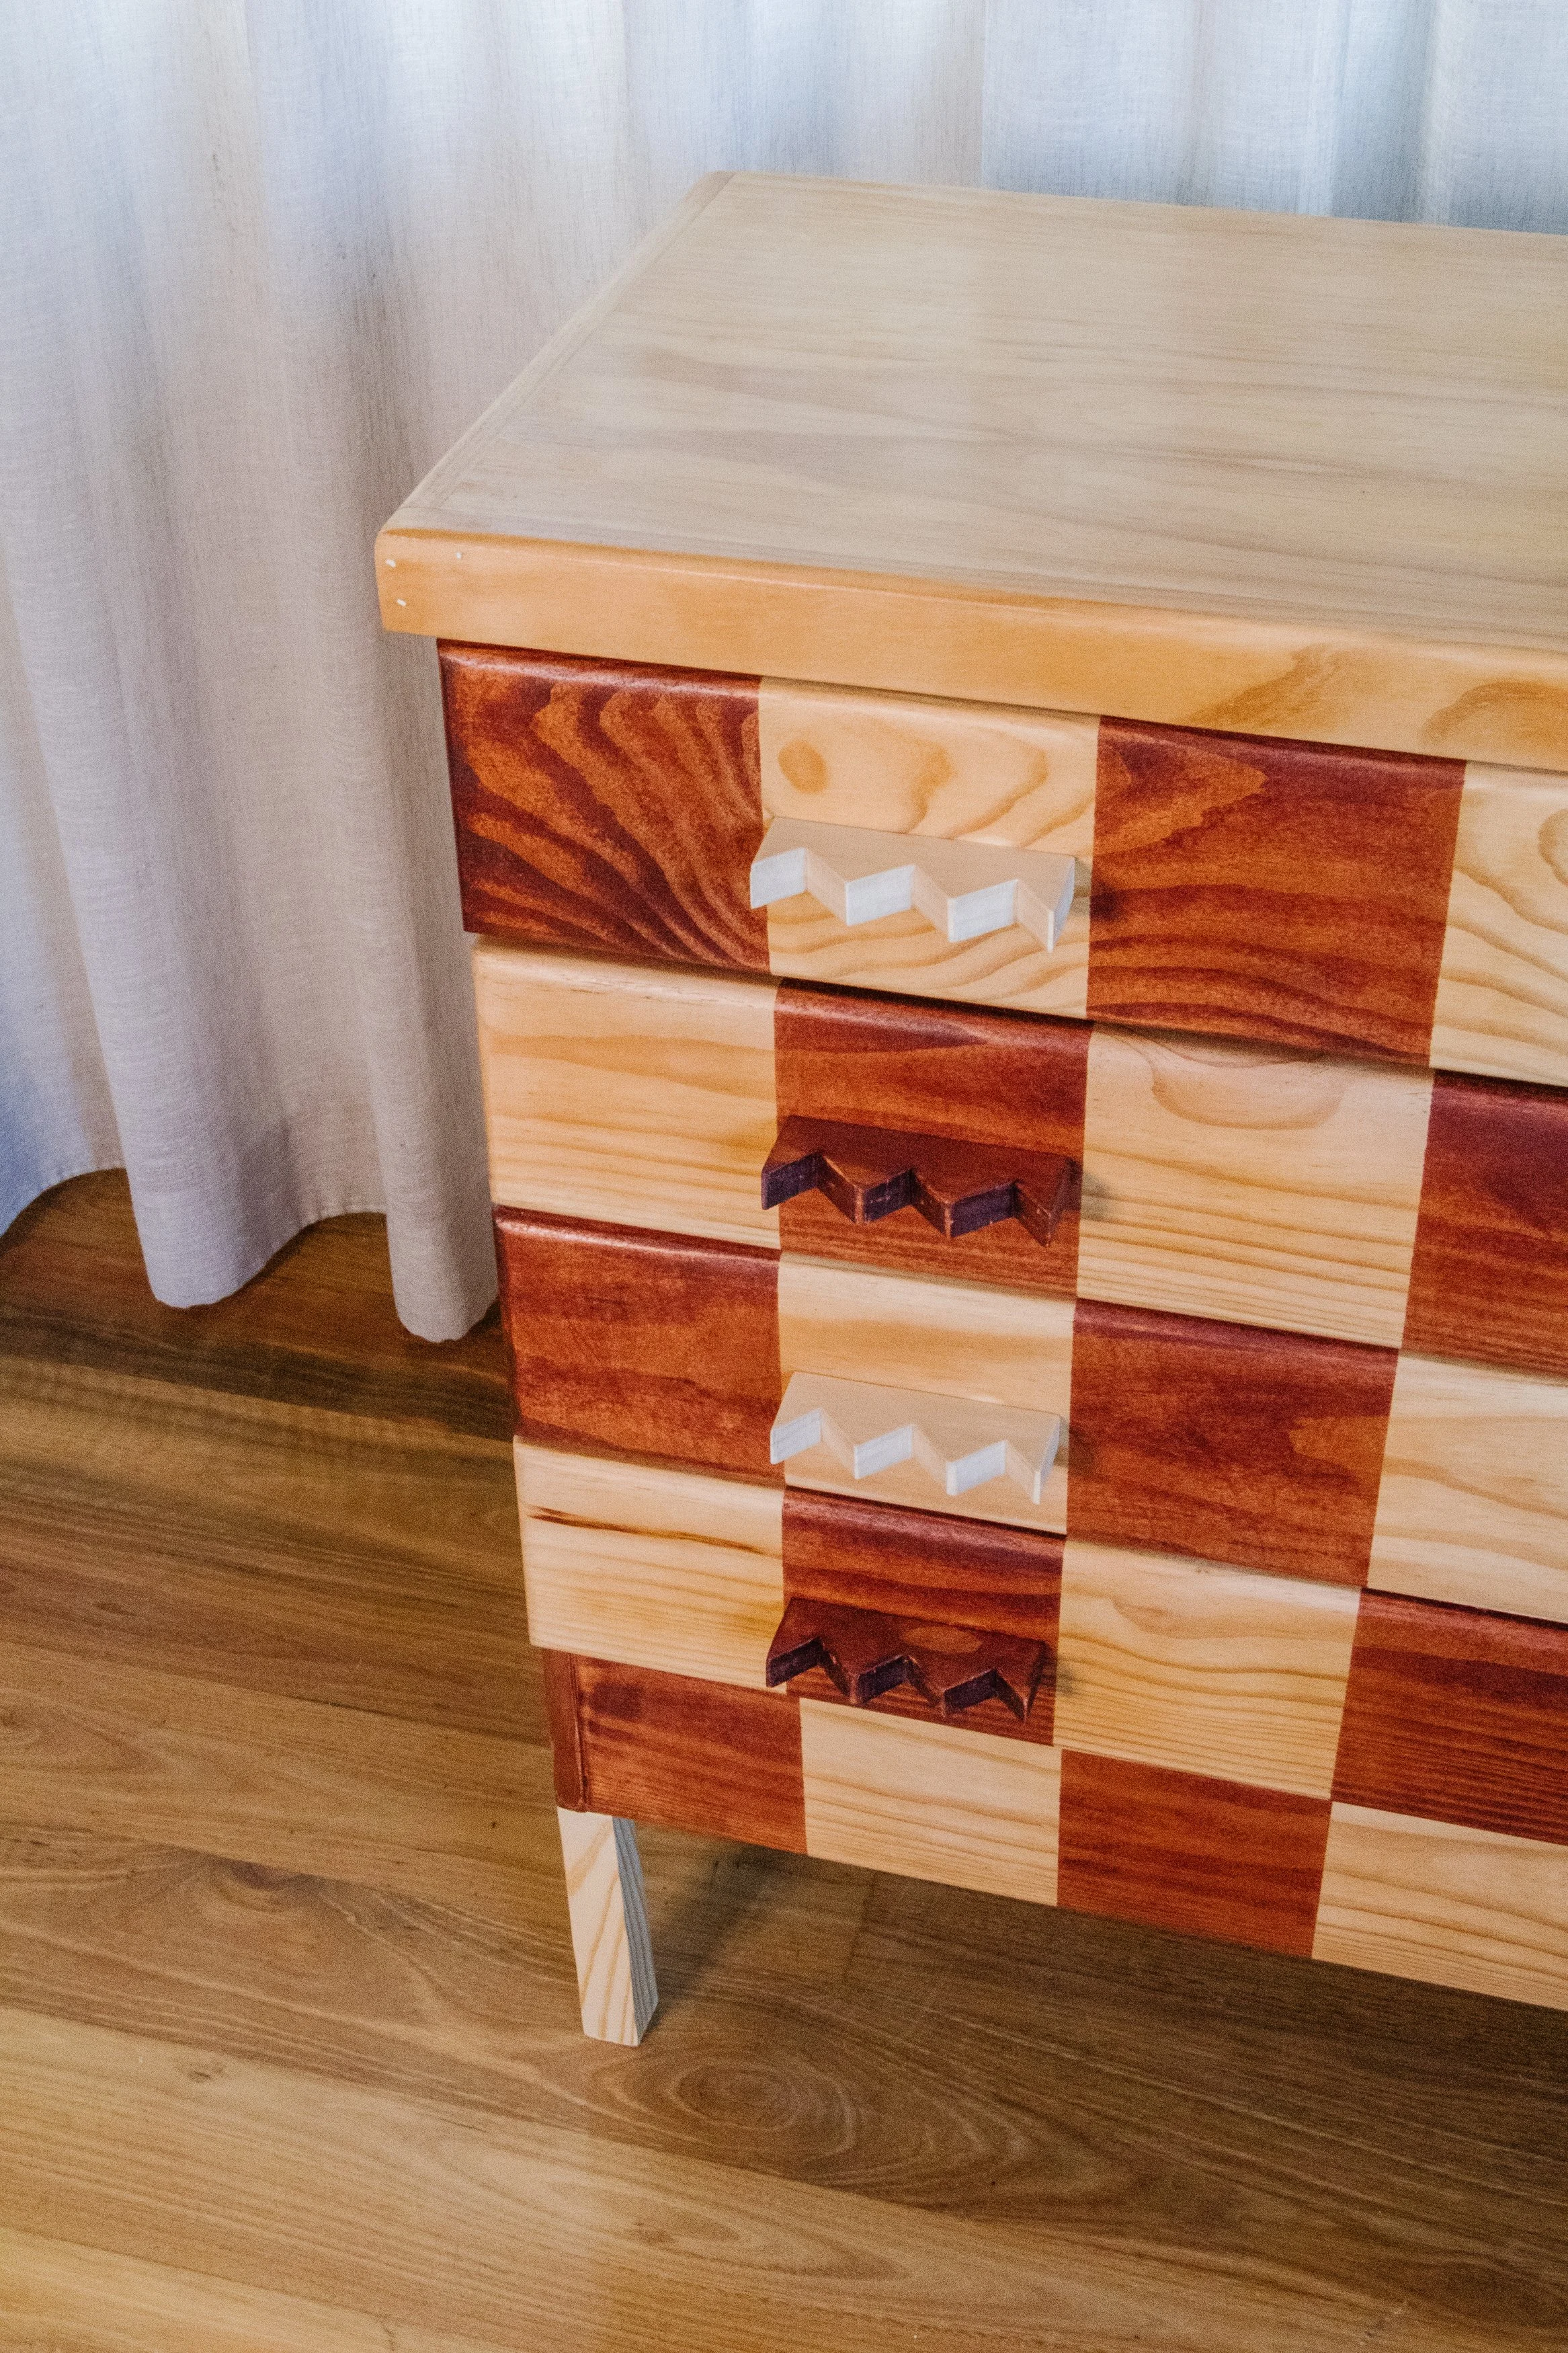
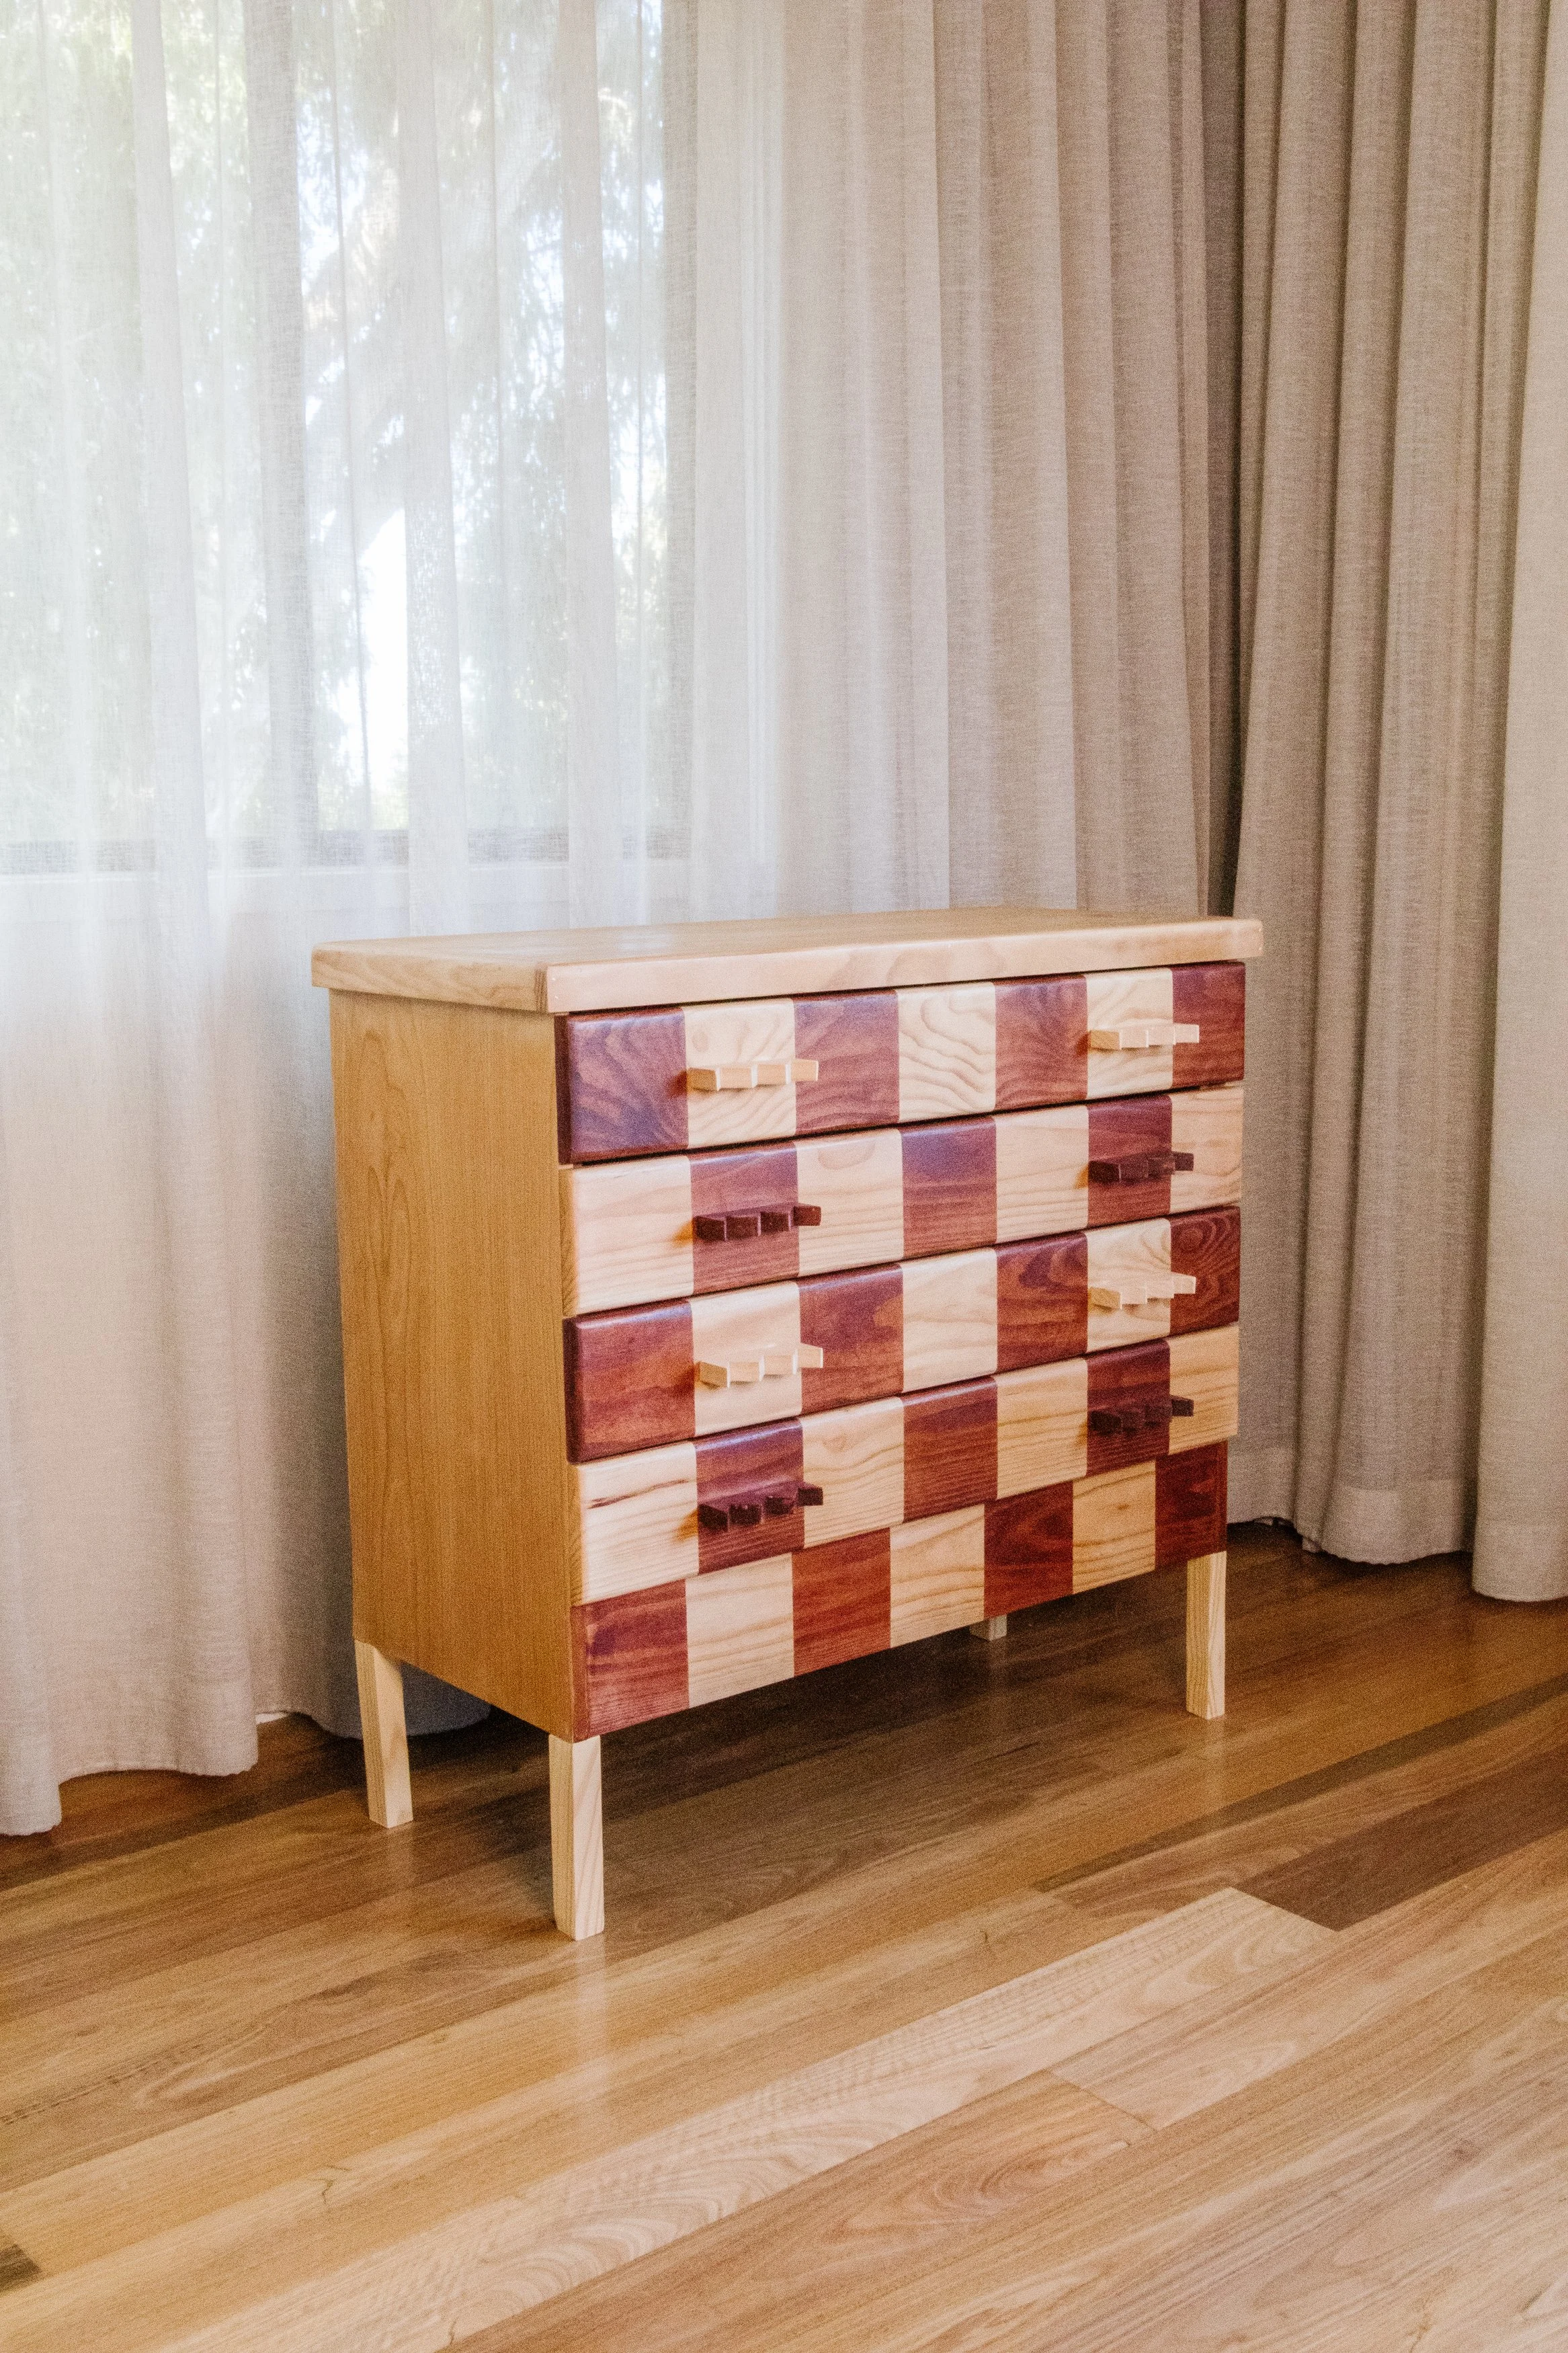
My original idea to create timber stained stripes using timber stain and painters tape, but I was in the mood to create something a little more dynamic - a checkerboard pattern! Before I bought the drawers I quickly checked the measurements and couldn’t believe it - the base and 4 drawers were the same height (13cm) and when divided by the length (90cm) it meant I would be able to have 7 checkers on each drawers and the bottom base. Hurrah! I was so excited I did a little happy dance at the recycle centre, promptly brought it home and got to work. Throw in some DIY furniture feet and my Ziggy Timber Handles, and I am obsessssssed. This might just be my favourite project EVER. Read on to find out how it all came together.
To see this project come to life watch this video.
Before & After

Project Details
♻️ Making: Upcycled Checker Stained Drawers
🕒 Project Time Estimate: 6 hours
💰 Materials Cost: Under $100
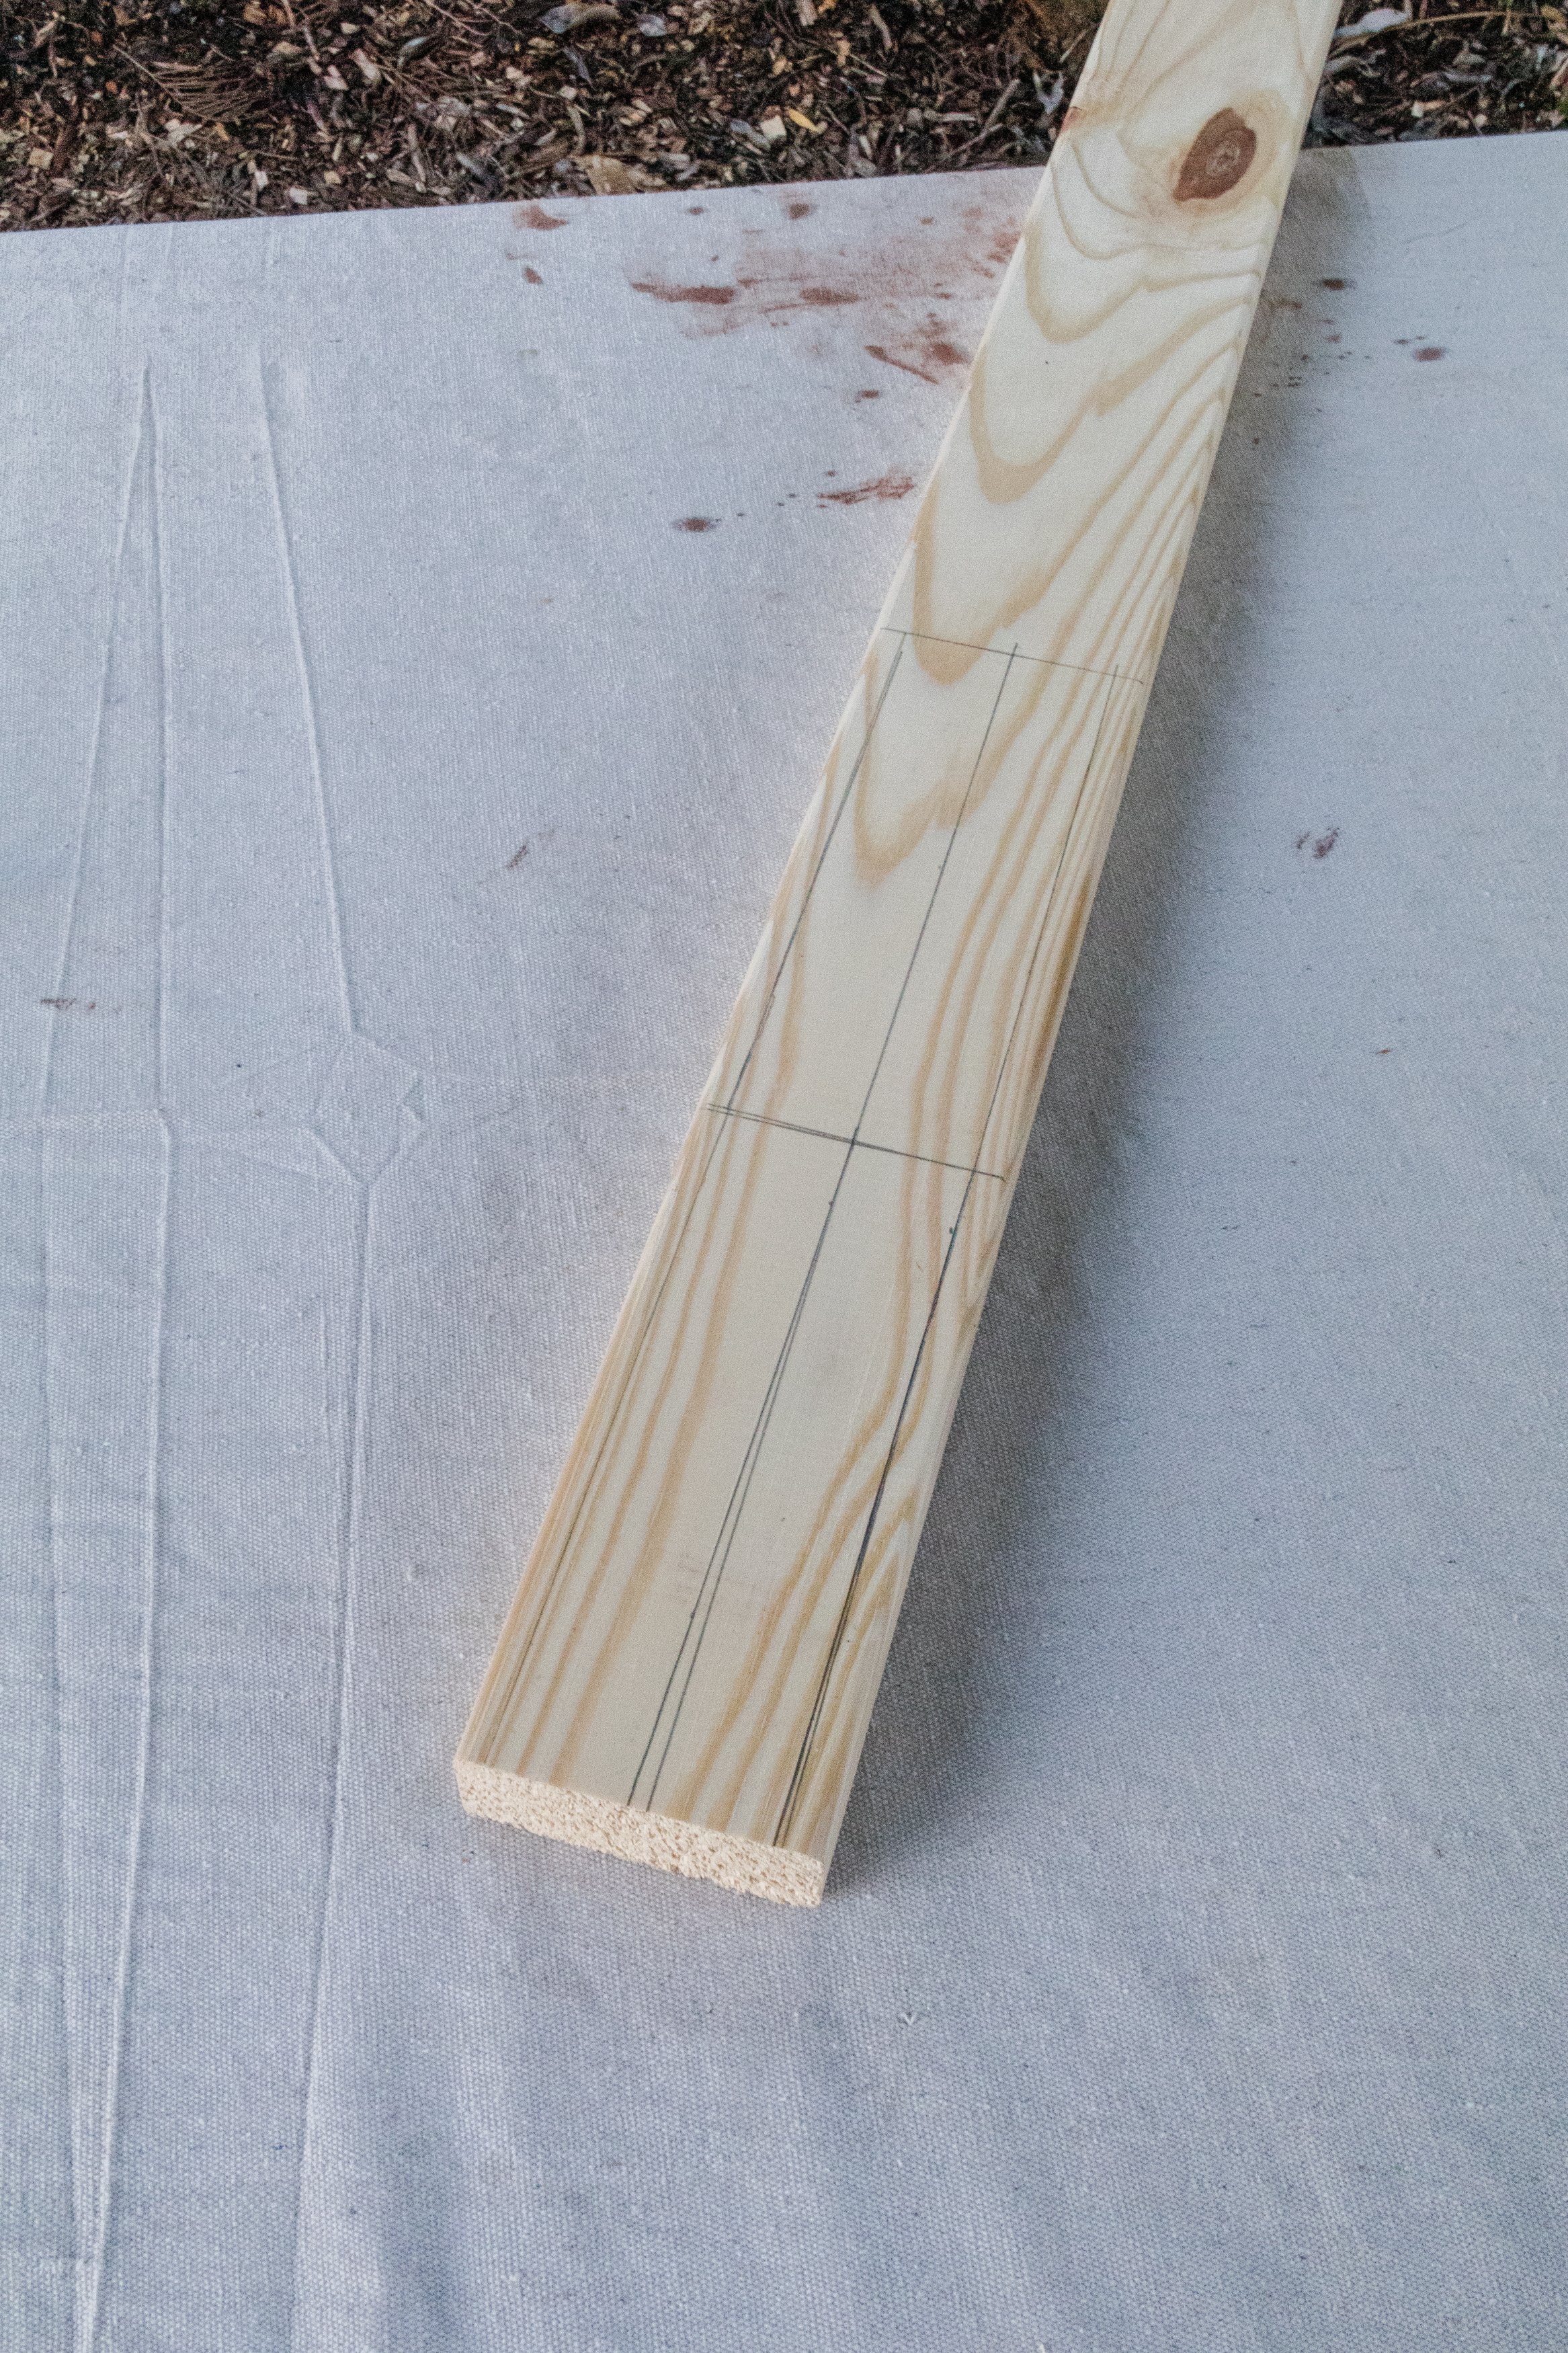
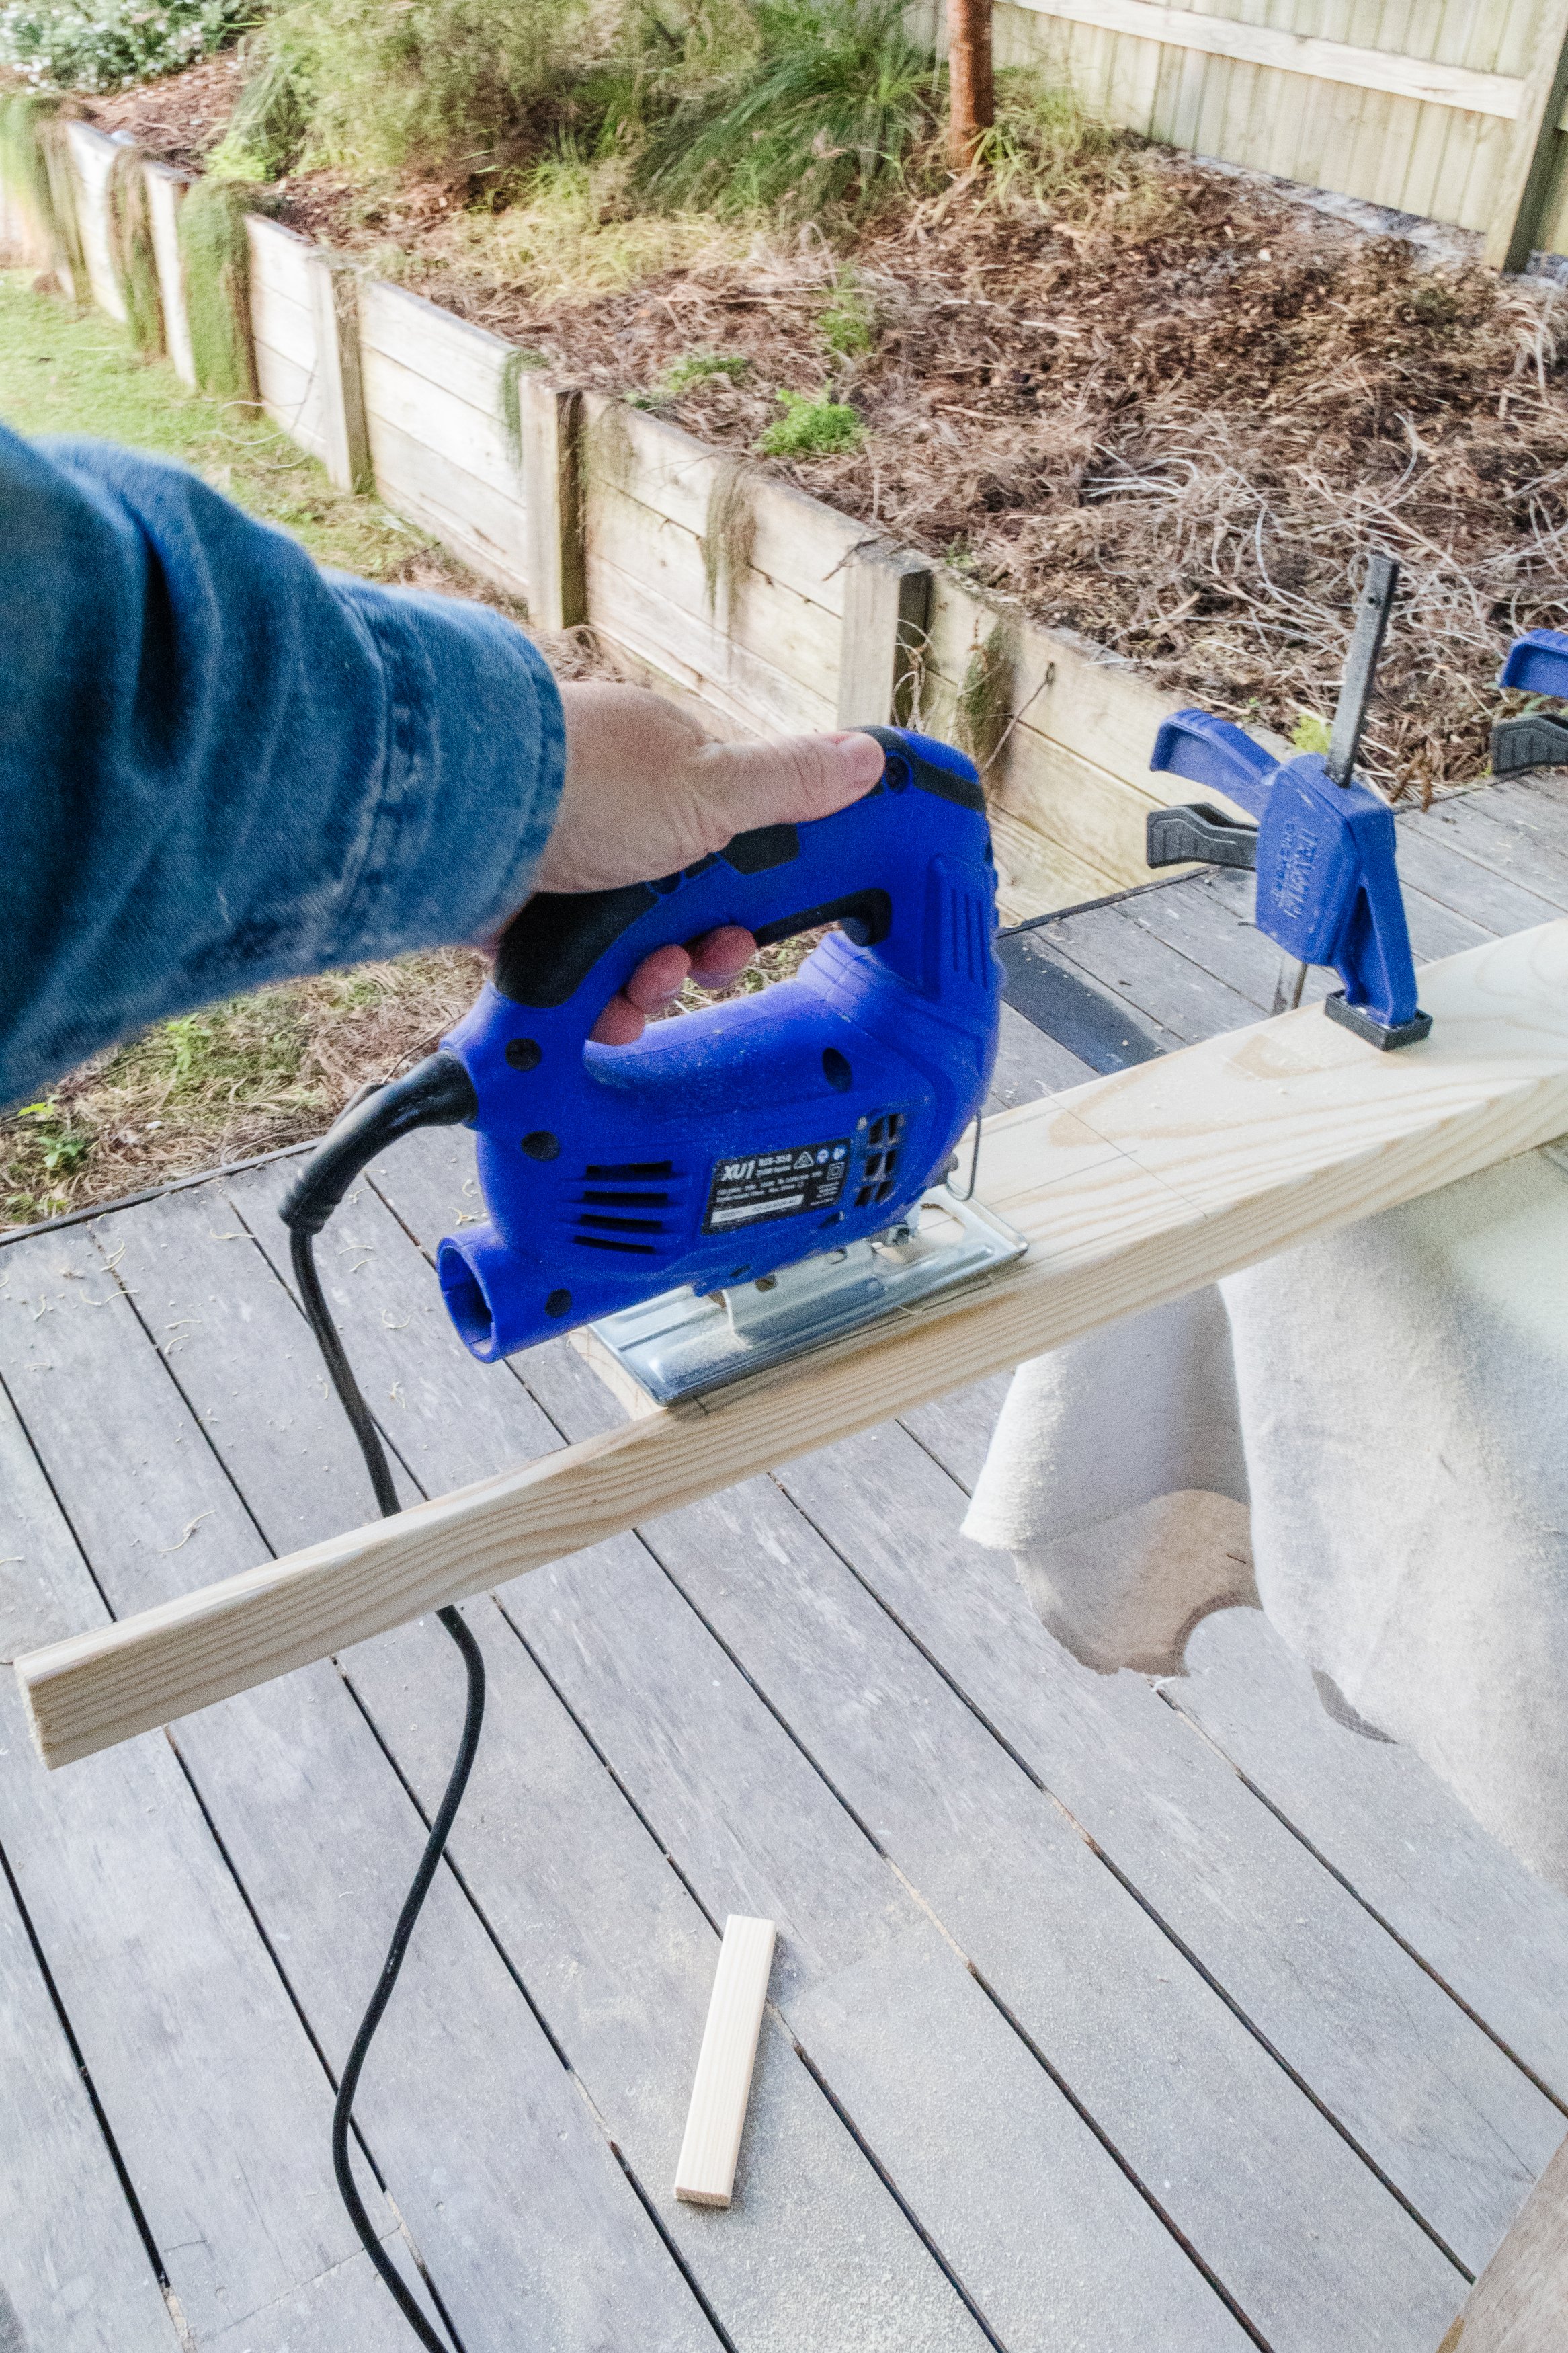
NB: If you are making your own timber furniture feet, you will need timber, jigsaw, clamps, drill and bit, timber dowels, wood glue and a hammer
Materials
Secondhand timber drawers
Timber stain in your colour of choice
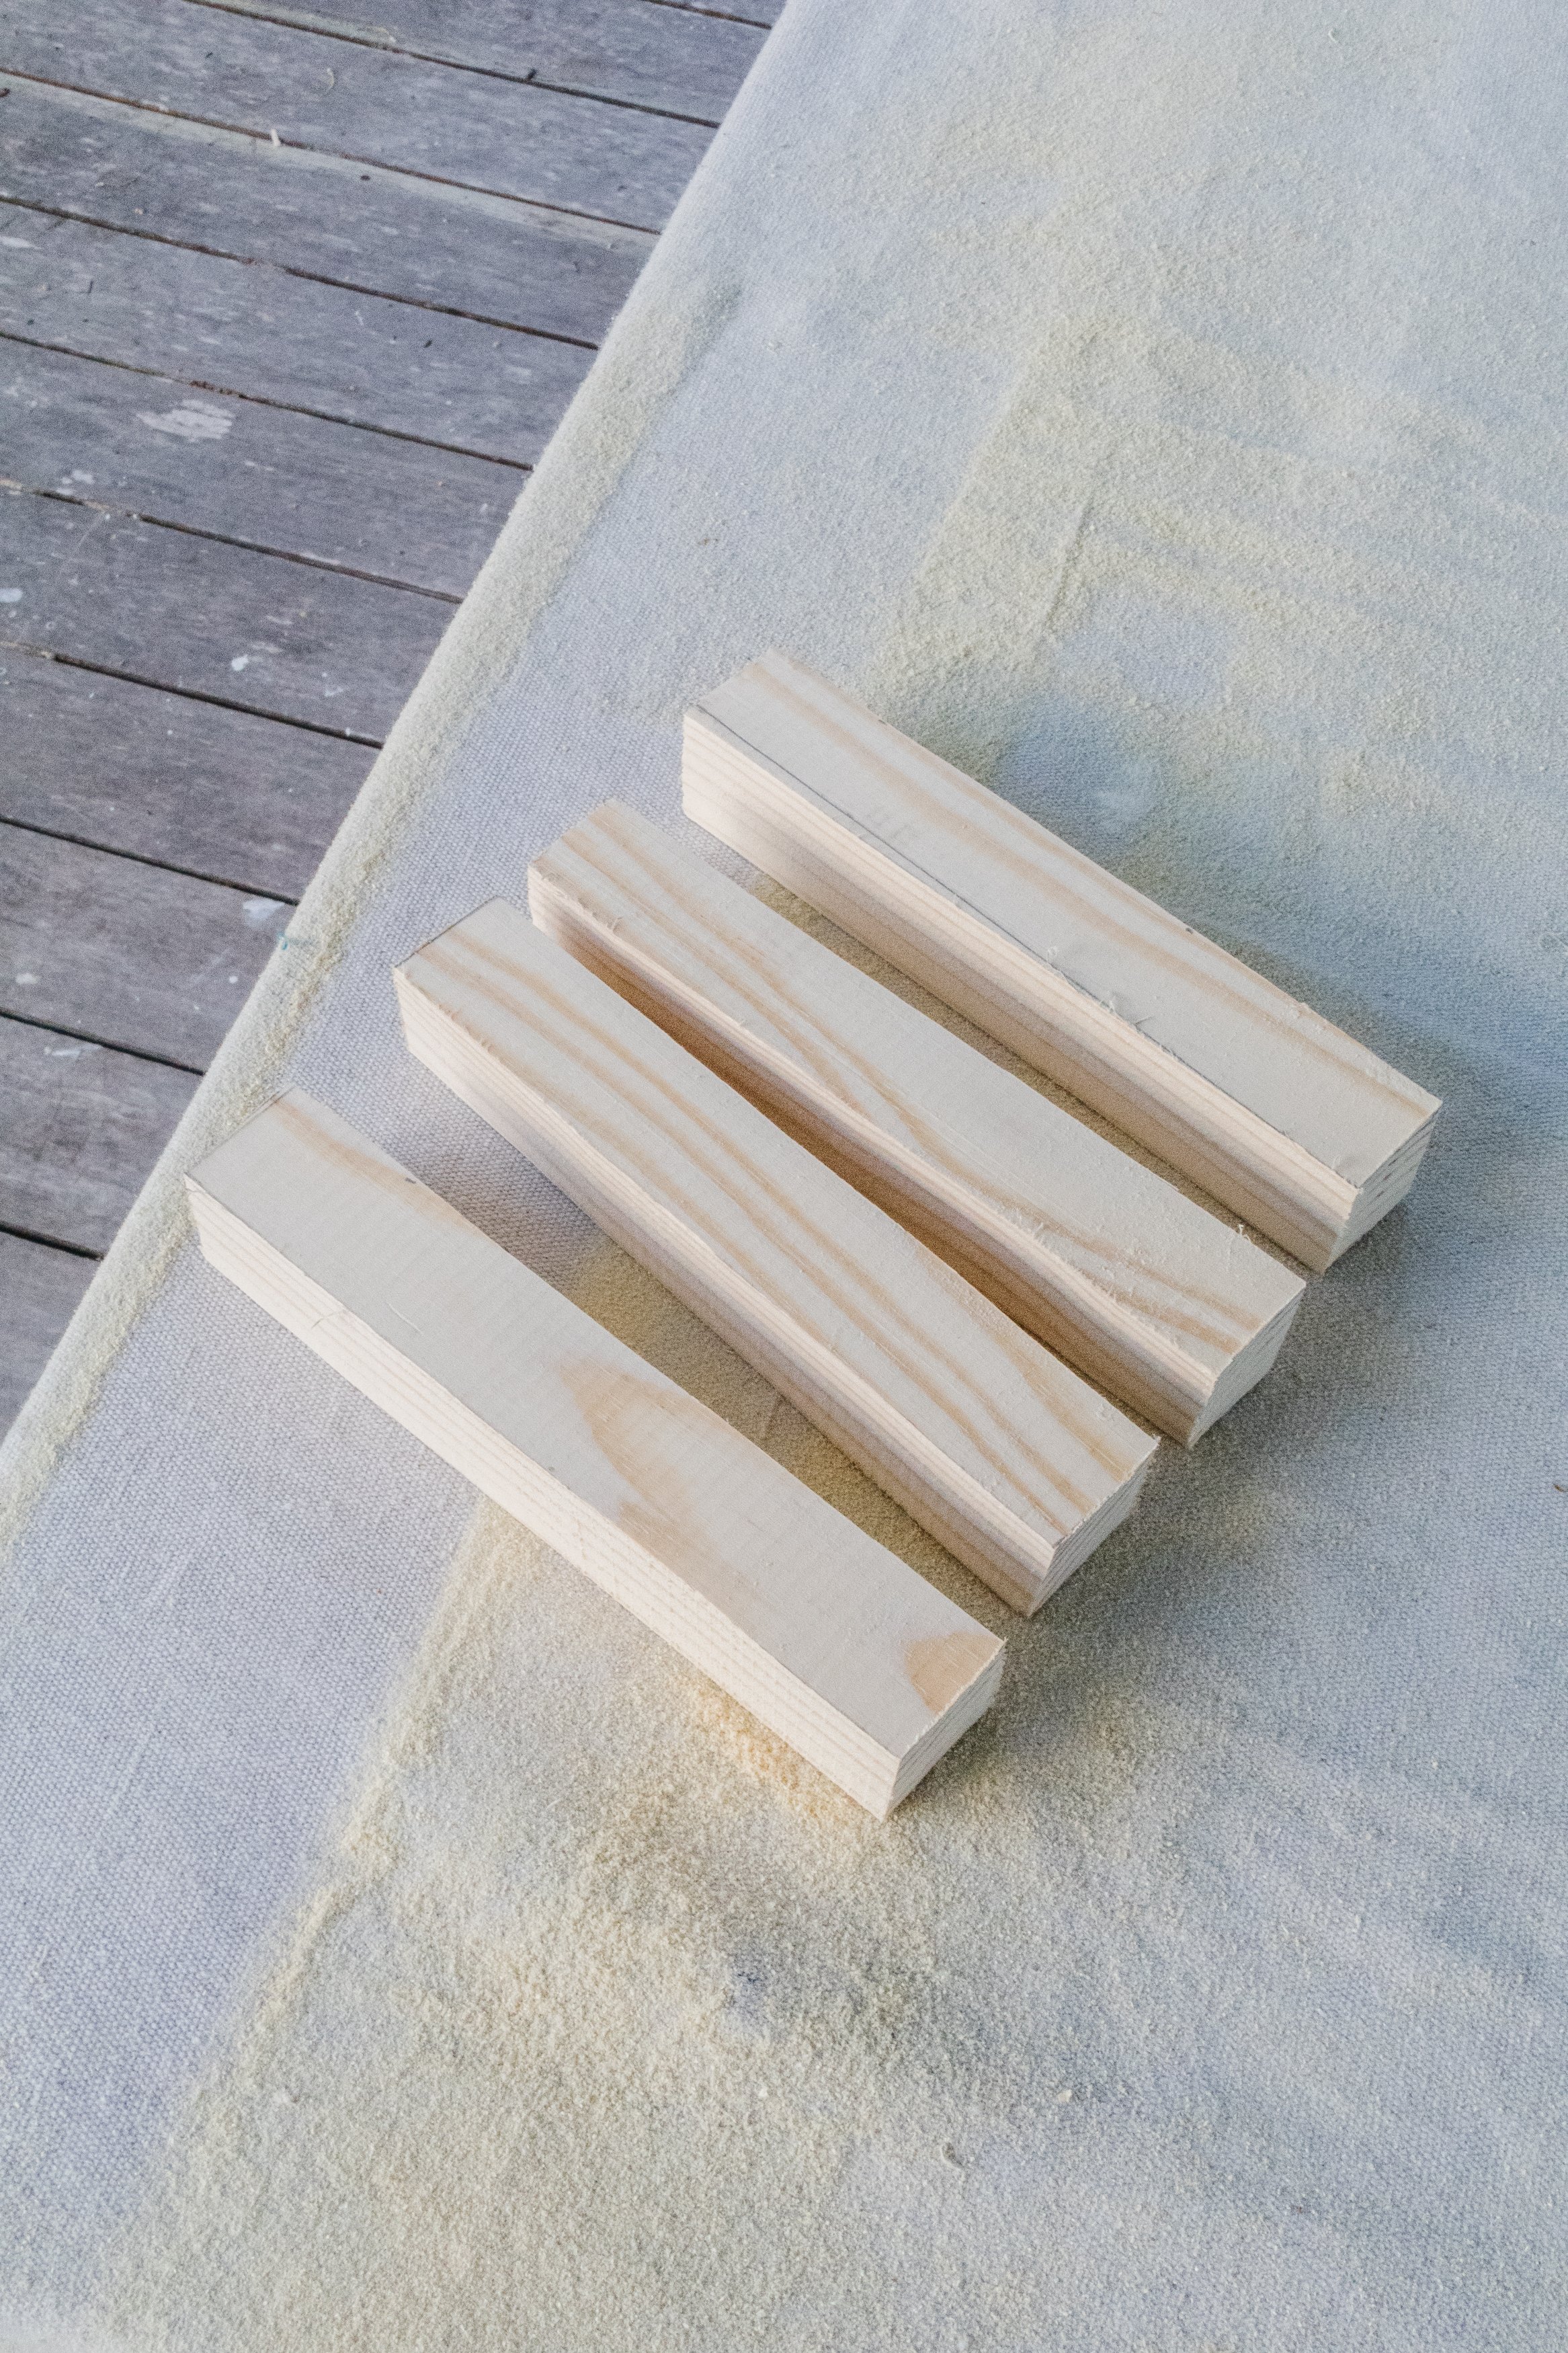
4 x furniture feet
Clear gloss varnish
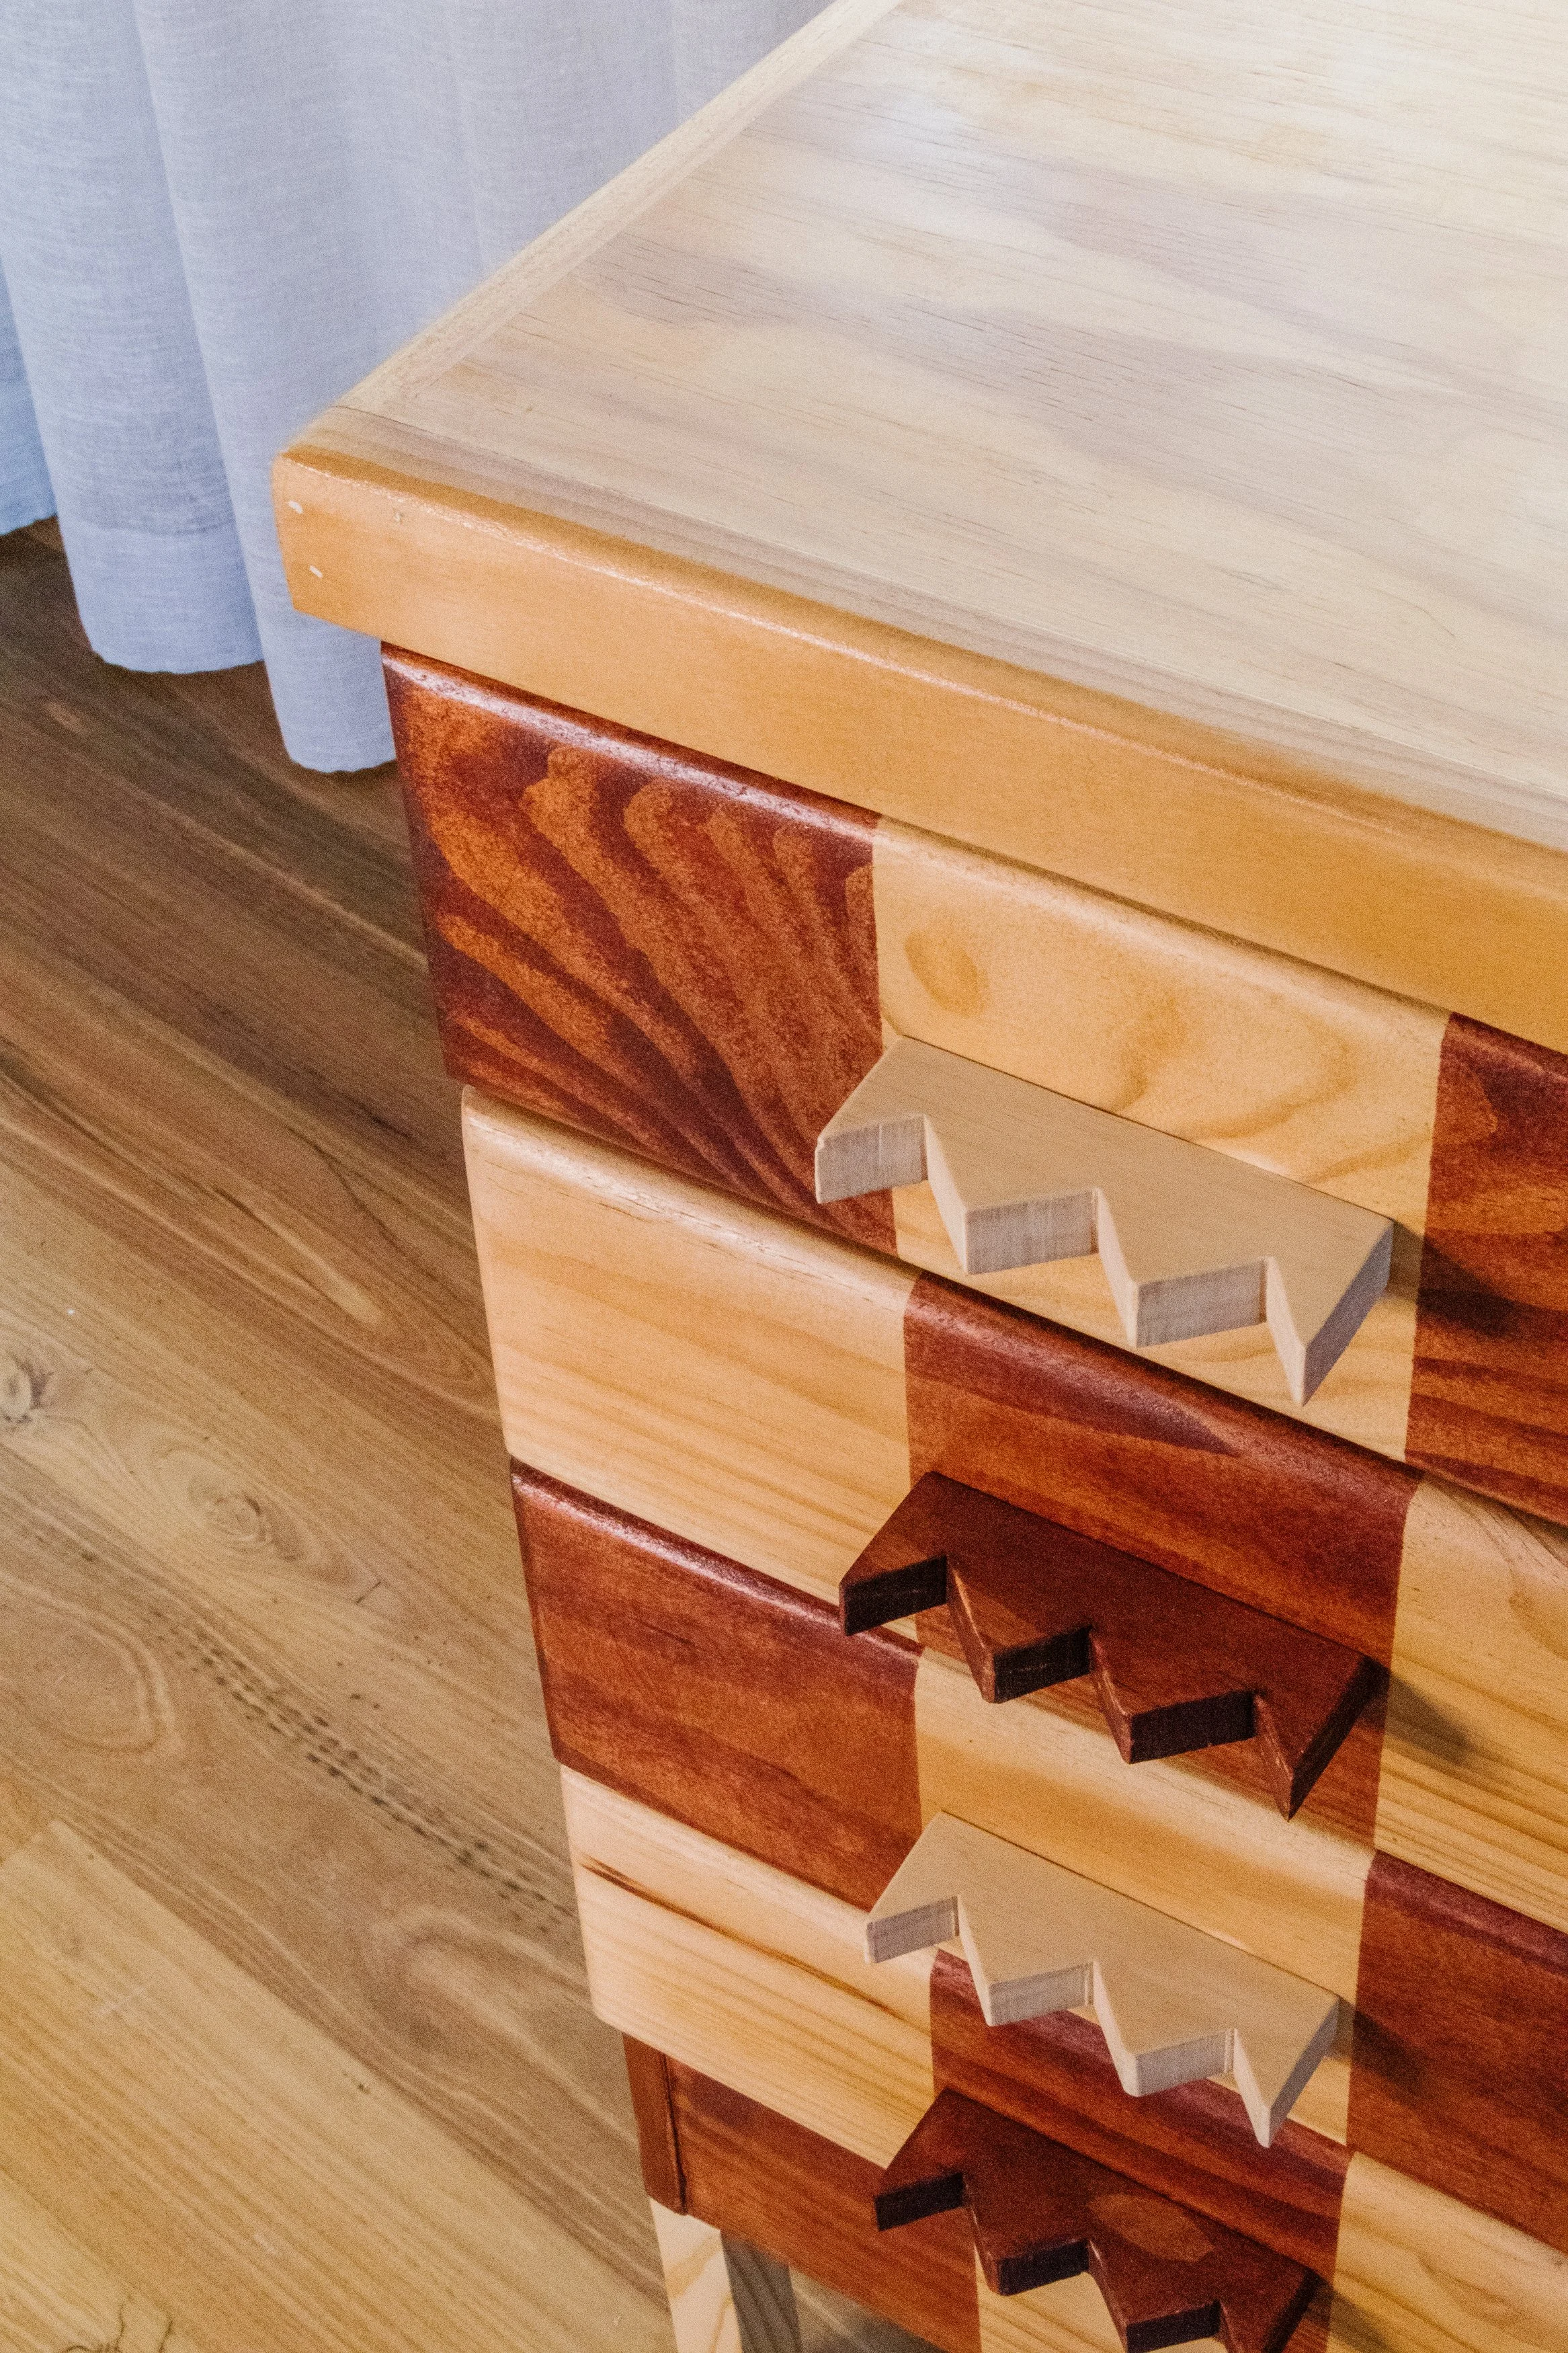
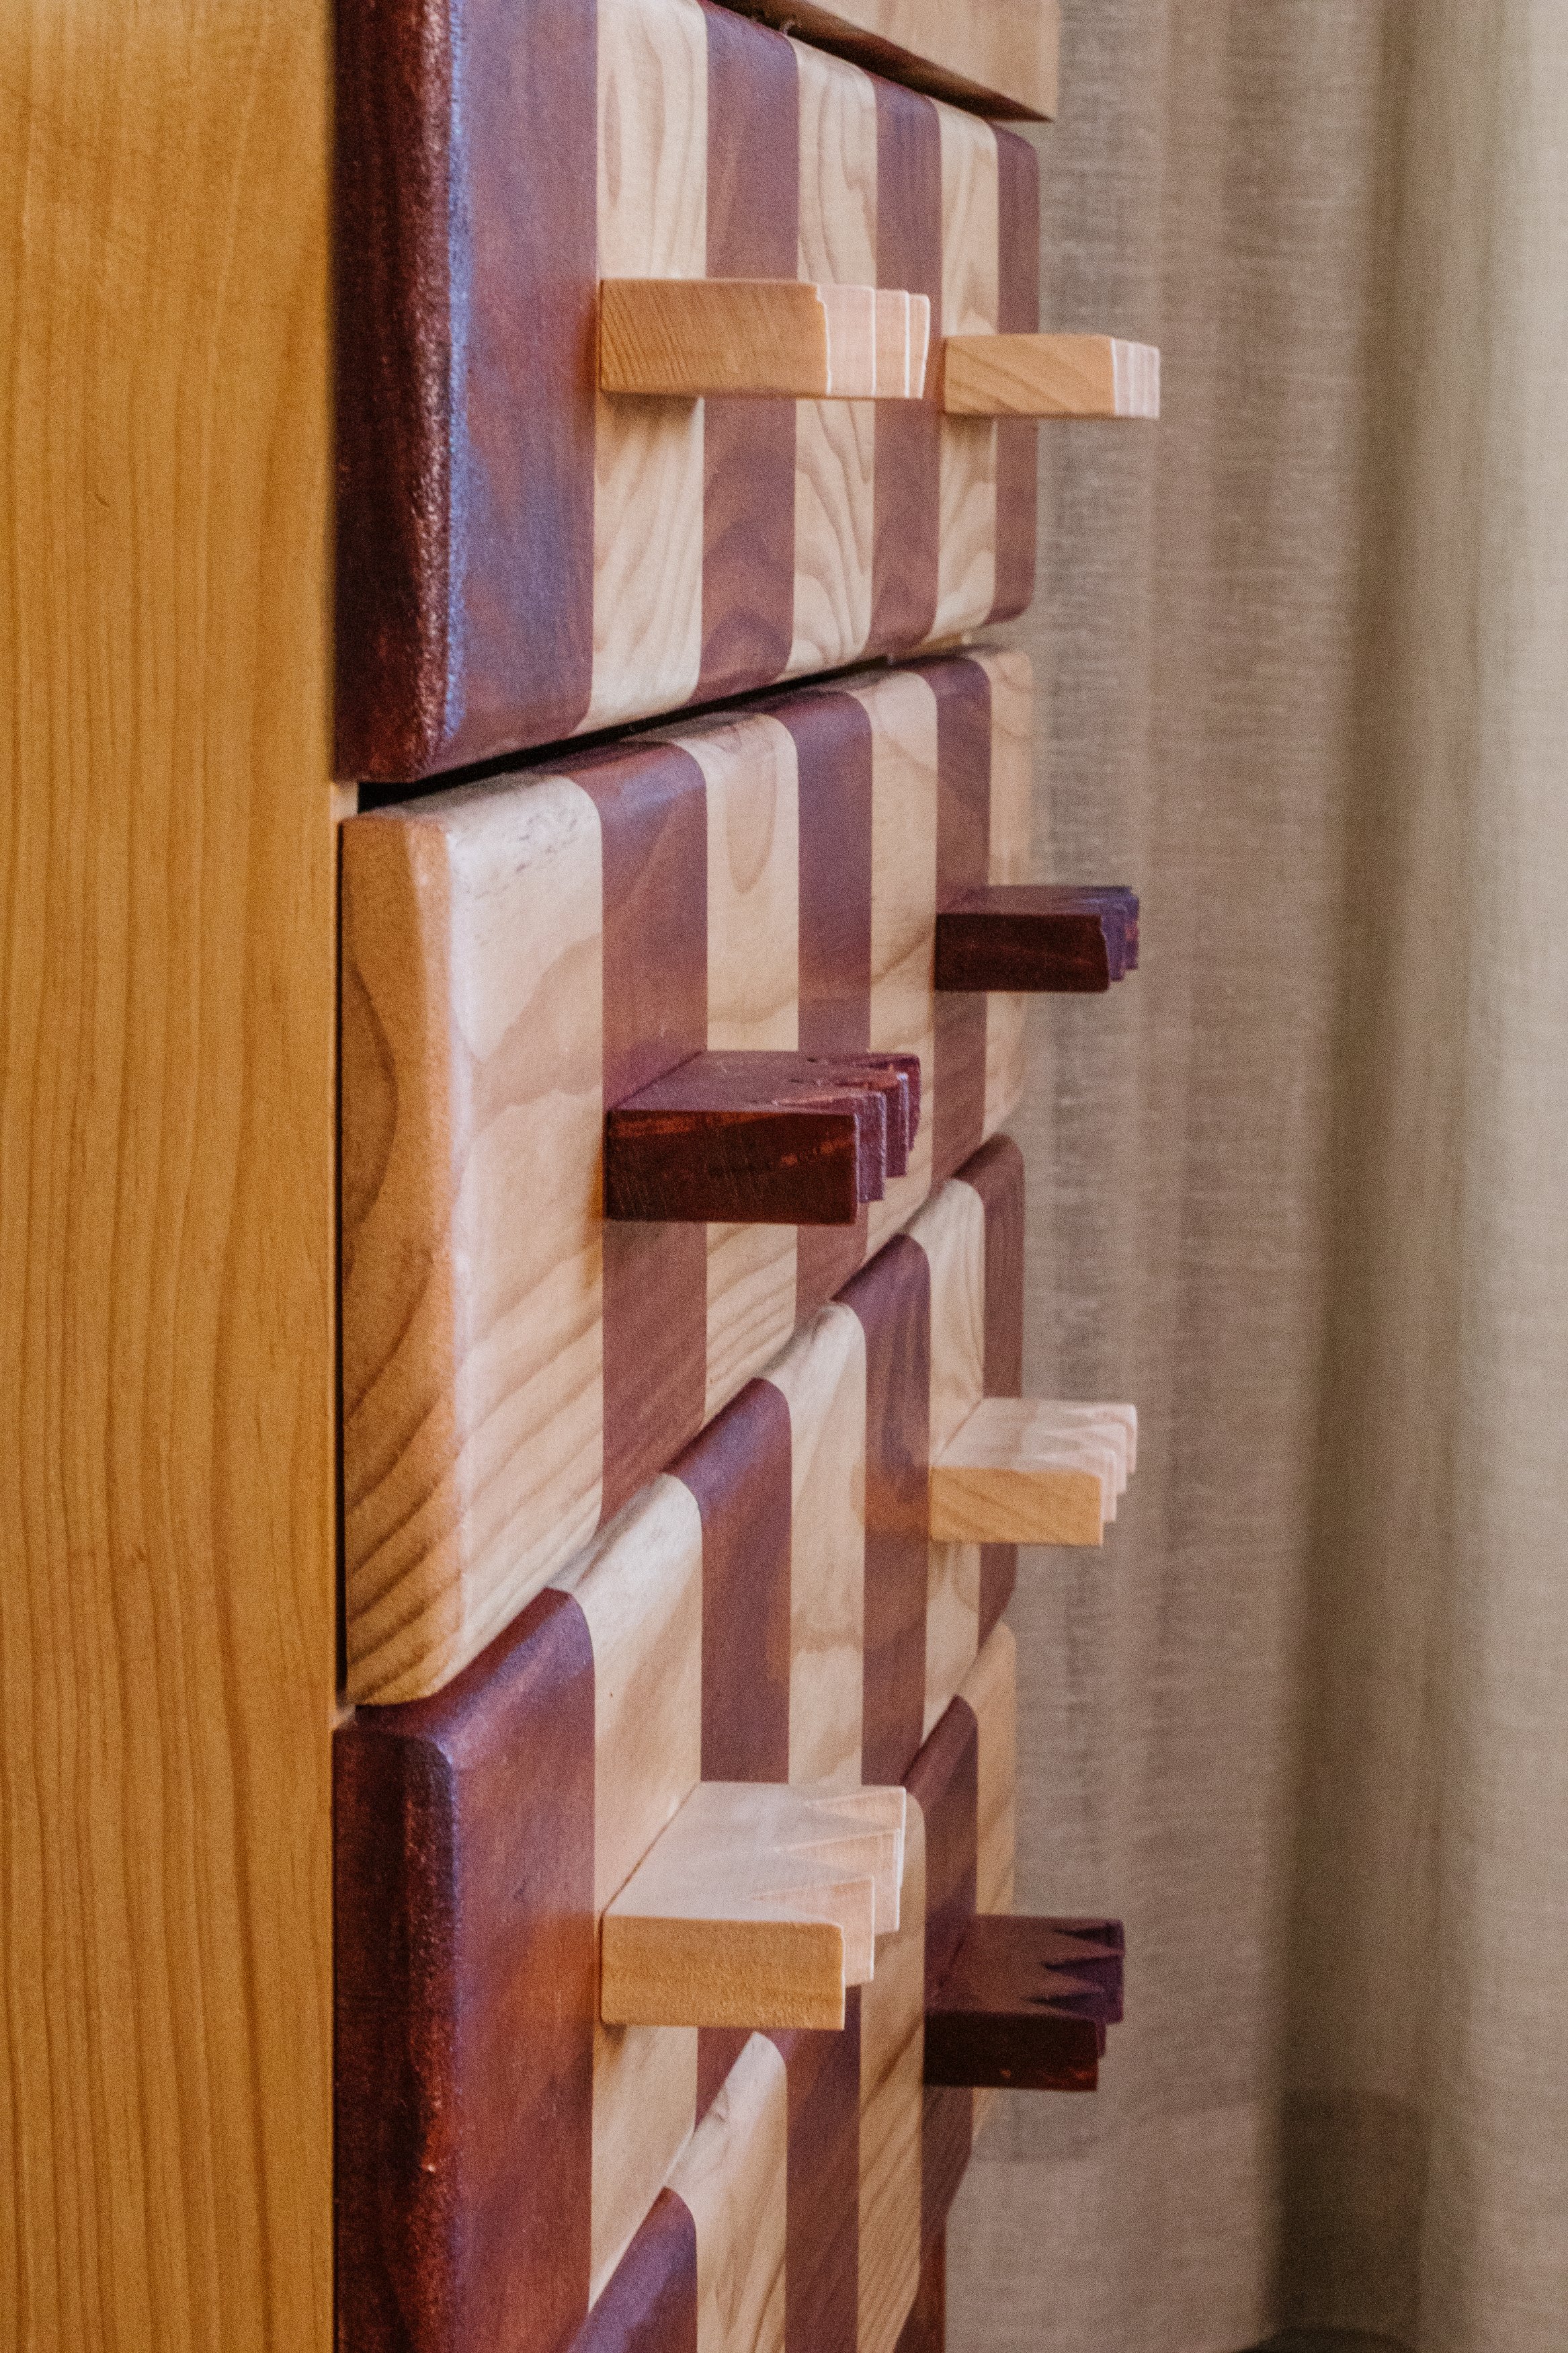
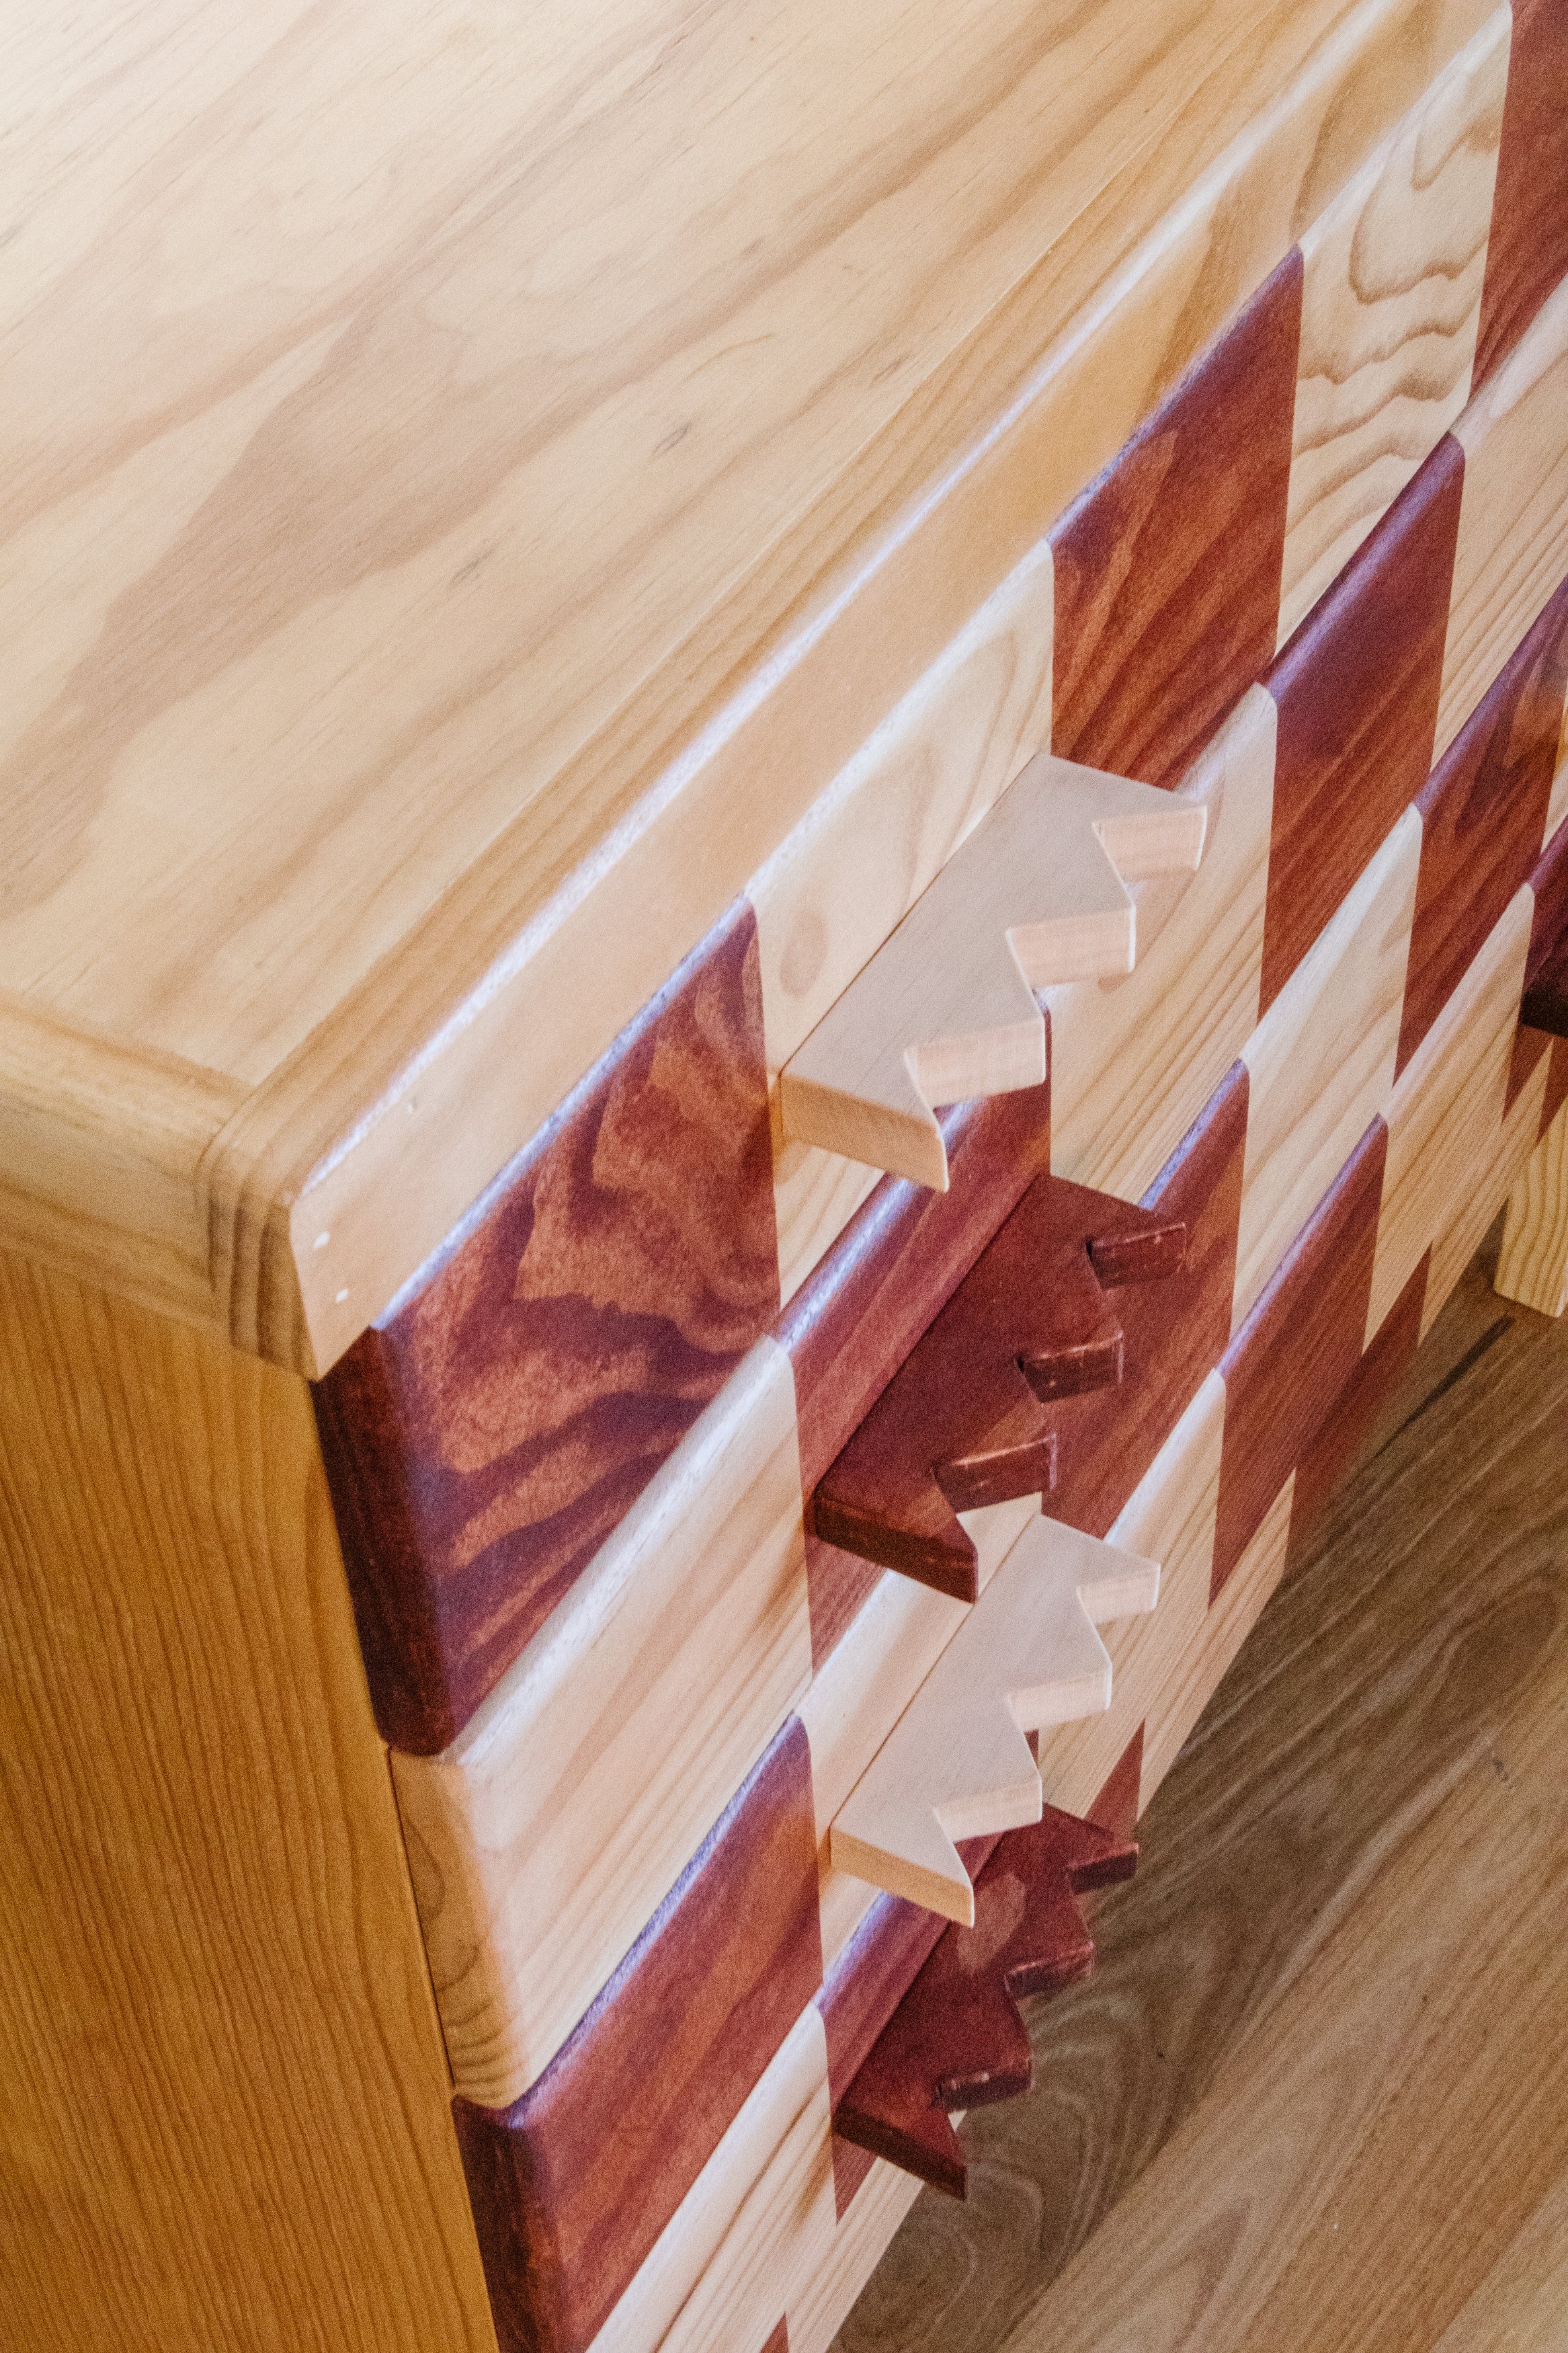
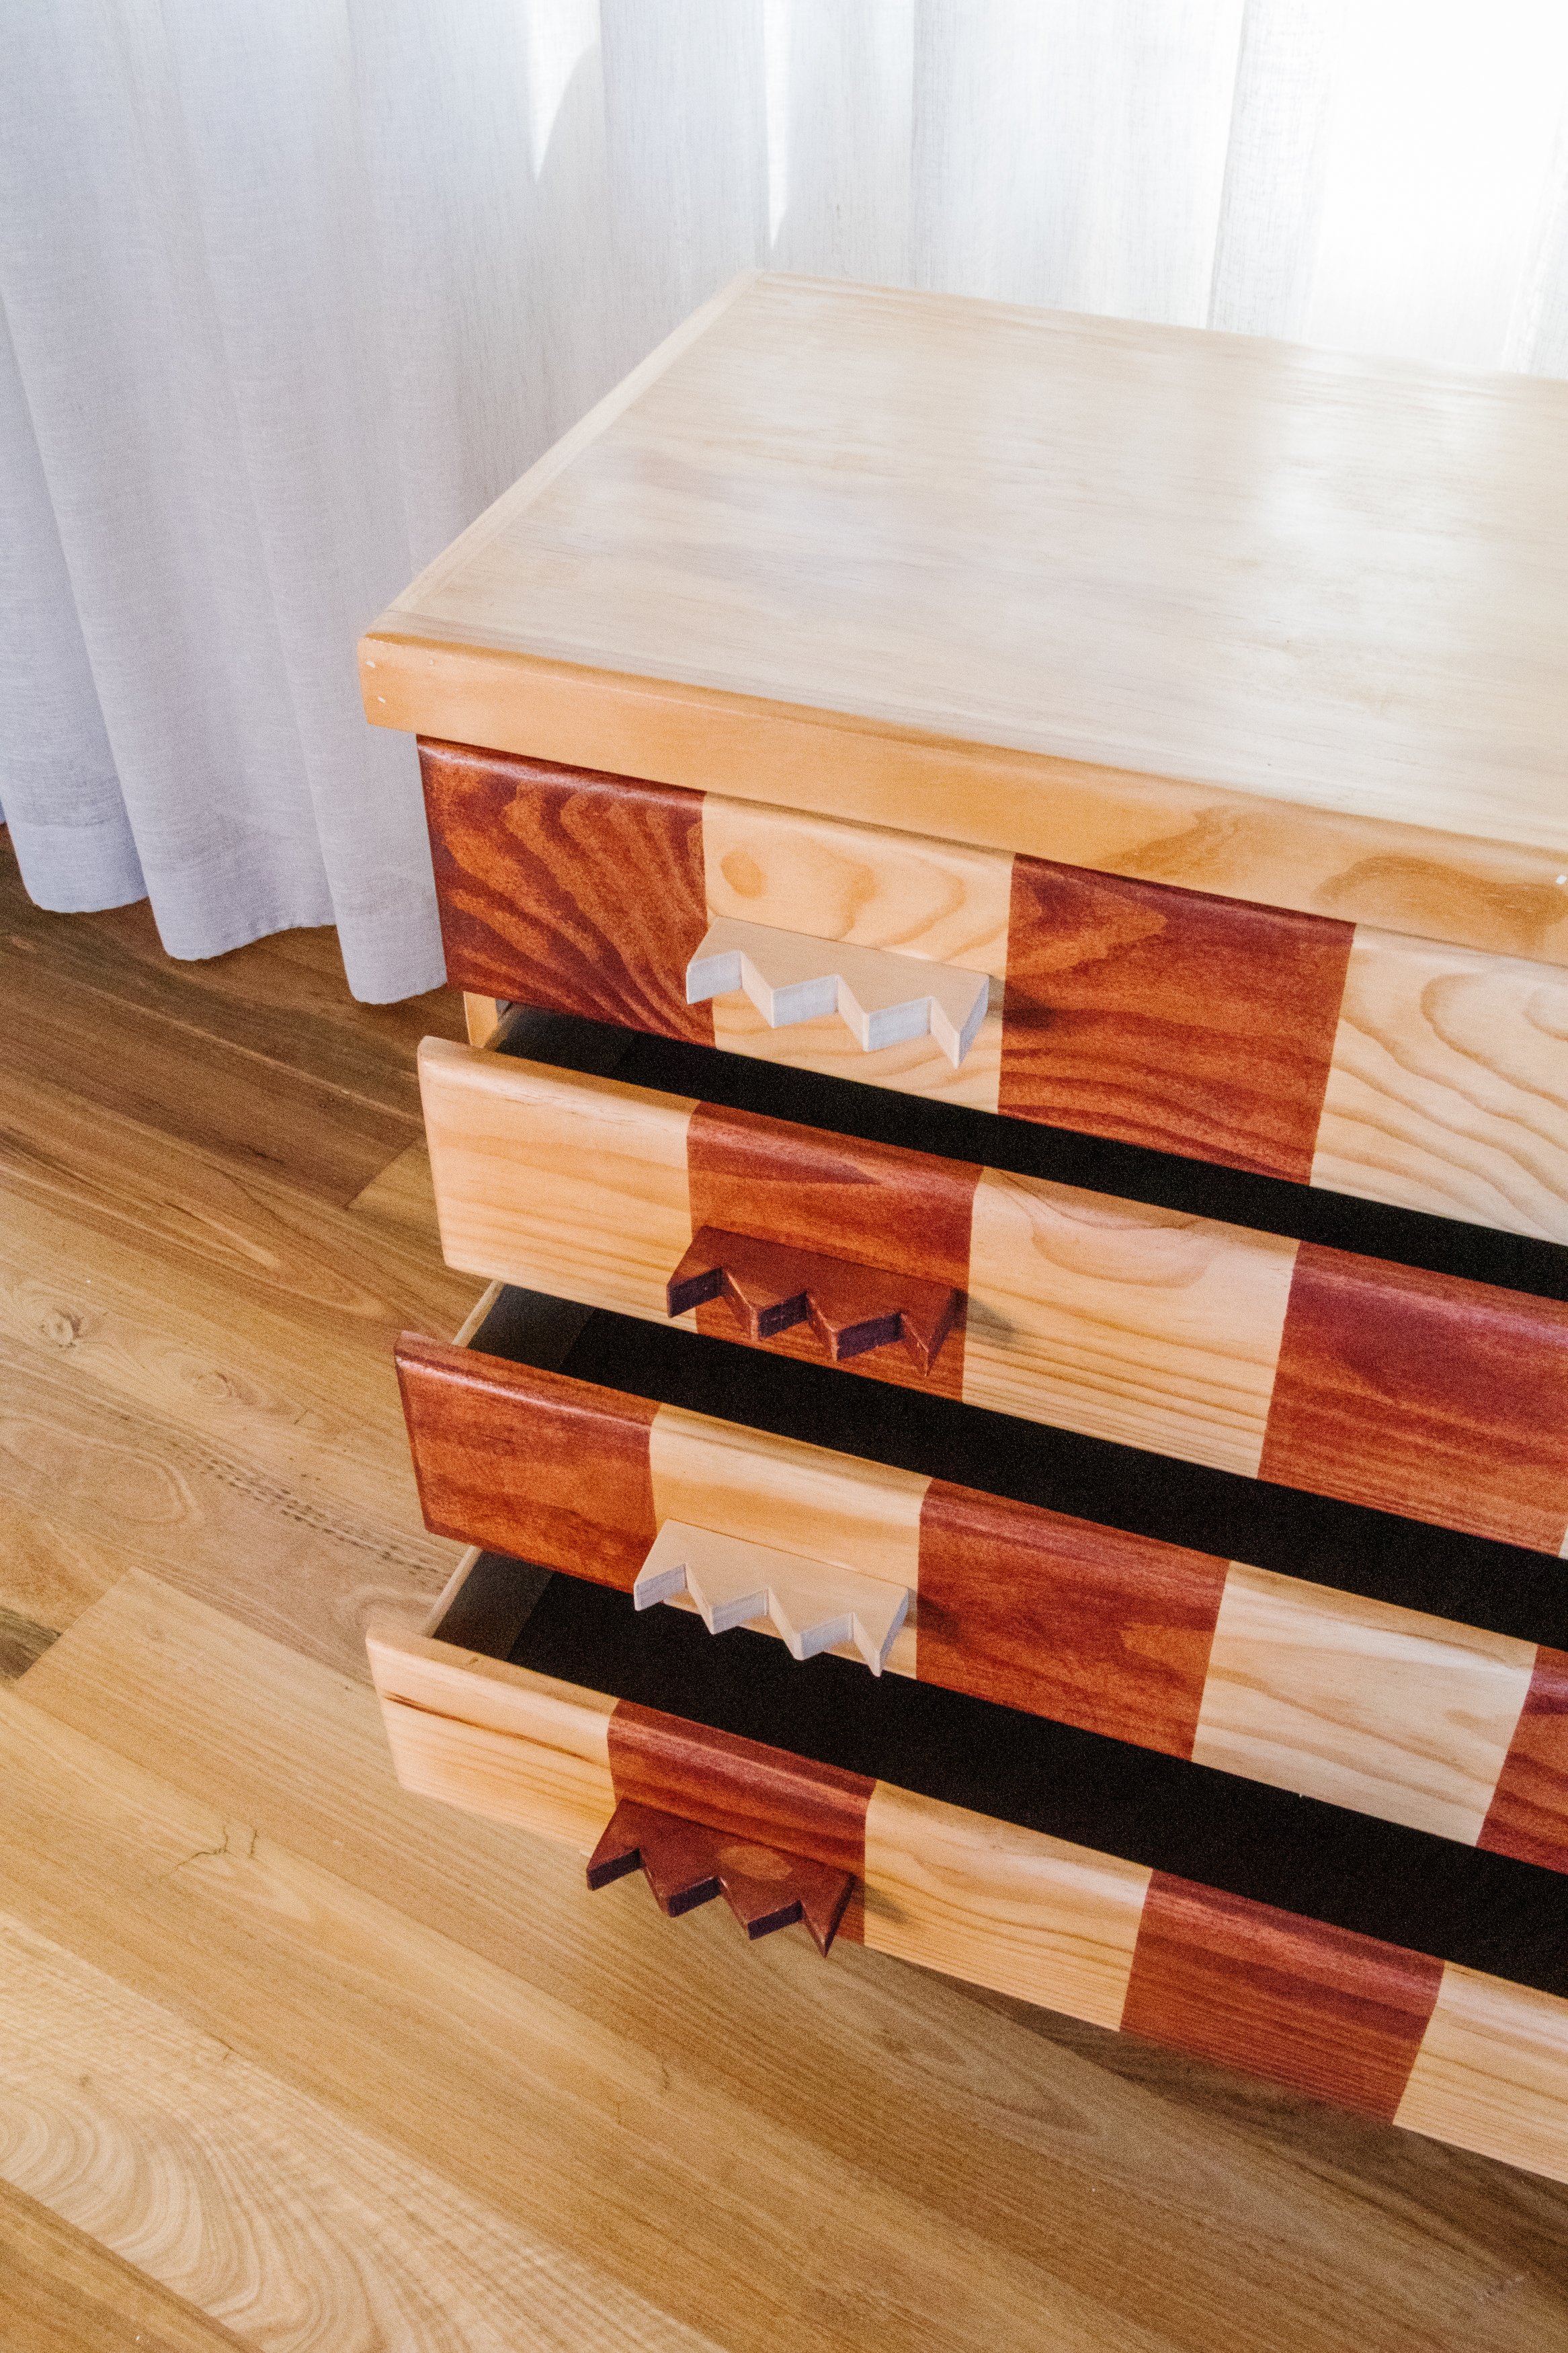
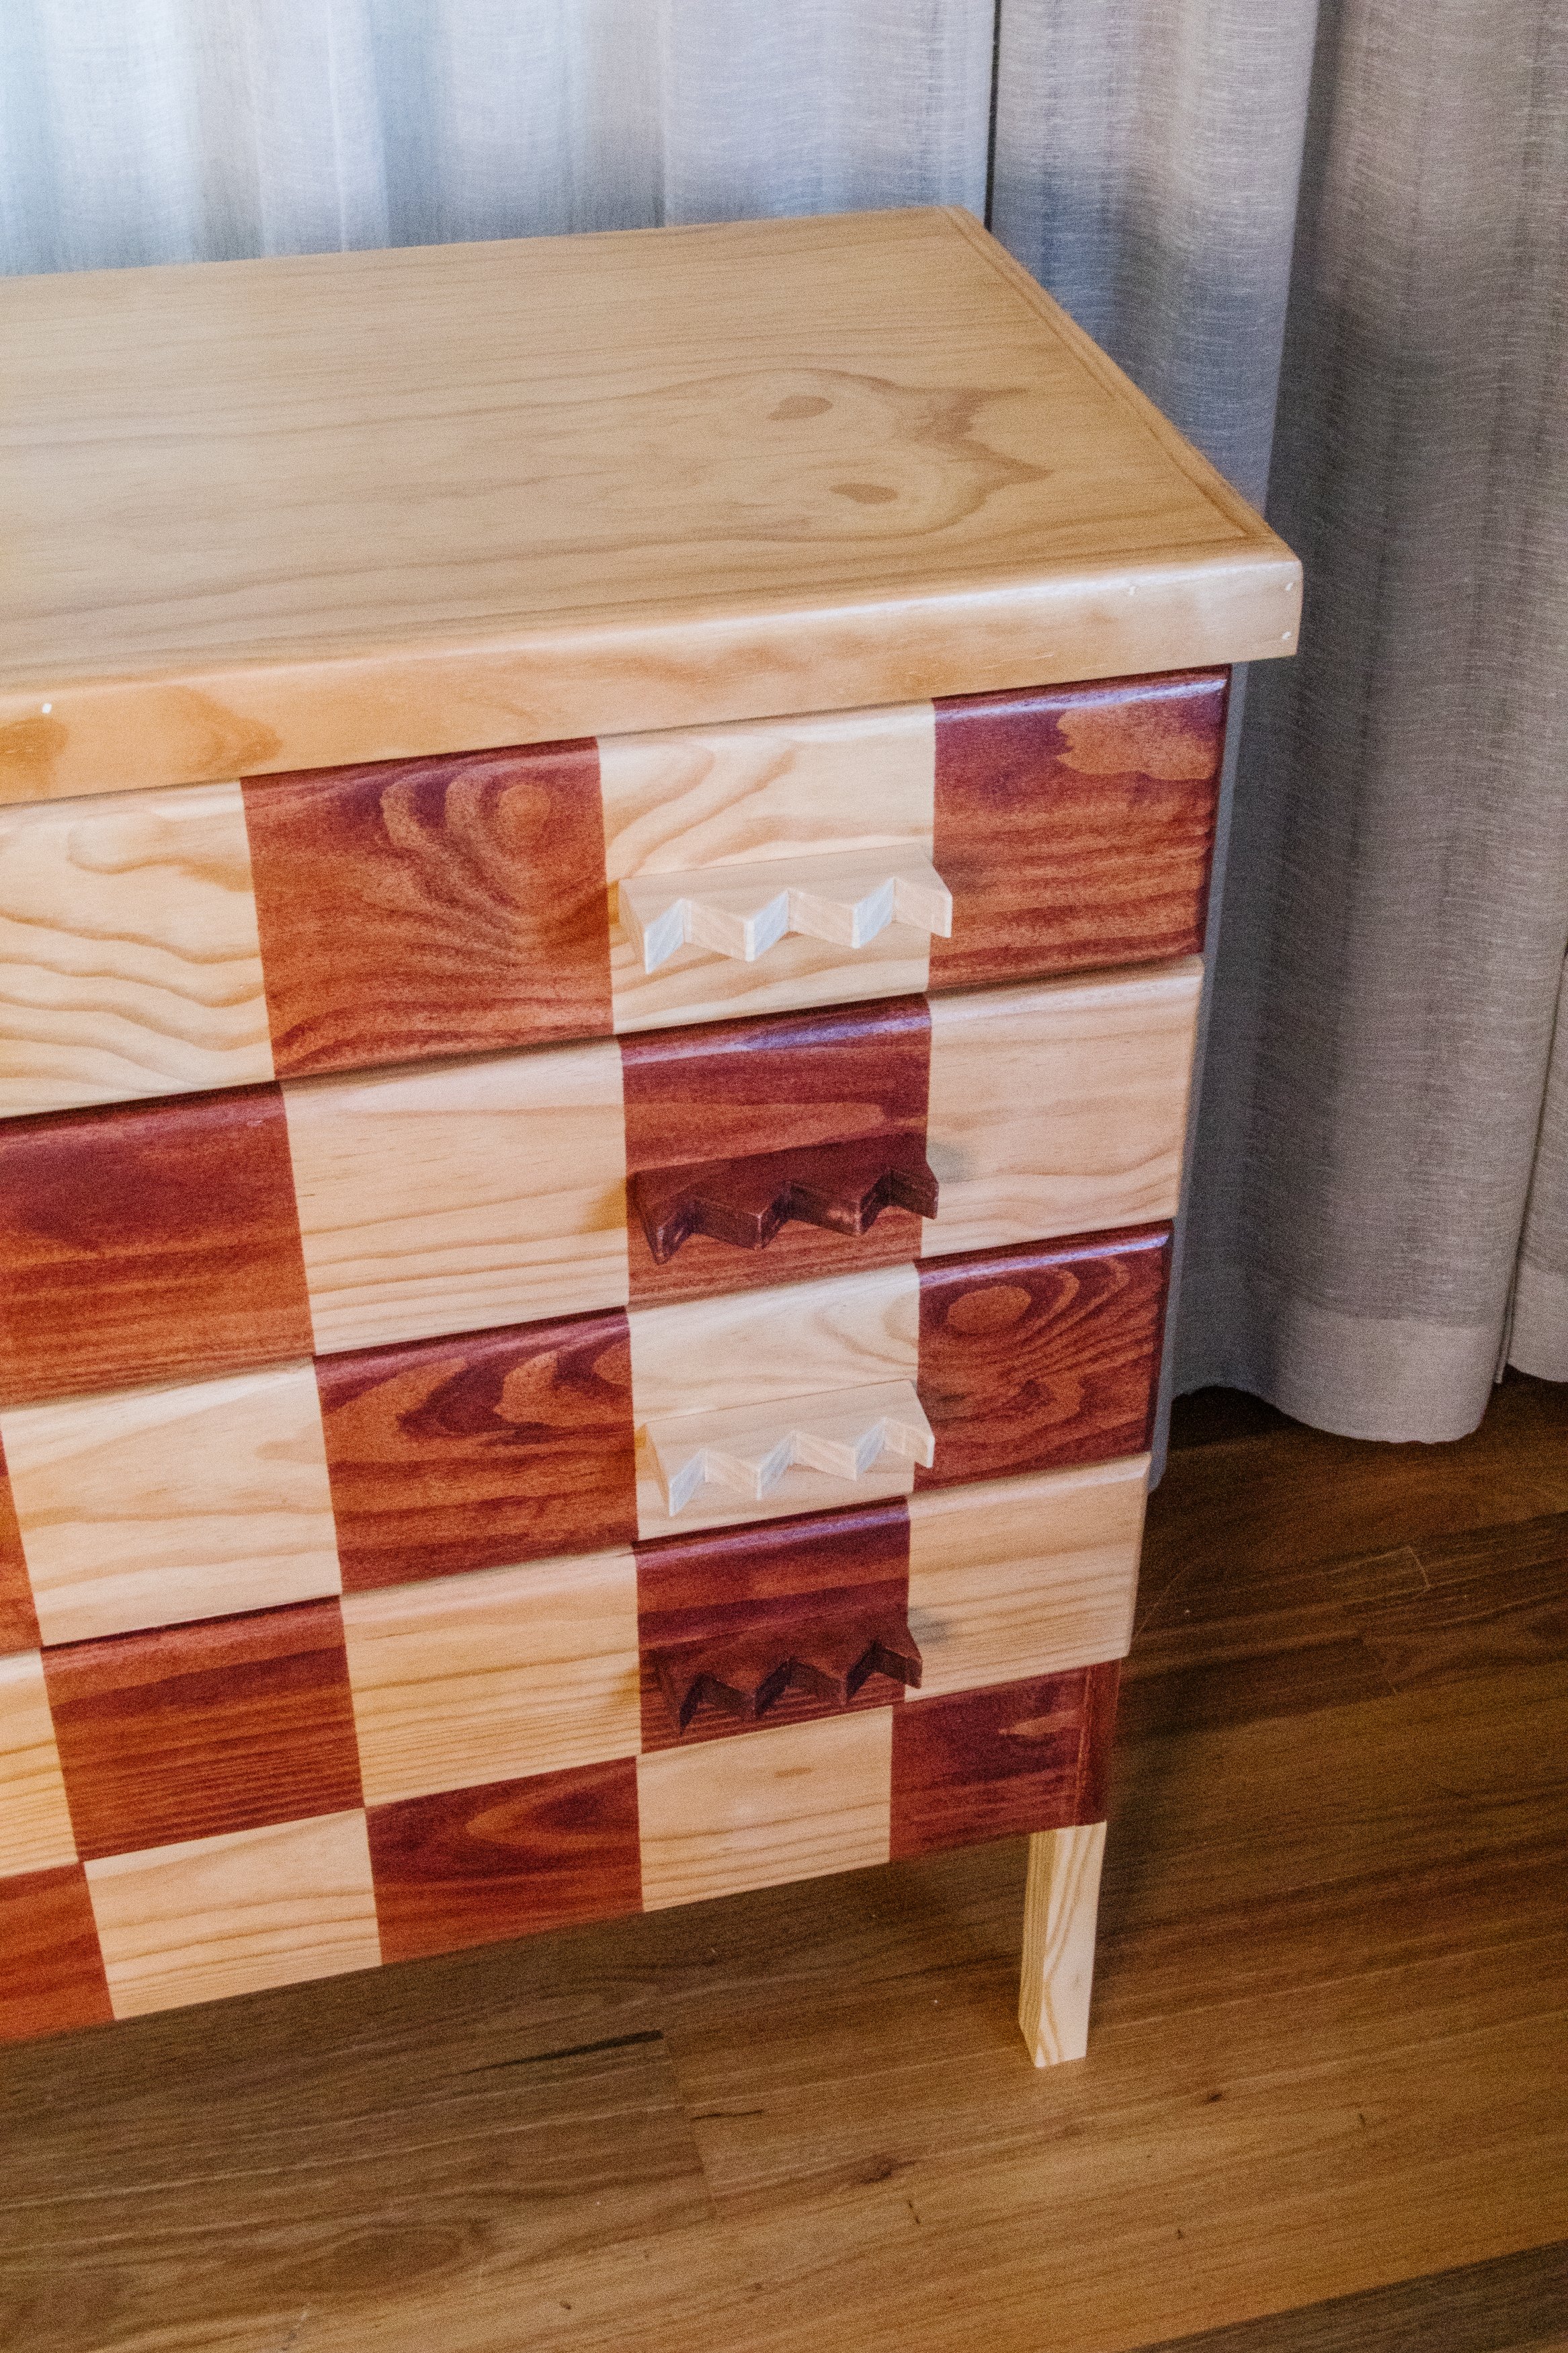
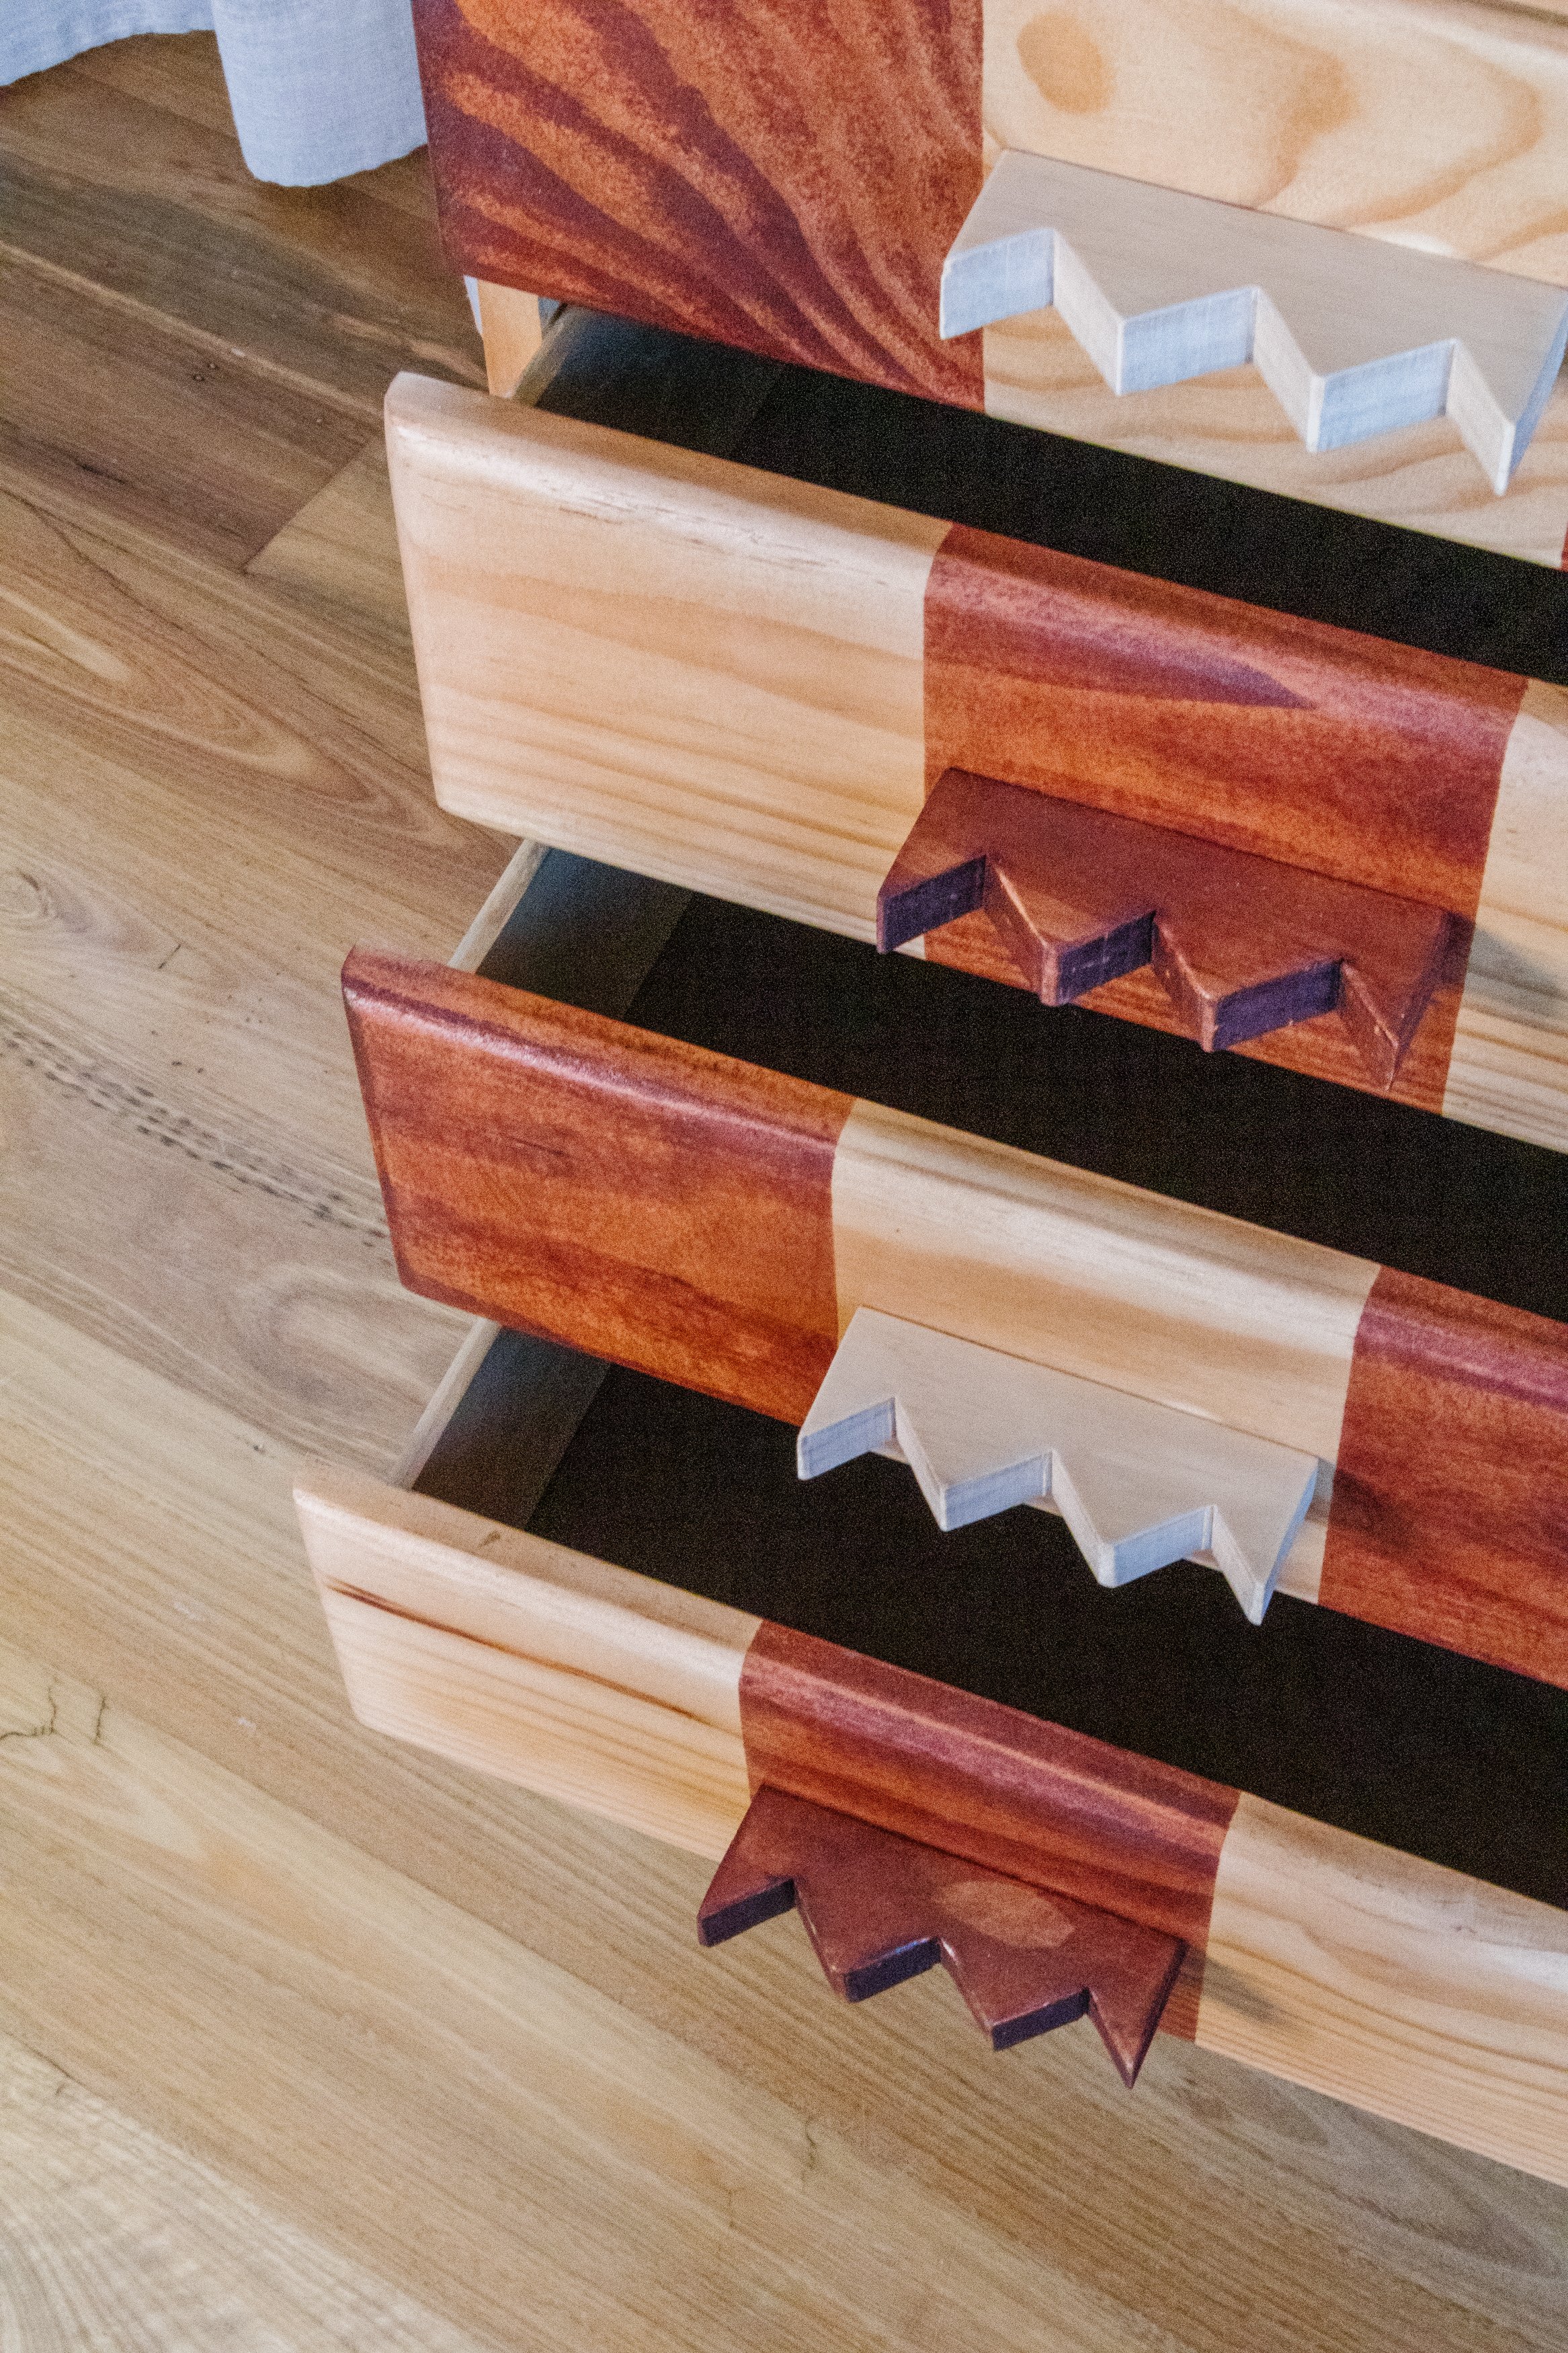
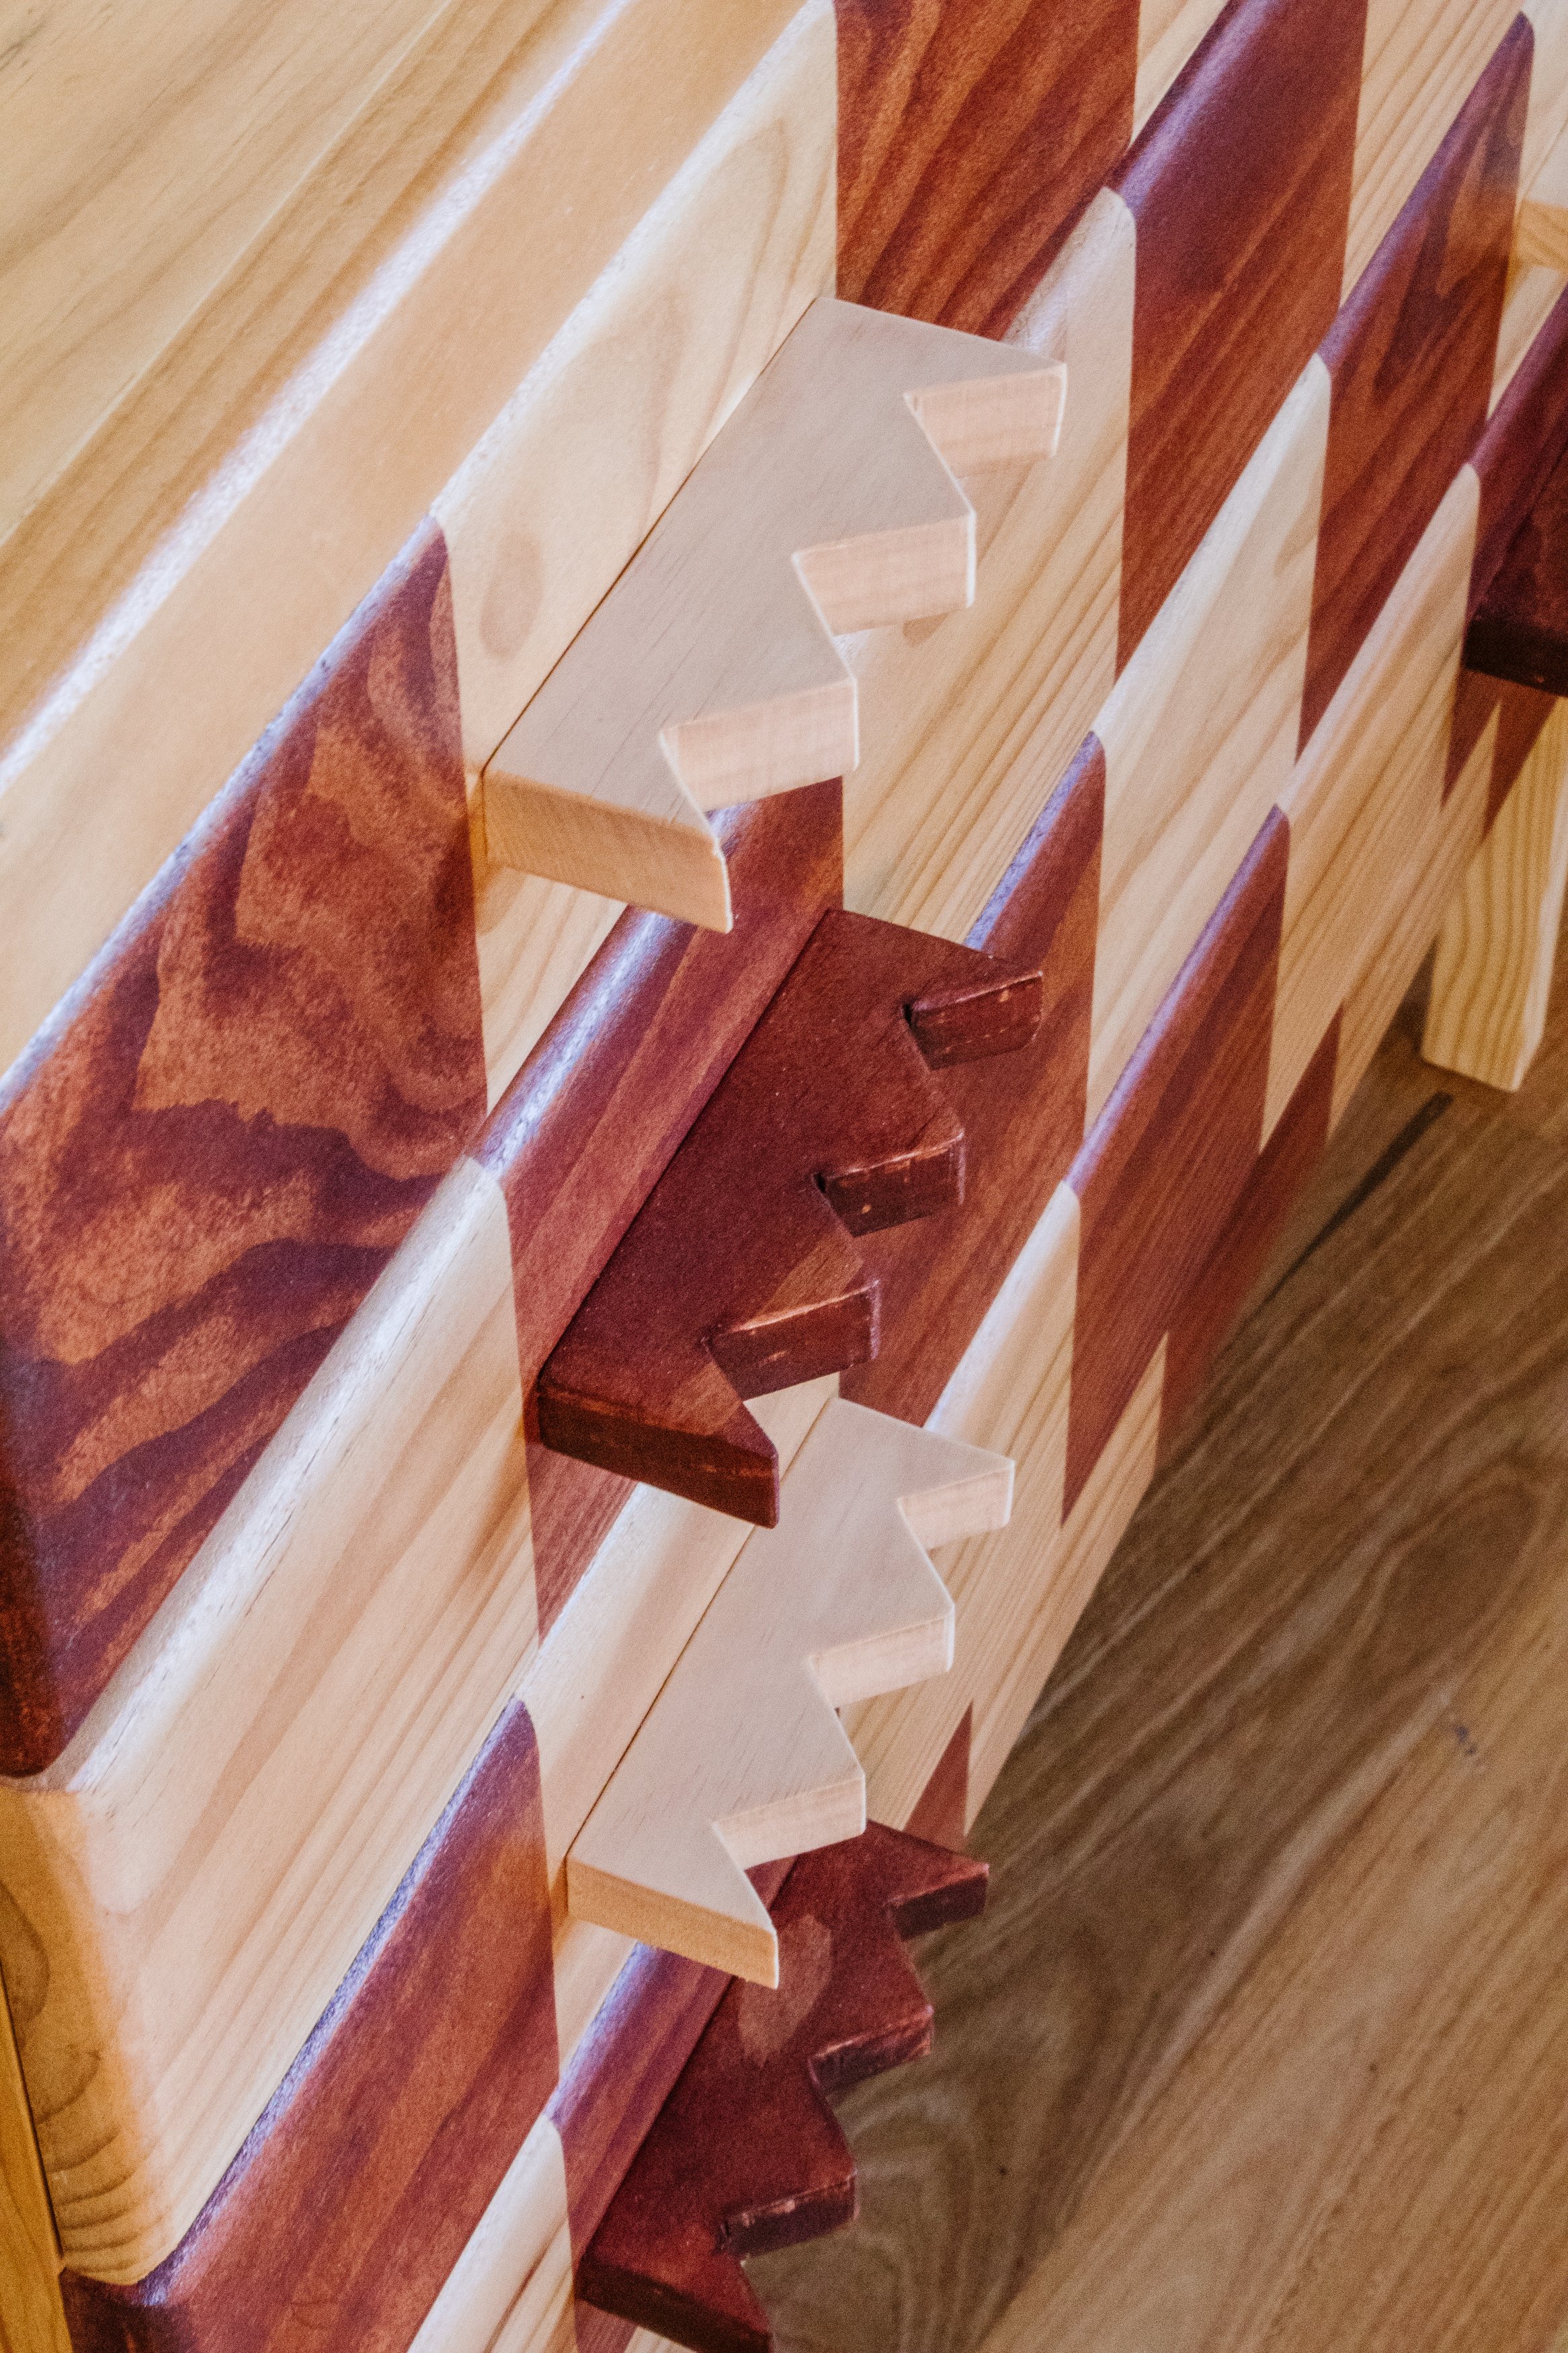
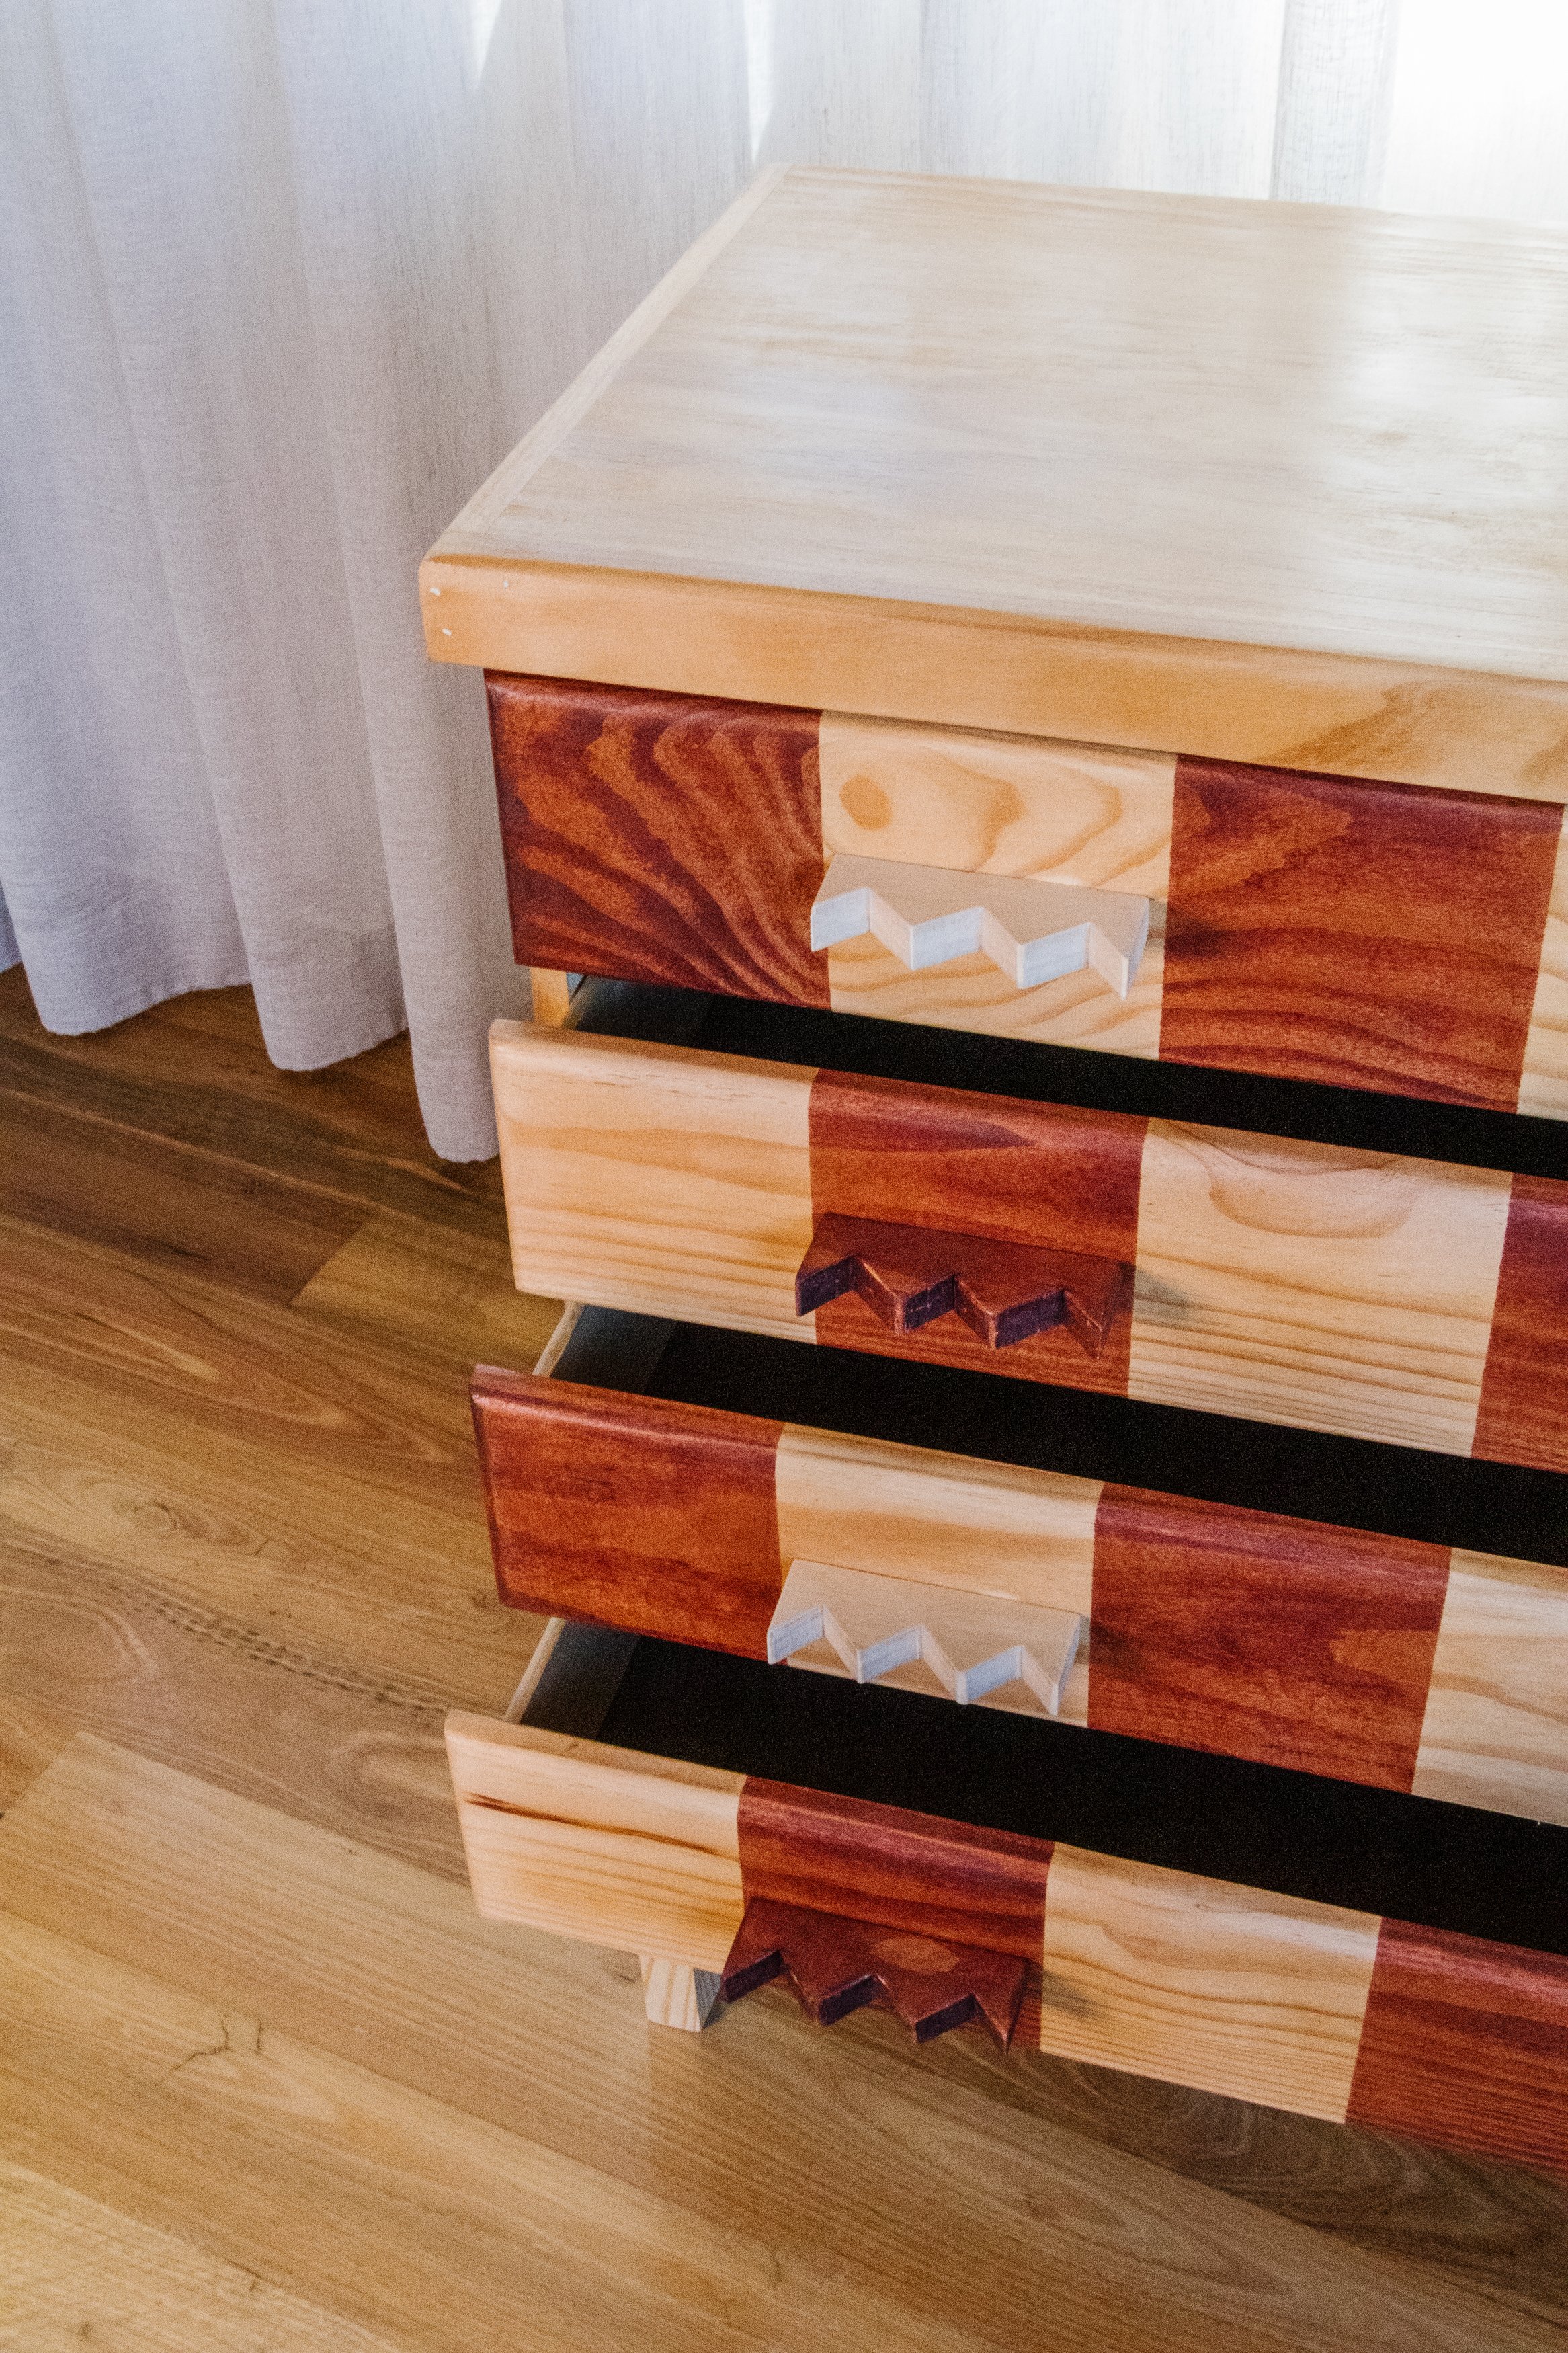
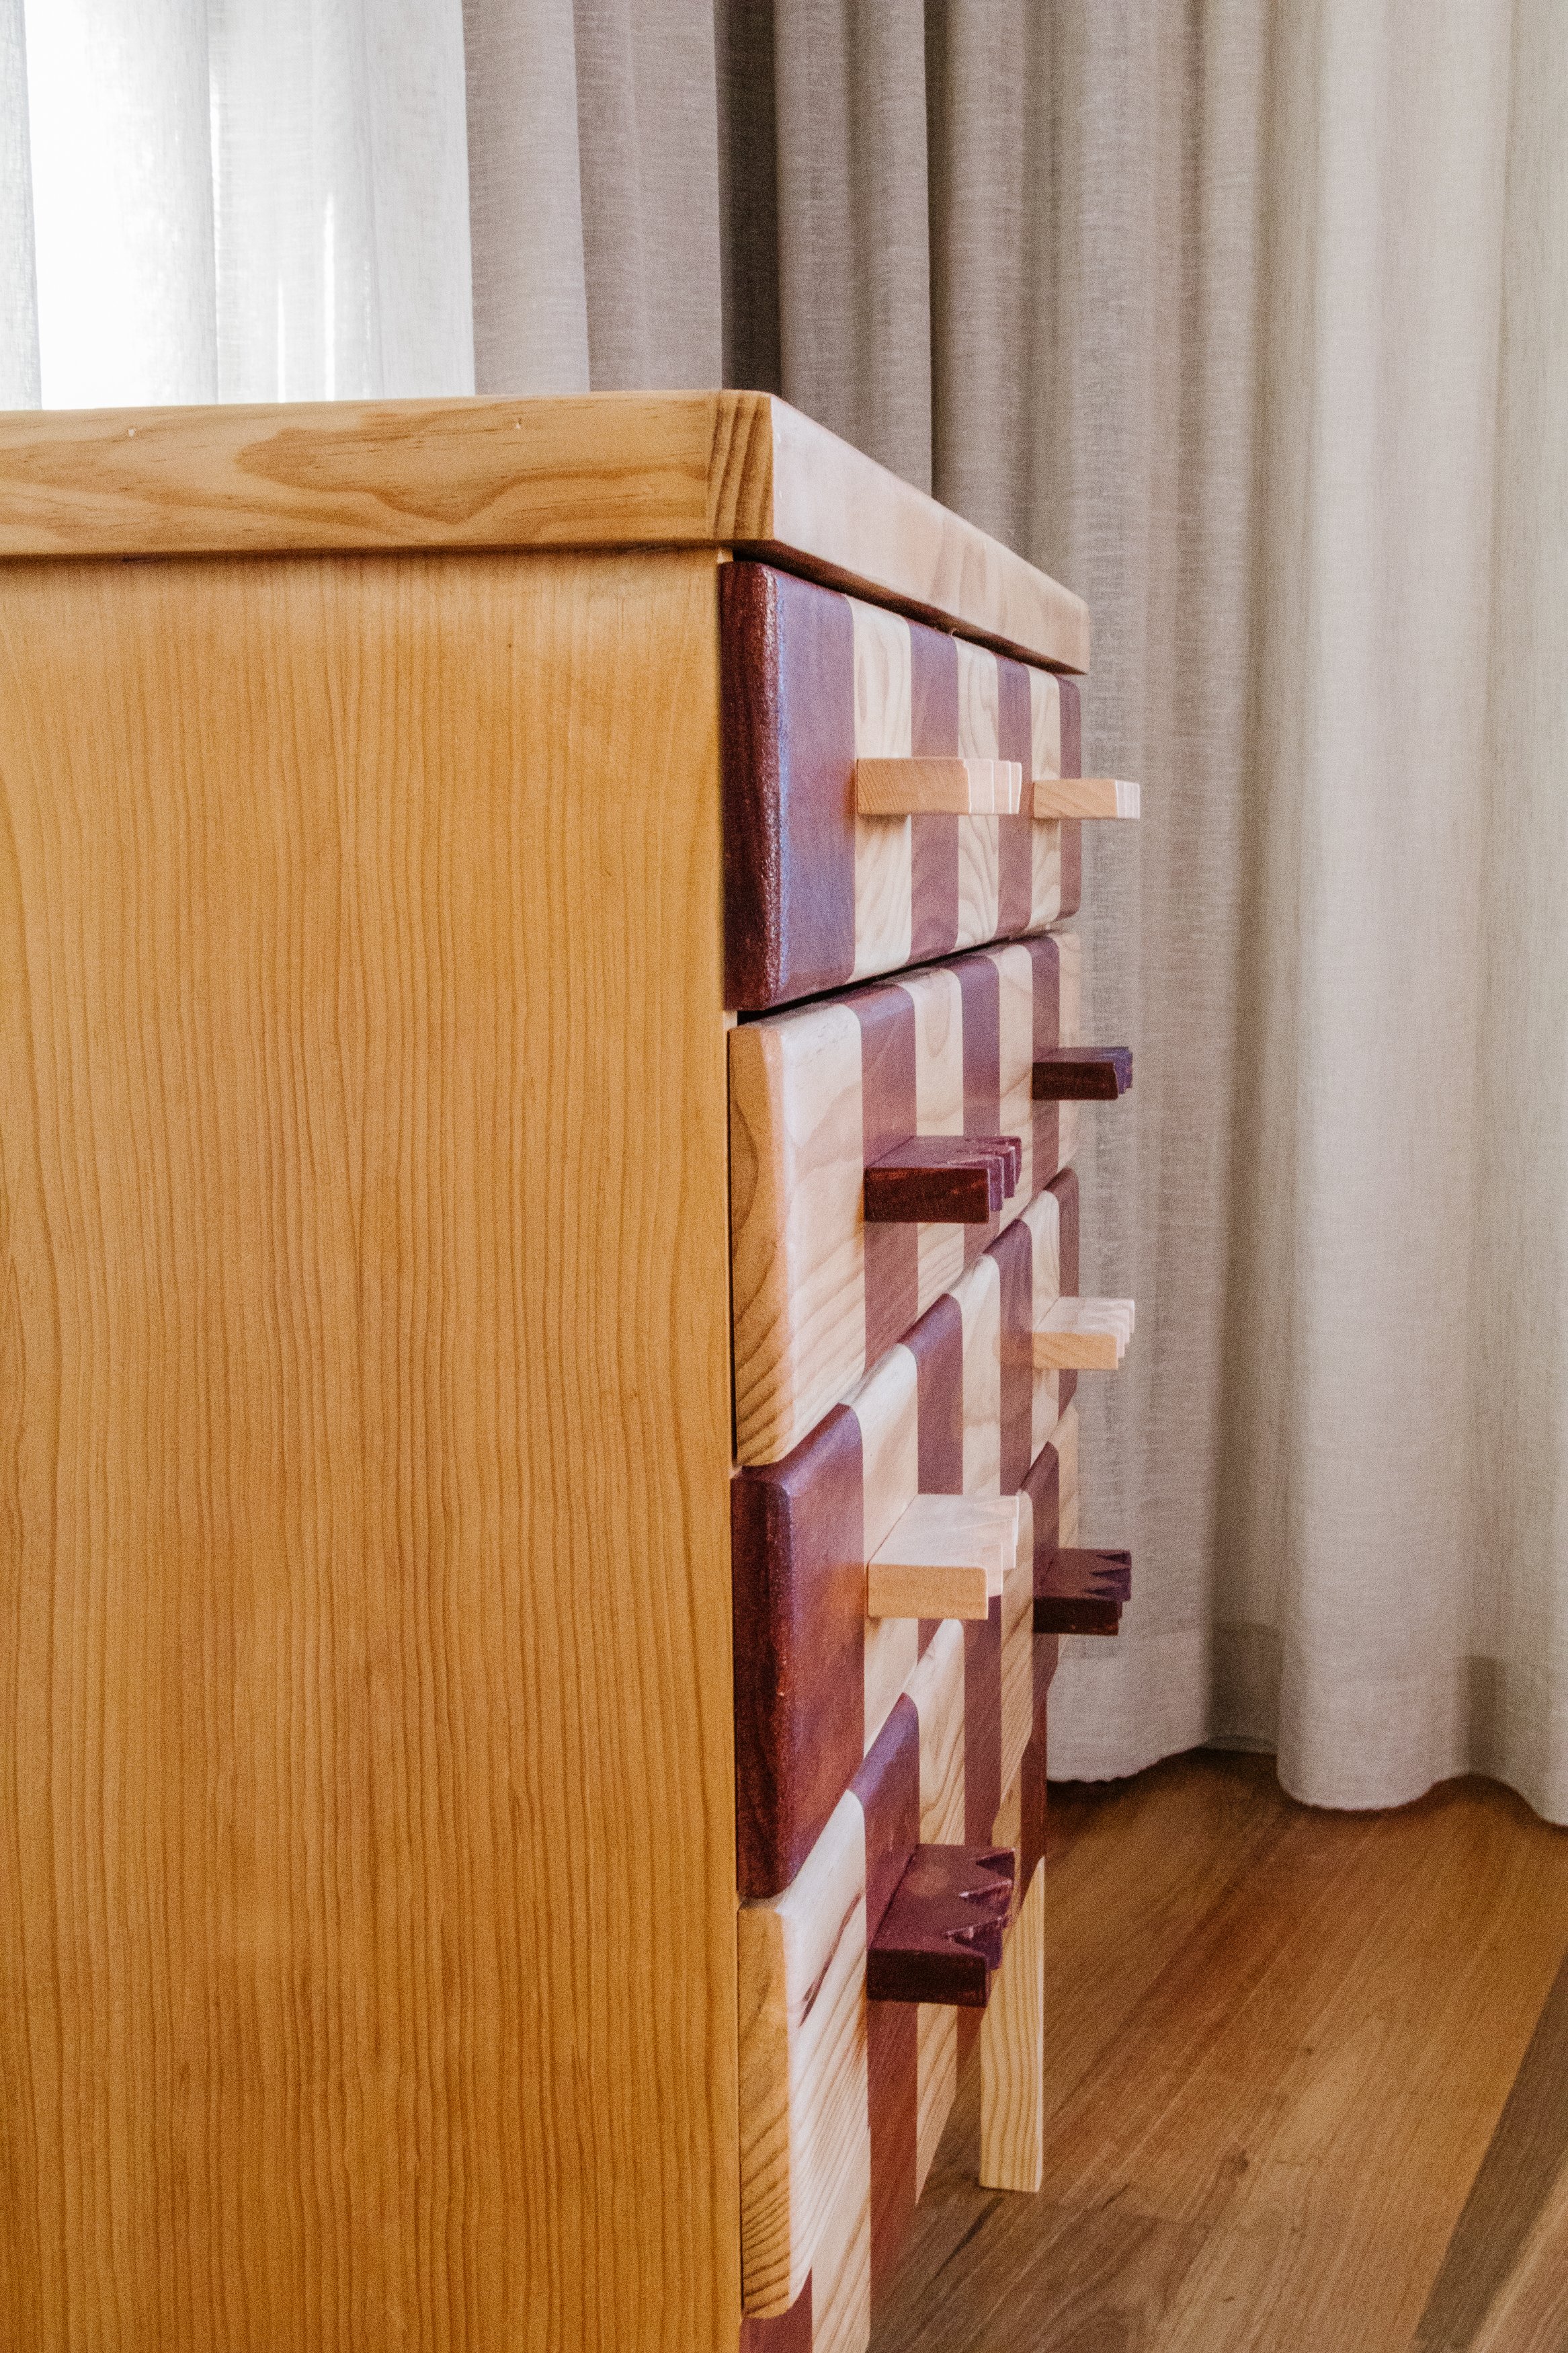
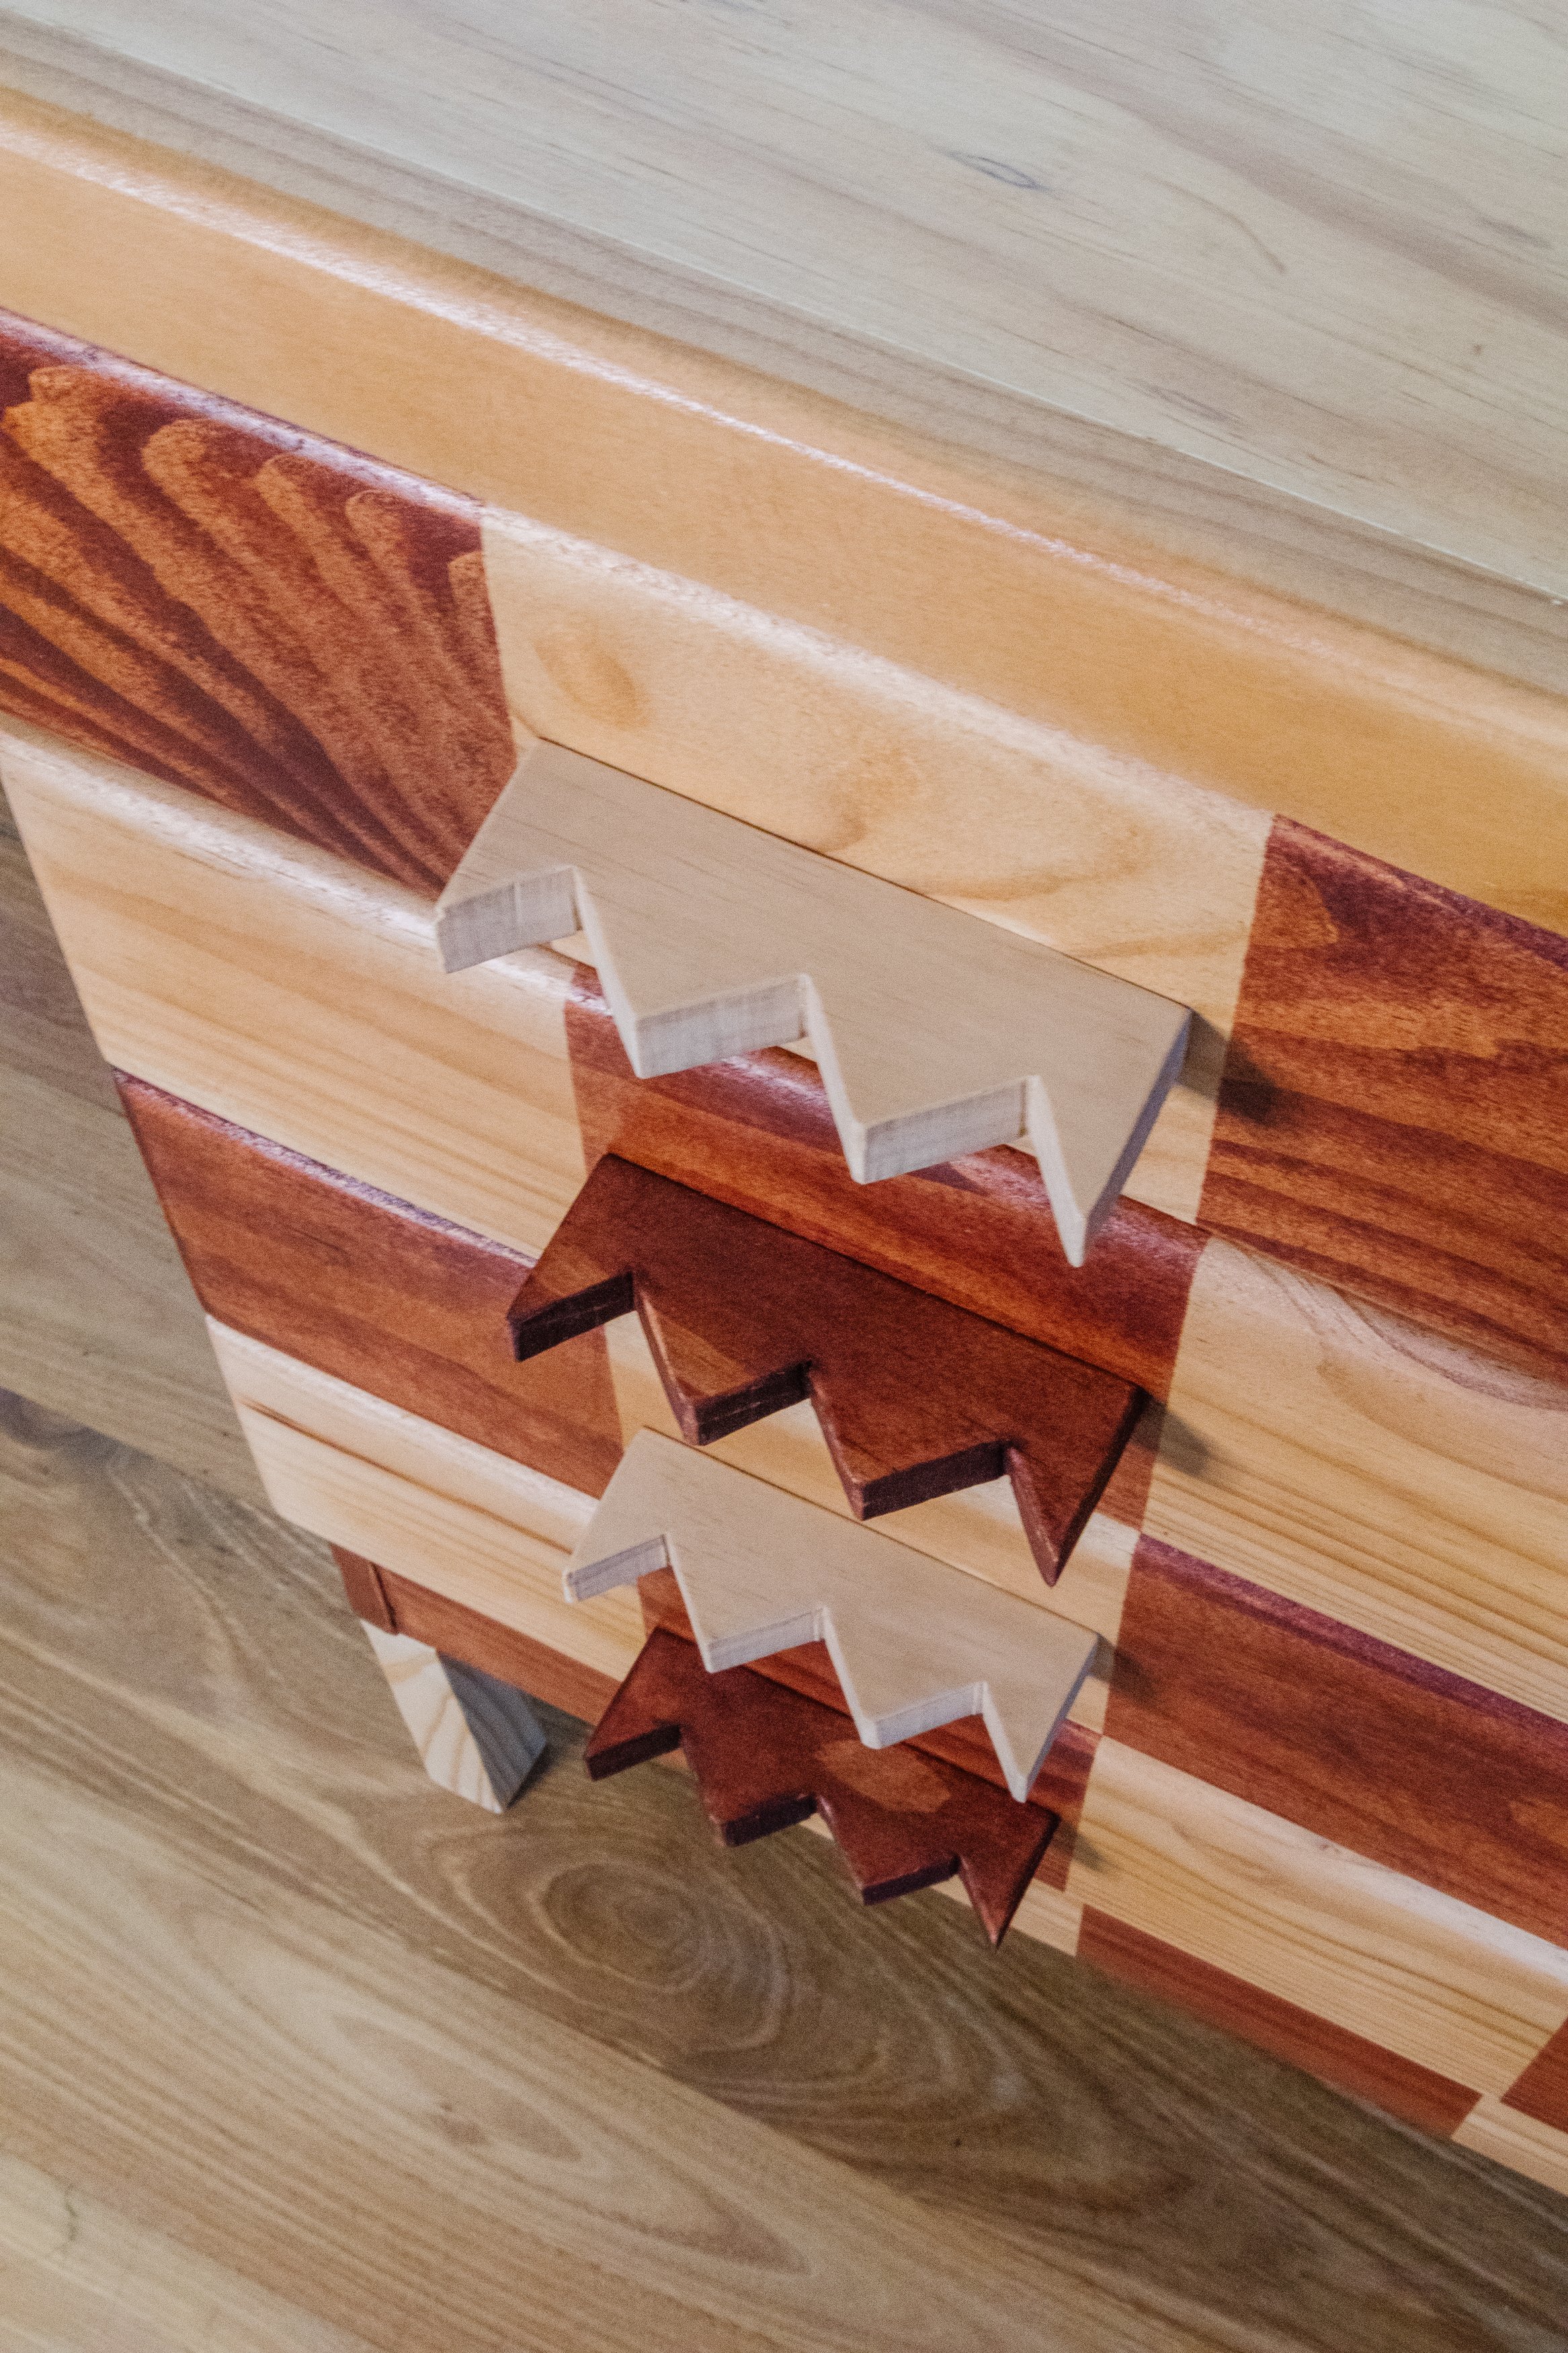
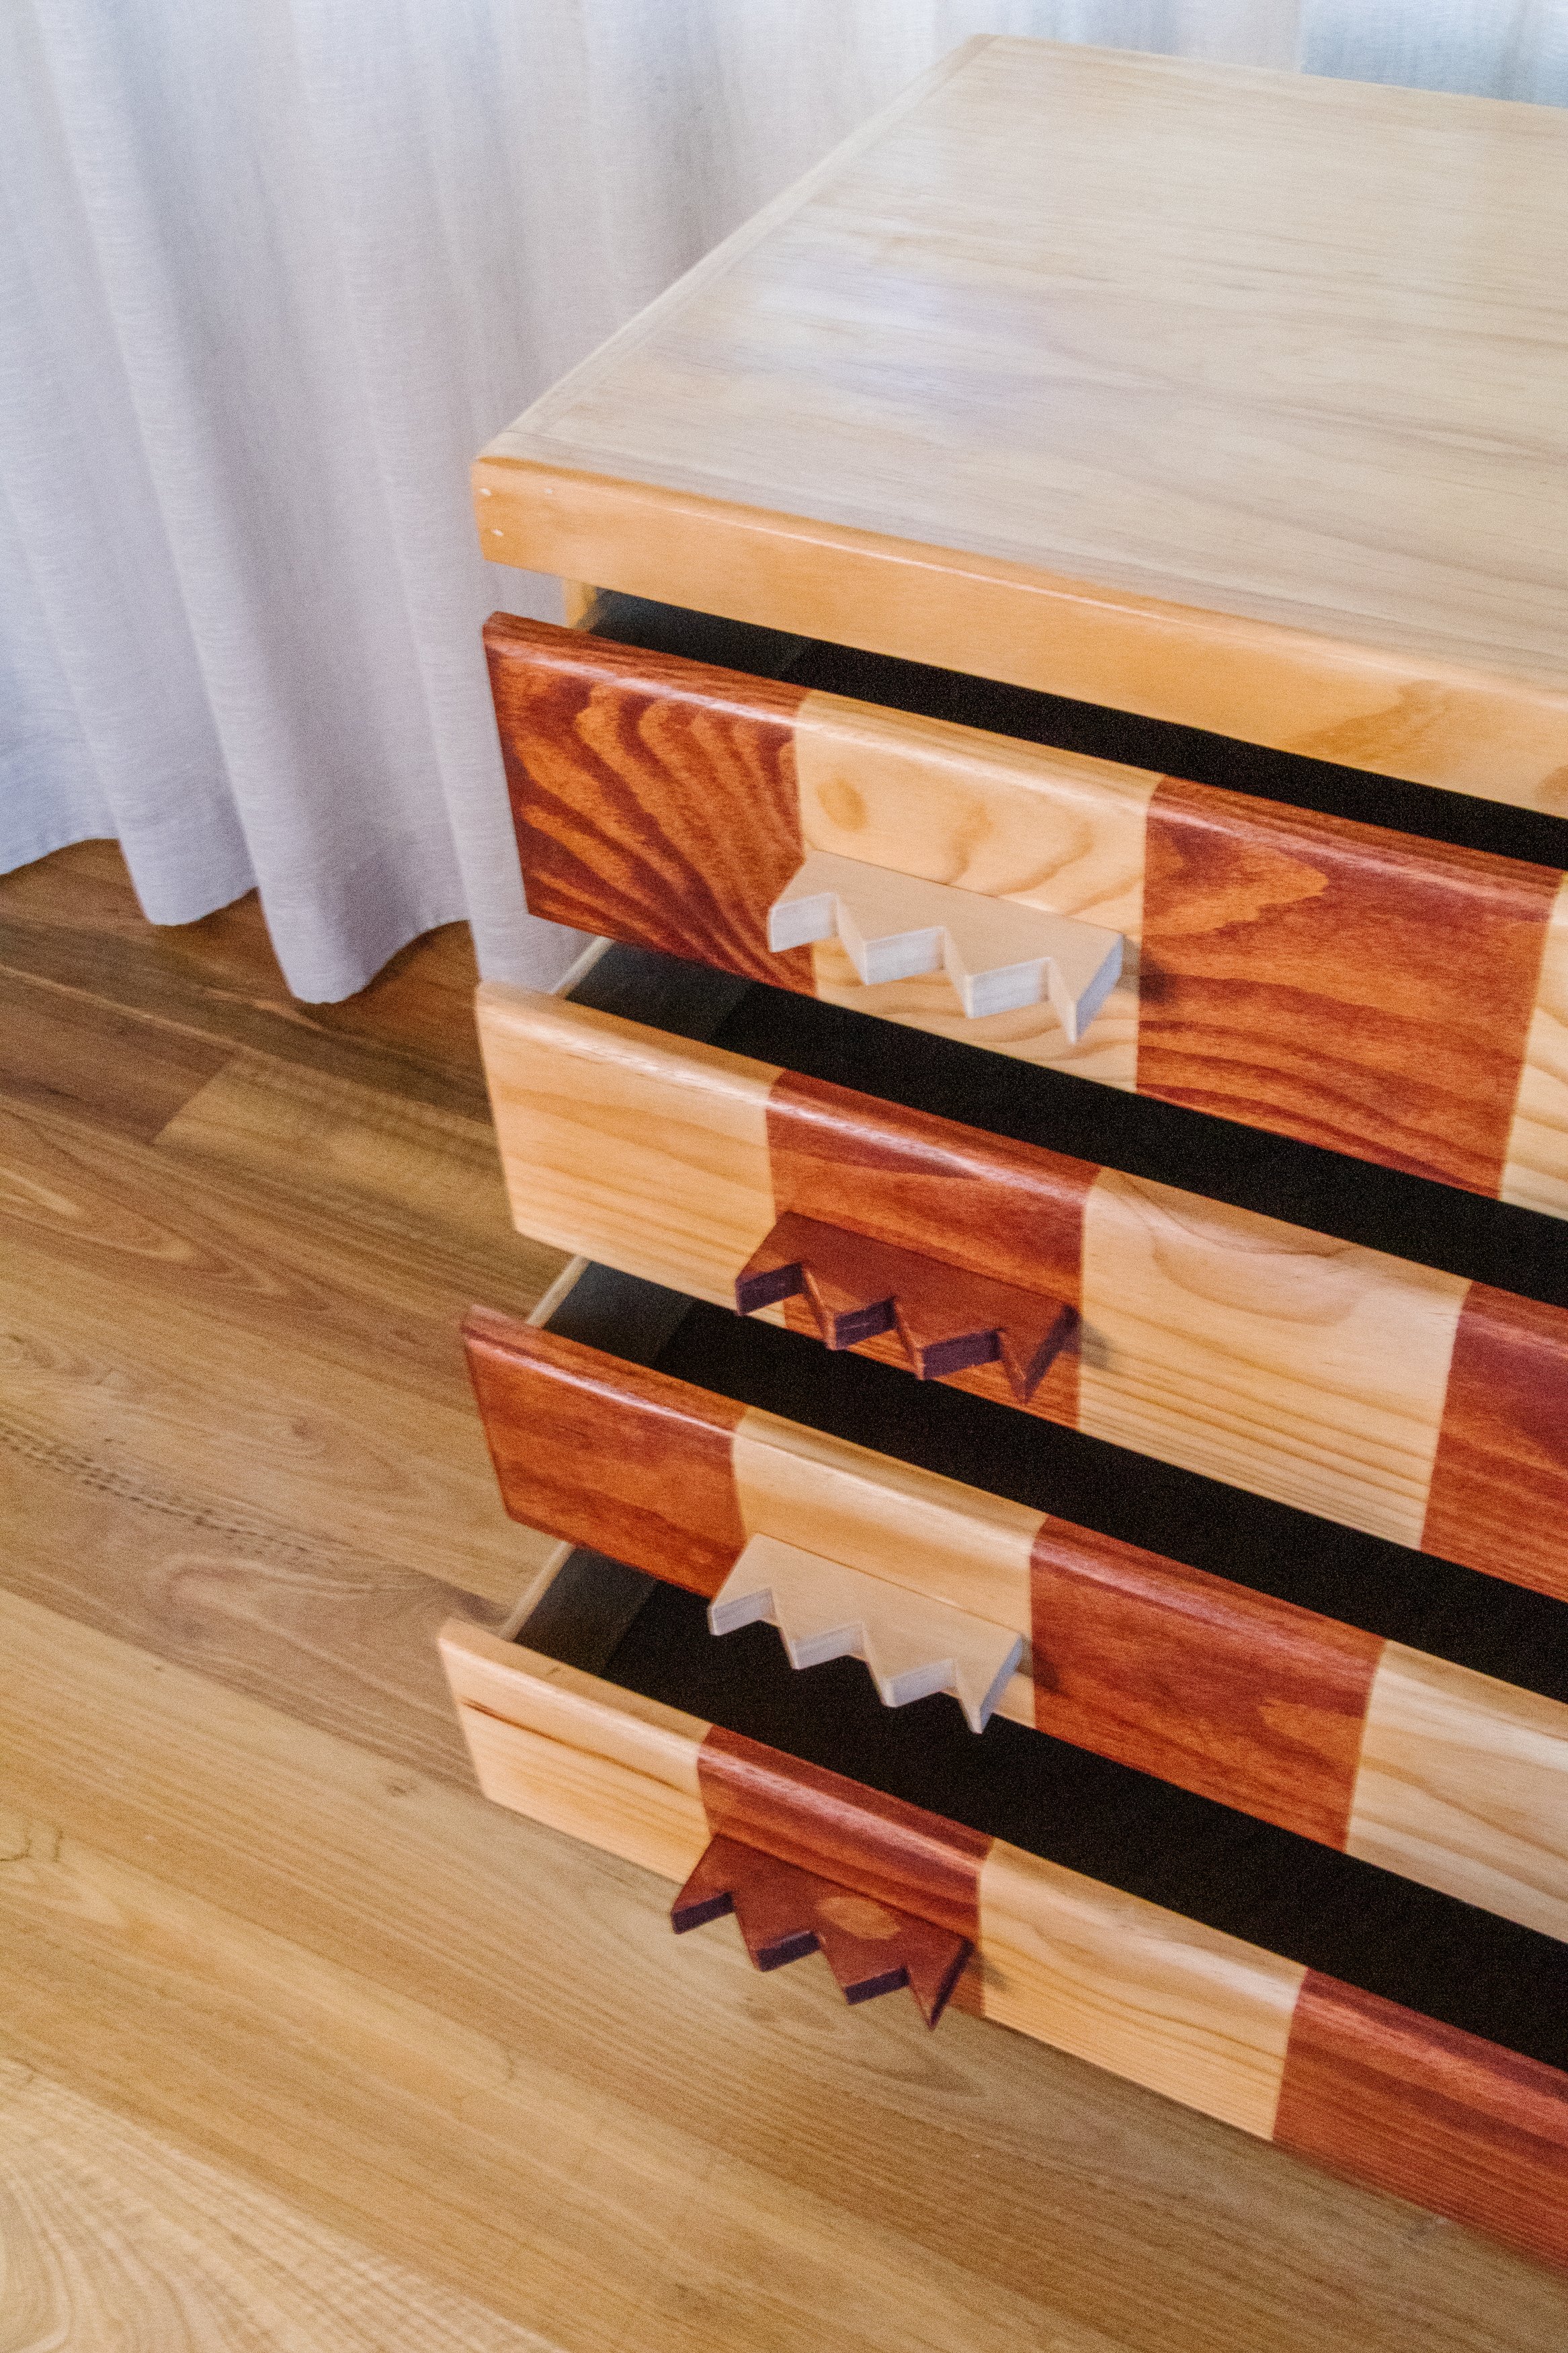
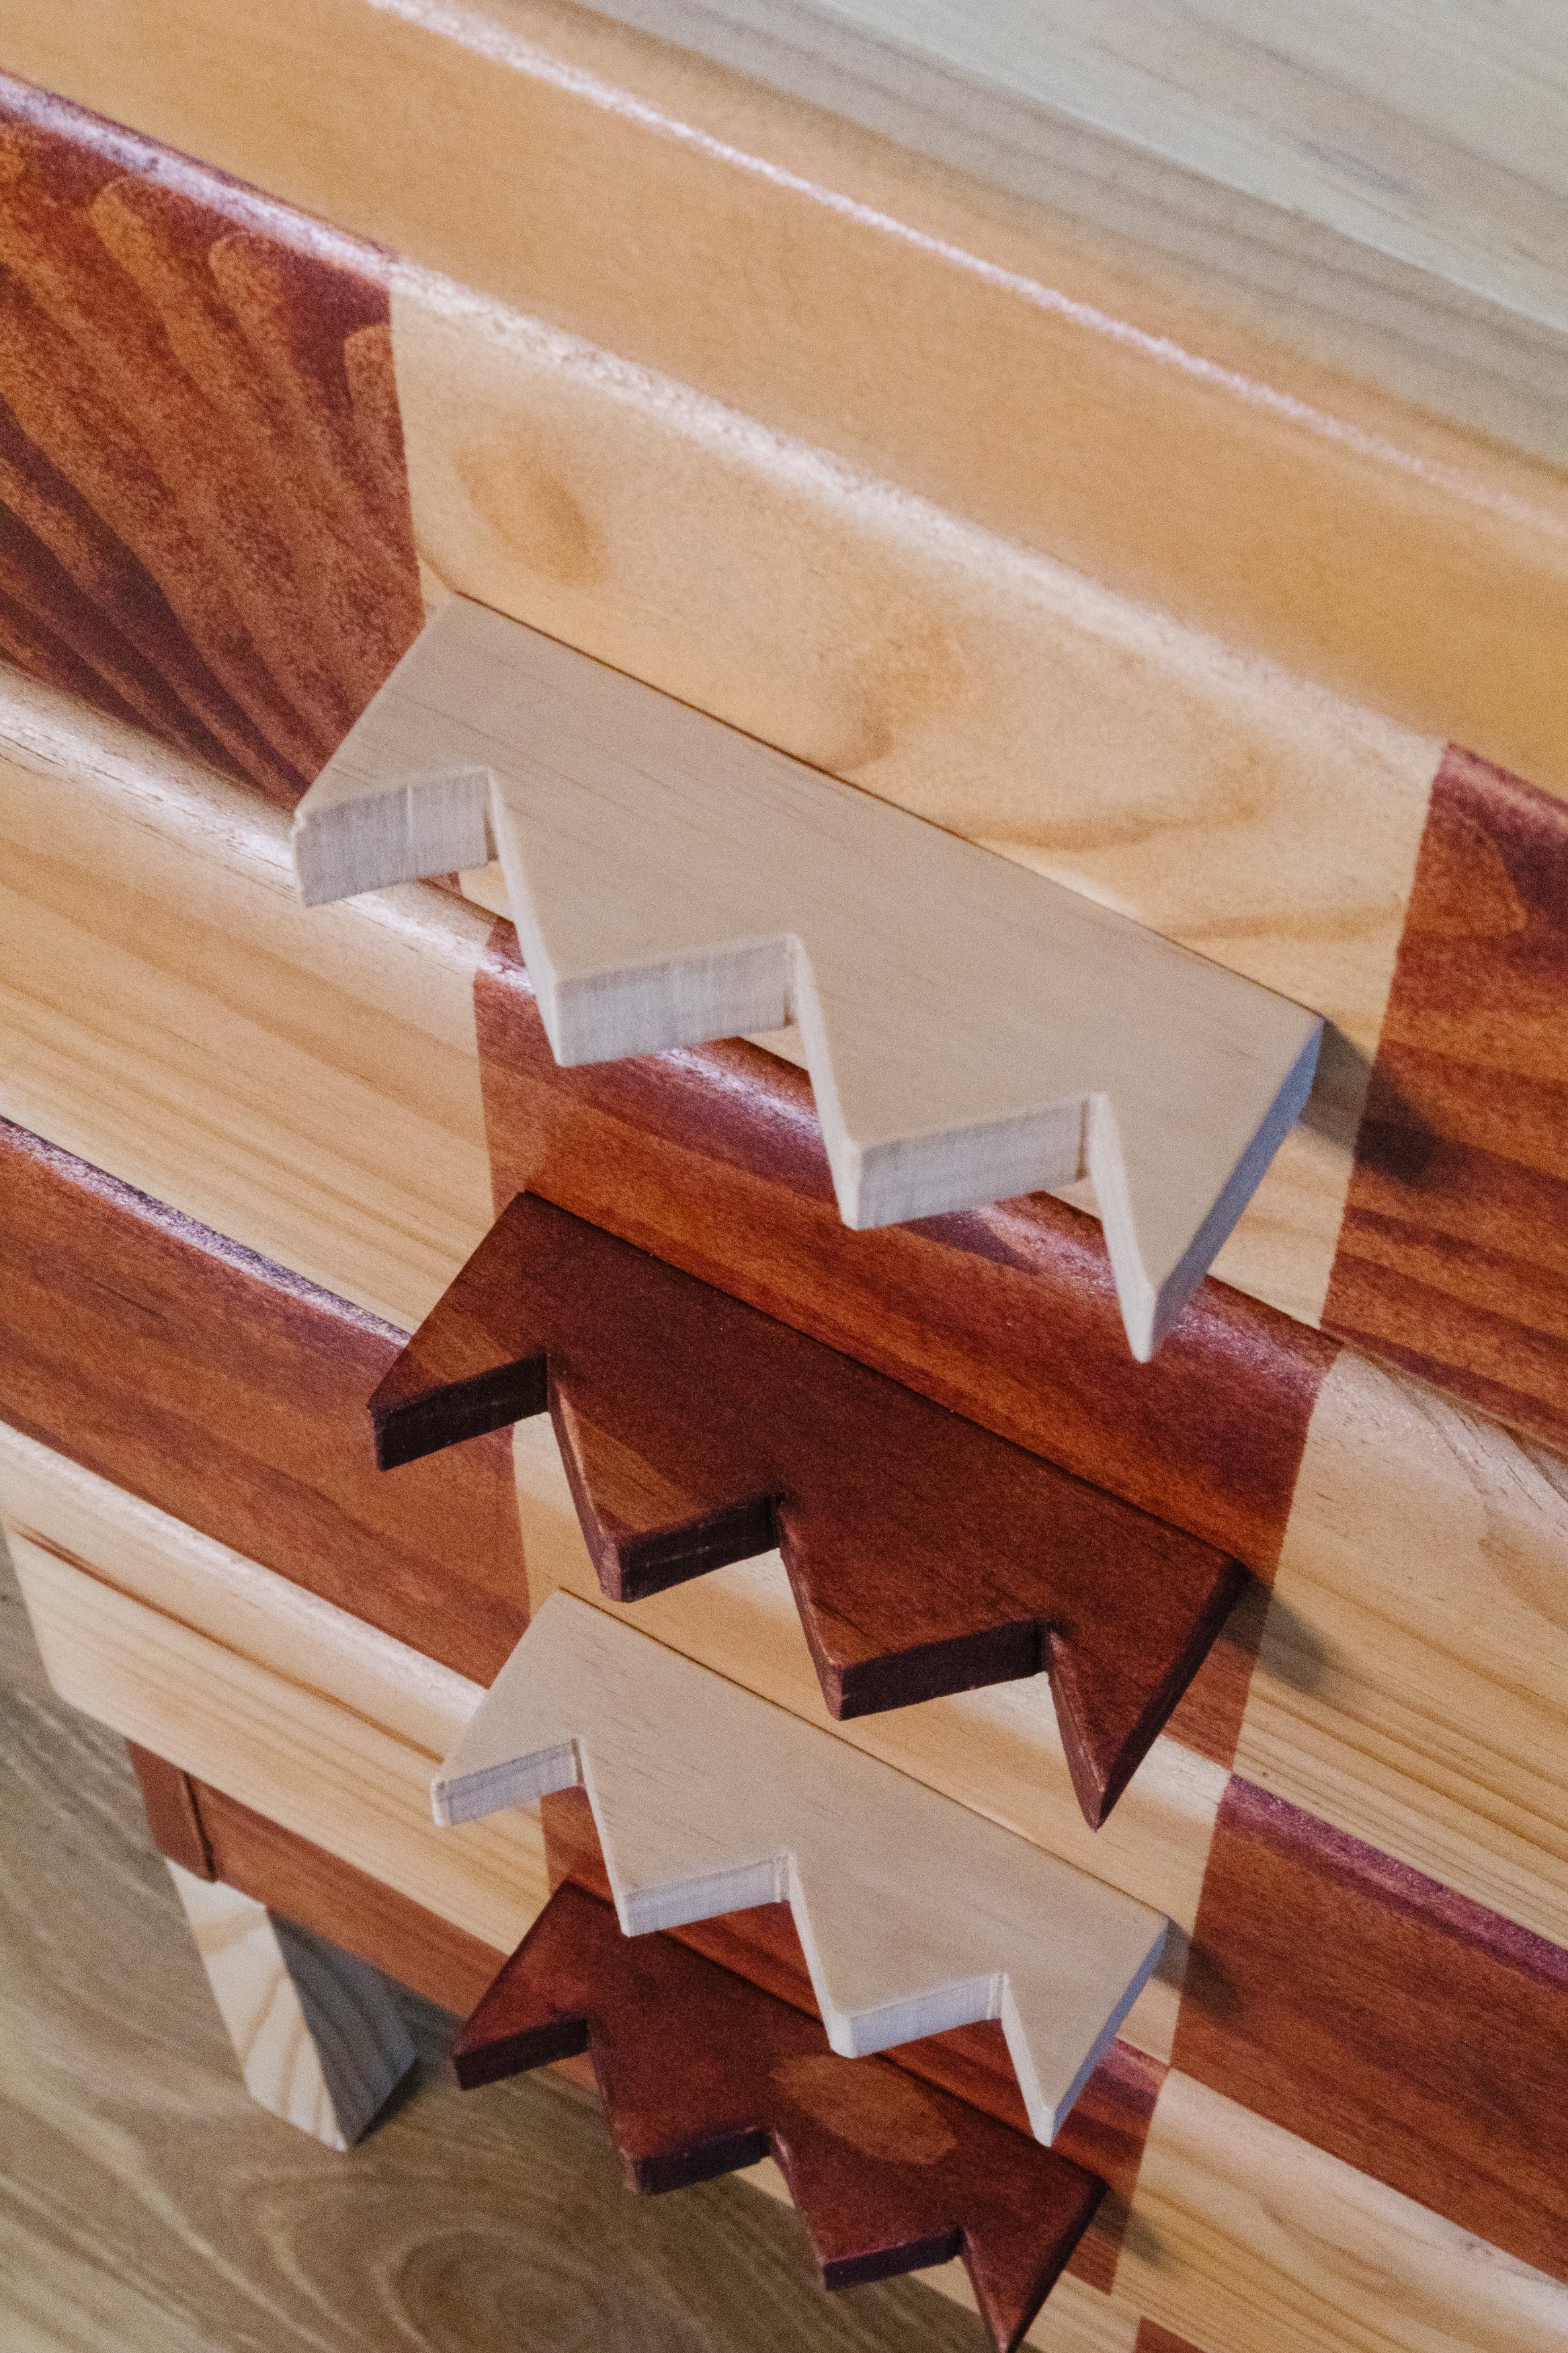
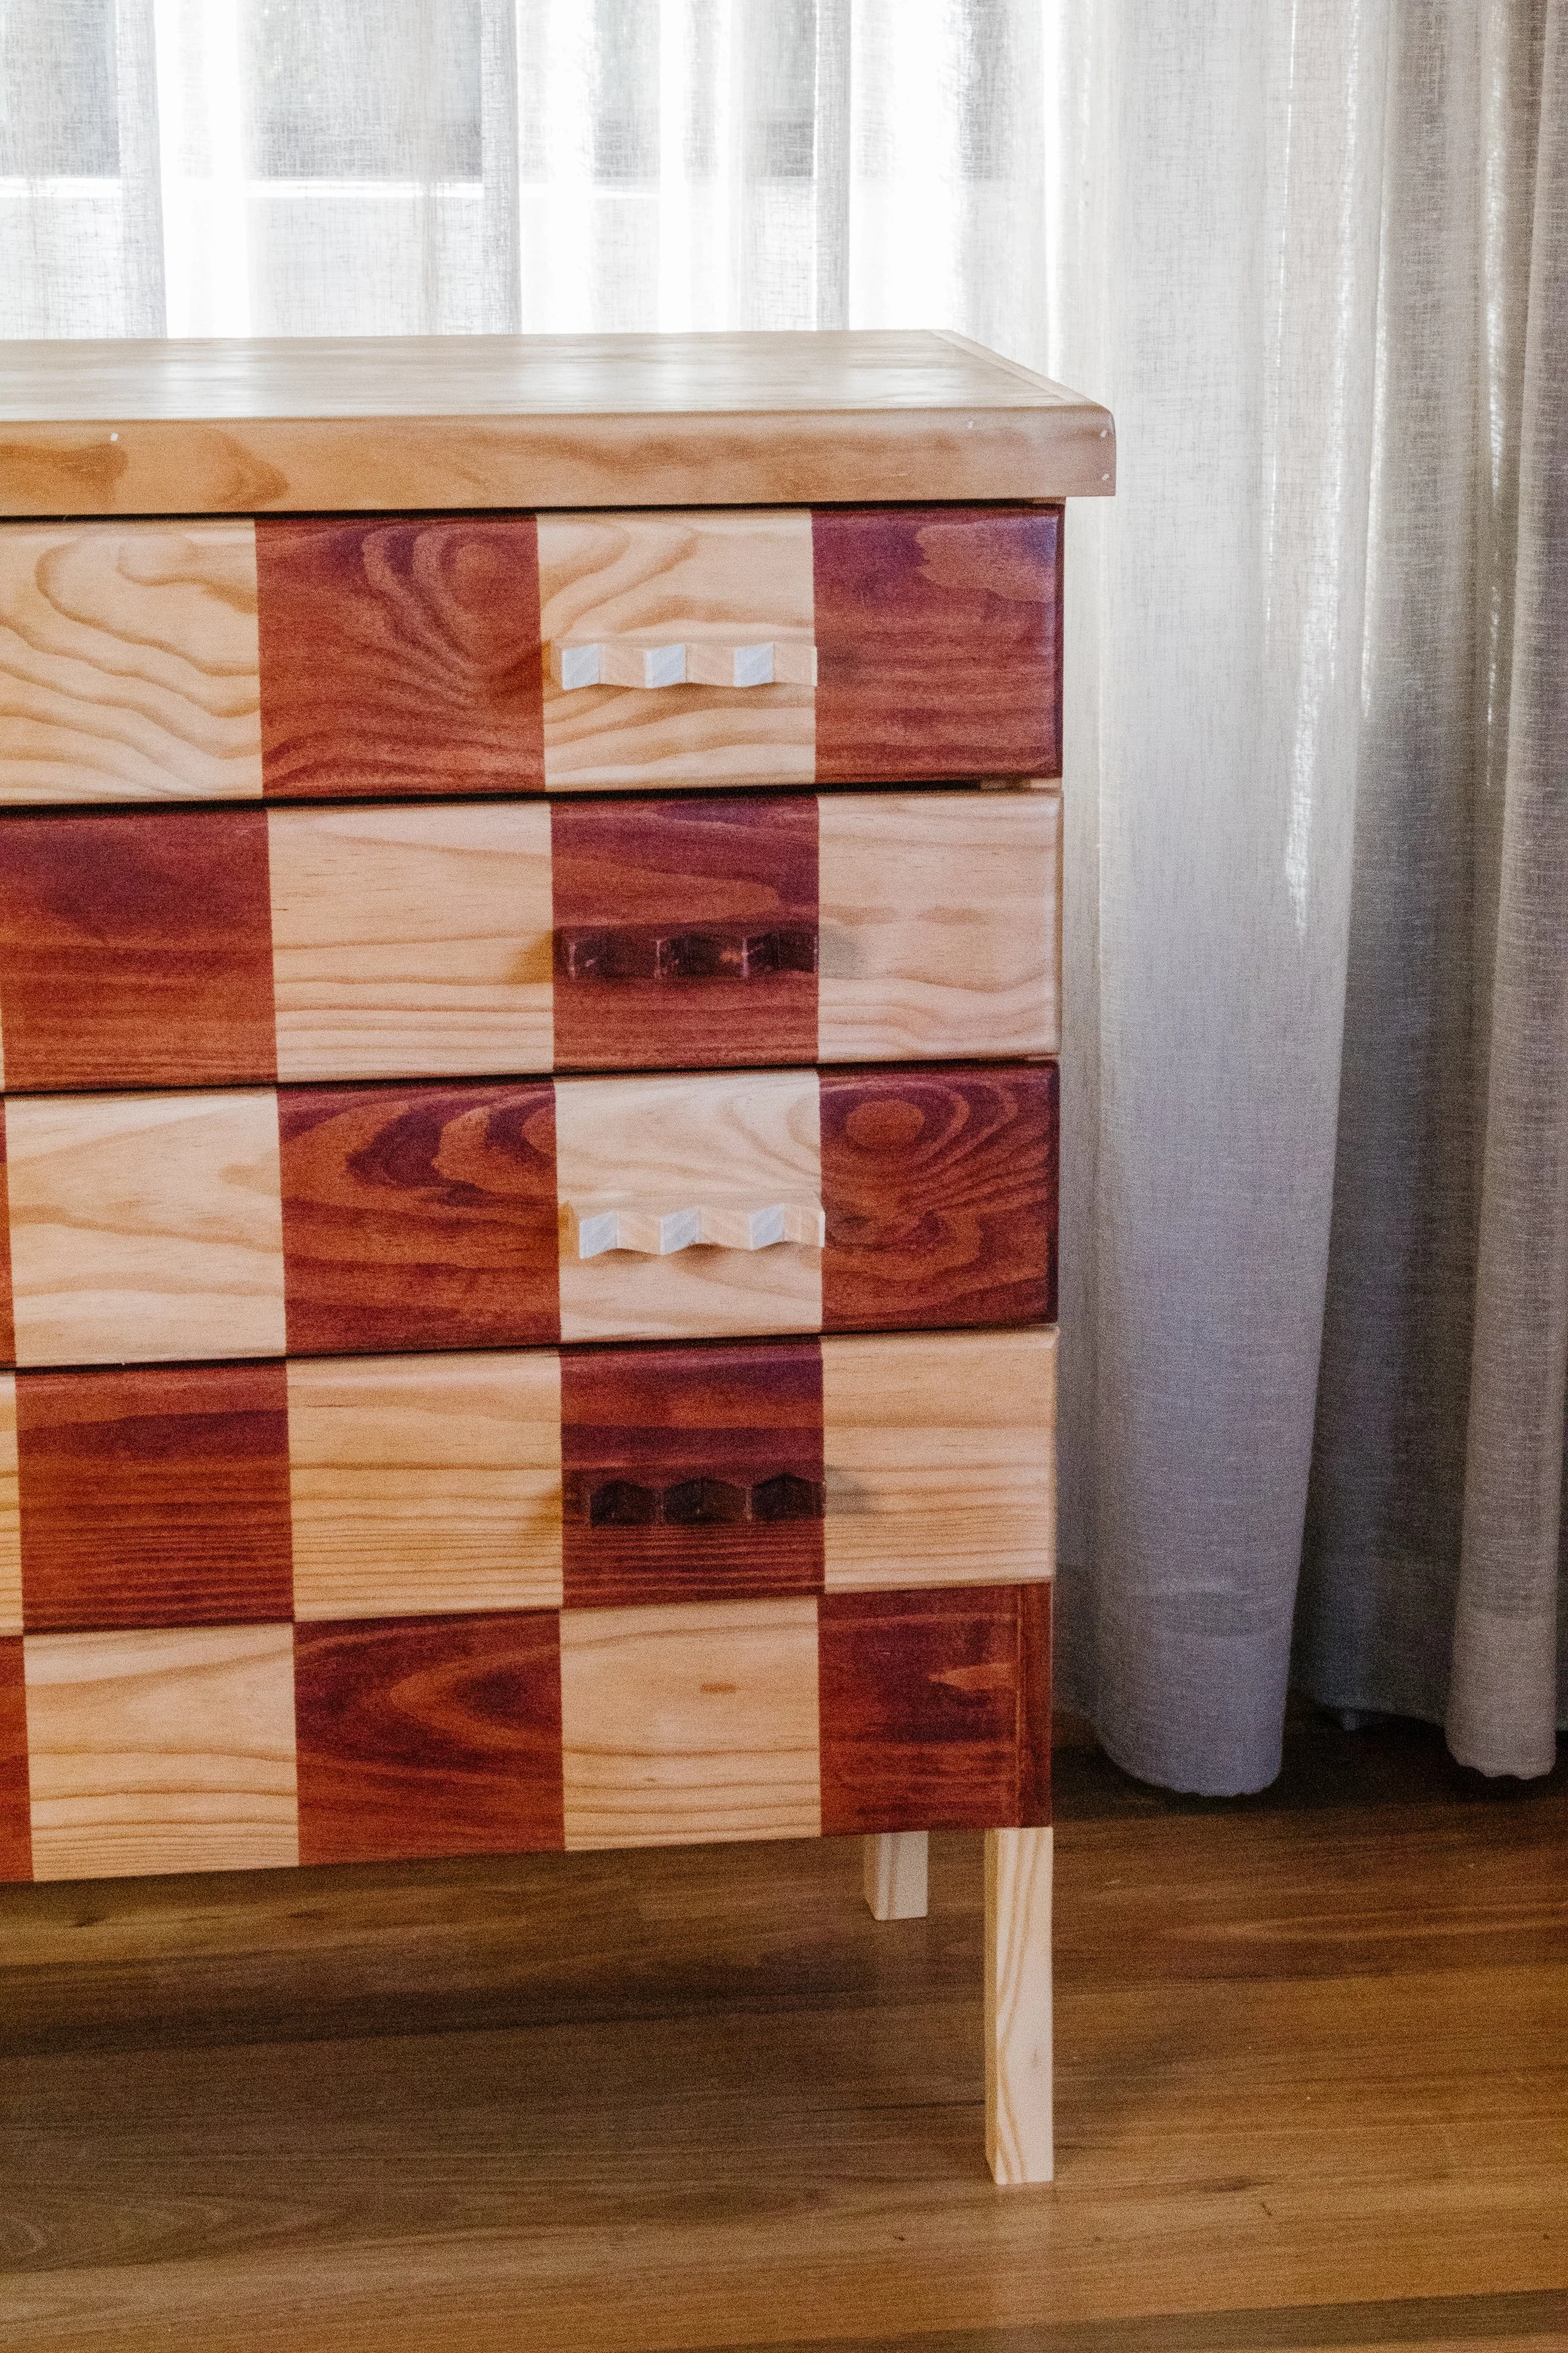
Handles of your choice; I used my own design
Tools
Orbital sander with 80 and 240 grit sanding sheets
Face mask
Safety glasses
Washi painters tape
Microfibre cloth
Gloves
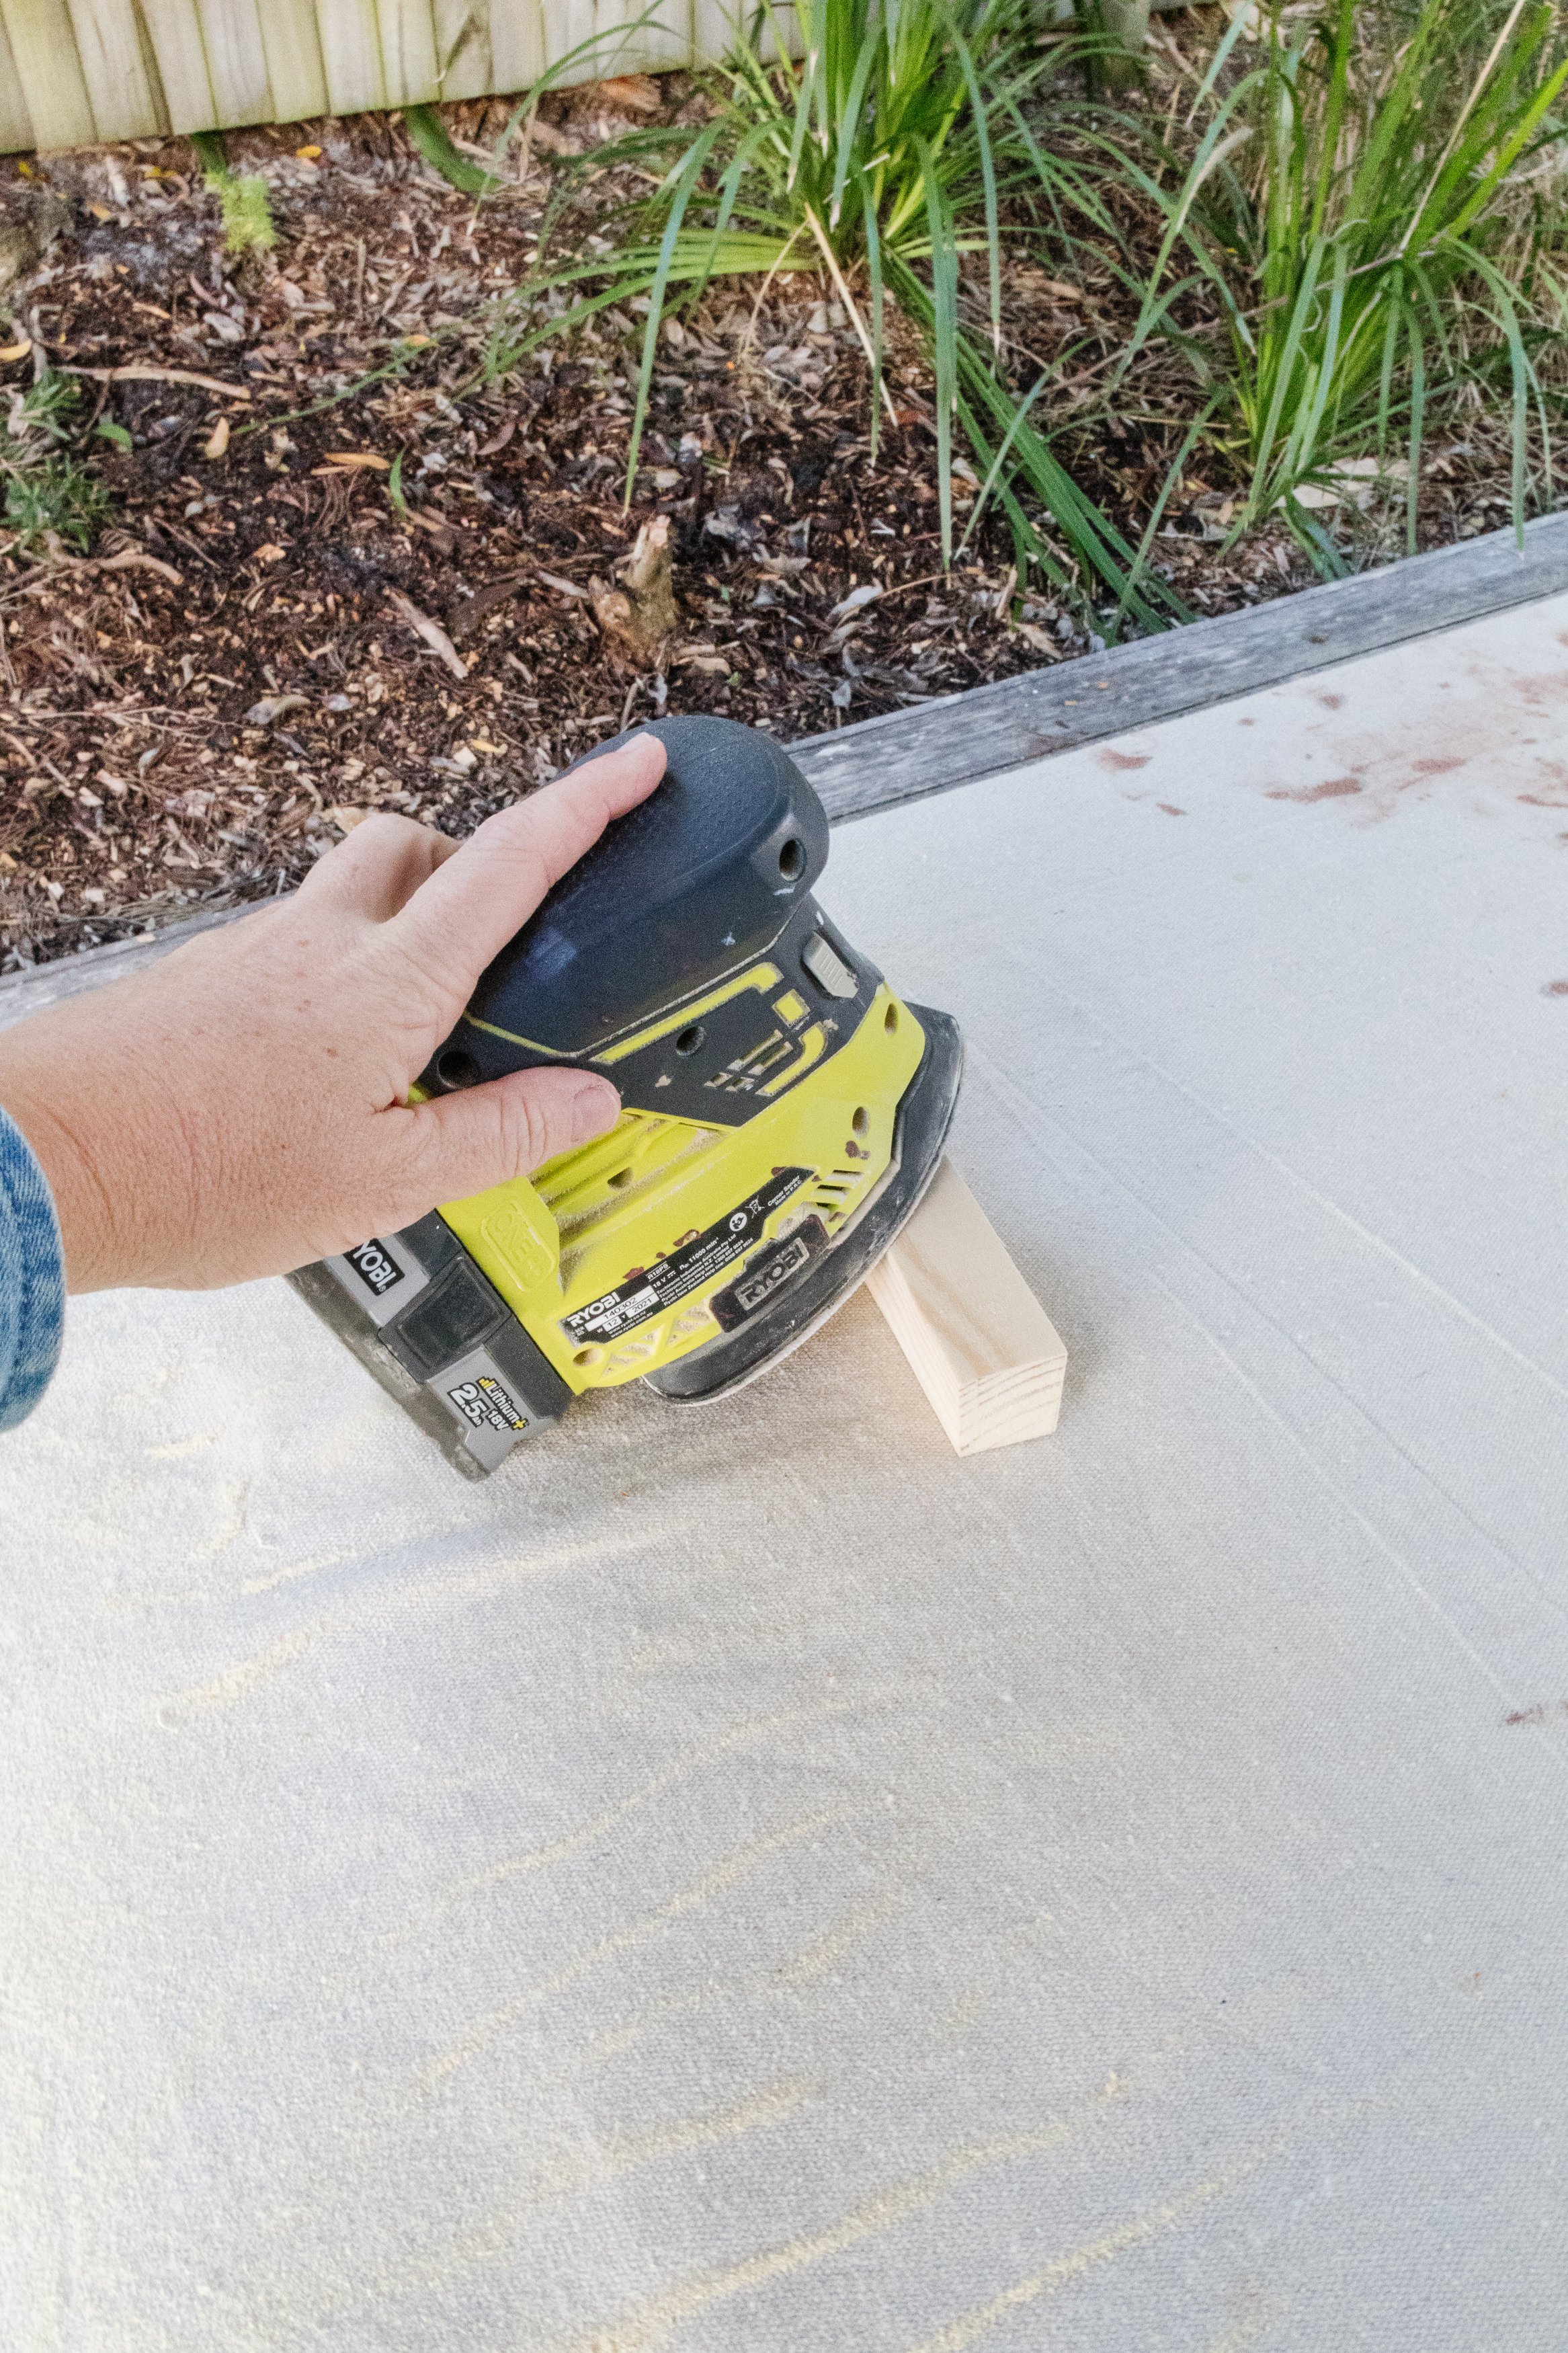
Detail sander
How To: Find the perfect piece of furniture for this project
If you are inspired to recreate this project (which I hope you are!) I recommend looking for a piece of furniture that has measurements that allow you to create a square checker pattern. You could even apply a rectangle checker pattern, similarly to what I did for my Upcycled Mid Century Modern Drawers project. Alternatively, you could create a stripe pattern. Just make sure your painters tape is evenly distributed across the face of your furniture; I would start in the middle and work my way out when applying the painters tape.
How To
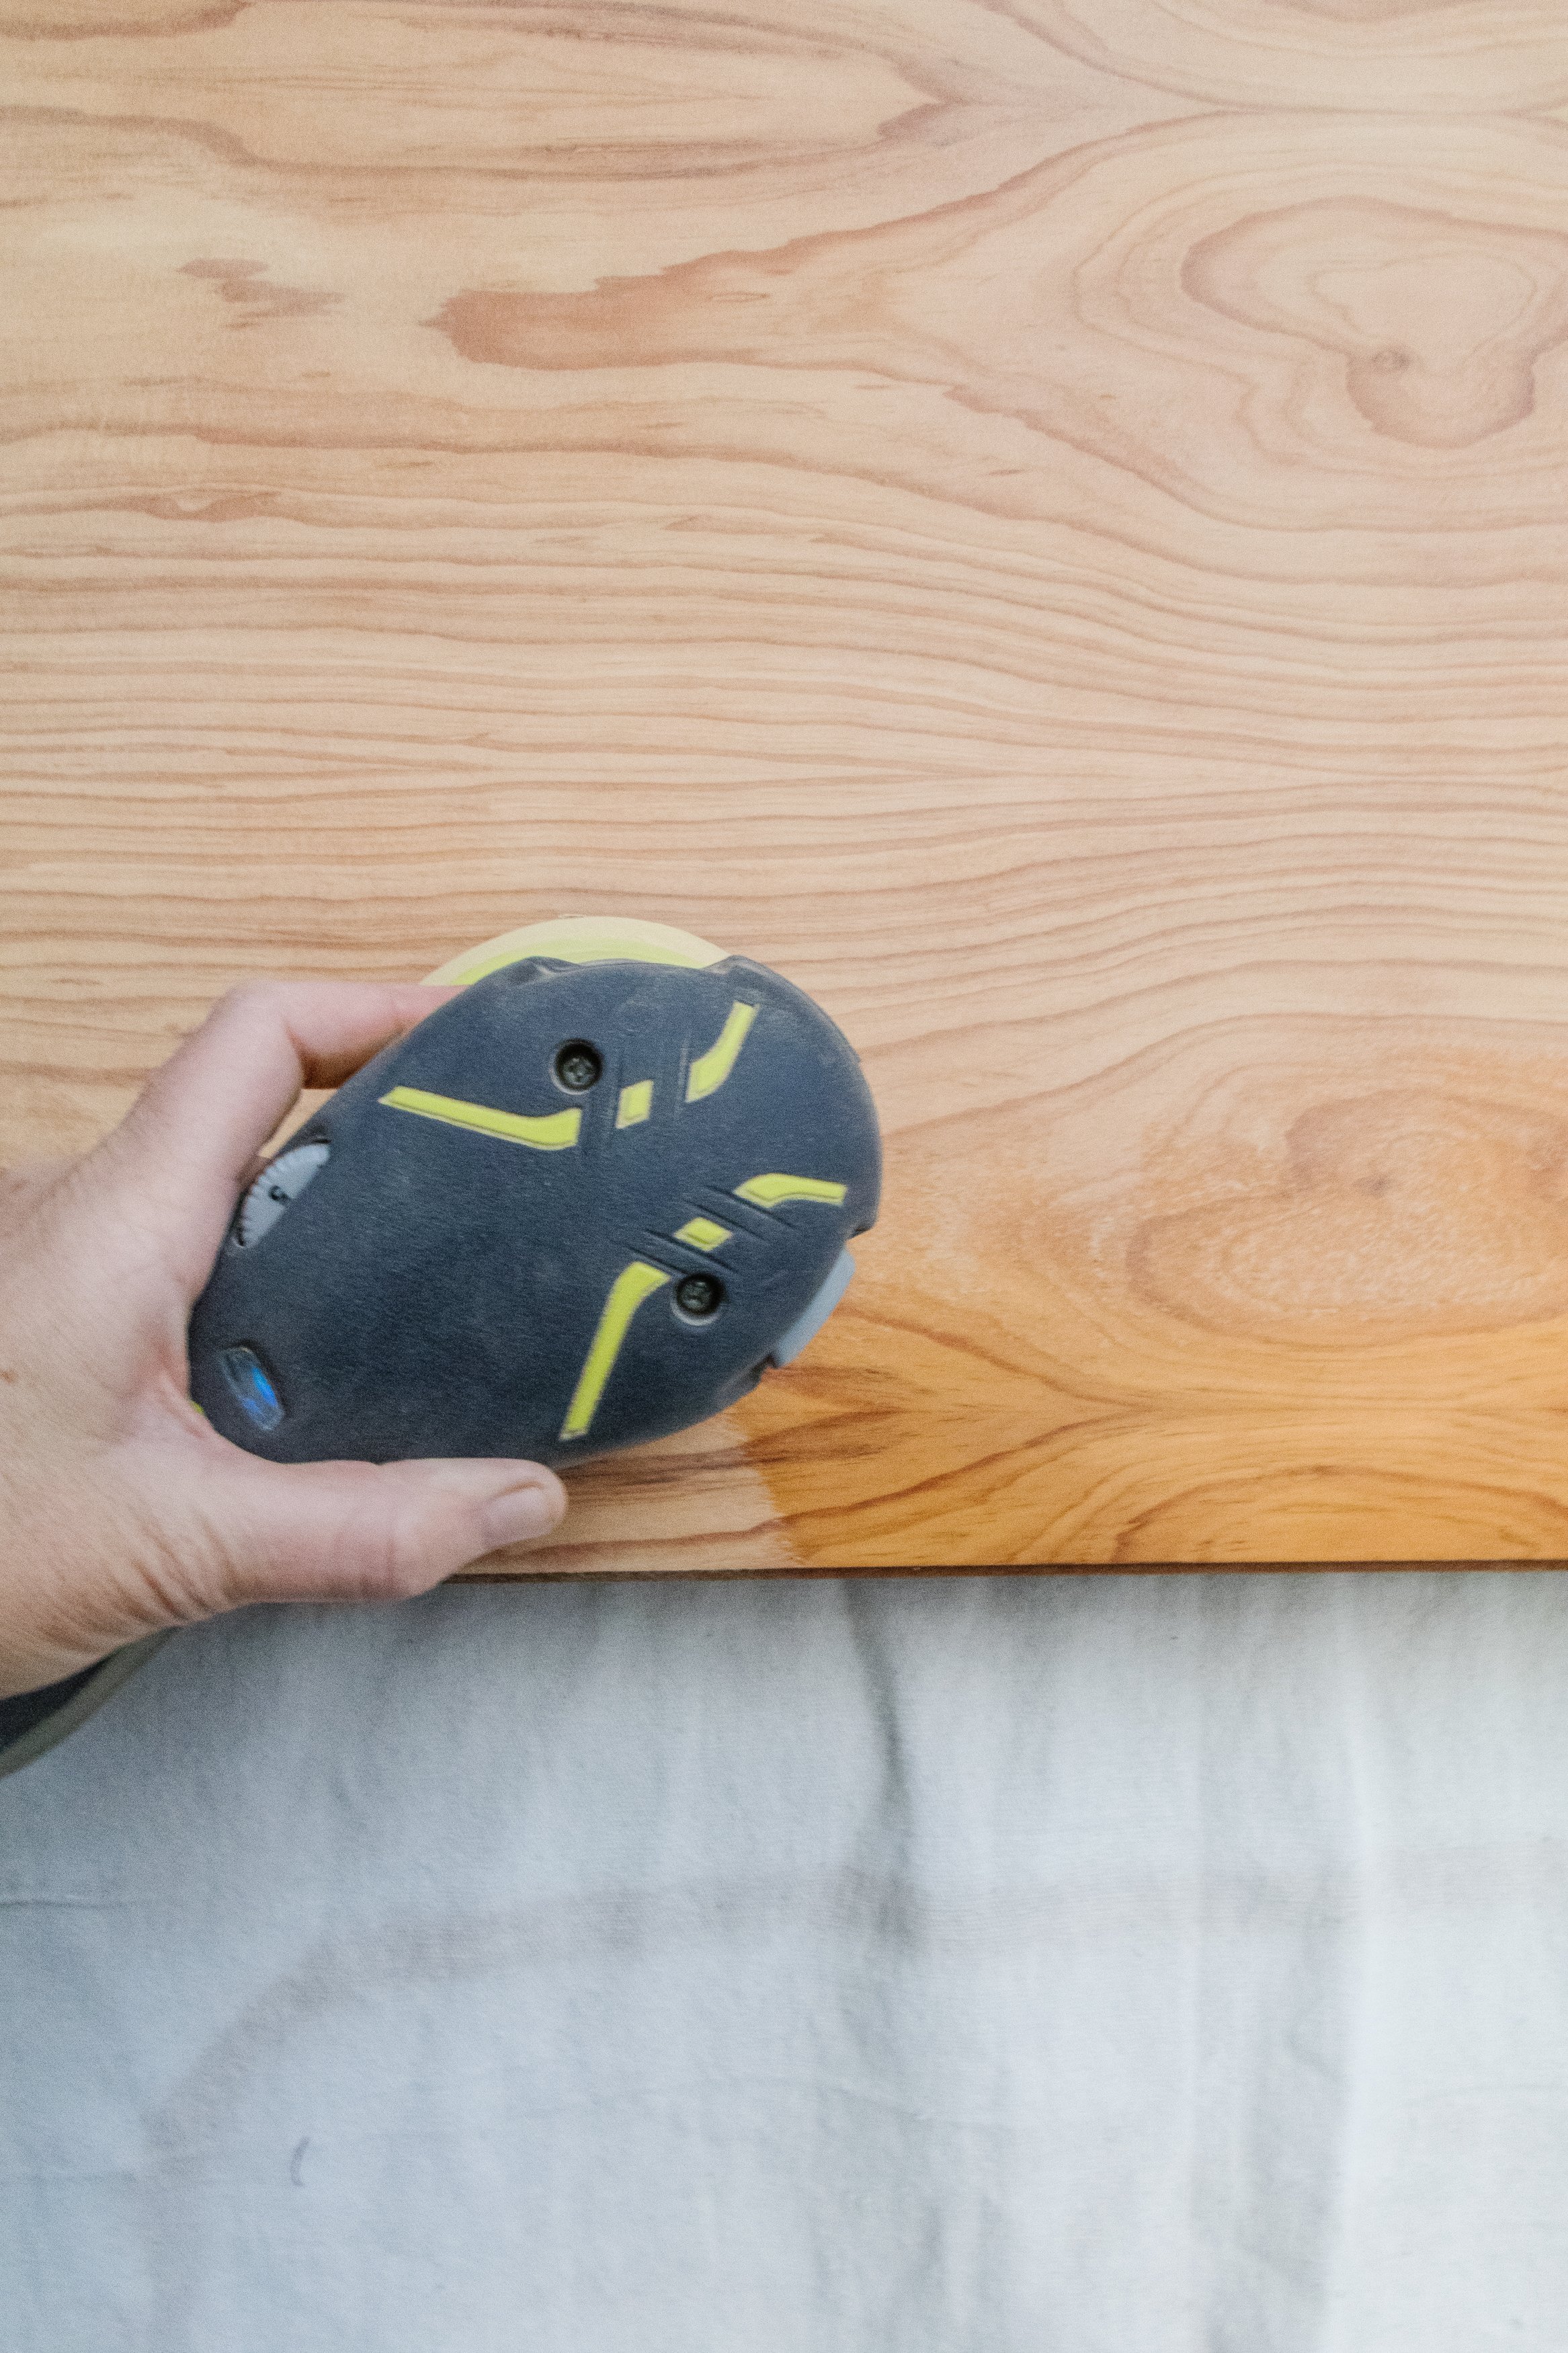
Step 1: To begin I removed the existing handles and screws and put them into a ziplock bag for safekeeping. I removed varnish from the drawers using an 80 grit sheet first, which did the legwork followed by a 240 grit sheet, which smoothed out the timber. I dedicated a fair bit of time sanding the entire piece to ensure it was smooth and even. After sanding was complete I wiped the drawers down to remove any sanding residue and dust.


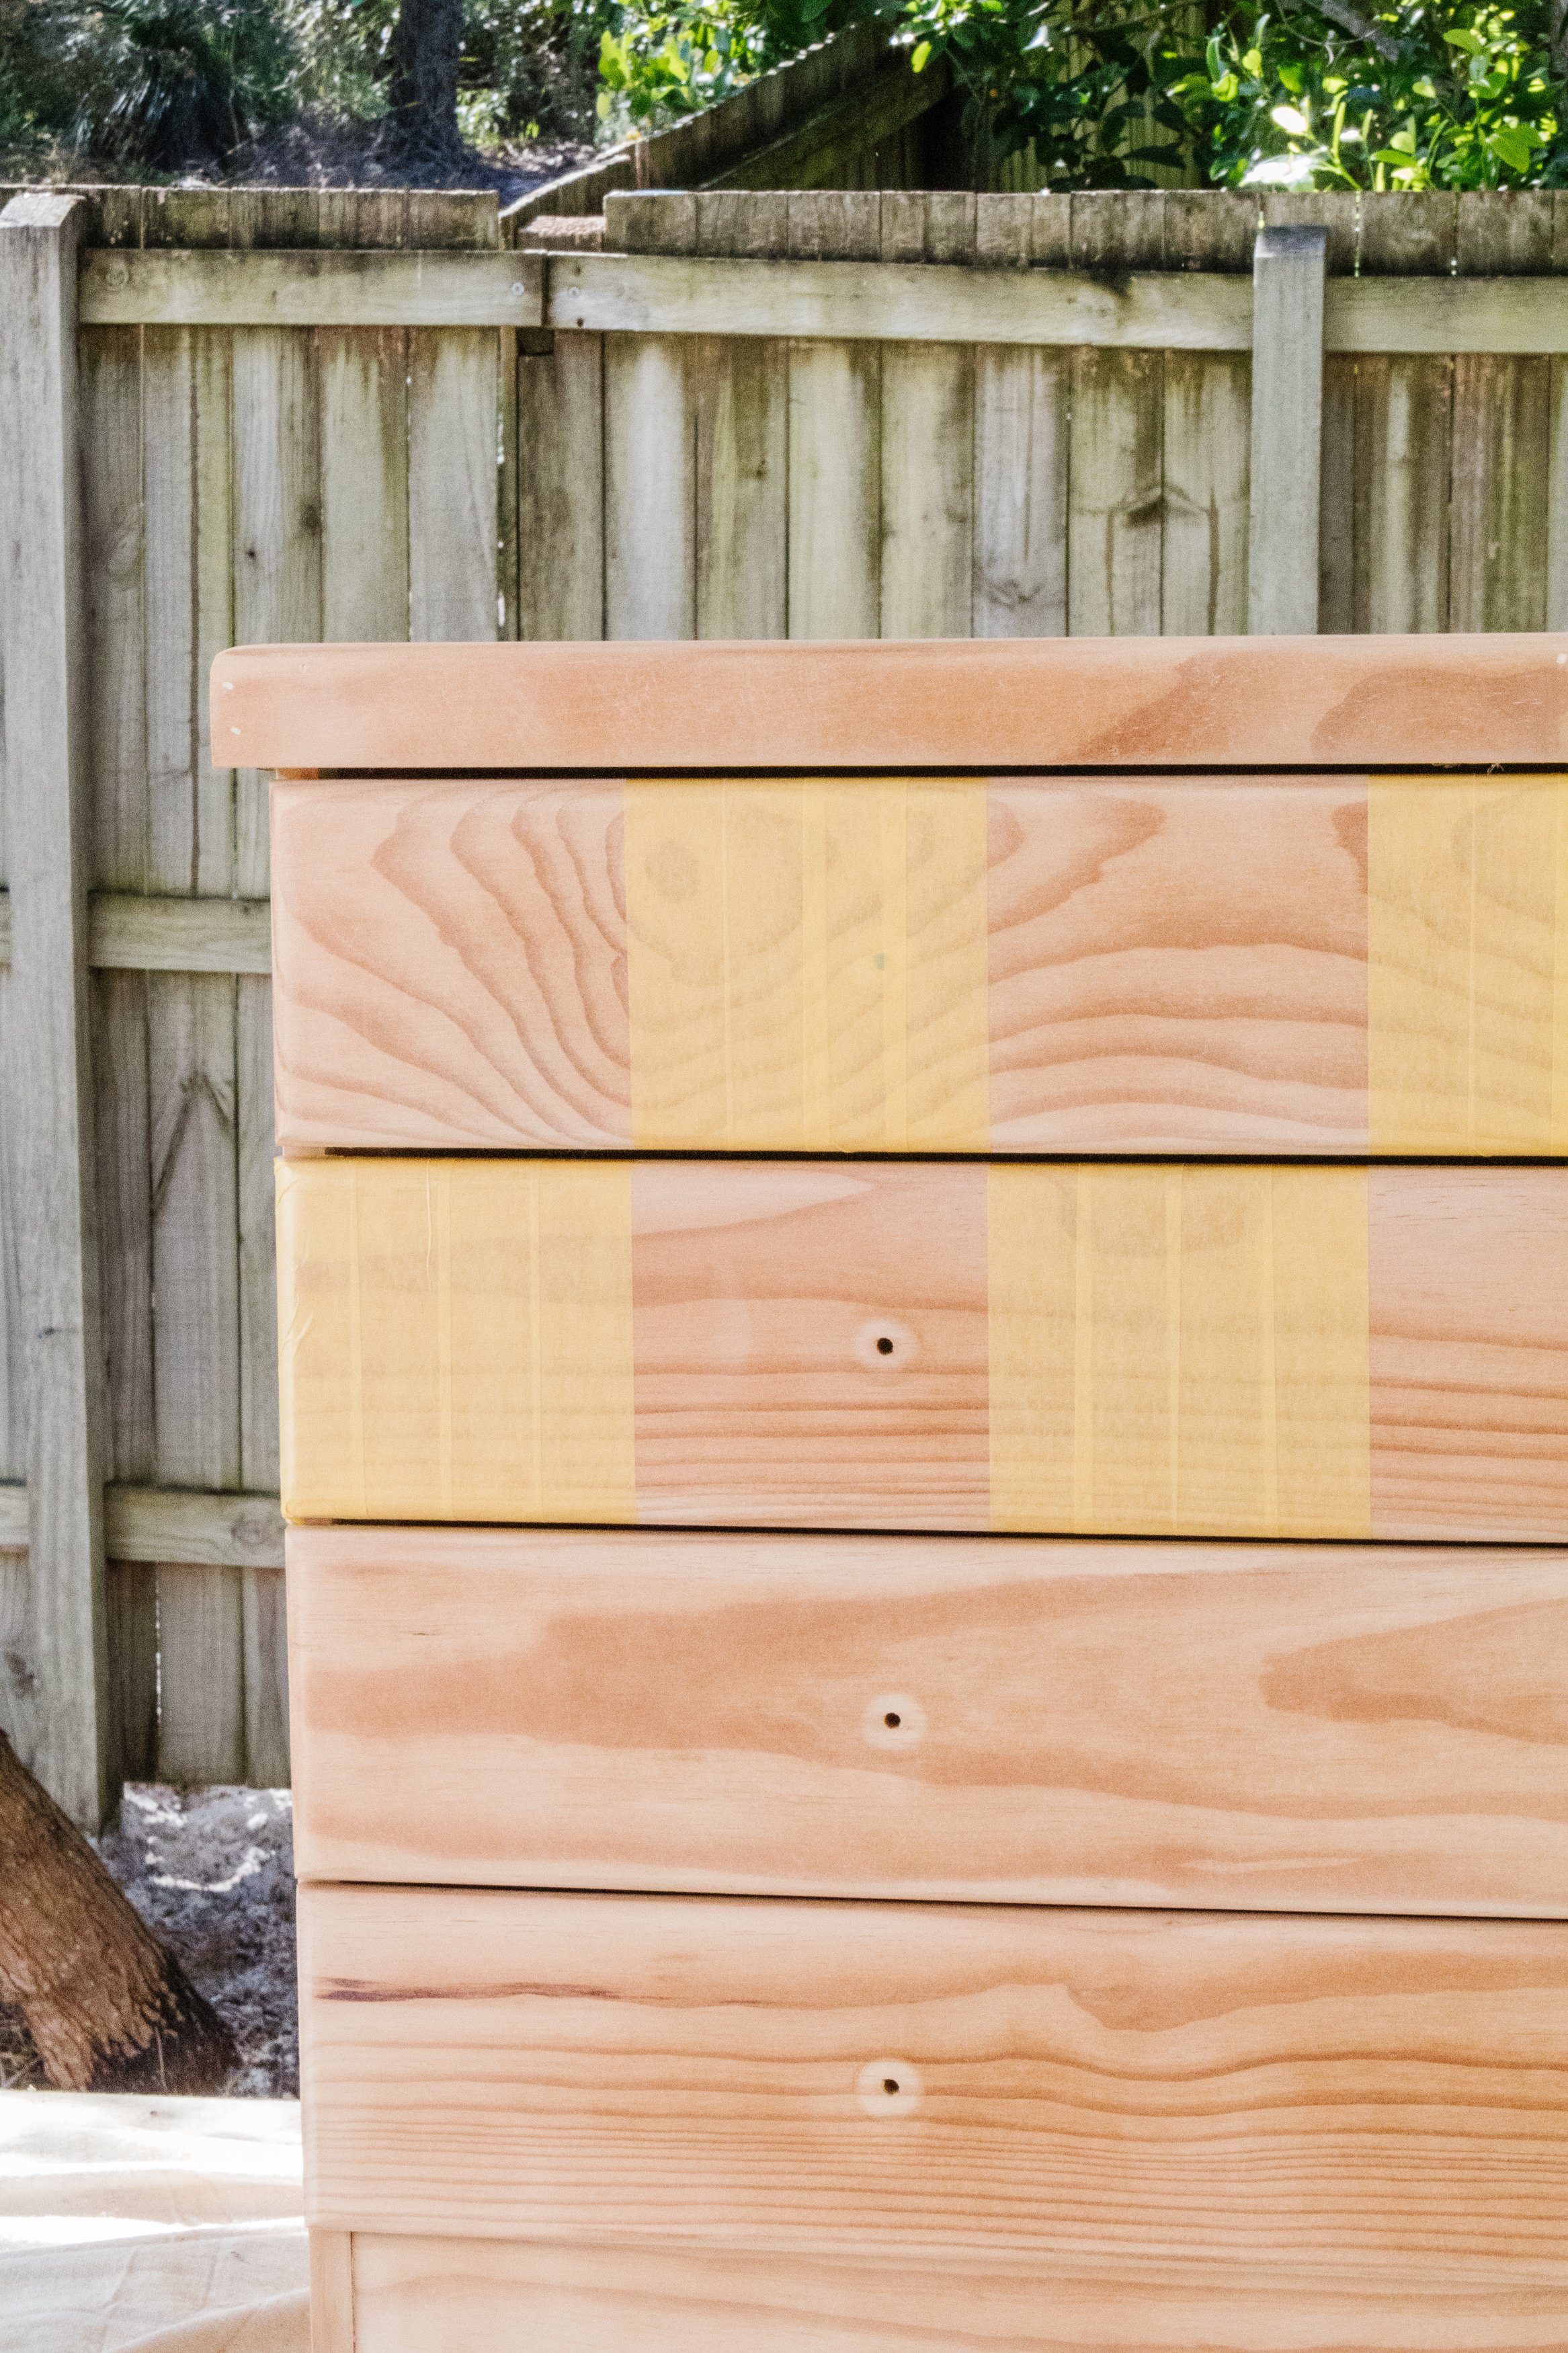
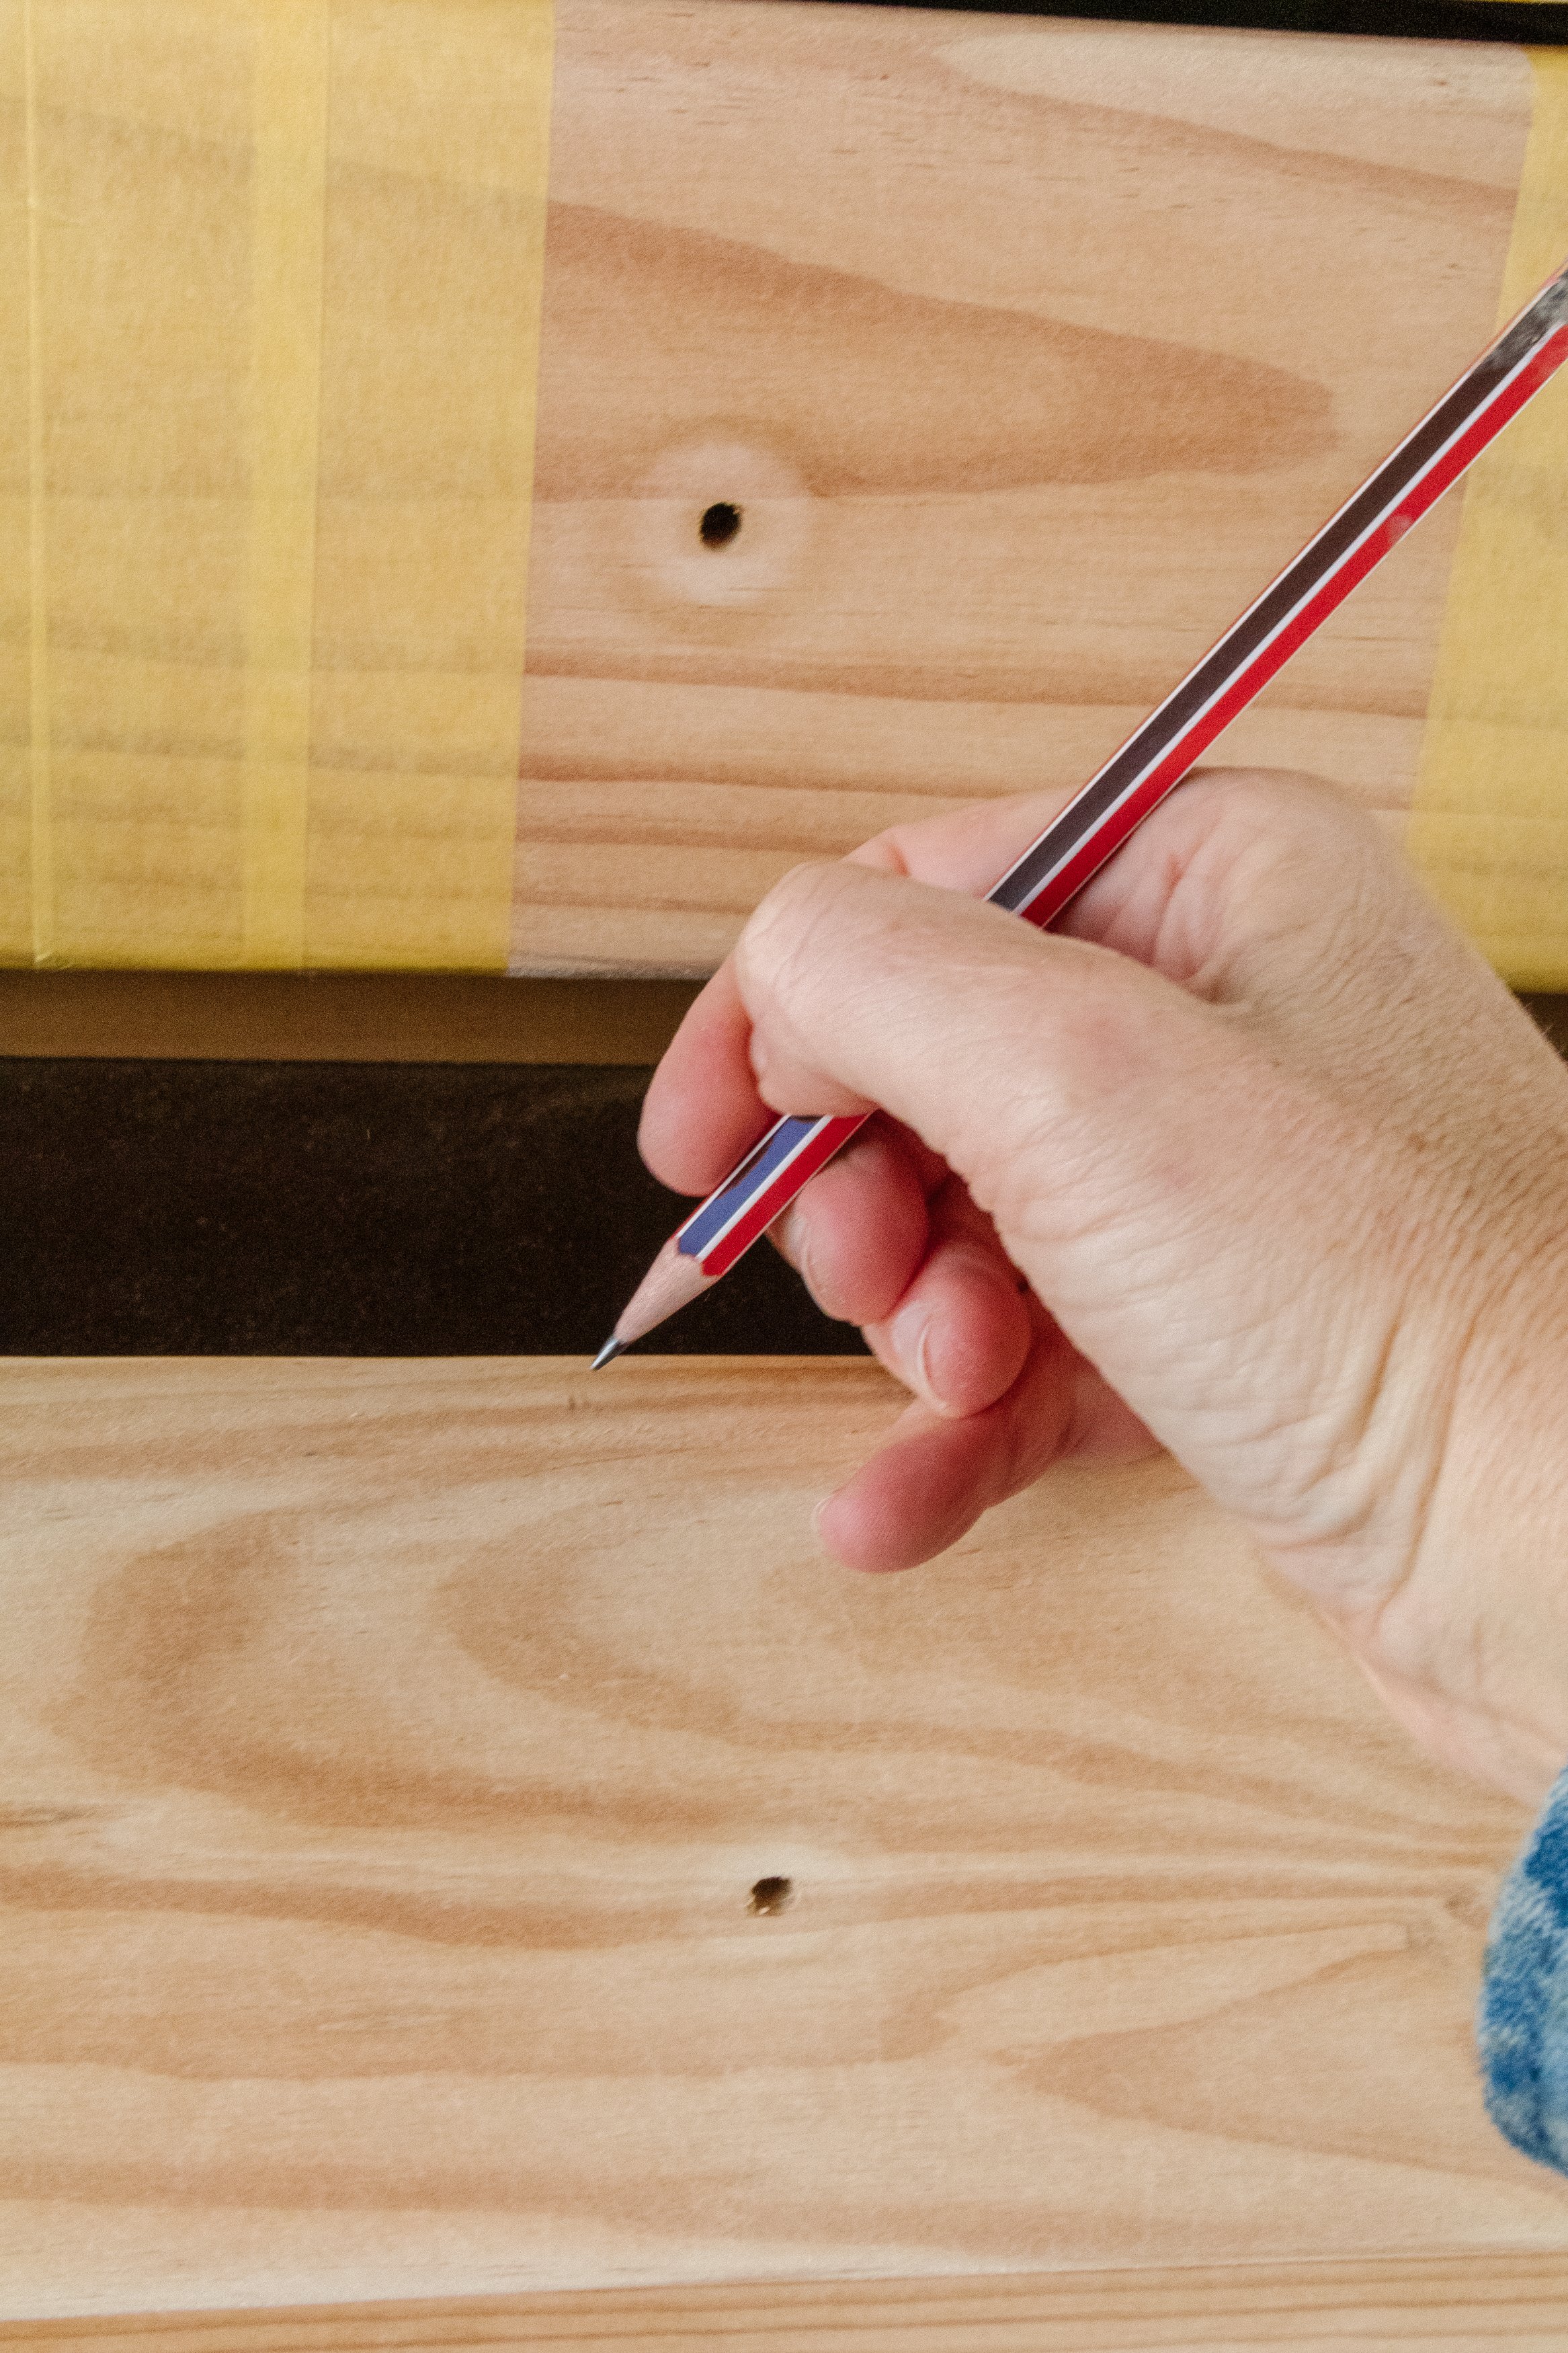
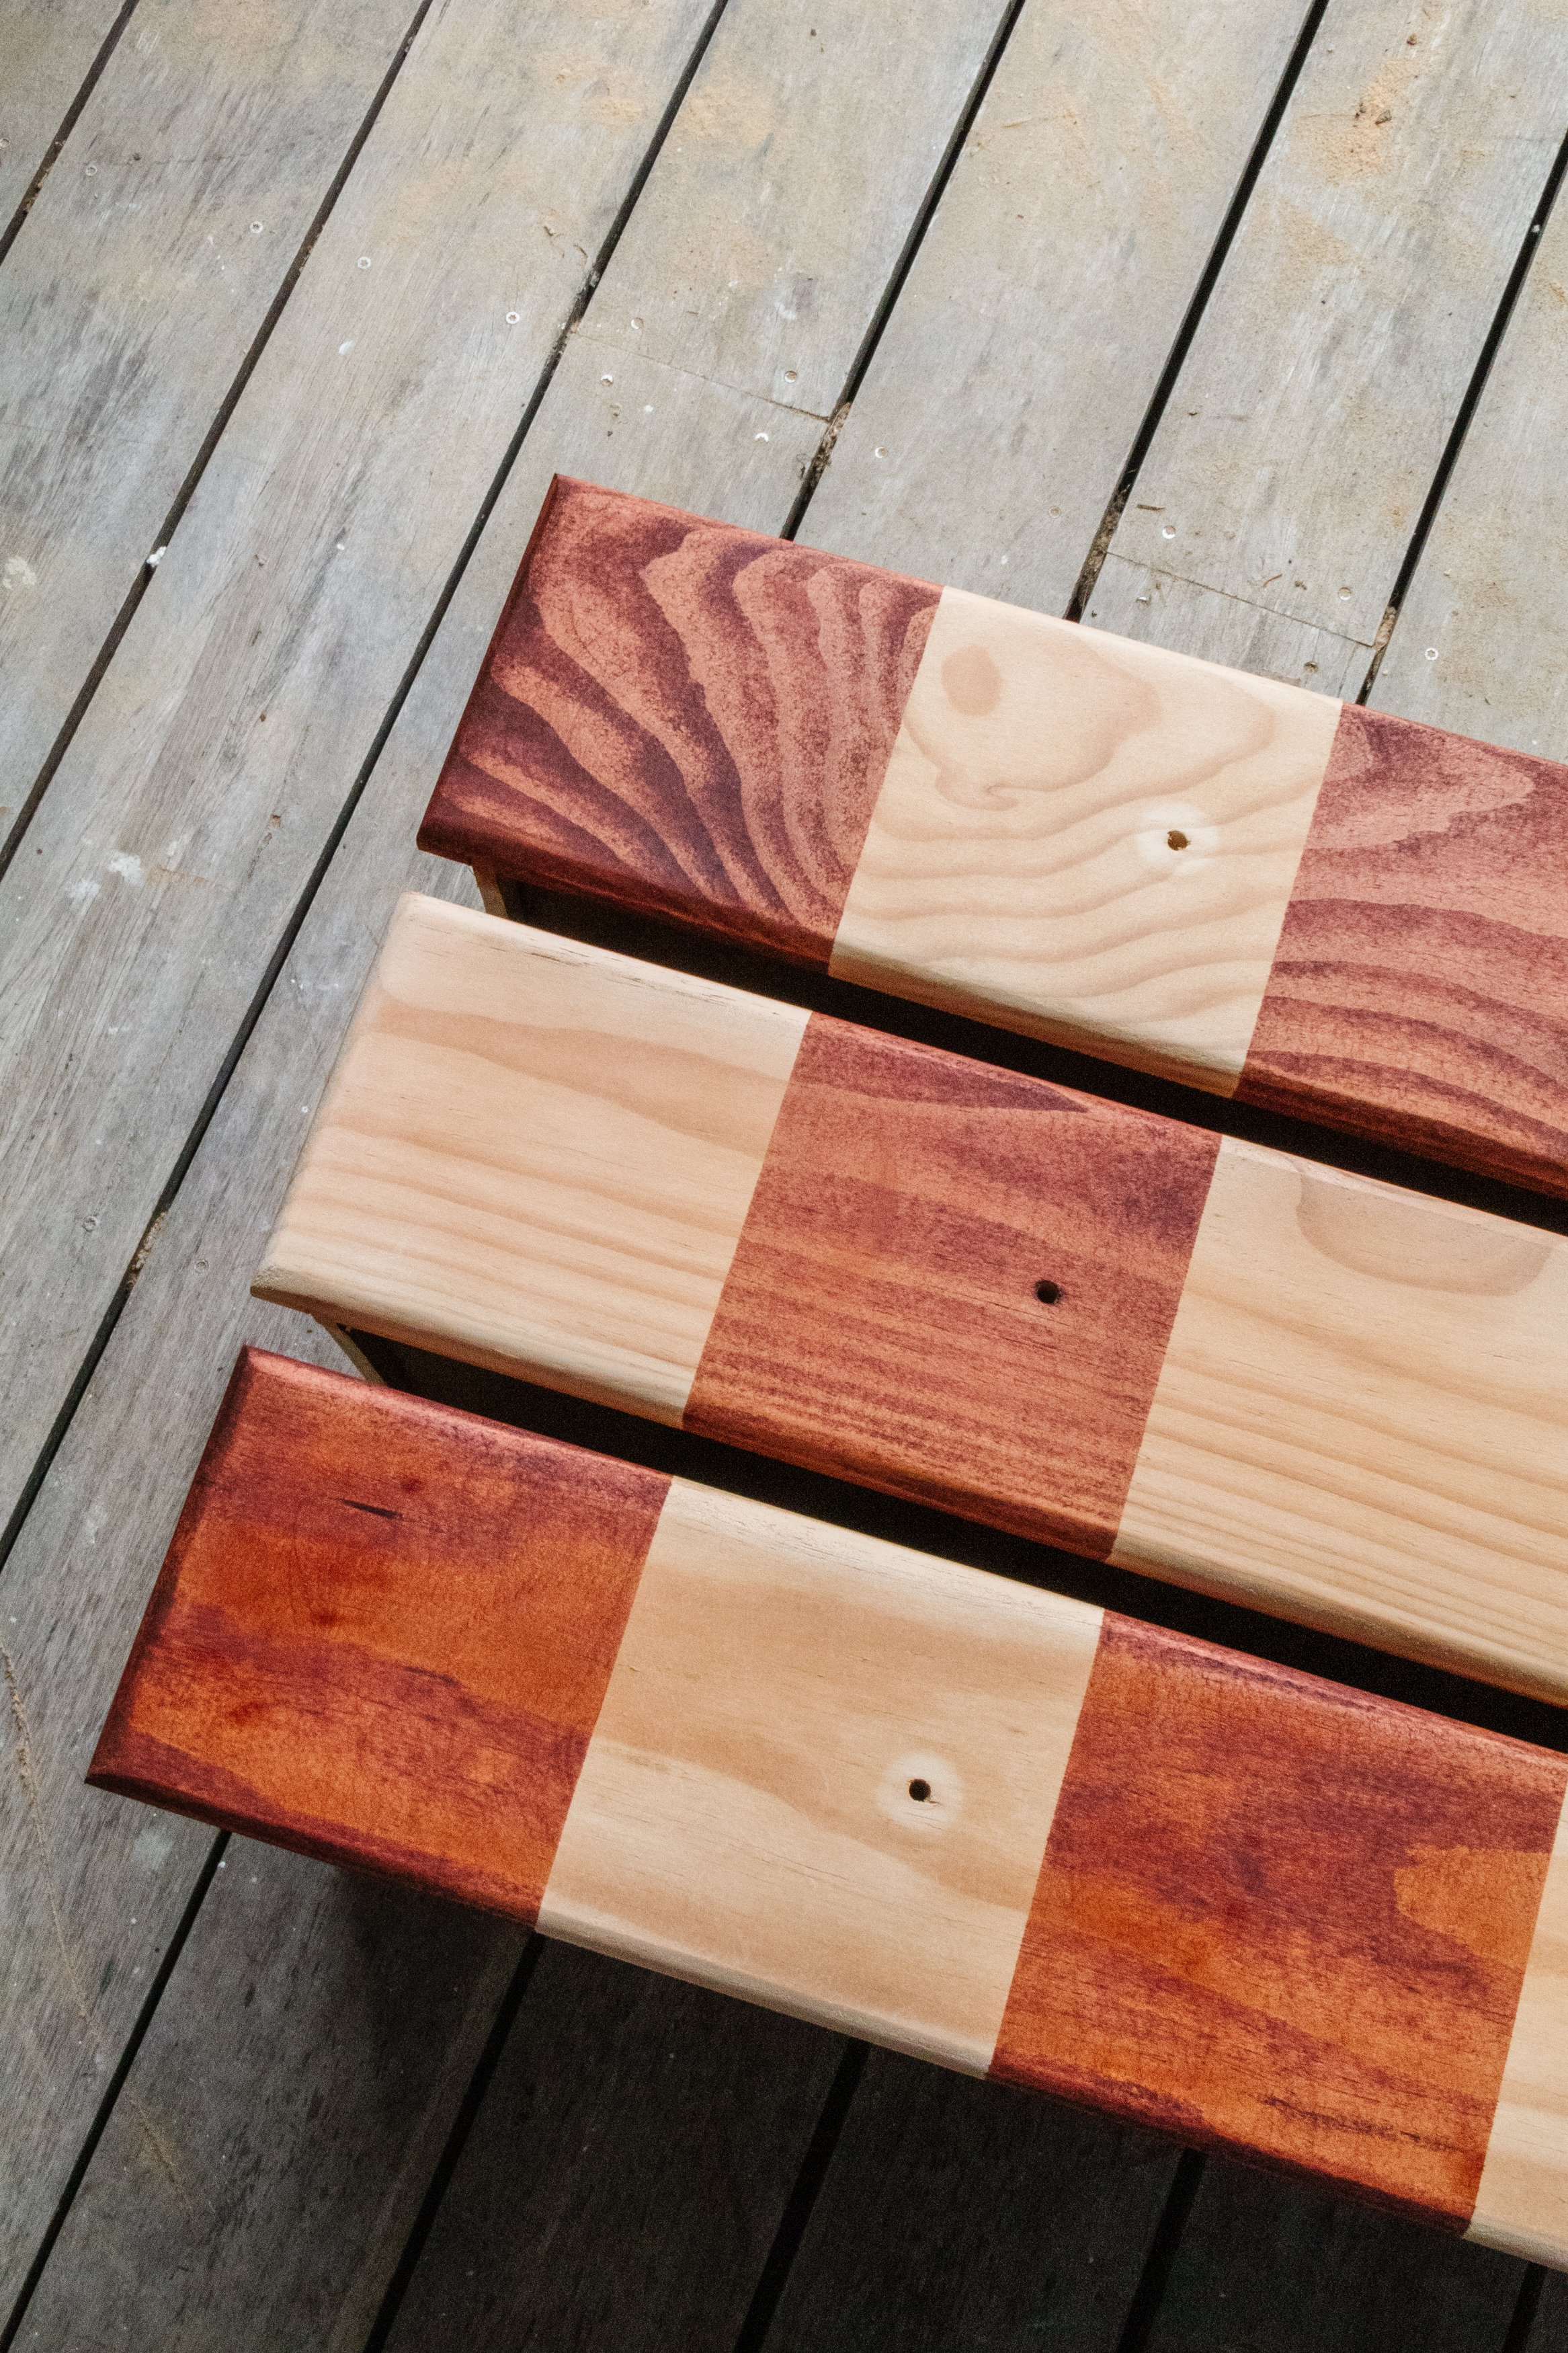
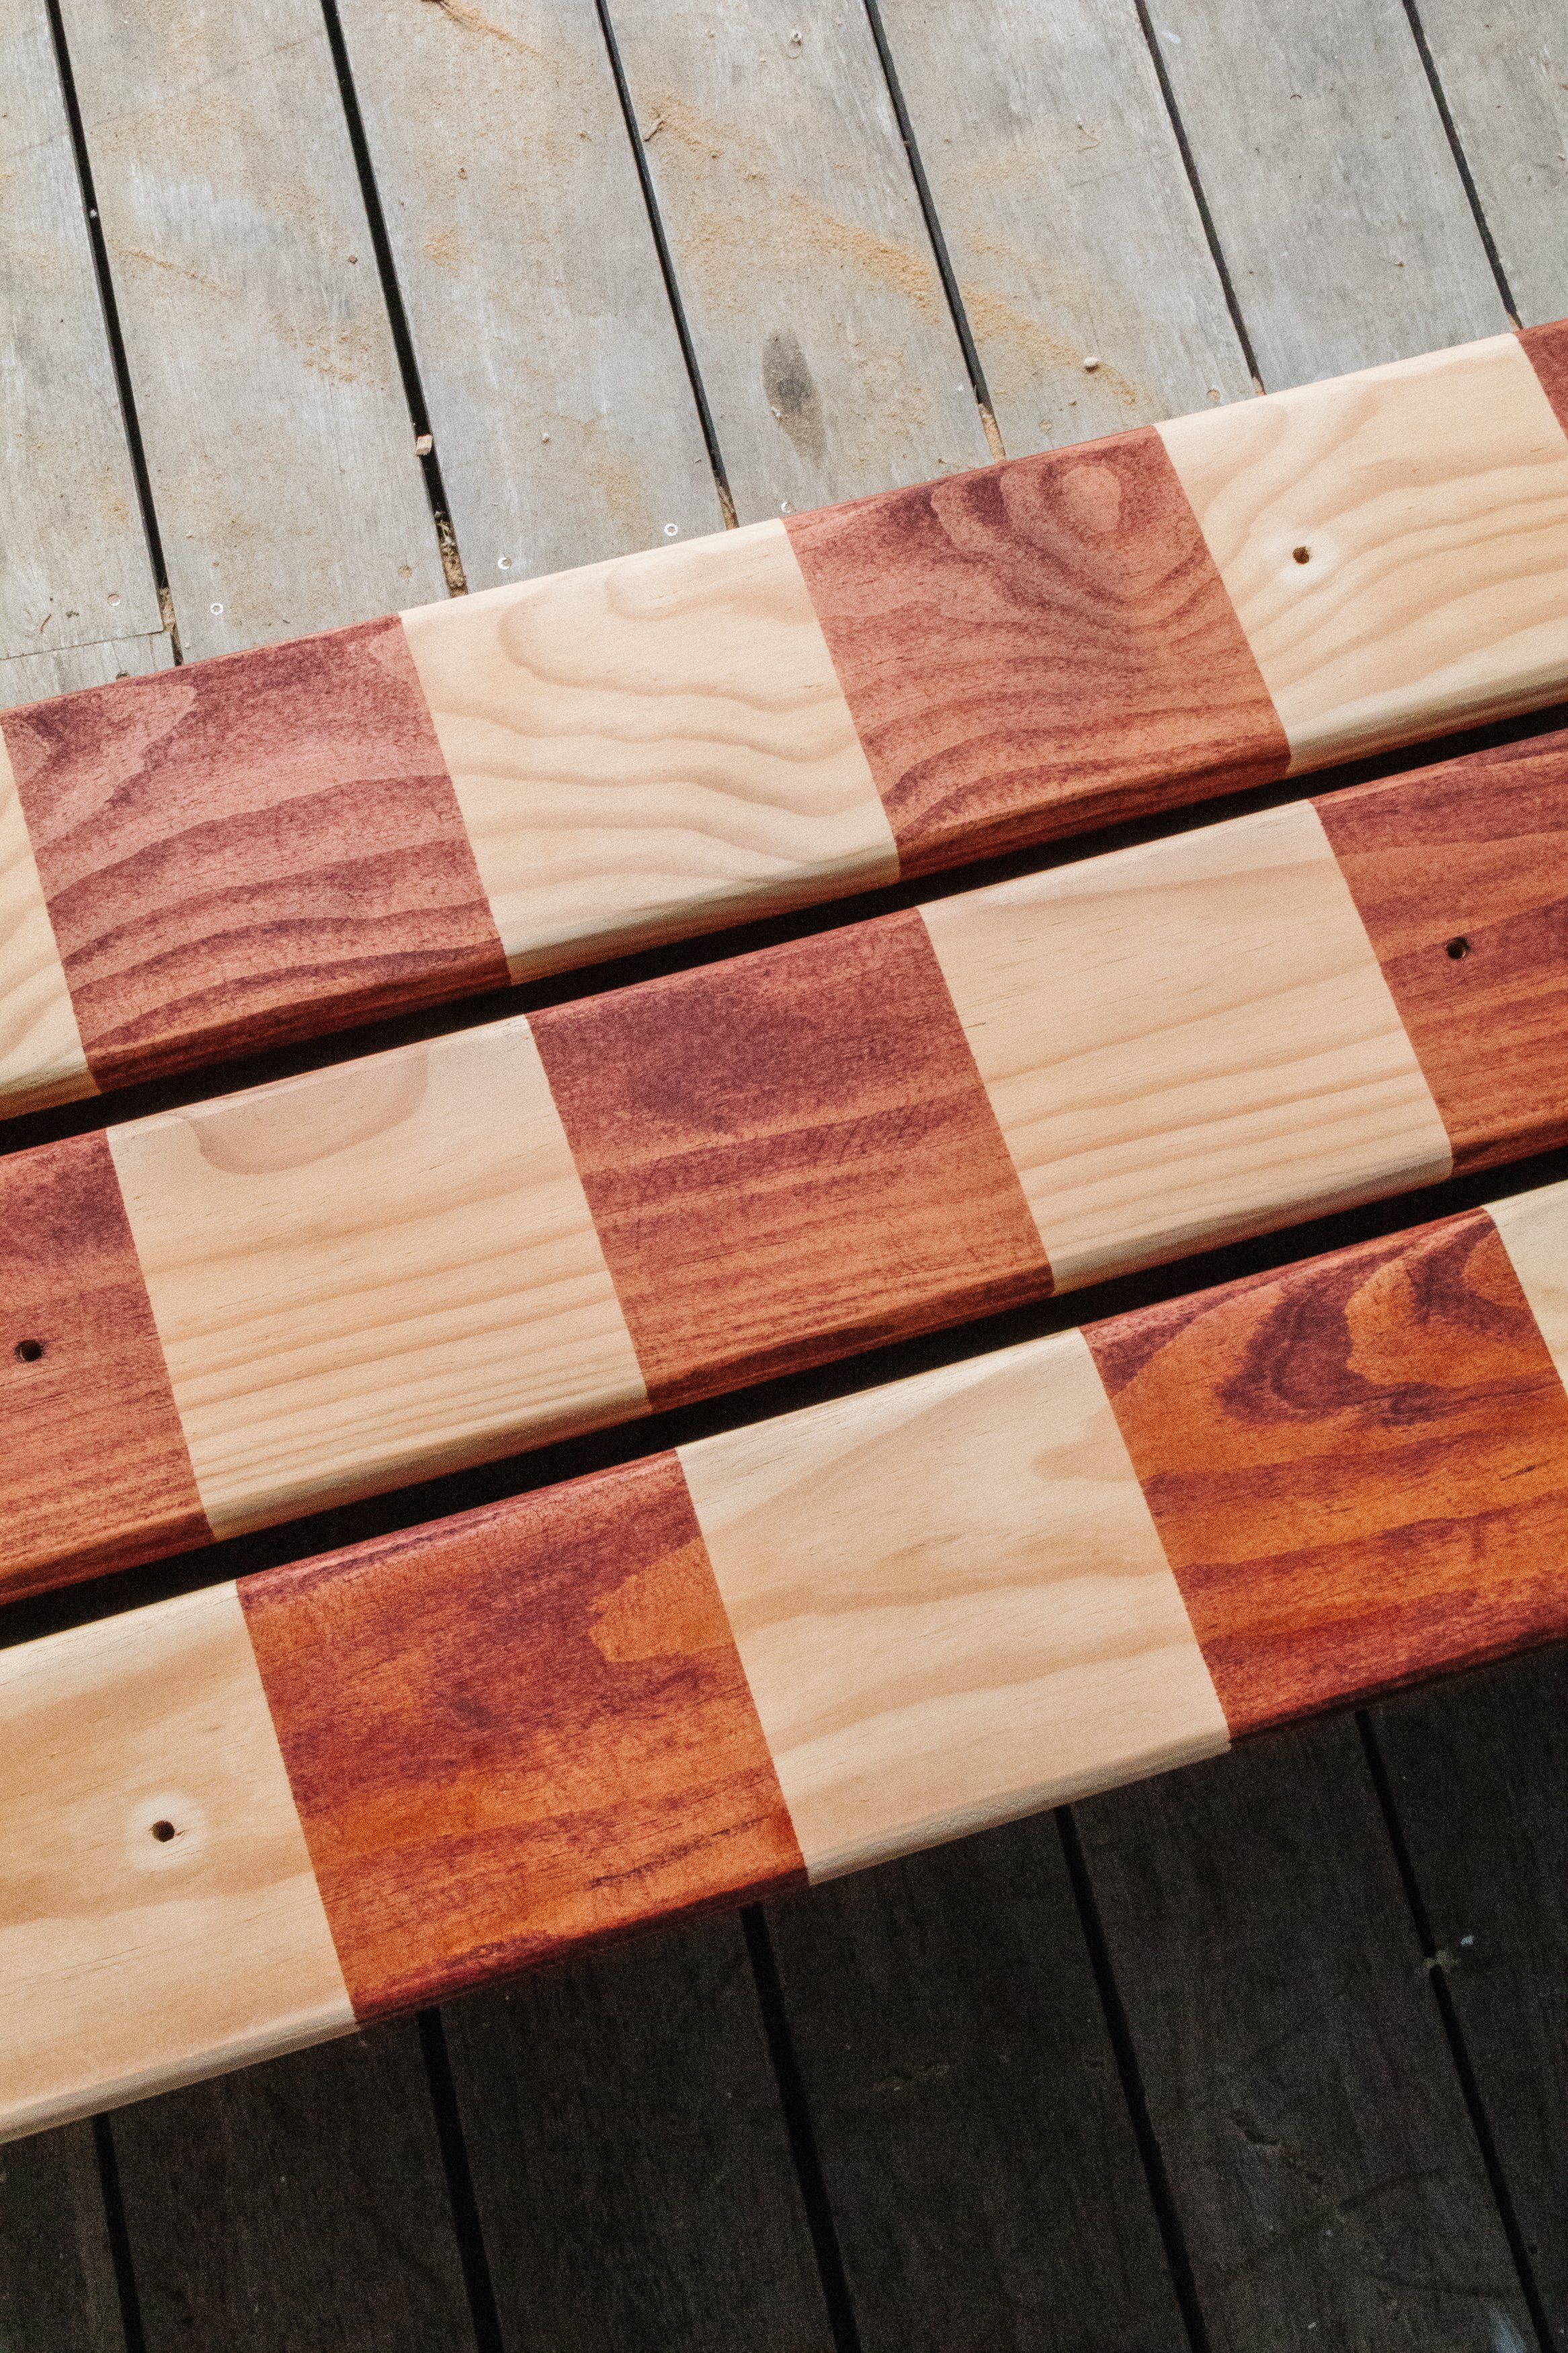
Step 2: Based on the measurements I mentioned above, I knew I was able to create 7 timber stained checkers across each drawer and the base, so I got to work applying the painters tape in a checker pattern using my ruler and pencil to ensure the checkers were evenly positioned. I didn’t need to fill in the alternate checkers with painters tape but I wanted to as a safety measure to ensure I stained the correct checks, and for aesthetic reasons. I also pressed the painters tape down several times (ok, a LOT) firmly to further prevent timber stain from bleeding underneath.
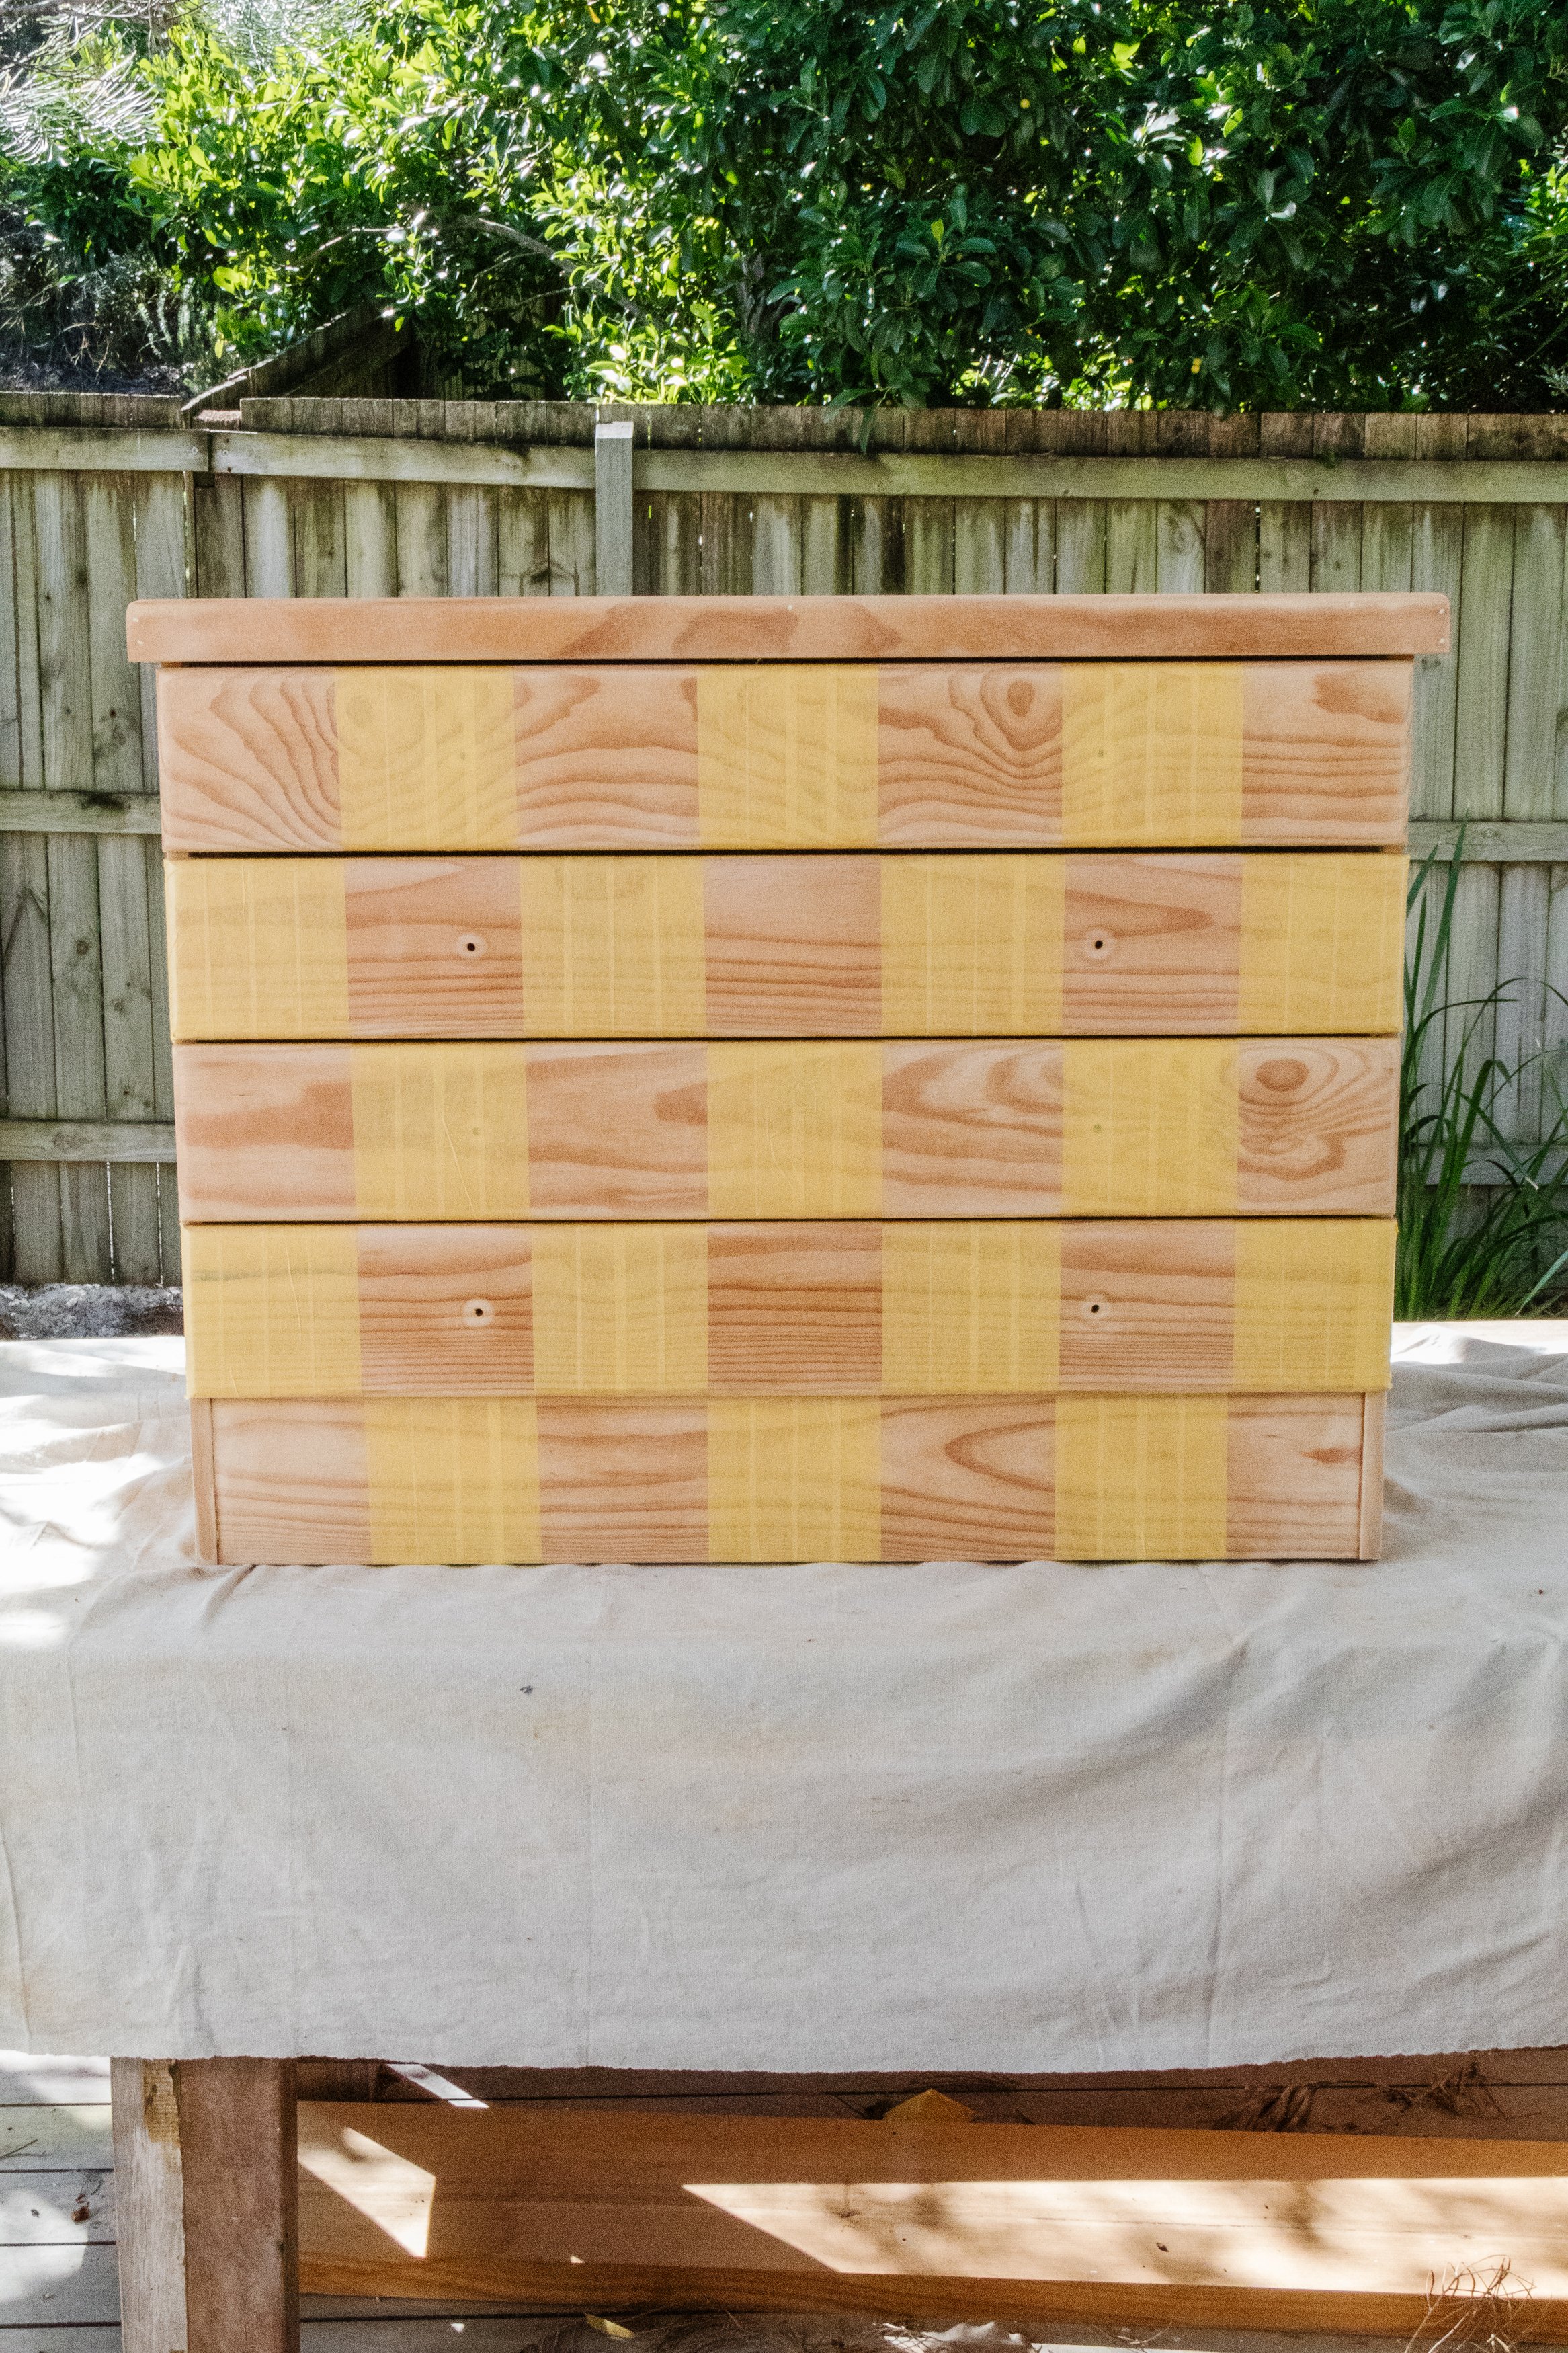
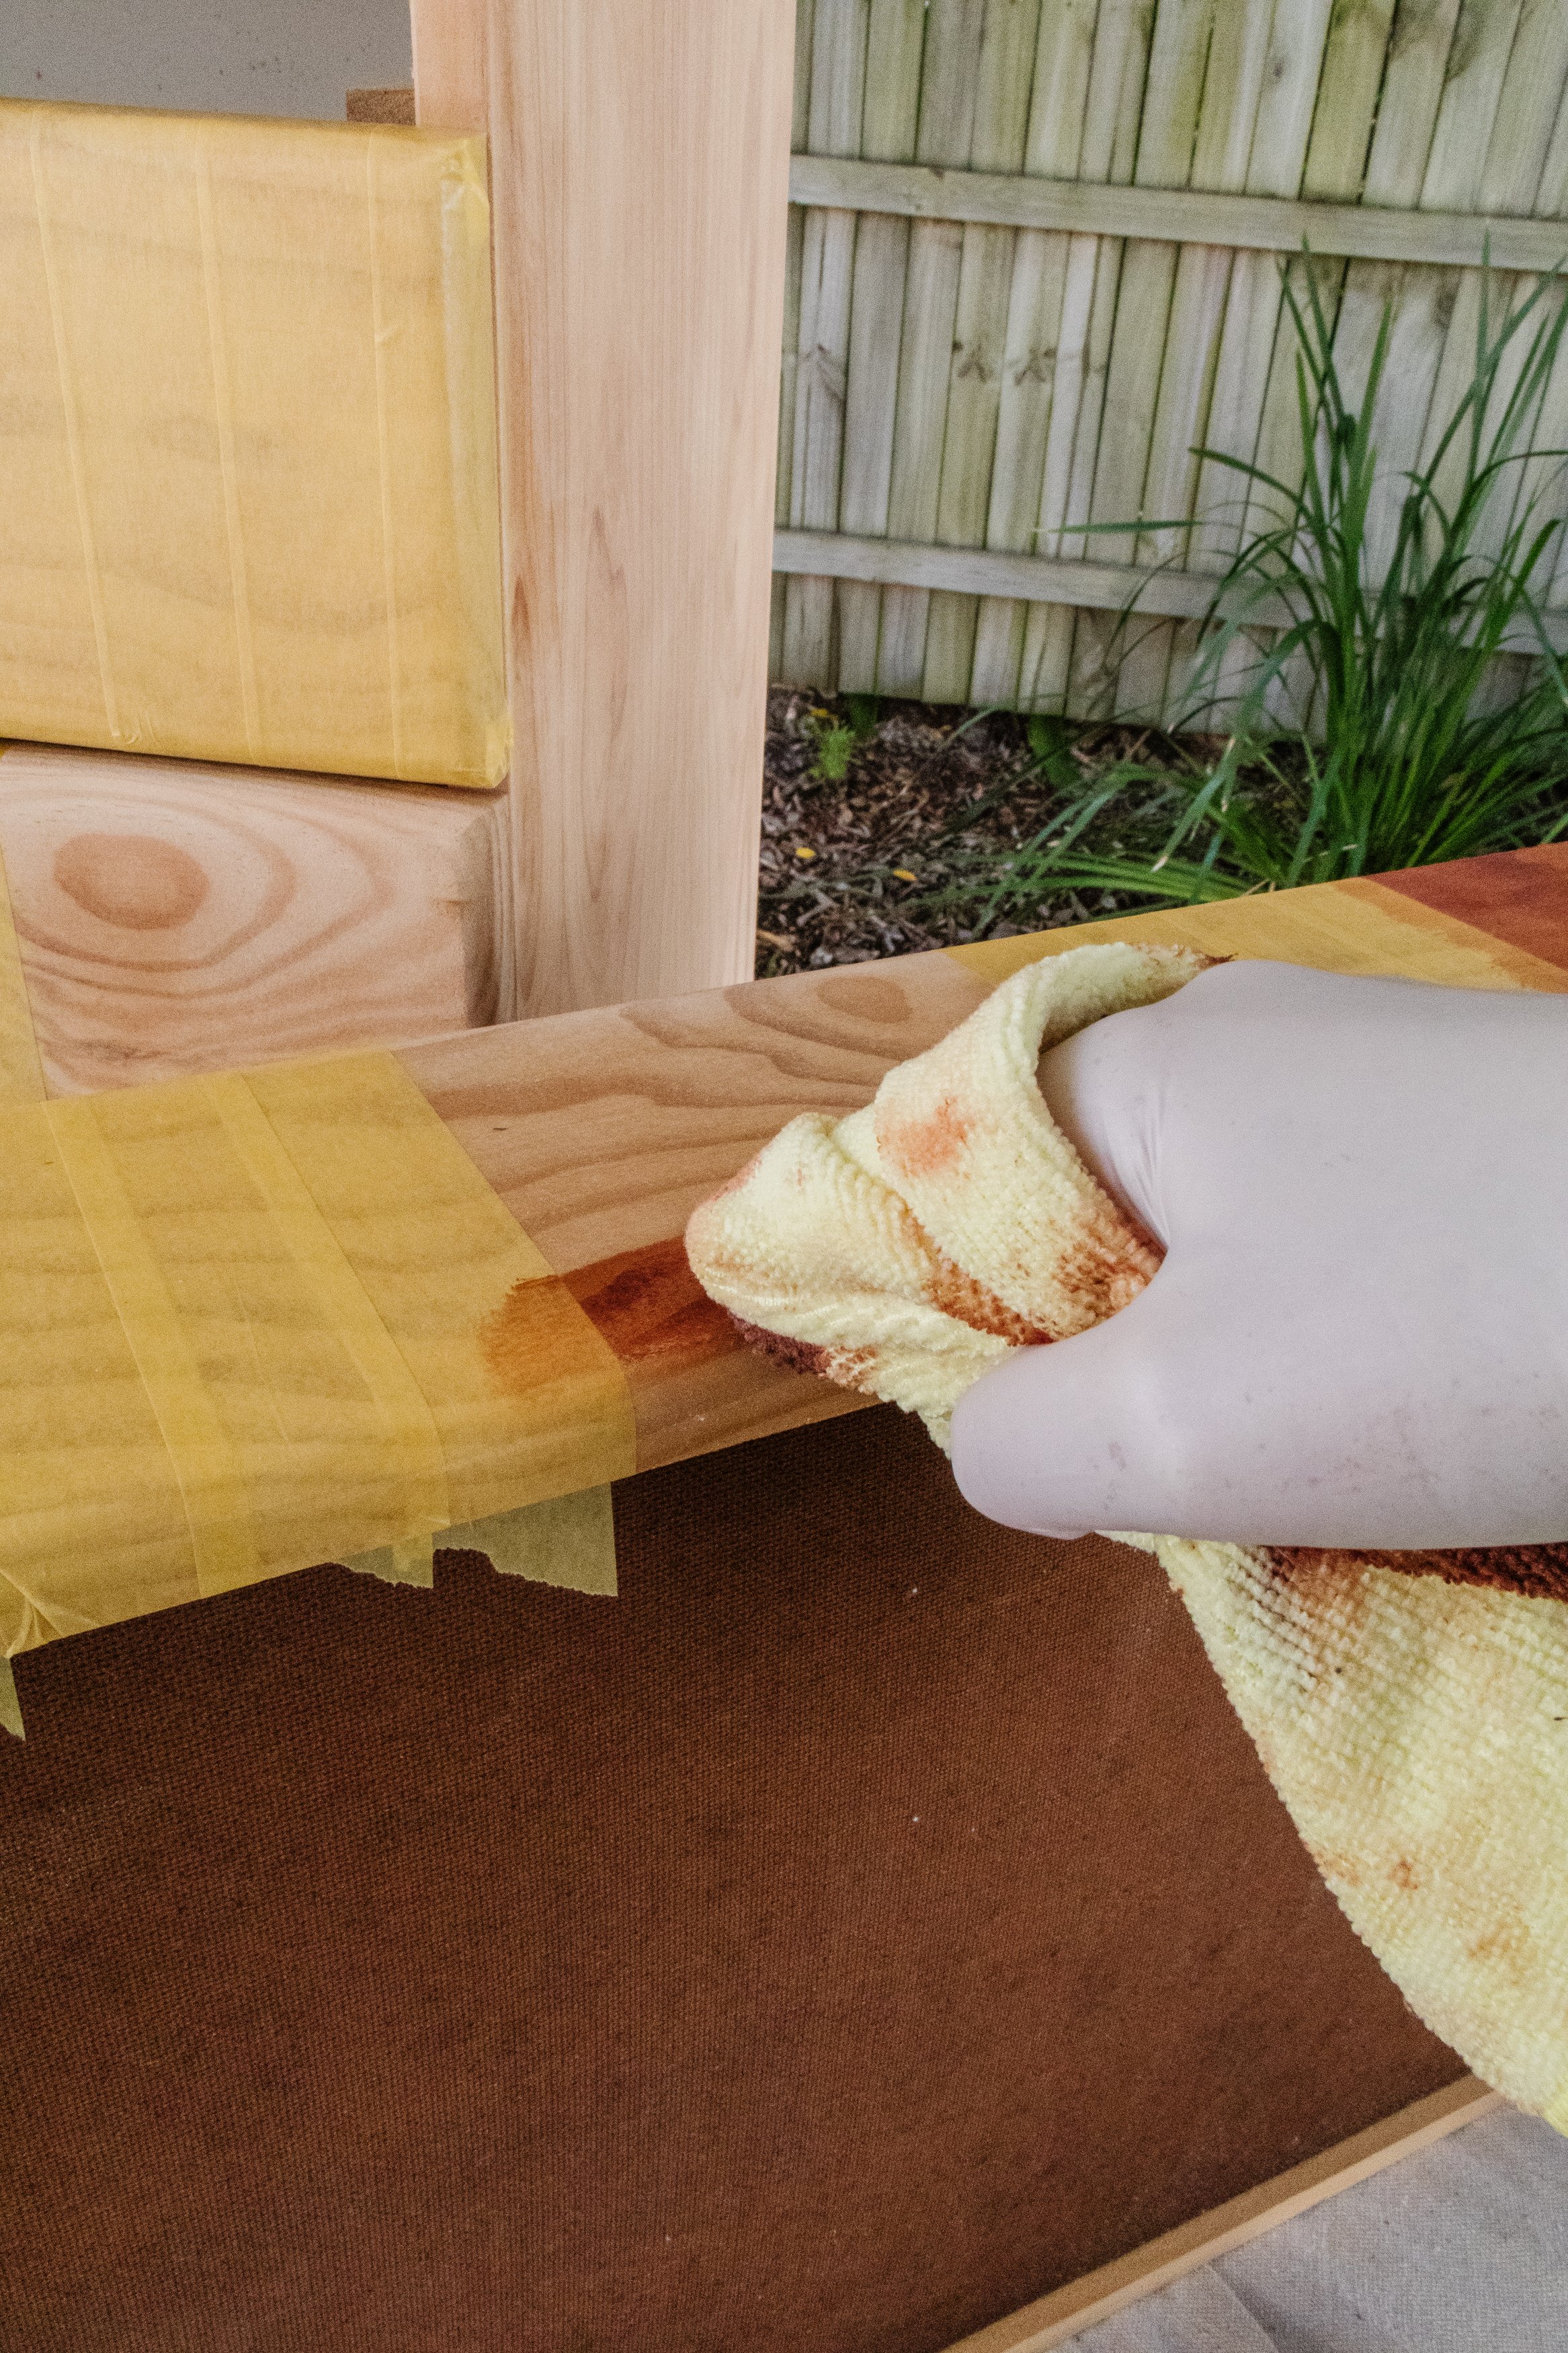
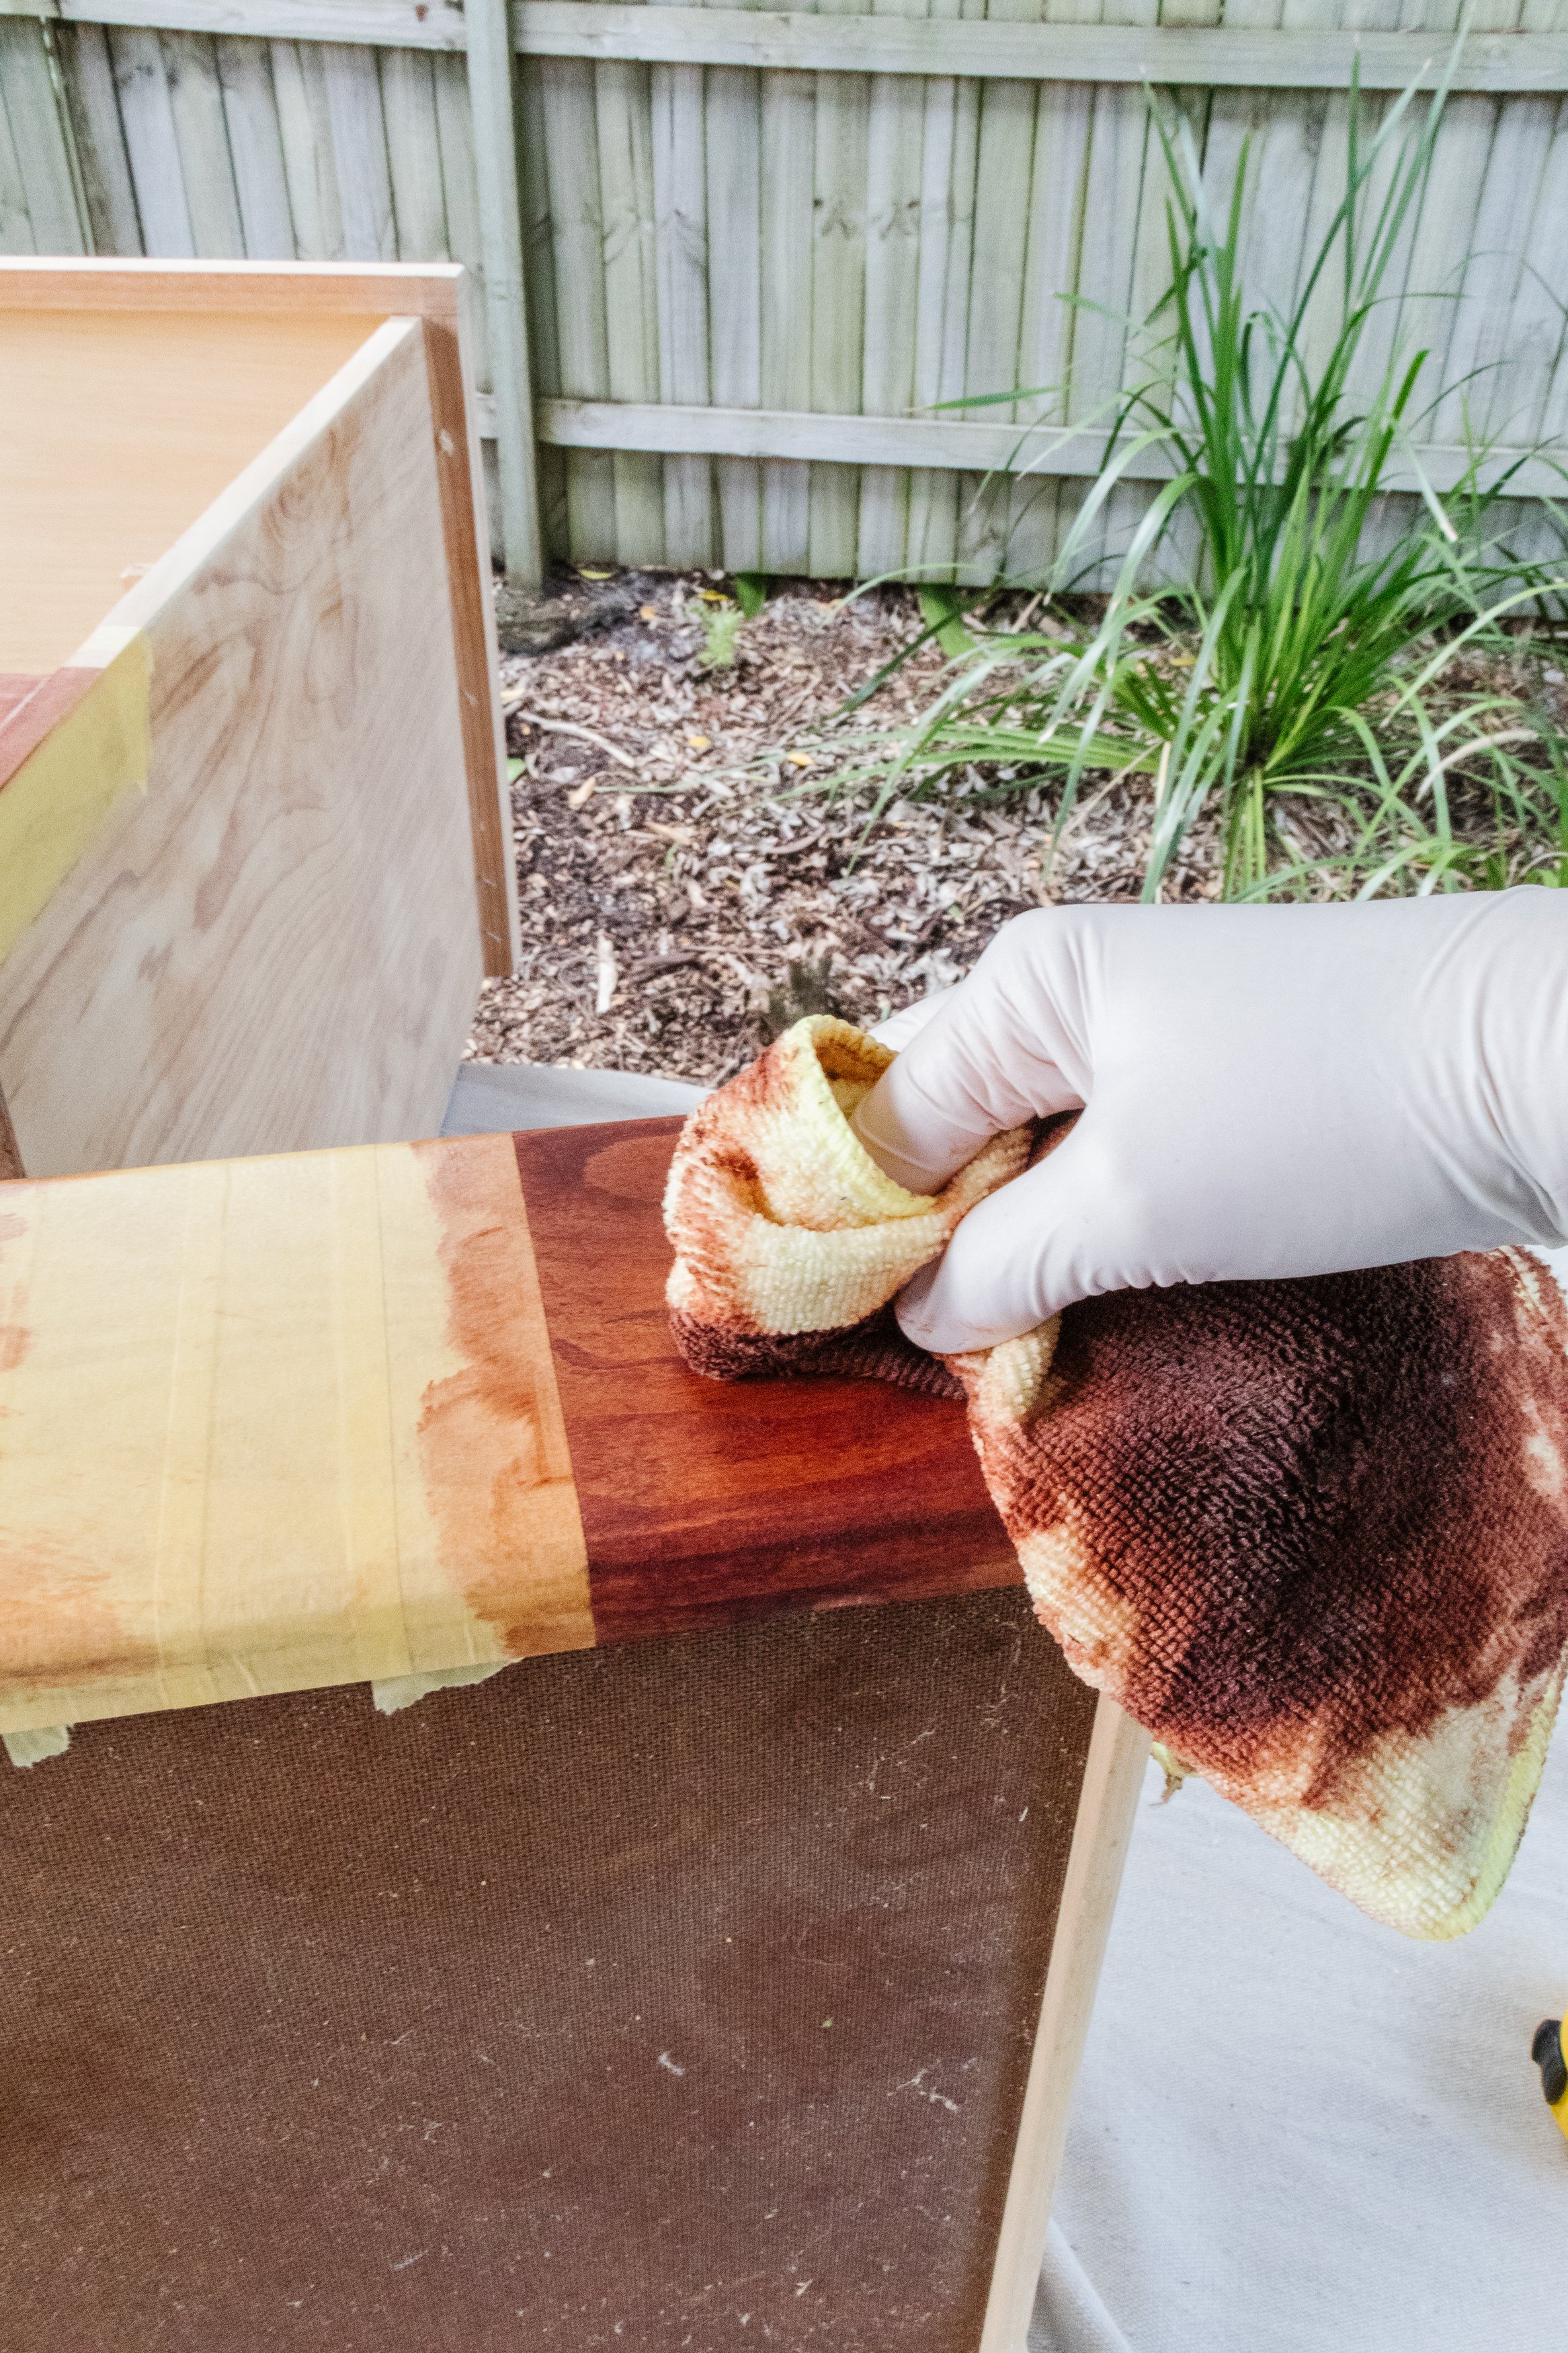
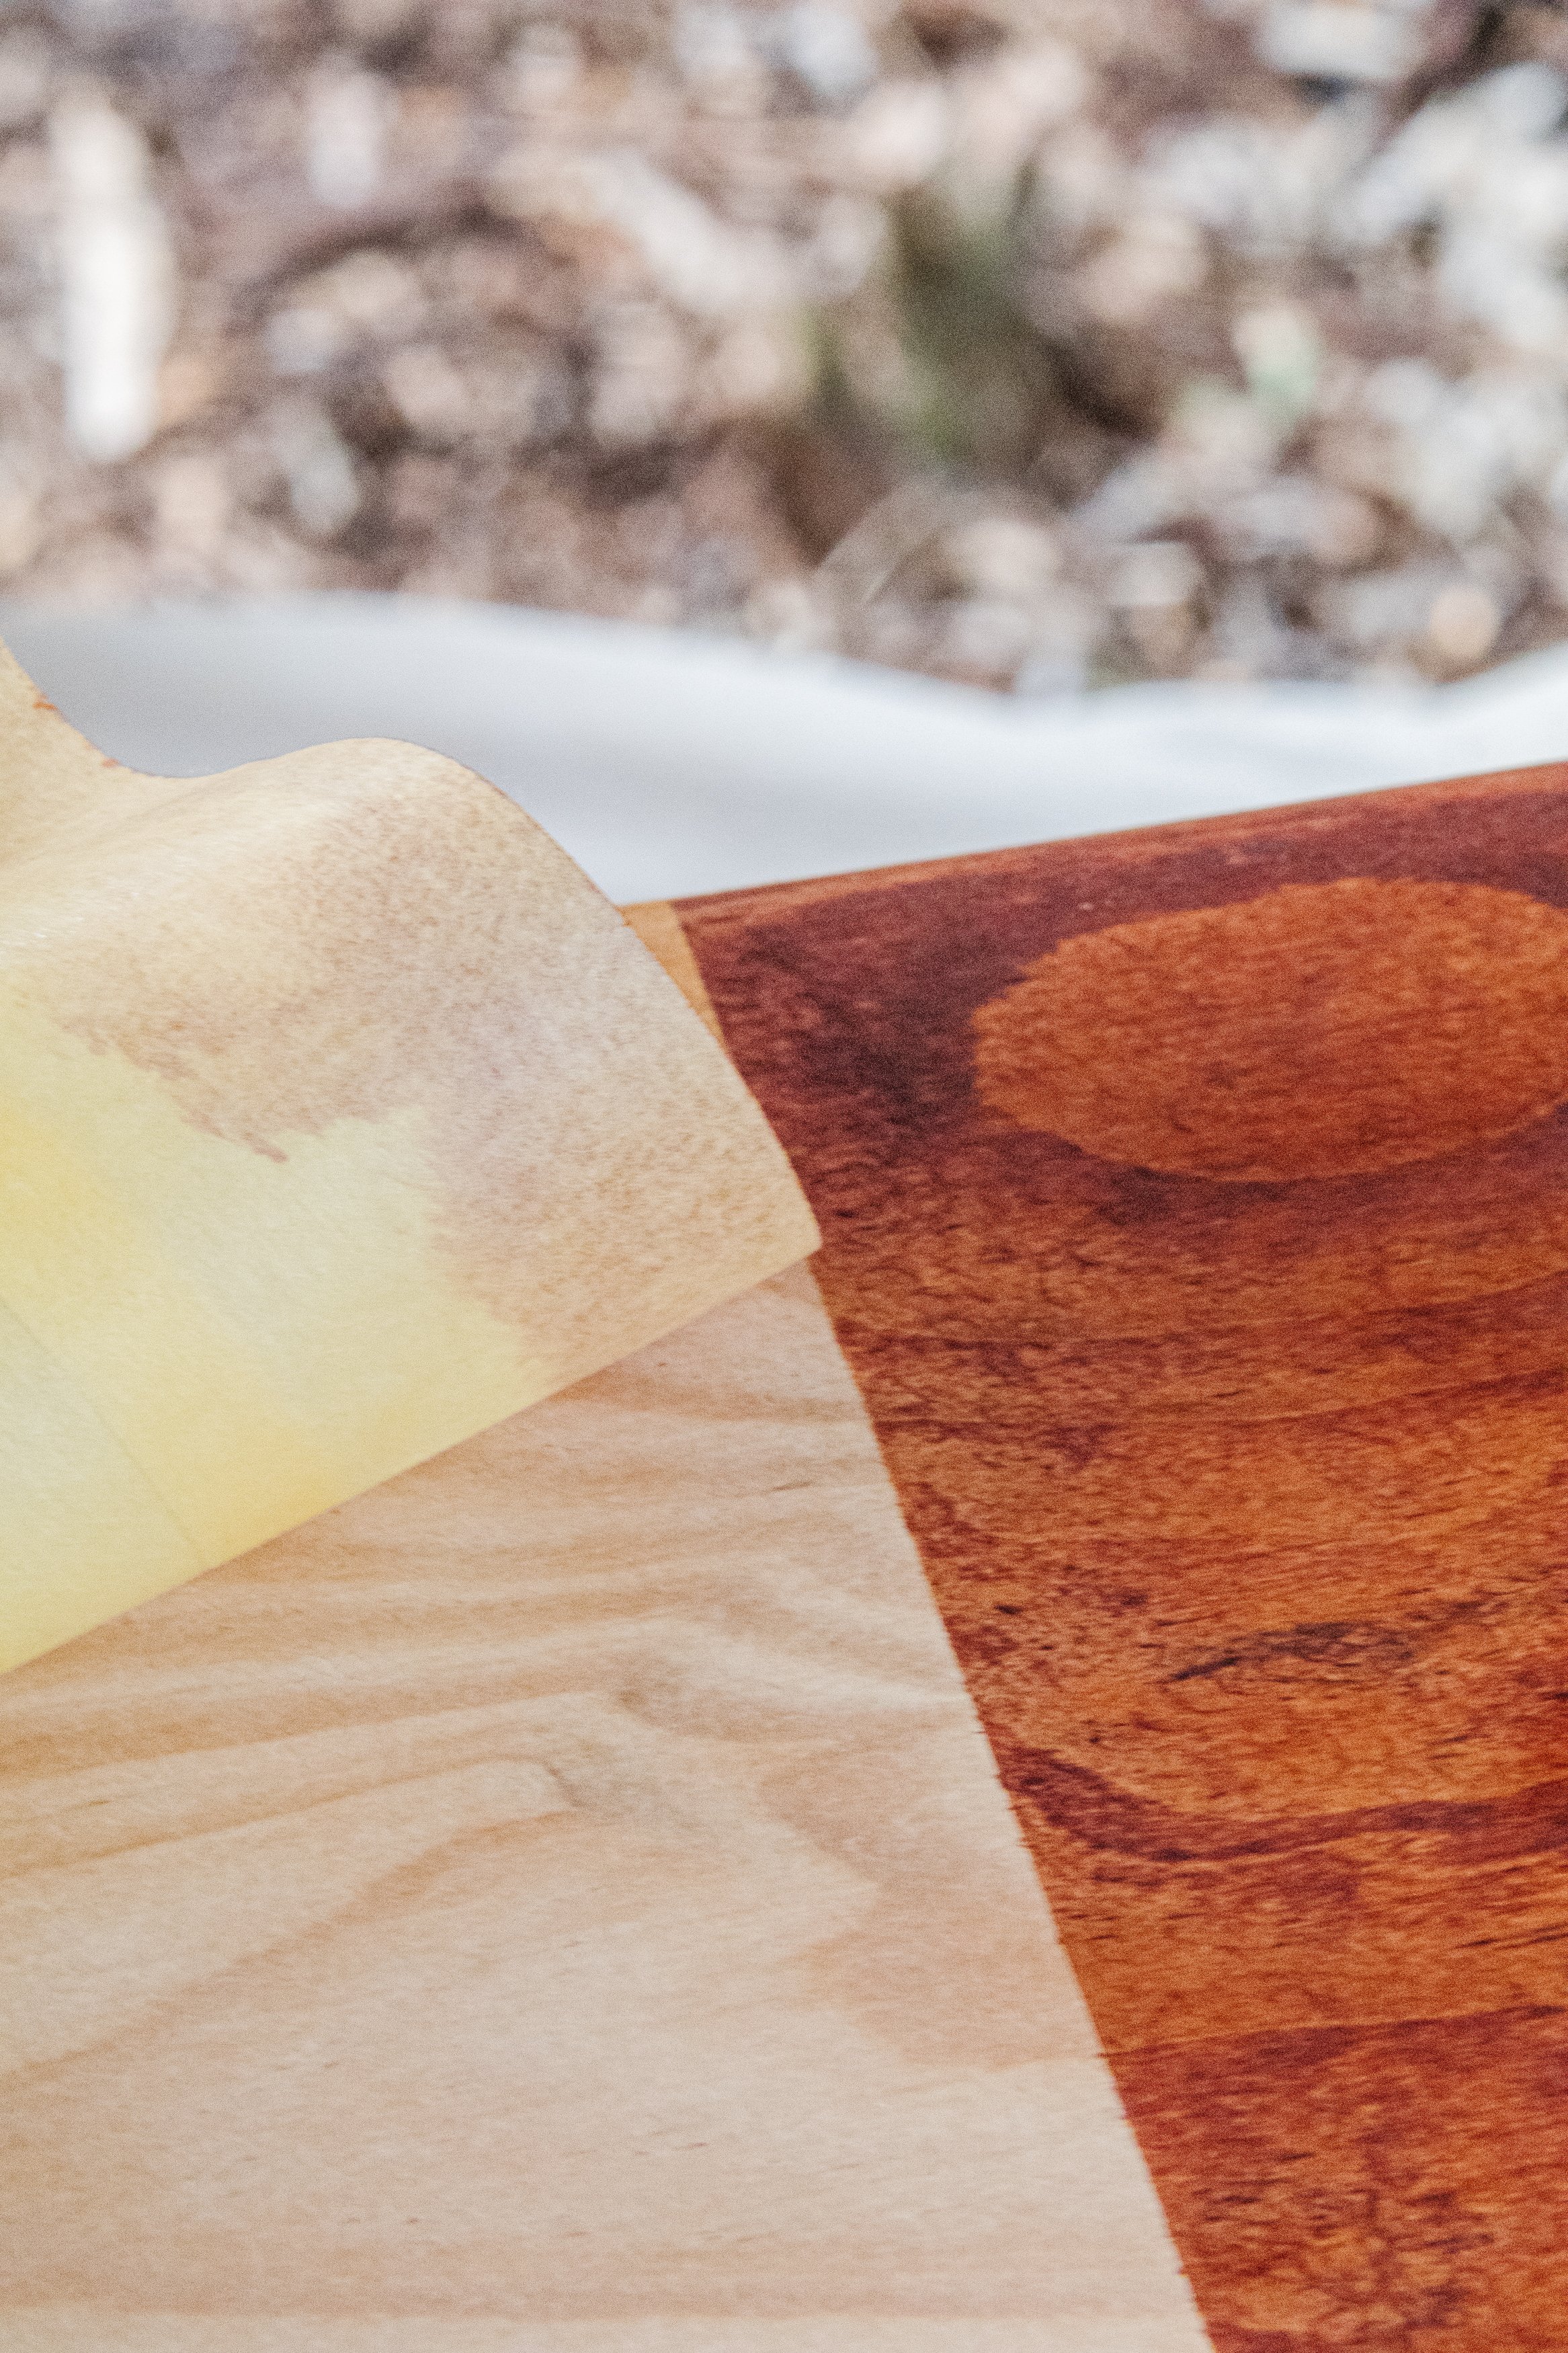
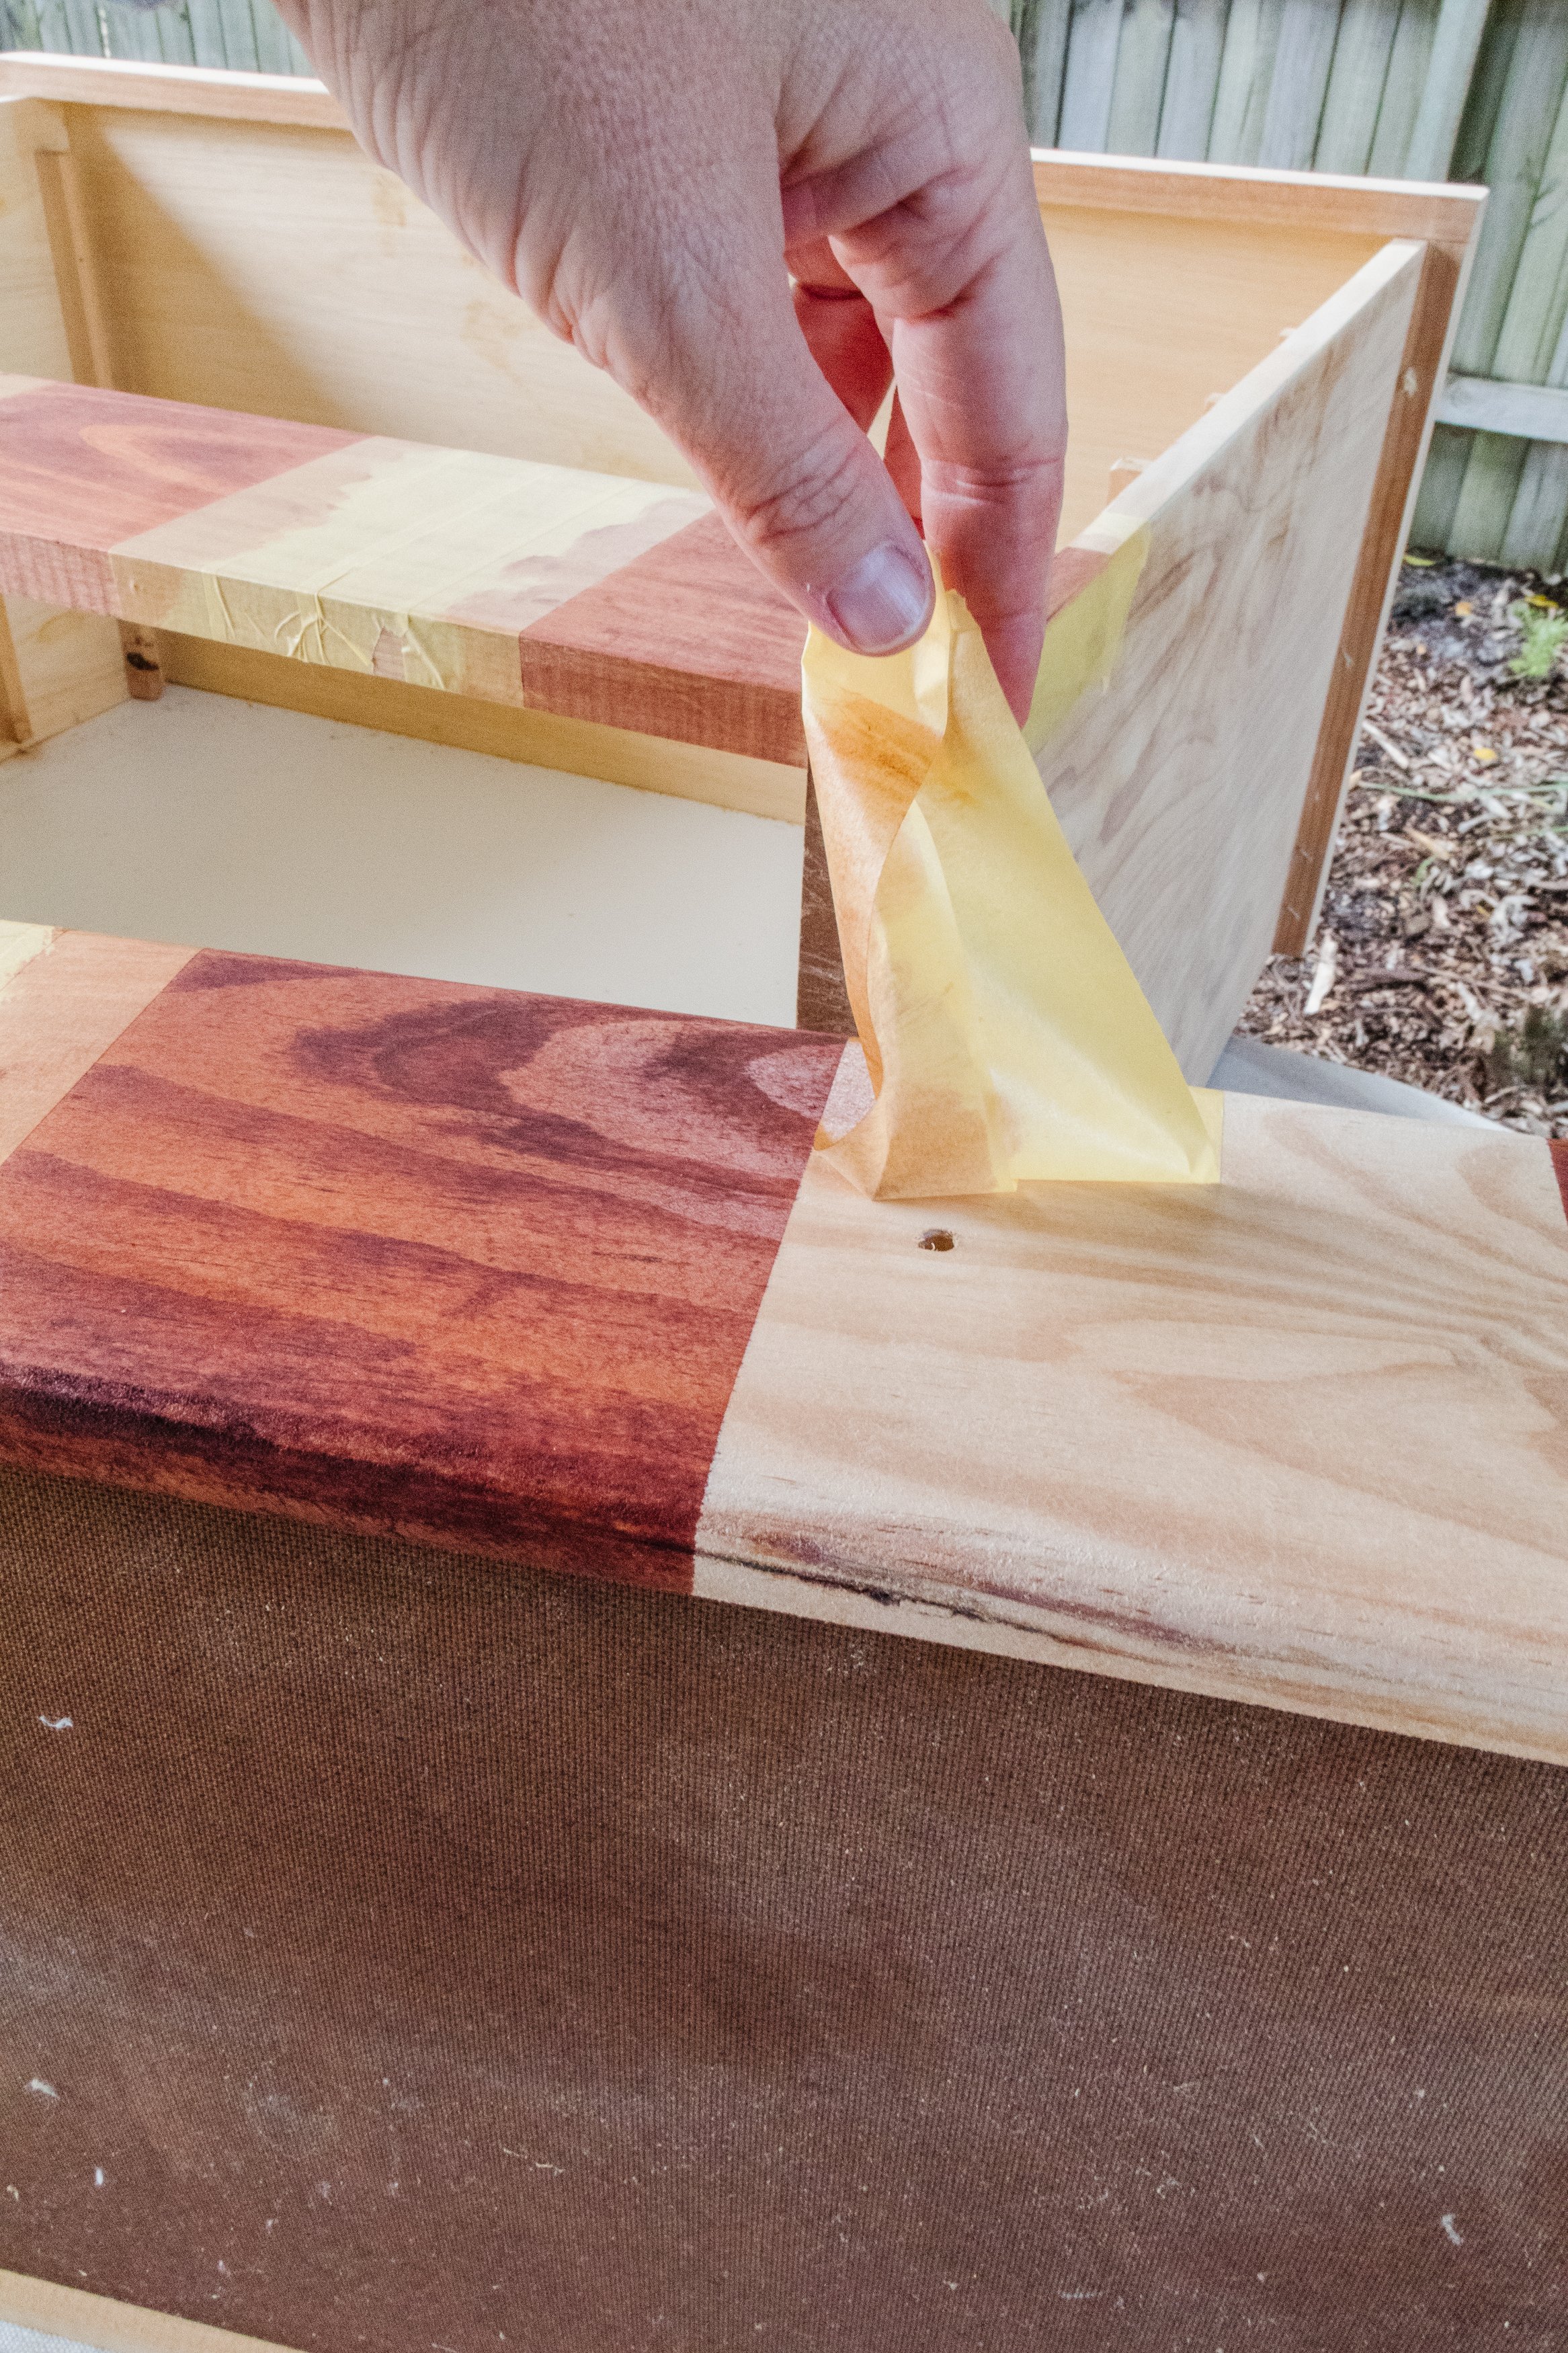
Step 3: Following this I put on some gloves, lightly dabbed the microfibre cloth into the timber stain tin, wiped off any excess stain on a scrap piece of timber and painted each checker. I applied the timber stain in the middle of the checkers using a light sweeping motion along the grain. Then I filled in the edges by working from the outside in, making sure to press down firmly and away from the painters tape. I let the stain dry for an hour or so, before applying a second coat and when each drawer was complete I removed the painters tape while the stain was still wet. This was so satisfying! Because I spent extra time pushing the tape down and applying the stain from the outside in using firm sweeping motions along the grain, the stained checker lines were crisp. So good! Then I let the stain dry overnight.
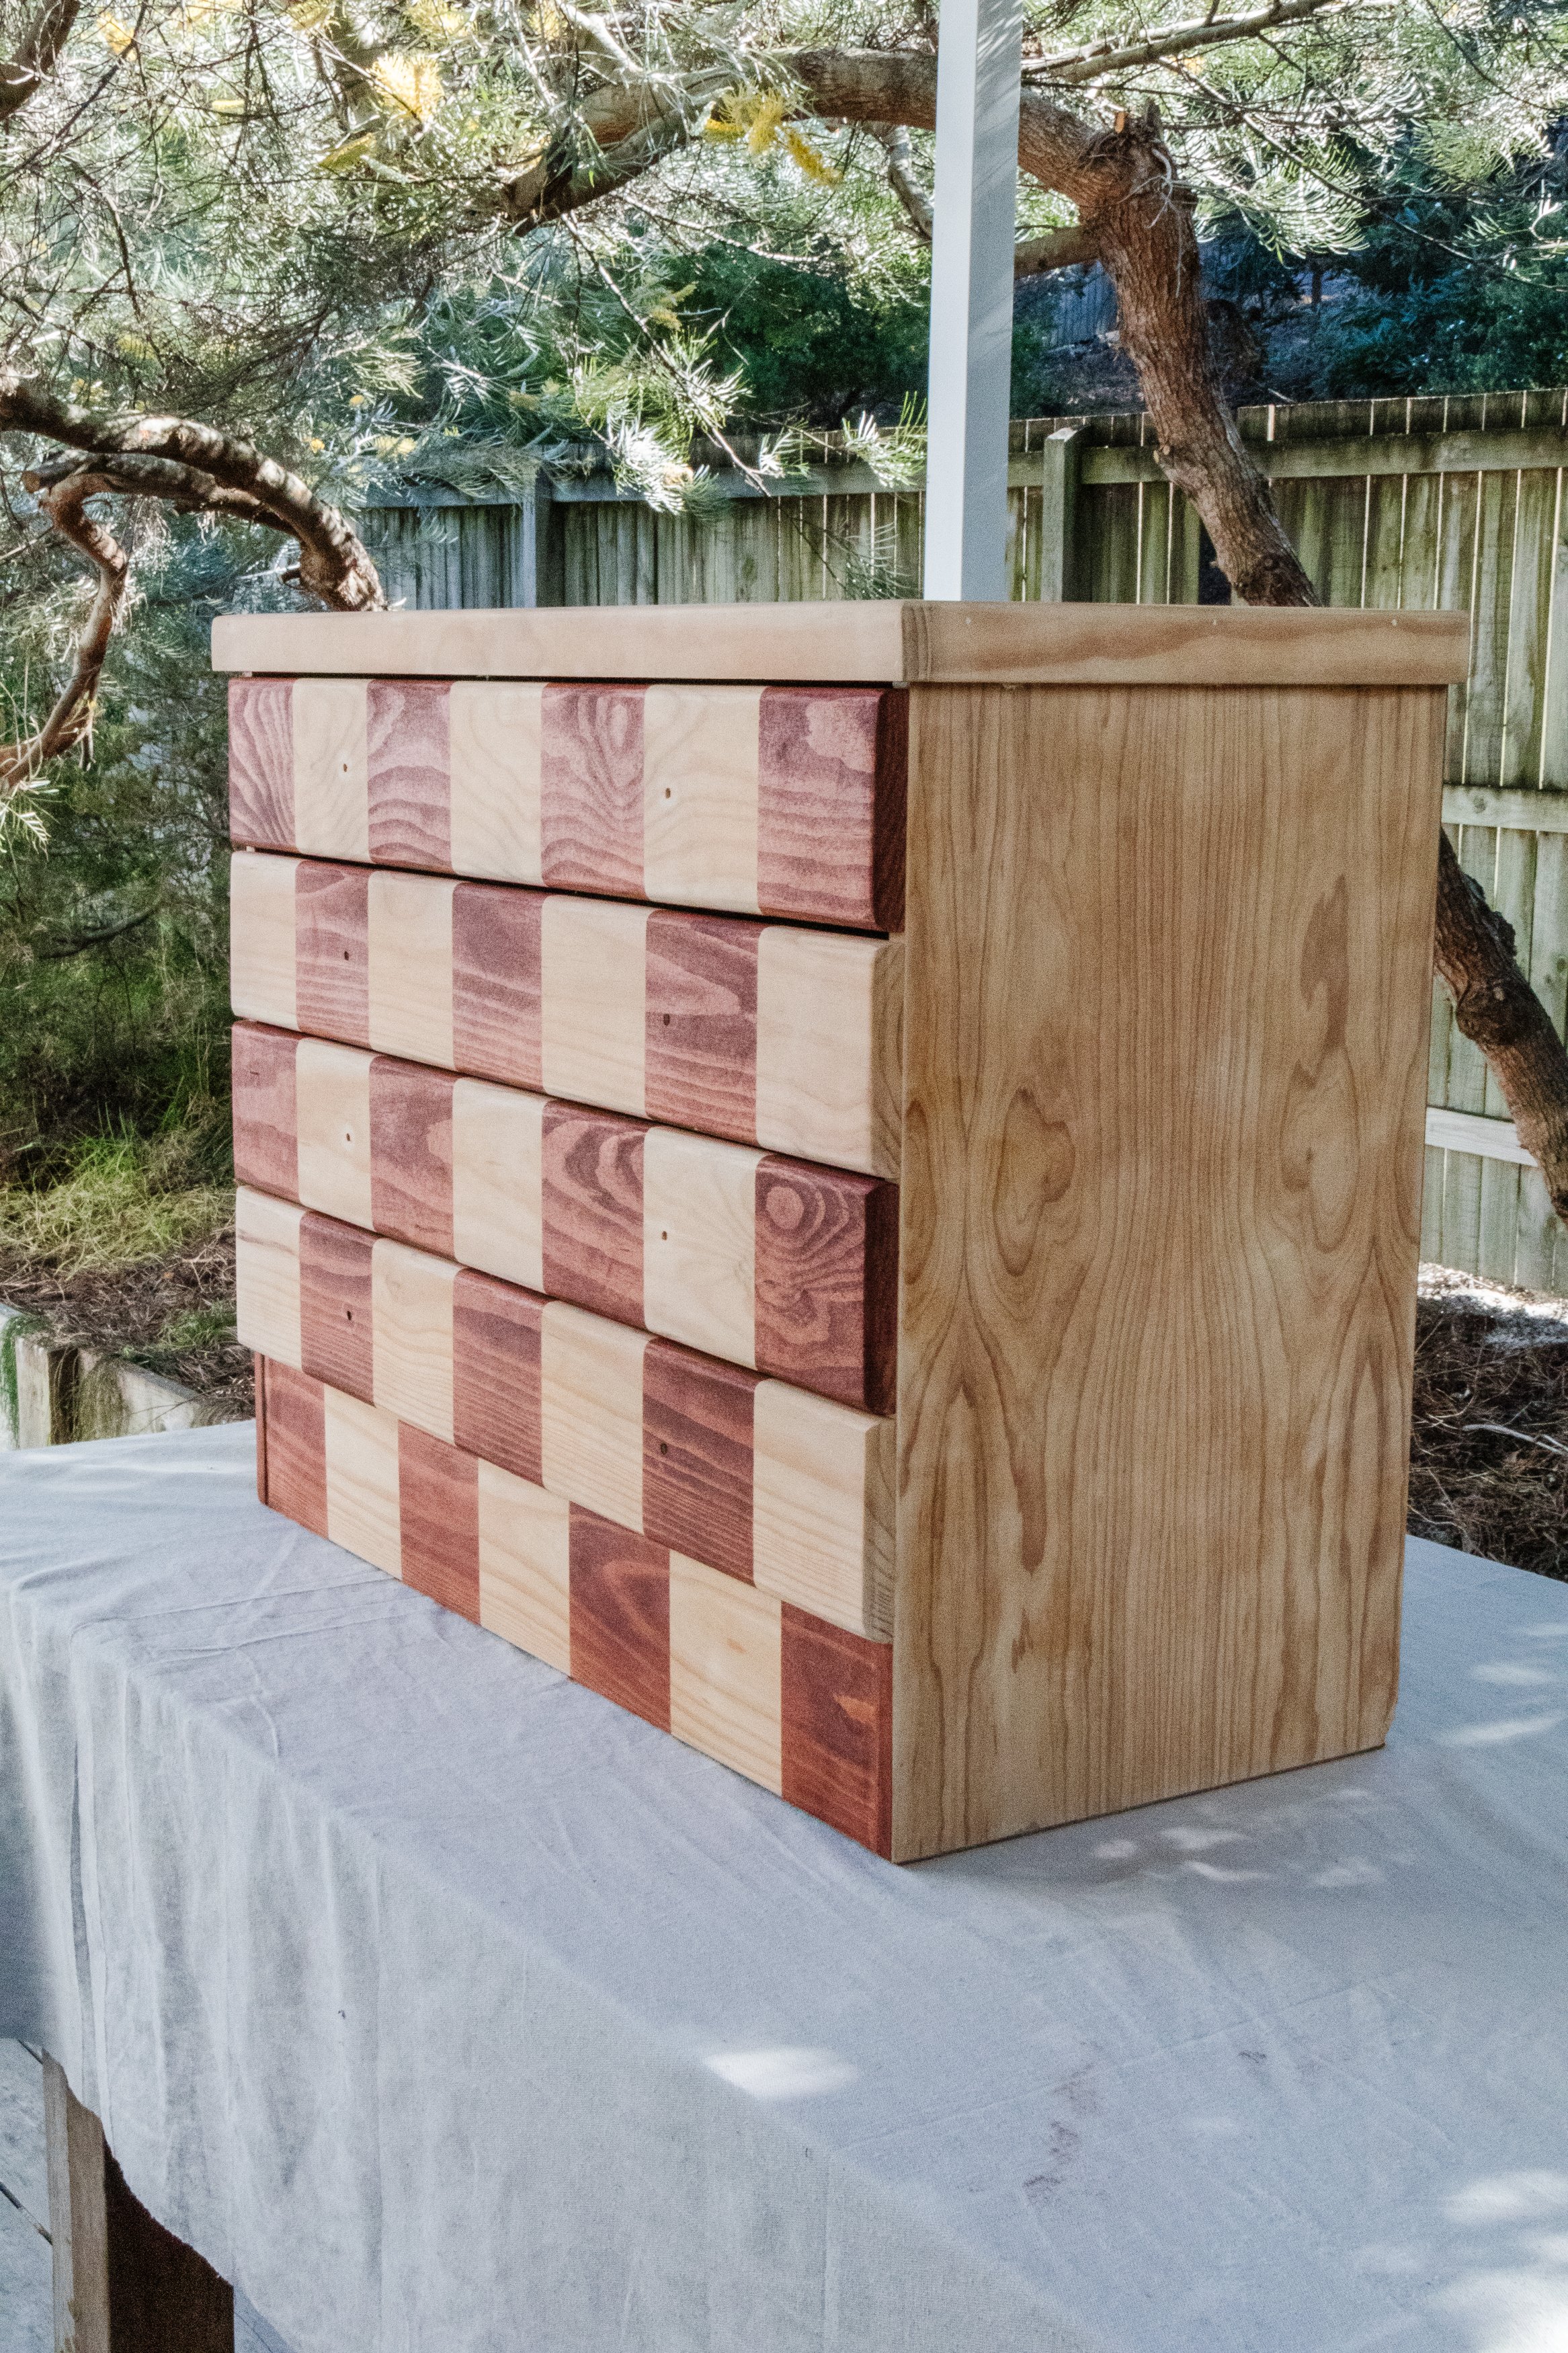

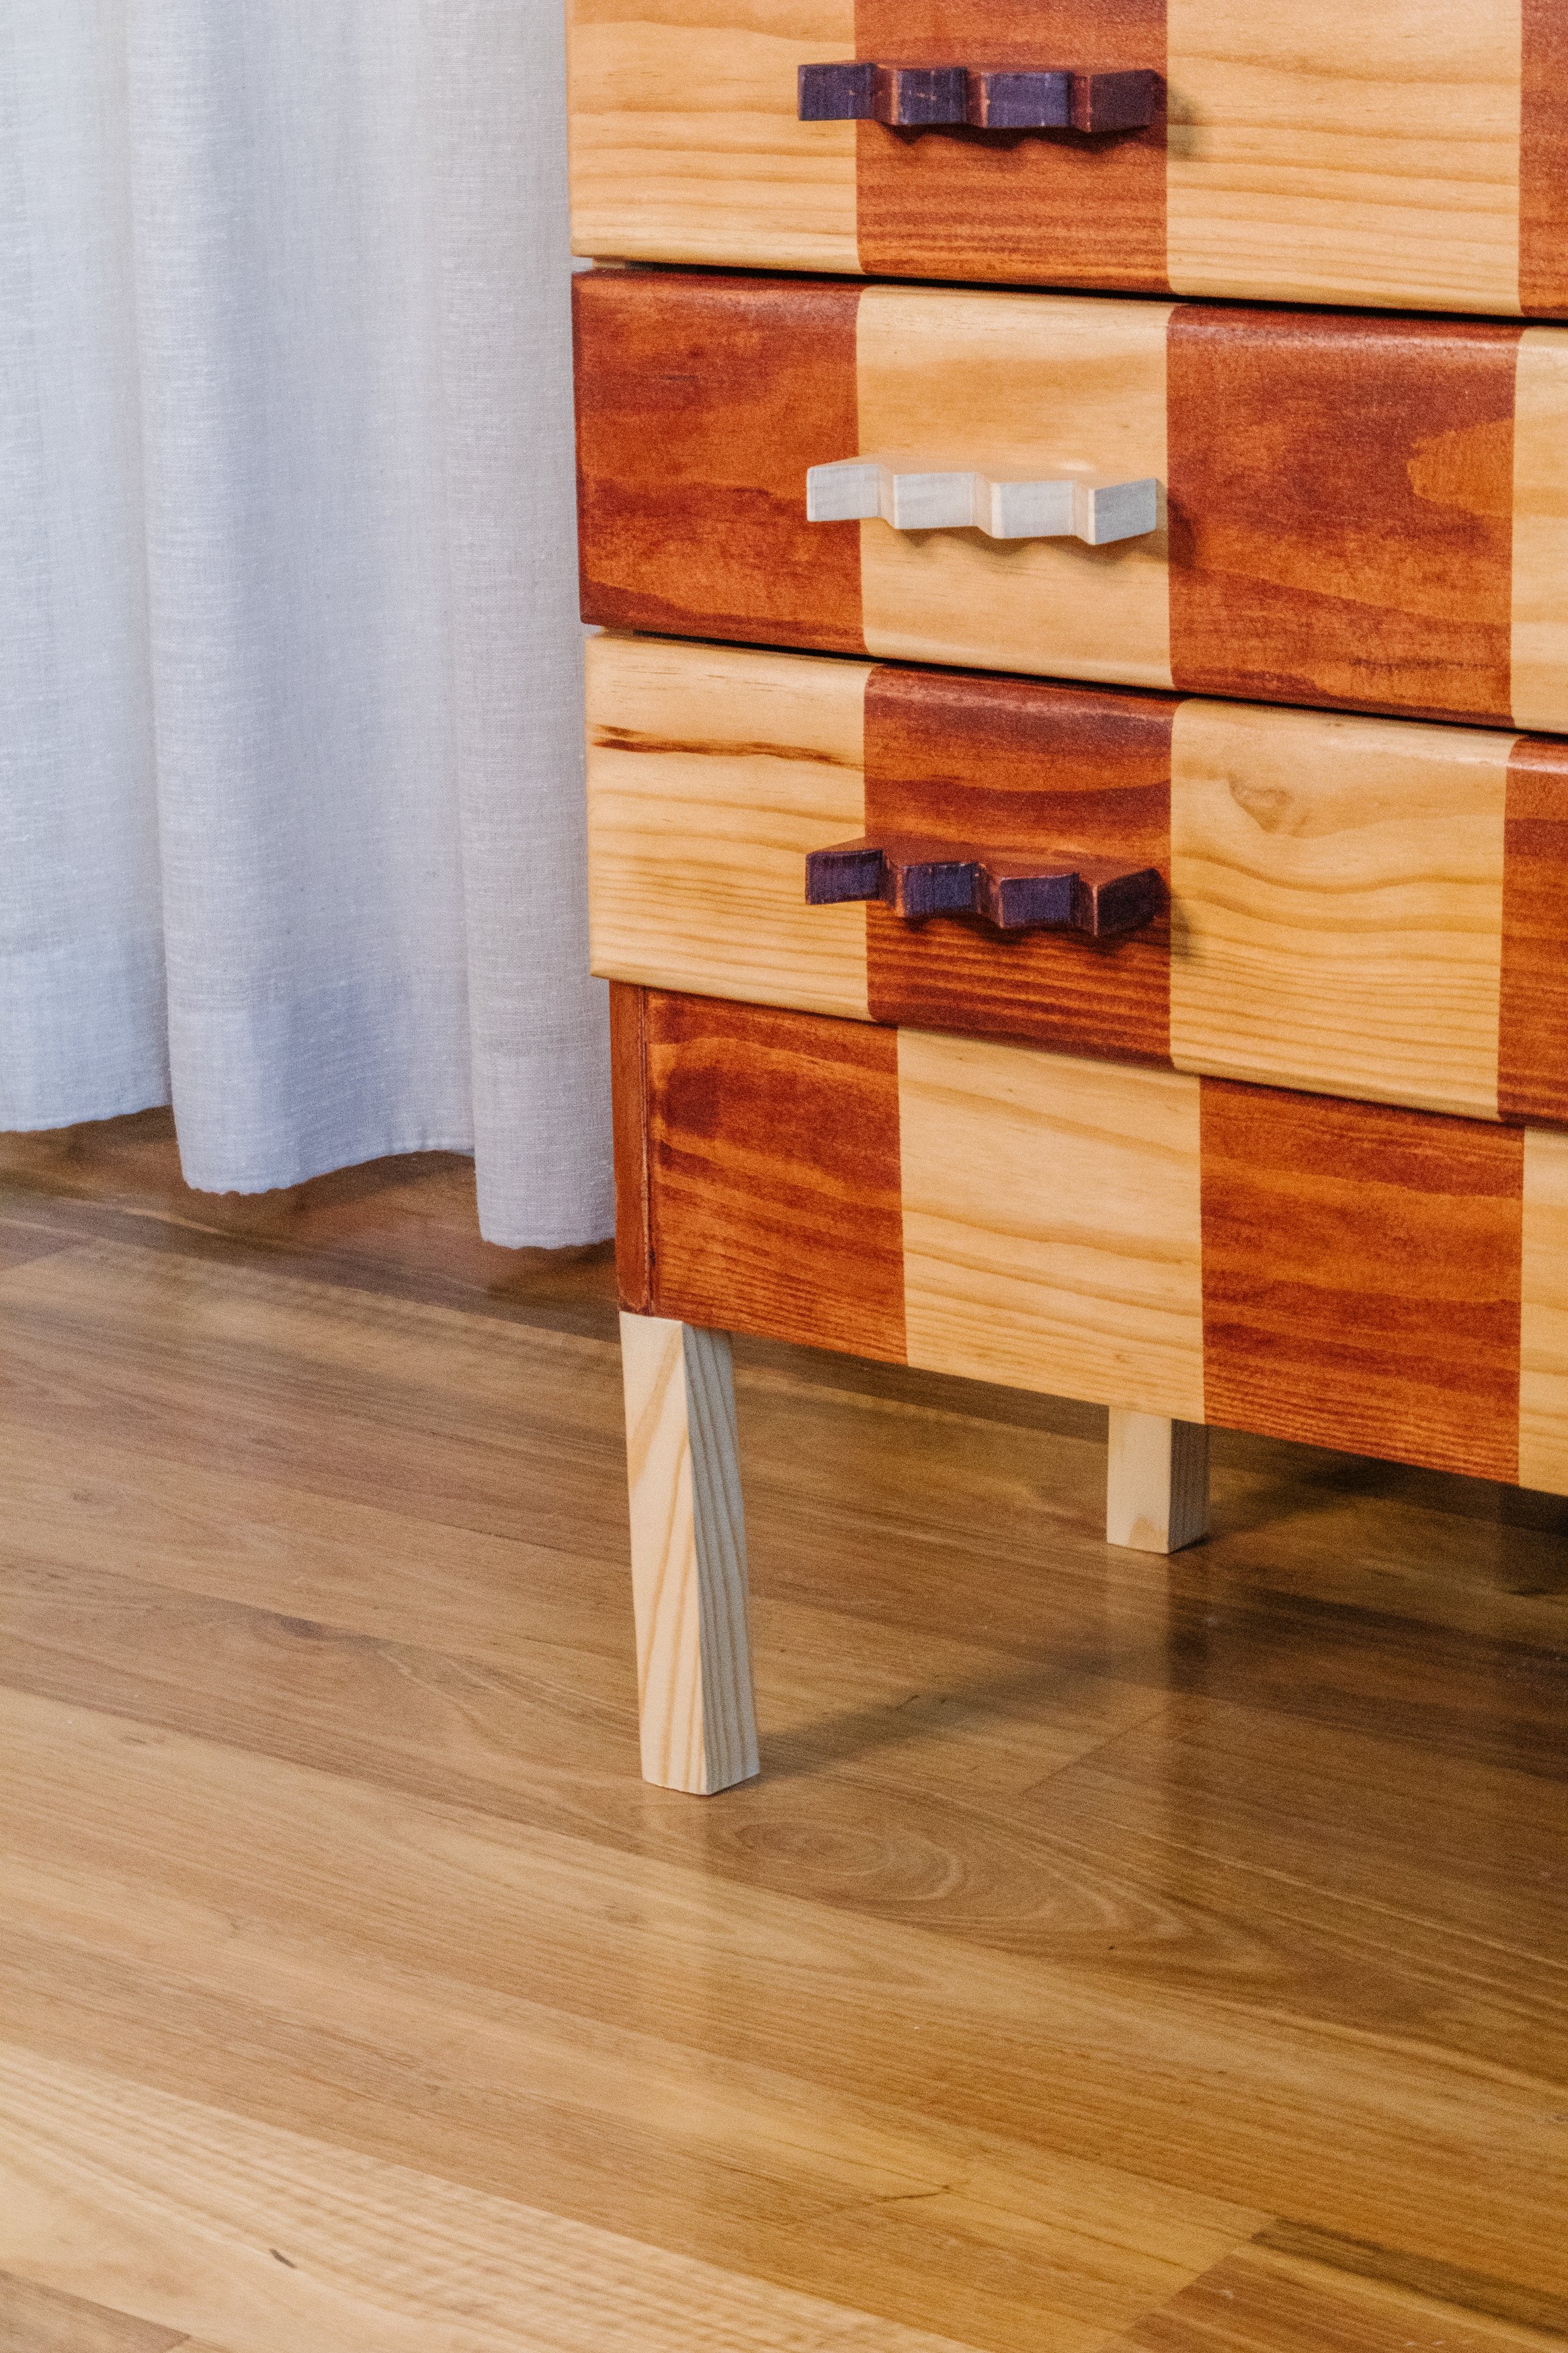
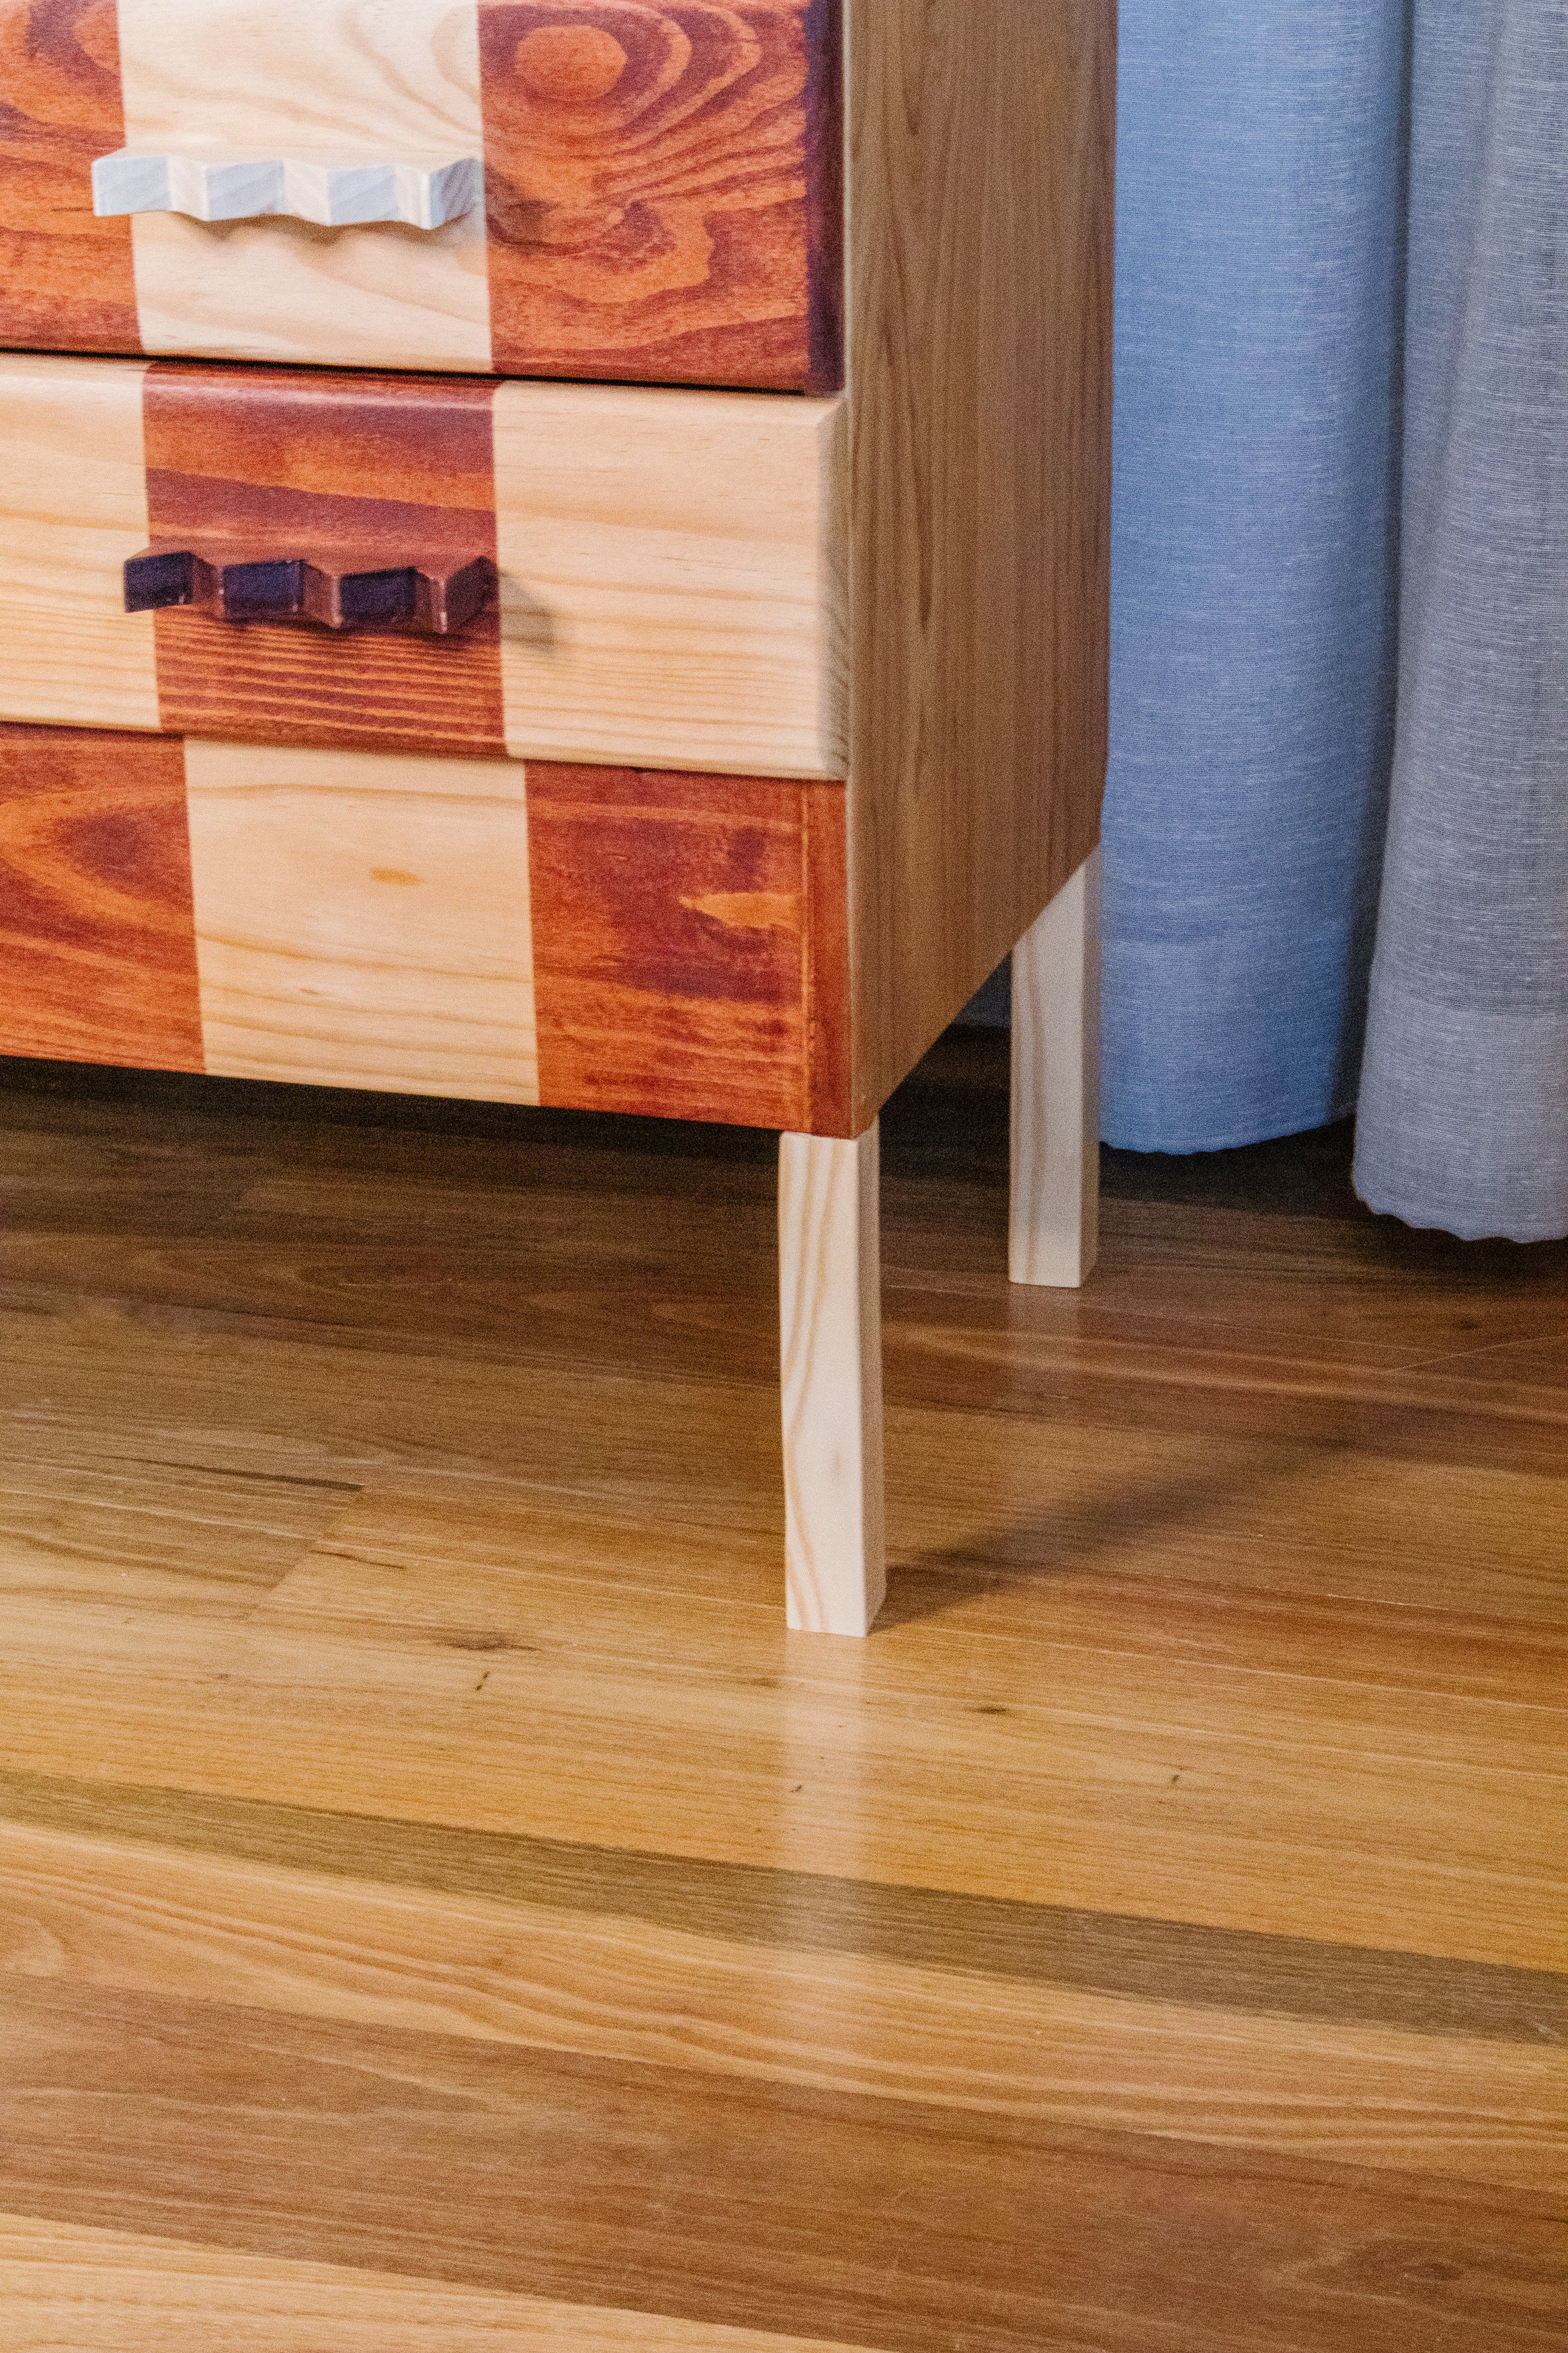
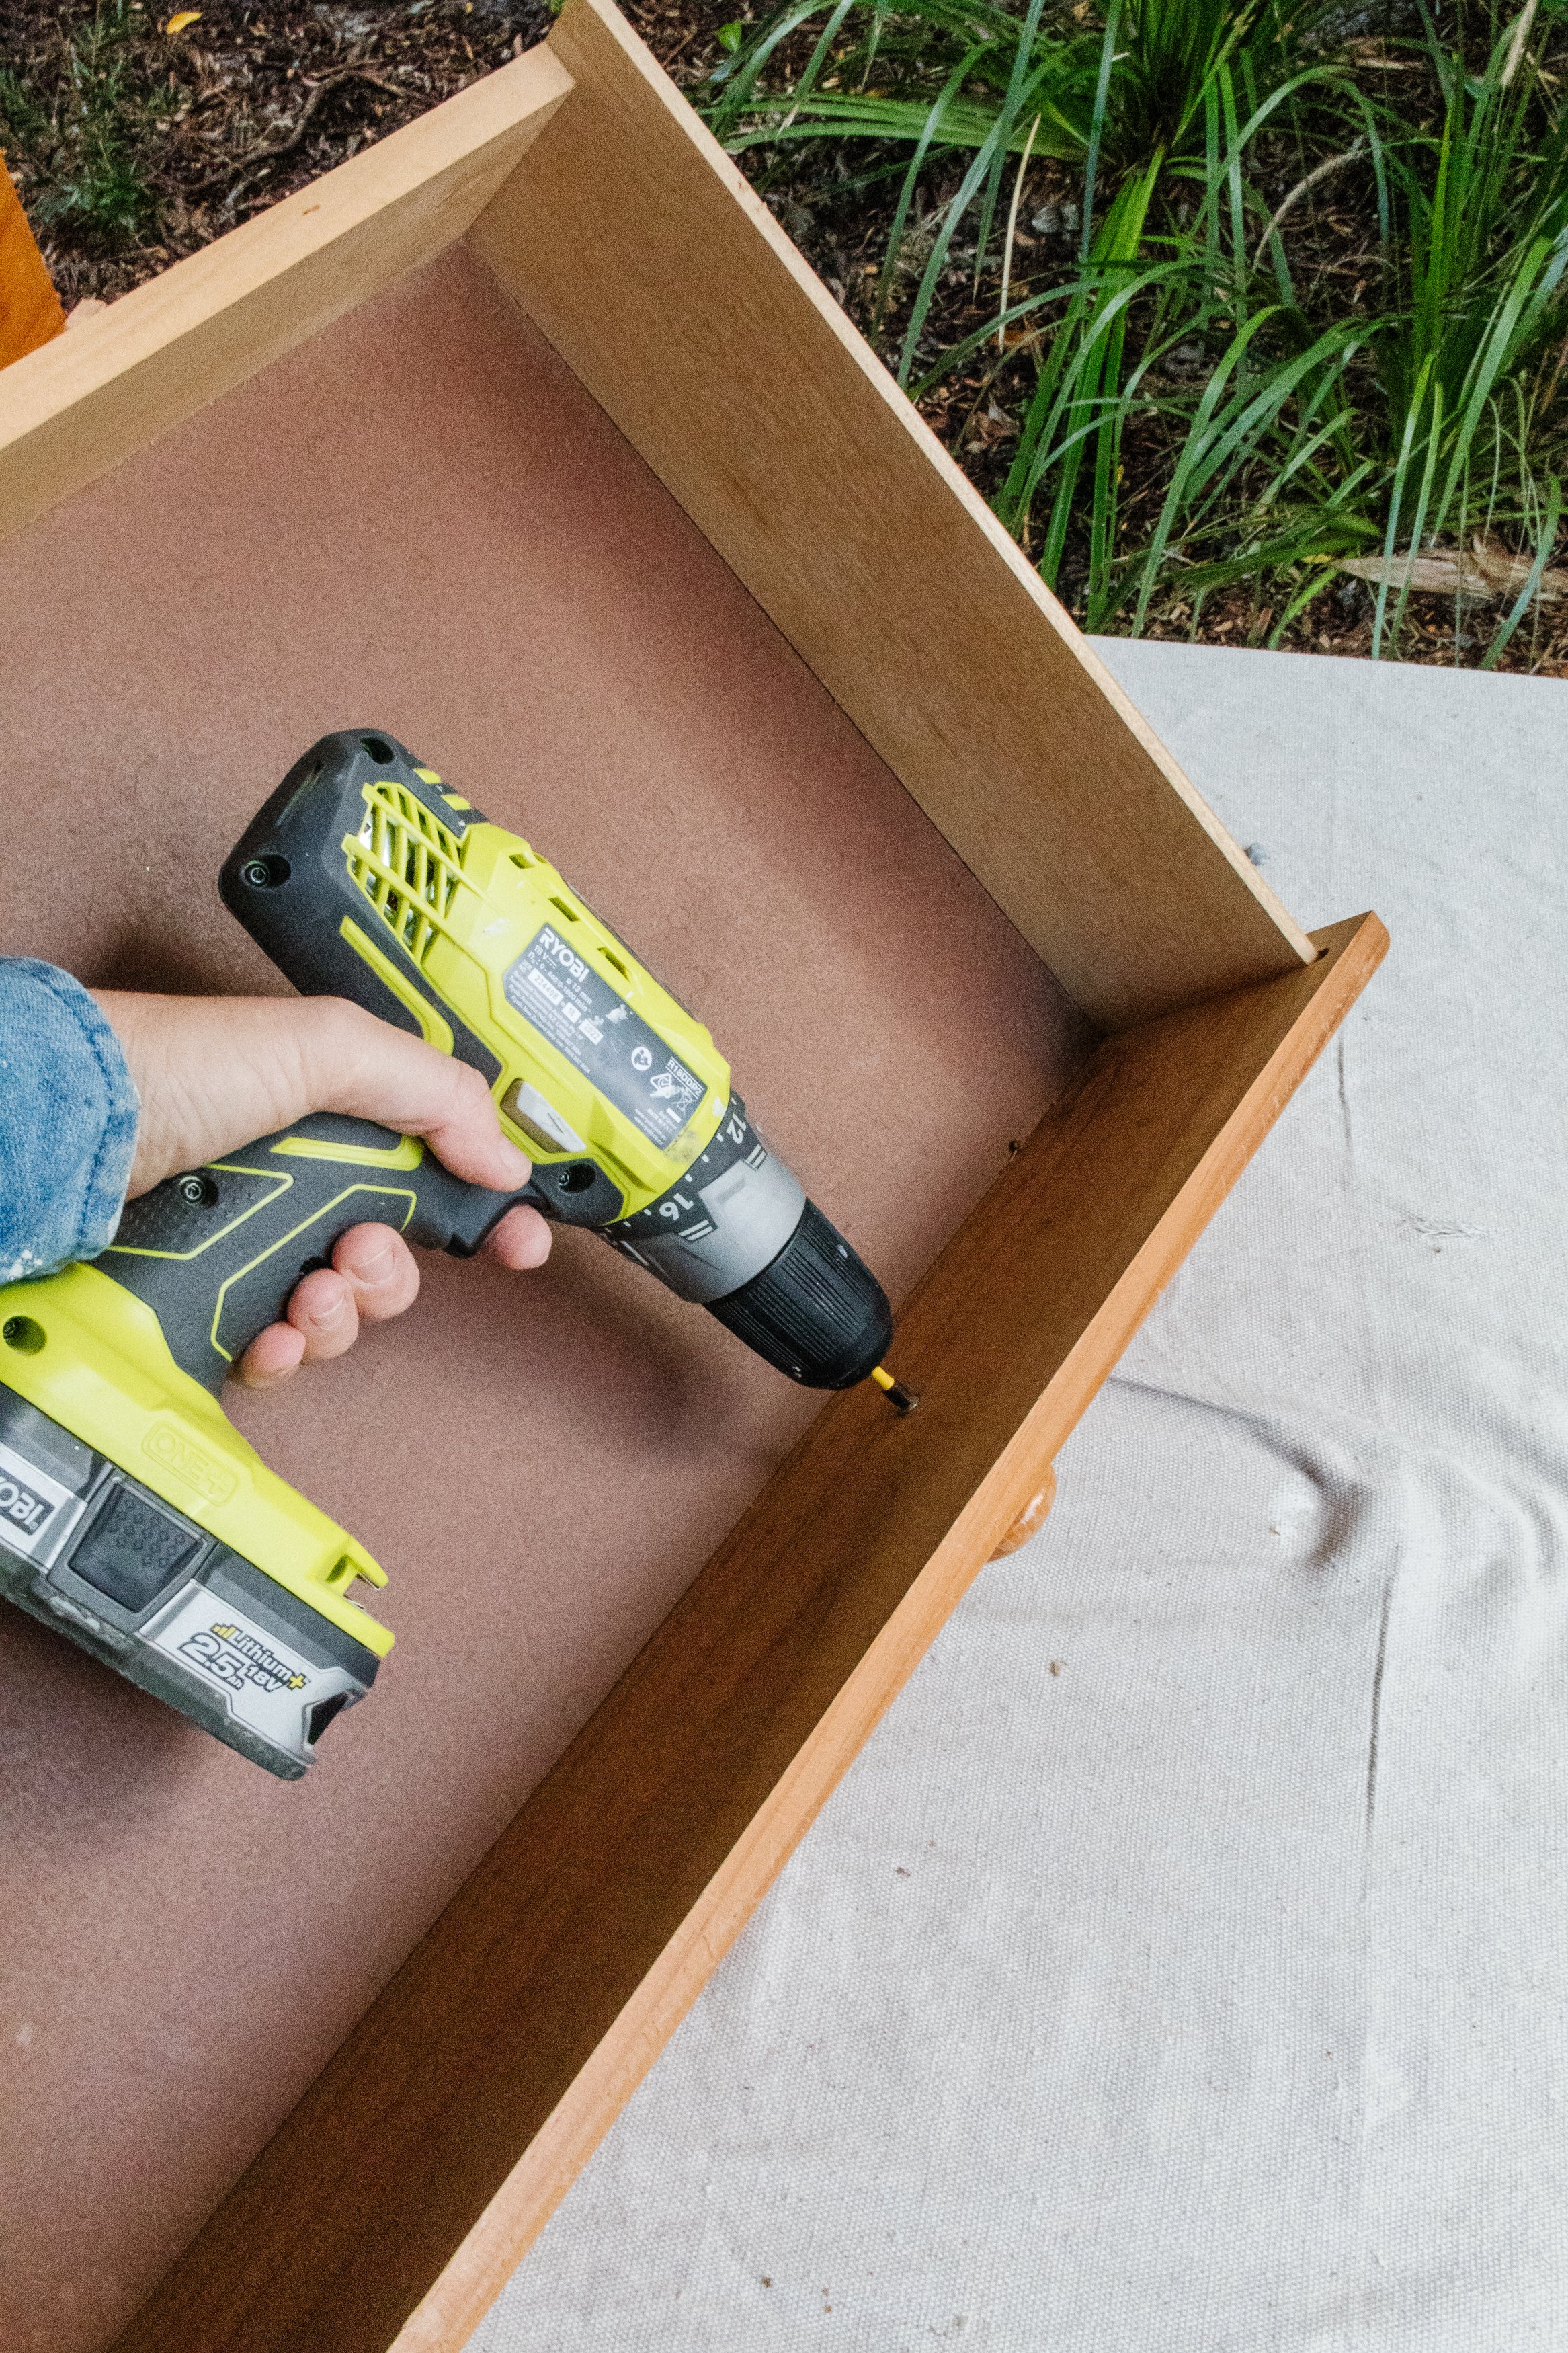
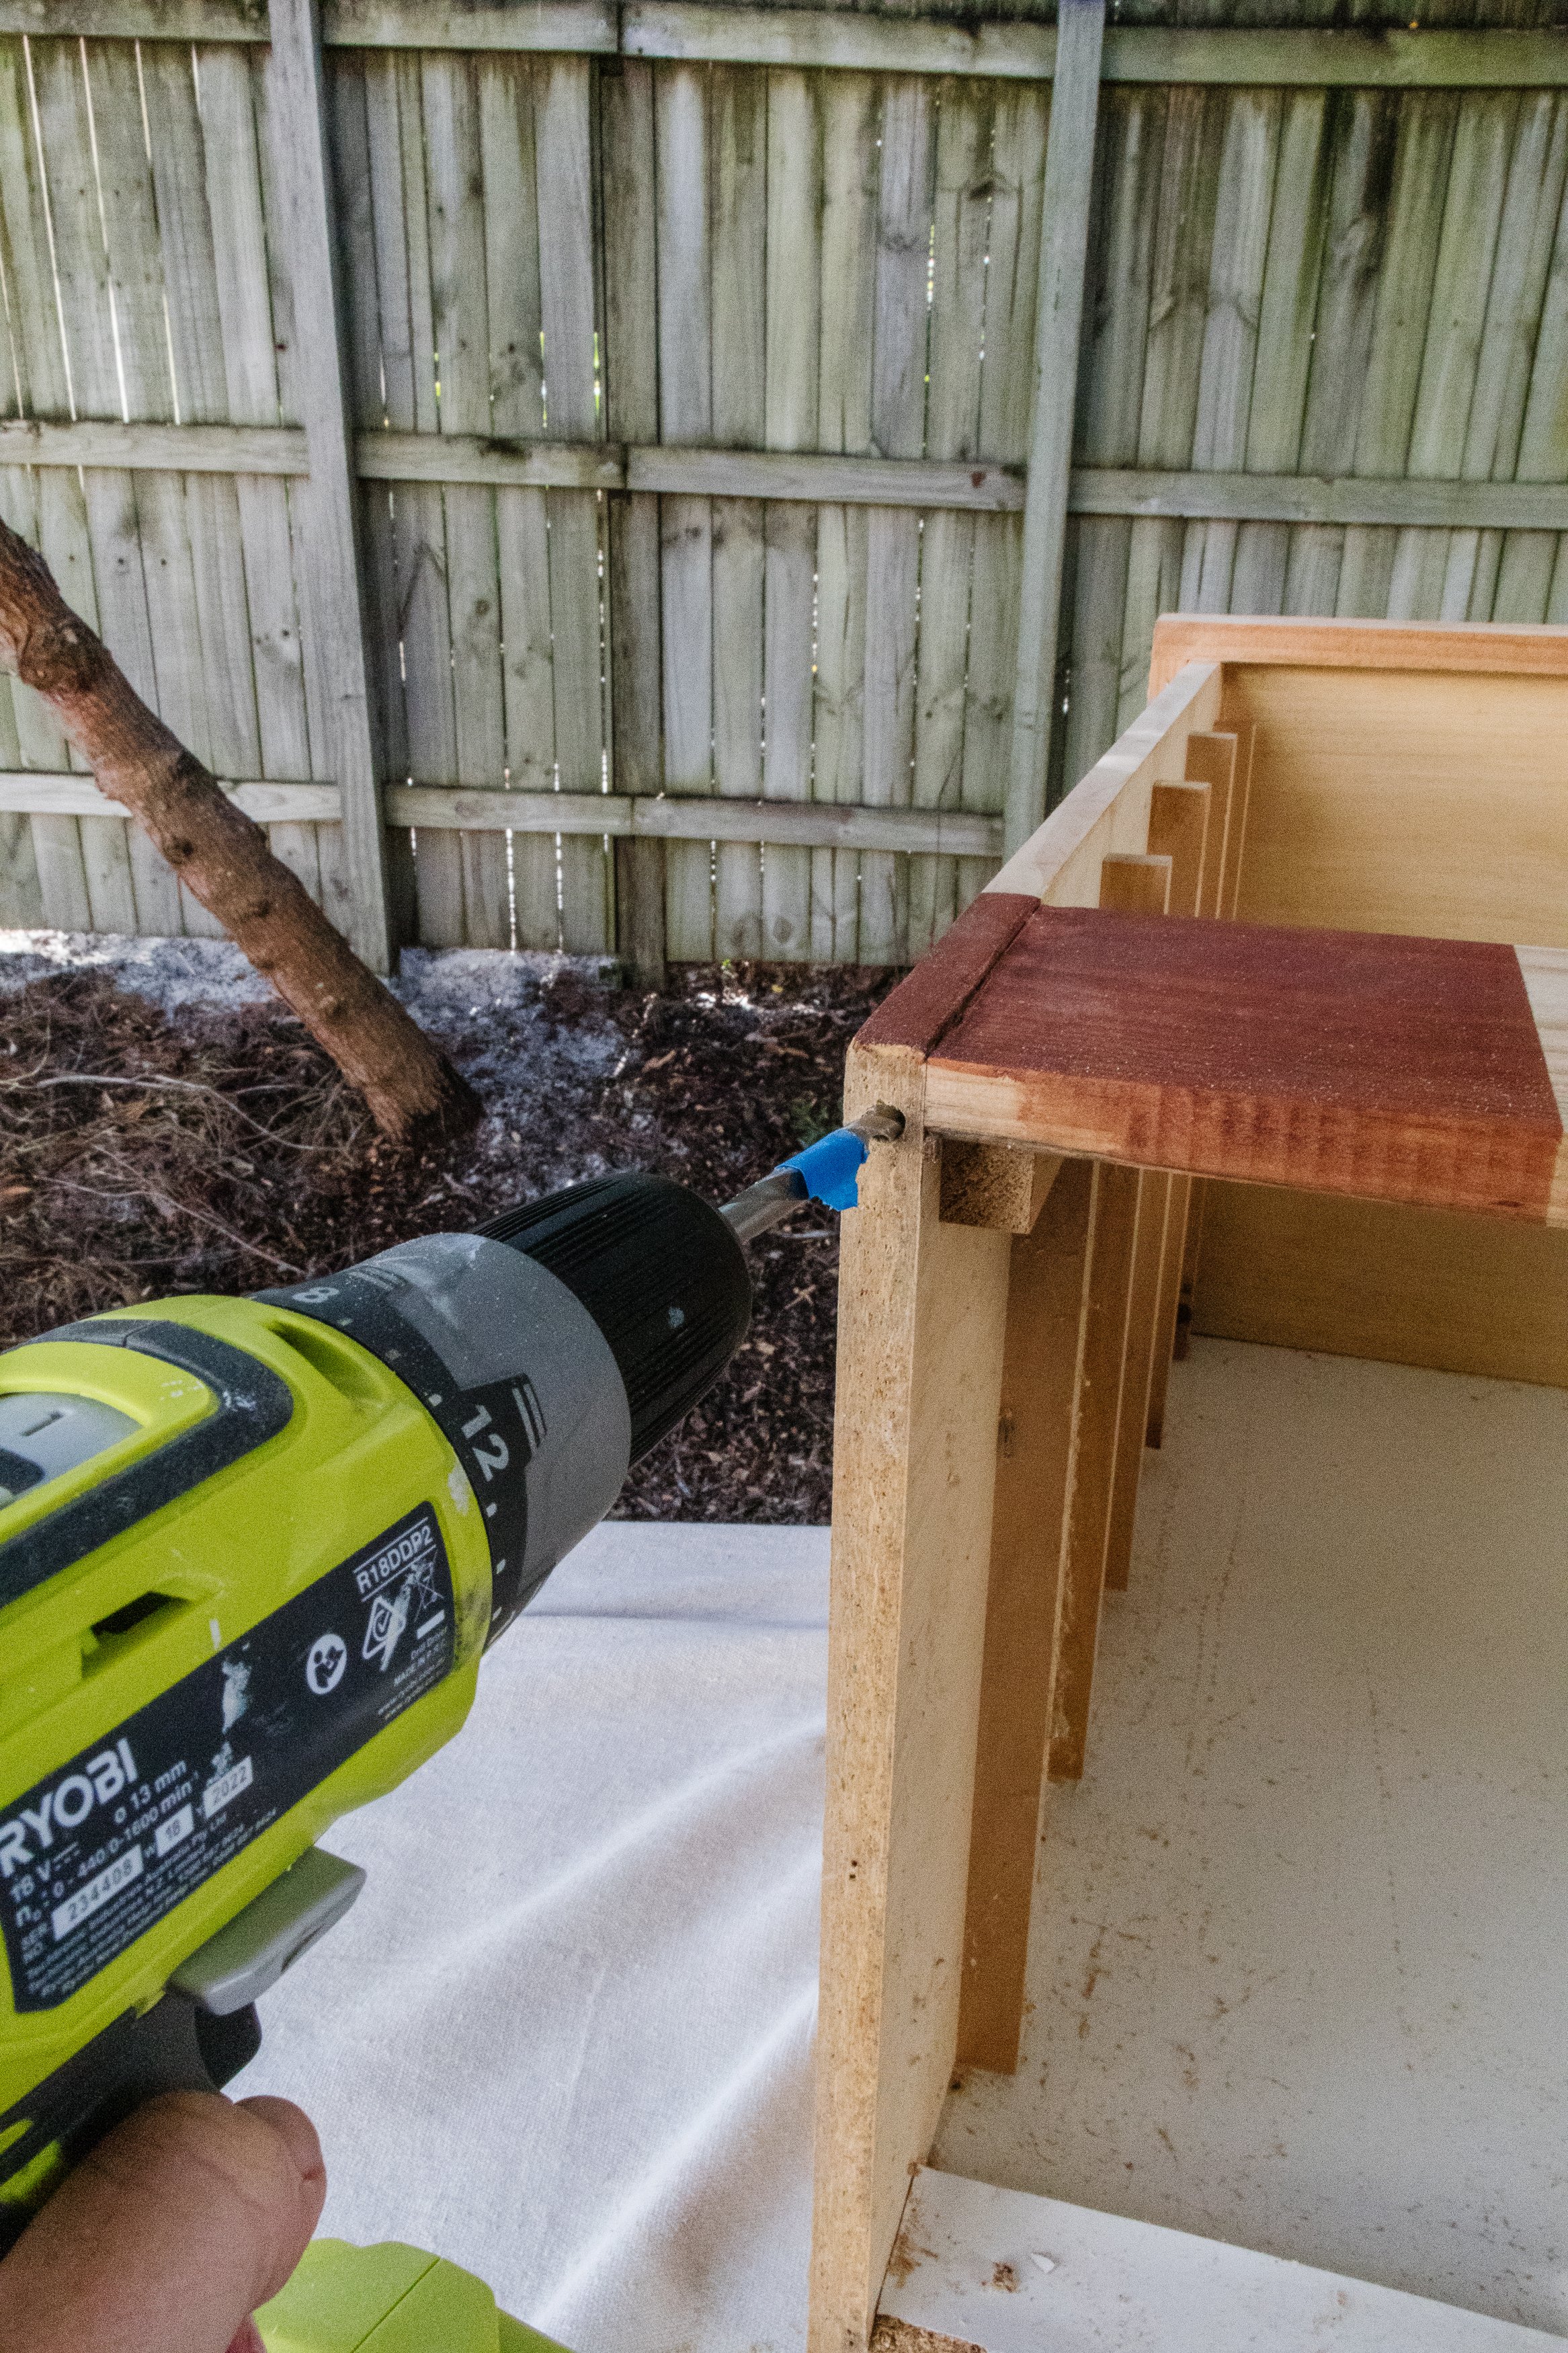
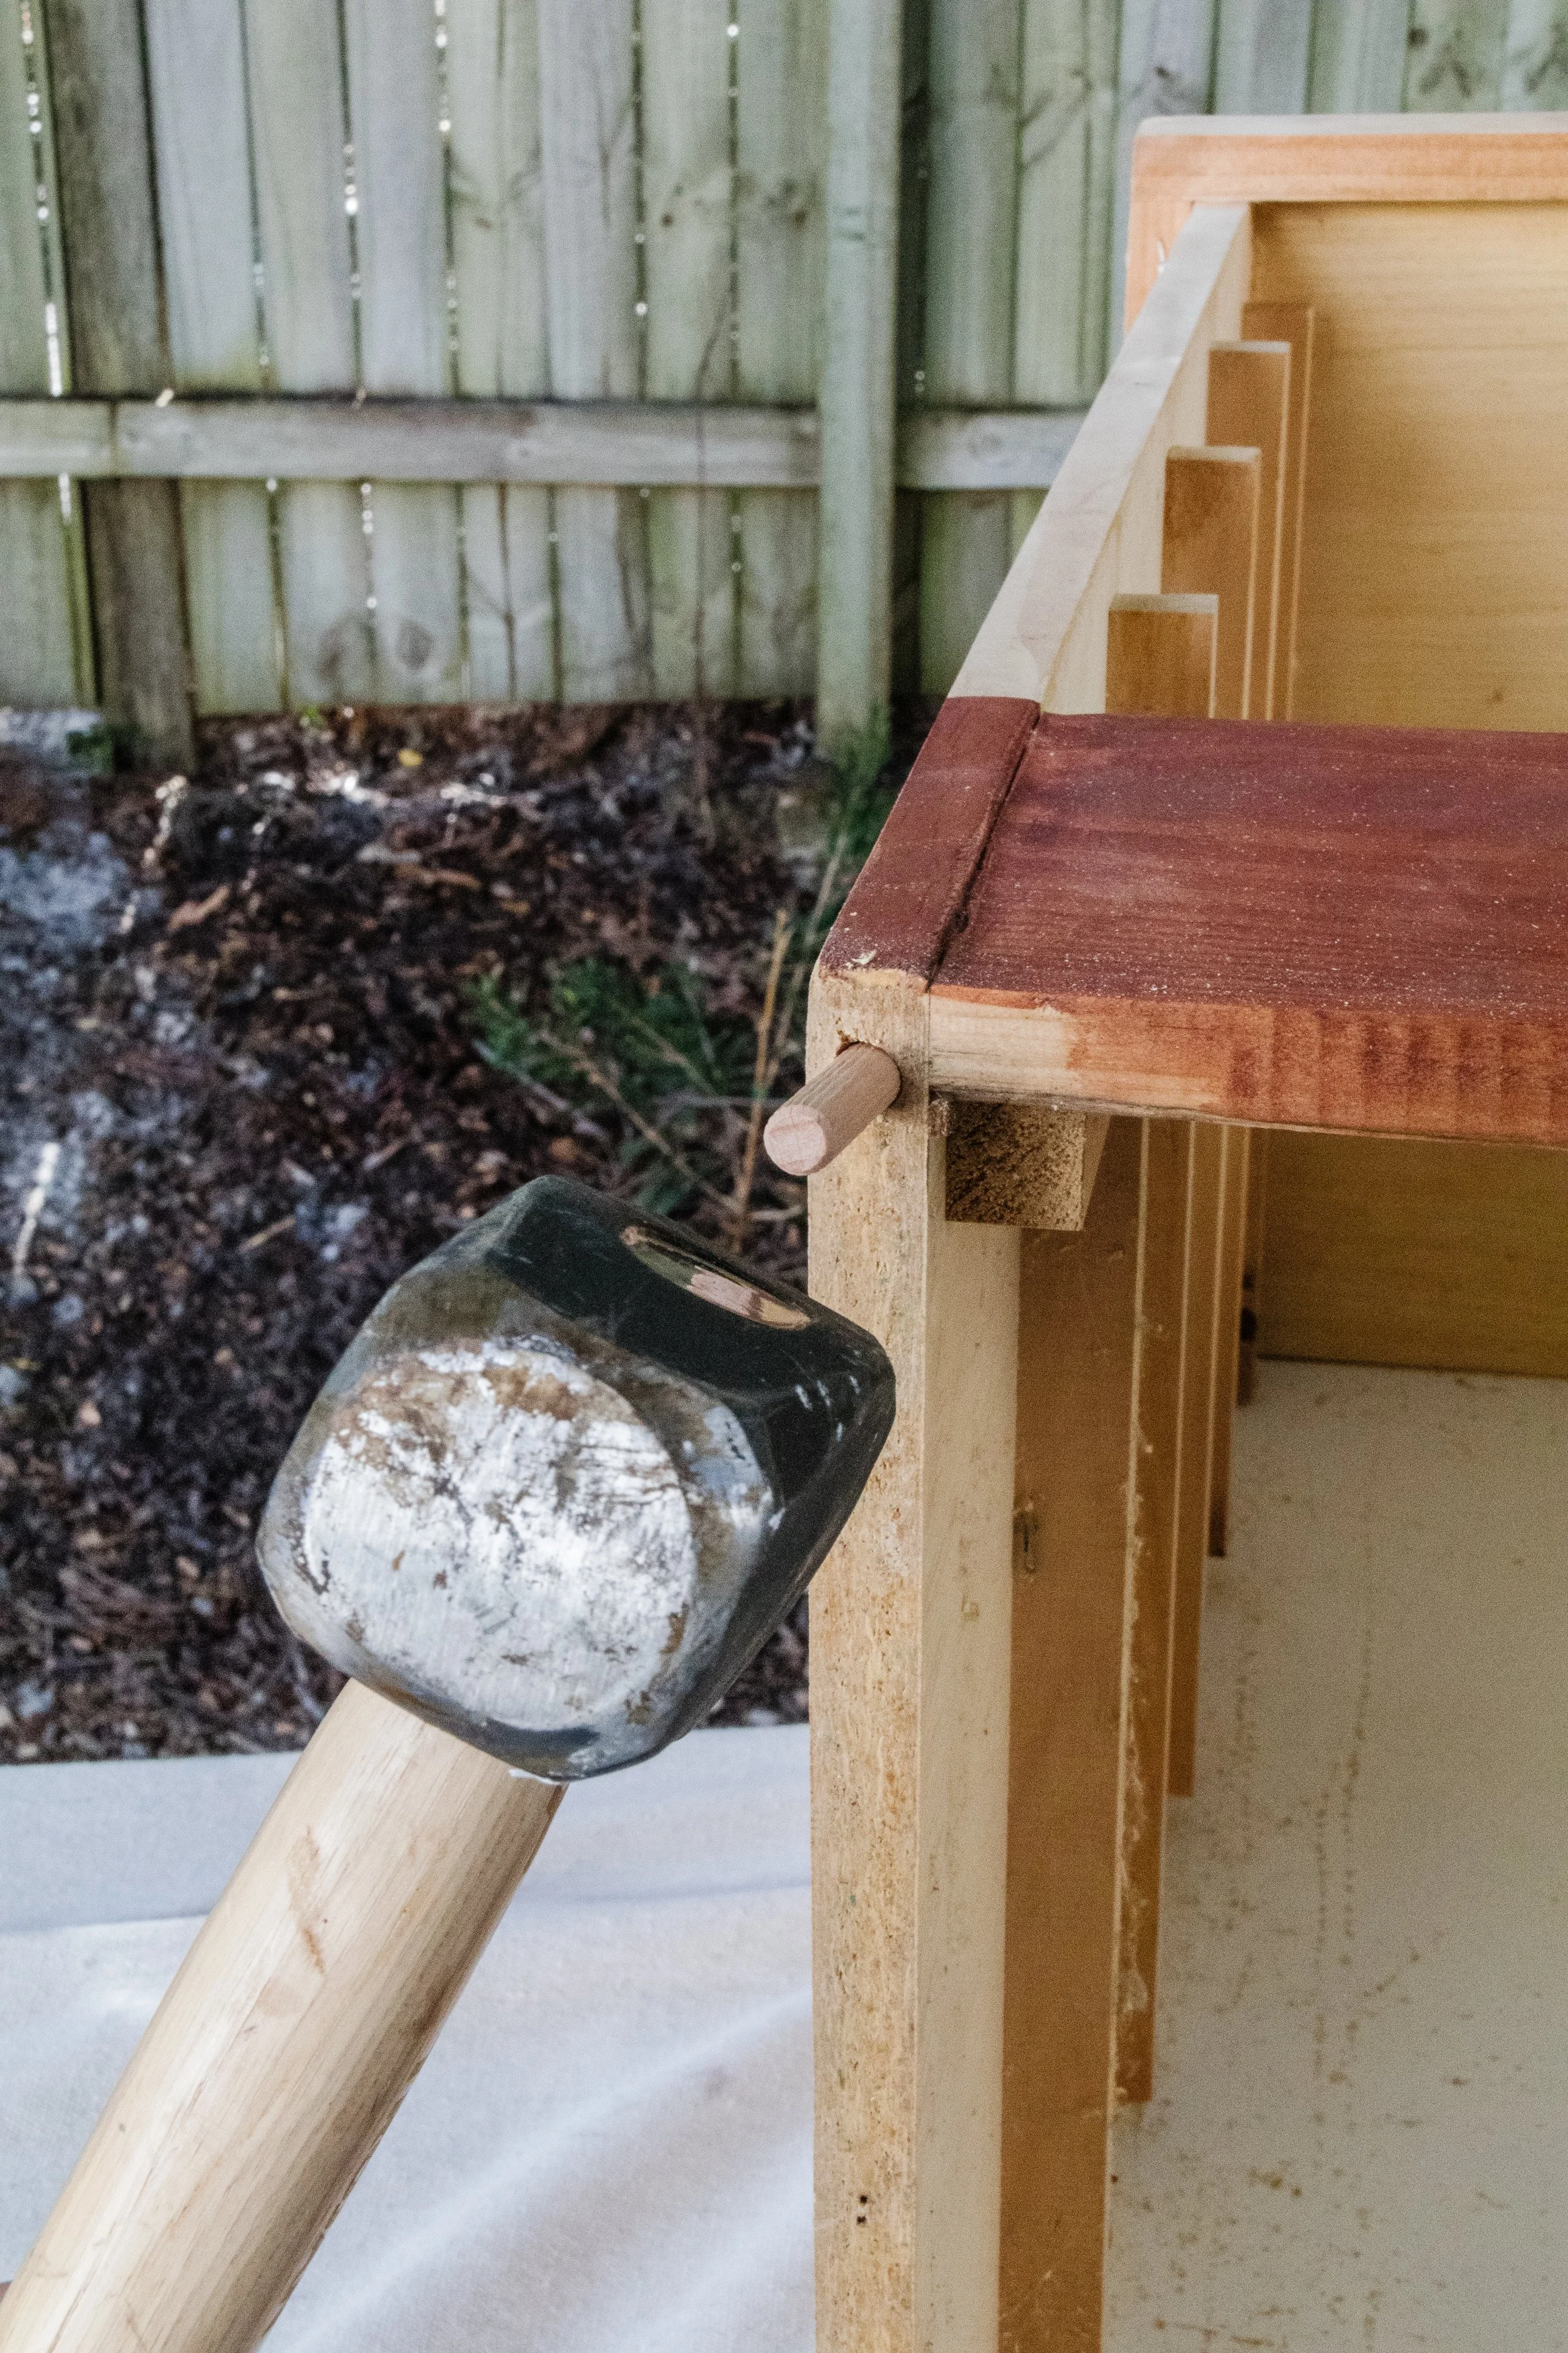
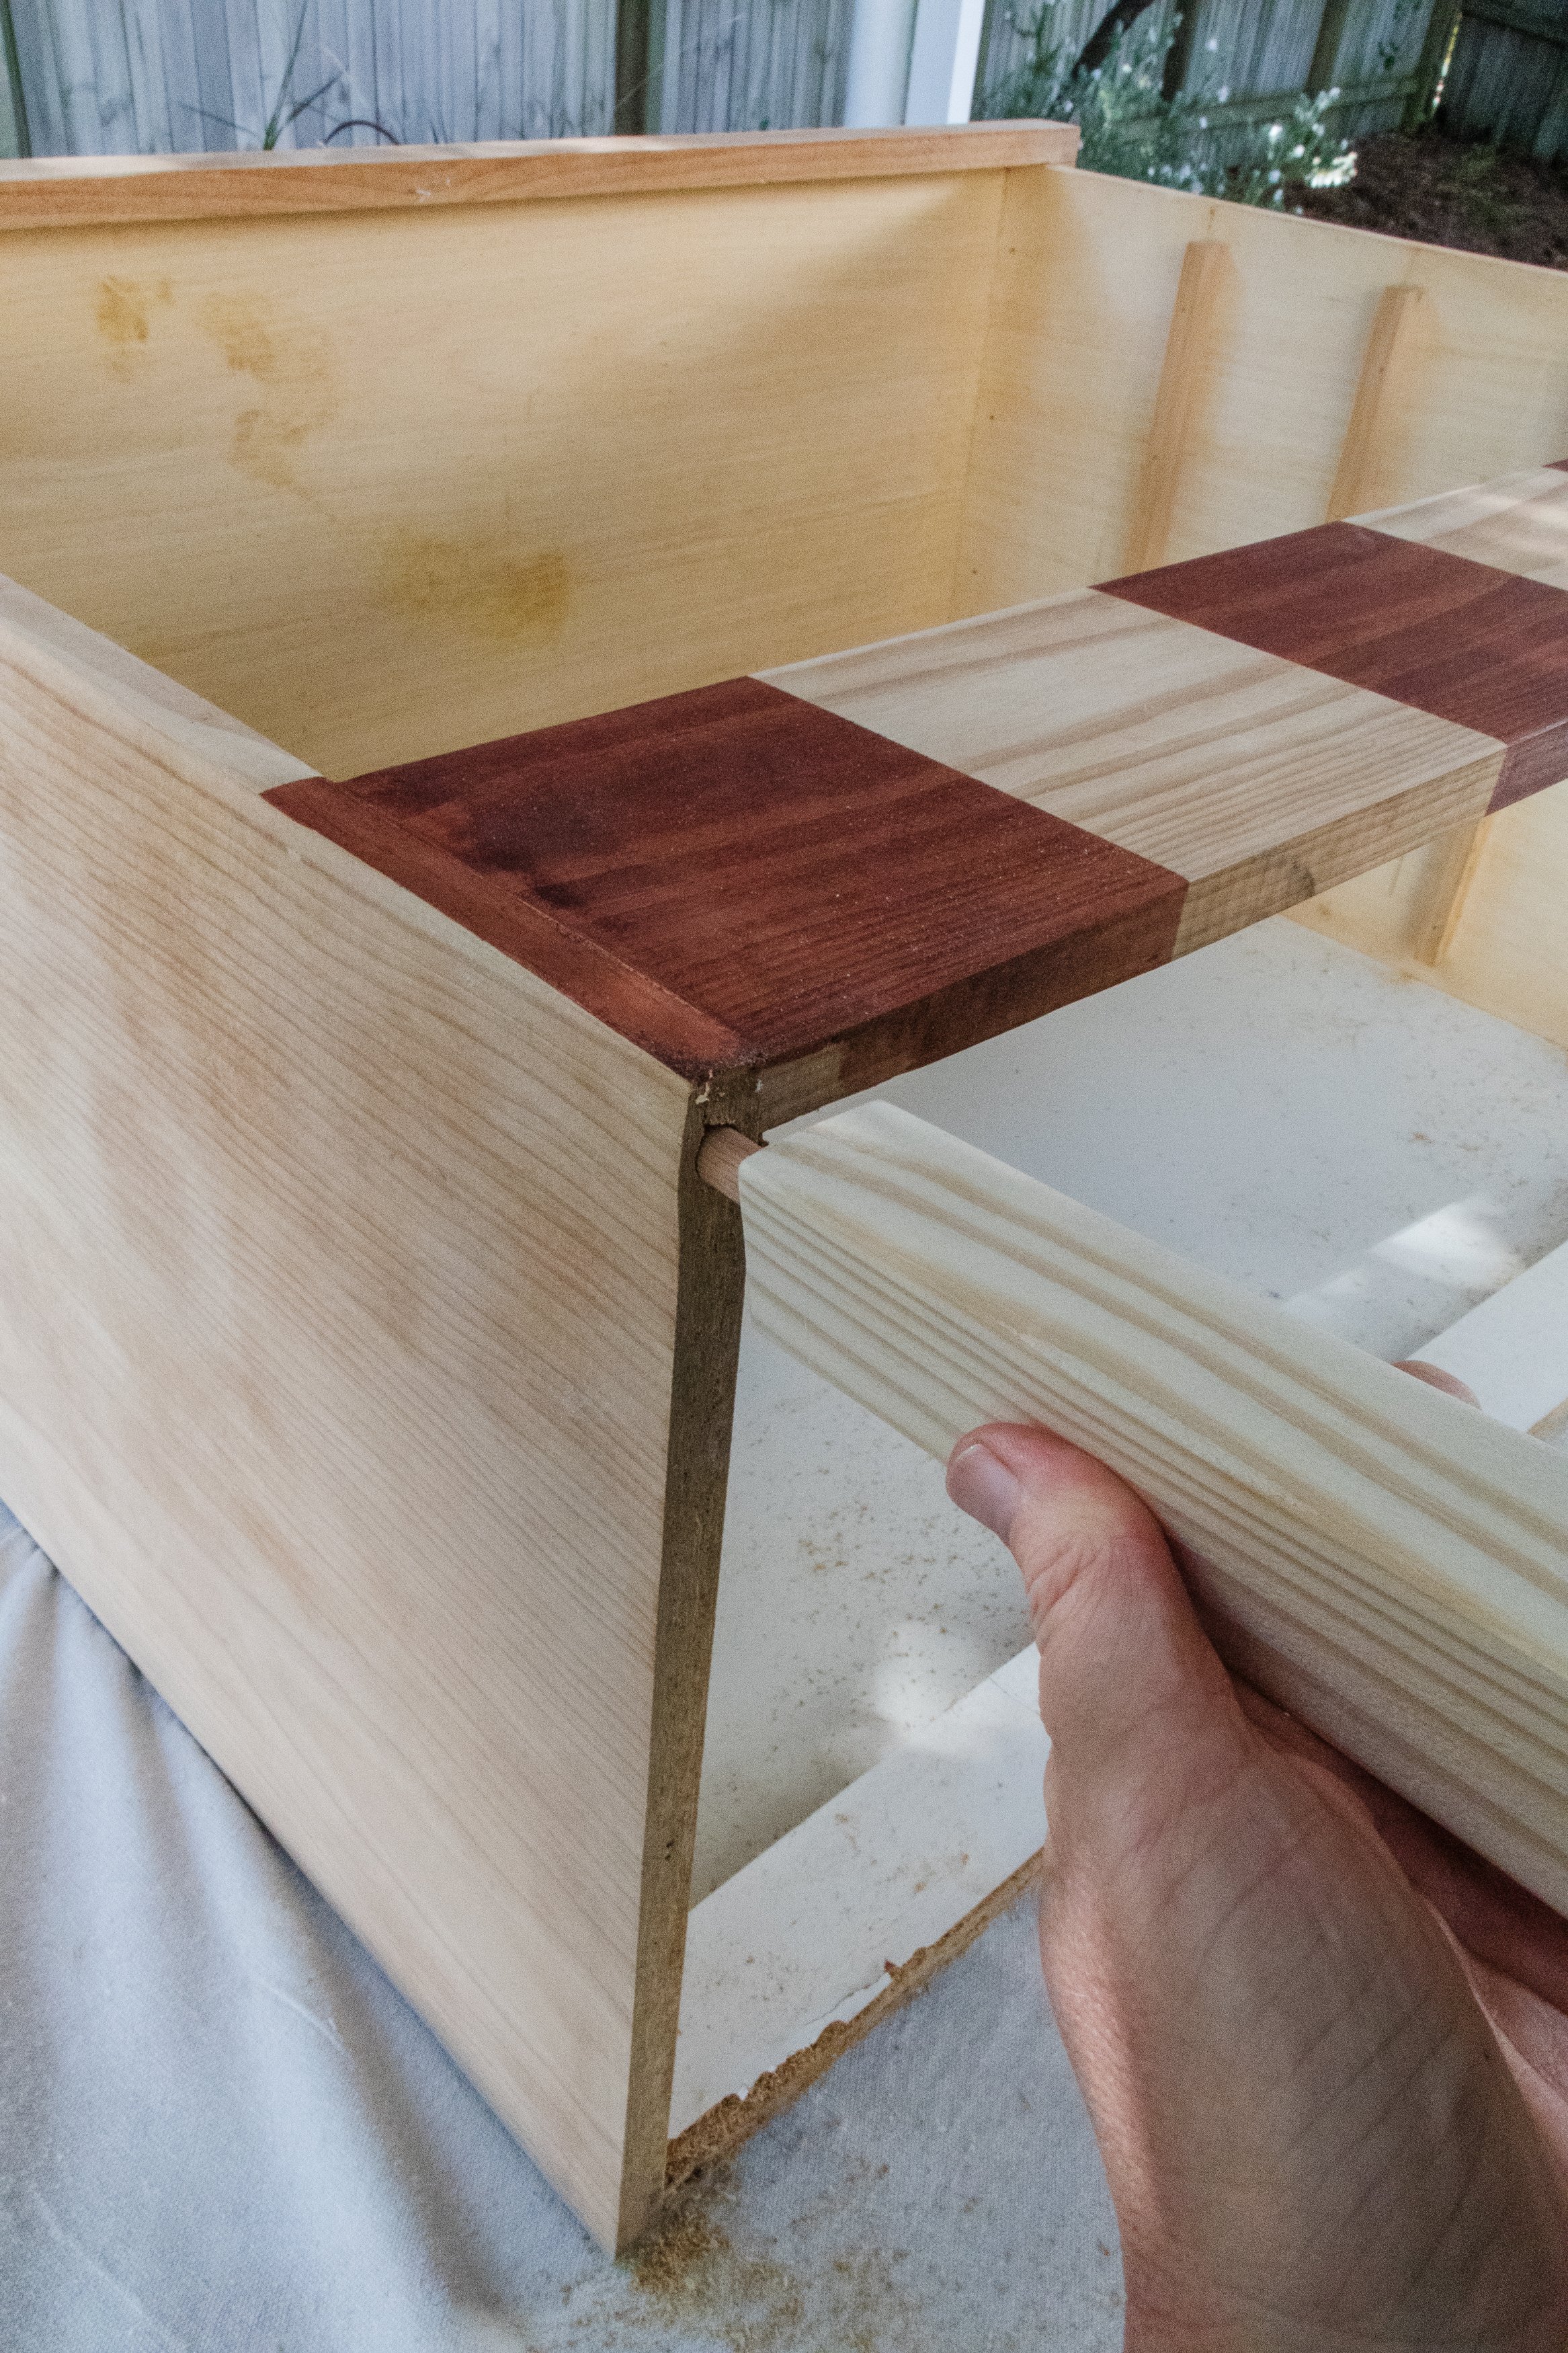
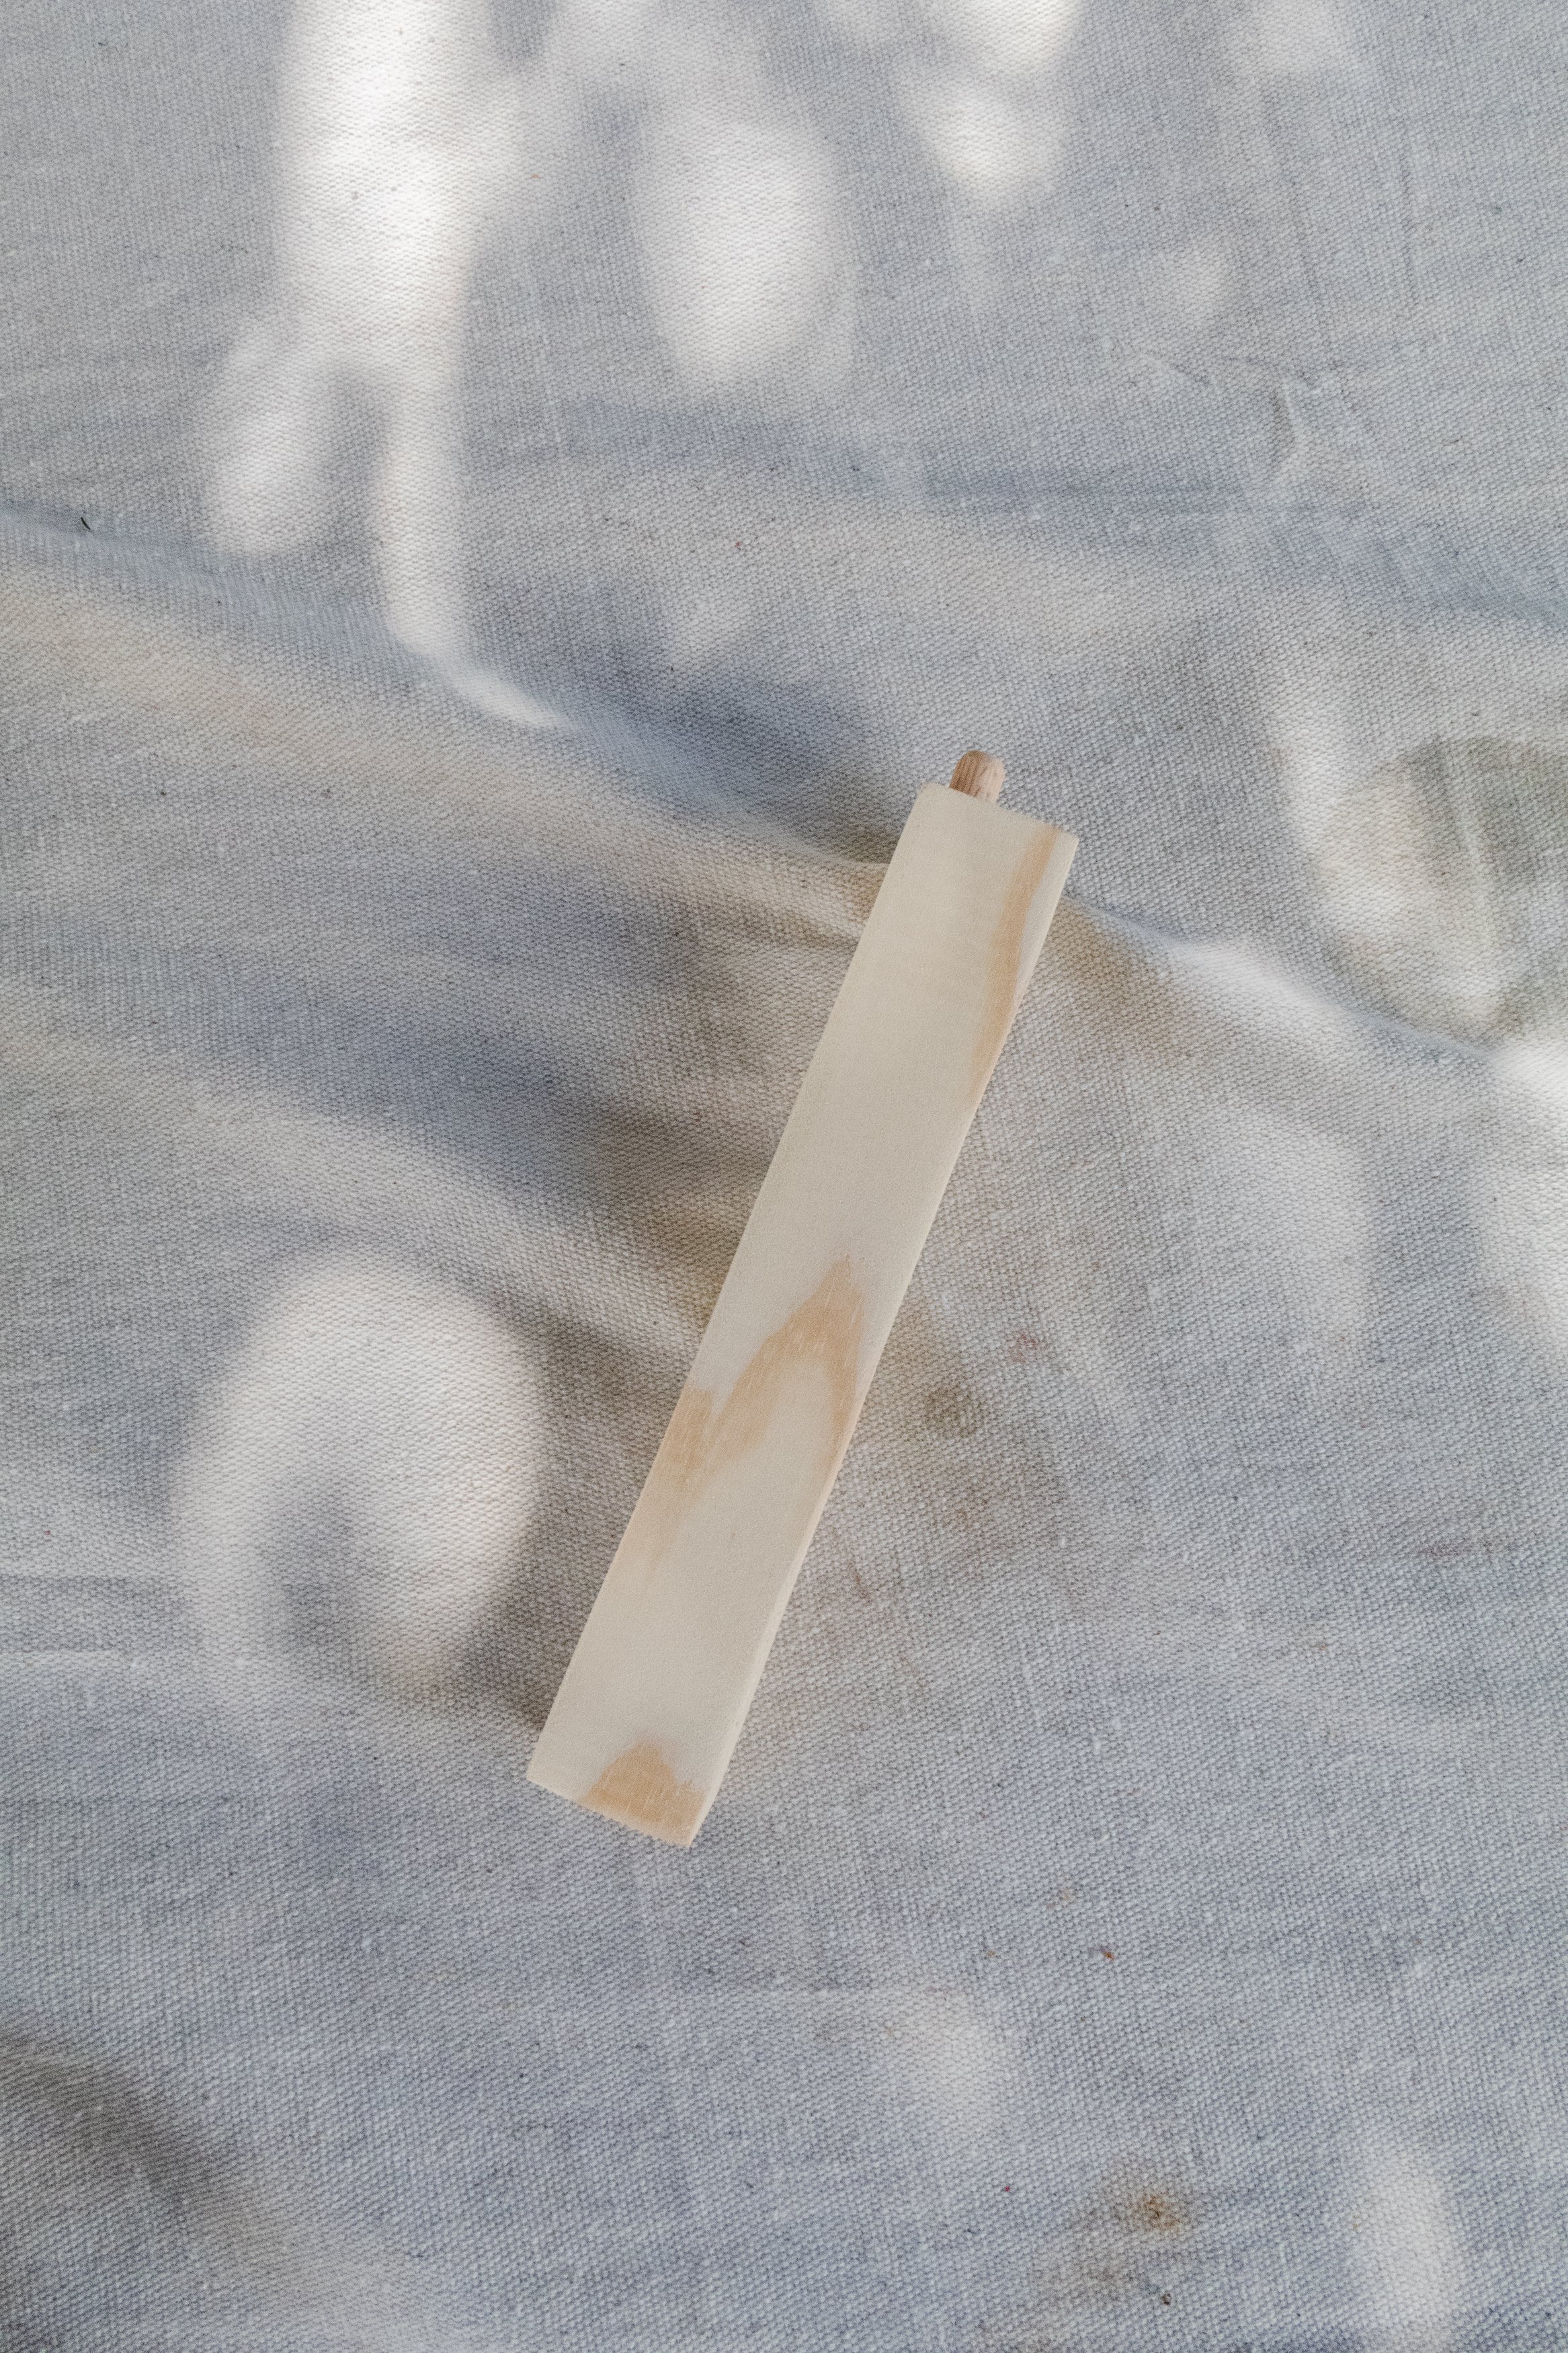
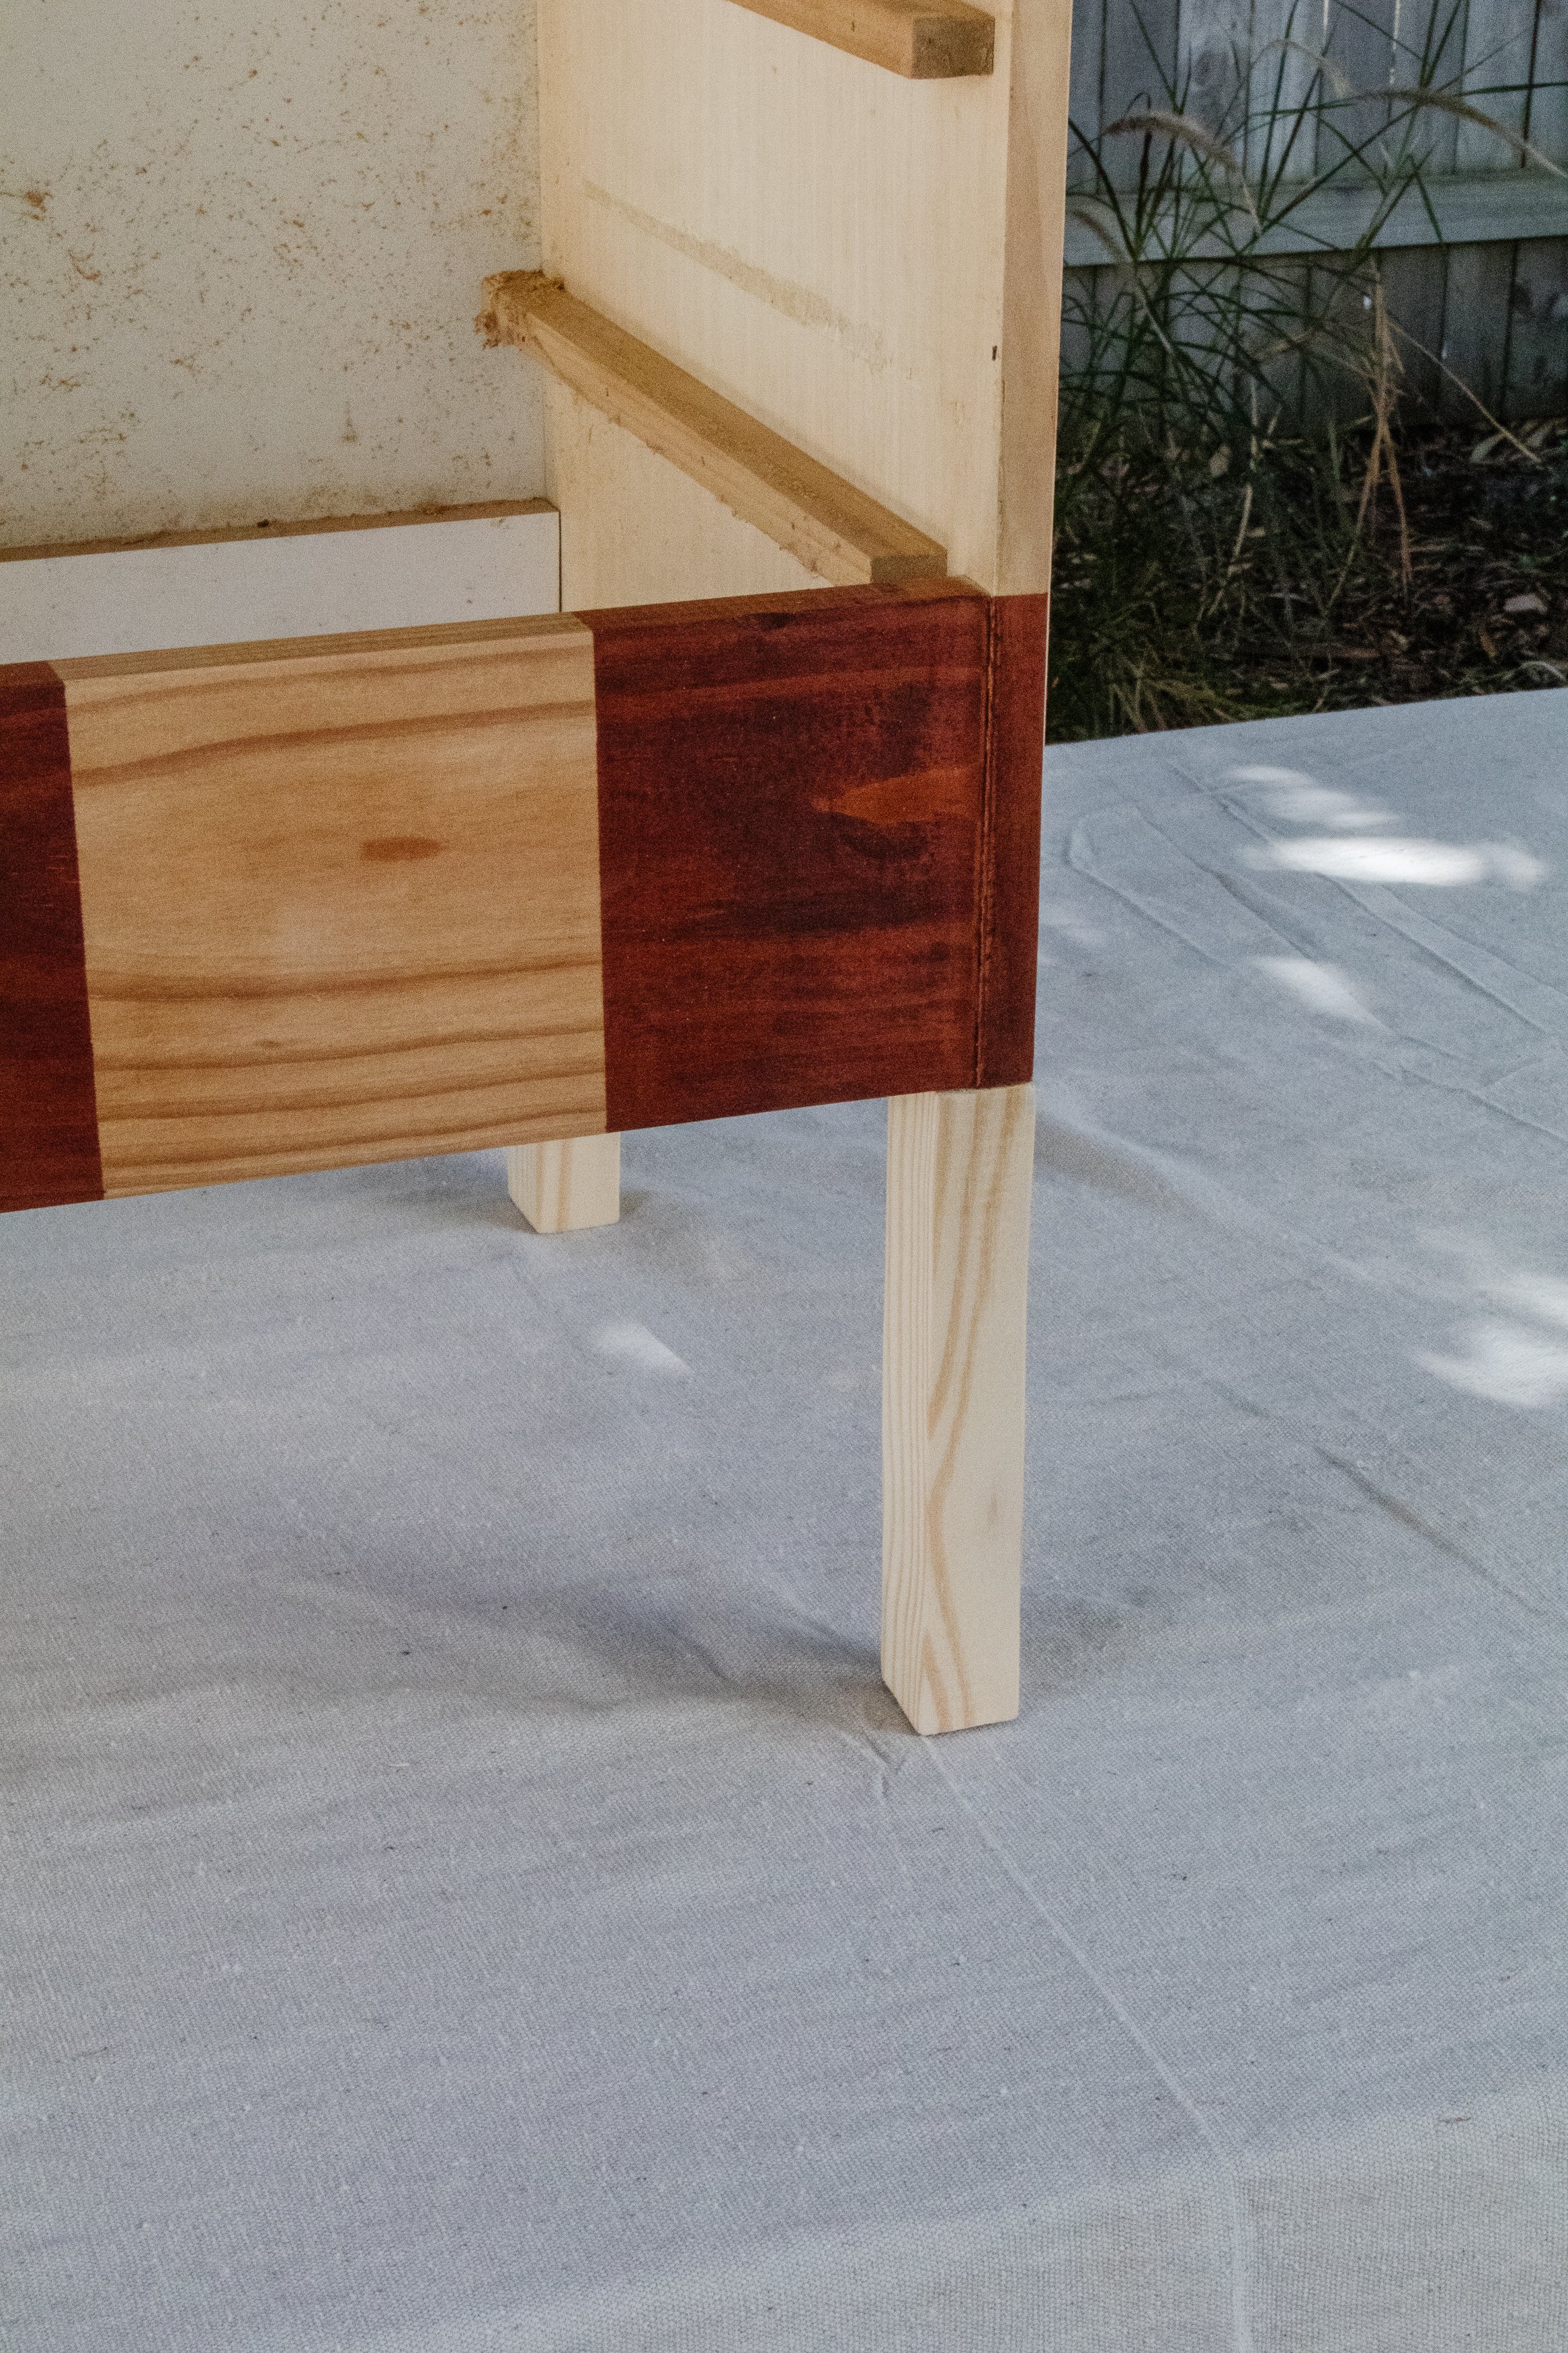
Step 4: The next day I got to work making 4 x 150mm height 30mm width furniture feet using a piece of pine, timber dowels and wood glue. I also smoothed the timber using my detail sander. I recommend figuring out the positioning of each foot first and making a park with a pencil, then drill a hole into the top of the timber feet, hammer the dowel into the hole and then drill a hole into the base of the drawers and hammer the timber feet in one by one.
Step 5: Once the feet were in, I got to work applying one coat of clear gloss varnish all over the frame, timber feet and drawers. When the varnish has dried I attached my handles and that’s it!

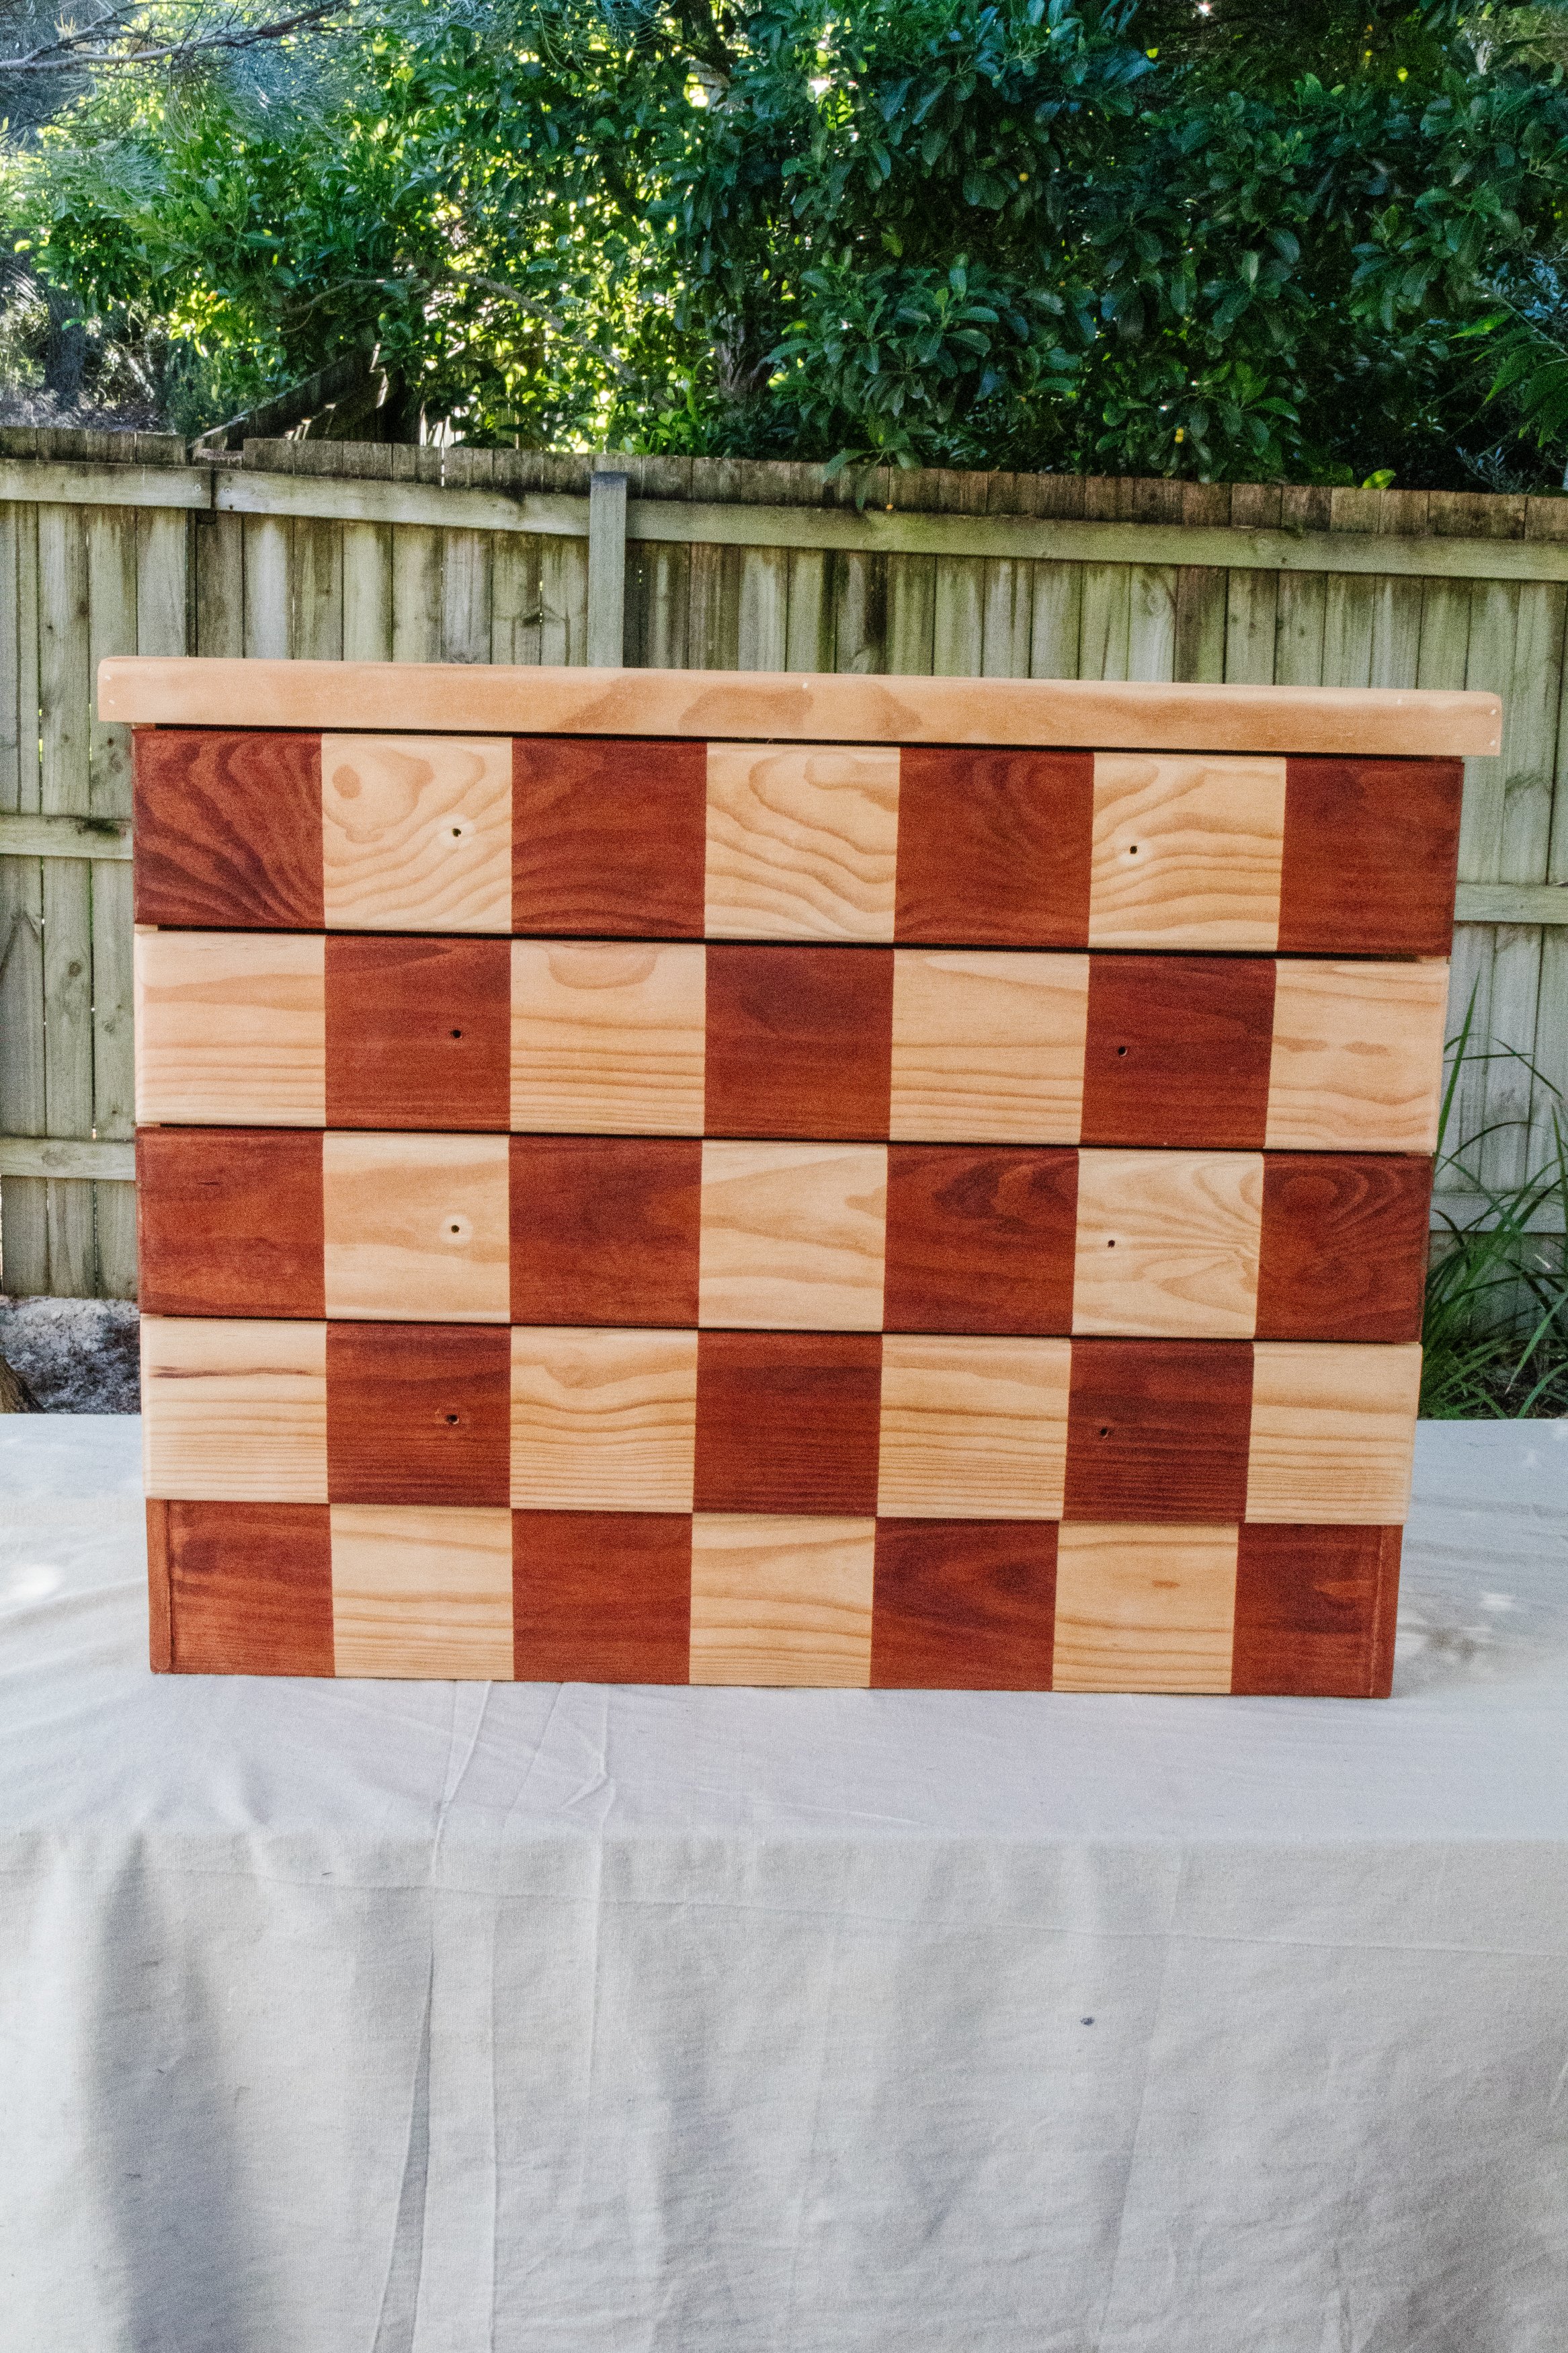
Ta daaaa!
When I came up with this original idea and shared it over on Instagram last year, I knew it had a lot of potential. I had never seen anyone create a pattern such as stripes or checker on a piece of timber furniture before using timber stain and painters tape, and all it took was a bit of patience and a lot of persistence for me to be able to find the right piece to upcycle and bring my vision to life. I am beyond thrilled with how it turned out and I hope it’s inspired you to try this technique. I’m still keen to try stripes, so I think I’ll do that next!