DIY Bow Handles
Transform the handles in your home with ribbon
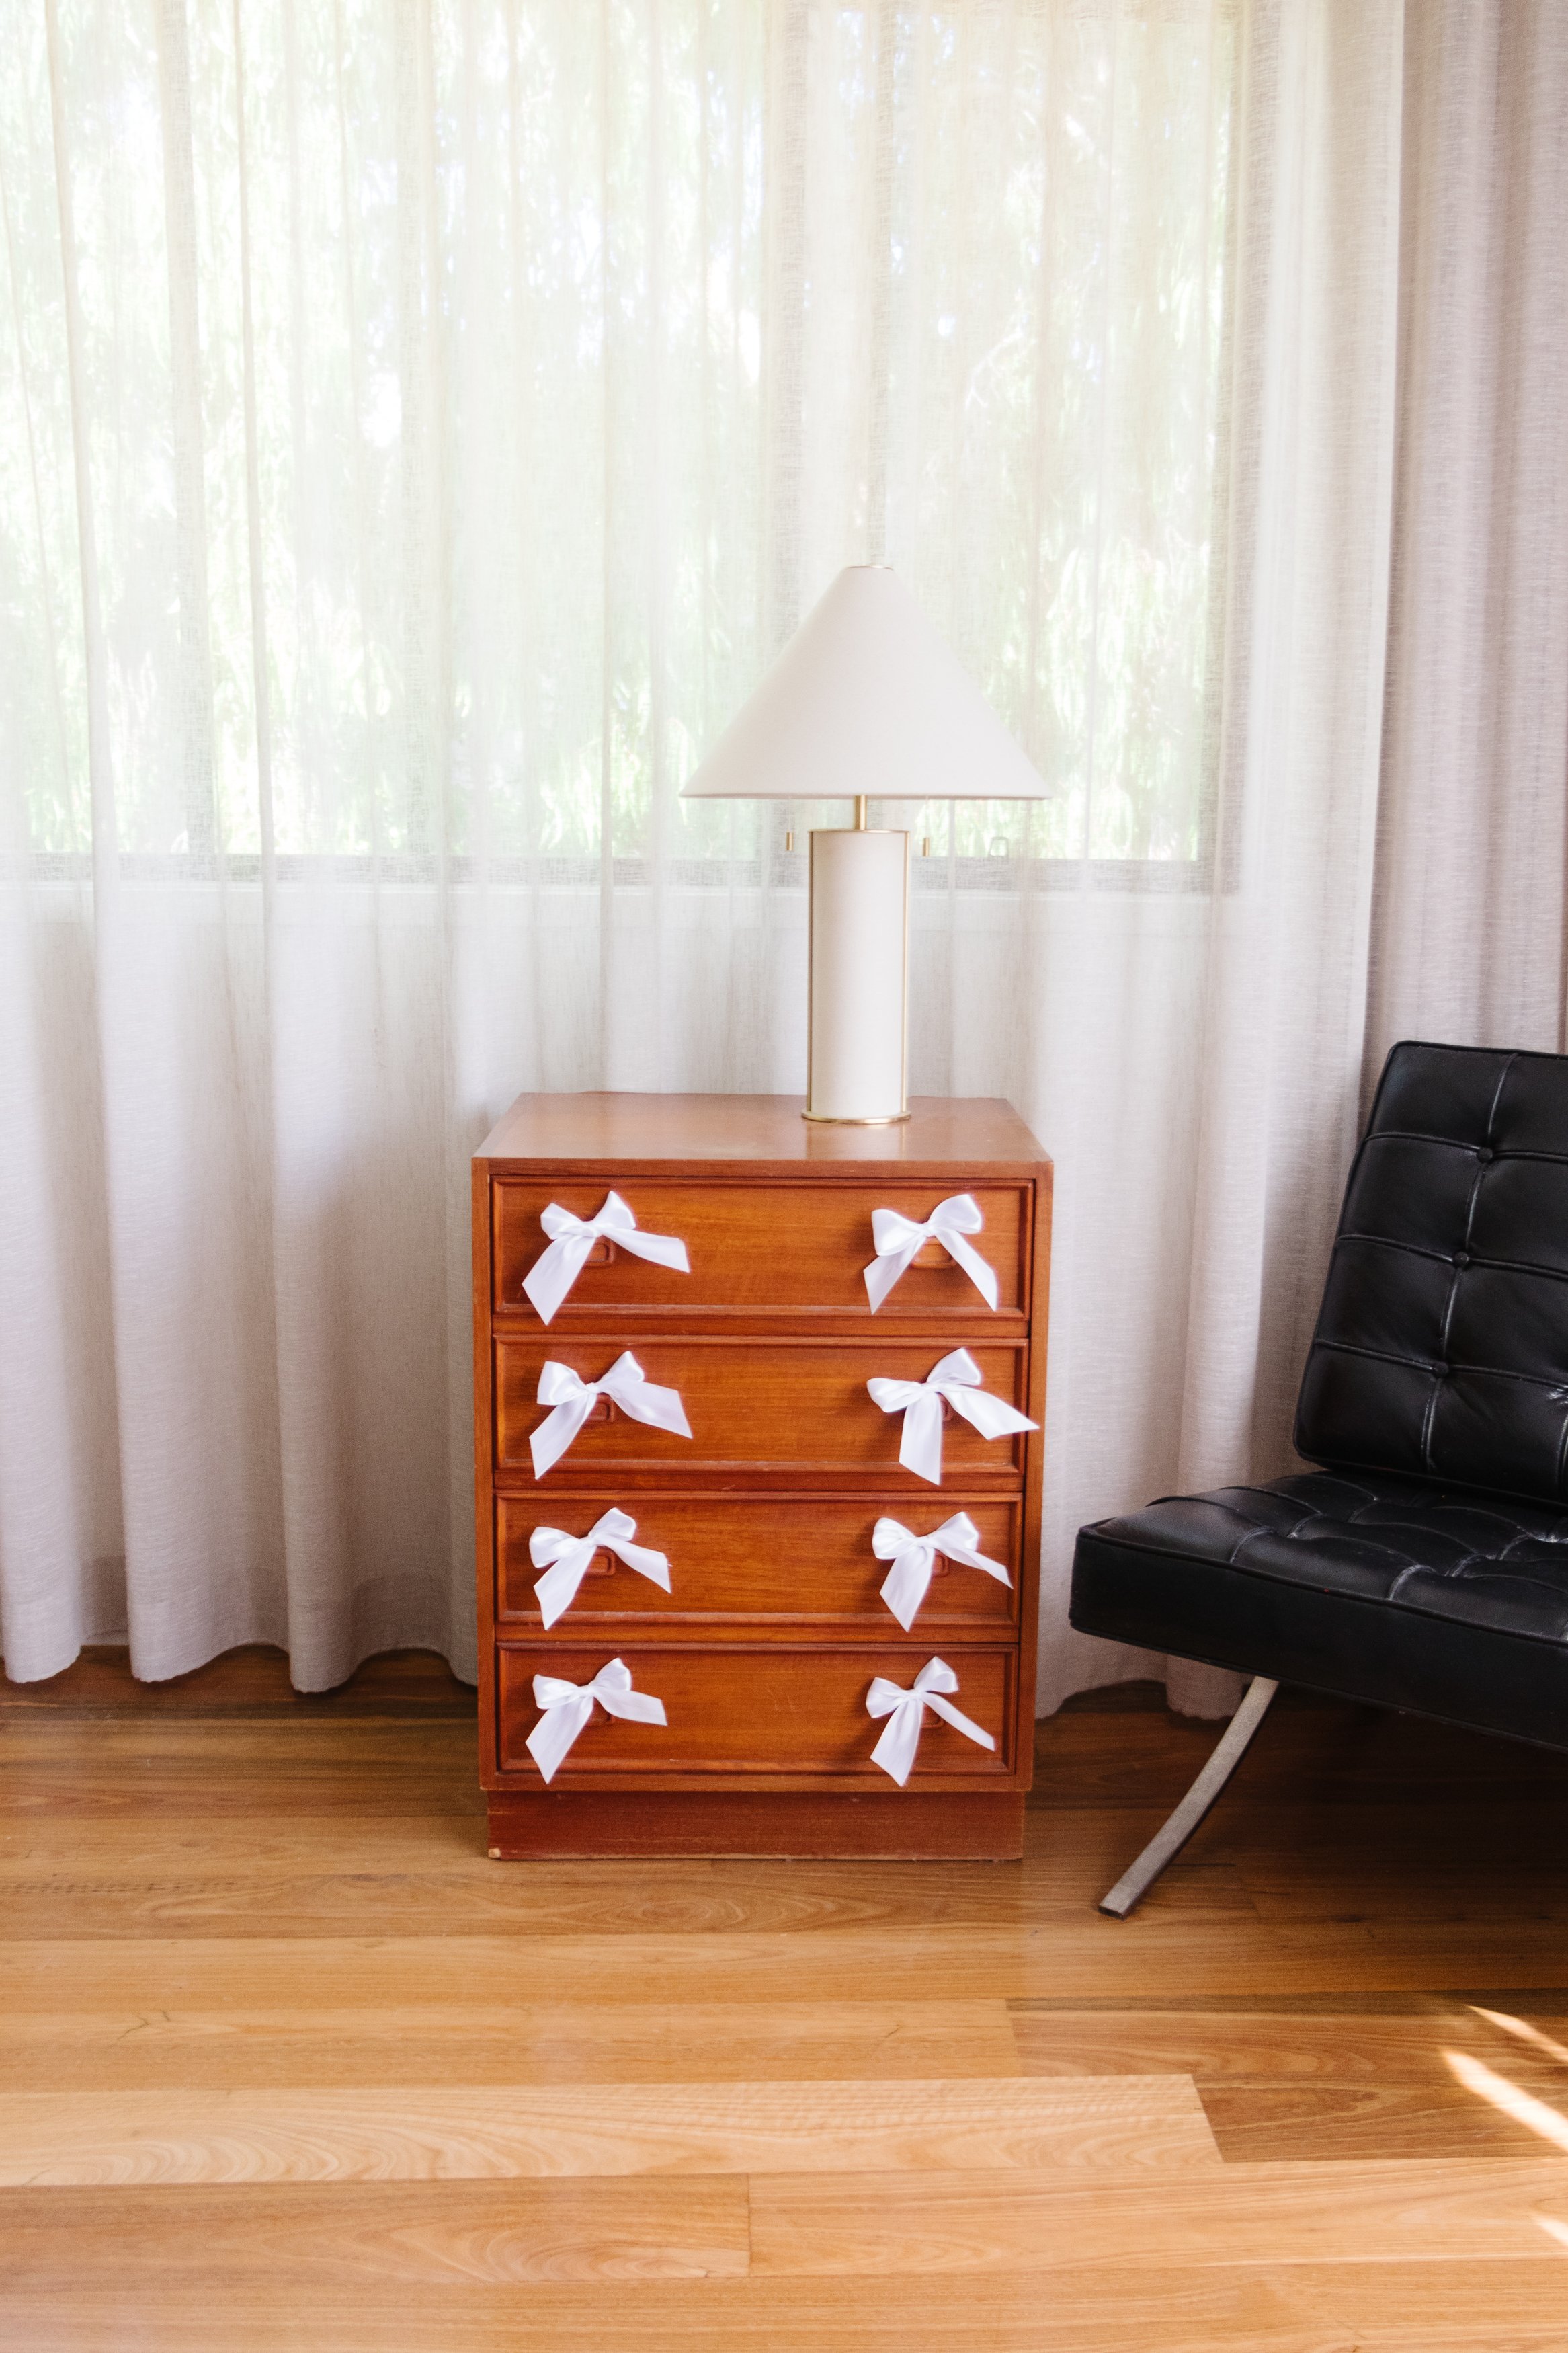
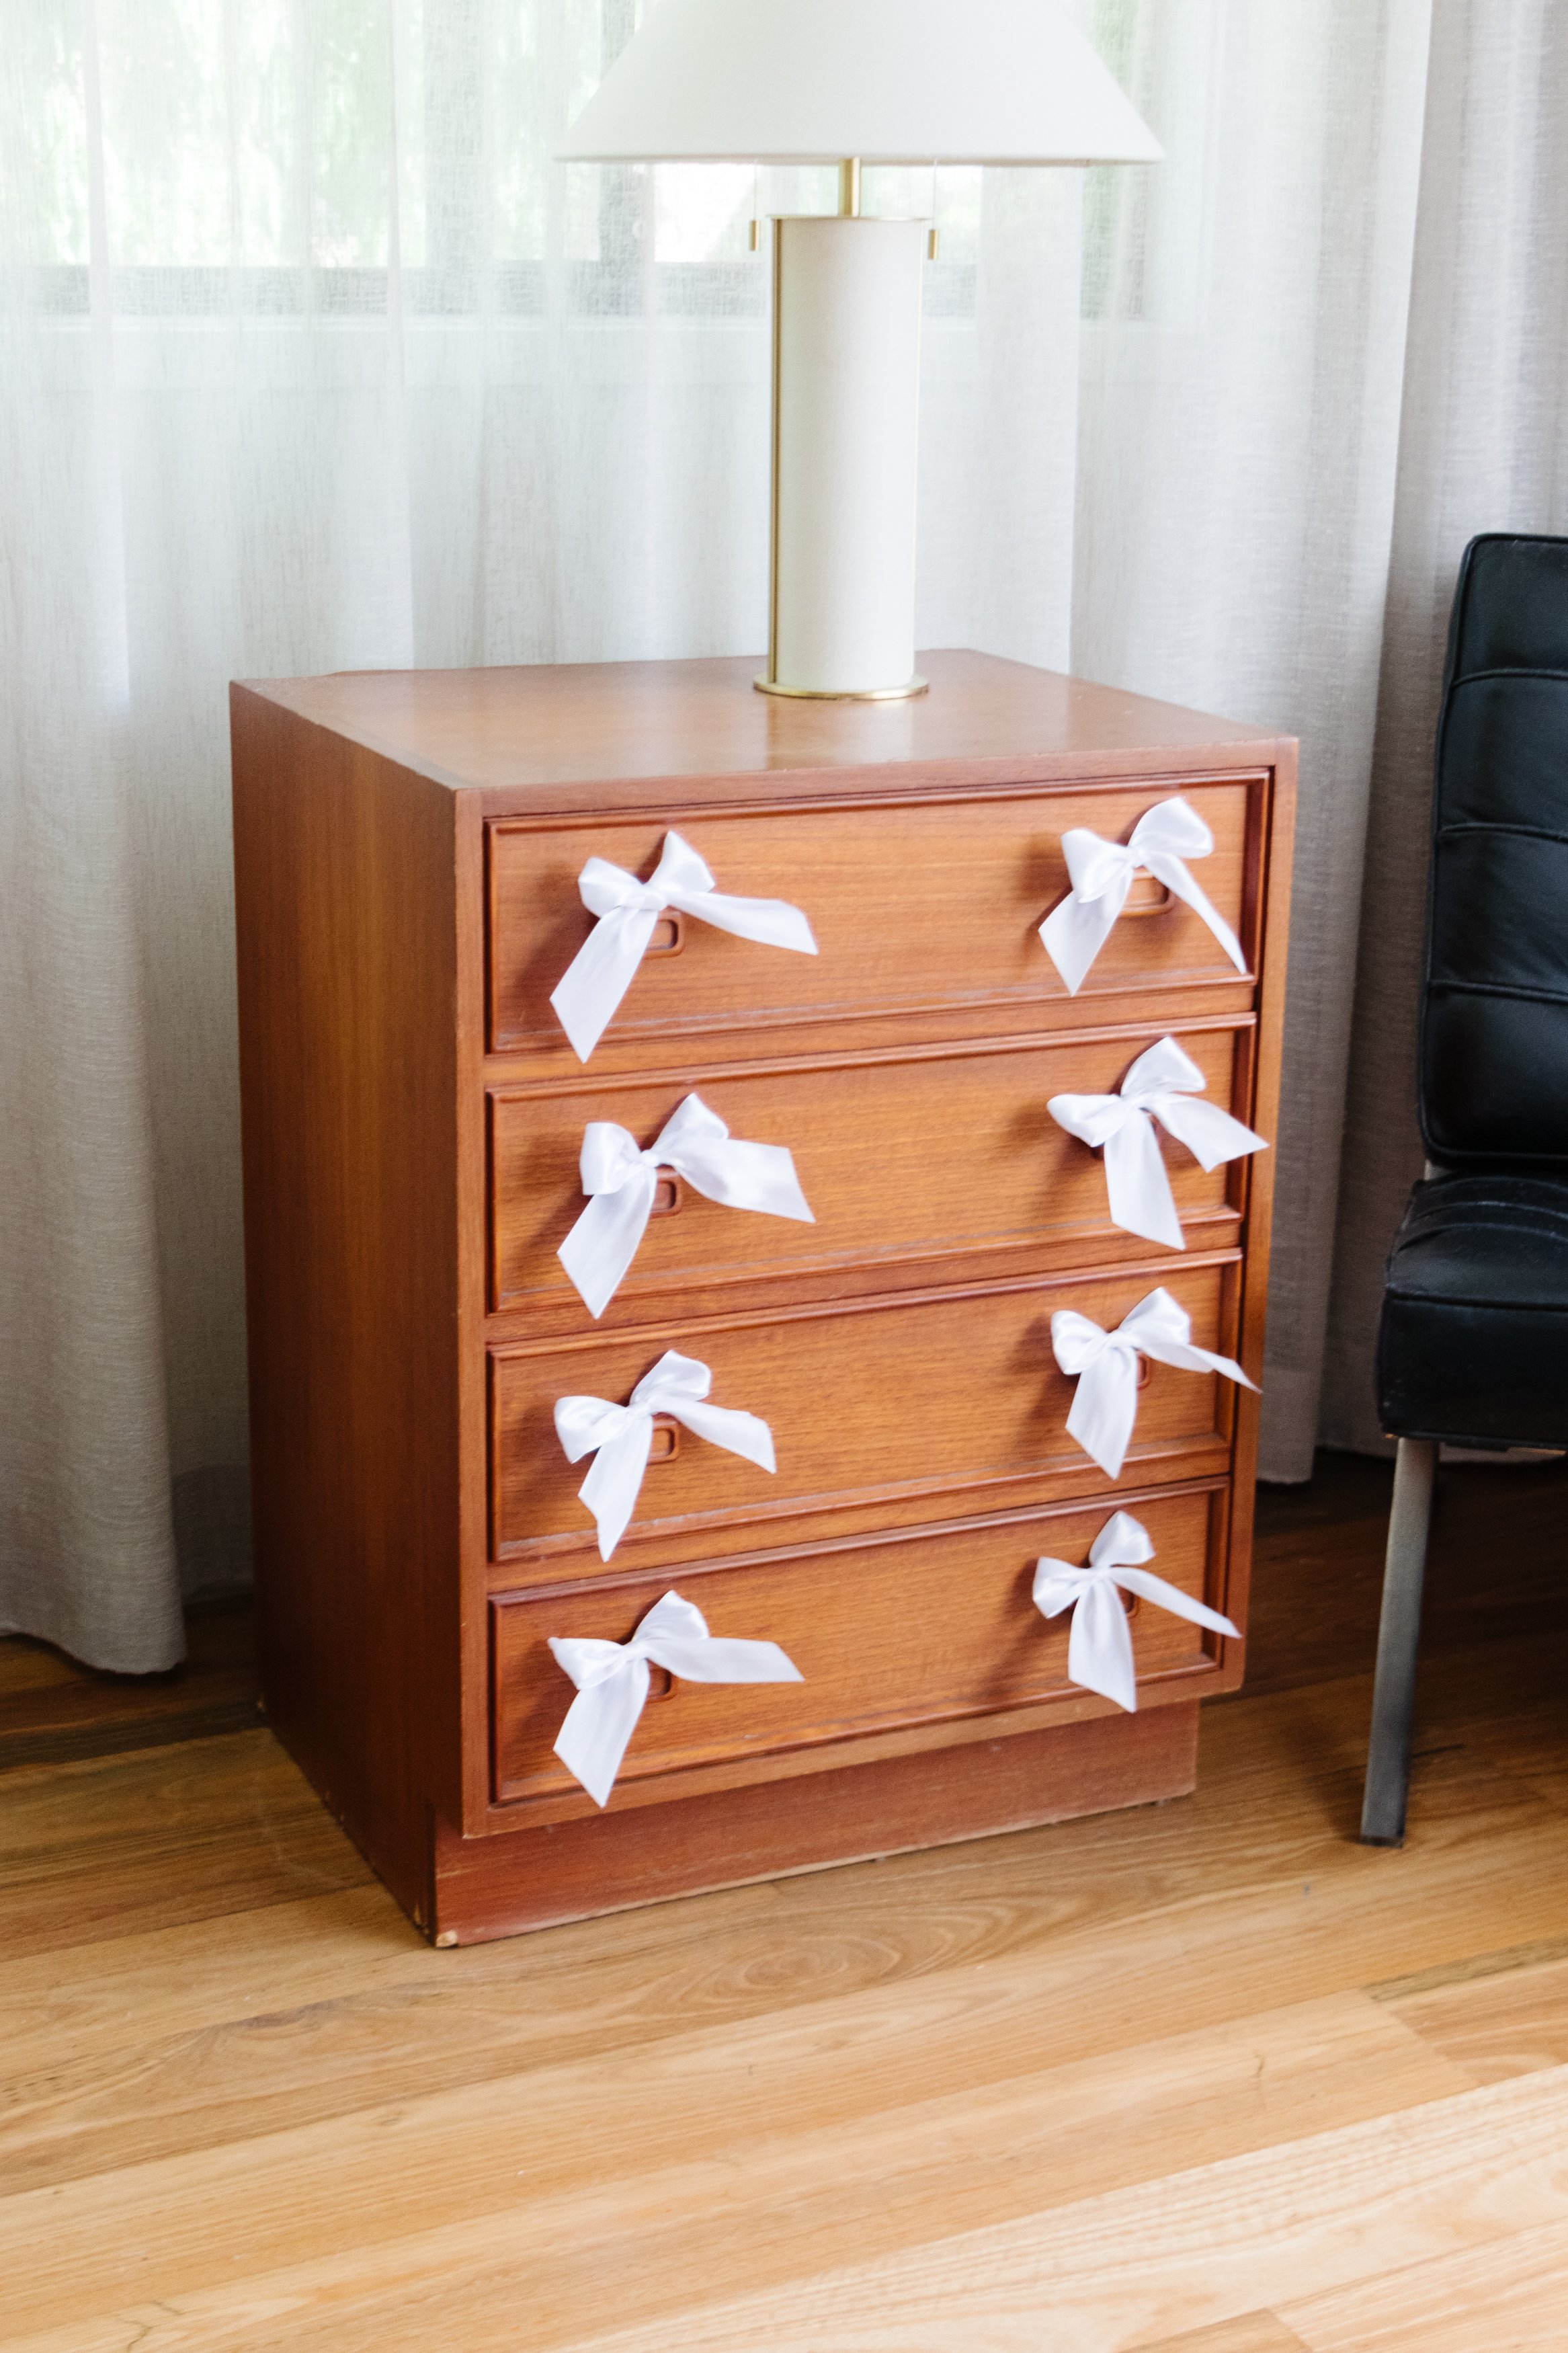
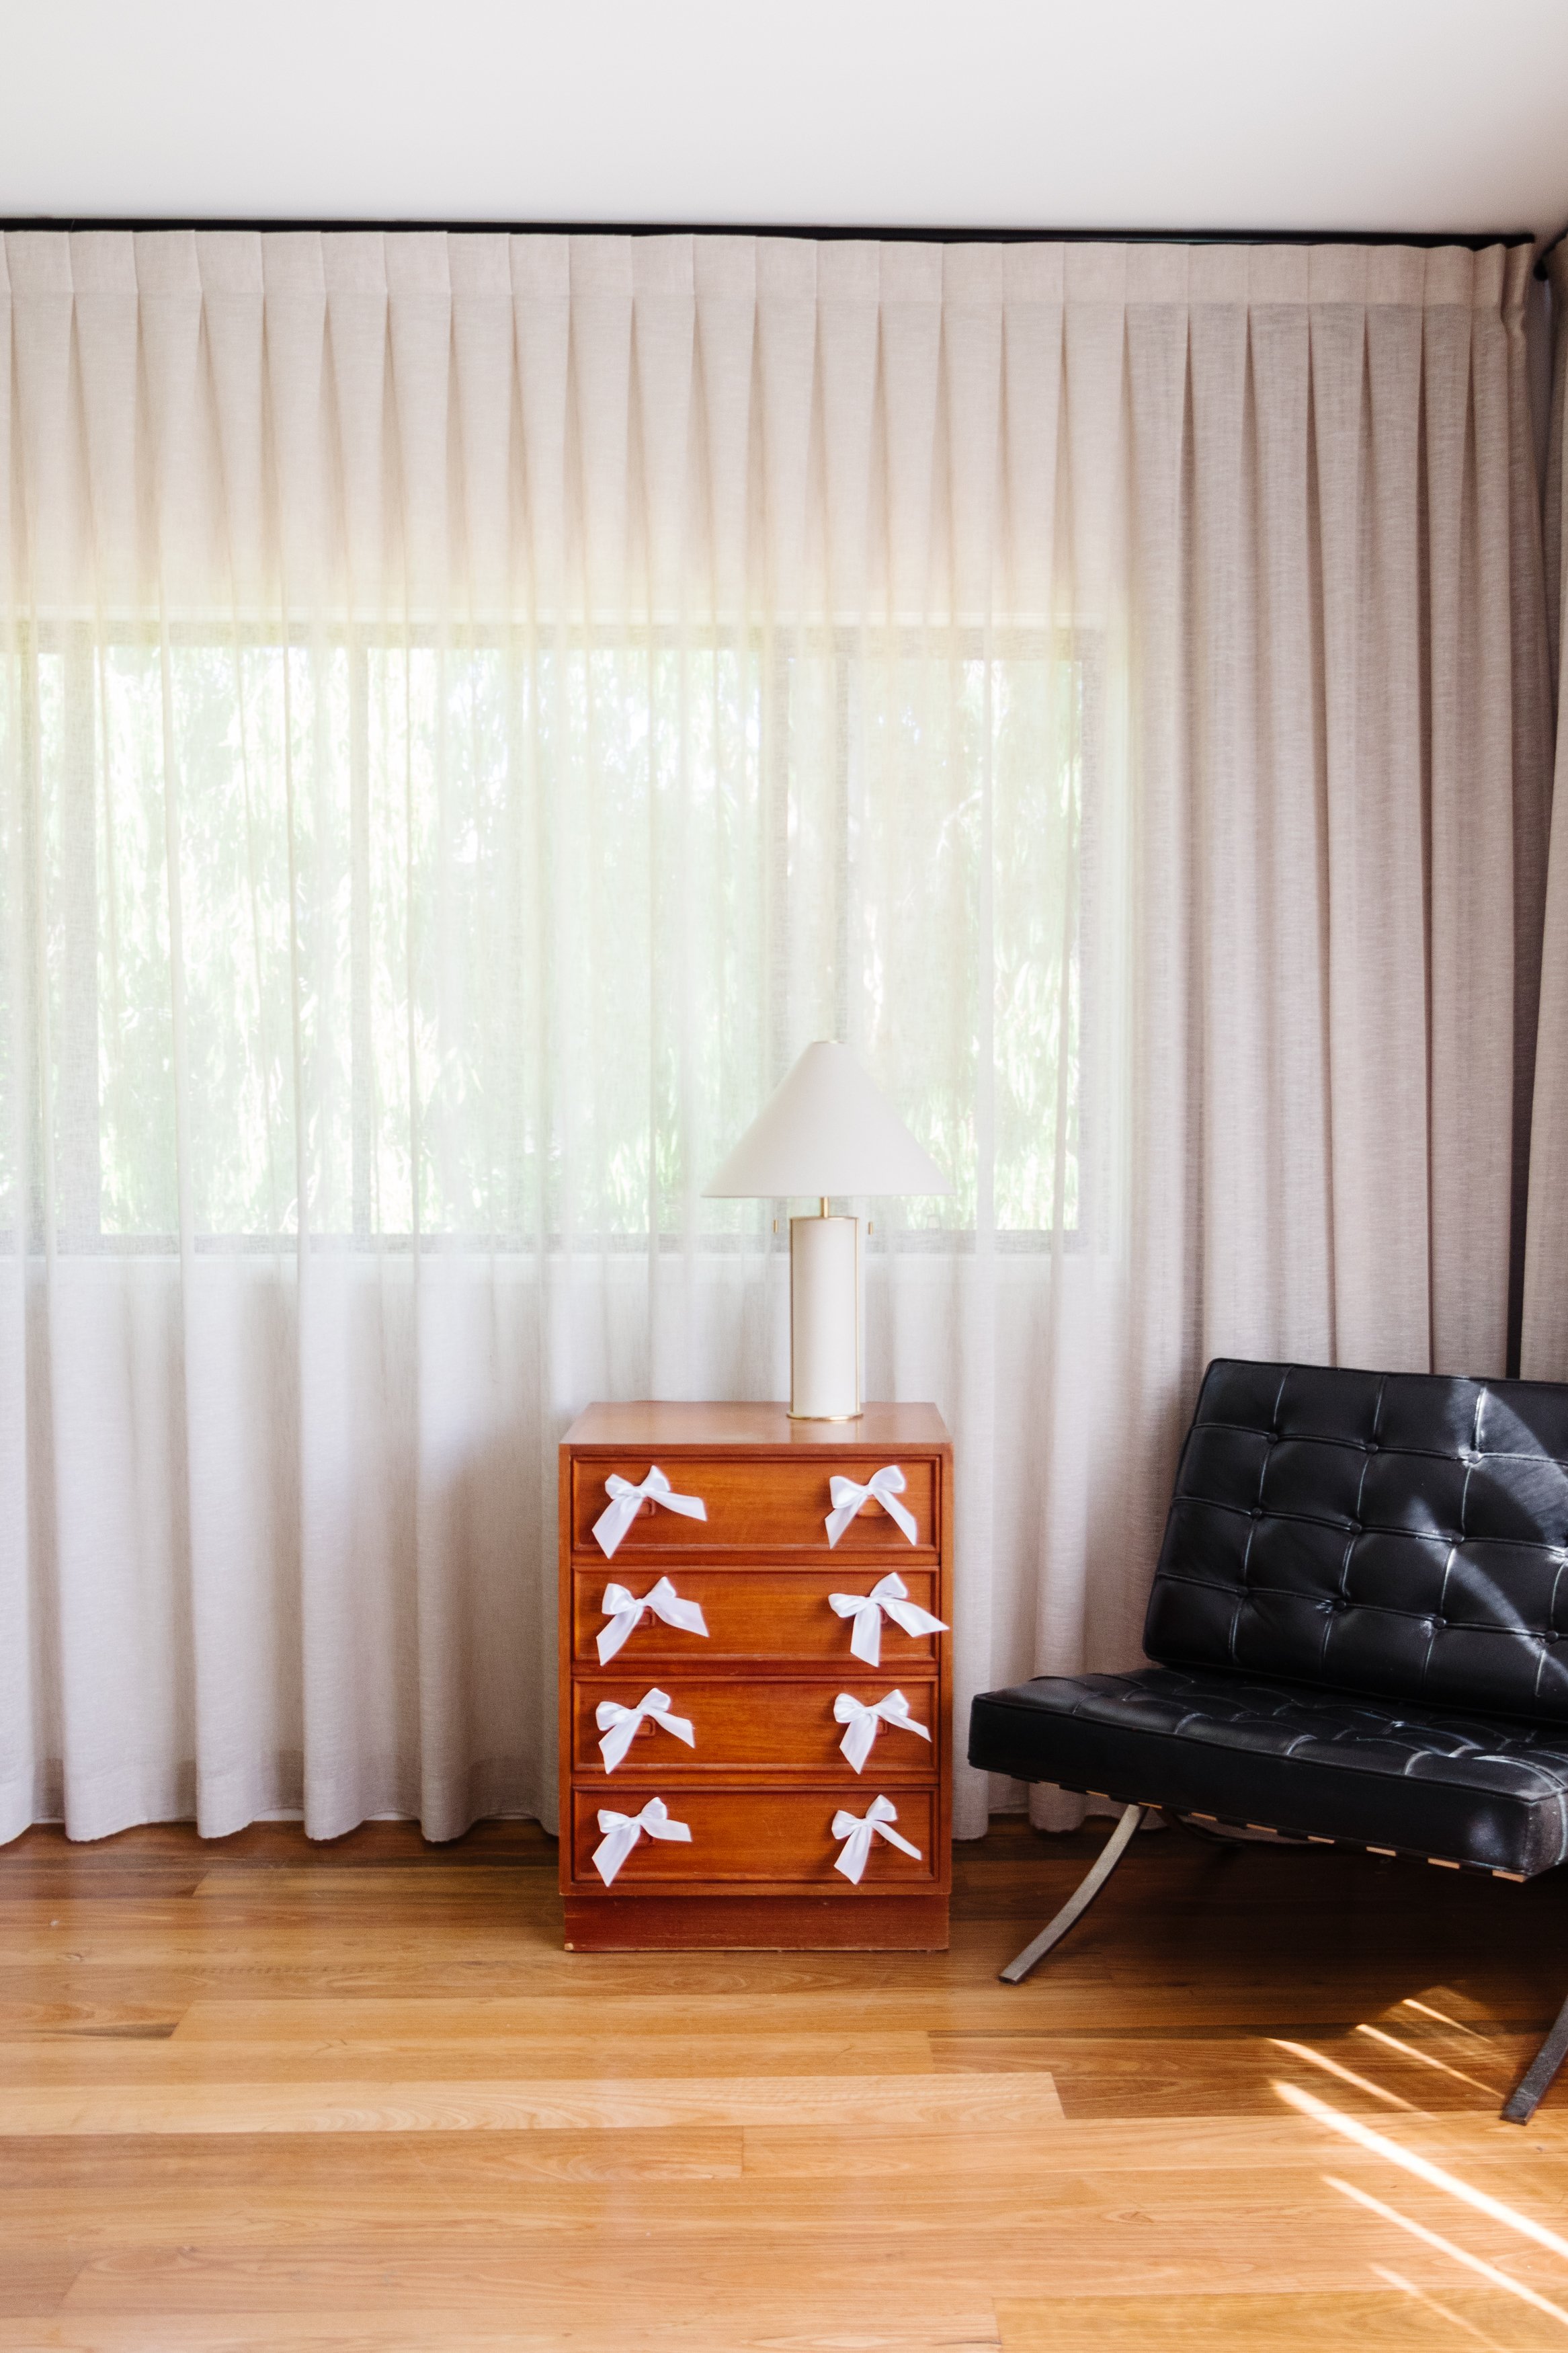
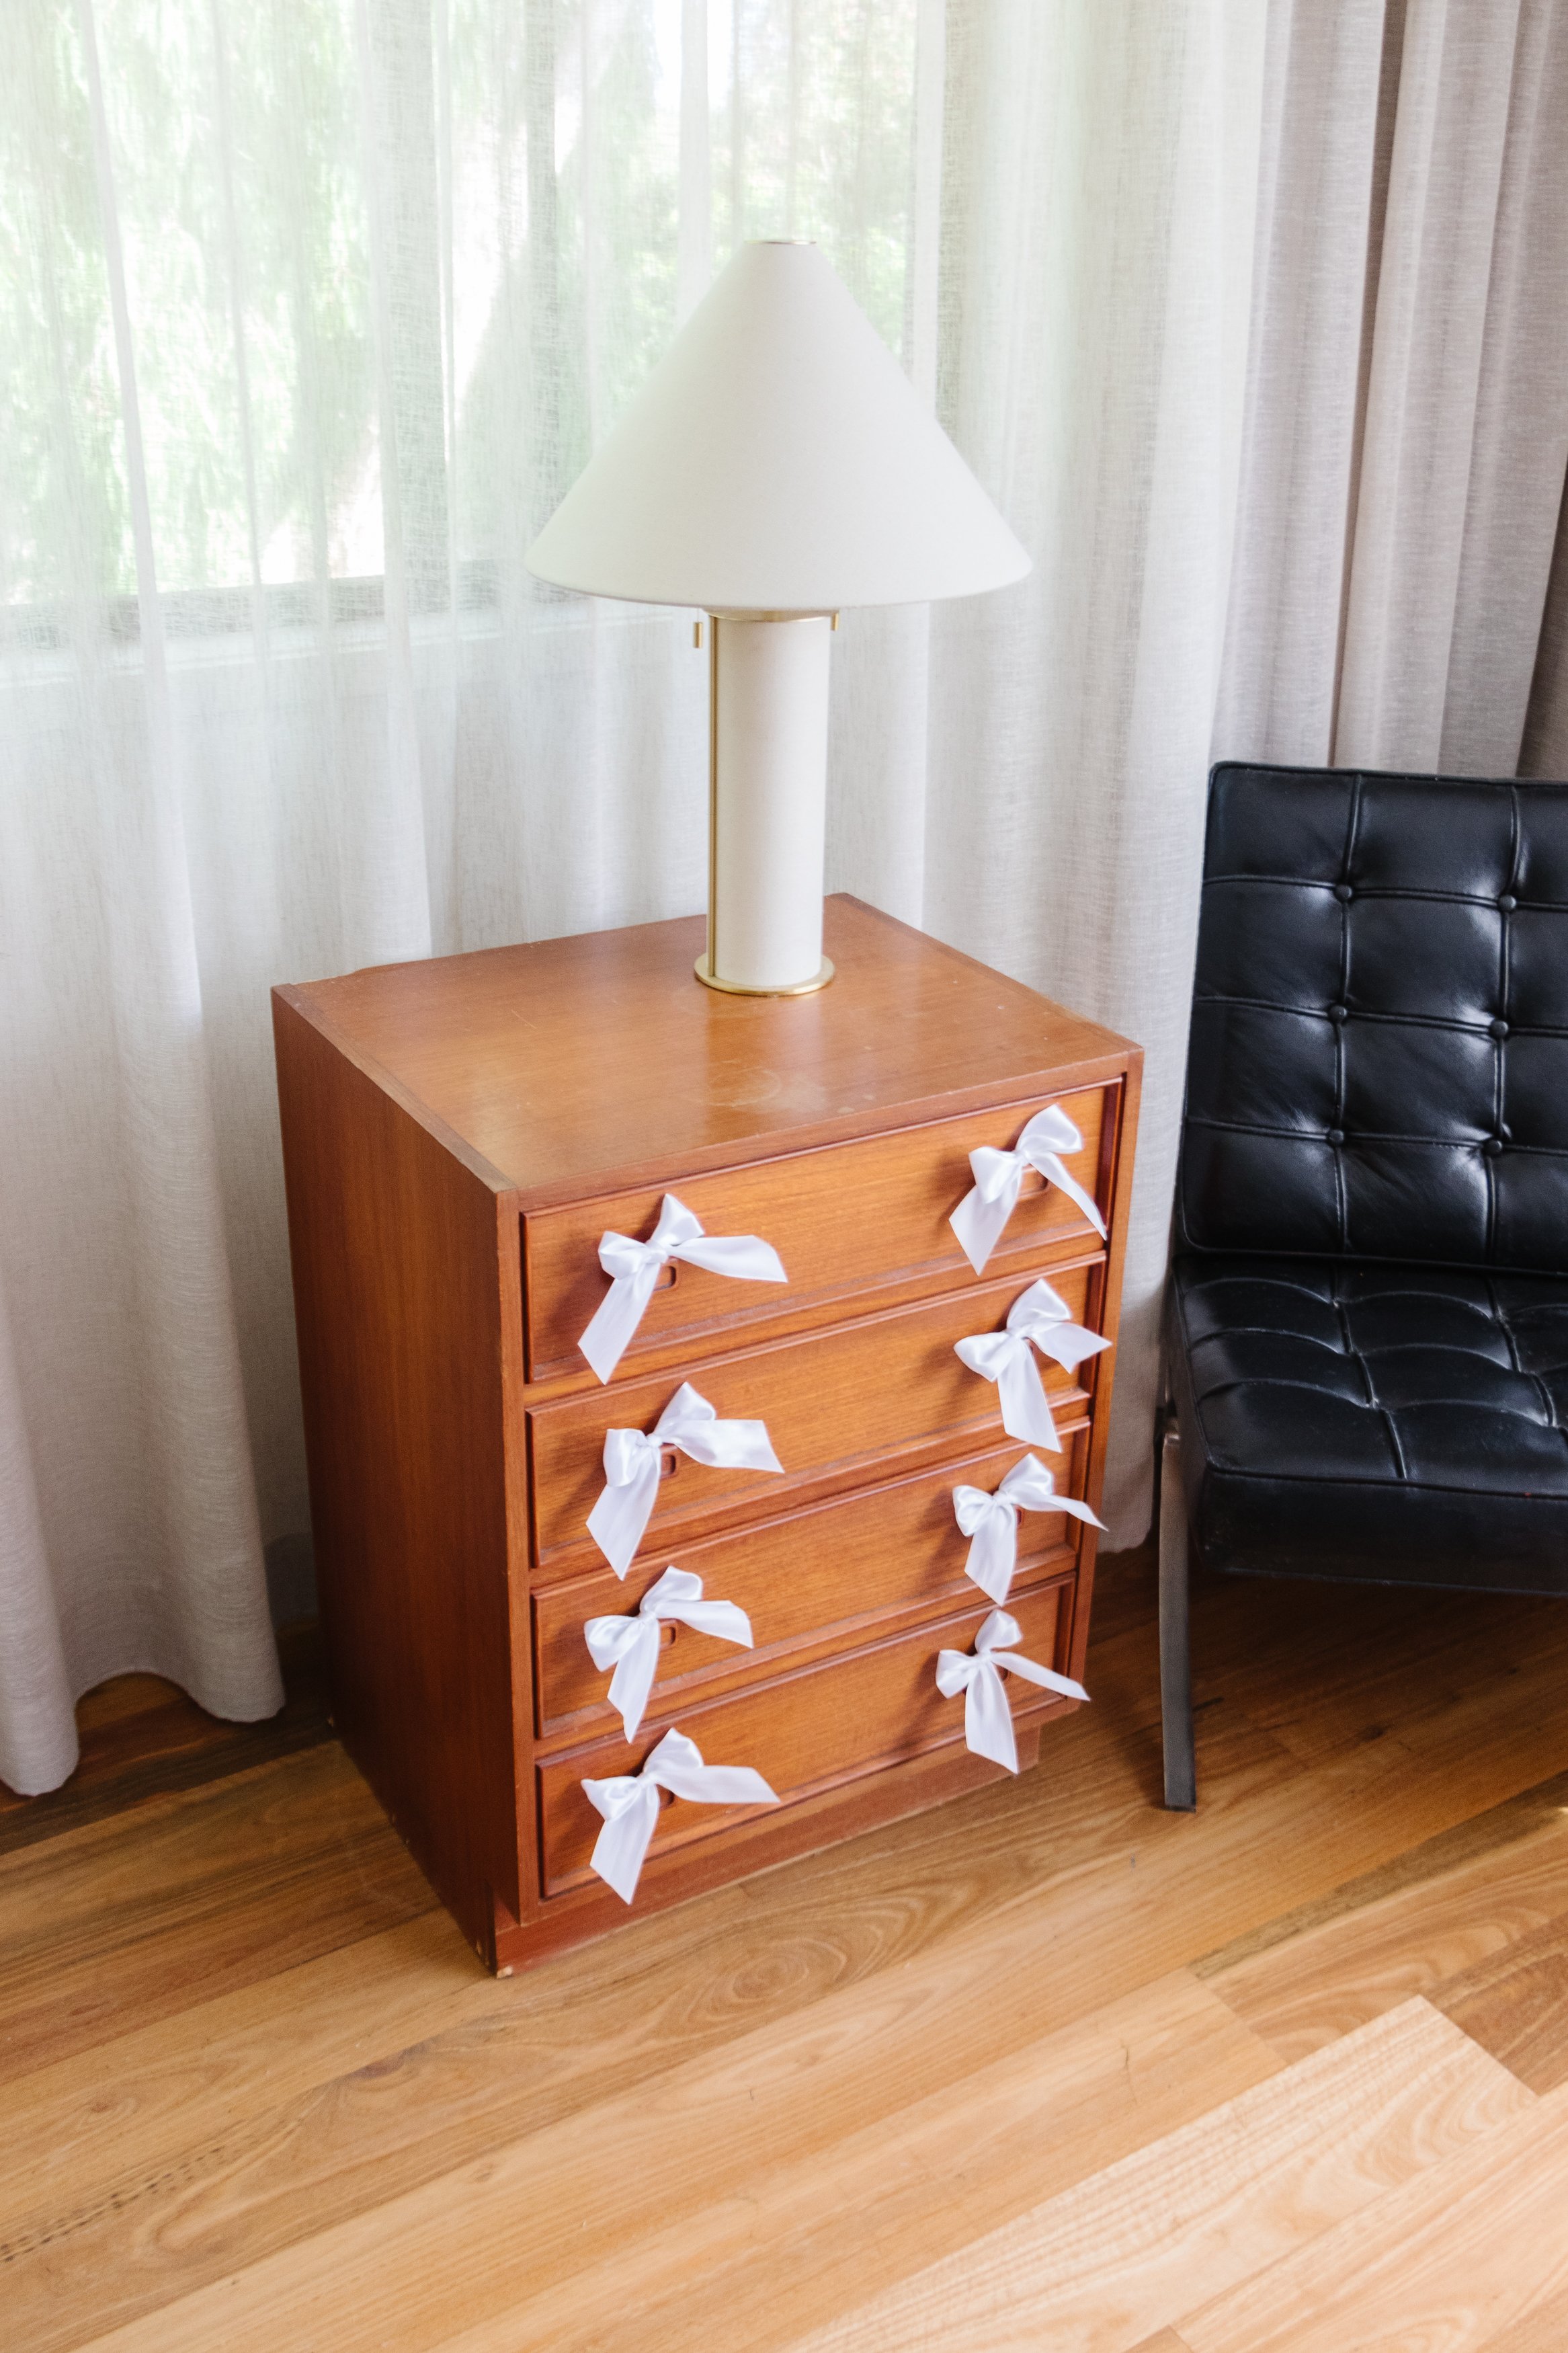
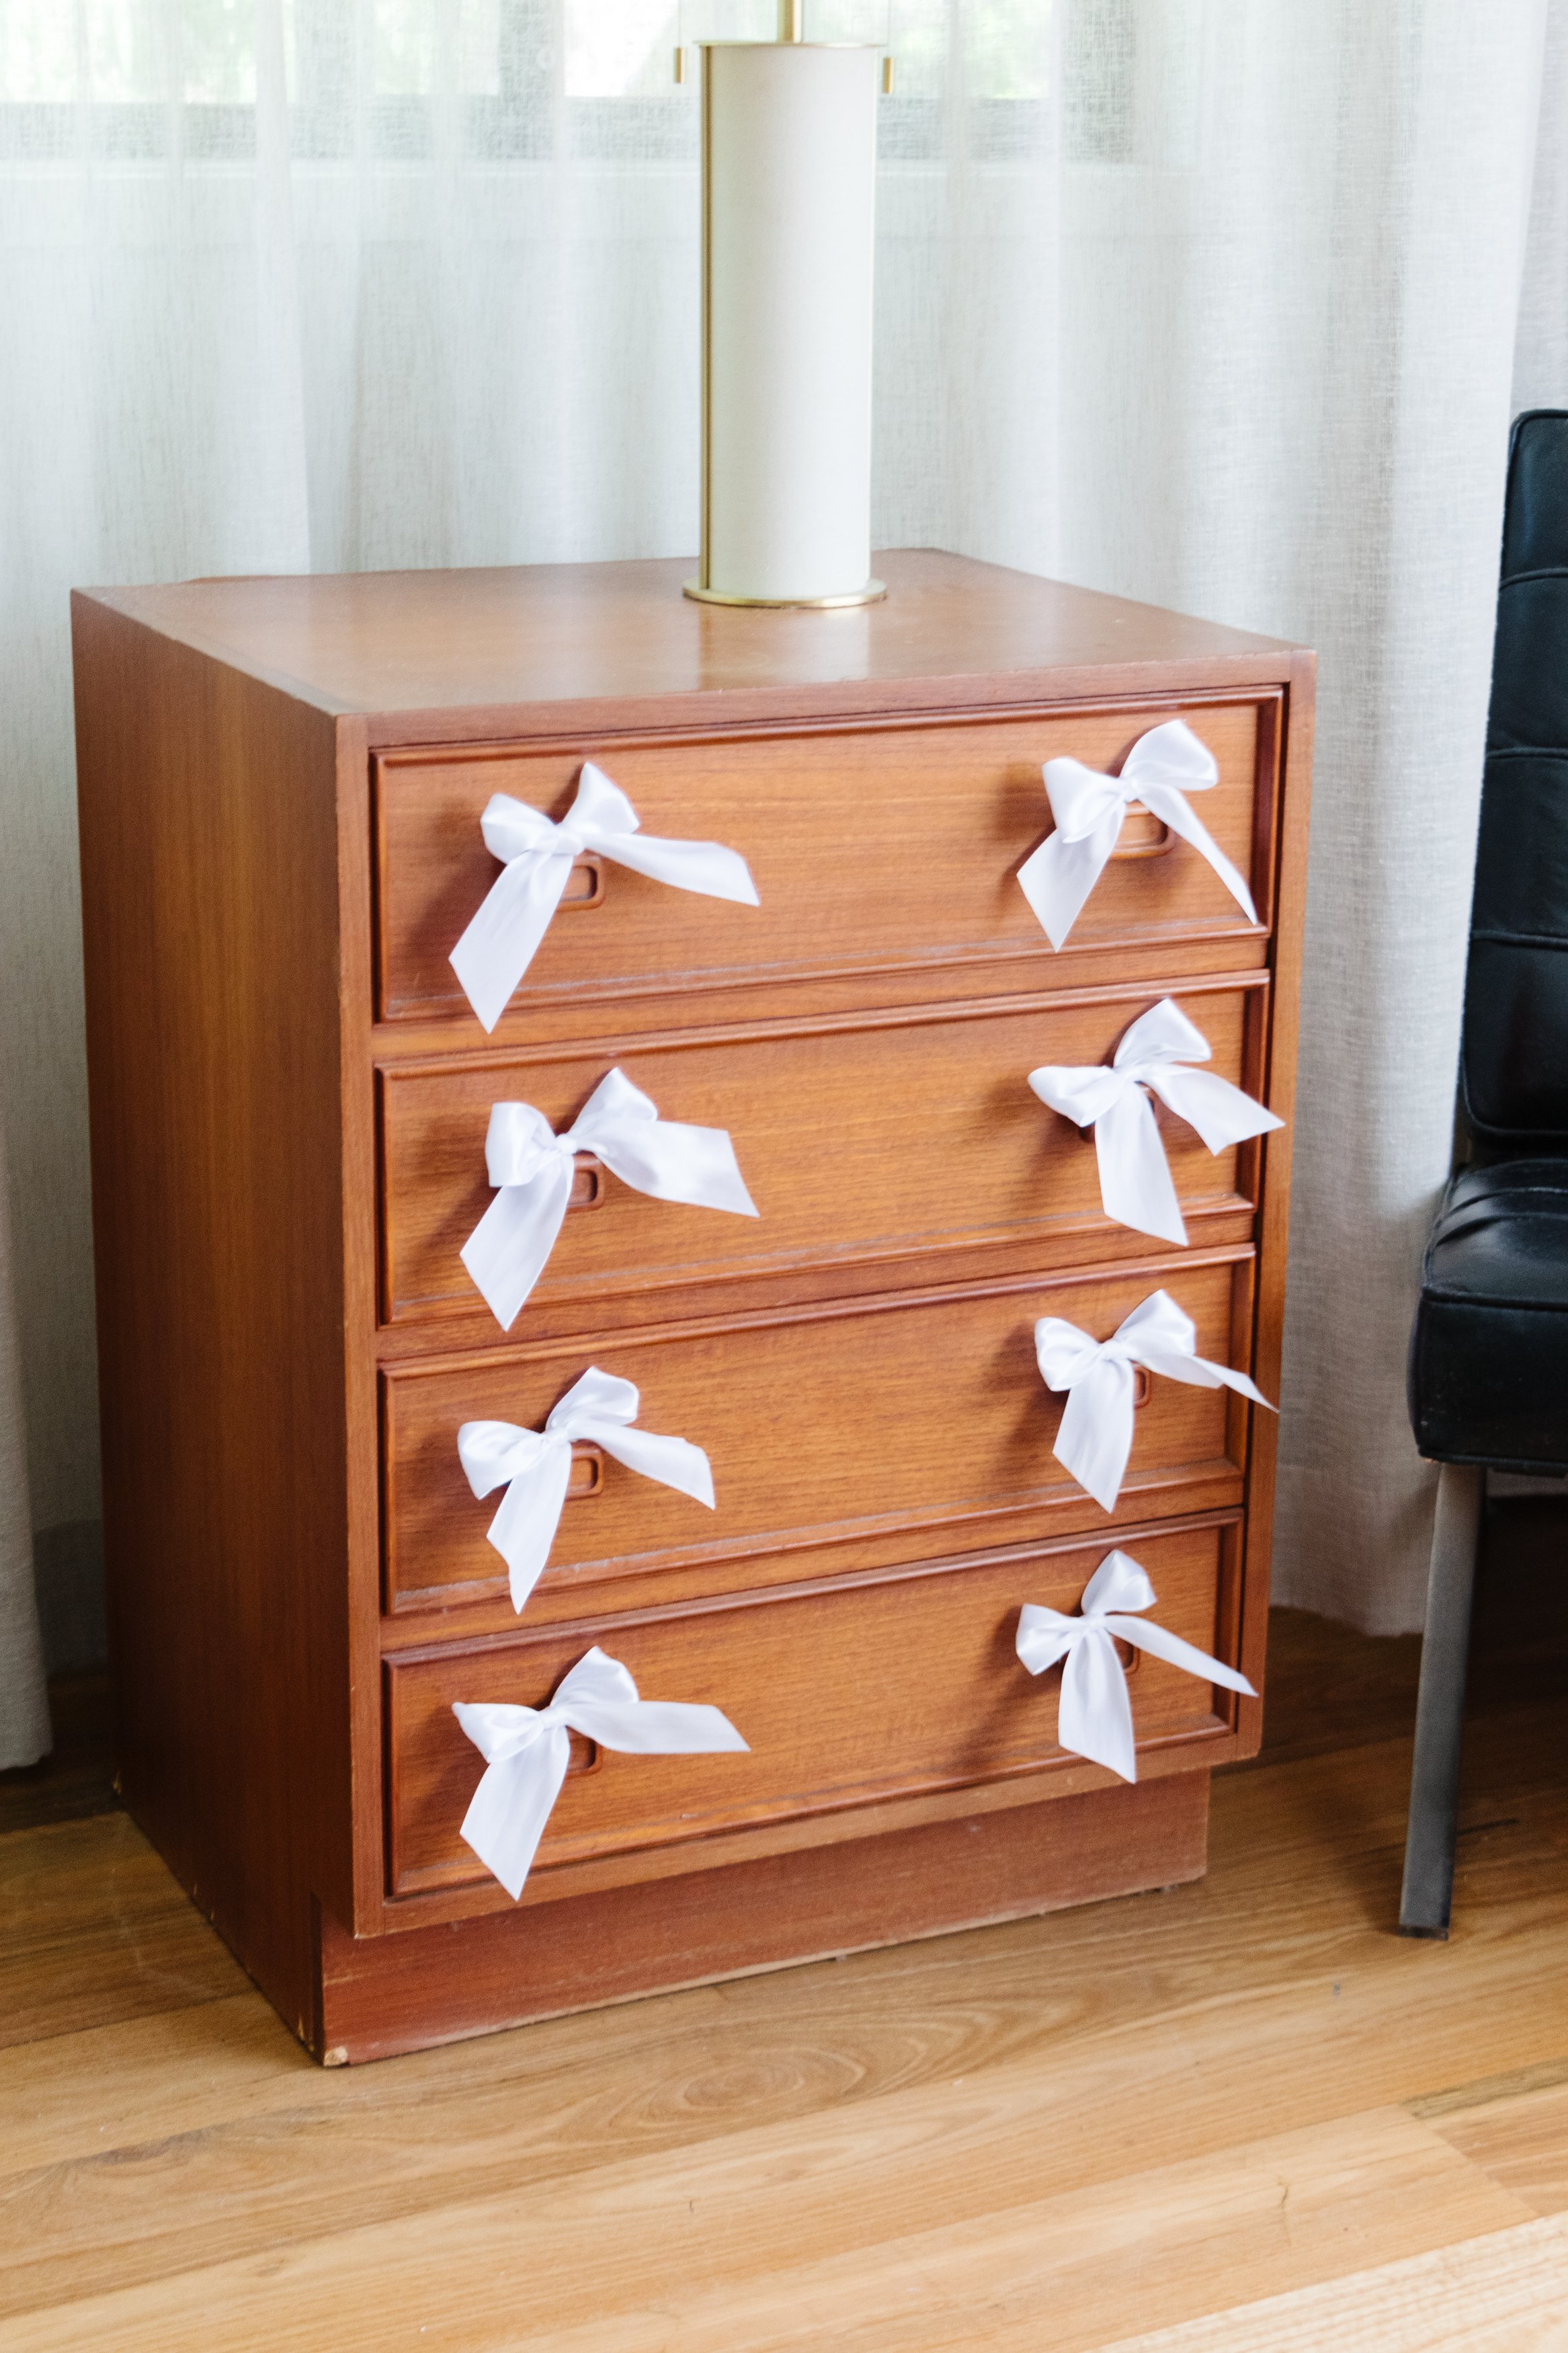
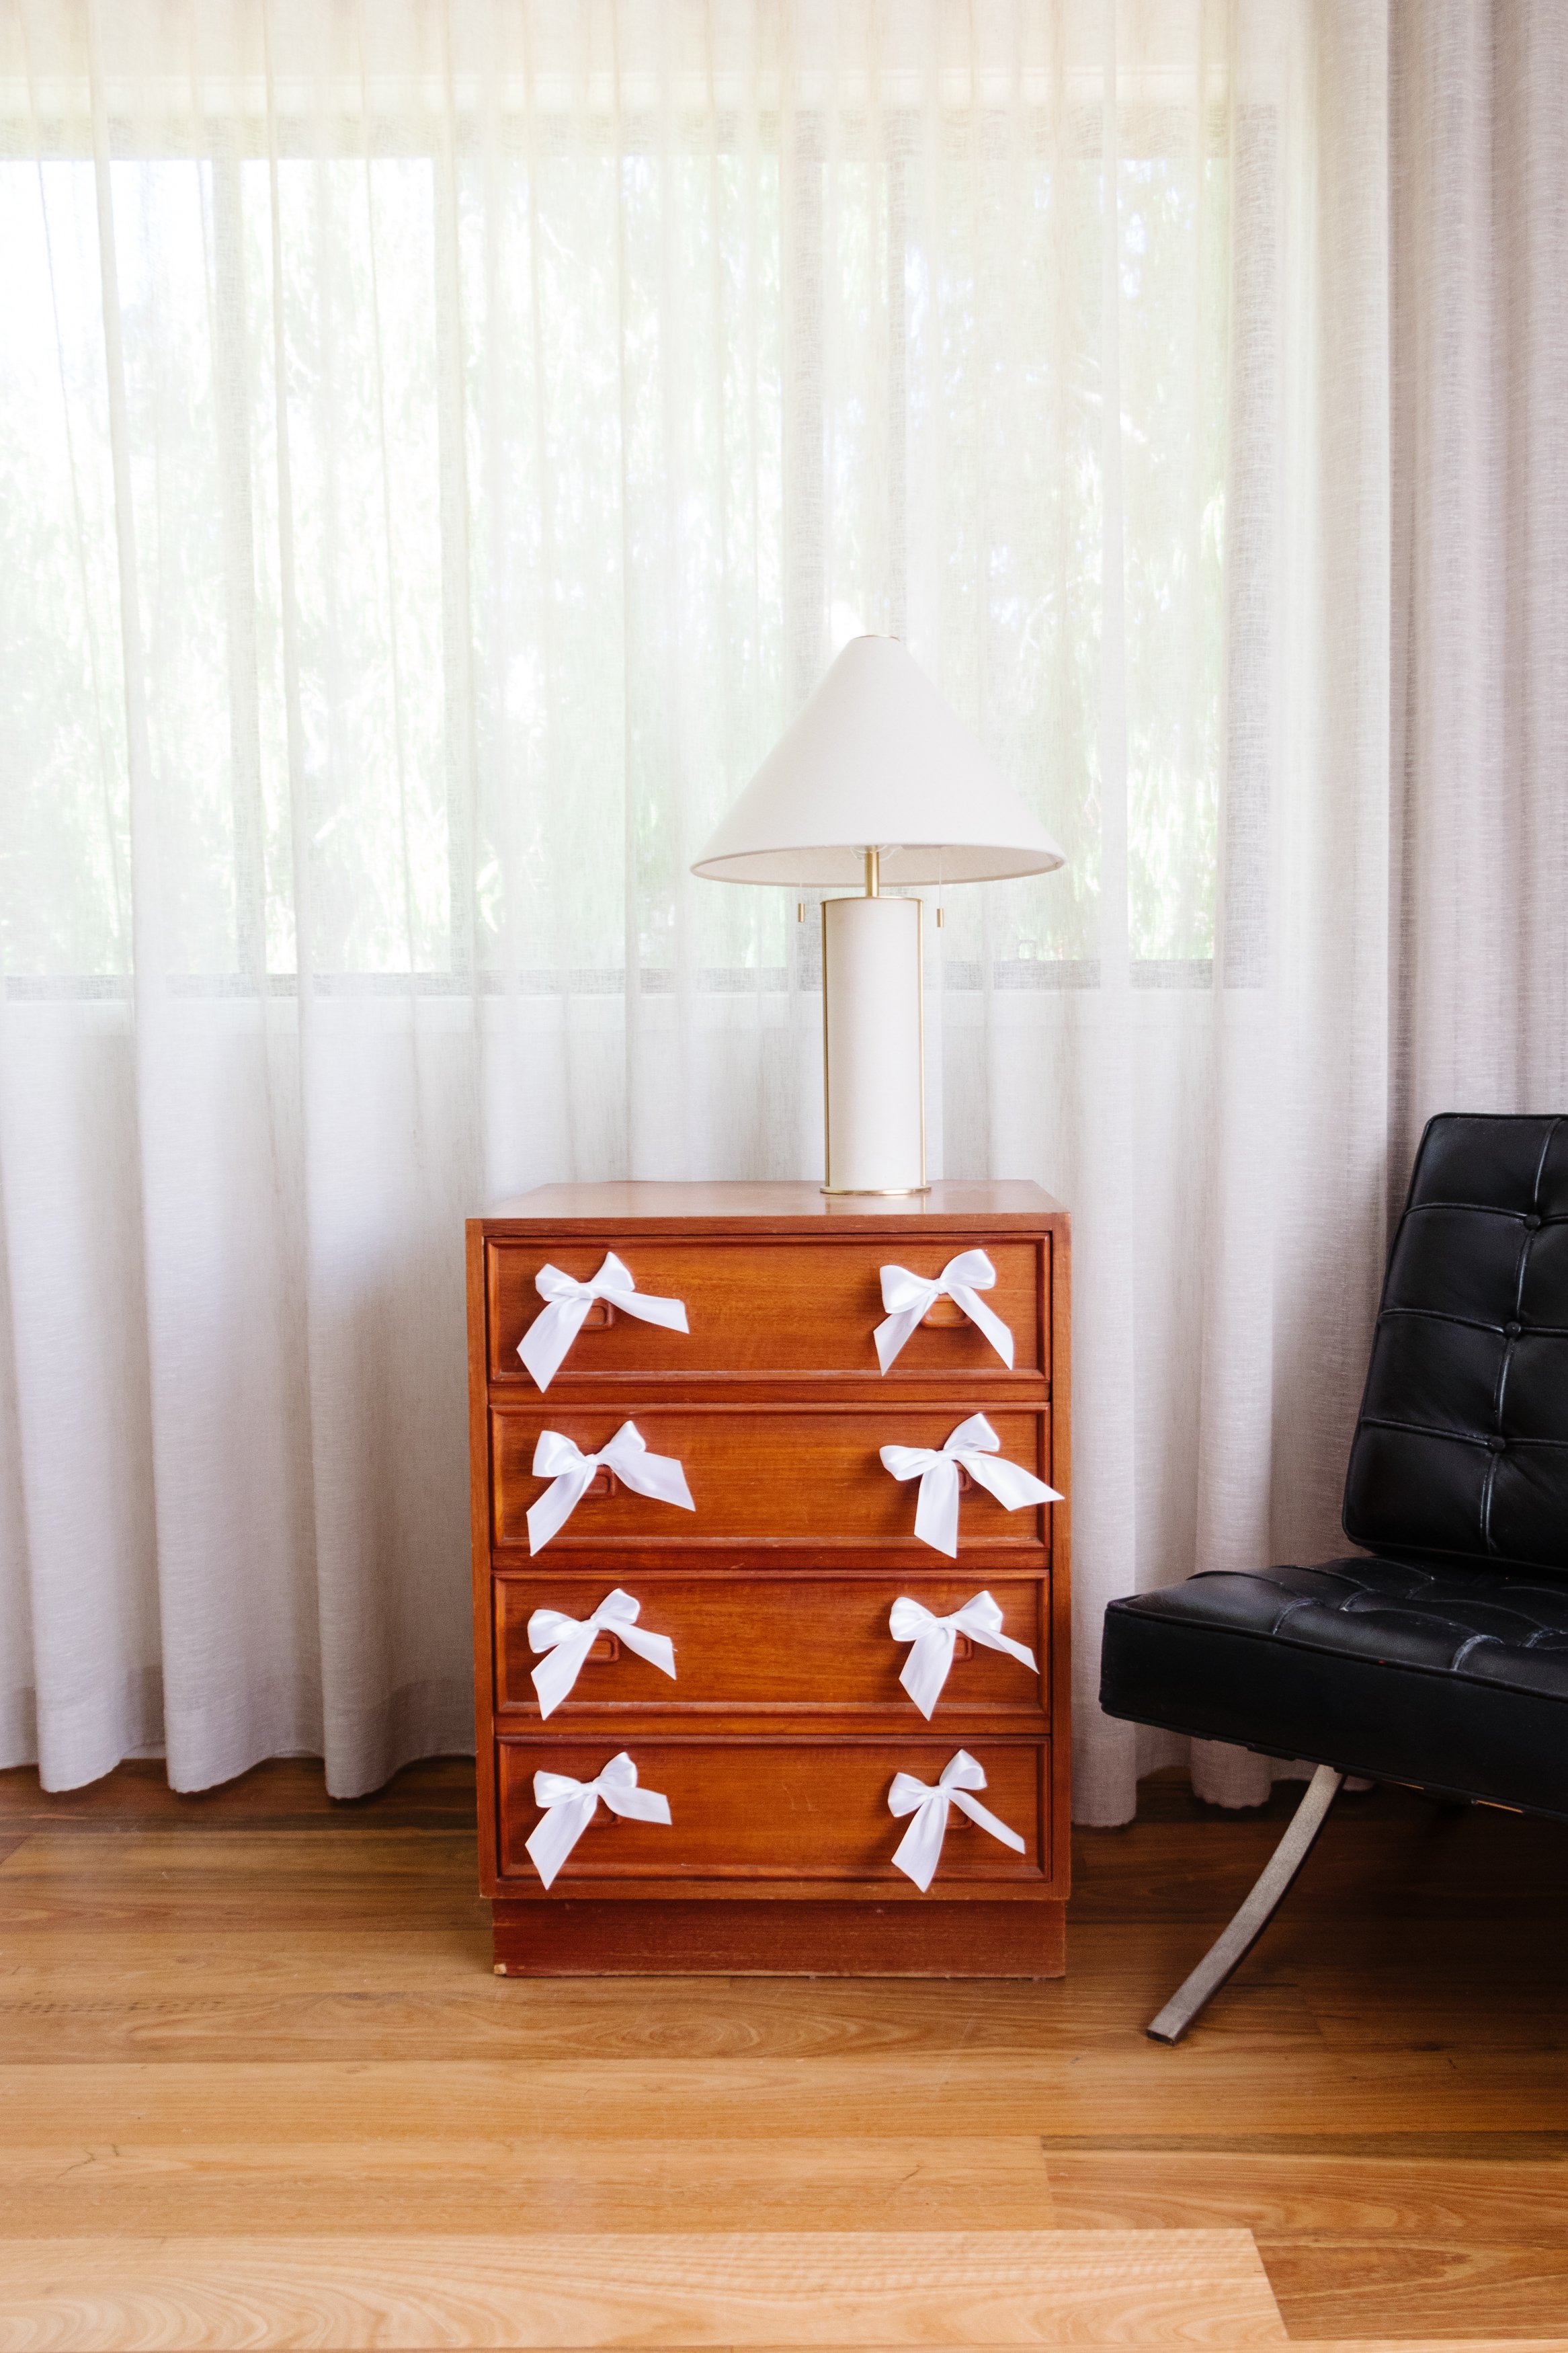
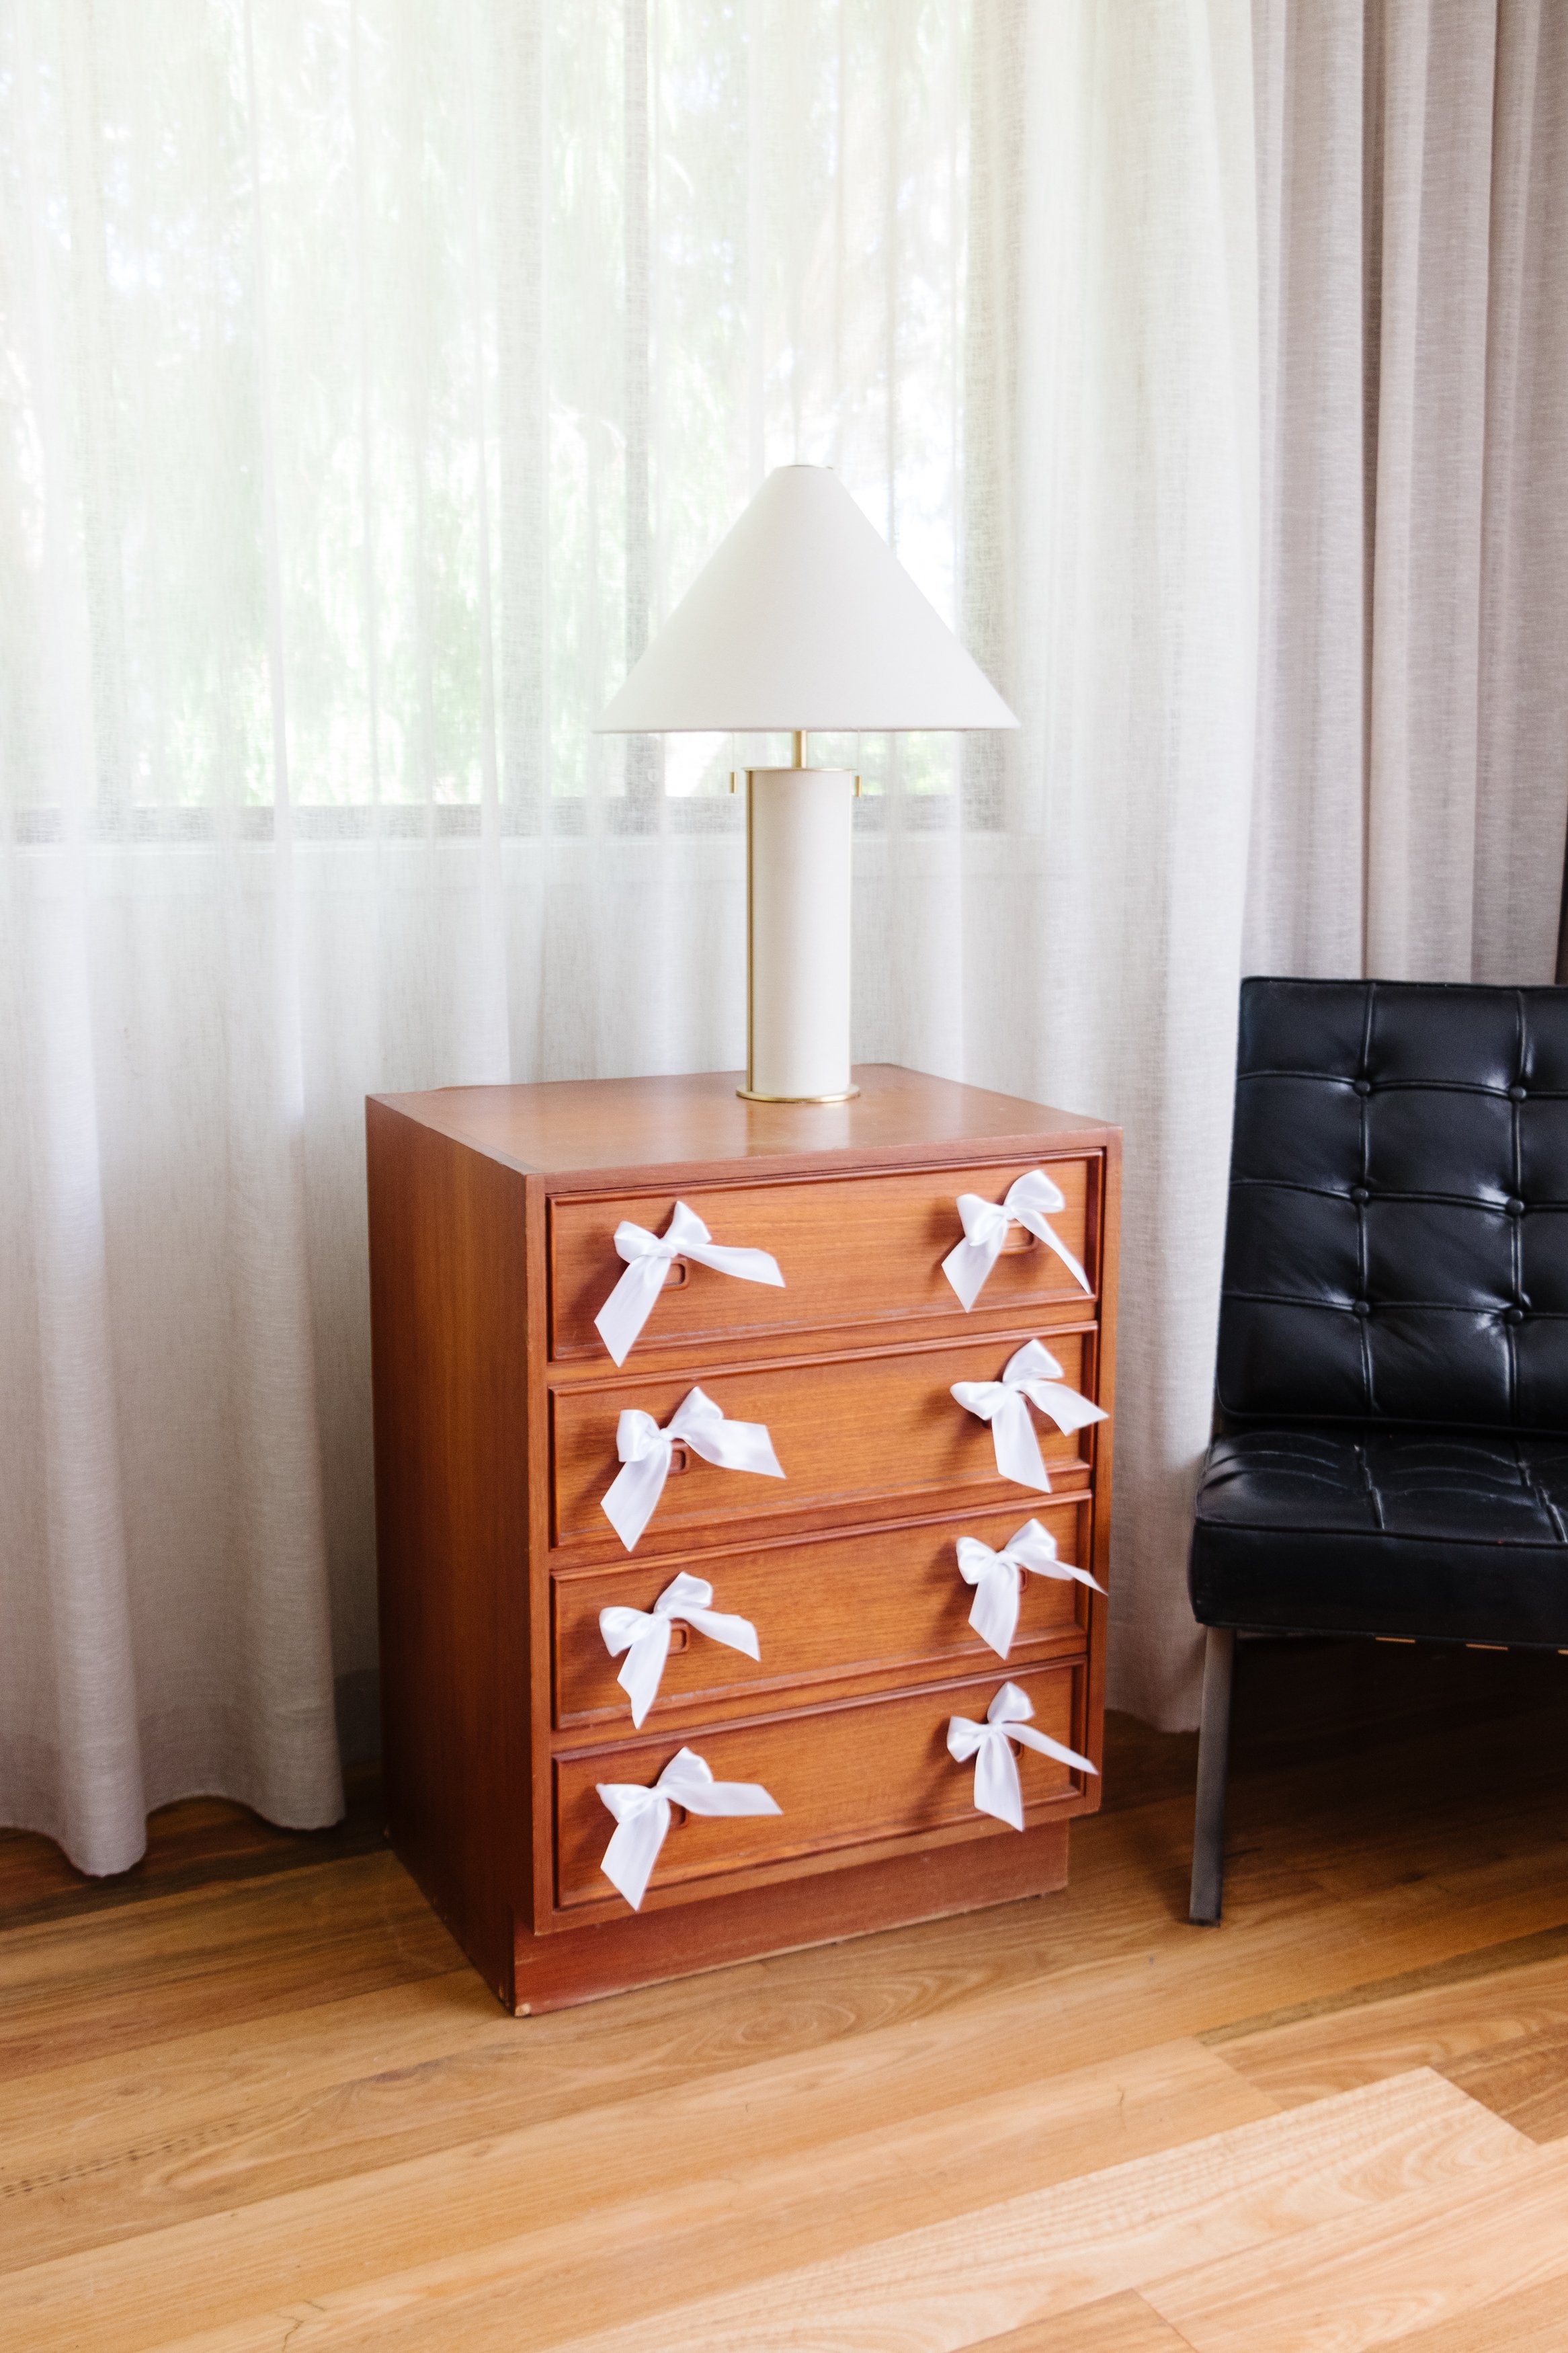
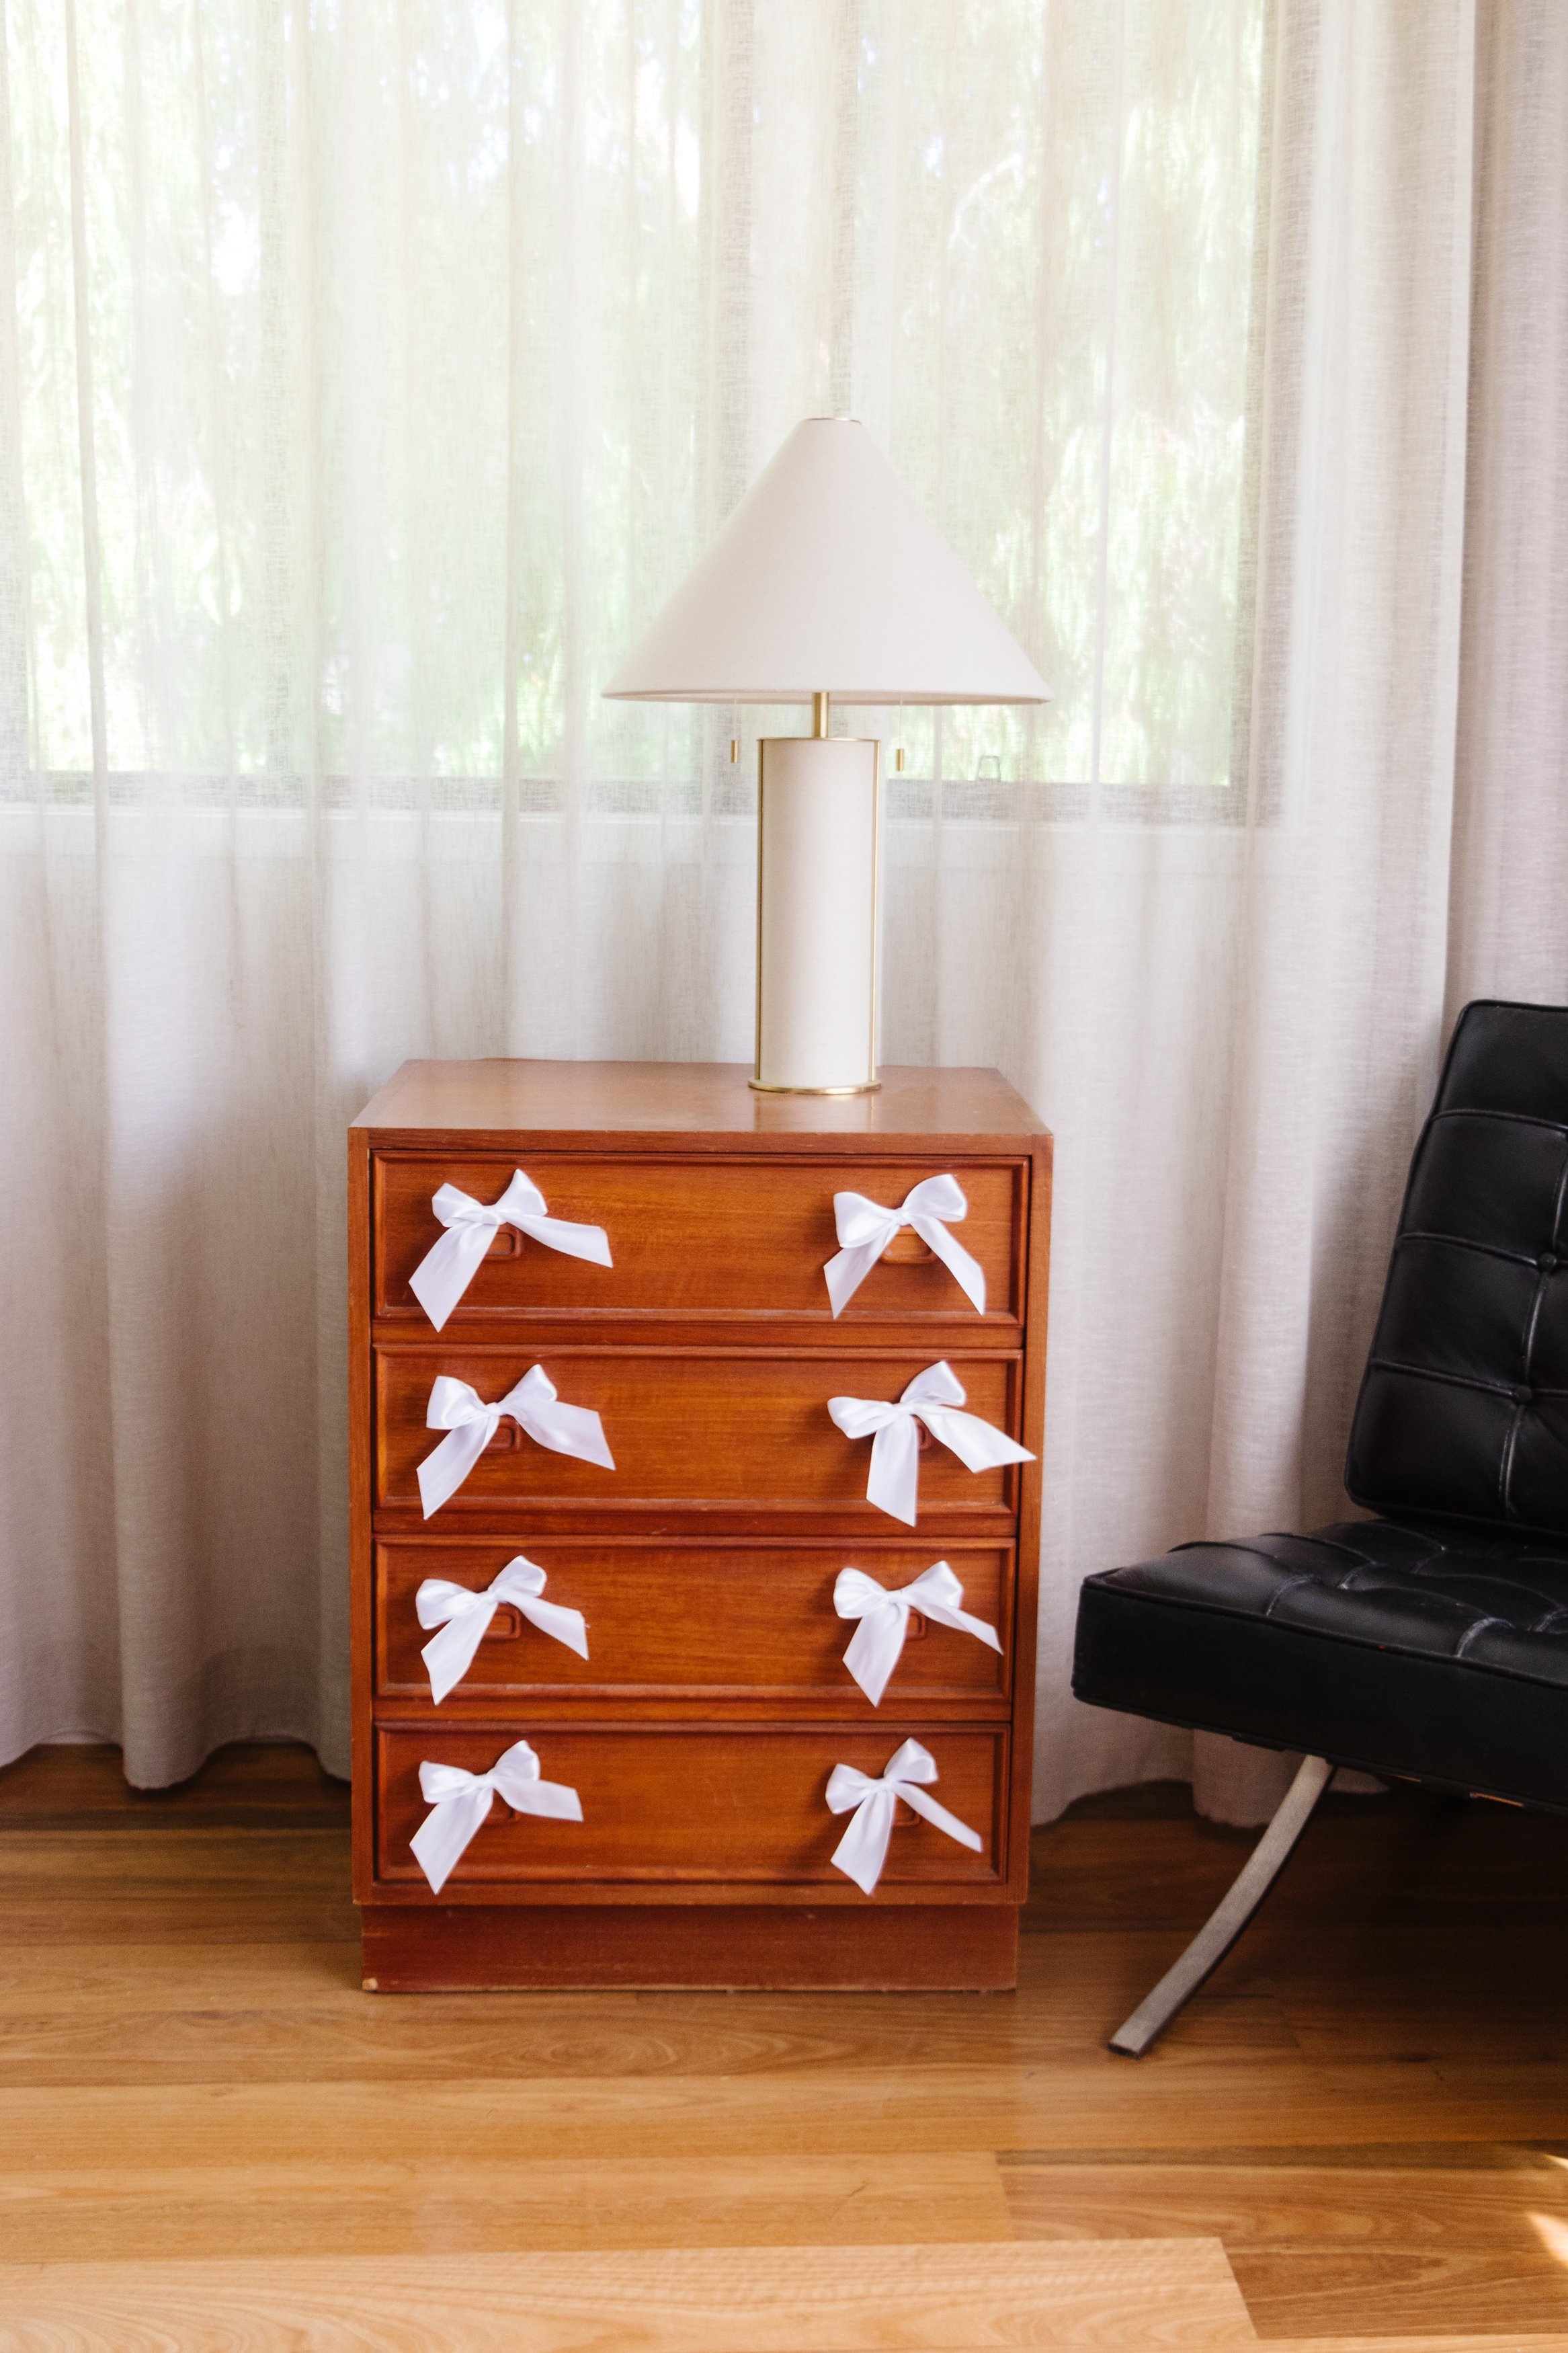
More bows? Yes please! Coming to you today with a really quick and easy way you can add some beautiful bows around your home - by tying ribbon around handles! As you know I have been loving bows for the last few months and I haven’t been able to stop thinking about simple ways they can be incorporated into our wardrobes and homes. I recently got my hands on some beautiful brass bow handles but wondered, surely there is a much simpler, affordable solution? Ribbon! I tied a bow using a wide poiece of white ribbon around the knob on a set of vintage mid century modern drawers I thrifted last year and couldn’t believe how cute it looked!
To see how this came together watch my “3 Ways To Style Bows” video

Project Details
✂️ Making: DIY Bow Handles
🕒 Project Time Estimate: 5 minutes
💰 Materials Cost: $5
Materials
Ribbon
Tools
Scissors
How To
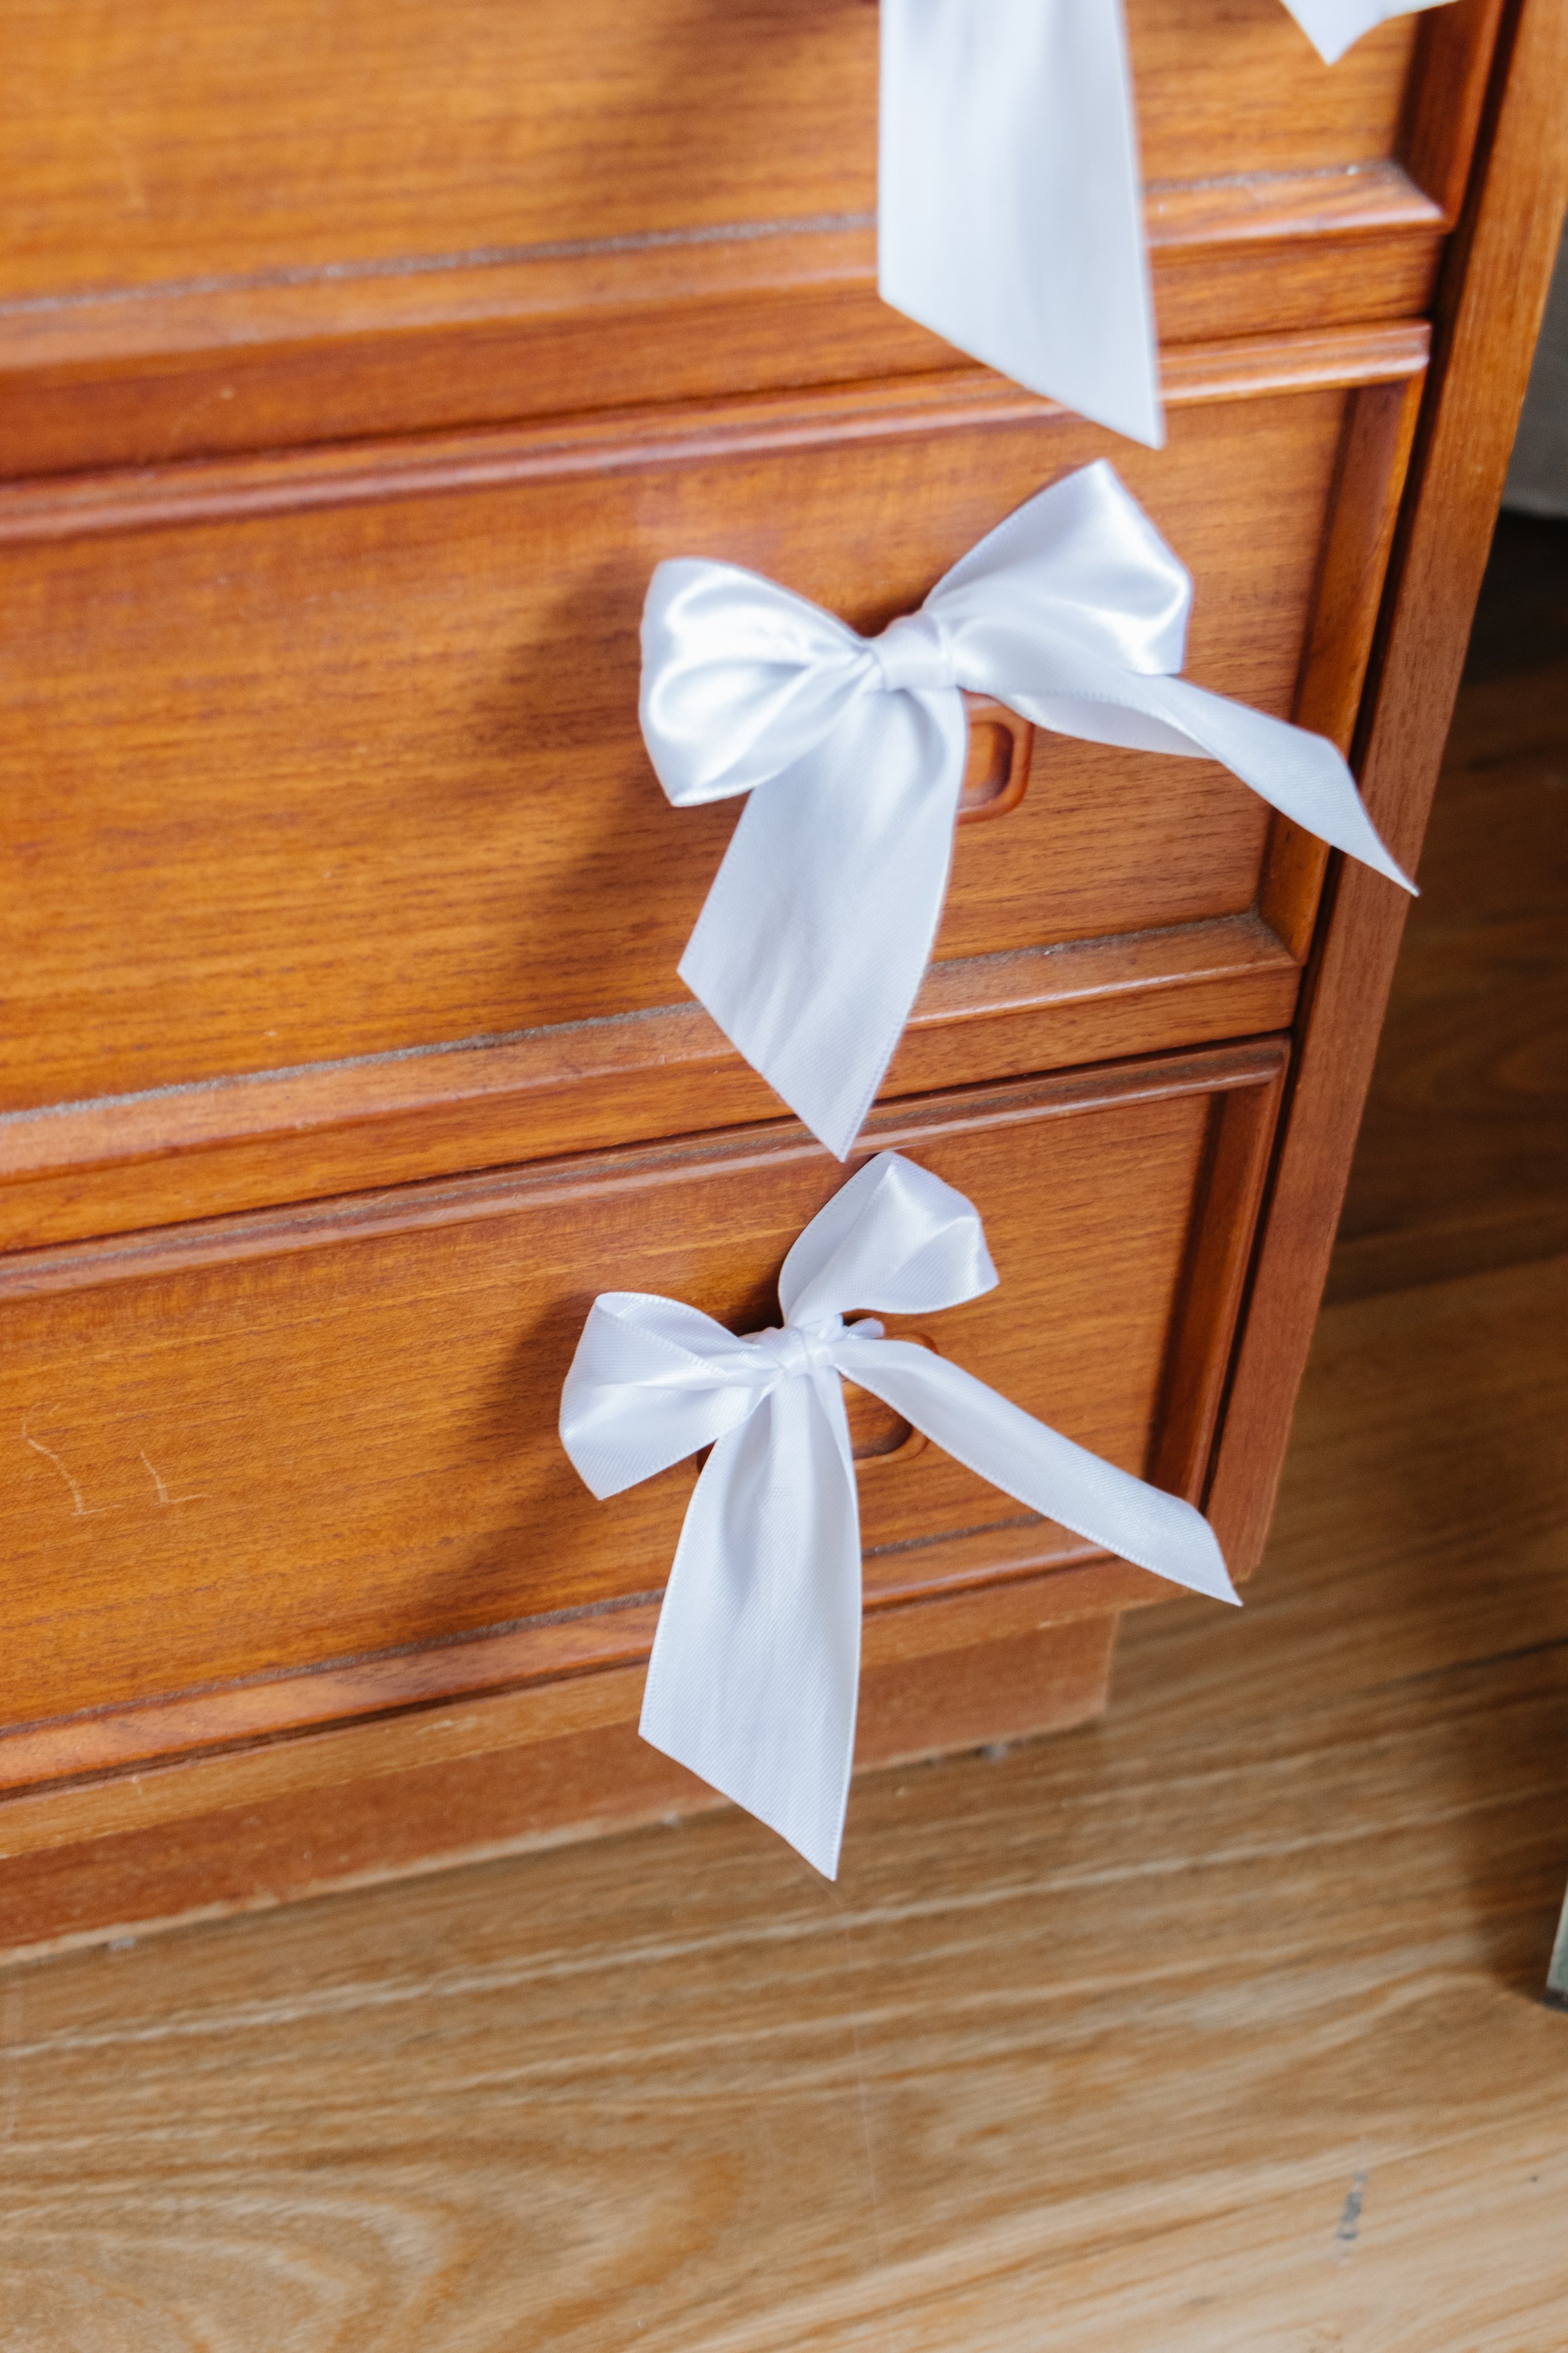
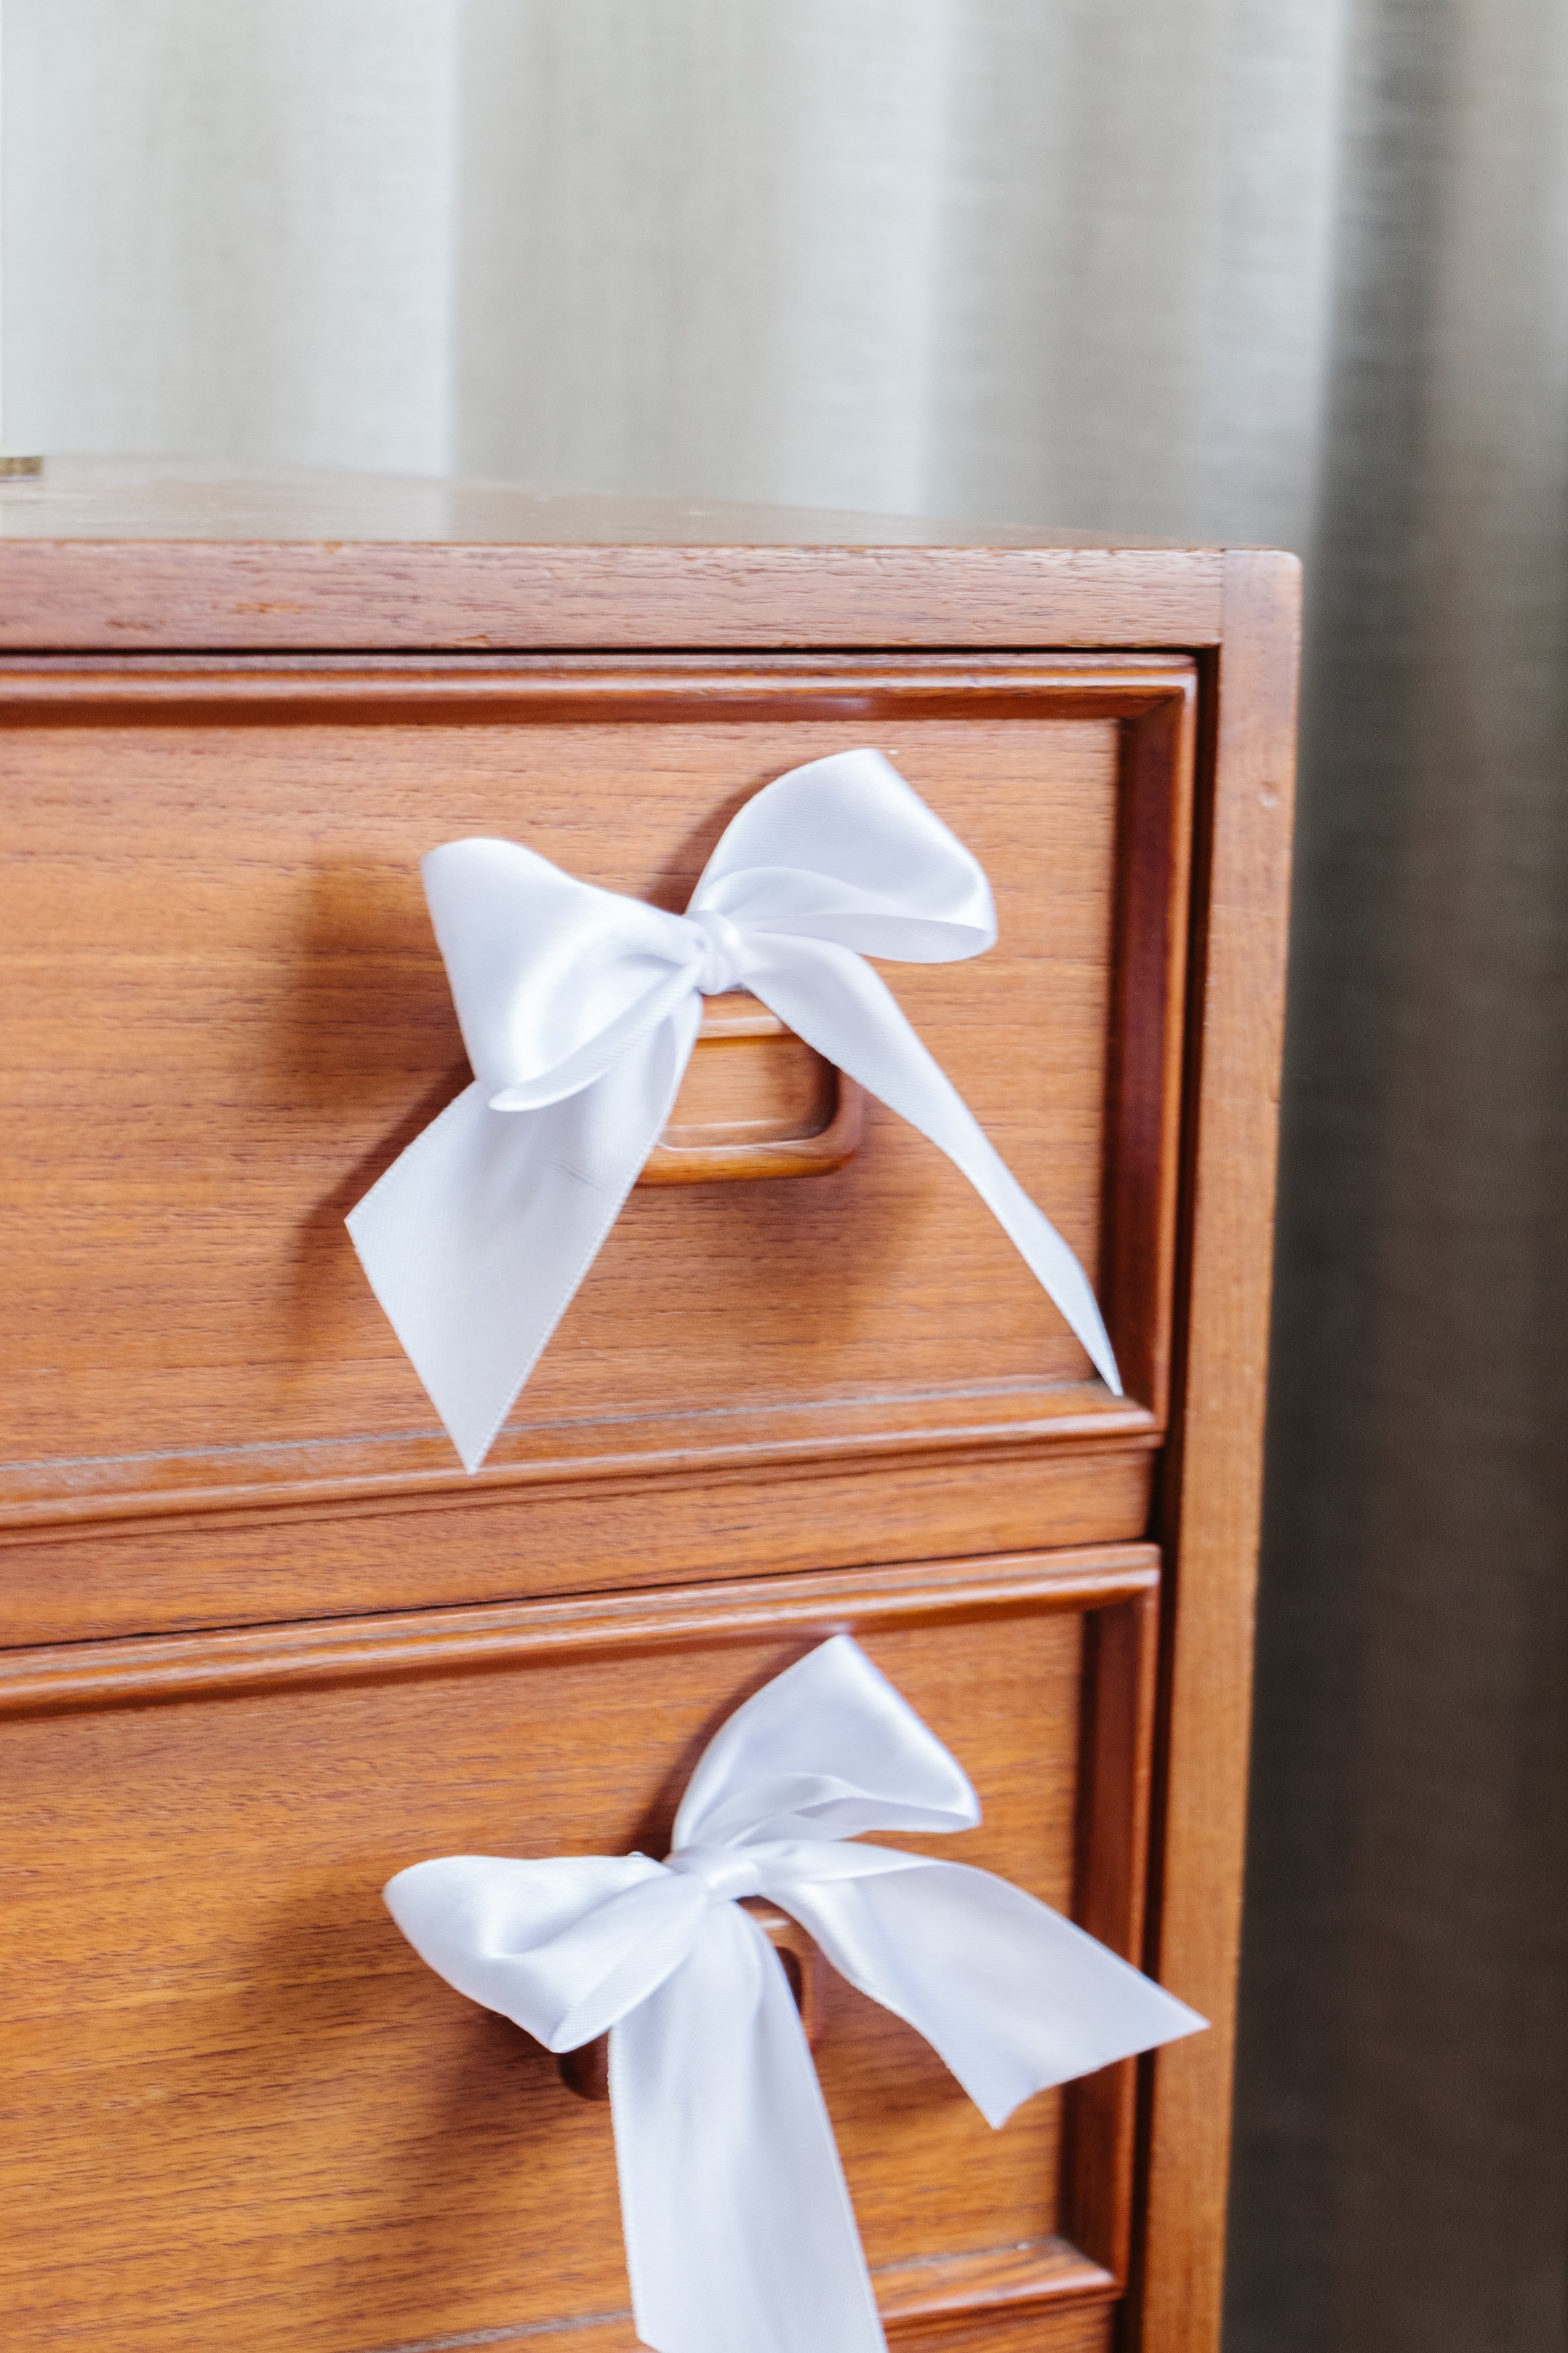
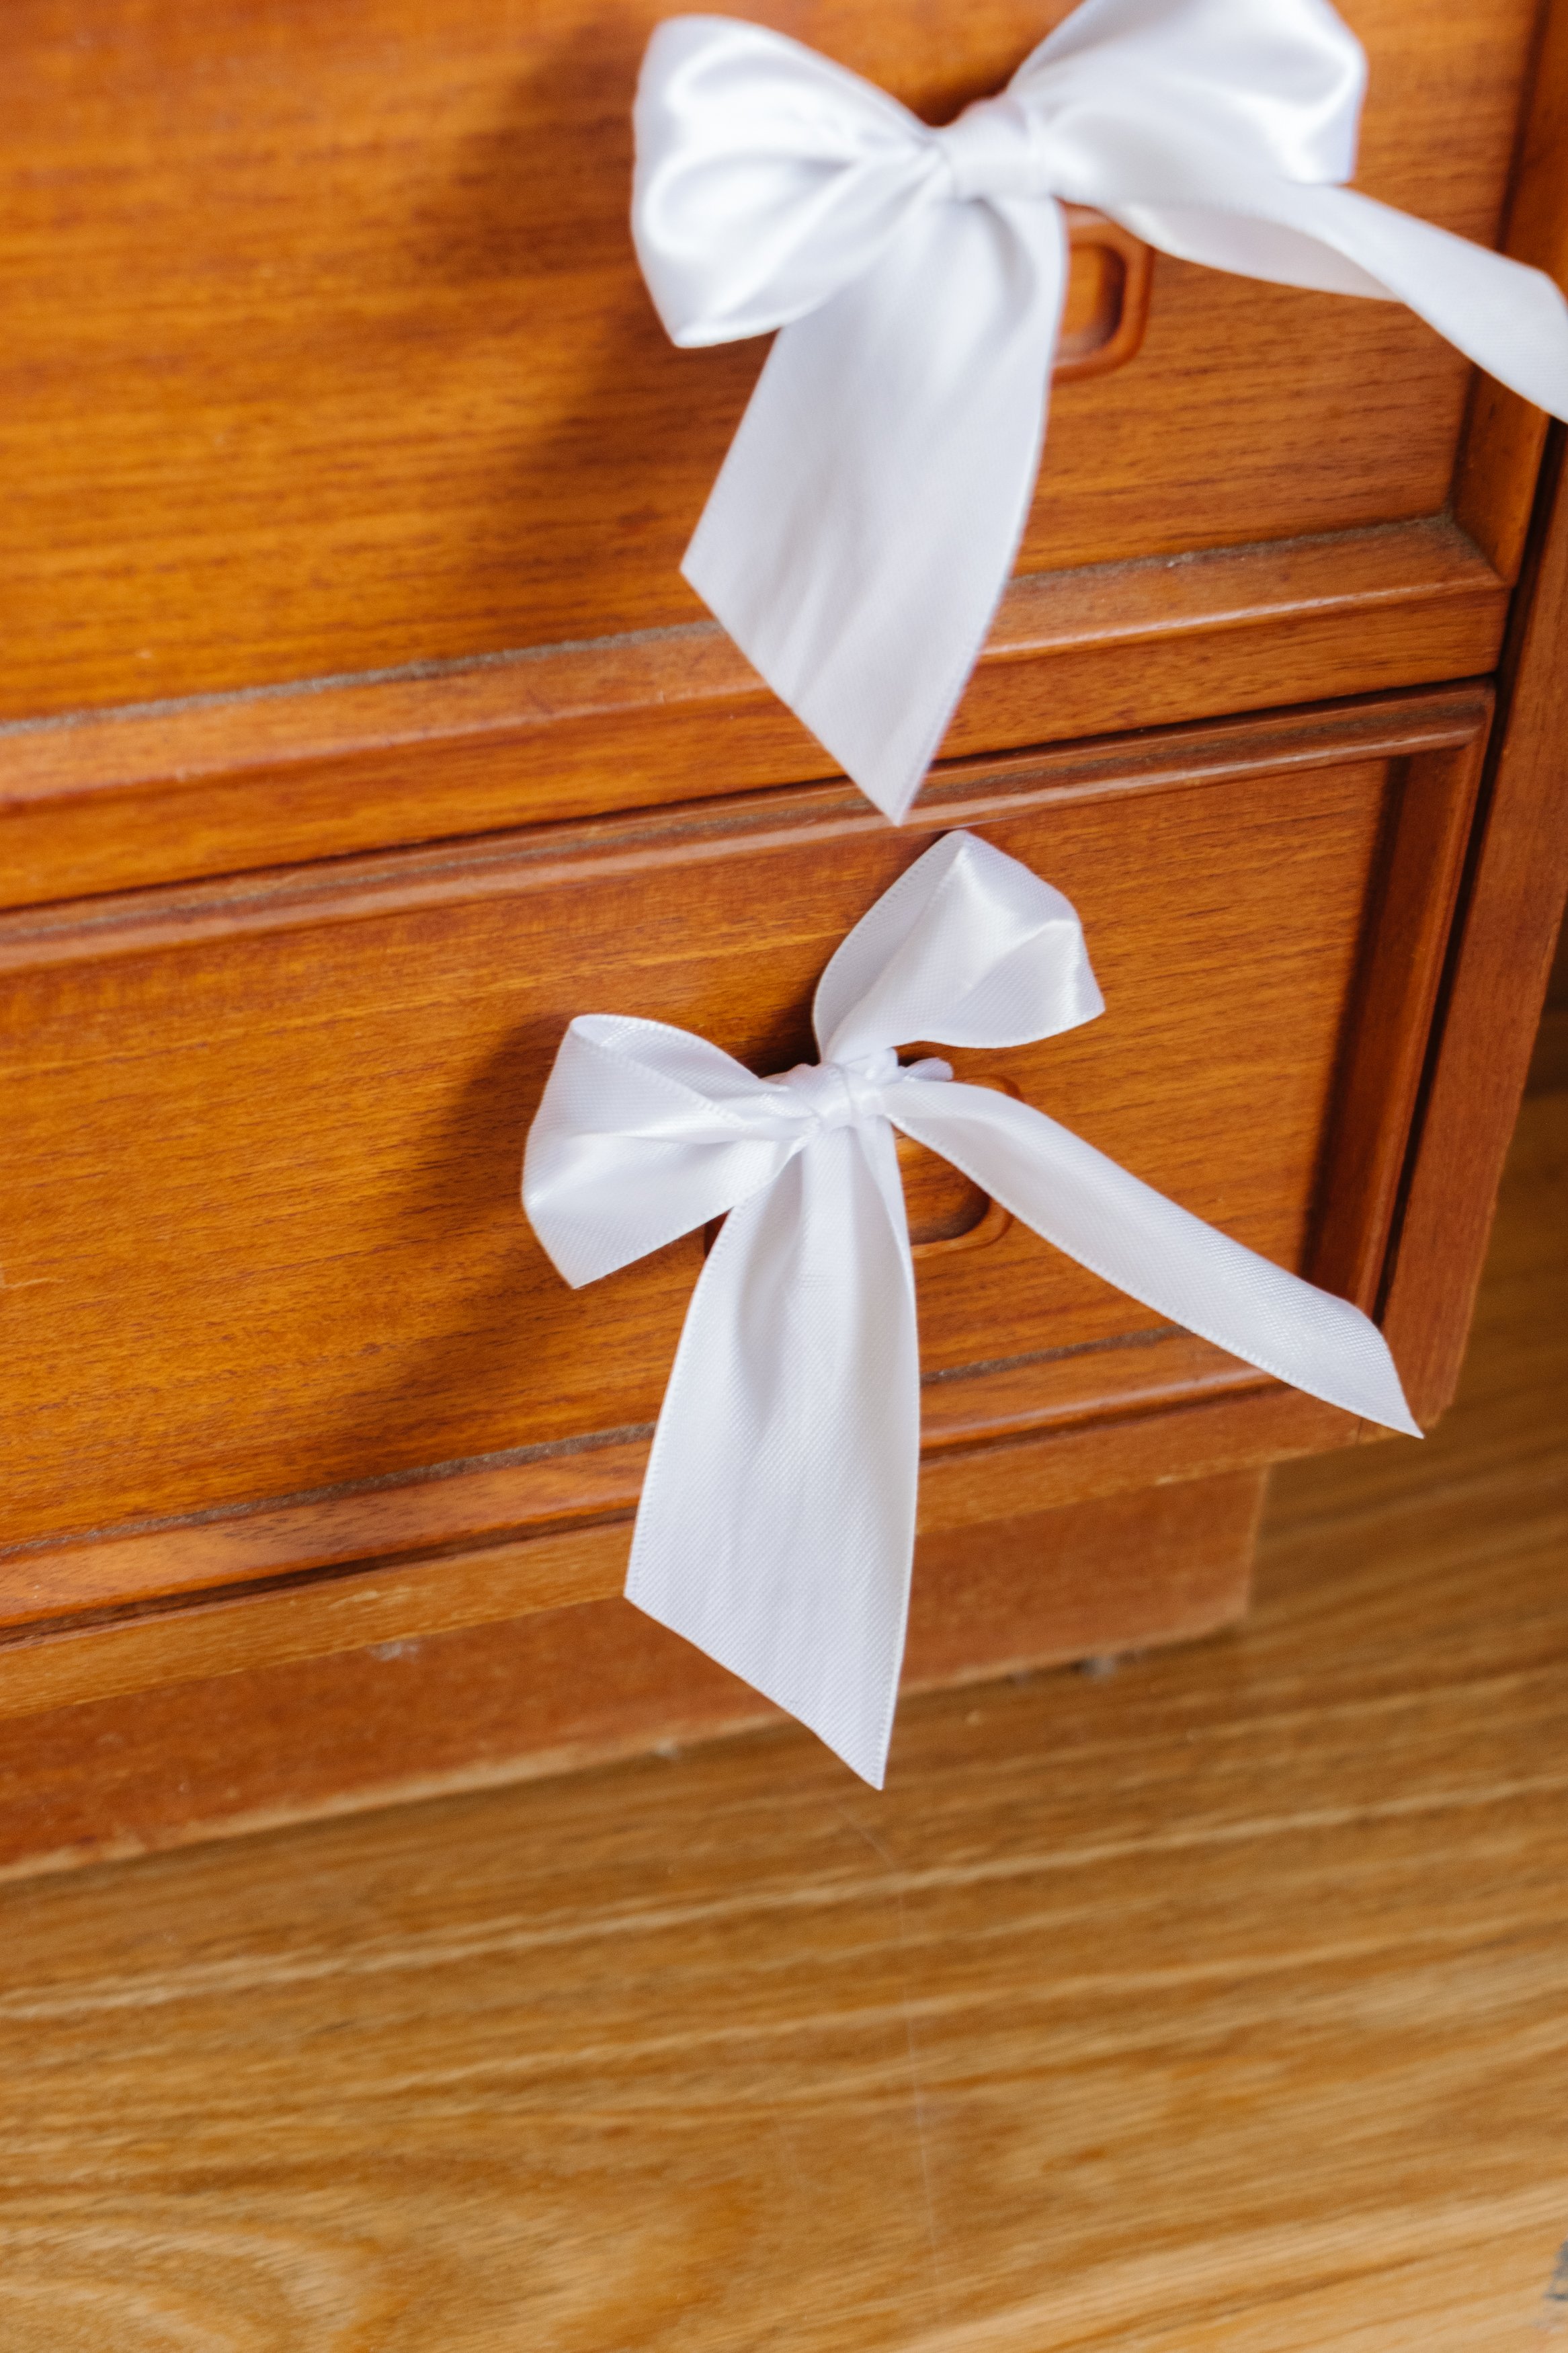
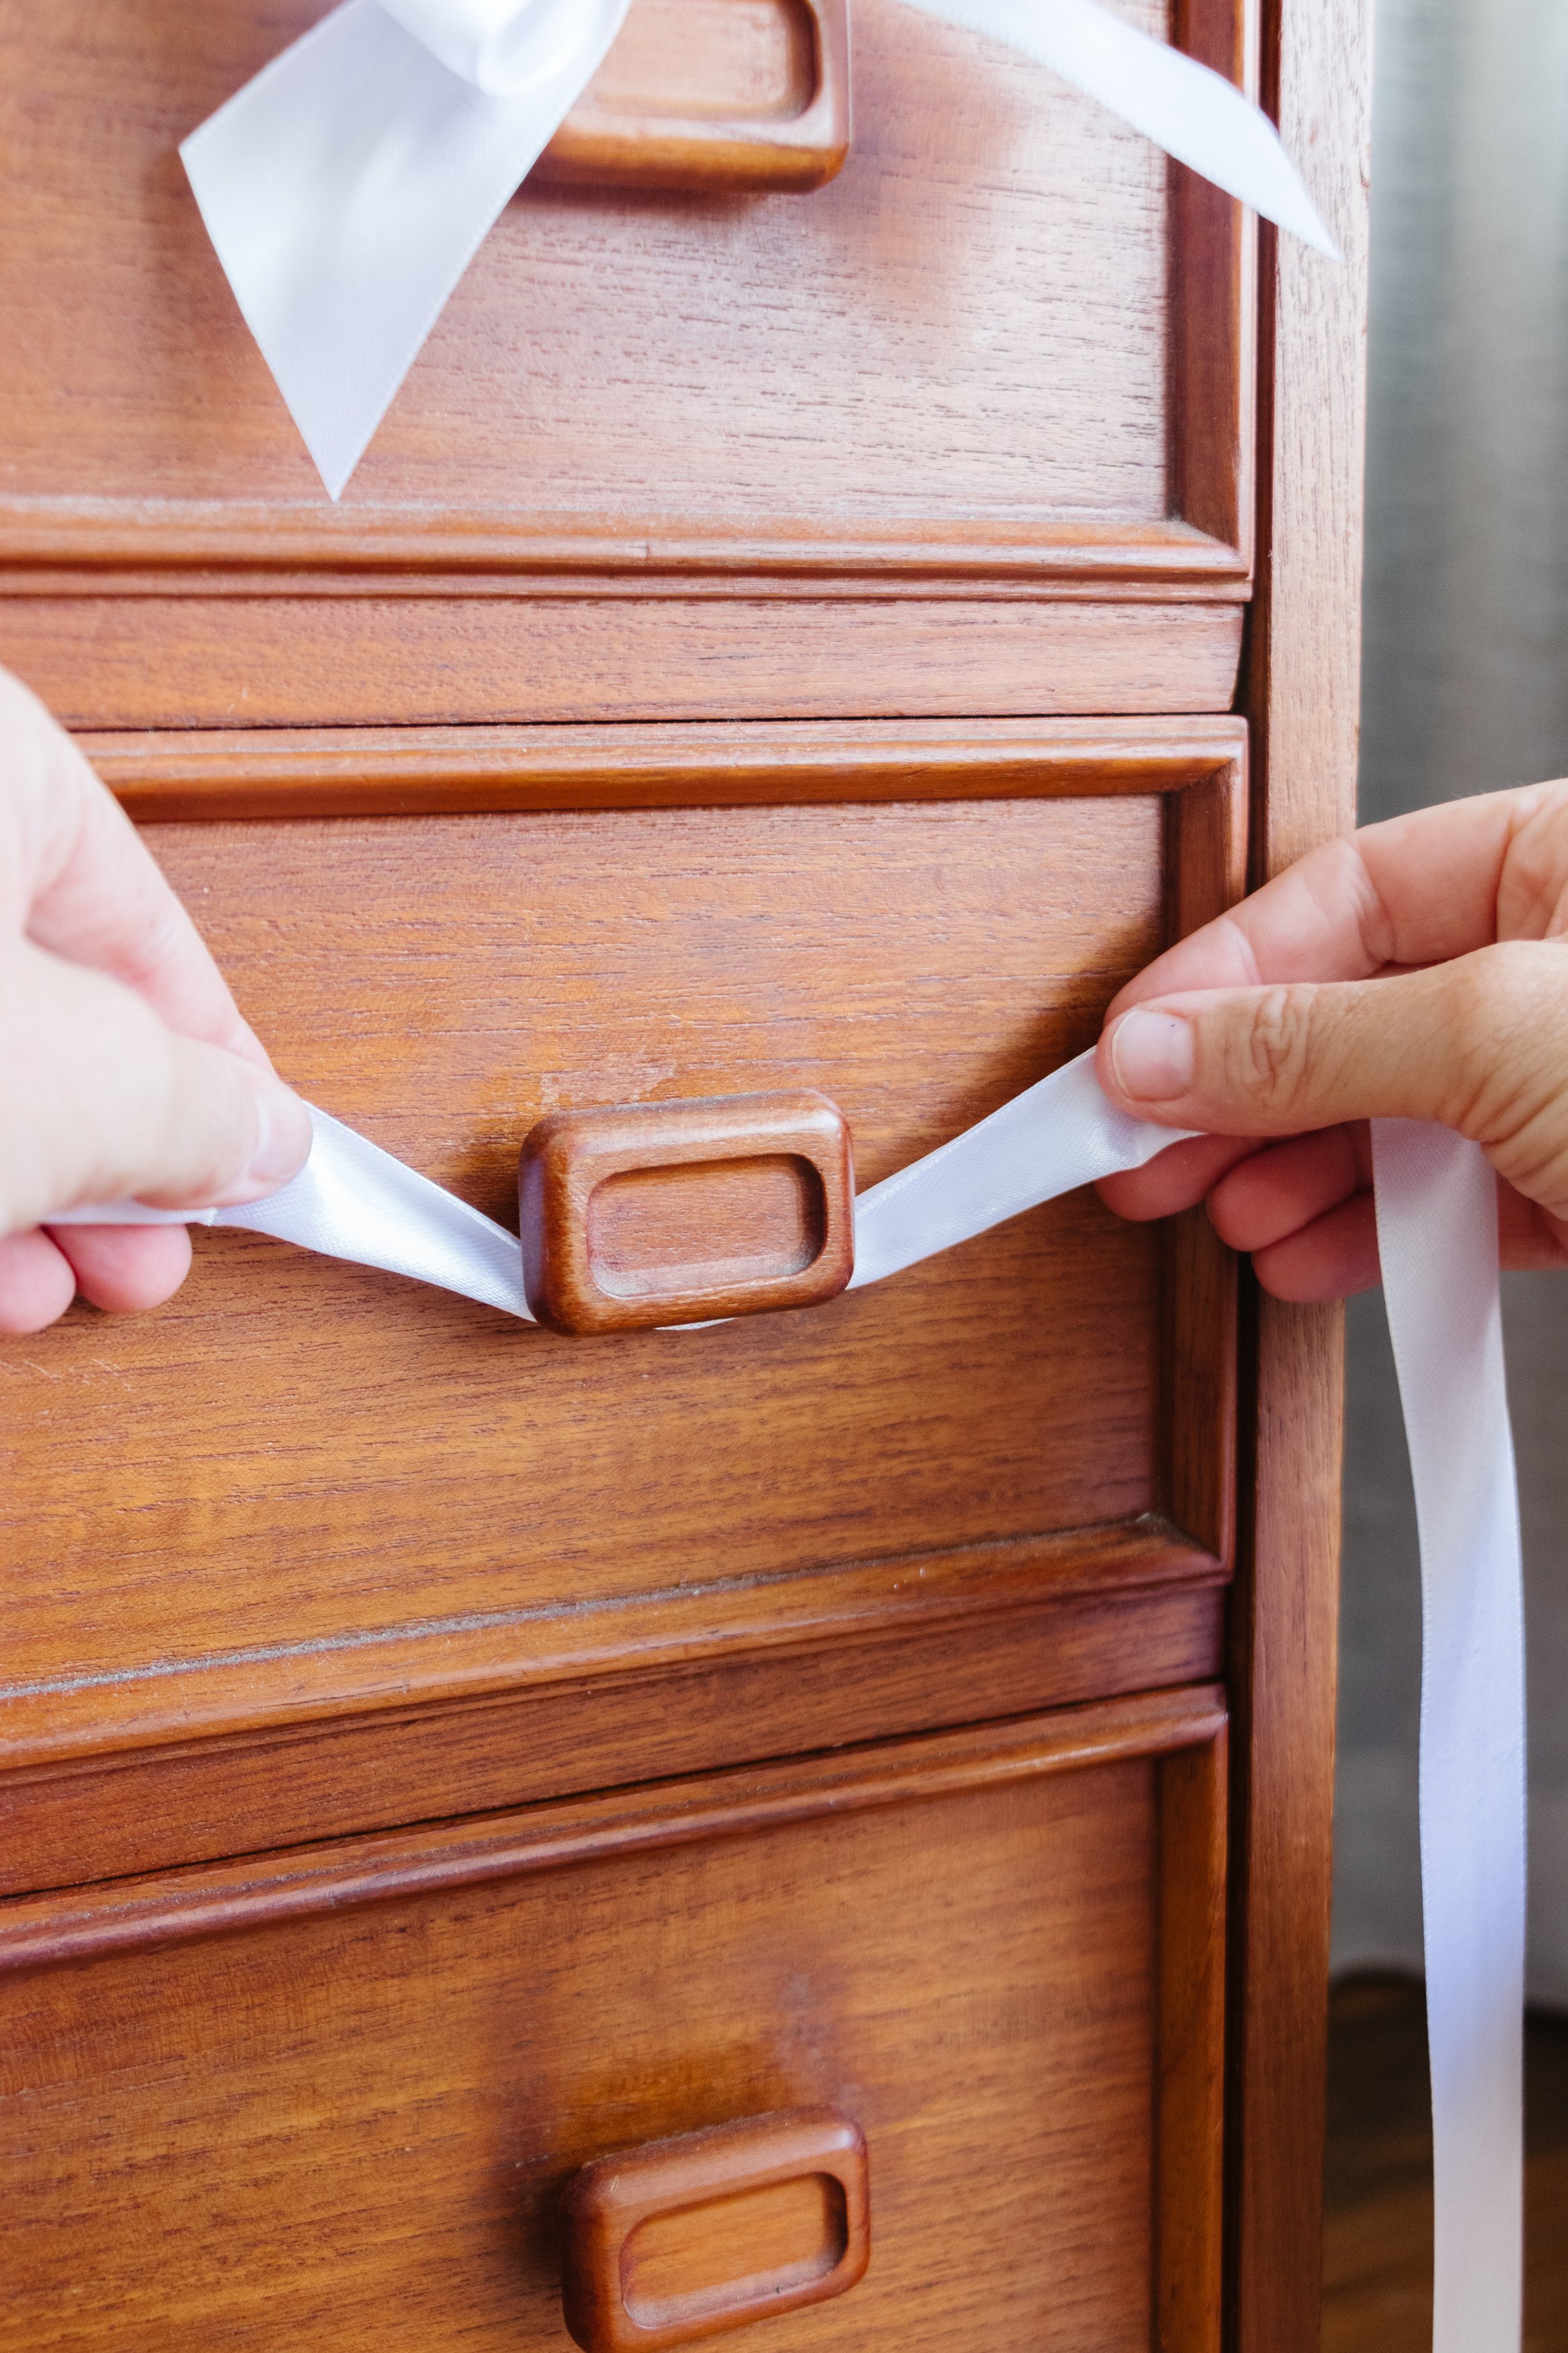
Step 1: Start by cutting the ribbon into as many pieces as you need (if you have 6 handles, you’ll need 6 pieces of ribbon). Before cutting, check that the ribbon will be long enough to tie the bows.
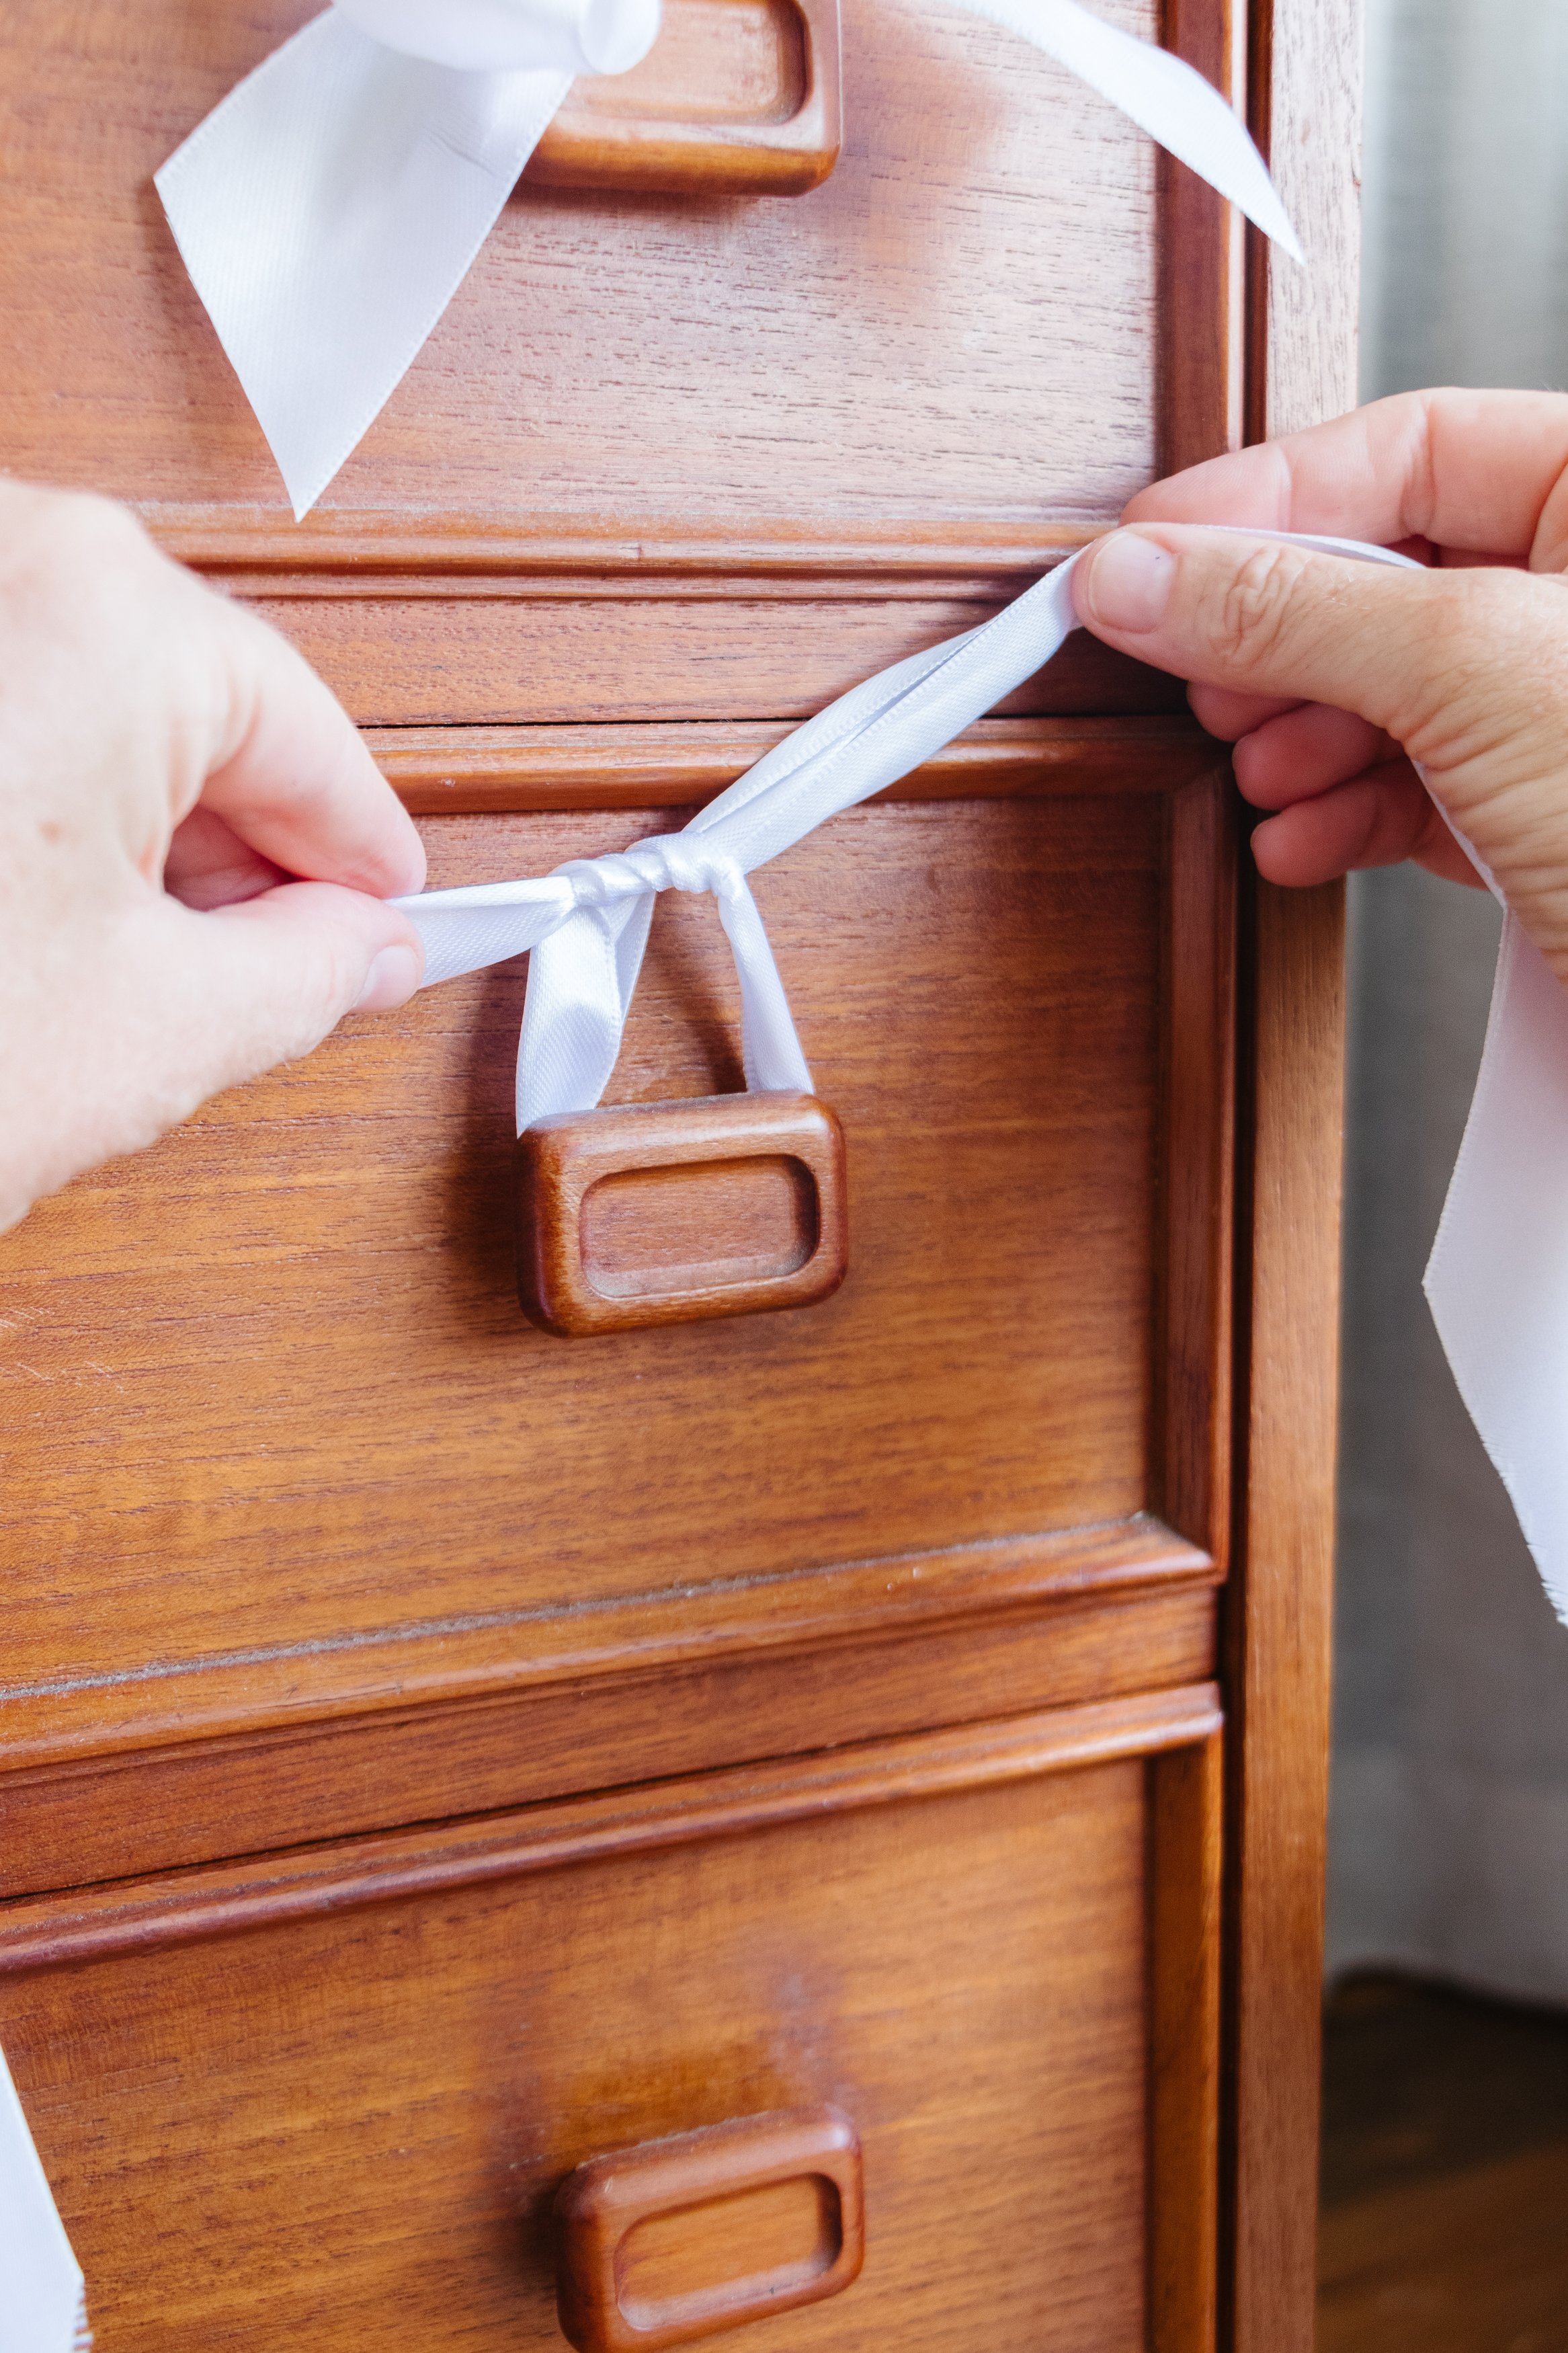
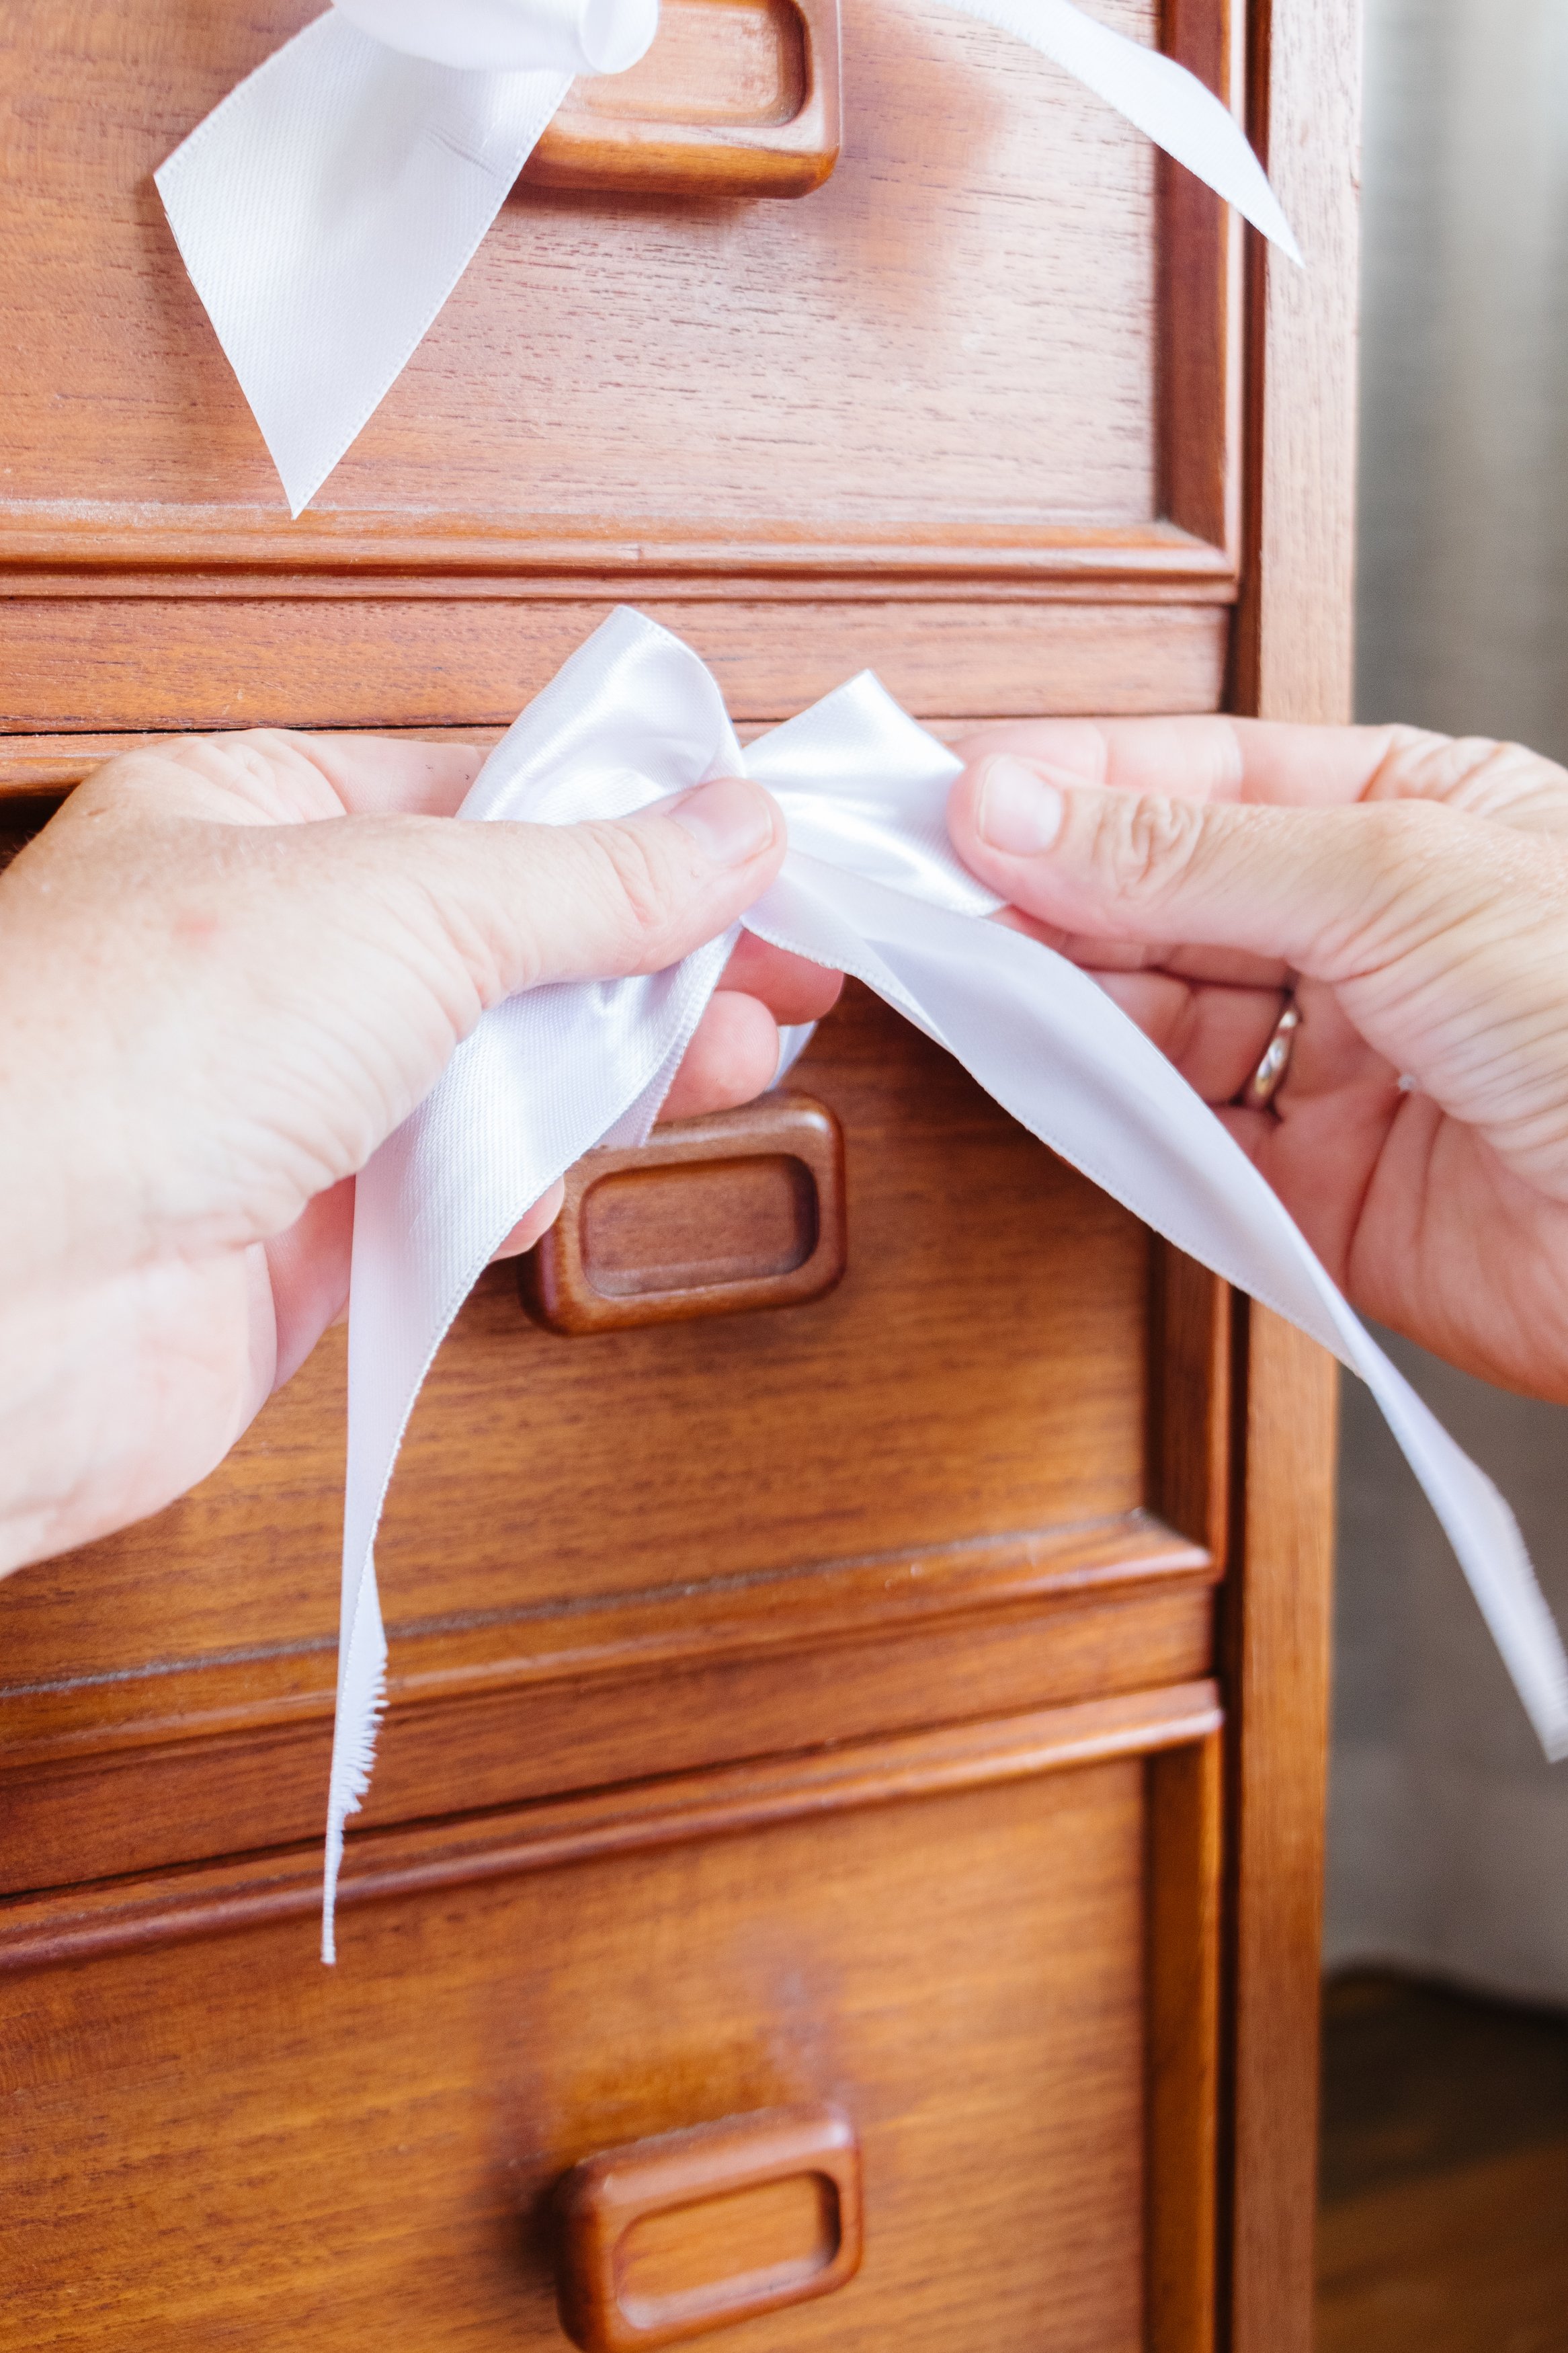
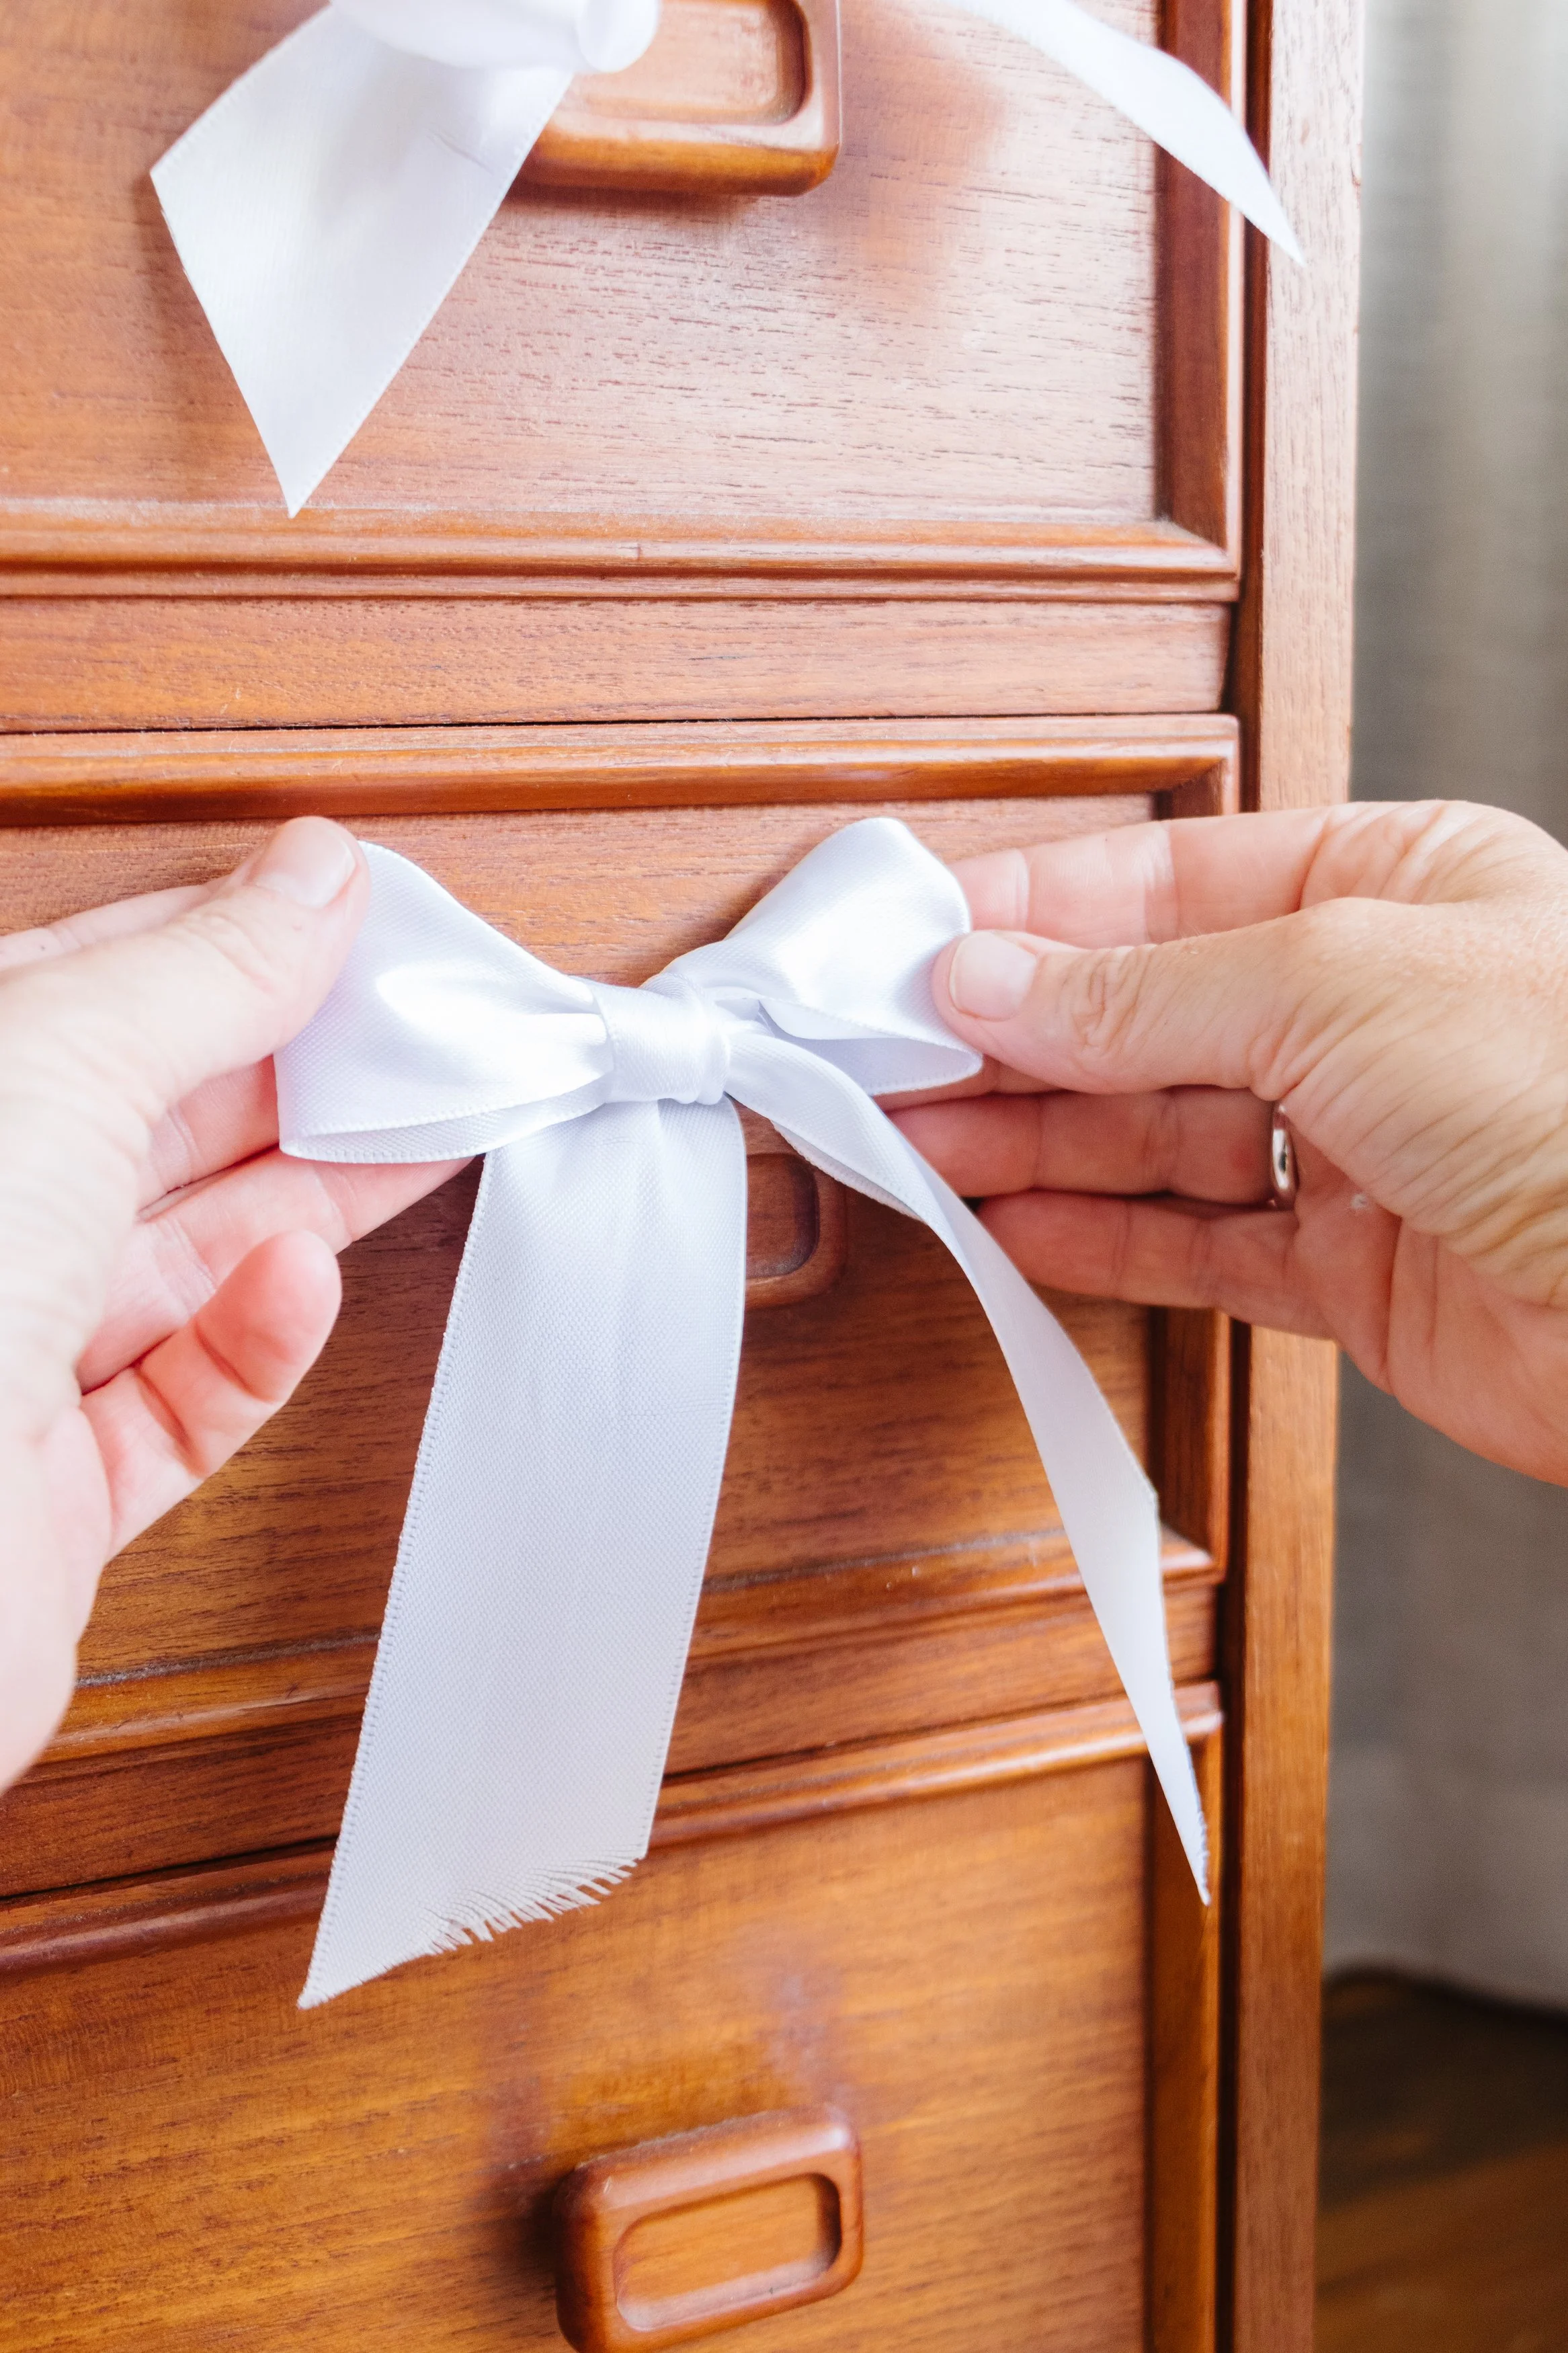
Step 2: Tie a know around the handle, then tie a bow.
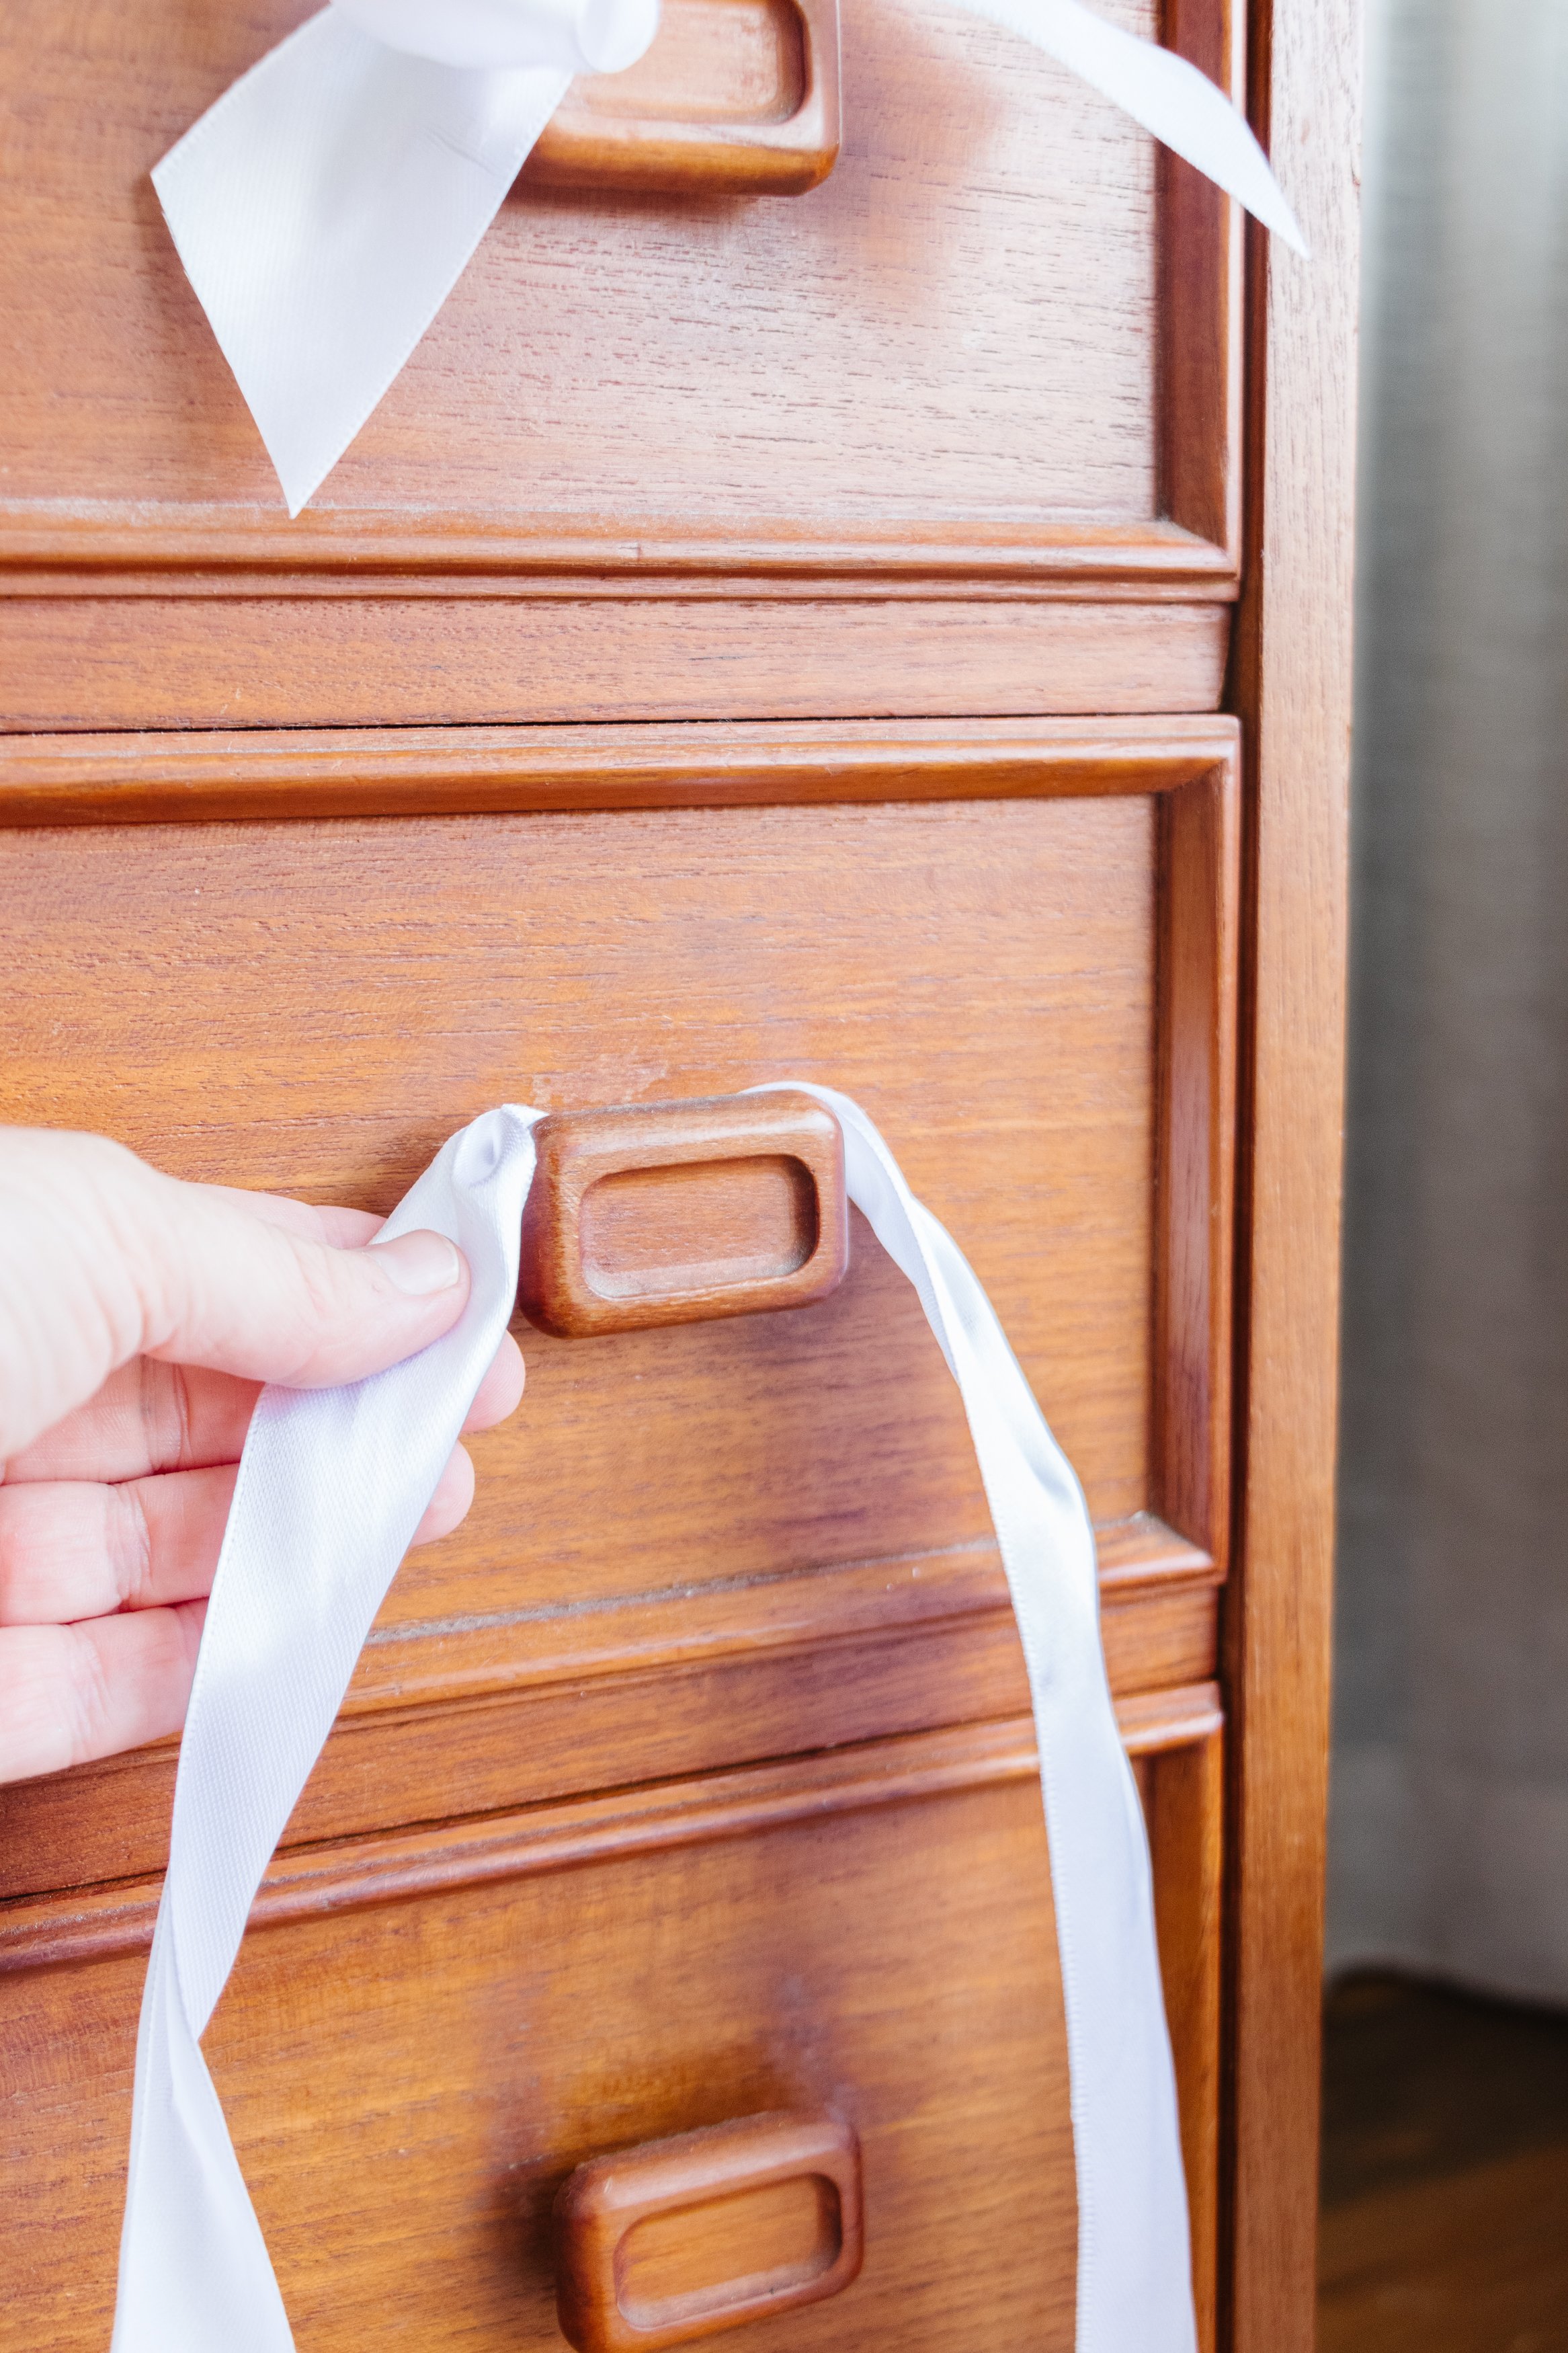
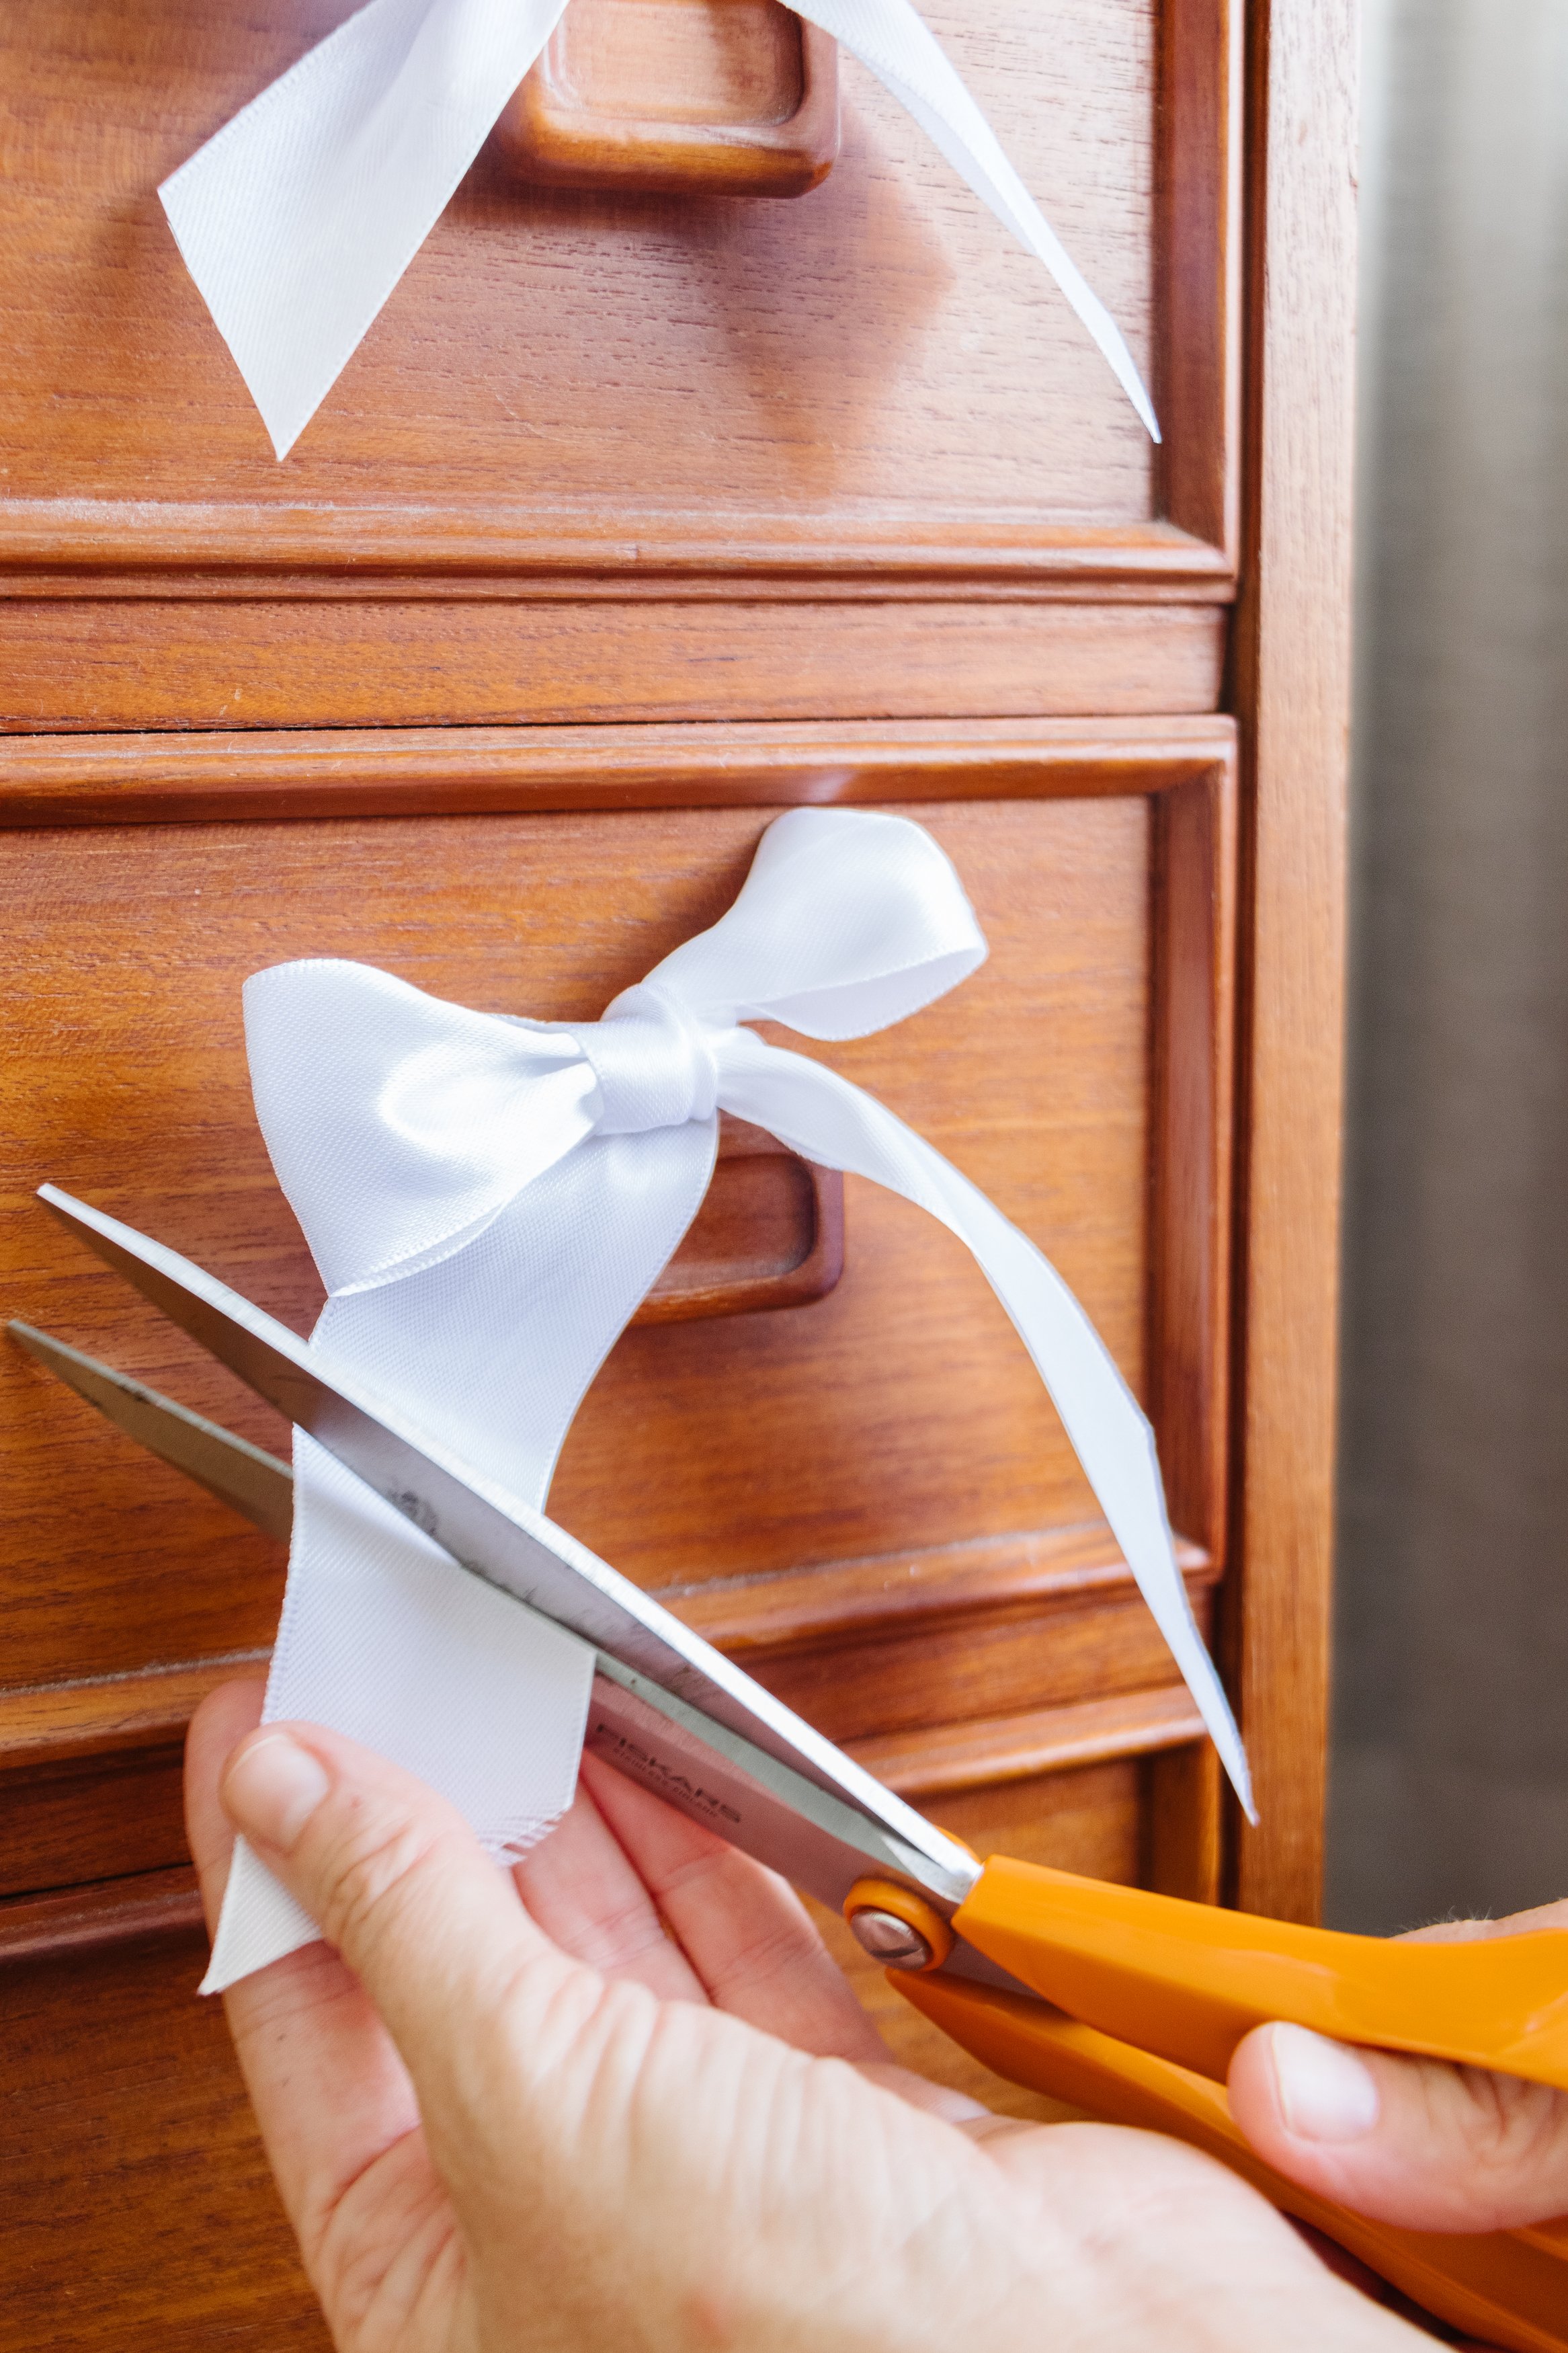
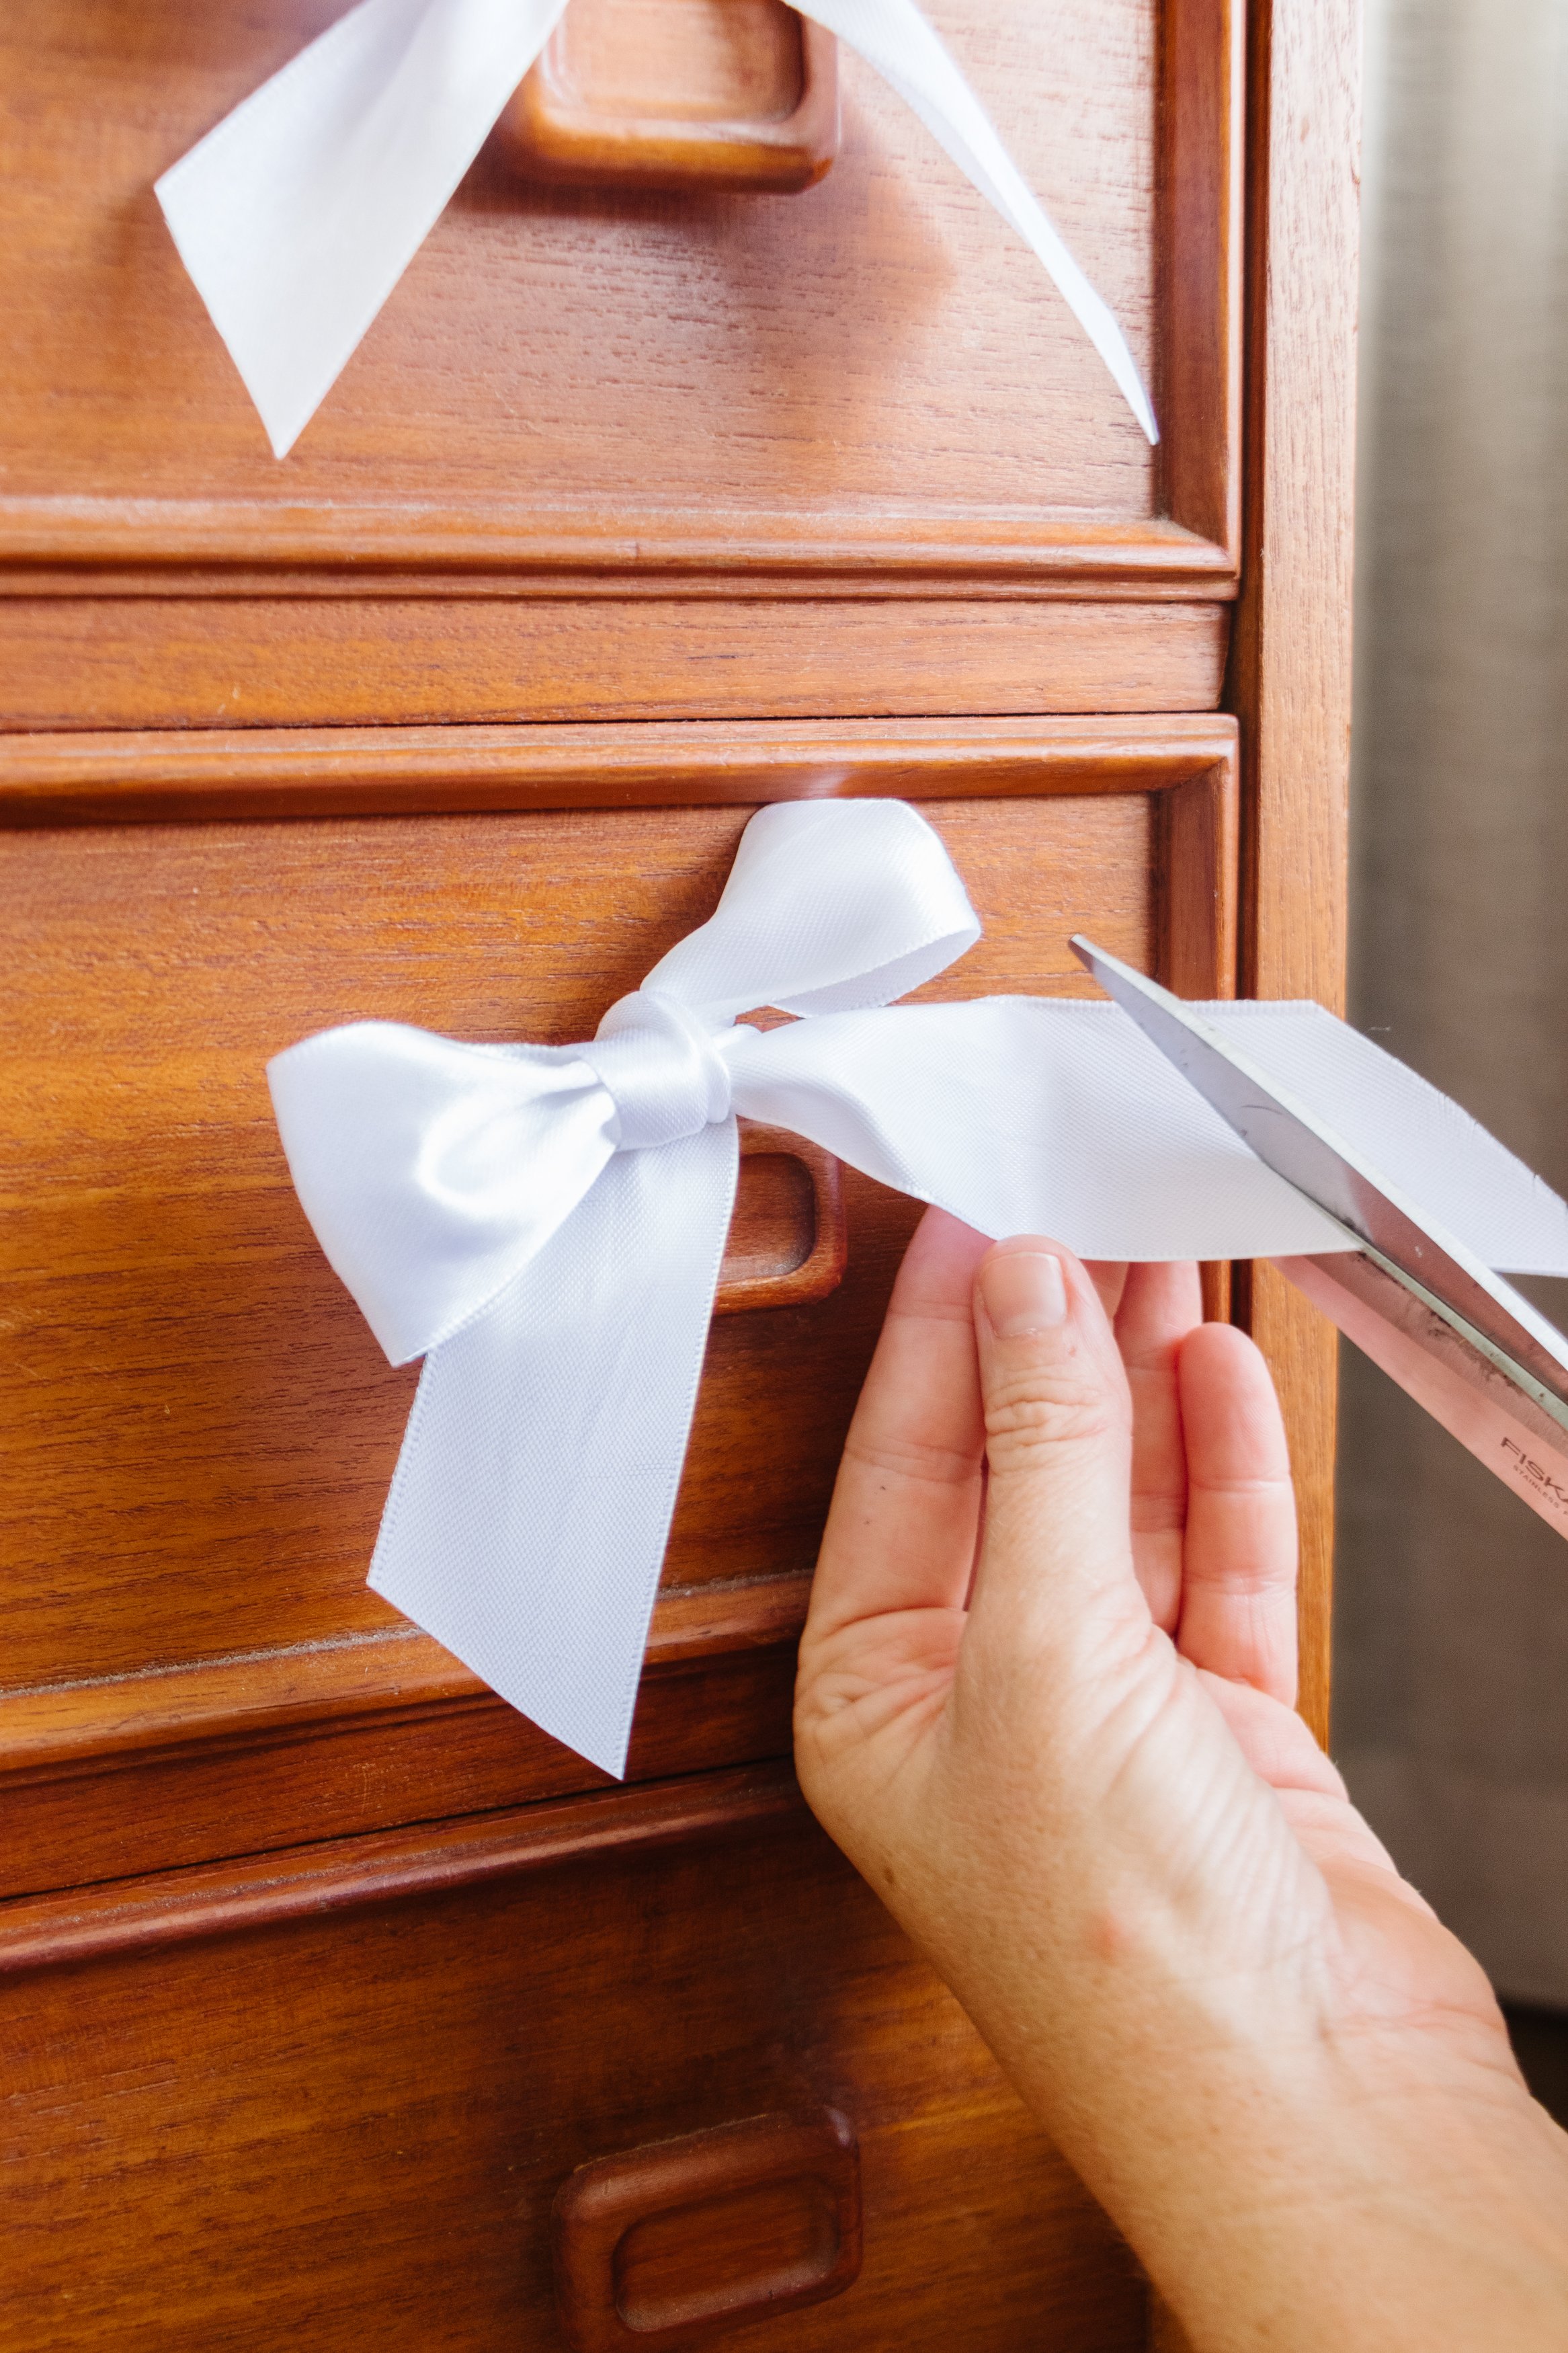
Step 3: Cut the hanging ribbon to a length you like using scissors. And that’s it!
The Reveal
Isn’t is amazing what you can do with ribbon? I love using it to make bows for projects like this and tying bows onto a range of handles would look so cute! You don’t need to use white ribbon like I did - there are so many different patterns and colours to choose from. Enjoy! And if you love bows as much as I do, check out these projects: