Before & After: Cropped Front Bow Tie Top
Turn a blouse into a cropped front tie top in 30 minutes
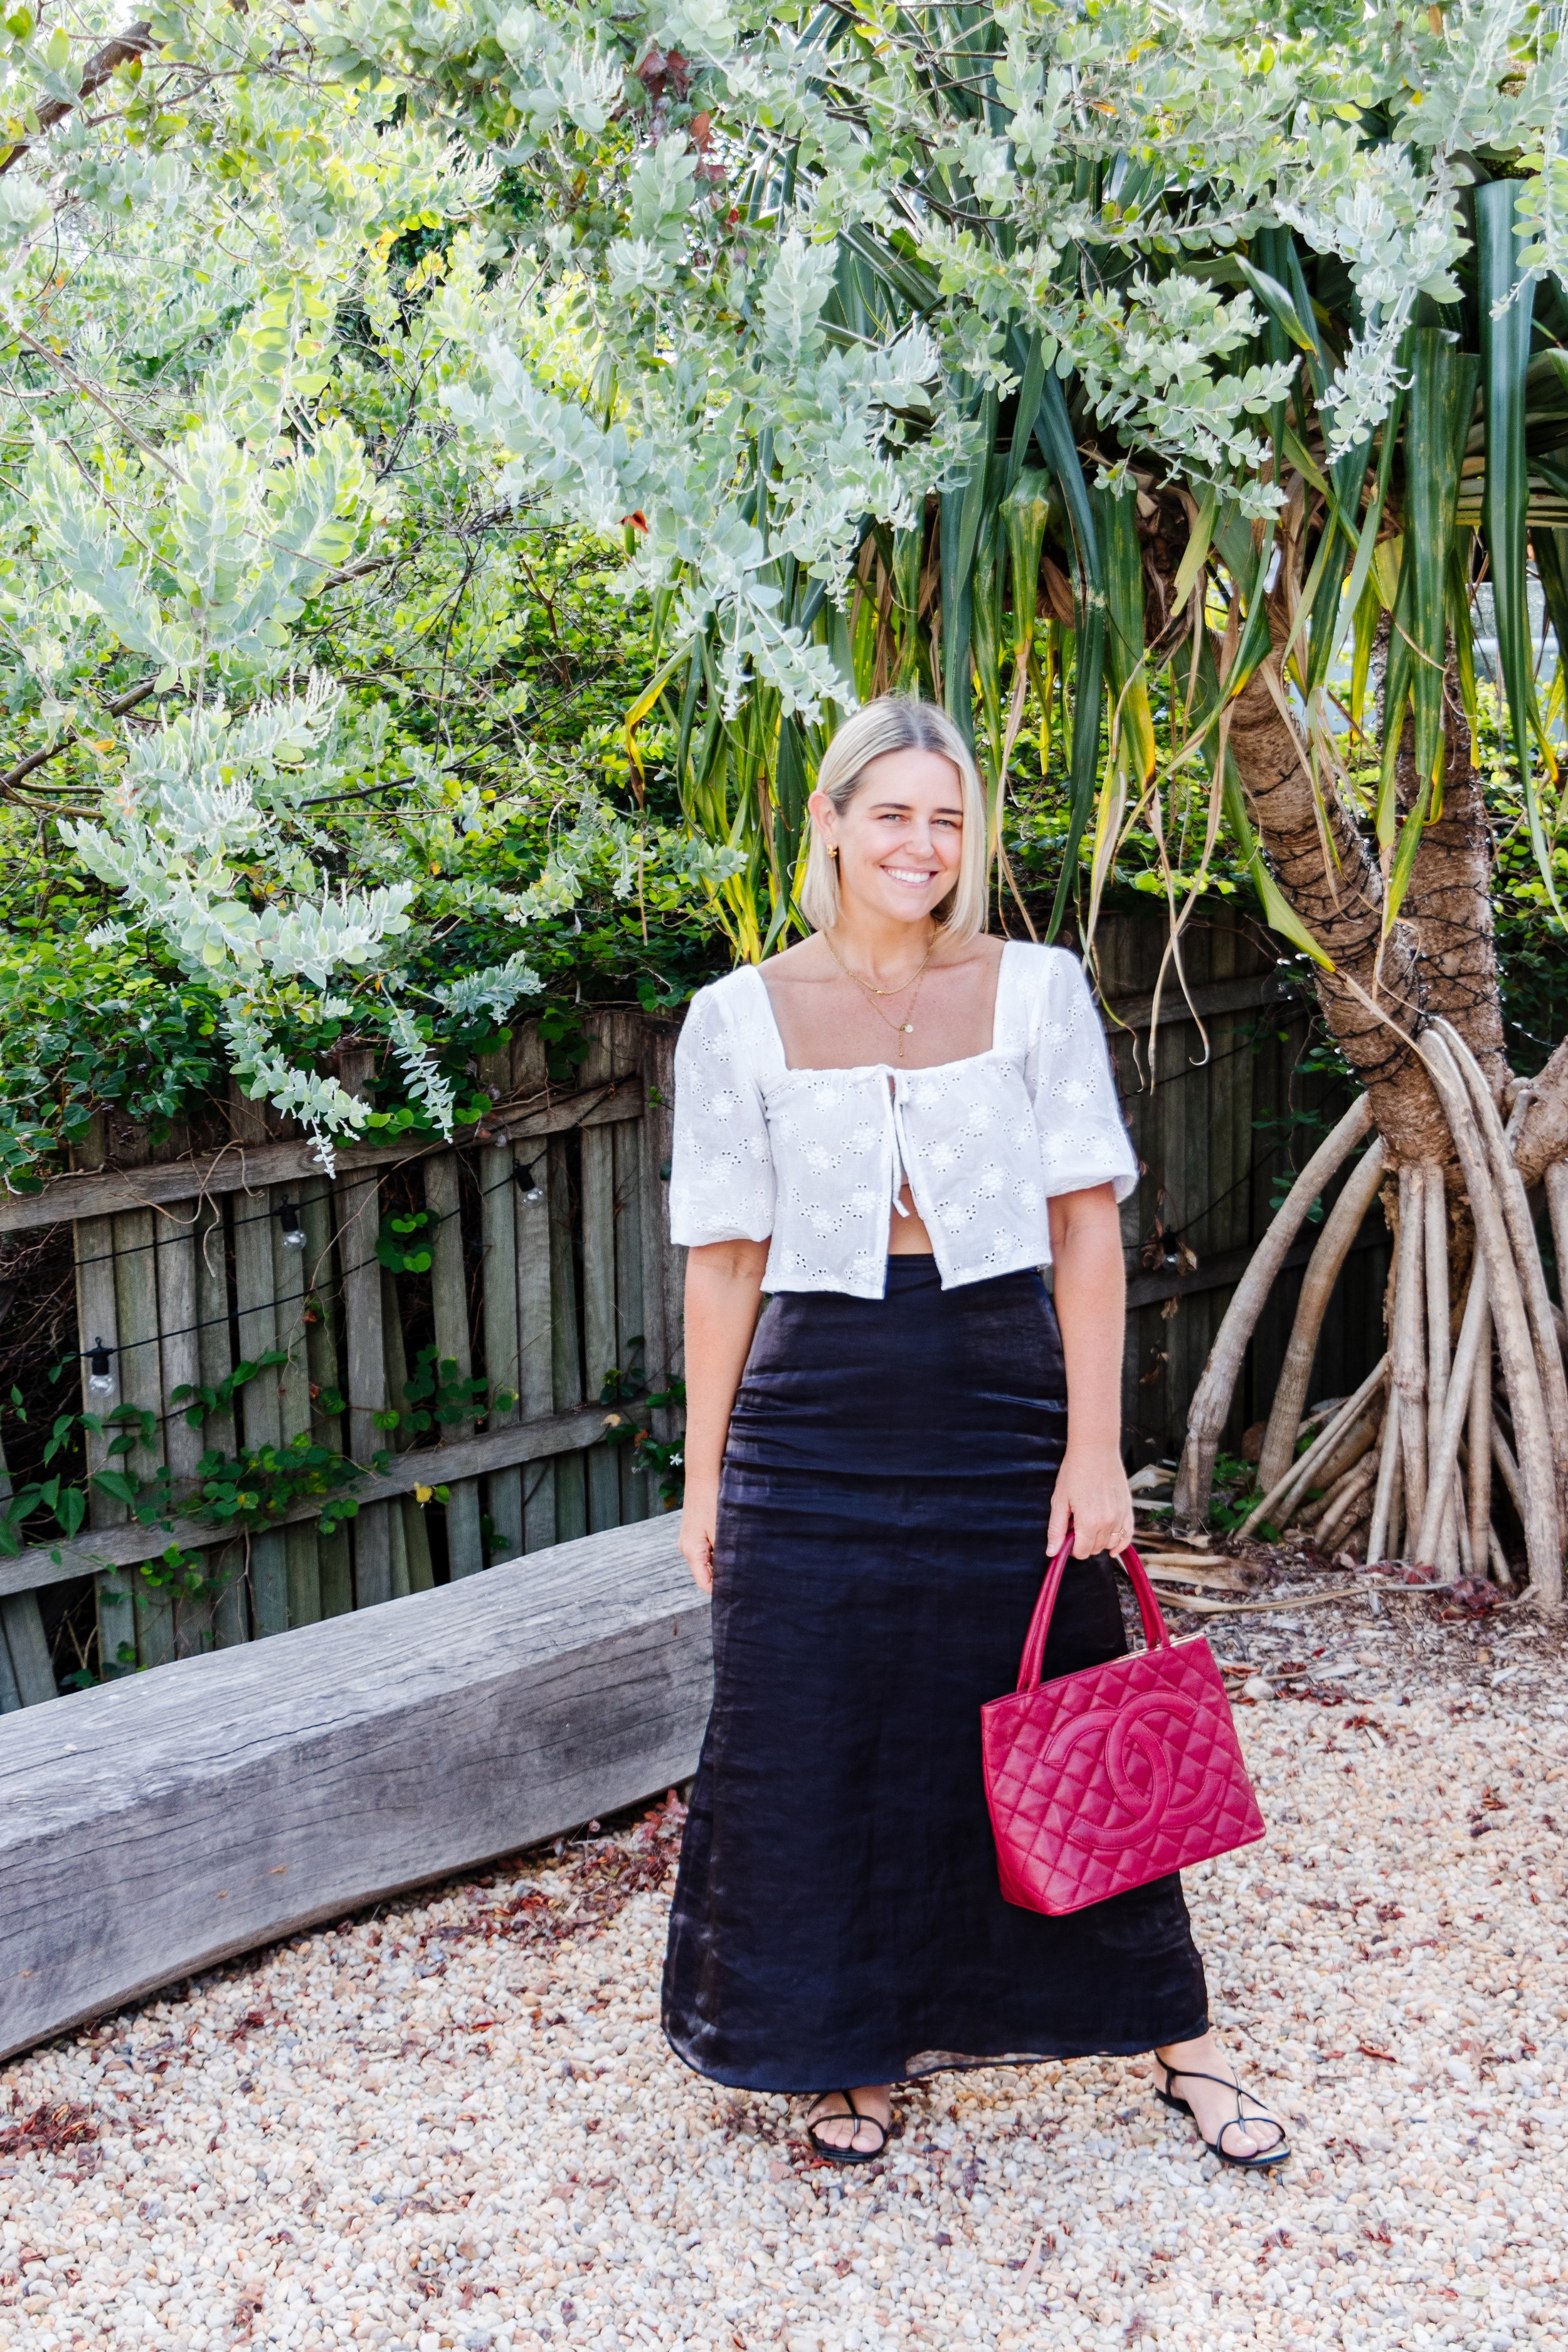
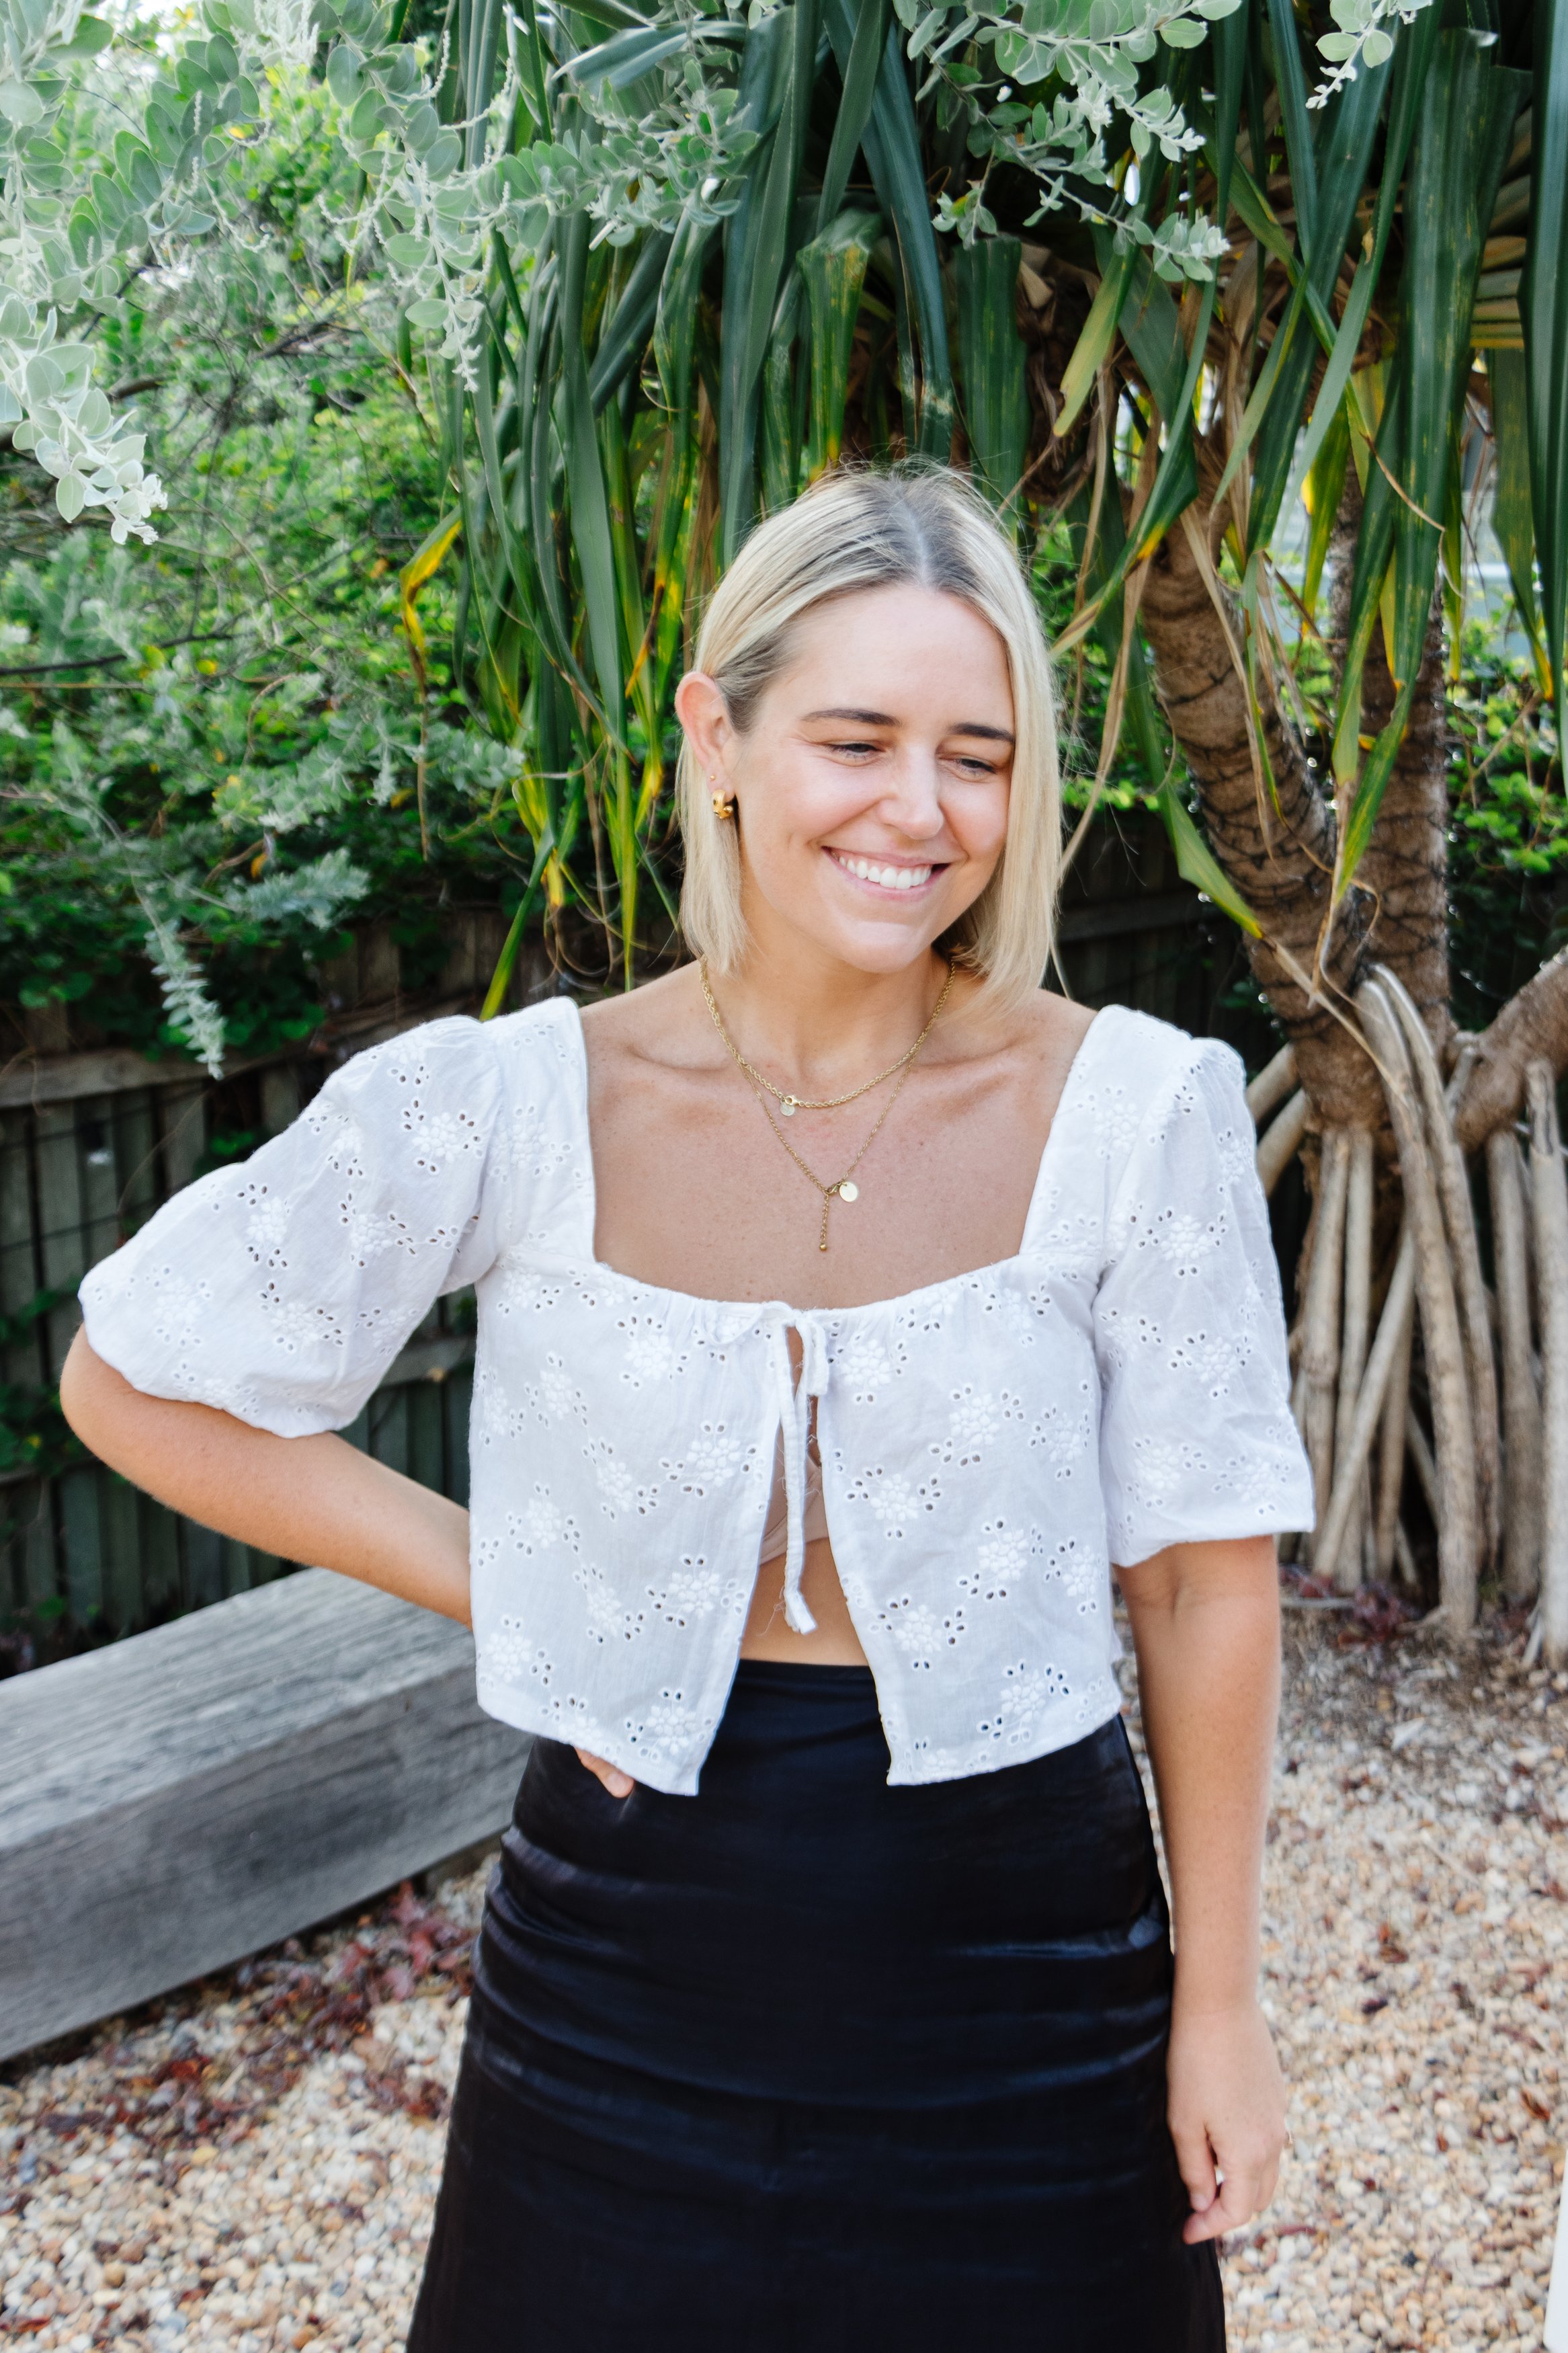
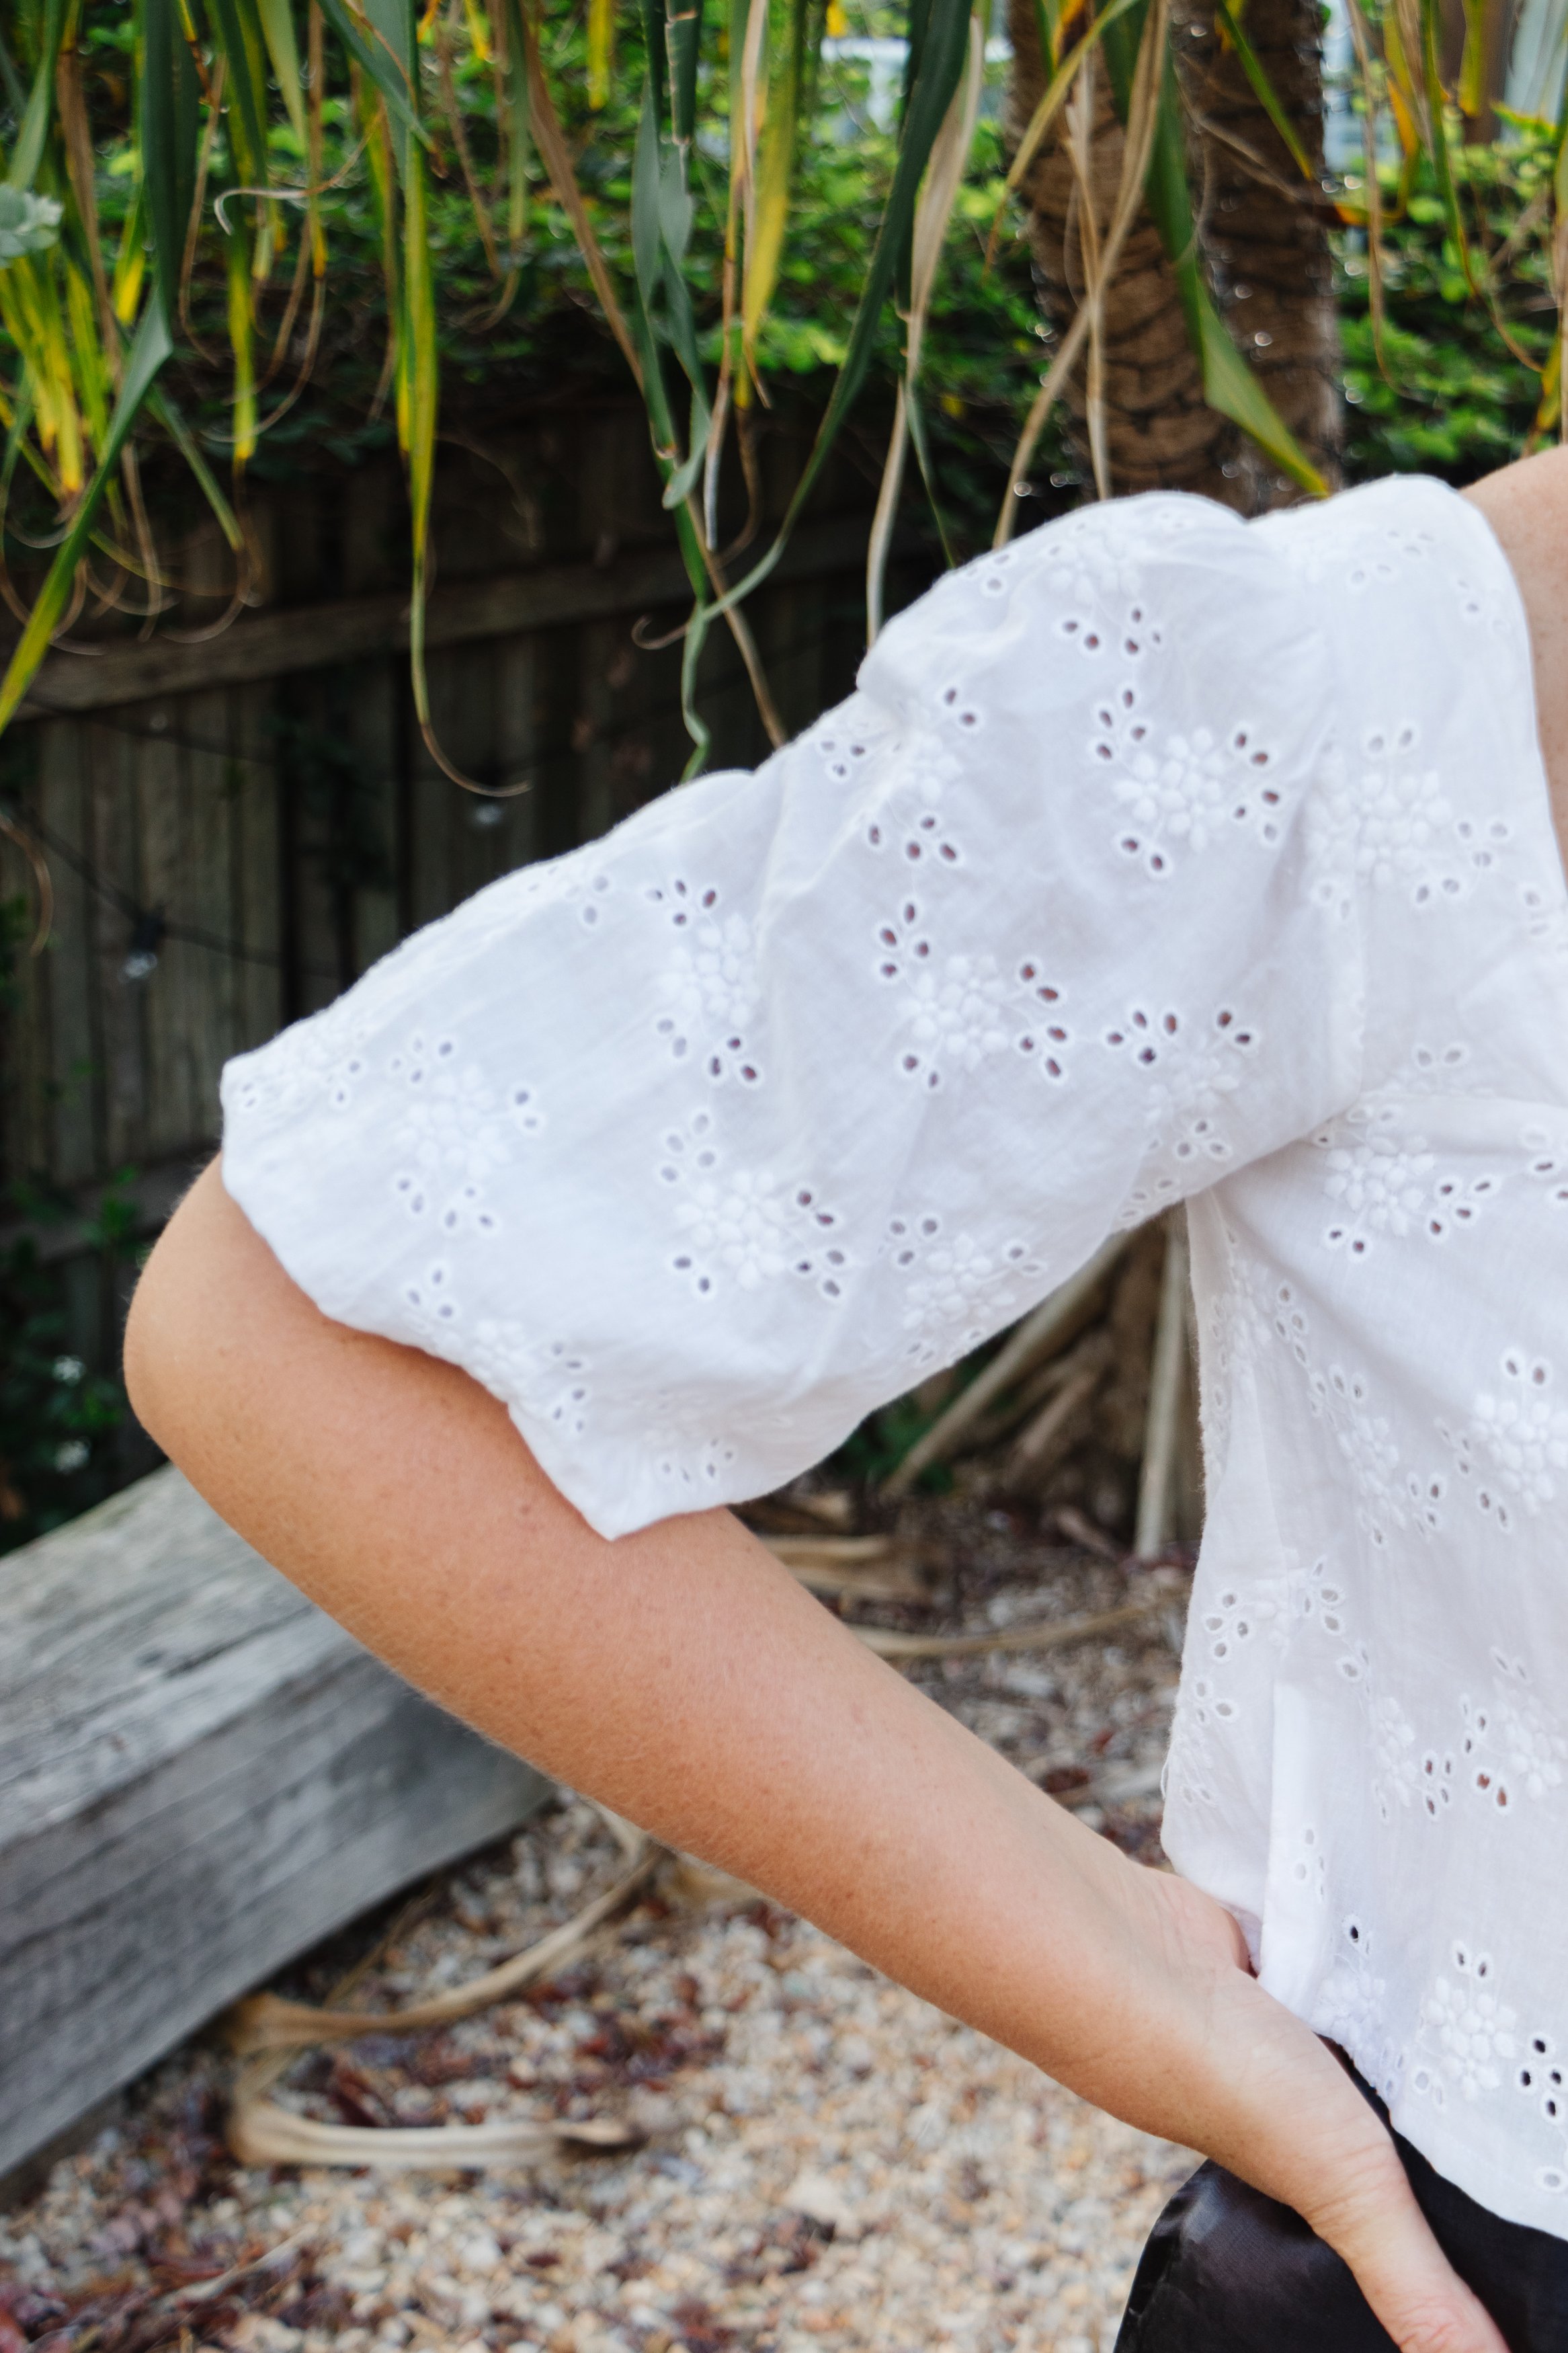
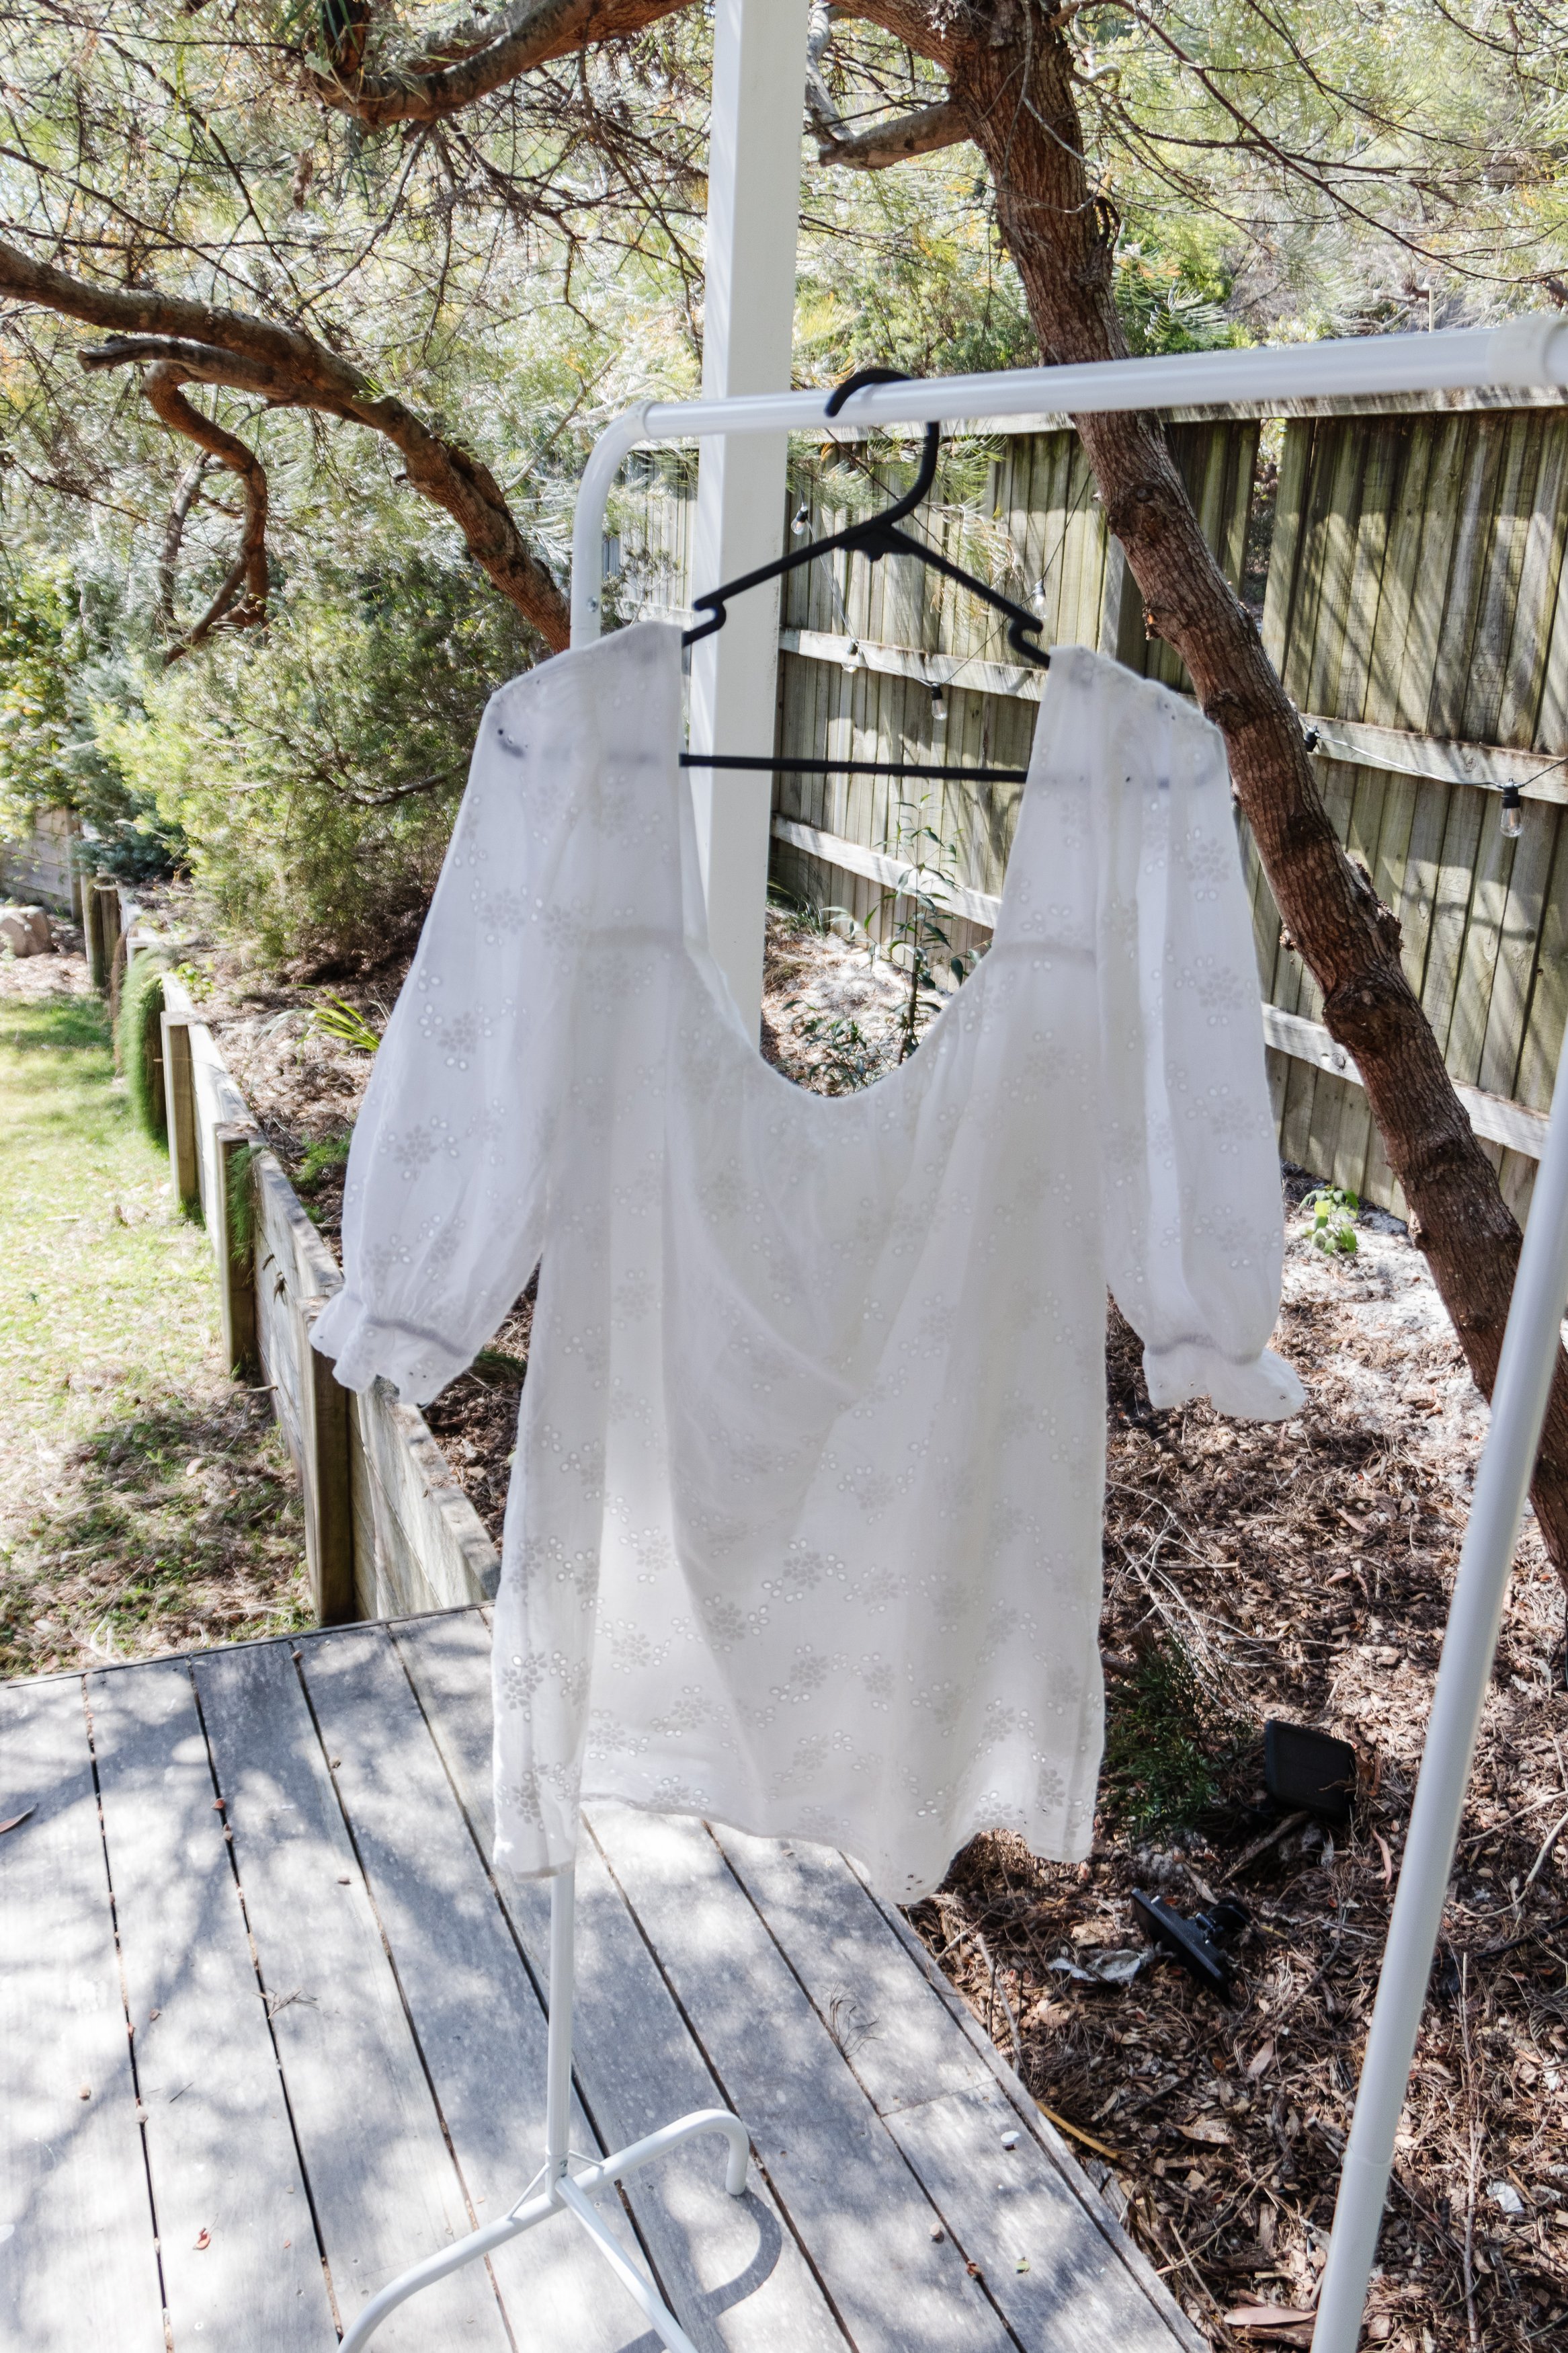
Ask and you shall receive! You guys loved my DIY Monogram Bow Tie Bag and asked for more sewing projects, so here we go! To celebrate the start of the warm summer months ahead, I decided to whip together a Before & After sewing project I’ve been thinking about for a long time - taking an unflattering blouse and turning it into a front bow tie top! I recently thrifted a broderie anglaise blouse at a charity shop and even though the shape was lifeless, I loved the fabric and began to think about how I could turn it into my dream top for summer. I’ve been loving bows and ties a lot lately and this seemed like the perfect blouse to test my idea, so I cut the top down the middle, removed the lining, chopped the bottom half off, sewed the hems and used the leftover fabric to make the drawstrings, which I hand sewed onto the front of the top. And that's it! Best of all? This thrift flip only took me 30 minutes to take it from drab to fab.
And make sure to watch this video to see how it all came together
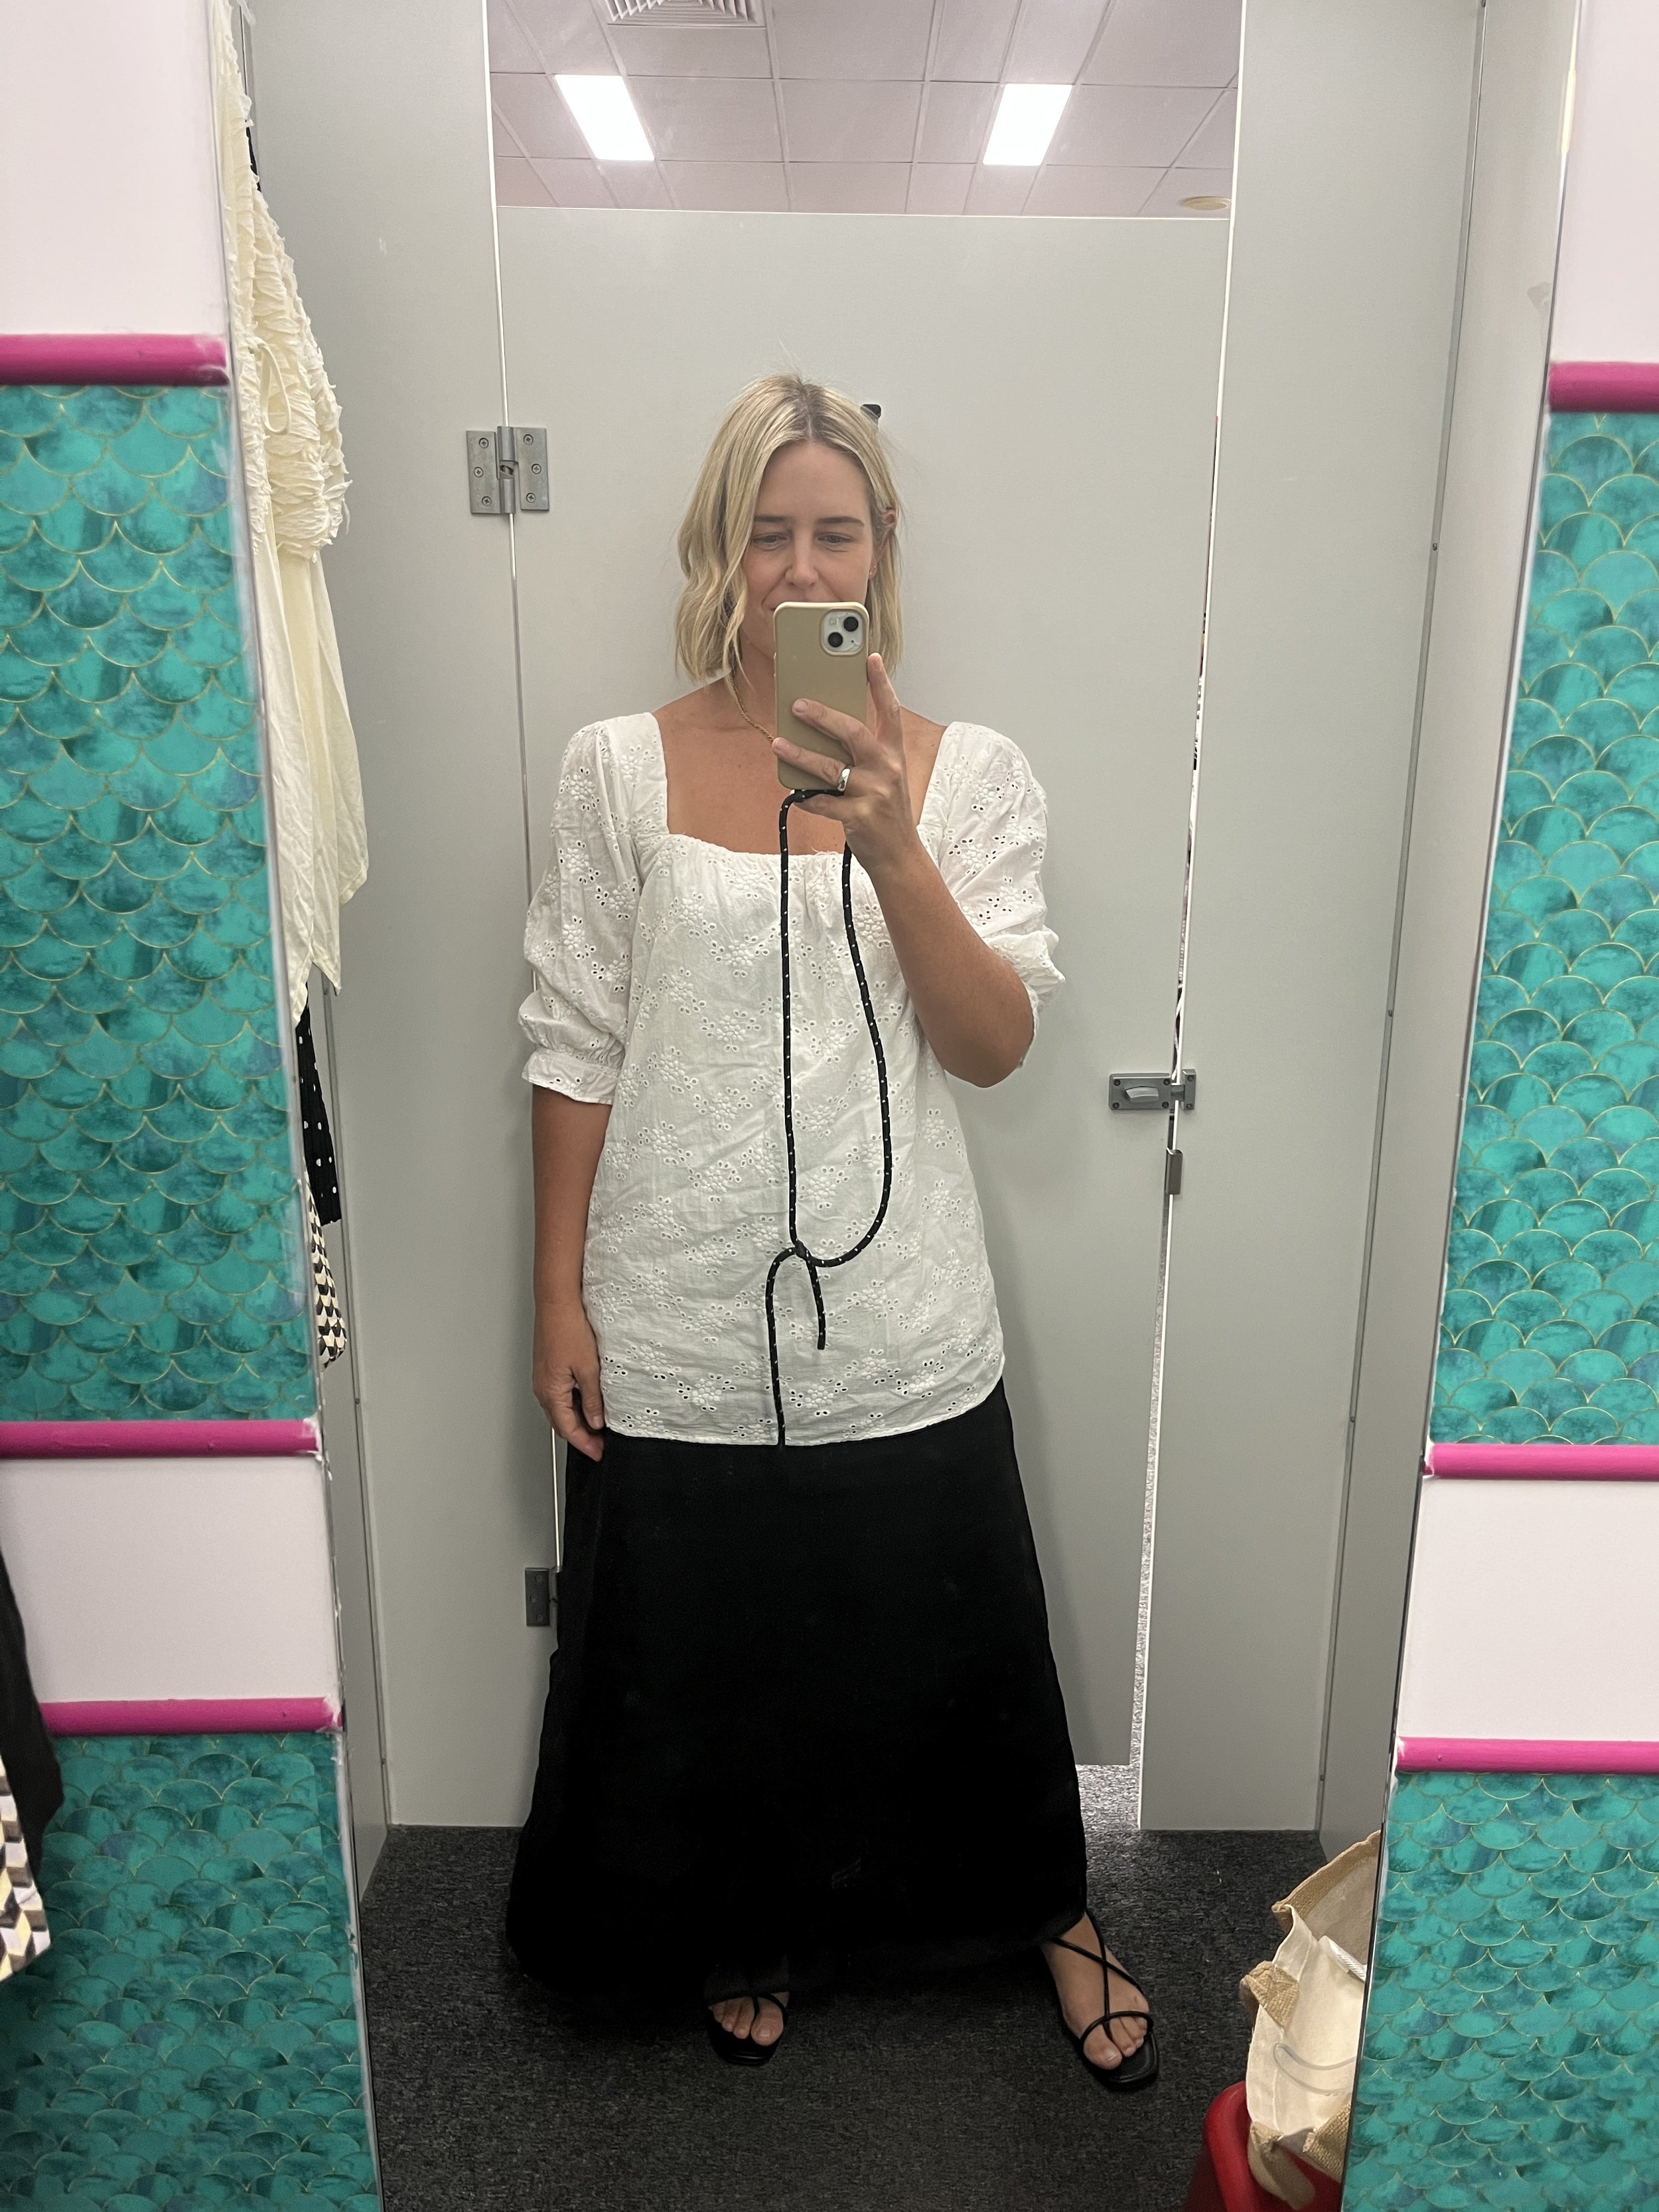
Before & After


Project Details
✂️ Making: DIY Cropped Front Bow Tie Top
🕒 Project Time Estimate: 1 hour
💰 Materials Cost: $10
Materials
Blouse (with or without buttons down the front)
White cotton fabric
White cotton thread
Tools
Tailors measuring tape
Fabric scissors
Sewing machine
Bias Strip Maker
Iron

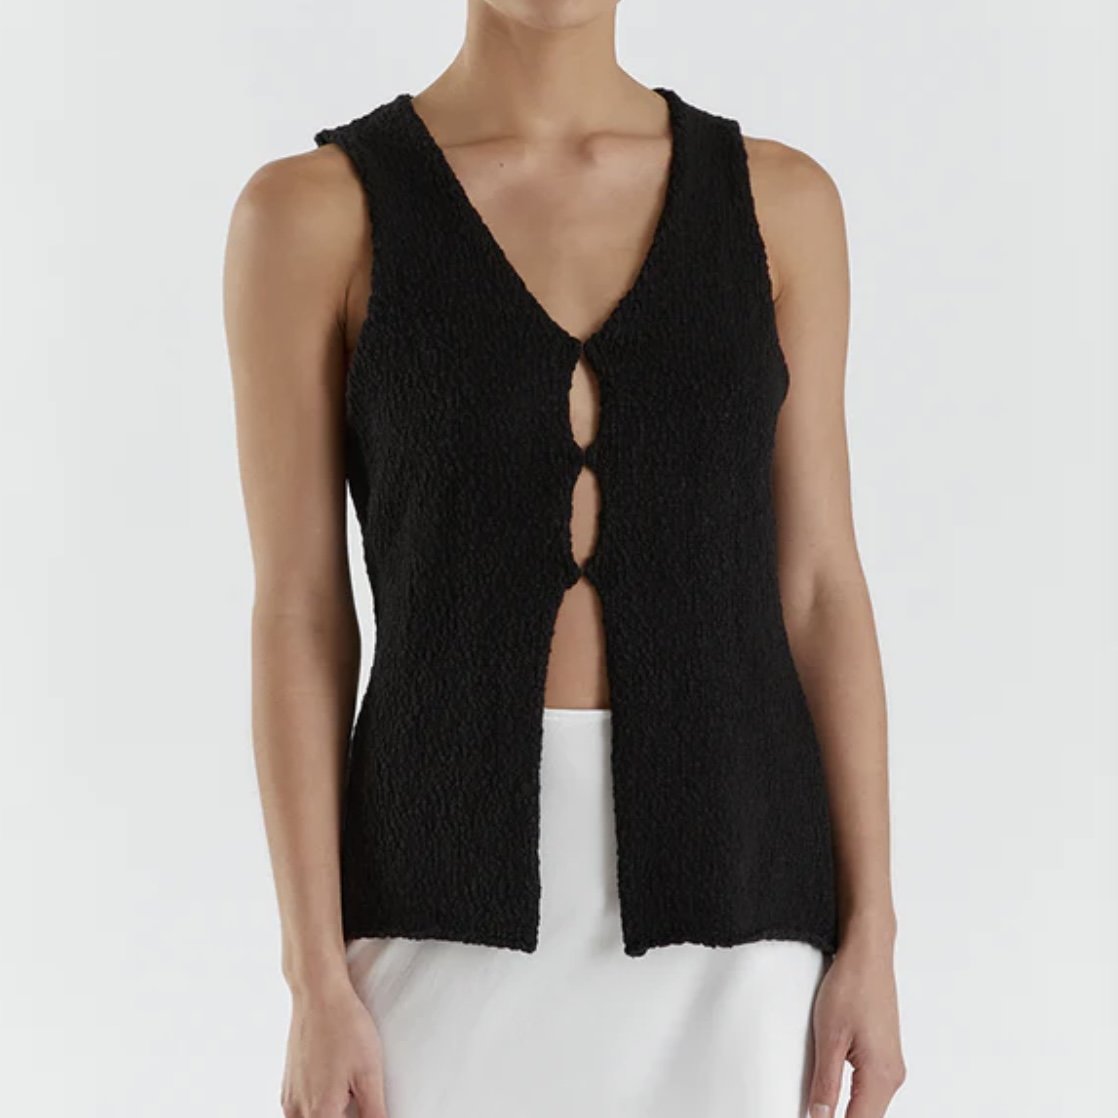
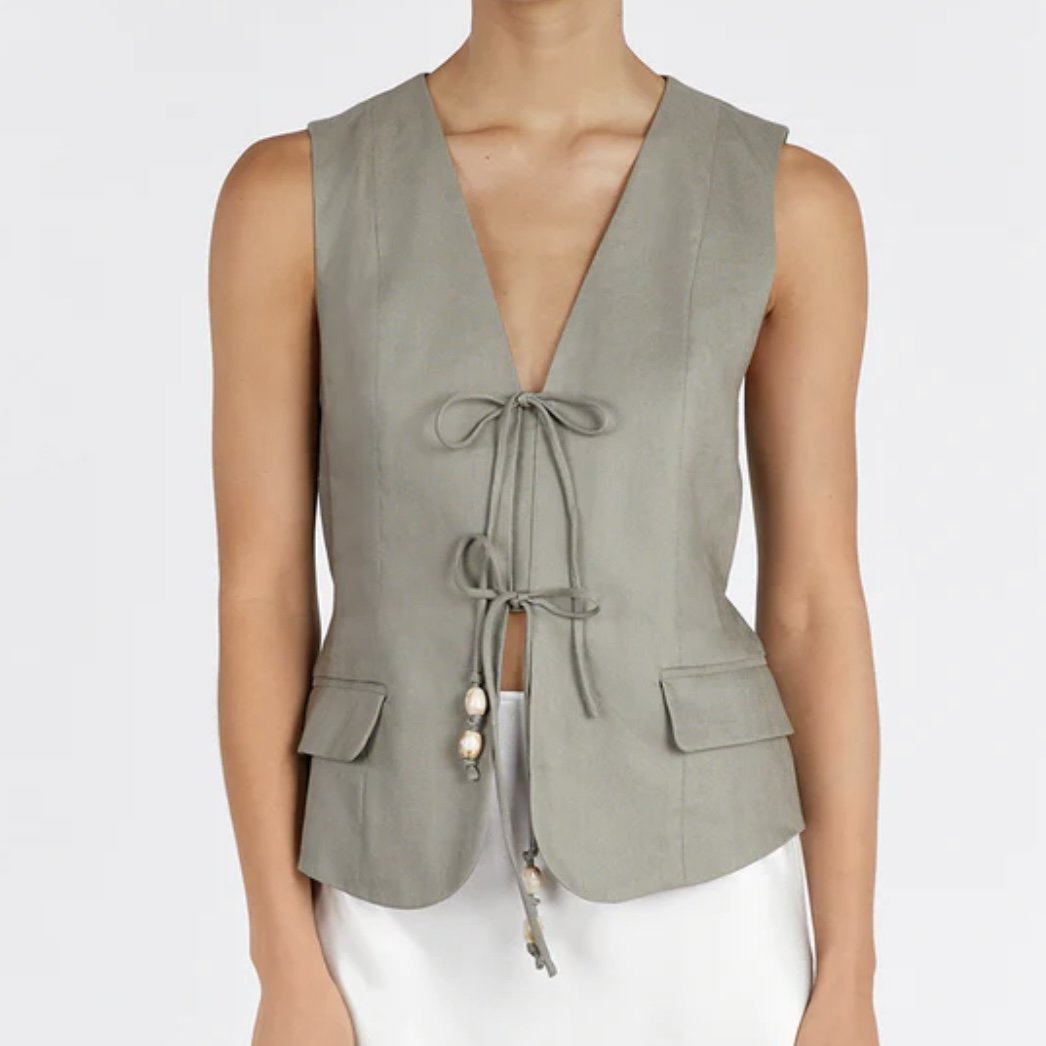
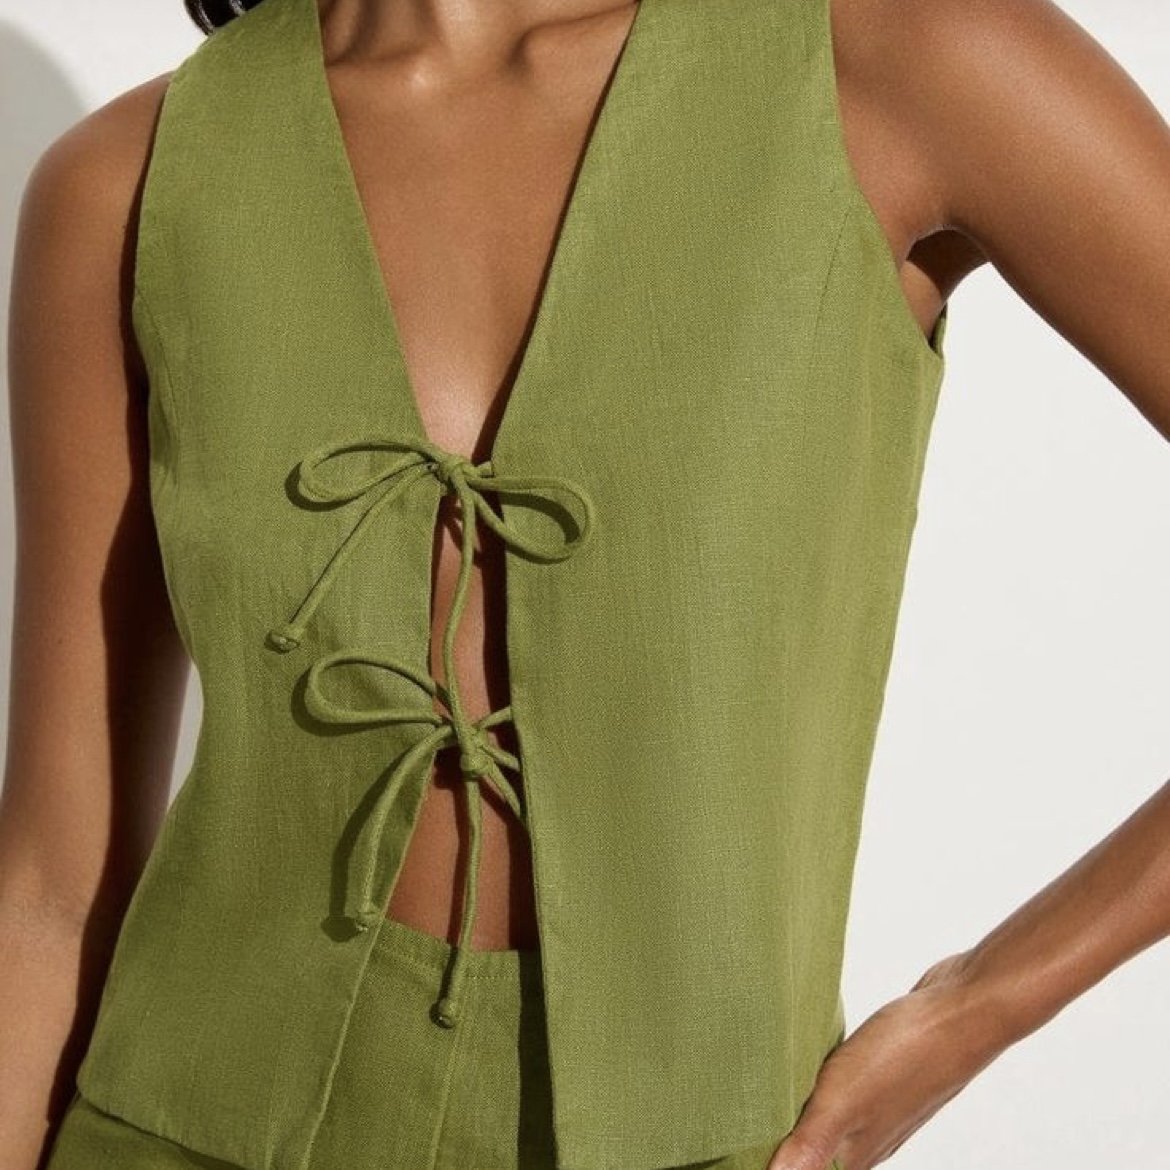
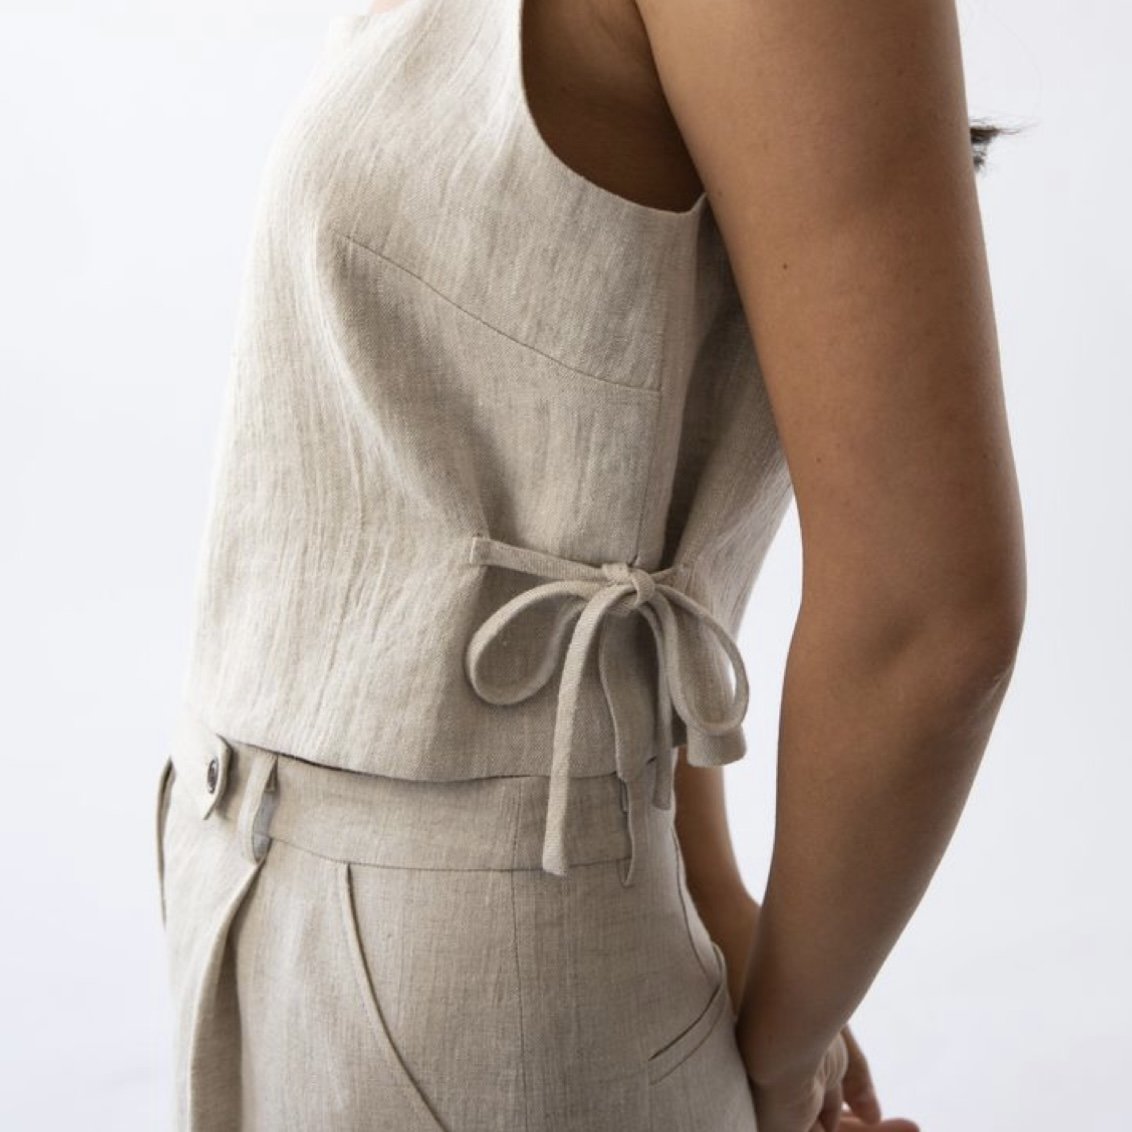
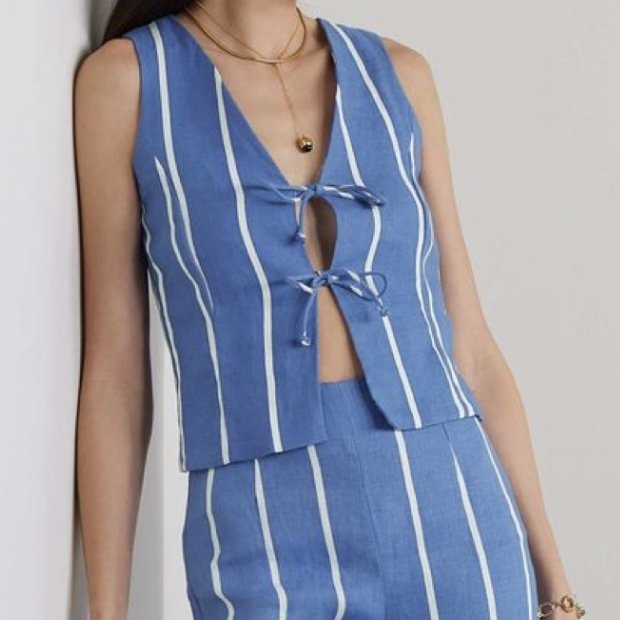
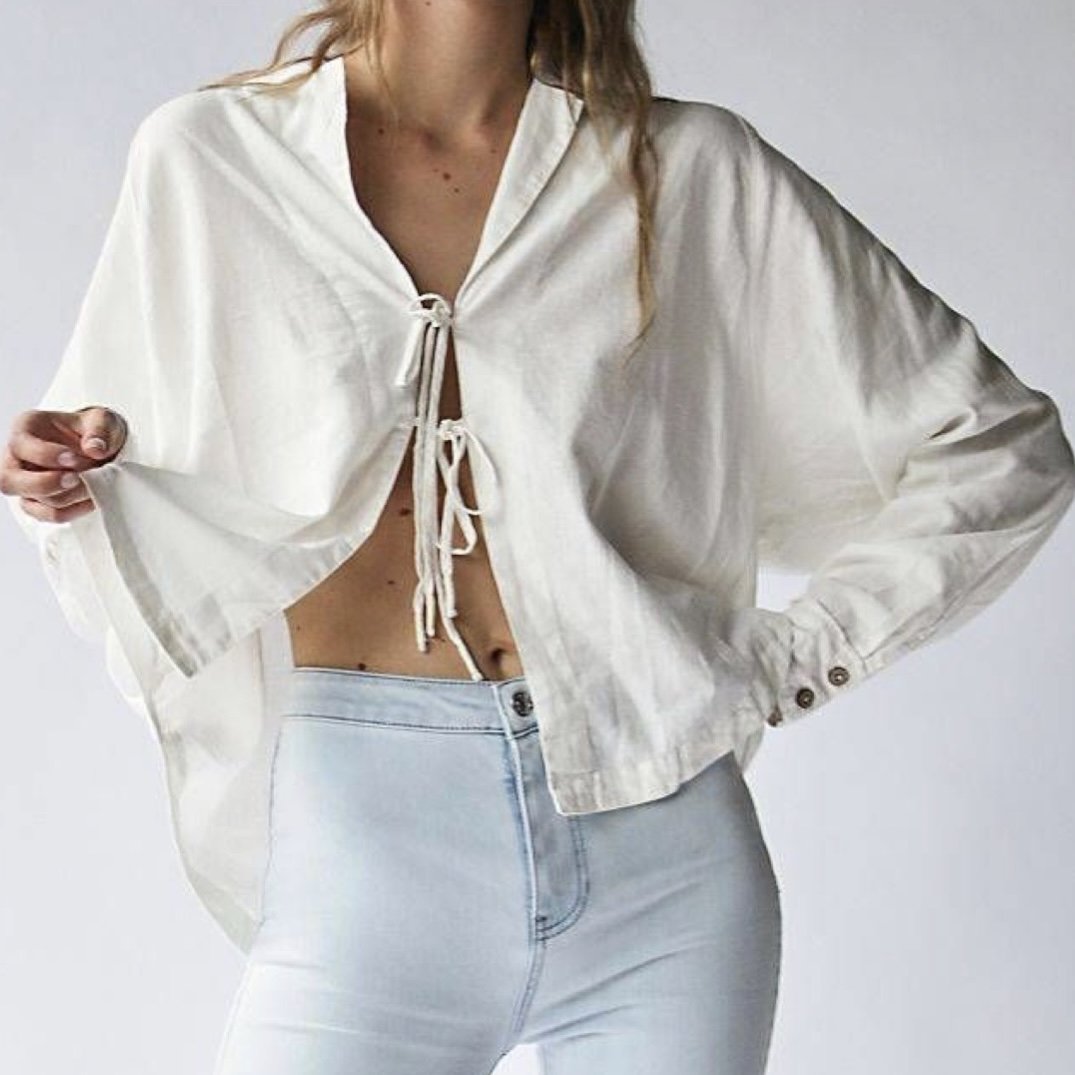
Project Inspiration: Front Bow Tie Tops
I’ve been loving bow ties a lot lately and for the last few months kept seeing many different tops with ties at the front. I kept thinking “I could make that” so all I needed to do was find the perfect top to bring my project to life. And here we are.


How To
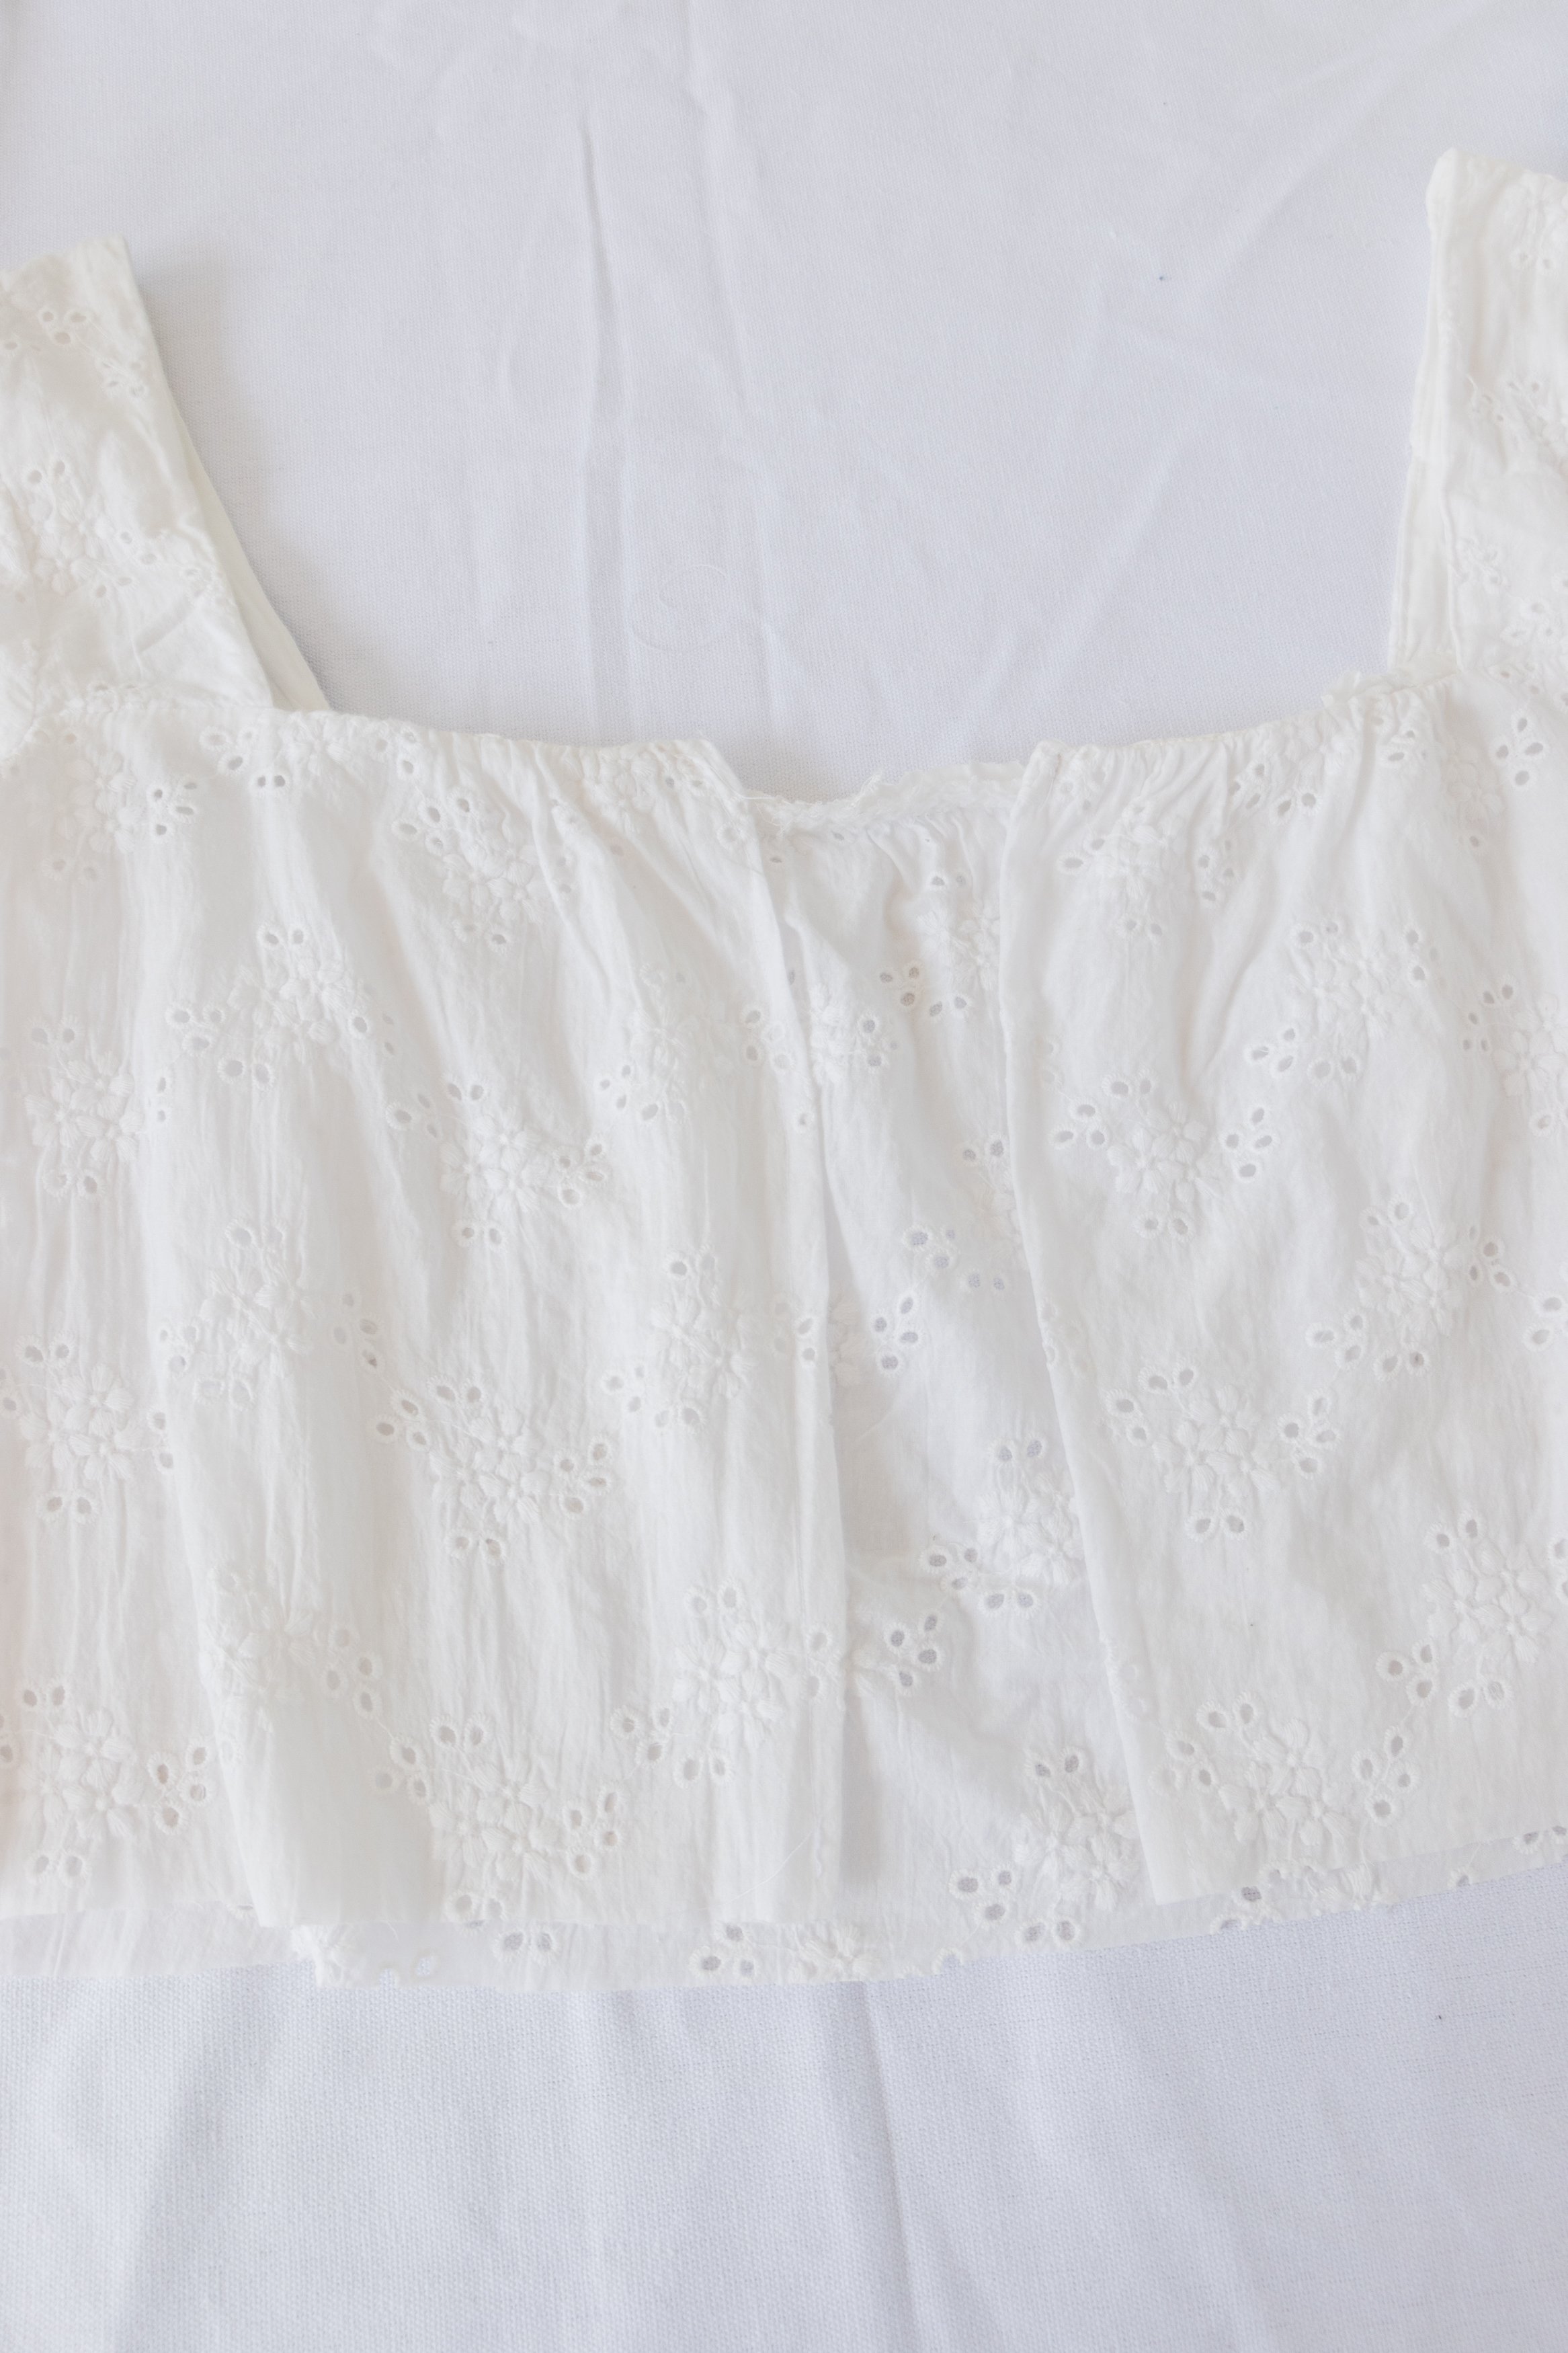
Step 1: I didn’t love the lining so the first thing I did was to carefully remove the lining with scissors making sure not to alter the integrity of the existing stitches and broderie anglaise fabric.
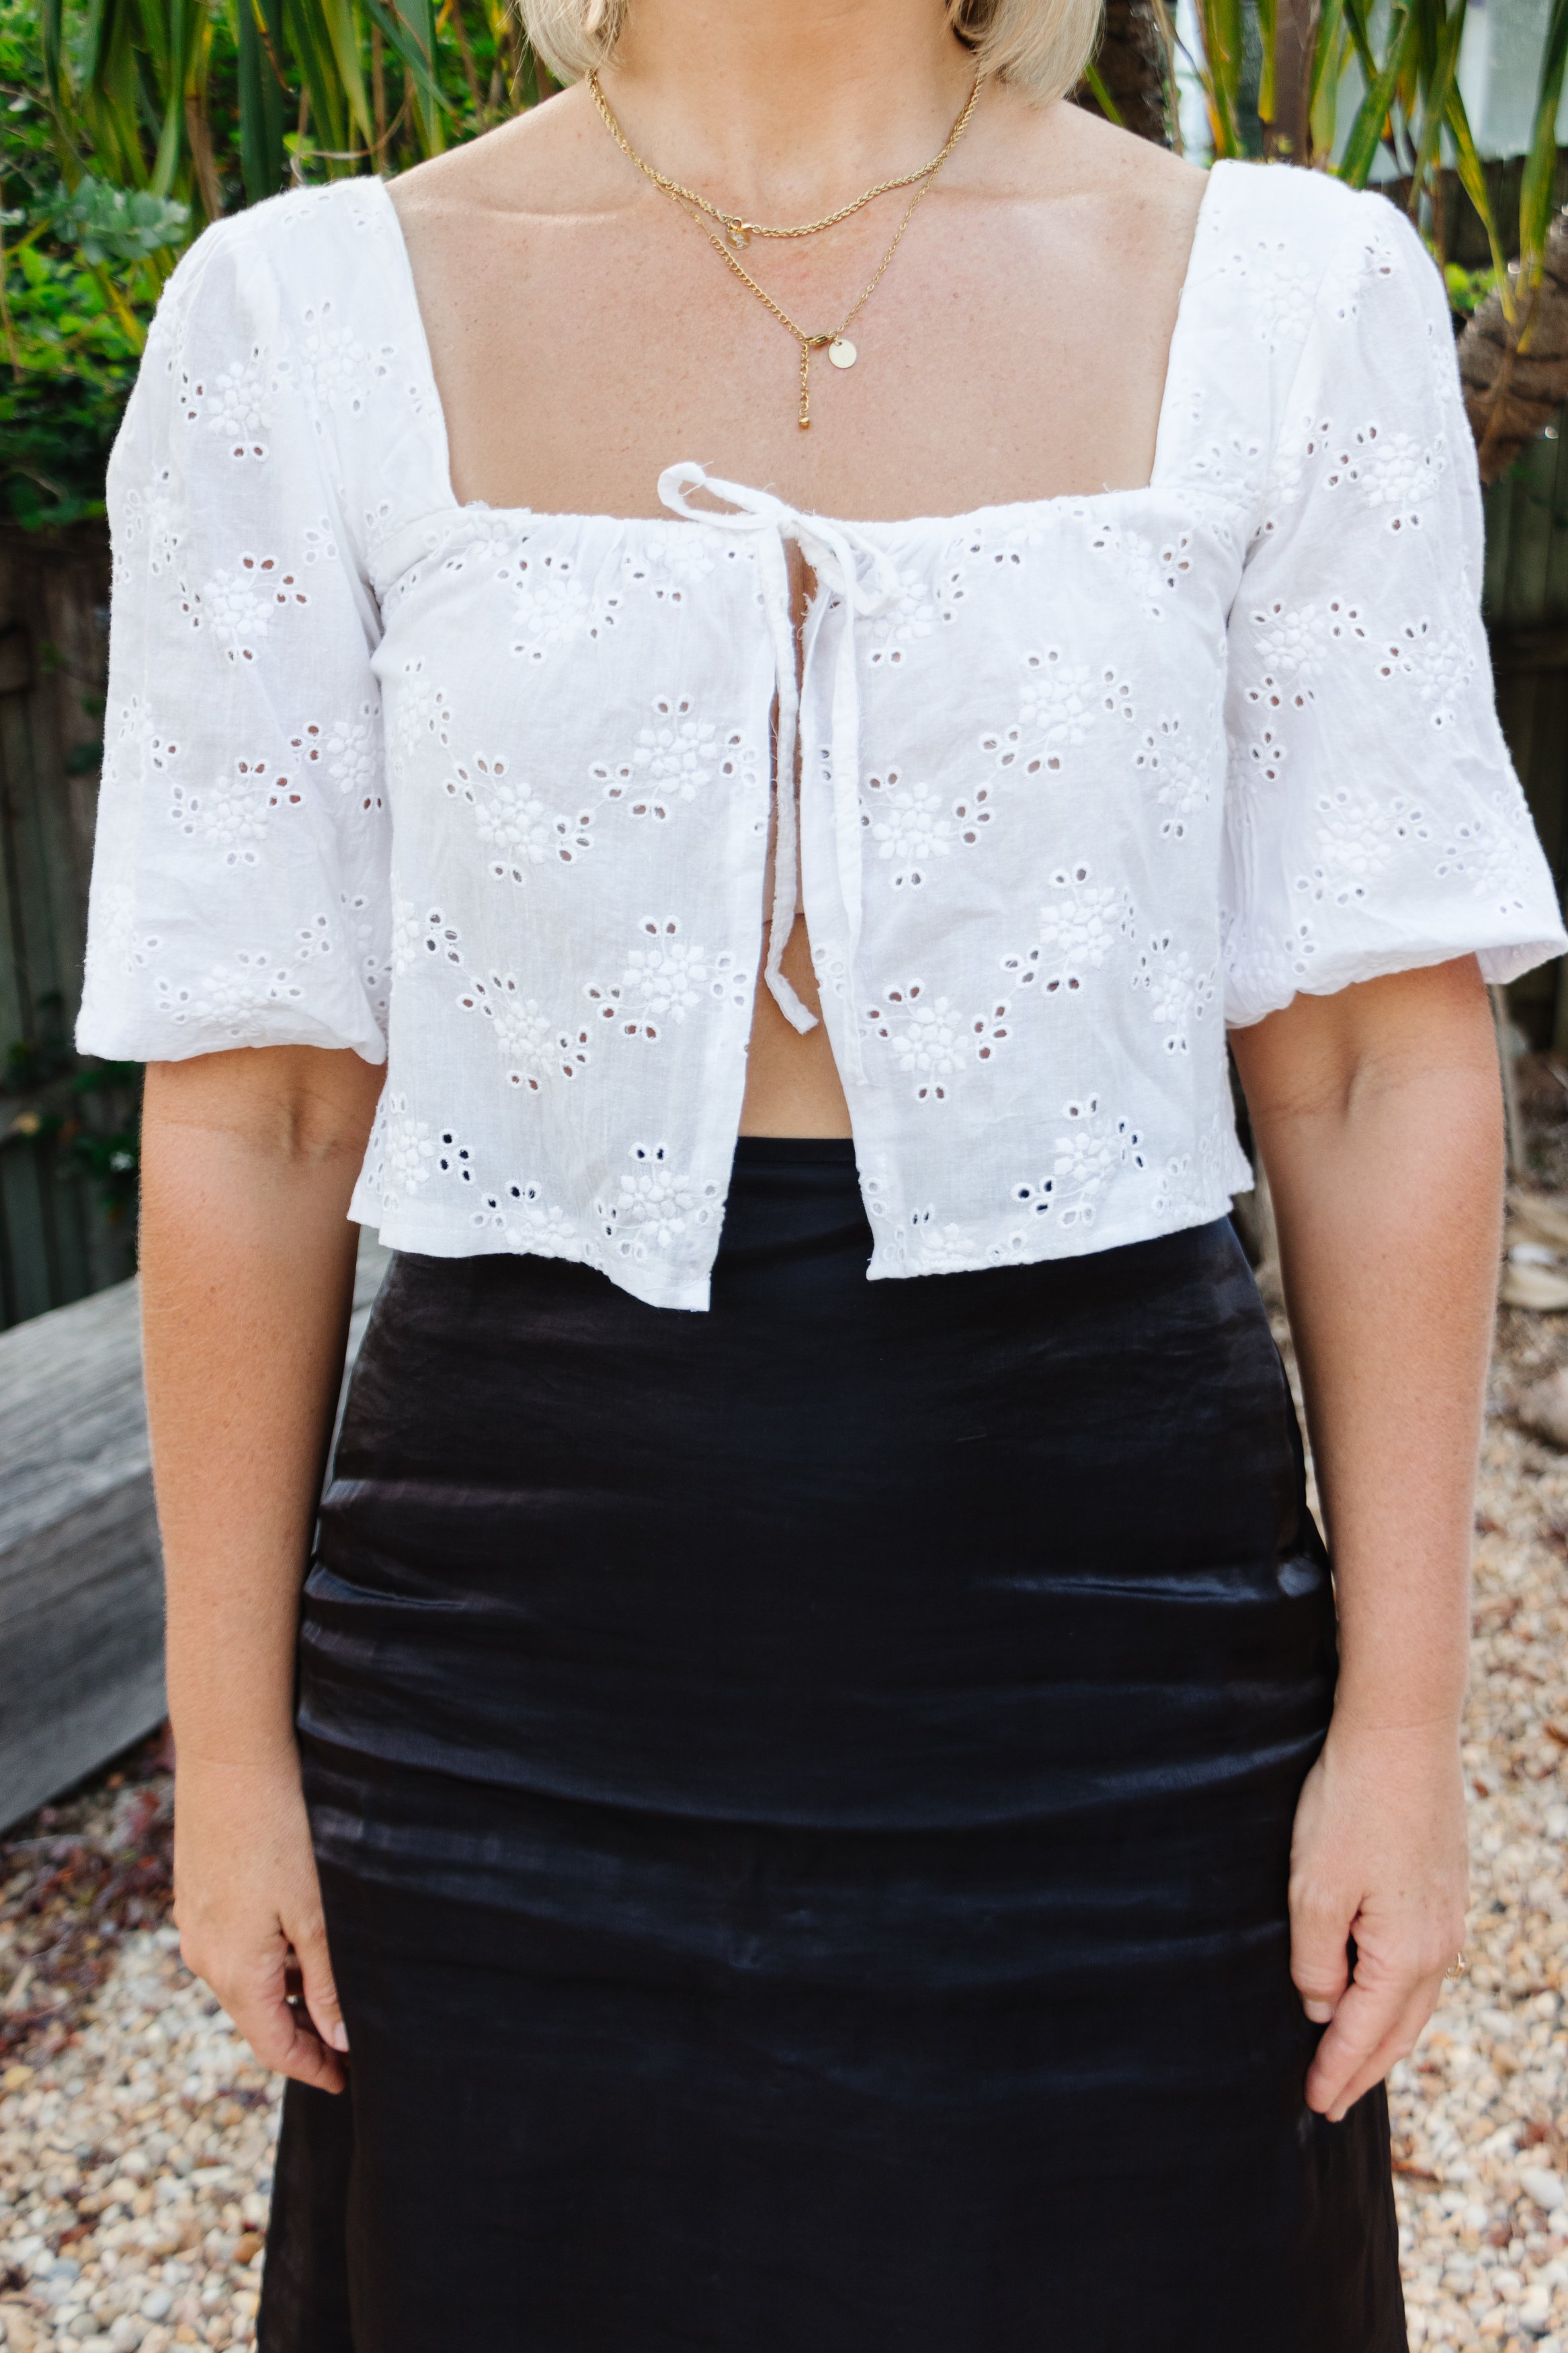
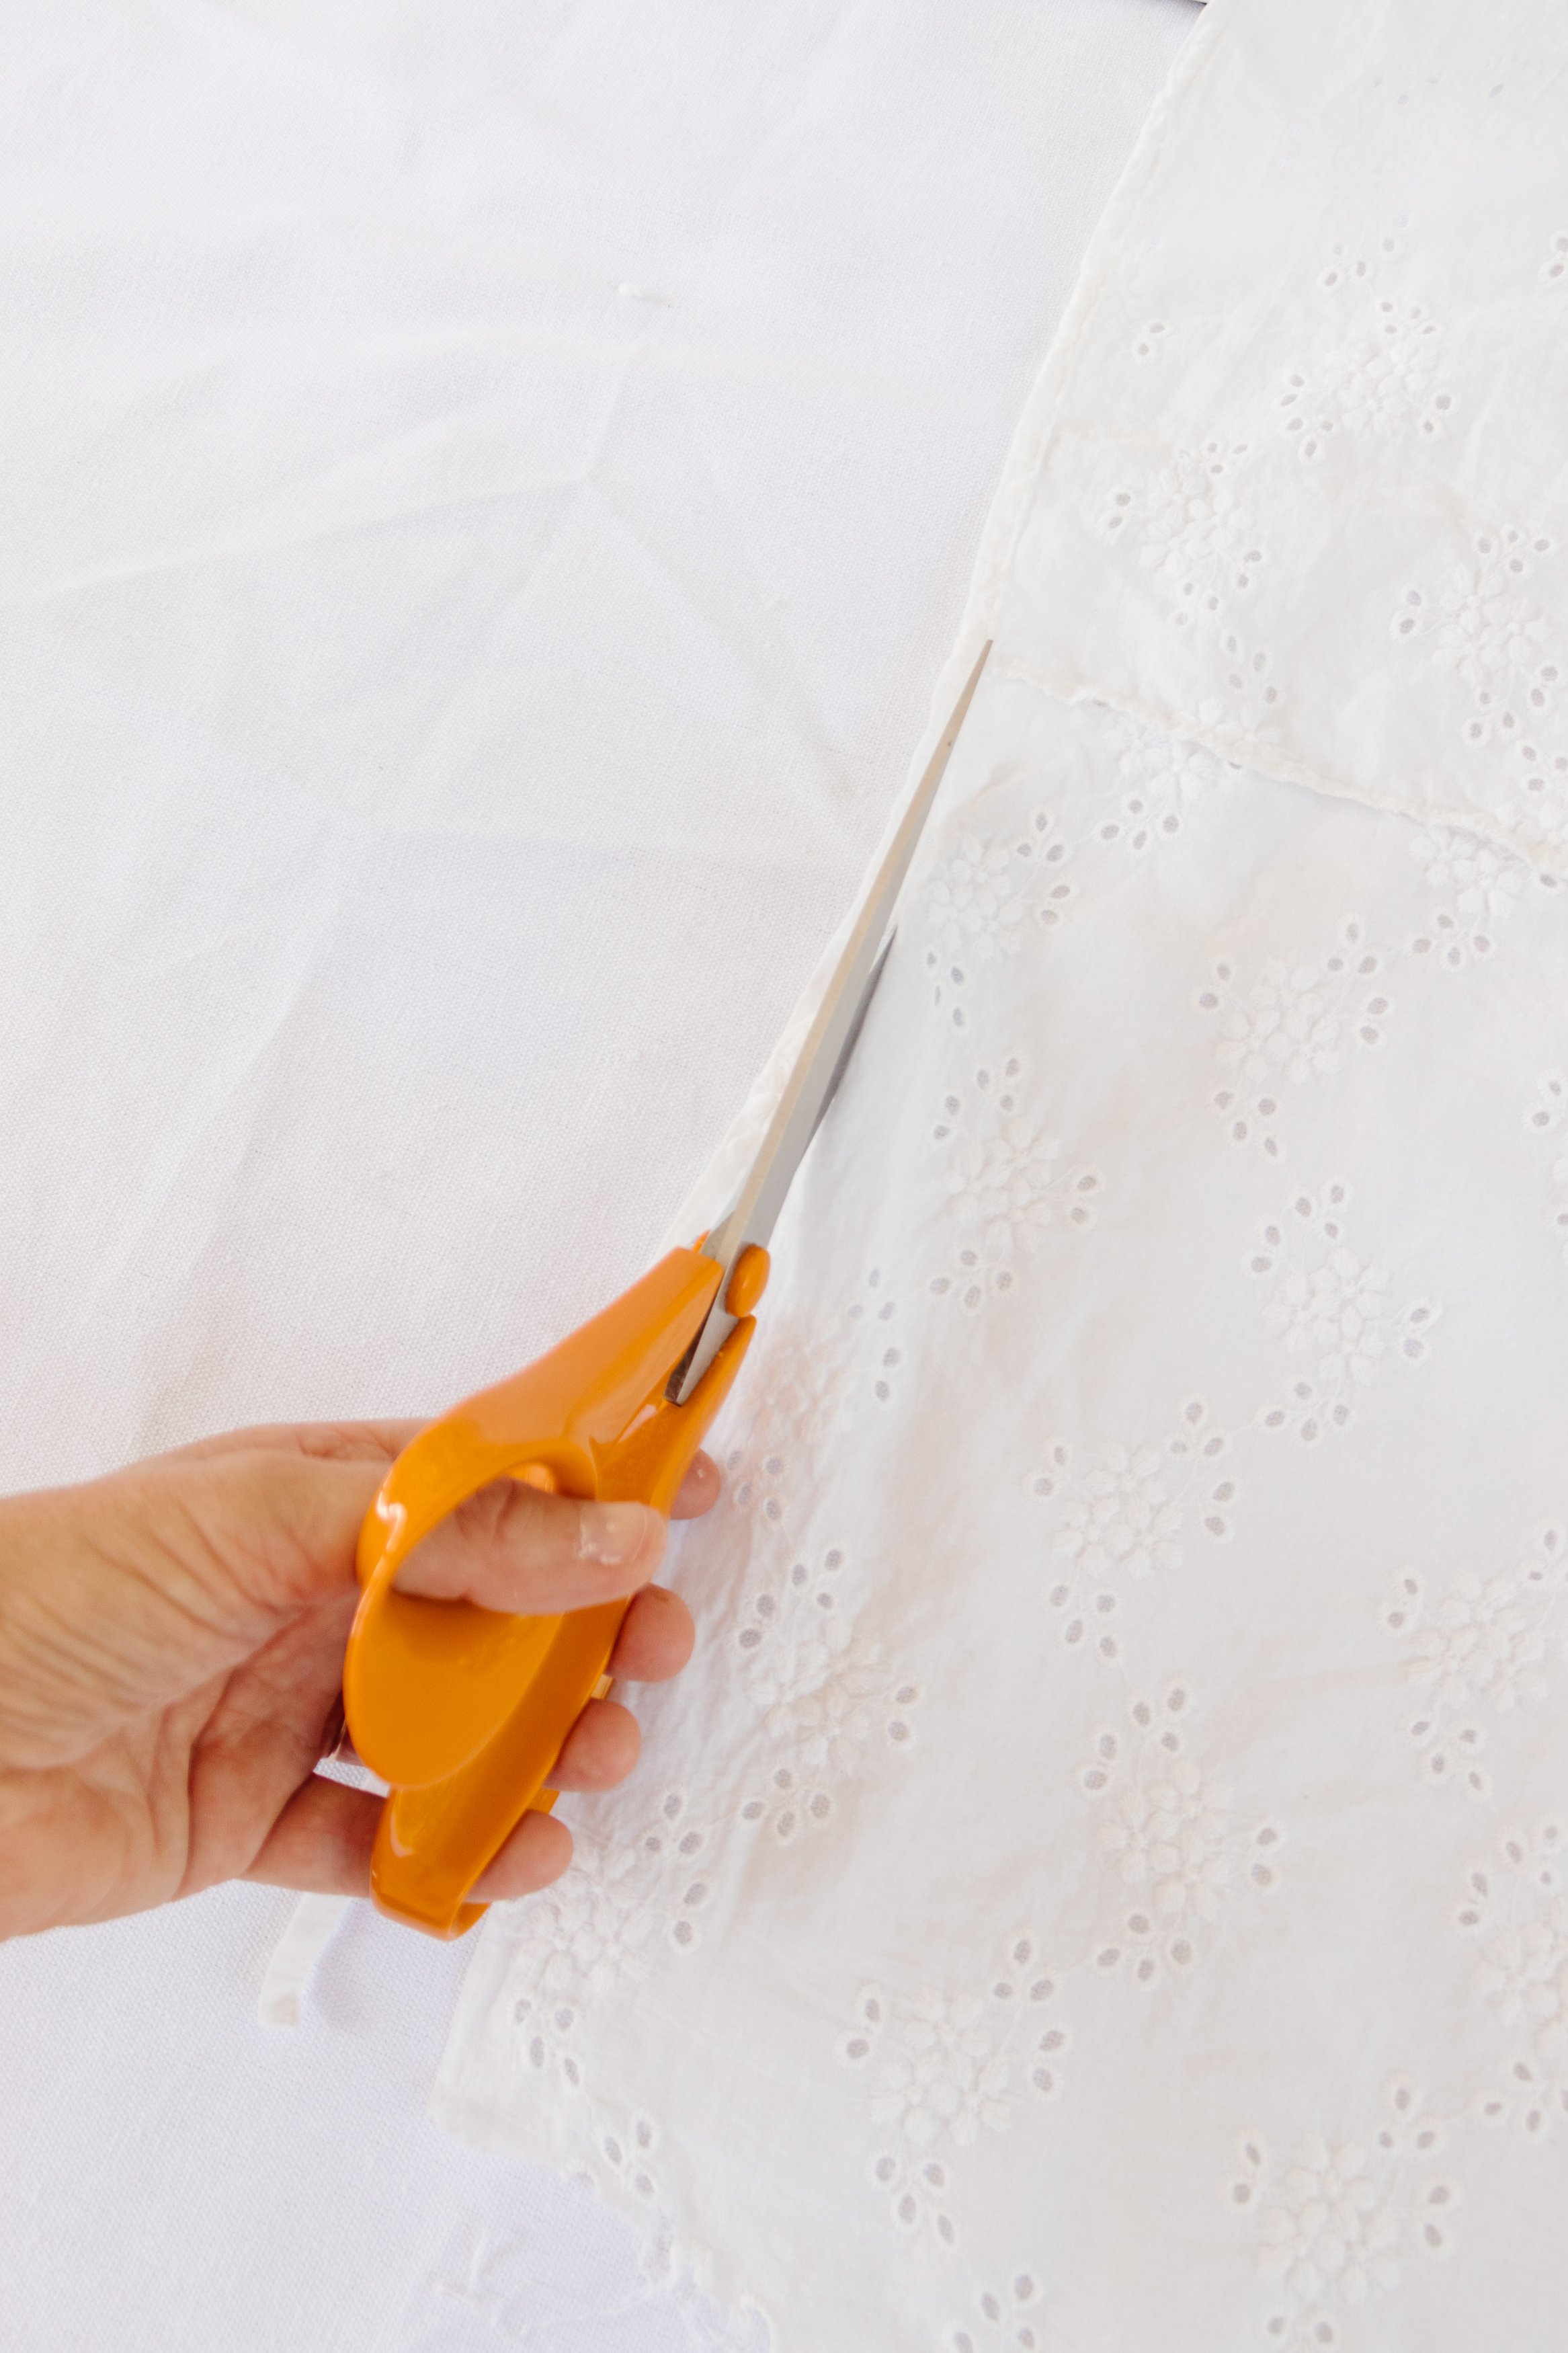
Step 2: Following this I measured the middle point at the top of the blouse at the front and using the fabric scissors, I cut straight down middle of the front of the top.

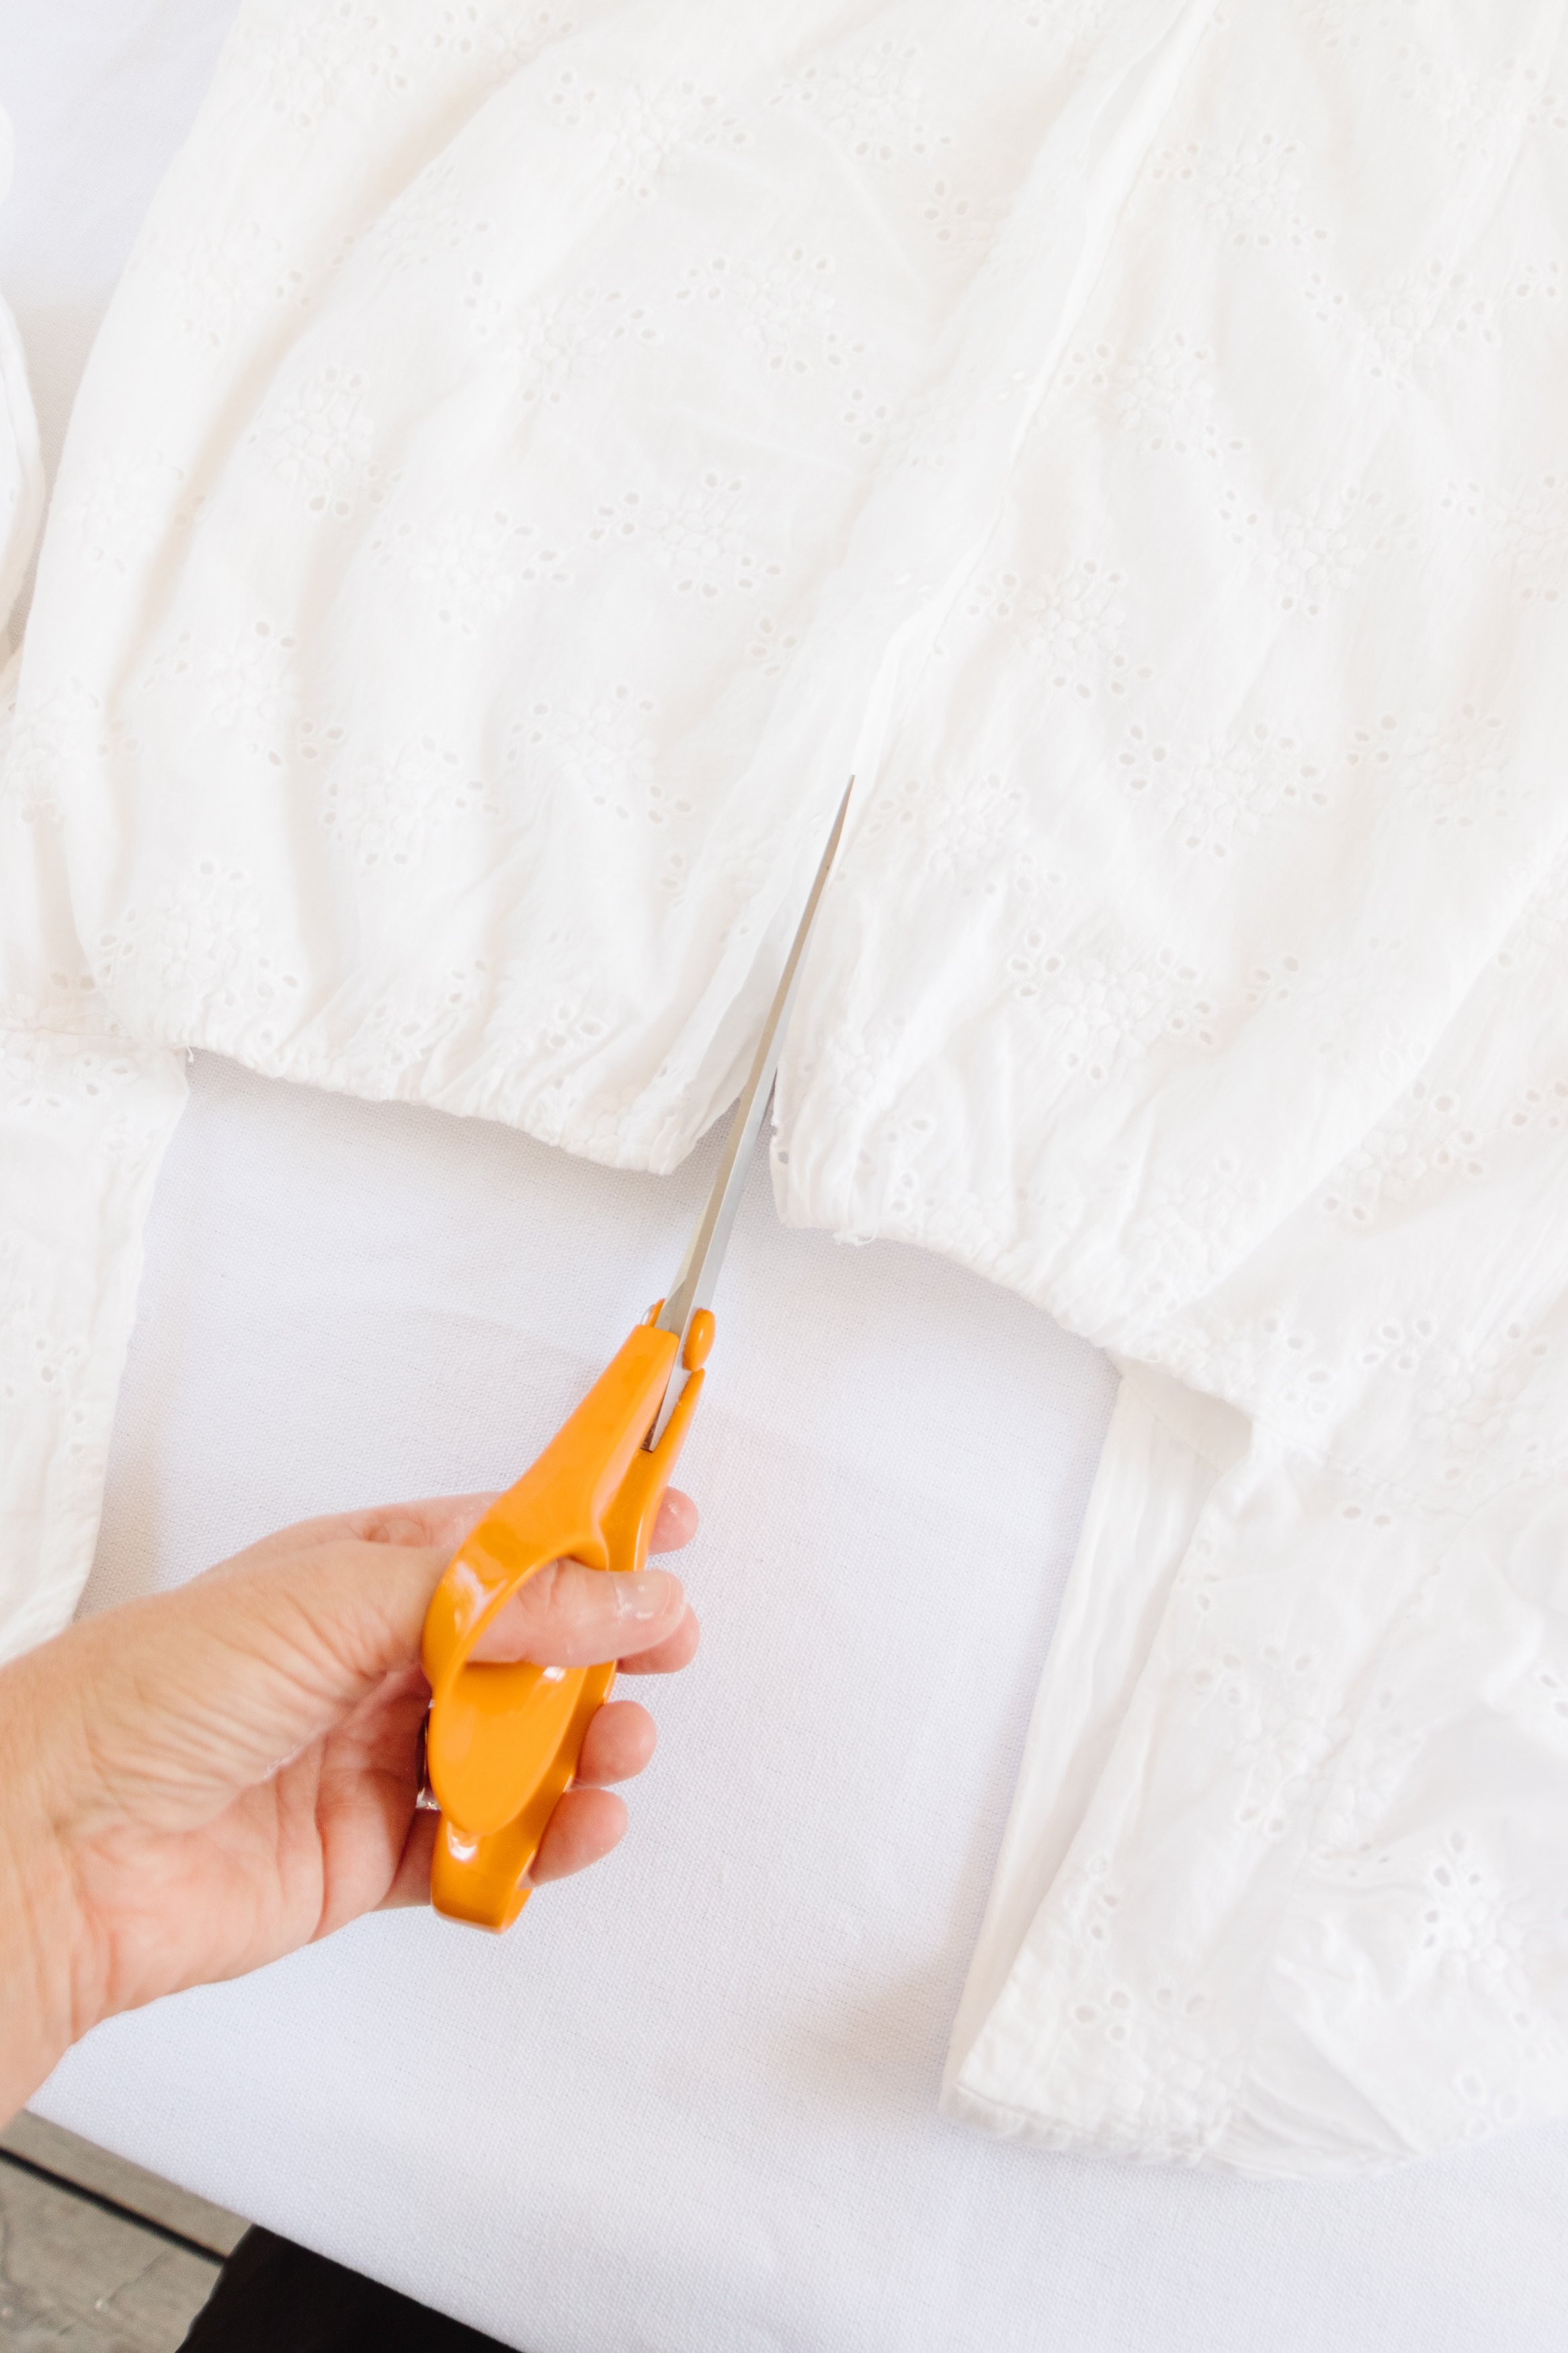
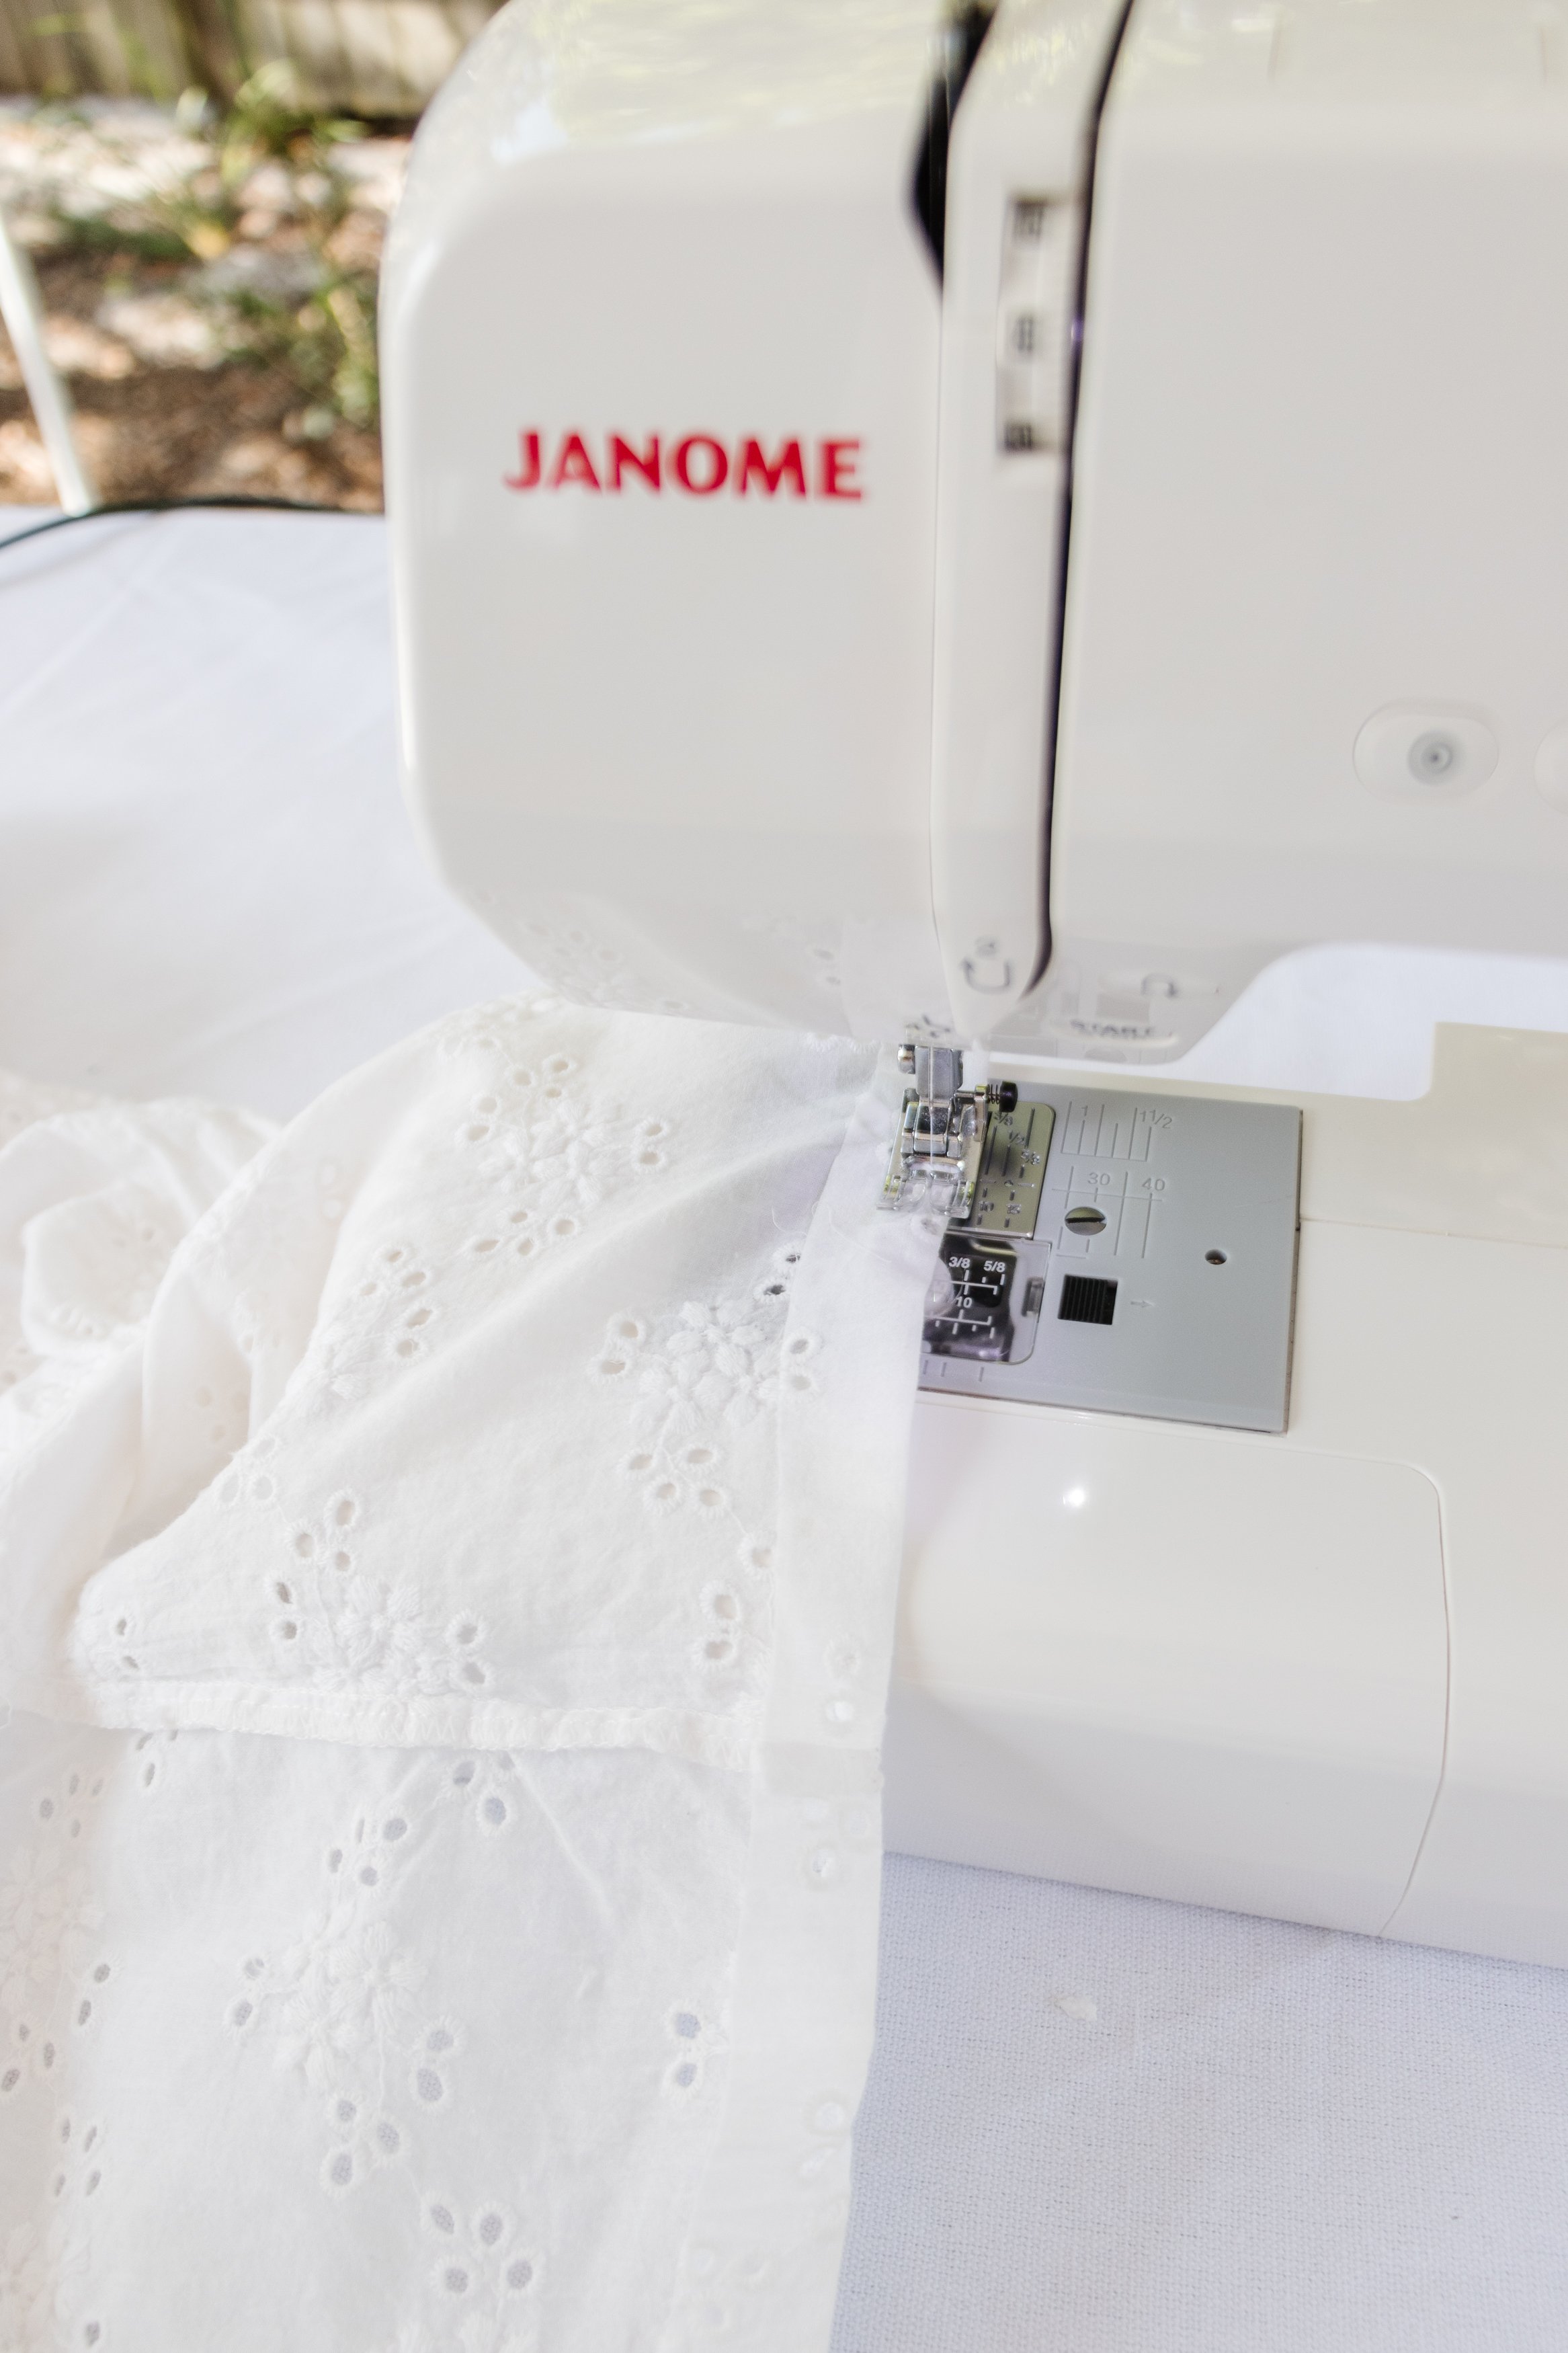
Step 3: I wanted this top to be cropped so I measured and cut a bit section of fabric from the bottom, then I sewed the hems down the front of the top and then the hem at the bottom of the top.
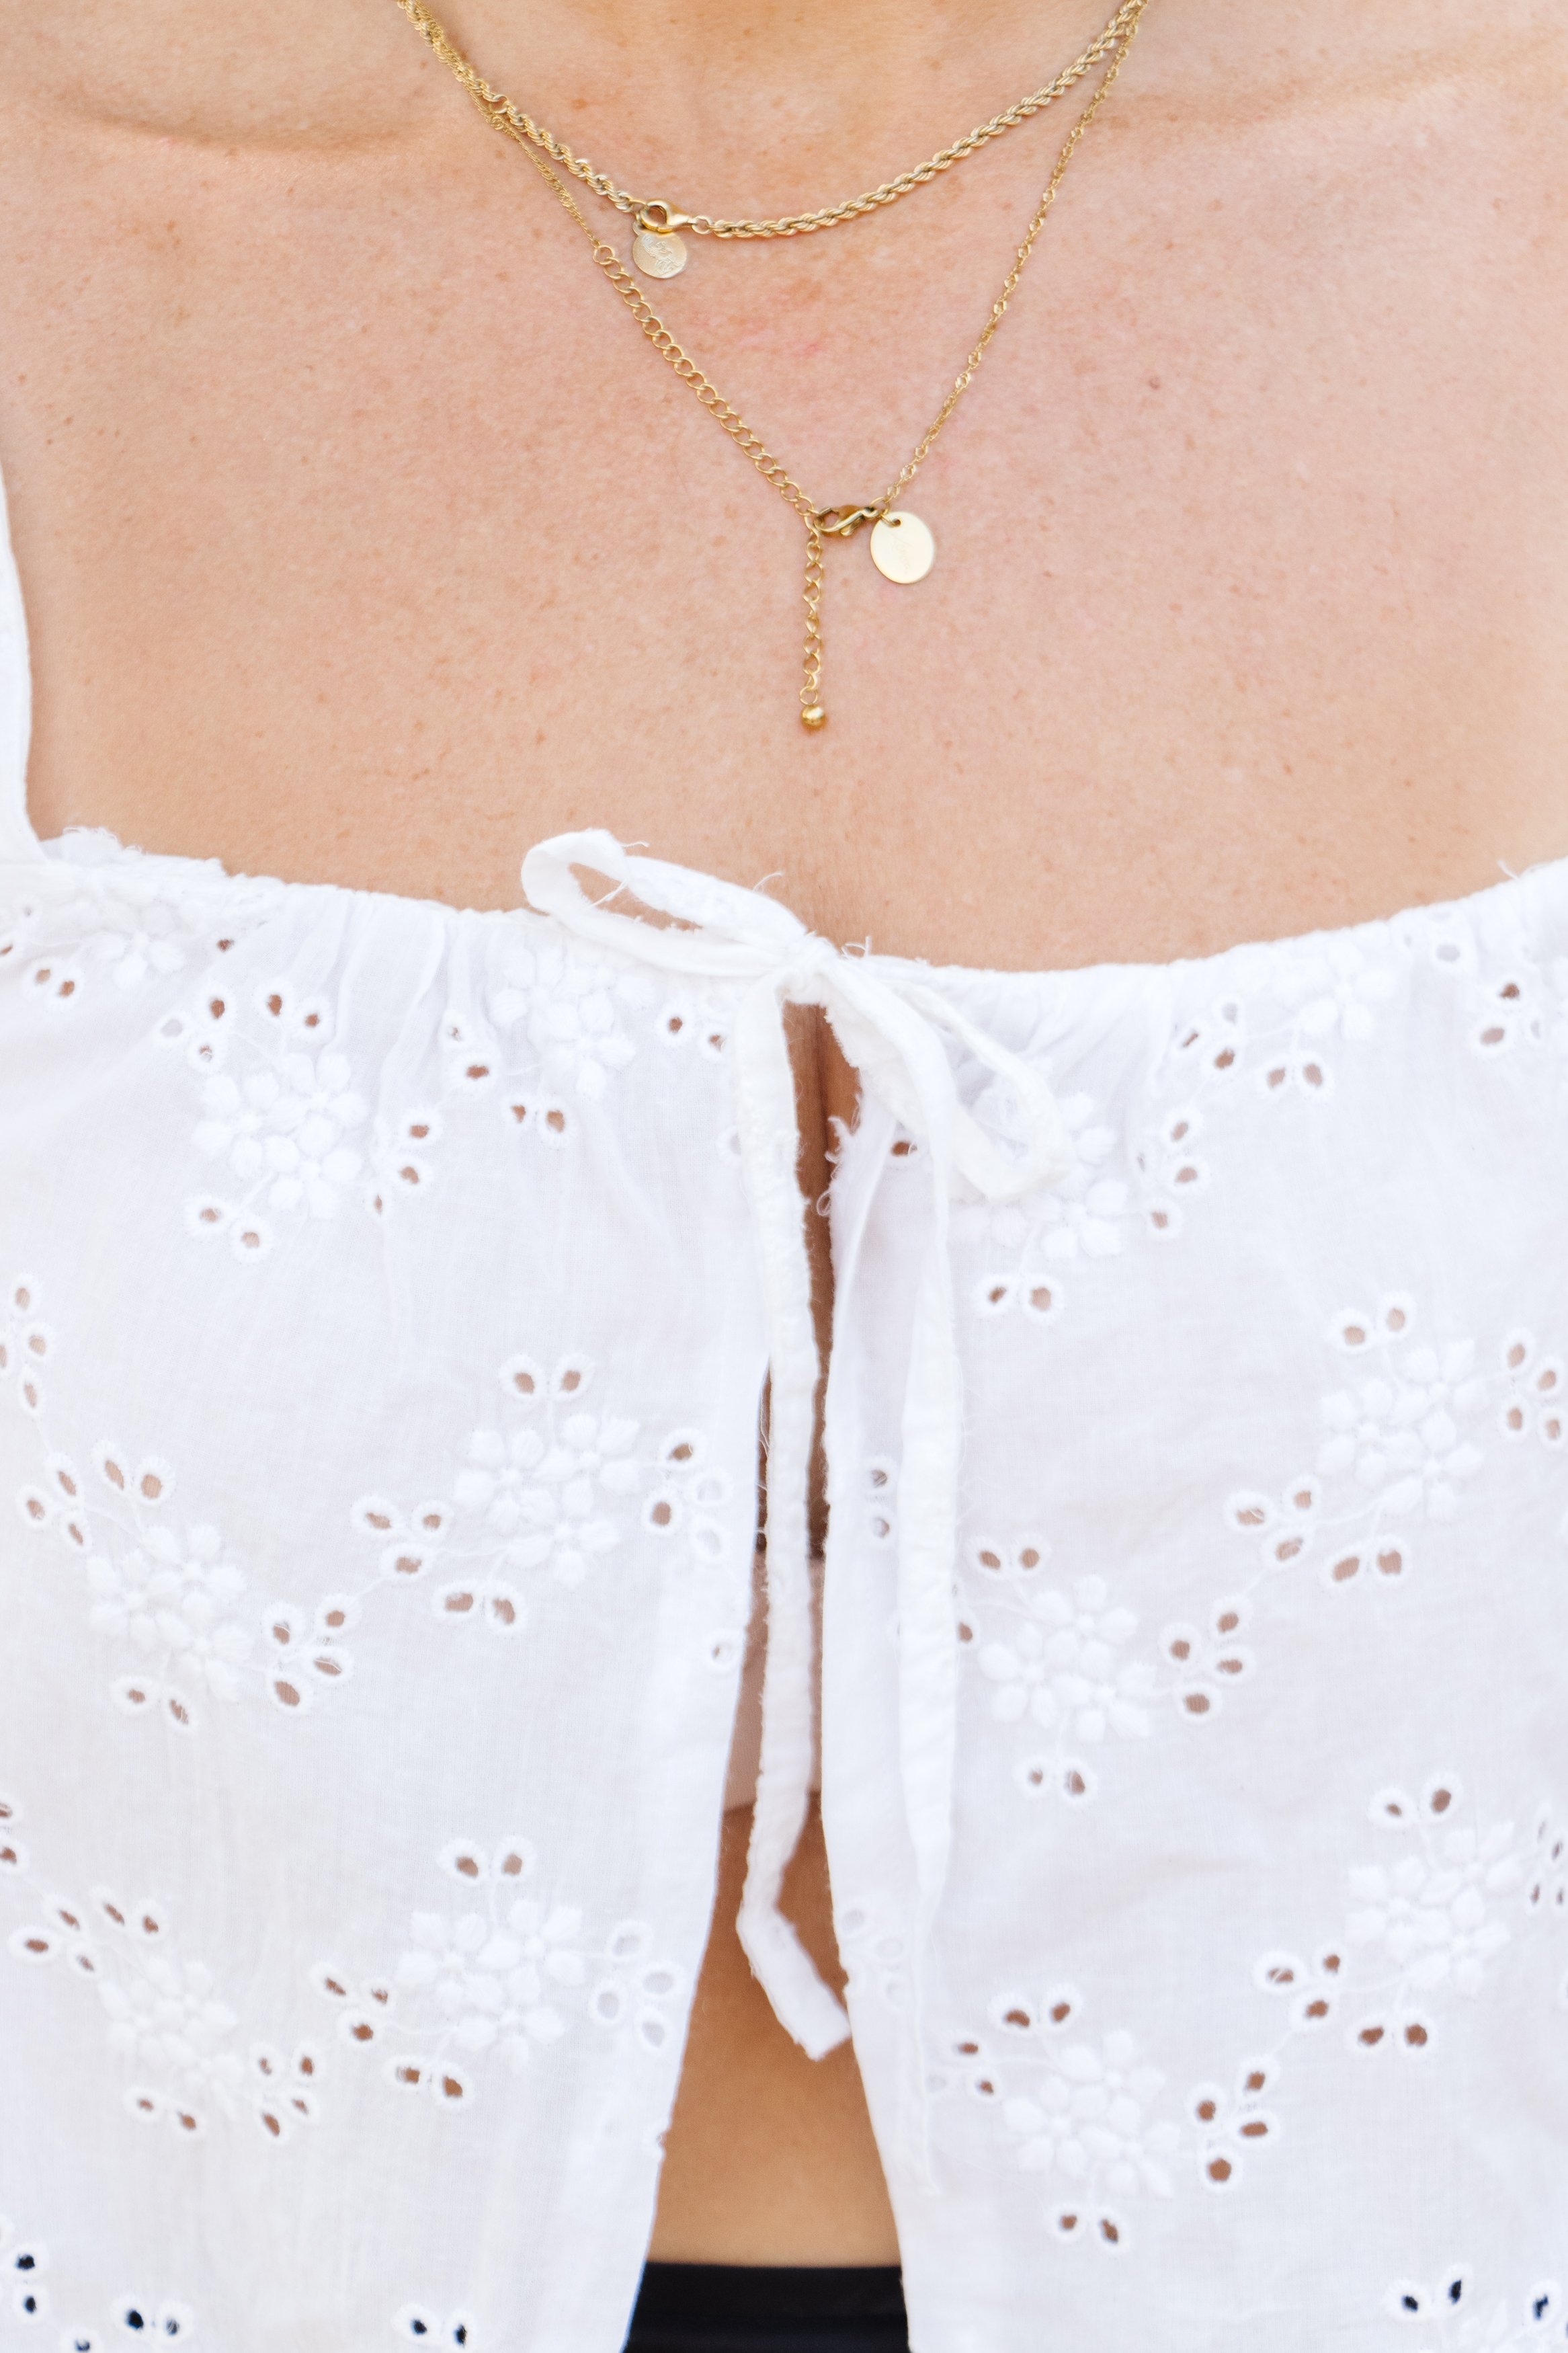
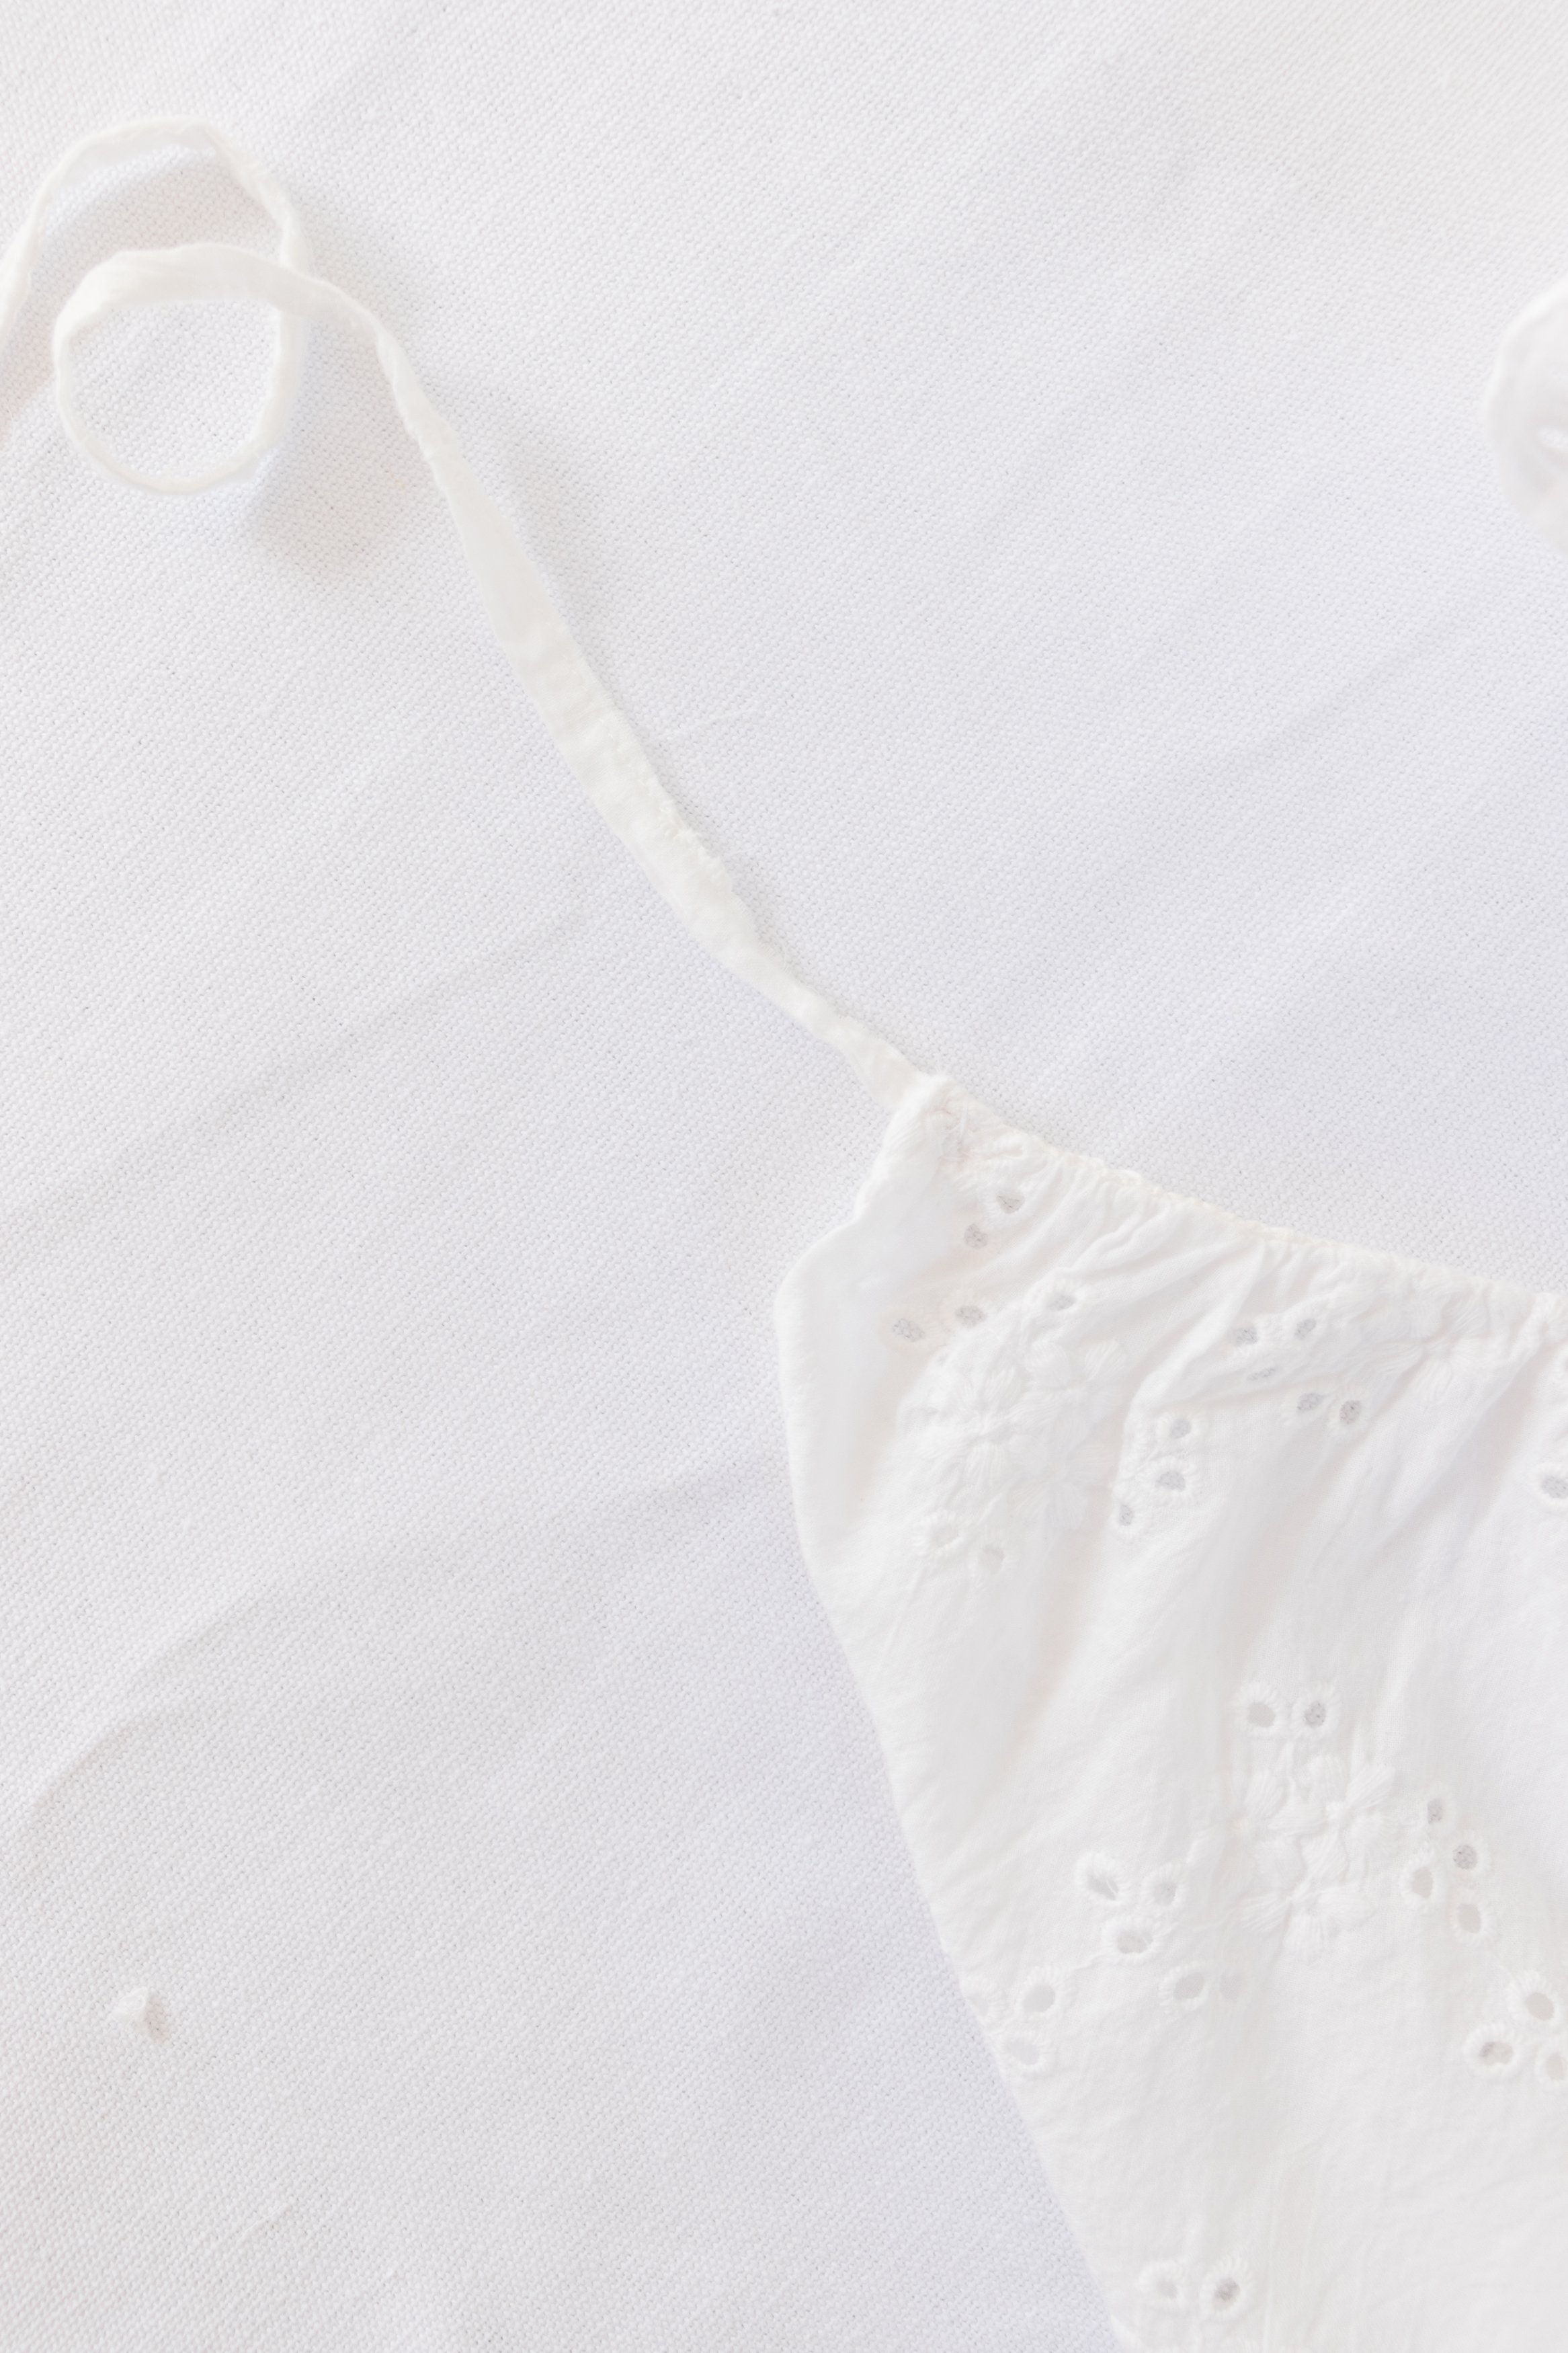
Step 5: I cut the sewed hem from the fabric I cut off and decided to use this to make the drawstrings. Following this I hand sewed two of the drawstrings onto each side of the top to create one front bow tie.
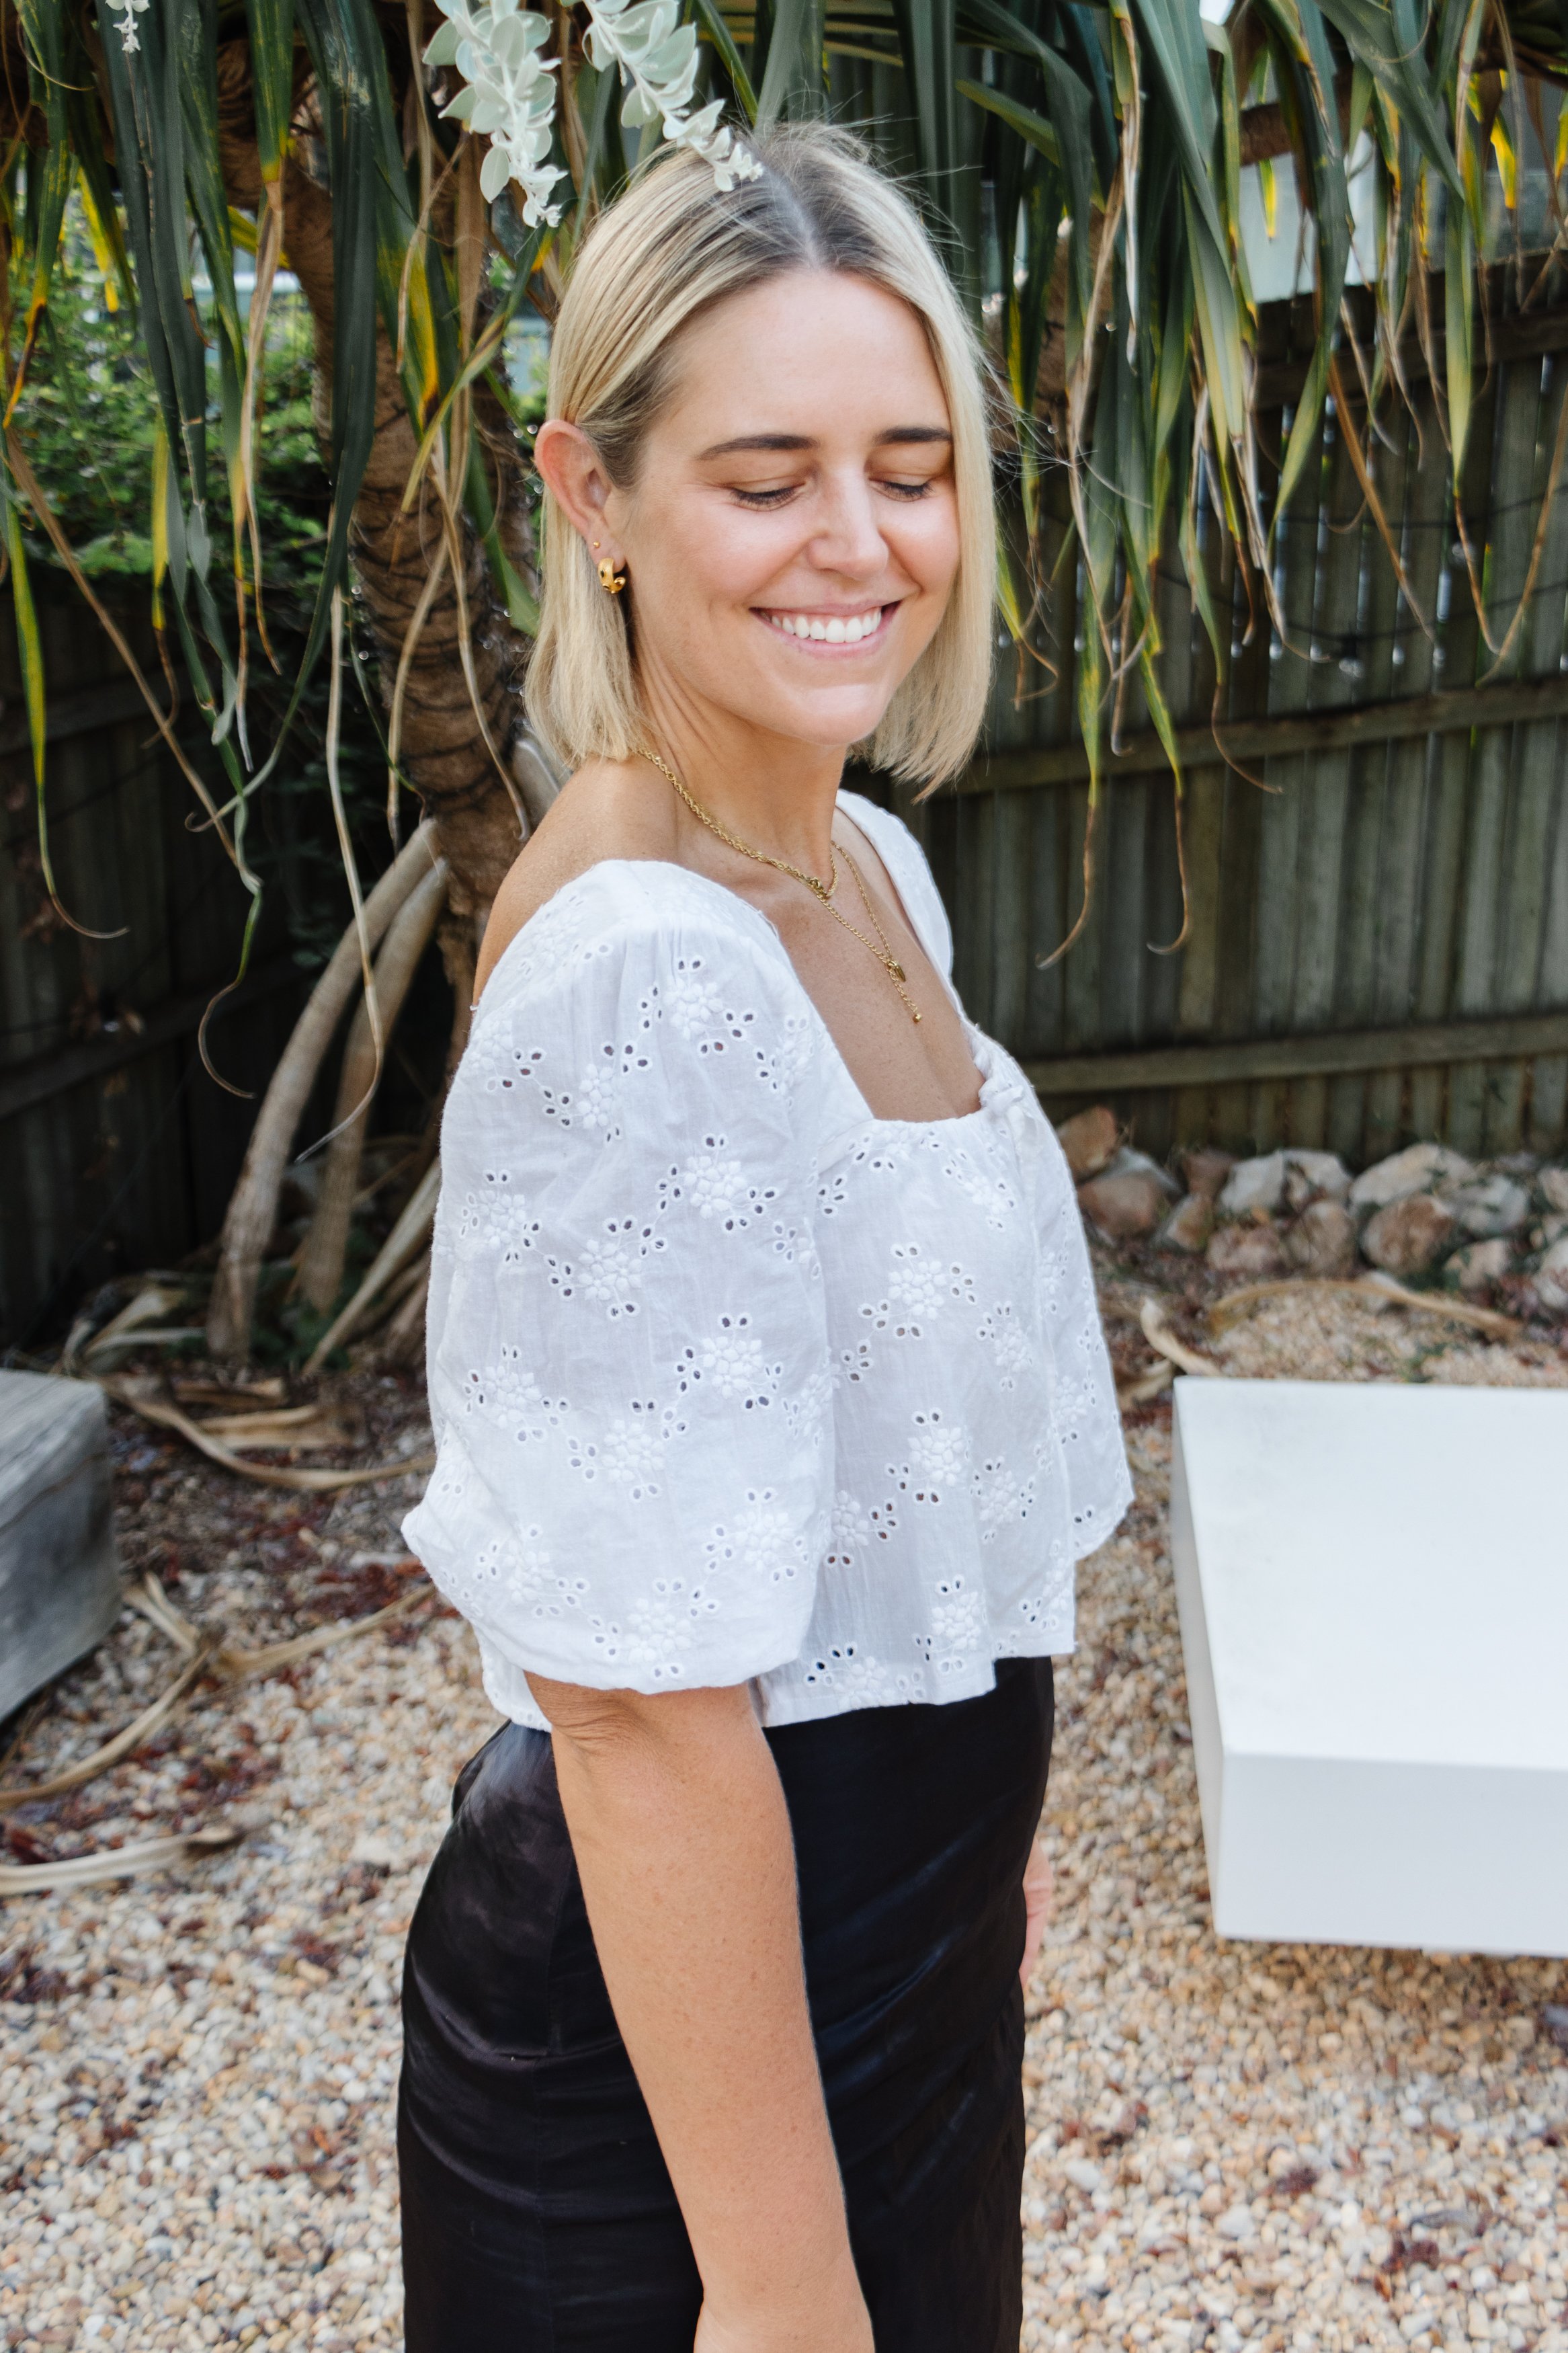
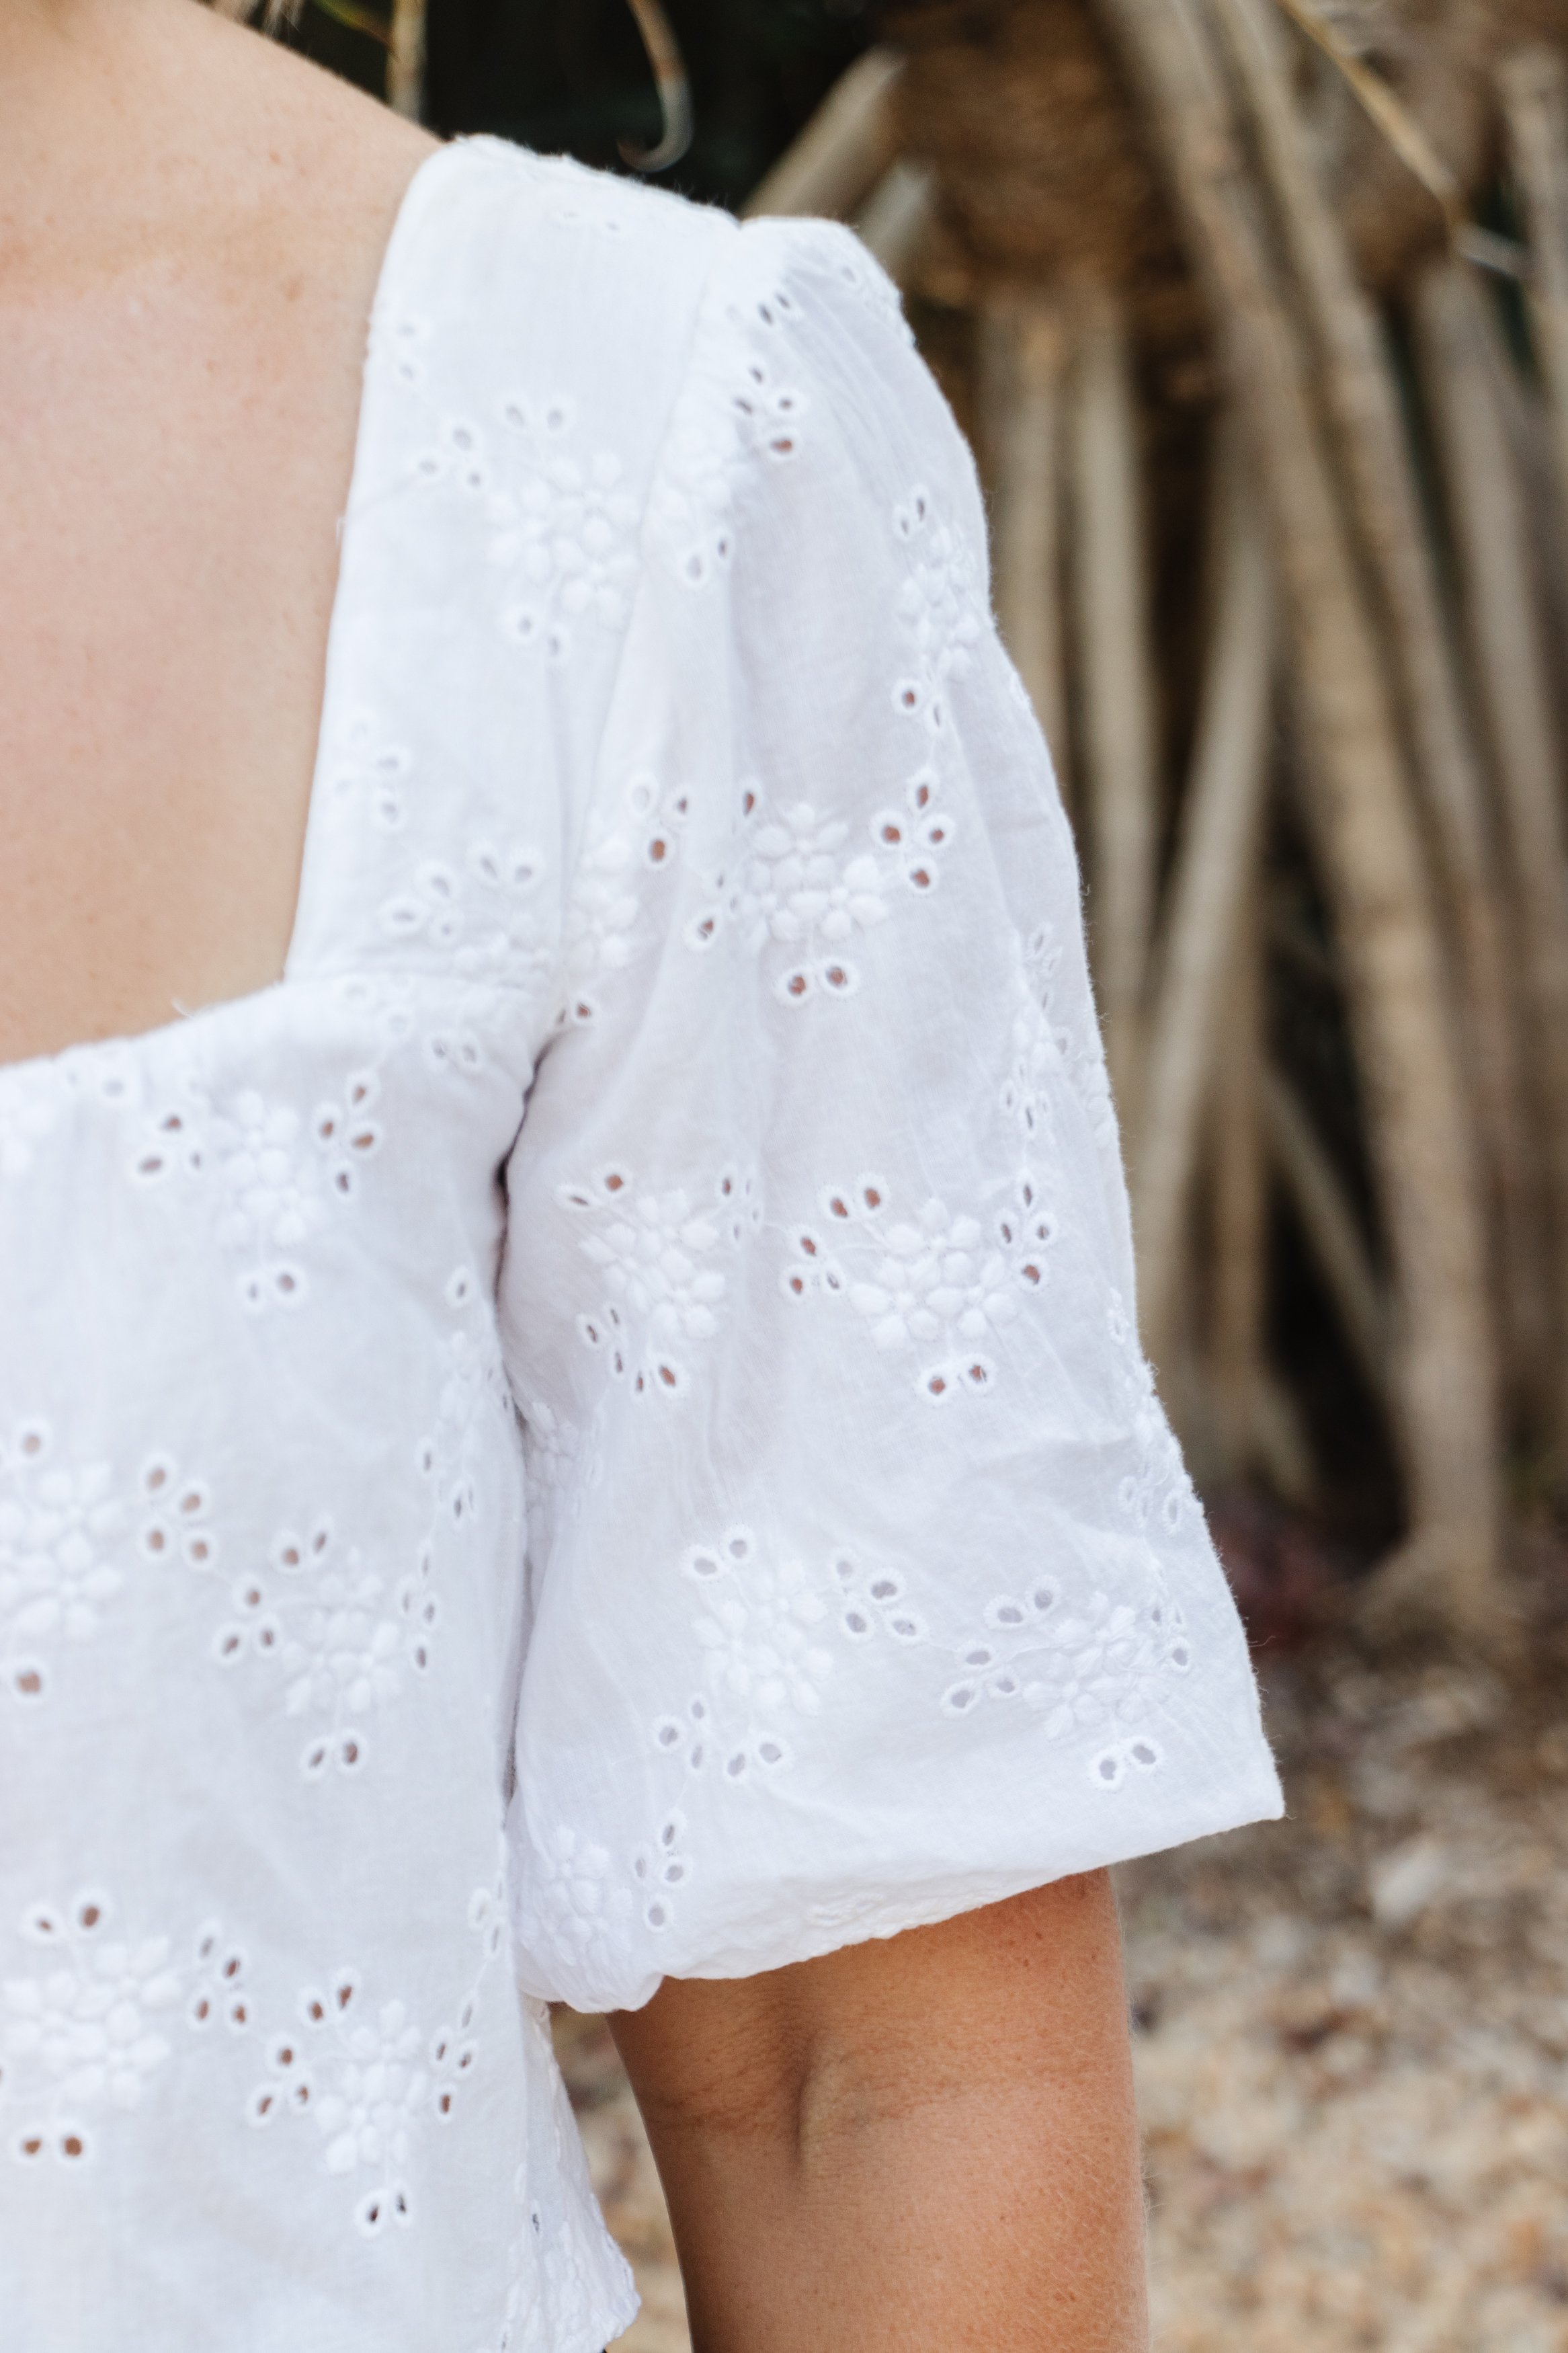
Step 6: I don’t mind the sleeves and a little hack of mine if I want to make sleeves like this shorter without having to permanently cut them is to simply tuck them under. I do this a lot with my elasticated tops if I want to wear the sleeves shorter one day, but longer the next. I love having this option and when I tuck the sleeve under, I can’t feel the elastic at all.


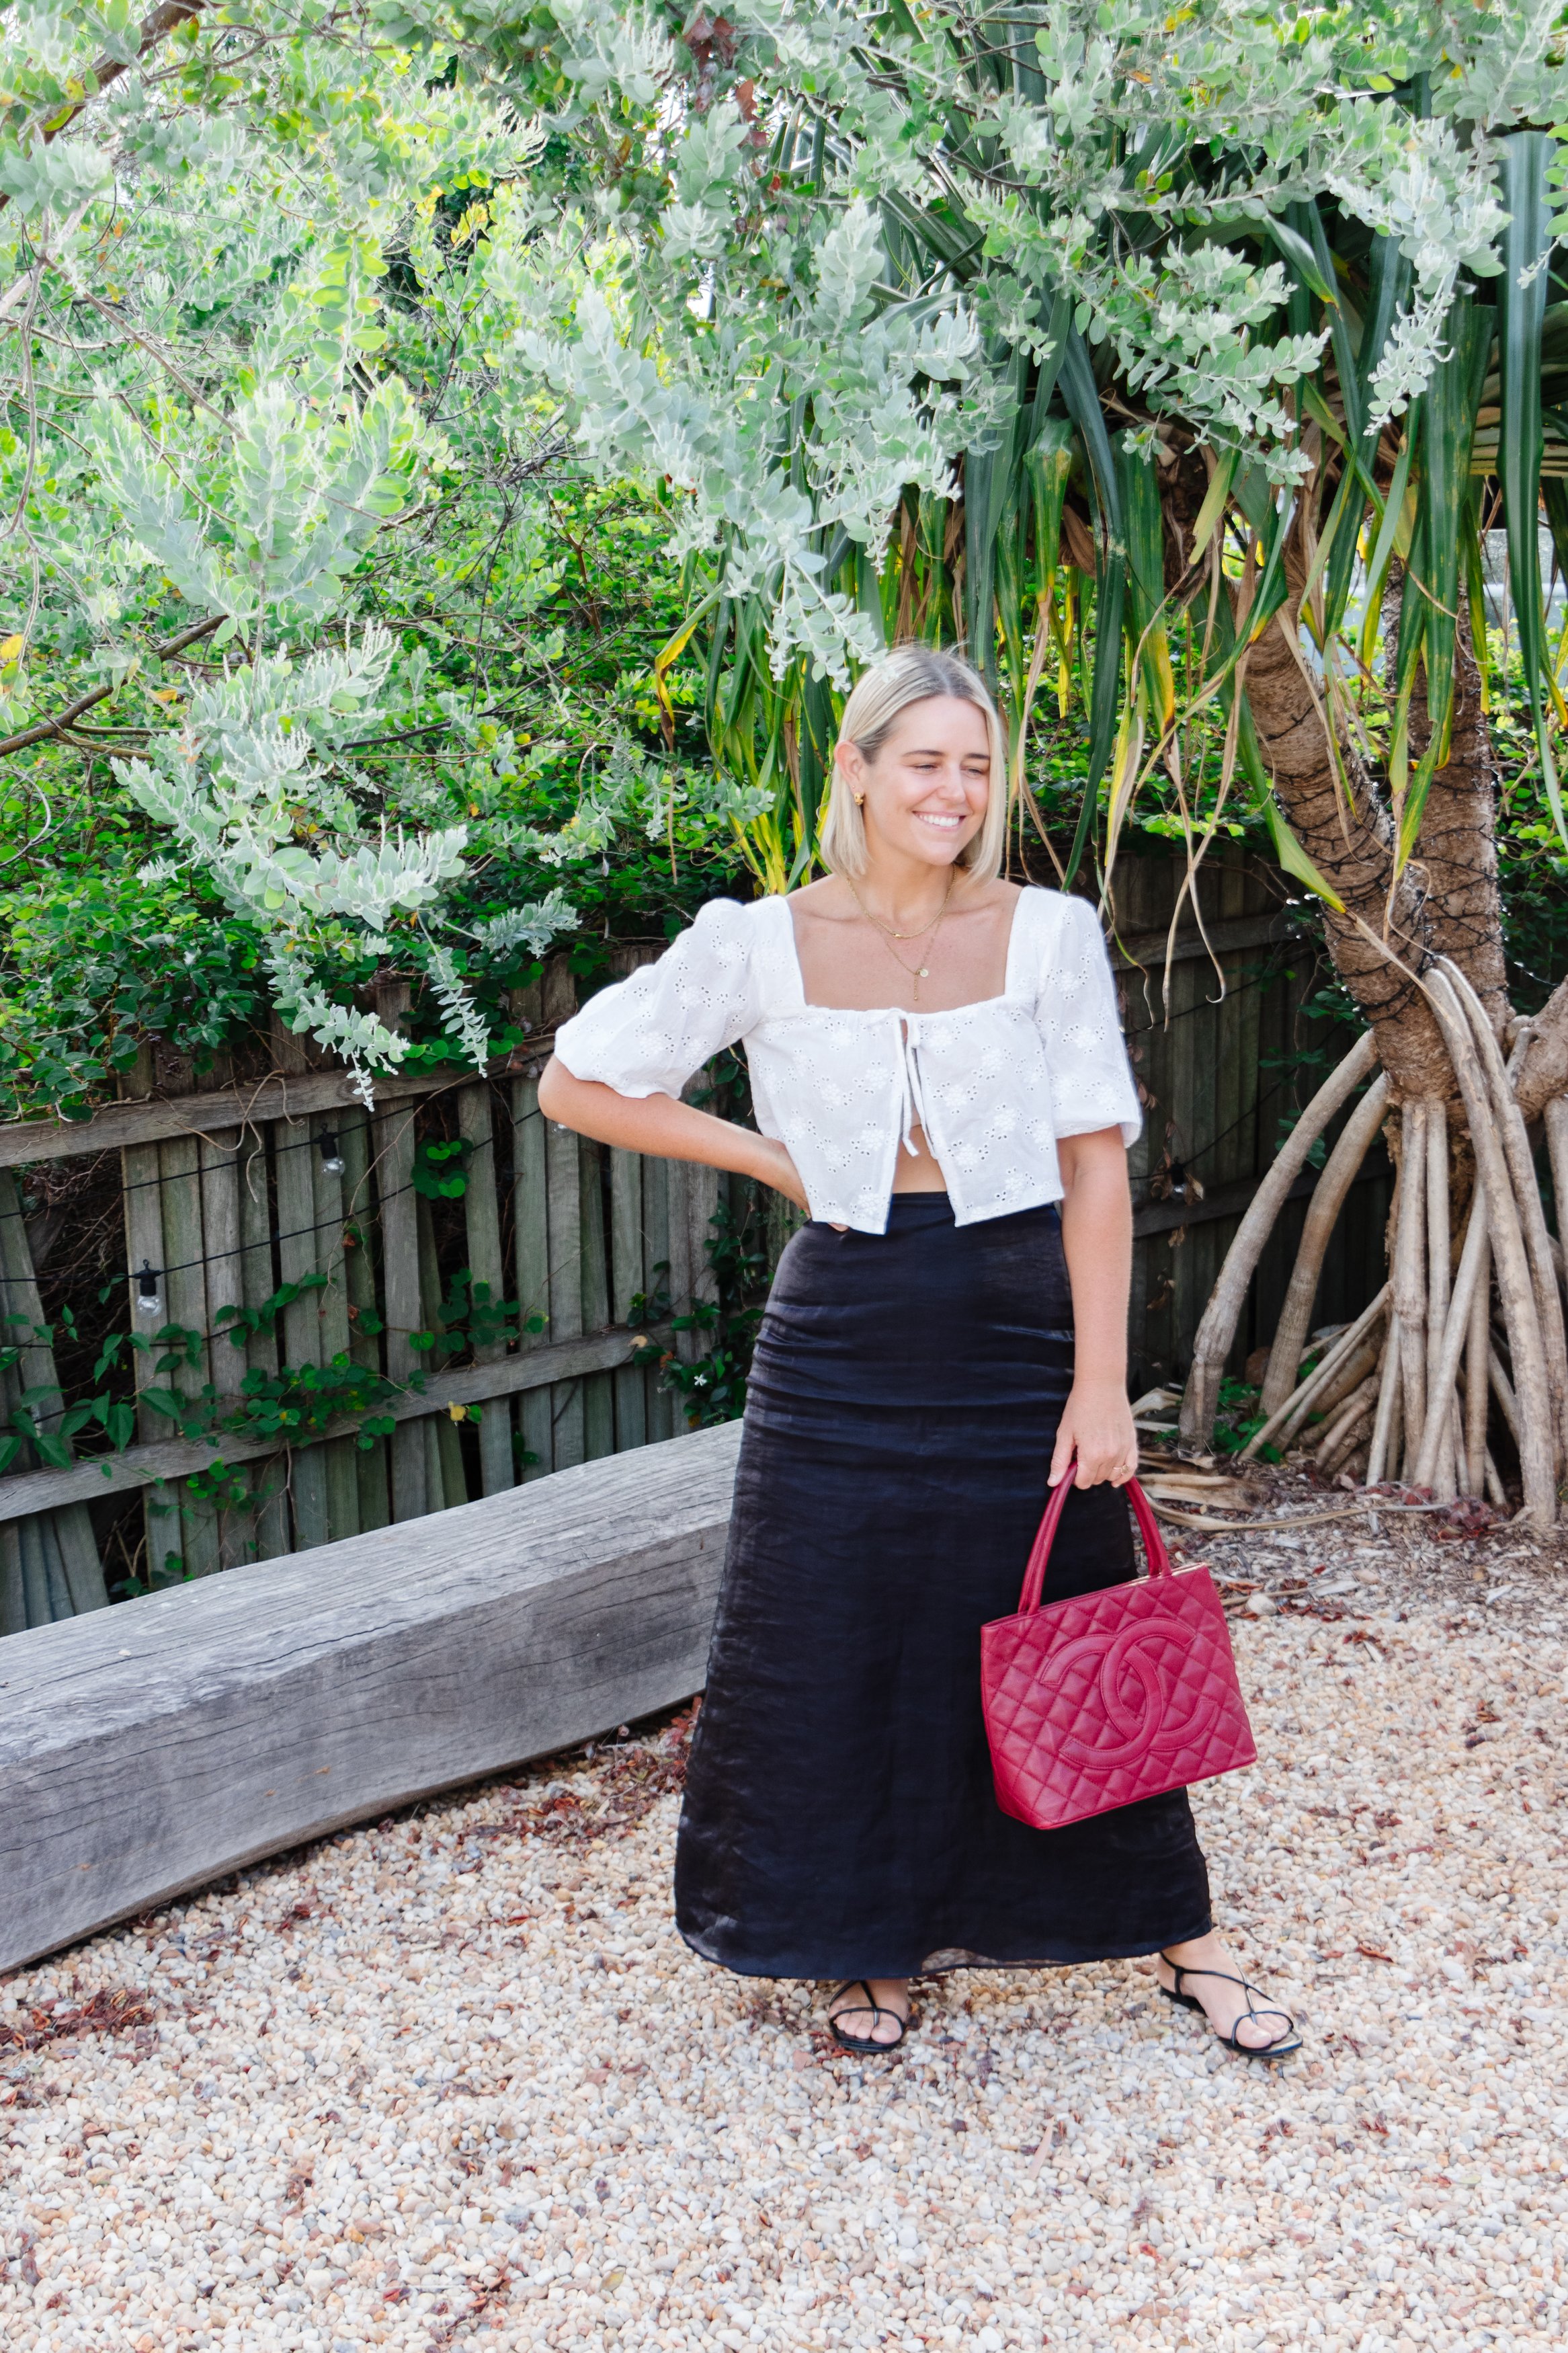
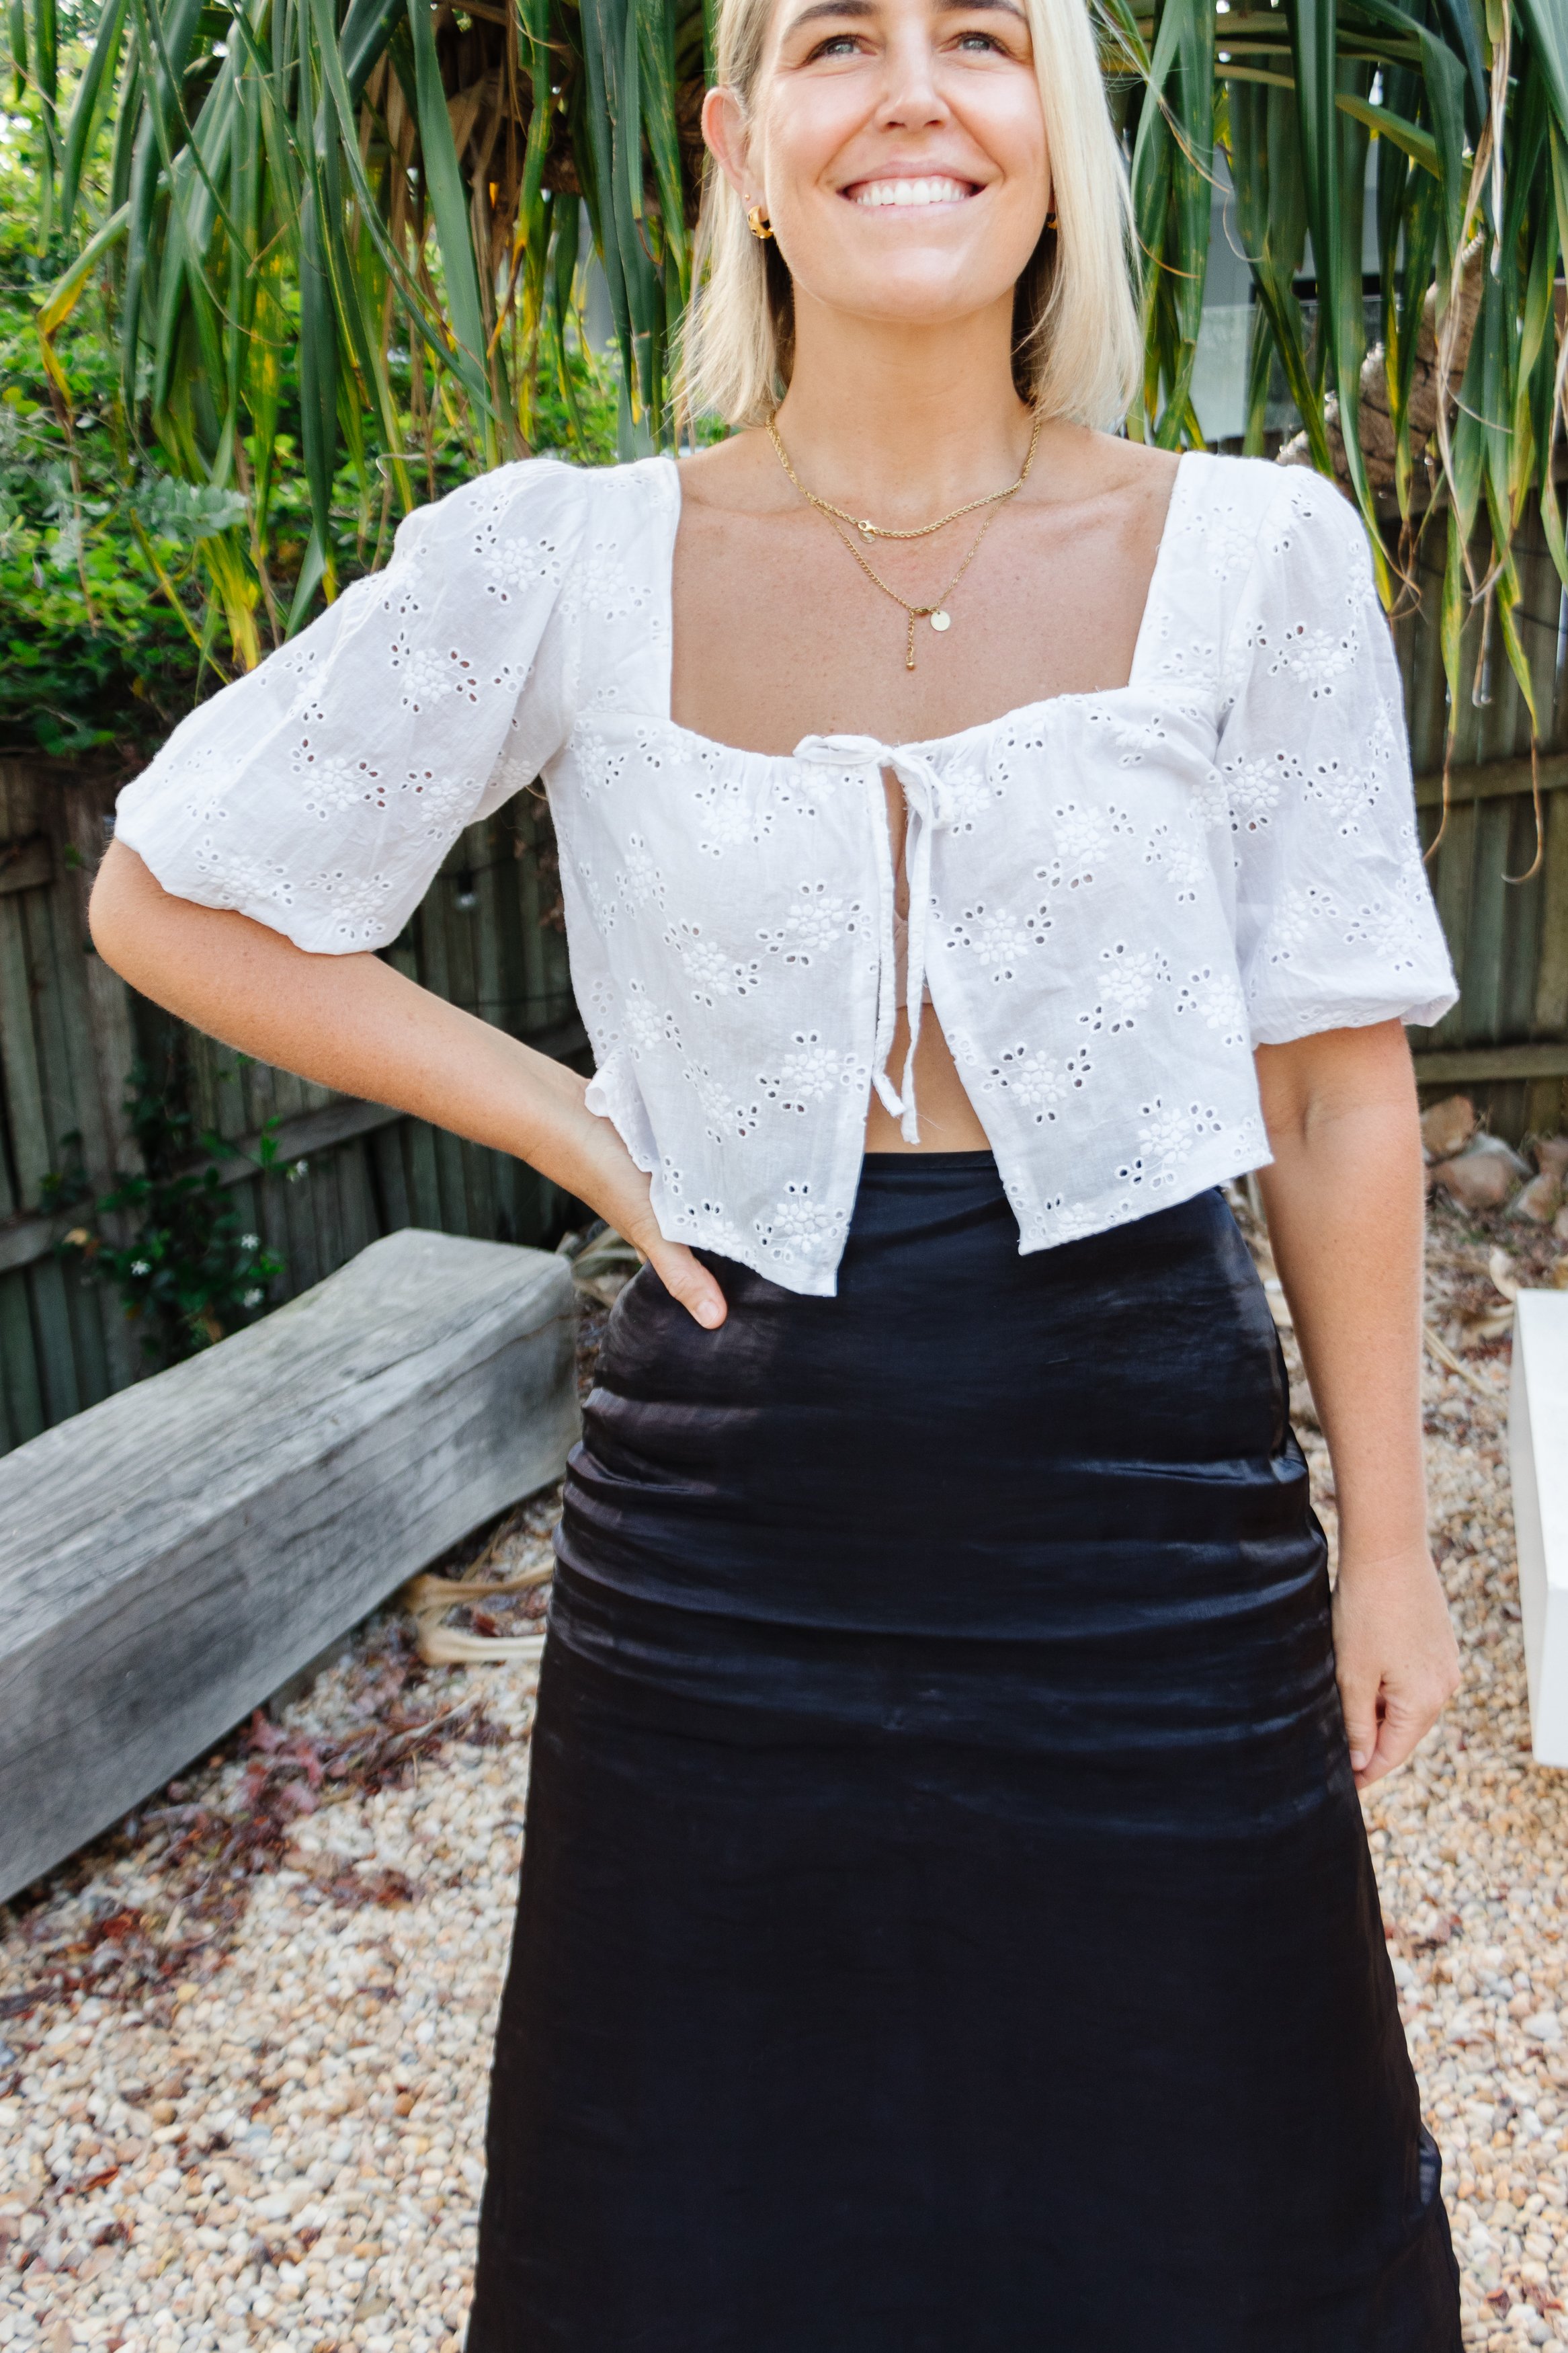
The After!
Omg I am obsessed! I think we can all agree this now looks a bazillion times nicer…and better! Sometimes it’s about having an idea in mind and finding the perfect piece in a thrift store to bring your vision to life. This project would be very easy to replicate on a number of different tops, even those with buttons down the front and short sleeves. Anyway, I hope you have loved this DIY fashion tutorial. I look forward to bring more to you.