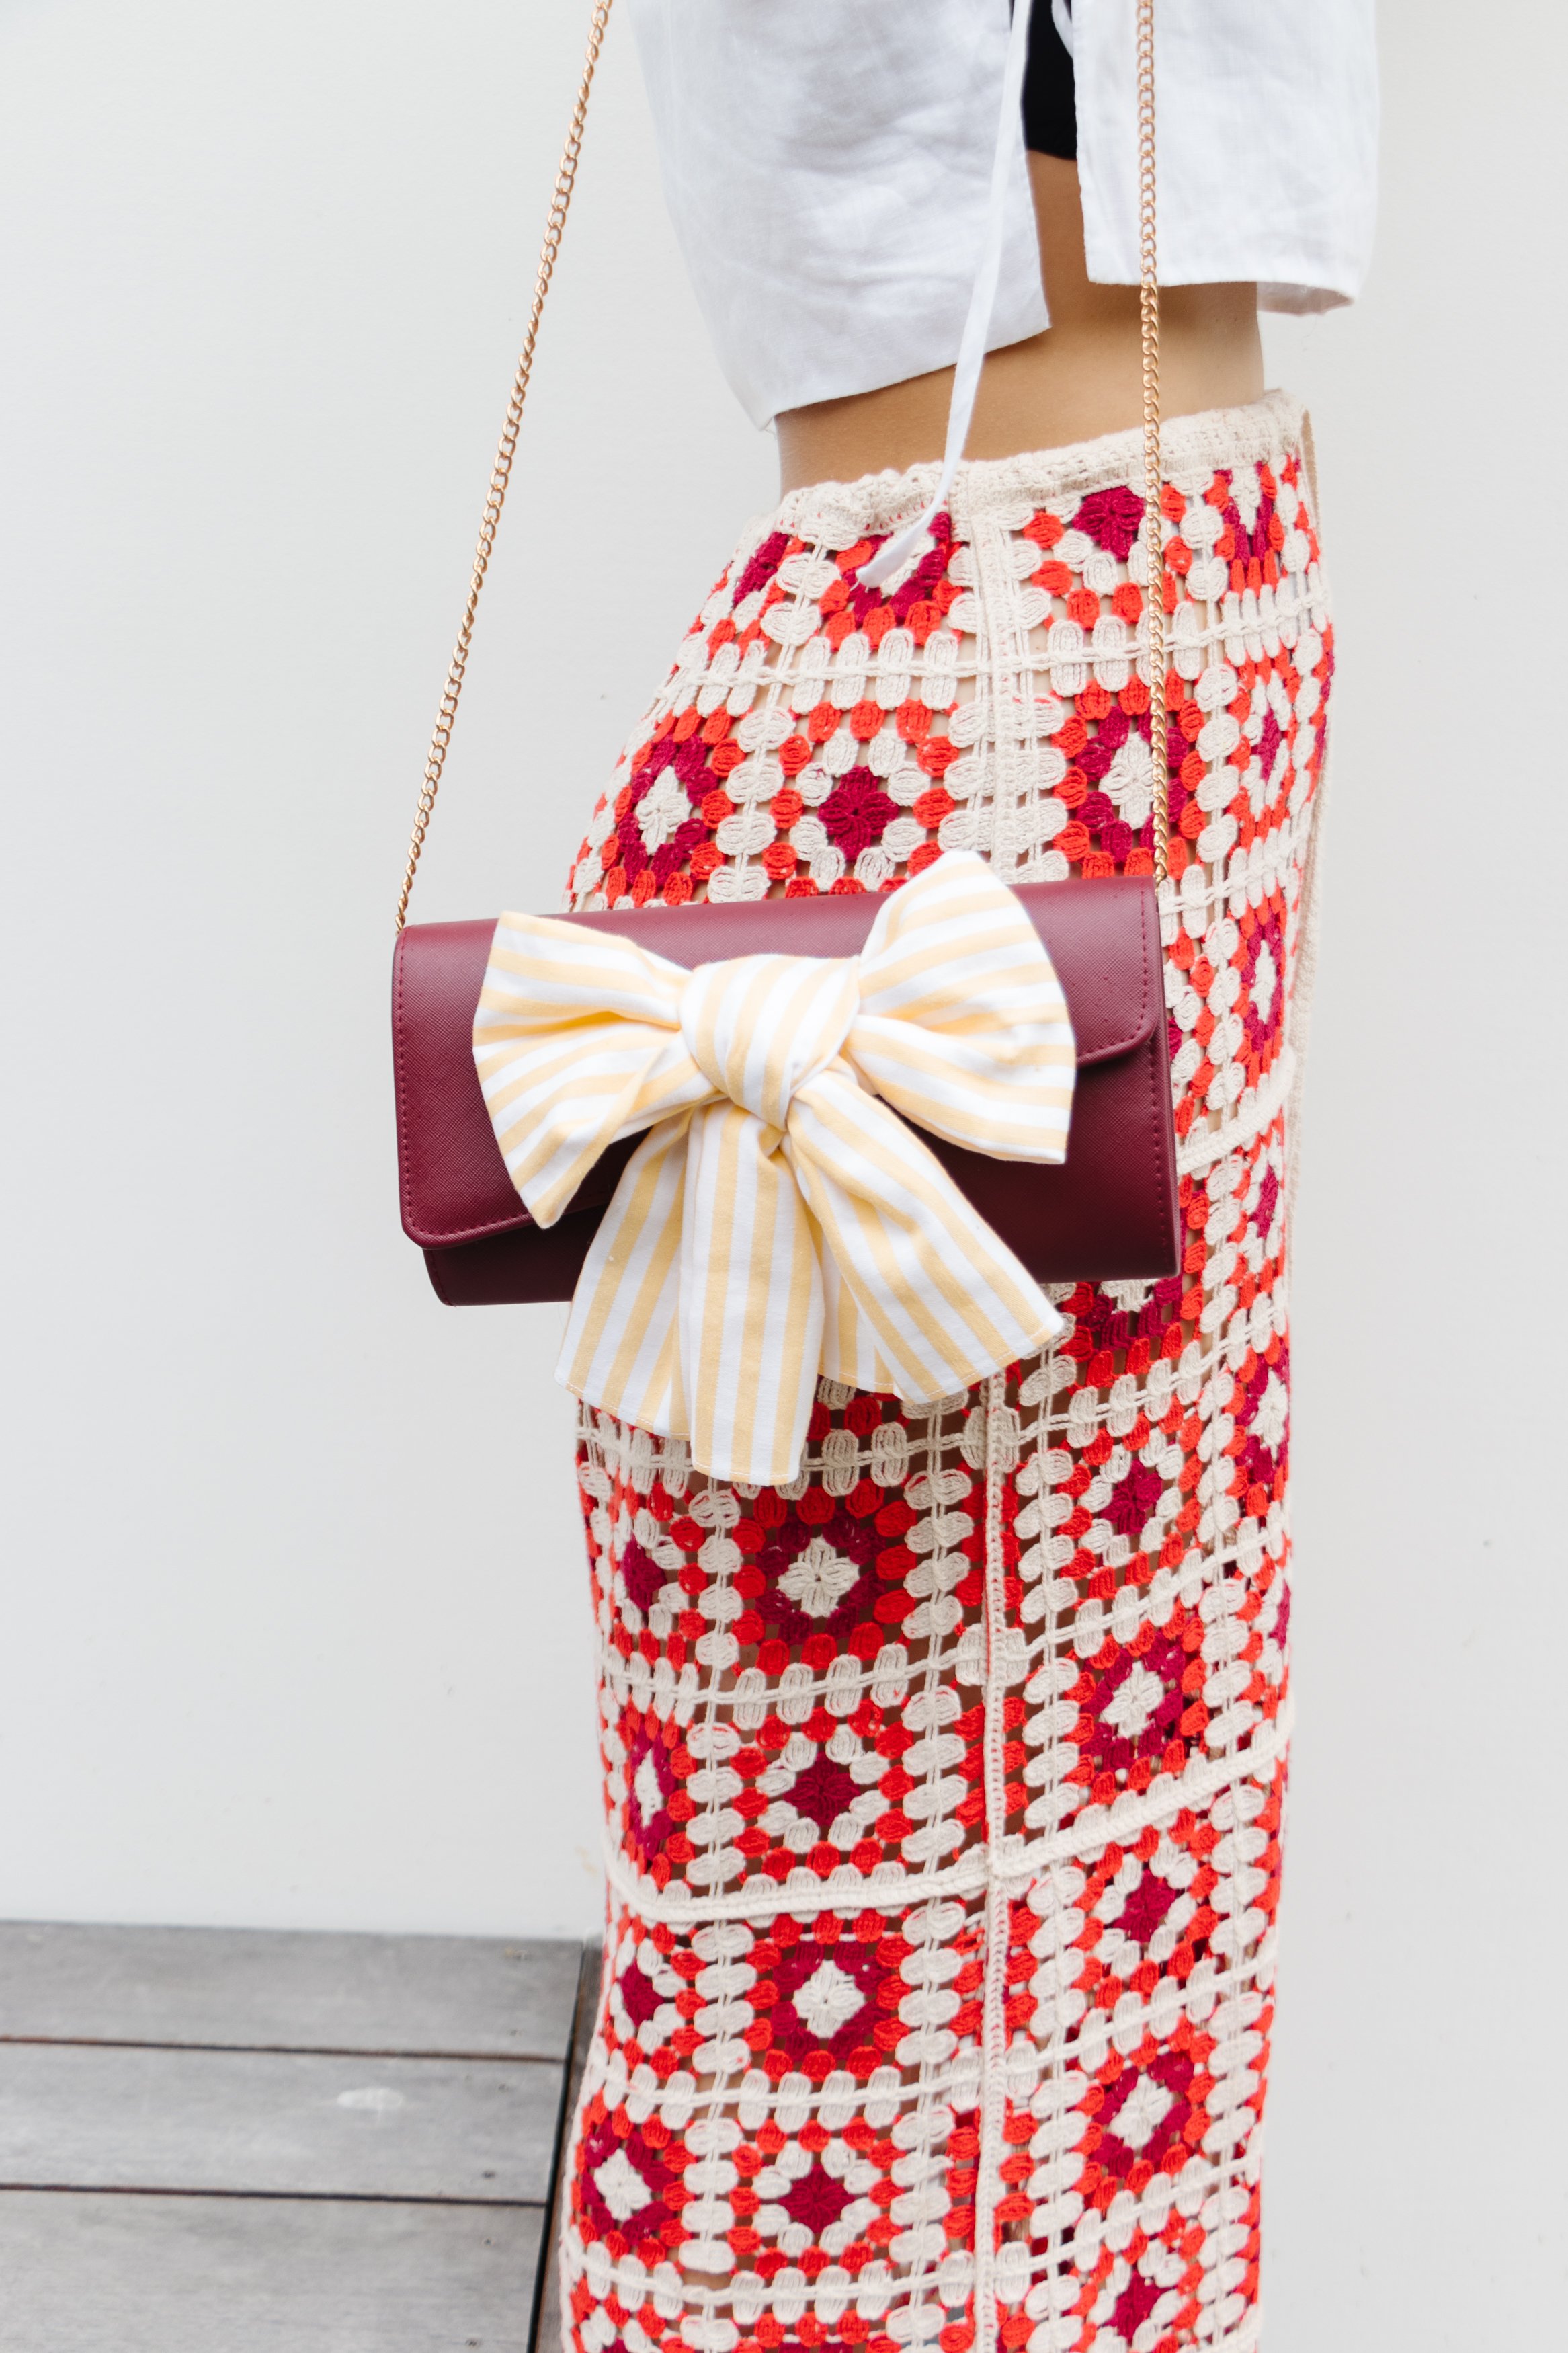
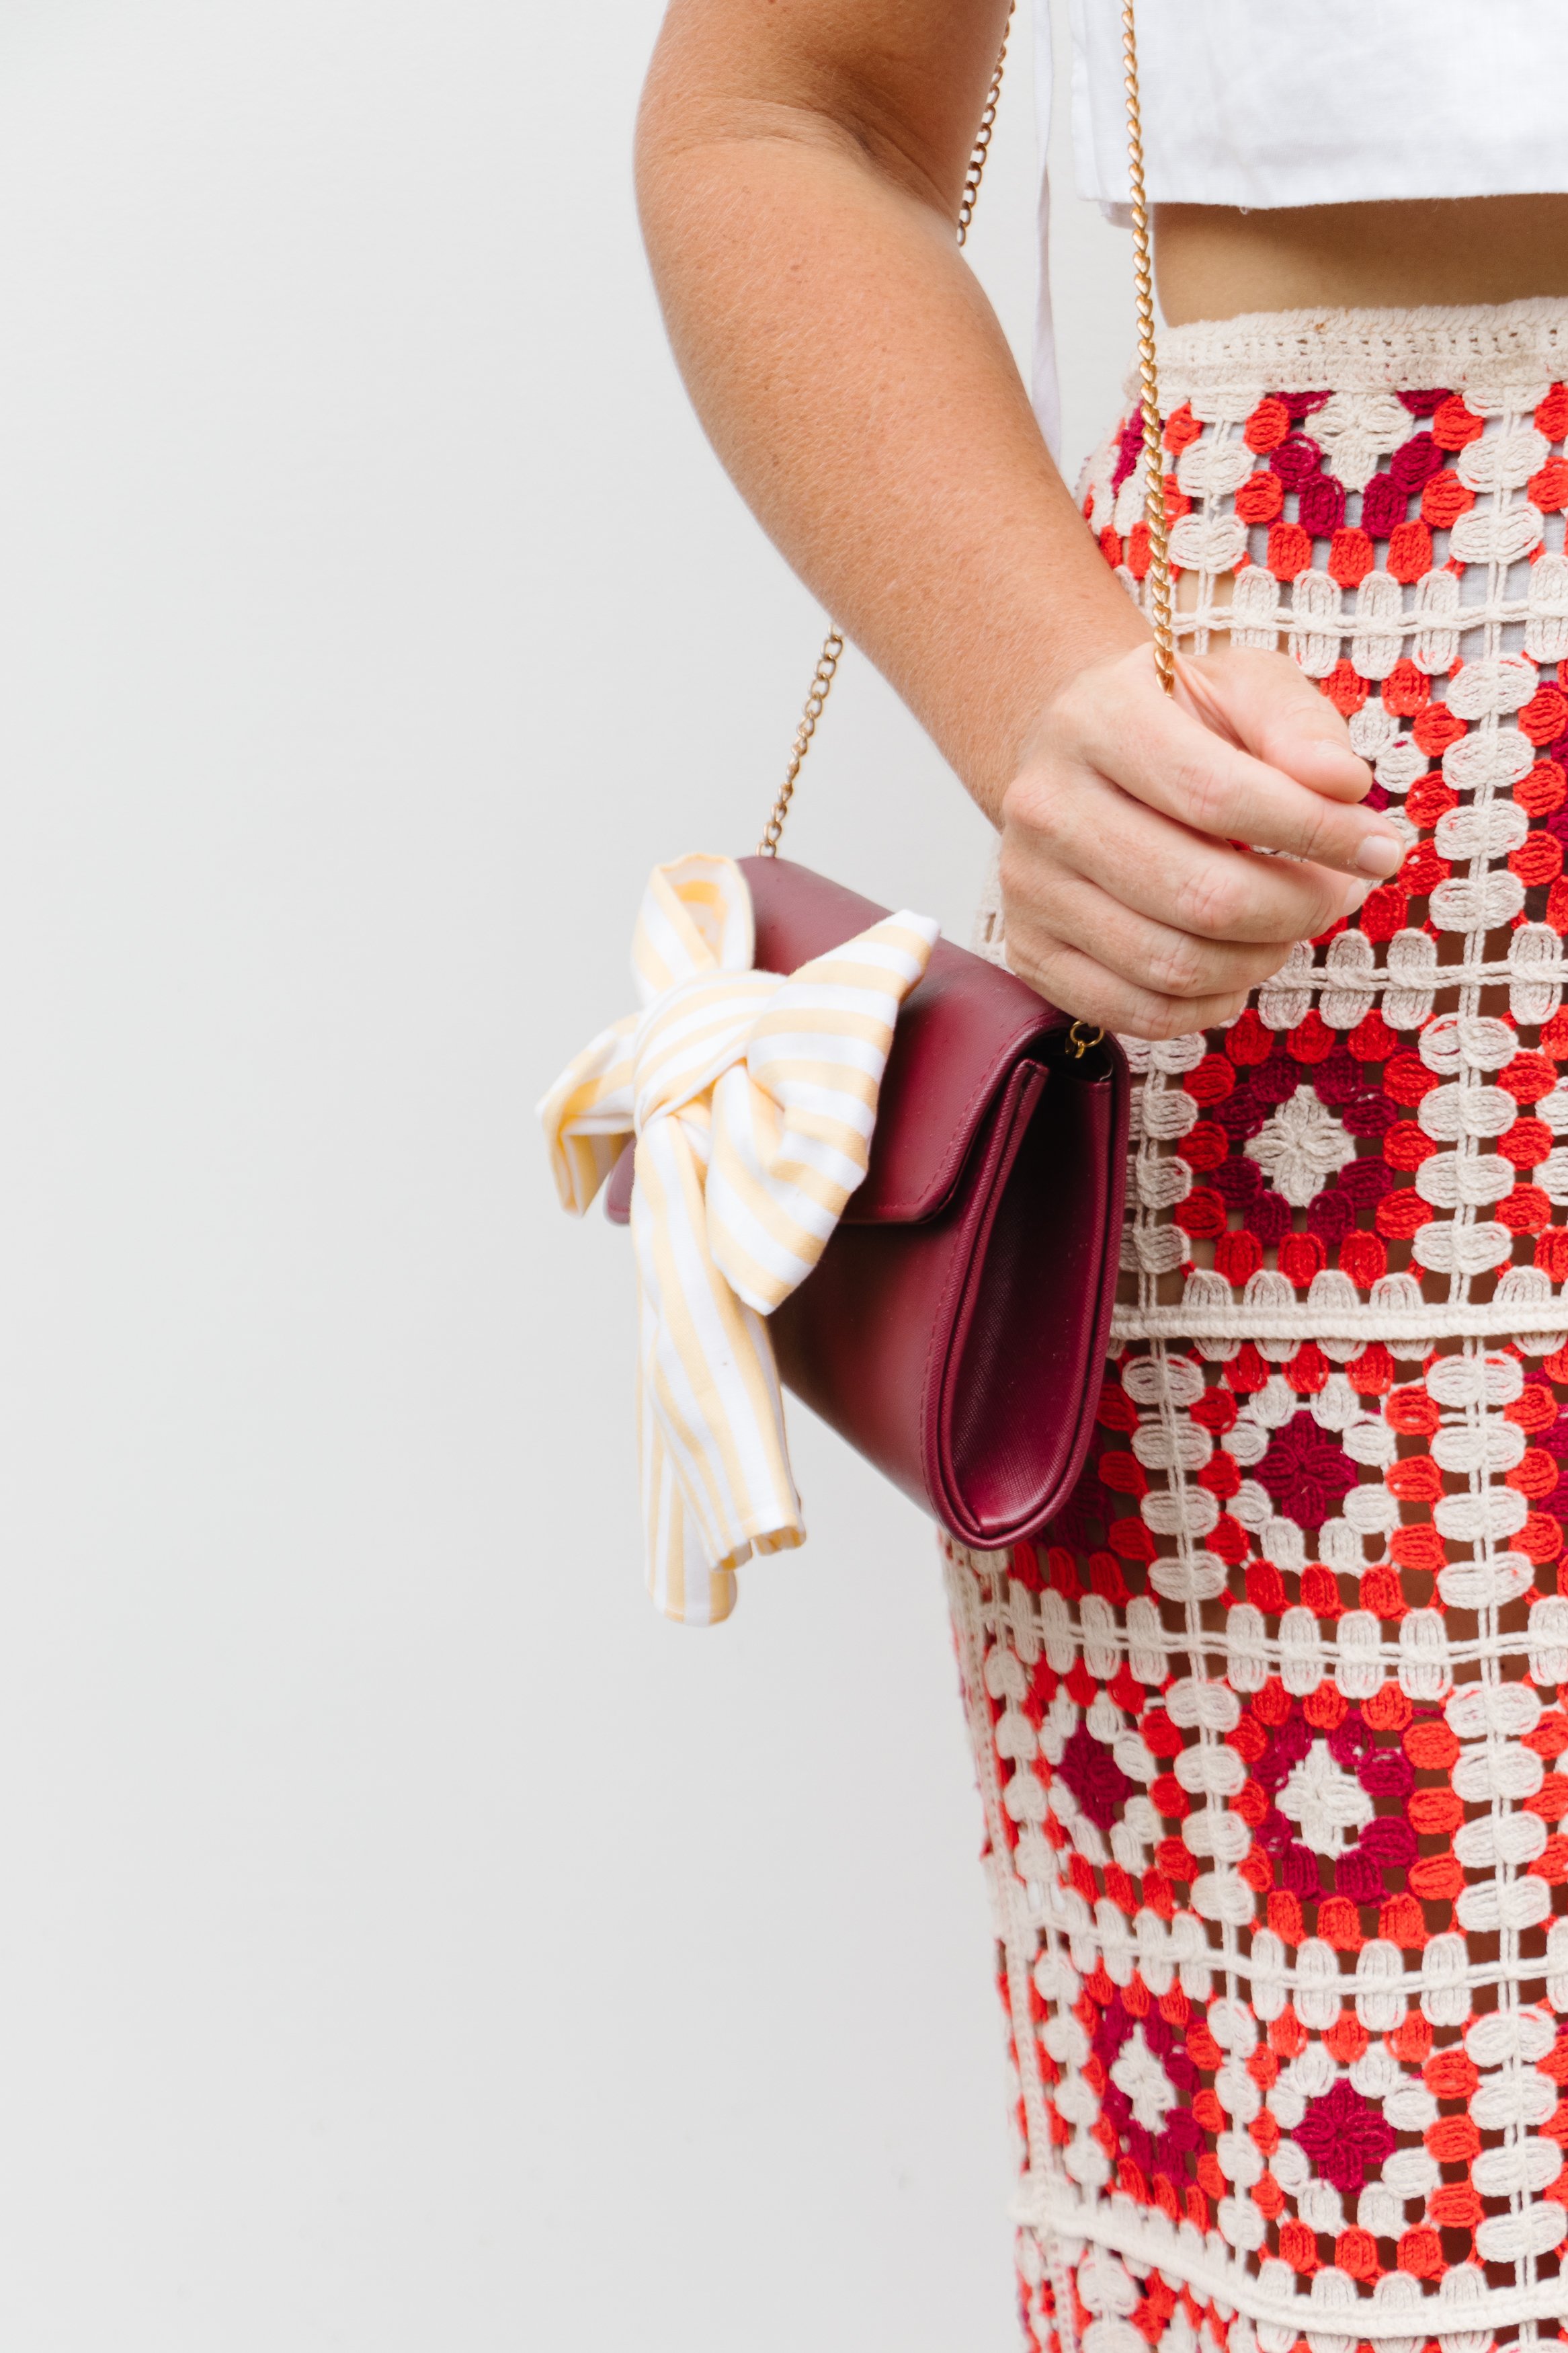
Upcycled Bow Handbag (Using A Thrifted Napkin!)
Use thrifted napkins to add a cute bow onto a handbag!
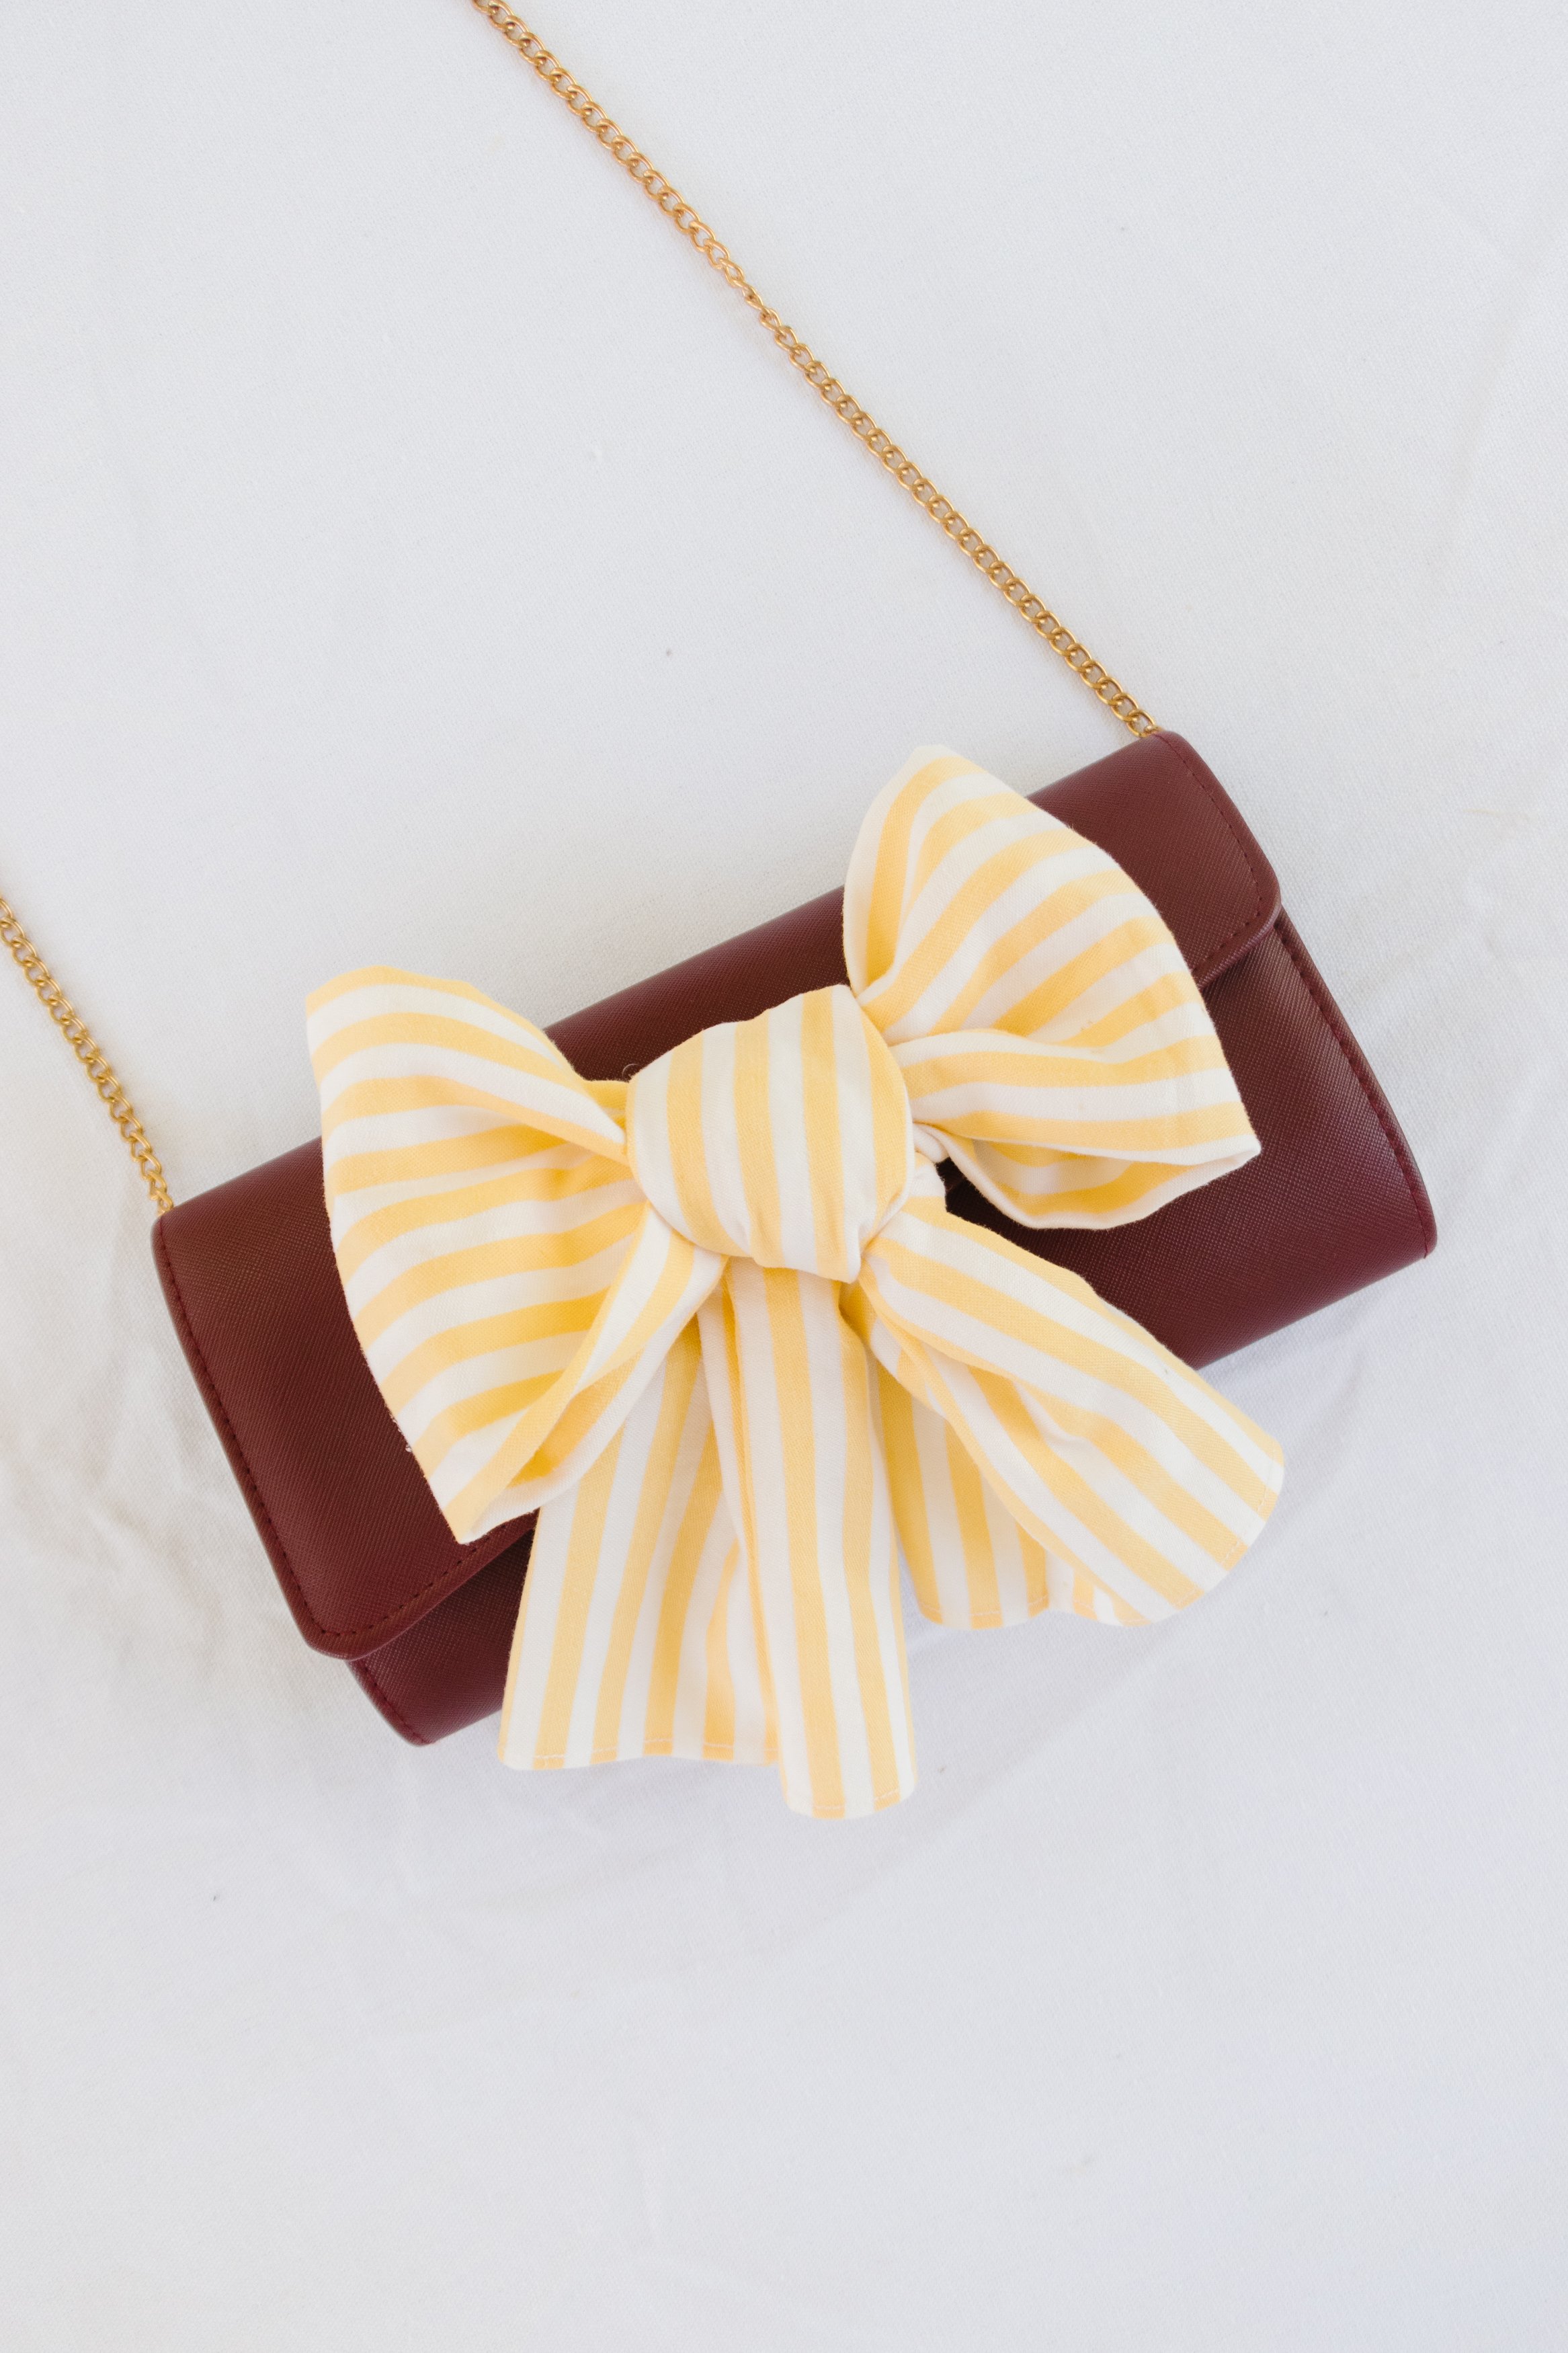
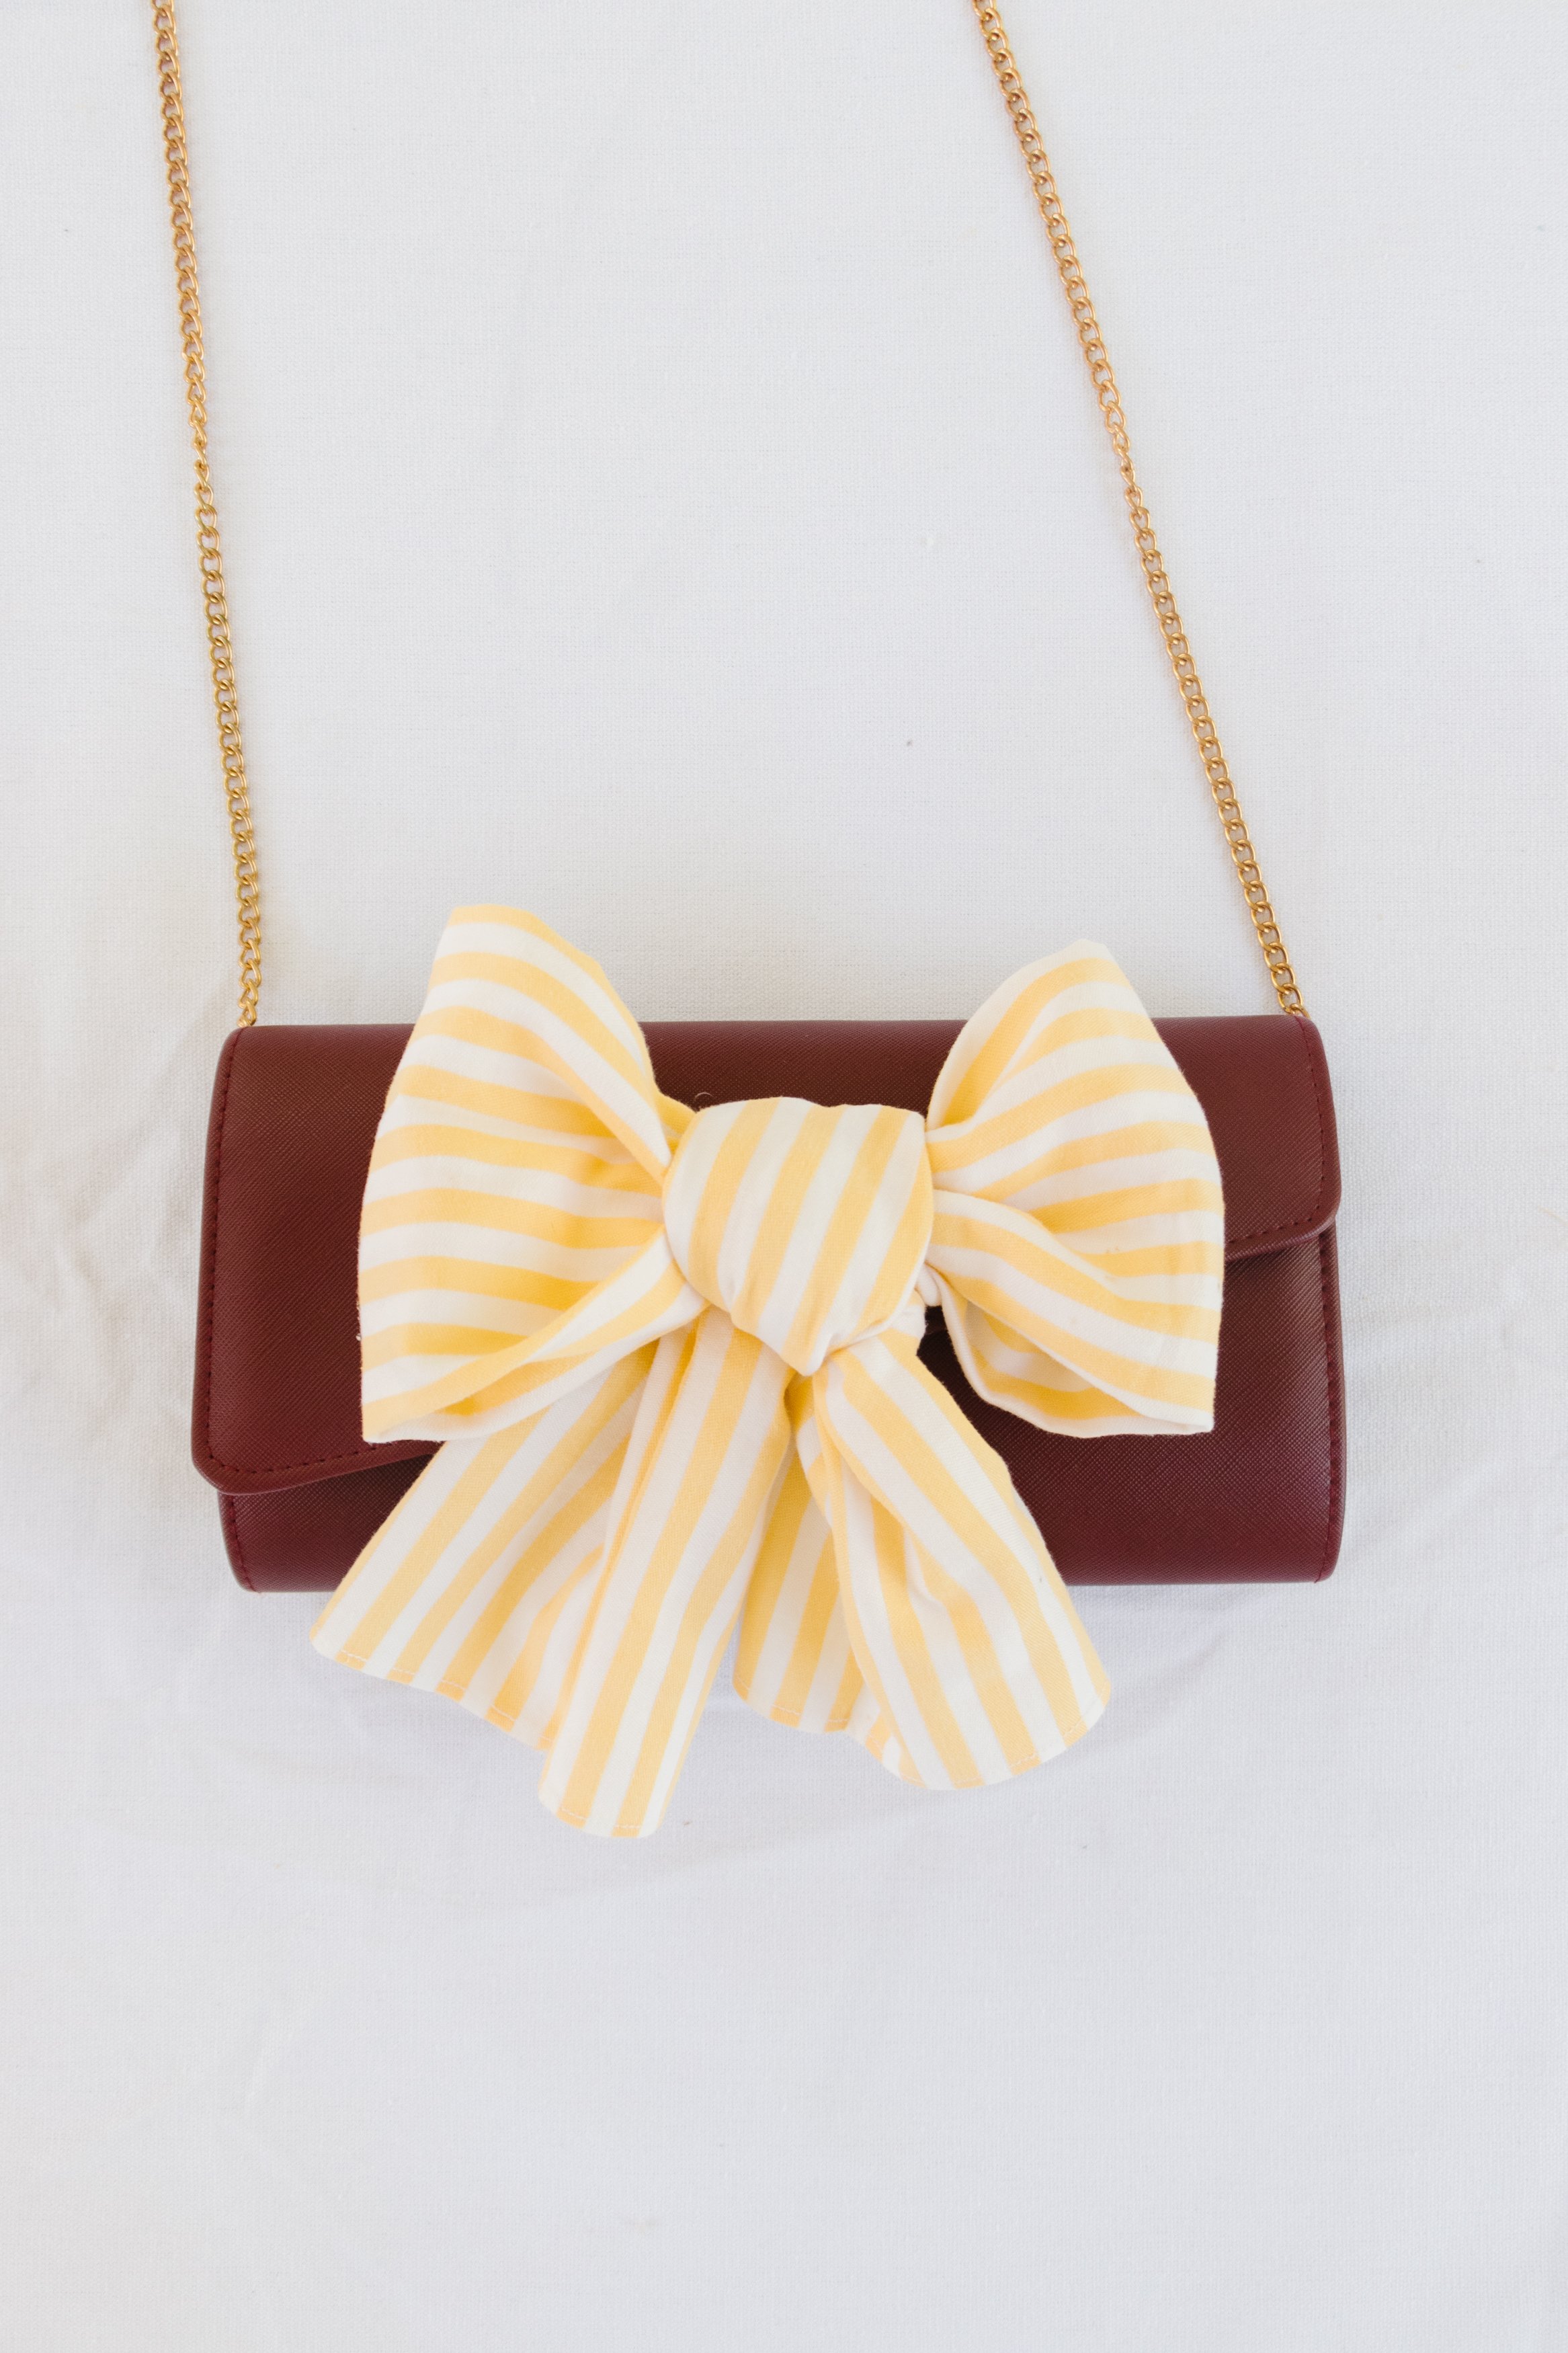
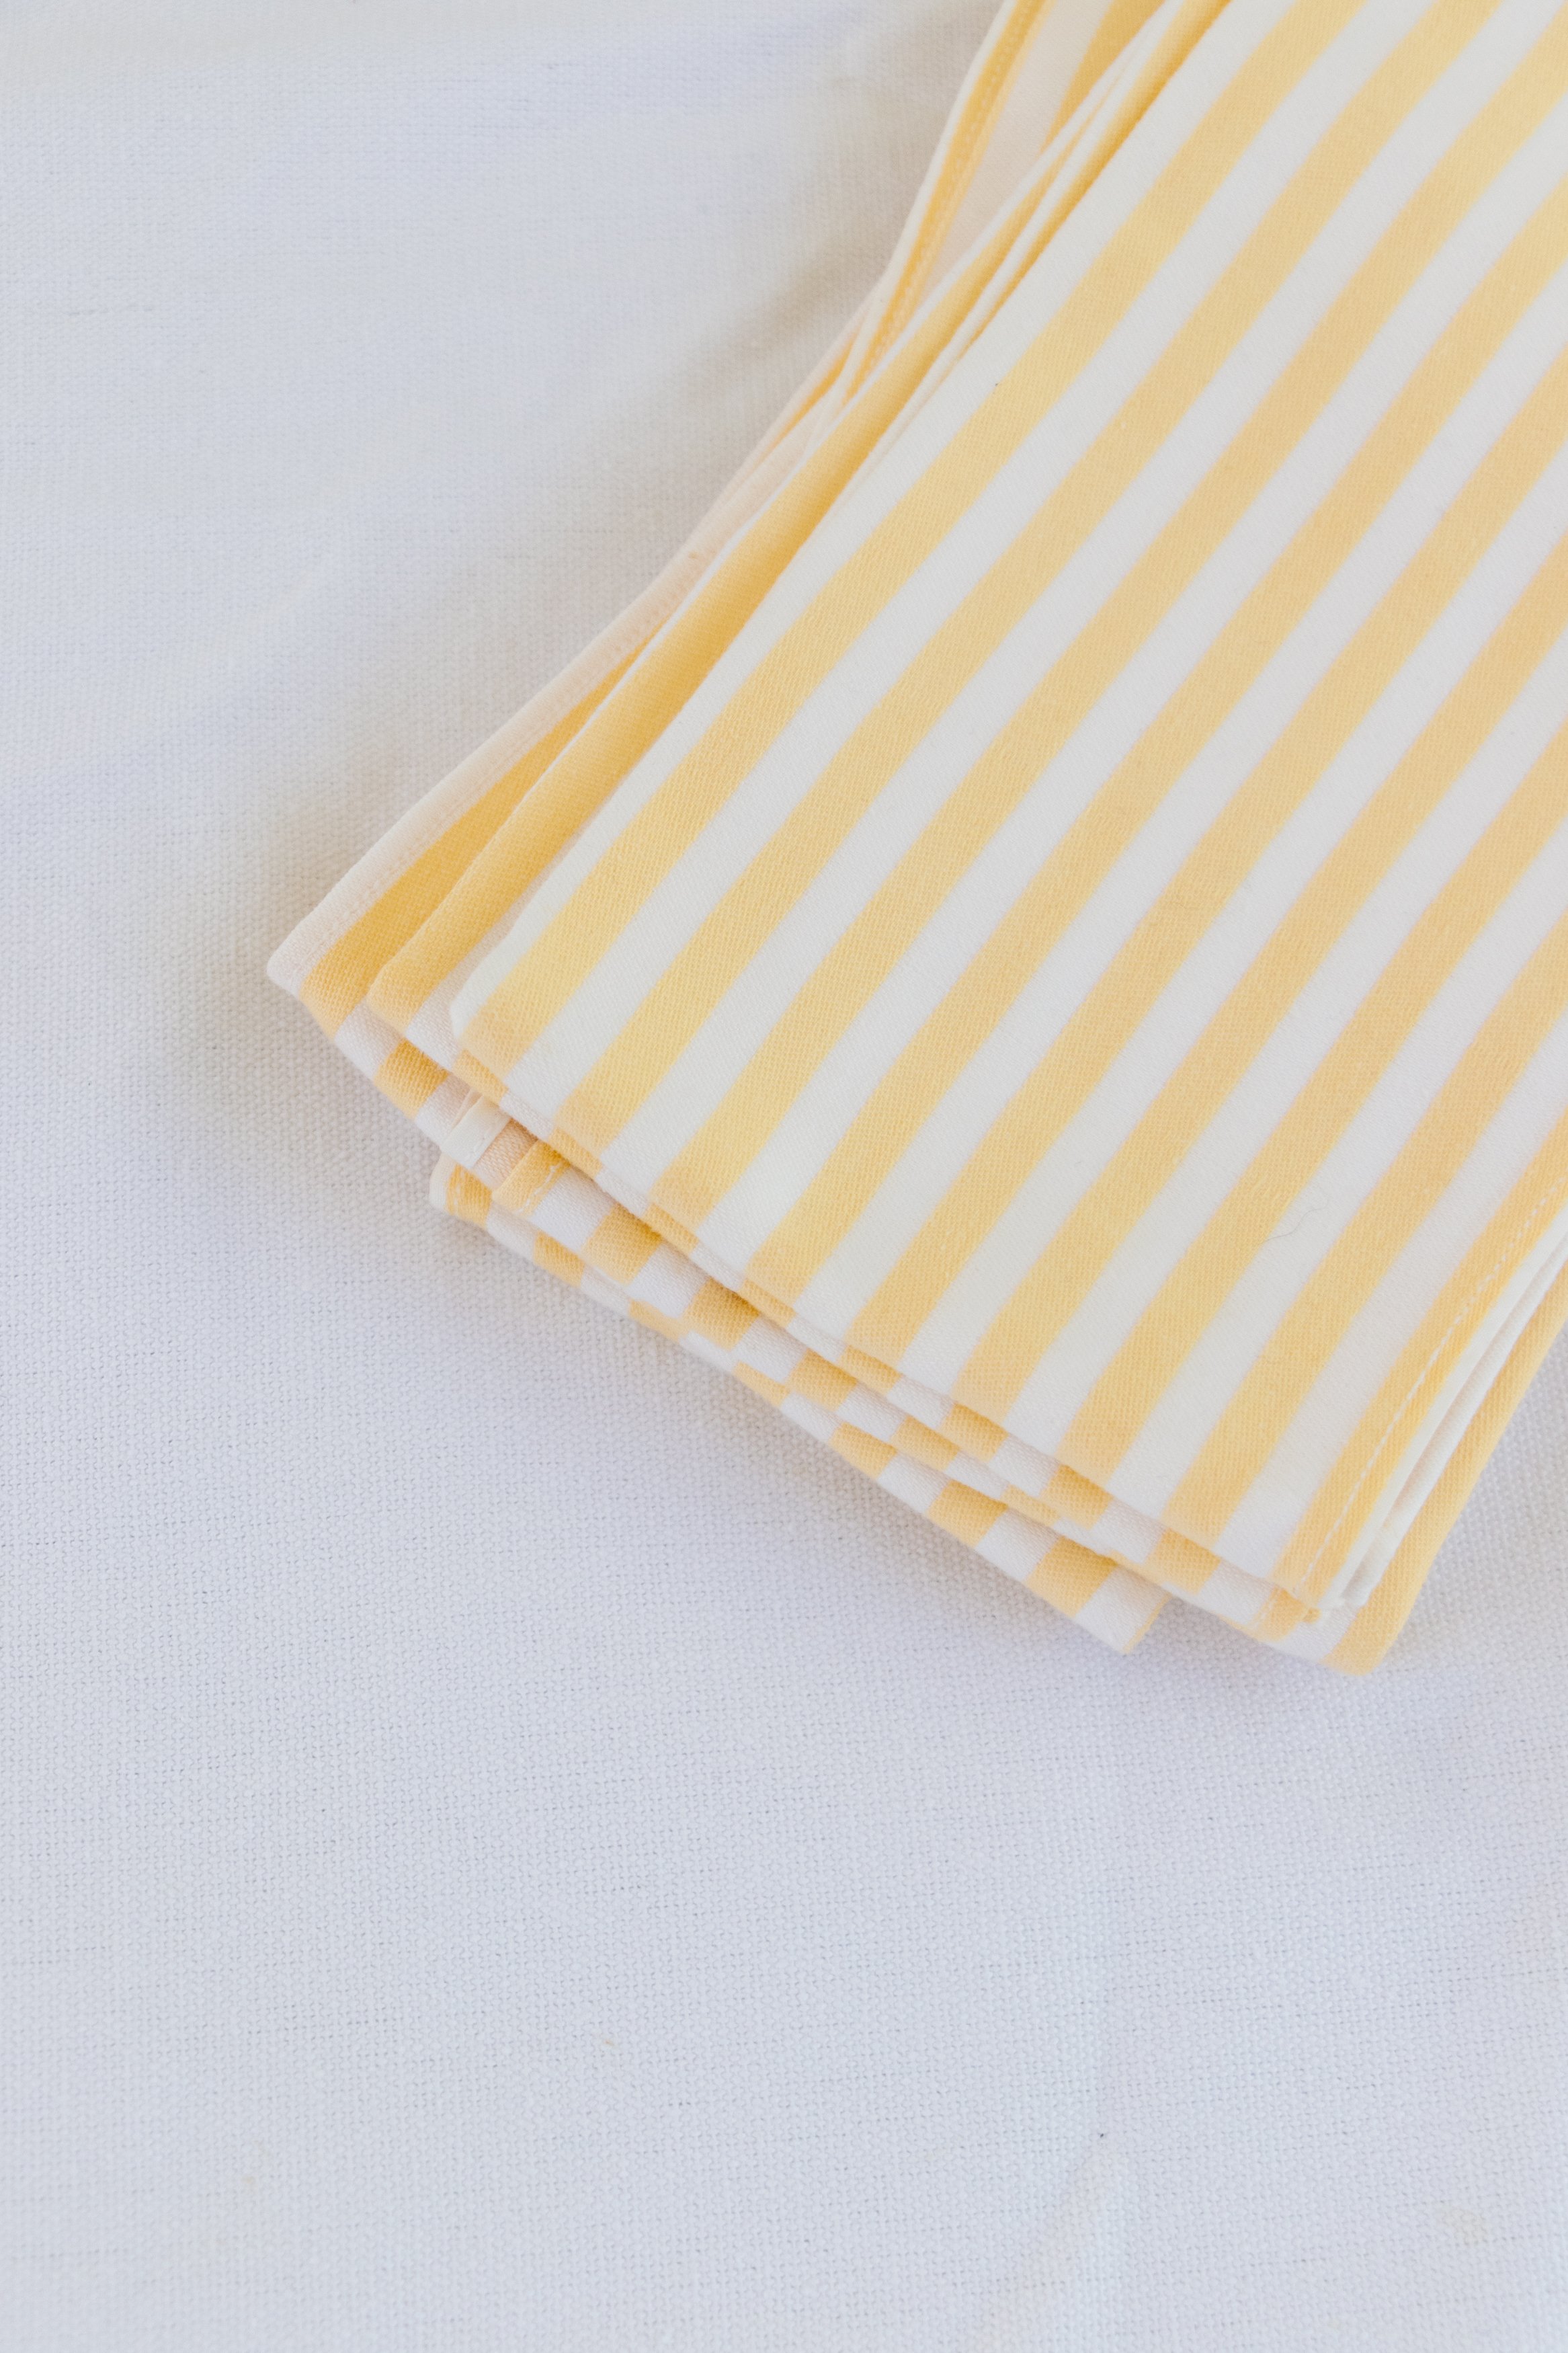
Whenever I go thrifting I always spend time looking at the fabric section - bed sheets, napkins, cushion covers, off cuts and dead stock. It’s never ceases to amaze me at what I can find and for such affordable prices. I recently stumbled (literally because I was in shock at what I saw) across a set of yellow and white striped napkins. I love stripes, a lot, and I rarely see striped fabric when I thrift so this was a big score. The thrifting gods must have been shining down on me. Anyway, I grabbed them right away and when I also happened to find a beautiful burgundy handbag I began to wonder, could I make a fabric bows (similar to these Upcycled Fabric Bows but smaller) with the napkins and somehow attach it to the bag? Well, off I went.
To see how this came together watch my “3 Ways To Style Bows” video

Project Details
✂️ Making: Upcycled Bow Handbag
🕒 Project Time Estimate: 30 minutes
💰 Materials Cost: $5
Materials
1 x Cotton napkin
Handbag
Tools
Scissors
Sewing machine
Thread
Hot glue gun and glue sticks
How To
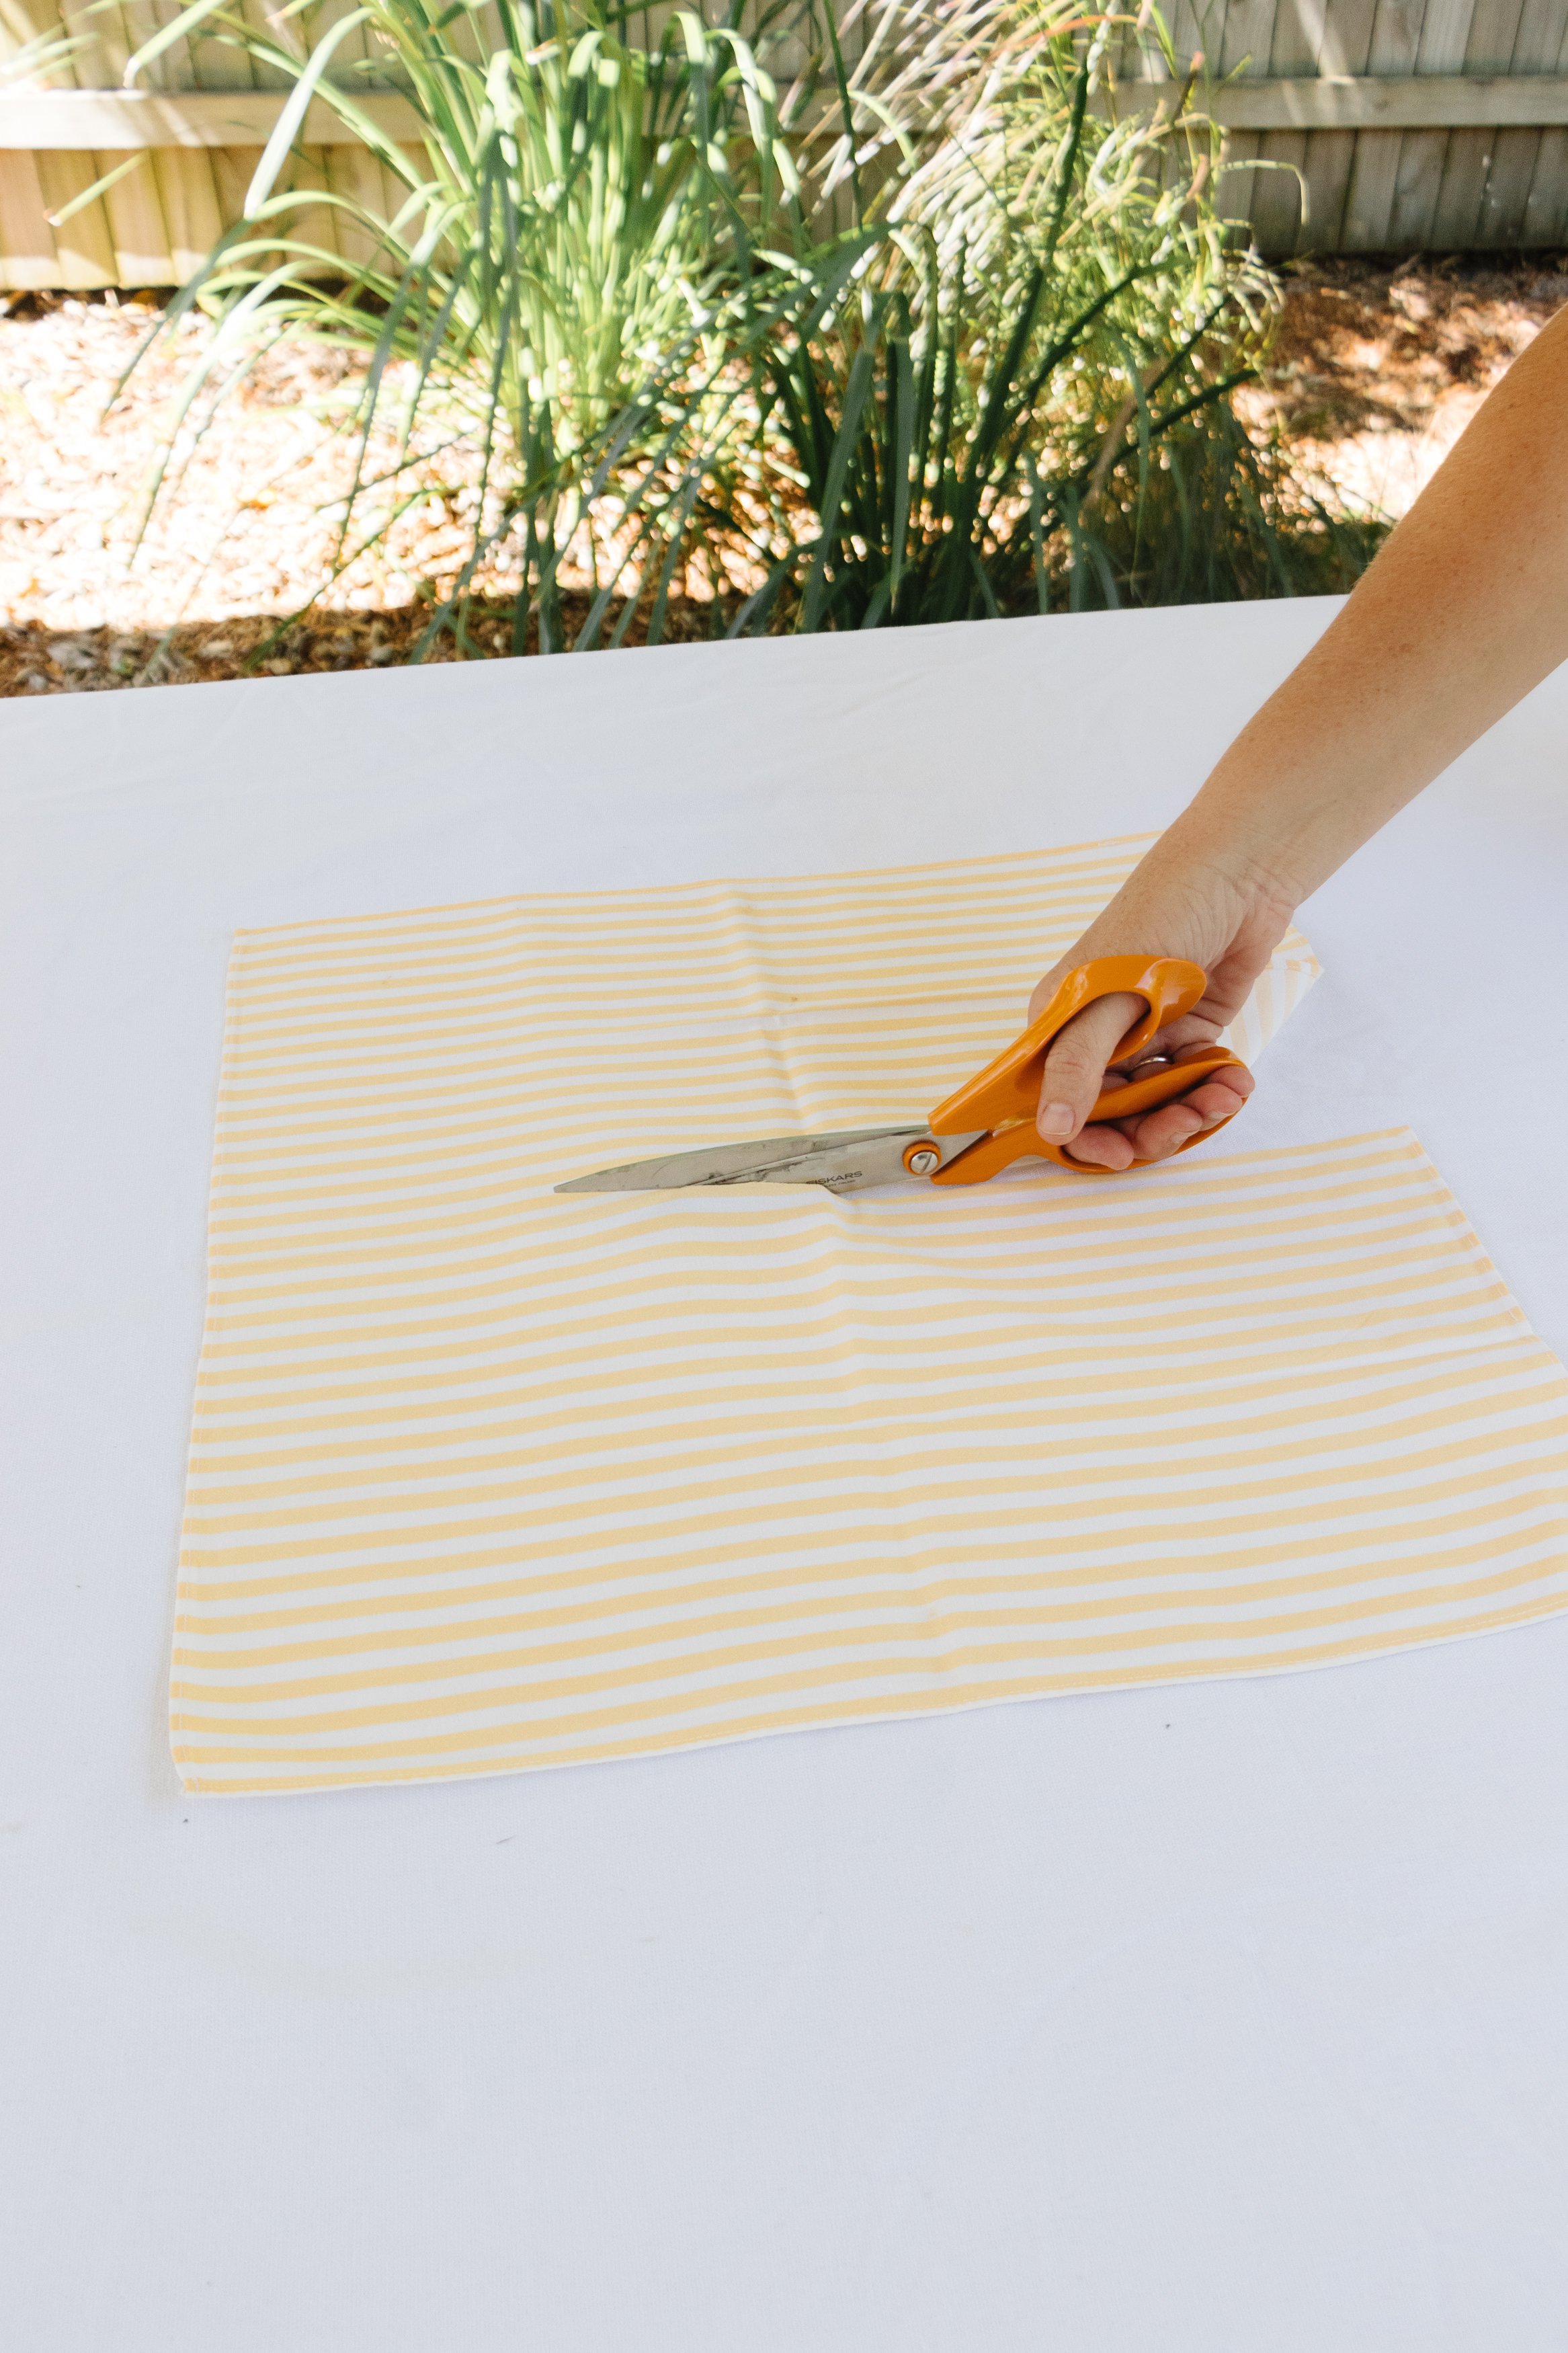
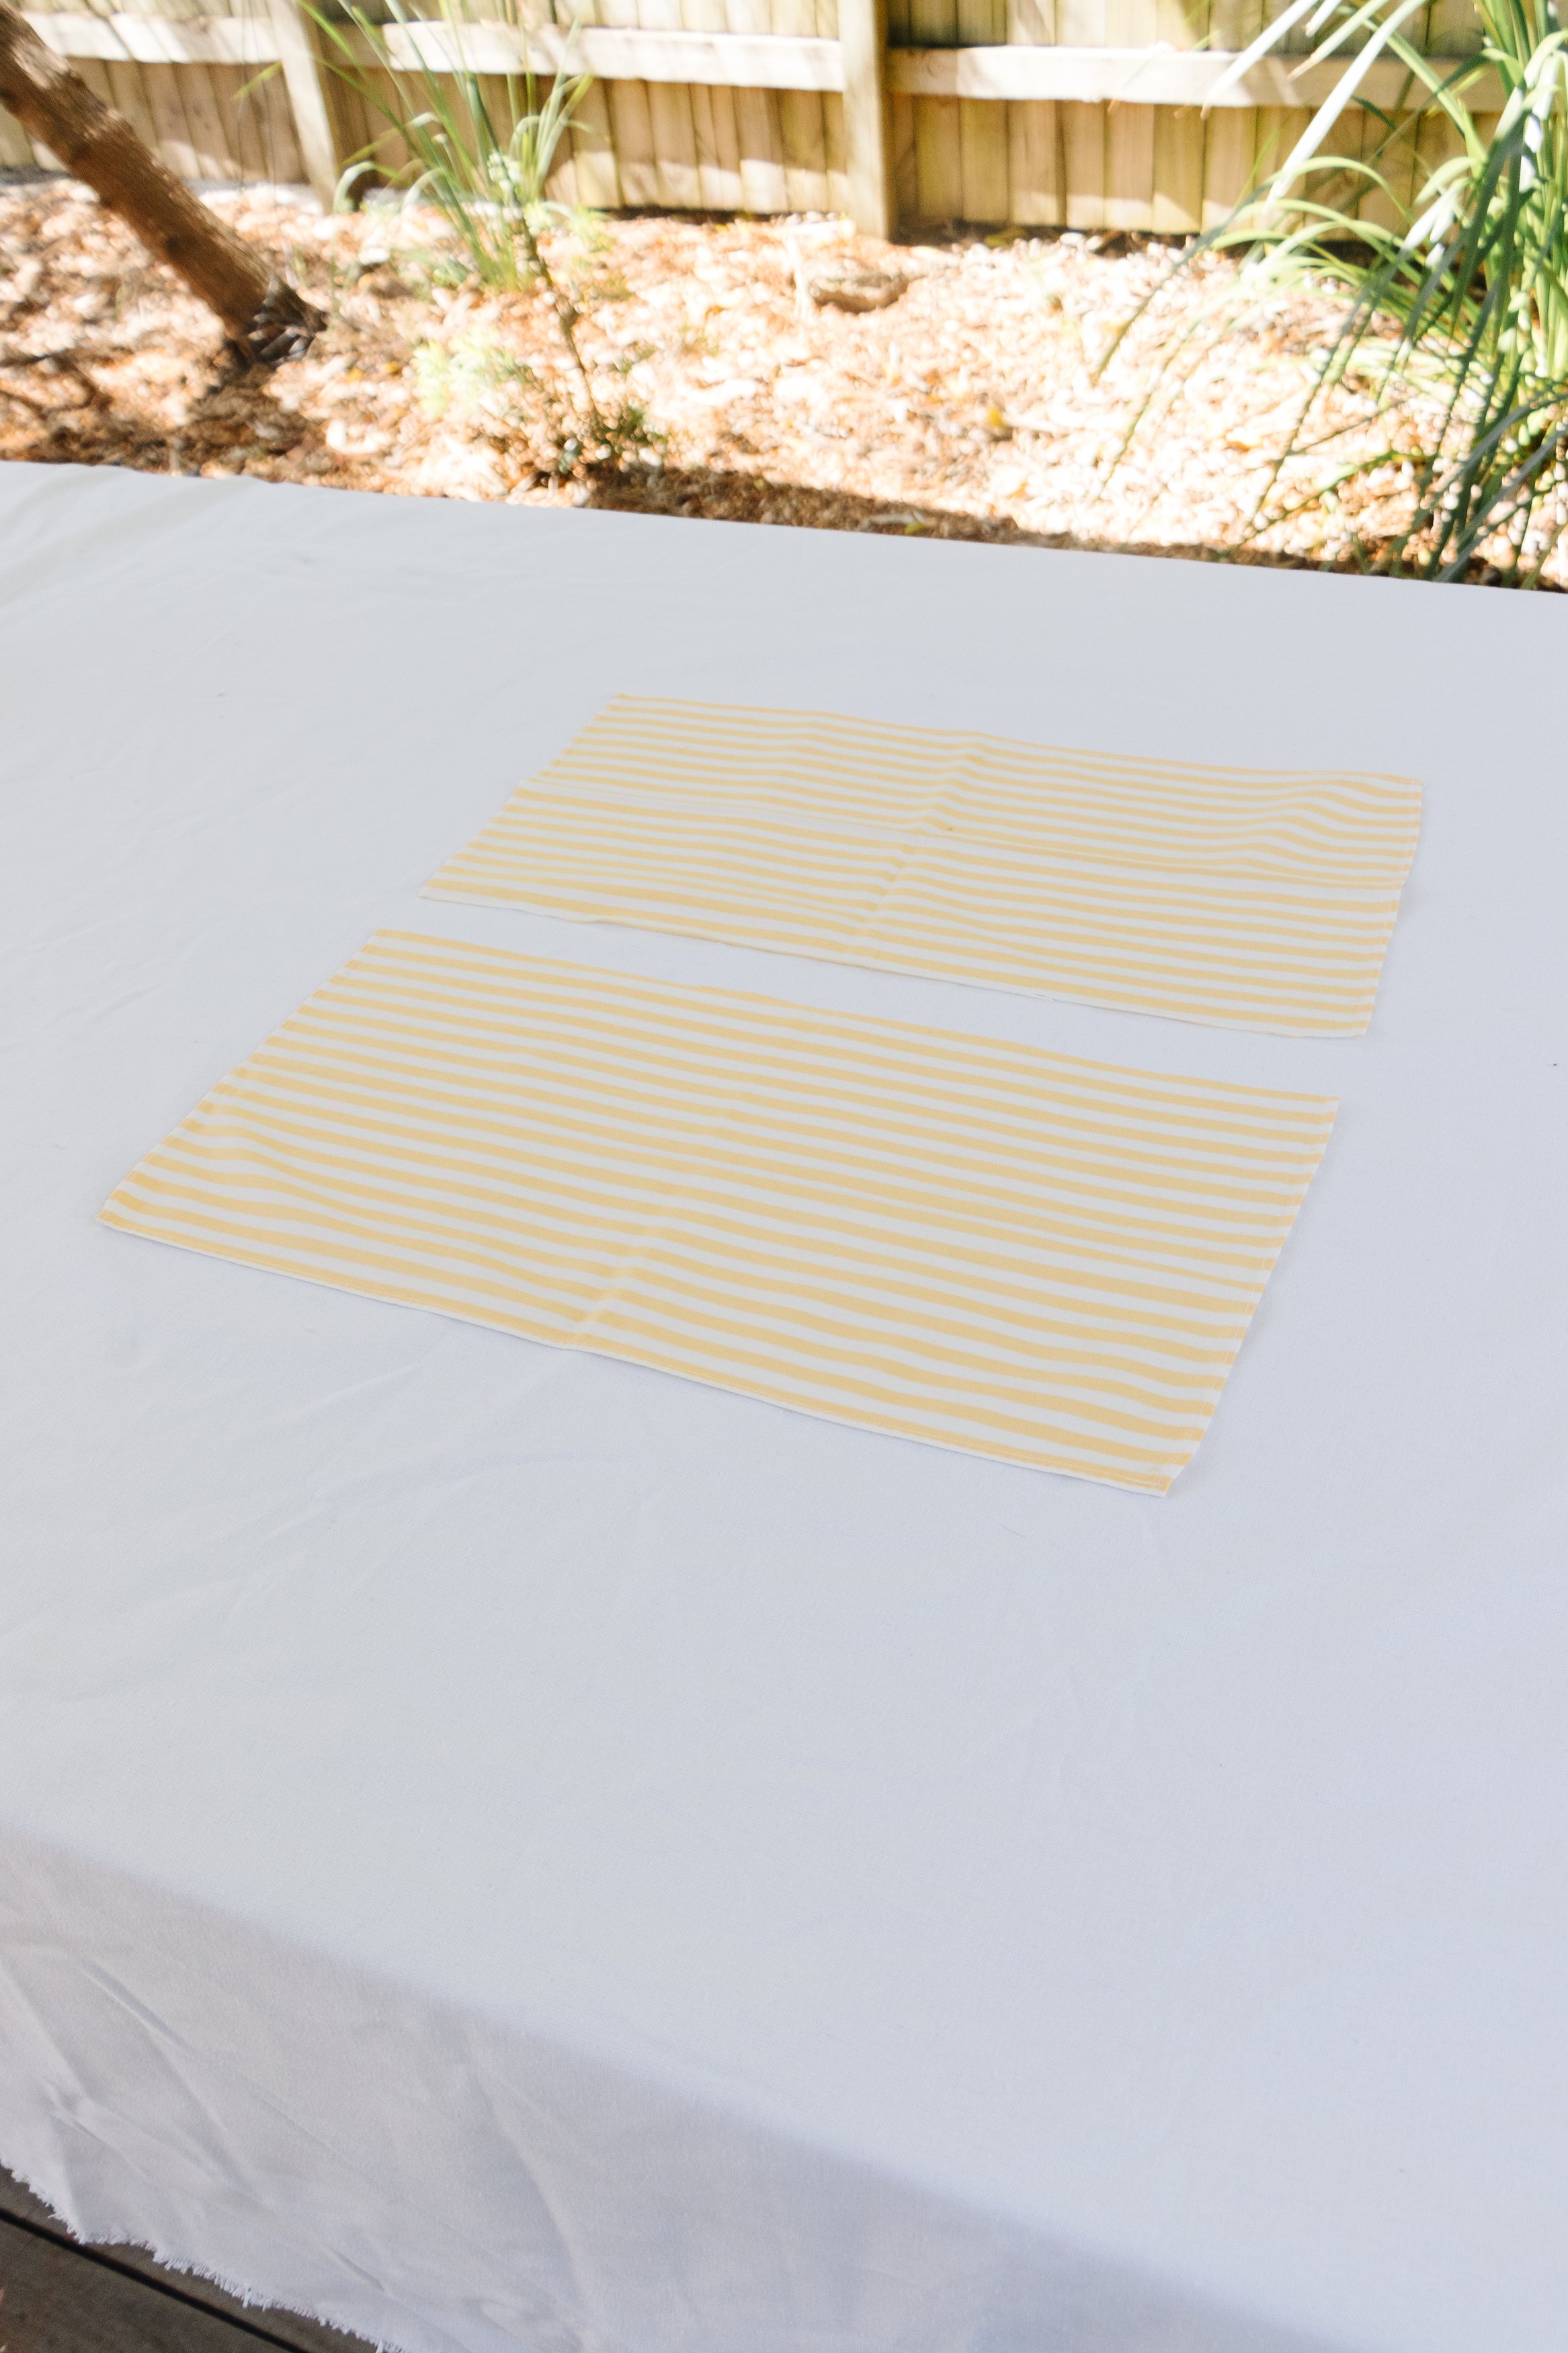
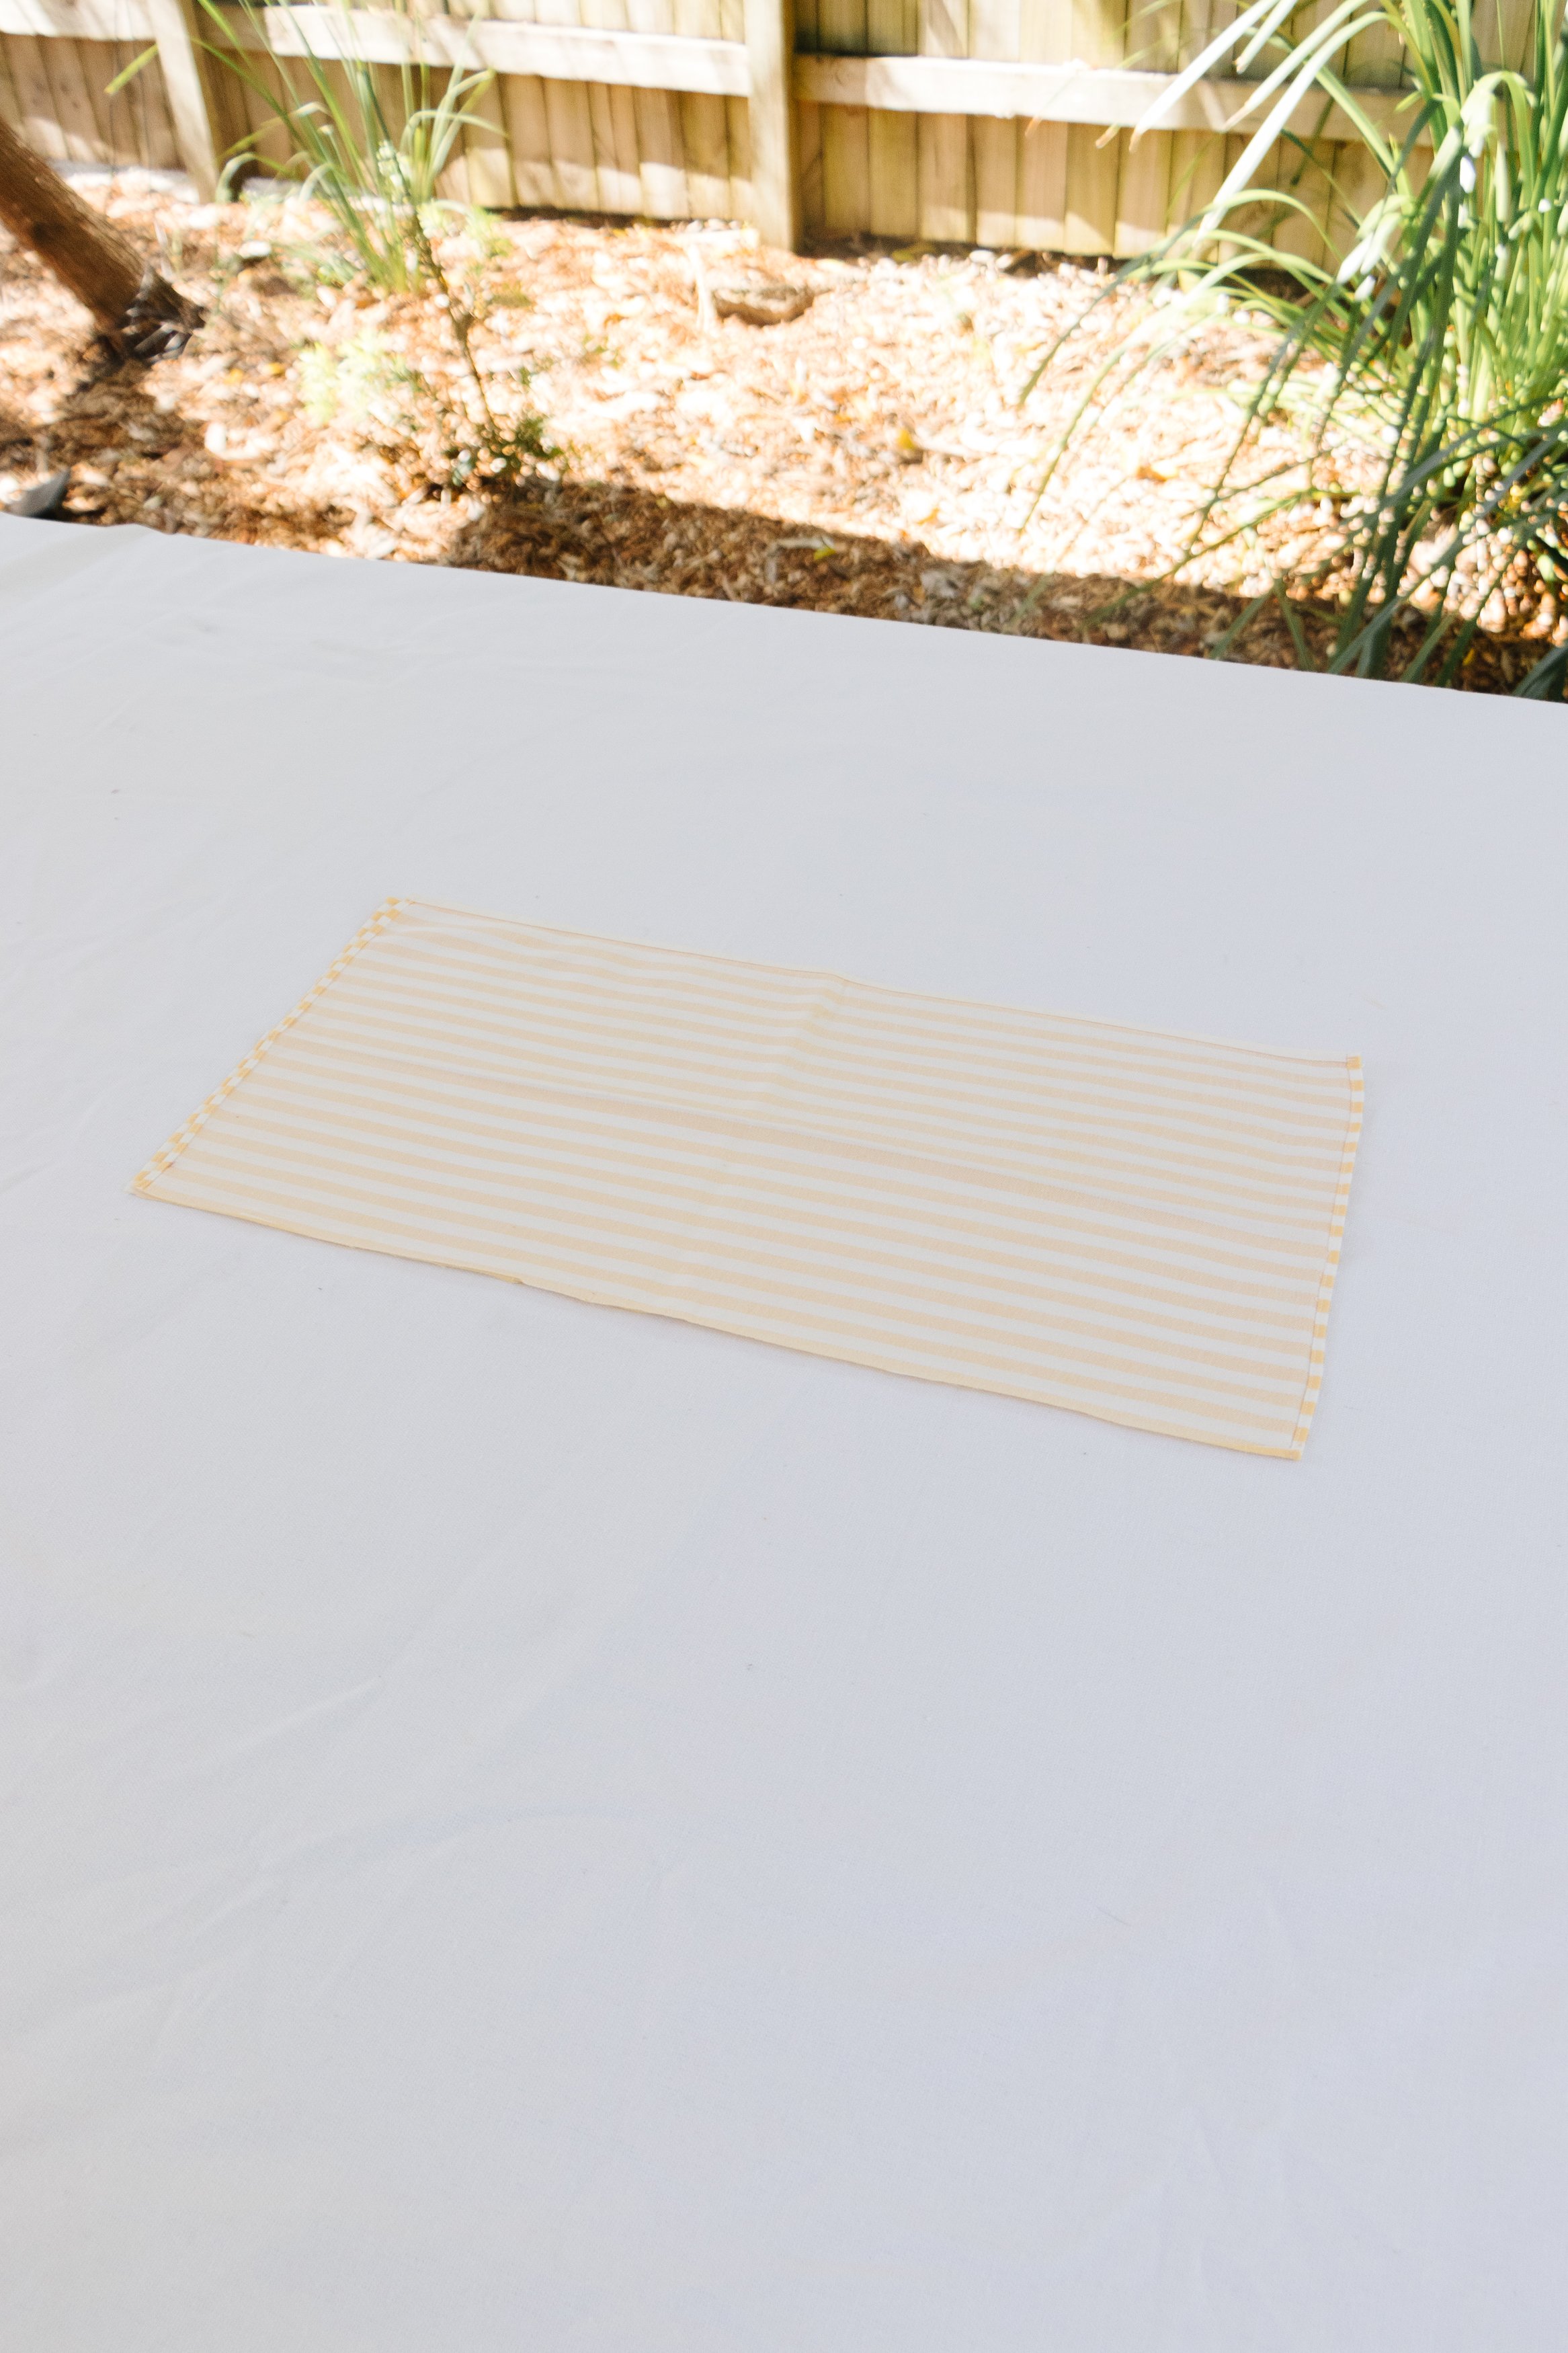
Step 1: To begin with, cut one napkin in half directly down the middle to make two pieces. To join the two pieces together, place one piece on top of the other (underside facing up on both sides) and sewed a seam along the shorter side to create on long piece.
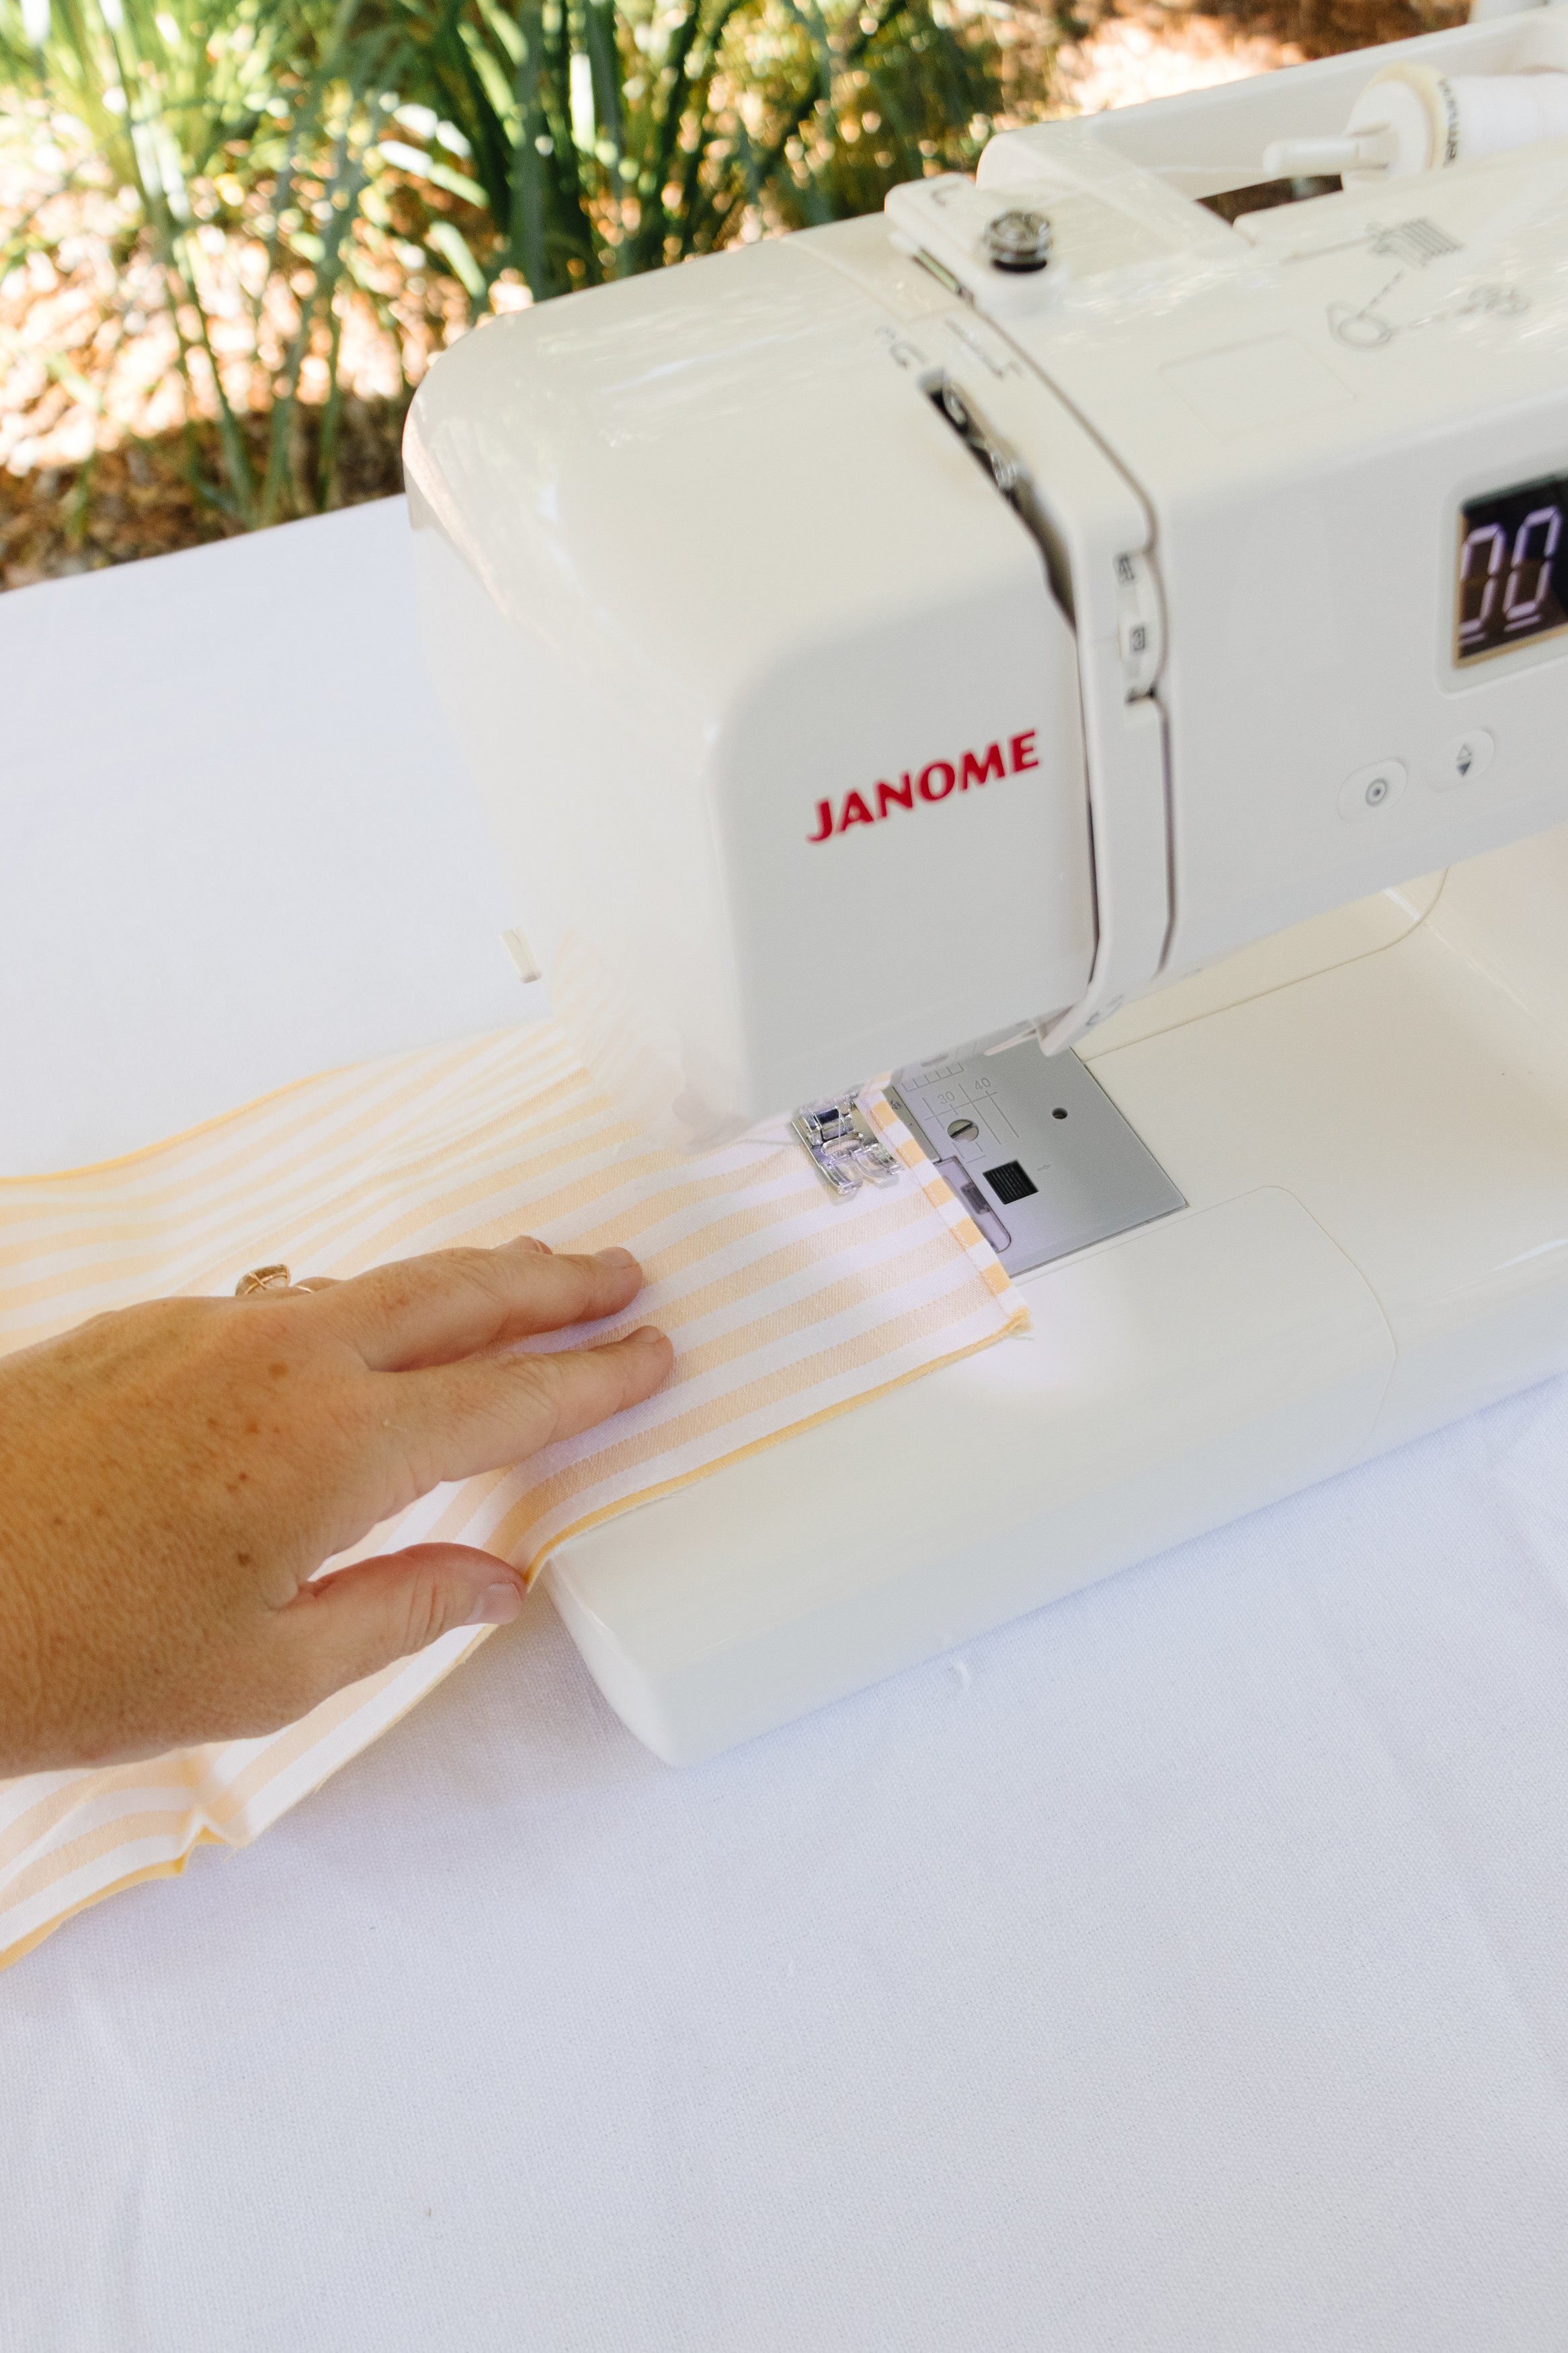
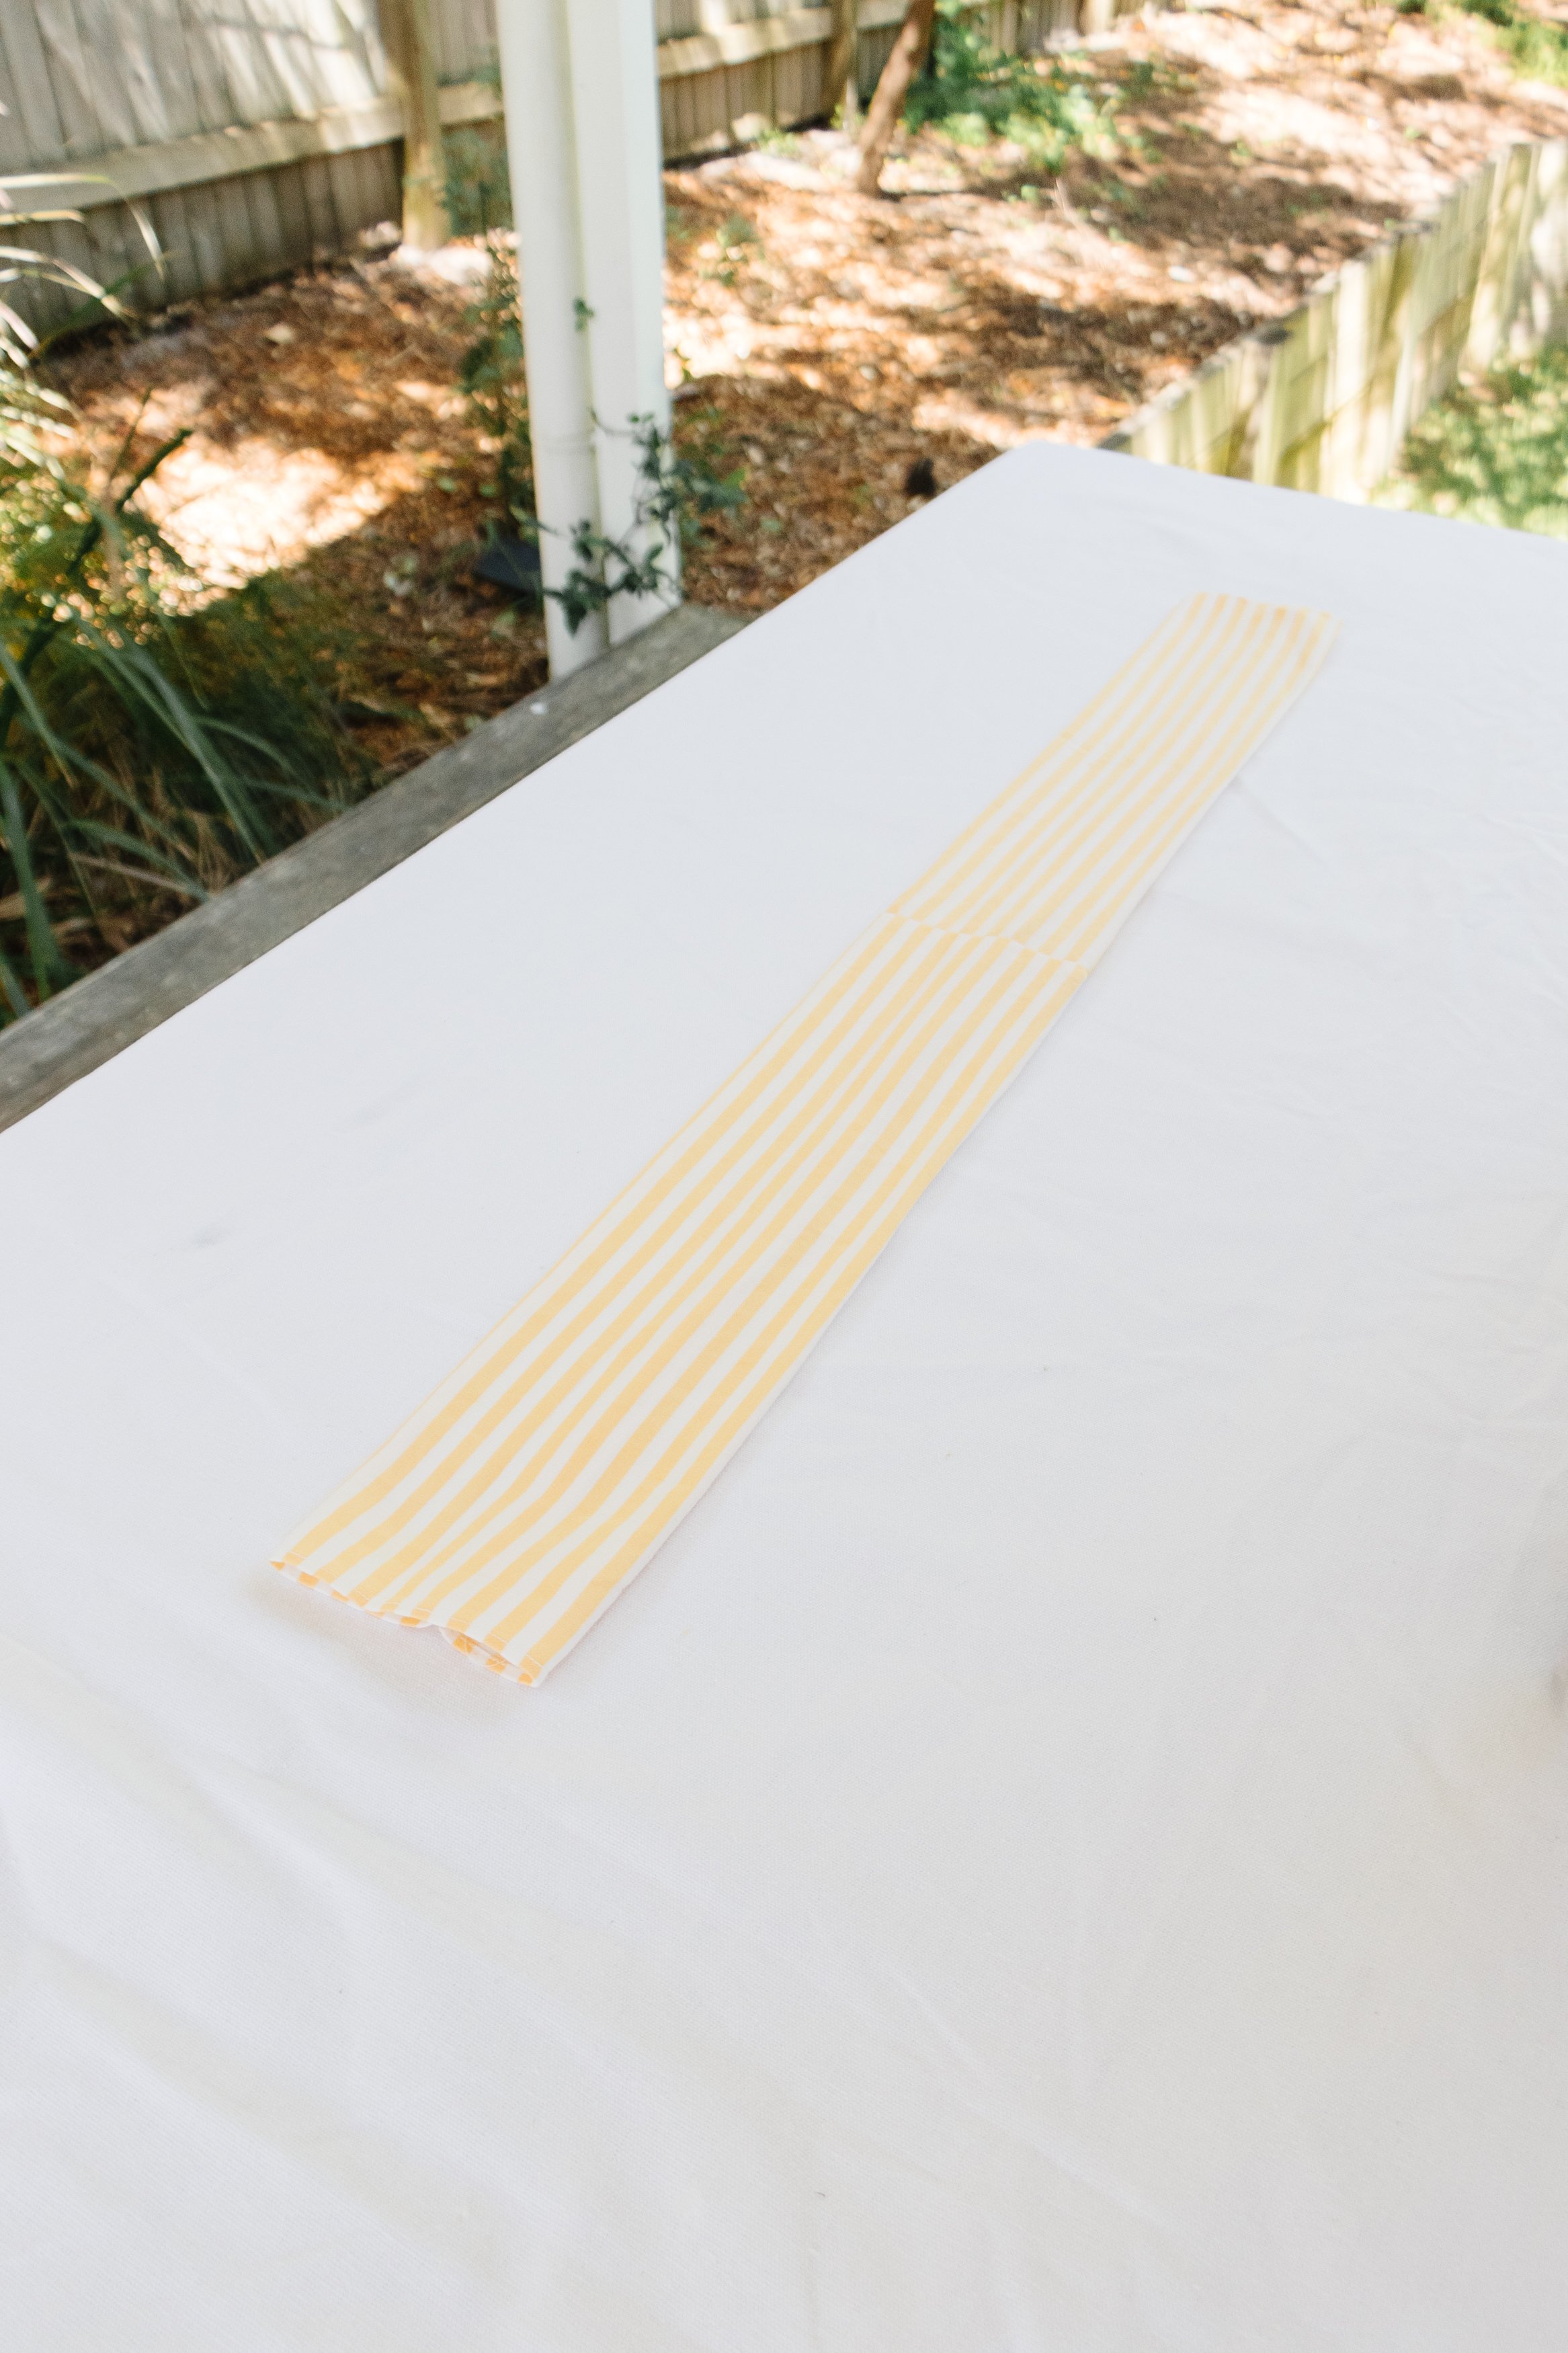
Step 2: Following this fold the long piece over (underside facing up) then sew a seam down the long side (do not sew the opened ends shut).
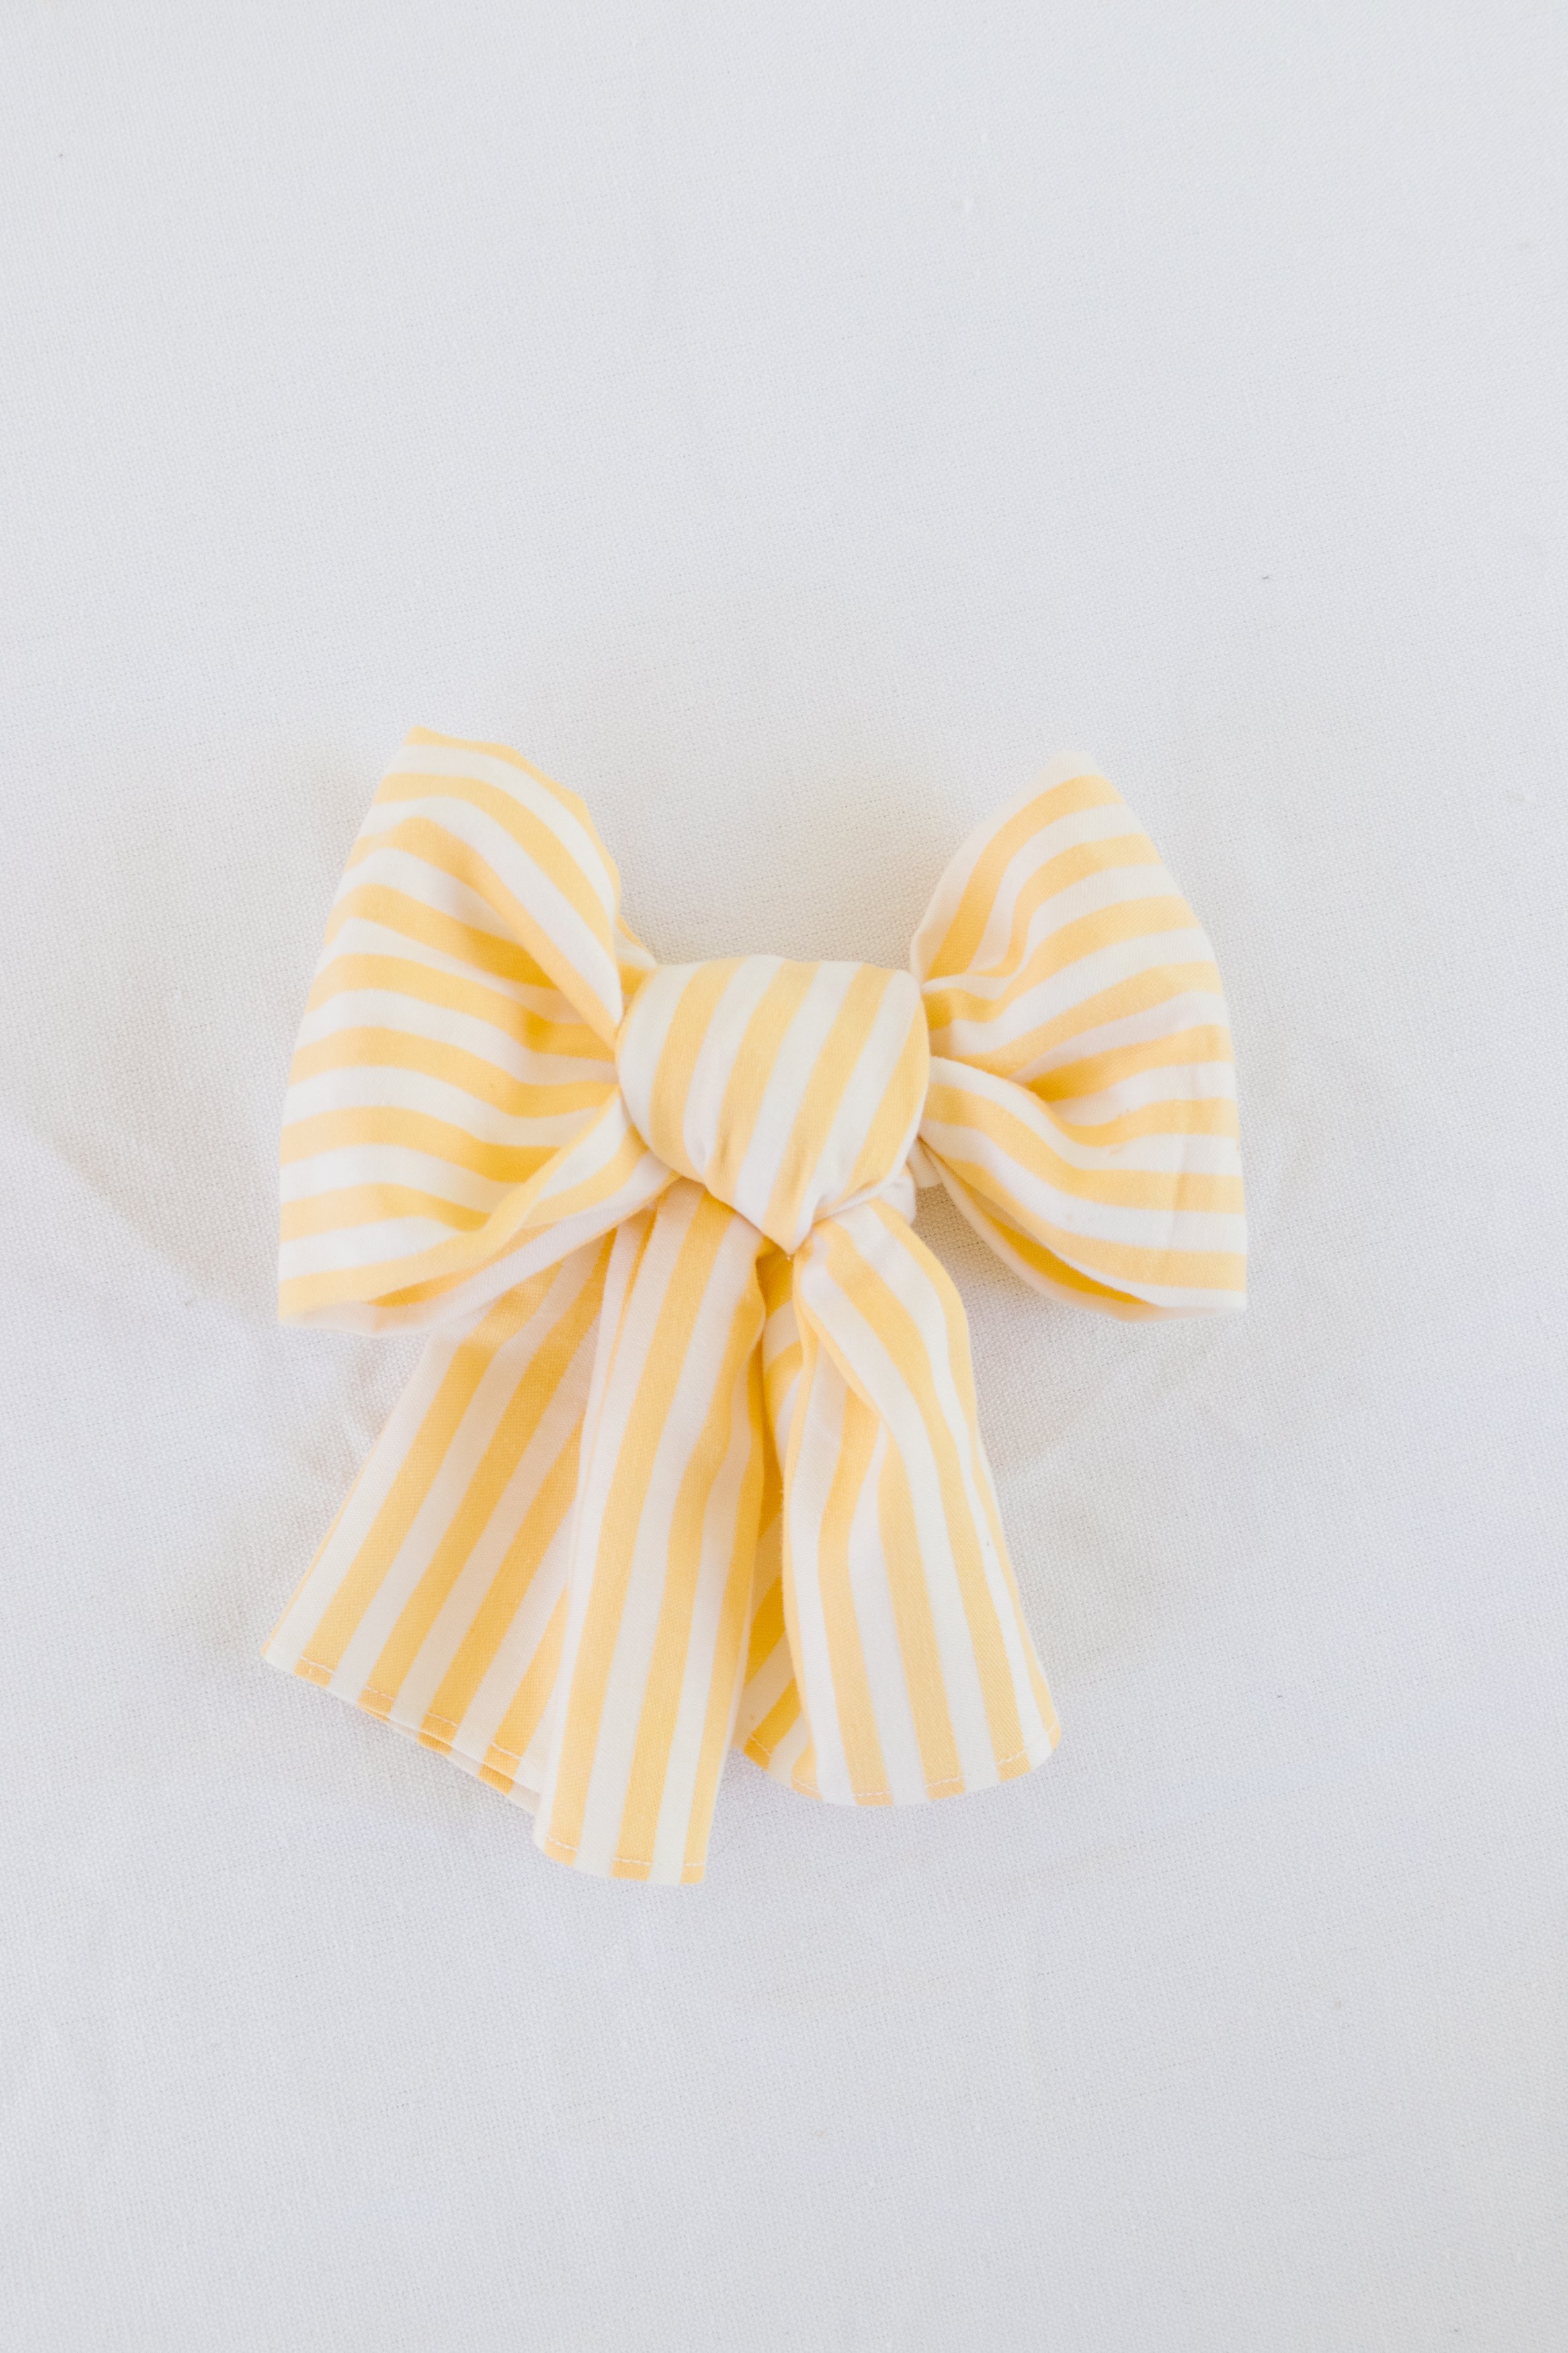
Step 3: Turn the fabric inside out. Tie the fabric into a bow and adjust until it’s just right.
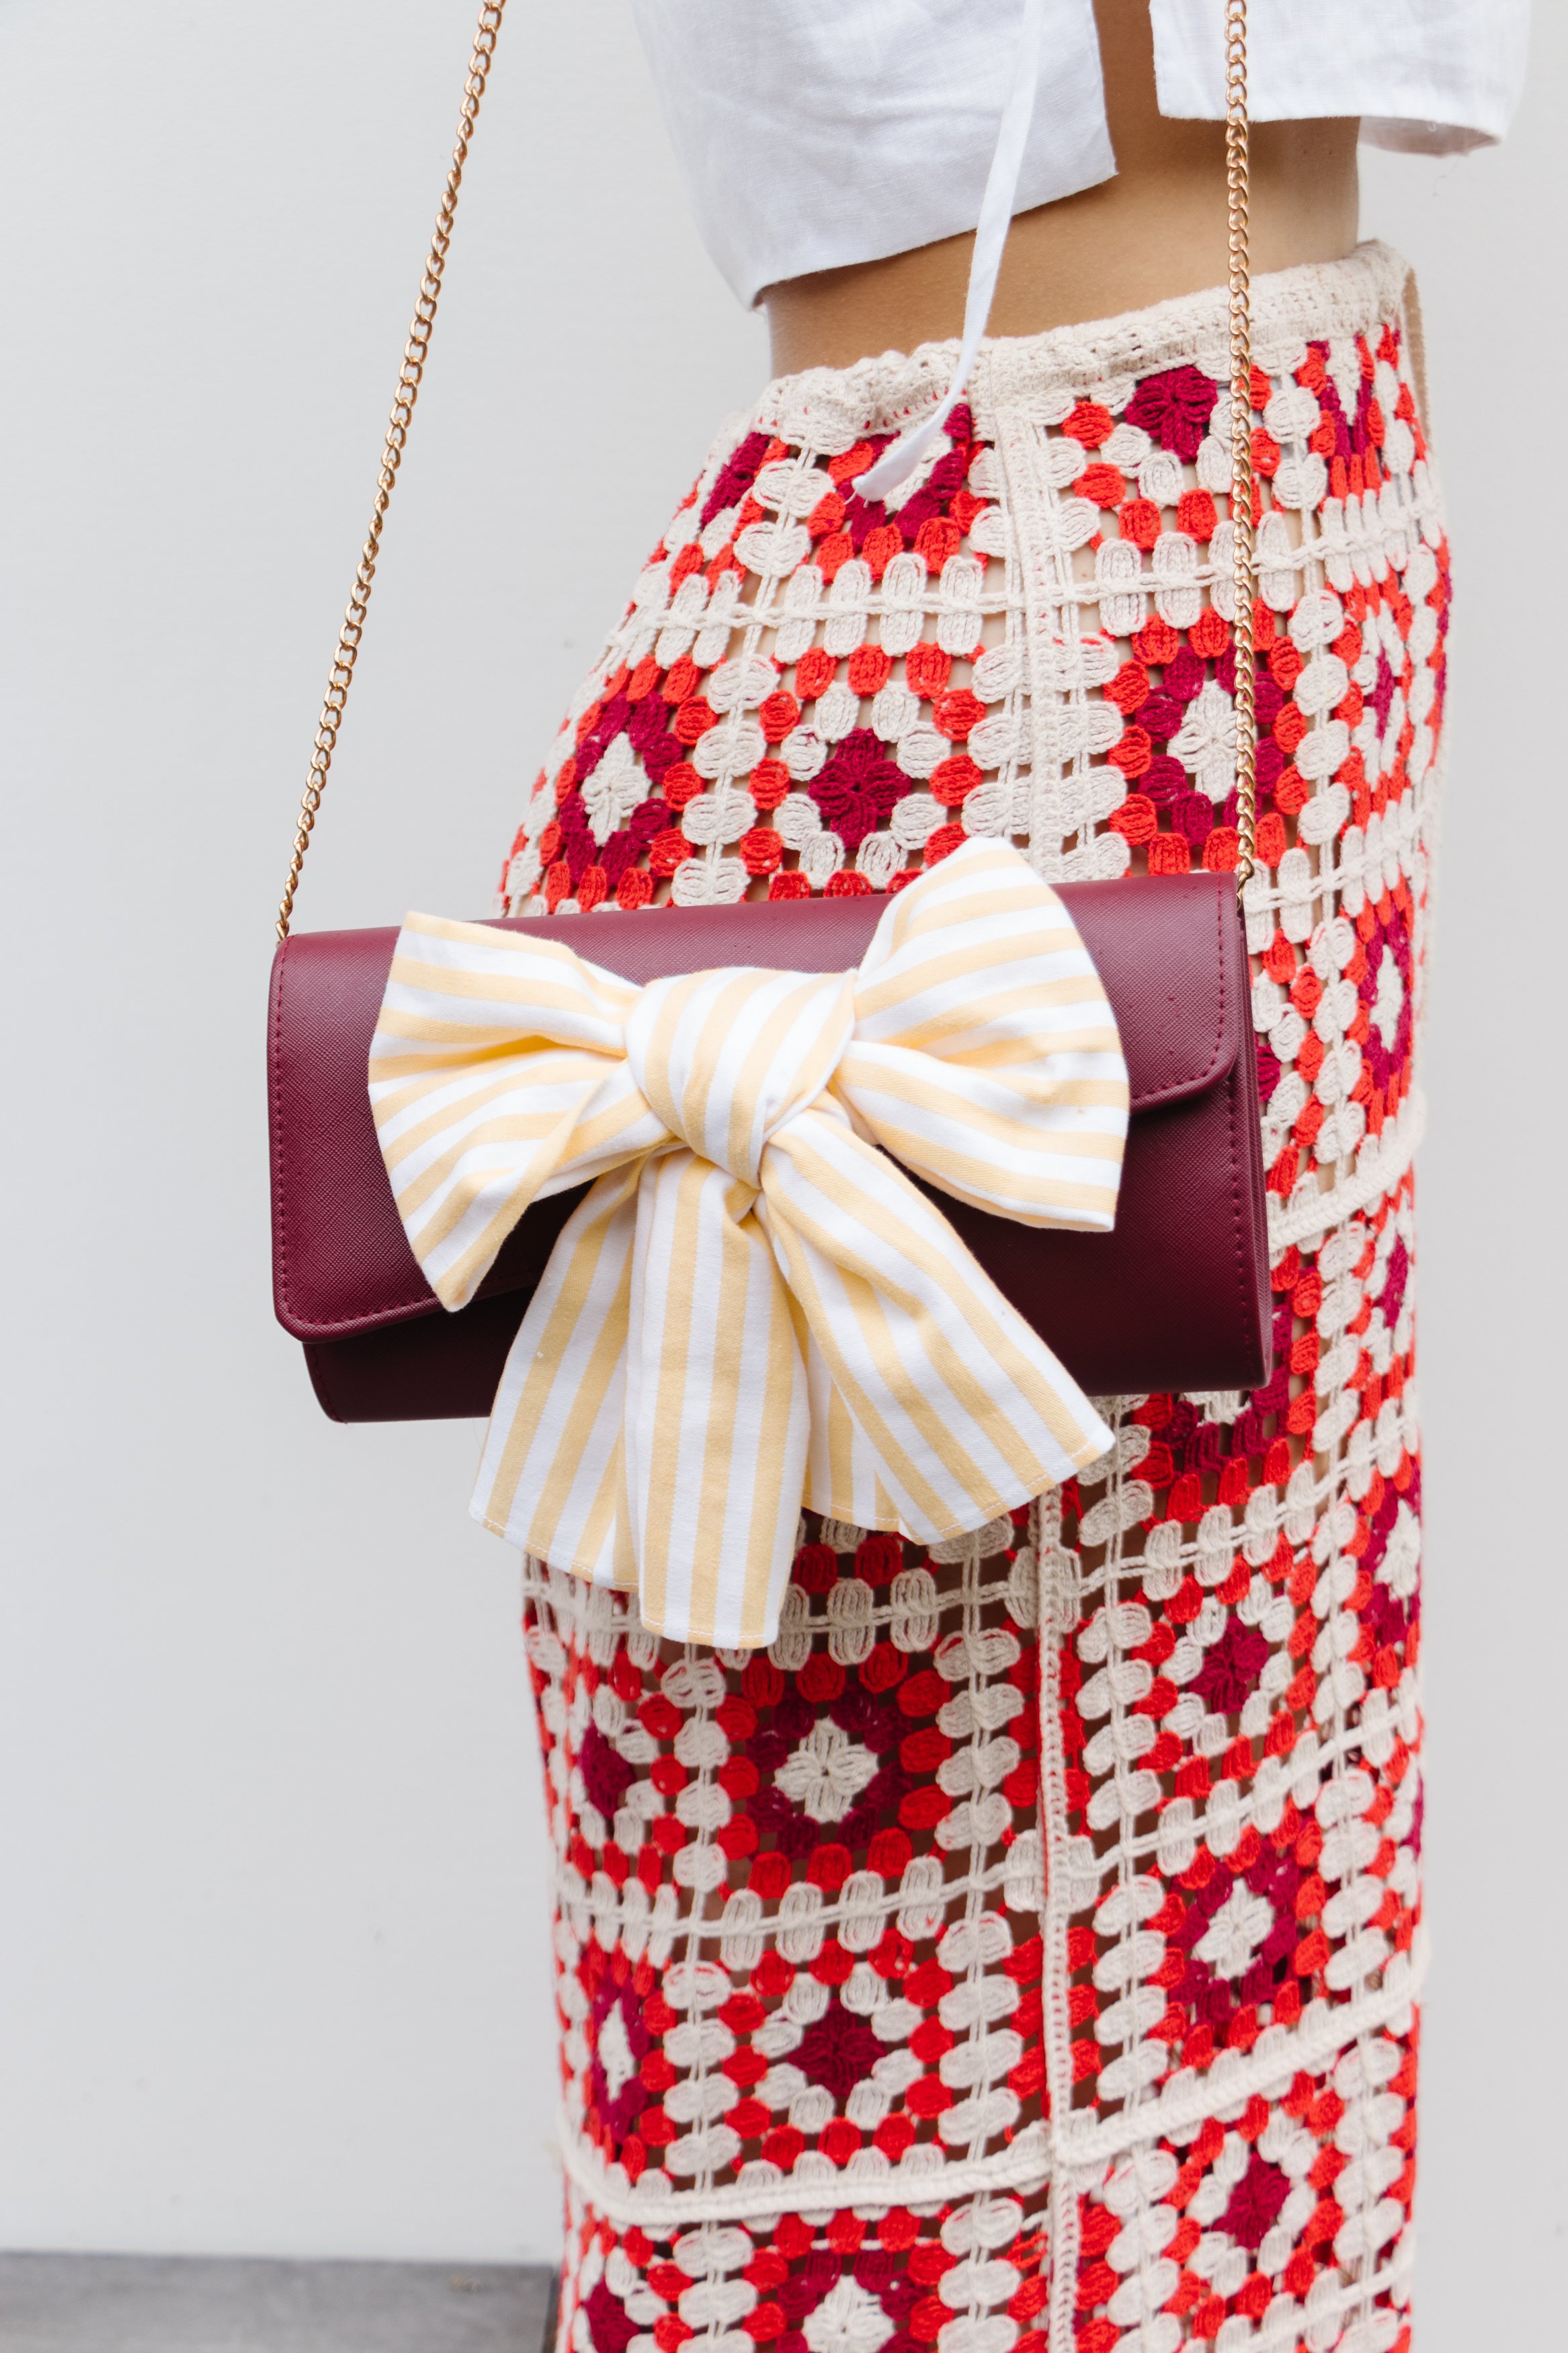
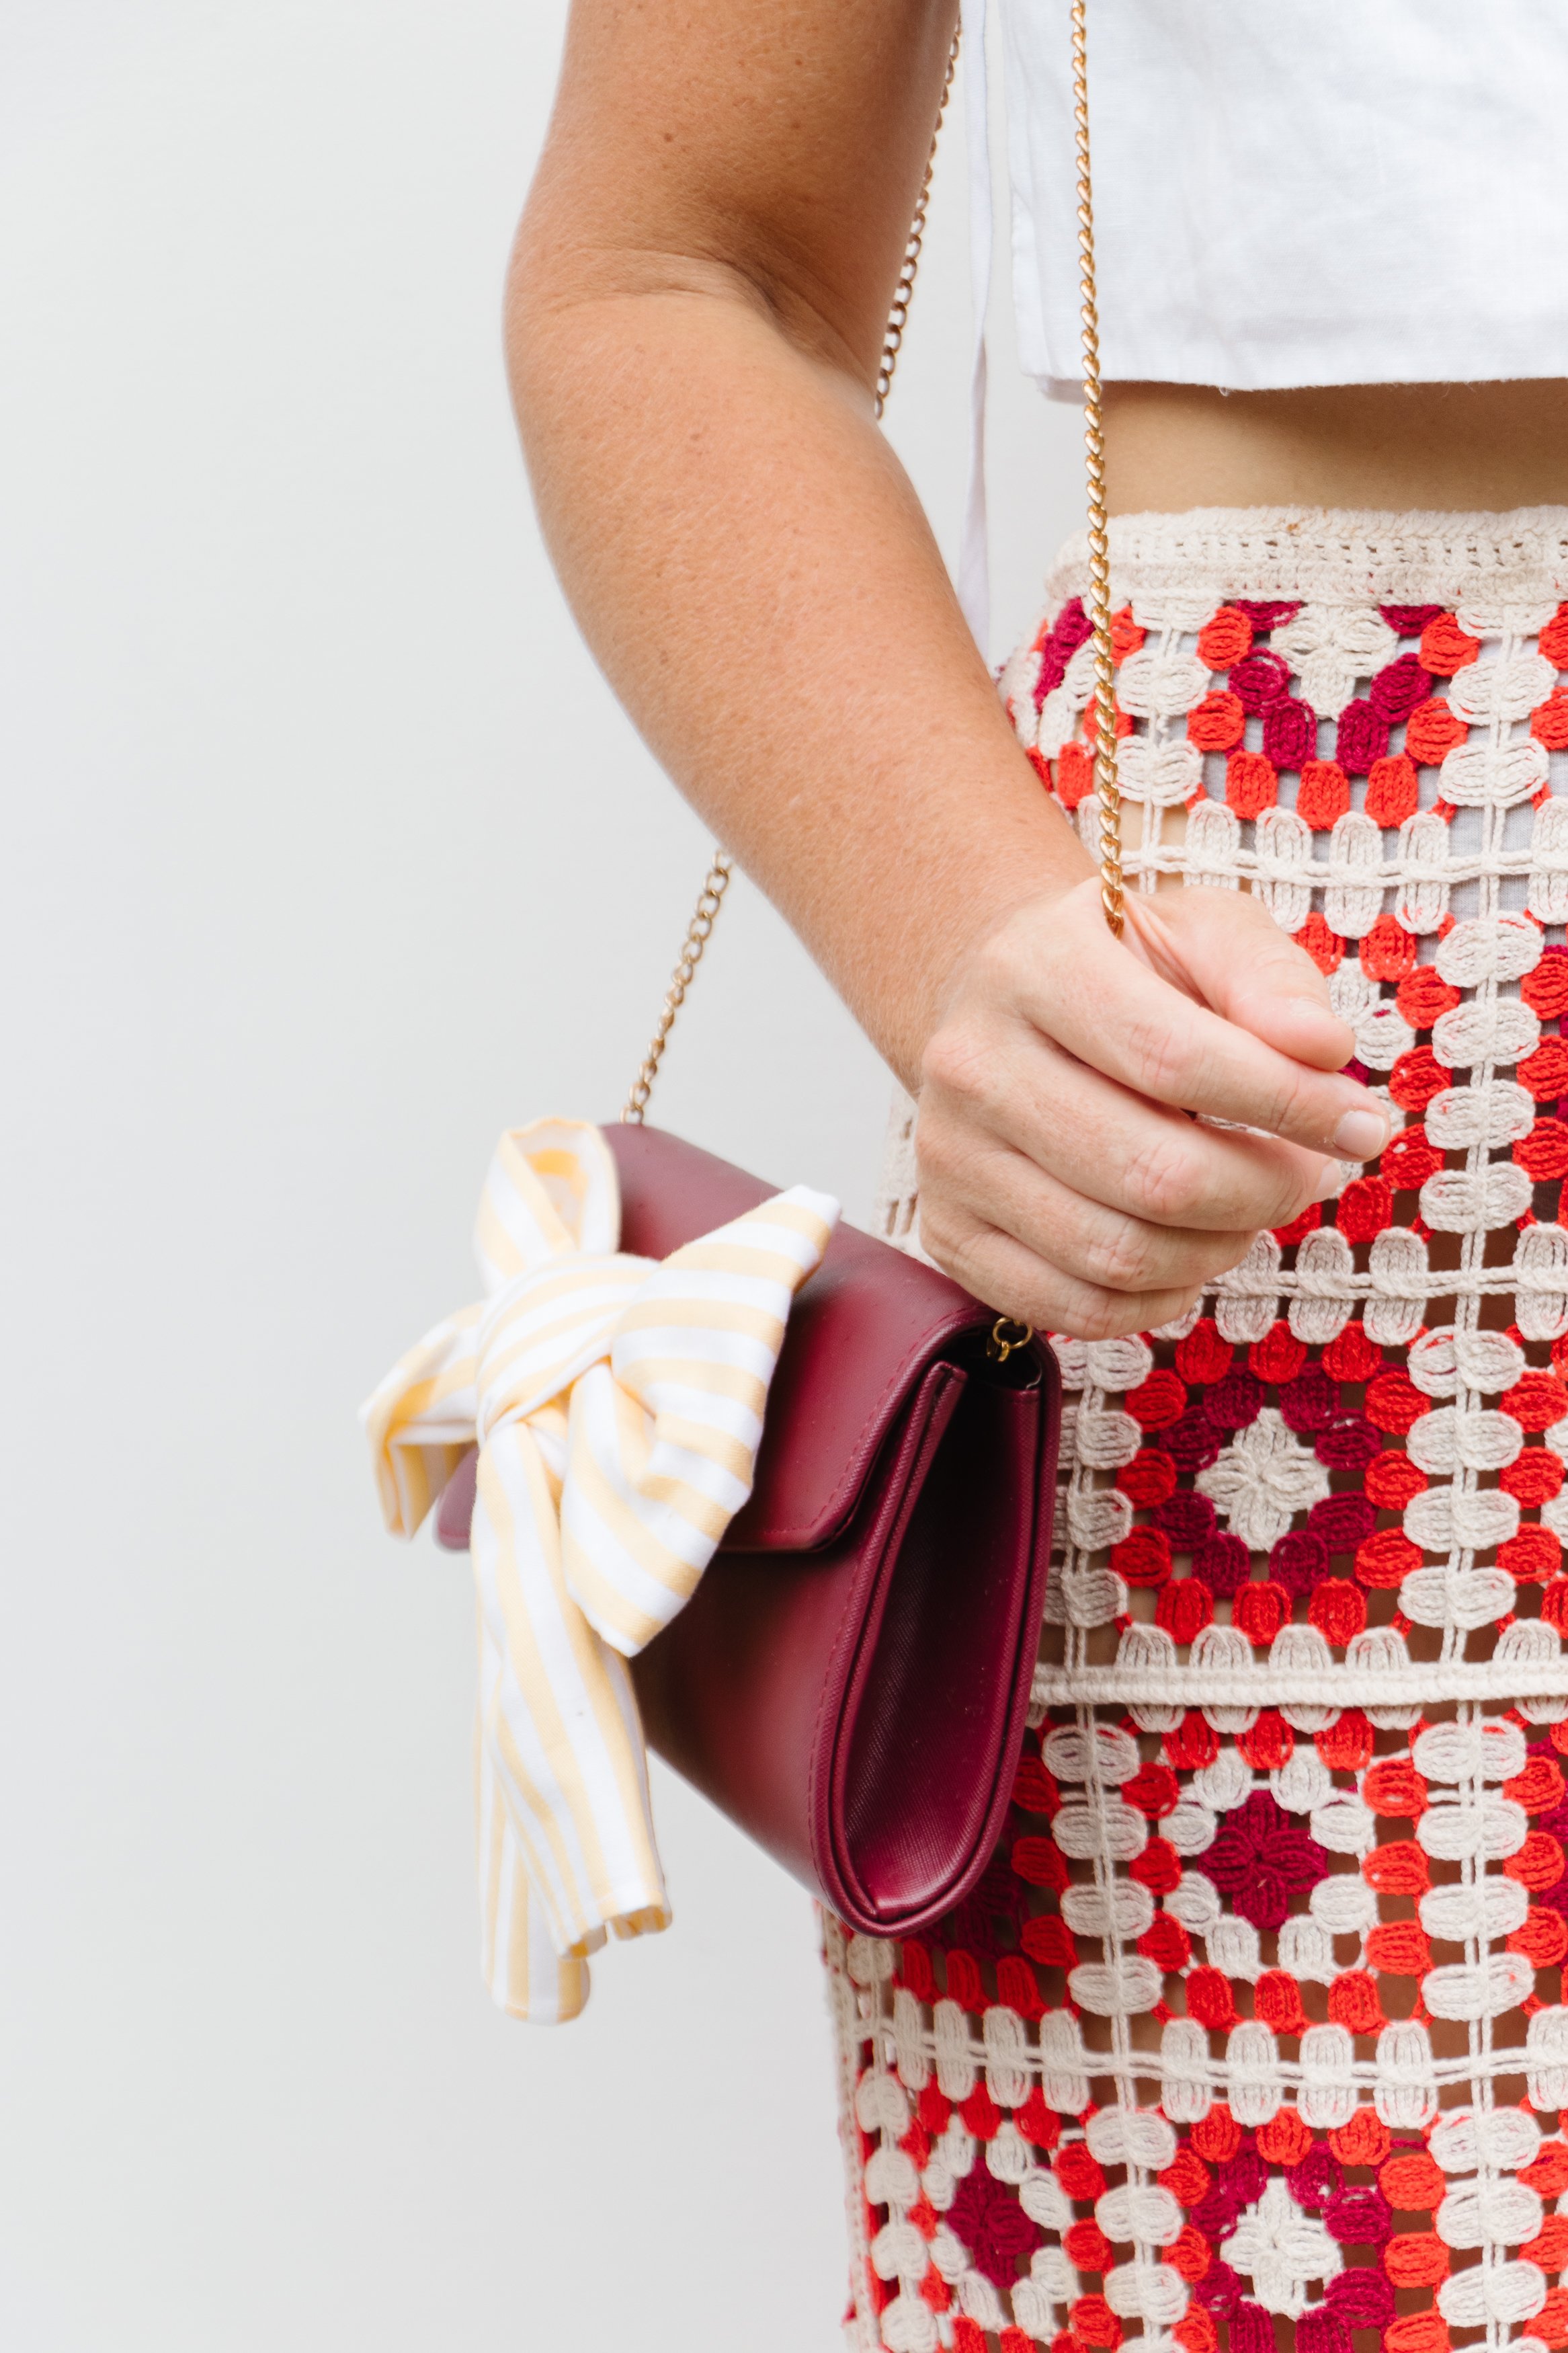
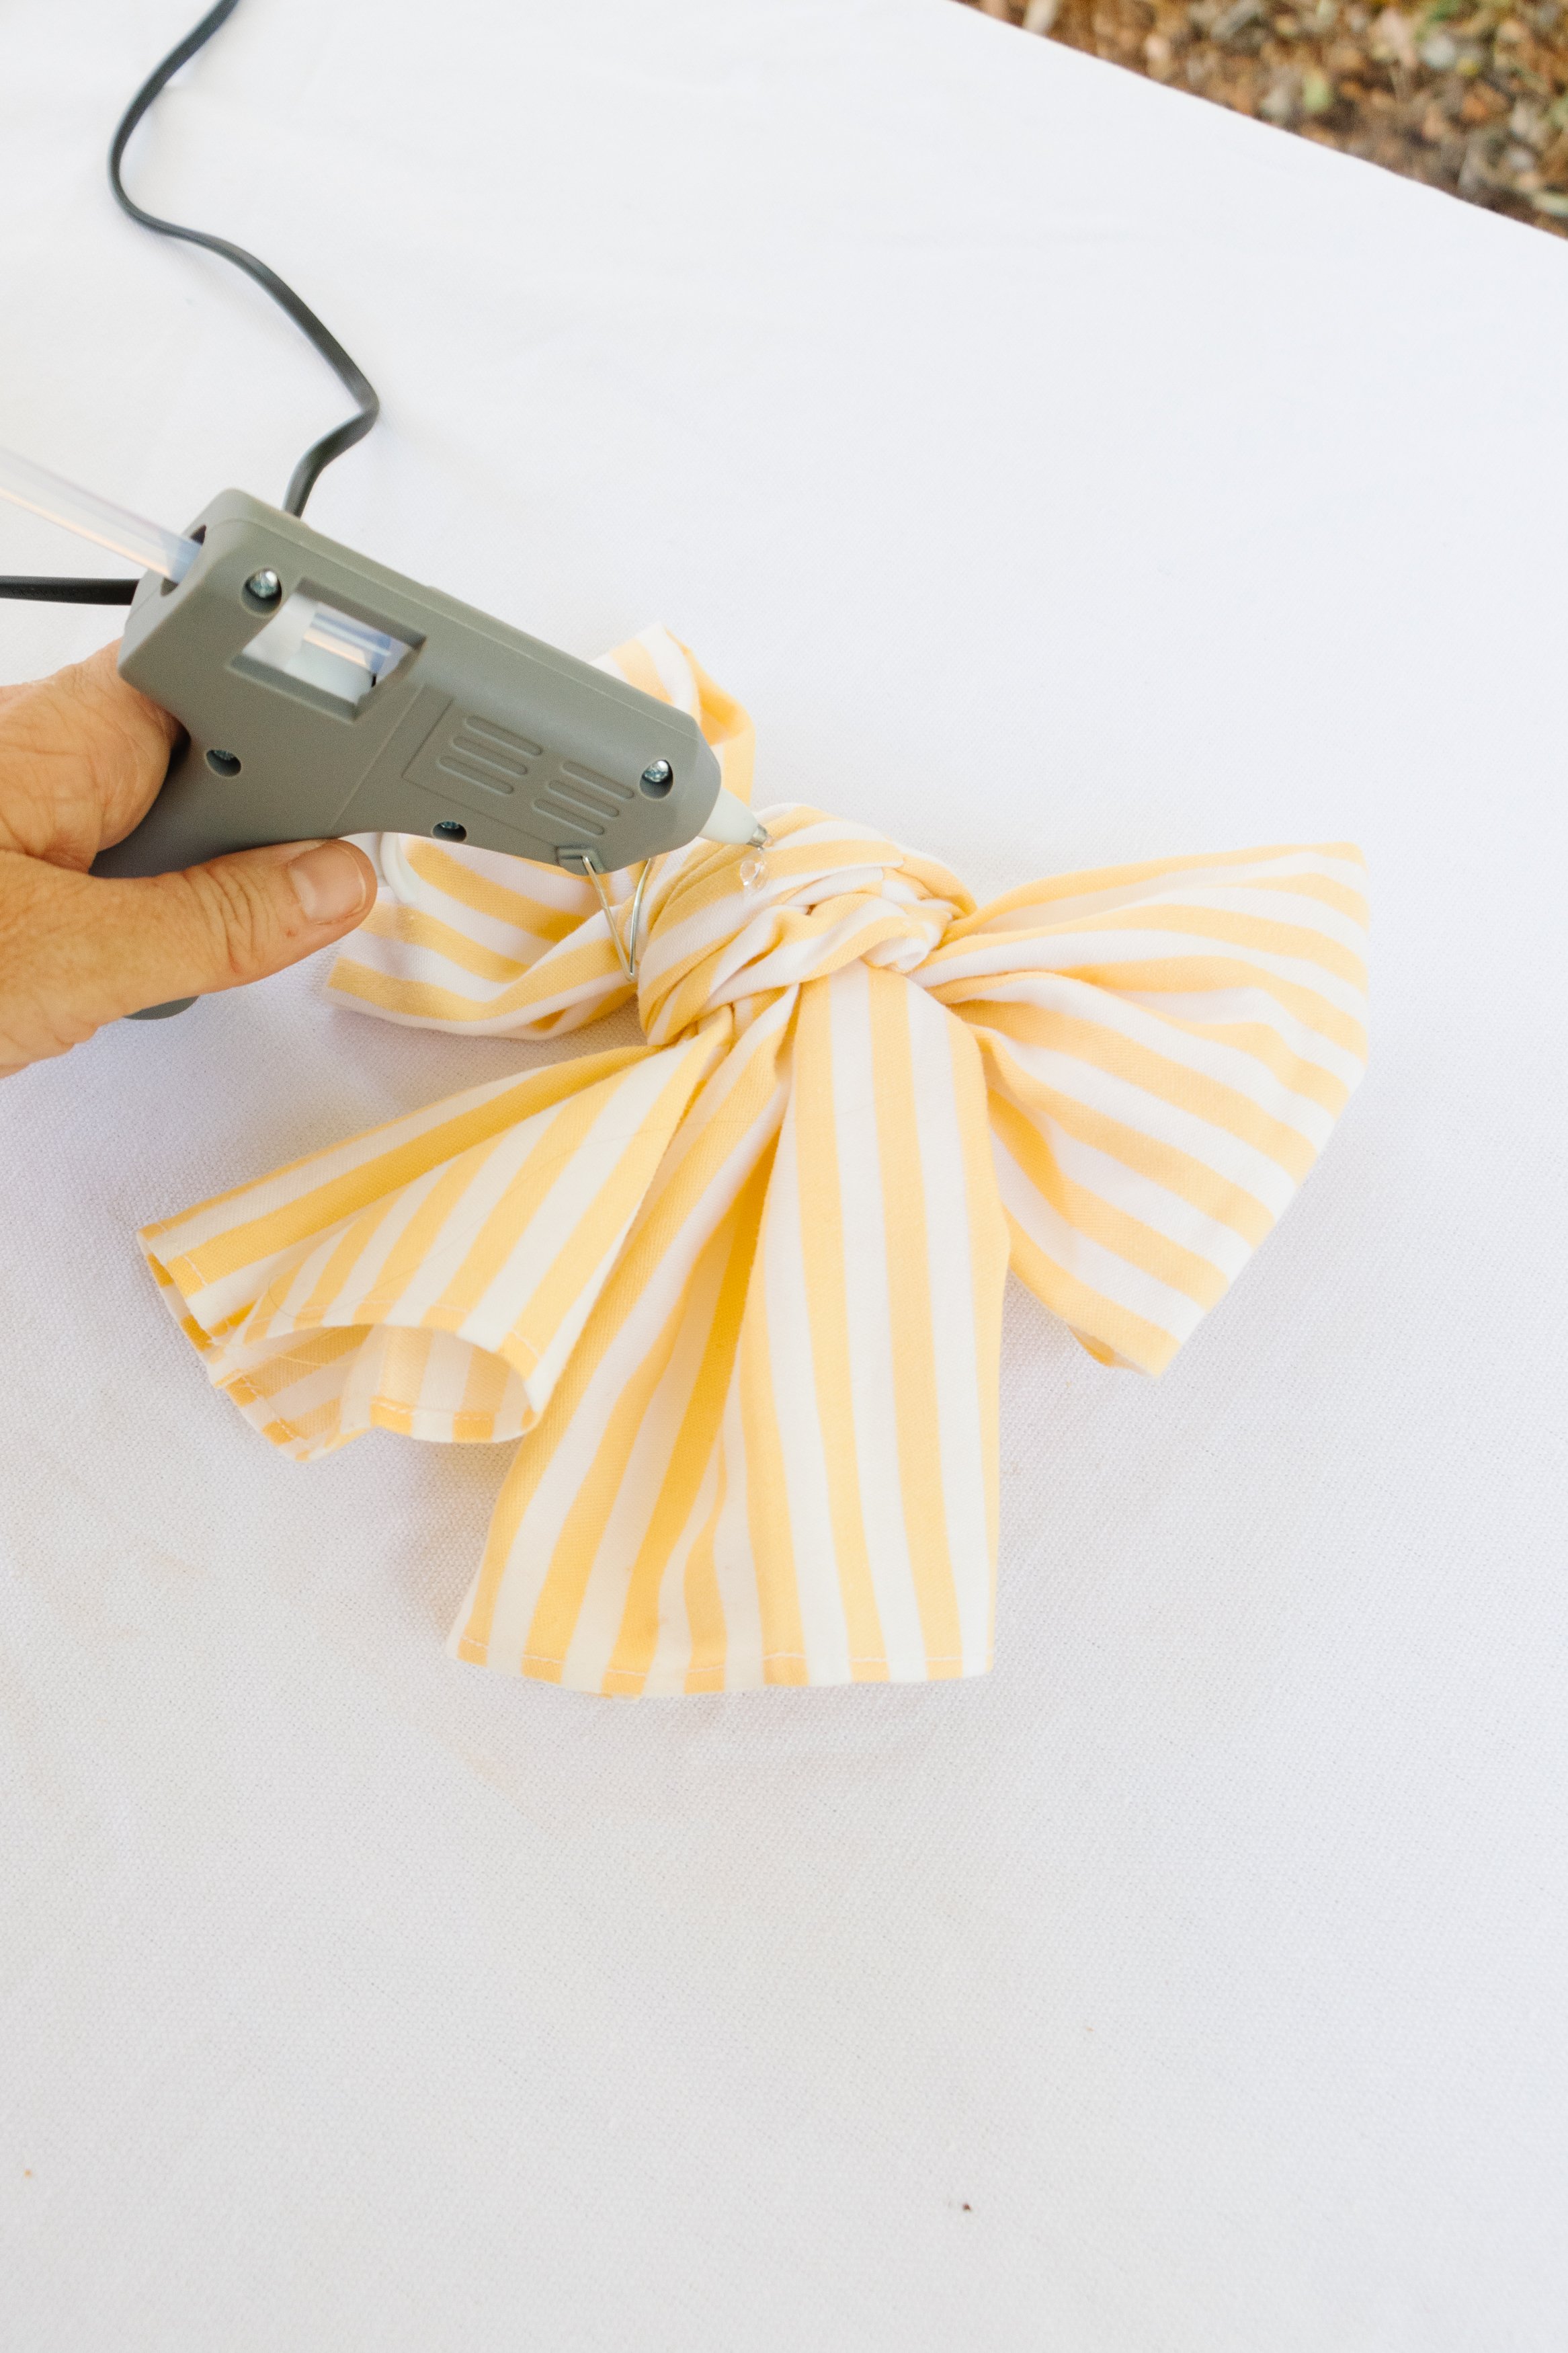
Step 4: Turn the bow over and liberally apply hot glue all over the knot. Quickly but carefully place the bow onto the front of the handbag, making sure to press it down while the glue dries (this will only take a minute or so). Place the bag over your shoulder to make sure the bow isn’t falling forward. If it is, apply more glue and firmly hold down with your hands until the glue dries. And that’s it!


The Reveal
These bow shoe clips are soooooo cute! I love how versatile they are - you can make them big or small, match the colour of the ribbon to the colour of the shoe, use ribbon that contrasts with the shoe, and place the bows in different positions on the shoe. What a dream! And best of all, the DIY Bow Shoe Clips easily come on and off.
And if you love bows as much as I do, check out these projects: