How To Make DIY Fabric Bows (Using A Thrifted Bedspread!)
I’m kicking off my coquette girl summer with these girly DIY Fabric Bows
Last year we were all about Hot Girl Summer - this year I’m all about Coquette Girl Summer! Towards the end of last year the coquette aesthetic (the ultimate definition of girlycore) emerged and I’m delighted because it’s here to stay for the foreseeable future. I’ve been seeing a lot of people put their own twist on this vibe, including hearts, lace, ribbon, frills, silks, ballet shoes, corsets and bows, and naturally I want to put my spin on this trend by making and upcycling lots of coquette inspired home decor.
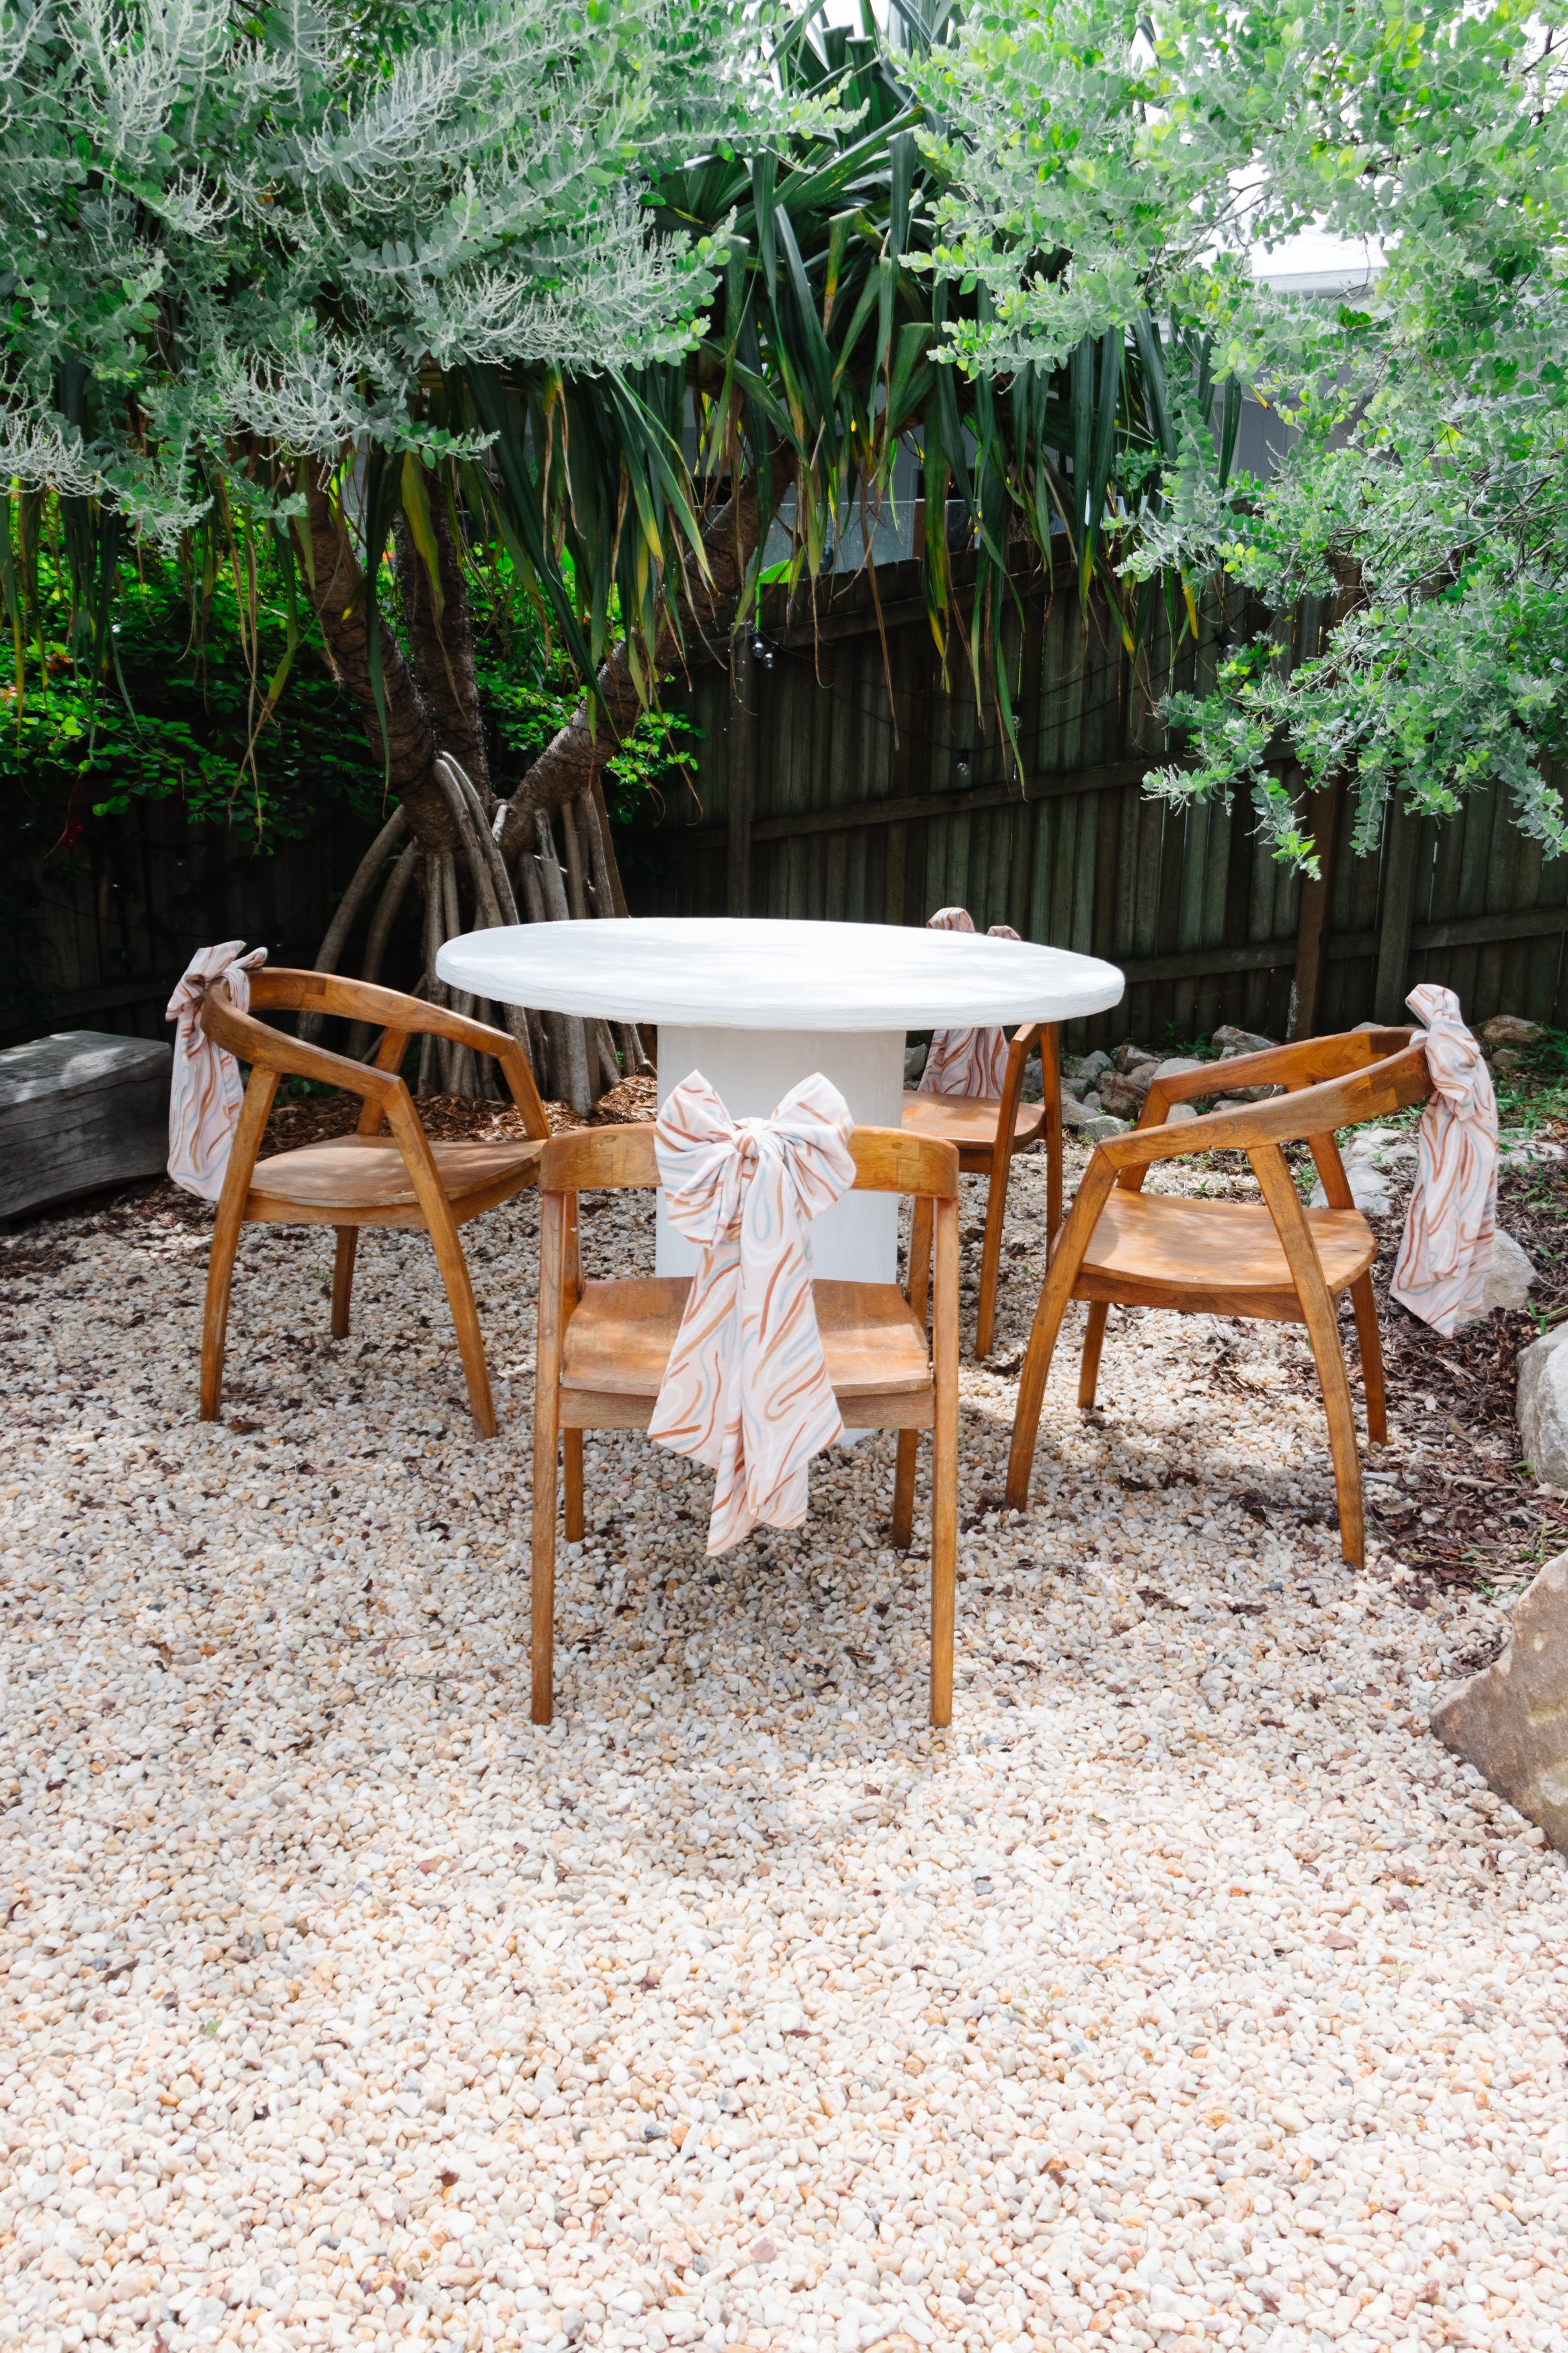
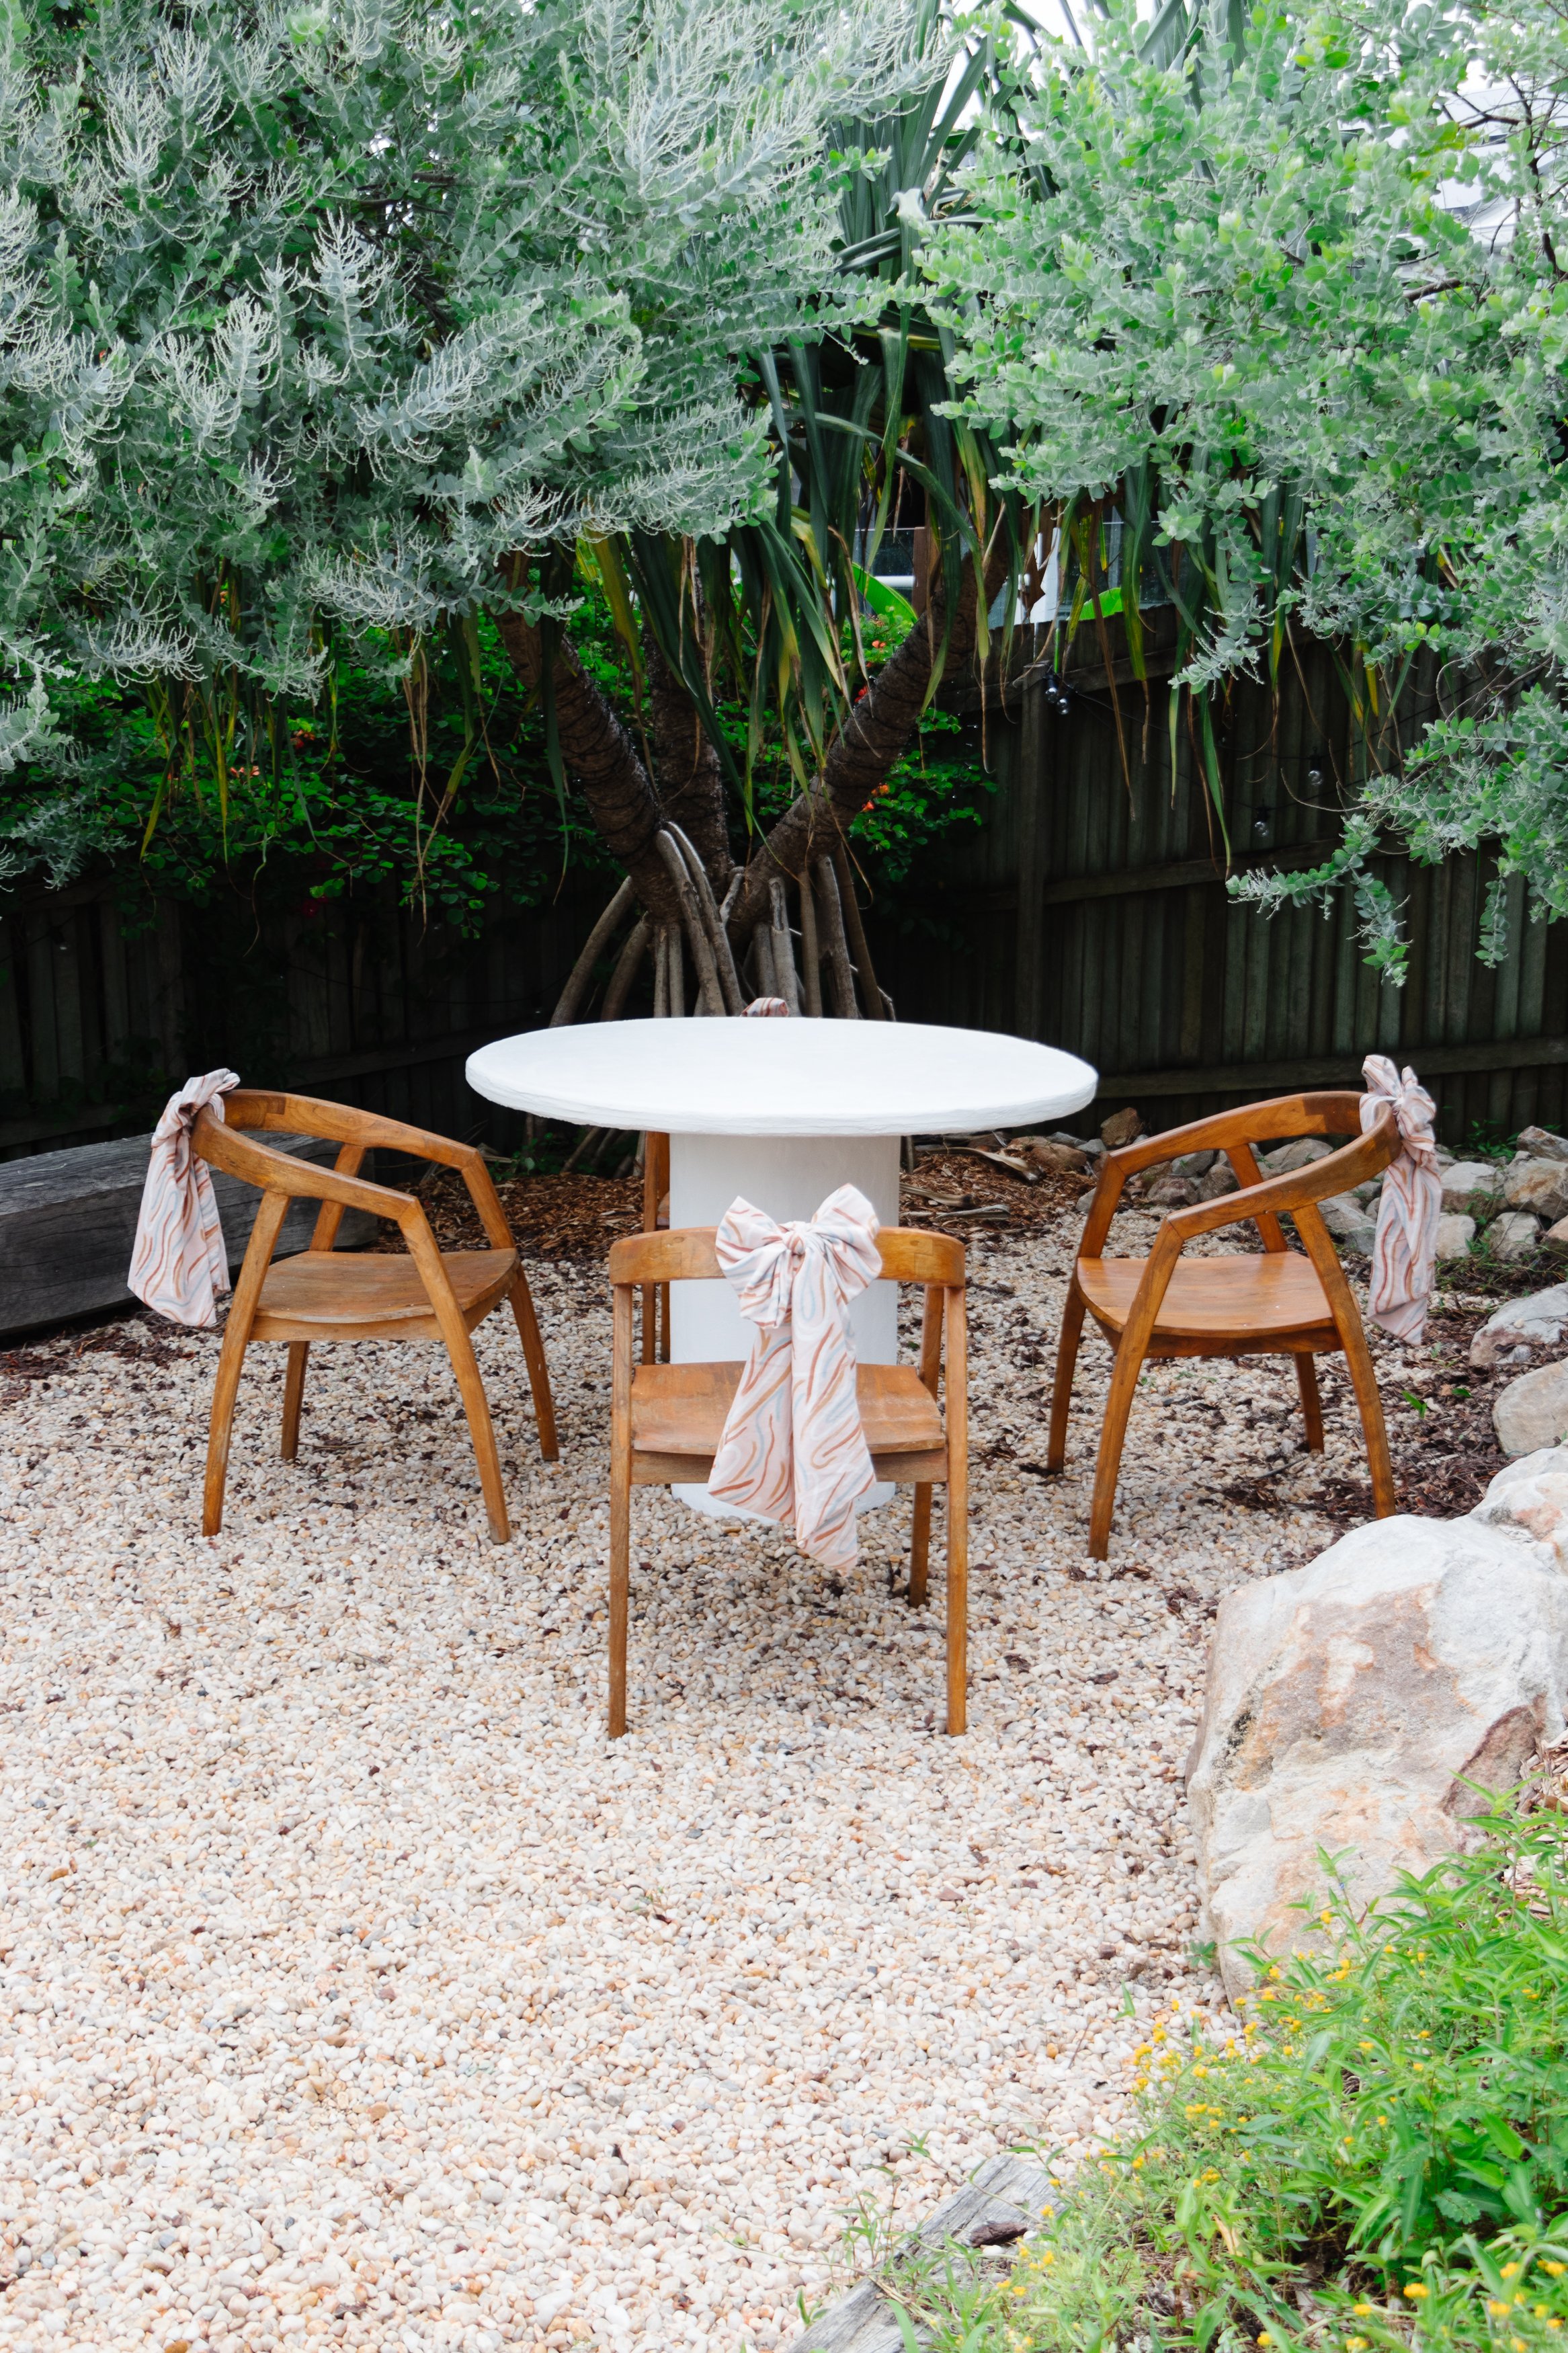
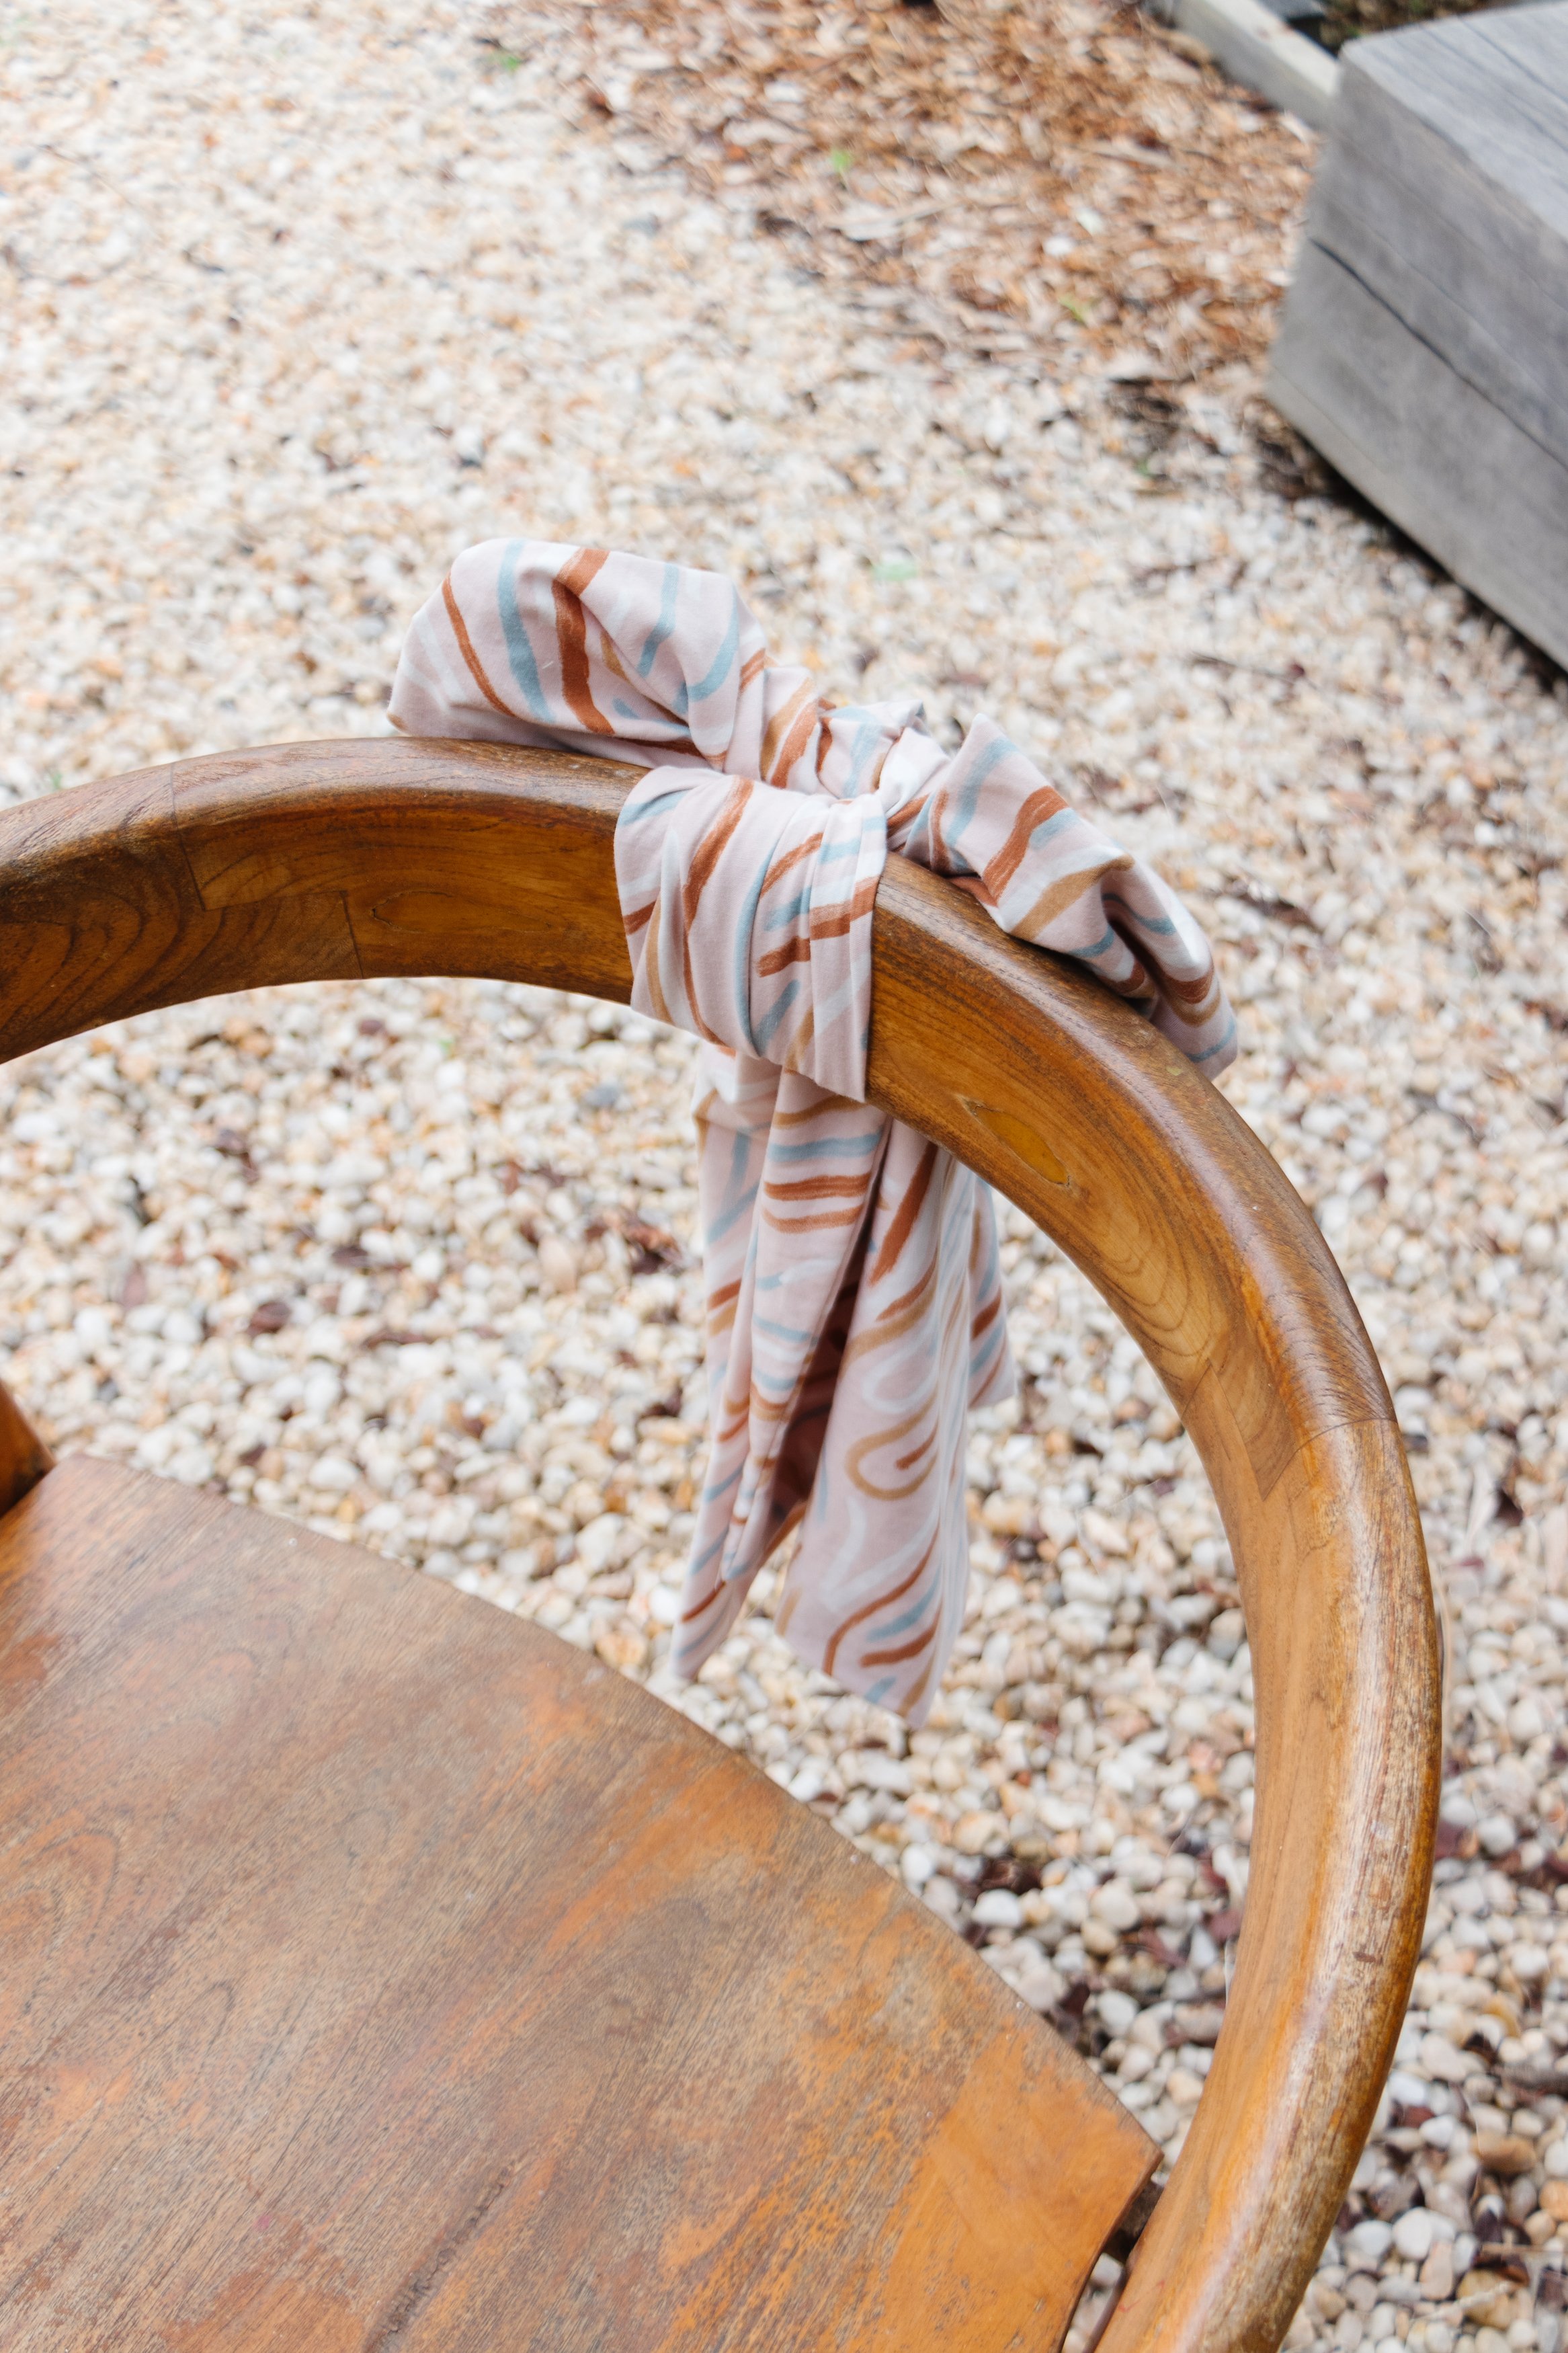
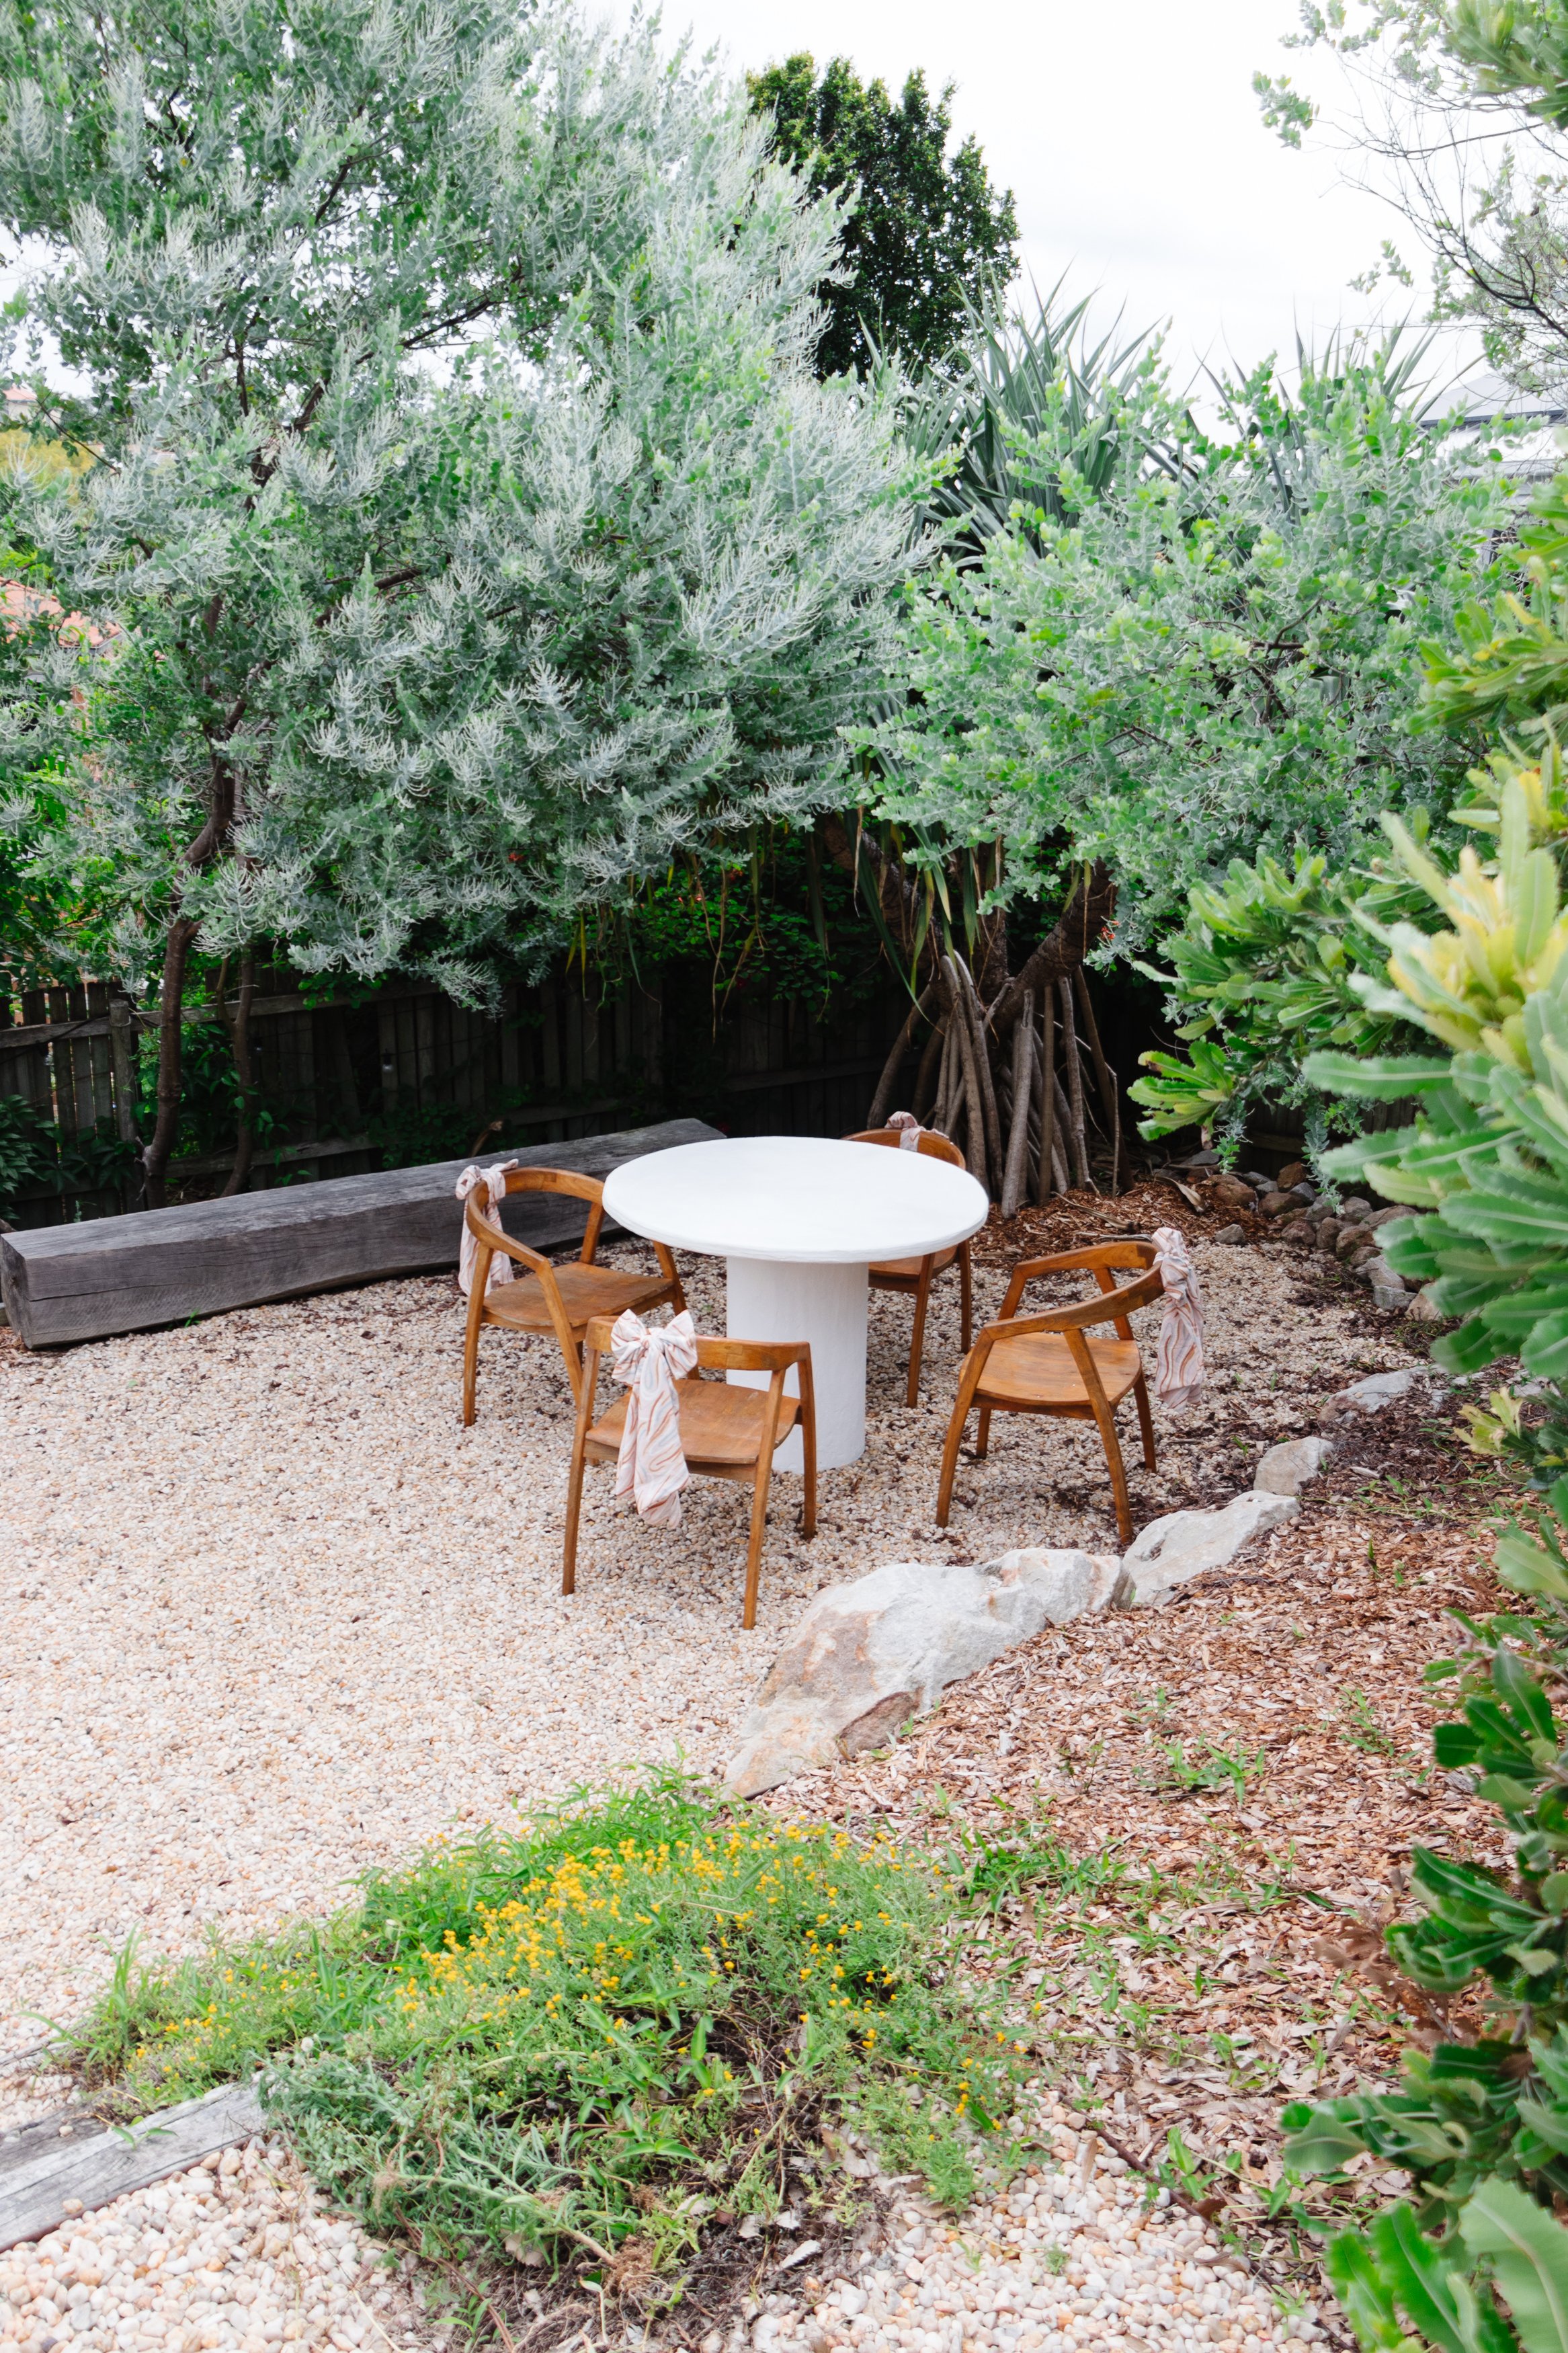
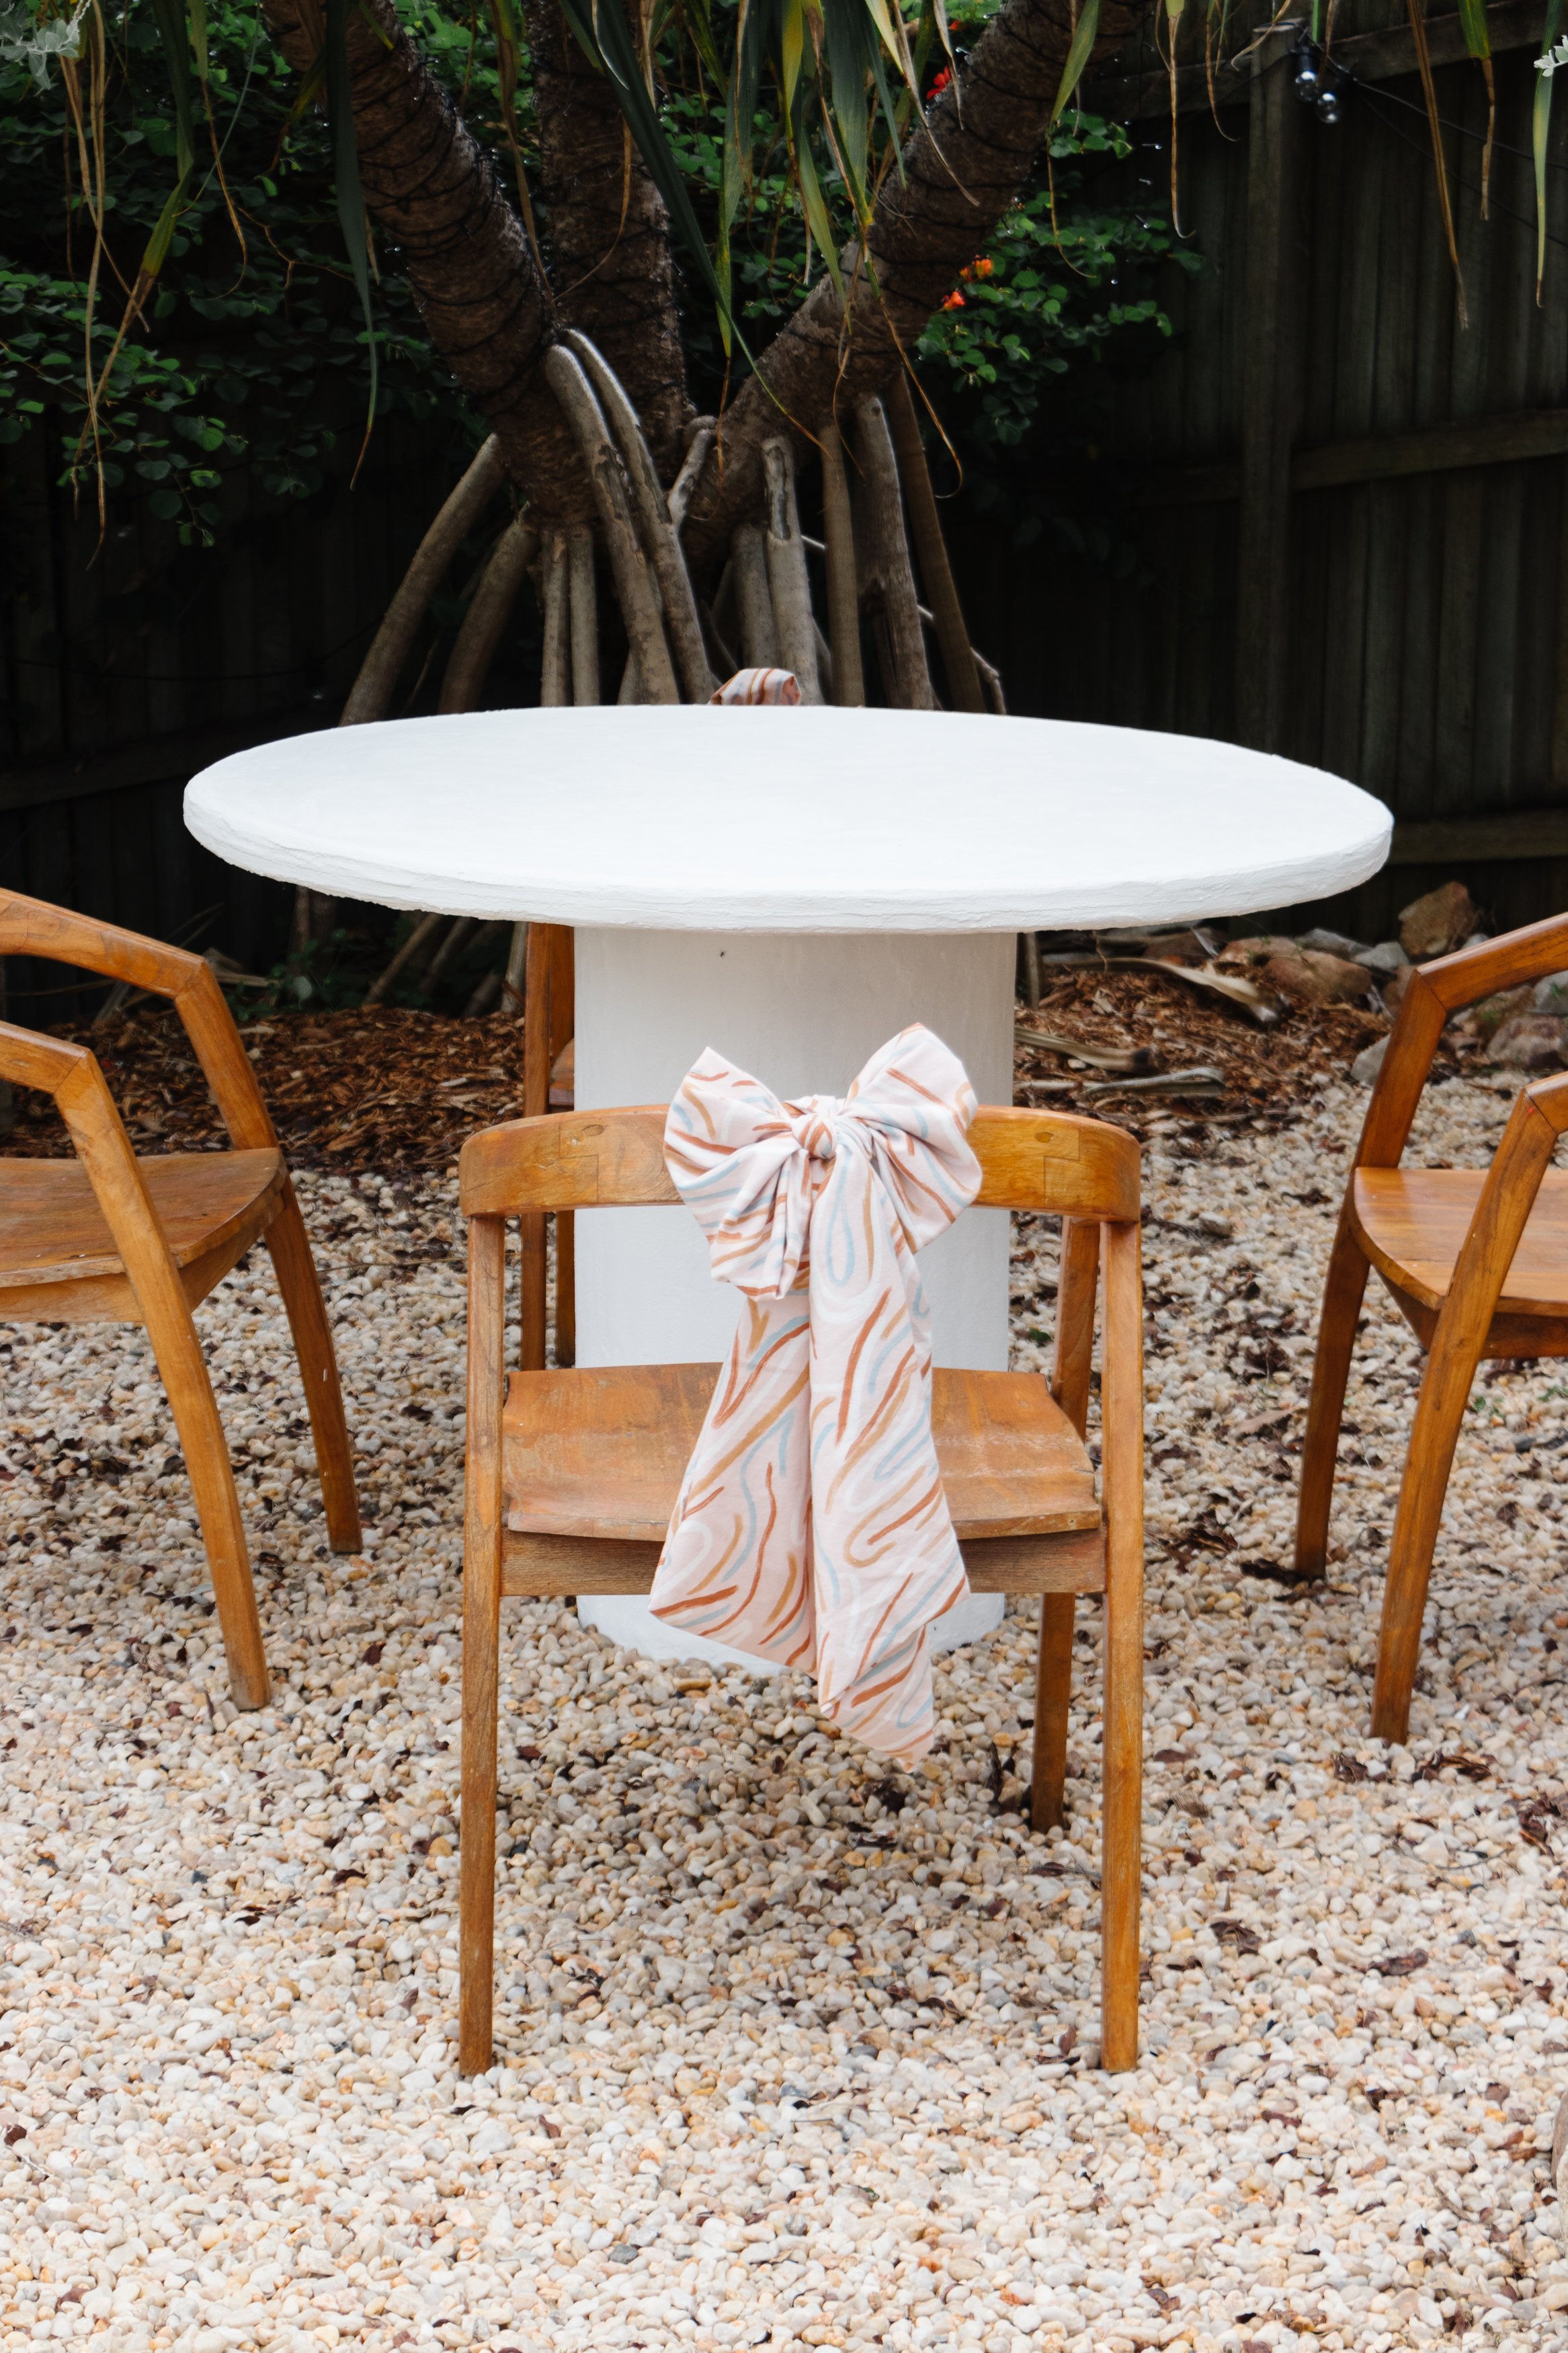
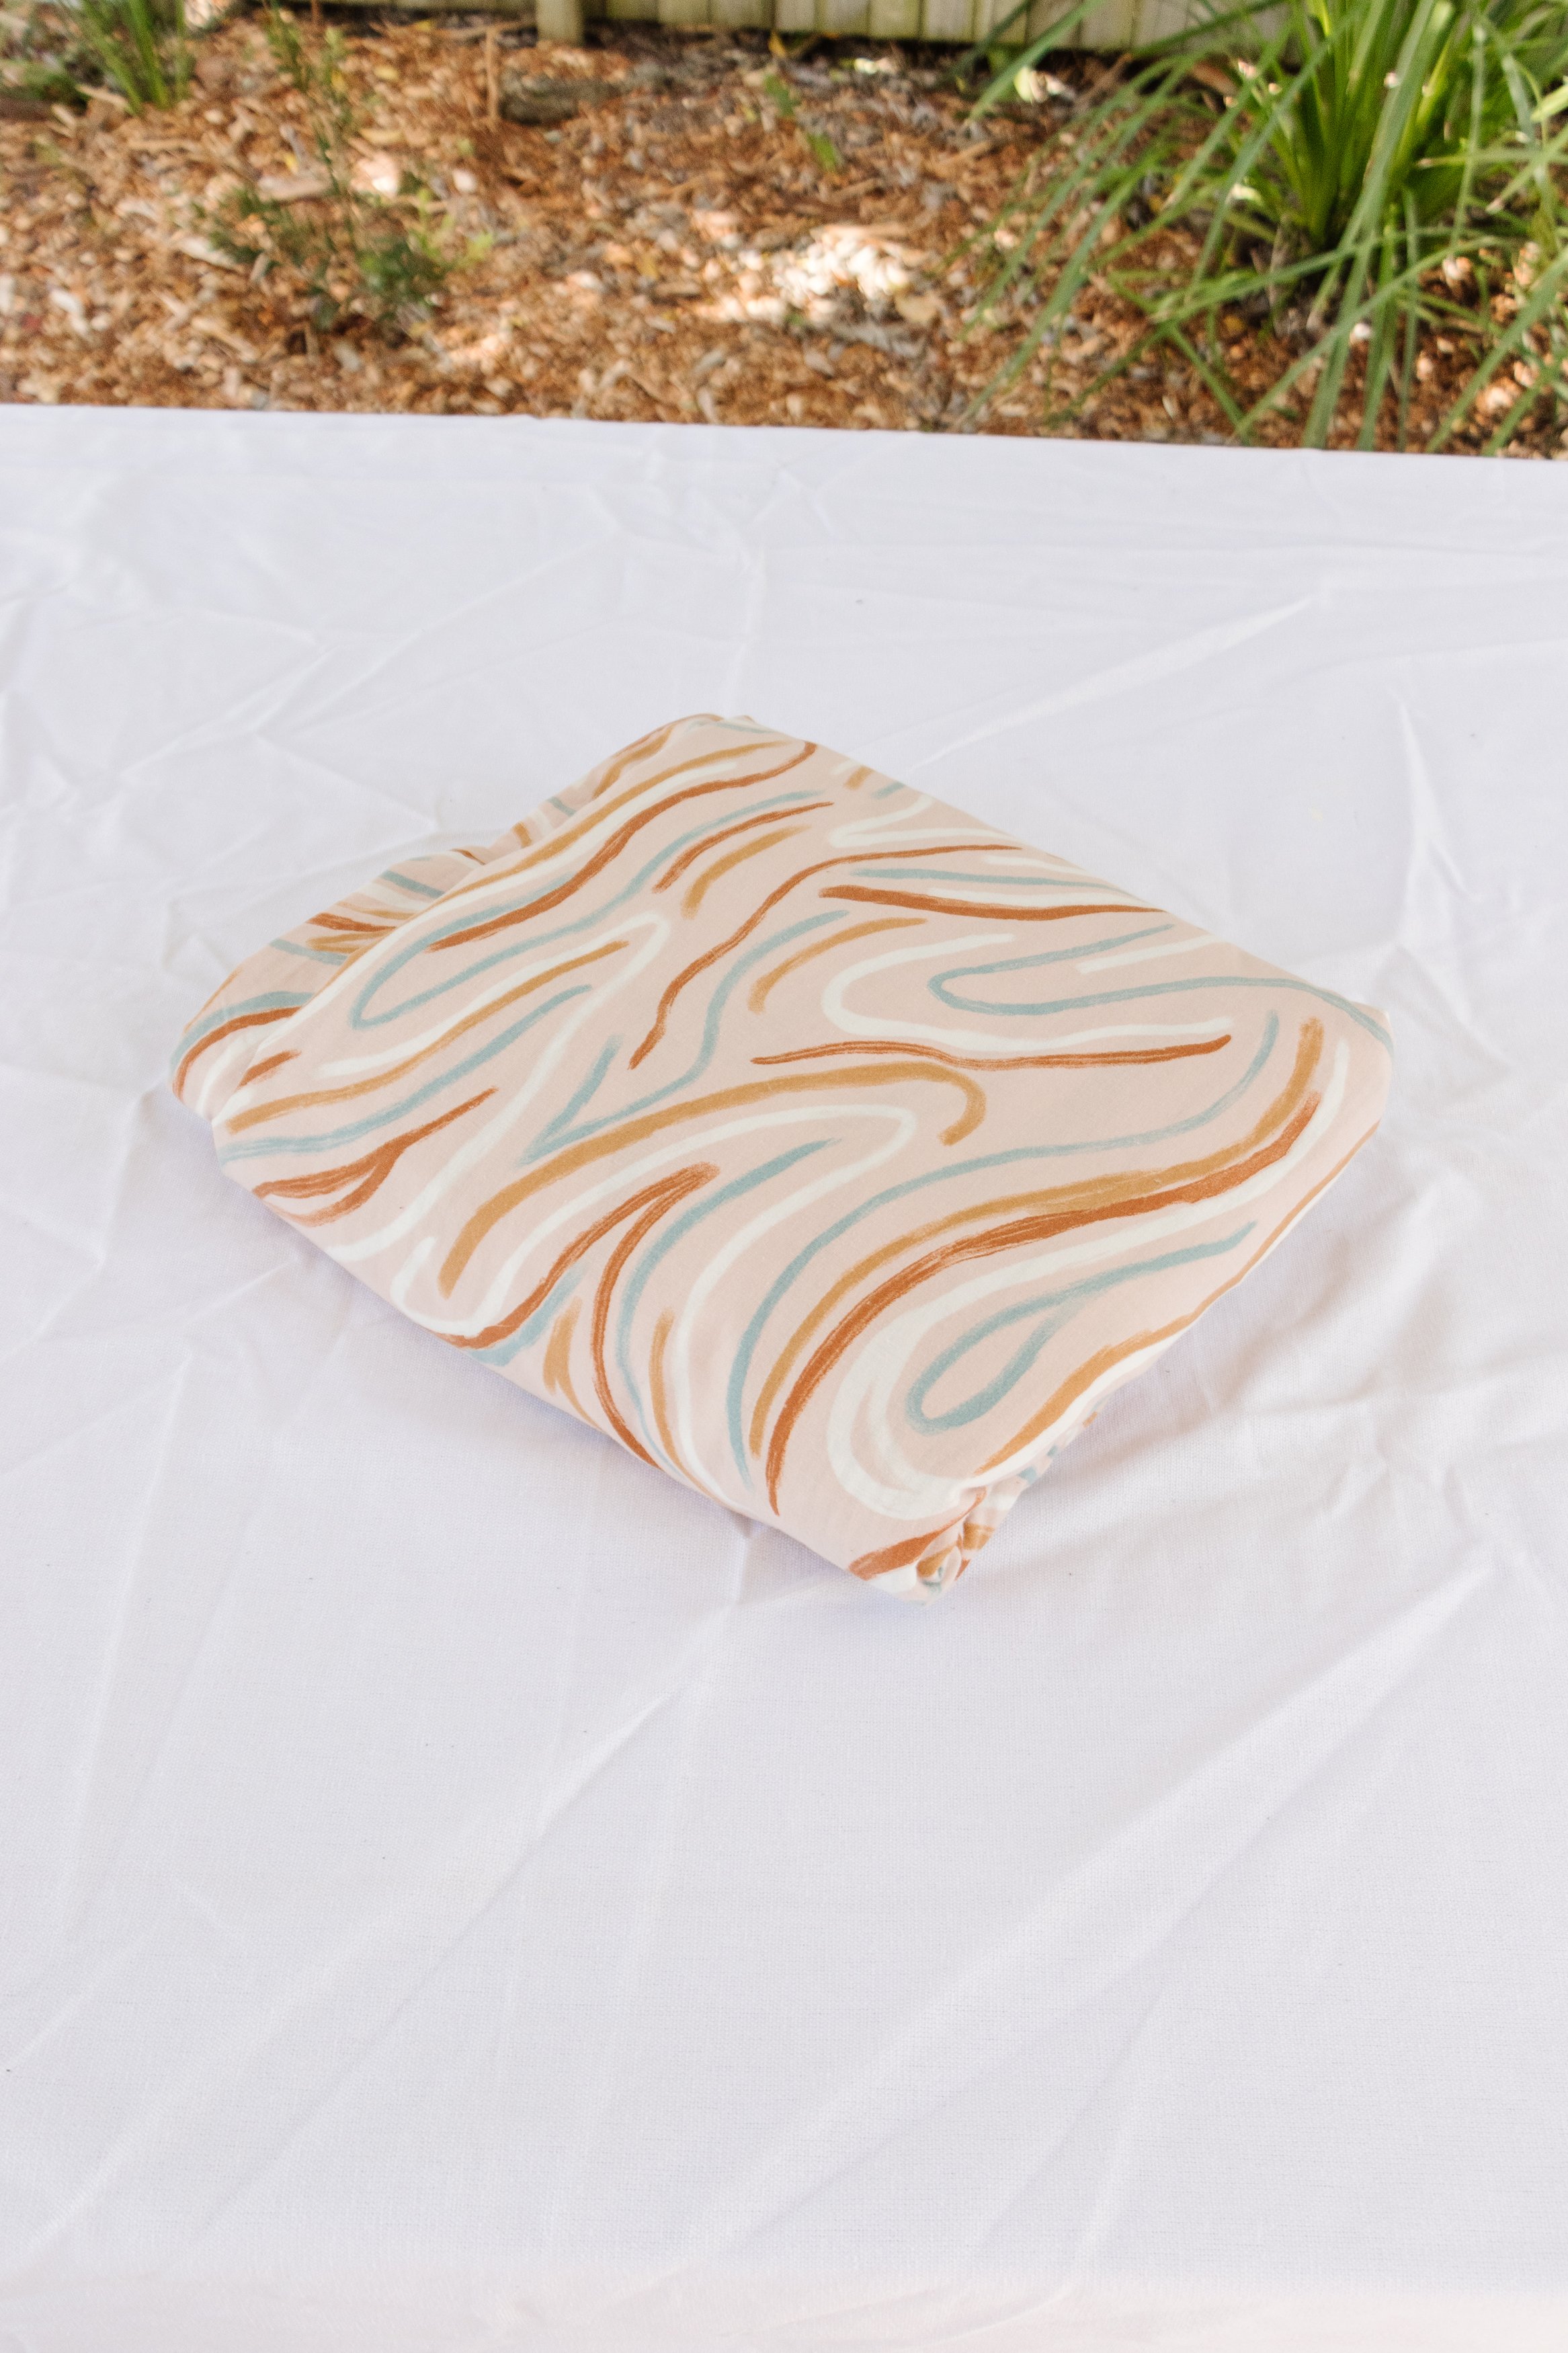
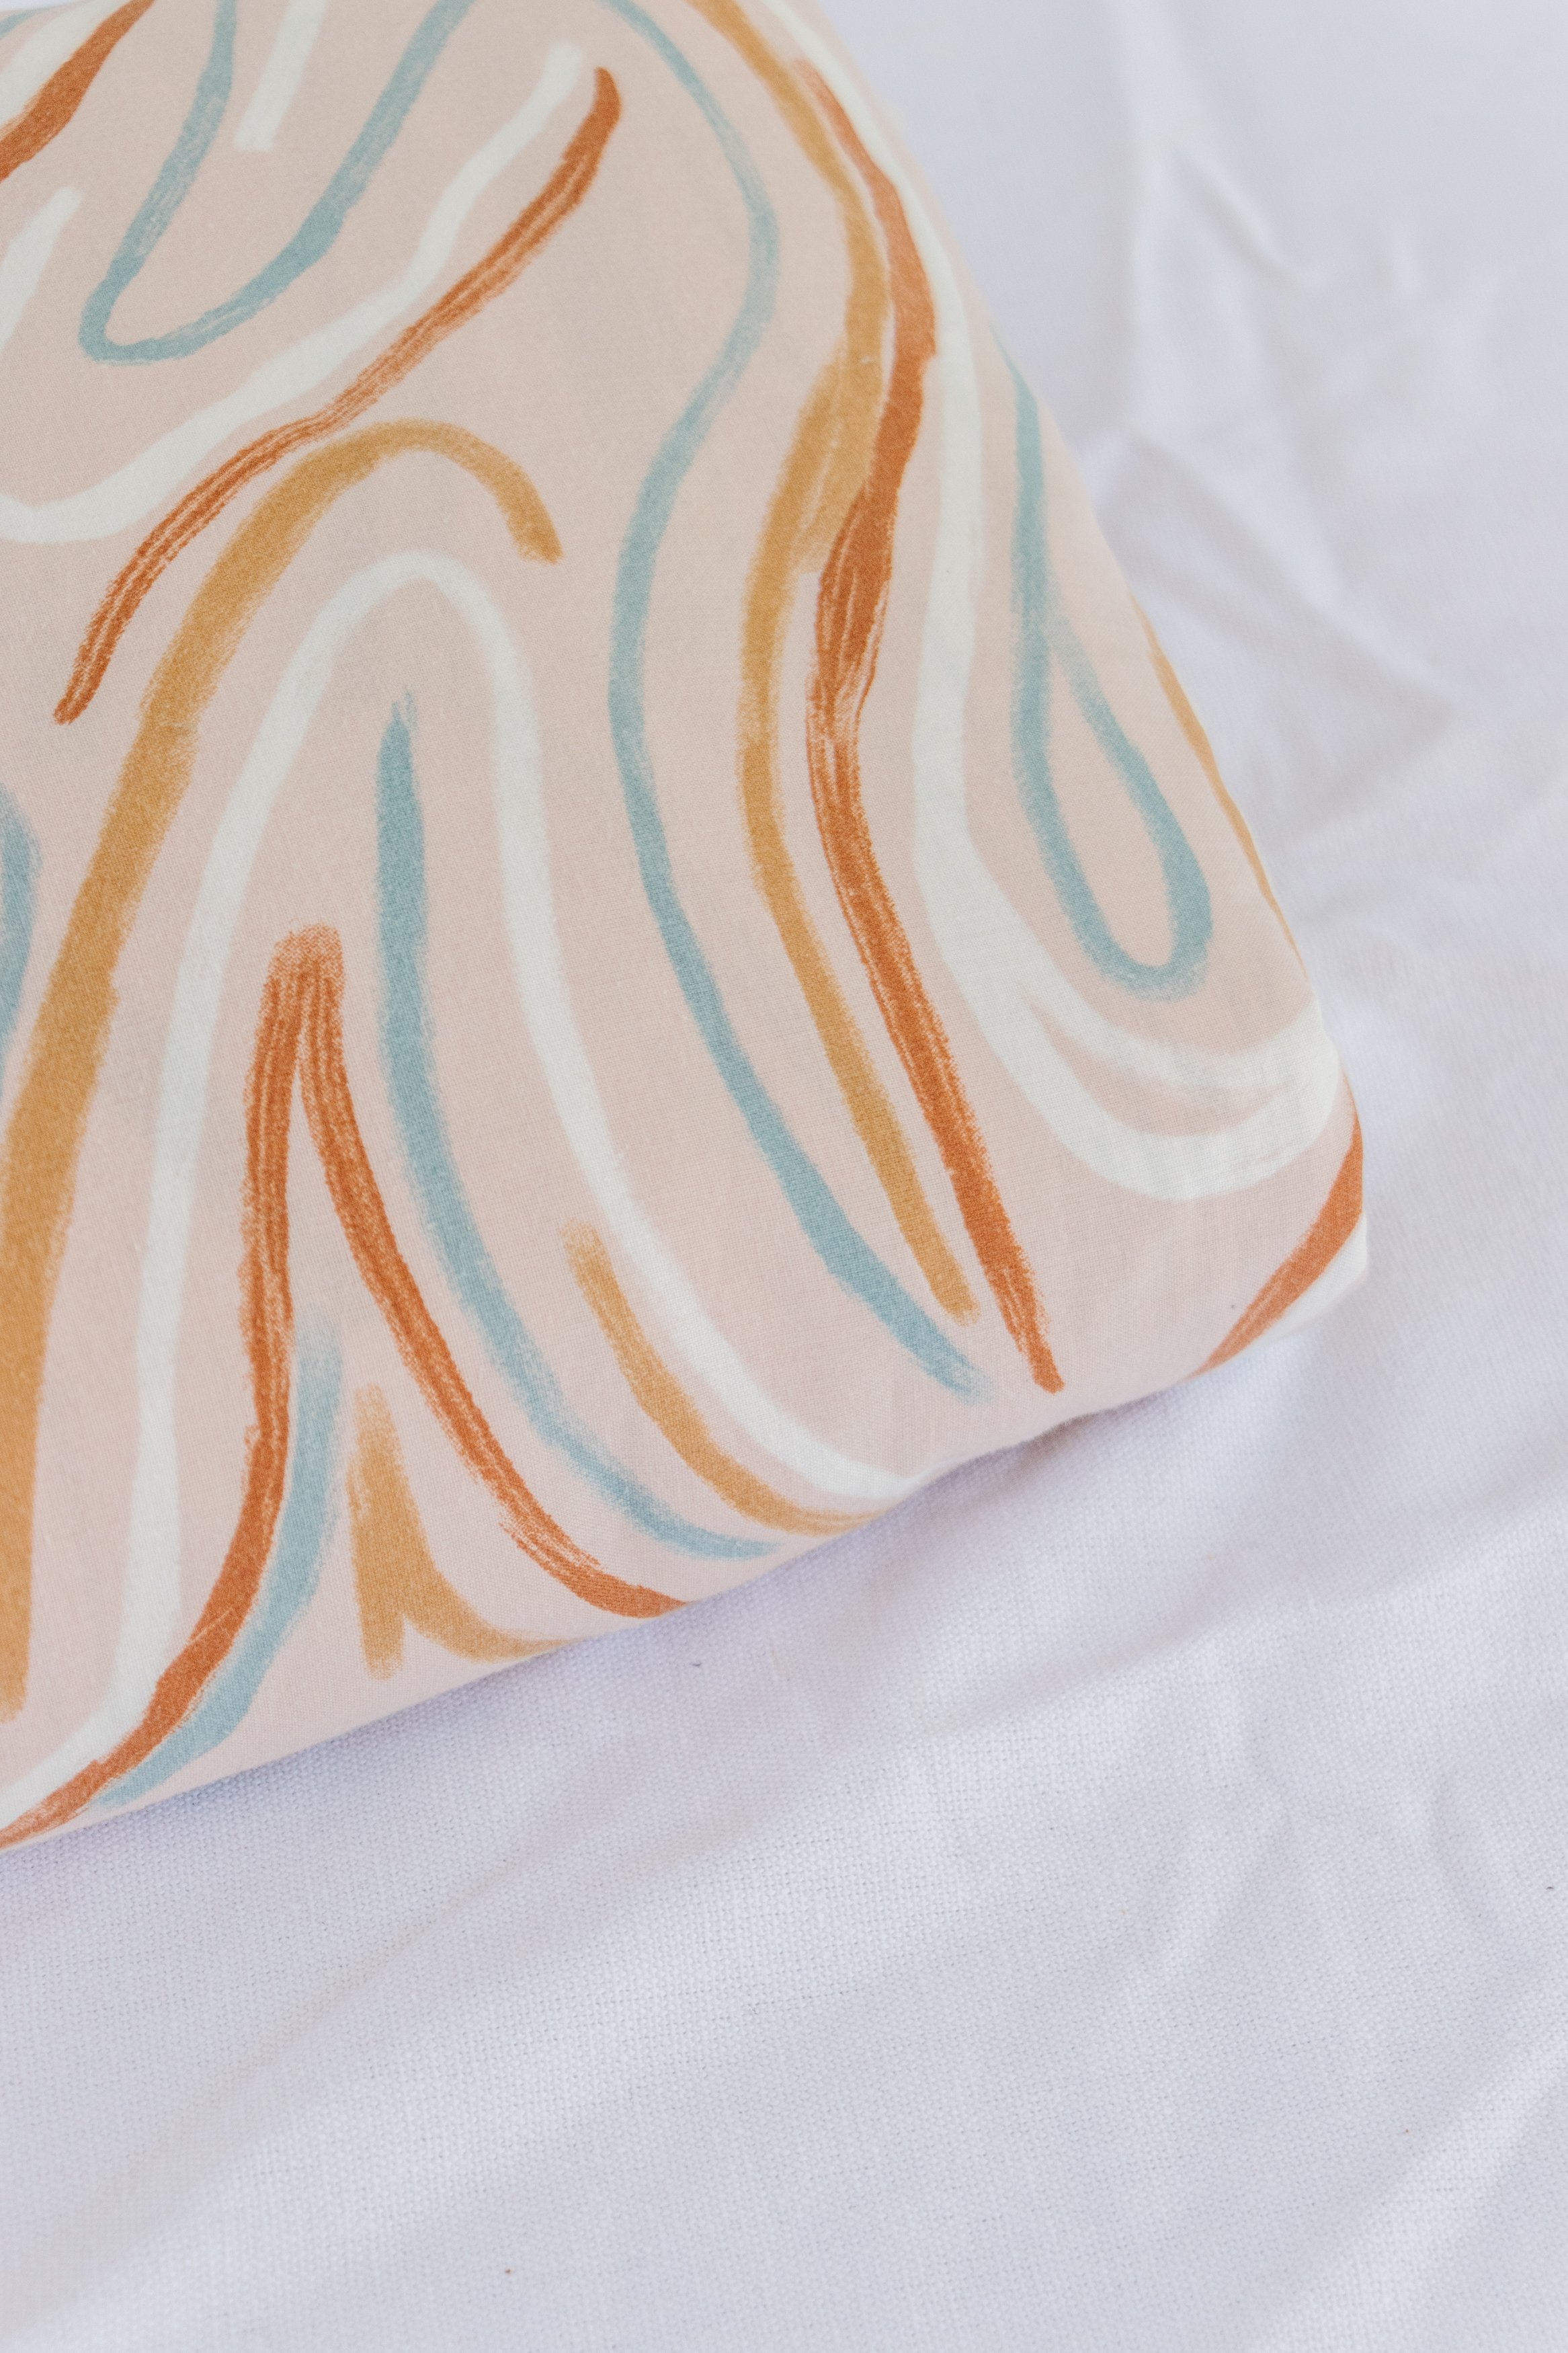
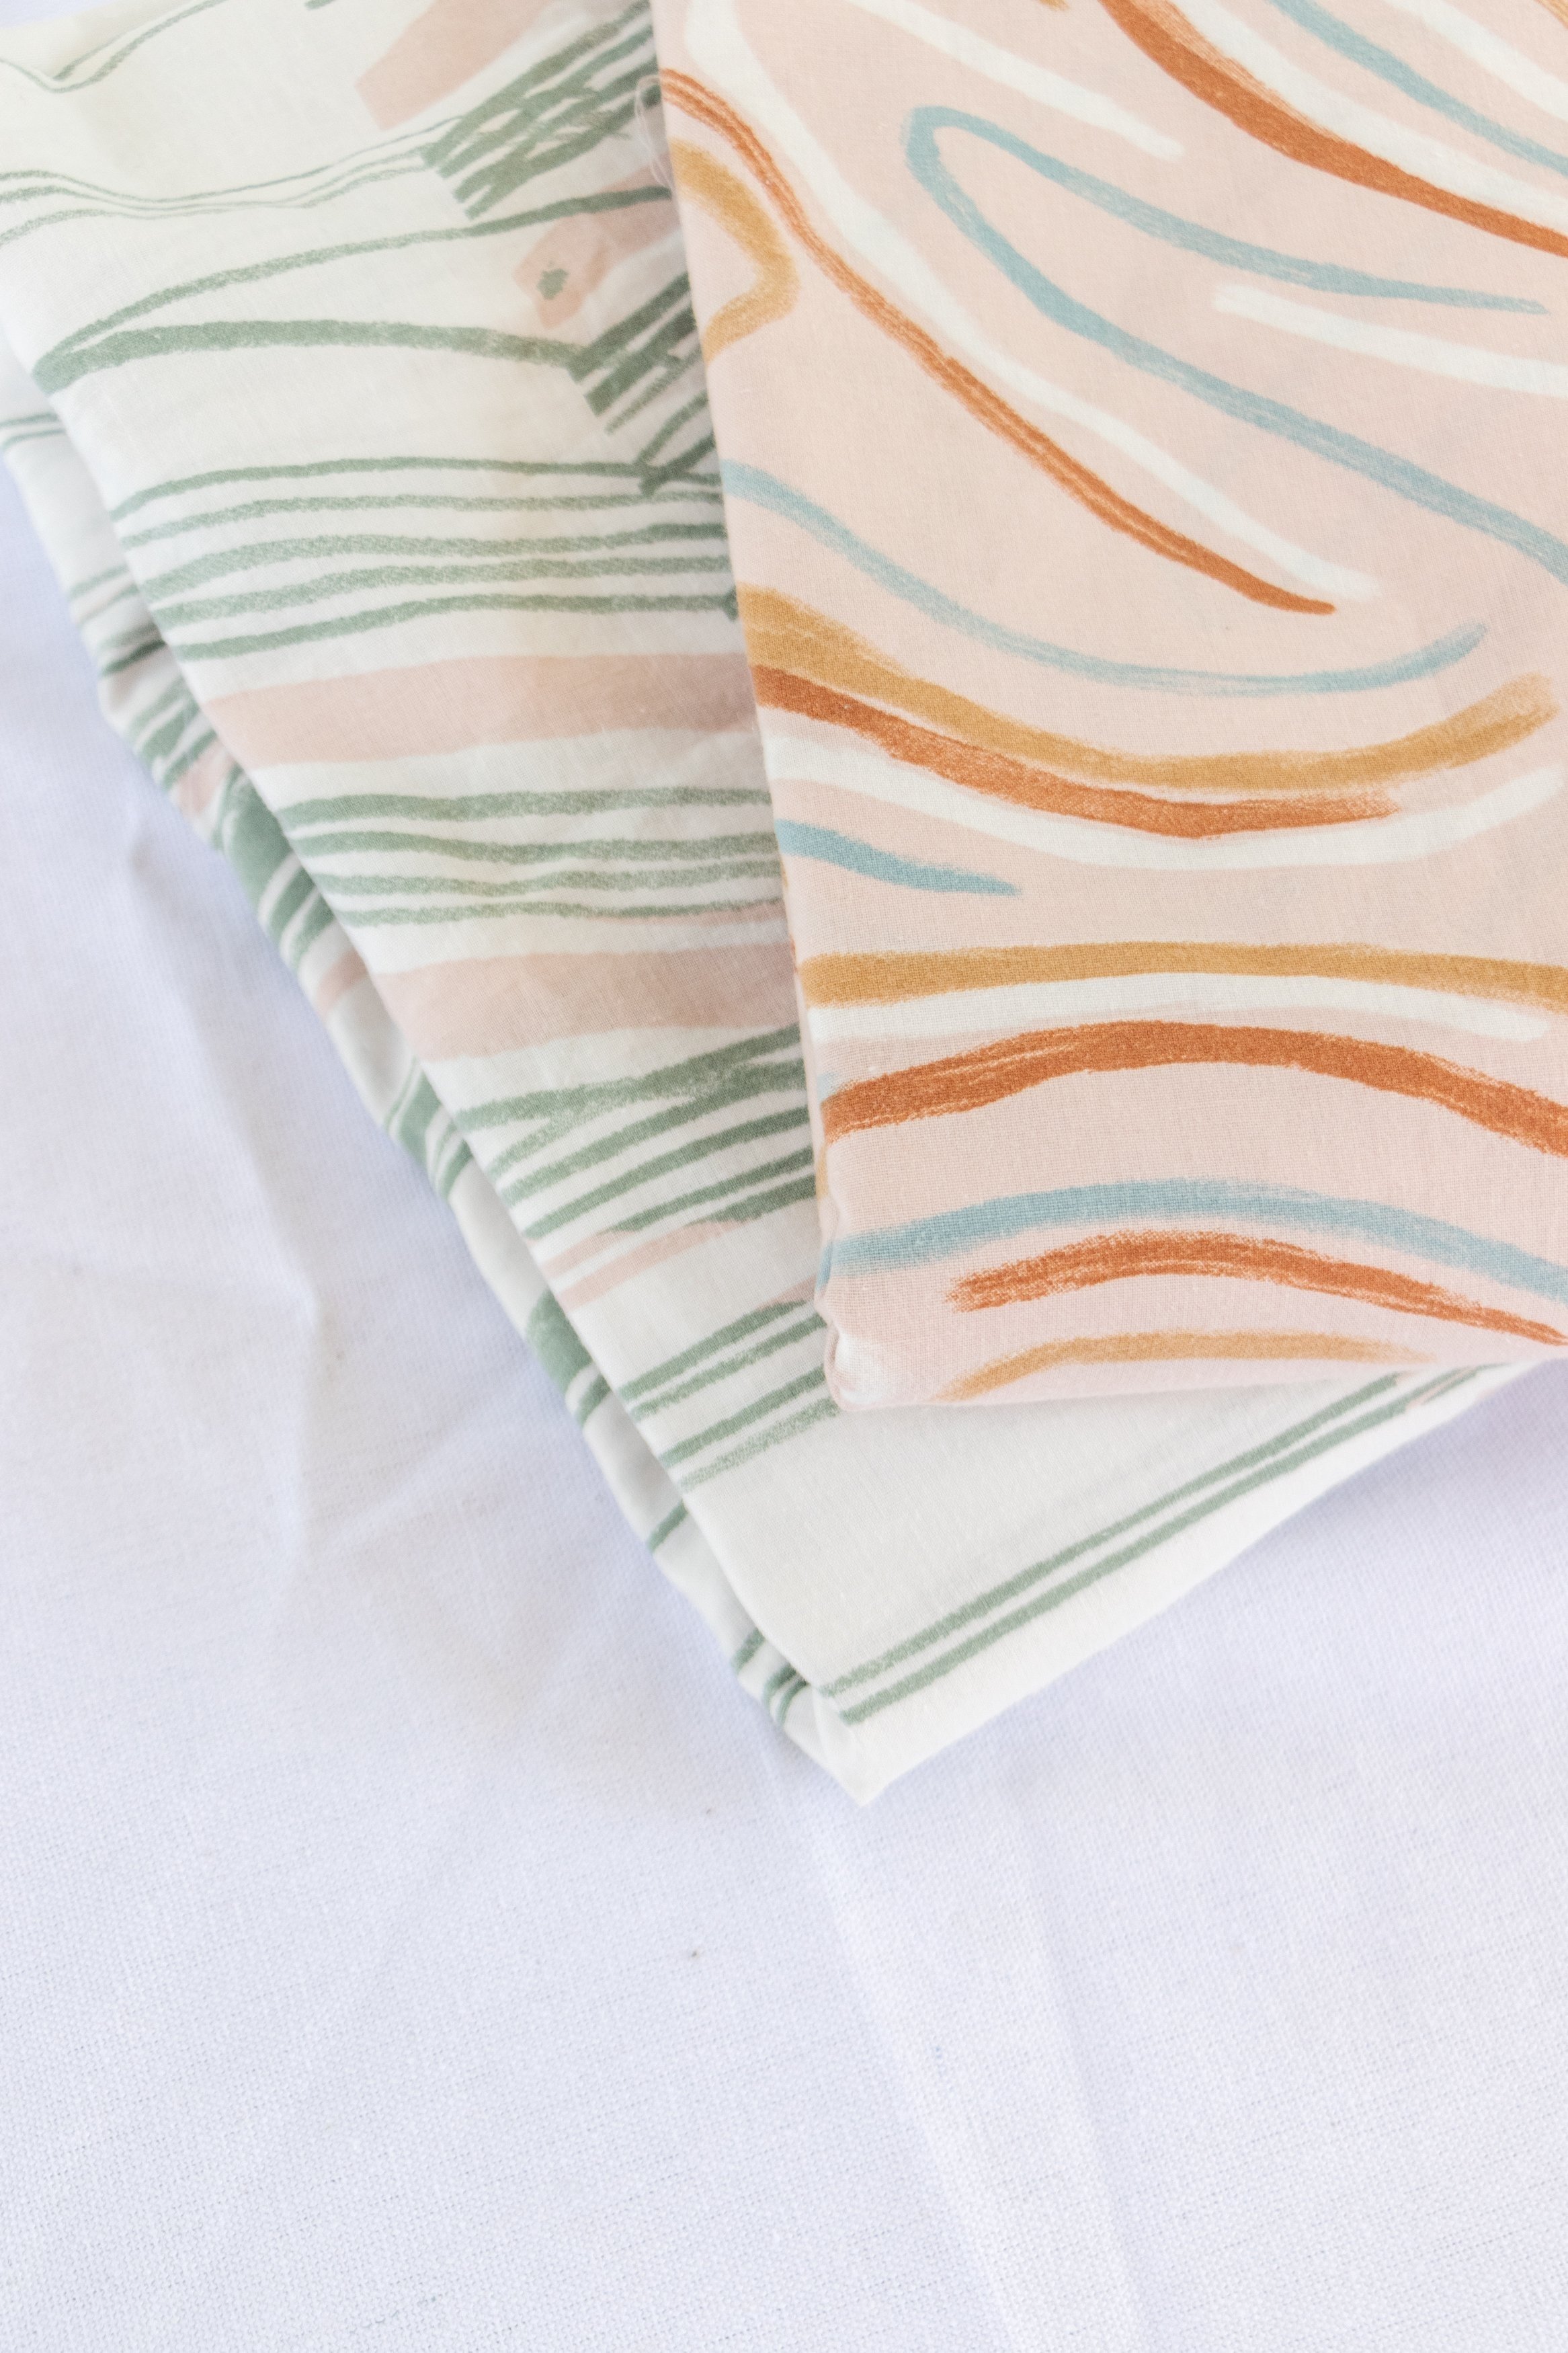
First up? Making larger than life DIY Fabric Bows! When I went thrifting over the holidays I found myself drawn to a duvet cover that had the most stunning abstract print in my favourite colours - dusty blue, rust, pink and white. As soon as I saw it I knew it was the perfect print to make beautiful DIY Fabric Bows. When thinking about where I could put them in my home (honestly, I’d love to put them everywhere but I know Jase won’t allow it) I began to wonder if they would look cute on the back of our outdoor dining chairs. I went home, grabbed my sewing machine and started making.
Watch this video to find out how to make your own girlycore DIY Fabric Bows
Before & After


Project Details
✂️ Making: DIY Fabric Bows - using a thrifted bedspread!
🕒 Project Time Estimate: 45 minutes
💰 Materials Cost: $8
Materials
Thrifted fabric. I found a duvet cover at a charity shop for $4, so good!
White cotton thread
Tools
Fabric scissors
Sewing machine
Sewing pins
How To
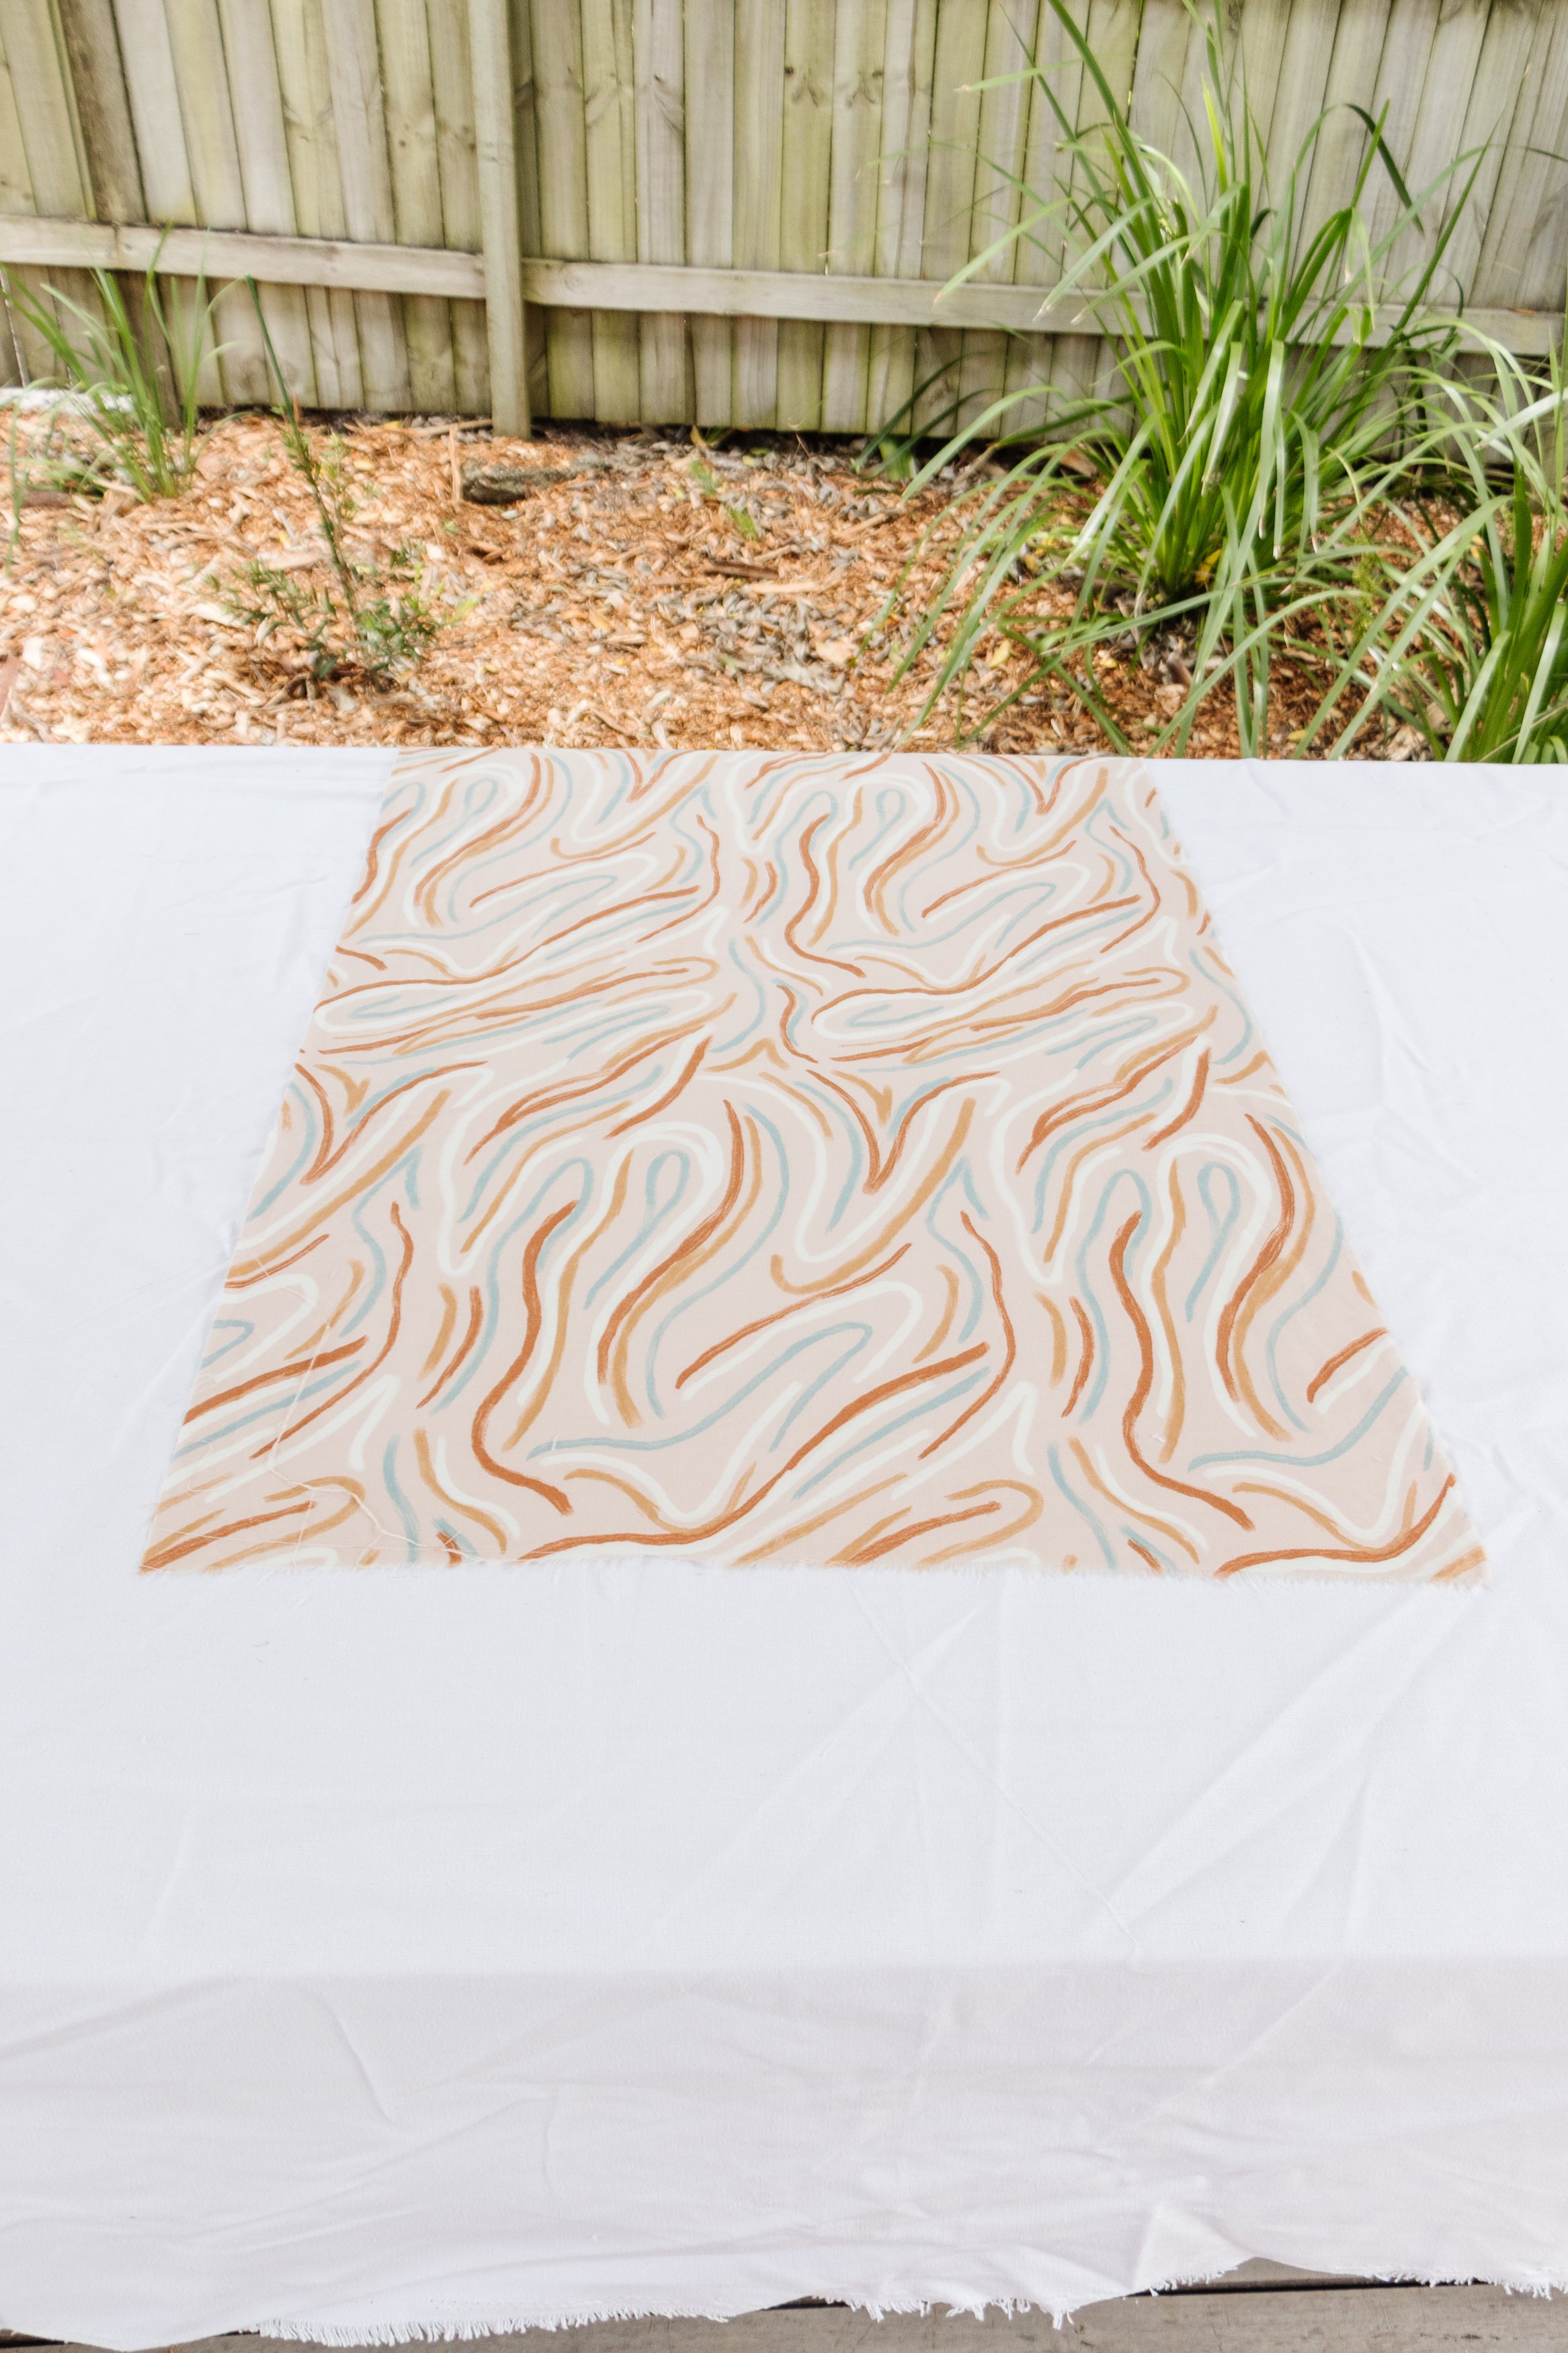
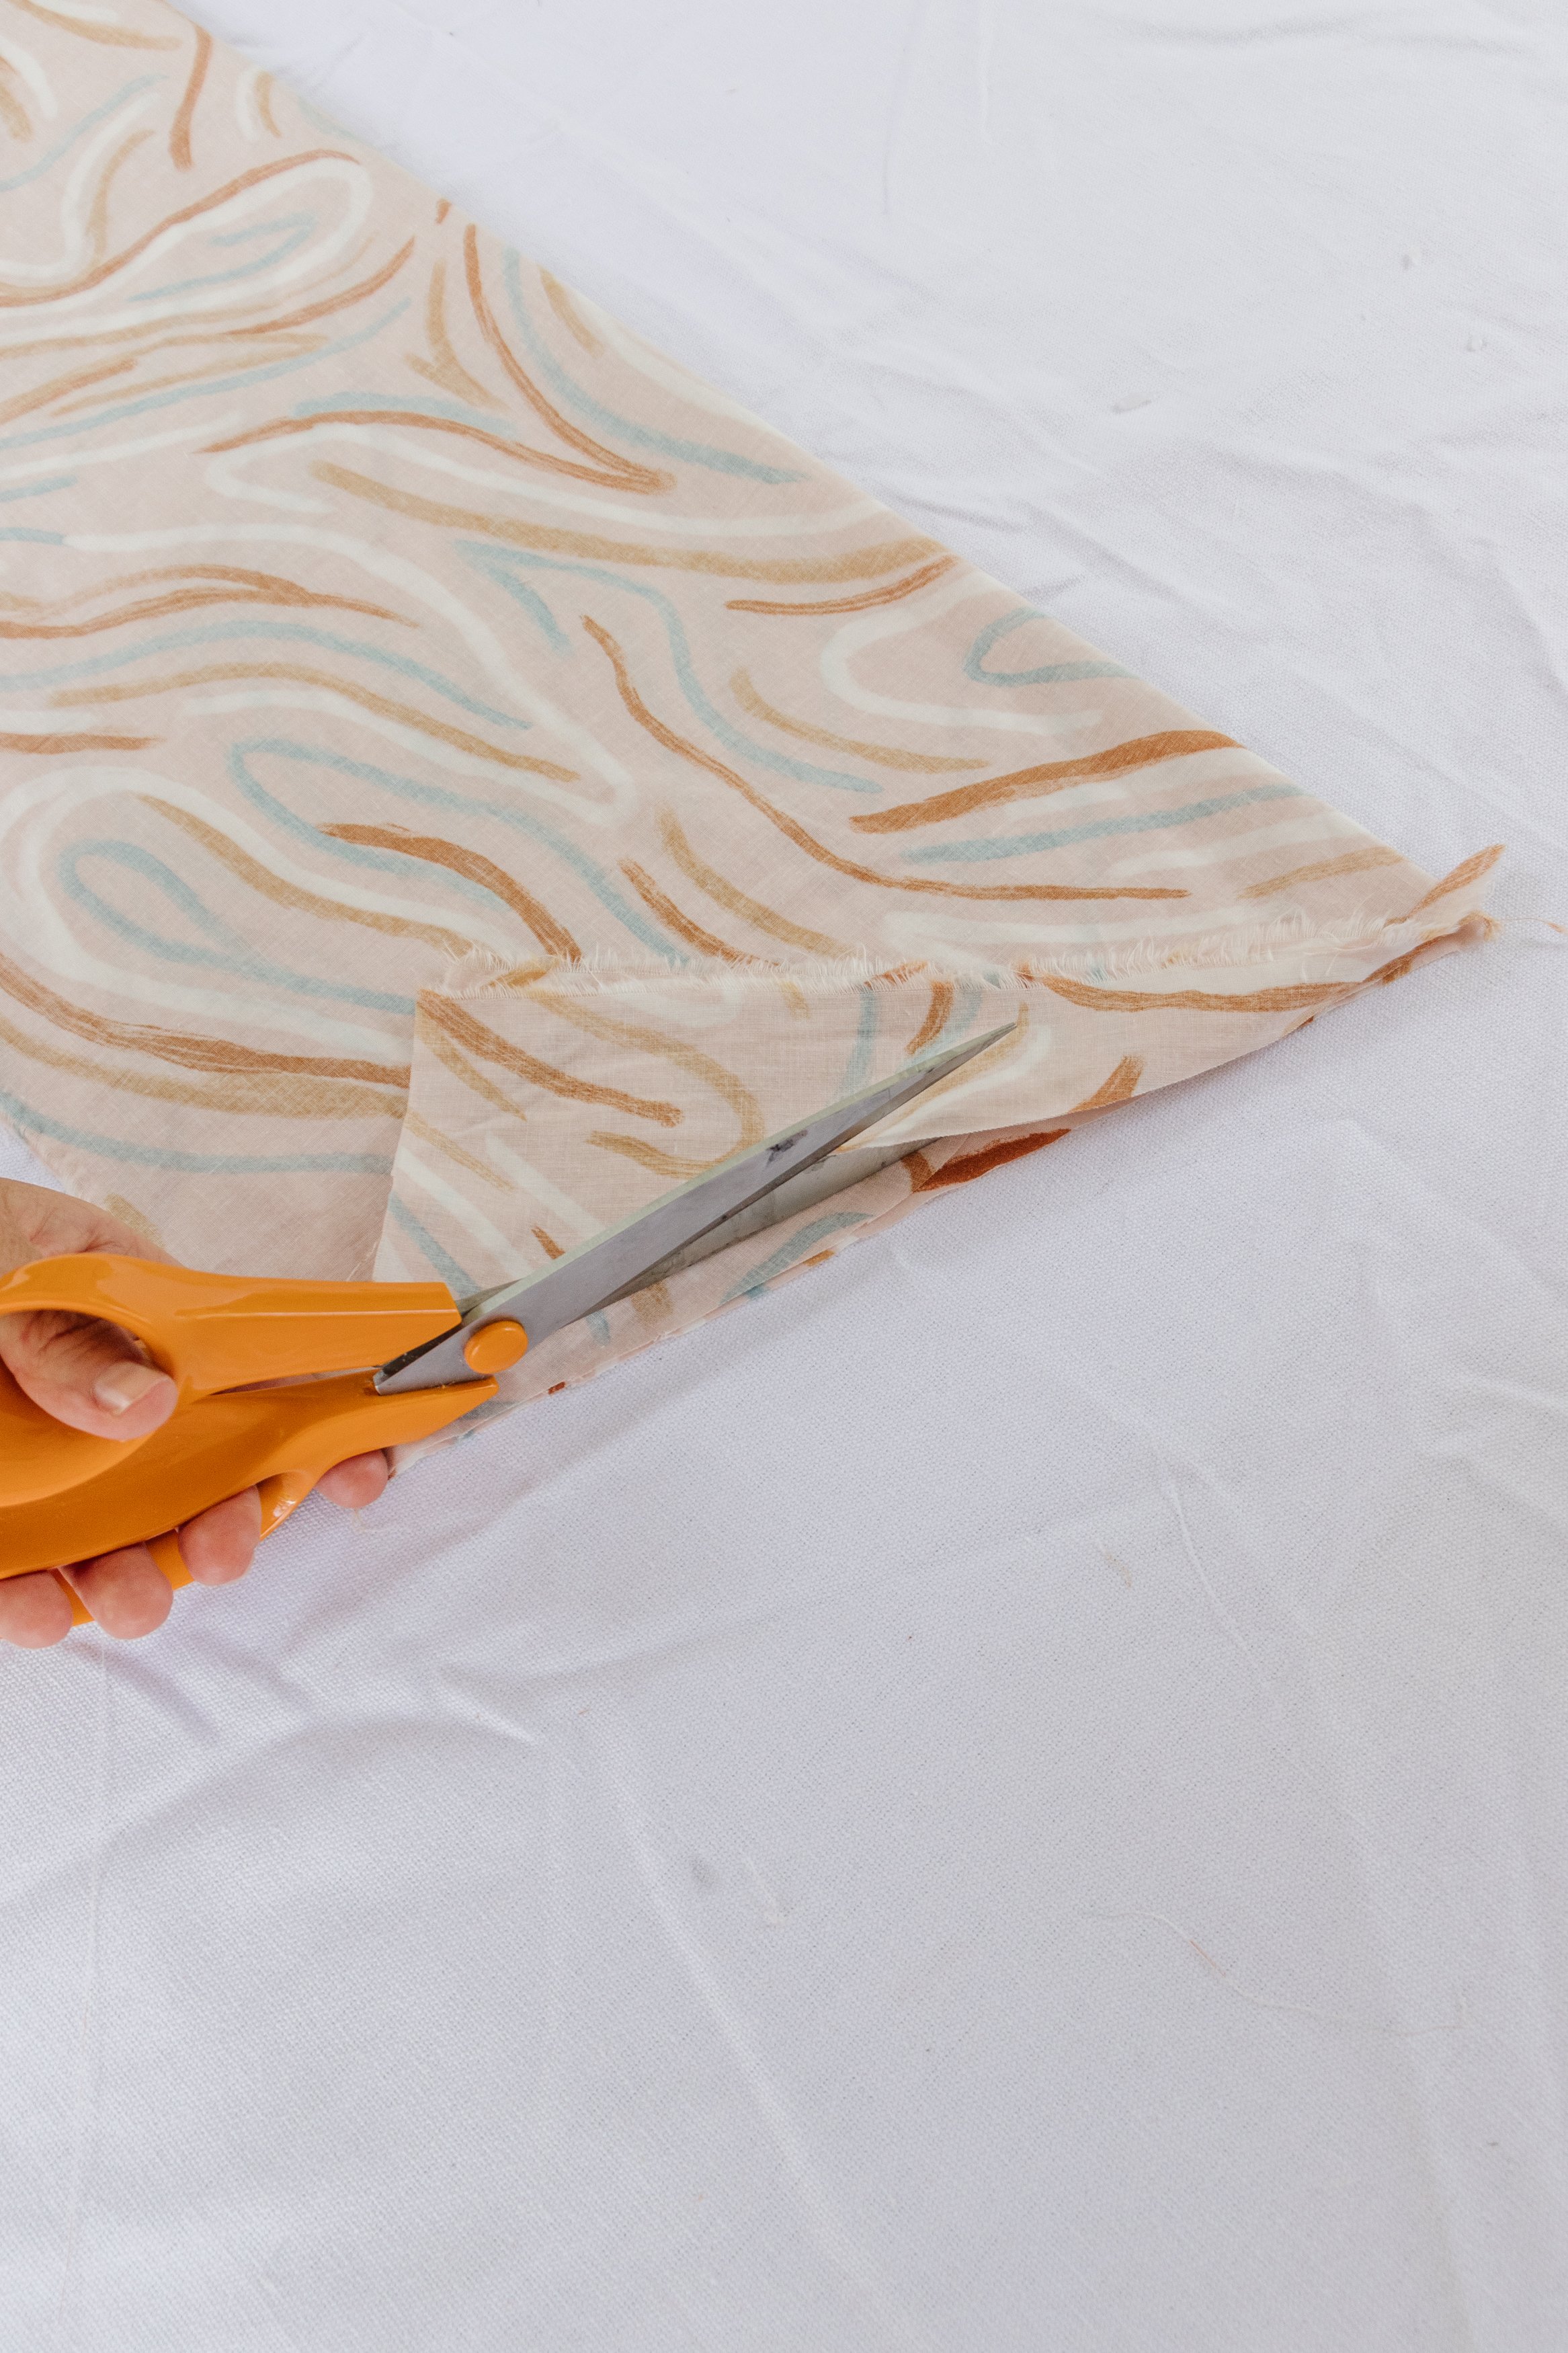
Step 1: The duvet cover I thrifted was made from two different fabrics sewn together, so the first thing I did was to cut the duvet and seperate the fabric. I don’t like the other side of the duvet cover, so I ended up donating it back to the charity shop I got it from.
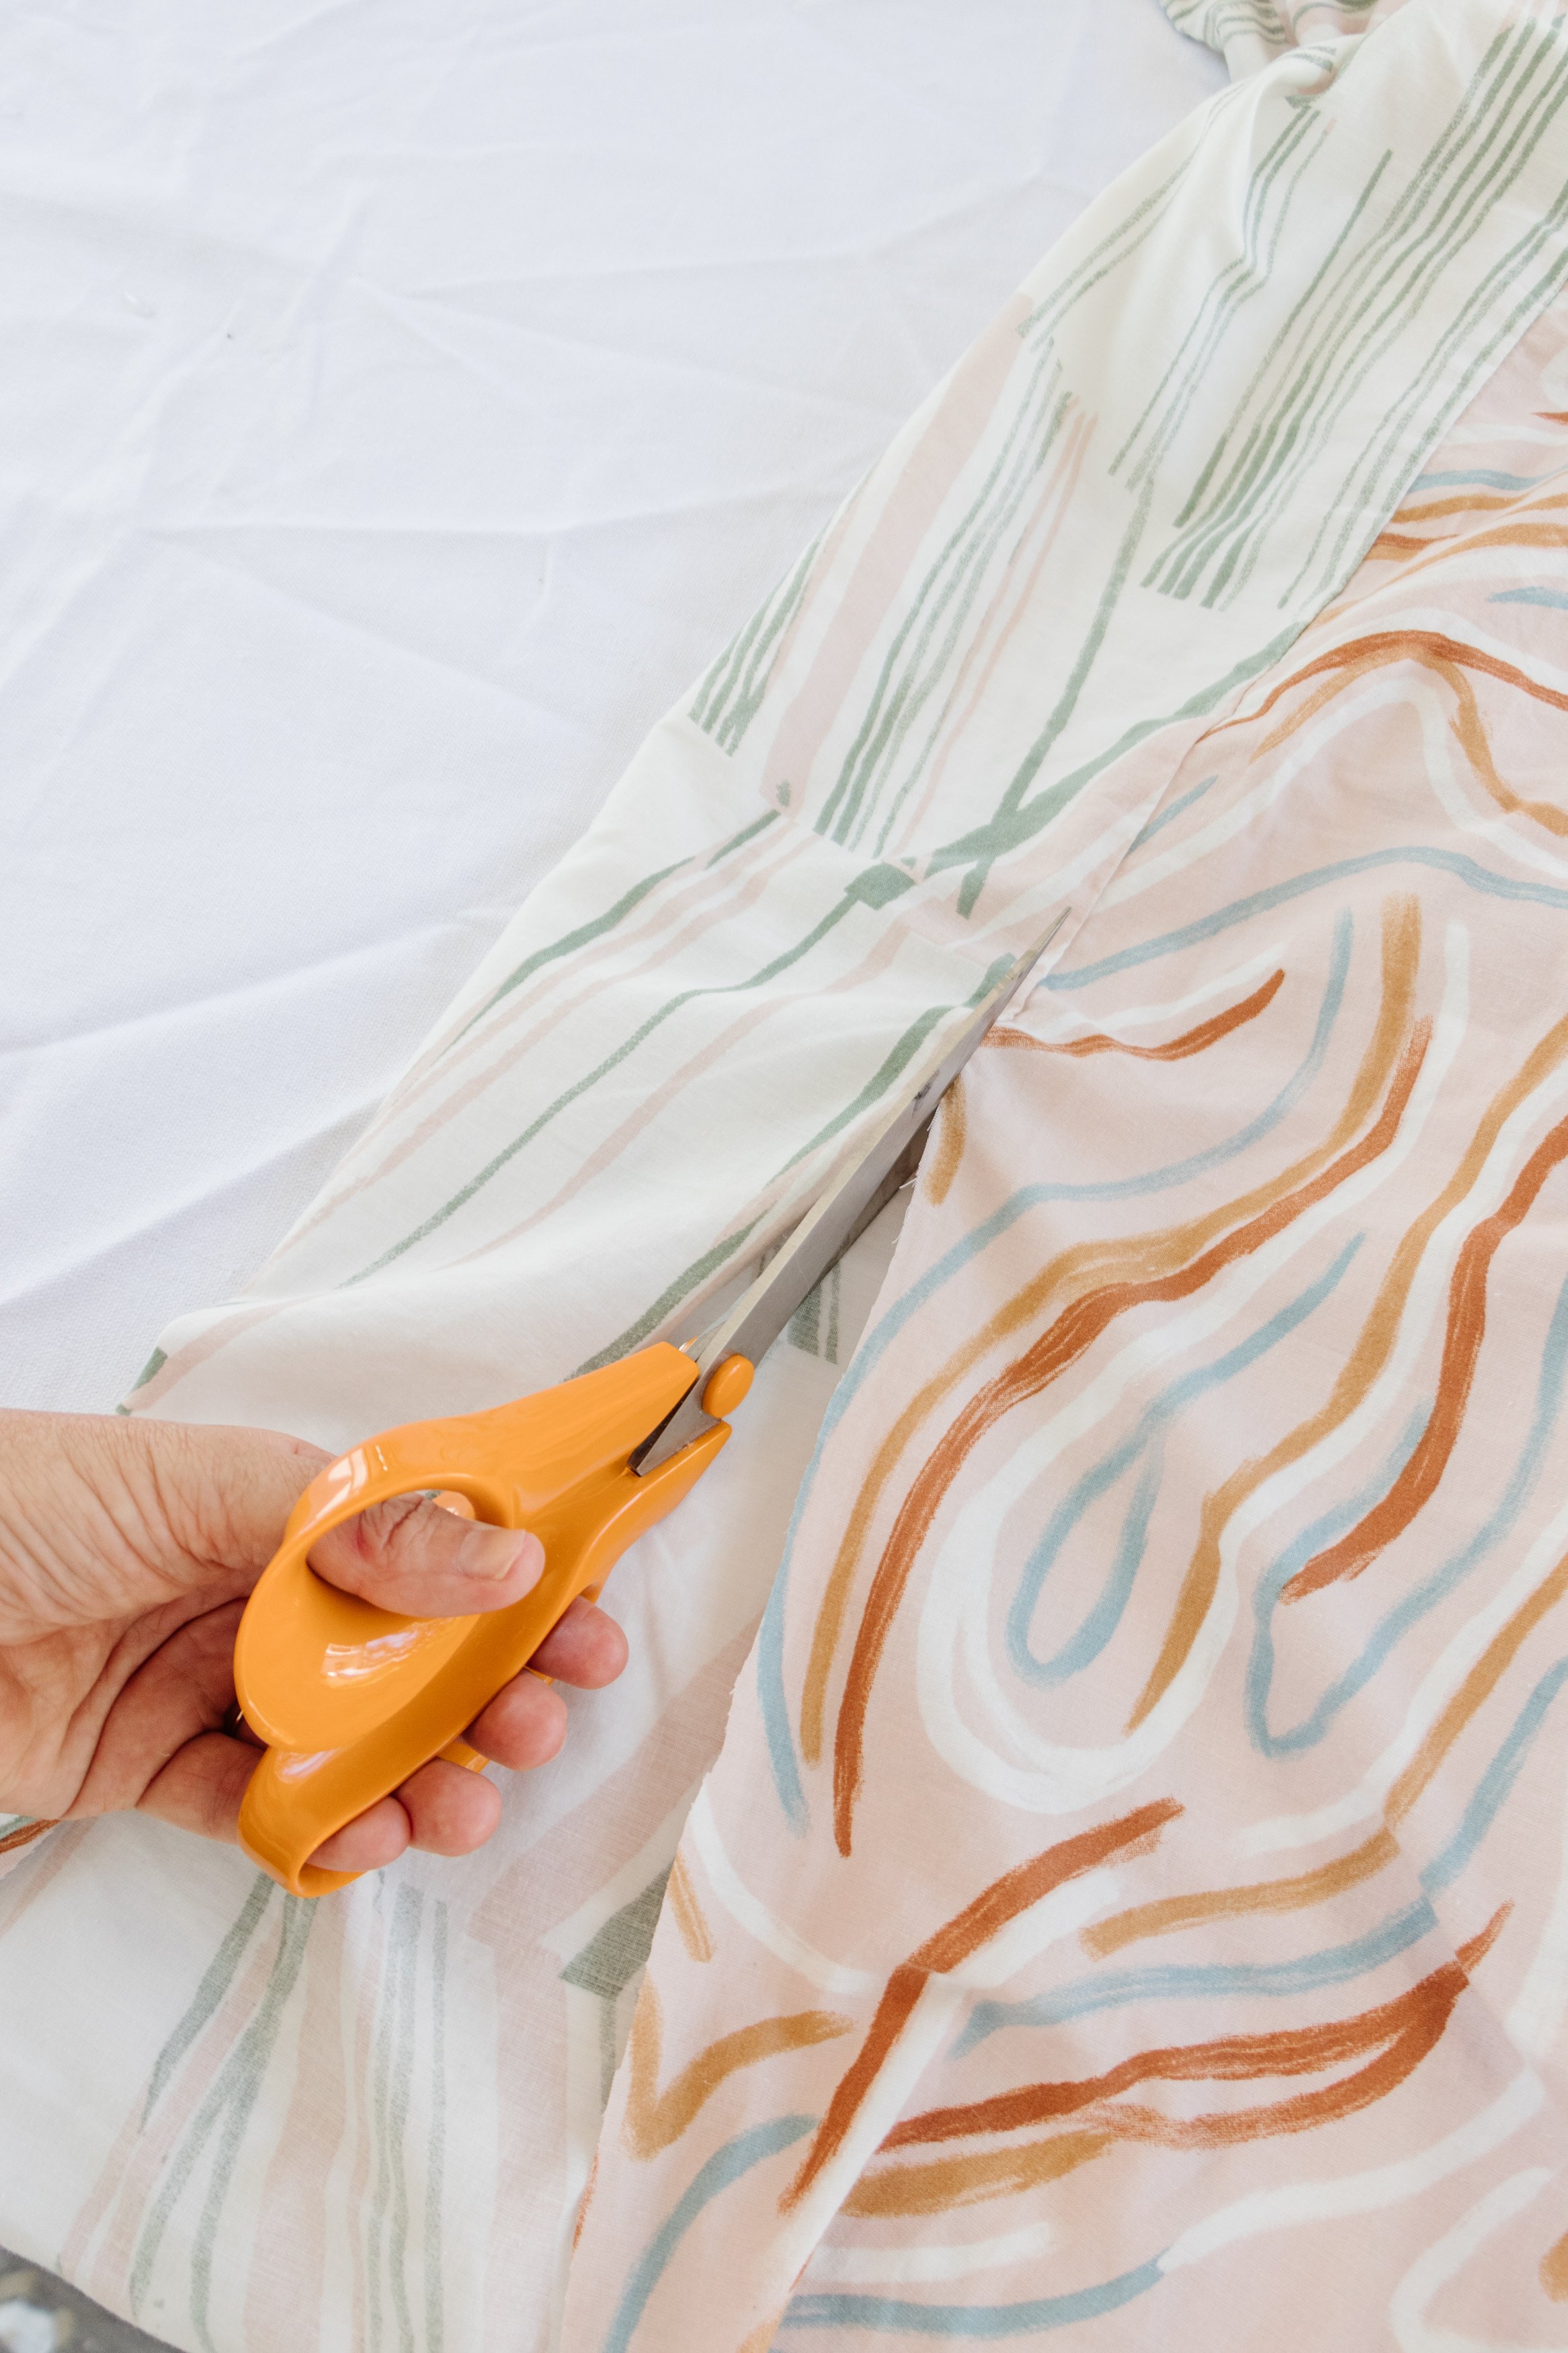
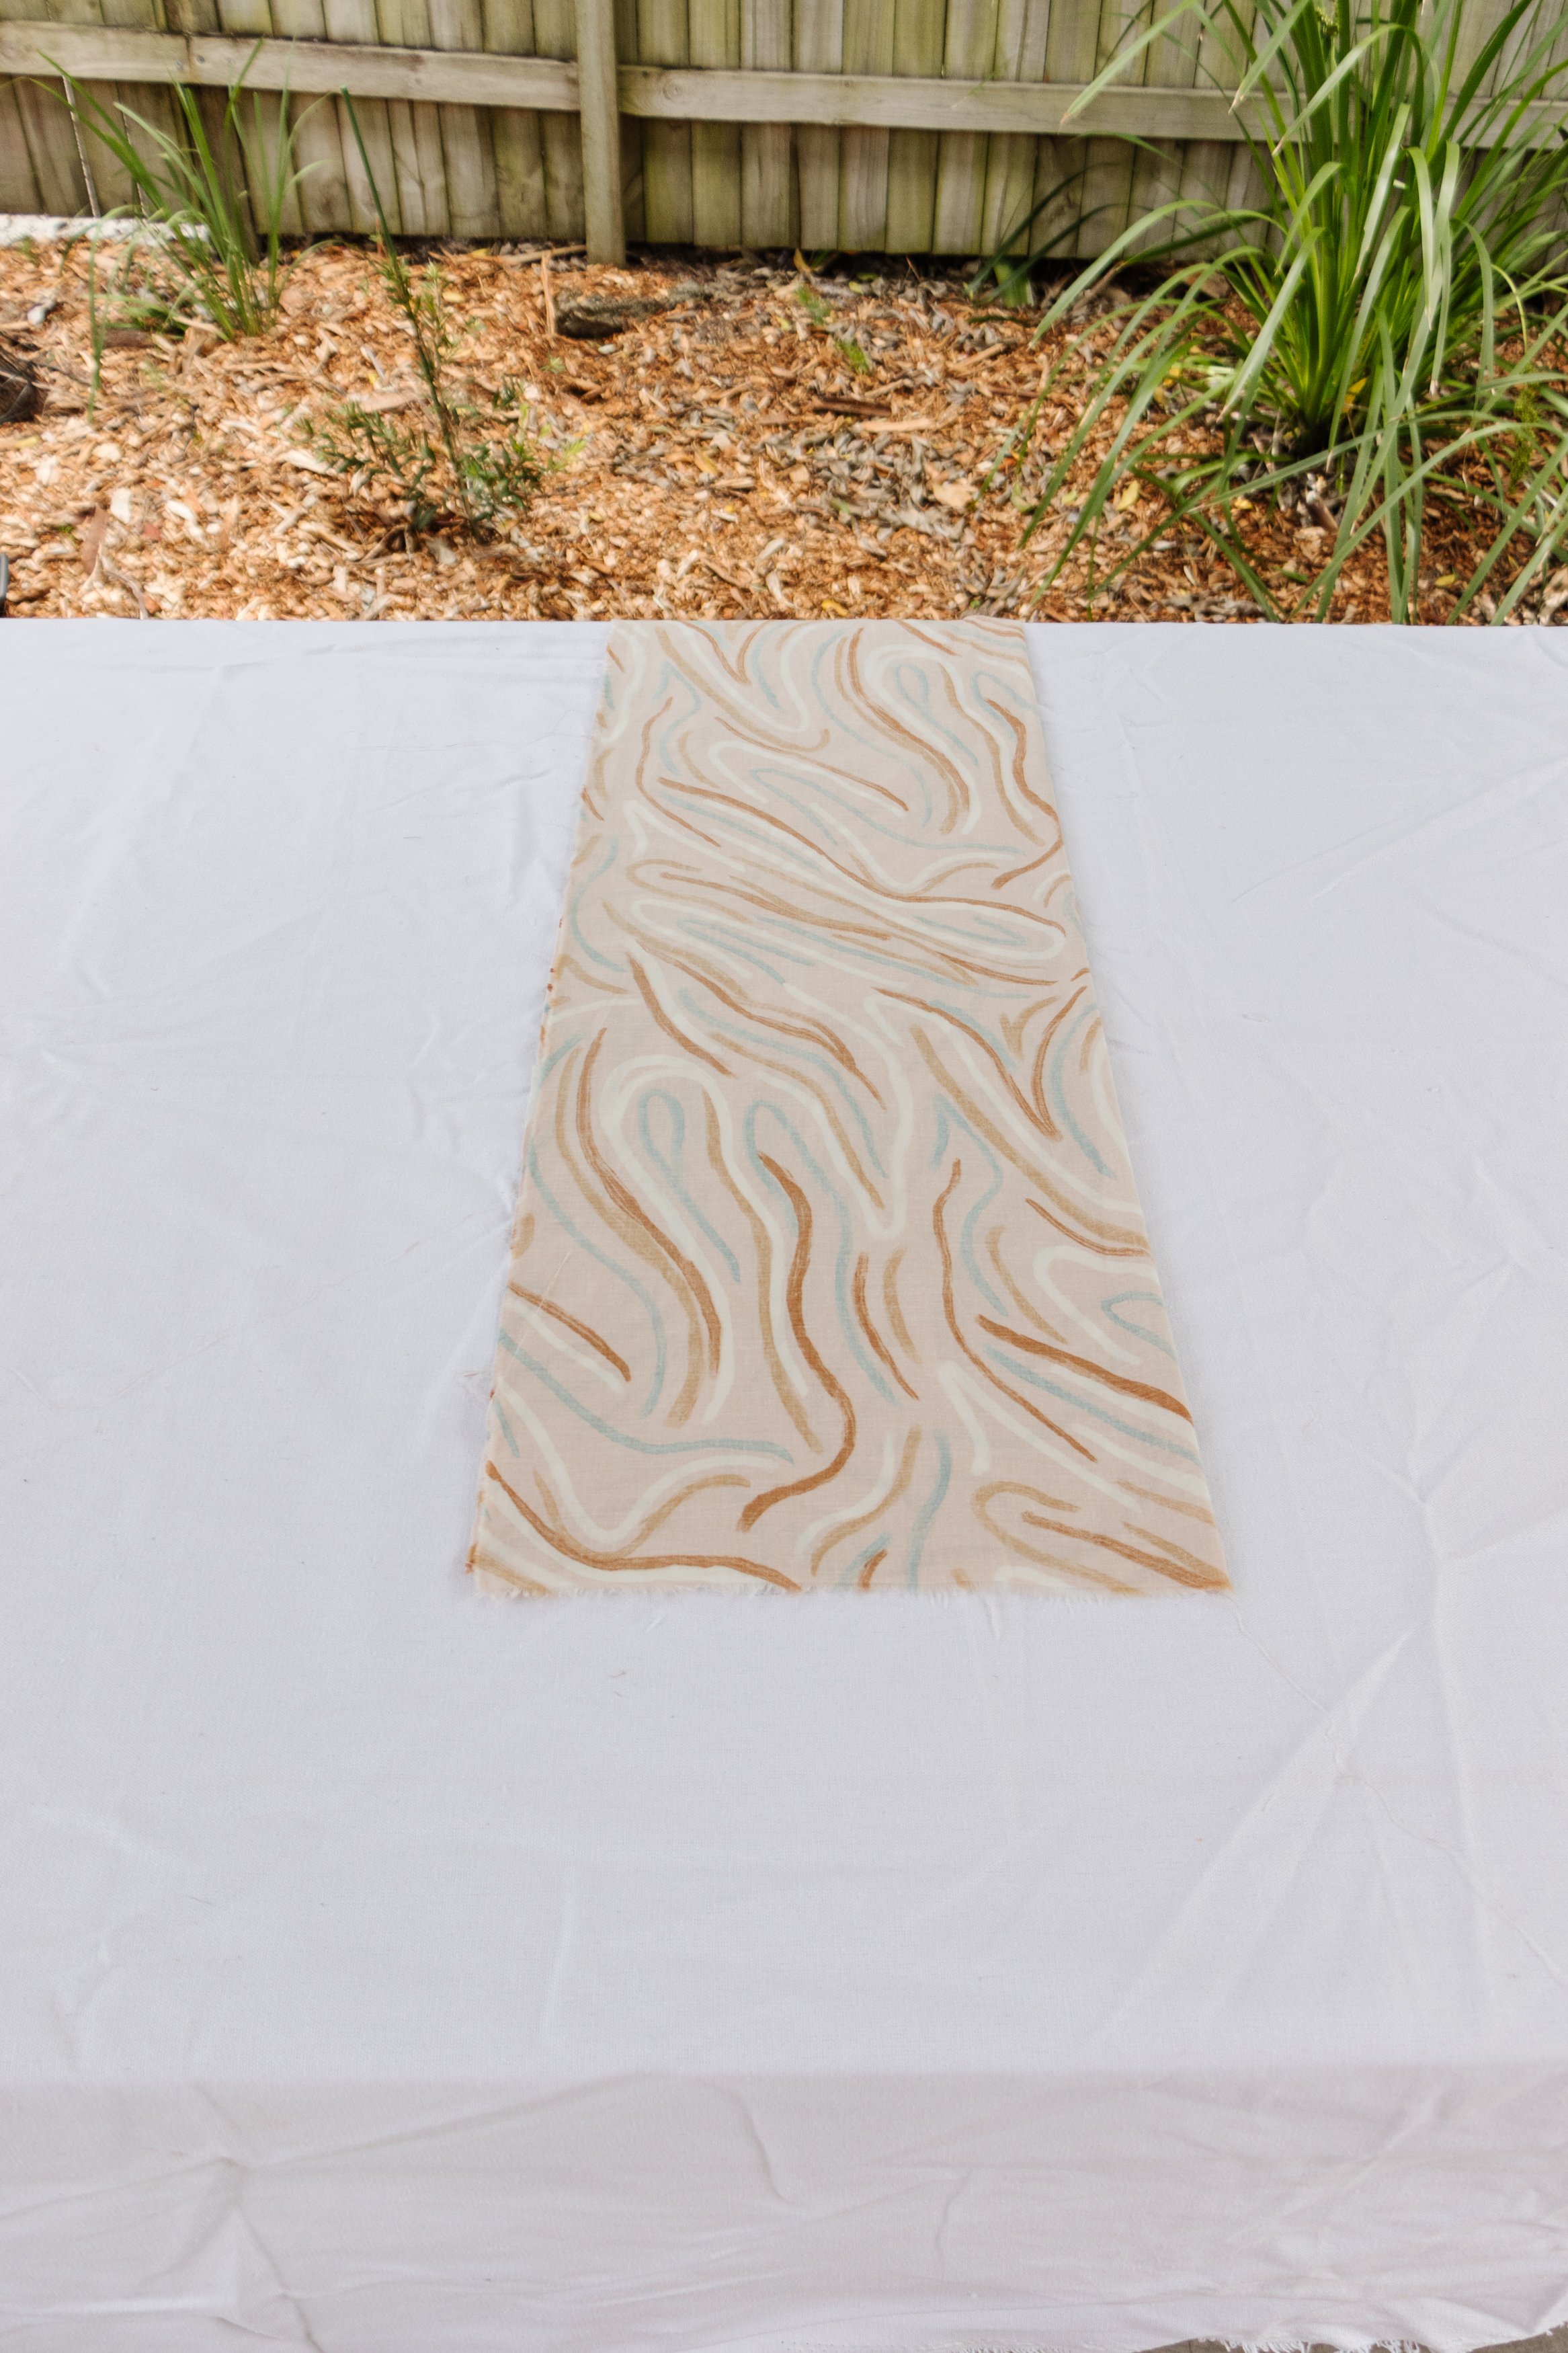
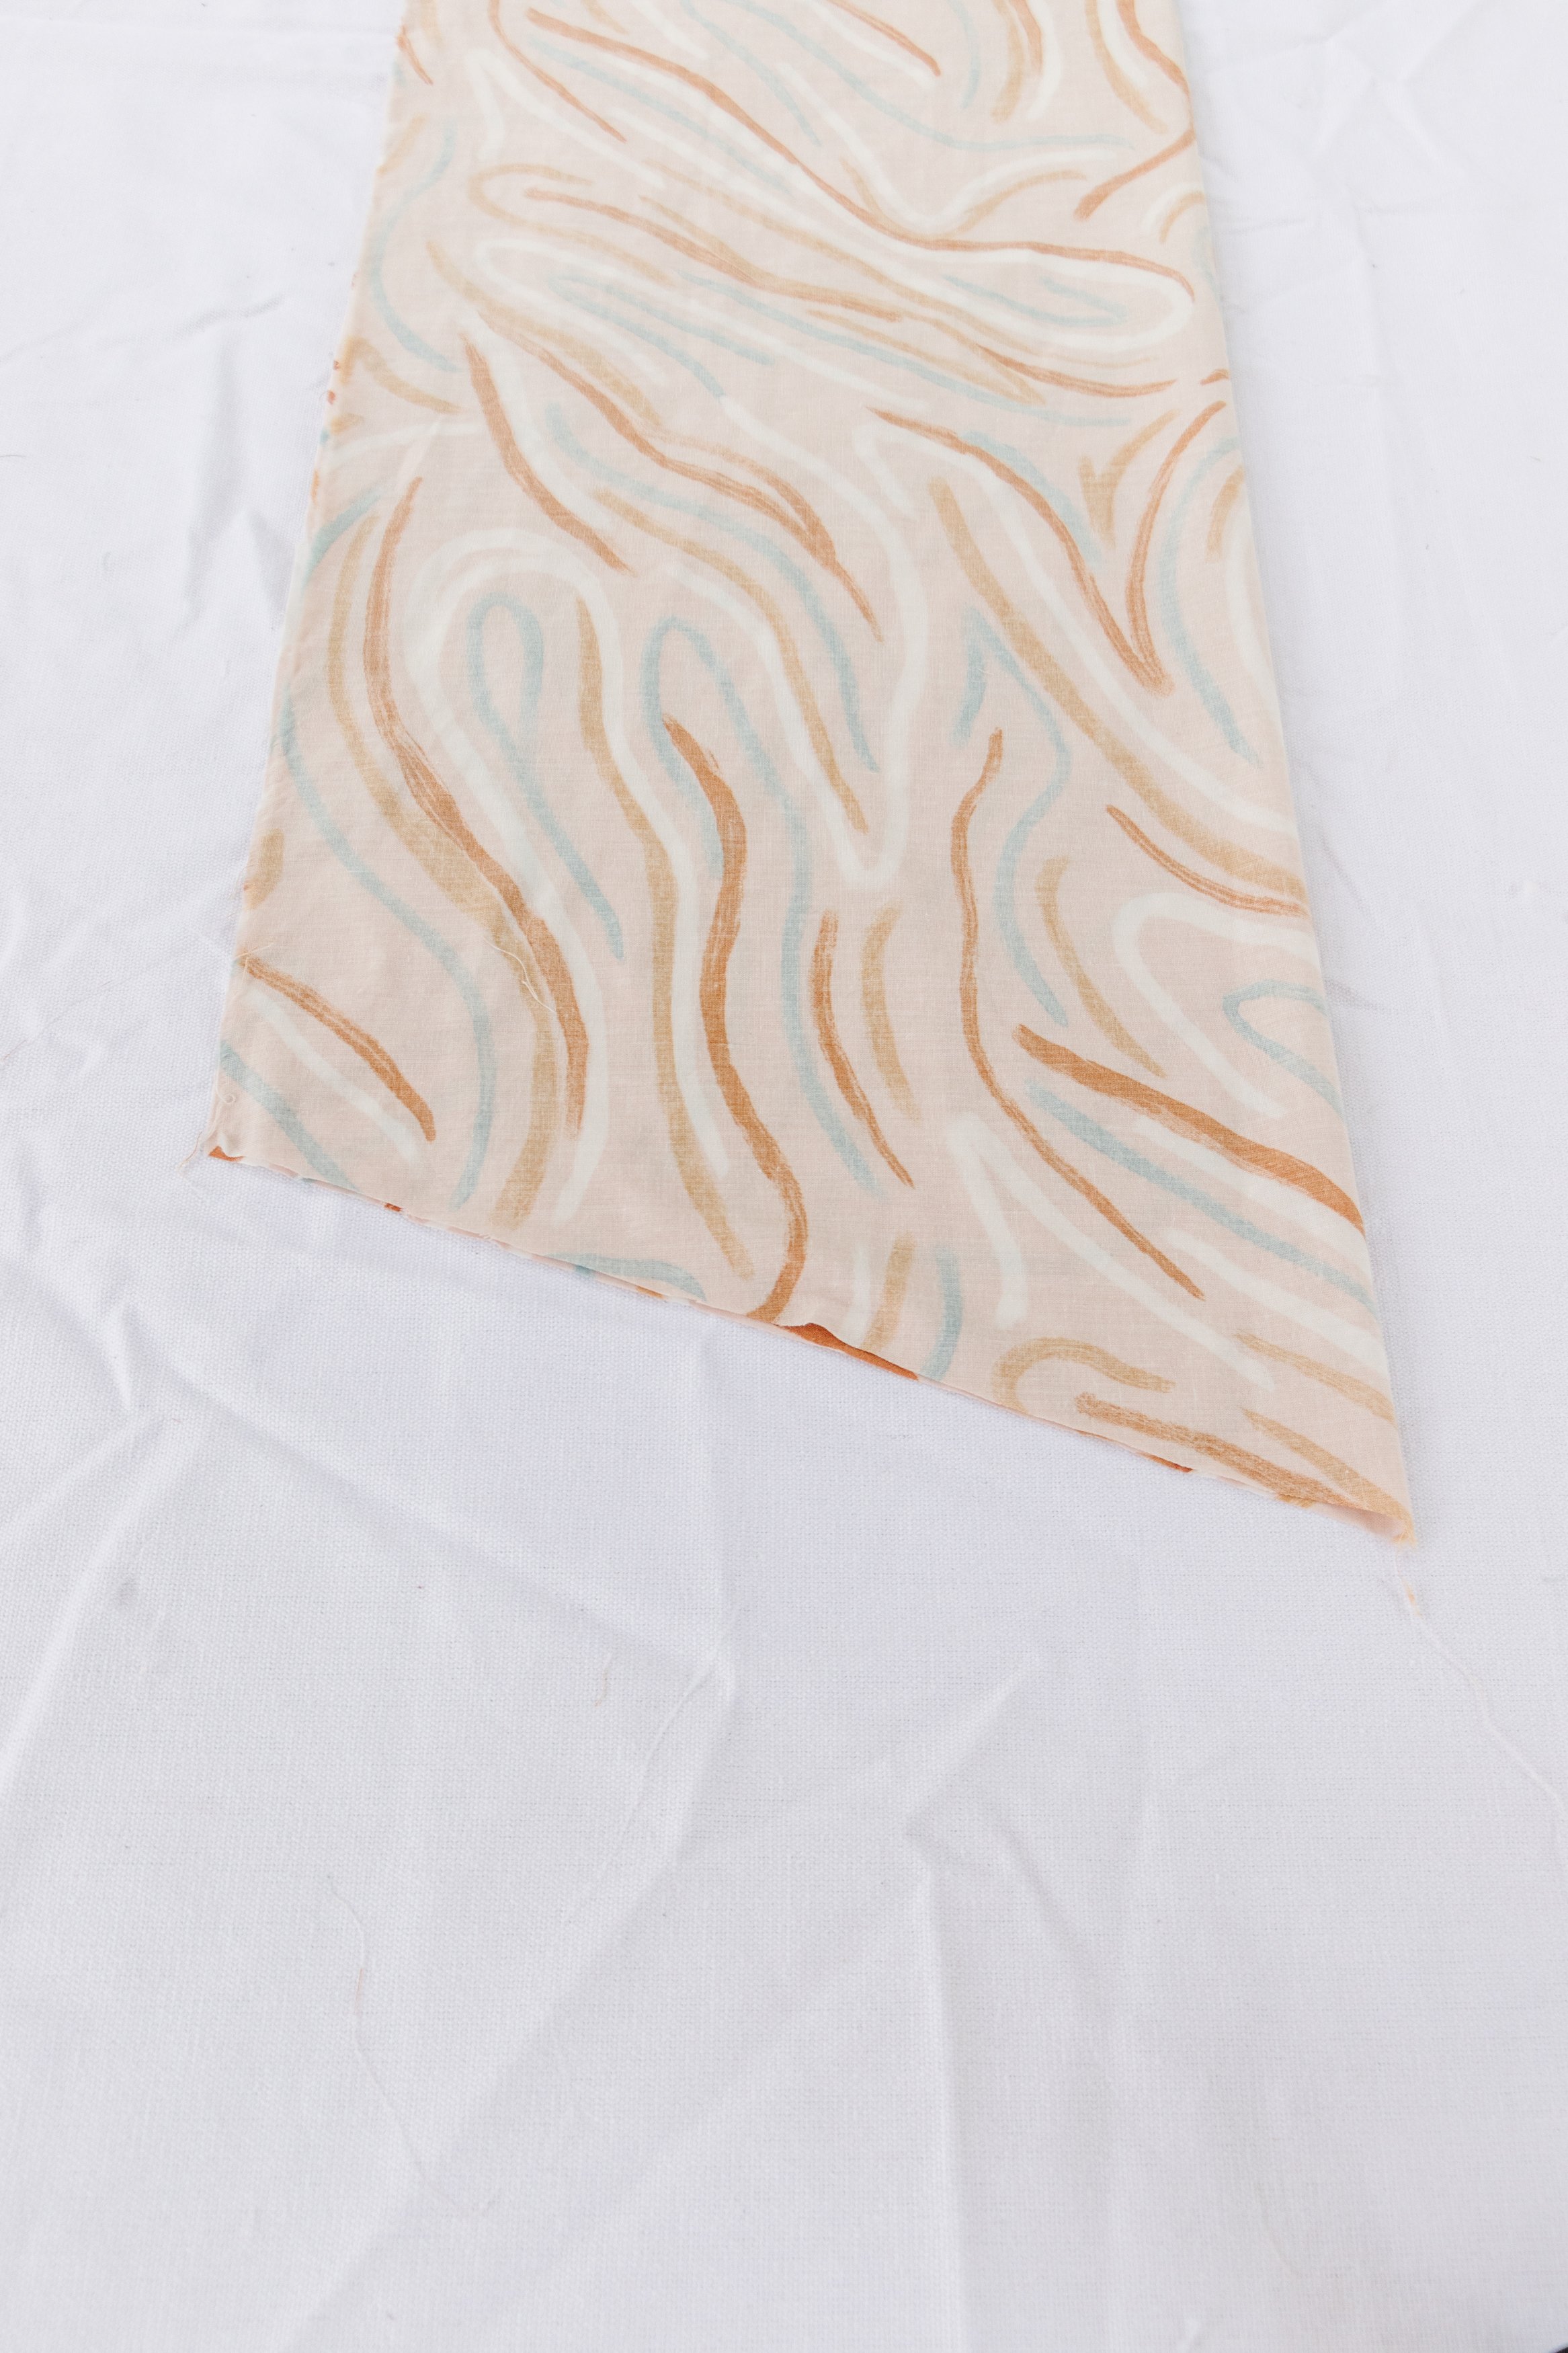
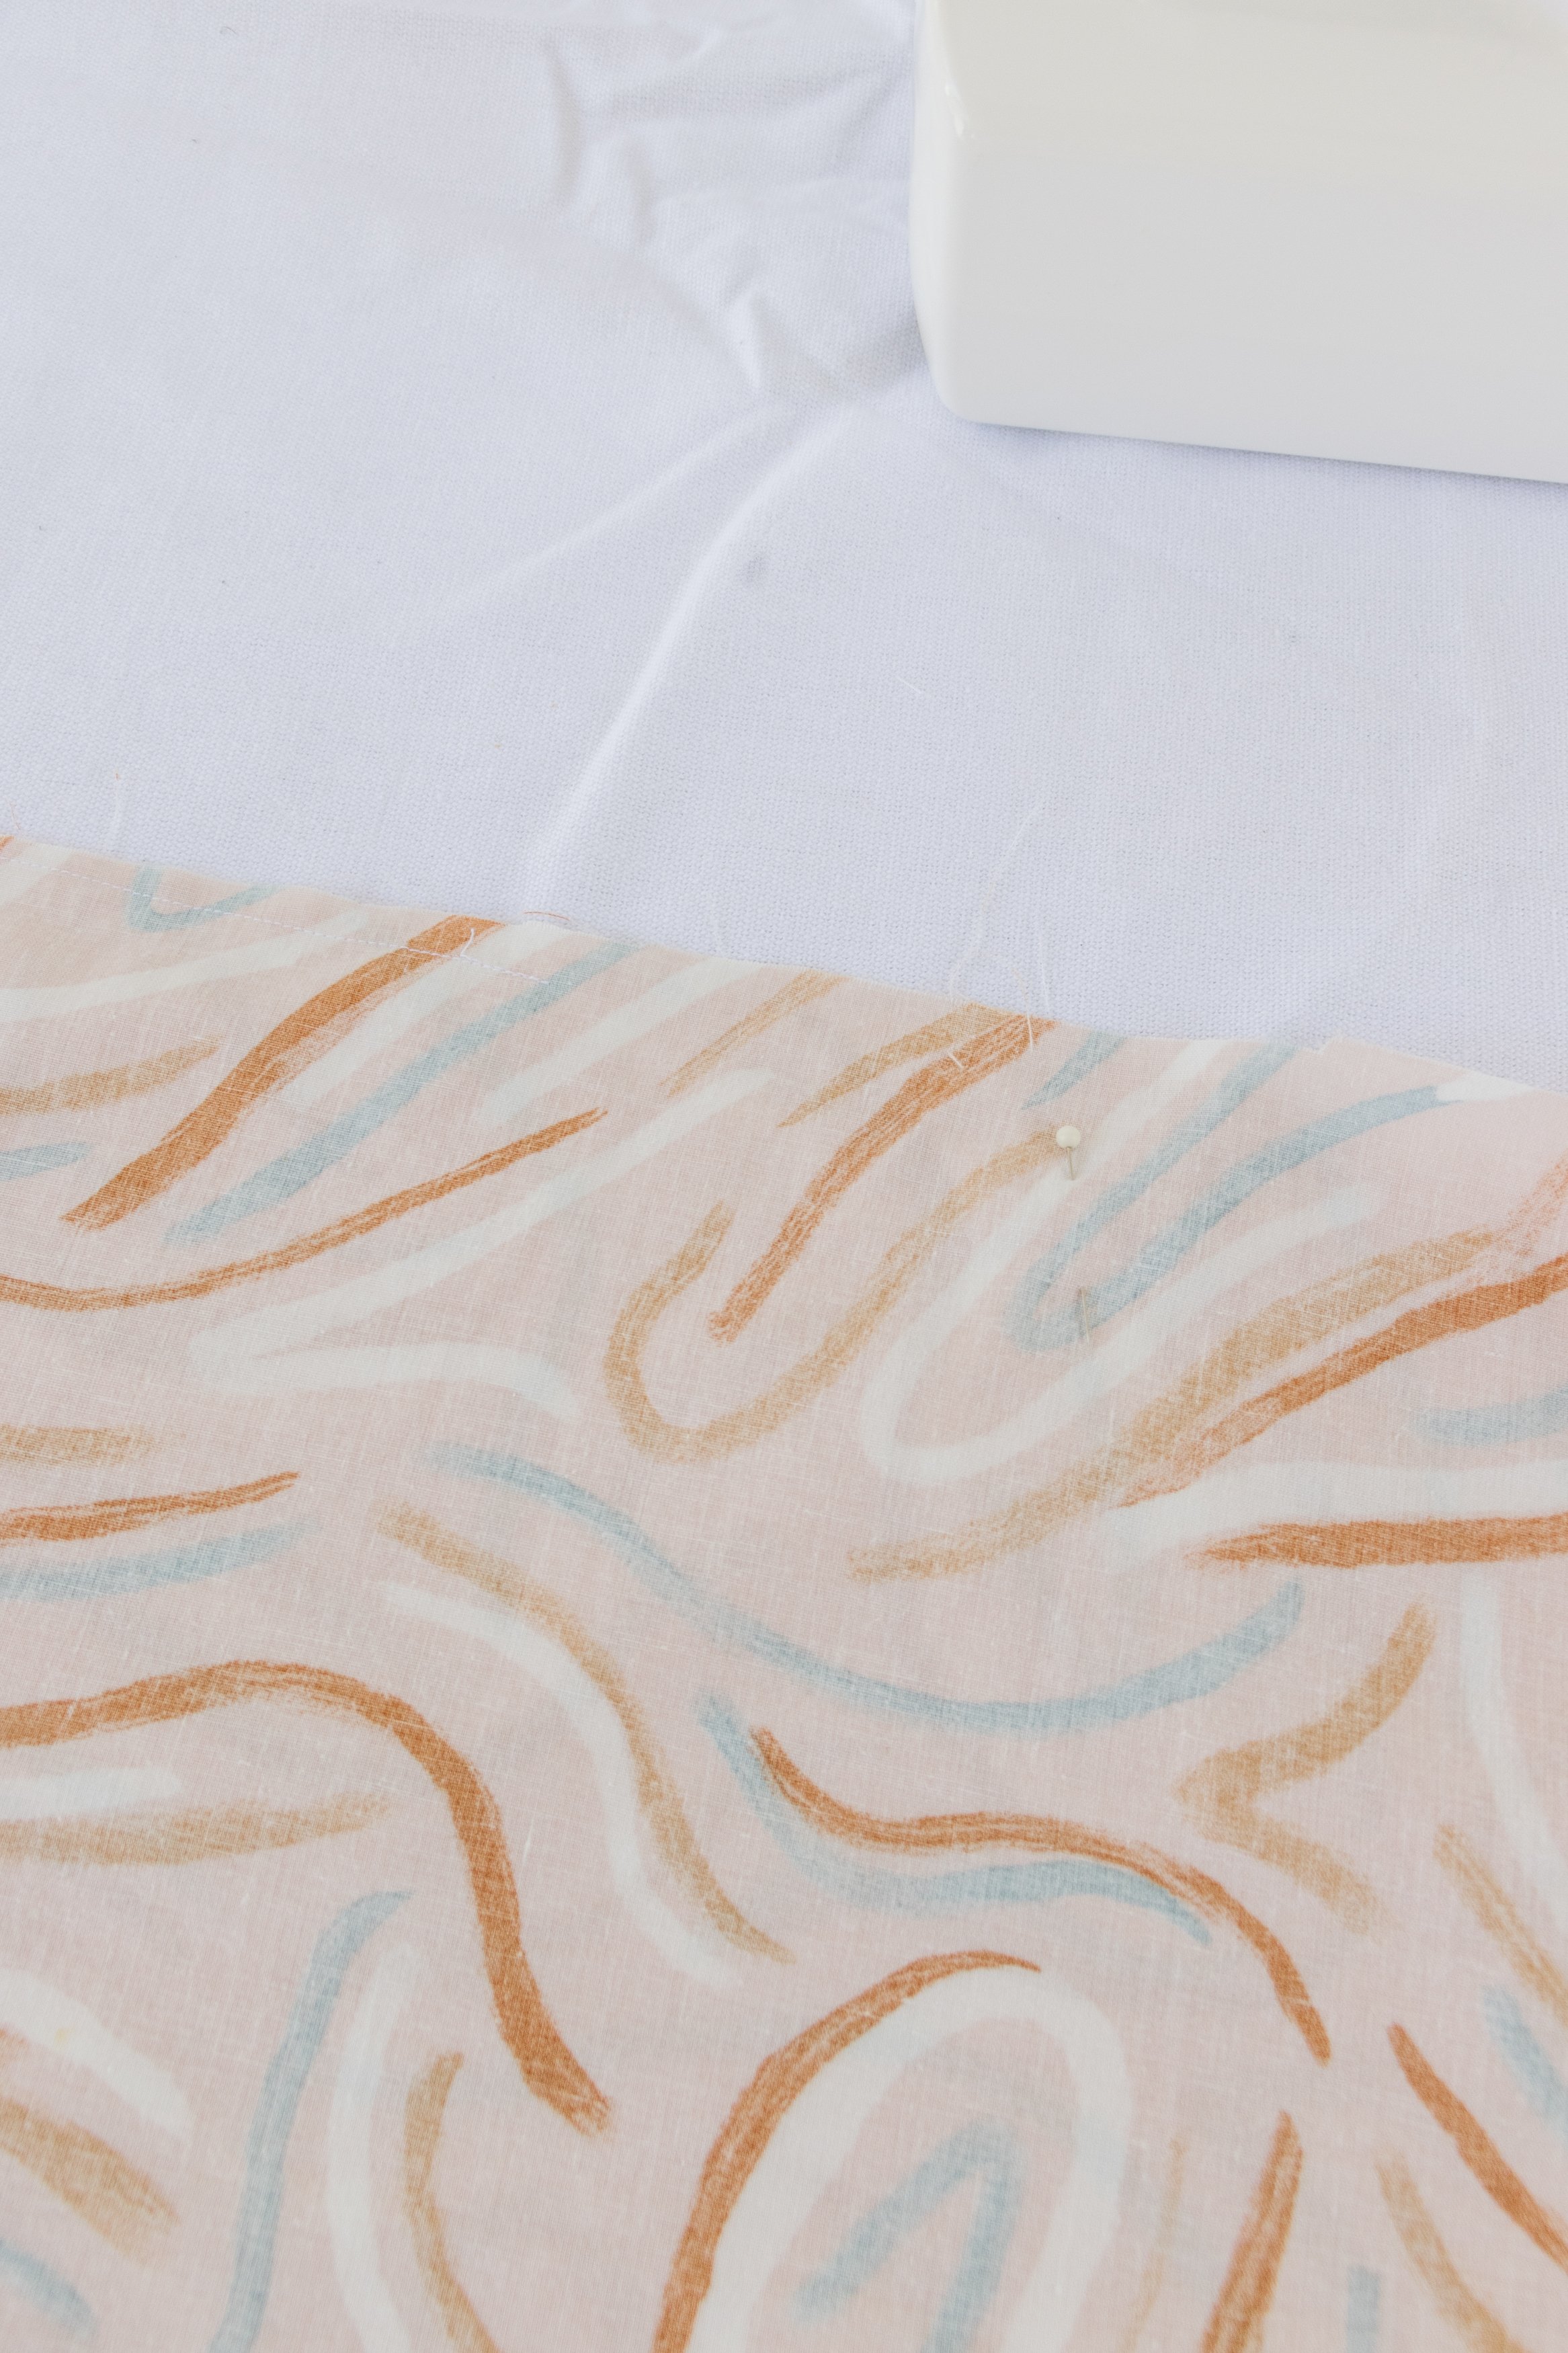
Step 2: Following this I cut the duvet fabric lengthways into four pieces. I placed one piece with the best side of the fabric facing up. I folded it in half lengthways with the back of the fabric facing up. I folded and cut the ends at an angle of 20 degree to give the ends of the bows a really lovely shape. If you want the bows to have more dramatic ends, cut the fabric at an angle of 45 degrees.
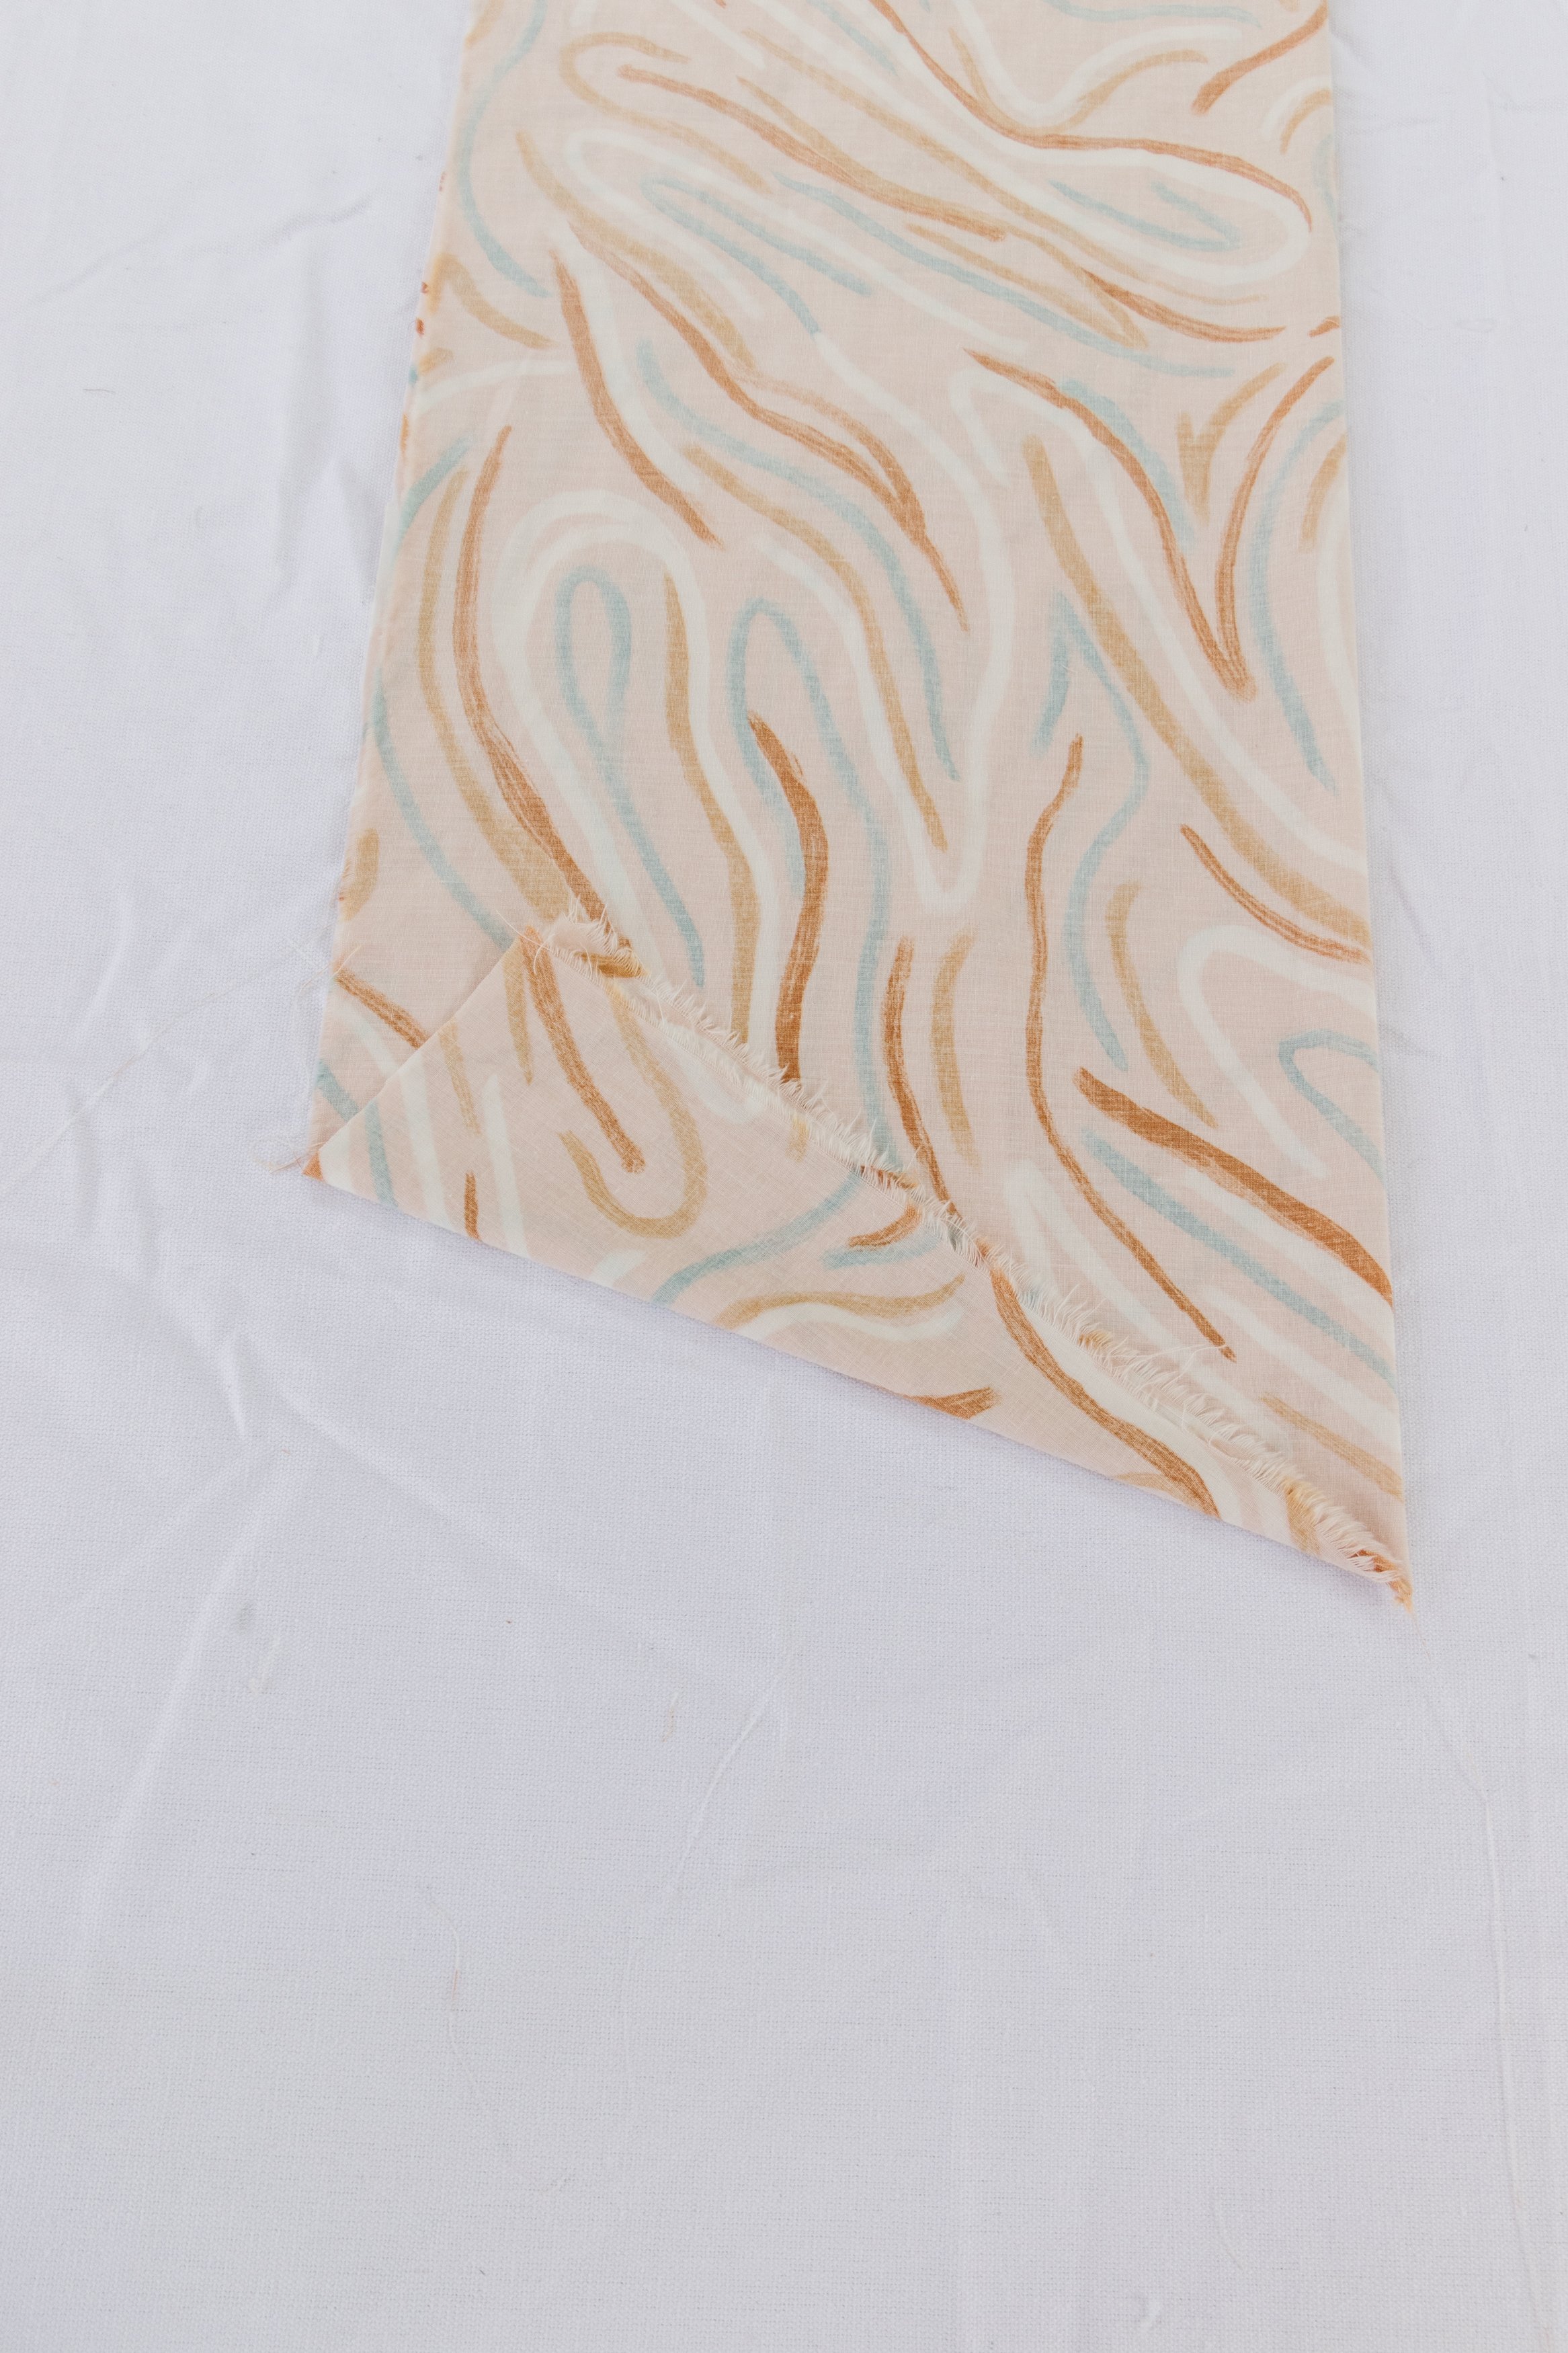


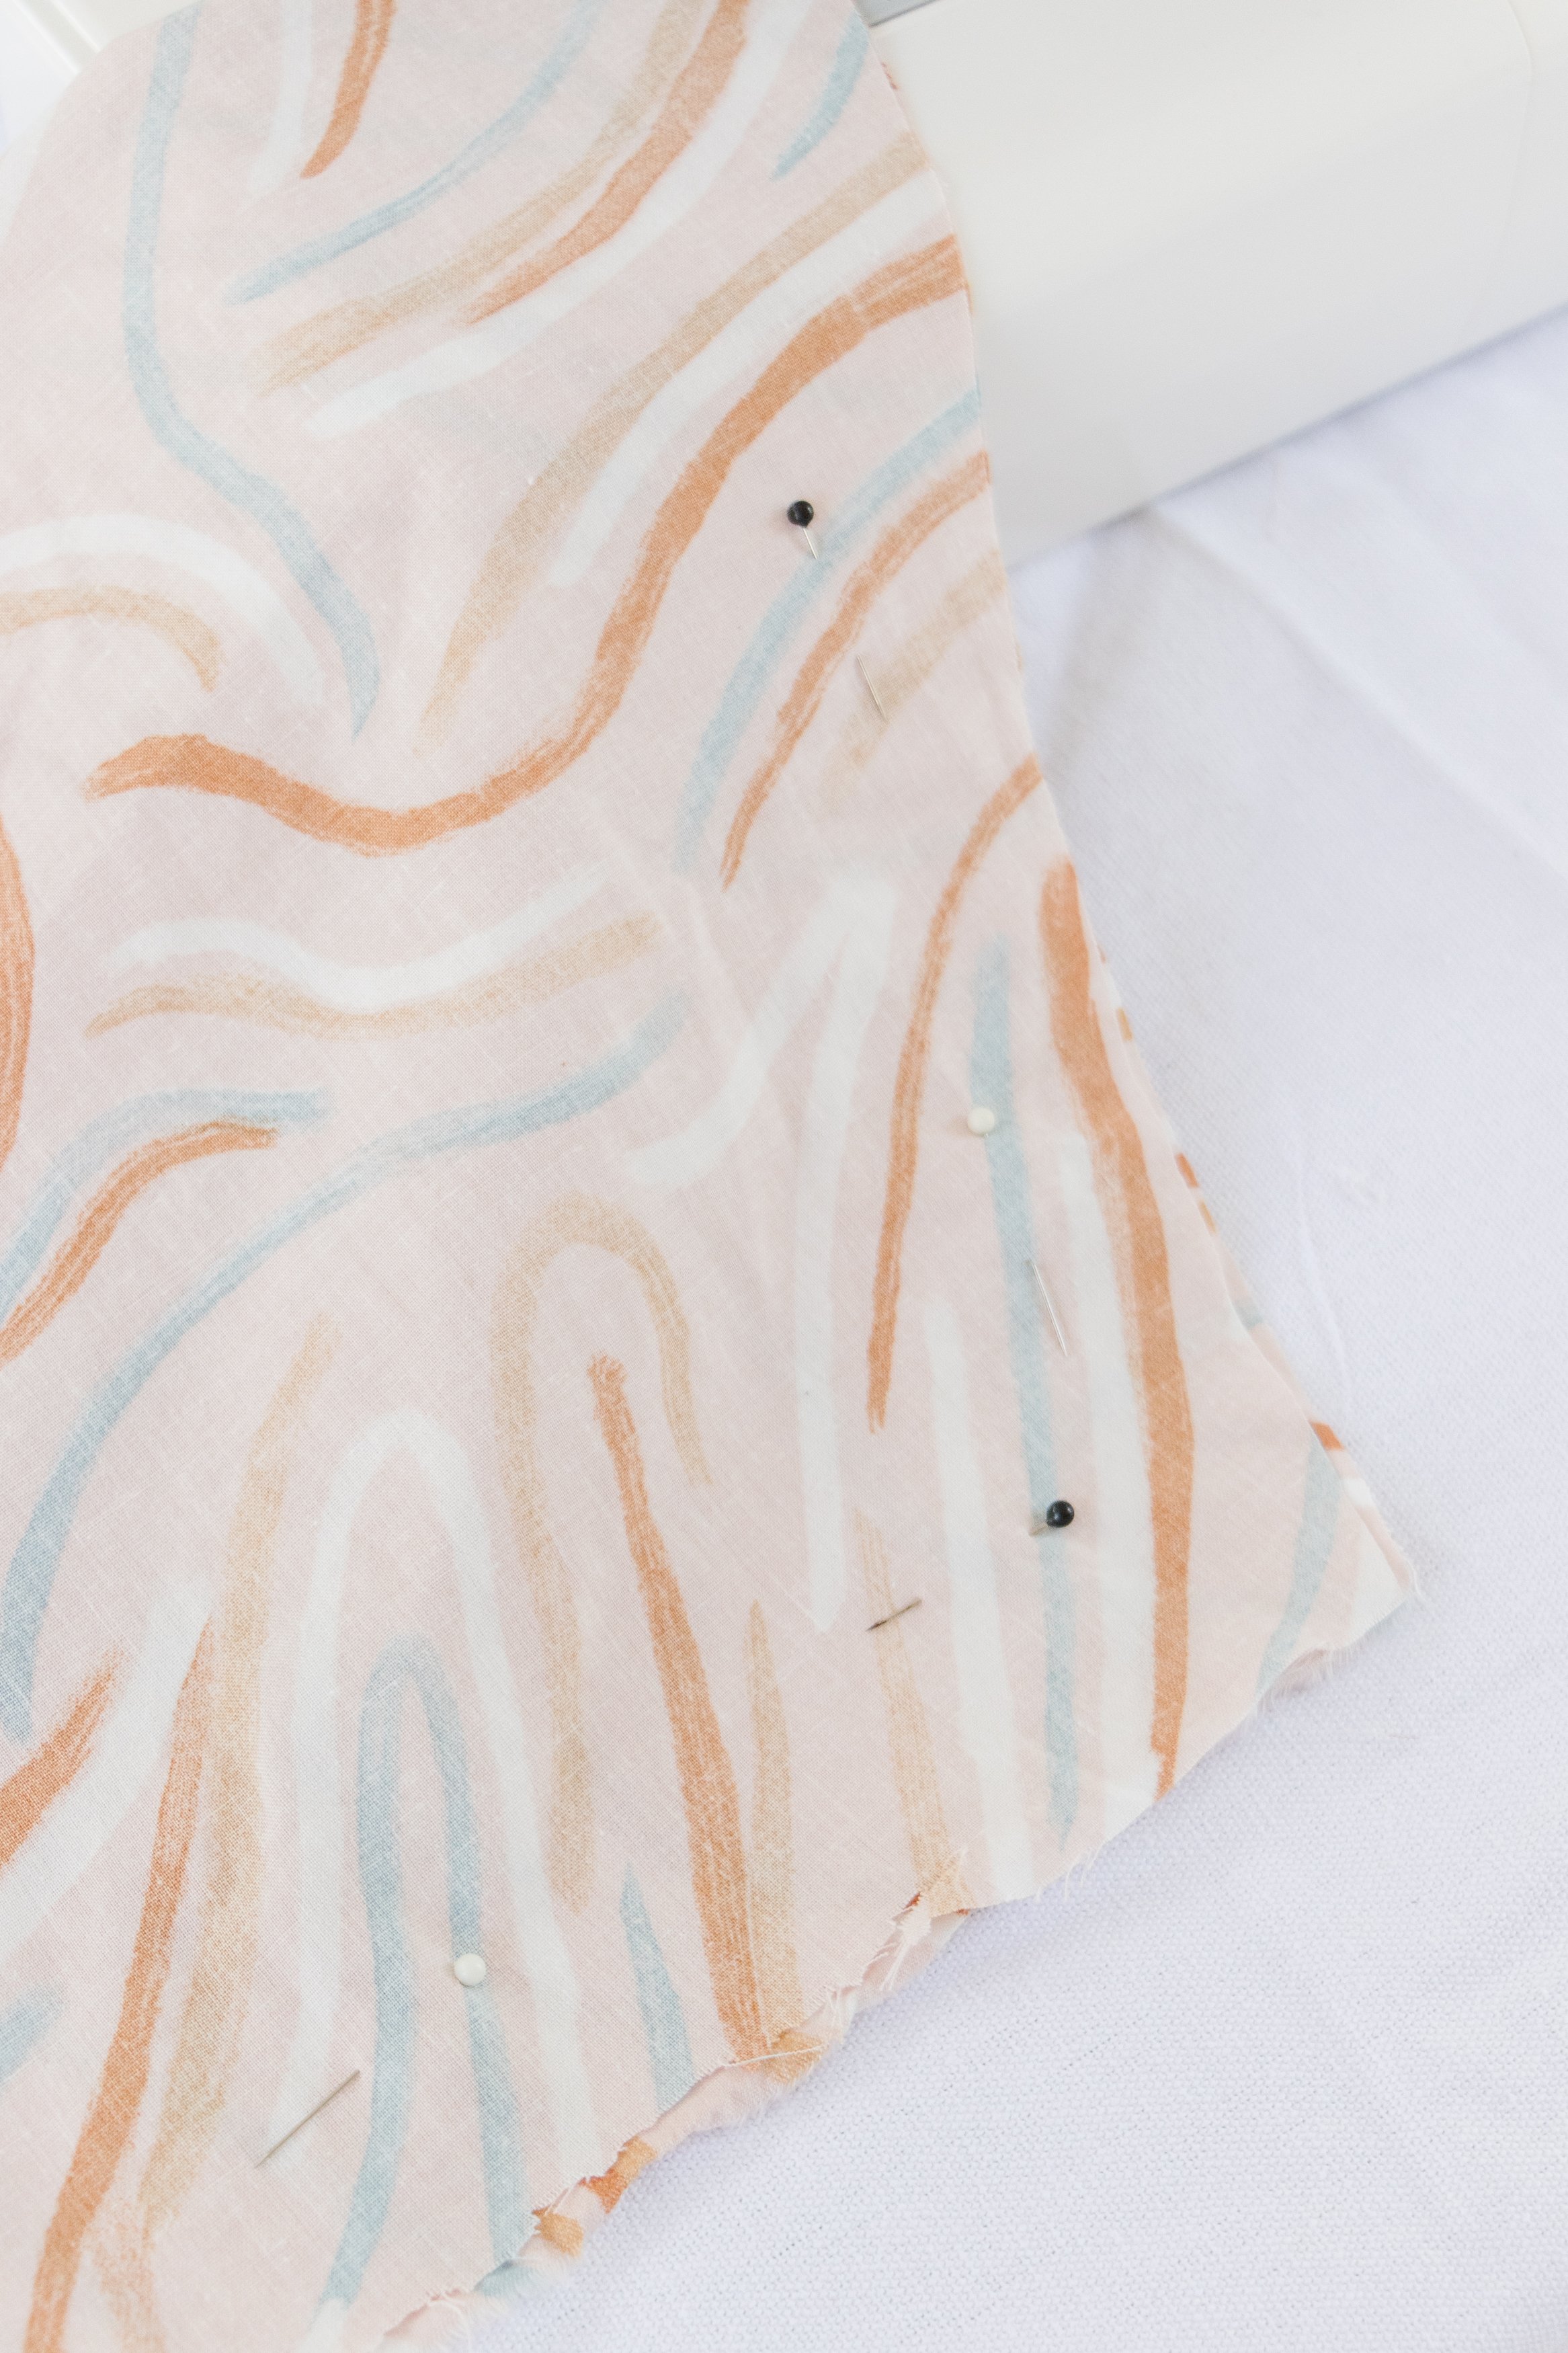
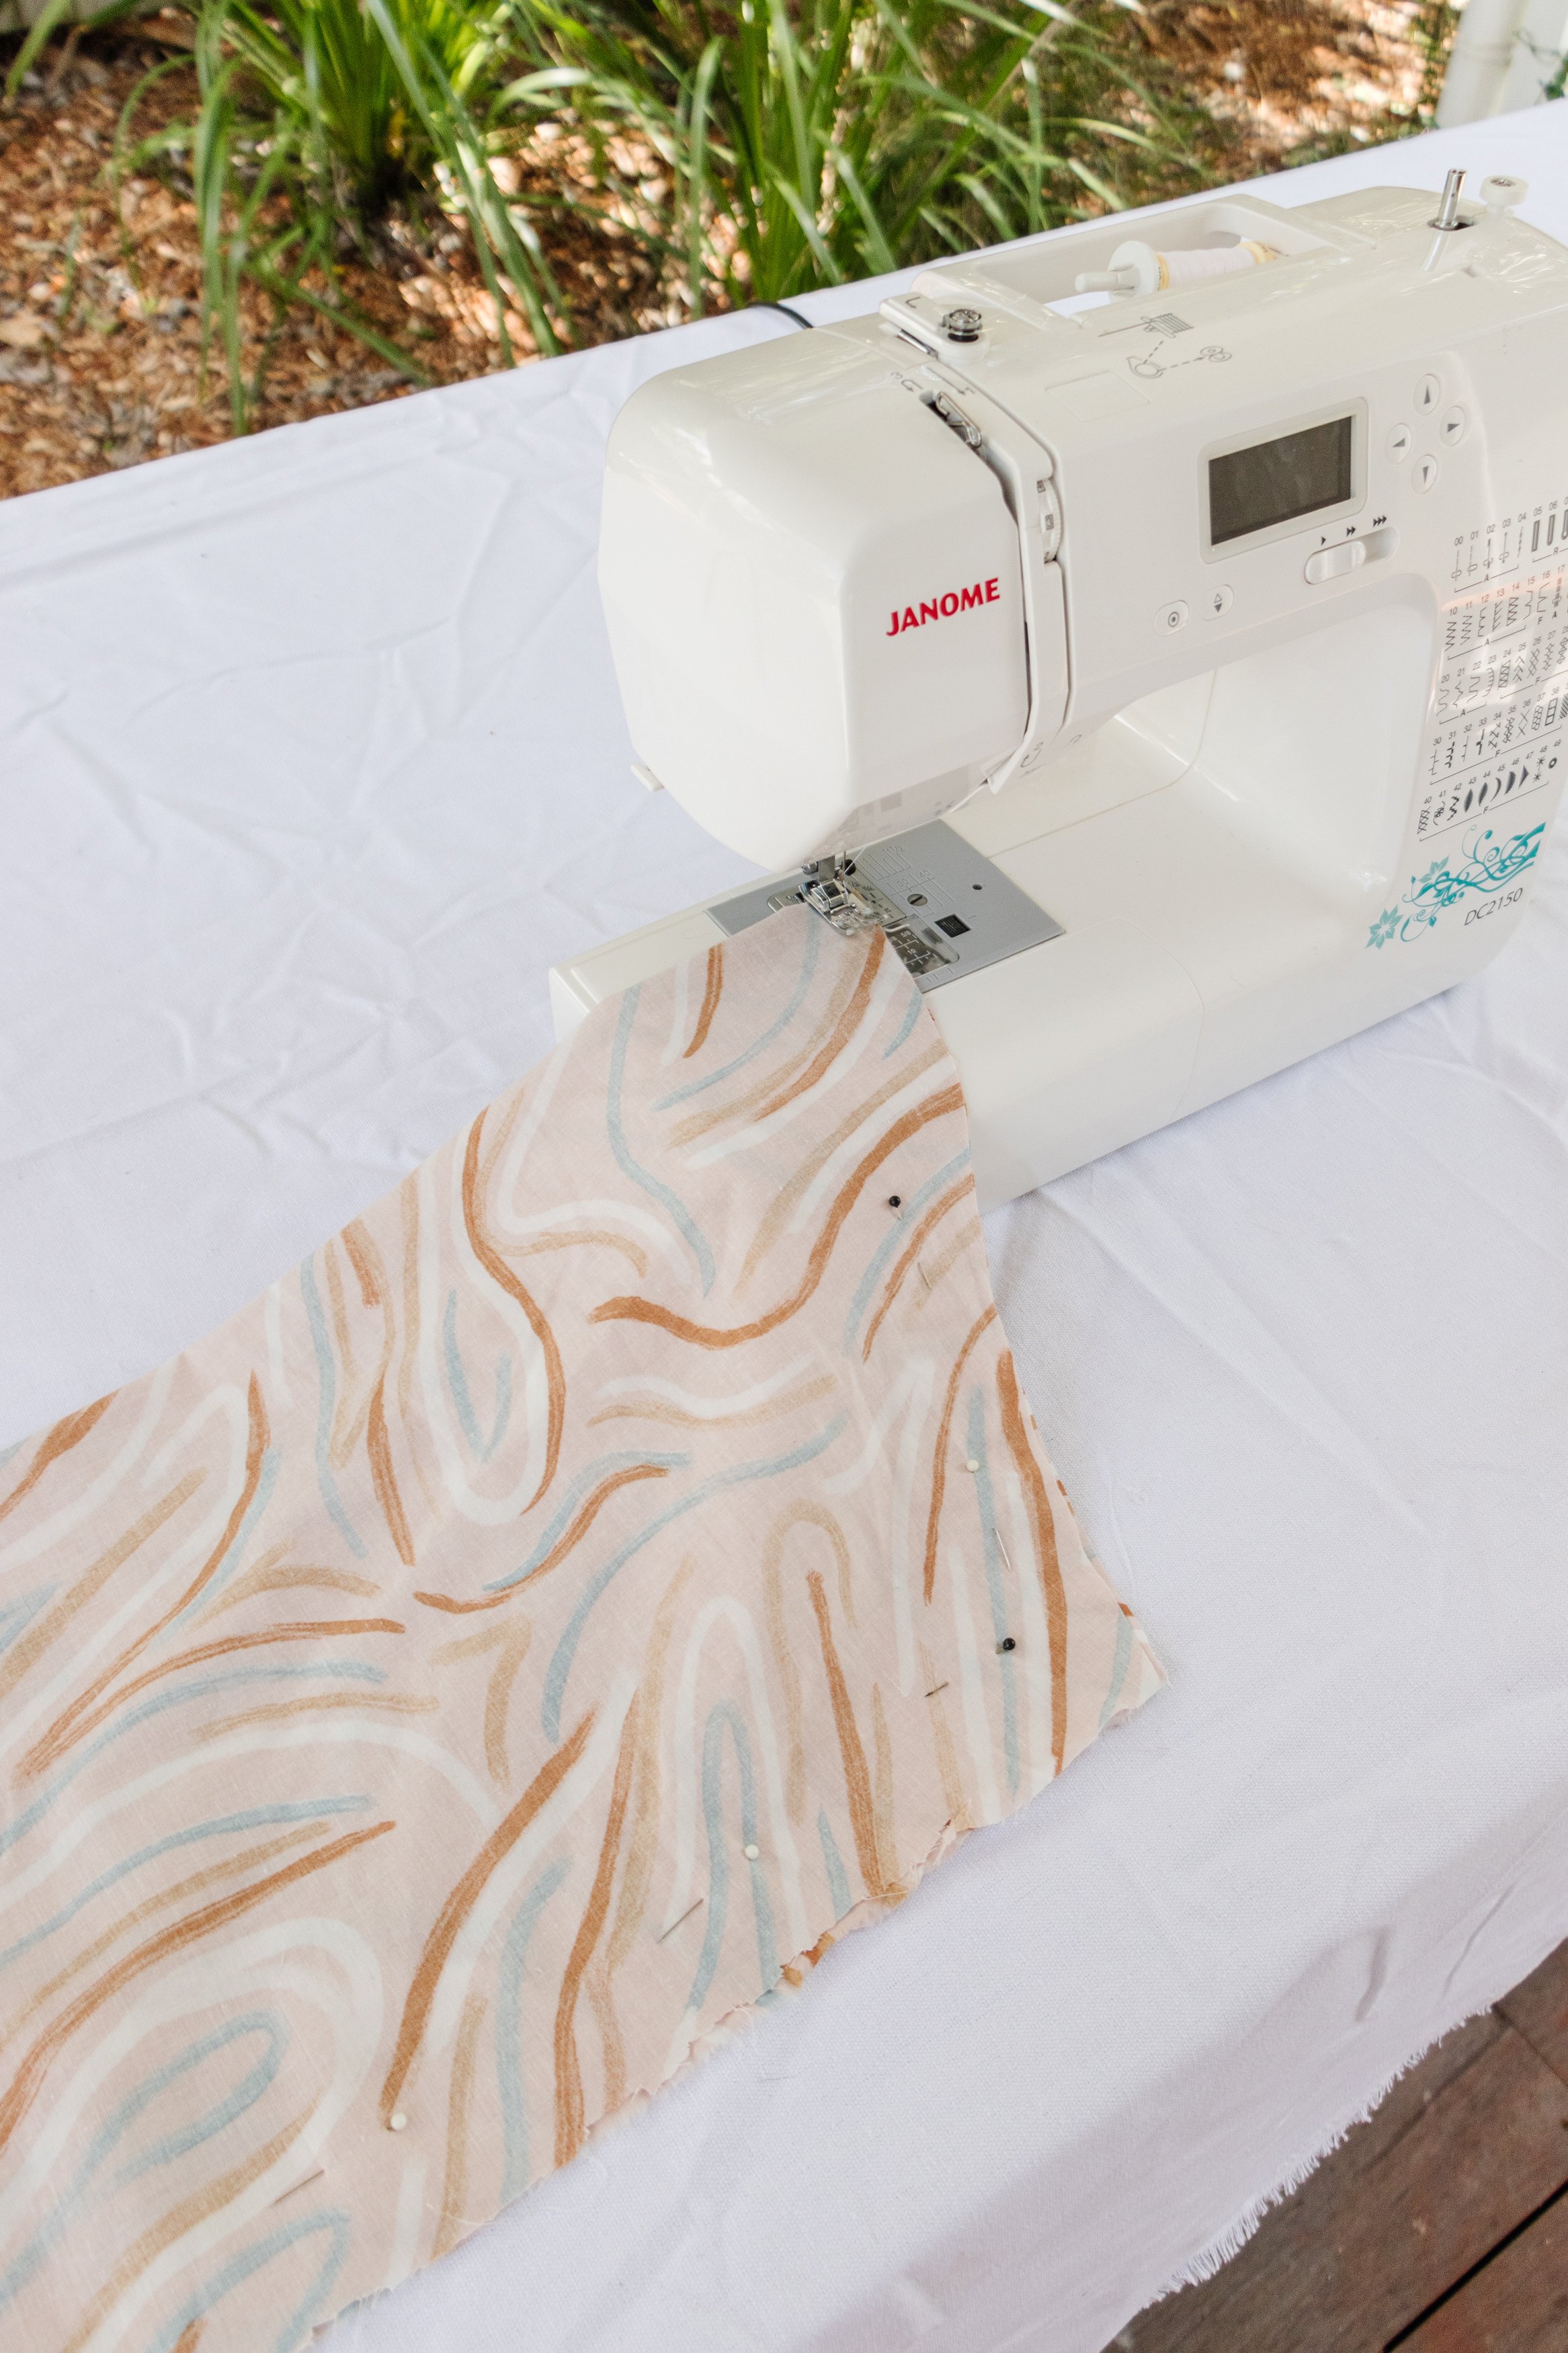
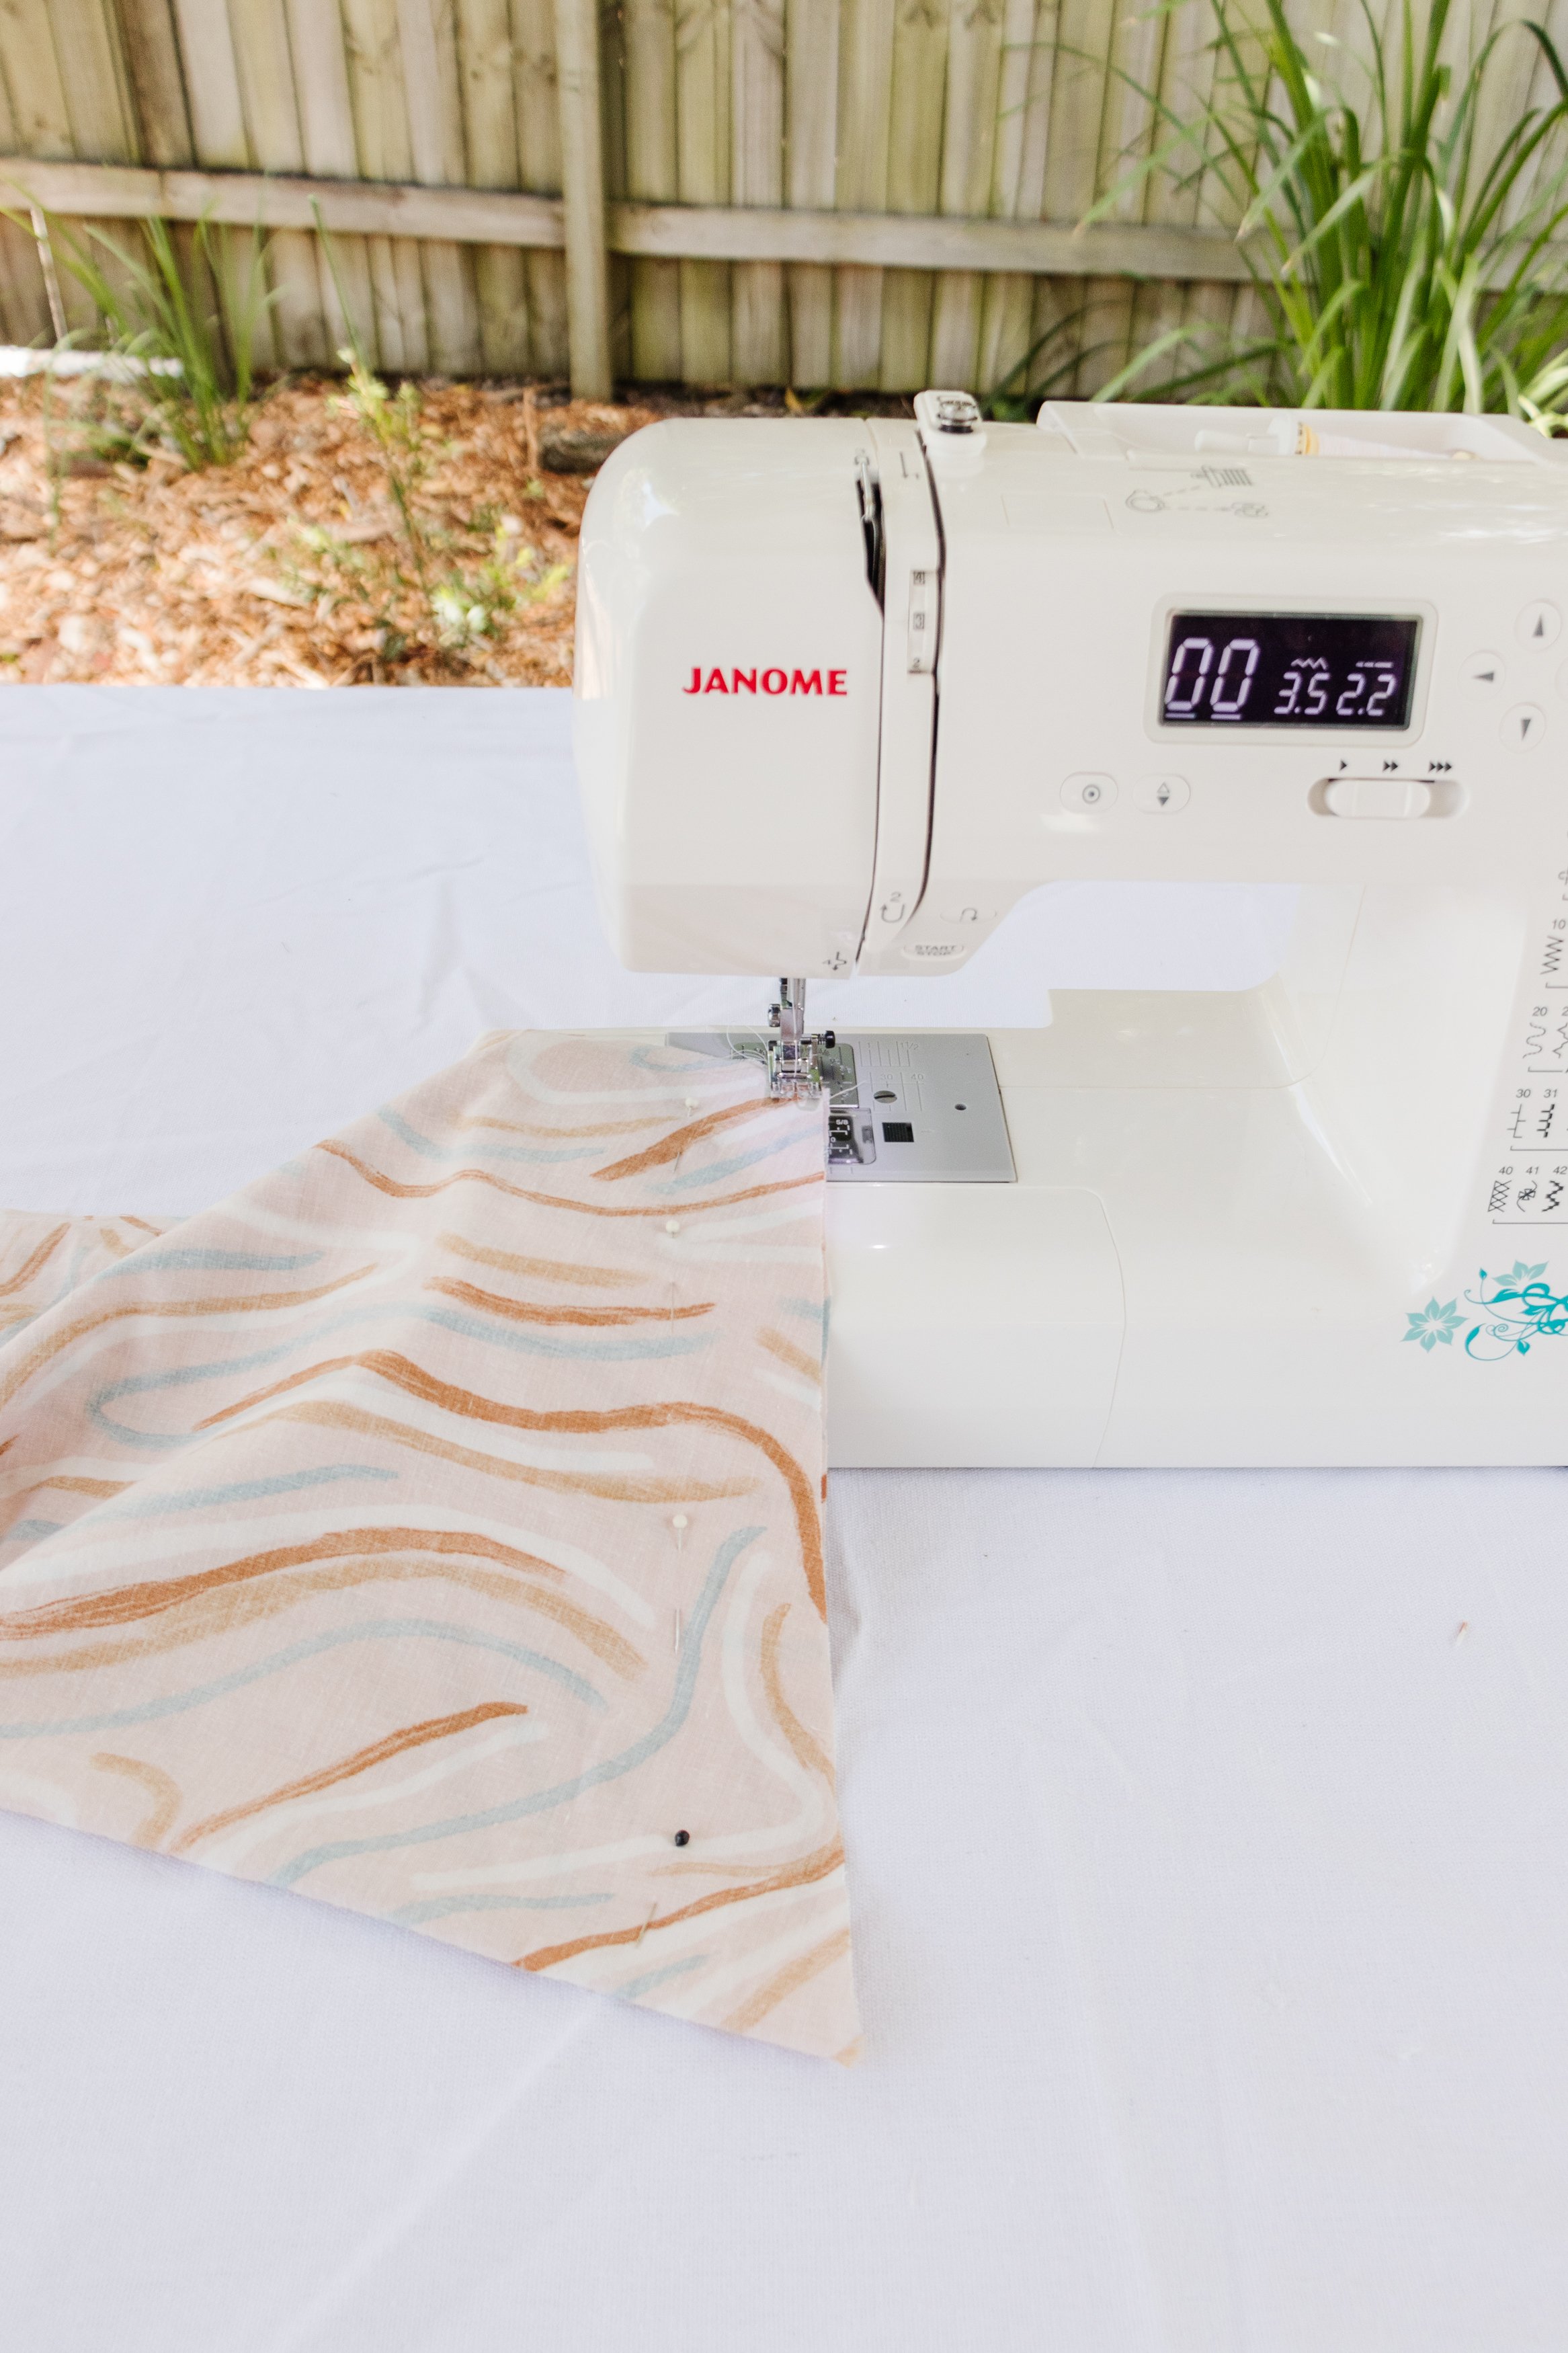
Step 3: I pinned the fabric together making sure to leave approximately 10cm gap in the middle (to allow me to turn the fabric inside out when I finish sewing the fabric together). Using my sewing machine, I sewed the shorter seam first followed by the length. I stopped halfway, then started sewing the fabric down about 10cm further down the fabric, and finally sewed the second shorter seam.

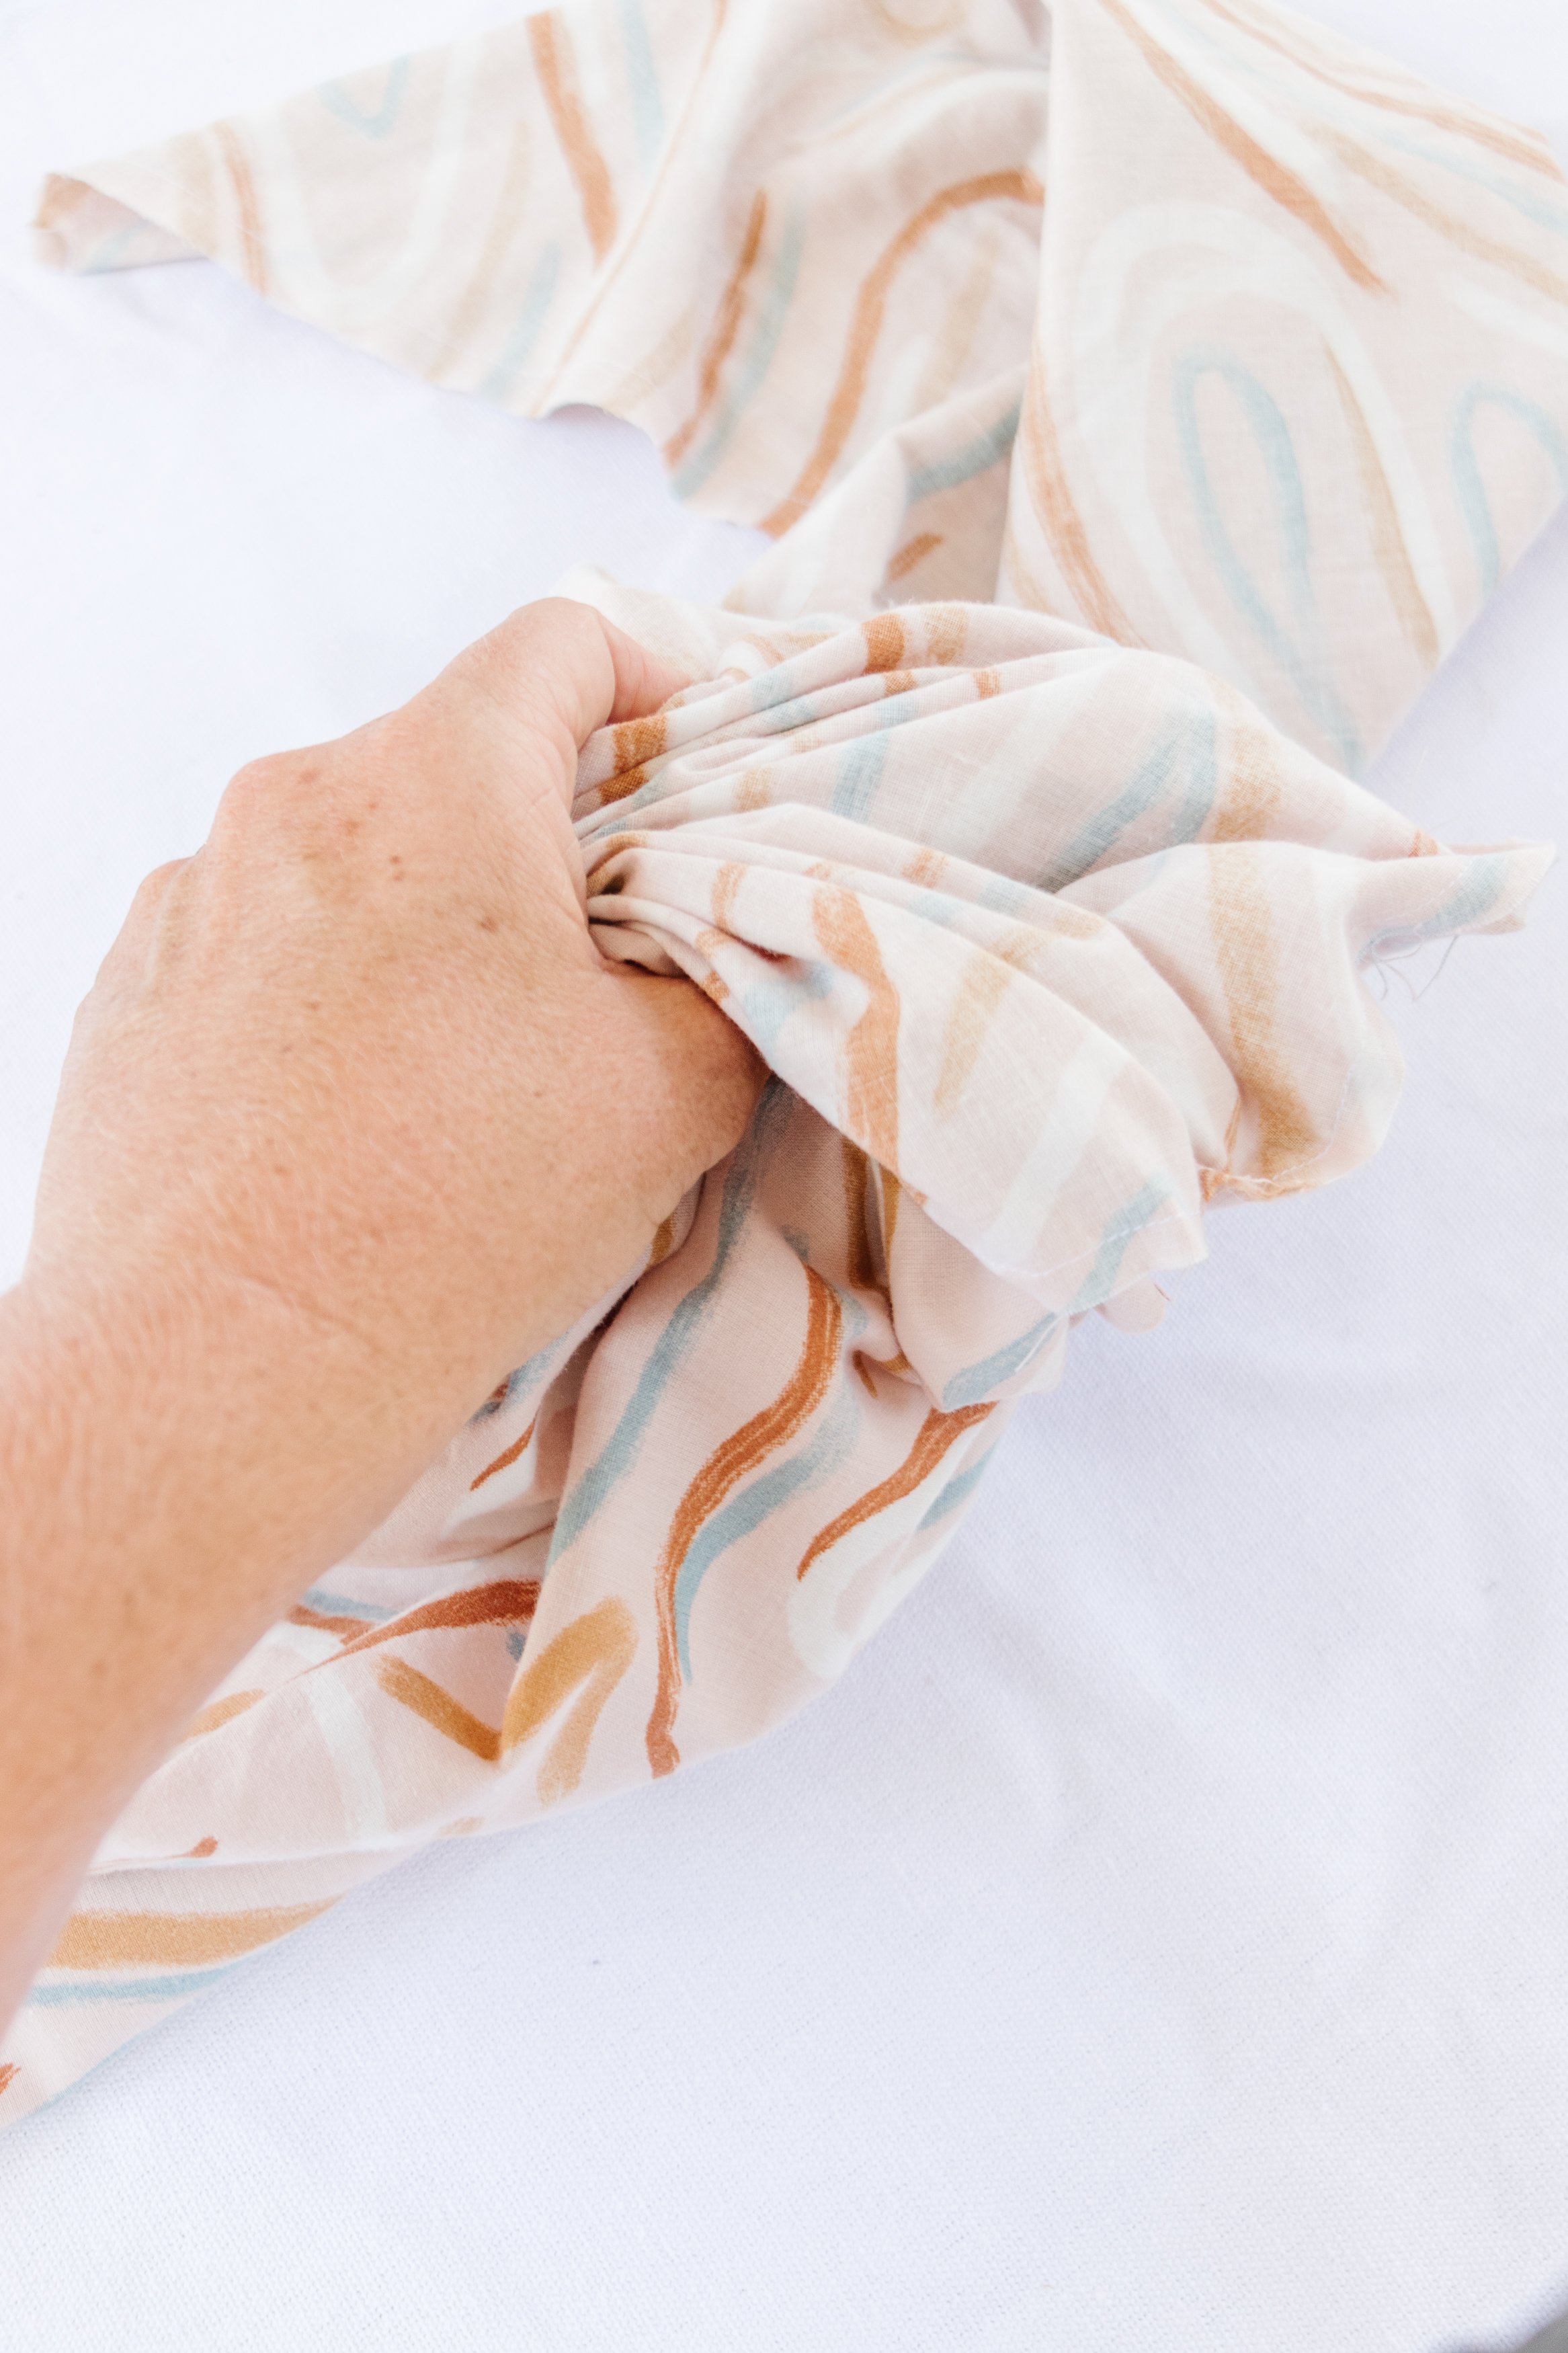
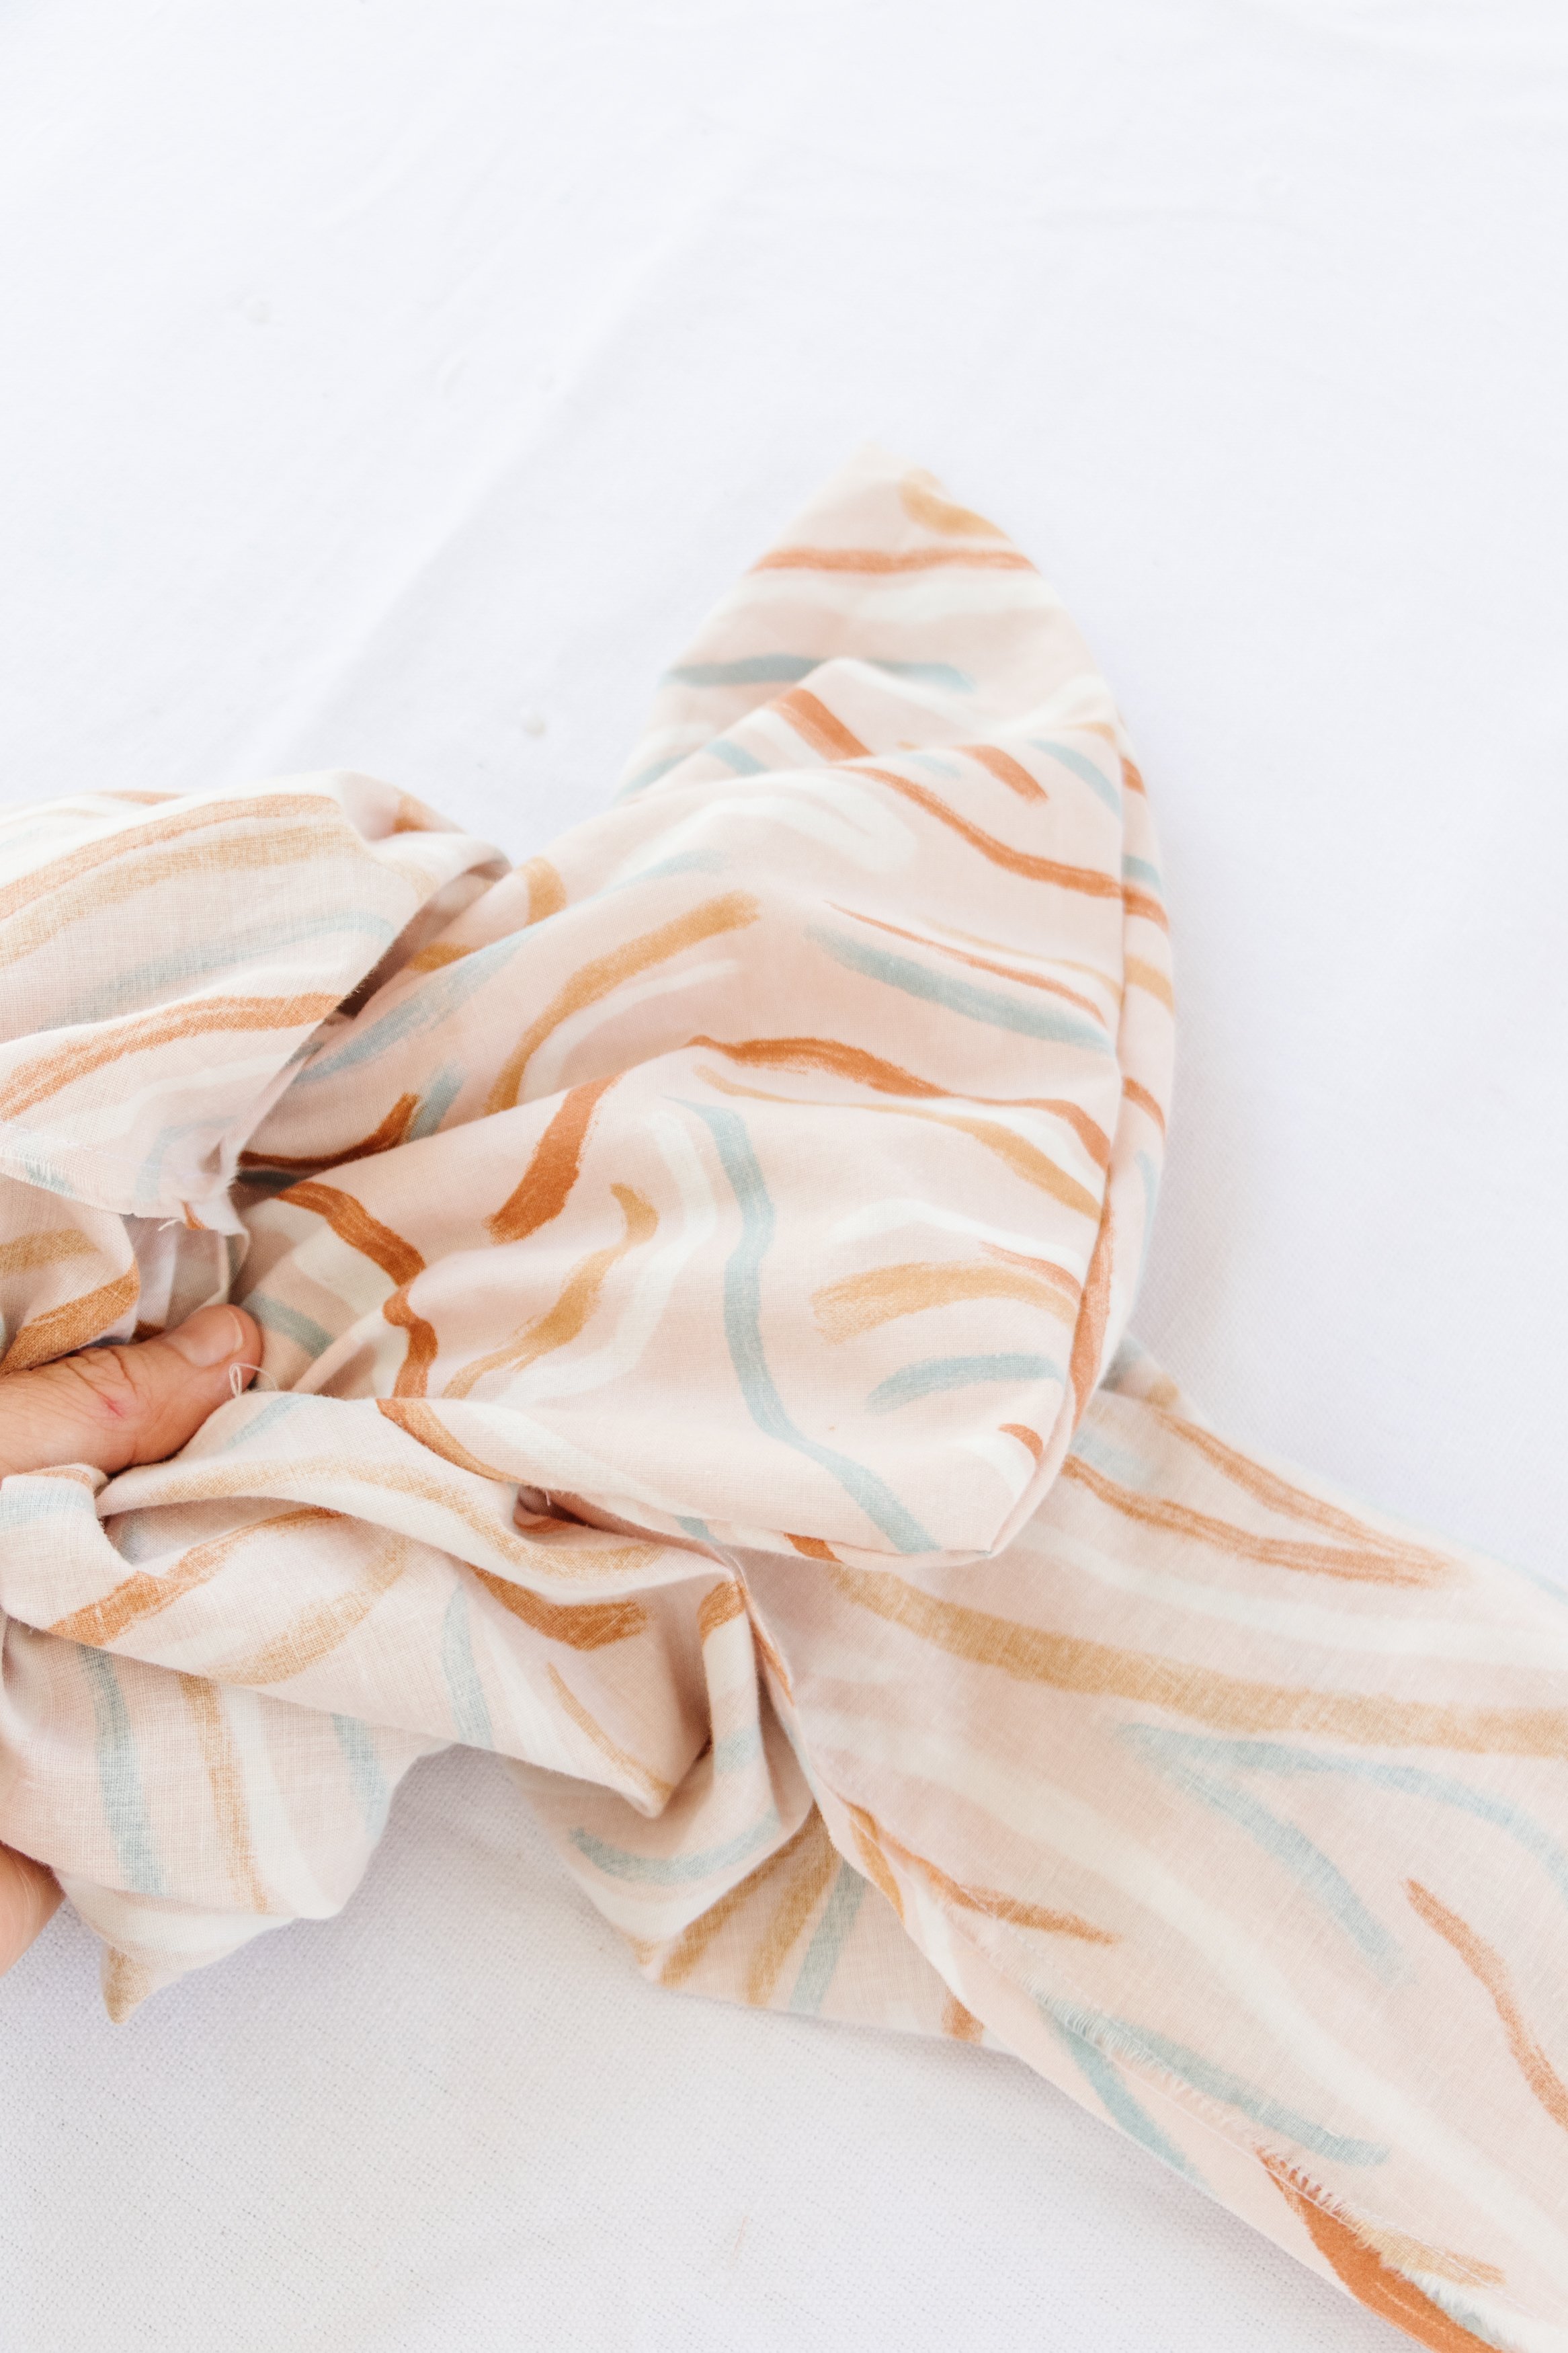
Step 4: Placing my hand in the gap in the middle of the fabric, I turned one side of the fabric inside out followed by the other.


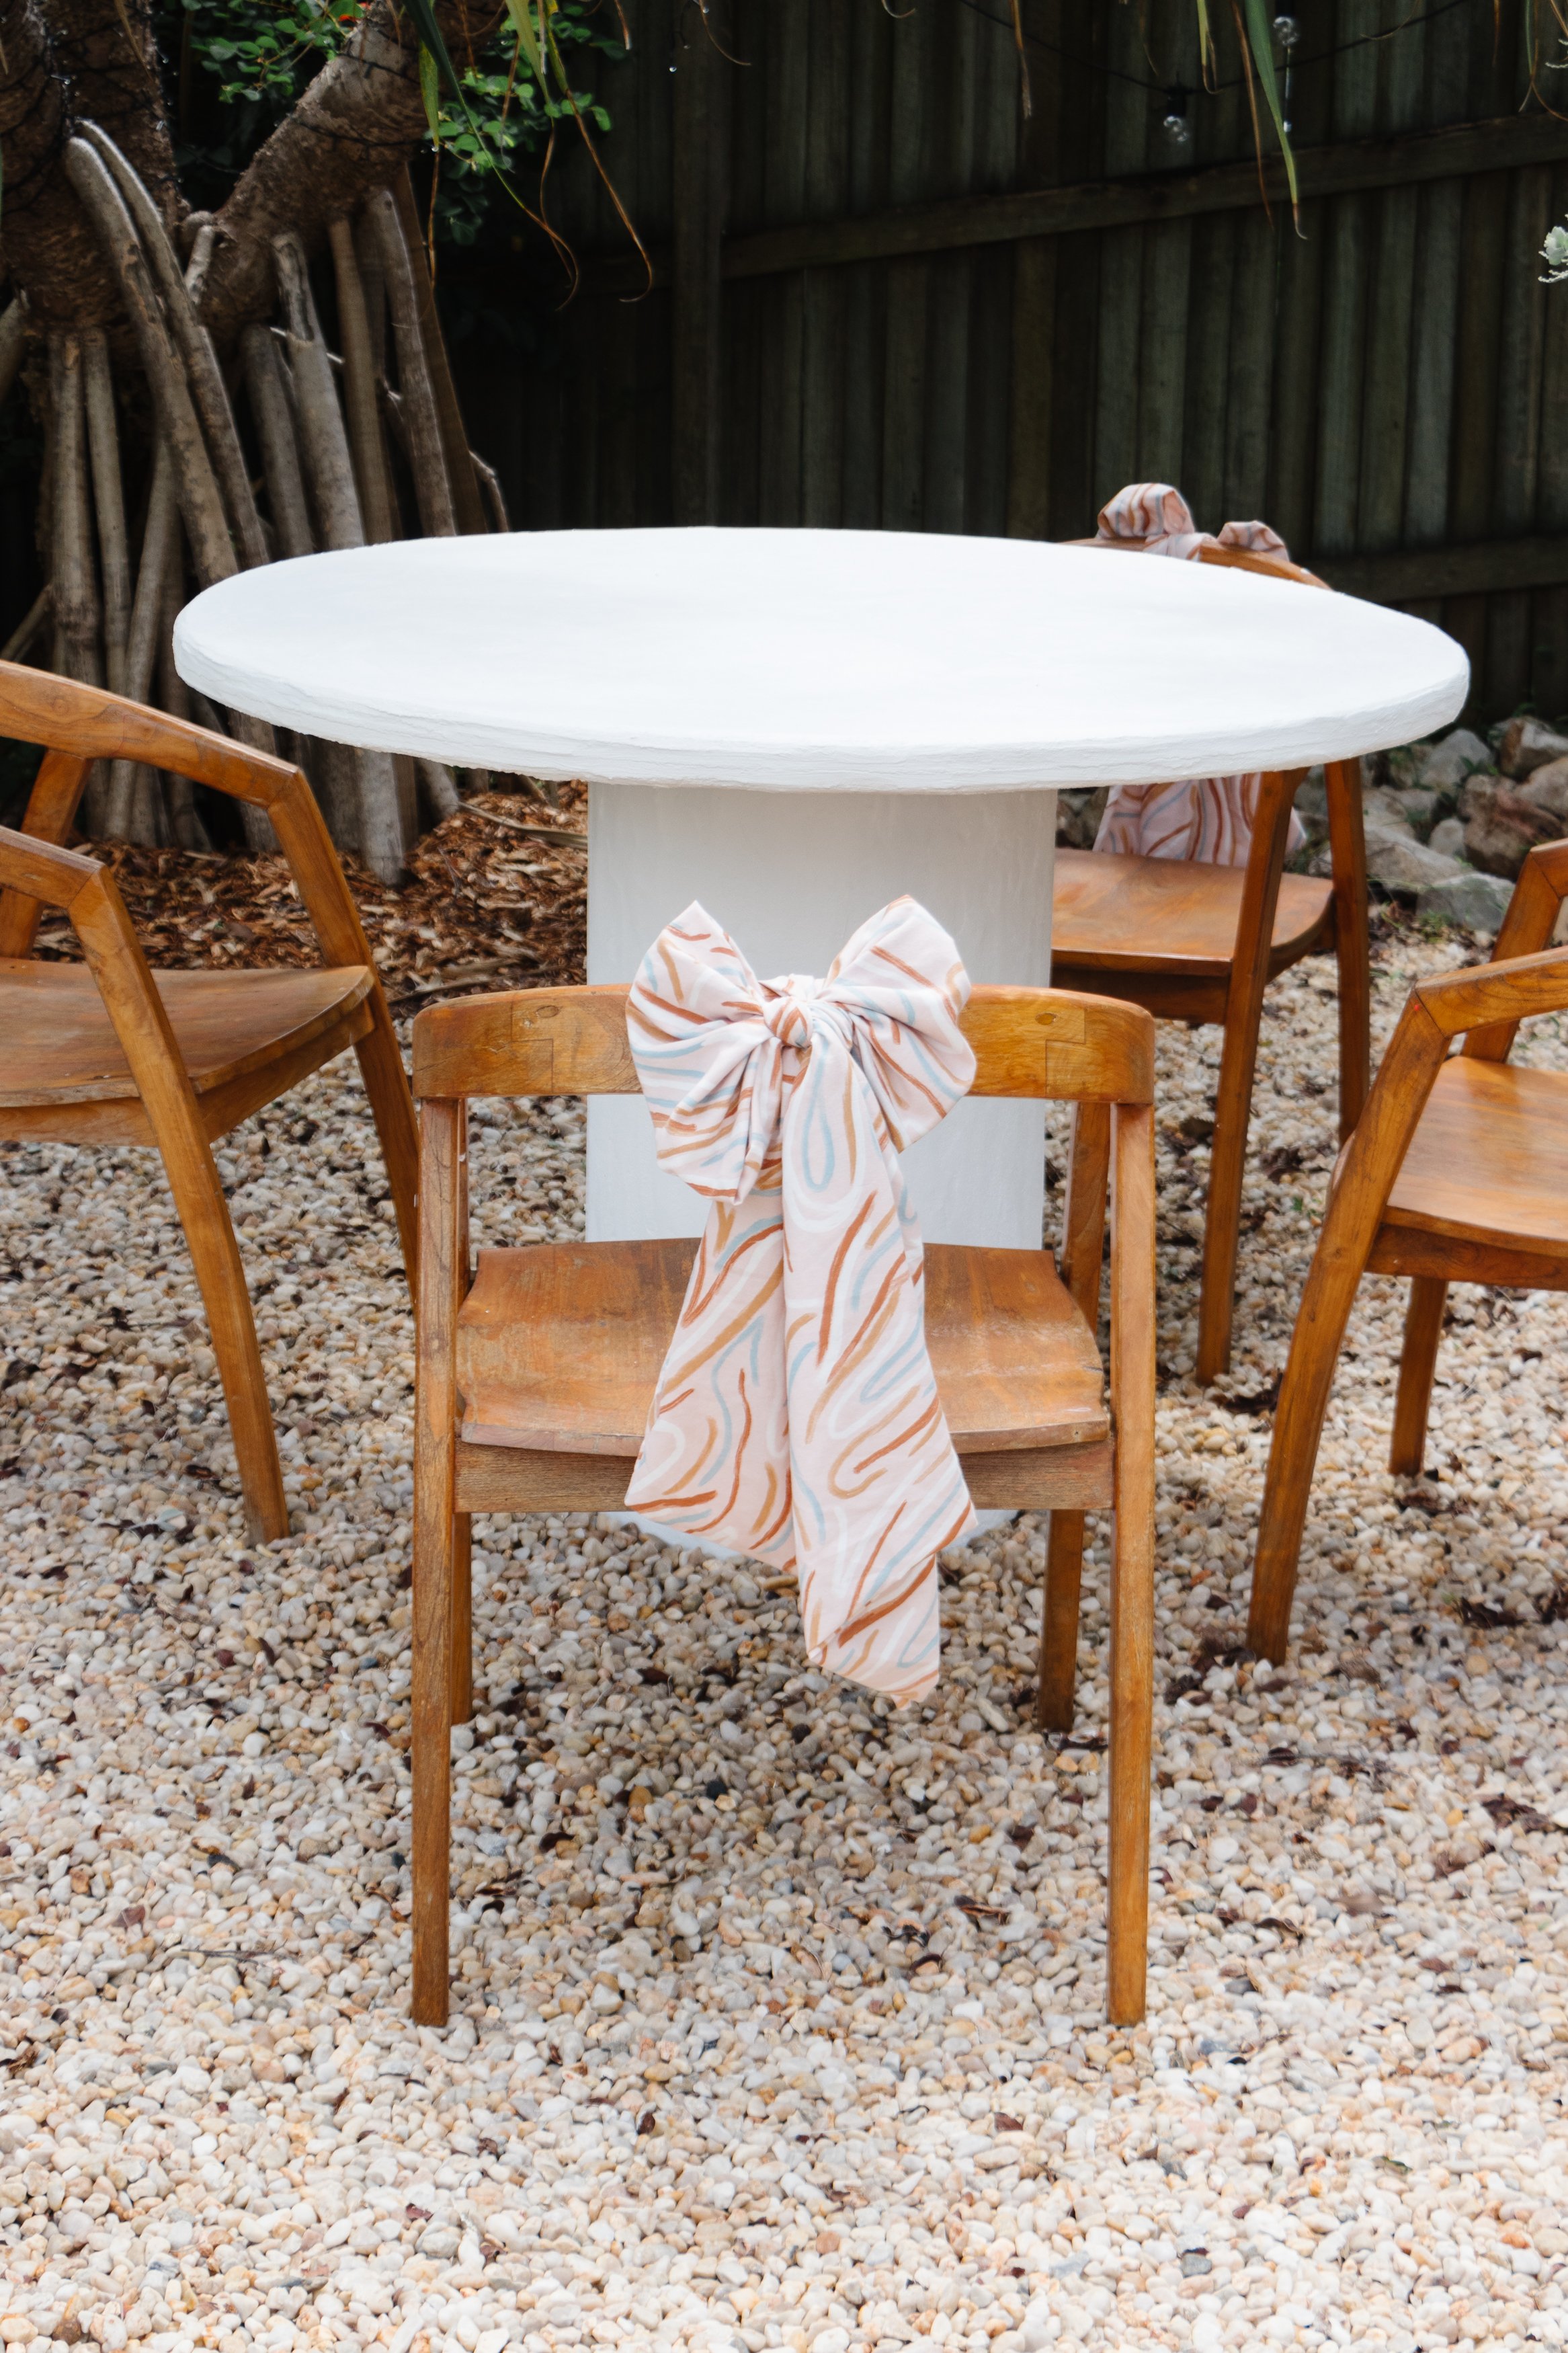
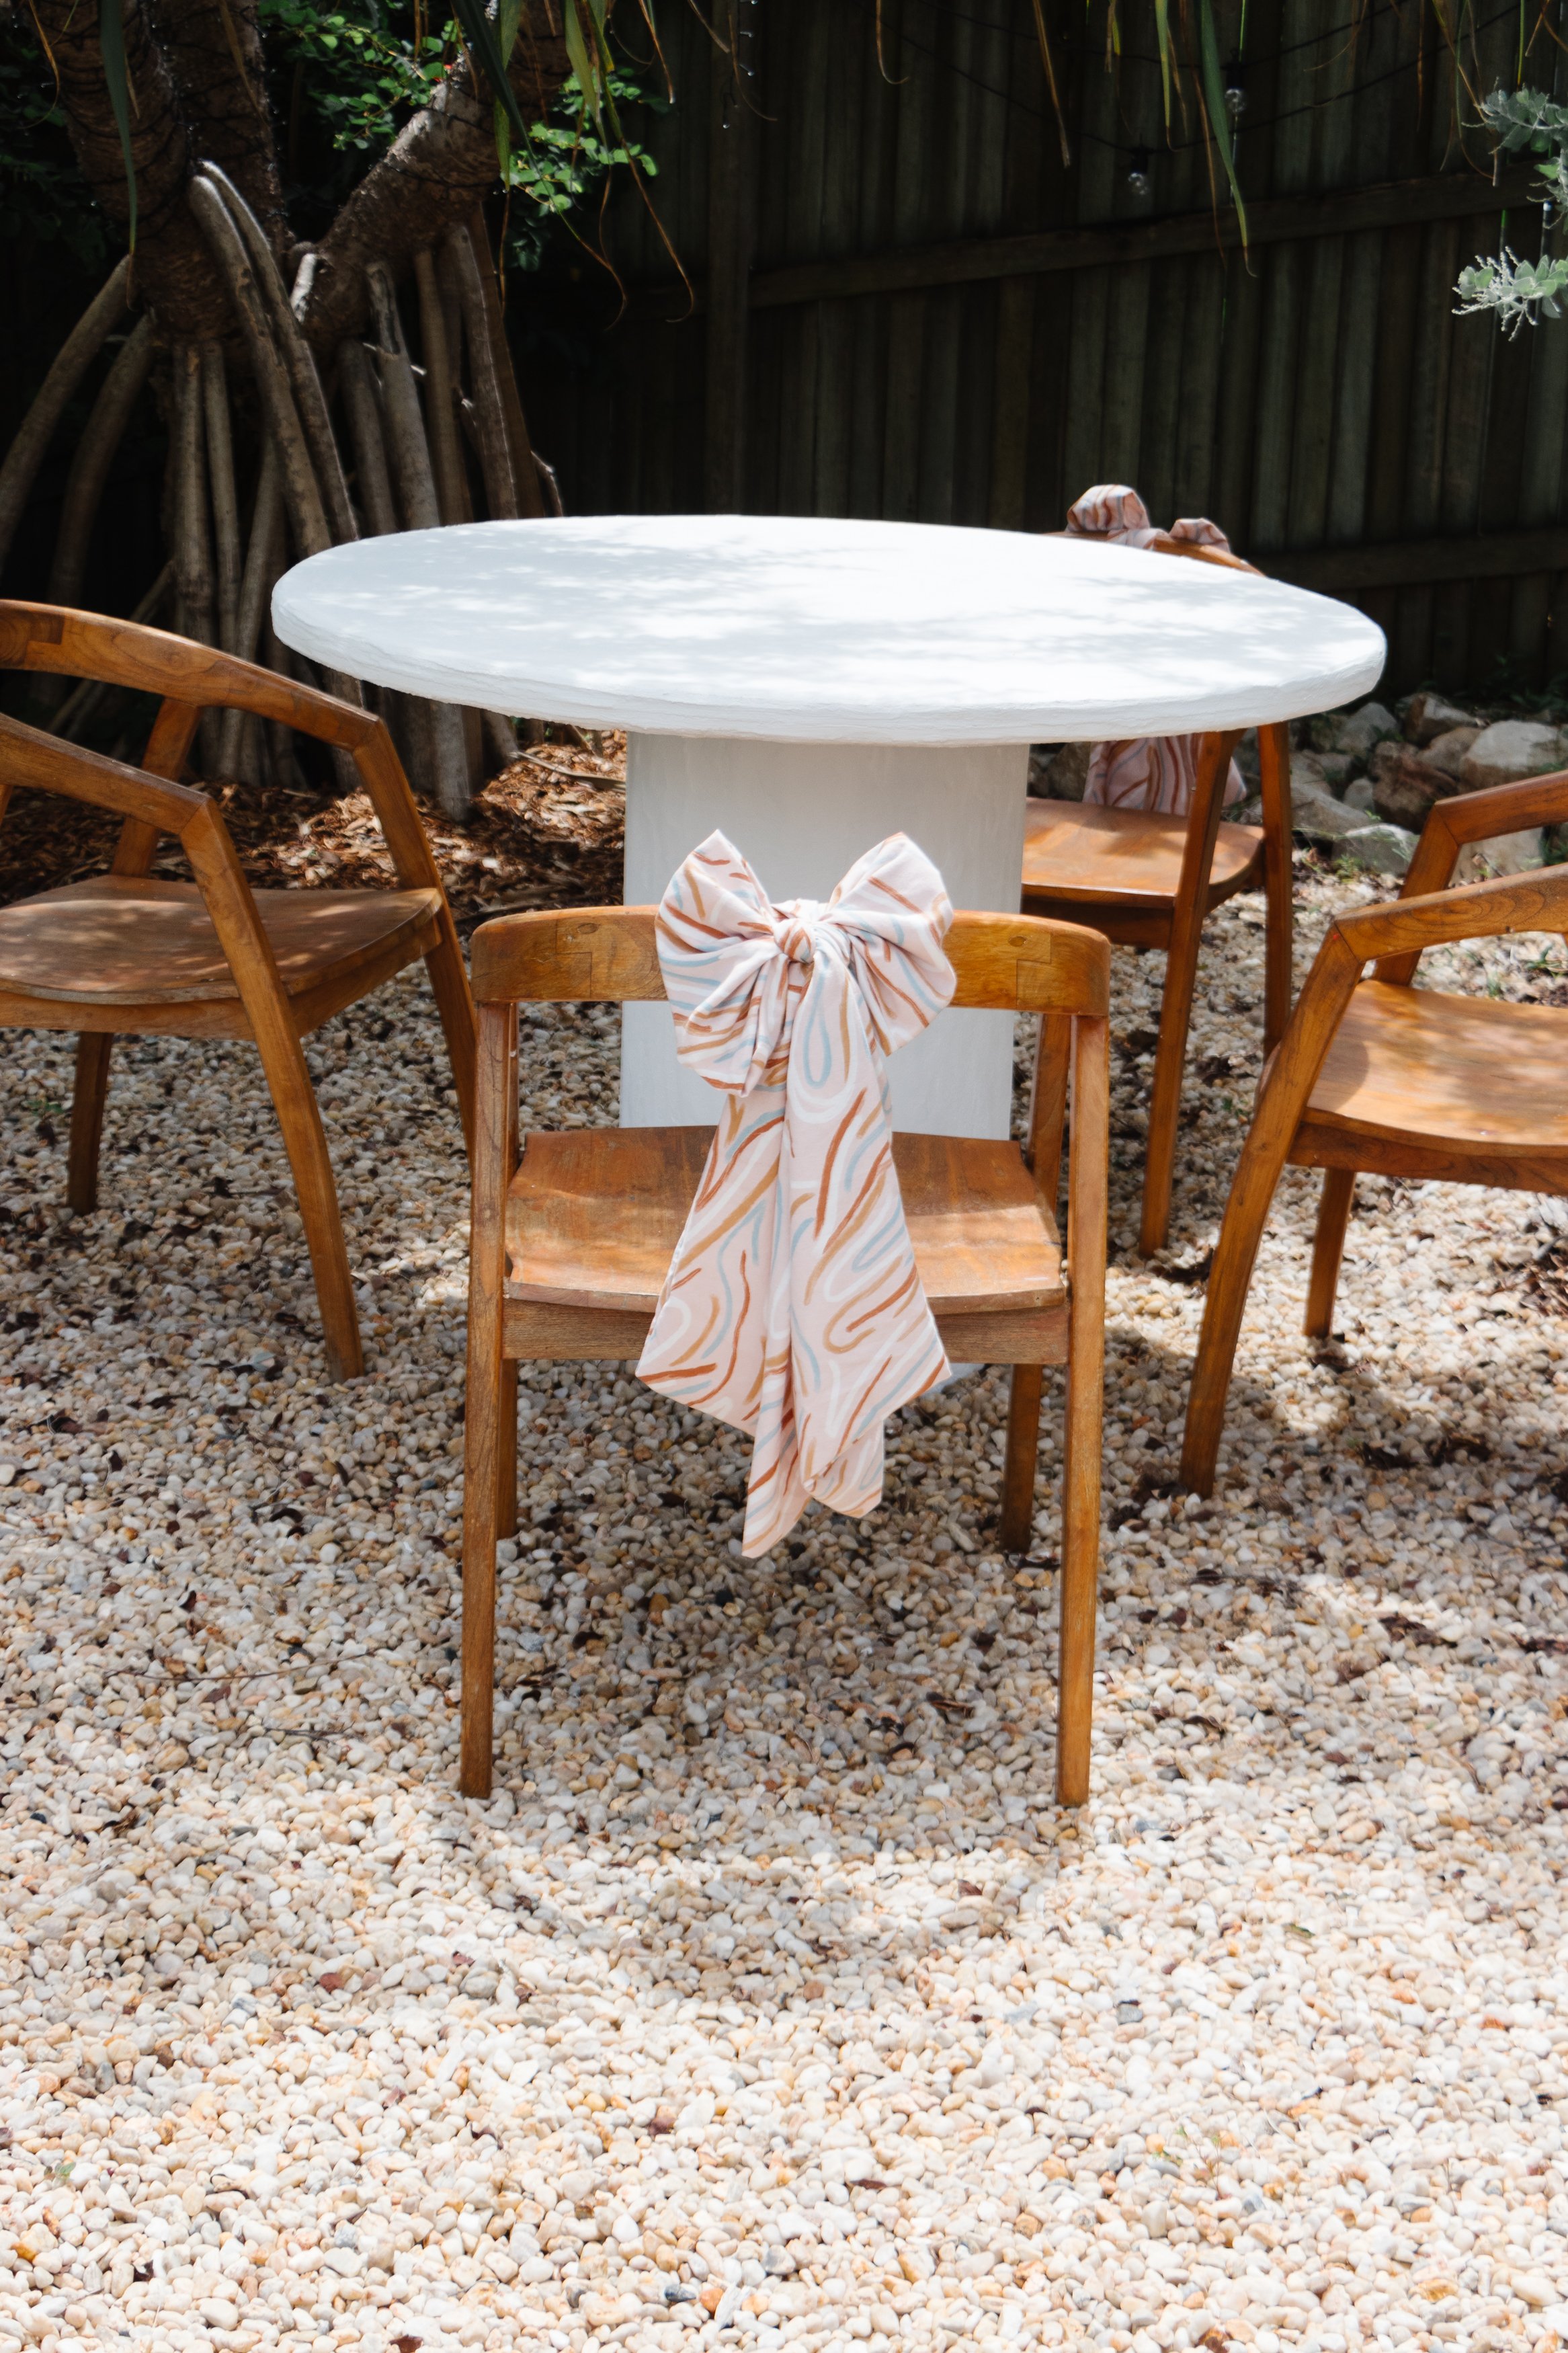
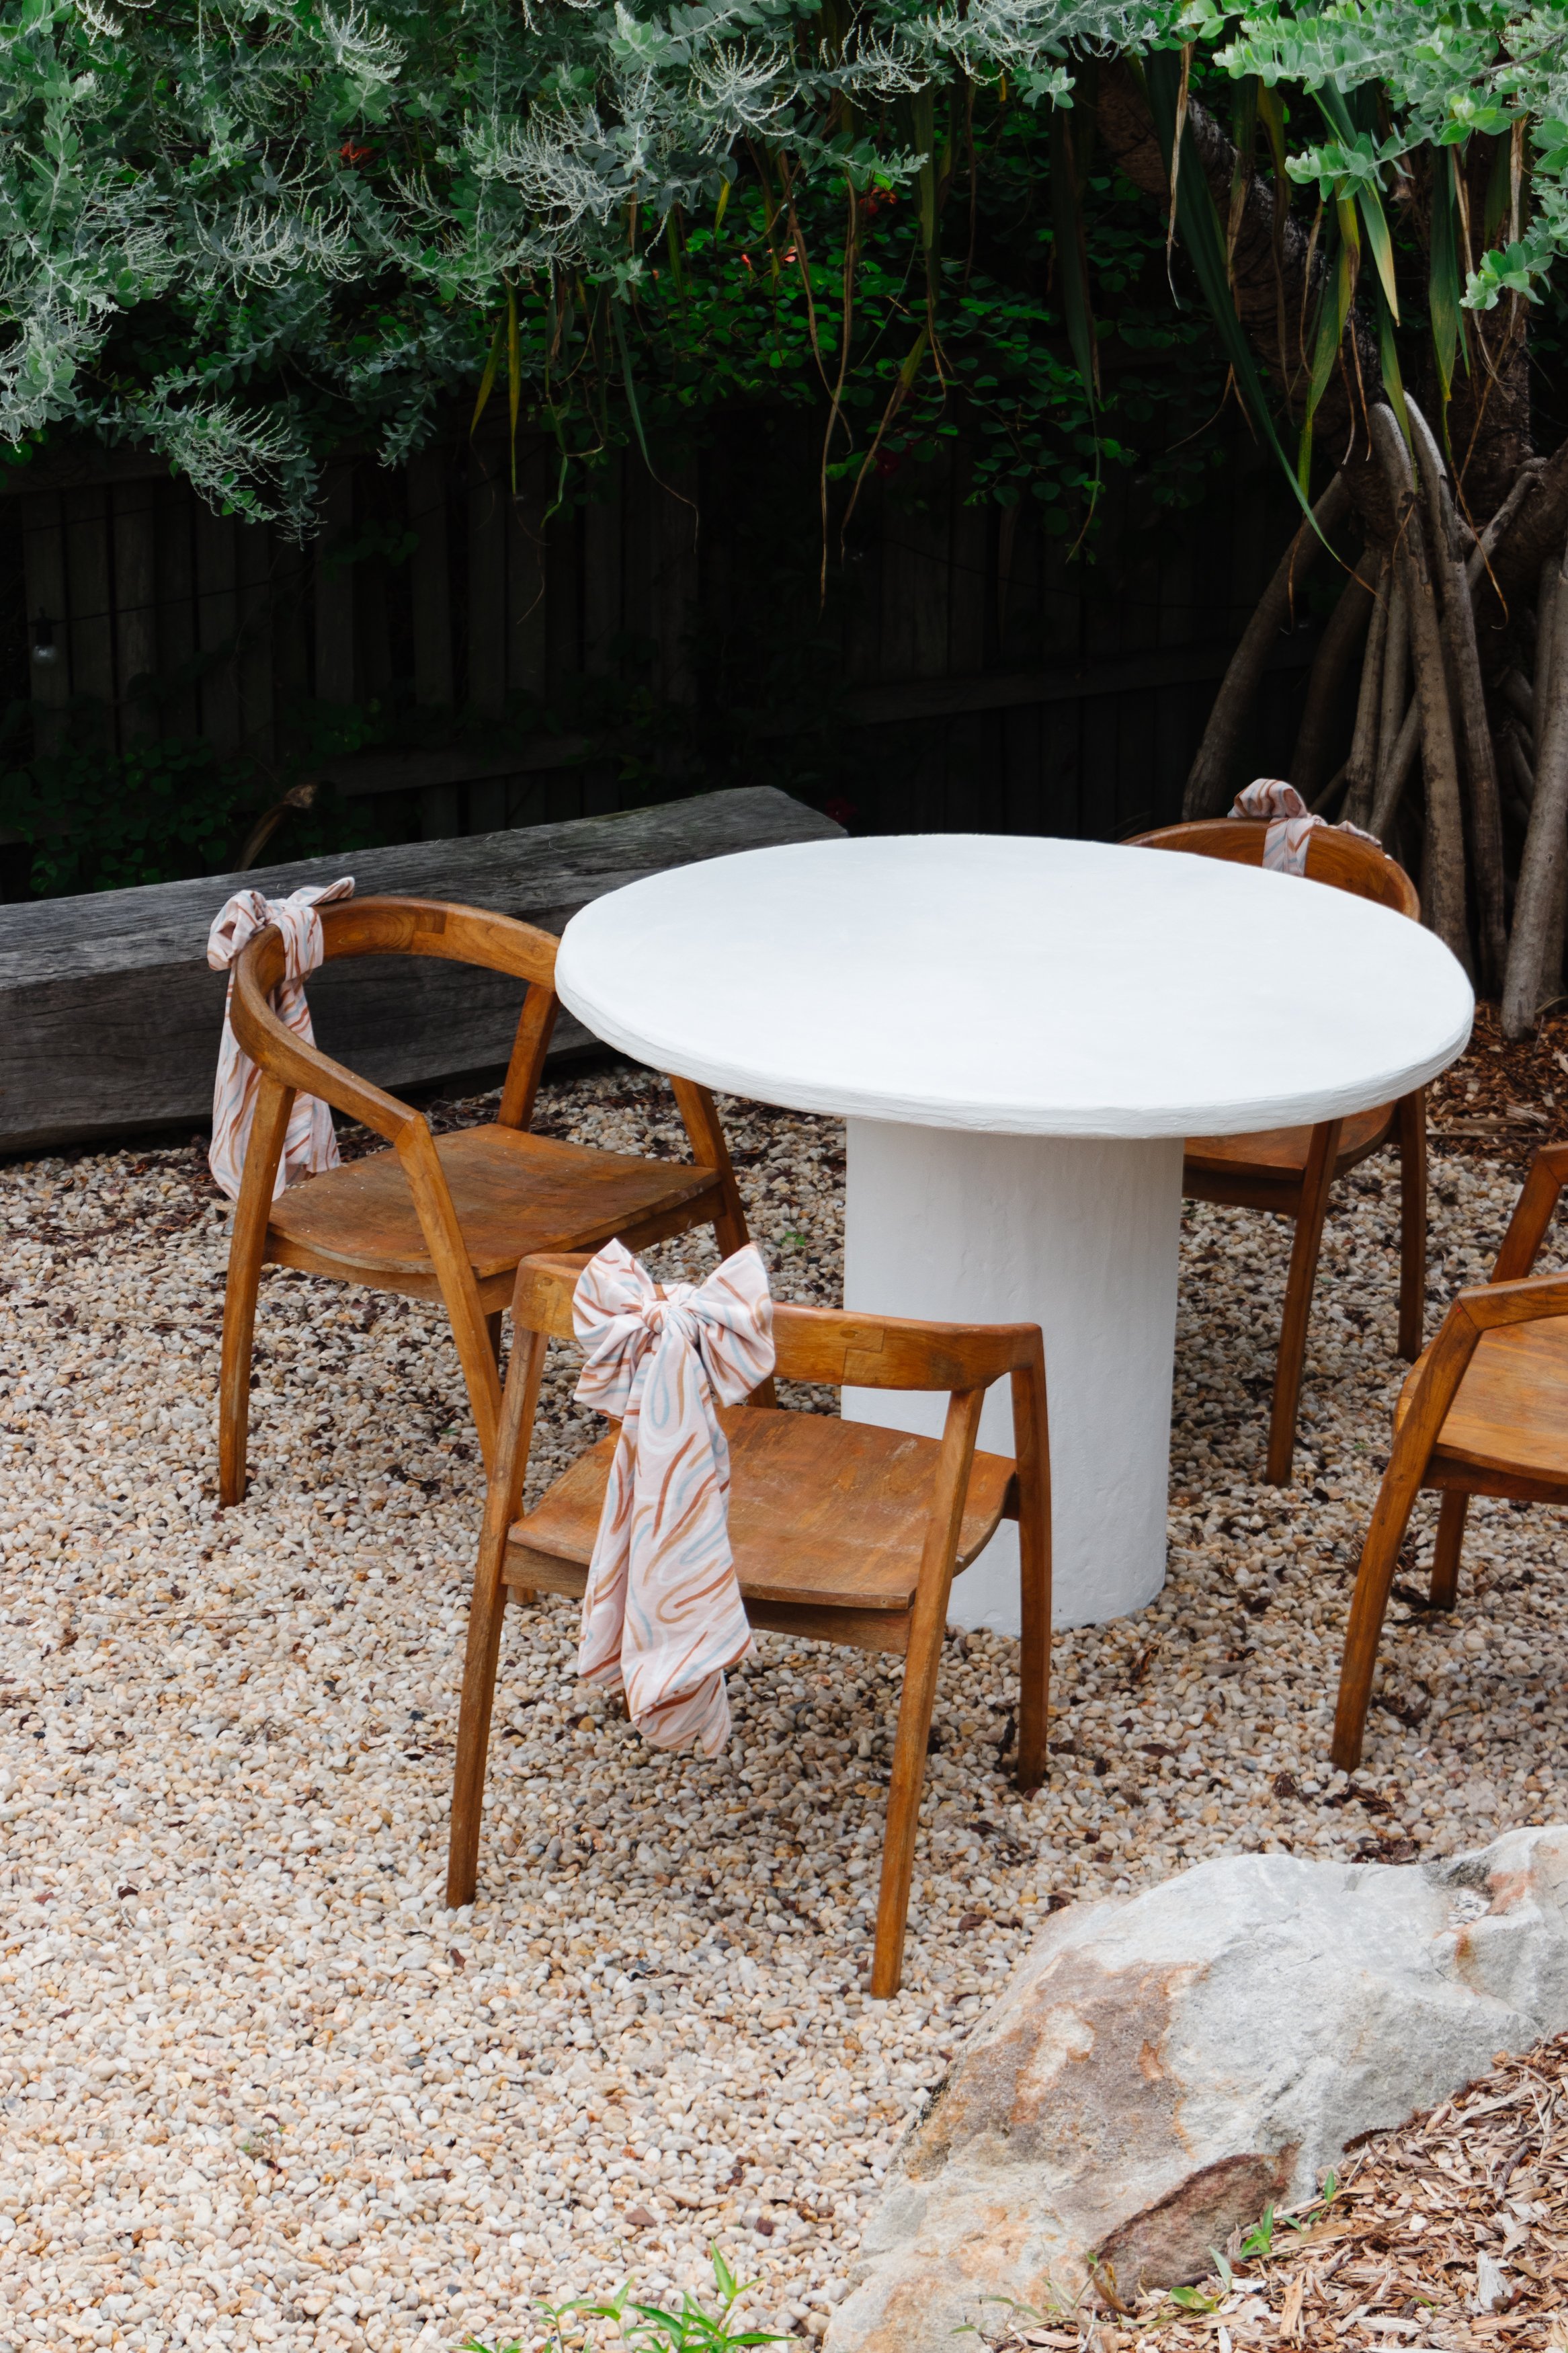
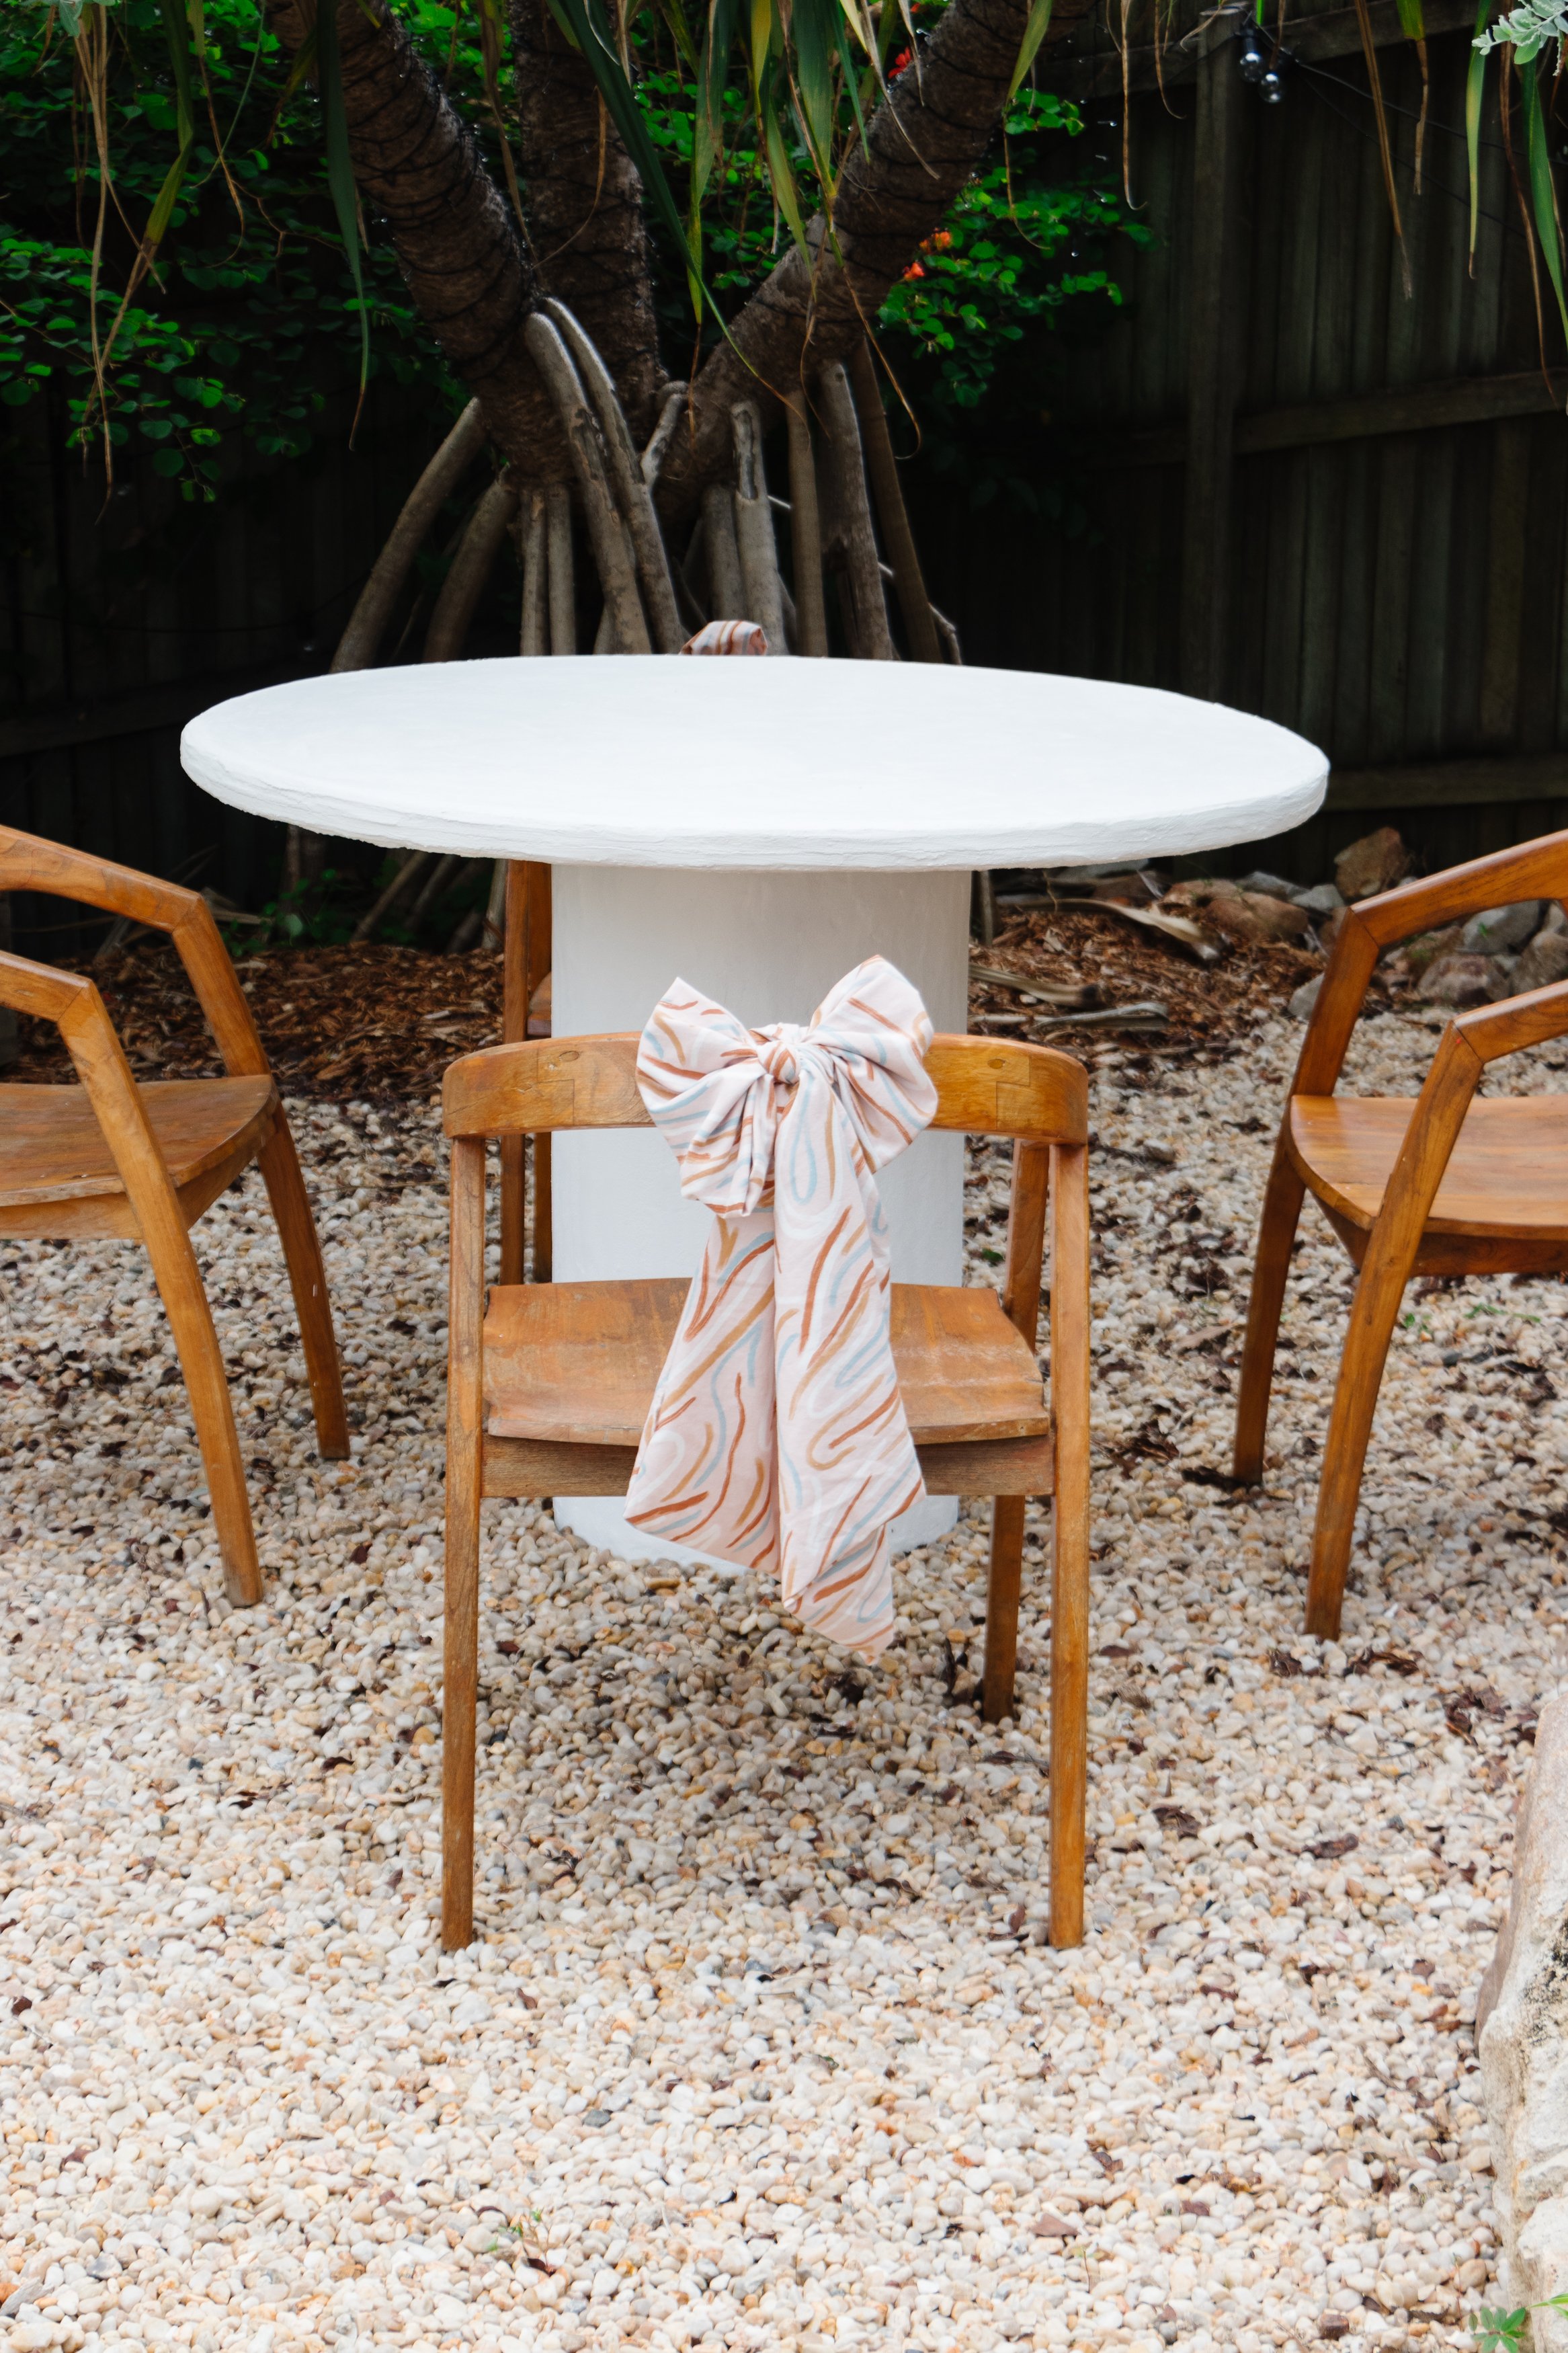
Step 5: Then I simply tied the fabric onto our chairs and made a bow! I’ve taken some photos below so you can see some other fun ways to tie bows around different styles of chairs.

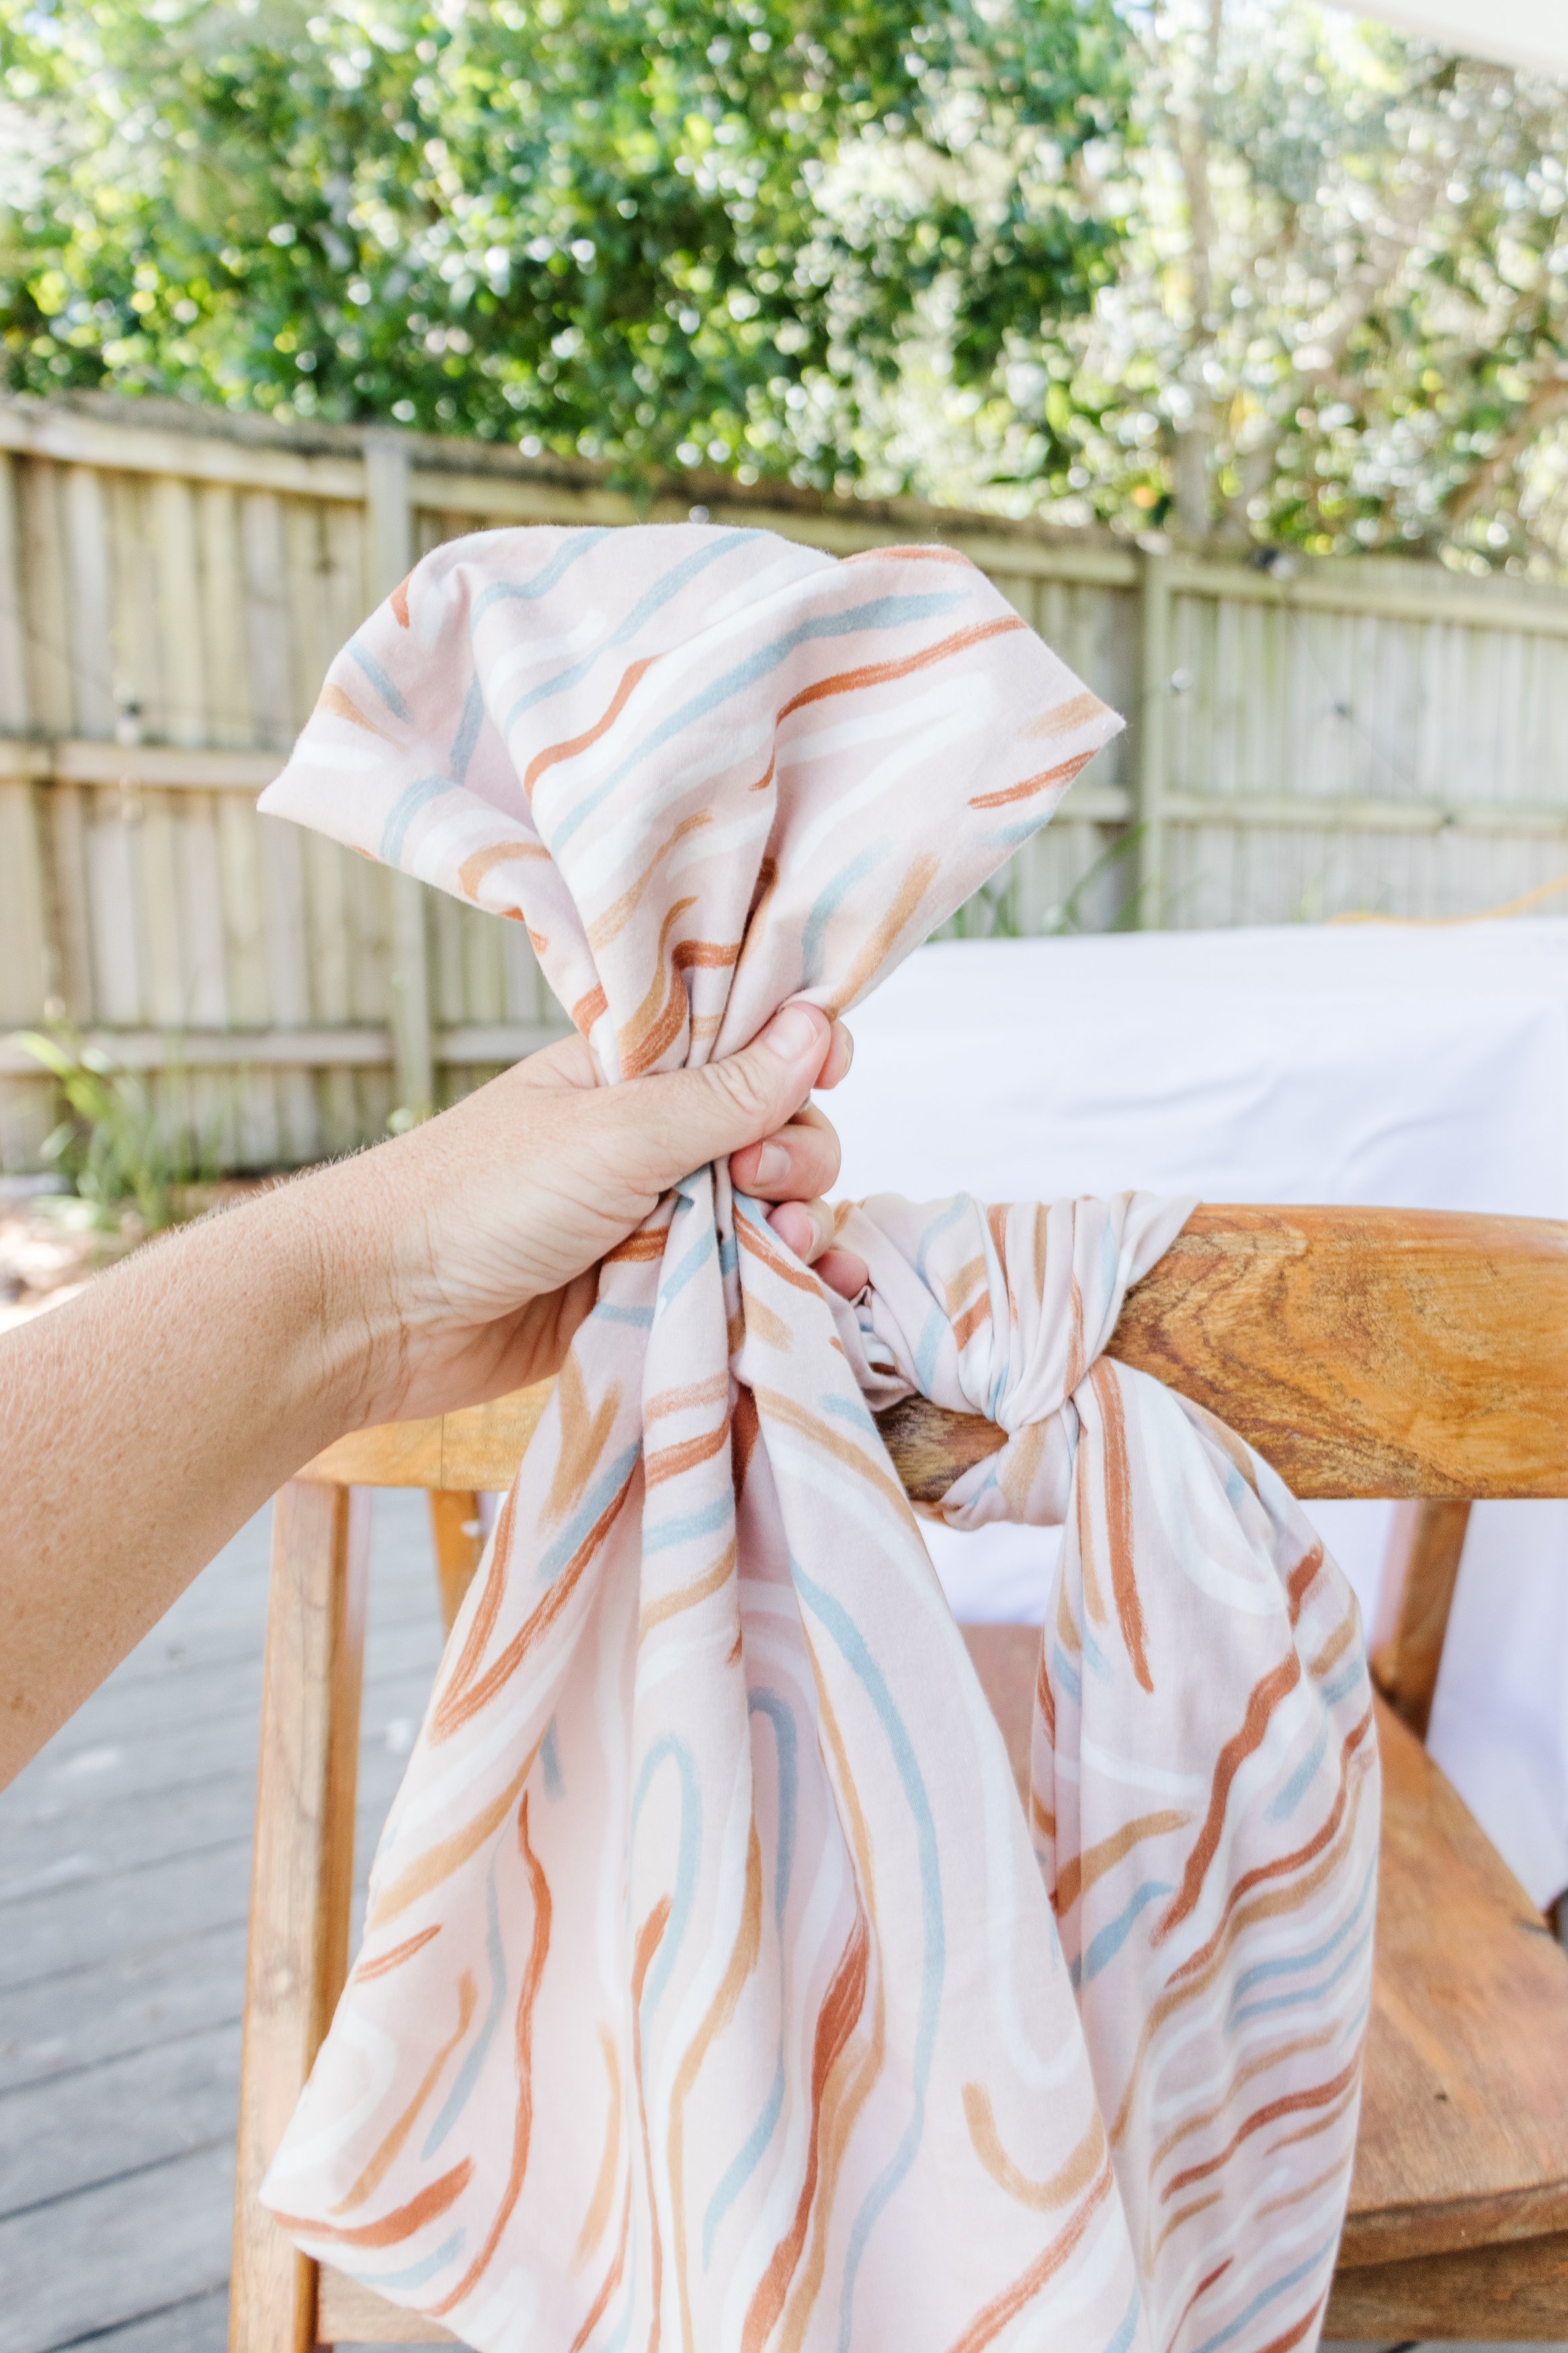
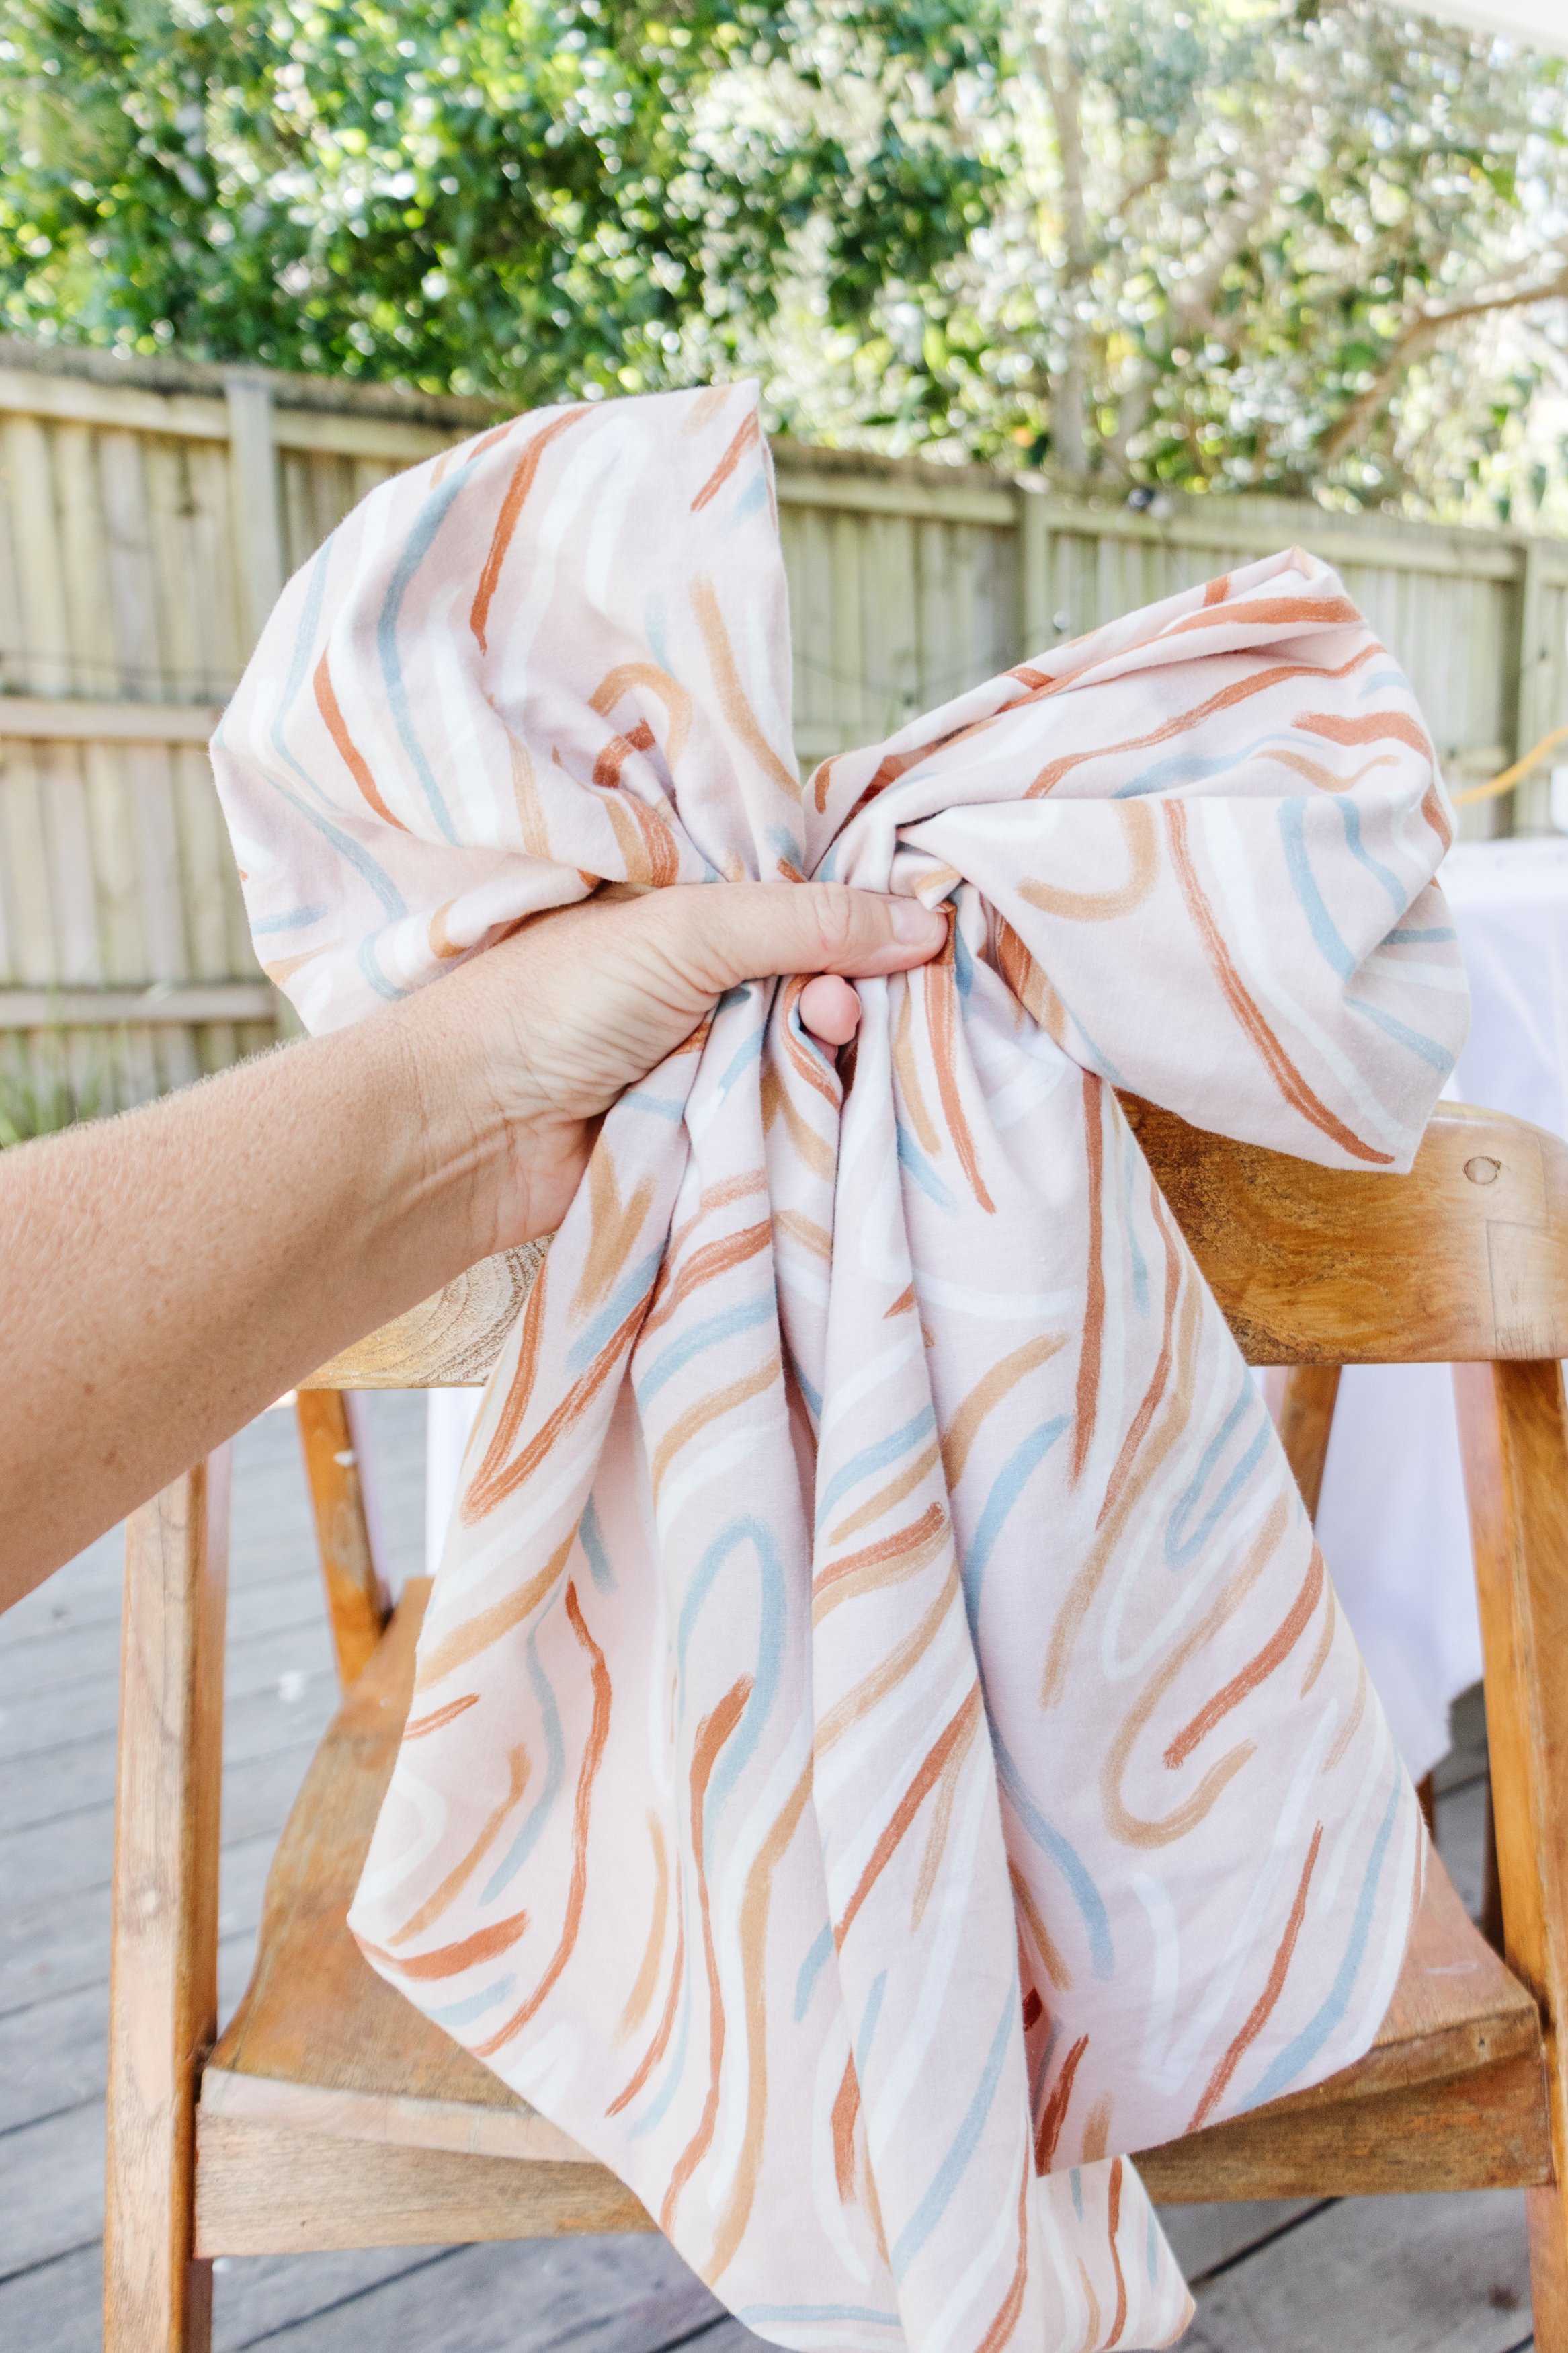
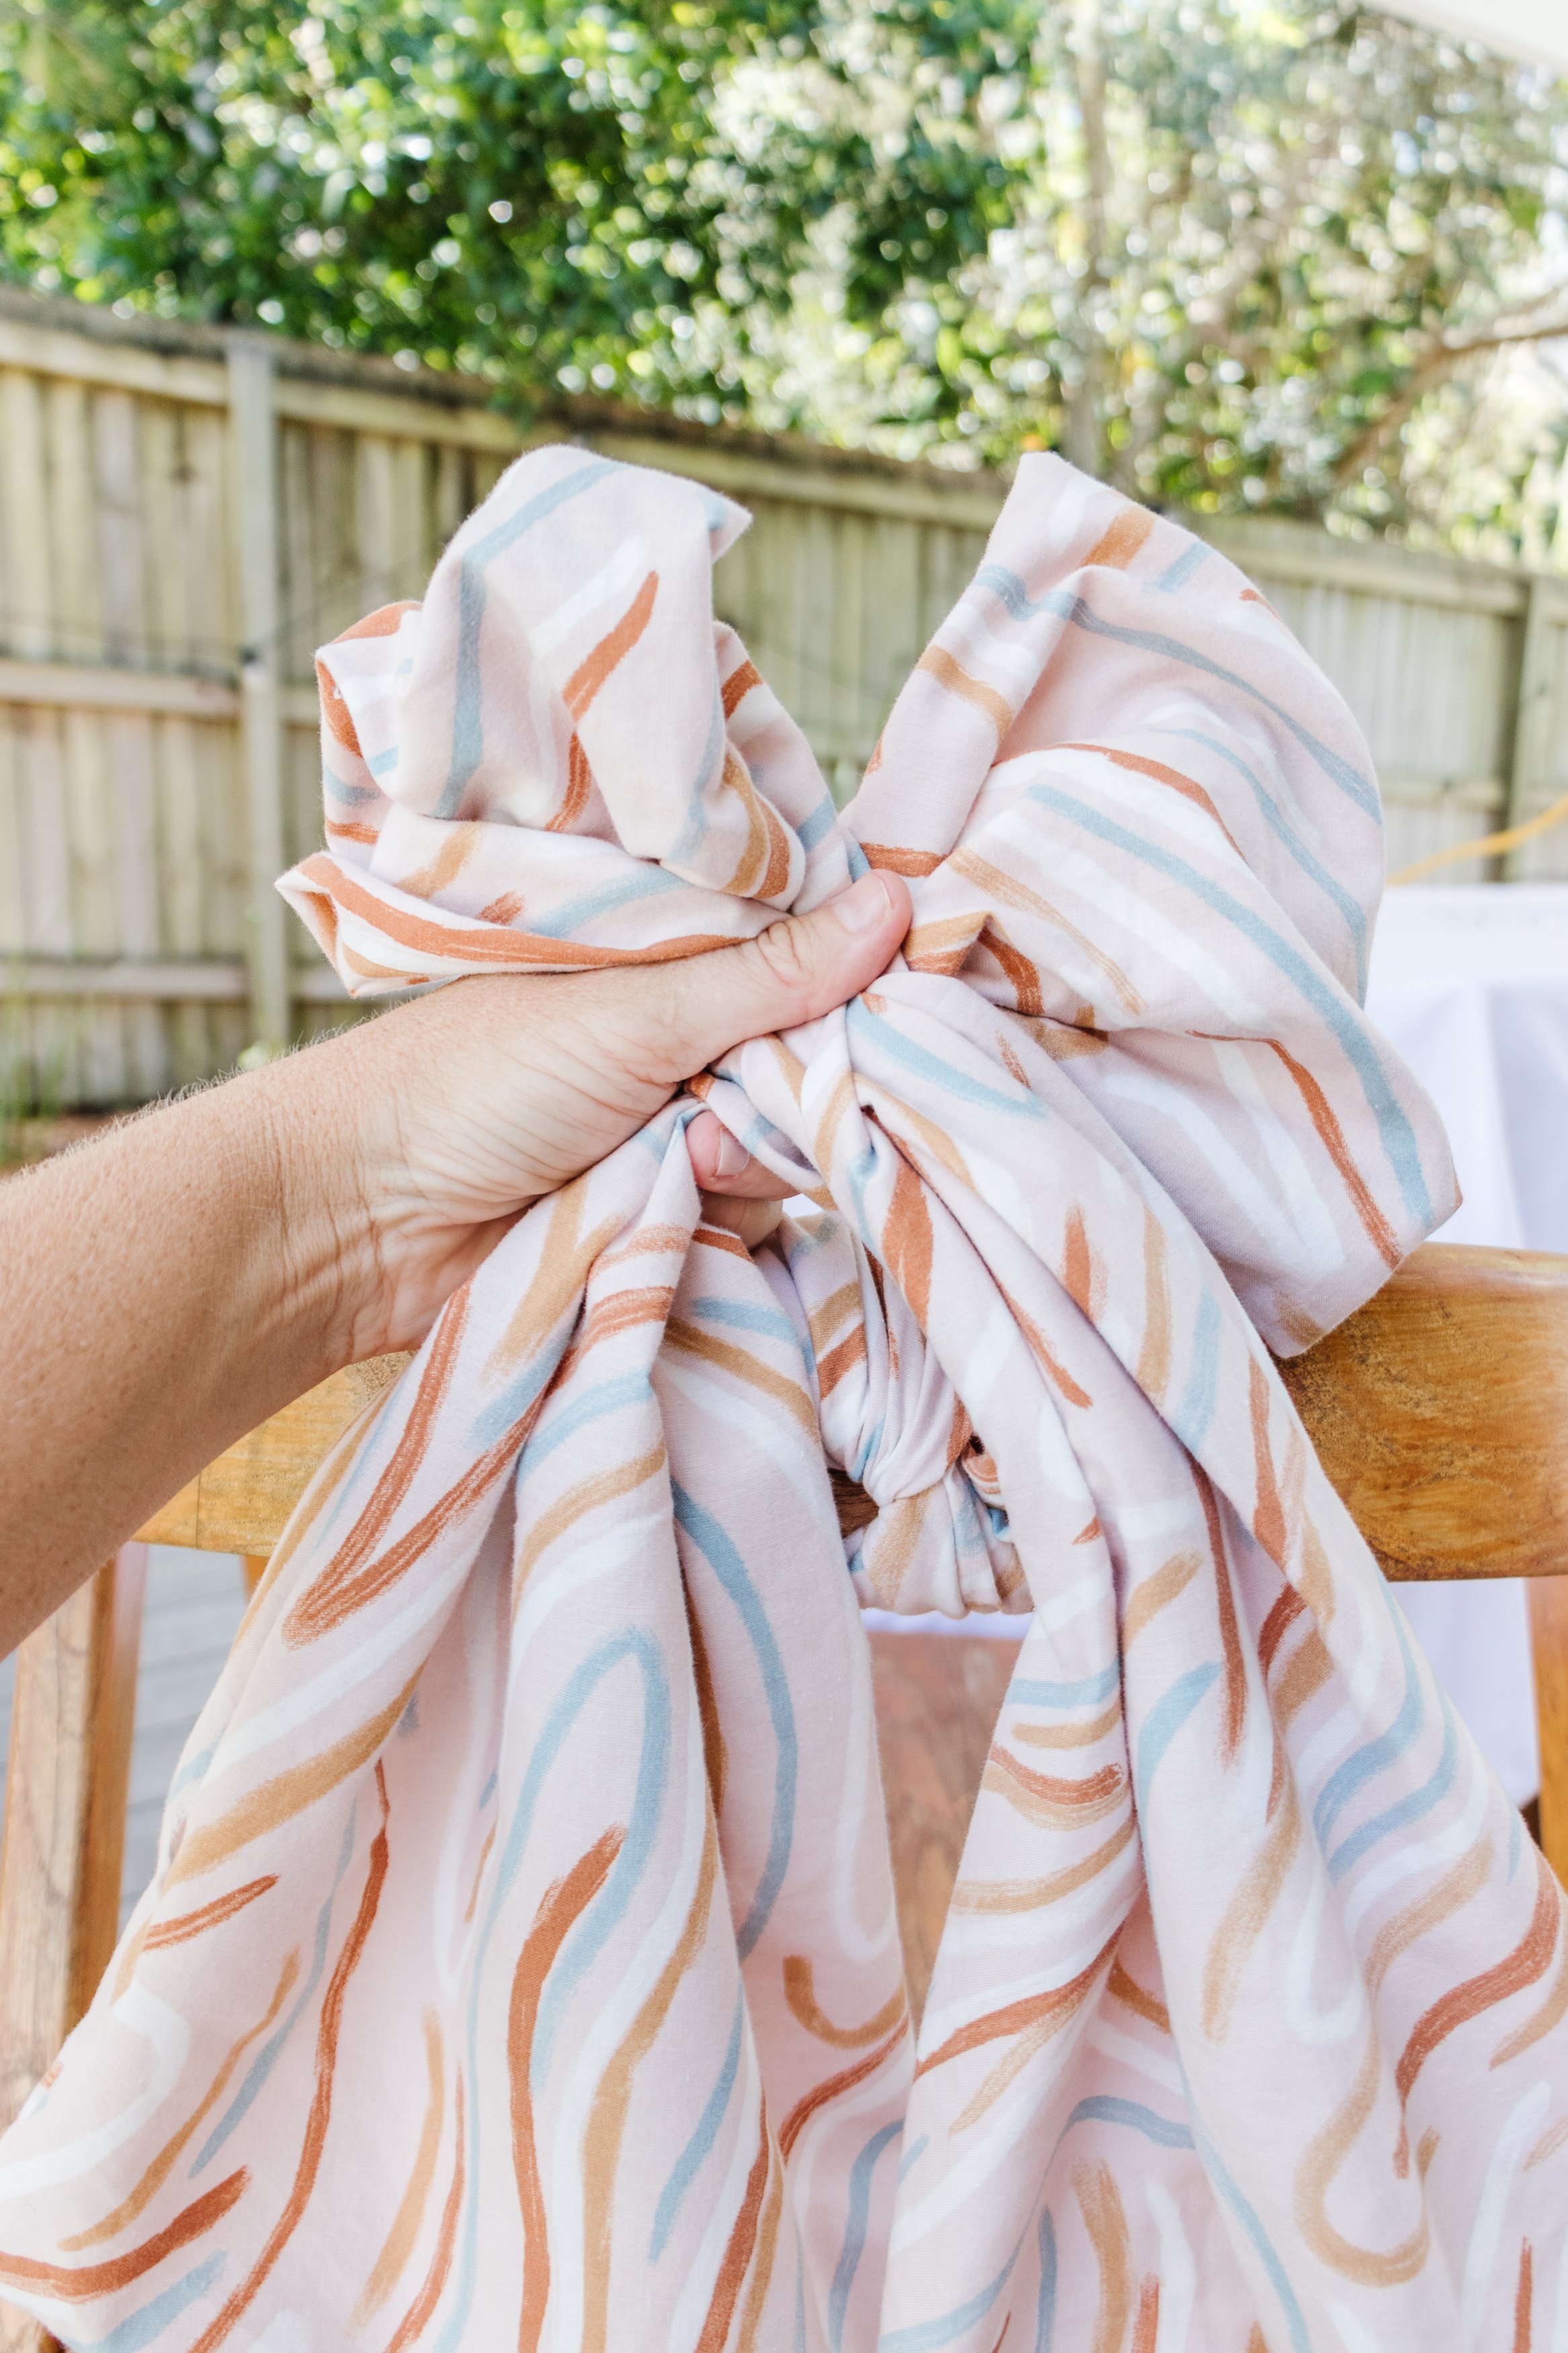
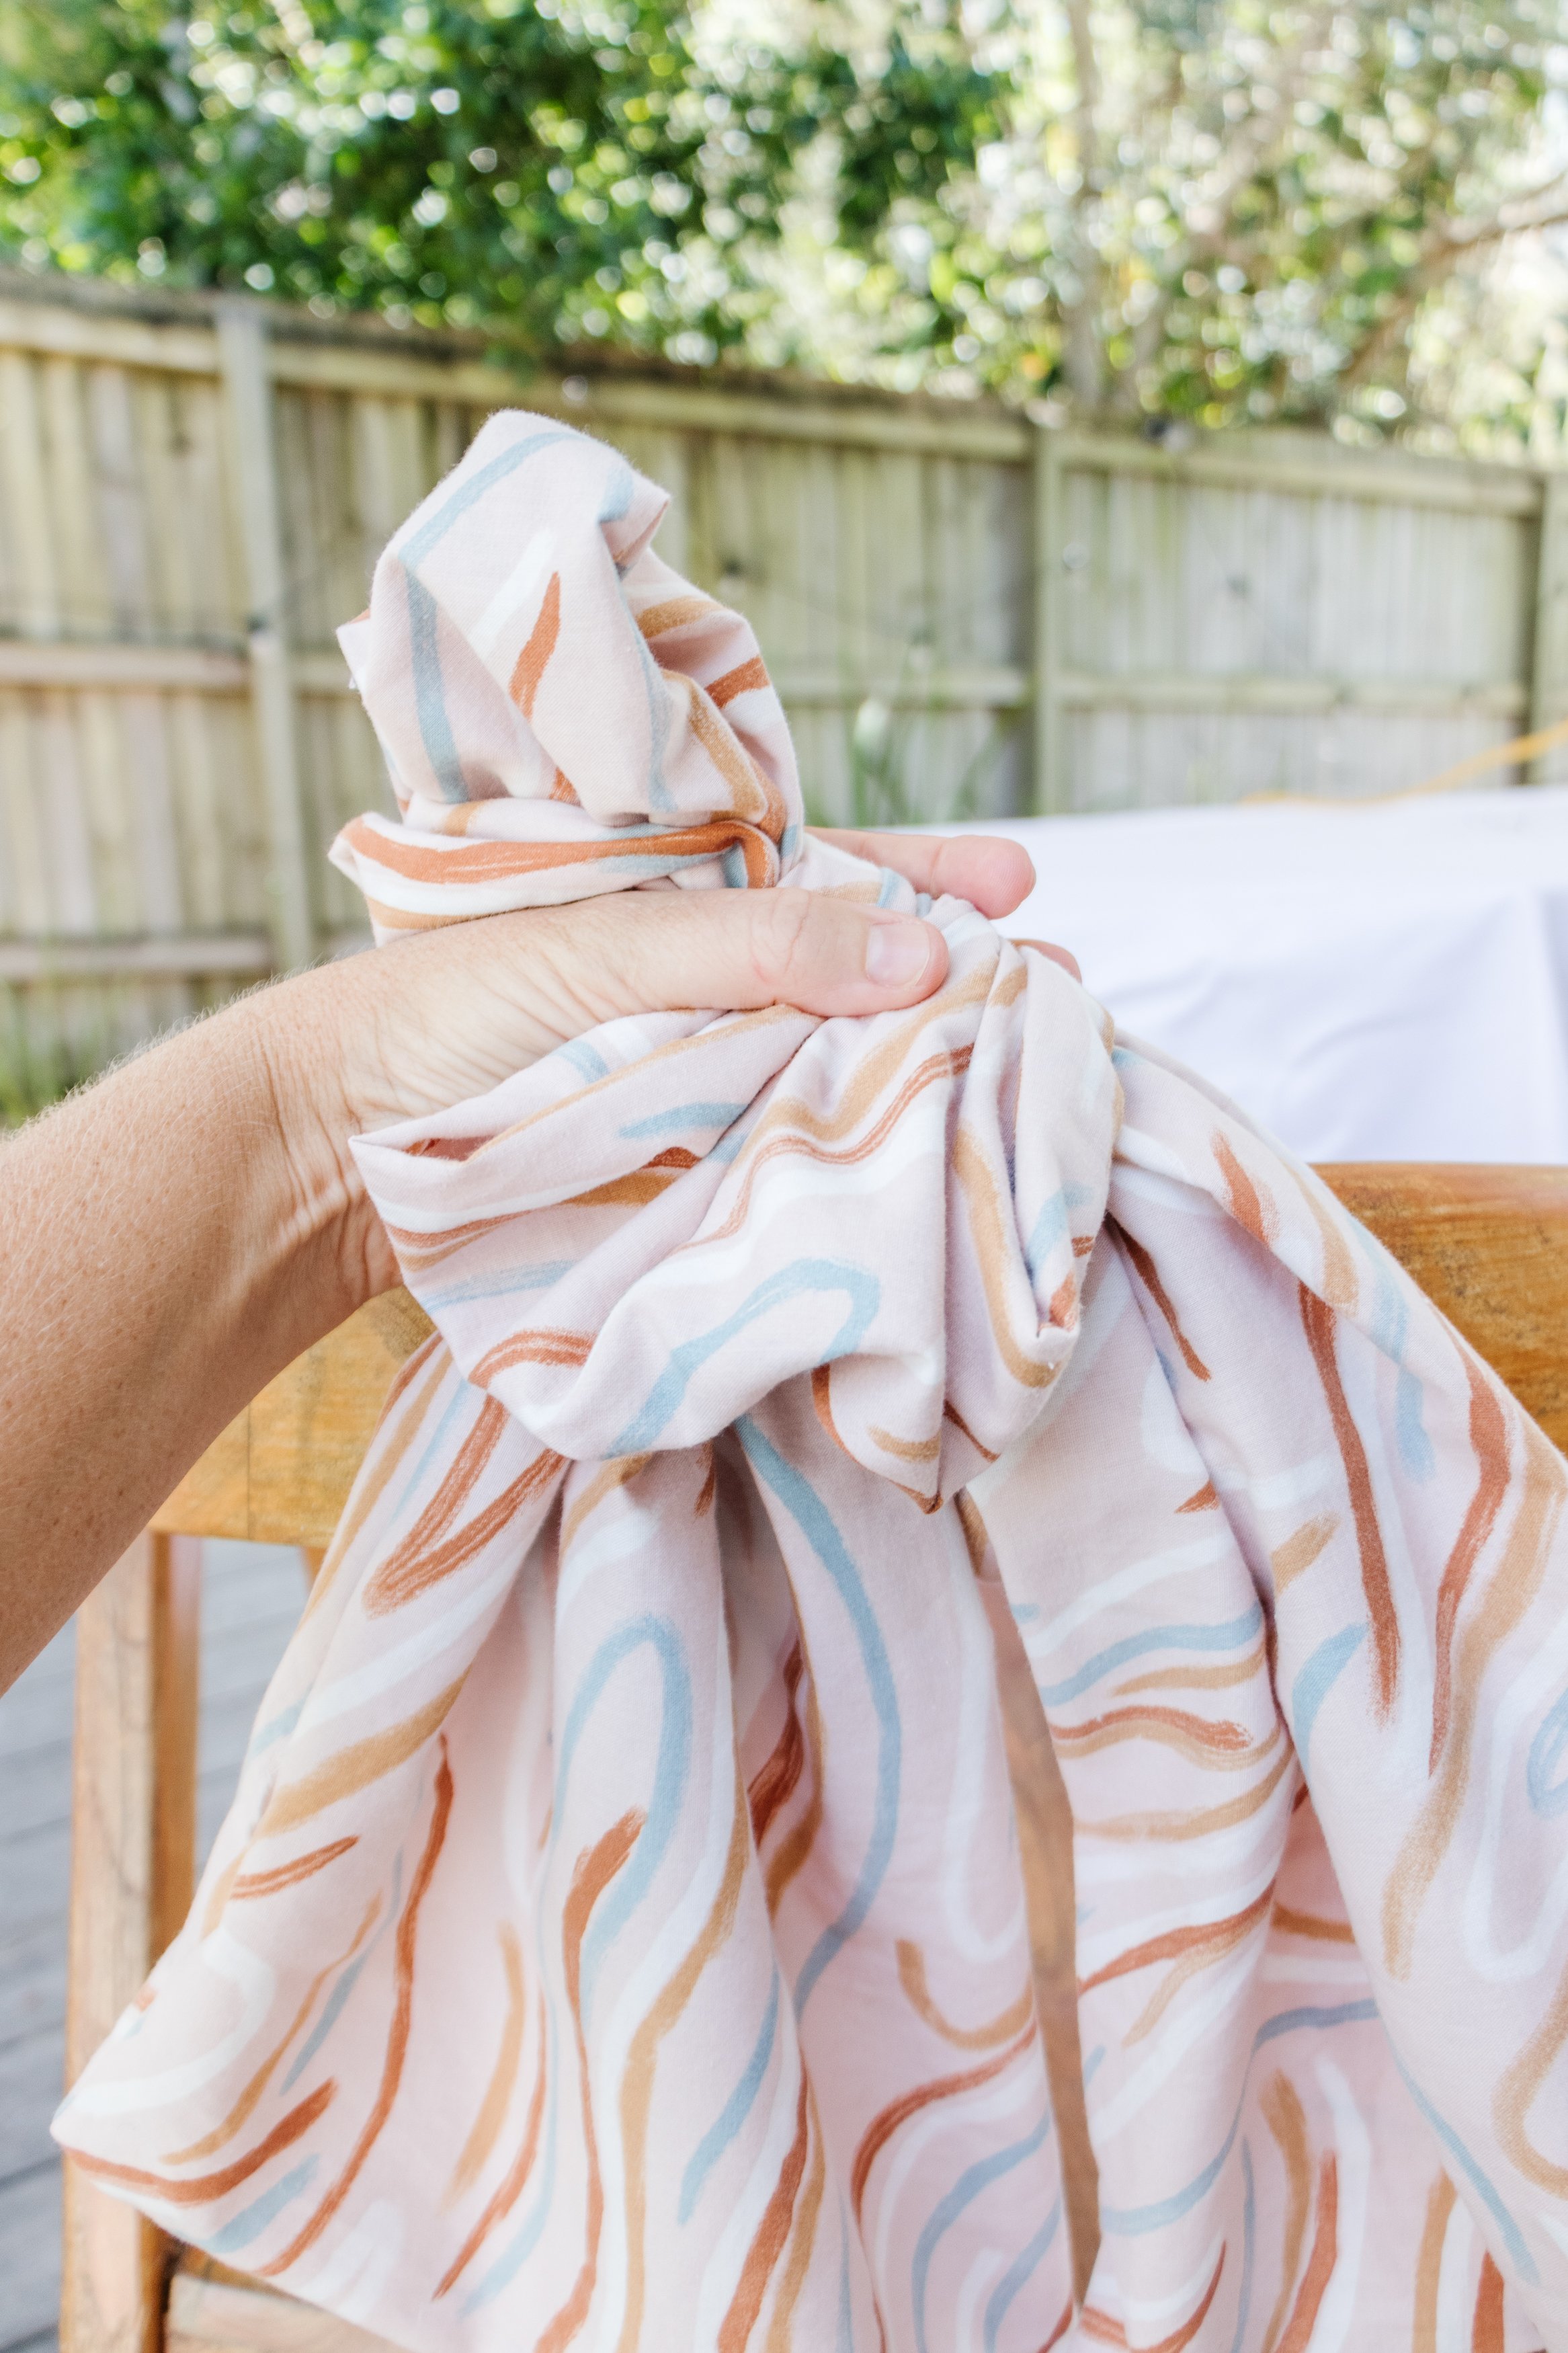

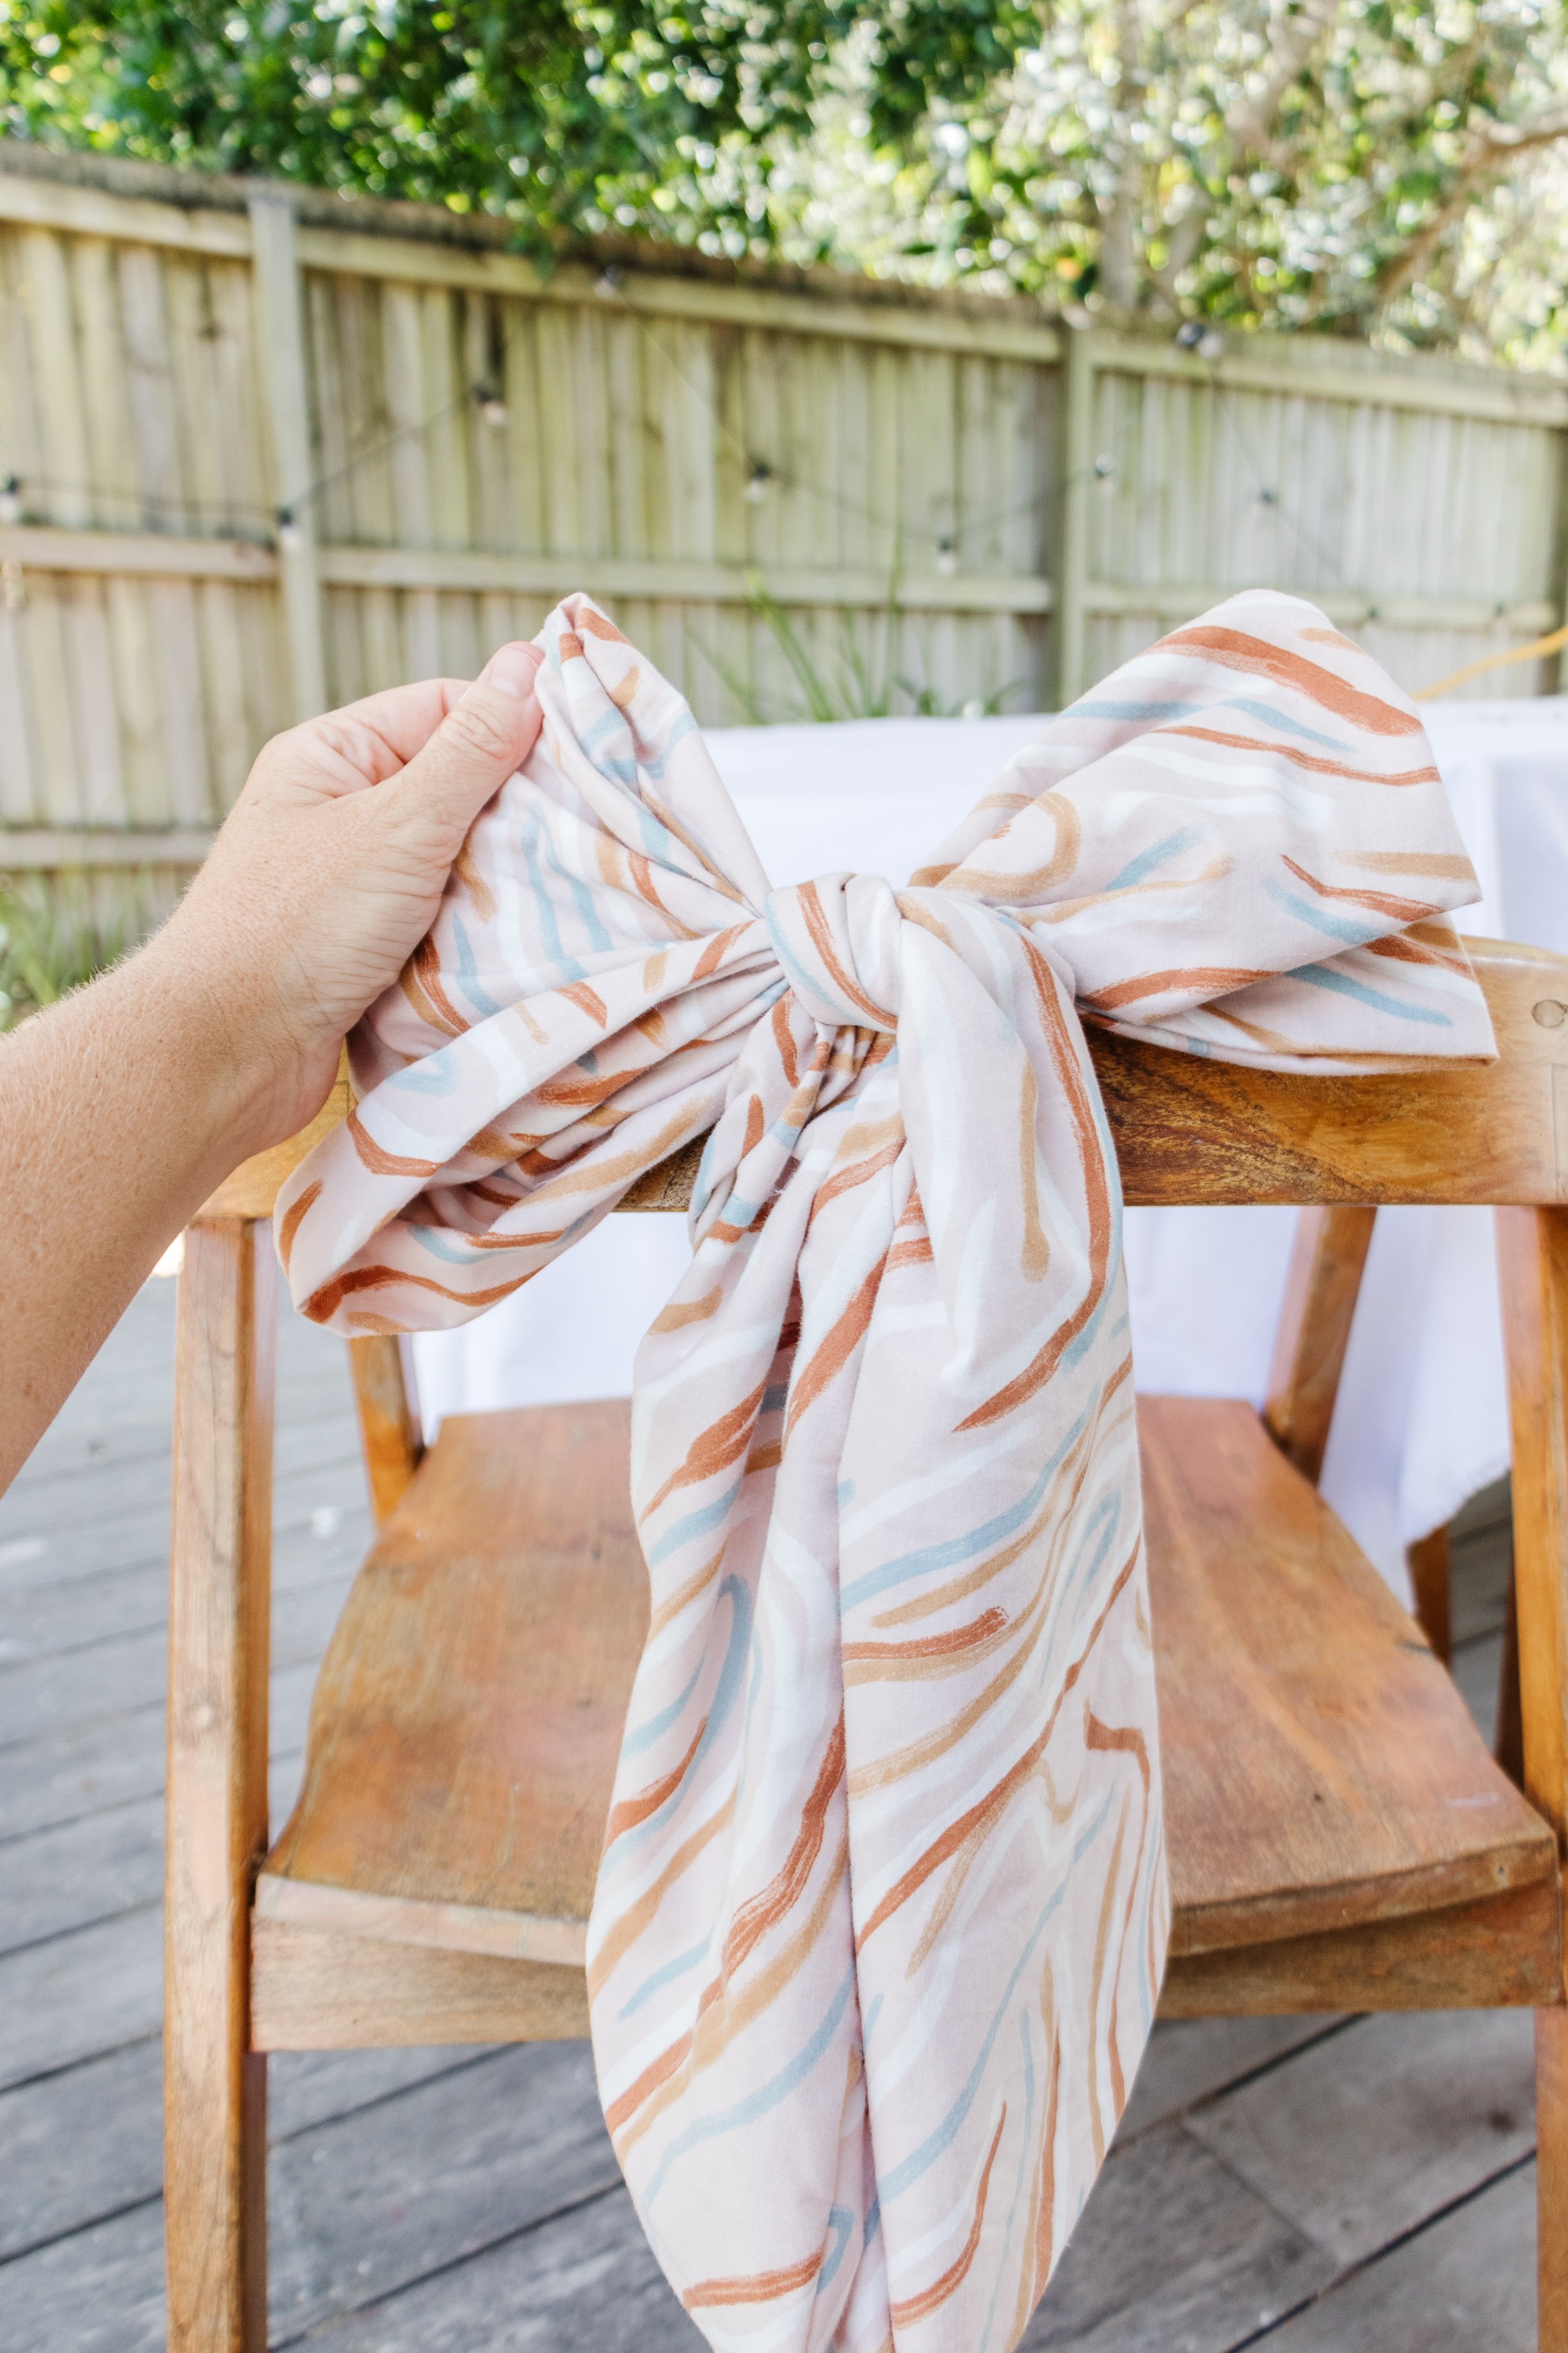
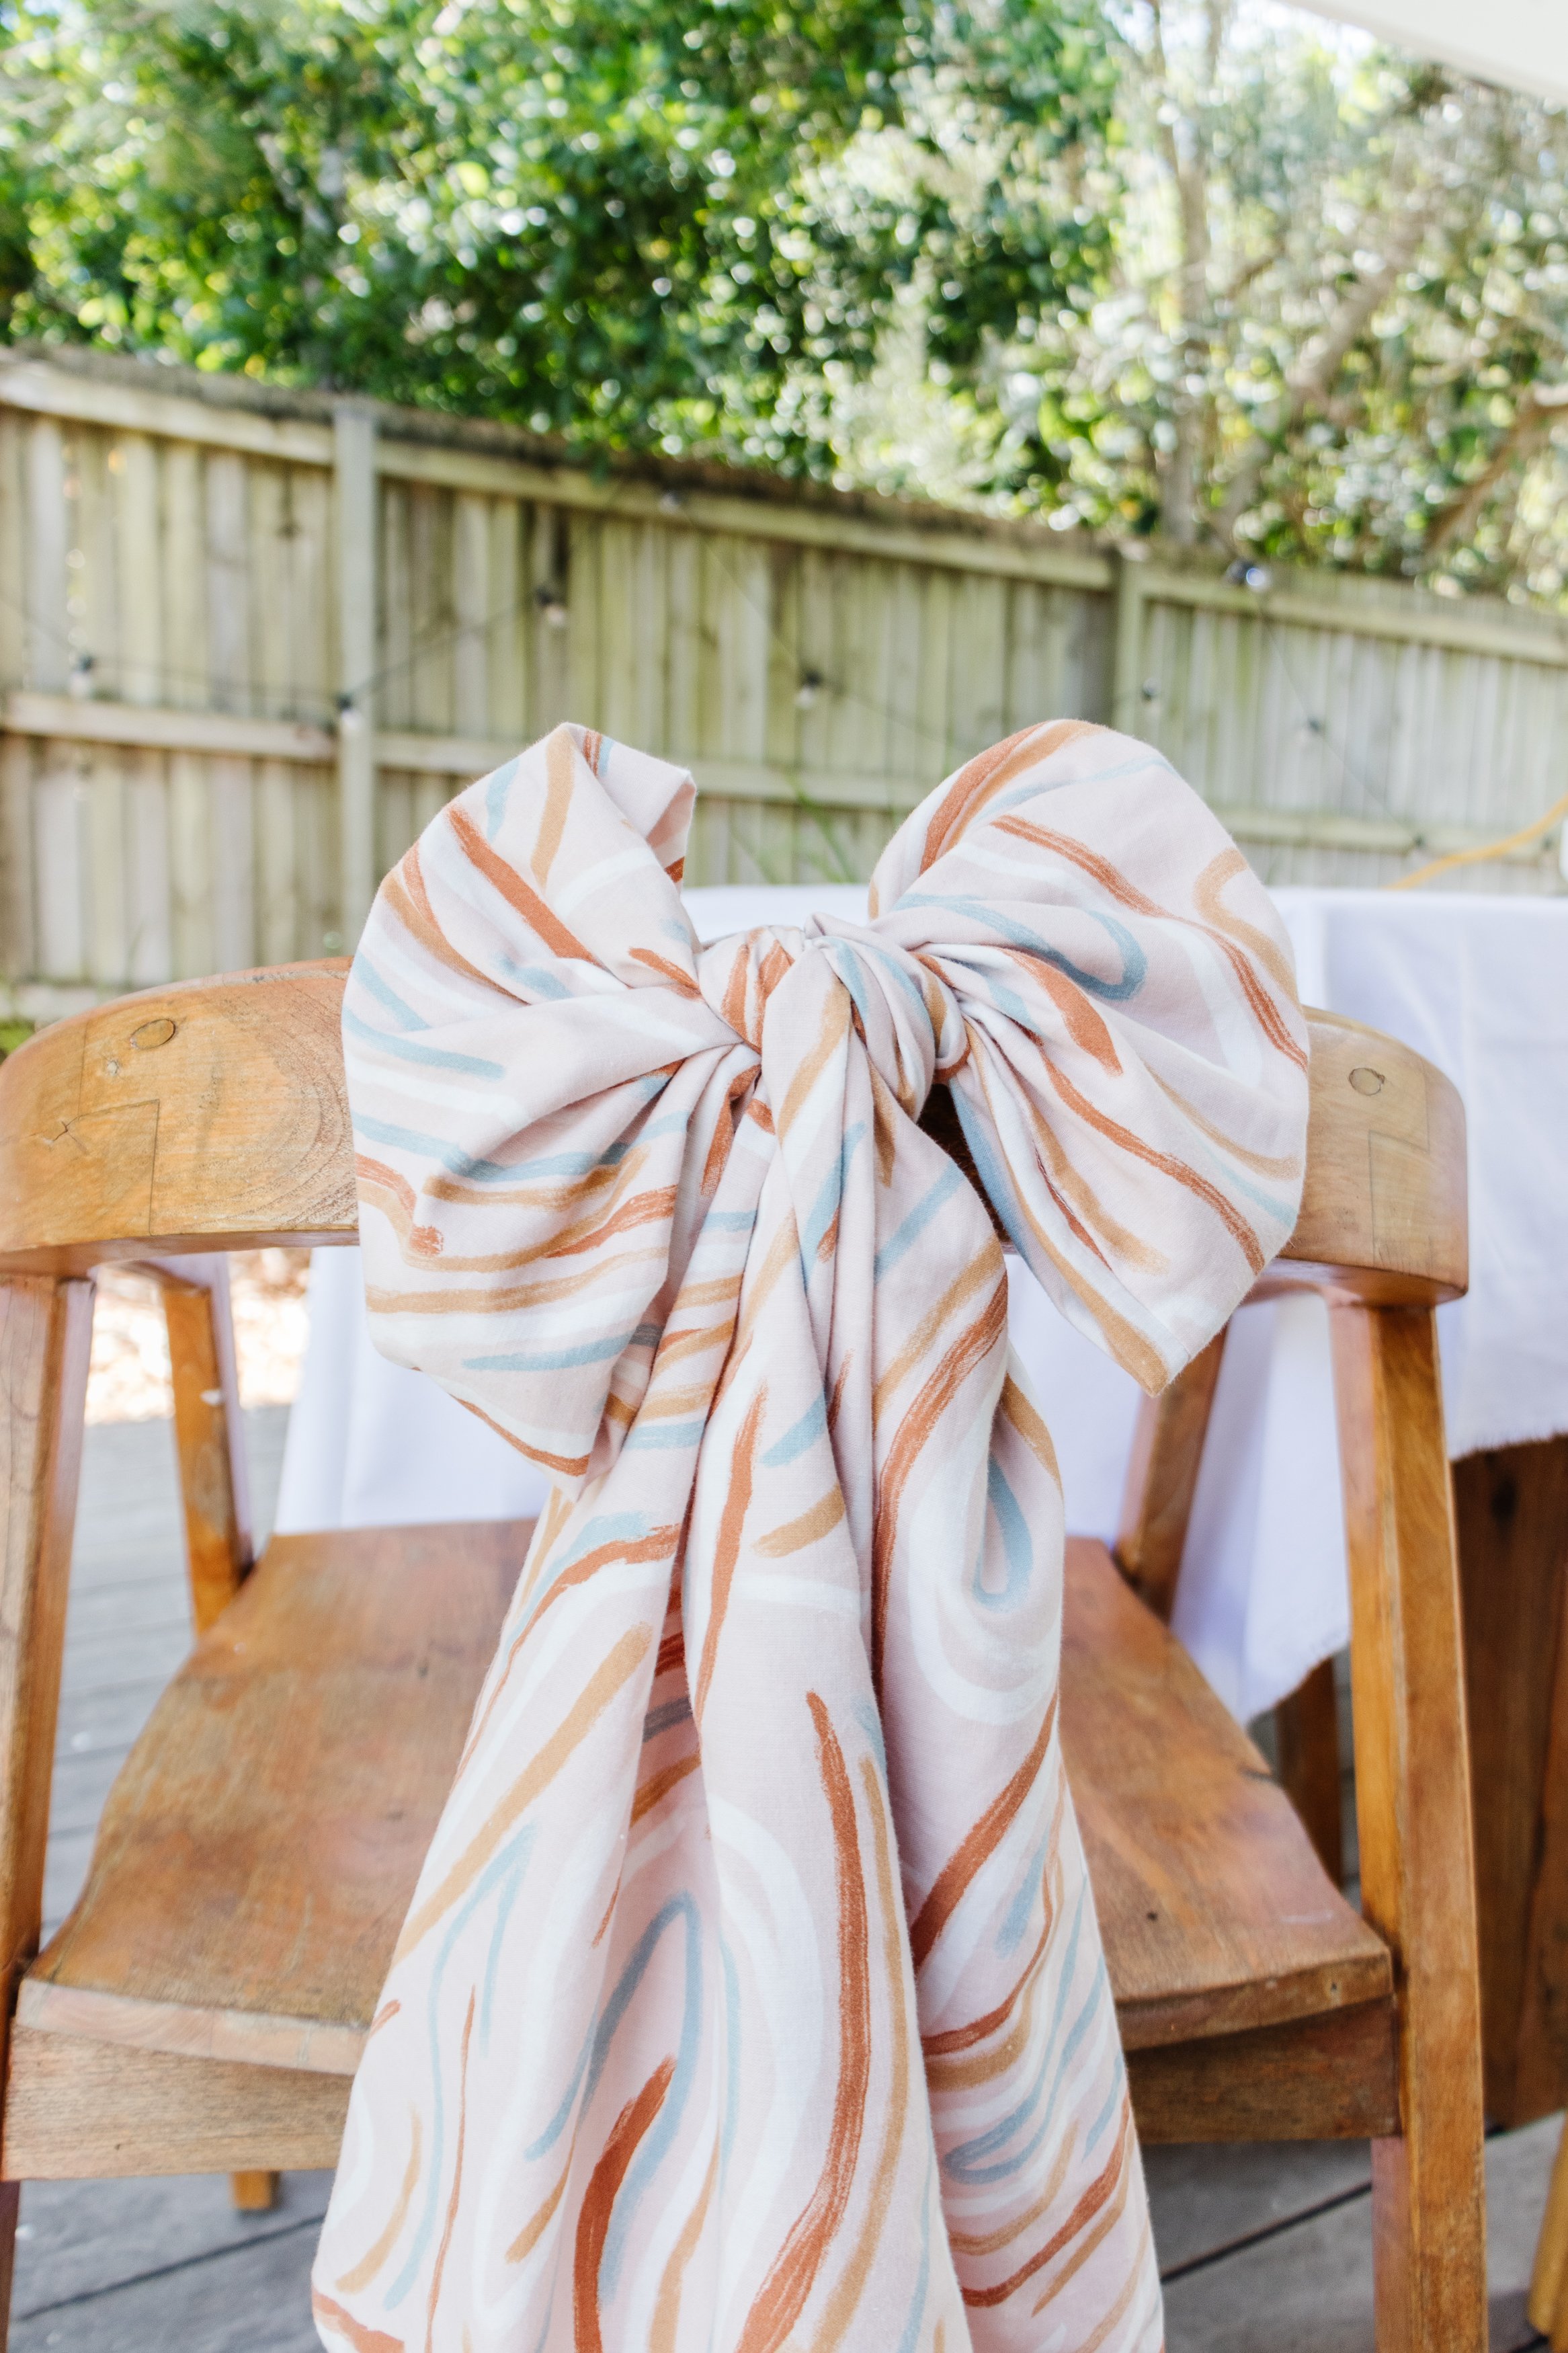
Ta daaaa!
Aren’t these DIY Fabric Bows beautiful? I am honestly blown away - they were so easy and quick to make and of course, they’re totally adorable. Best of all? They cost under $10 to make (even cheaper TBCH as I already had the thread at home). And to think I made them using a bedspread…so fun! Although I have to admit I was a little nervous to share this idea because I wasn’t sure if it would work, but this year I am all about embracing my ideas, no matter how weird or crazy they may seem. Anyway, I hope you feel inspired to make these DIY Fabric Bows and I also hope you’re ready for lots of fun projects this year using secondhand materials. Let’s get making!