How We Upgraded The Blinds In Our Home
It was time to give our blinds a makeover
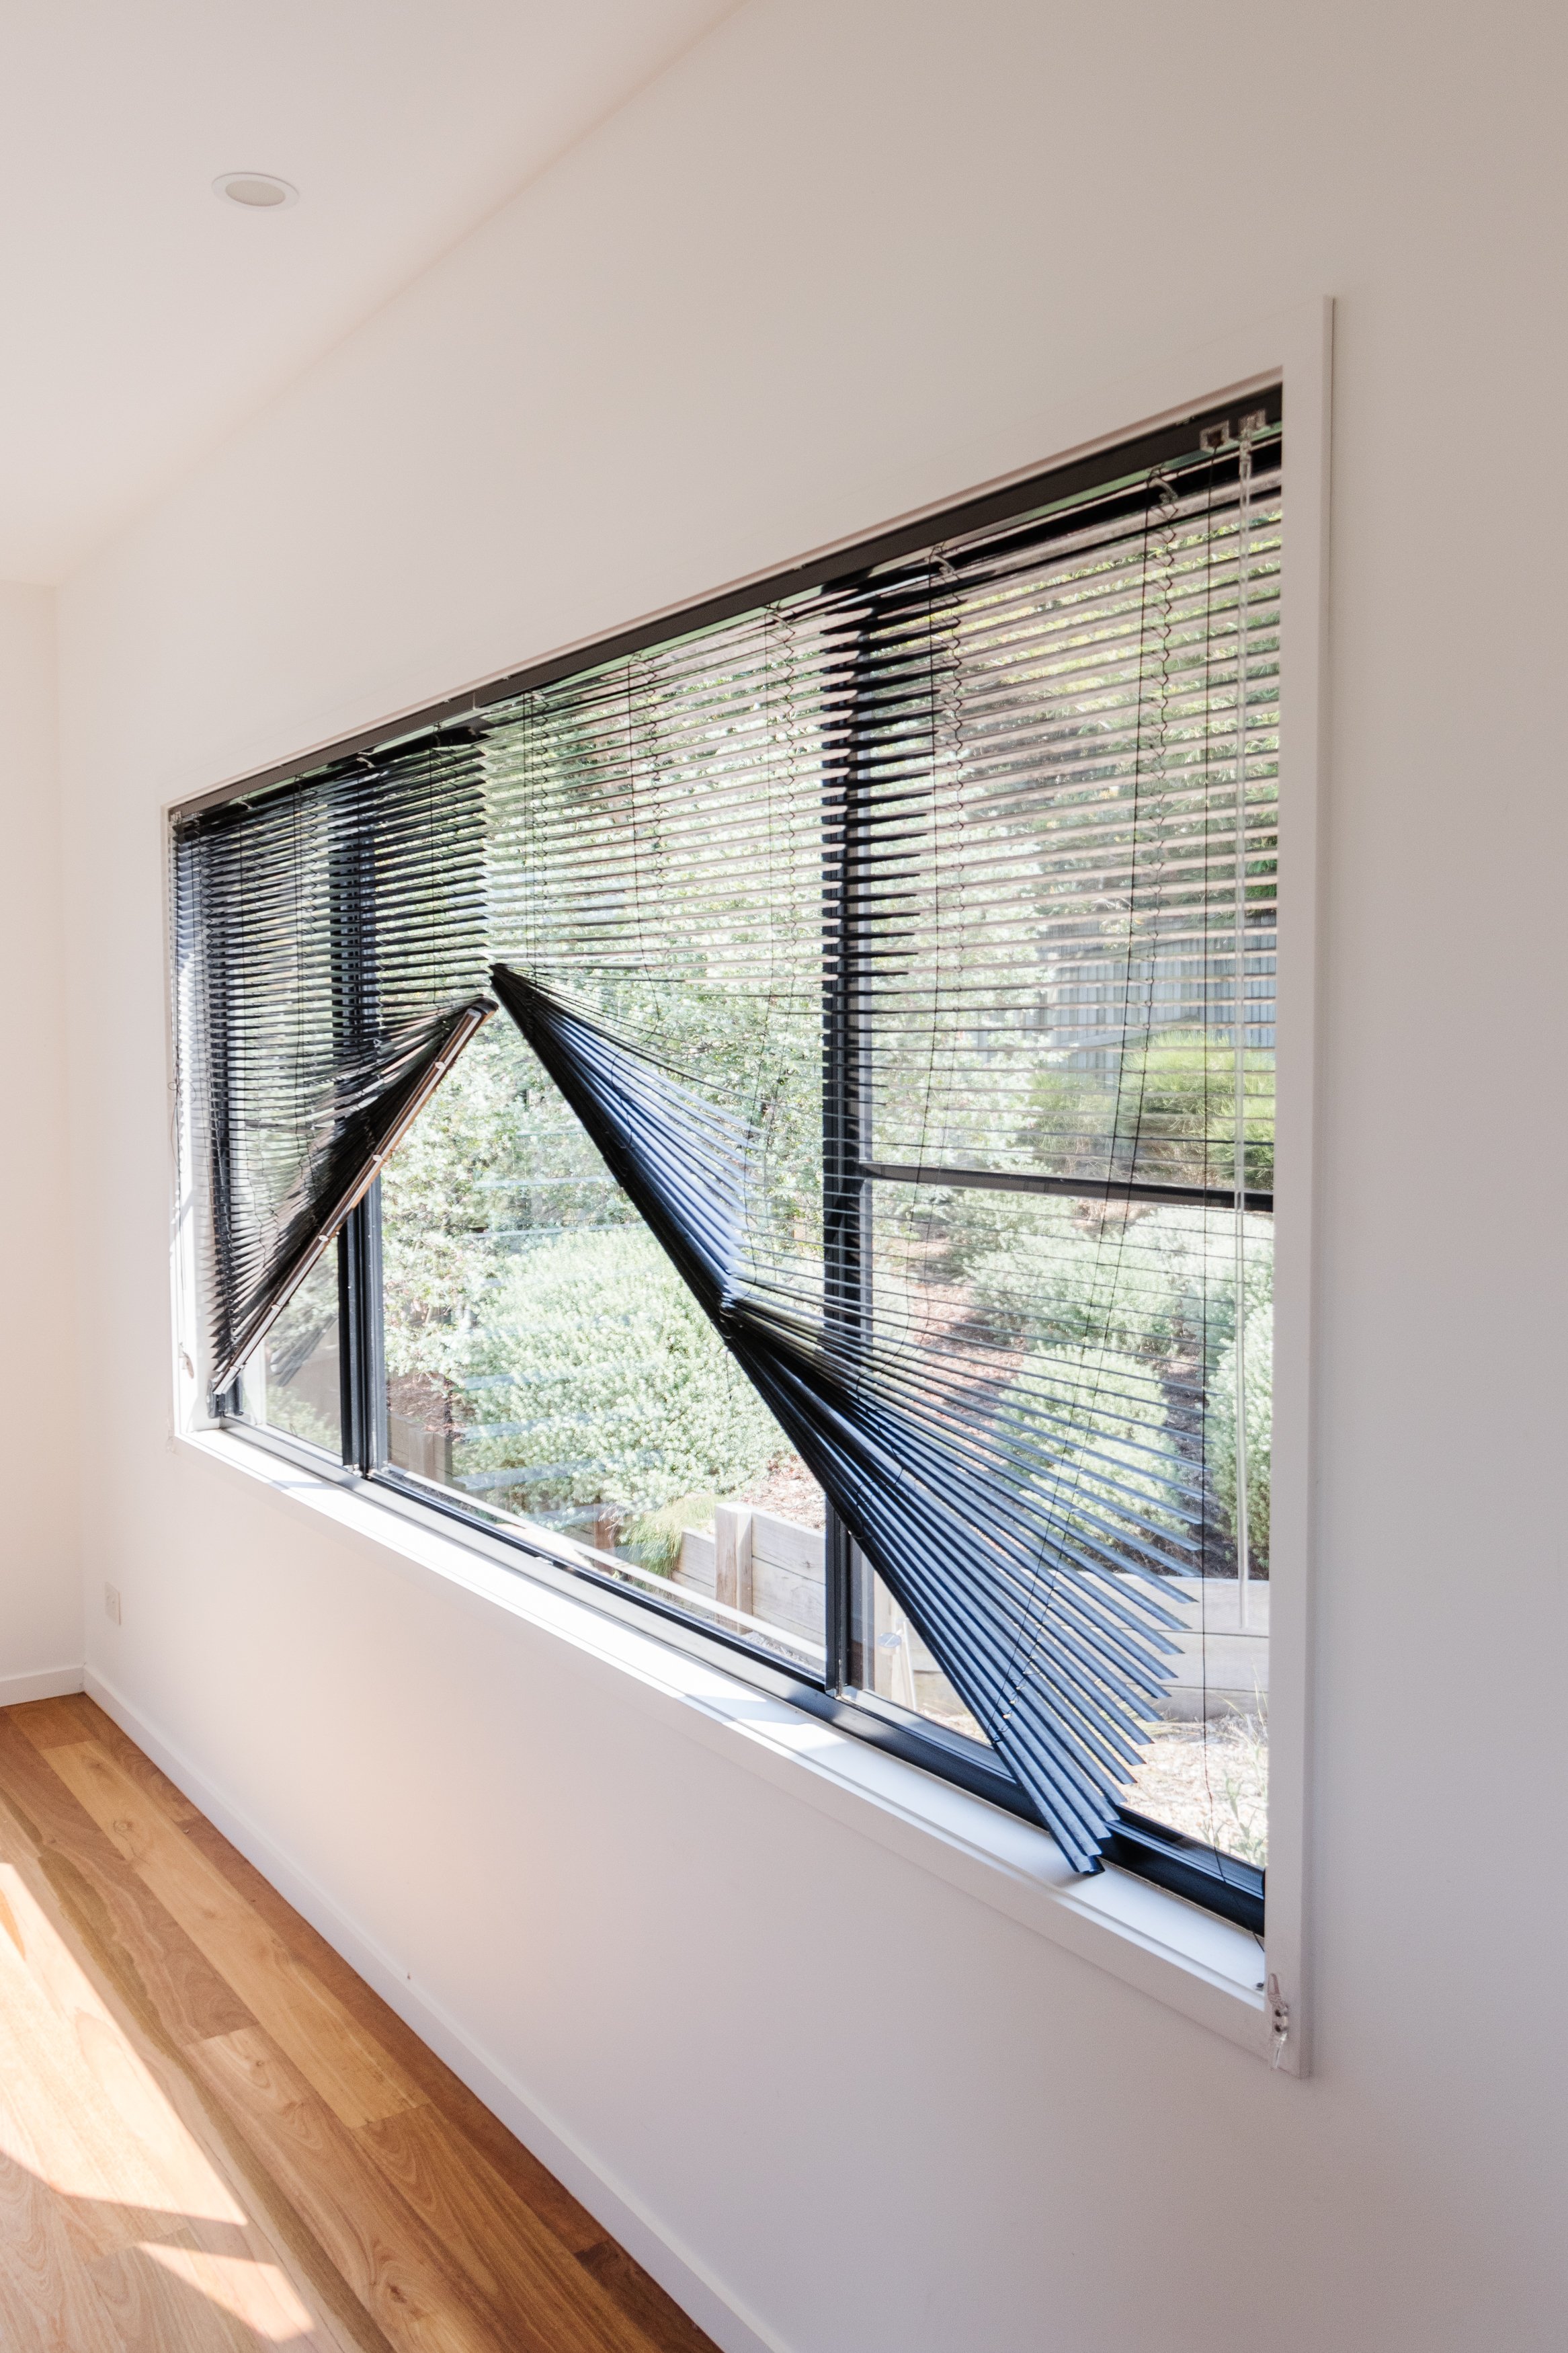
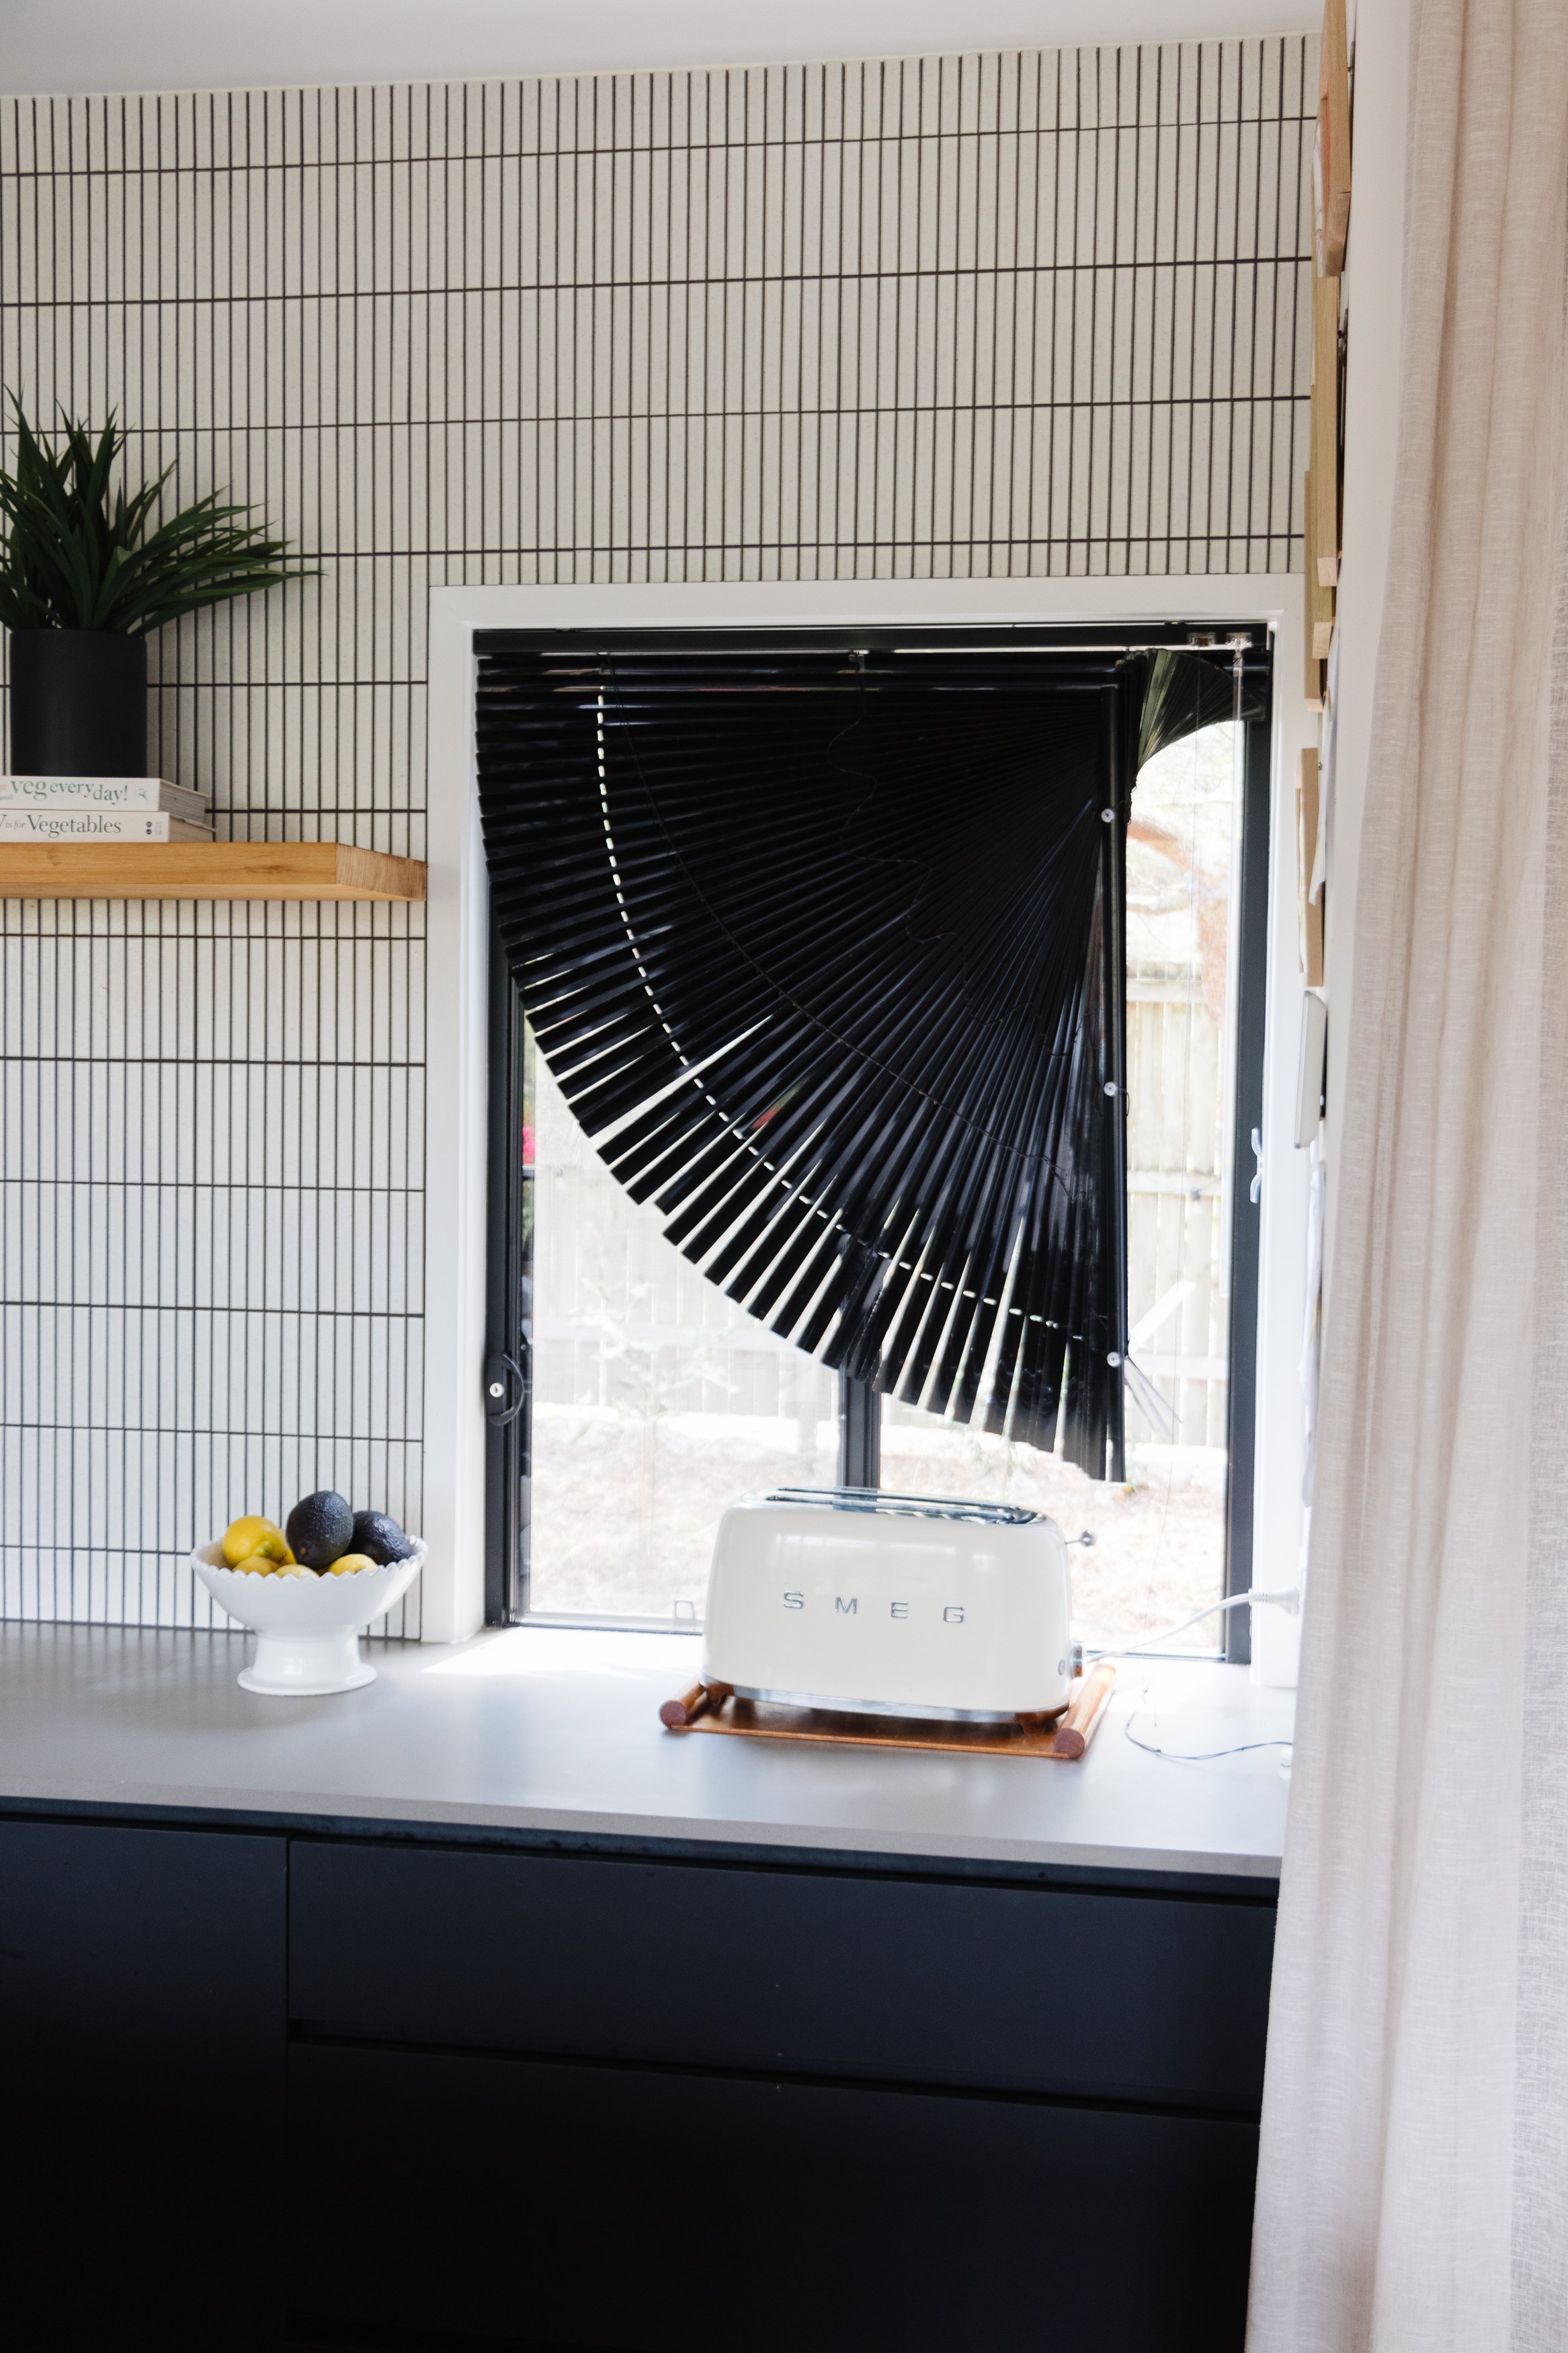
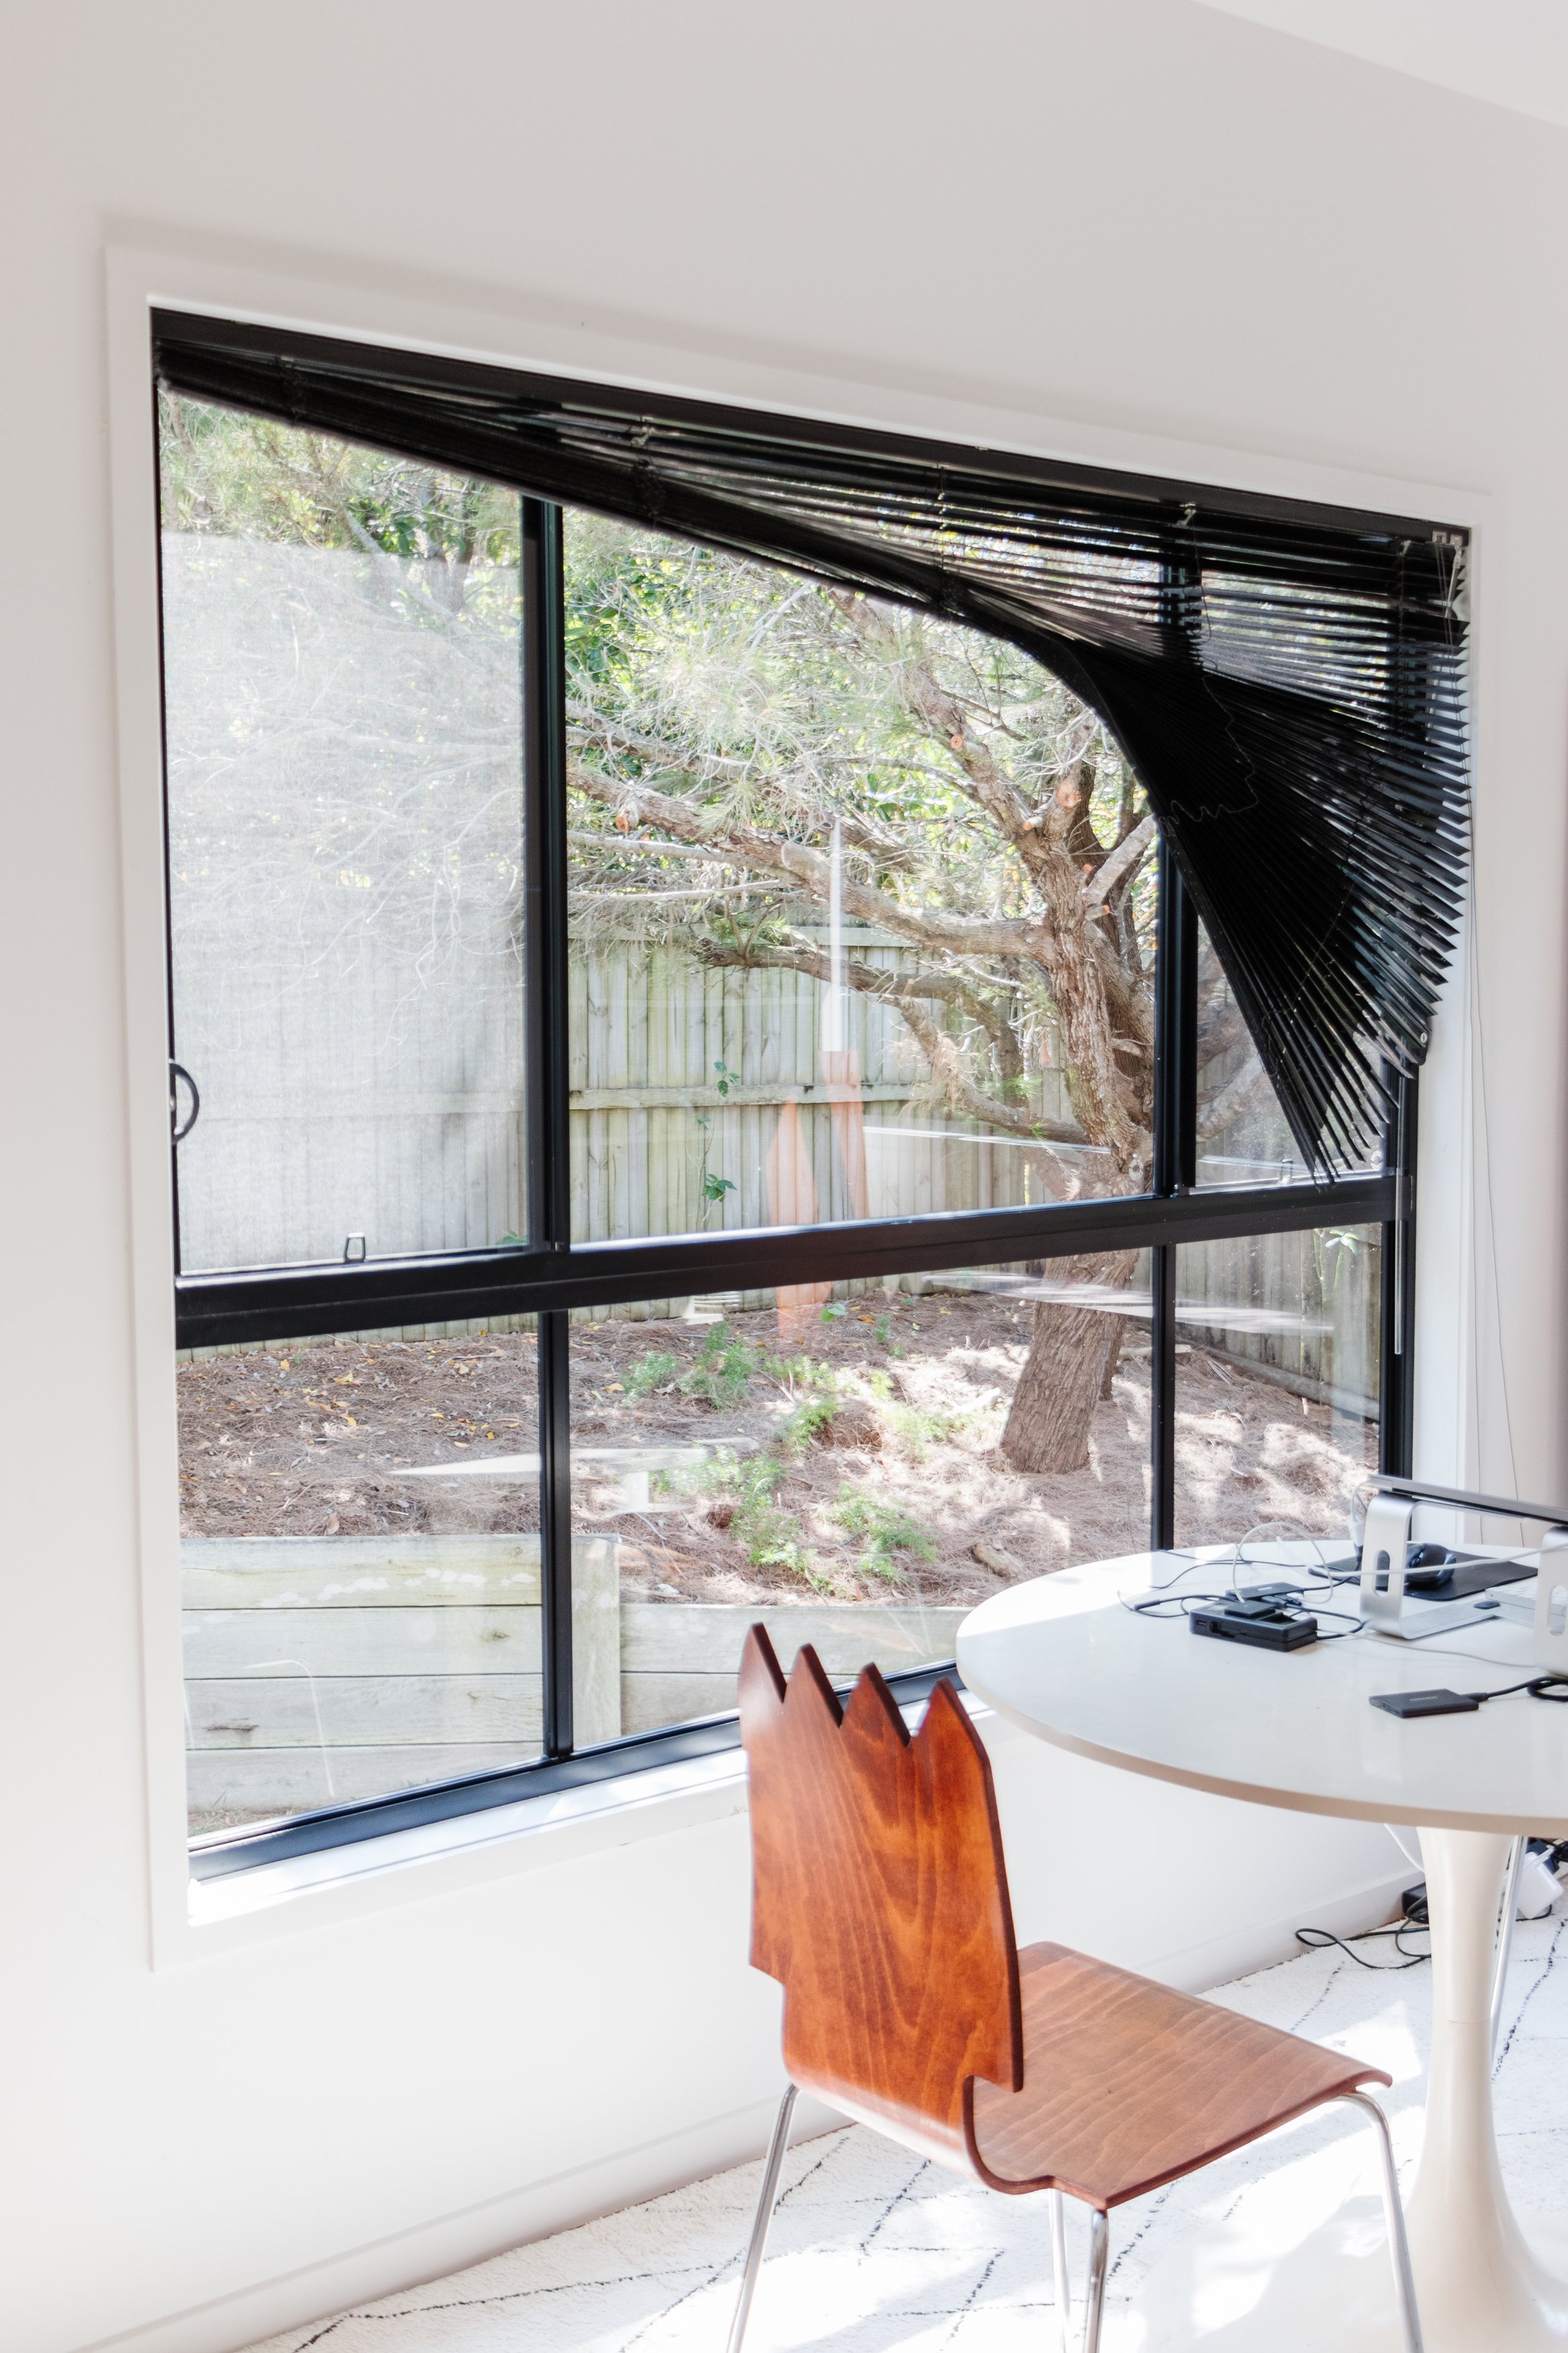
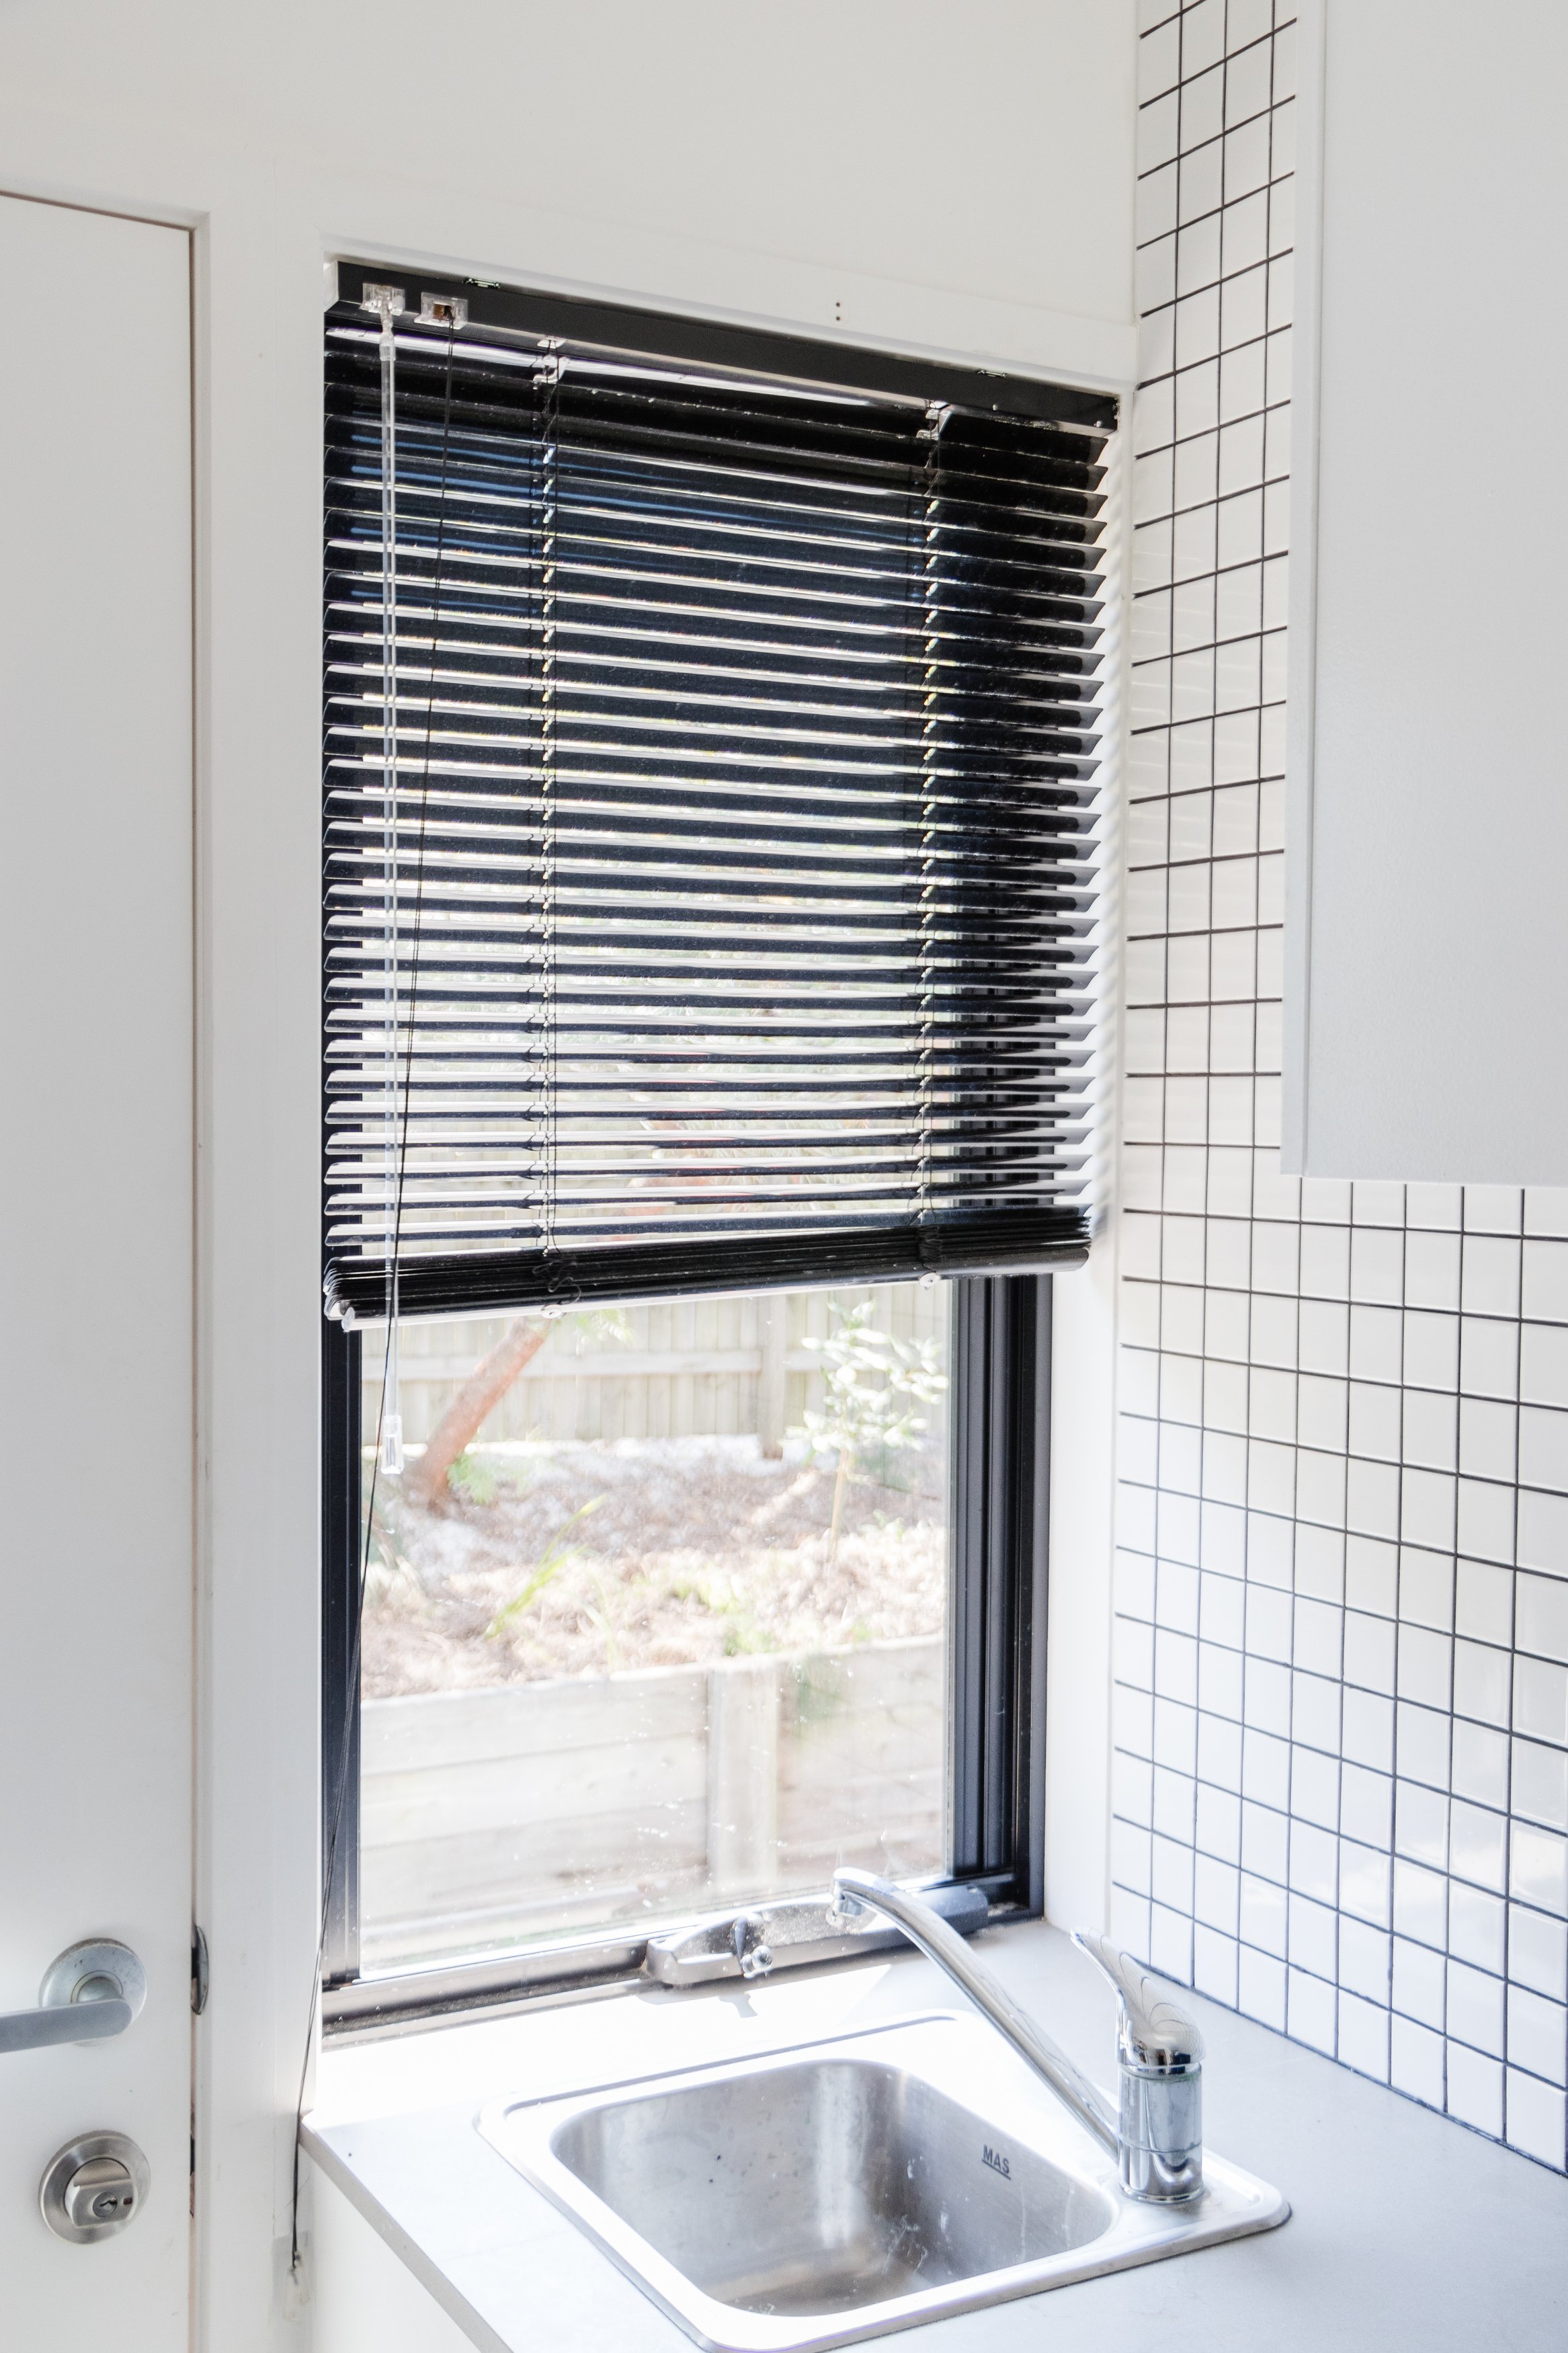
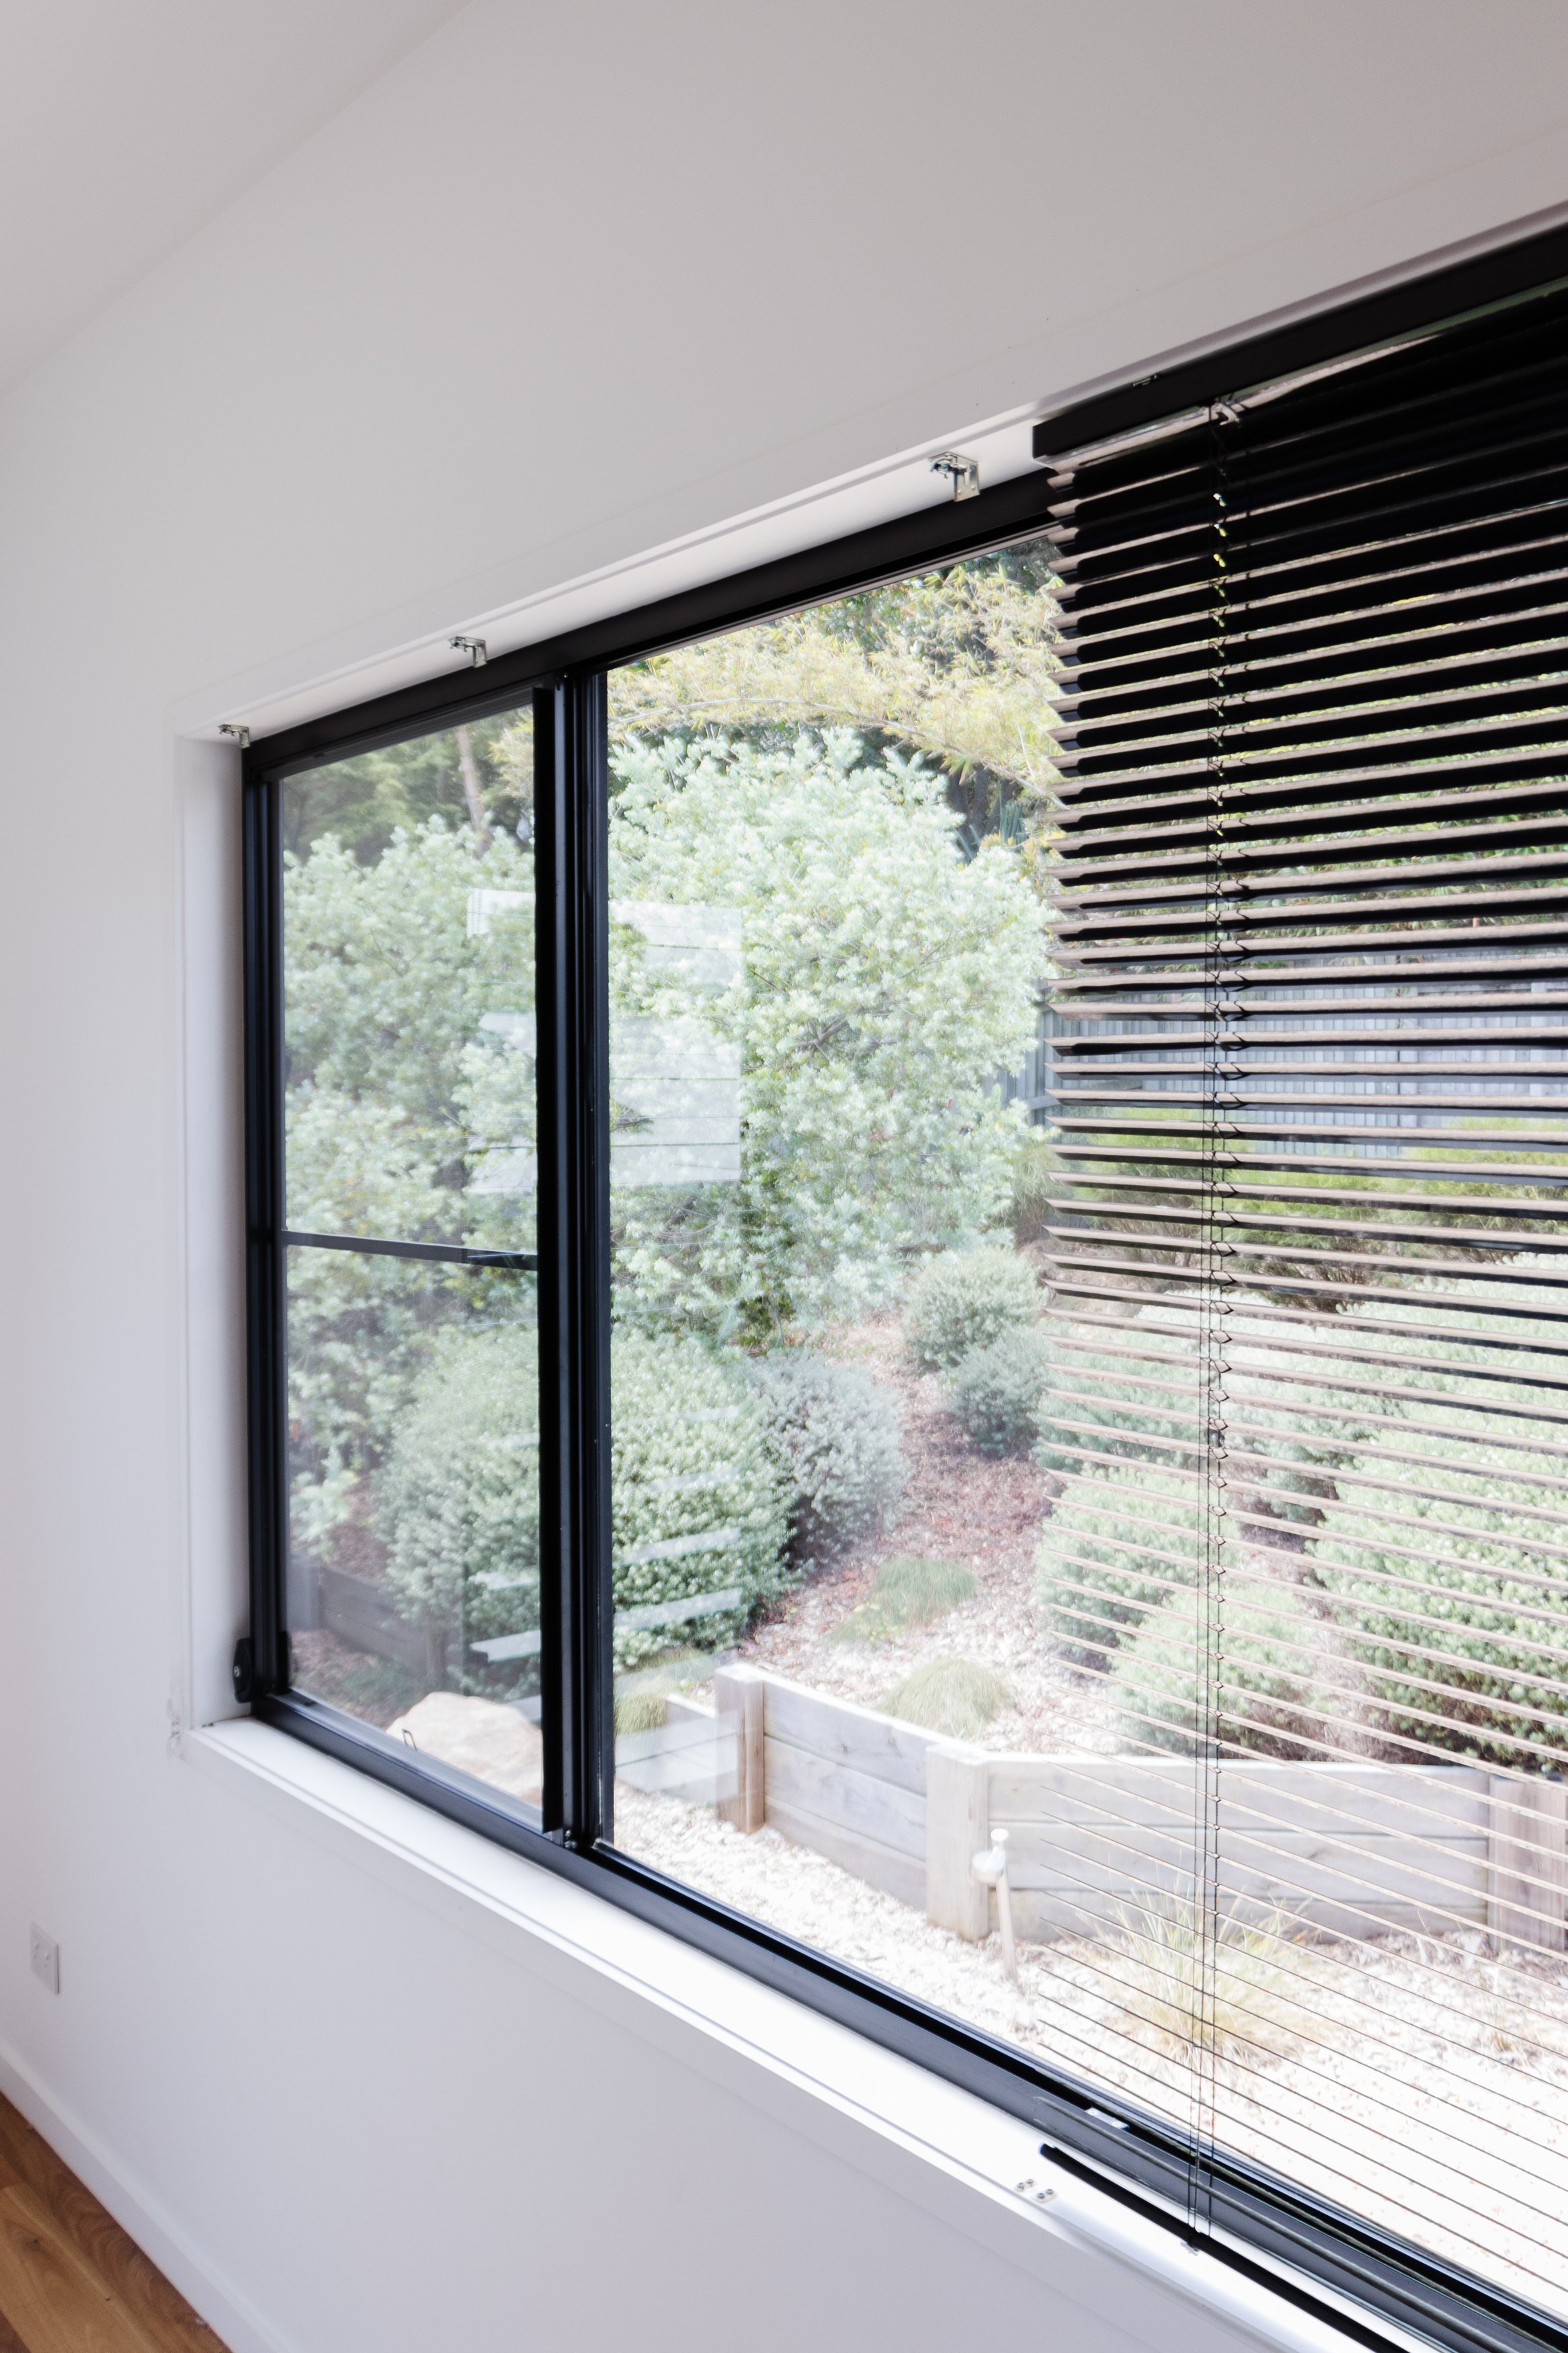
I’ve got a secret to share with you - the venetian blinds in our house are either broken or in horrible condition. It’s pretty embarrassing to be honest. And this is probably one of the reasons why I cringe so much whenever our friends and family pop by. It’s not a great look and considering how much effort we put into our home, I am sure it’s been questioned more times than we’d like to know. We had our black venetian blinds installed about 6 years ago; they were cheap but effective and served their purpose initially. Unfortunately we quickly learned they were difficult to clean and break easily. I also couldn’t help but wish we had chosen white blinds, instead of black. Oh how you learn!
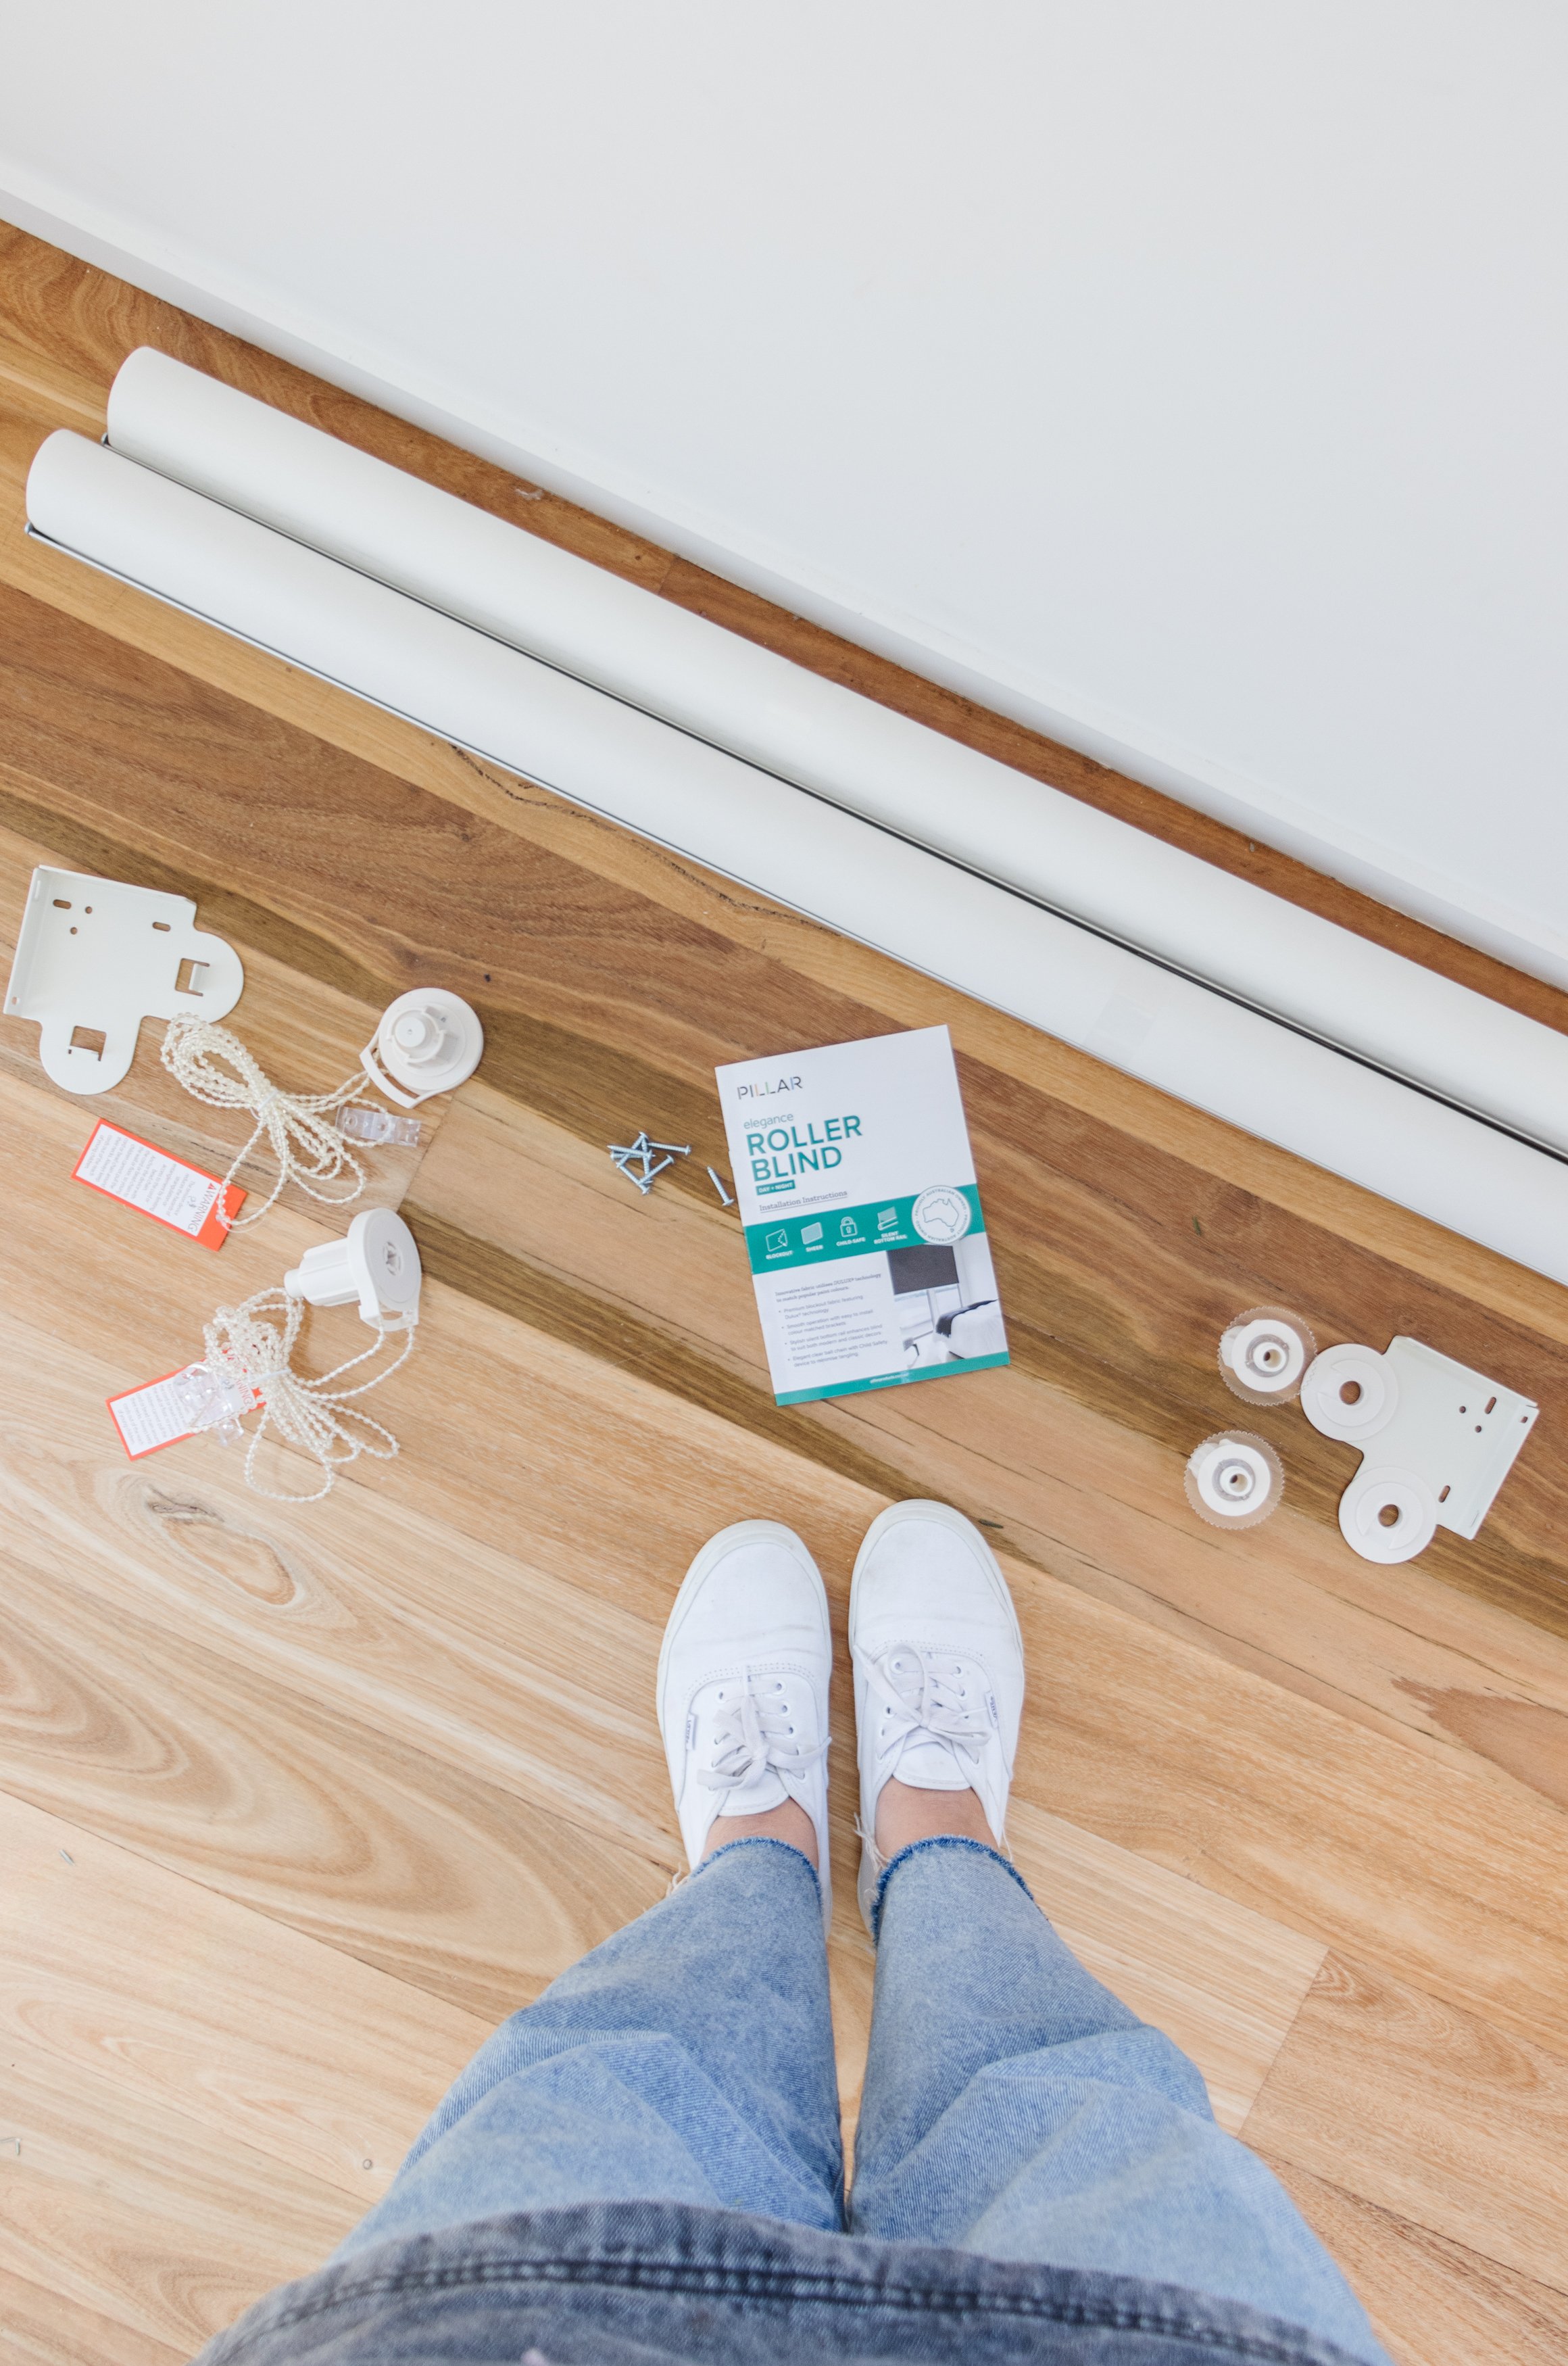
But thankfully, I recently discovered Pillar Products Elegance Roller Blinds when I was looking for a solution at Bunnings. I was impressed by the quality, colours and fabrication, and knew I’d found the answer to all our problems. After taking the measurements for each window that needed a replacement blind, I went back to Bunnings and placed our Pillar Products order at the Special Orders Desk, and within a week our new blinds arrived. I couldn’t believe how quick it was! Each blind arrived clearly labelled as well, which is super convenient and means I was able to install the blinds even more quickly than expected. And let me tell you - it was a very exciting day! Read on to find out how it all came together.
And make sure to watch this video to see the incredible transformation!
Before & After

Project Details
🛠️ DIY: Pillar Products Elegance Roller Blinds Do-Over
🕒 Project Time Estimate: 1 day/8 hours
💰 Materials/Tools Cost: $4,300
Materials
Tools
Drill and bits (for drilling pilot holes and screws)
Before


The Process
Step 1: To begin with I removed the existing blinds. I salvaged the ones that weren’t broken and donated them to a local charity shop, and sadly I had to throw out the broken blinds.
Step 2: The first step is to screw the brackets in on either side of the window frame using the screws provided; our blinds are mostly recess mounted (inside the frame)


Story 3: Following this, I placed the Chain Mechanism and Idler Ends into either end of the roller blind which means you get to choose which side you want the cords (Chain Mechanism) to be positioned - right or left. Remember to check that the blinds are rolling “over” and not “under” when you are installing them, which brings me onto the next step.
Step 4: And then it’s as simple as clicking the blinds in, starting from the Chain Mechanism first followed by the other side.
Step 5: After this I removed the protective wrappers from around the blinds. Then I secured the Chain to the sides of the window frame using the screws provided. Each roller blind comes with Chain Joiners in the event you need to shorten the Chain. And that’s it!
Extra Tips
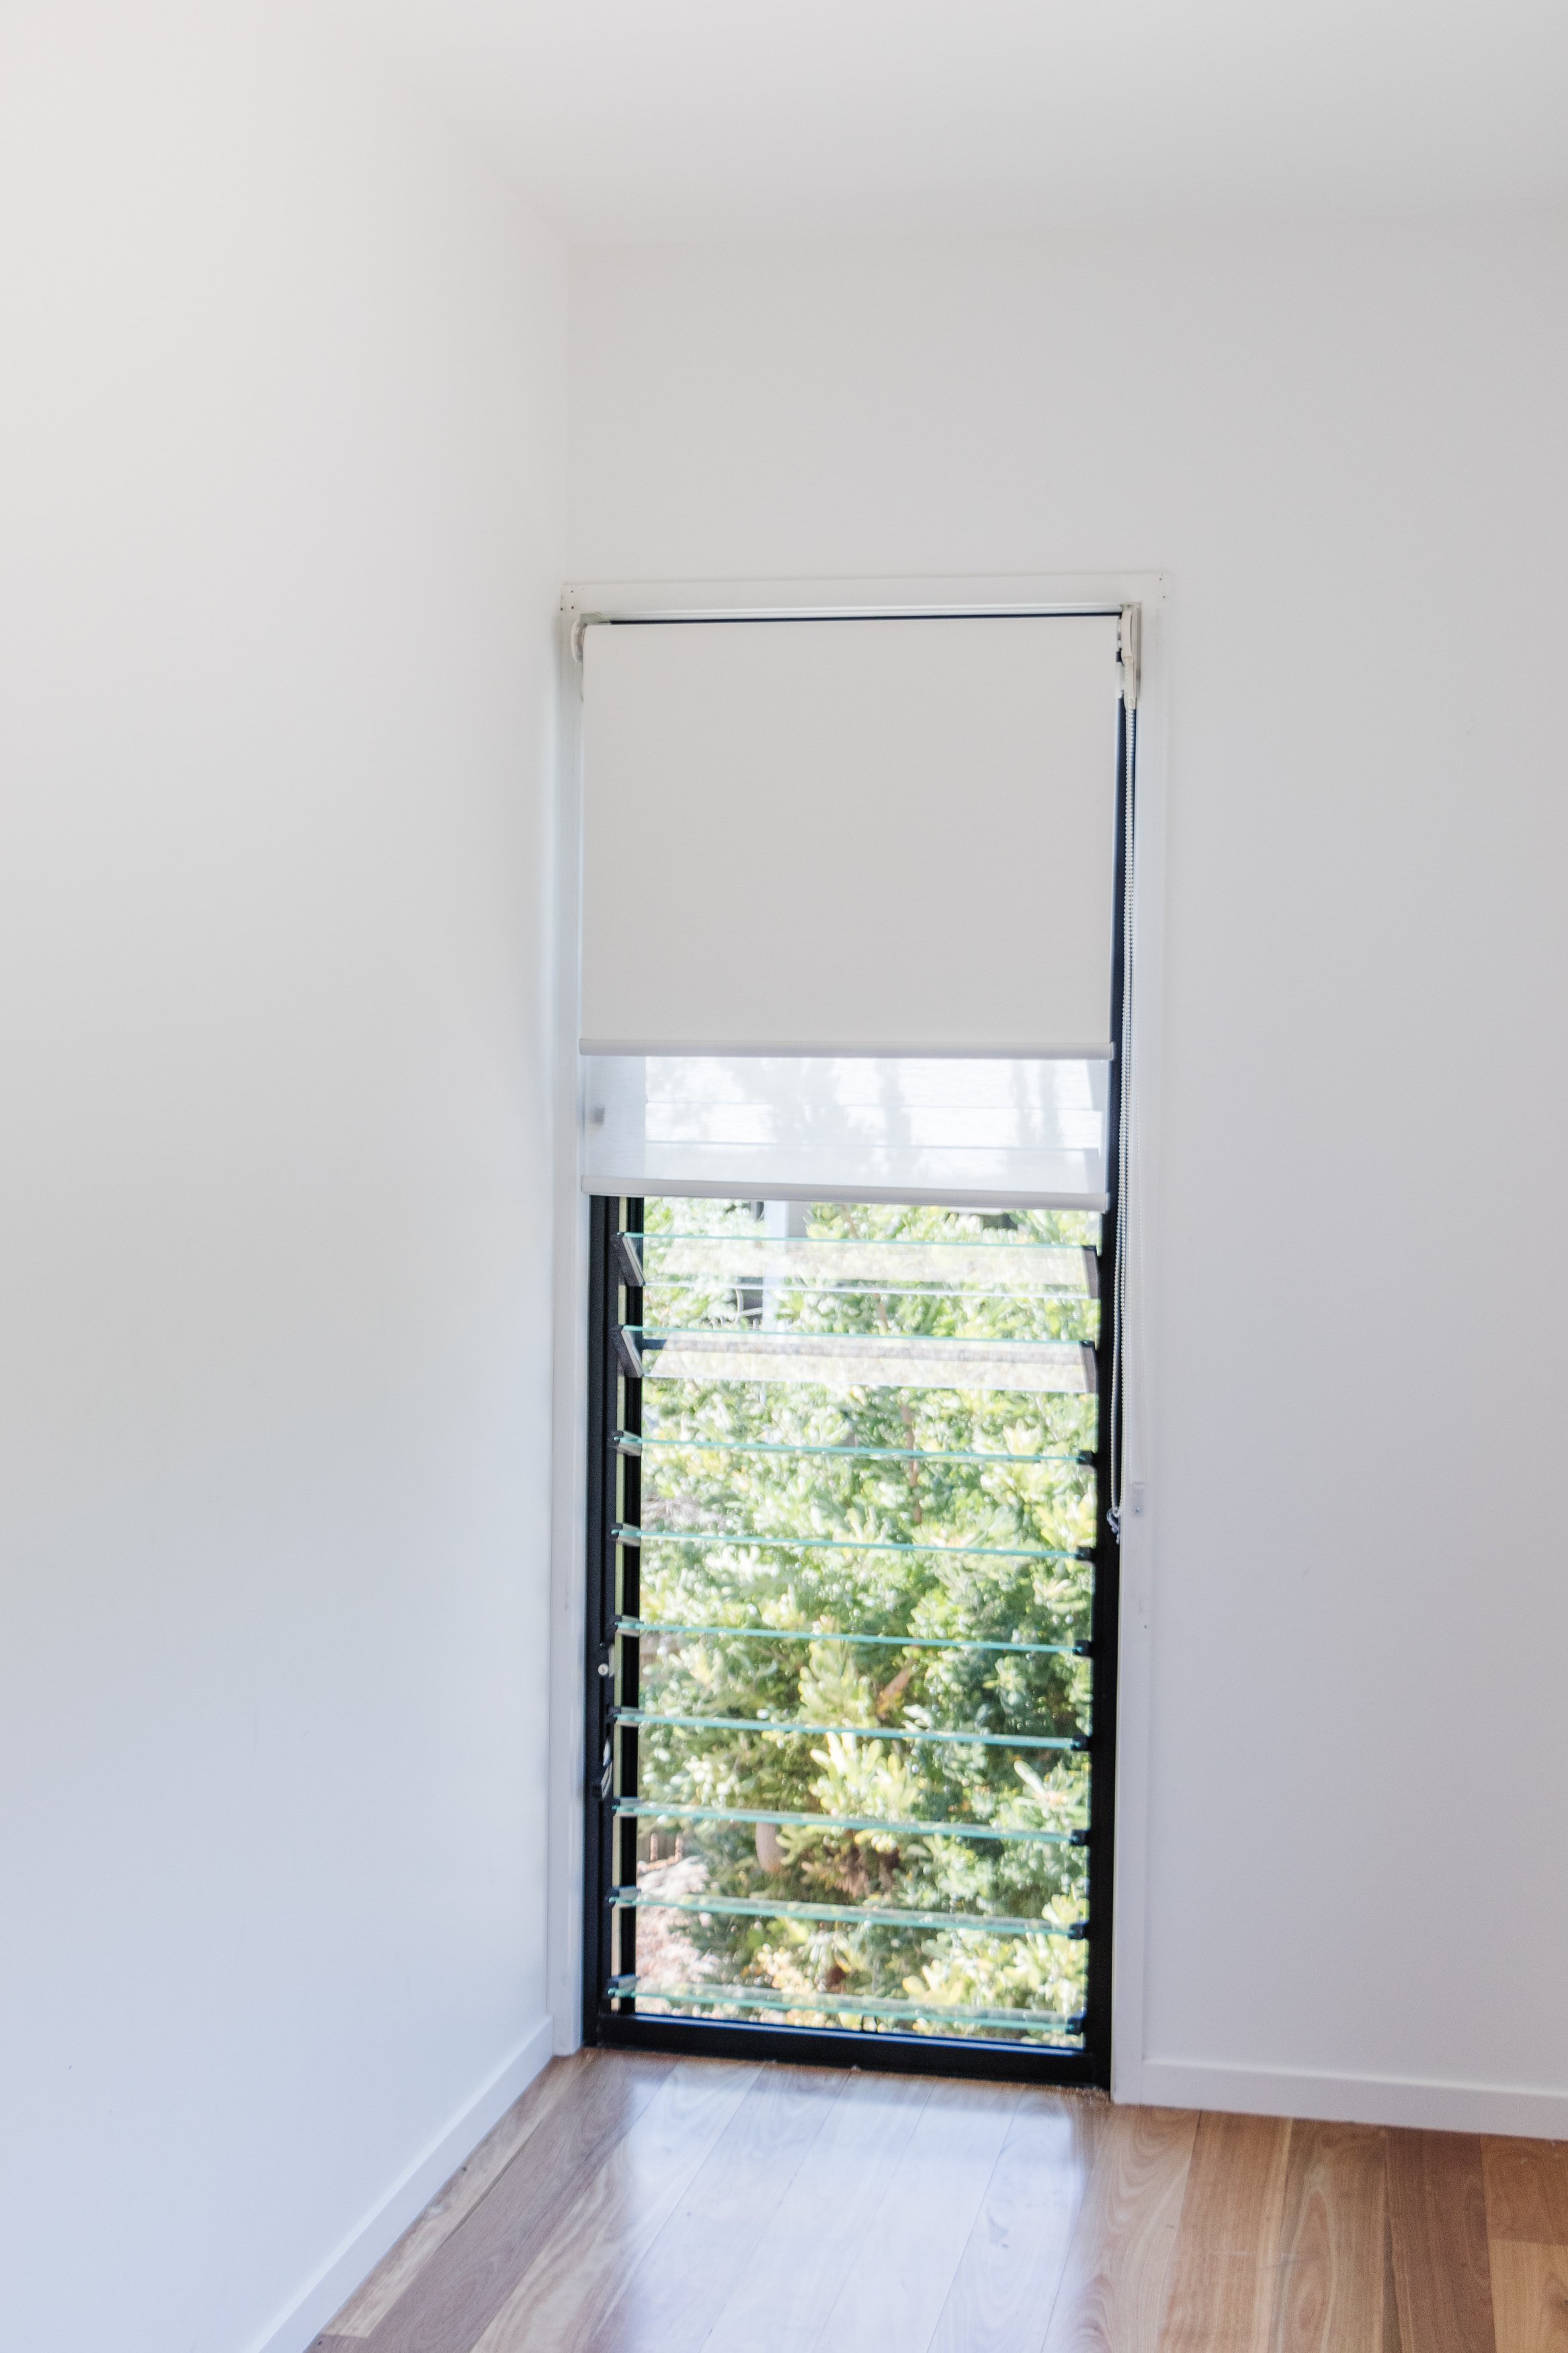
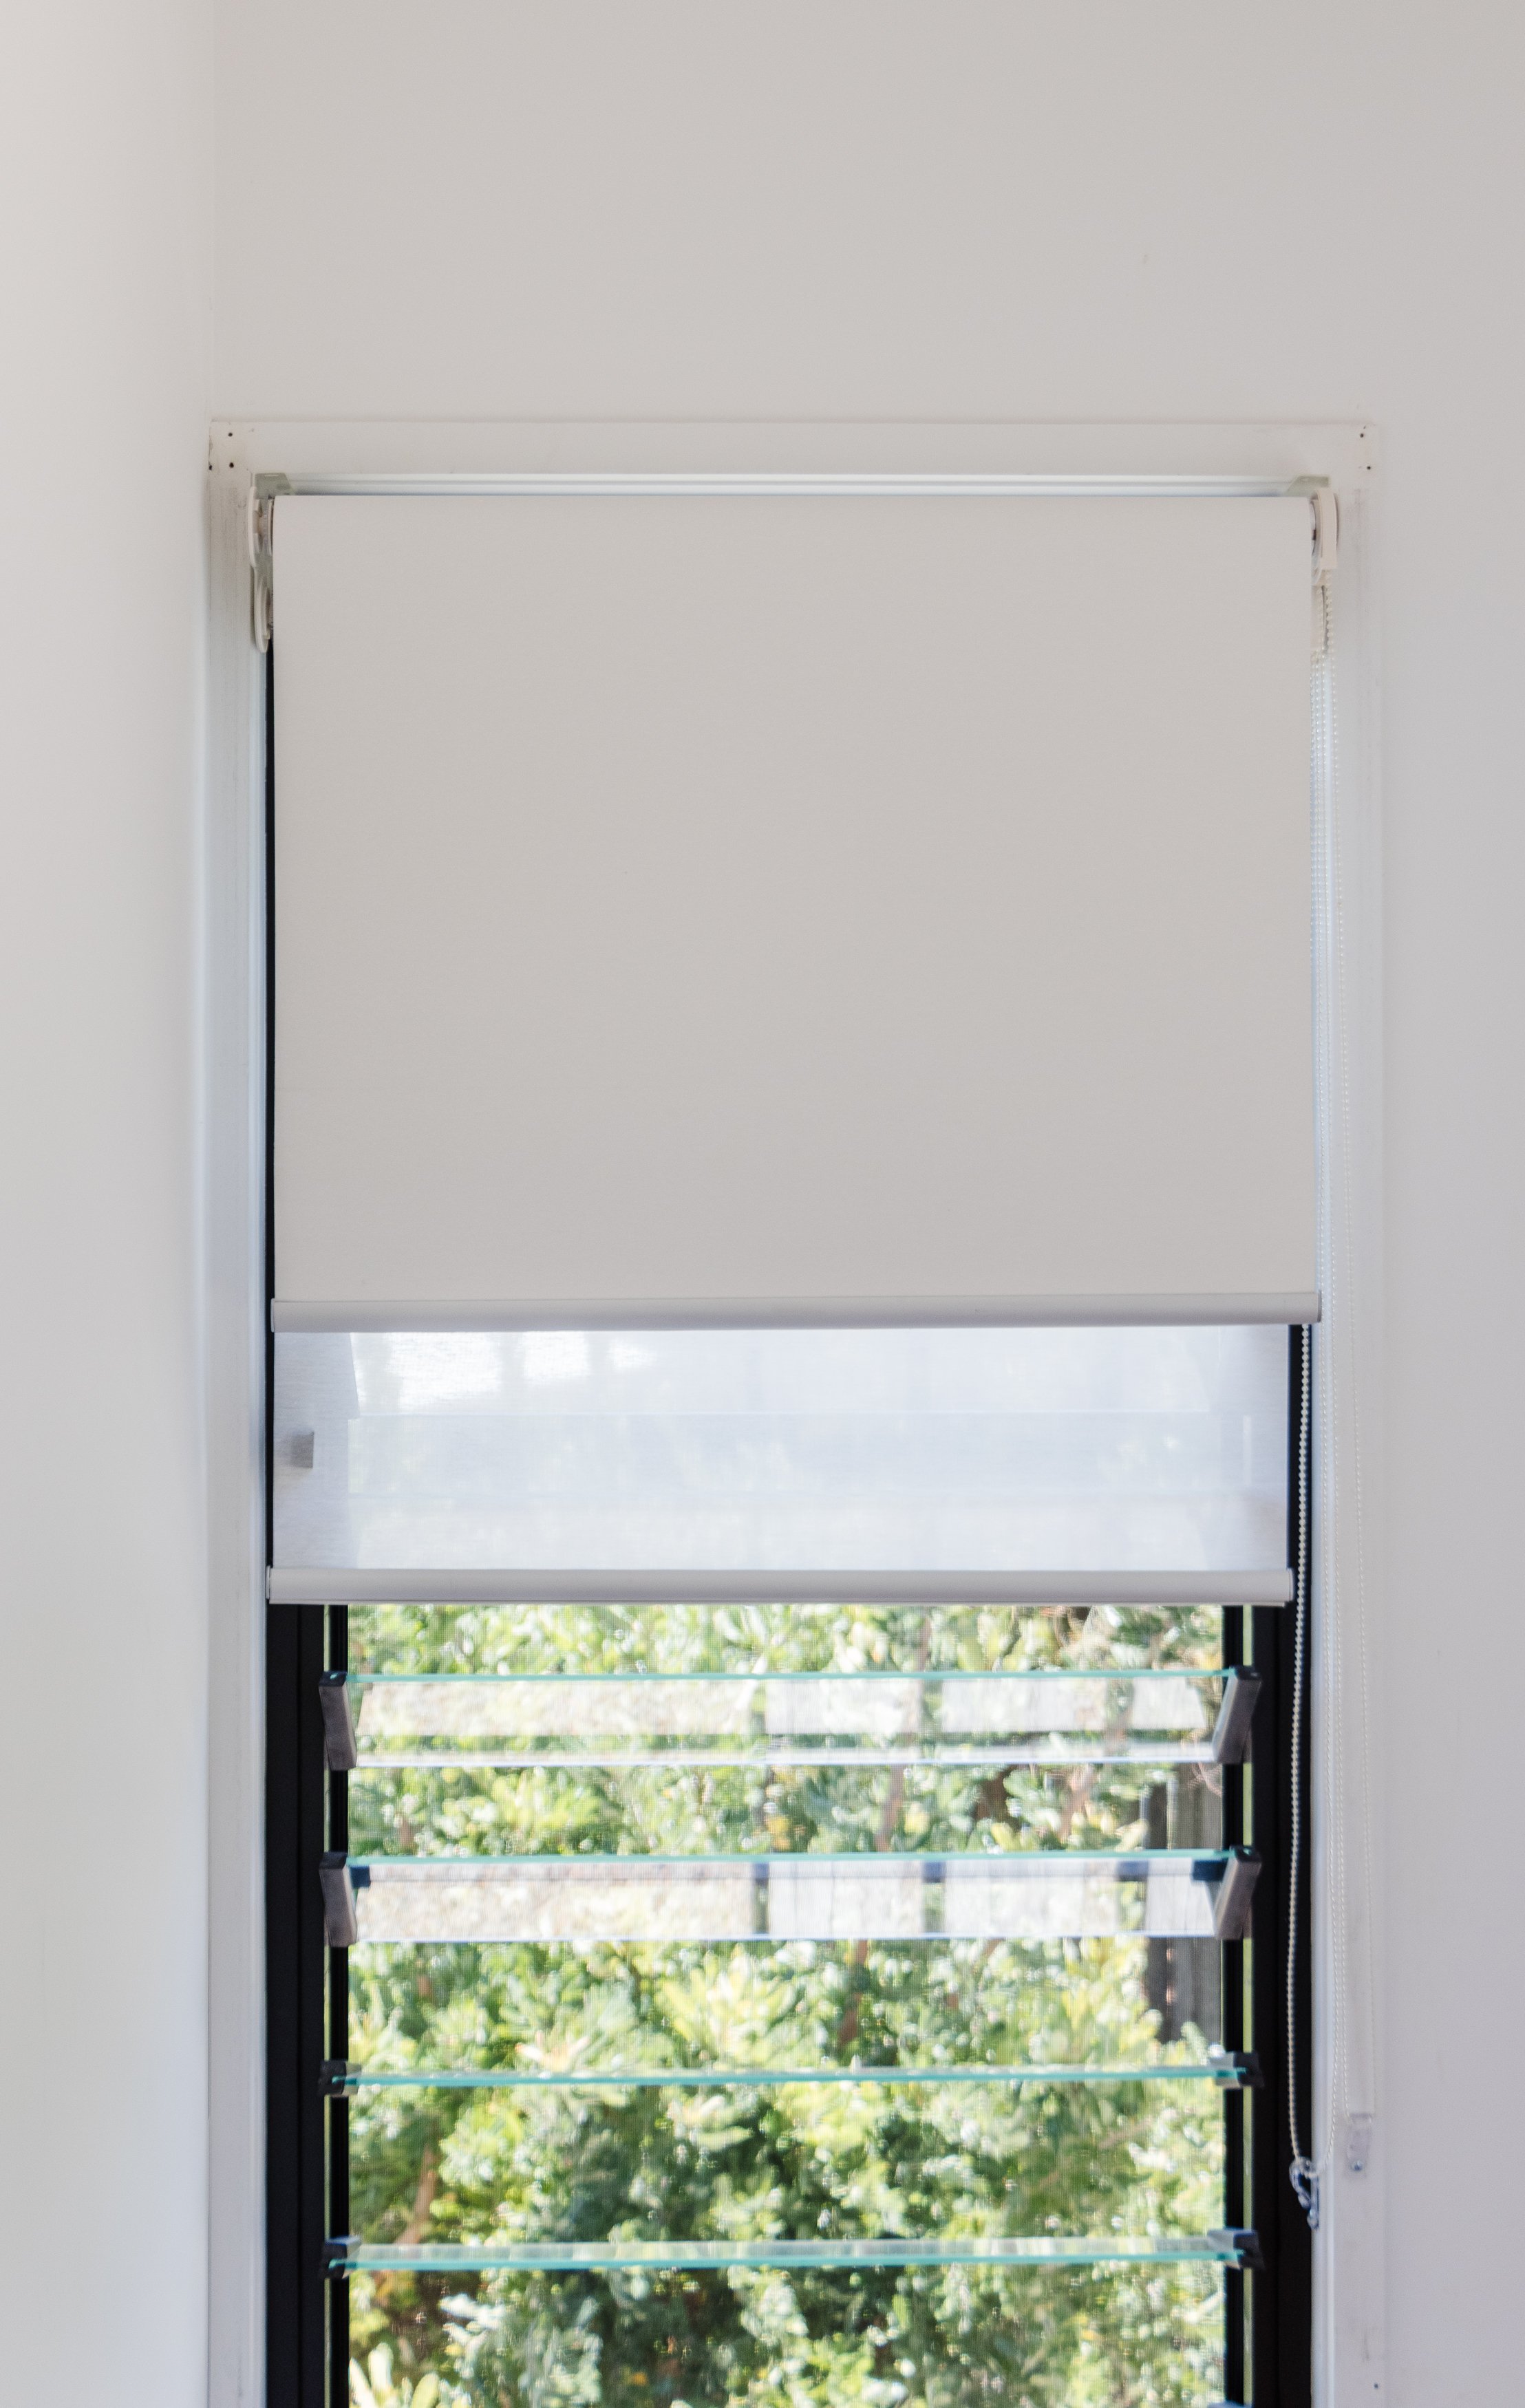
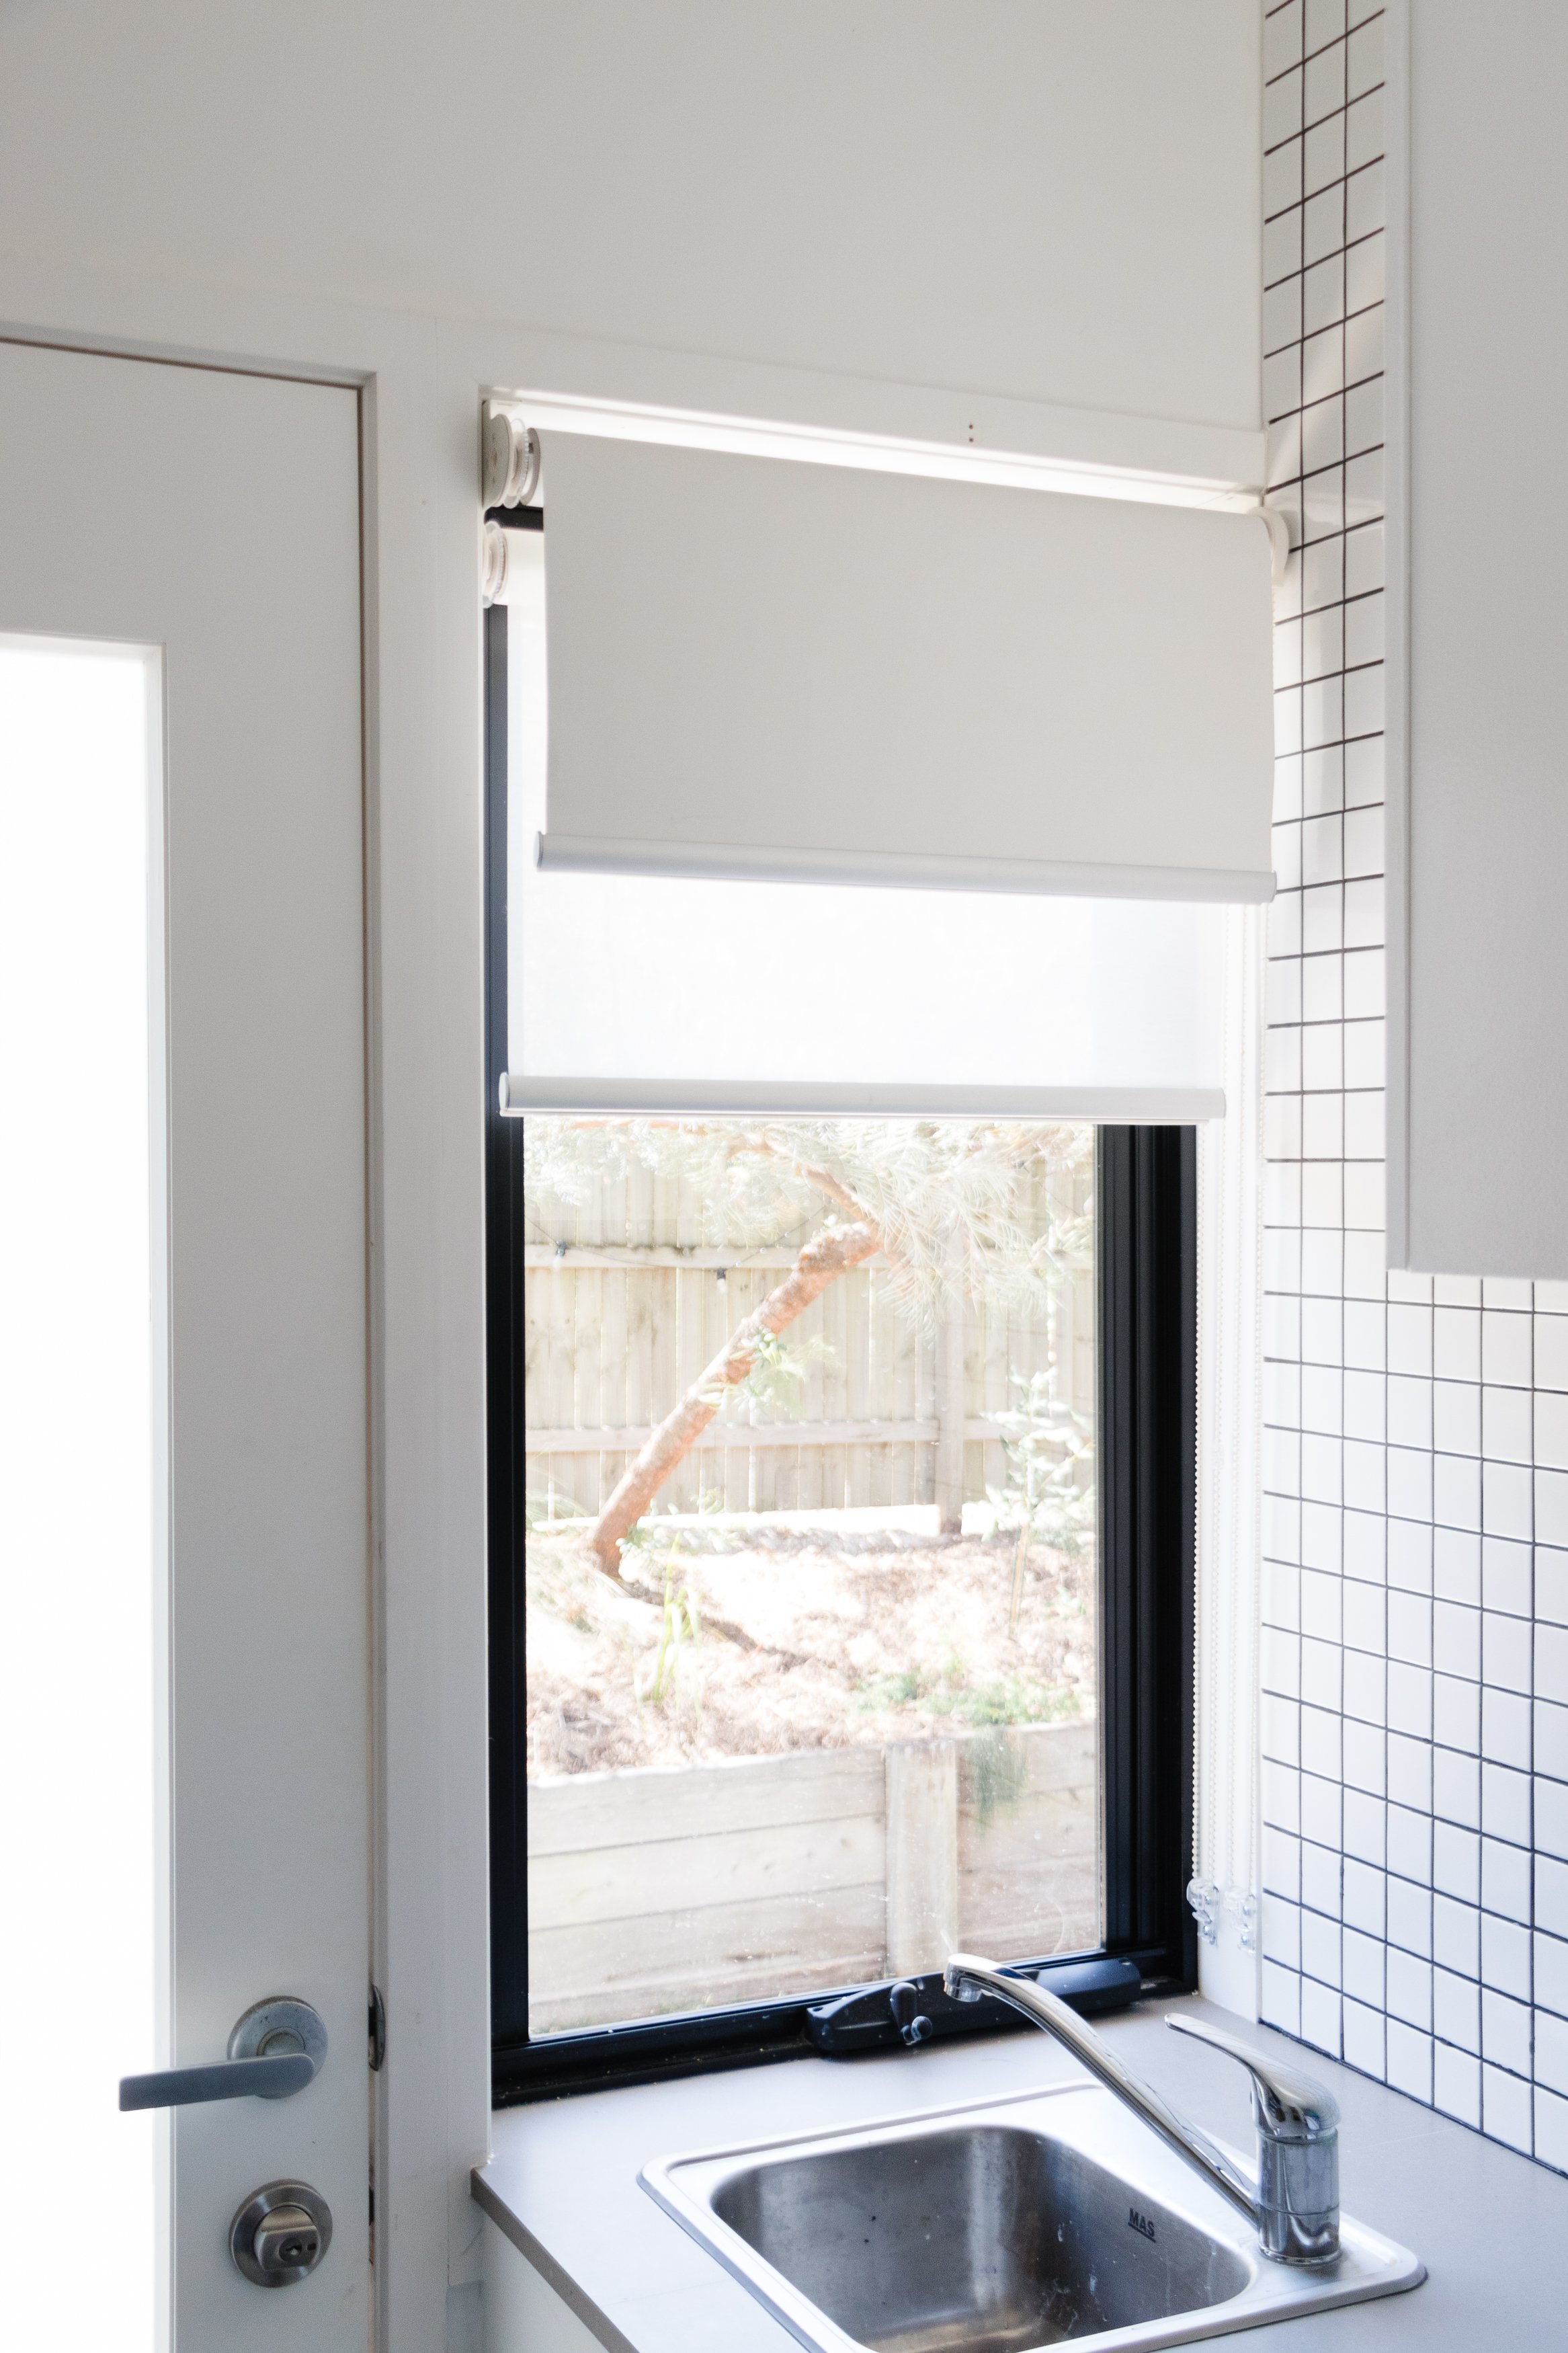
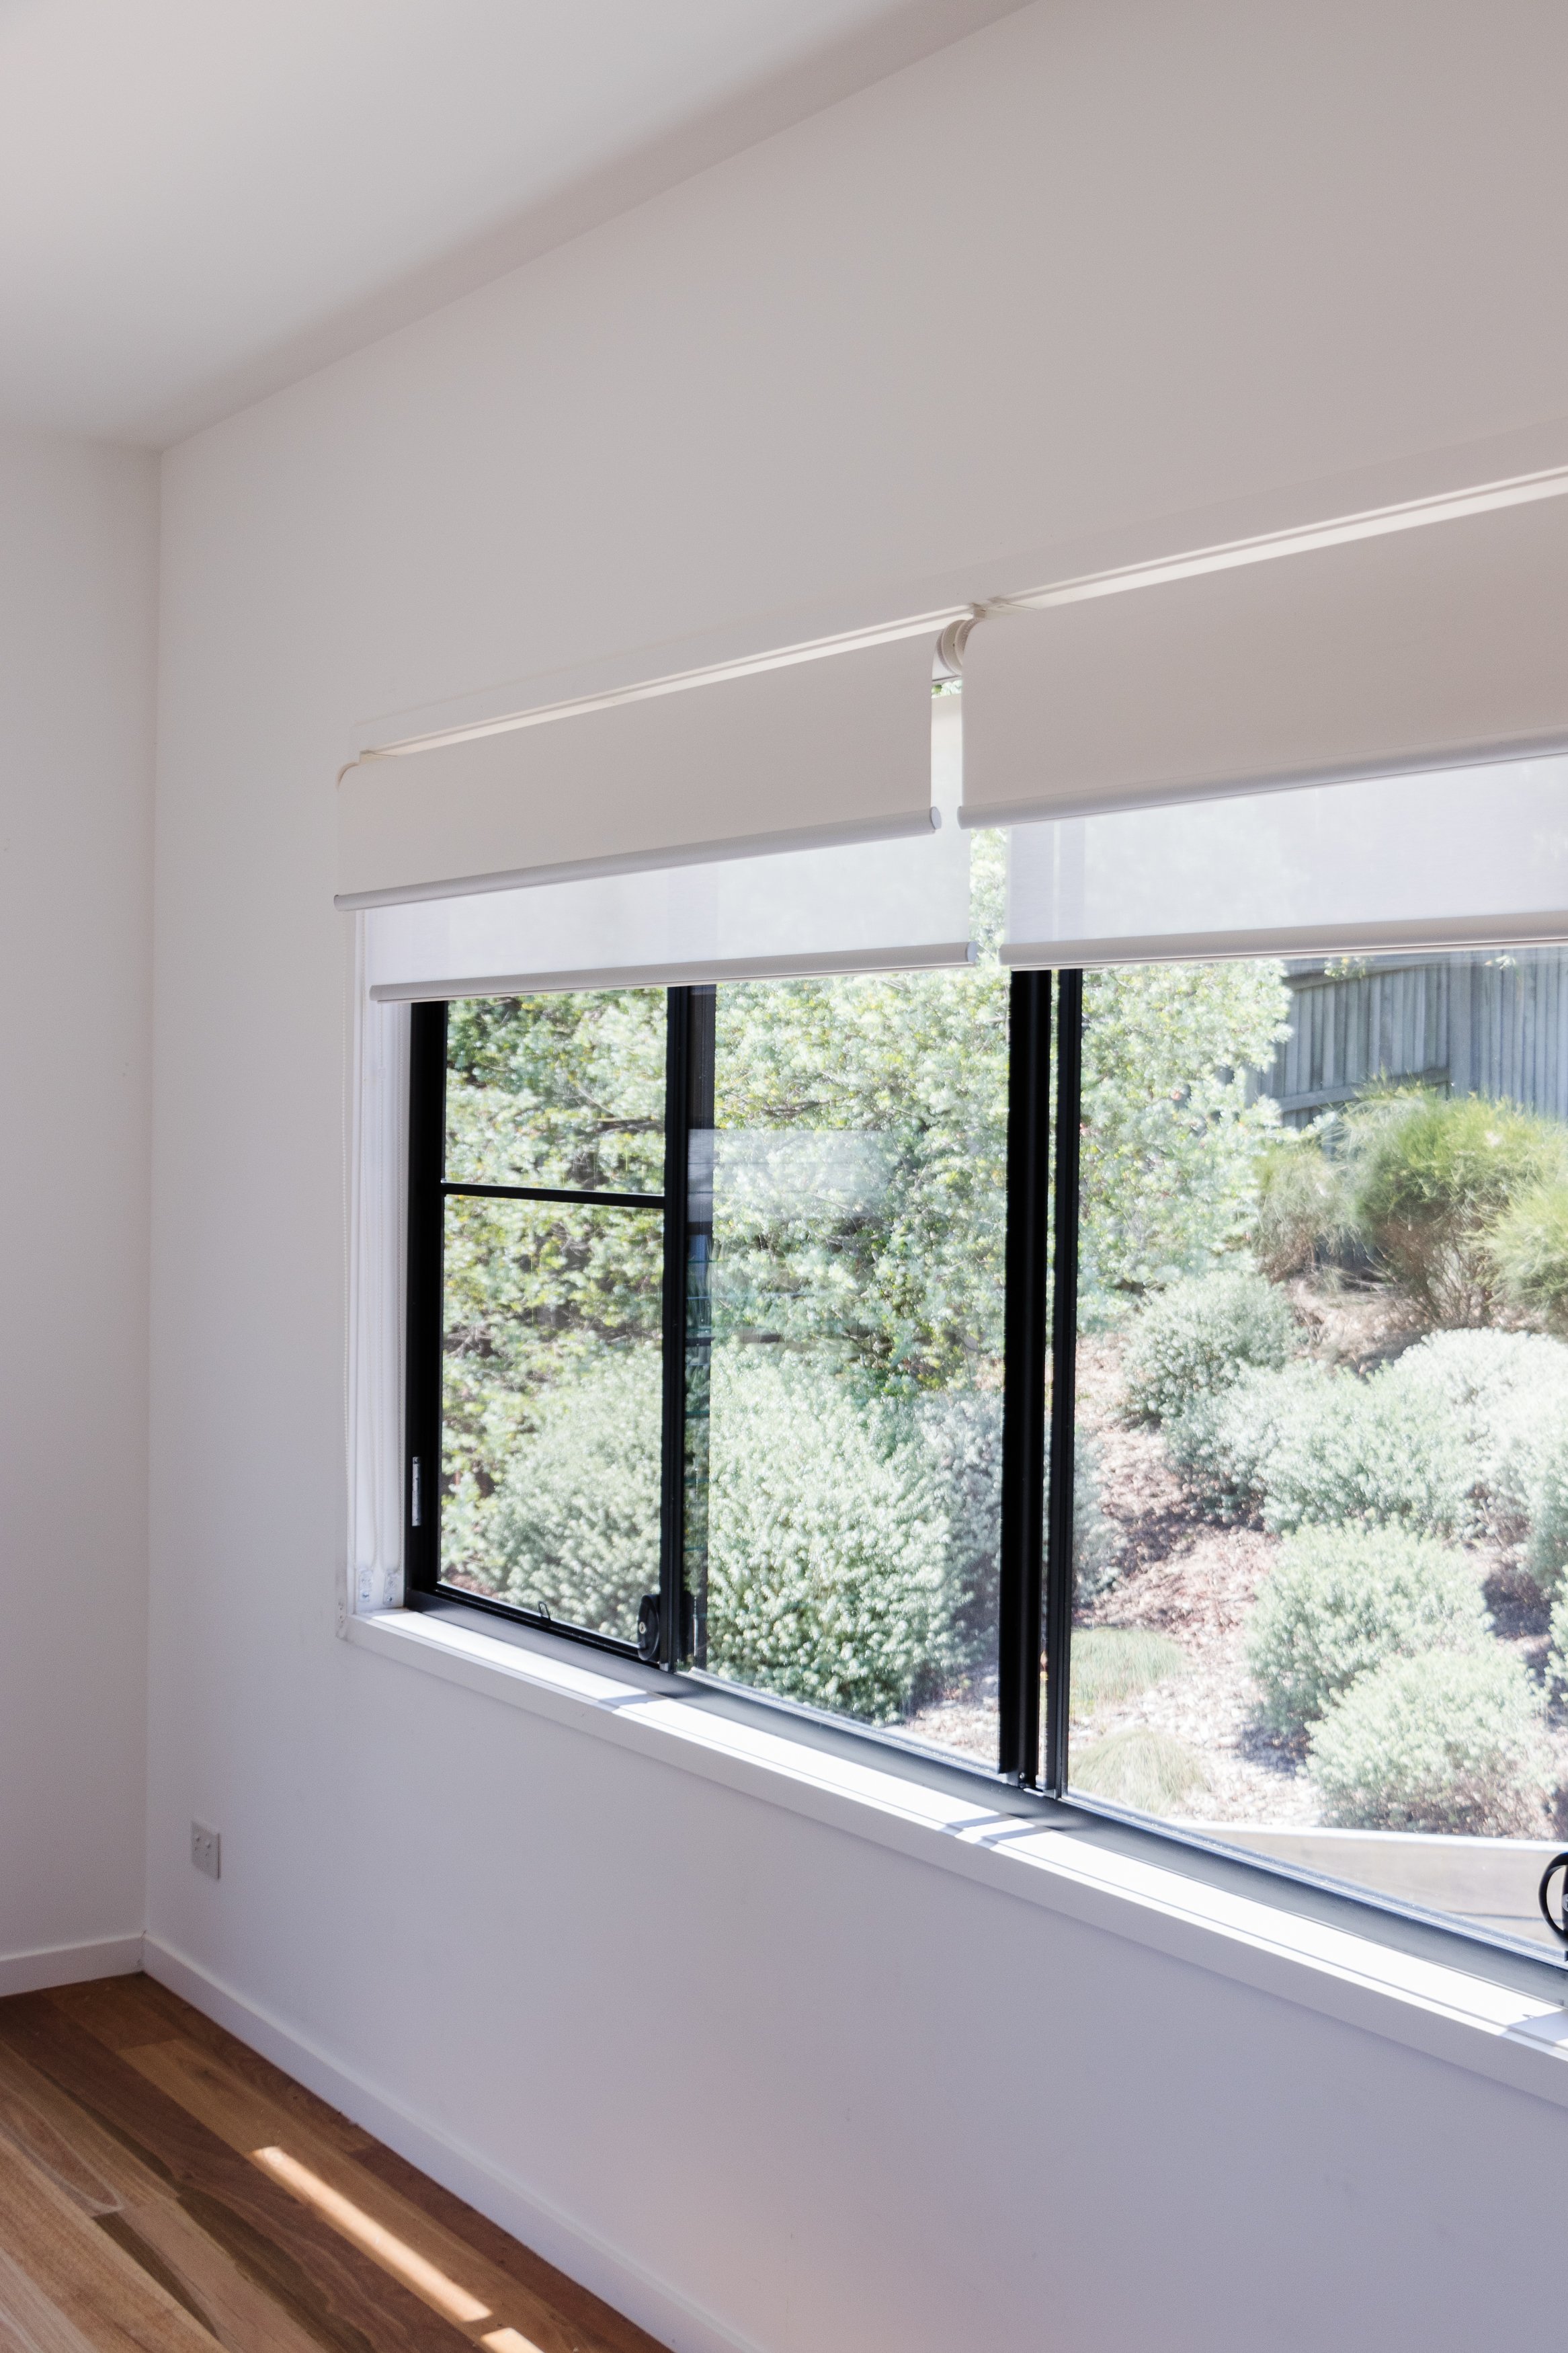
The installation process is similar for both Pillar Products Elegance Blockout Roller Blinds and the Pillar Products Elegance Day & Night Roller Blinds. Obviously you are installing a sheer blind and a blockout blind for the Day & Night so there is an extra bit of work but it’s effortless to be honest.
You will need to choose the mounting of your blinds when ordering them.
Each blind arrives with instructions, screws and fittings.
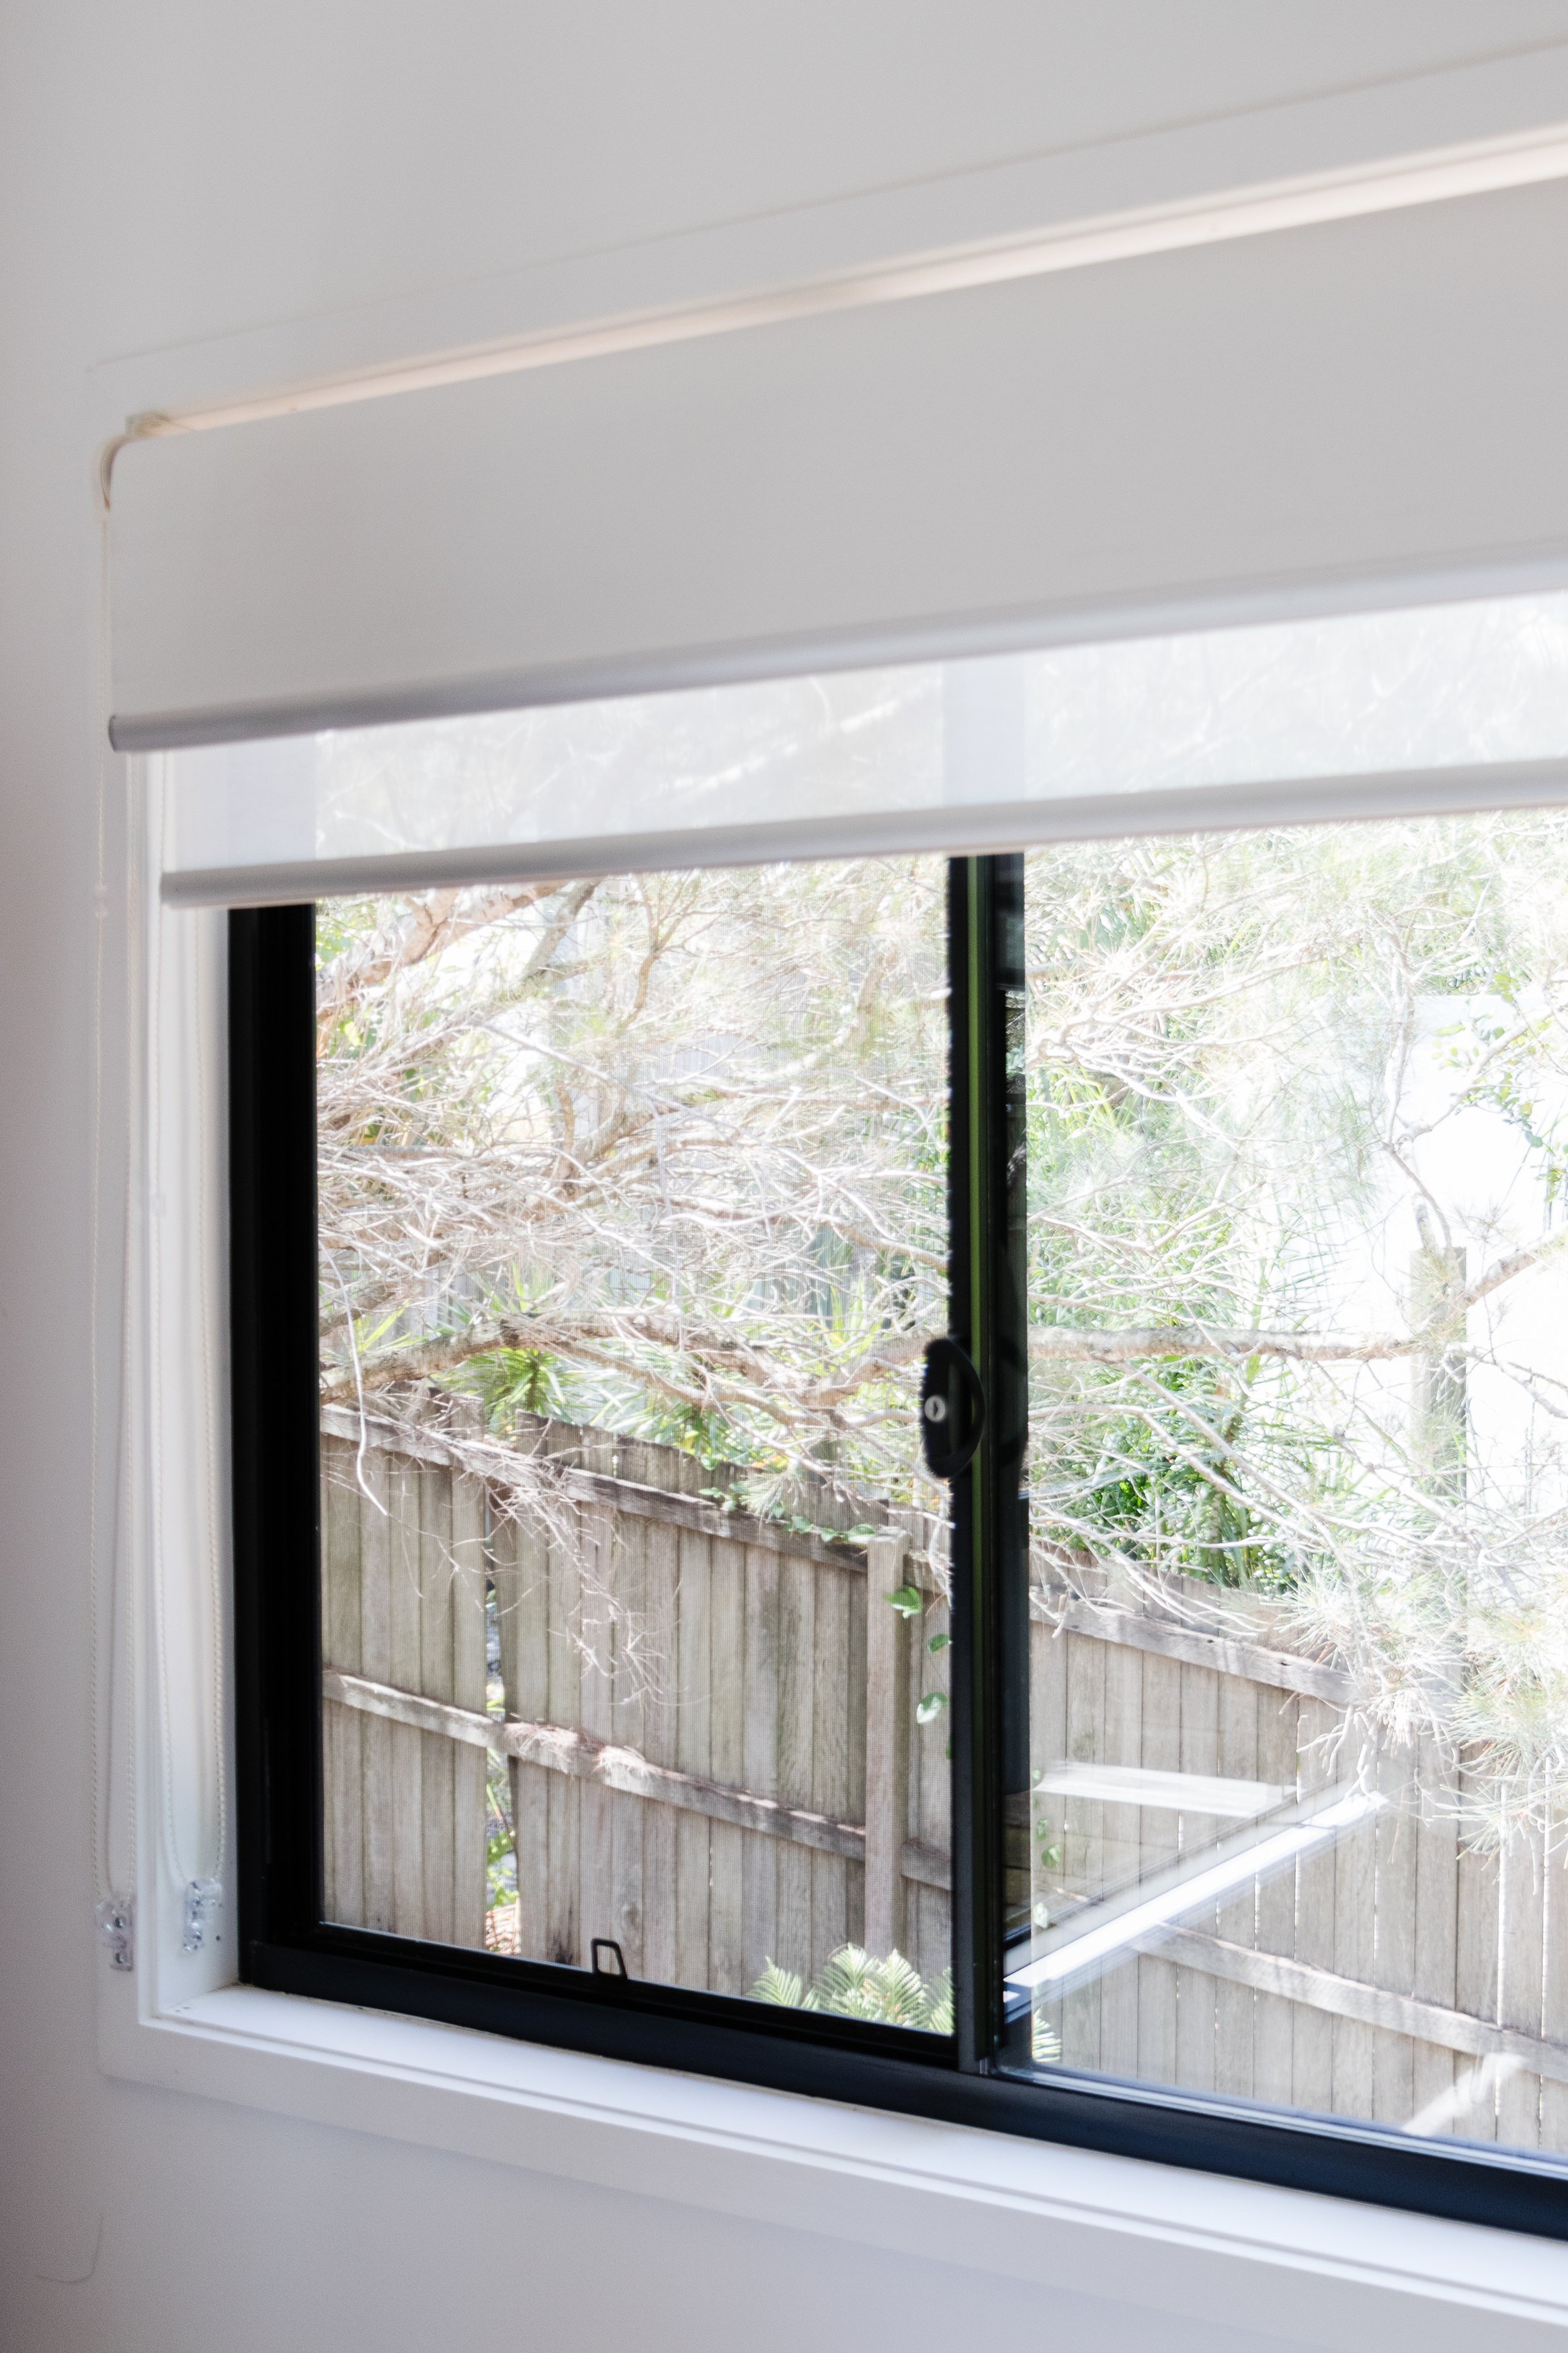
Pillar Products recommends placing the sheer blind on the bottom brackets and the blockout fitting on the top brackets.
When using the Chain Joiner, make sure the blind is full up and cut the Chain right at the top of the Chain Mechanism. Cut the cord to the correct length and use the Chain Joiner to join the Chain together. It’s really important when you do this to make sure the blind is full up and you cut the Chain right at the top of the Chain Mechanism.
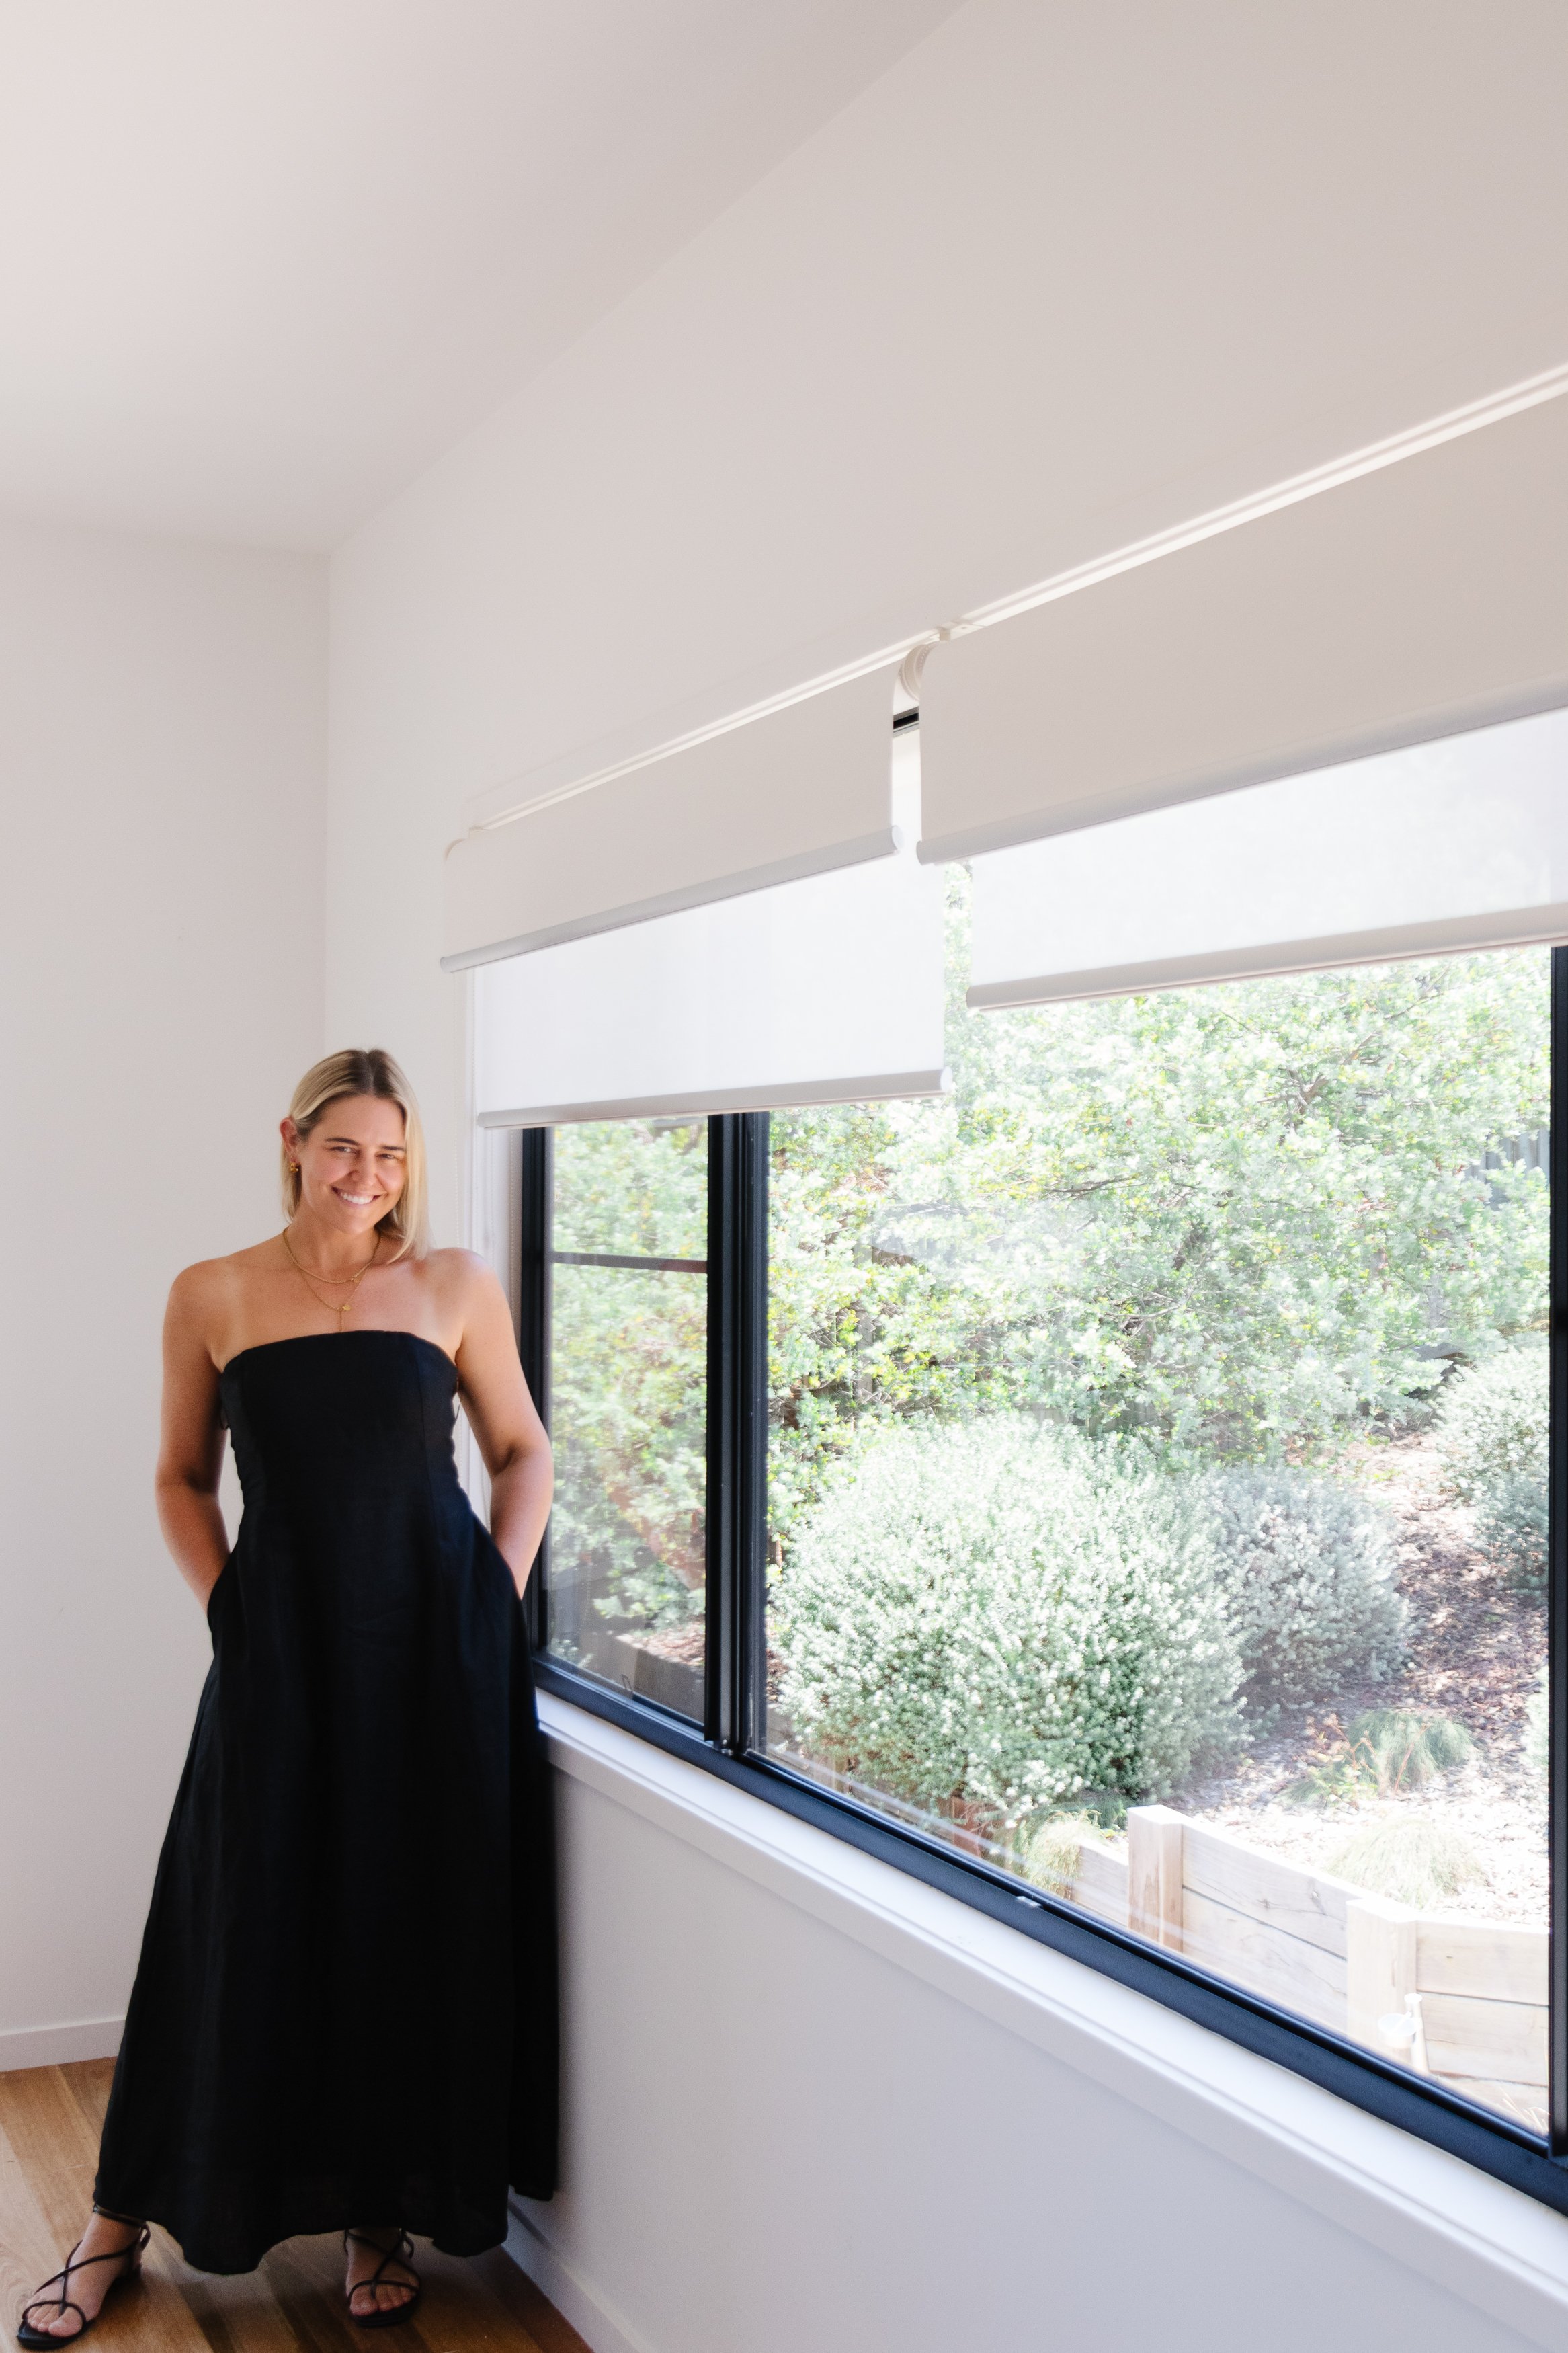
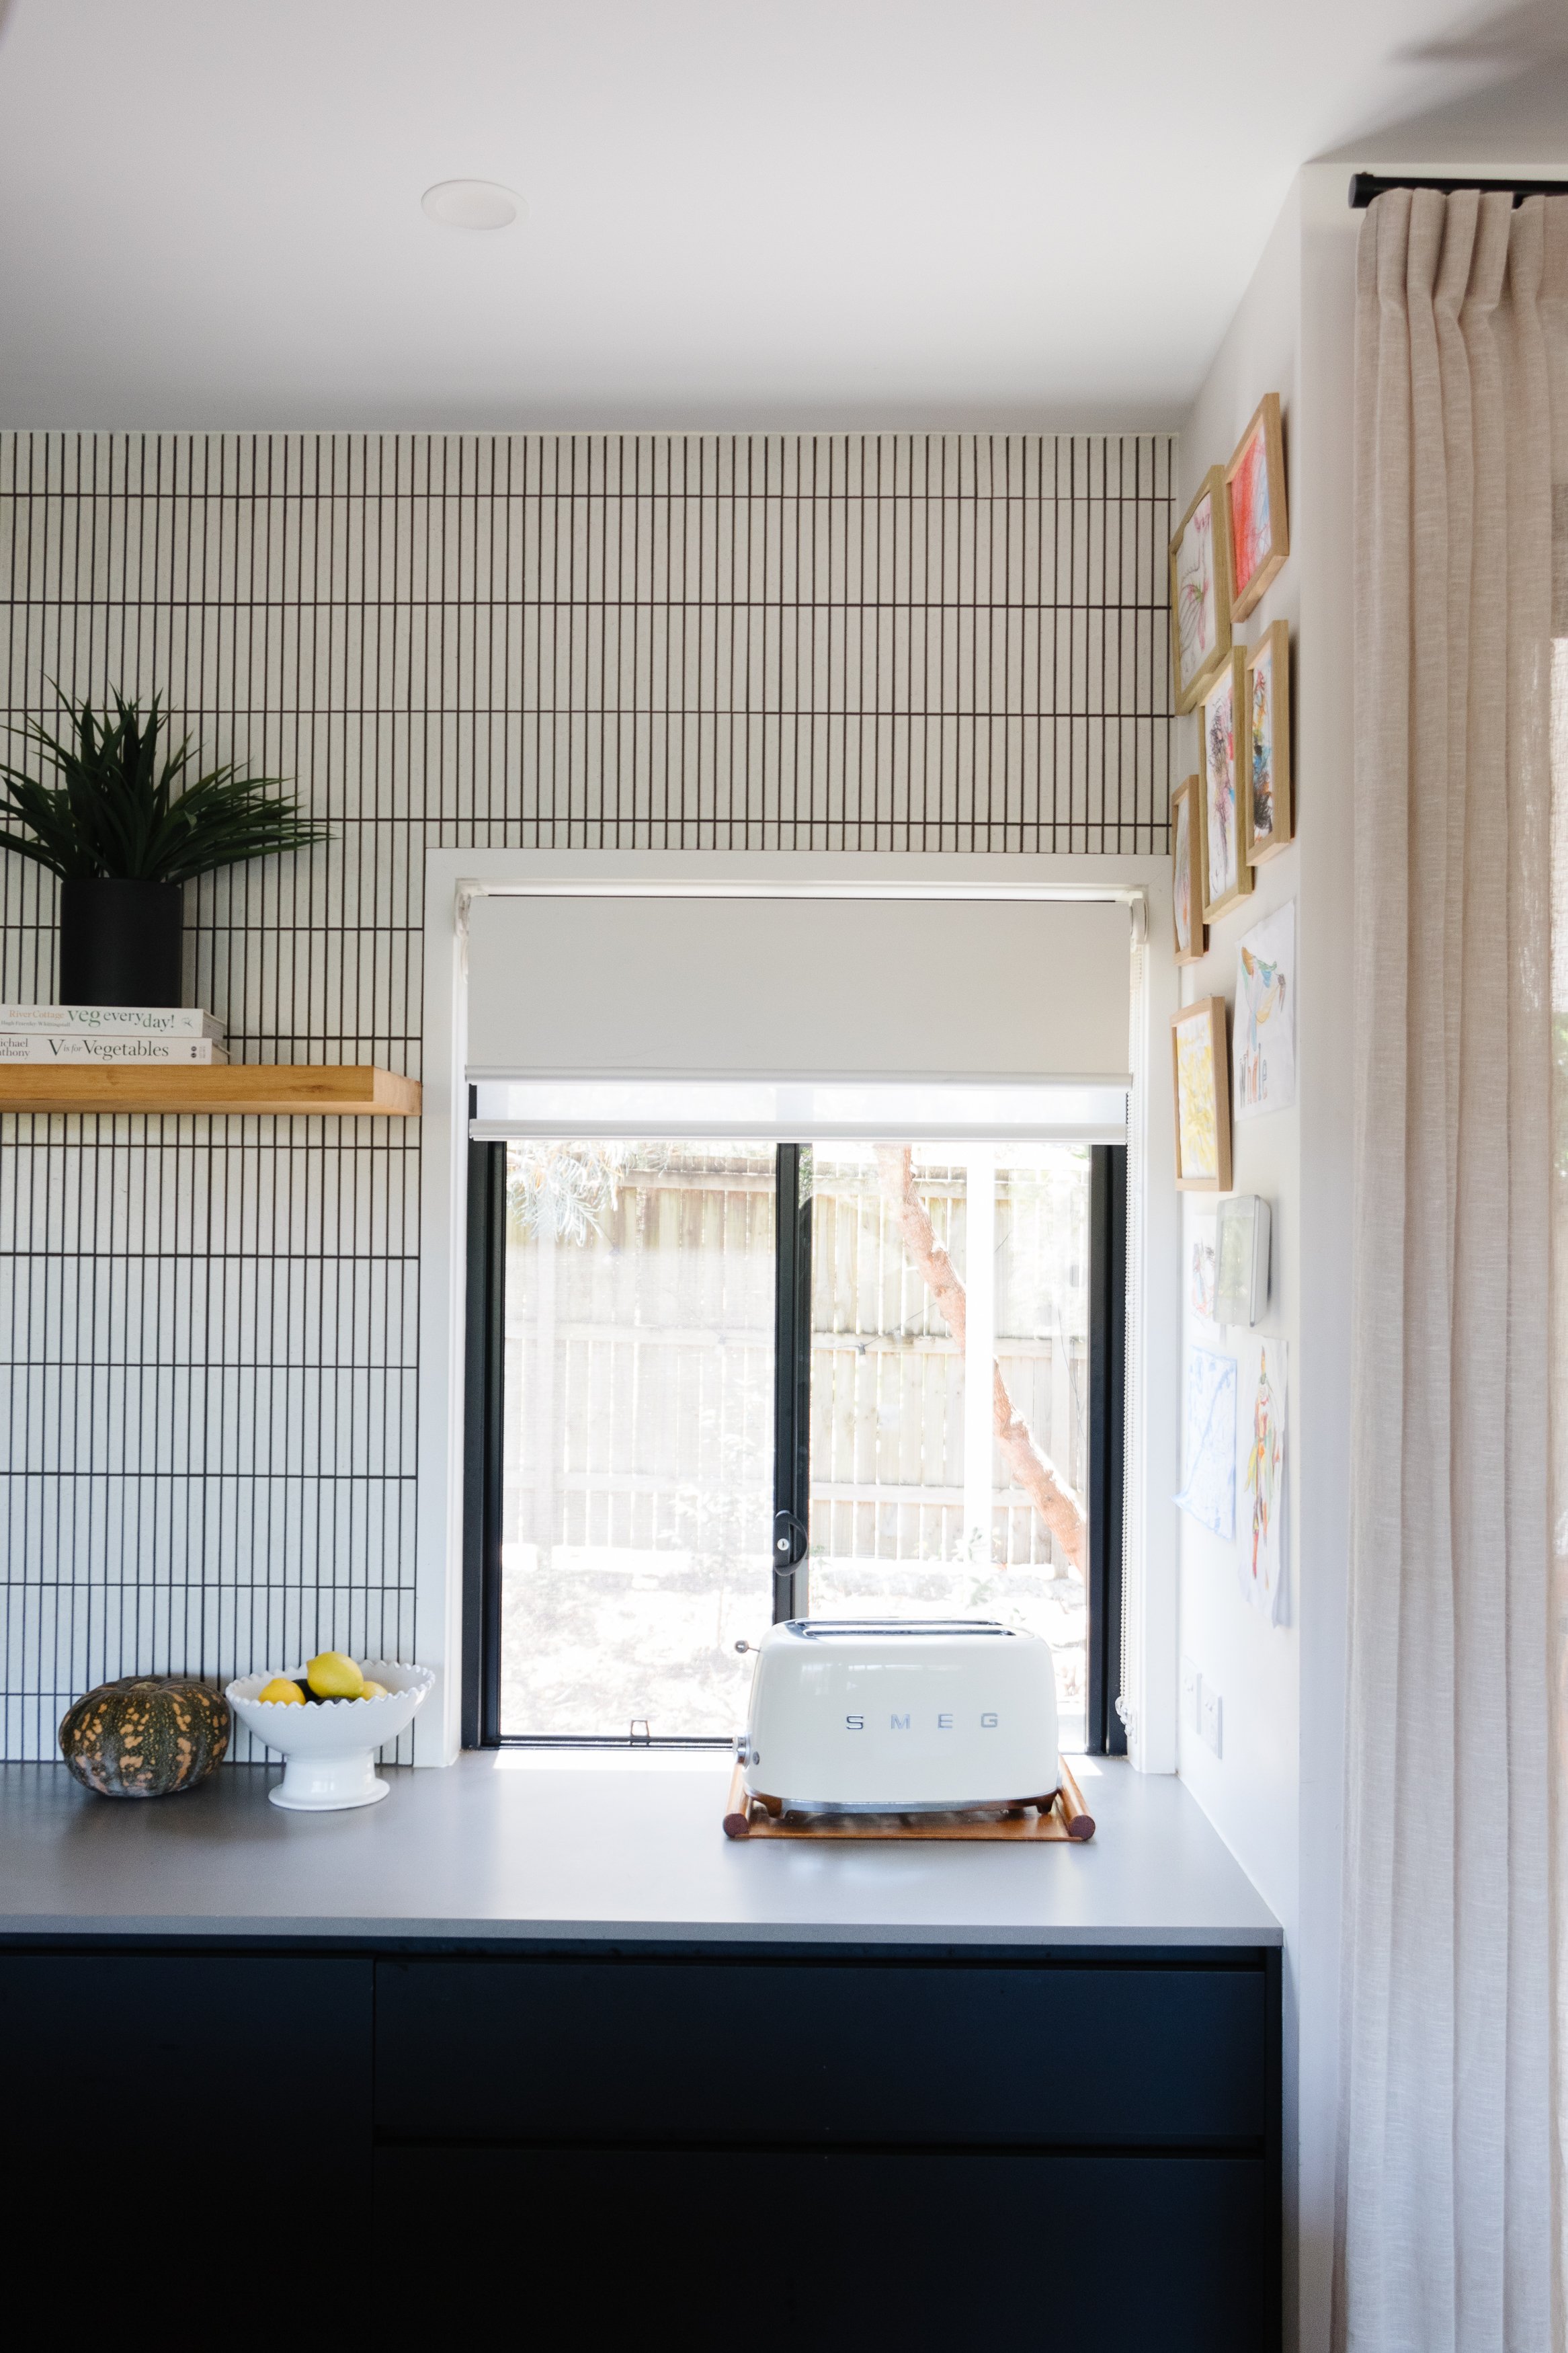
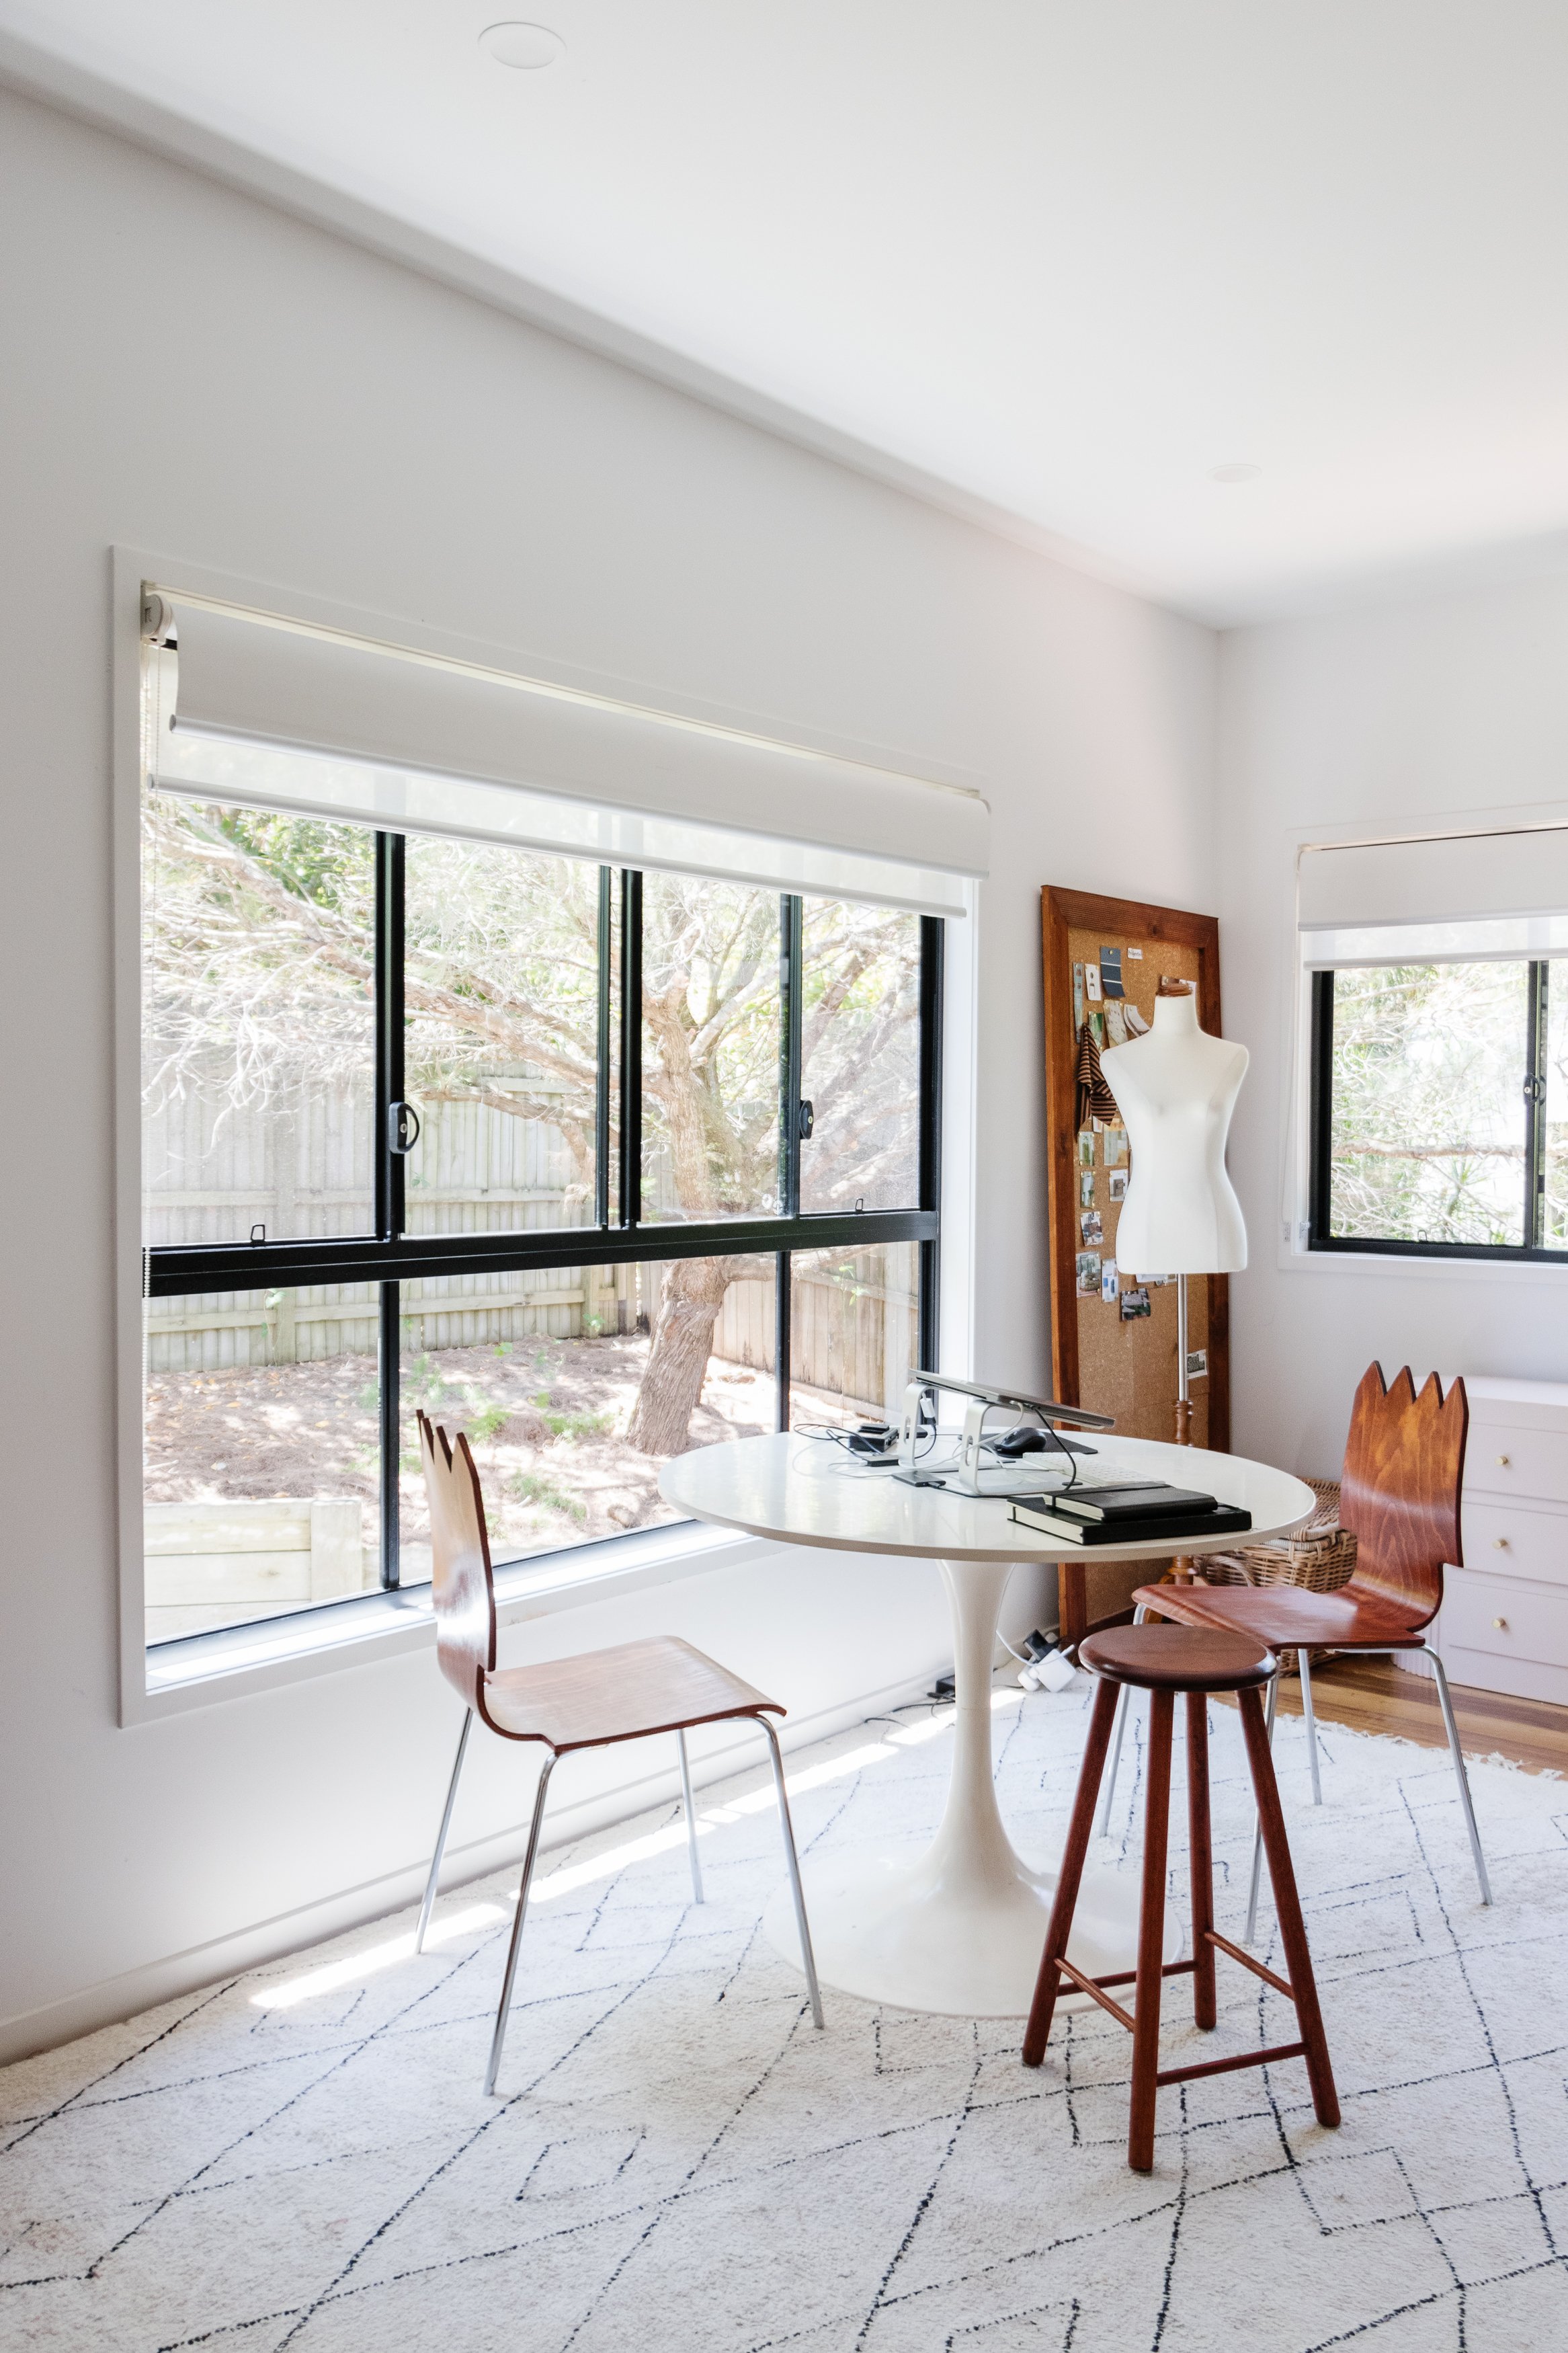
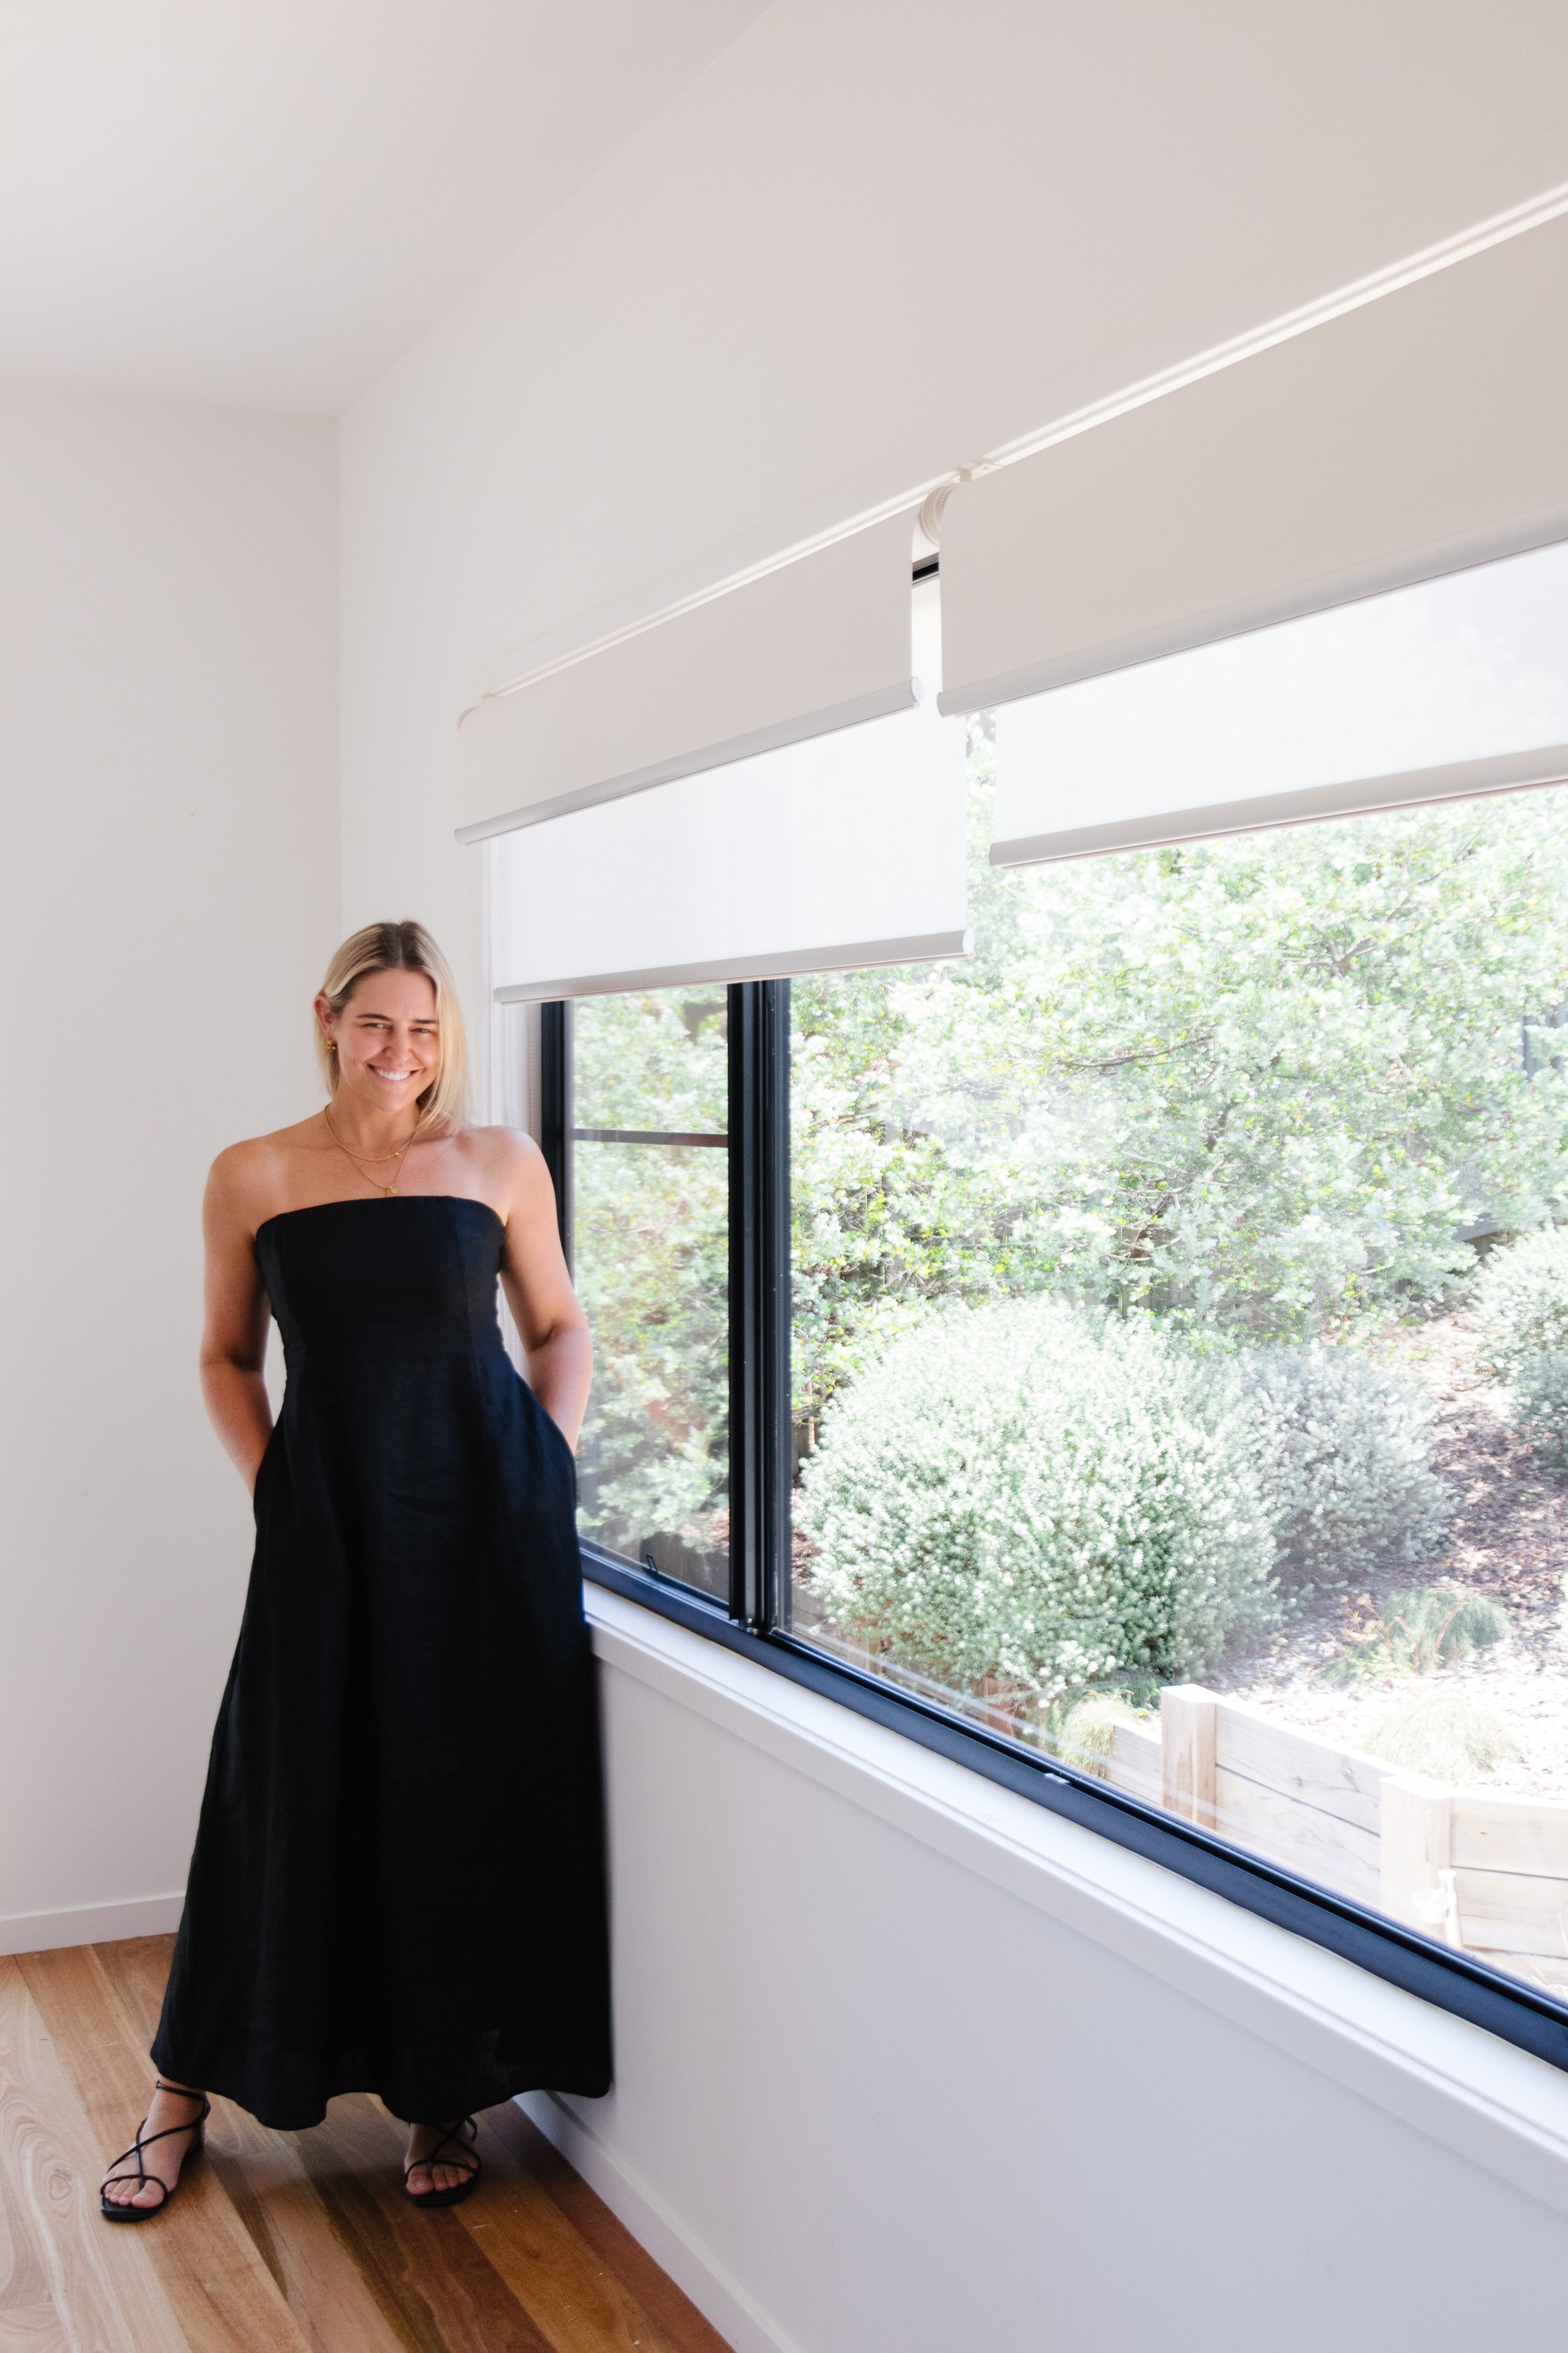
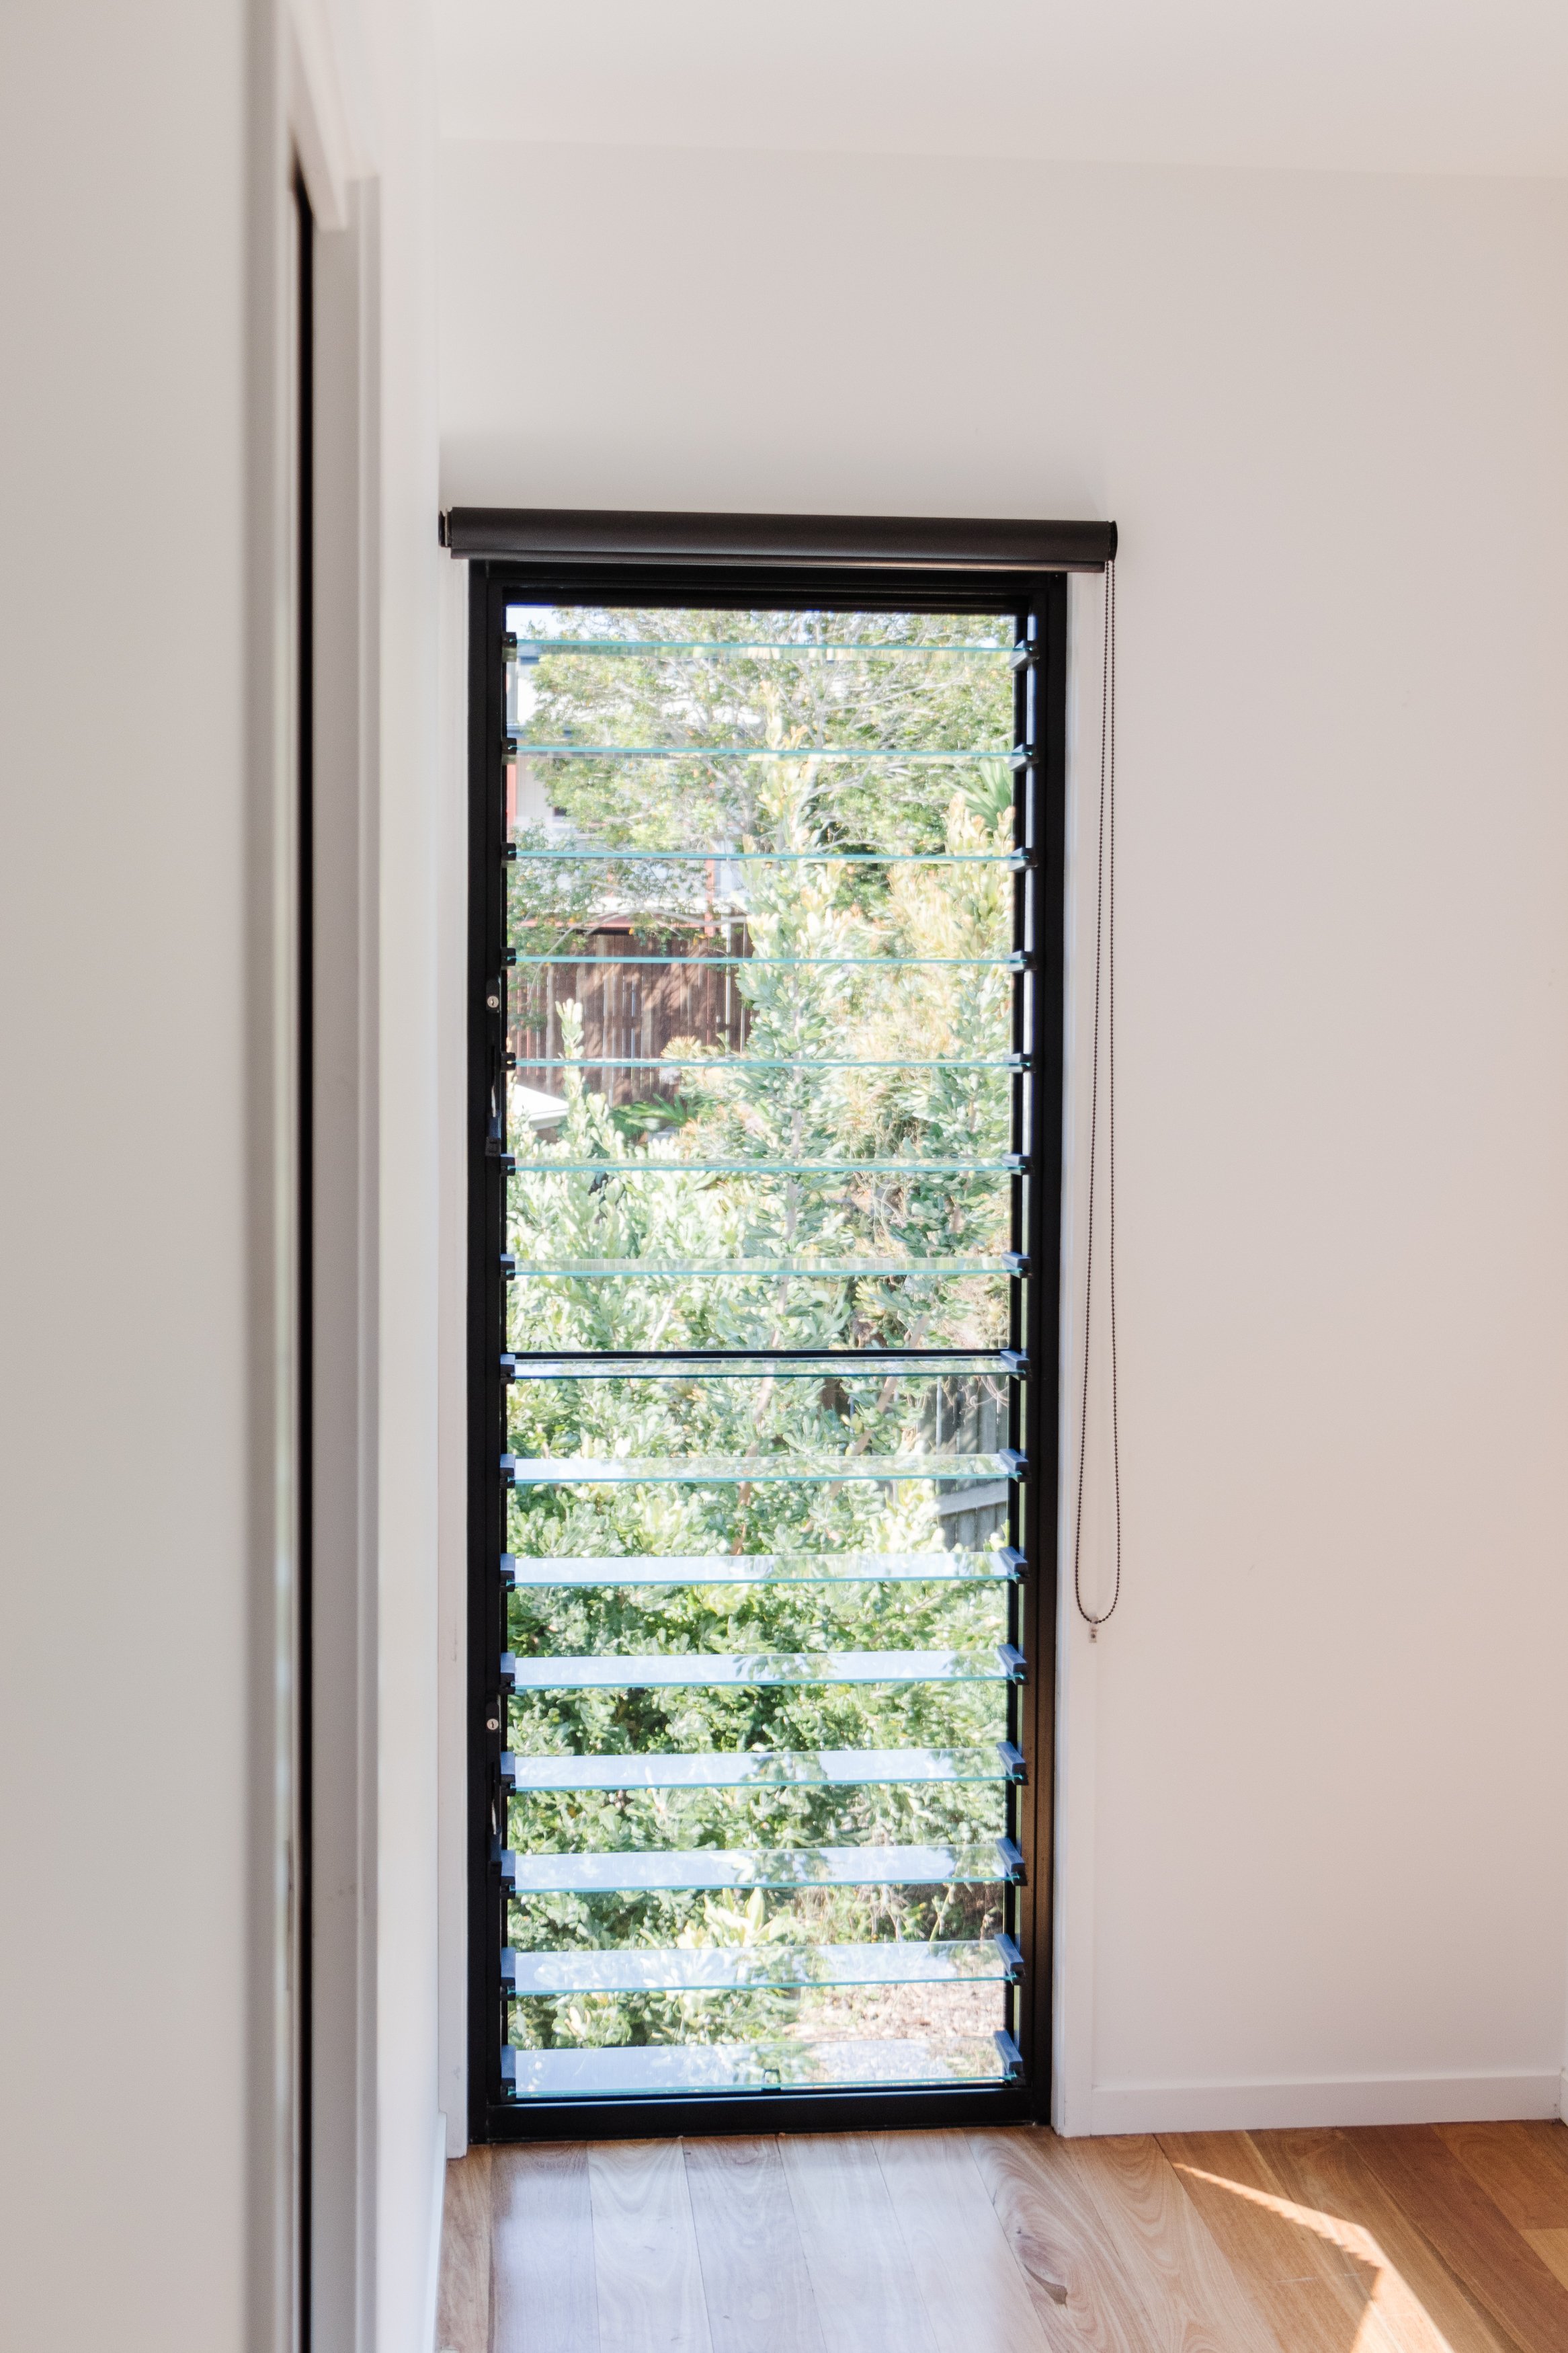
After!
I am completely blown away by the transformation. I cannot believe how bright and calm our house feels. When we pull the sheer curtains down before leaving the house it doesn’t feel dark or moody anymore. I honestly cannot describe the difference, it’s like the mood in our entire house has shifted - for the better!
This project was in collaboration with Pillar Products.