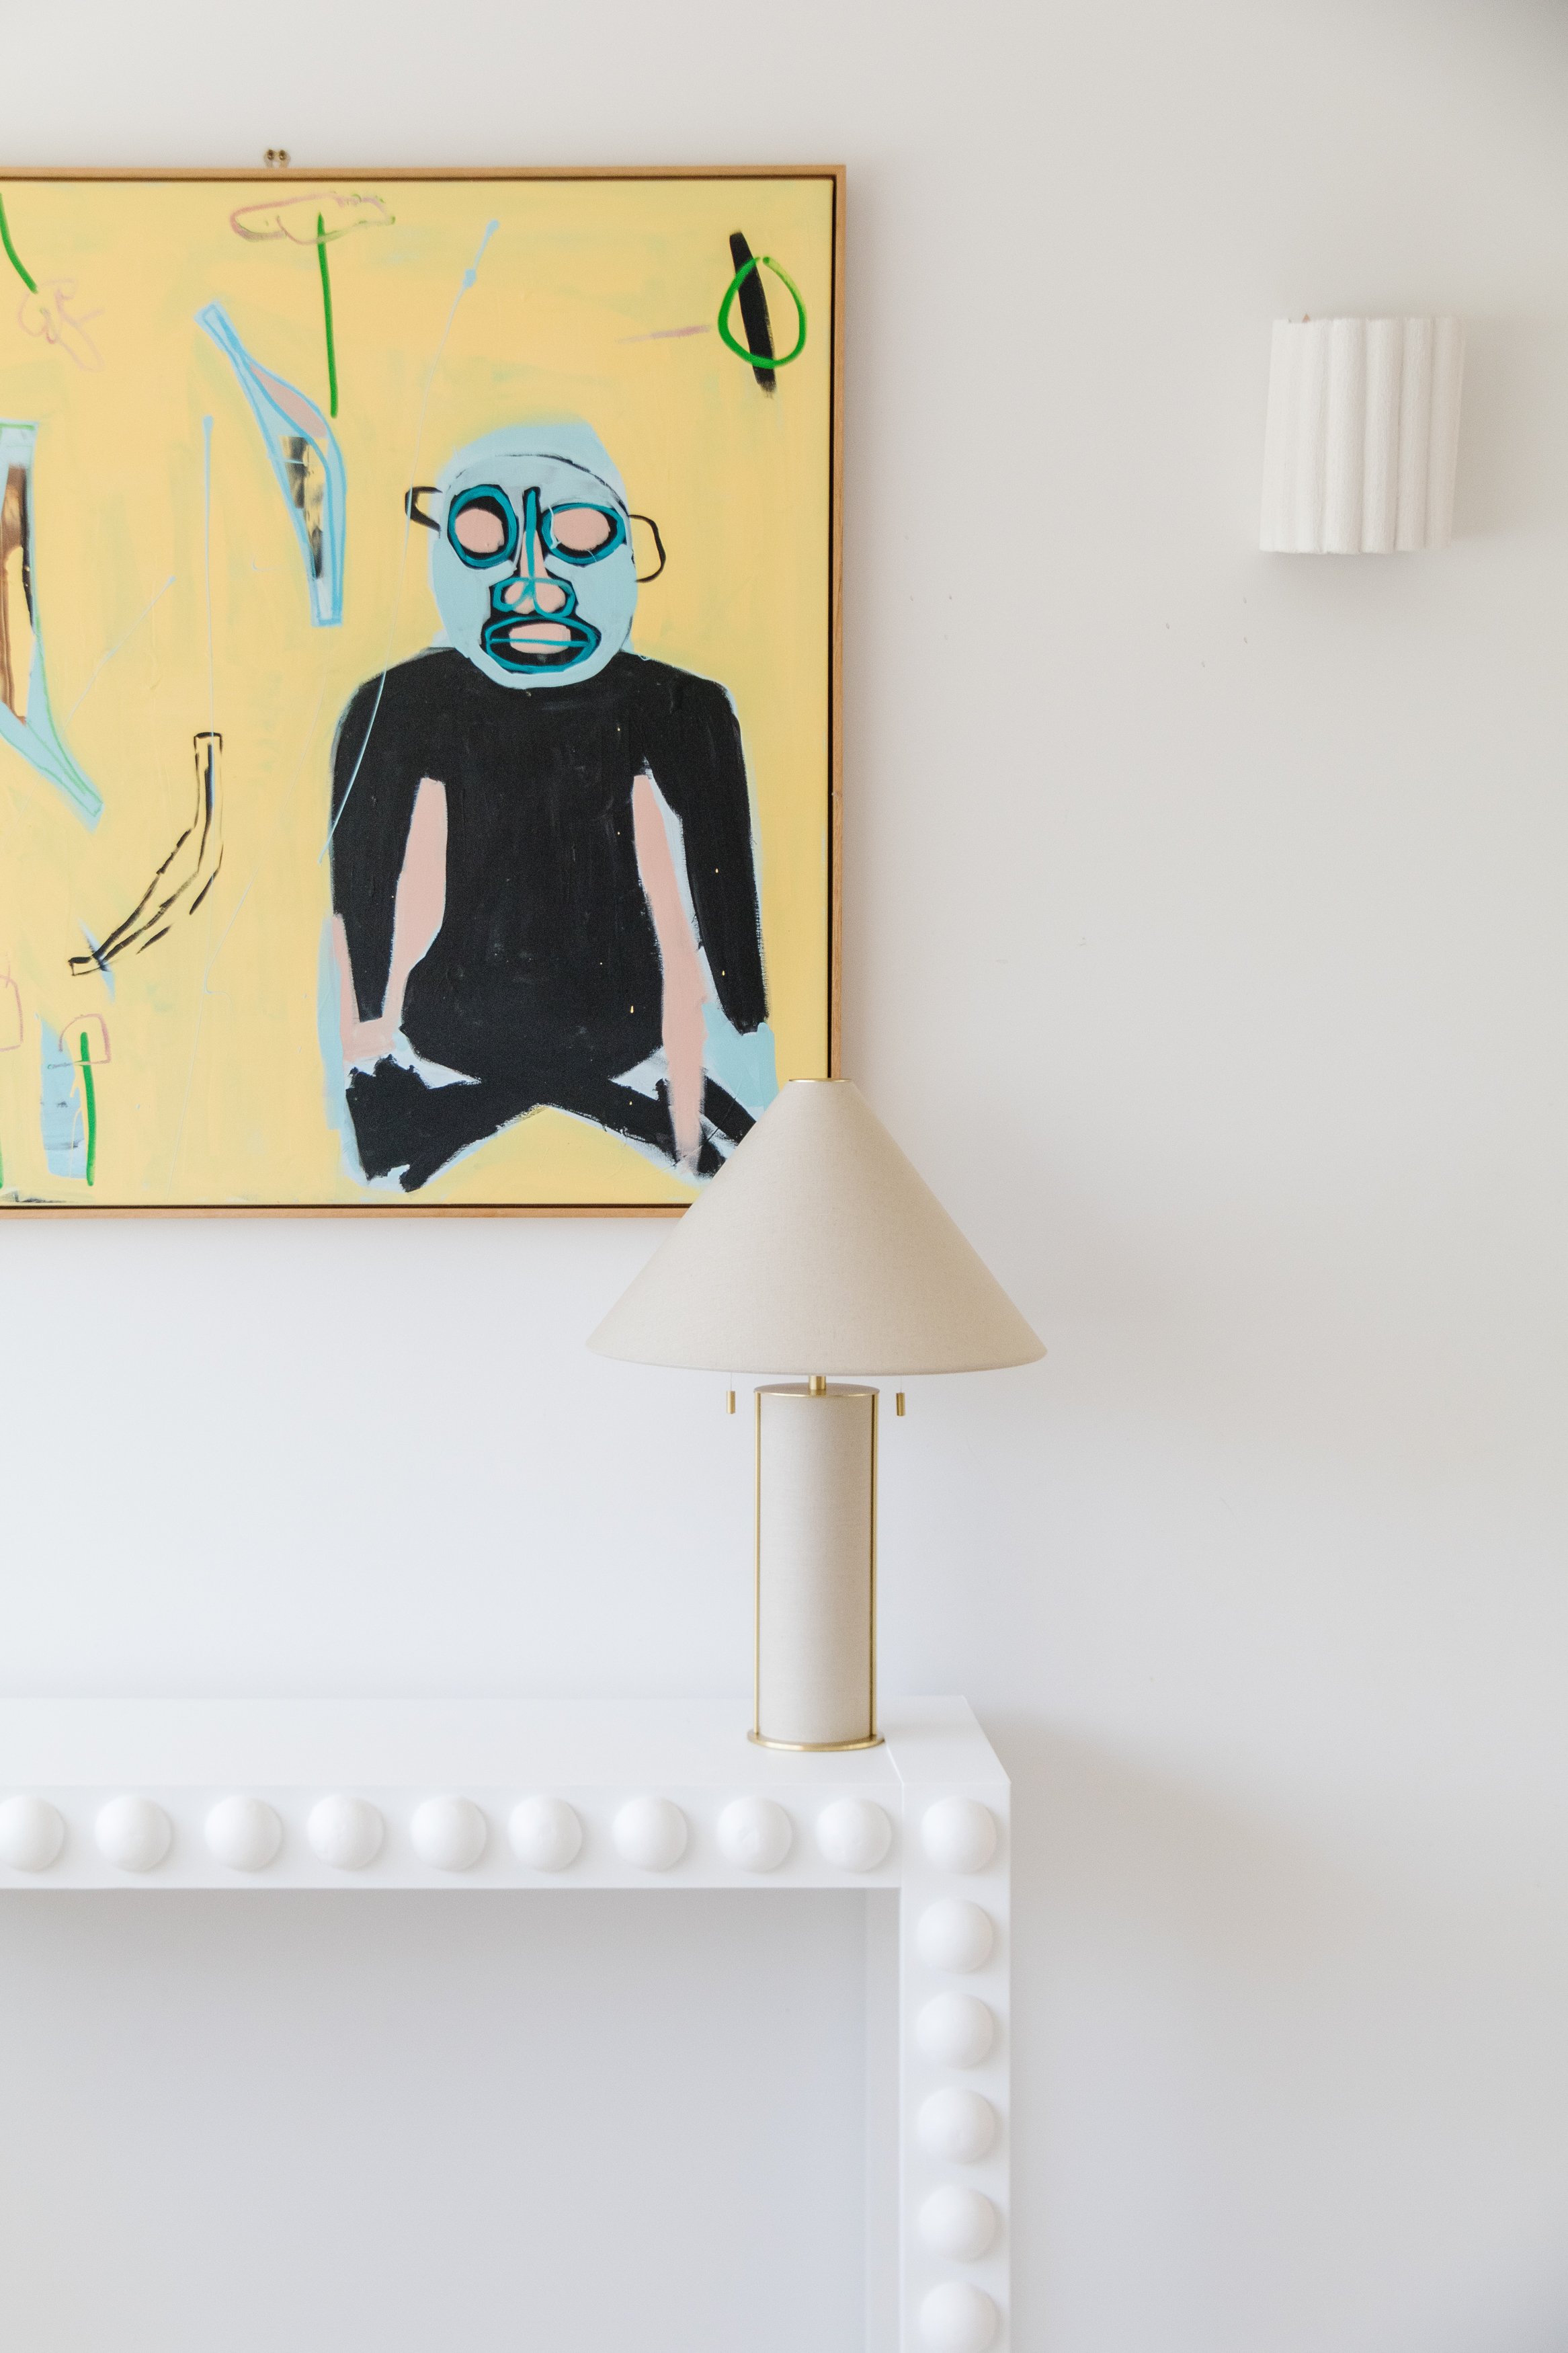
Upcycled Bubble Console Table
Can you upcycle a console table in an afternoon? You sure can!
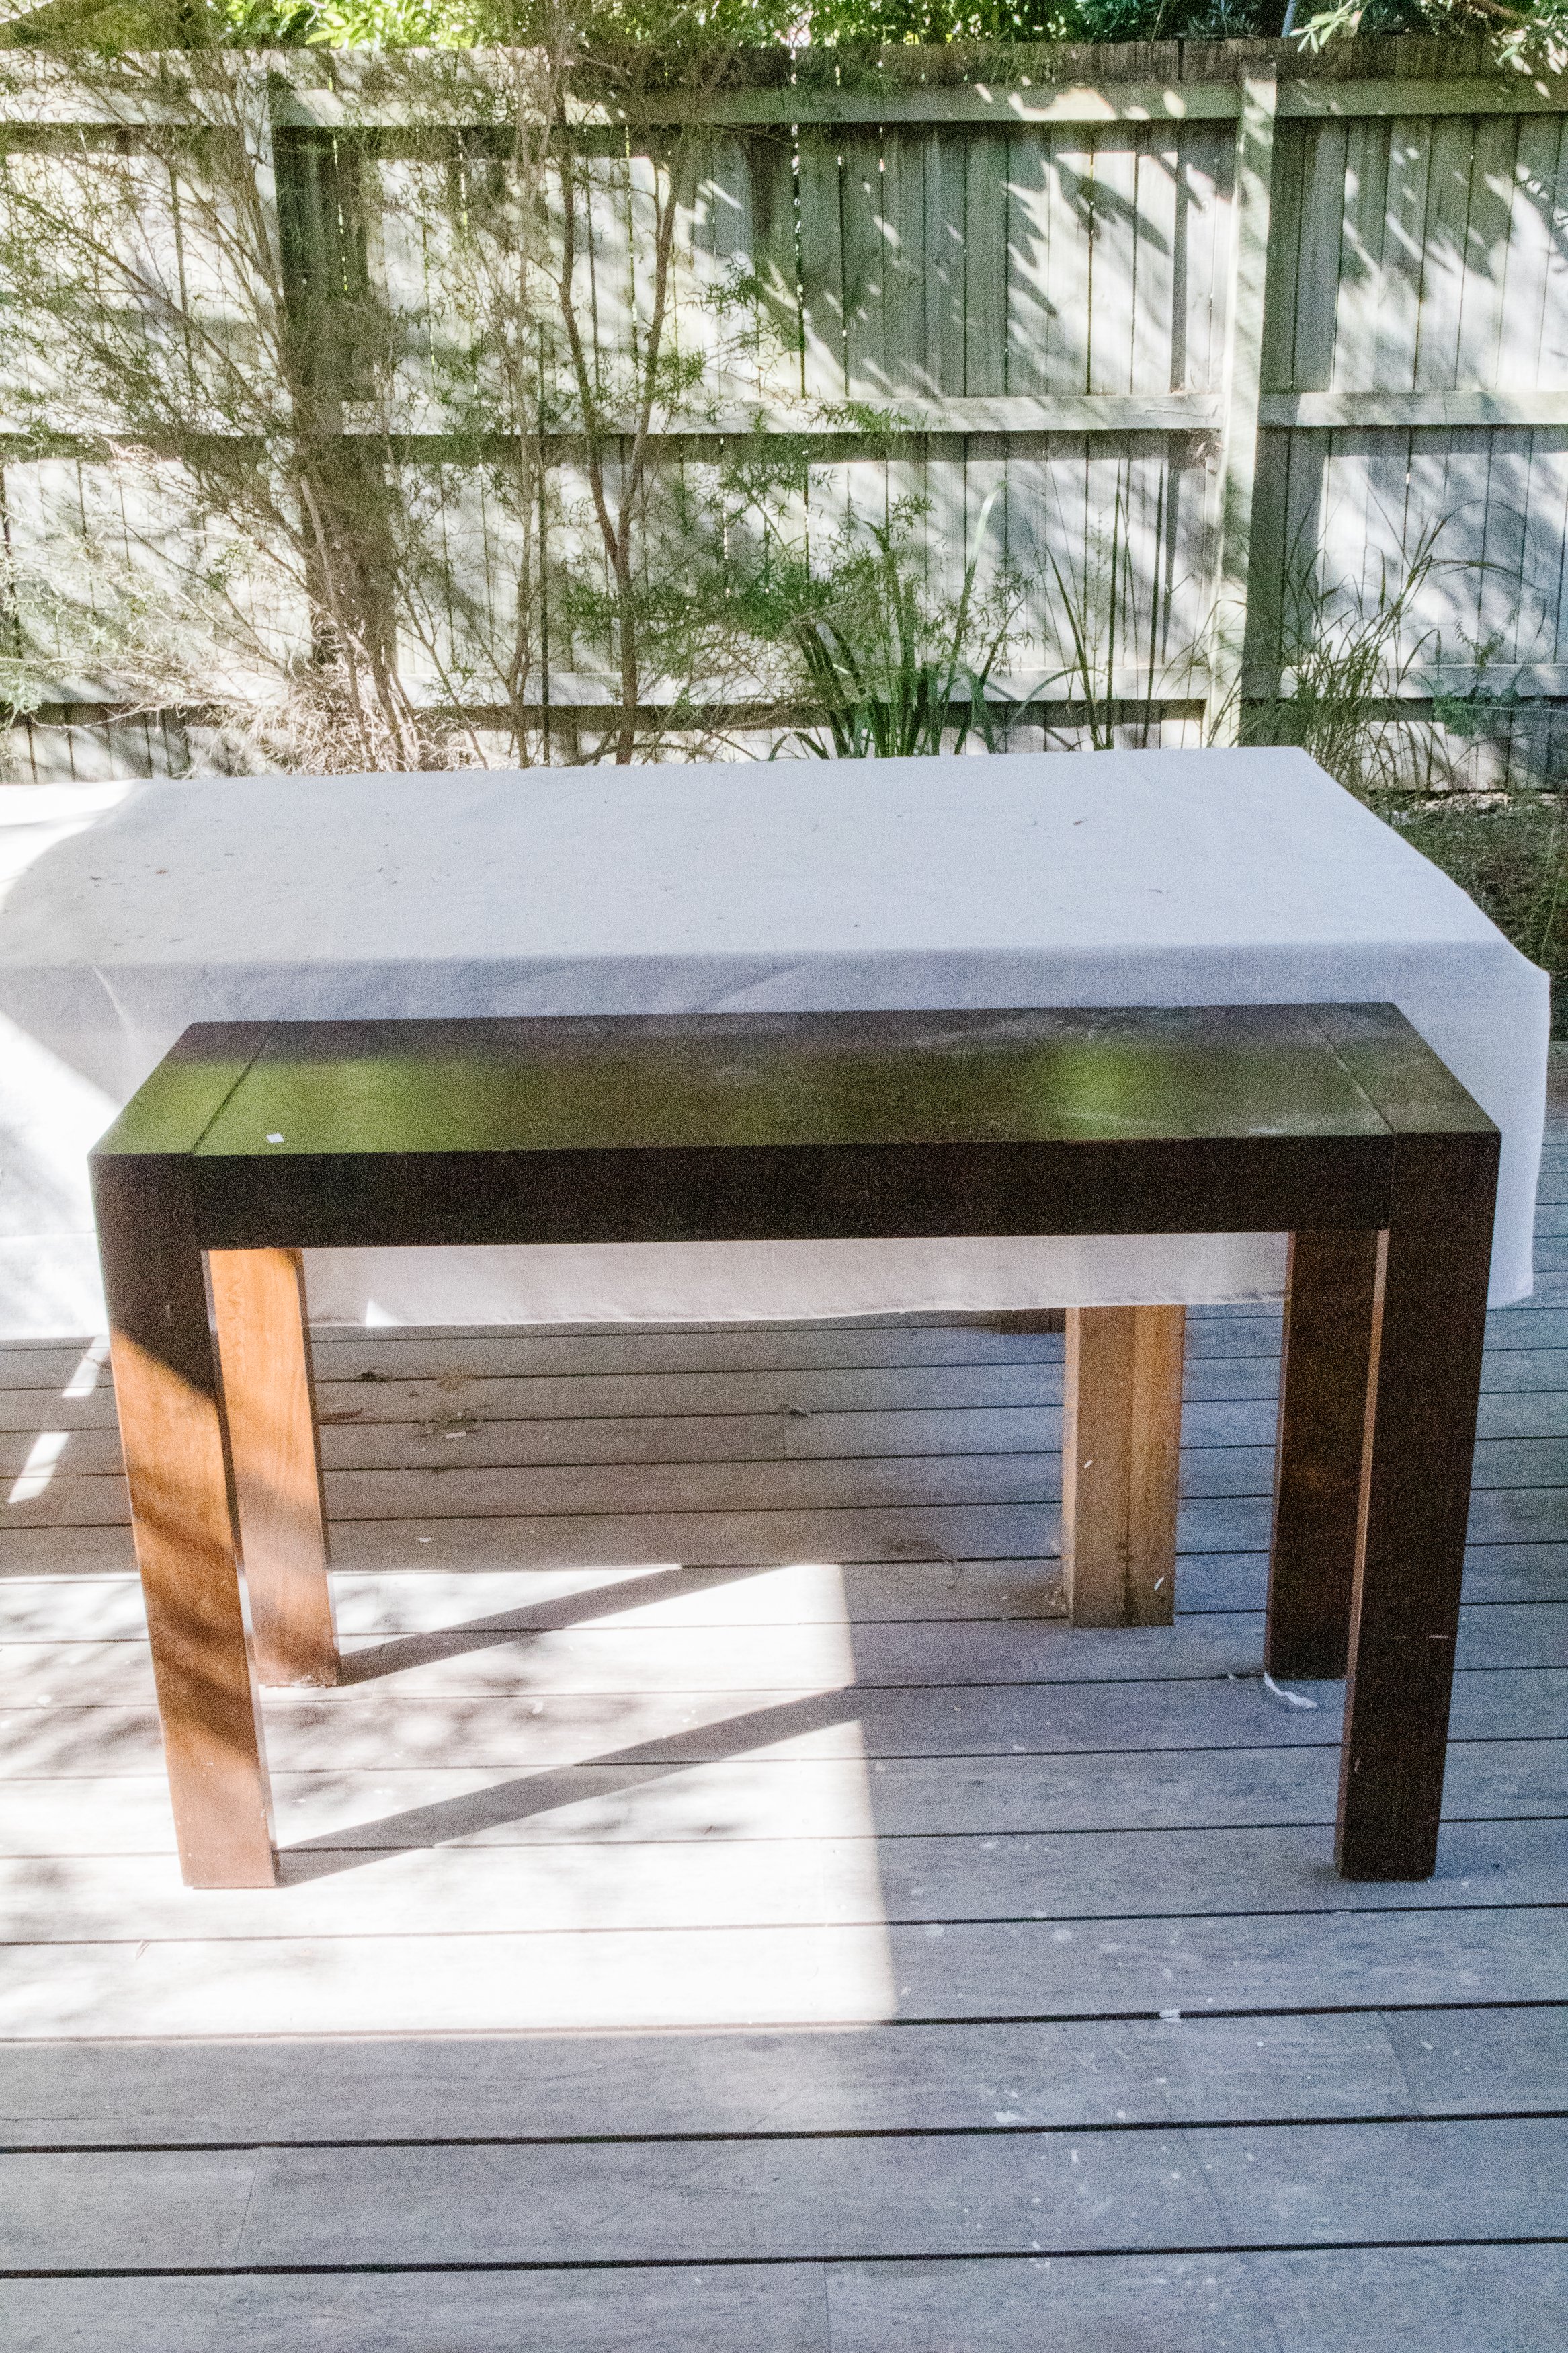
PSA: Not a Christmas project - woo hoo! Coming to you today with an upcycle! I’ve had this console table sitting in our garage for about 8 months, which I picked up at a charity shop for $5. I’ve had a few ideas for it, but I kept changing my mind. Jason had been threatening to drop it off at a charity shop over the holidays, so I knew I had to come up with an idea fast. One of the things I love most about upcycling is taking elements that are on trend and incorporating them into the design of my projects. I am obsessed with the design process and can spend hours researching, designing, sketching and planning before I’ve even started. I particularly love adding an interesting detail to my projects and when I finally cleaned out my studio a little while ago and gathered all the pieces of shaped foam into one storage container, an idea started forming. A bit of cutting, gluing and painting later, here we are. Read on to find out how you can upcycle a console table in a day!
And to see how this Upcycled Bubble Console Table came together, make sure you check out this video!
Before & After


Materials
Console Table
Dulux 1Step Prep in “Lexicon Quarter”
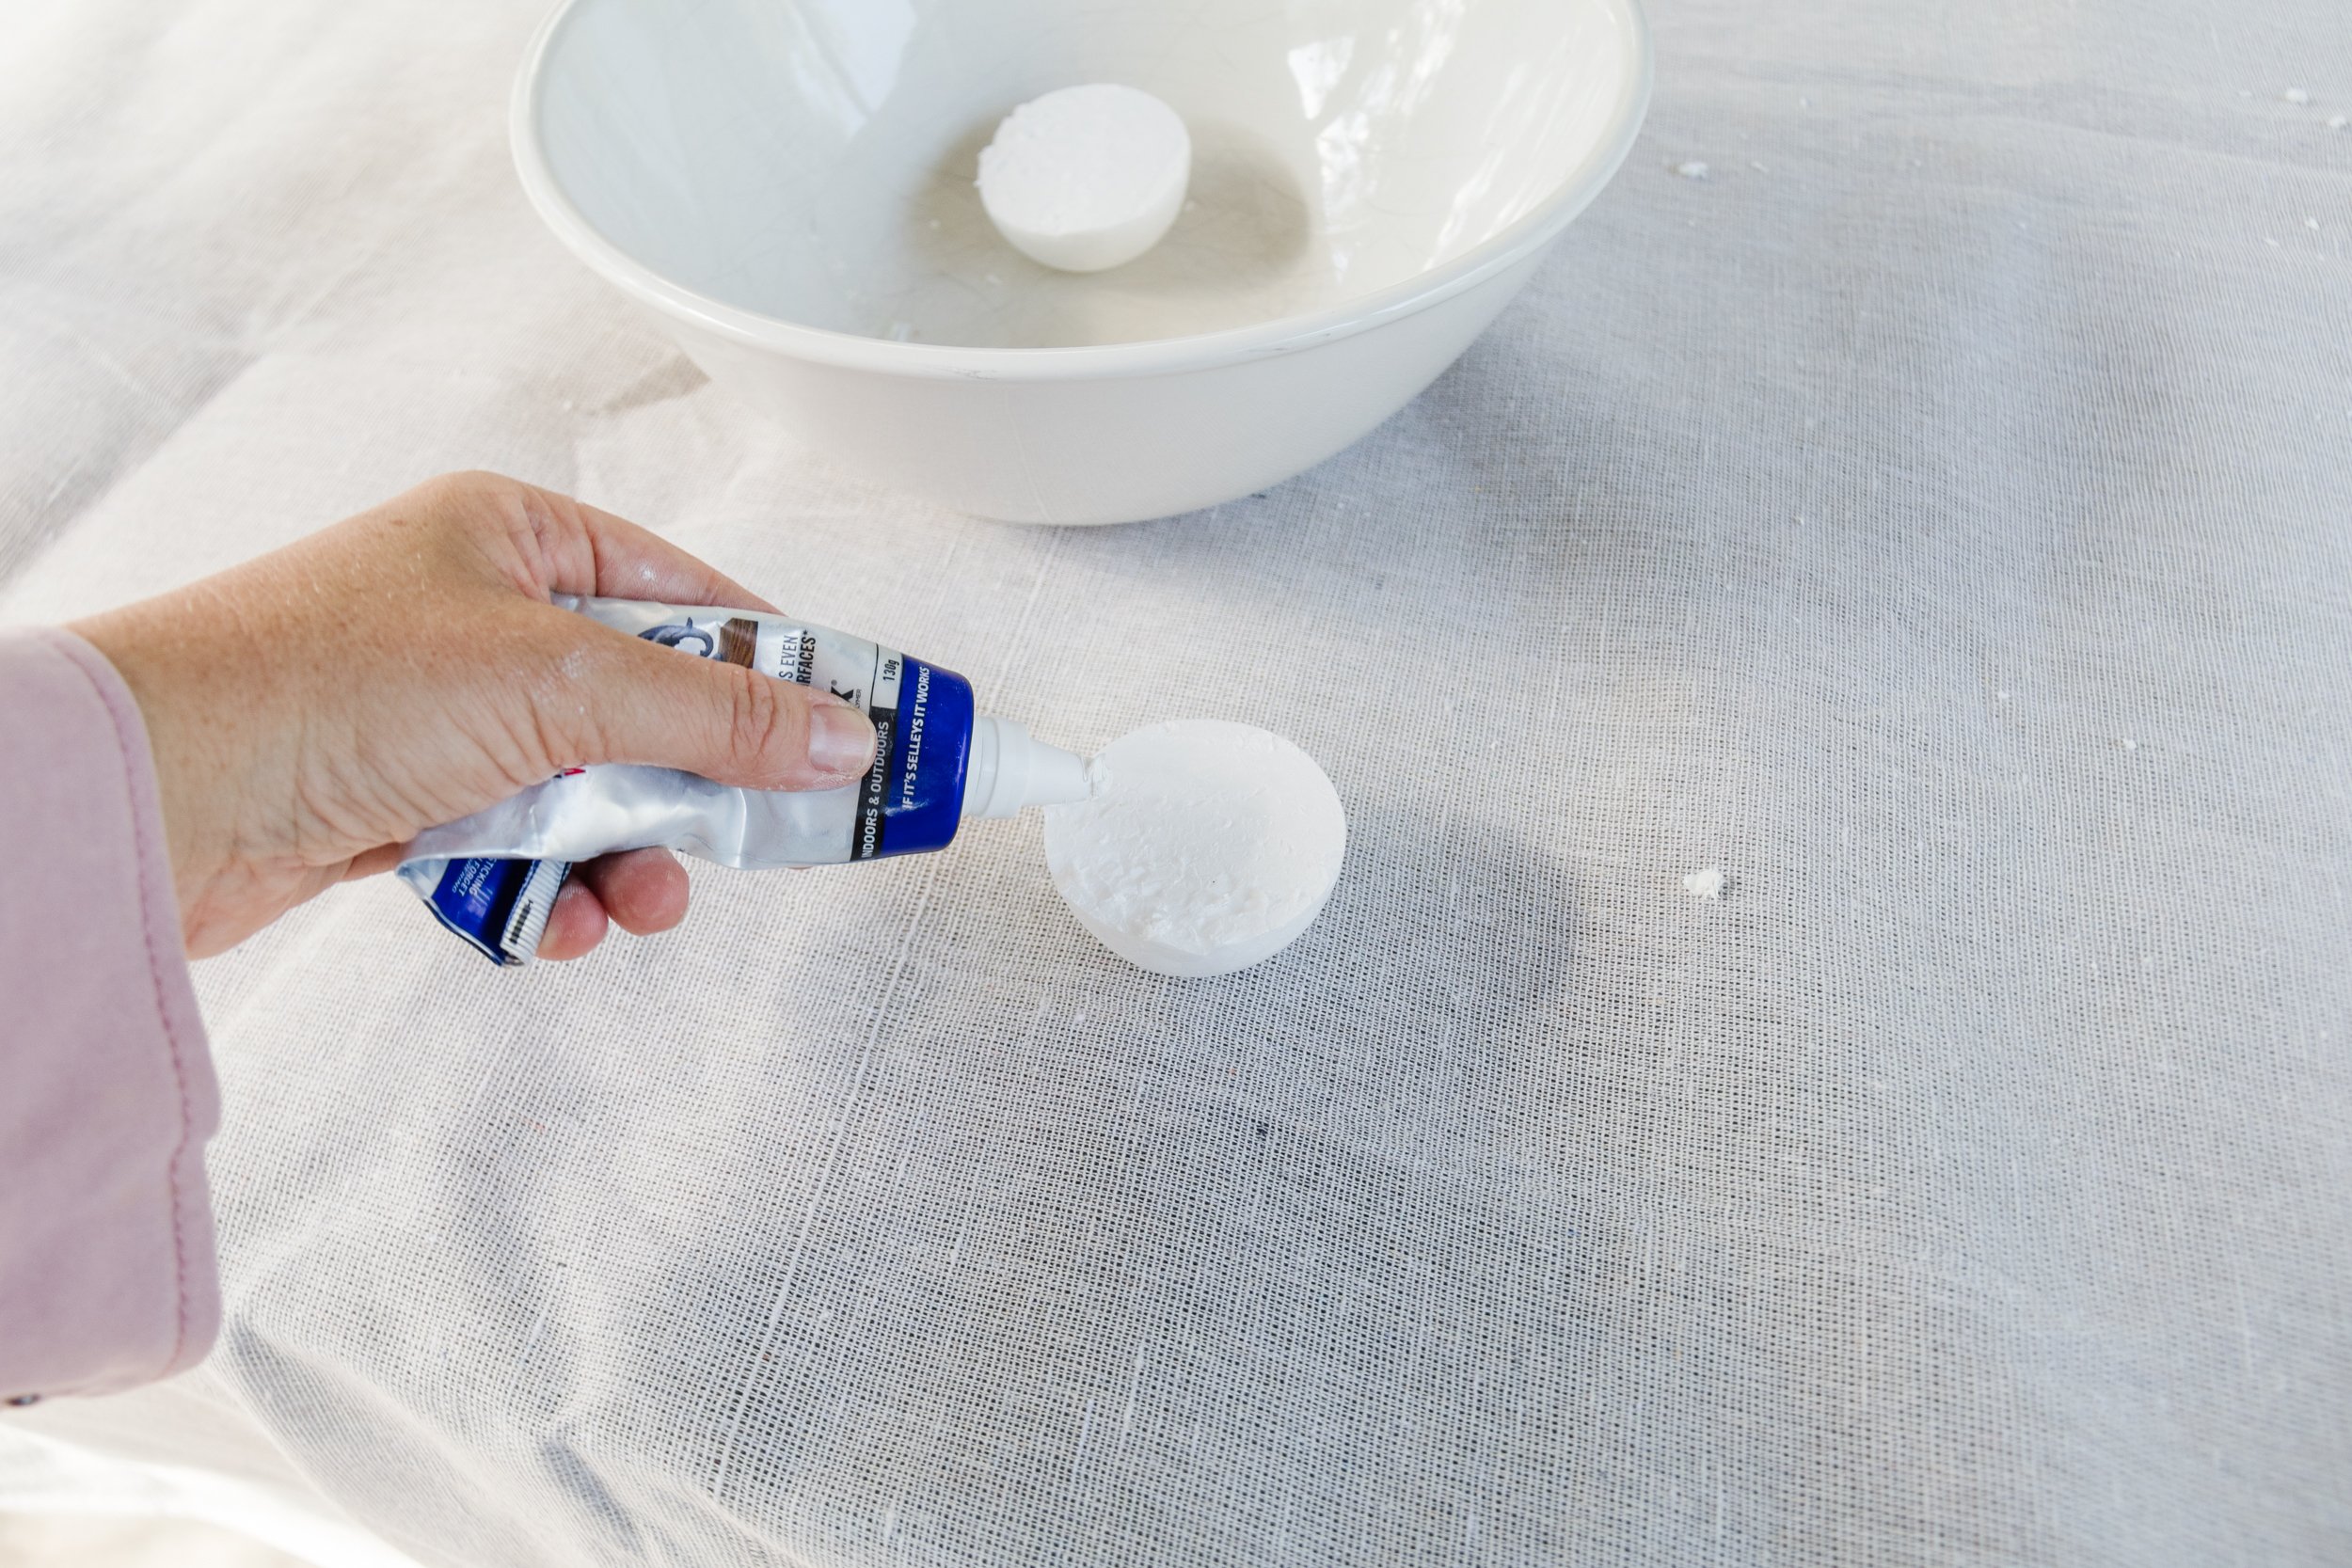
Selleys Hold Up glue
Fine anding block
Tools
Microfibre paint roller
Paint brush
Sharp knife and cutting board
Project Details
🕒 Project Time Estimate: 1 hour, not including paint drying time
💰 Materials Cost: $50
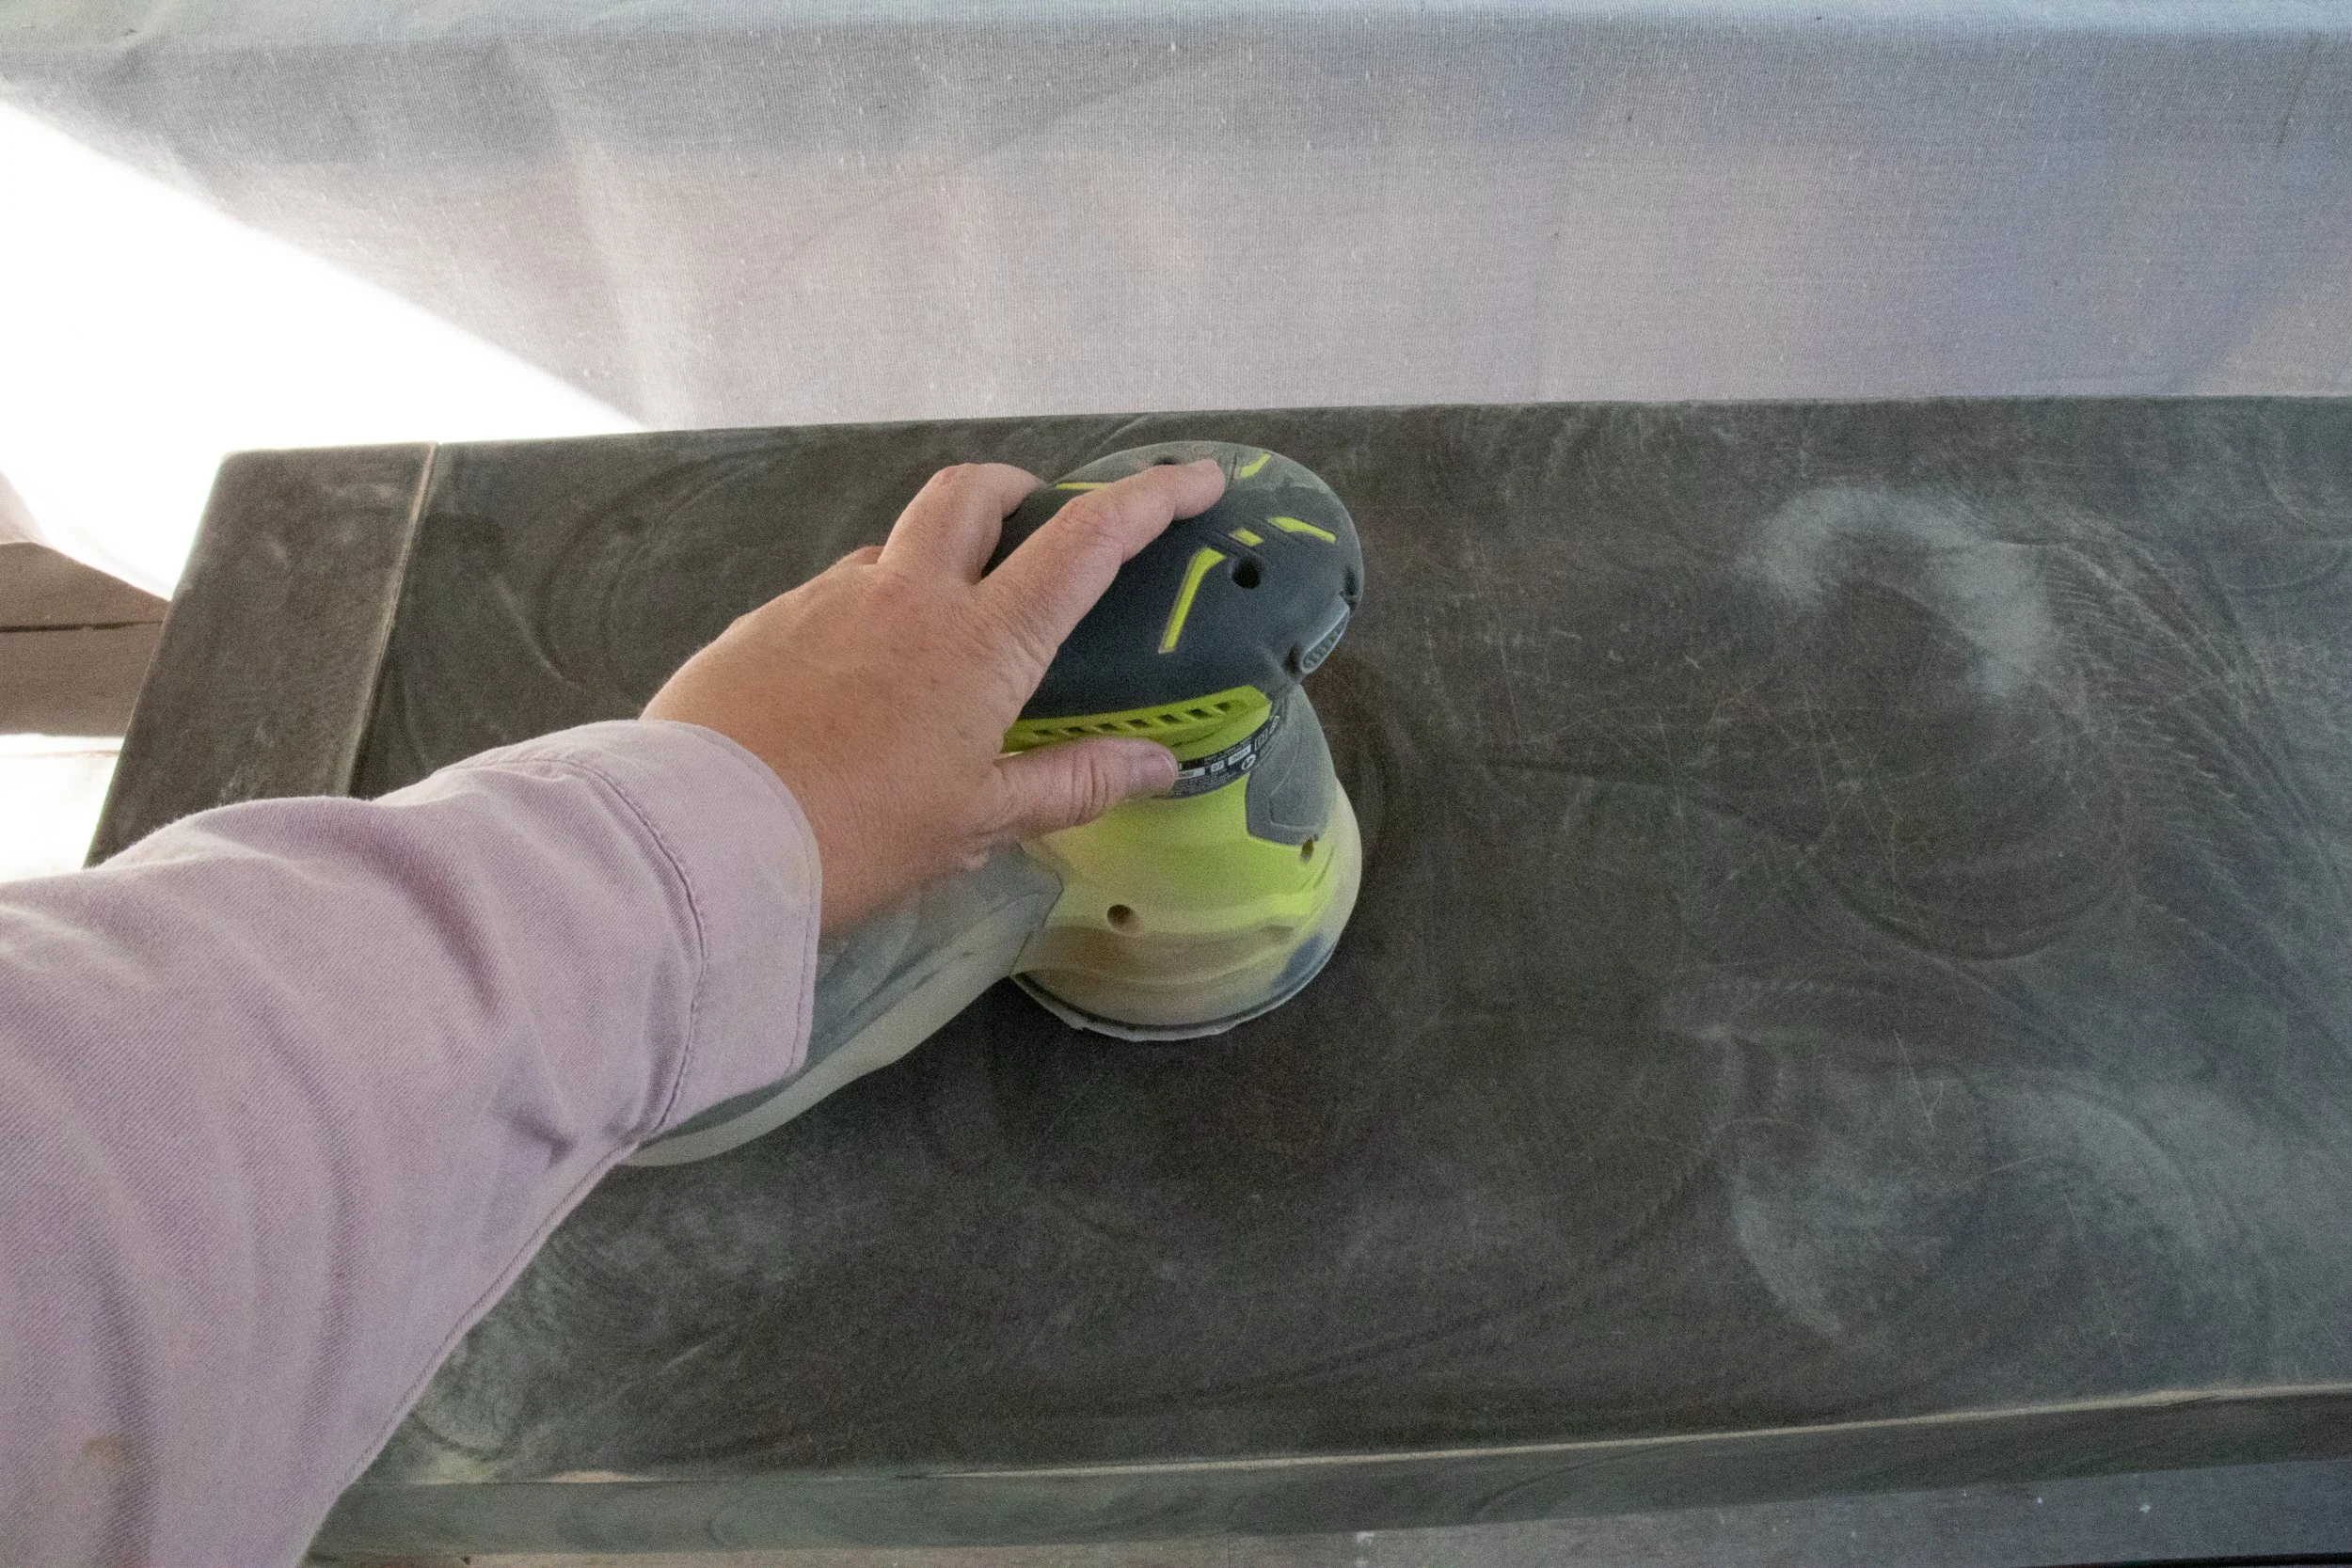
⚒️ Power Tools: Sander and drill
👷♀️ Skill Level: Beginner DIYer

How To
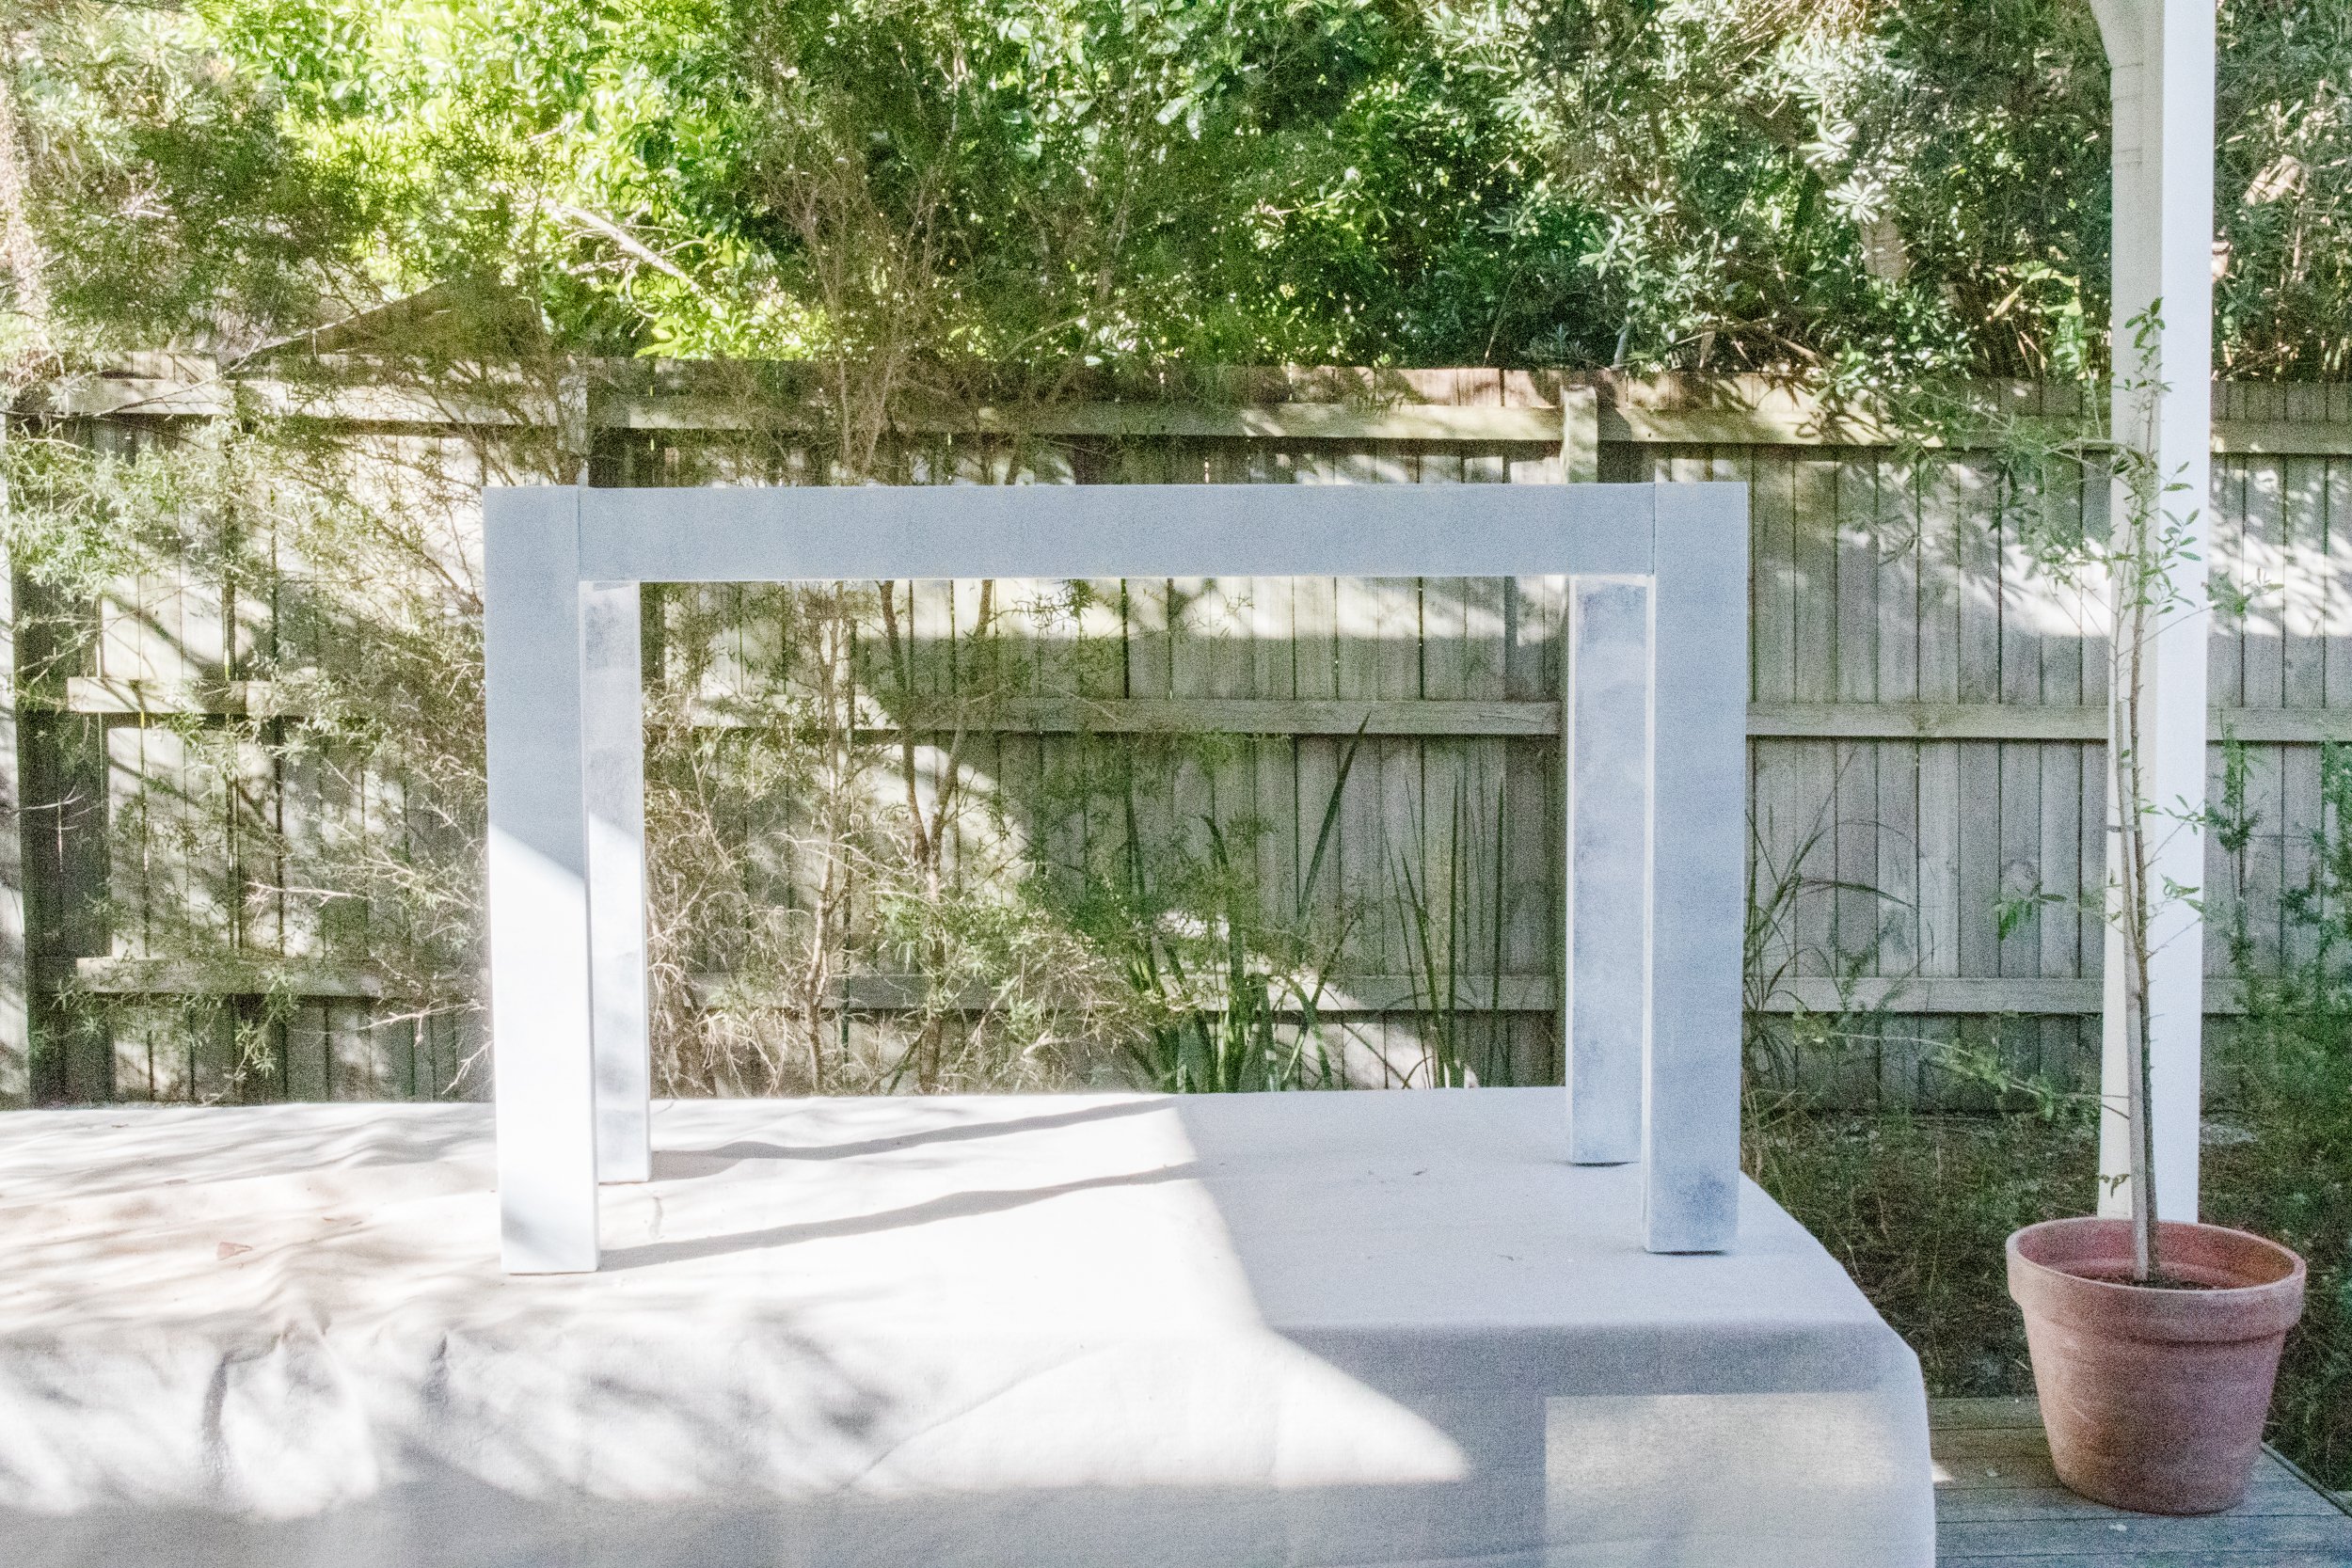
Step 1: To begin with I sanded the table and then wiped the dust off with a damp cloth. Following this I applied one coat of Dulux 1Step Prep.
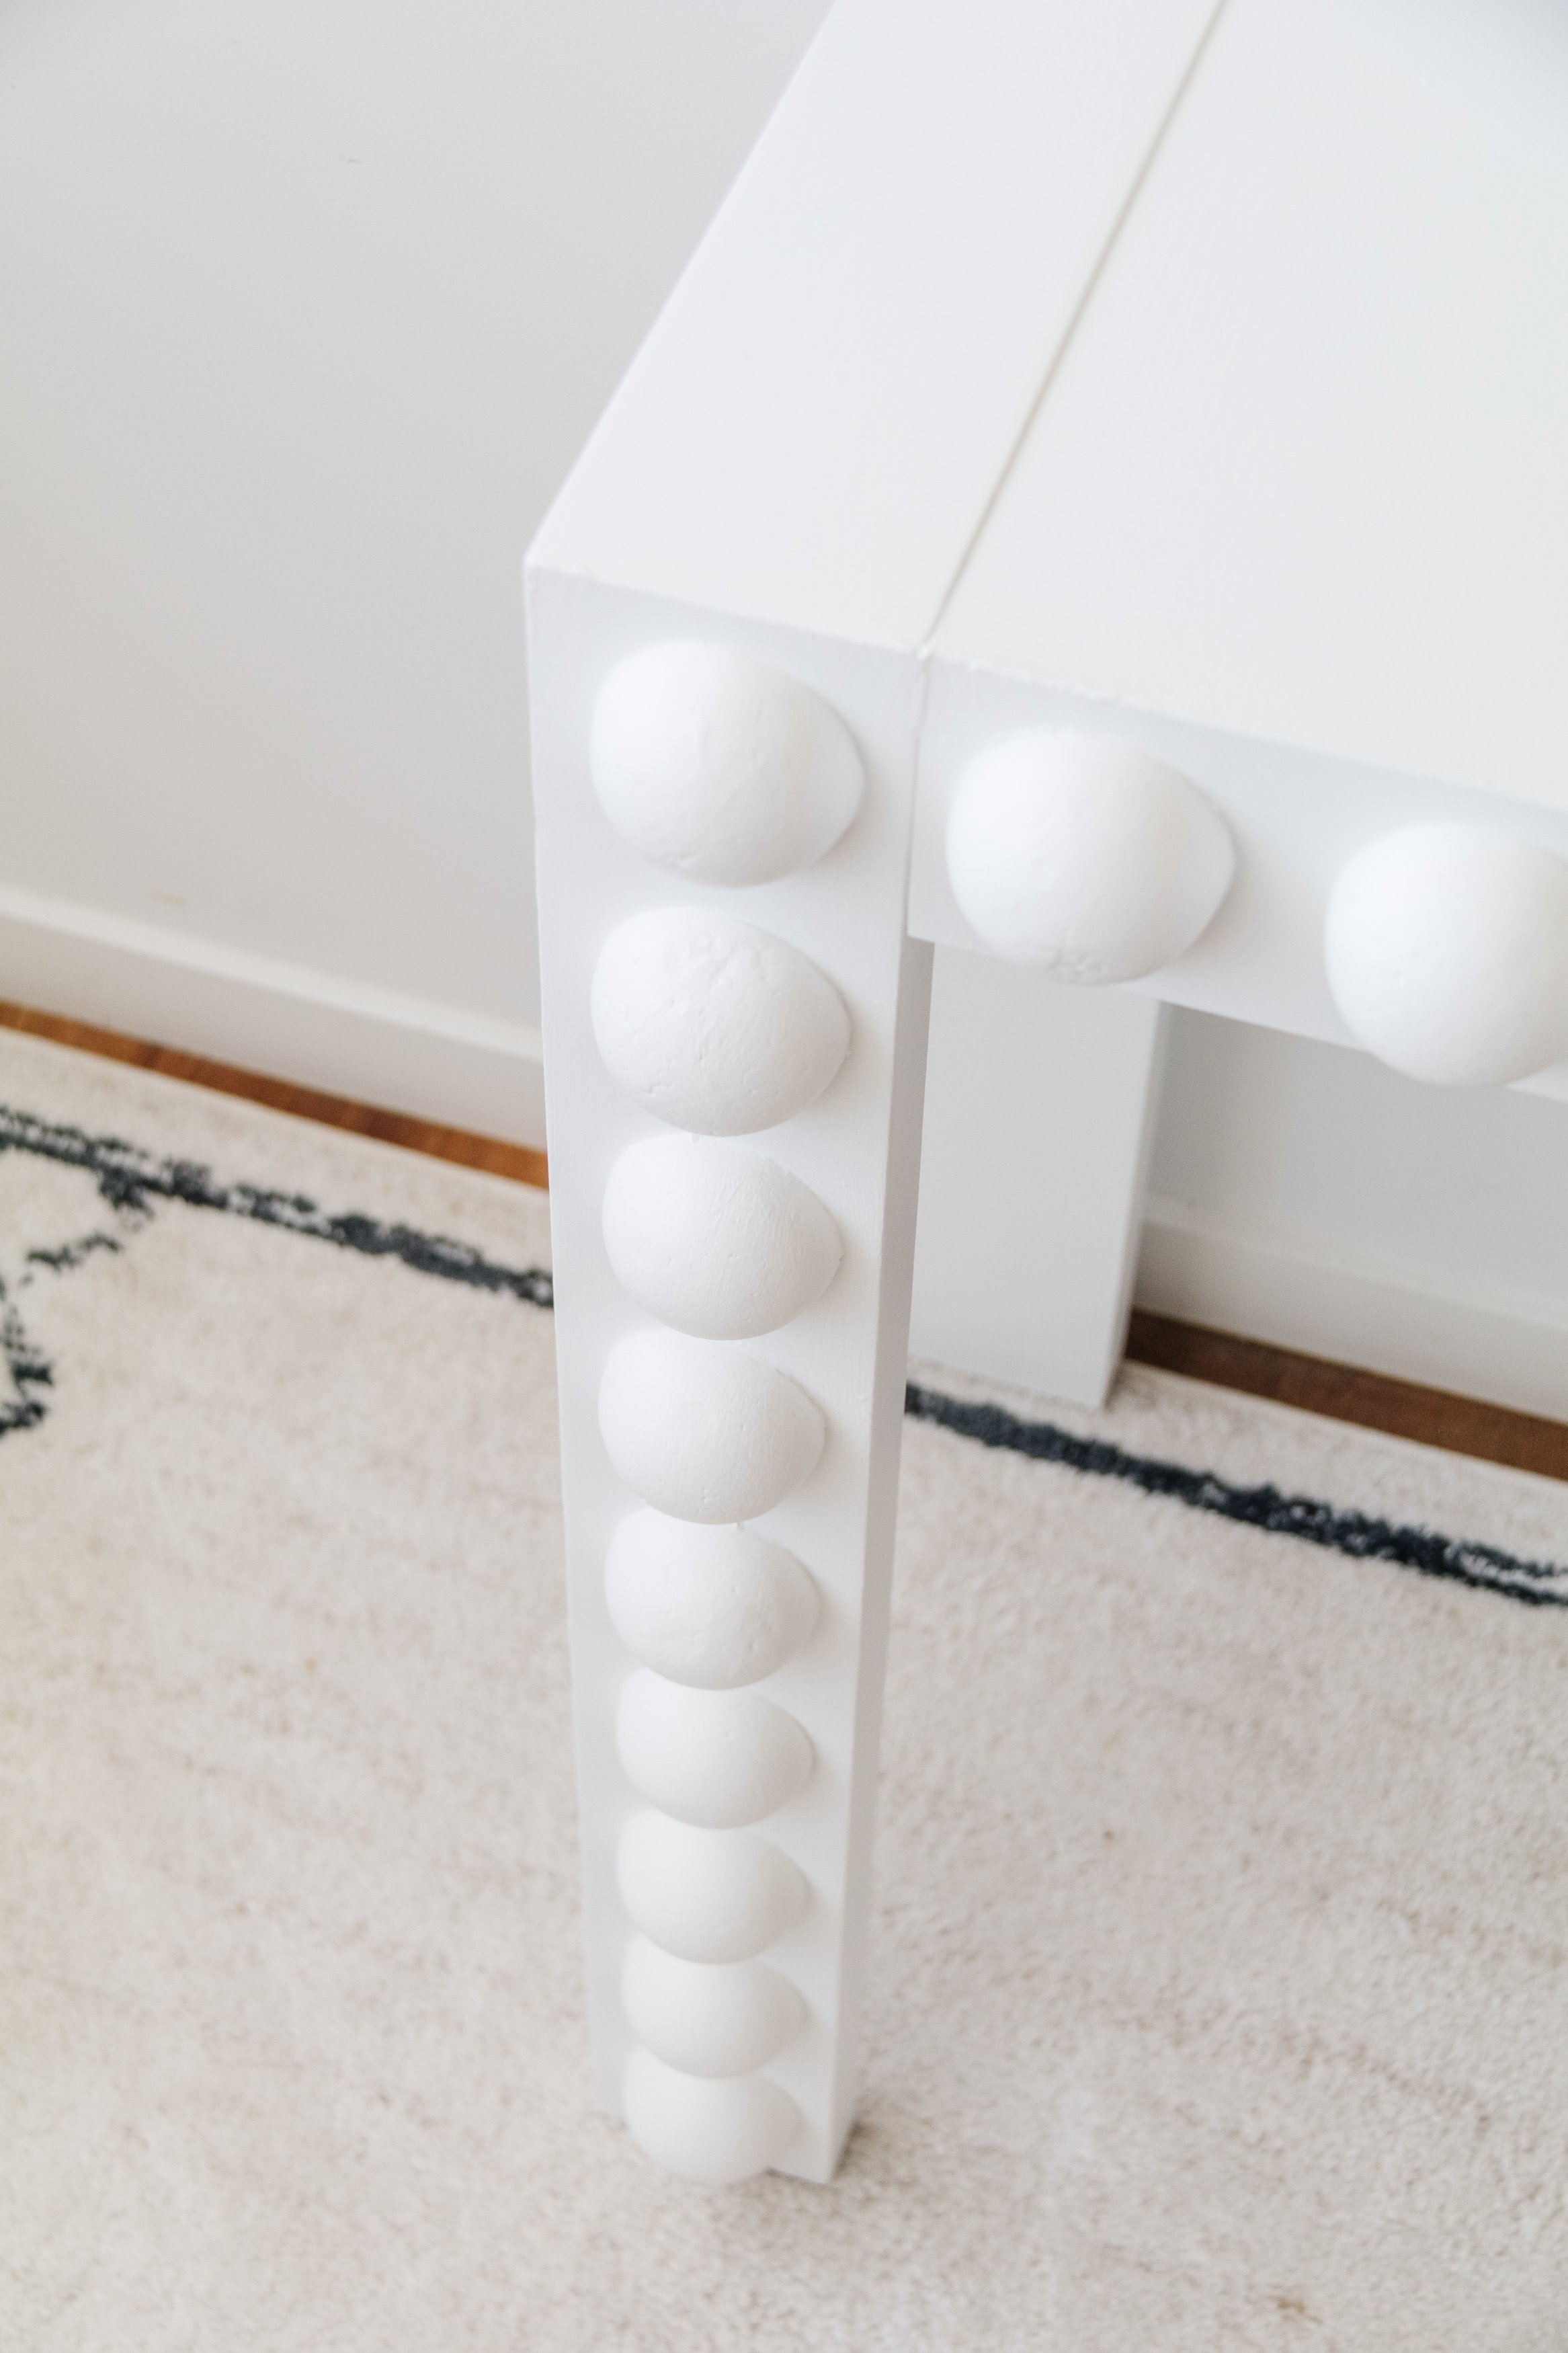
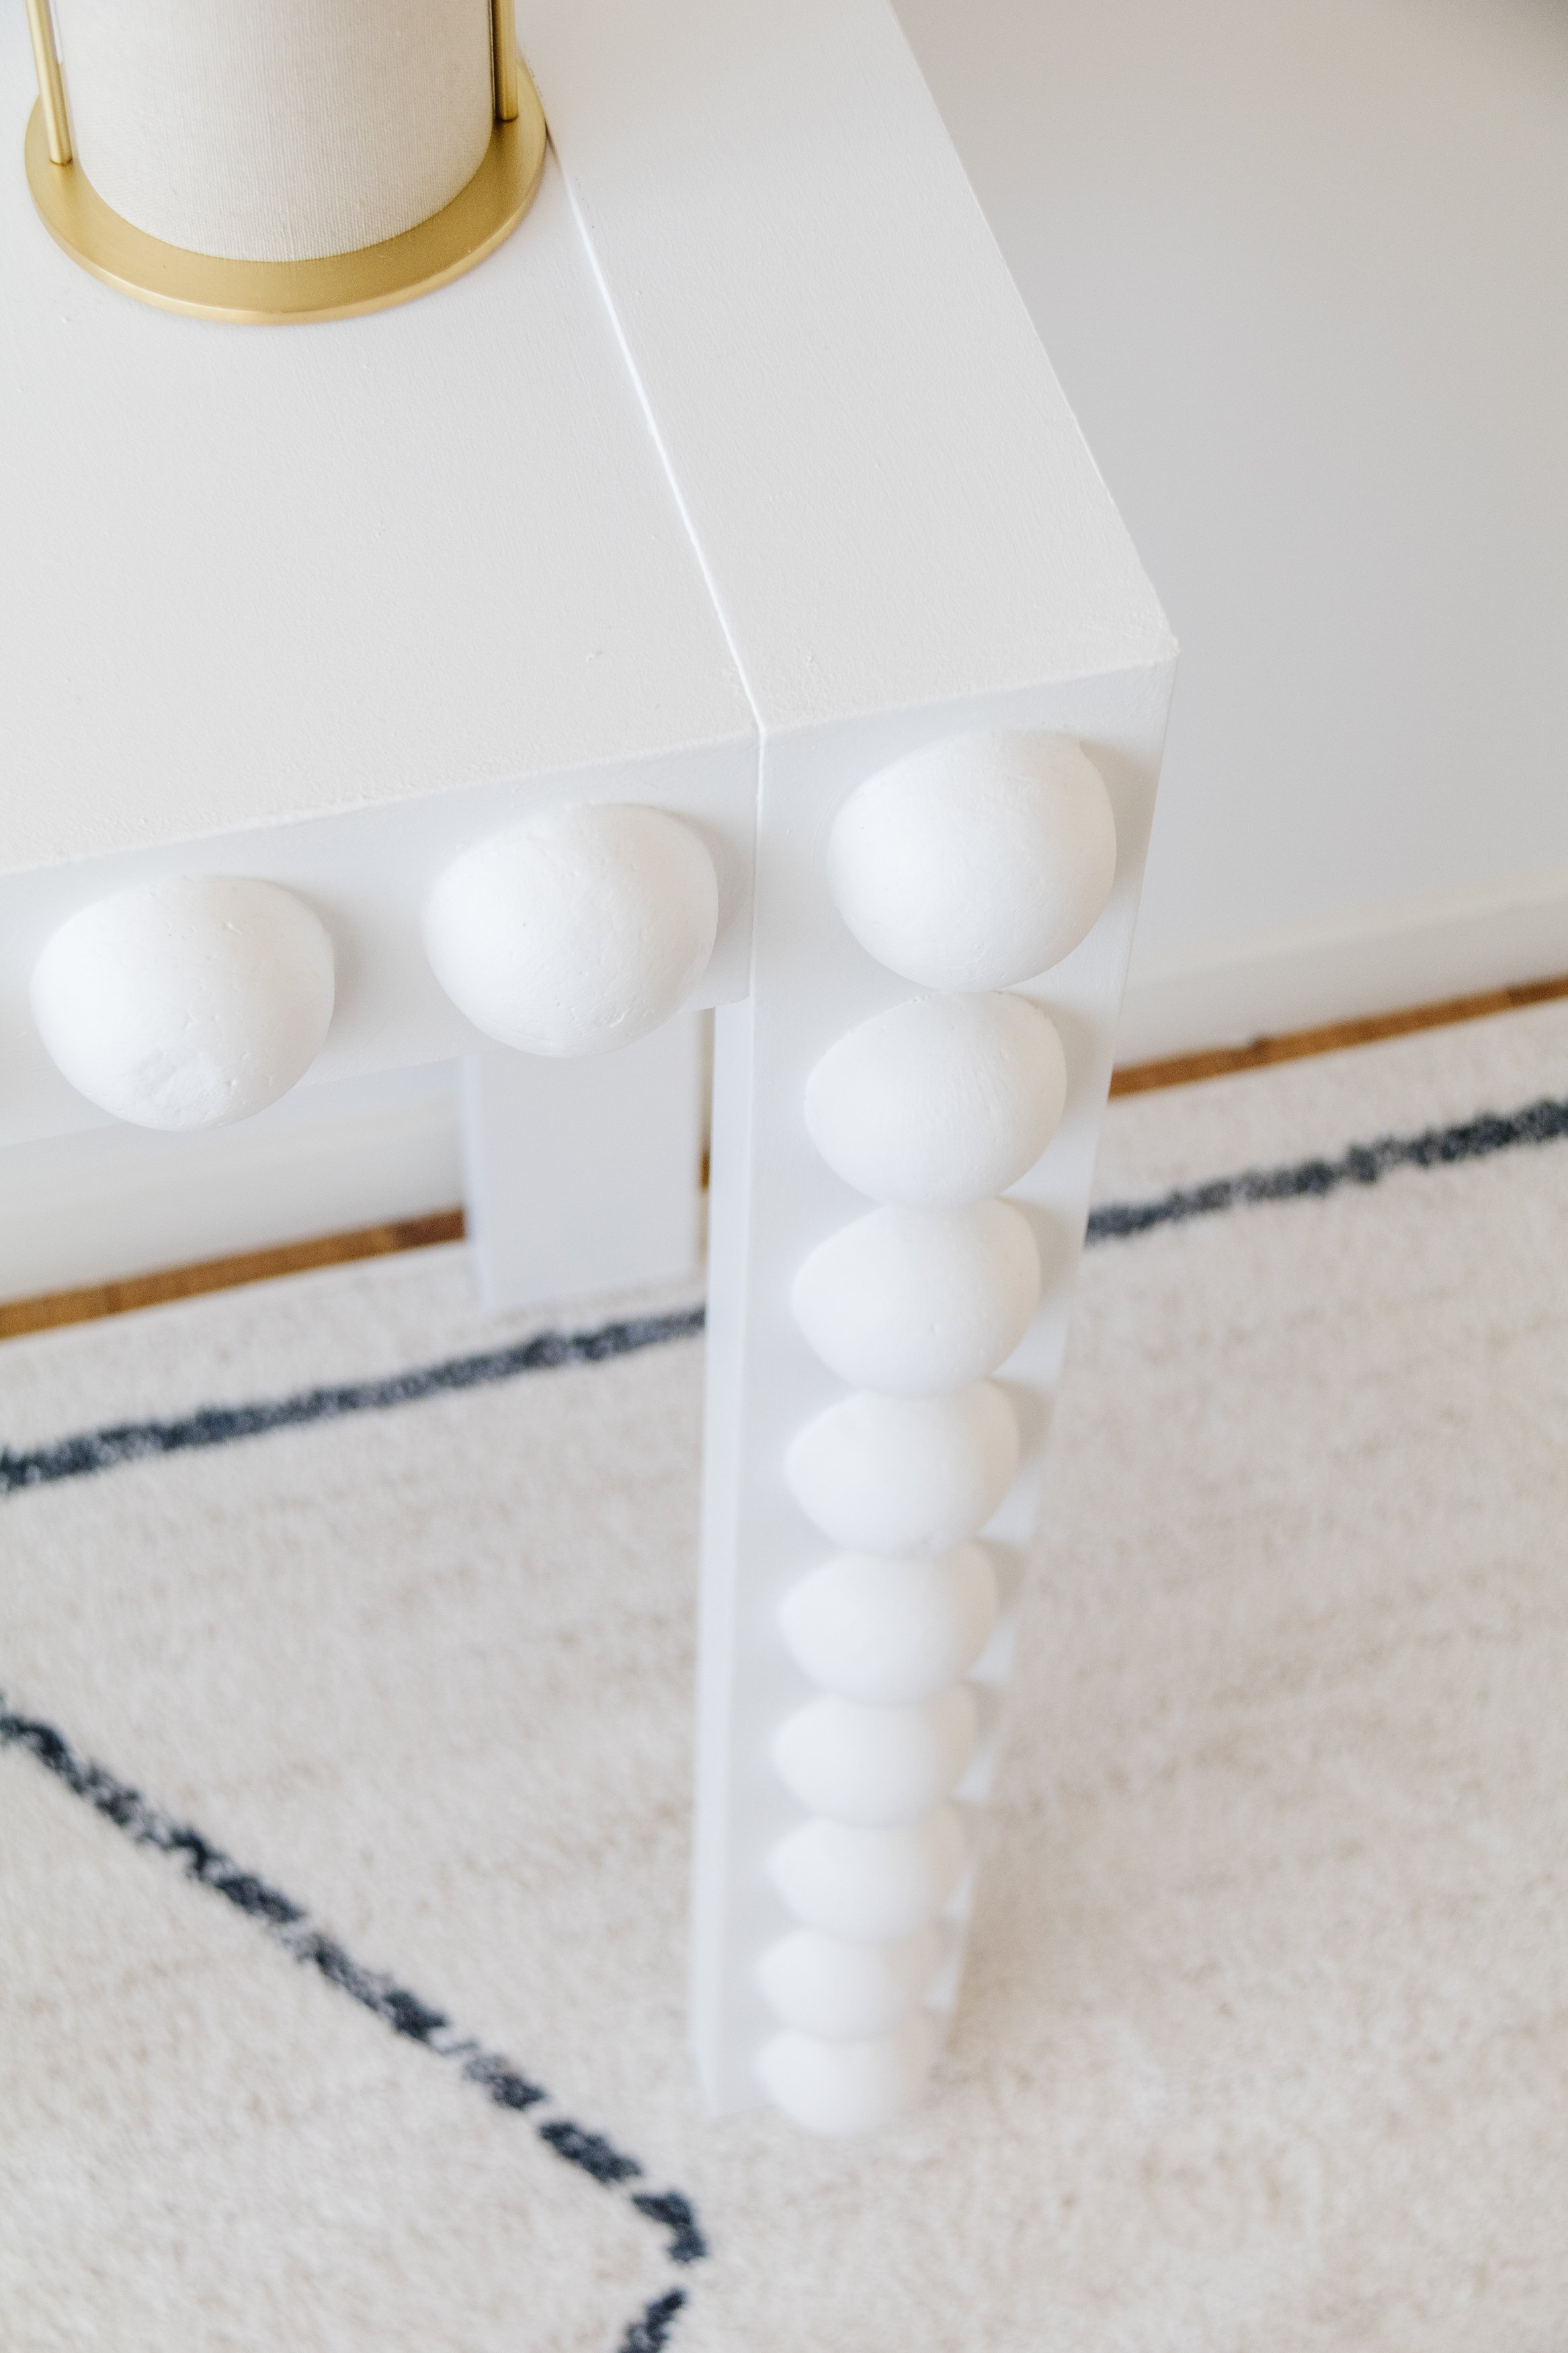
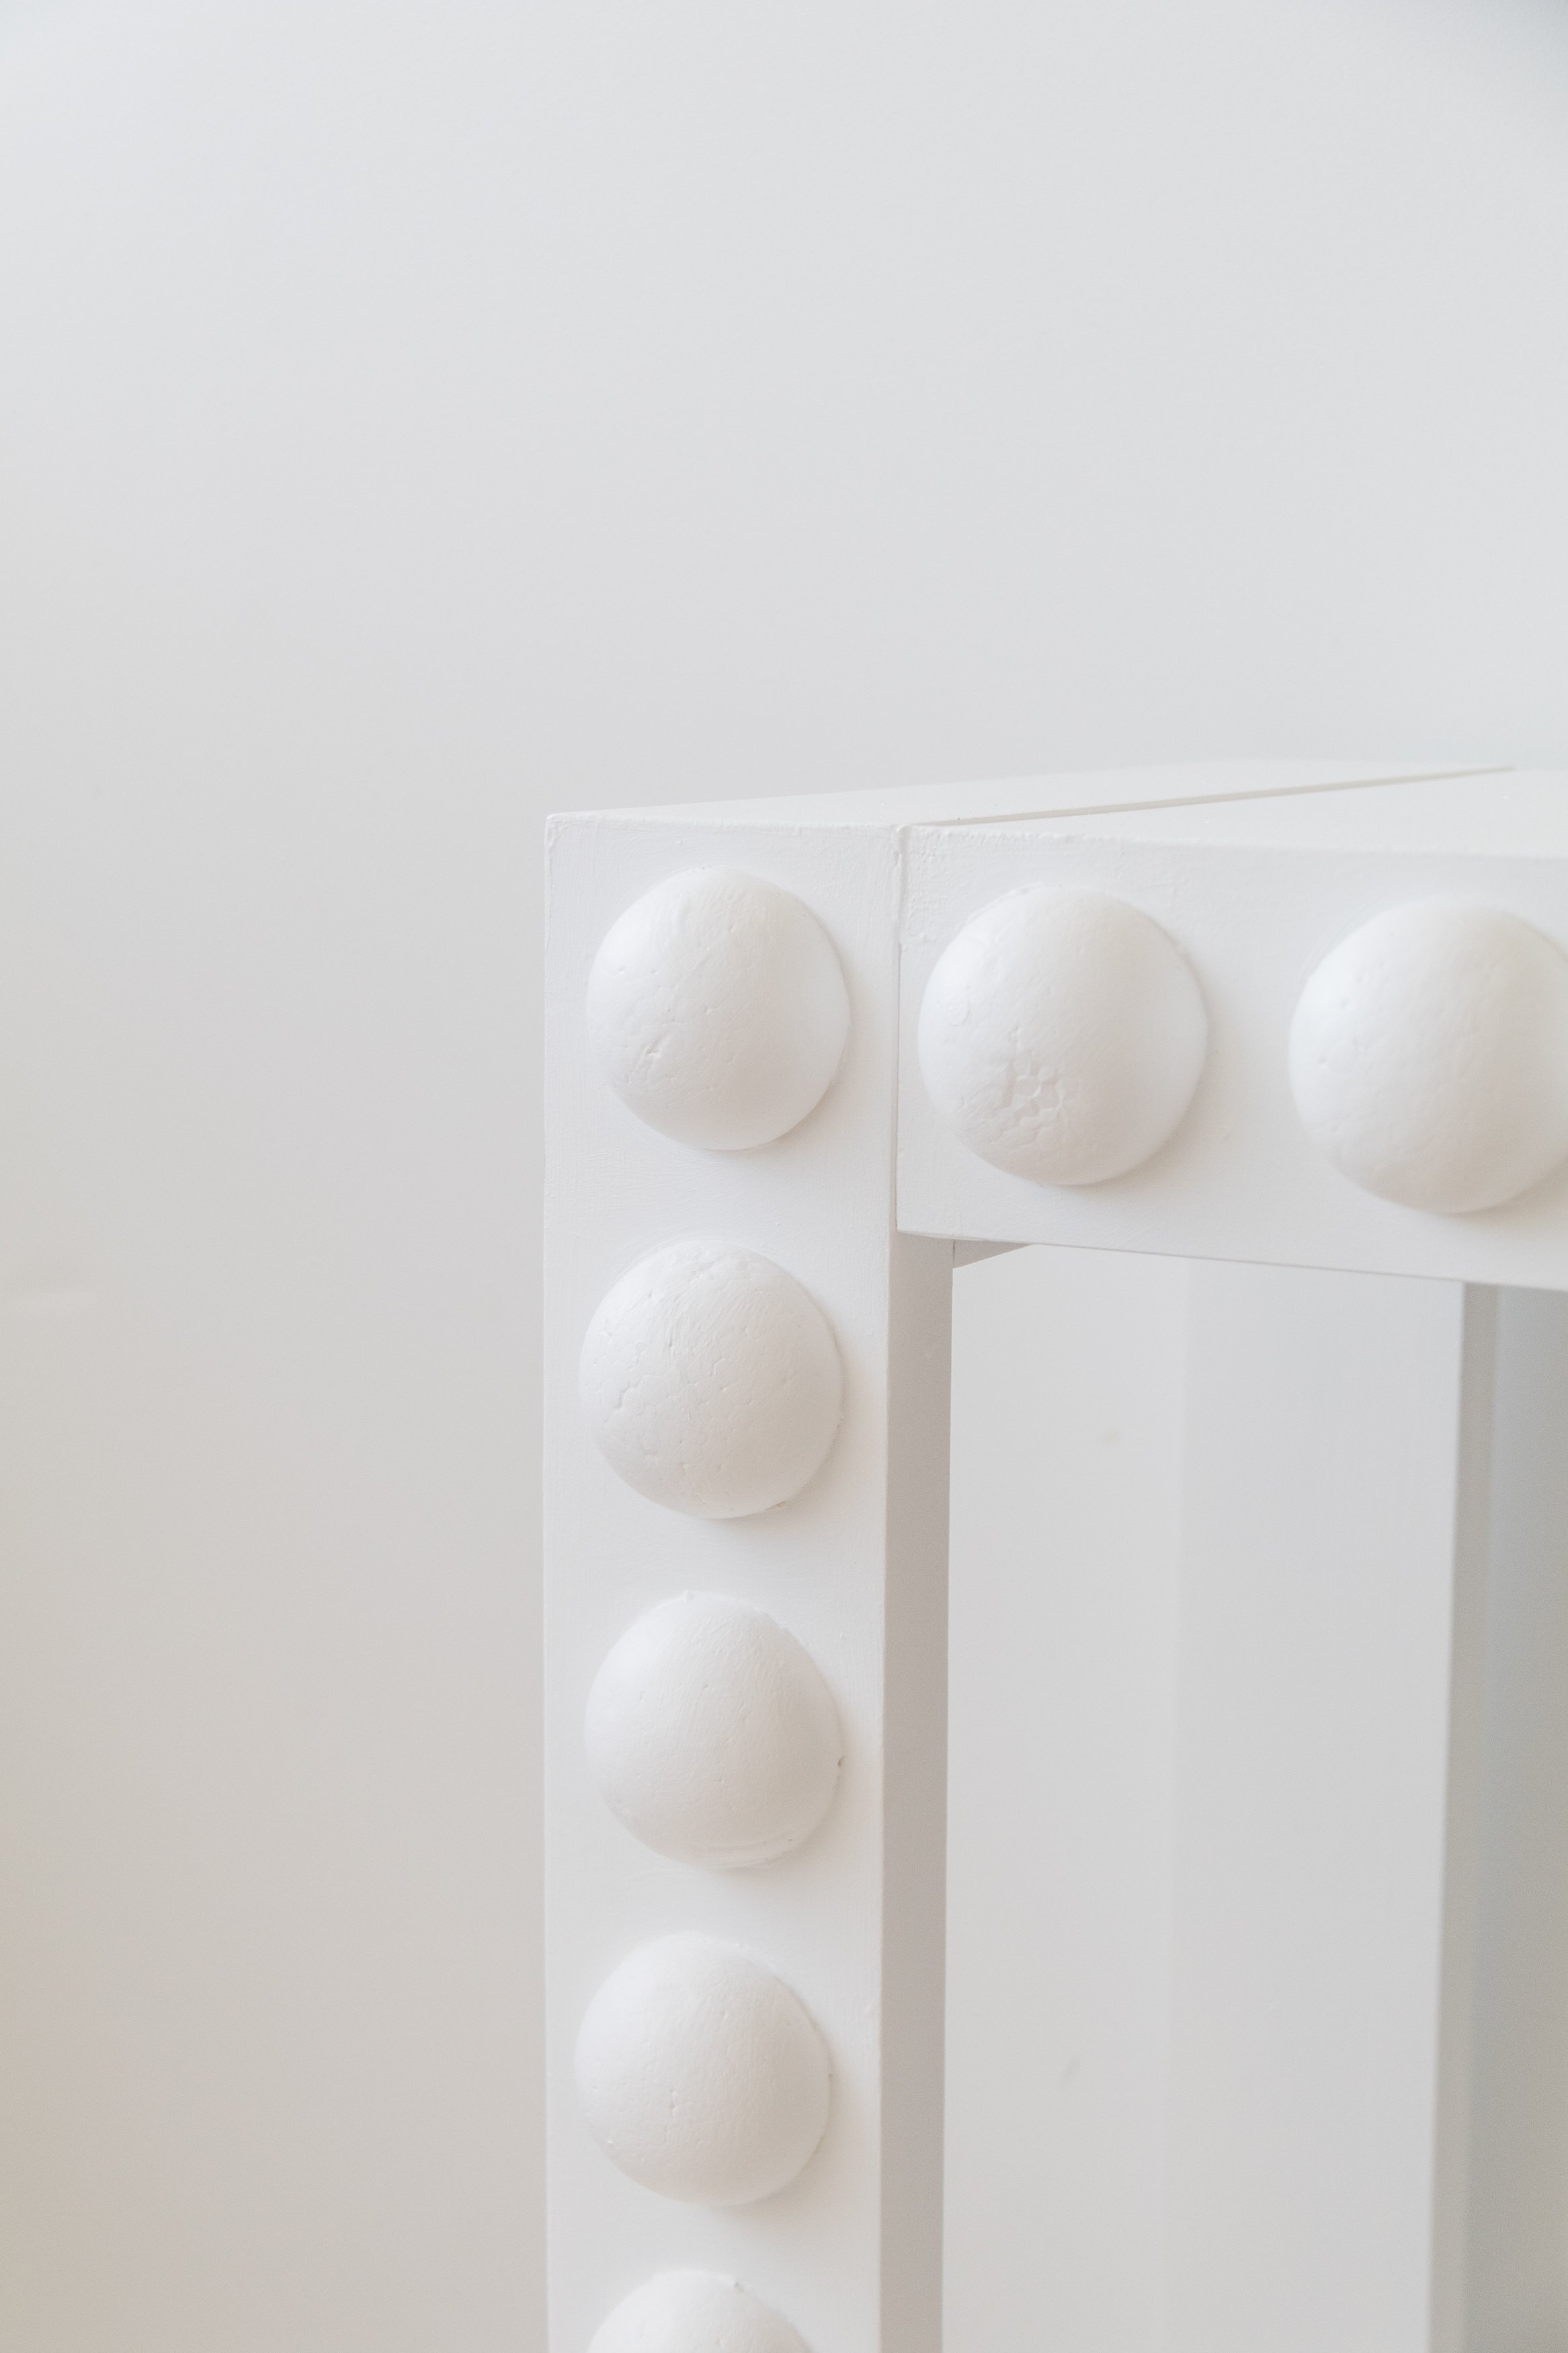
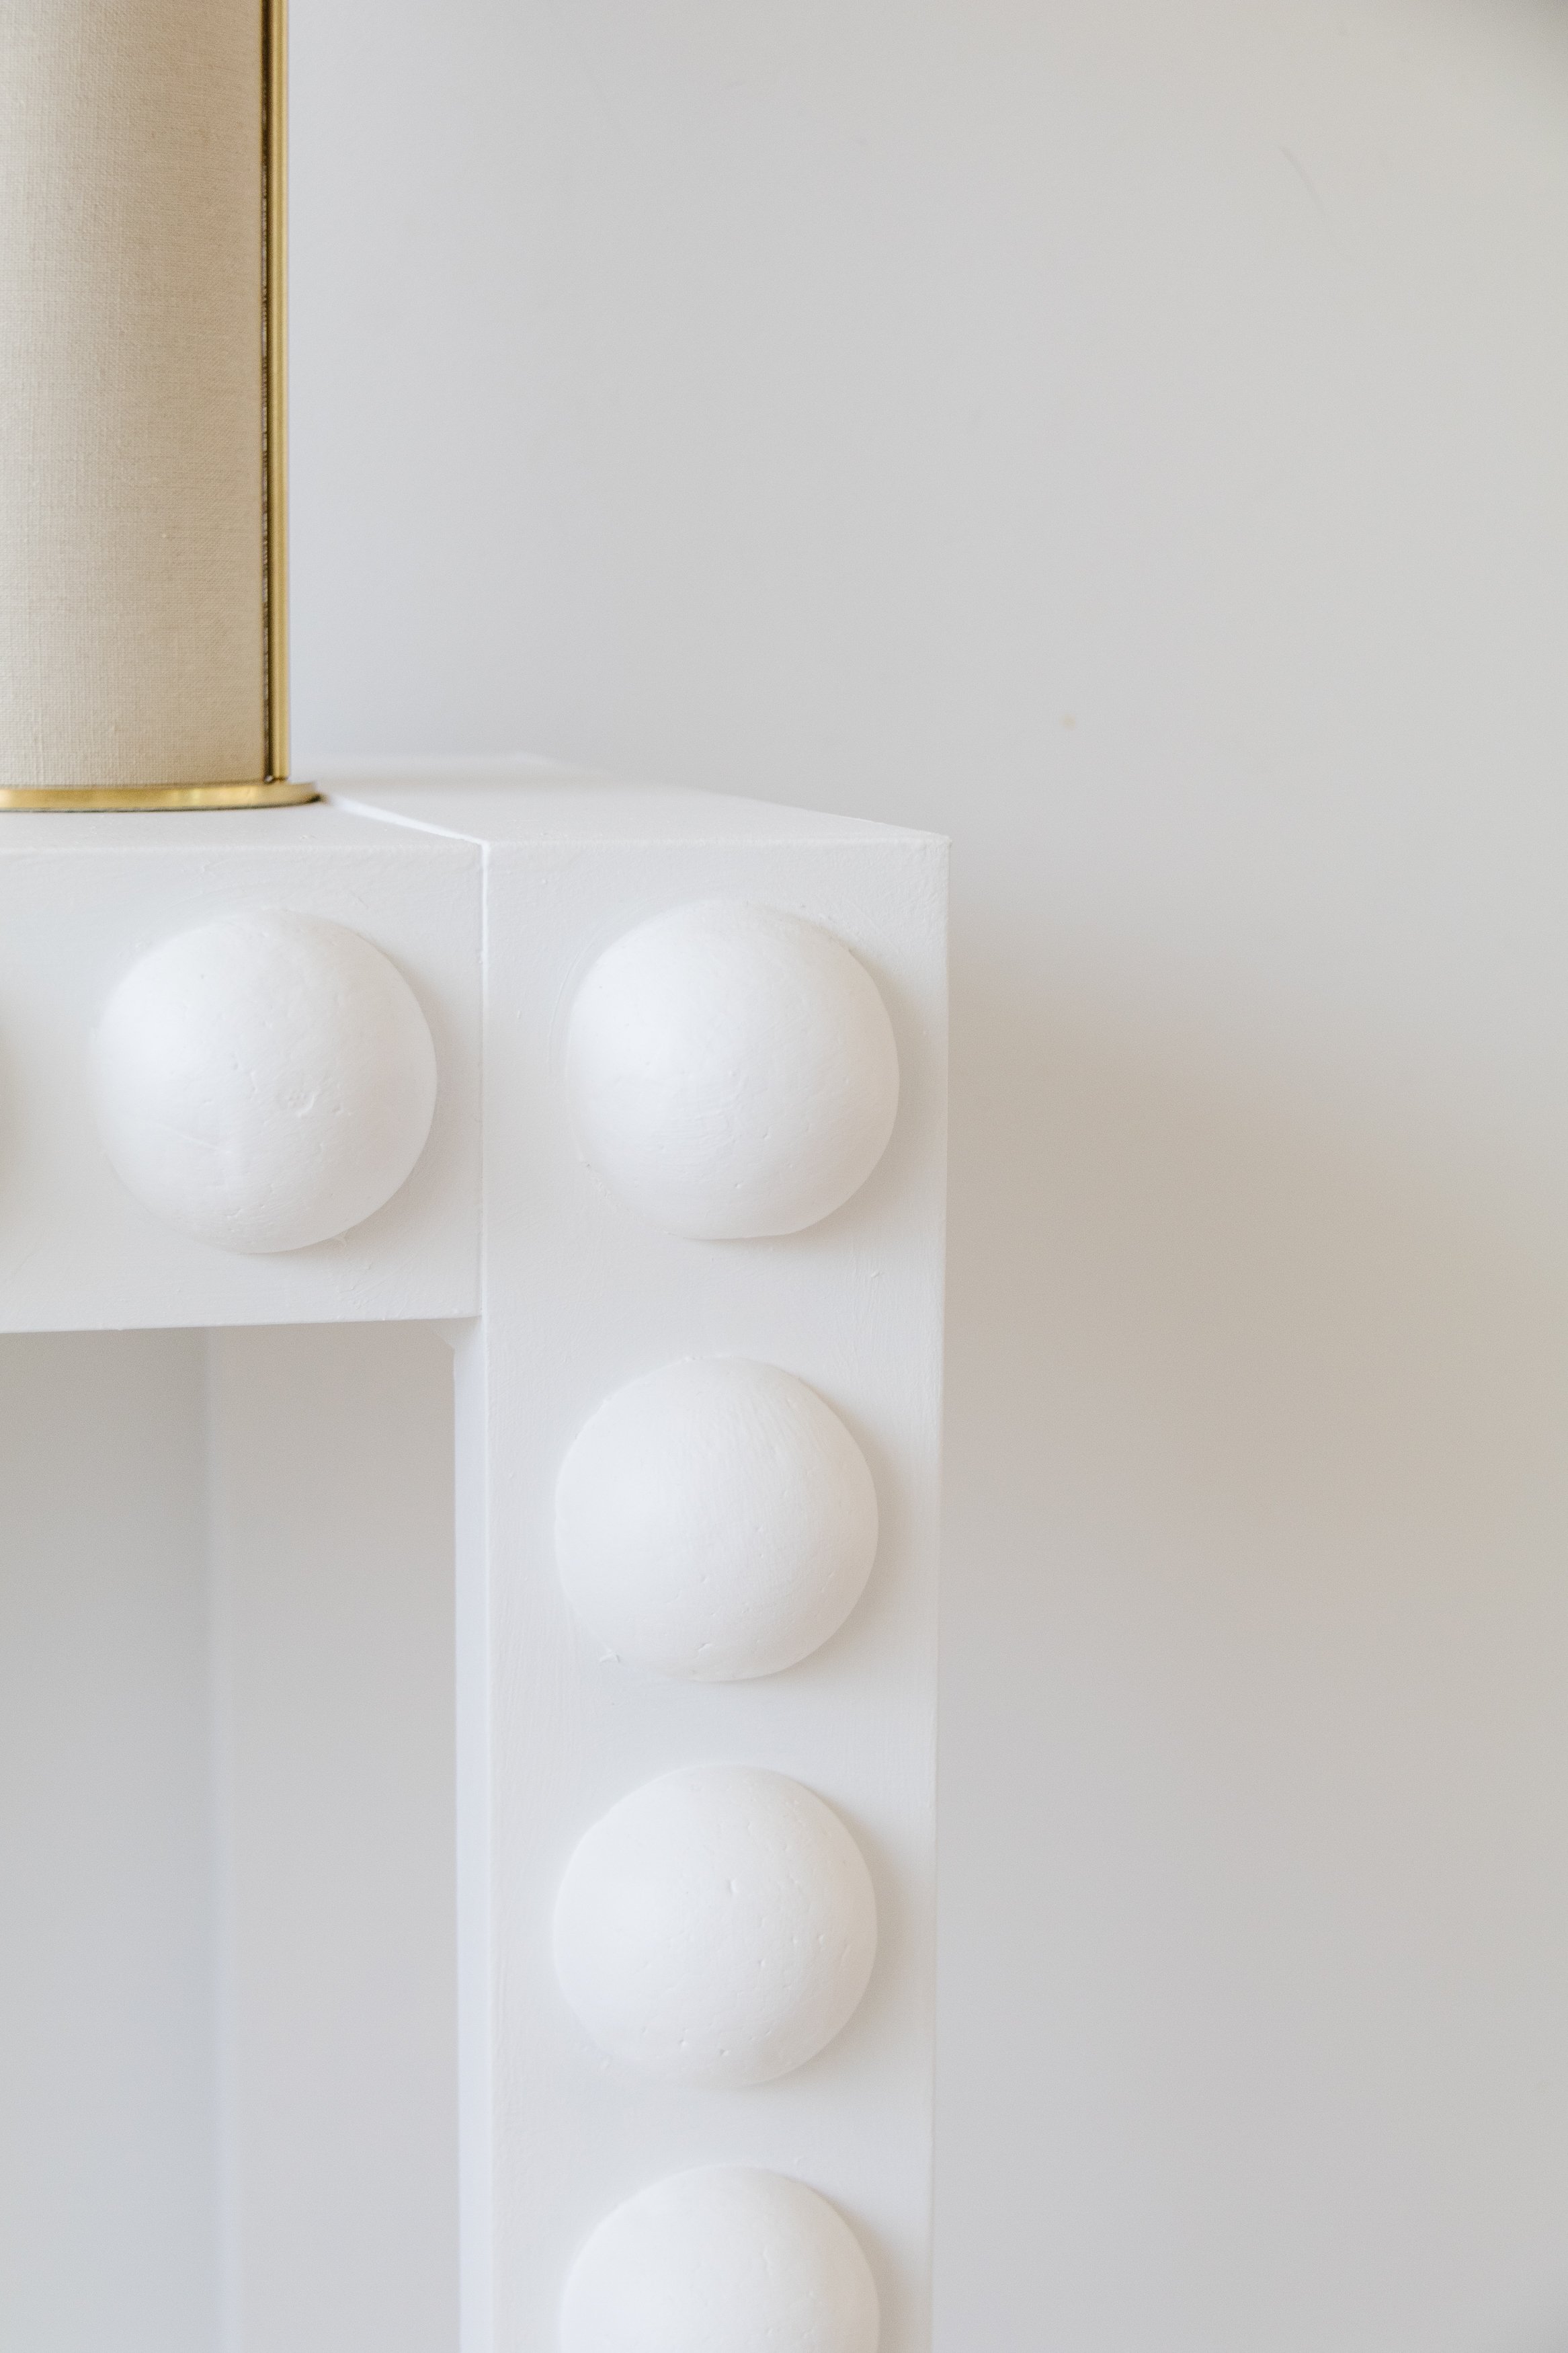
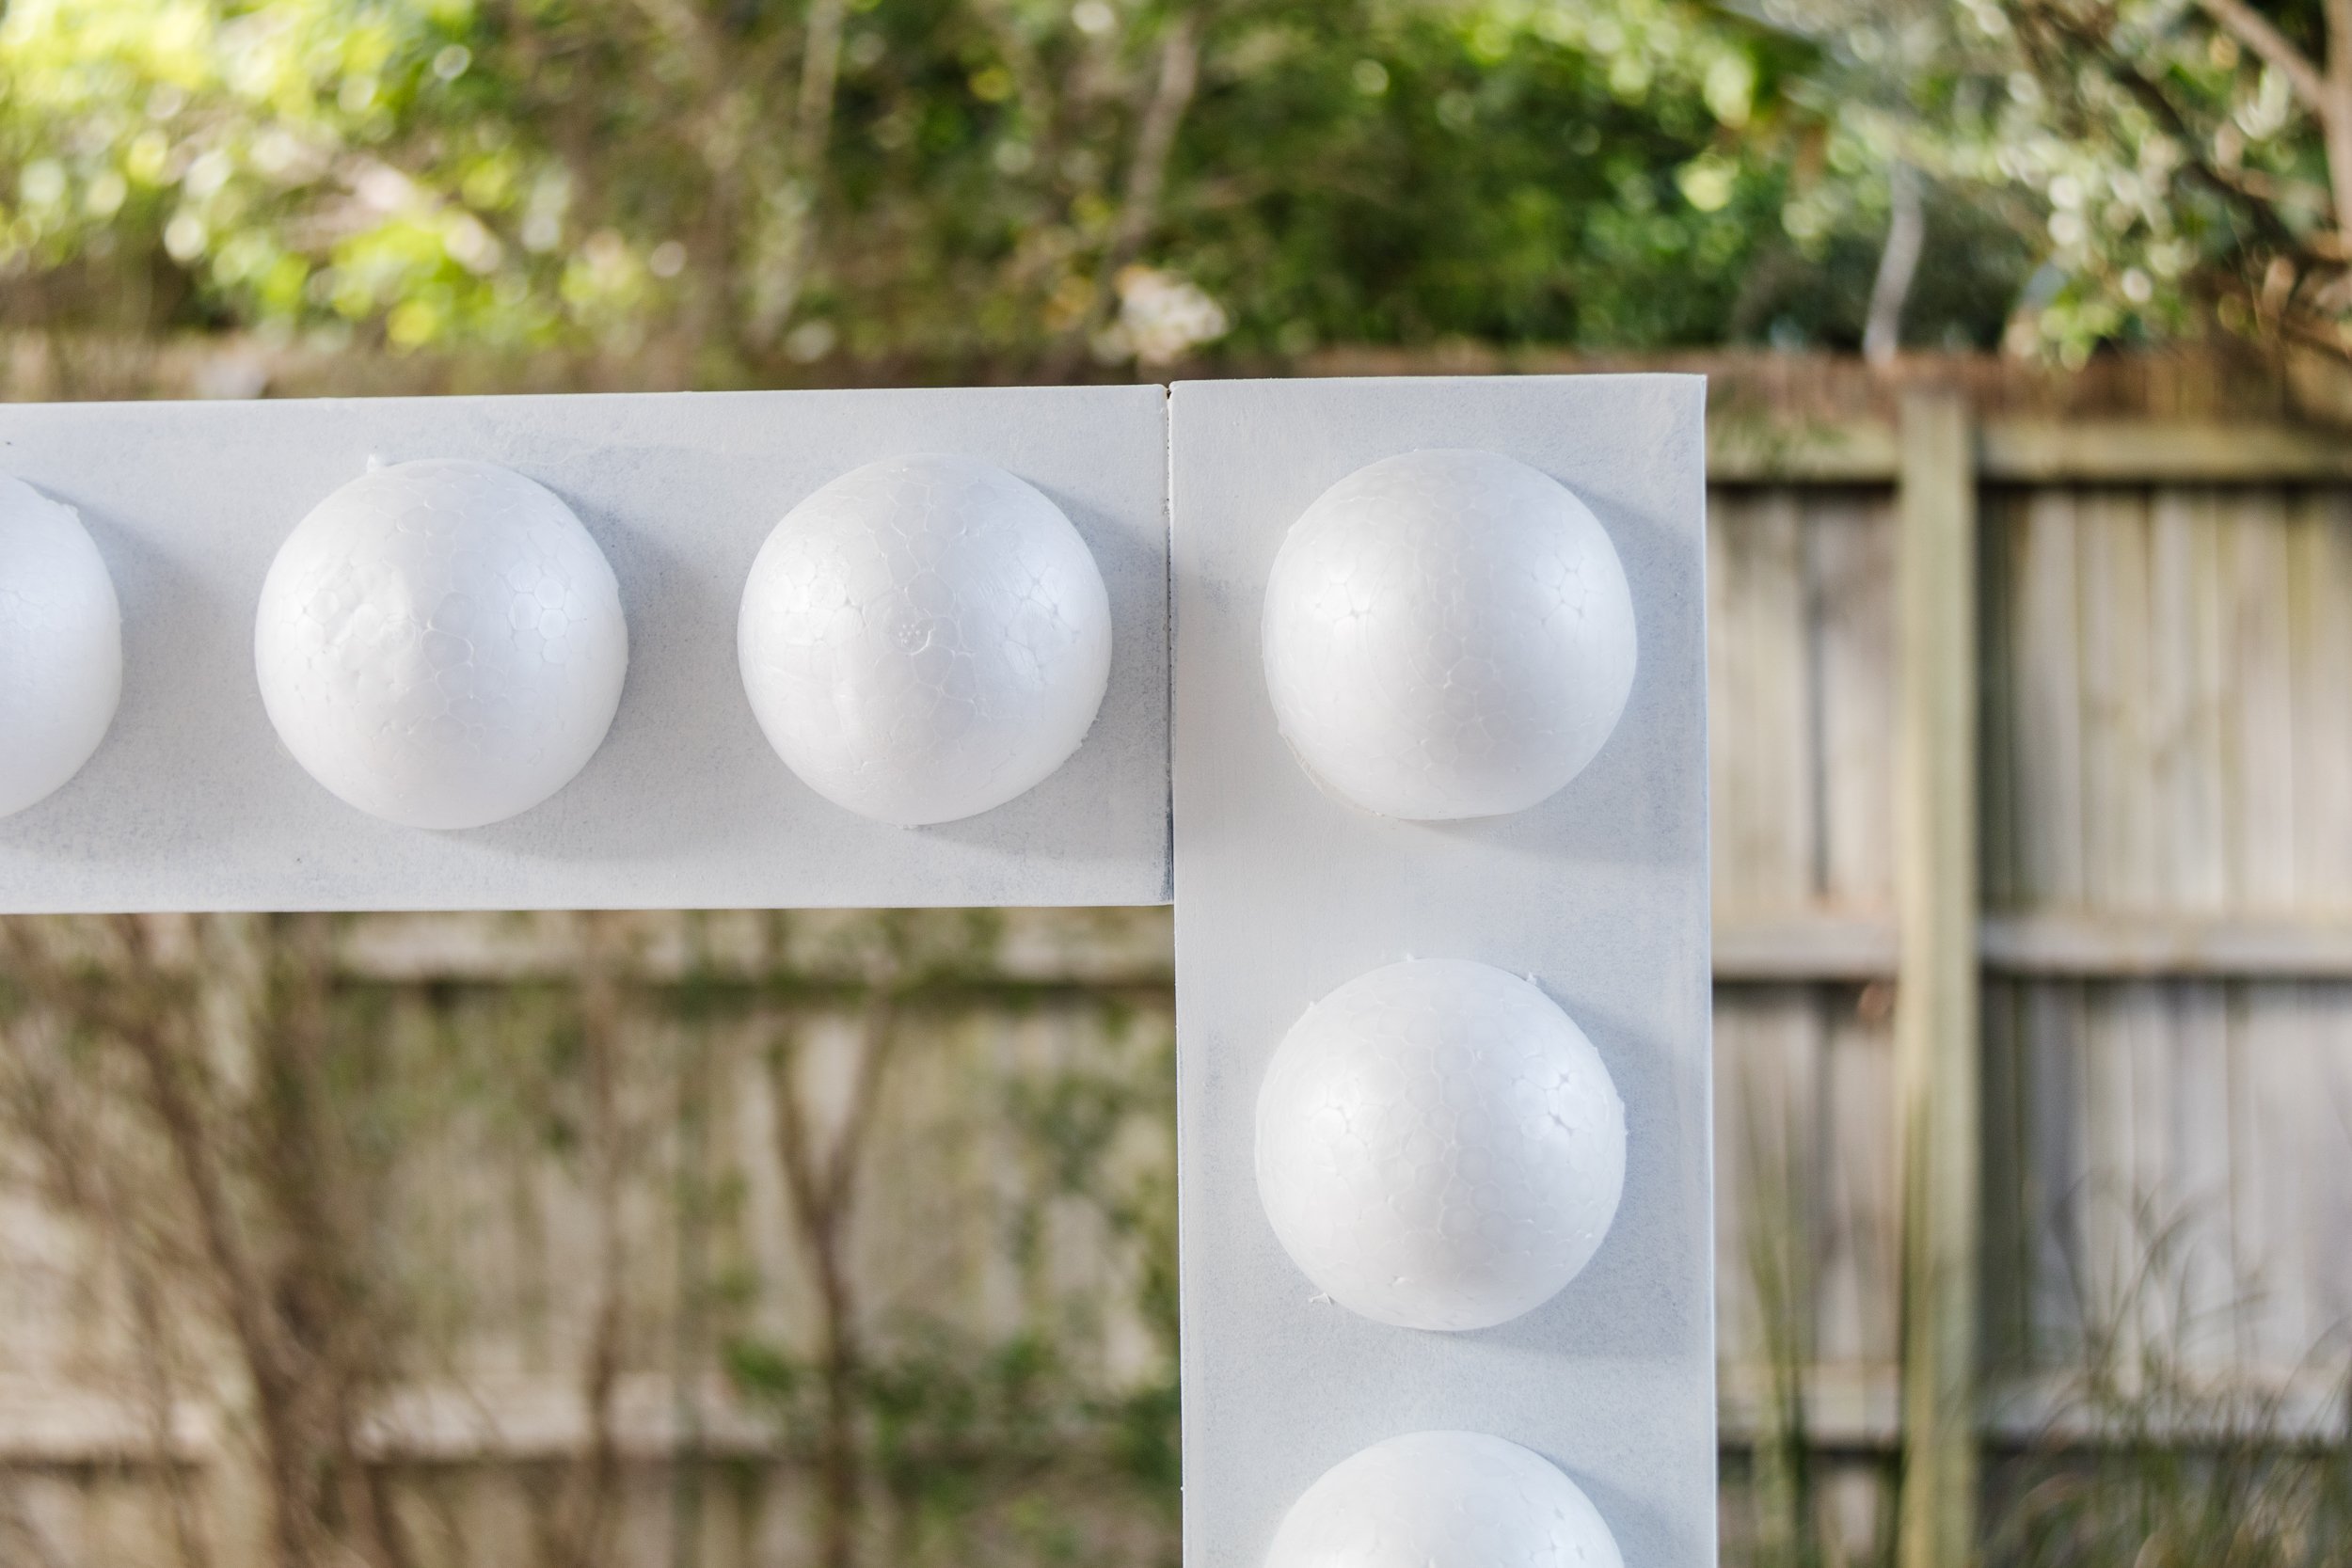
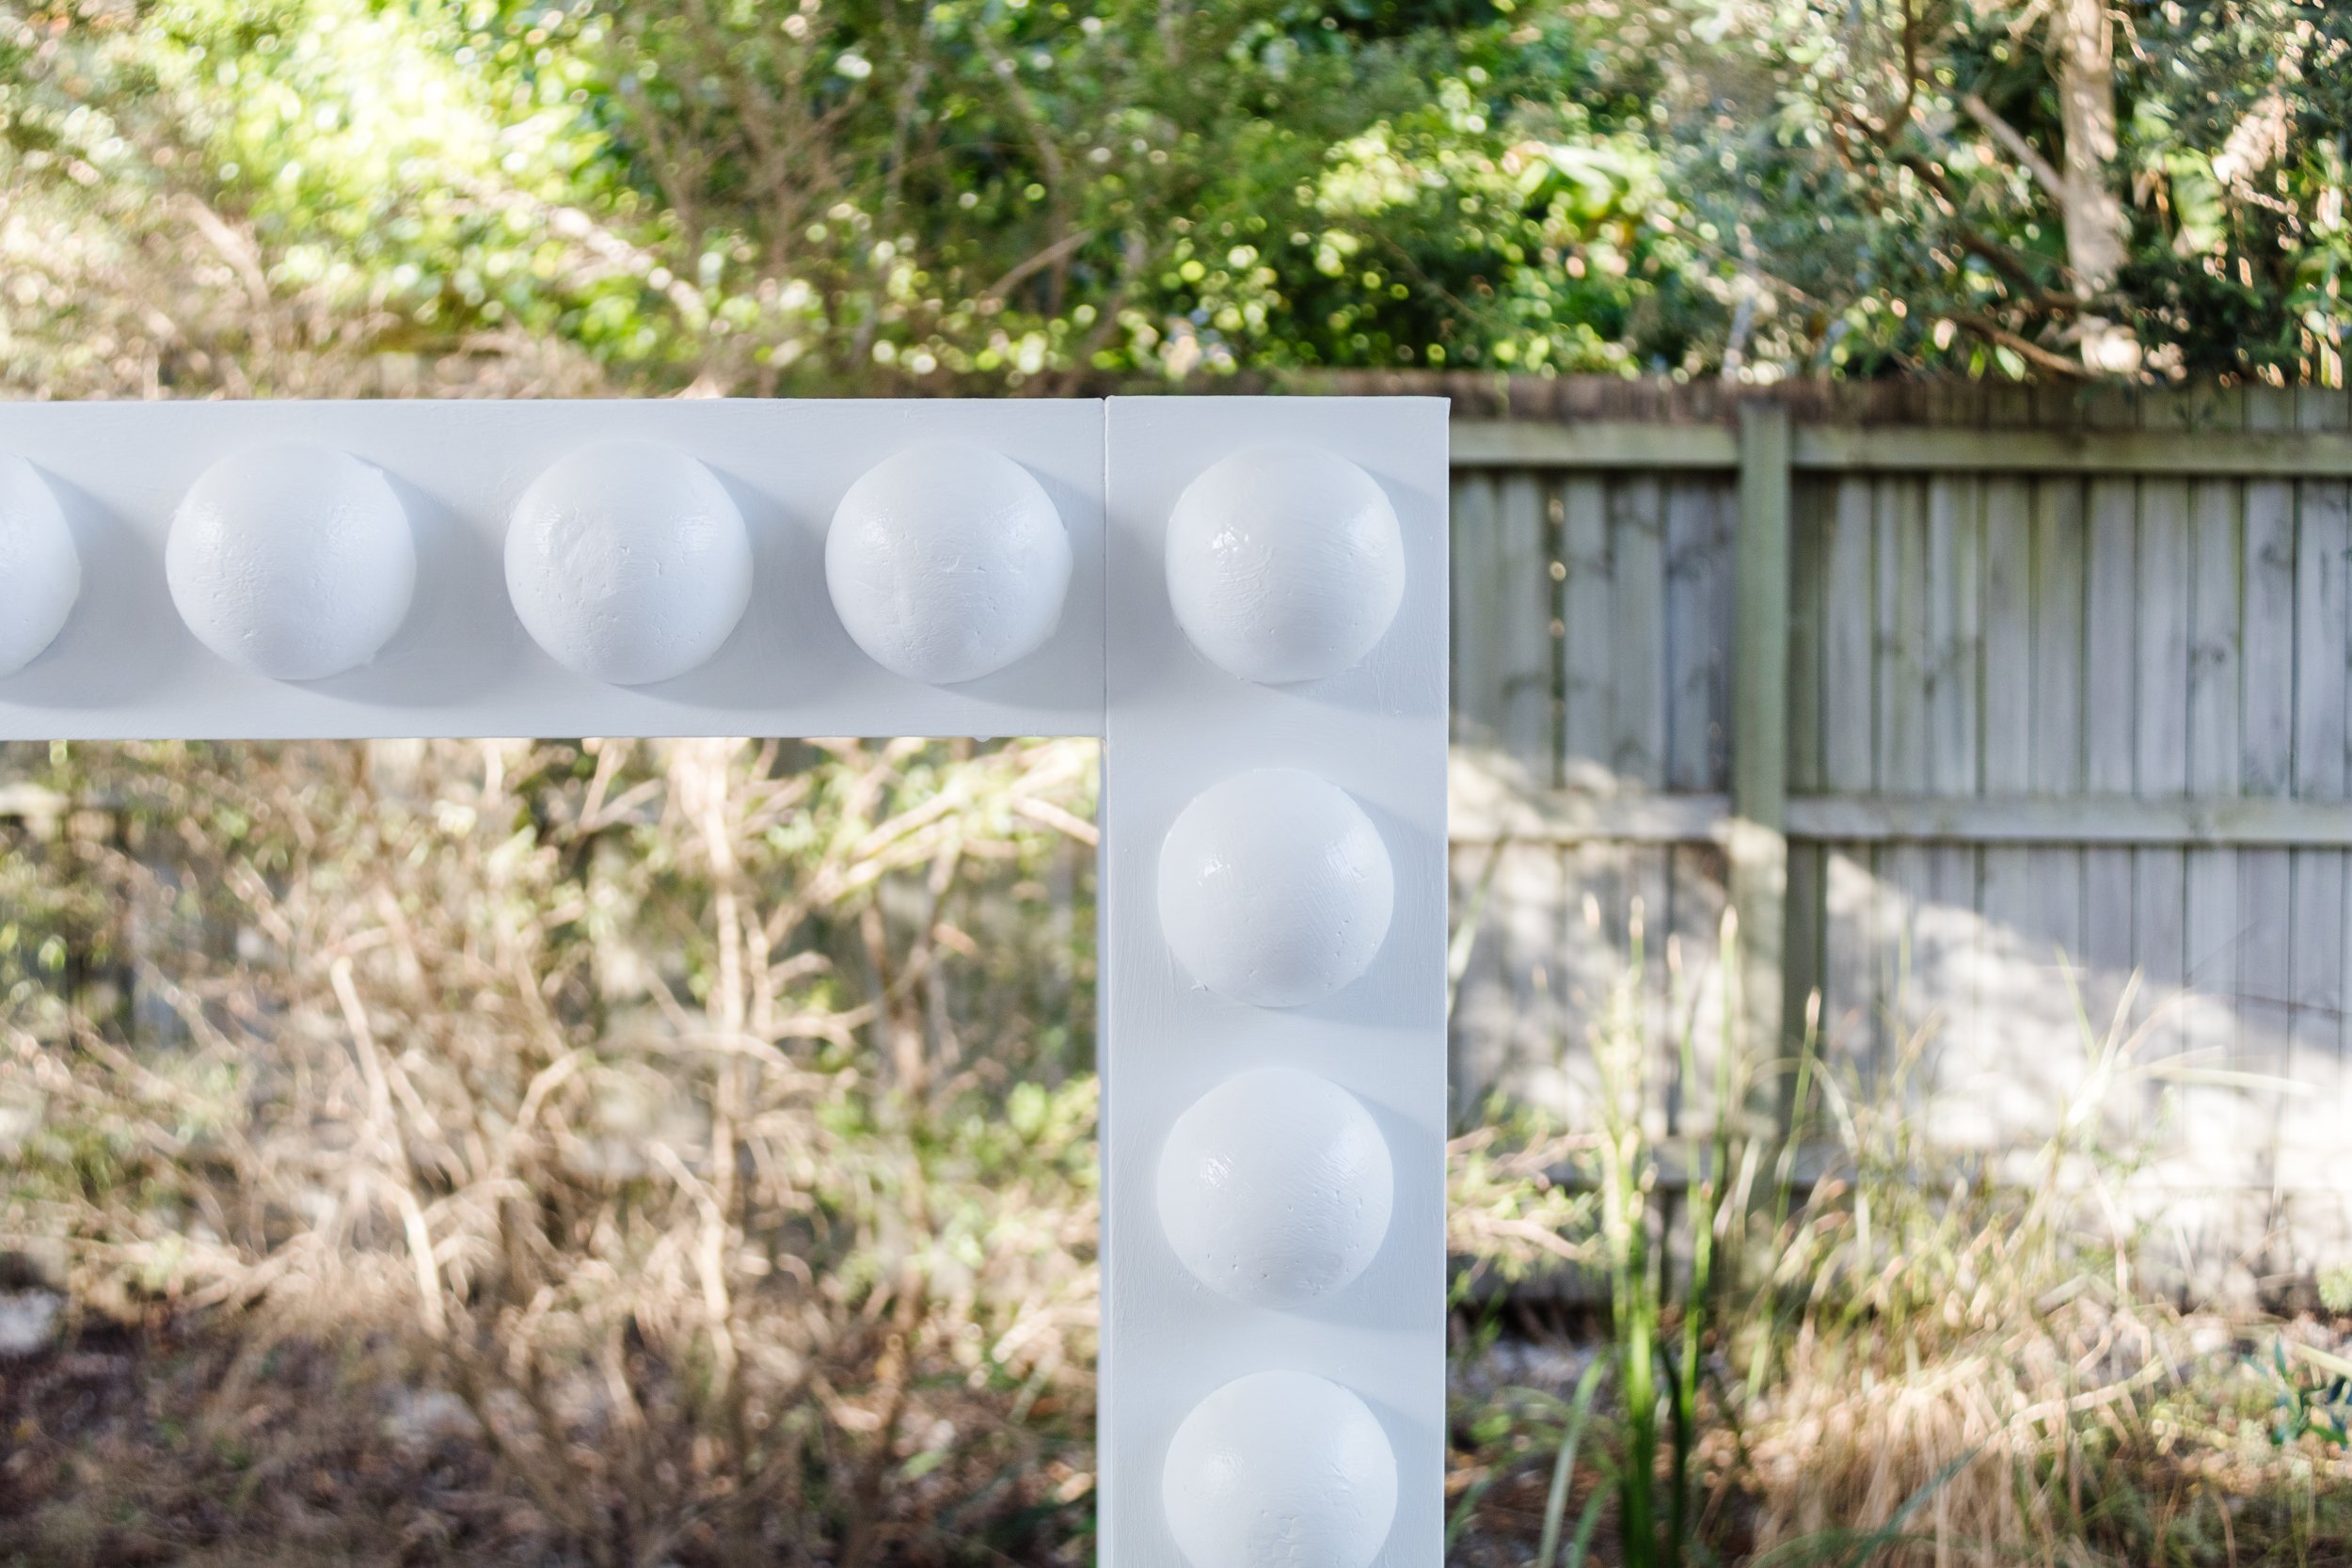
Step 2: While the paint was drying I cut the foam balls in half using a knife. When the paint had dried I glued the half foam balls onto the front of the console table. Selleys Hold Up glue is amazing and holds/sets really fast, so I was able to start painting the first coat of Dulux Lexicon Quarter about 20 minutes after.
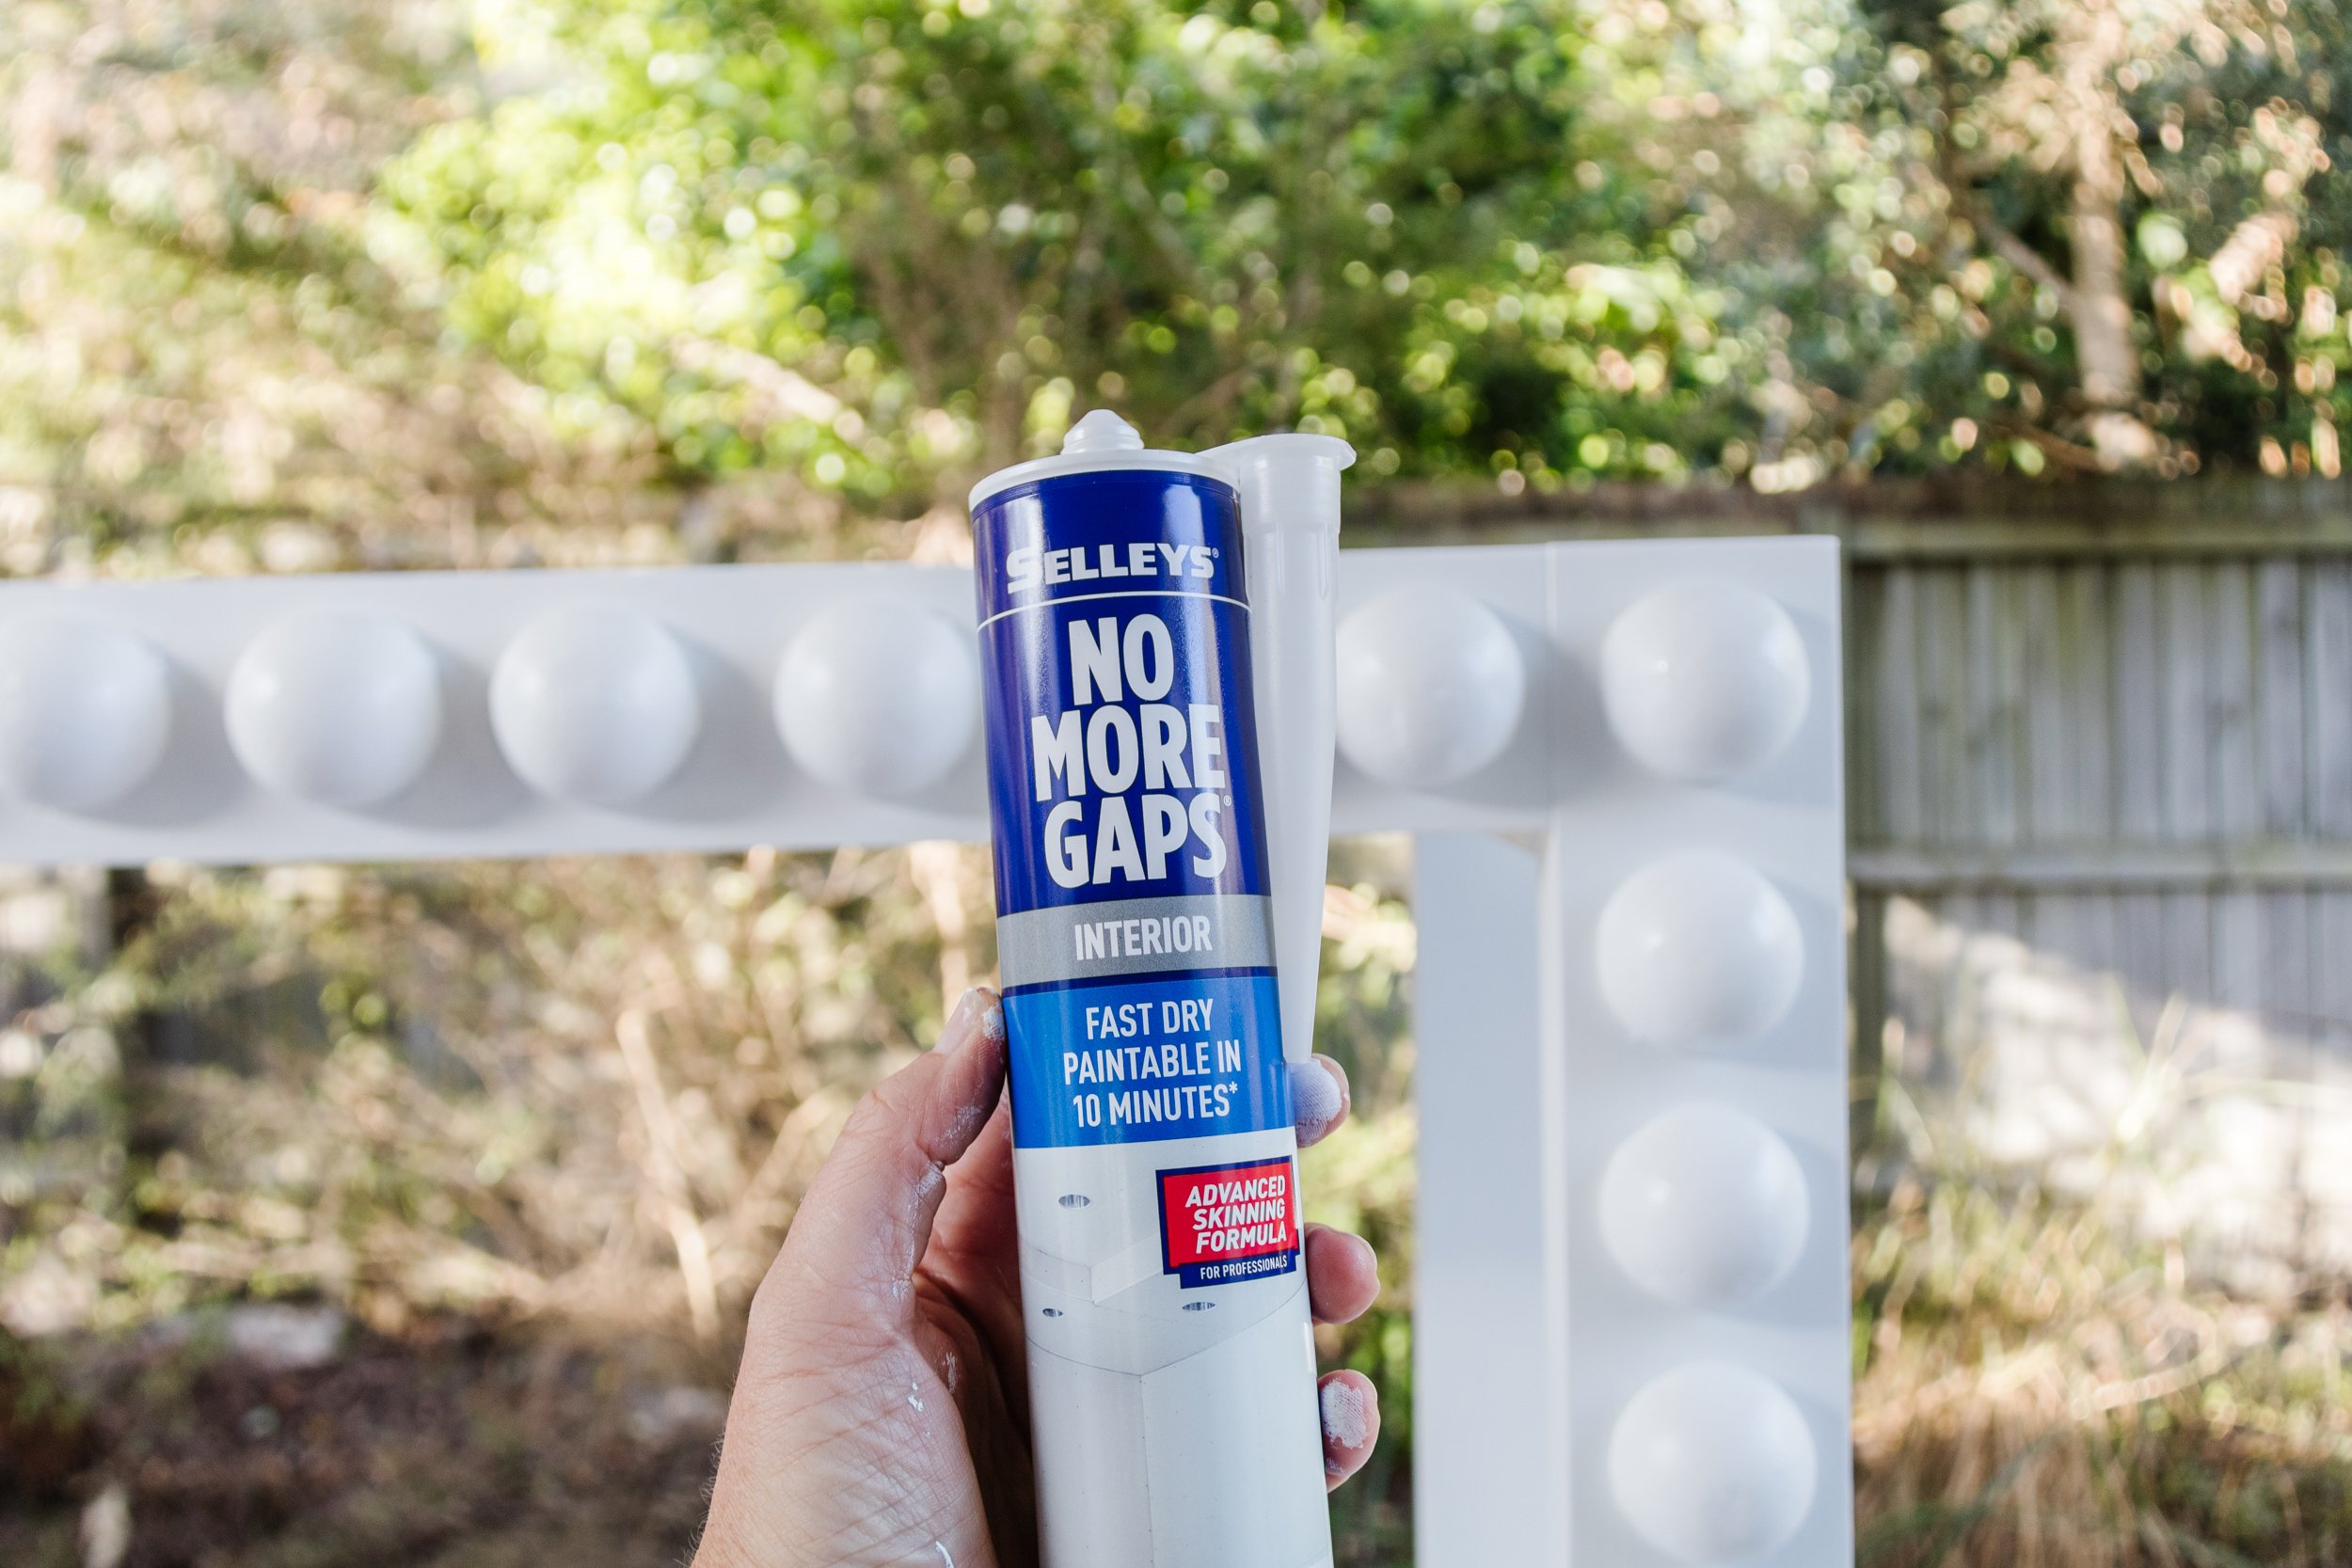
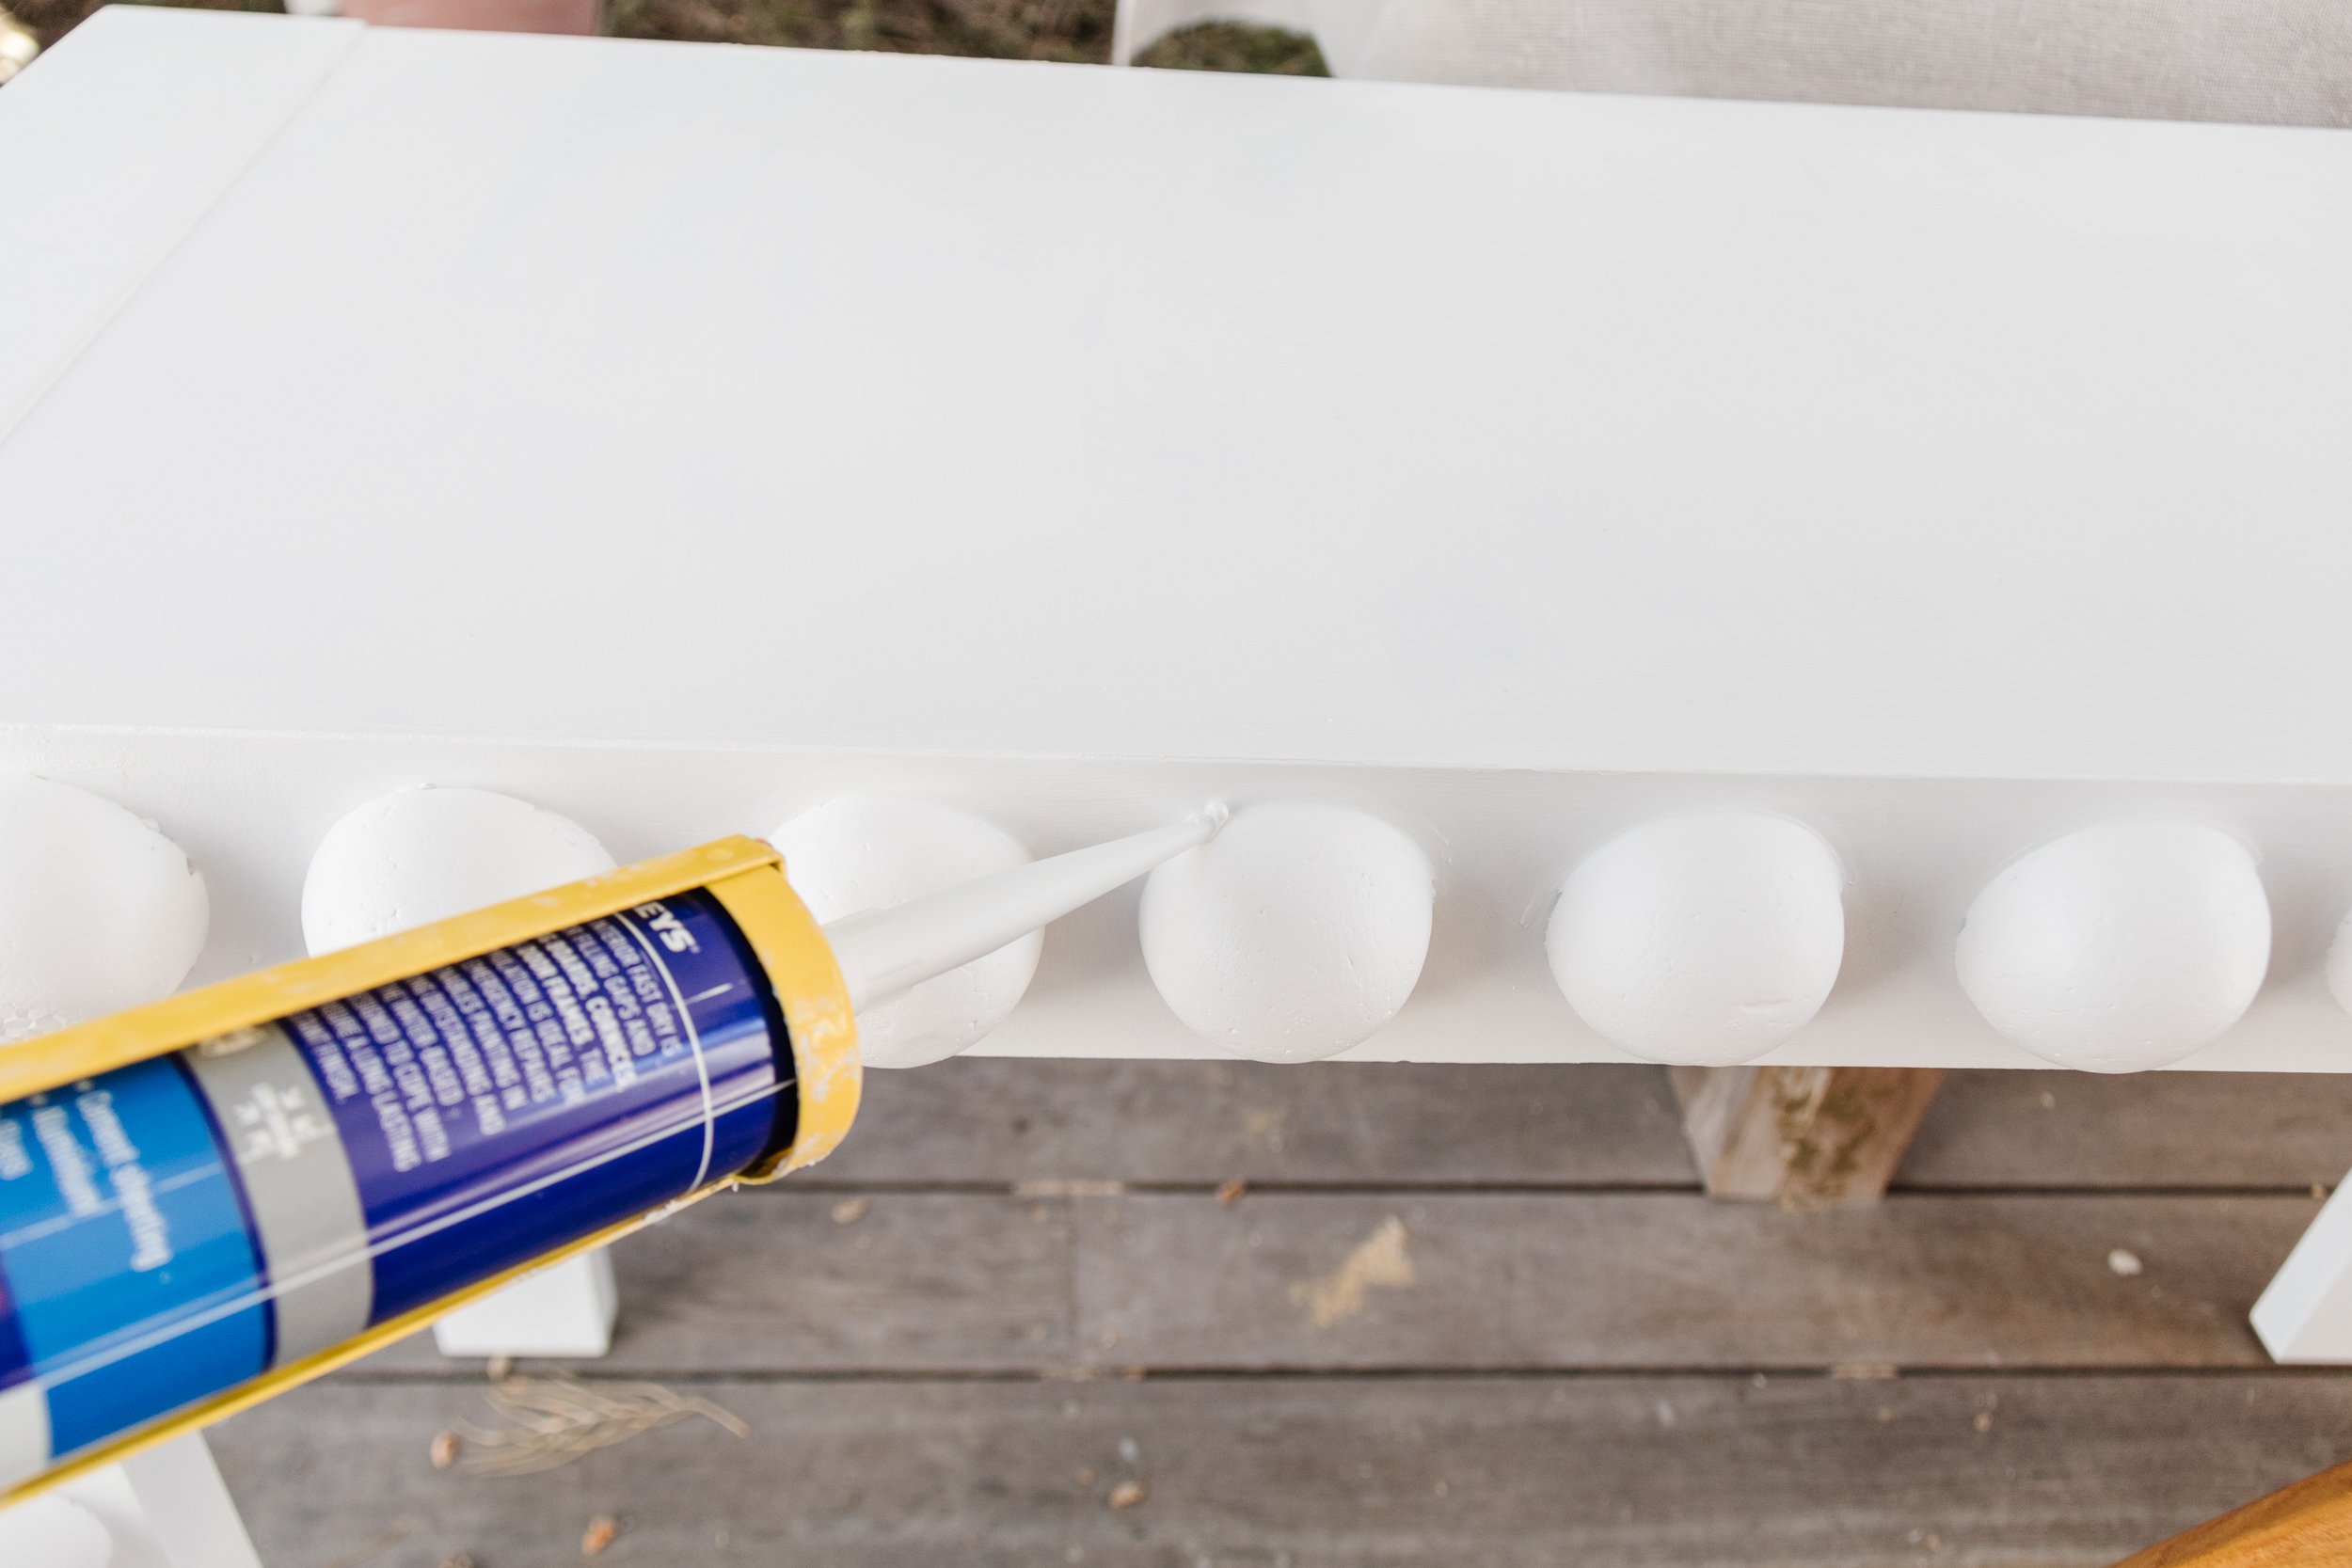
Step 3: Unfortunately there were a few gaps between the foam balls and the console table, so I decided to fill them in using Selleys No More Gaps, and I simply used a wet wipe to clean it up.
Step 4: Virtually straight away, I applied three more thin coats of paint, allowing the first coat to completely dry before applying the next.
Tip: I find it’s always better to apply at least 3 thin coats of paint when I upcycle instead of one or two thick coats; the finish is more professional IMHO.

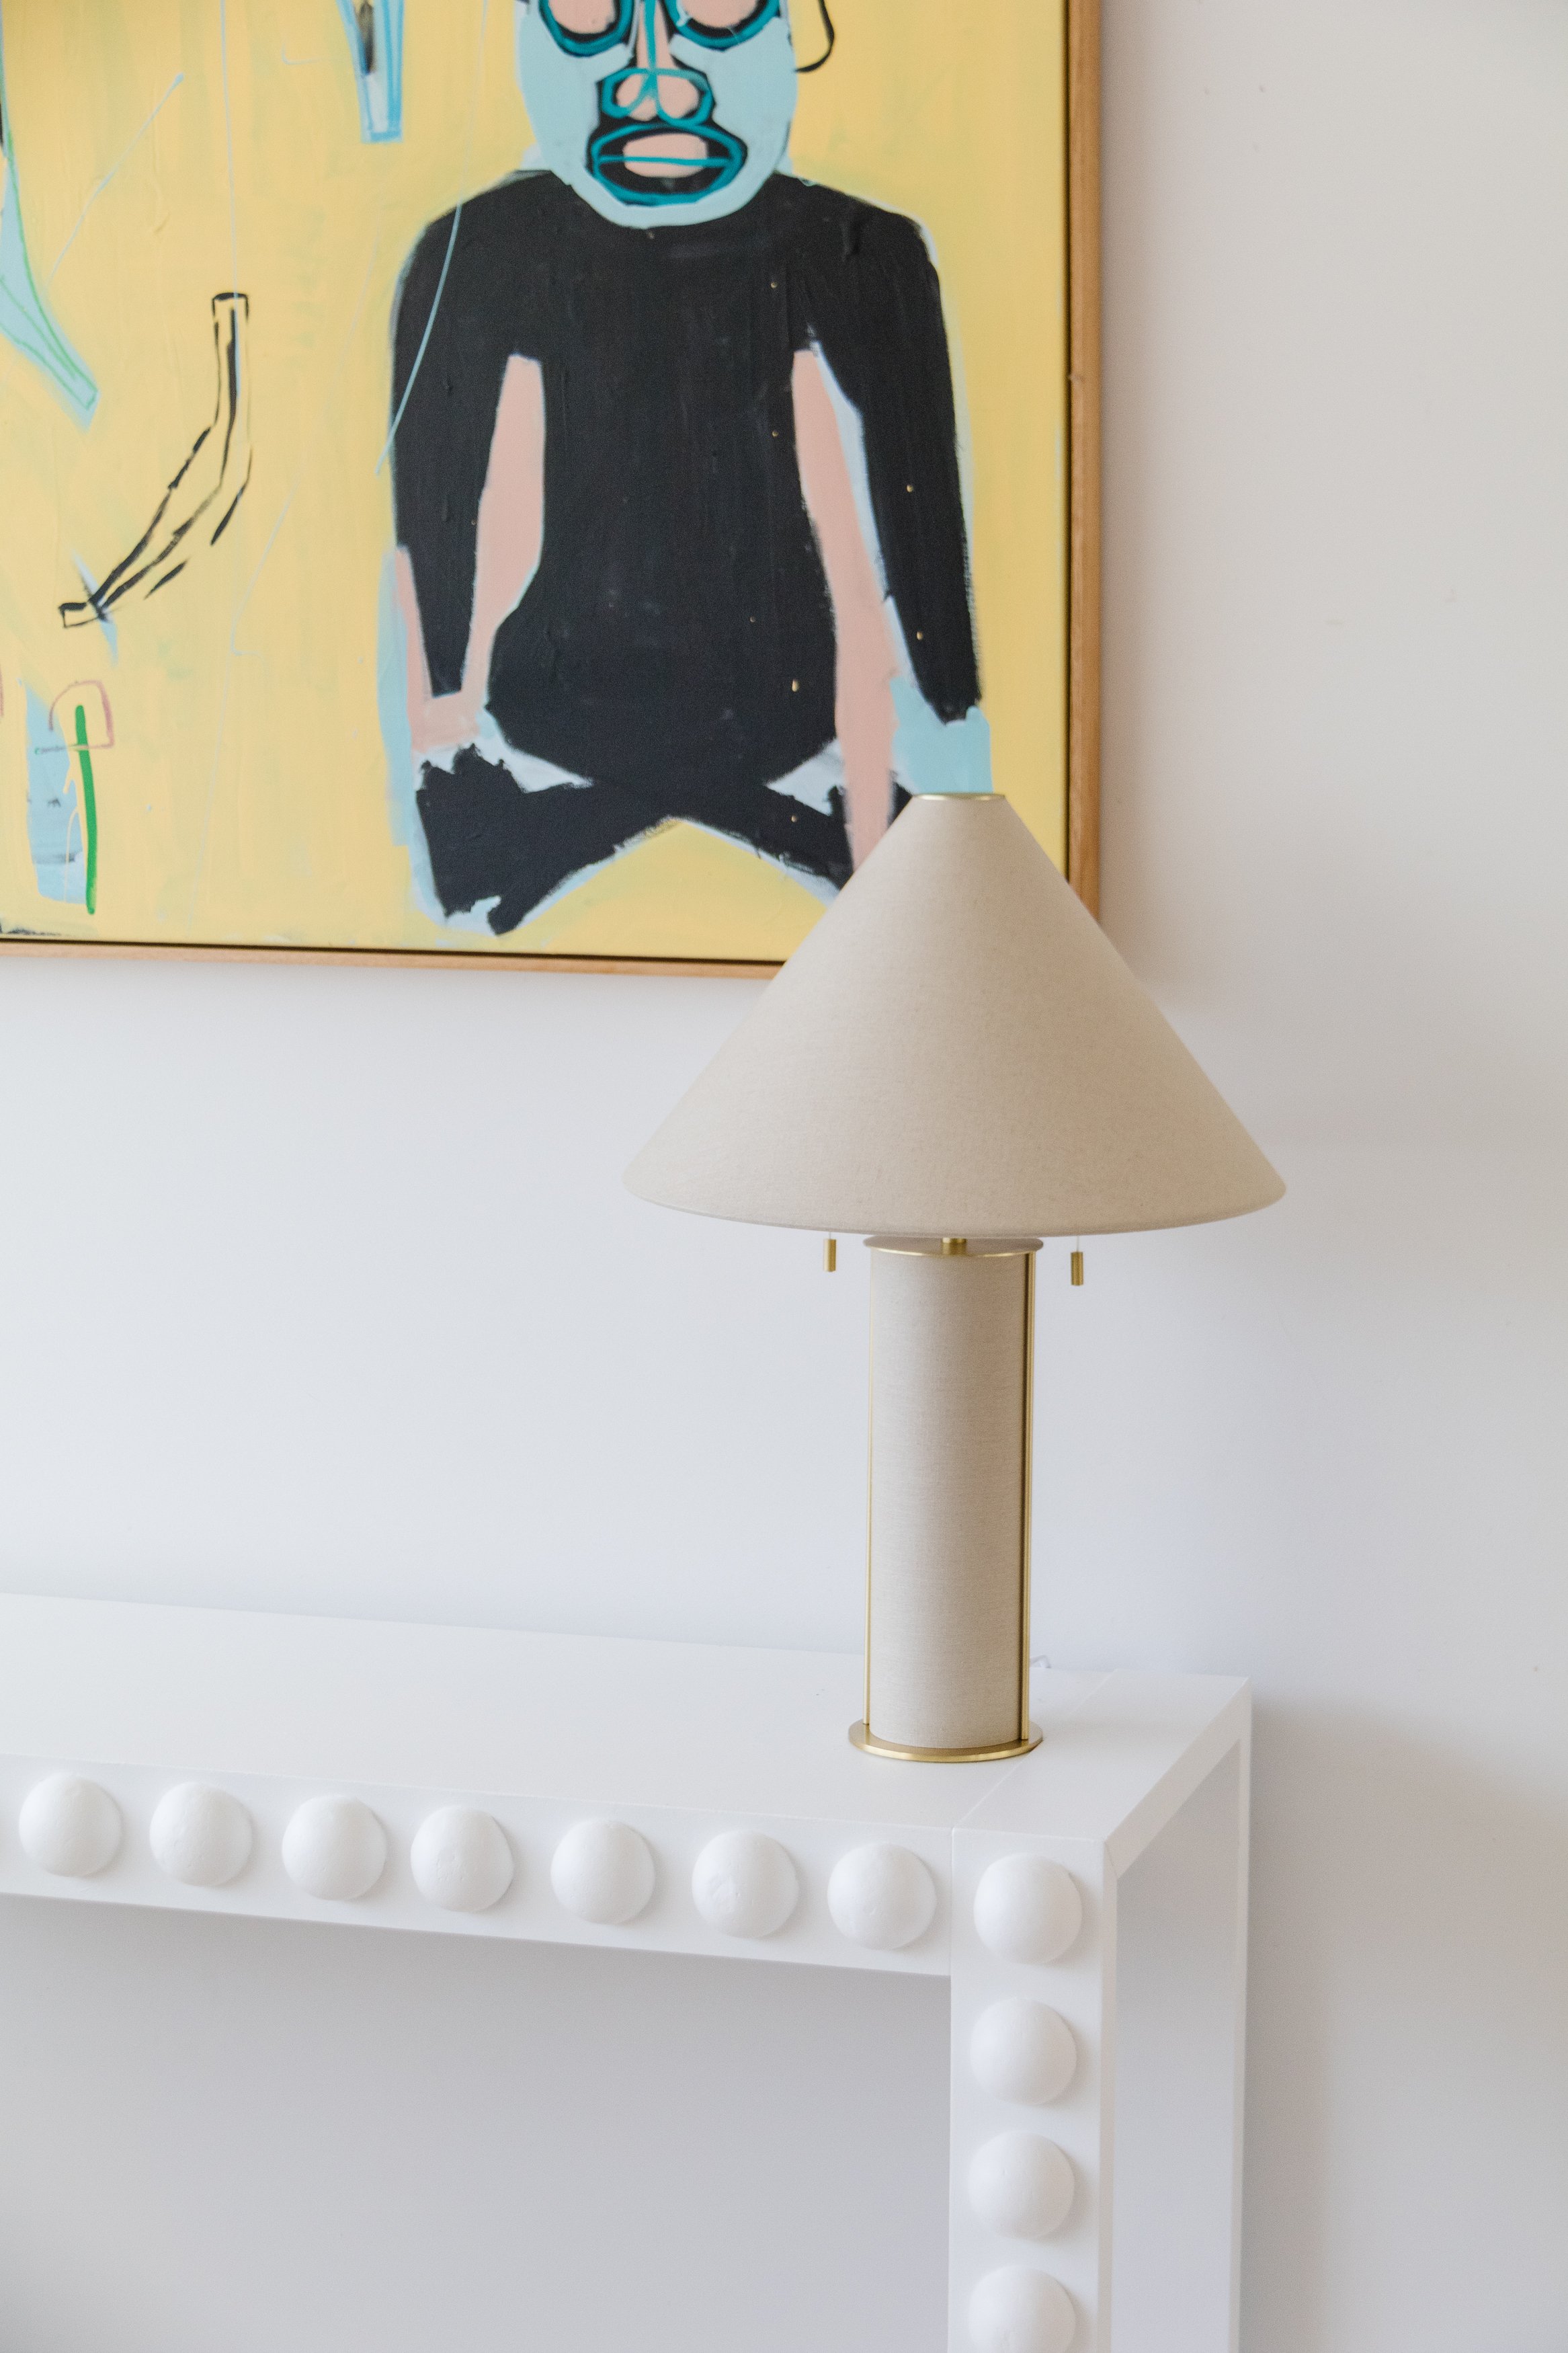
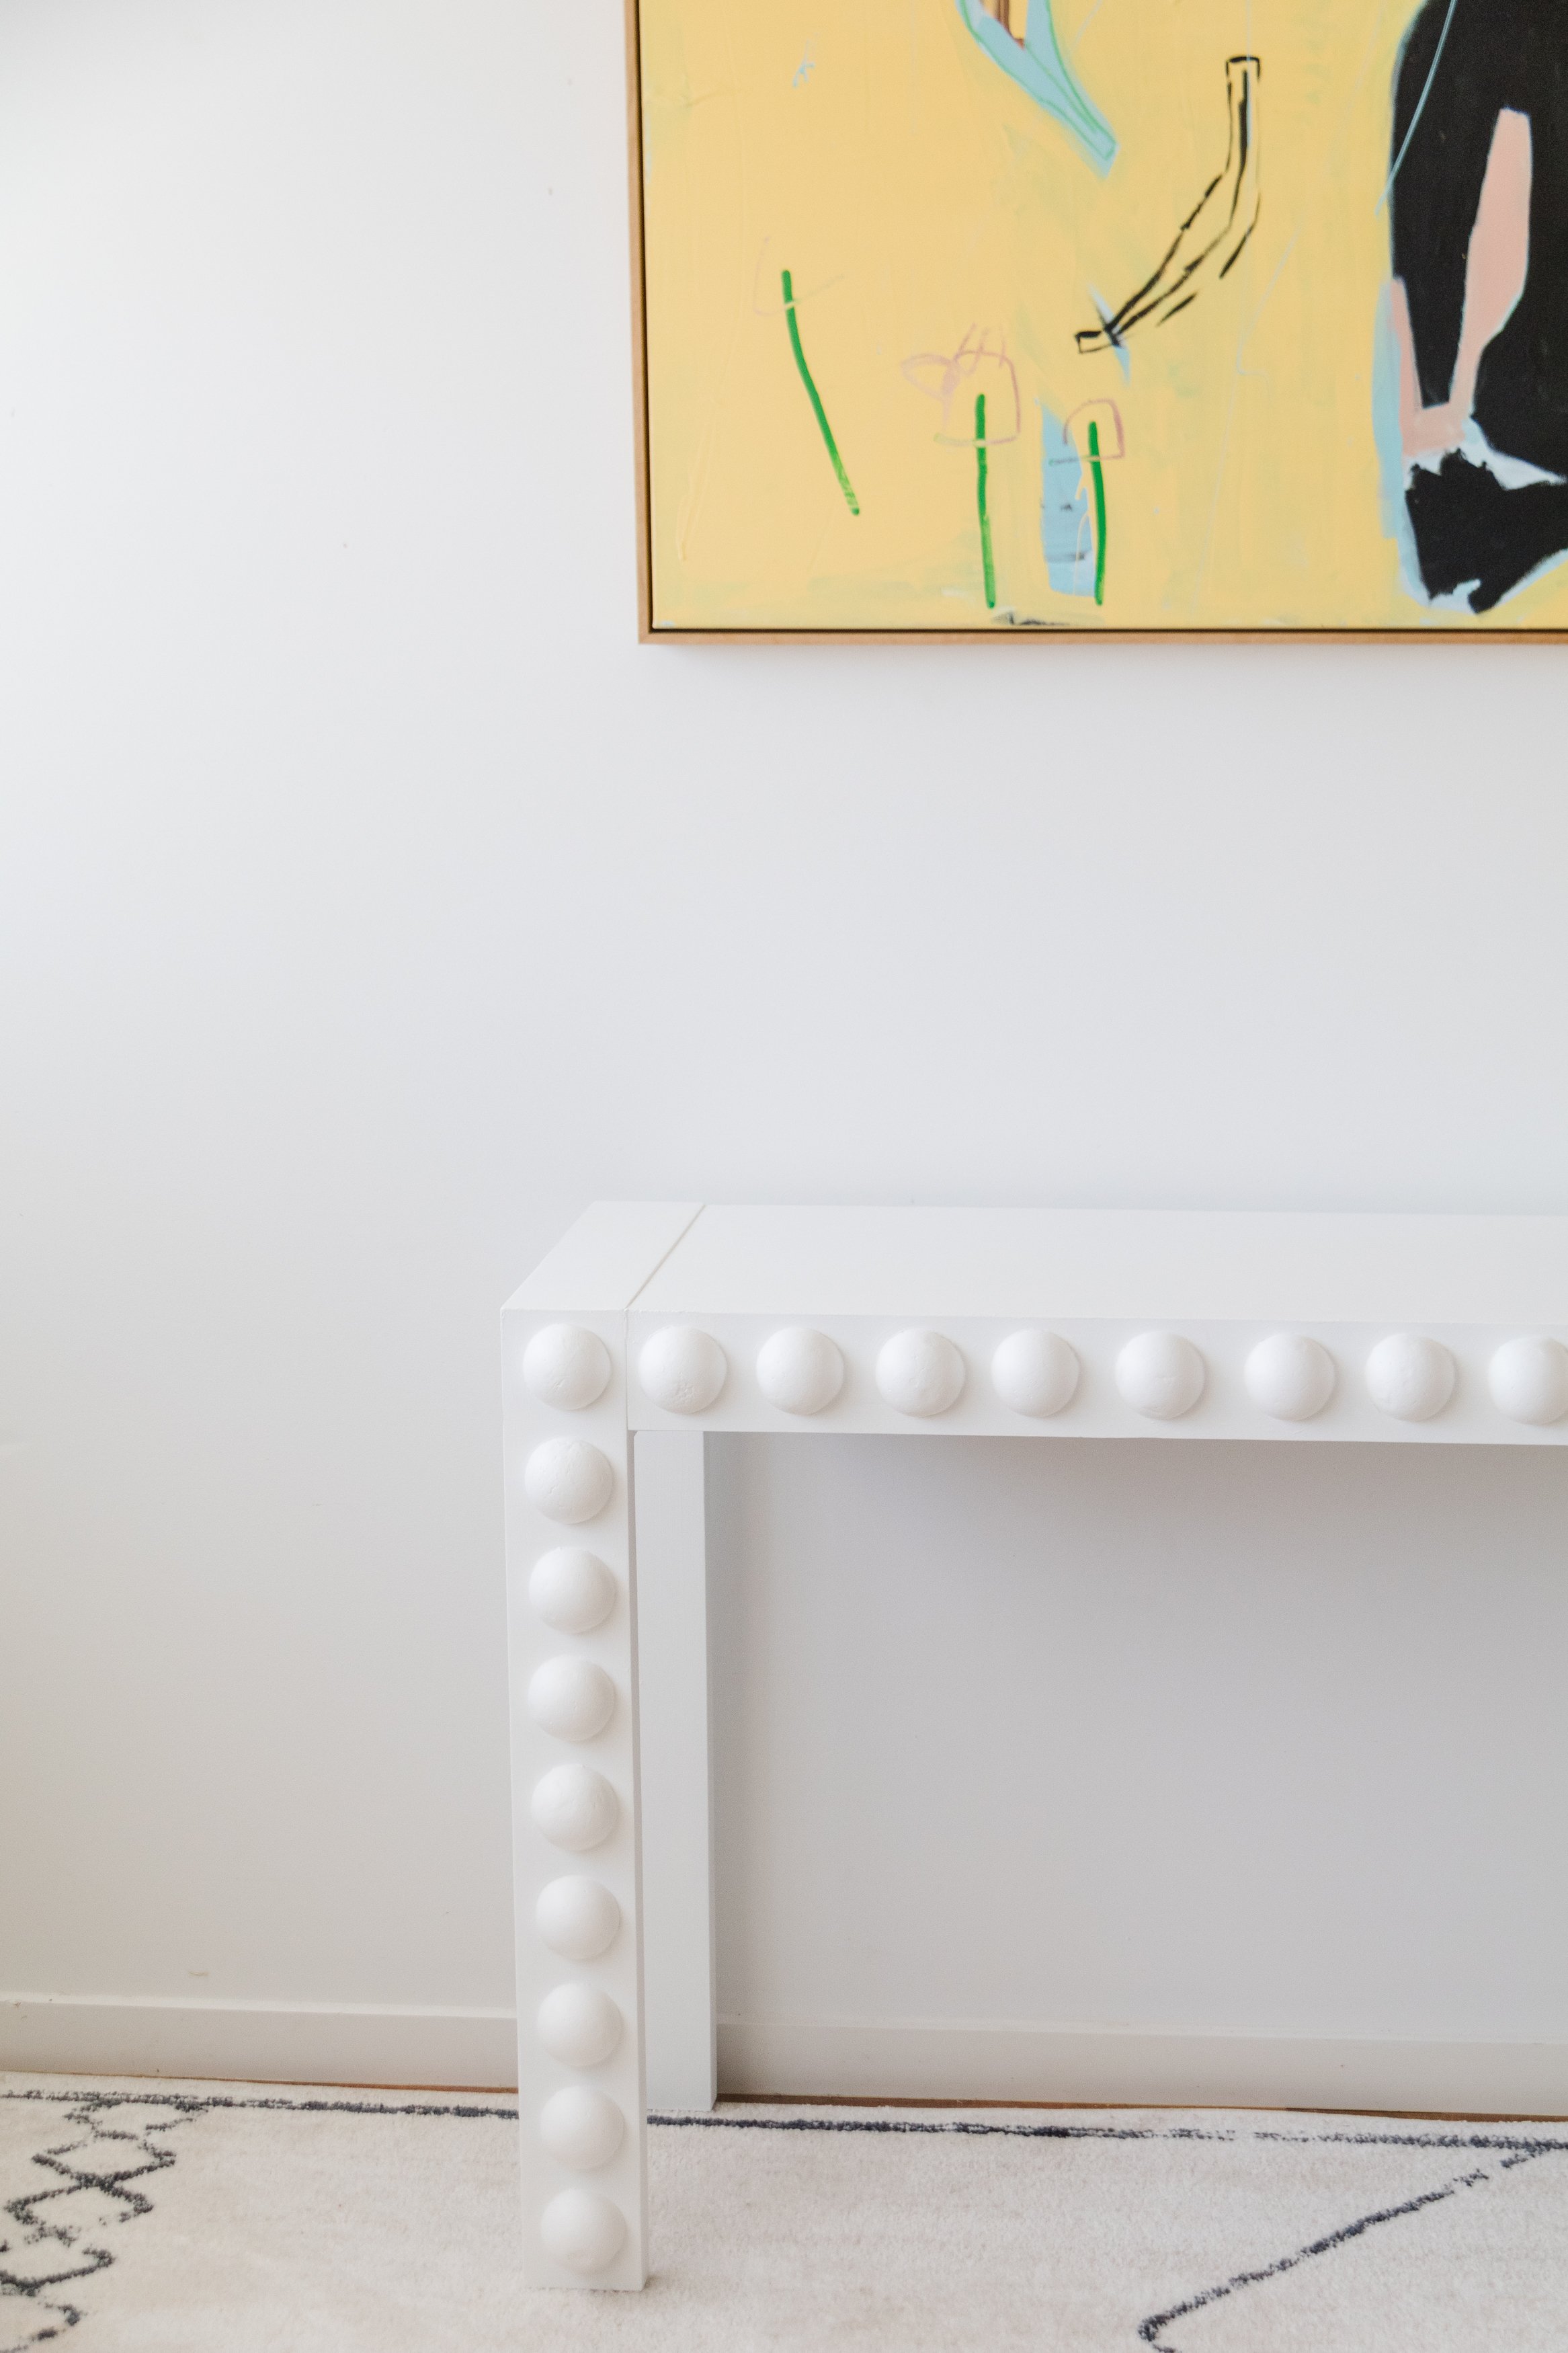
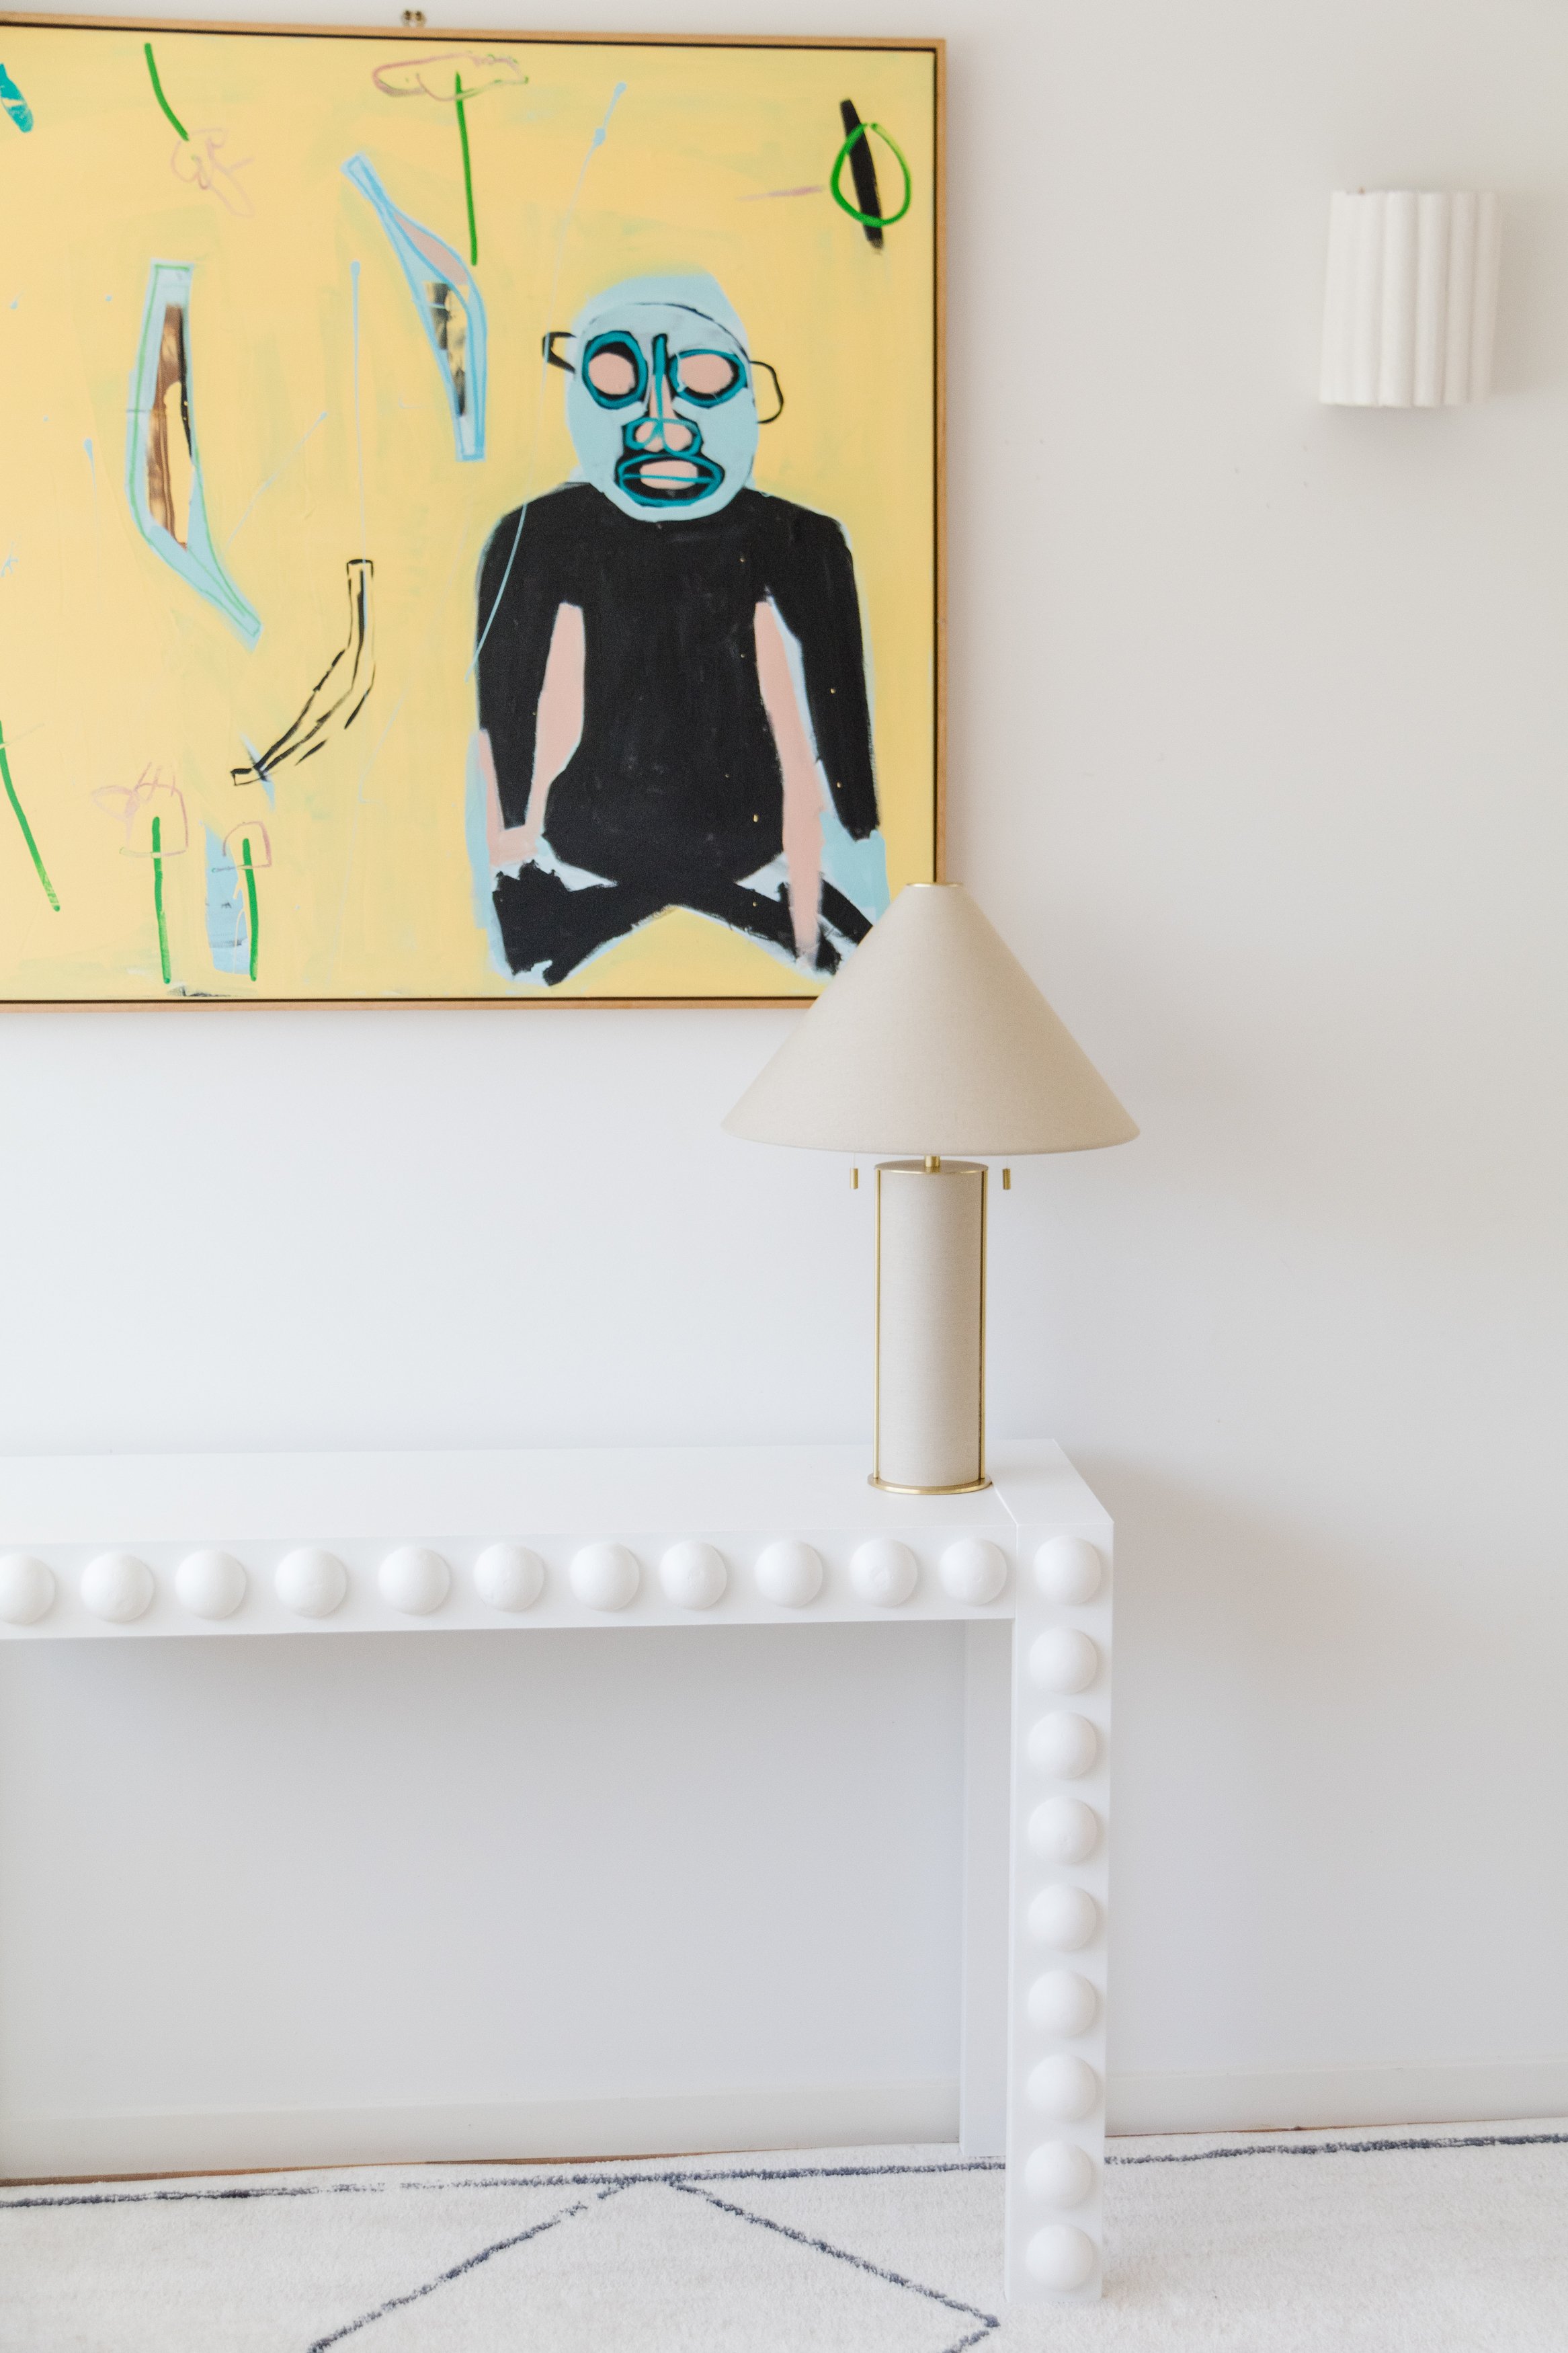
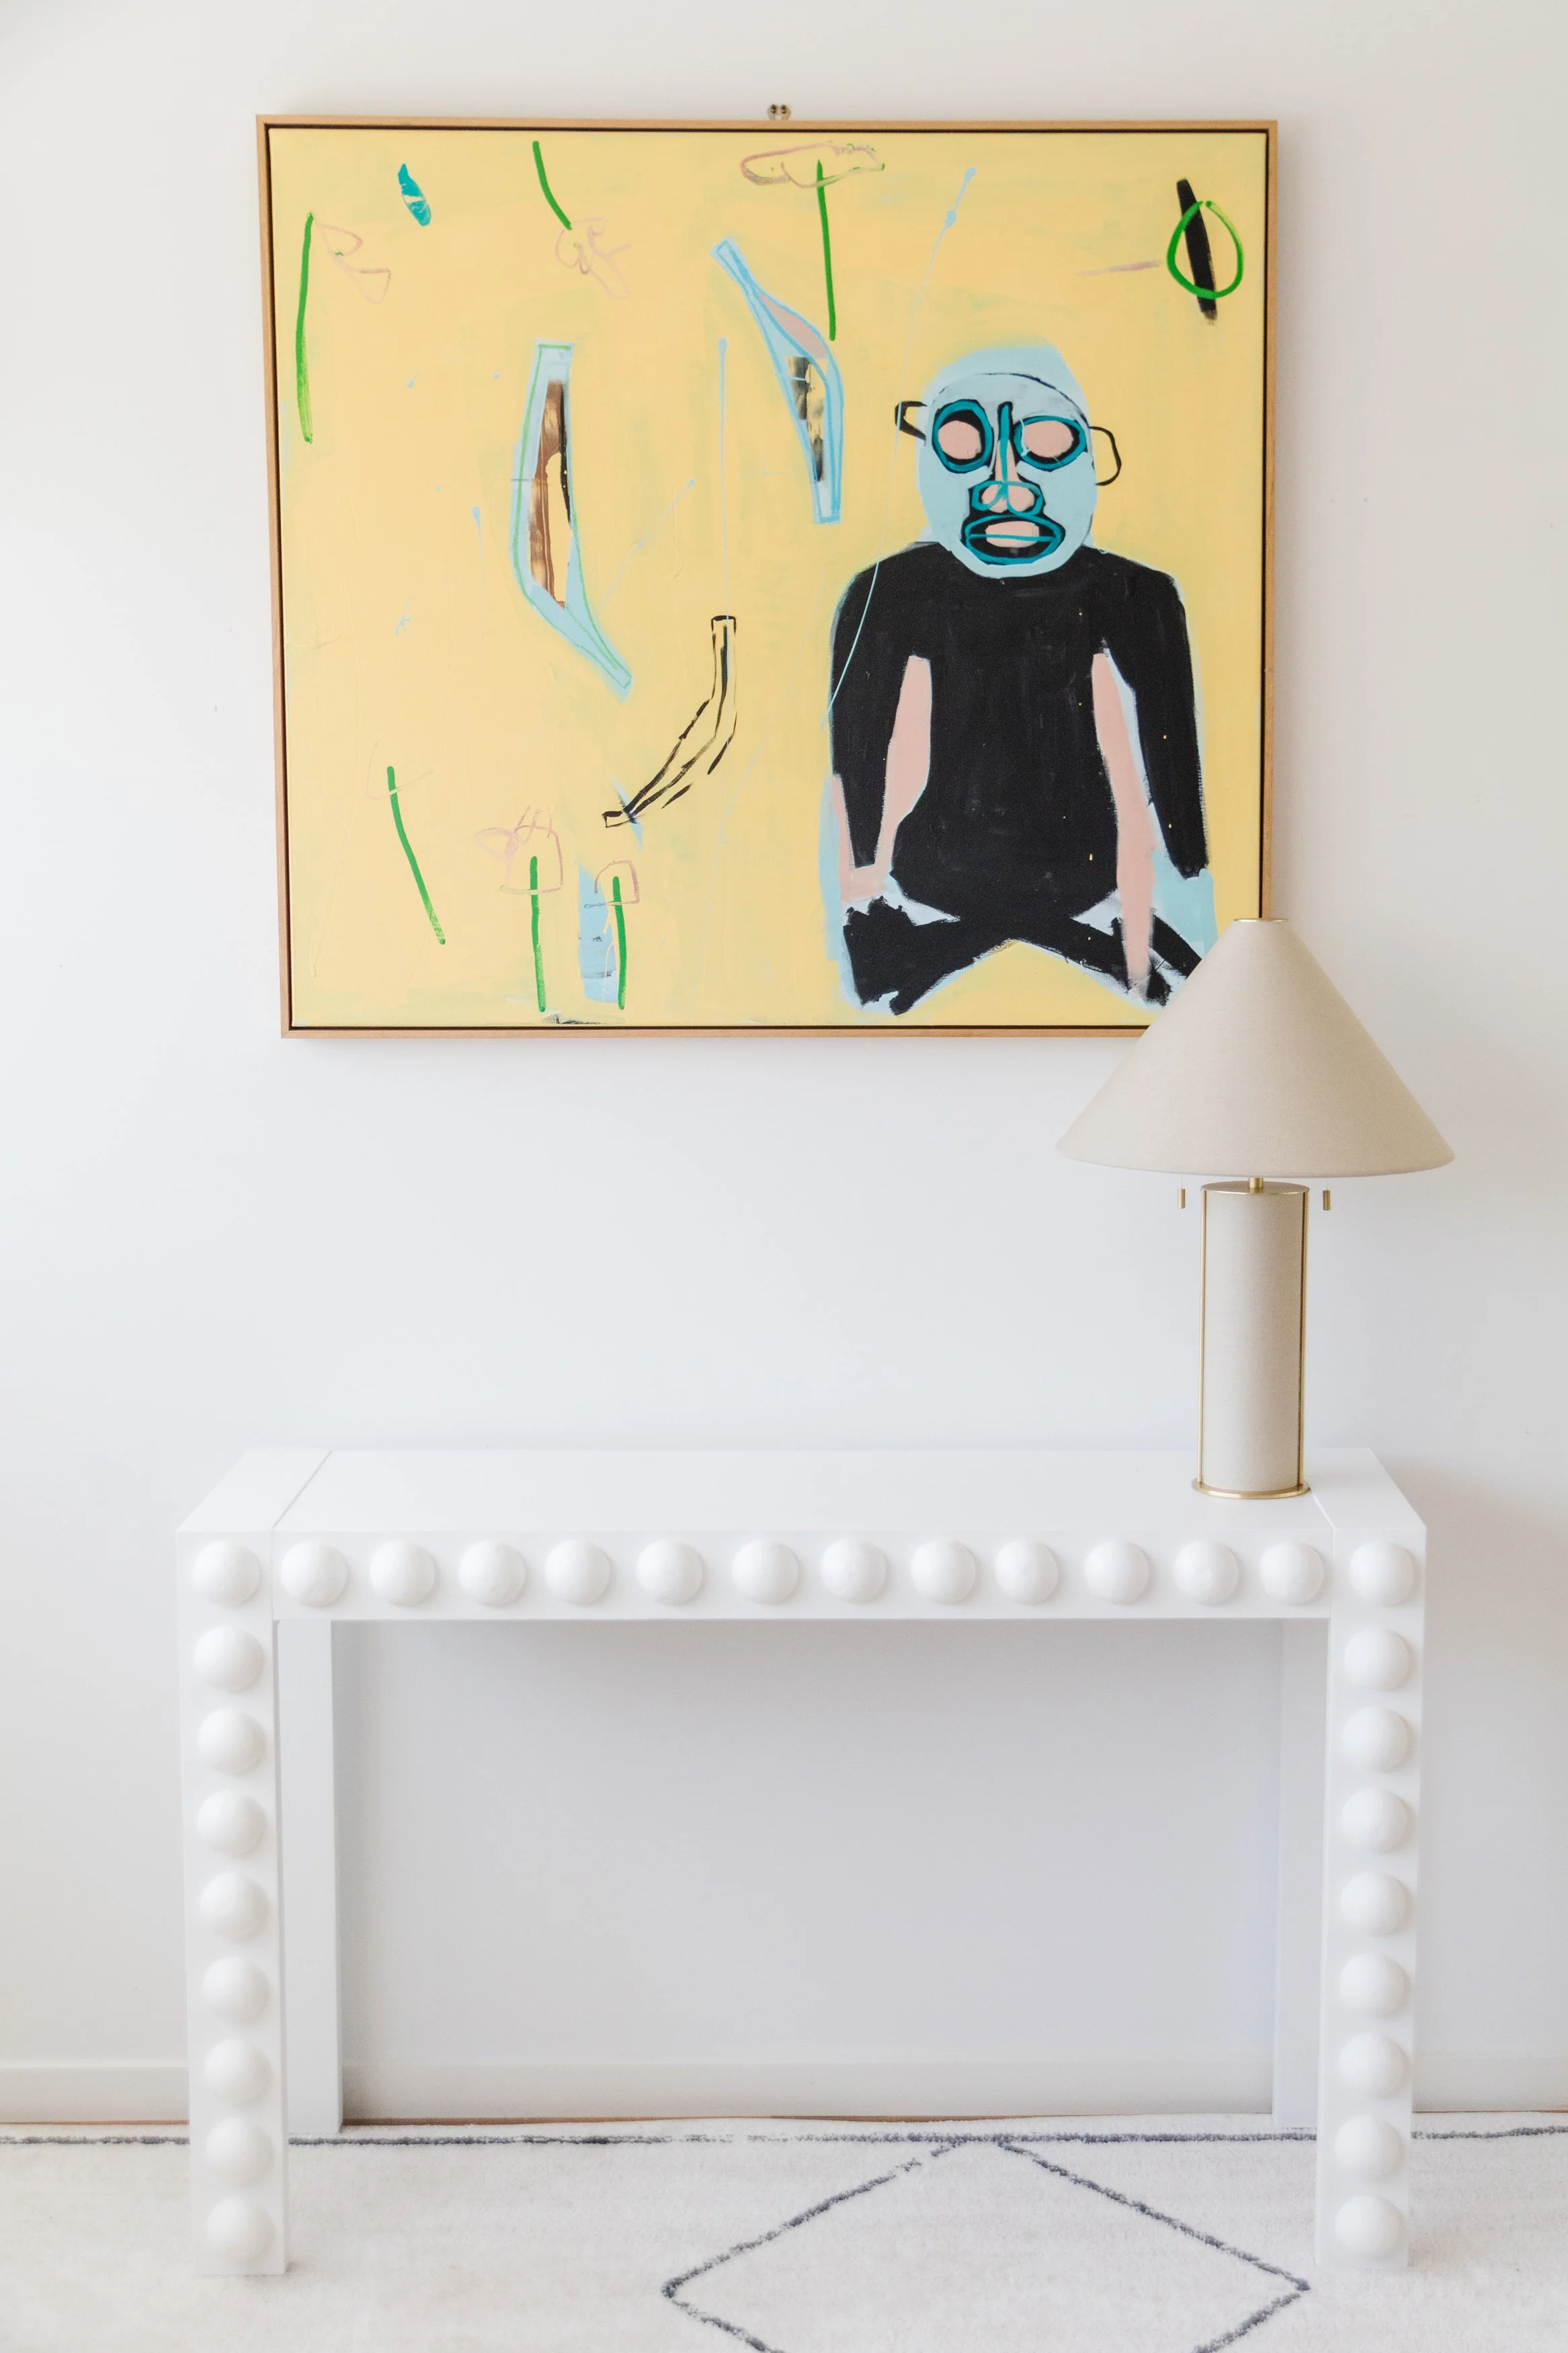
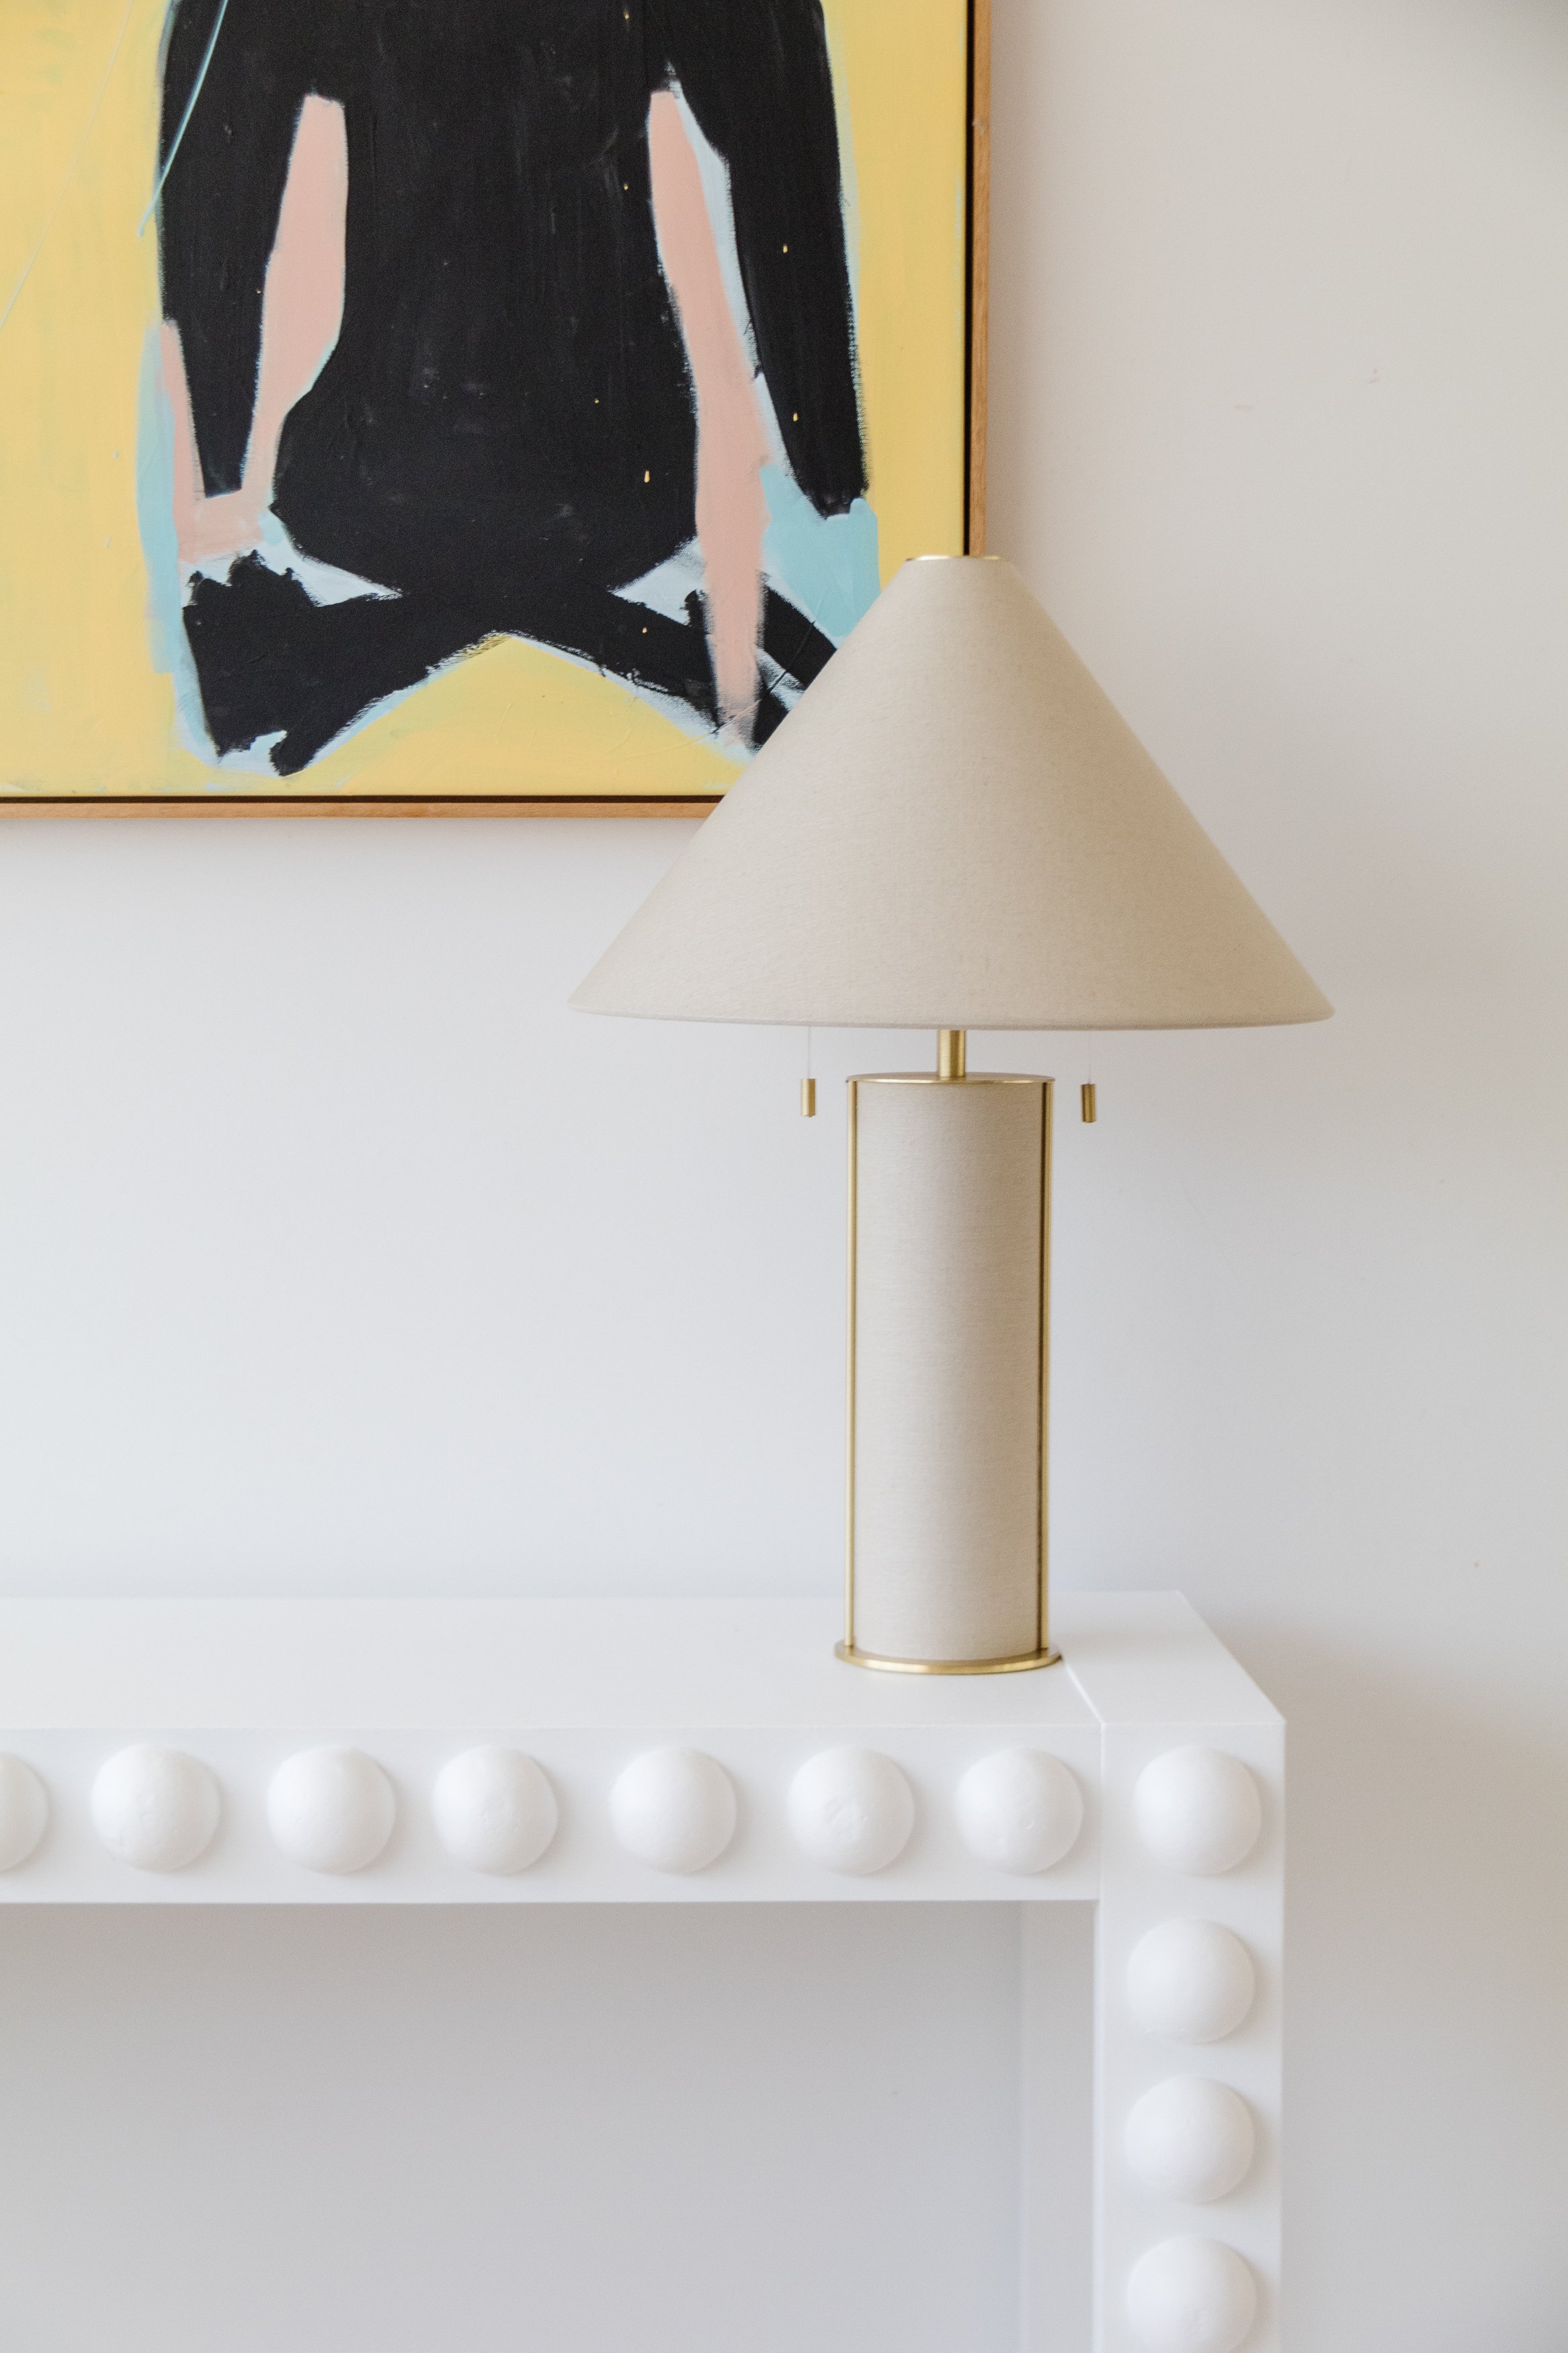
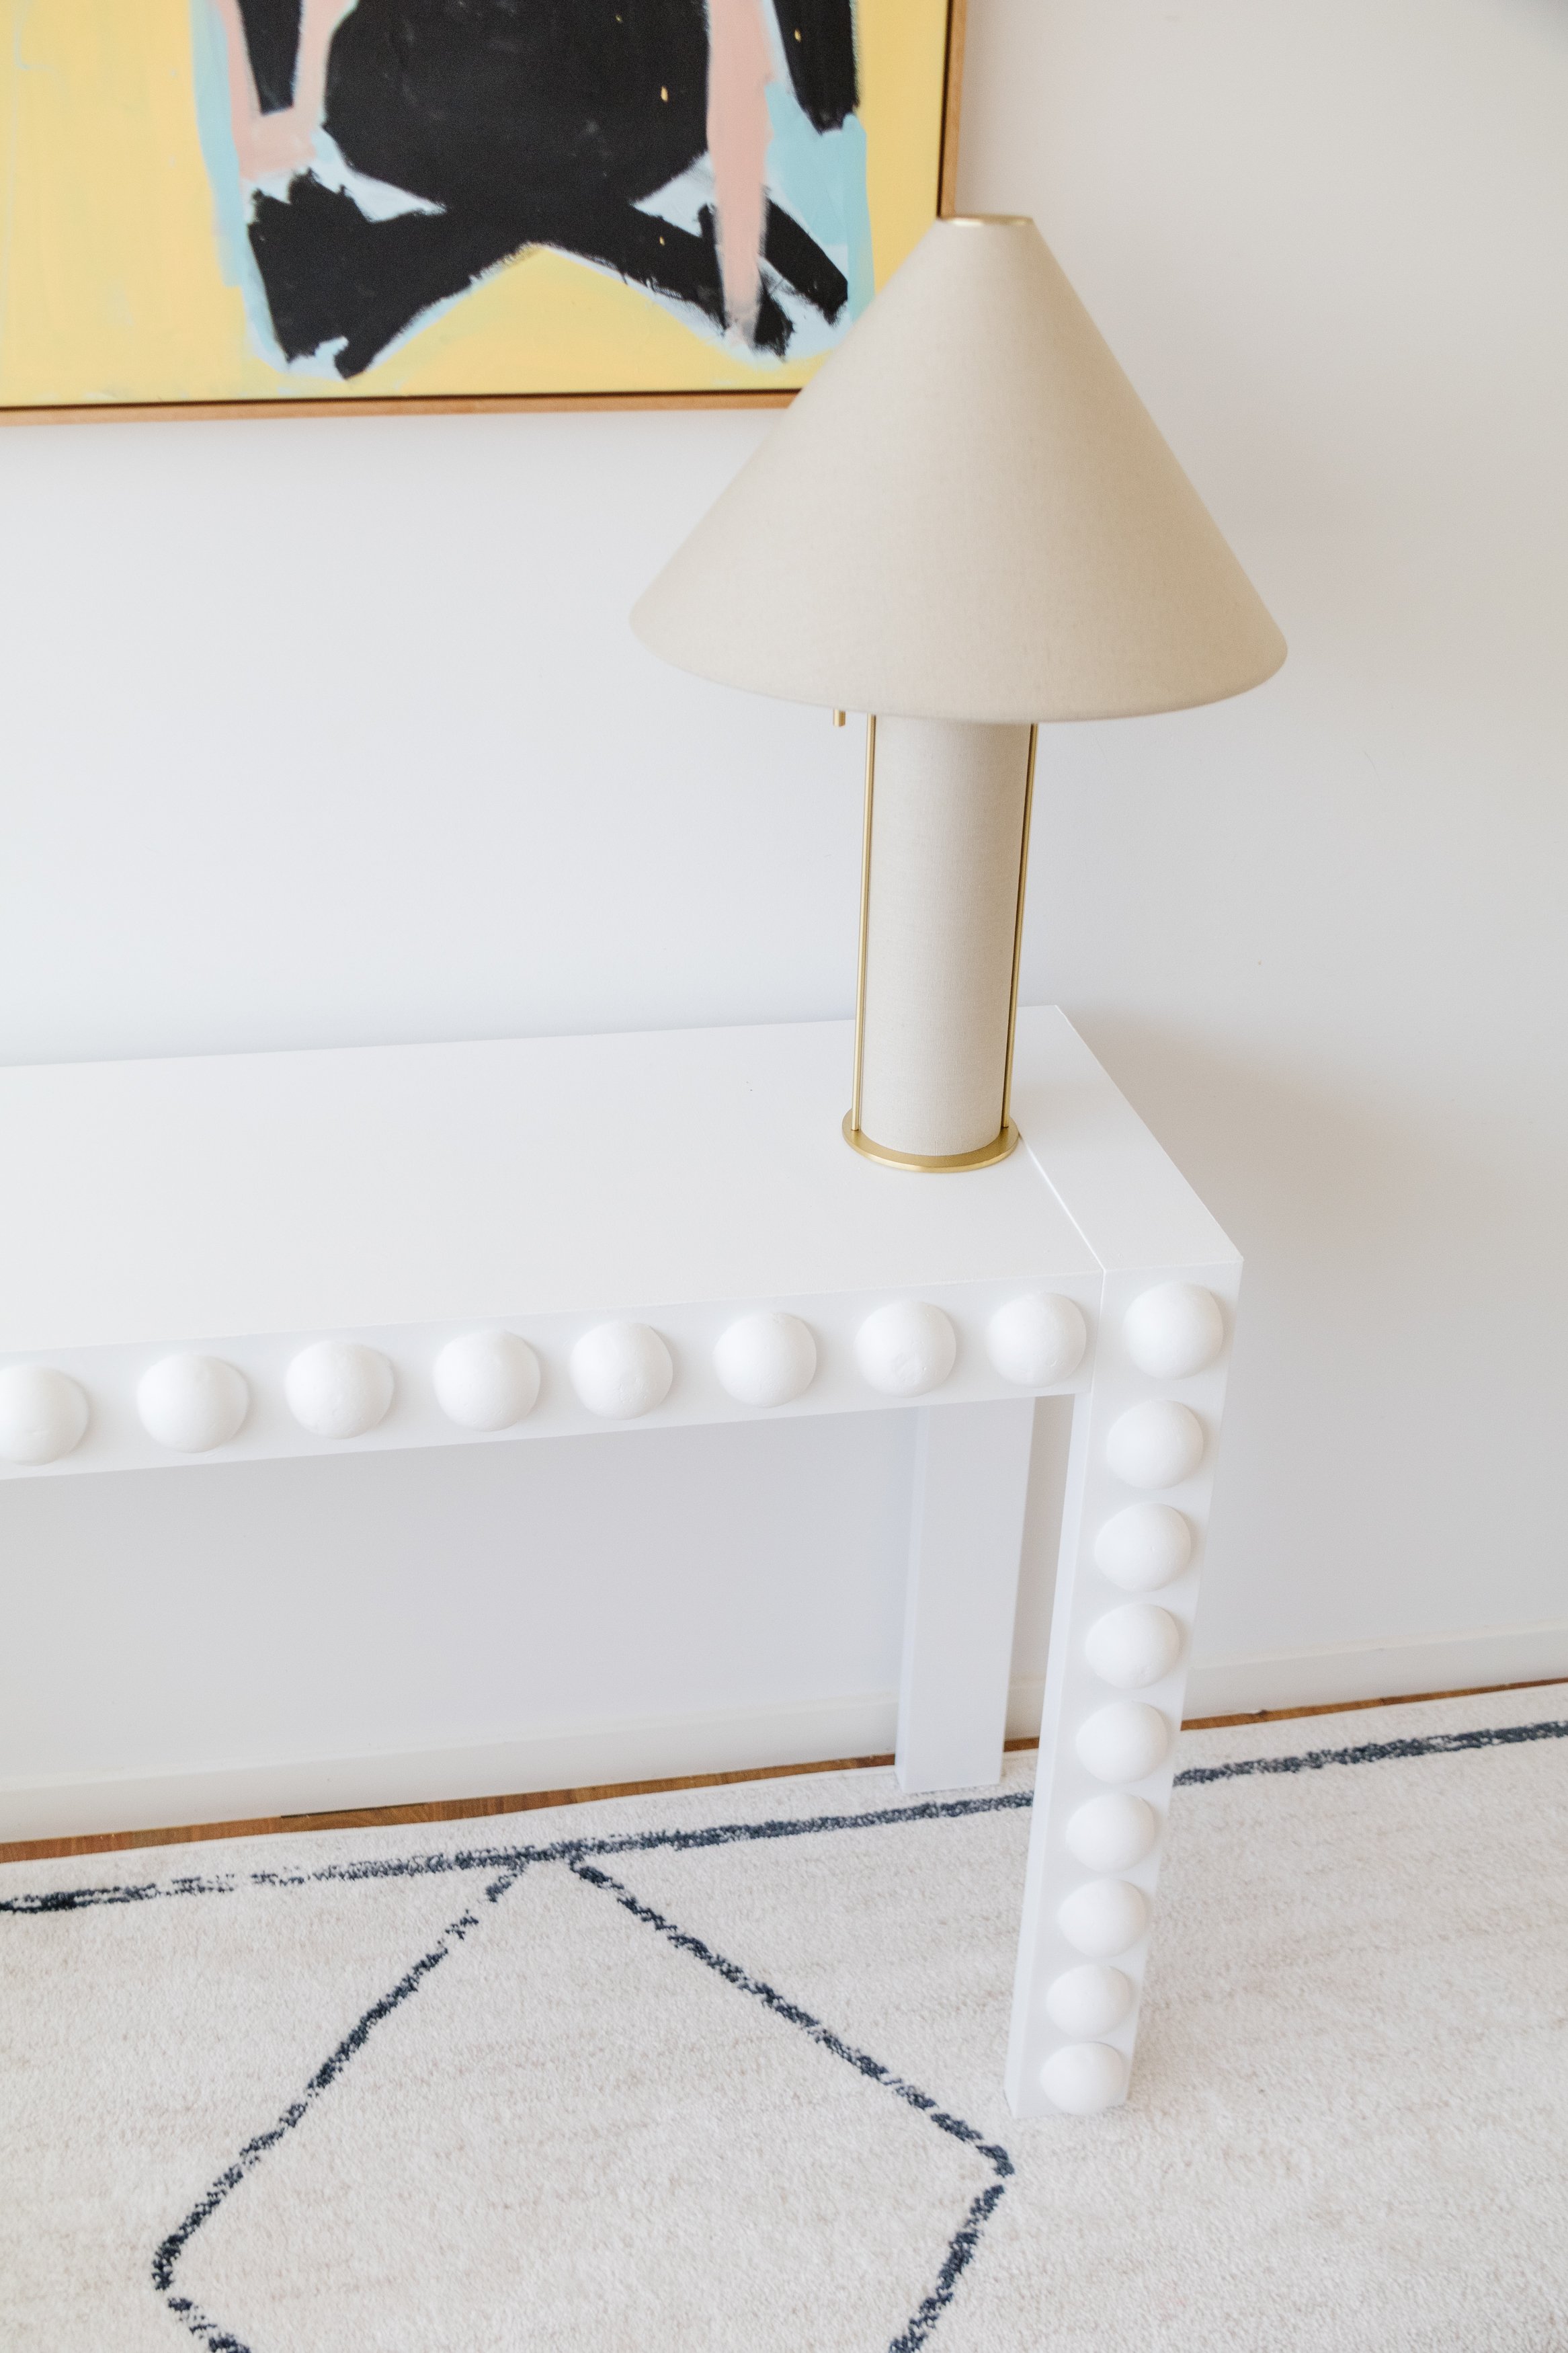
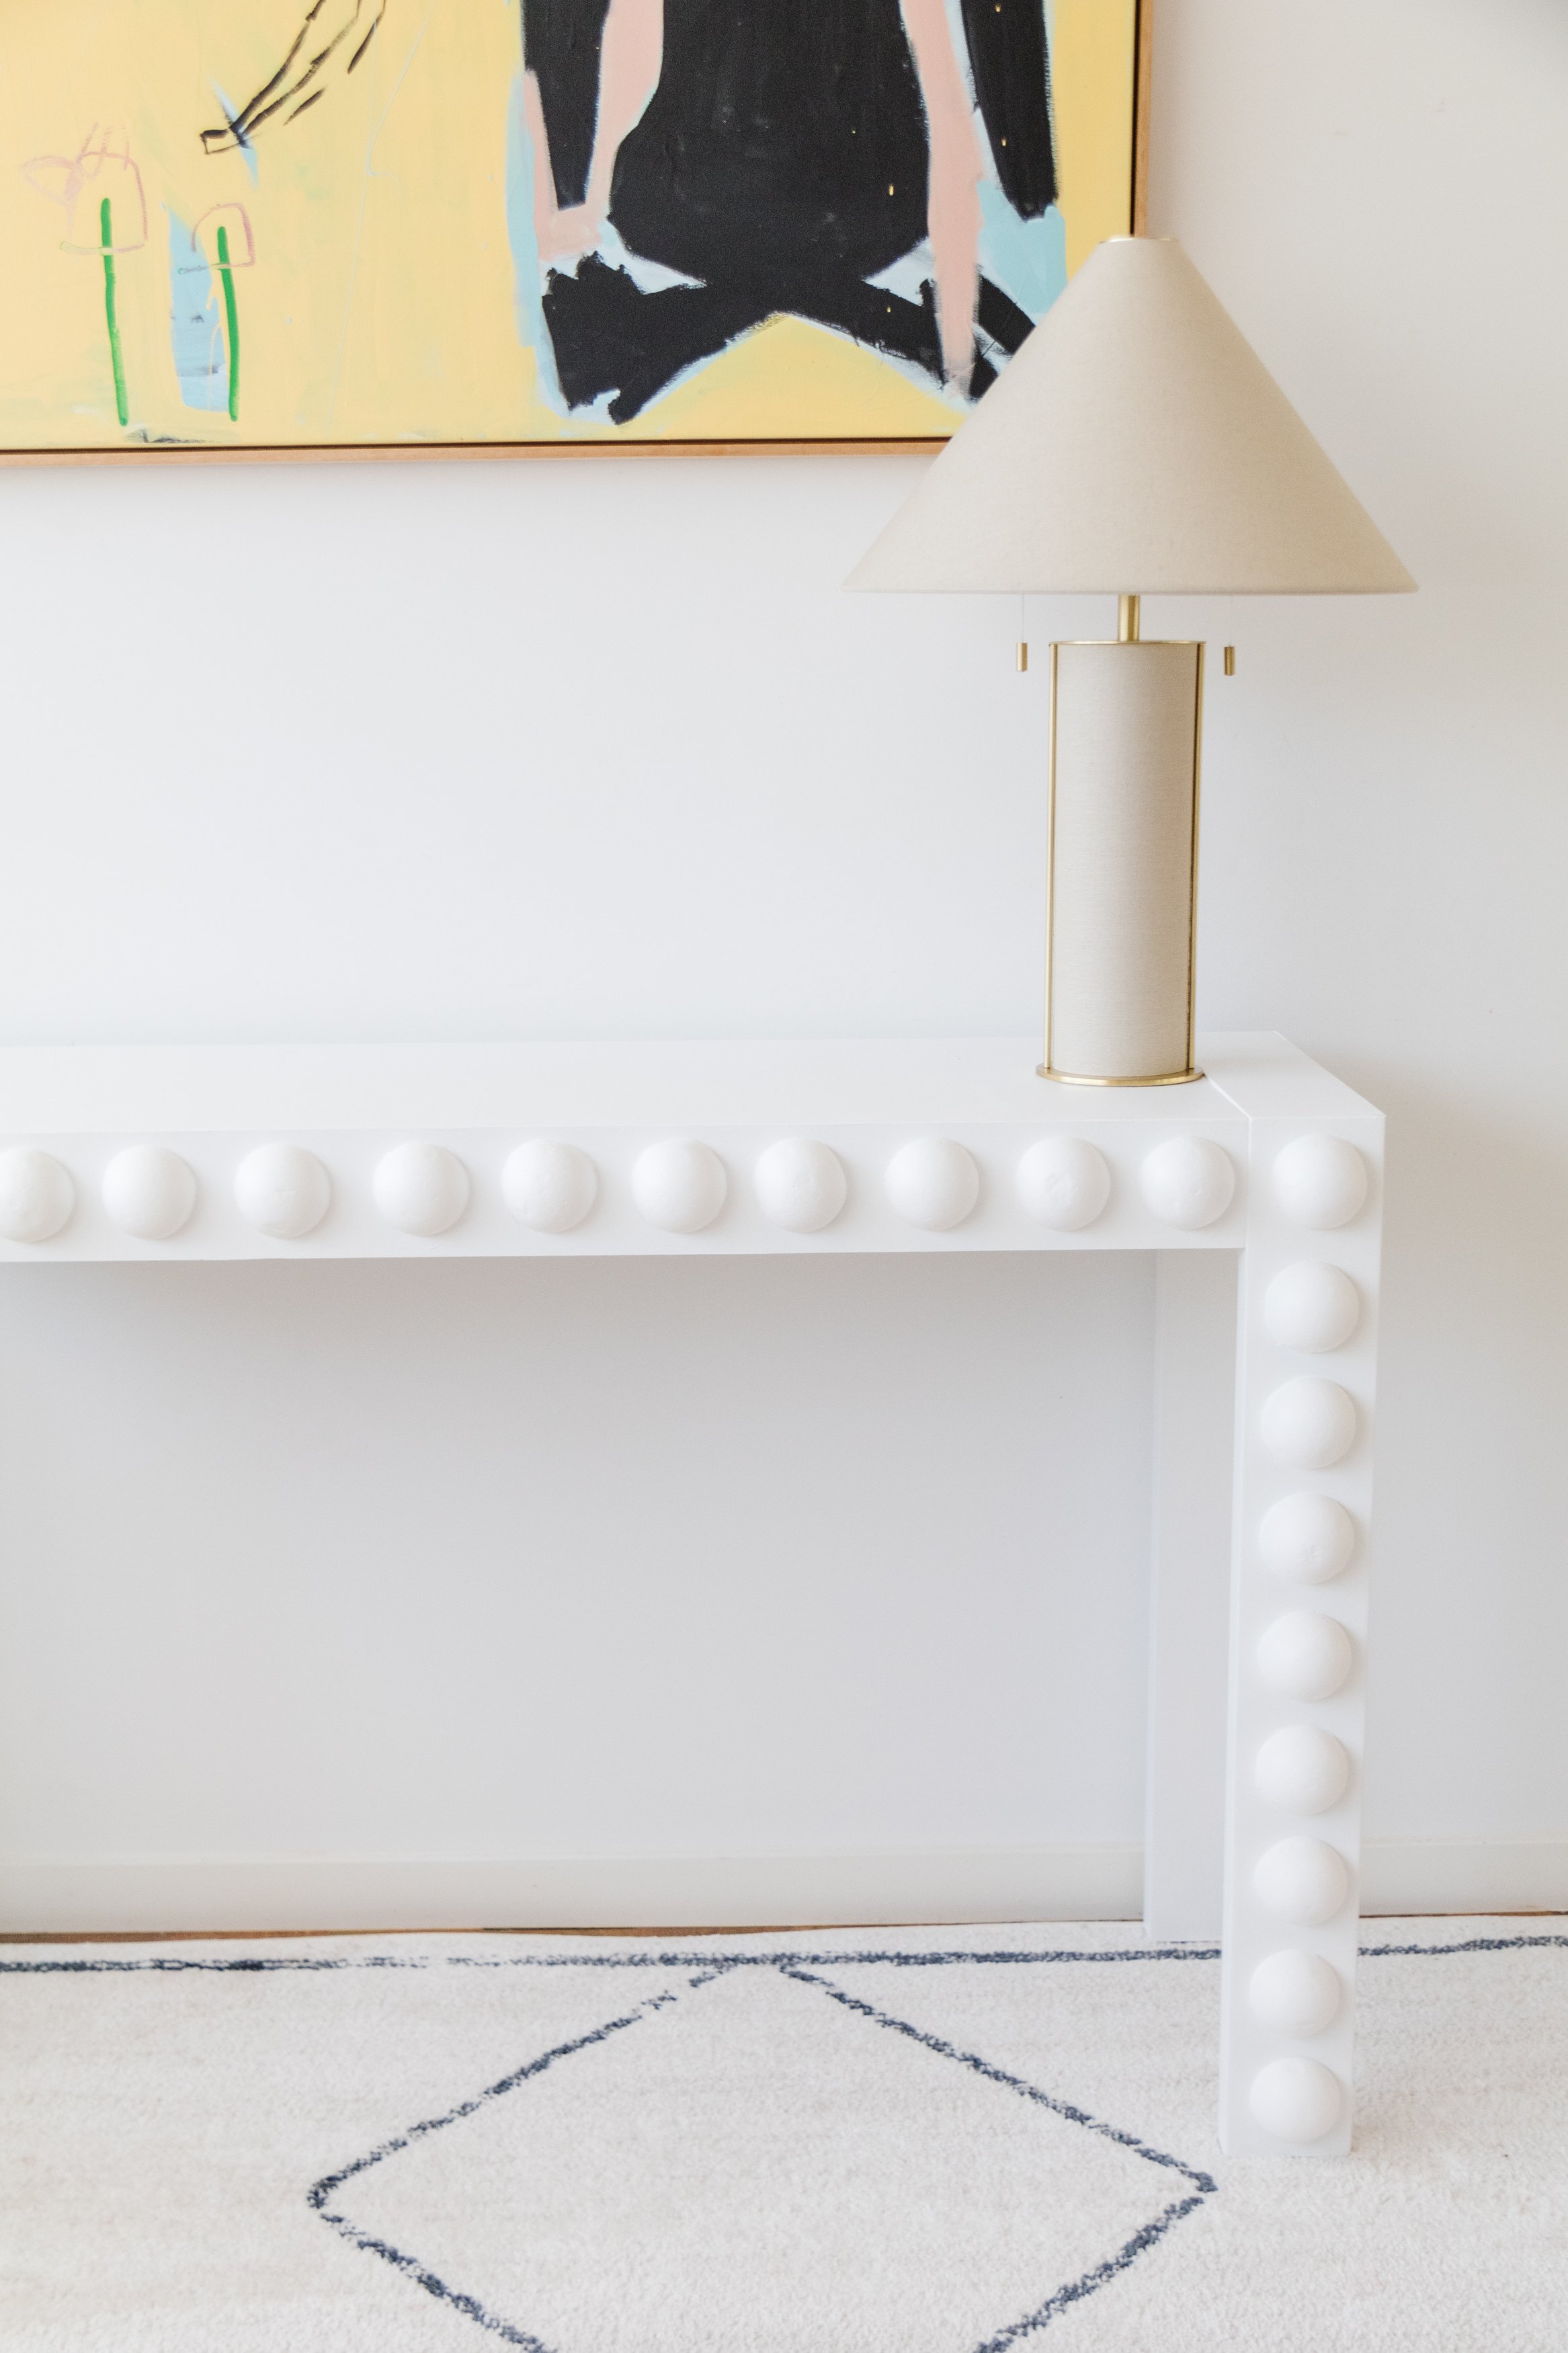
Ta daaaa!
Wow, just wow! How stunning is this Upcycled Bubble Console Table! I am obsessed! The texture of the half foam balls is insane and when grouped together like this, they create such an impactful moment. And I’m not gonna lie, I am SO impressed I was able to upcycle this console table in just a few hours. Like, what? Sometimes all you need is a bit of imagination, foam and paint! If you loved this project, make sure you check out my other projects where I’ve used foam. I am such a big fan of using it in my projects!