Making A Sculptural Floor Length Mirror
Make a statement floor length mirror, for less!
My mother has been talking about buying a large scale statement mirror for their entryway for a very long time. I love a statement floor length mirror too but after doing some digging around, I discovered that they can often cost into the thousands. I would really love to mum to have one, but unfortunately that’s way our of my budget so I thought “why don’t I make her on, for less?”
Seeing as Mother’s Day is just around the corner, I thought this handmade gift would be something she can keep for years and a gesture that feels more meaningful. Naturally I went straight to Bunnings to see what I could find to make a beautiful sculptural floor length mirror and I was not disappointed. Read on to find out how I made a large scale floor length mirror for my mum using MDF, styrofoam and paint!
To see how it all came together, make sure to watch this video.
DIY Sculptural Floor Length Mirror


Project Details
♻️ Making: DIY Sculptural Floor Length Mirror
🕒 Project Time Estimate: 3 hours (not including paint drying time)
💰 Materials Cost: $250
Tools
Tape measure
Pen
Clamps
Jigsaw
Sander
Craft knife
Caulking gun

How To
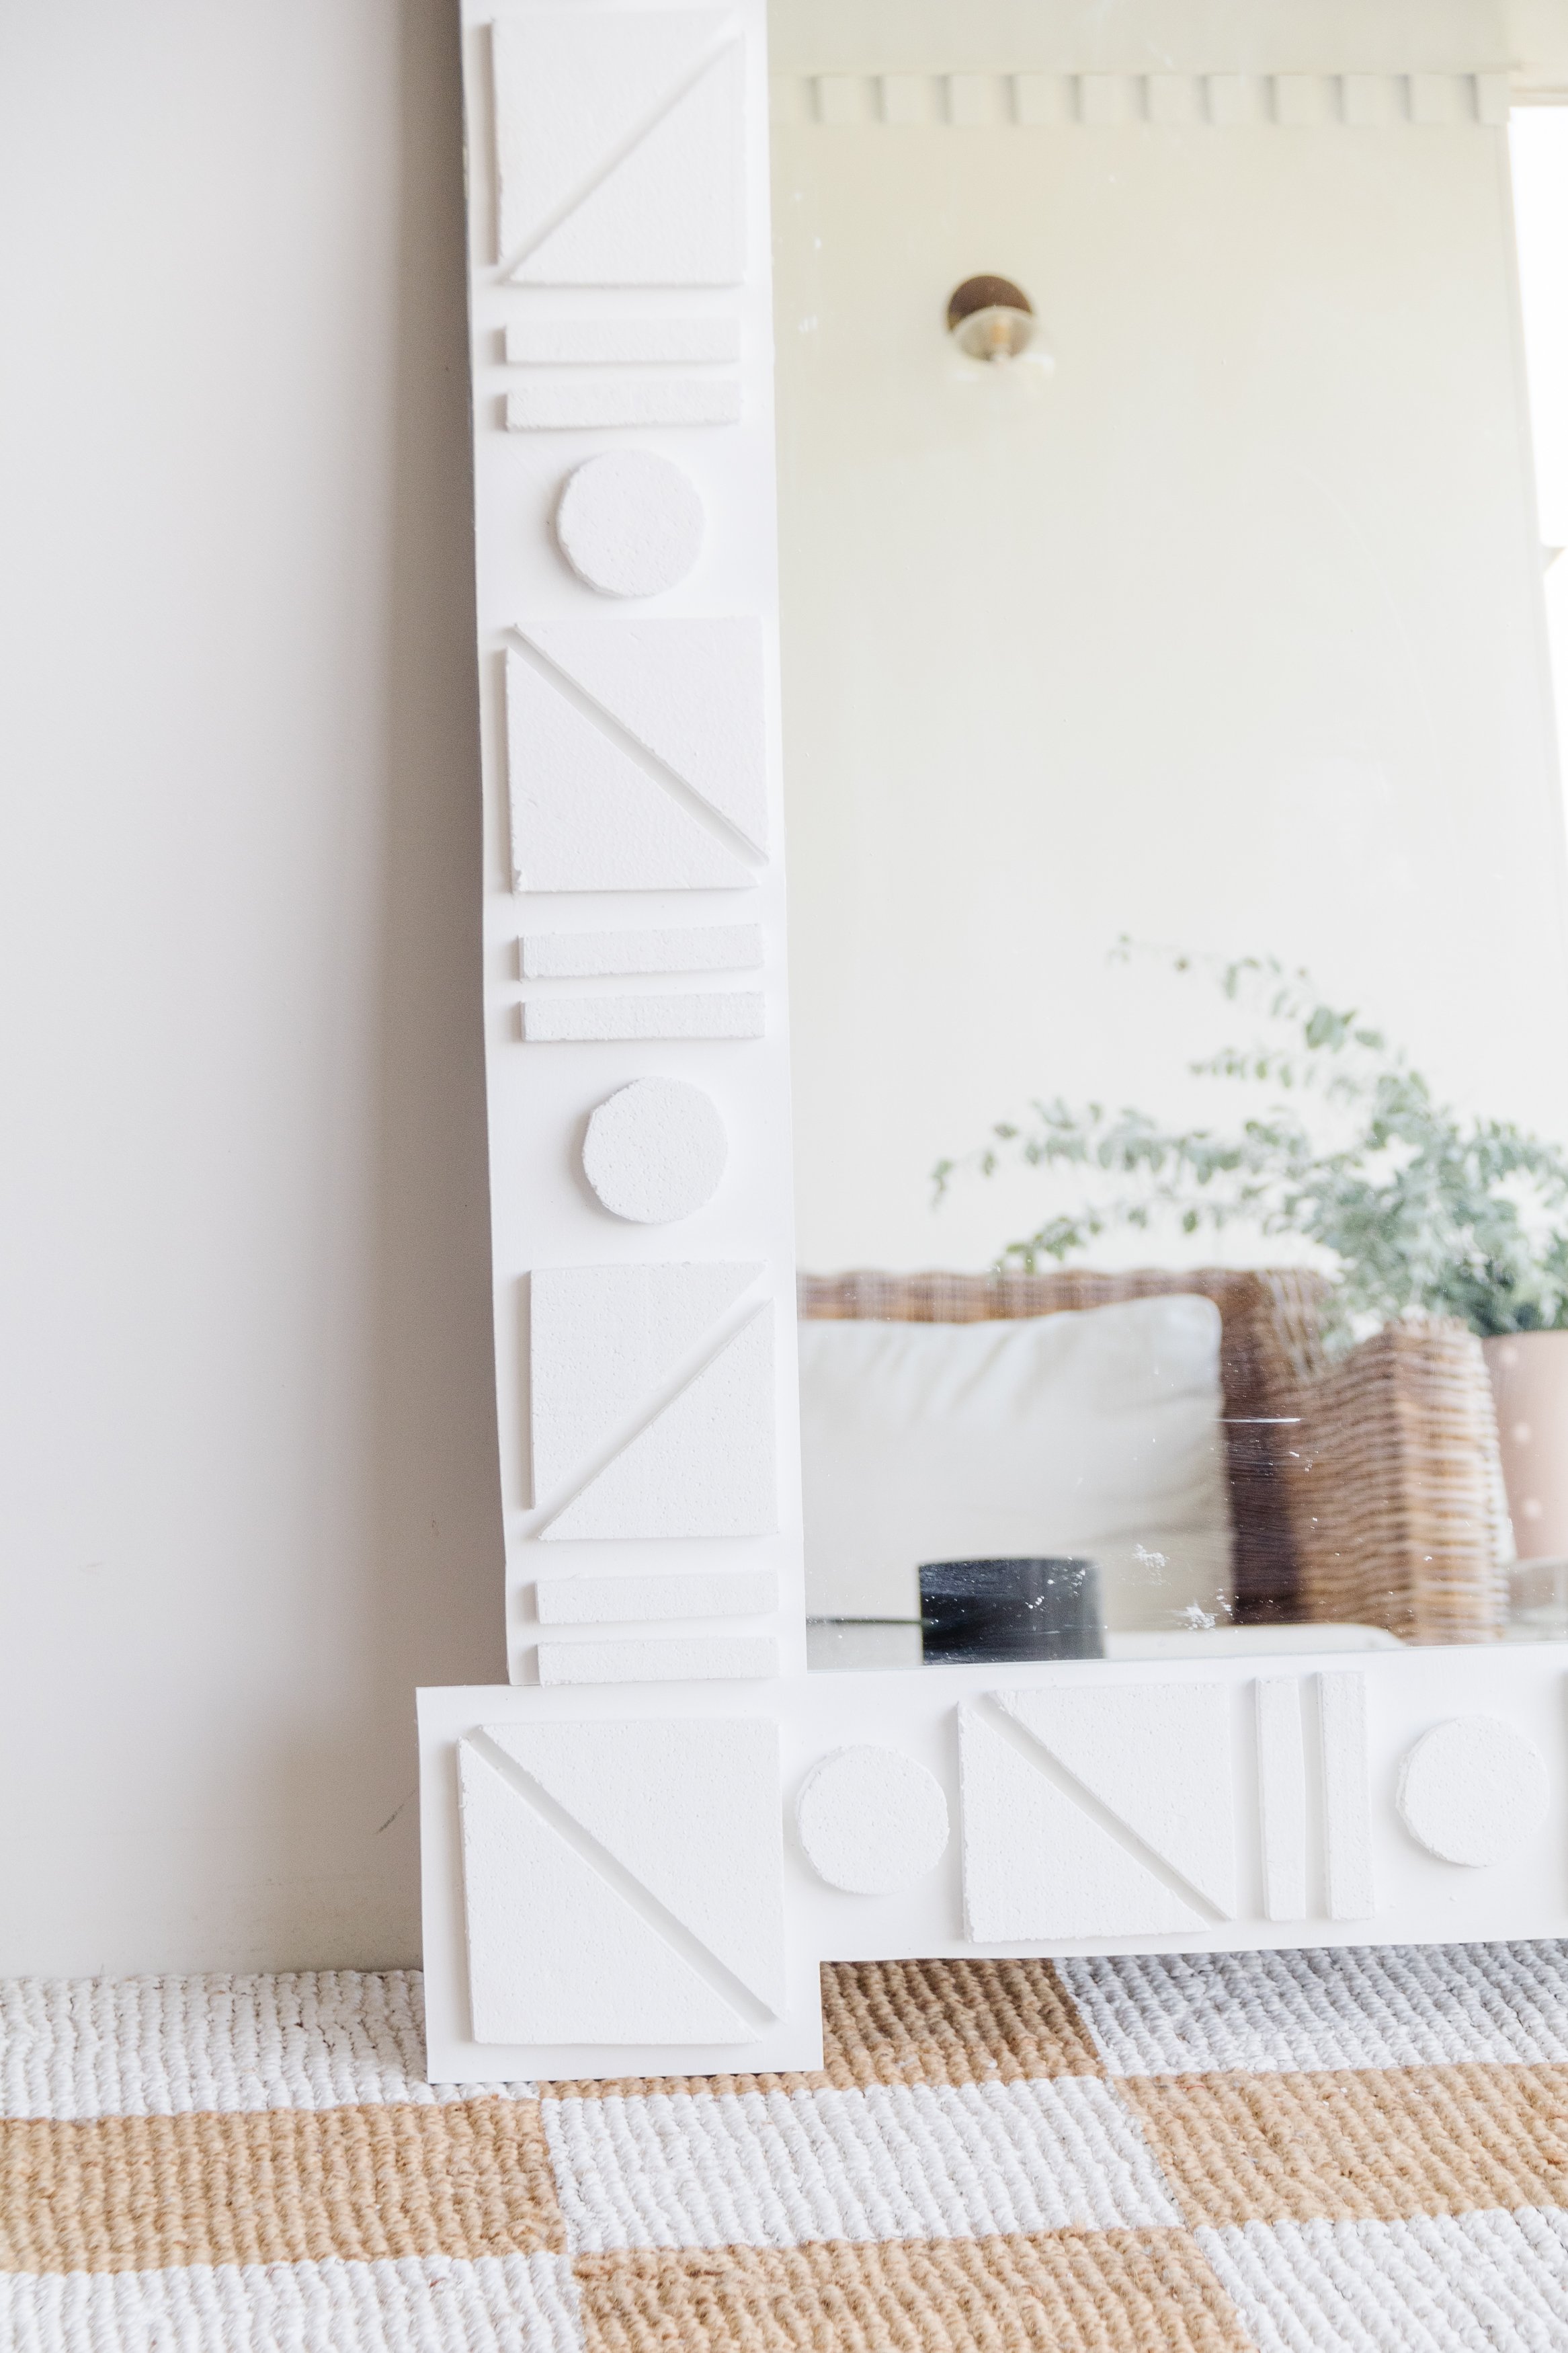
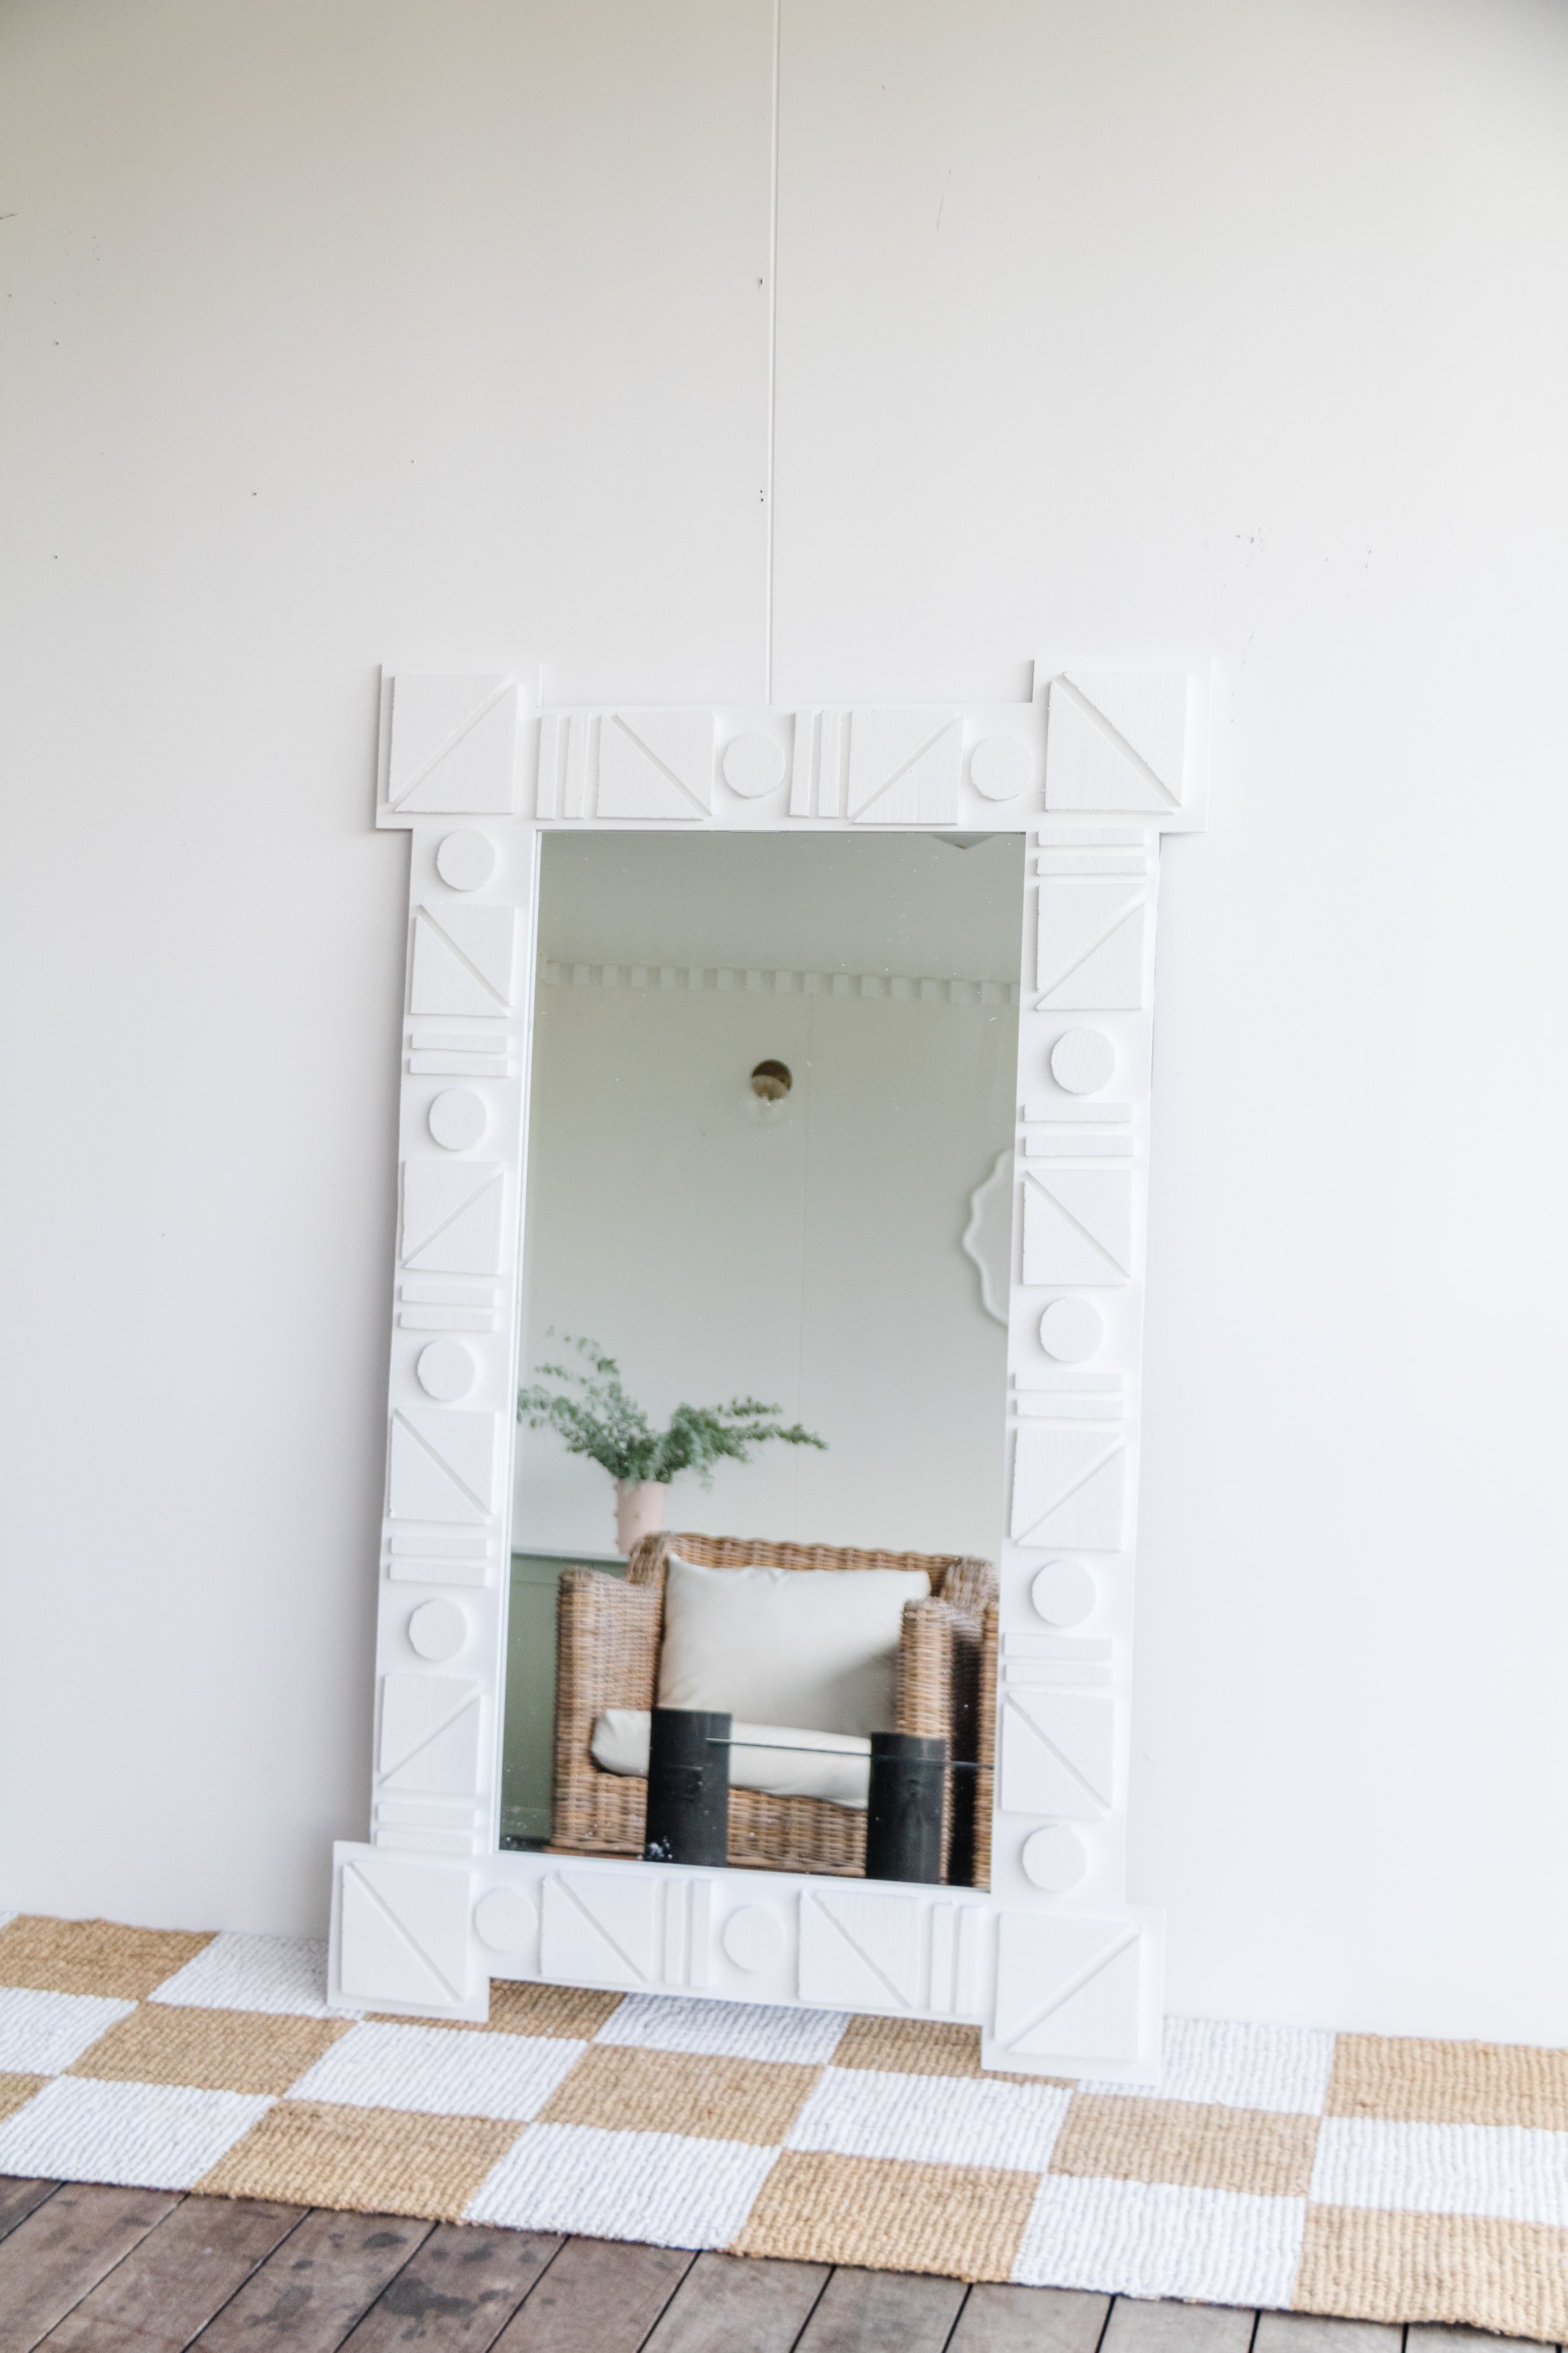
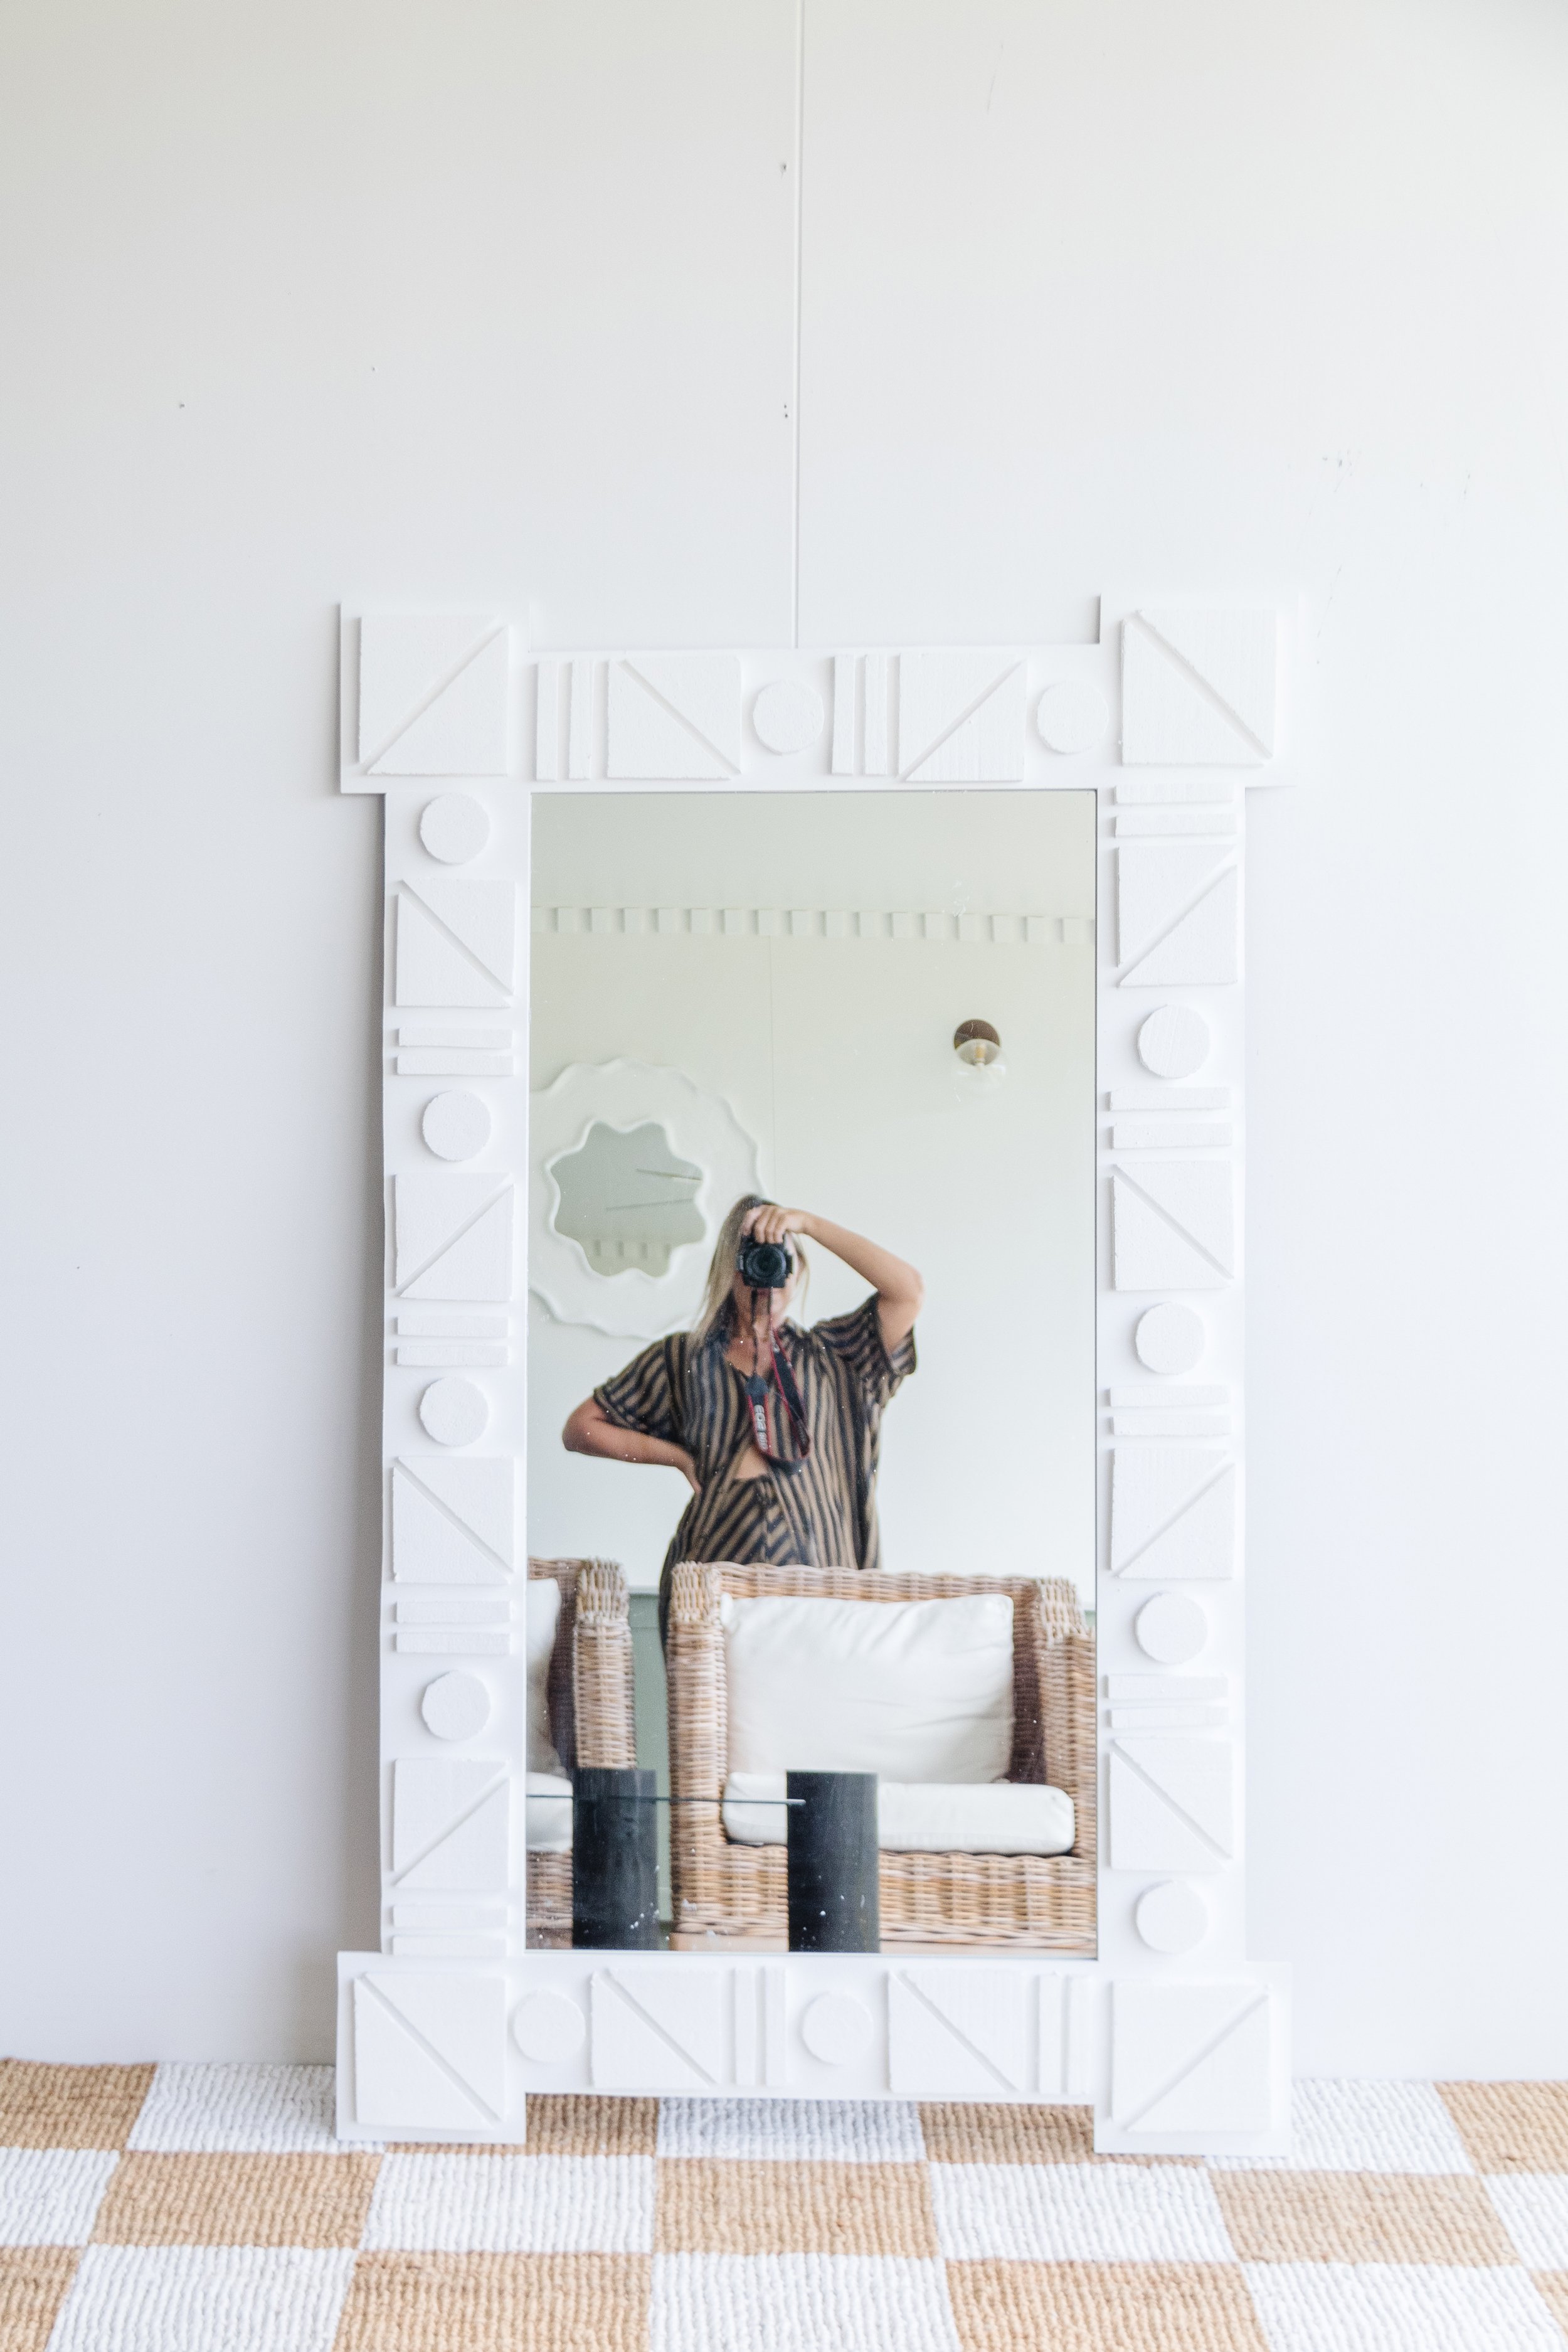
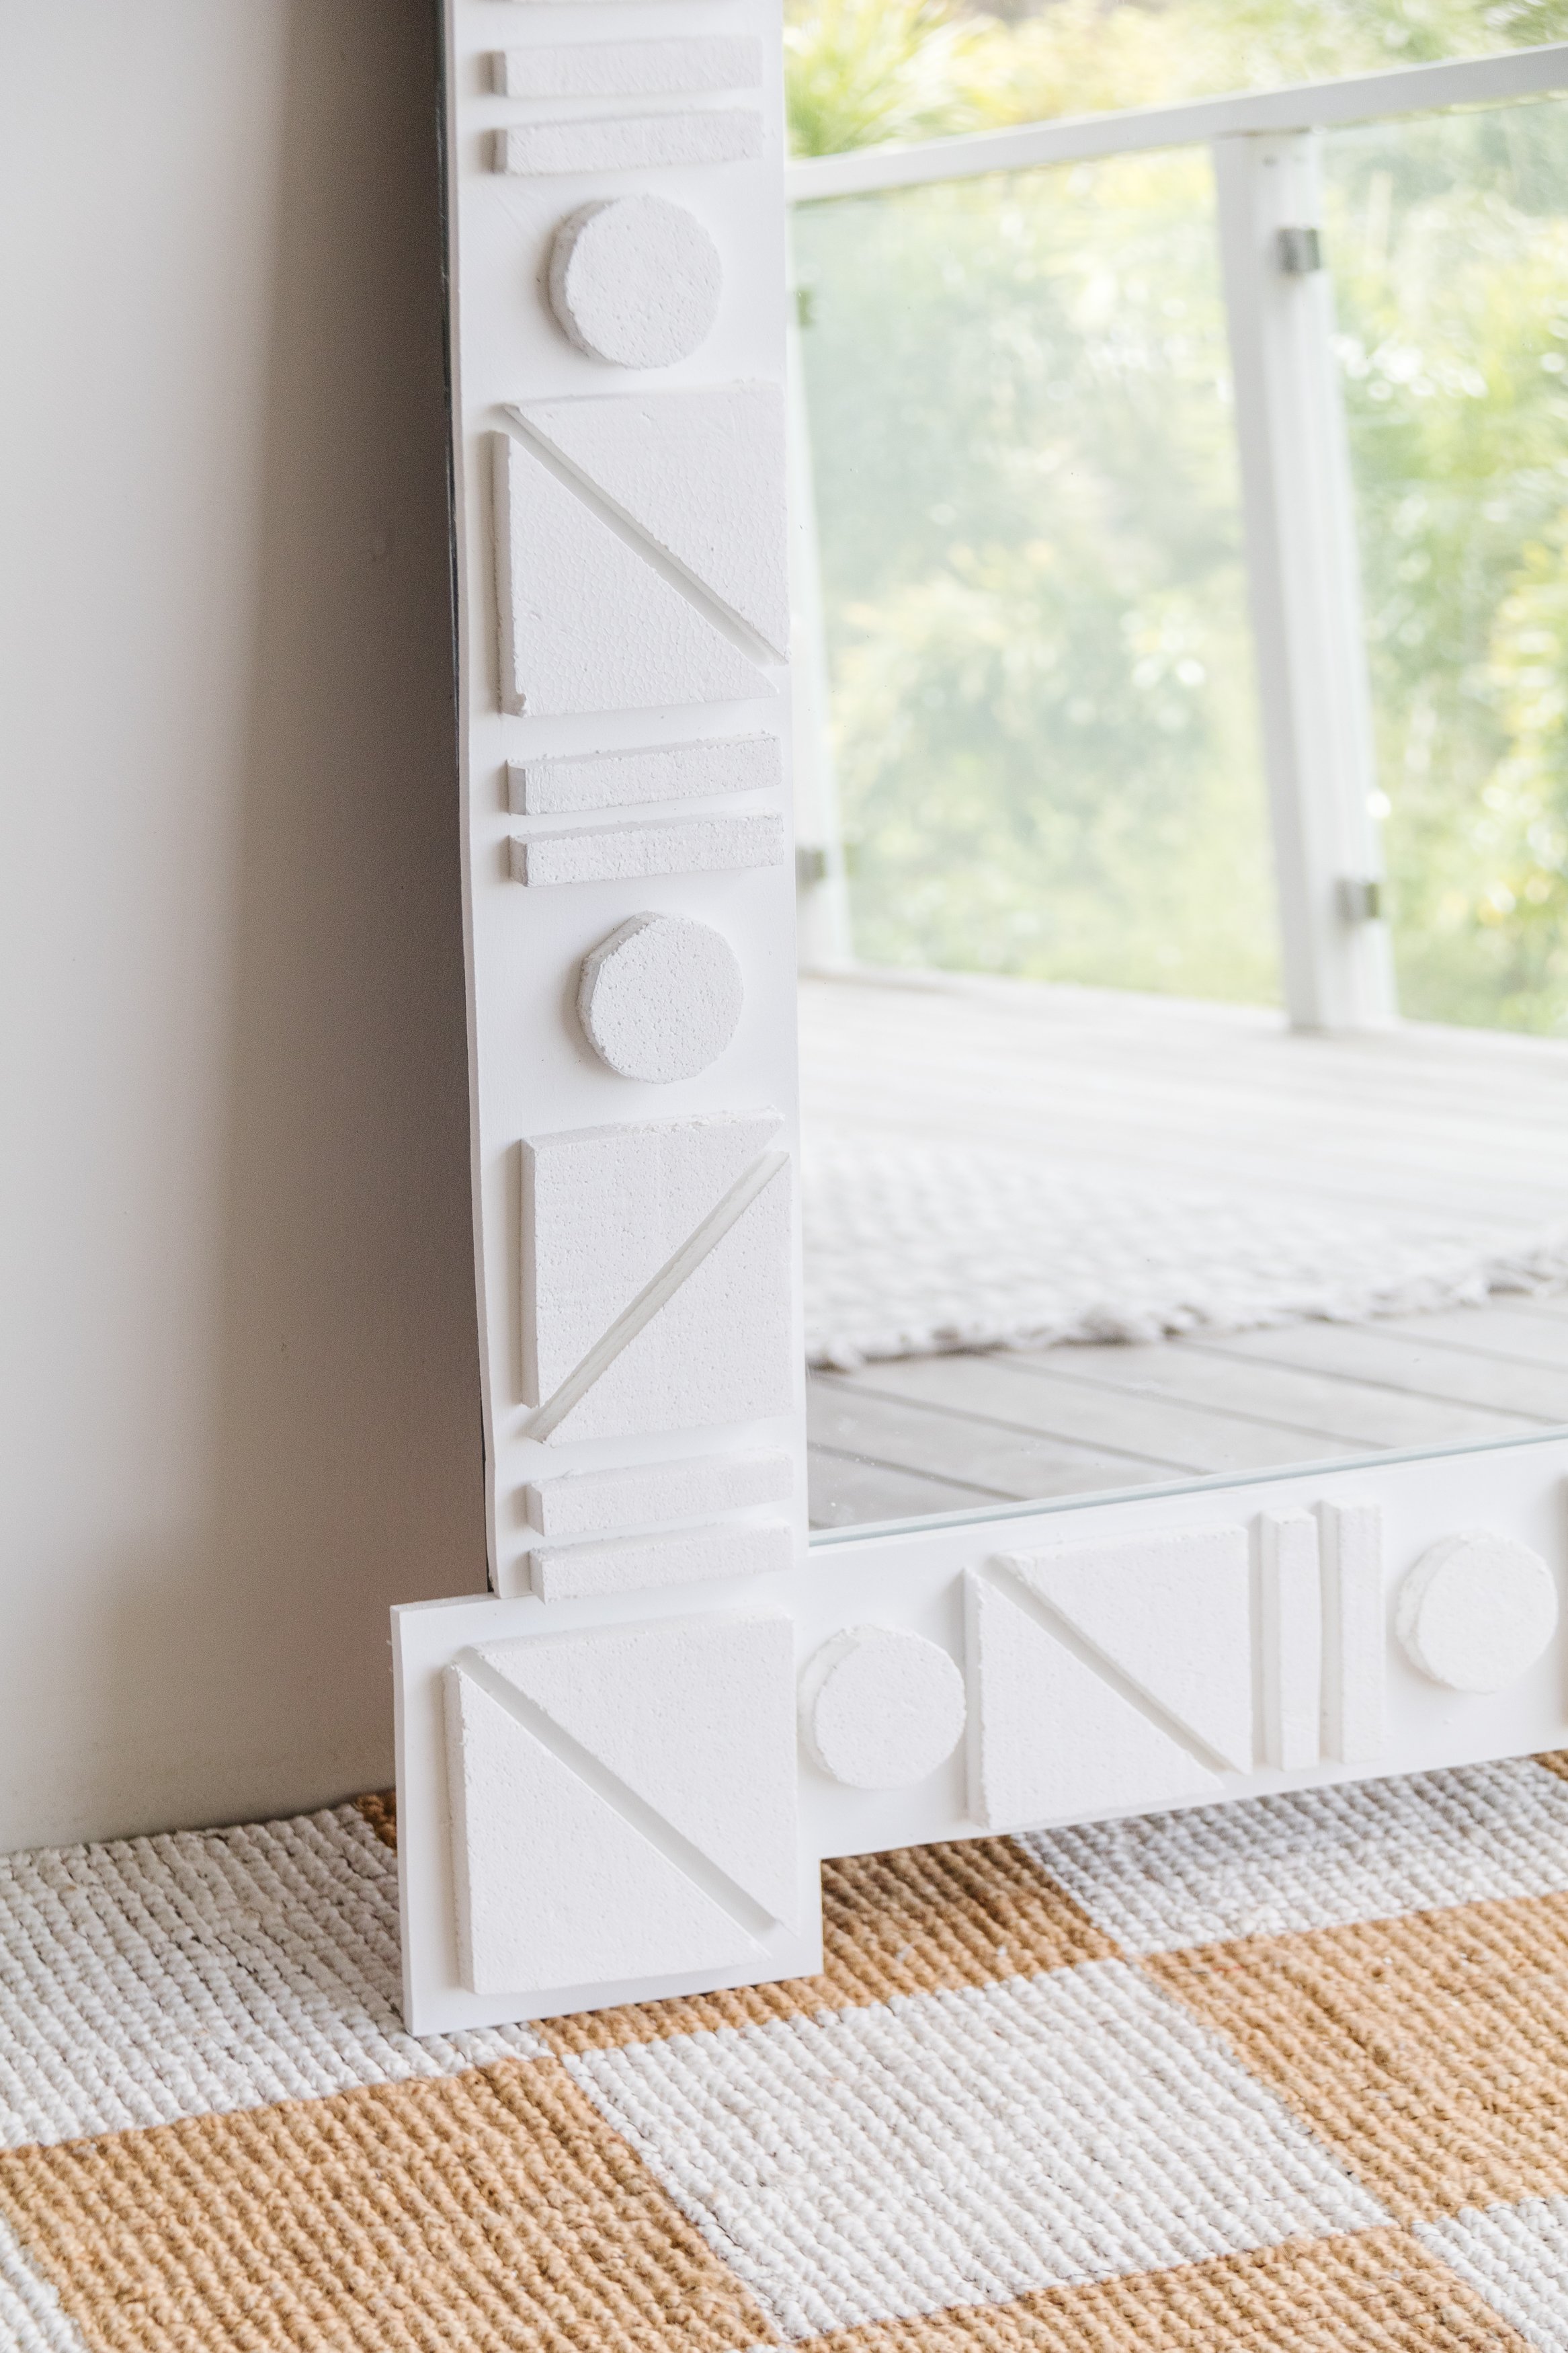
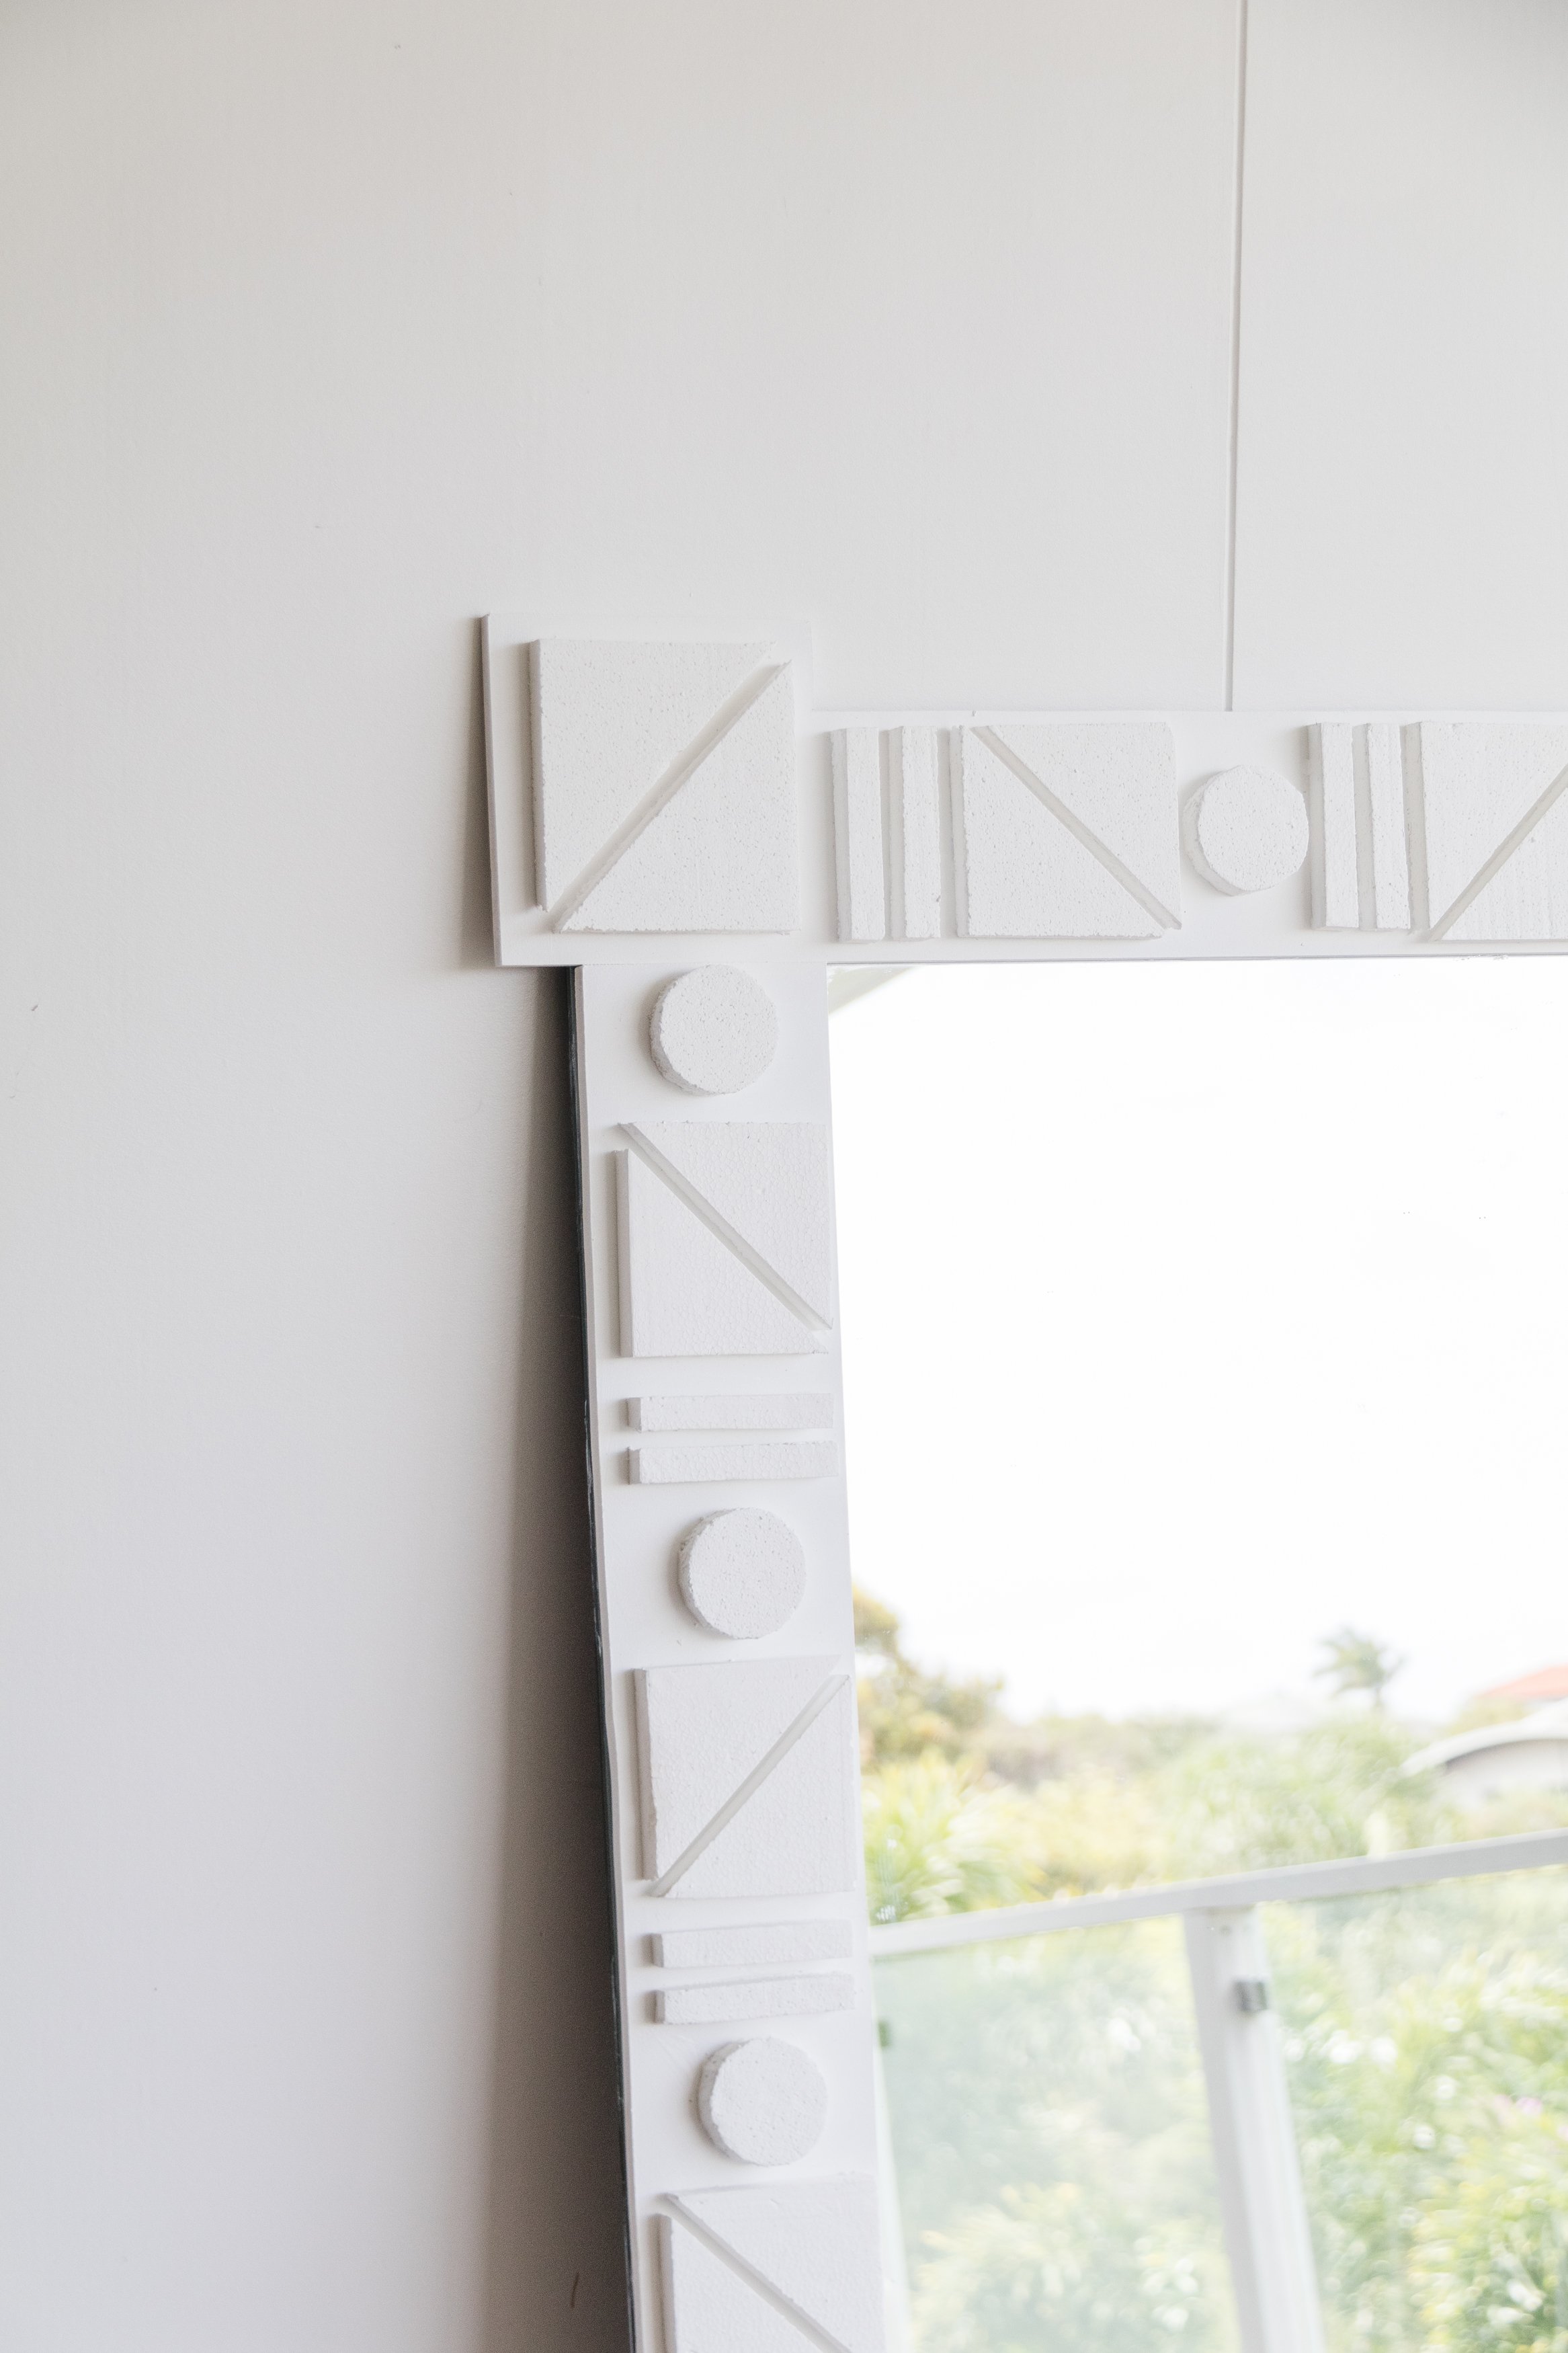
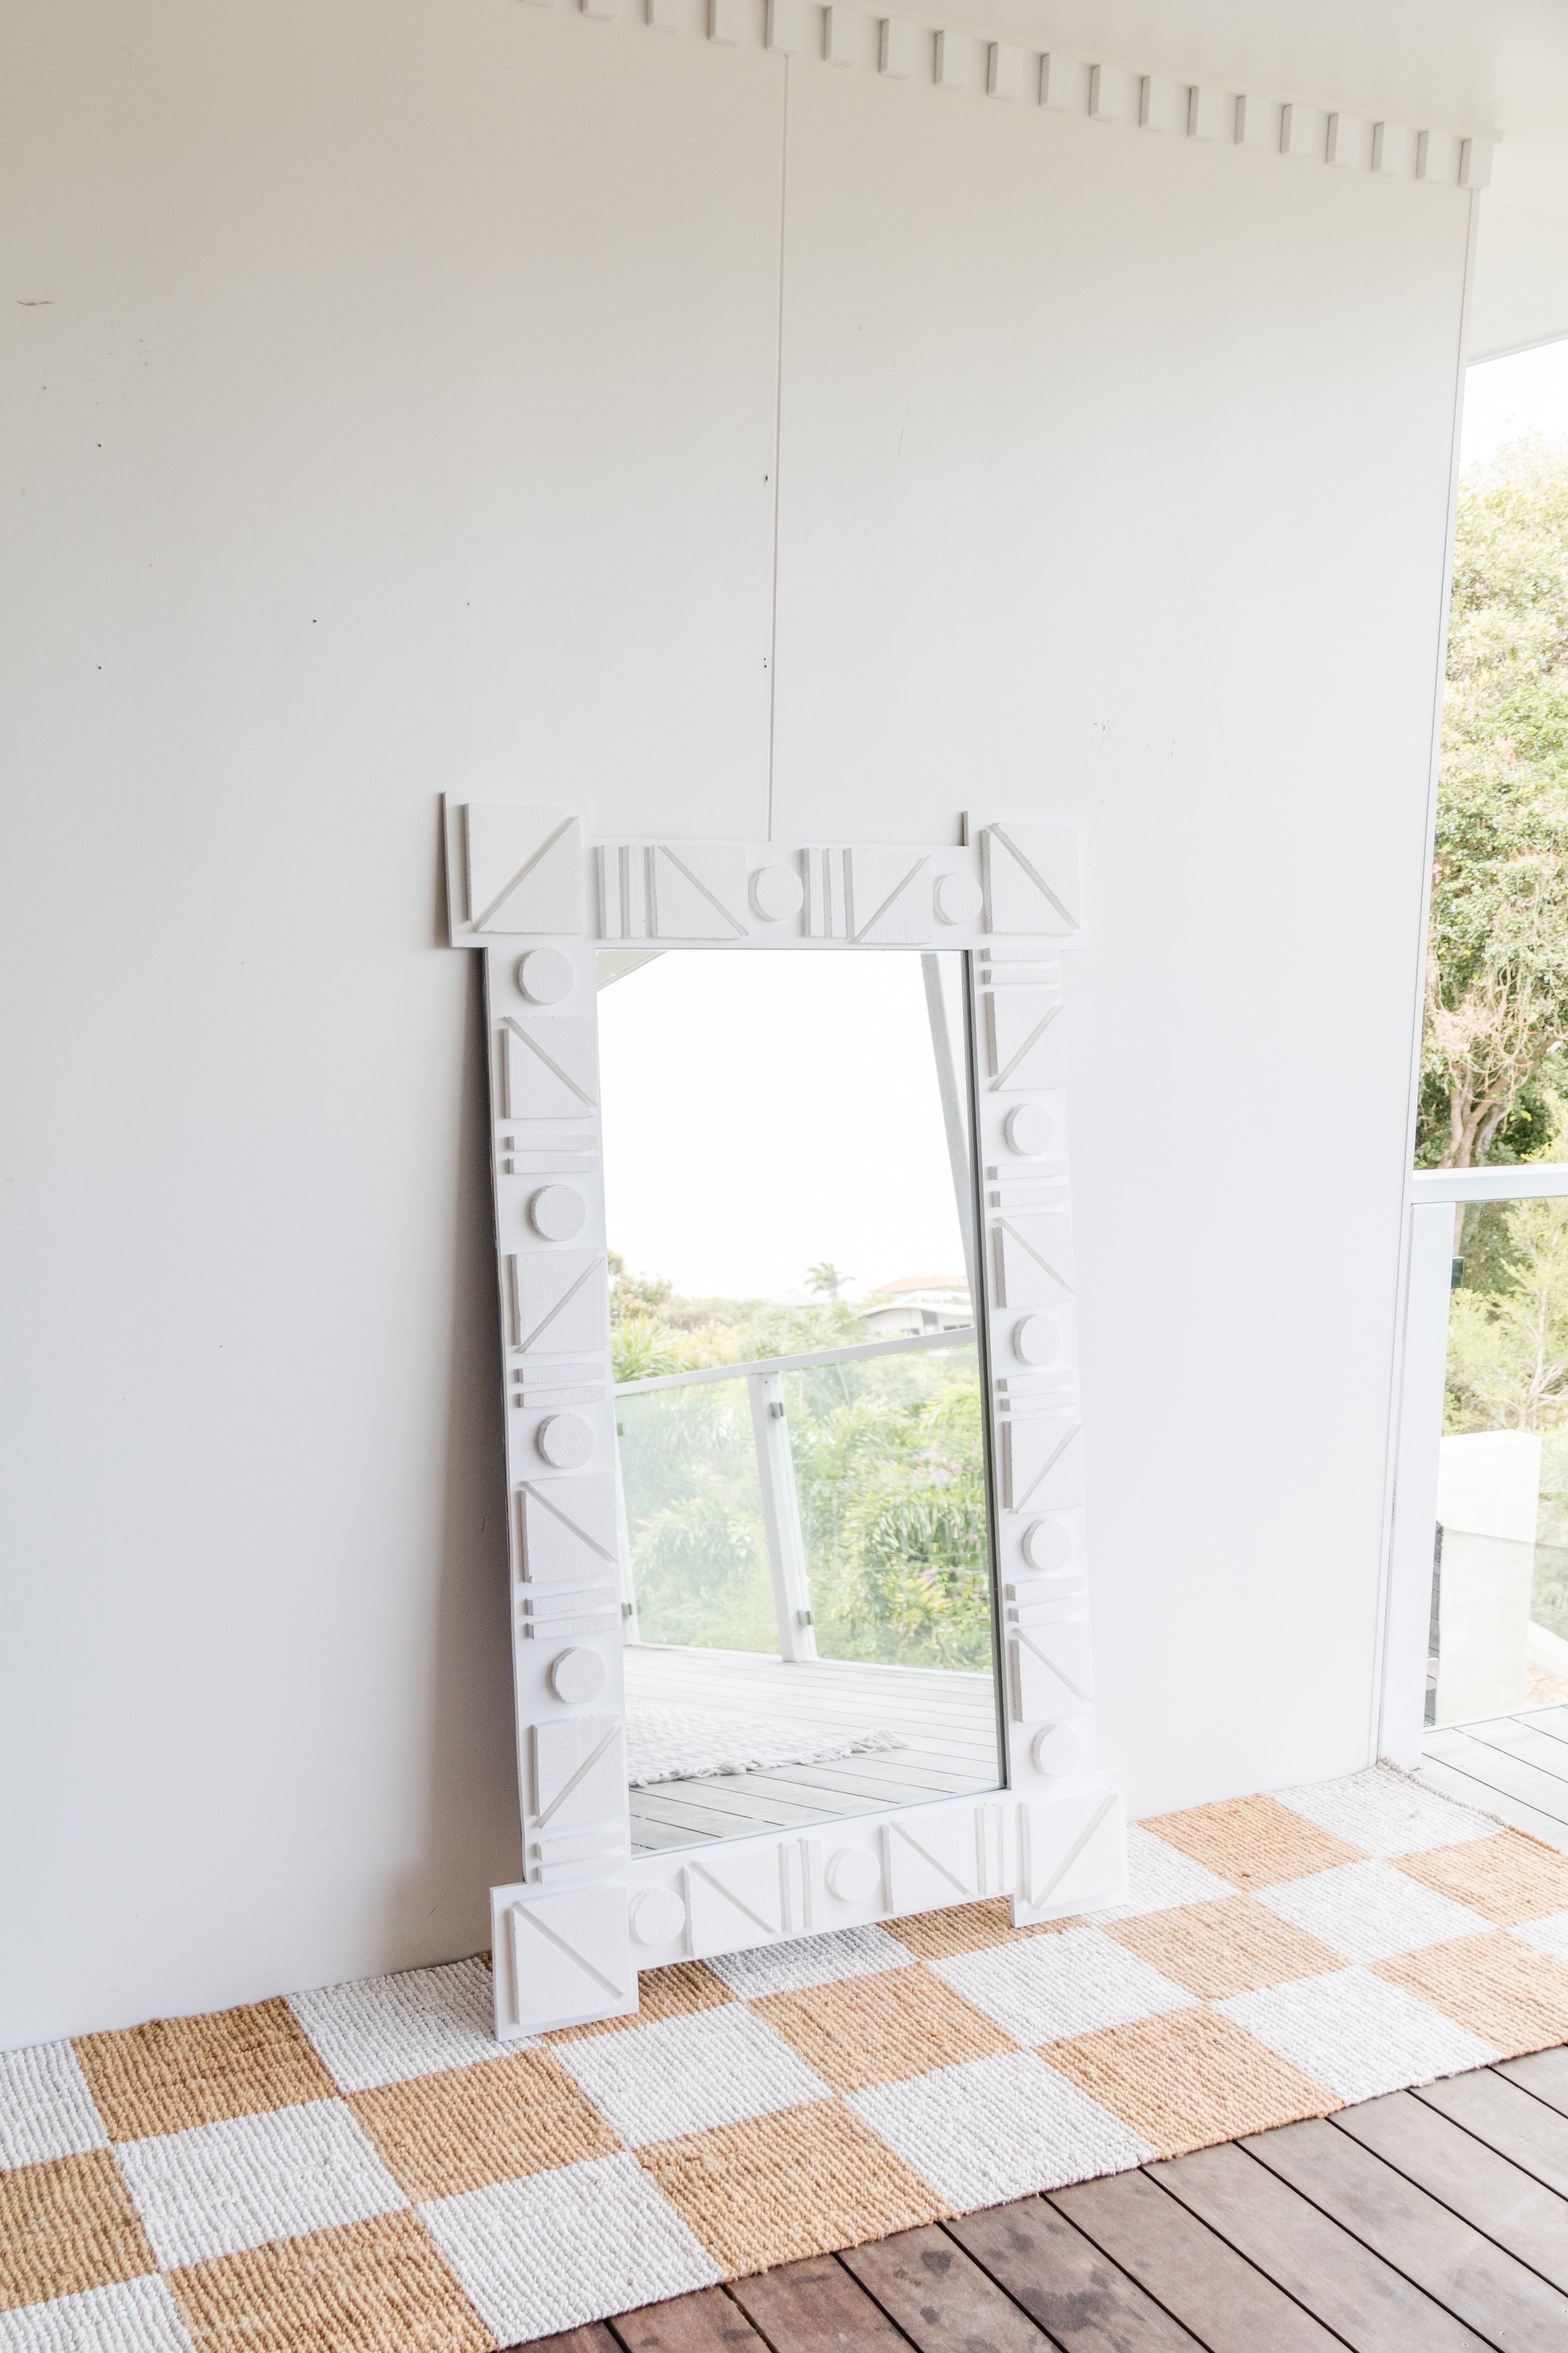
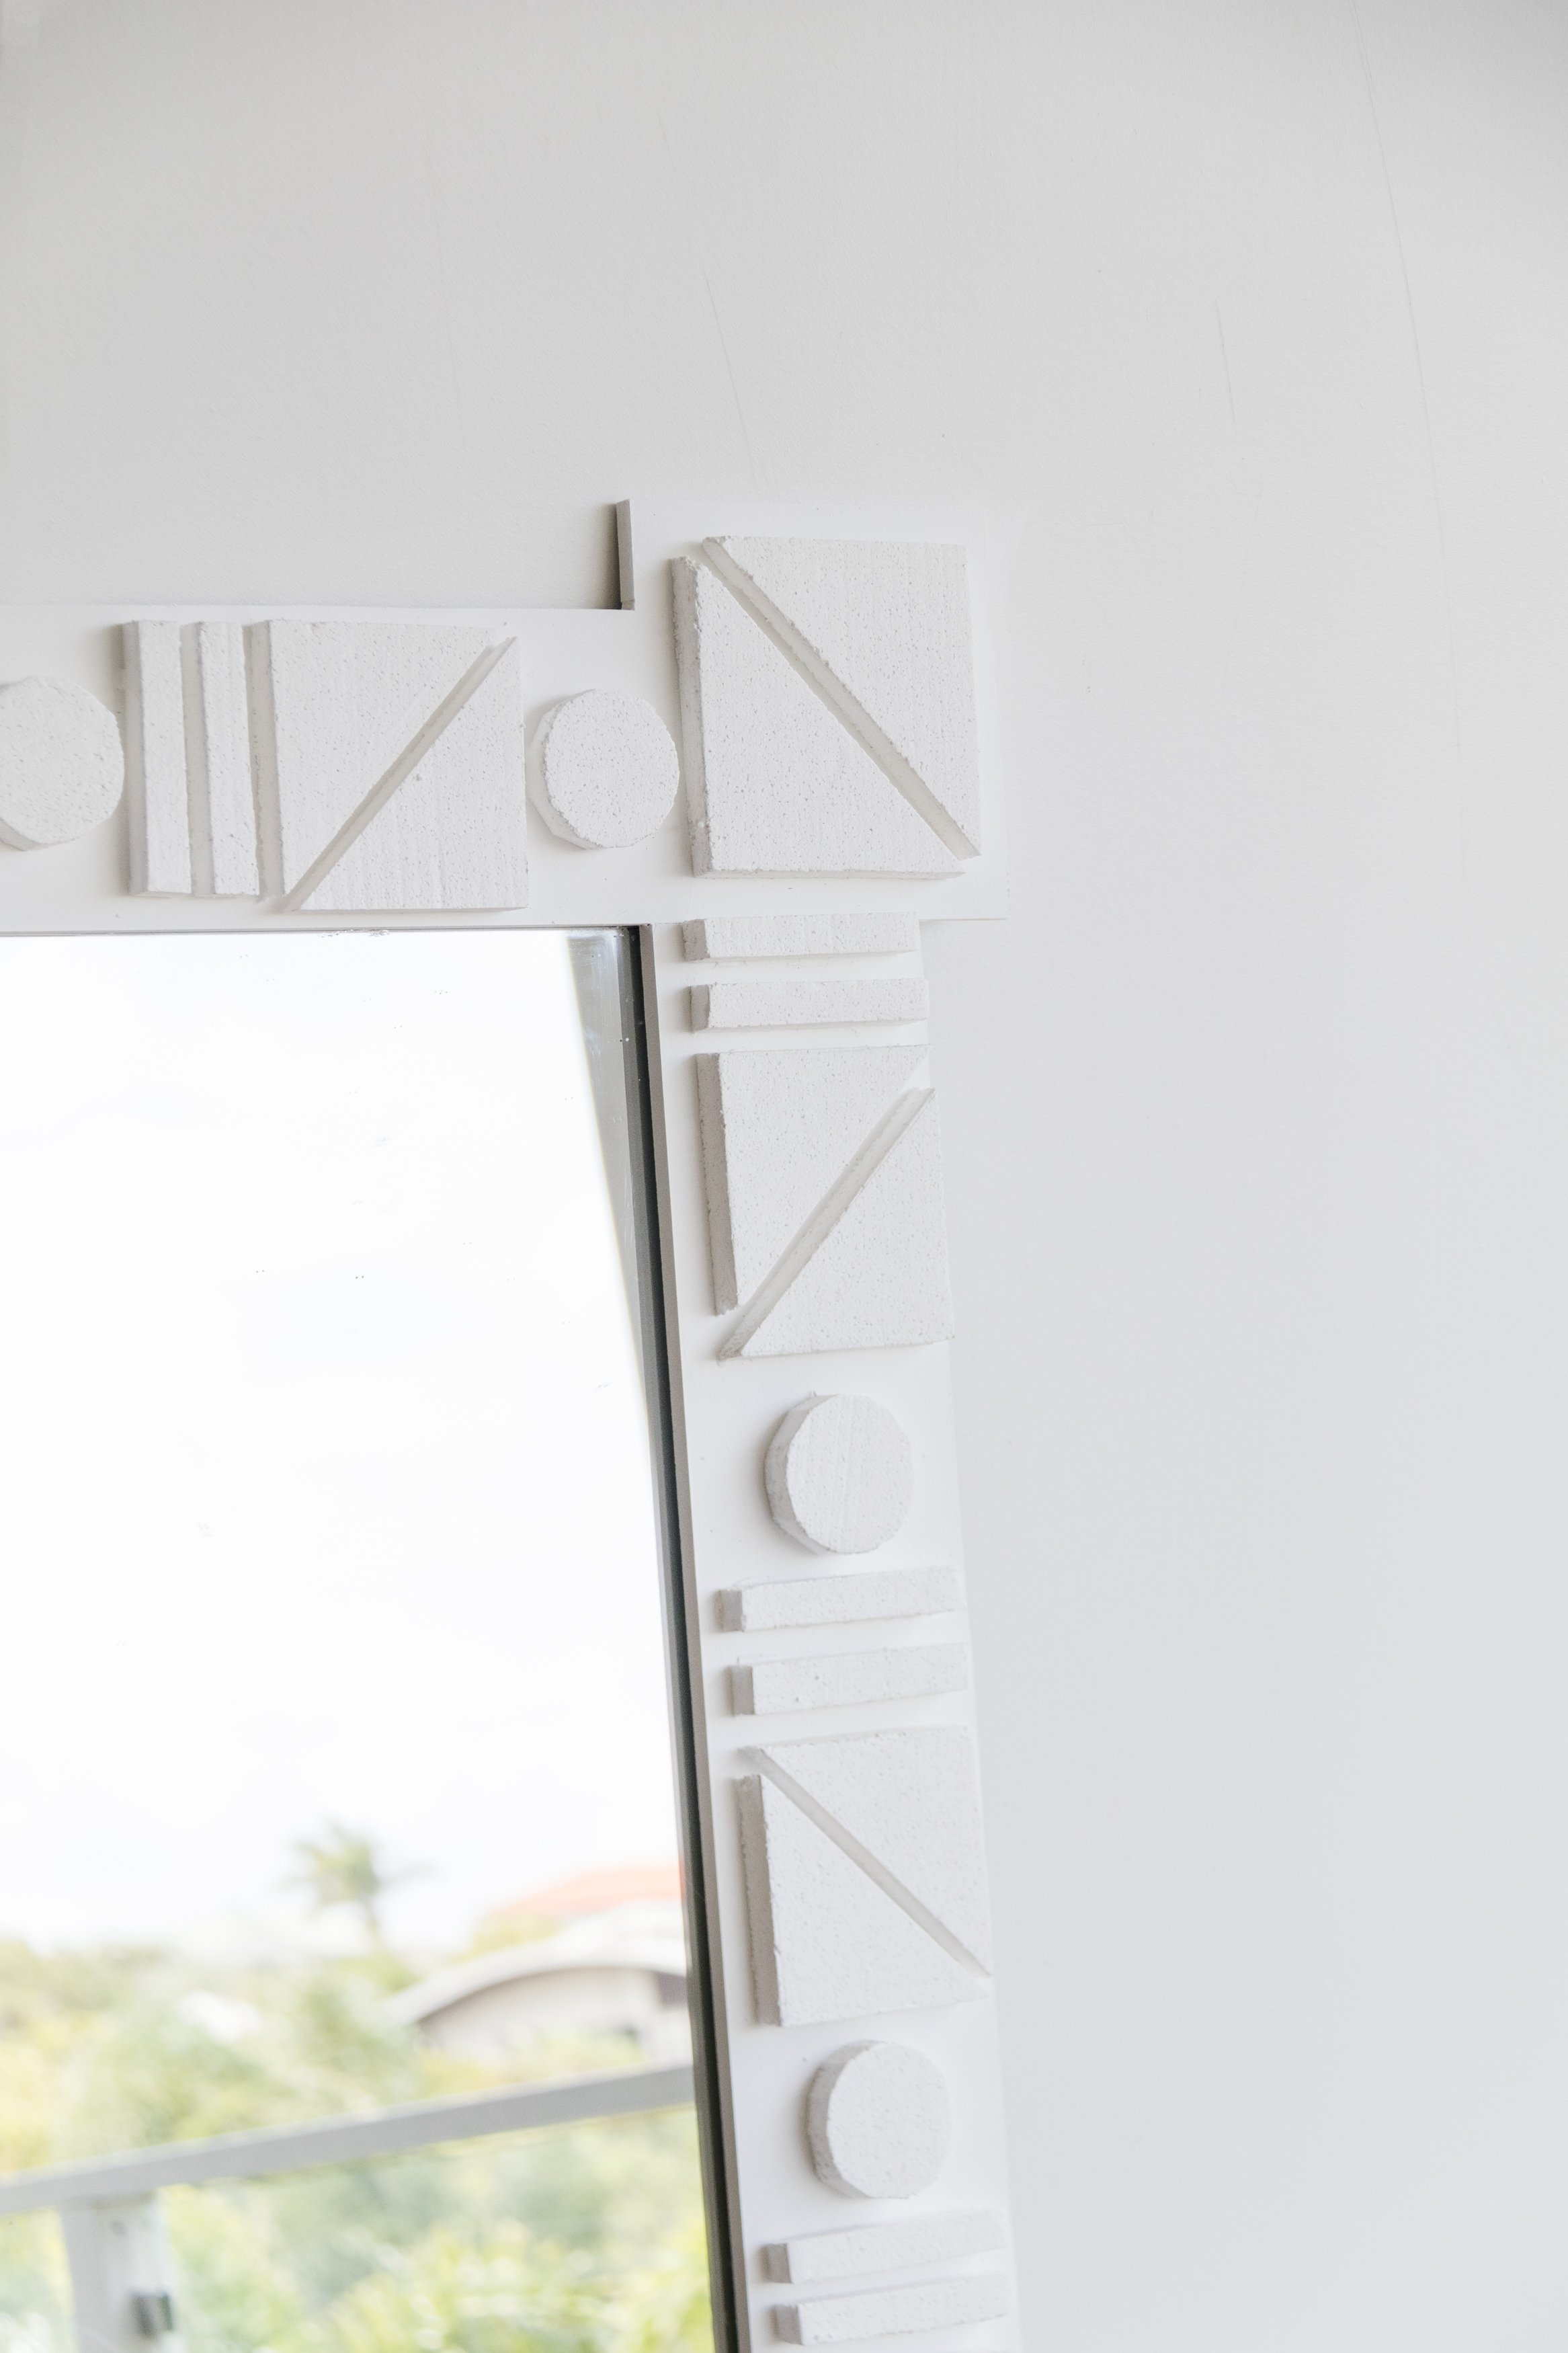
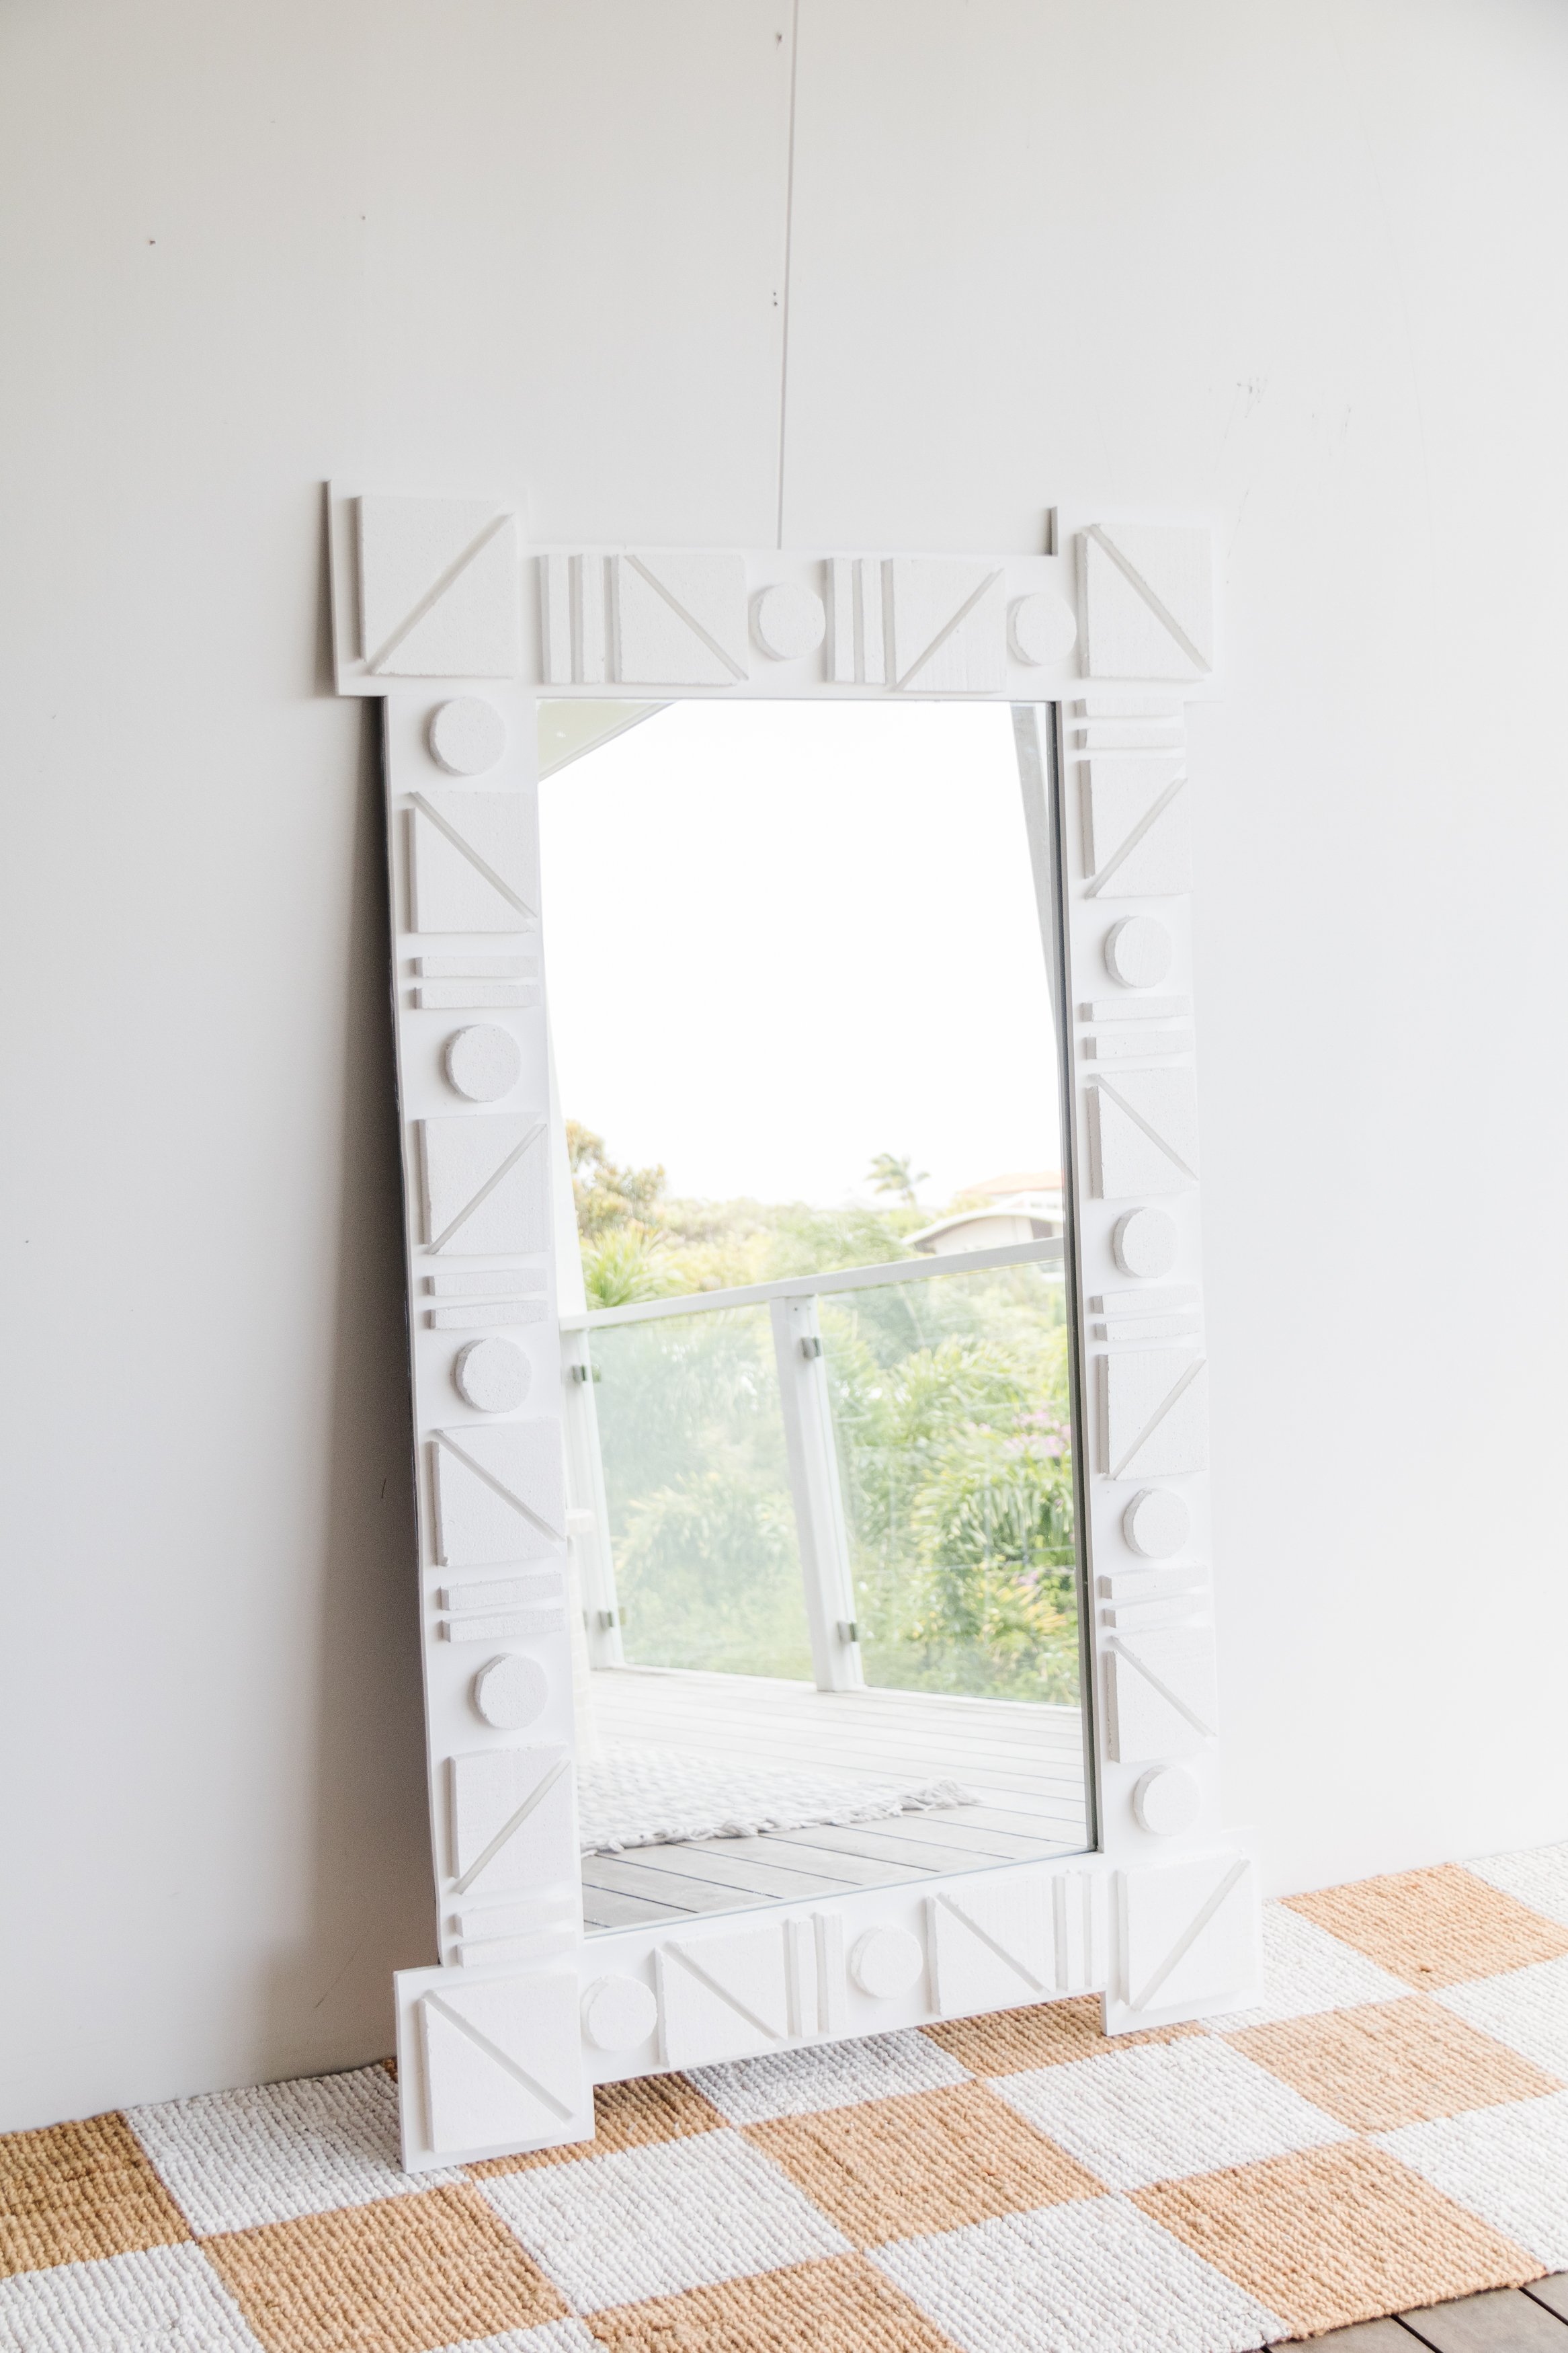
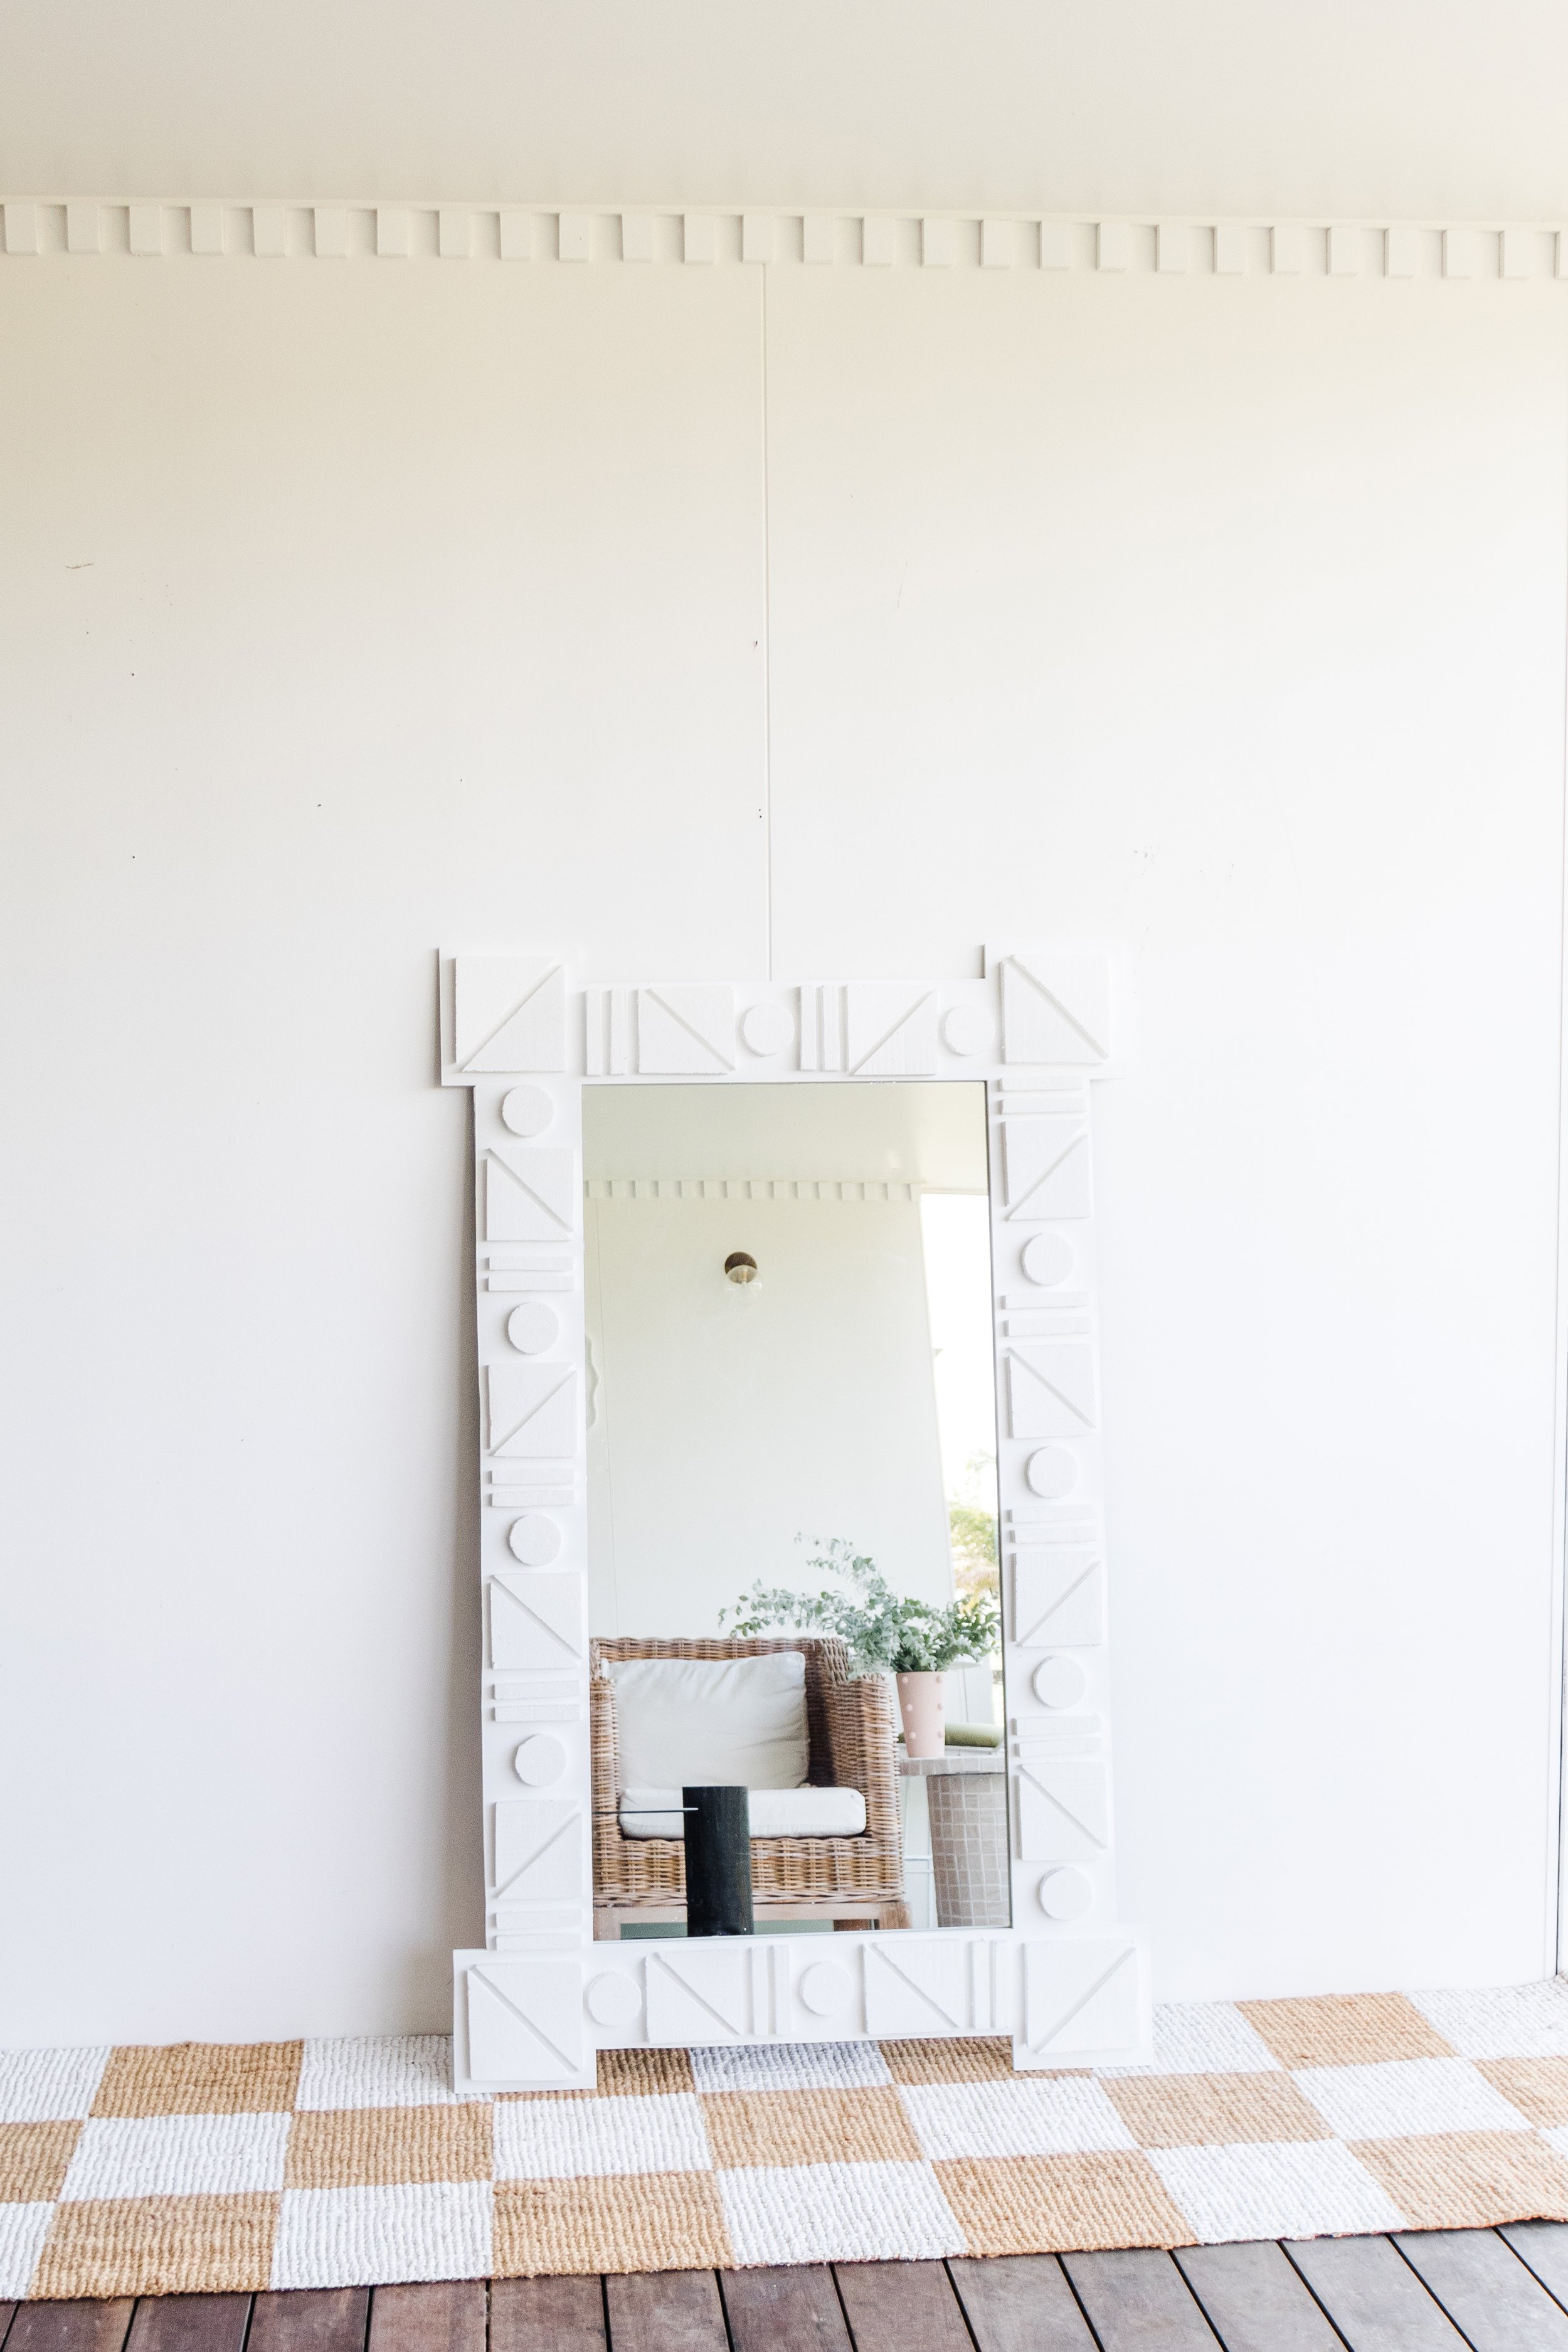
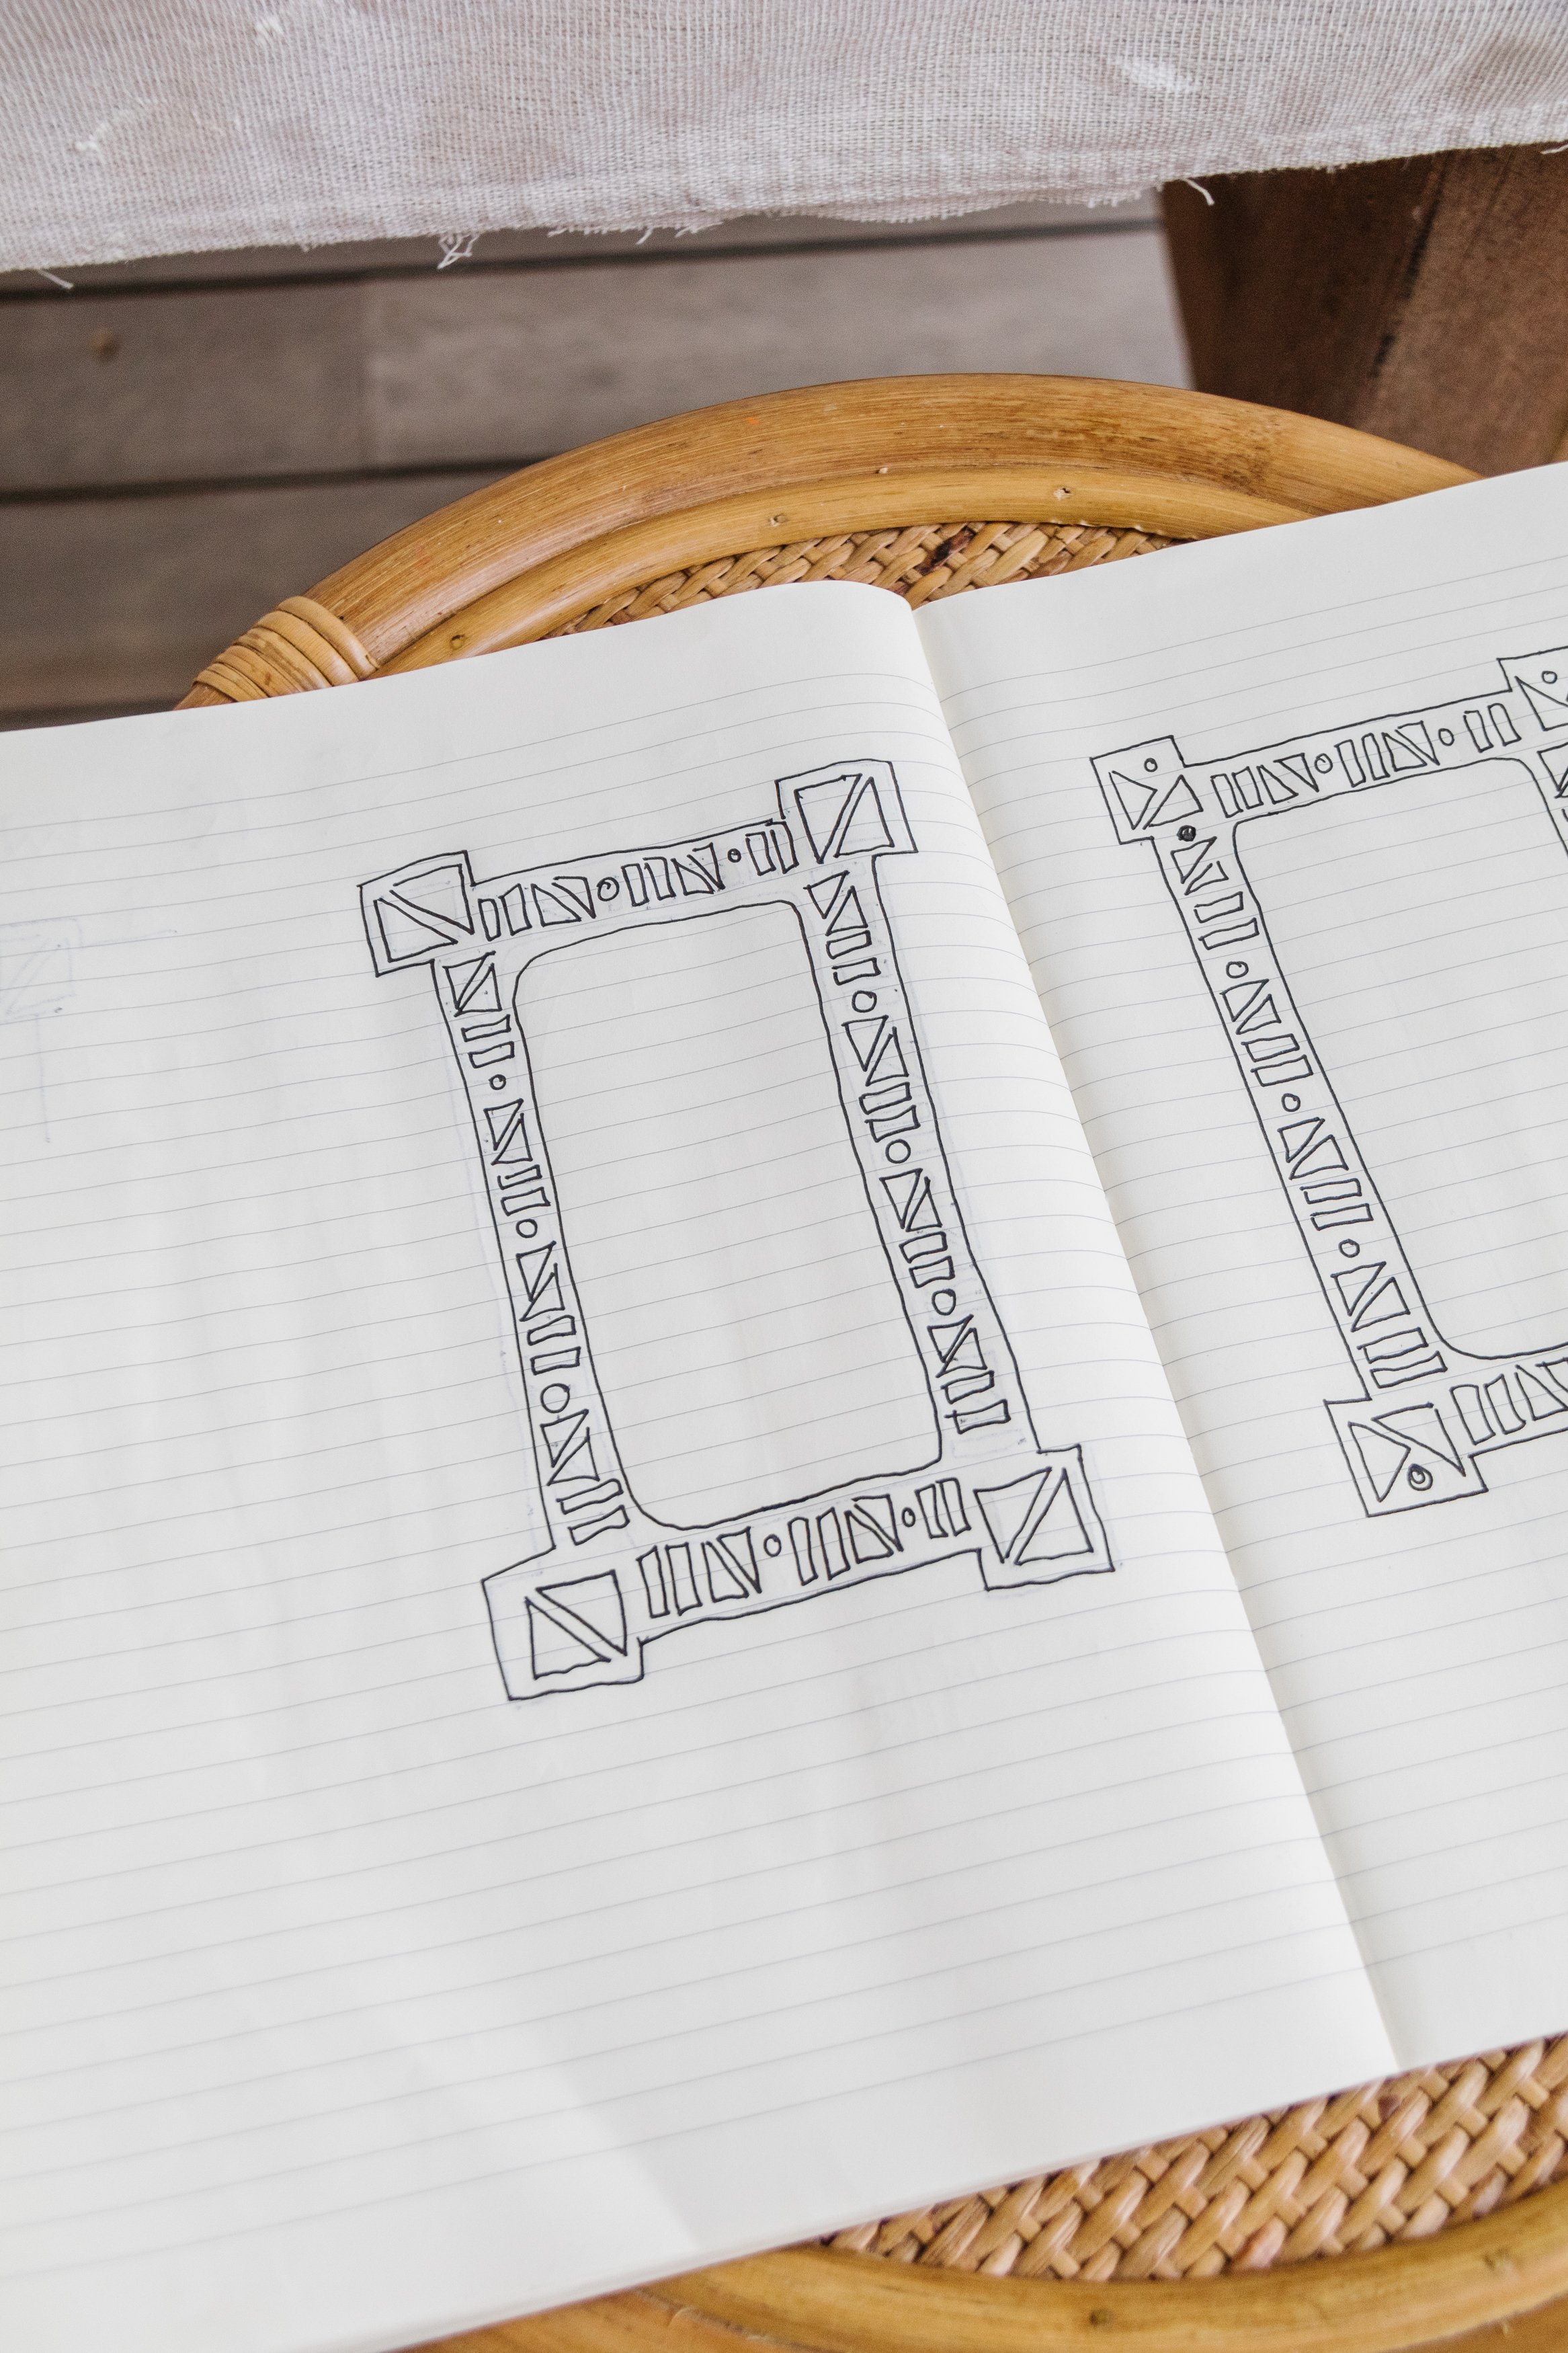
Step 1: The first thing I did was design the frame for the mirror. I felt really inspired by these mirrors; my mum wanted a statement frame with lots of character and style, so I knew an amalgamation of these would be just what she is looking for.
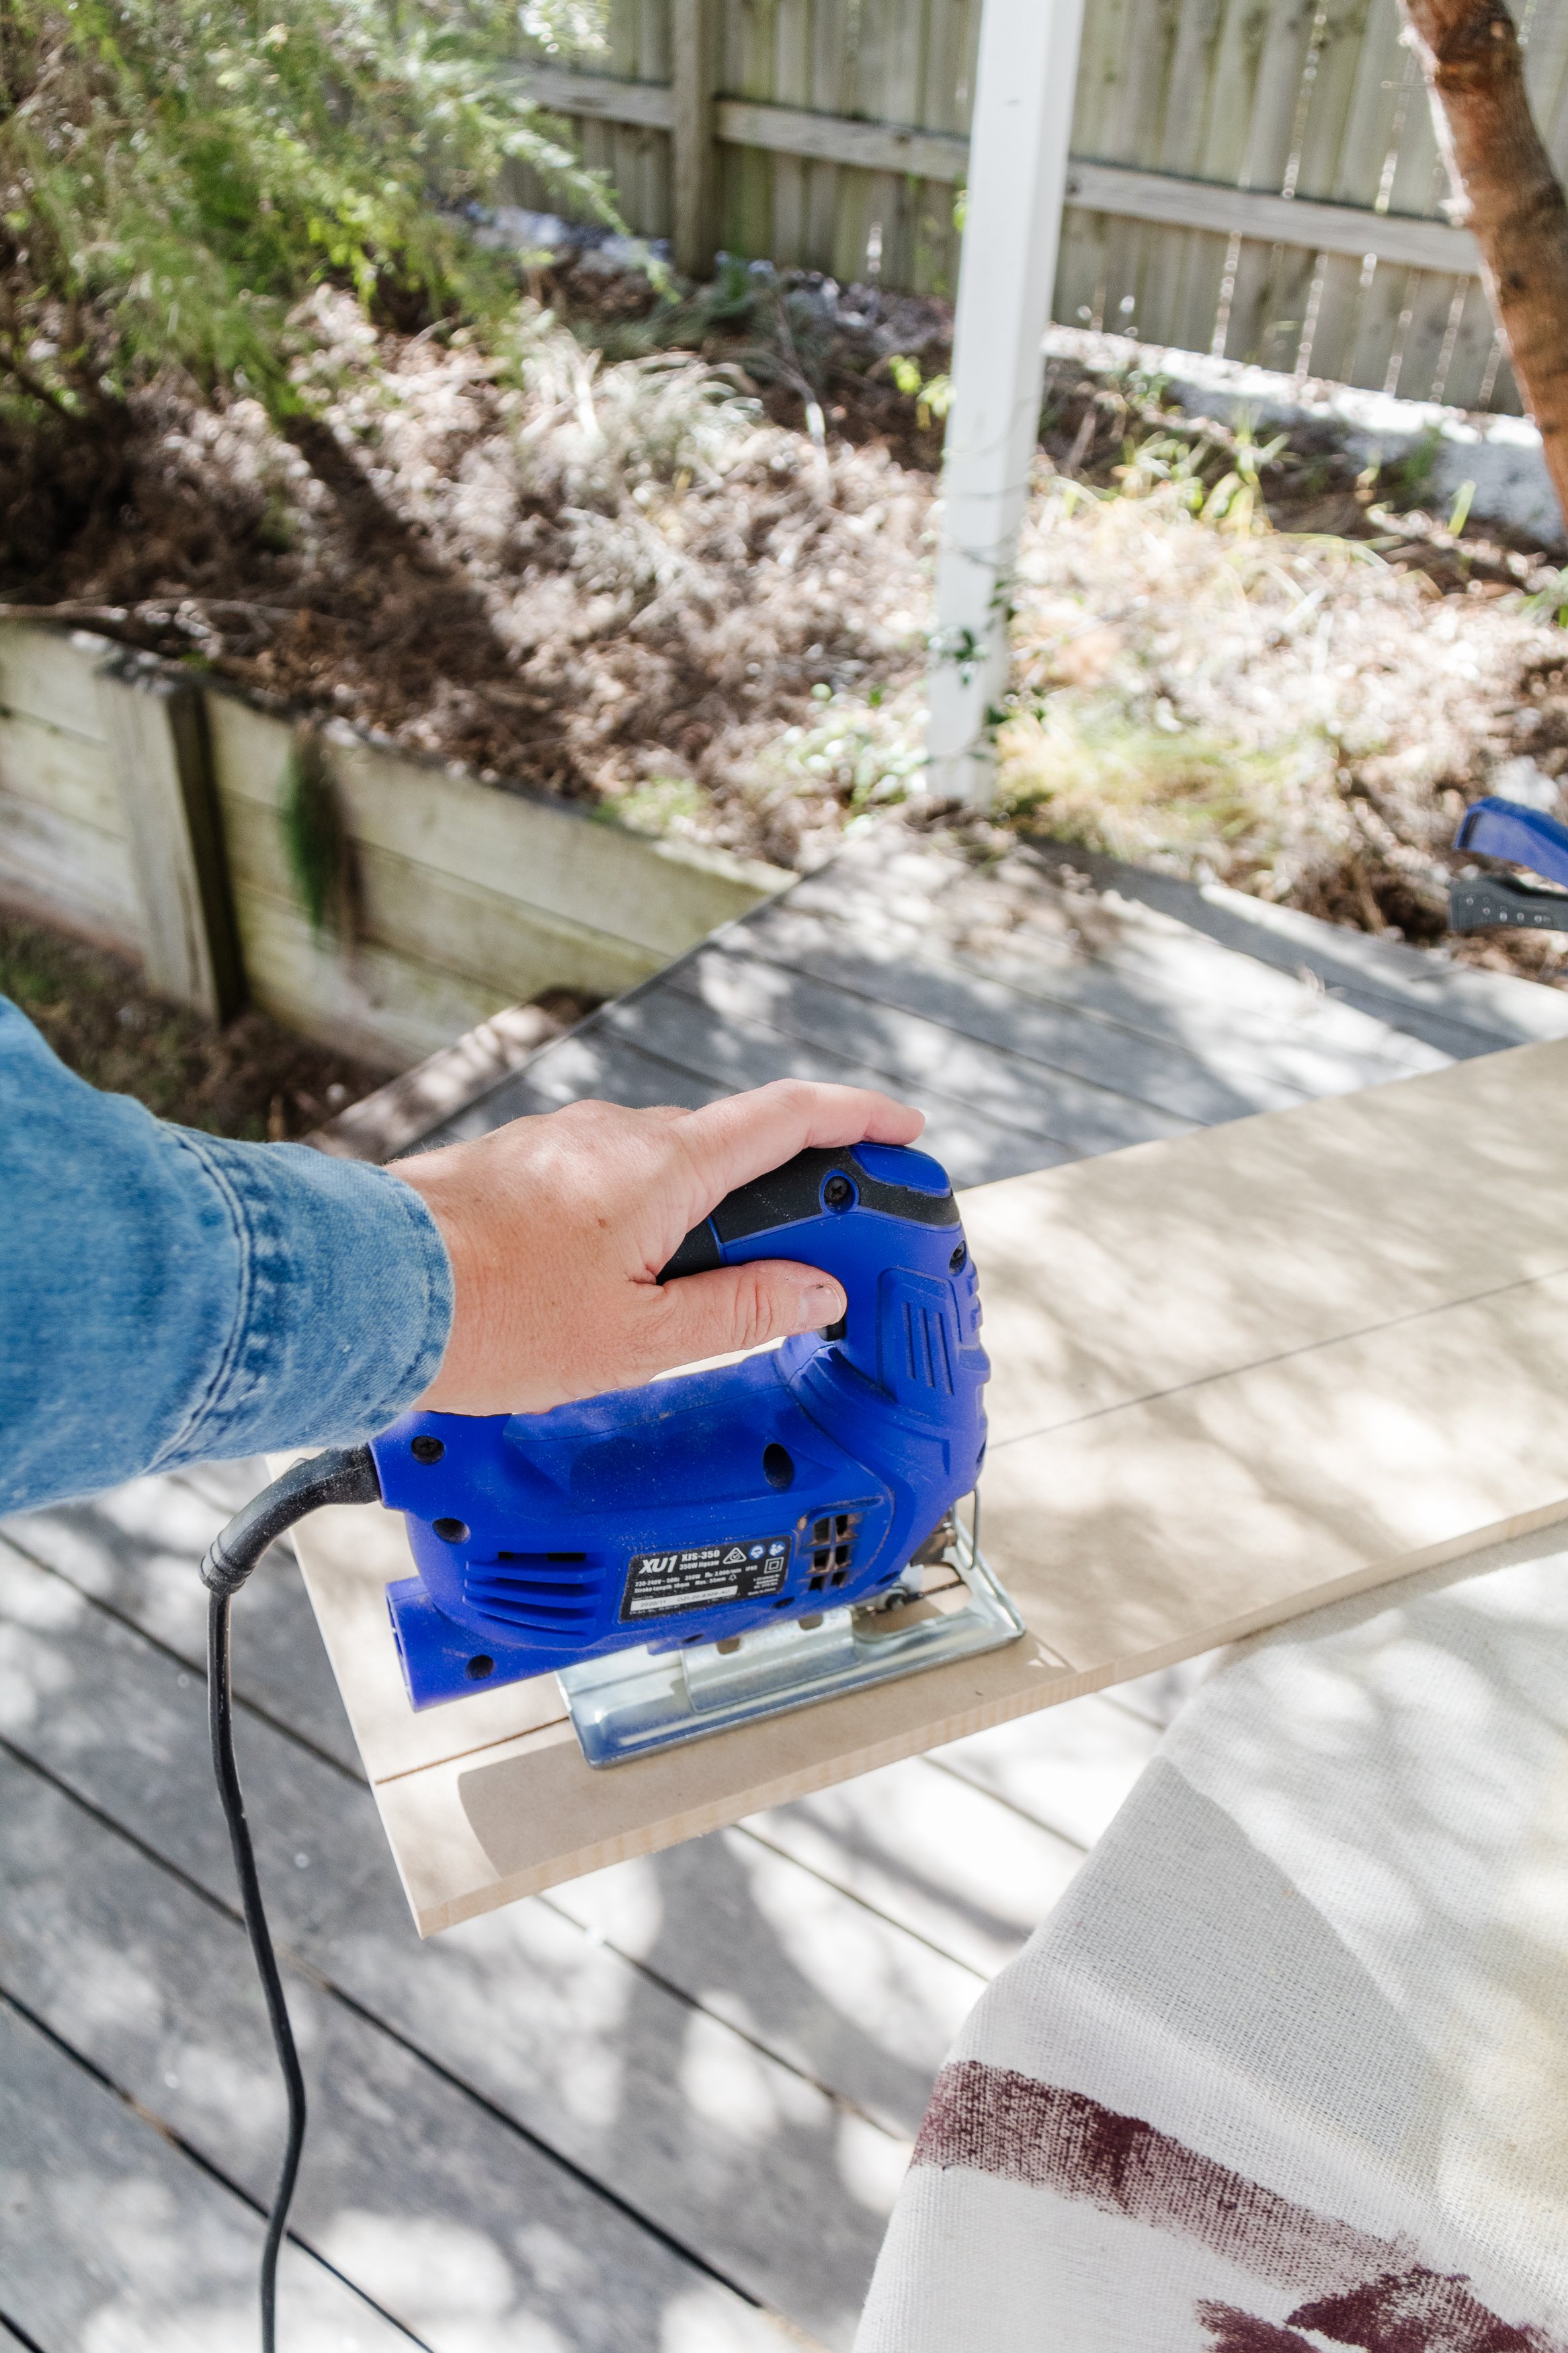
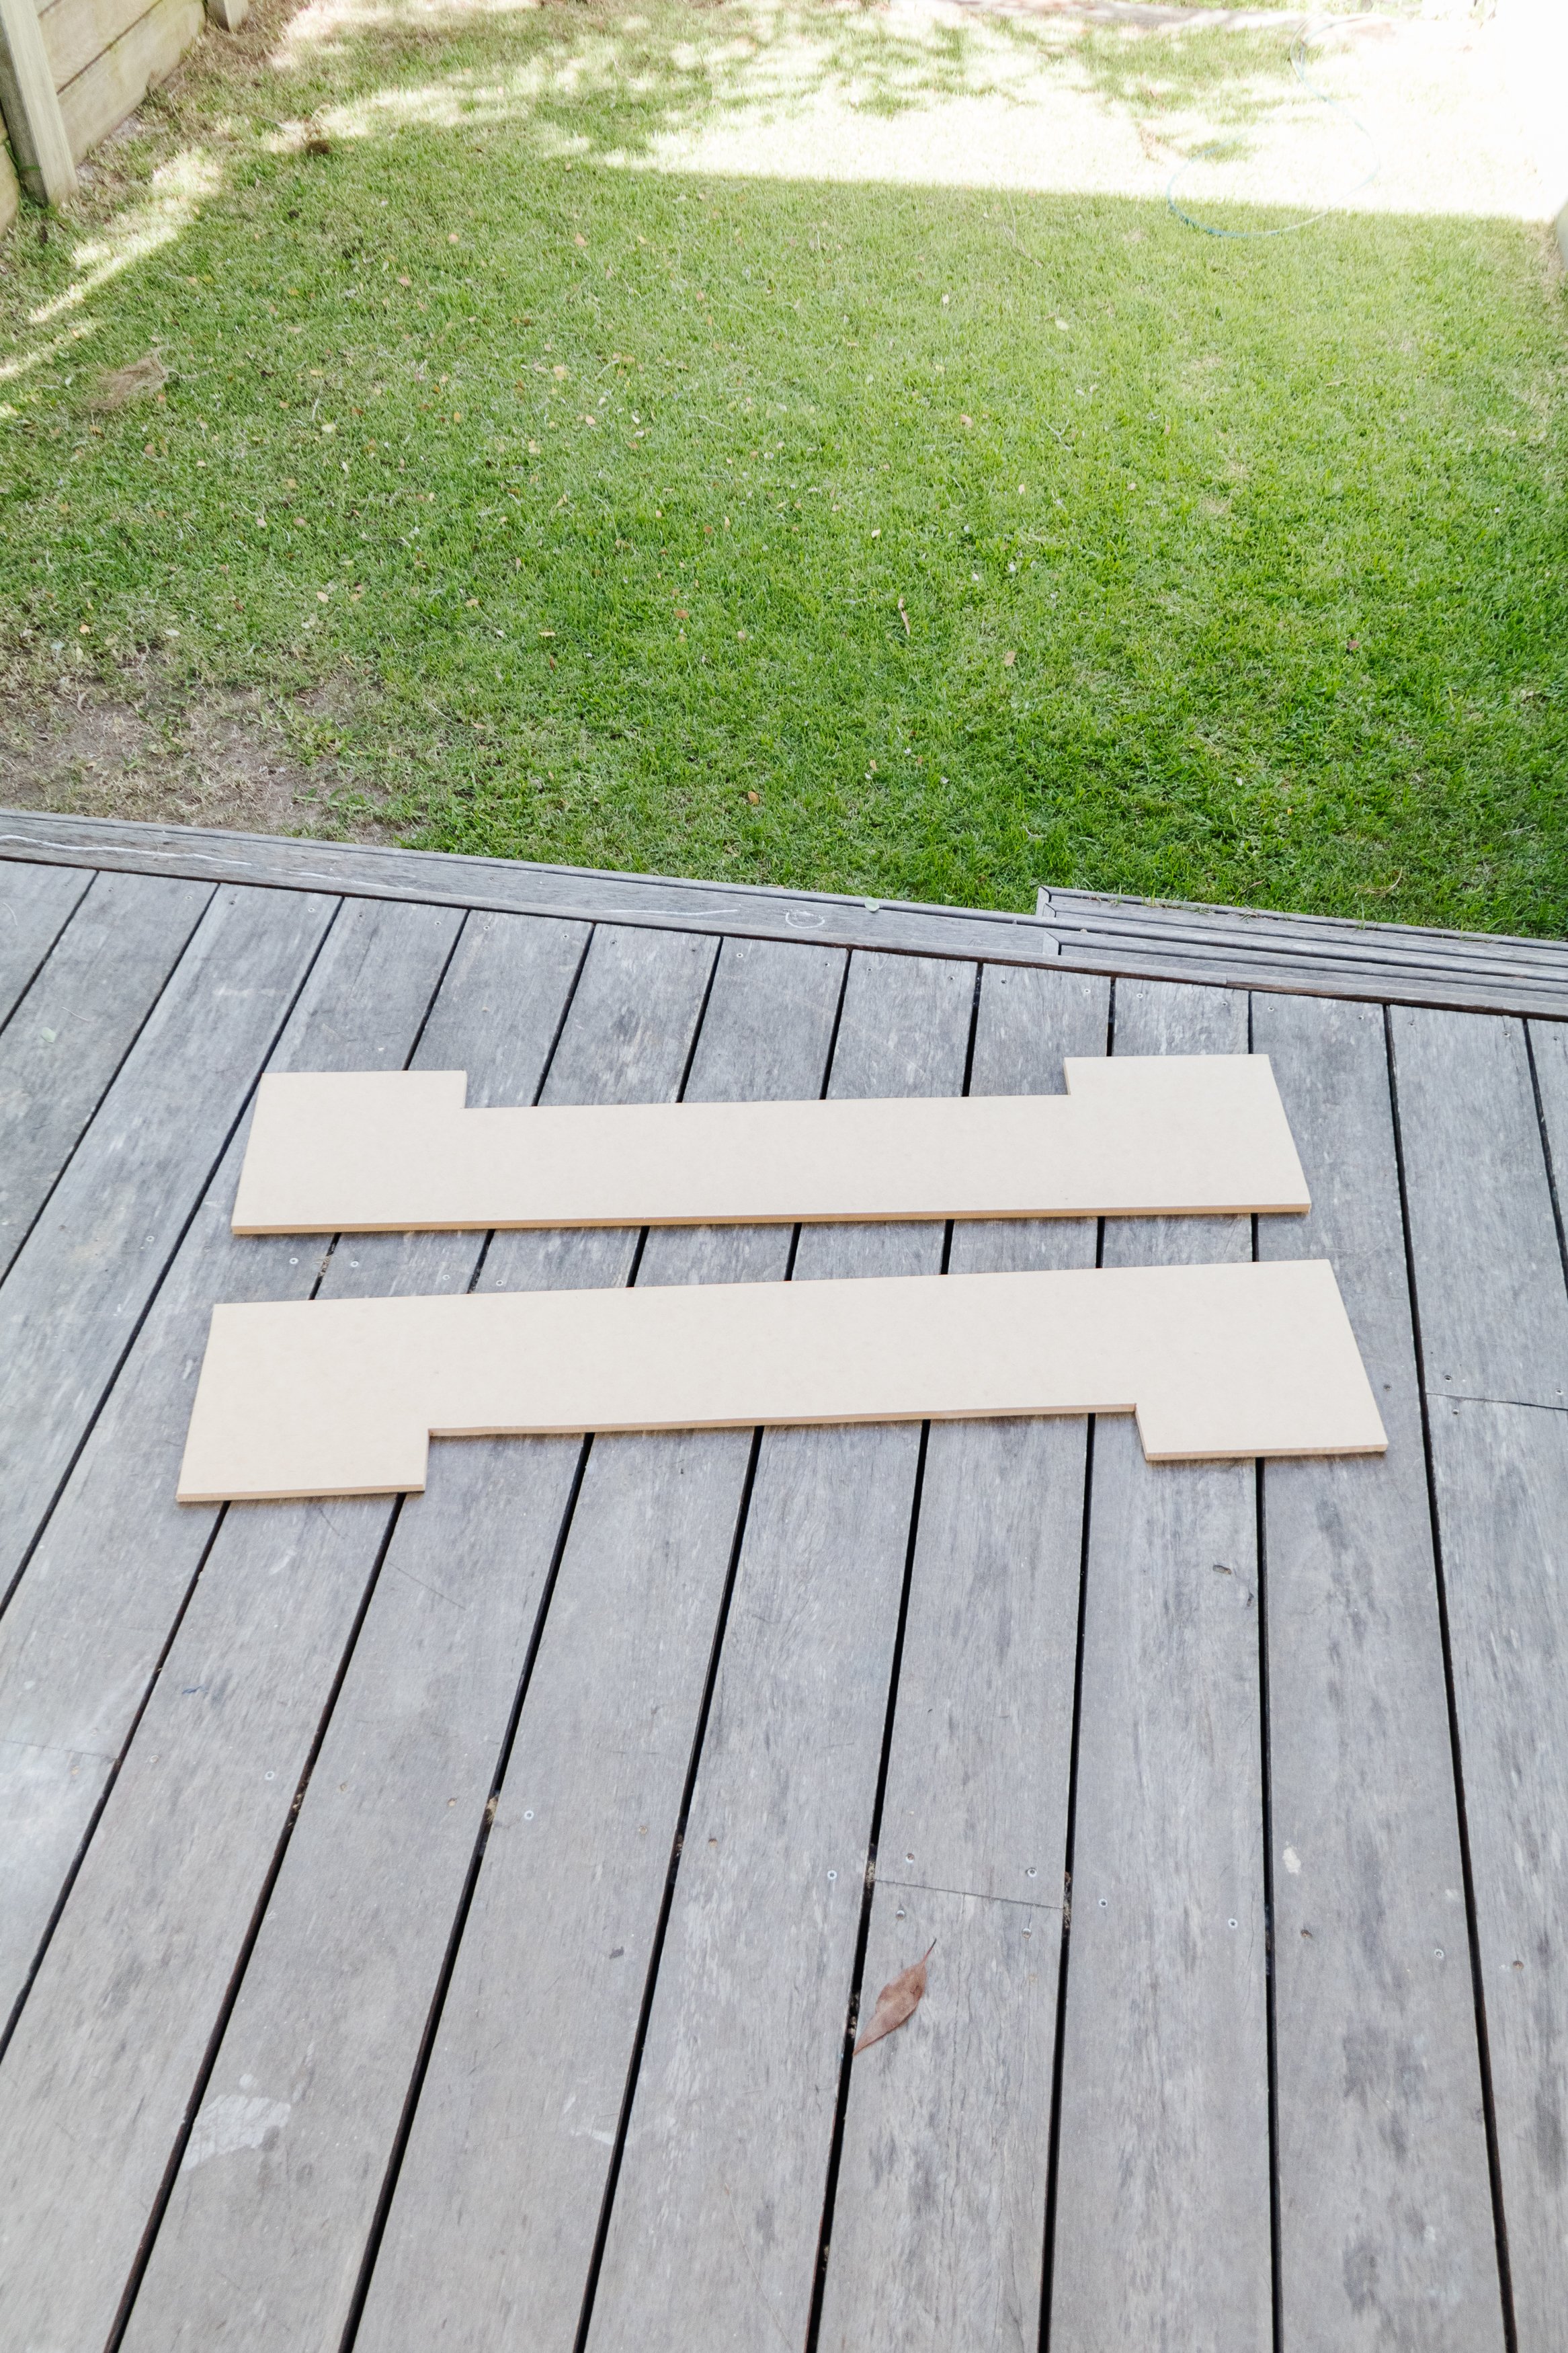
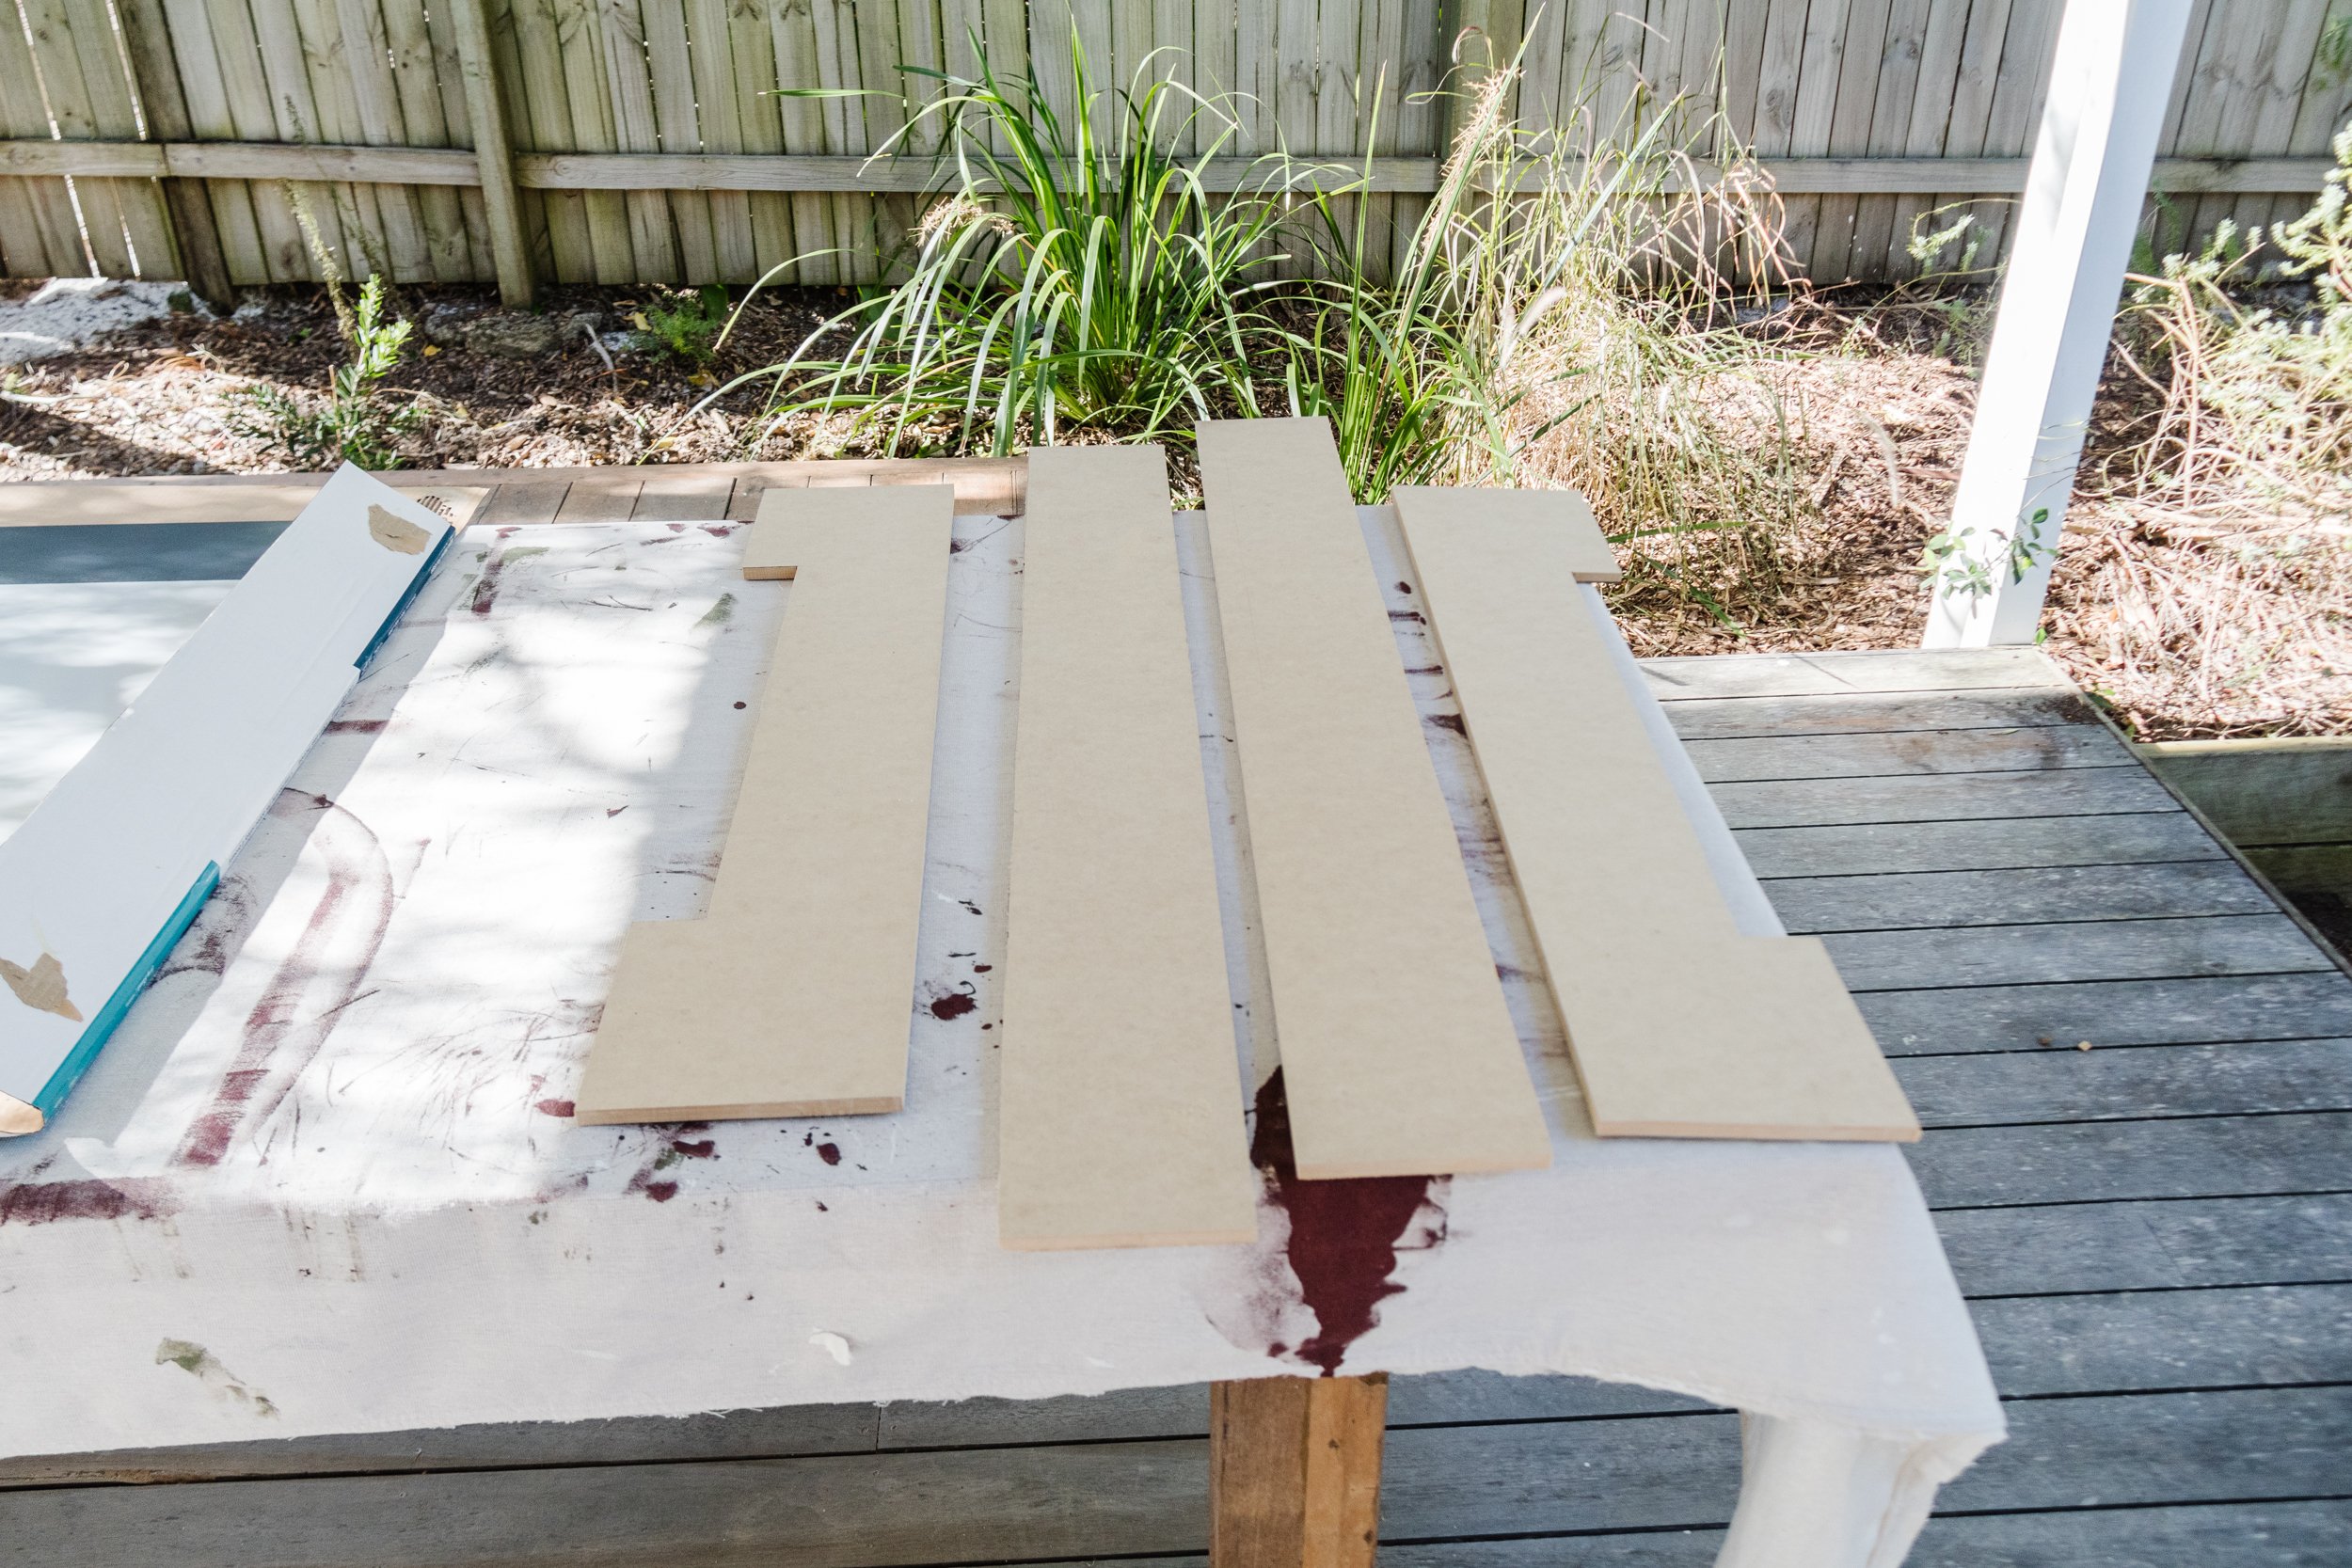
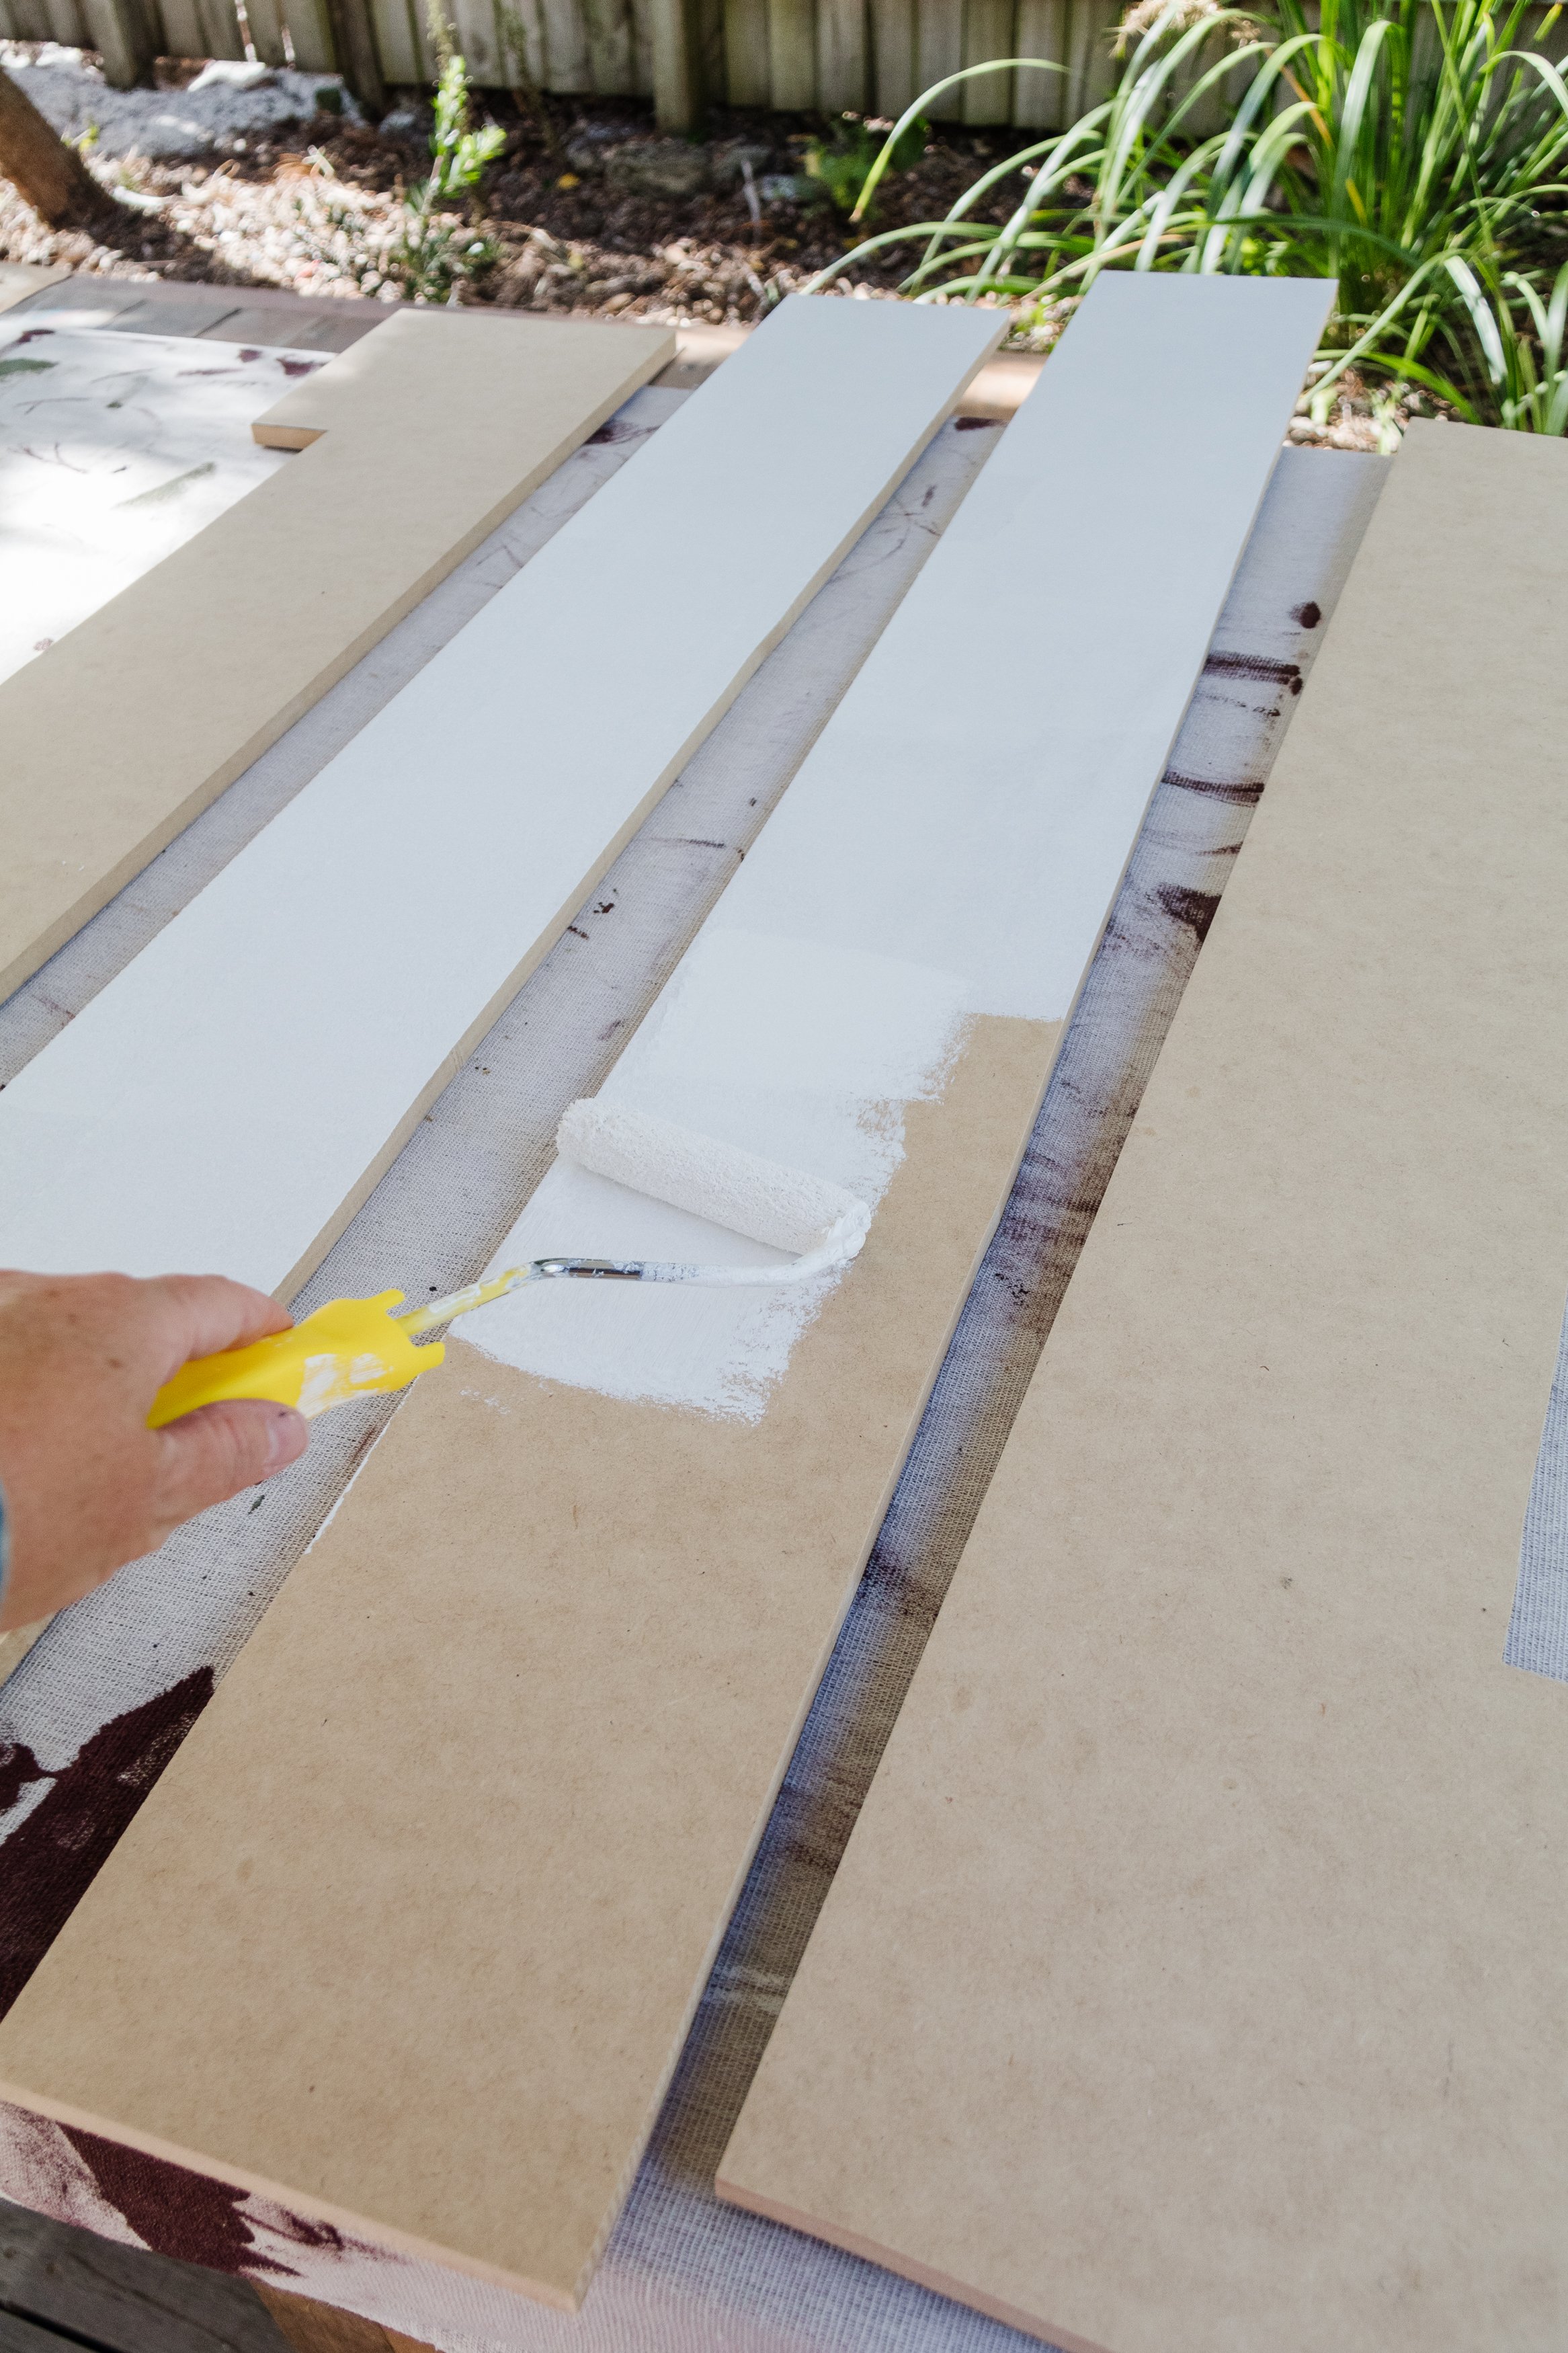
Step 2: I drew the outline of the frame onto a panel of MDF. I secured it to my workbench using clamps and cut the frame using my jigsaw. Then I applied two coats of paint all over the frame all over the frame.

Step 3: I assembled and attached the frame onto the mirror using Mirror Mounting Tape and Selleys Mirror Adhesive, and let the glue dry overnight.
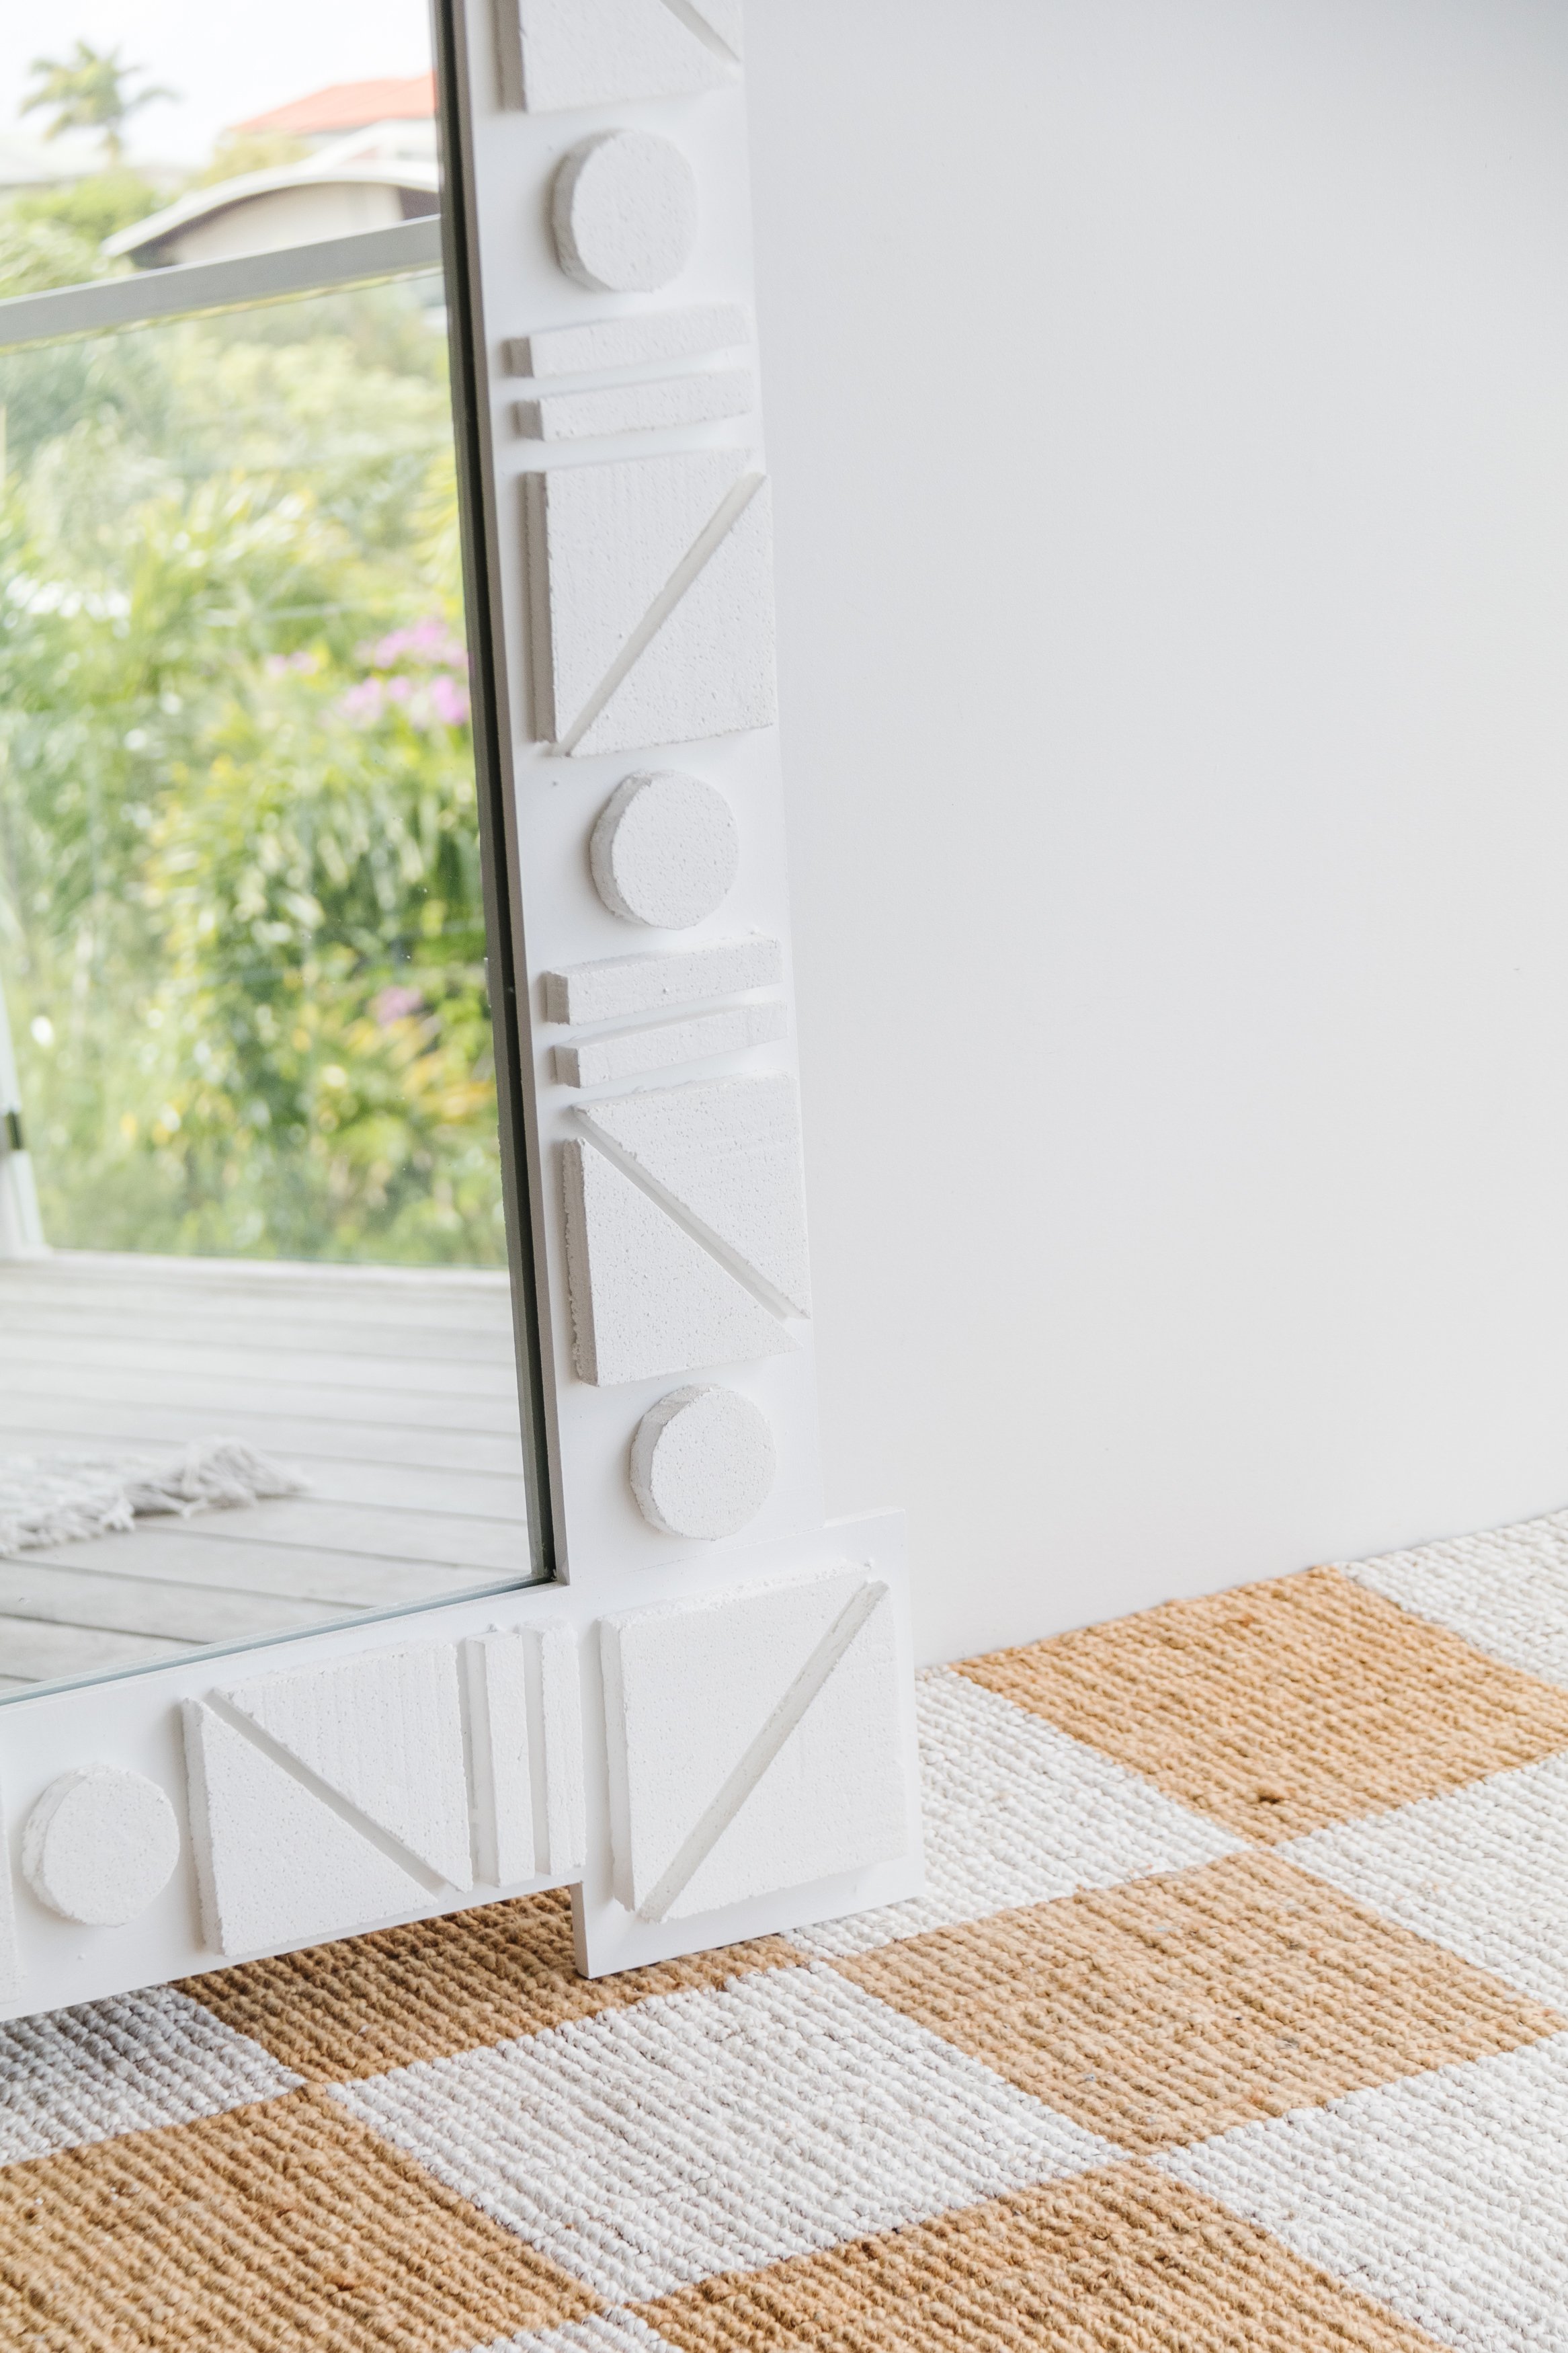
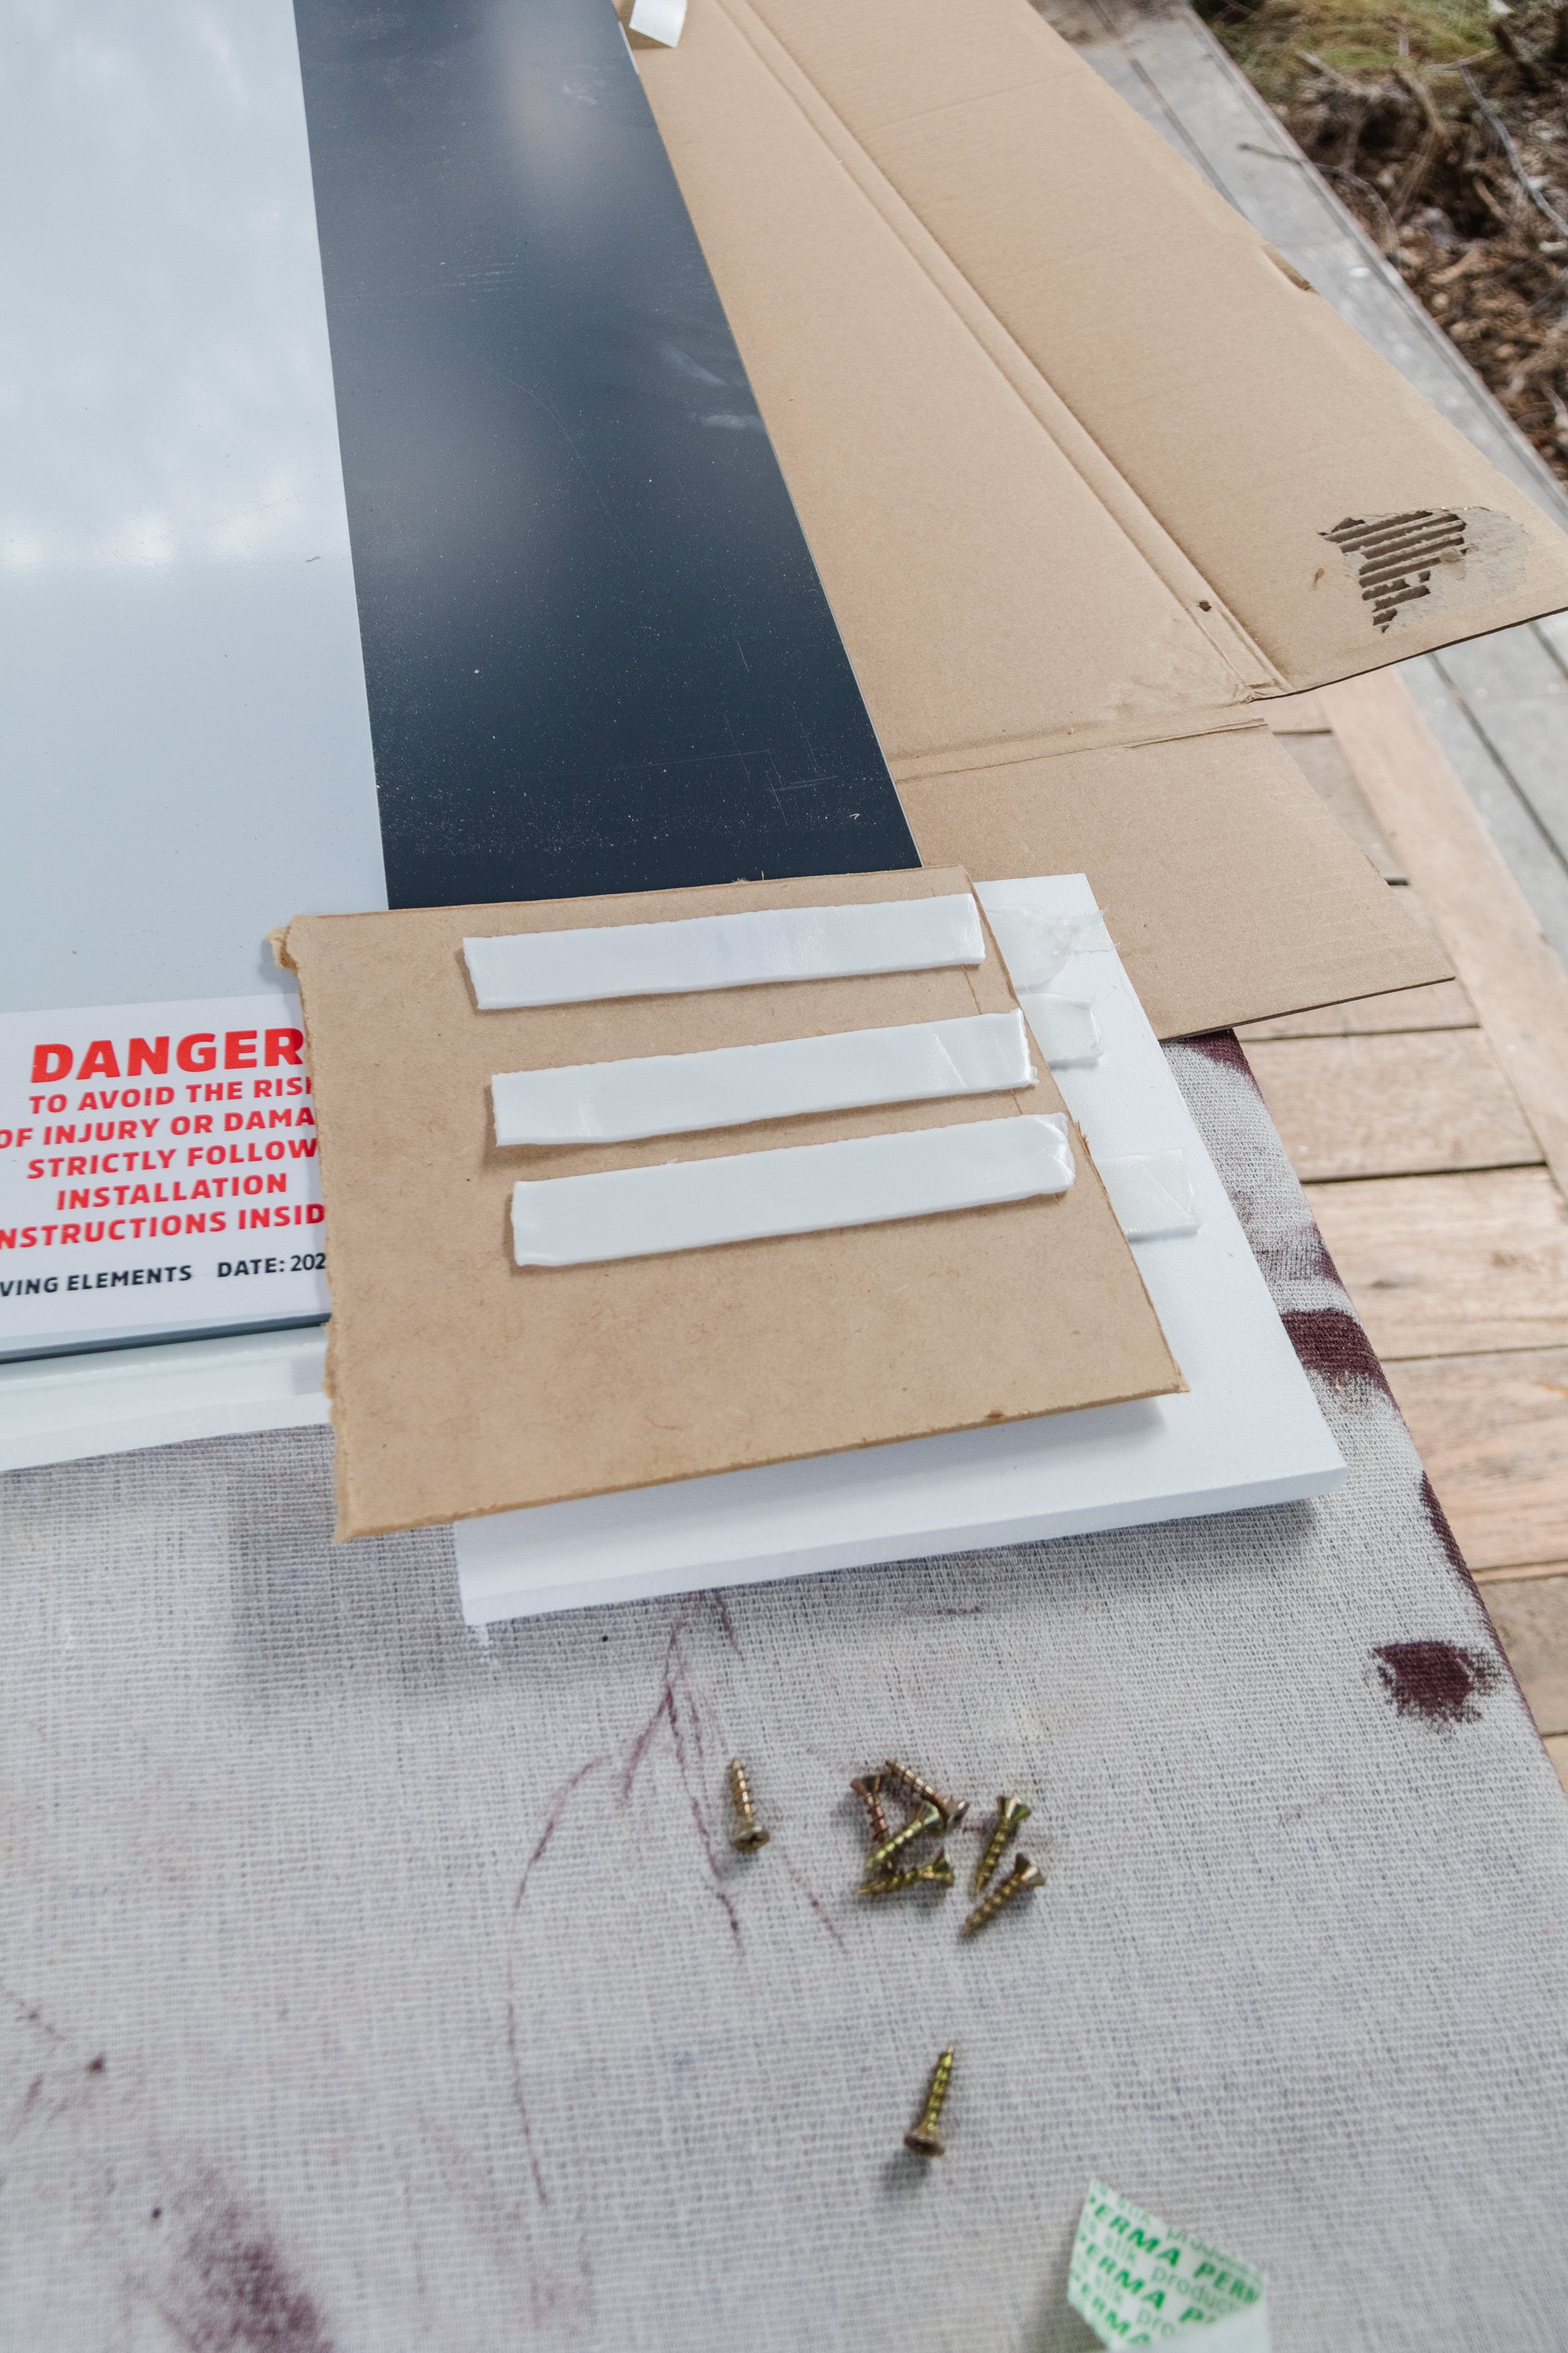
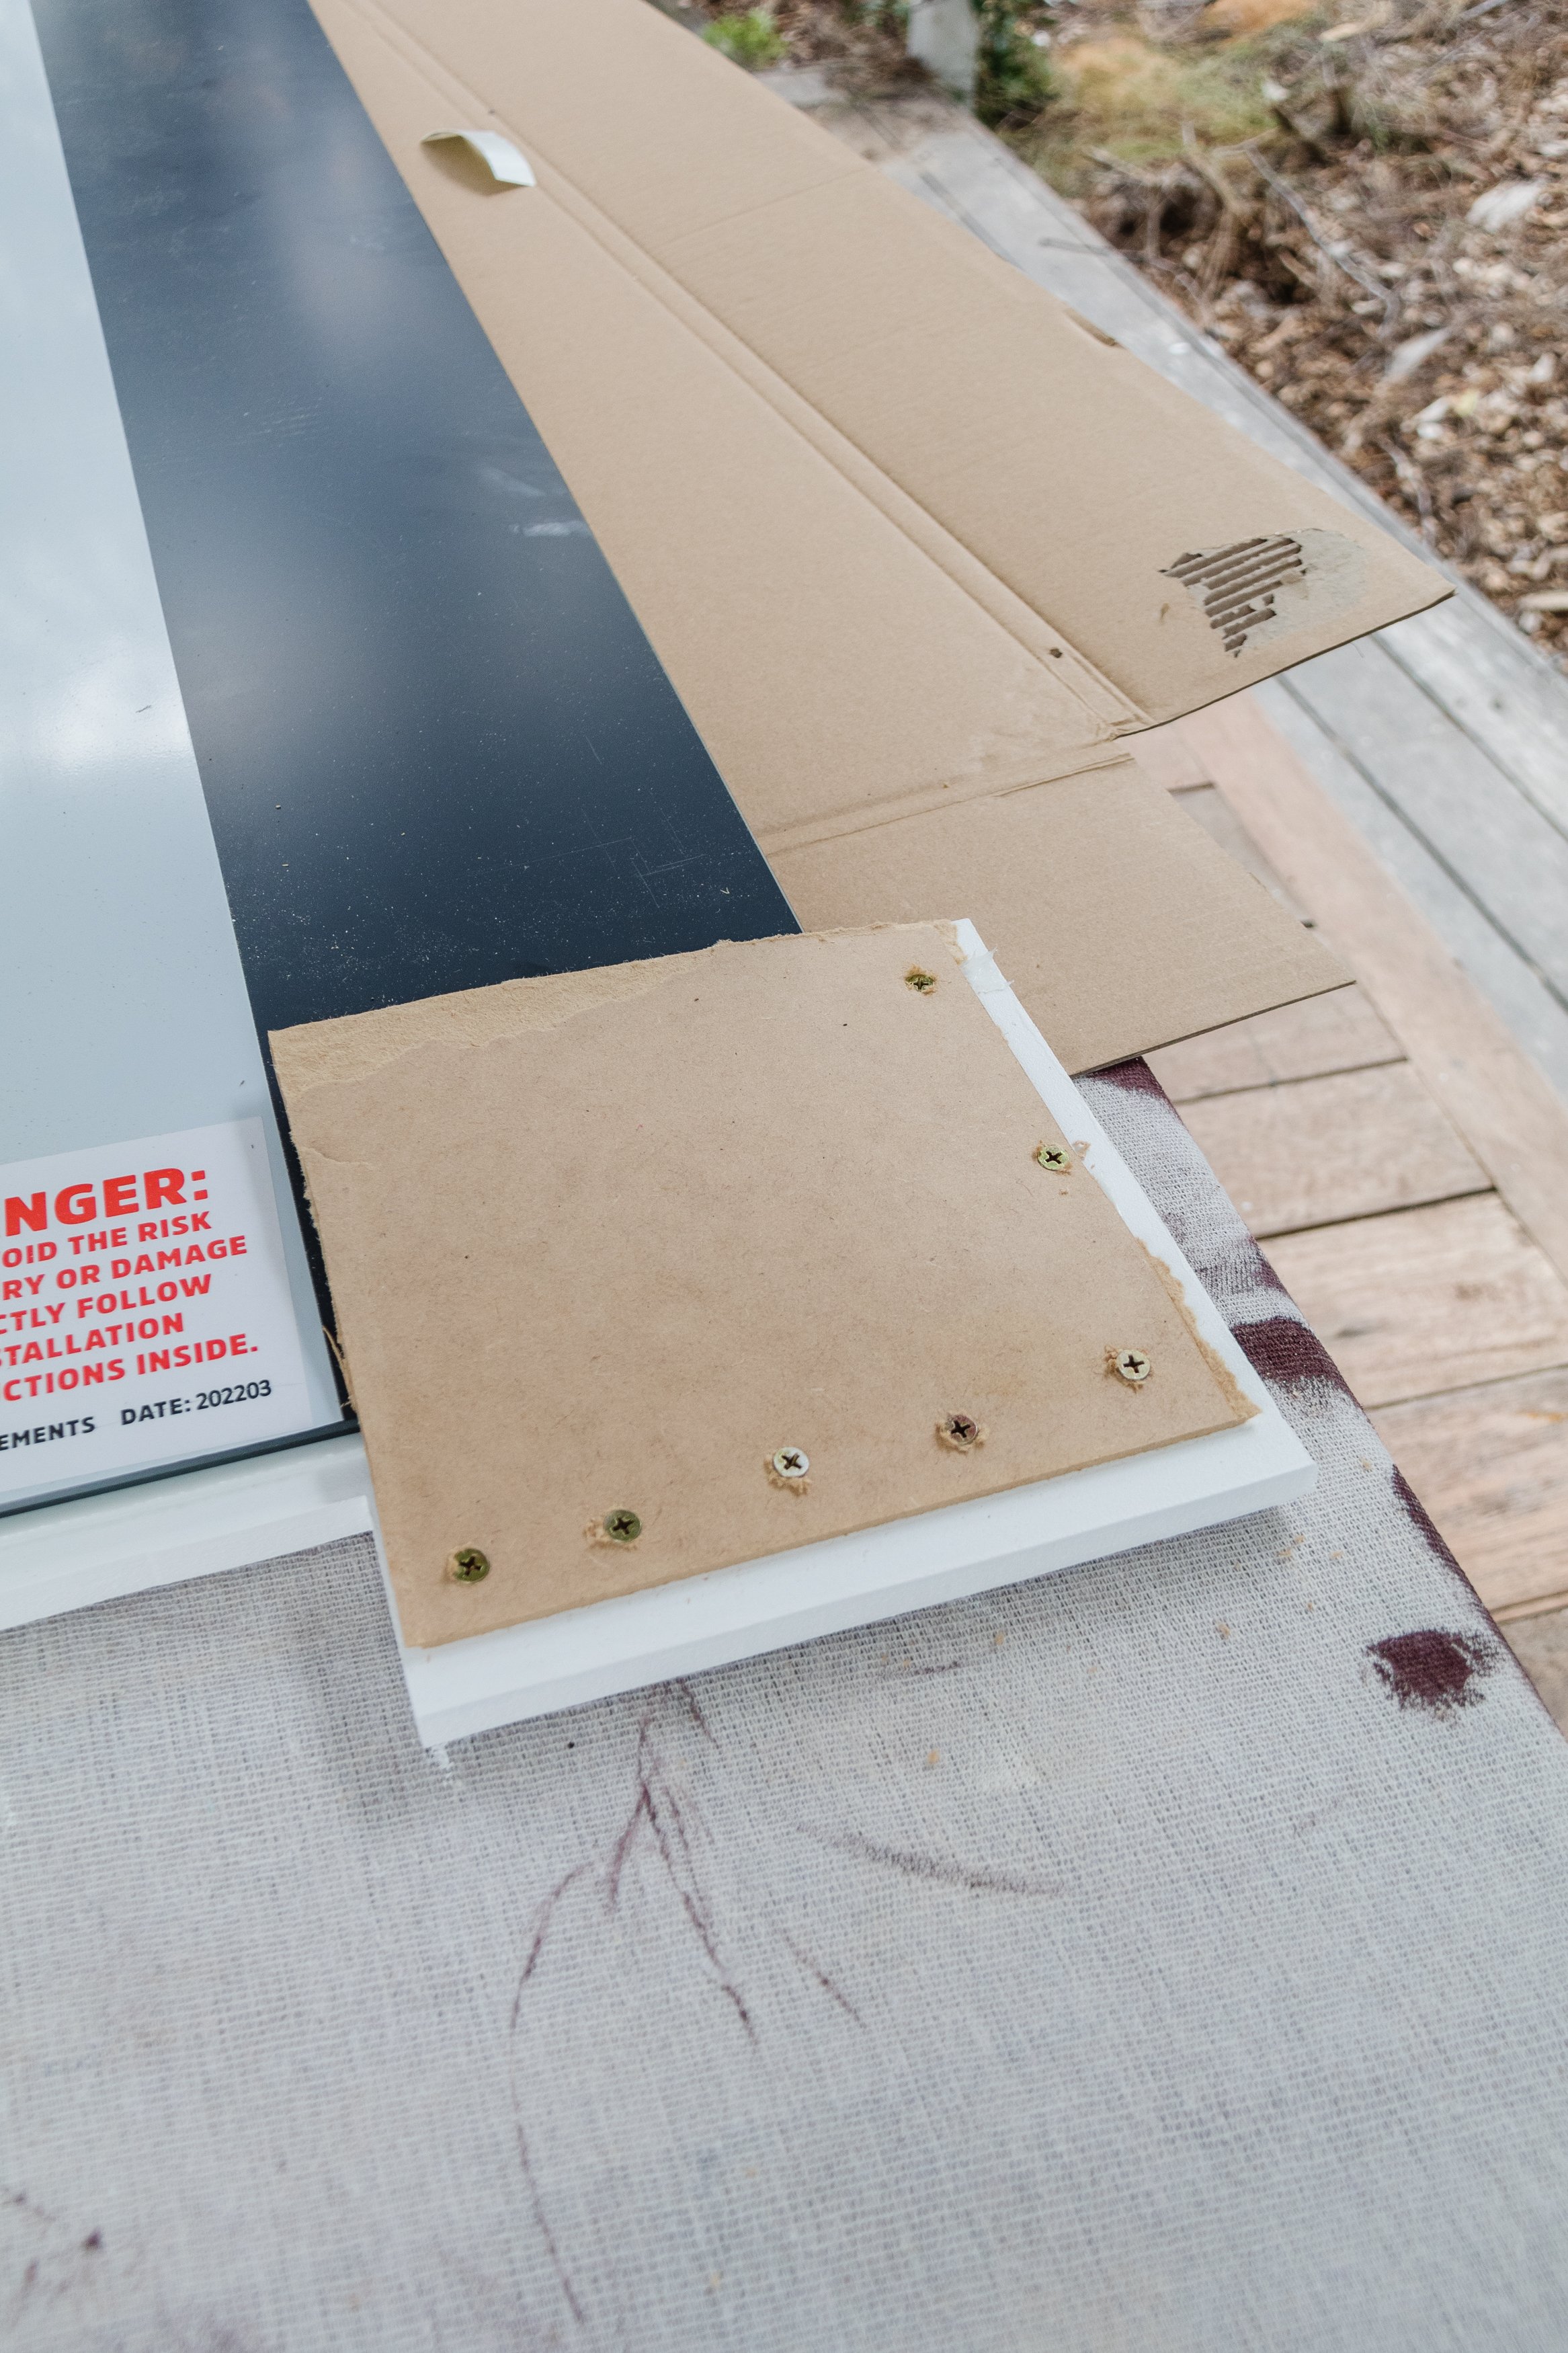
Step 4: I flipped the mirror over and using timber screws, I drilled some leftover pieces of thin MDF onto the back of the frame at the bottom to support the mirror, which is what I did for this Upcycled Fabric Mirror. Then I flipped the mirror back over.
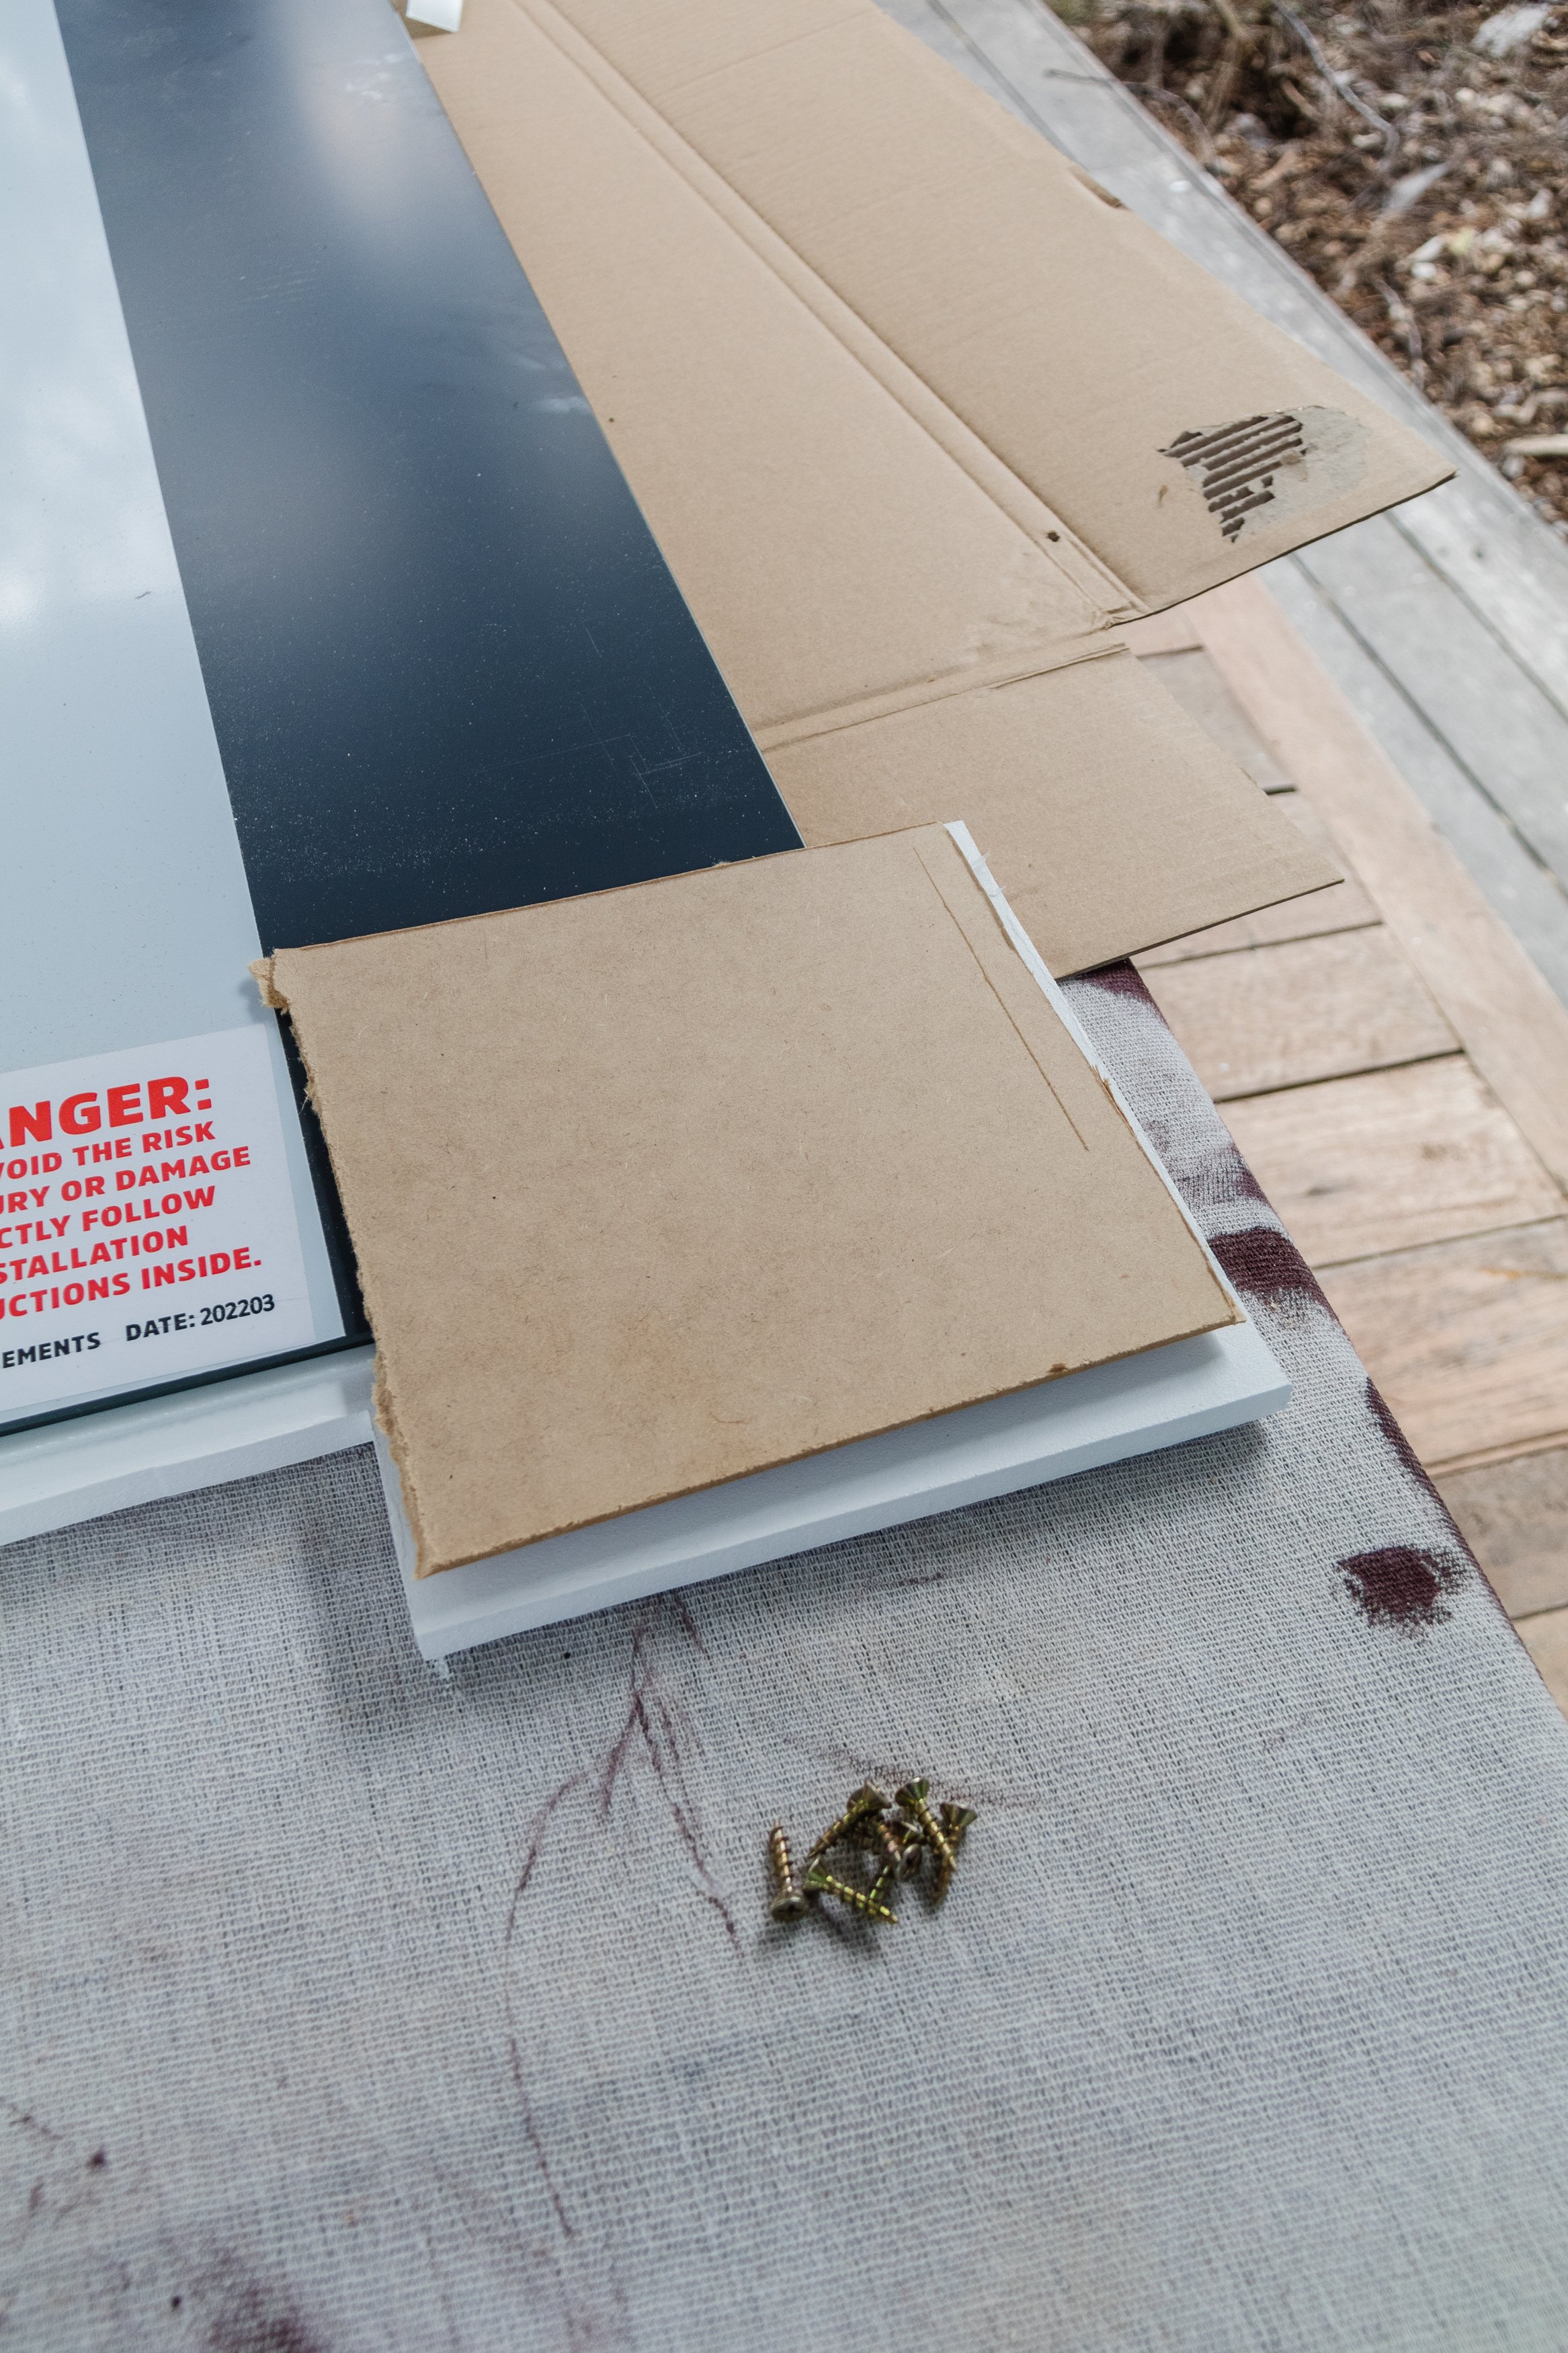
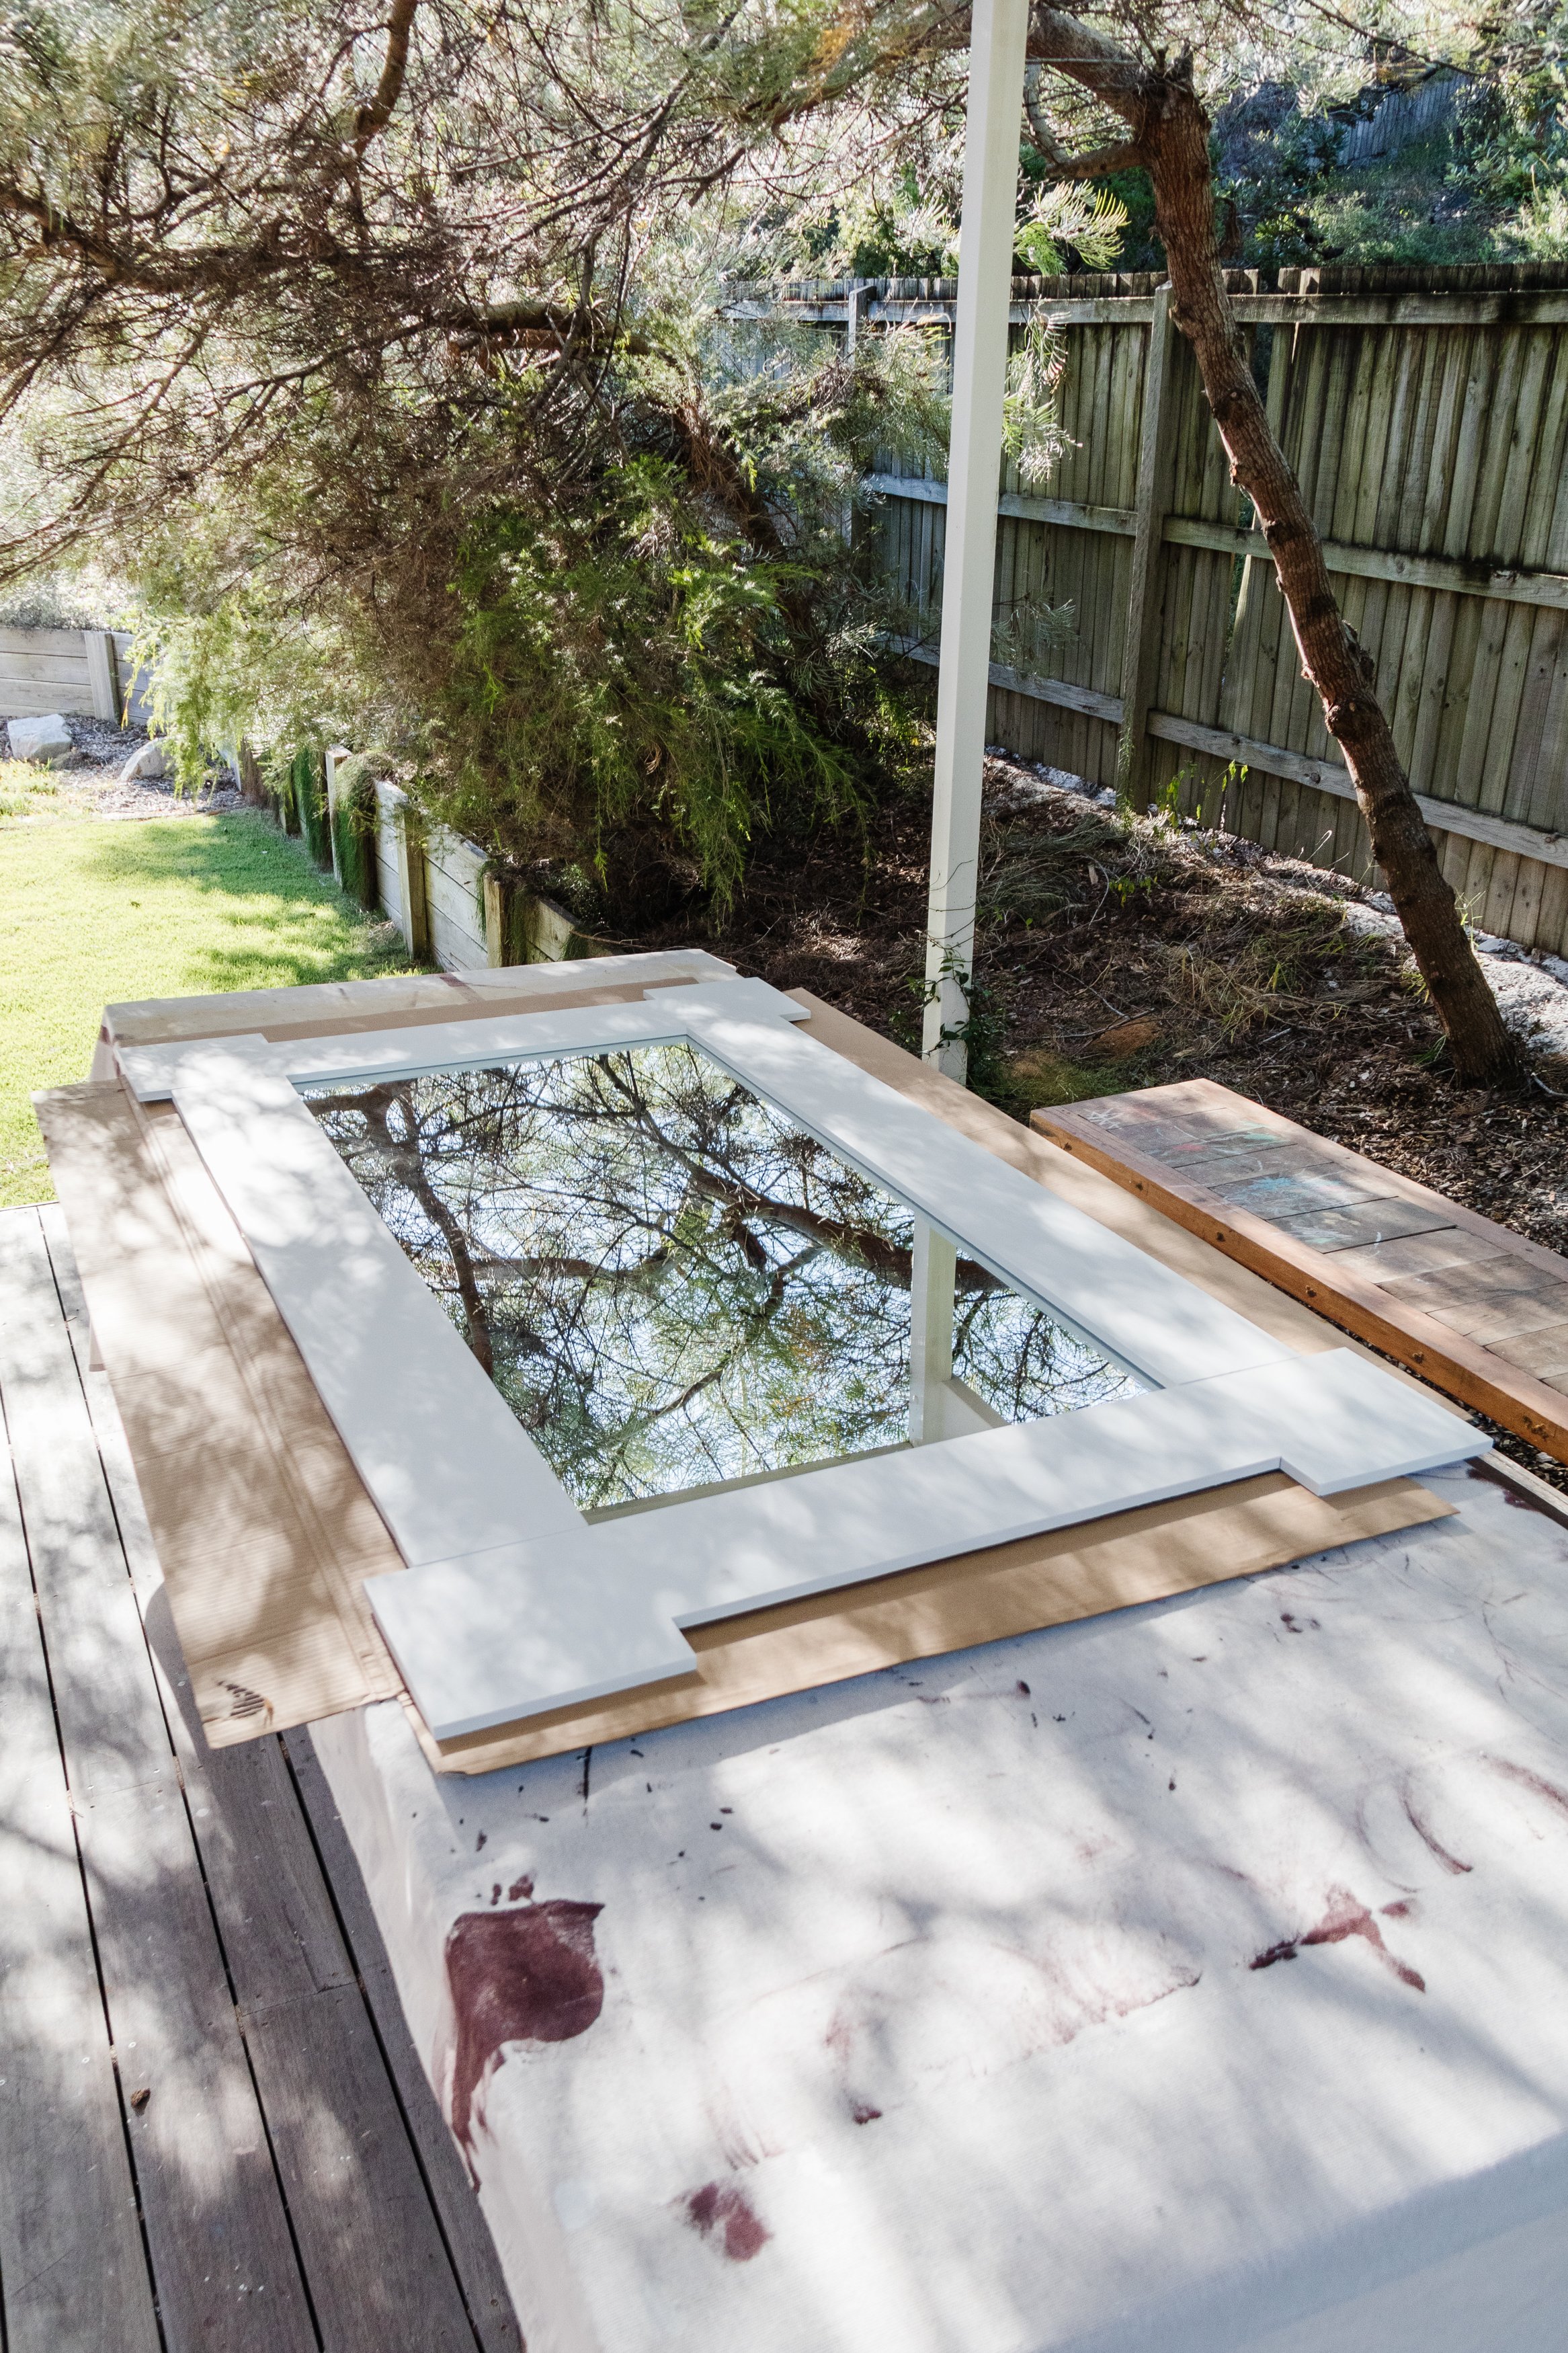
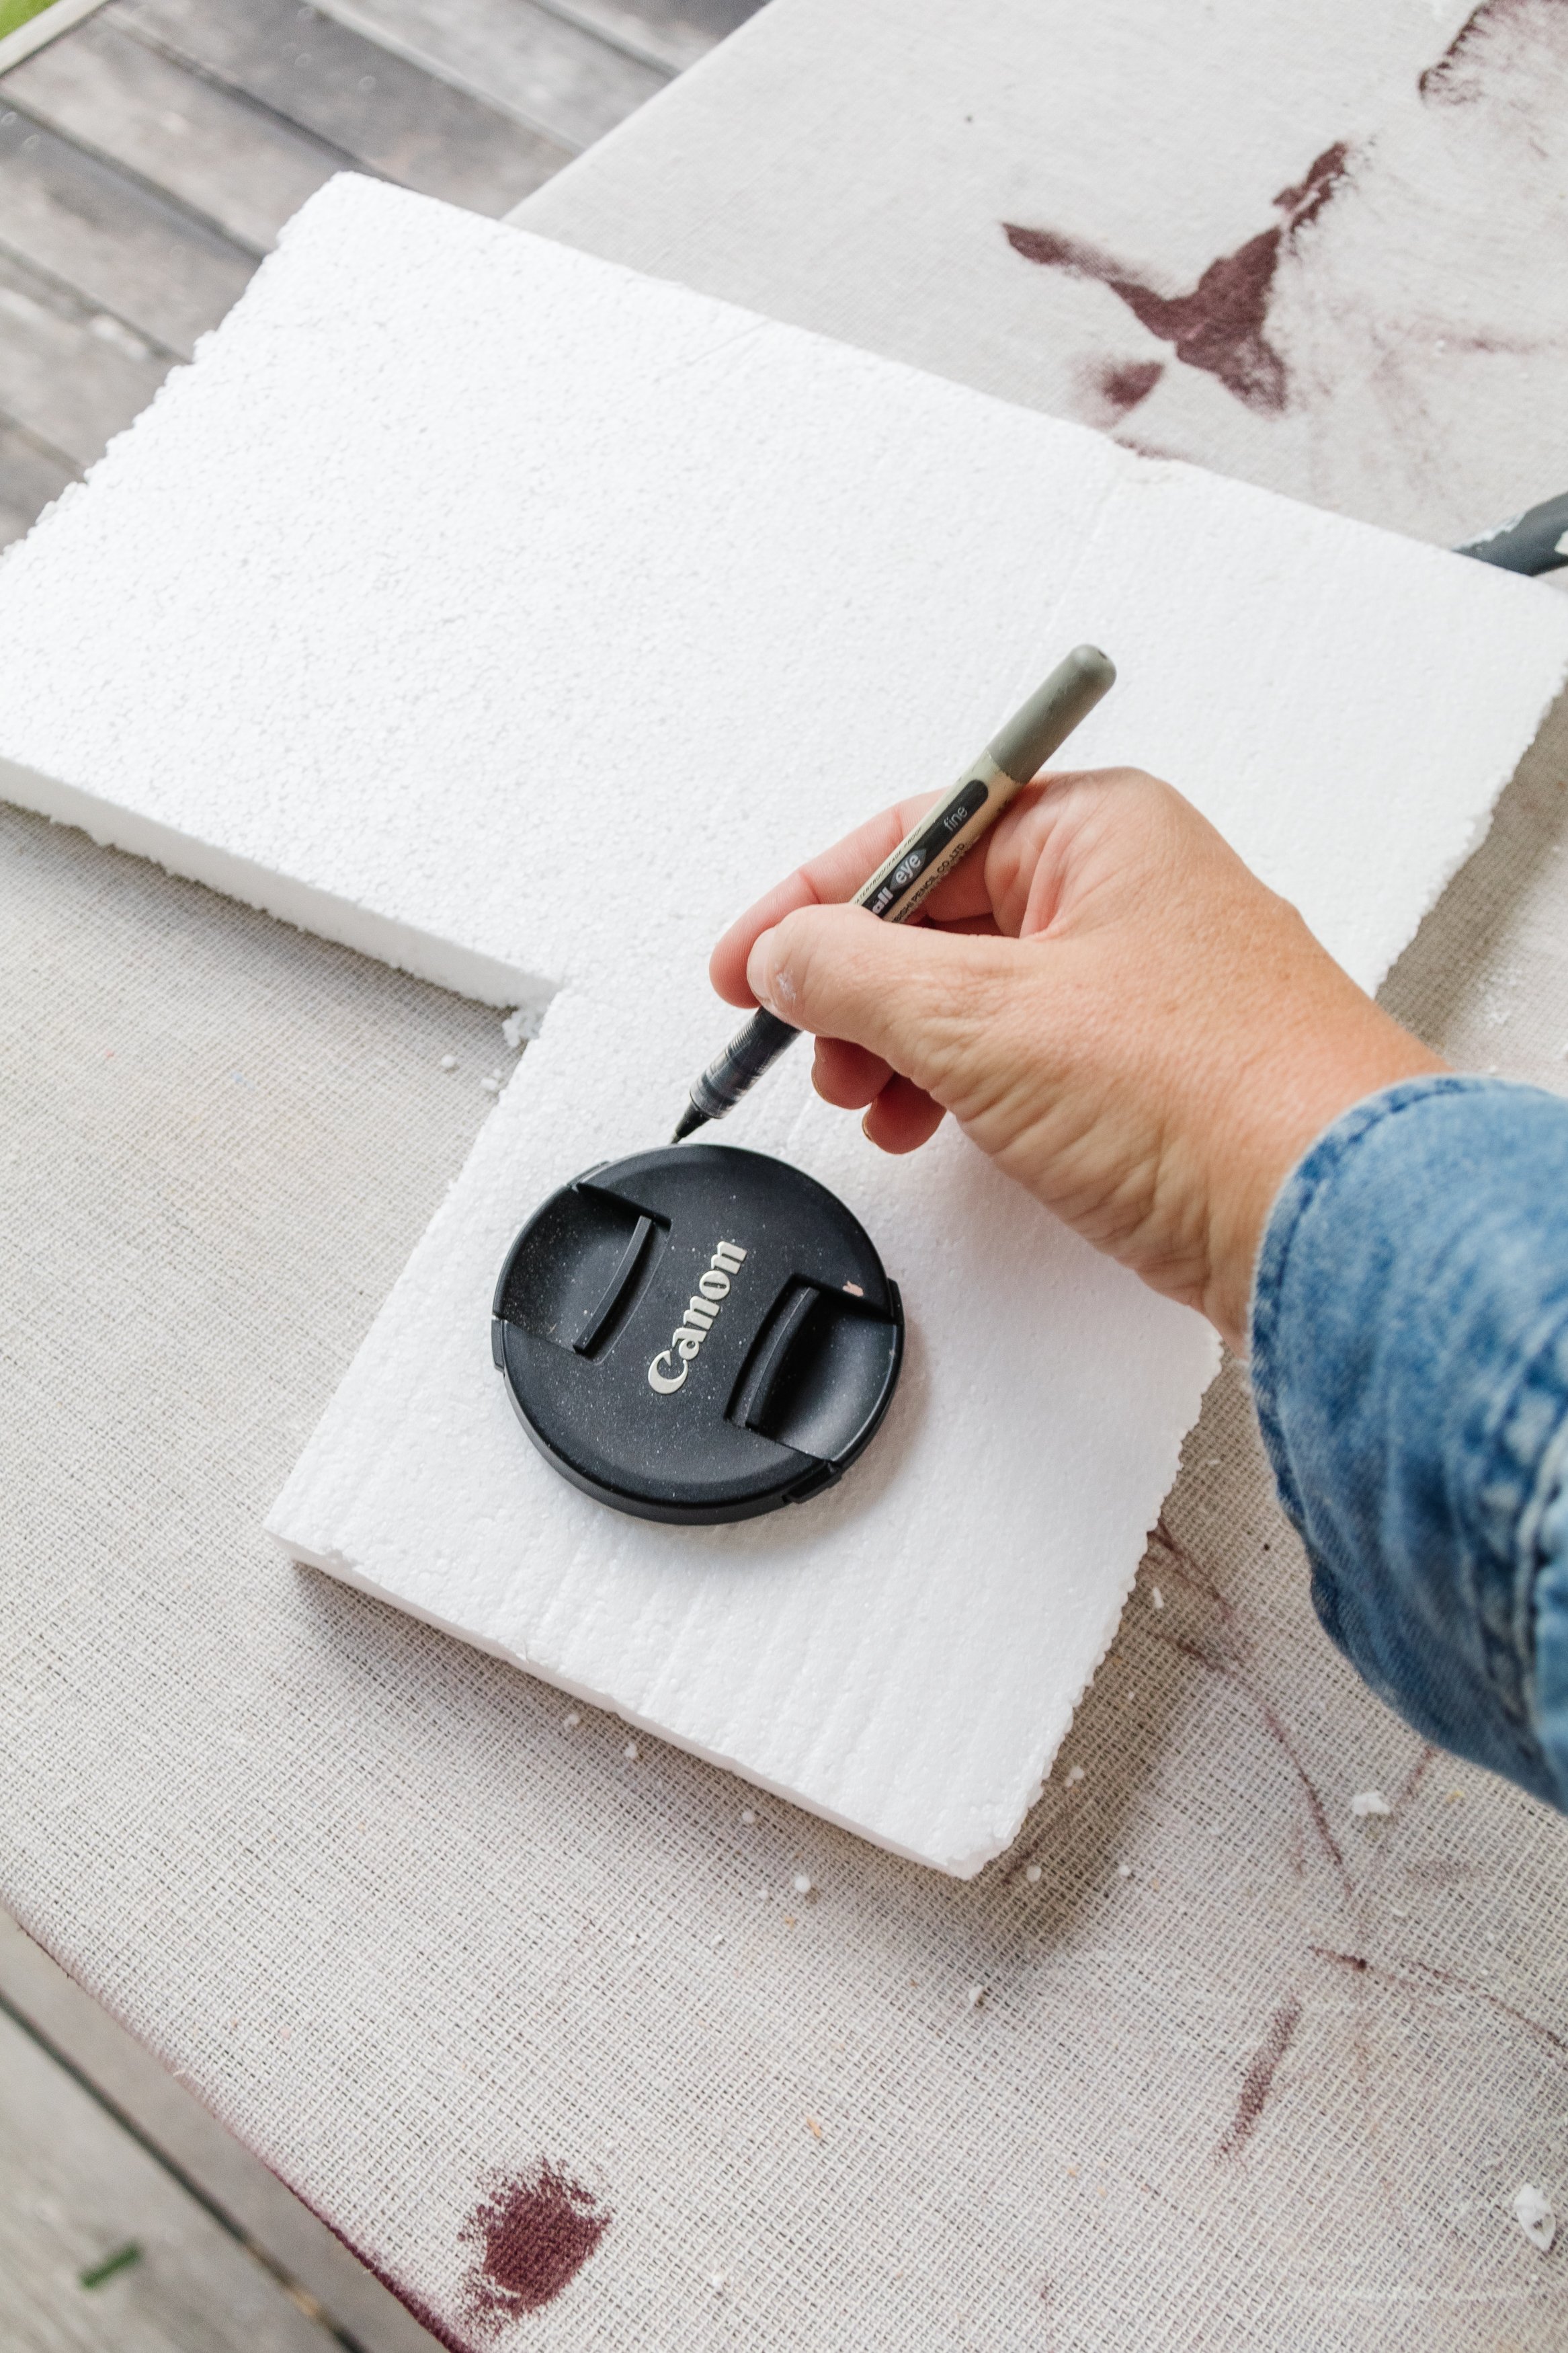
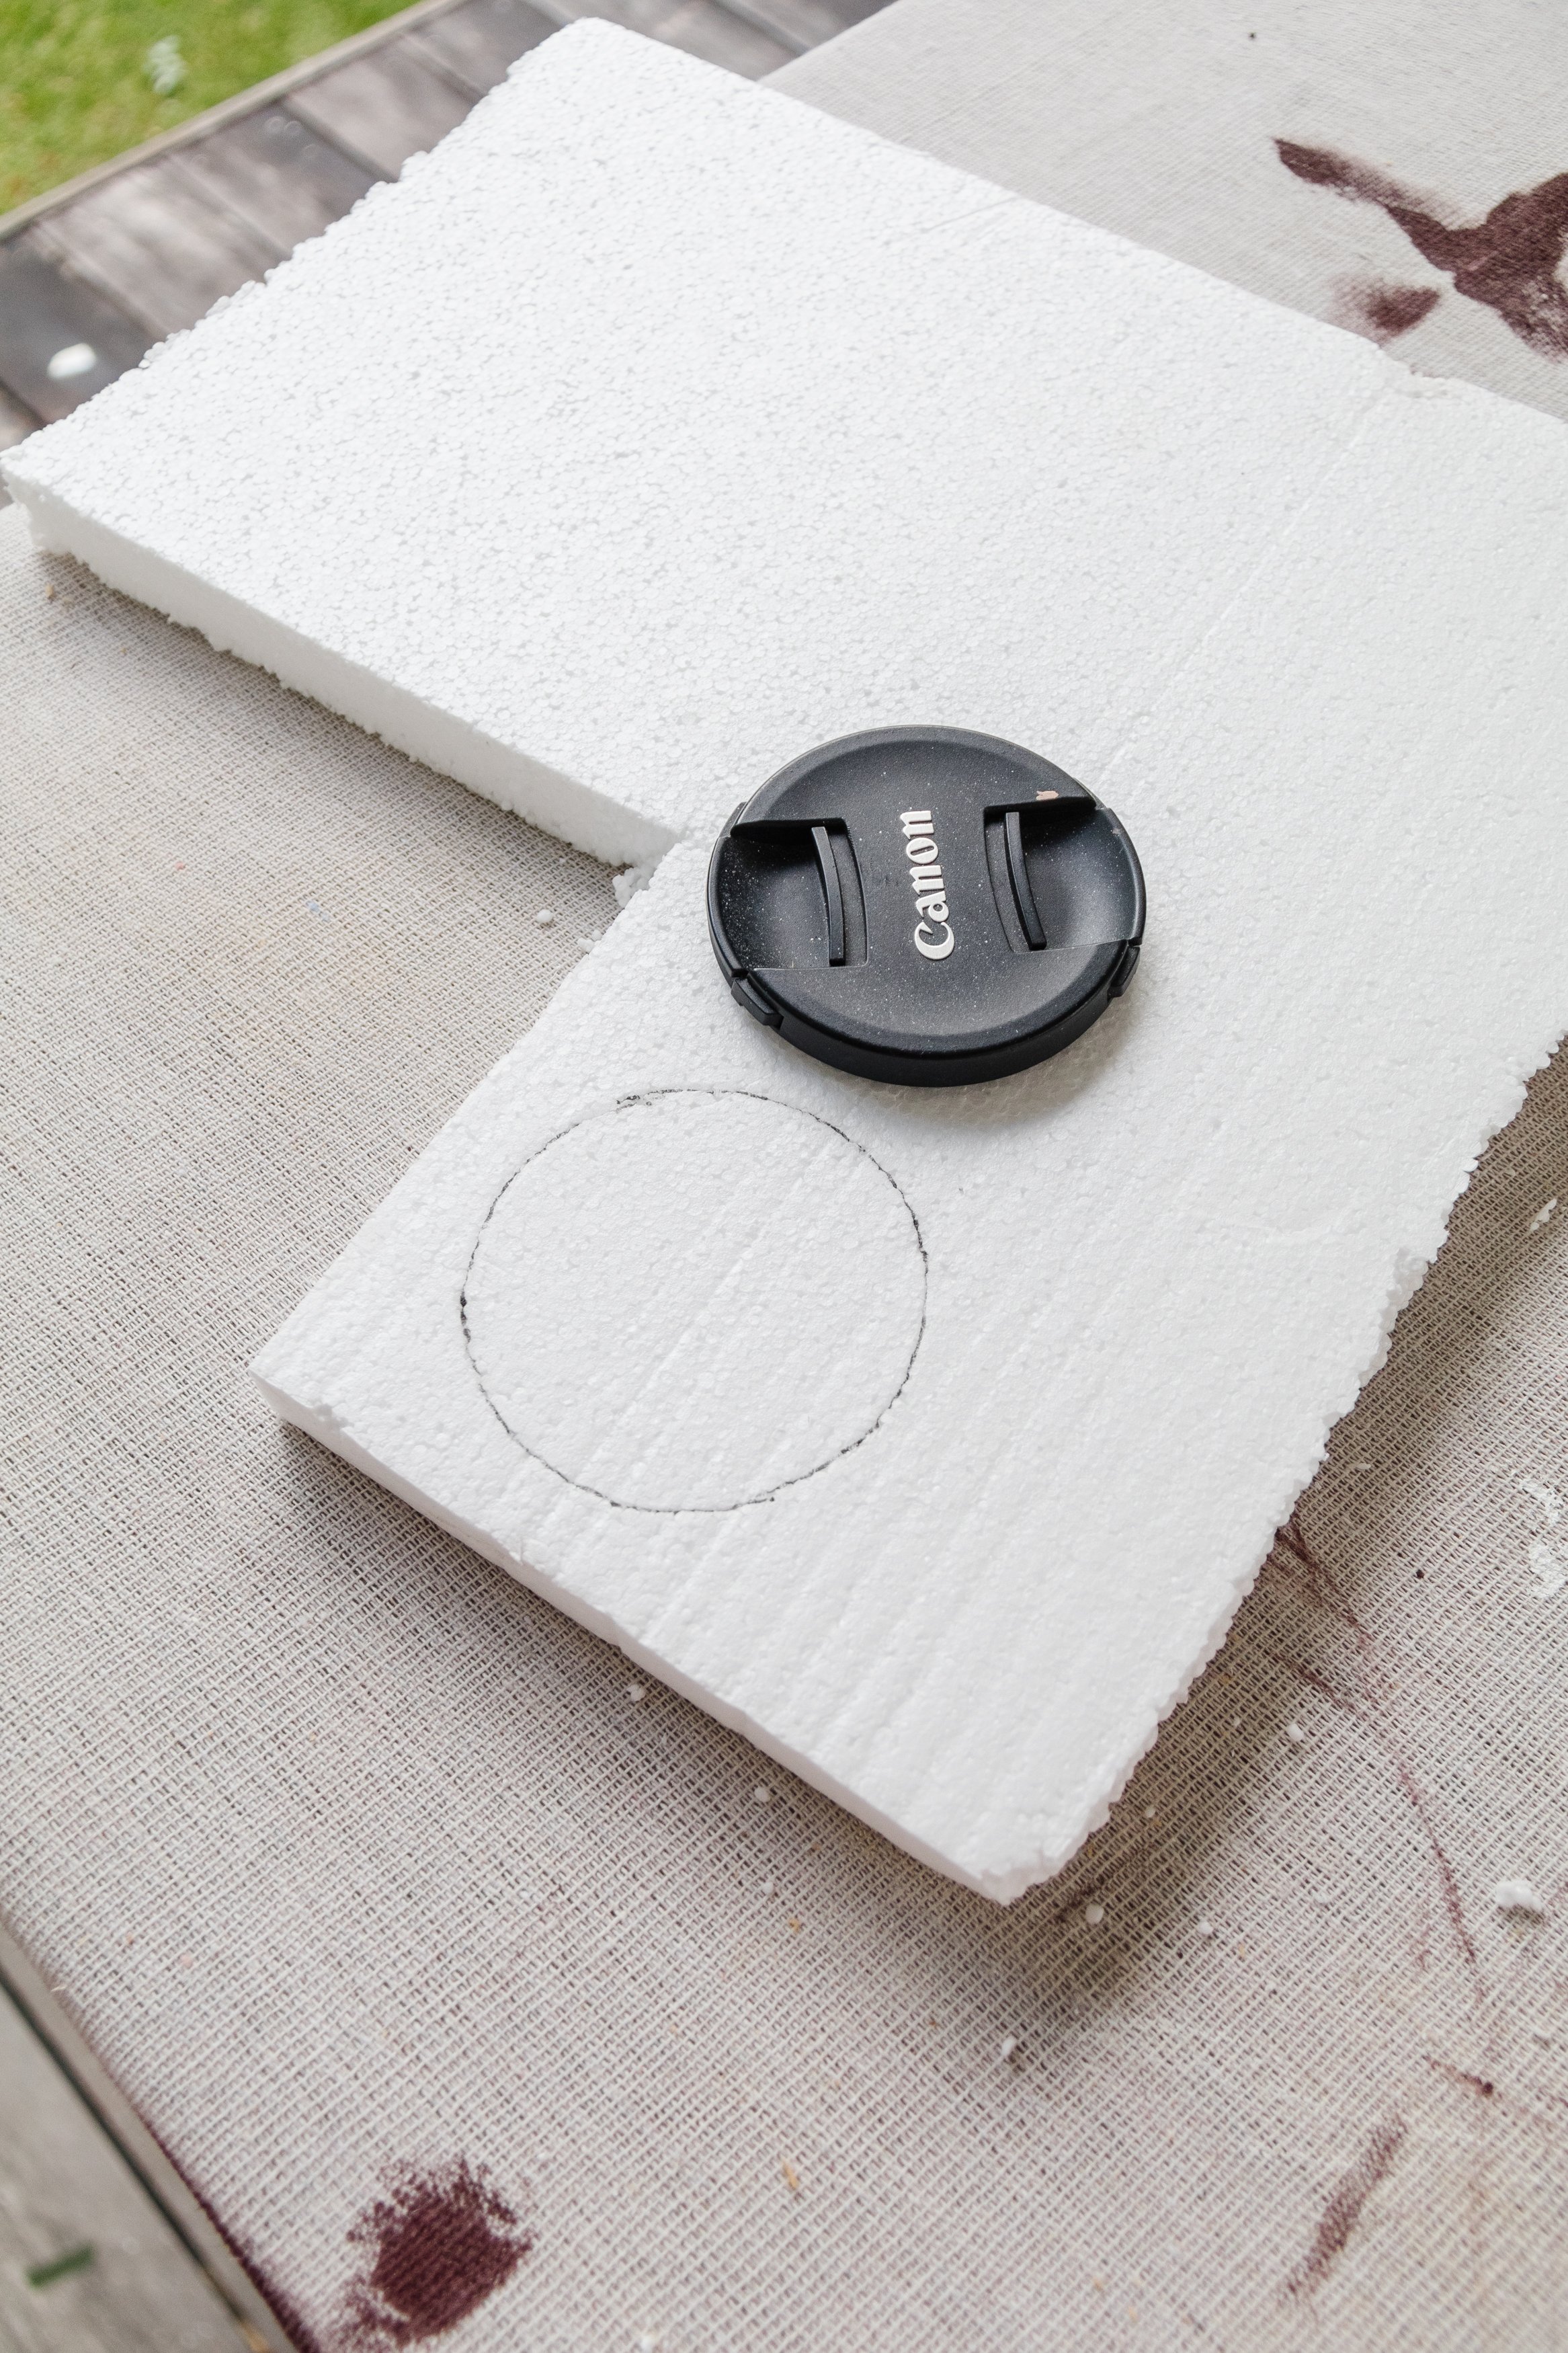
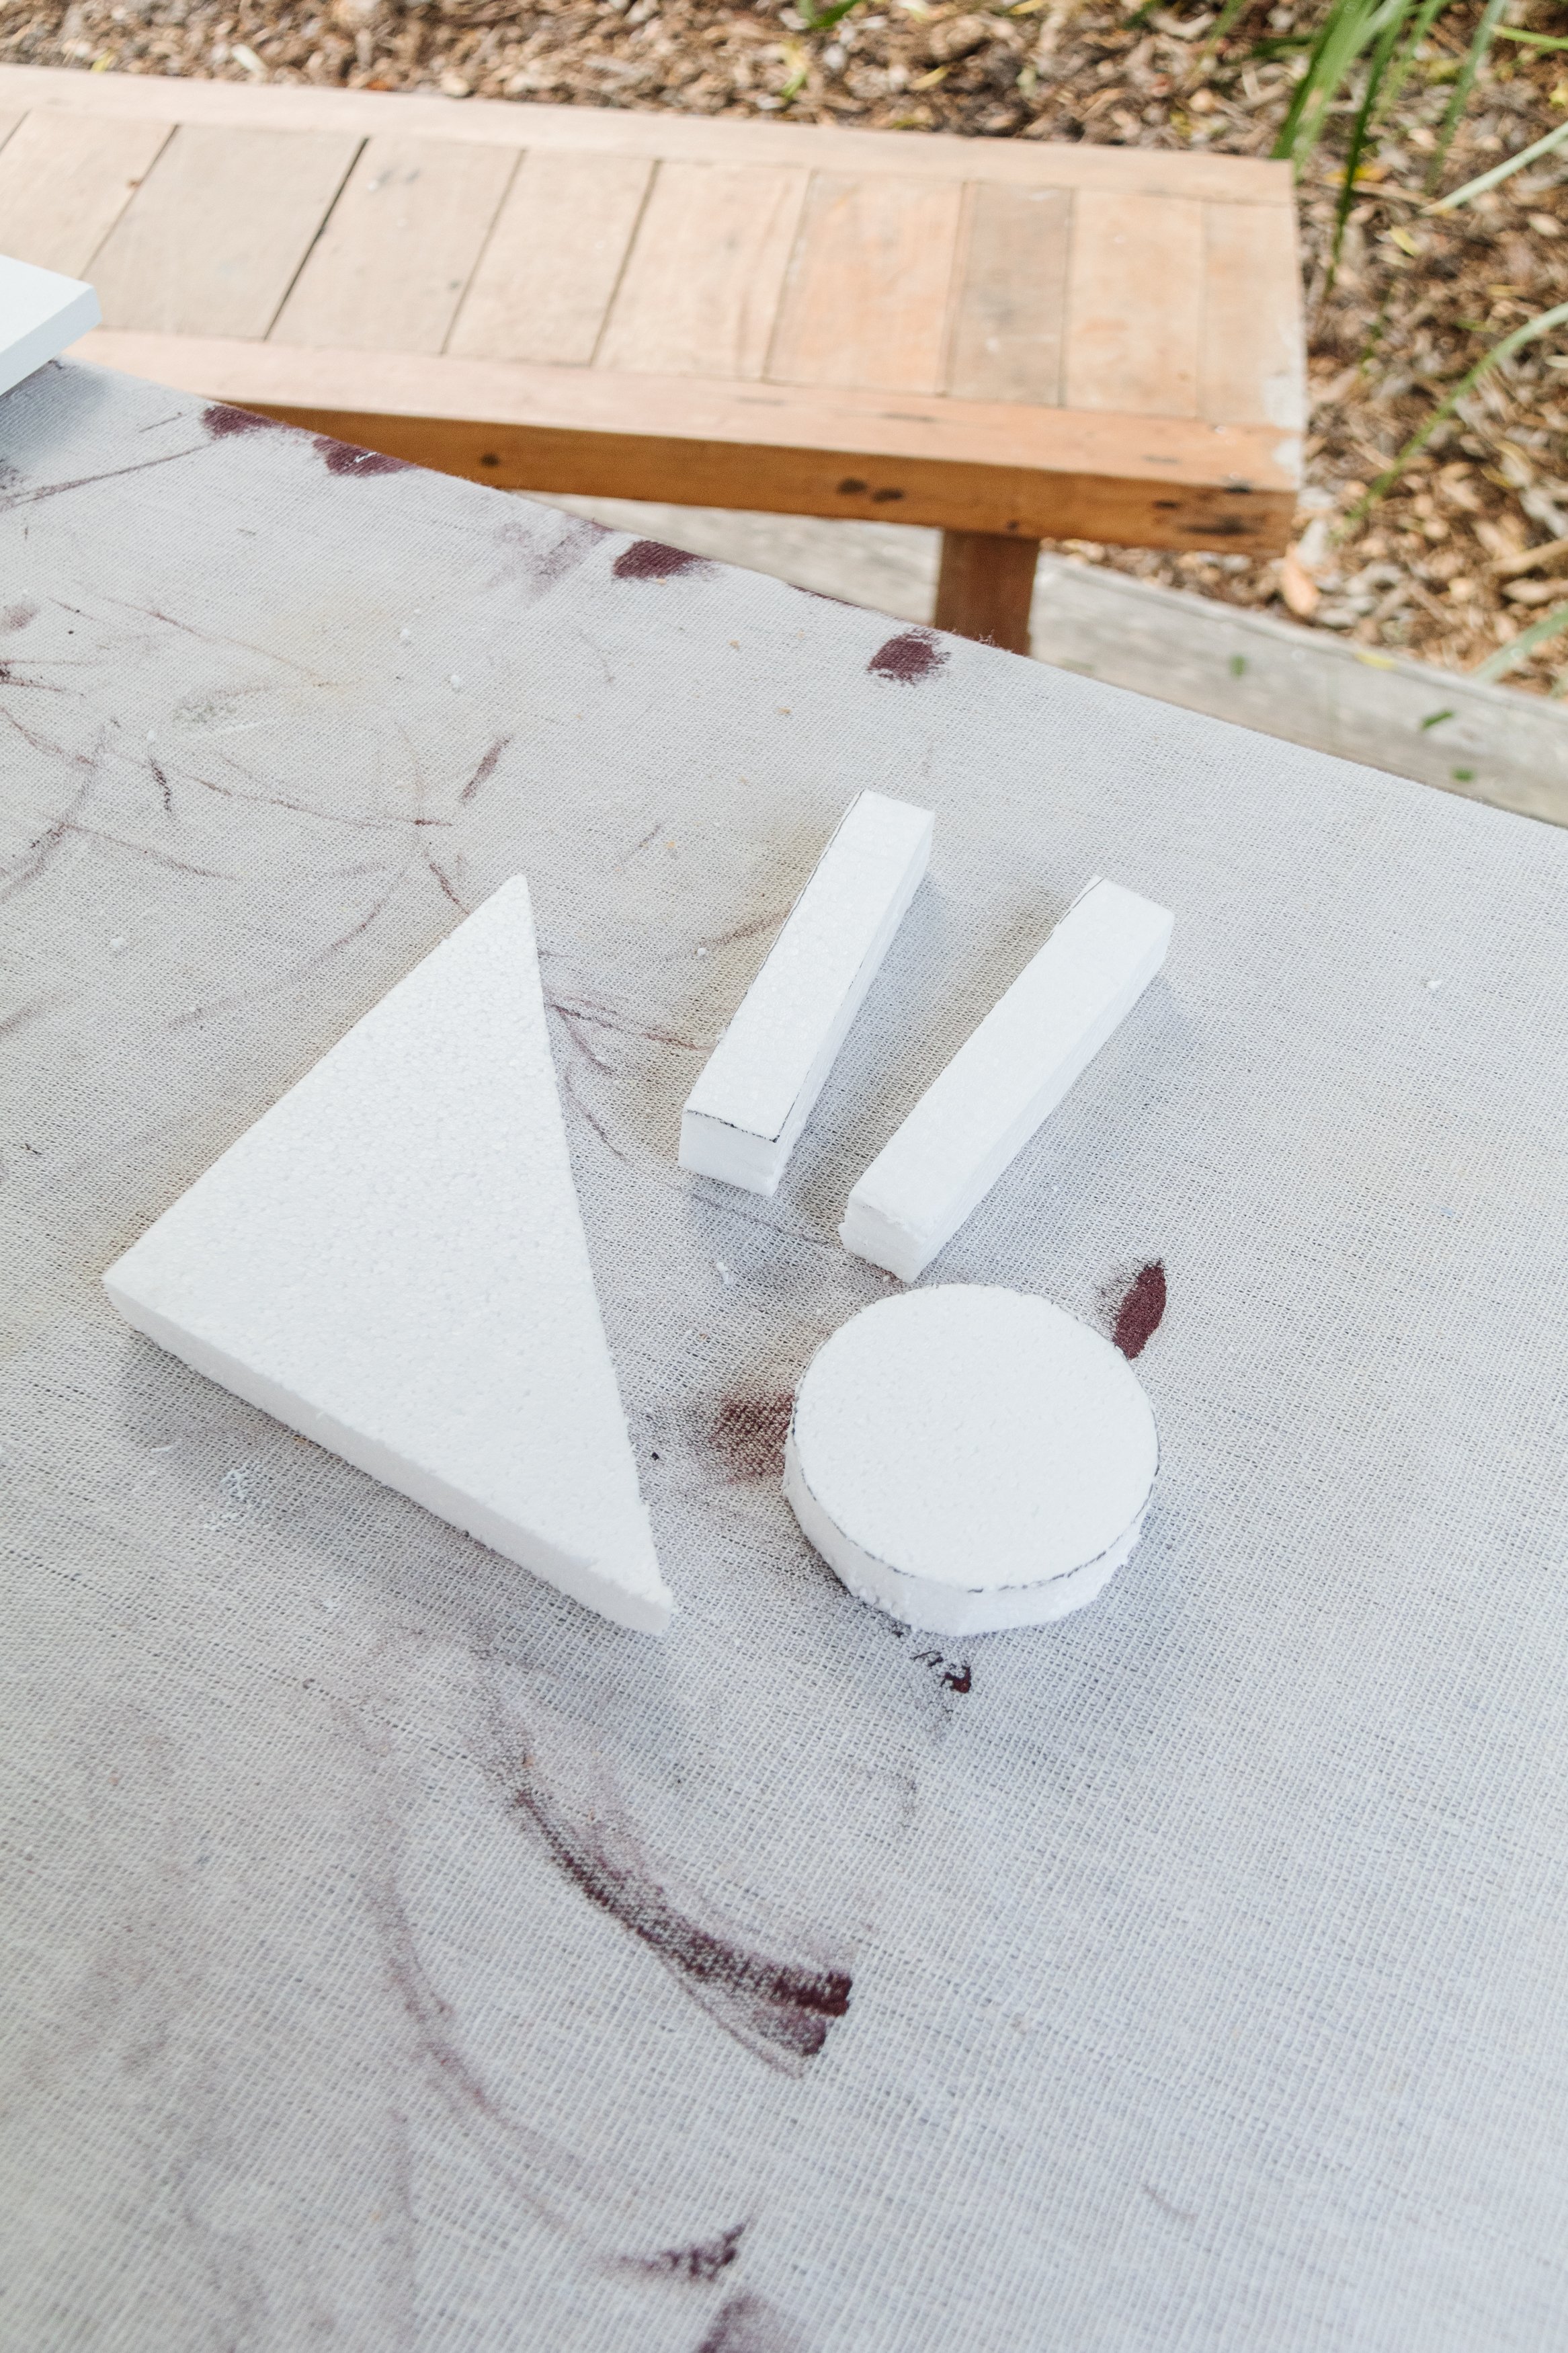
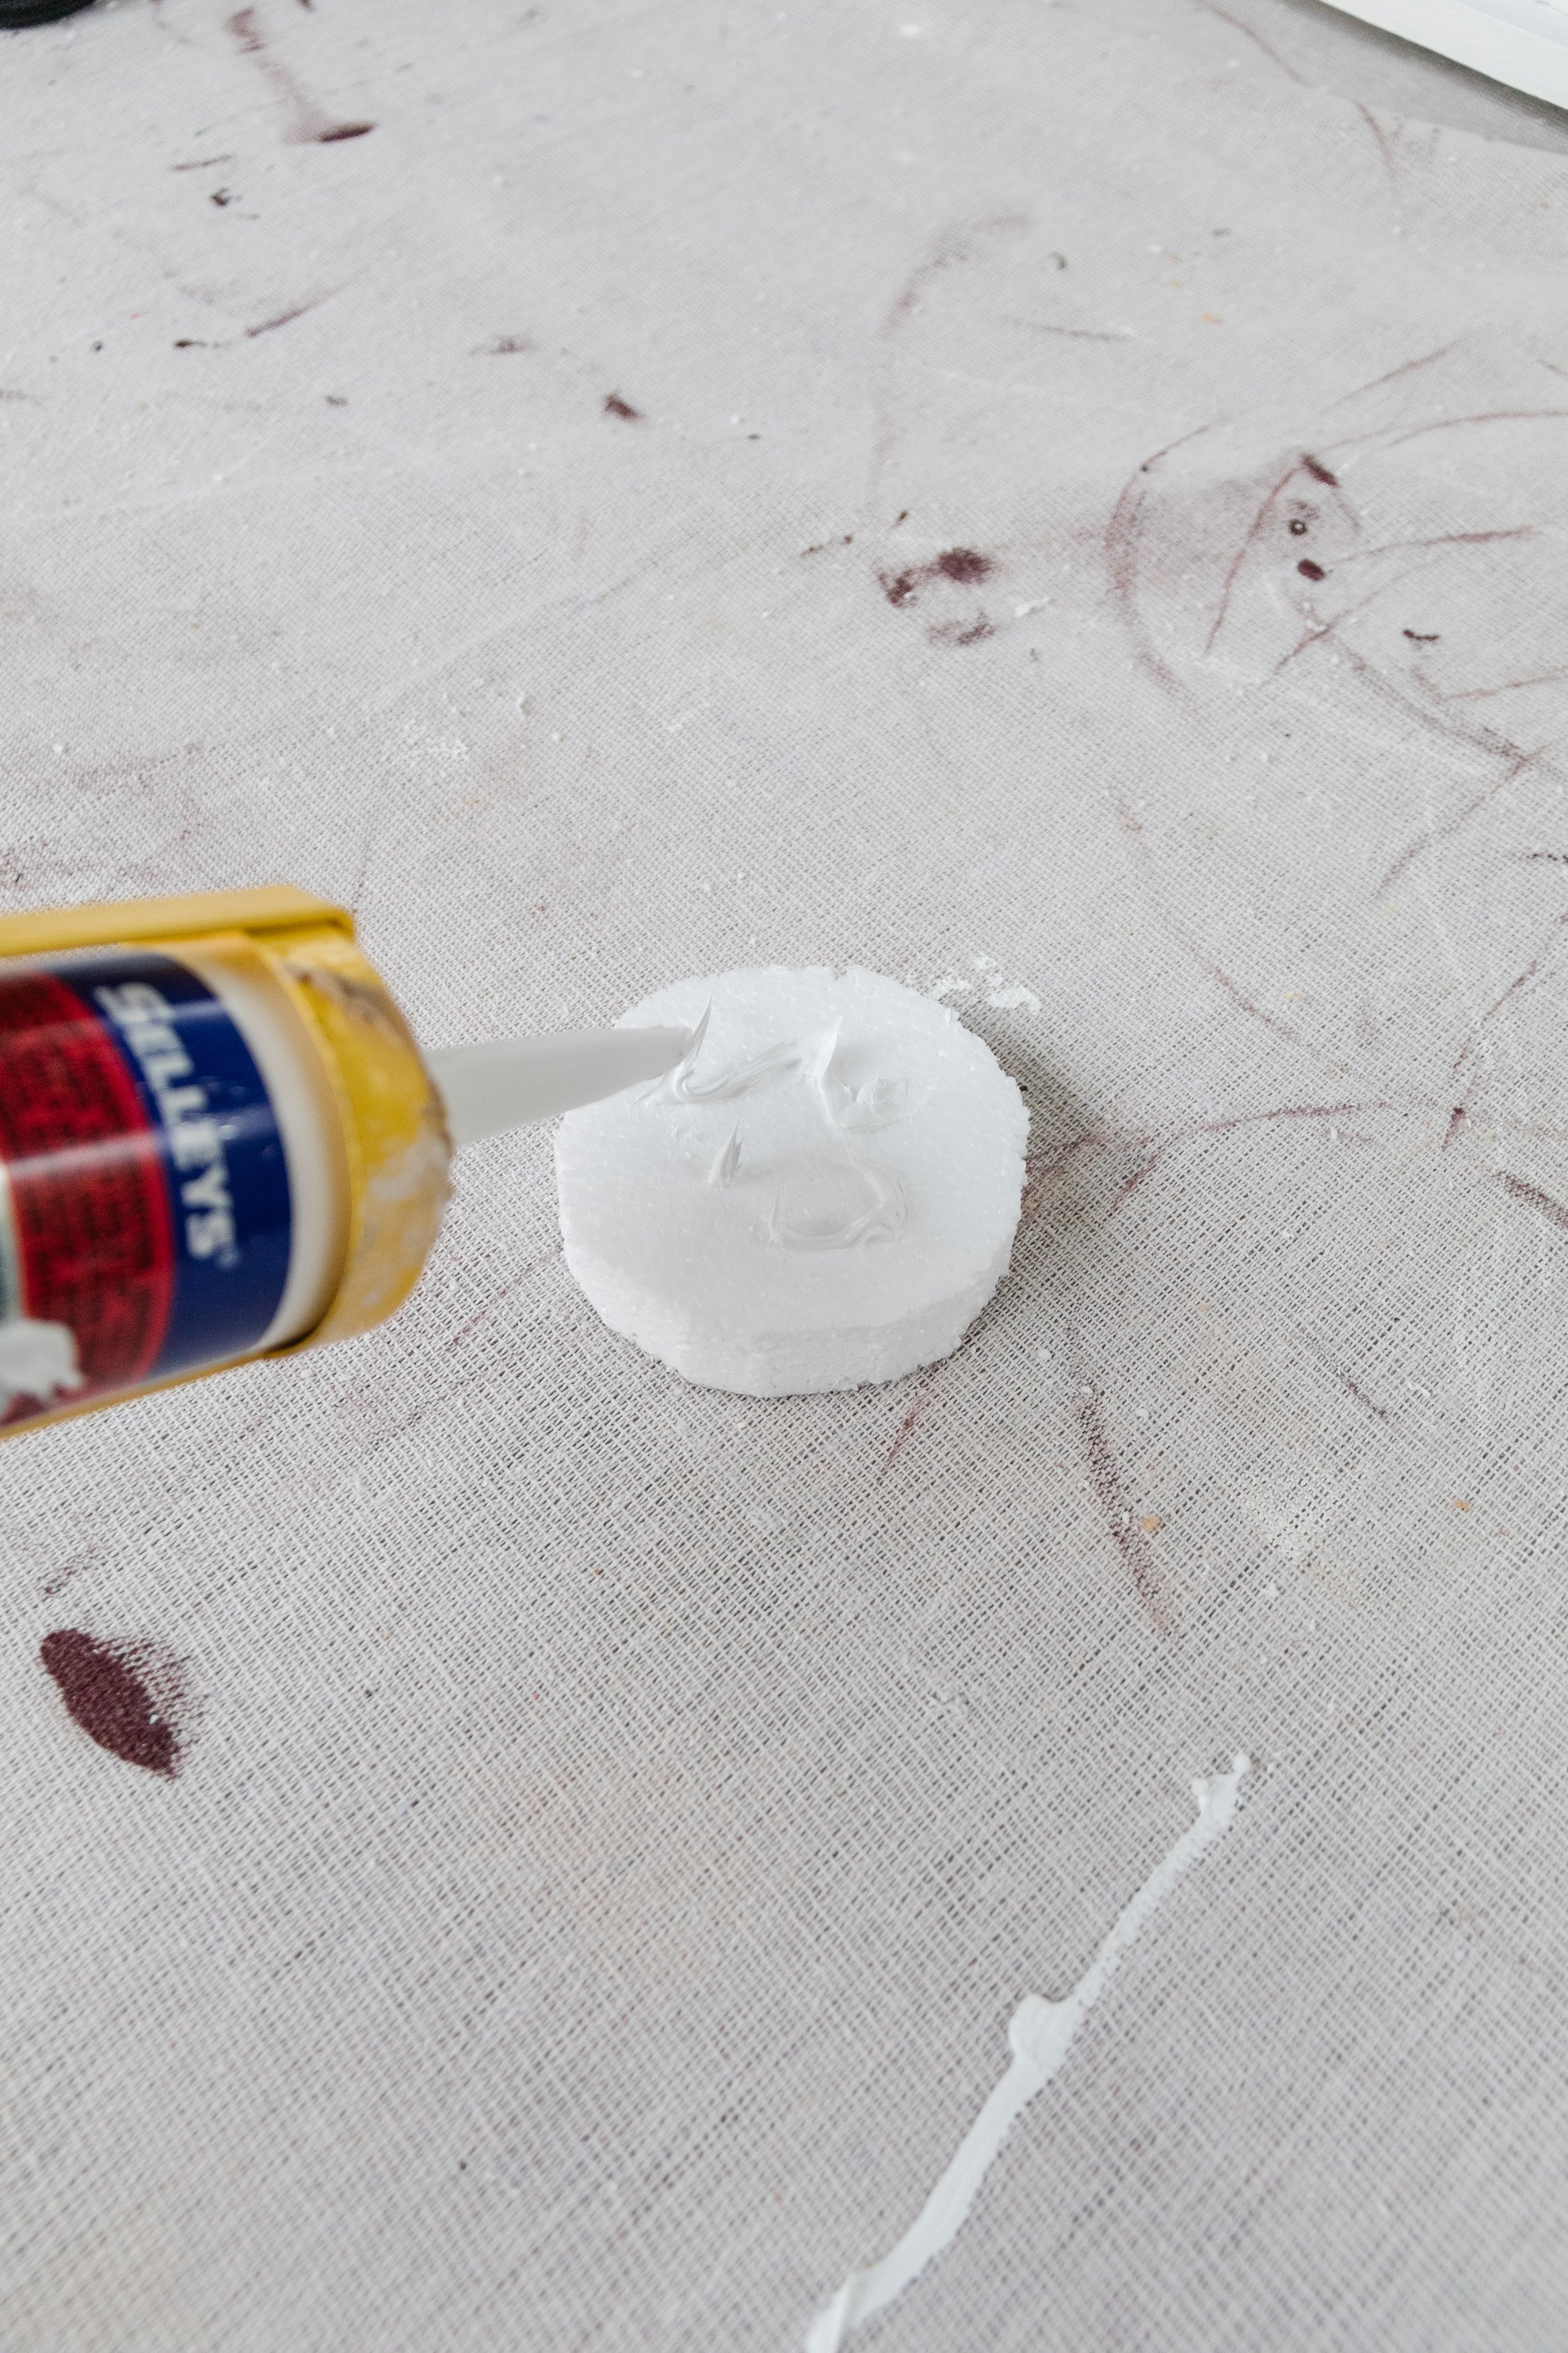
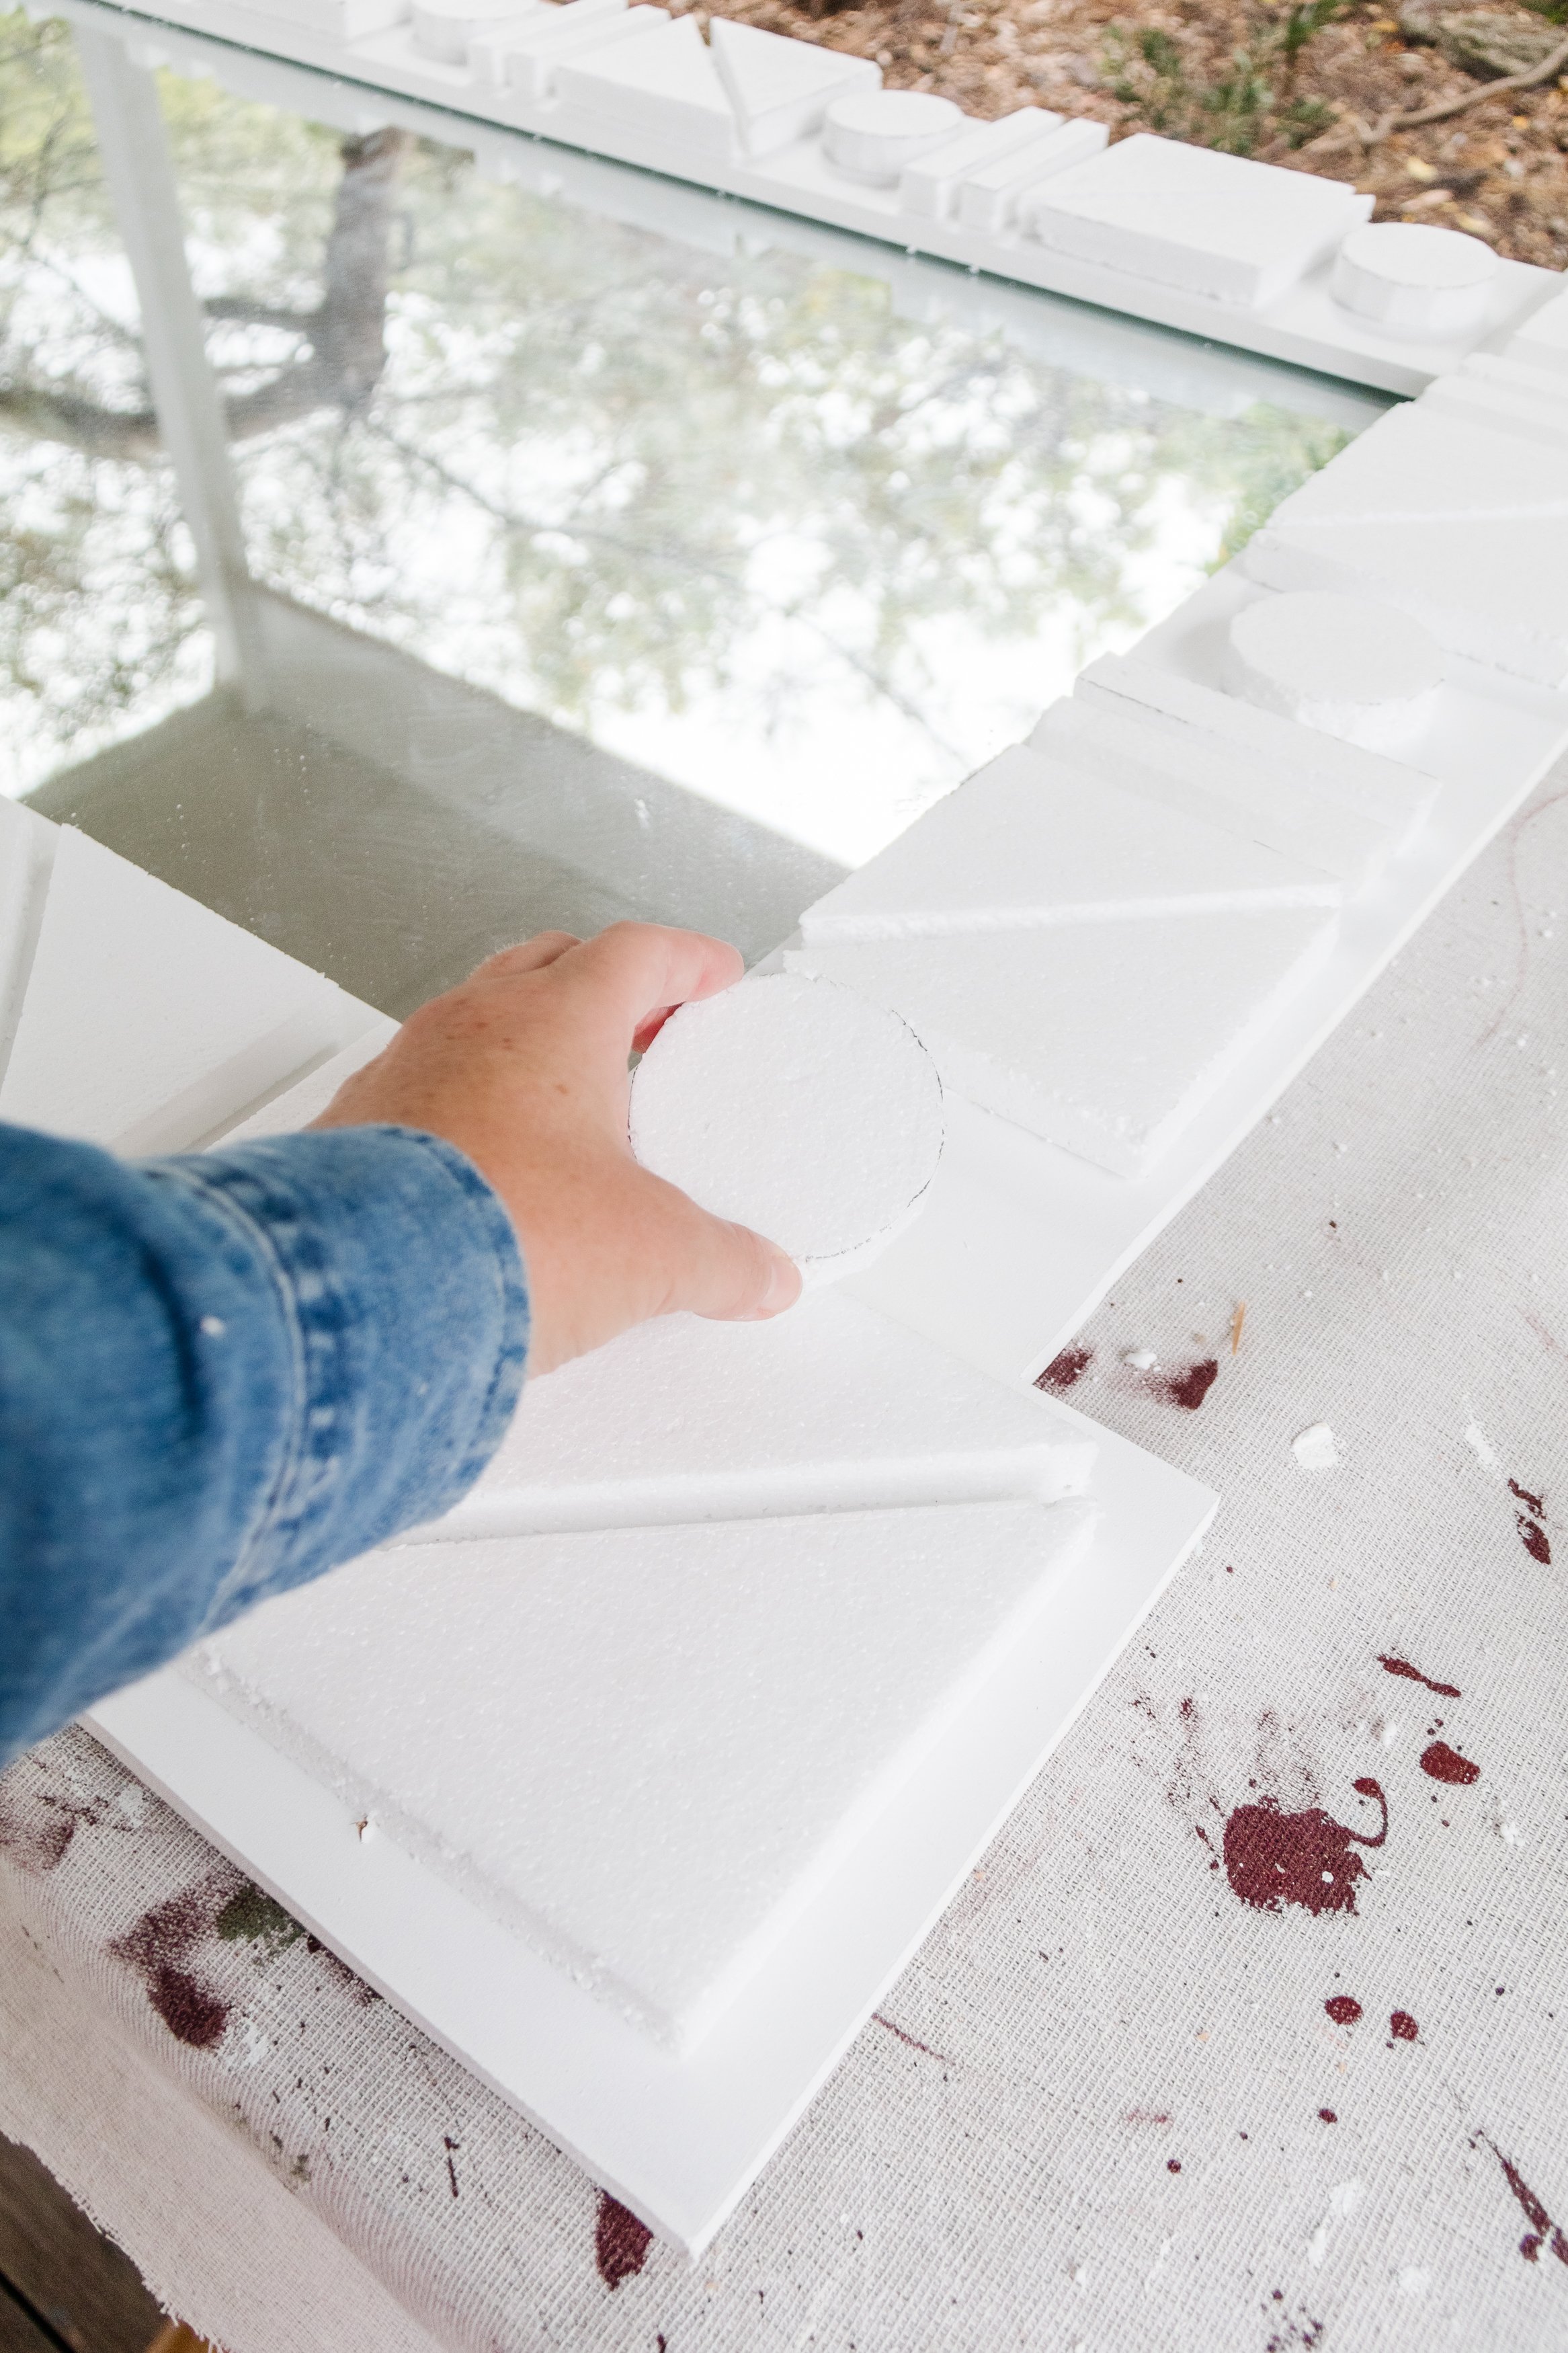
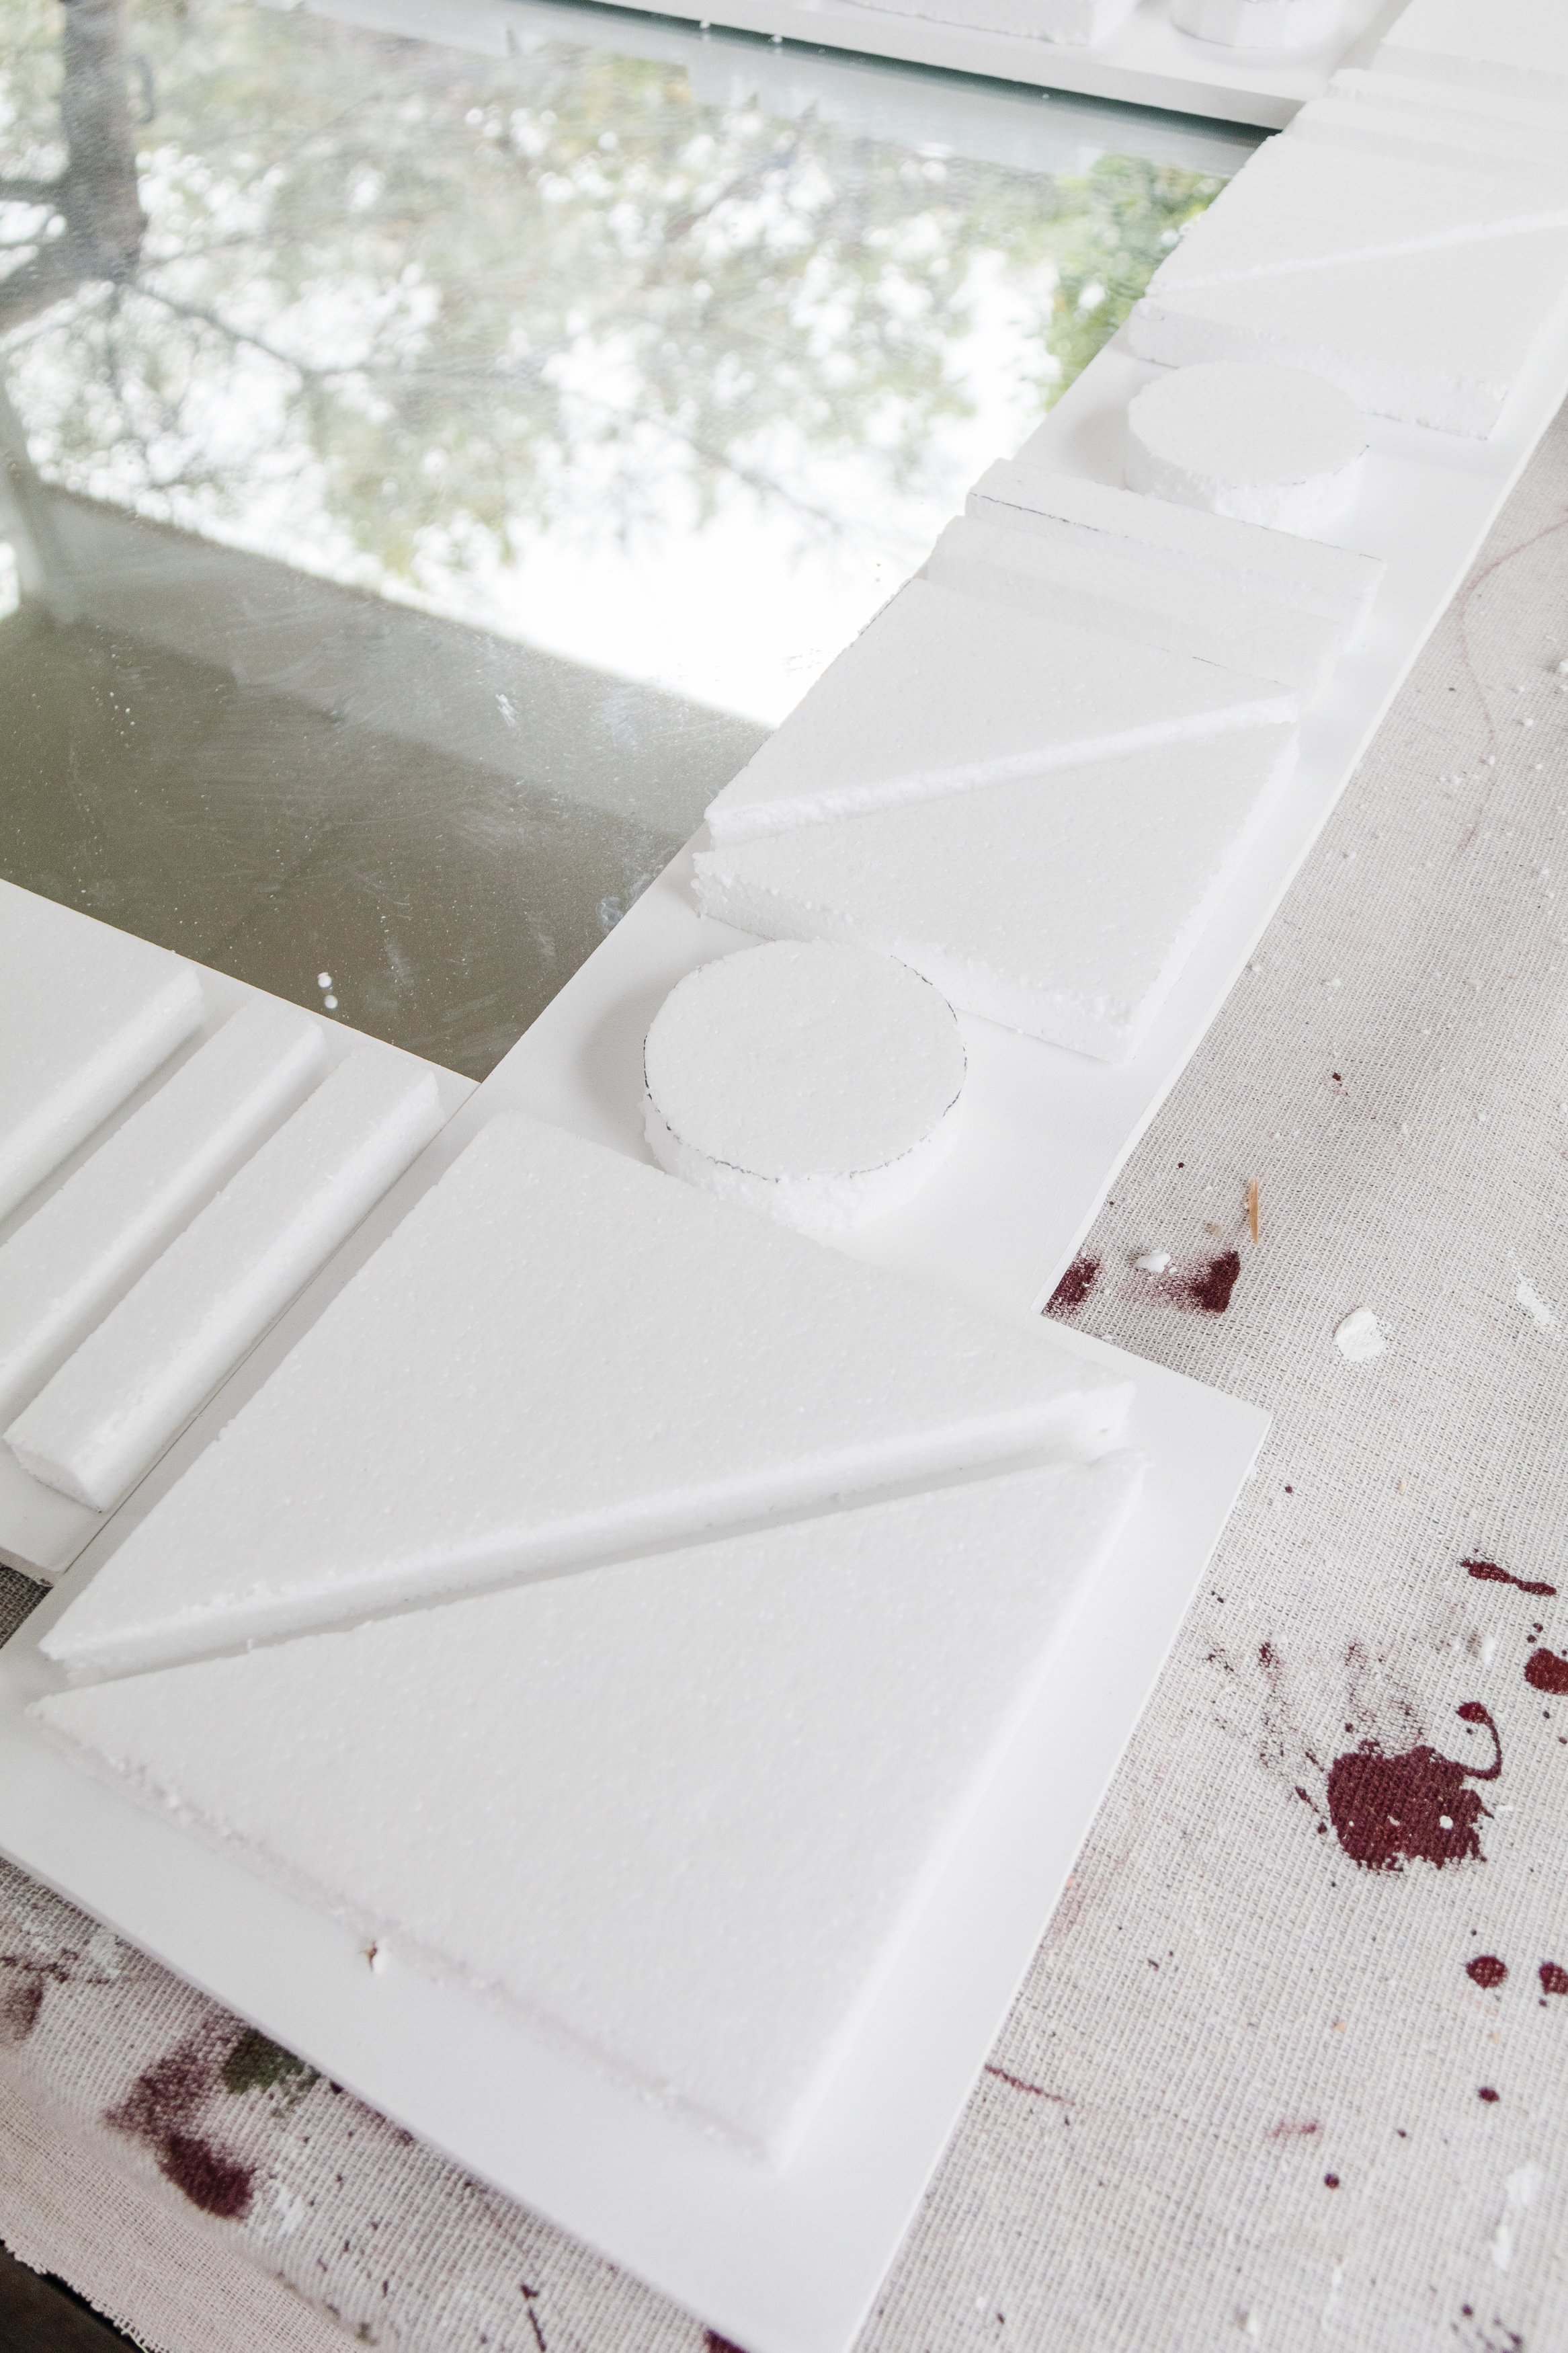
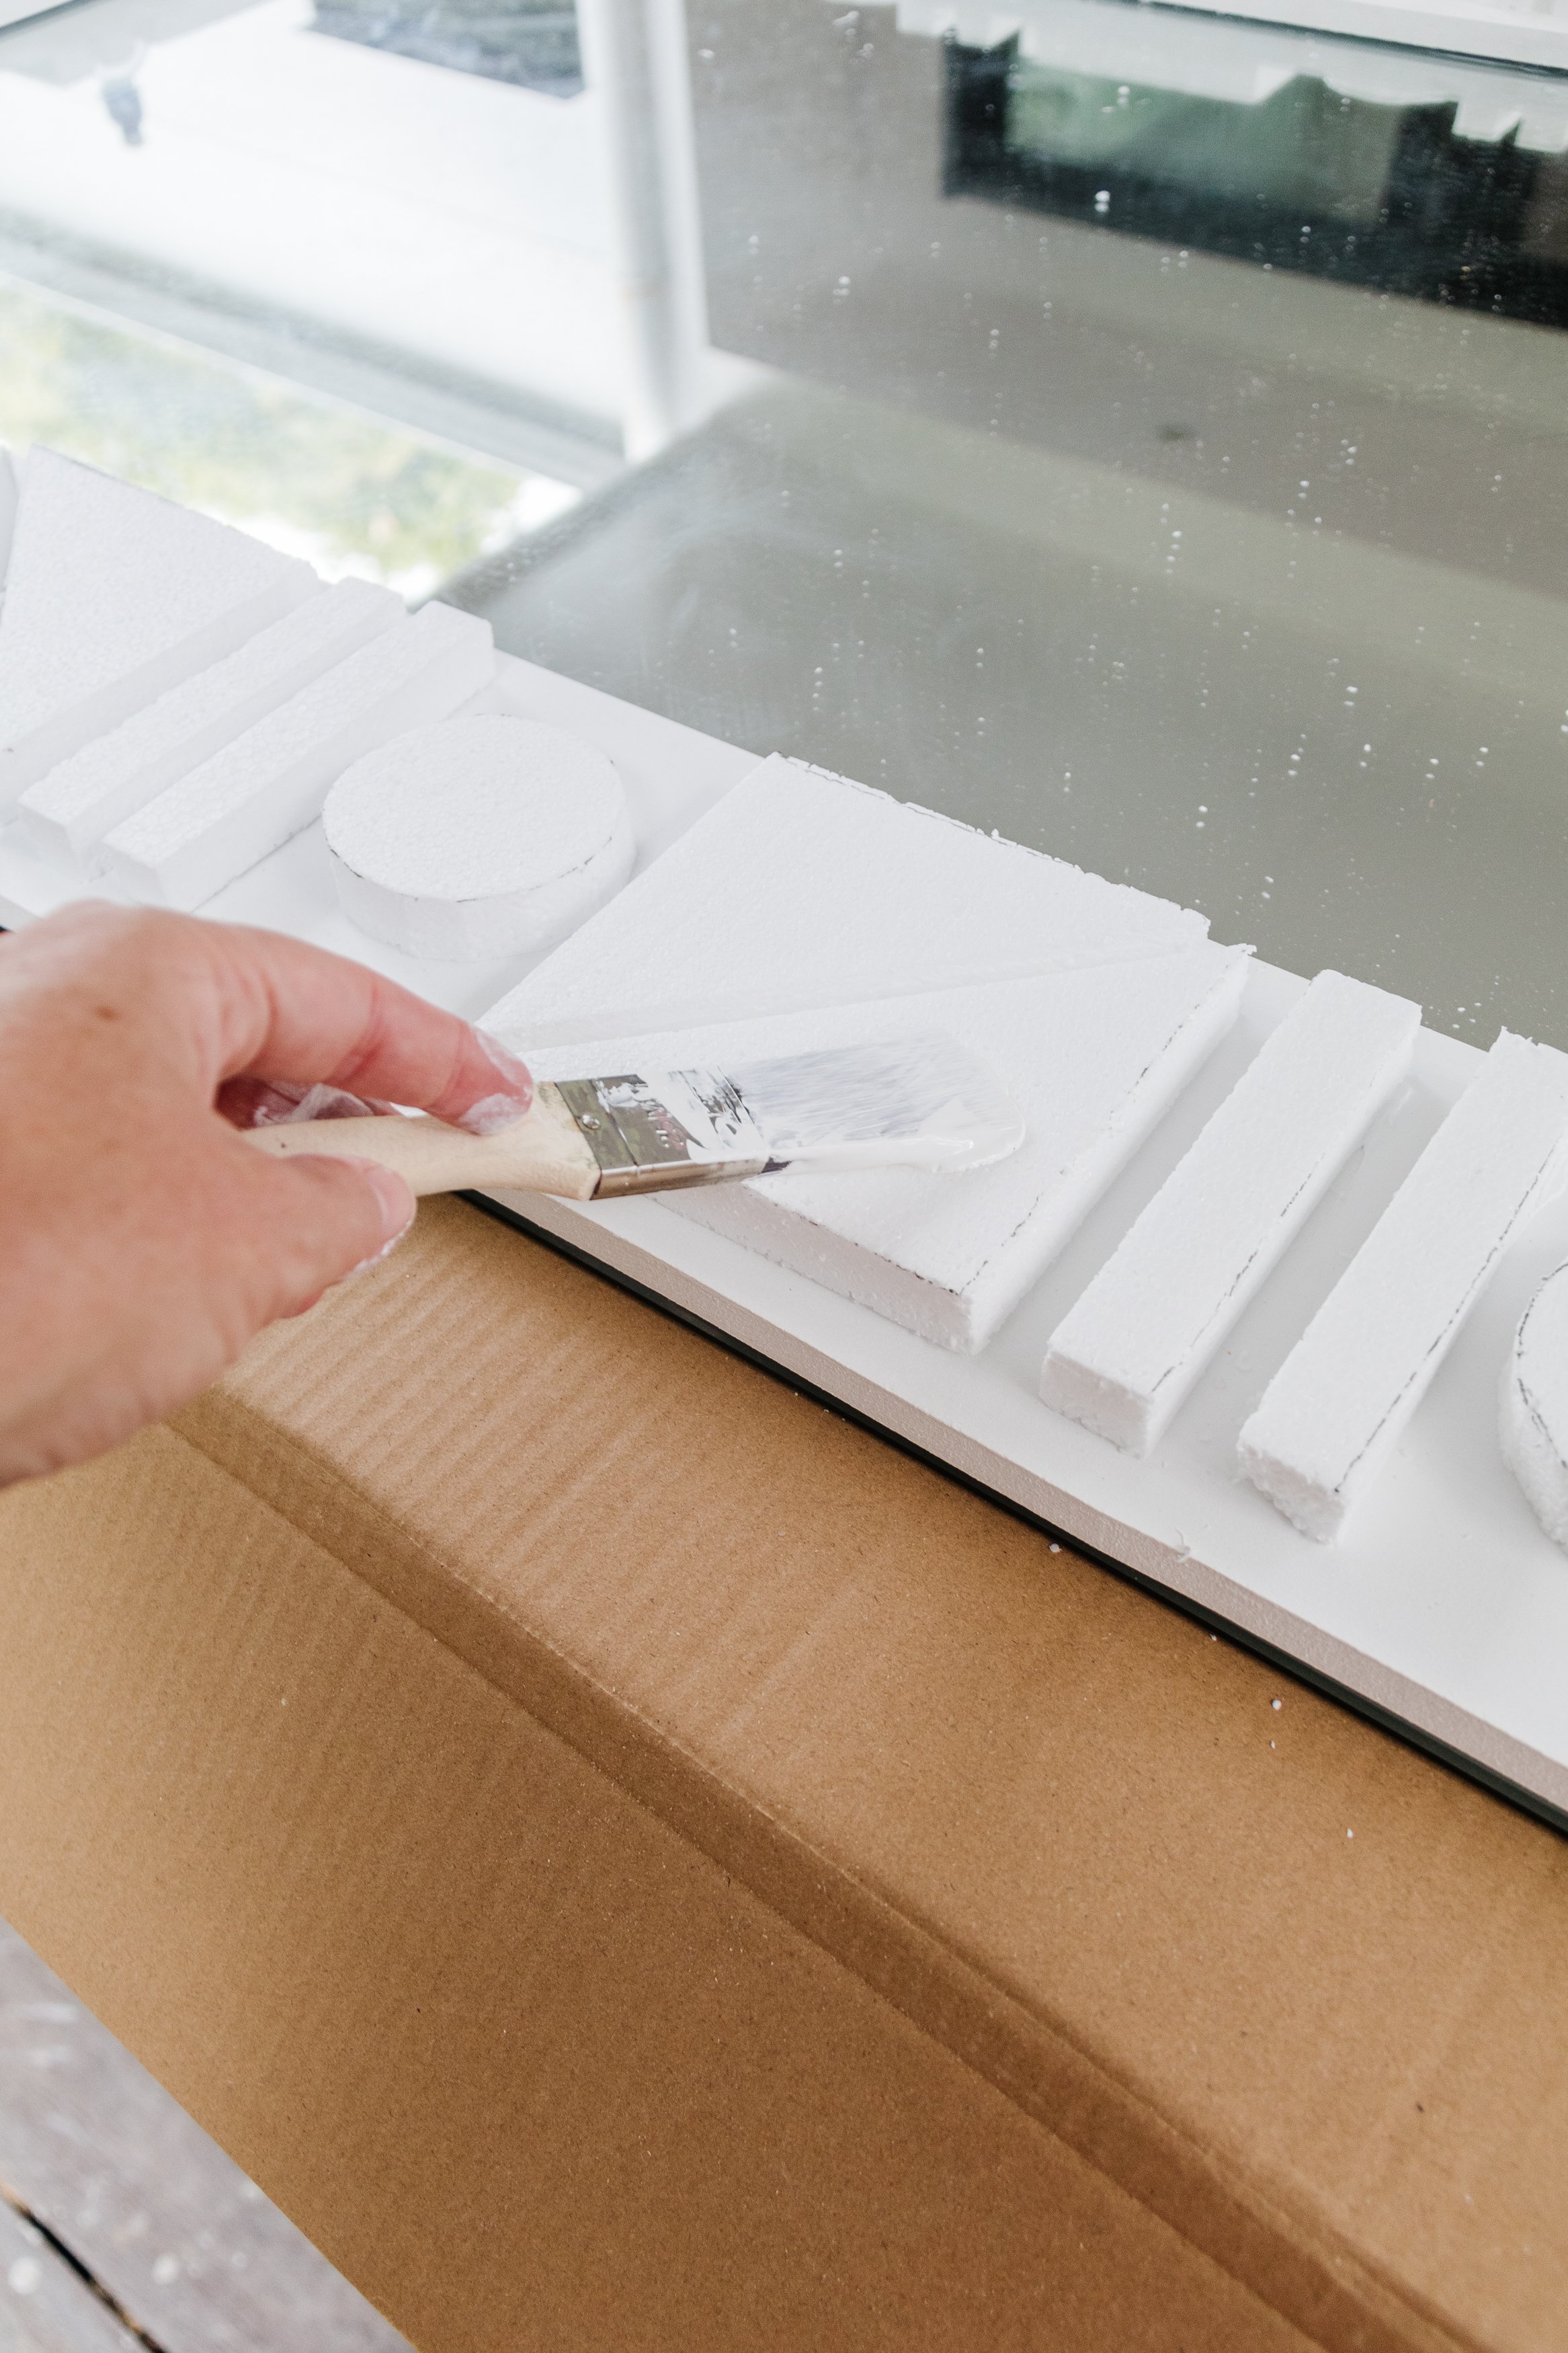
Step 5: I love the texture of painted styrofoam (have you seen my Upcycled Textured Relief Art yet?), it looks like plaster or concrete, so I used some flat pieces a friend gave me to create the shapes using a craft knife. I assembled and glued them onto the frame using Hold Up. Following this I painted the shapes with the same paint I used on the MDF. And that’s it!


Ta daaaa!
If my mum has seen something she loves, you better believe I’m going to make it for her - for less. A lot less! The weight of this mirror was a big consideration during the design and build phase, and when my friend told me she has some sheets of styrofoam in her garage that I could have, I knew these would be the perfect alternative to MDF (which would have made the mirror so much heavier. Additionally, she would have thrown the styrofoam into the bin so it’s nice to know that it didn’t end up in landfill, but on my mother’s new mirror instead ha!
This project was in collaboration with Bunnings