How To Build a DIY Kids Art & Craft Desk
Make a cute Kids Art & Craft Desk even if you only have a small space to work with
My daughter’s bedroom is small and her bed is big, so blending storage, function and style has always been a challenge because there isn’t much space elsewhere in her room. She’s really come into her own this past year and has a deep passion for crafting and making art, and she really needs her own arts and crafting desk to let her imagination run wild.
The thing is, when thinking about a solution I started feeling flustered and confused because there’s not a lot of space to work with. But that was until I discovered Lugna at Bunnings! I designed her desk using their Online Planner, which allowed me to visualise what it would look like in her bedroom before getting started, which helped a lot. Read on to find out how it all came together.
And make sure to watch this step by step video
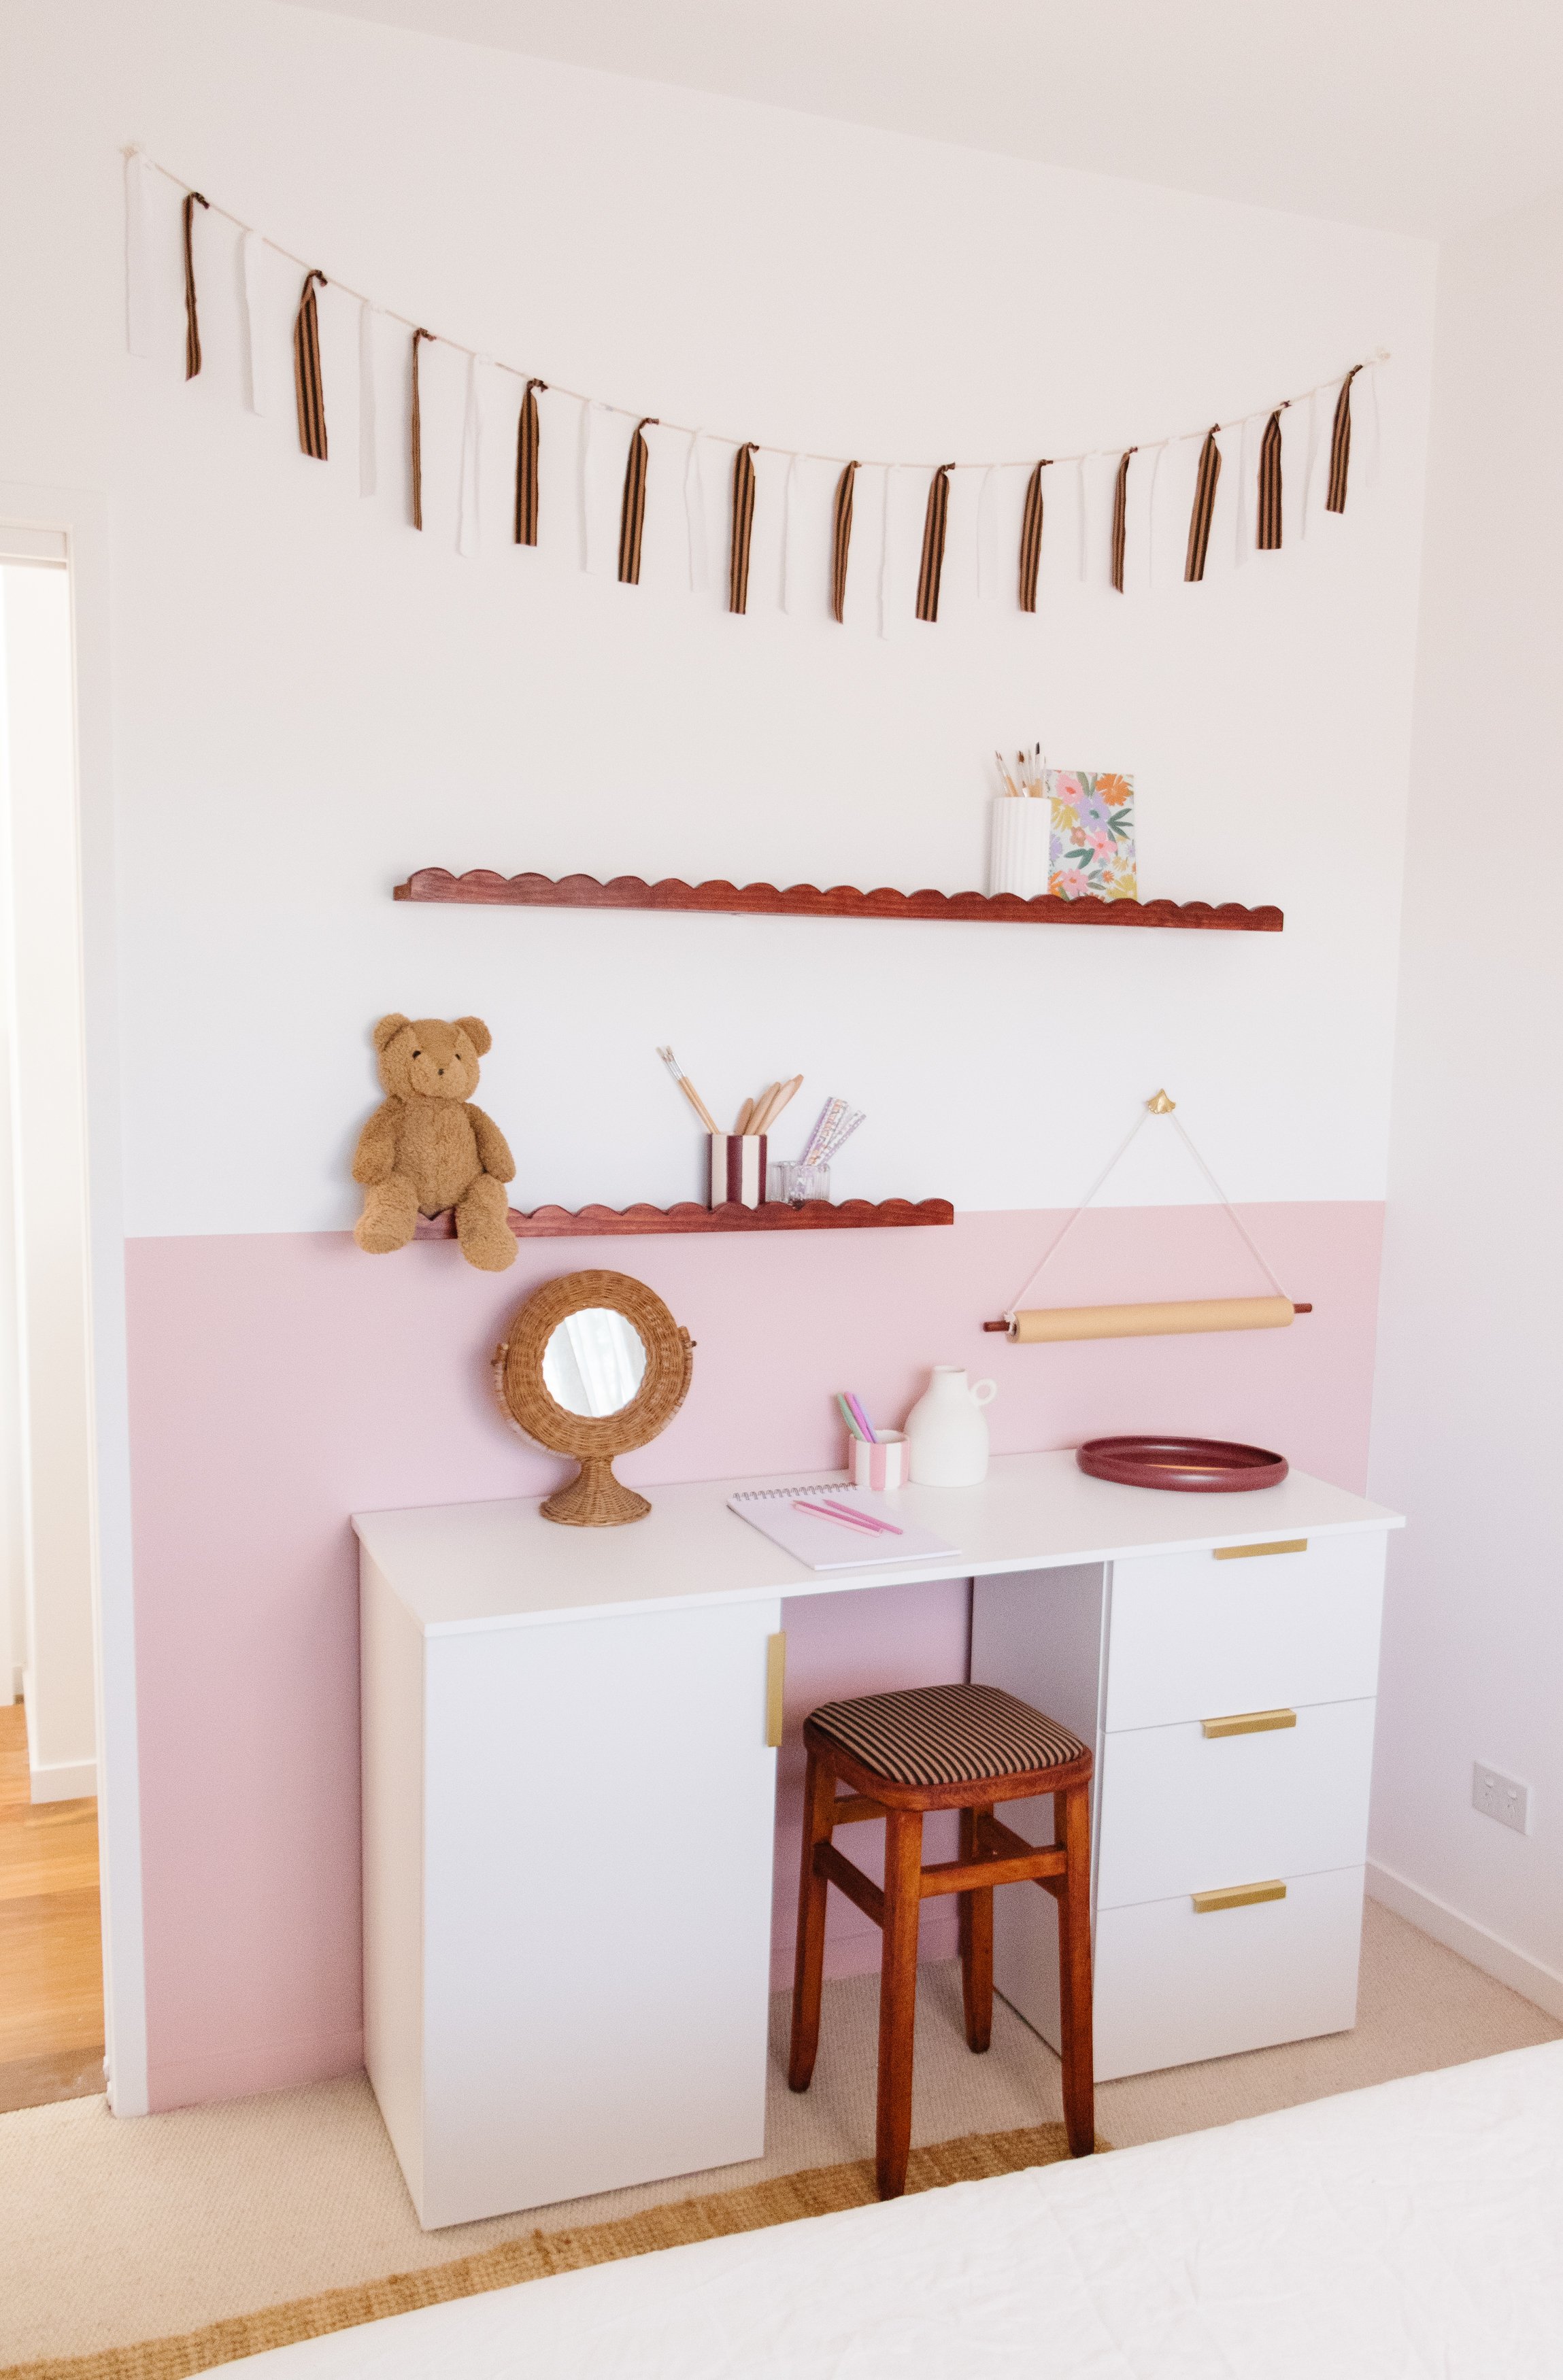
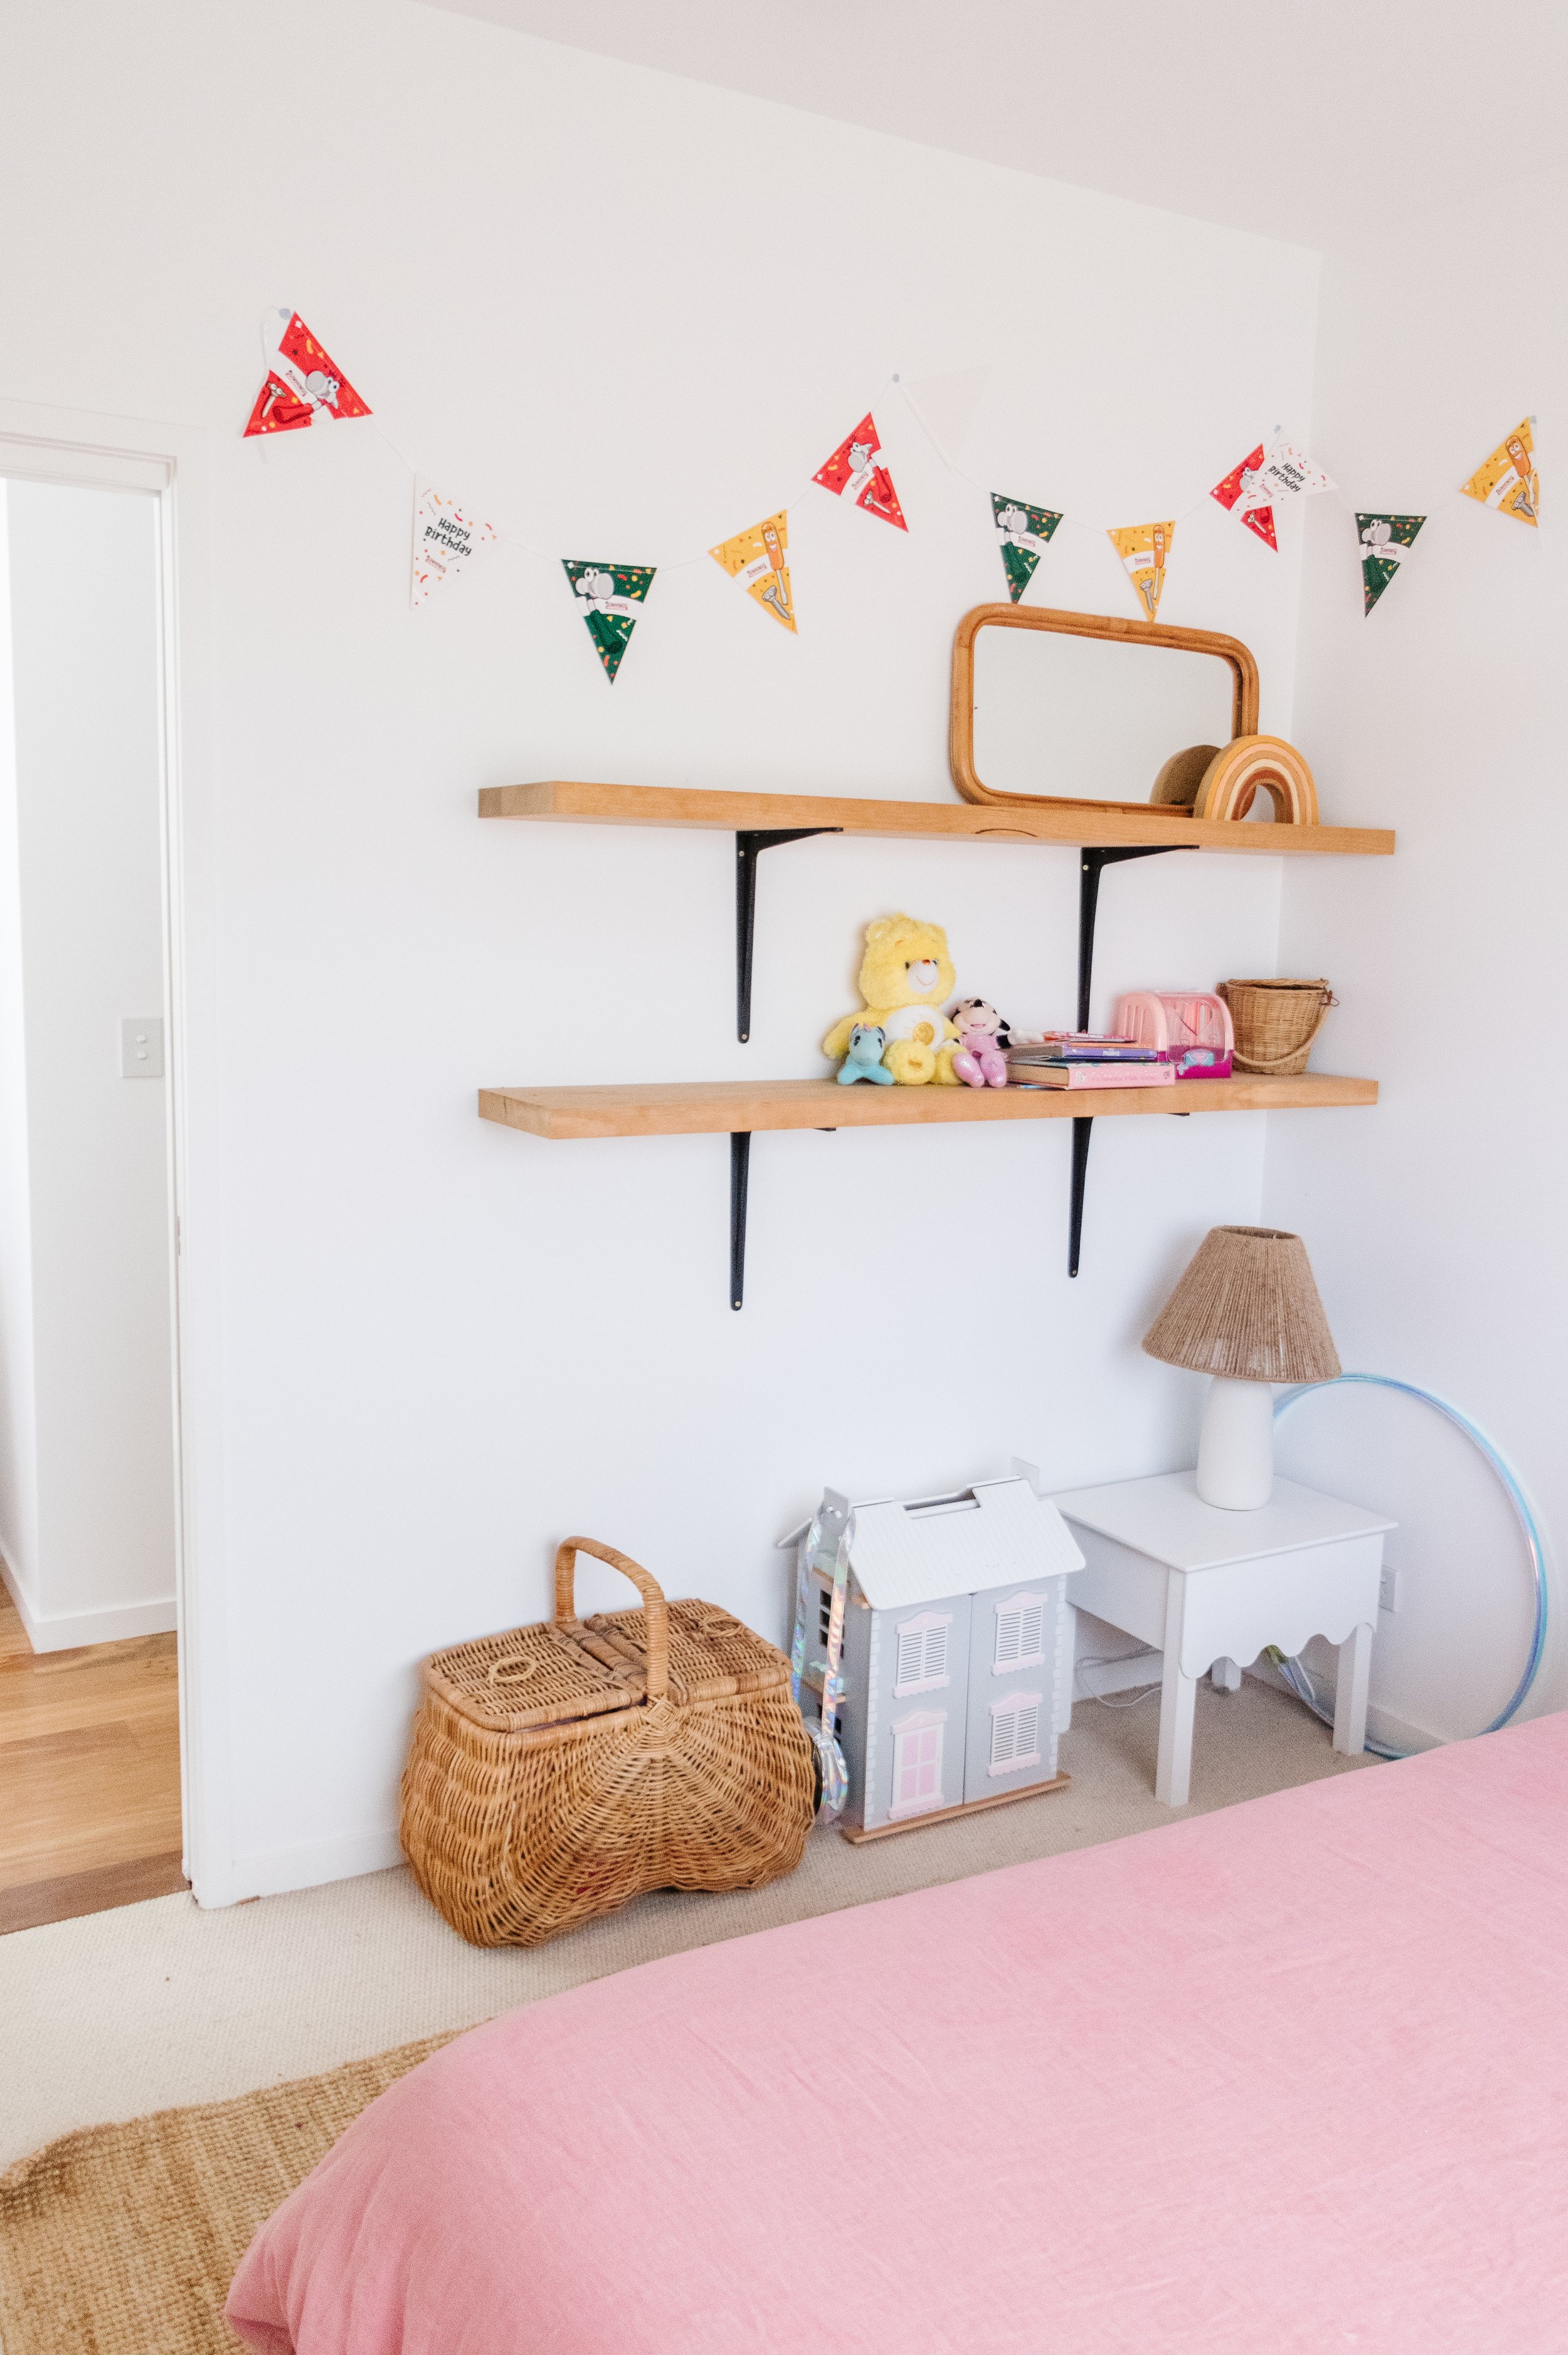
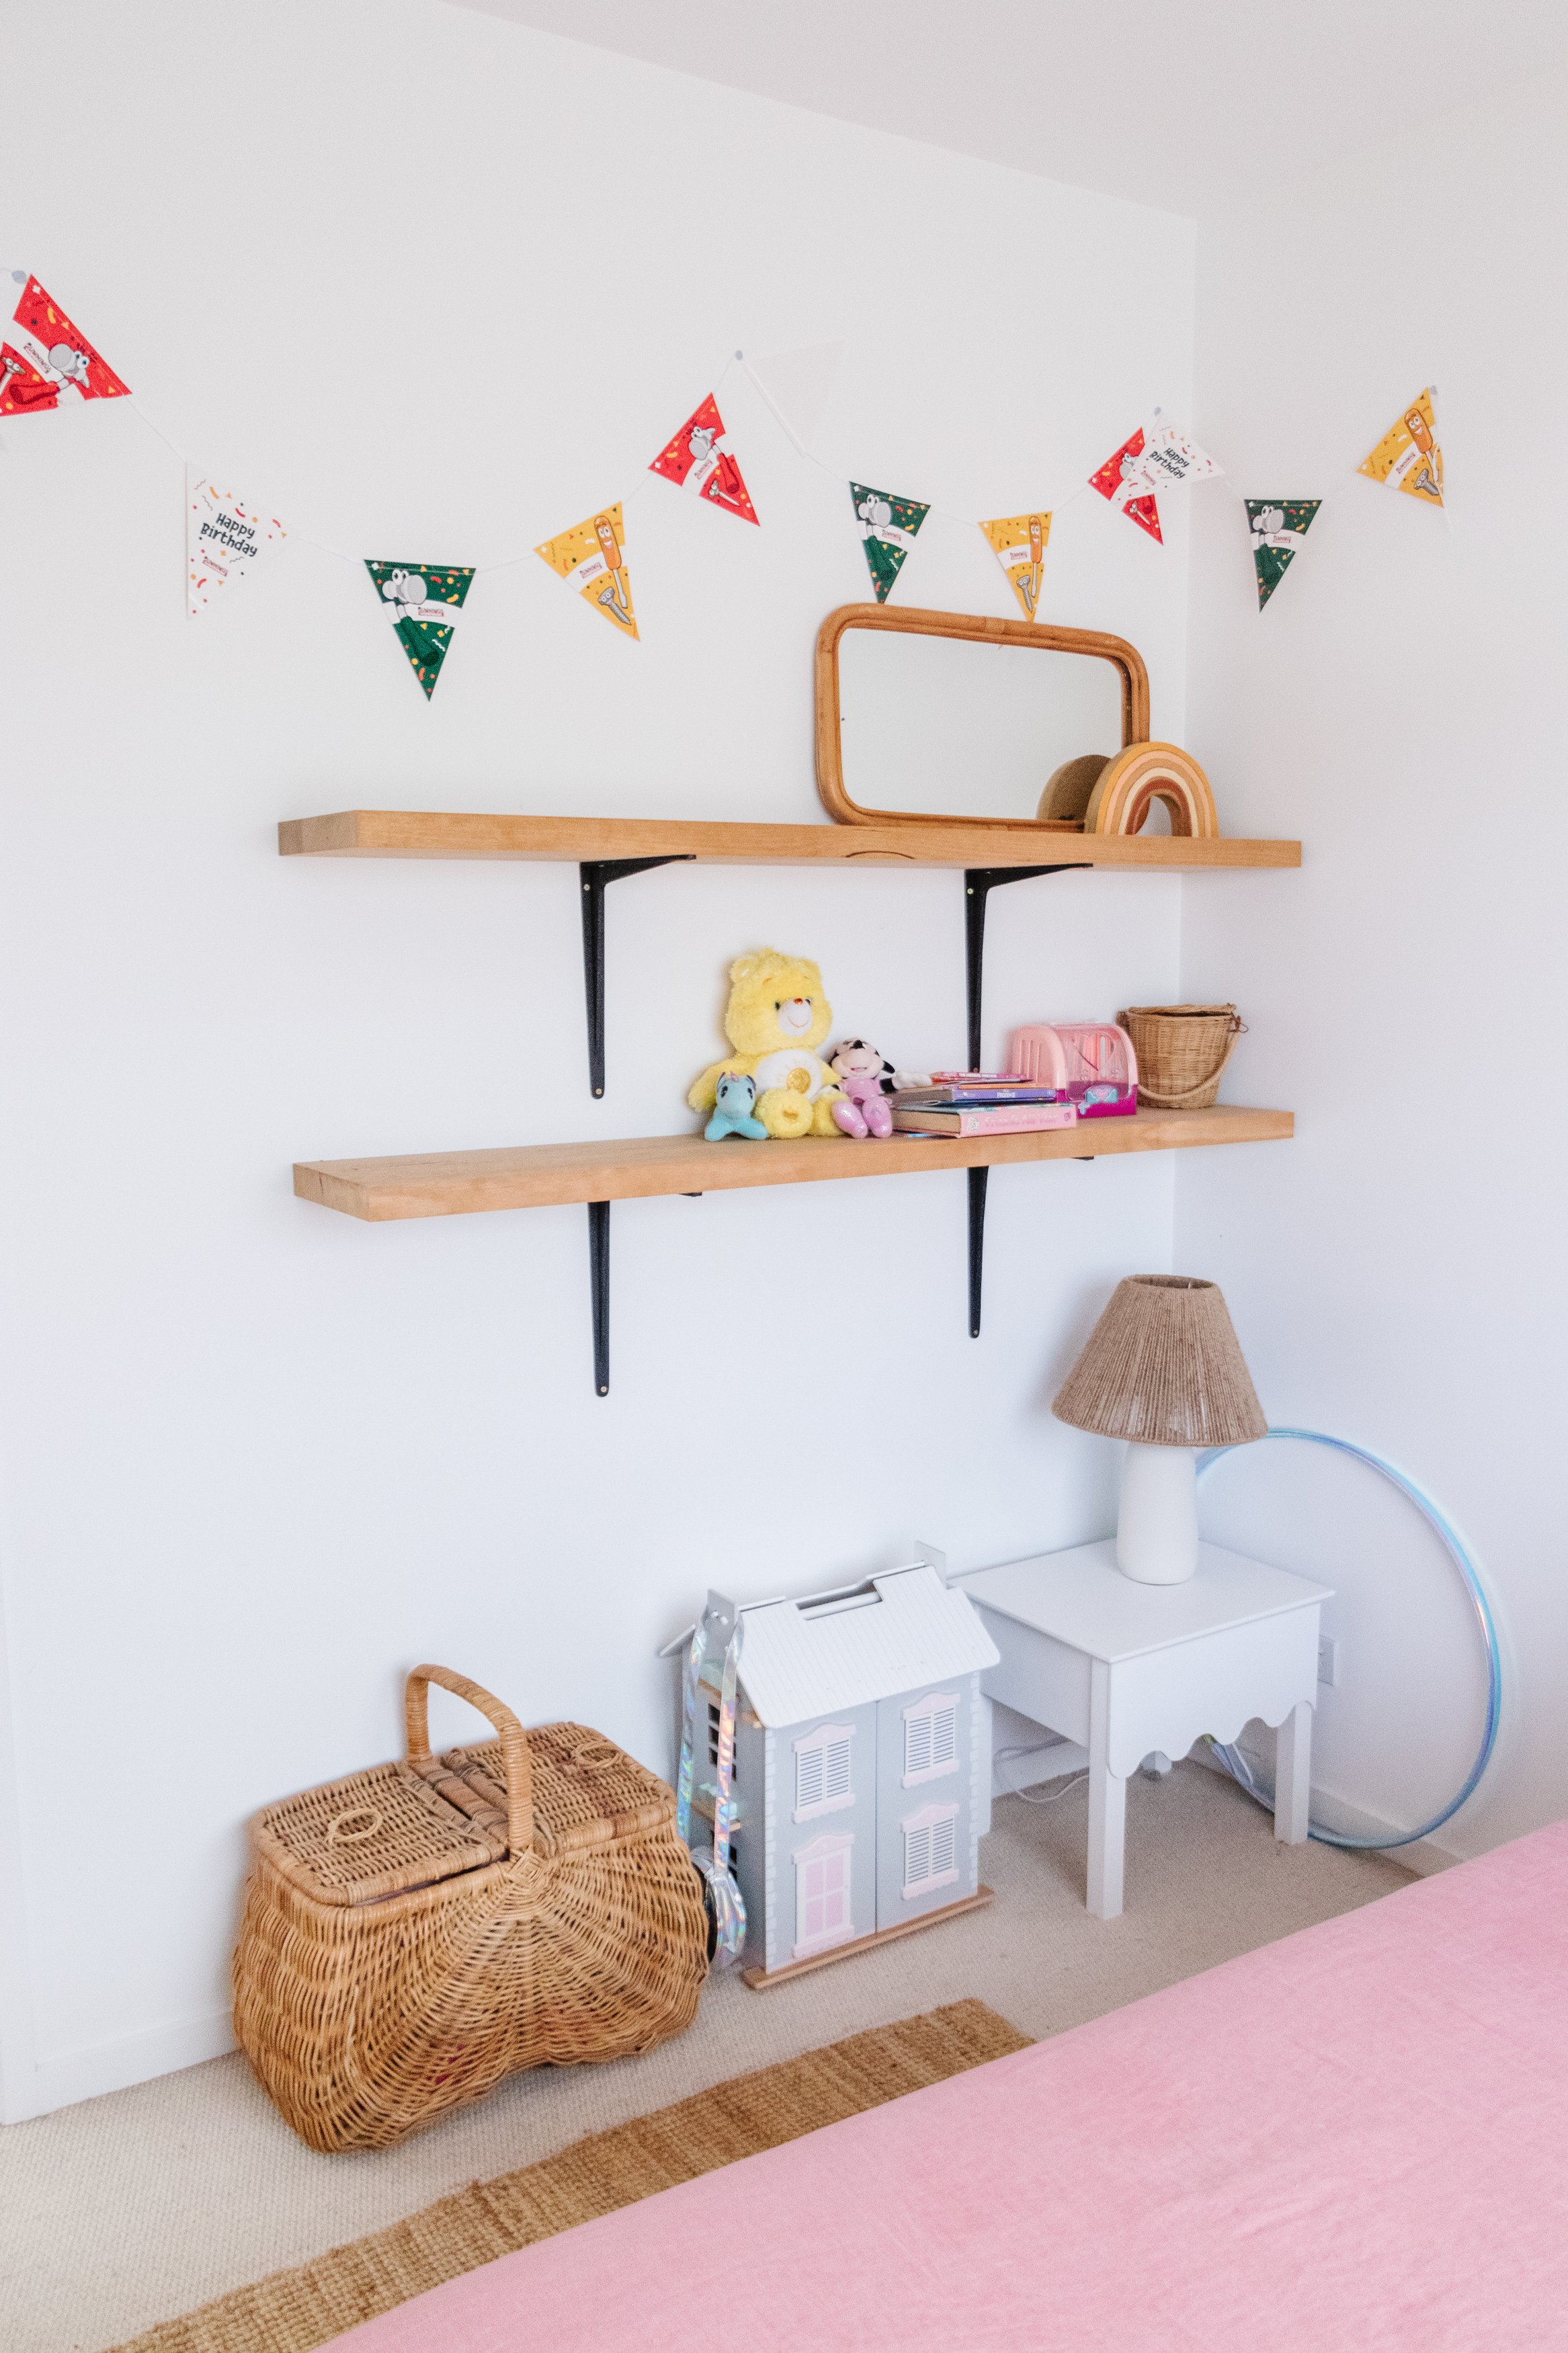
Before & After

Project Details
♻️ Making: Kids Art & Craft Desk
🕒 Project Time Estimate: 1 to 2 hours to assemble the desk. 1 to 2 days if you tackle all of the the DIY projects.
💰 Desk Cost: $200 (not including Tools or DIY Projects)
Materials
Lugna Drawers
Lugna Shelves
Lugna Desktop
Tools
Screwdriver
Mallet
Pencil
Drill and bits
DIY Projects: Materials & Tools
DIY Half Painted Wall: Interior water based paint, painters tape, drop cloth, paint roller and paint tray.
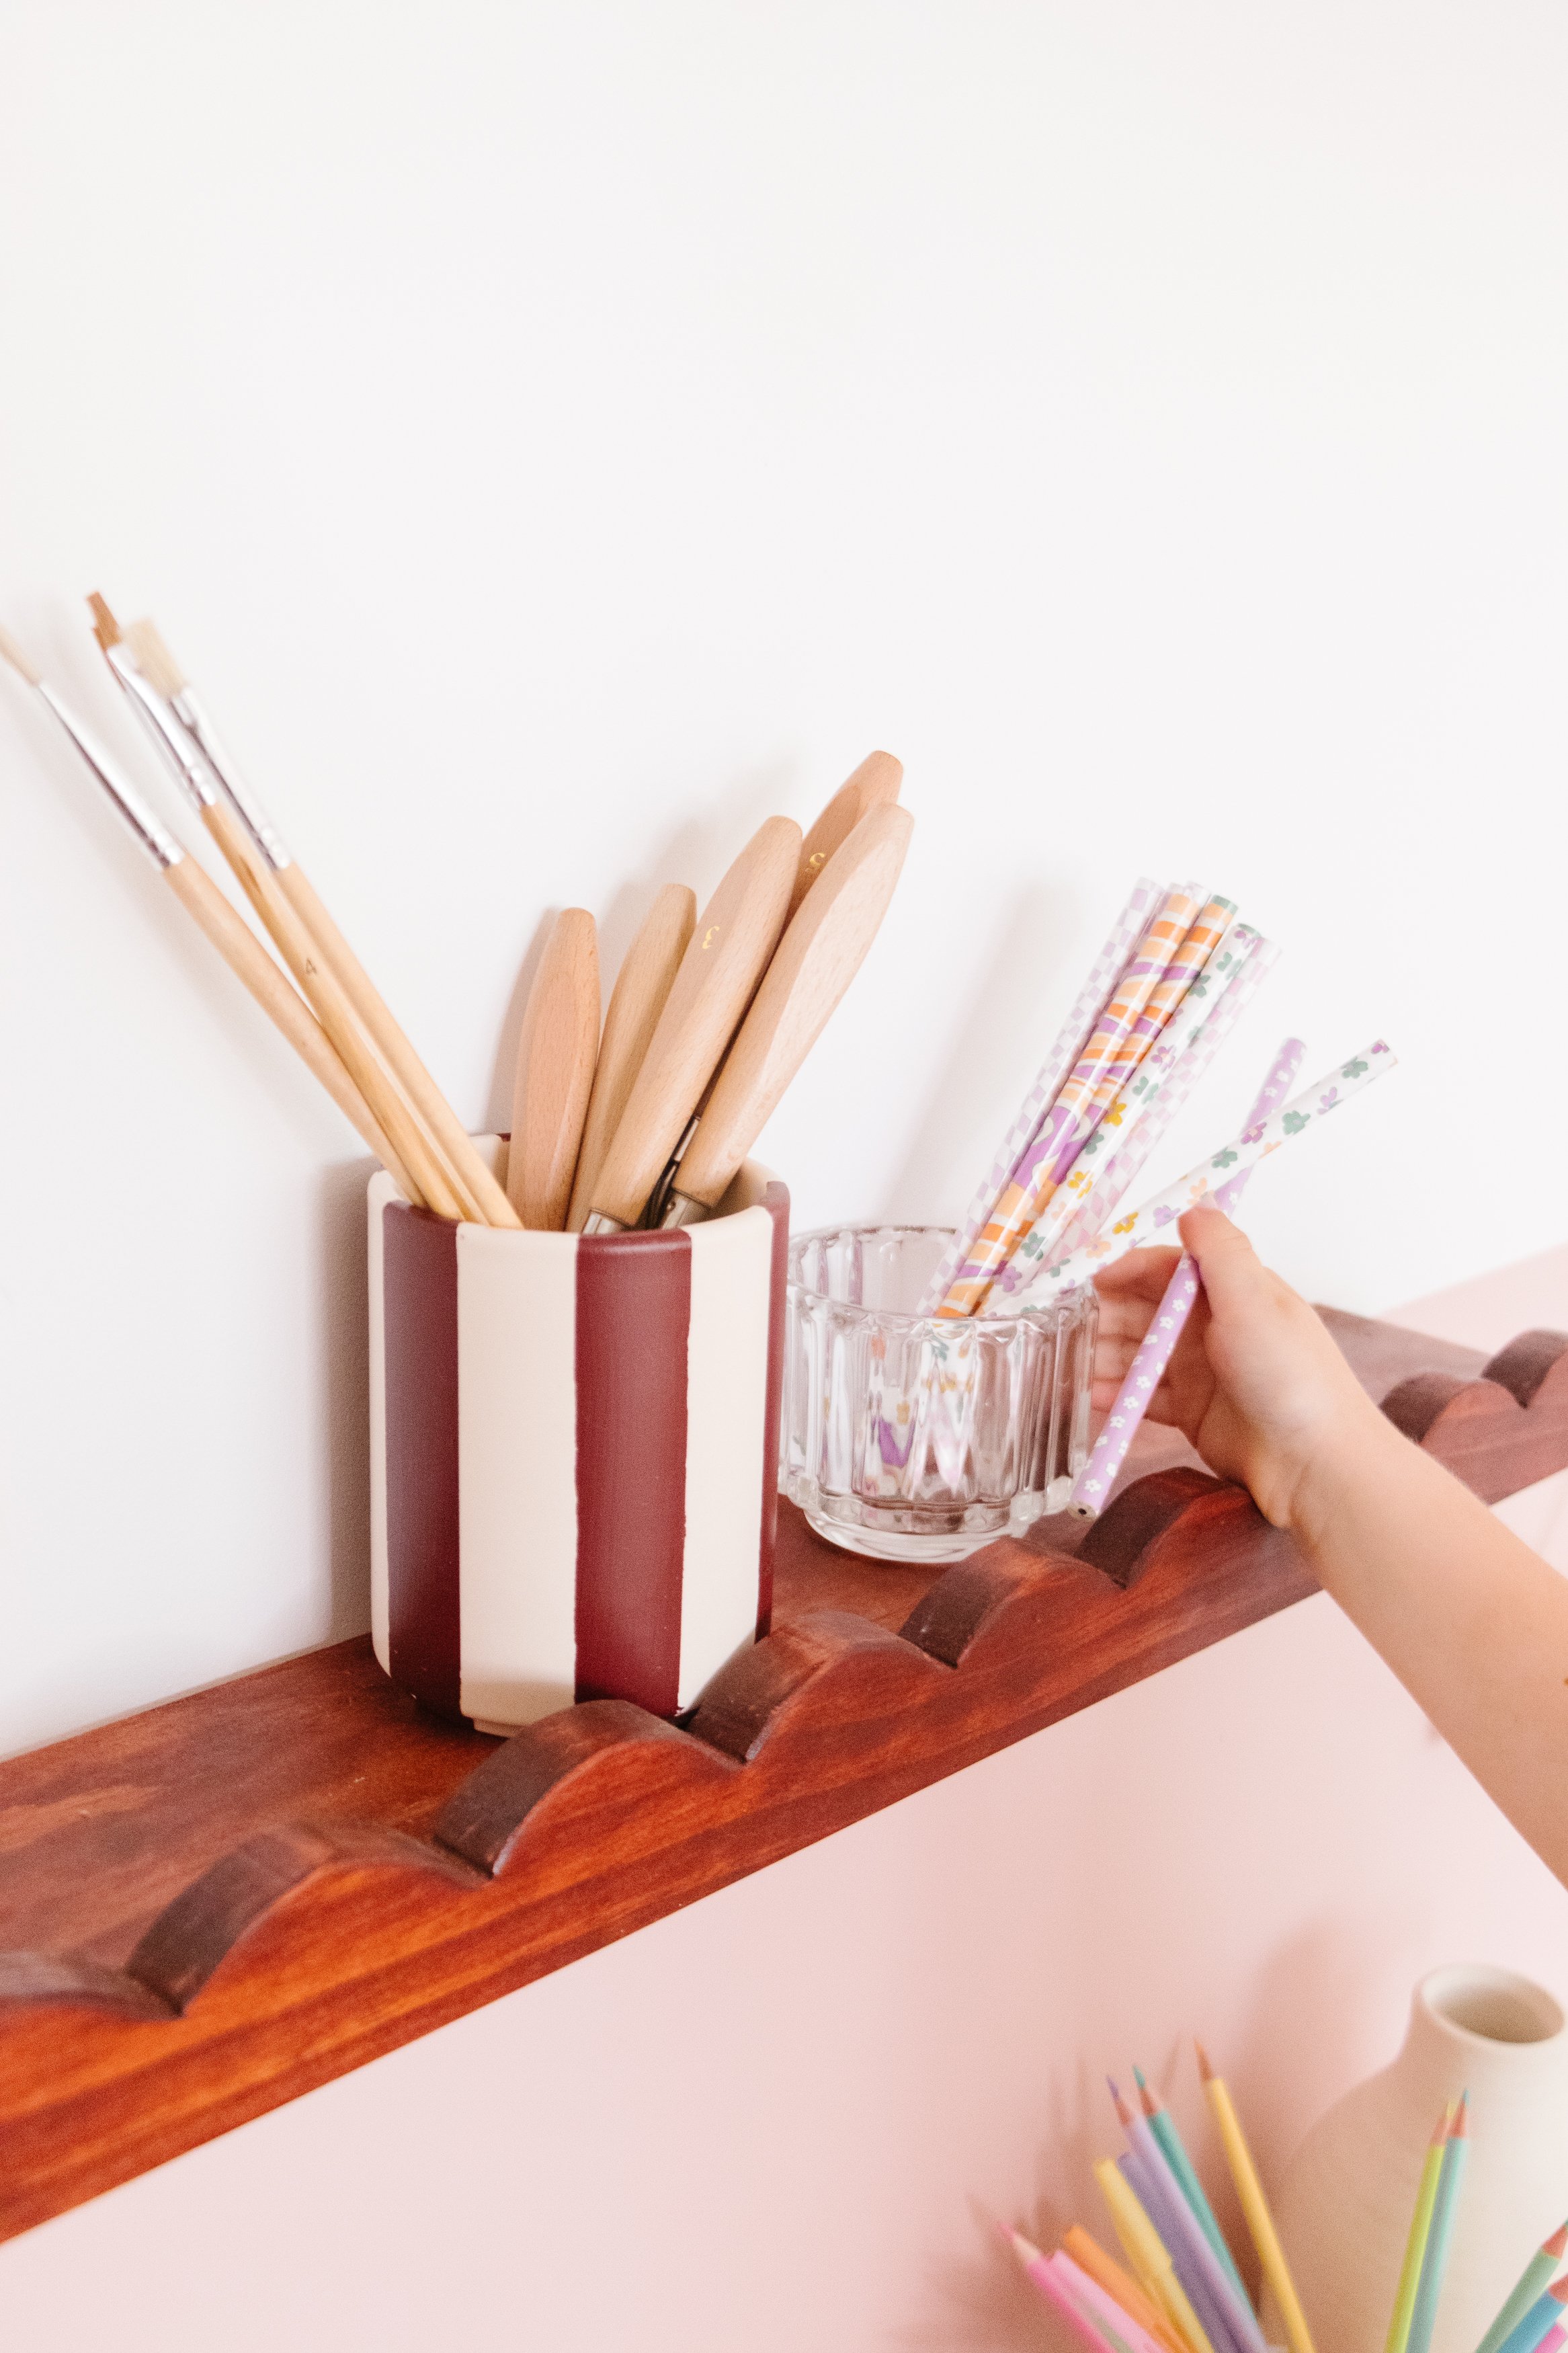
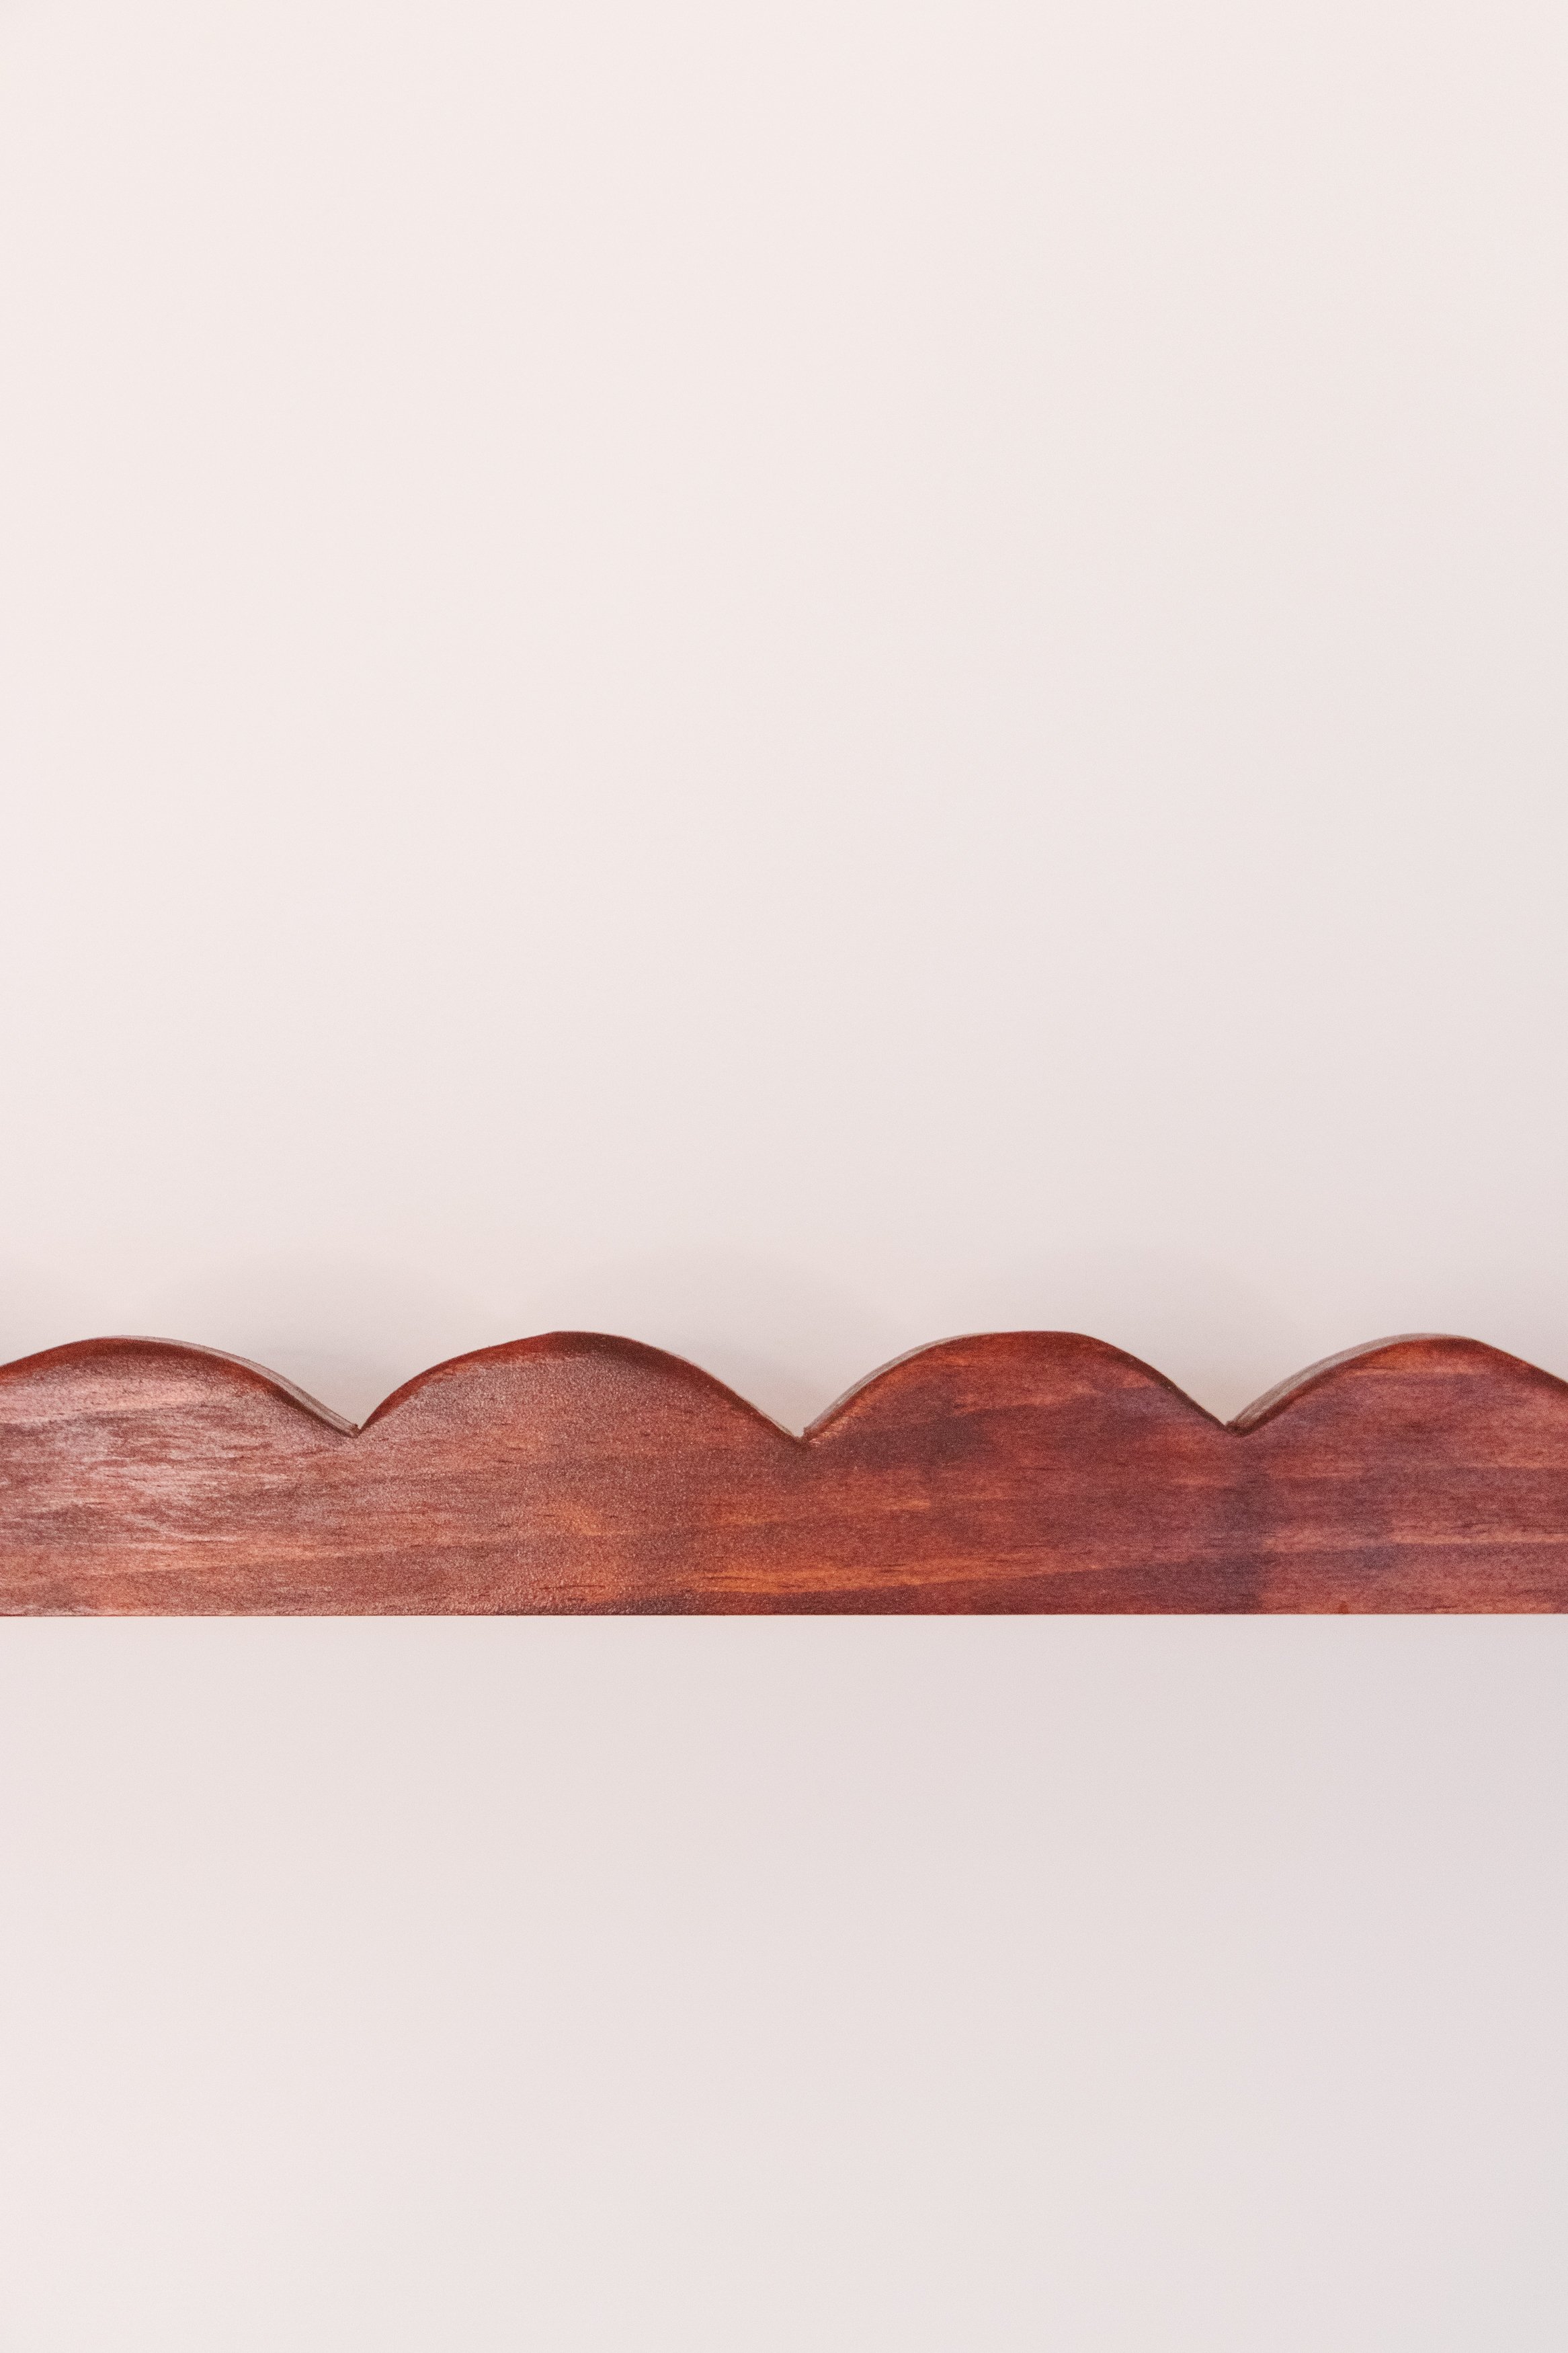
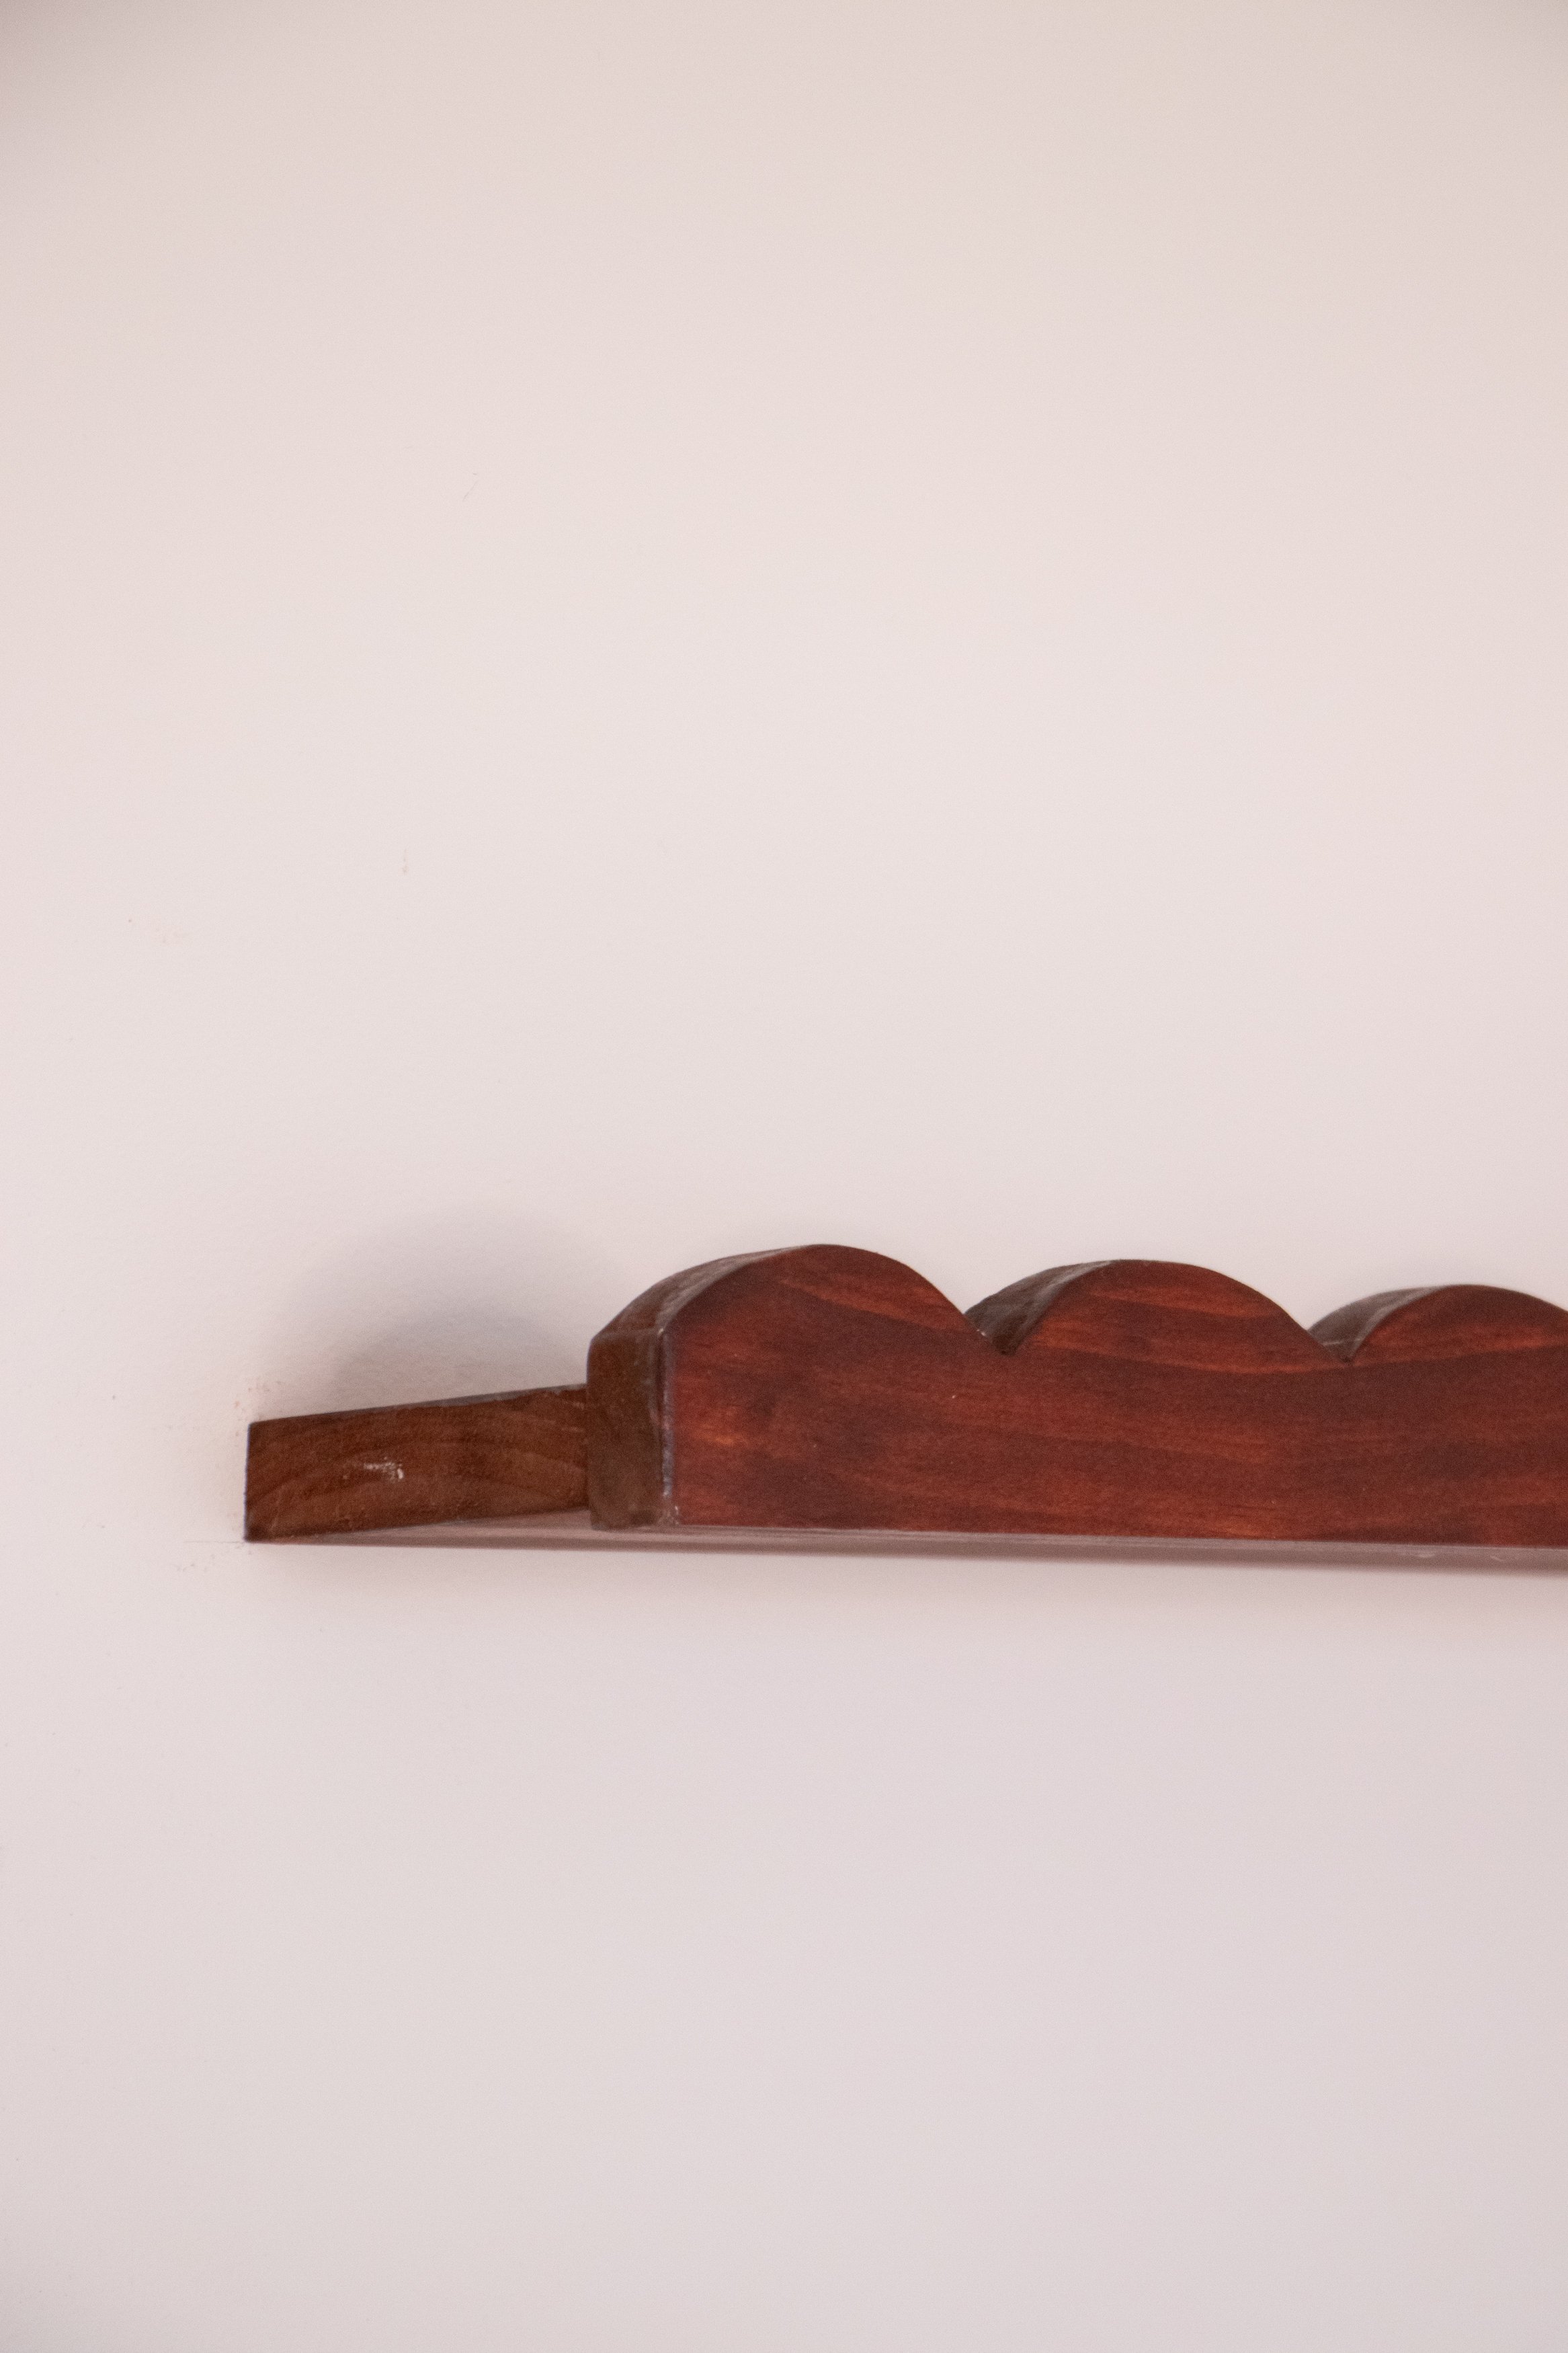
DIY Scalloped Shelves: Timber, jigsaw, clamps, sander, timber stain, microfibre cloth, wood glue, interior clear satin sealer, L brackets, timber screws and drill.
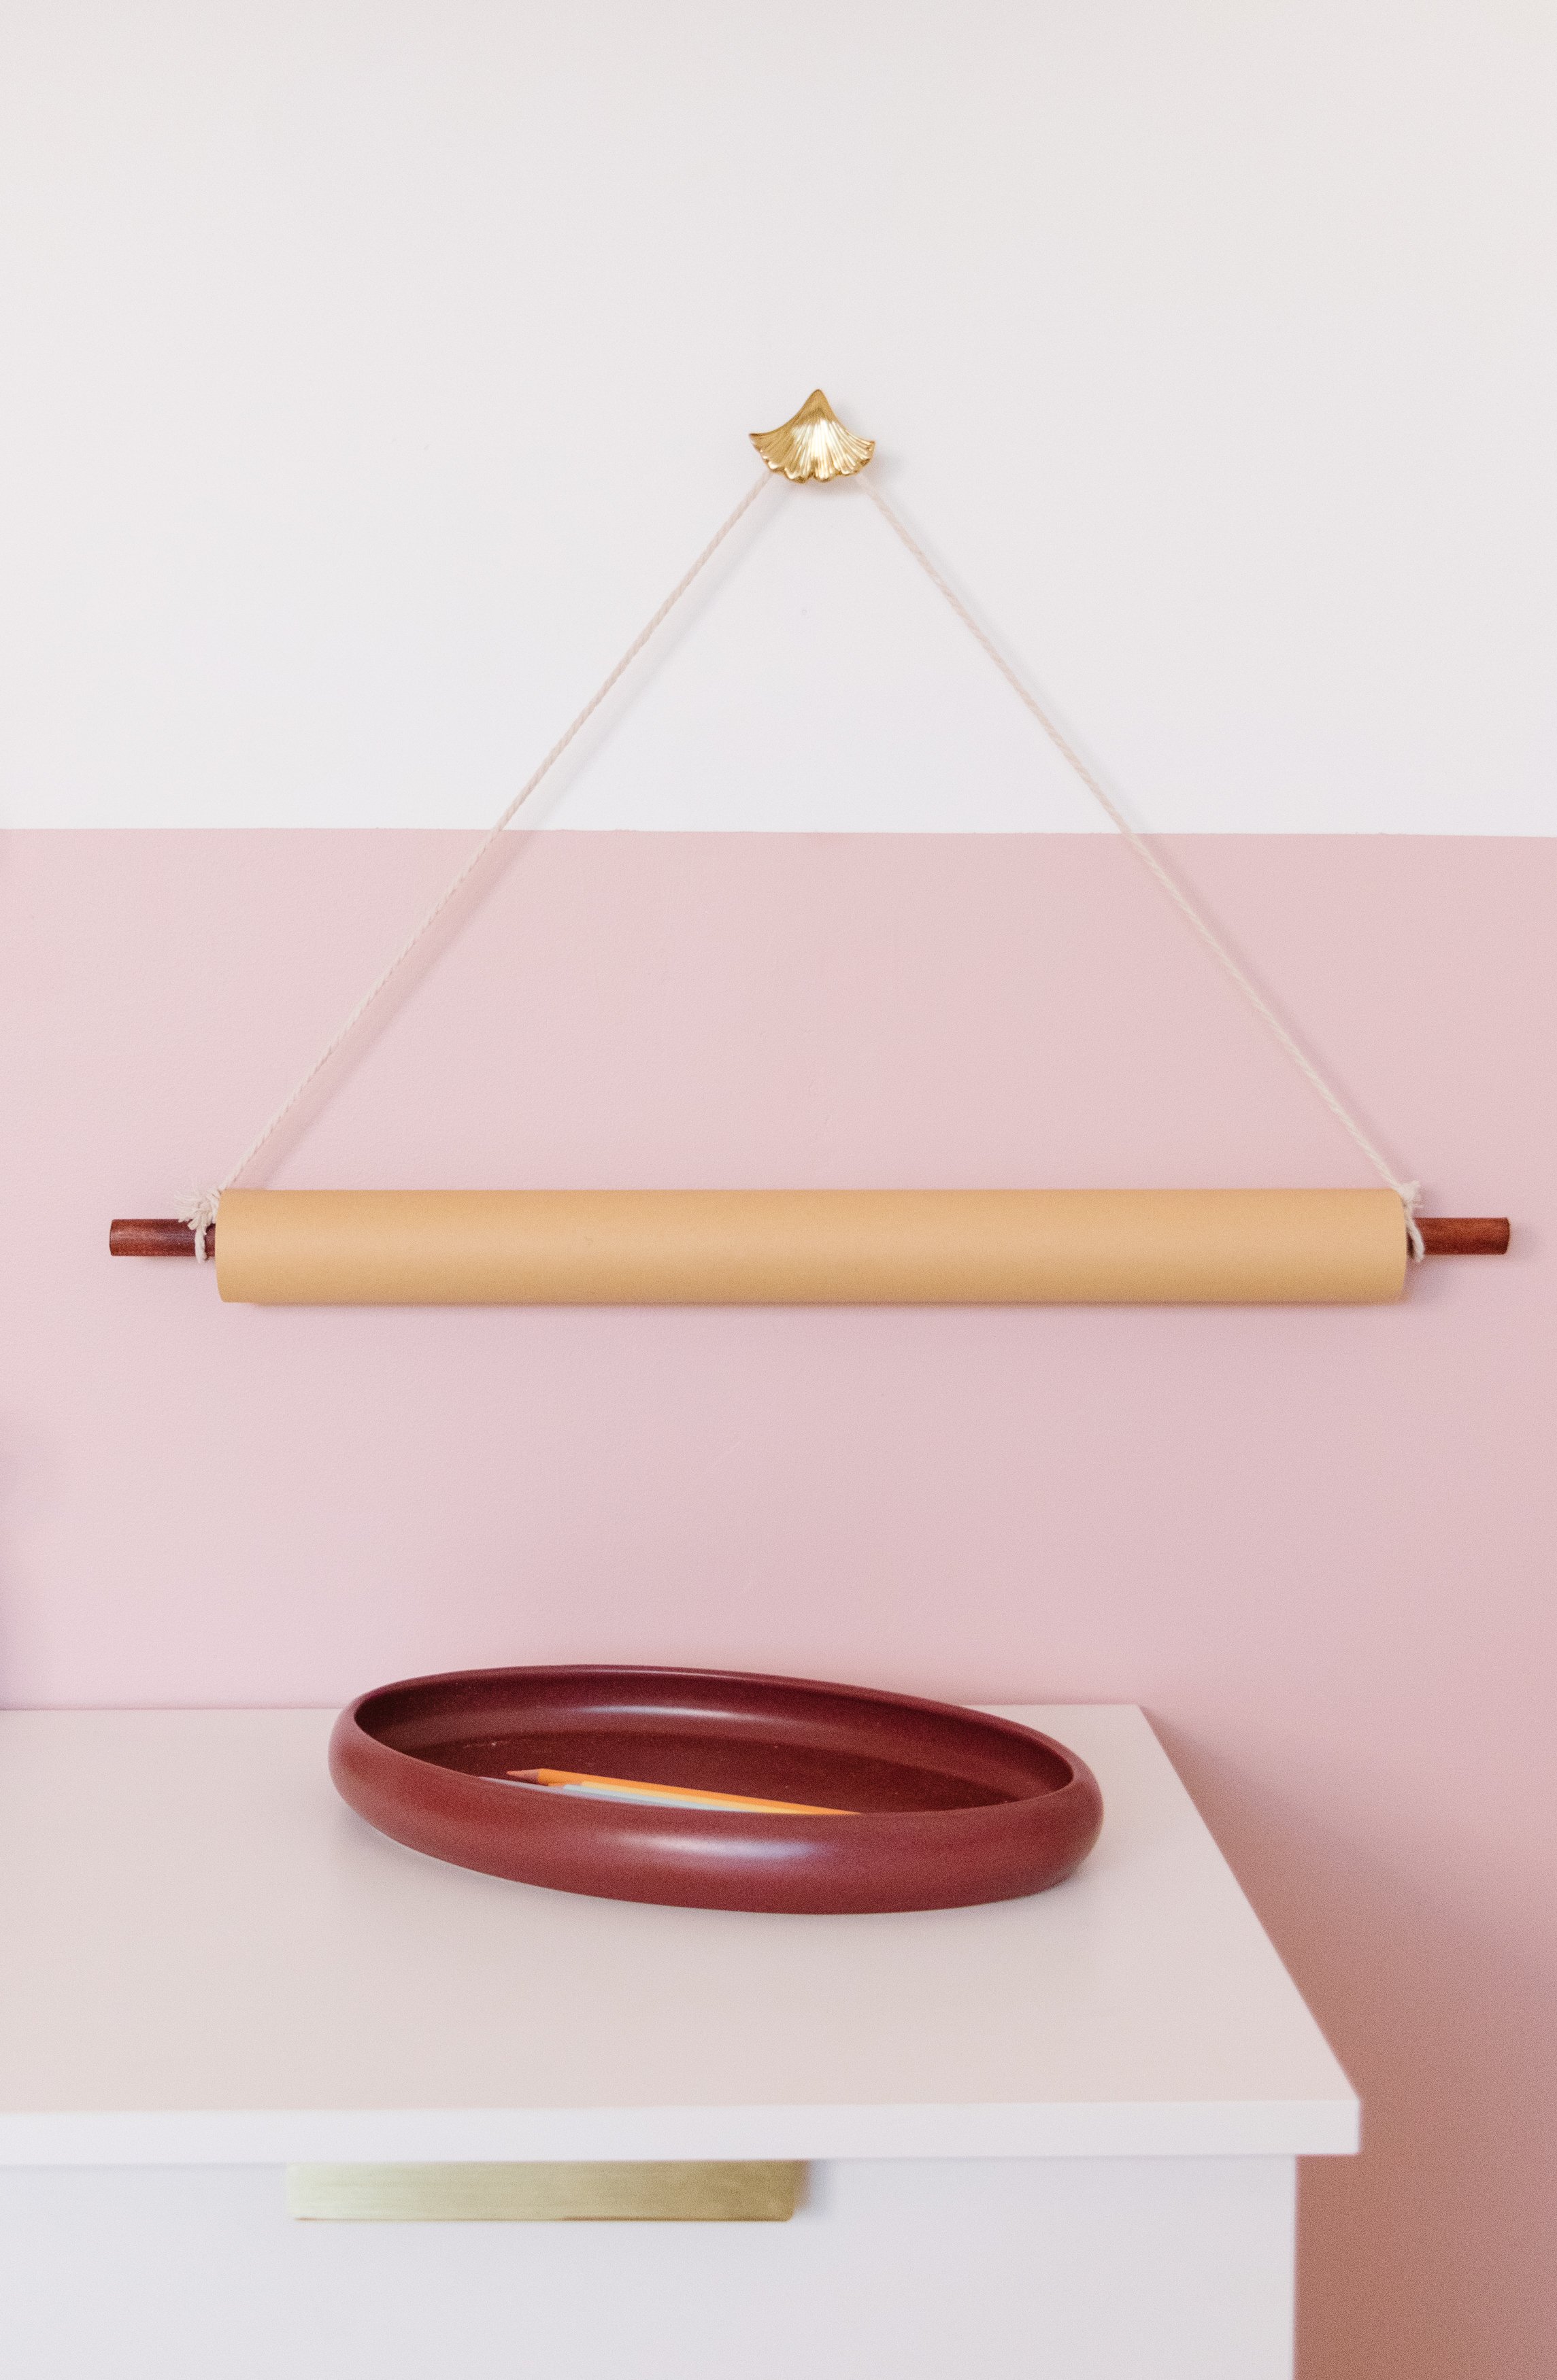
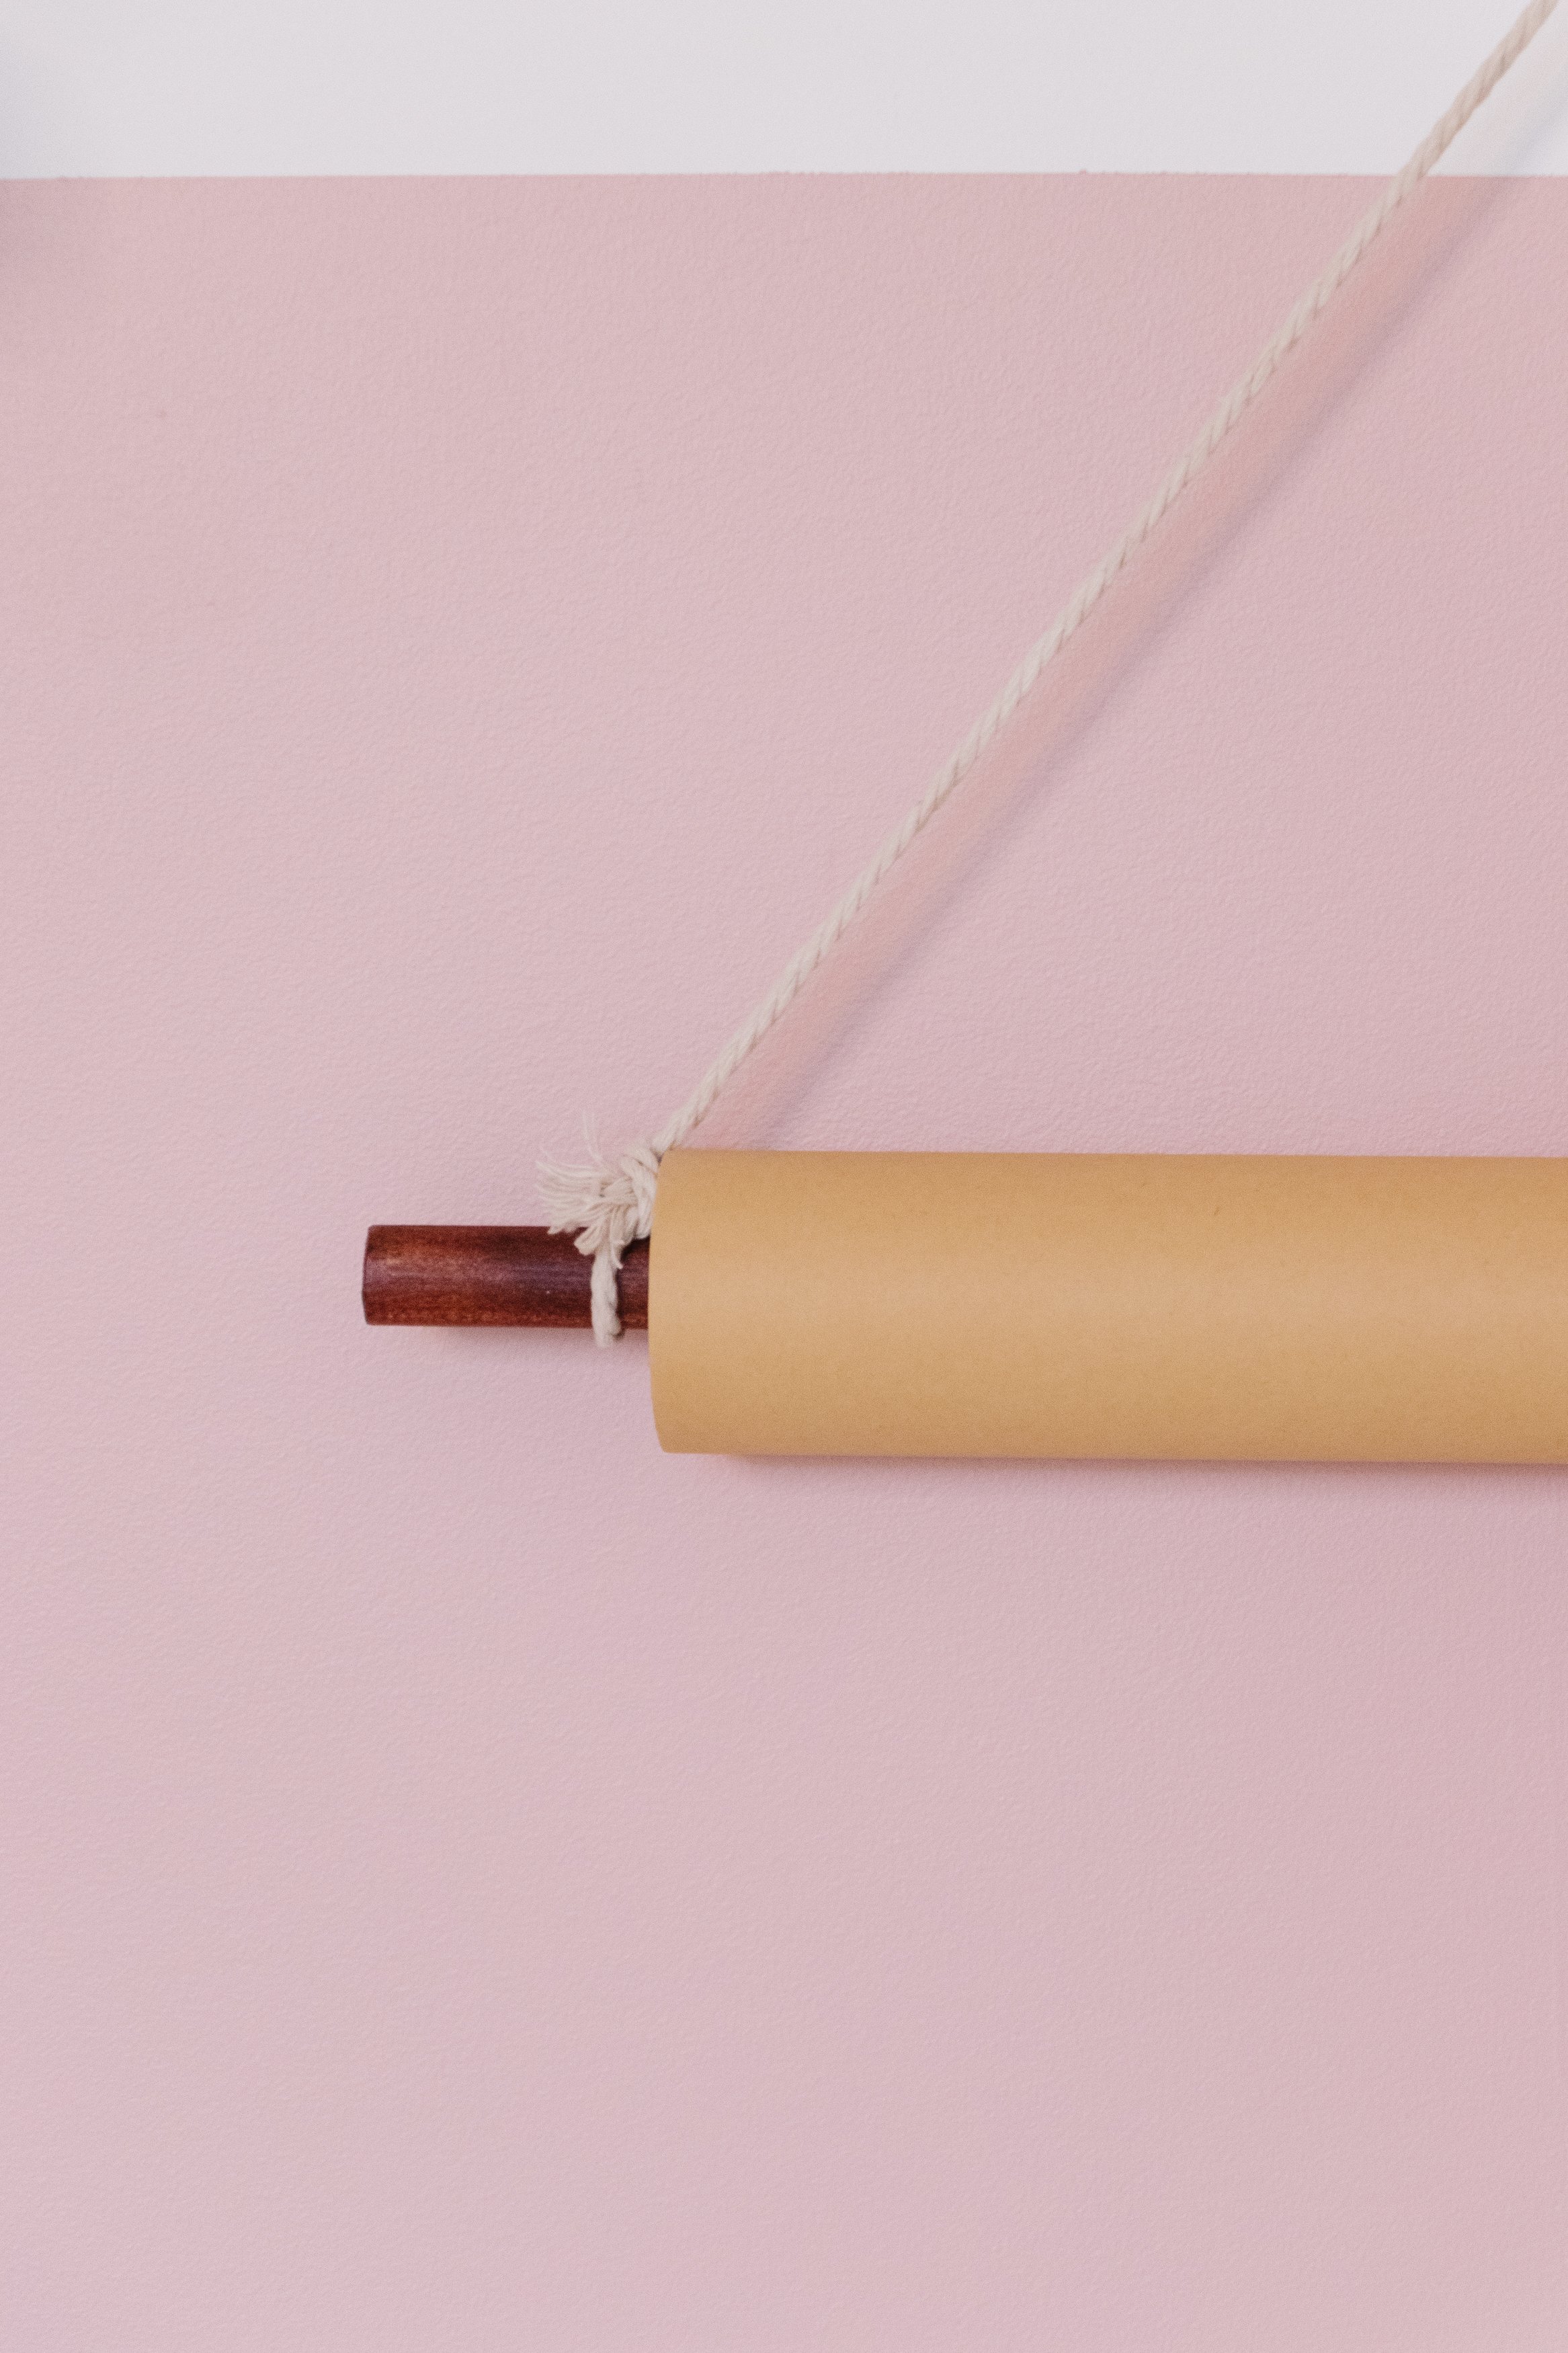
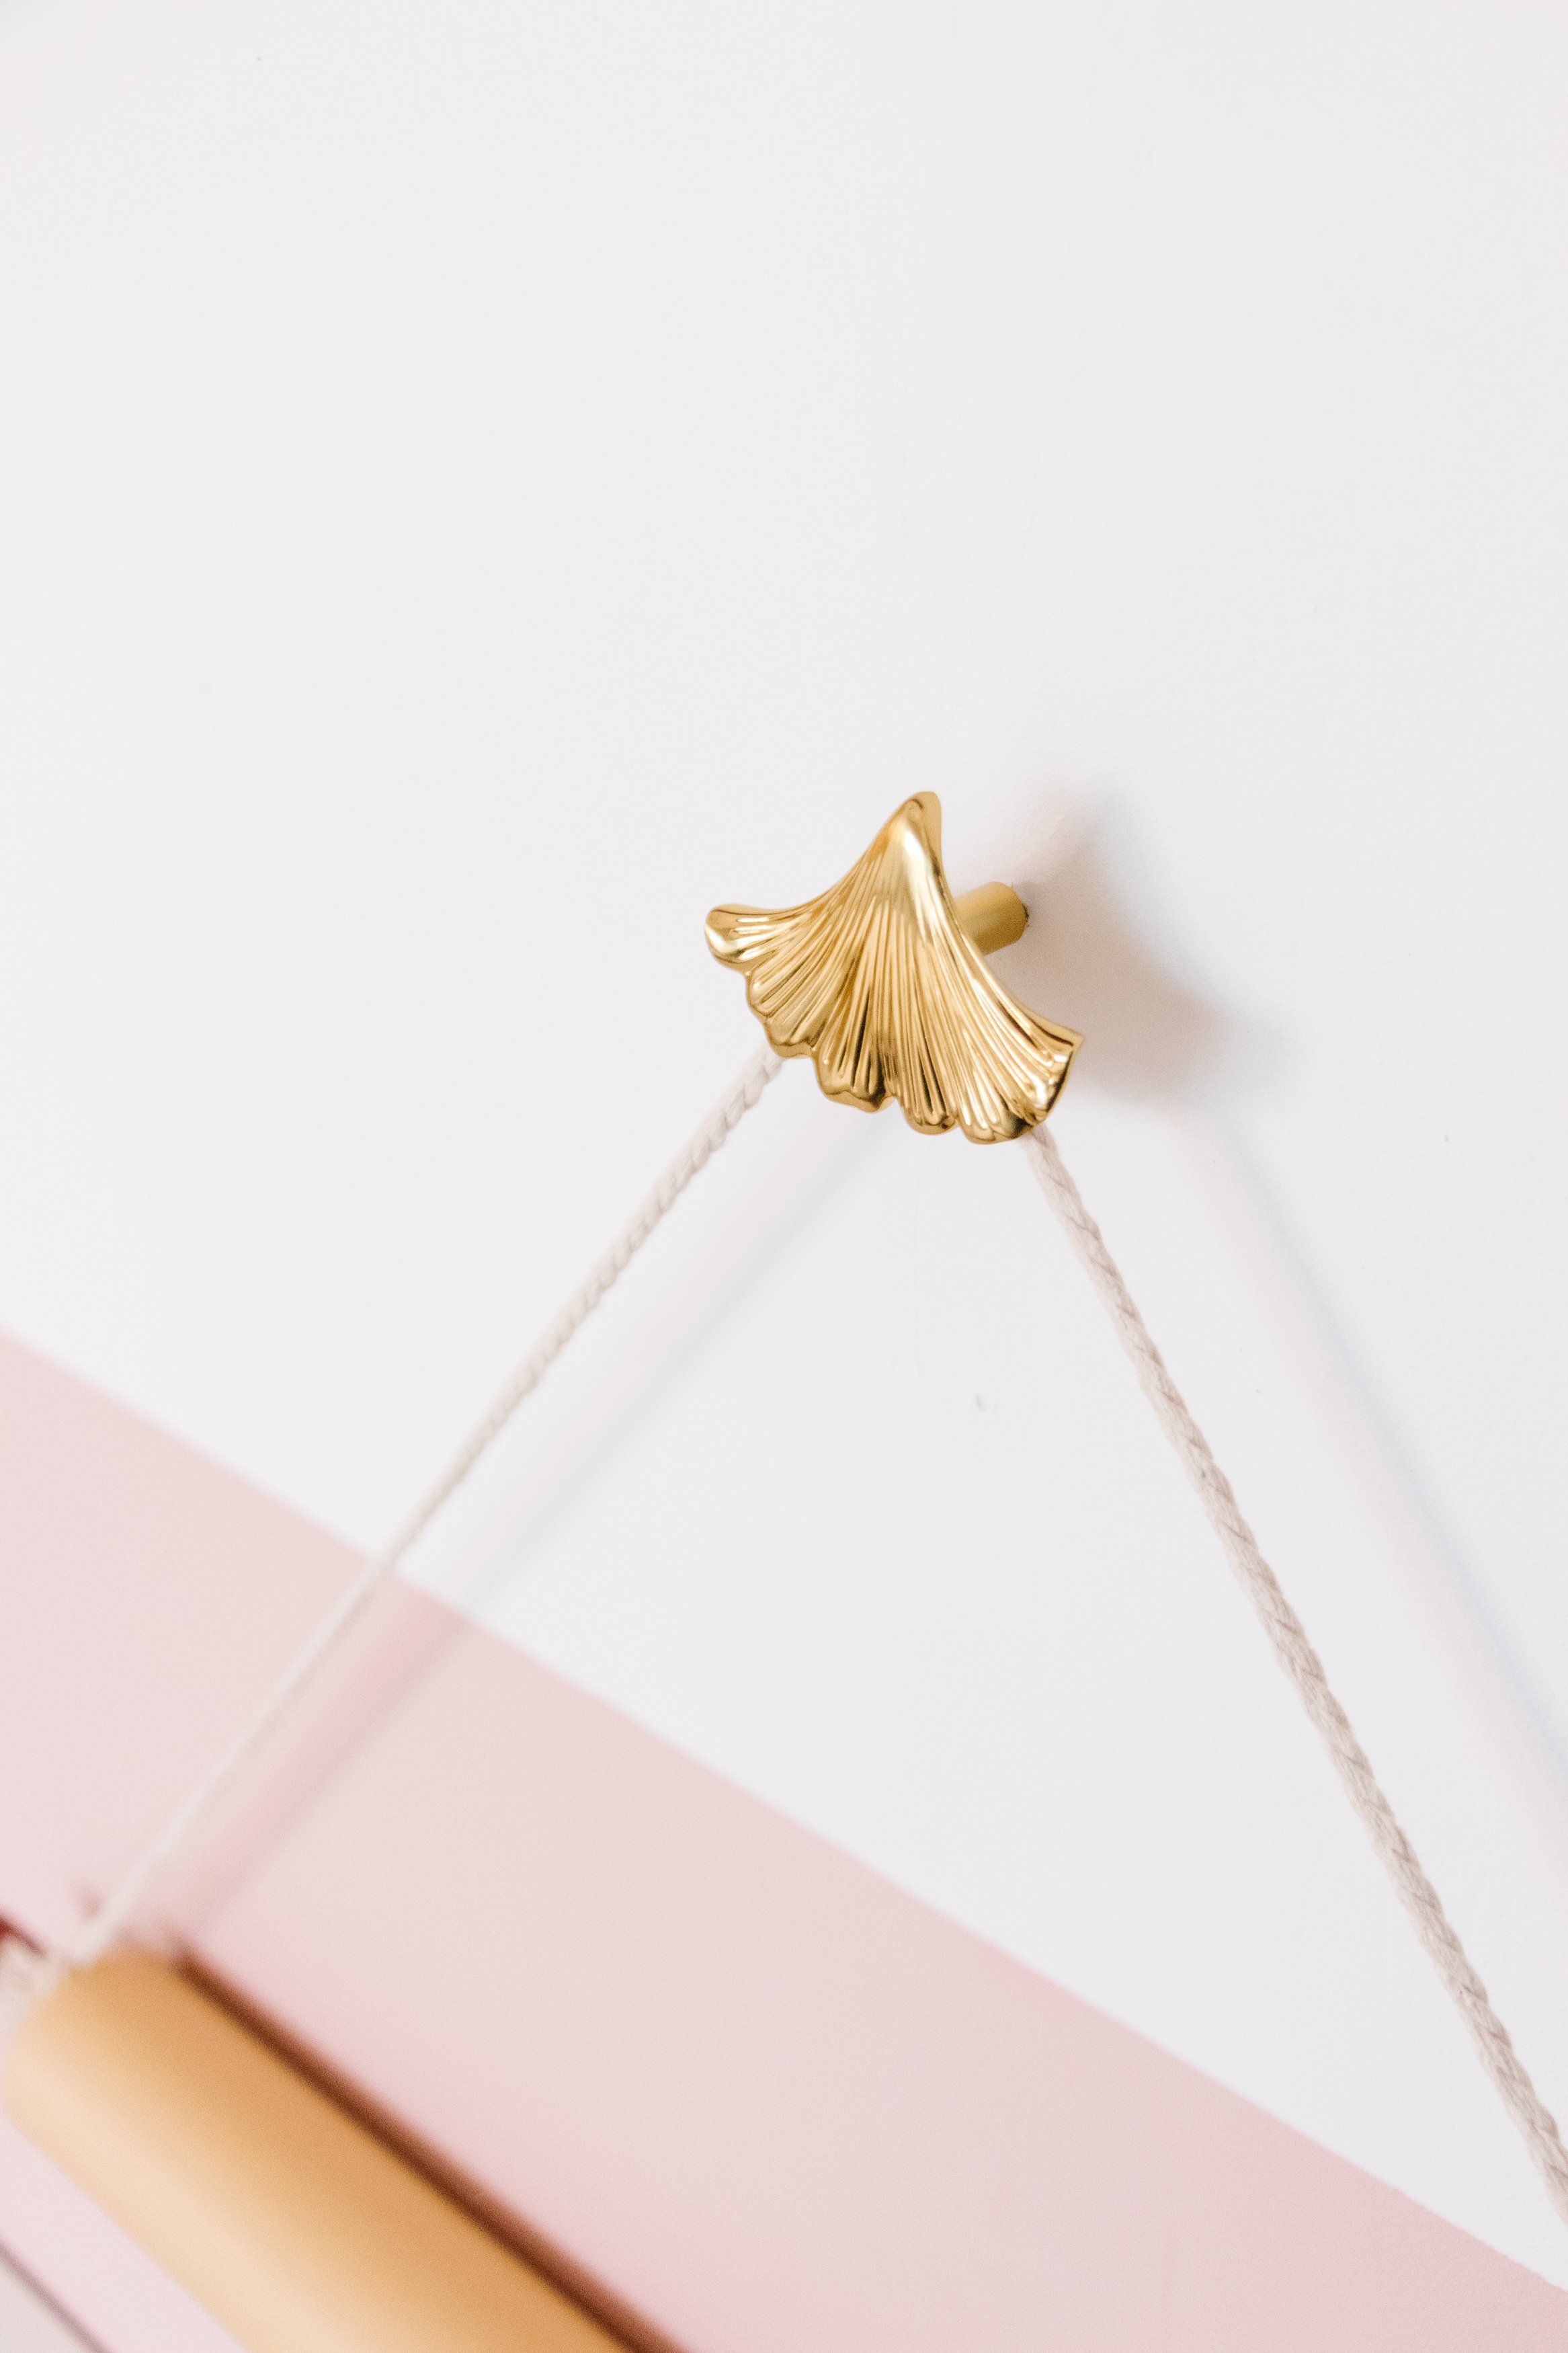
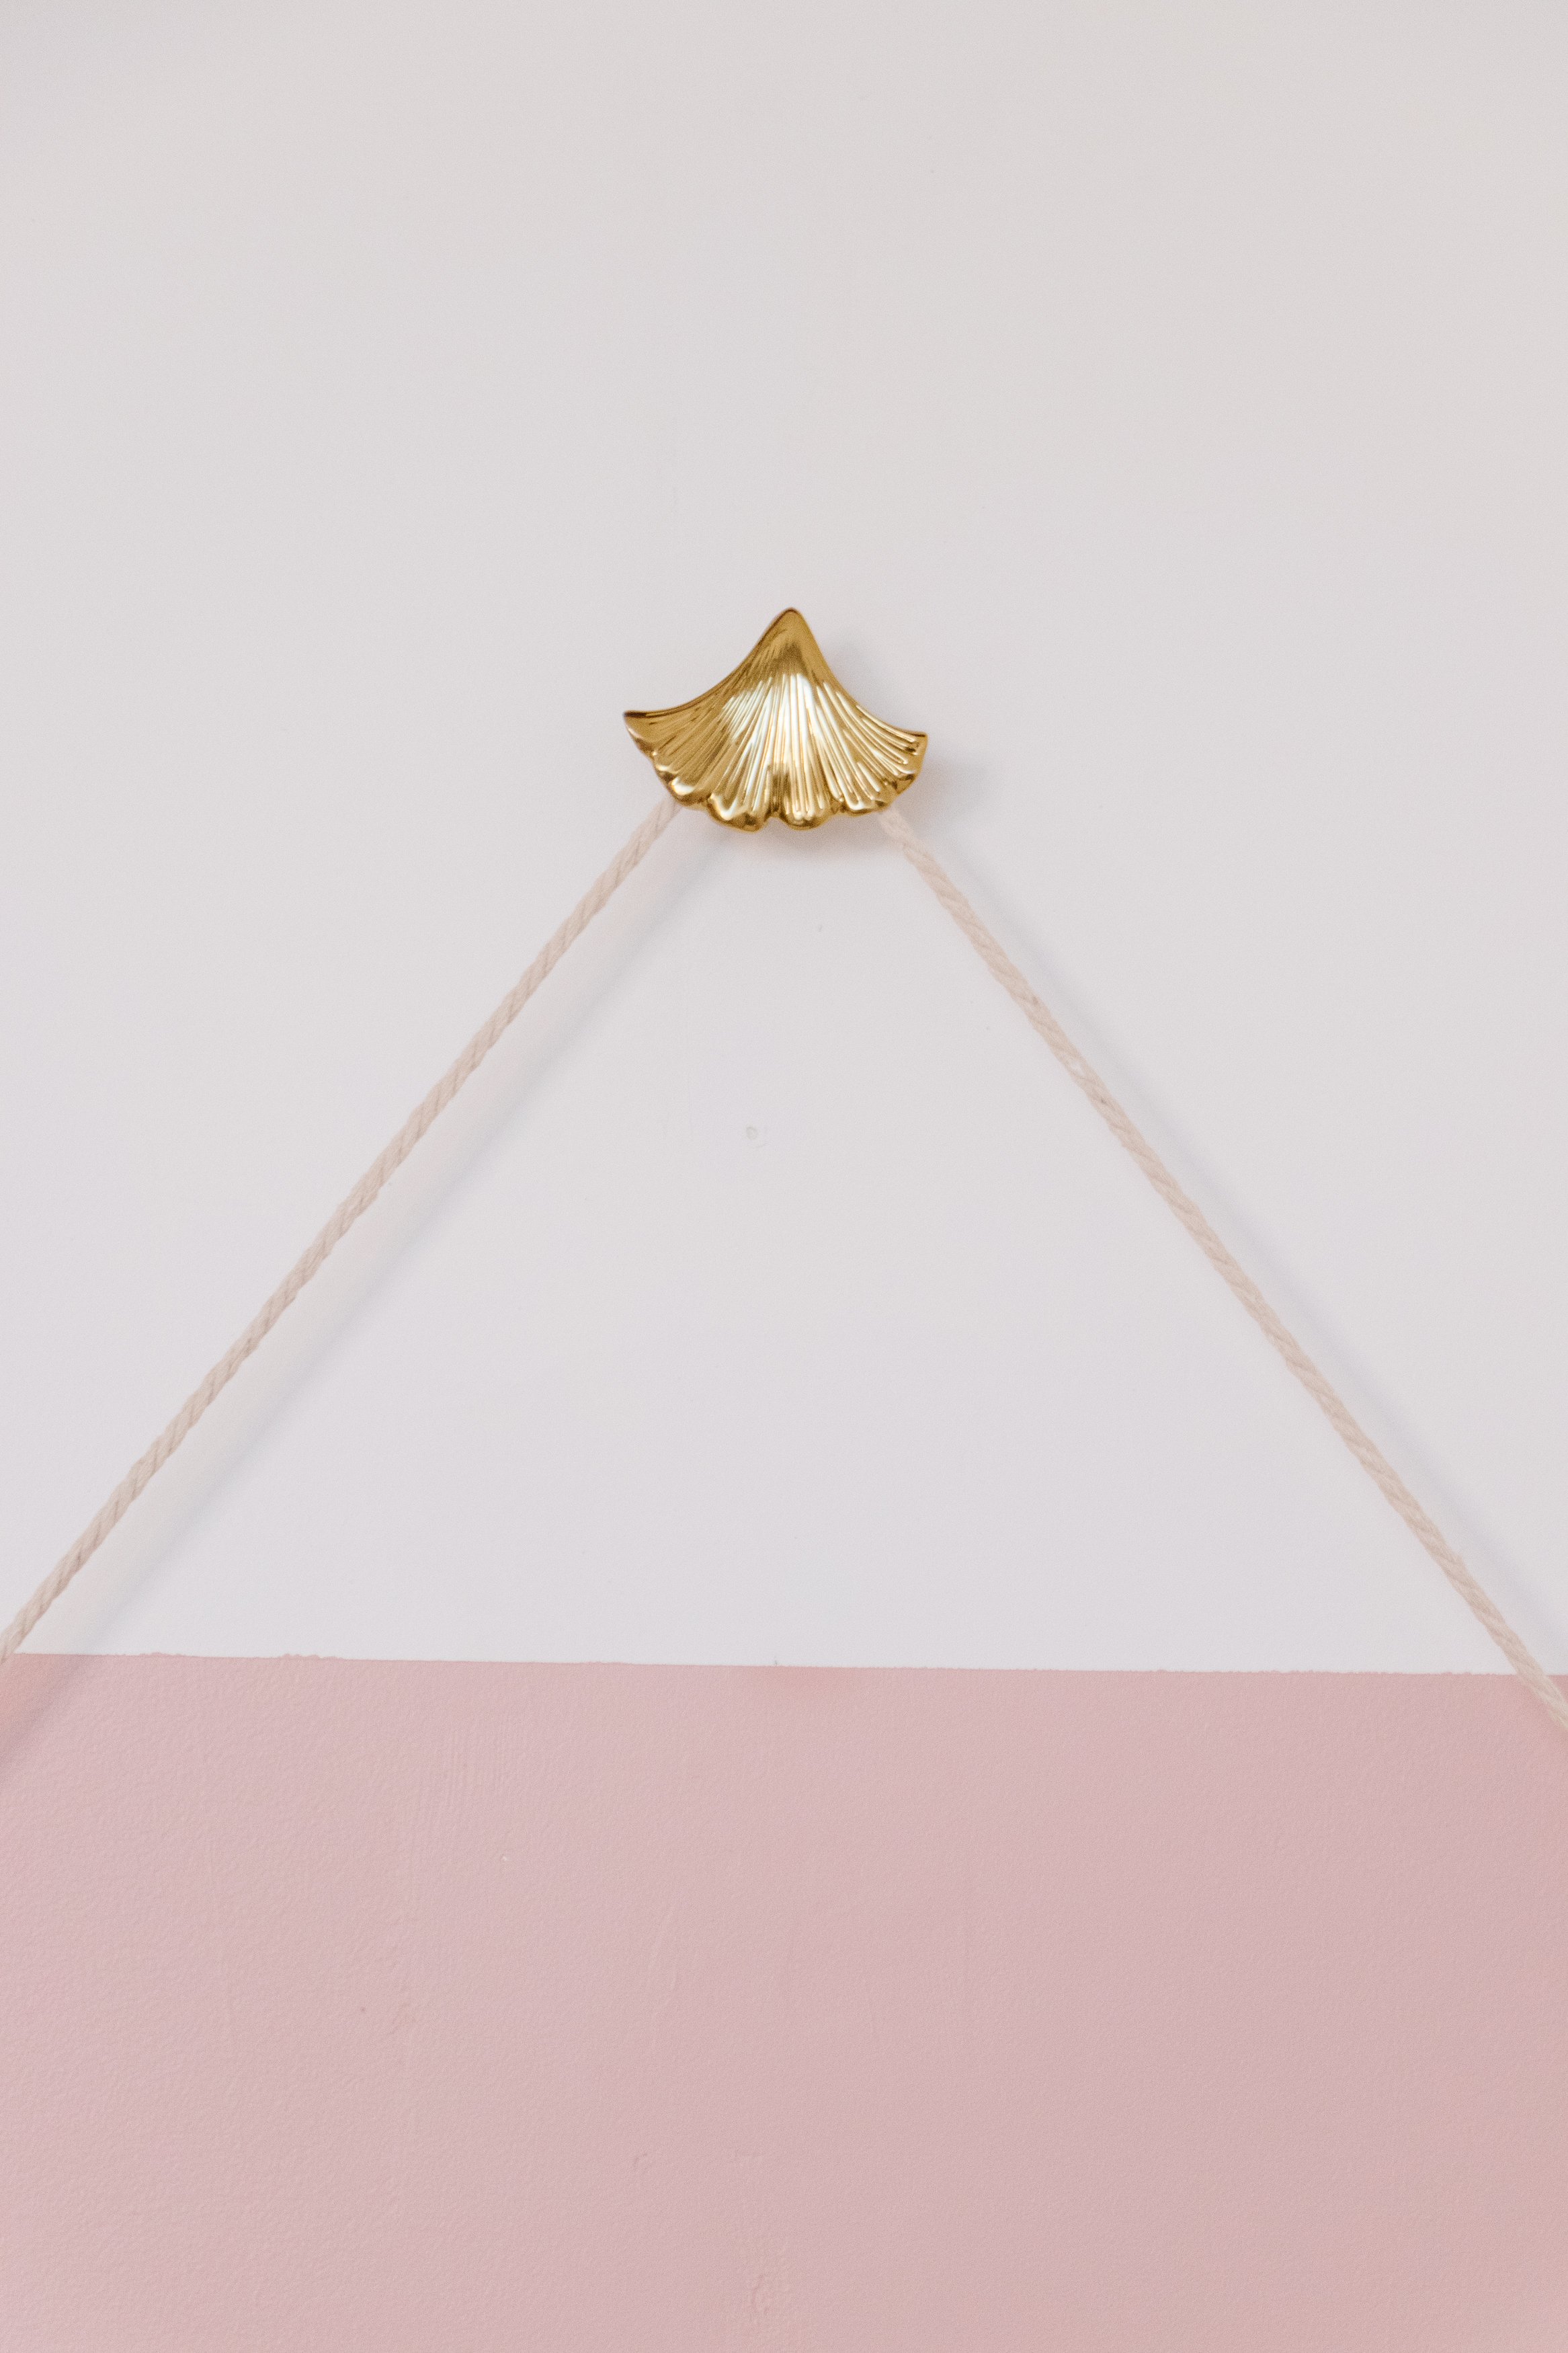
DIY Paper Roll Dispenser: Thin dowel, timber stain, interior clear satin sealer, rope, nail, door knob.
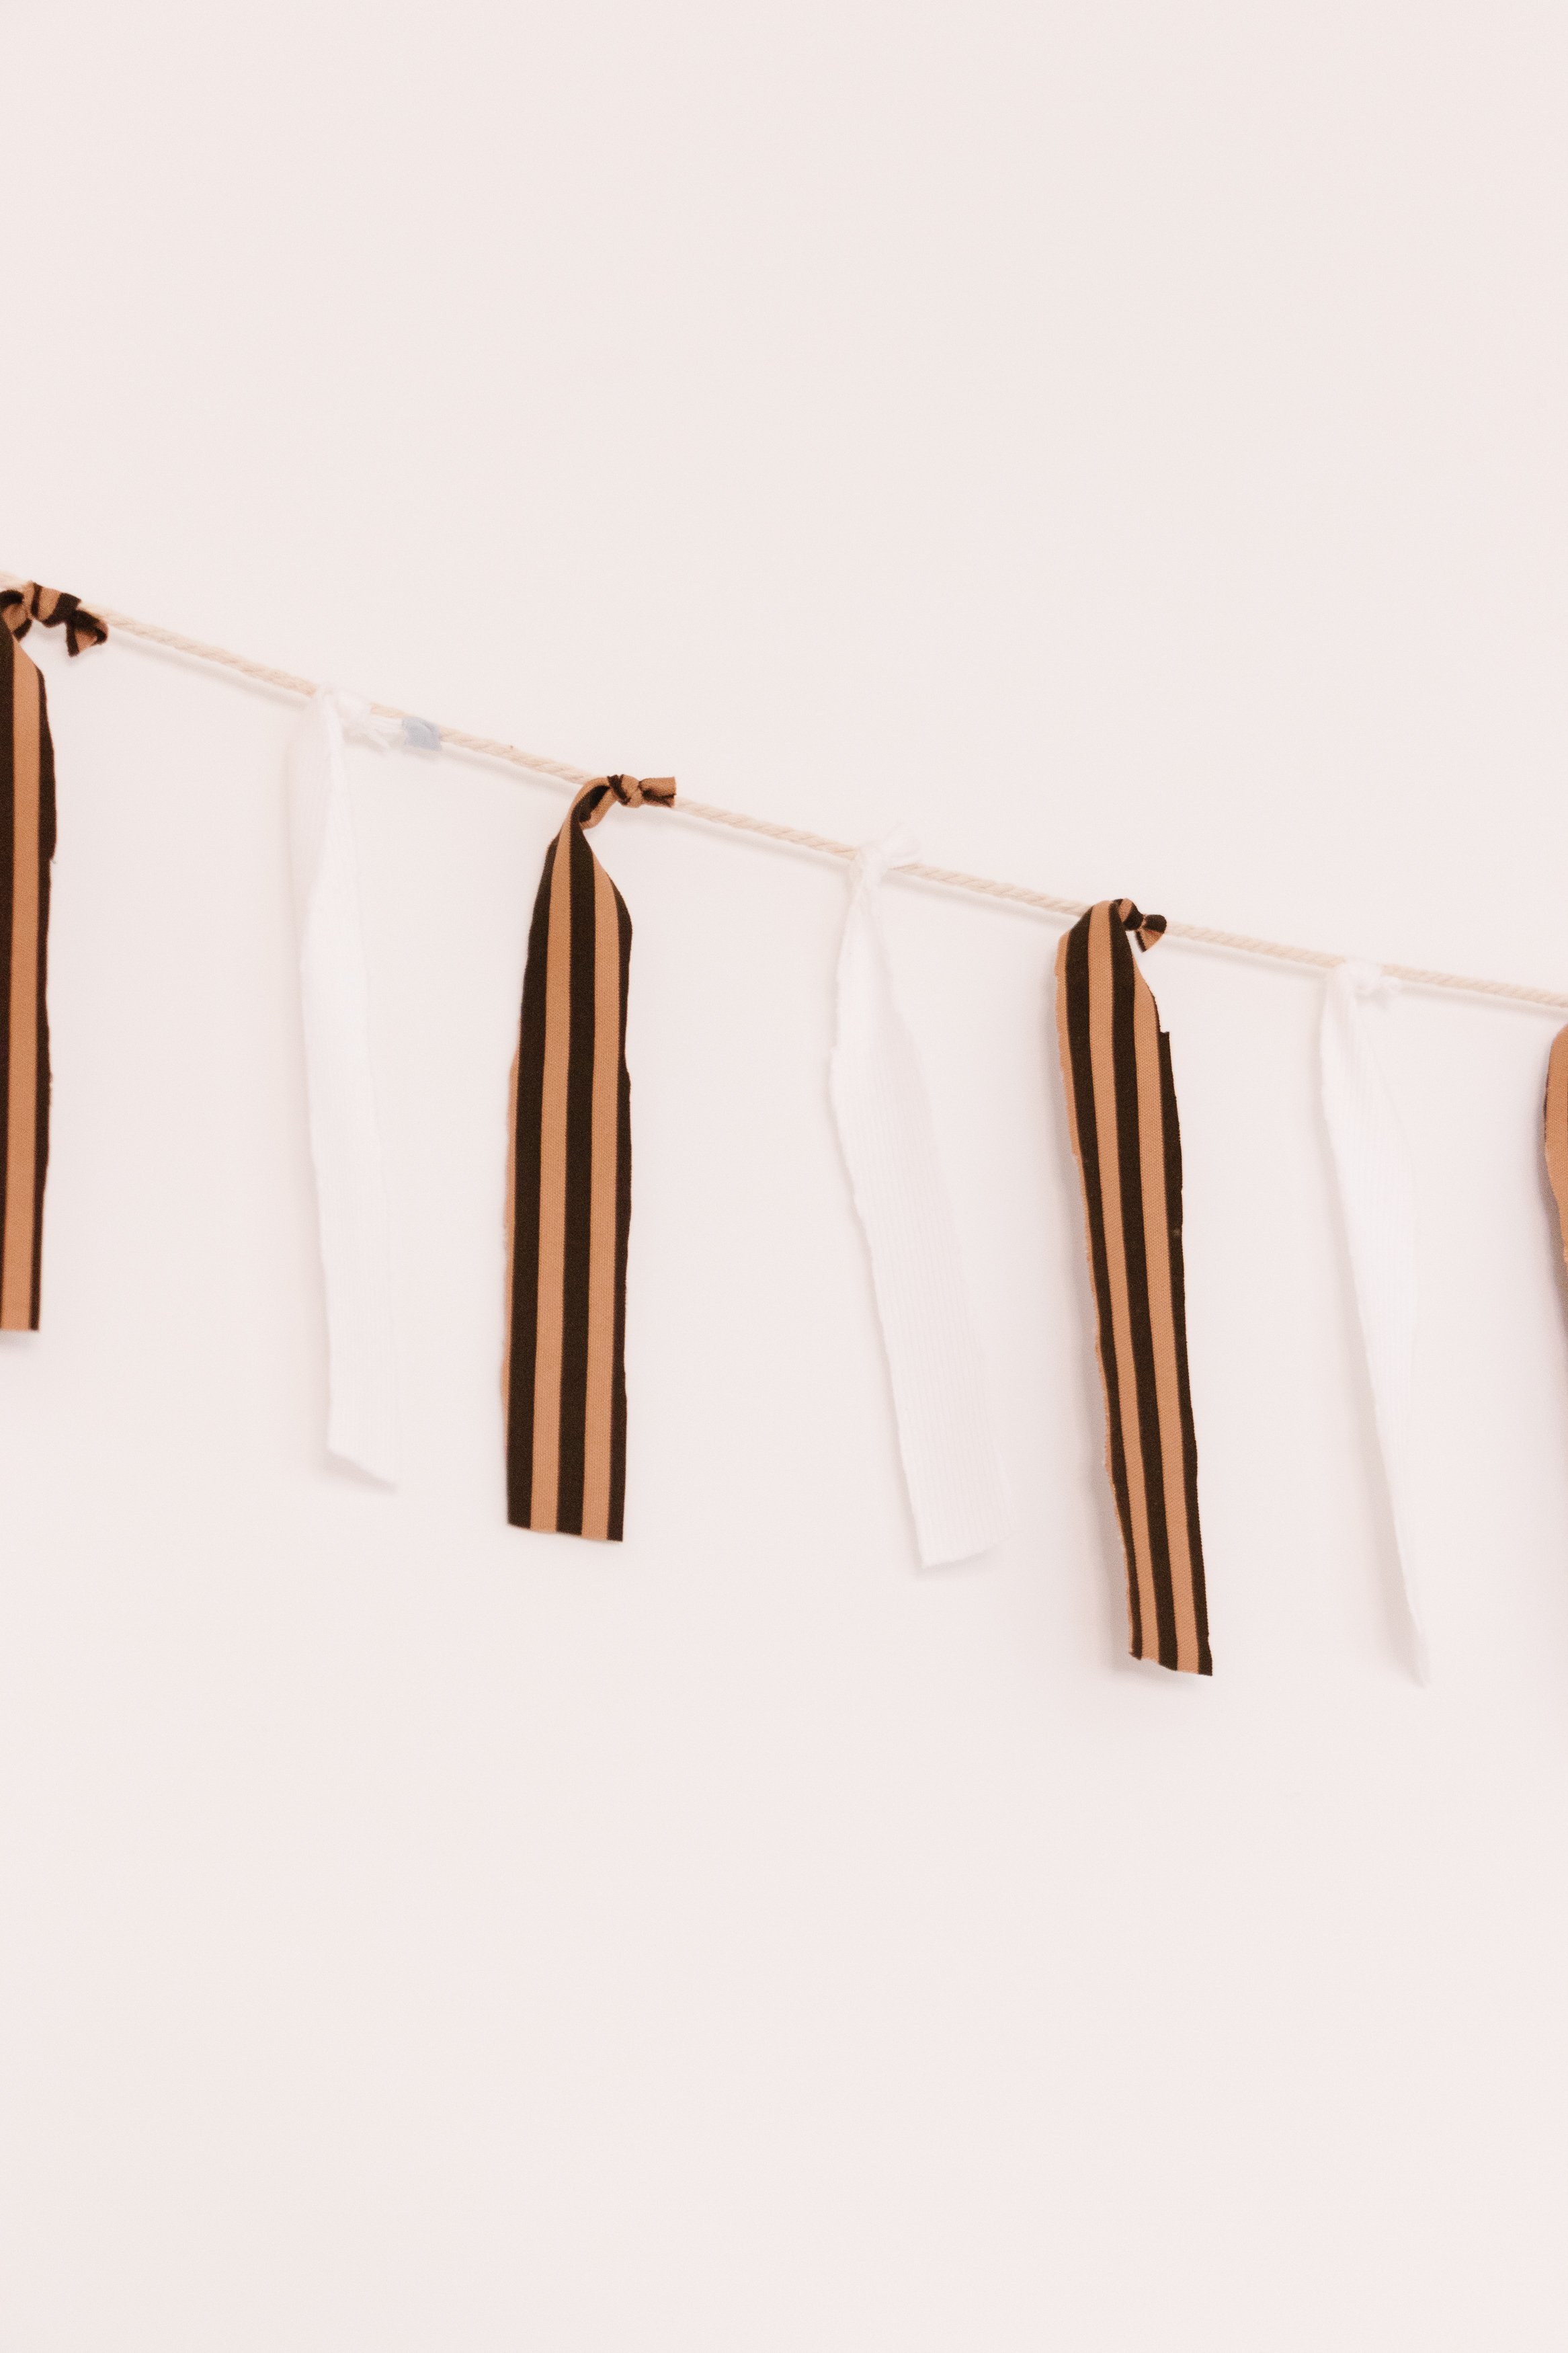
DIY Fabric Bunting: Fabric, scissors, rope and small clear decorating hooks/clips.
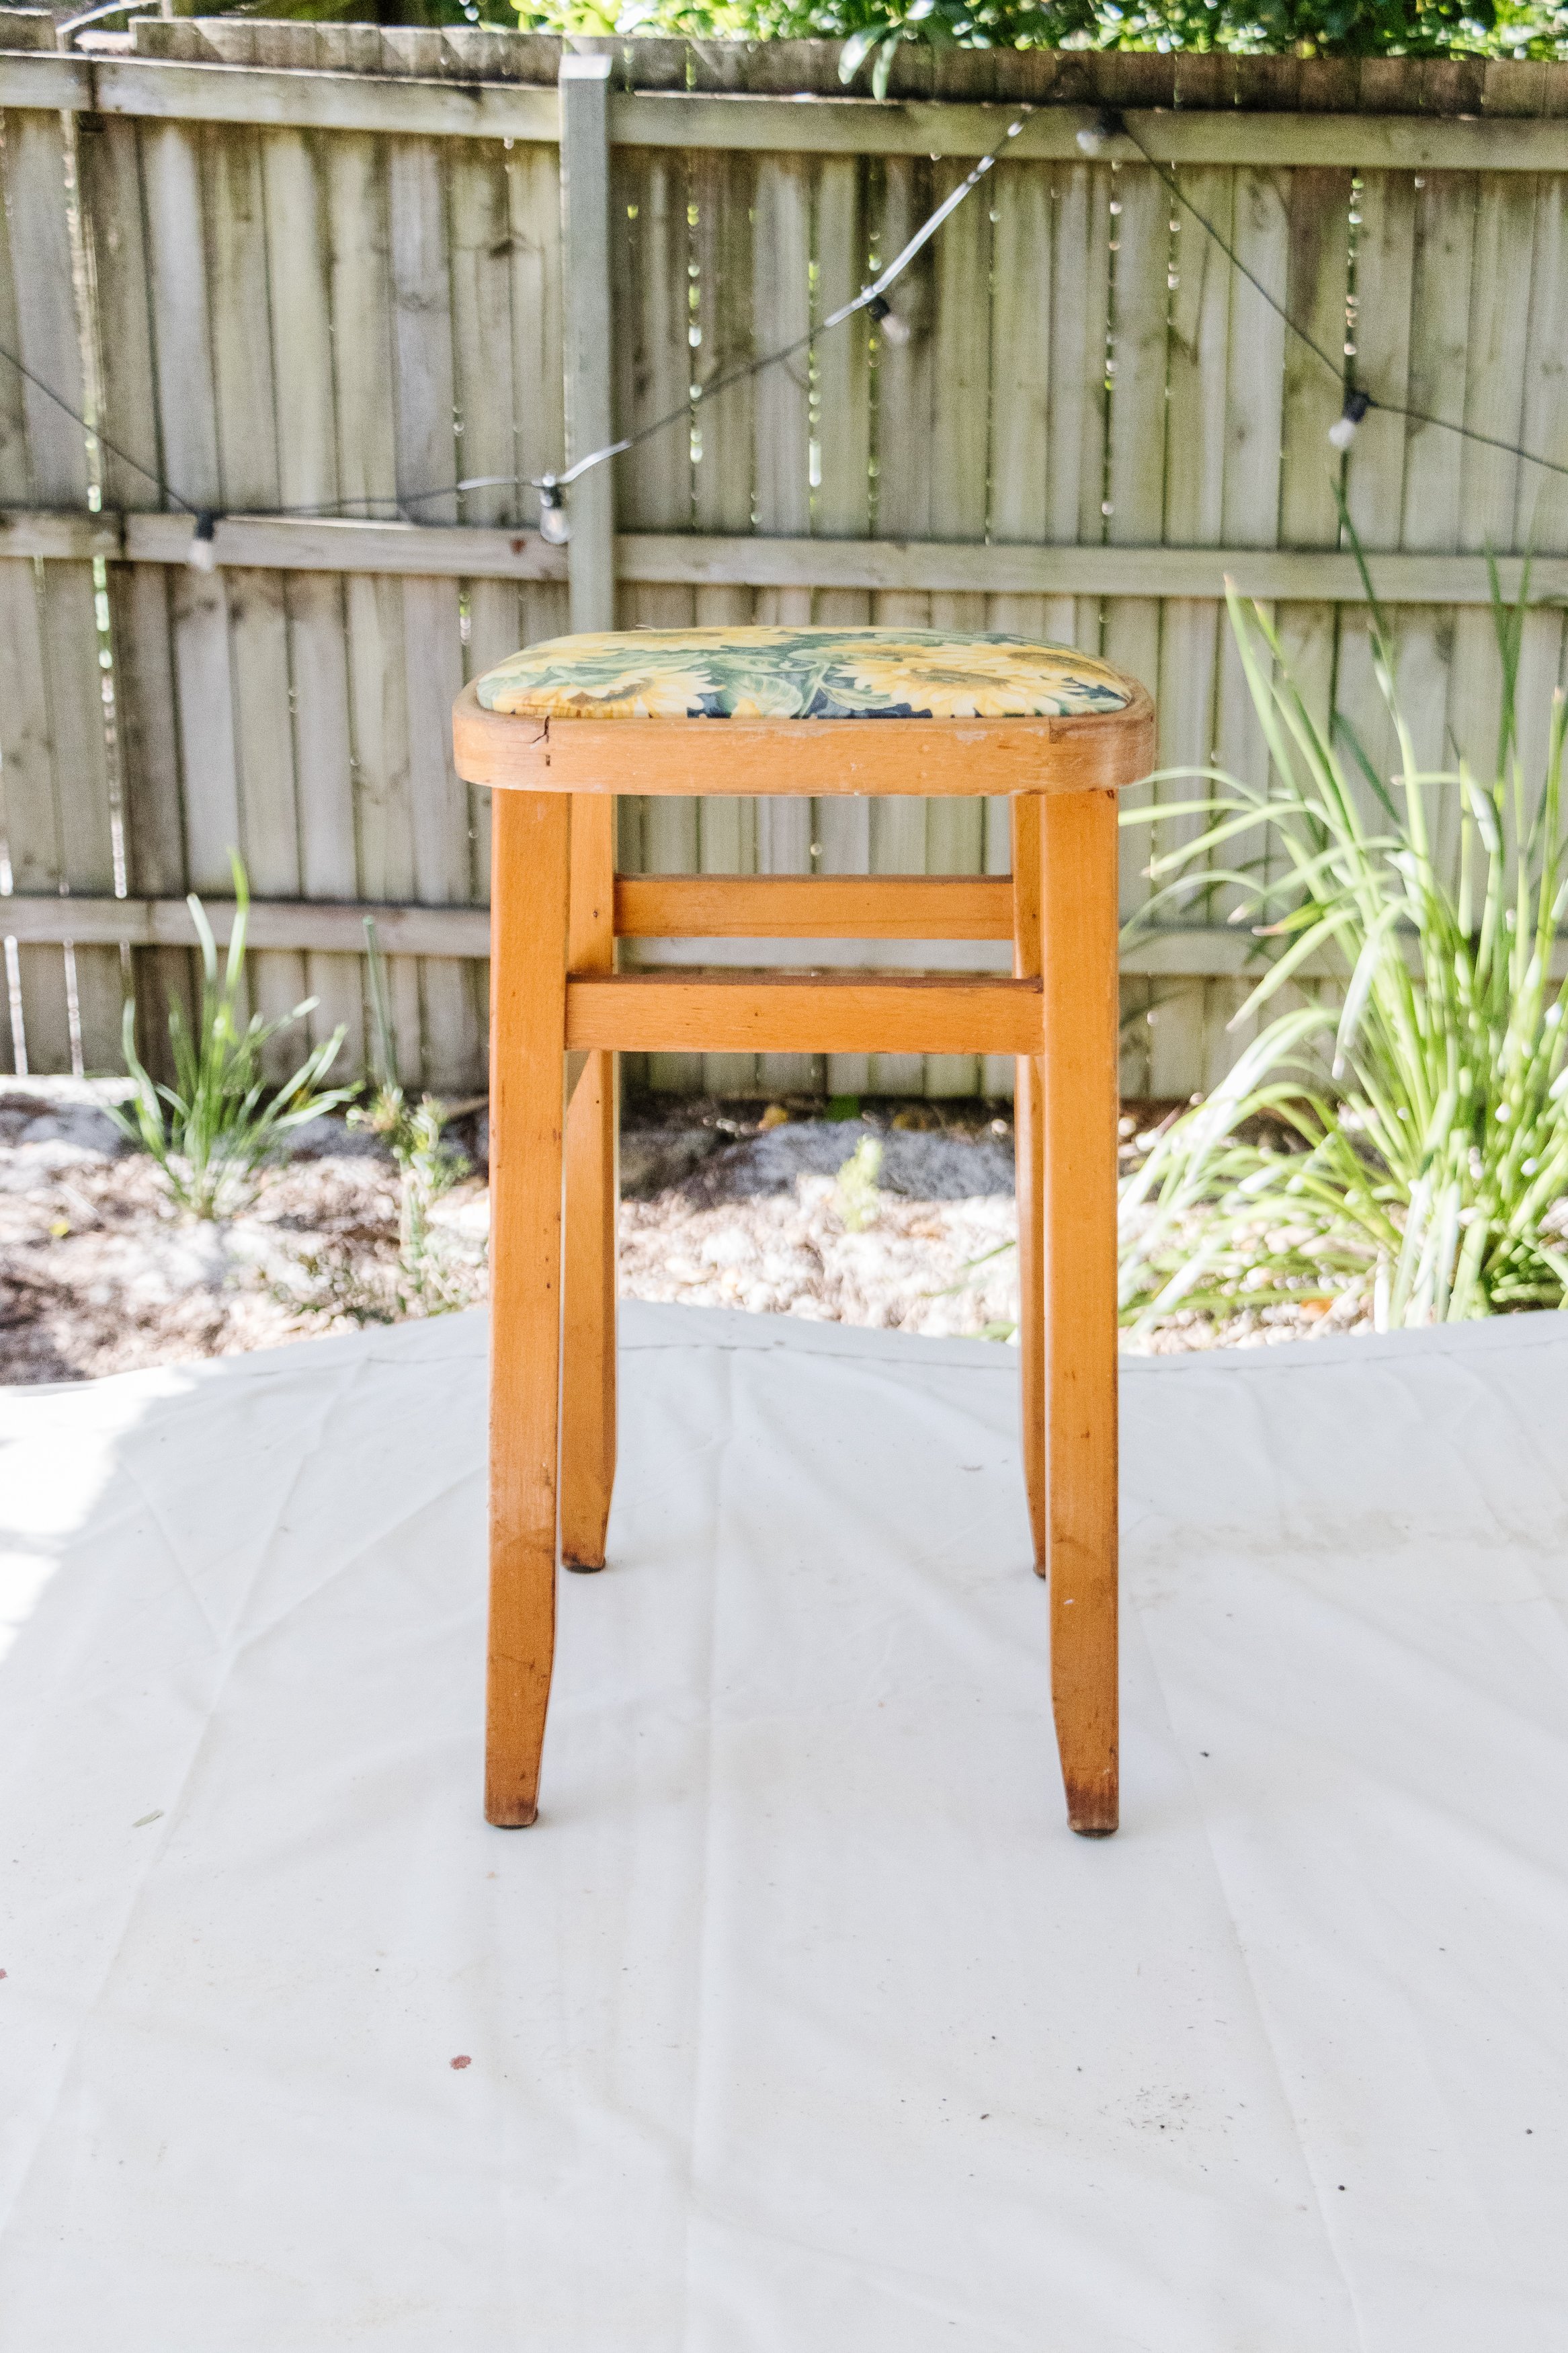
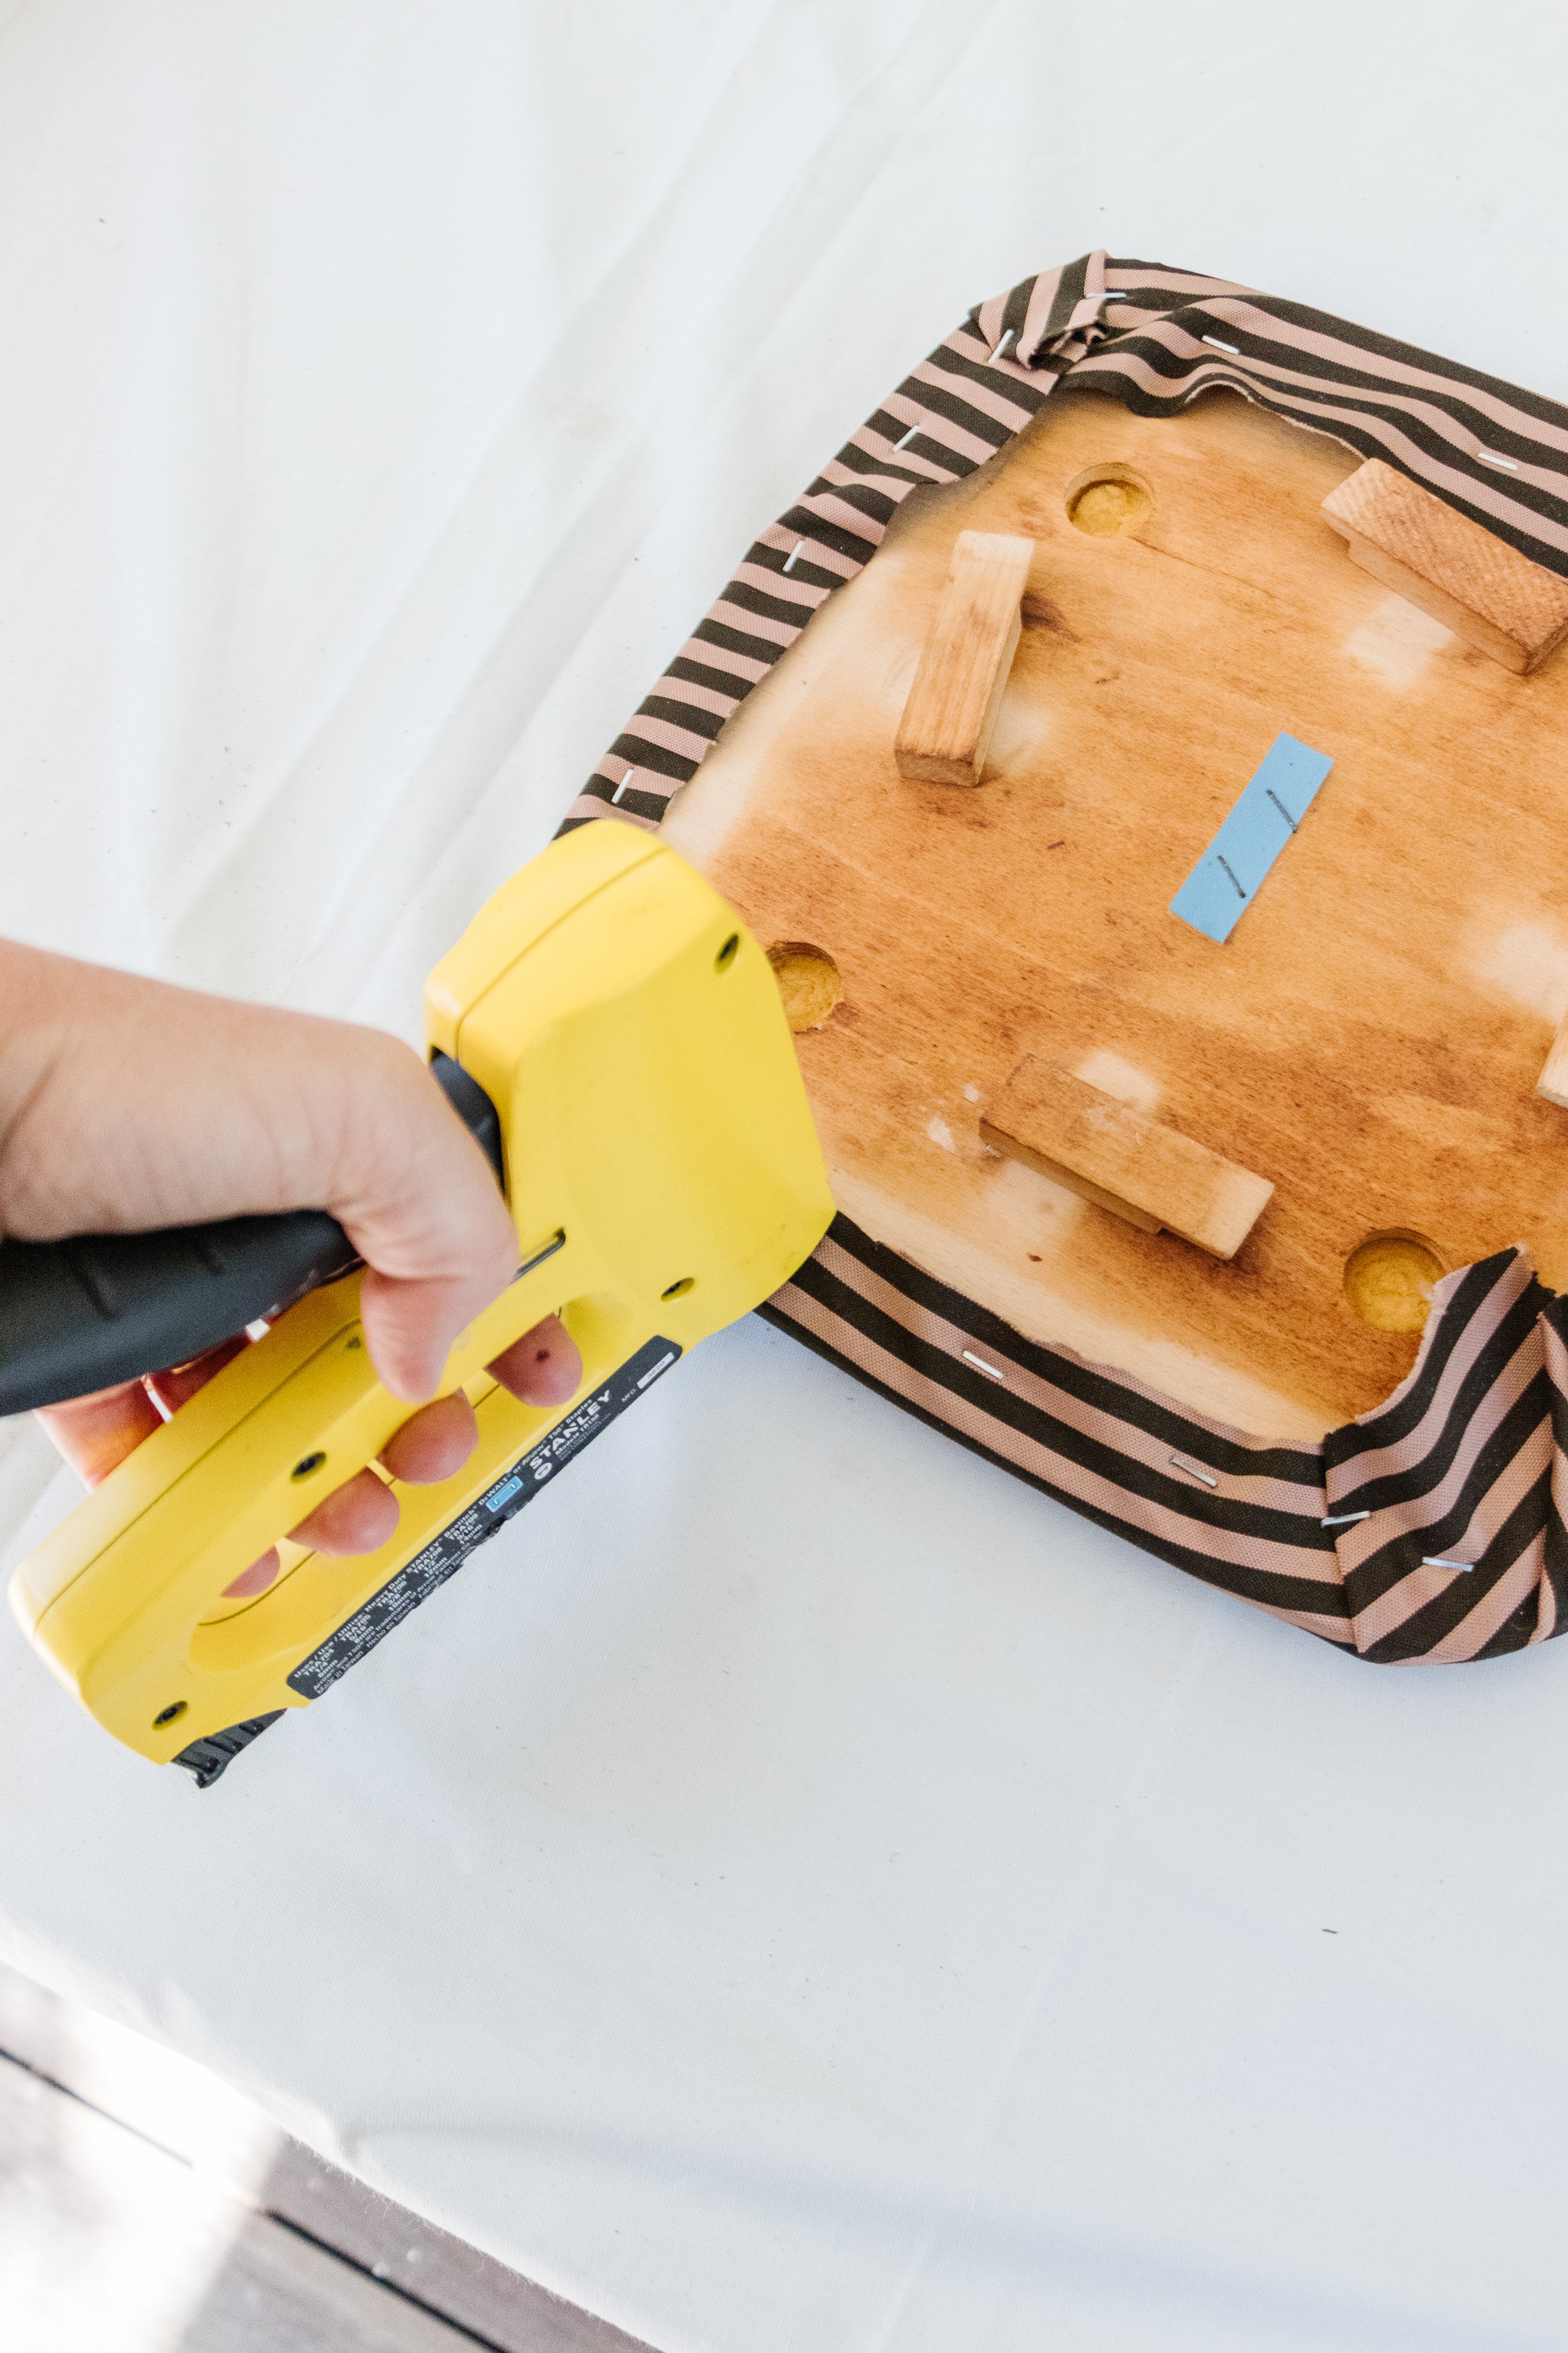
Upcycled Stool: Fabric, staple gun, sander, timber stain and microfibre cloth.
How To
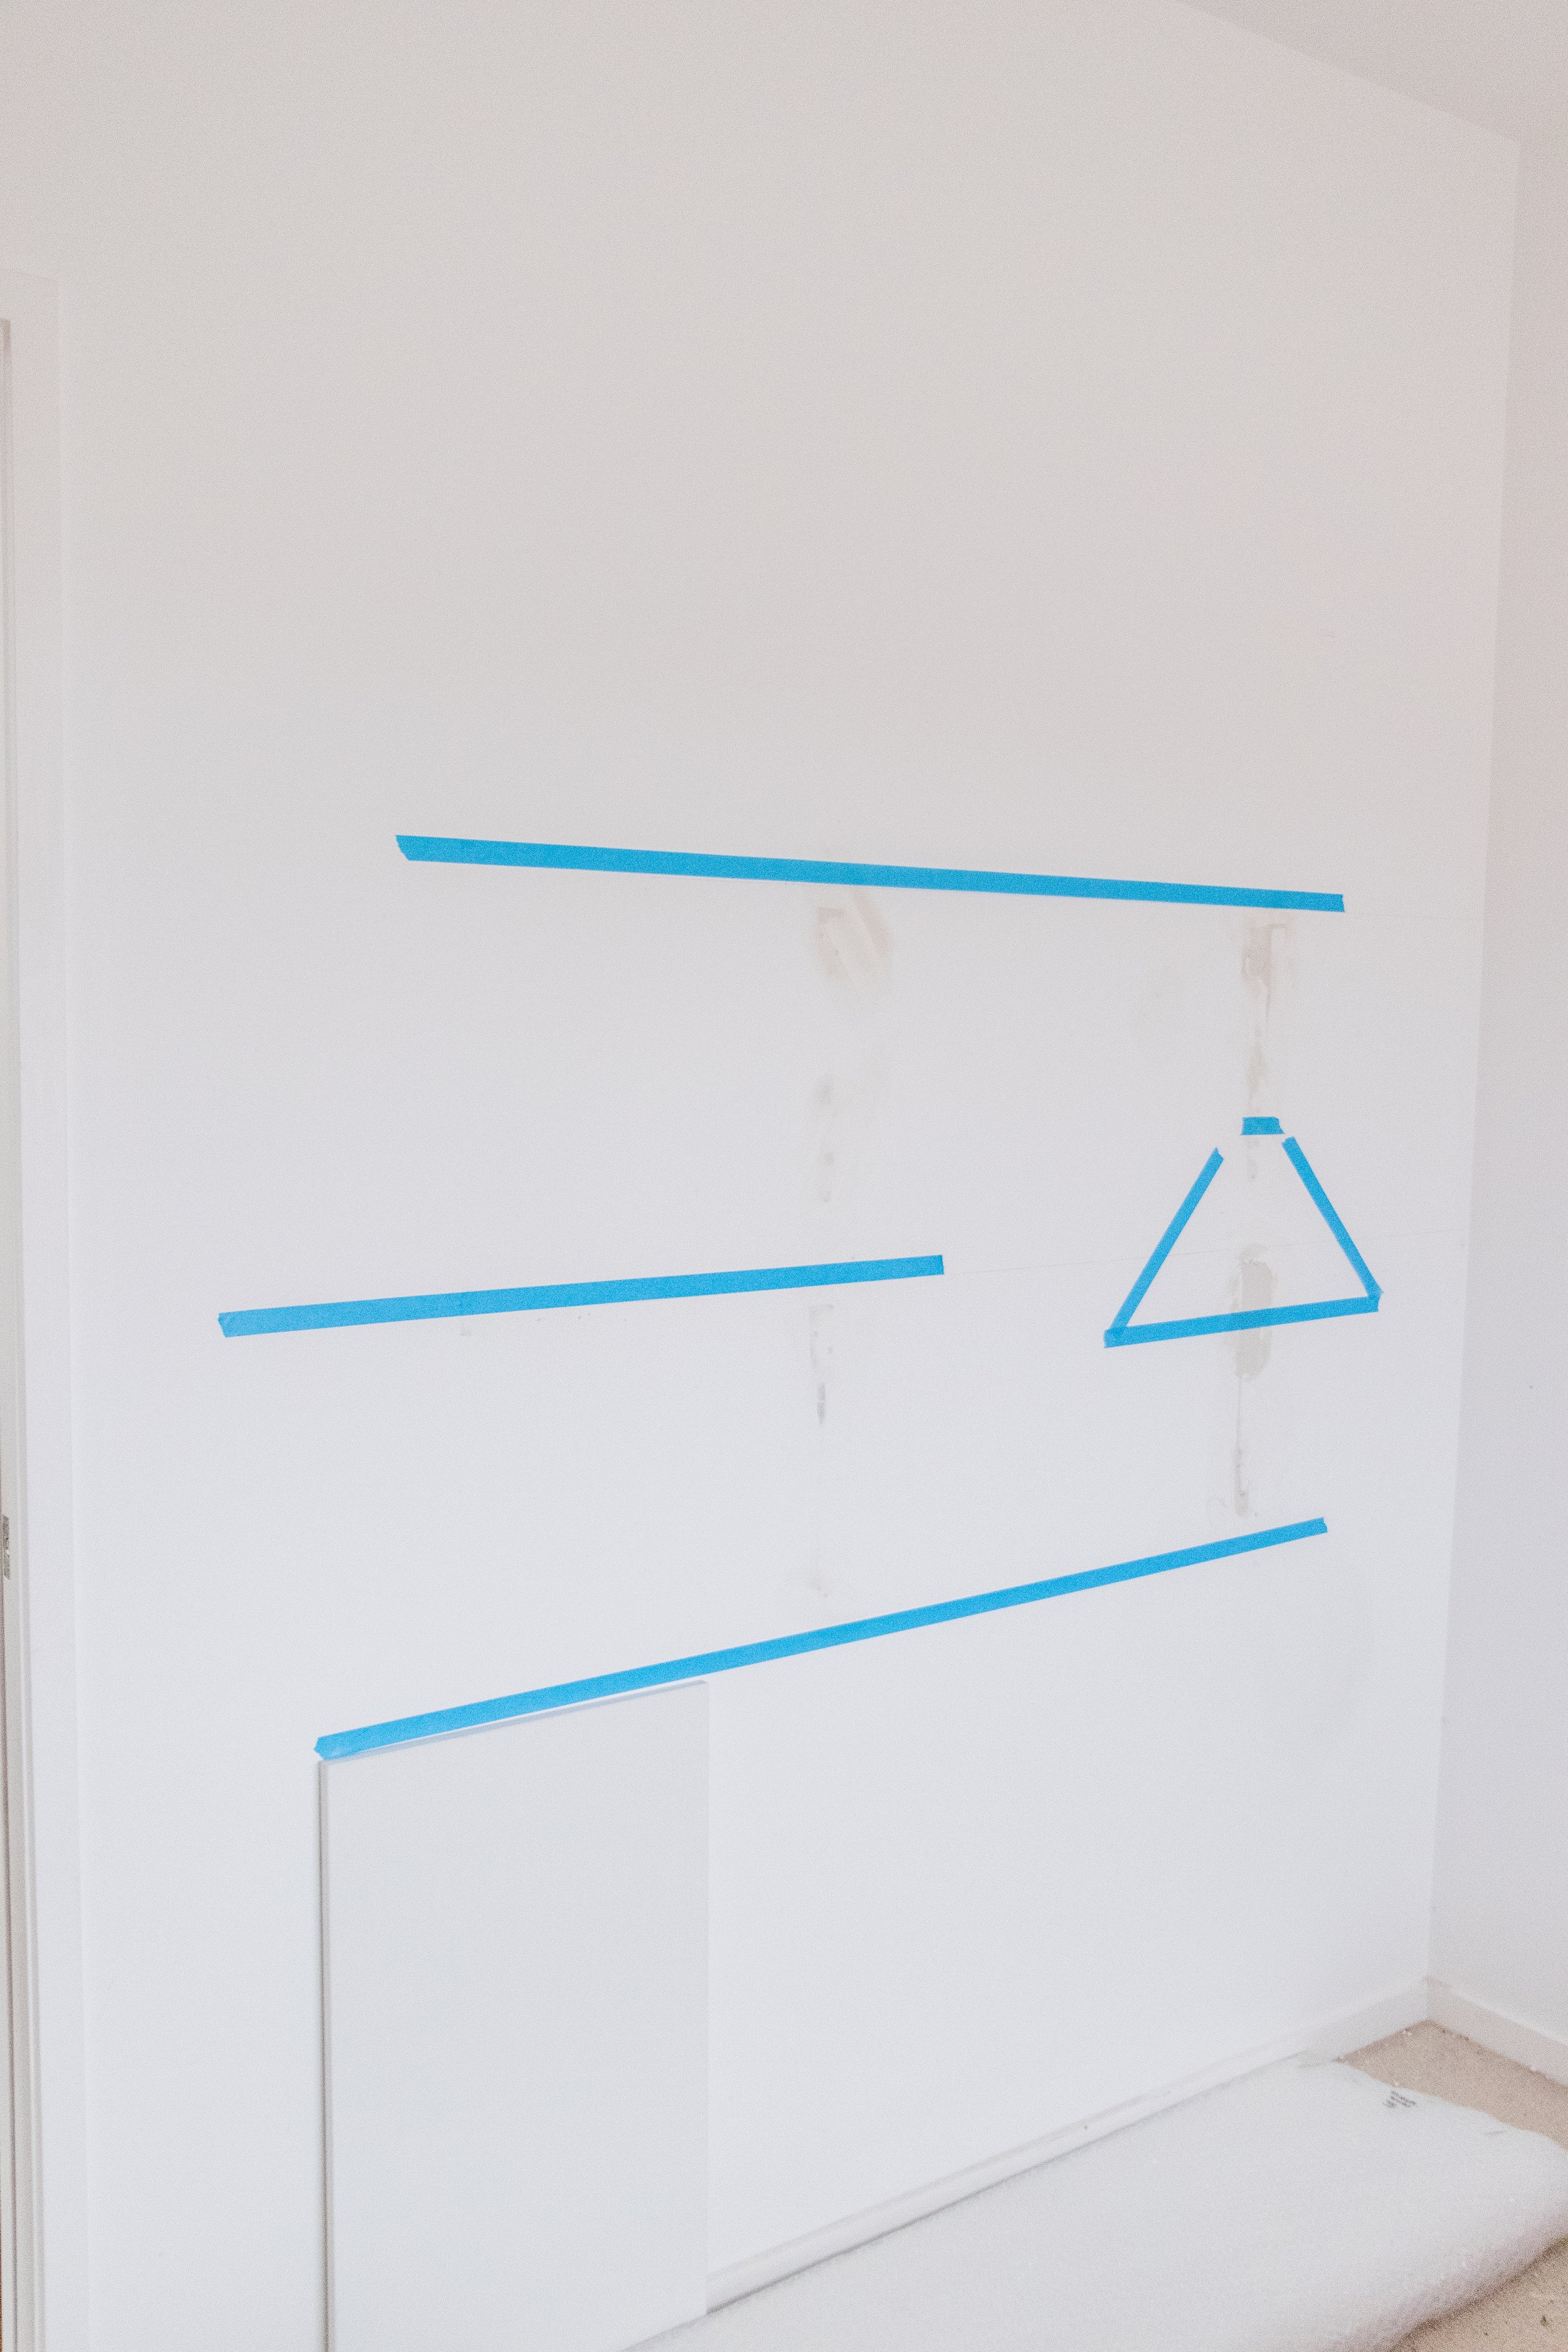
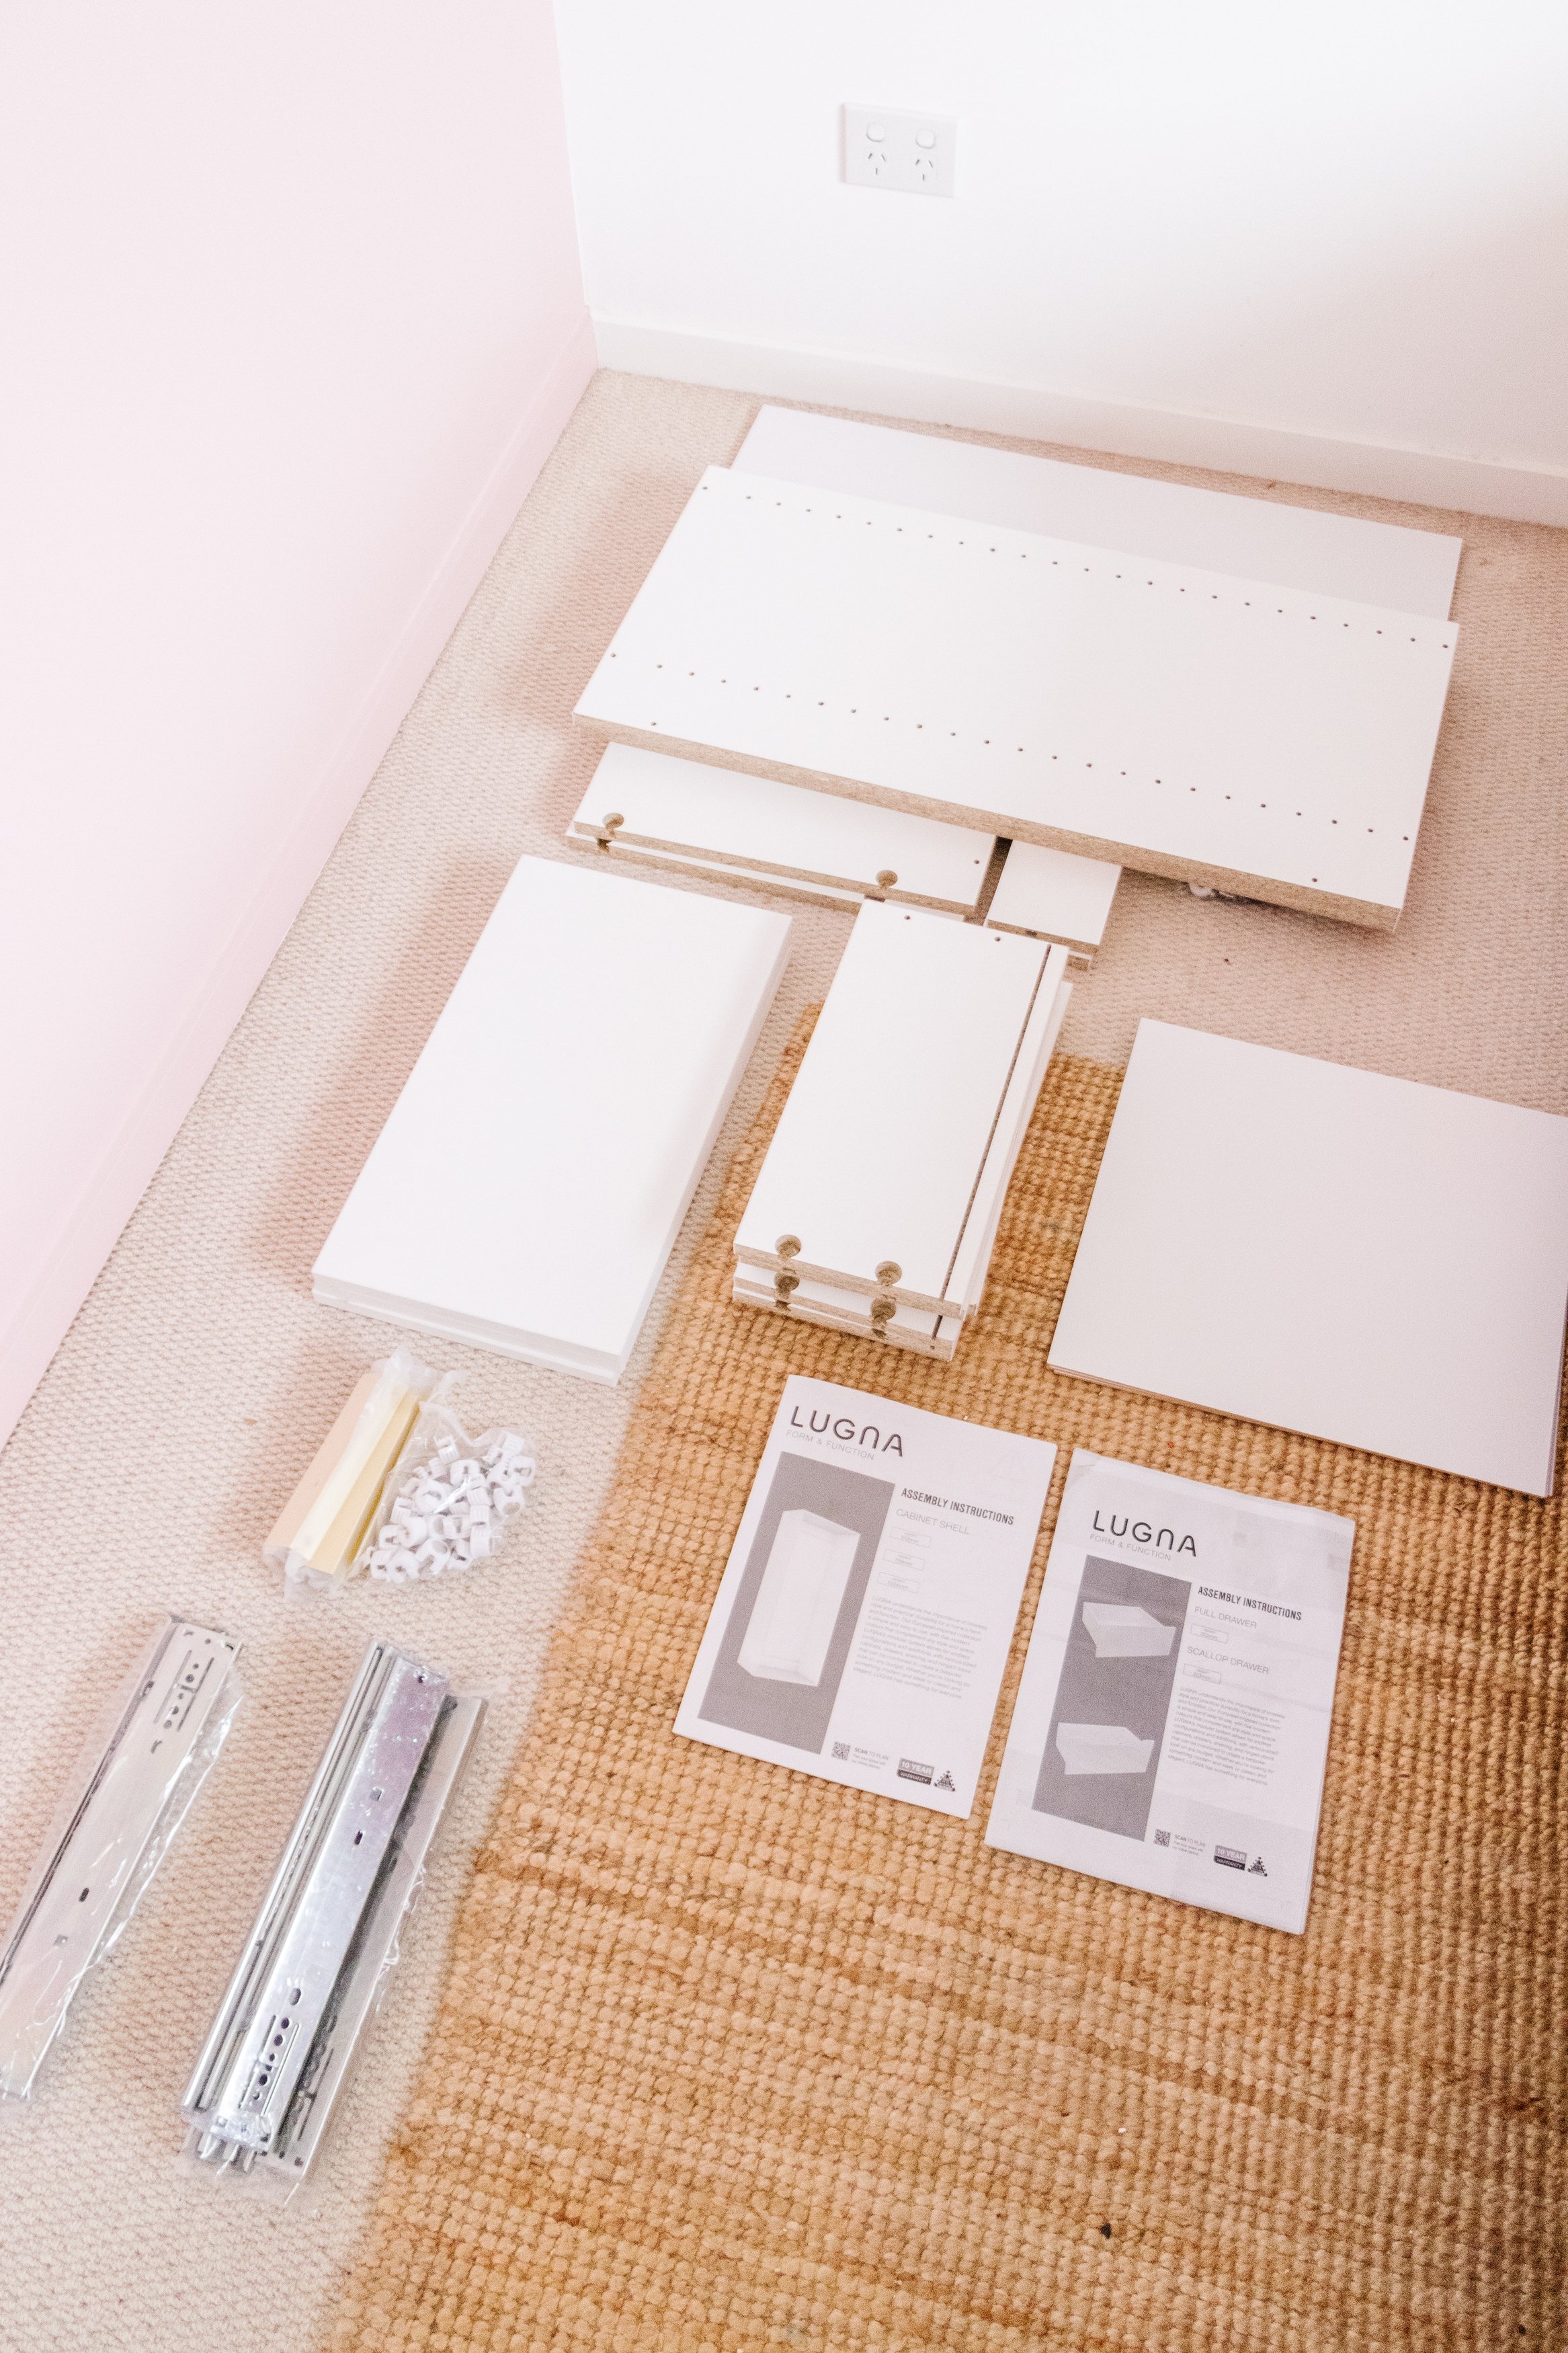
Before I started this project, I used the Lugna Online Planner to map out Celeste’s room and design her desk. This helped me visualise what the desk would look like in her bedroom and what else I could DIY to make a beautiful space for her to get creative at. Click here to learn more about Lugna’s Online Planner. Once I was happy with the design of the desk I simply ordered the items and they arrived about one week later in clearly labelled boxes with instructions. Lugna offers a service where they can assemble your order for you, but I decided to assemble it myself.
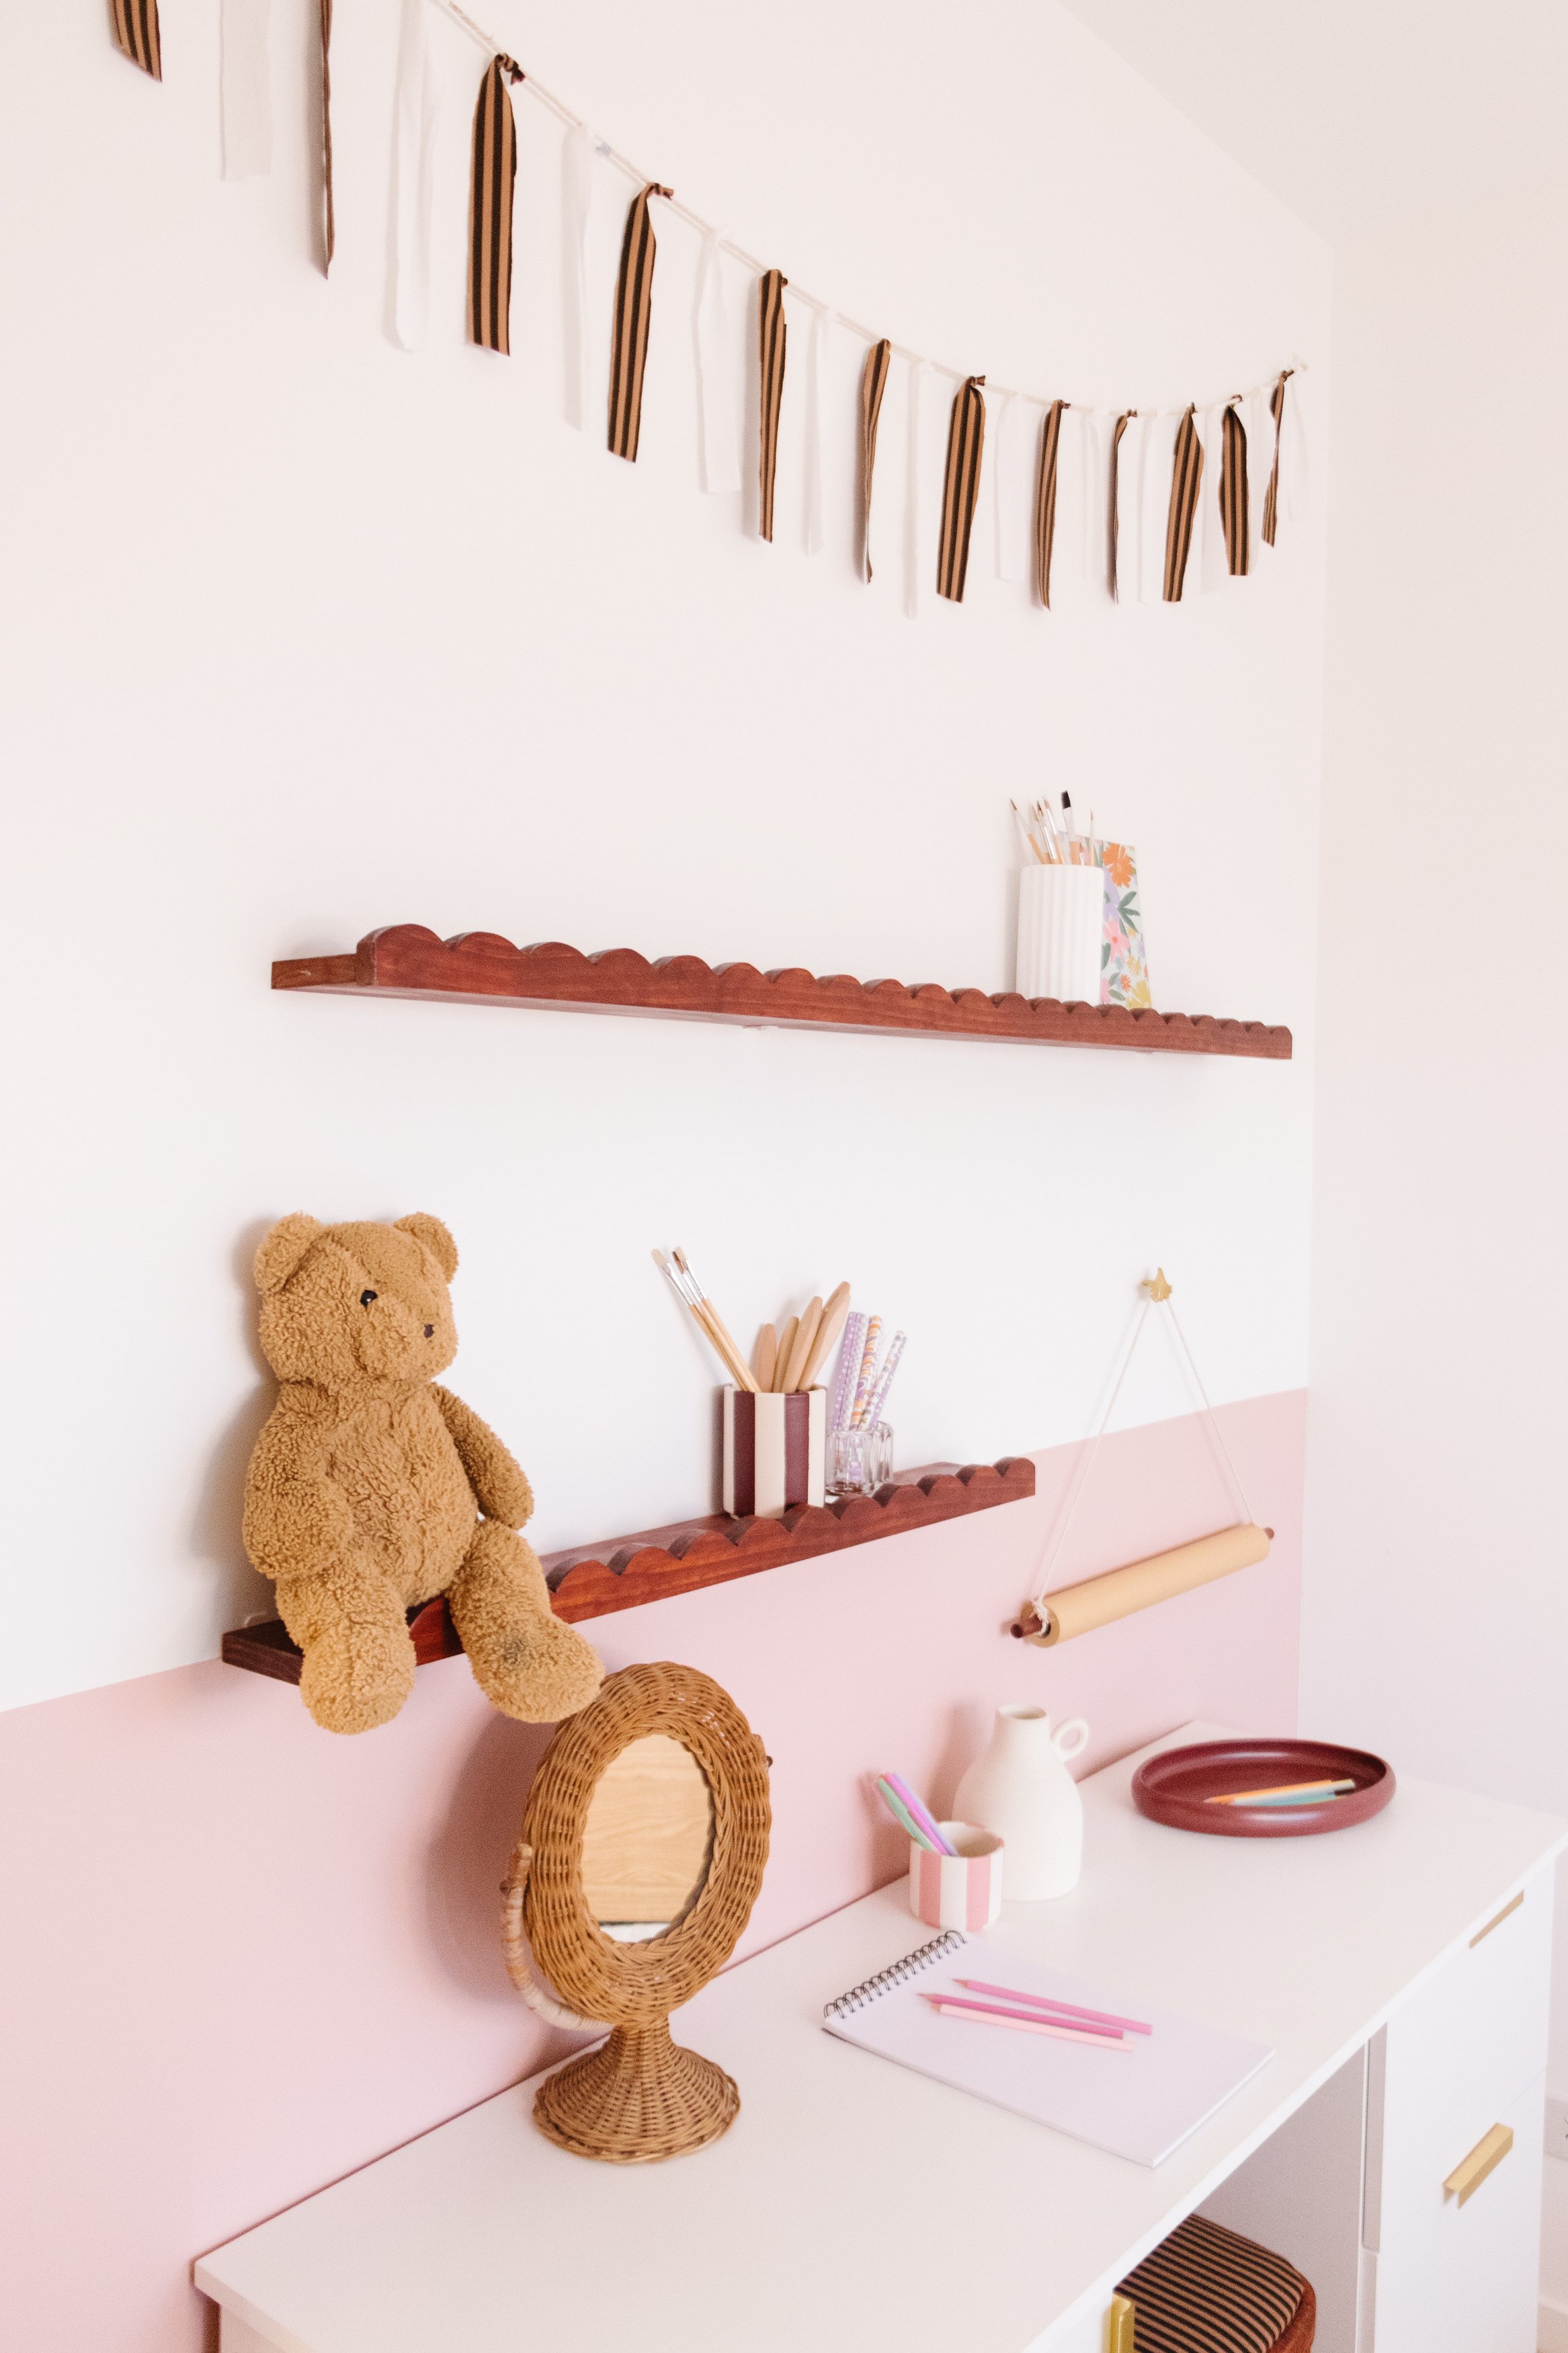
Step 1: I removed the existing shelves and unexpectedly a lot of plaster came off the wall in the process, so I had to spend a couple of days patching the holes with plaster. I also repainted the wall to get it prepped for the next step.
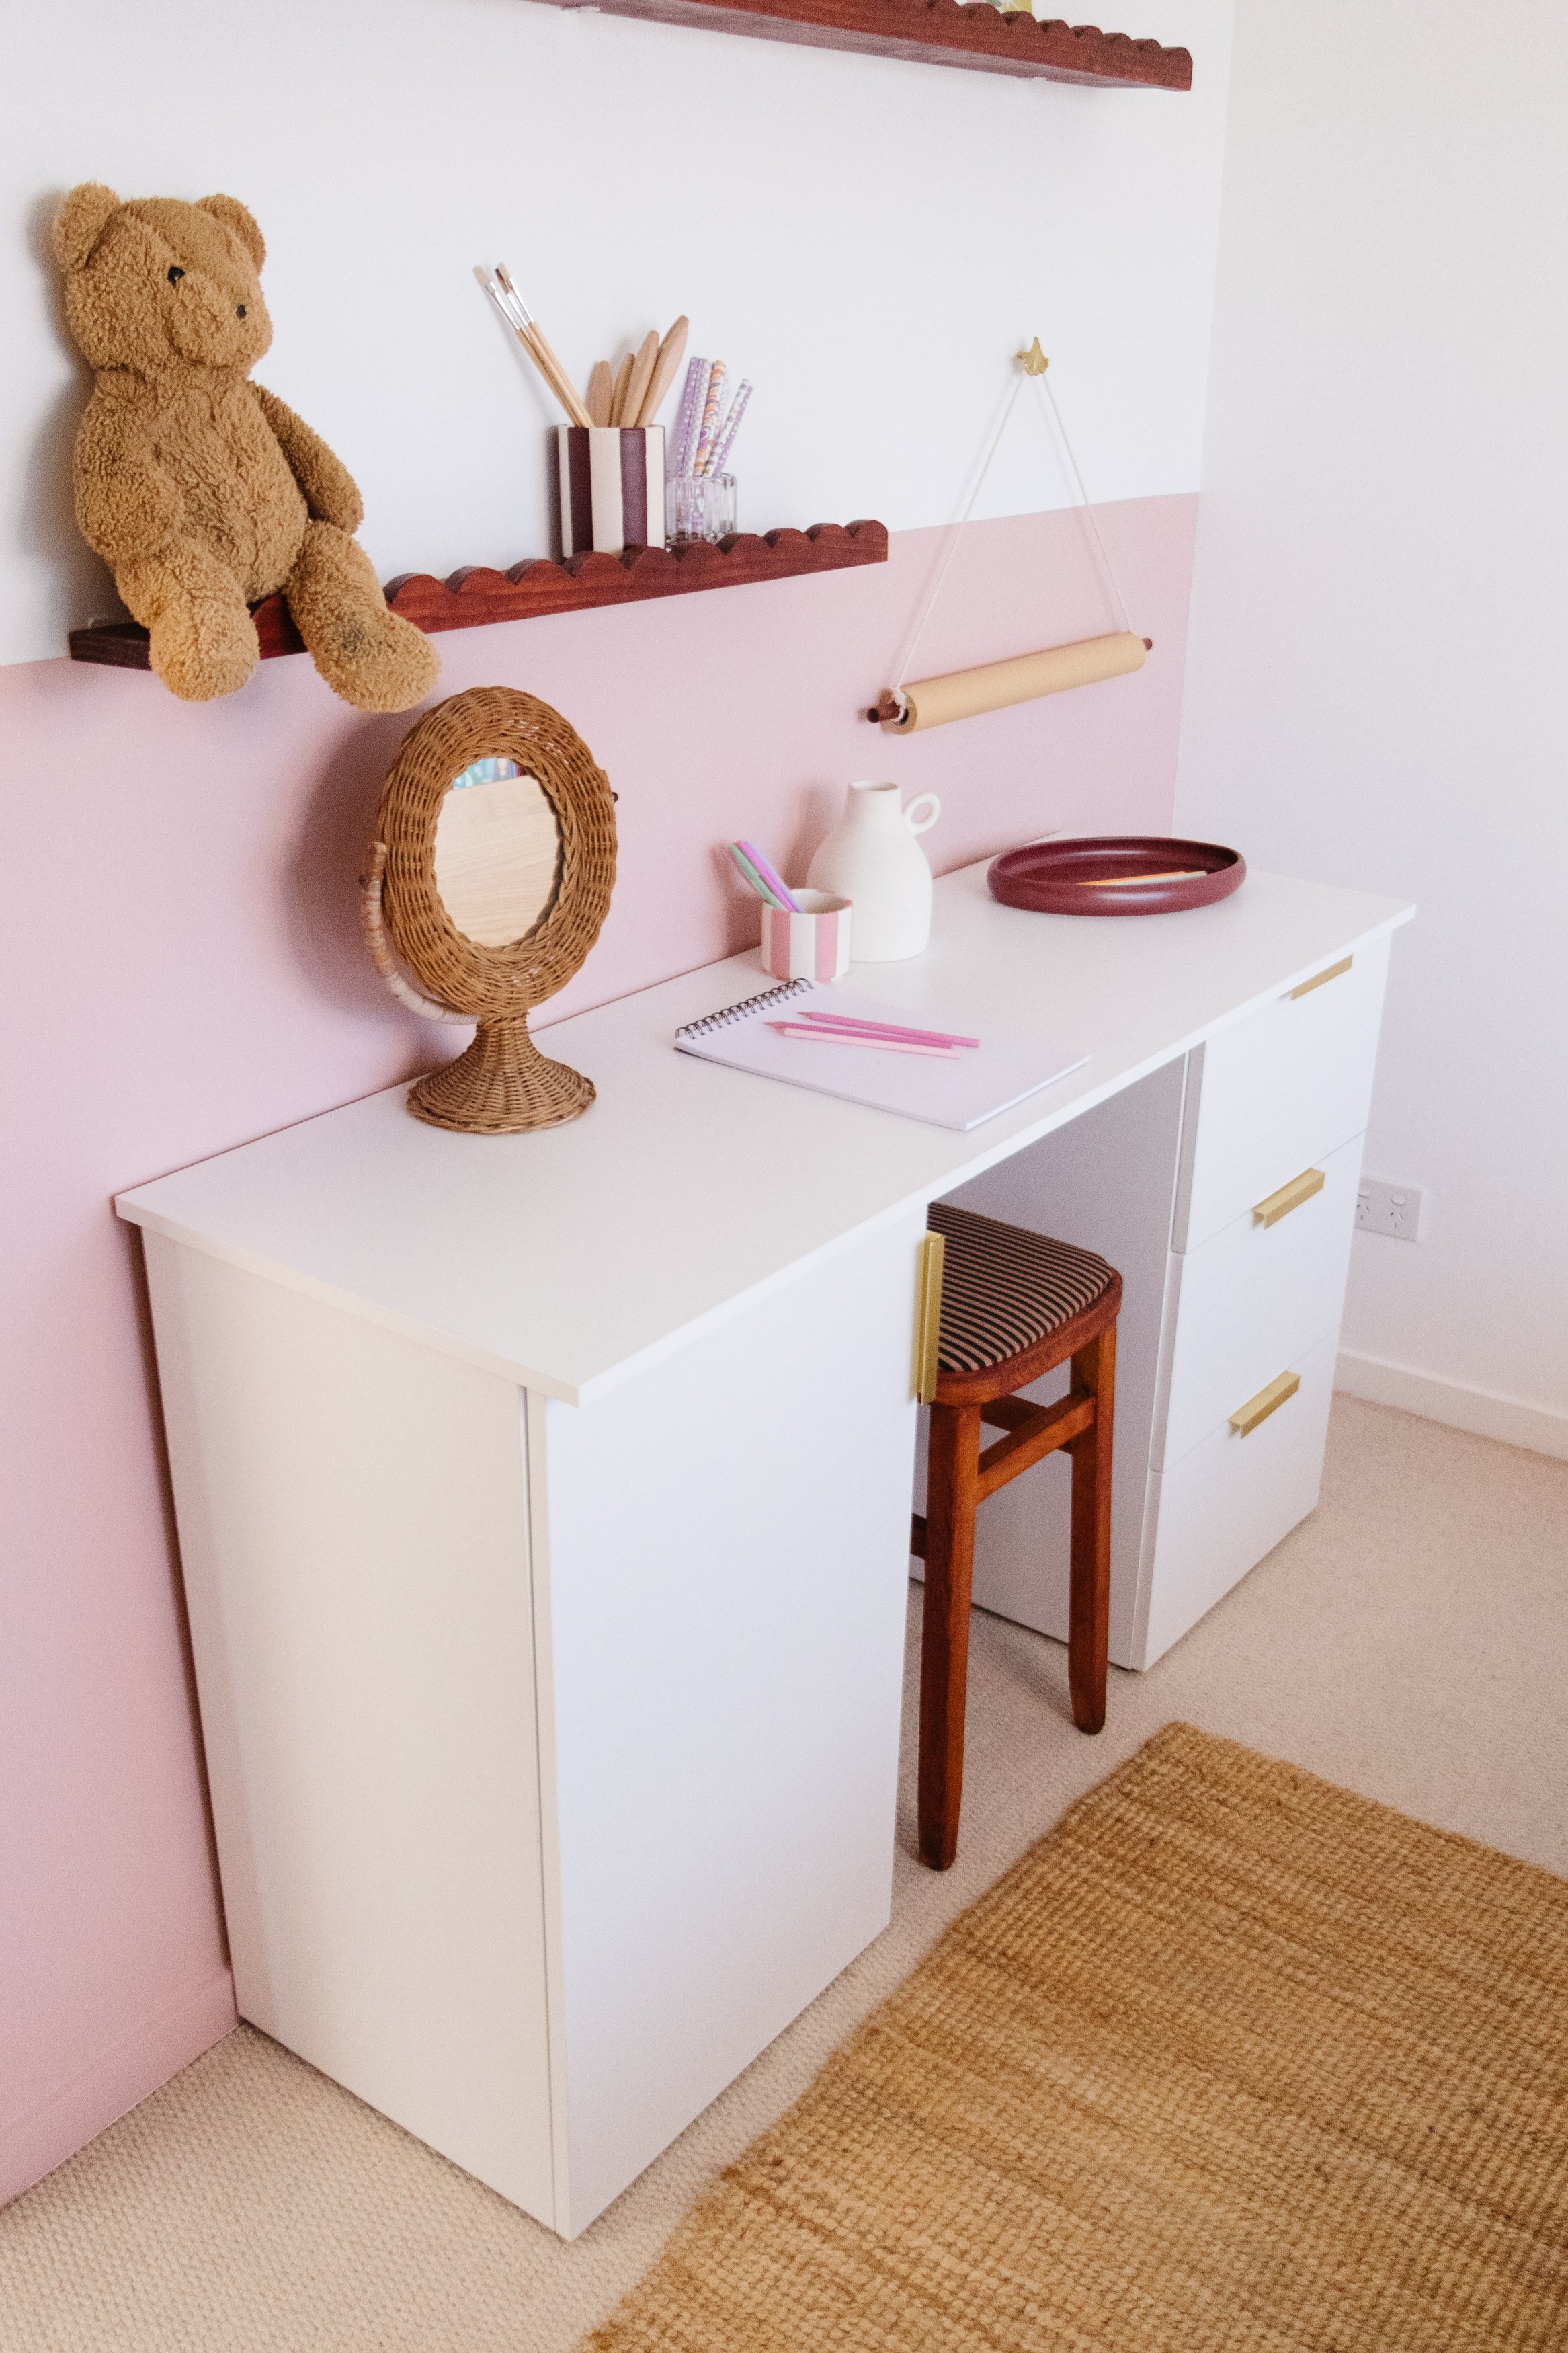
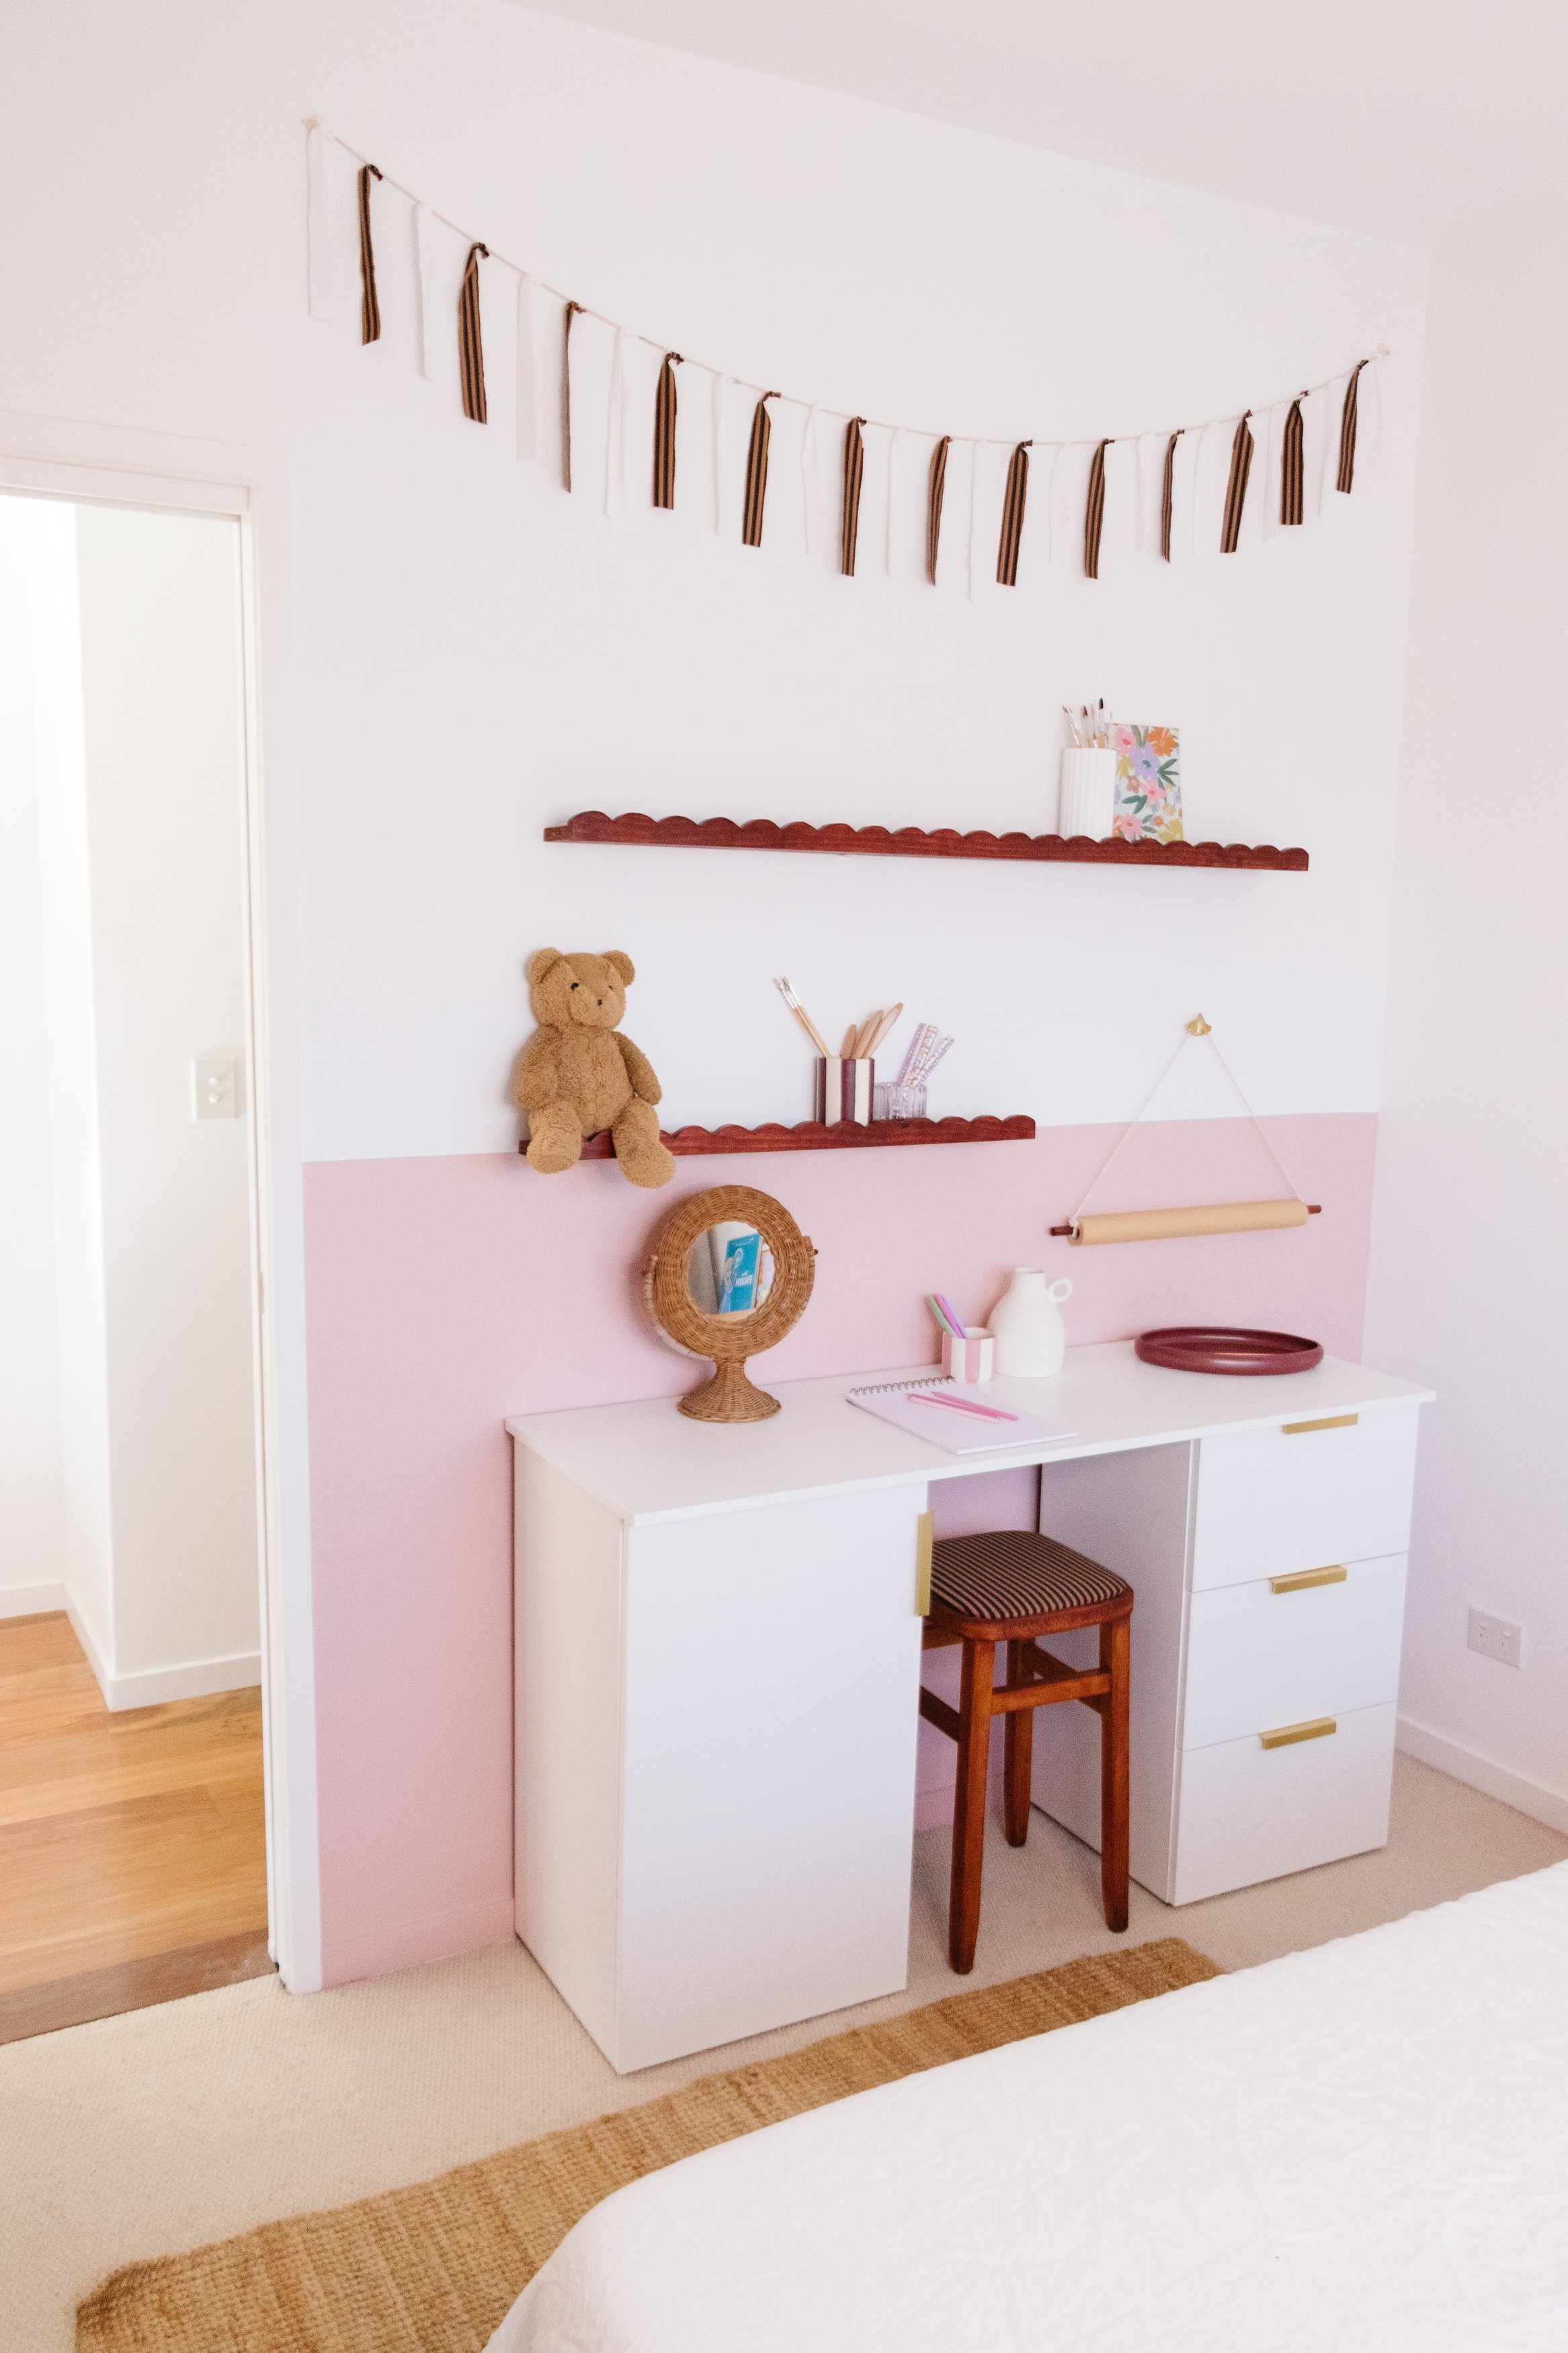
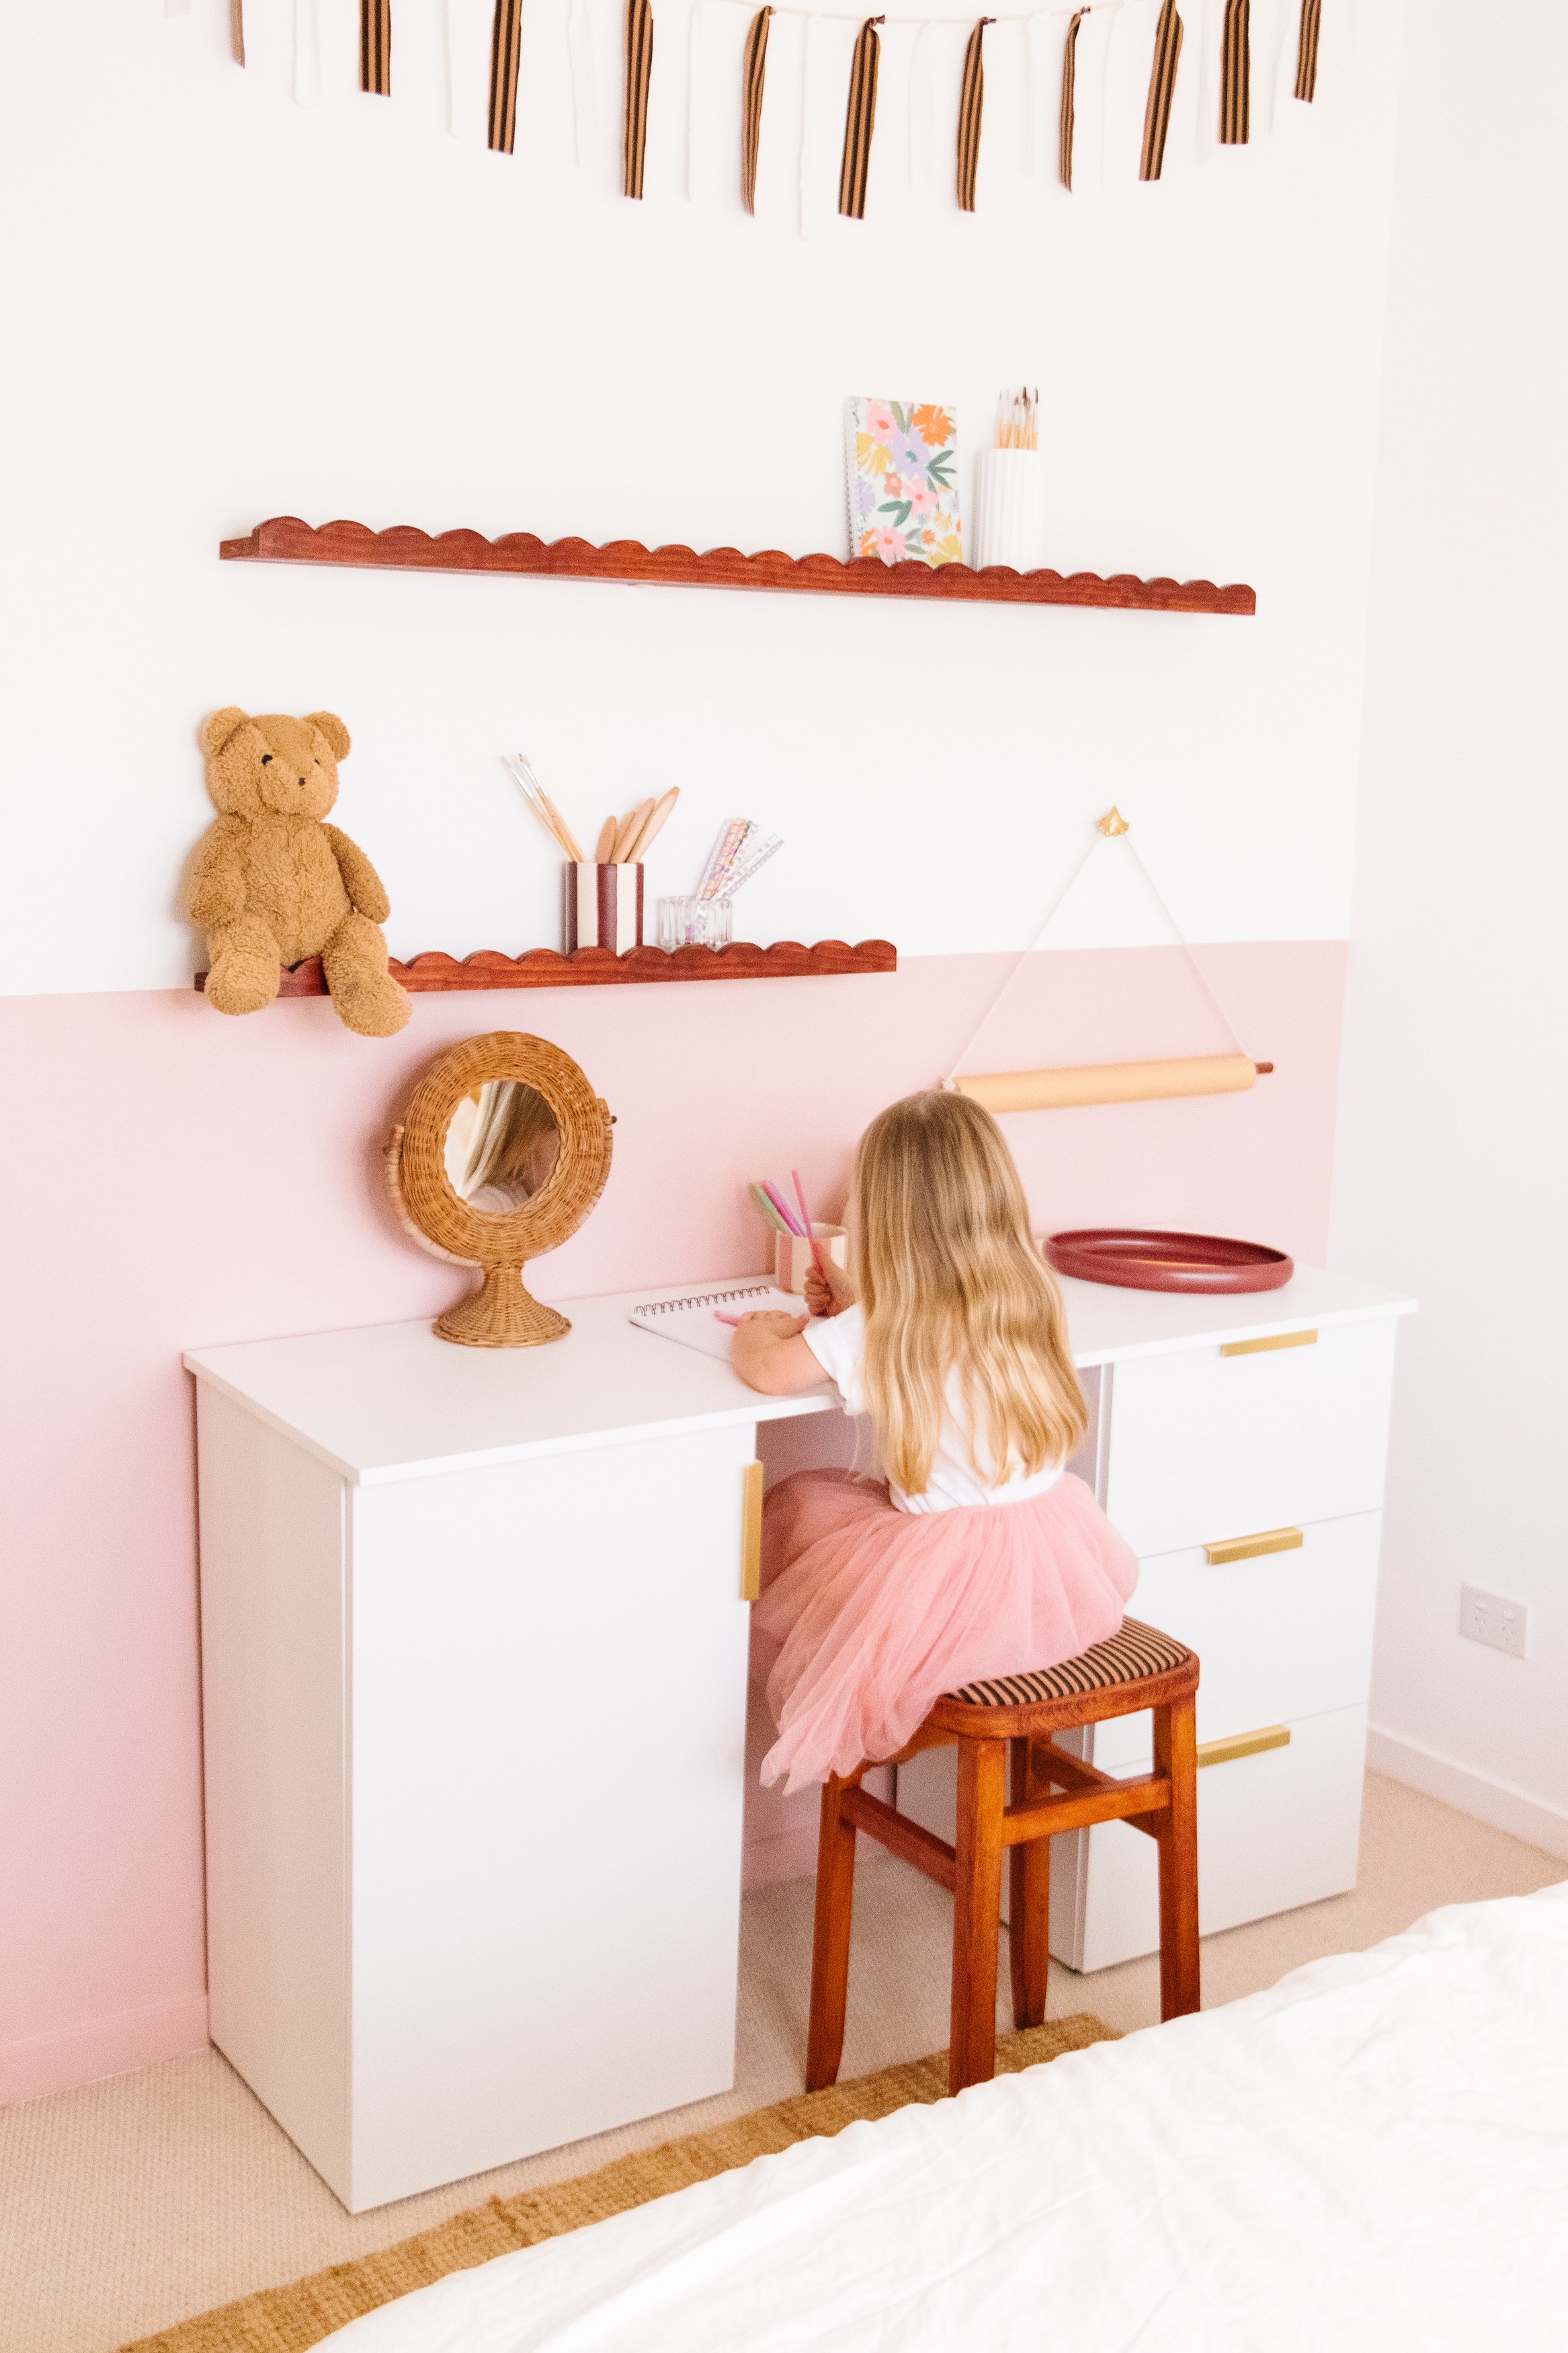
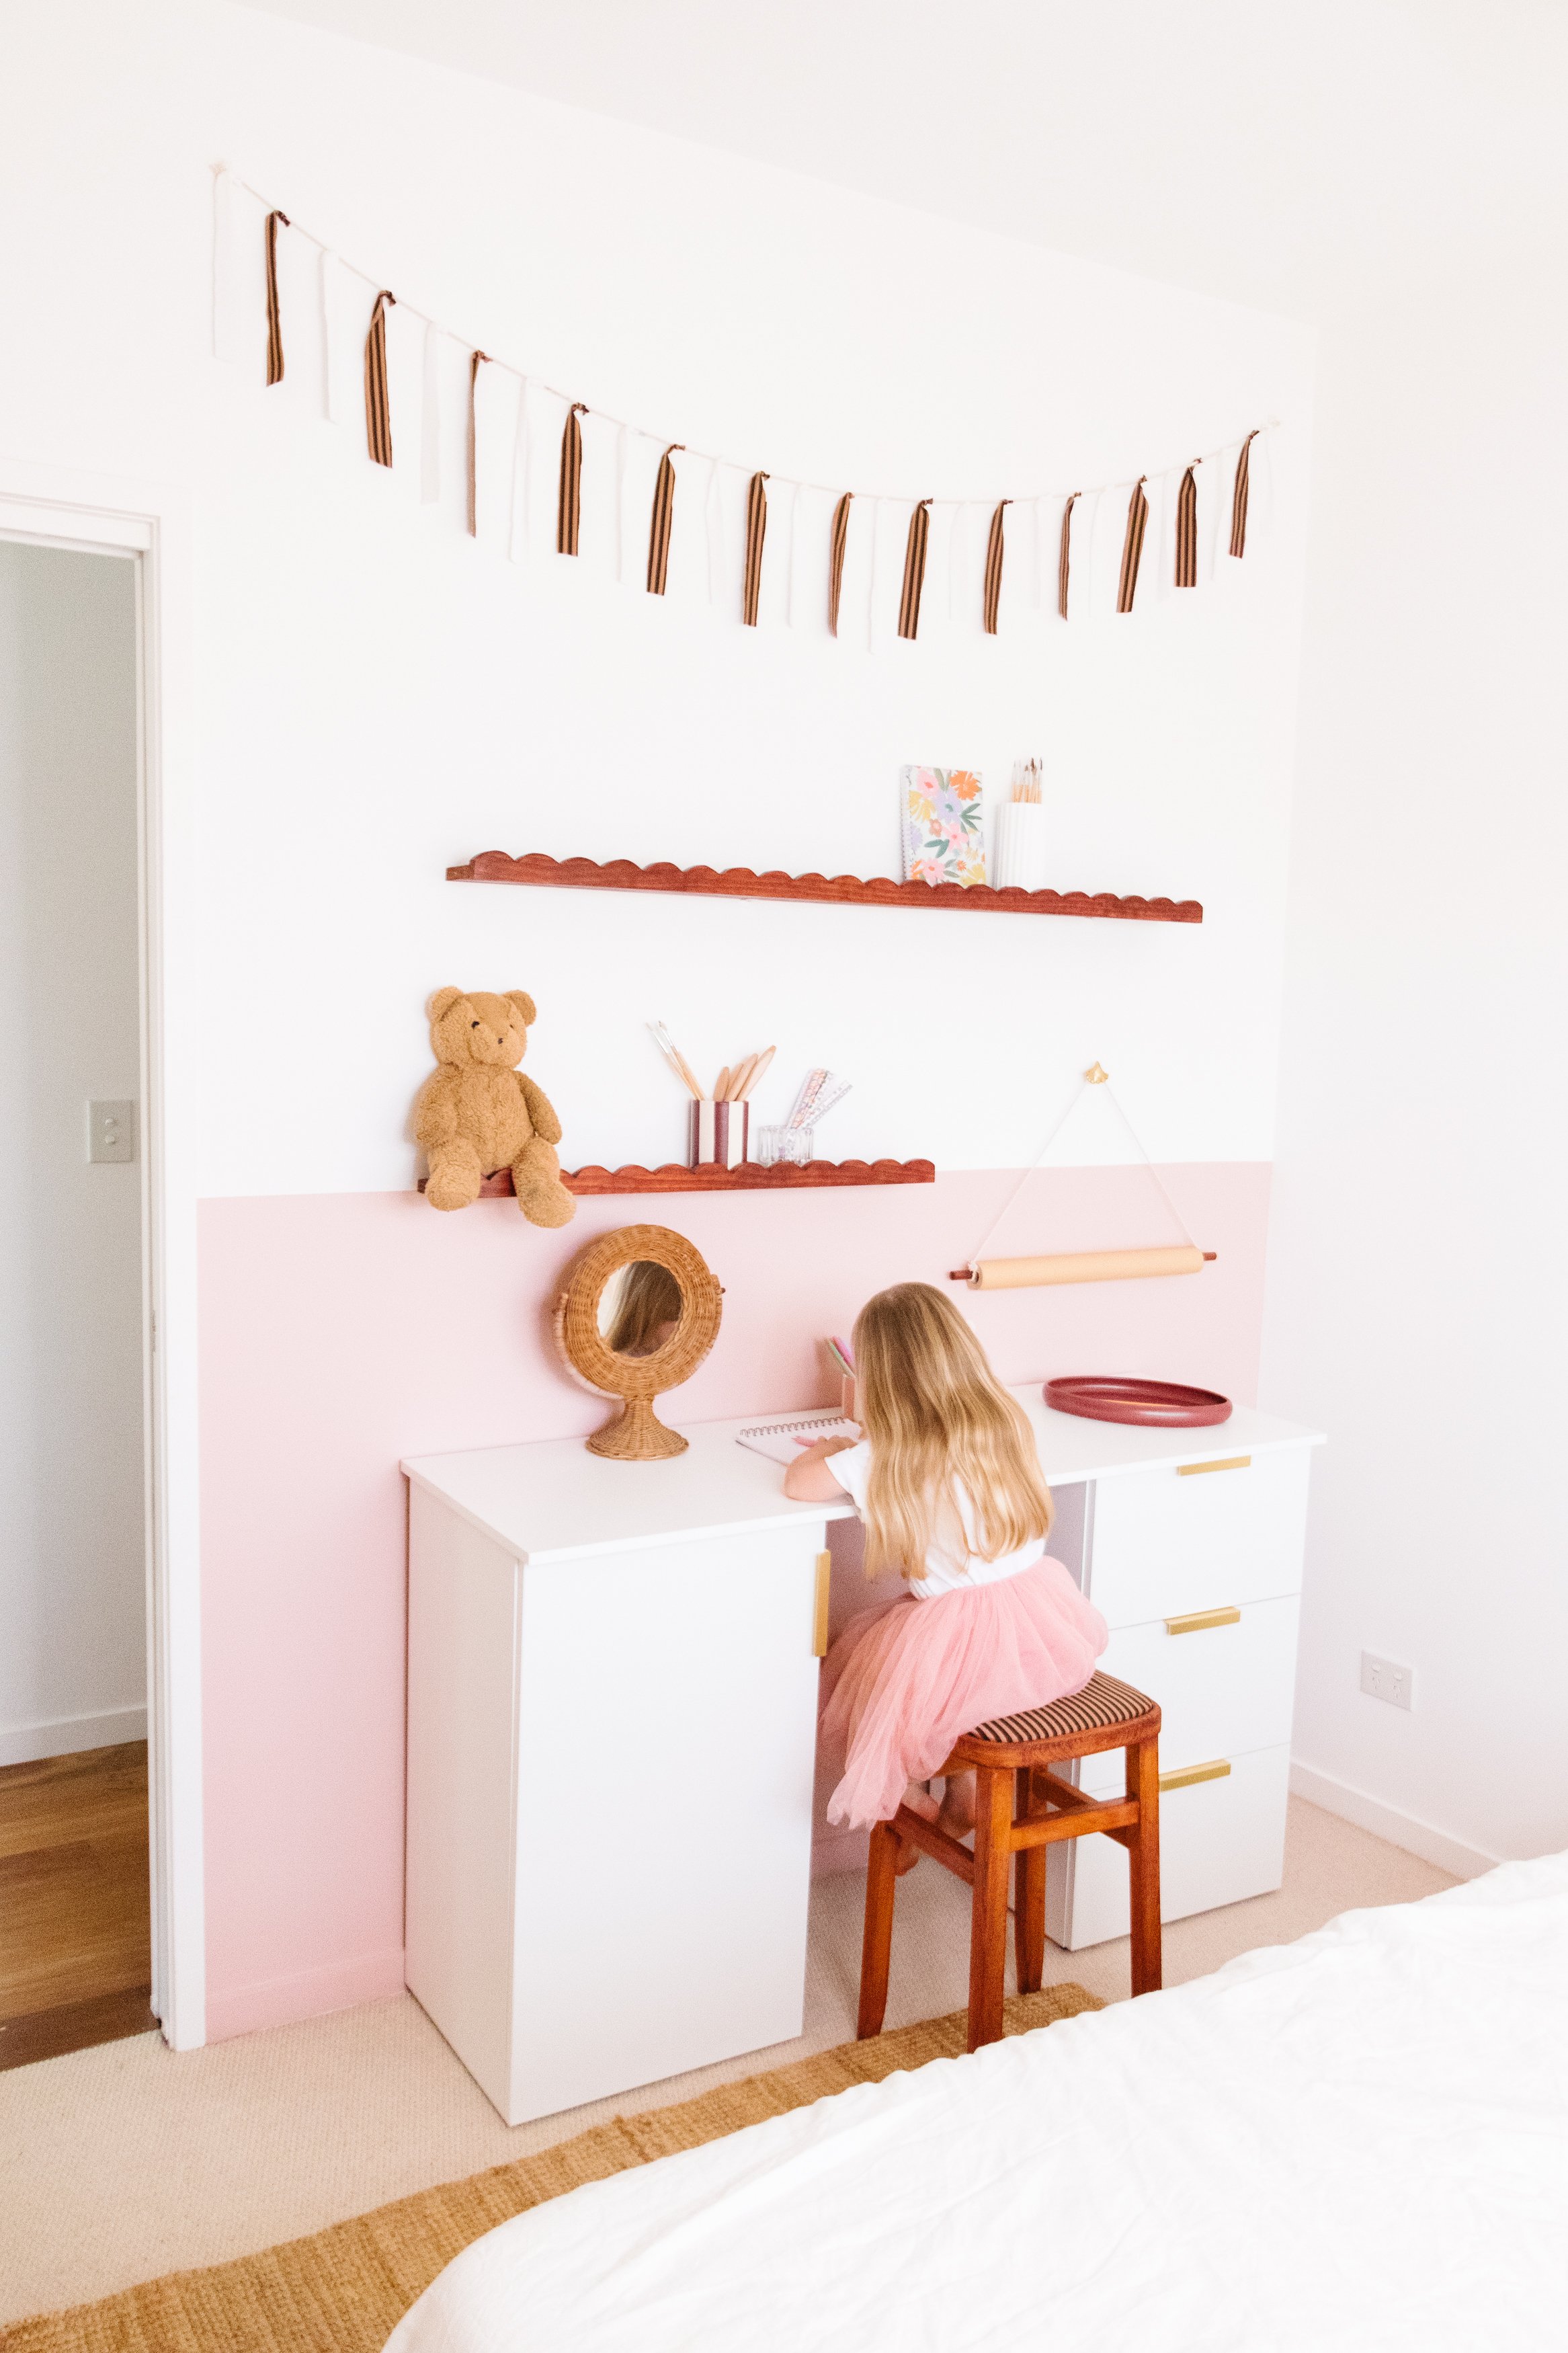
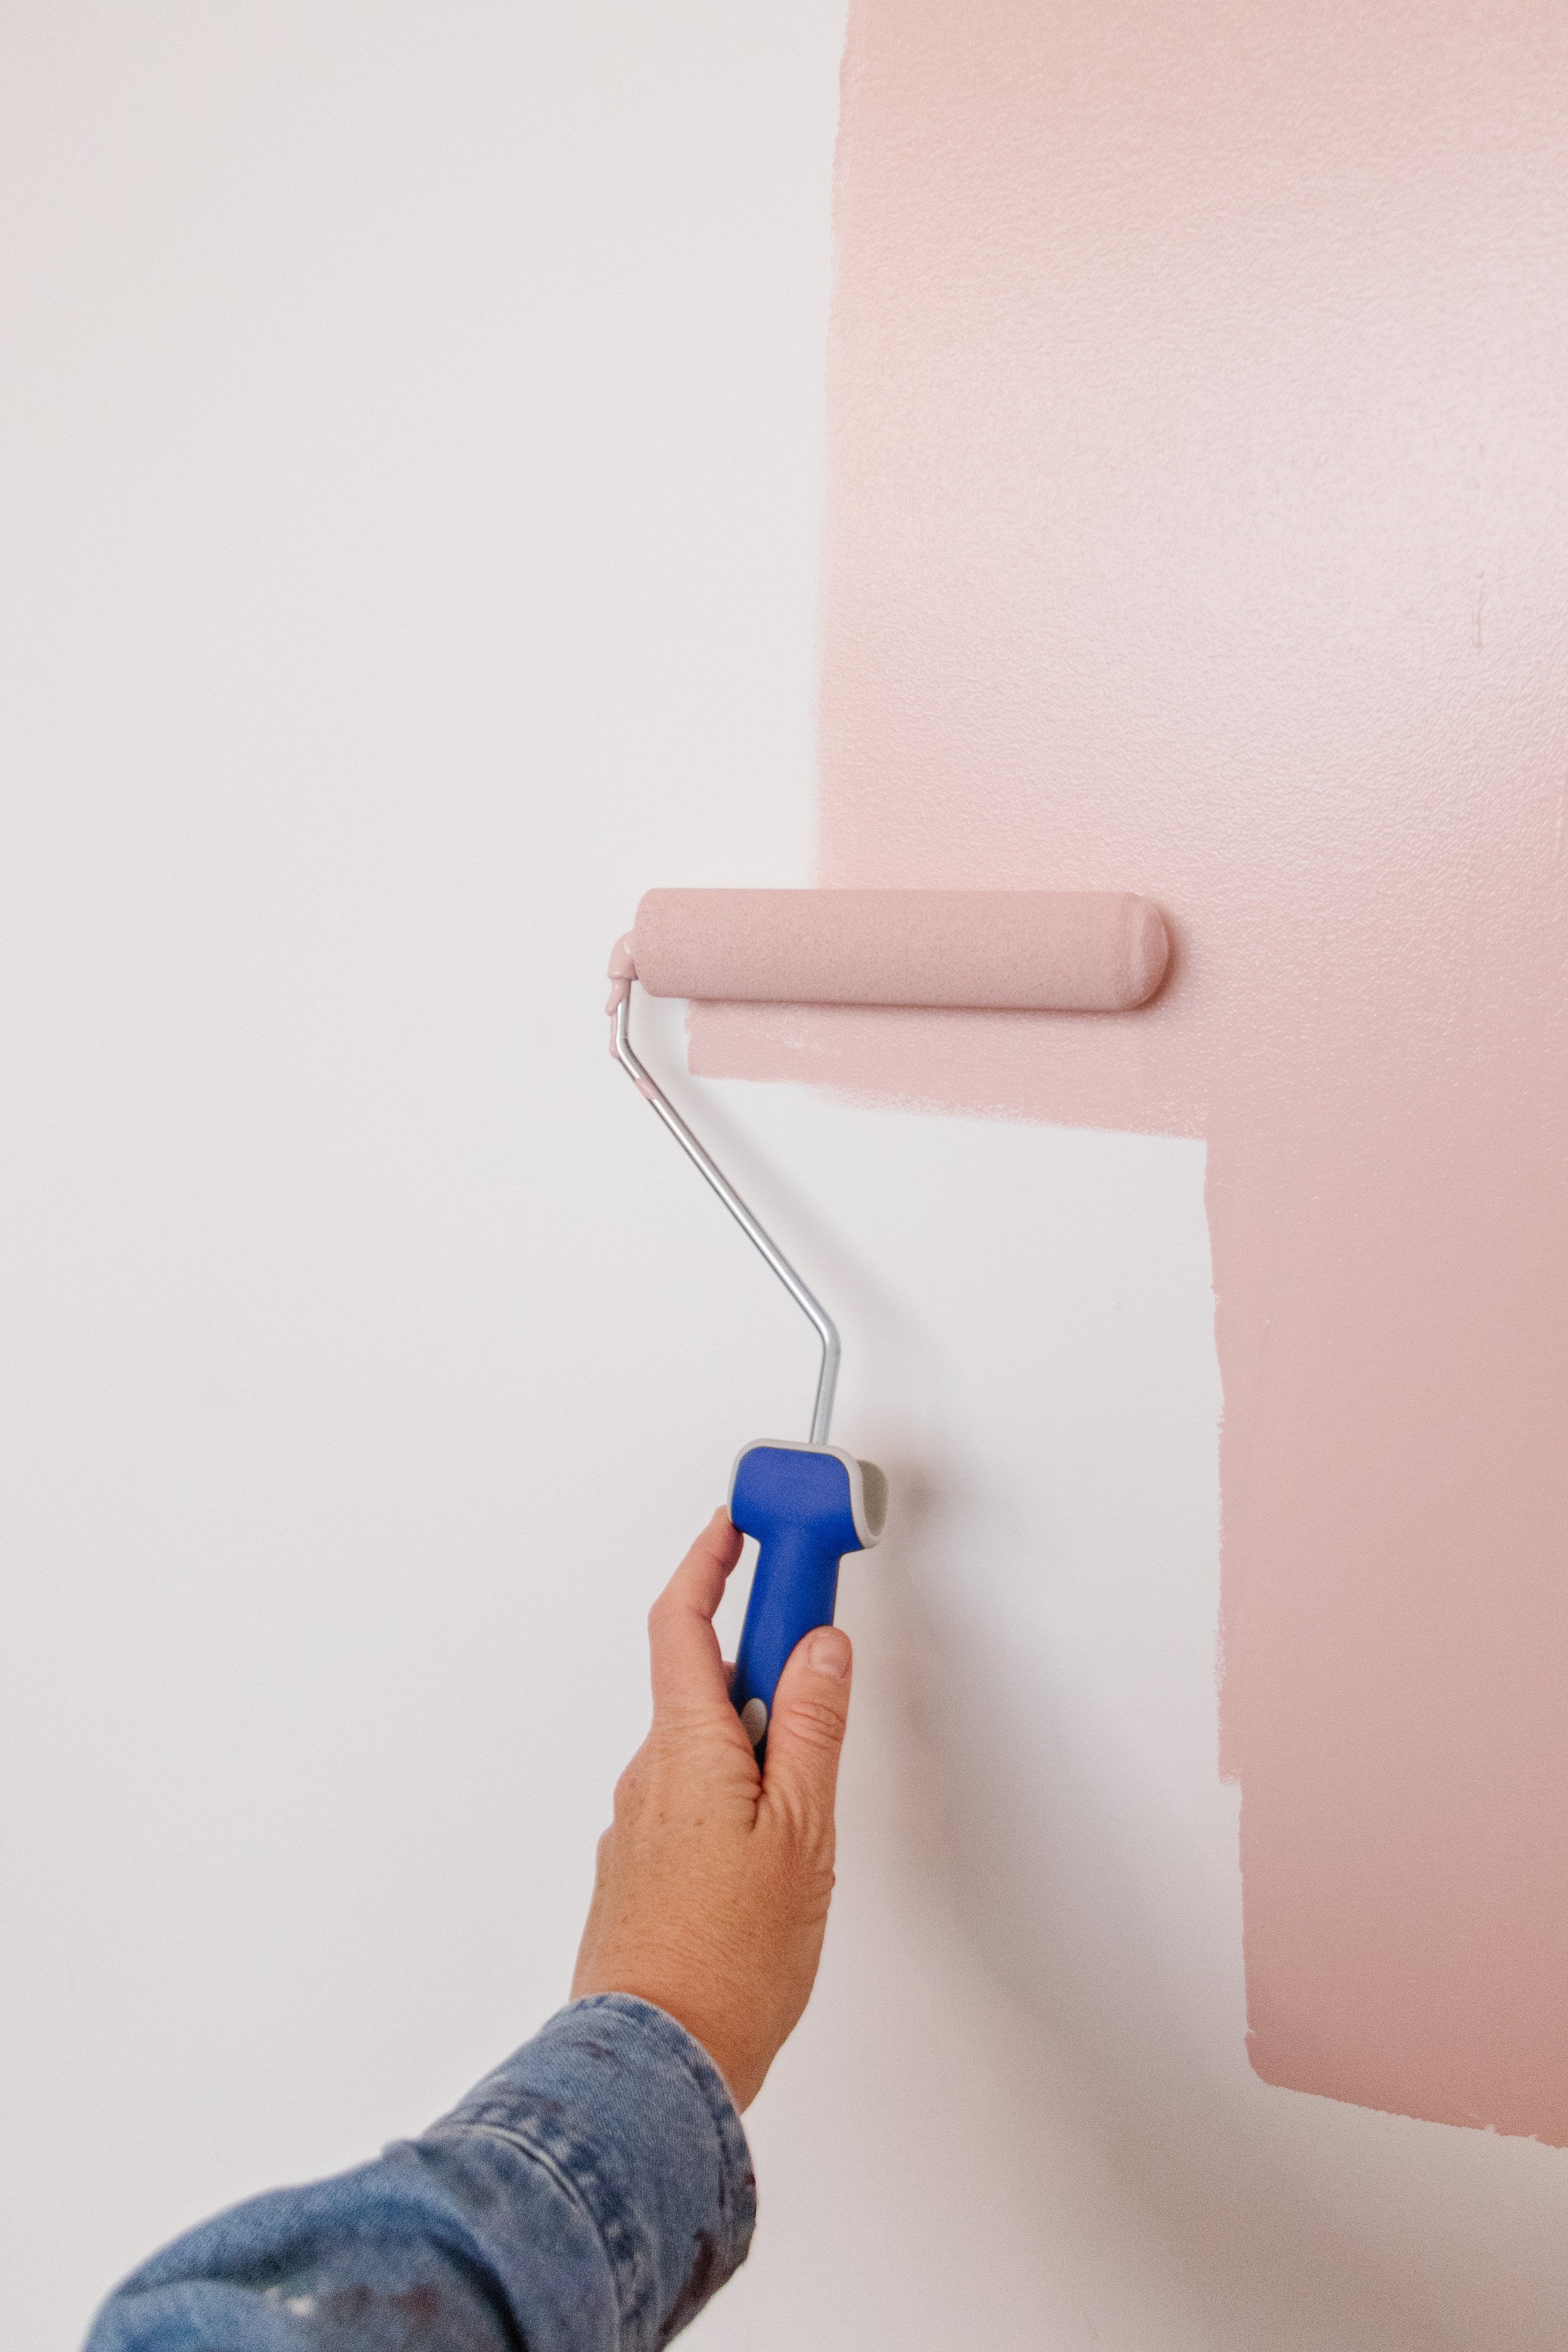
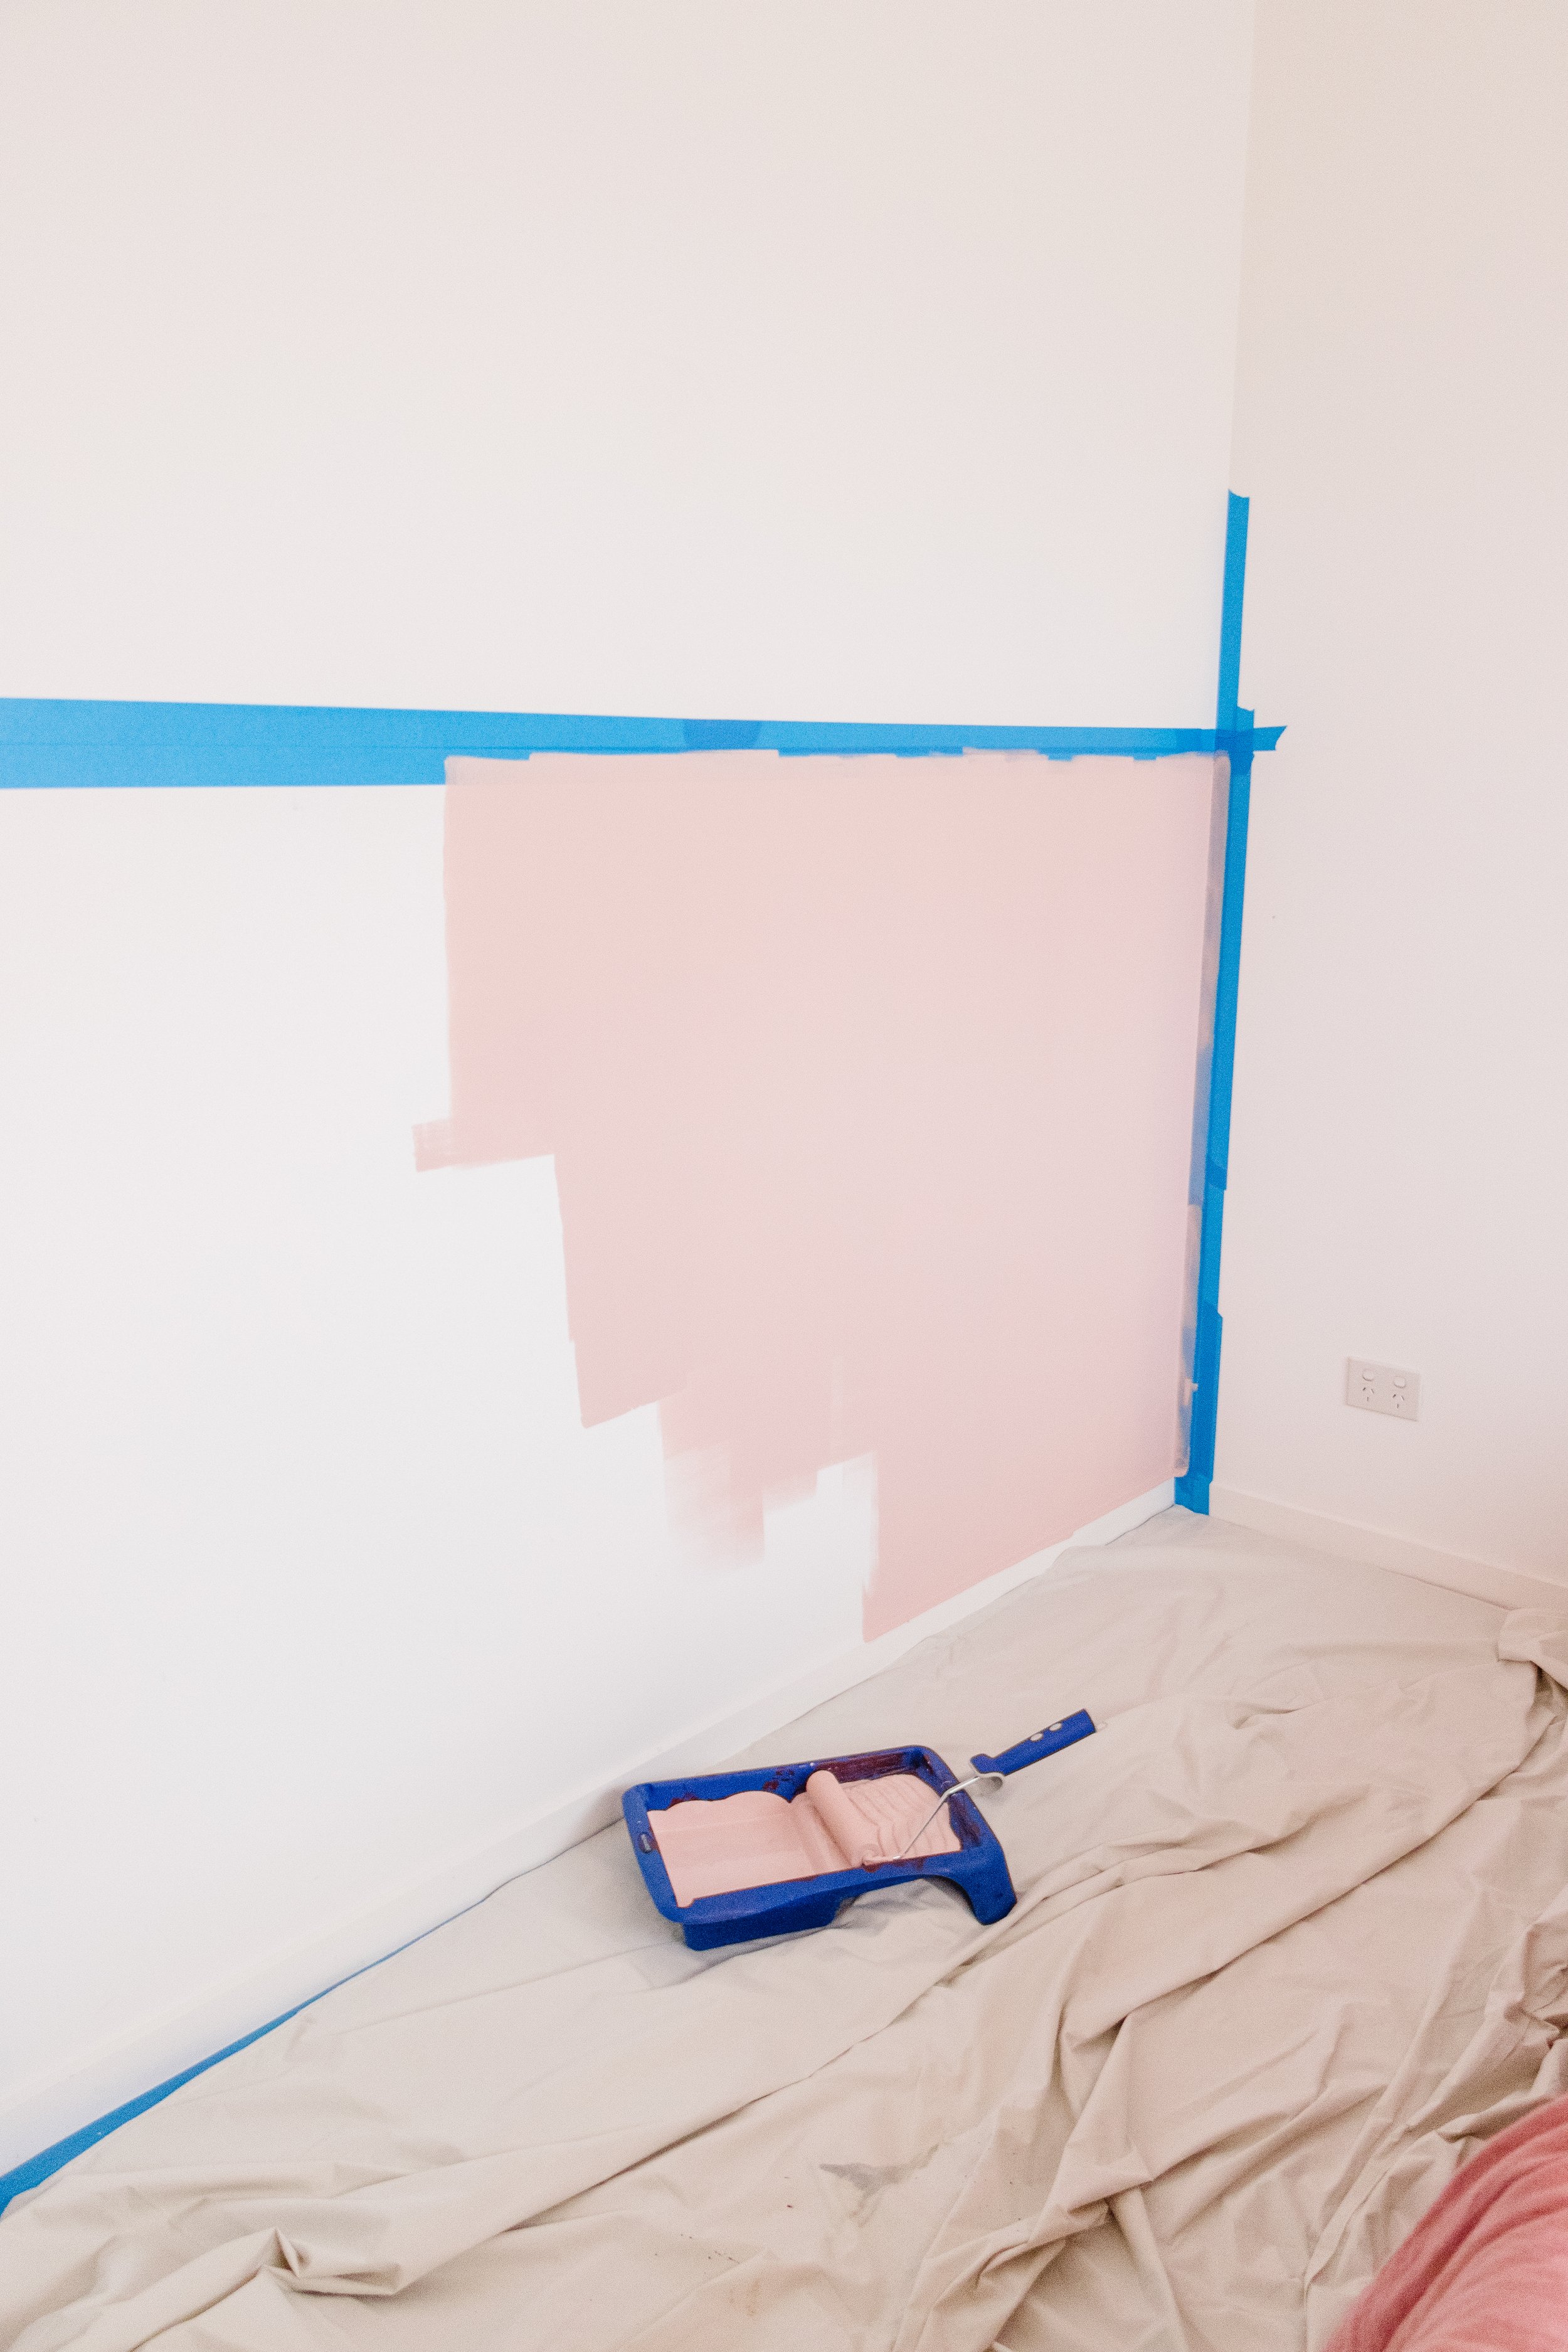
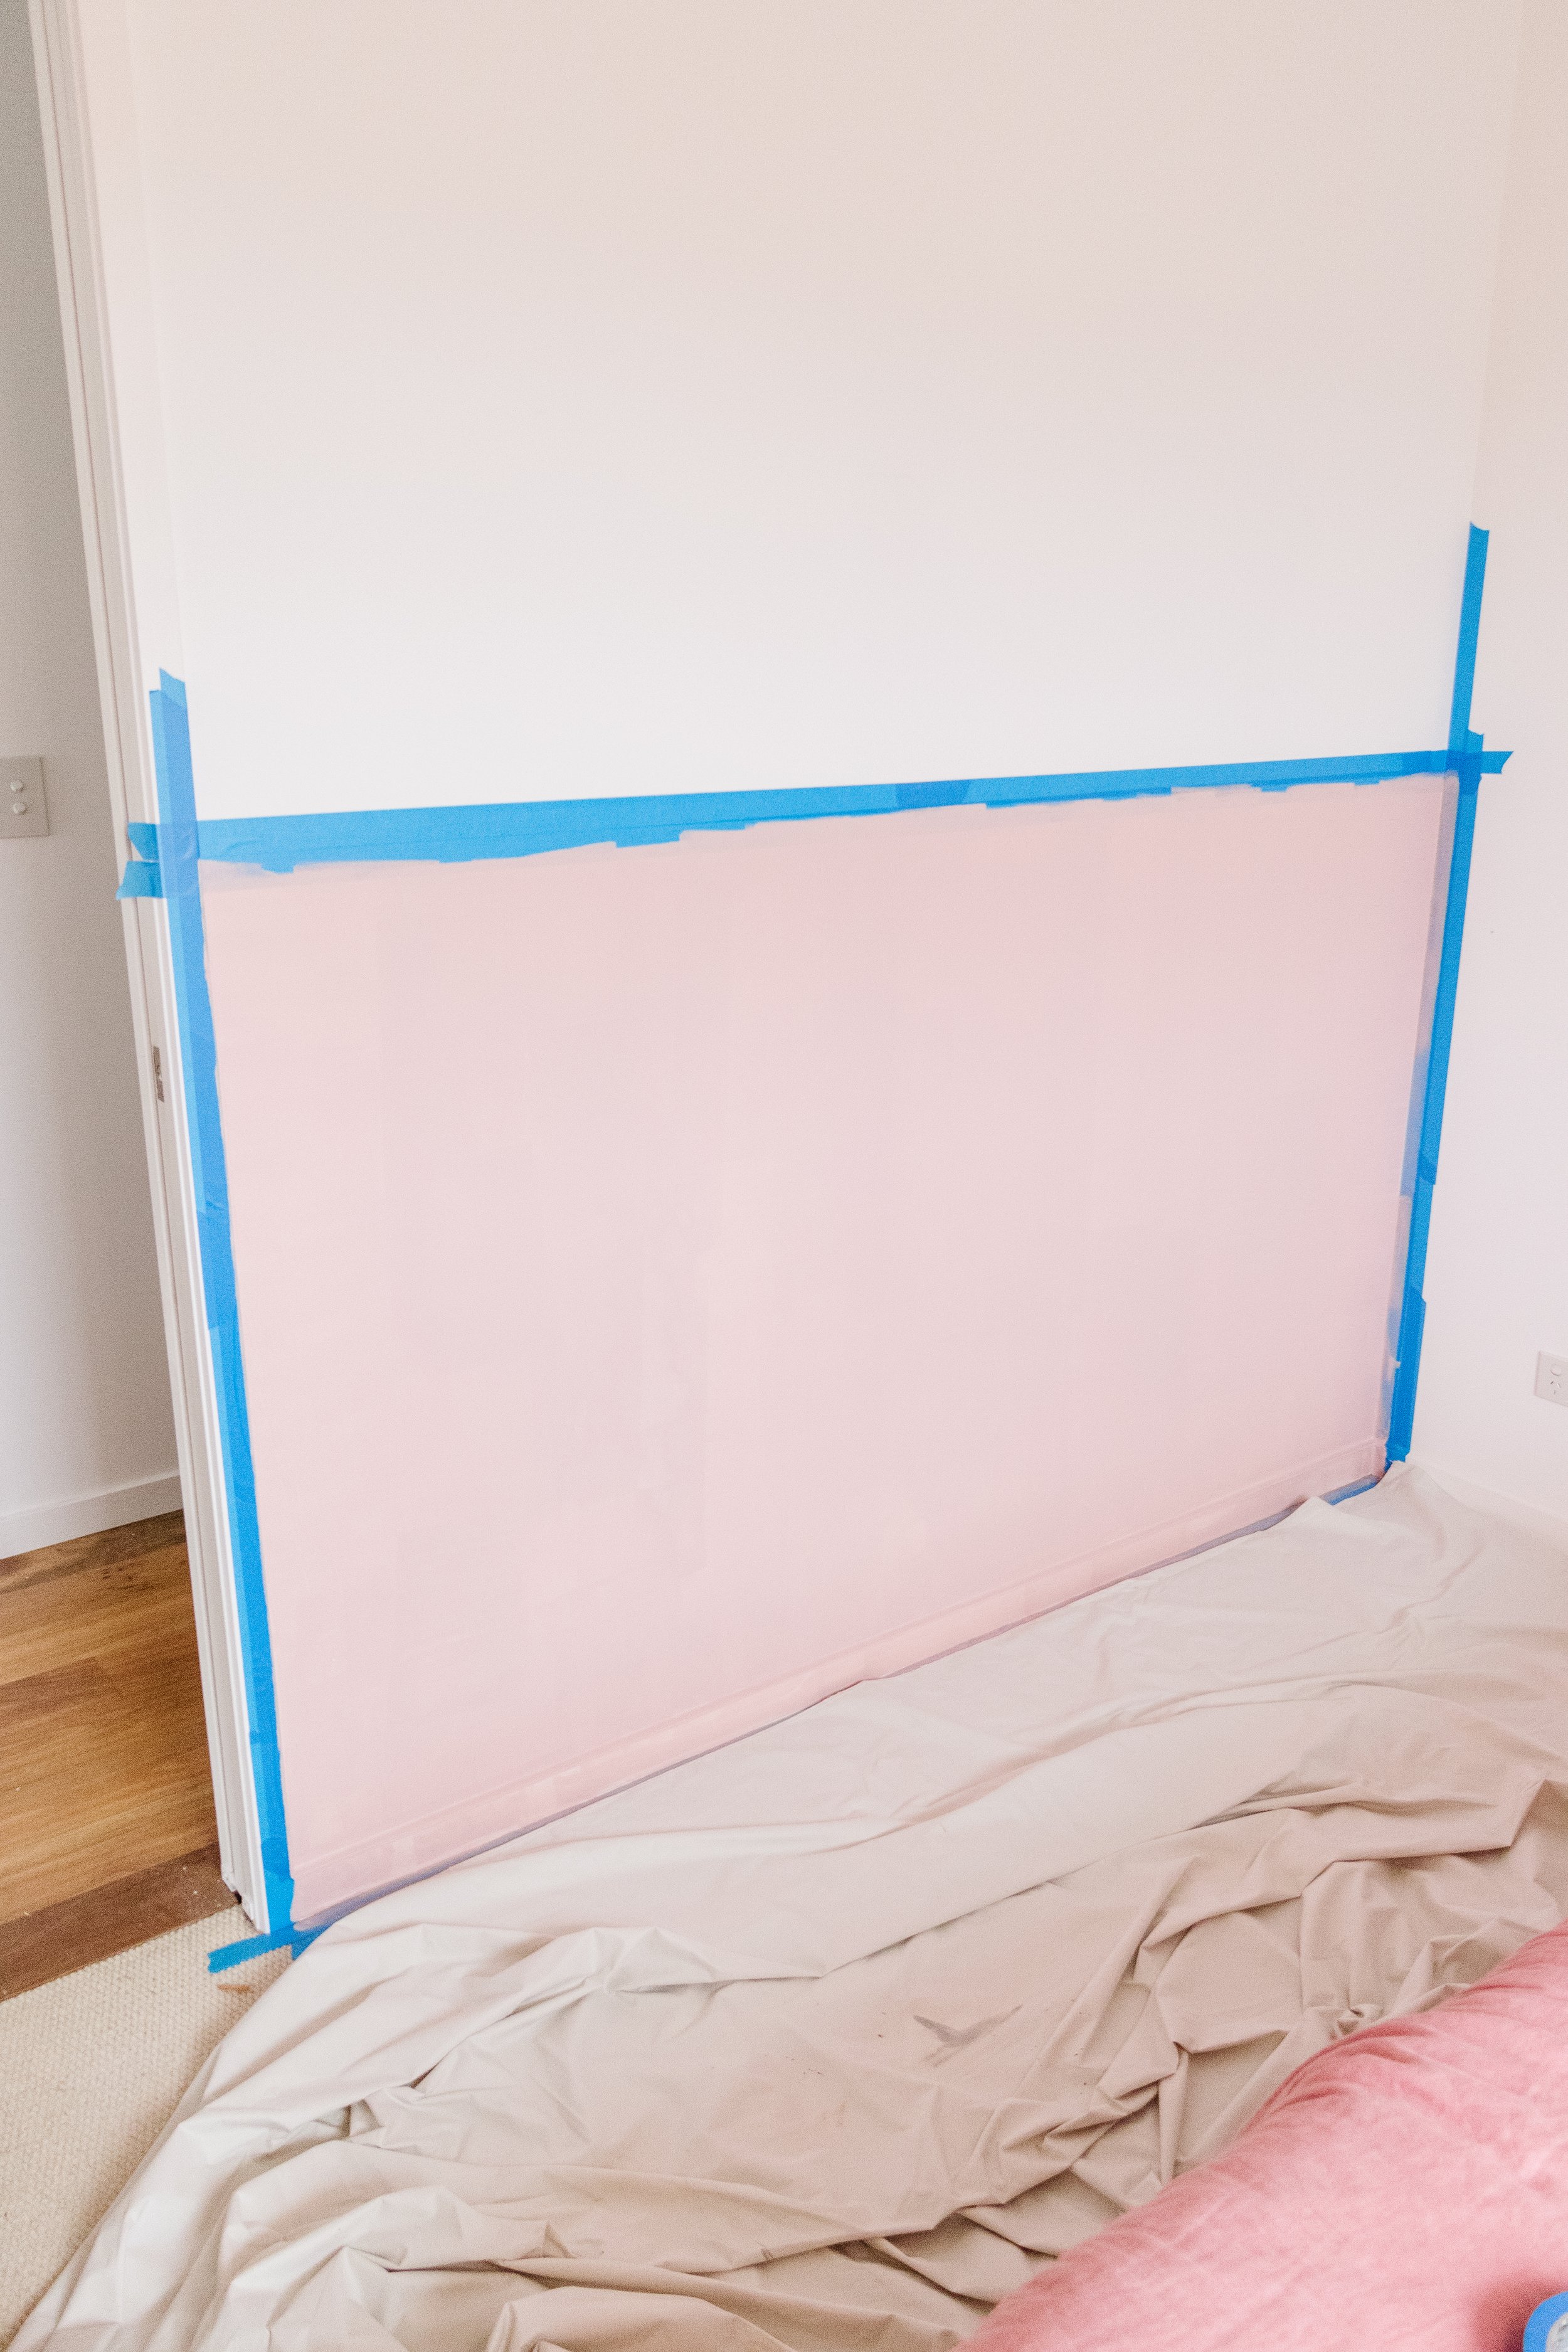
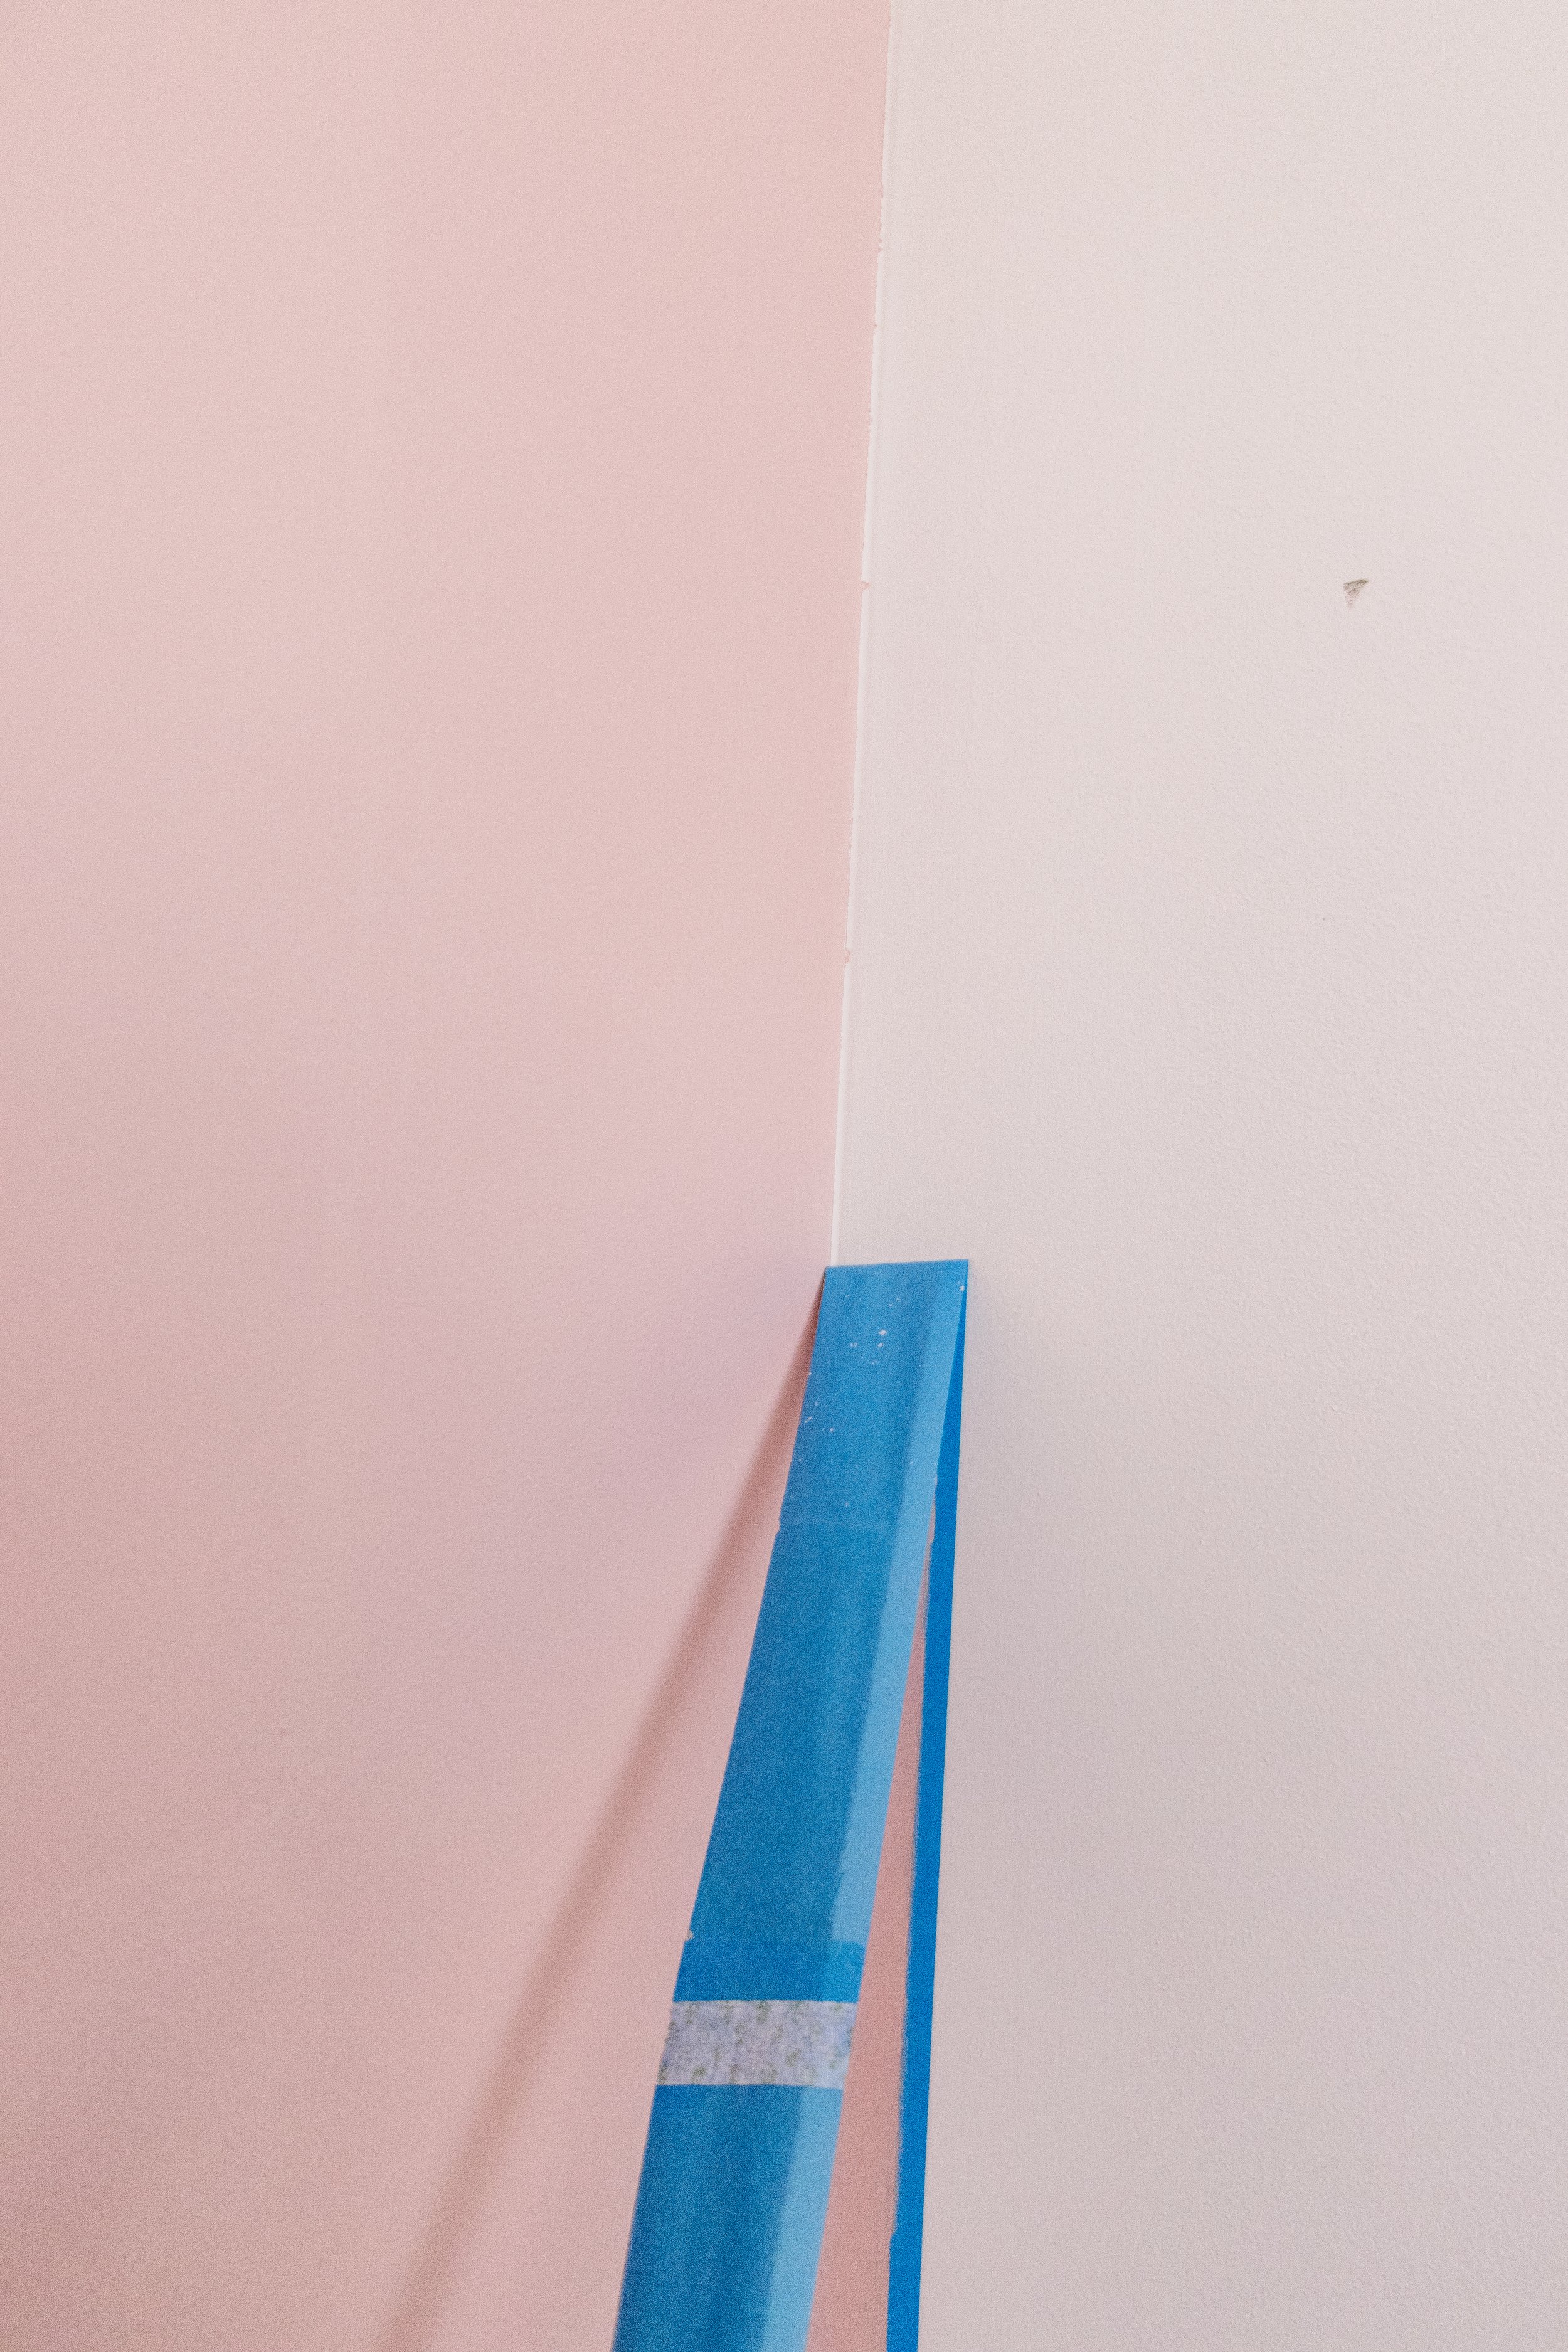
Step 2: Painting a half feature wall! Celeste loves pink so I decided to paint her wall using a few leftover paint pot samples in different shades of pink, a paint roller and painters tape.
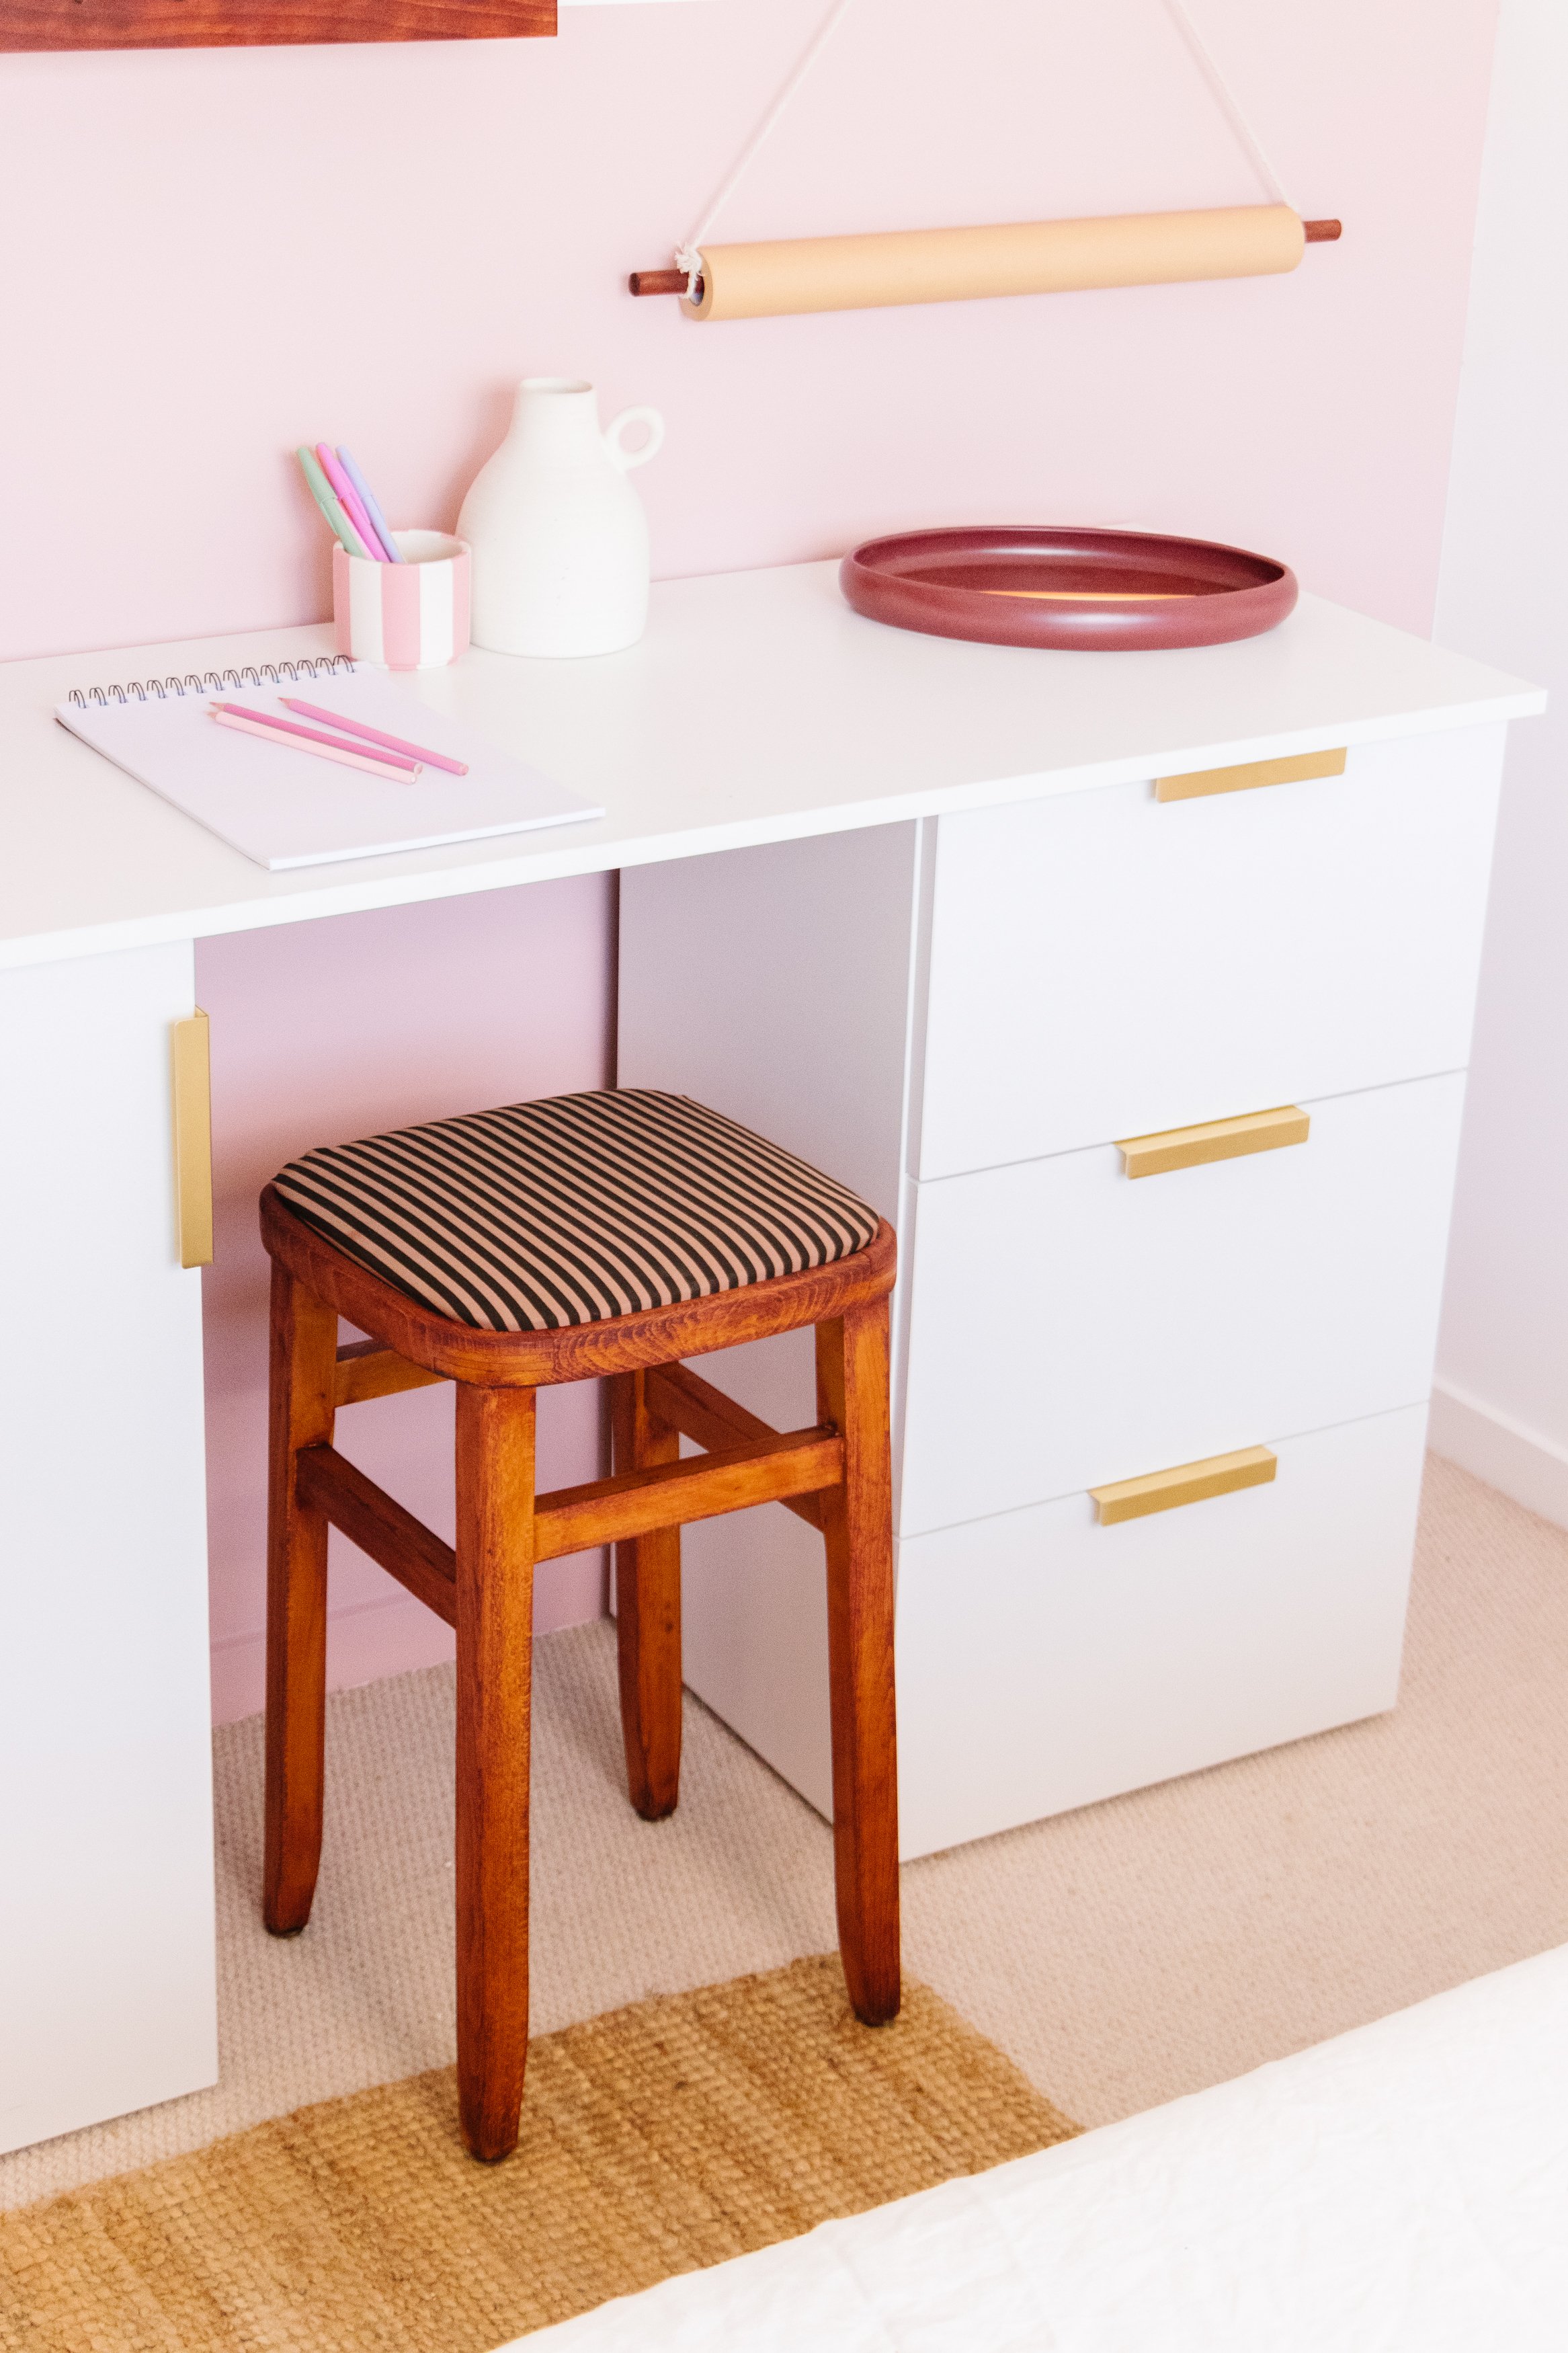
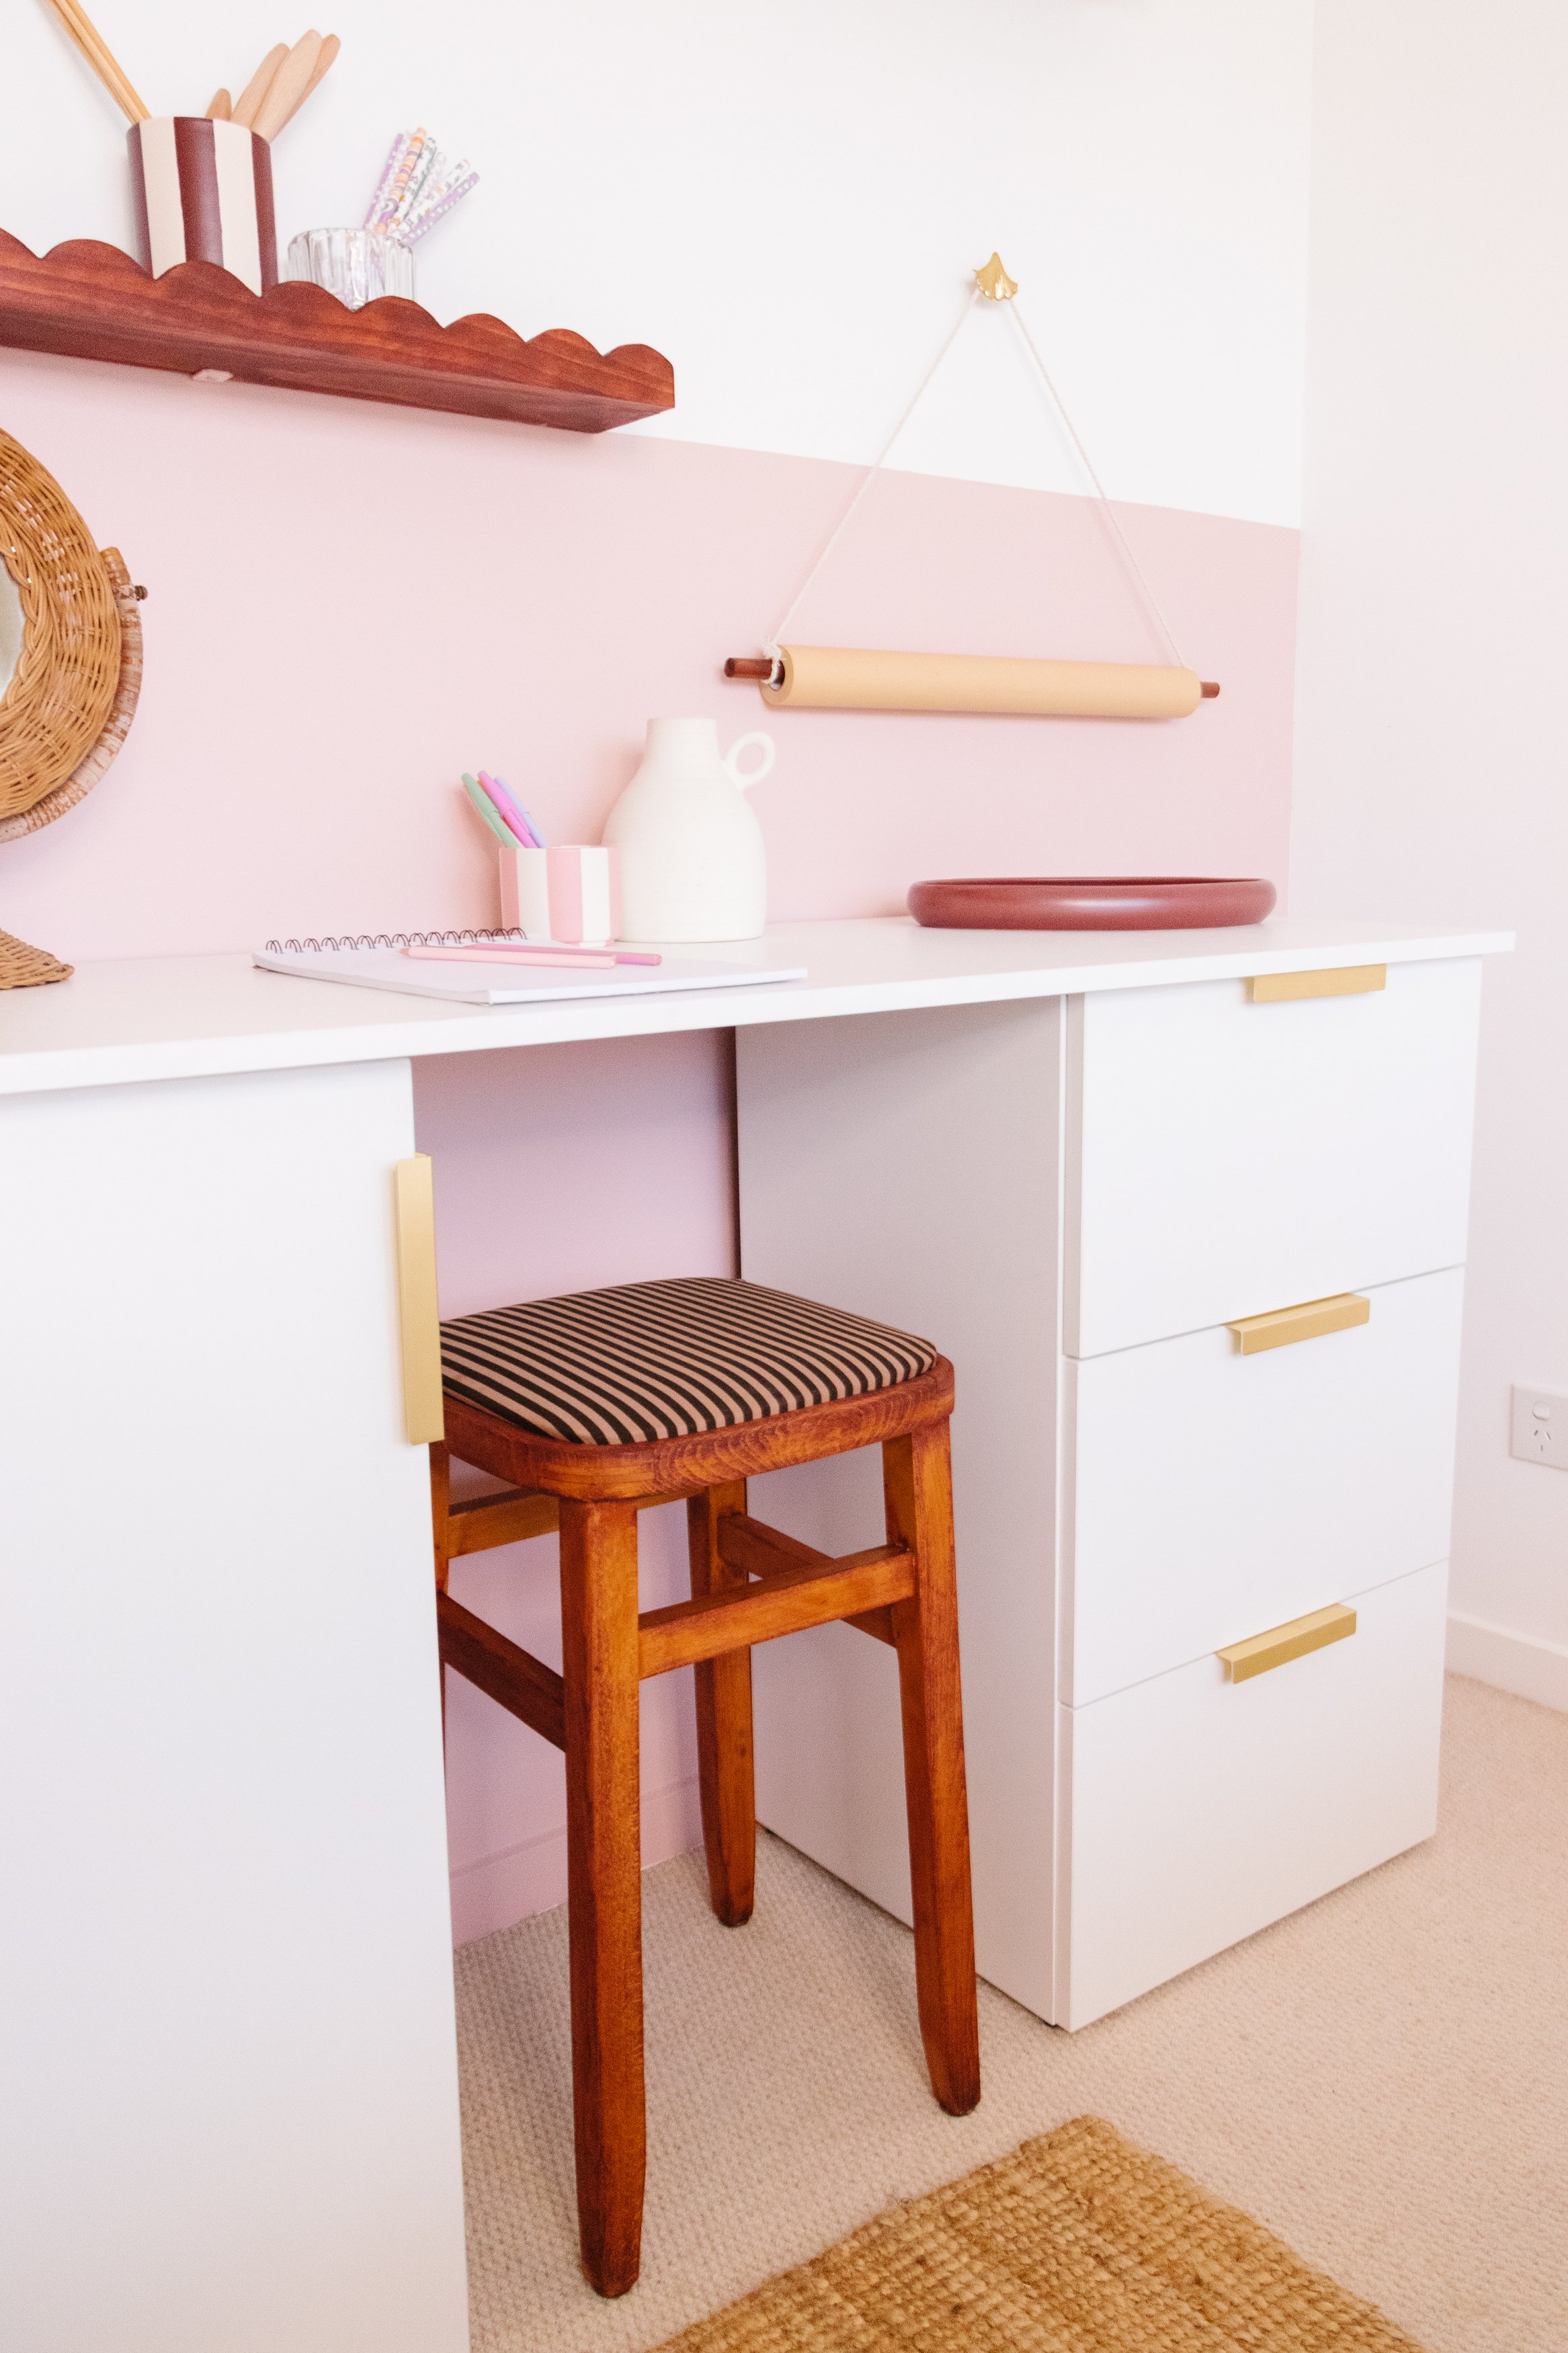
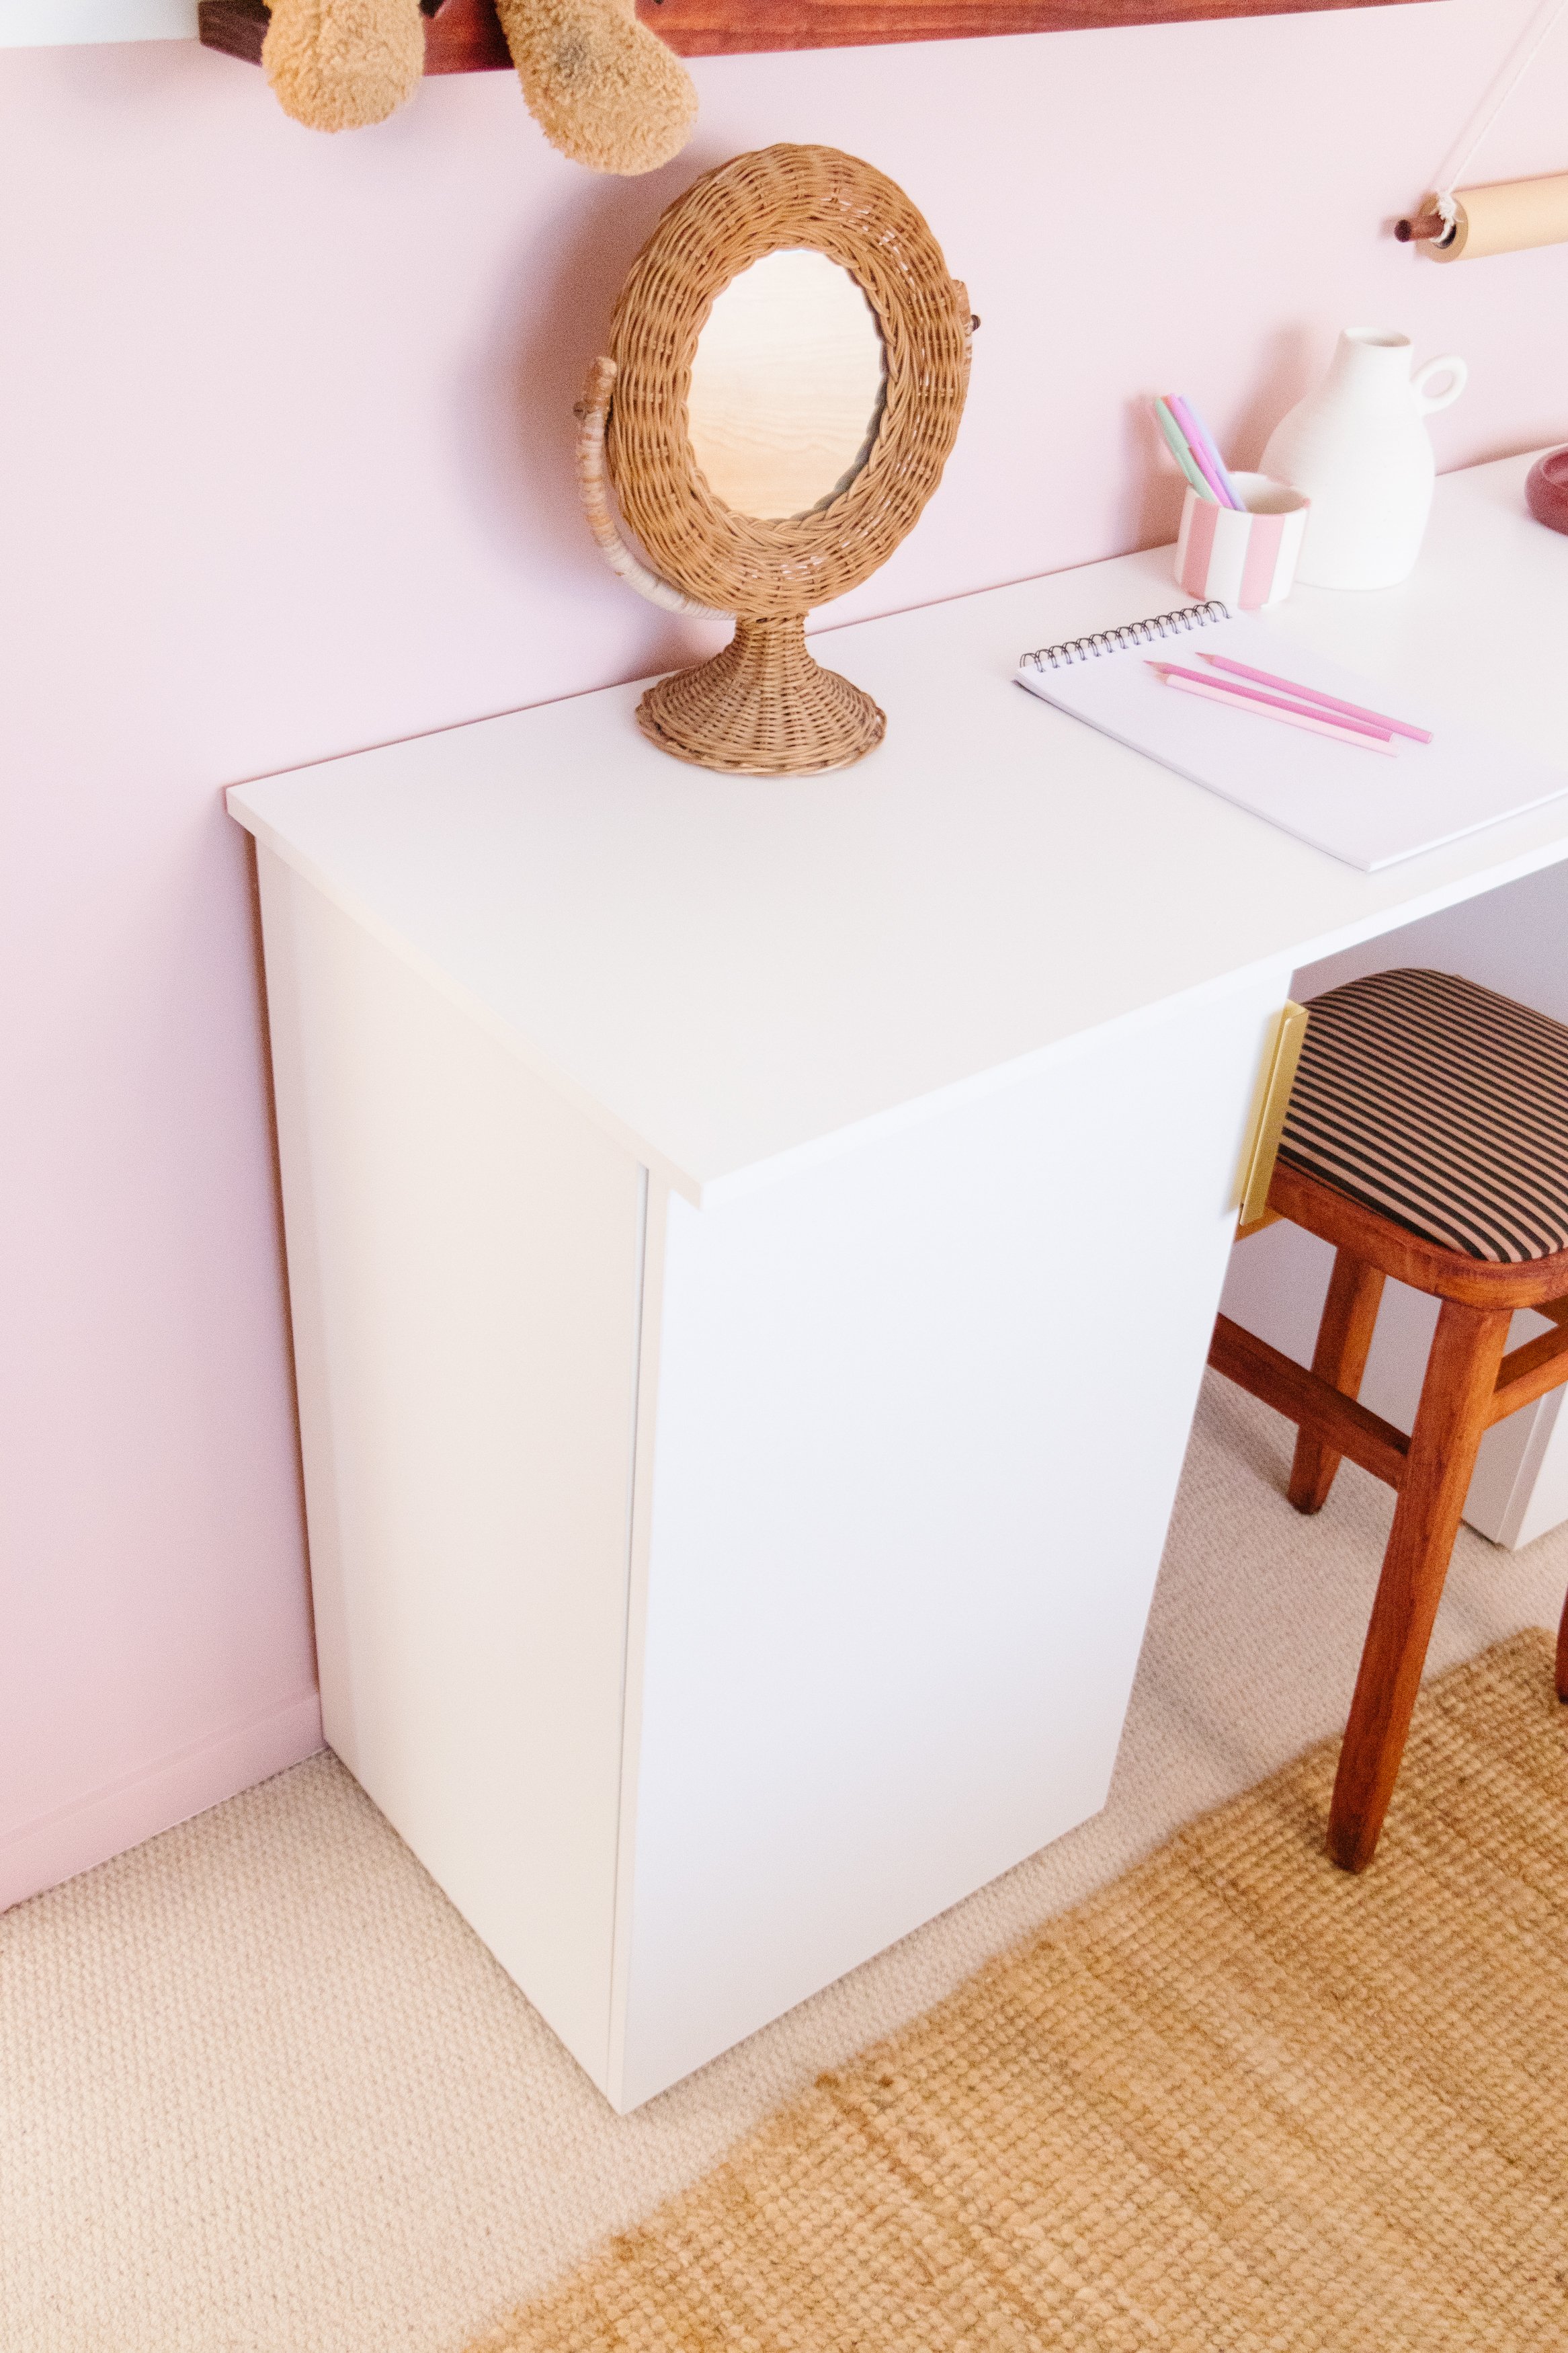
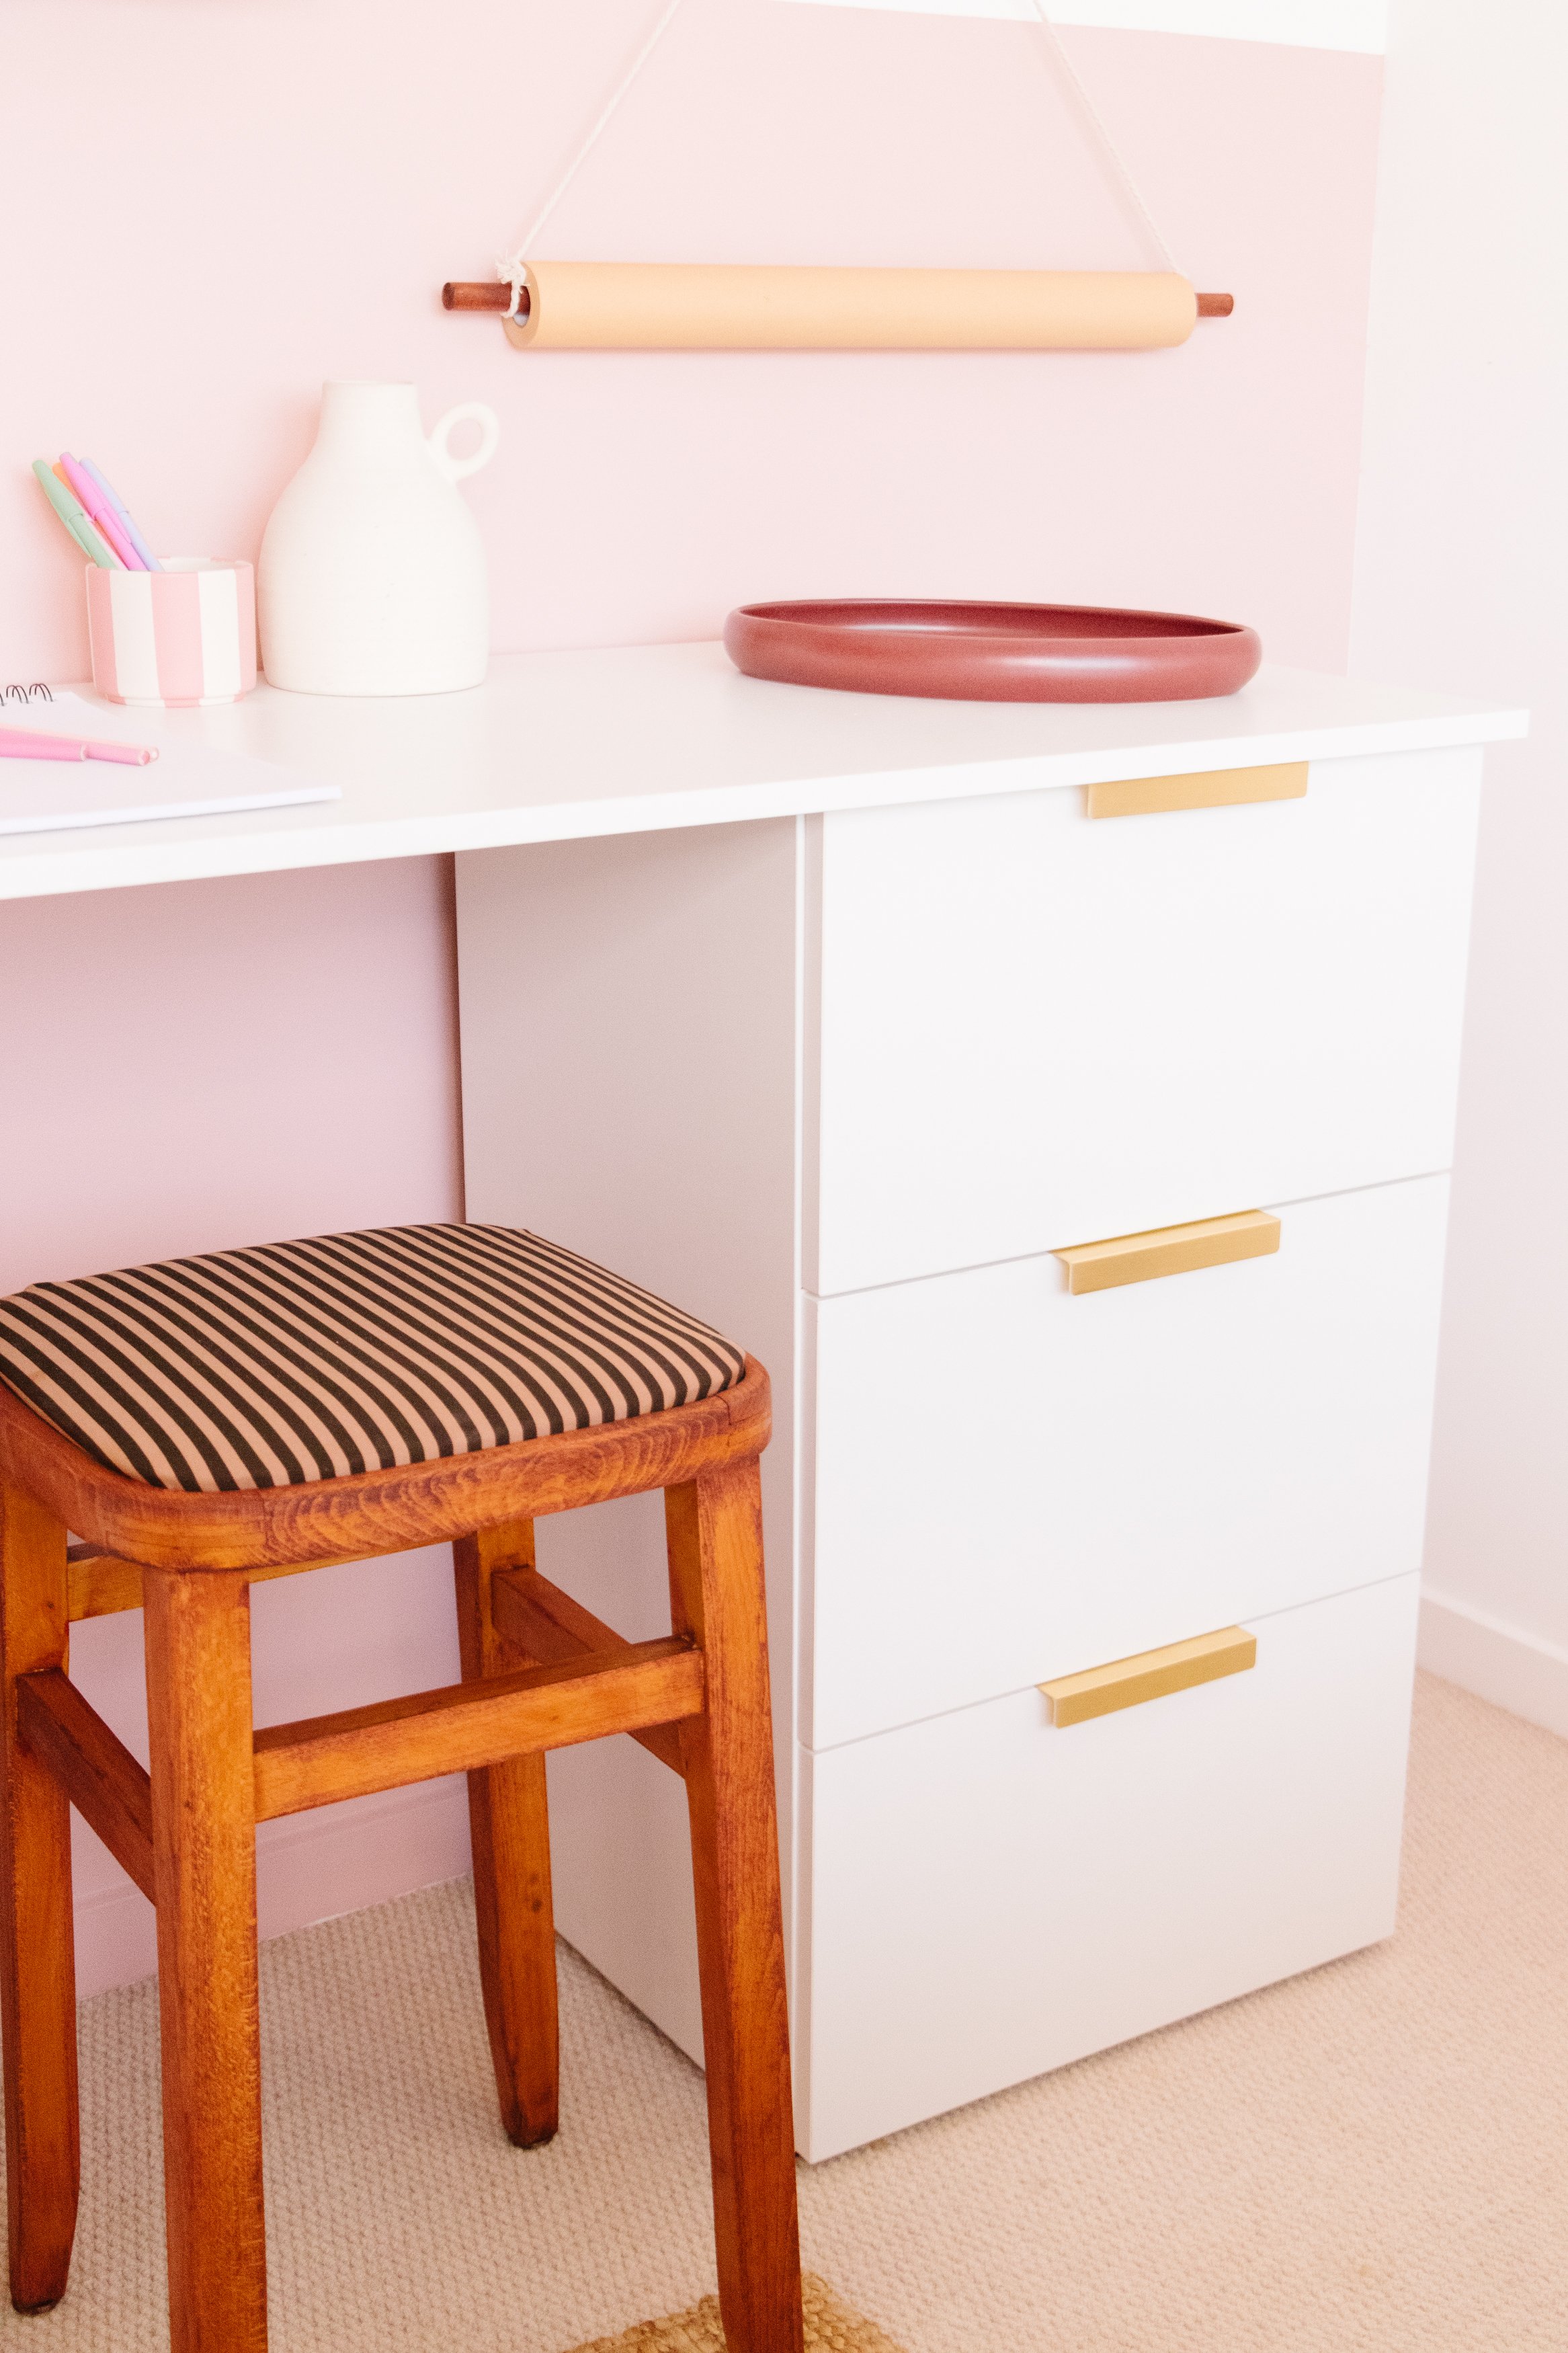
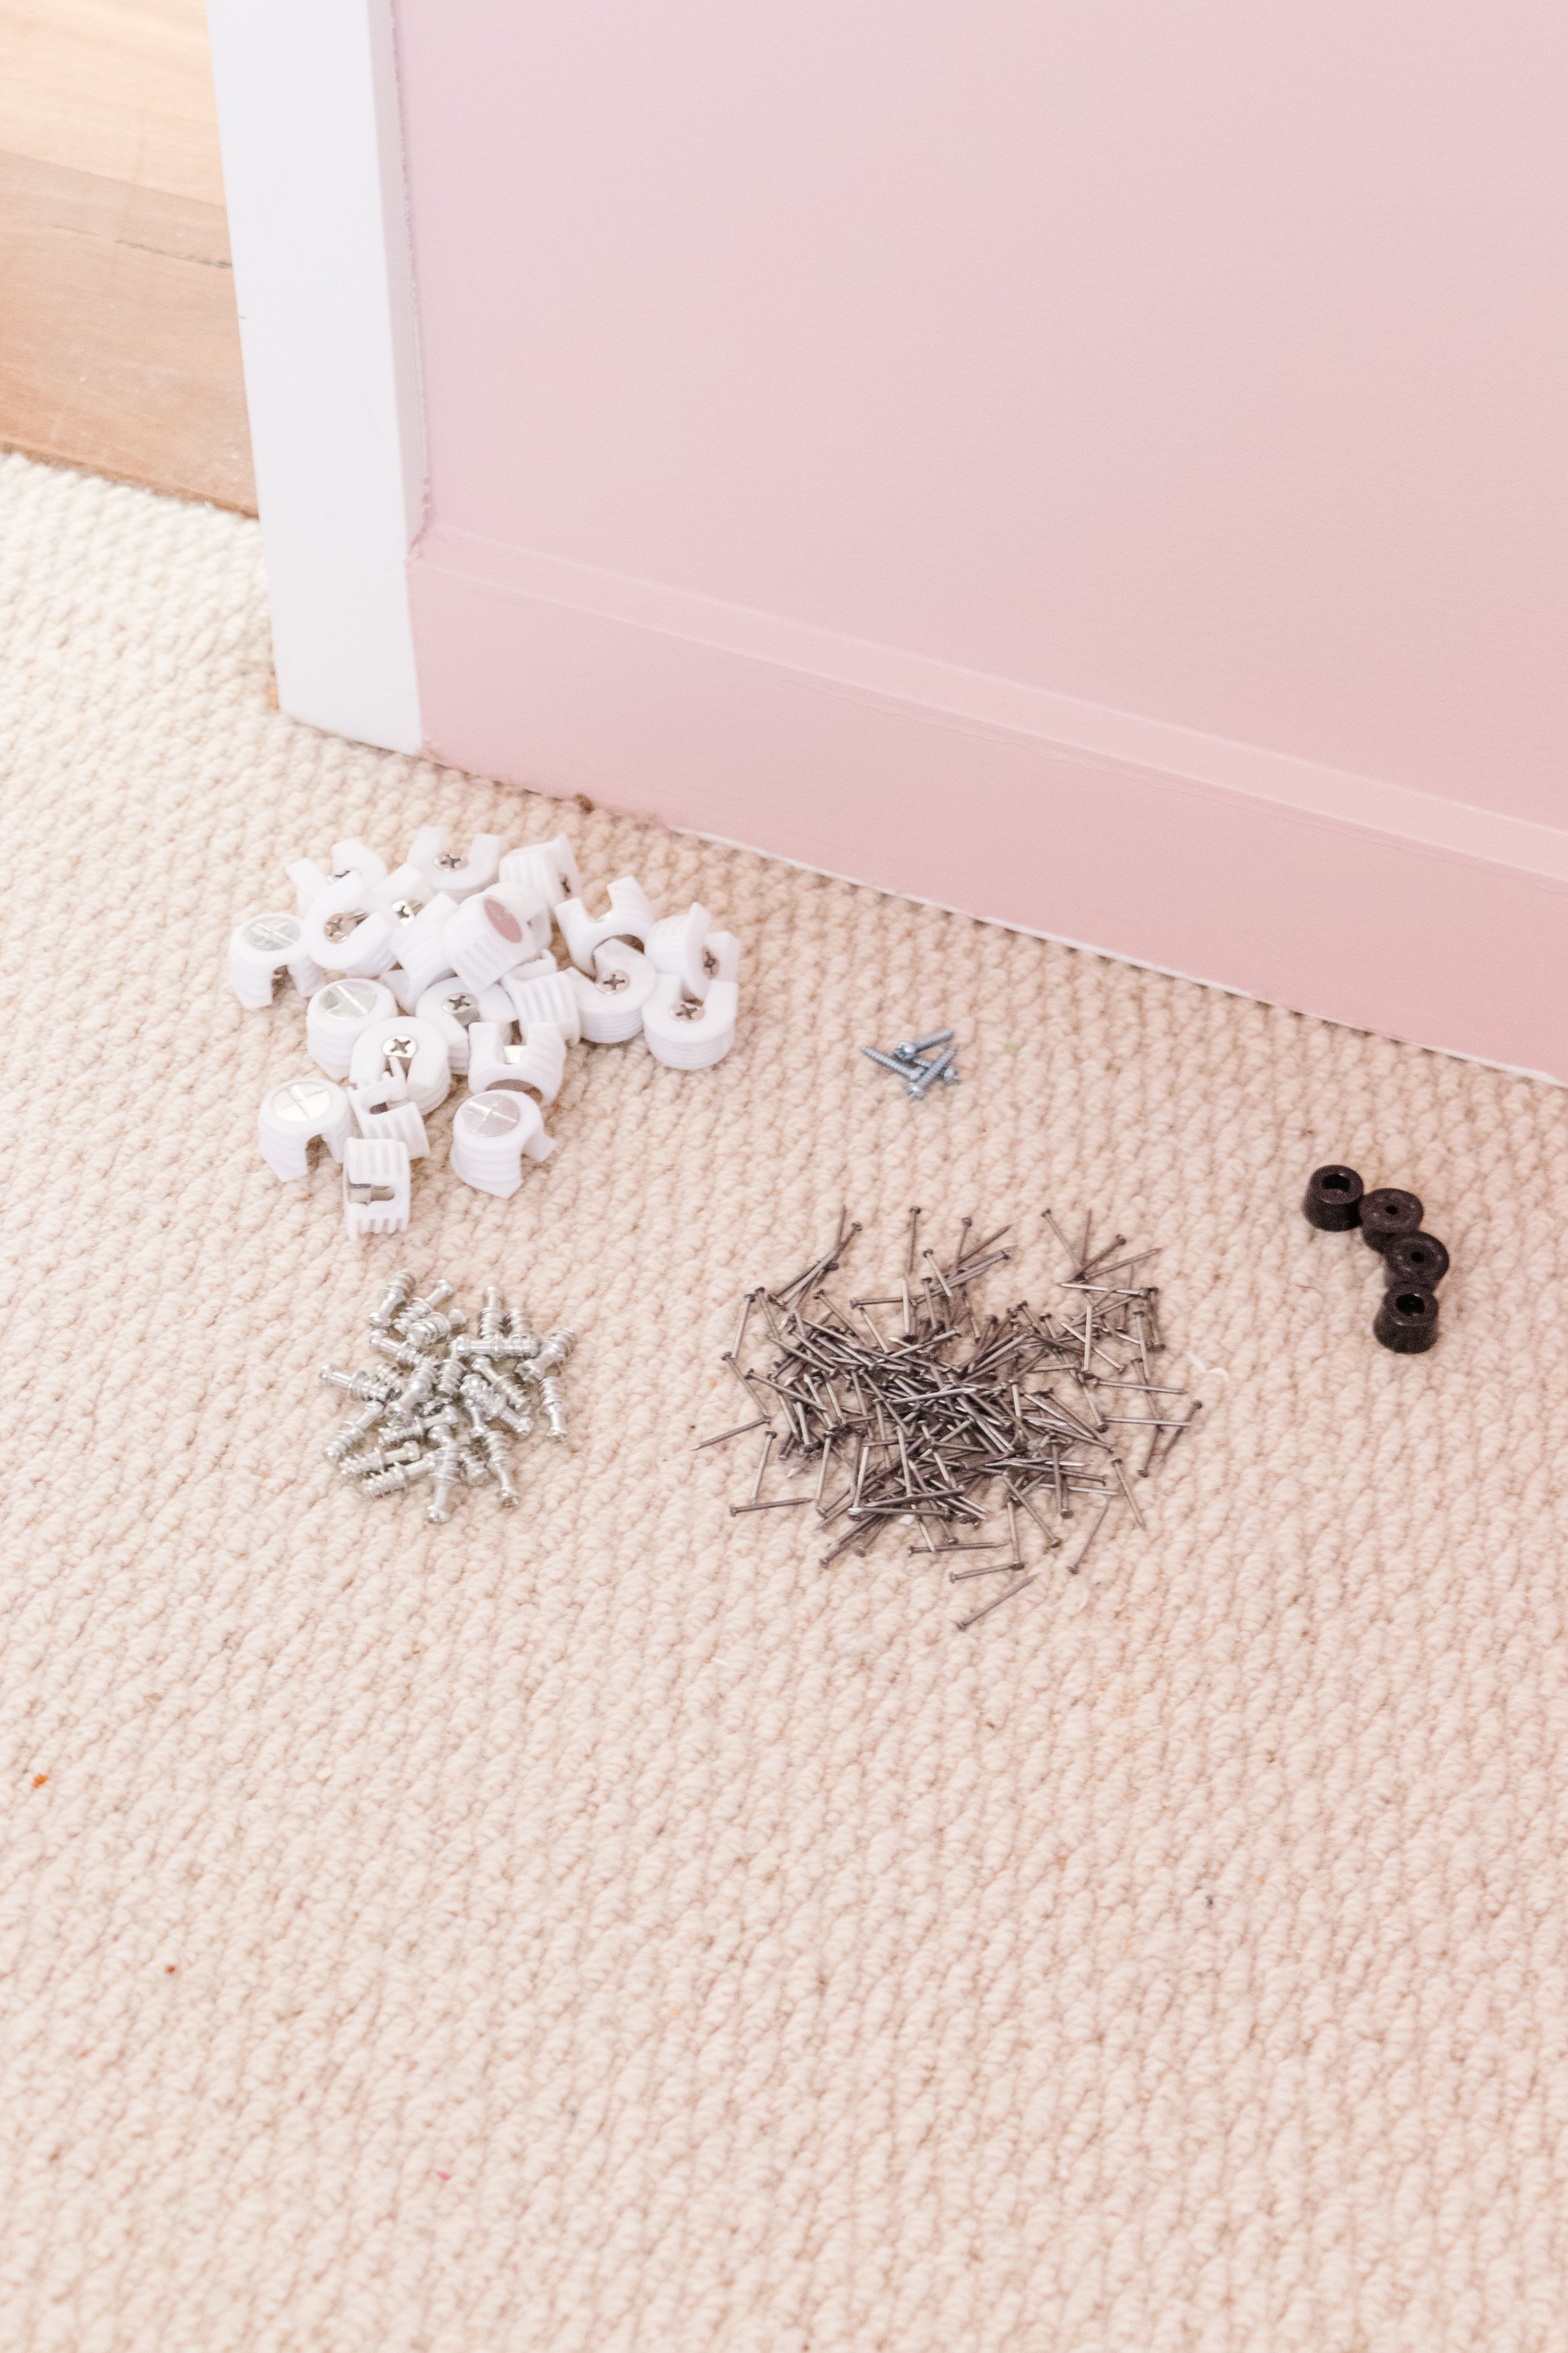
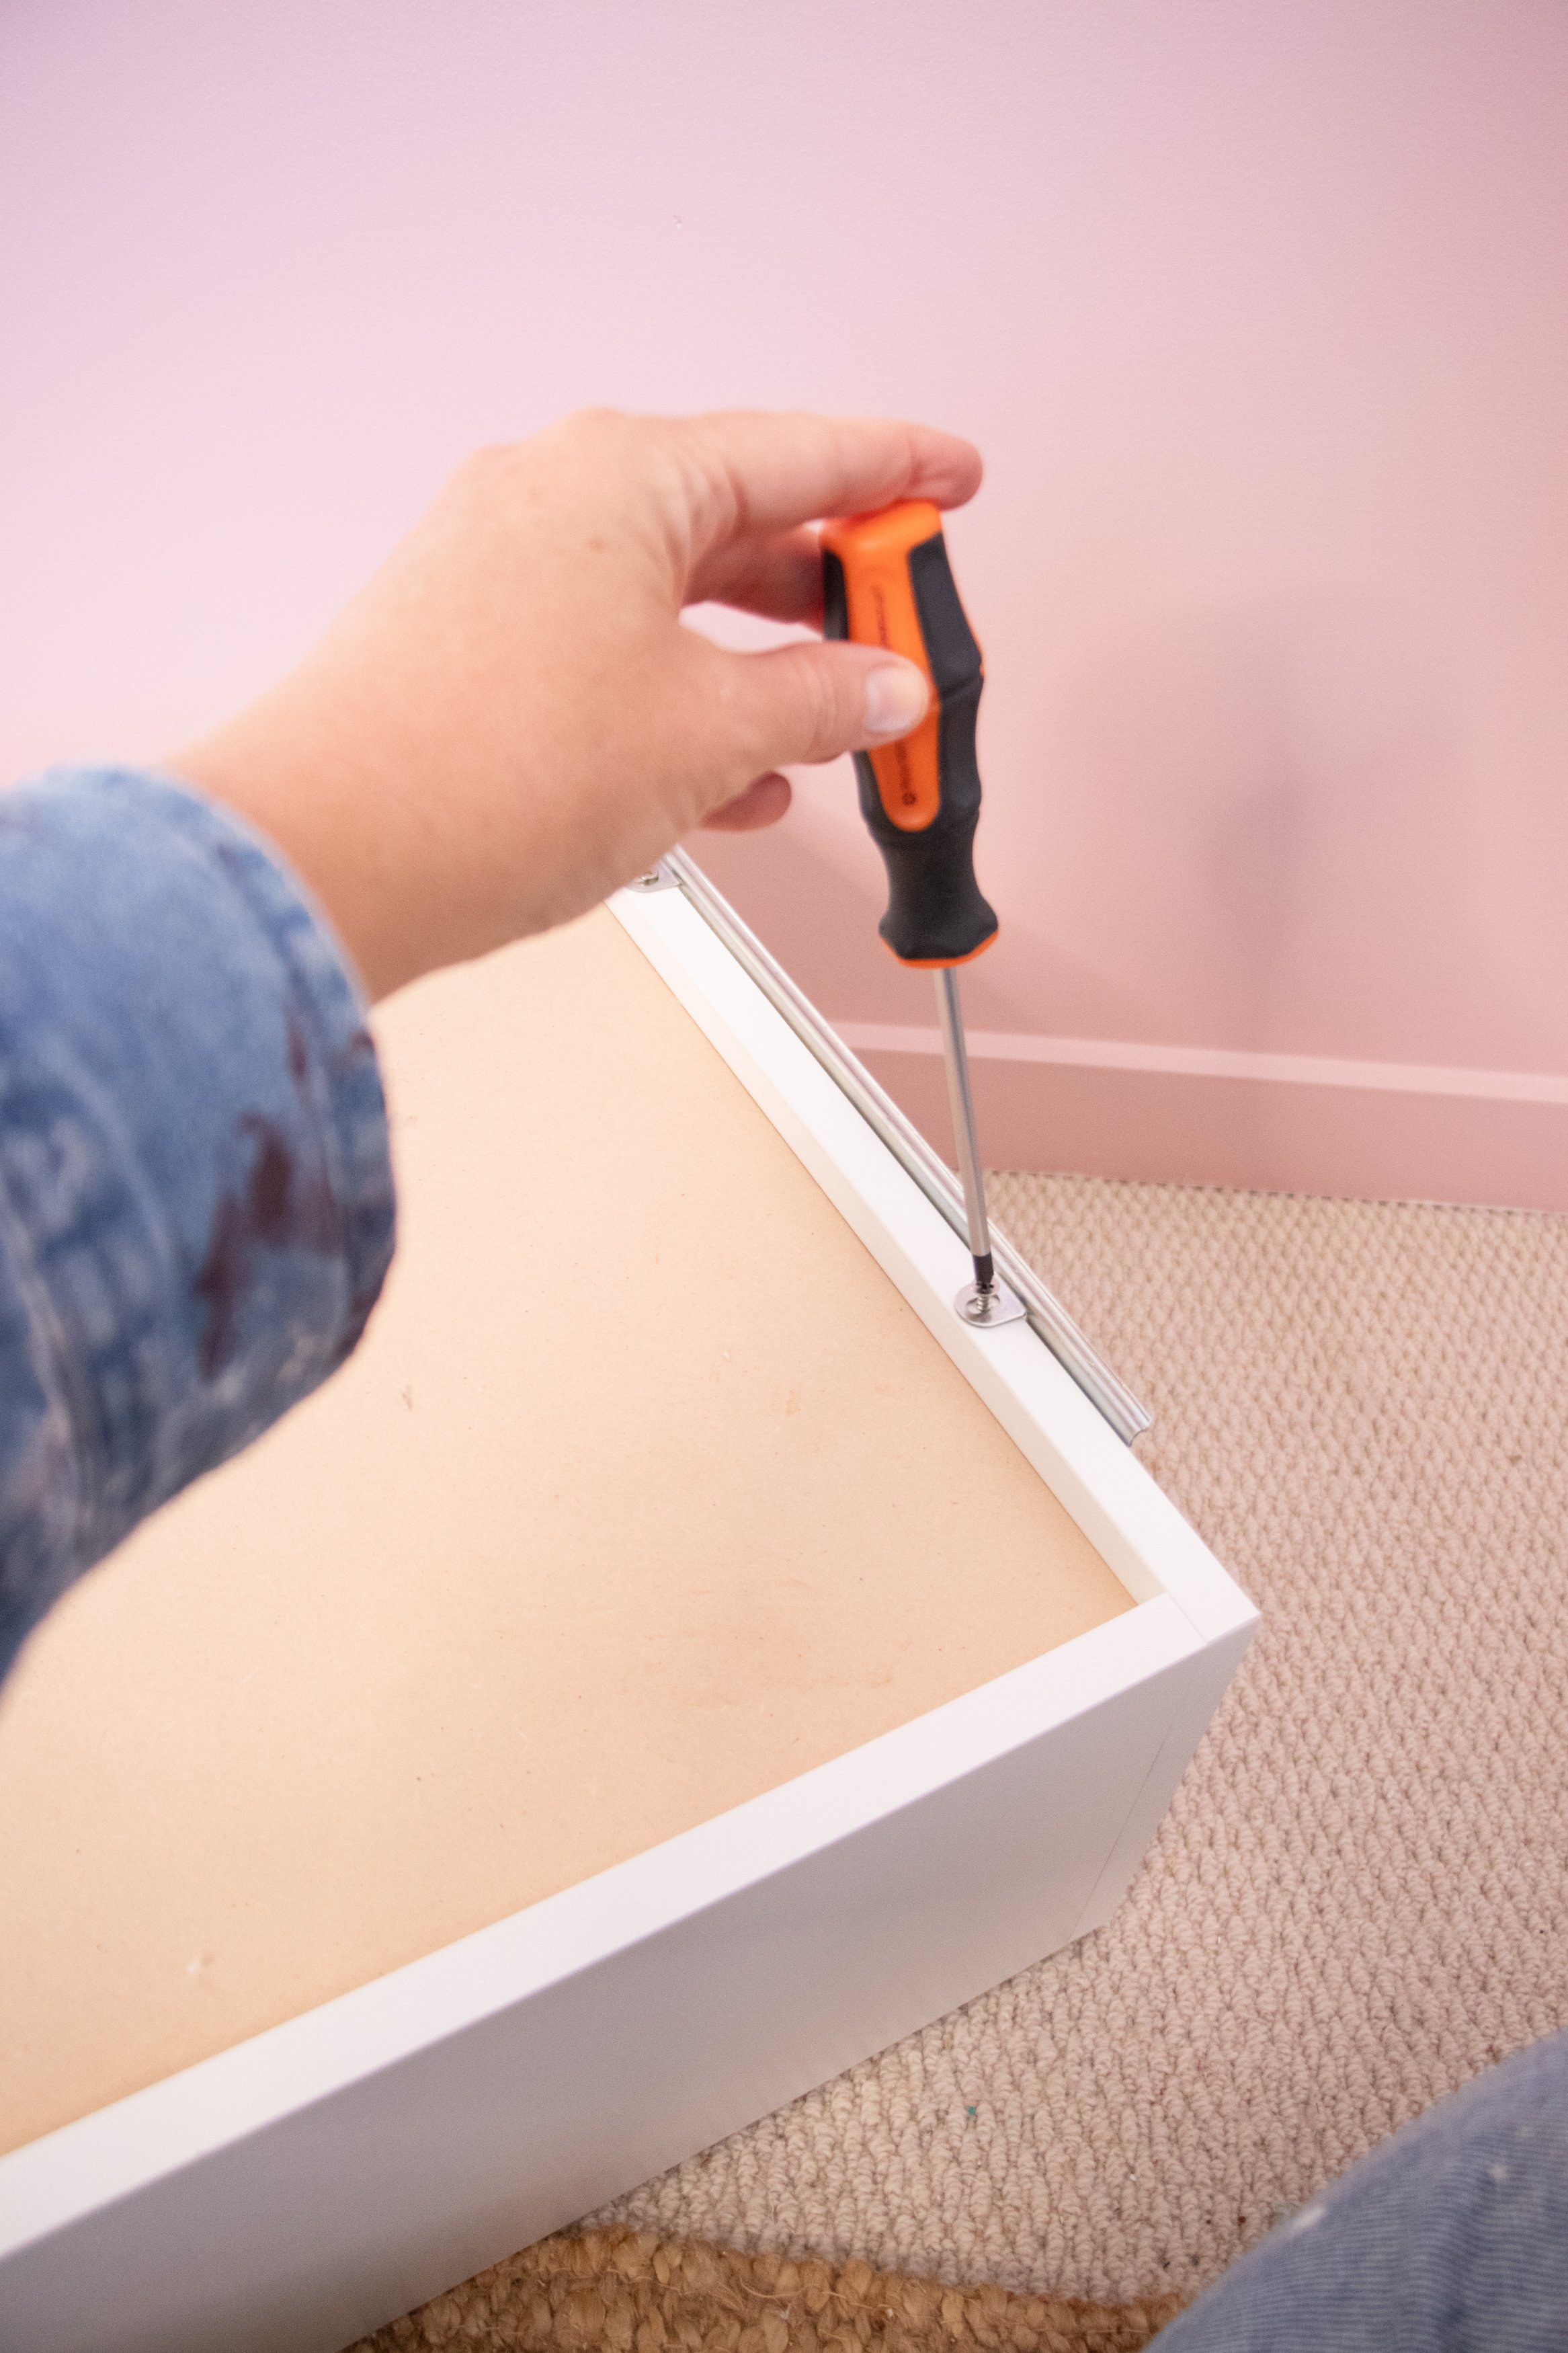
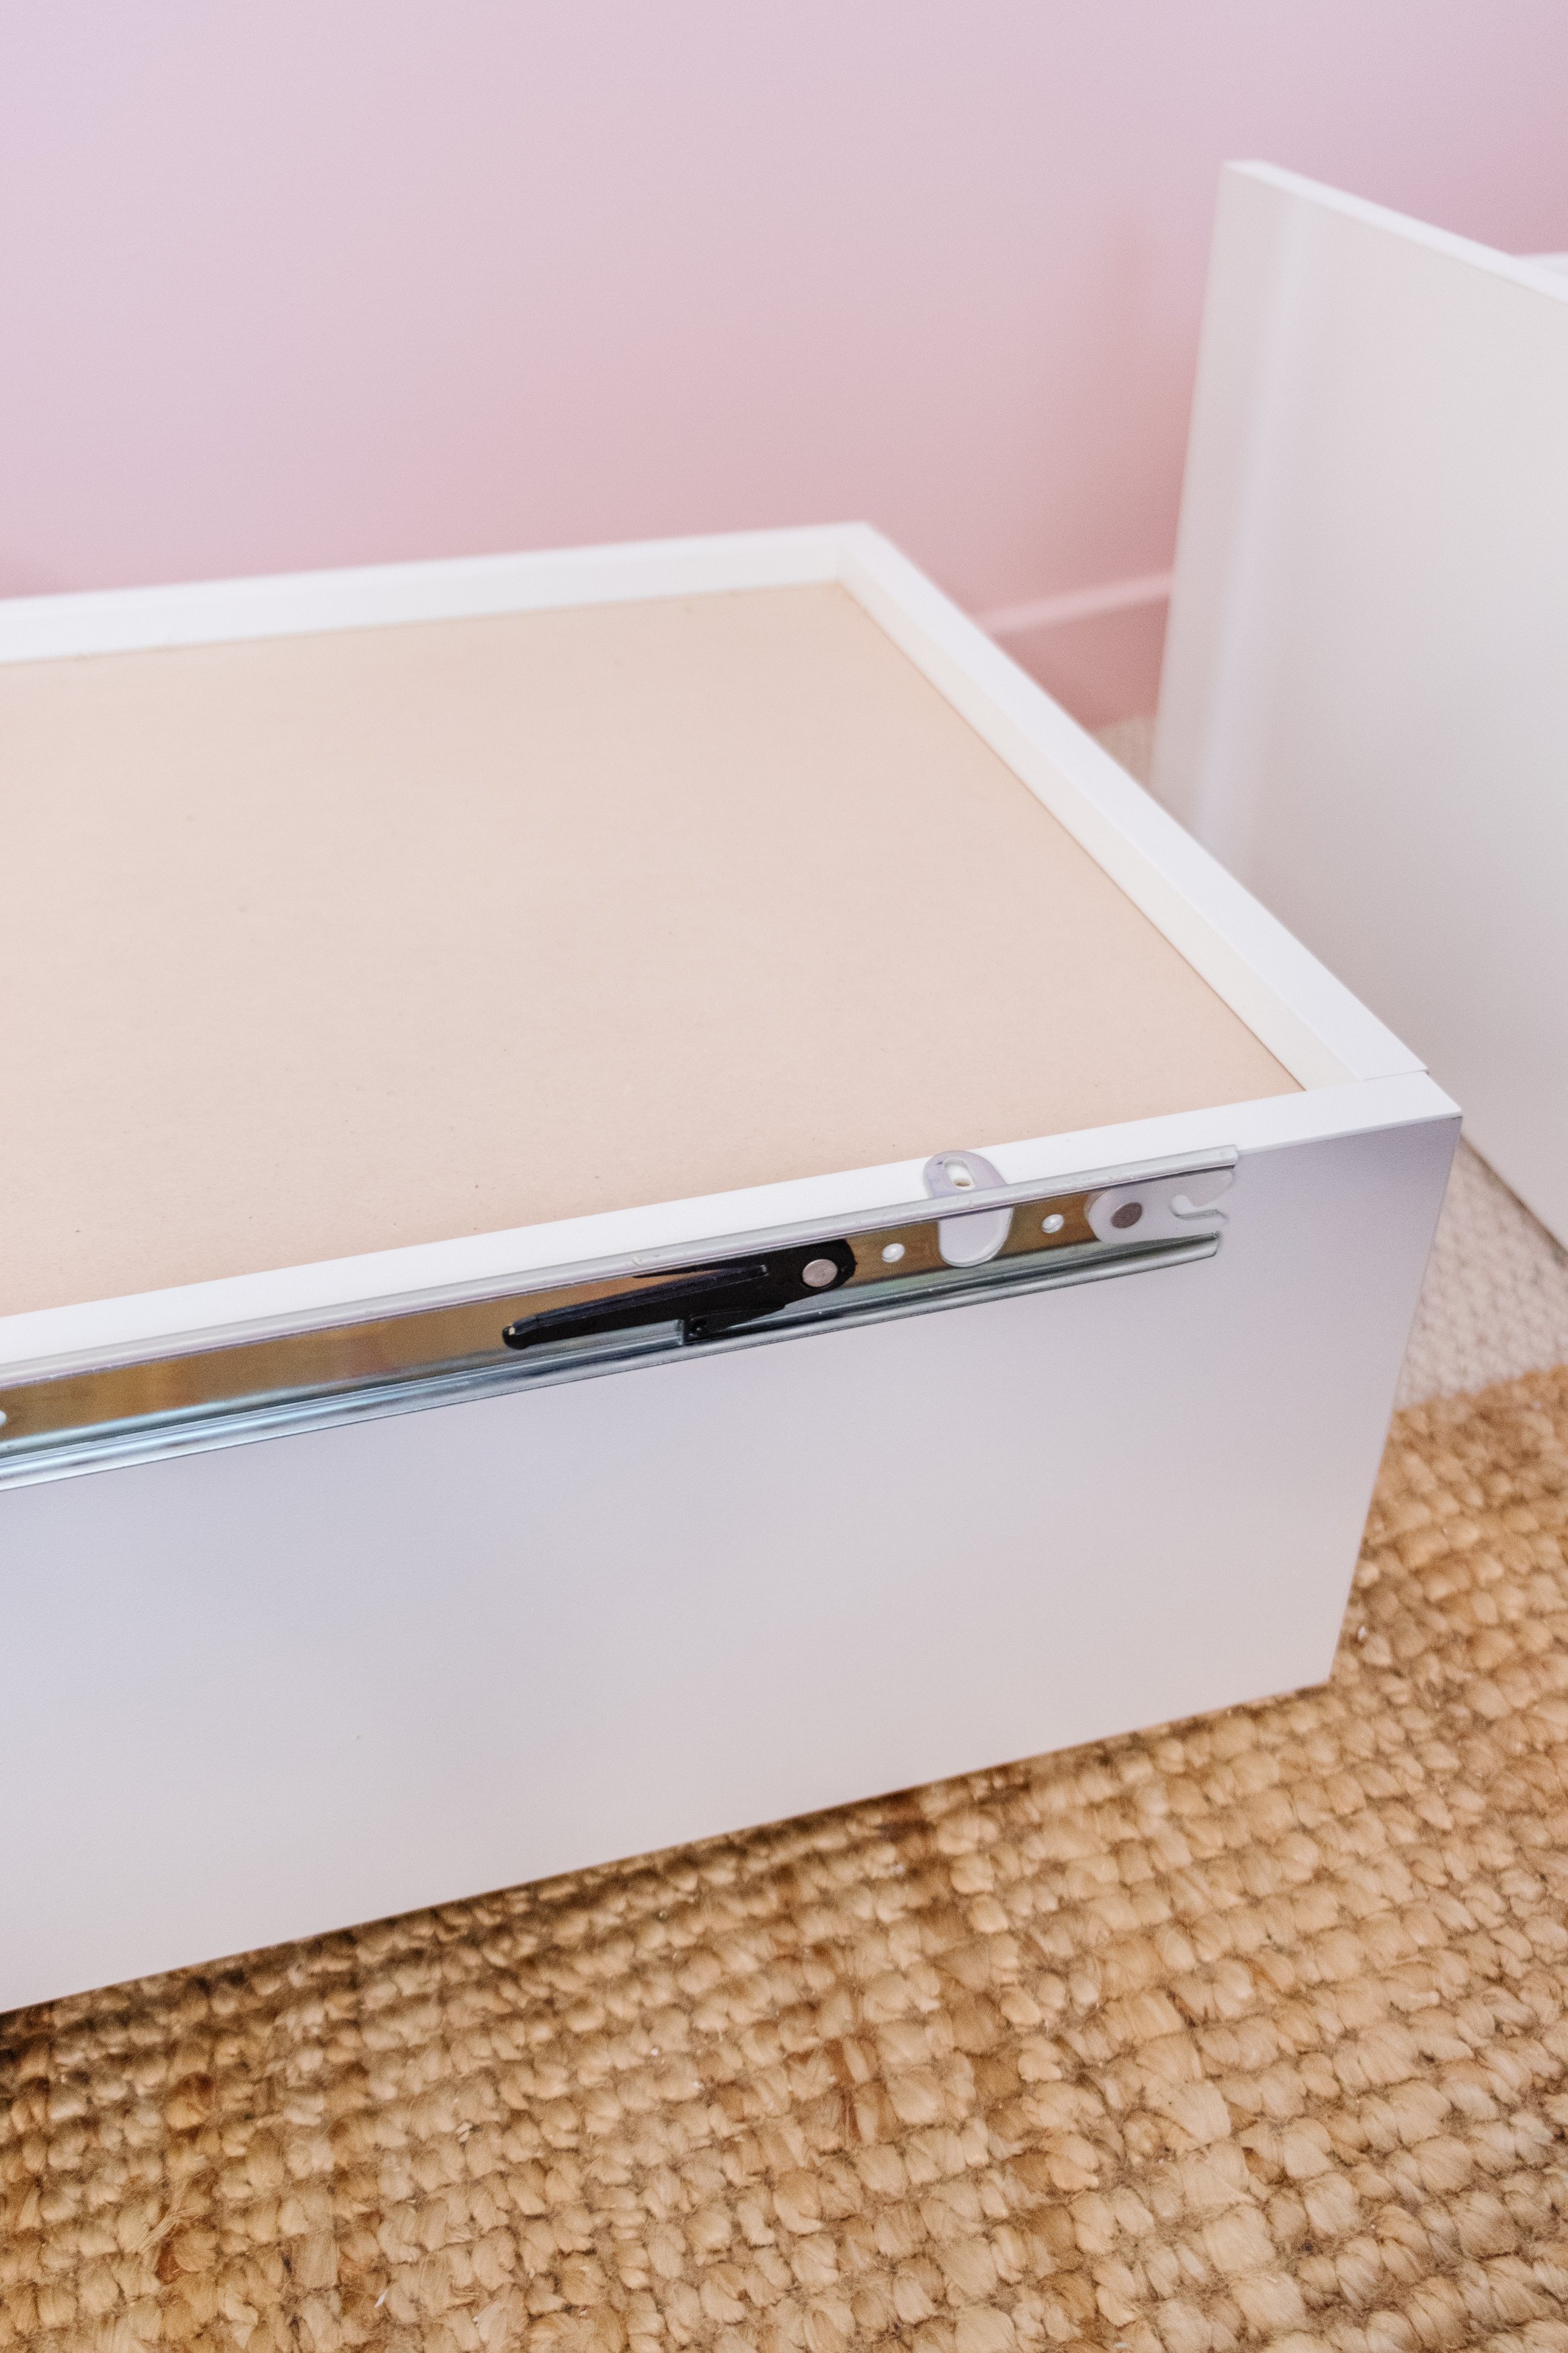
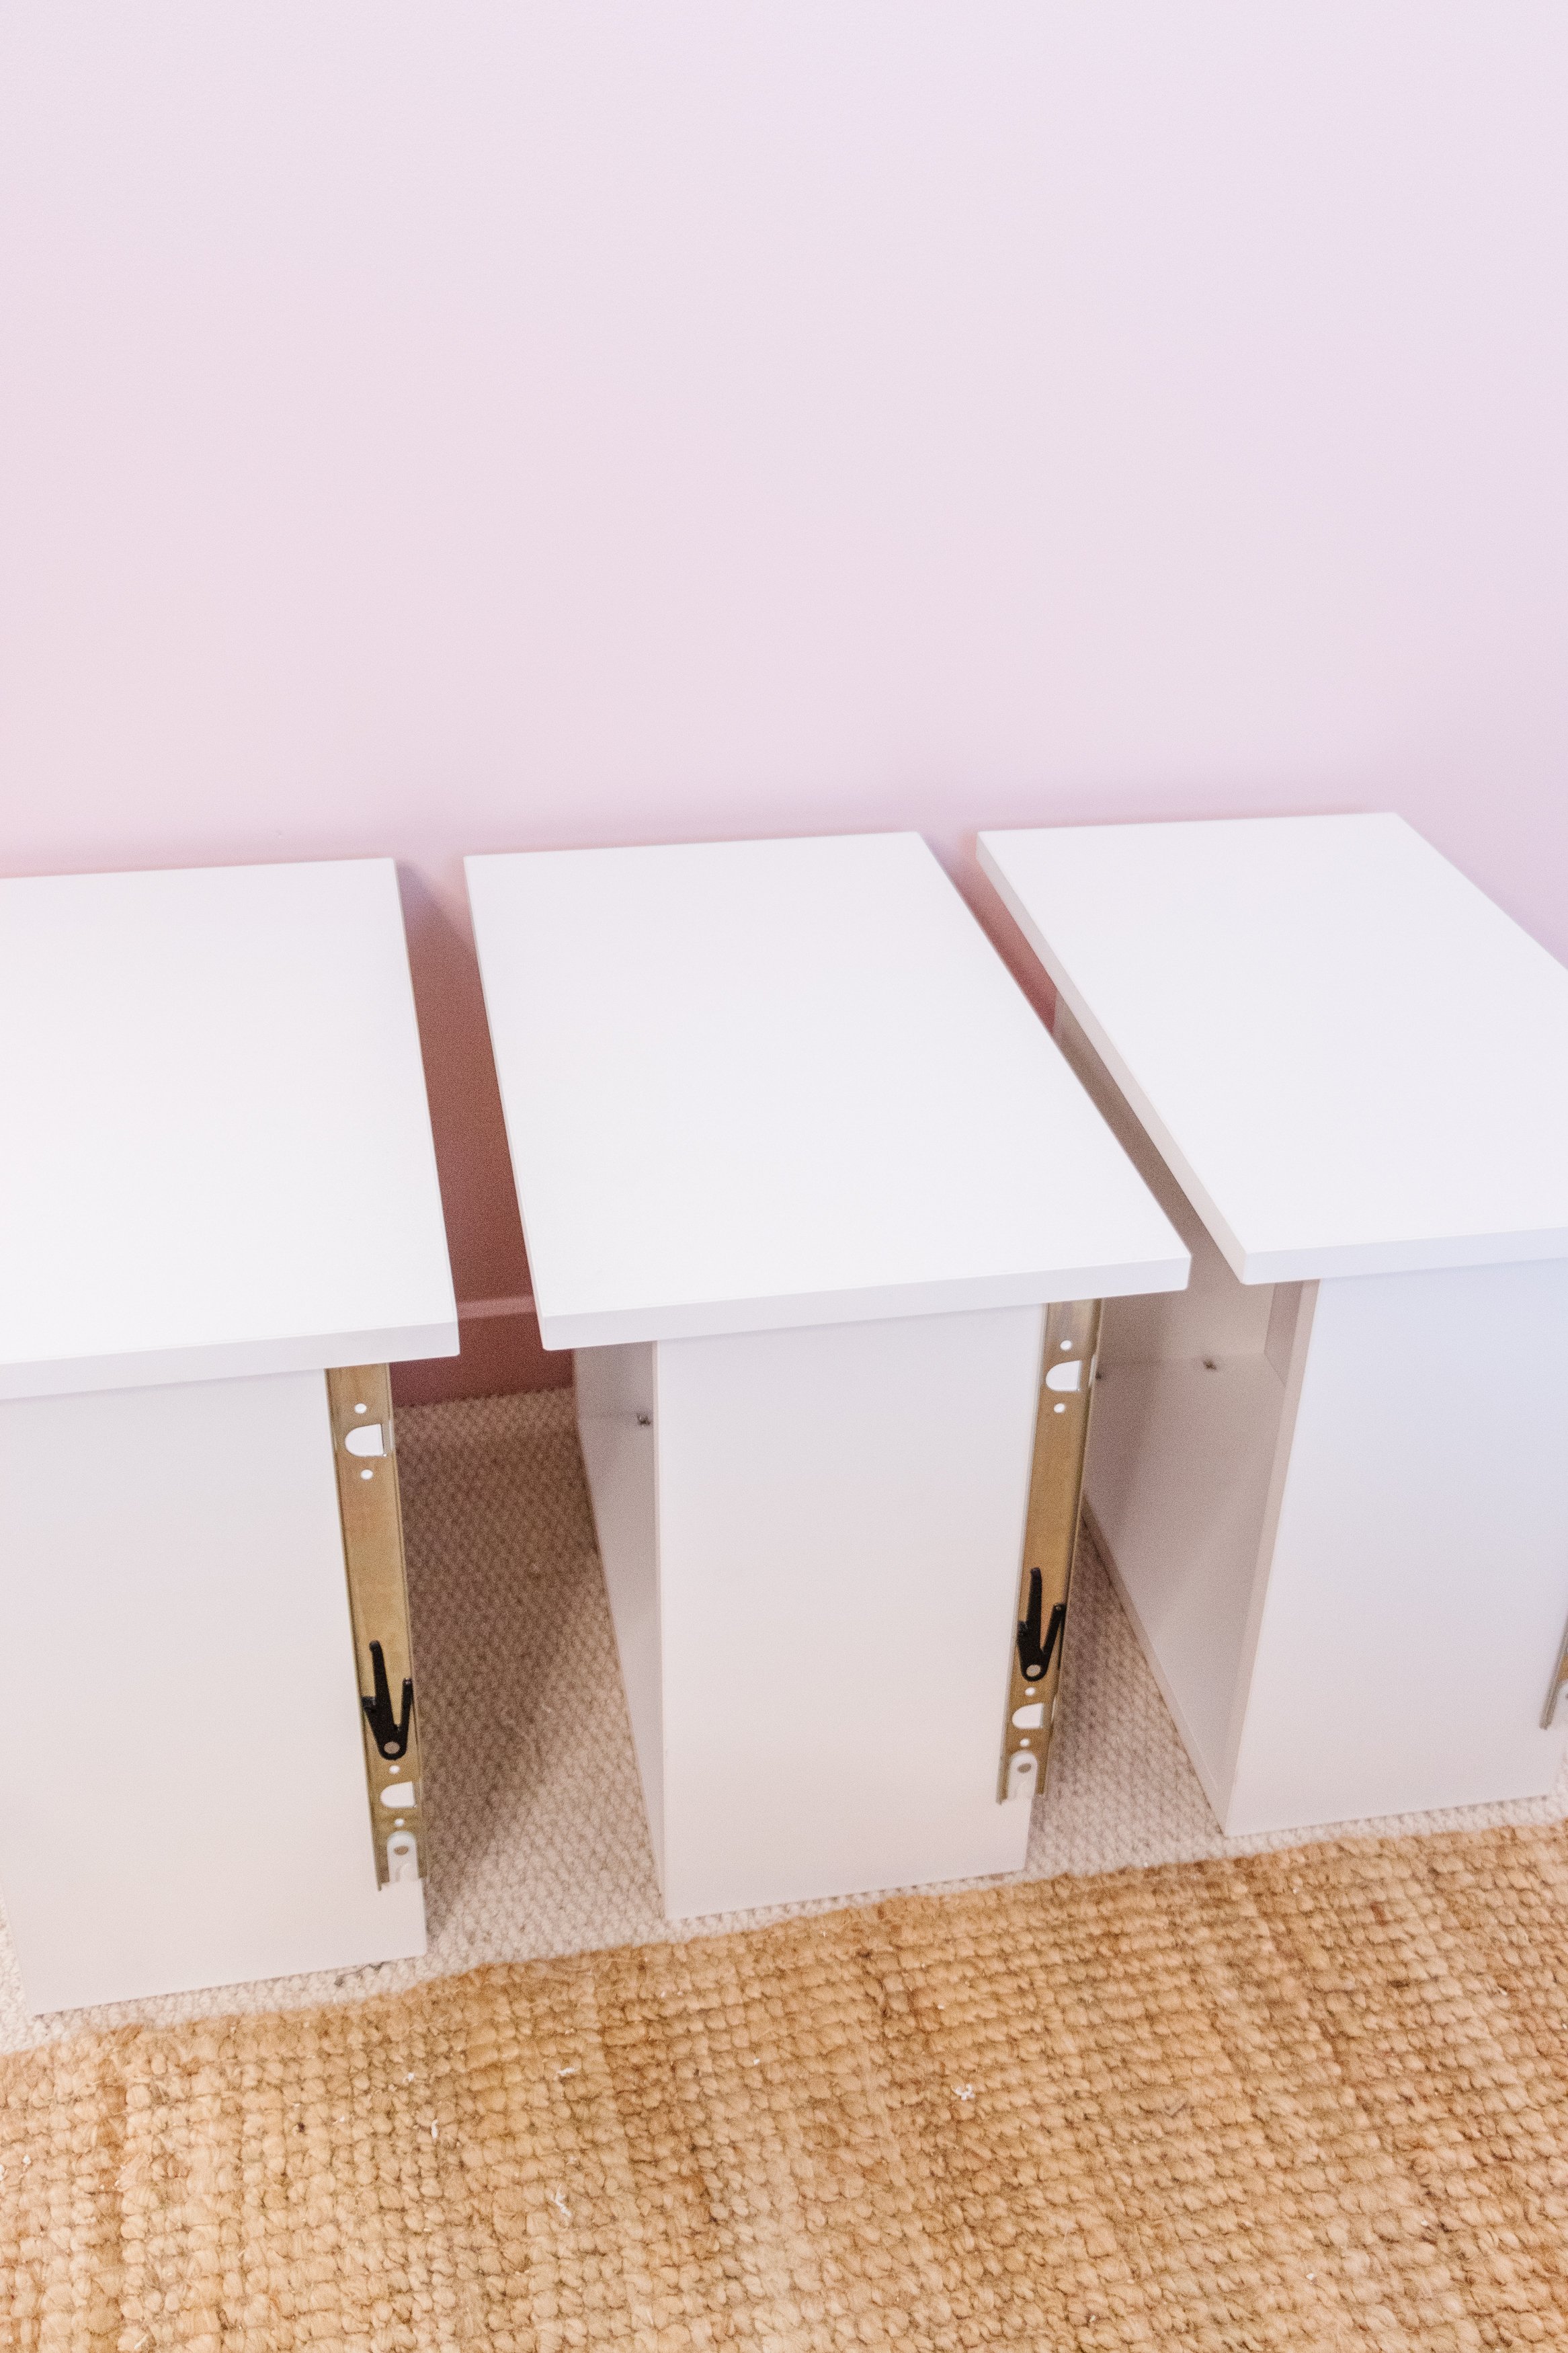
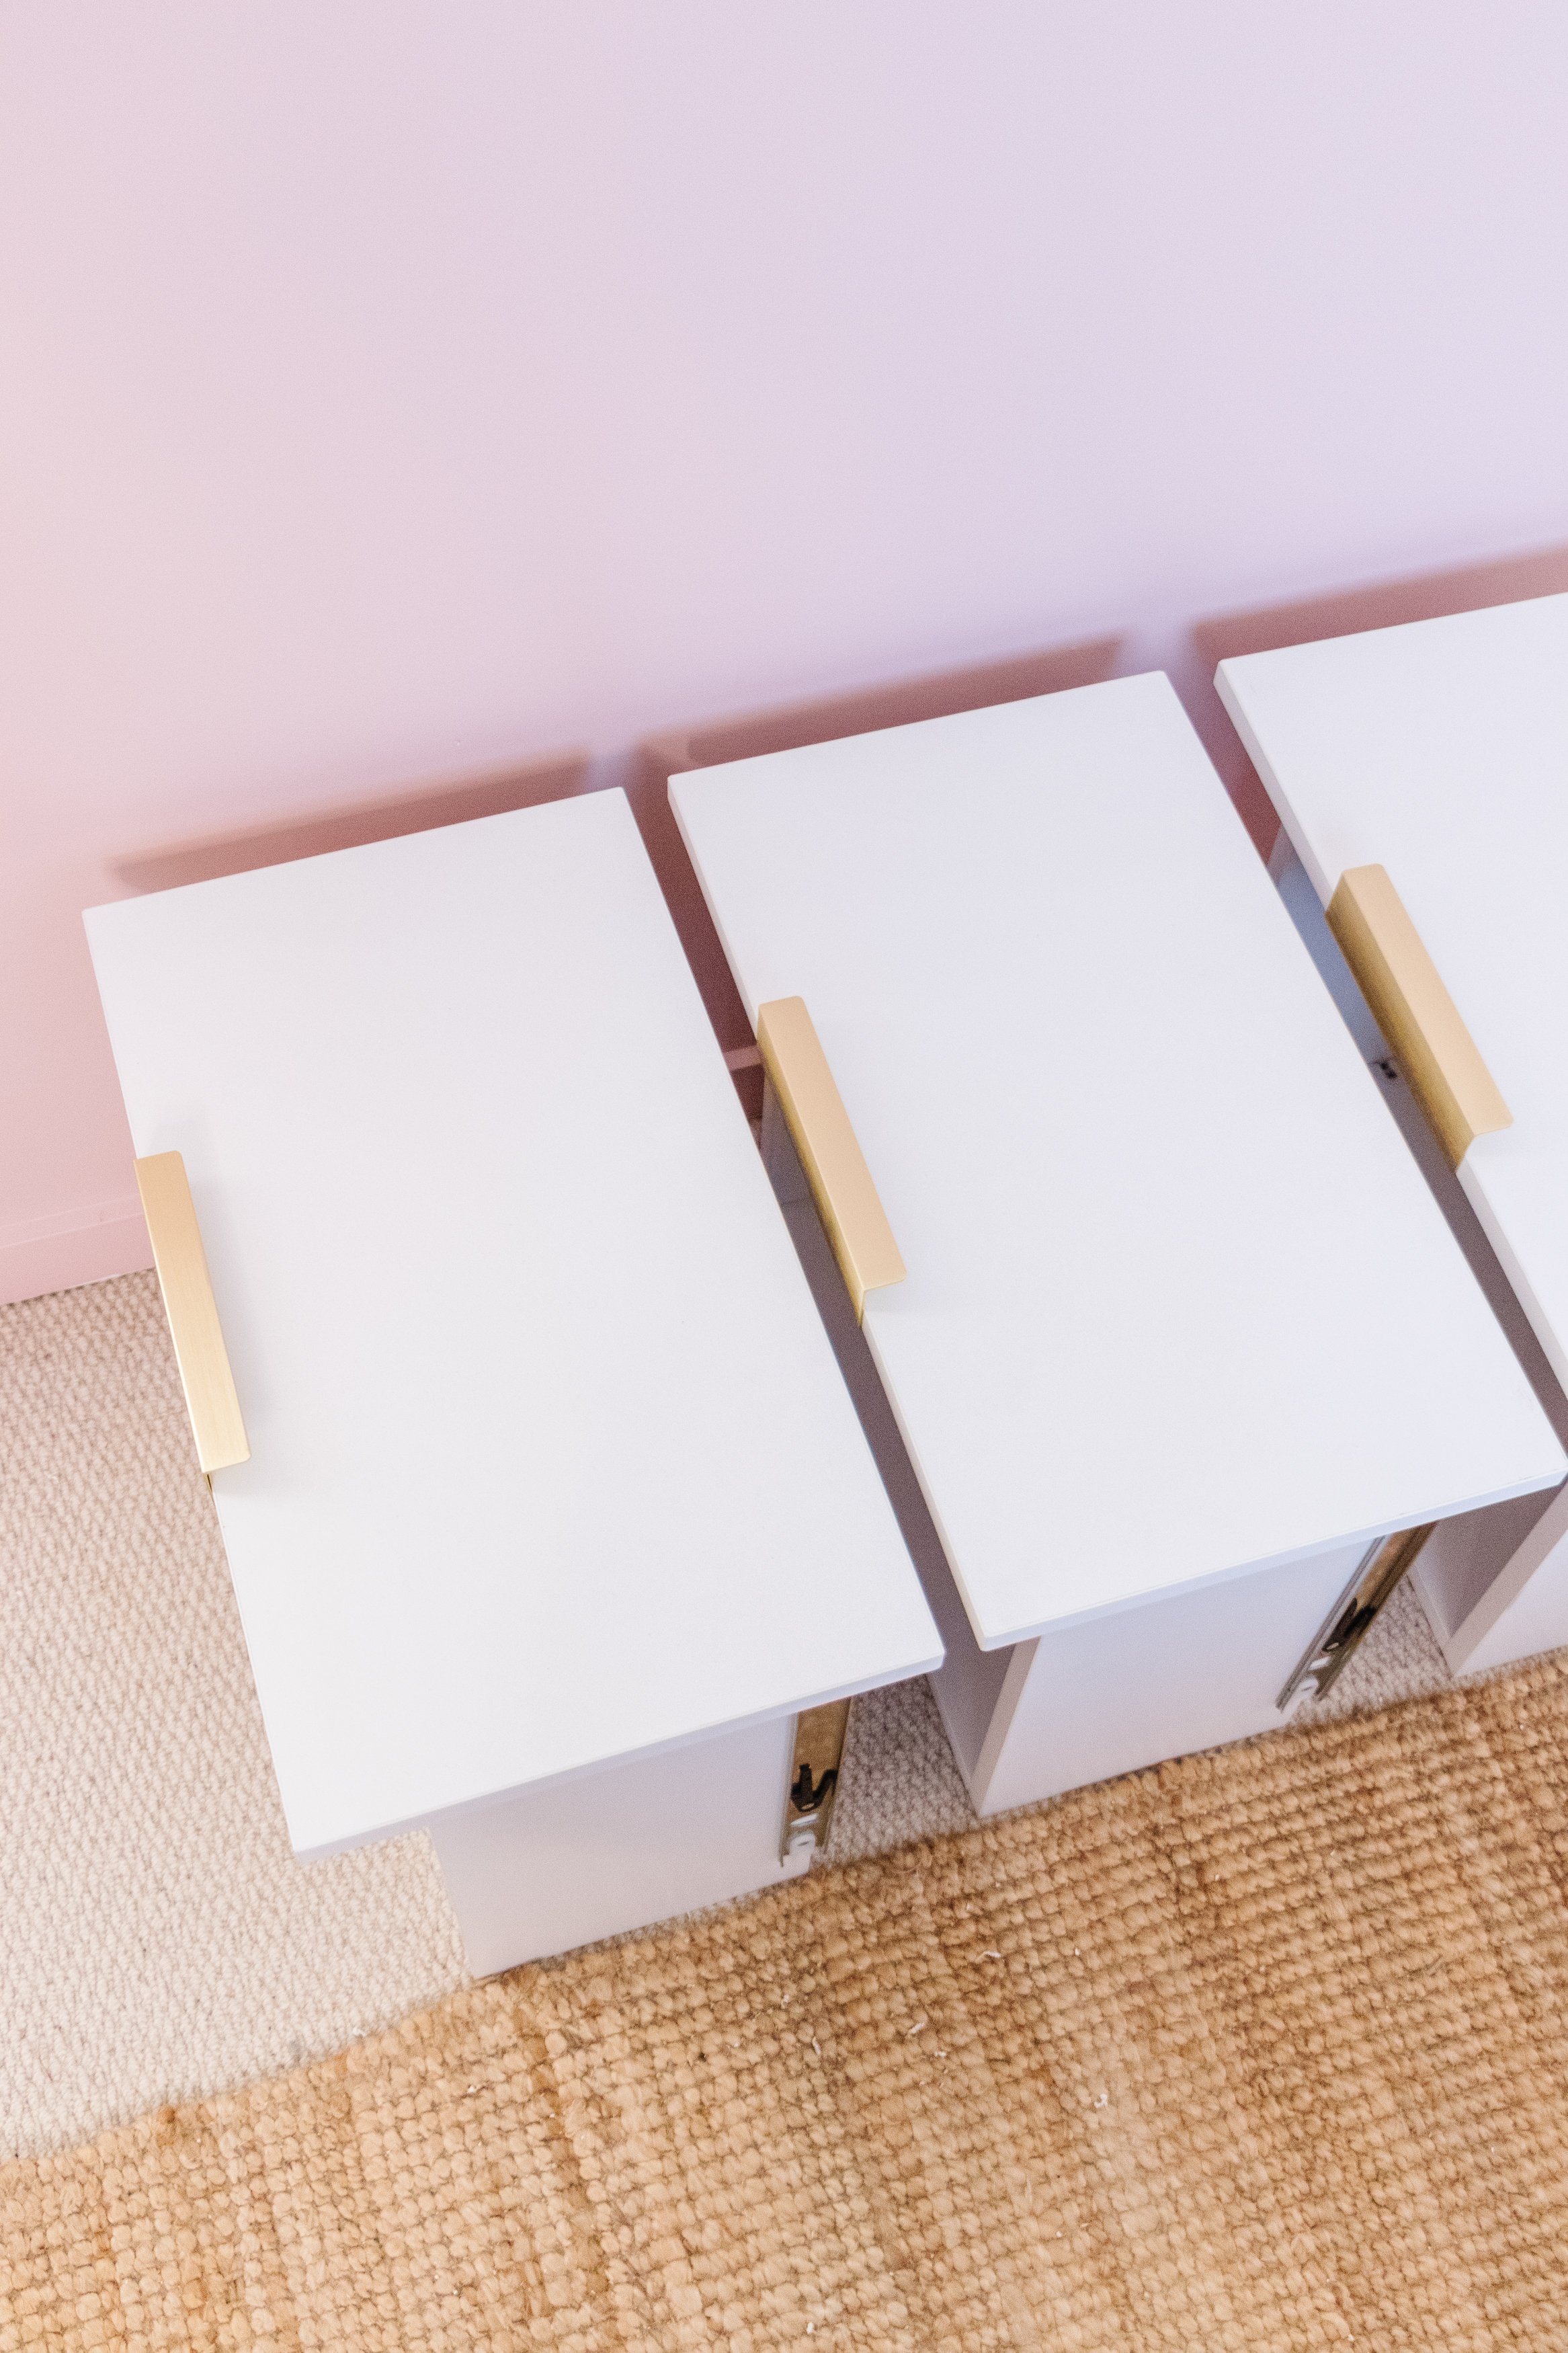
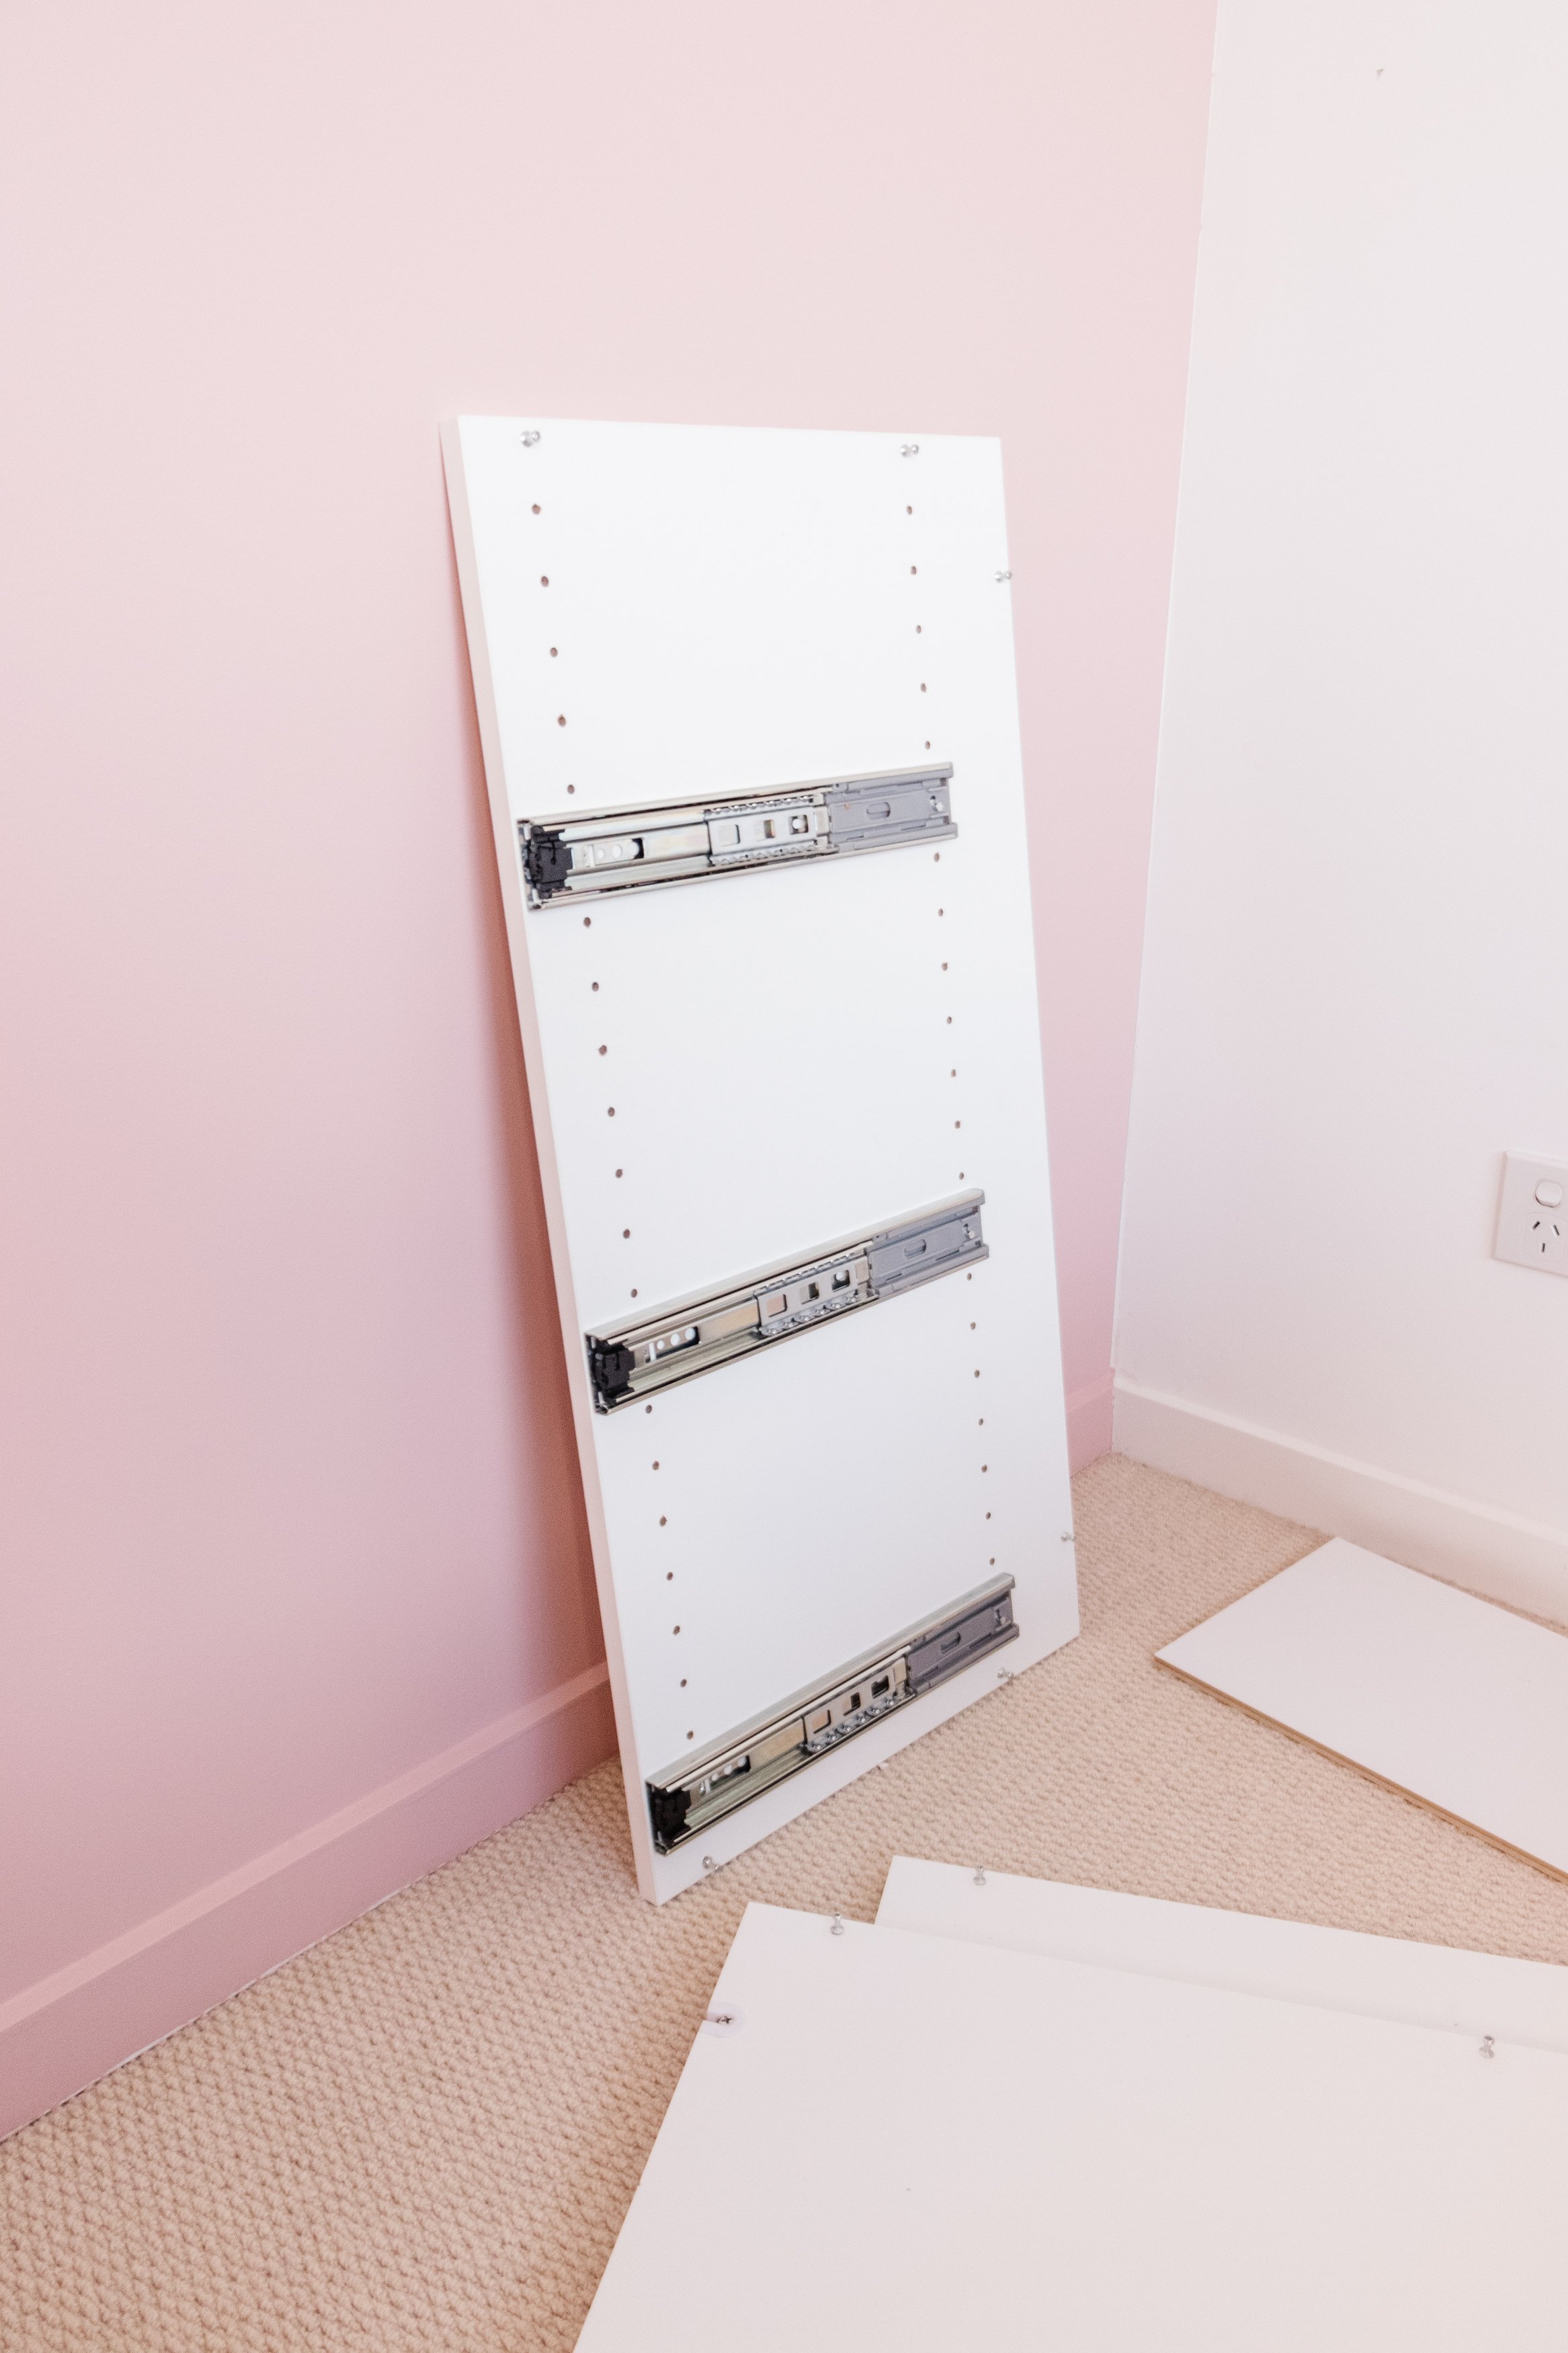
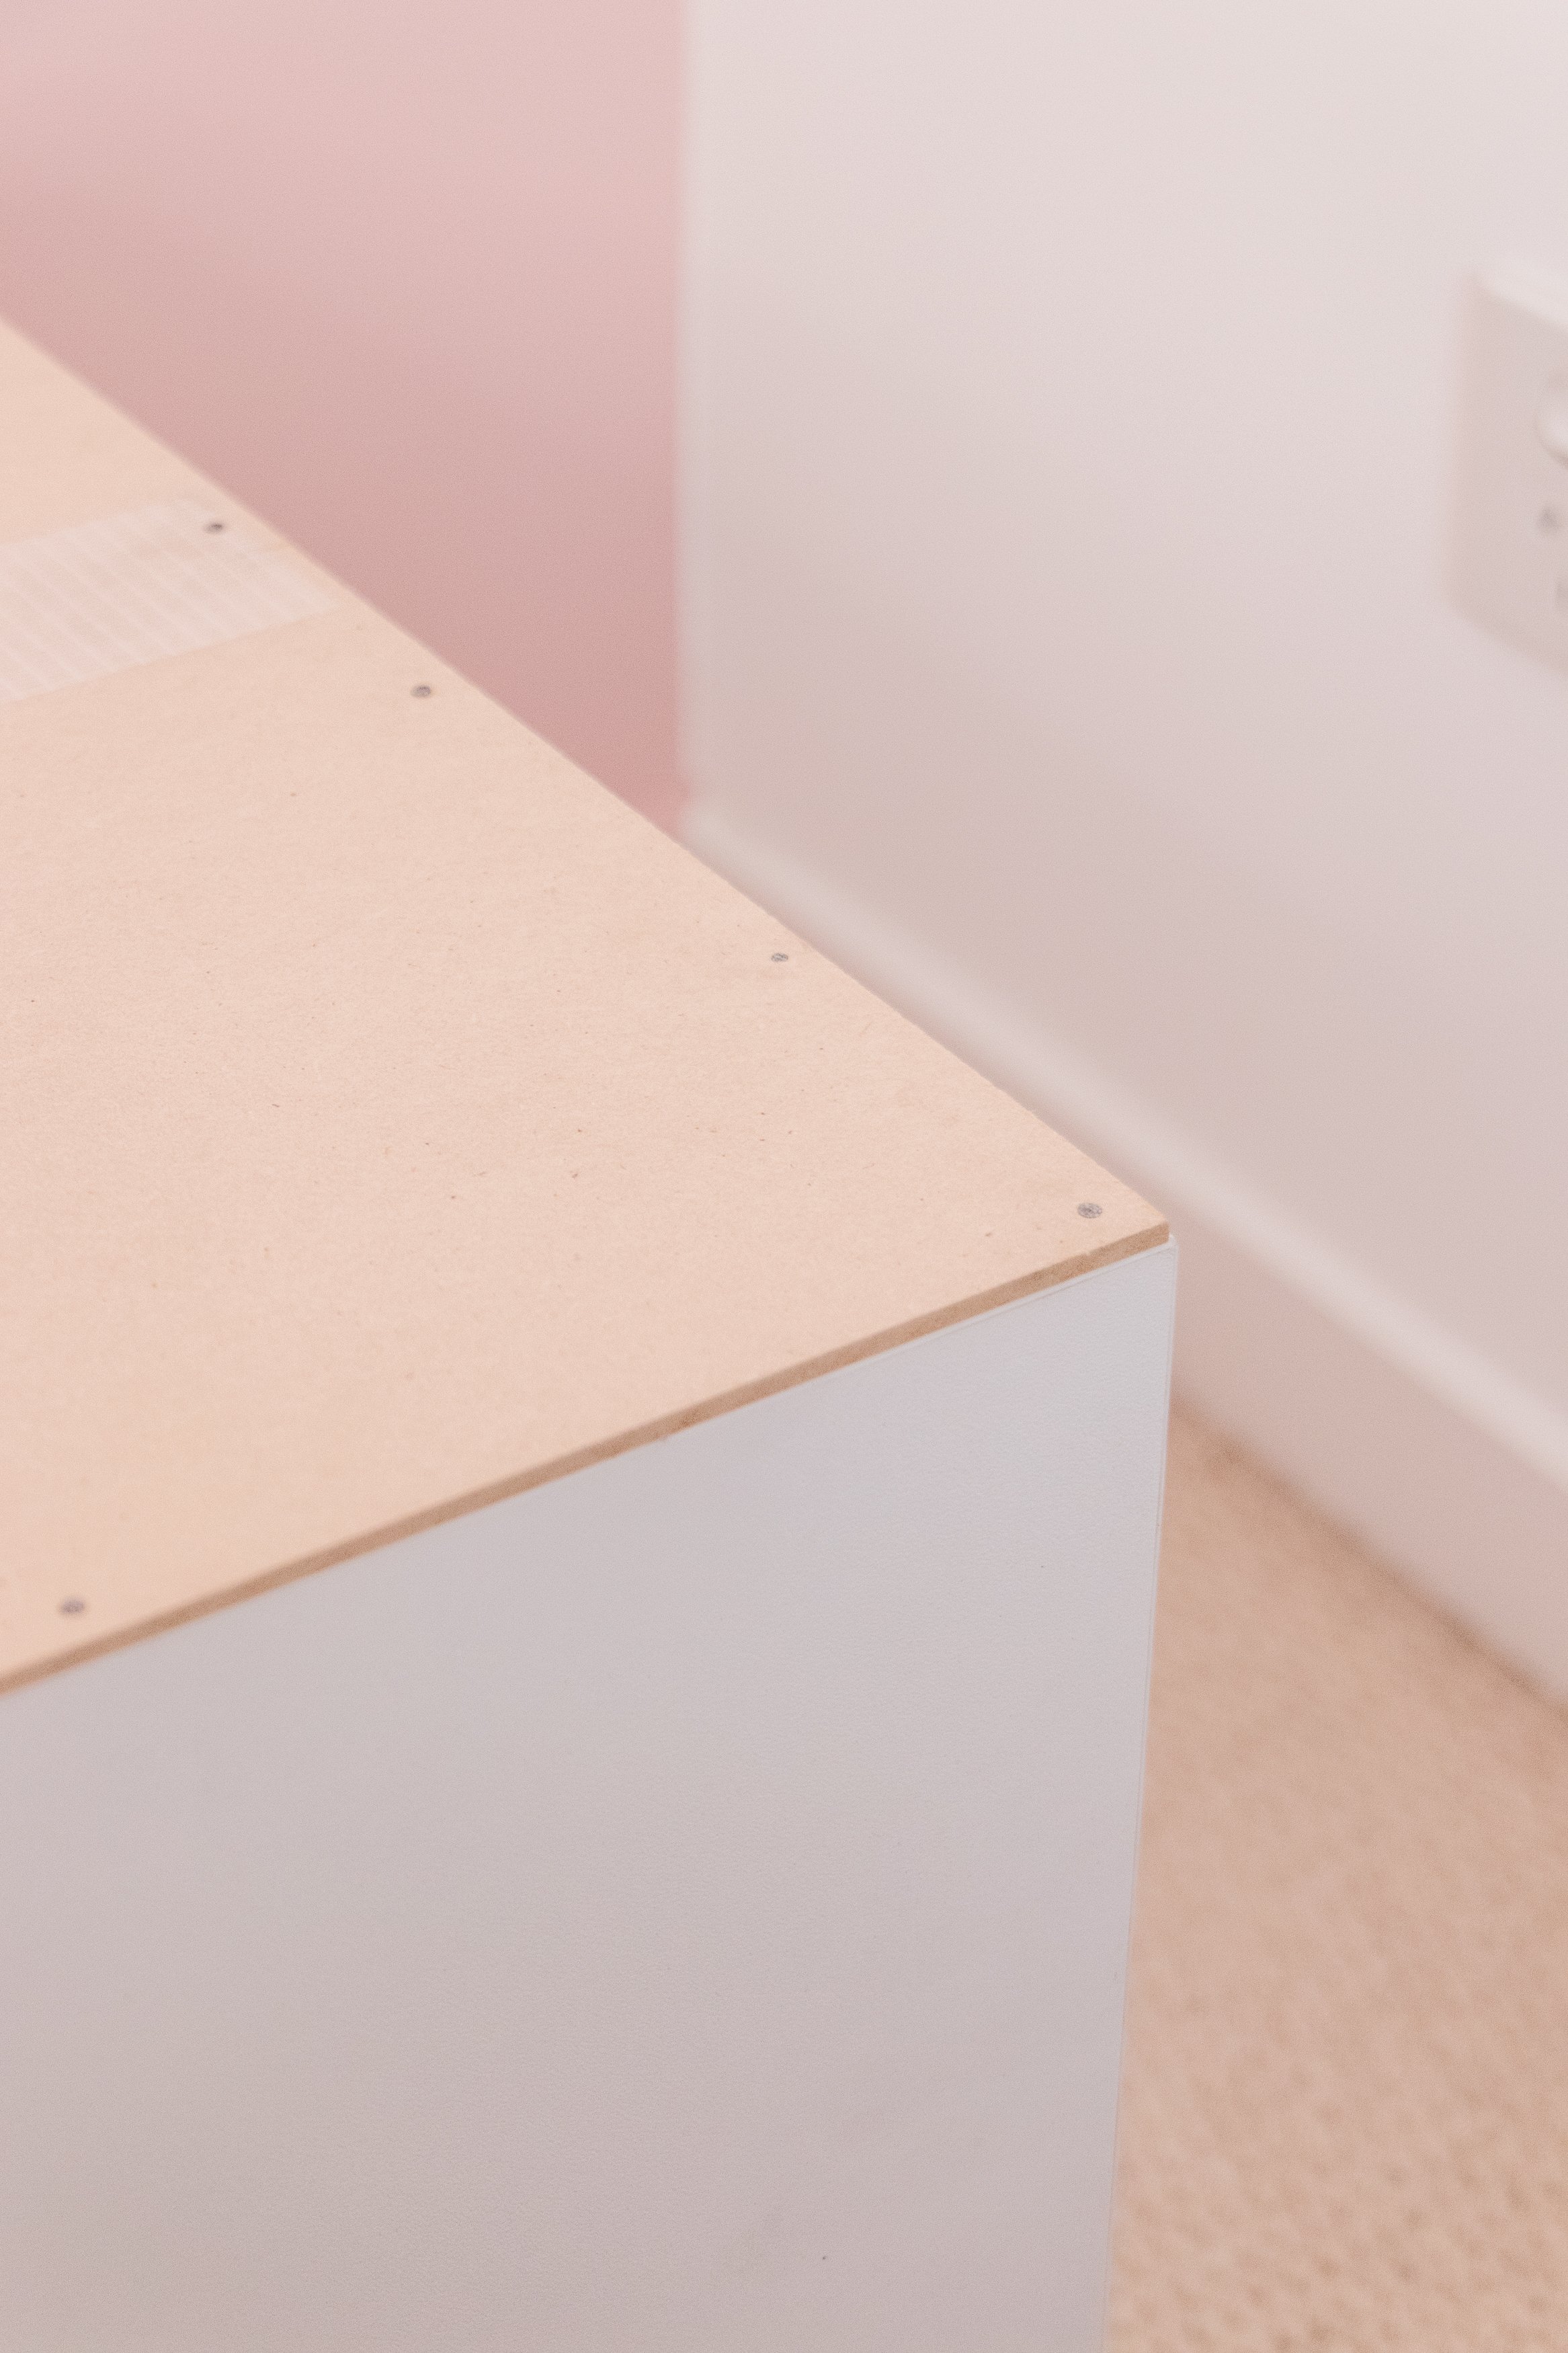
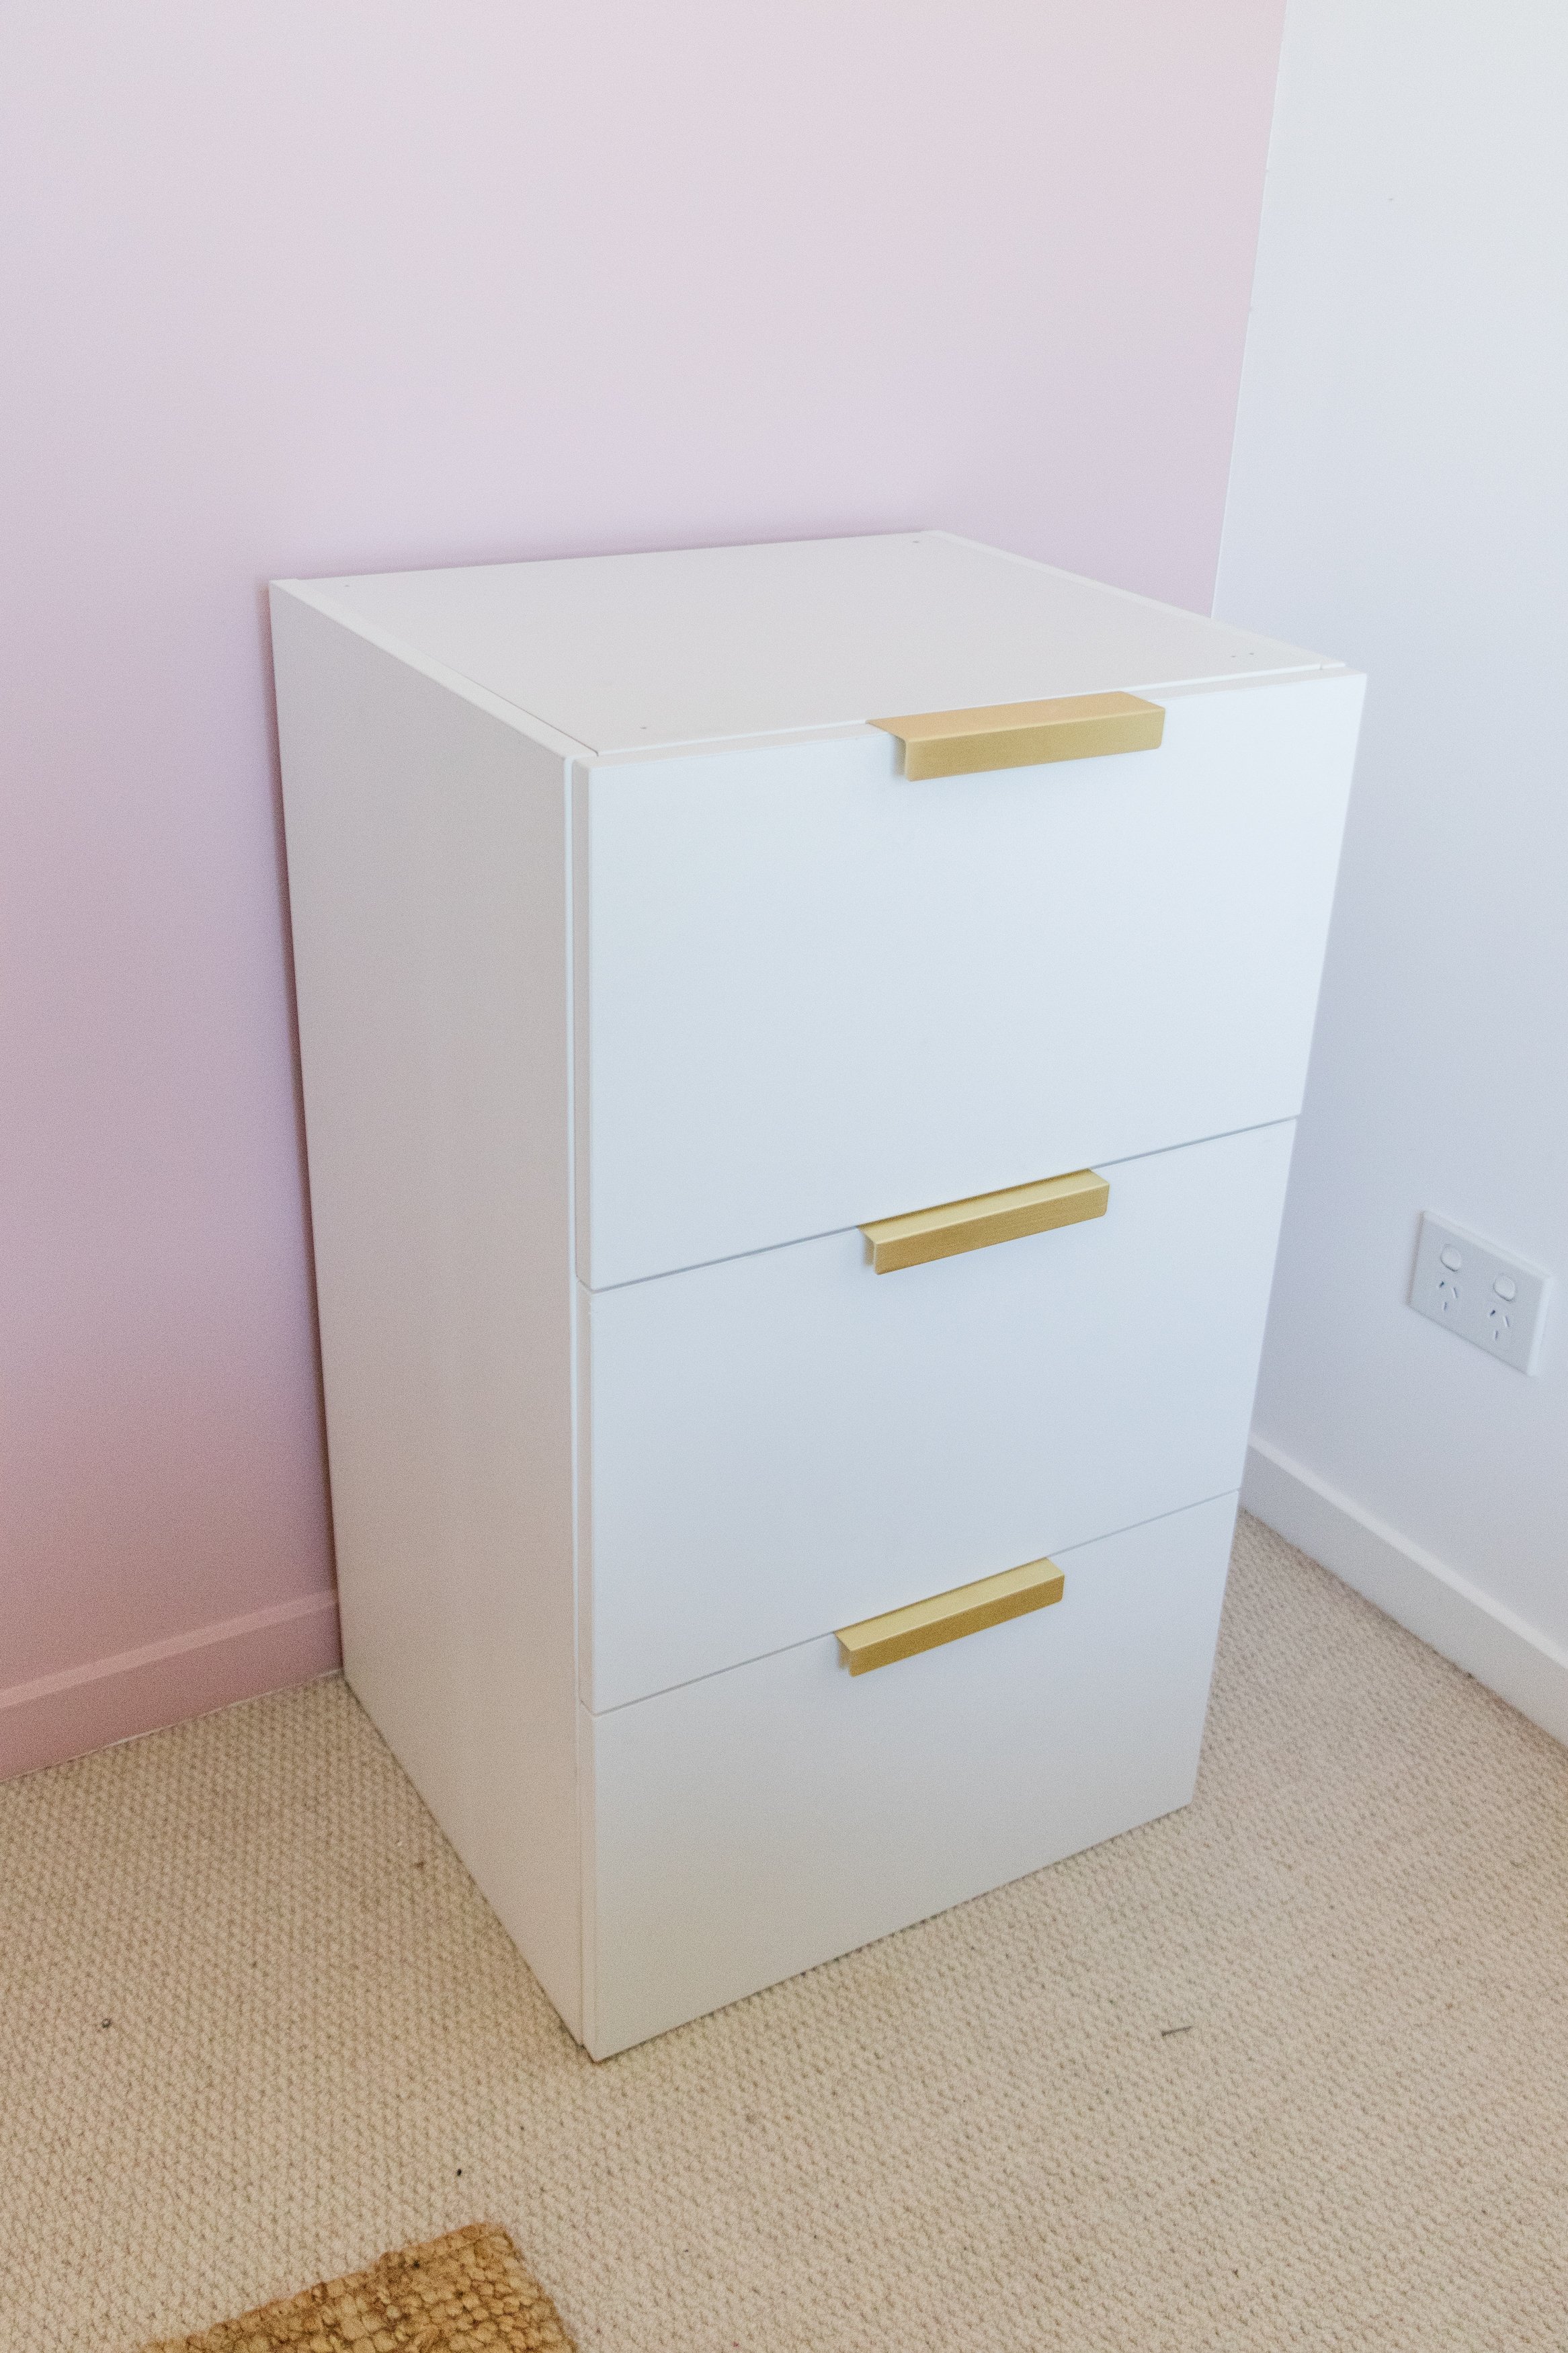
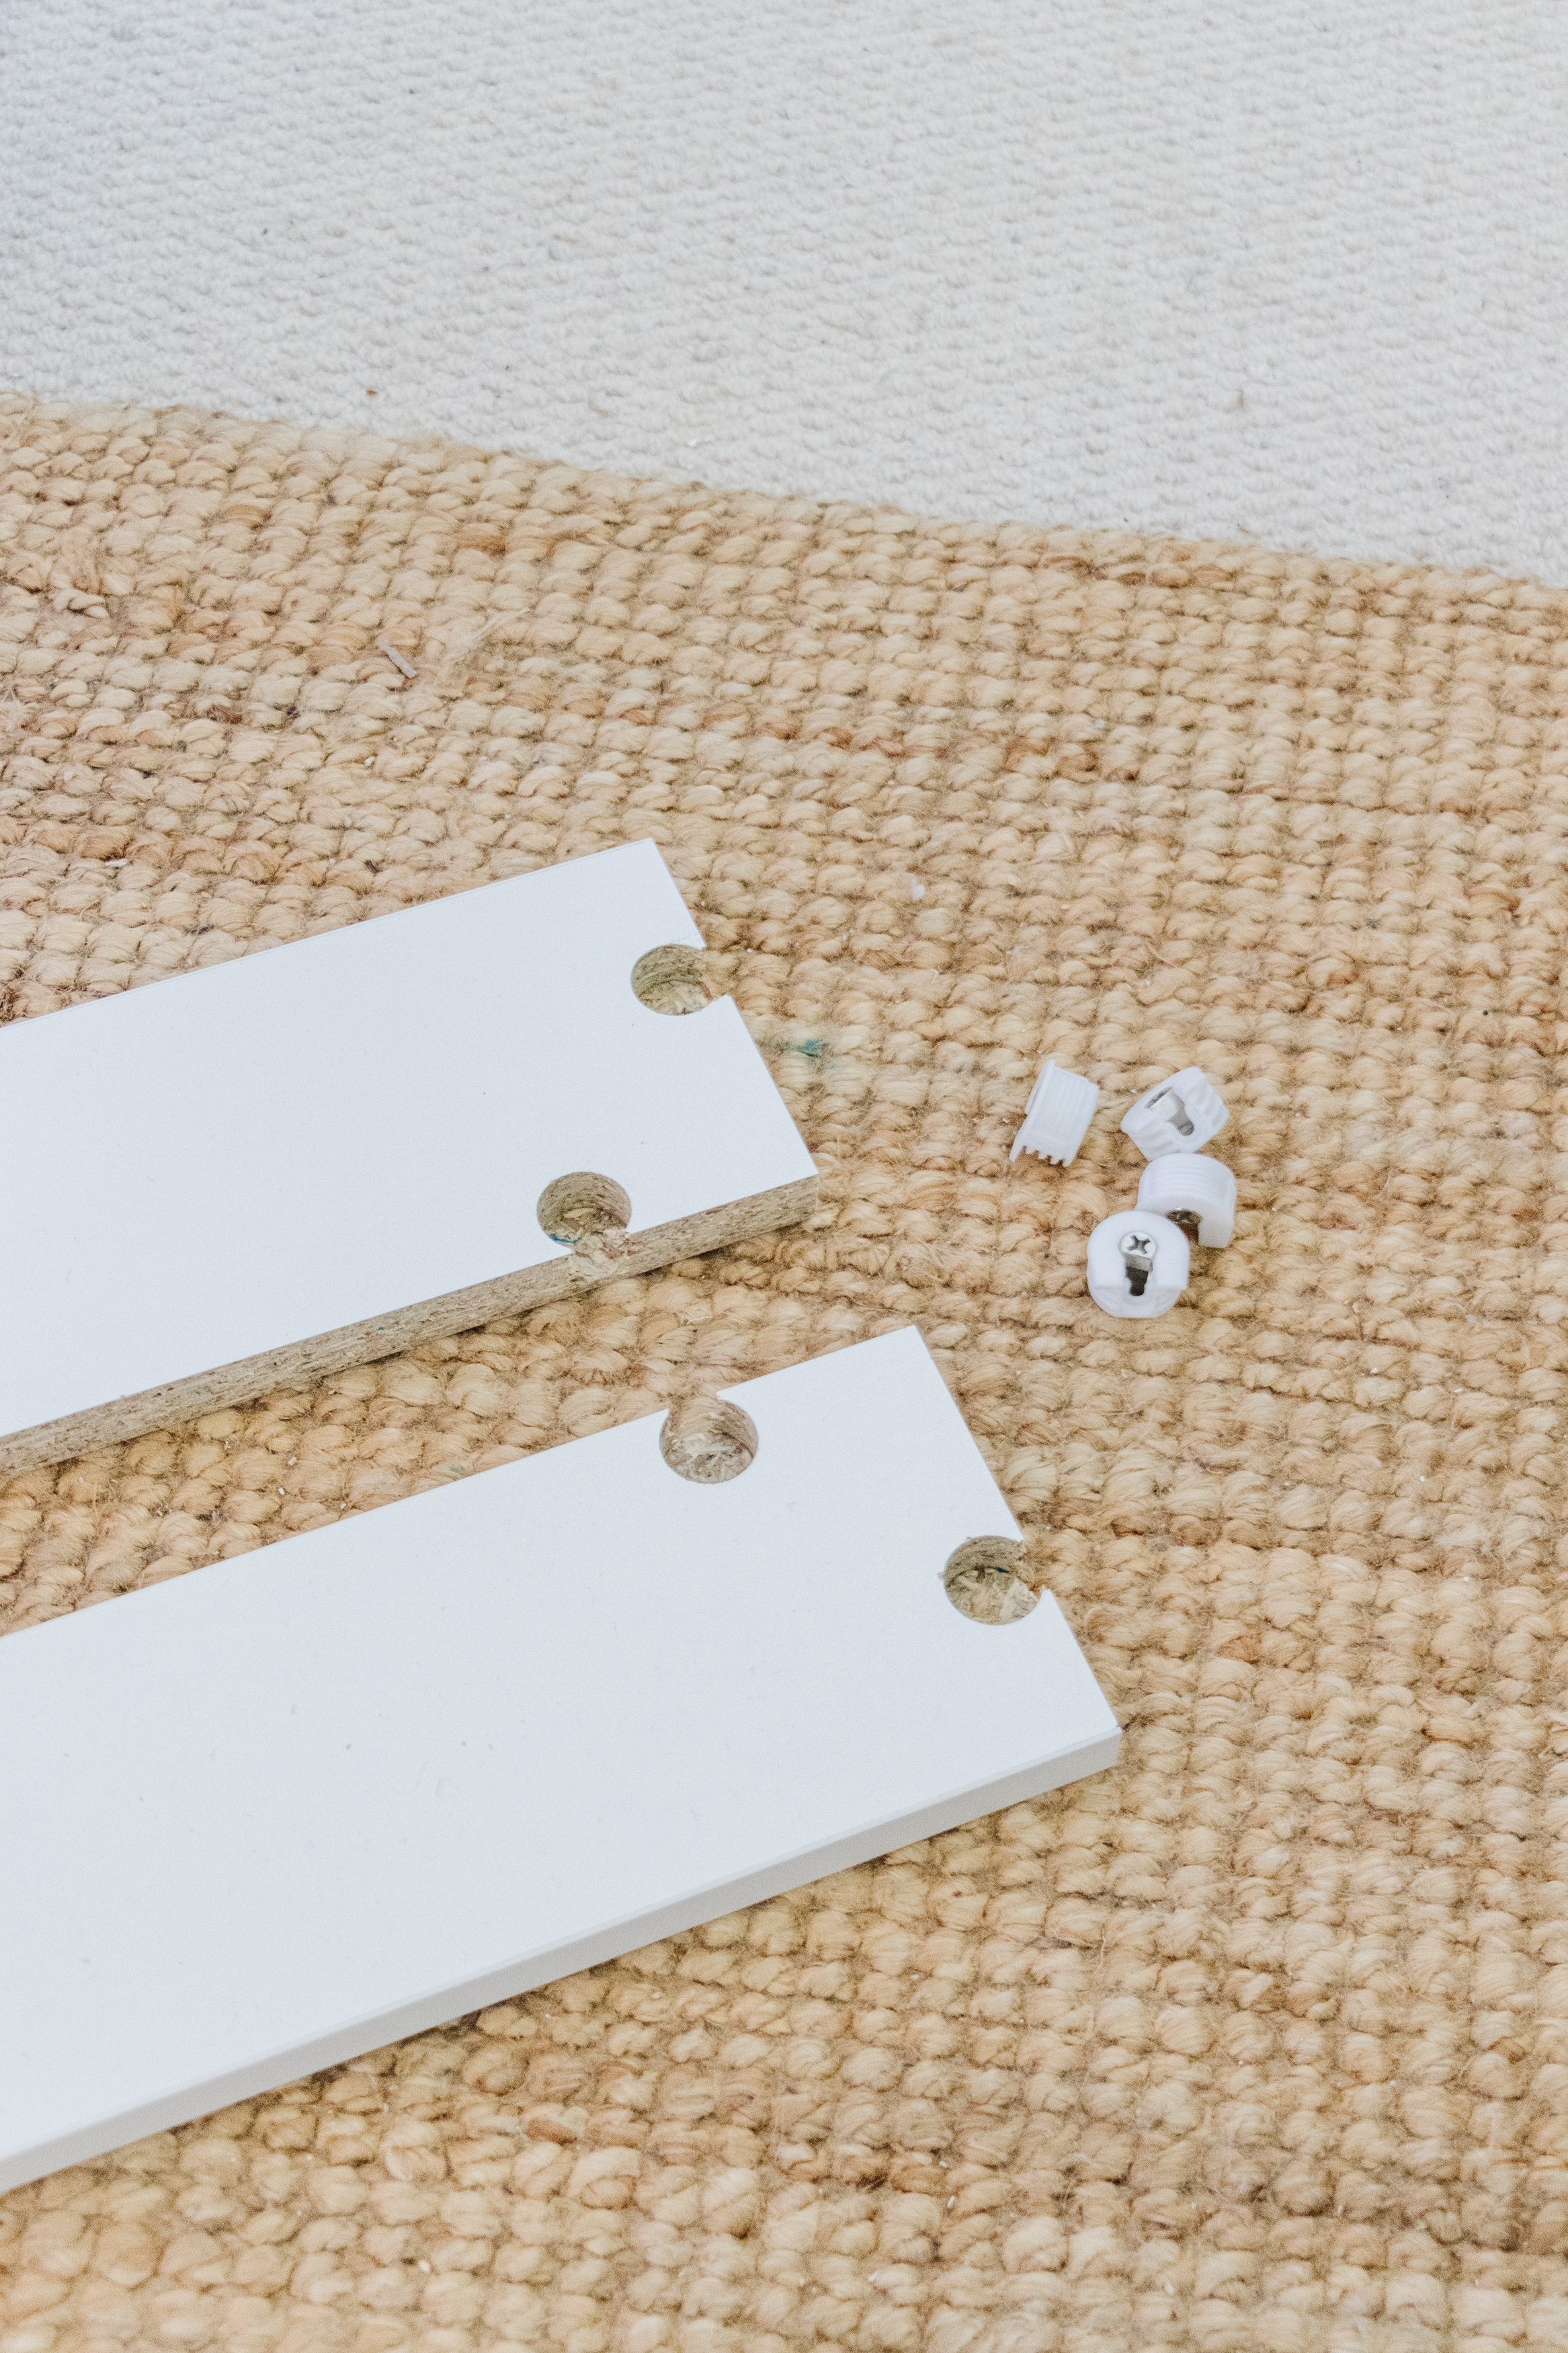
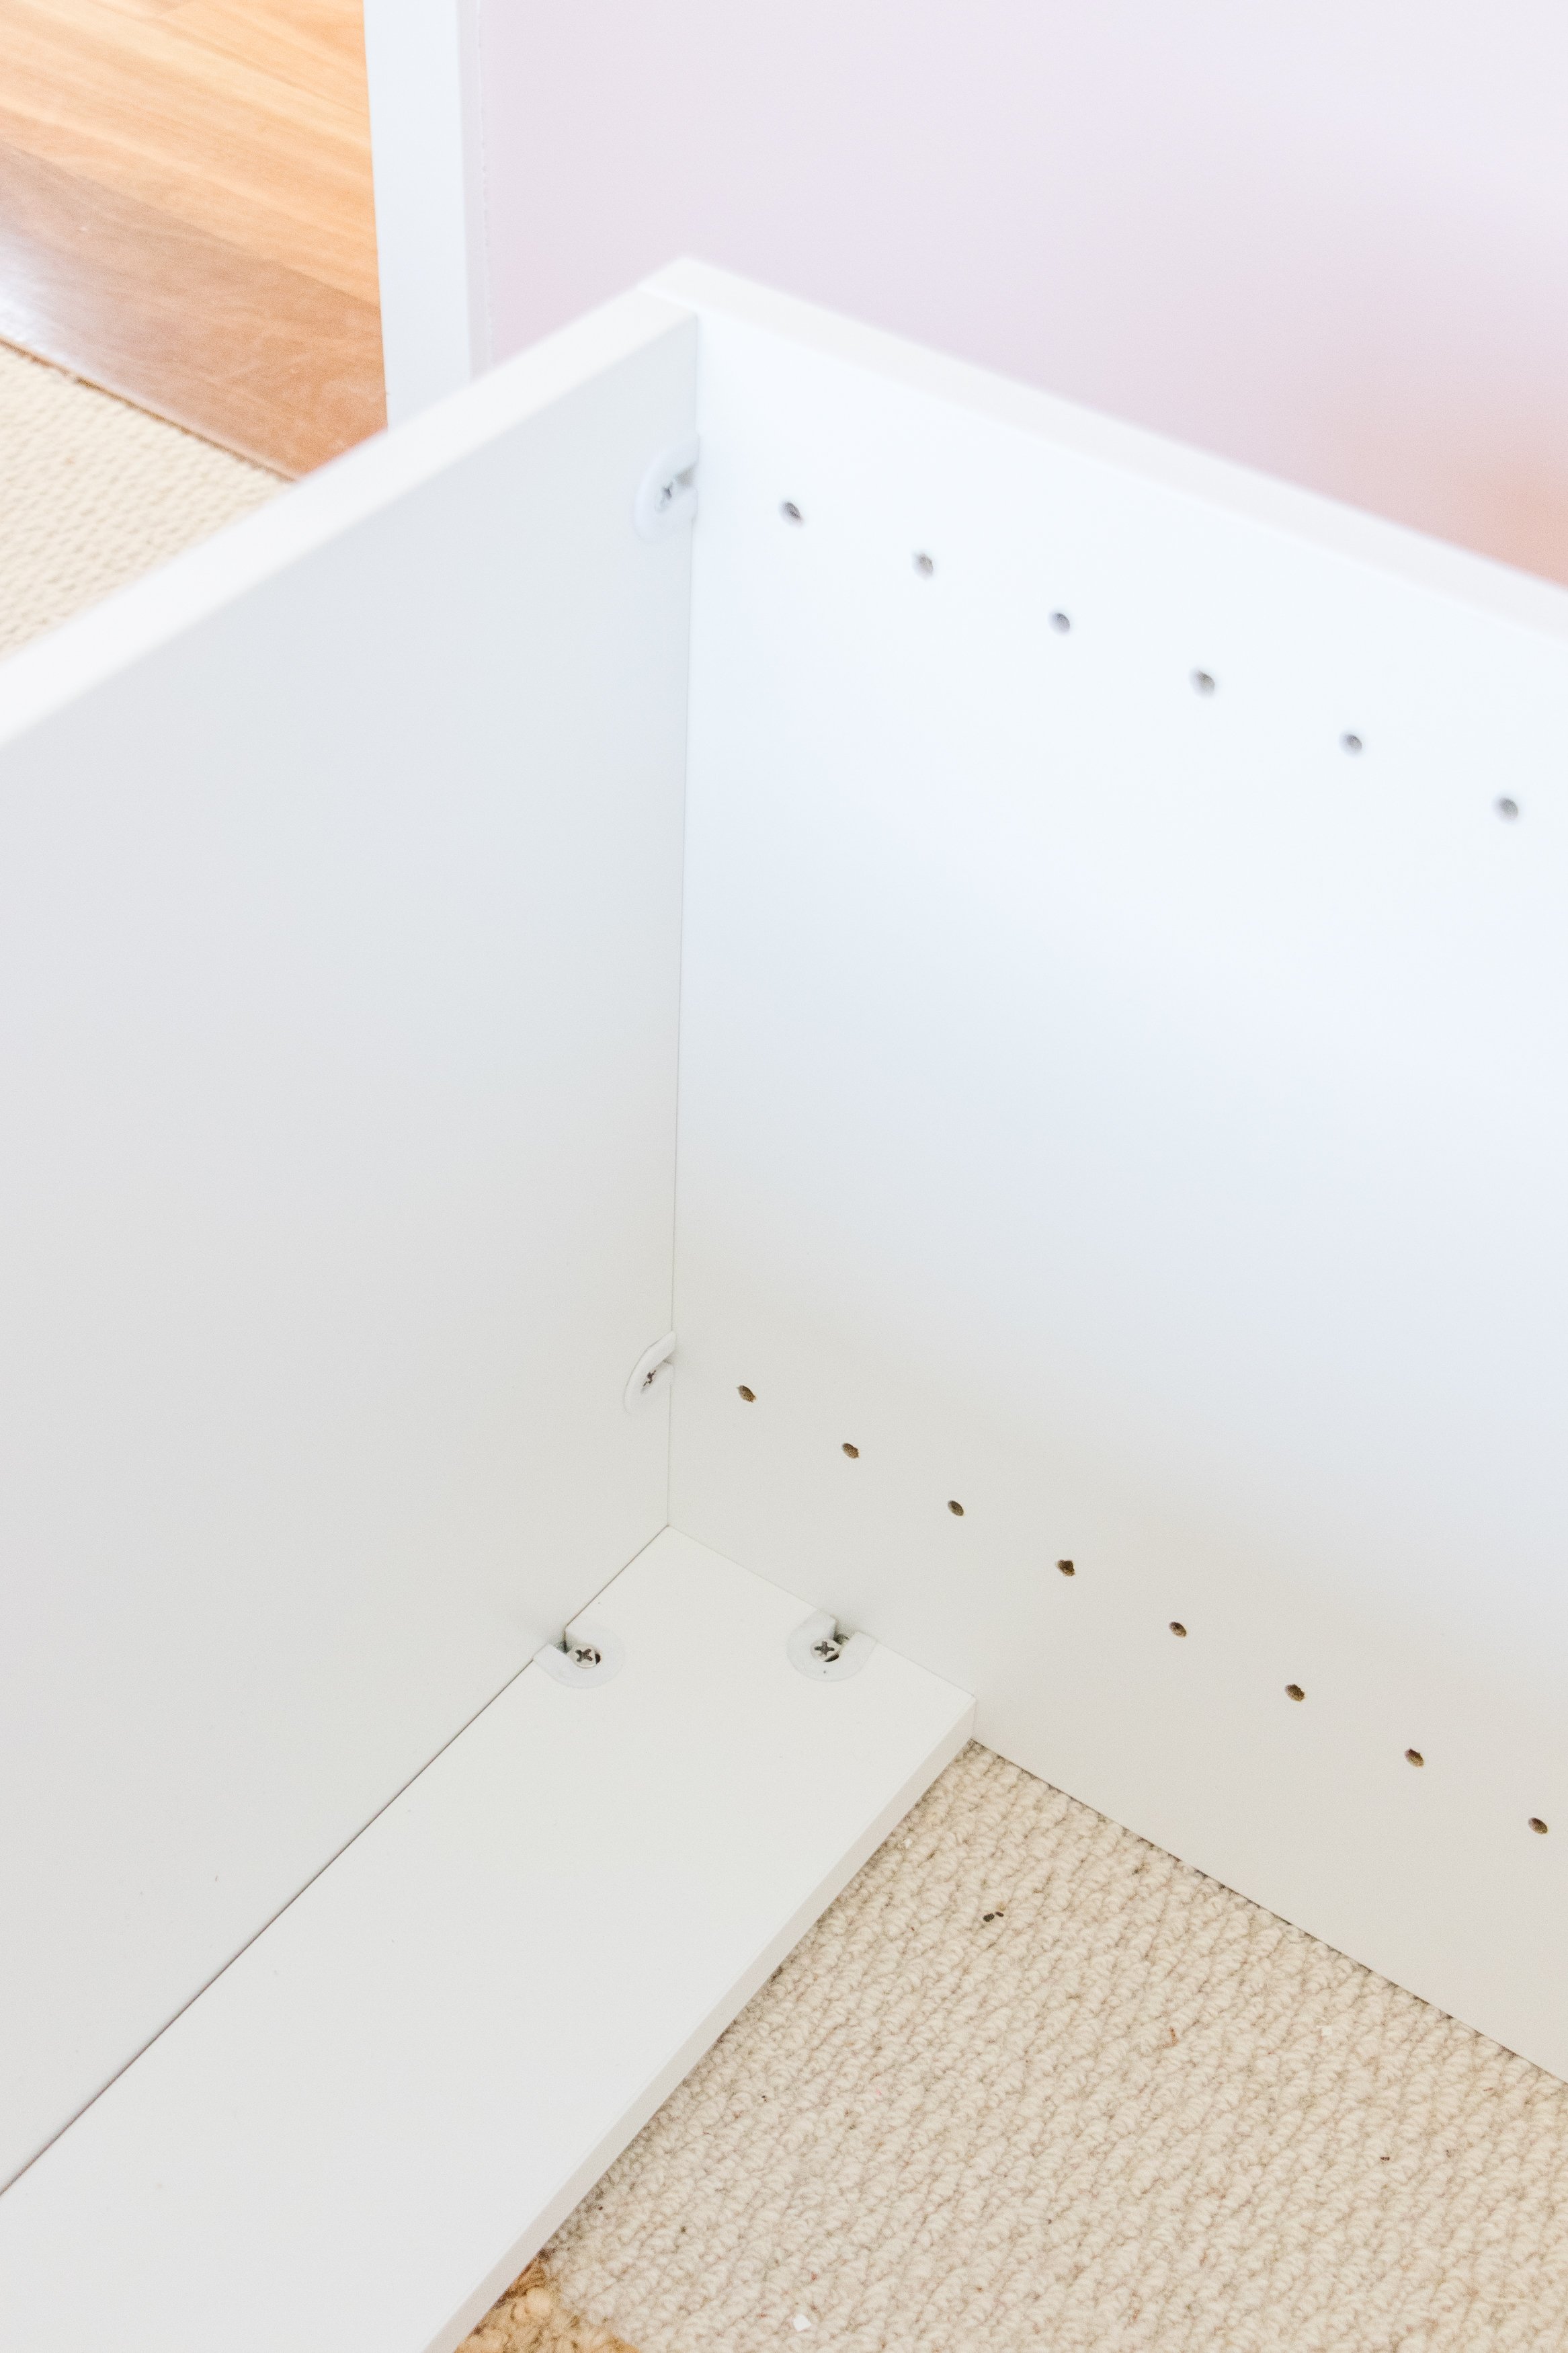
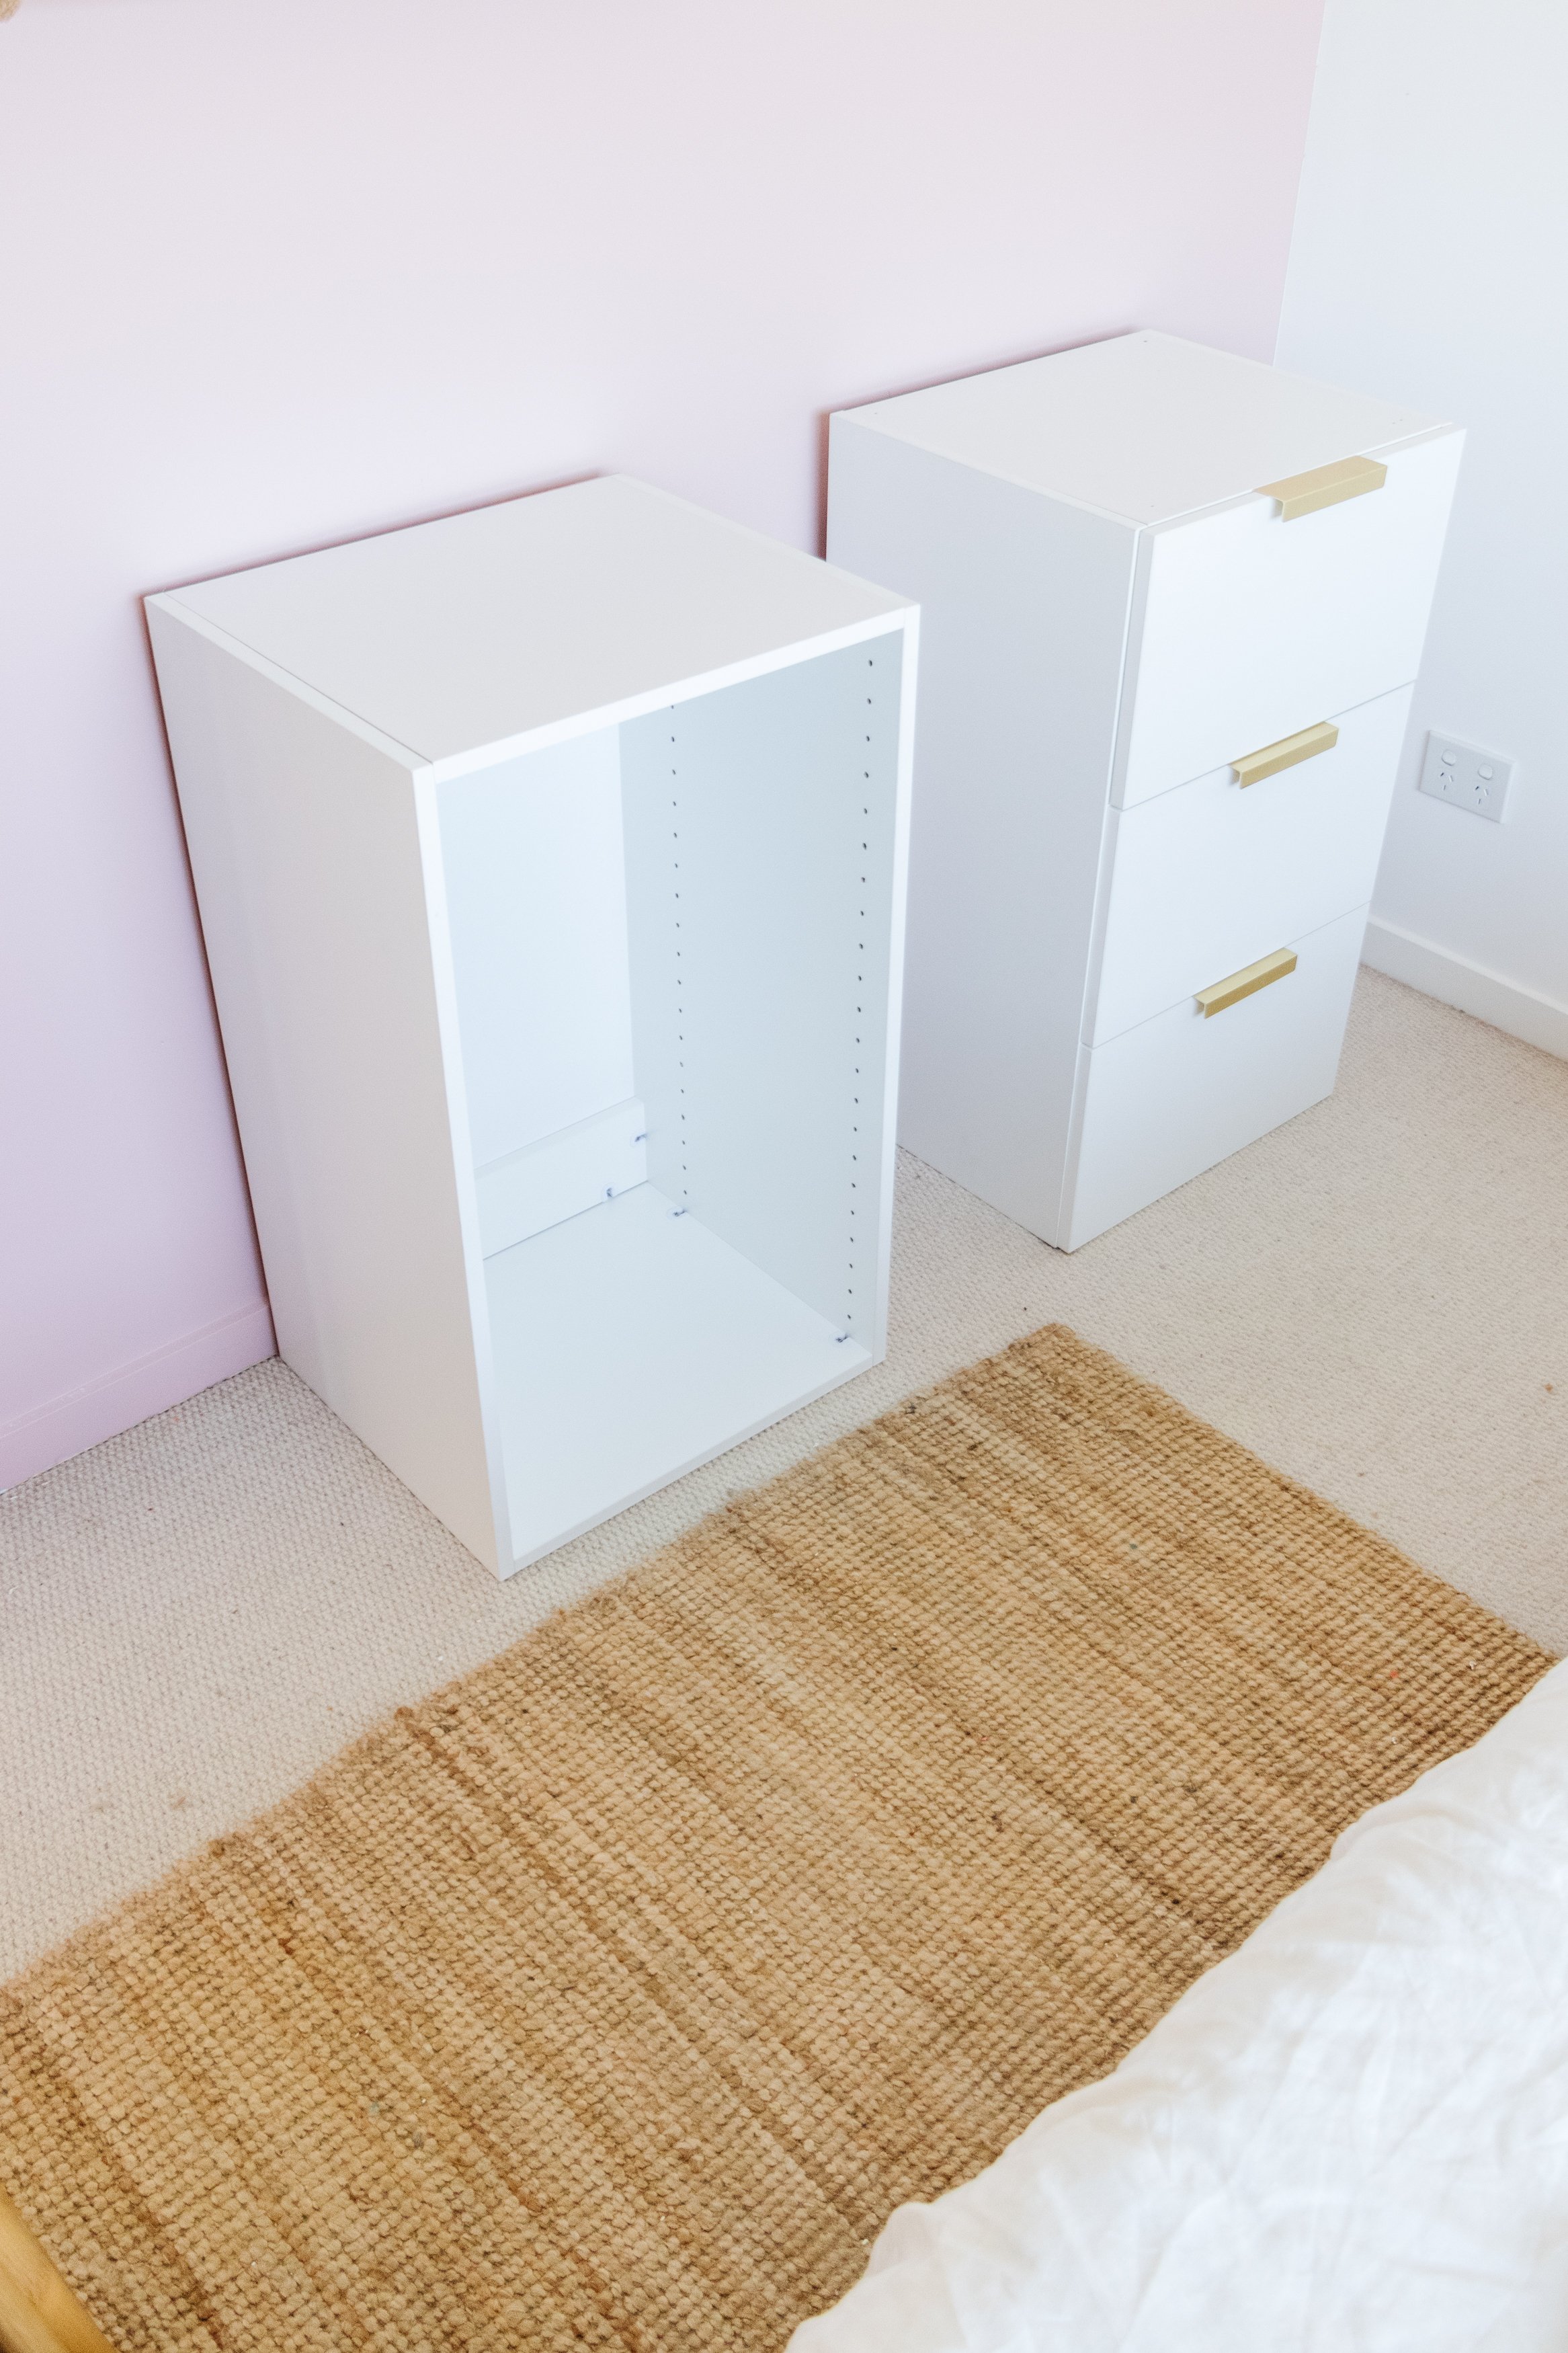
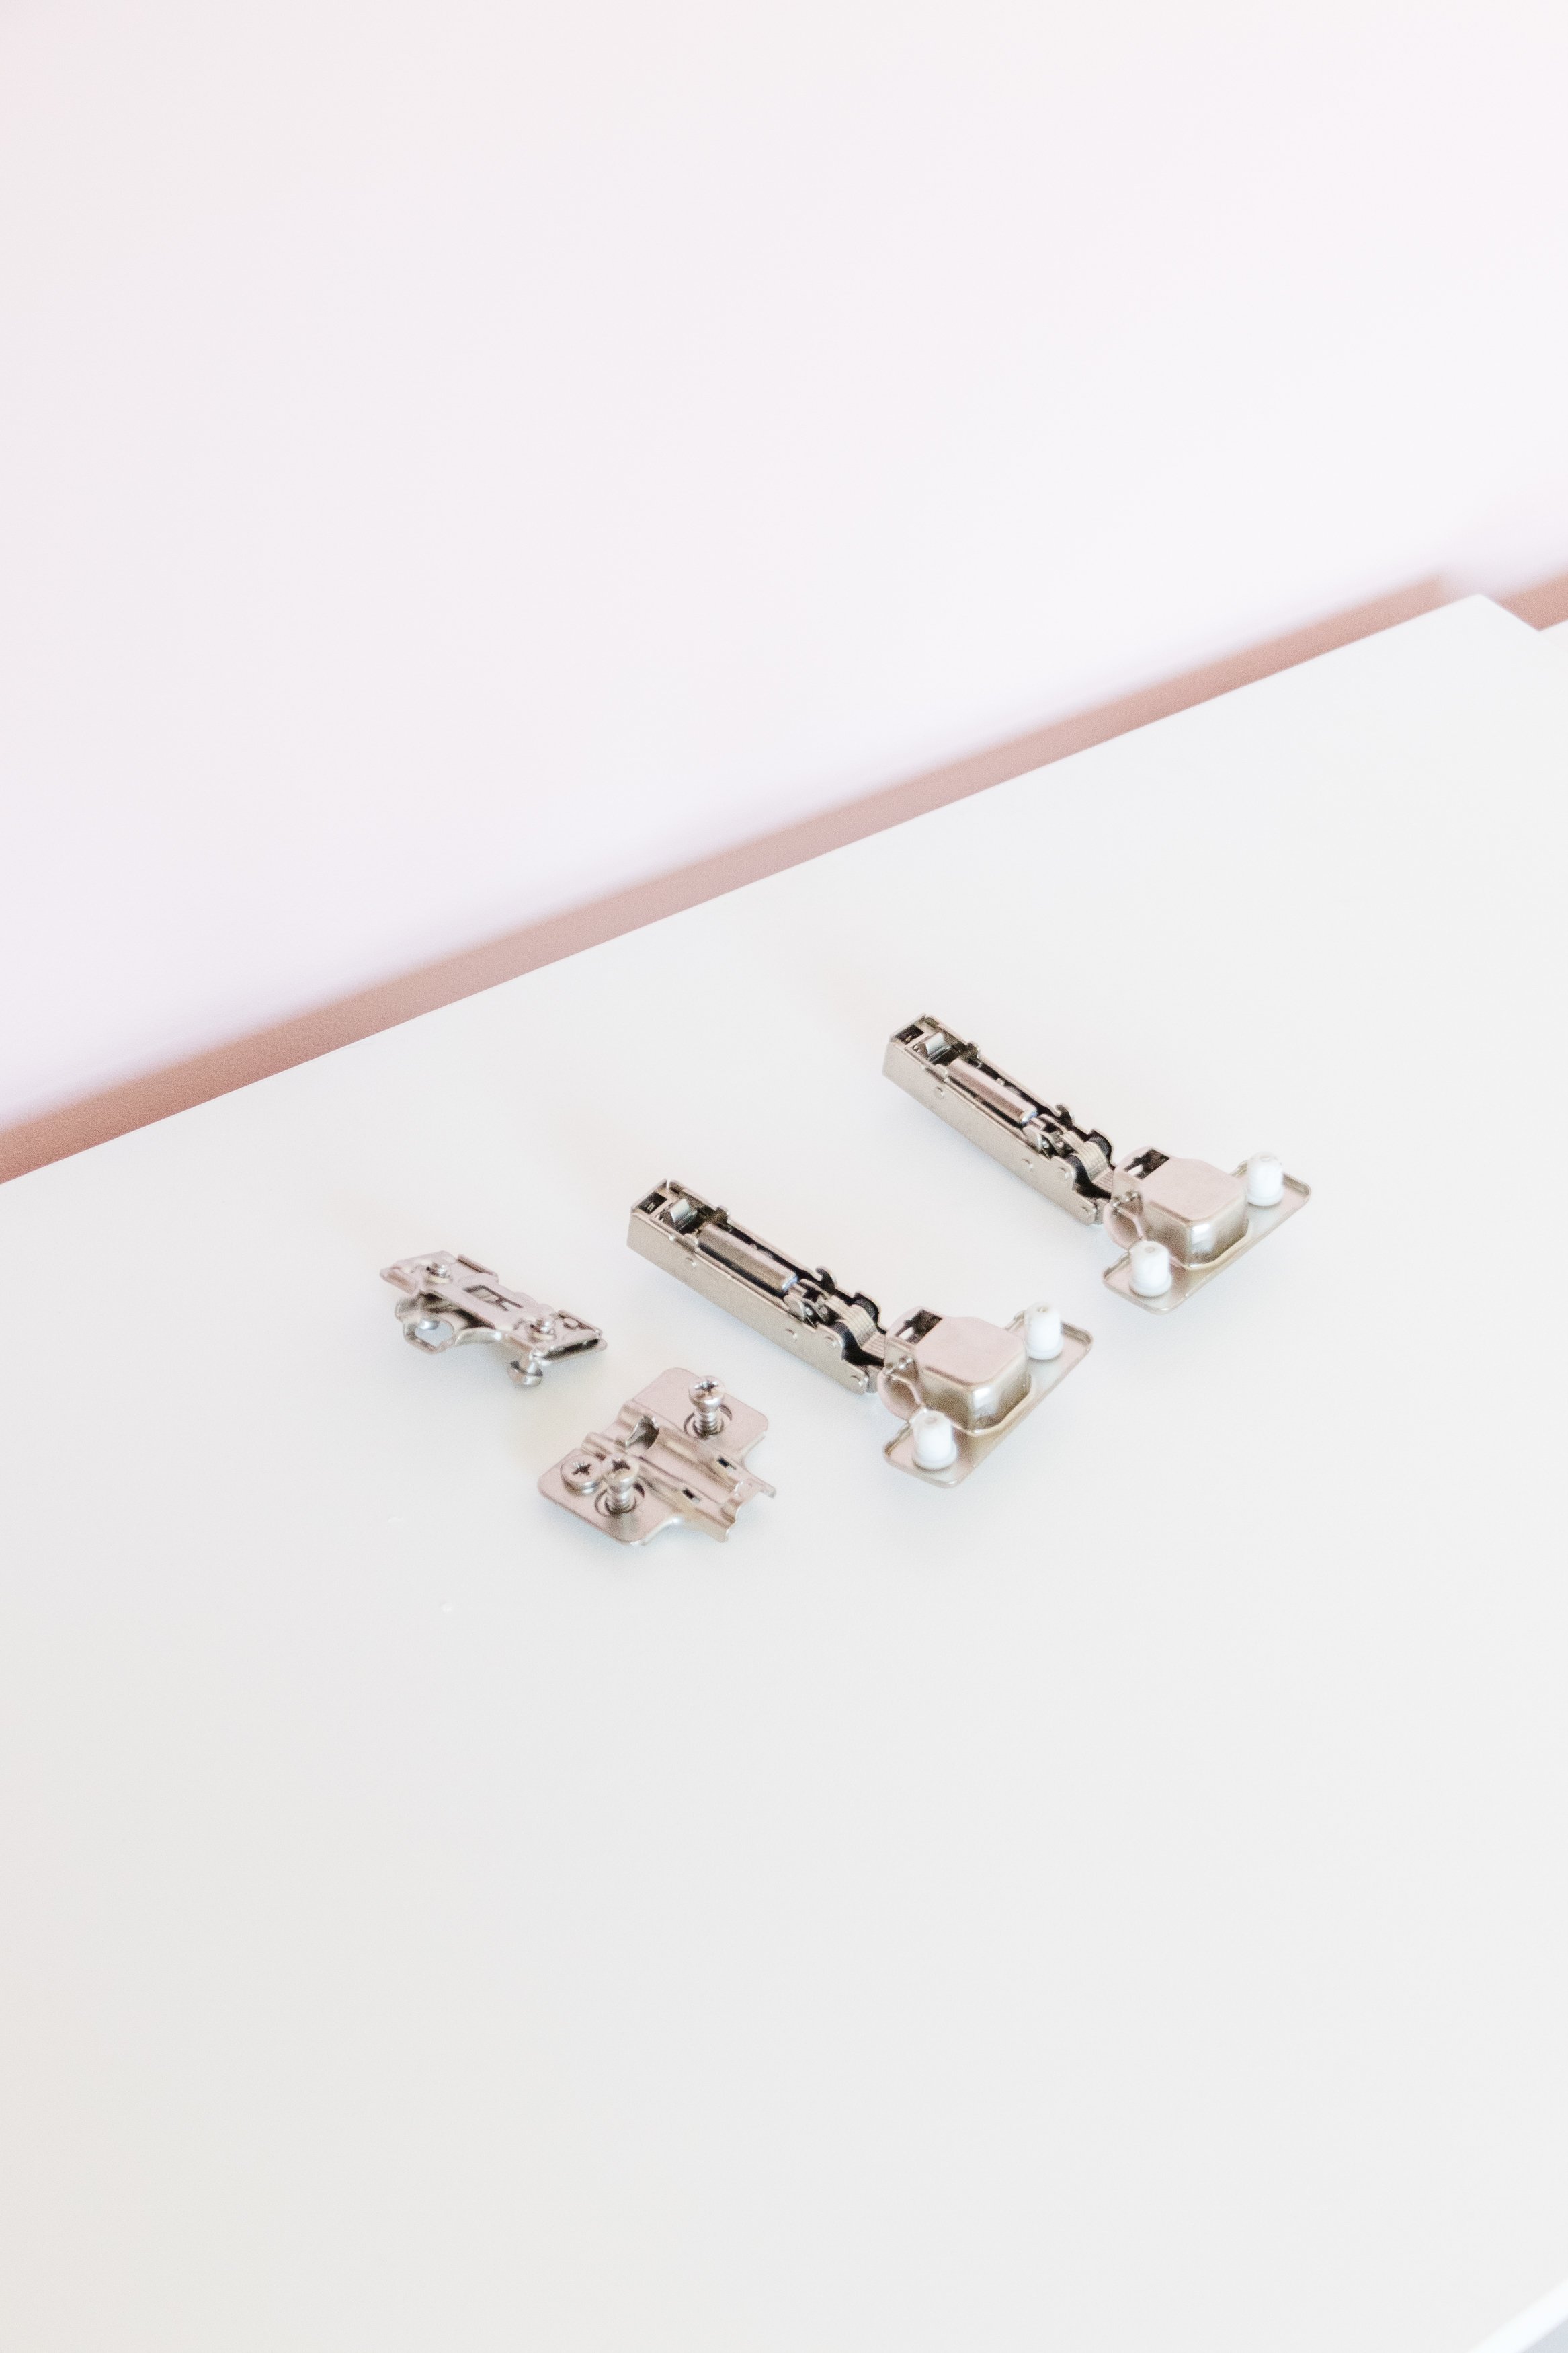
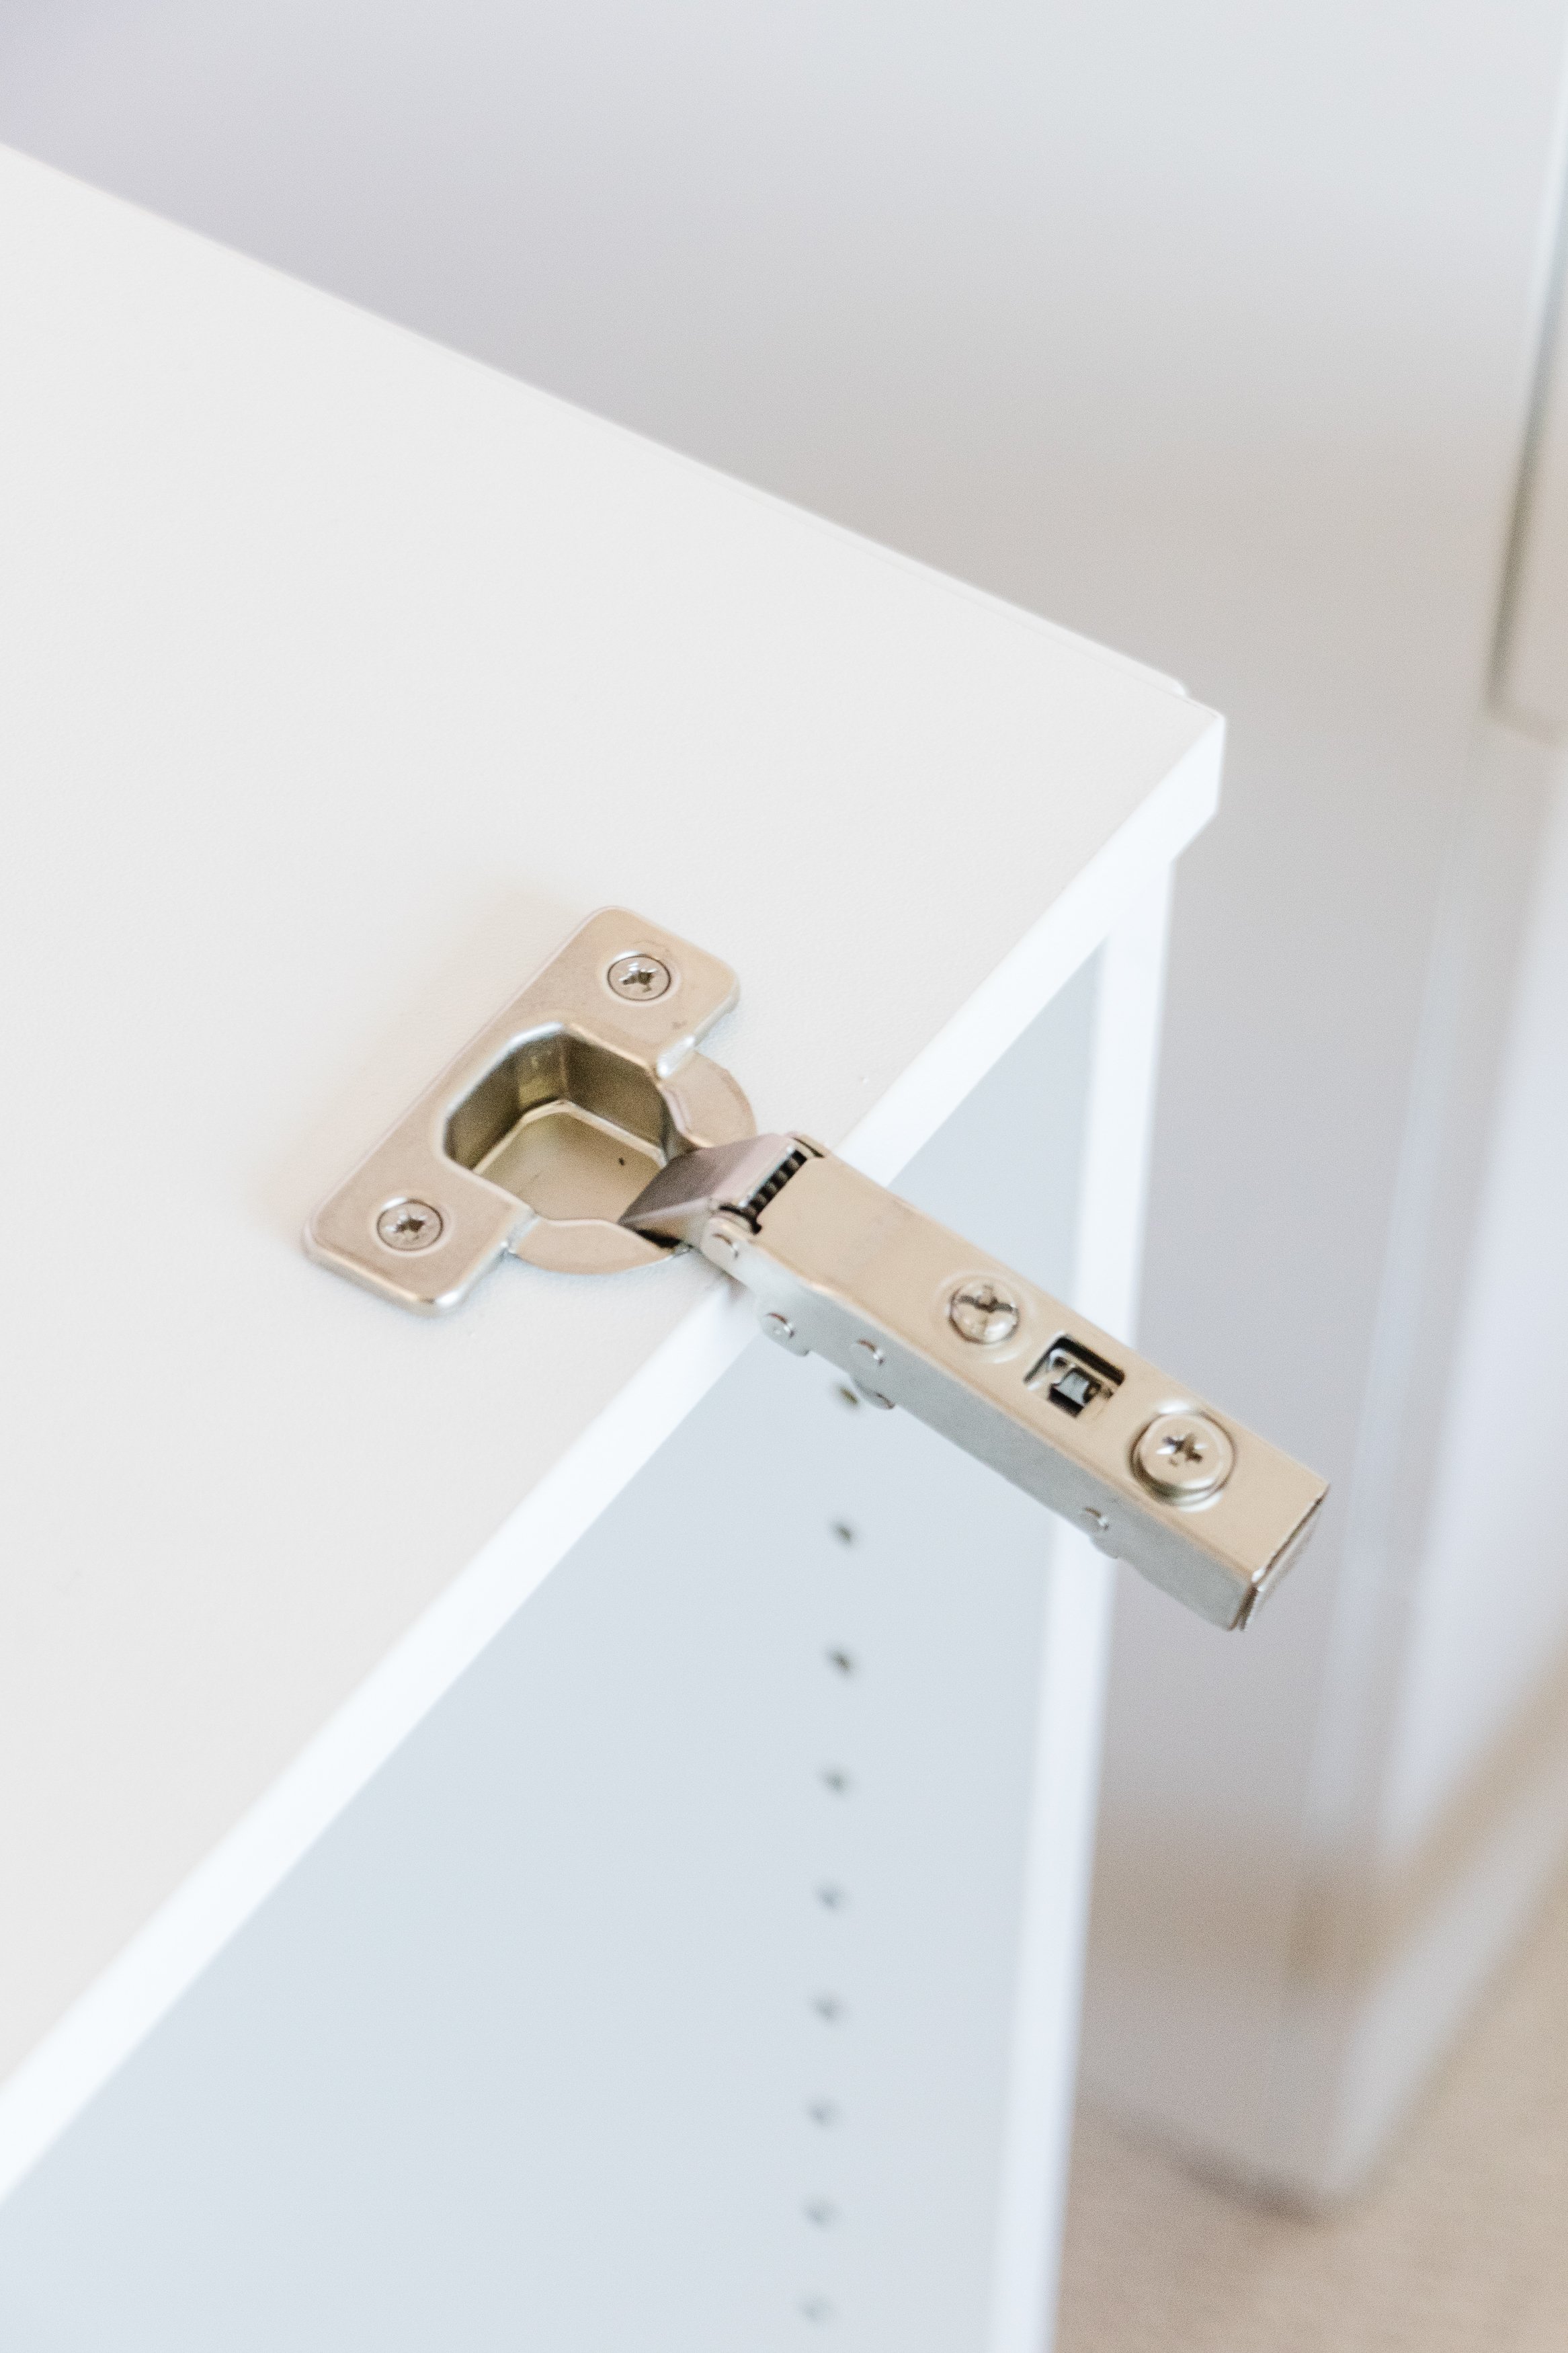
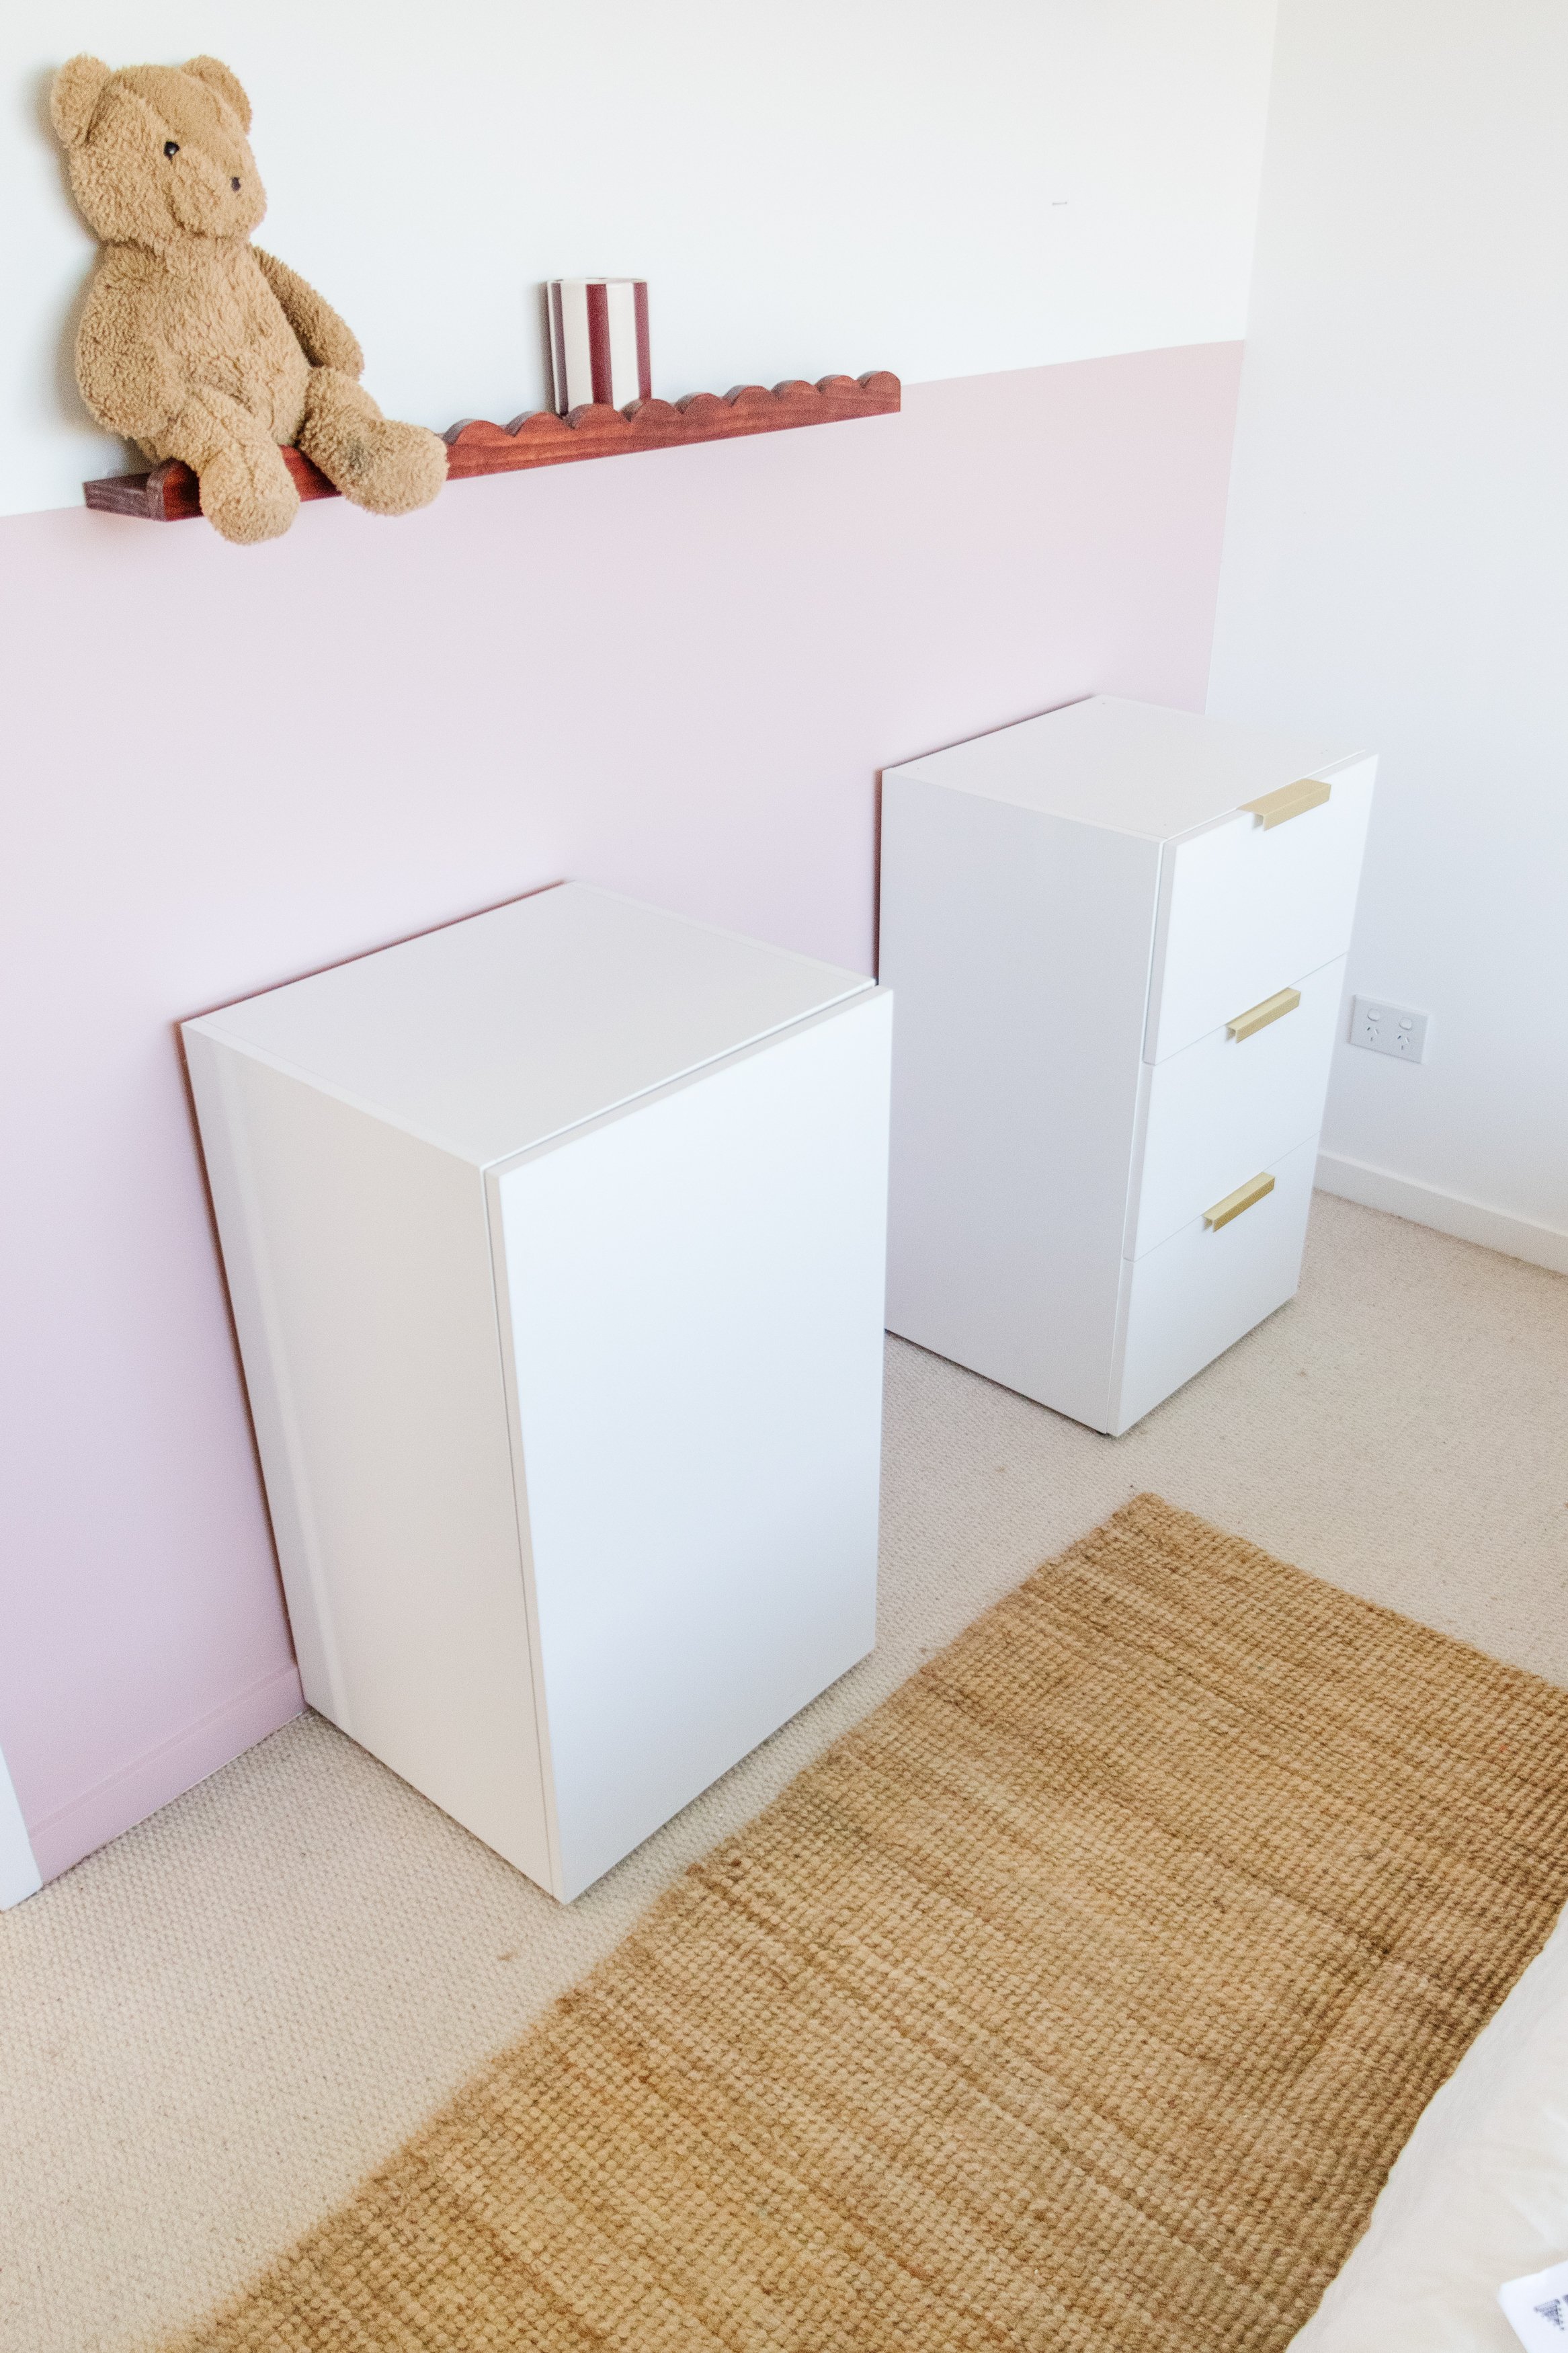
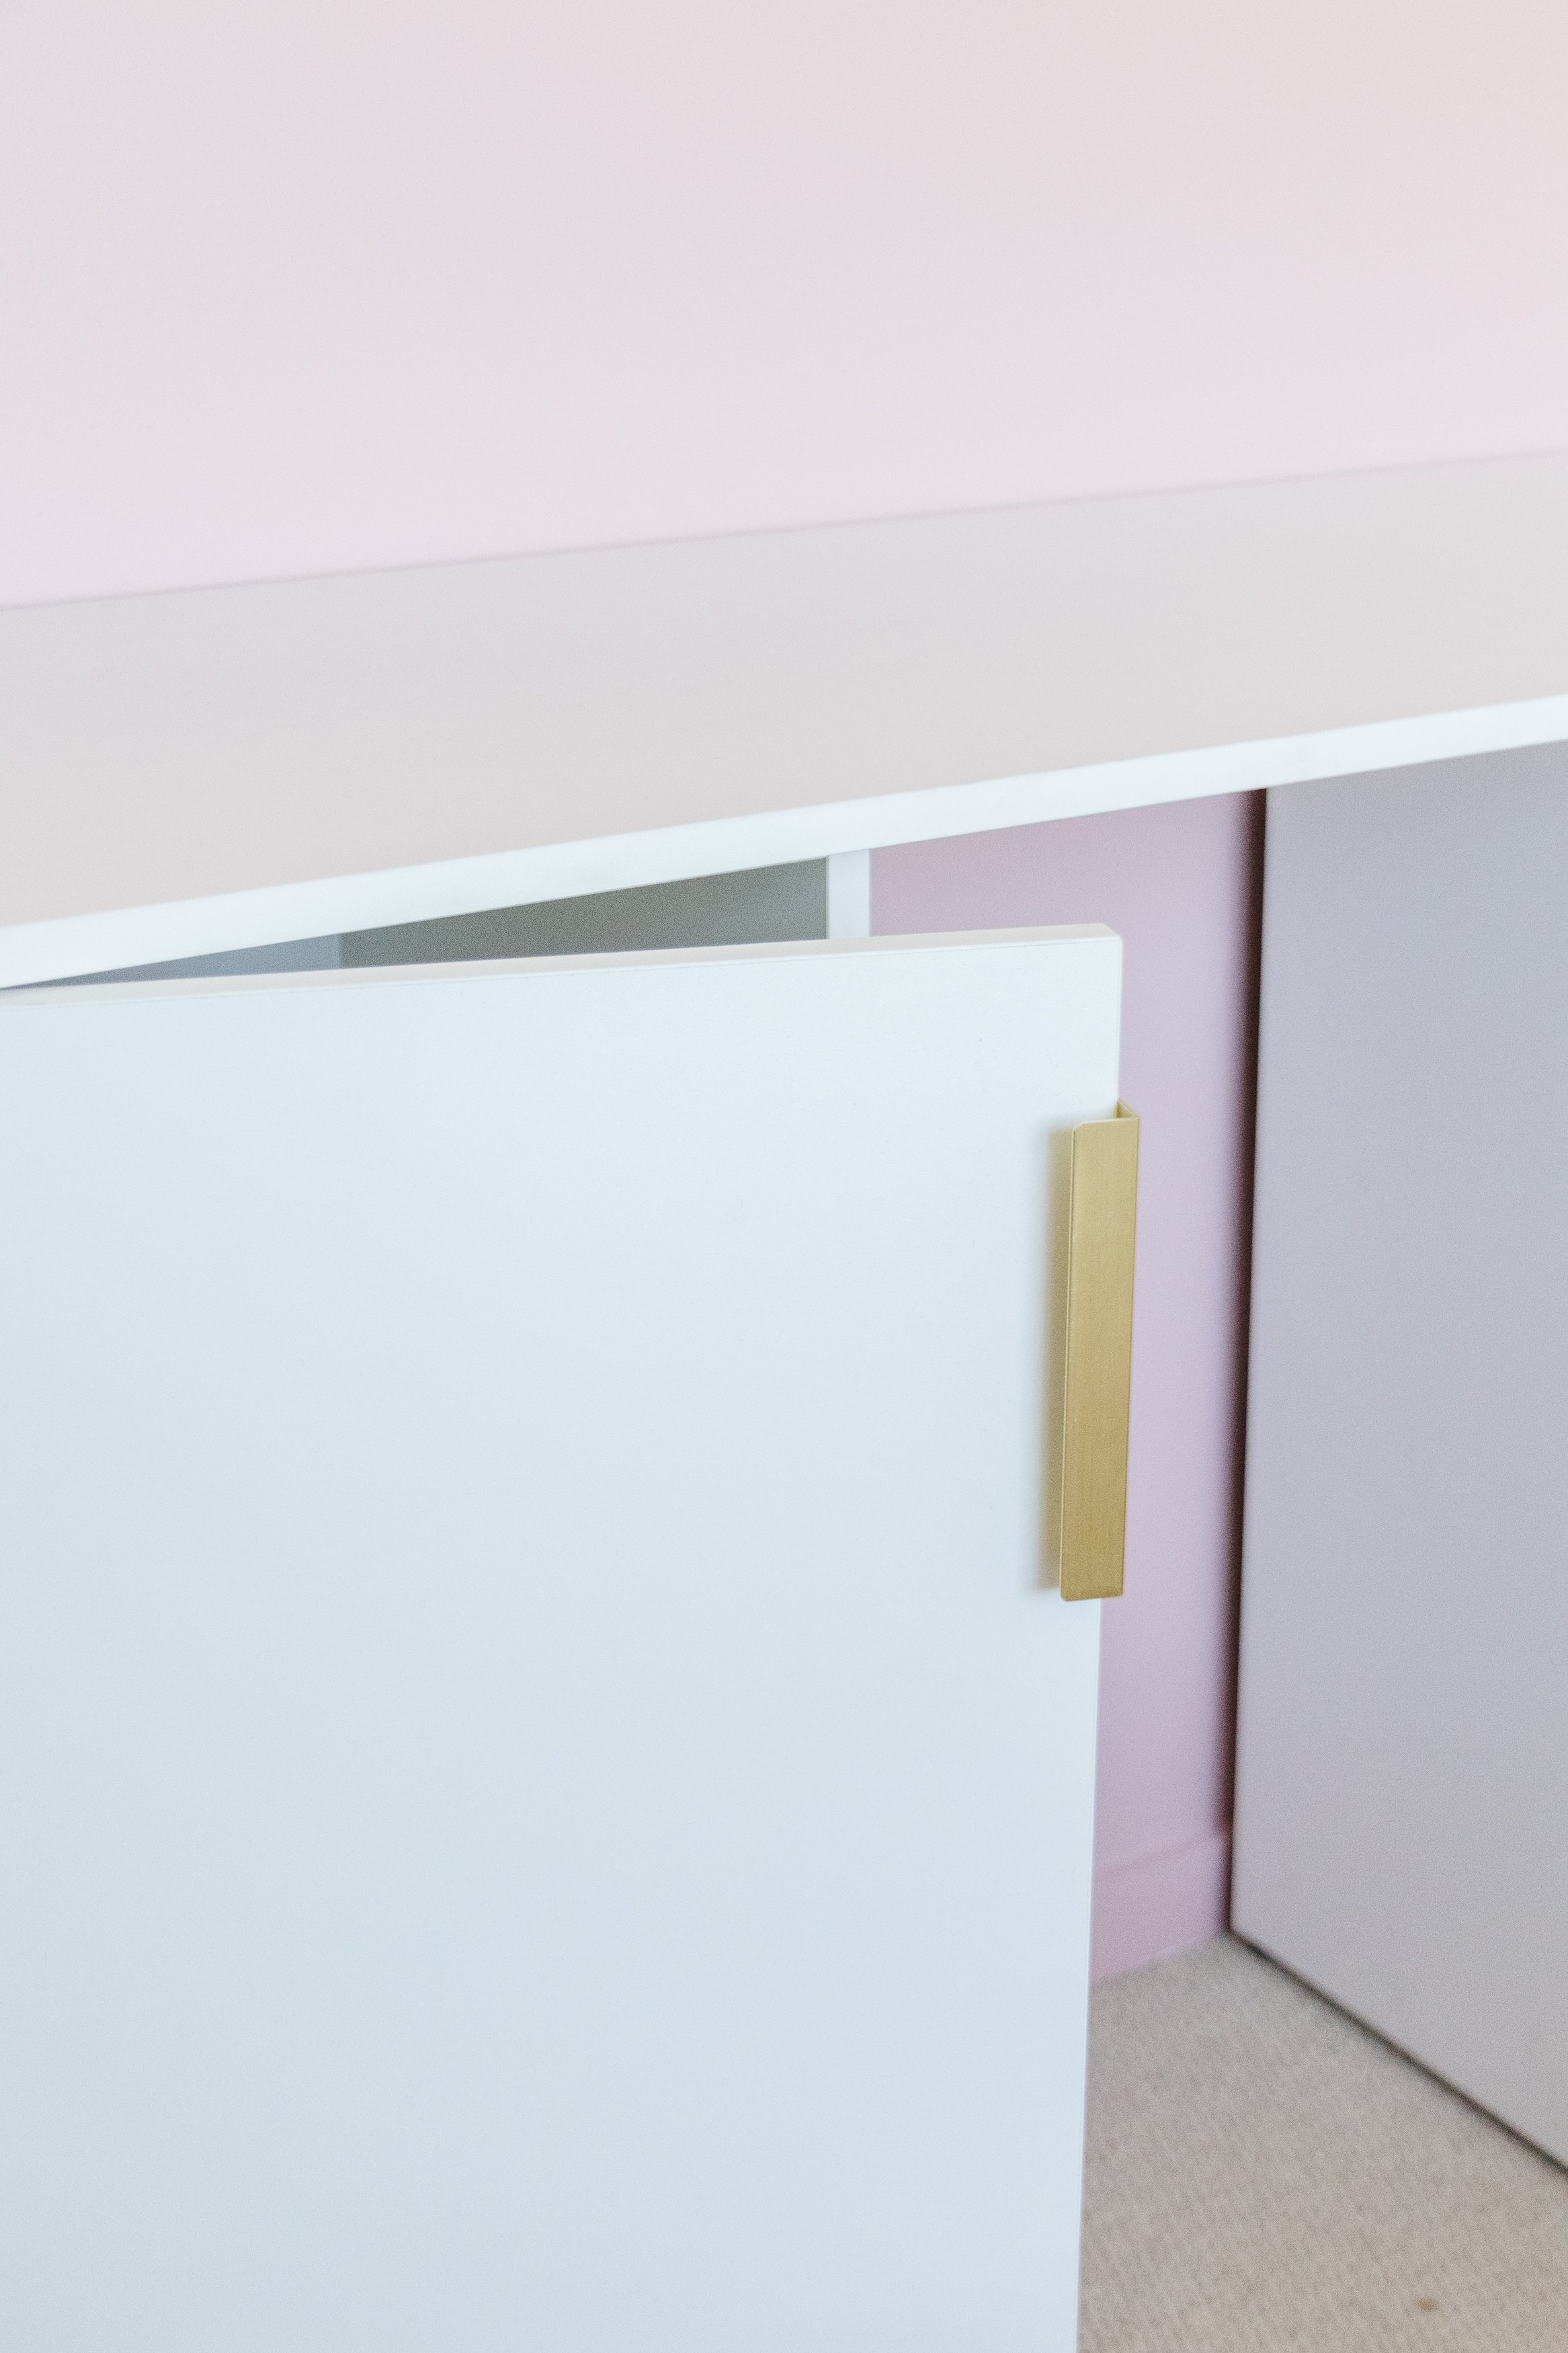
Step 3: Once the wall was finished I began assembling Celeste’s desk. On the left side I had designed a cabinet with a door and internal shelves, on the right side I designed 3 drawers and then chose a long piece of cabinetry to place on top. Each part arrives clearly labelled in a box with easy to read instructions that guide you every step of the way. Following the instructions I started with the unit of three drawers first by building each drawer and installing the handles. Following this I installed the tracks and then built the shell. Once that was done I inserted the drawers into the shell and that’s it!
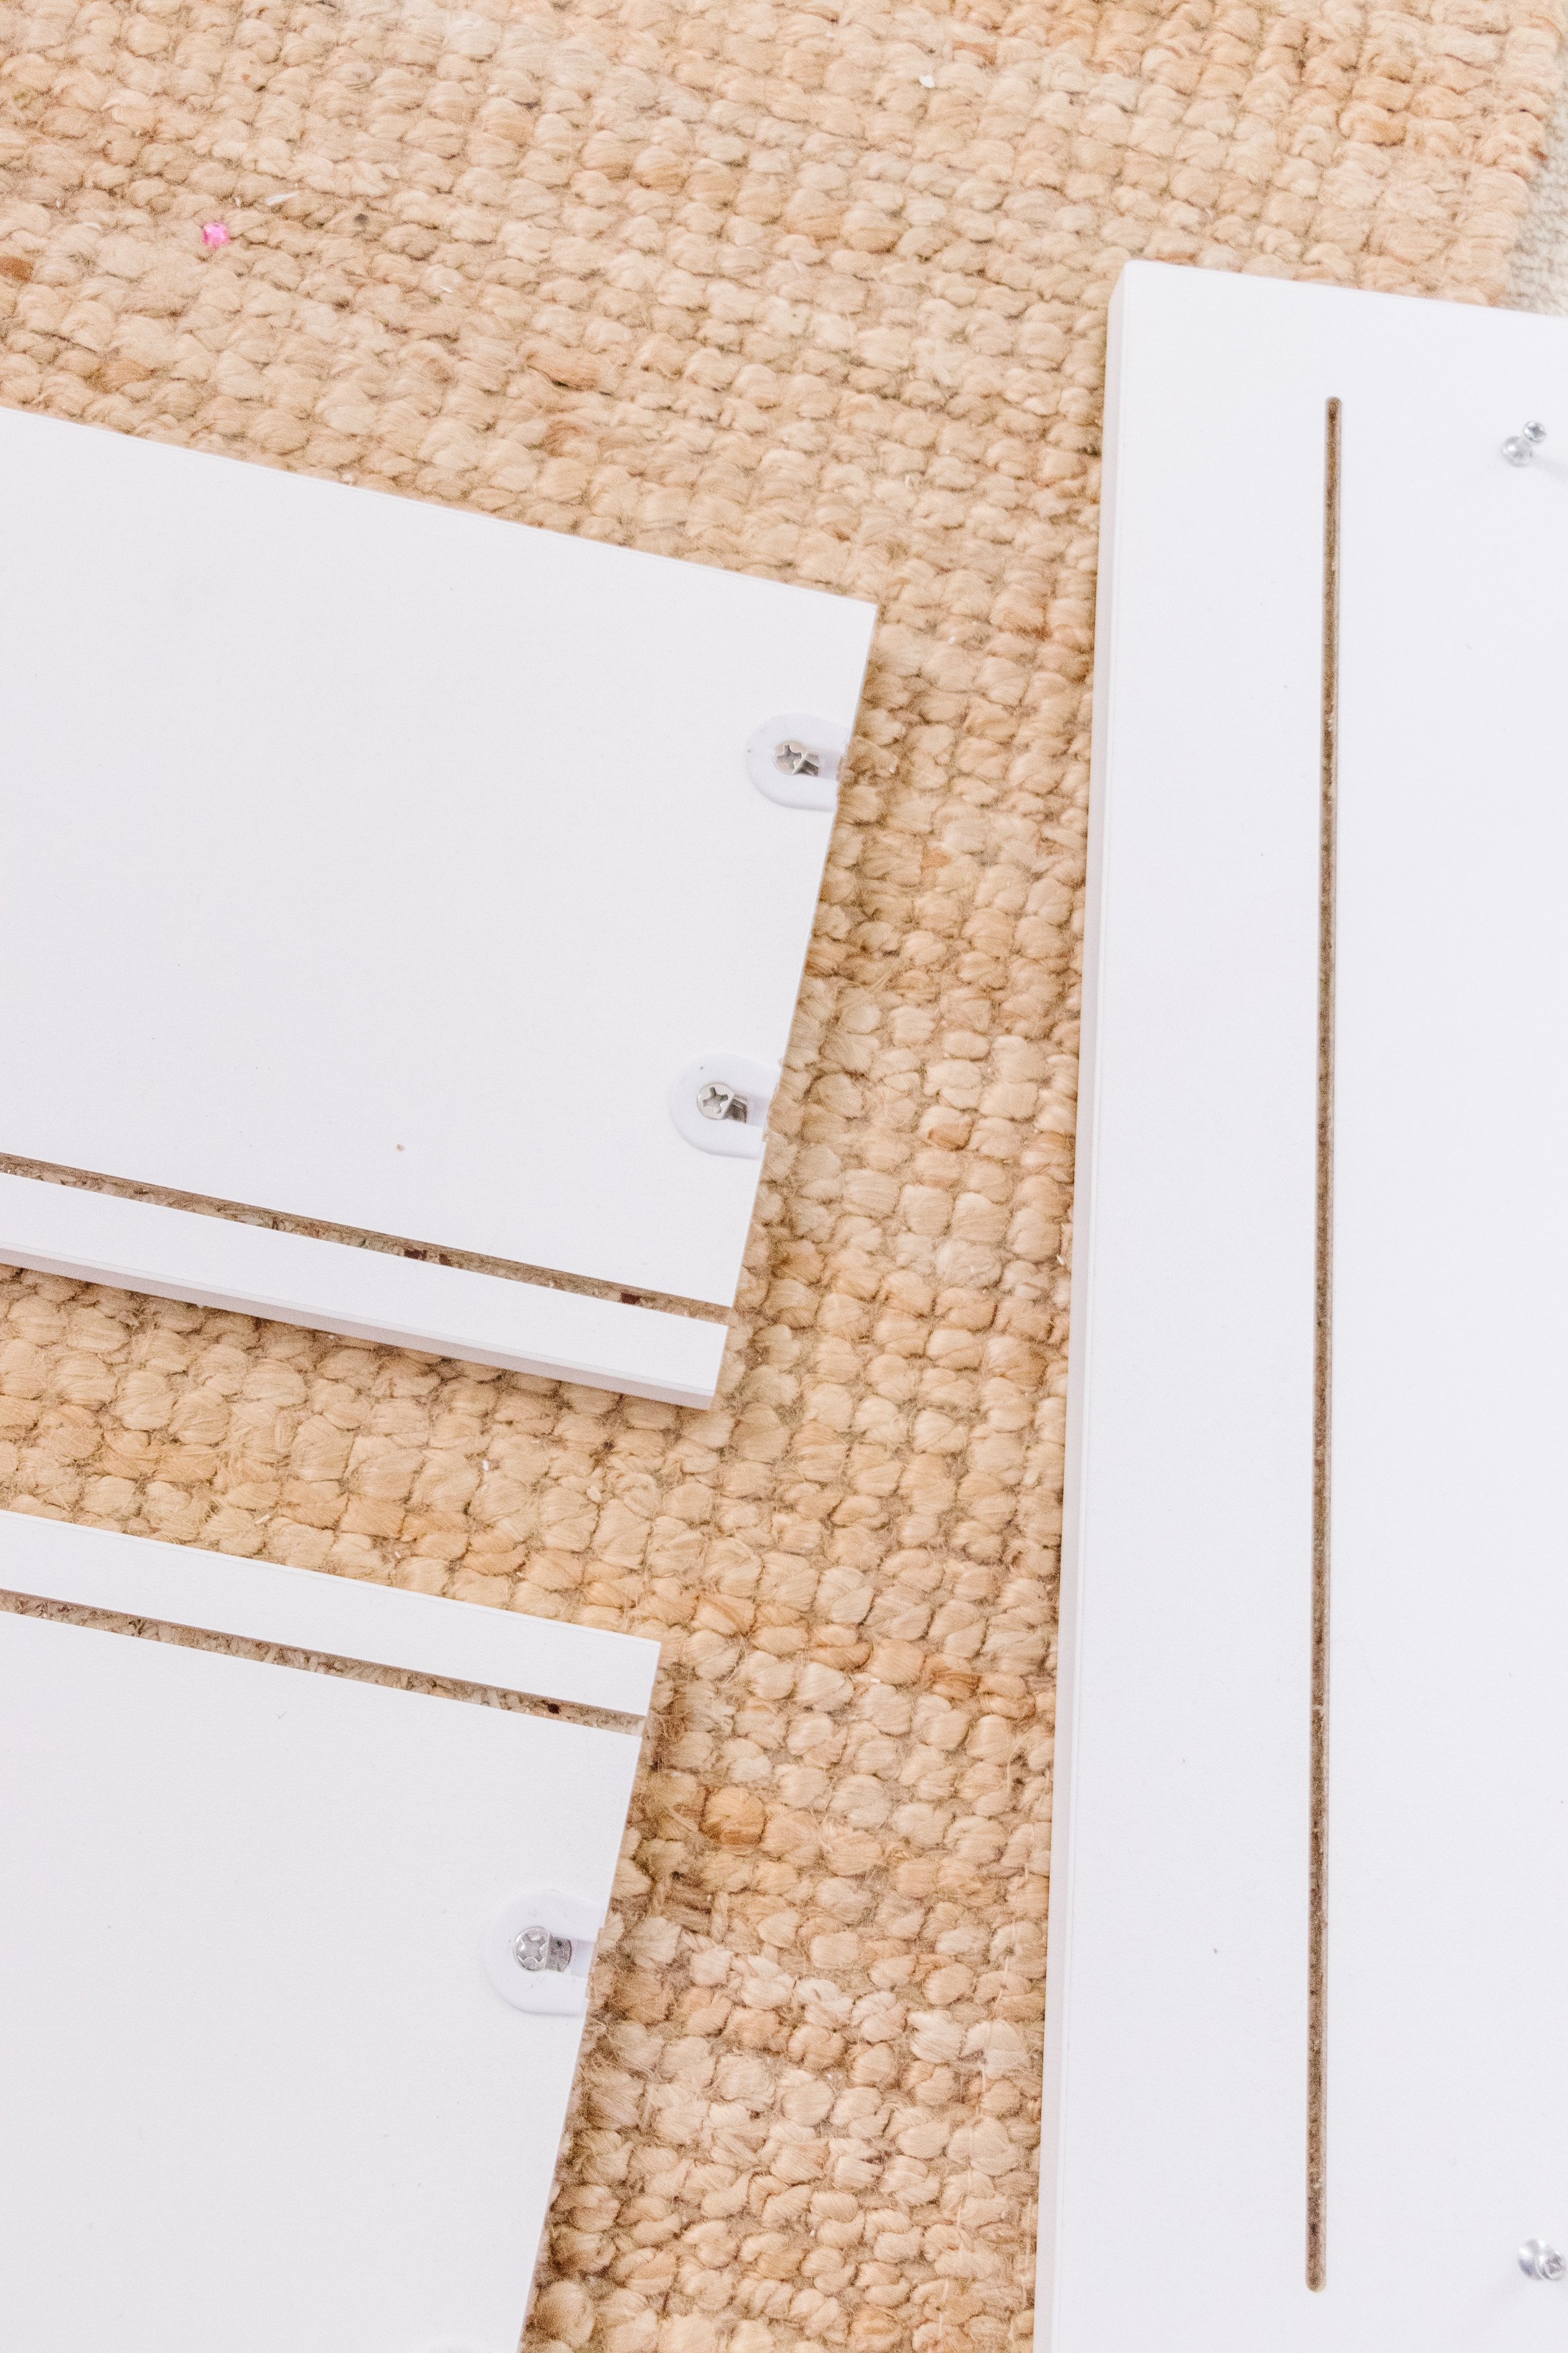


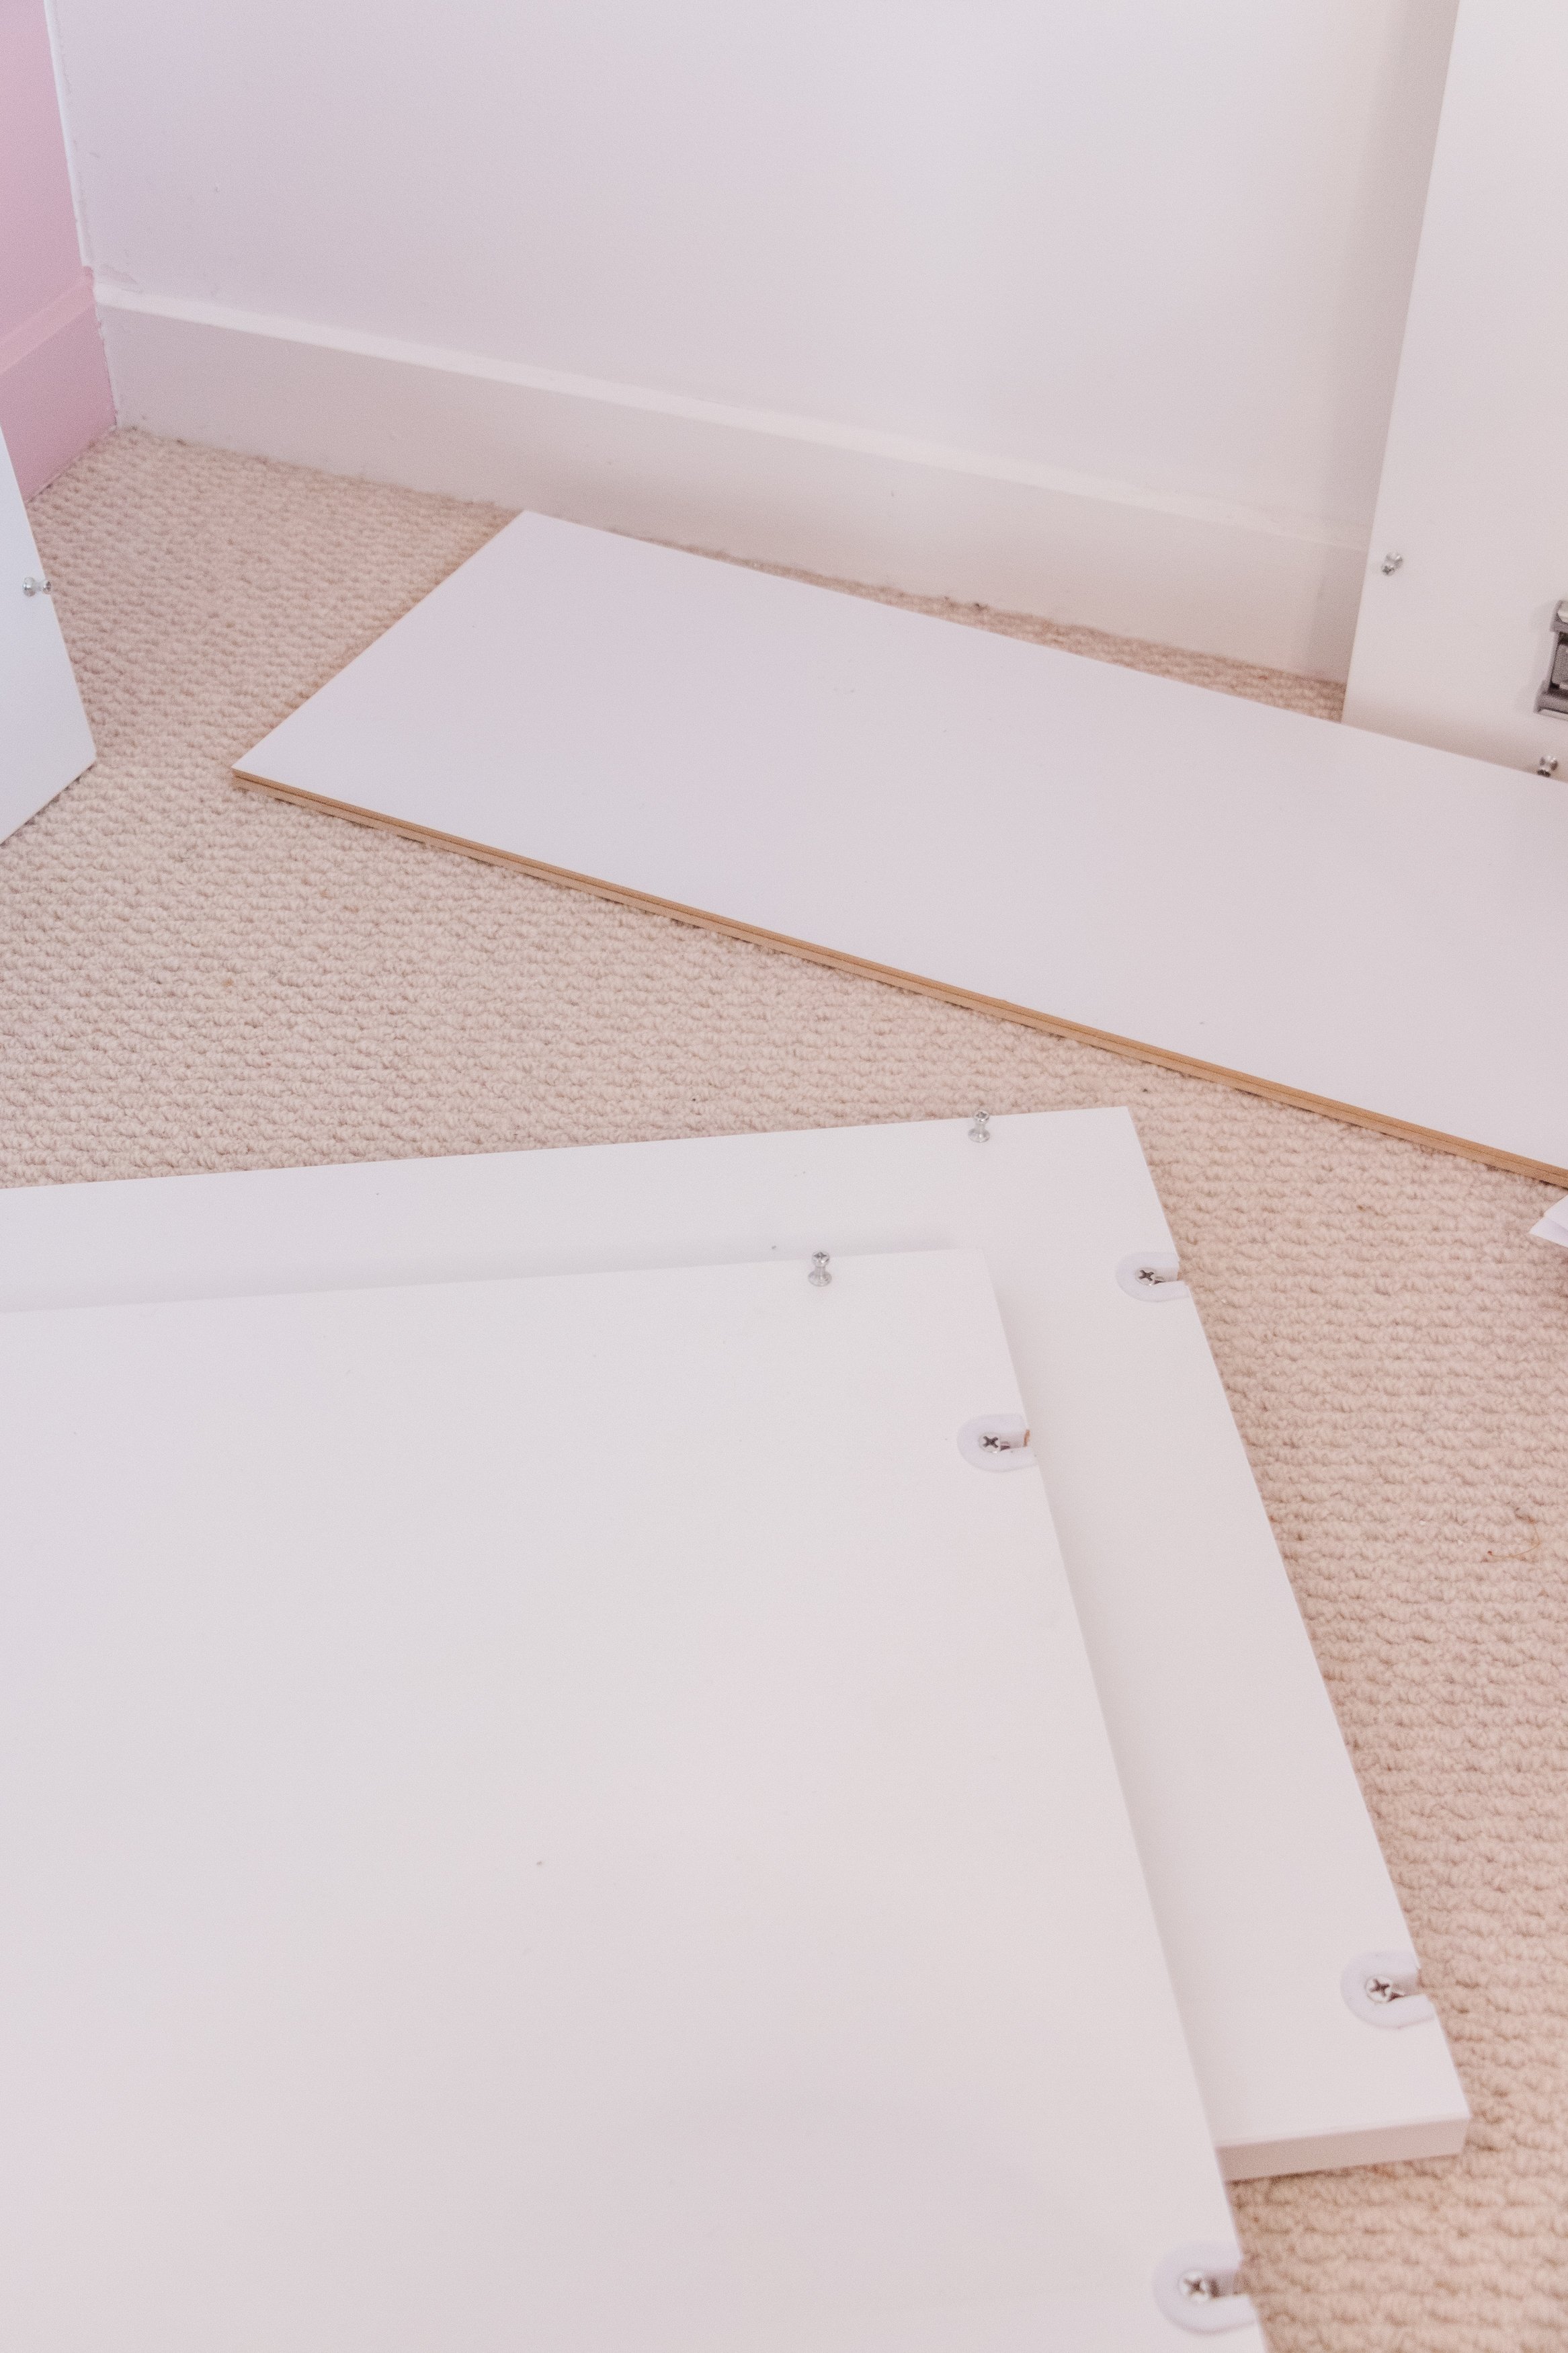

Step 4: Then I assembled the shelves next and followed the instructions. This was even quicker because the assembly process was really similar to the drawers.
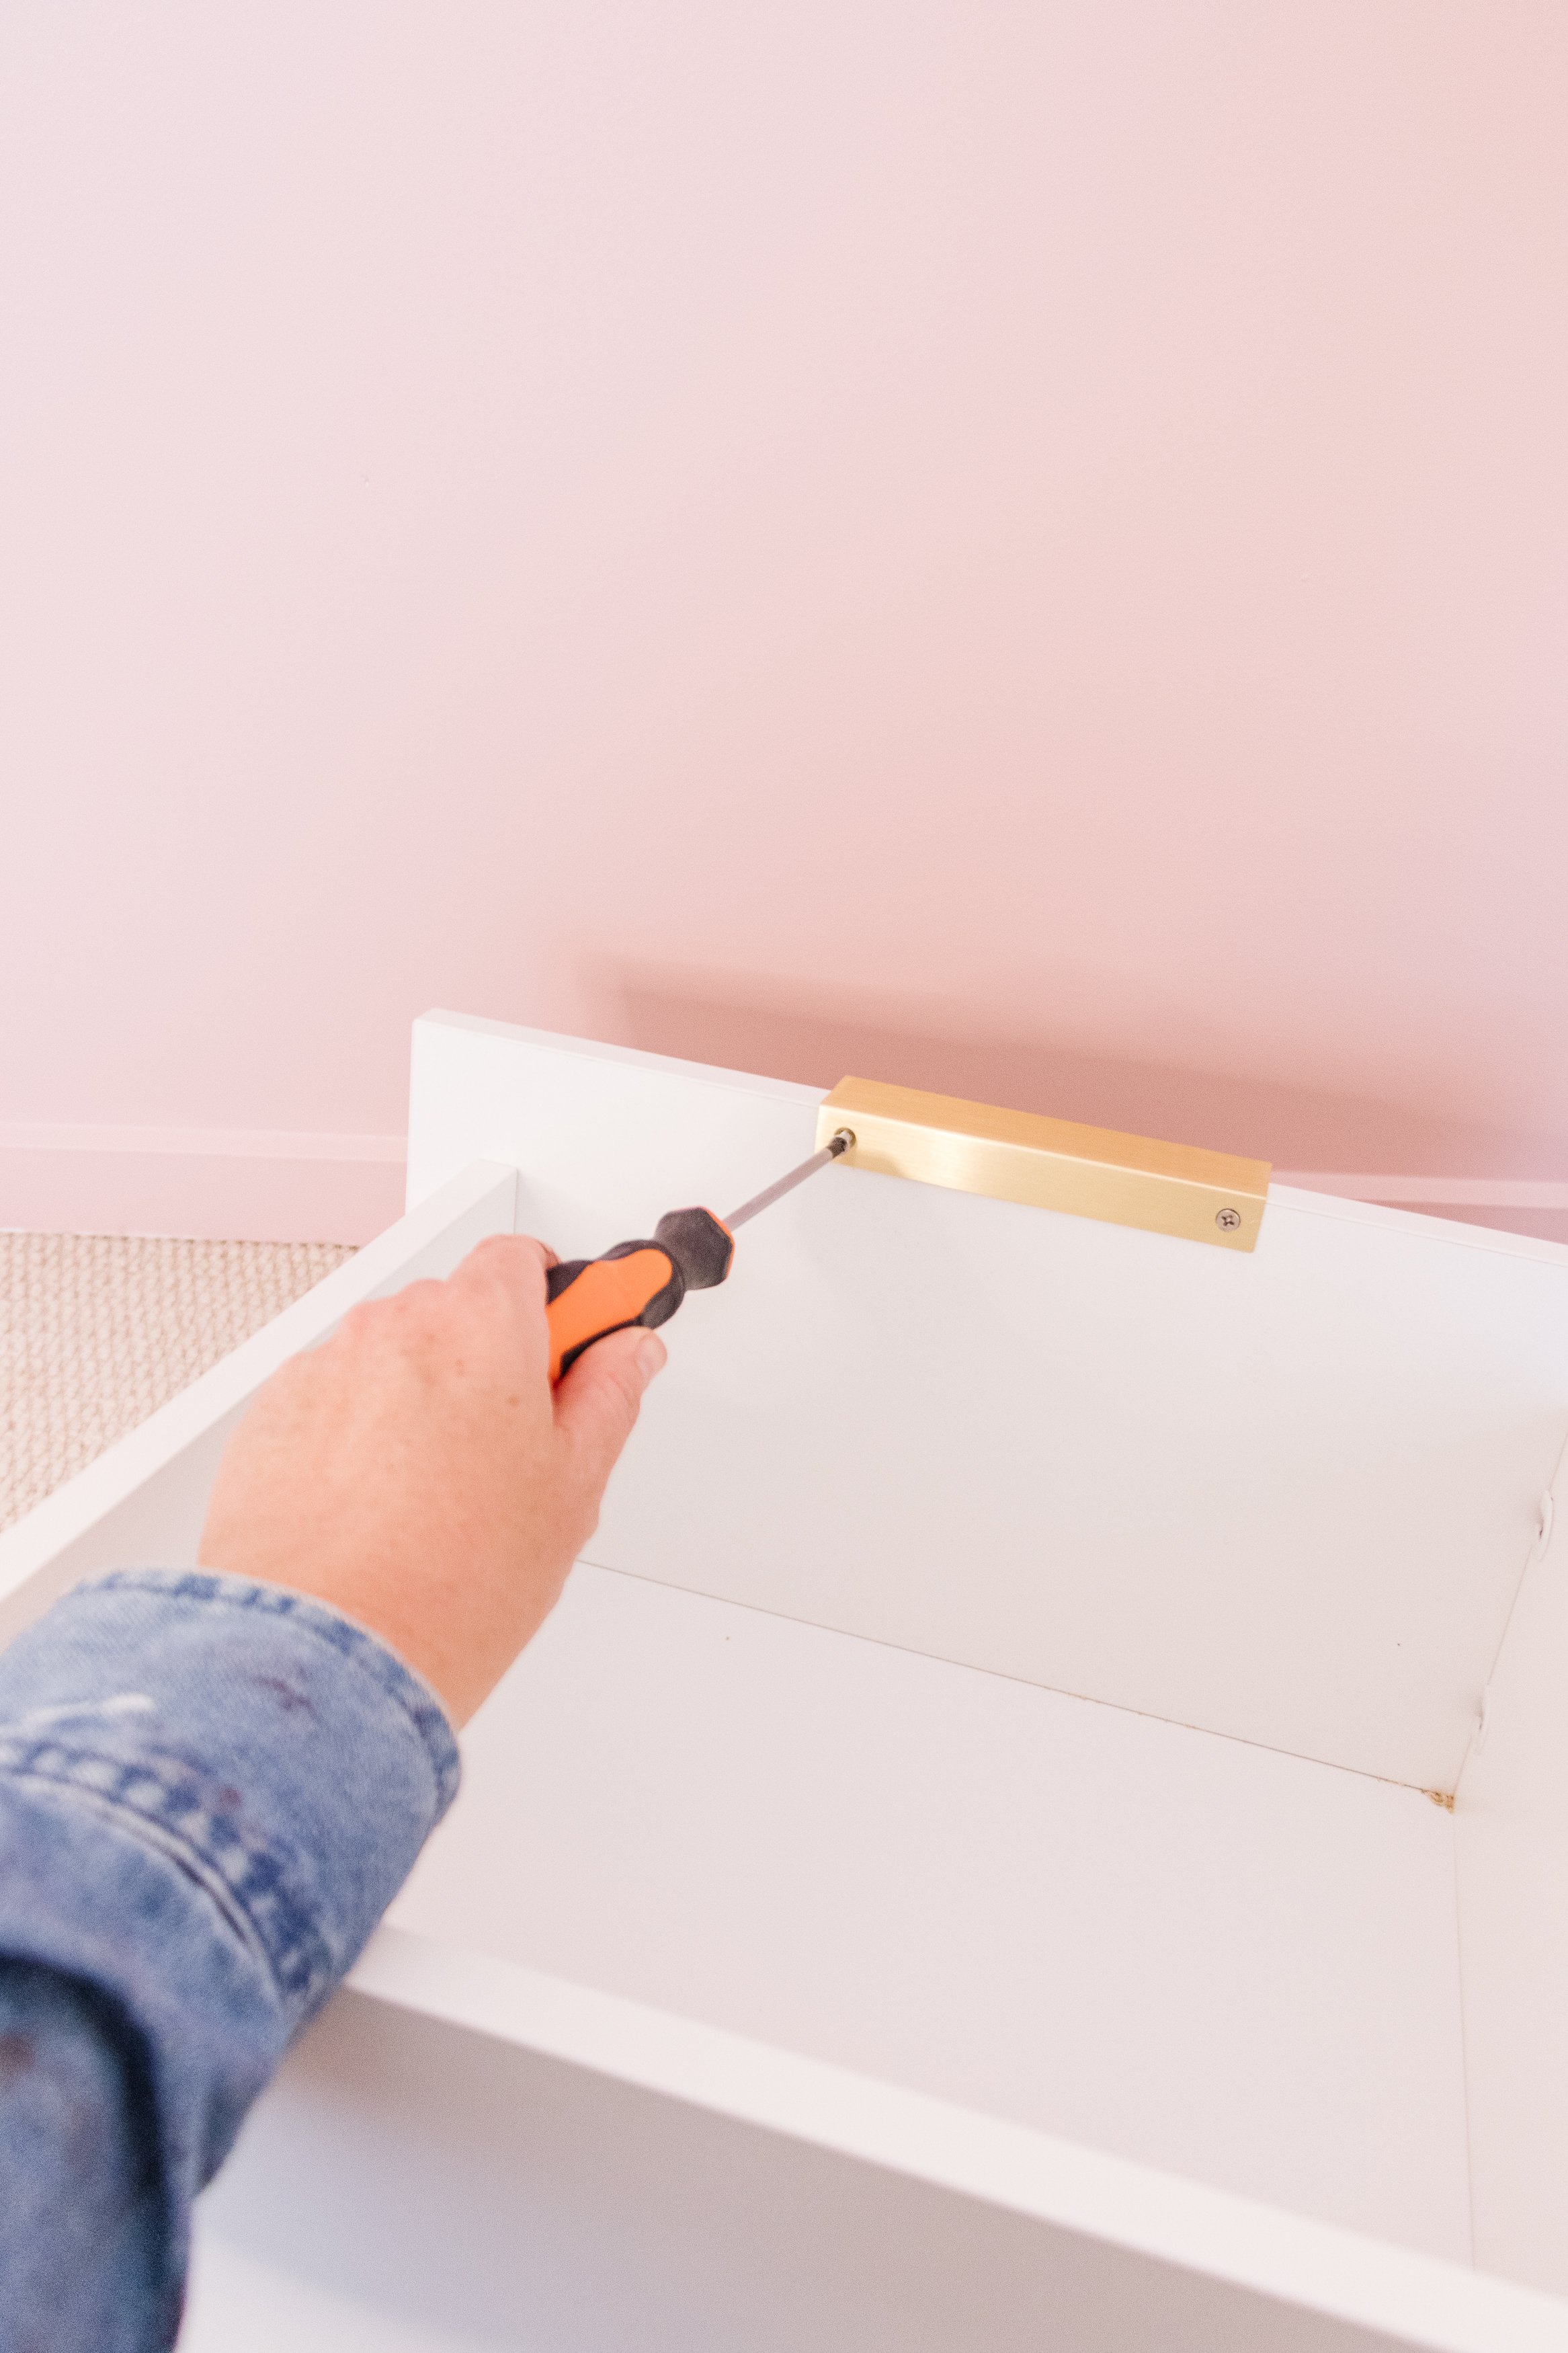
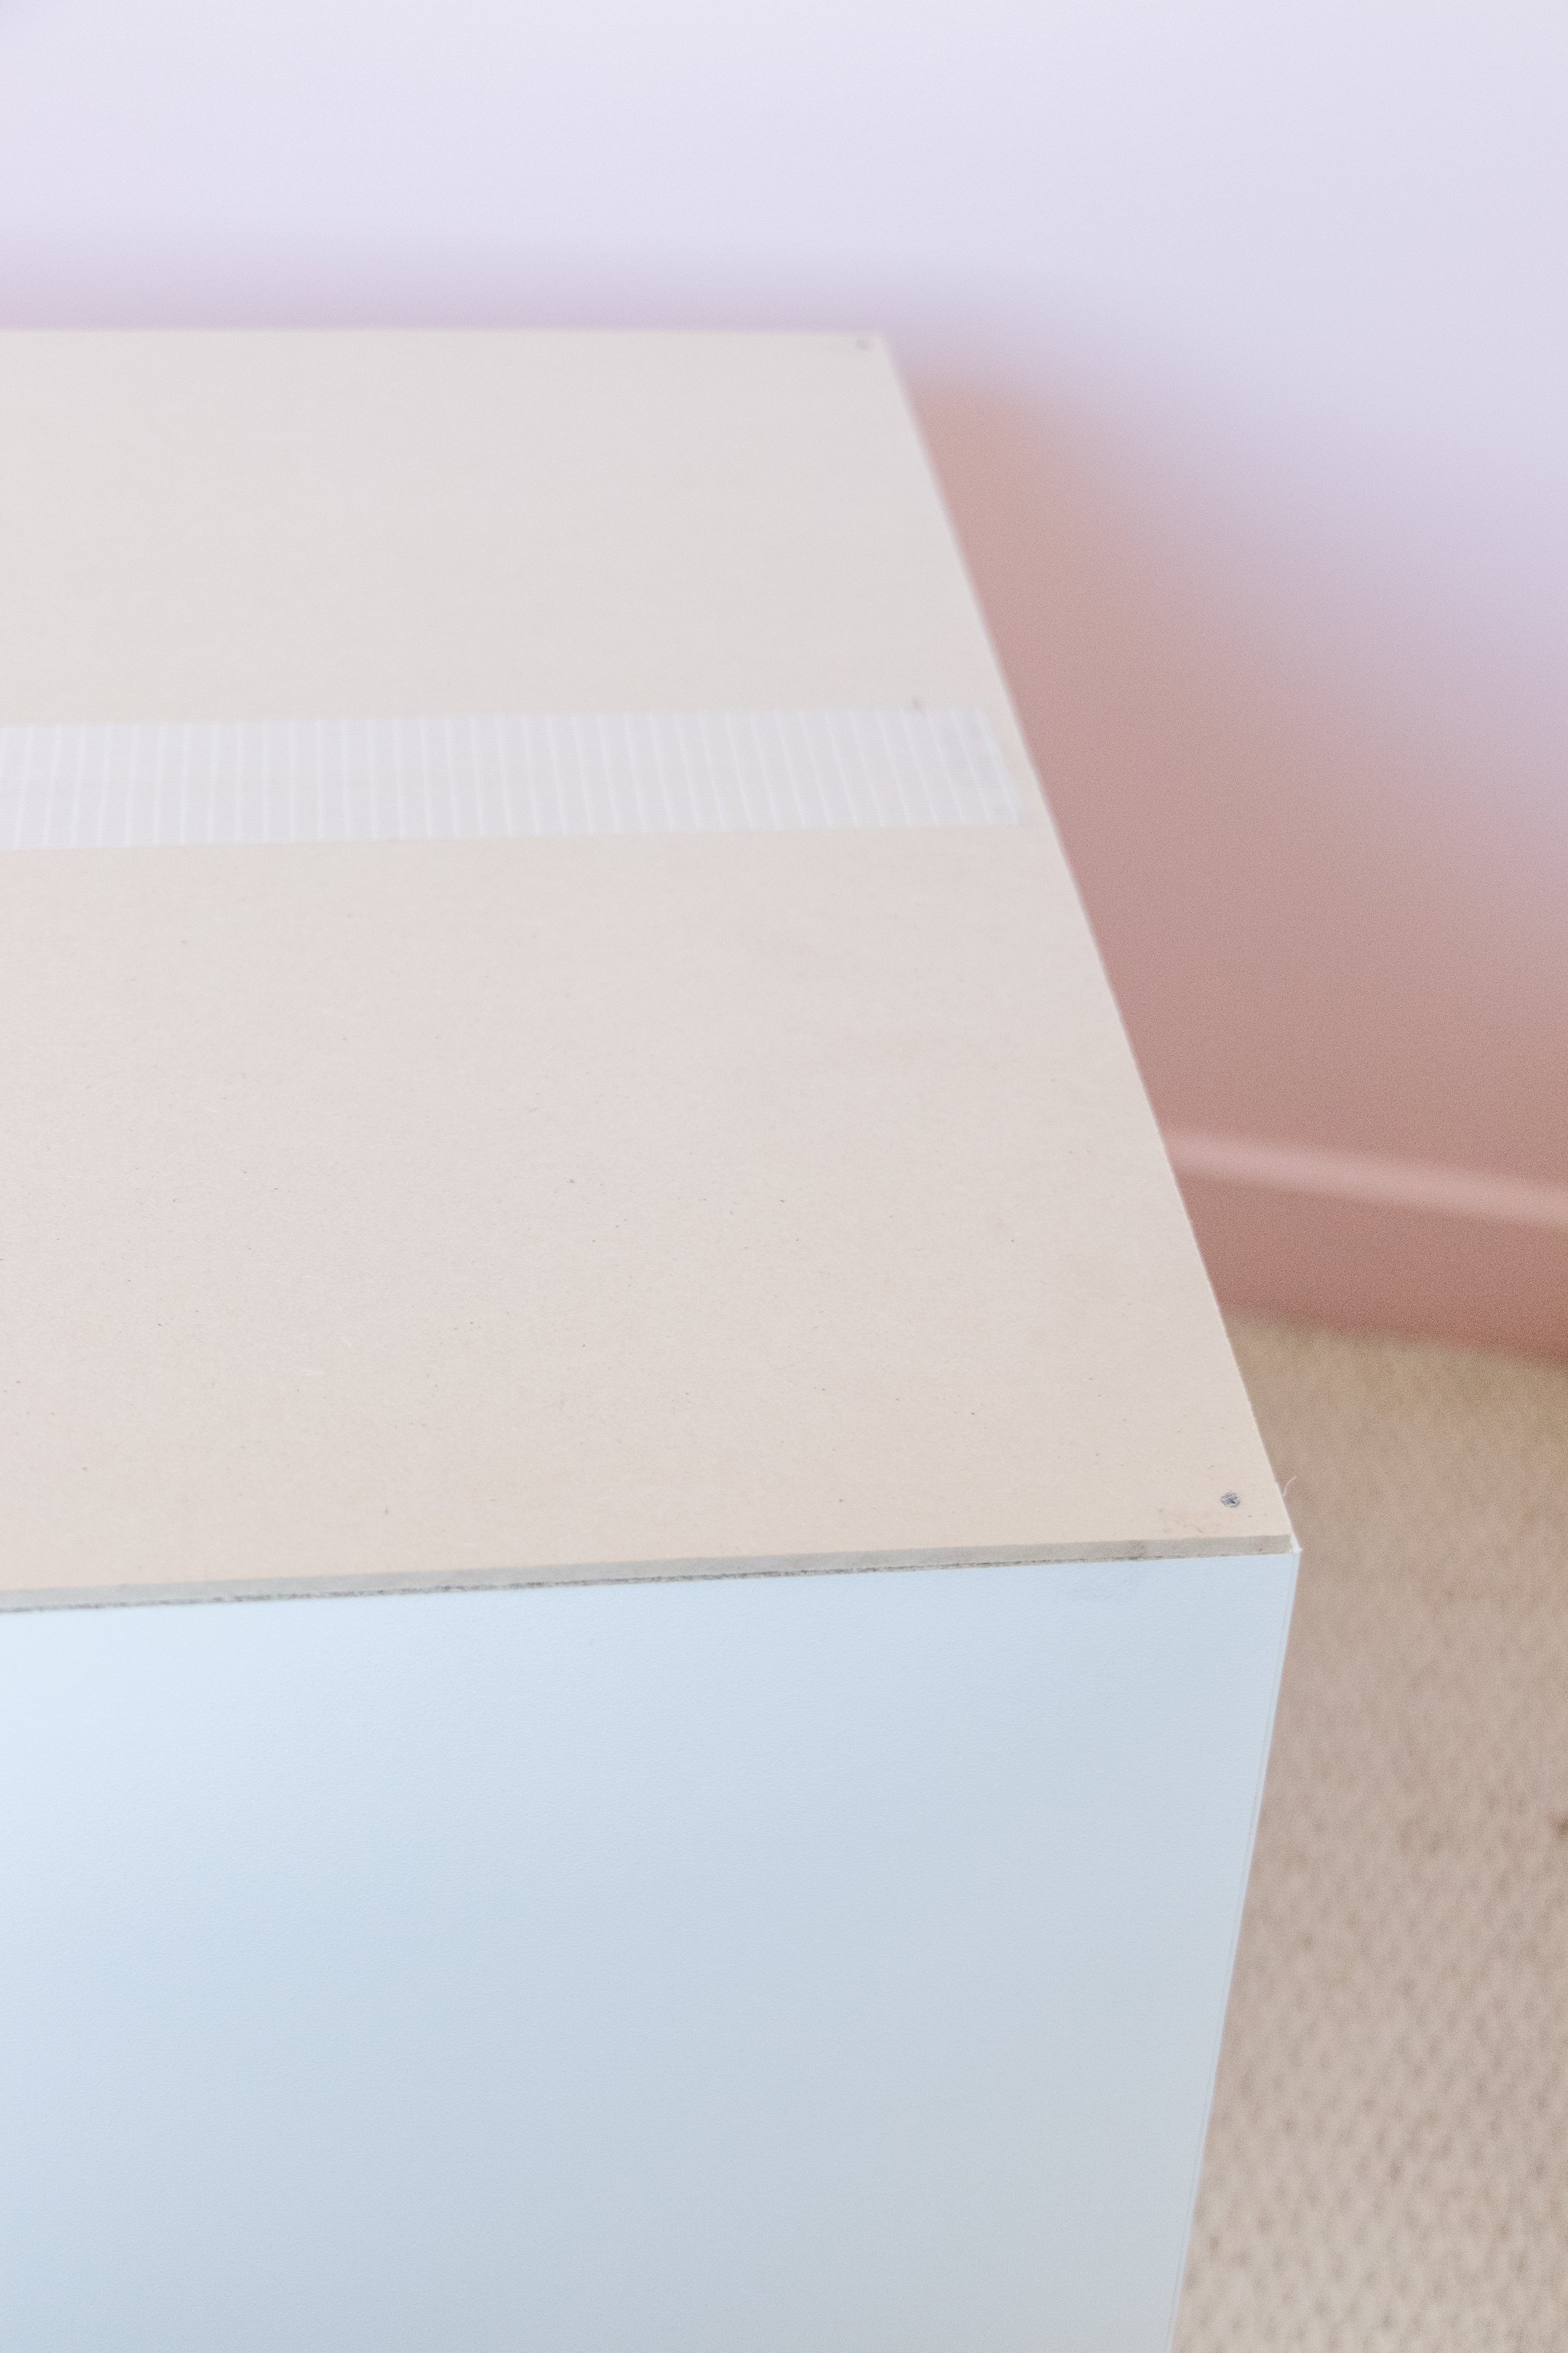
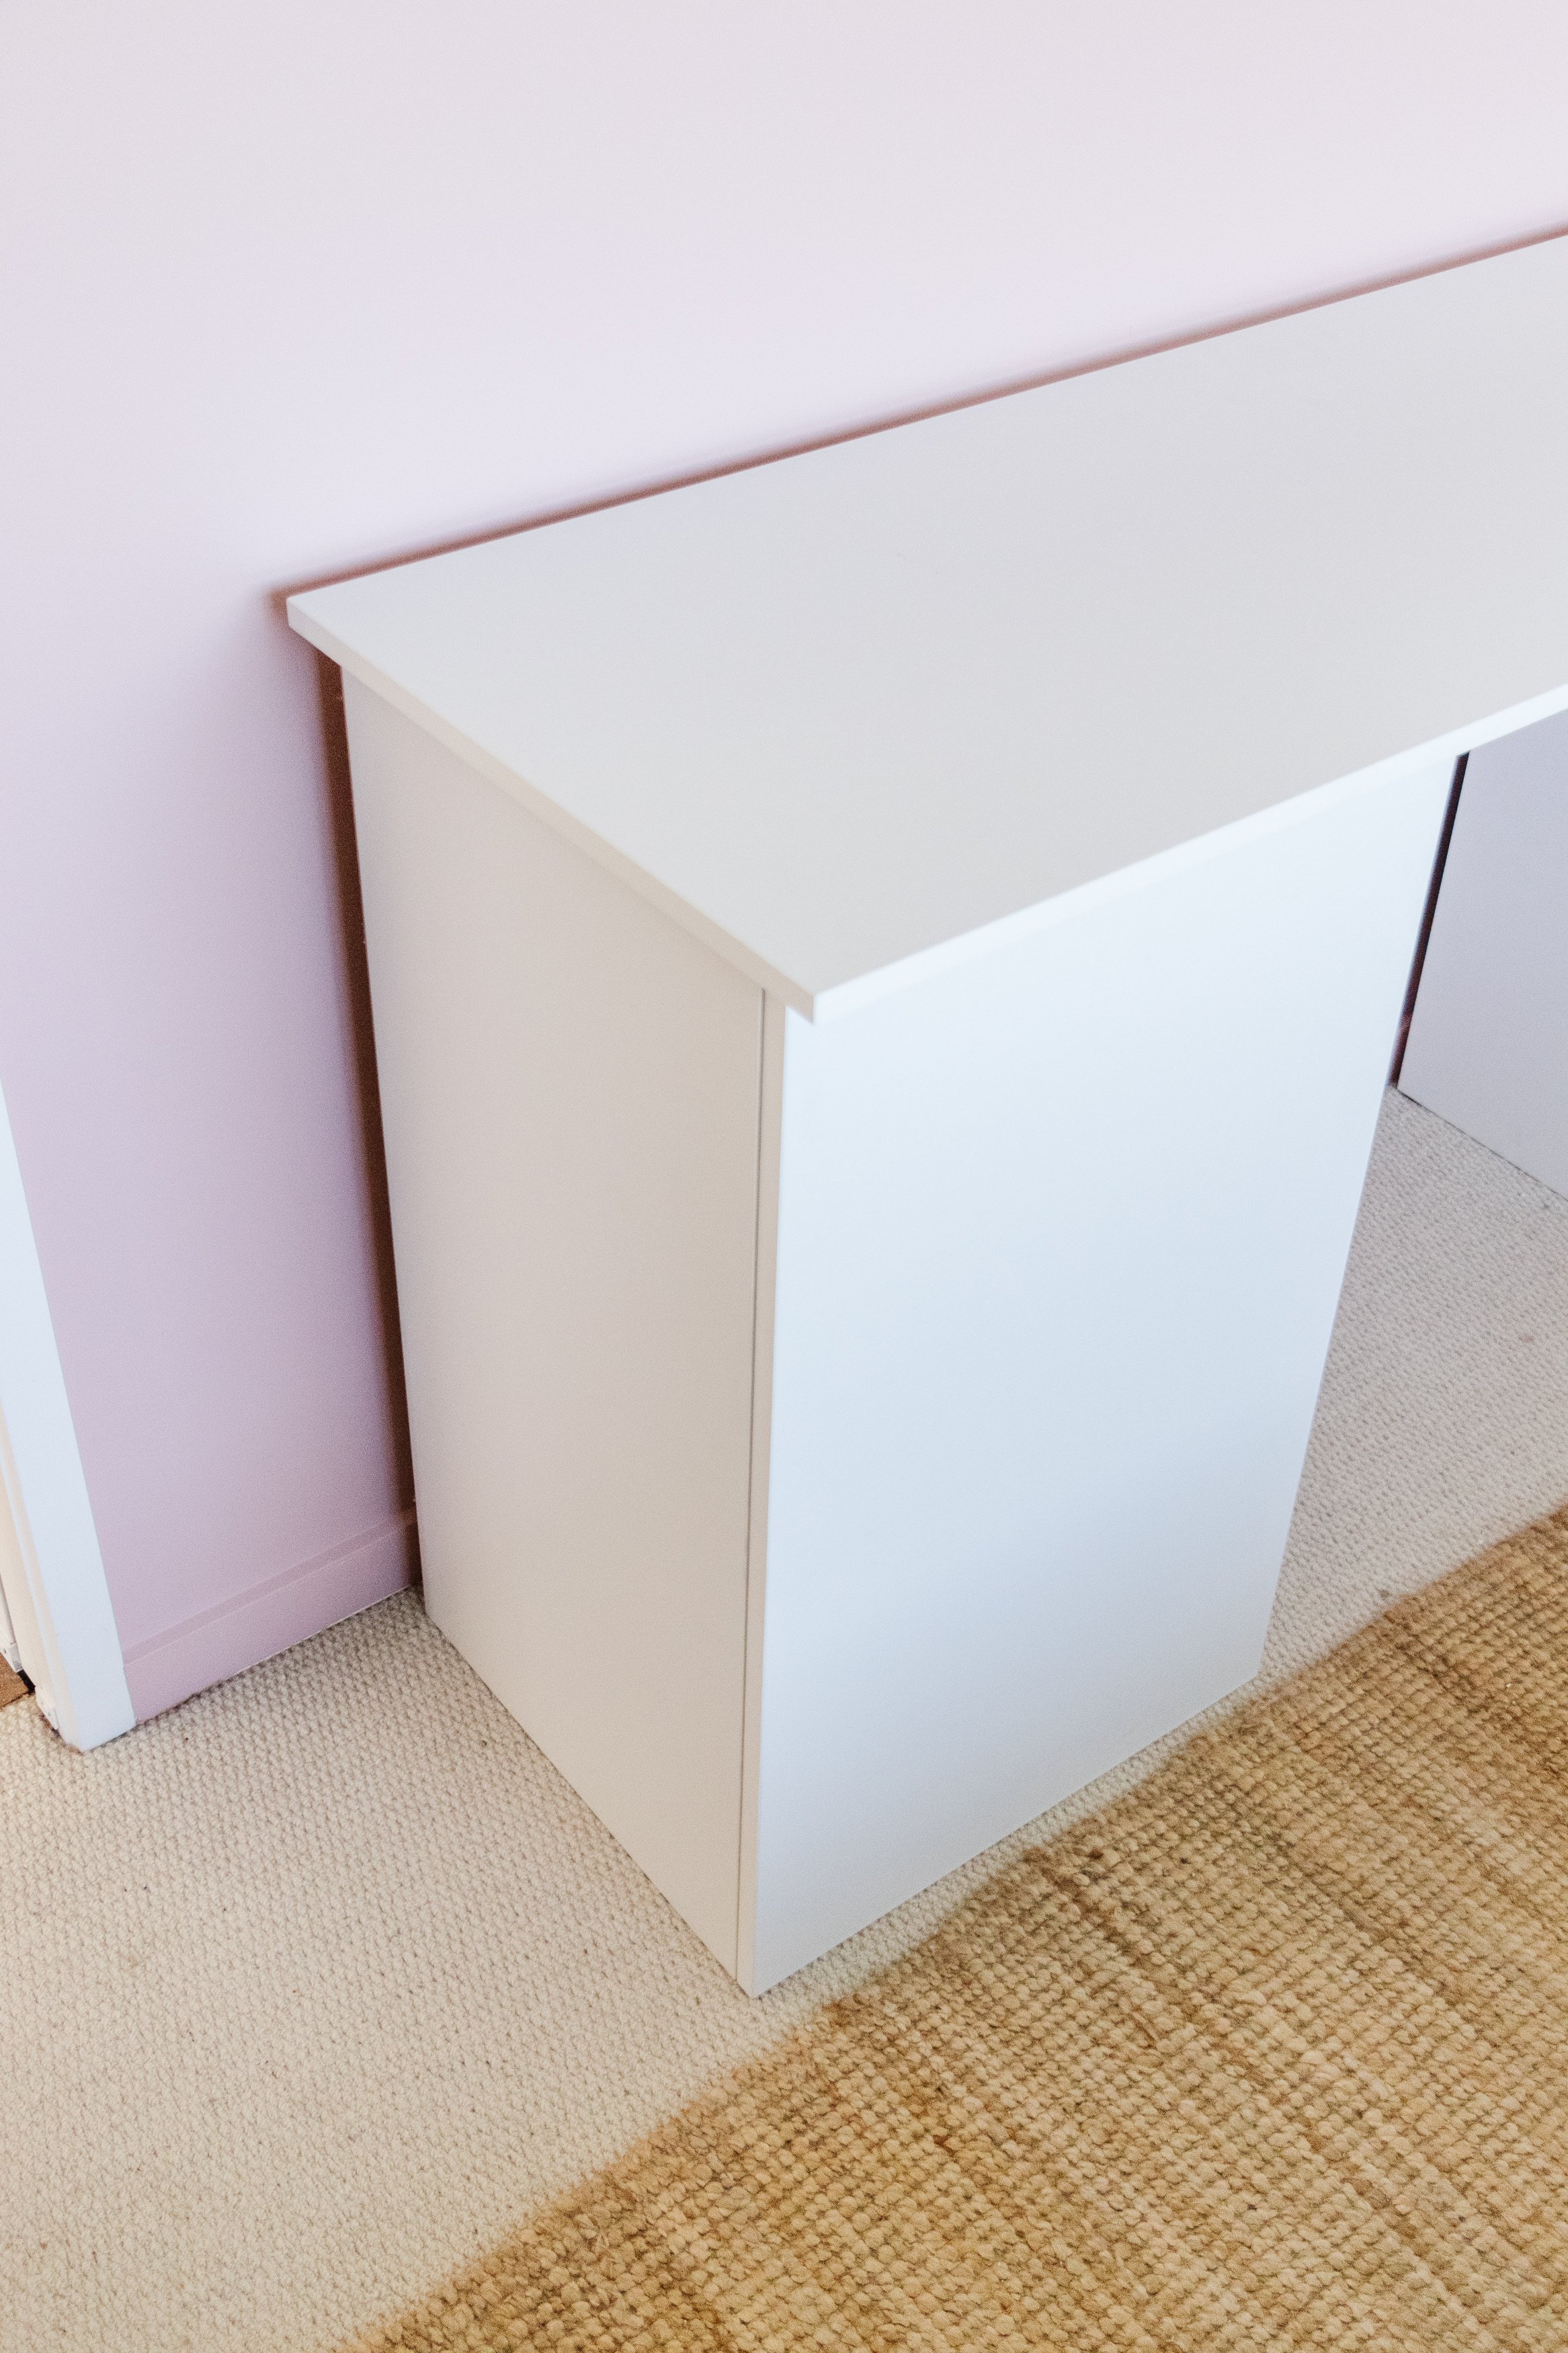
Step 5: I spaced the two units along Celeste’s bedroom wall using a measuring tape and placed the top of the desk onto the top of the shelves and drawers. I drilled pilot holes through the inside/top of each unit and the desktop. Then I used screws to secure the desktop to the cabinet units. Once done I was able to figure out where I wanted to position the door handle, so that’s what I did next. And that’s it! Assembling this desk couldn’t have been more simple and stress free!


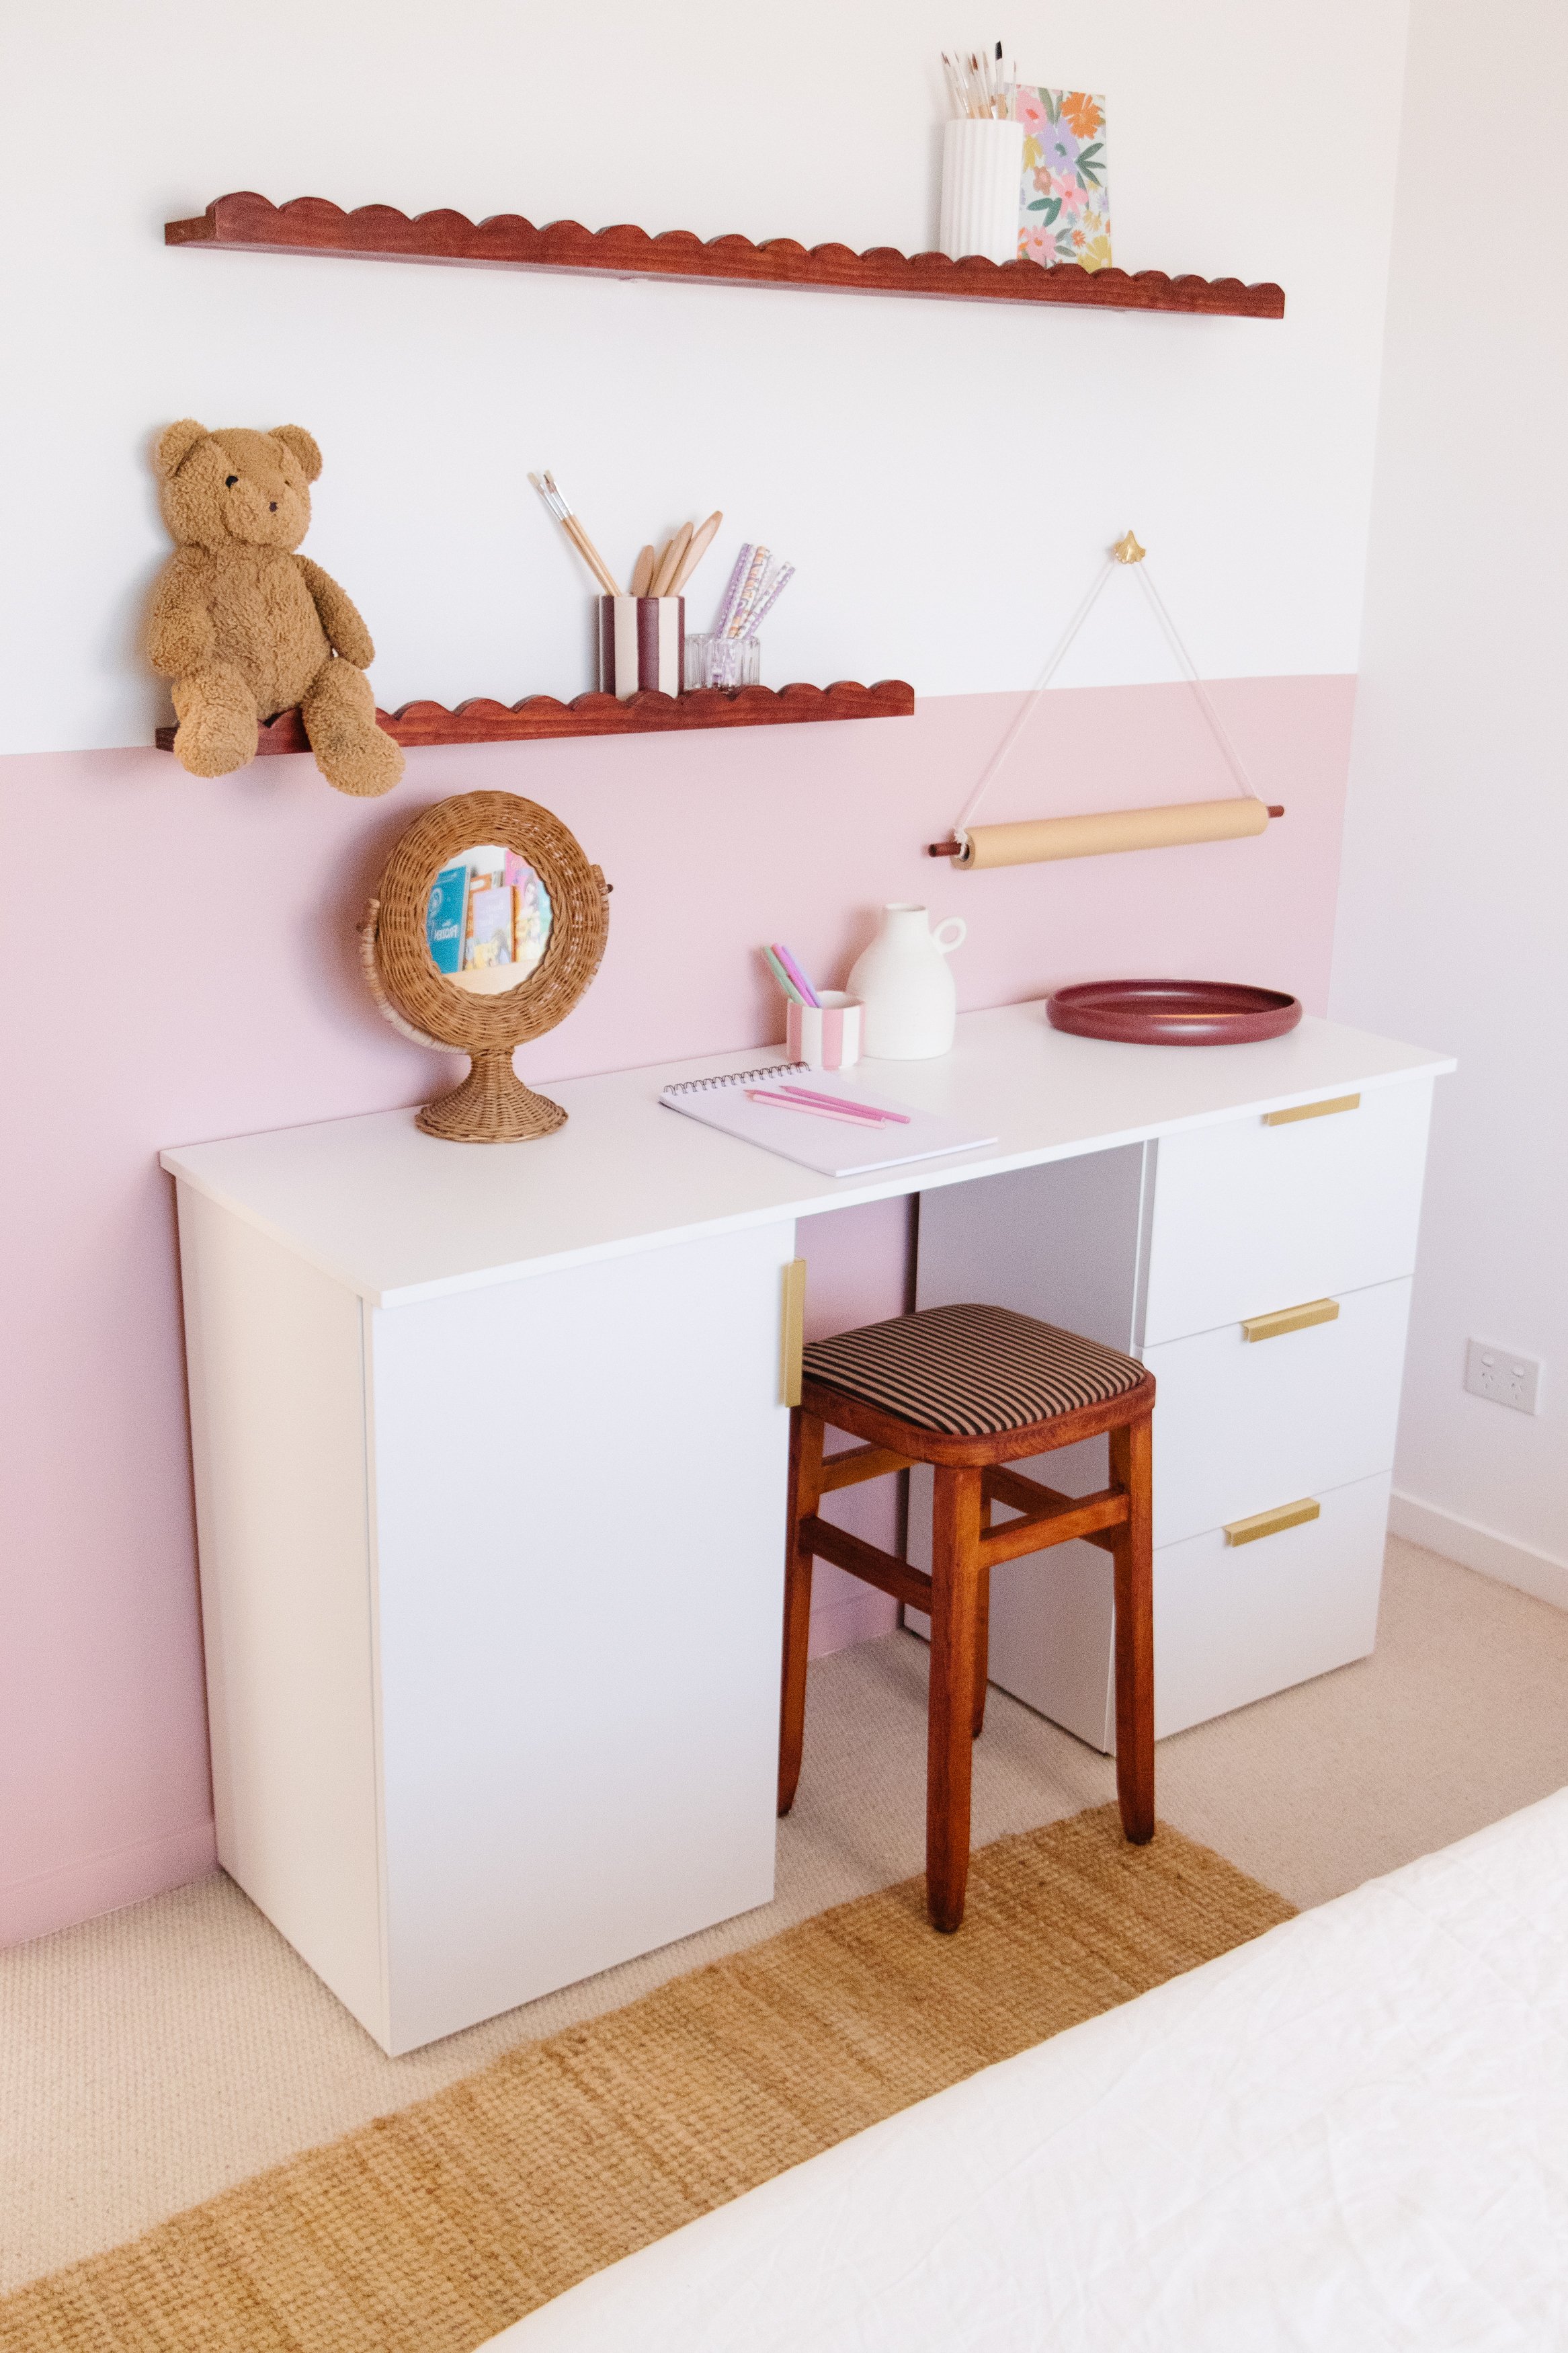
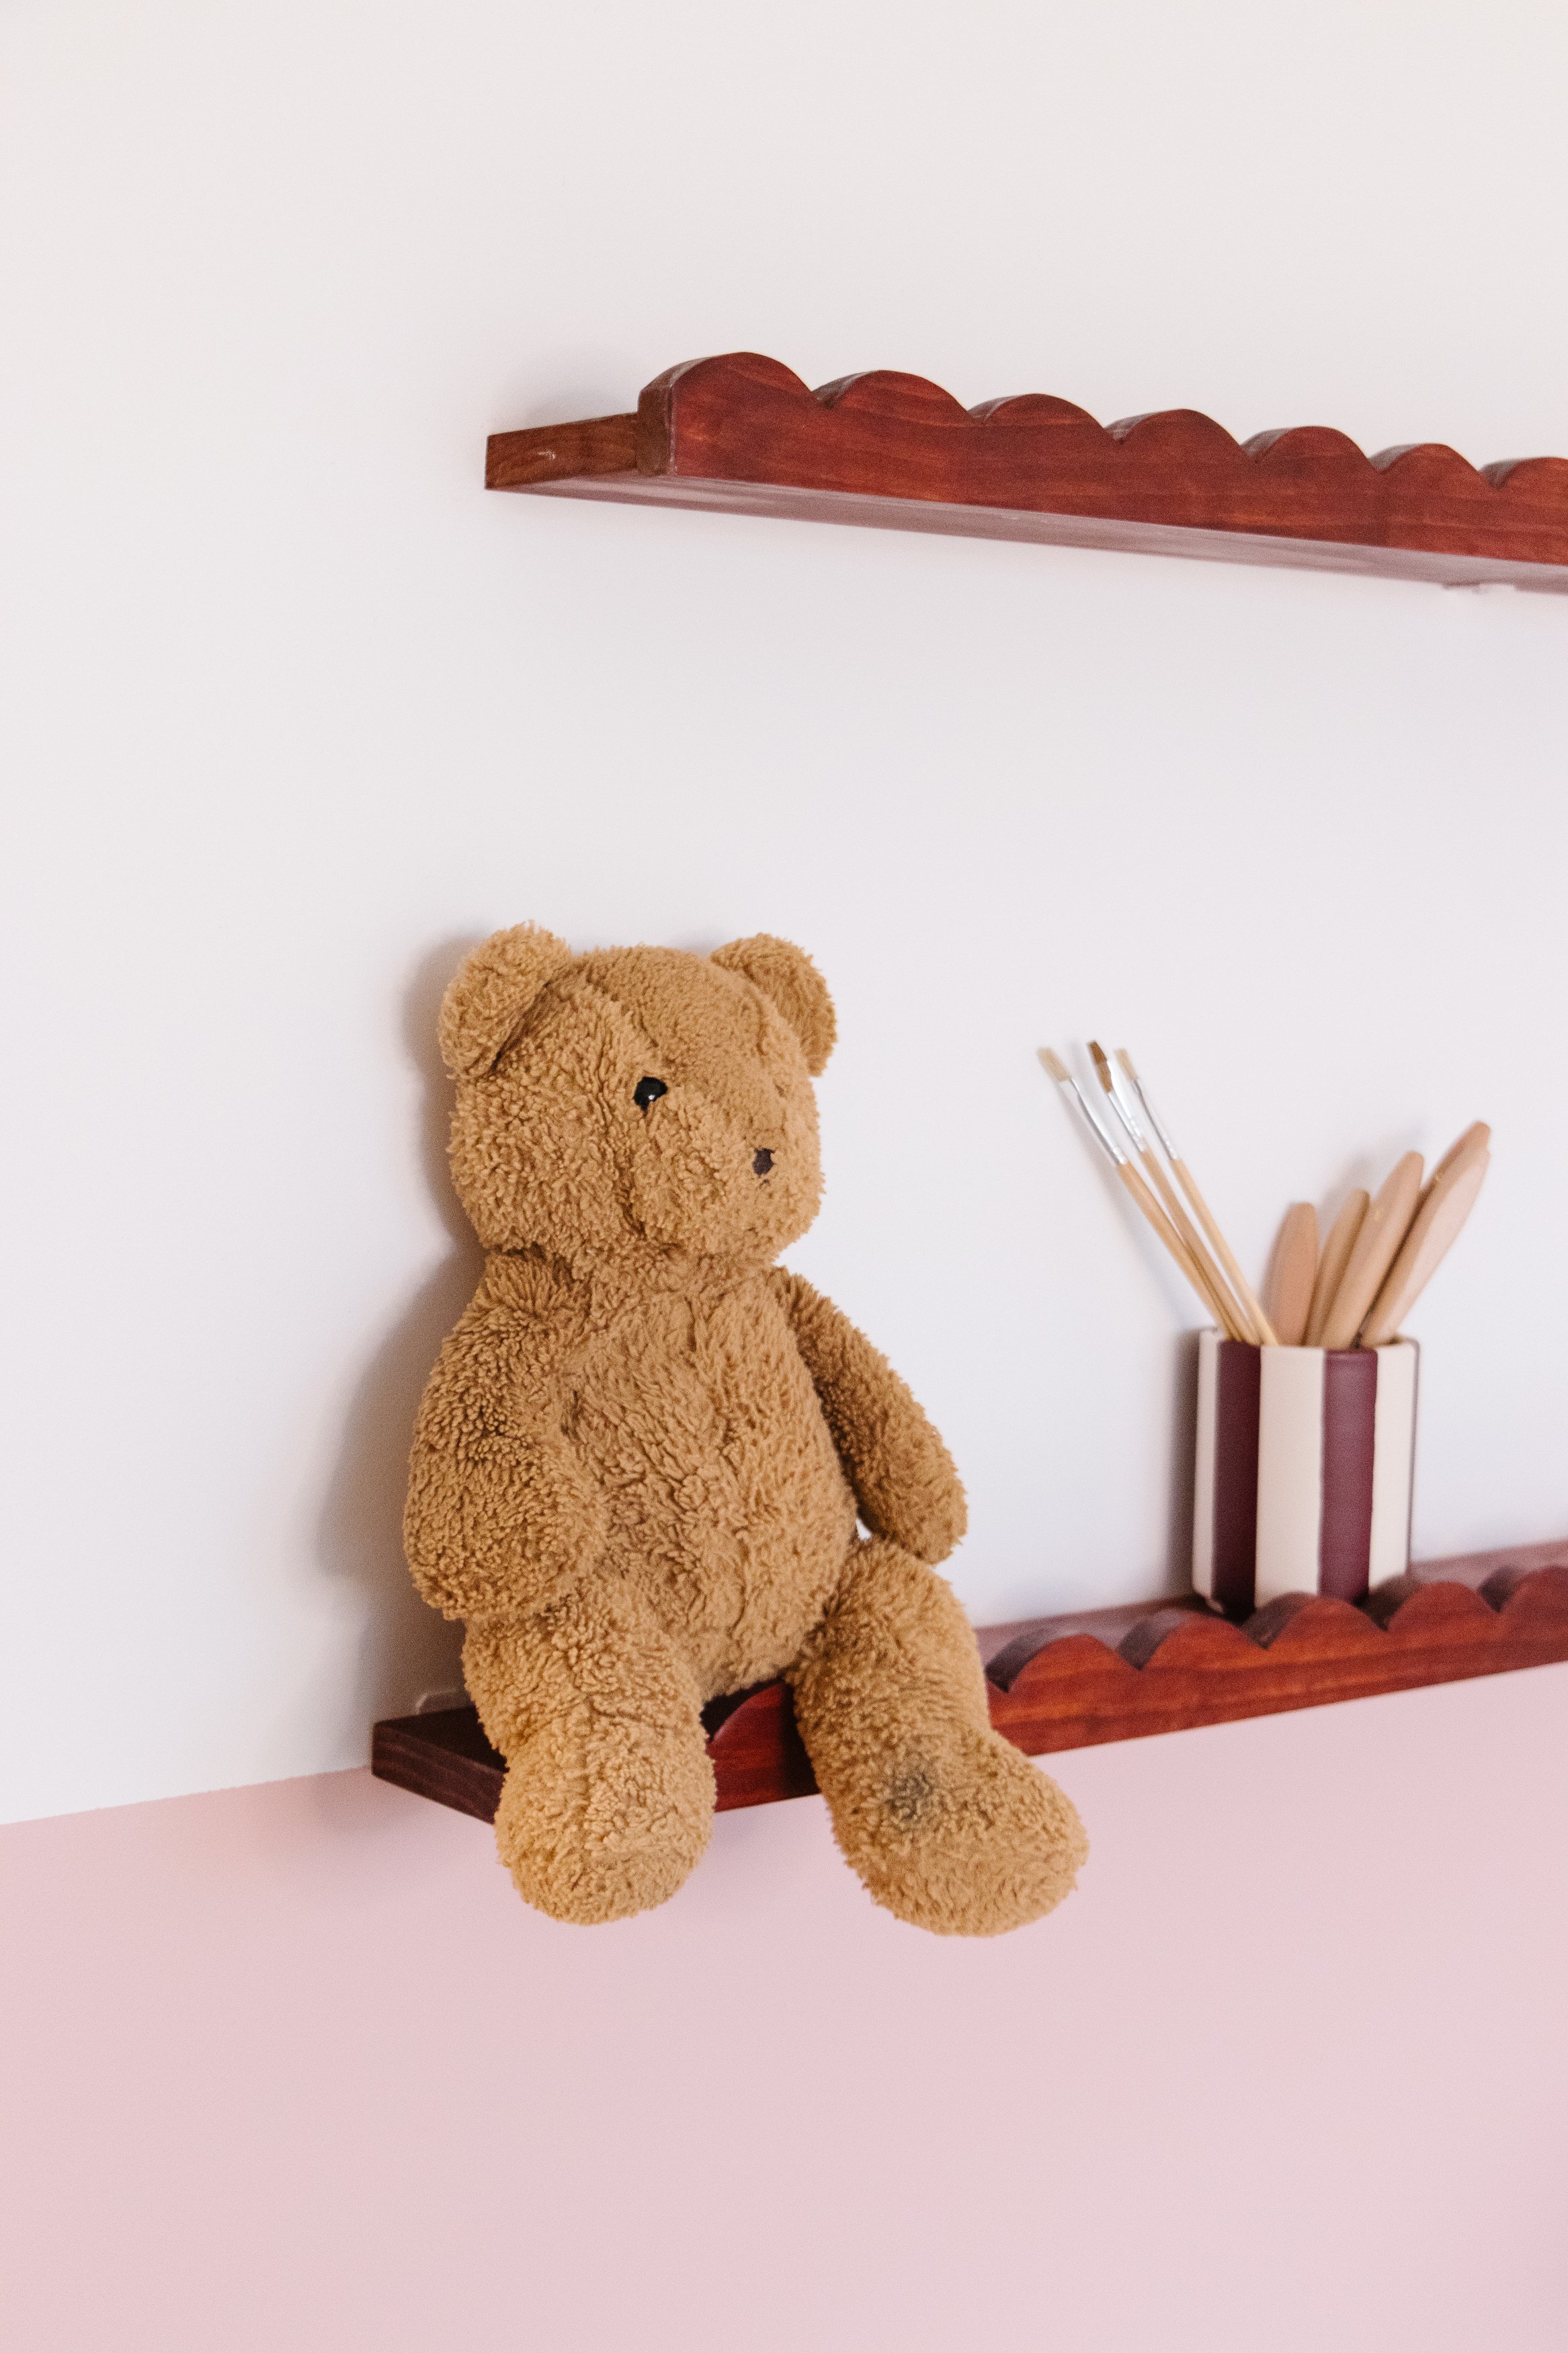
Step 6: Next I hung my DIY Scalloped Shelves using L brackets, timber screws and a drill. I’ve written a tutorial for this project, which you can view here.
Step 7: To make the DIY Paper Roll Dispenser, I threaded the dowel (which I had stained to match the scalloped shelves) through the paper roller and tied a piece of rope at each end of the dowel to hang the paper roller but also stop it from rolling off the dowel when it is being used. I hung the paper dispenser next by hammering a nail into a stud. To hide the nail I placed a brass door knob over it.

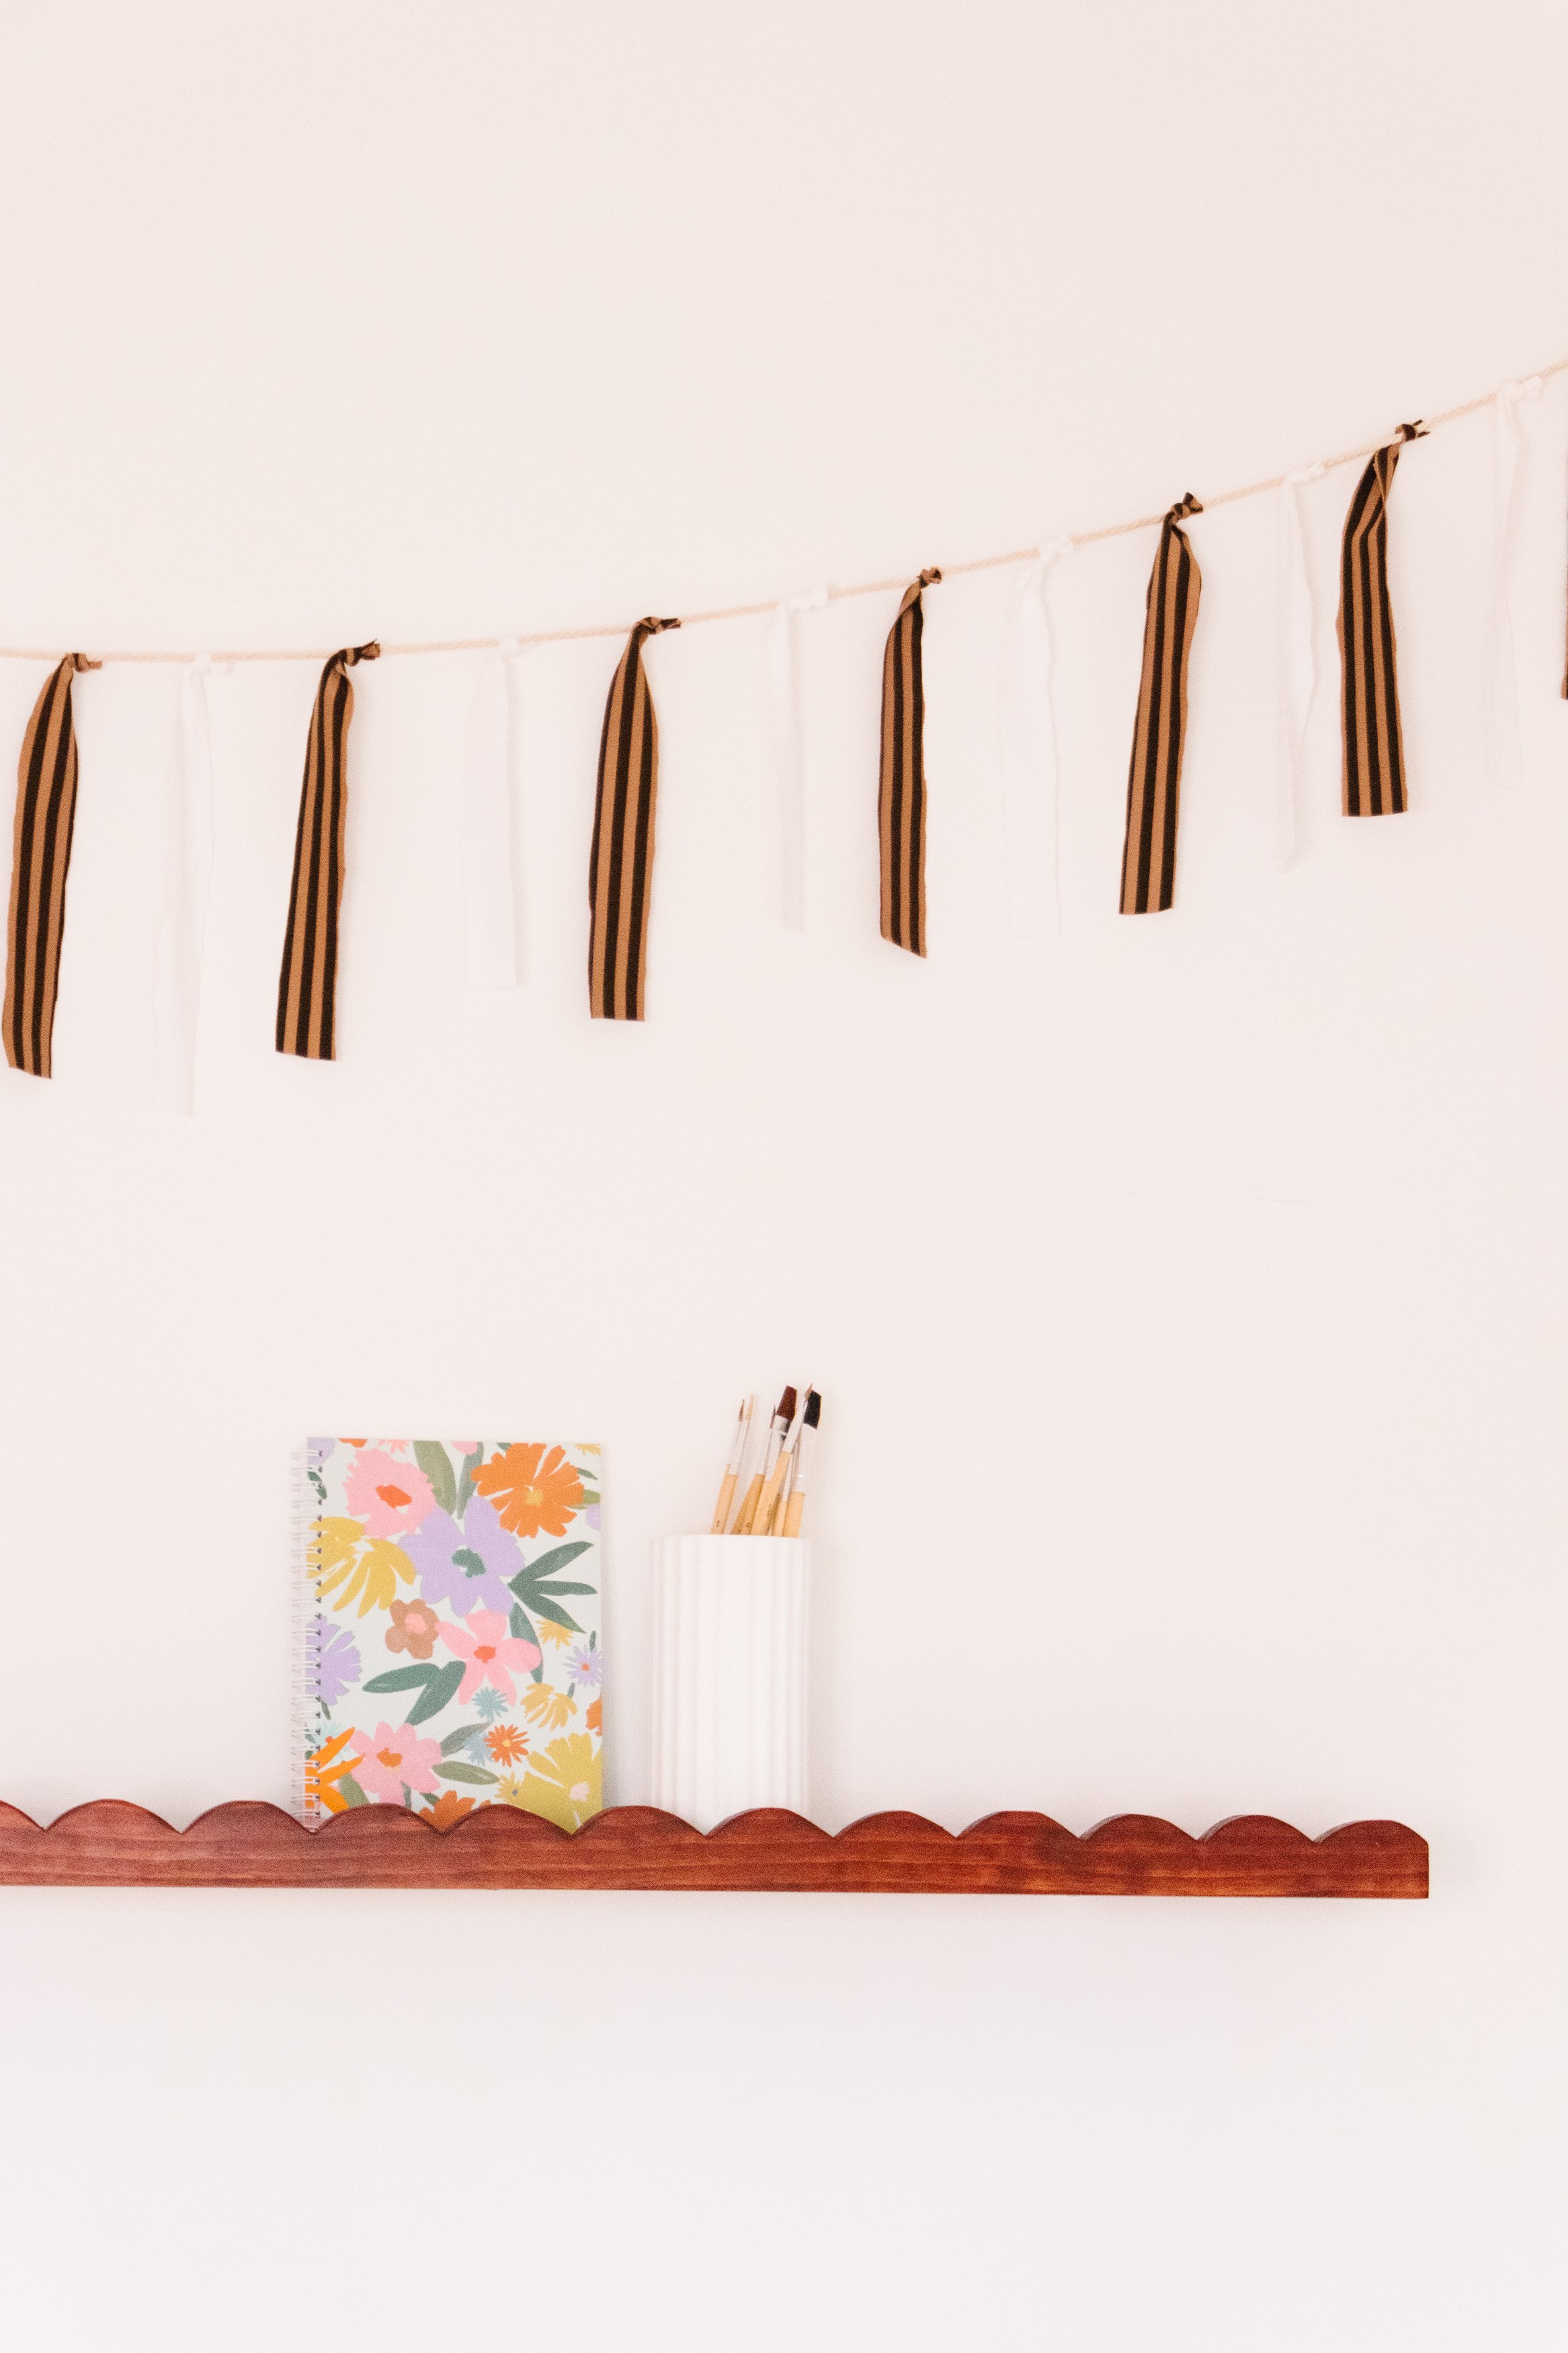
Step 8: To make the bunting I cut long pieces of fabric using scissors. I didn’t fuss with making sure the fabric pieces were exactly the same length or width because I wanted it to look organic. I tied a knot down one end of the rope and following this I knotted each piece of fabric onto the rope making sure to alternate between the white fabric and striped fabric. I used small clear decorating hooks/clips to hang the bunting.
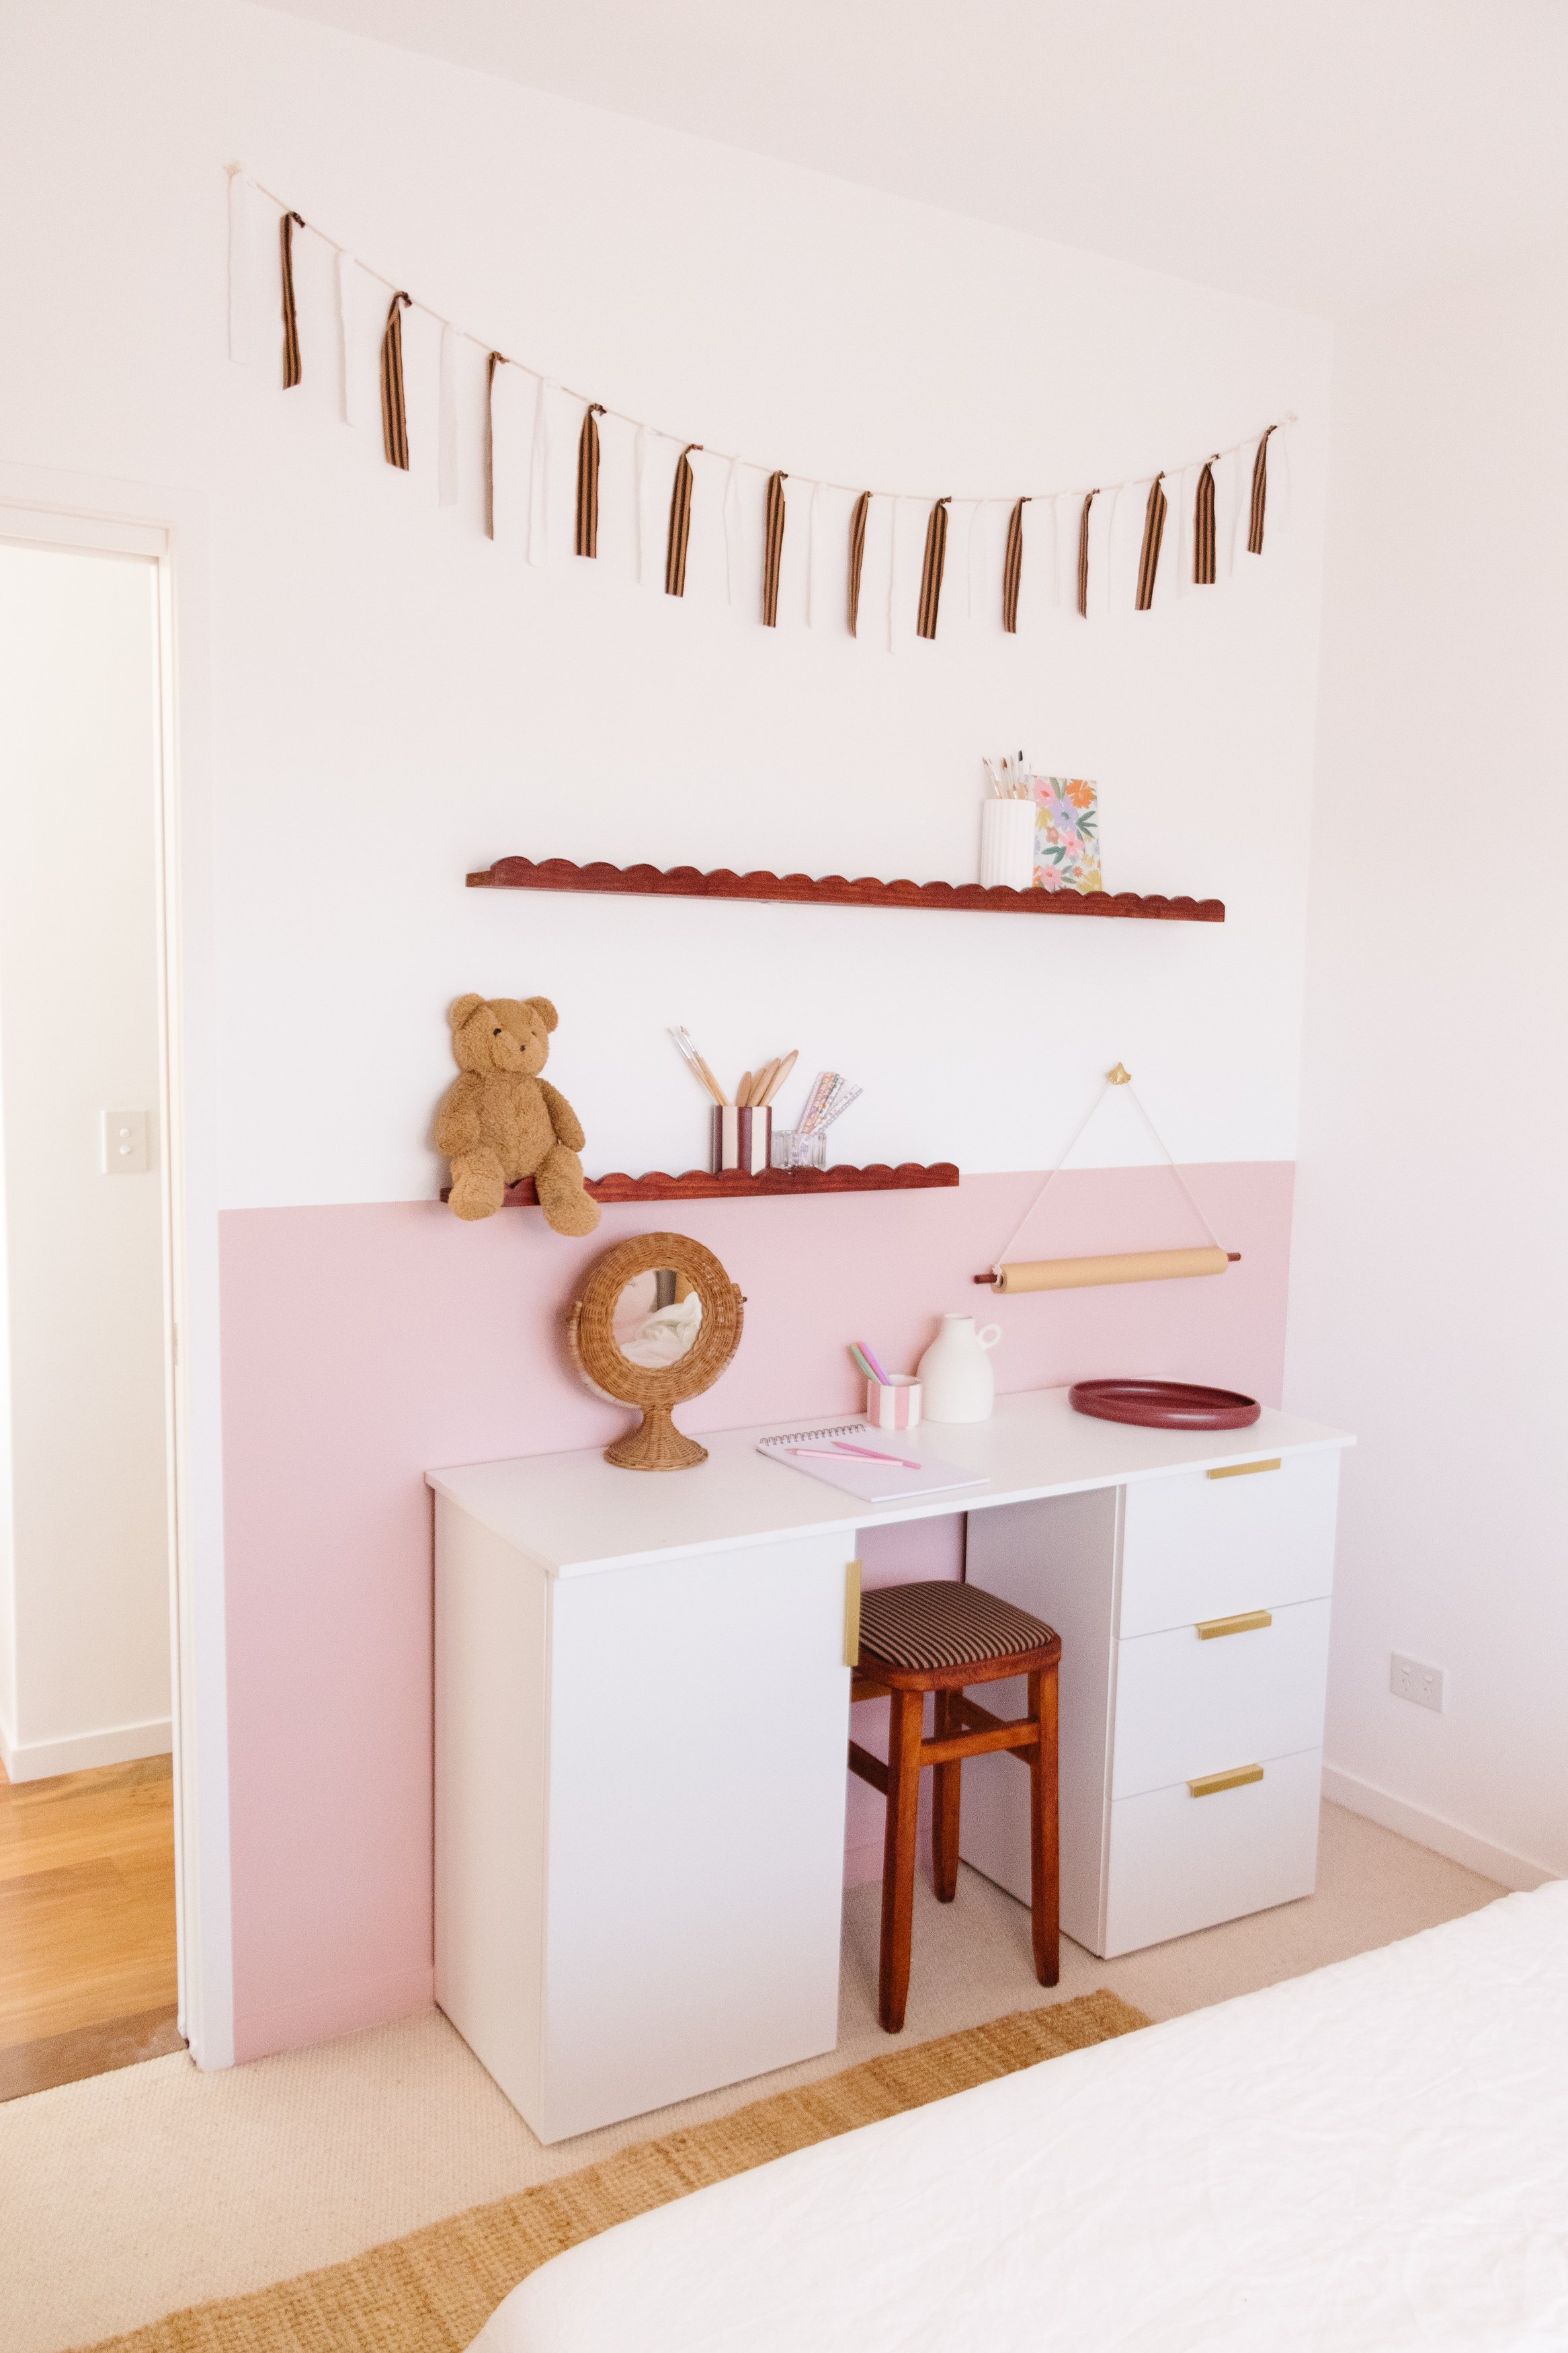

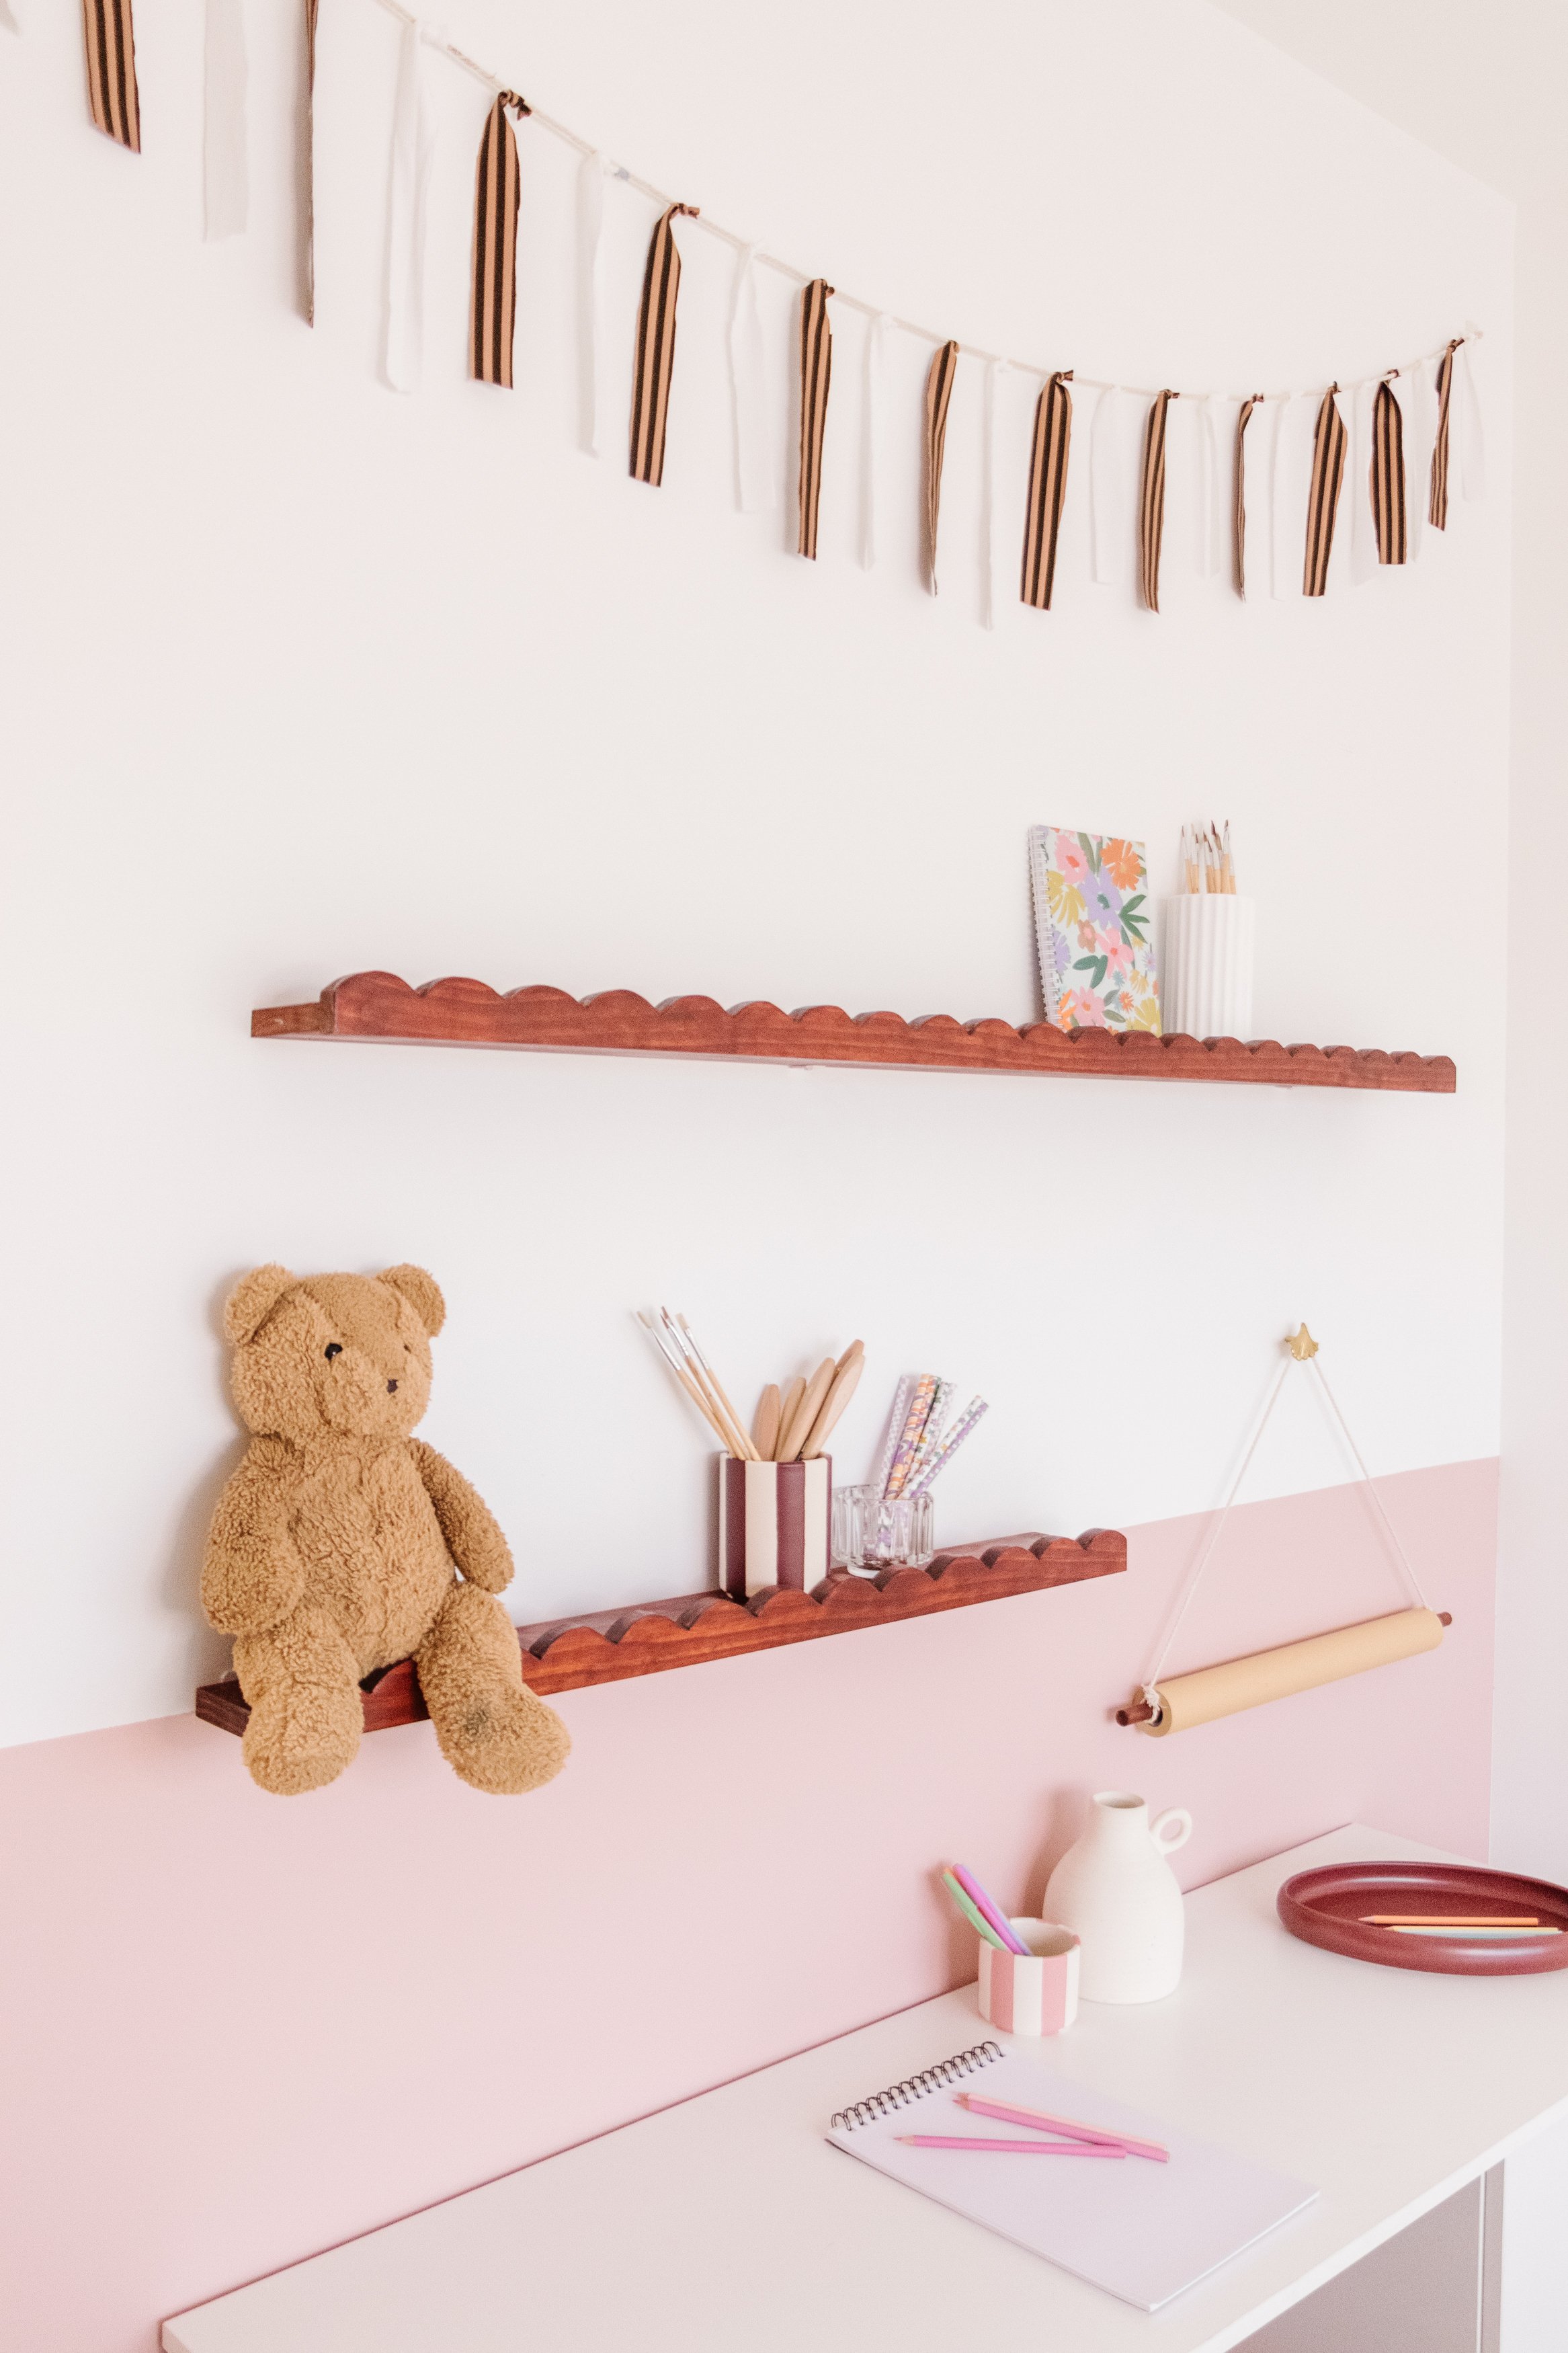
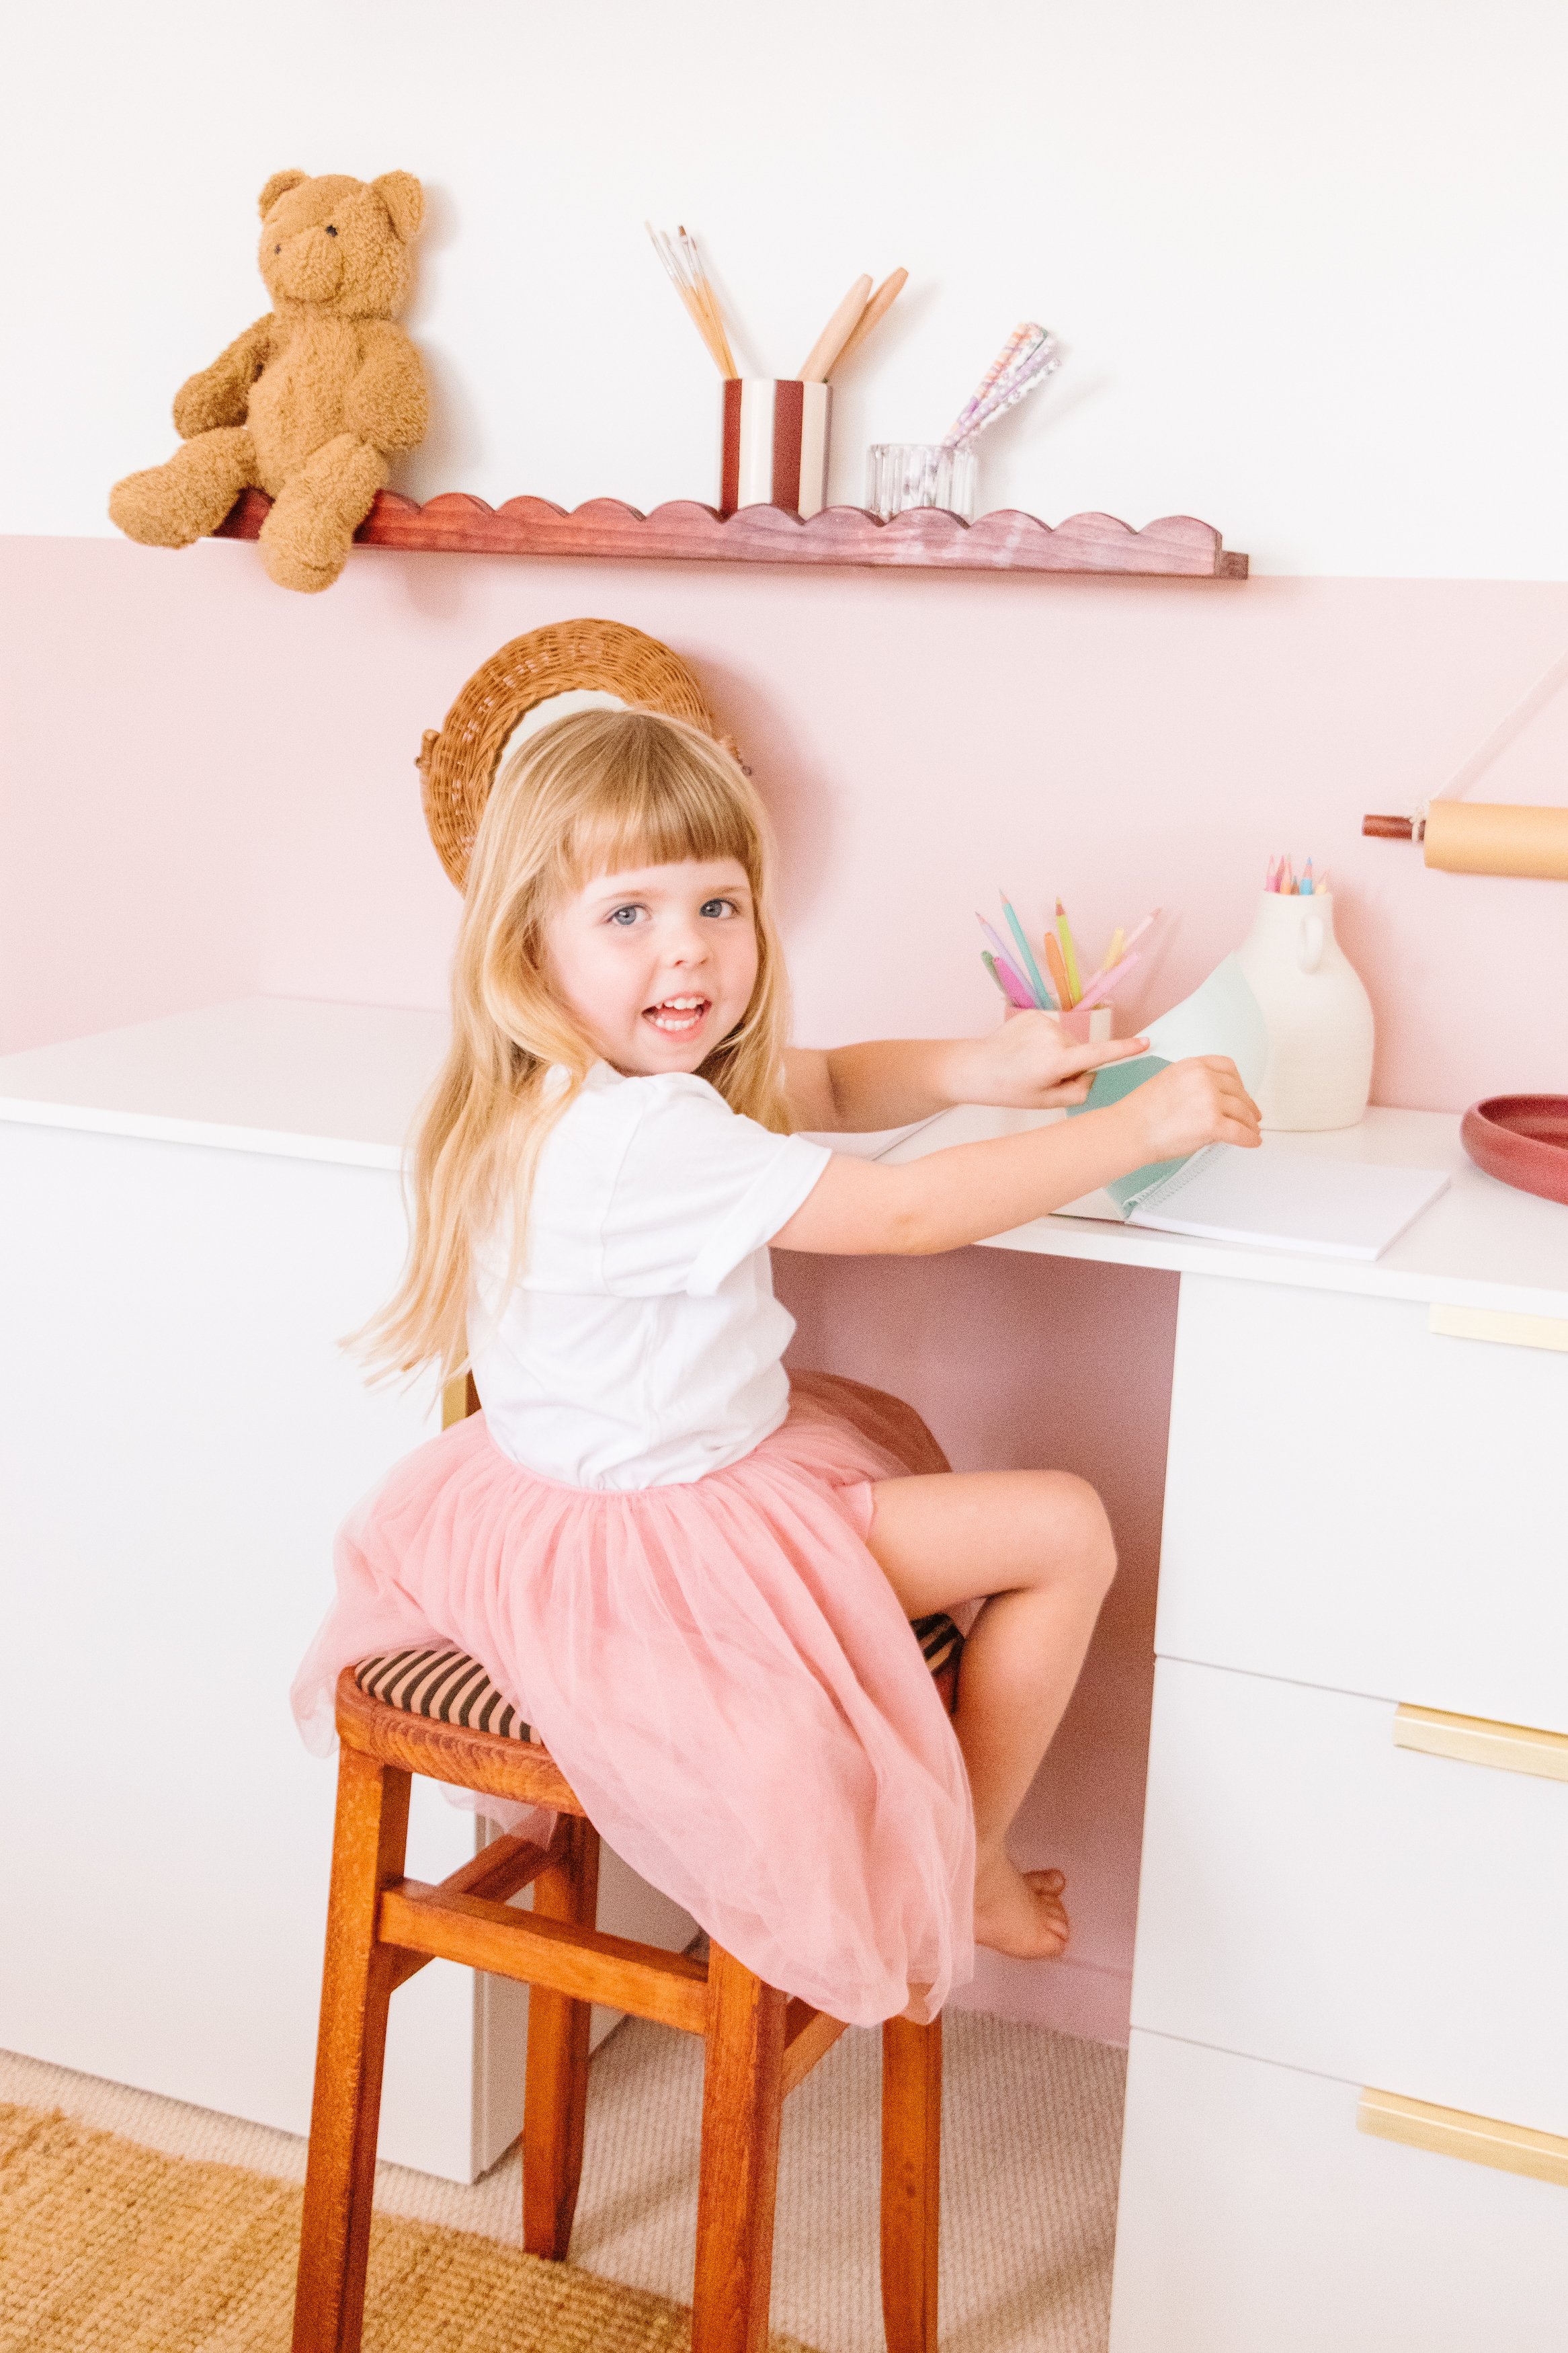
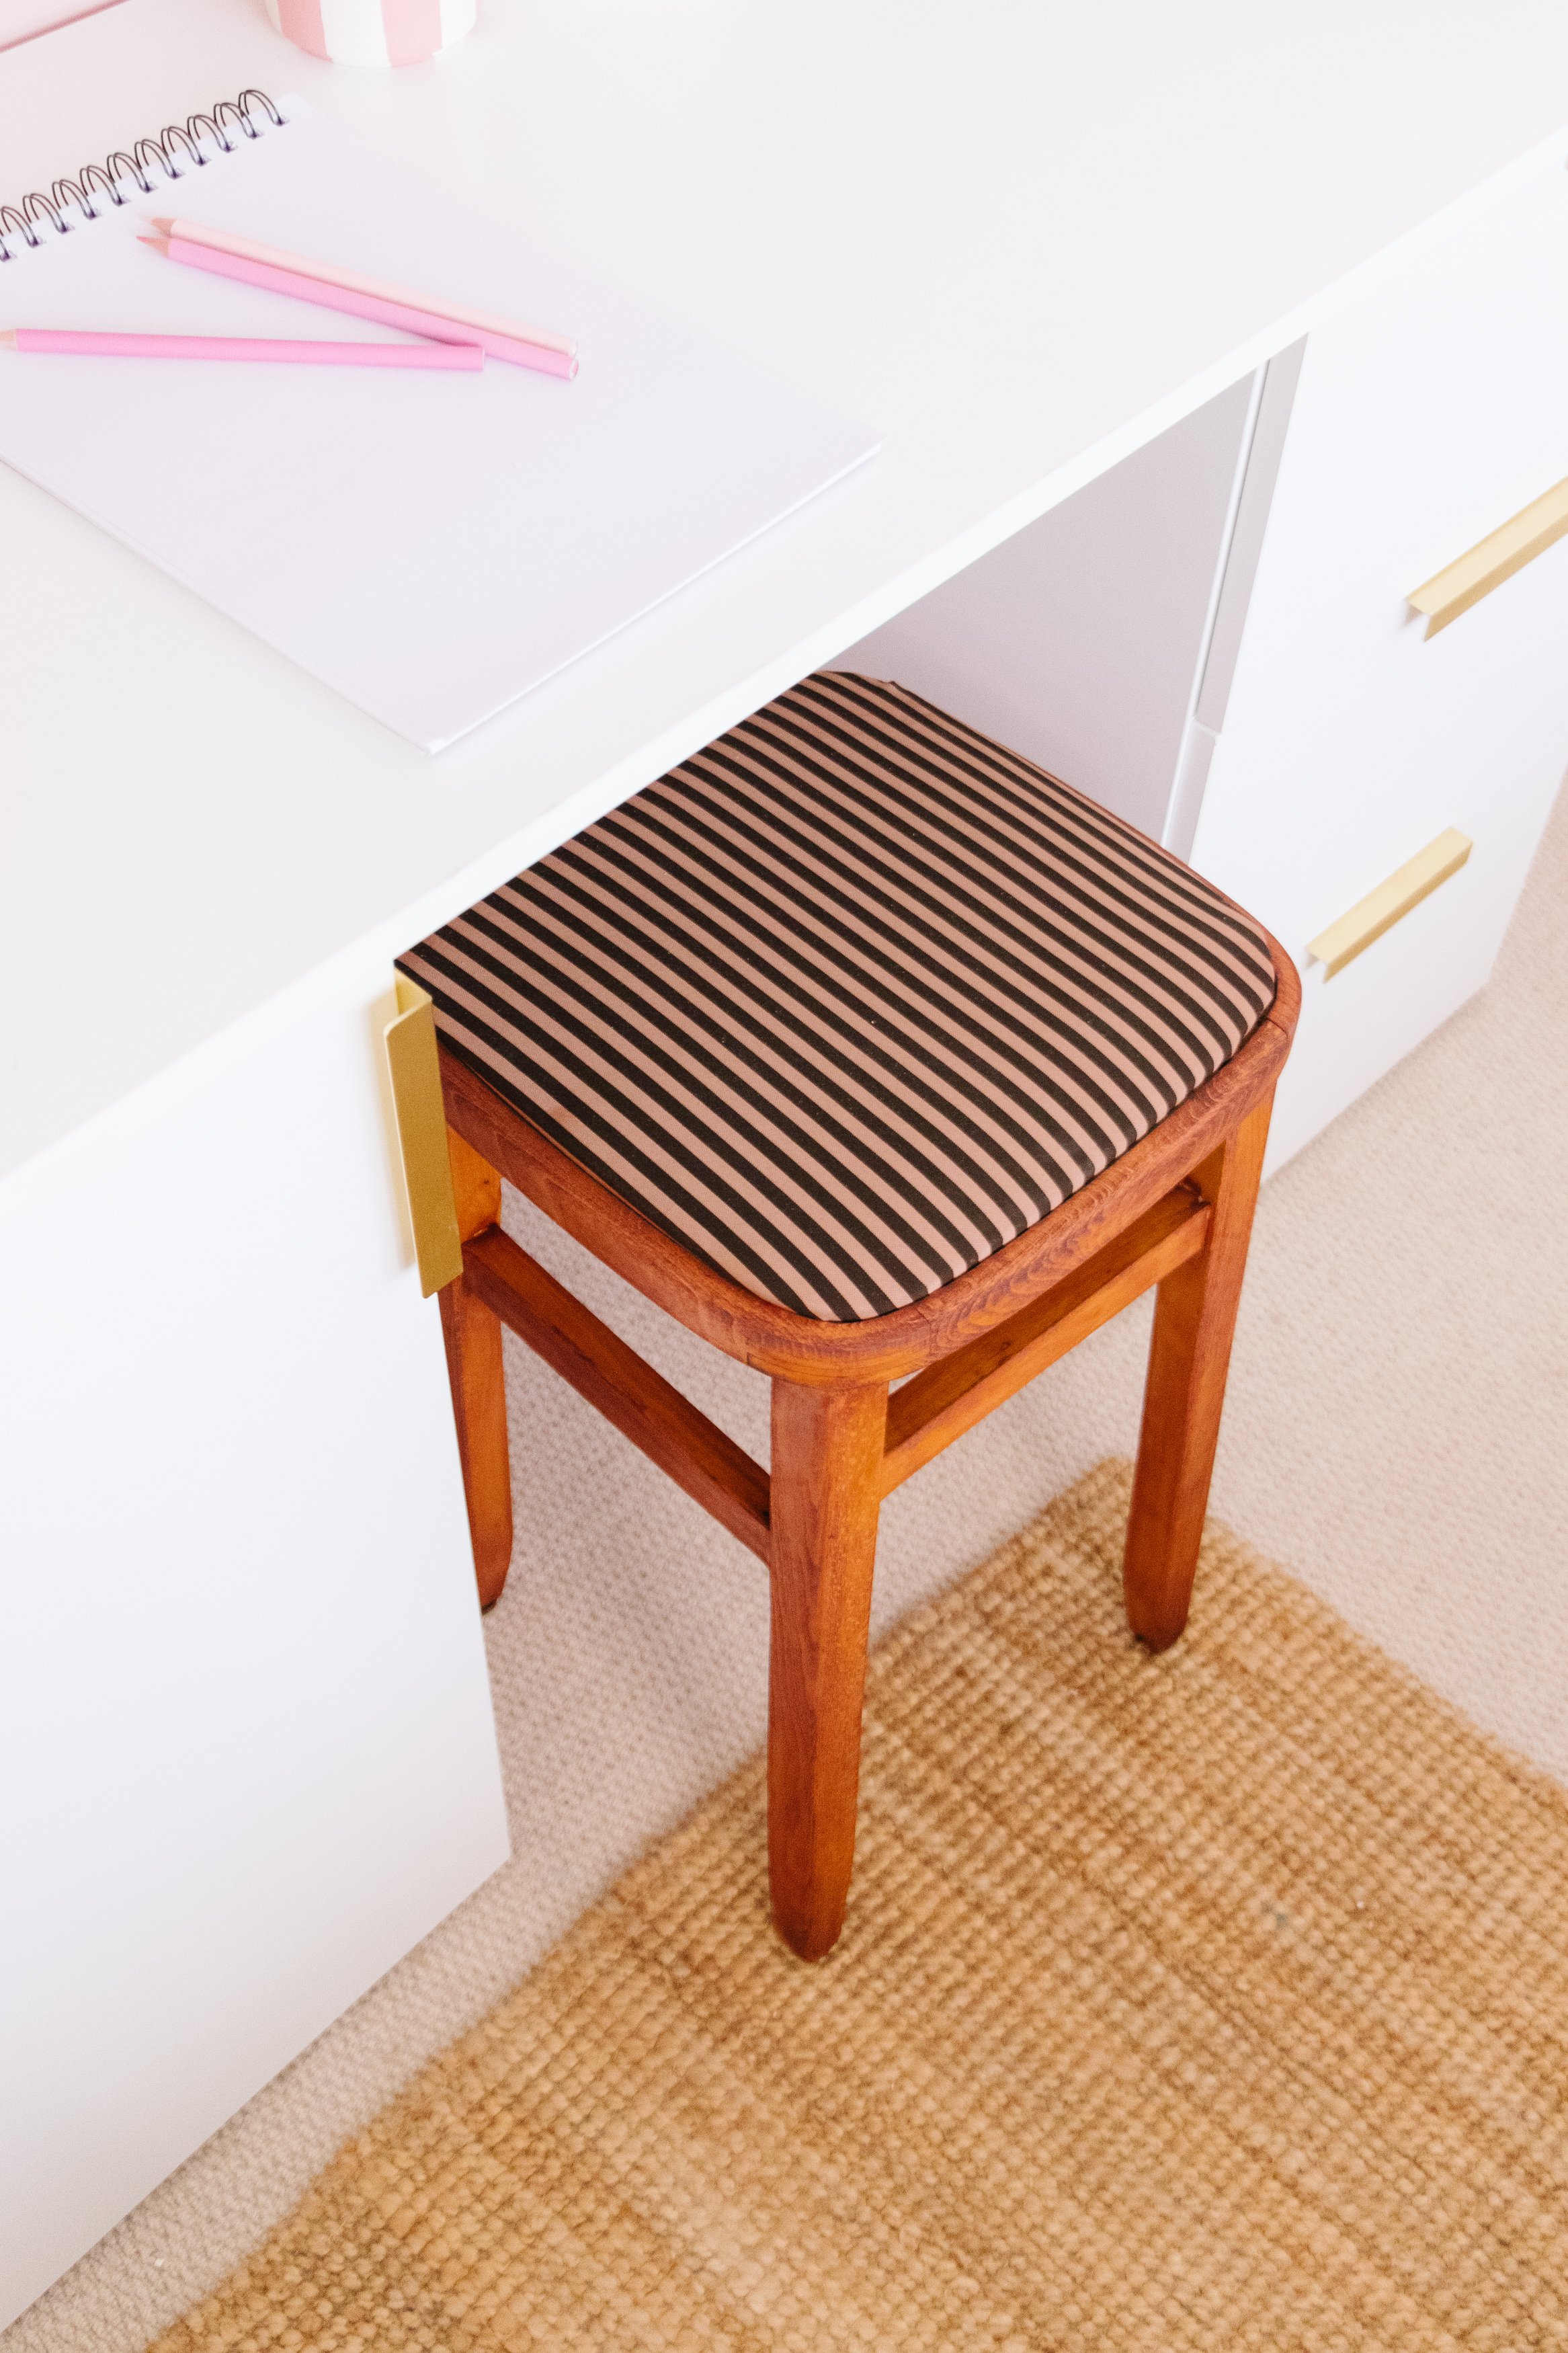
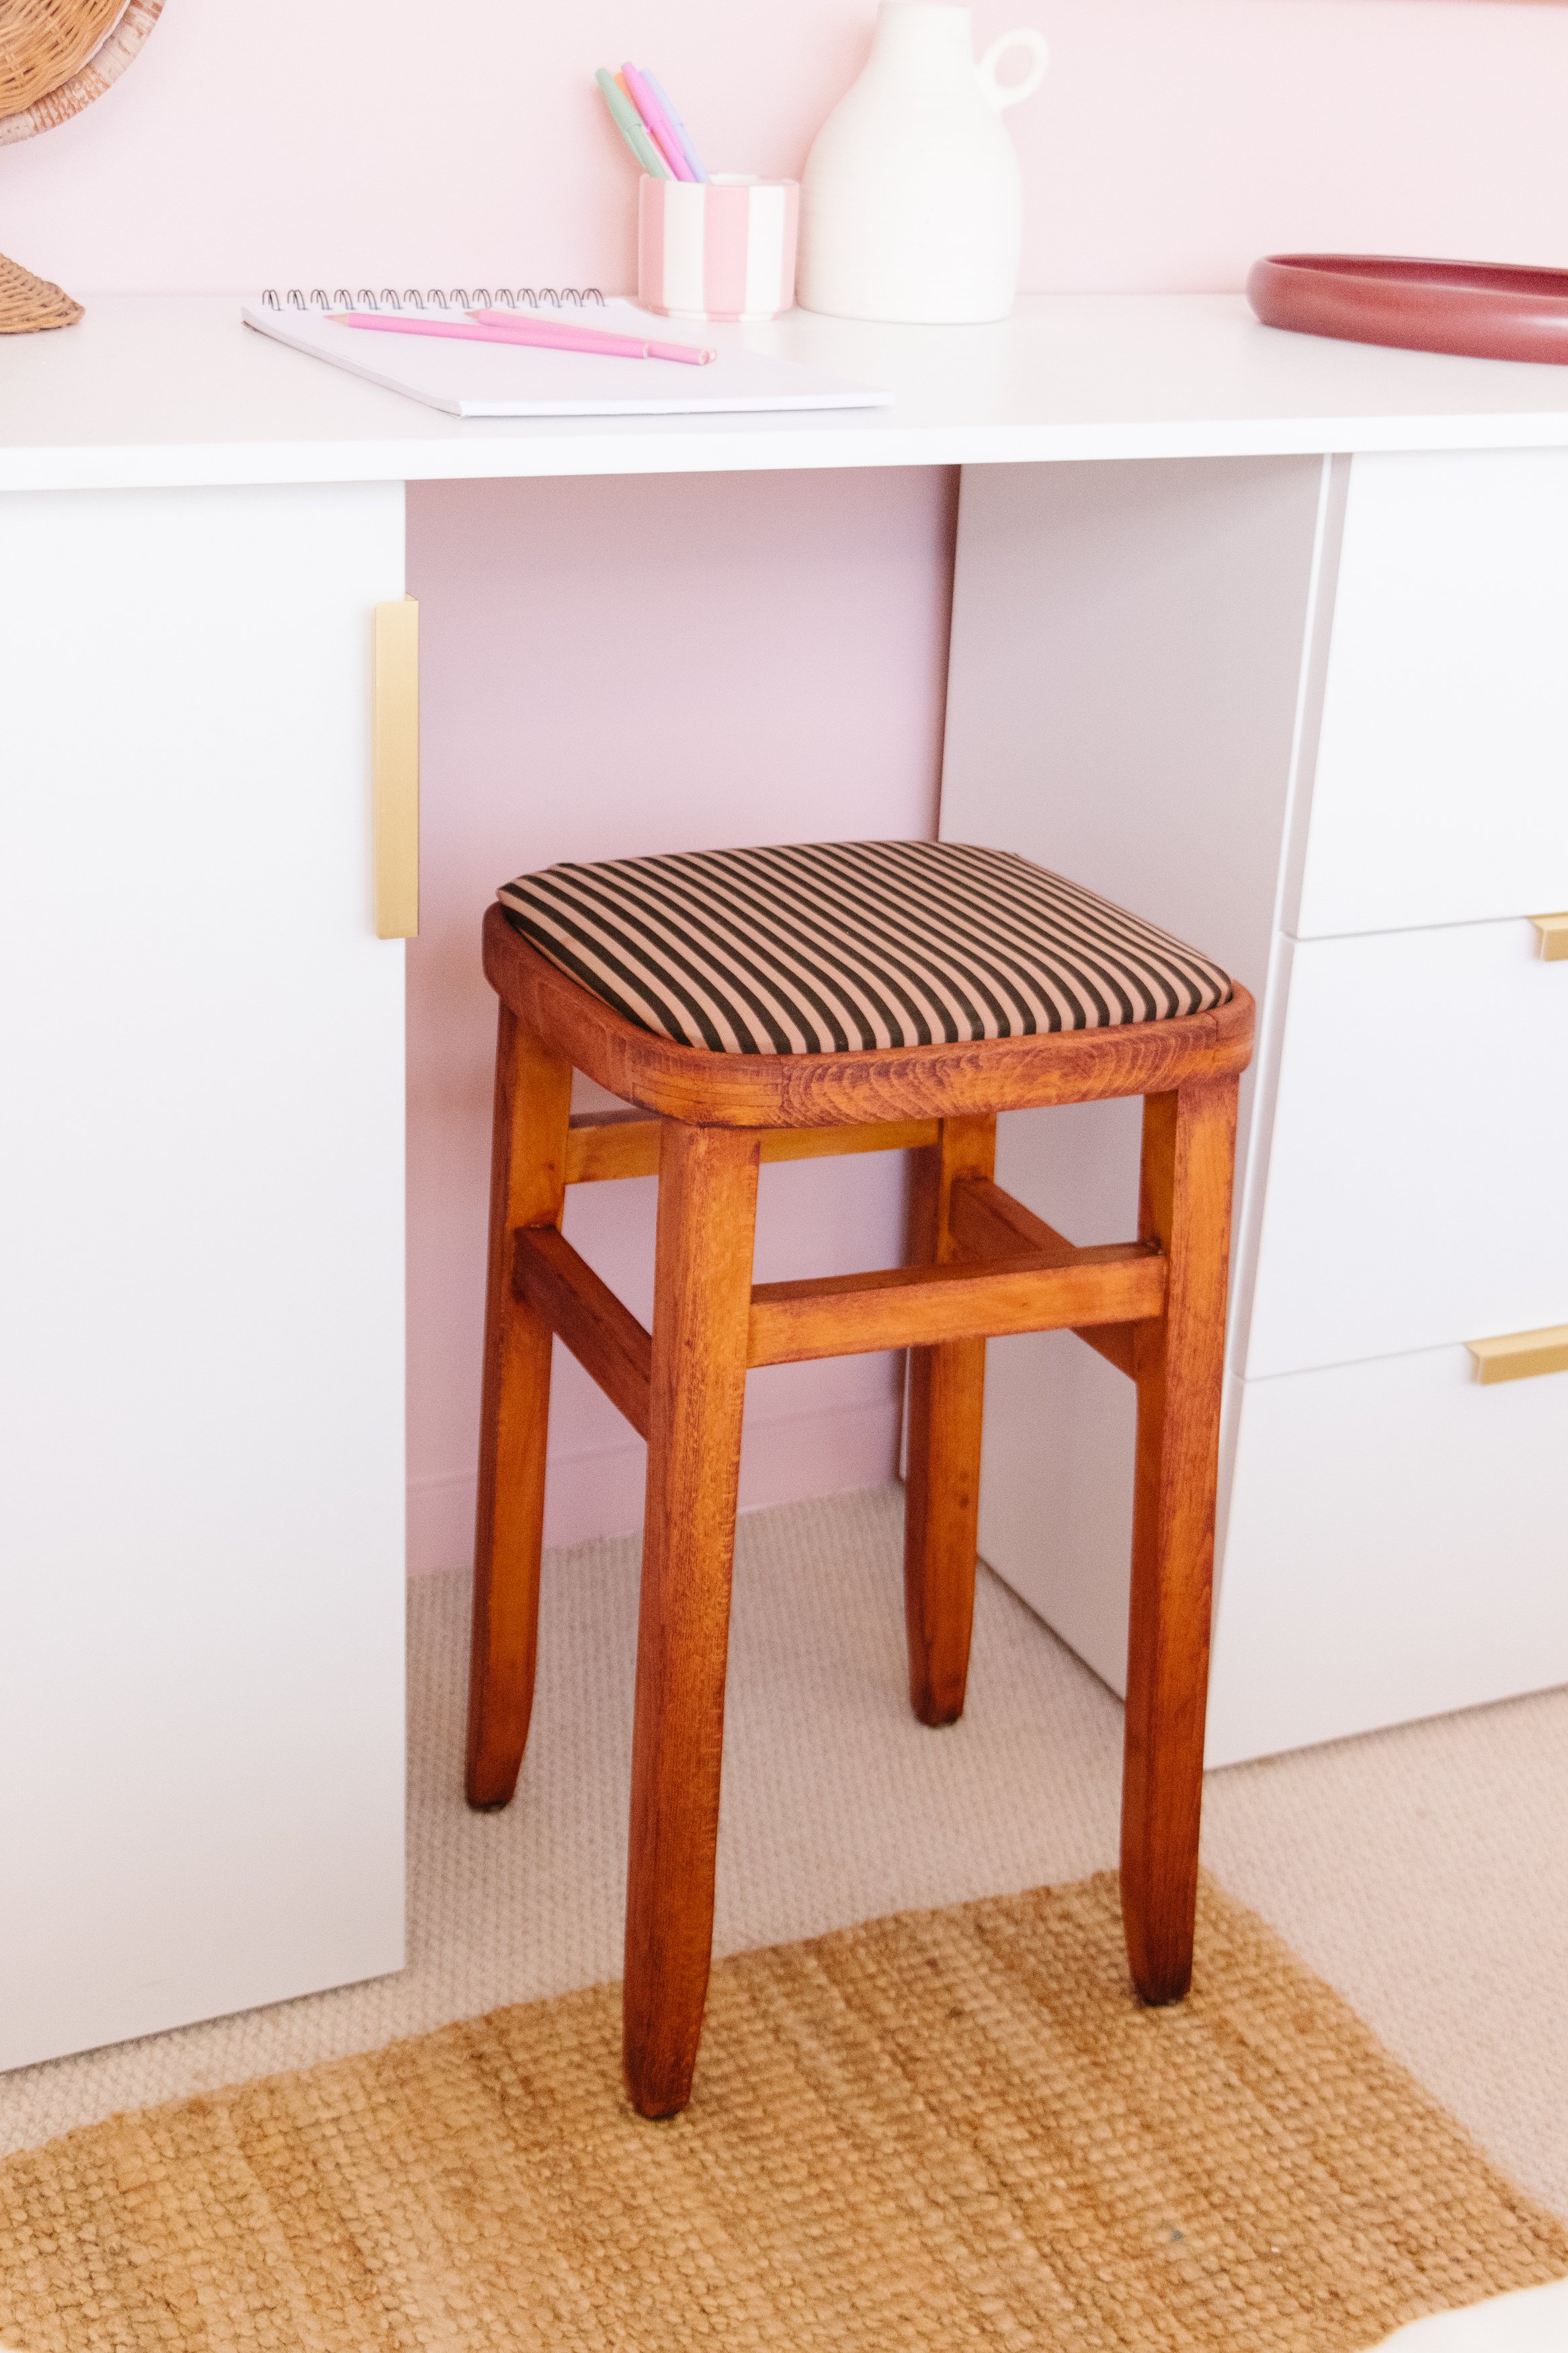
Step 9: Celeste needed a chair so I thrifted a secondhand stool, which was the perfect height. I covered the cushion with the same fabric I used in the bunting, sanded the varnish off the timber and stained it using the same stain as the scalloped shelves and dowel.
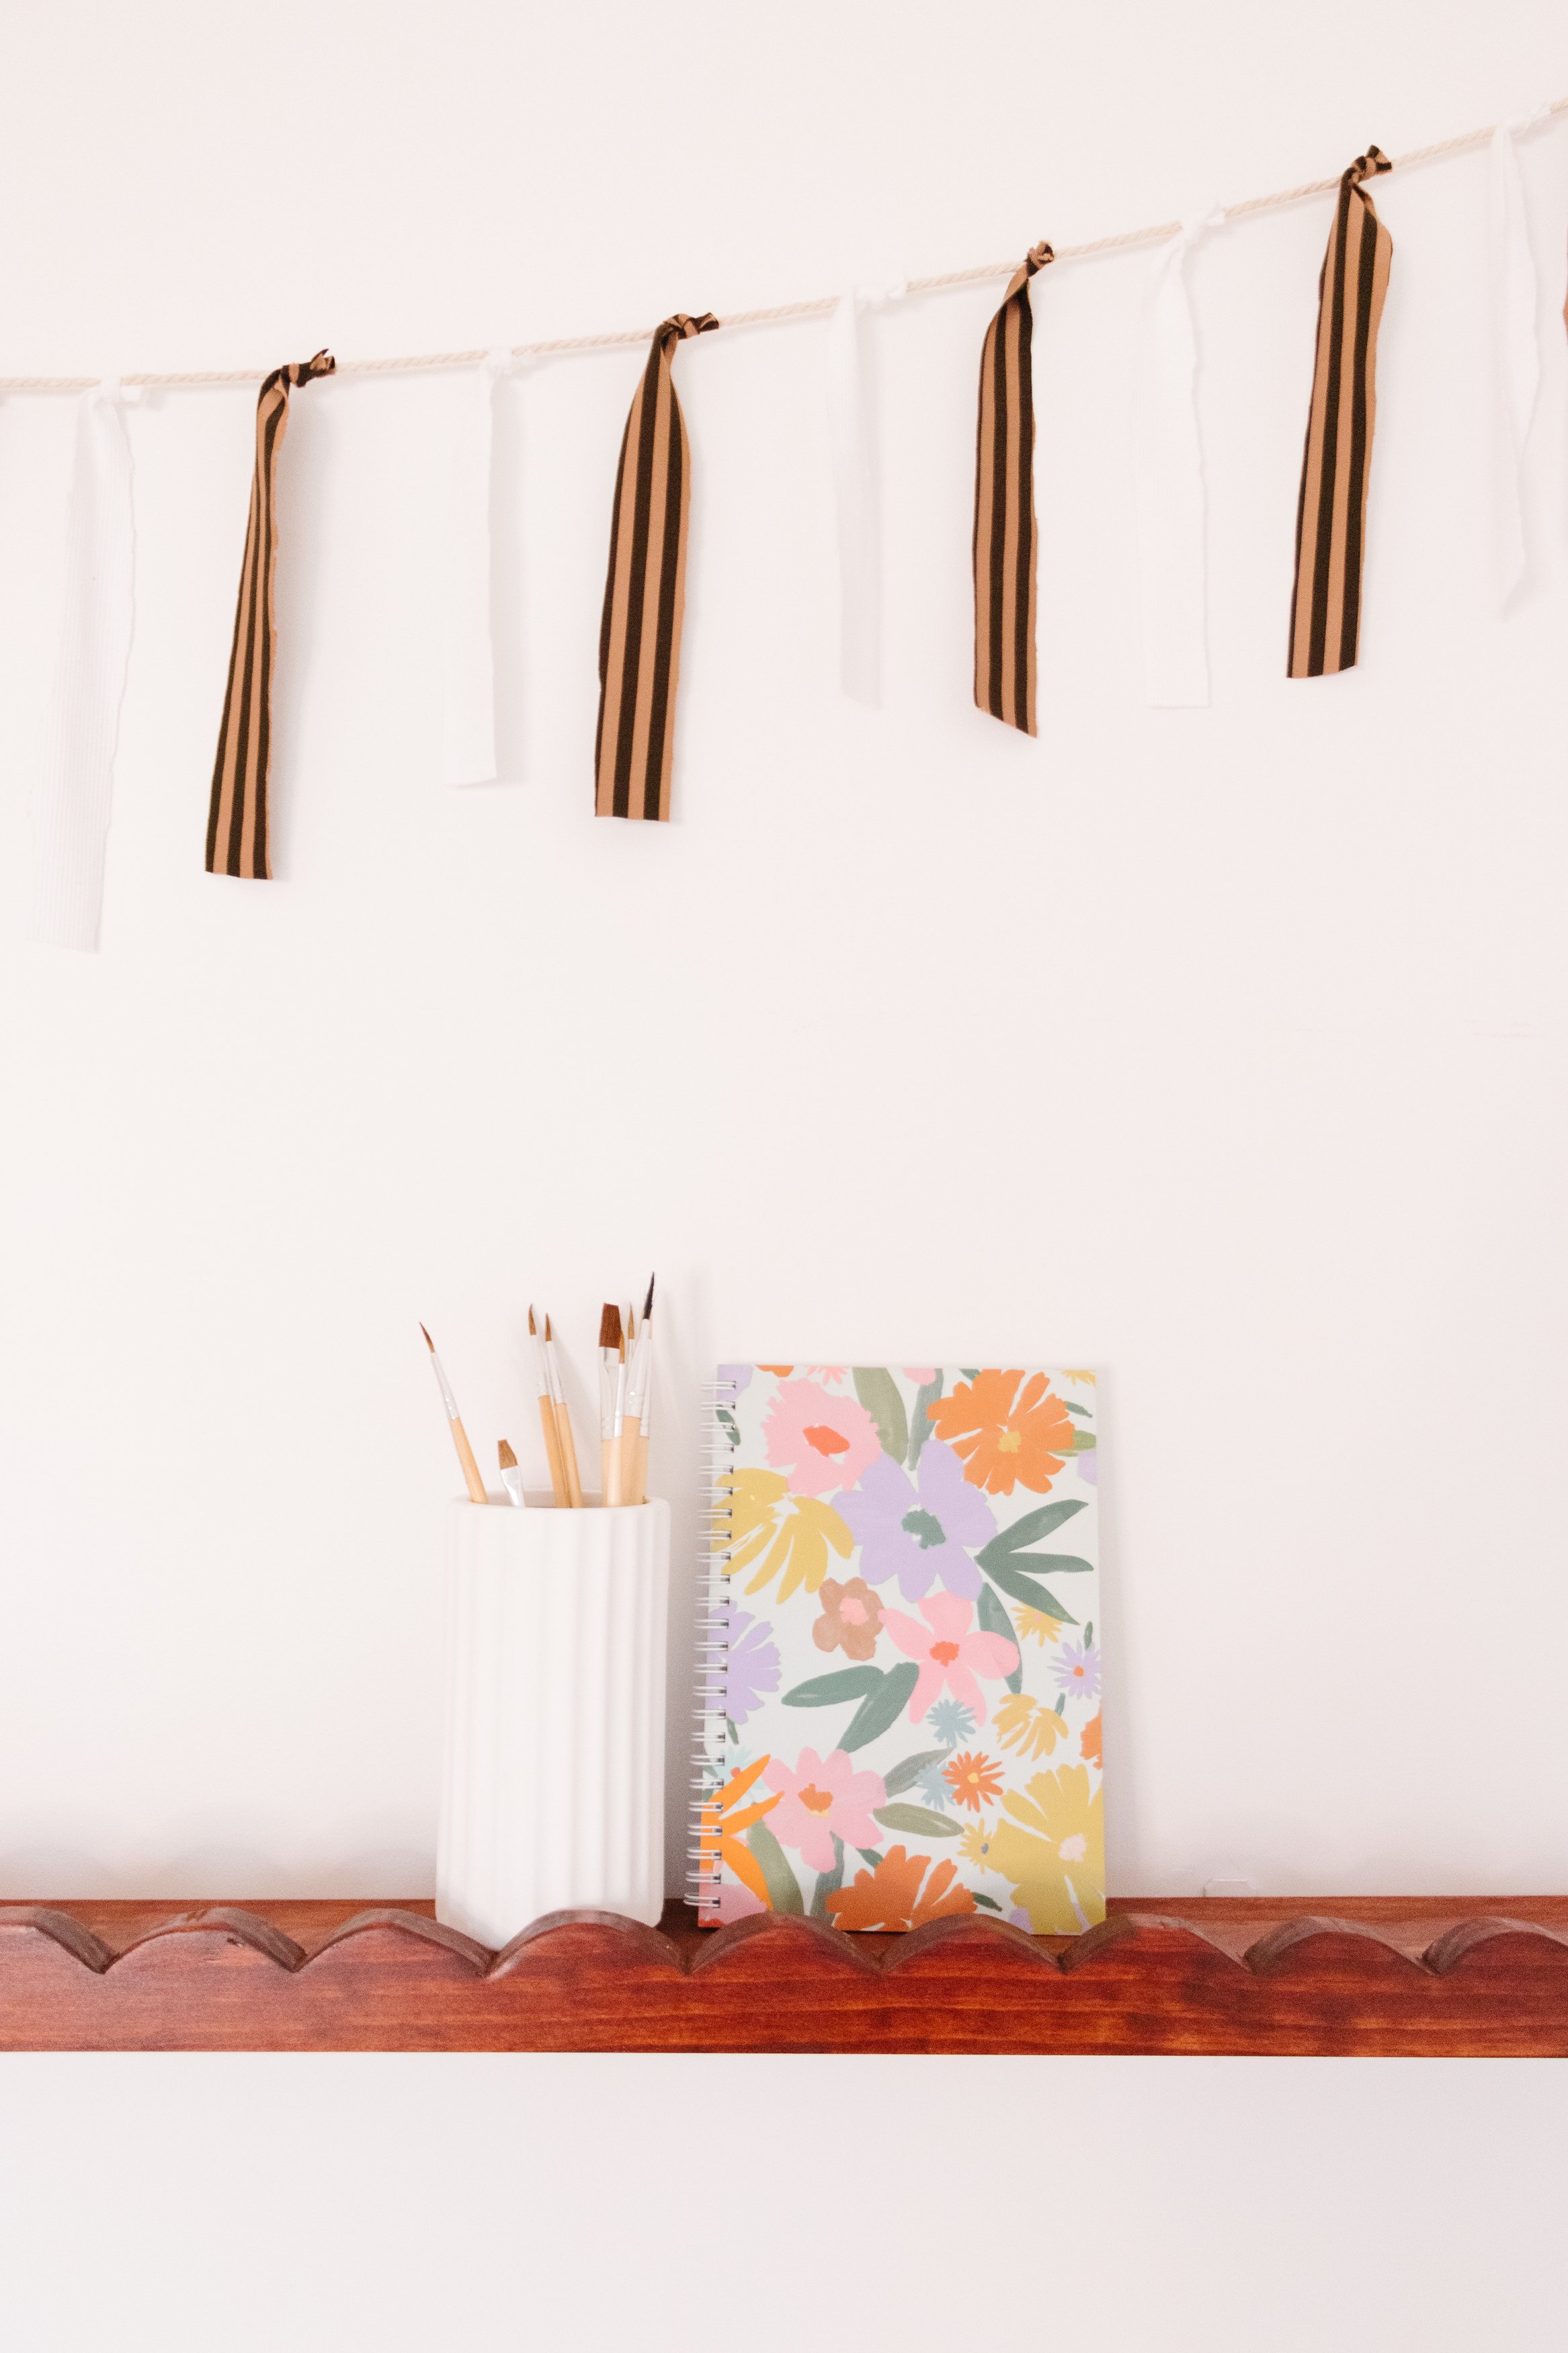
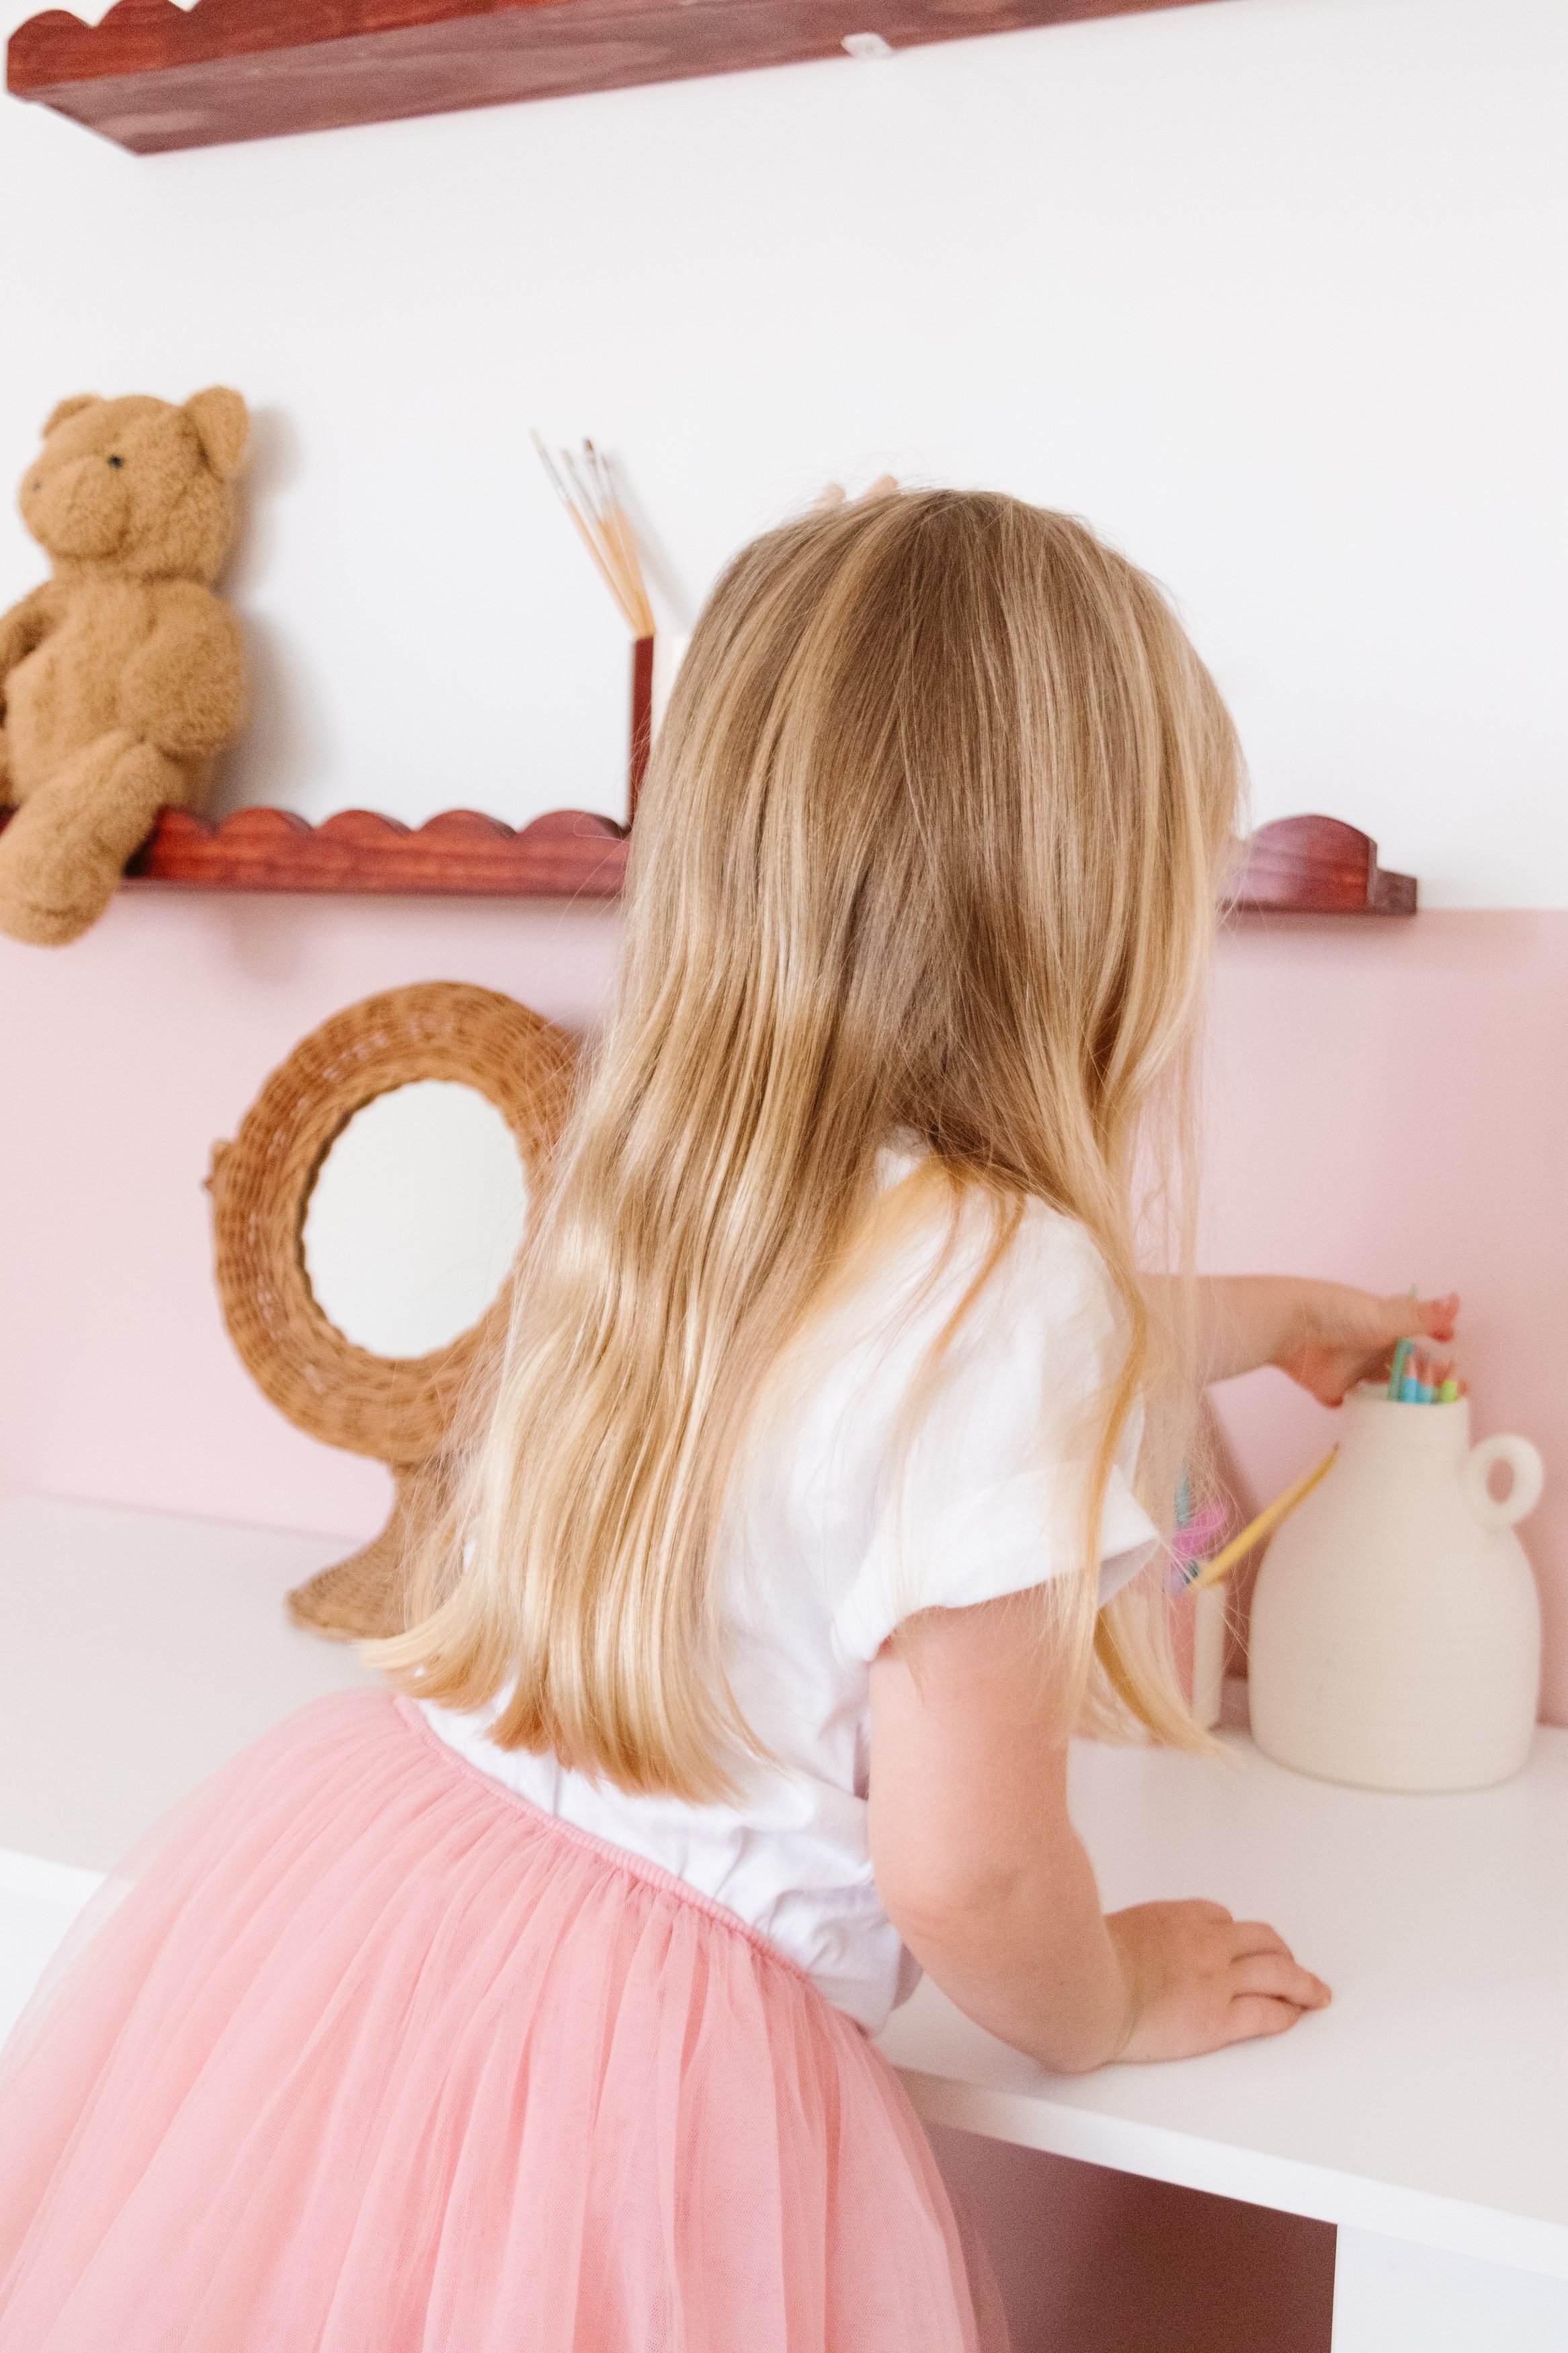
Step 10: To add the last touches I placed lots of arts and craft supplies on her new desk and shelves, including a few of her favourite keepsakes.
And that’s it!
The Reveal!
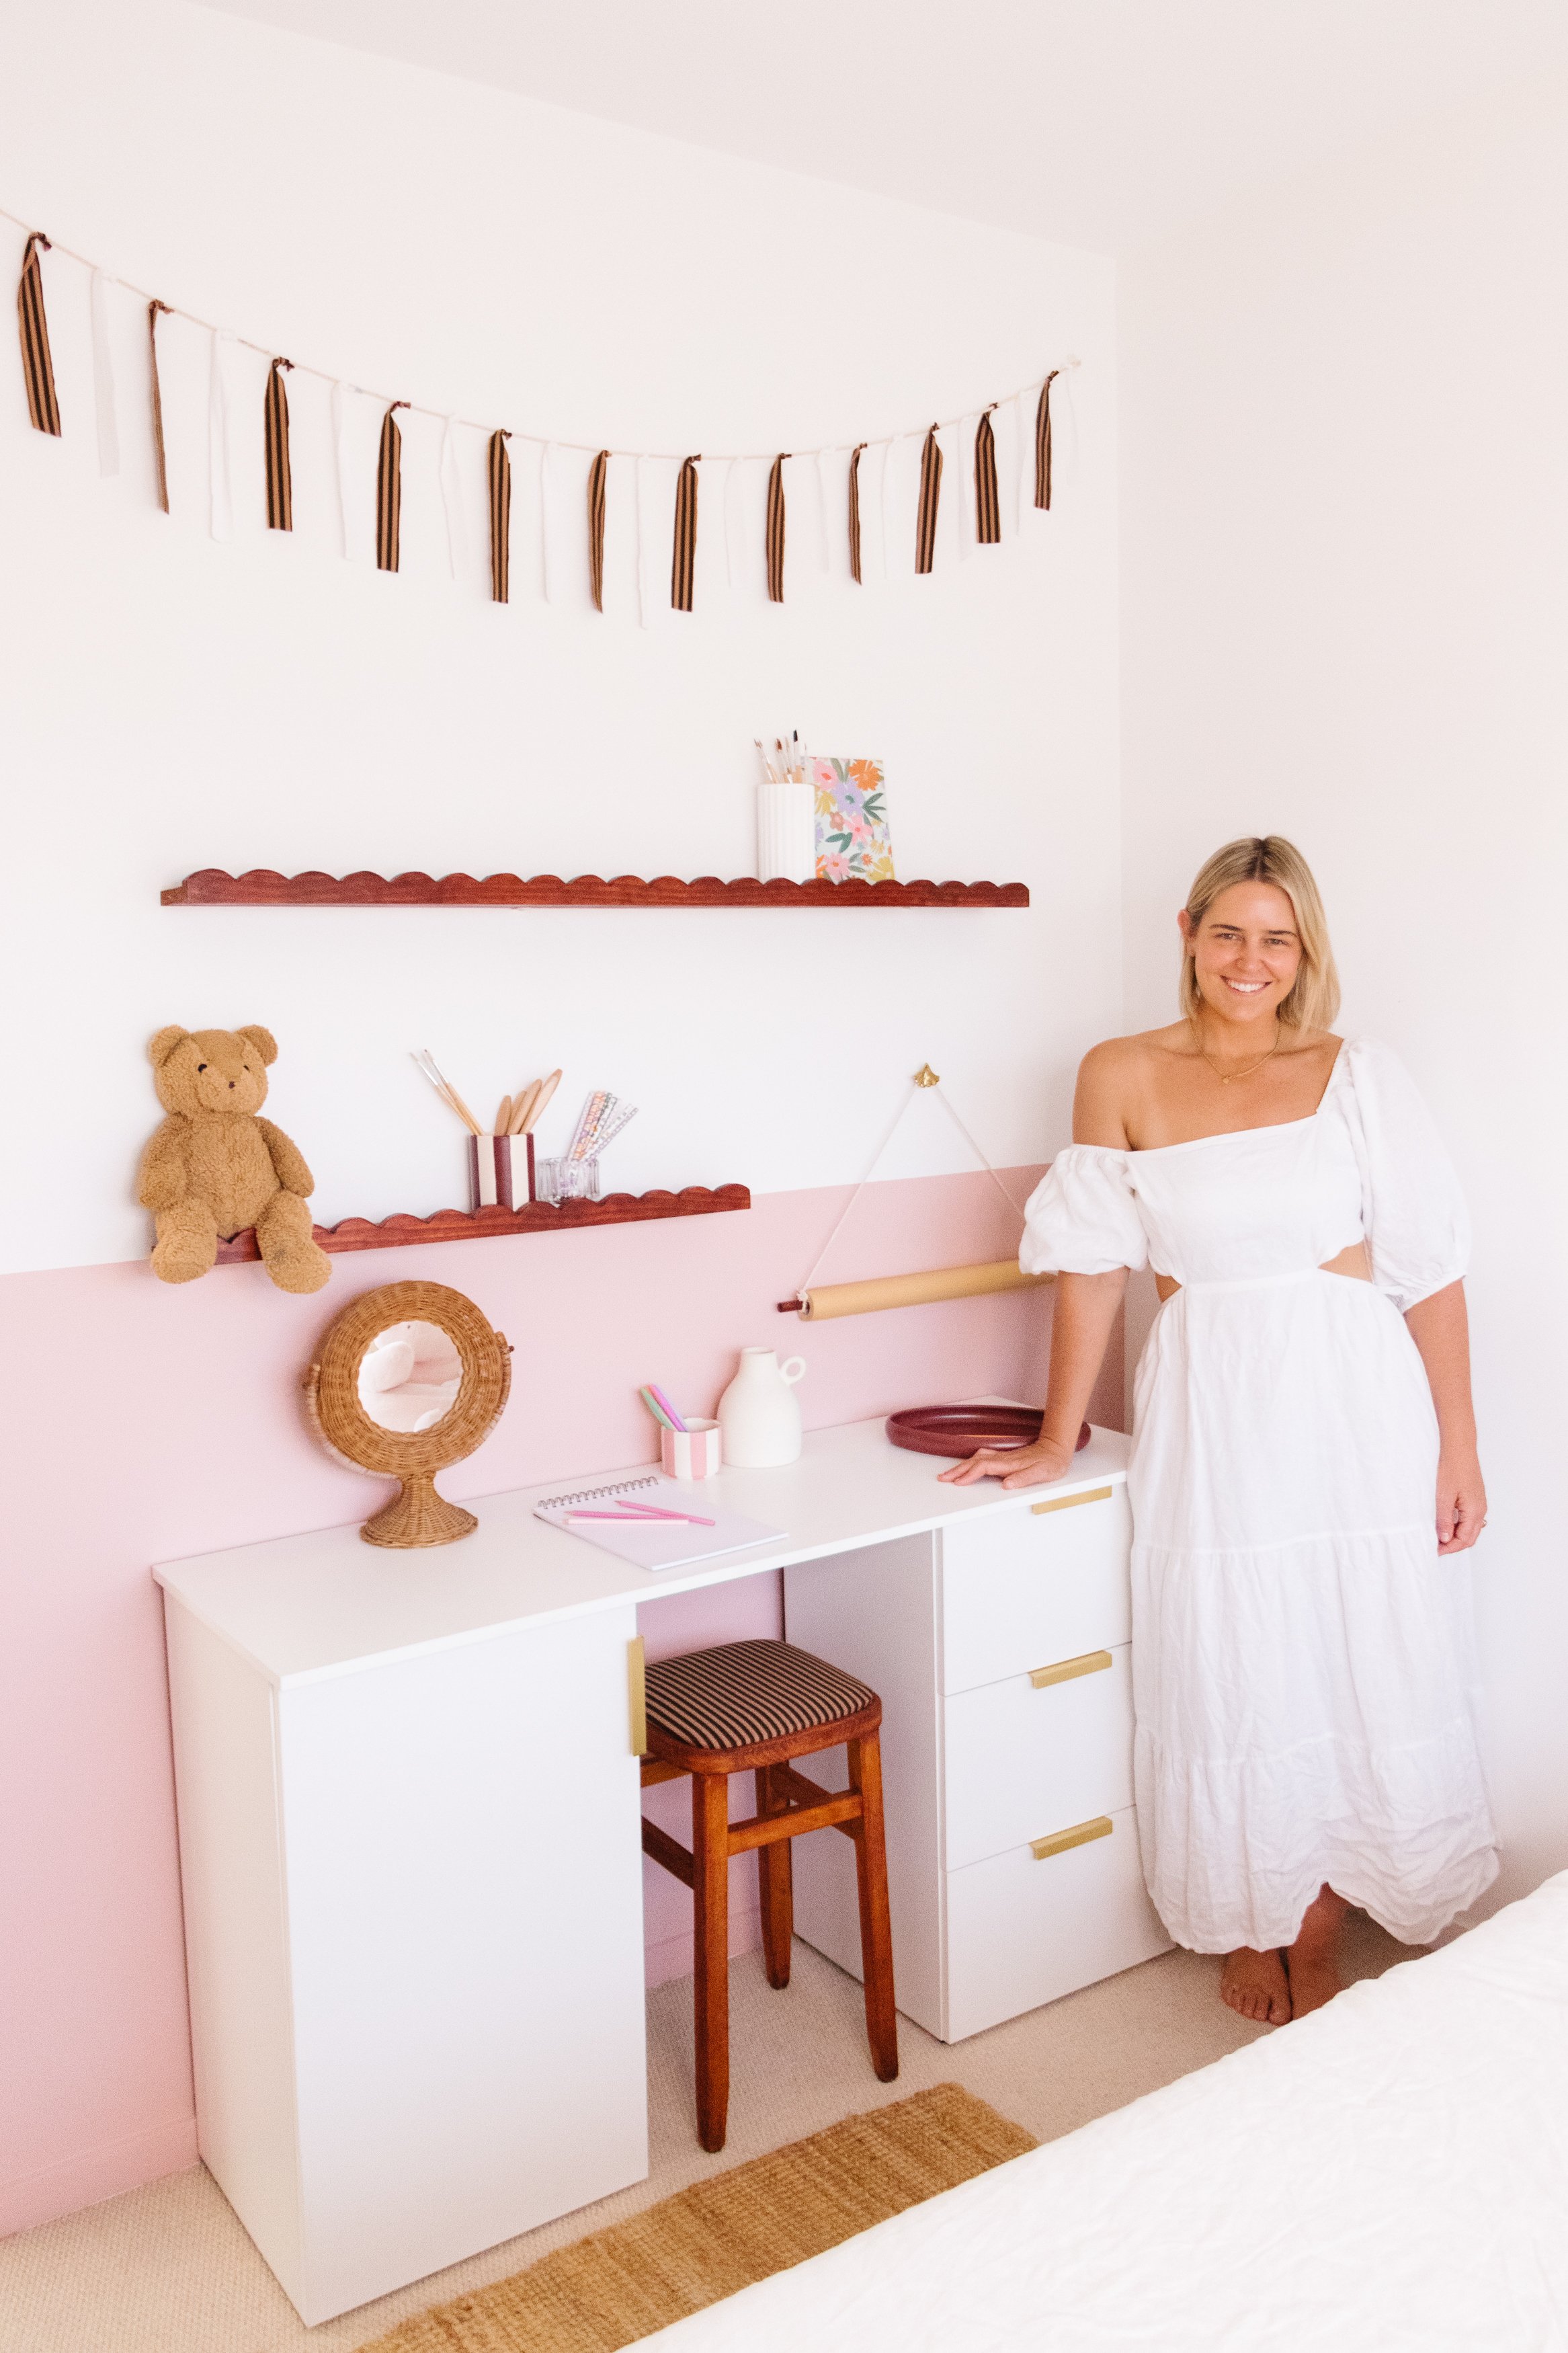
Celeste’s room is SO cute! Once I designed her desk using the Lugna Online Planner everything else flowed from there. I wanted her new Lugna desk to be super special, so painting her bedroom wall, upcycling a stool, making cute wavy shelves, a paper roll dispenser and fabric bunting tied it all together beautifully. Her bedroom feels complete now that she has a desk with ample storage that’s both functional and stylish. And seeing her drawing, painting and getting creative while singing away makes my heart explode with happiness. You’ll find the Lugna range at Bunnings.