How To Make DIY Scalloped Shelves
These are perfect for your home, kids bedroom or workspace!
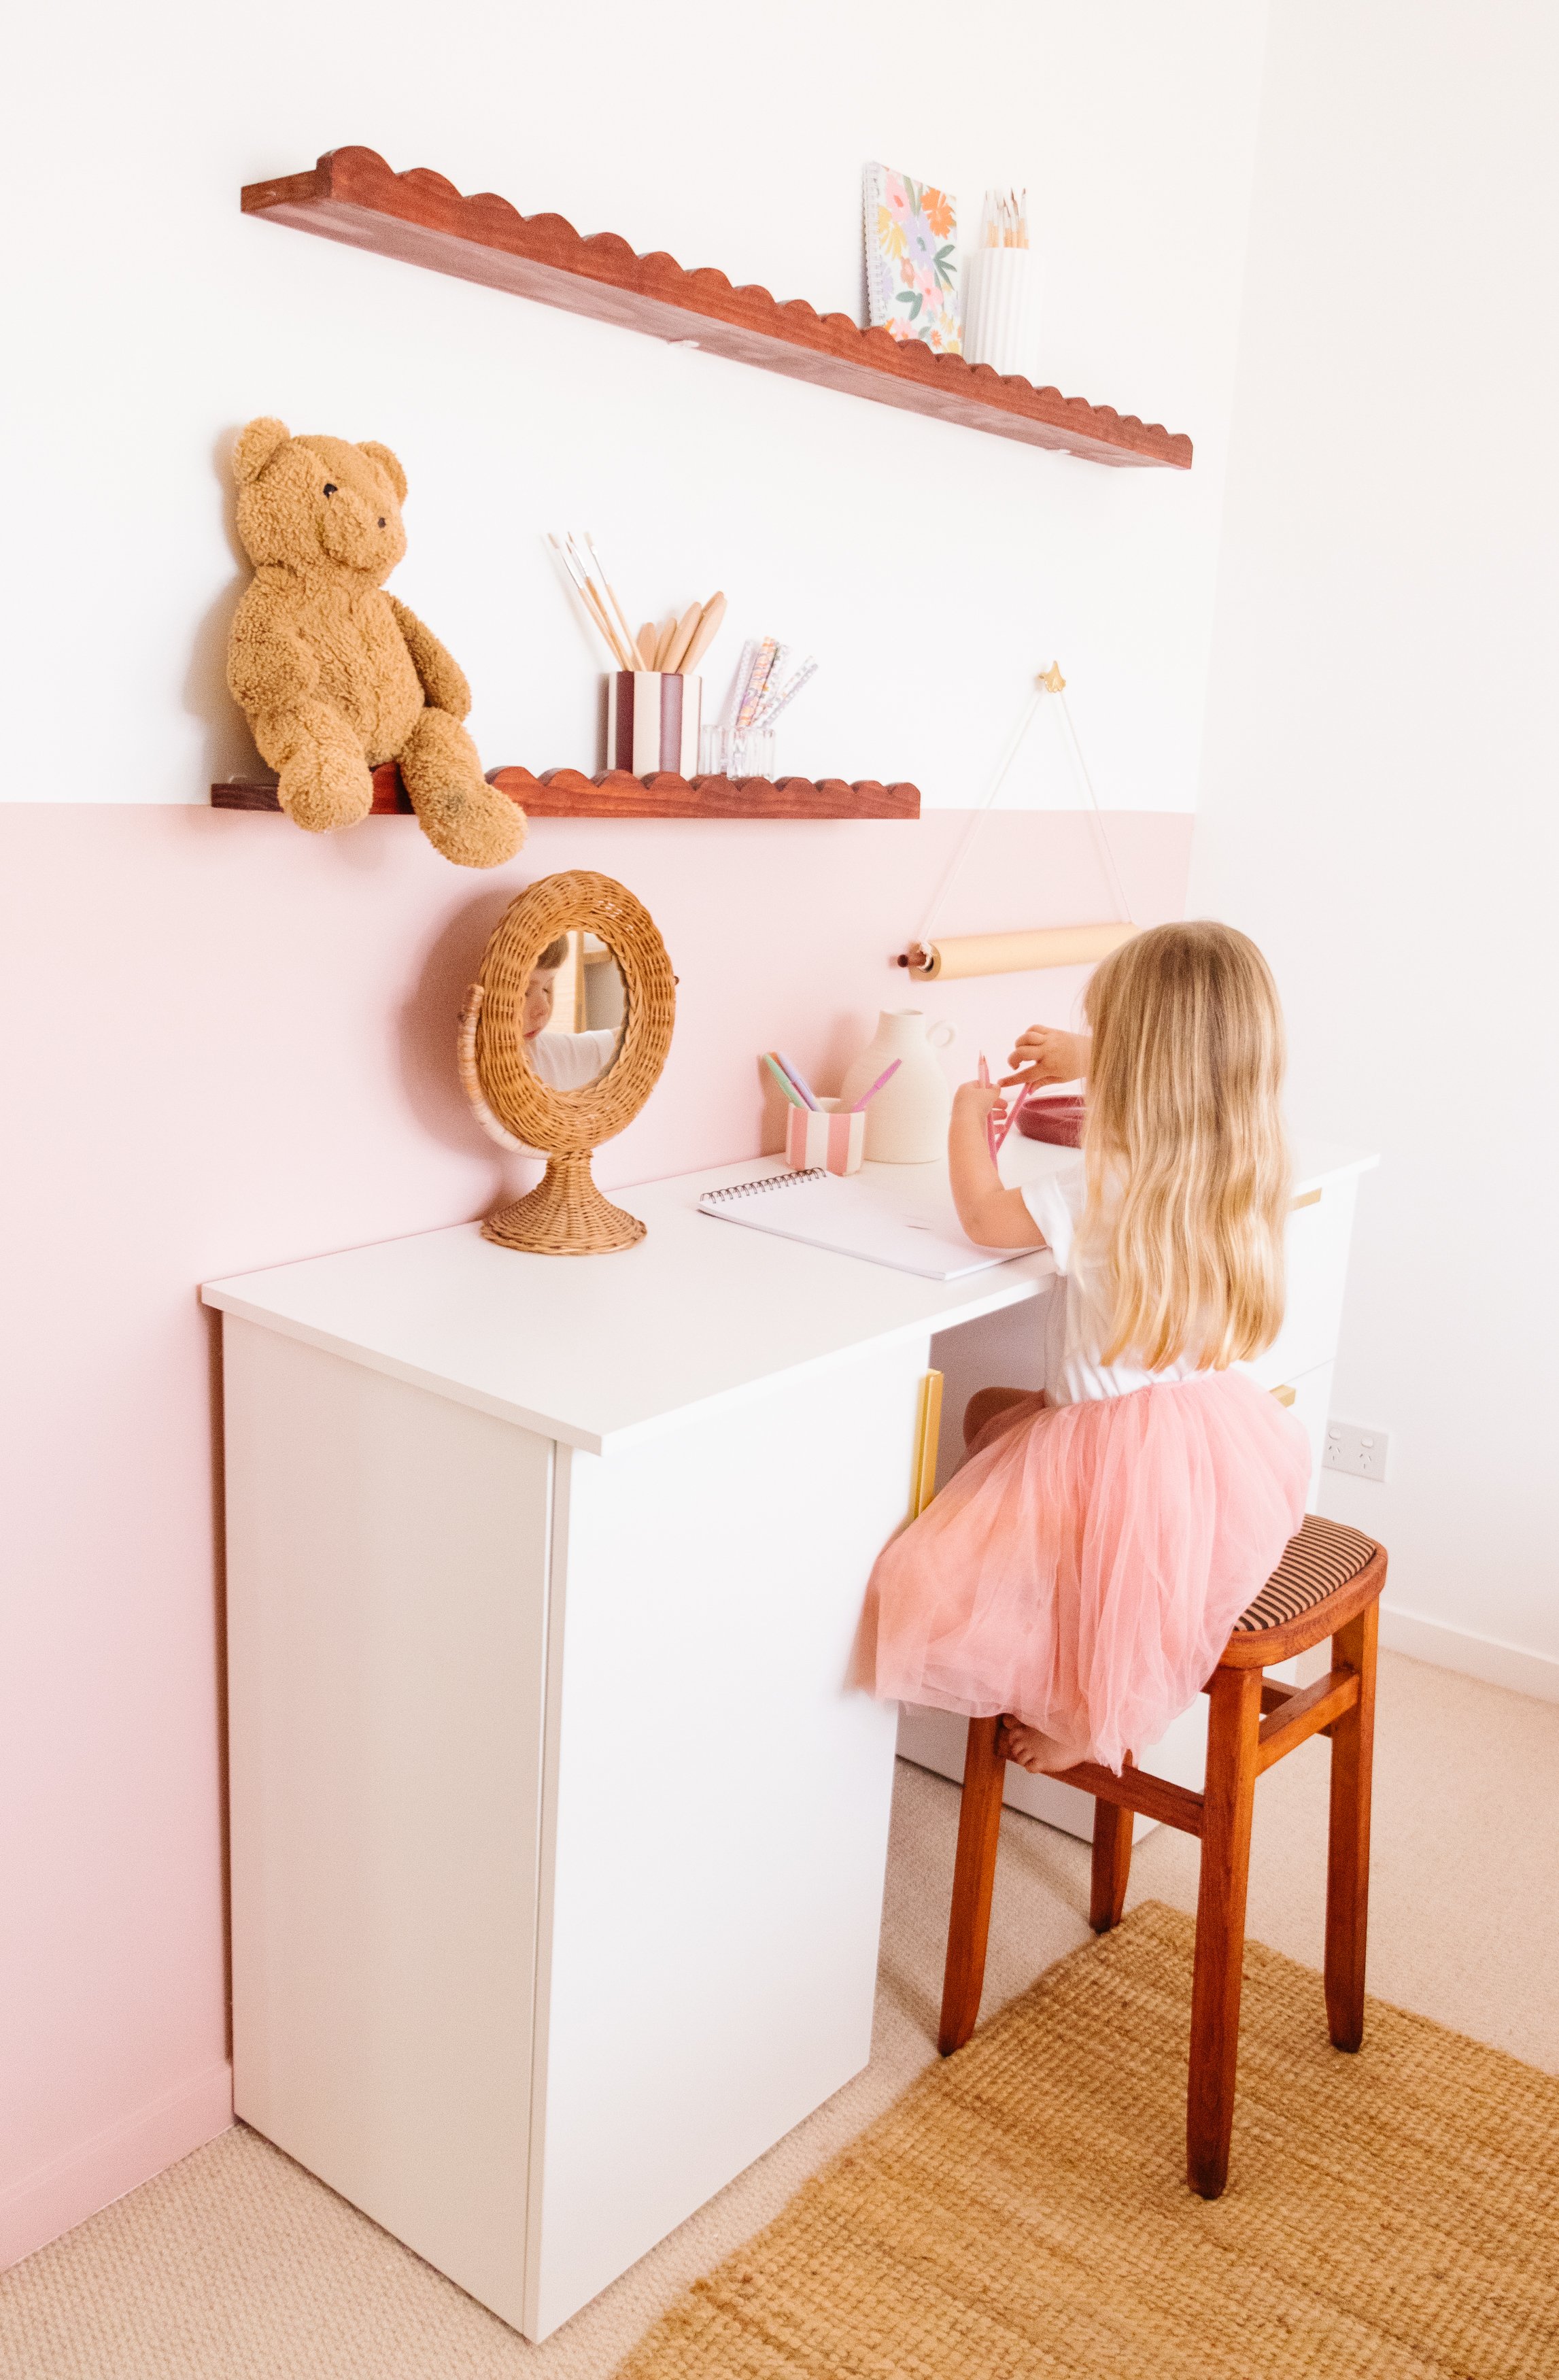
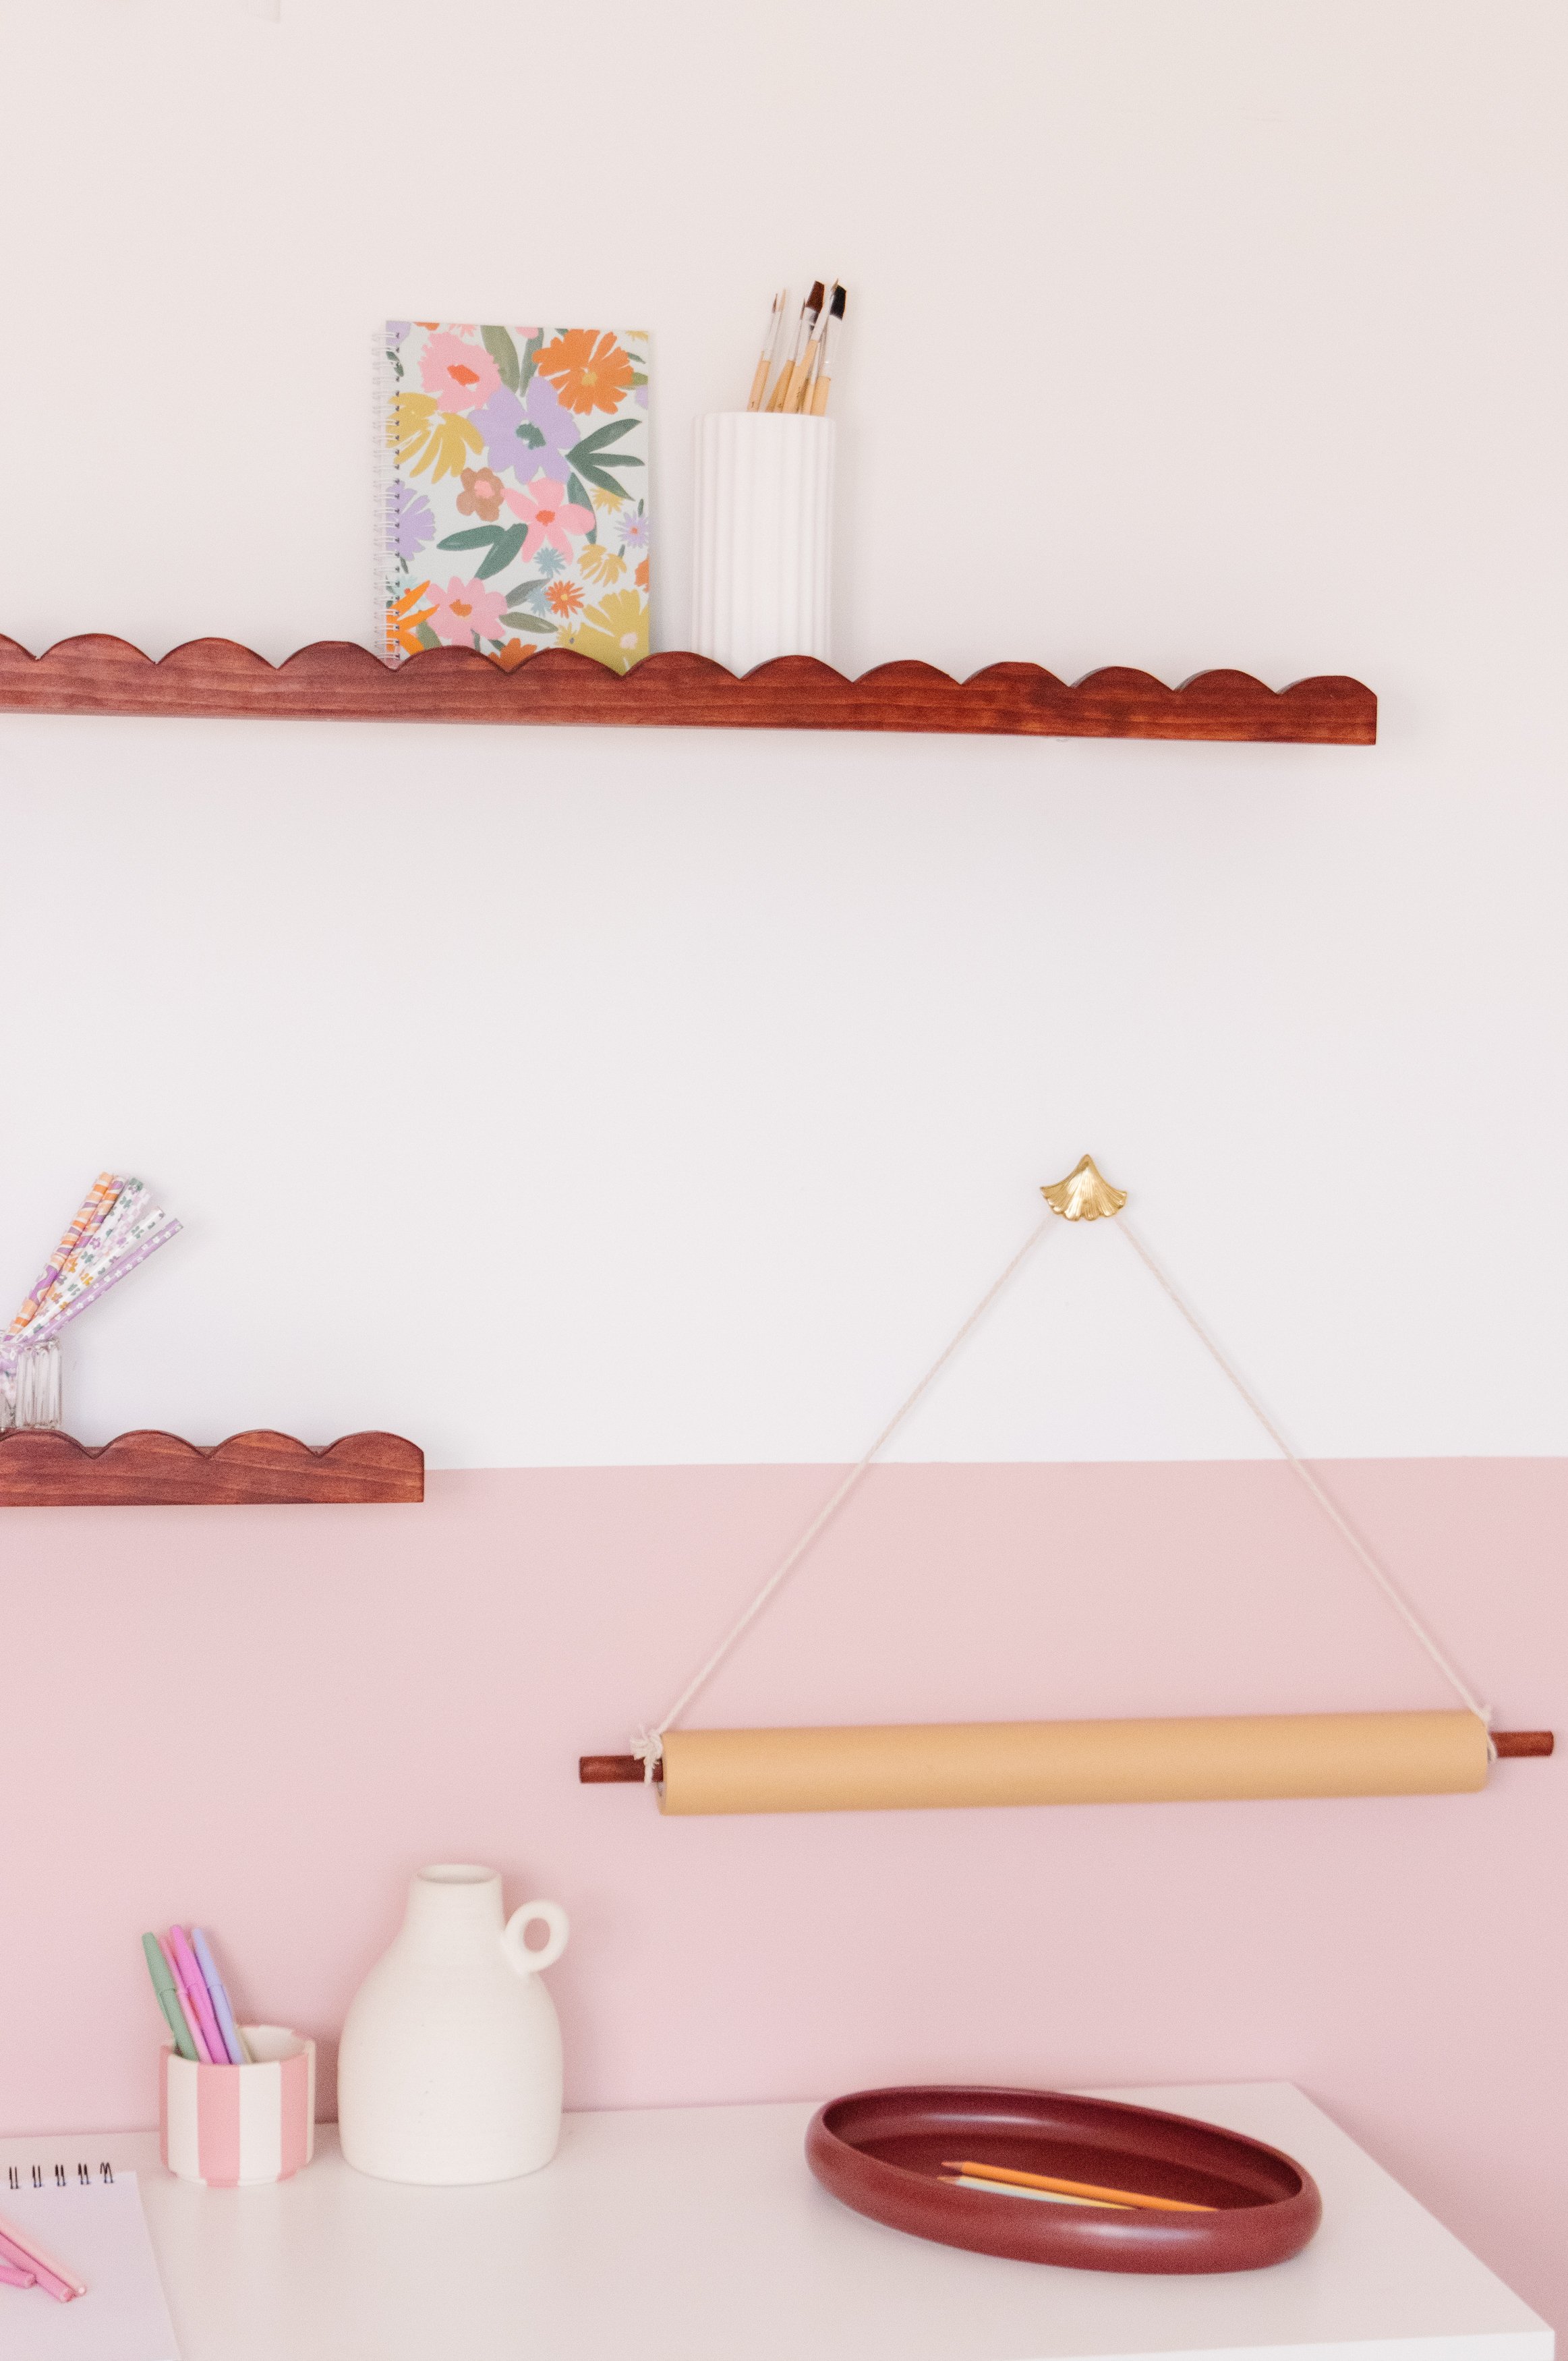
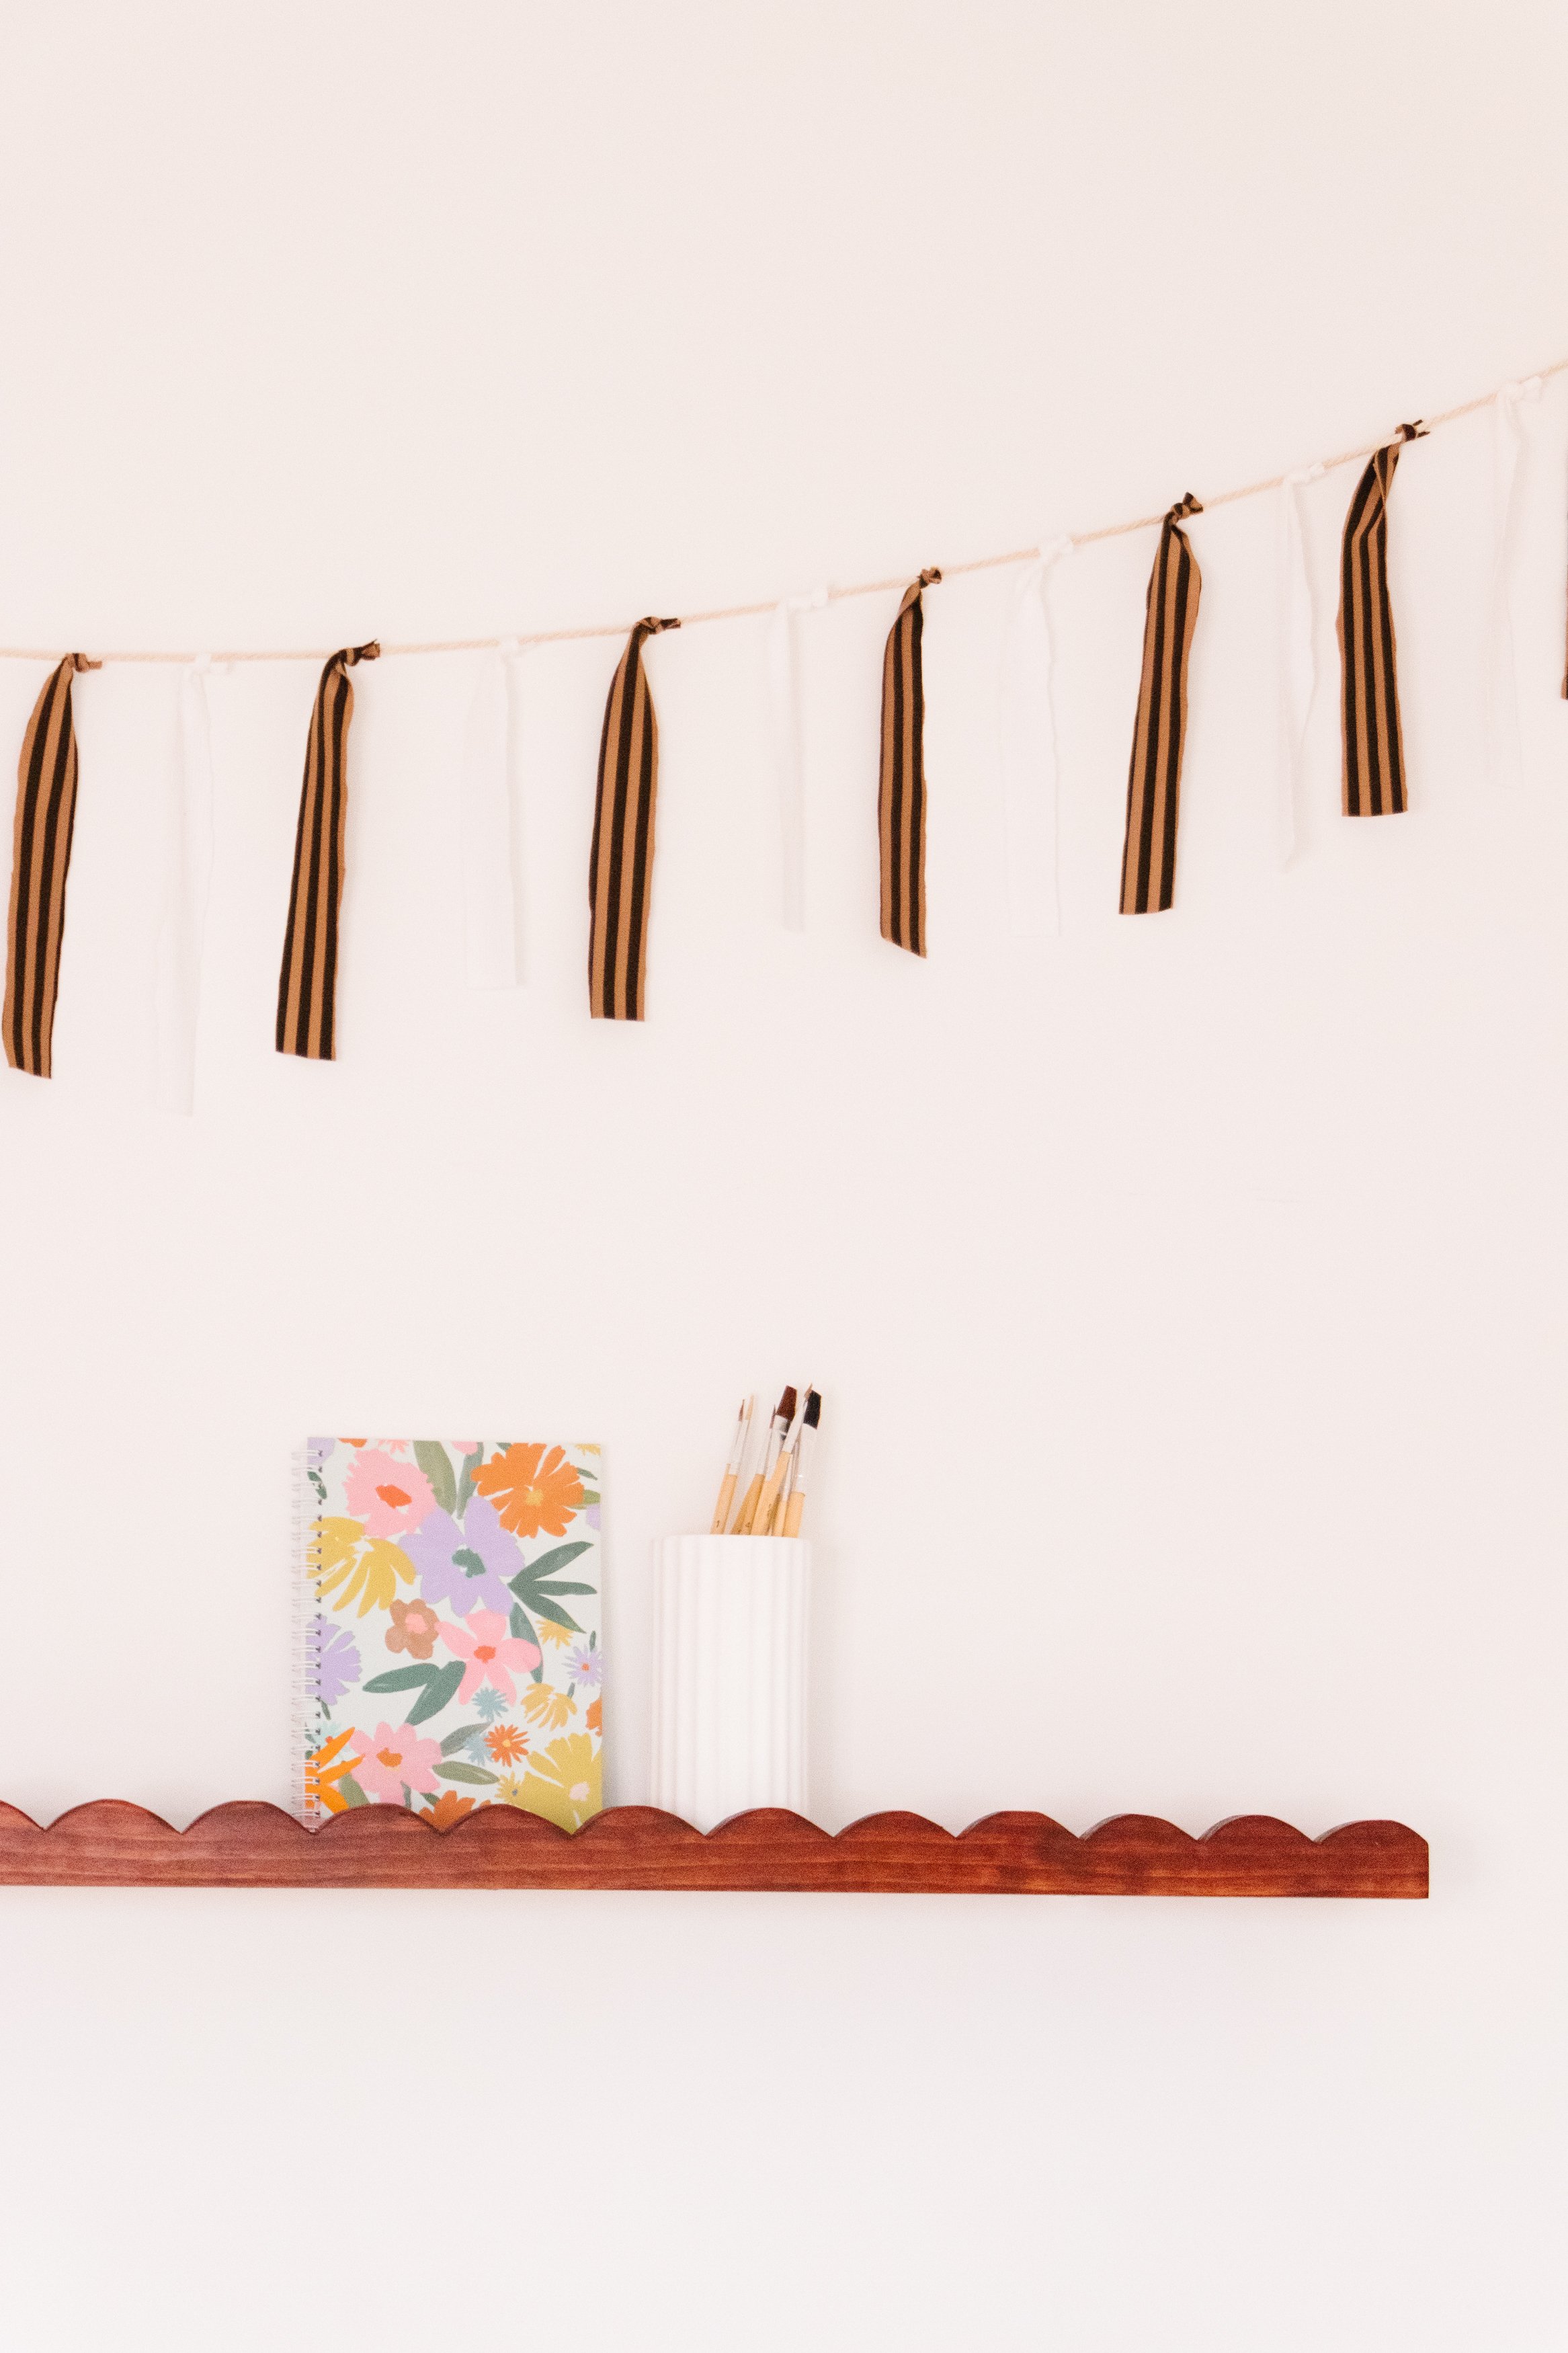
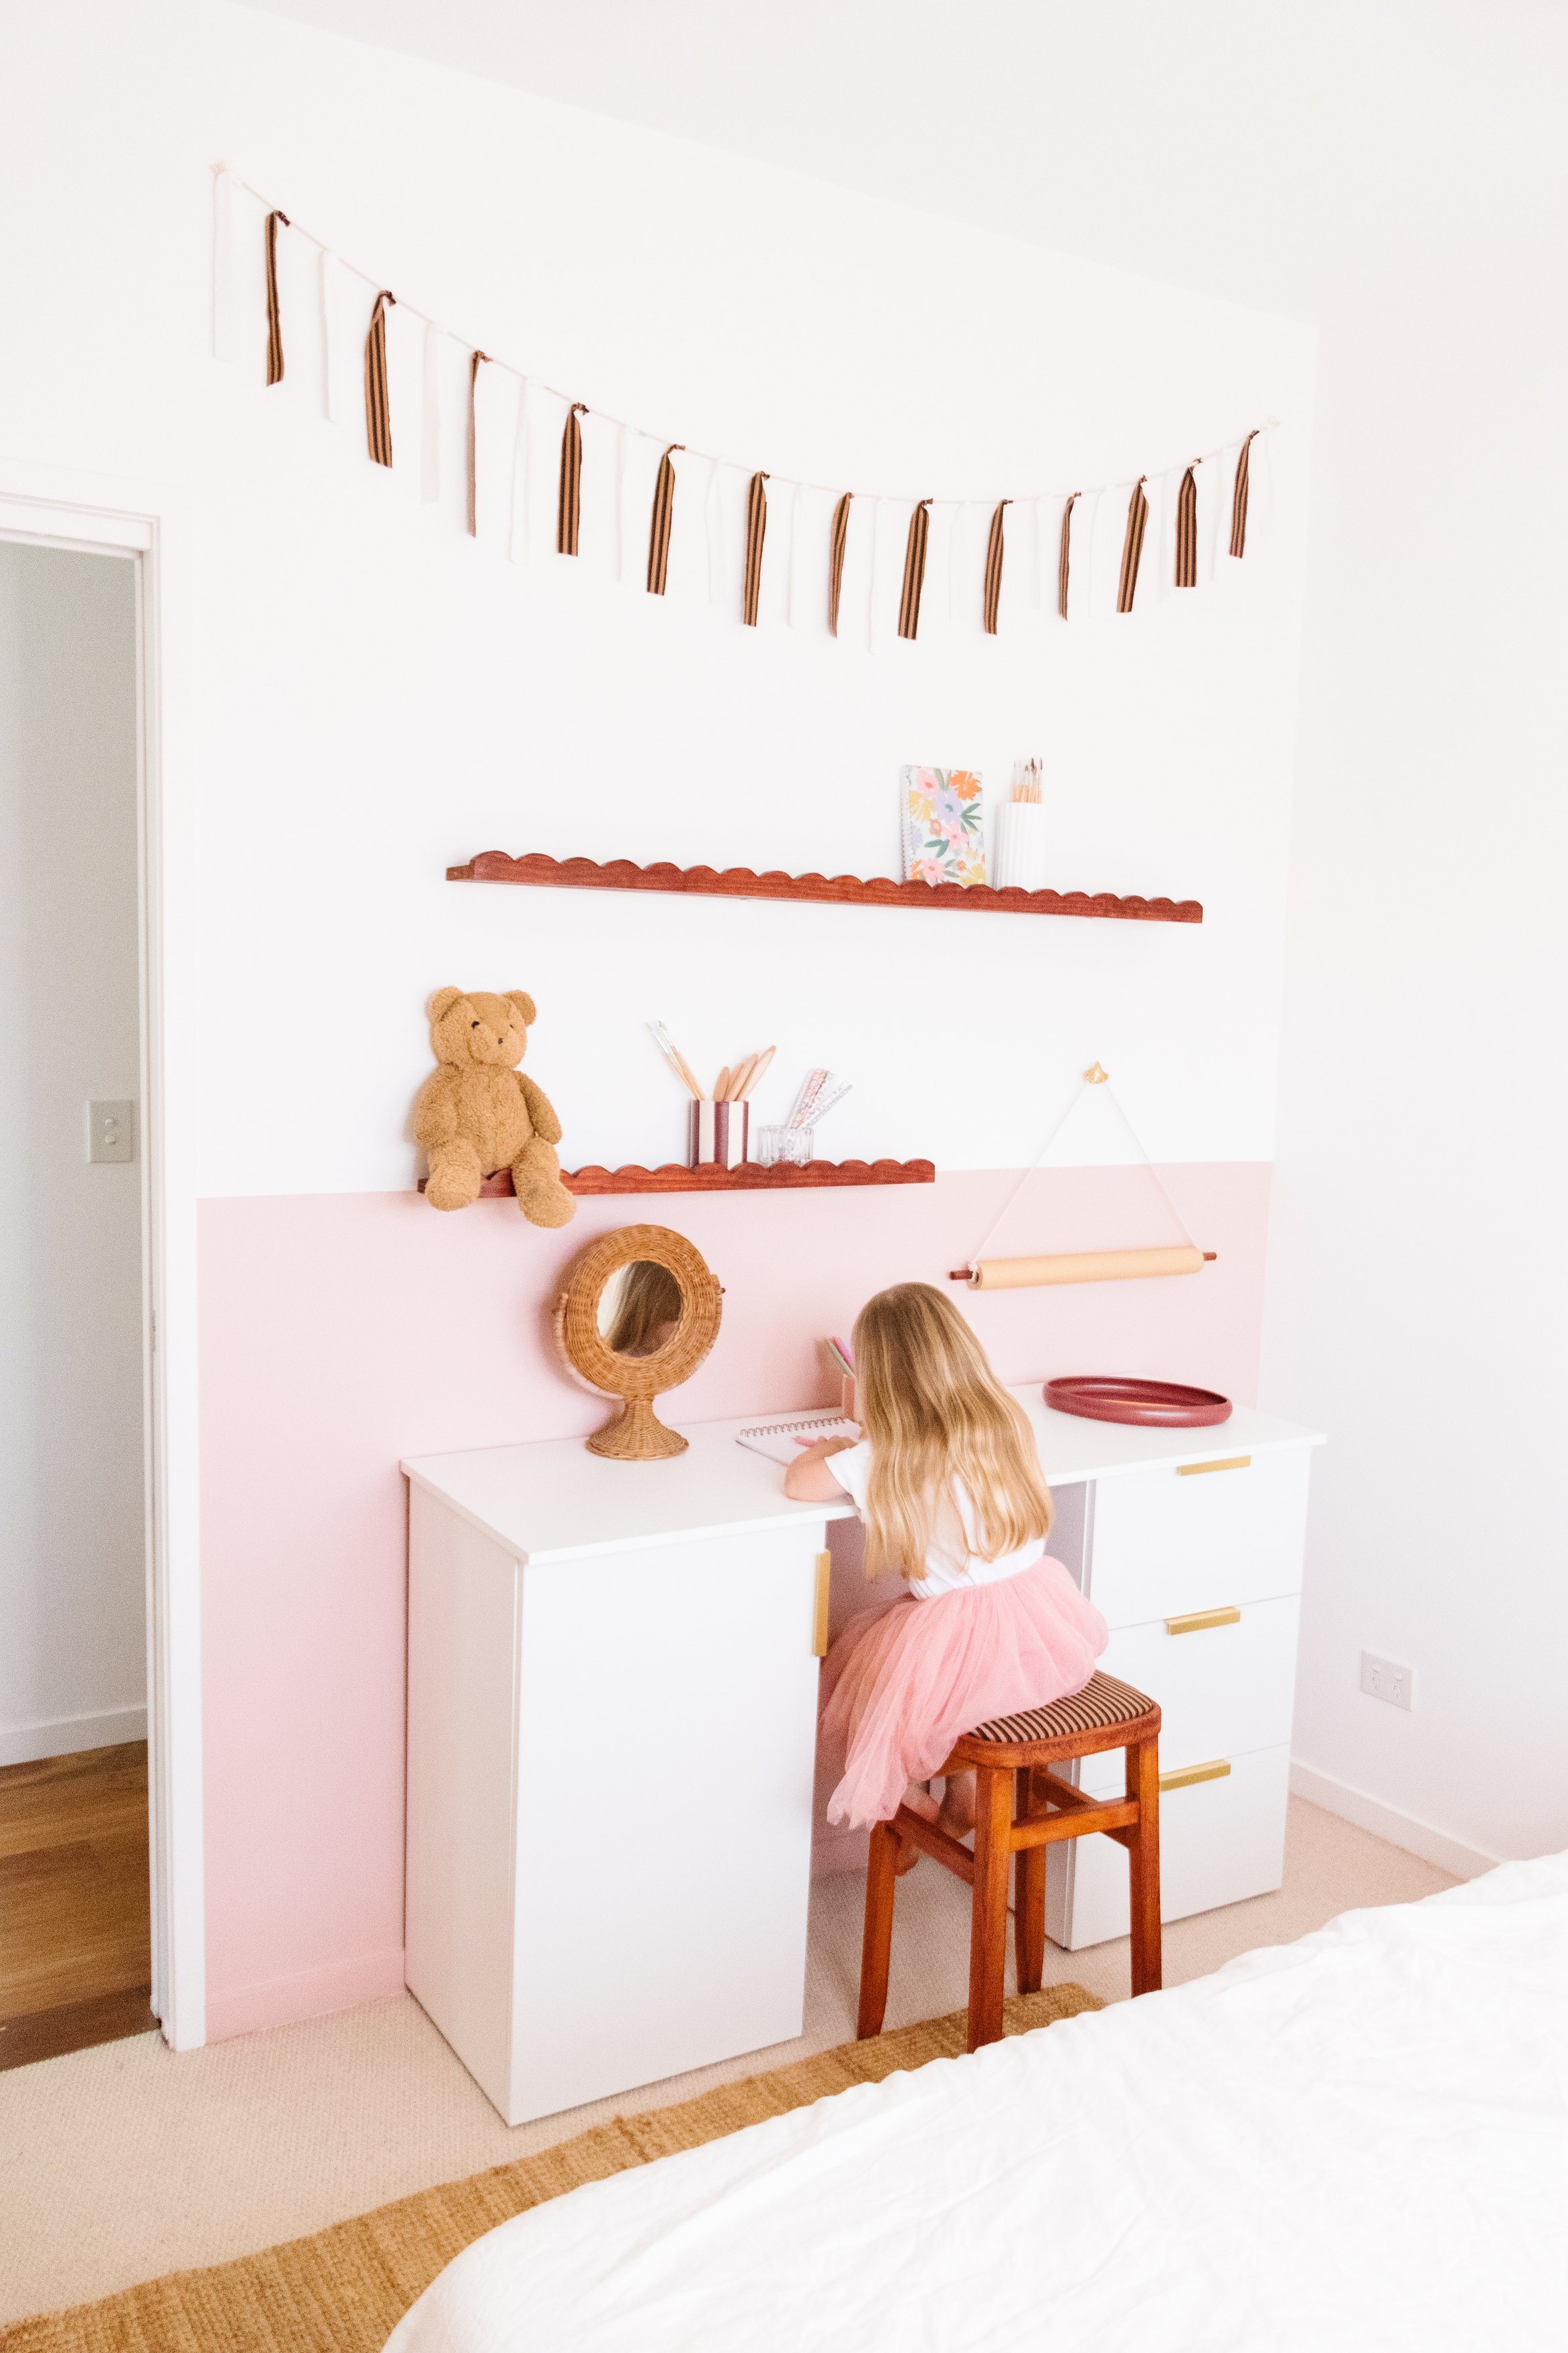
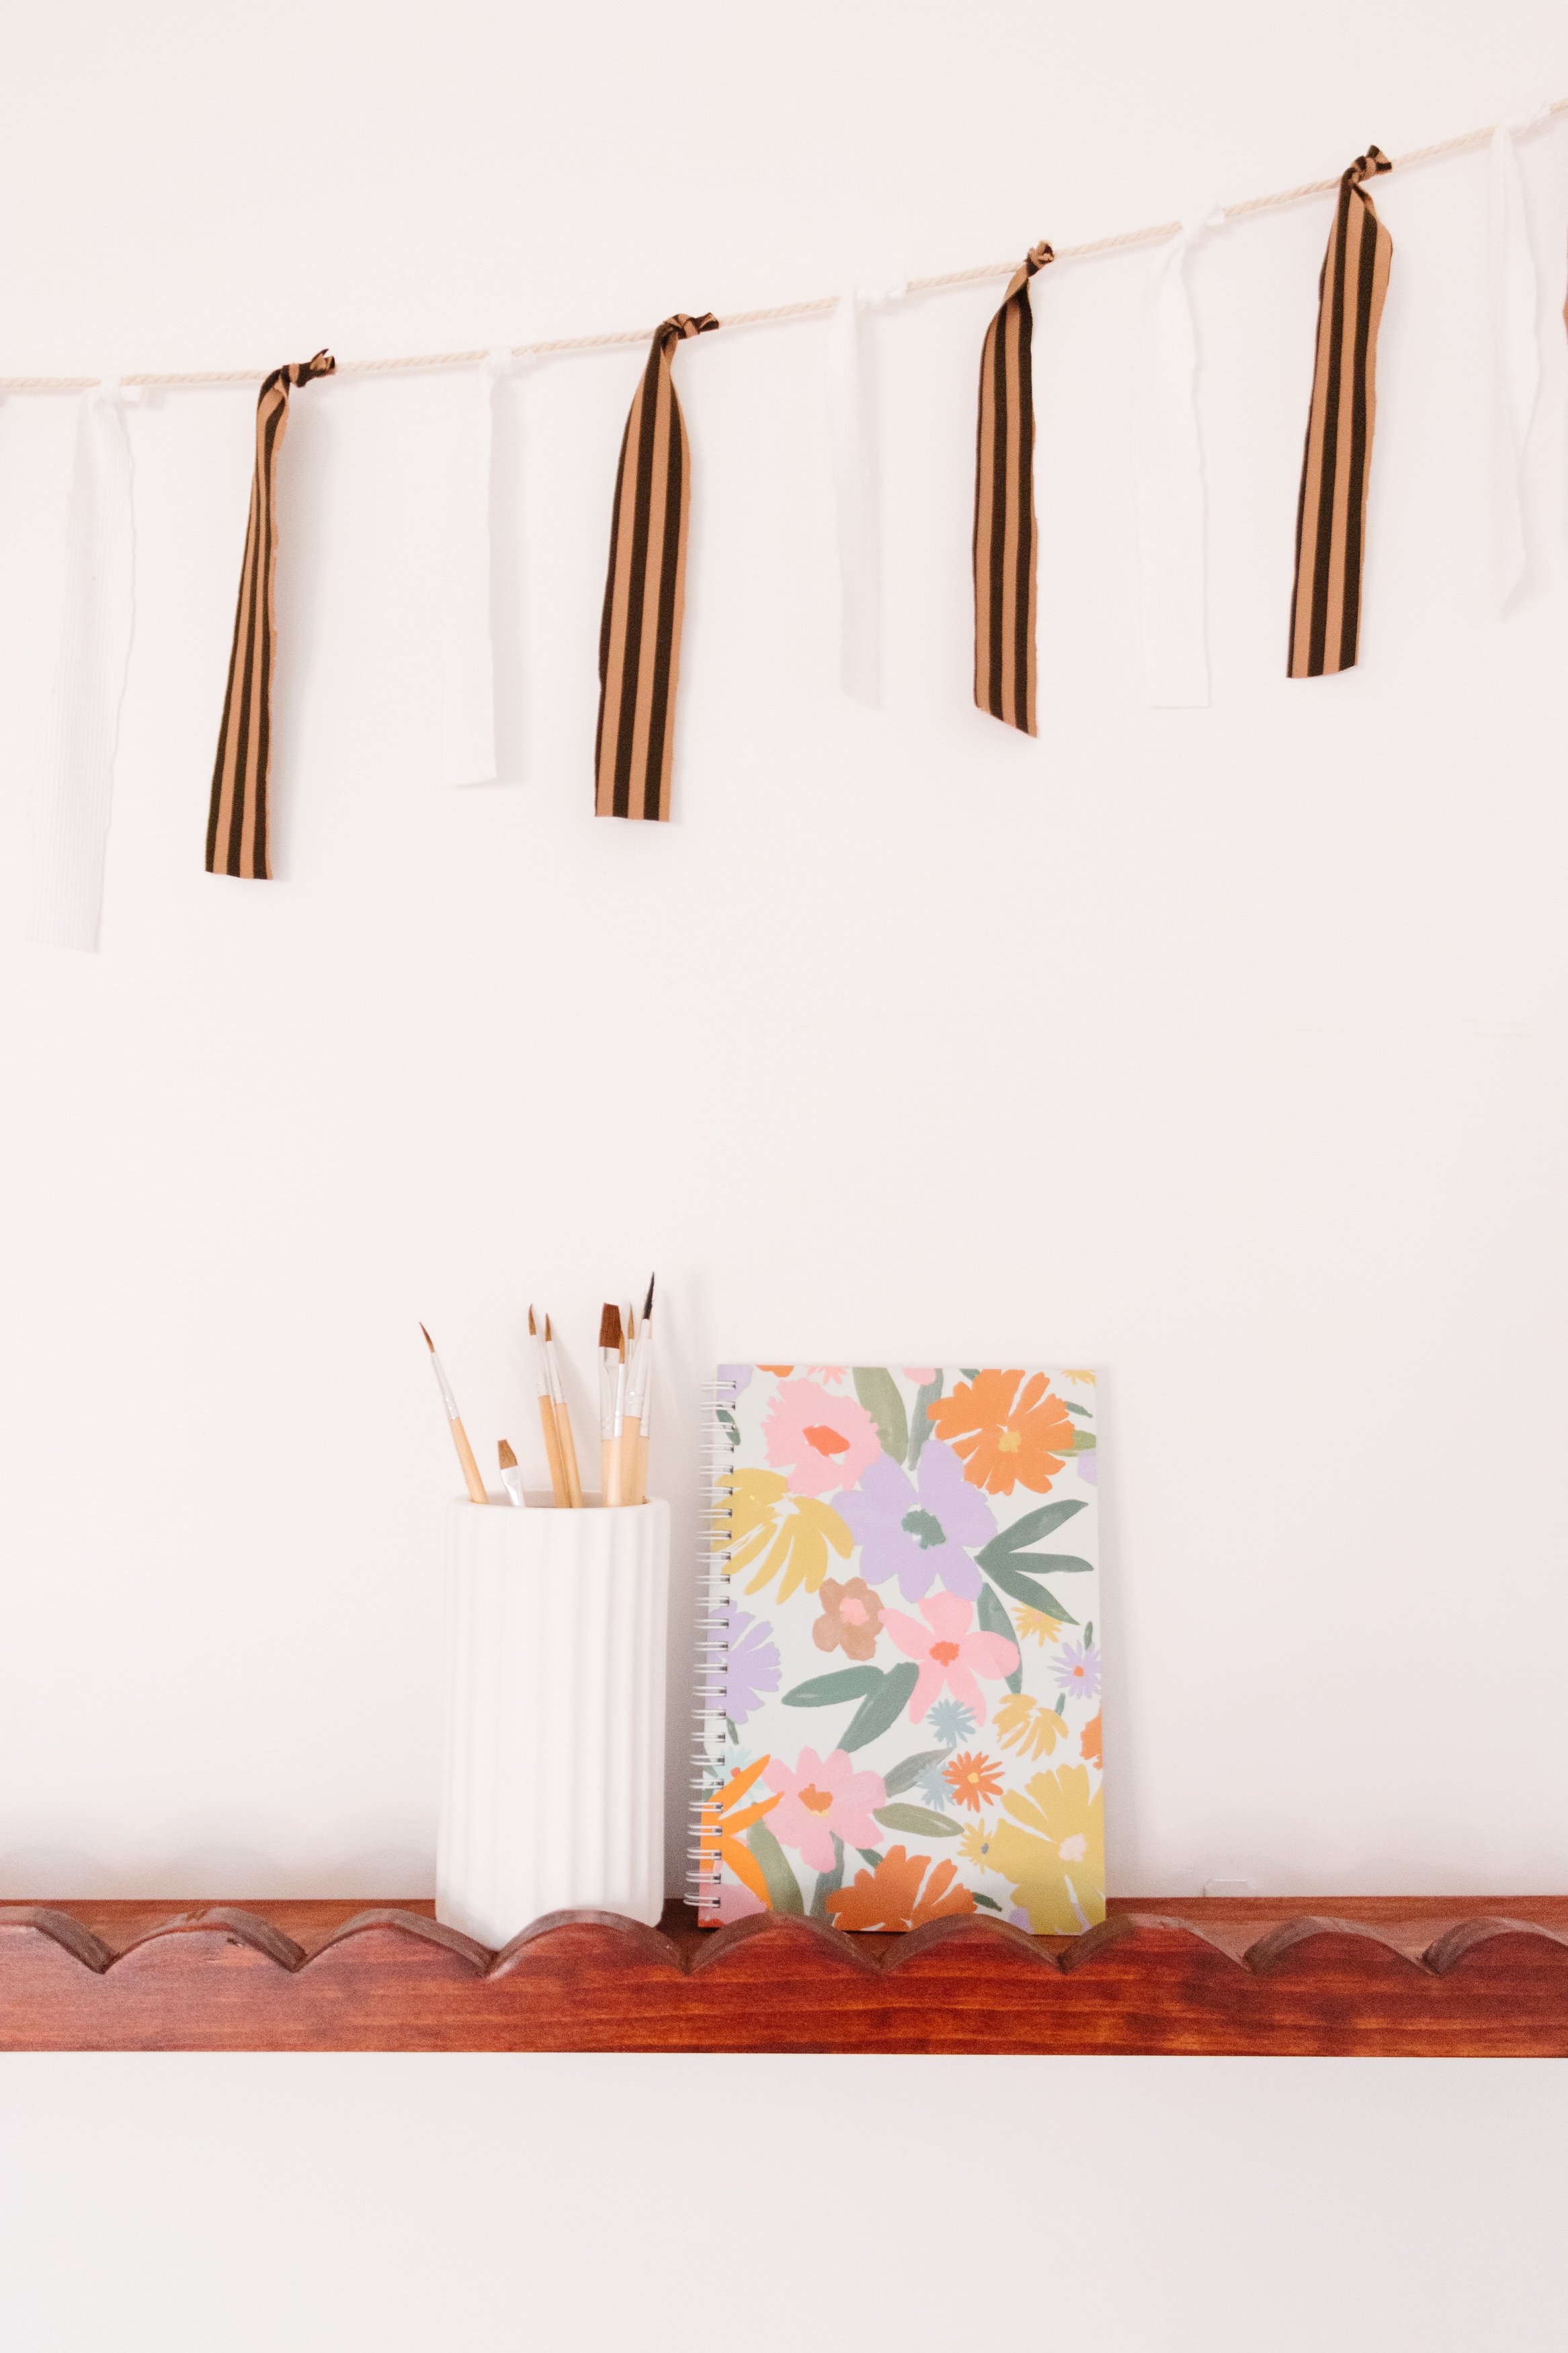
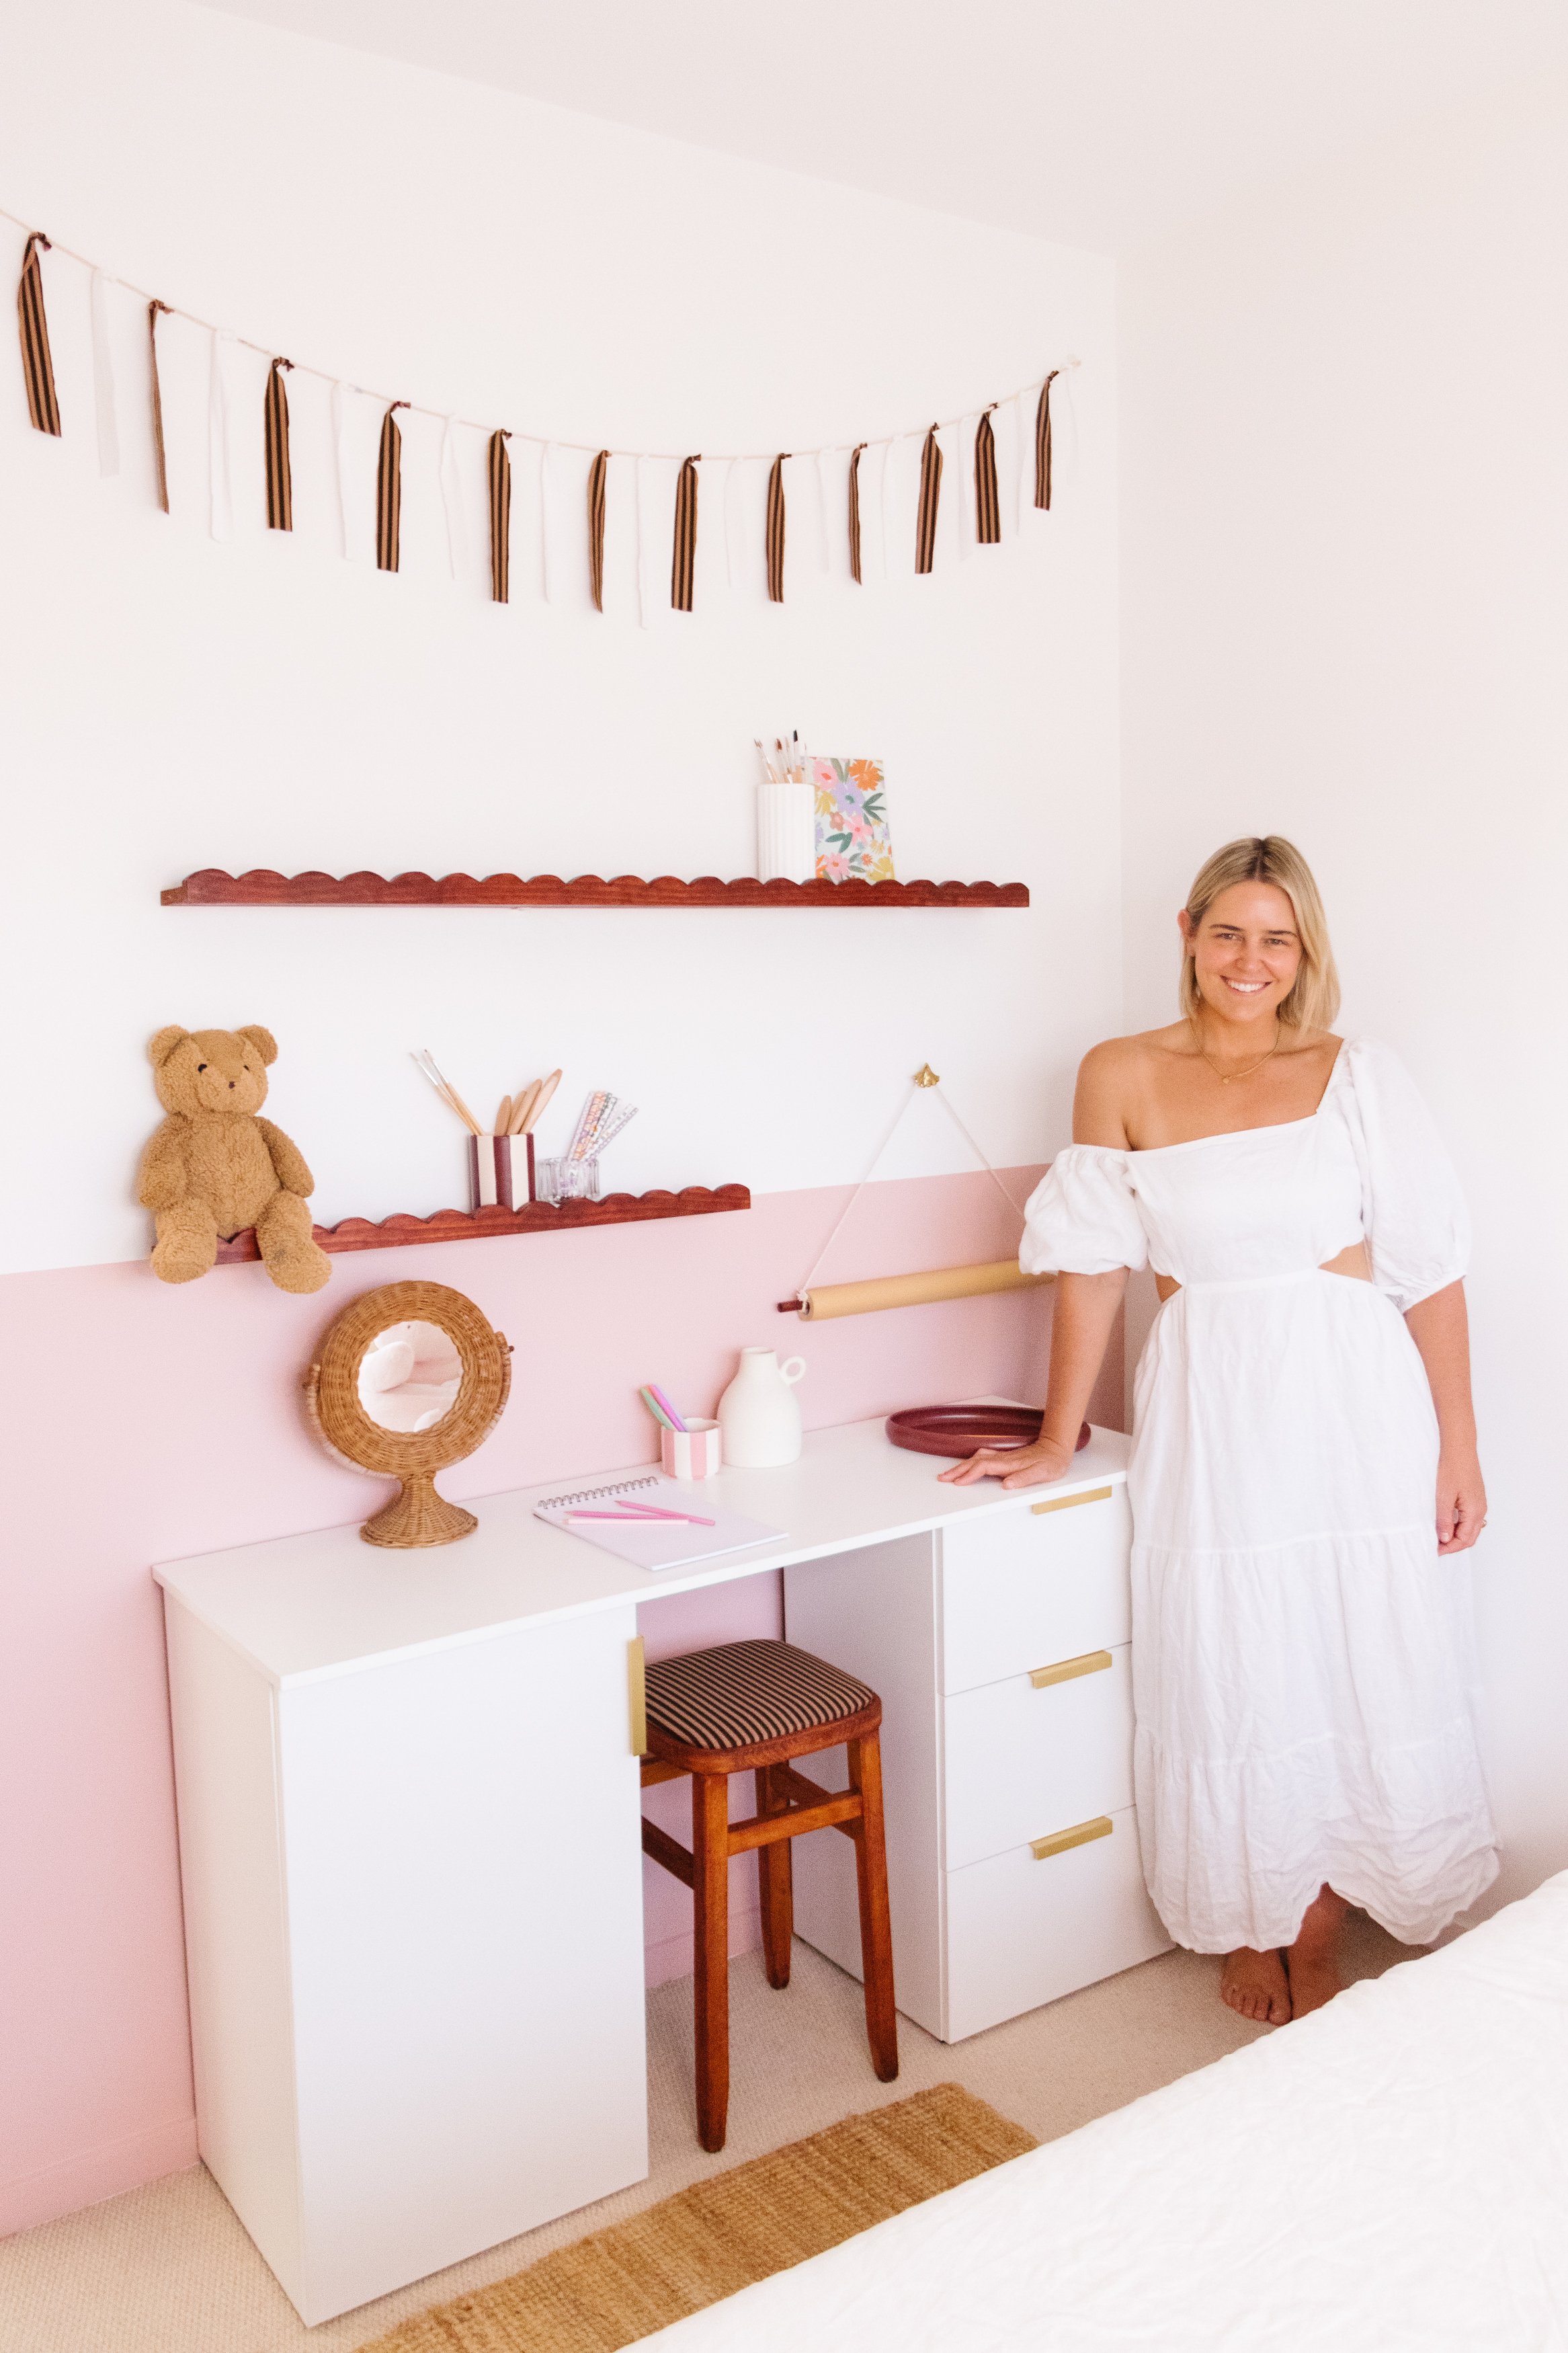
I recently gave my daughter’s bedroom a little makeover; I built her a desk and made her new creative space extra special by painting a half wall in pink, making a DIY Paper Roll Dispenser, DIY Fabric Bunting and I upcycled a new stool for her to sit on. One of the other DIY projects I made for her room were some Scalloped Shelves! Read onto find out how to make them.
DIY Scalloped Shelves


Project Details
♻️ Making: DIY Scalloped Shelves
🕒 Project Time Estimate: 2 to 4 hours (not including stain drying time)
💰 Project Cost: Under $80
Materials
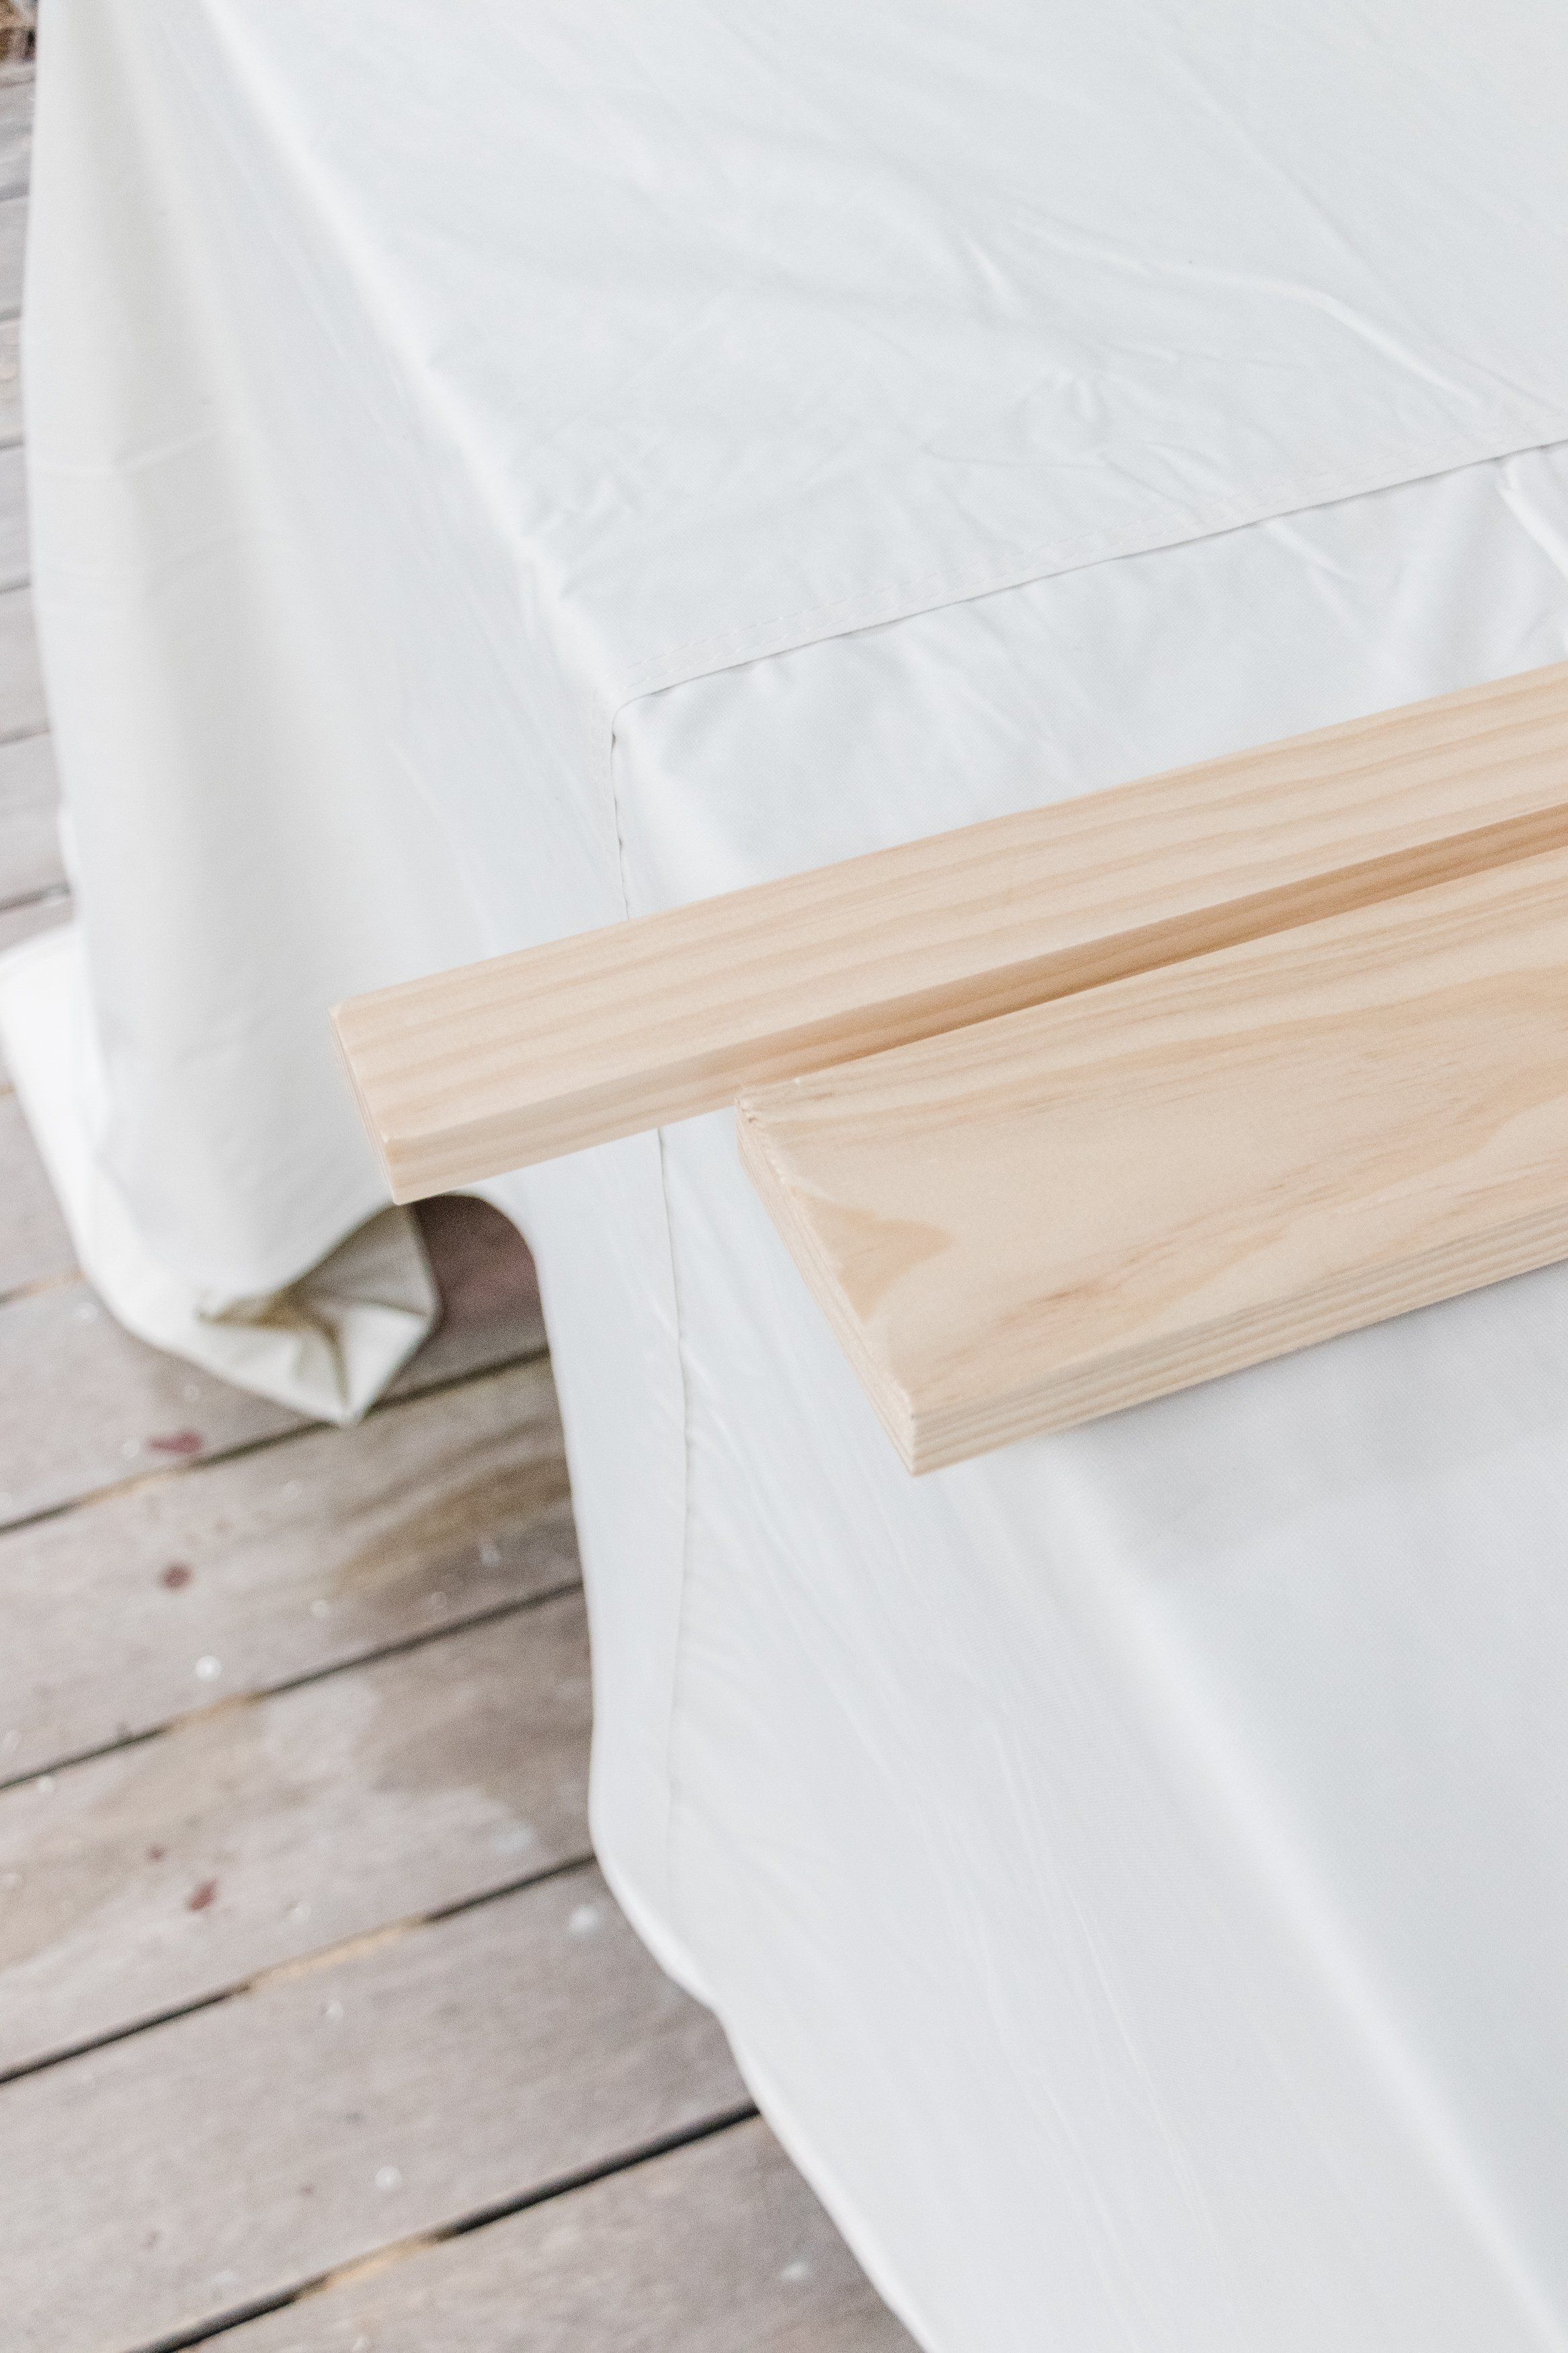
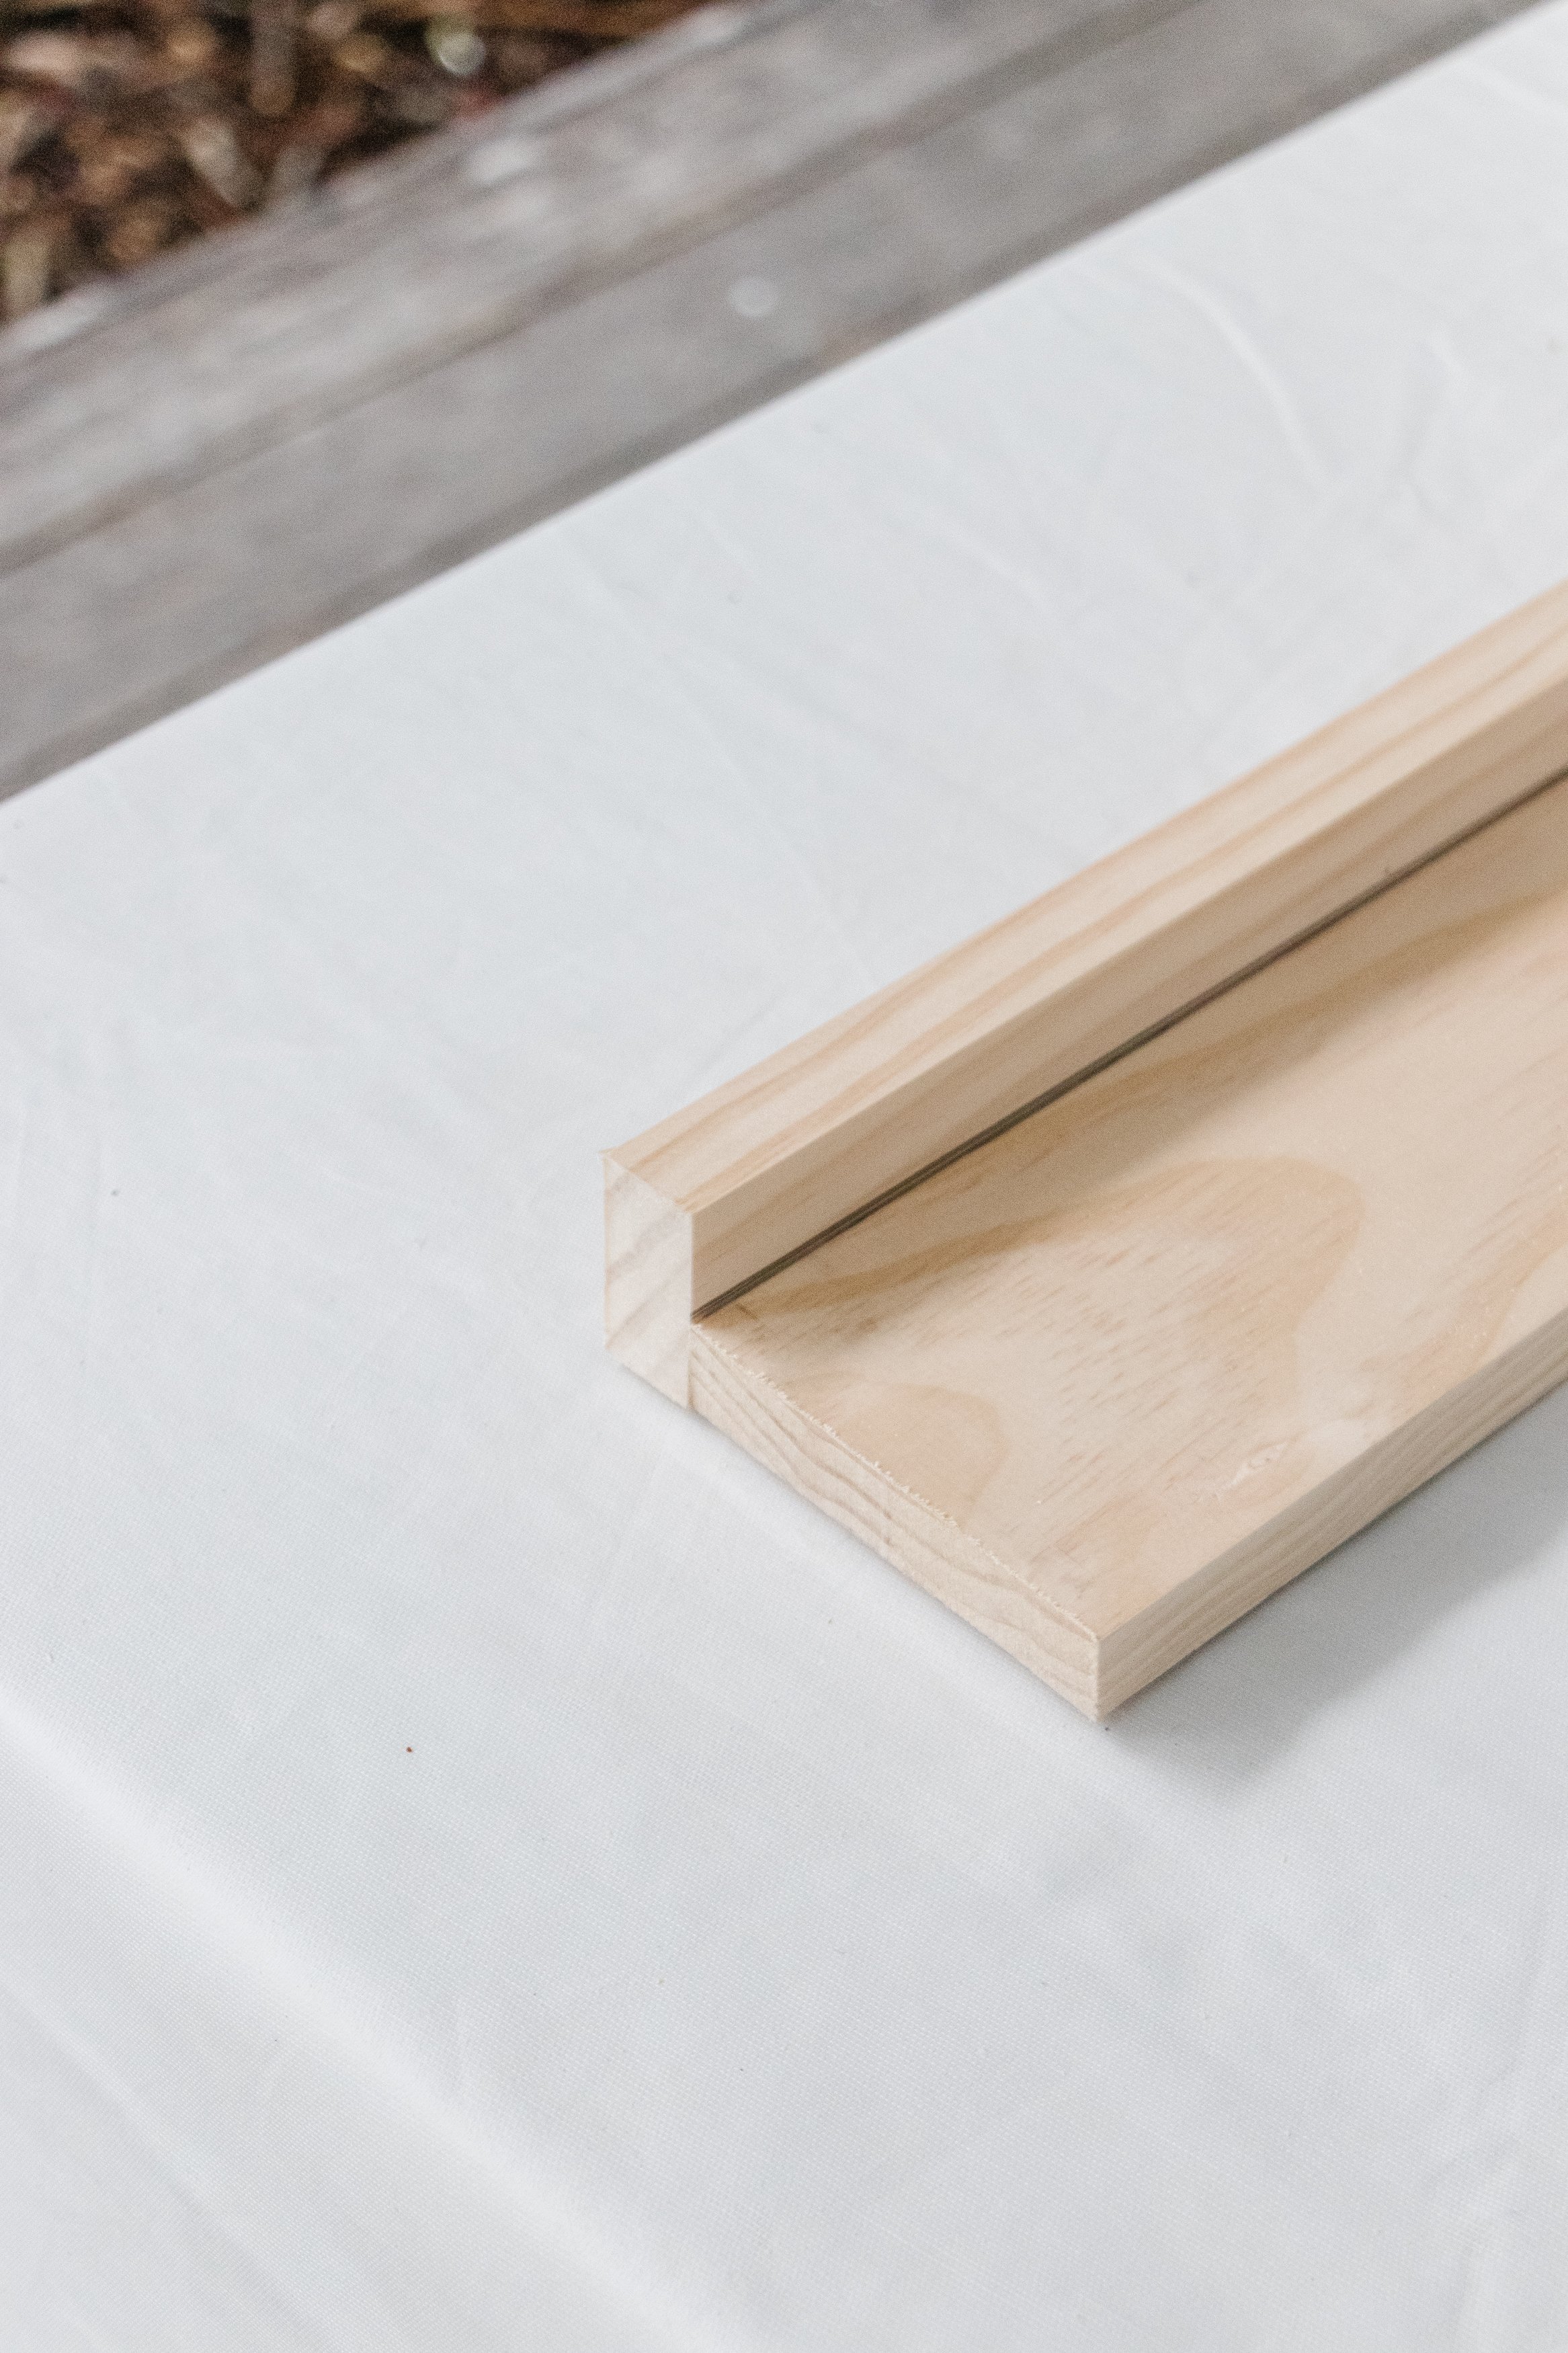
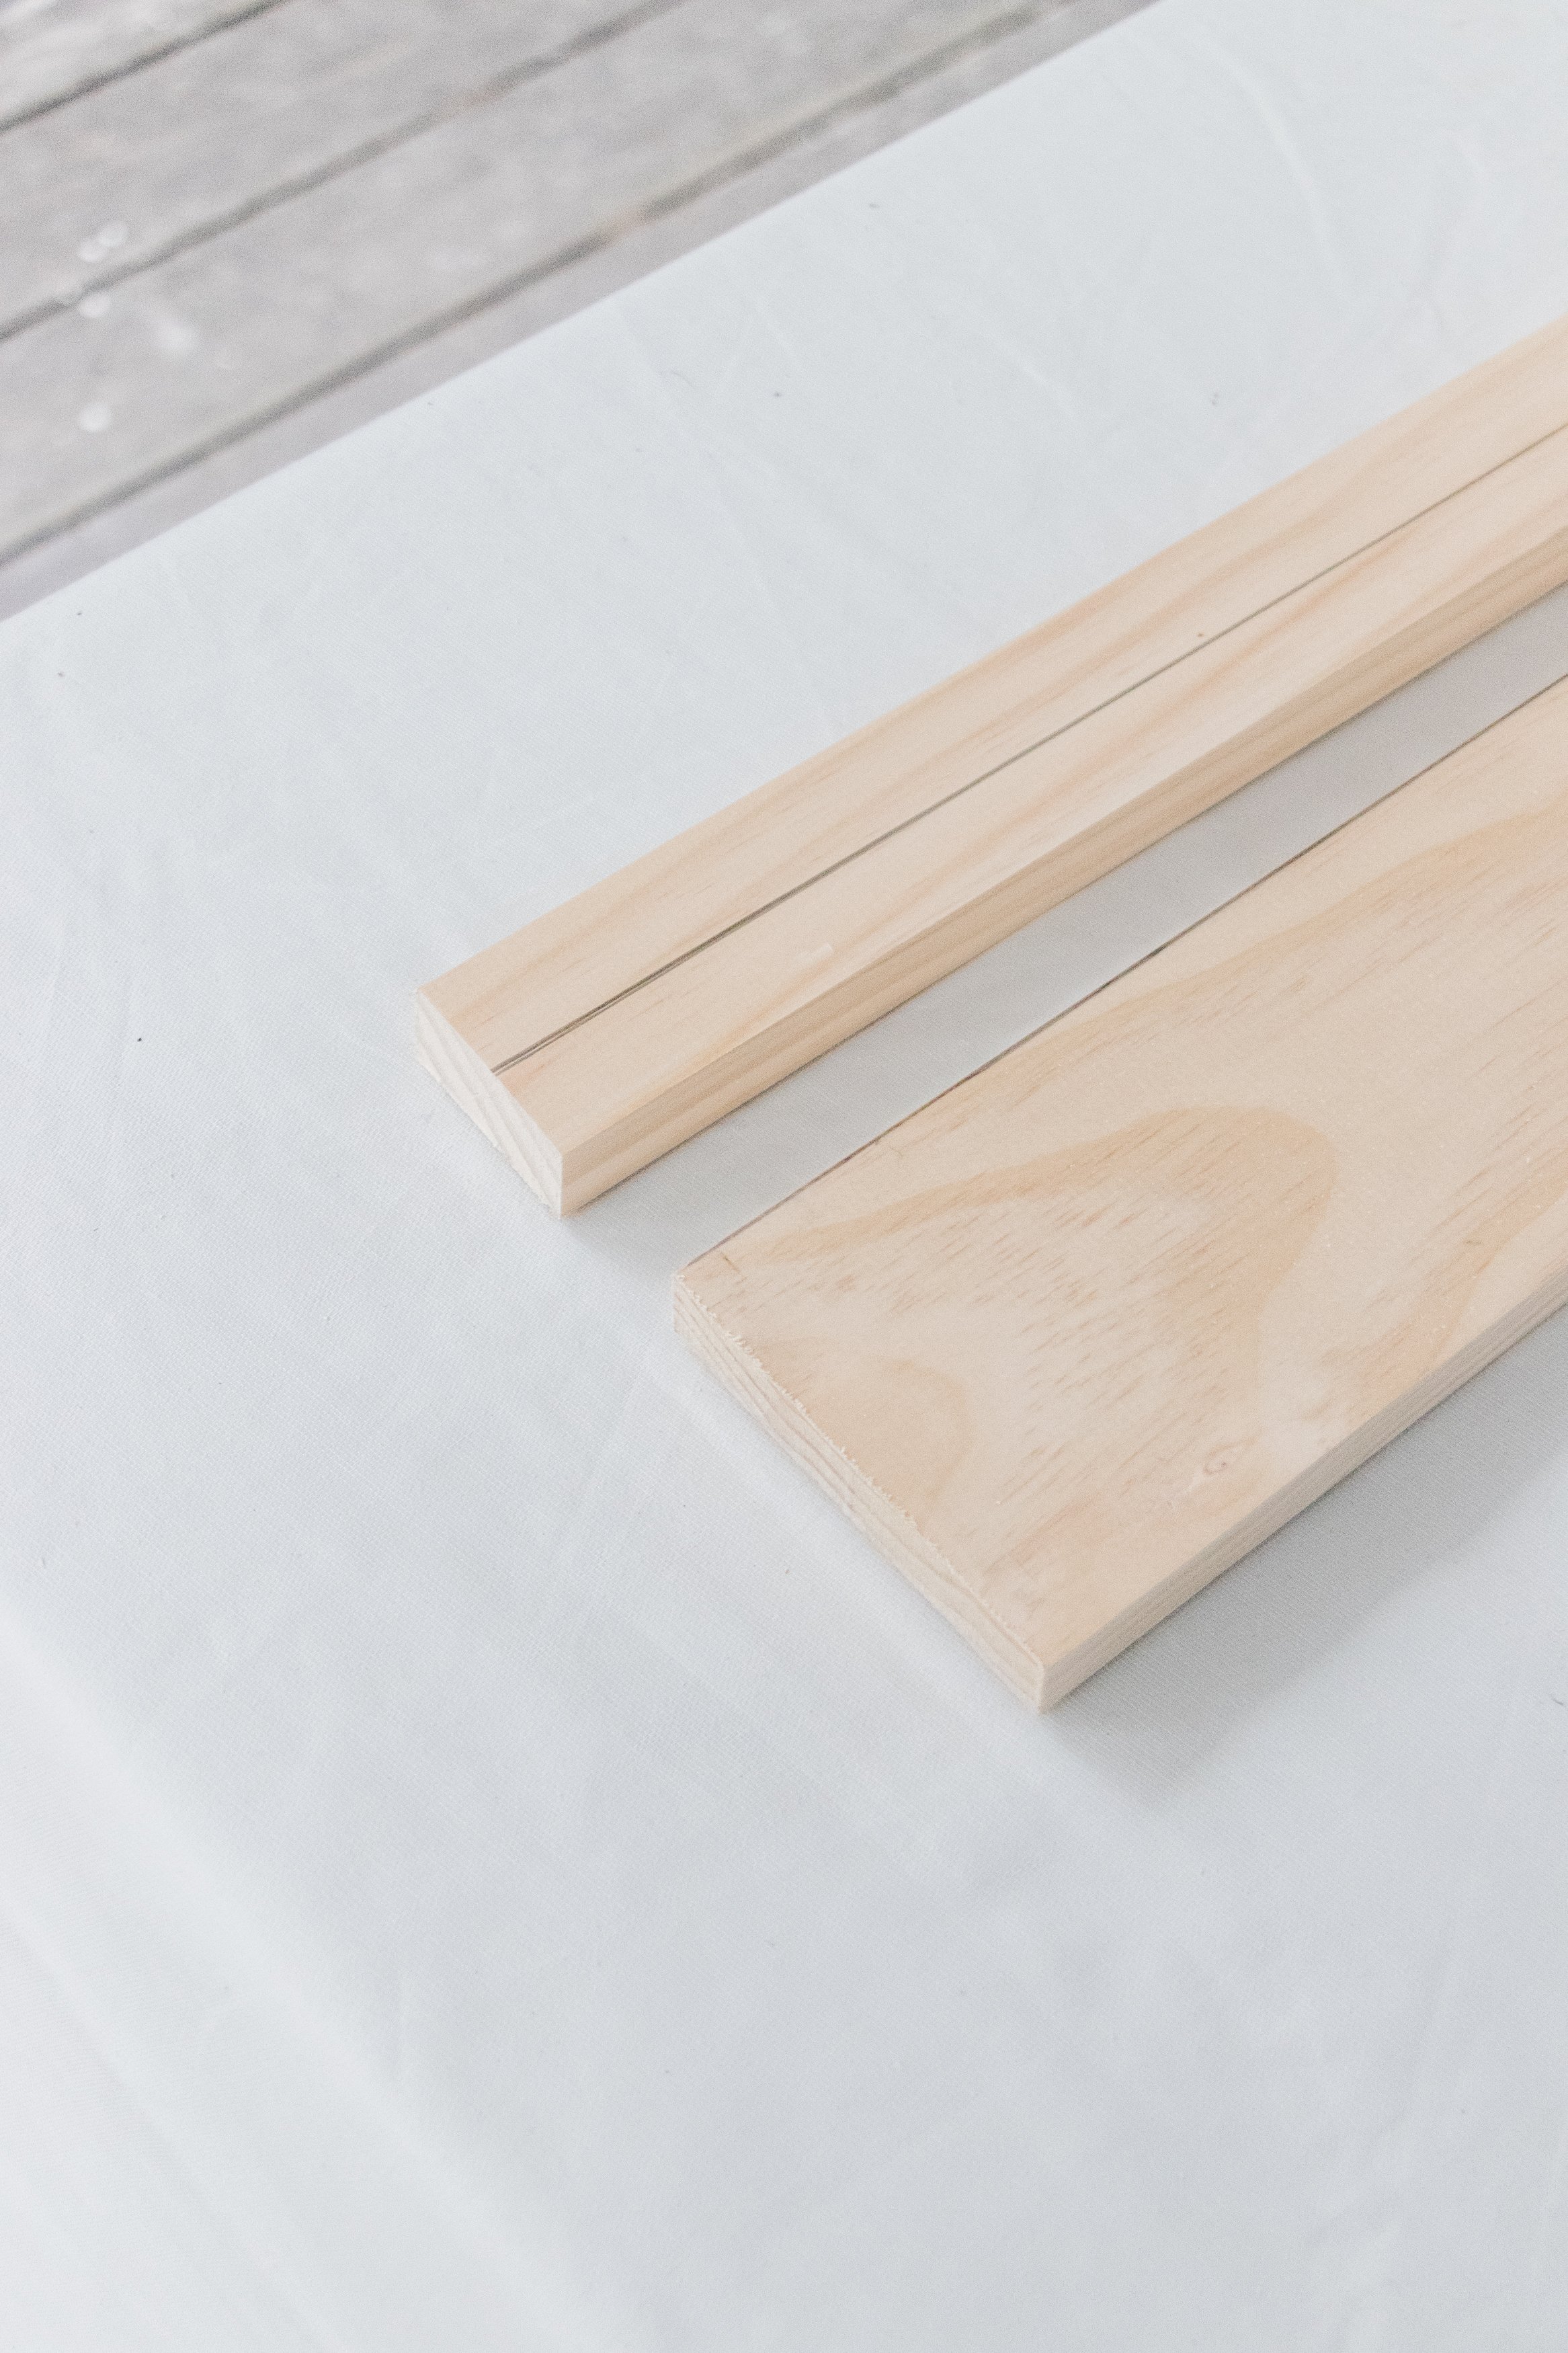
1 x Pine 89 x 19mm 2.4m
1 x Pine 42 x 19mm 2.4m
Timber stain
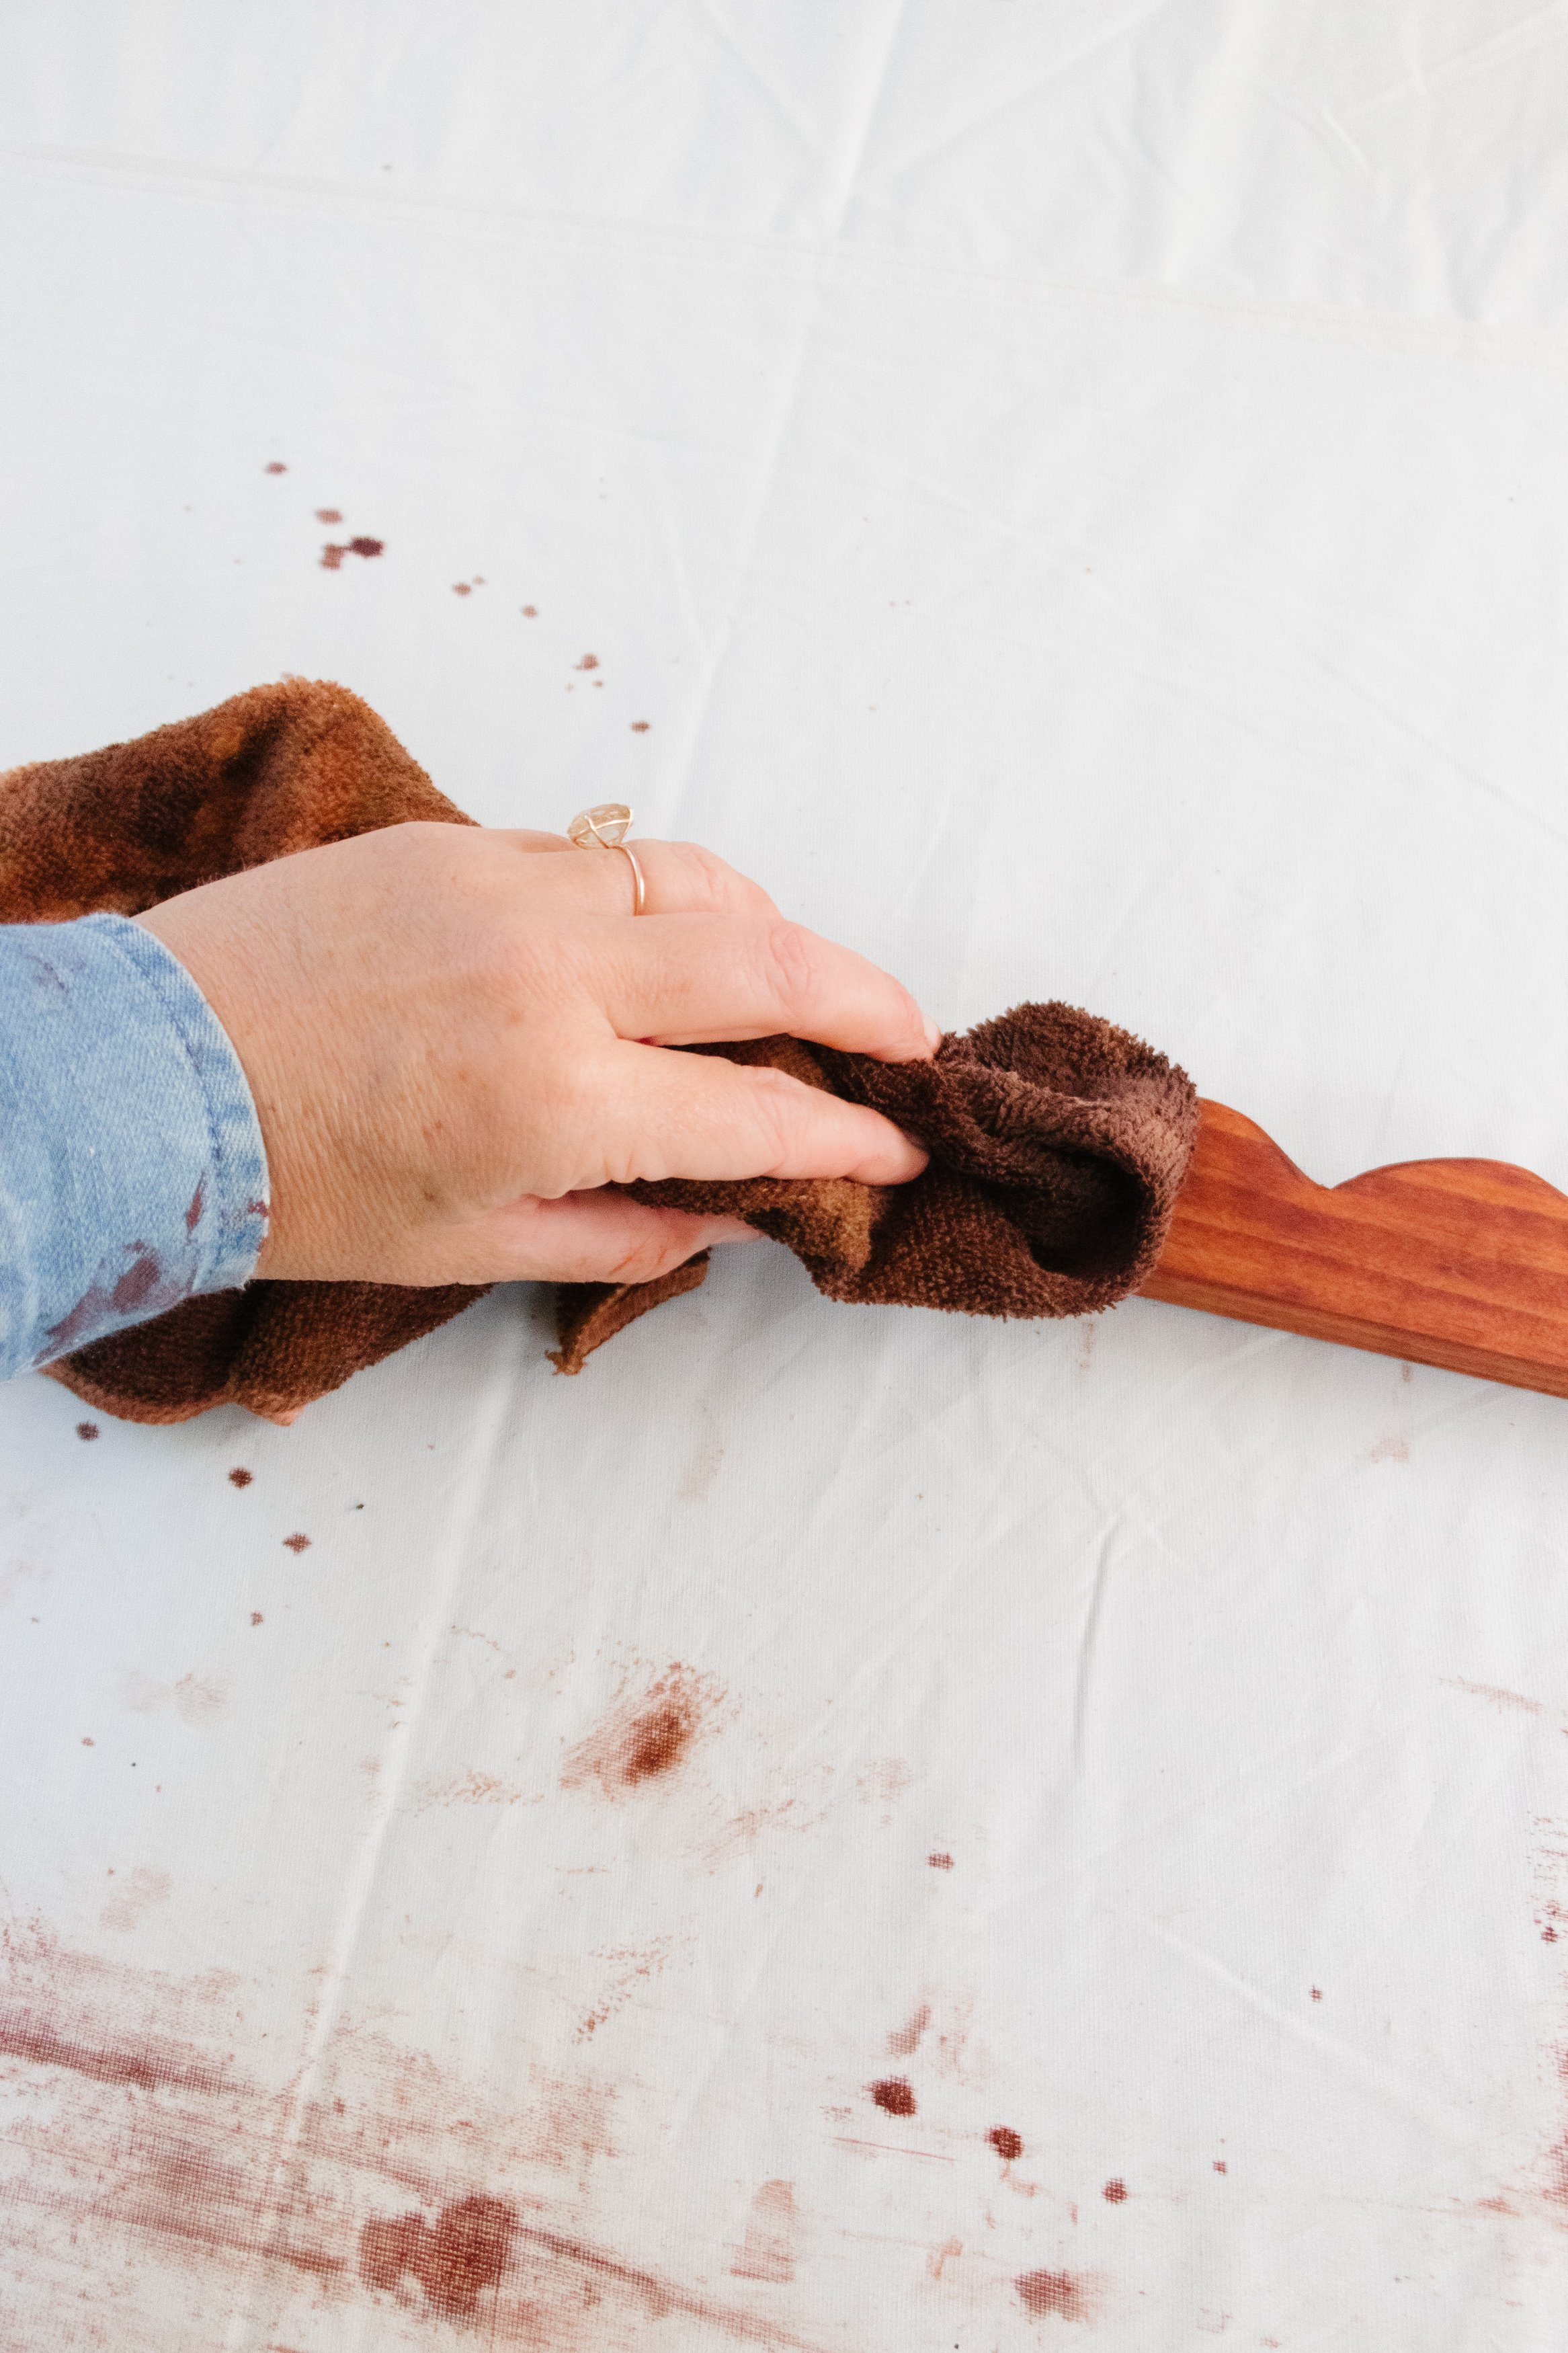
Microfibre cloth
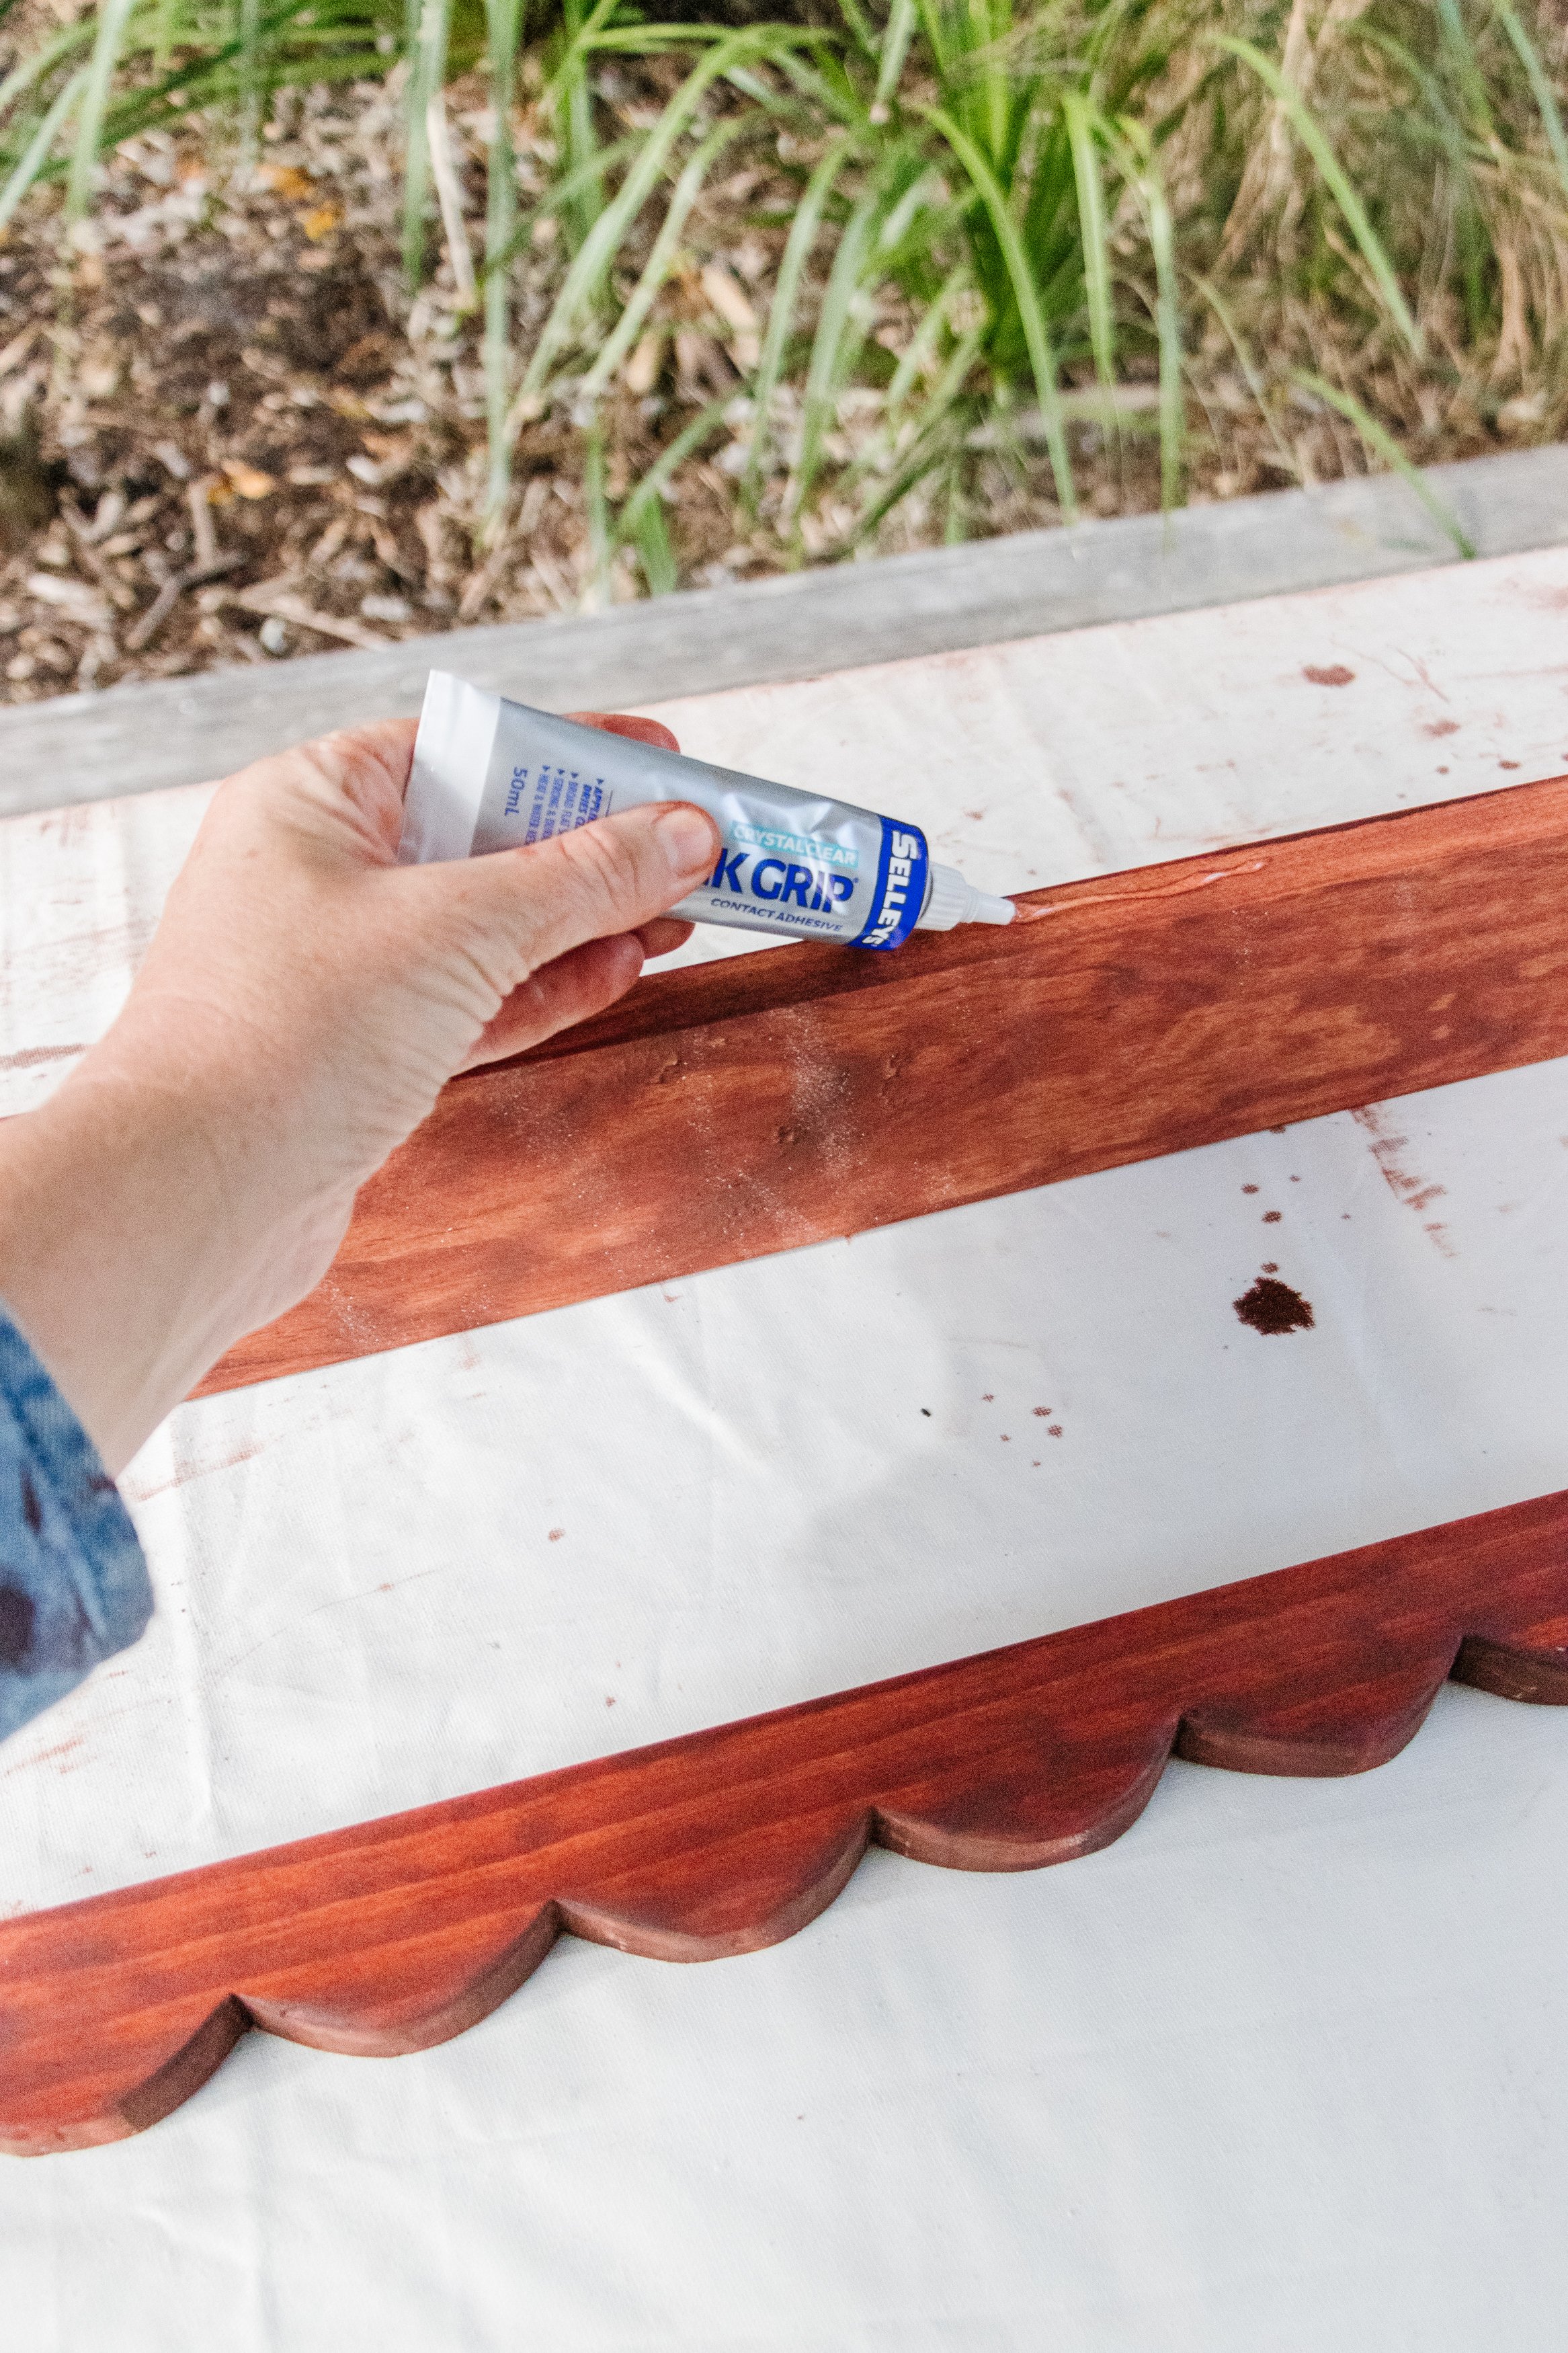
Kwik Grip Adhesive by Selleys
Interior clear satin sealer
L brackets
Timber screws
Tools
Measuring tape
Jigsaw
Clamps
Pencil
Glass
Sander
Drill and bits
How To
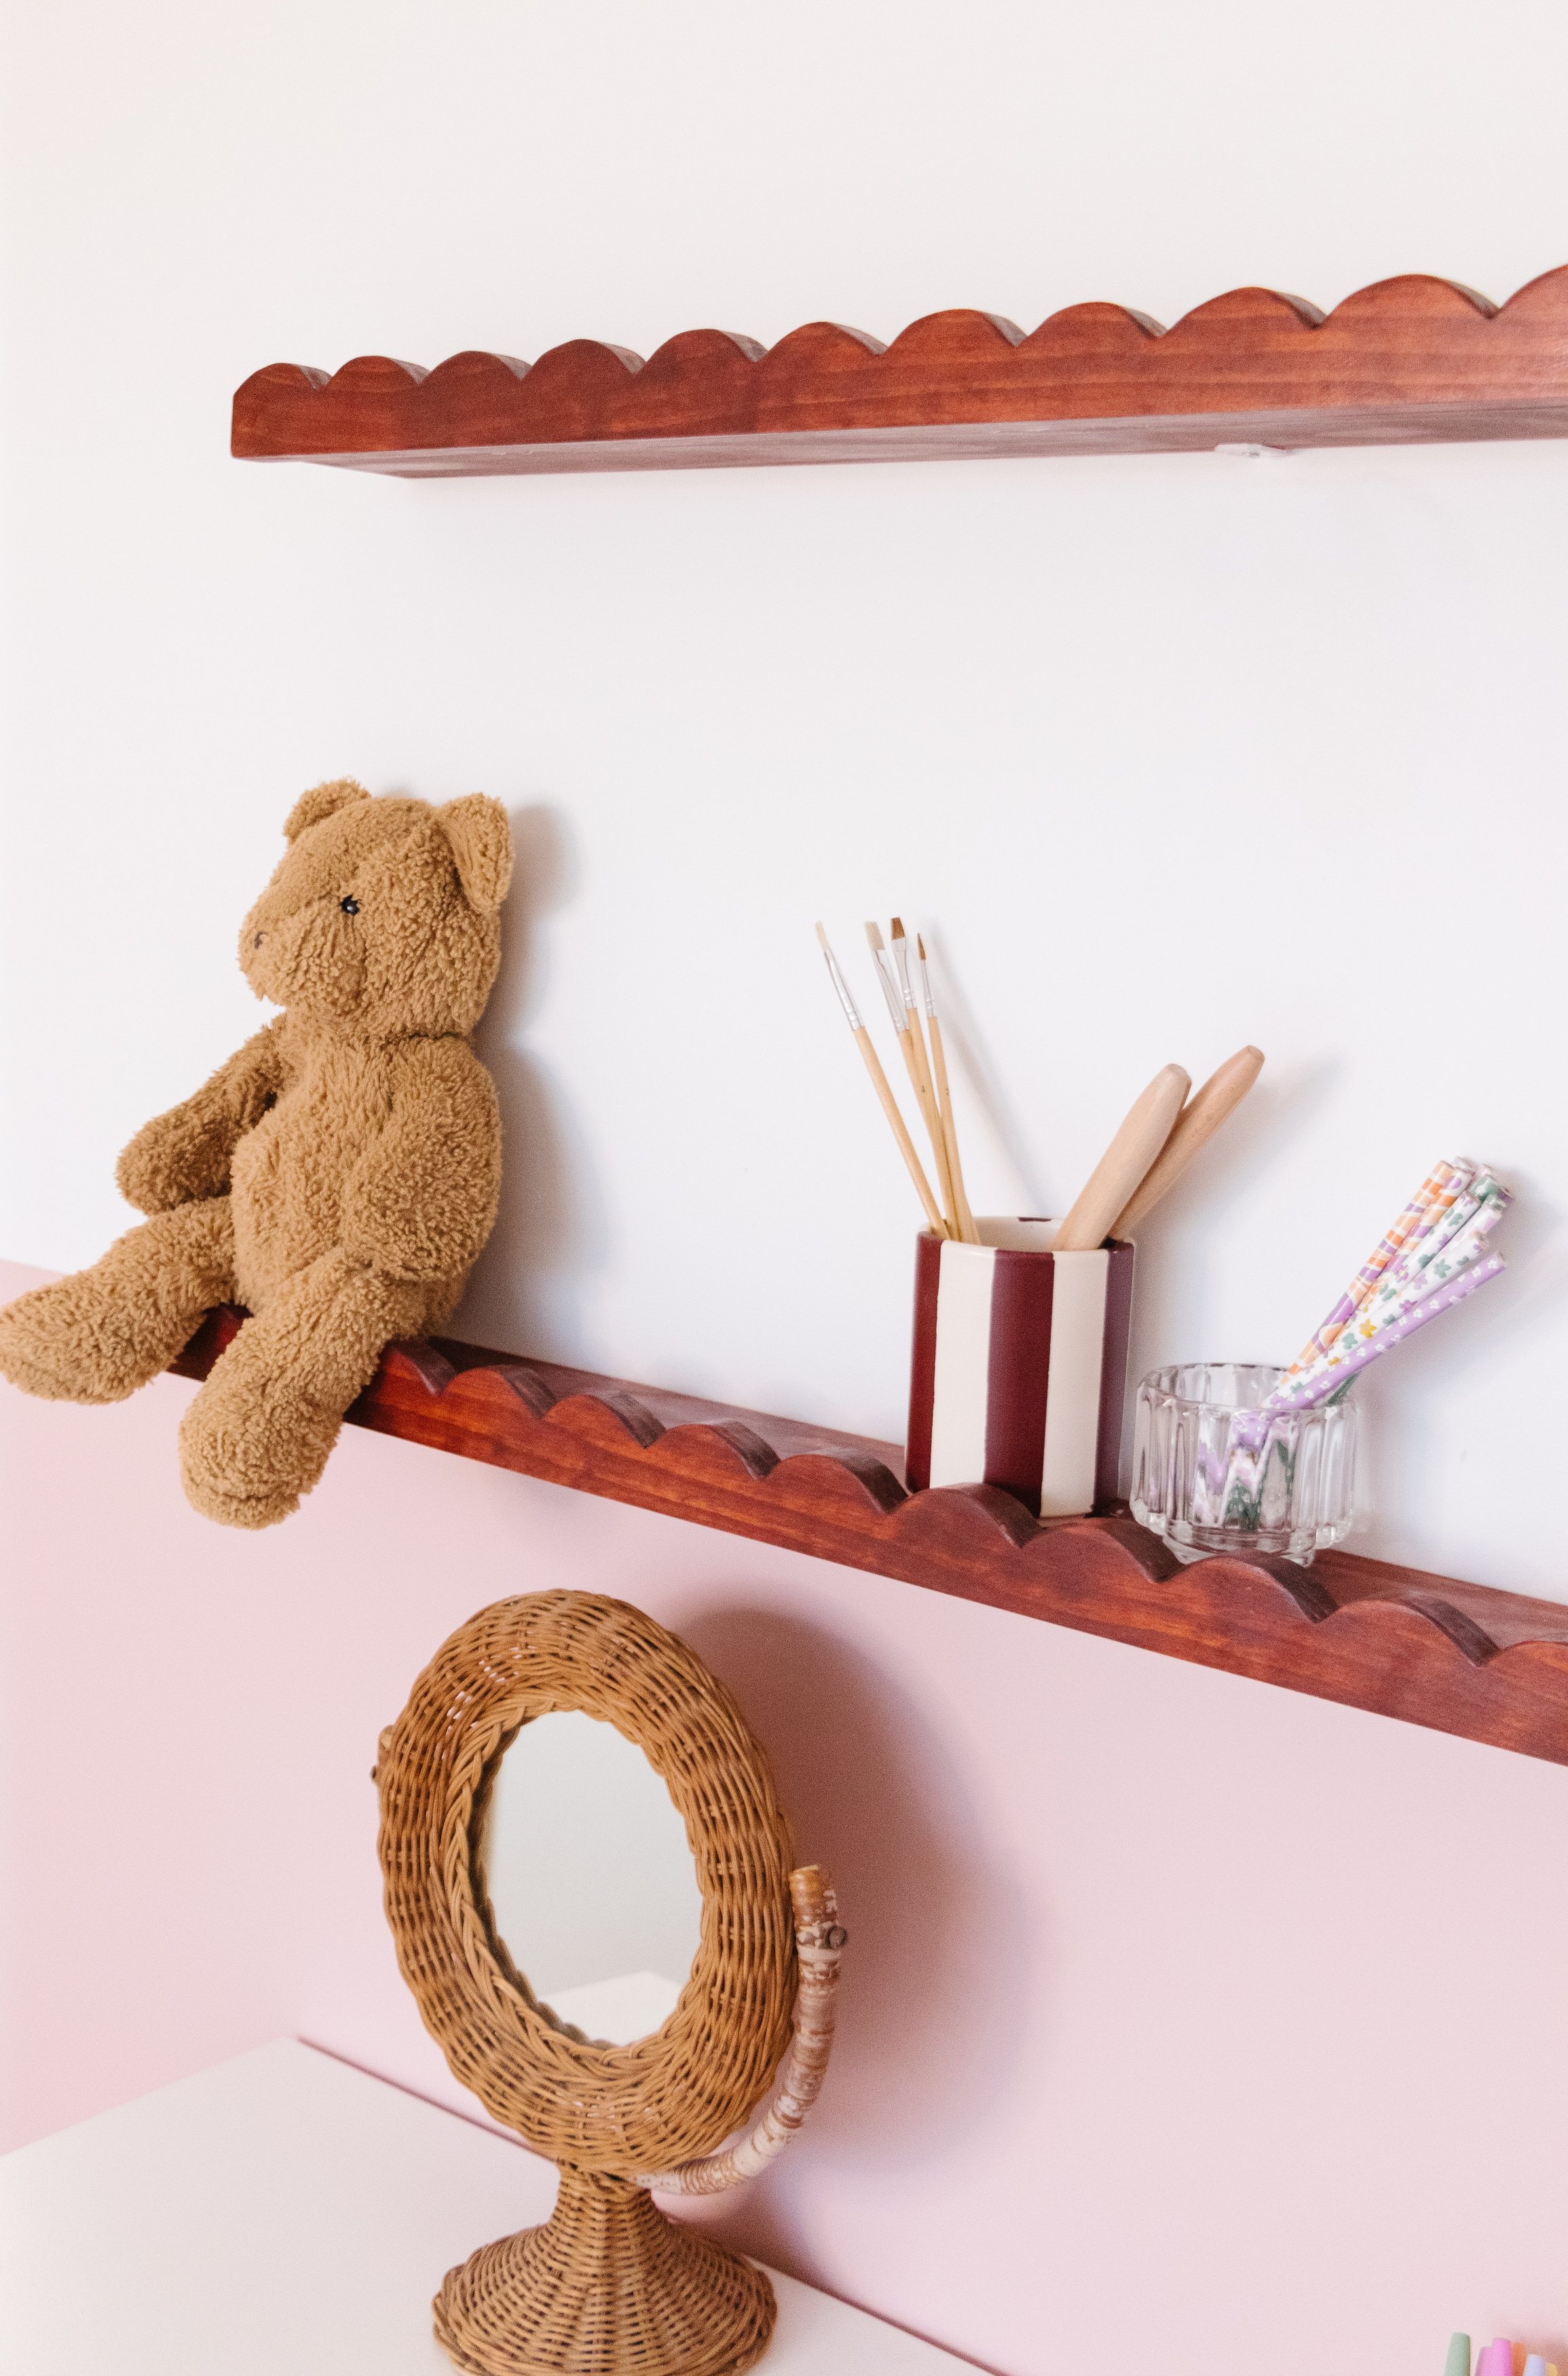
Before starting, please note these shelves can’t hold kilos of weight. The L brackets and screws have been secured into the studs, but because I used small brackets I don’t know the weight baring capacity of the scalloped shelves. Consequently, I have taken the approach of erring on the side of sensibility and will only place light books, toys and colouring pens on them.
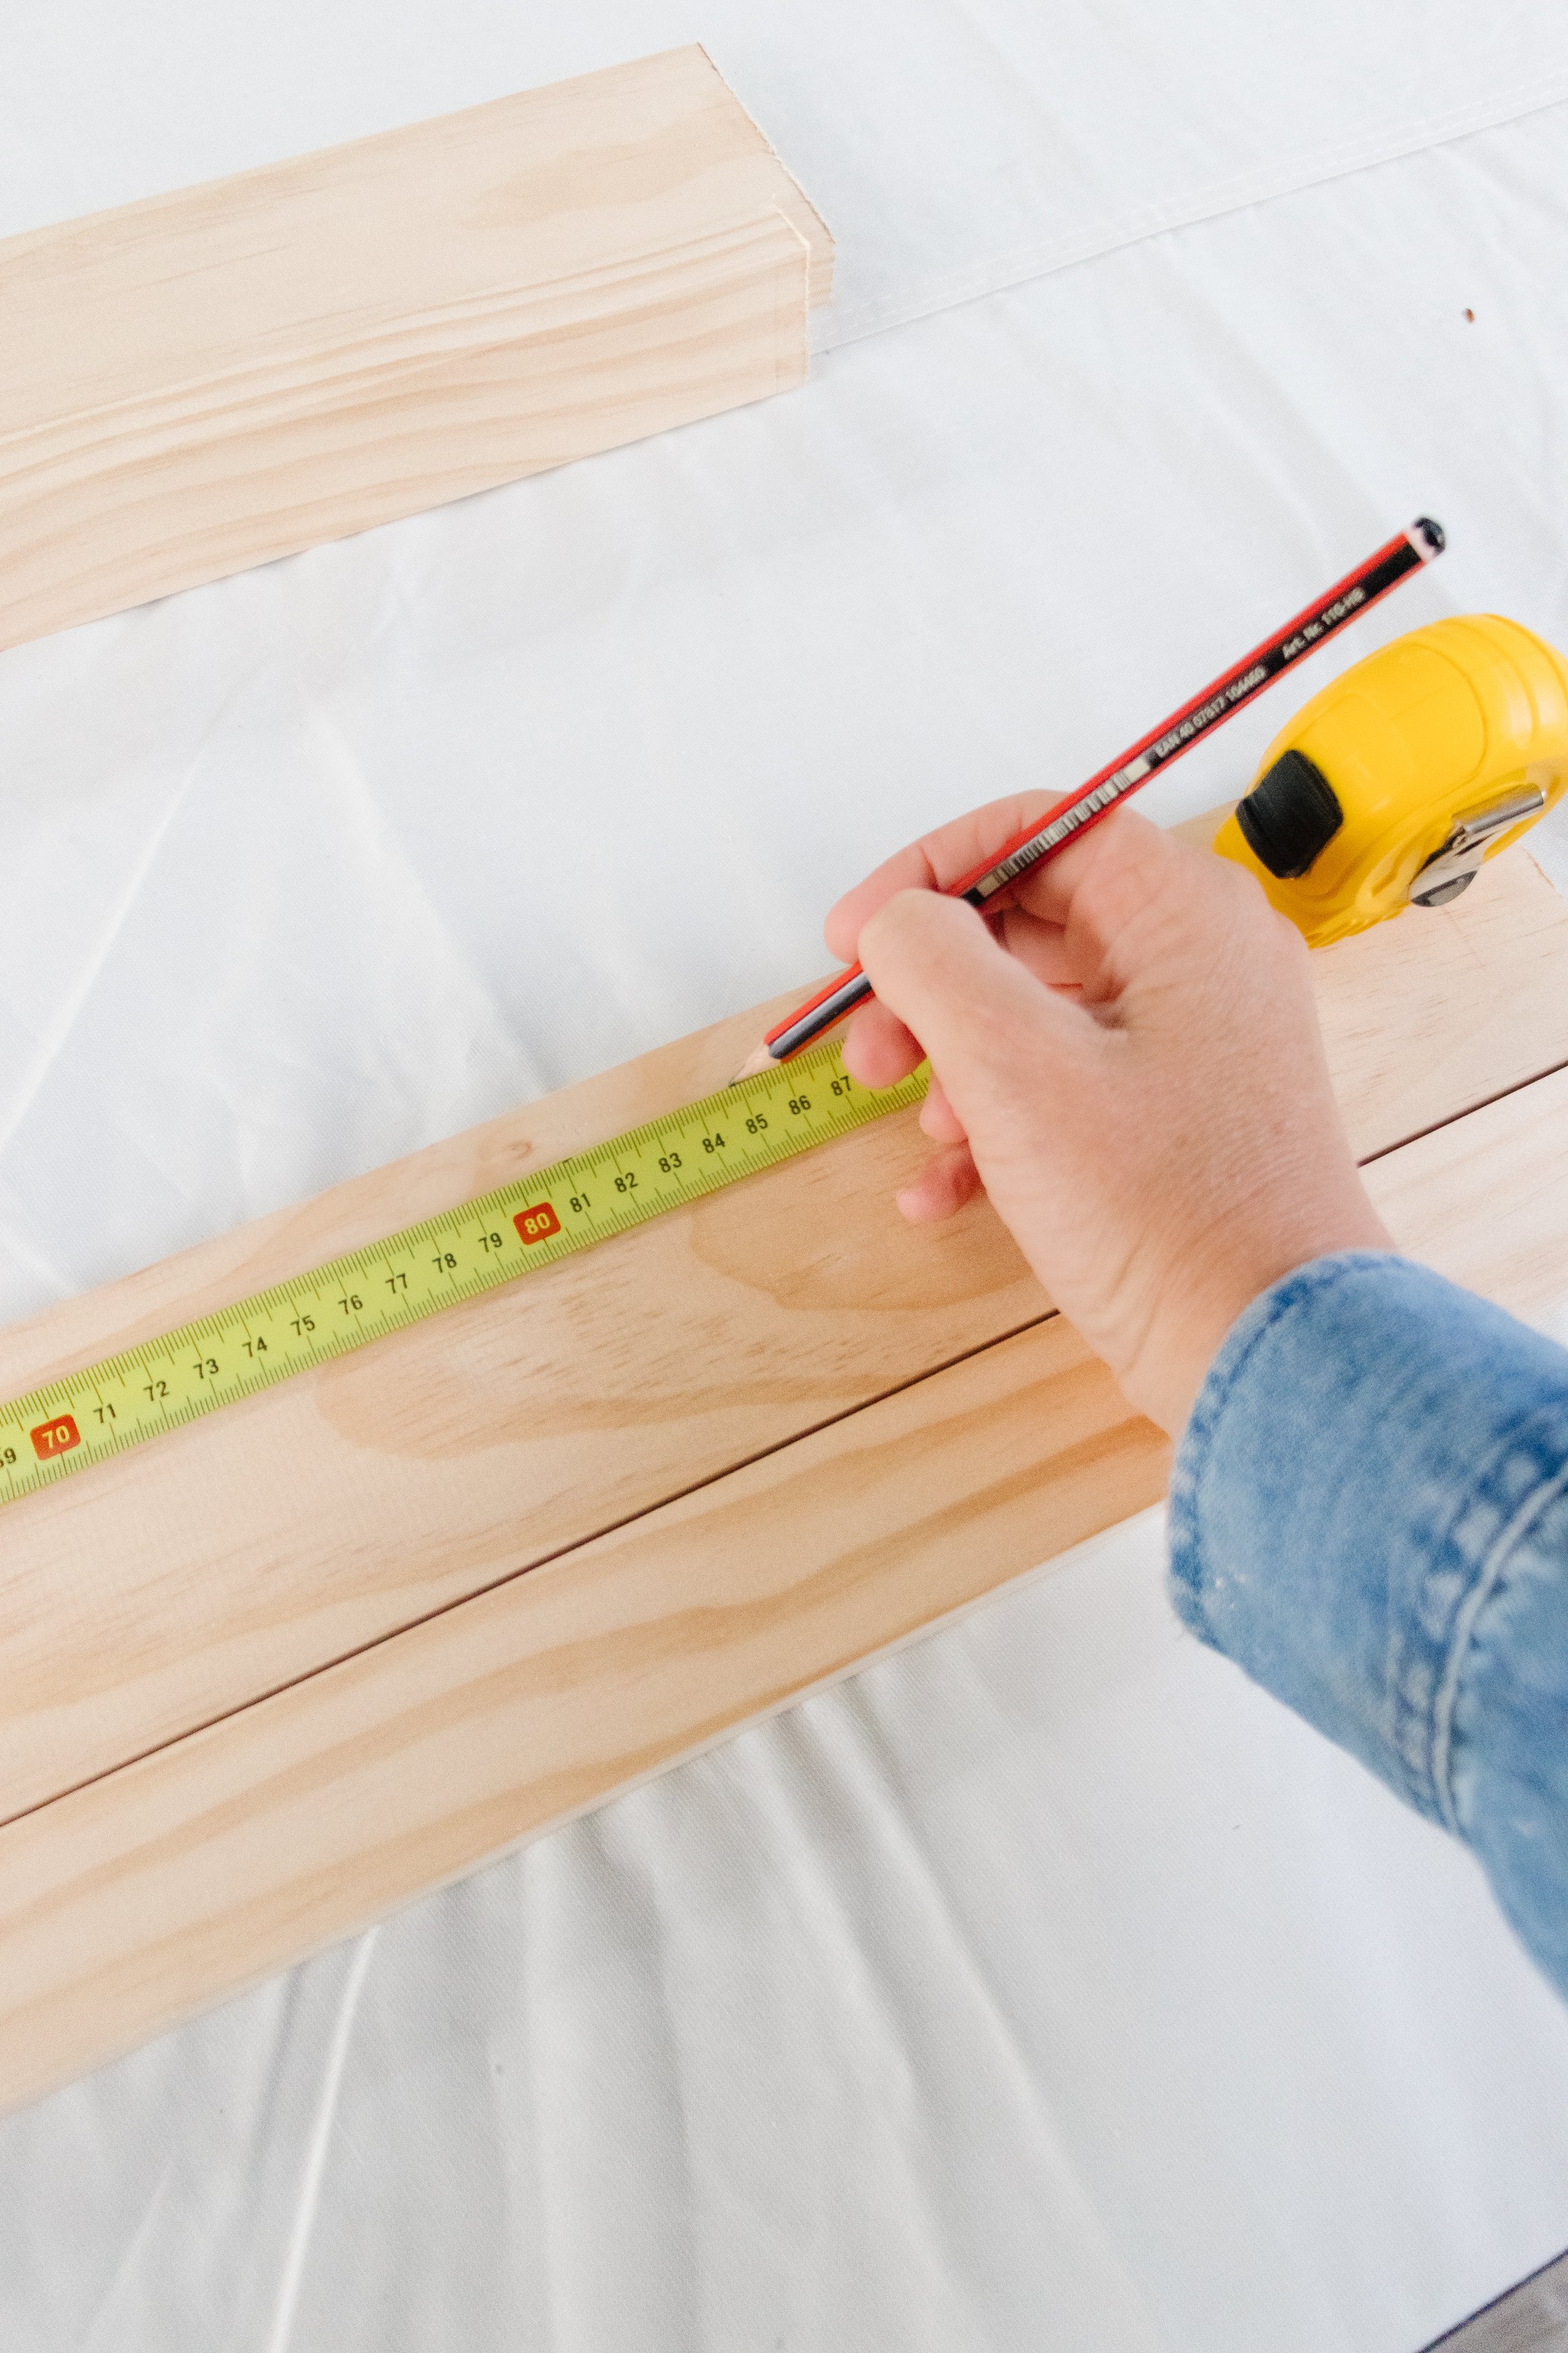
Step 1: To begin with, I used a measuring tape to calculate how long I wanted each shelf to be - 850mm and 1350mm. I secured a piece of pine to my workbench and cut it to those measurements, and repeated this step for the other piece of pine.
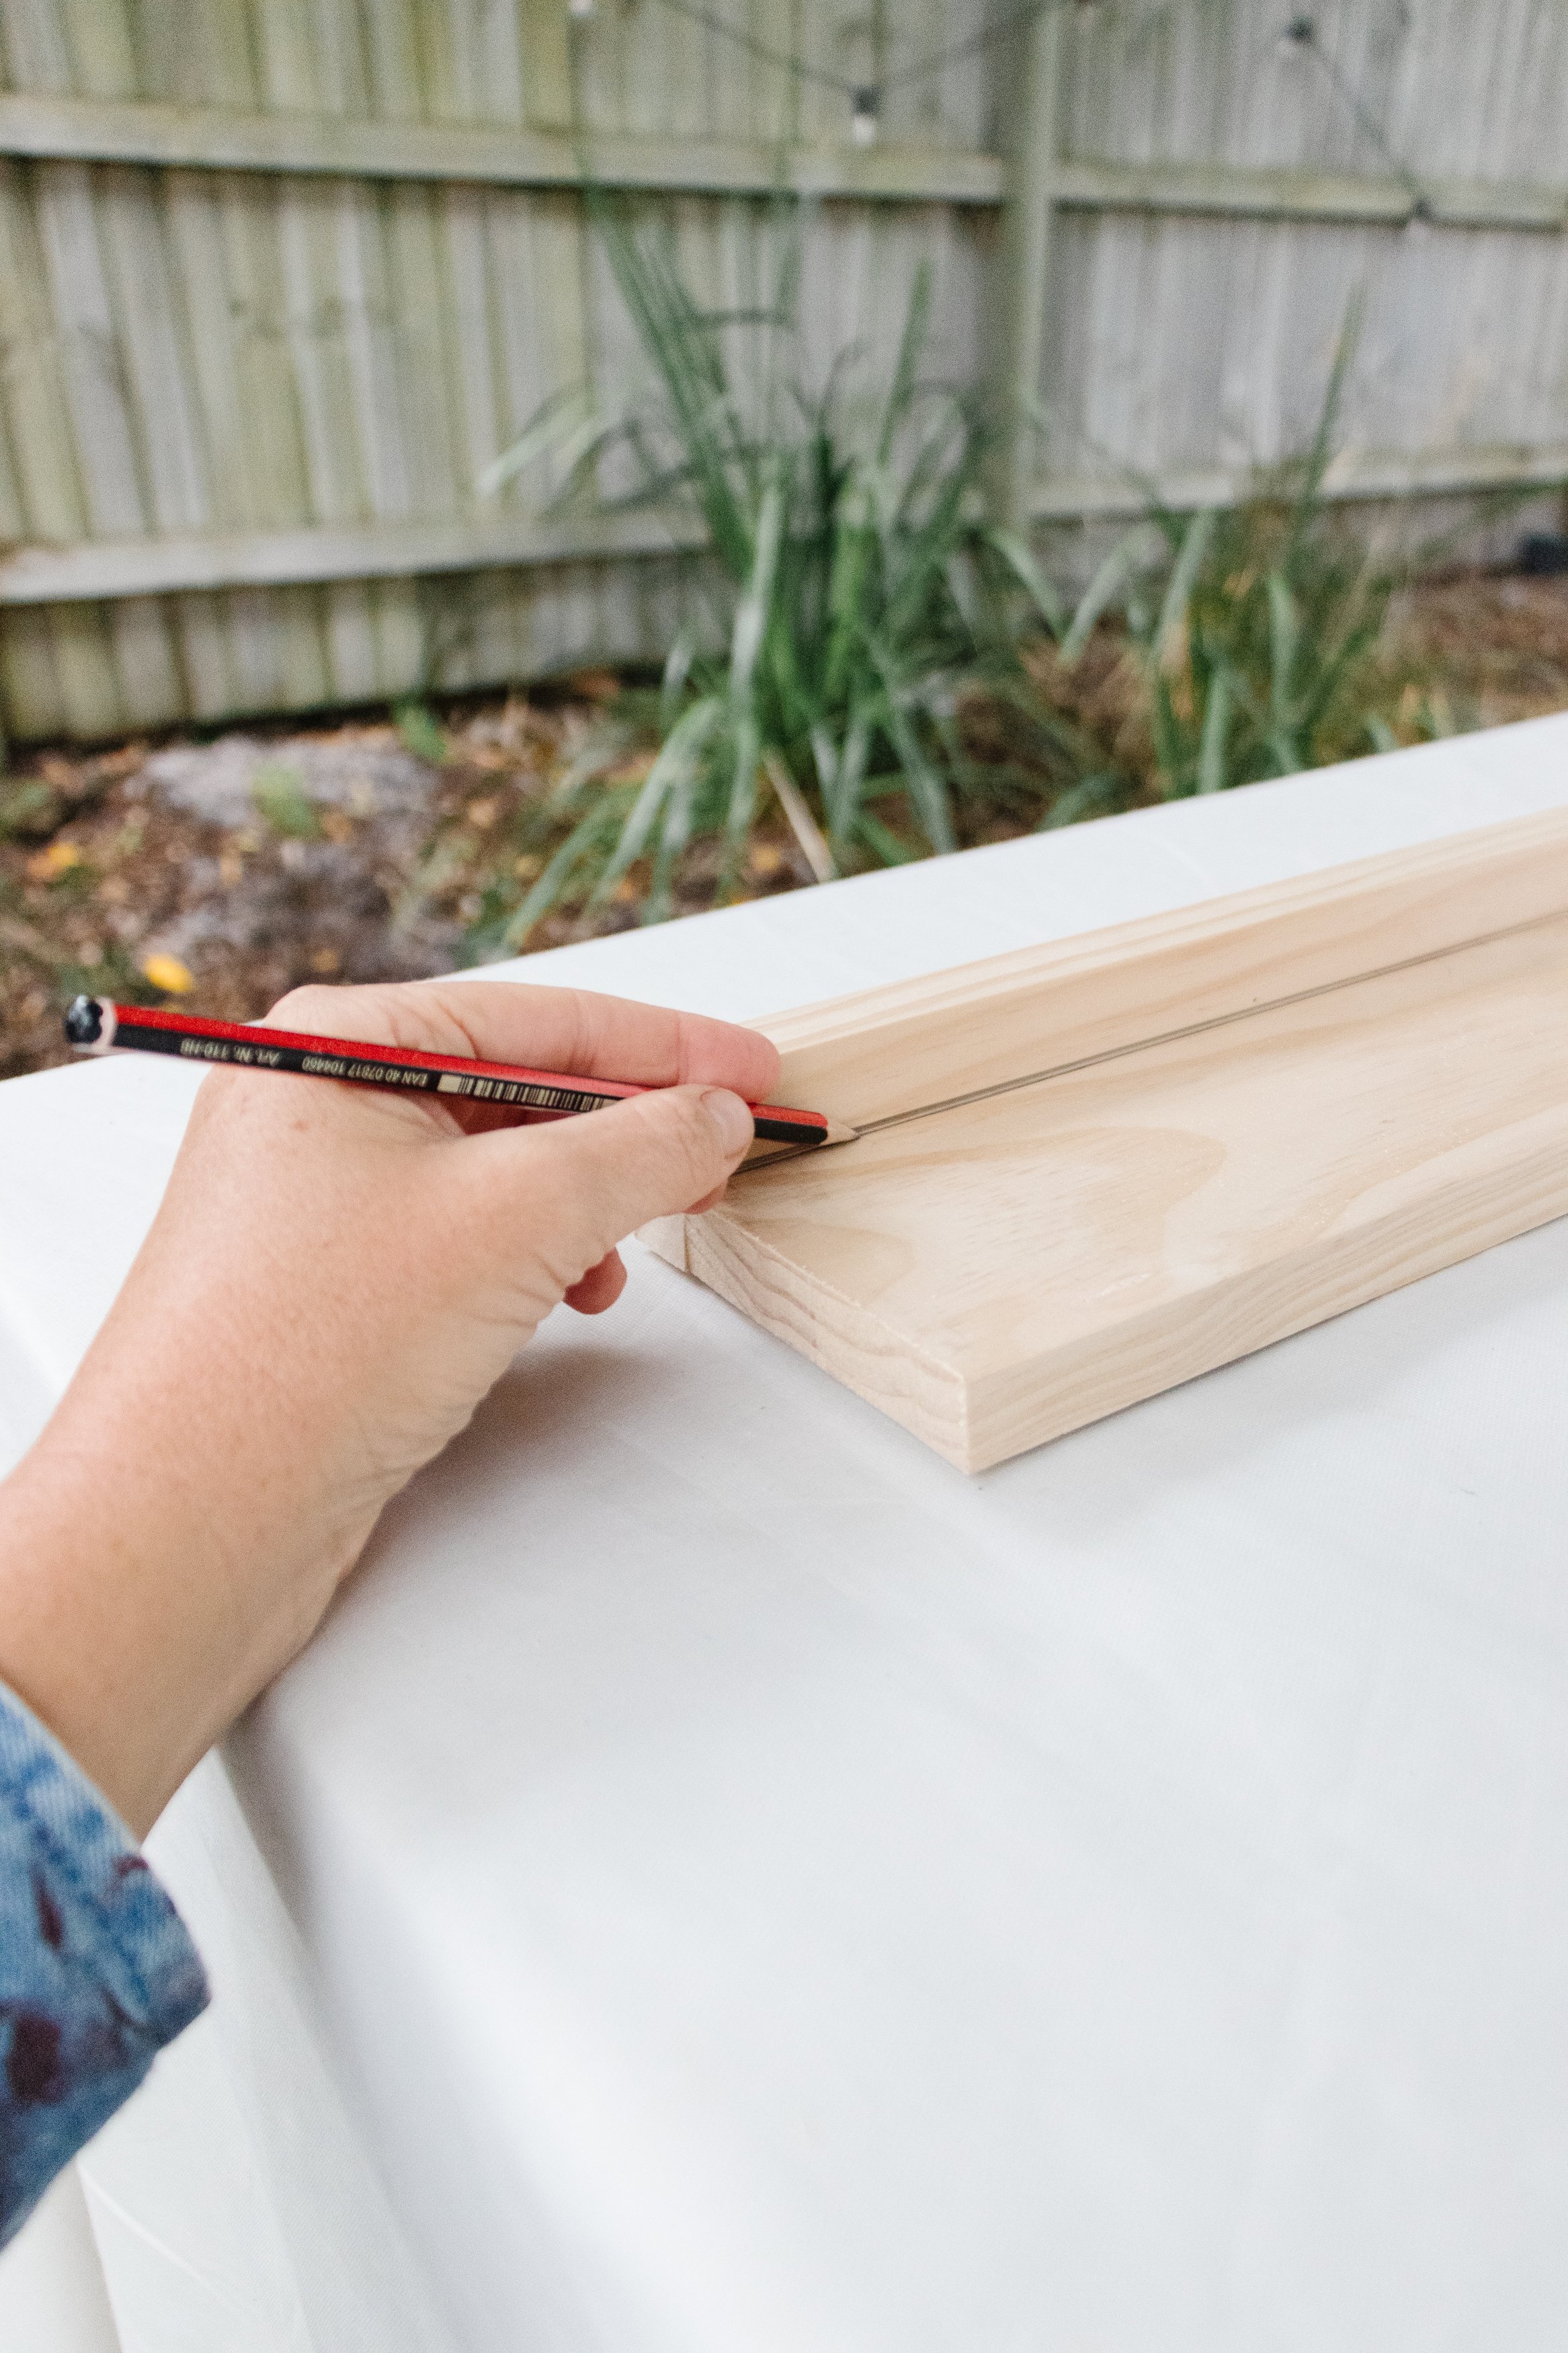
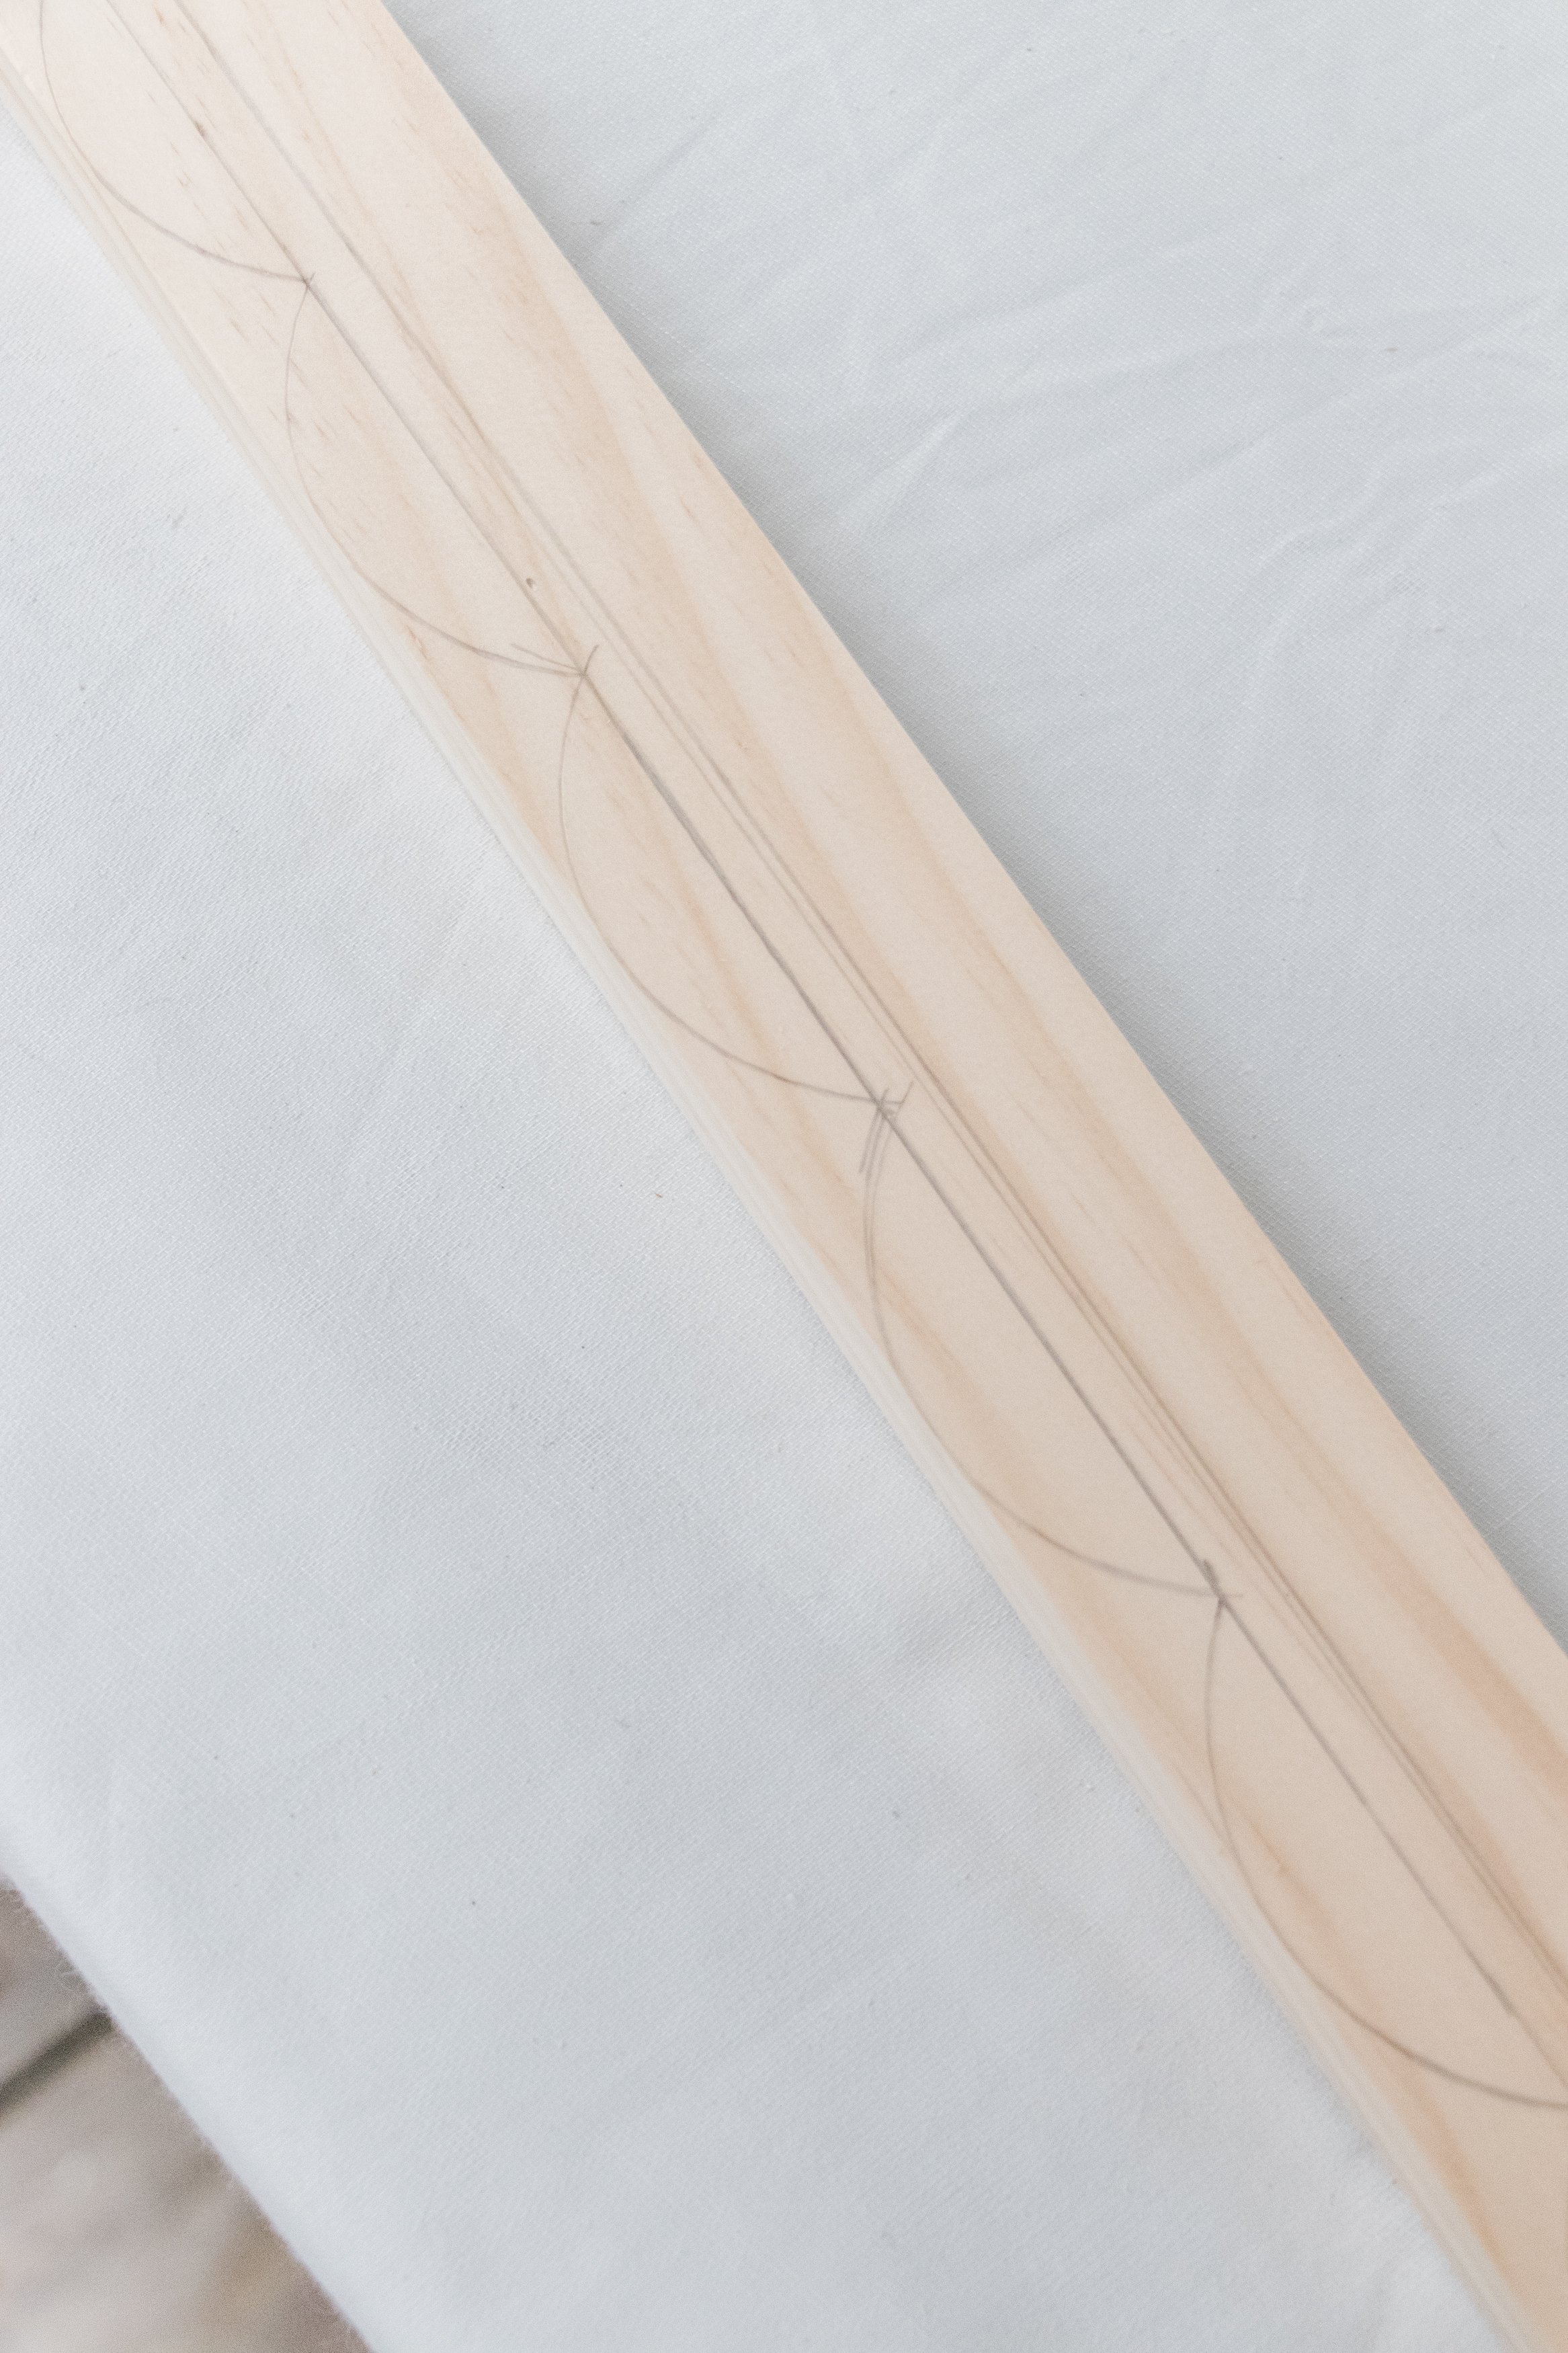
Step 2: I placed the wide pine flat onto my workbench and at 90 degree angle, I stood the plank with the smaller with on it’s side and pushed it up against the flat wide pine. Check out the video I’ve linked to above for reference. I used a pencil to mark online the smaller piece and then laid it down flat and repeated this for the second piece. This line will let me know how big I can make the scallops without being able to see the underside of the shelves when they’re on the wall.
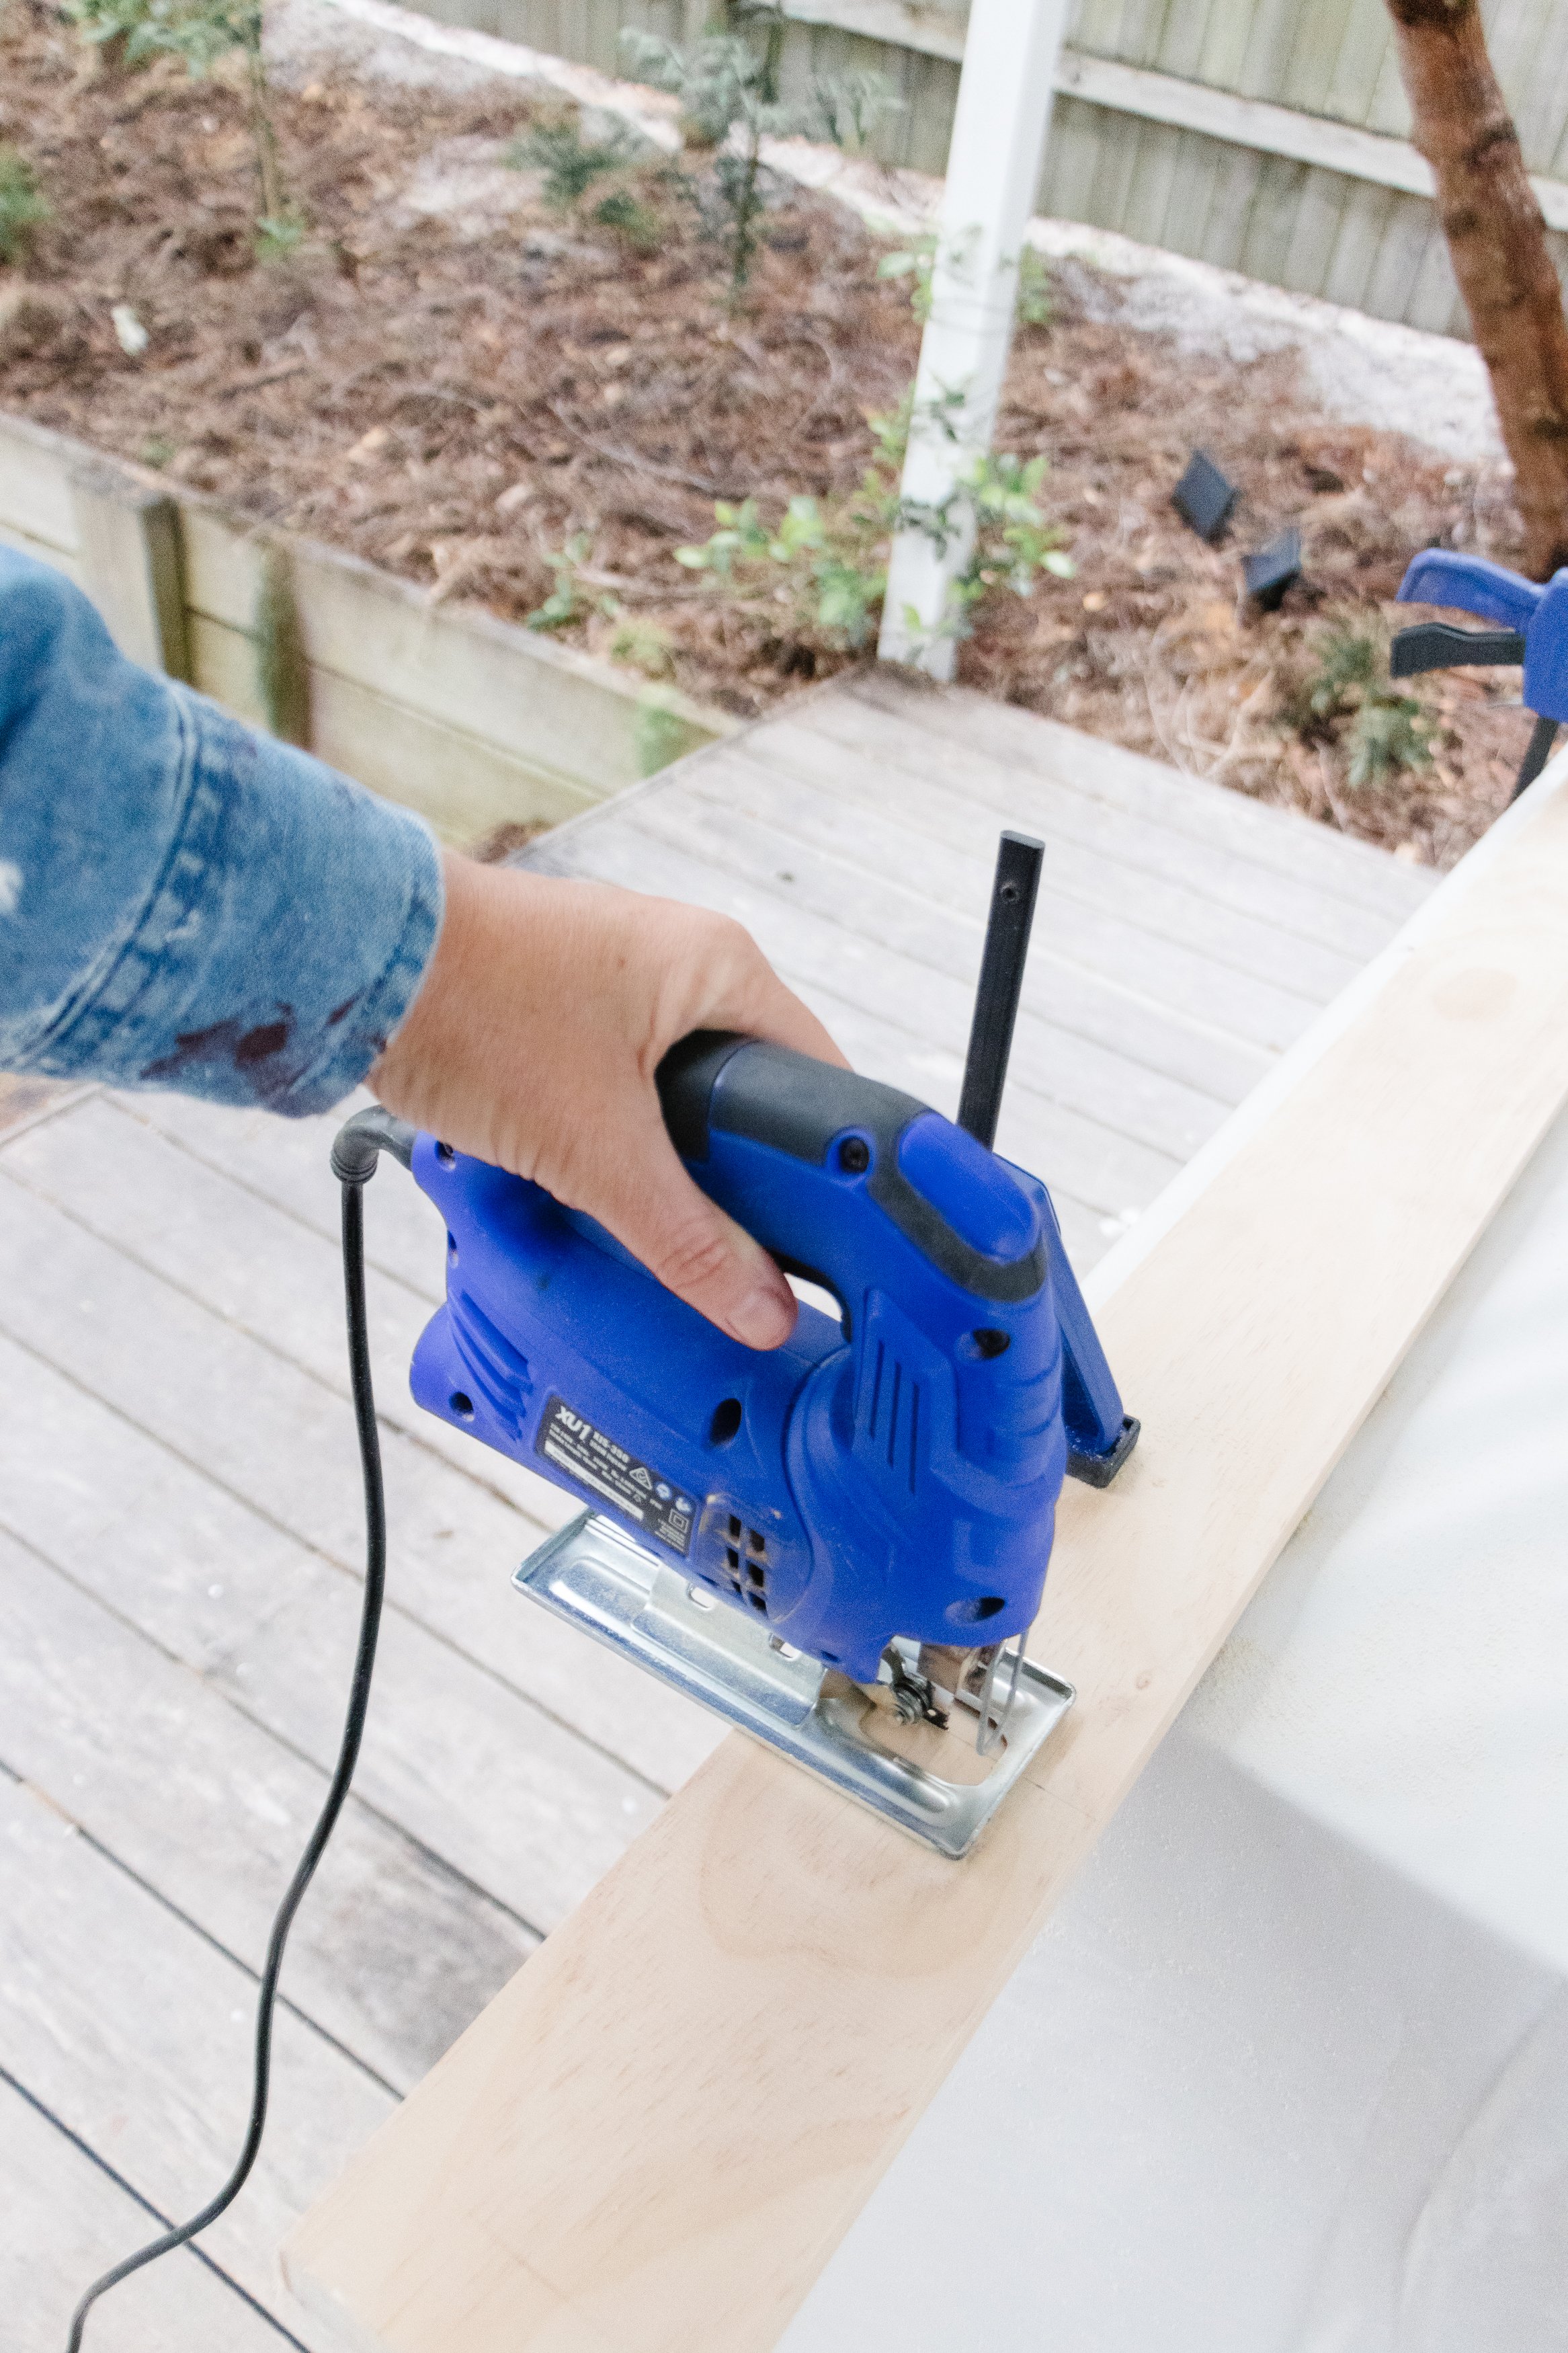
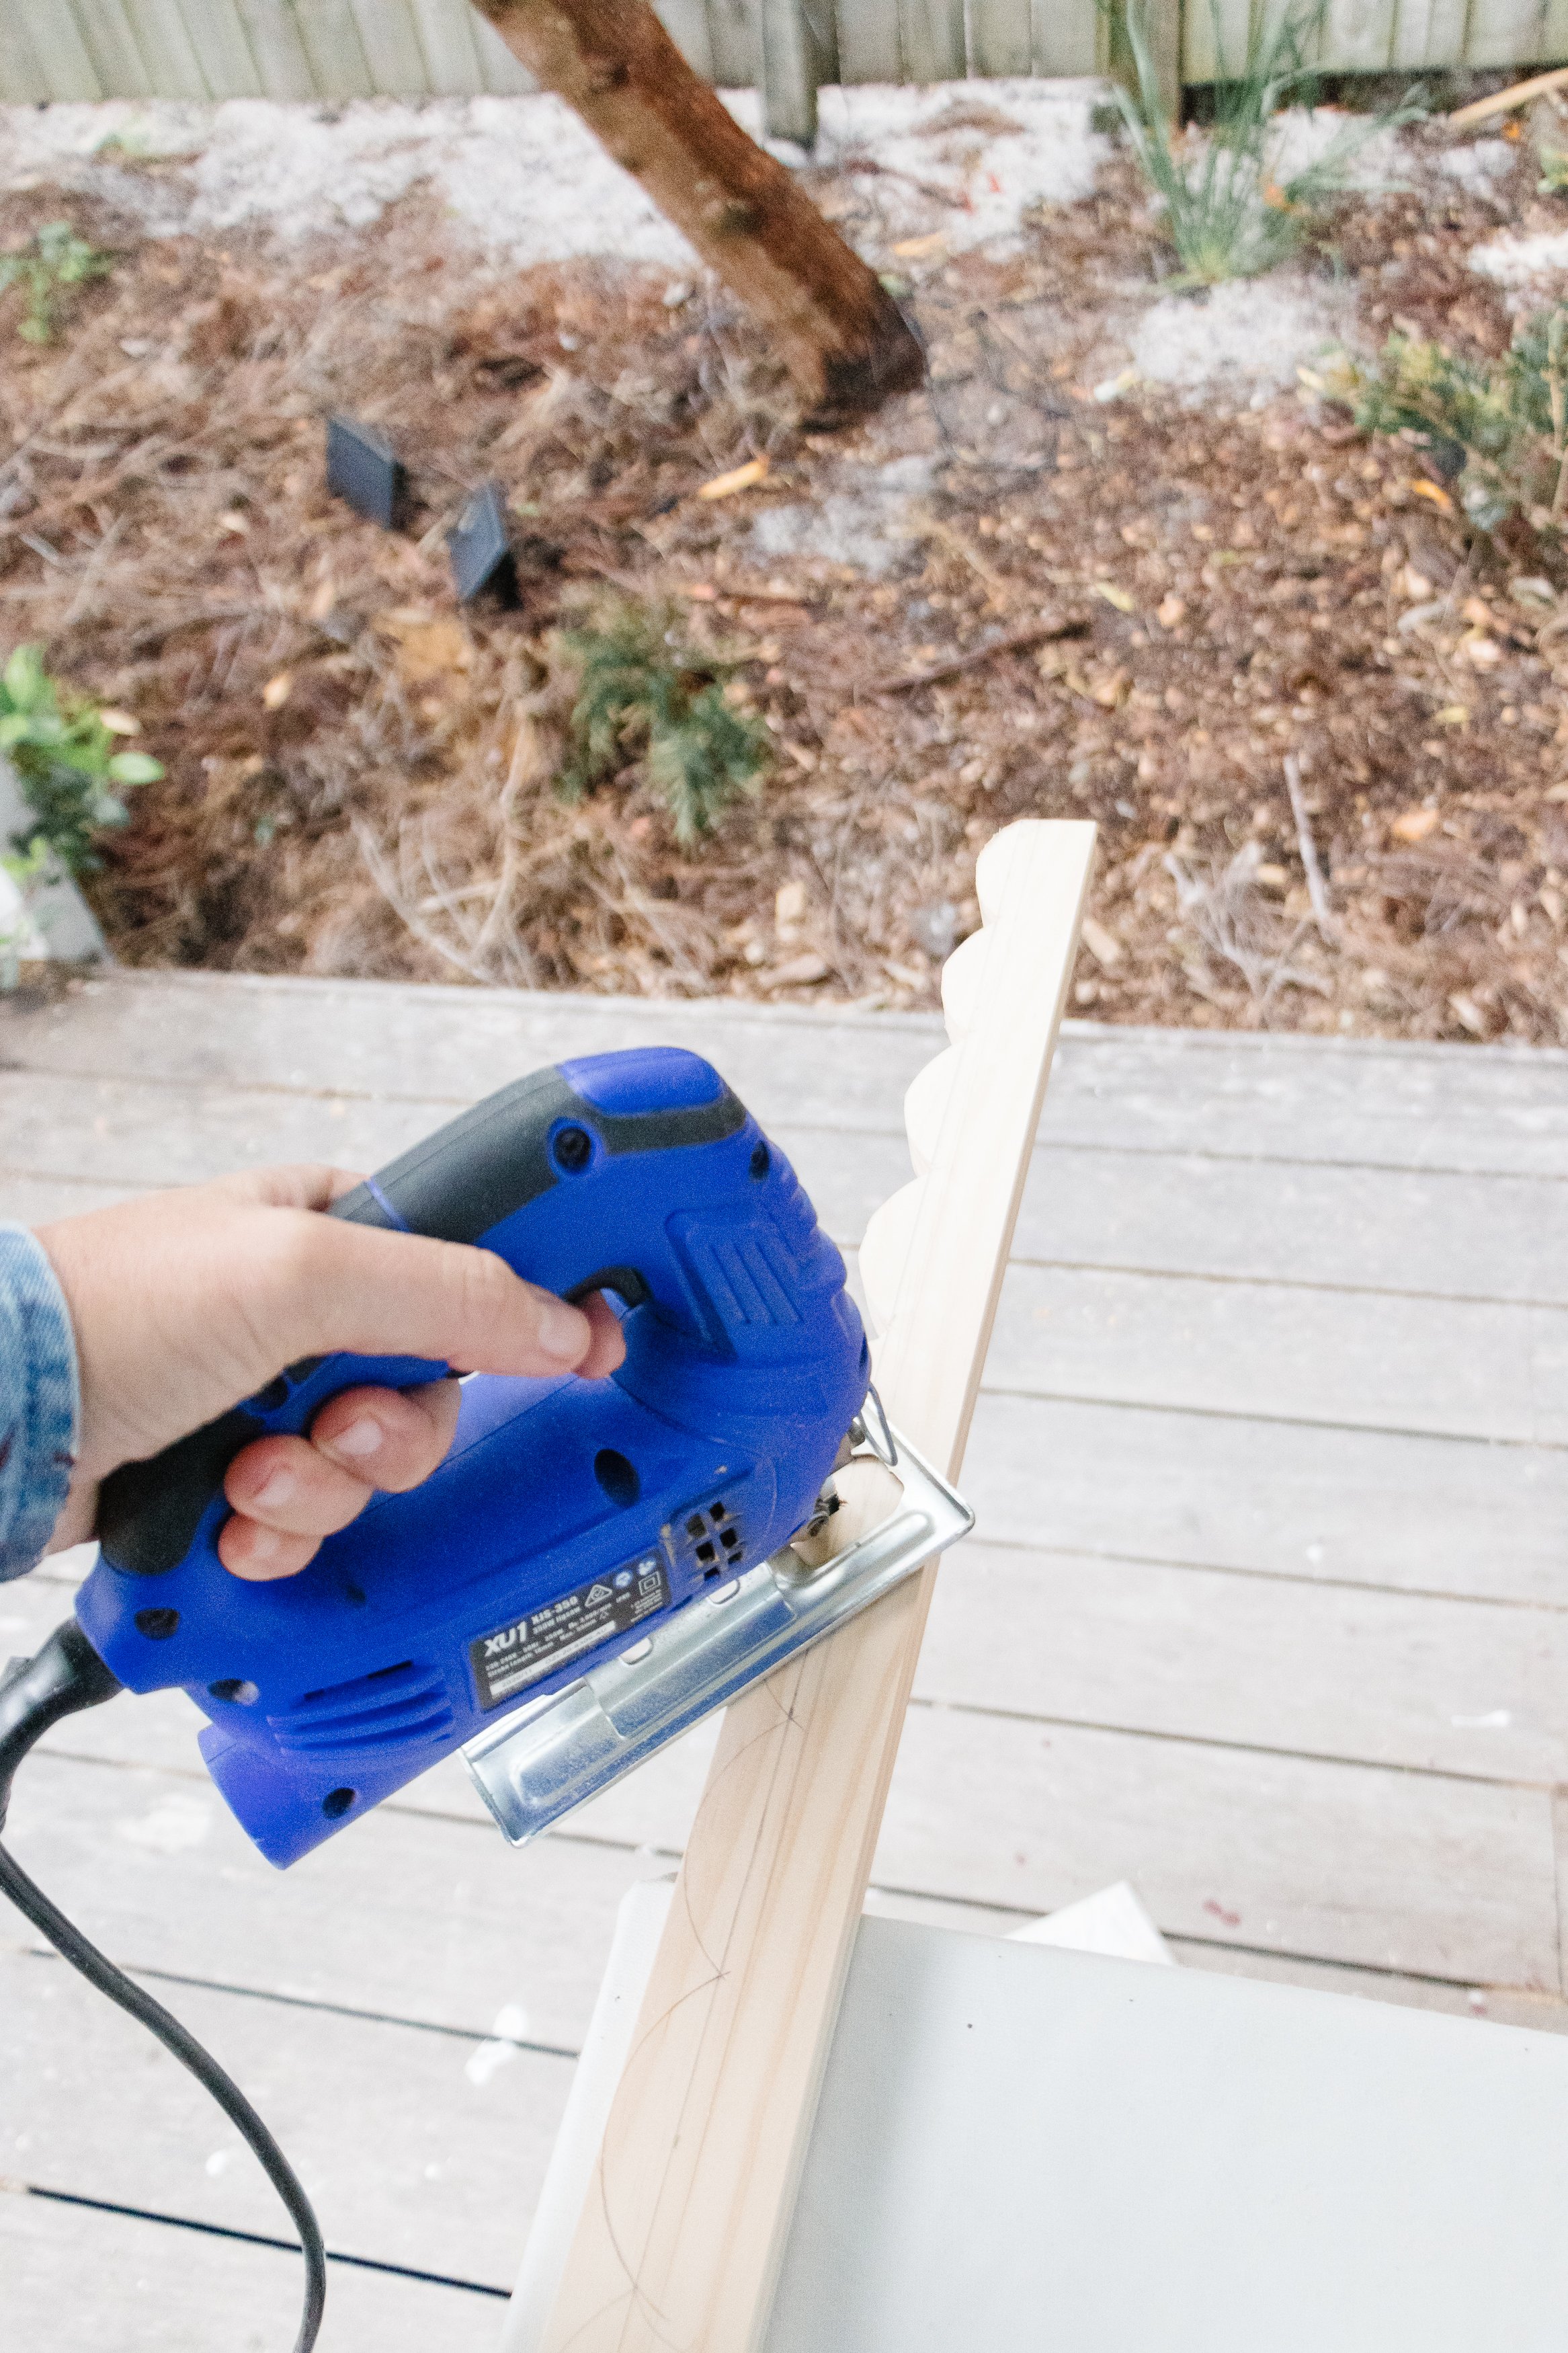
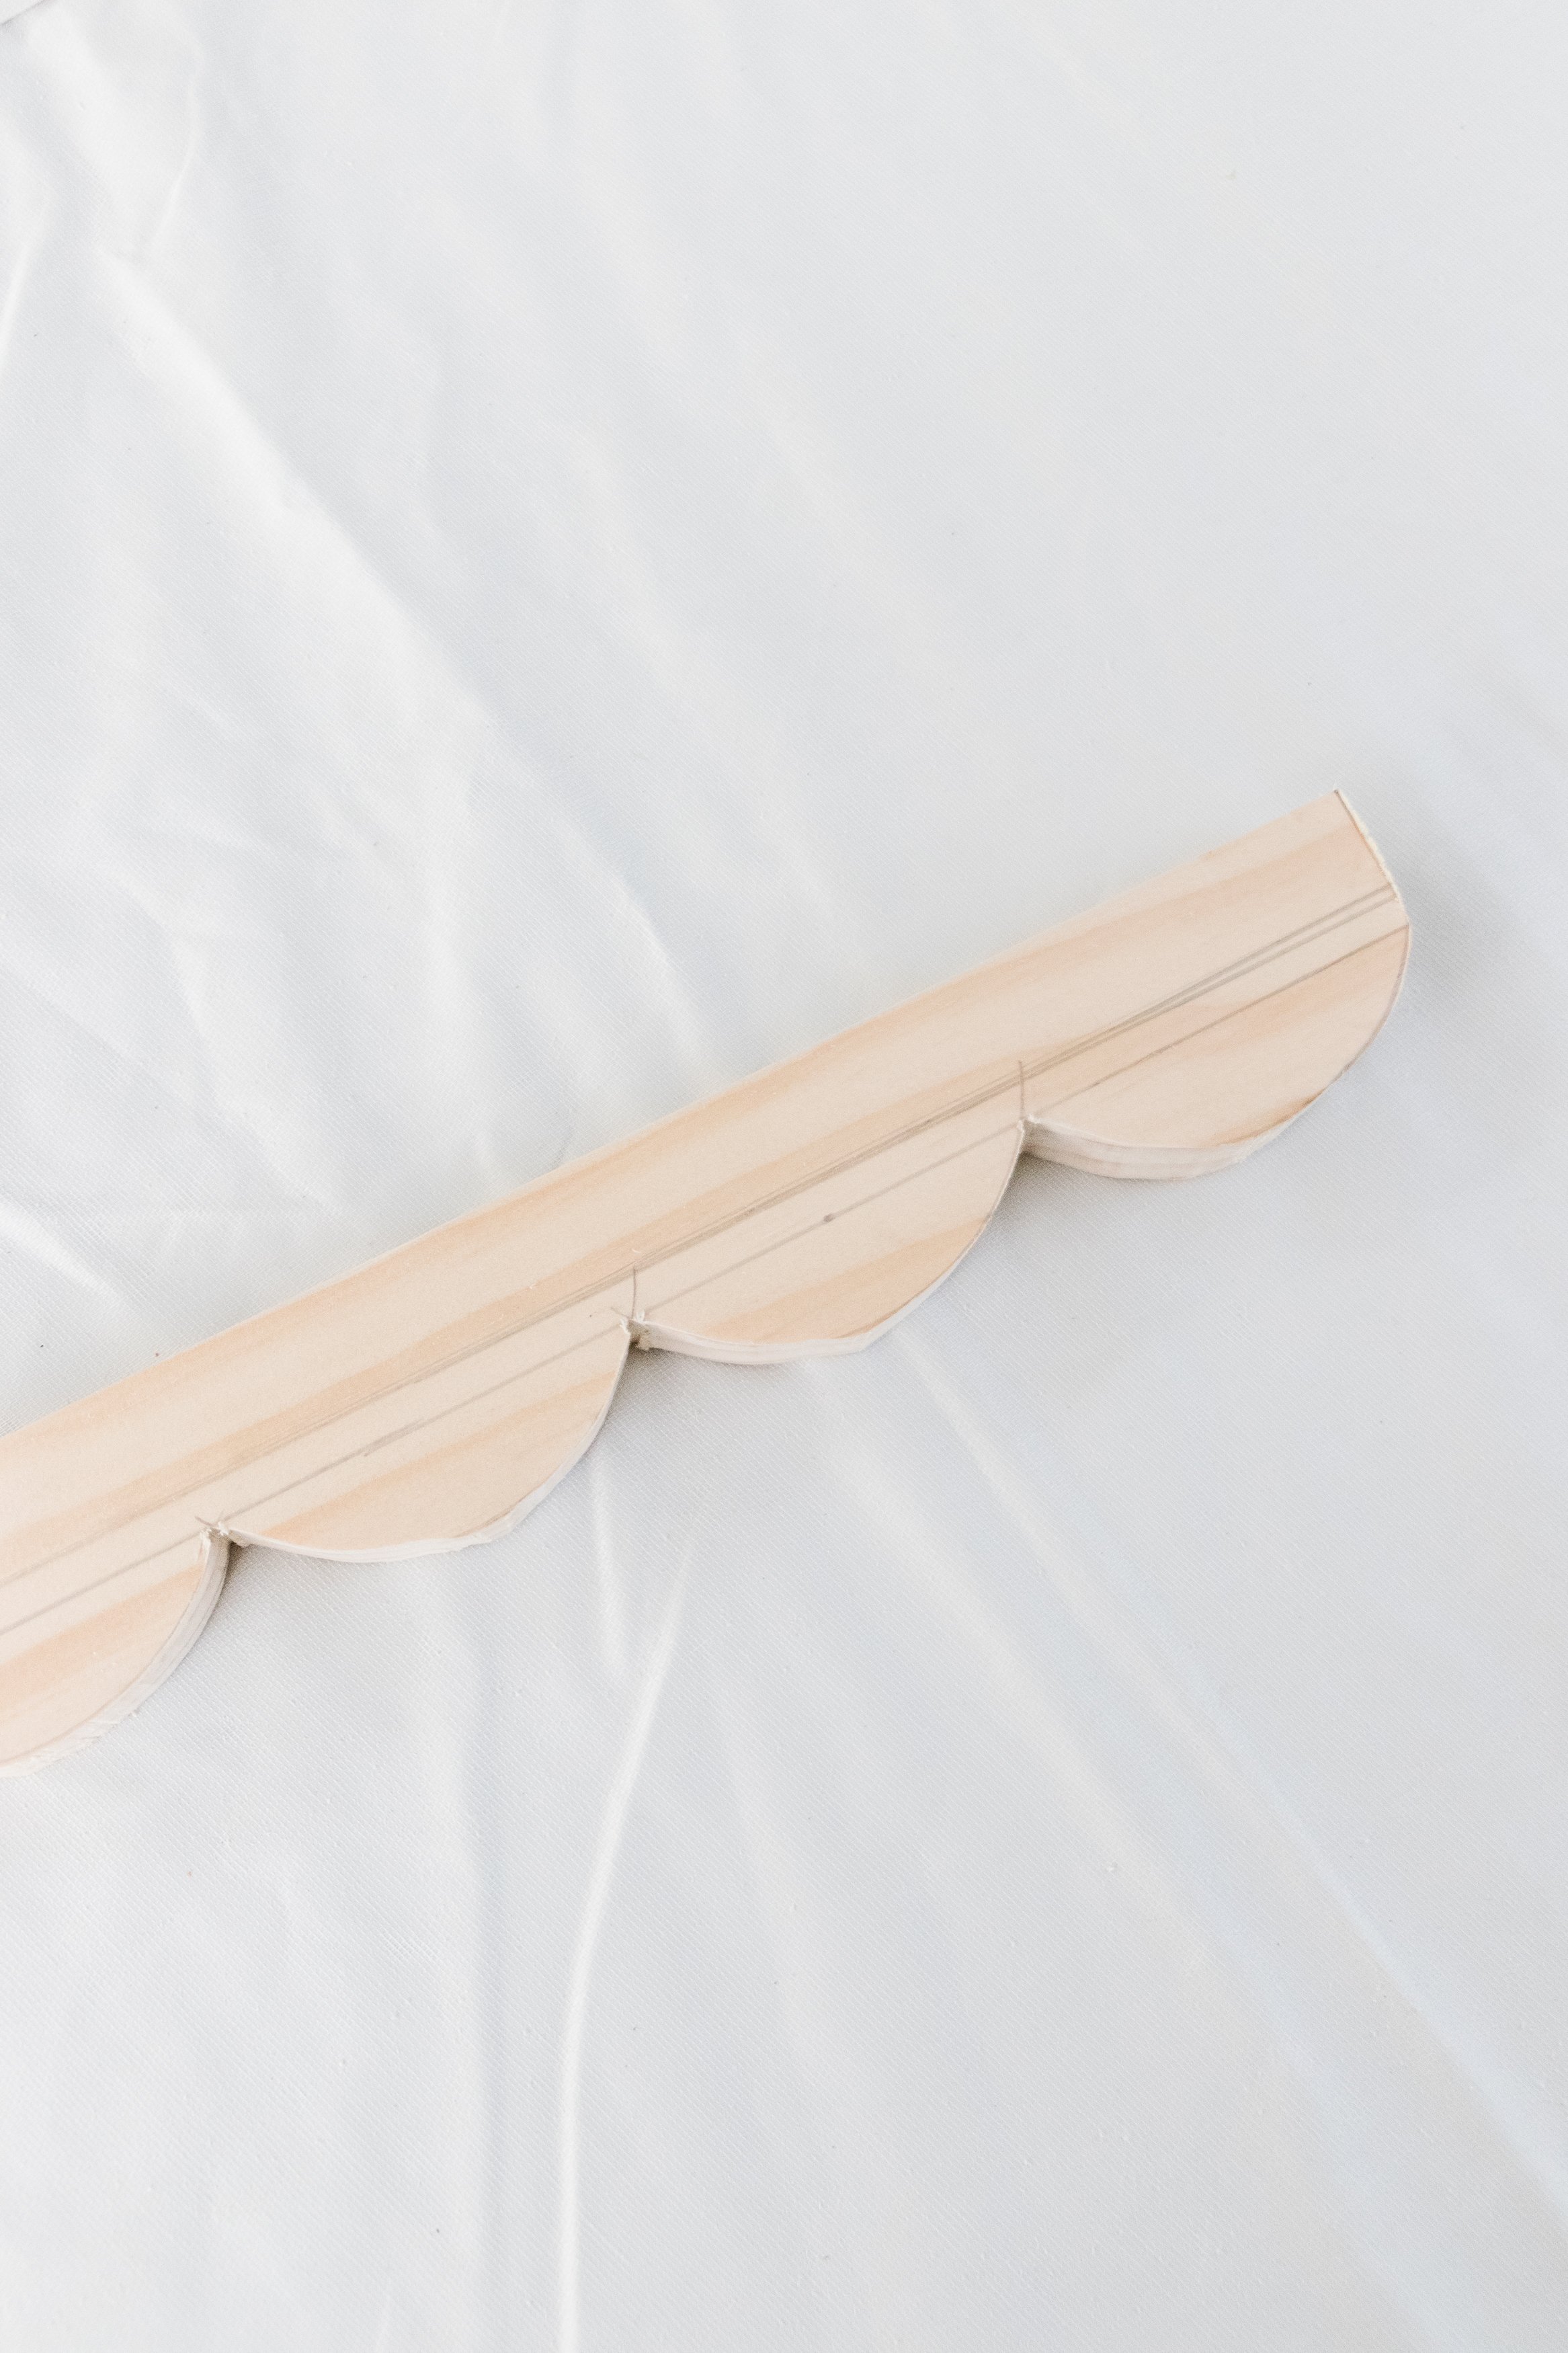
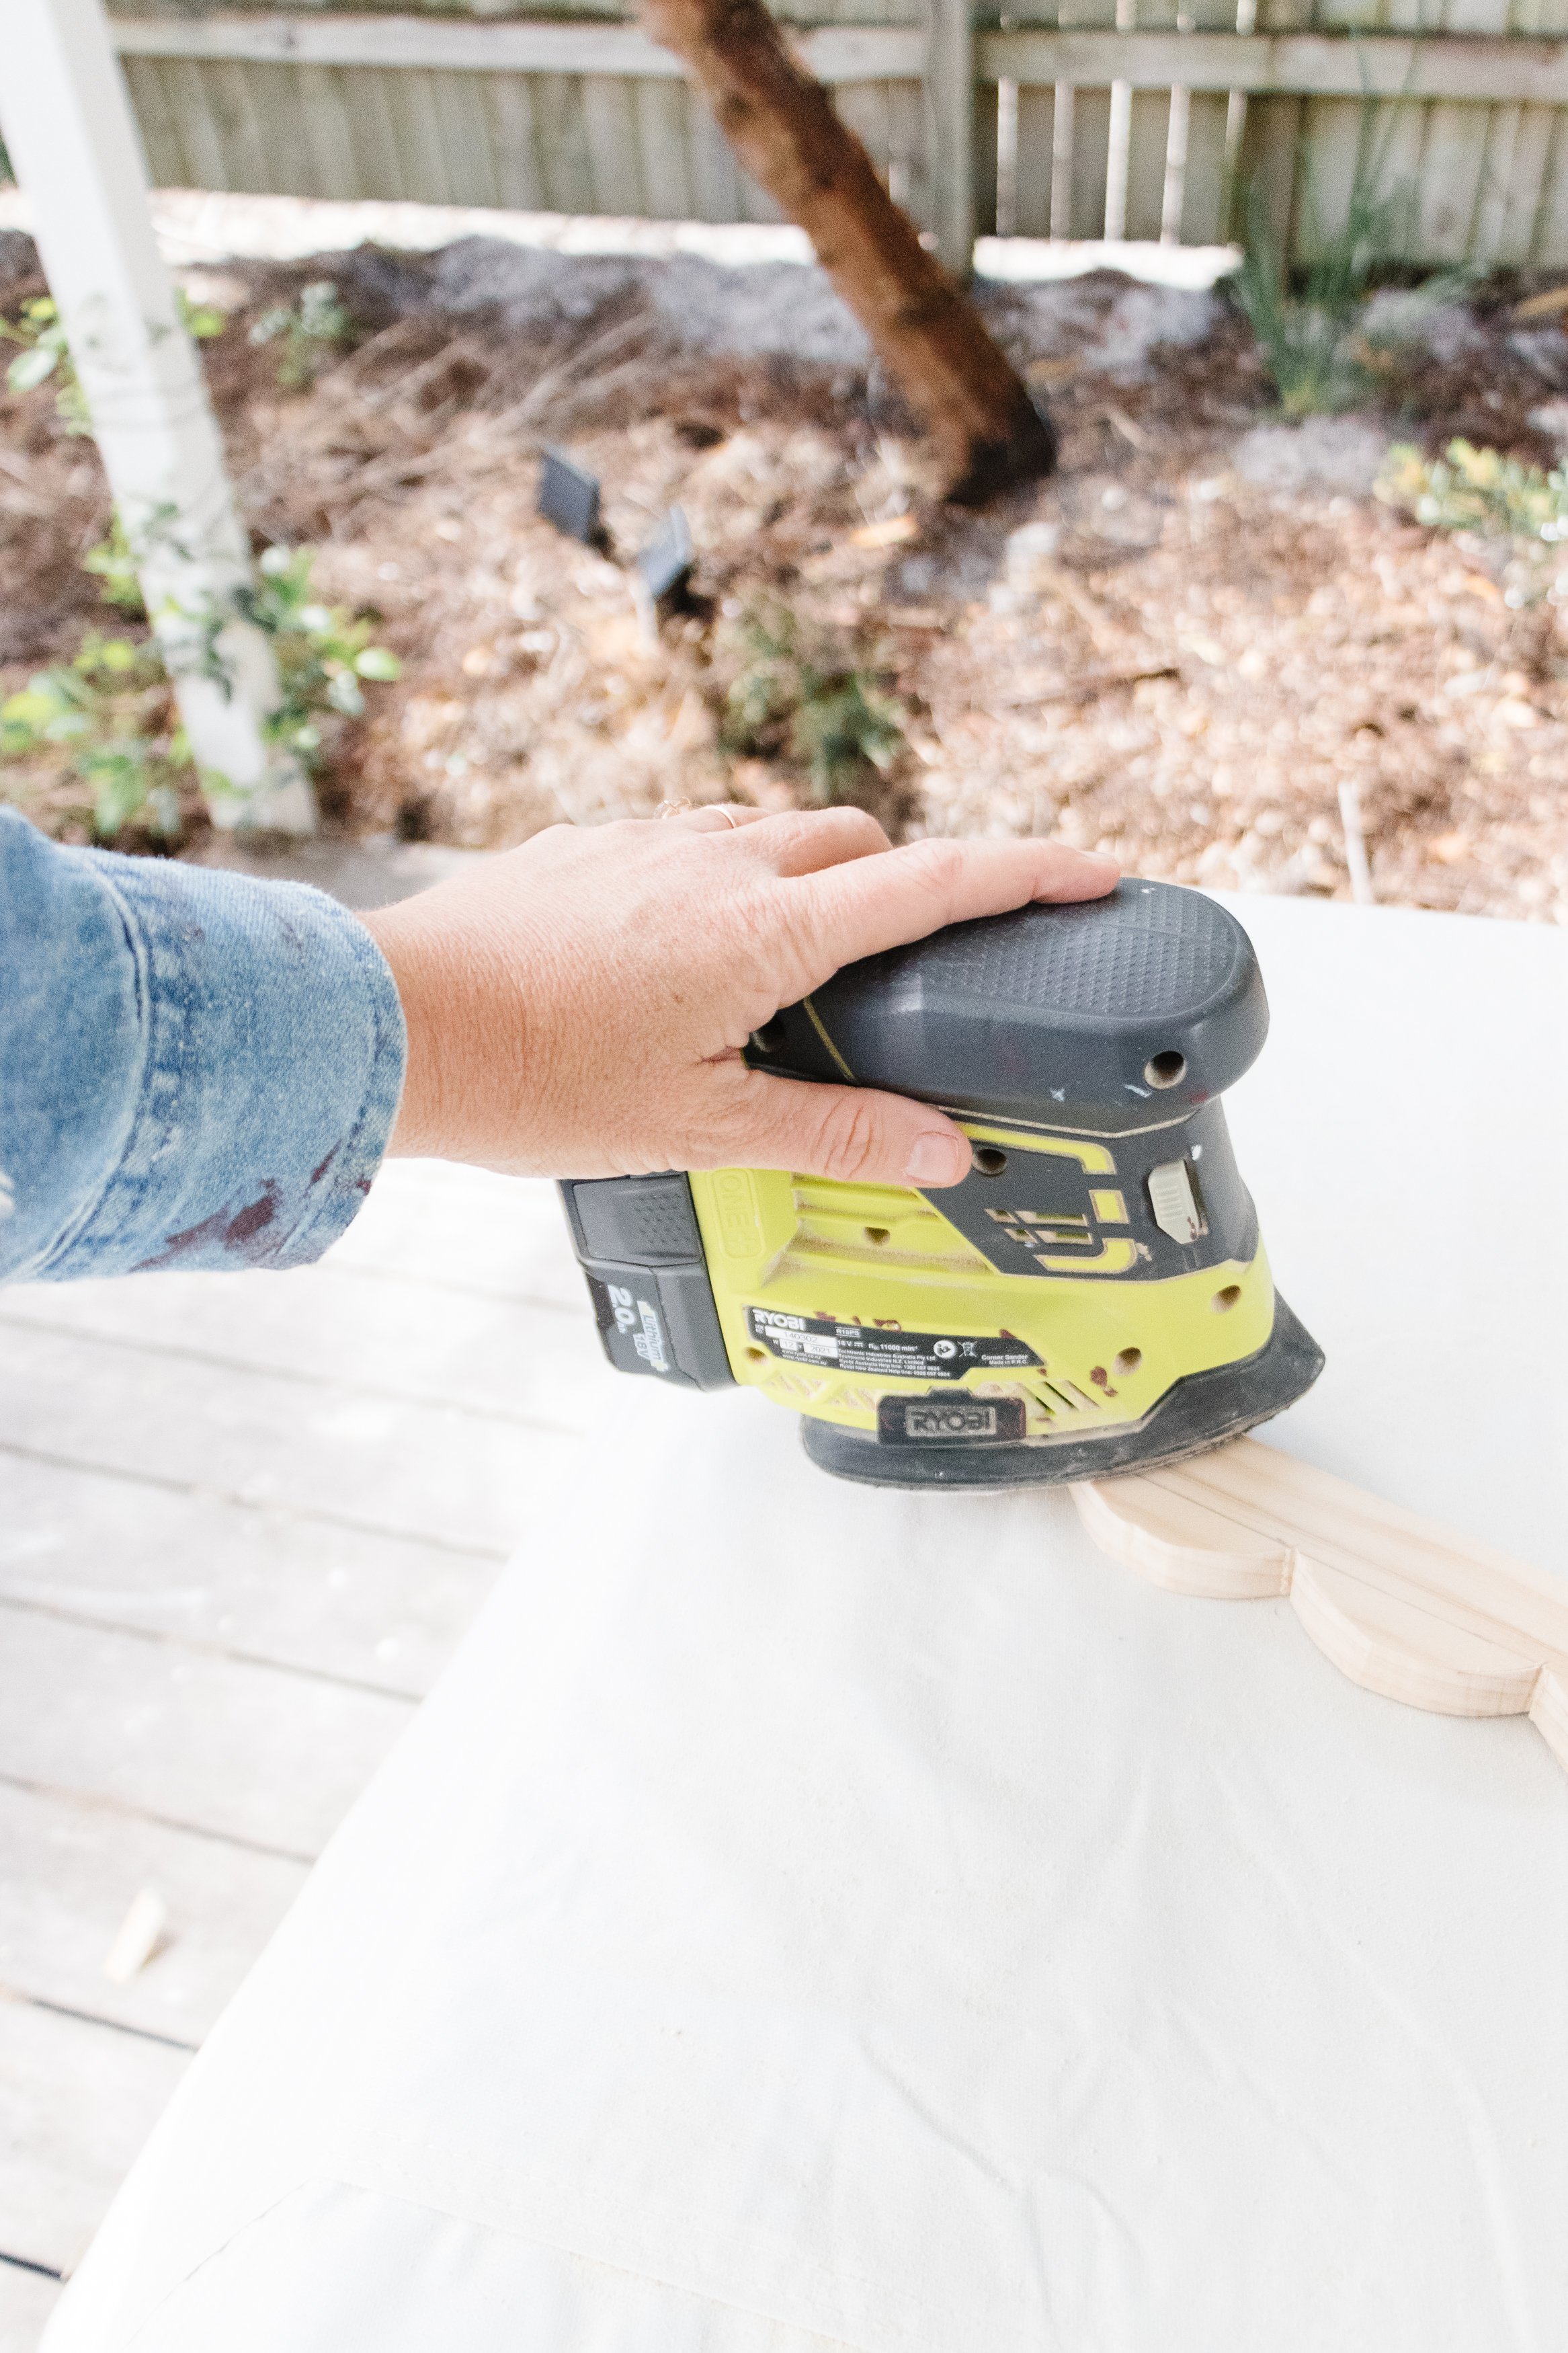
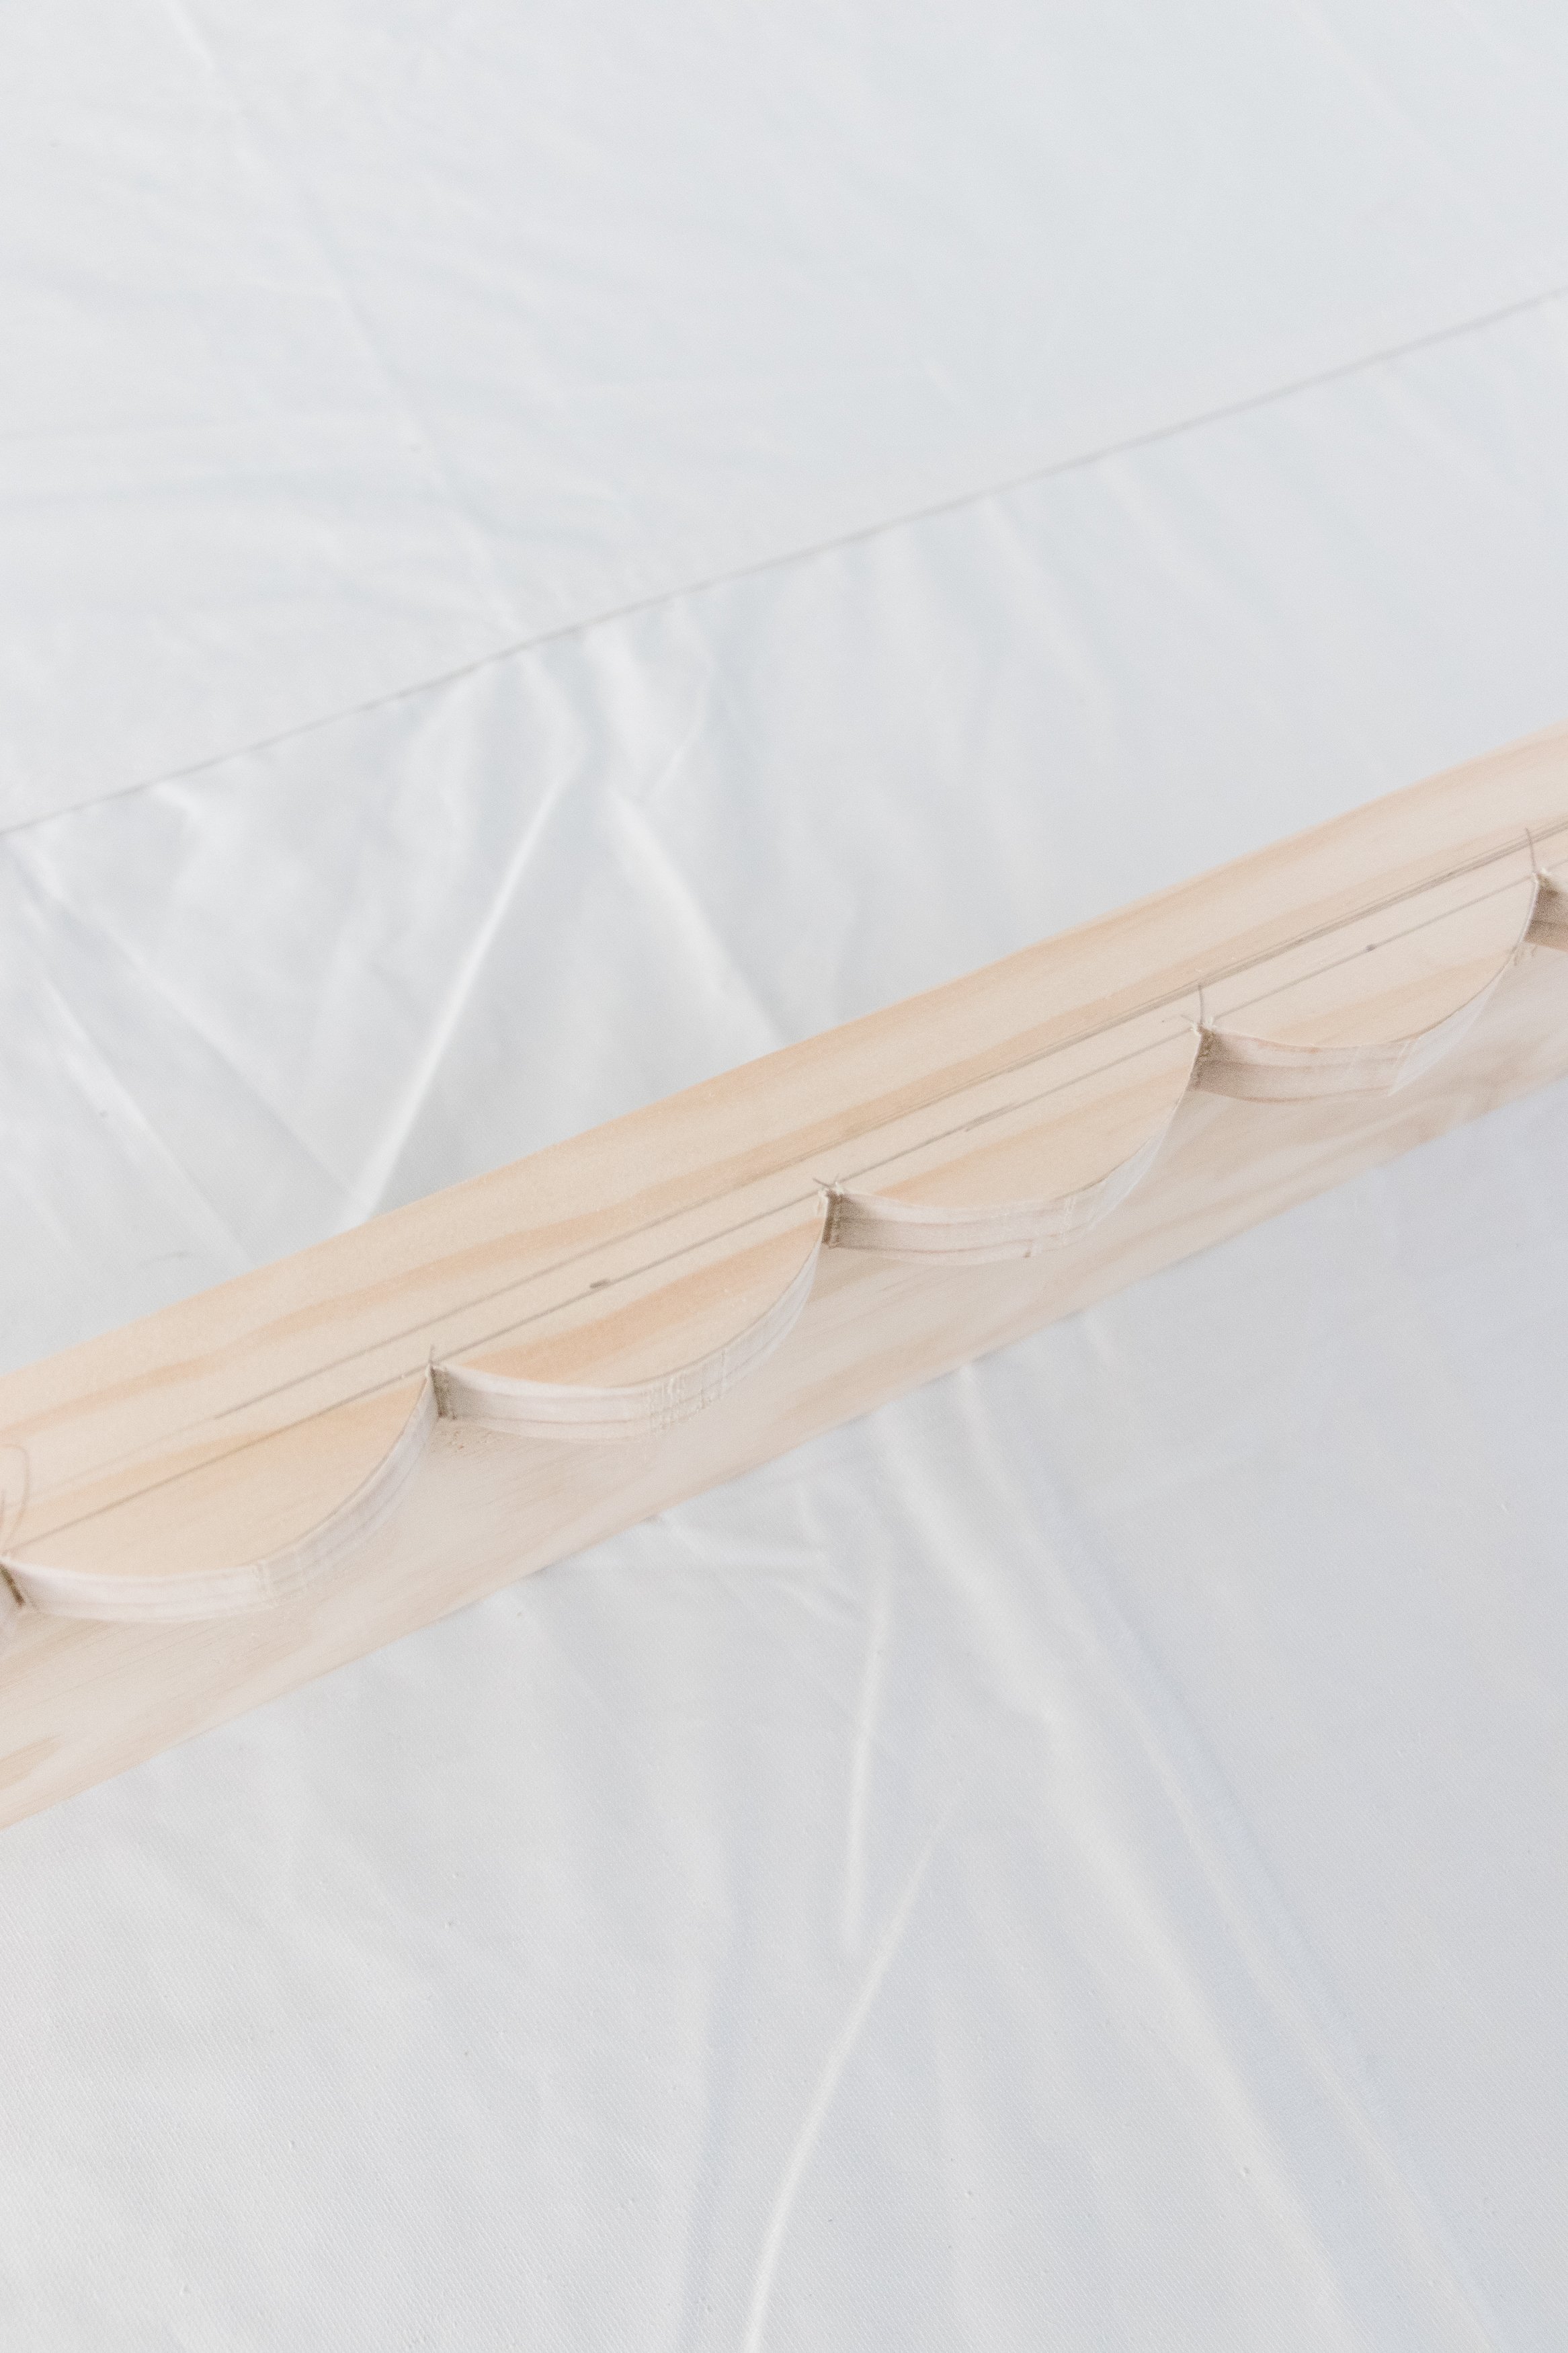
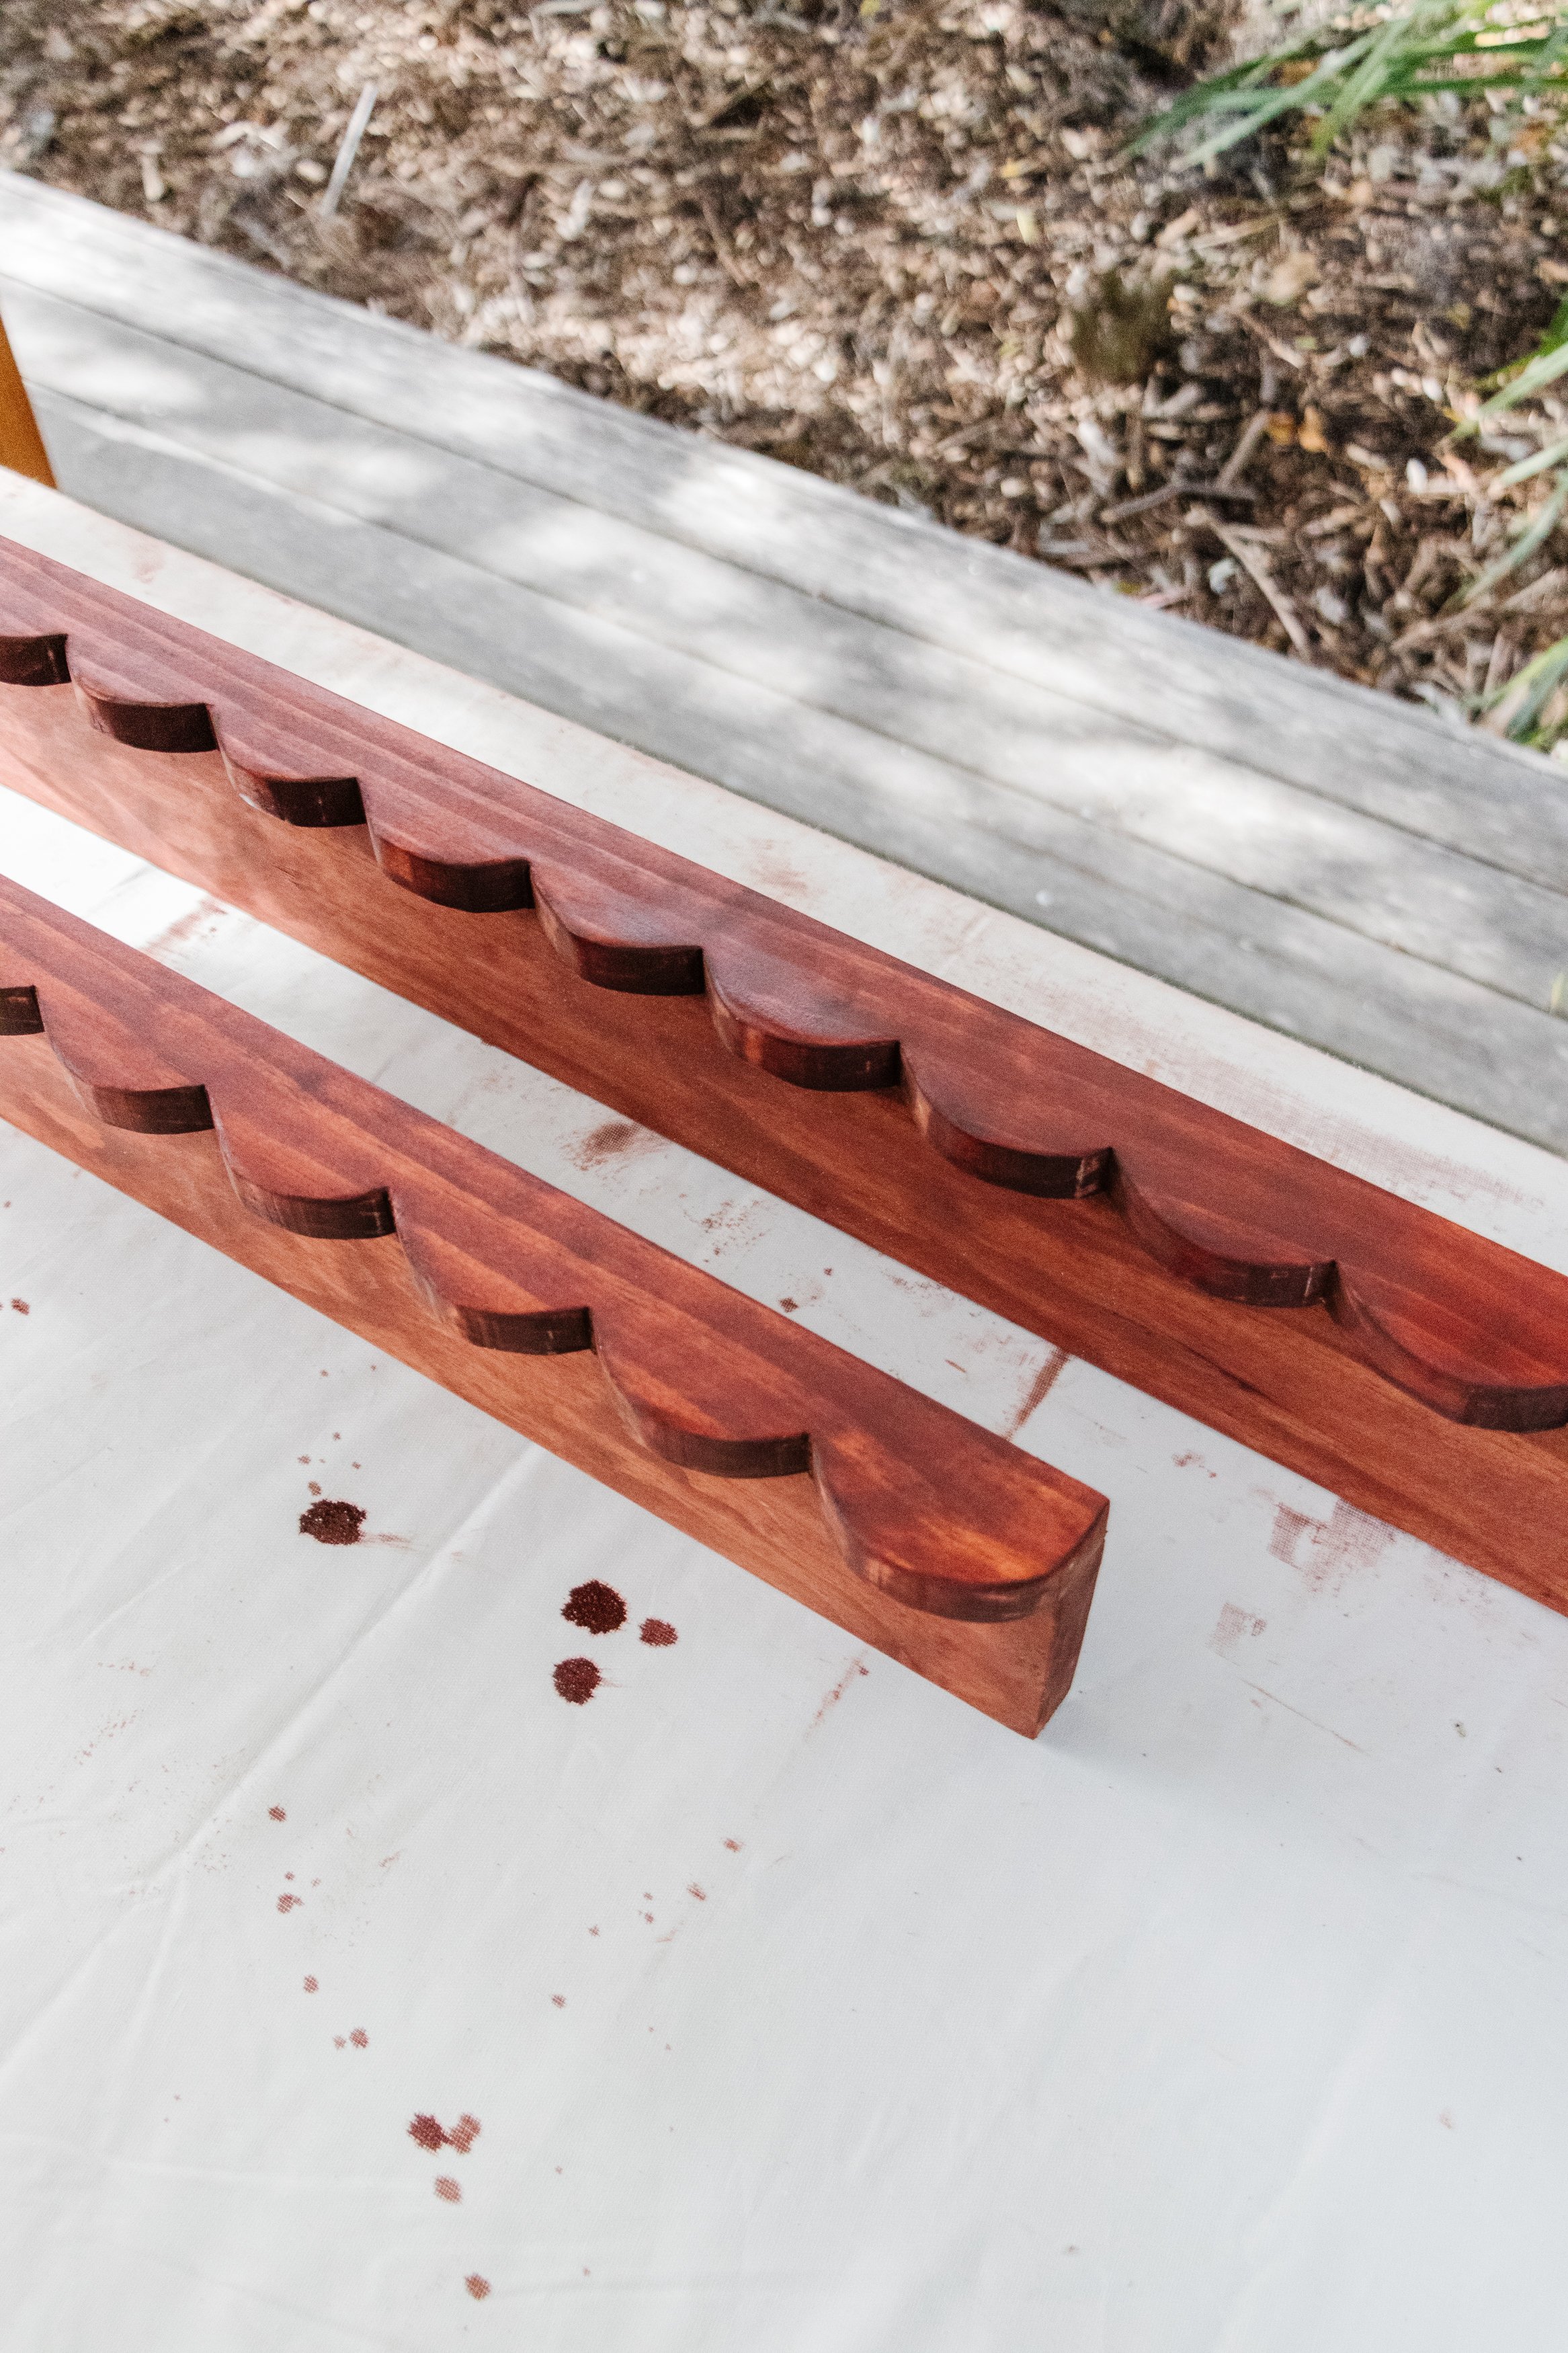
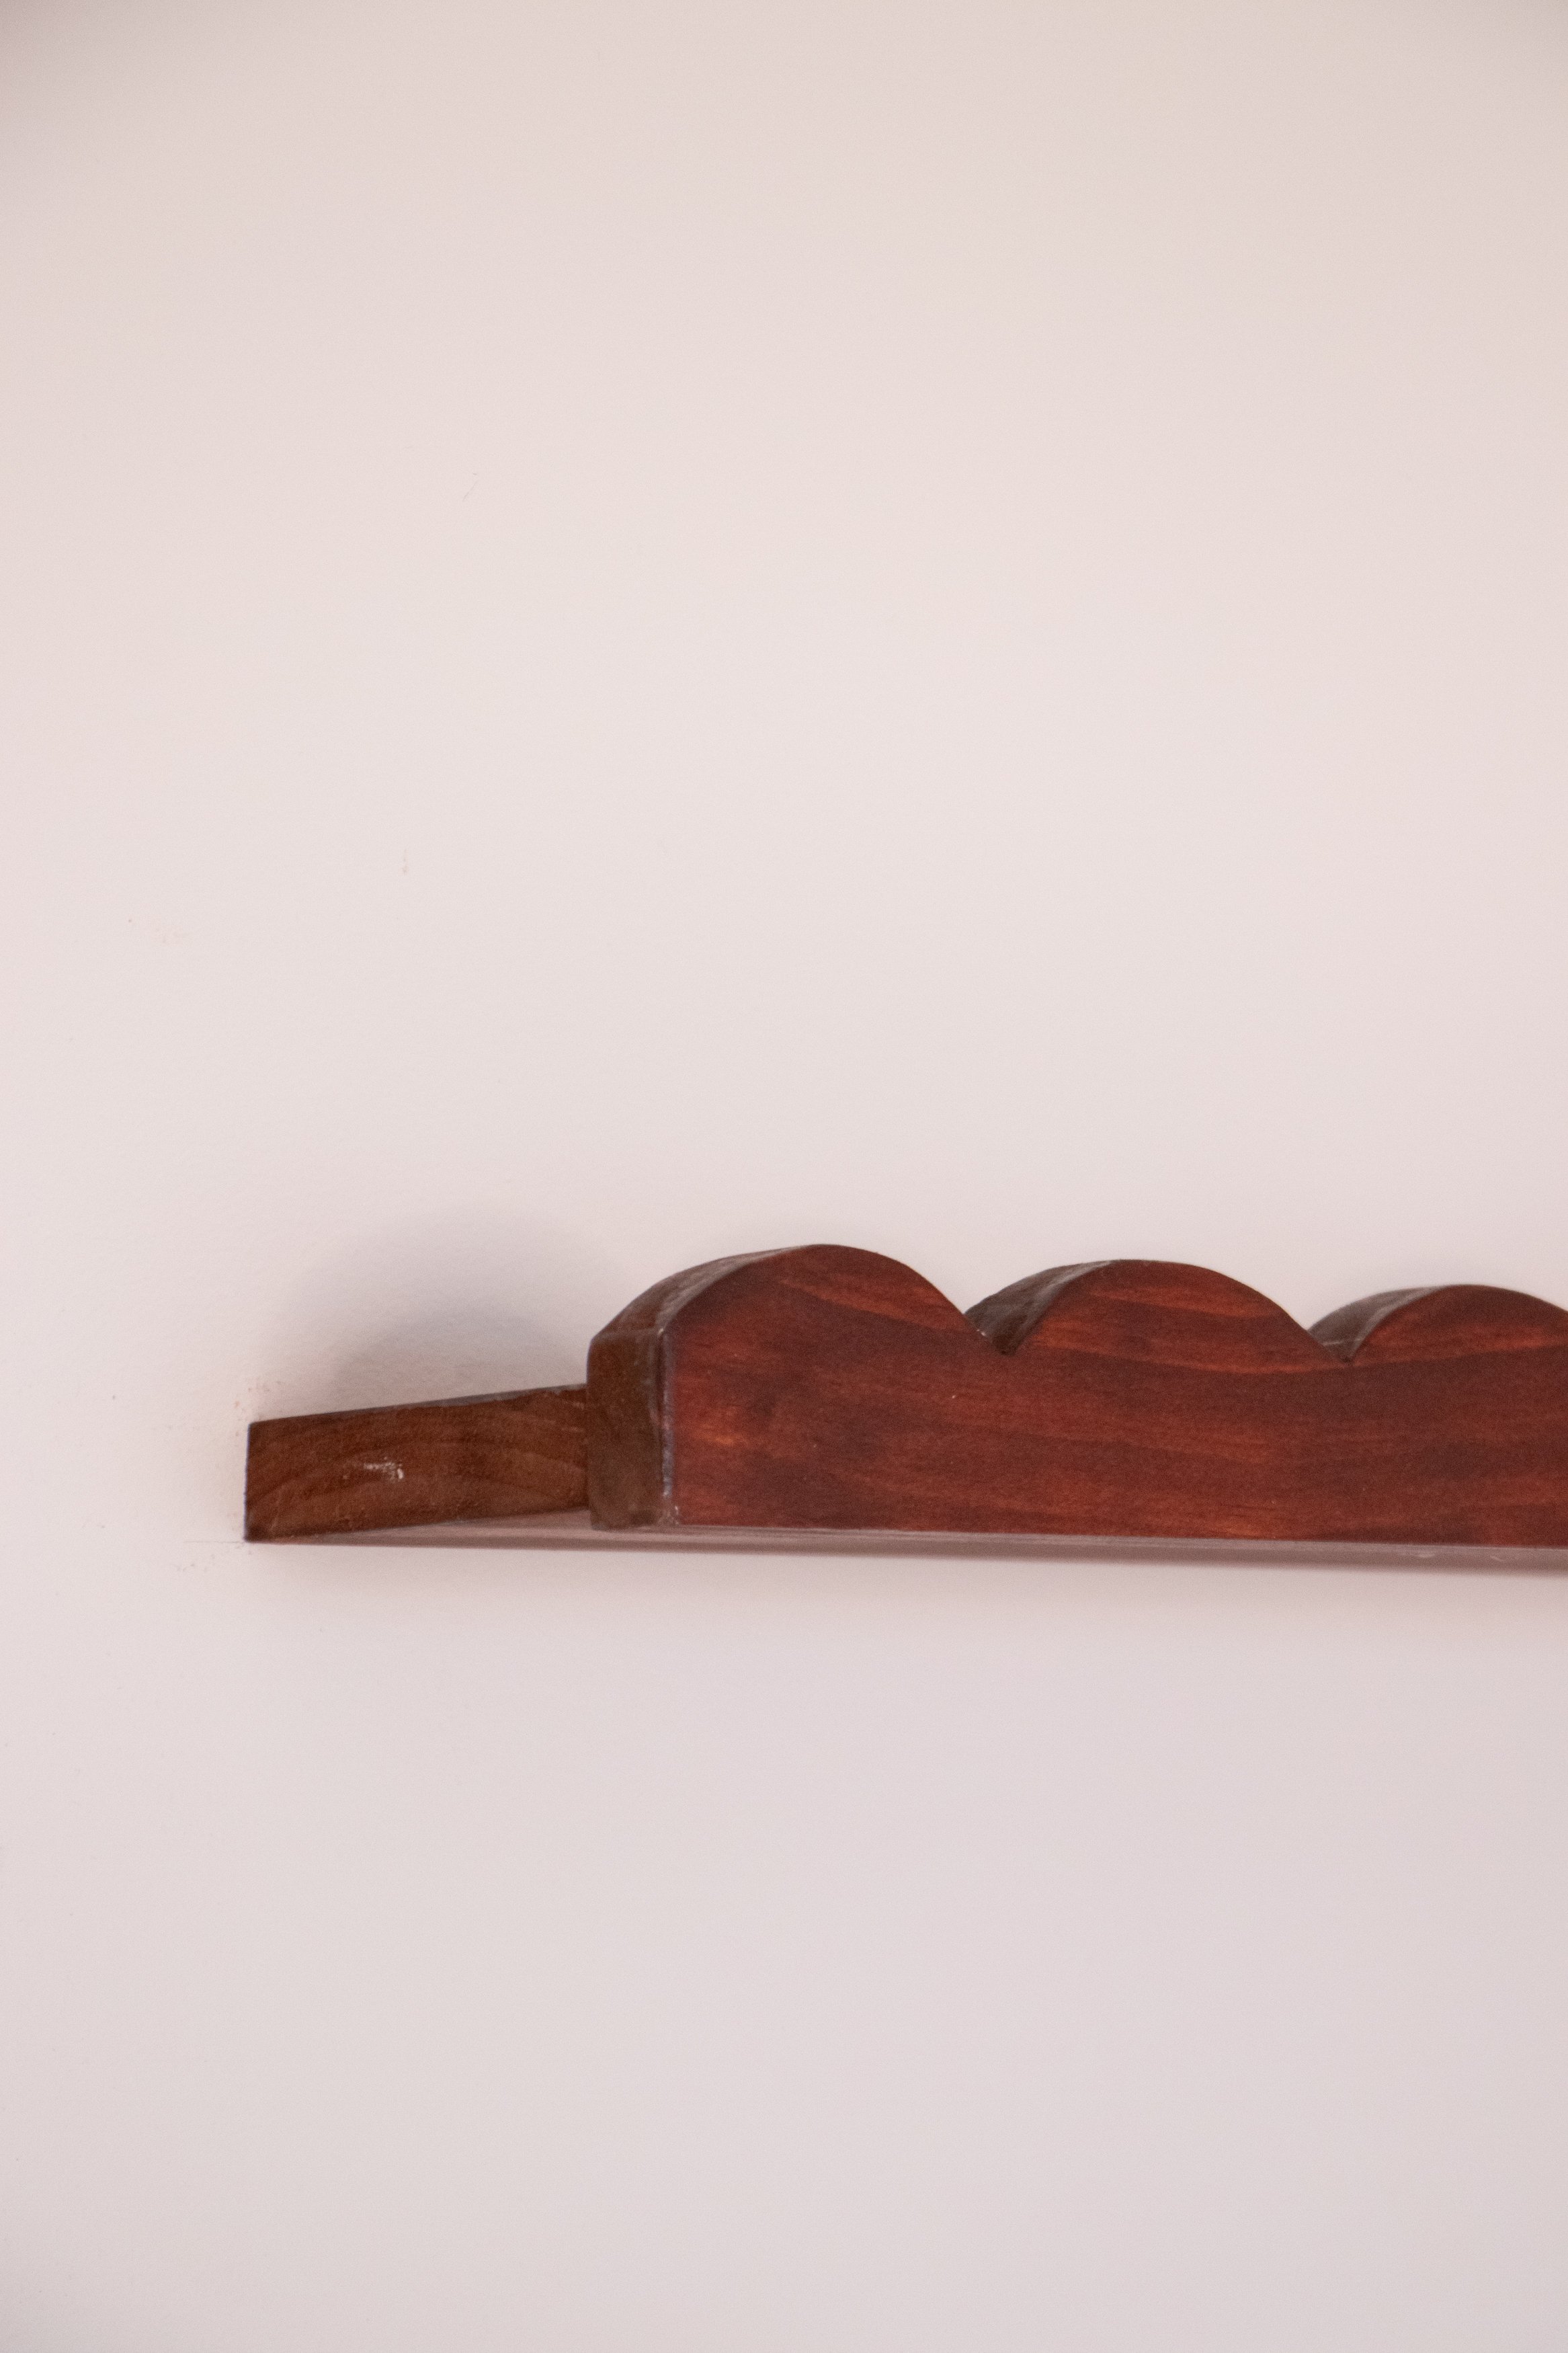
Step 3: I used a glass and a pencil to draw the scallops onto the smaller width piece of pine, making use to leave about 5mm above the line I drew above. and repeated this step for the second piece of pine. I secured the pine to my workbench using clamps and cut around the pencil to make a scalloped edge on both pieces of pine. Following this I softened the scalloped edges using my sander.
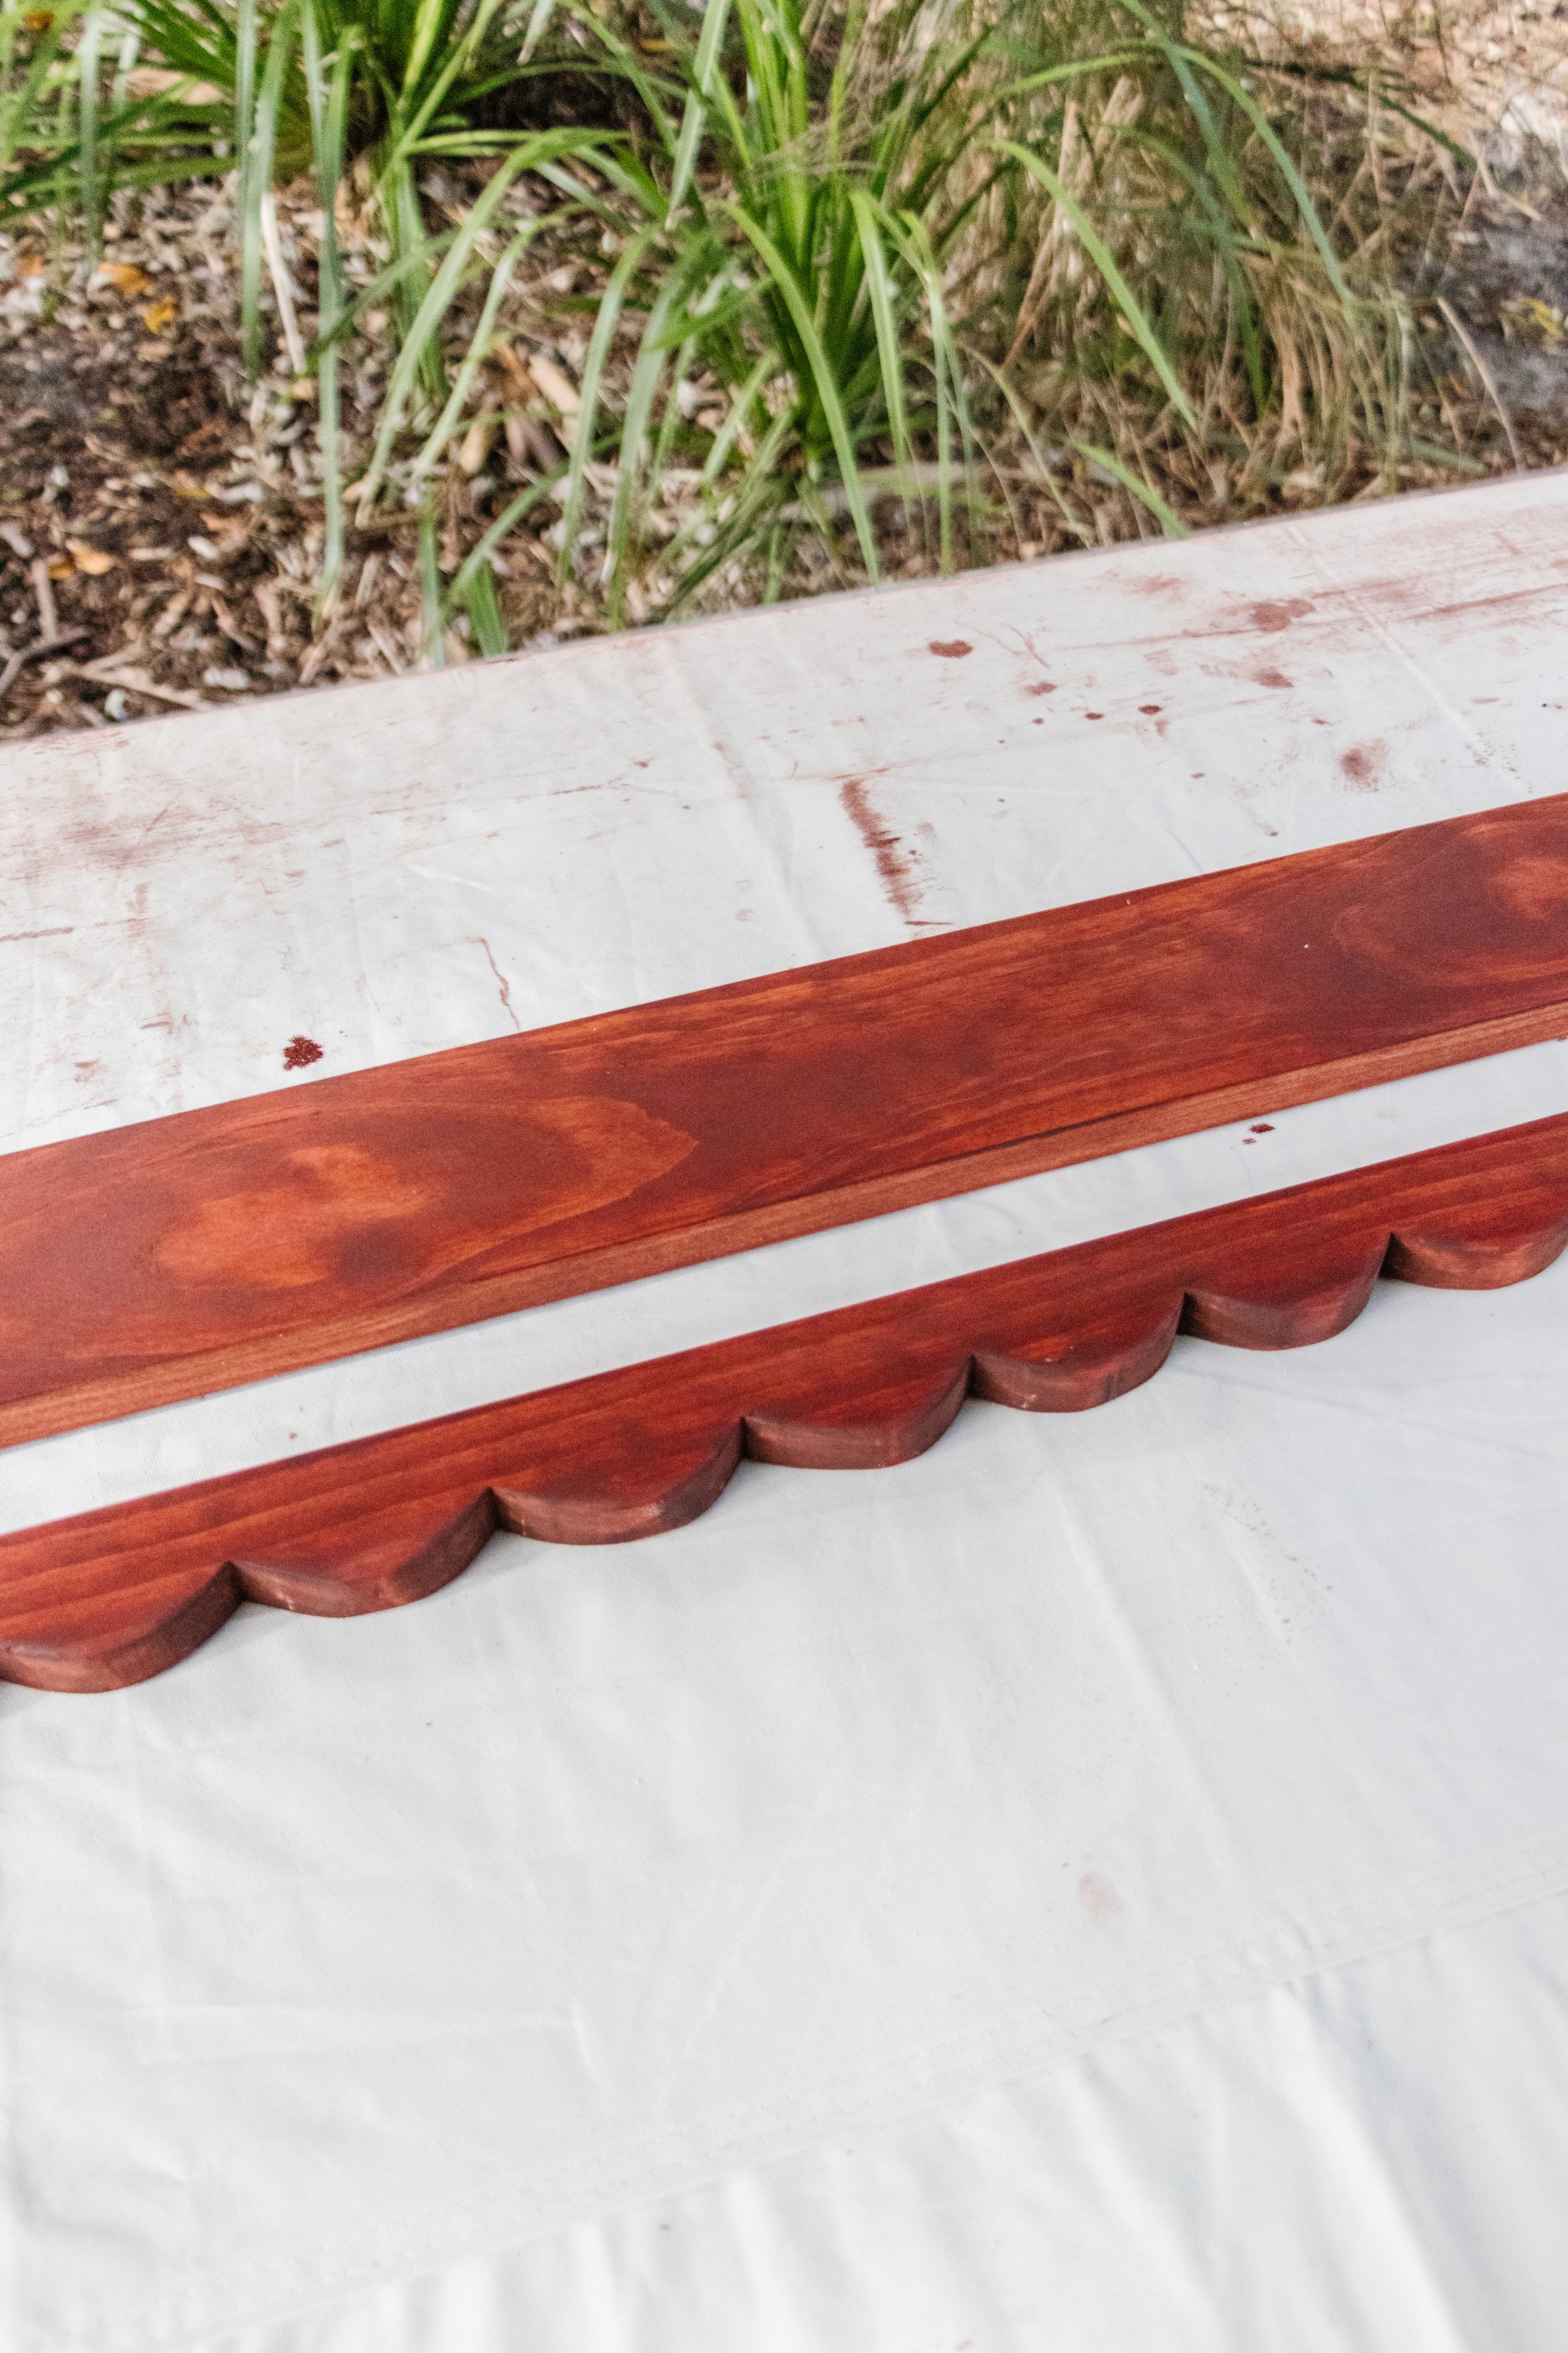
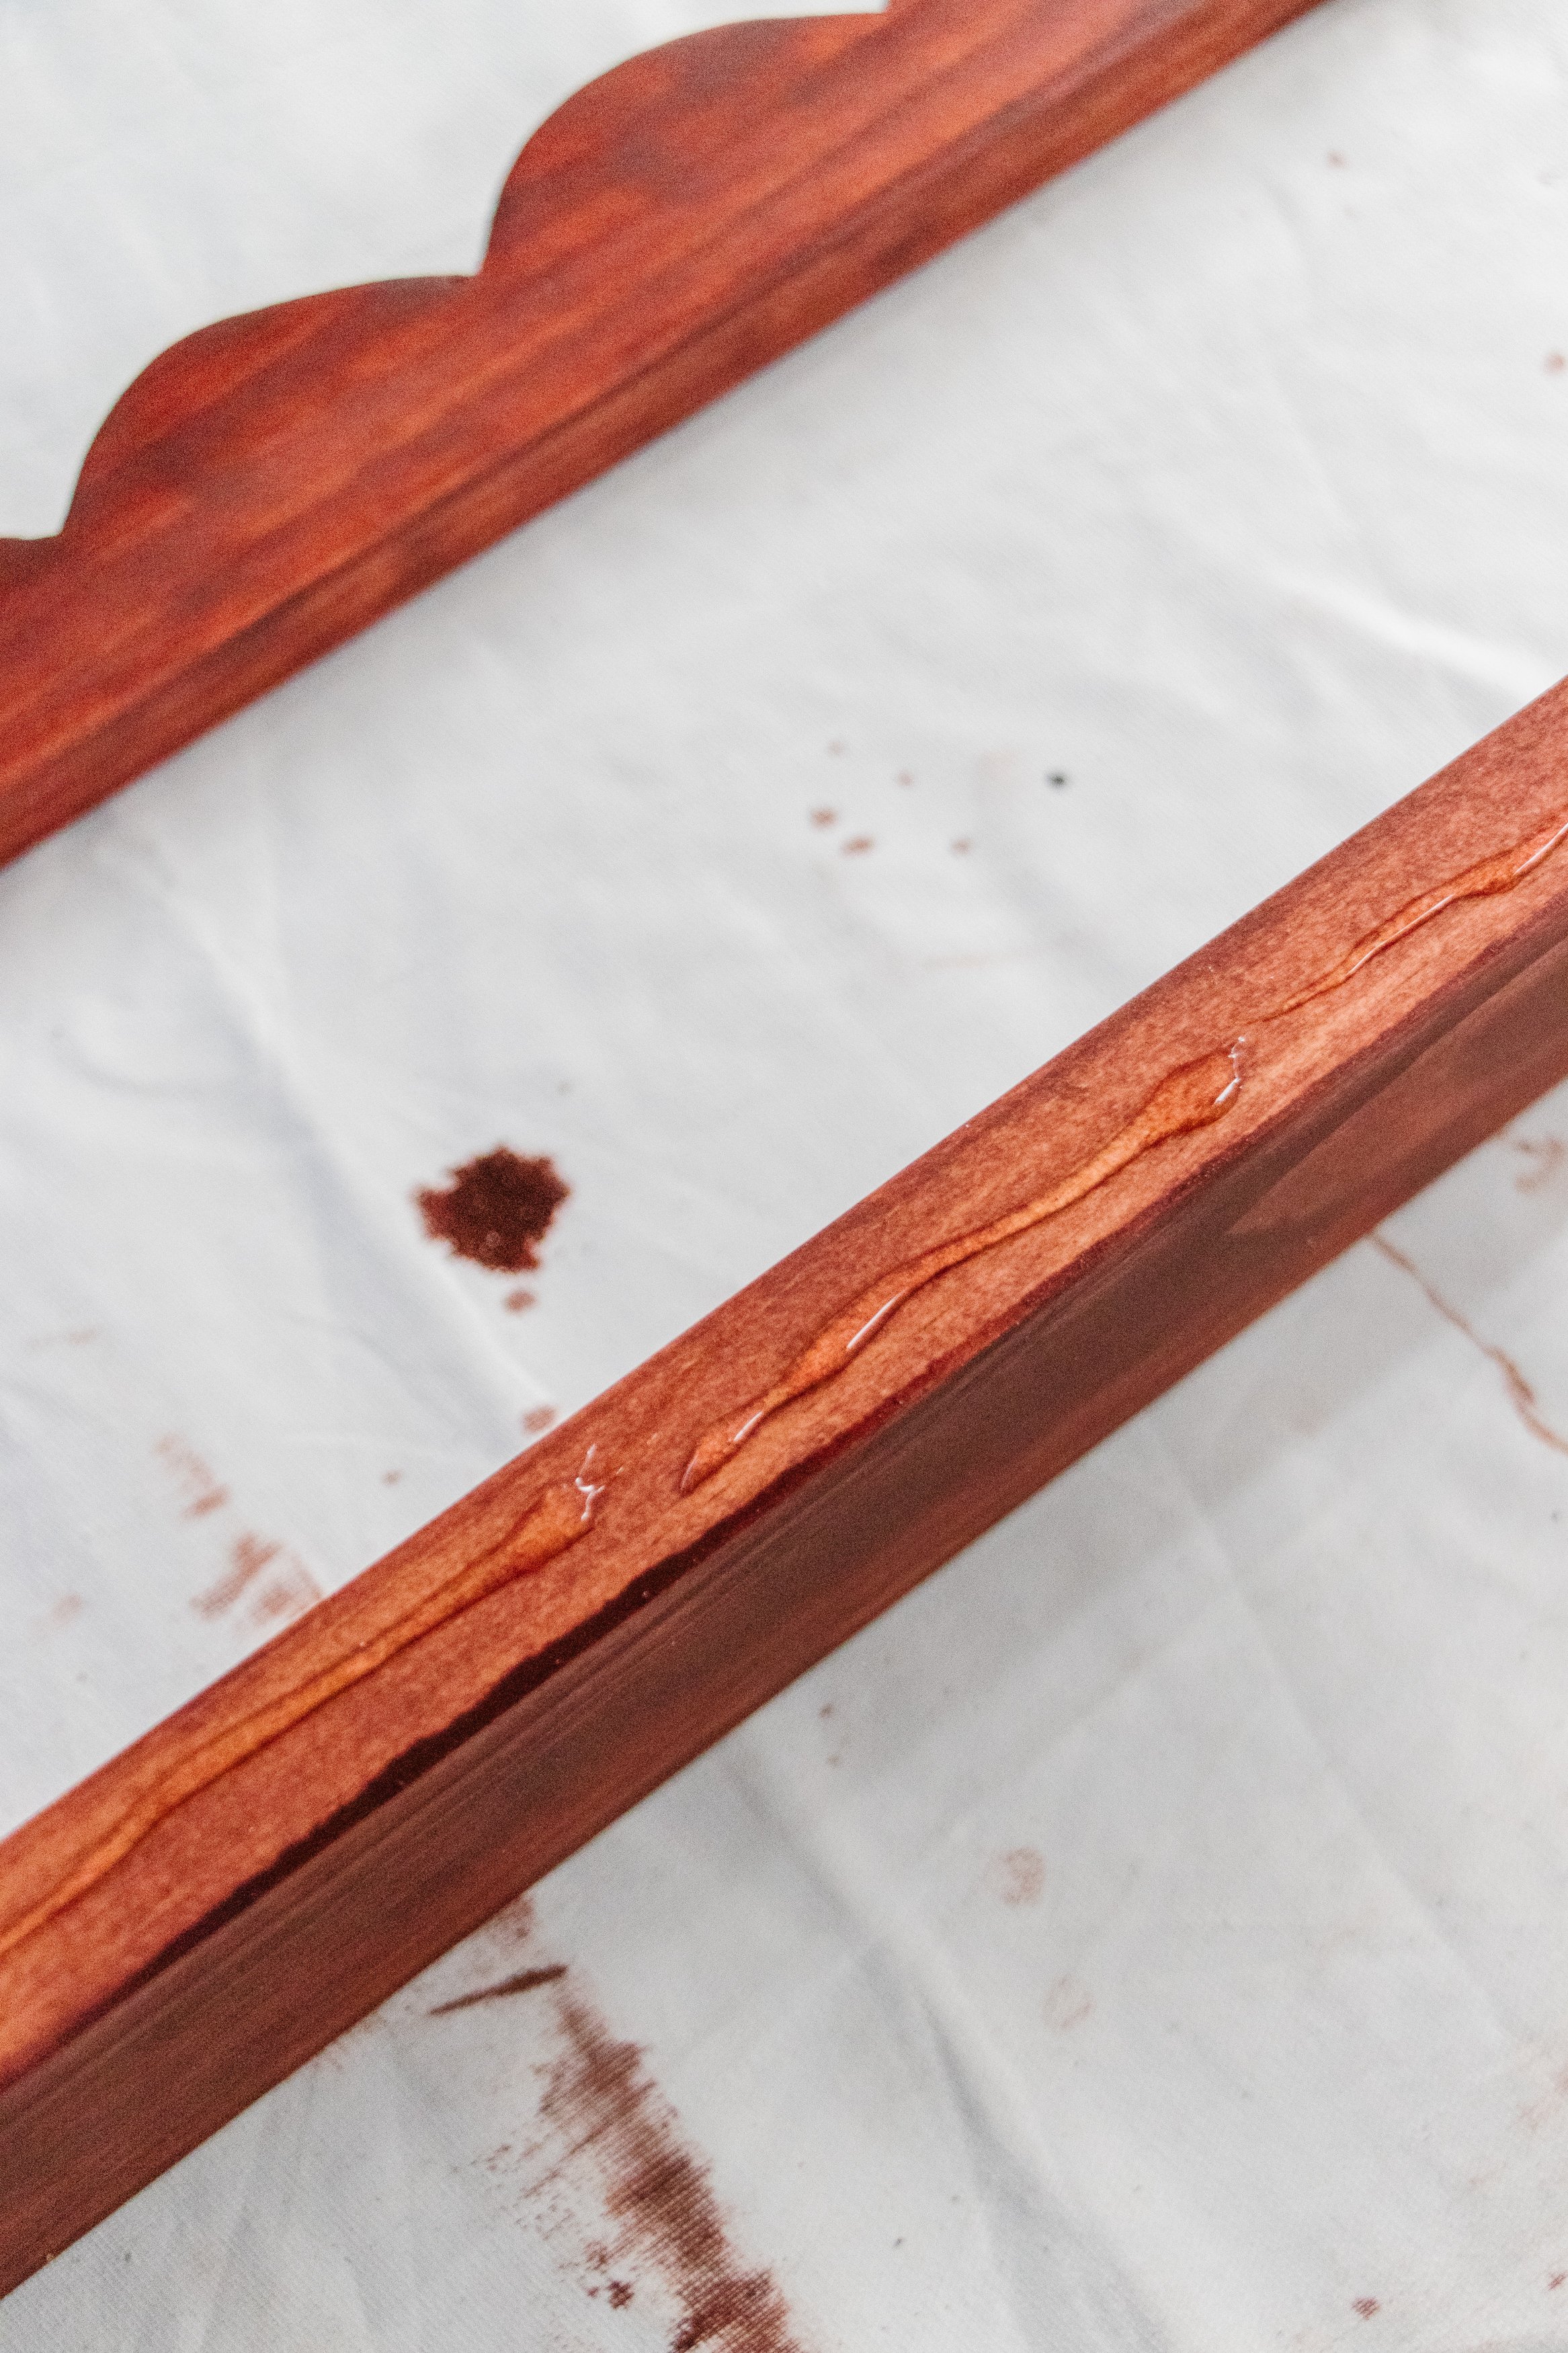
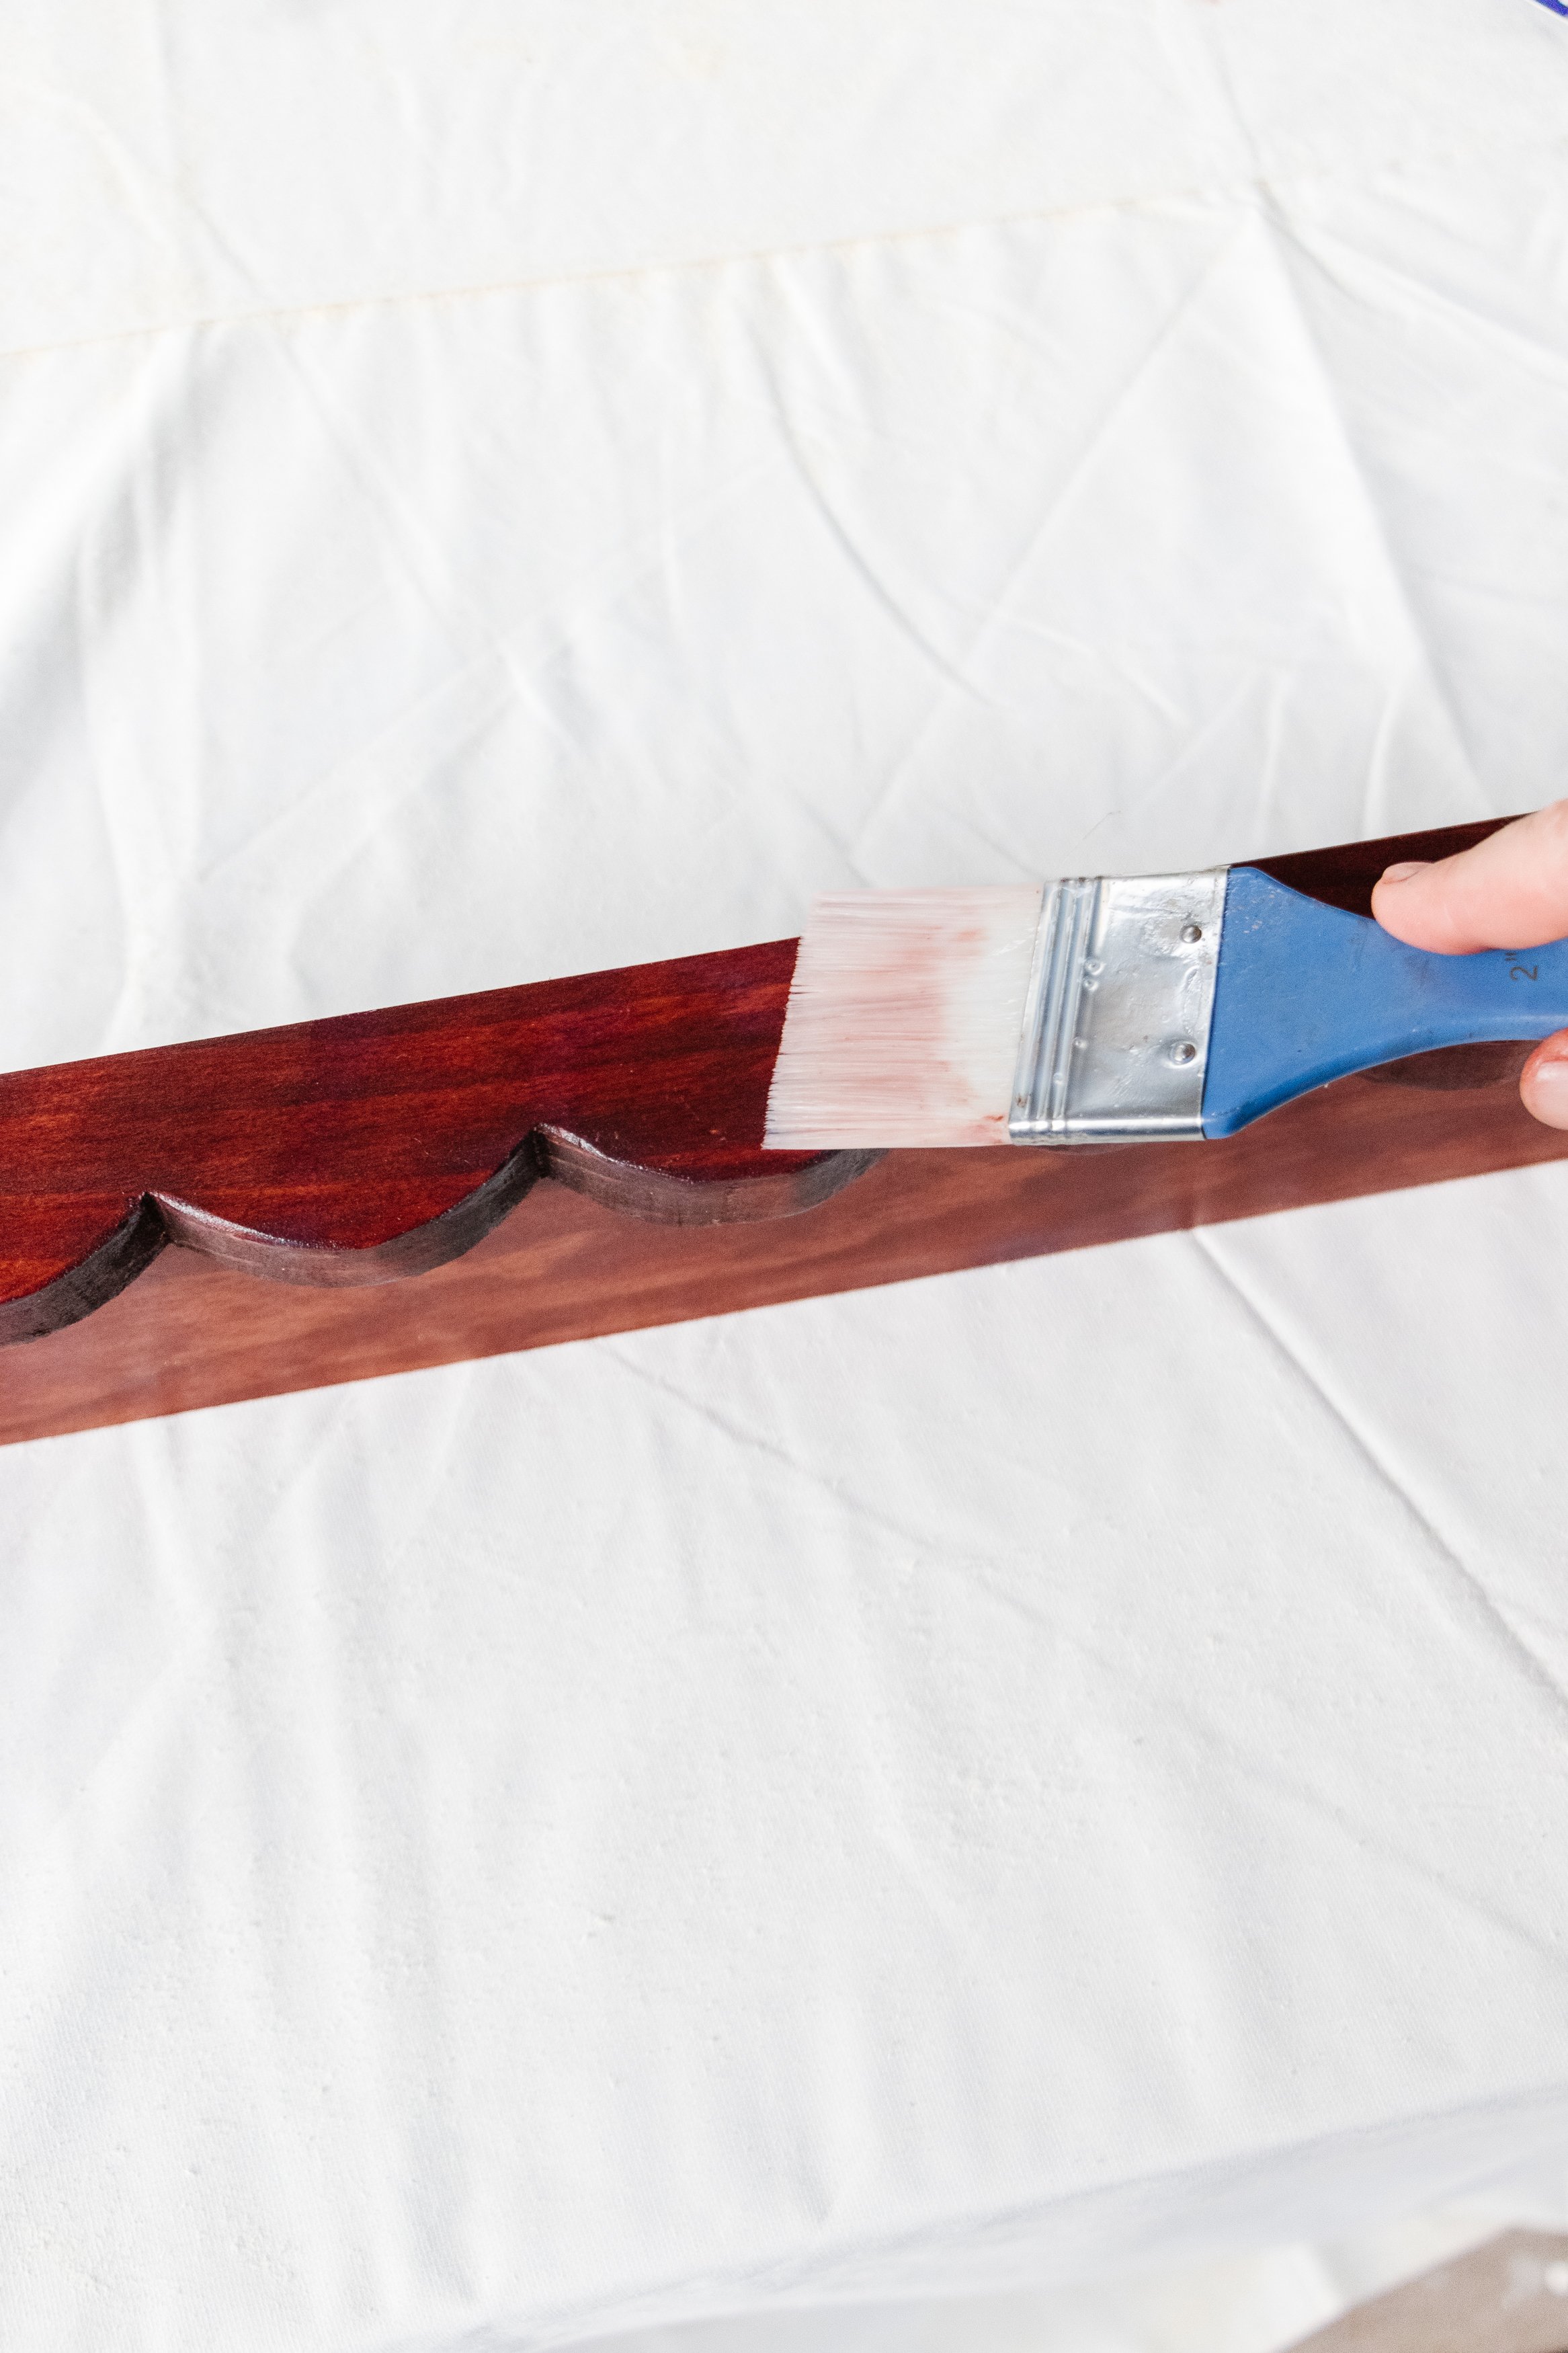
Step 4: I stained the four pieces of timber with 3 coats of timber stain and waited about 15 minutes between coats.
Step 5: Following this I glued the pieces together to make 2 scalloped shelves using a fast grab glue. I don’t recommend wood glue for this step as it takes 24 hours to properly dry and it’s quite slippery, so the scalloped pieces may fall off.
Step 6: After 30 minutes or so the glue had cured so I sealed the timber using a clear satin coat. And about an hour later the shelves were ready for installation!
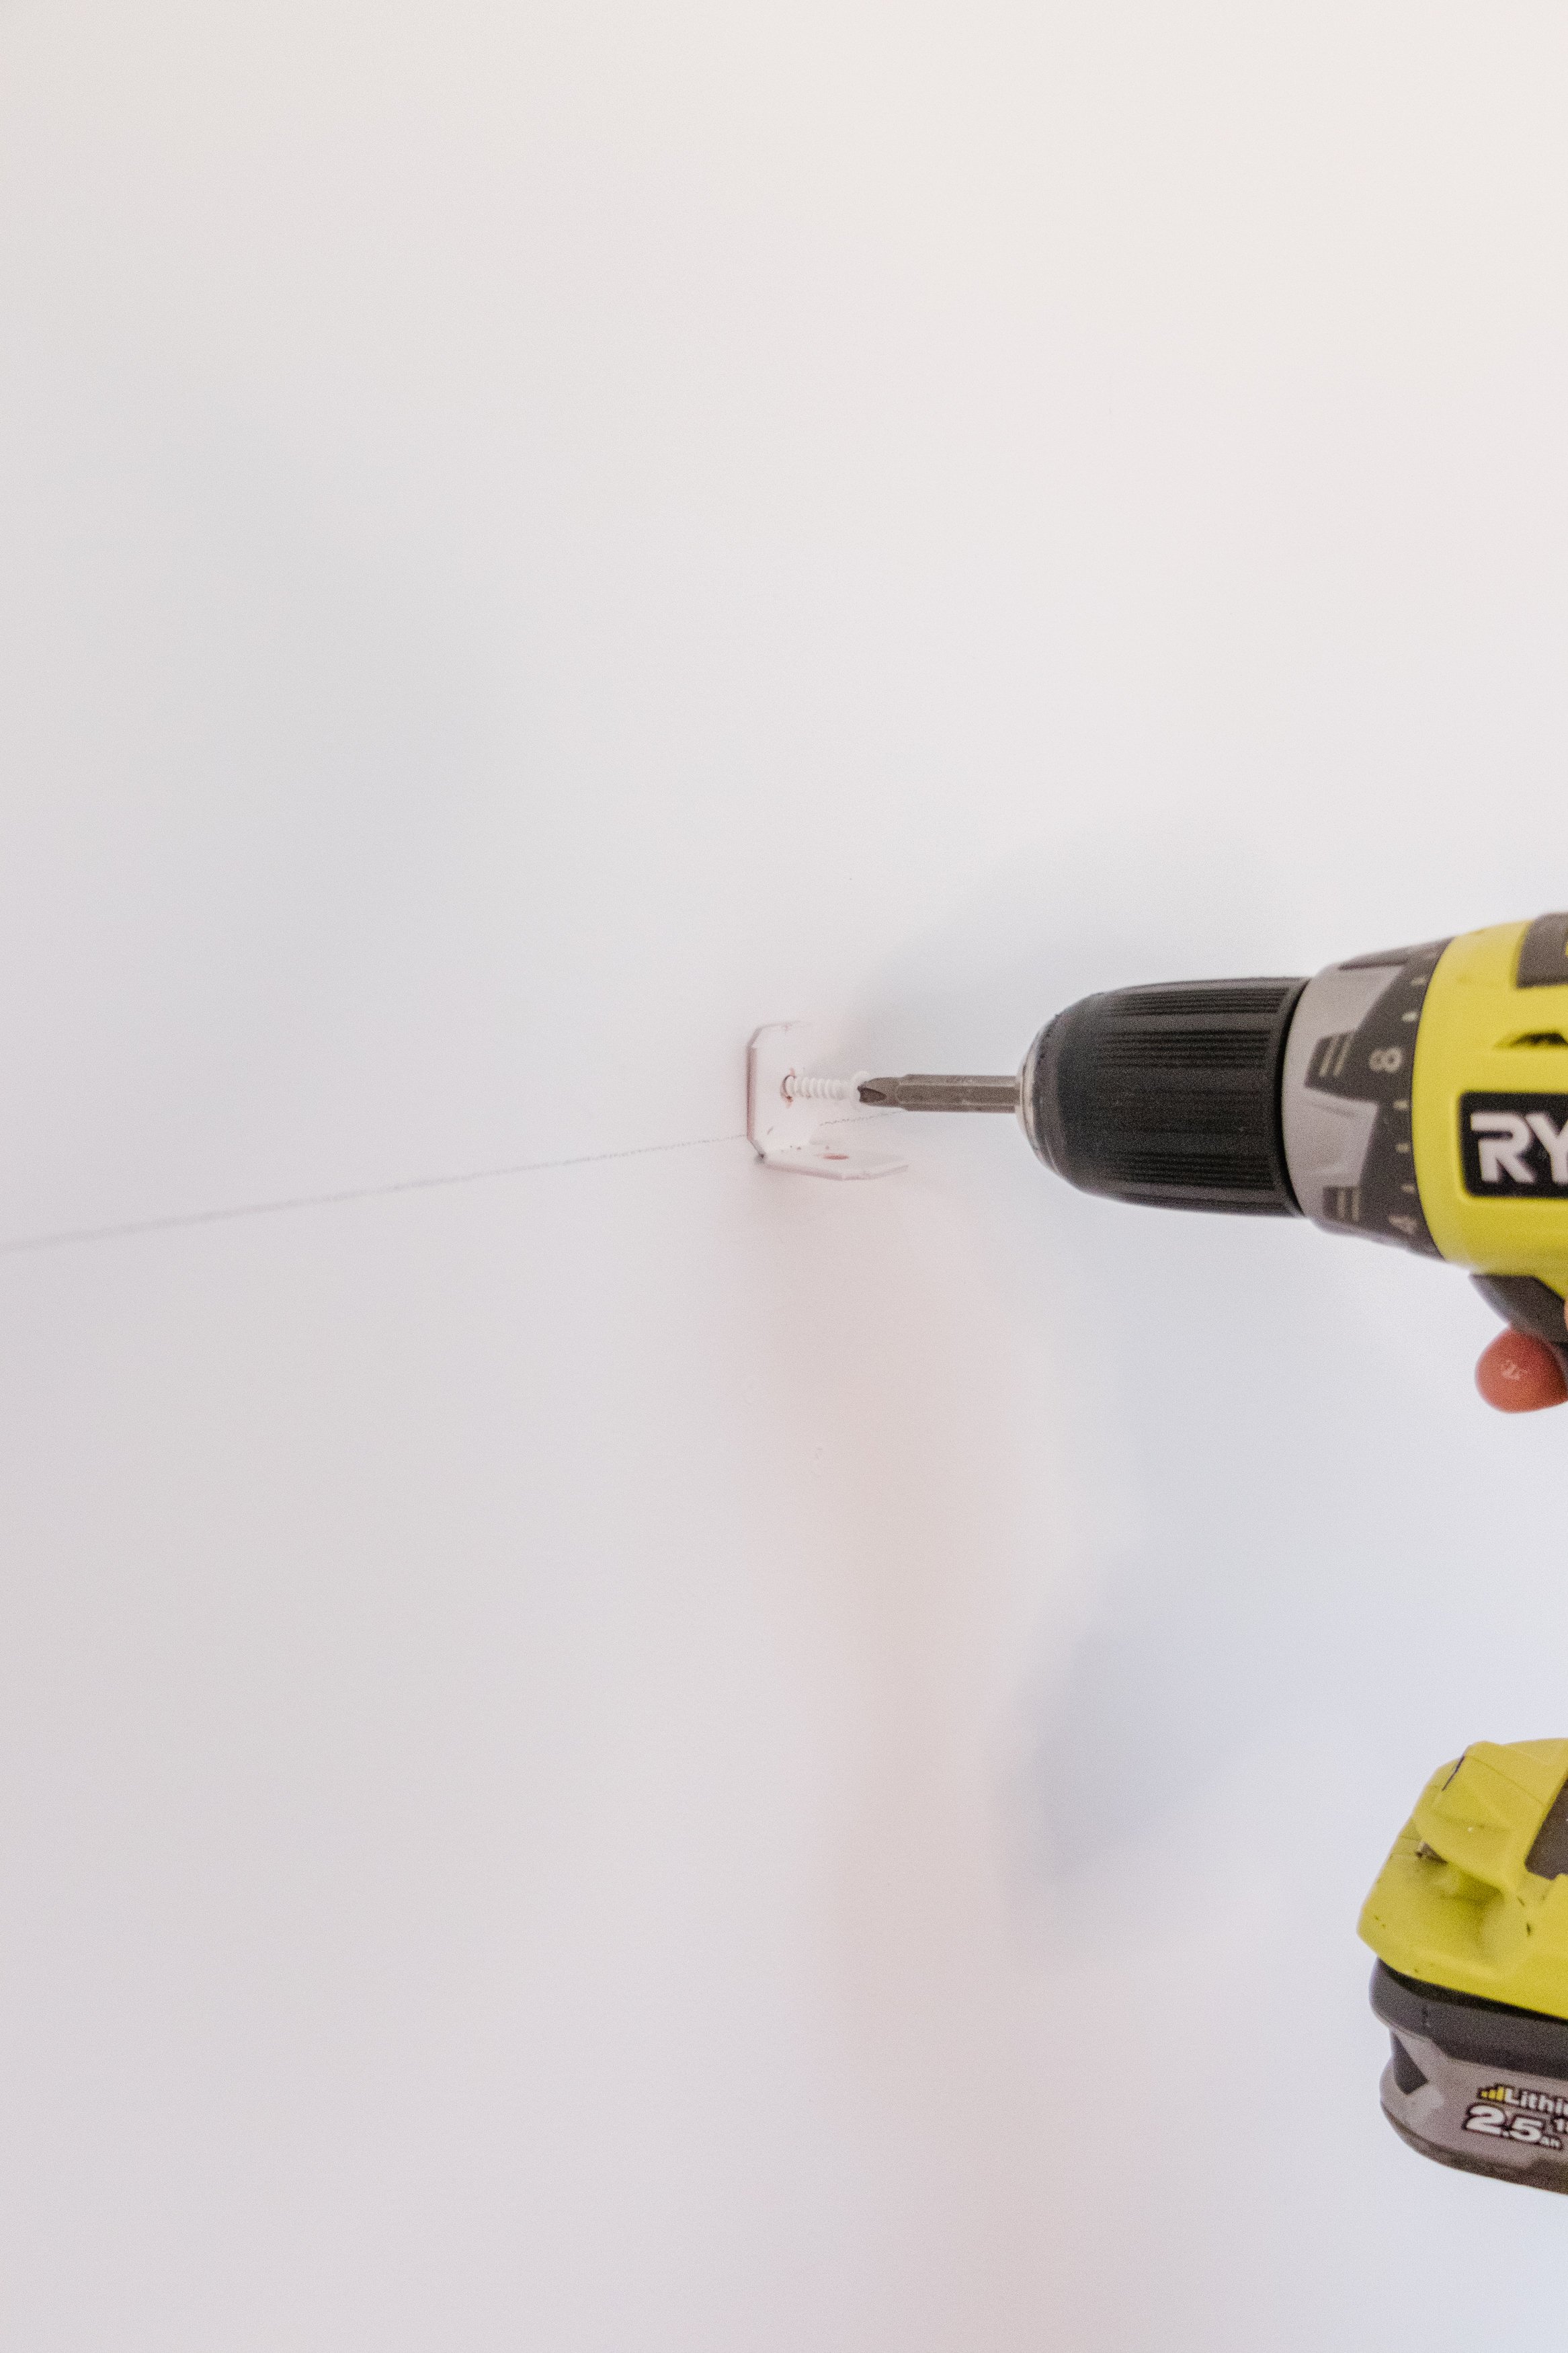
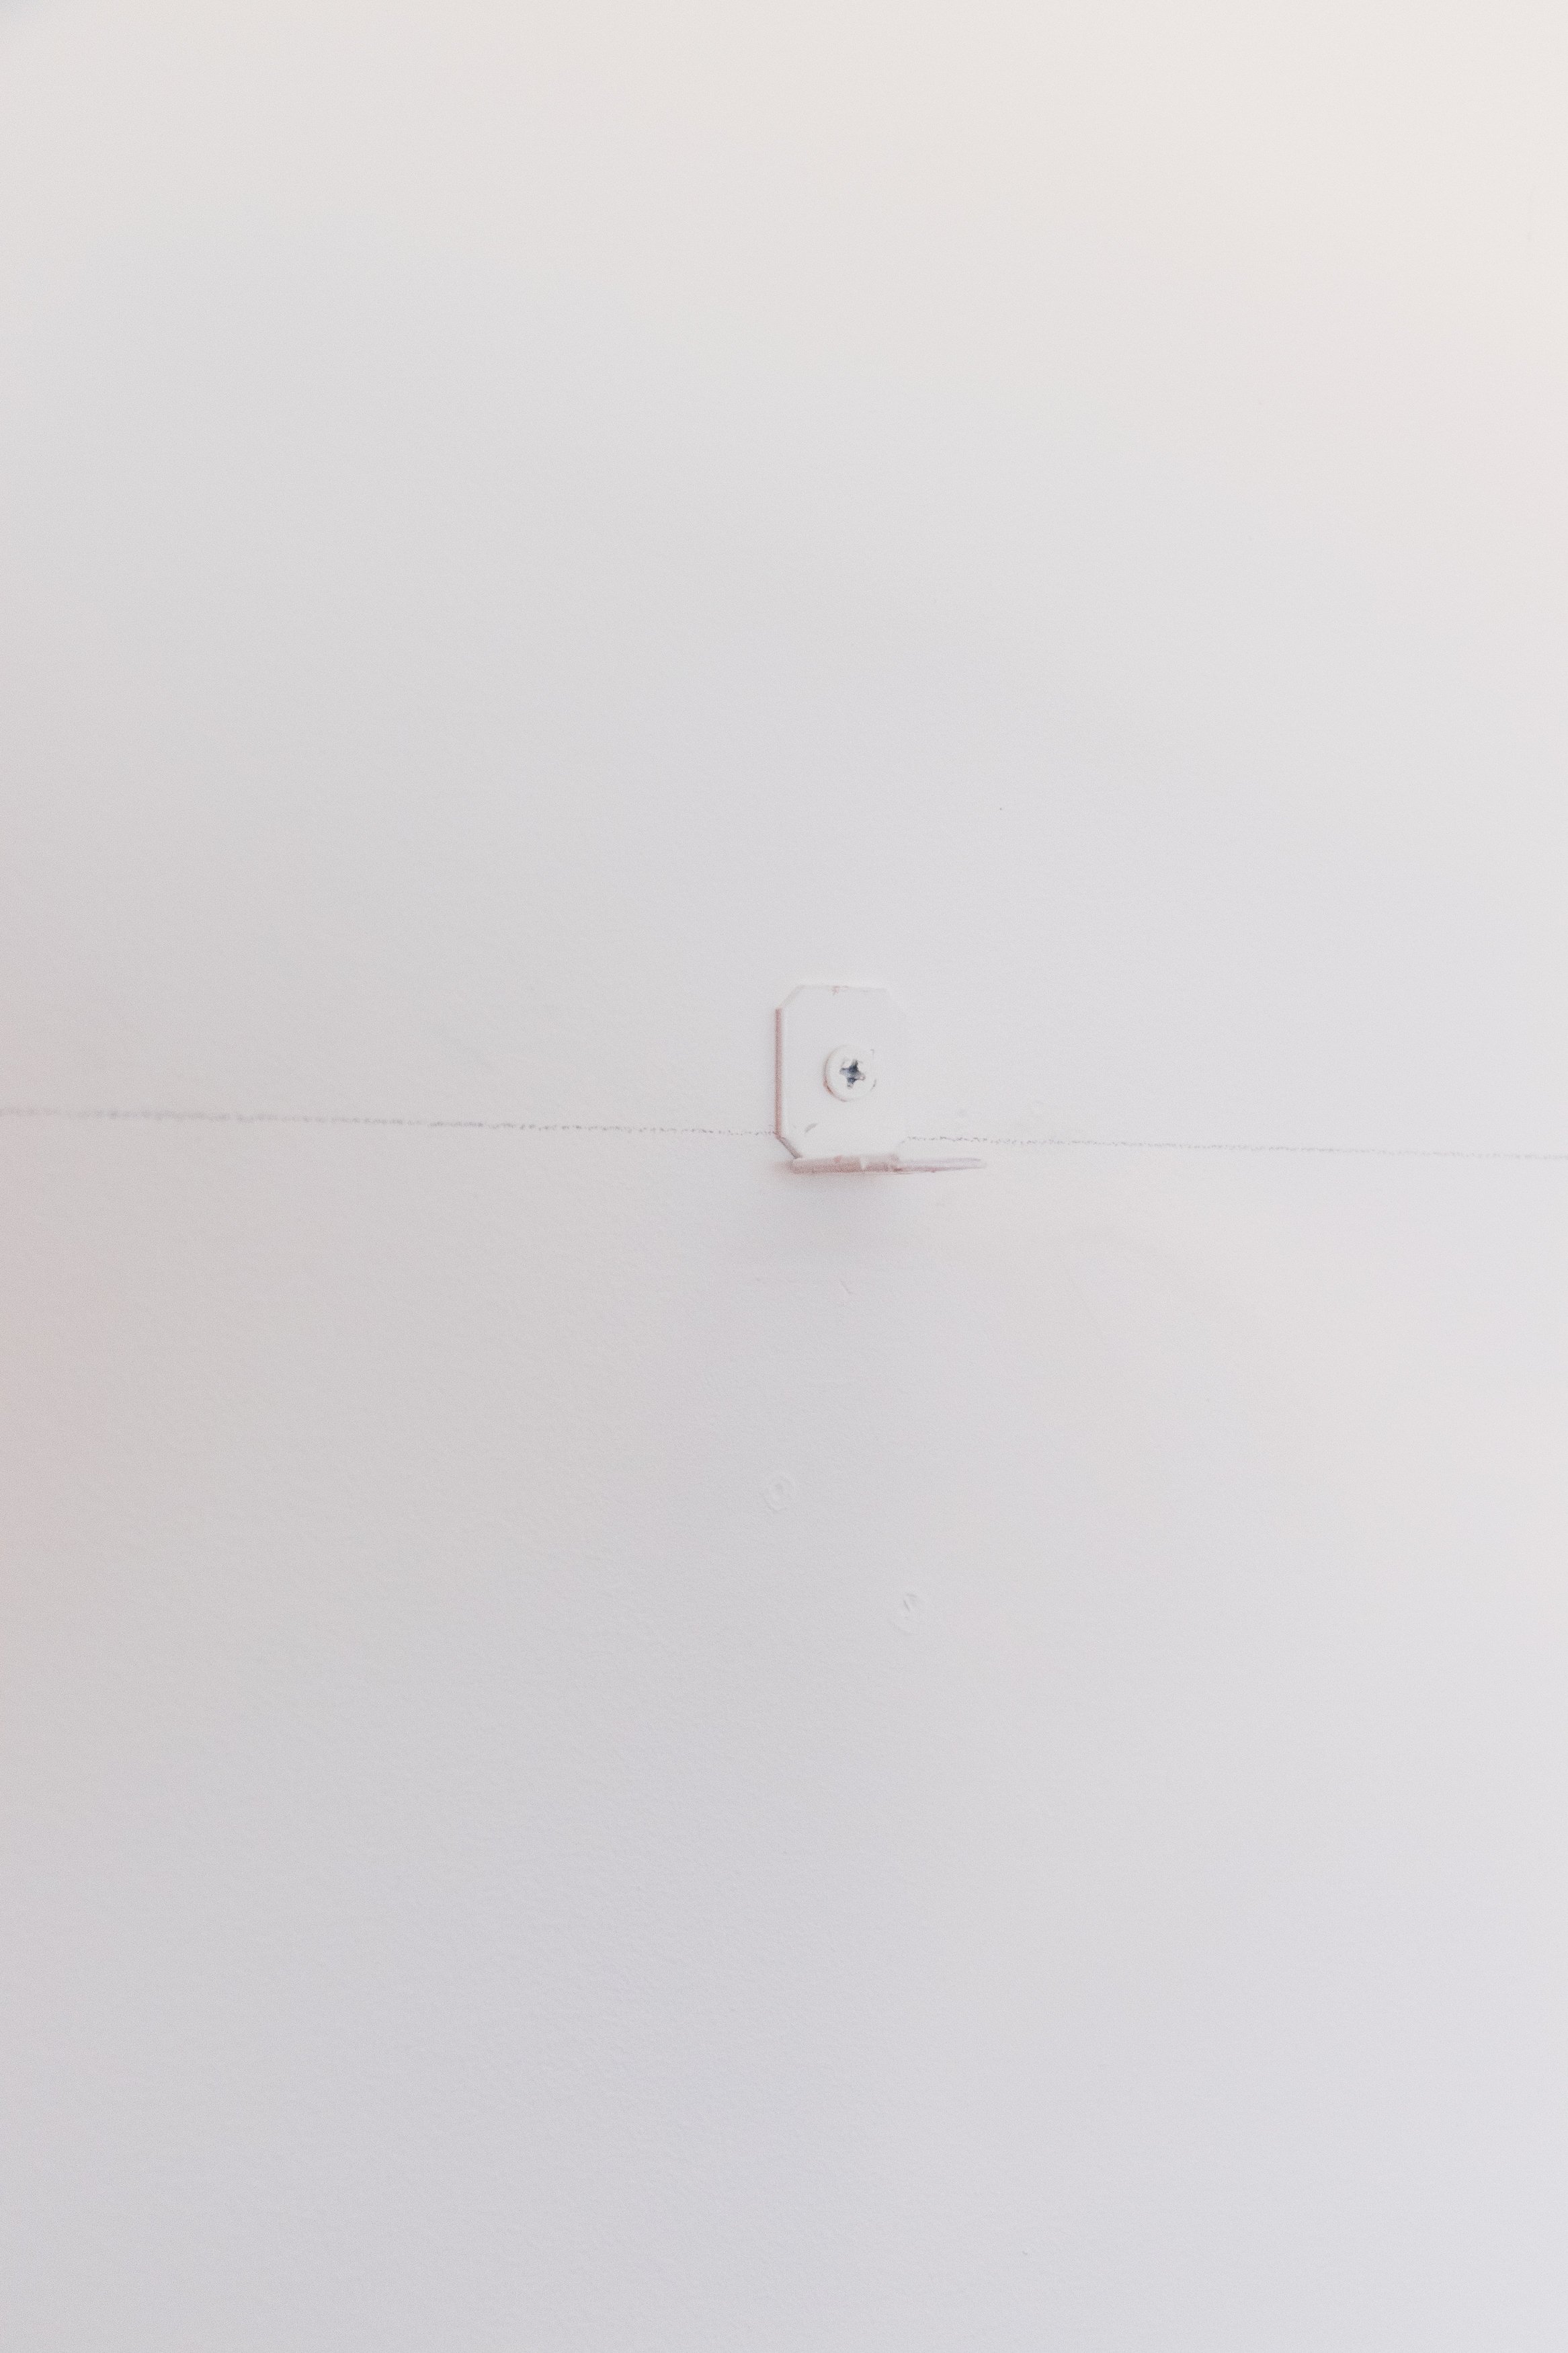
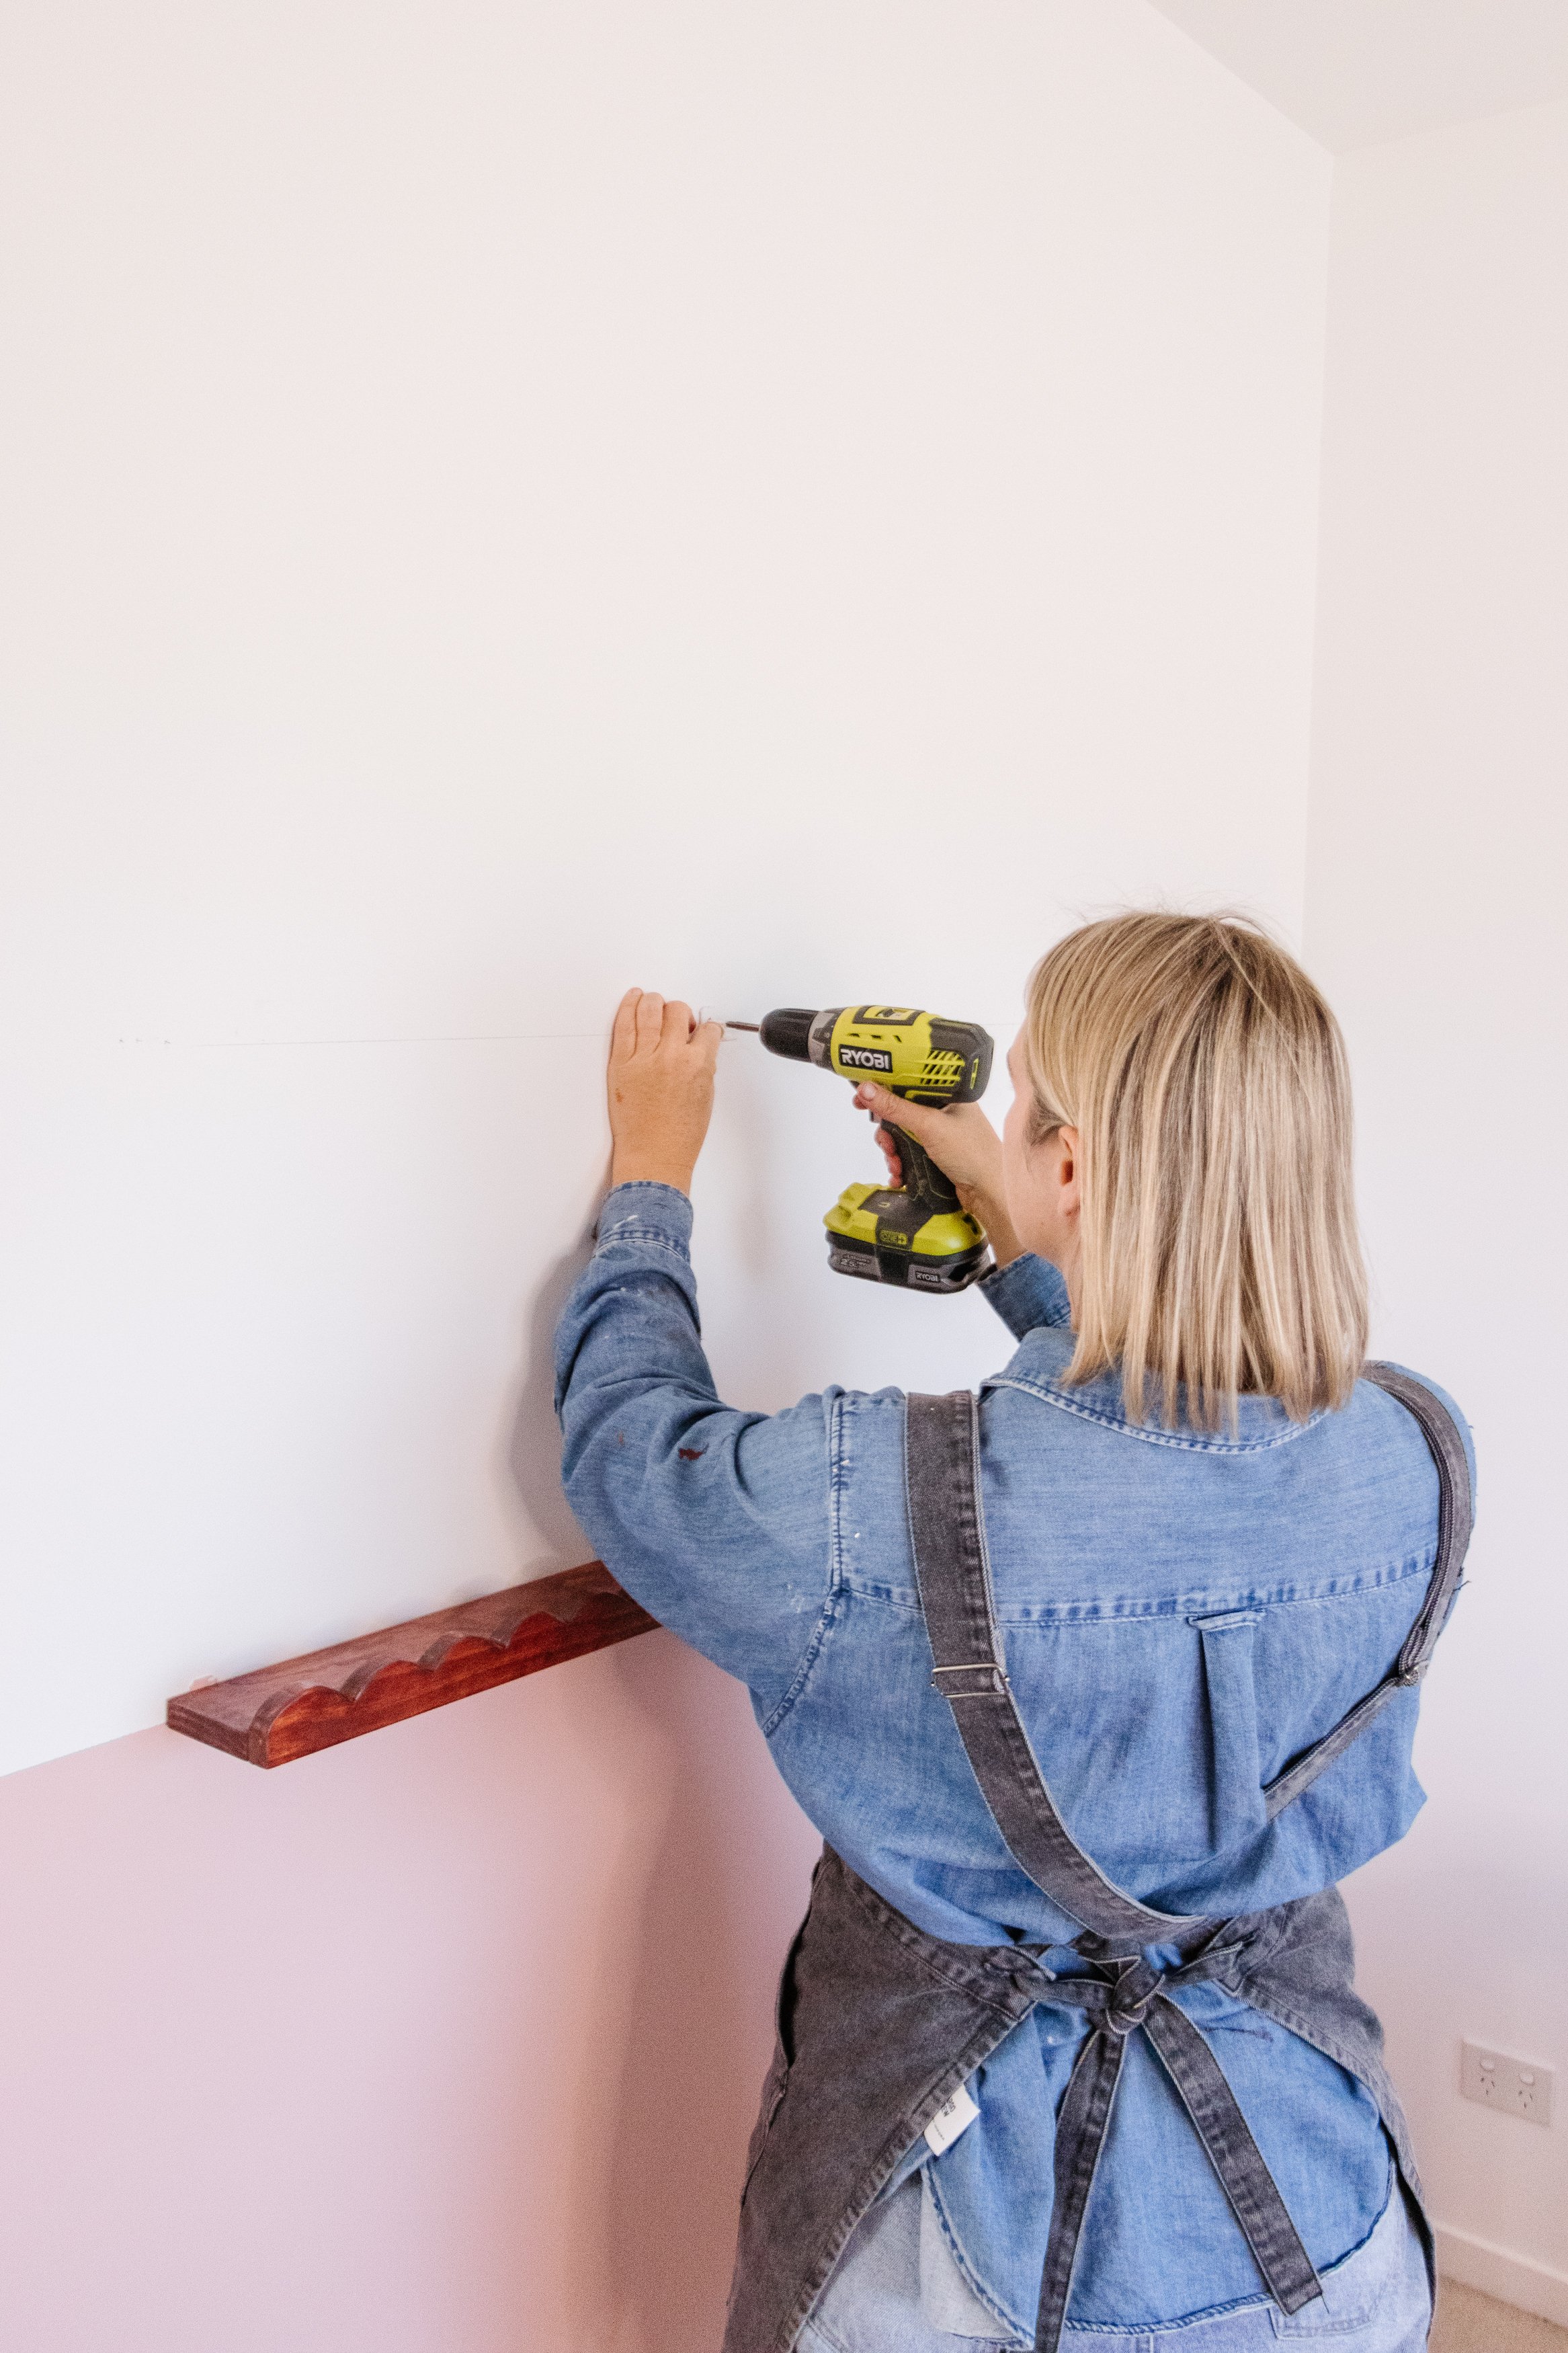
Step 7: I installed the shelves using L brackets and timber screws, first by finding the studs in the wall and drilling pilot holes. I screwed the L brackets into the studs using a drill. I placed the timber on top of the L brackets, drilled pilot holes and then screwed the shelves to the L brackets. And that’s it!
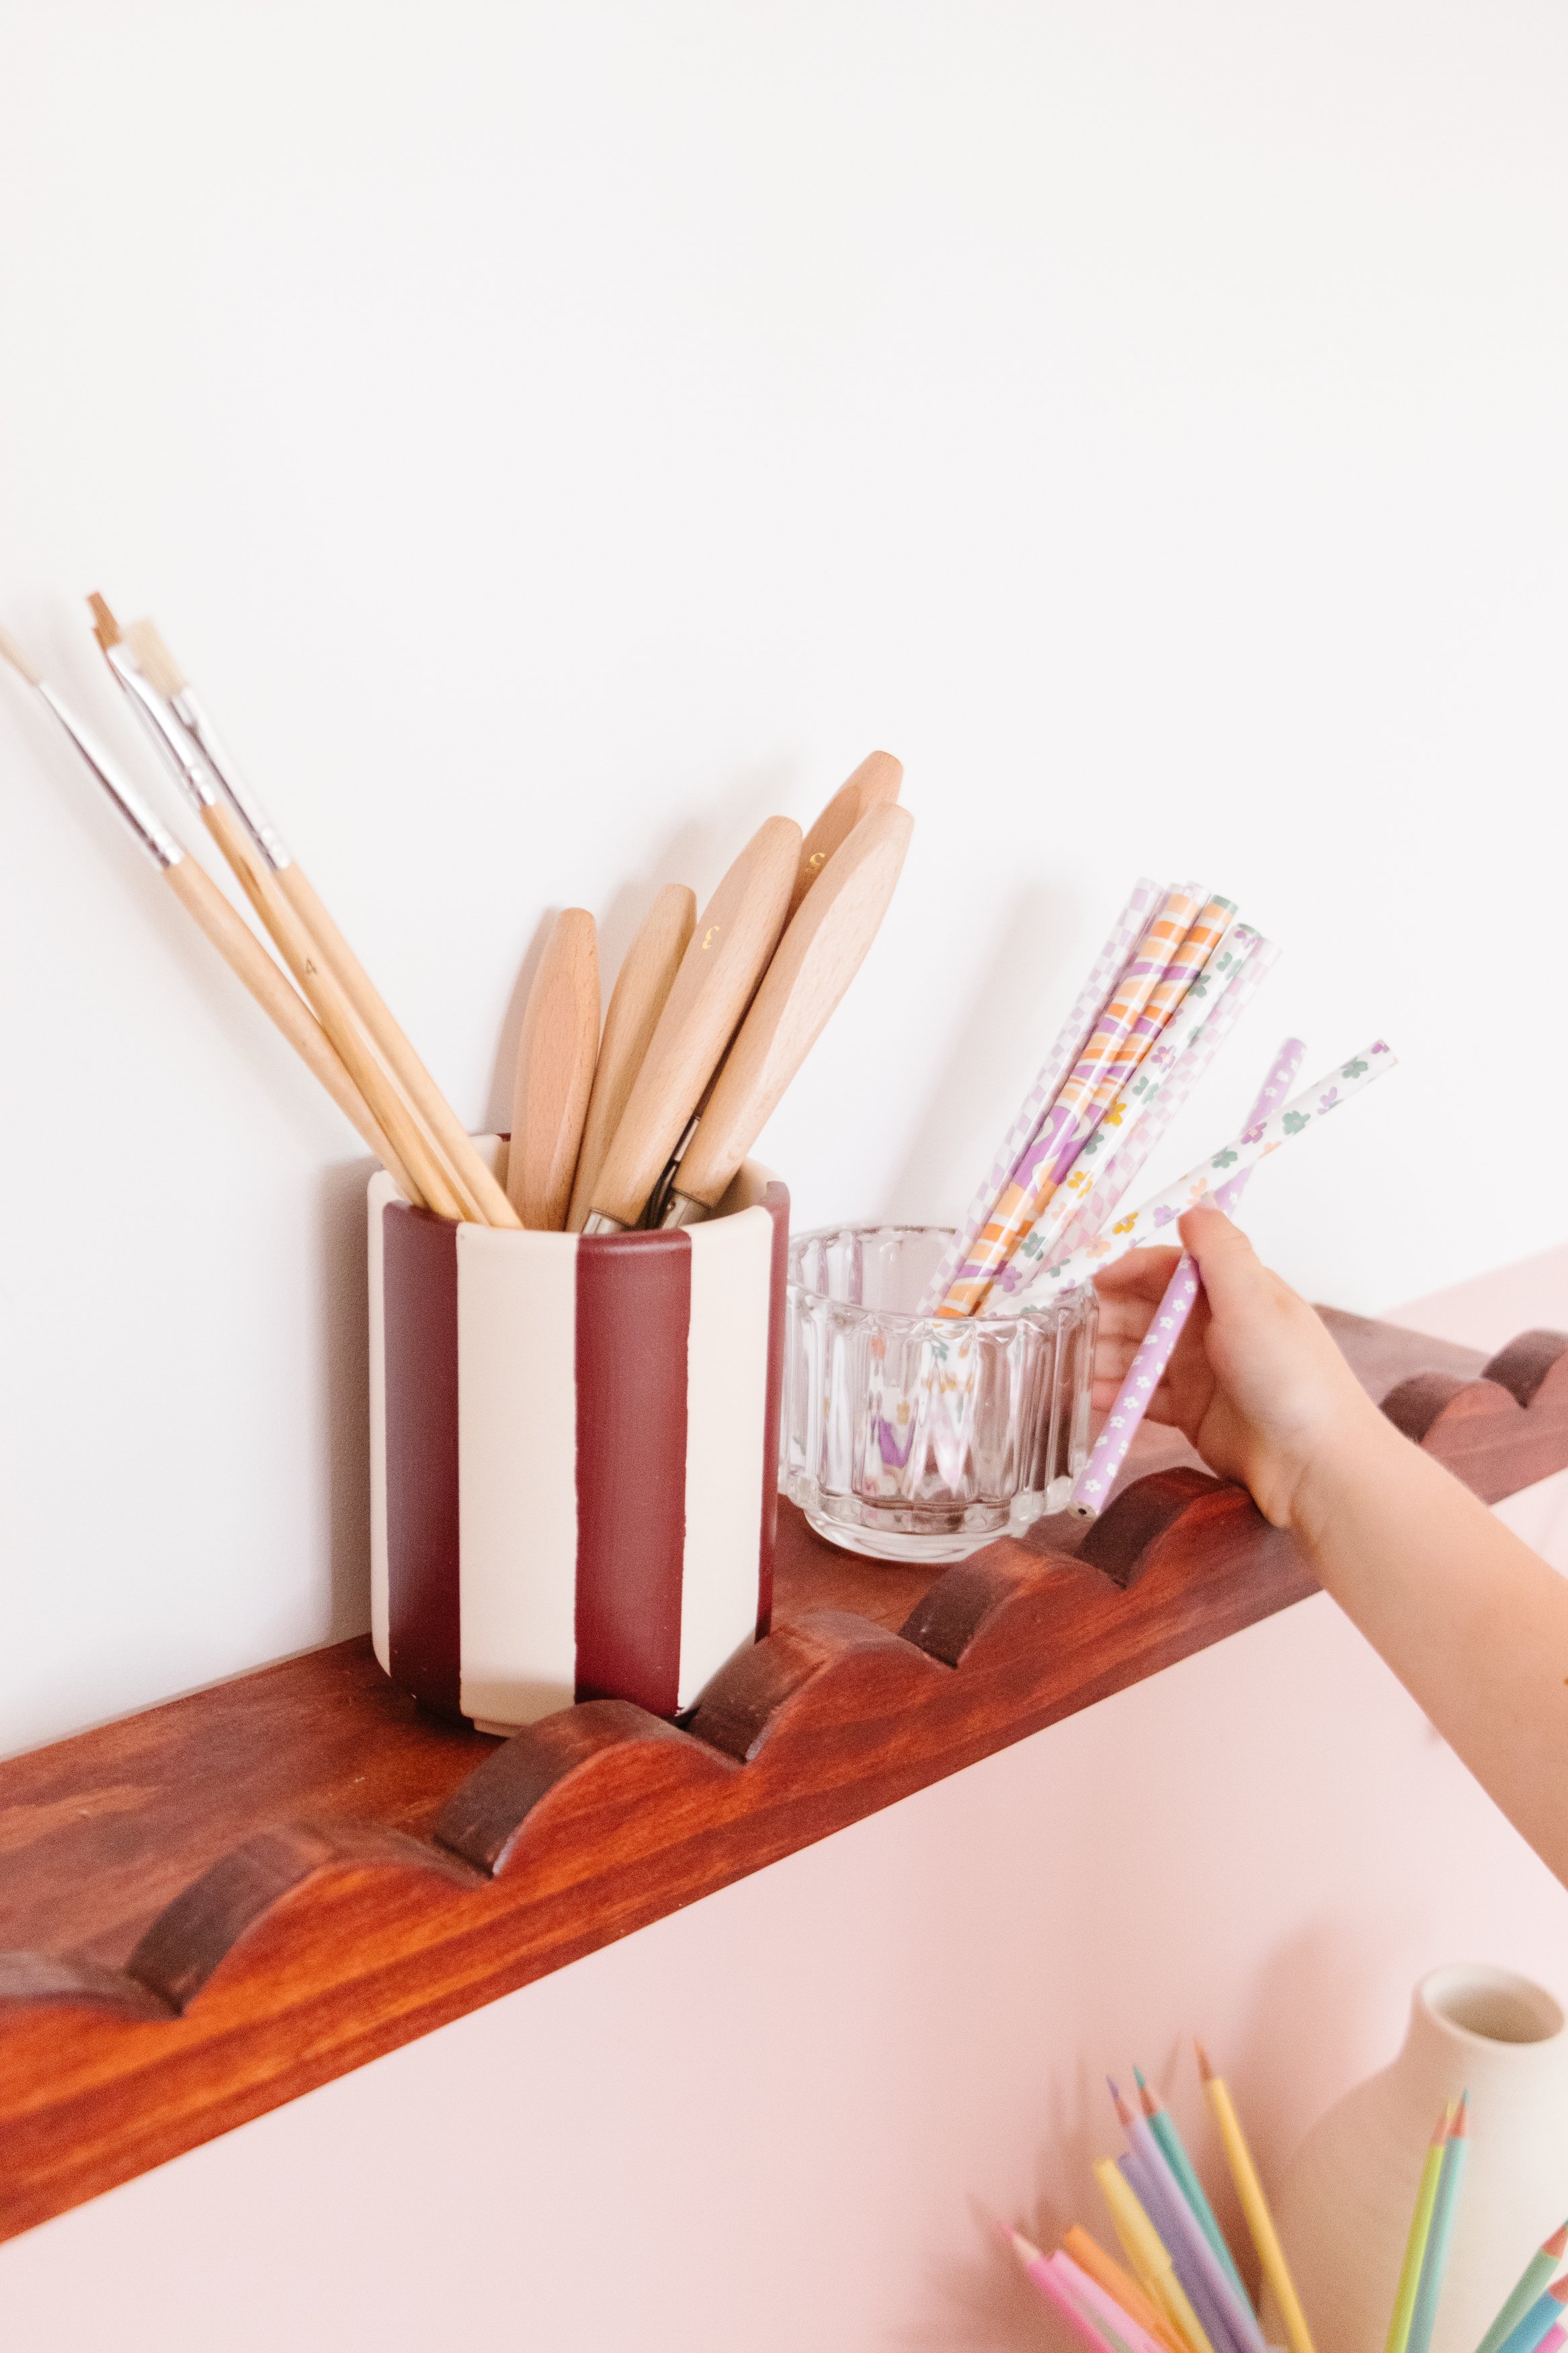
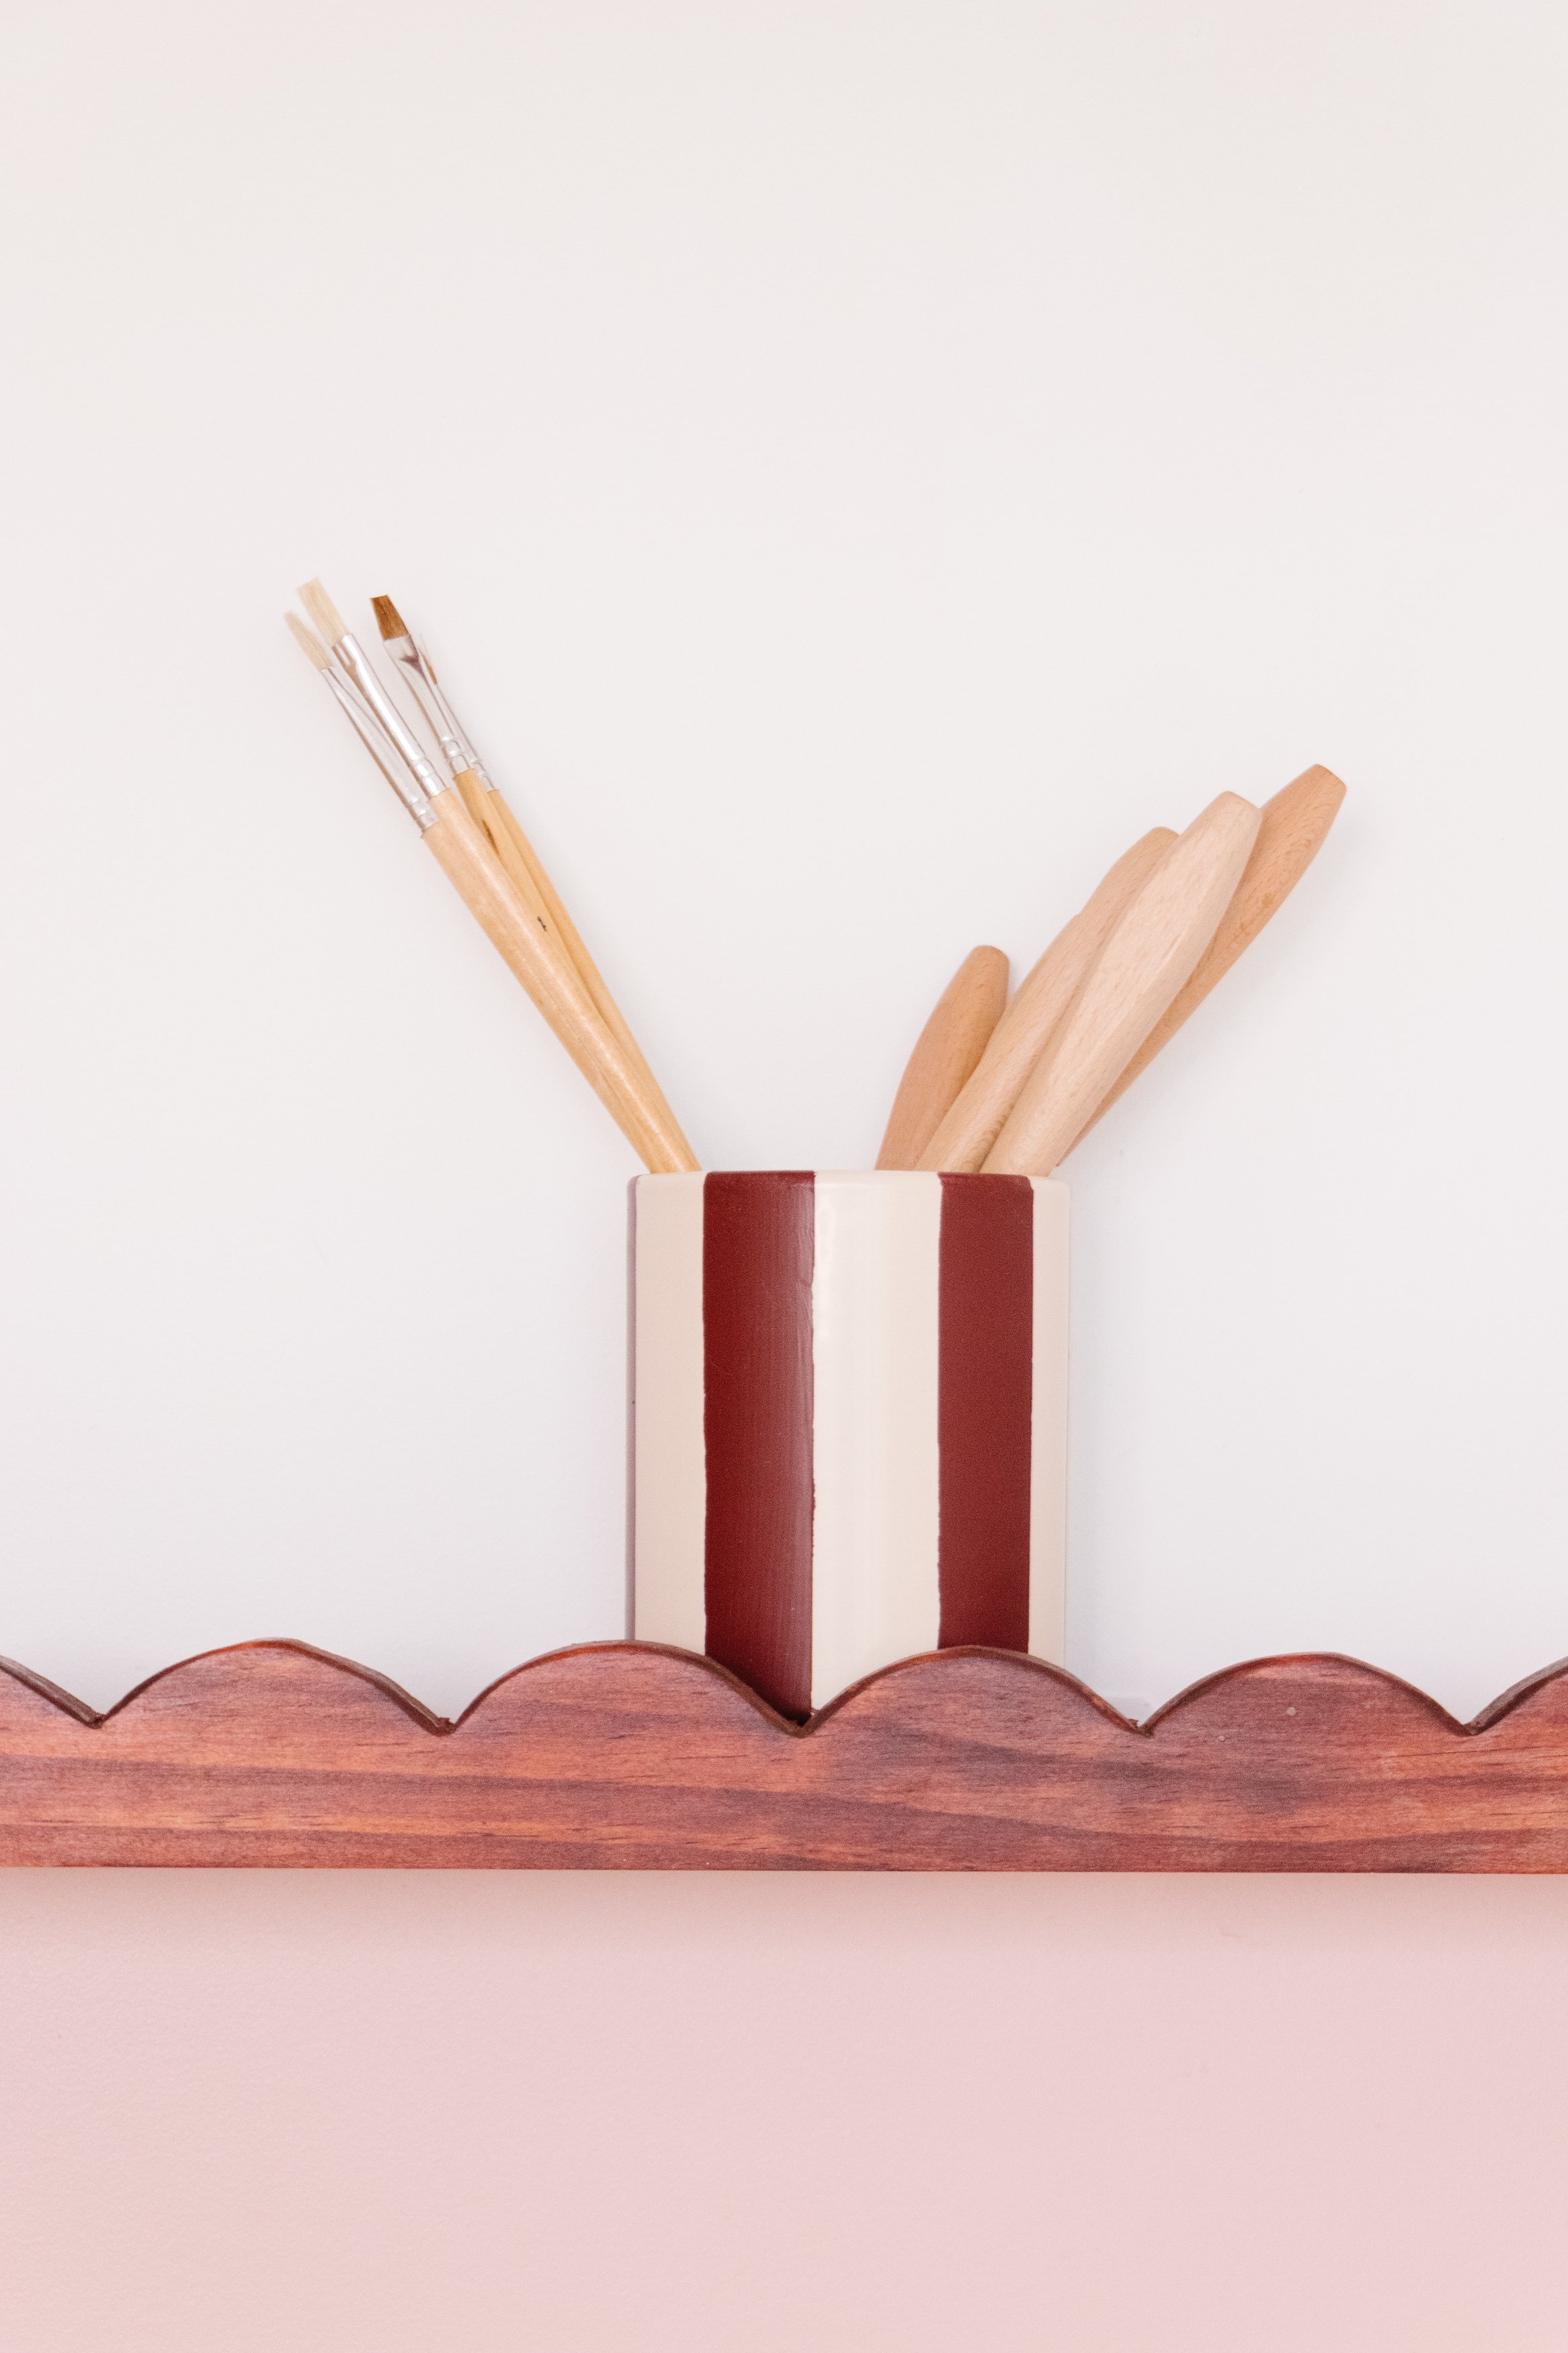
The Reveal!
Aren’t these the cutes shelves you’ve ever seen! I honestly could not be happier and ever since I revealed the new additions to Celeste in her bedroom, she’s been having an absolute blast adding books and more of her favourite things on them. And they look even better IRL. Now you don’t have to use timber stain, you could paint the timber or use a lighter timber stain, or maybe leave the timber raw and simply seal it. The choice is up to you. Just have fun!