DIY Arched Plaster Side Table (Using A Cardboard Box!)
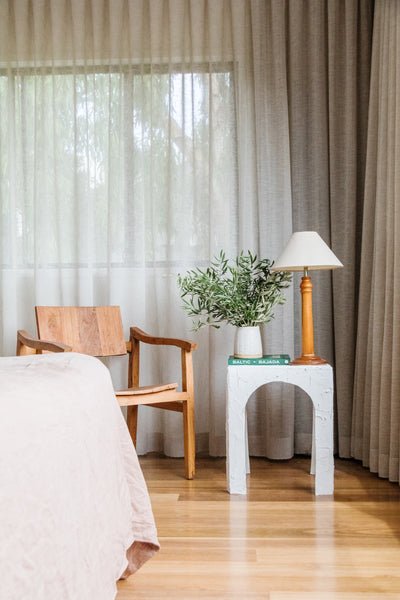
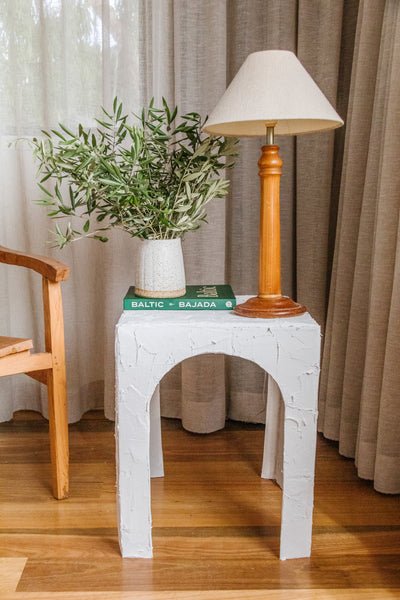
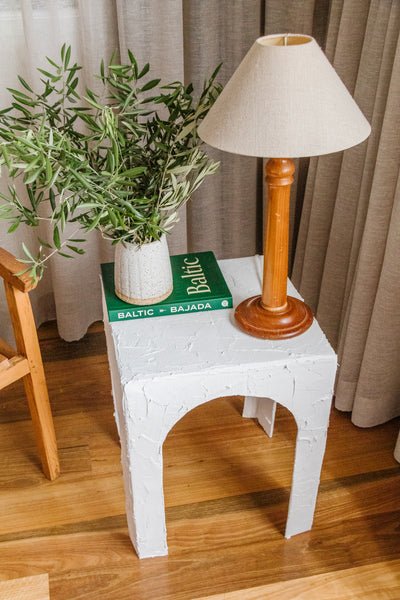
What do you do when you have a leftover grout and a cardboard box? You make a side table, duh! At the end of the year we always do a massive clean up and clear out. No space in our home is left unturned. The contents in our kitchen, linen cupboard, studio, garage, under the house and pantry are cleaned, organised, stored away and cleared. It's refreshing AF. I had a leftover cardboard box and half a tub of grout so I thought, let's make a side table! I had seen this one over on Pinterest and wanted to see if I could recreate it using cardboard. Honestly, this was so easy! I actually can't believe how beautiful this plaster side table turned out. And for those wondering, I braced the underside of the table with additional cardboard and I've had no issues putting anything on top. That said, I did use a heavy duty cardboard box and wouldn't go crazy with what I put on top but it's remarkably sturdy considering I have had a hardcover cookbook, heavy ceramic vase filled with water and olive branches, and a thrifted lamp! Read on to make your very own DIY Arched Plaster Side Table - using cardboard! And make sure to watch this video to see how it all came together. So. Much. Fun.
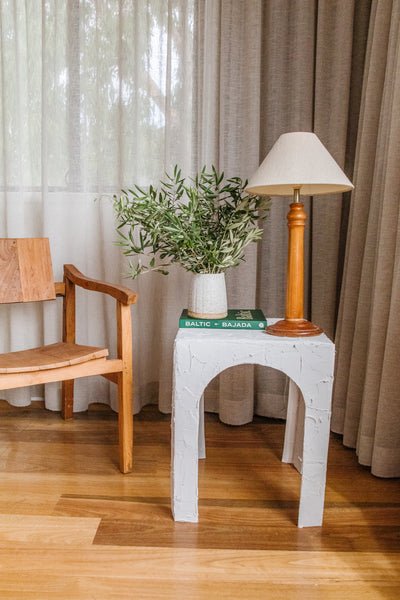
Before & After

Materials
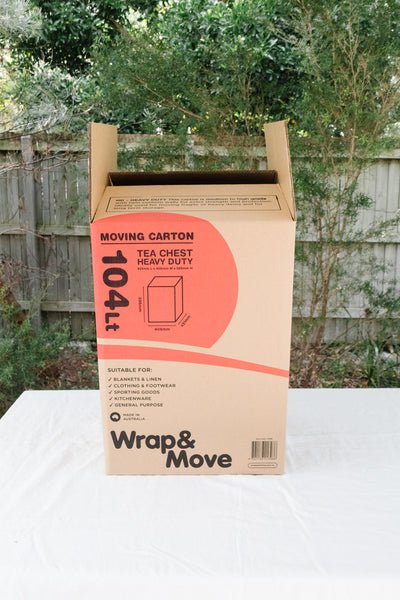
Heavy duty cardboard box (we bought ours from Bunnings)
Measuring tape
Ruler
Pen
String
Boxcutter
Painter's tape from Bunnings
White primer paint
Paint brush
White grout from Bunnings (I used leftover Selley's Brilliant White For Life Grout)
Paint scraper or joint tool from Bunnings
Rustoleum Clear Gloss Spray from Bunnings or Selley's Grout Sealer from Bunnings
How To
Measure the height you want for the side table, fold the cardboard box flat and cut the bottom off the box using a measuring tape and boxcutter (to your measurements), making sure to completely remove the folded flaps from one end as you don't need those at all.
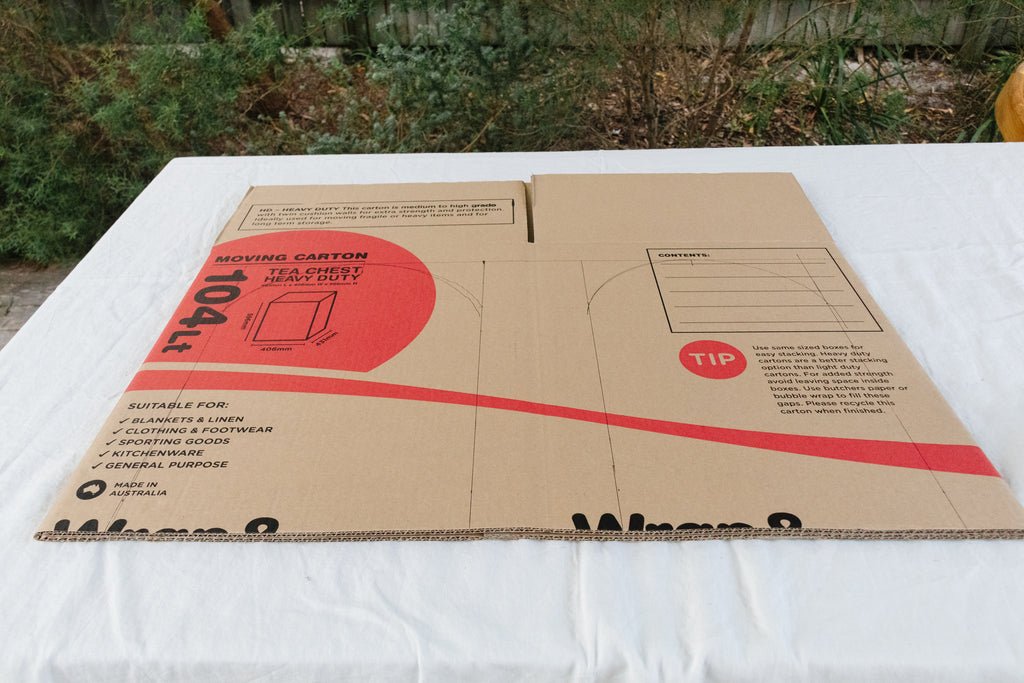
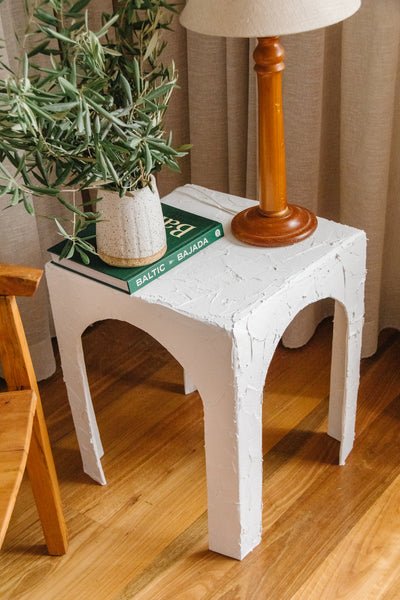
Keeping the cardboard box flat use a ruler, pen and string draw out two arches onto the side of the box making sure to stay within the two individual sides of the box. Refer to these Stories to see how it's done and this video as well.

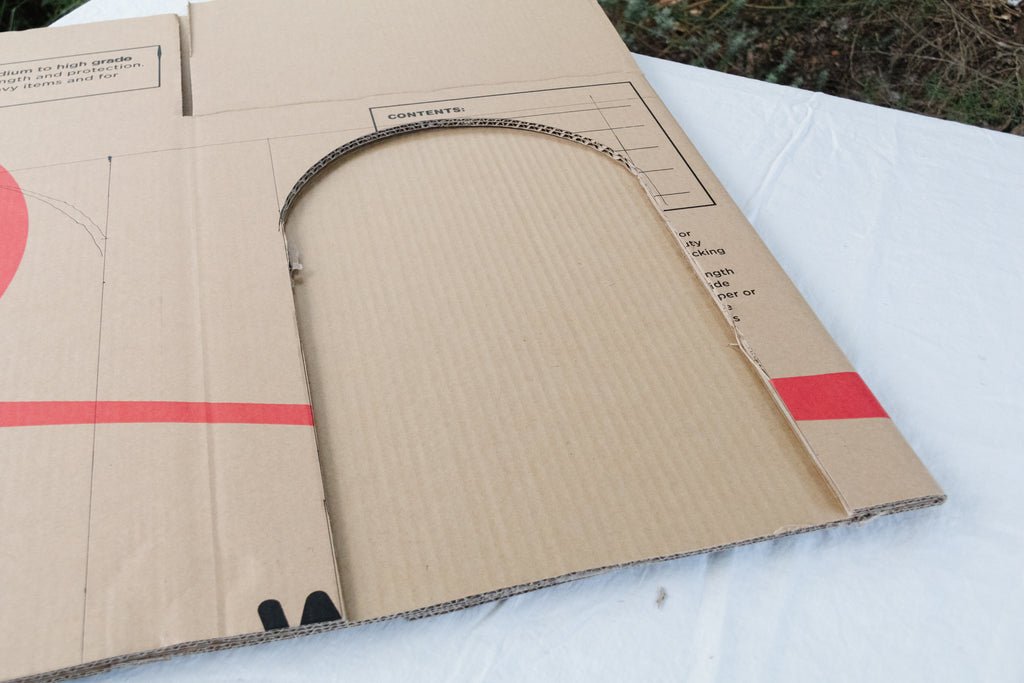
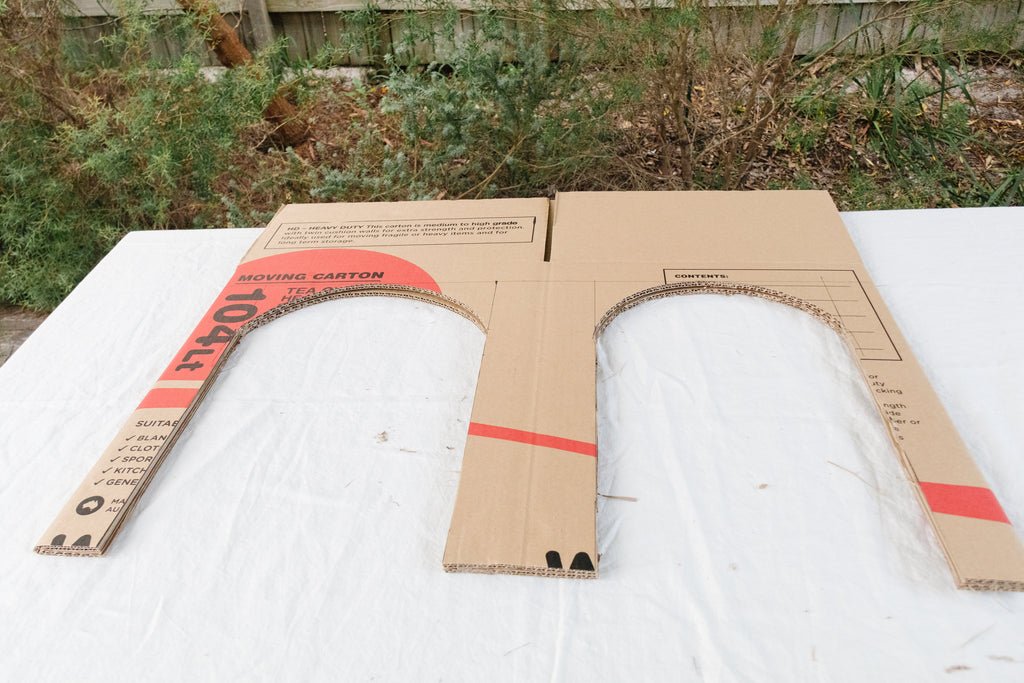
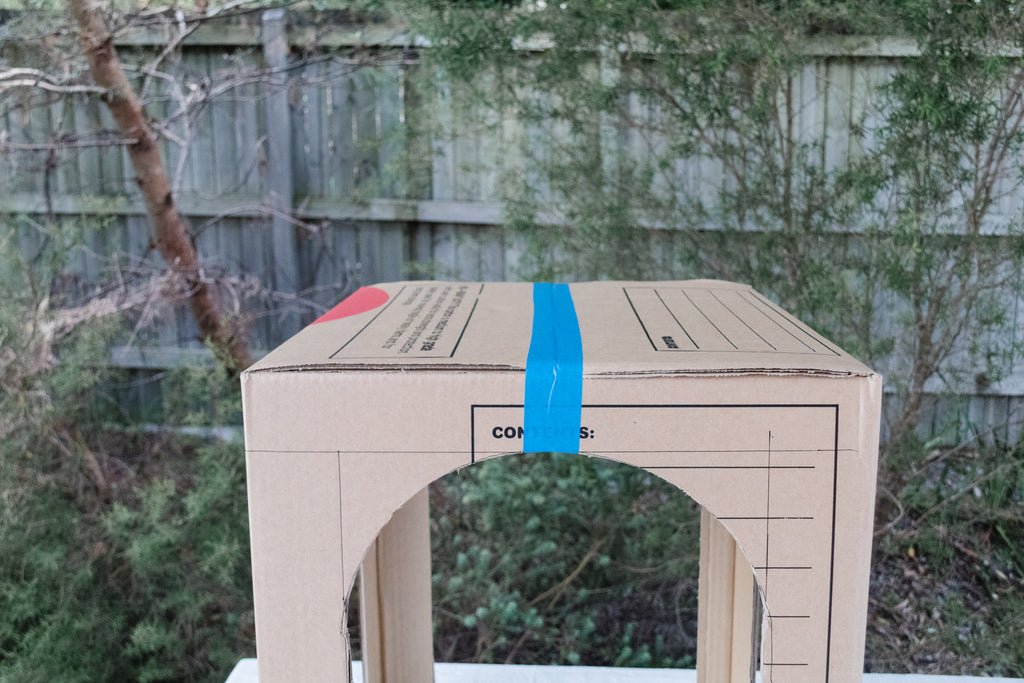
Cut the arch out along the lines using the boxcutter, and cut through to the other side of the cardboard box so when you've finished, the cardboard box should look like this below.

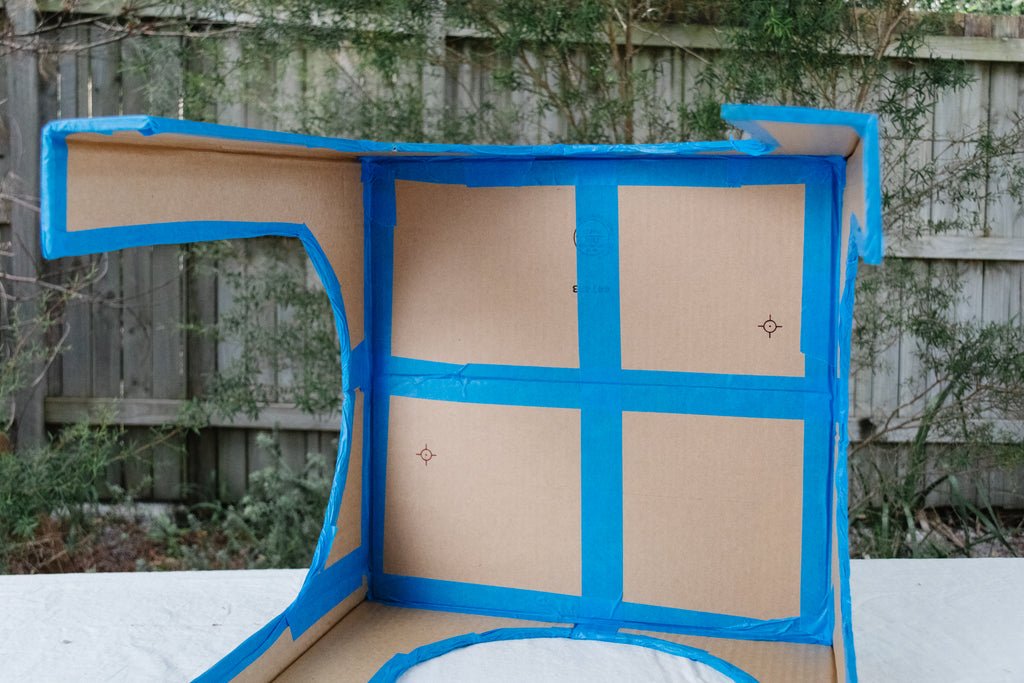
Open and stand the cardboard box up. Enclose the flaps using painters tape. Then tape over all exposed edges of the cardboard box using painters tape as pictured below. The shape of the cardboard box is now ready for painting, plastering and sealing!

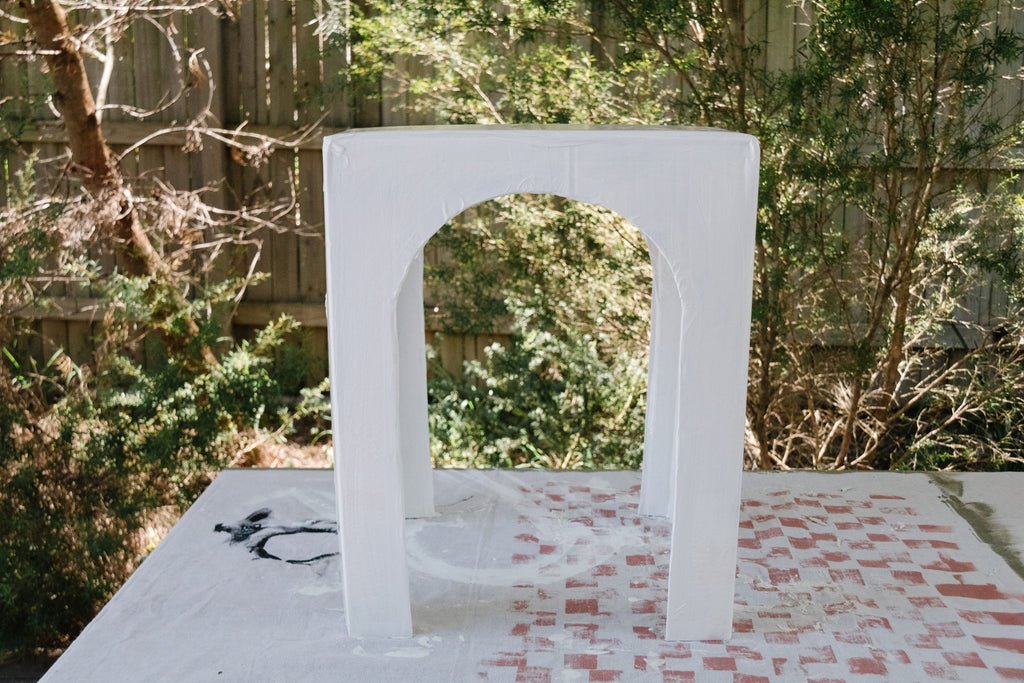
Paint the entire surface of the arch side table with primer paint and set aside to dry completely. Paint a second coat and set aside to dry. It's important to make sure that the paint completely covers up the cardboard so when applying the grout, if some of the cardboard shows through it doesn't matter because it's painted white and you won't notice the difference between the paint and grout.
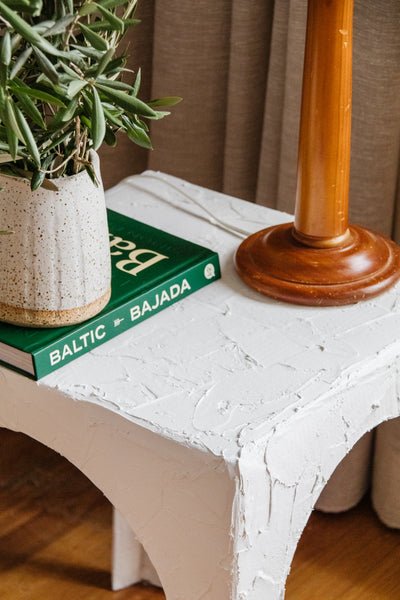
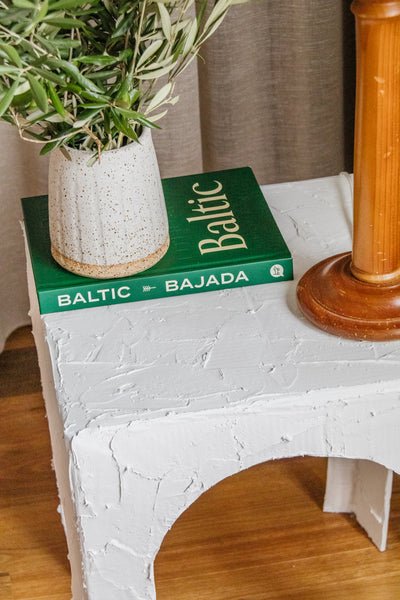
Using a paint scraper or joint tool, apply the grout in short sweeping motions across the entire surface of the side table. You won't need to grout the underside of the table though. Grout does dry quickly so work in small sections and avoid repeatedly sweeping over the grout as it's curing otherwise it won't be as smooth. Also, don't over think it. Just have fun! Set aside to dry for at least 24 hours.
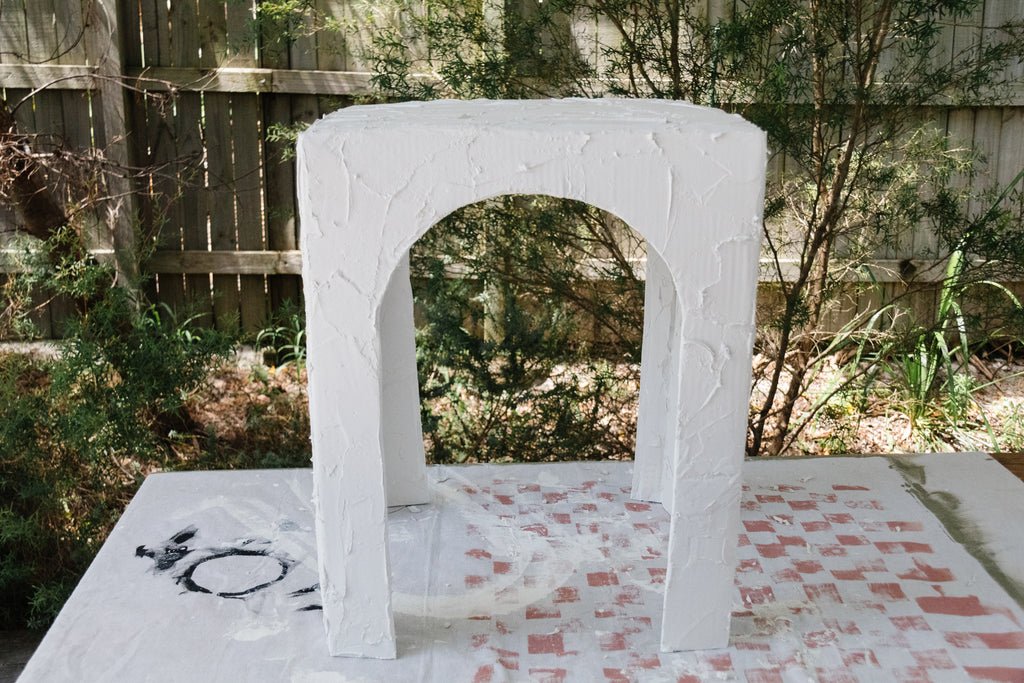
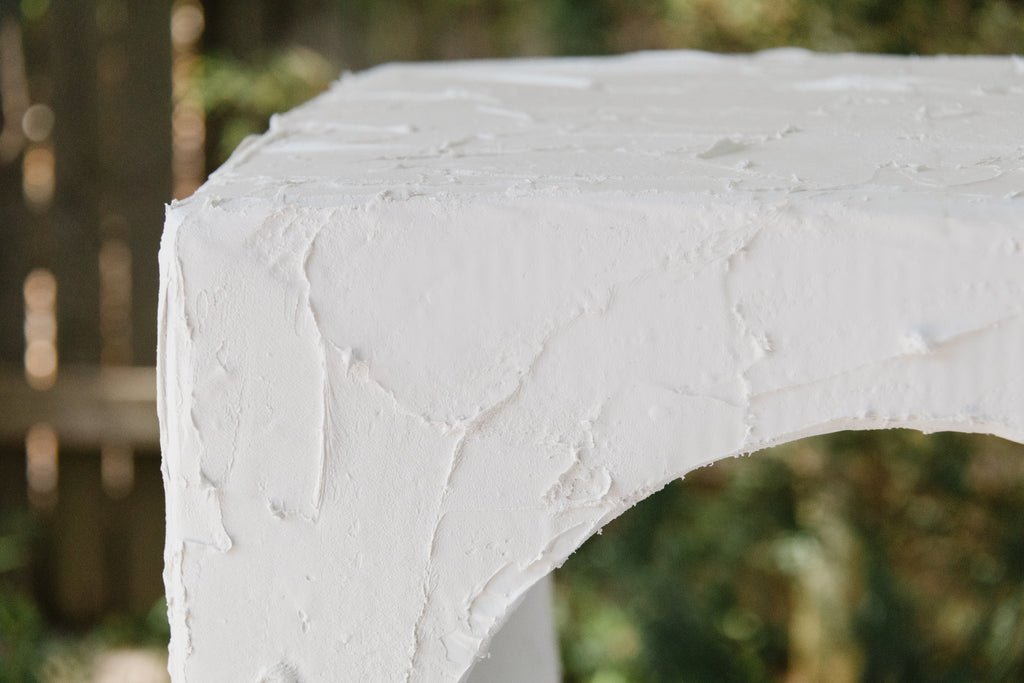
When the grout is dry, seal it with a light spray of Rustoleum Clear Gloss Spray or you can use Selley's Grout Sealer. I already had the Rustoleum spray at home so I just used this. Set aside to dry for a couple of hours and it's done!
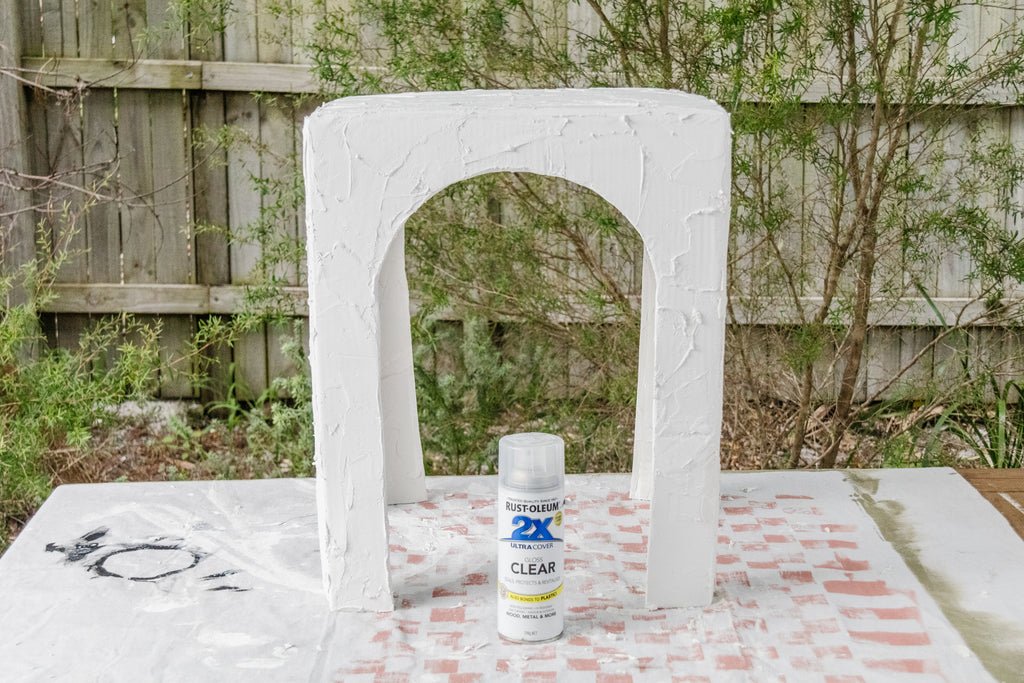
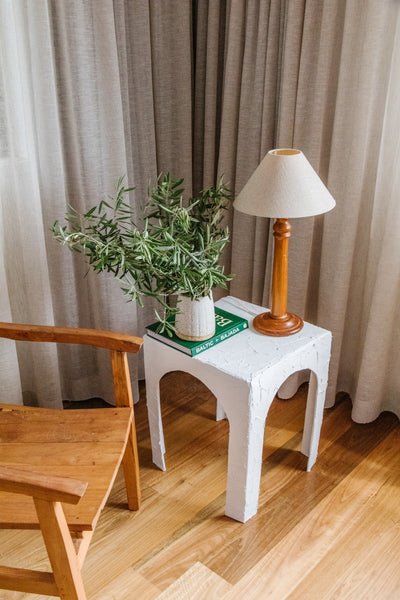
Ta daaaa! A gorgeous arch plaster side table that no one would know is made from cardboard. So good.
Total project cost? ZERO. Yes, that's right. All the materials I used for this DIY I already had at home, and that feels super satisfying. Best of all? You don't need any tools and you can start and finish it in a day. Woo hoo! Make sure you watch this video to see how it all came together. And if you were feeling extra creative you could colour the grout with paint or paint over the grout to get the desired colour of your choice (if white is a bit boring for you). Happy making!