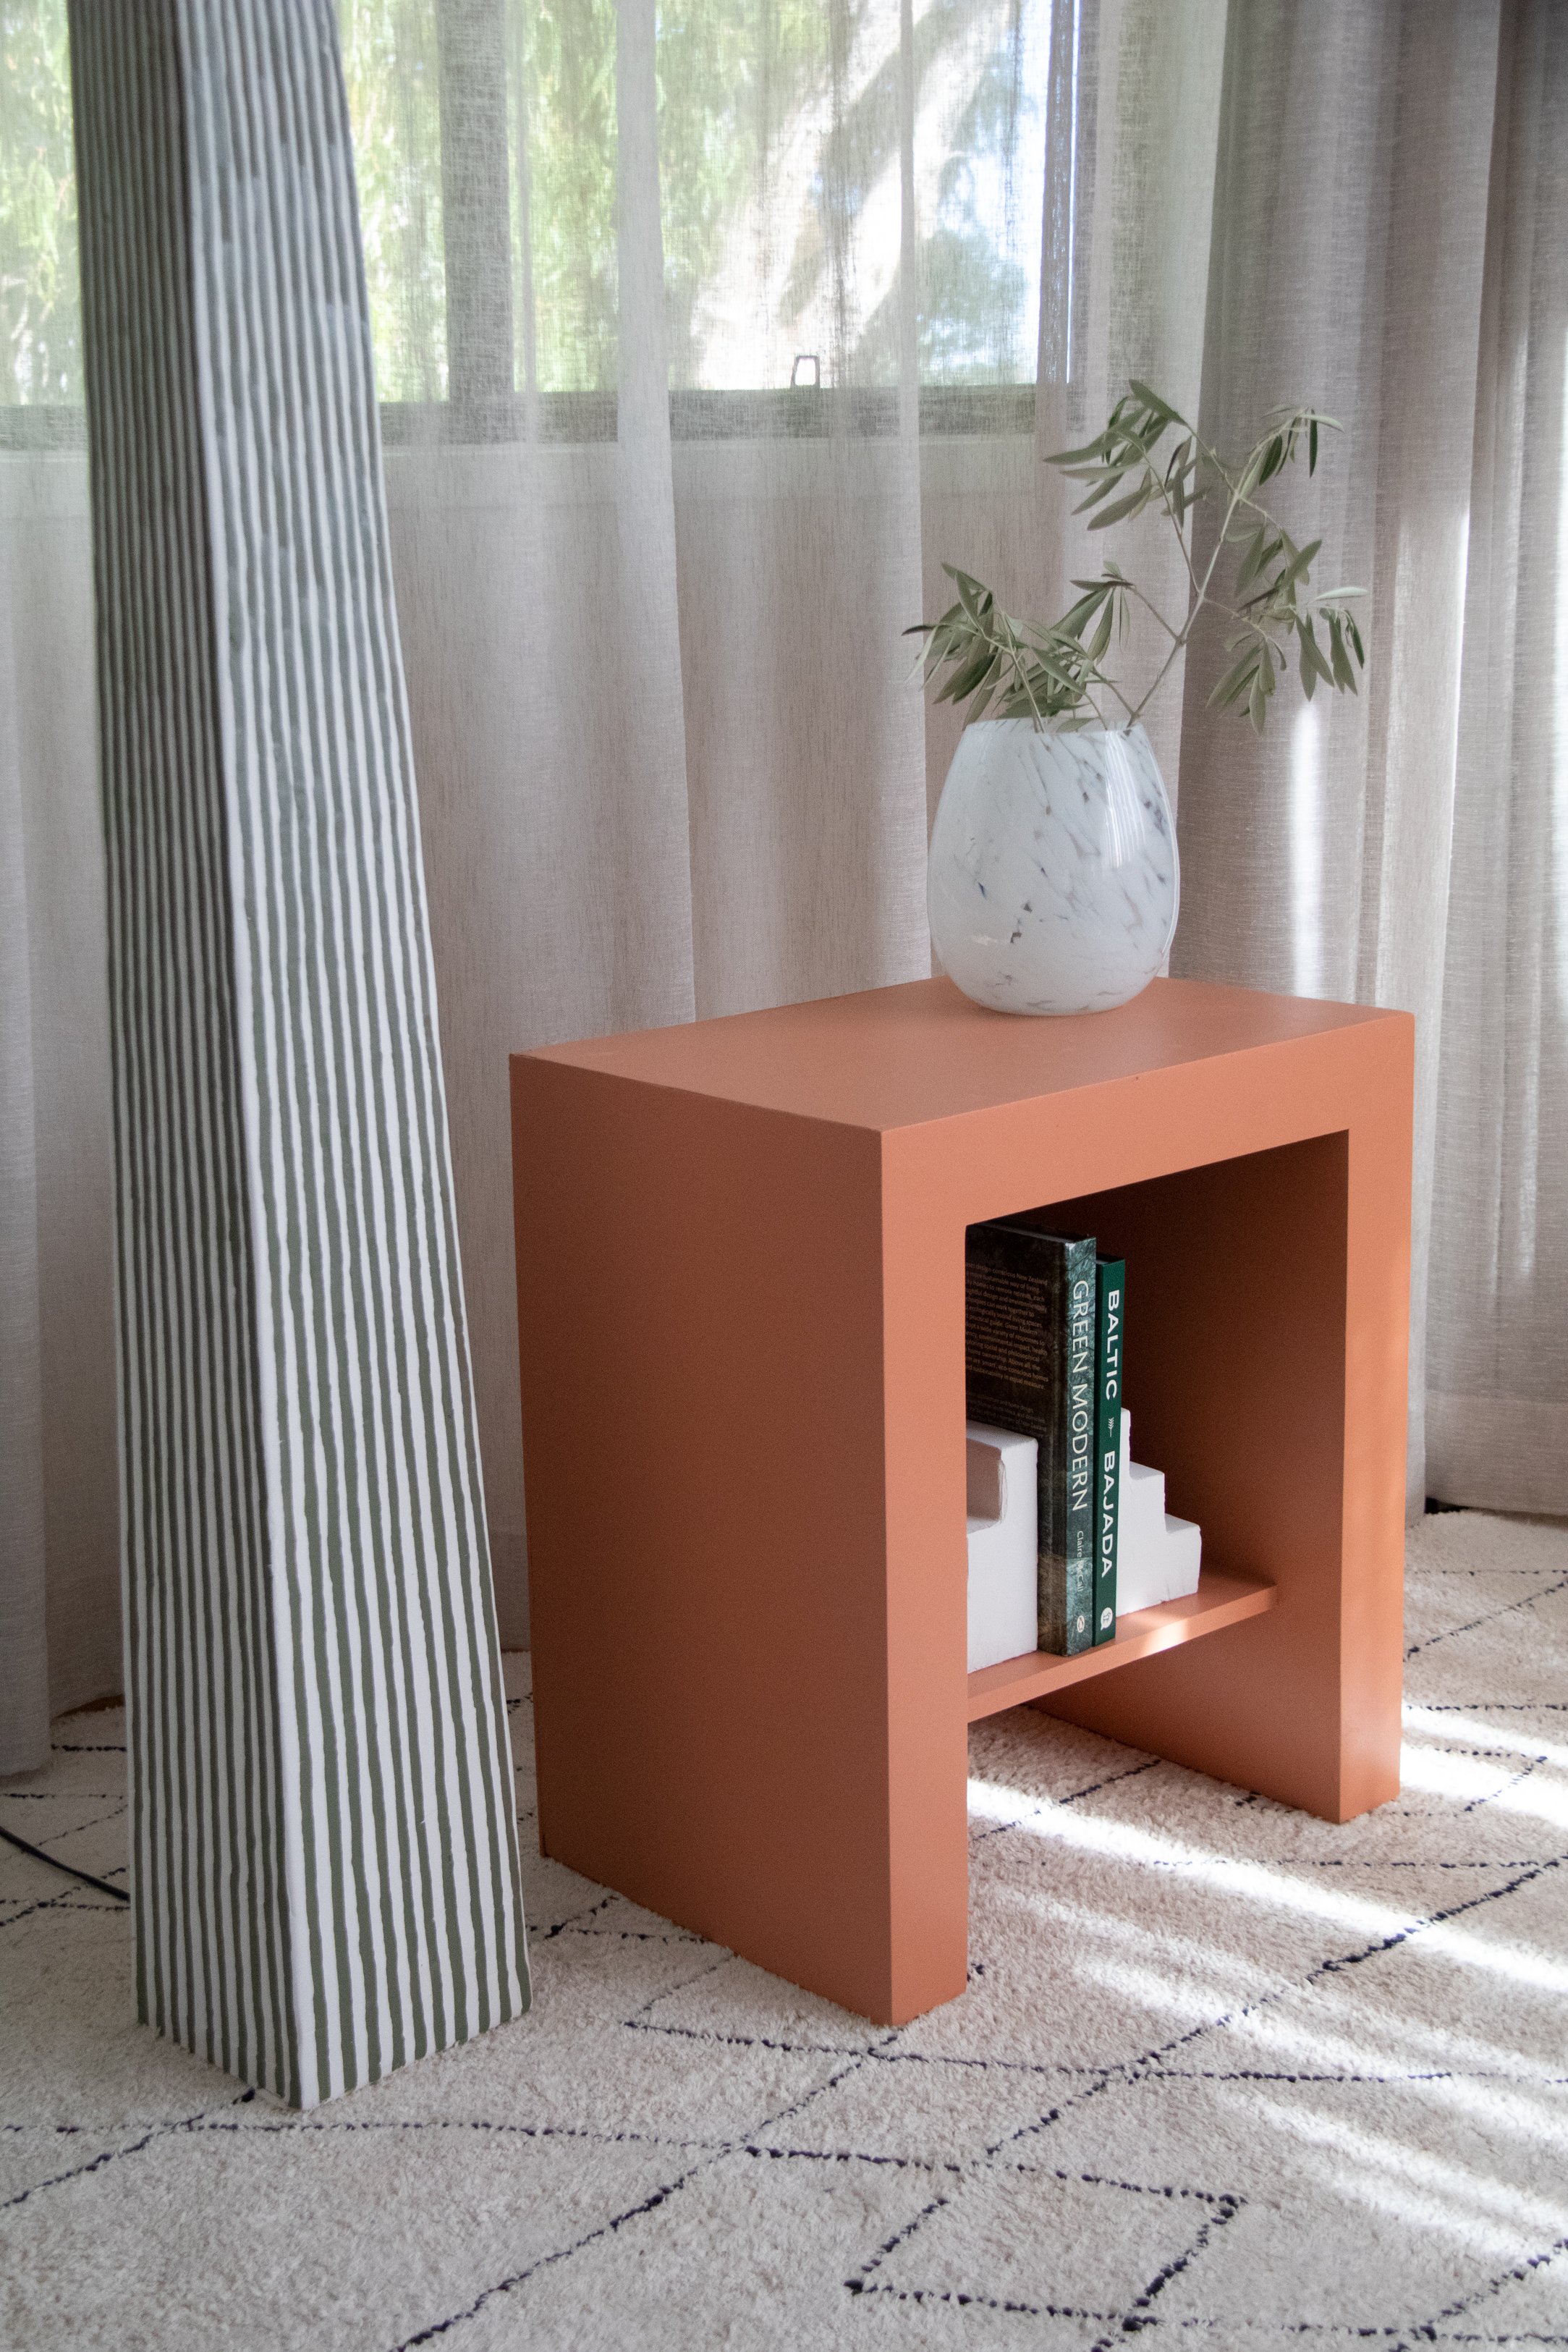
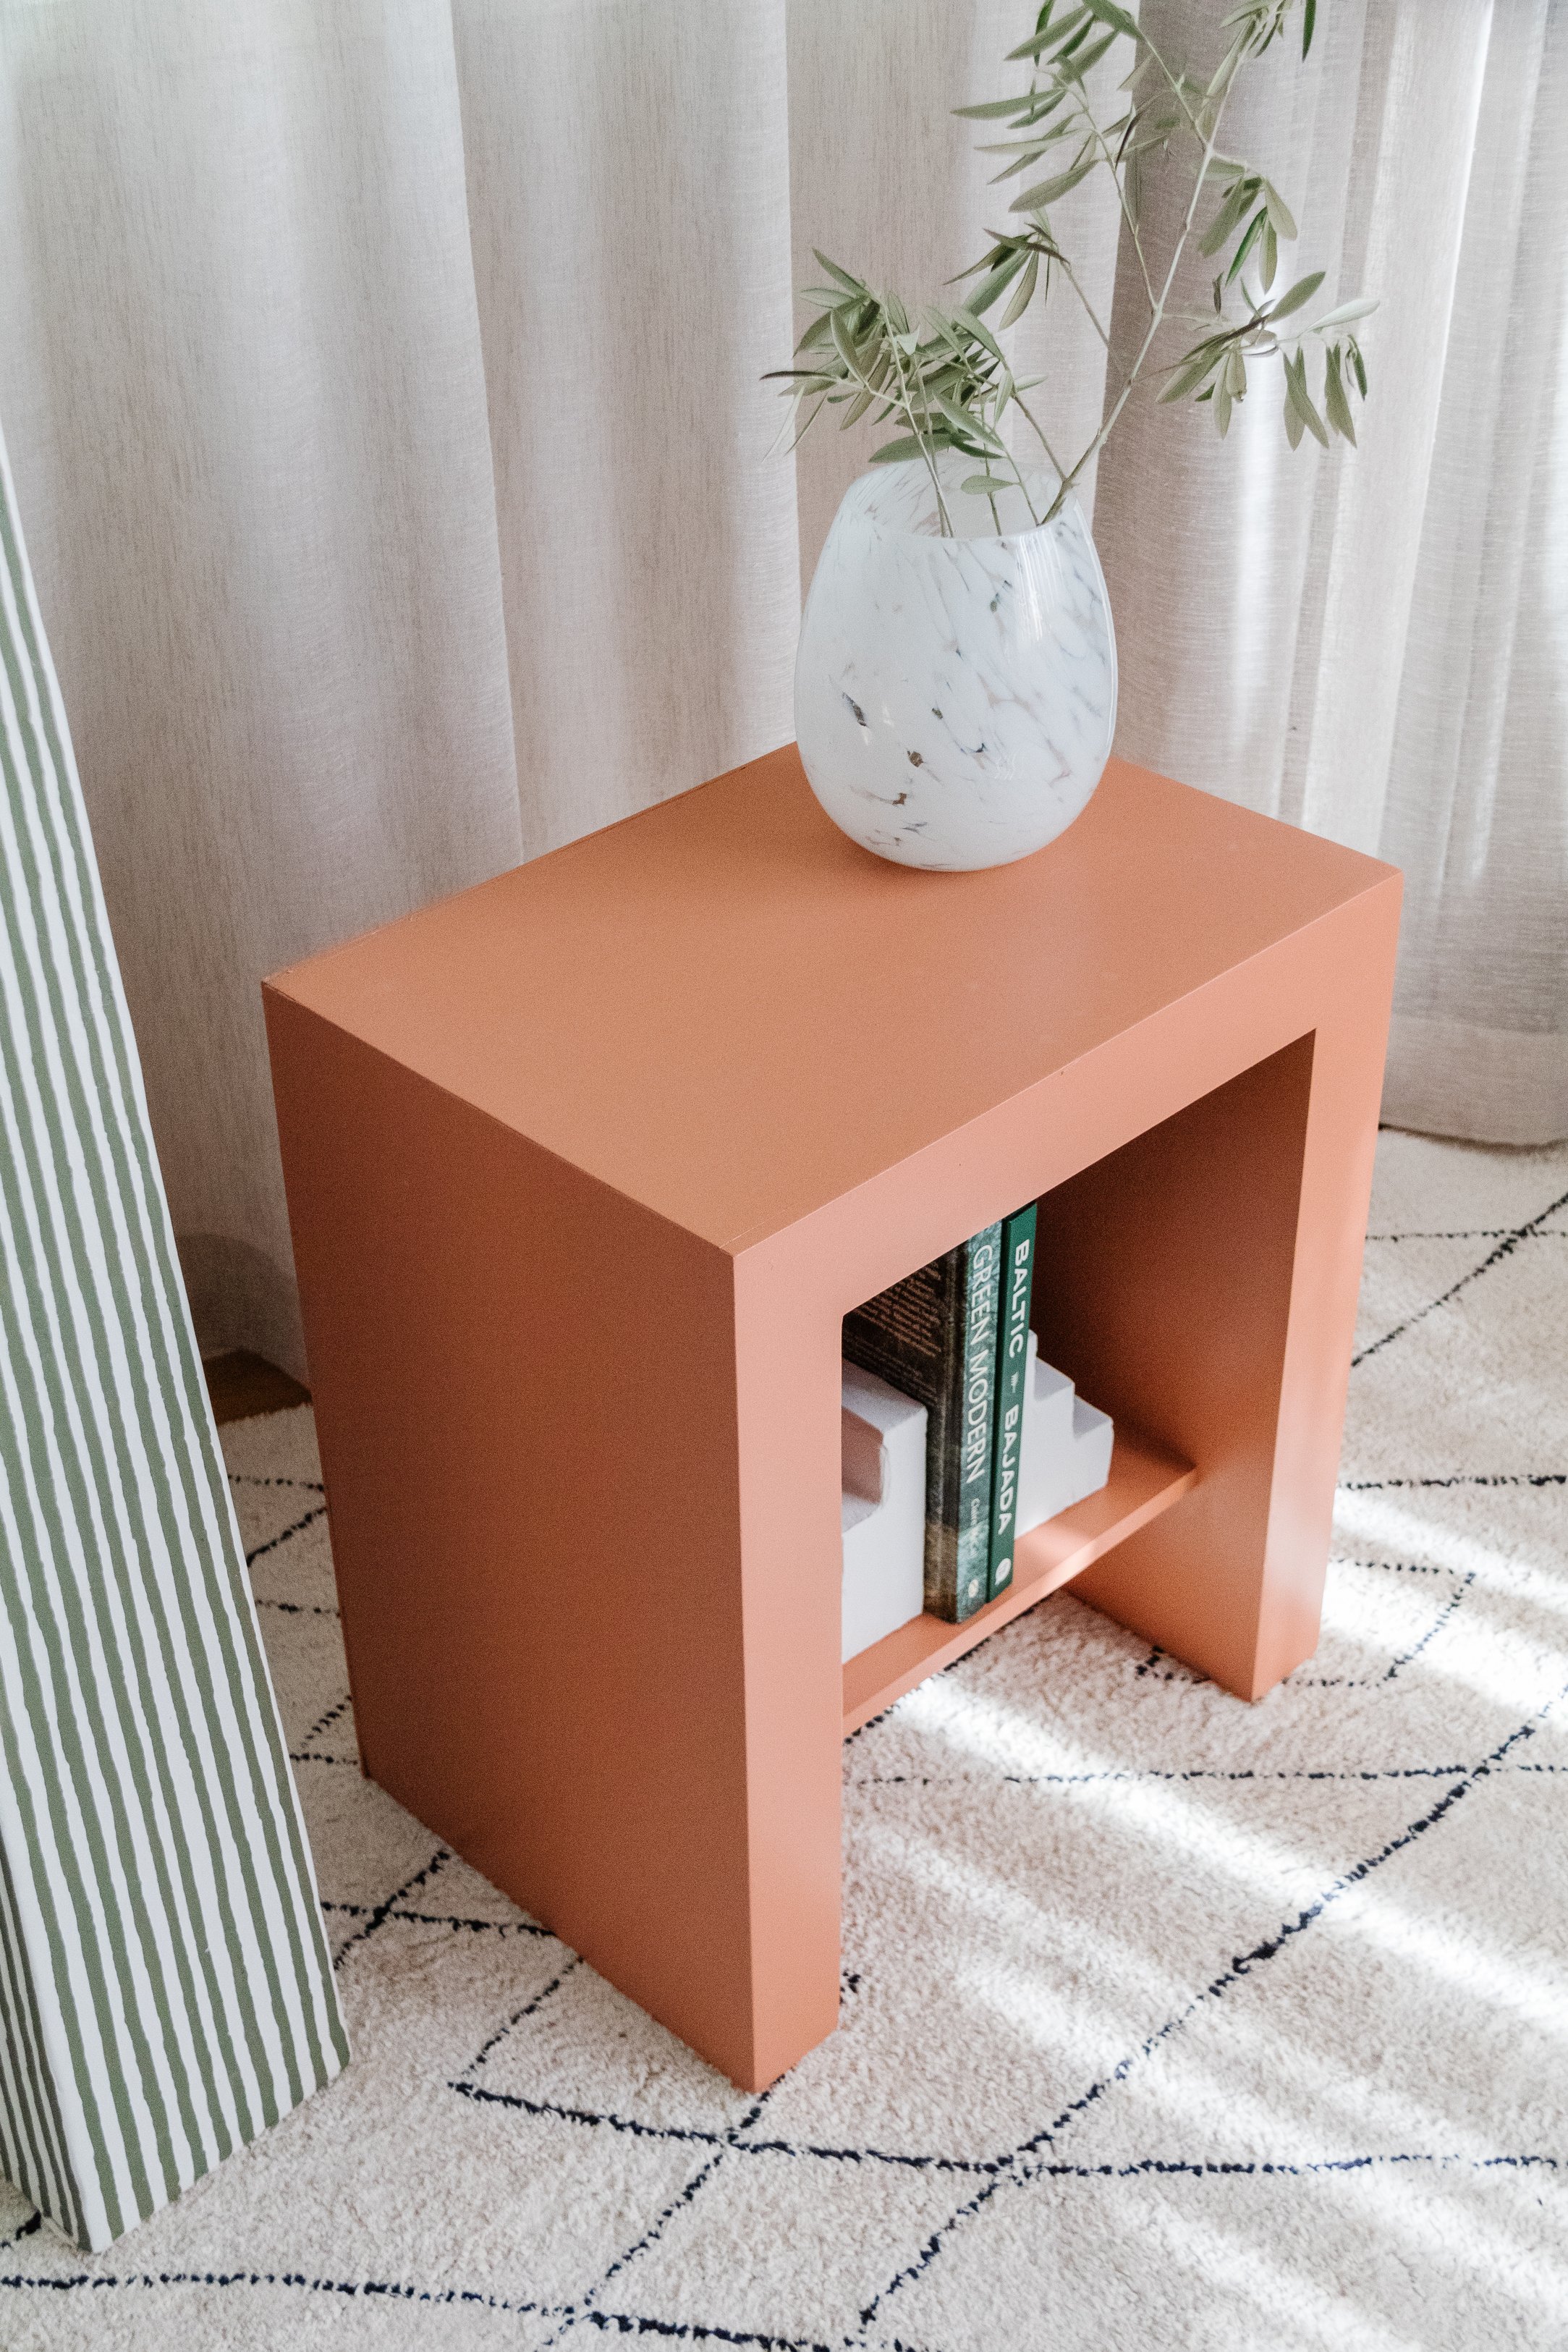
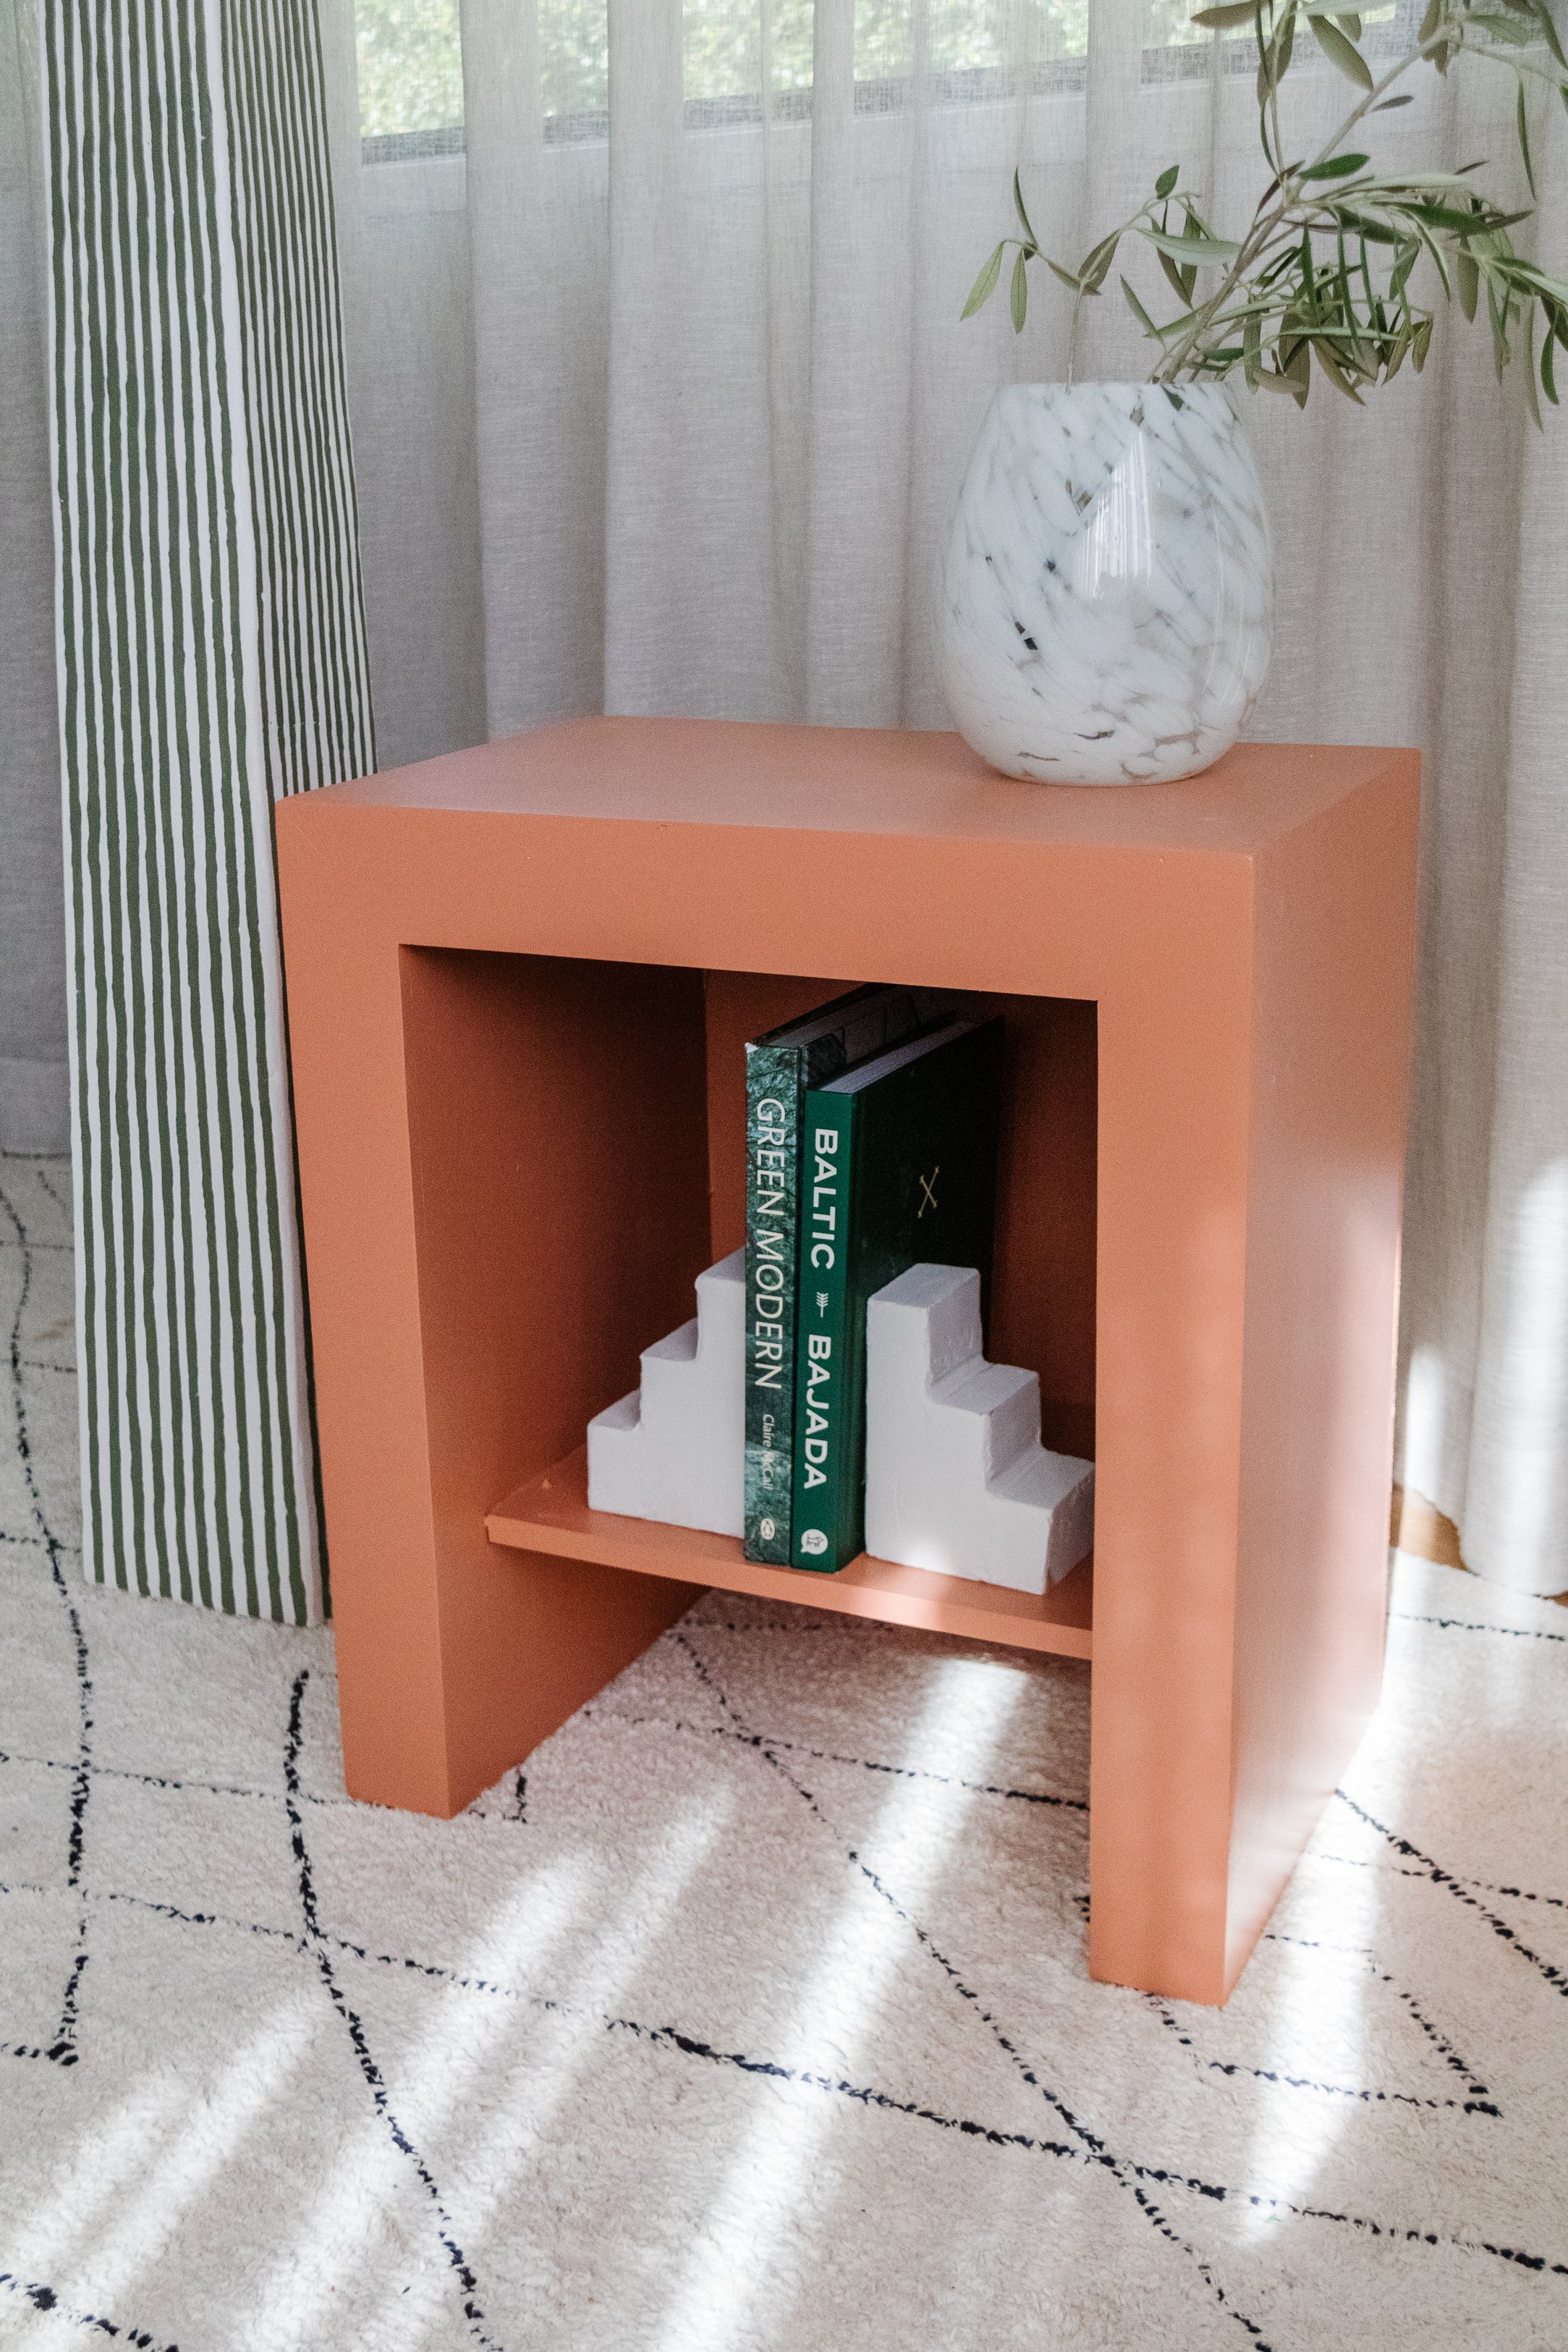
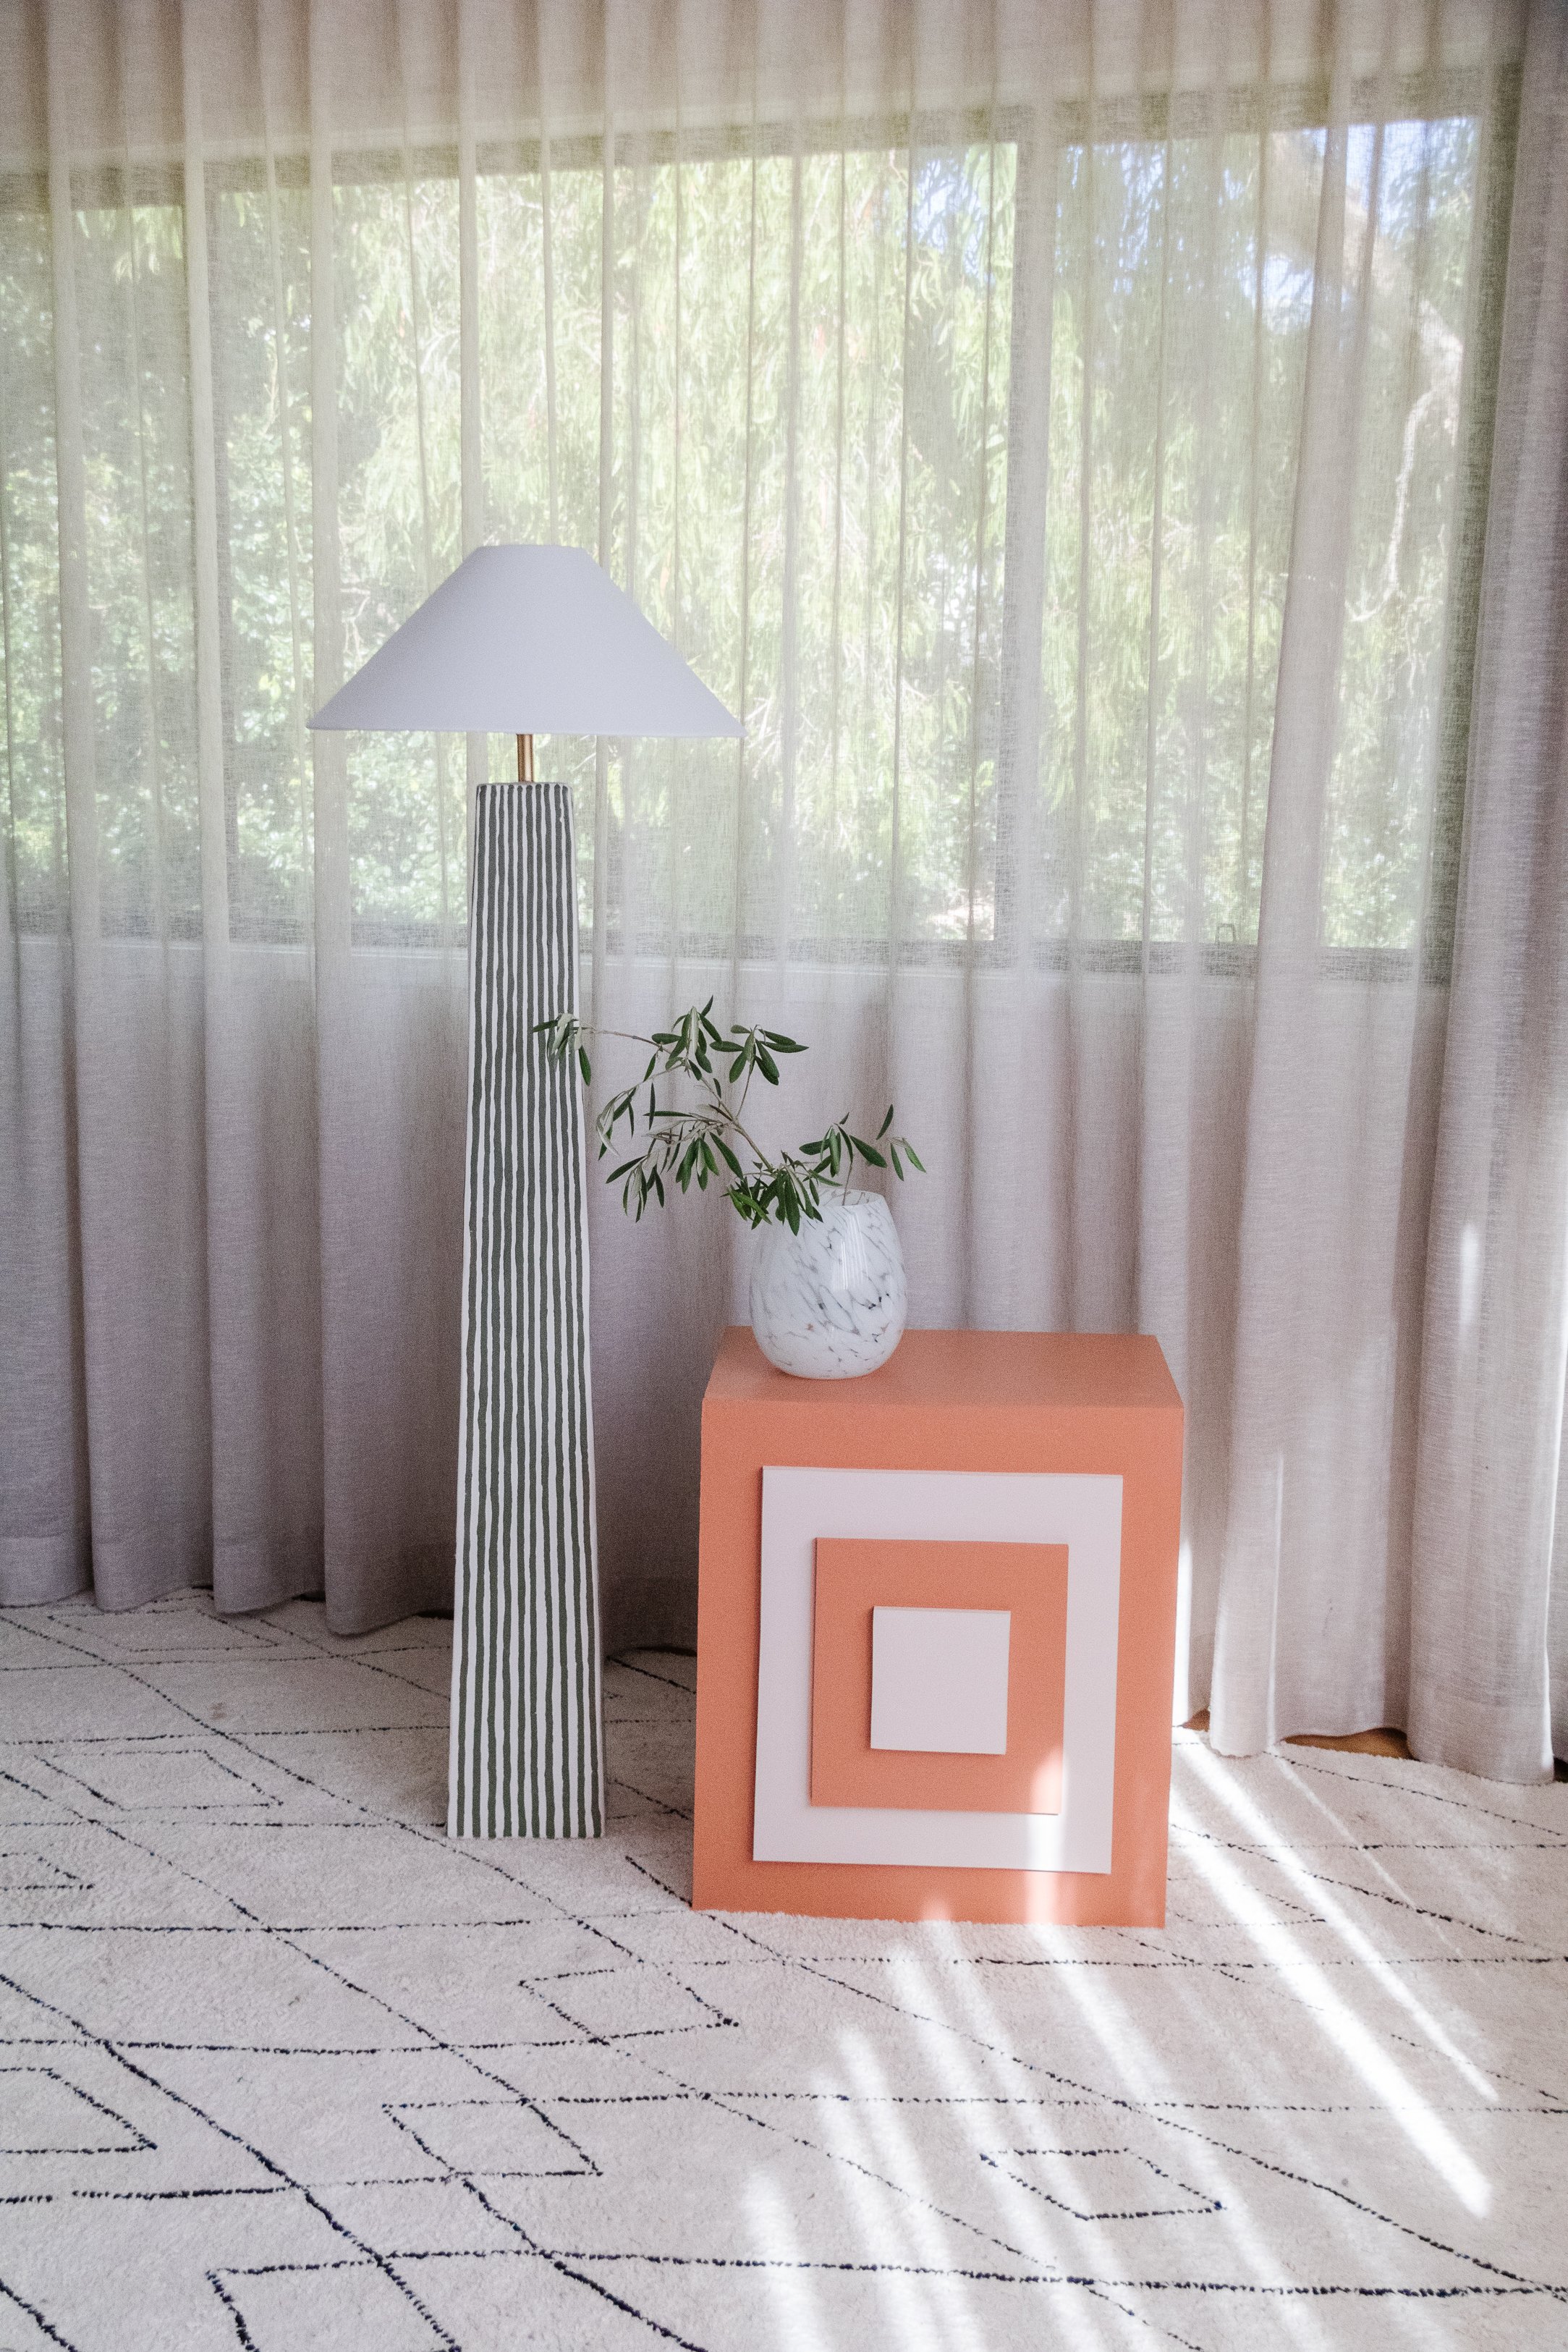
Upcycled Stepped Side Table
Something I've been noticing a lot lately is how much I enjoy the design process.
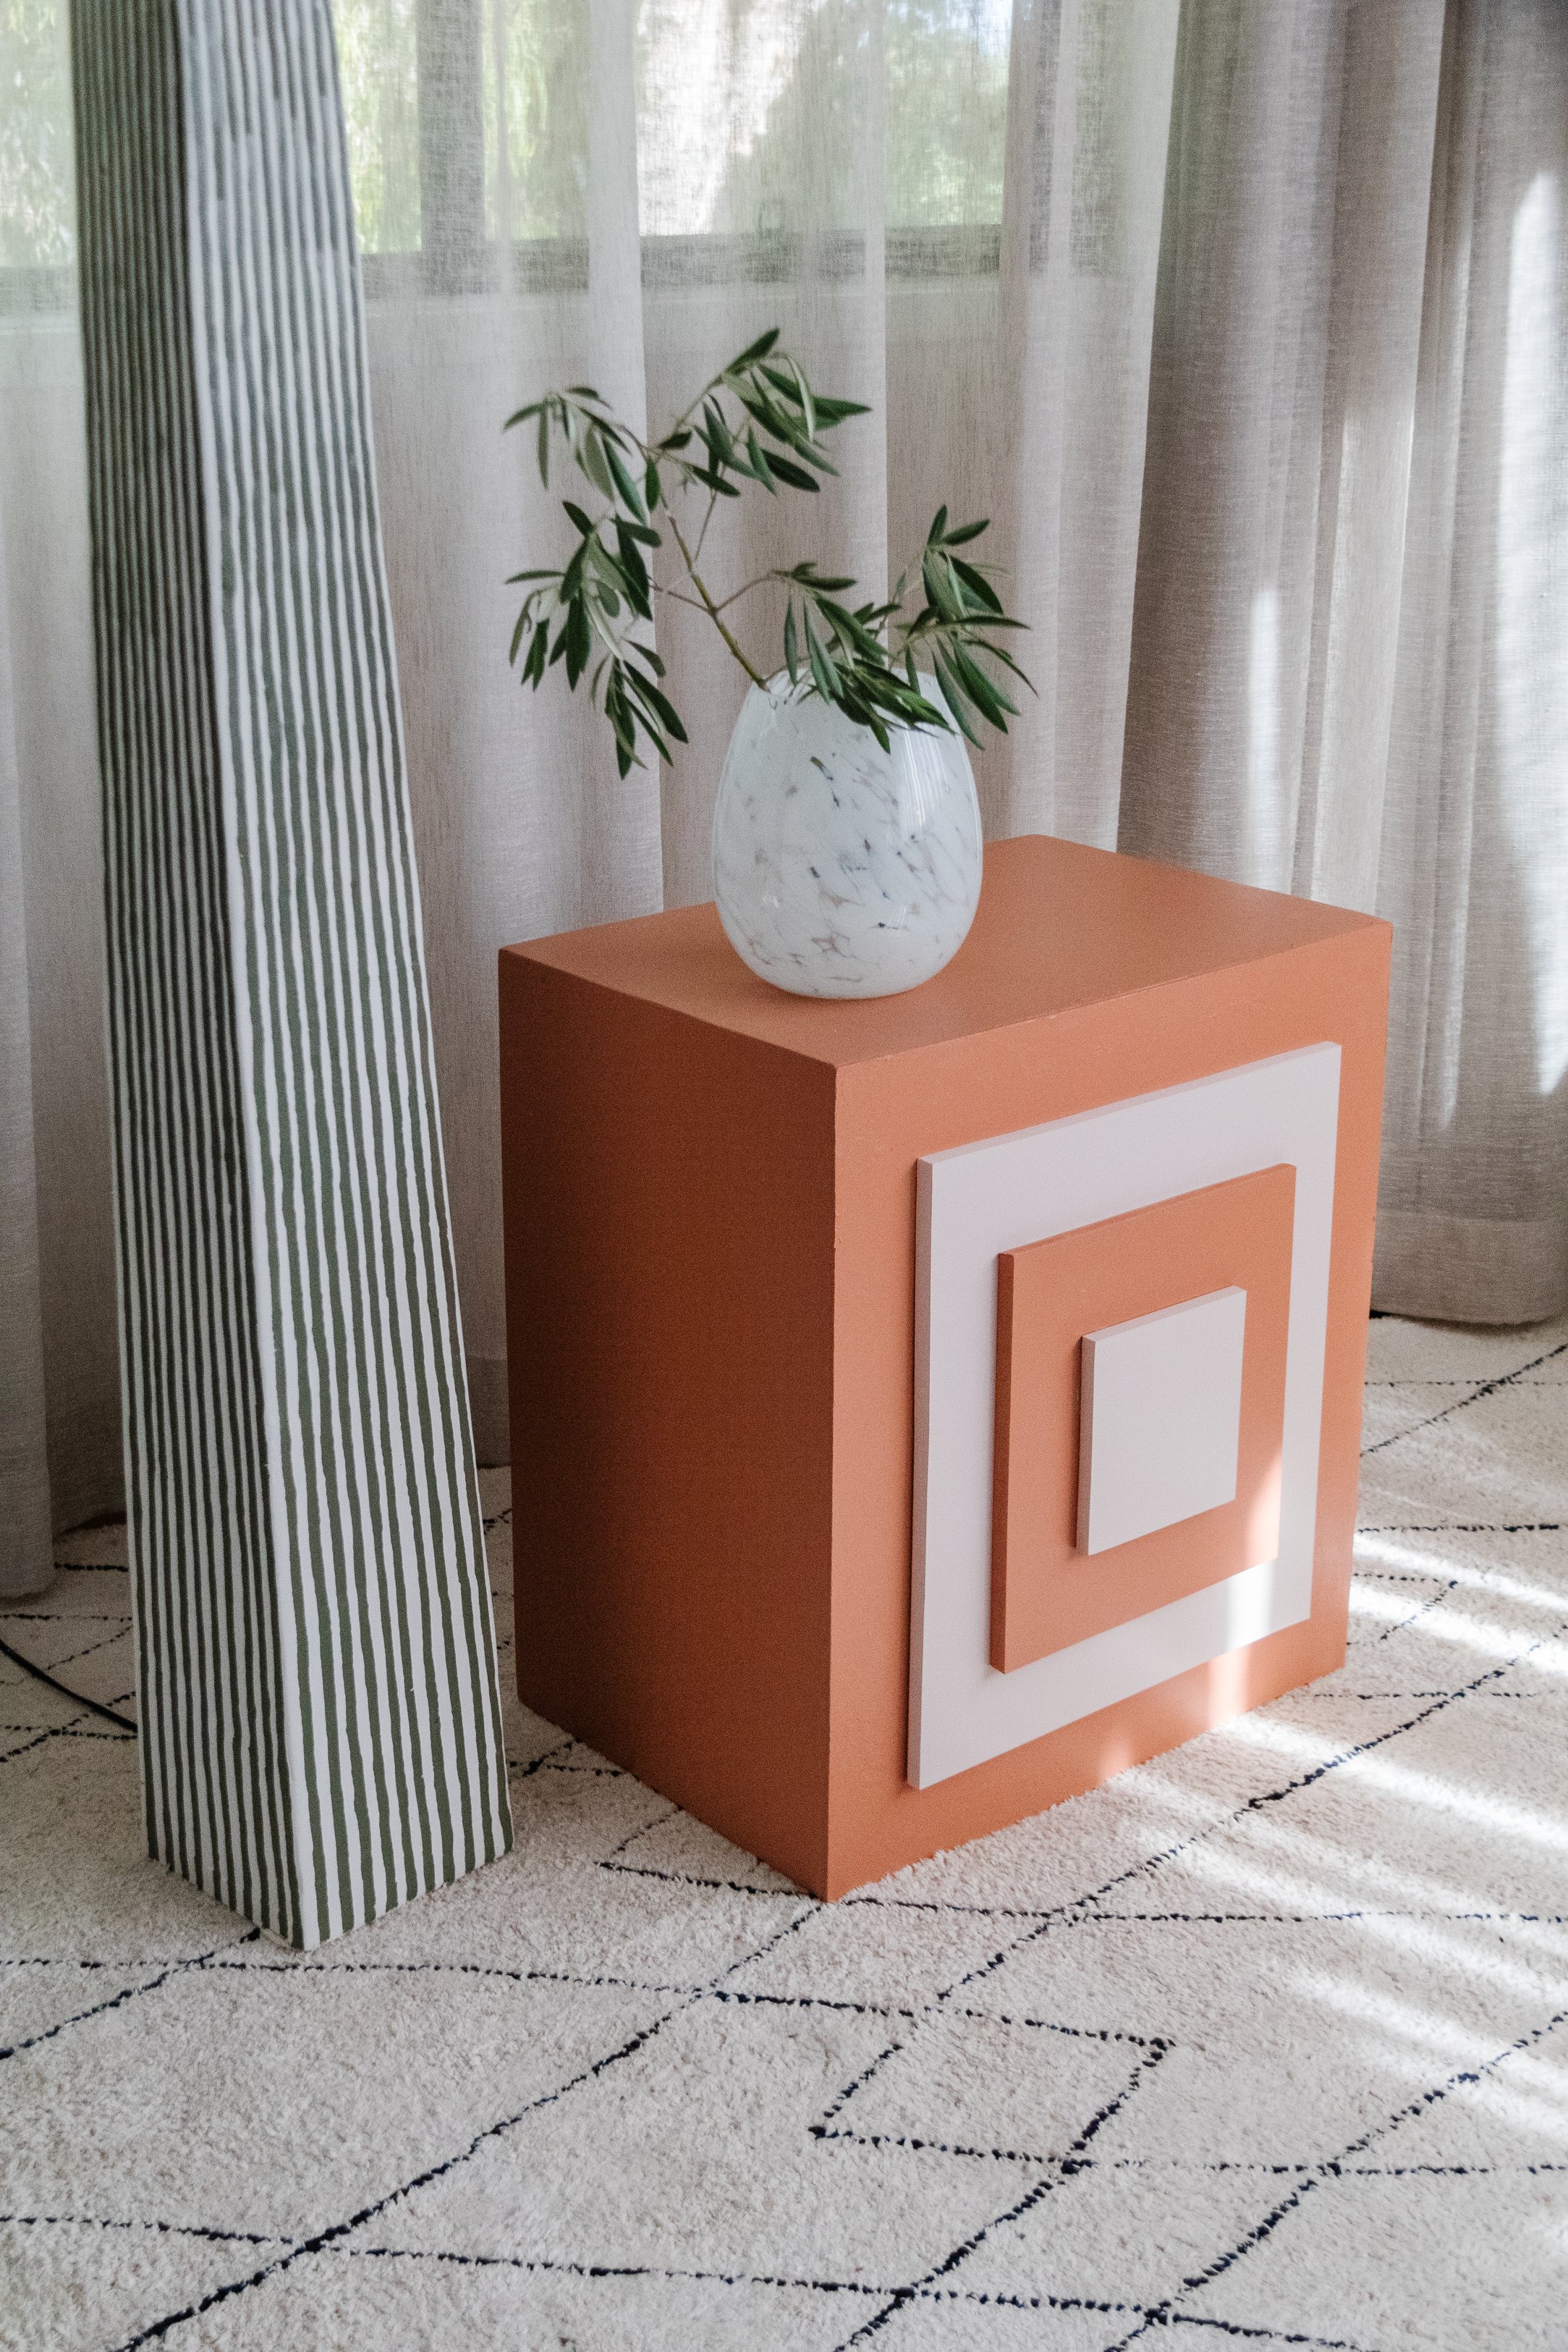
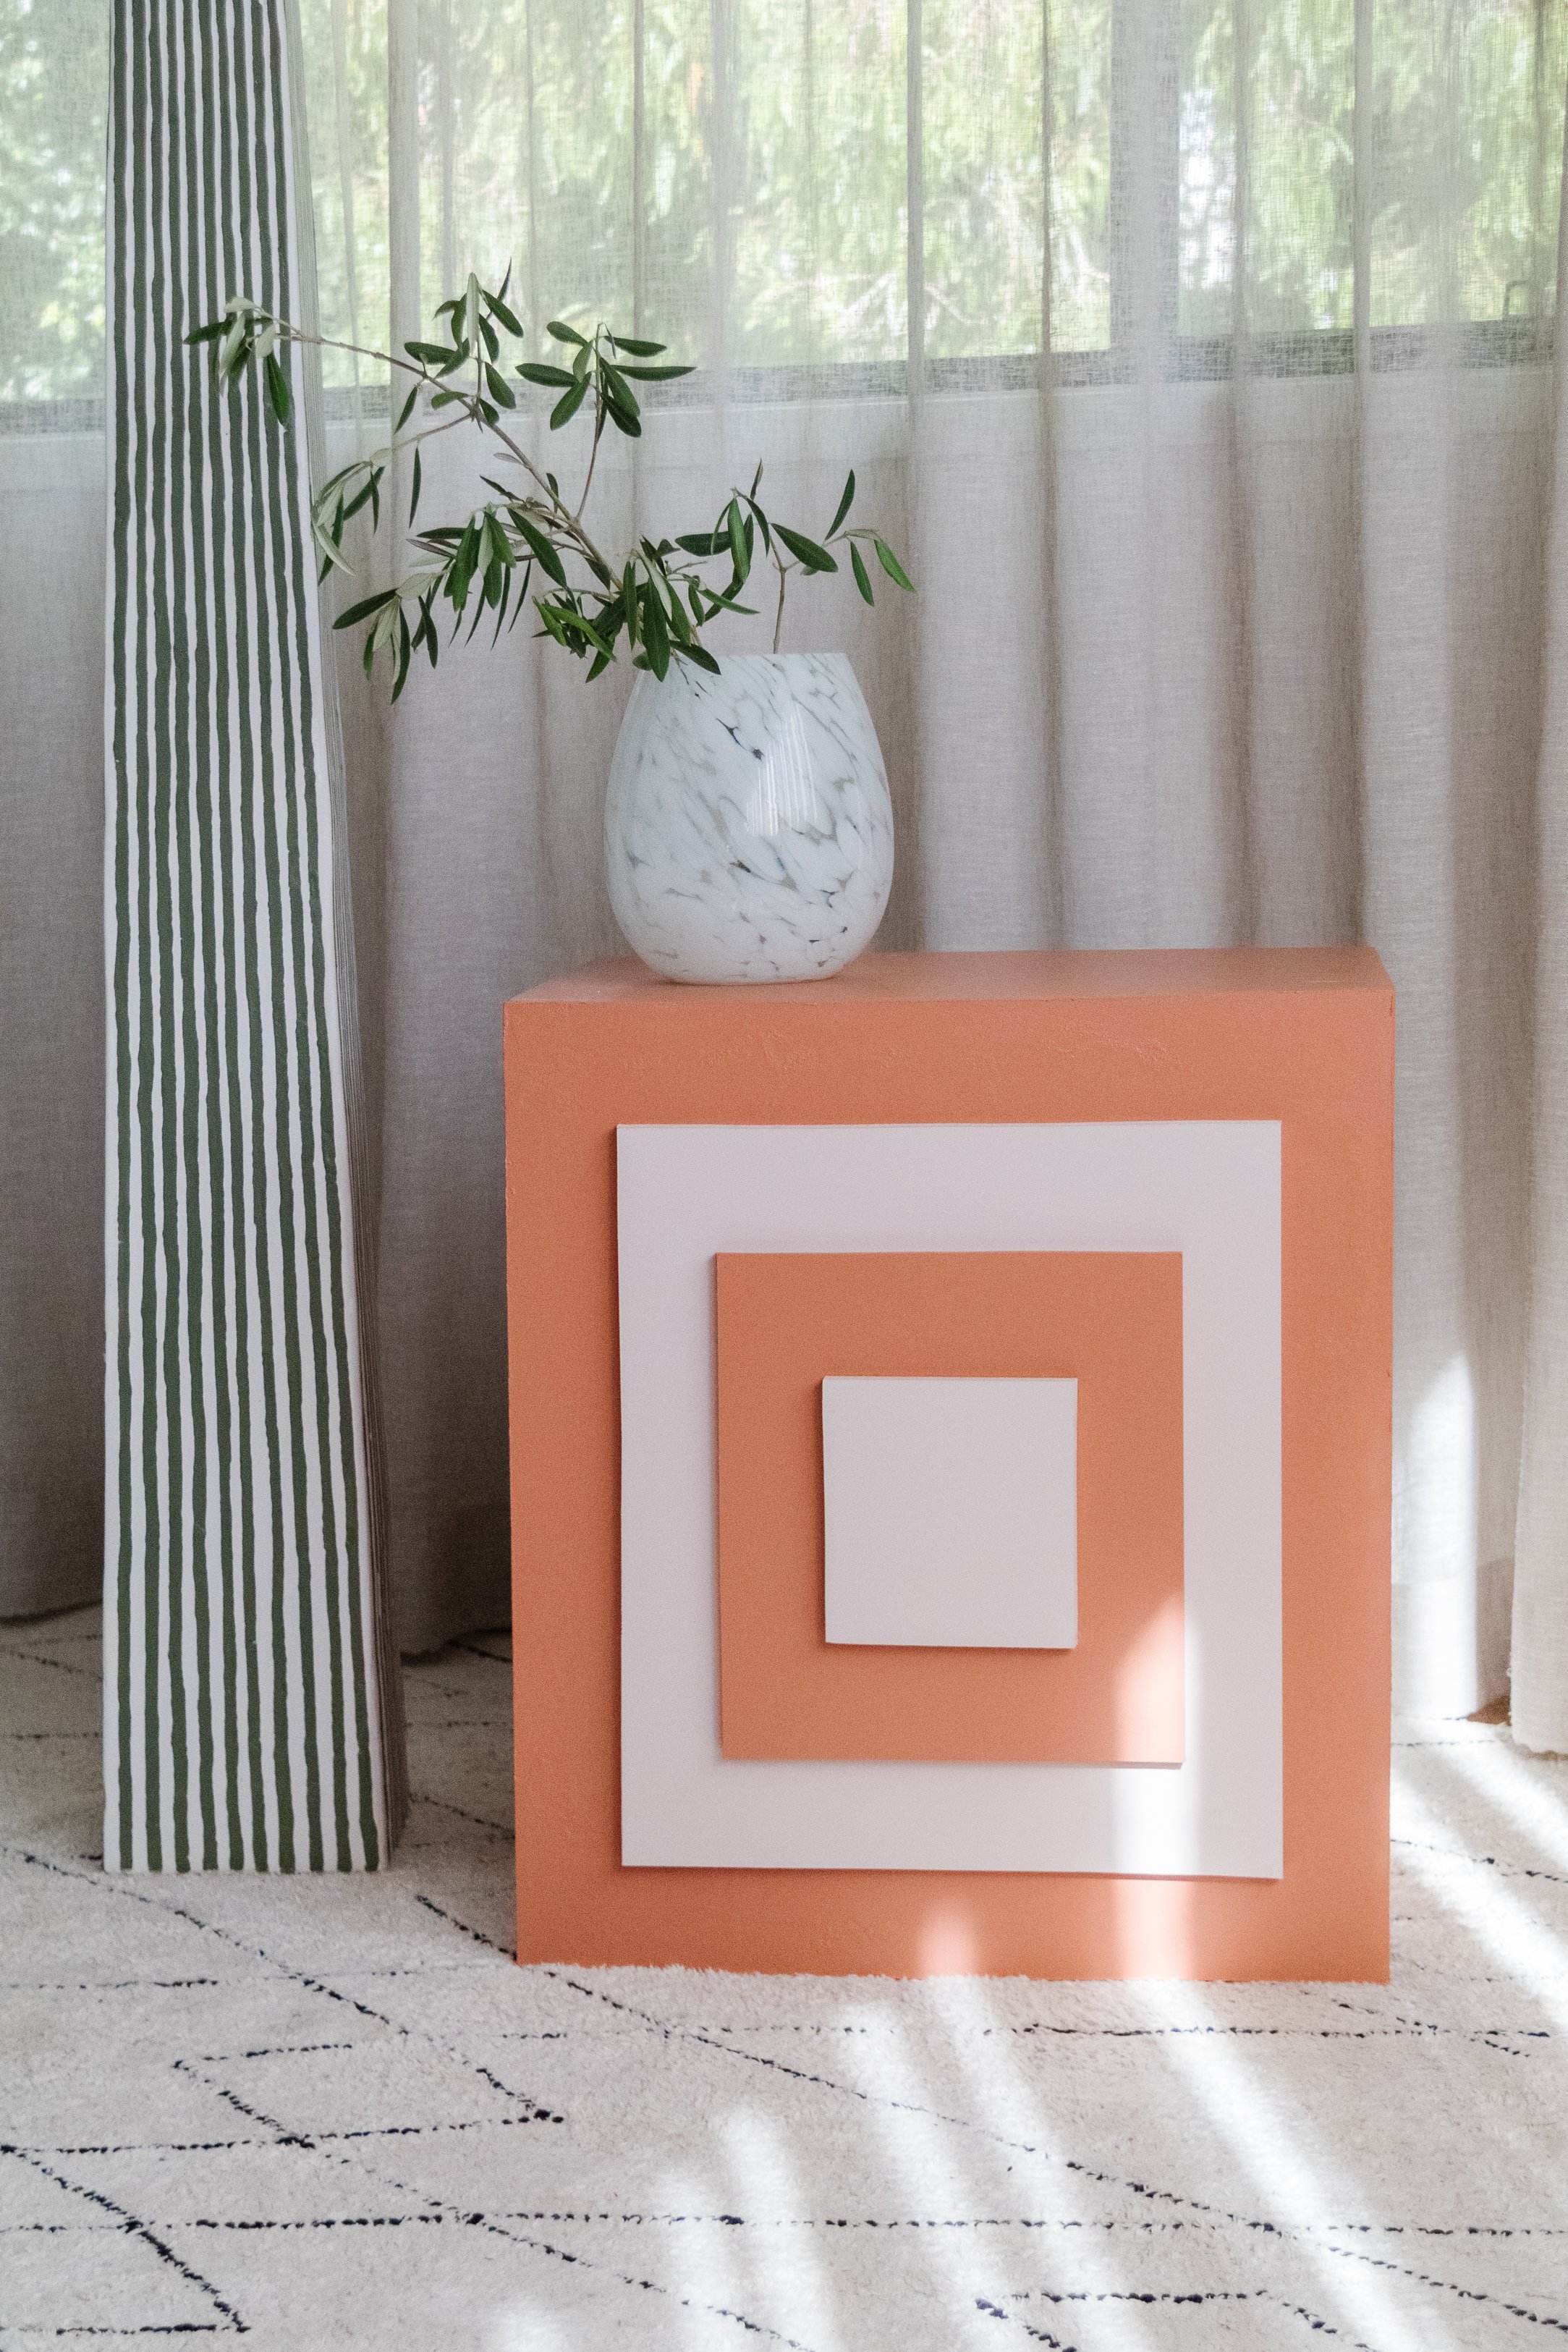
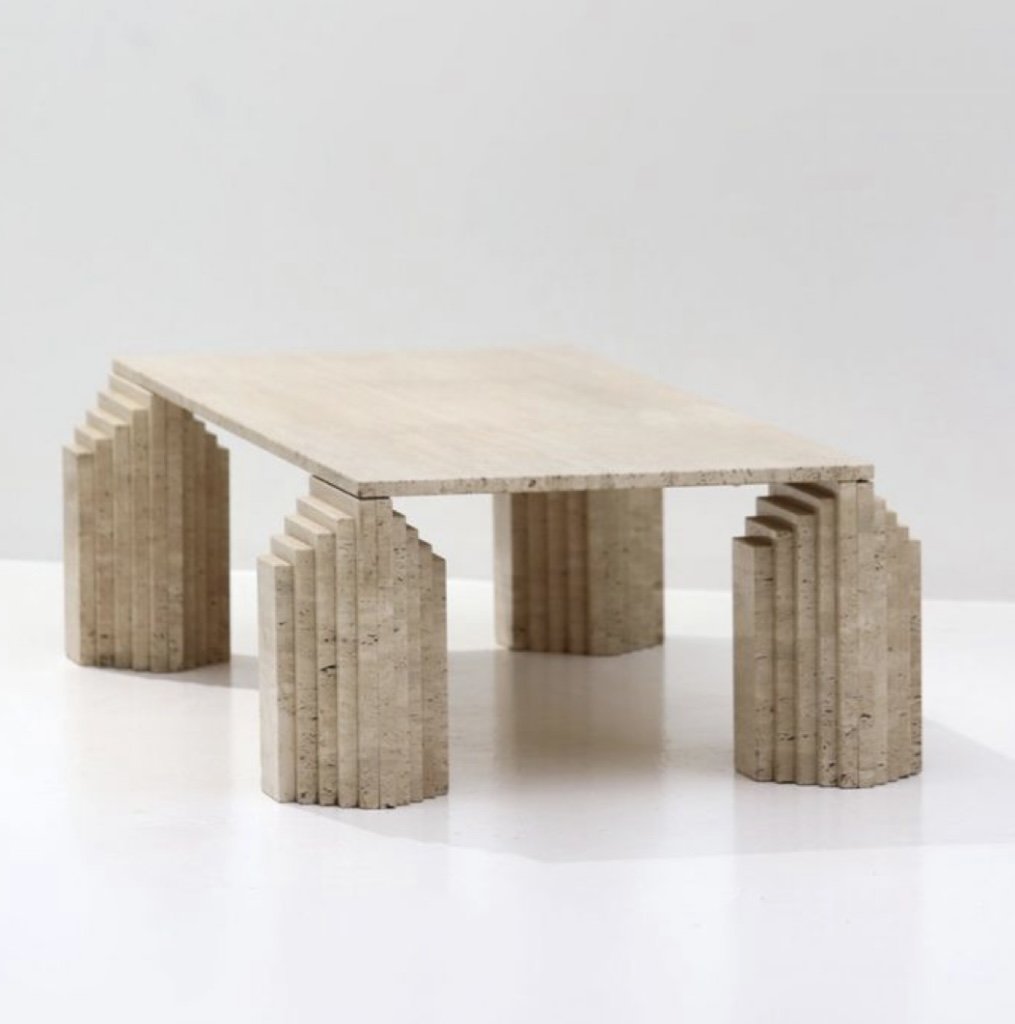
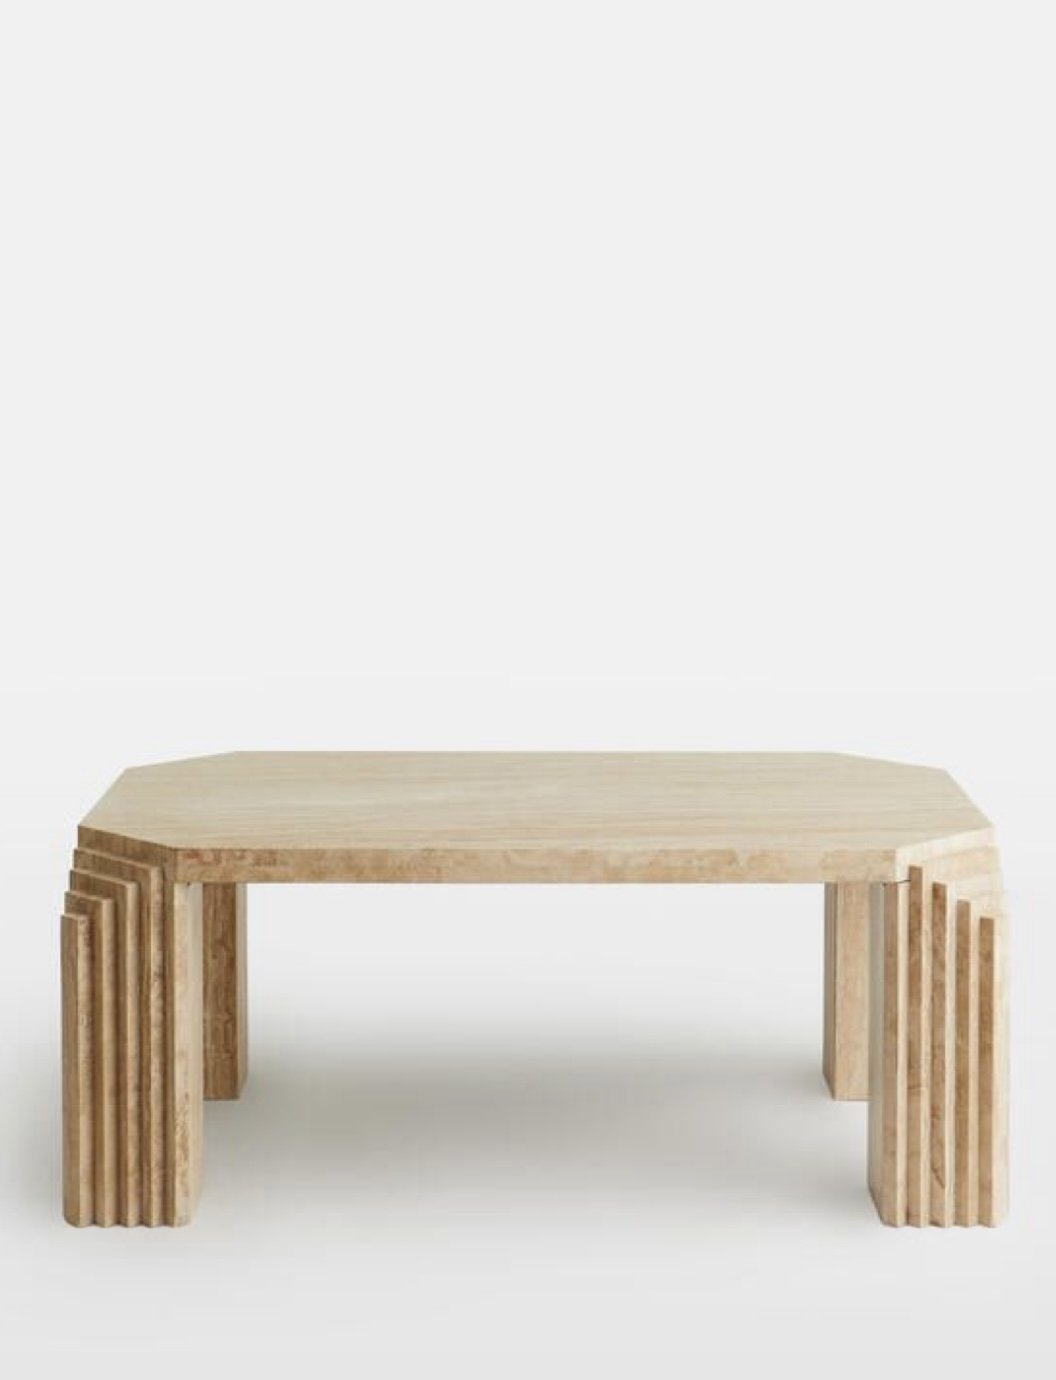
I love spending hours researching and collecting inspiration, choosing design elements I love, and incorporating these element into my projects in my own unique way. And this project would have to be a perfect example of that. I have been drawn to shapes lately and when I came across some images of stepped furniture, I fell in love with layered element. Naturally I got down to business, figuring out how I could incorporate a “stepped” feature into one of my projects.
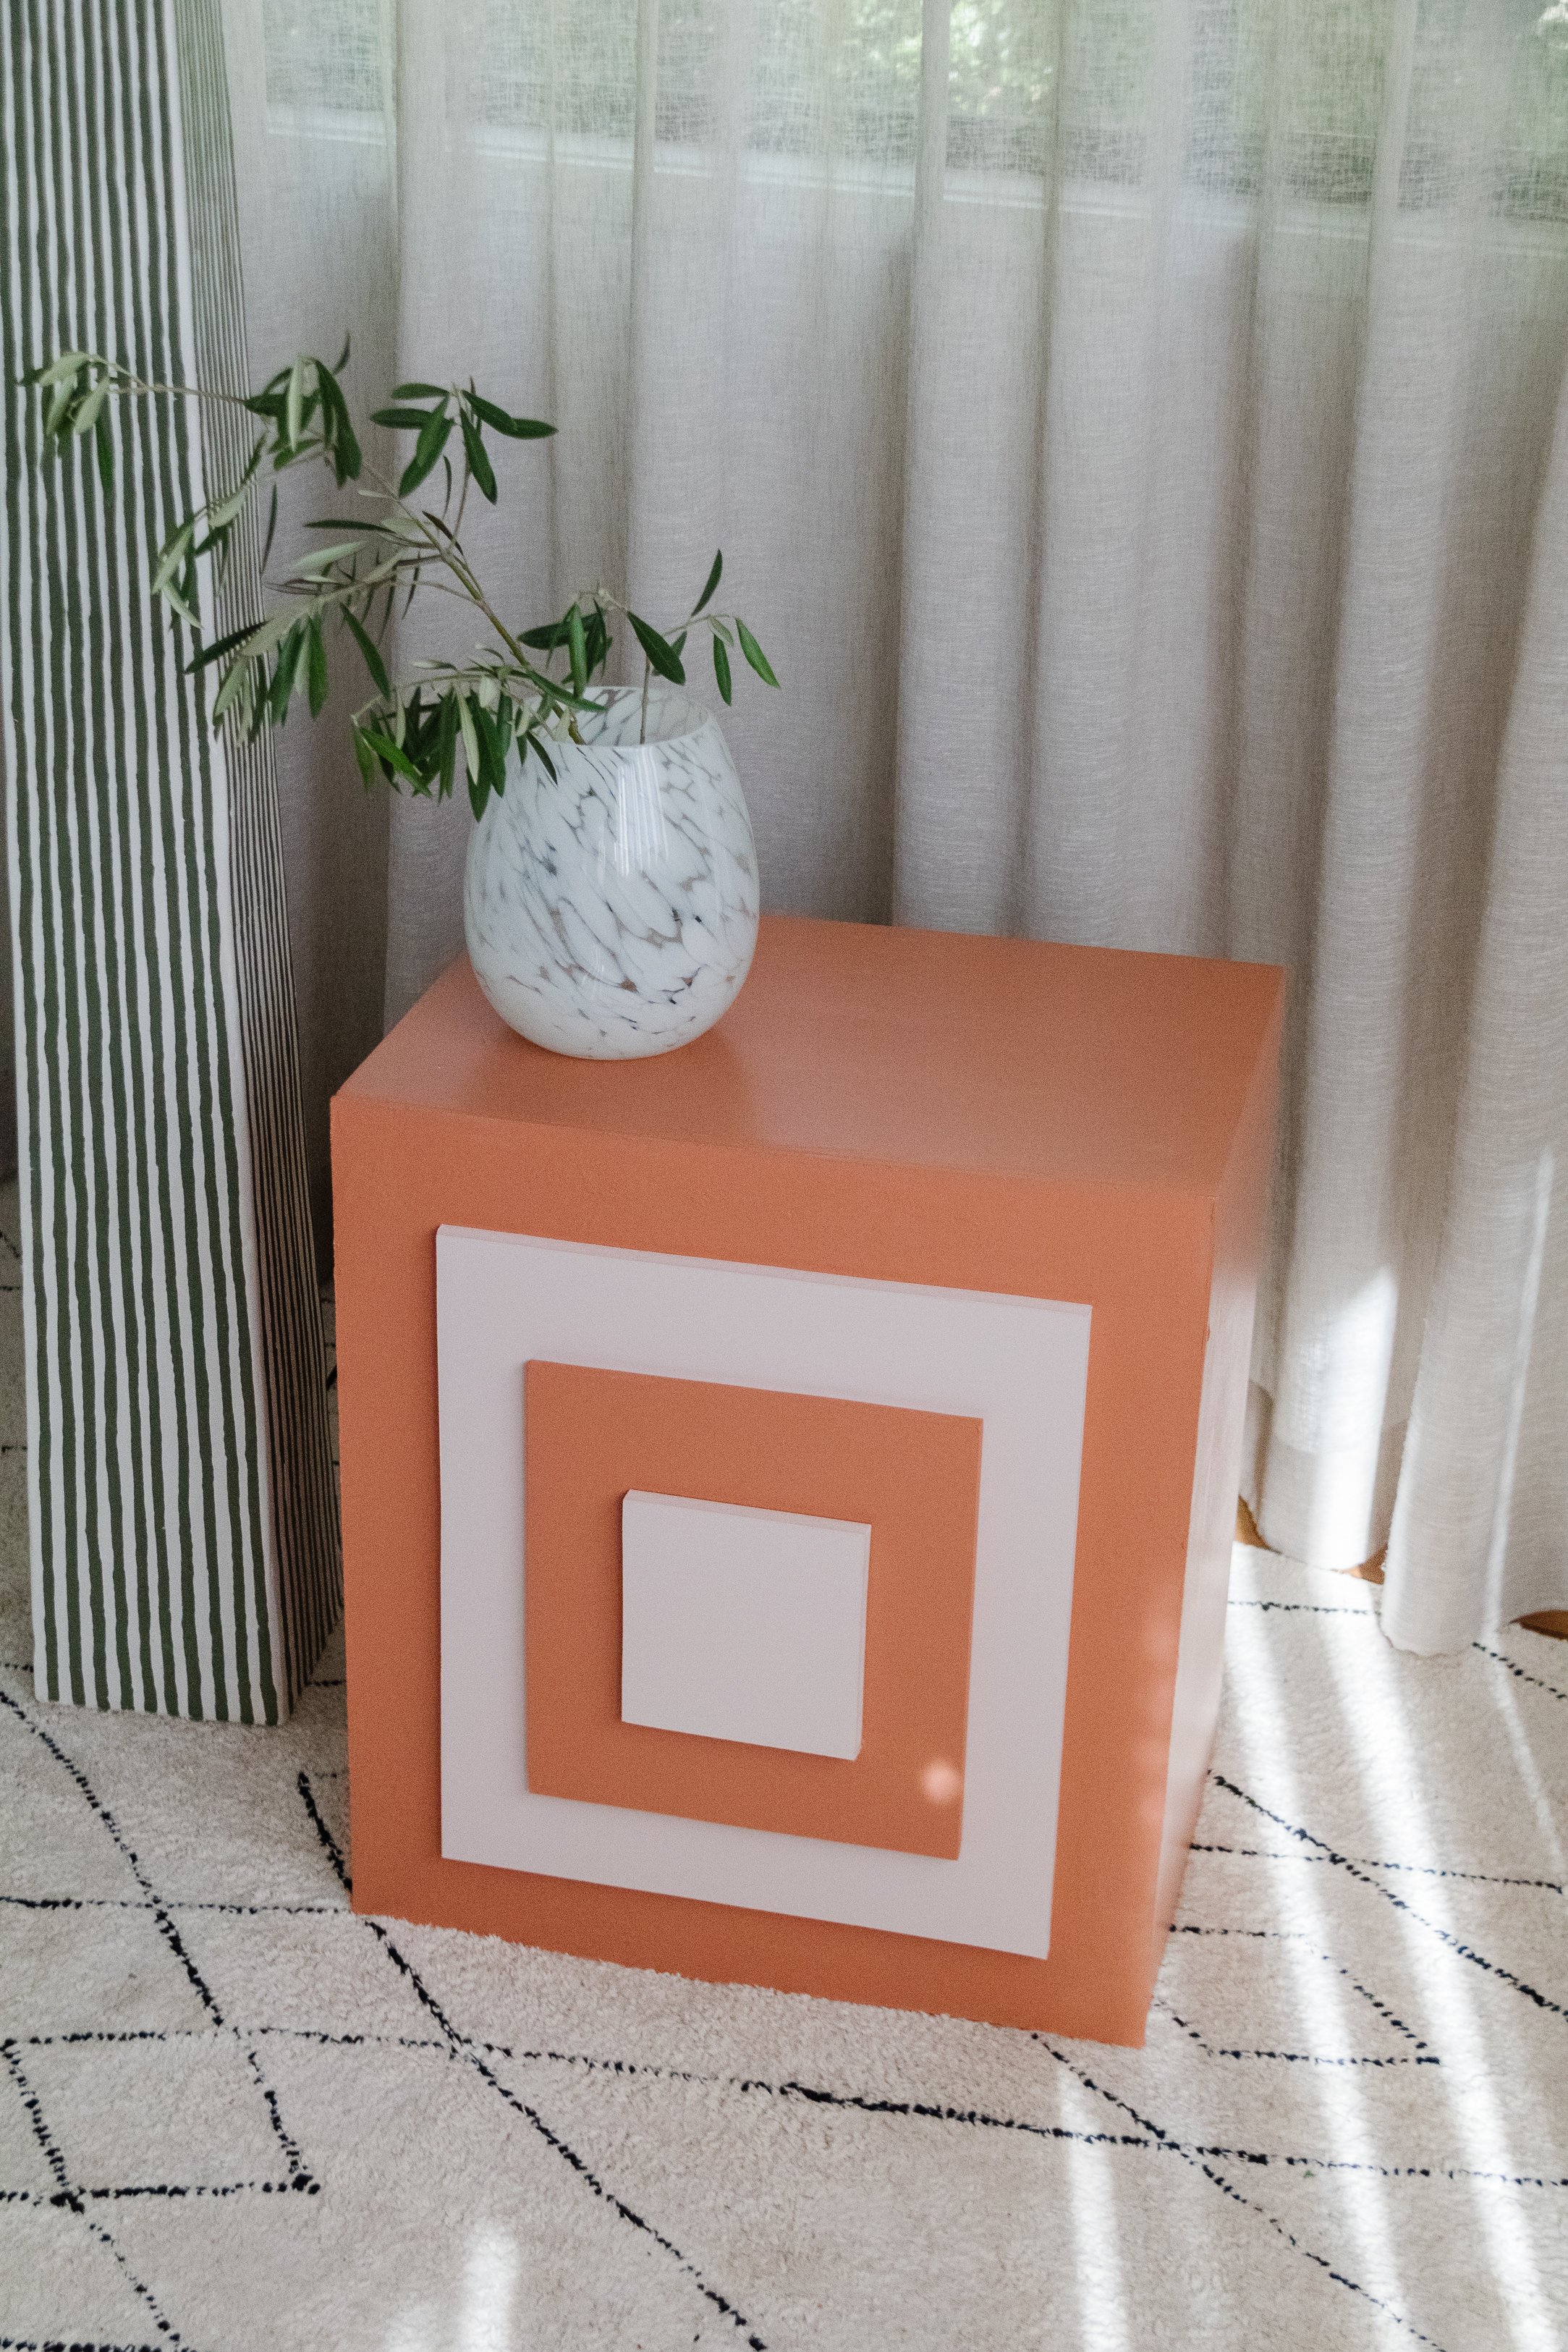
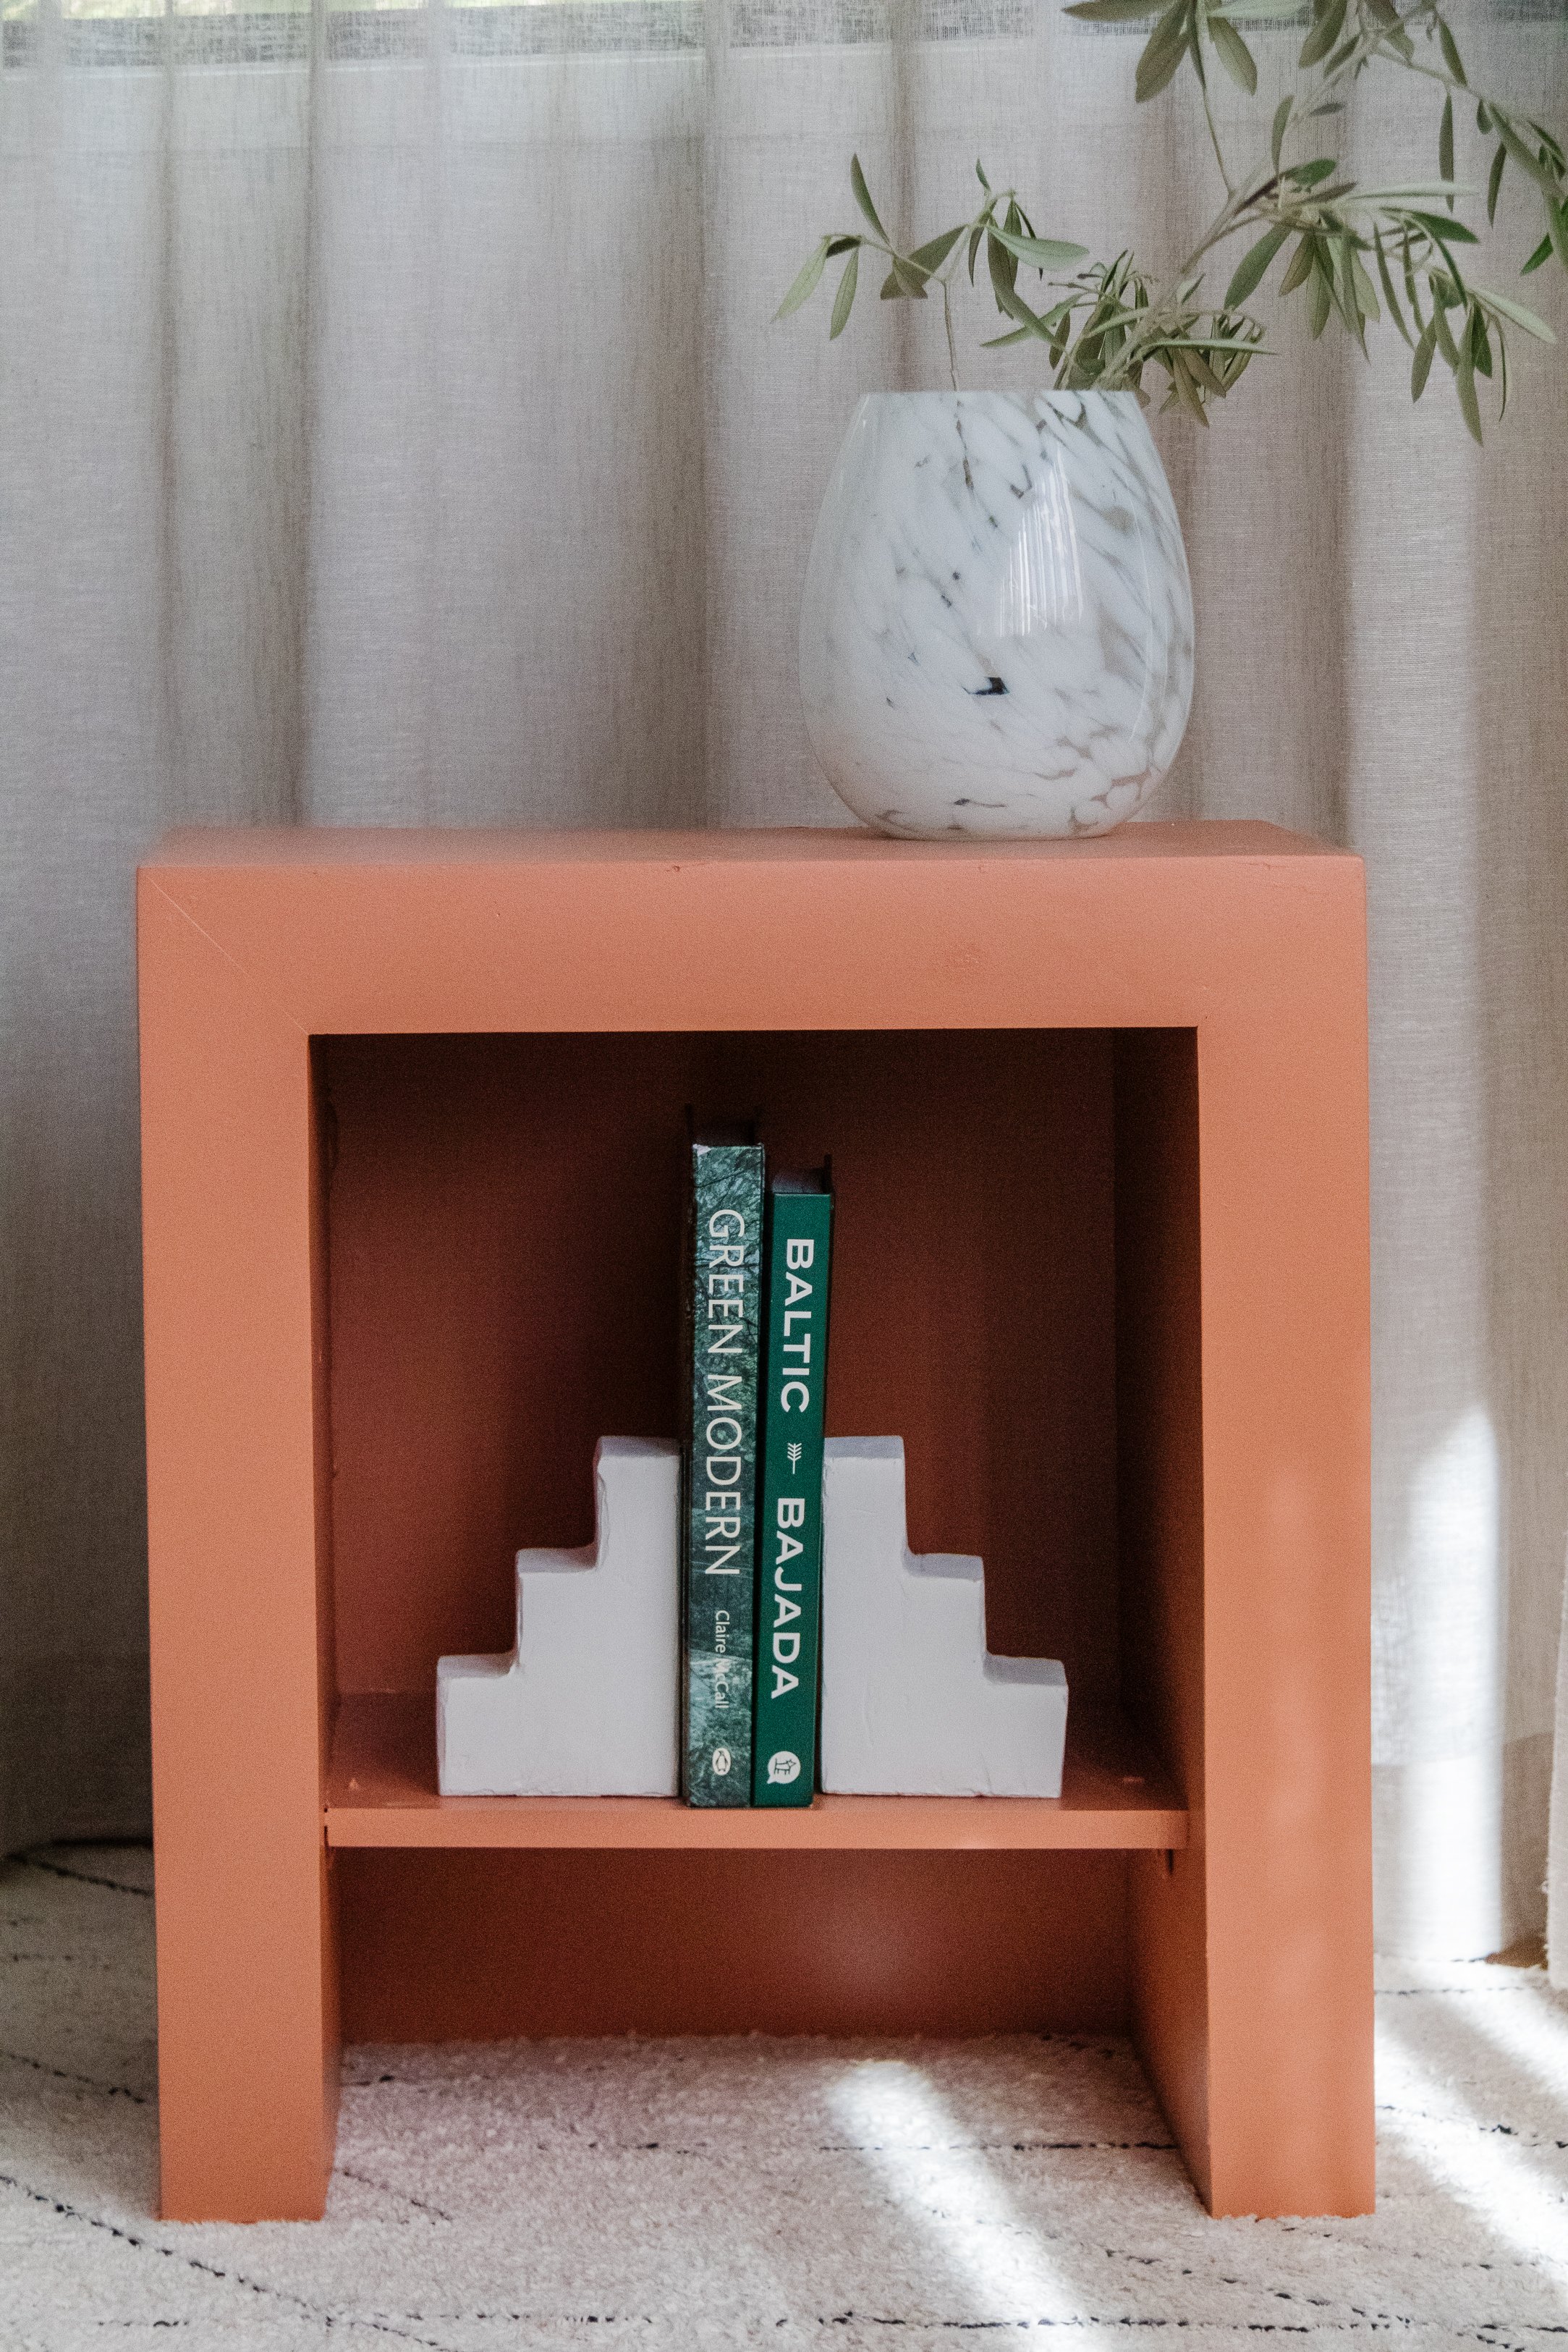
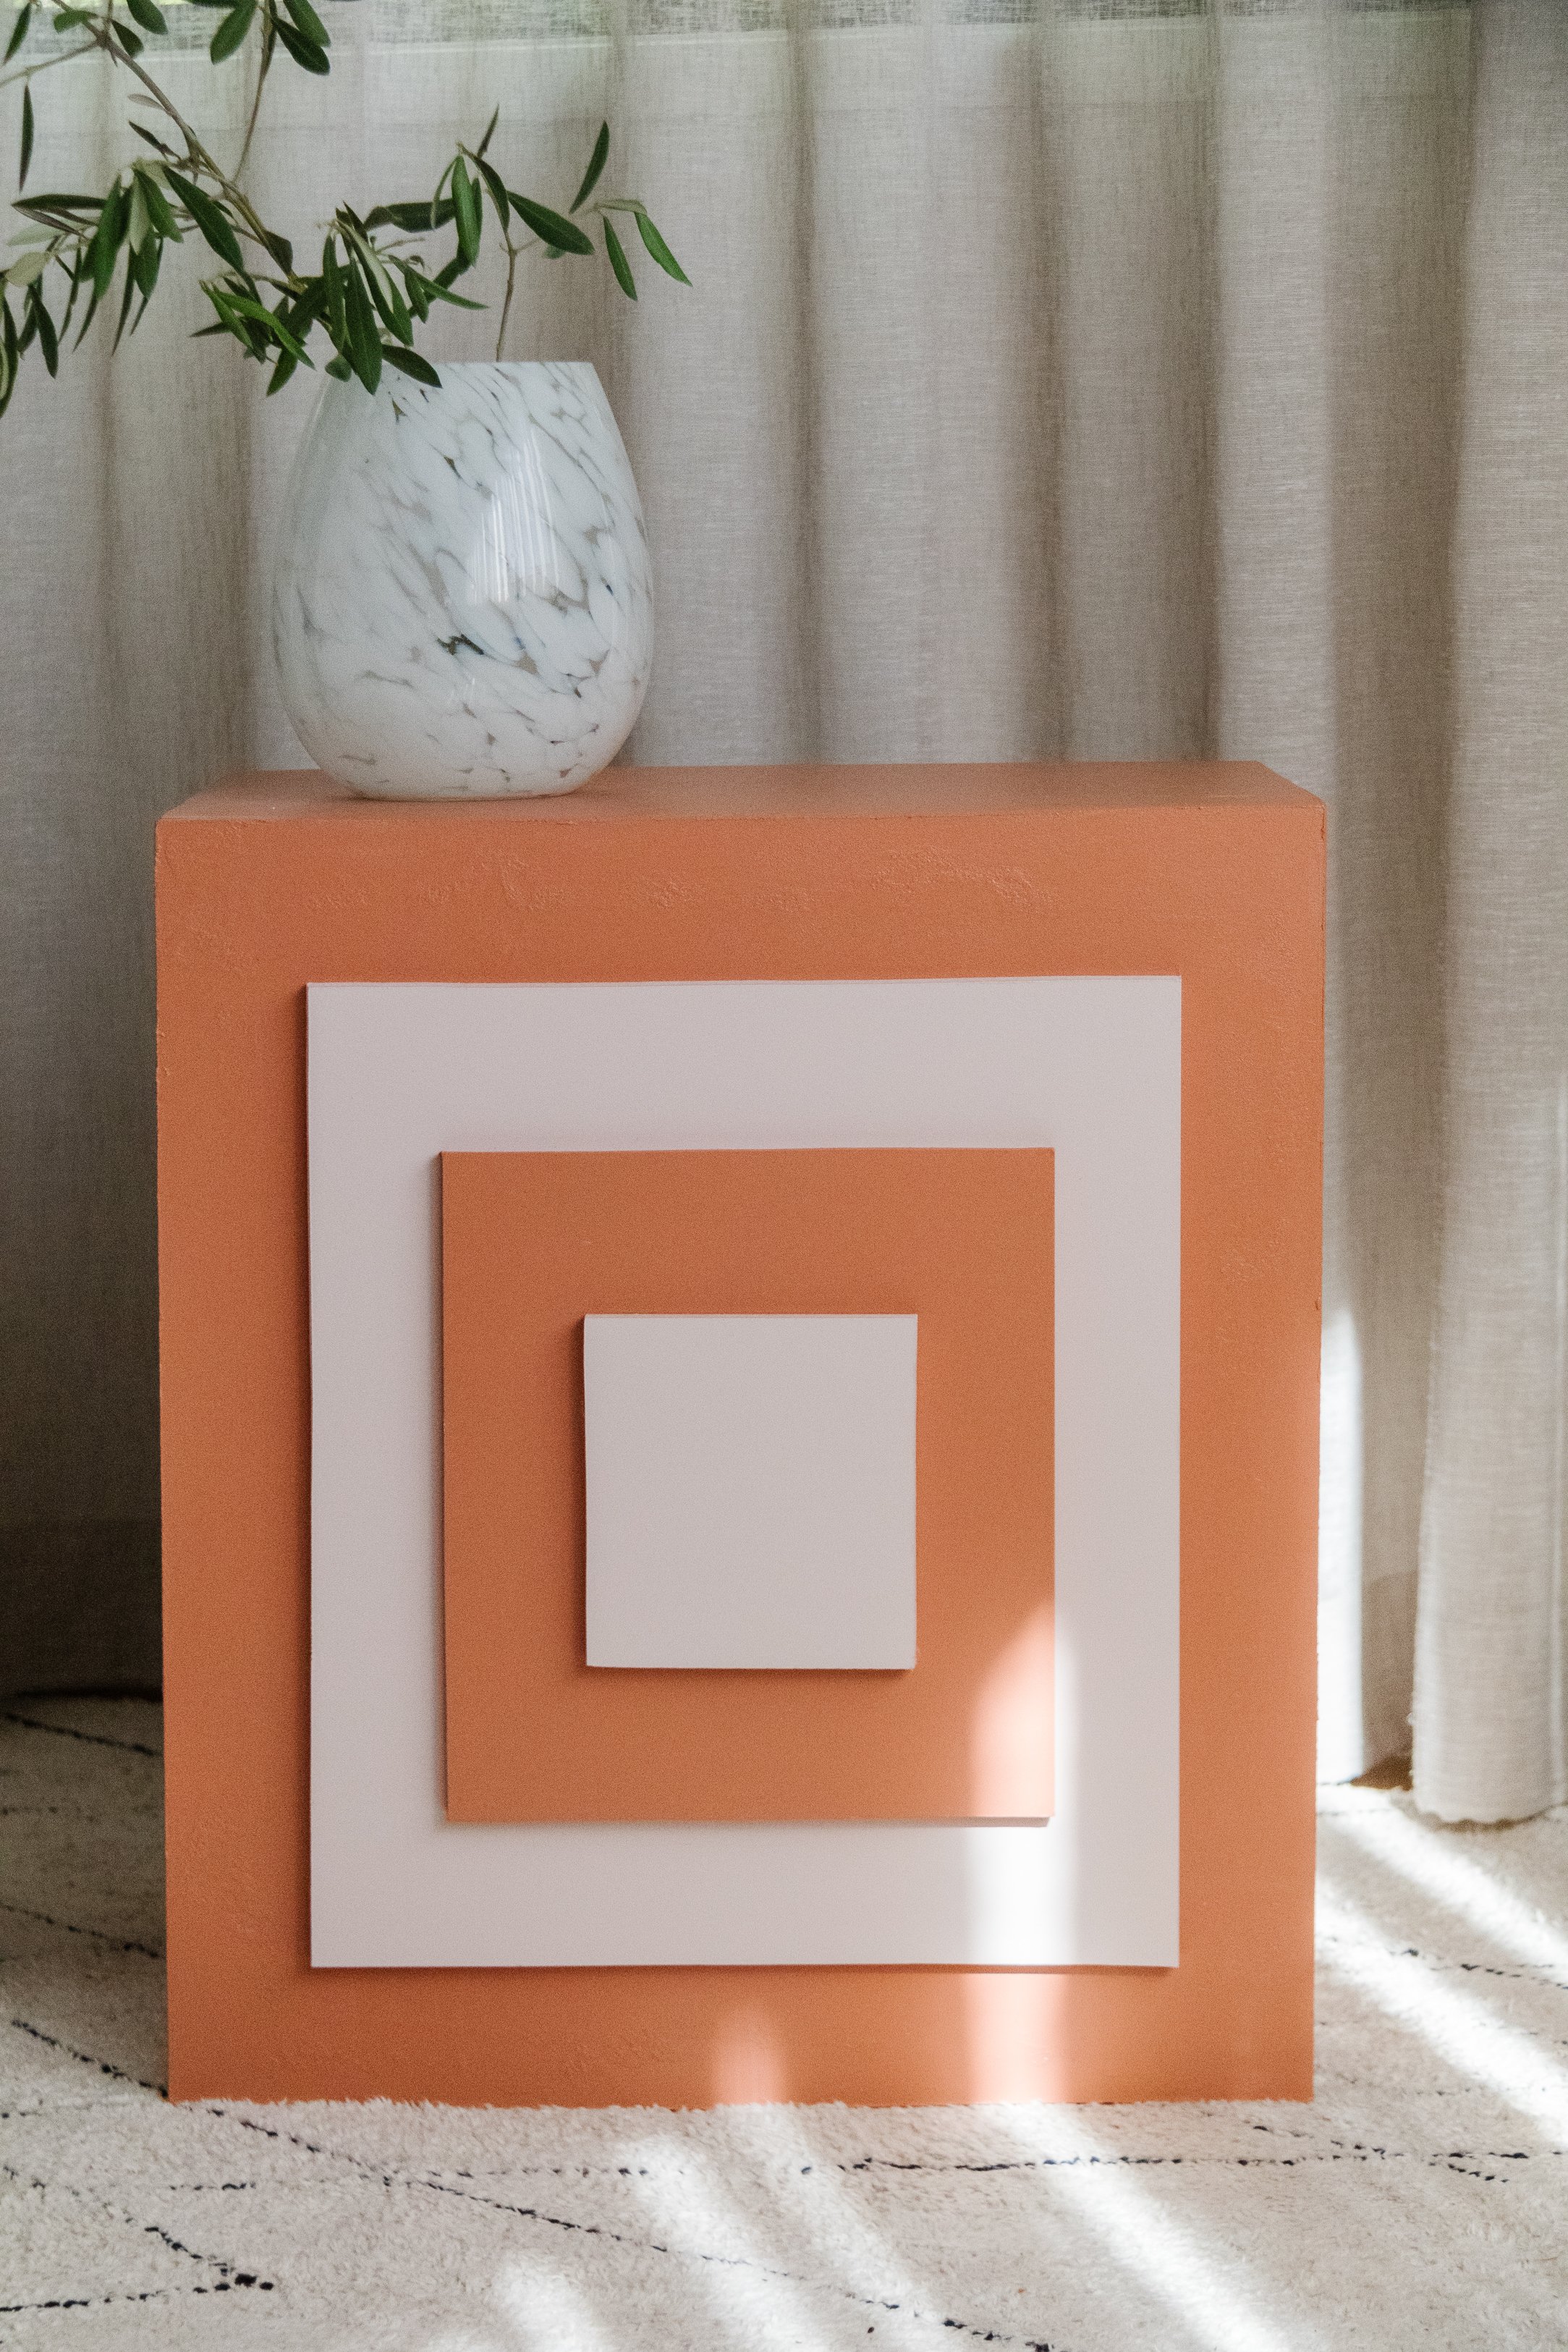
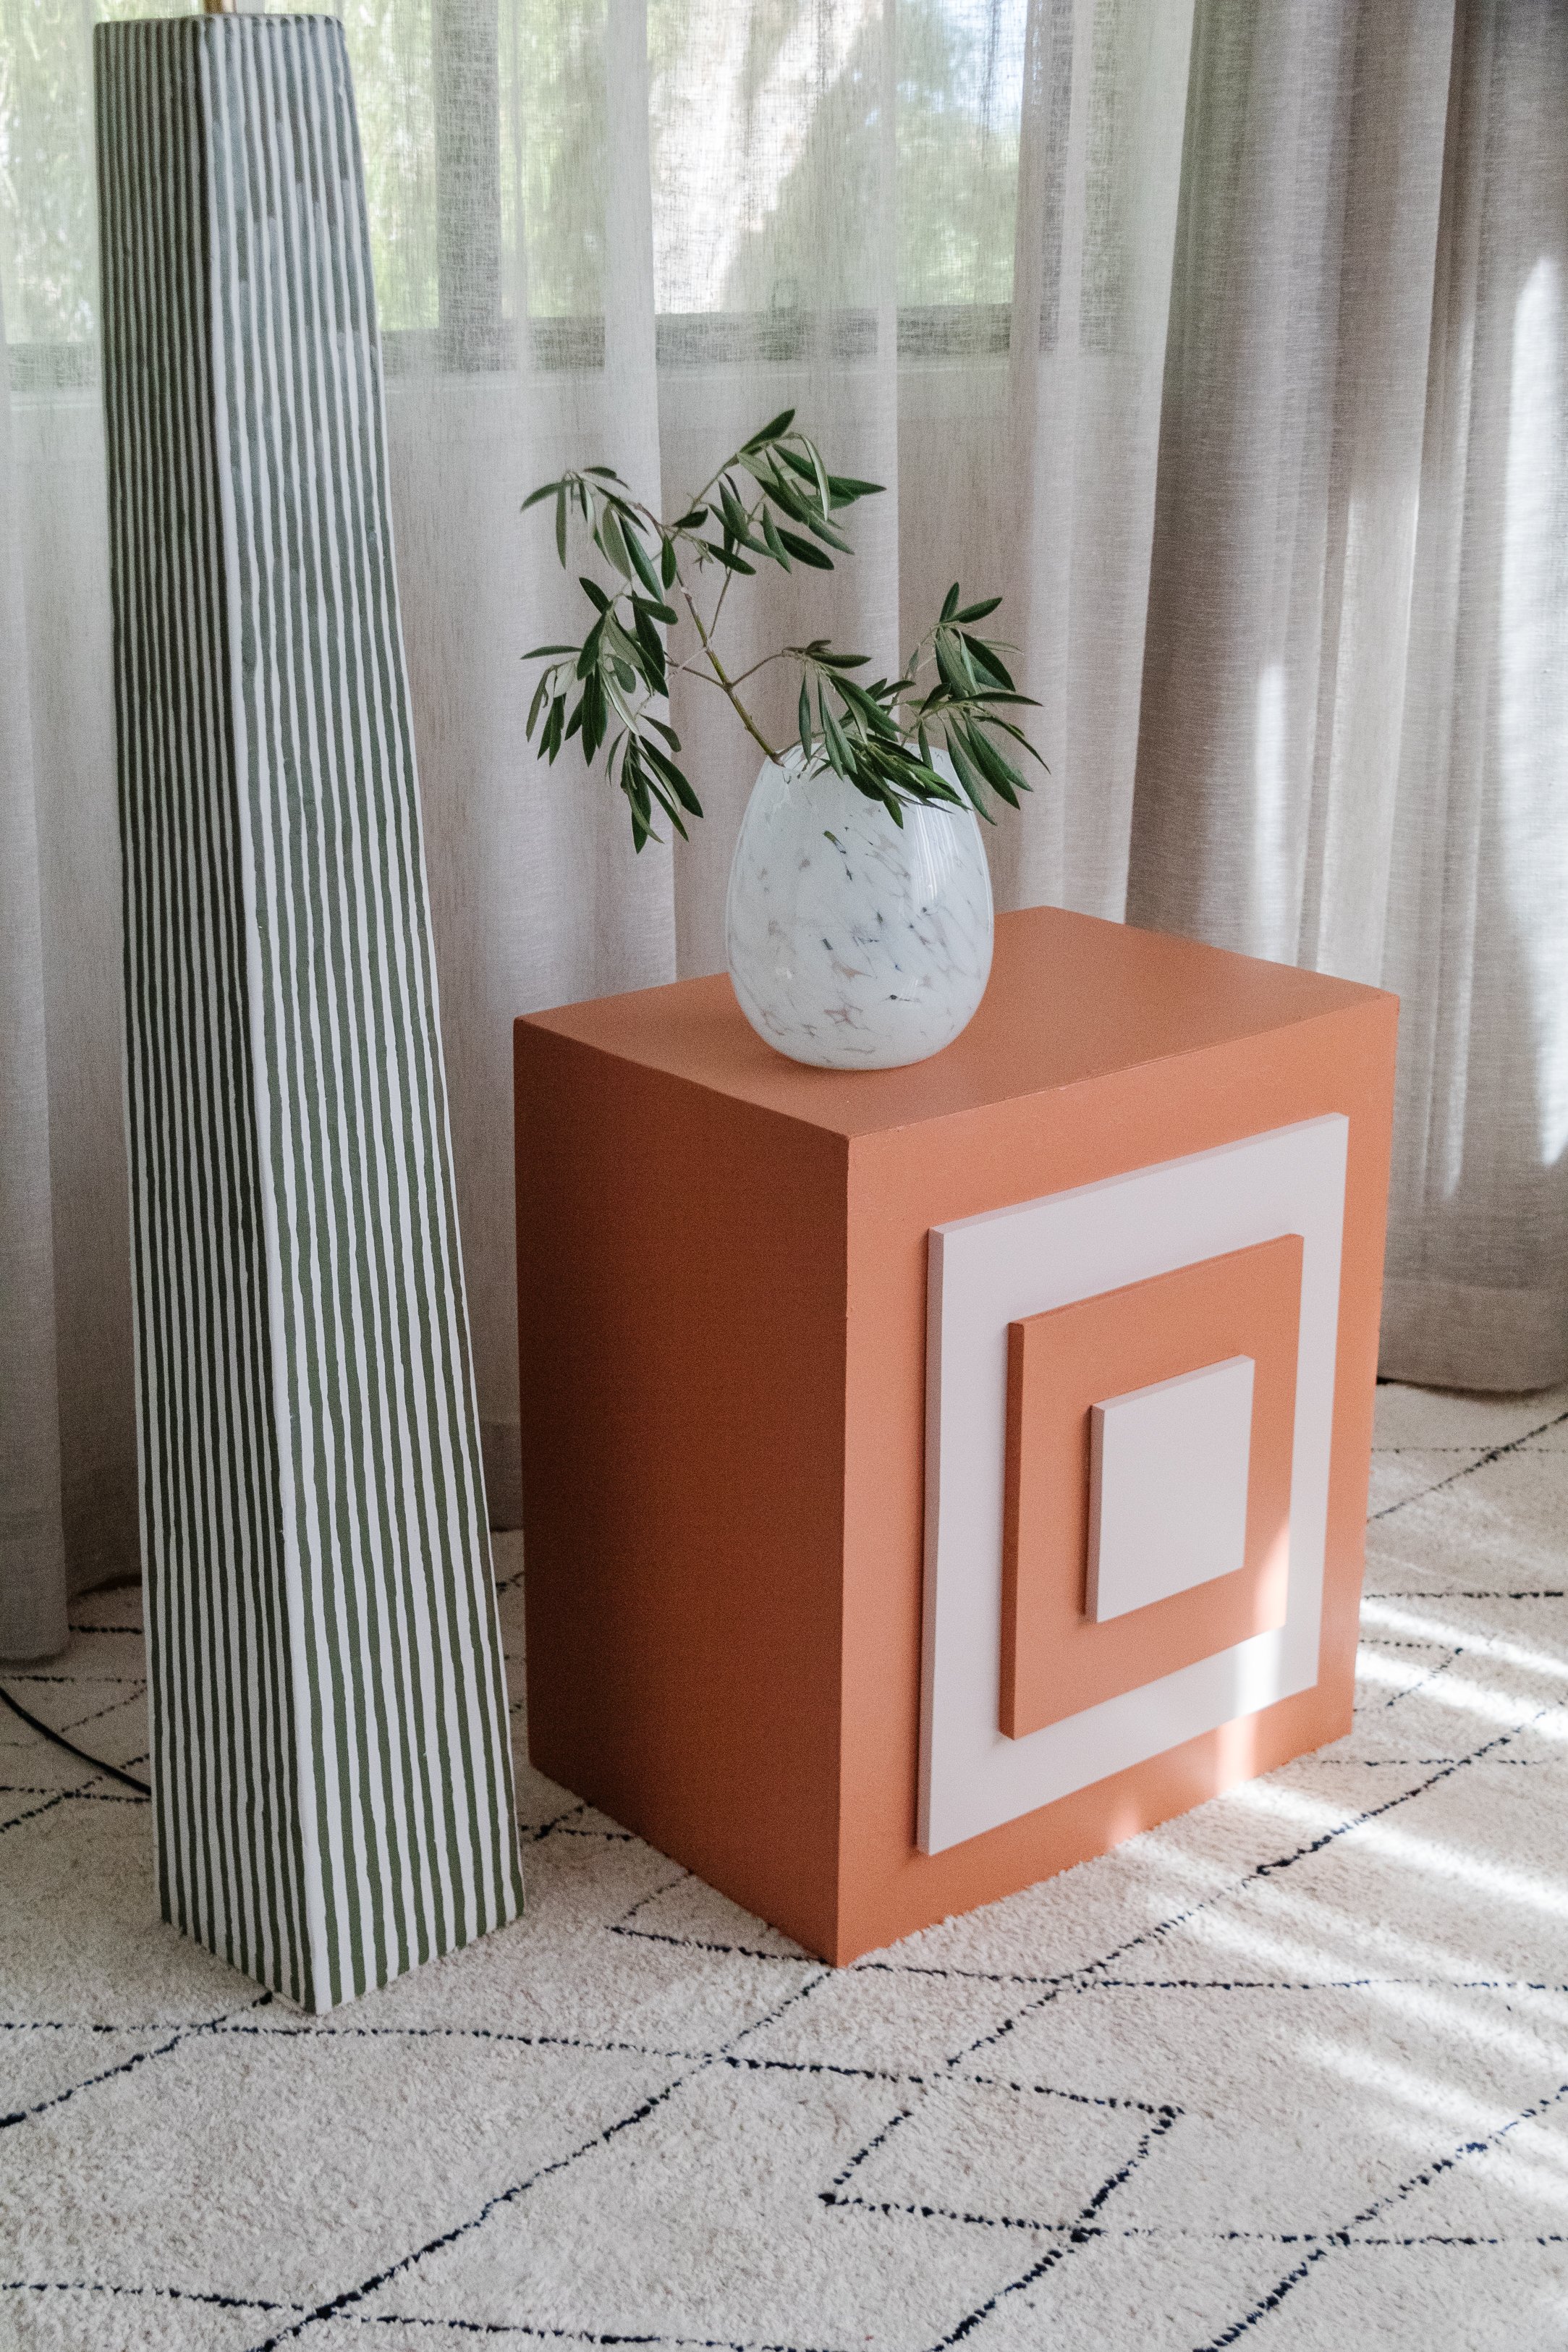
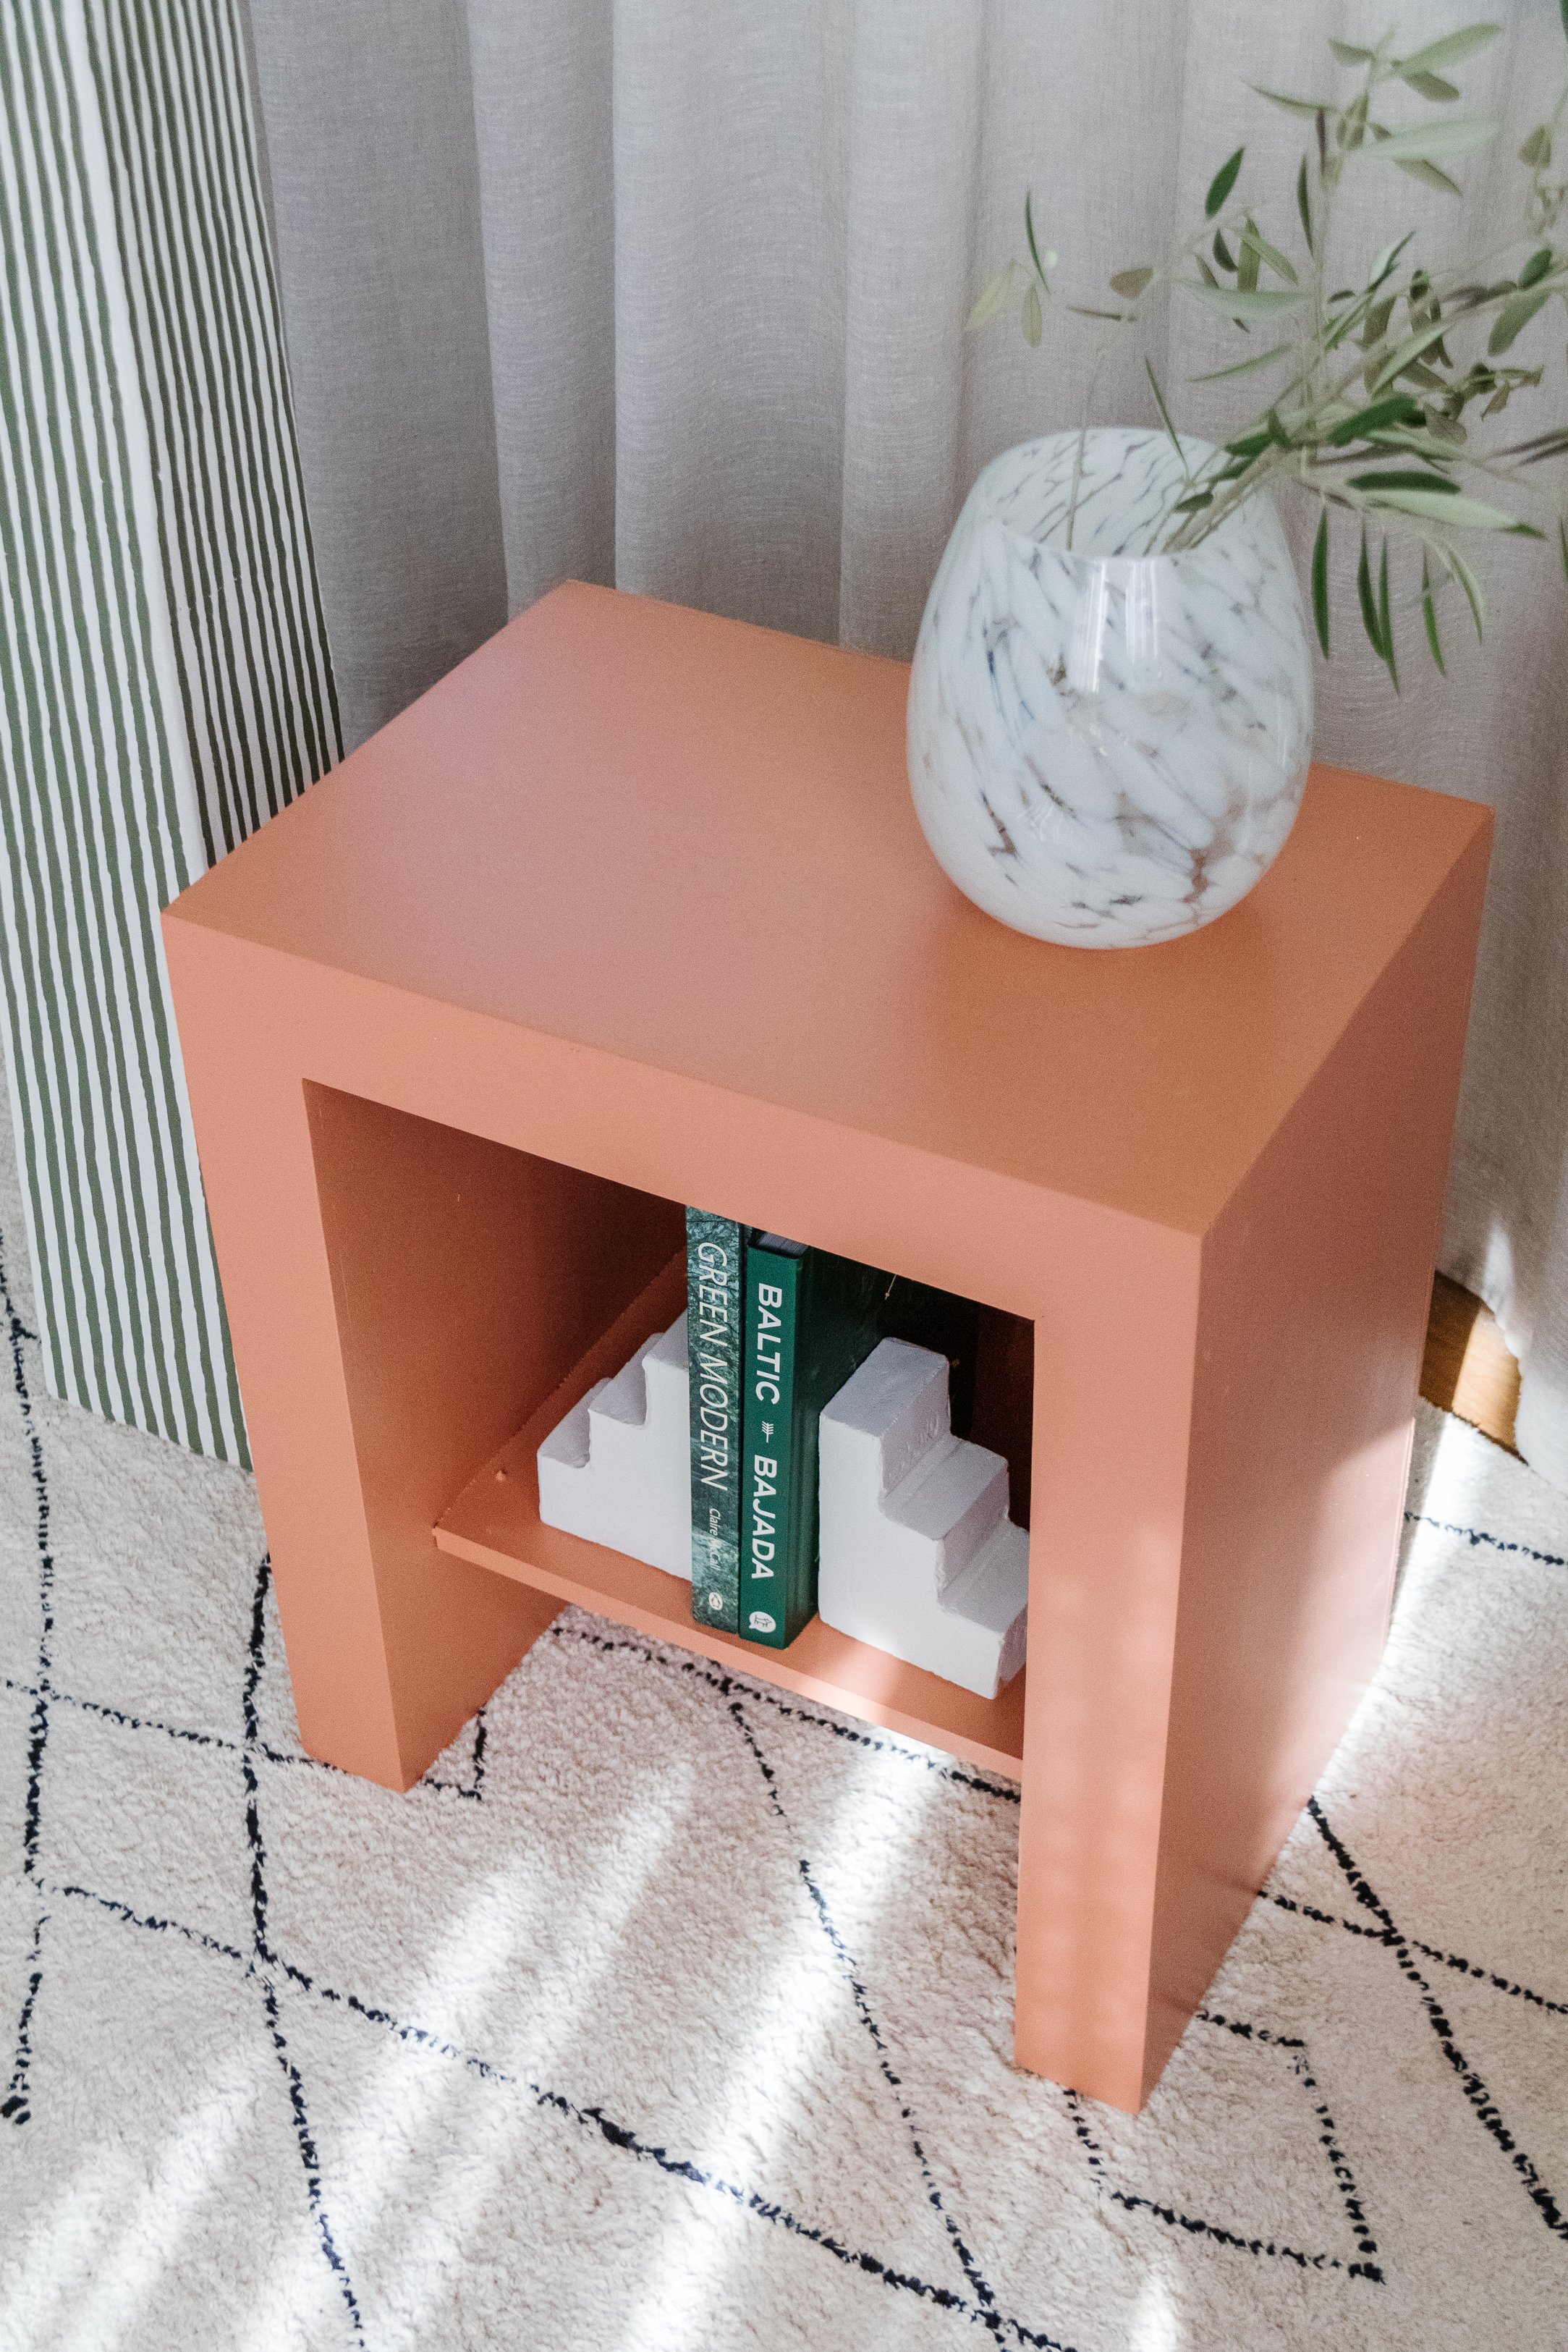
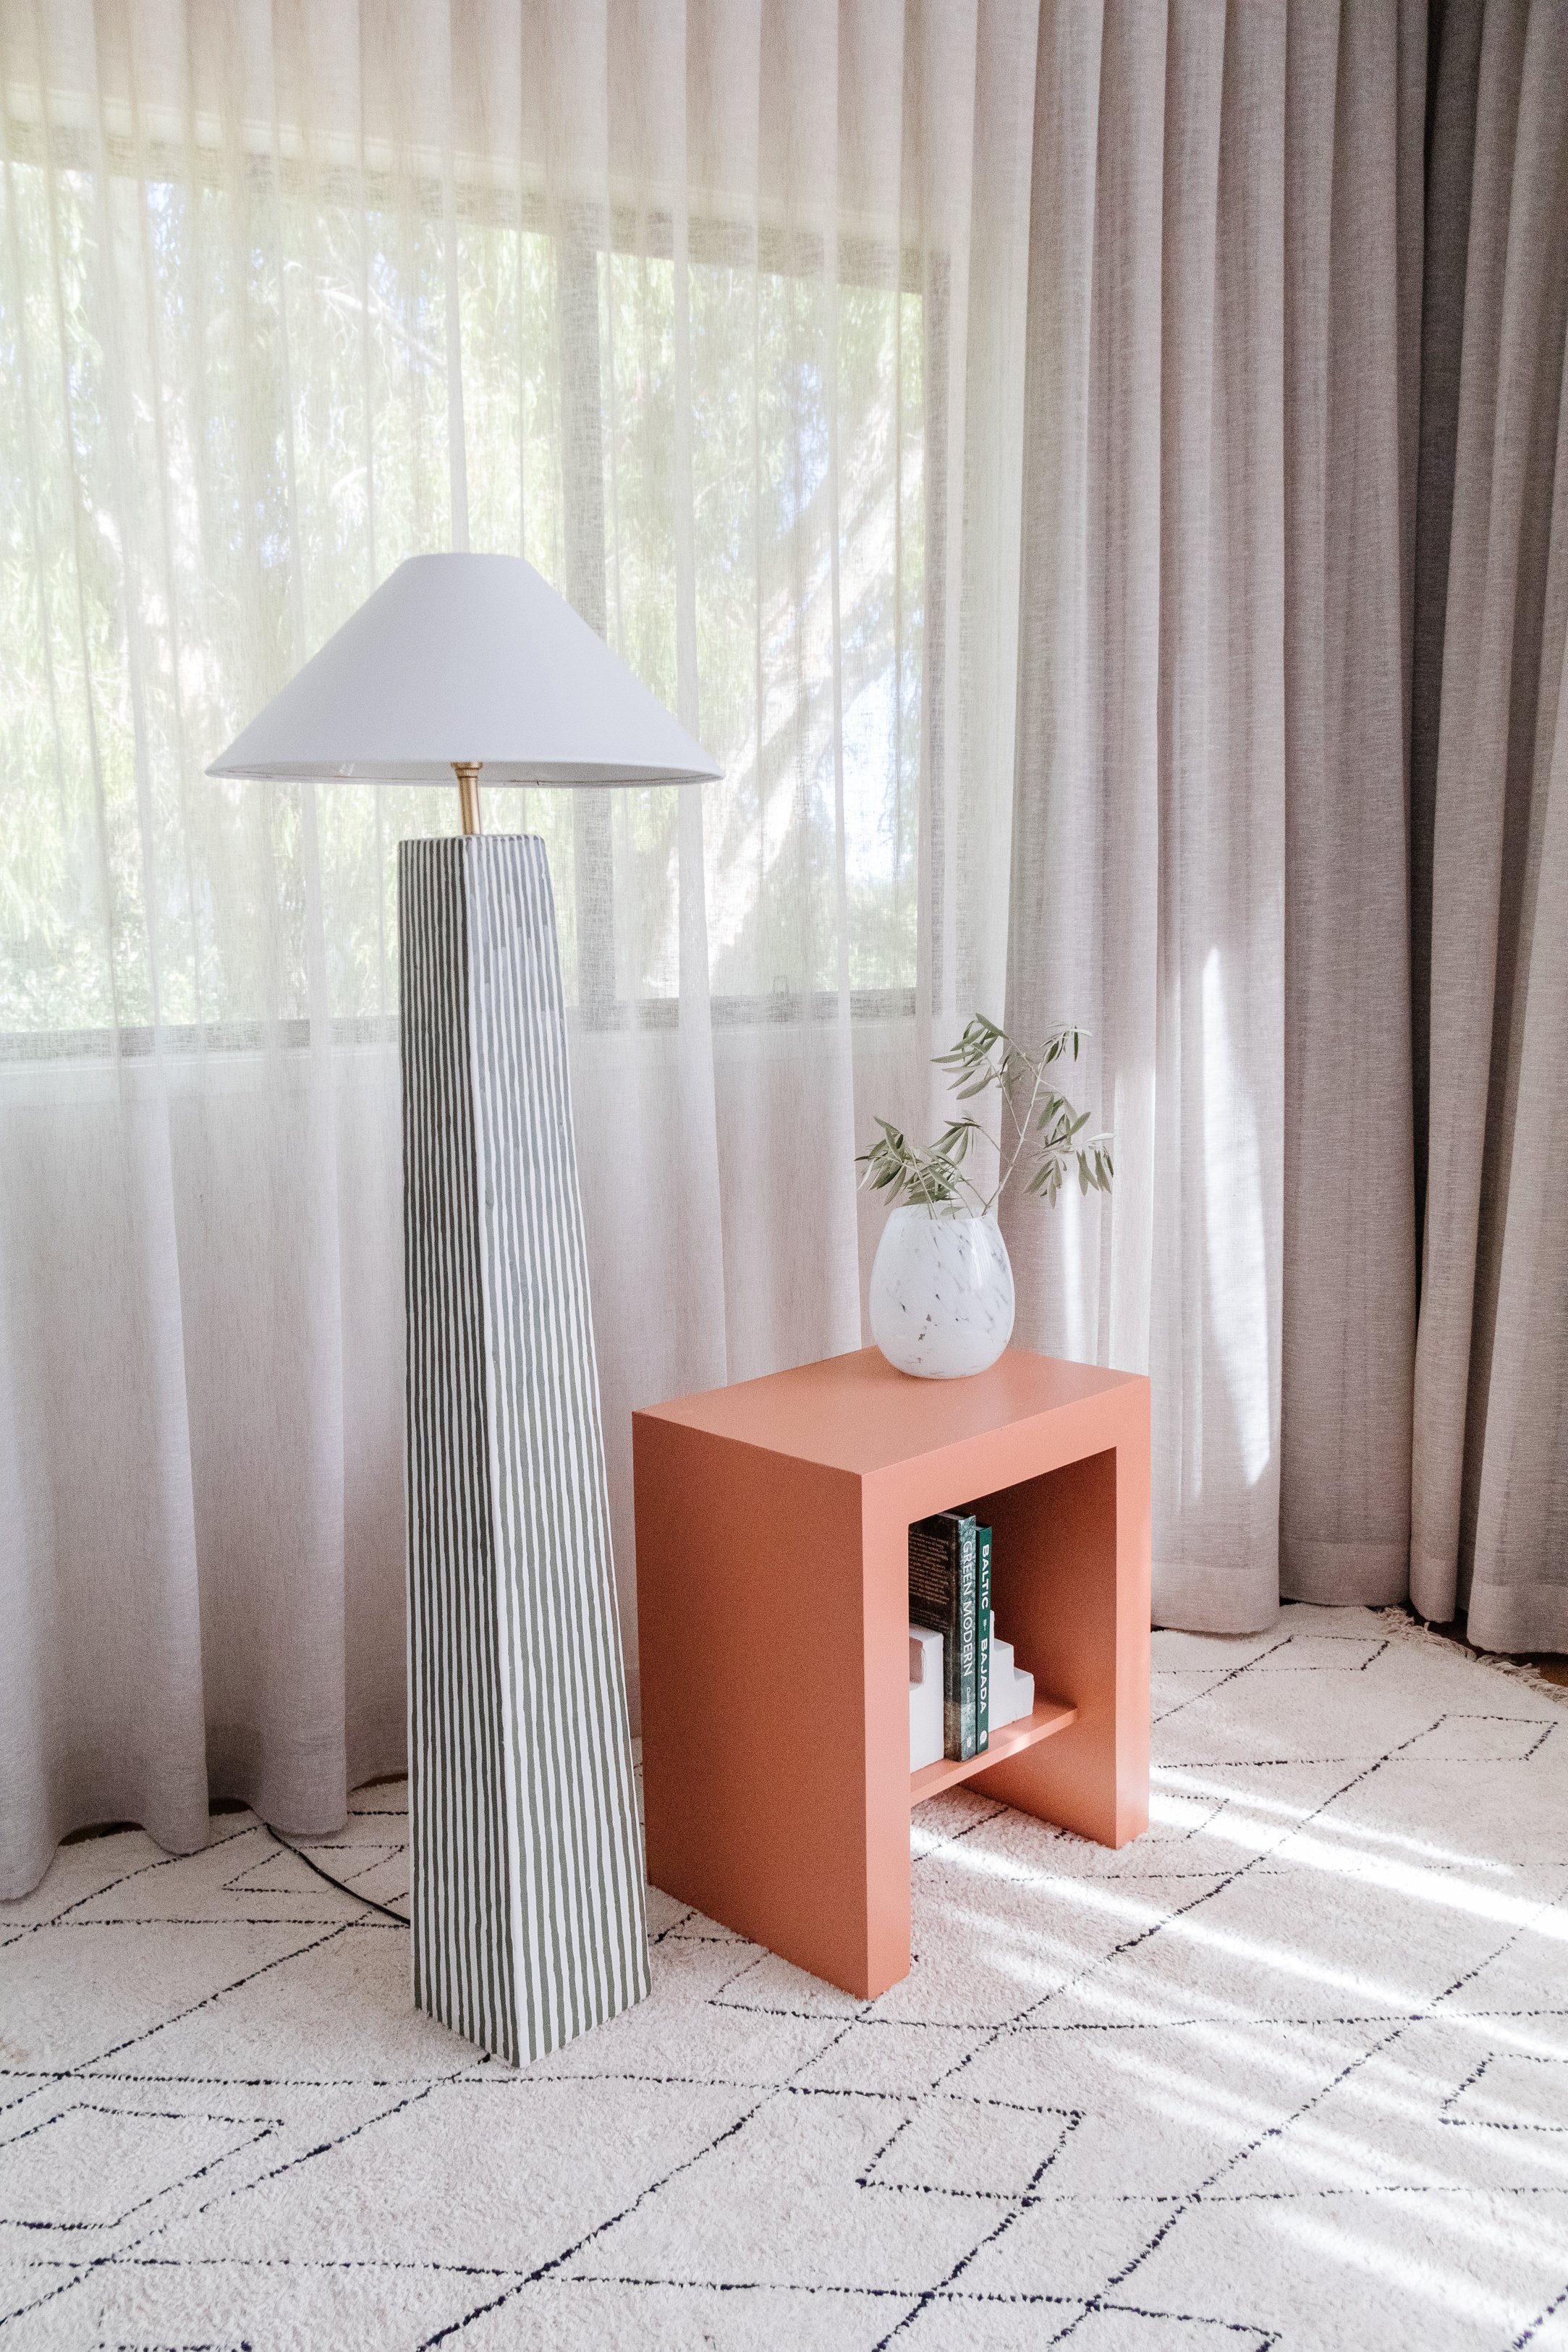
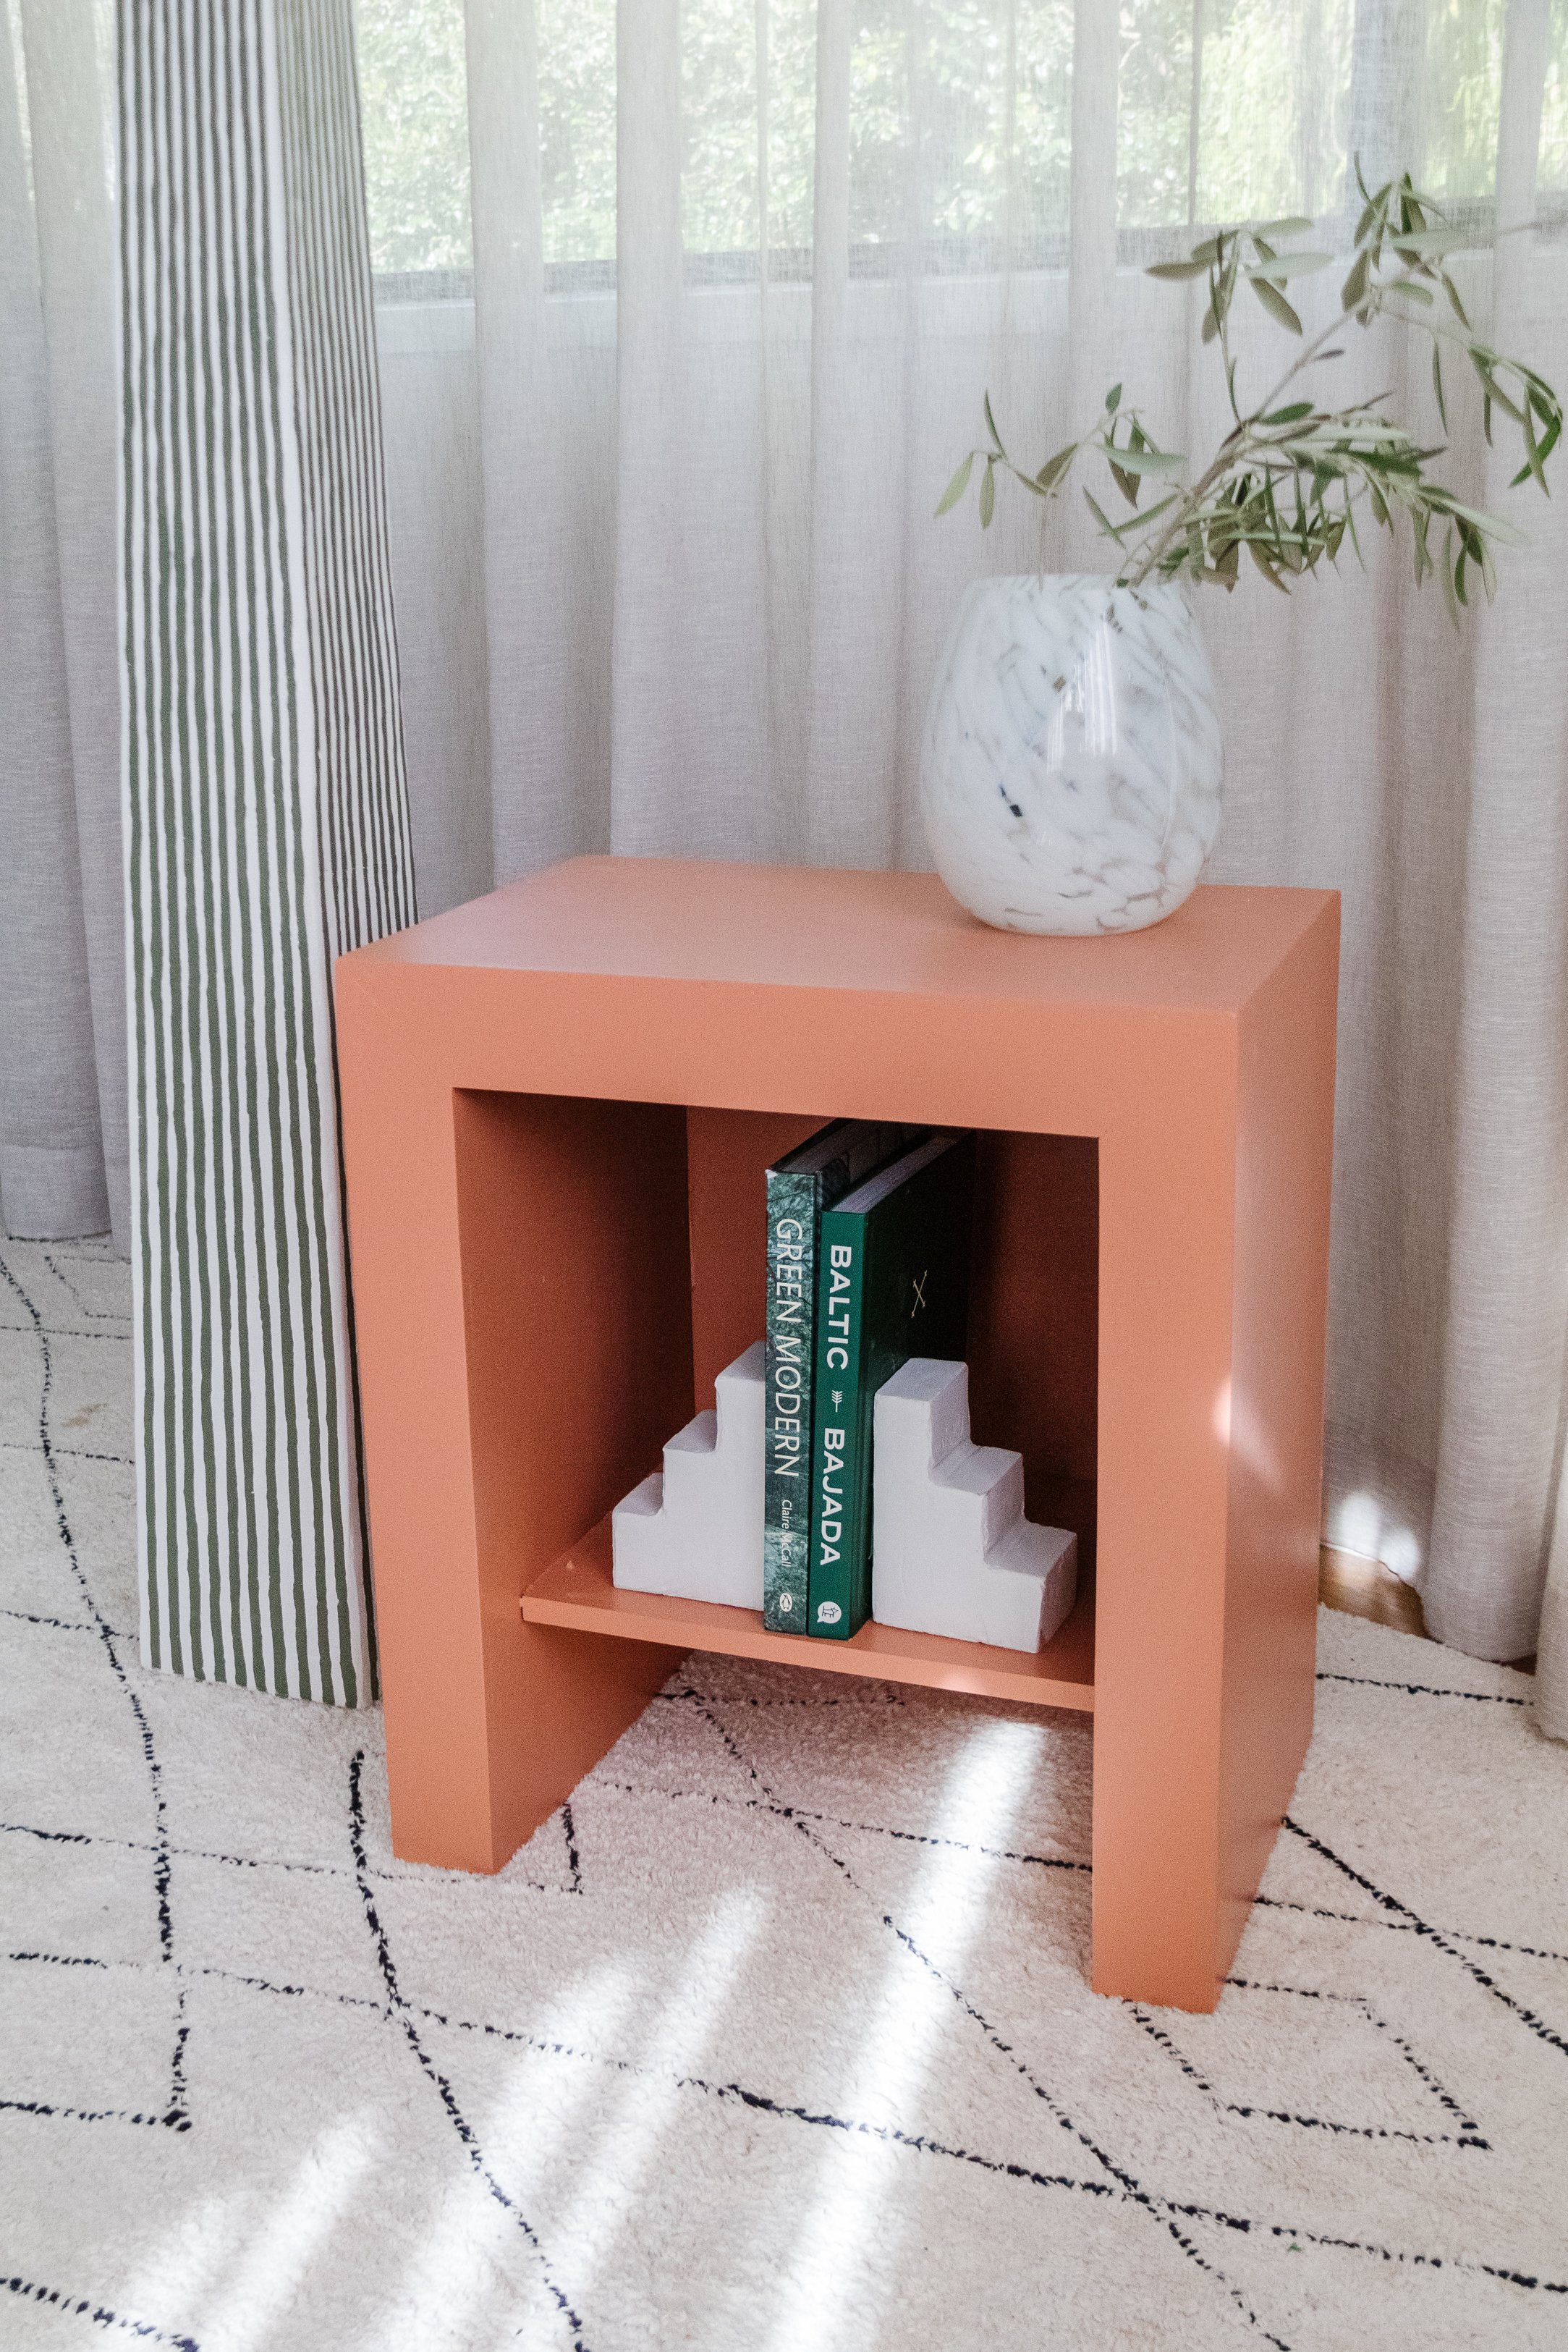
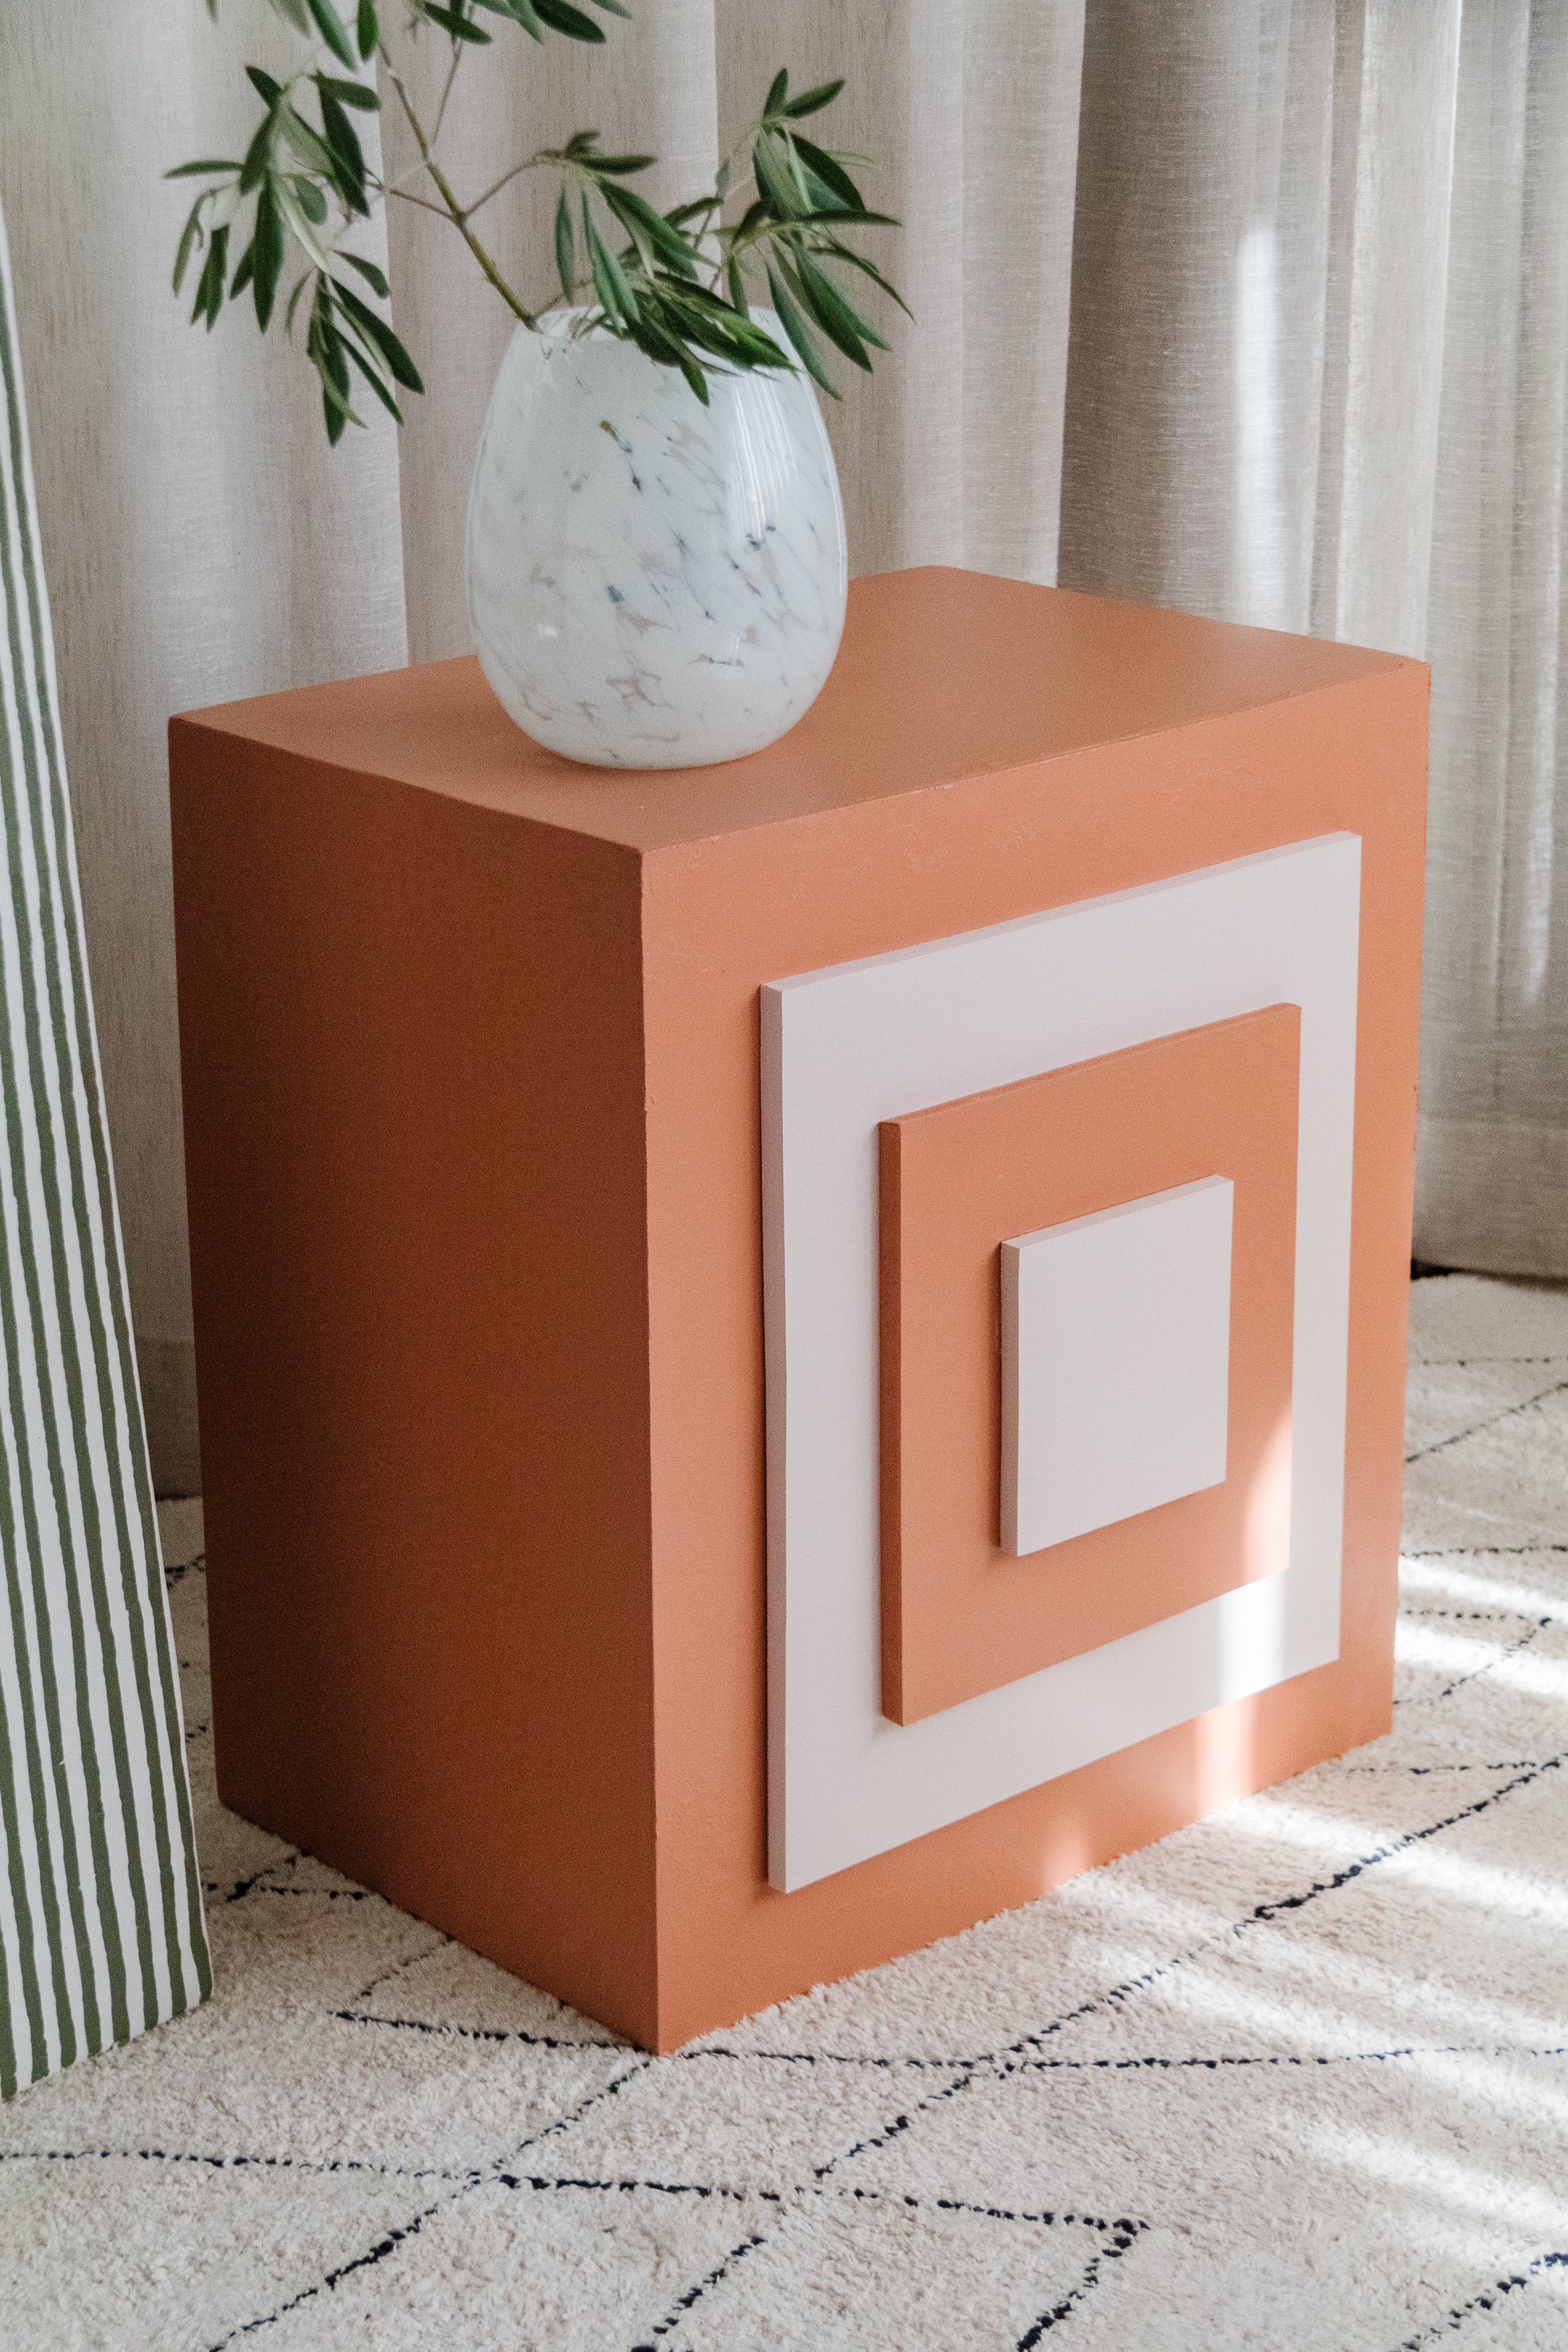
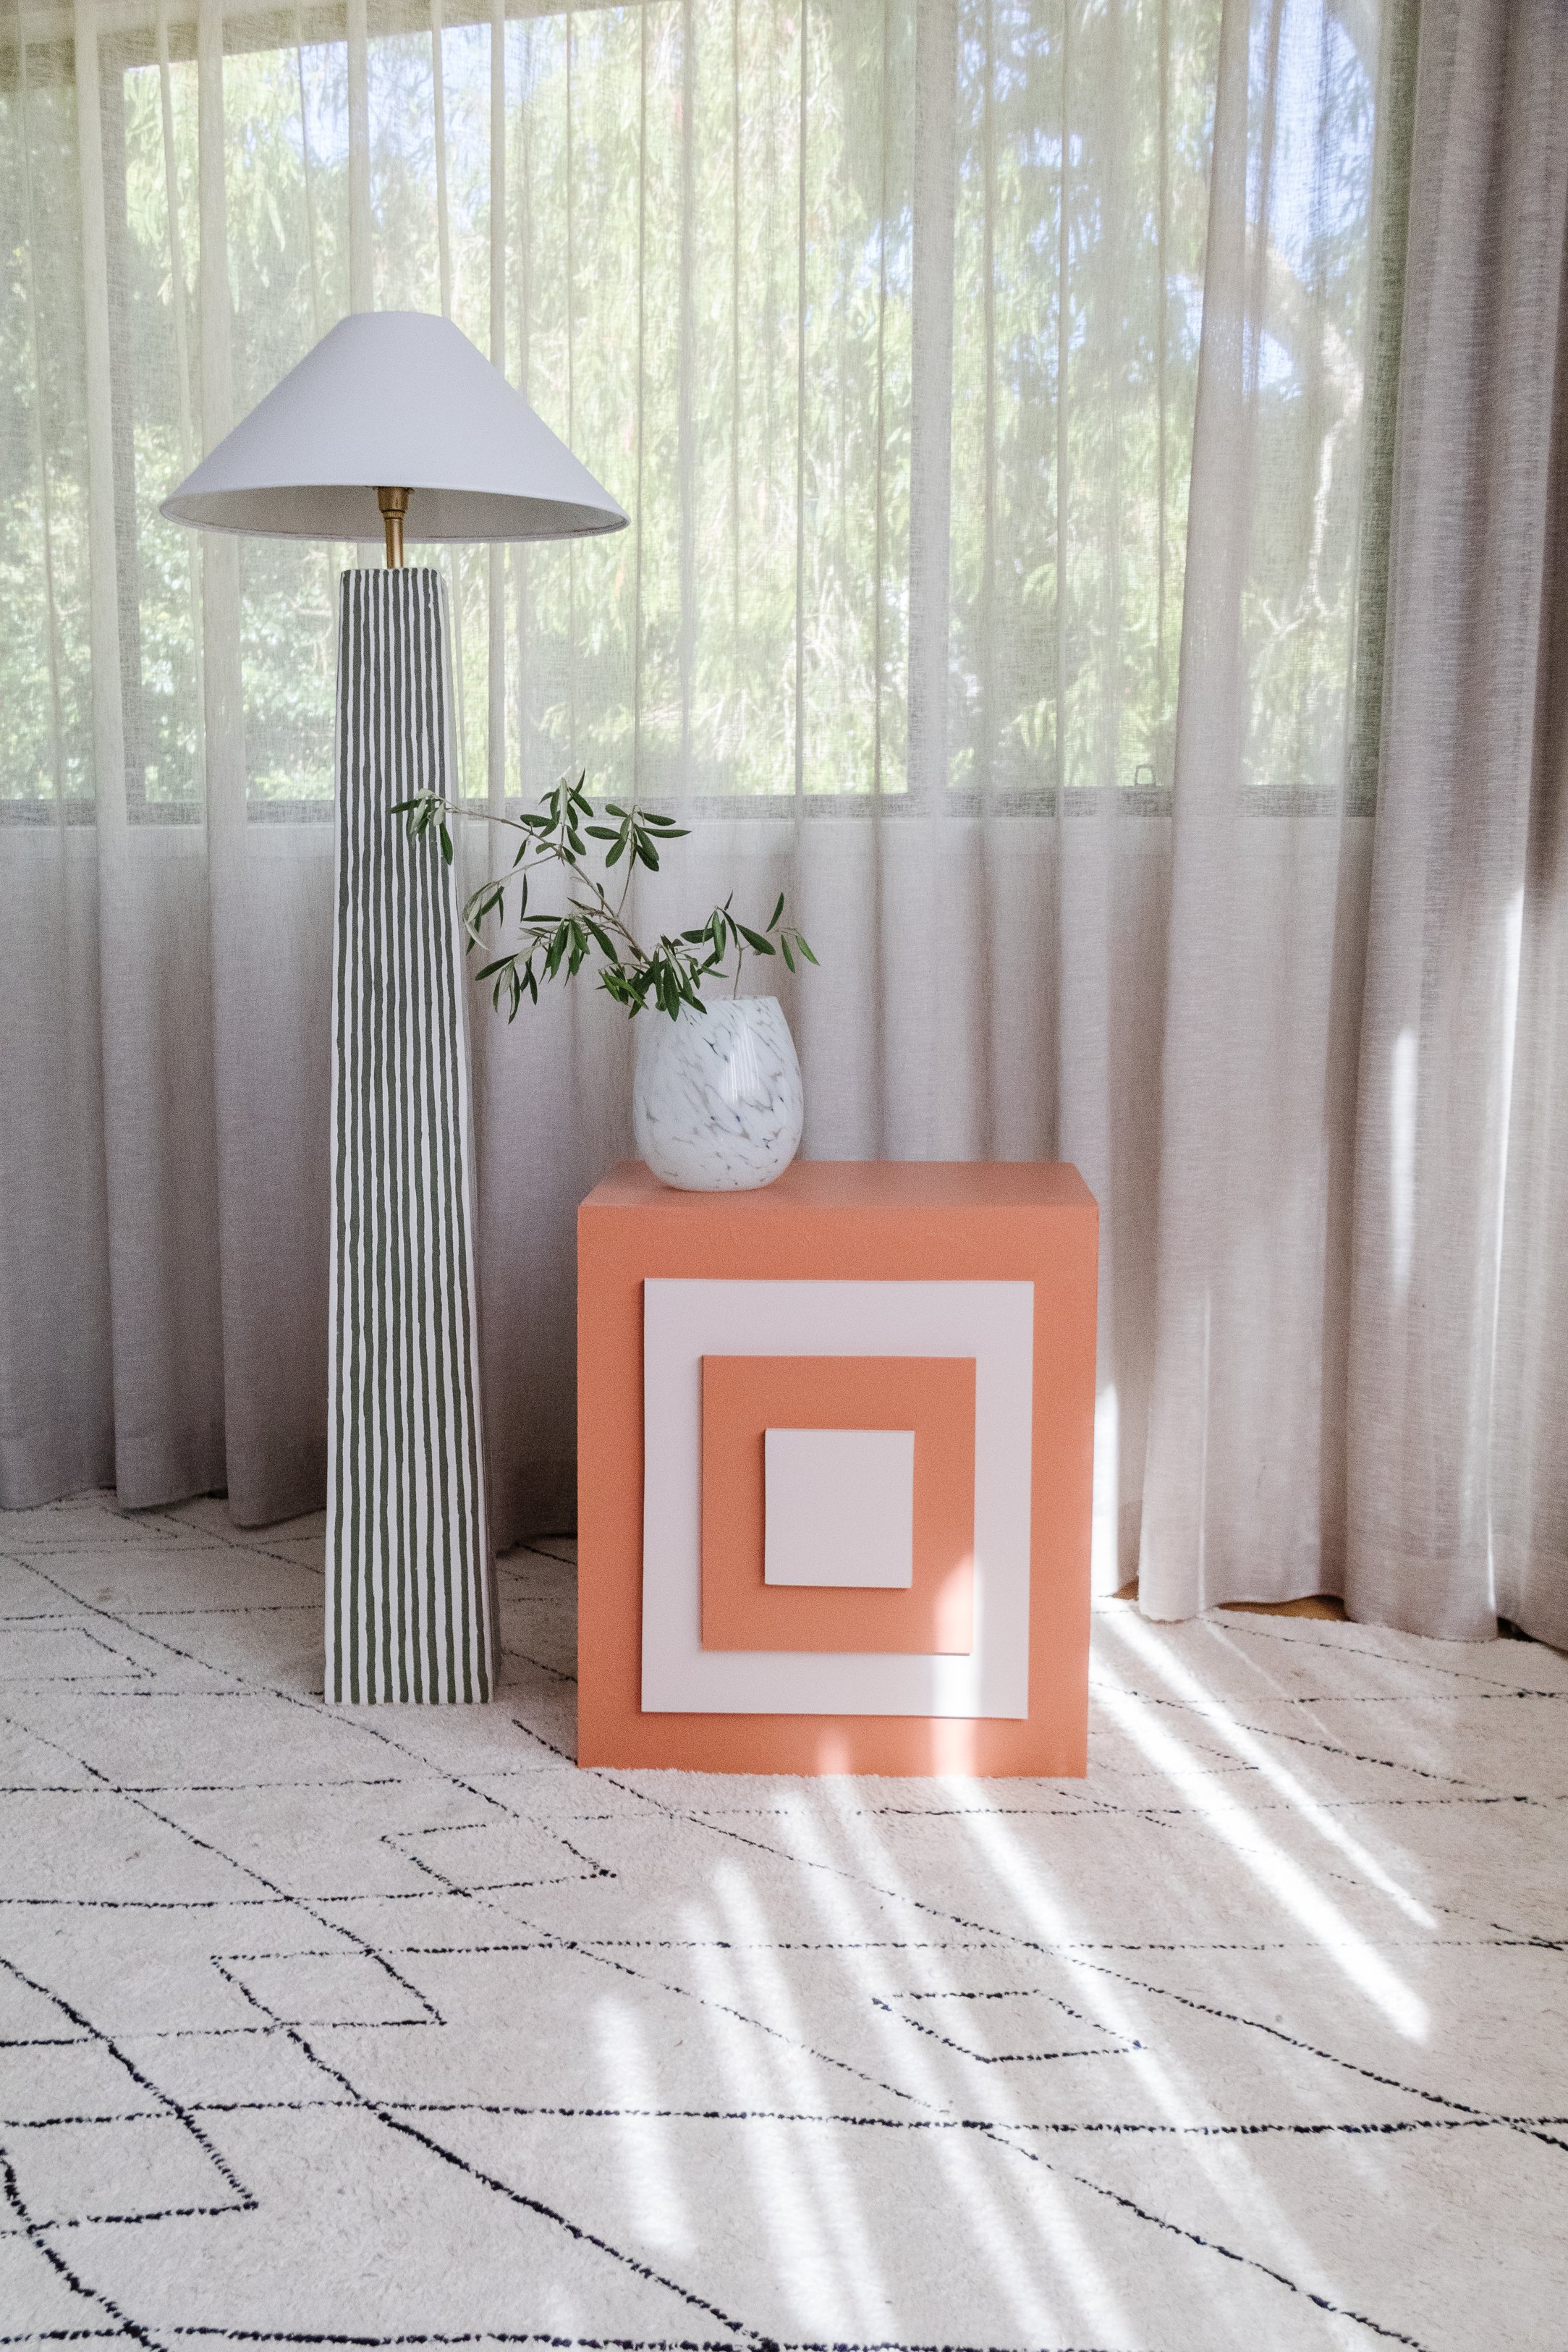
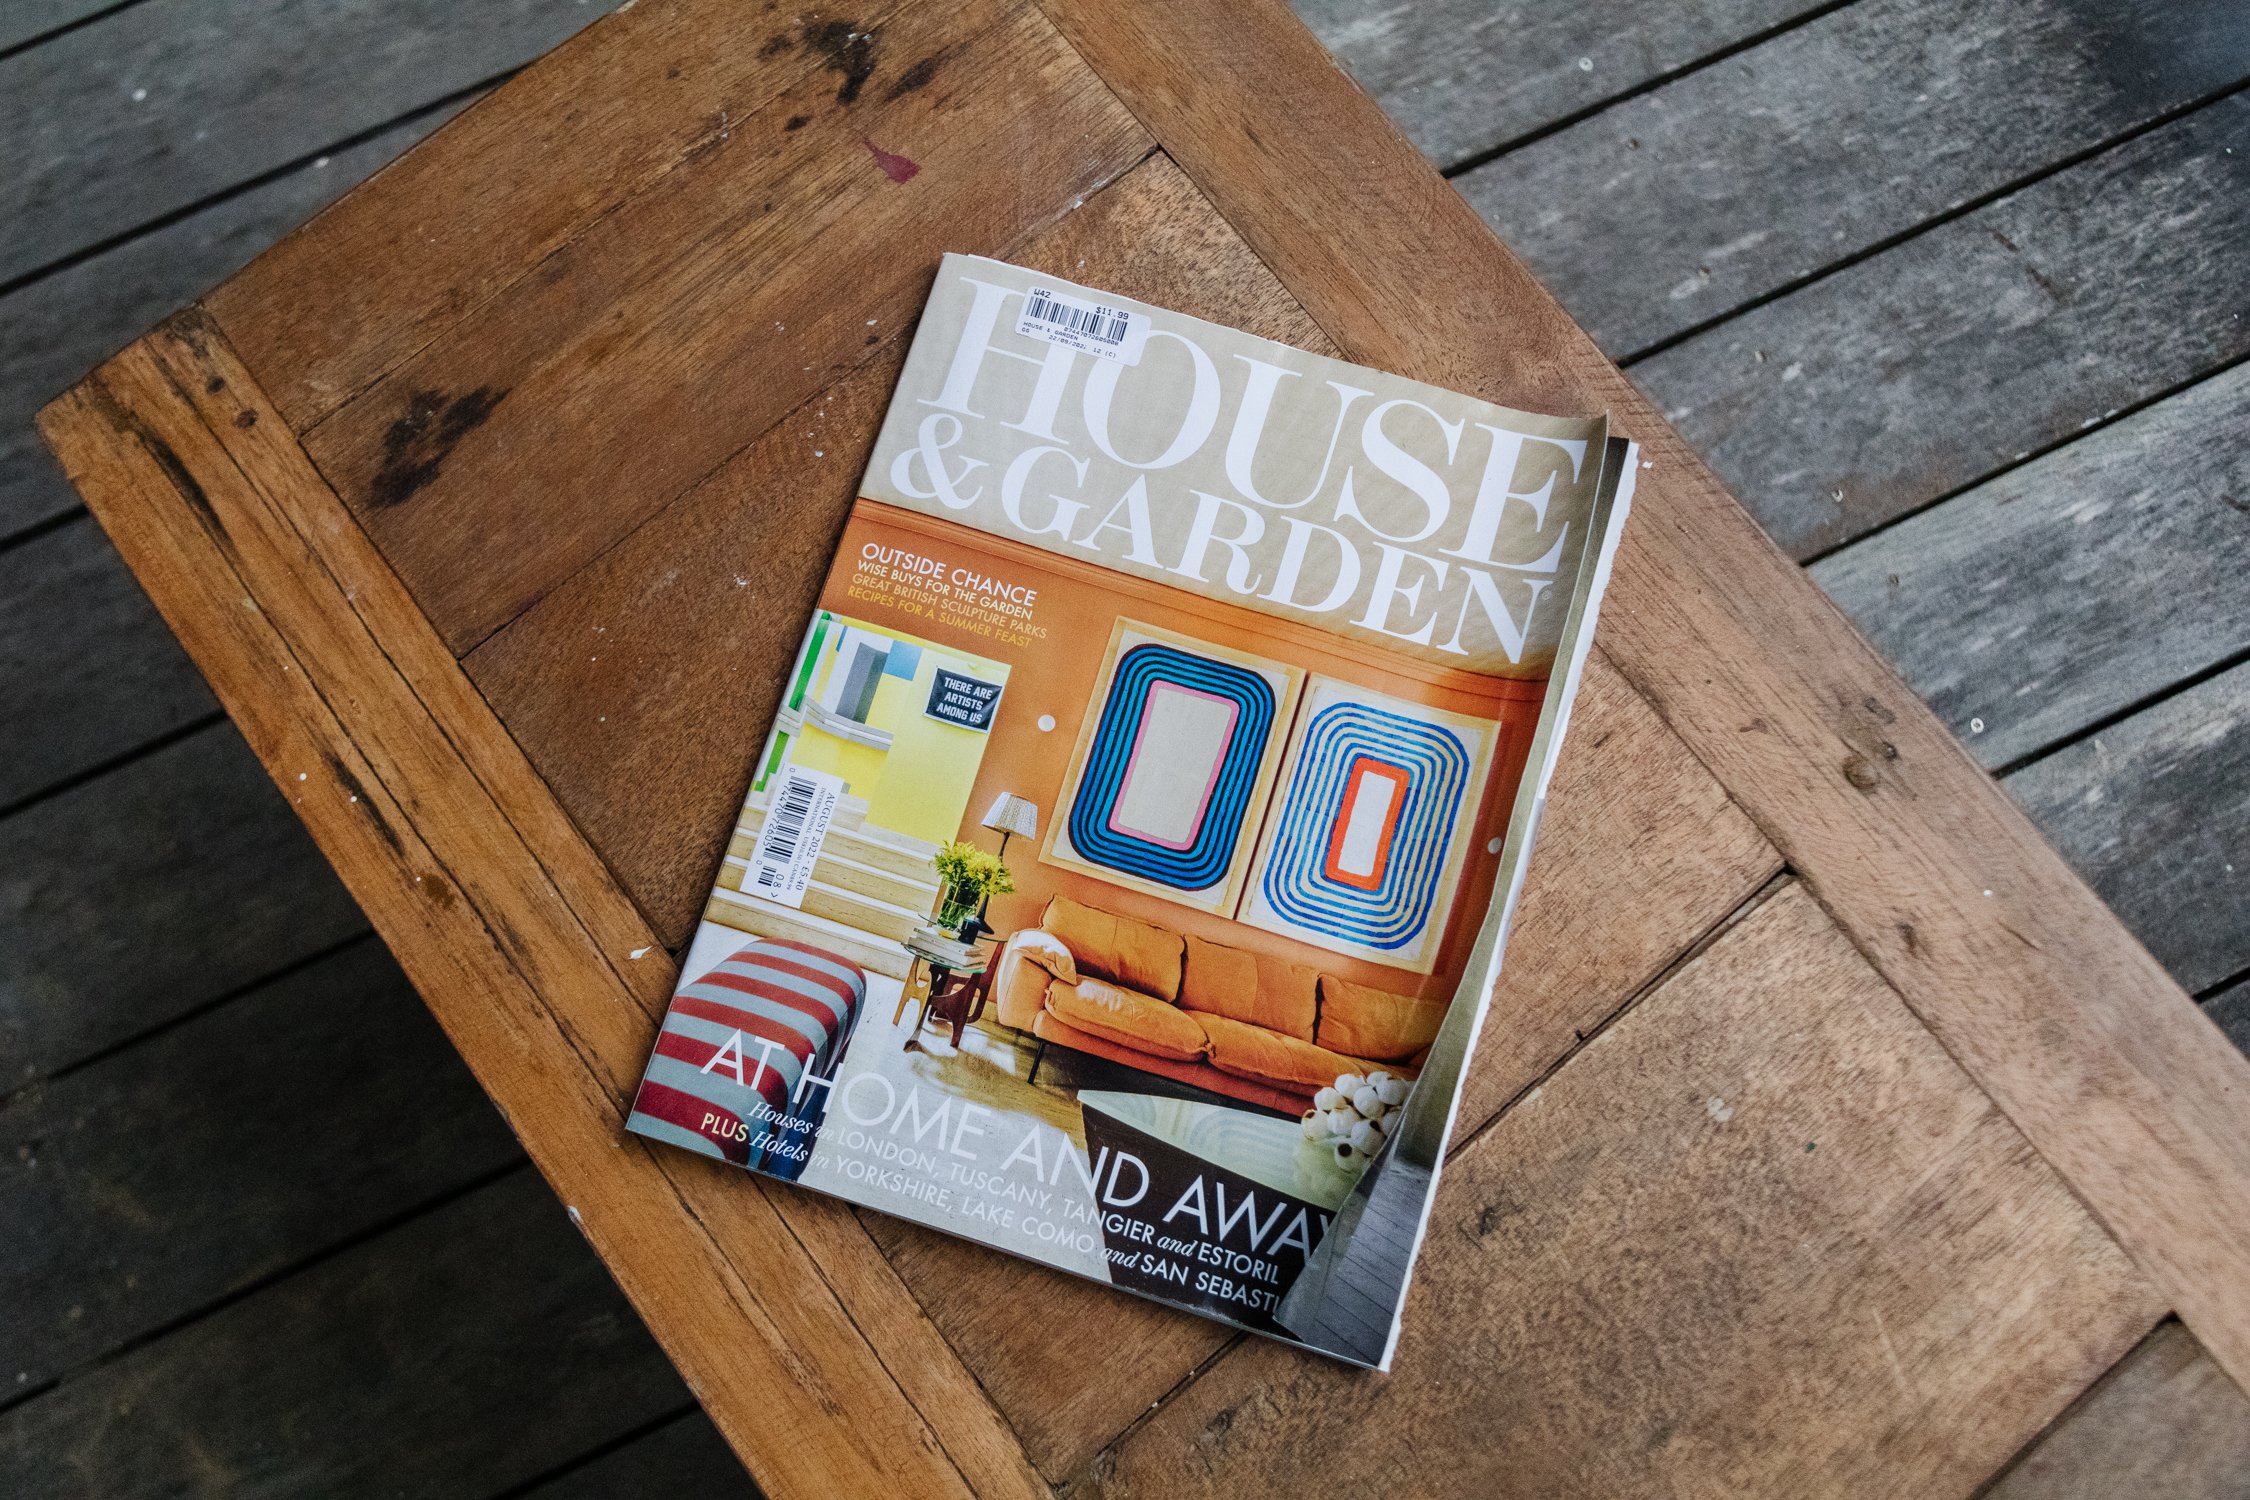
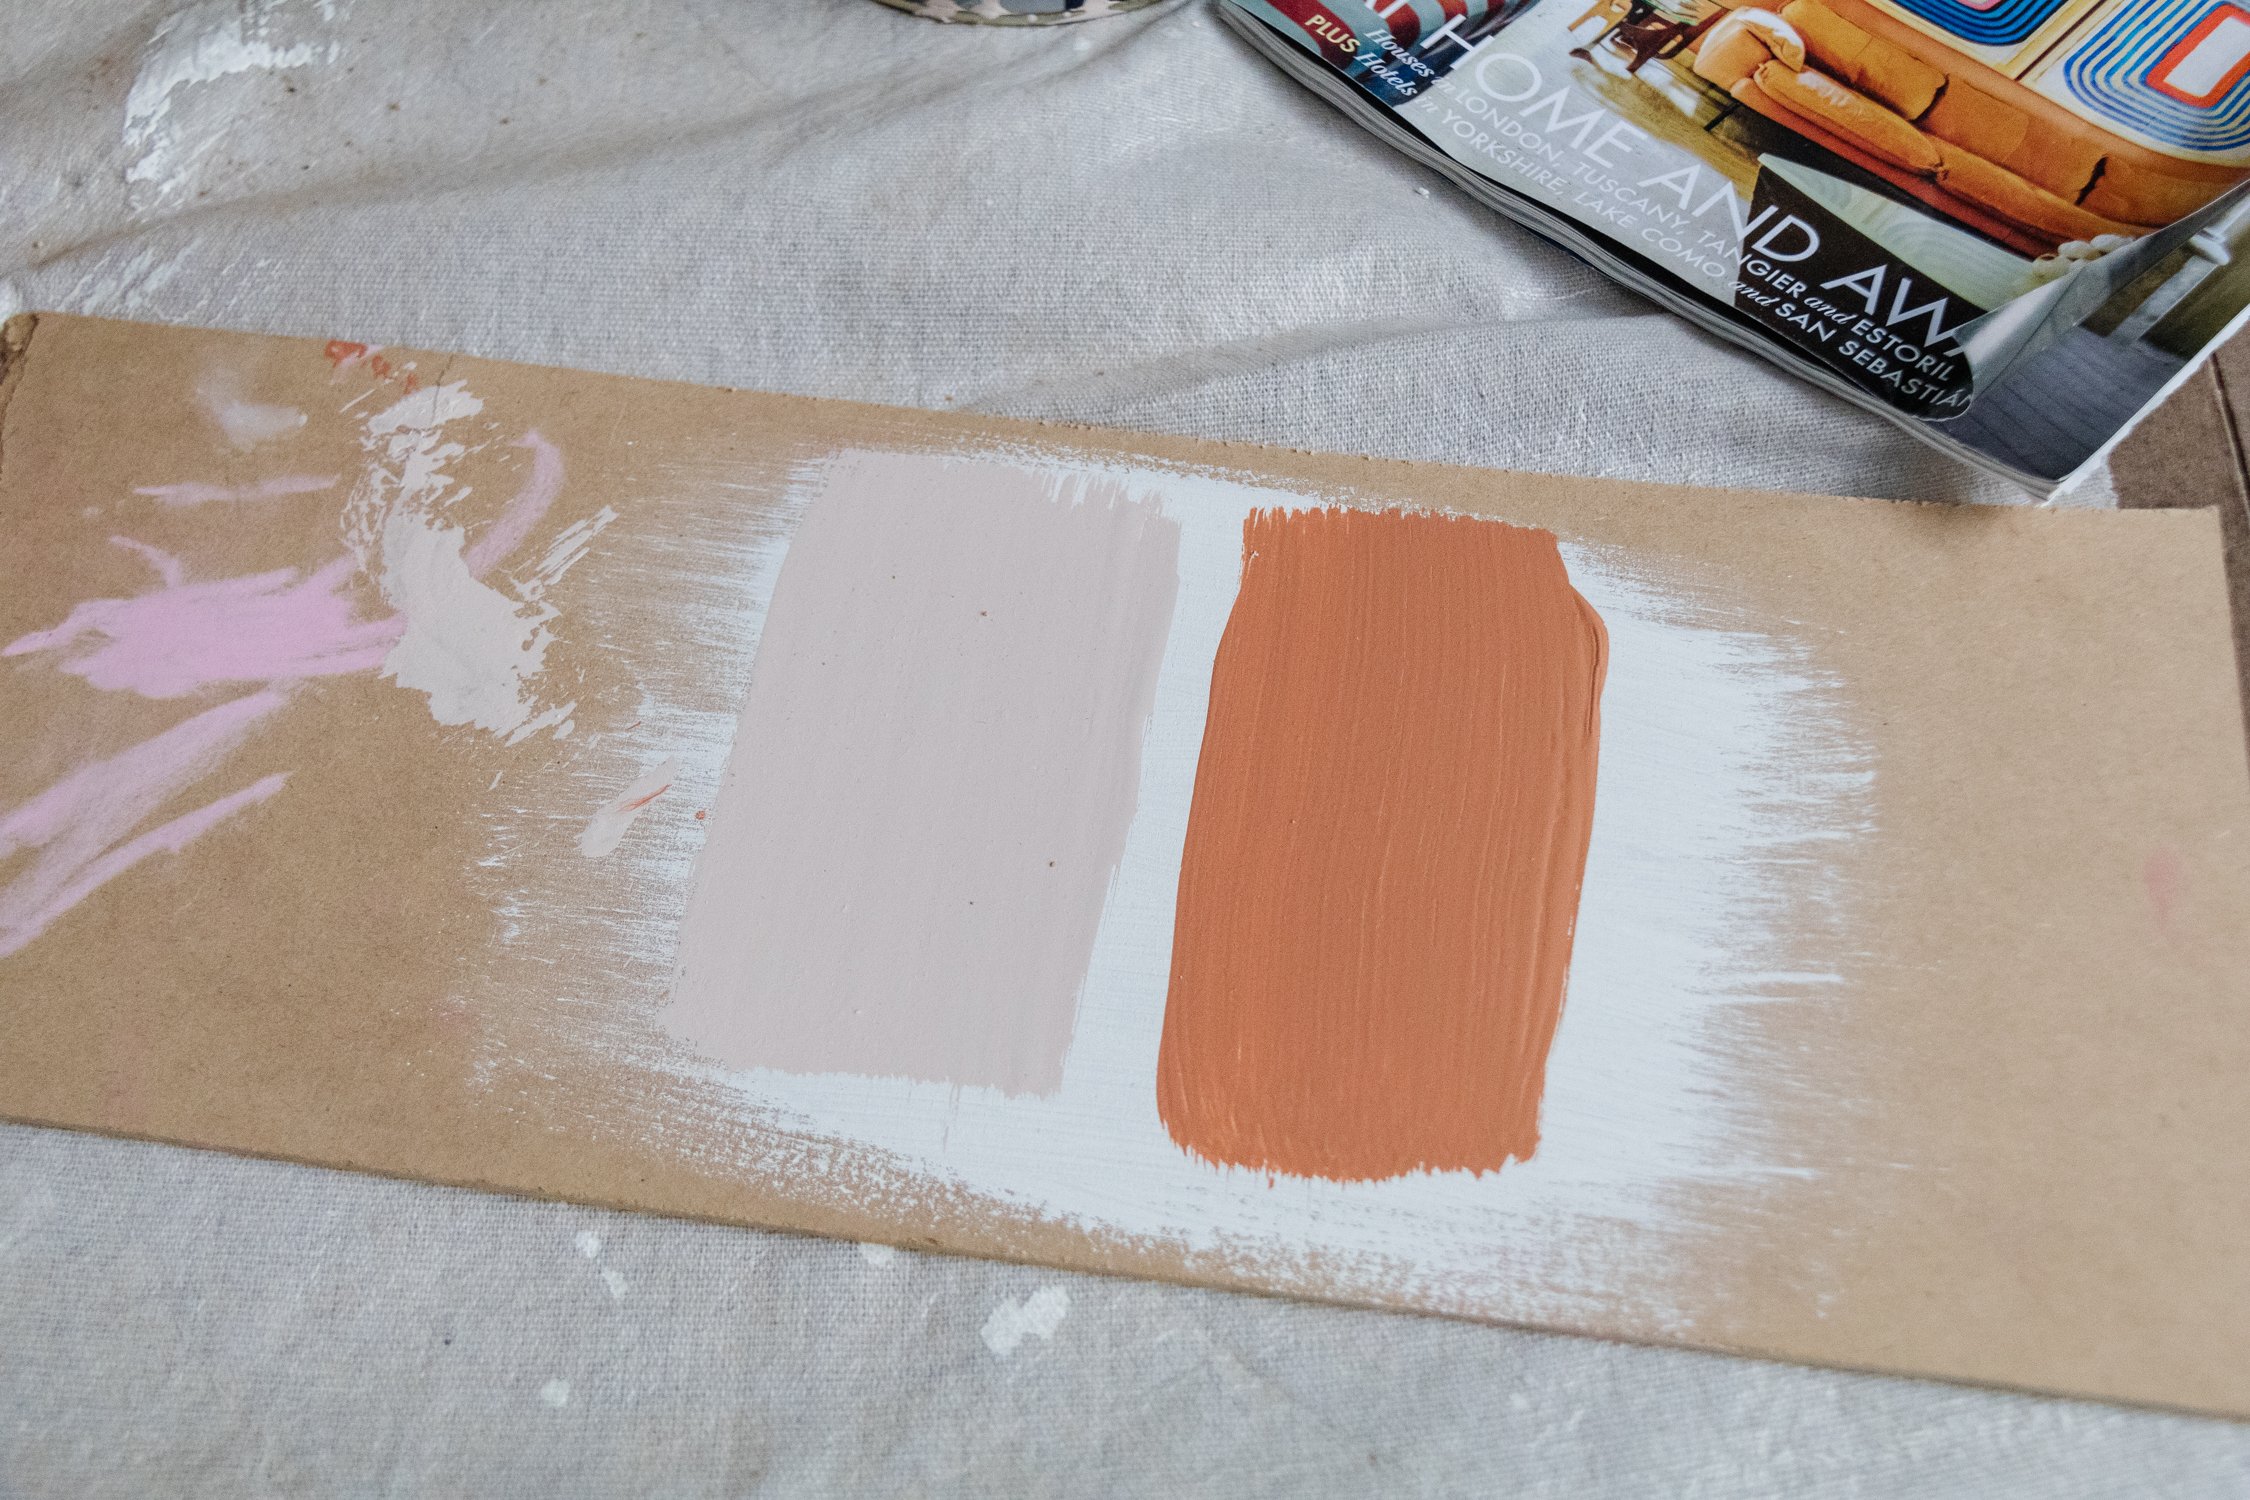
I came across a fairly ordinary side table at my local charity shop and knew straight away I could create a stepped feature on the front. But then what would I do at the back? Party at the front, business at the back? You betcha! I received a bit of criticism for not creating additional storage when I upcycled my Fluted Drawers recently and because I love feedback and learning, I decided to add a secret shelf inside the side table. The perfect place to store books! My plan was to keep this project as simple and minimalist as possible by painting the side table white, but after being inspired by a colourful magazine cover, I wondered if I should paint it in a dusty pink and an earthy terracotta. I couldn’t decided to naturally I asked my incredibly kind and helpful community on Instagram and they voted I go with colour, so that’s what I did. I kept flip flopping as to which colour should be the main colour, and while everyone voted for pink, in my gut I knew I should choose terracotta. I love the mid century vibes and choosing terracotta felt like a more bold decision. So, that’s what I did. Read on to learn how you can add a stepped feature onto a side table below. I I can’t wait to experiment more with this “stepped” feature!
And to see how this Upcycled Stepped Side Table came together, make sure you check out this video!
Before & After


The Inspiration

Project Details
🕒 Project Time Estimate: 3 hours, not including glue or paint drying time
💰 Materials Cost: $70
⚒️ Power Tools: Jigsaw, sander
👷♀️ Skill Level: Beginner to intermediate DIYer
Tools
Materials
Side table with flat surfaces
Selley’s Liquid Nails glue and caulking gun
Ruler and pen
White primer paint
Dulux “Terracotta Chip” Interior paint (water based)
Dulux “Mornington” Interior paint (water based)
2 x microfibre roller with one handle
Optional: Spirit level

How To
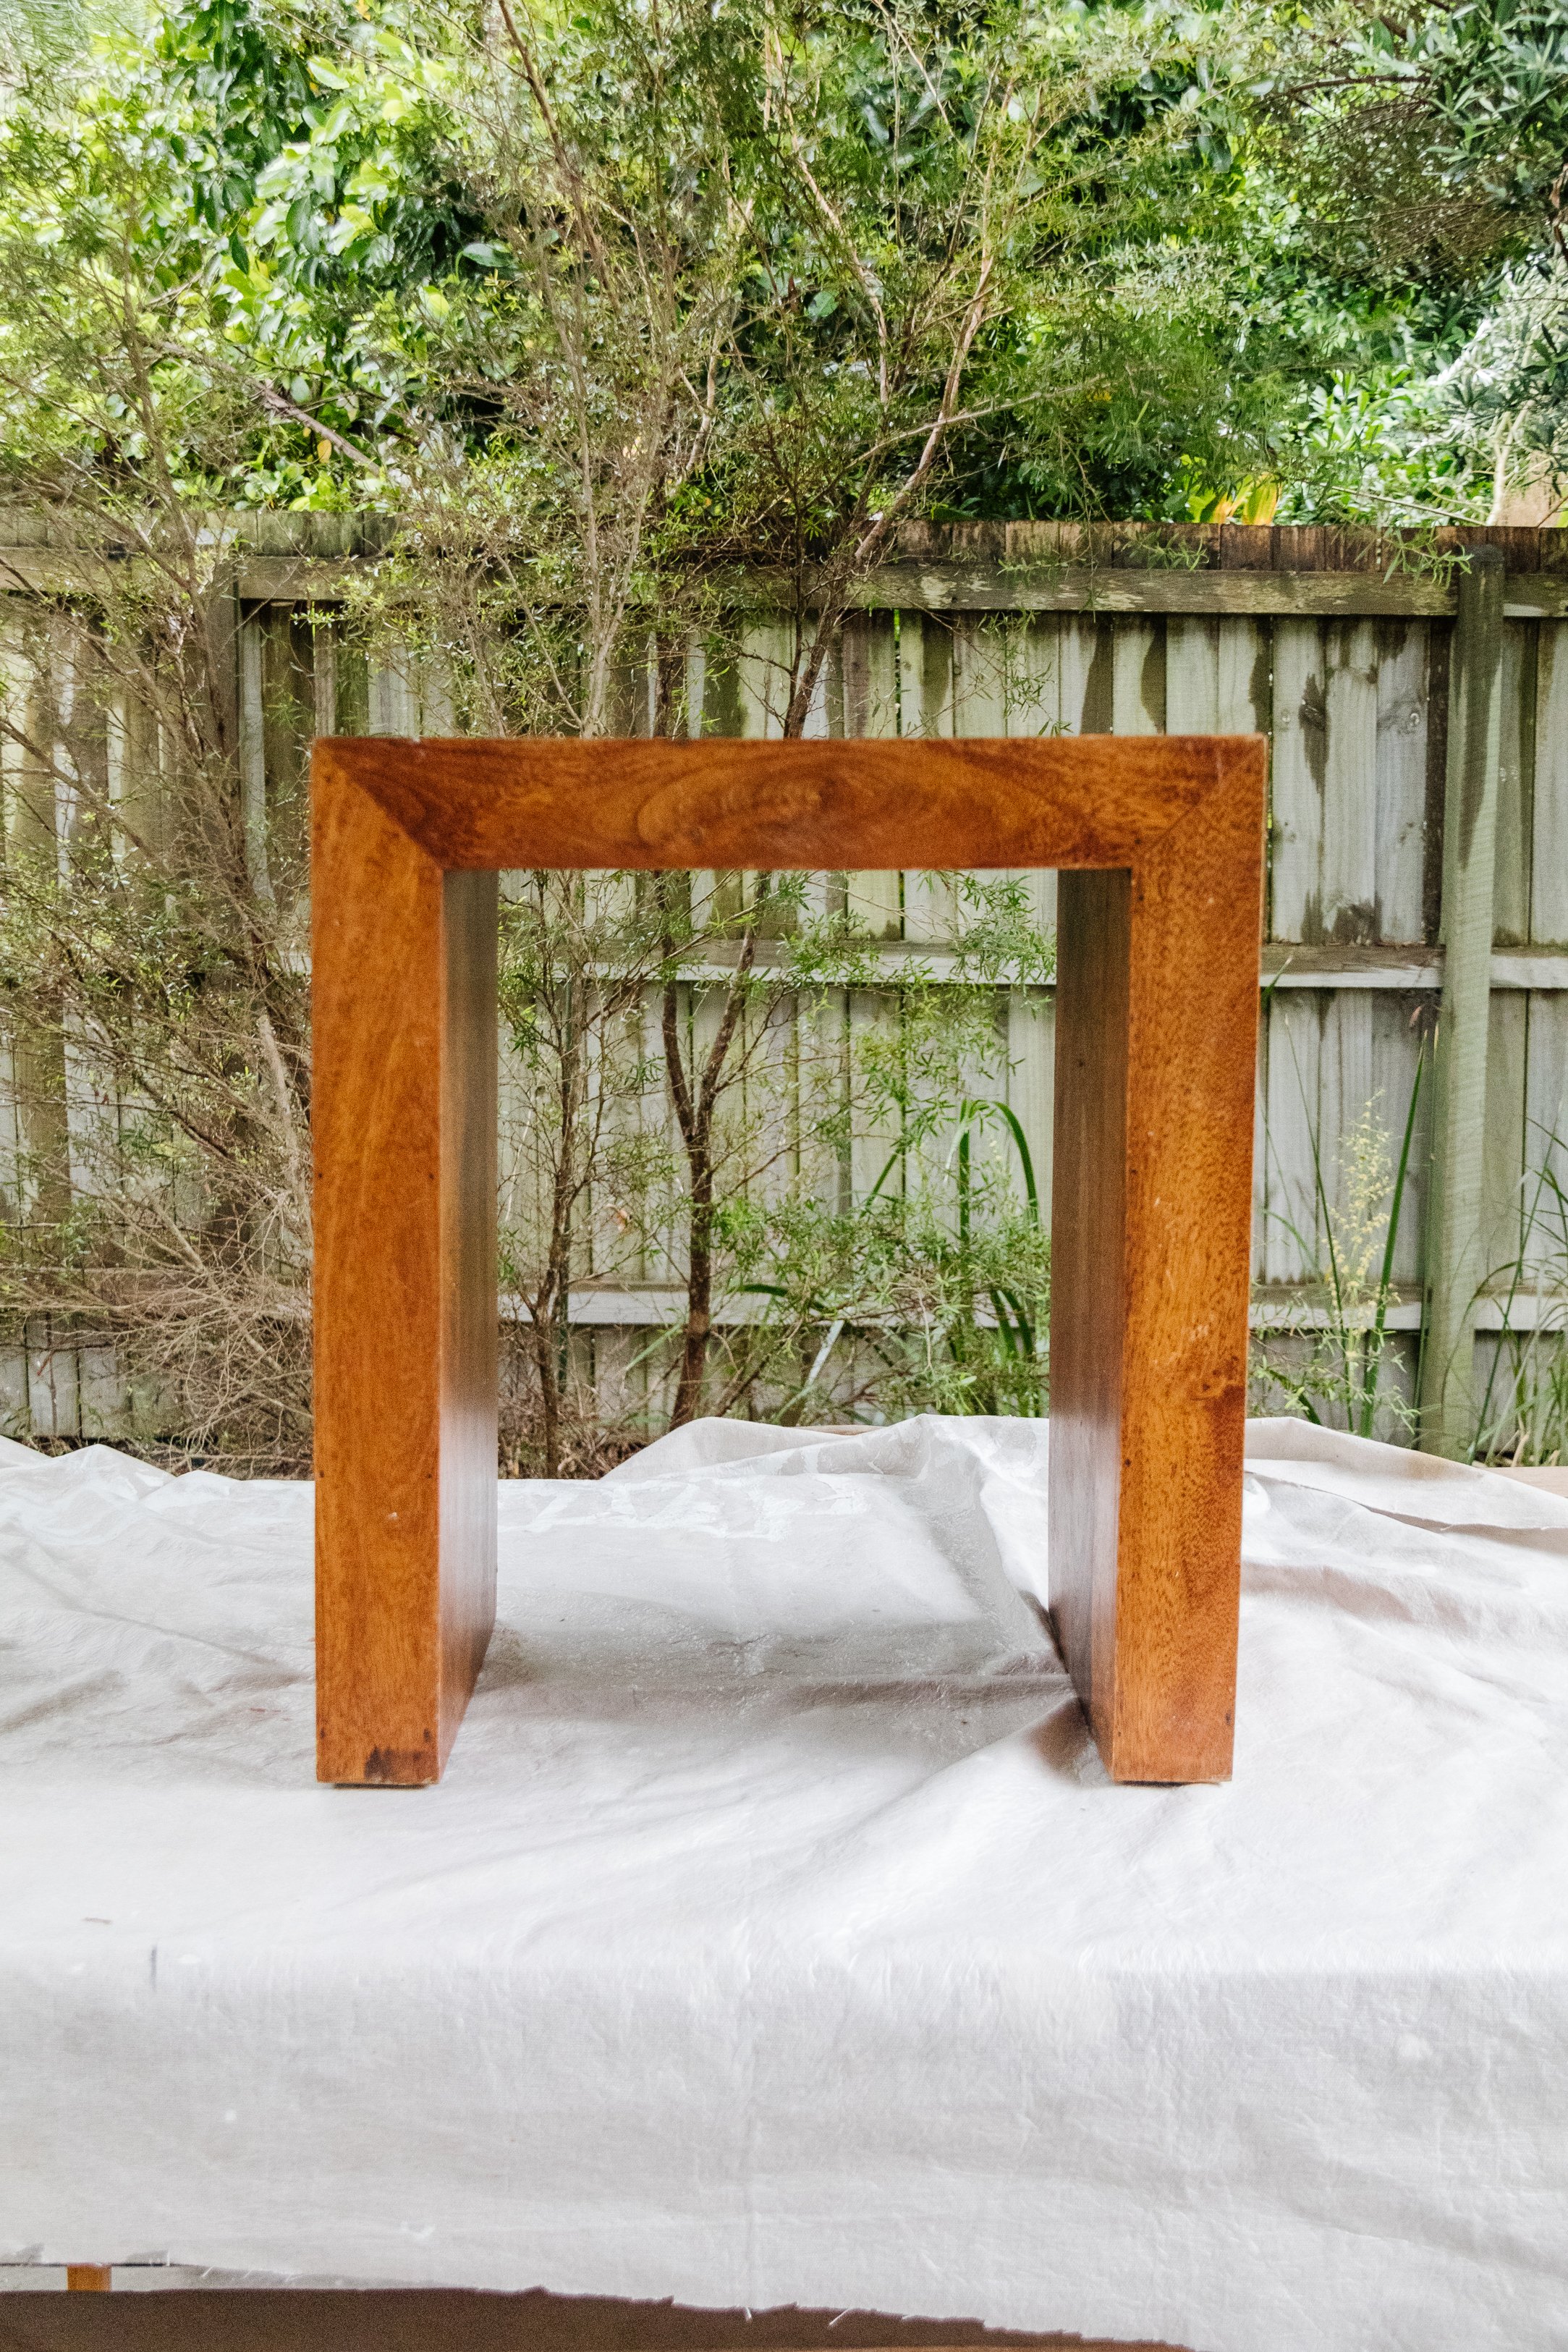
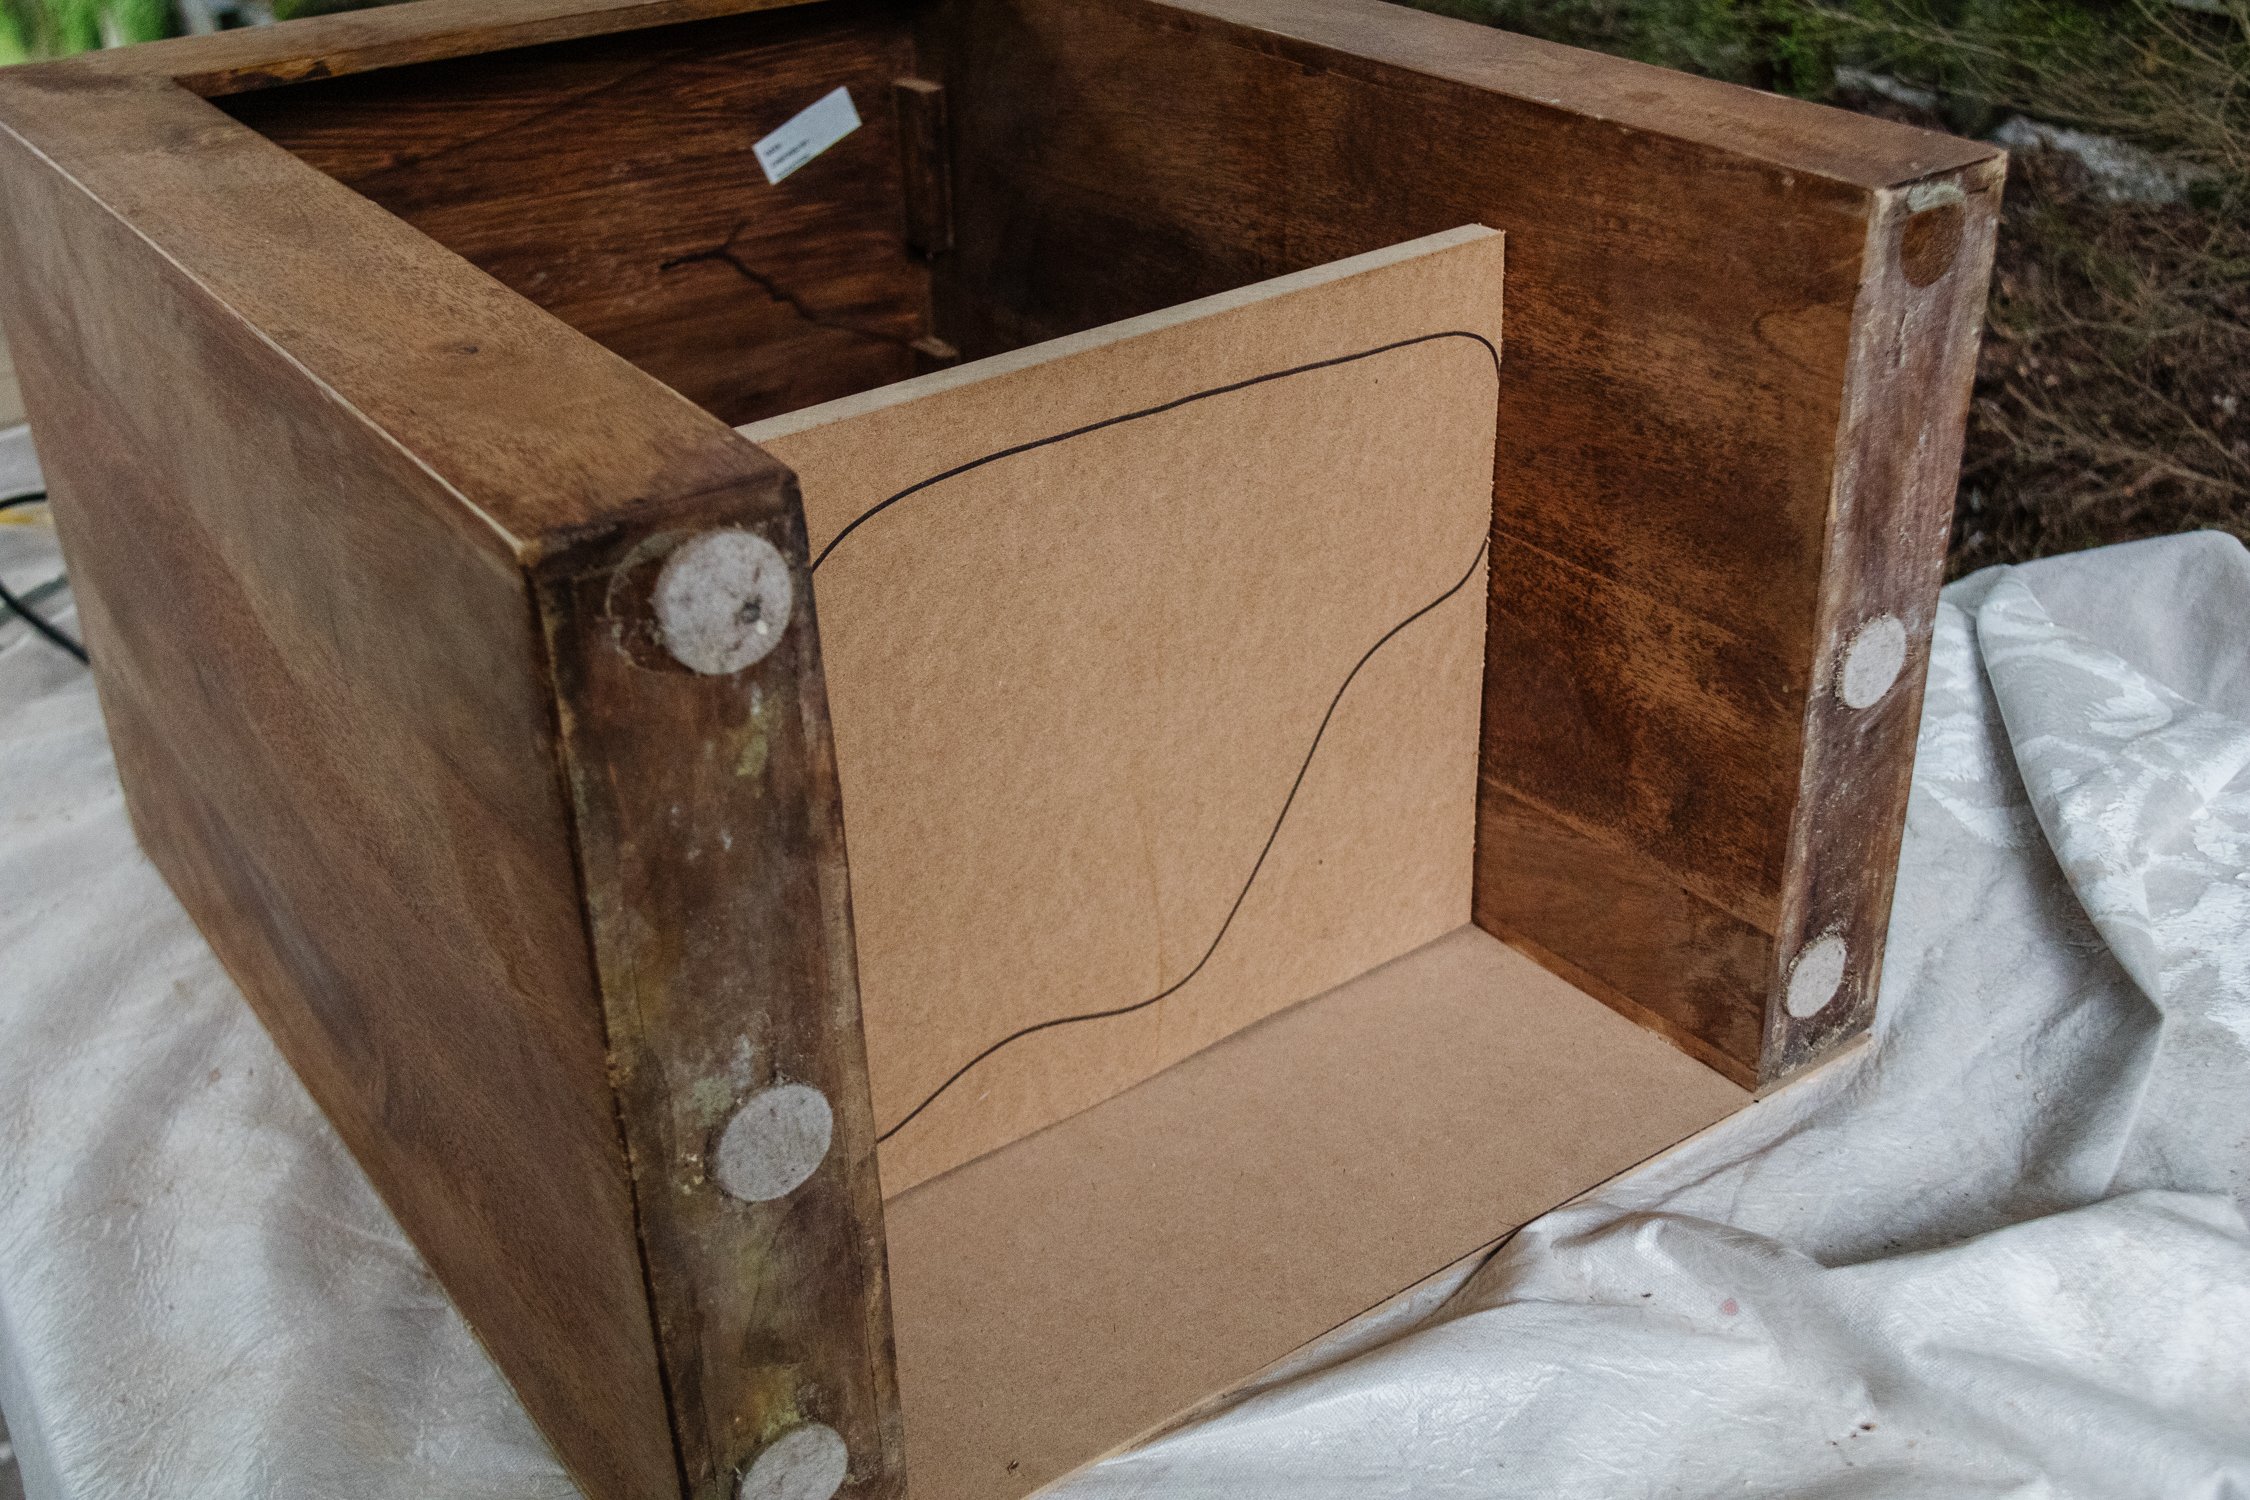
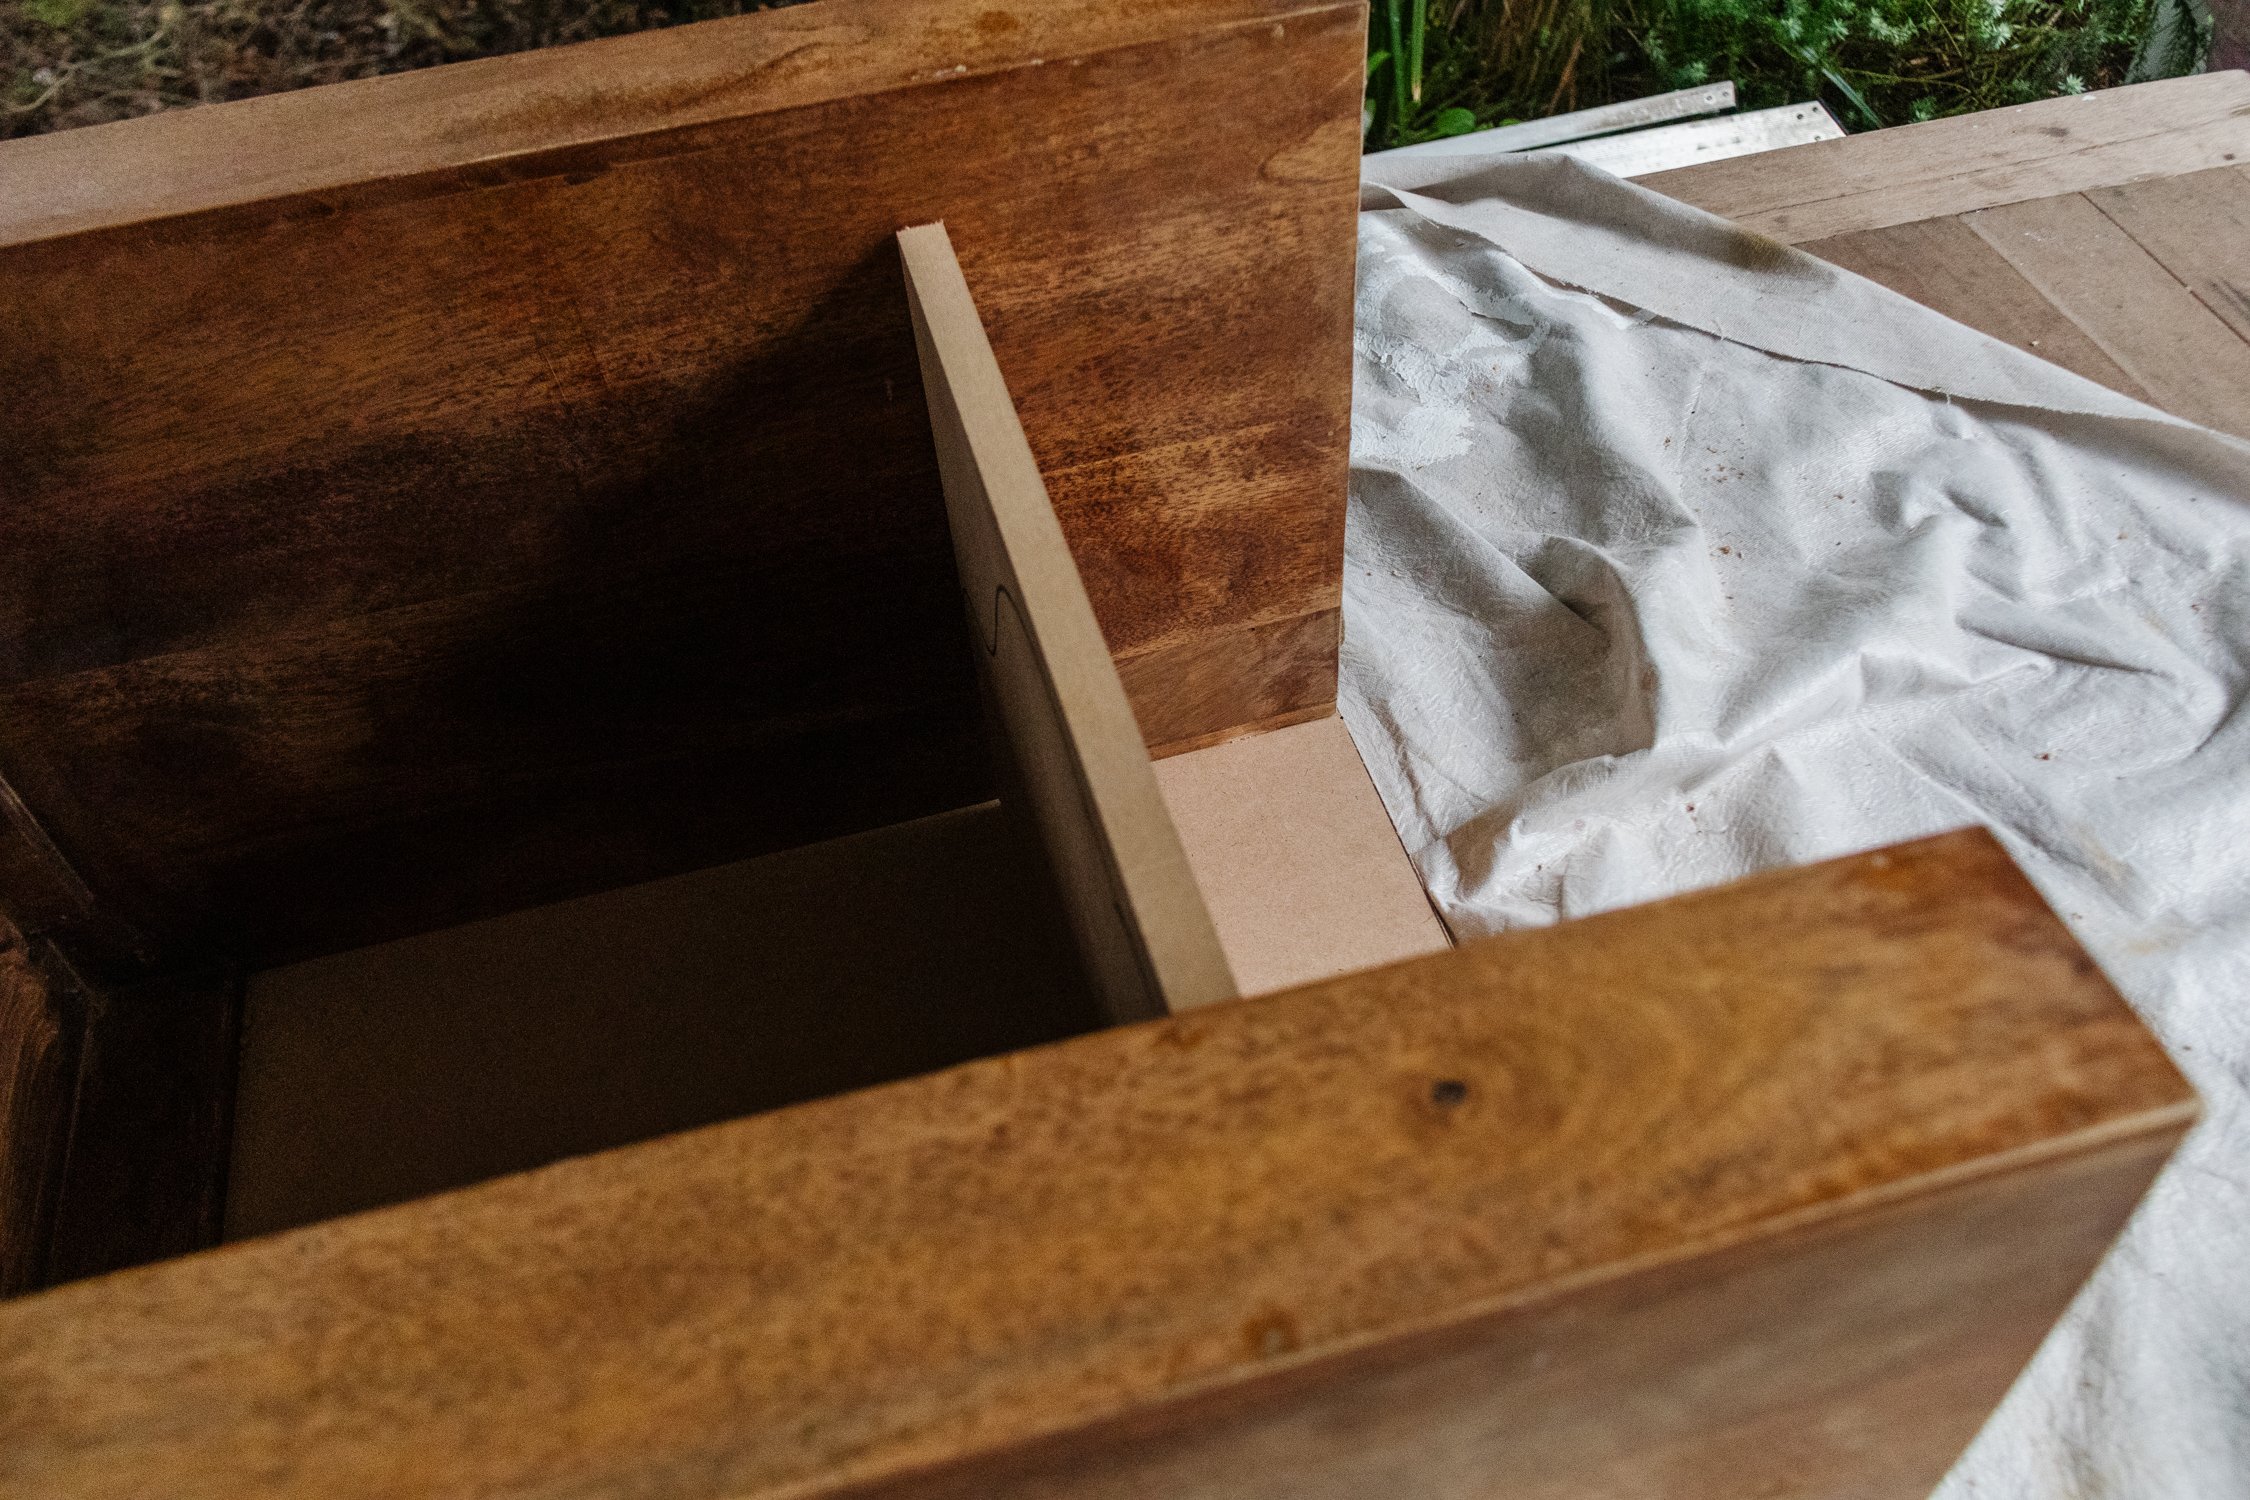
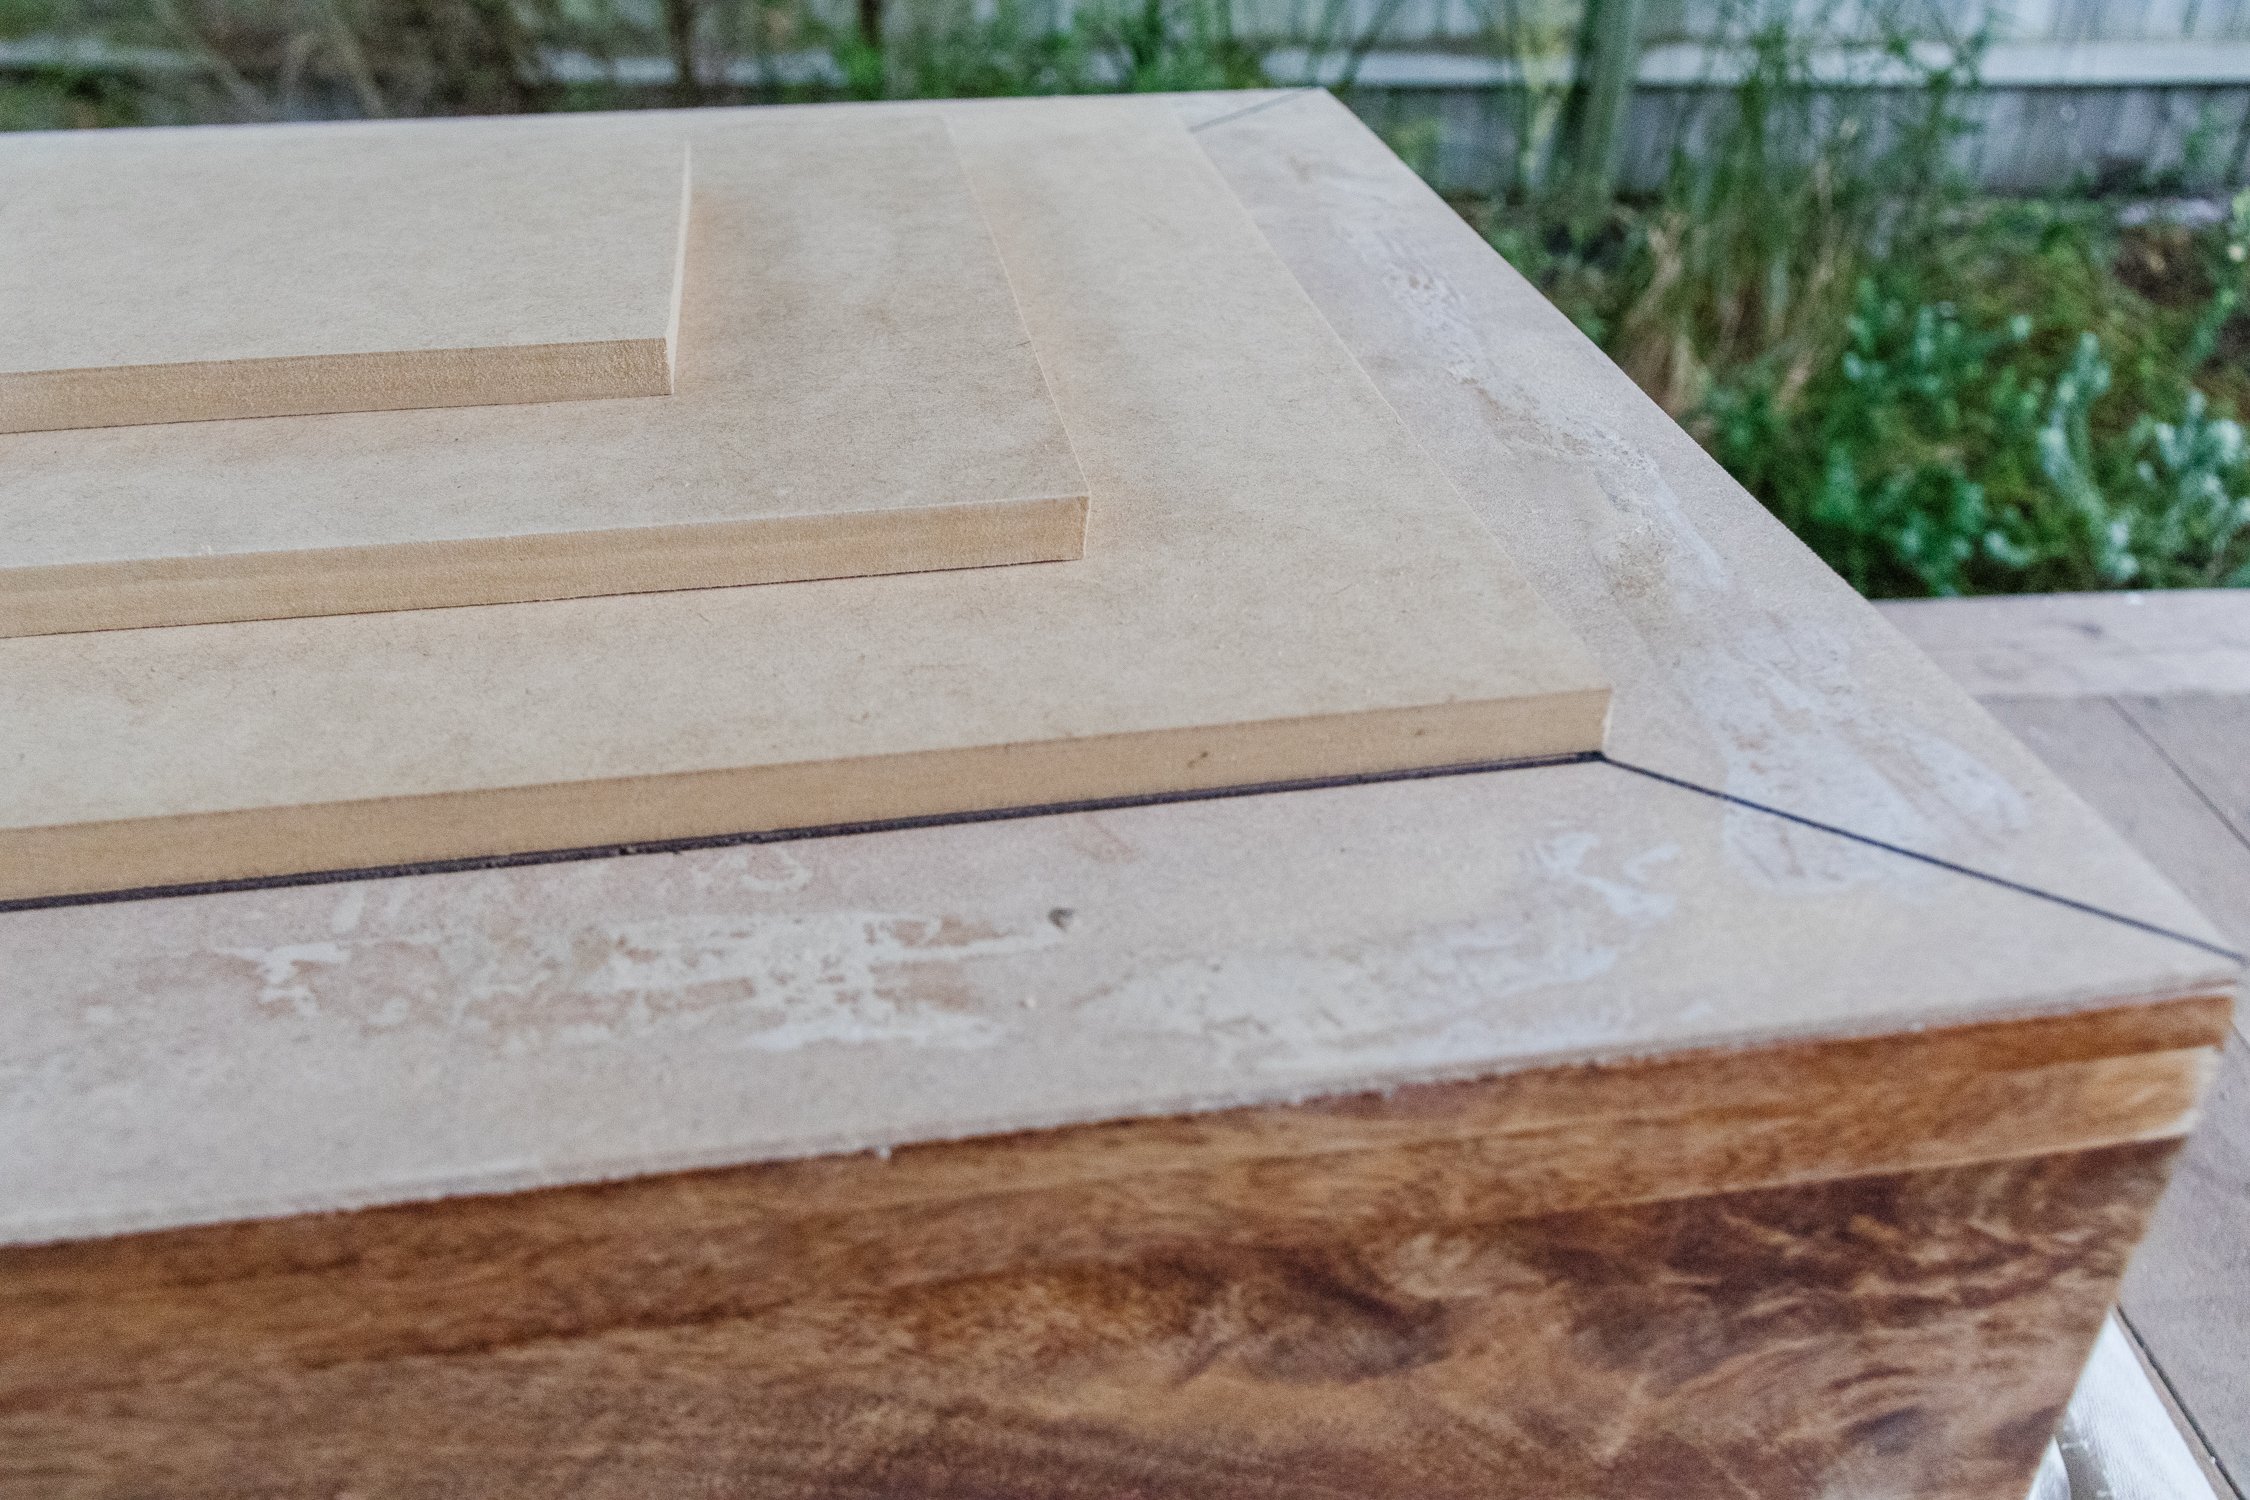
Step 1: The first thing I did was sand the side table and remove the existing varnish. Then I measured, cut and glue a thin sheet of MDF onto the front of the side table.
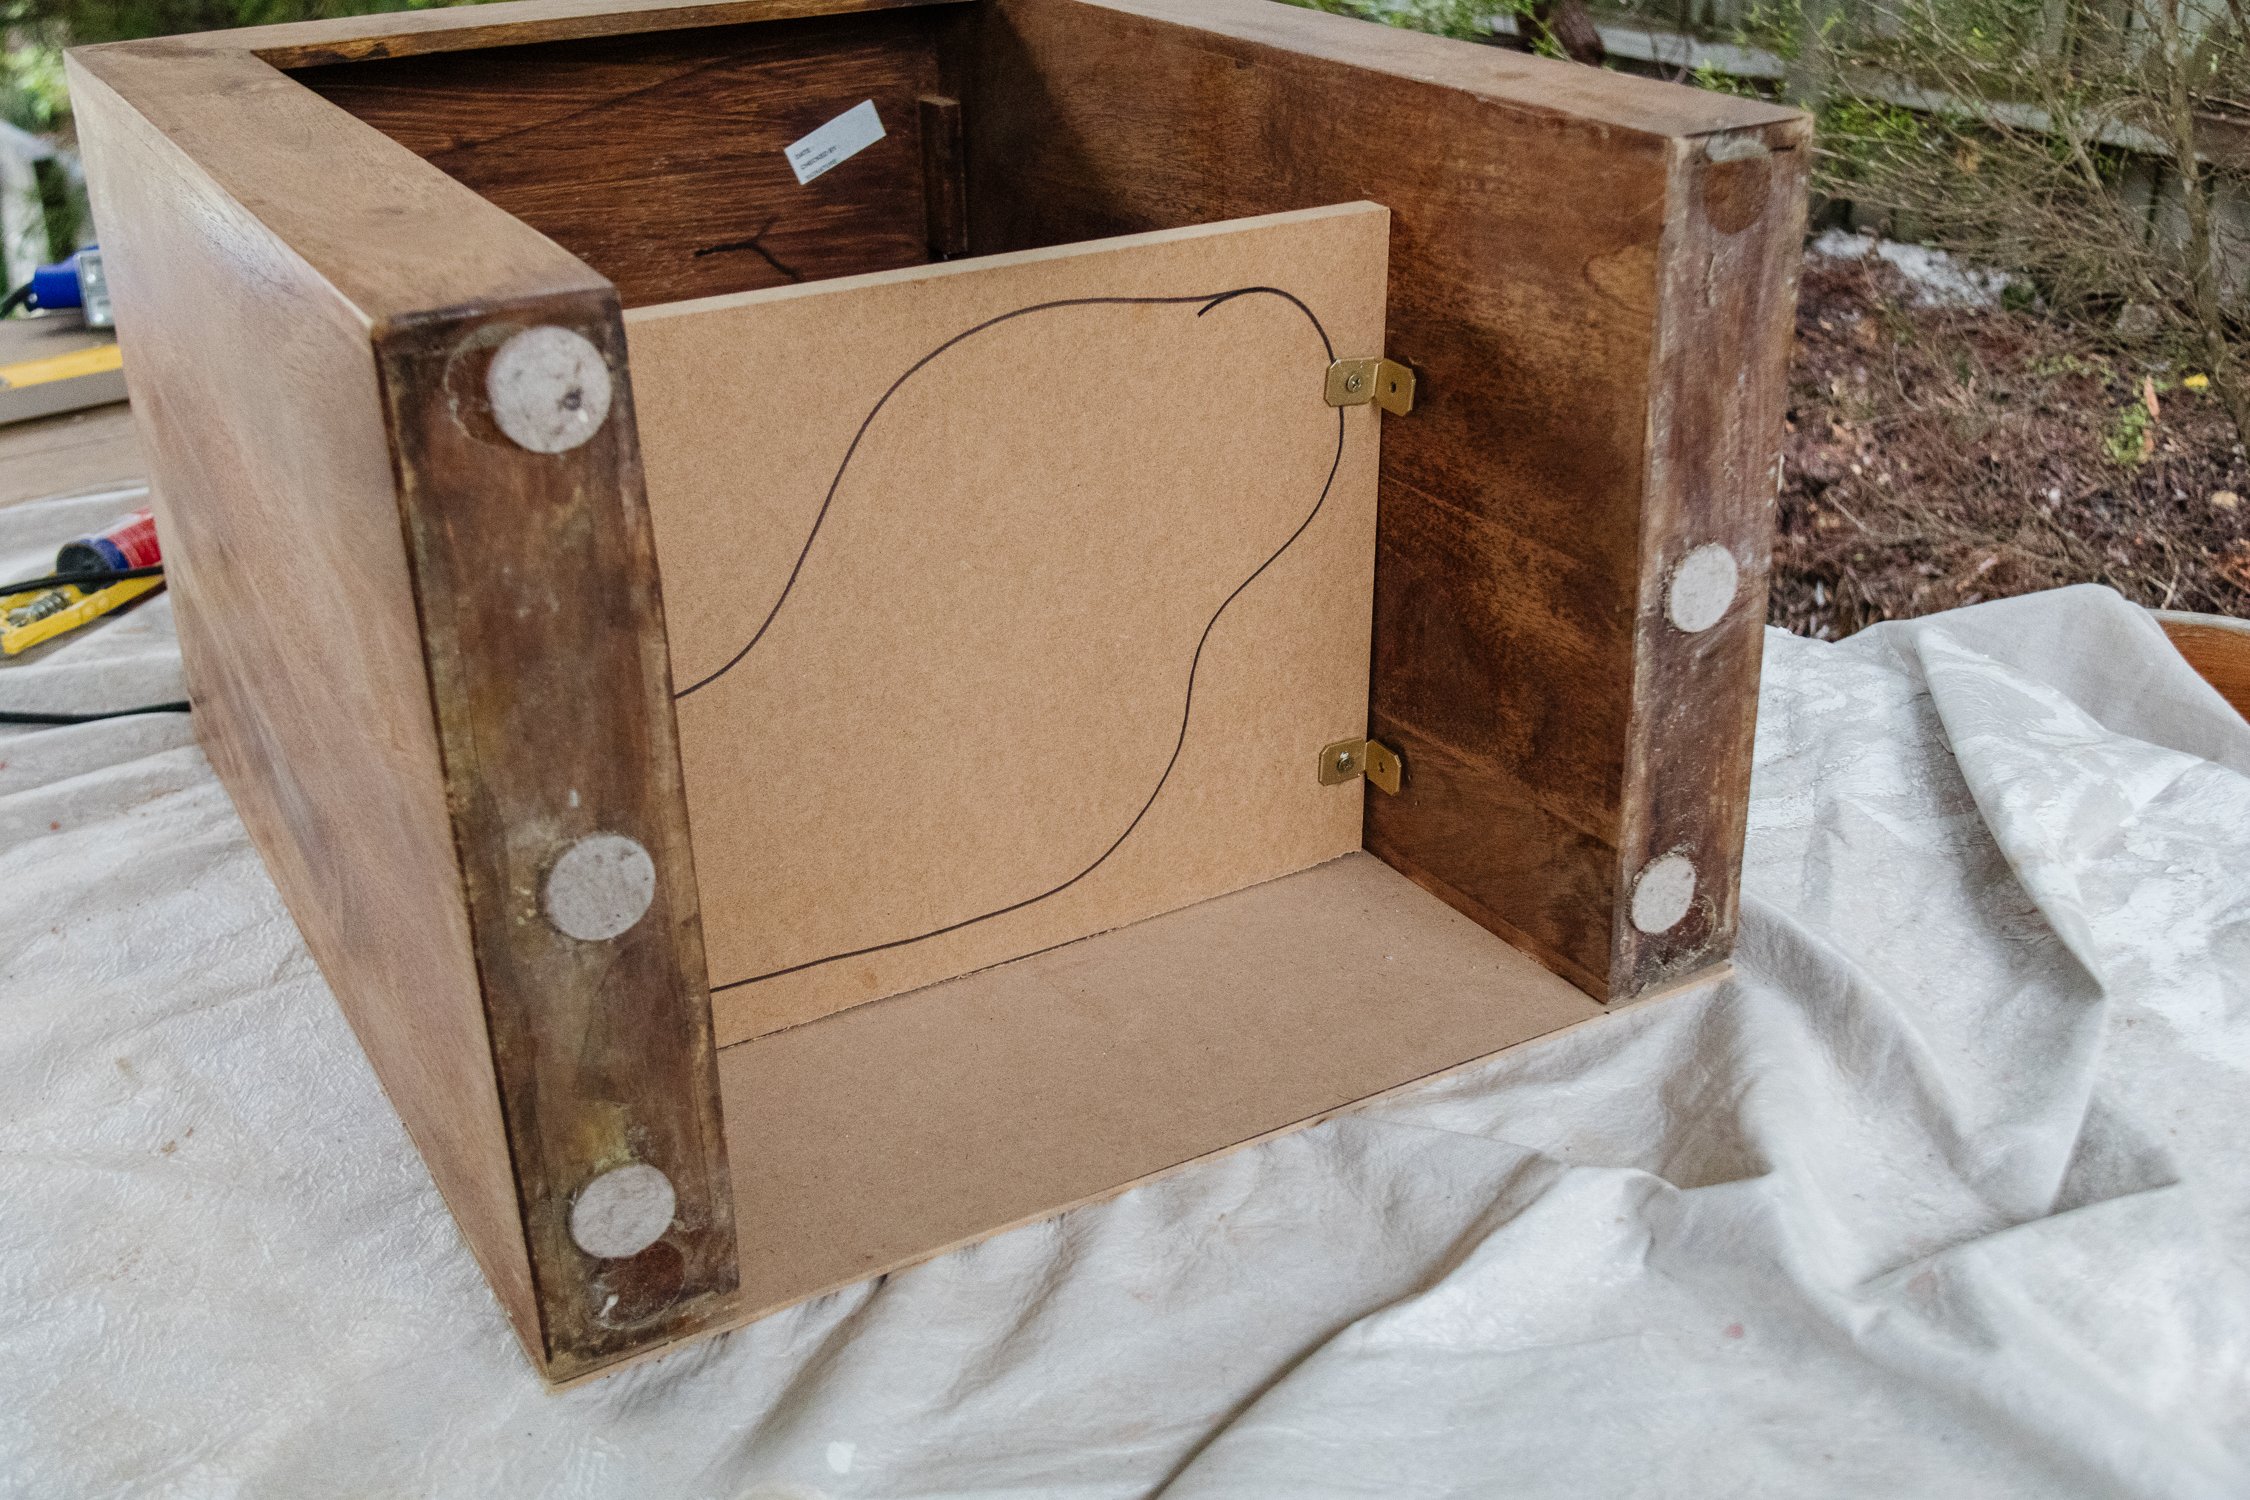
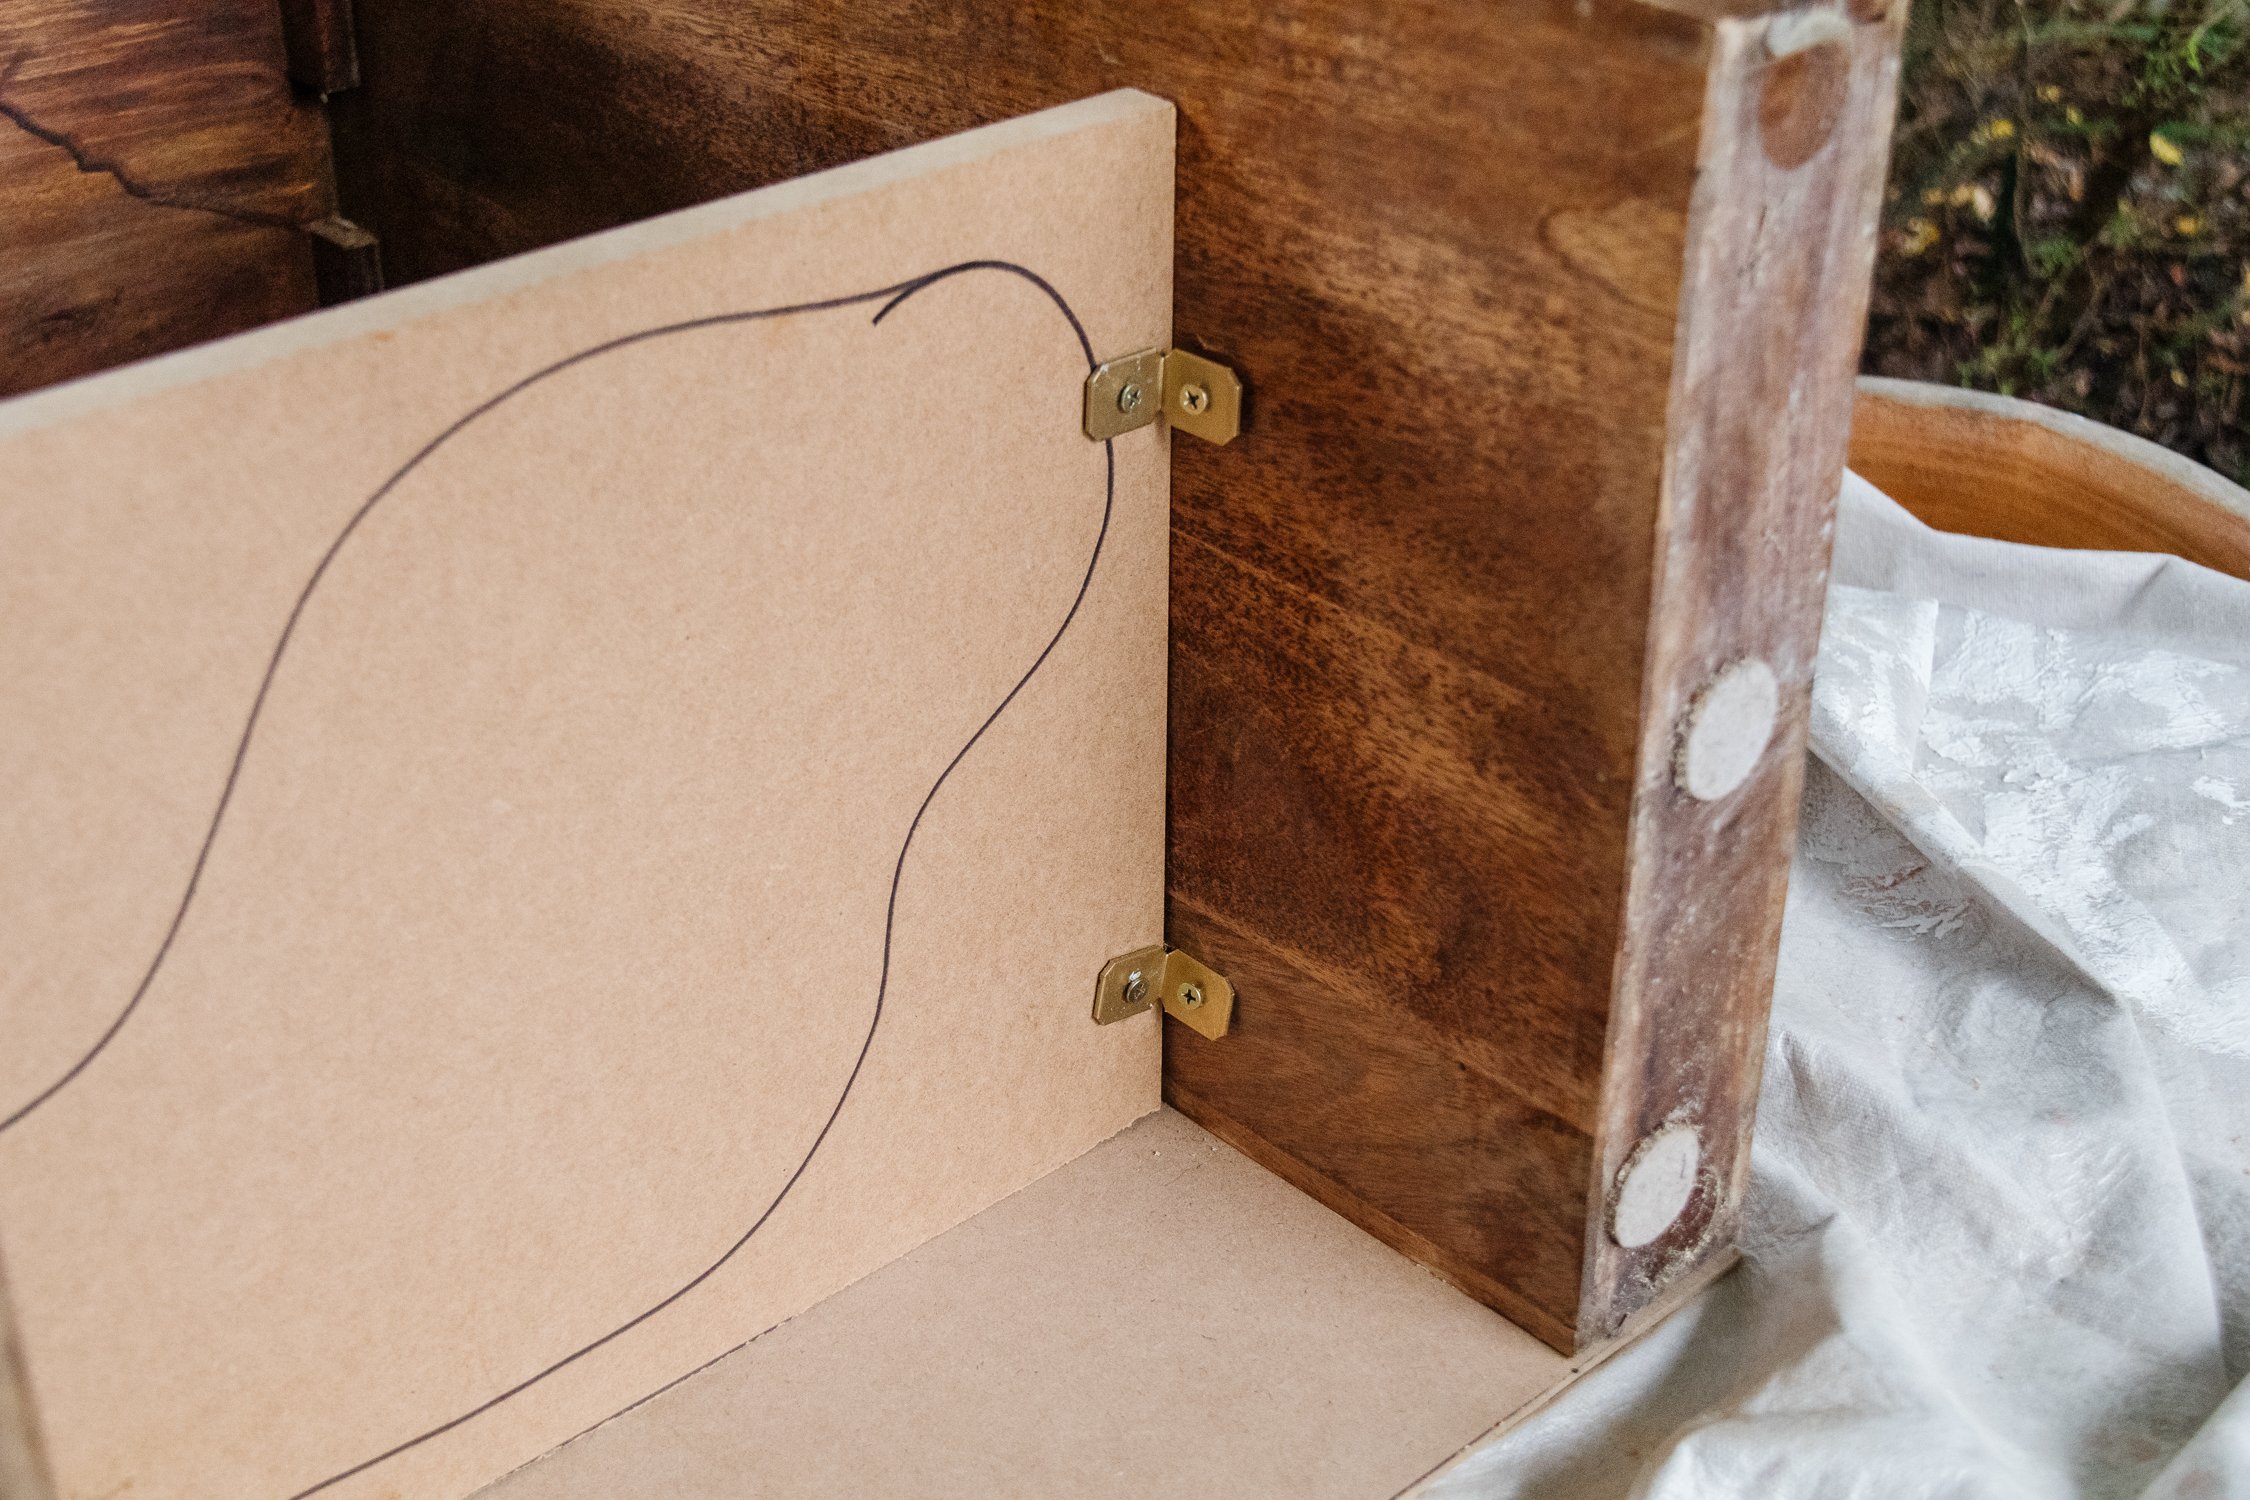
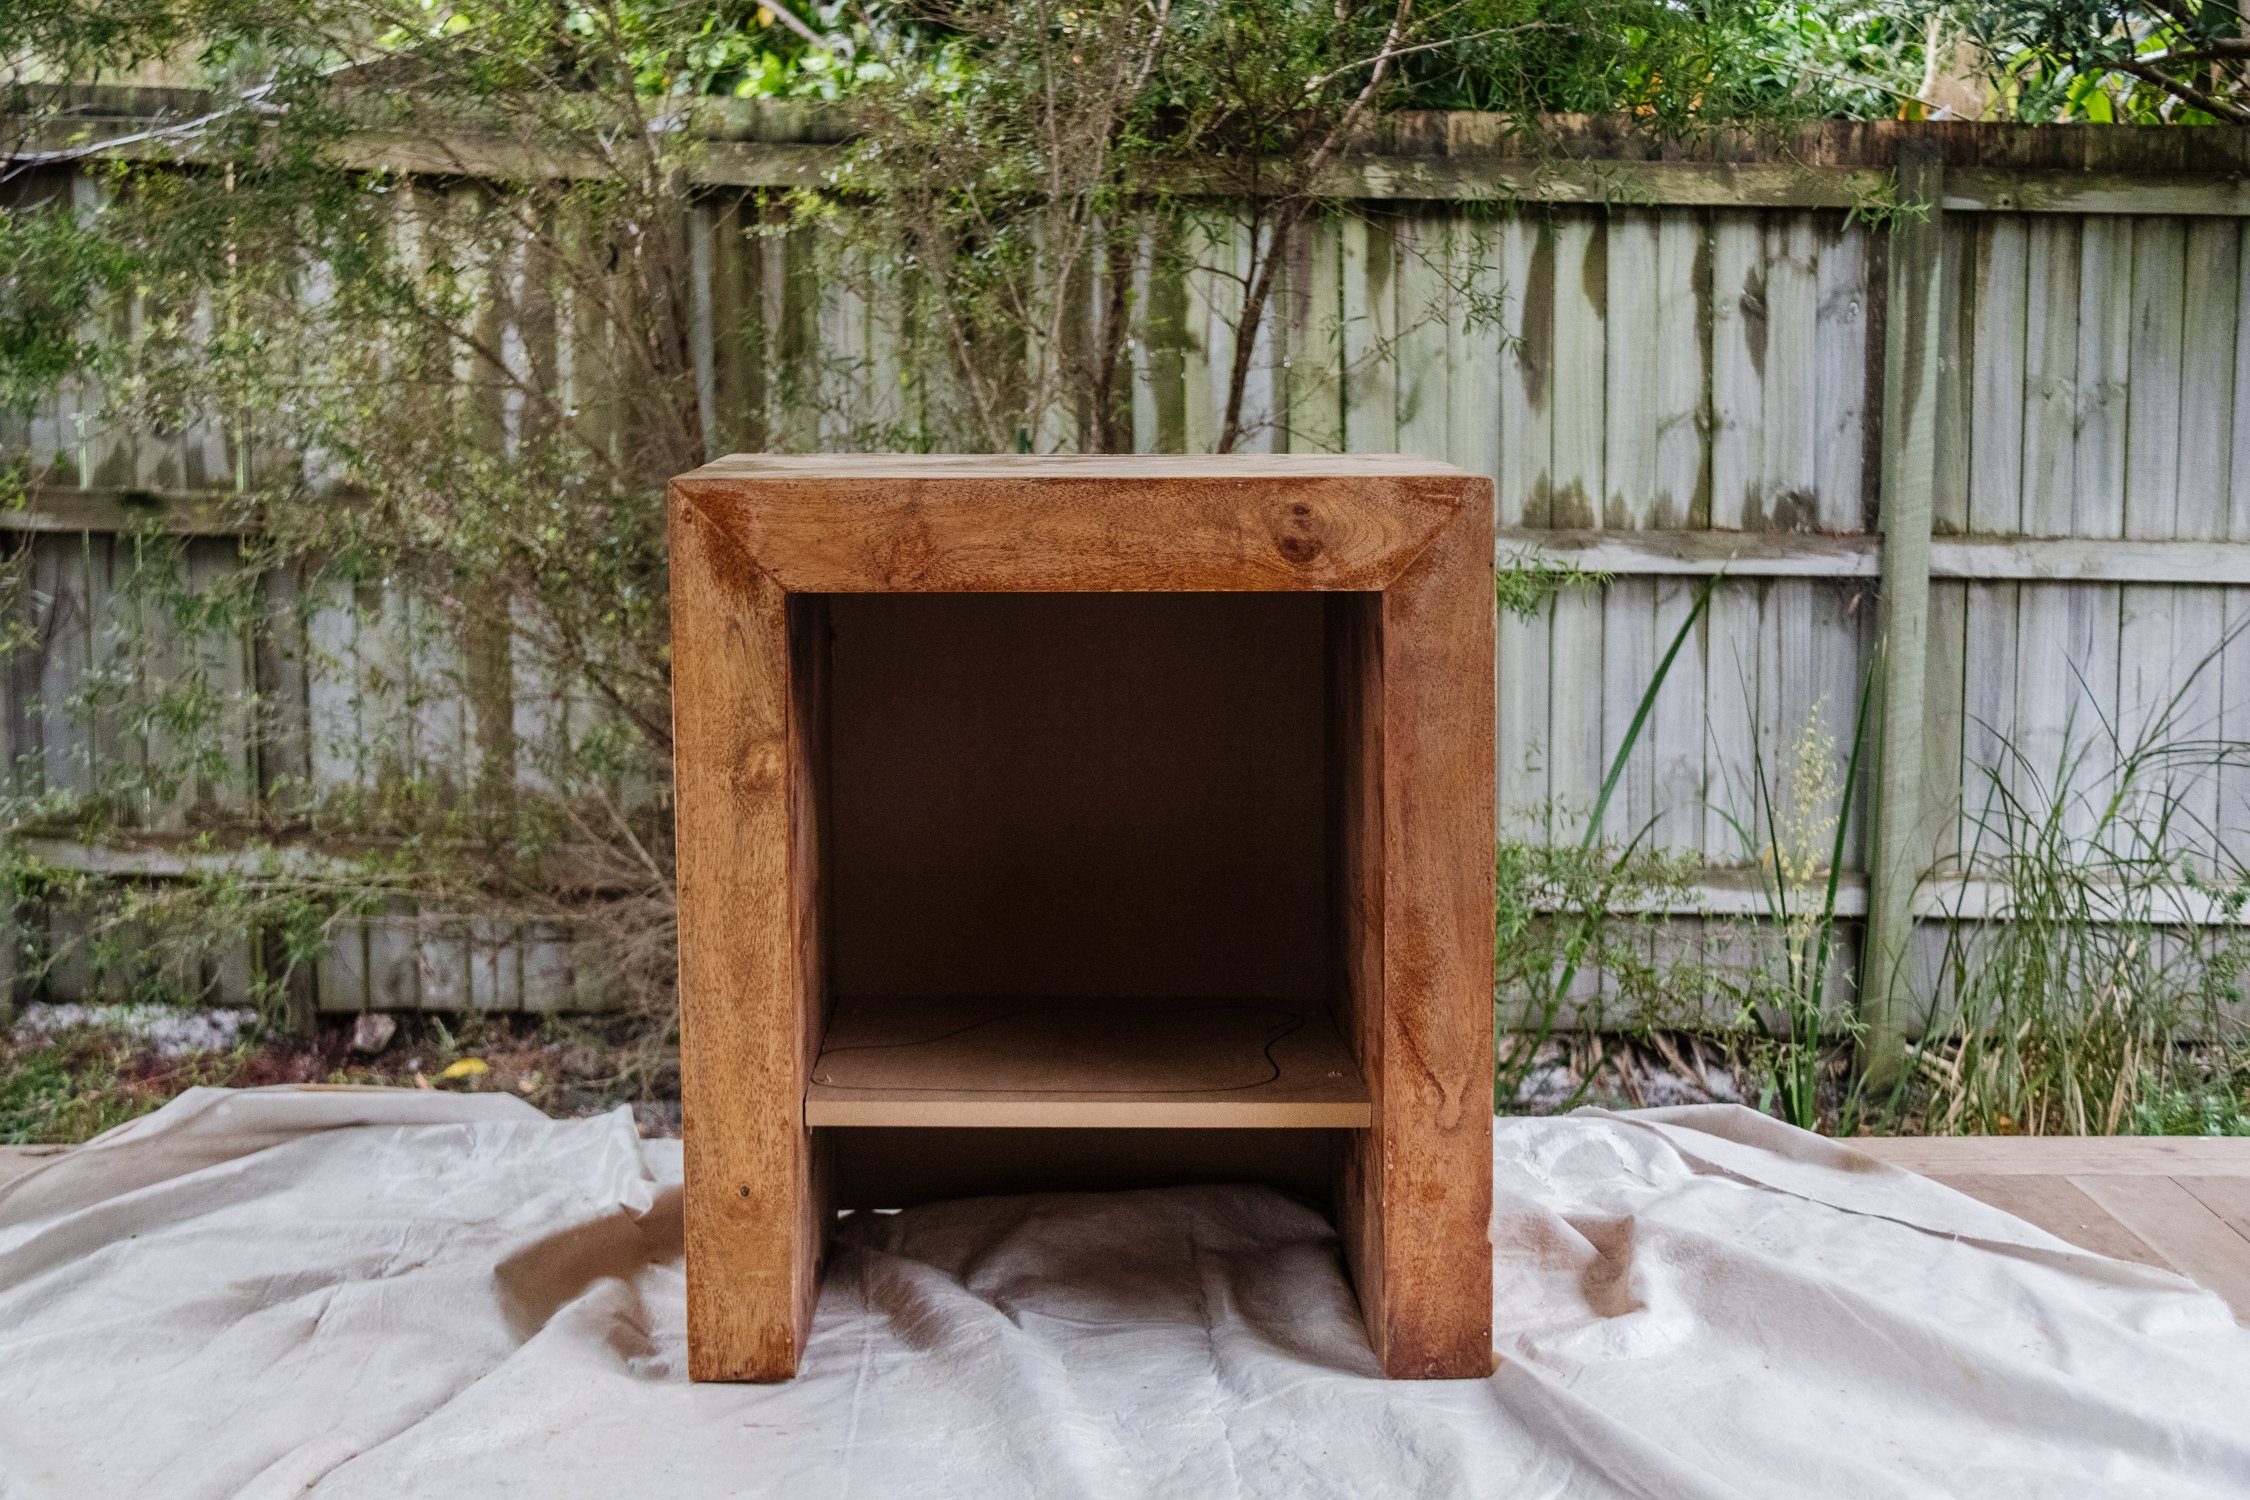
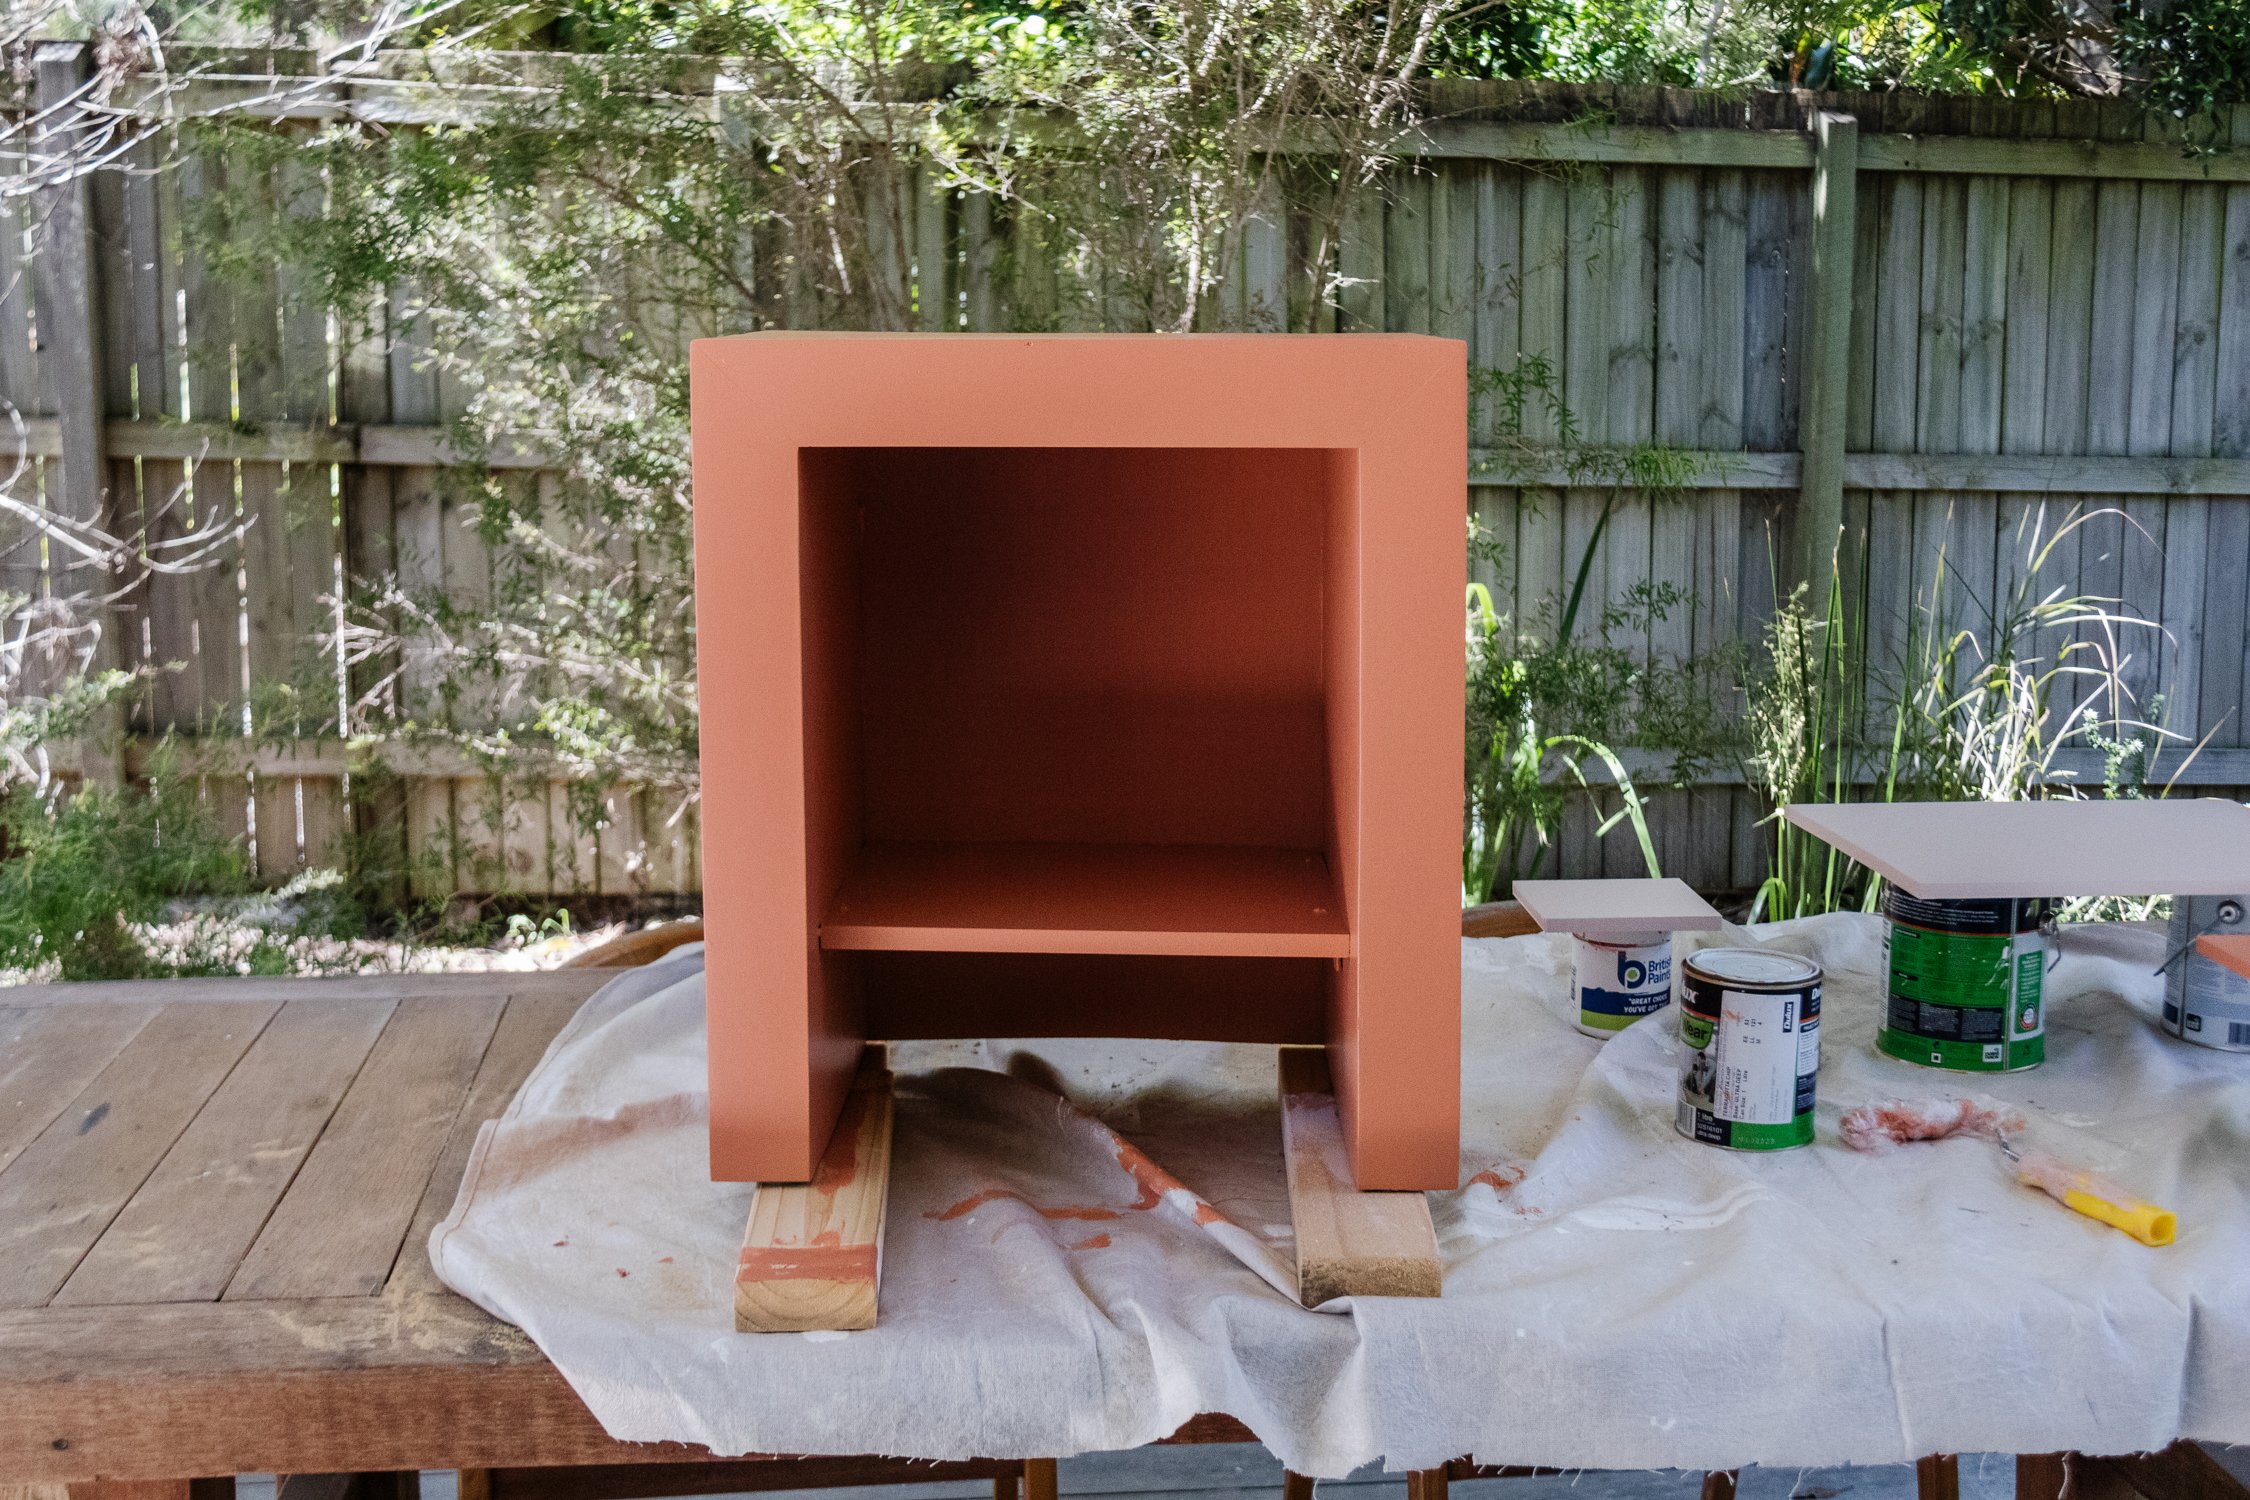
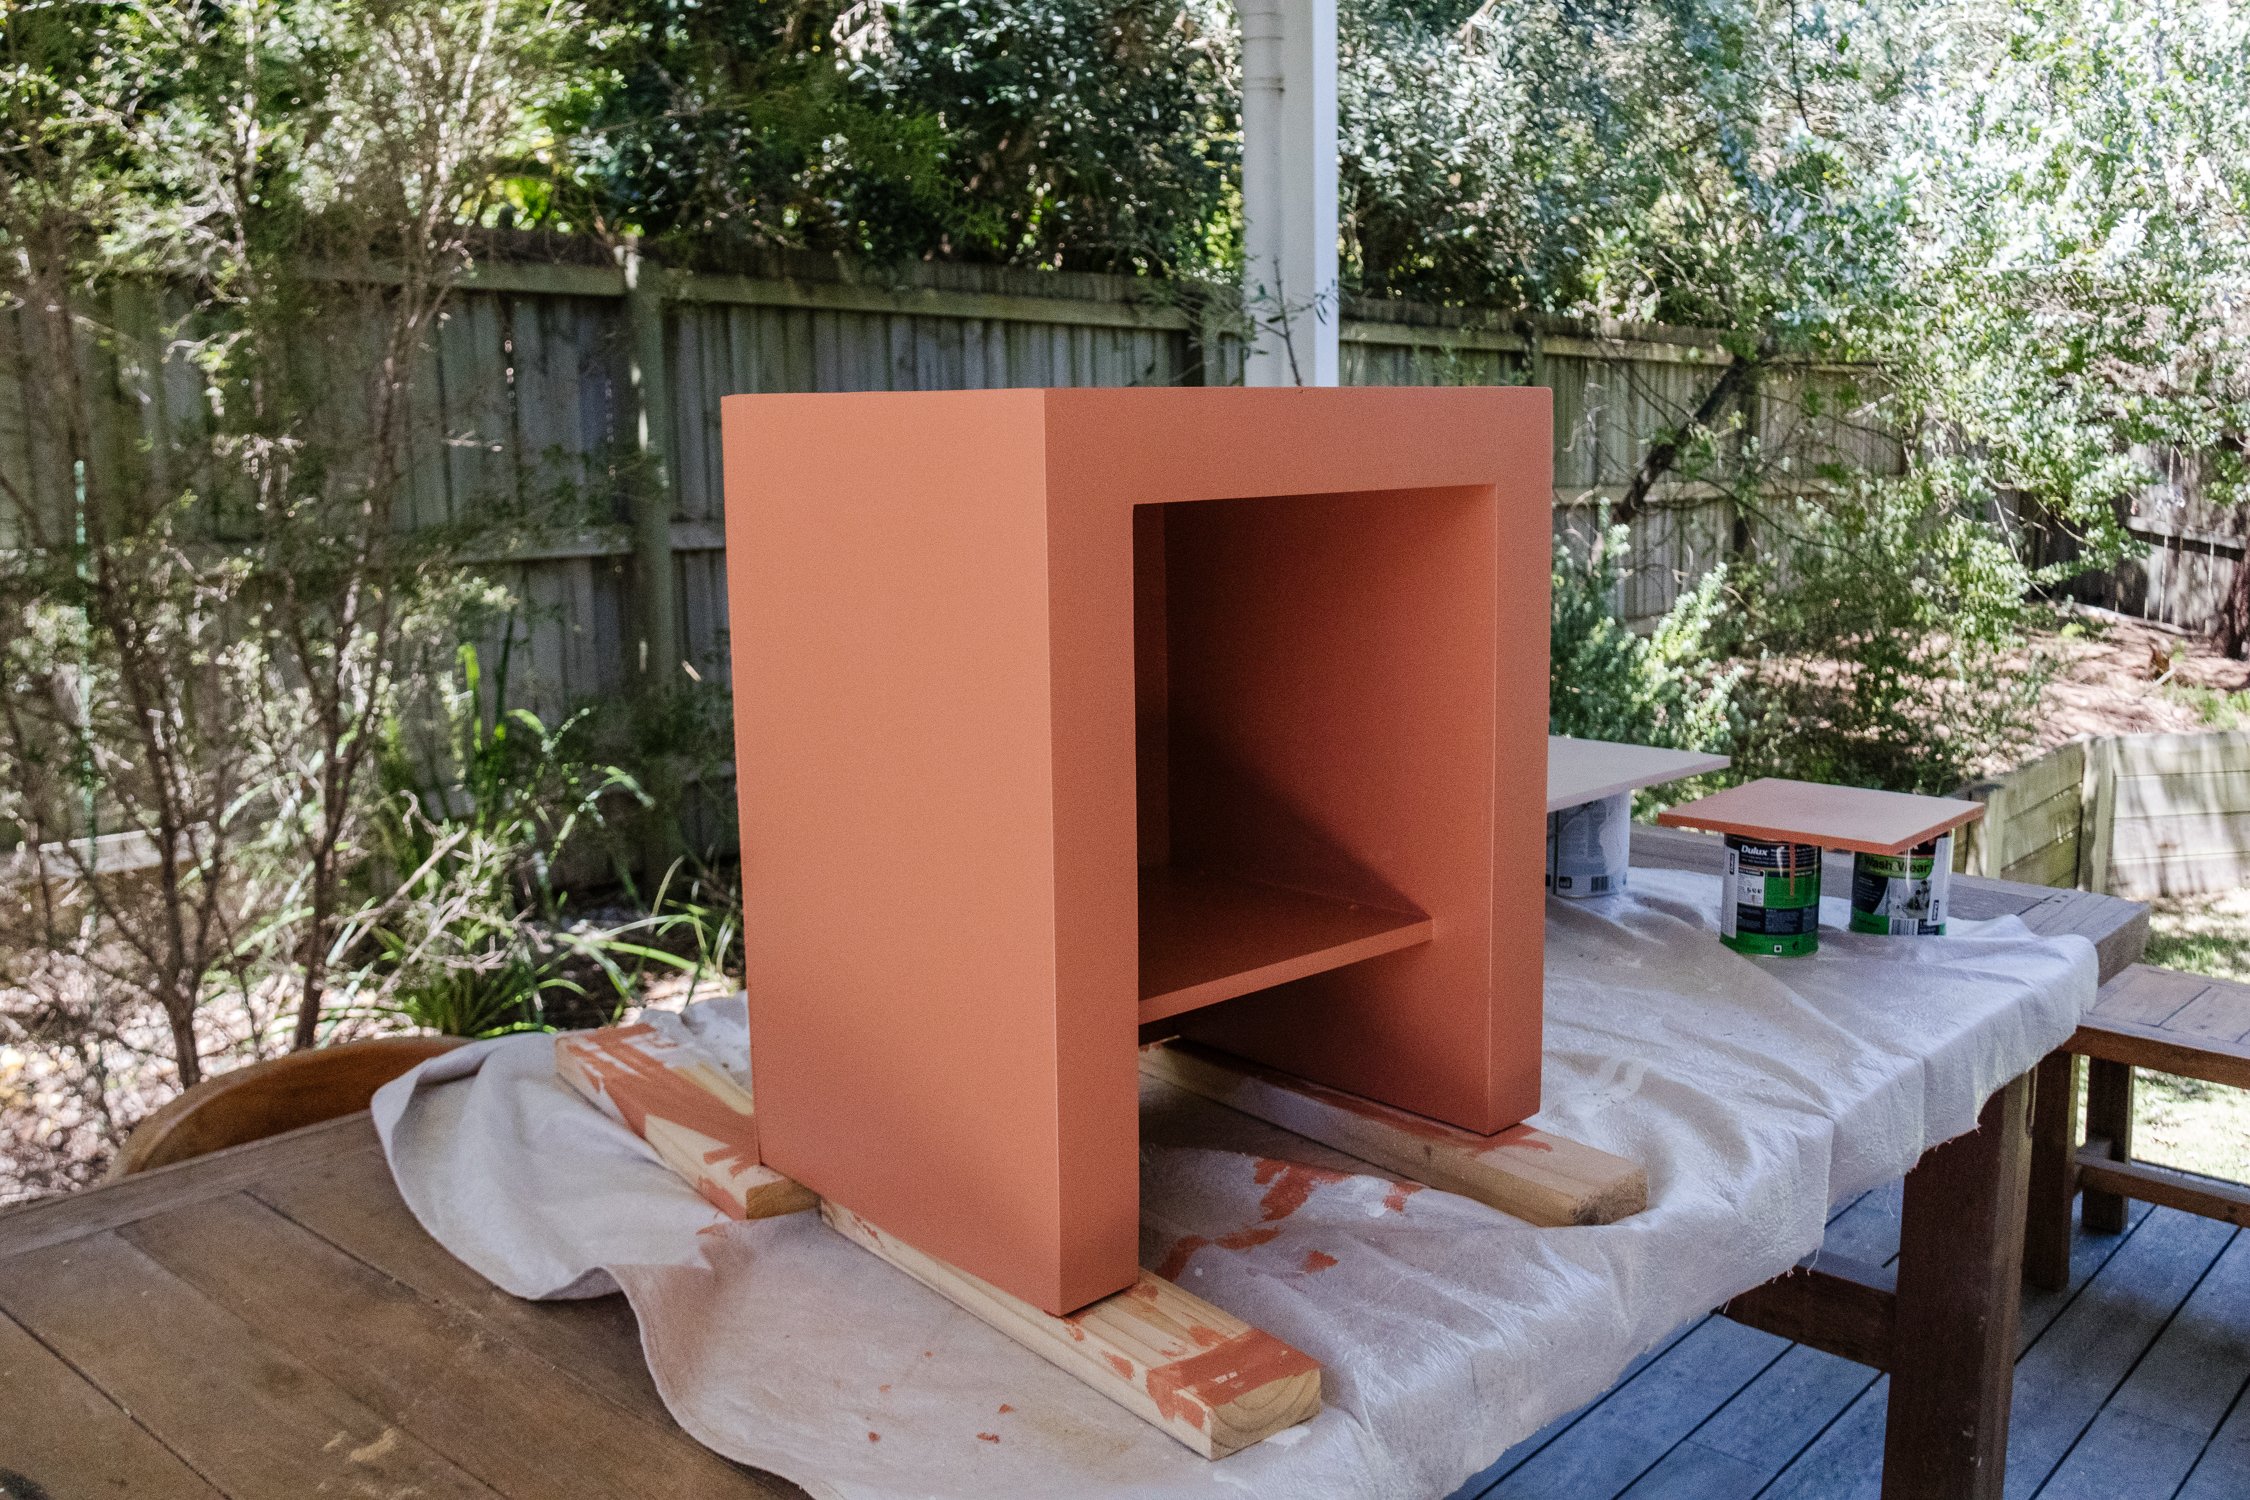
Step 2: I measured and cut the 16mm MDF panel and screwed inside the side table using chipboard screws and brackets to create a little secret shelf. Then I painted the entire surface with one coat of white primer paint.

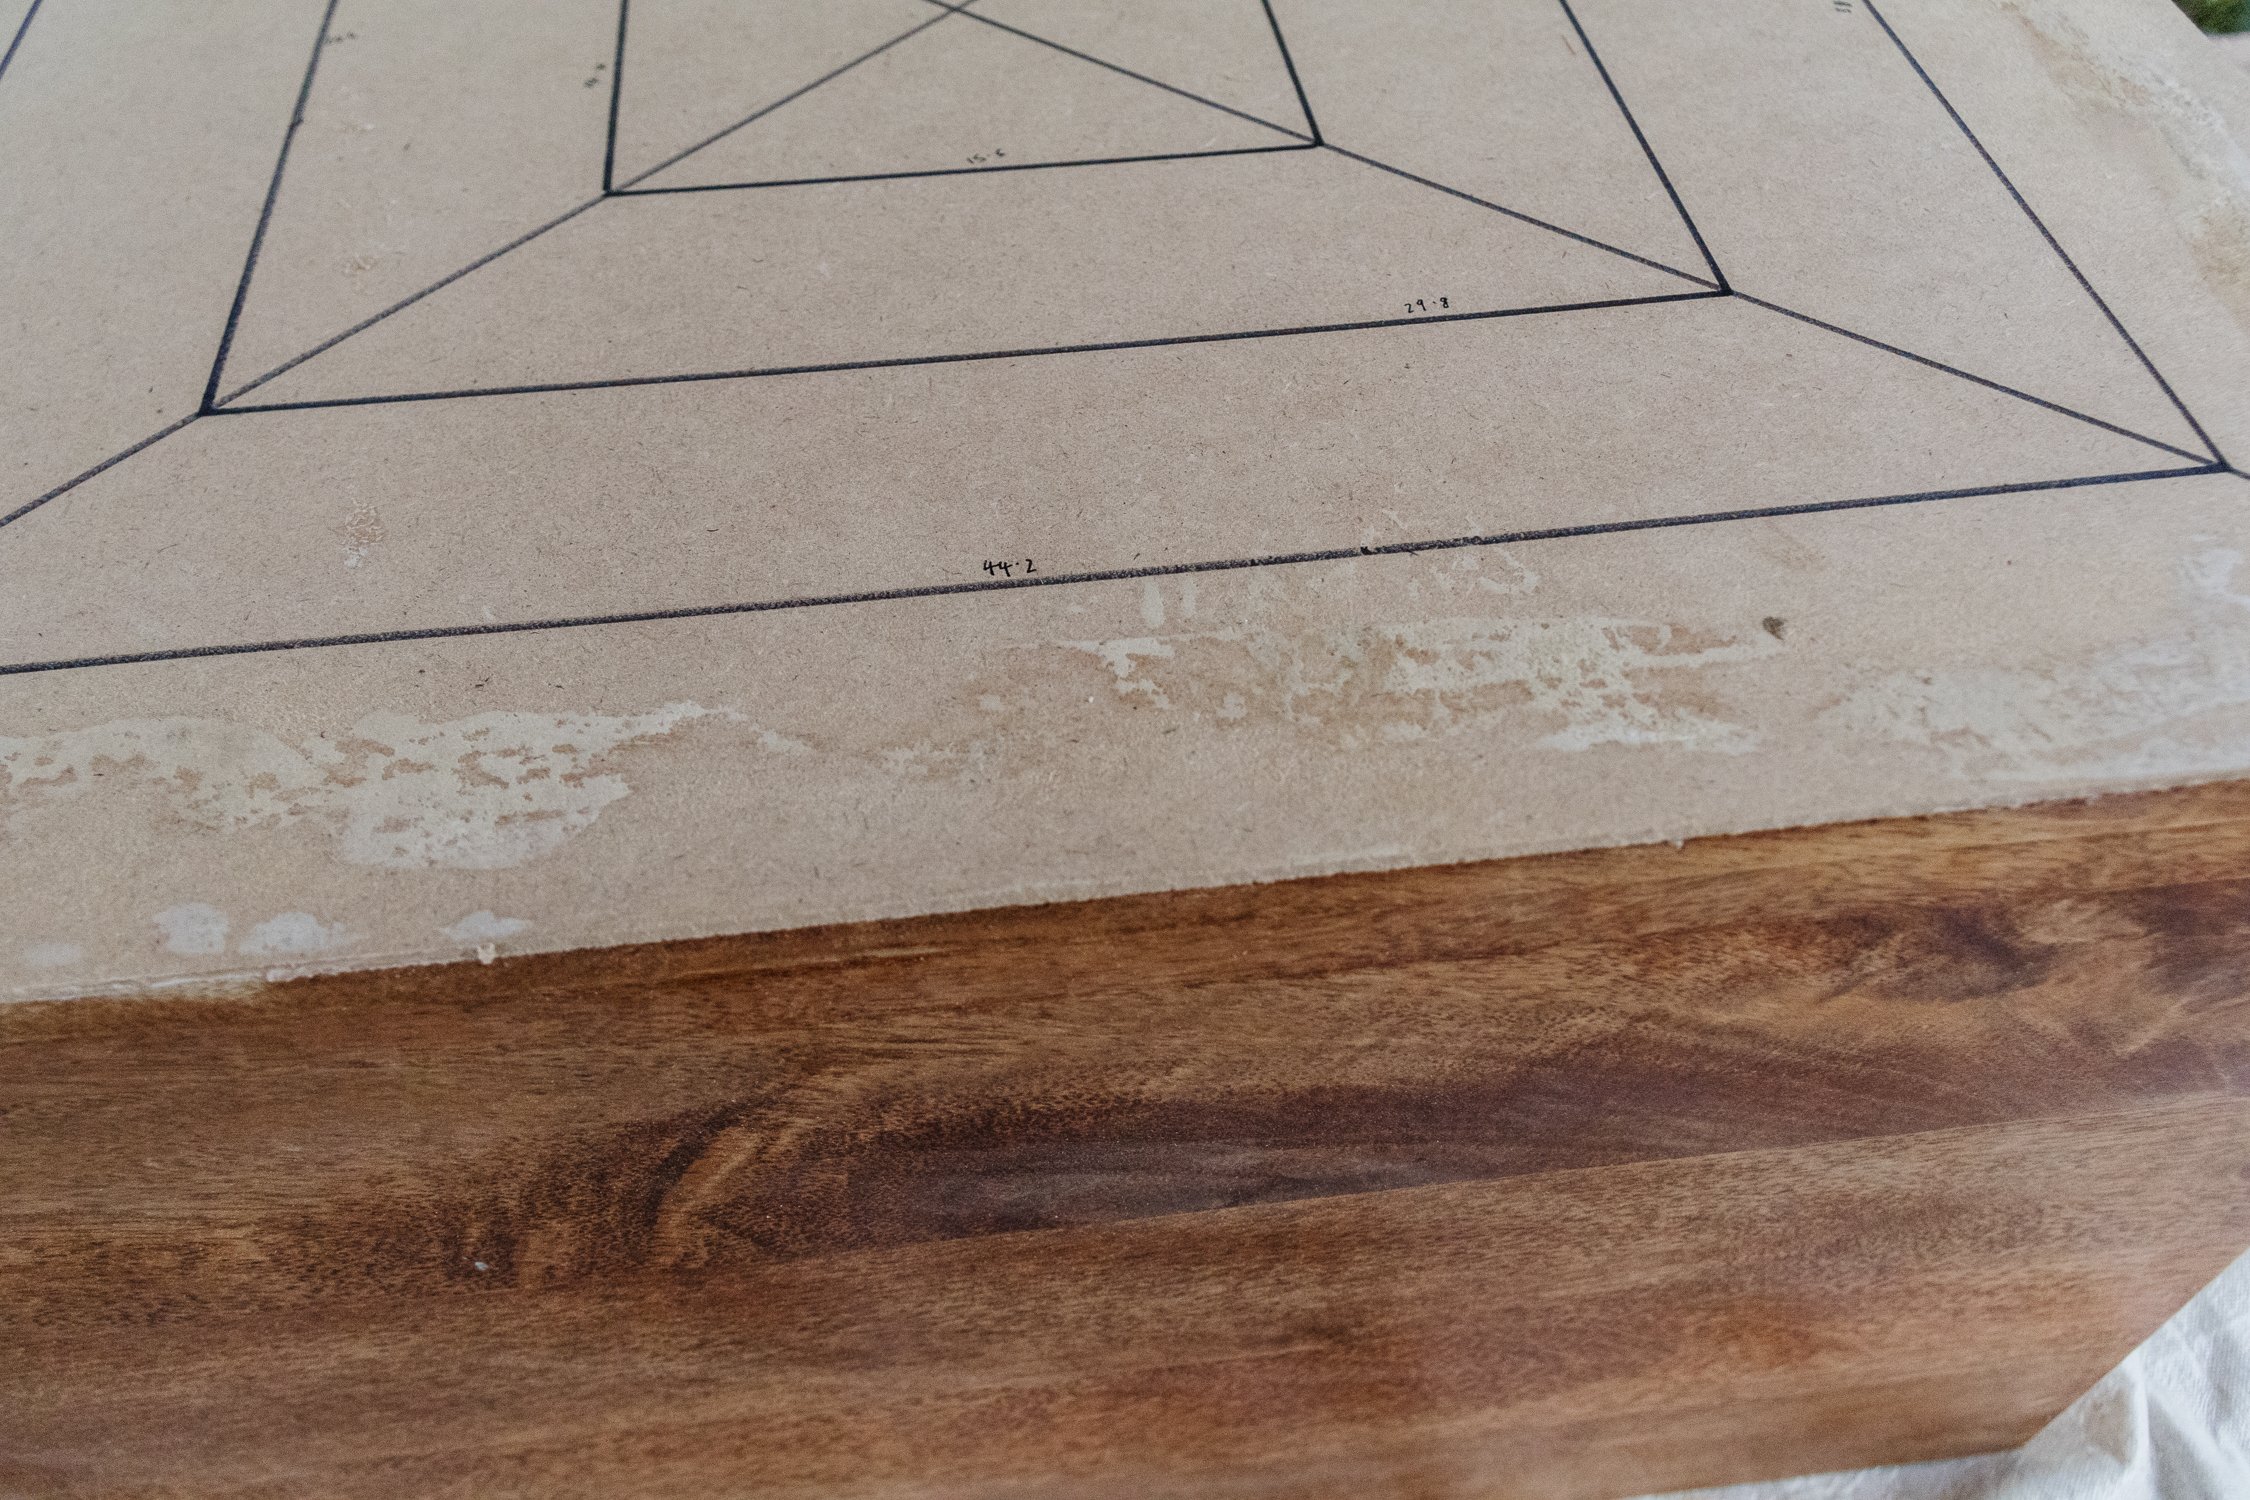
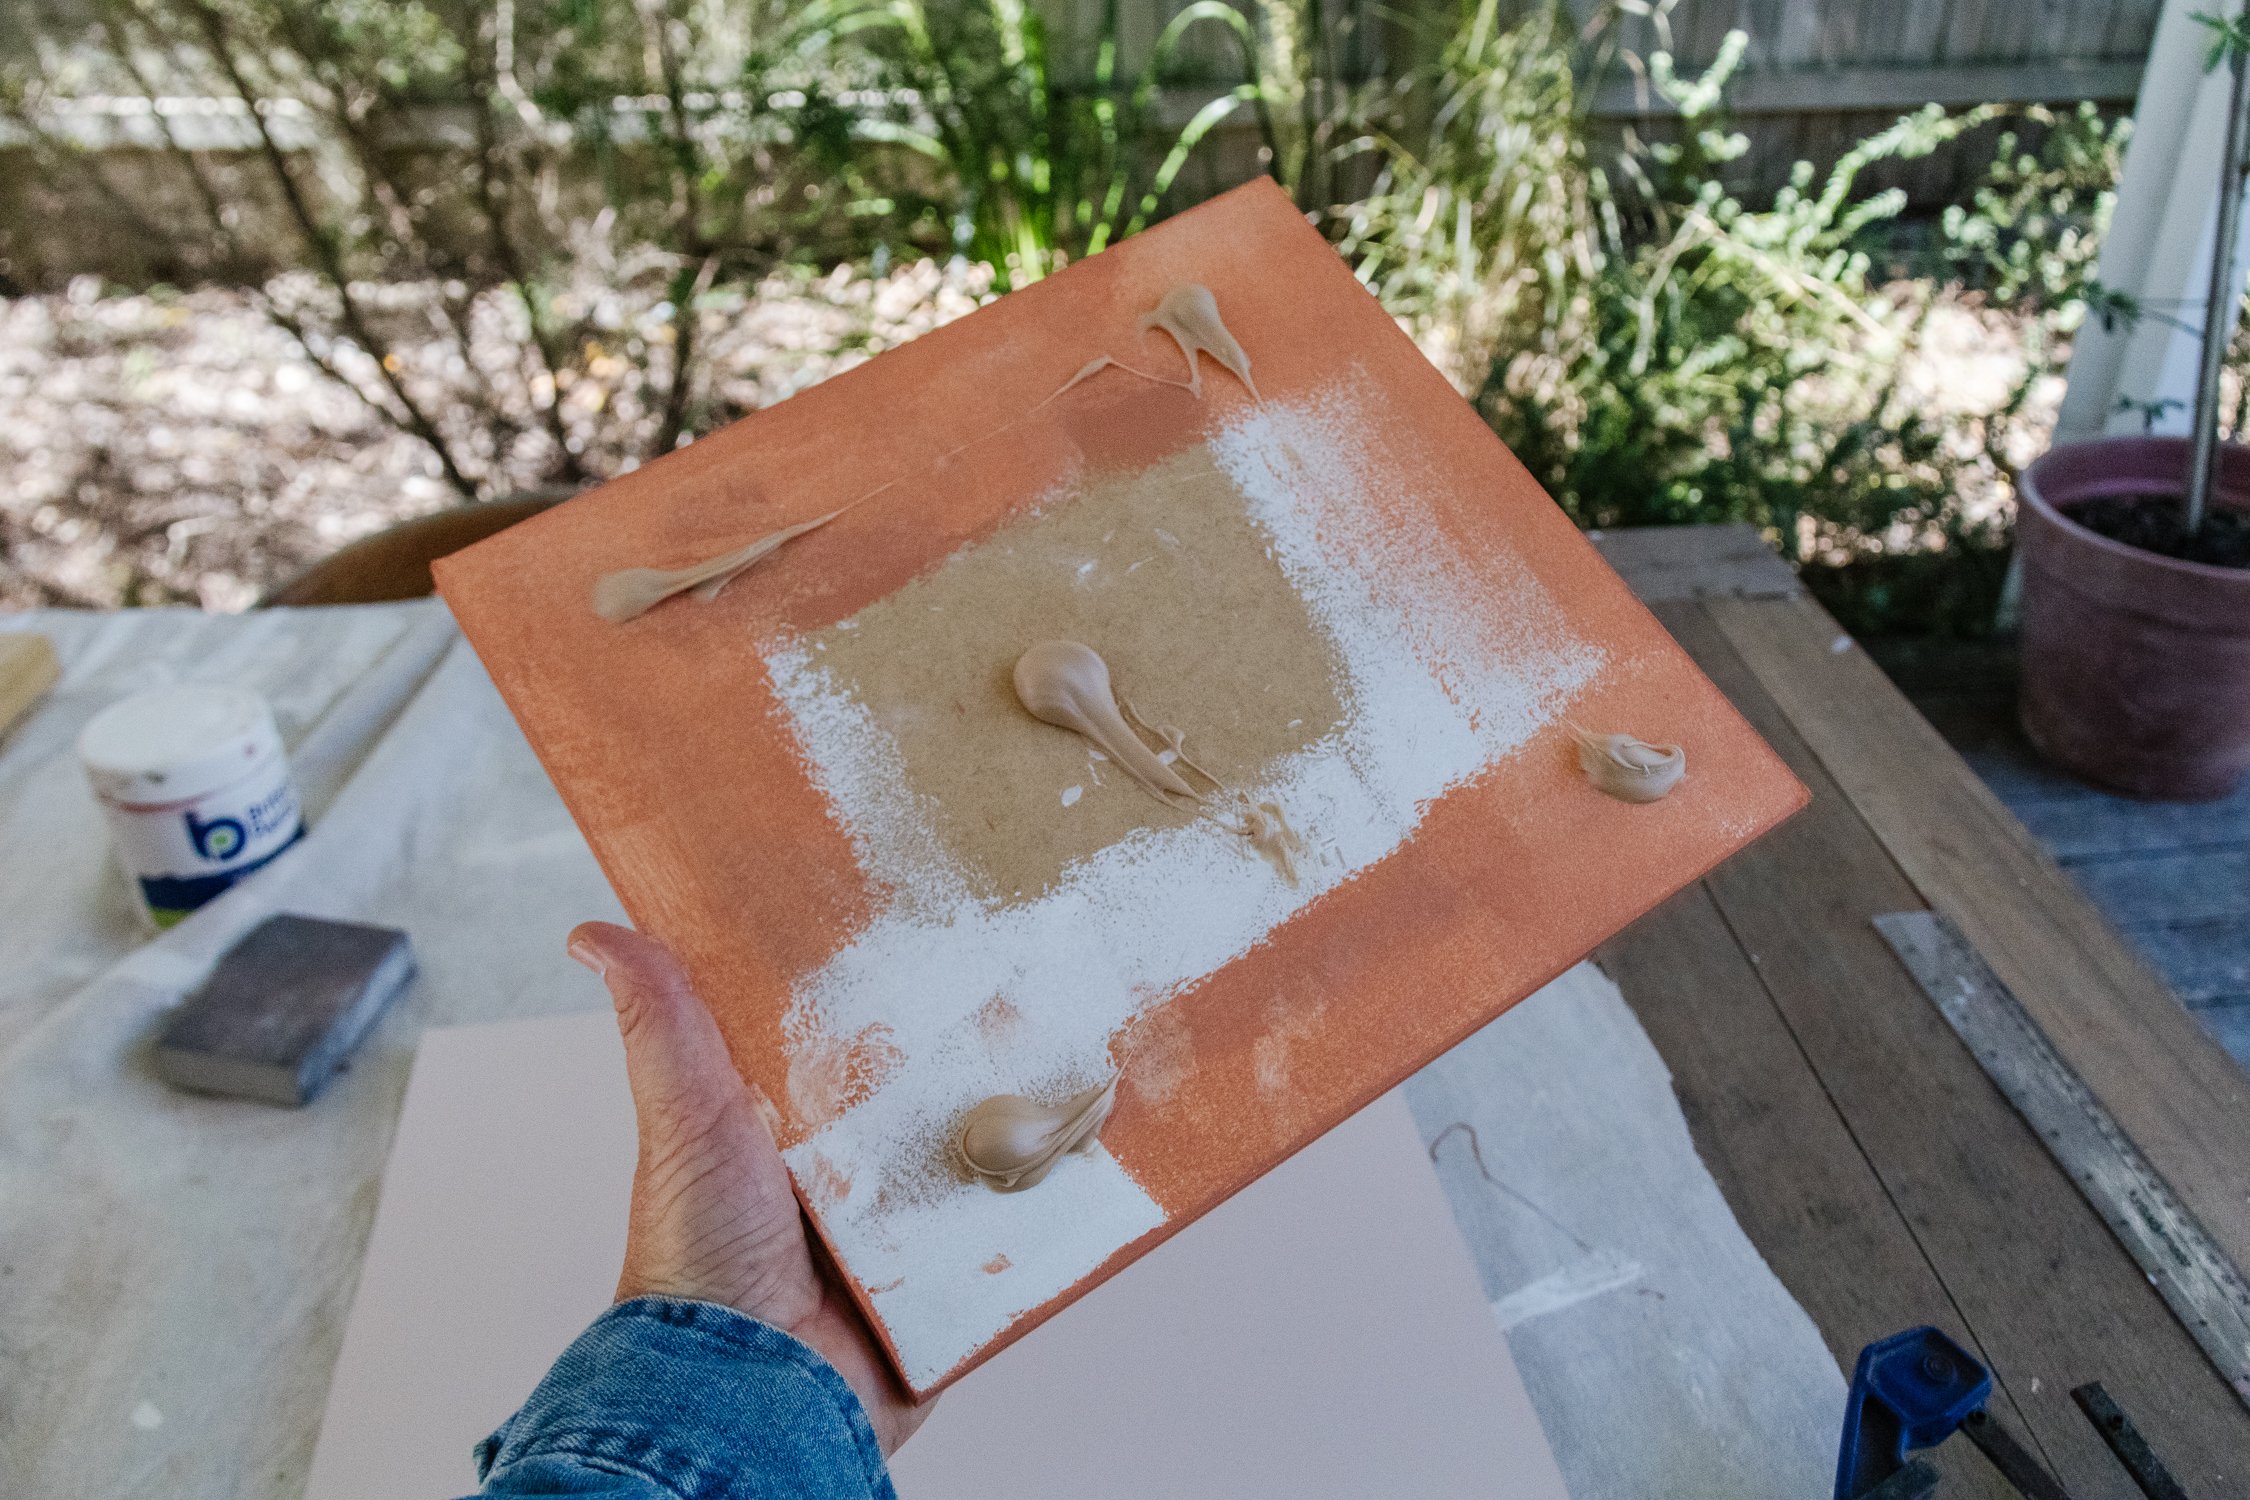
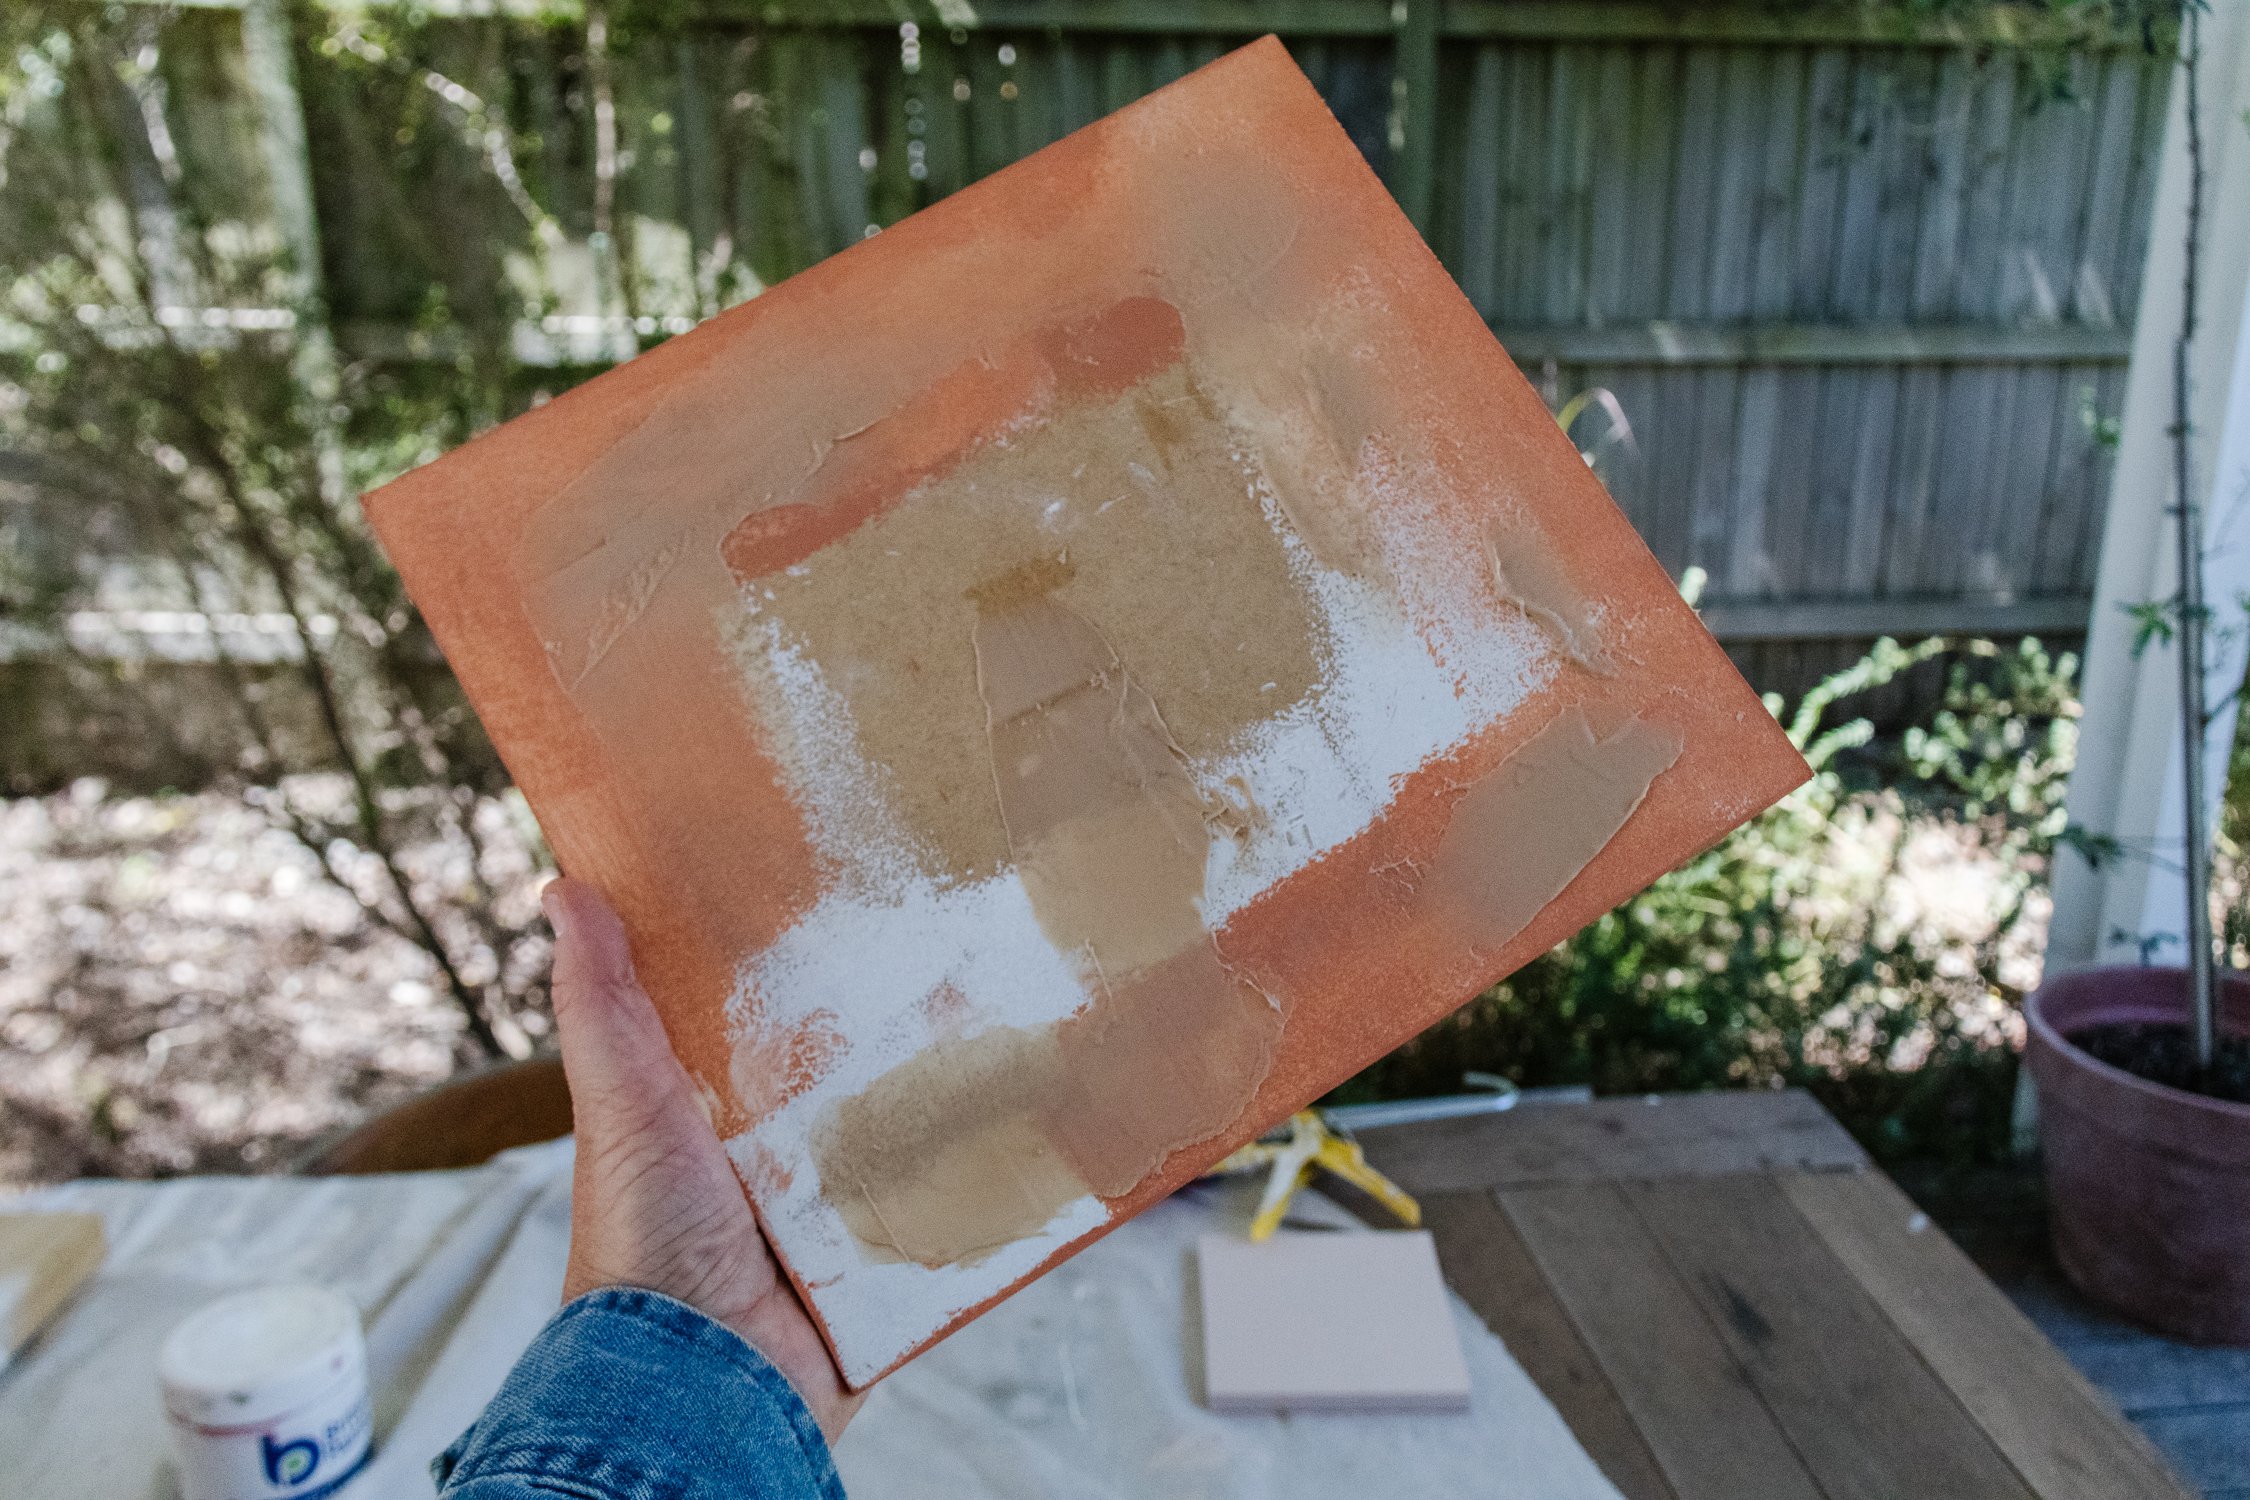
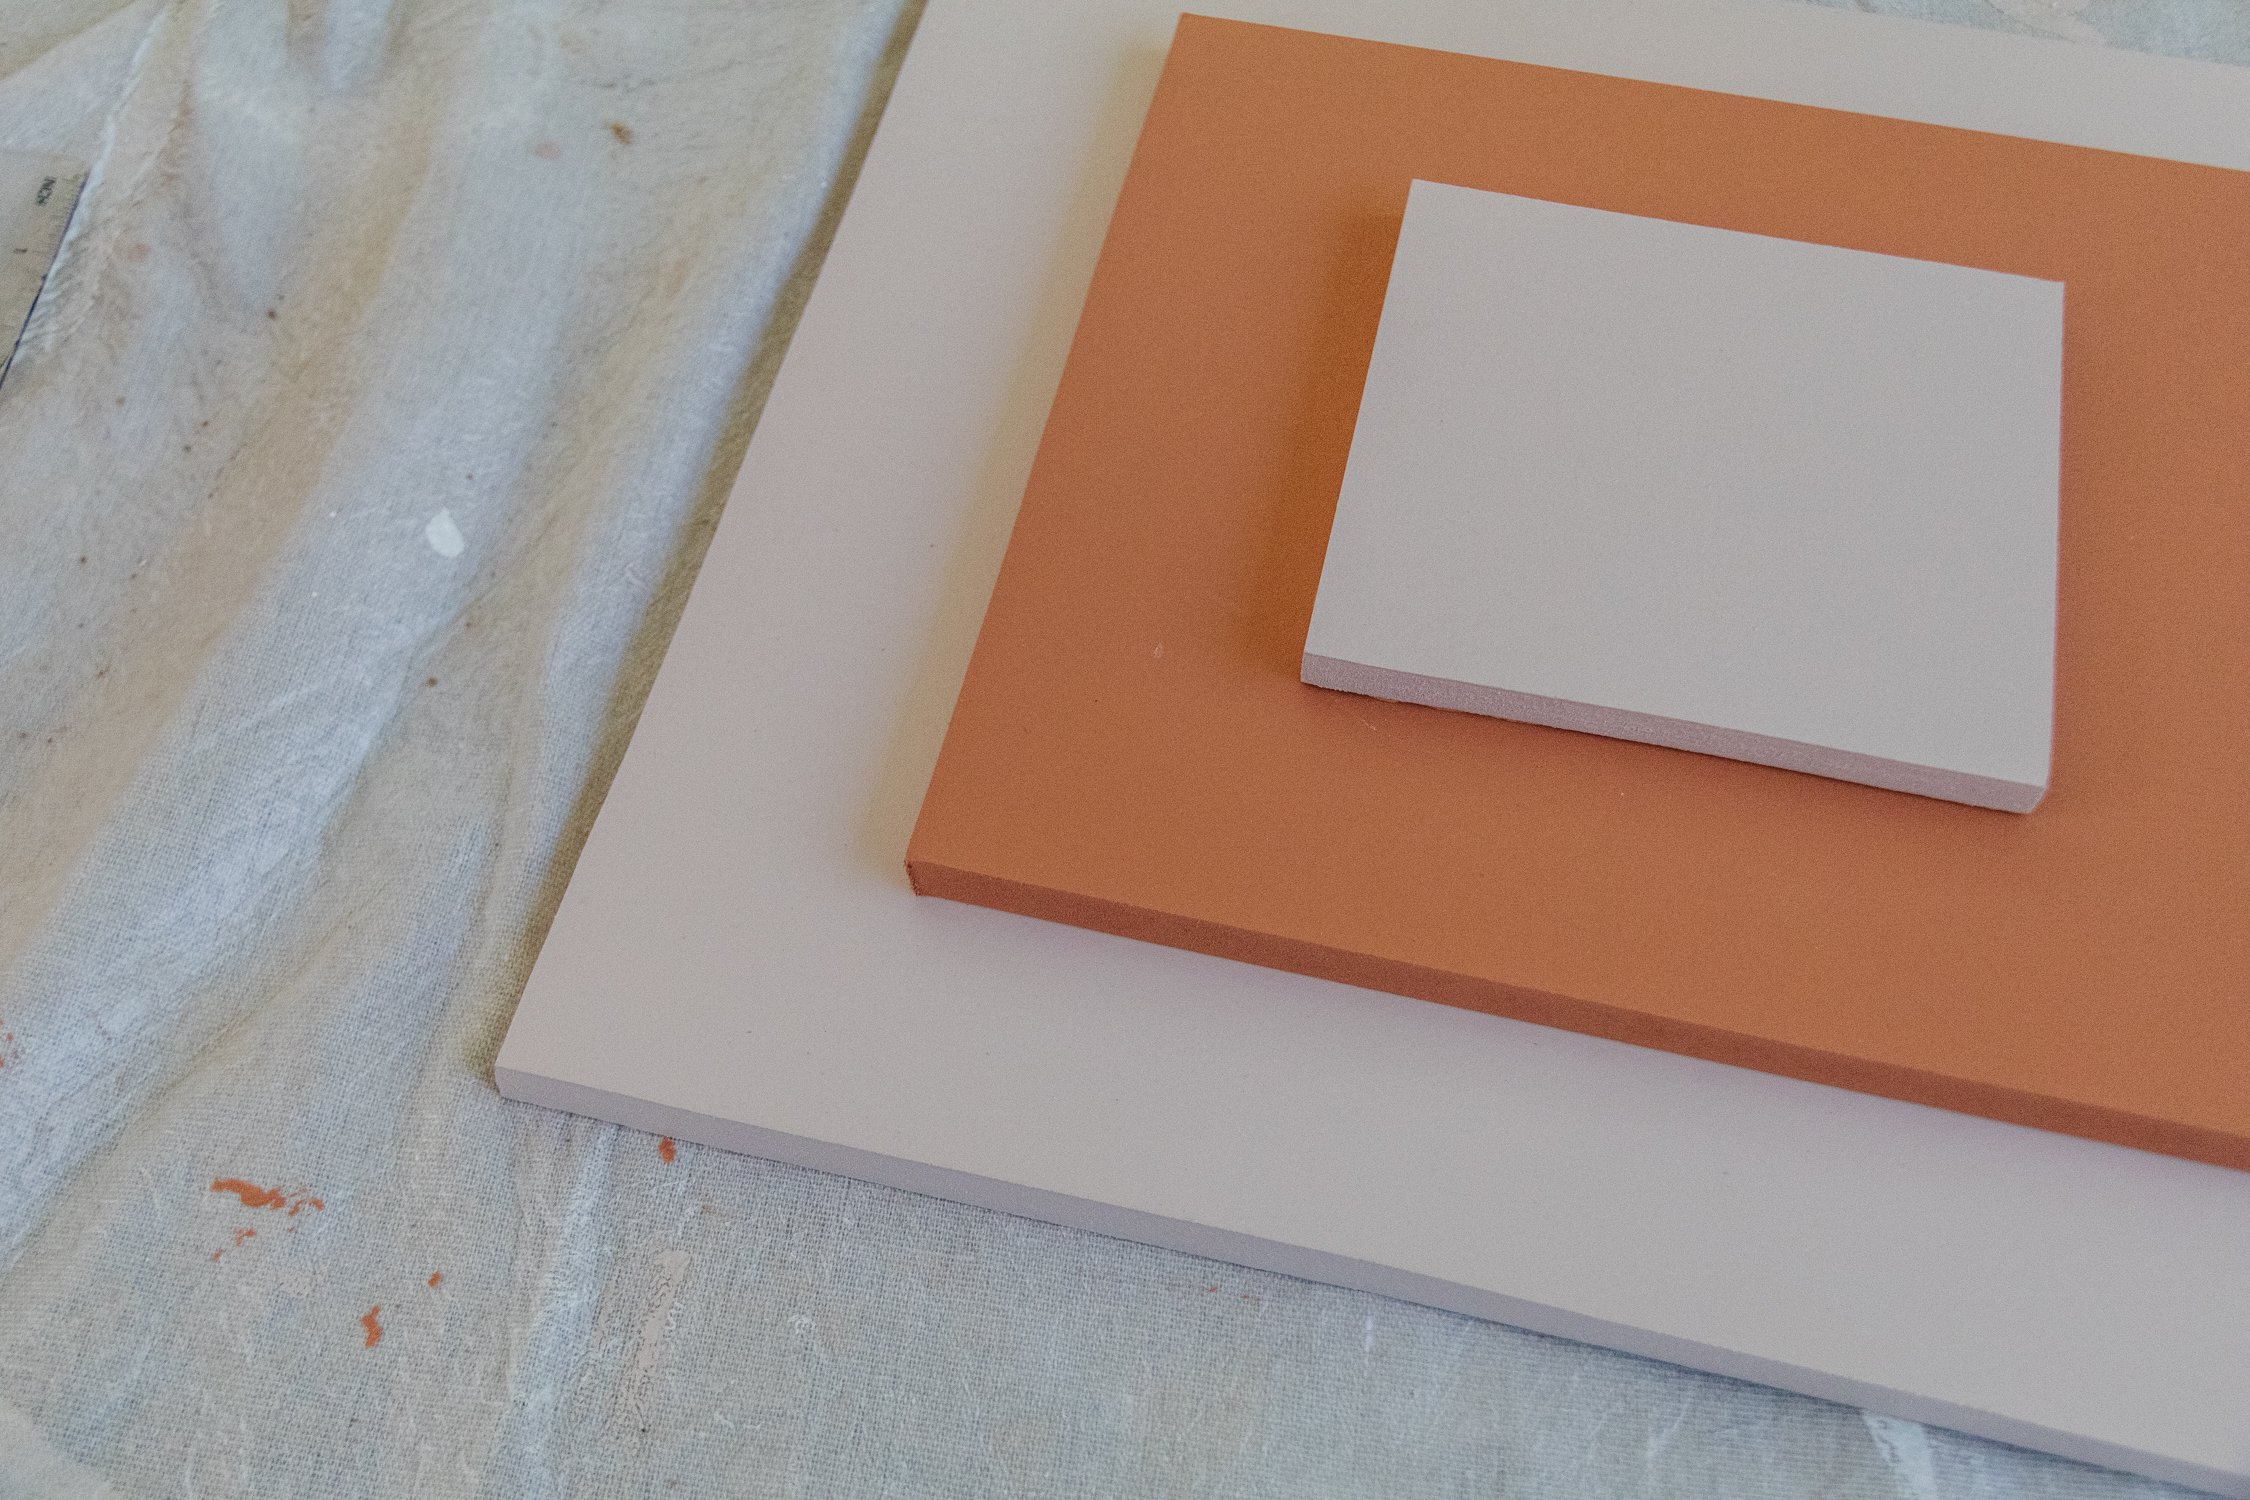
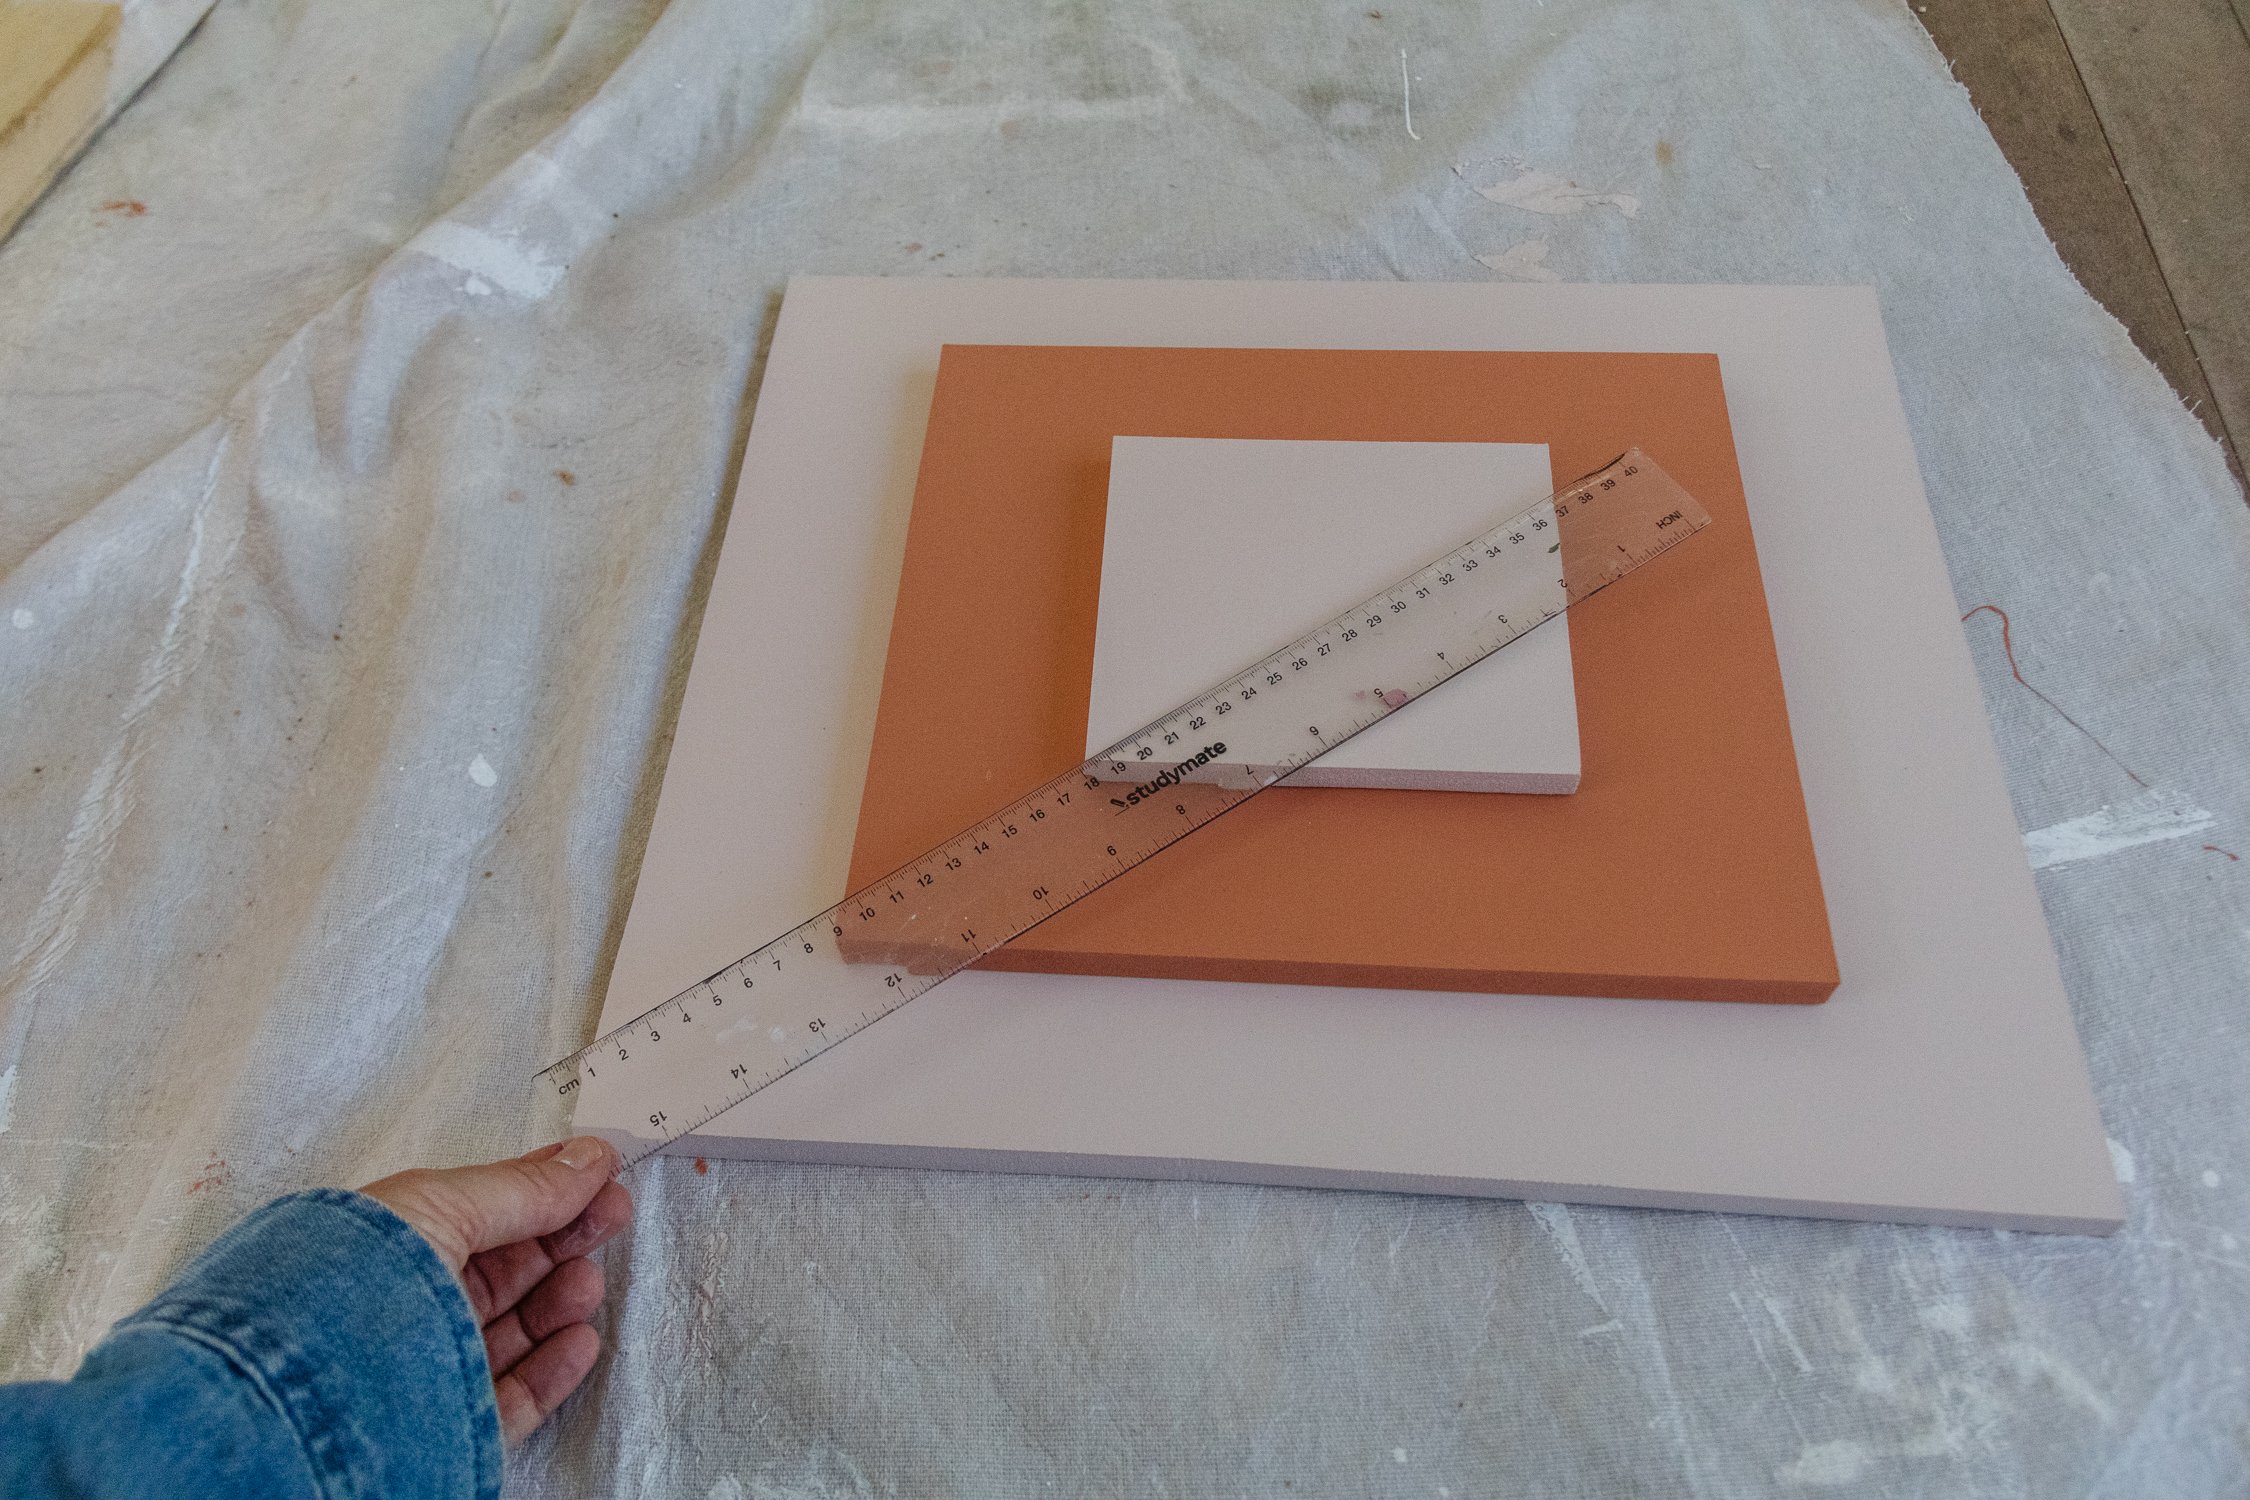
Step 3: Using a ruler, I drew an “X” onto the thin MDF. Then I calculated the measurements I would need to create three even rectangles to create a stepped design. I did this my measuring the corner of the “X” to the middle where the two lines intersect and divided that figure by four. My markings were 9.5cm, 19cm and 28.5cm so I marked these on all four lines on the “X”. I used a ruler to make these marks meet up and as you can see, I drew 4 rectangles. Then I measured each rectangle individually and cut these out using the 16mm MDF panel. Then I painted them each with one coat of white primer on both sides.
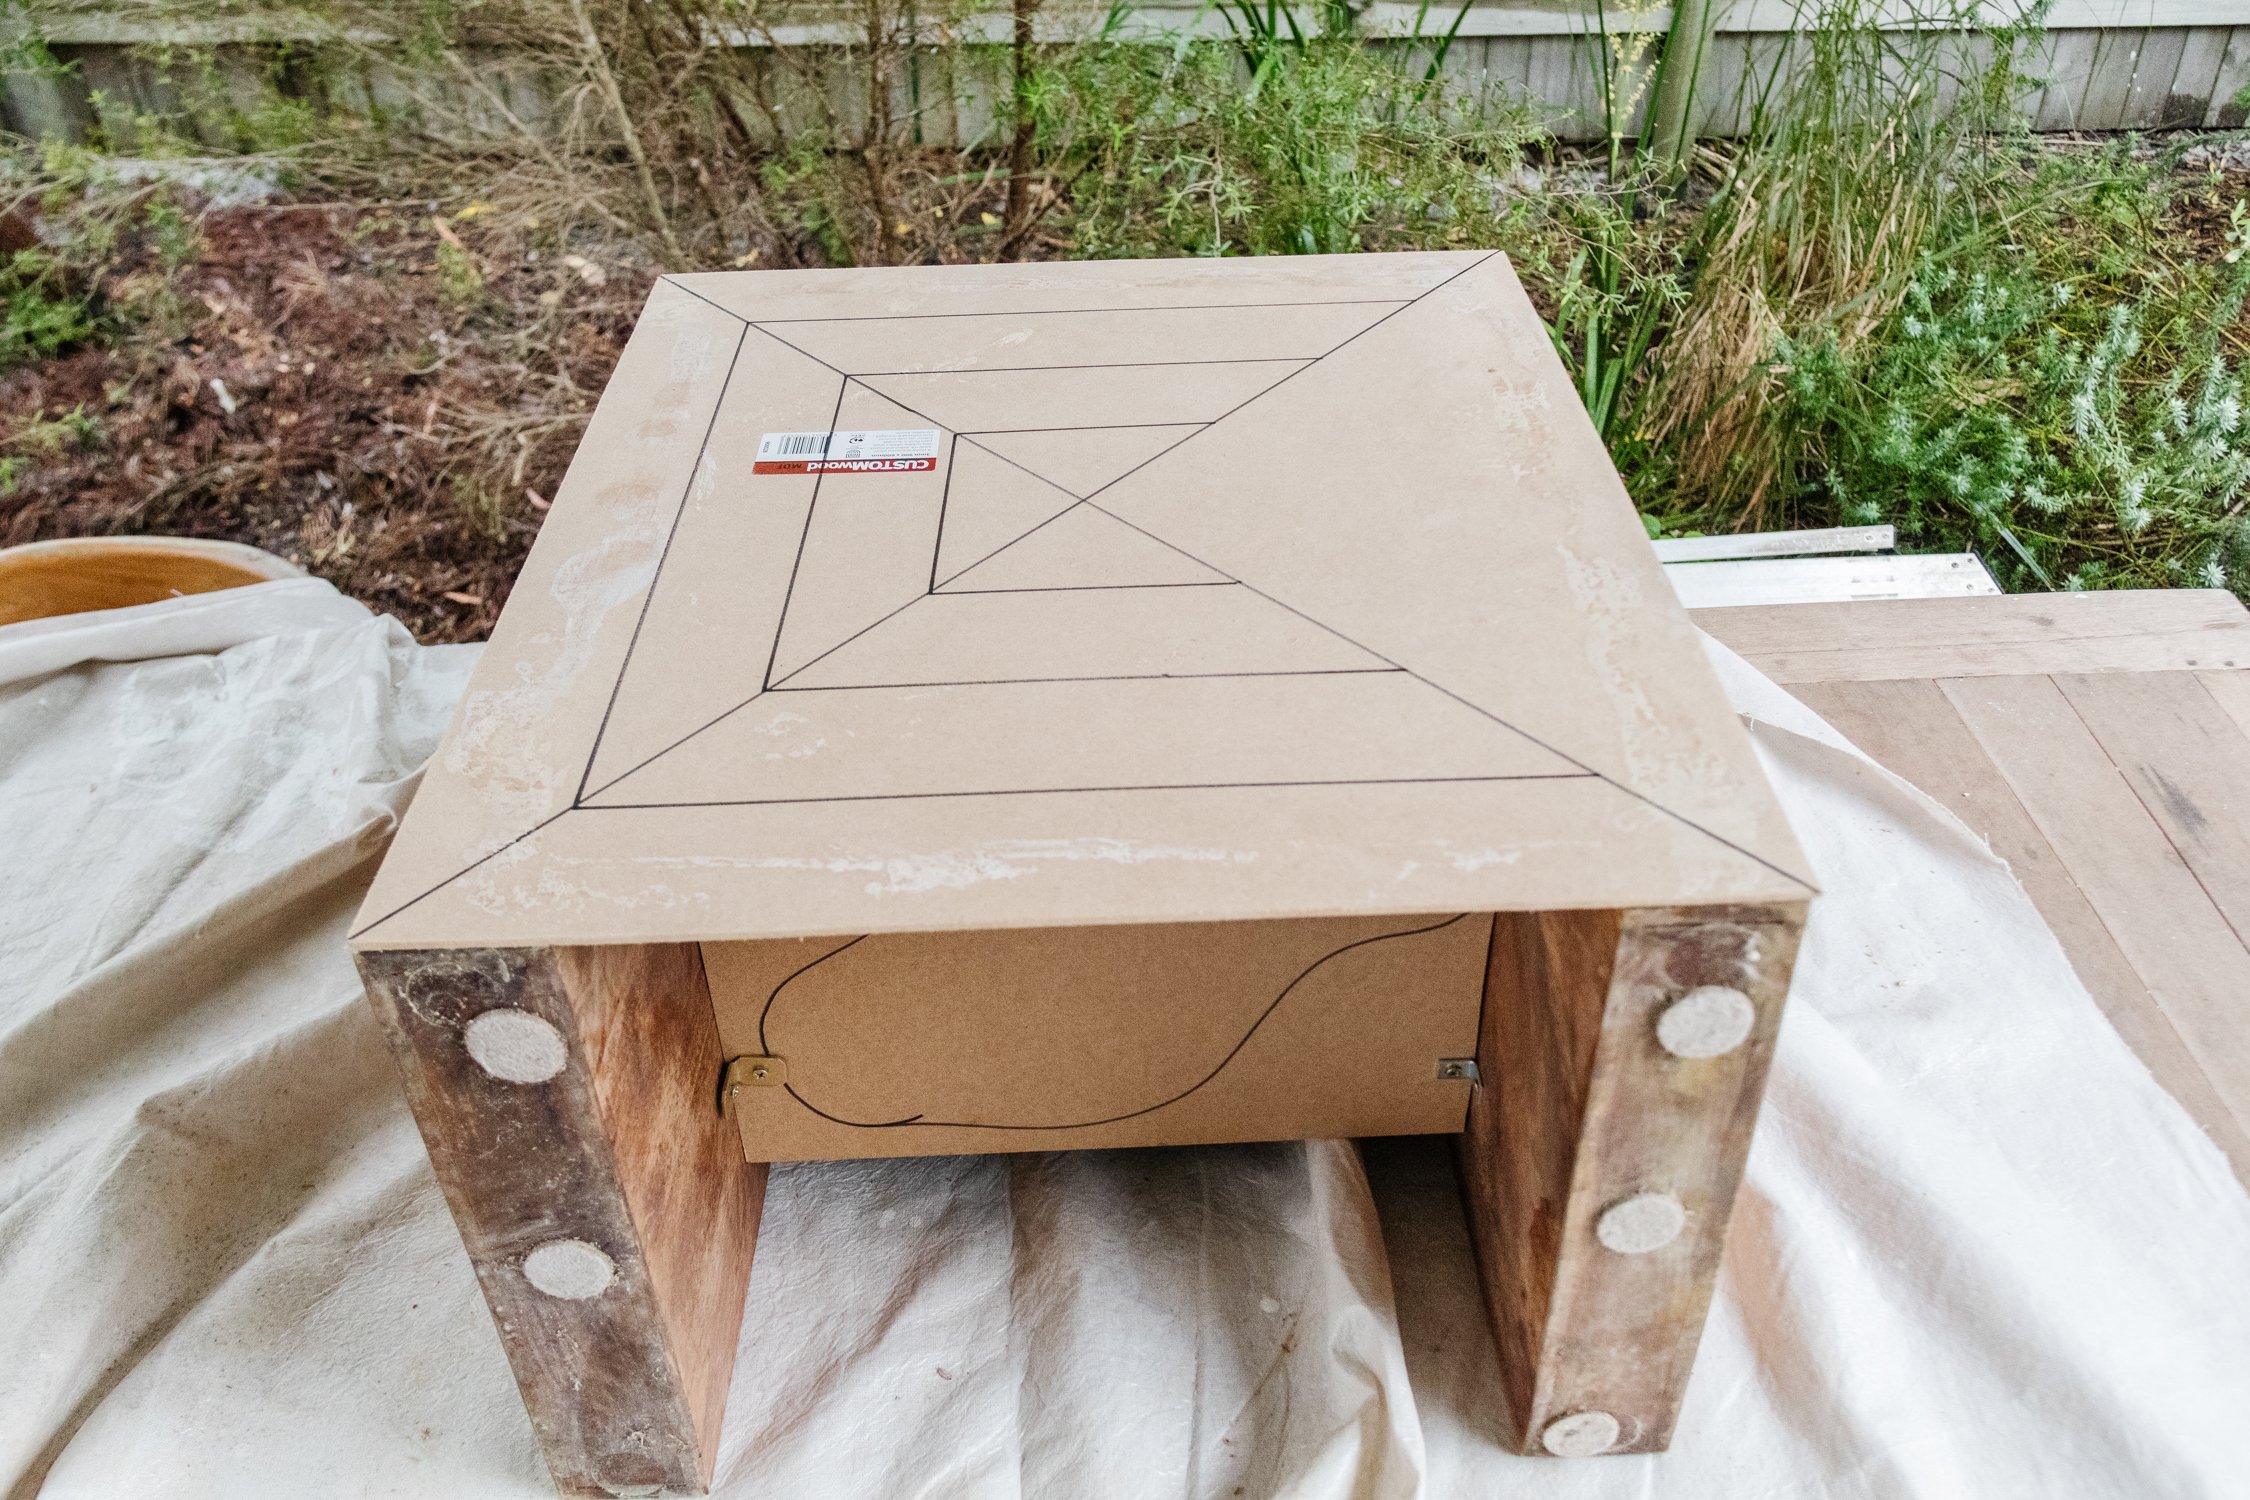
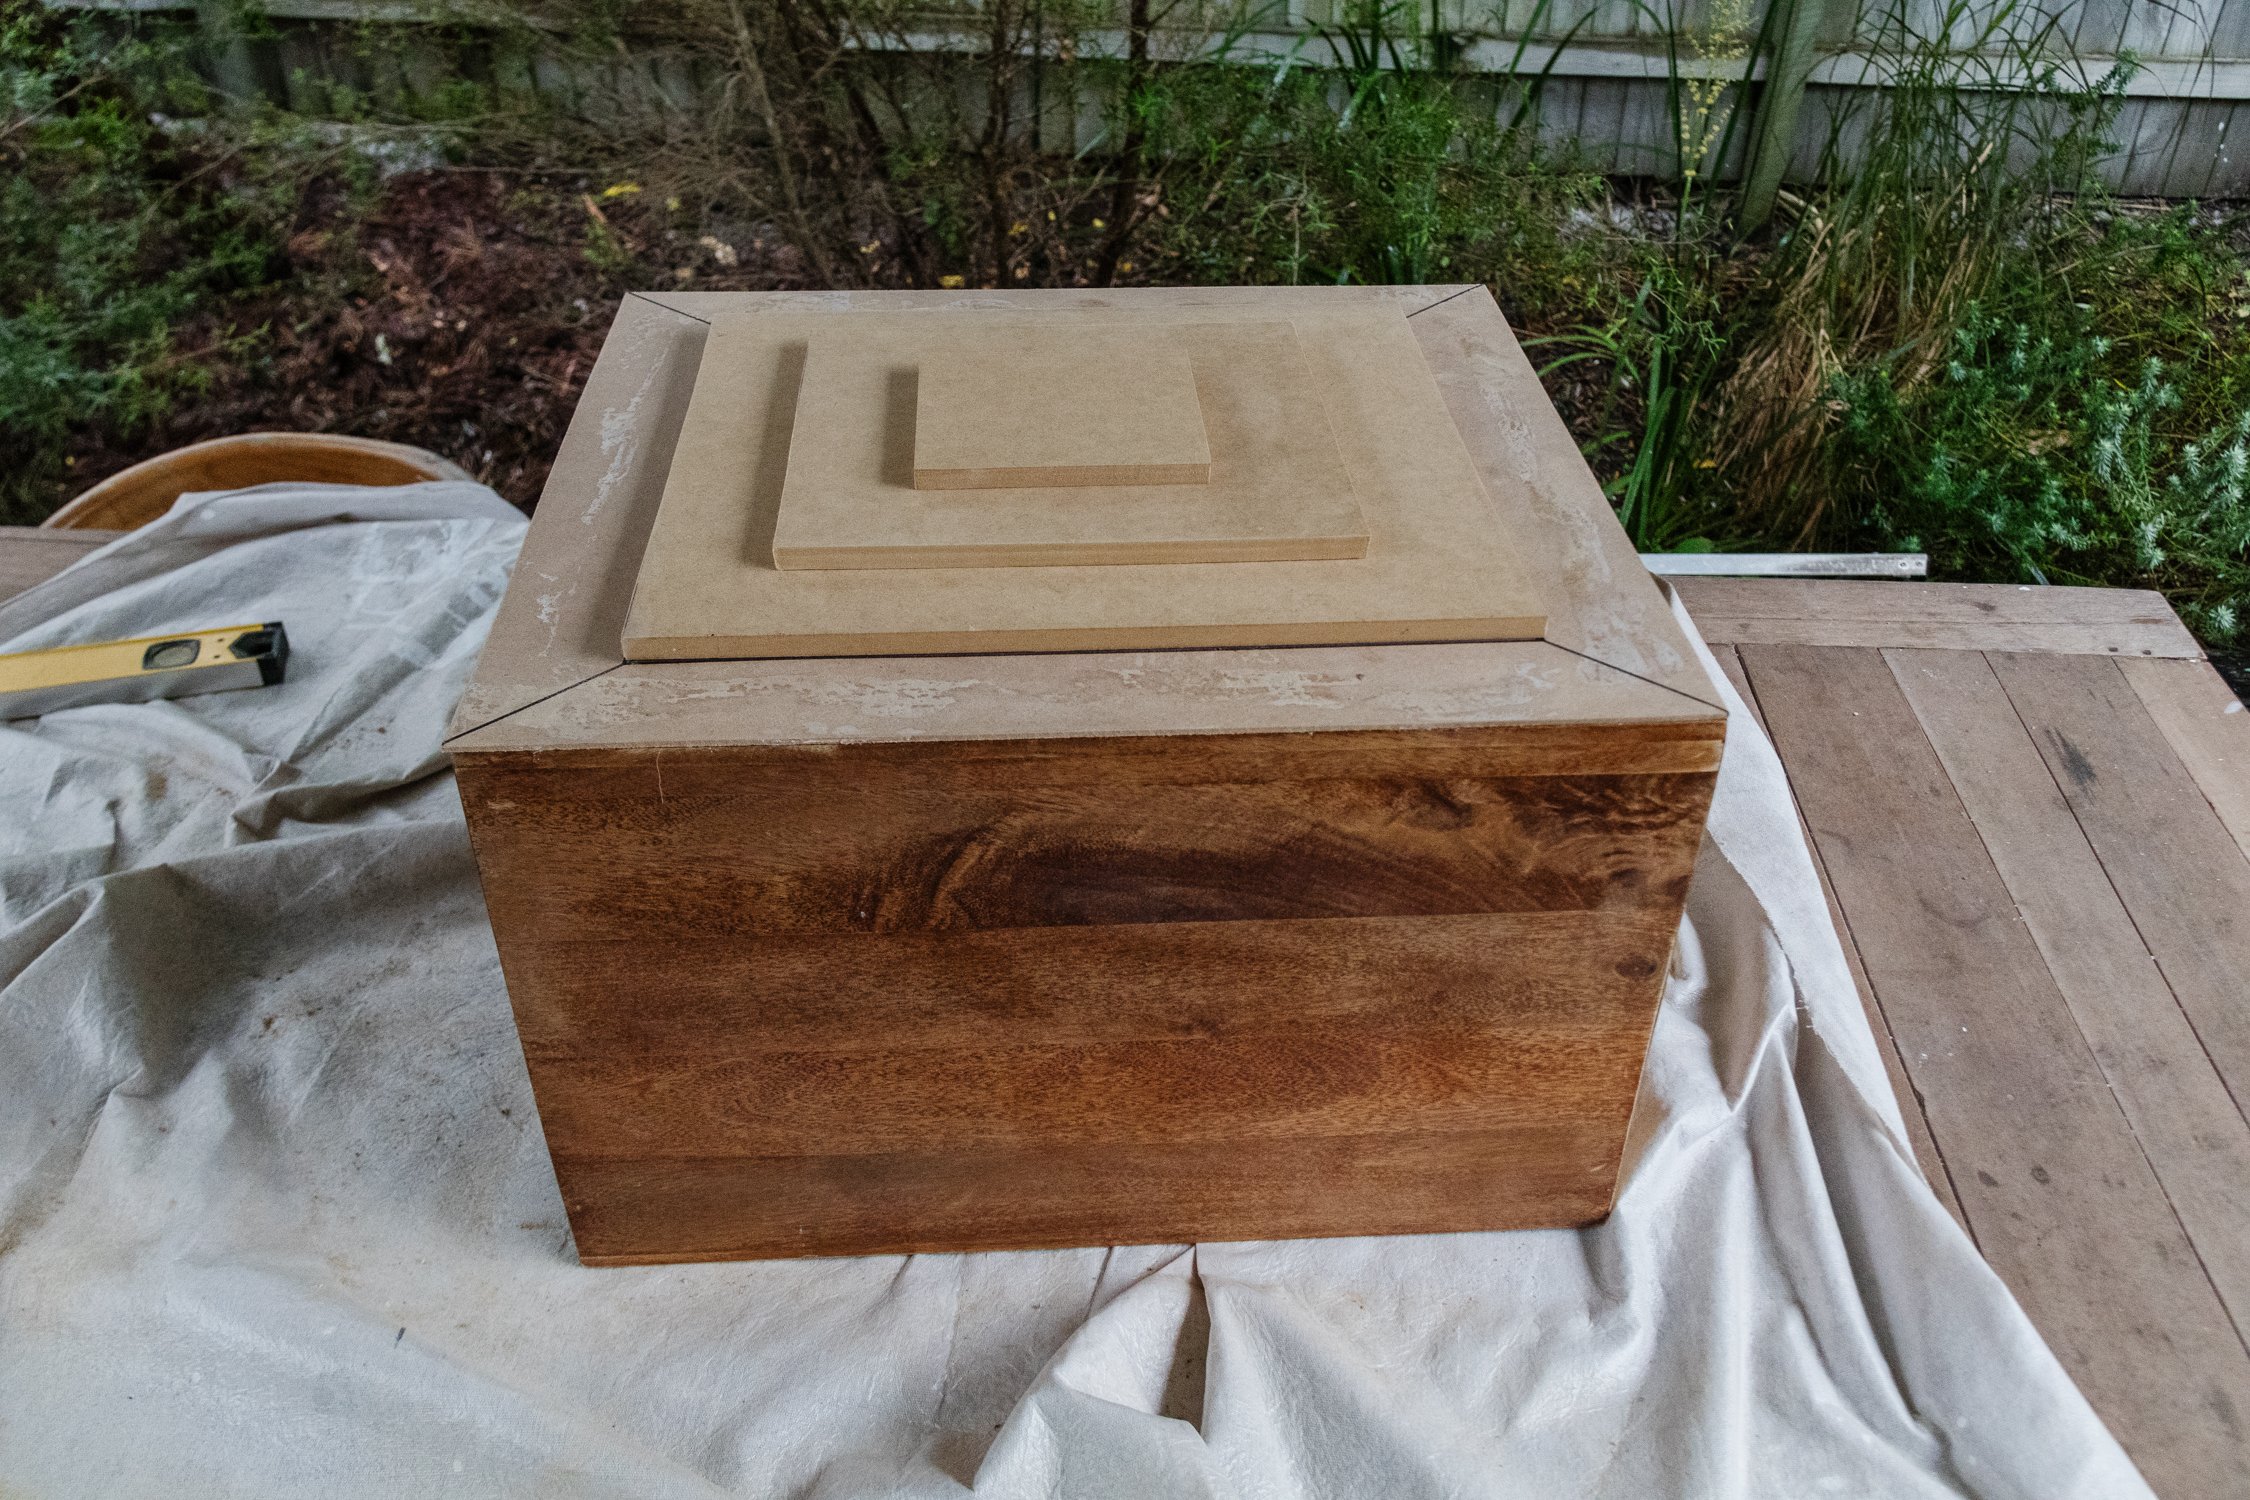
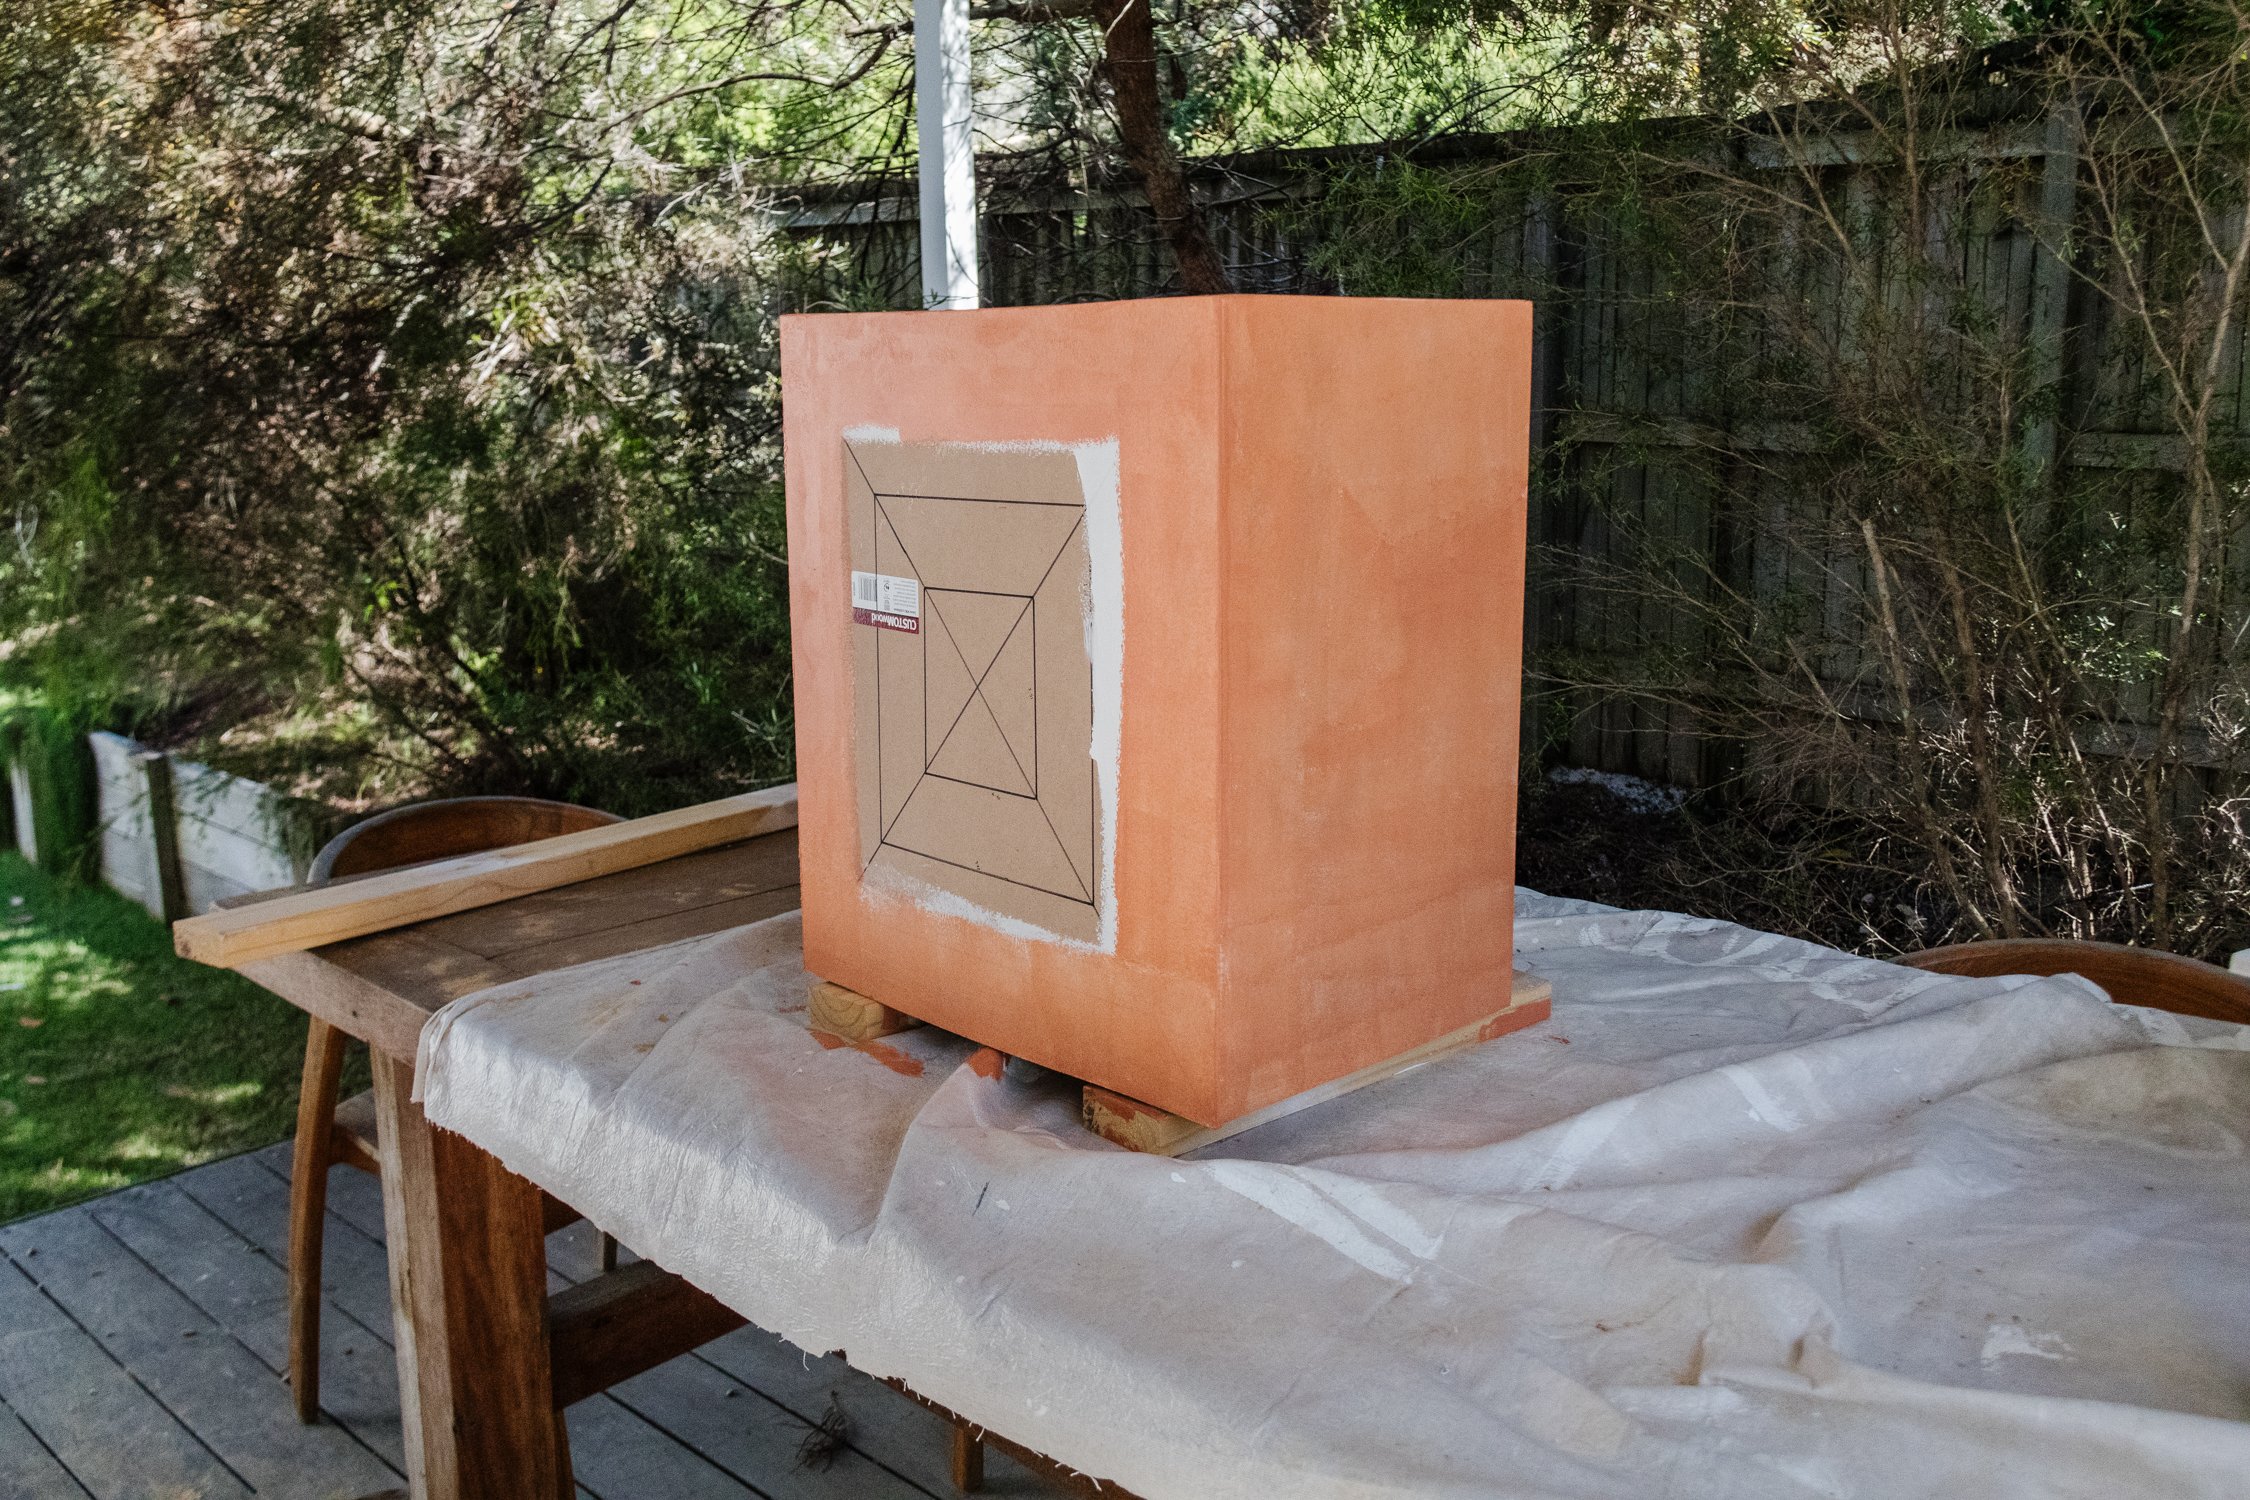
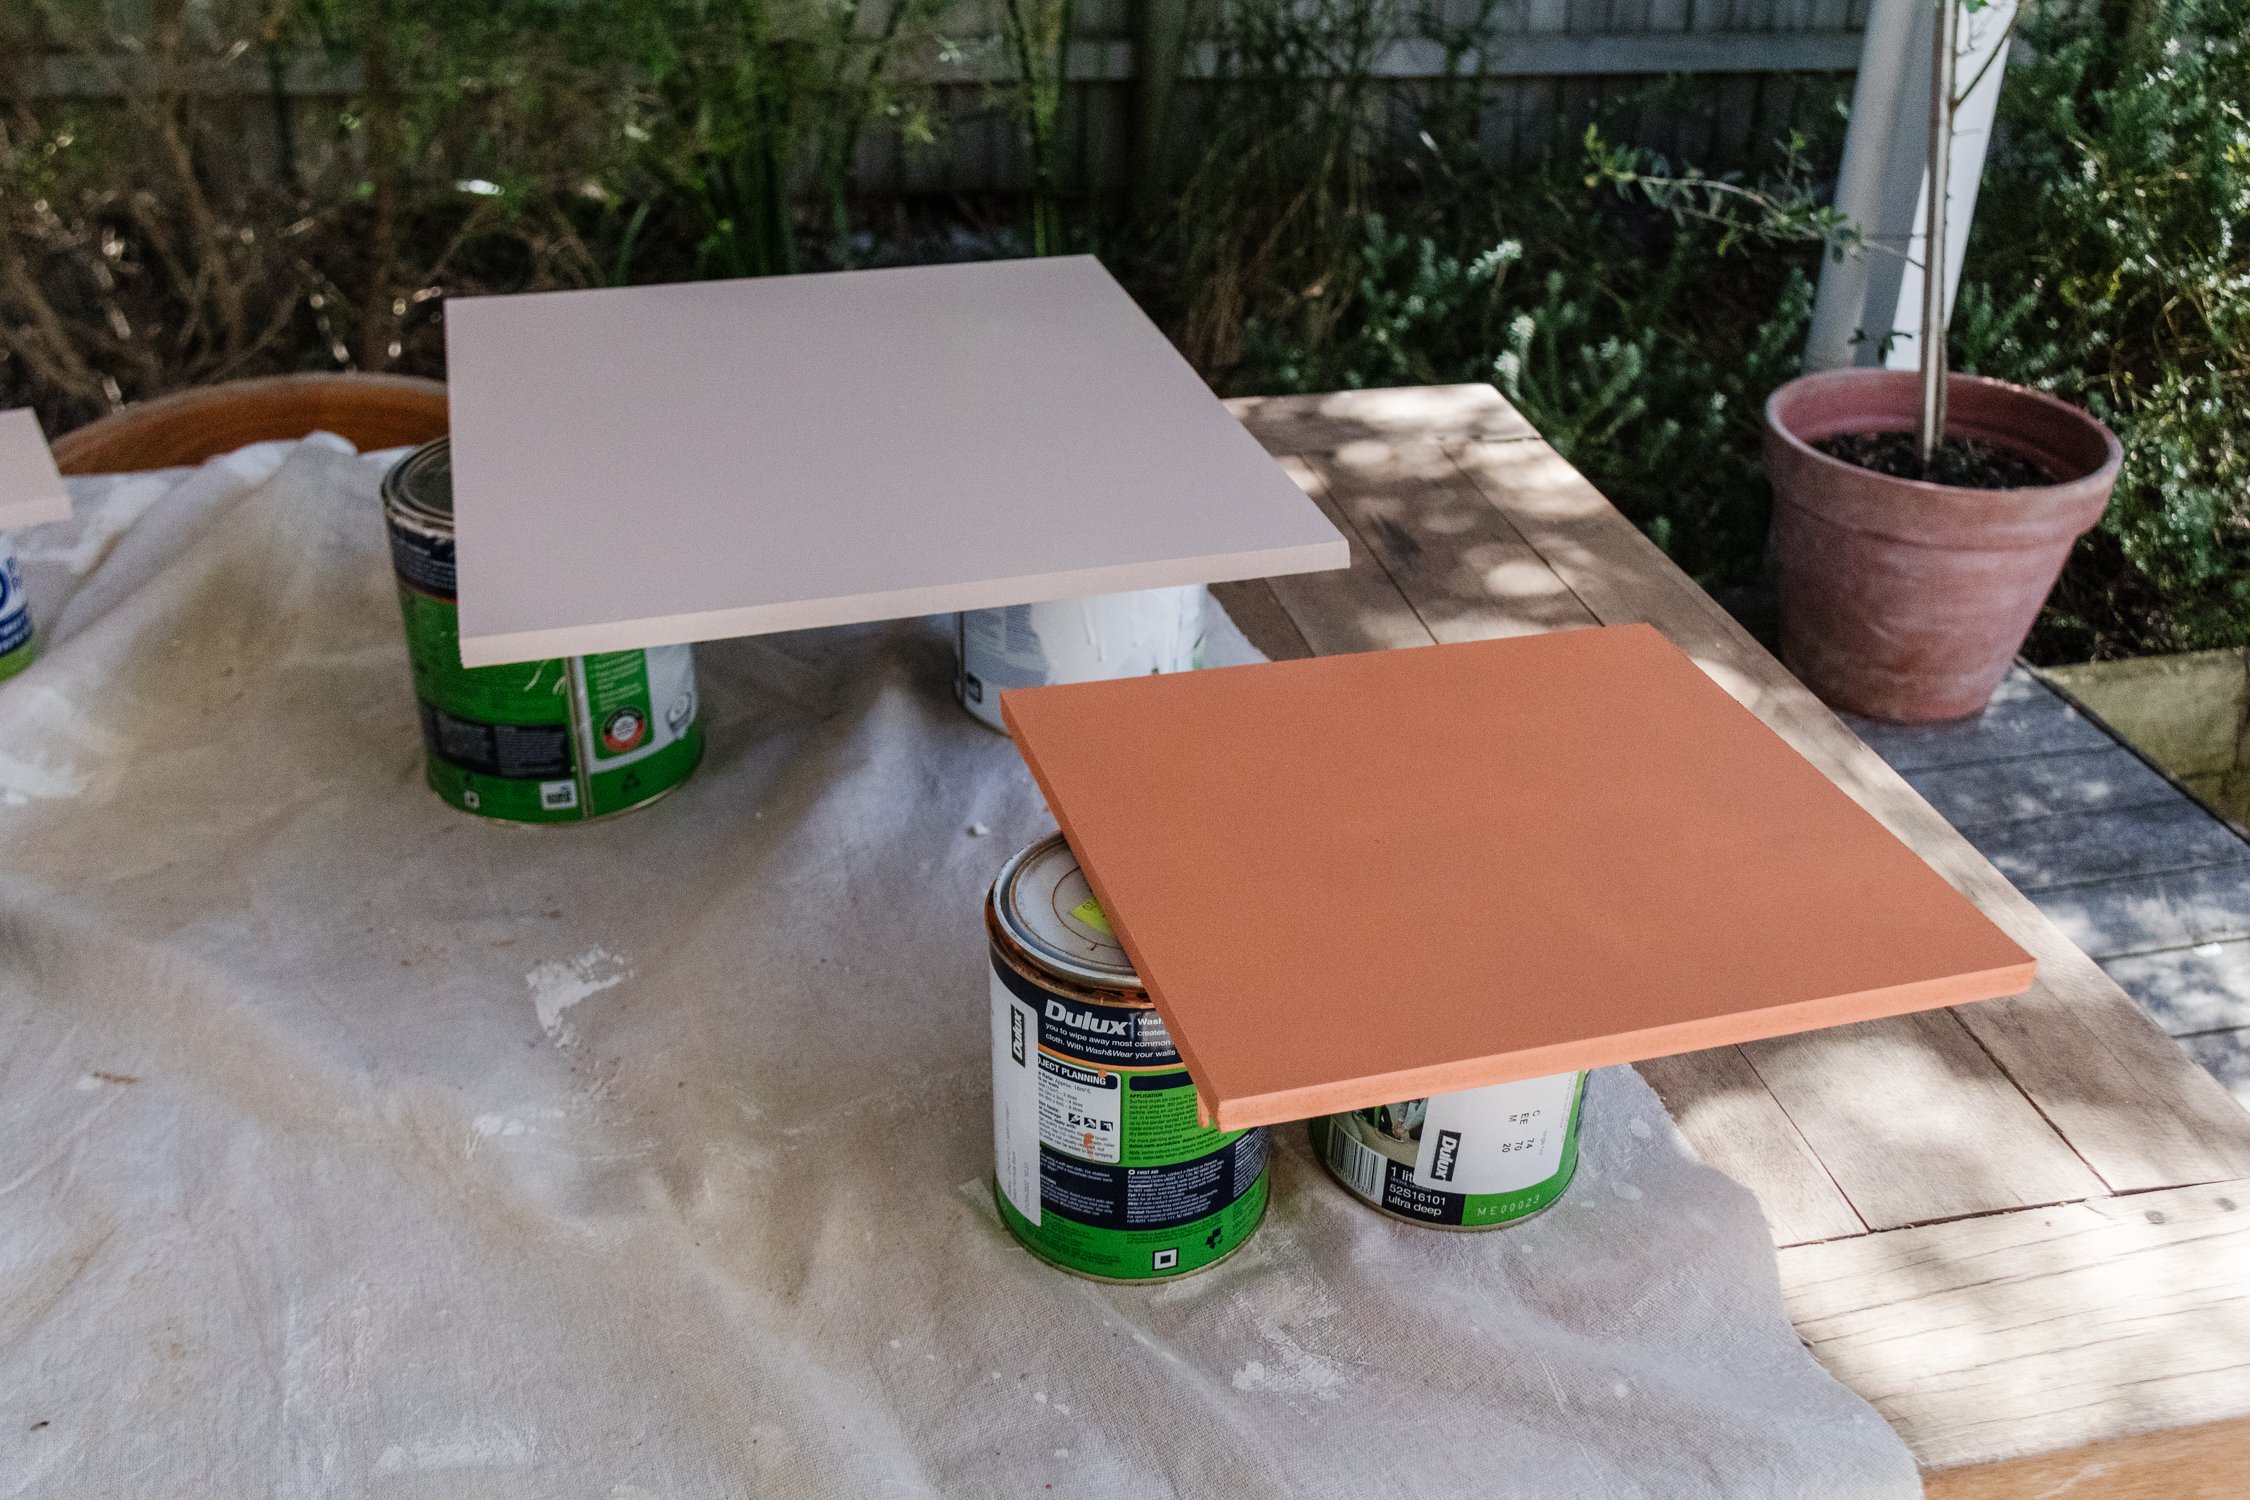
Step 4: I painted the entire surface with one coat of white primer paint. Then I painted the main side table with 4 thin coats of “Terracotta Chip”, making sure to sand in between to ensure a very smooth, professional looking finish. I painted the largest and smallest square “Mornington” by applying 3 thin coats on both sides. I did the same with the middle sized rectangle with “Terracotta Chip” by applying 3 thin coats on both sides.
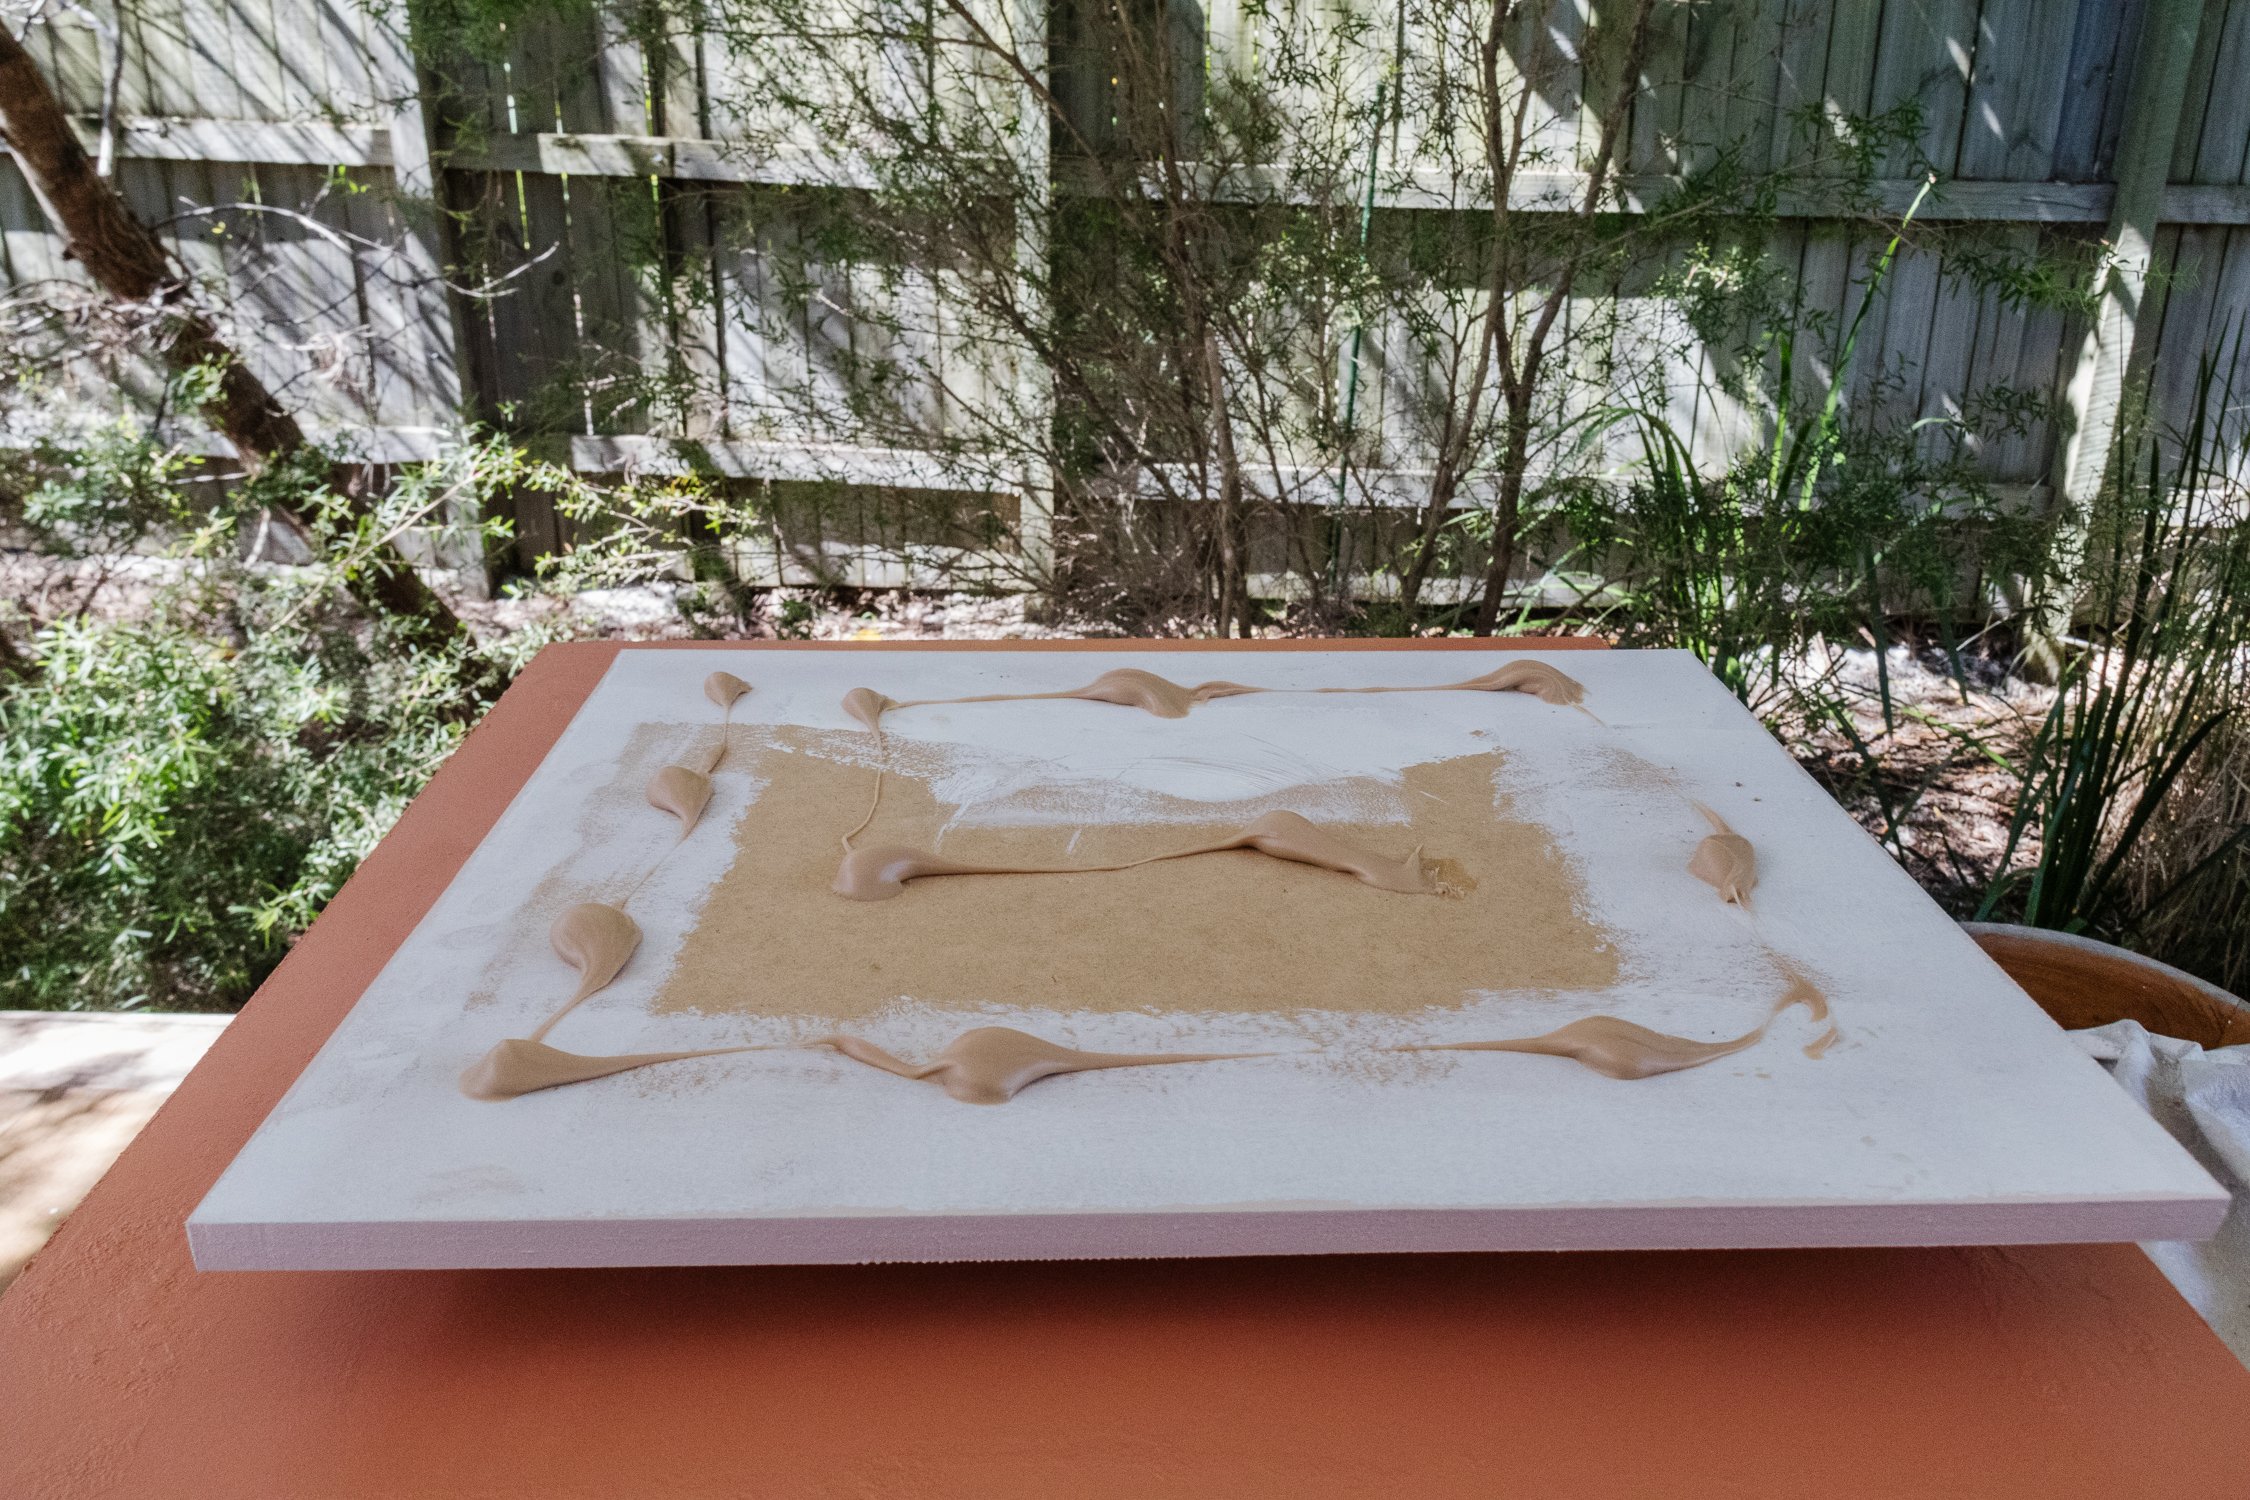
Step 5: I glued the 3 pieces of paint rectangle on top of each other to create the stepped design (I checked my measurements to make sure they were all perfectly positioned) and then clamped them down. When the glue cured, I then glued this stepped design onto the side table and made sure it was positioned in the correct spot.

Ta daaaa! This is what I call a two for one, lol.
But true! I feel like the last couple of days have been a wild adventure. I changed my mind so many times, but in the end I trusted my gut and I think it paid off! I’d love to know, which side do you like better?