DIY Bouclé Dining Chairs
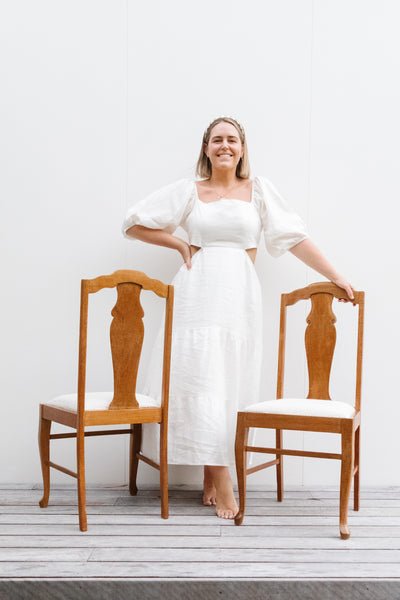
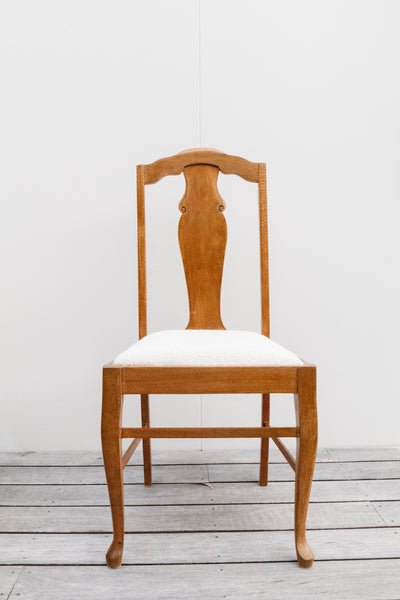
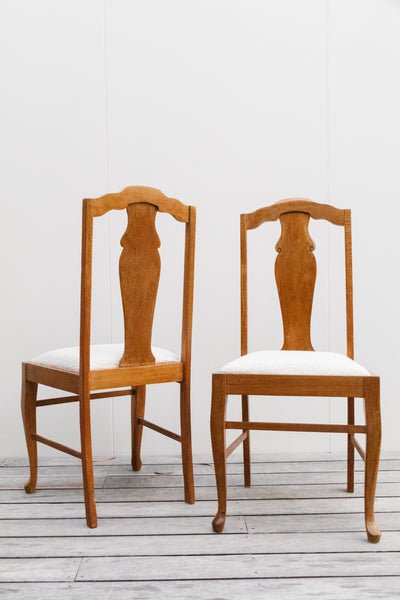
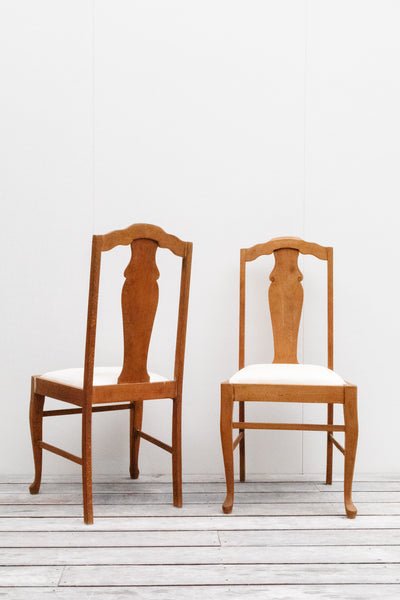
This is a love story between me, two dining chairs I found at my local tip shop, paint stripper and a bouclé cushion. A couple of weeks ago I kept walking past these gorgeous Bridgerton meets French chateau dining chairs at the tip shop and I couldn’t stop thinking about them. That’s when you know you gotta grab them, right? I’ve been feeling so inspired by Henning Kjærnulf’s Razorblade chairs that I wanted to see if I could give these dining chairs the love story ending they deserved.
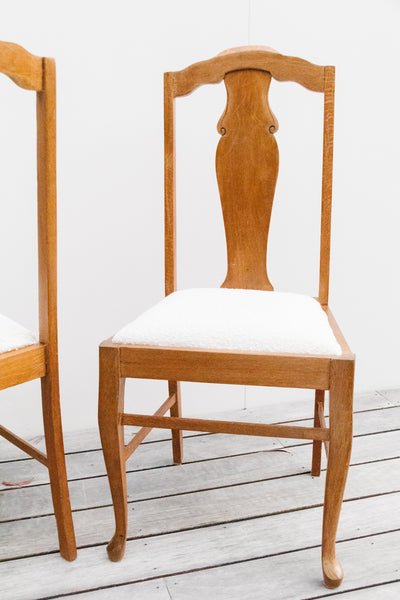
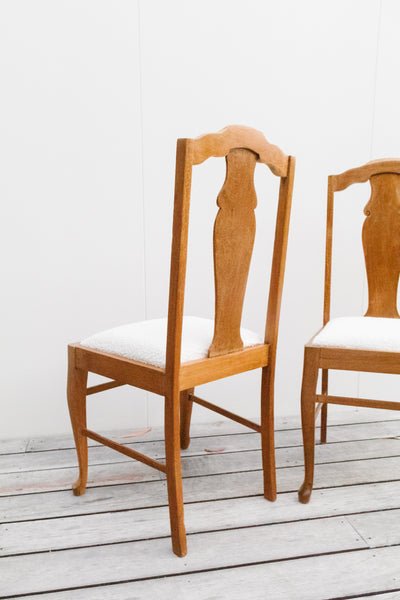
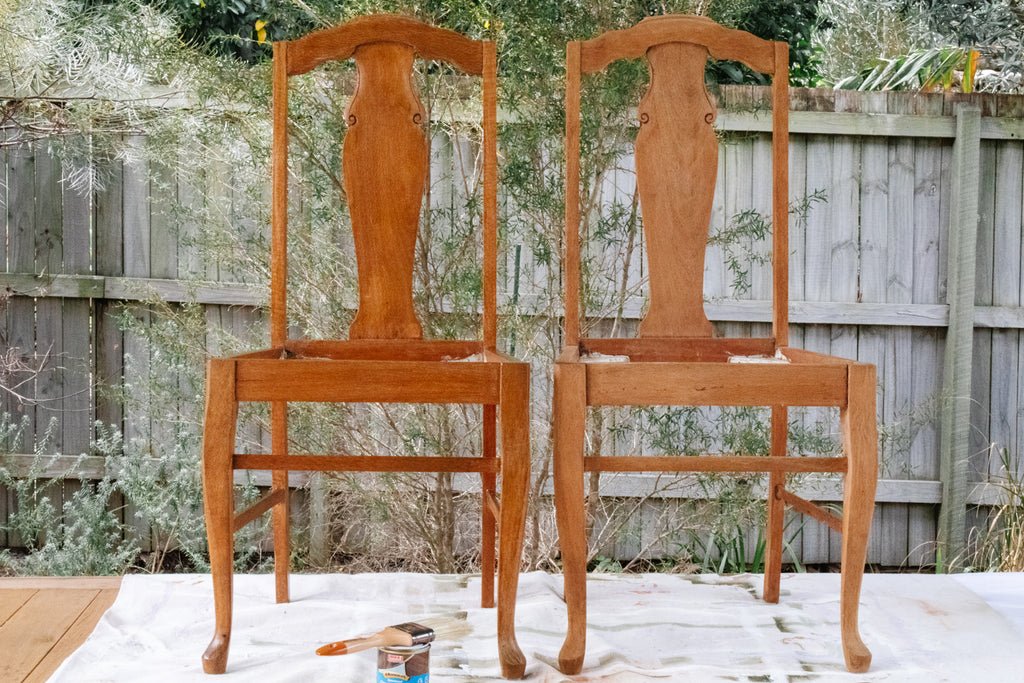
The previous owner had painstakingly removed multiple layers of paint and varnish revealing beautiful silky oak underneath but there were still sections of paint left, so I turned to my trusty paint stripper (remember my DIY Terrazzo Table project?) to get the job done. Next I sealed the silky oak with a glossy wood varnish and recovered the seats using a staple gun and a cushion cover made from bouclé. A CUSHION COVER guys. I had bought some fresh cushion covers for our couch and realised how perfect they would be for covering the dining chairs! I actually have to give the lovely Monique over on Instagram credit for this genius idea. She sent me a DM with a link to a stunning olive green bouclé style cushion from Ikea, and then I realised that I actually had a cushion at home I could use. So good. What I love most about this project is that it was reasonably quick! Usually upcycling furniture can take a while so it was nice to have a quick project for a change. Read on to see how you can transform any old tip shop/curb side pick up dining chairs. As always I’ve included the materials, links to the products I used and step by step instructions. Happy DIY'ing!
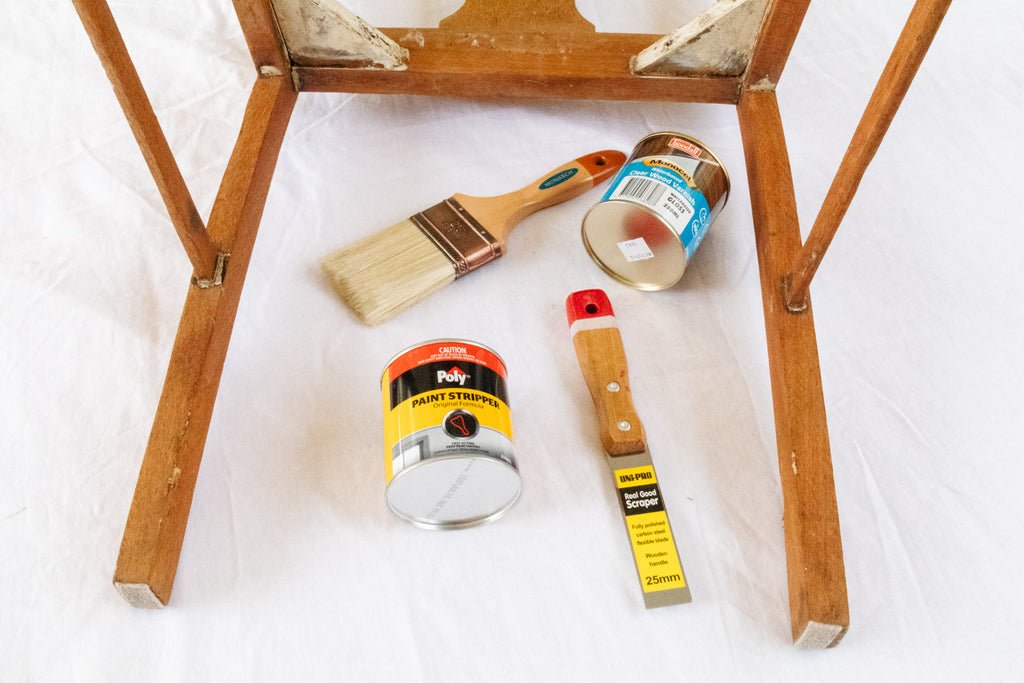
Materials
Dining chairs
Drop sheet or an old sheet
An old paint brush
An old damp cloth
Antibacterial wipes and/or eucalyptus spray
Canvas fabric (I got mine from Lincraft)
Scissors
Staple gun and staples
Fabric (or a cushion cover, like I used!) measured to size/cover the seat
How To
1. Cover your work surface with a drop sheet or an old sheet. Place the chairs on top, remove the seat cushions and set them aside.
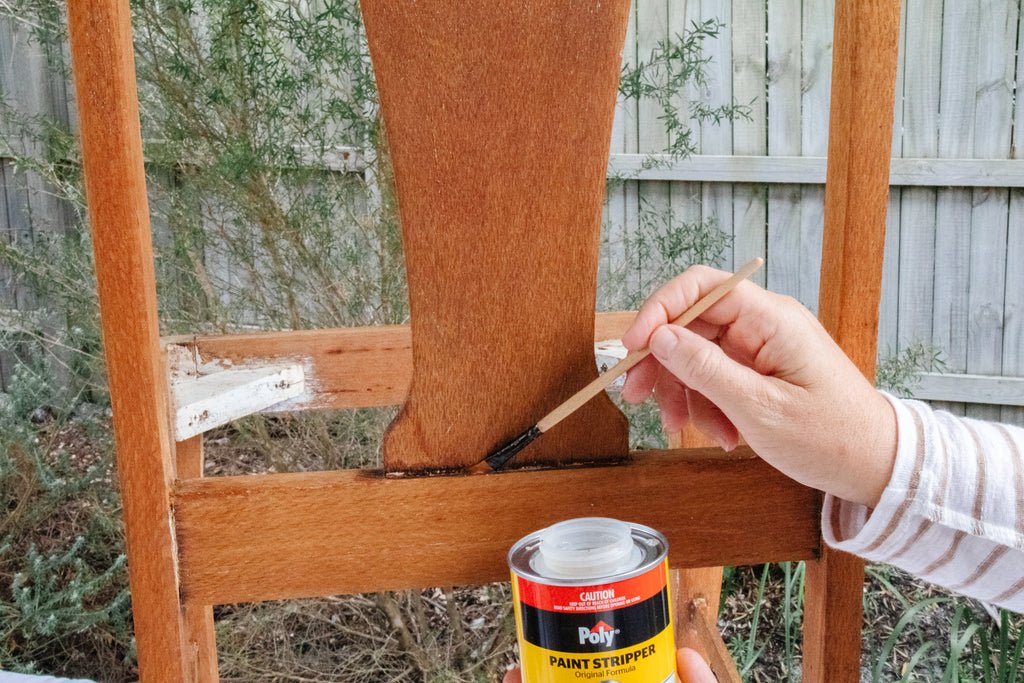
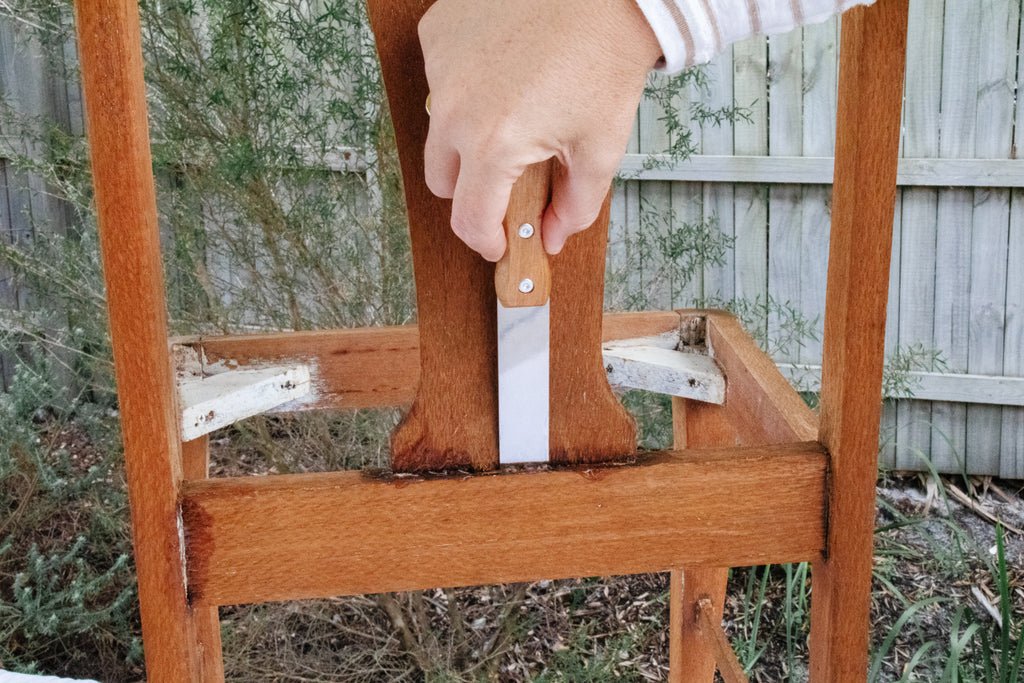
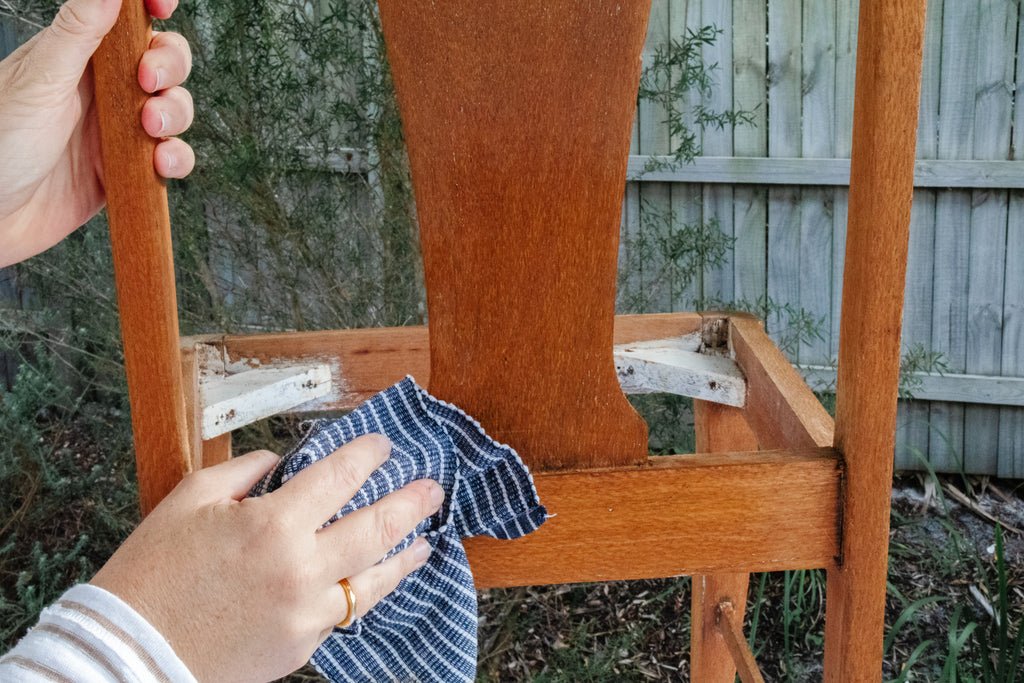
2. Apply paint stripper to the painted/varnished sections of the dining chairs and after the paint and varnish bubbles (usually 2 to 5 minutes - don't wait any longer or it will start drying) remove it using the paint scraper, and discard. Work in sections and when finished with each section, wipe down with an old damp cloth. Set aside to dry
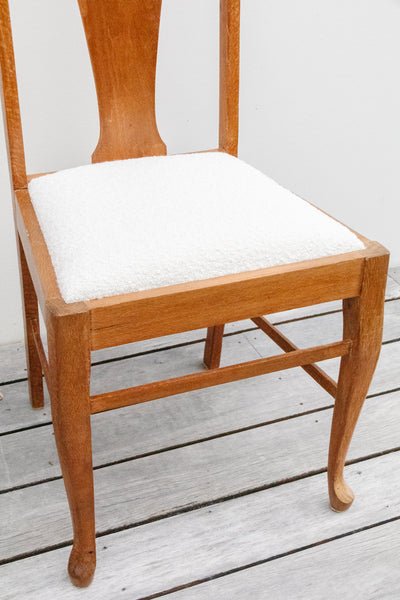
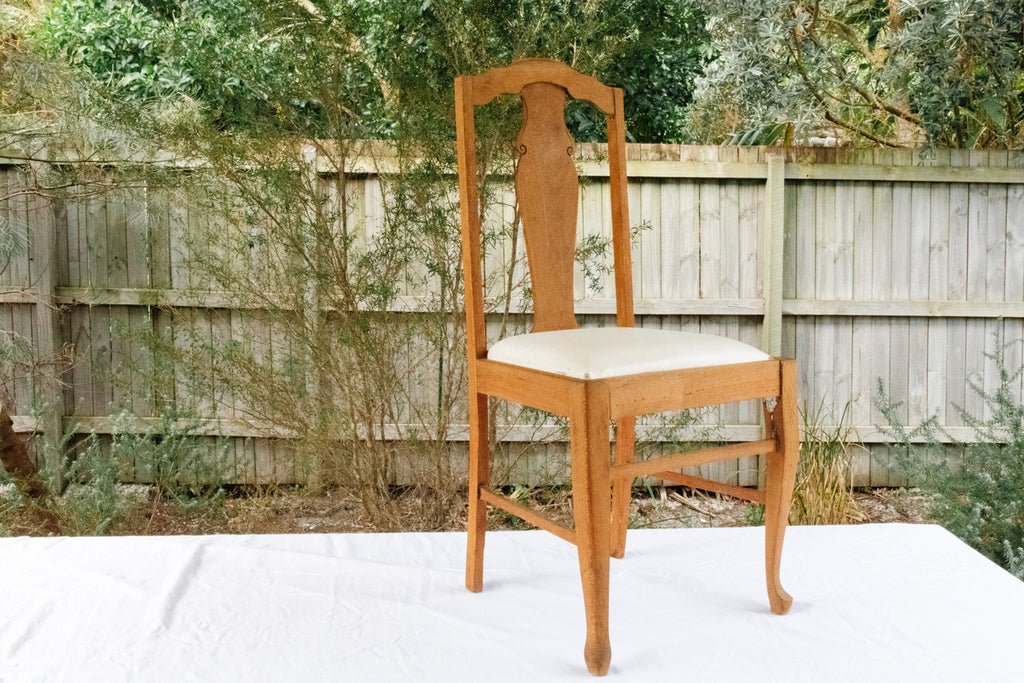
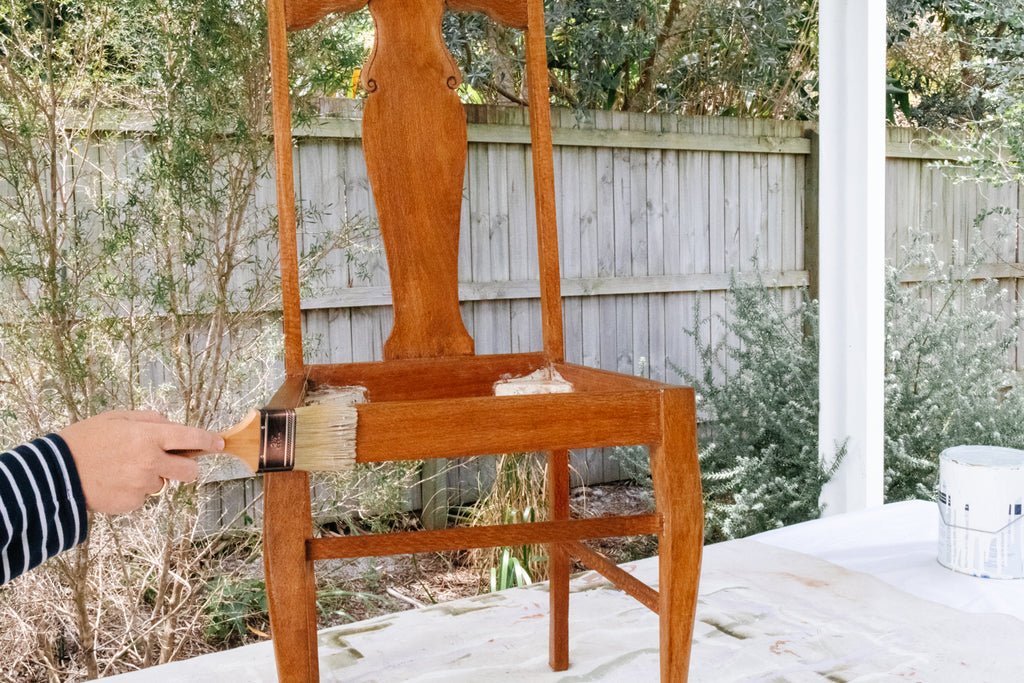
3. When the timber has dried, apply one coat of the (non yellowing) waterbased varnish. I used a gloss varnish this time; usually I use satin or matt but I want the chairs to look luxe. Work in sections (e.g. start with each leg first) as the varnish does dry quickly. Set aside to dry. Apply an extra coat if you want the timber to look super lush.
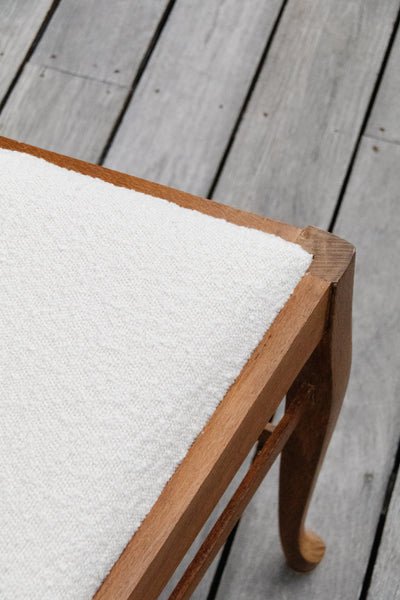
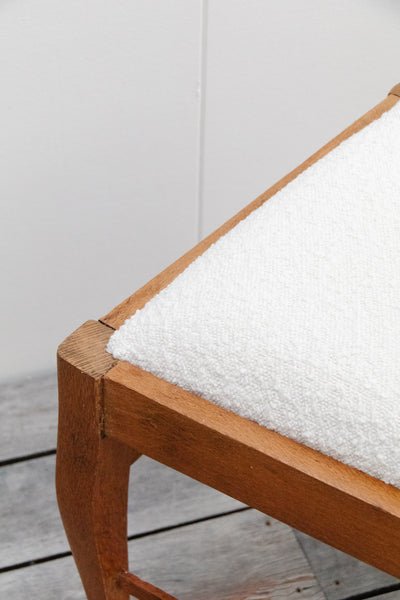
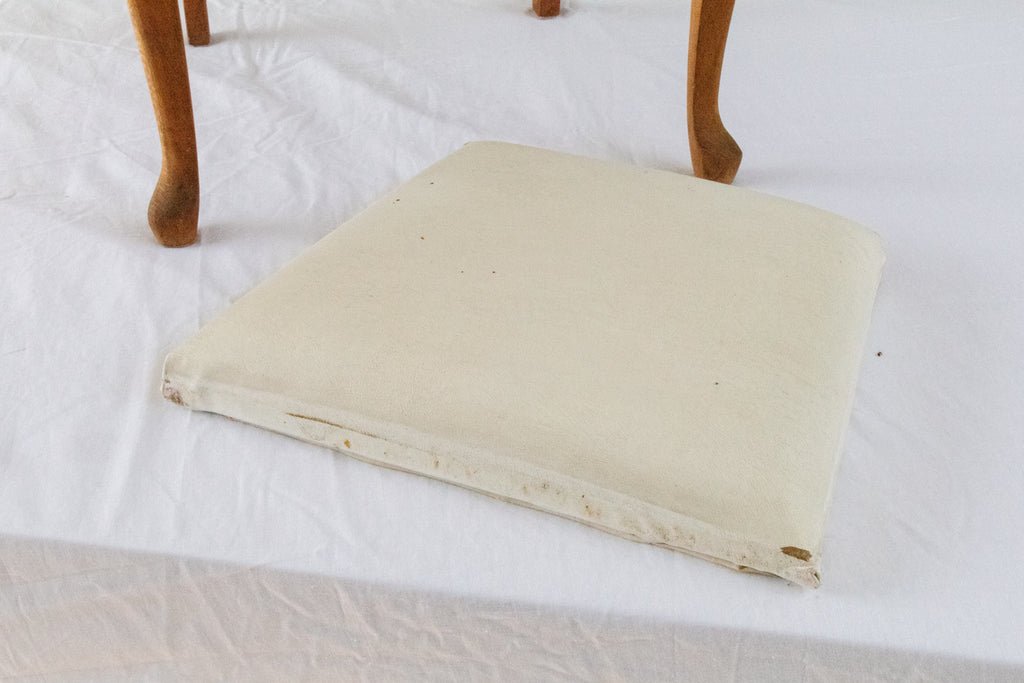
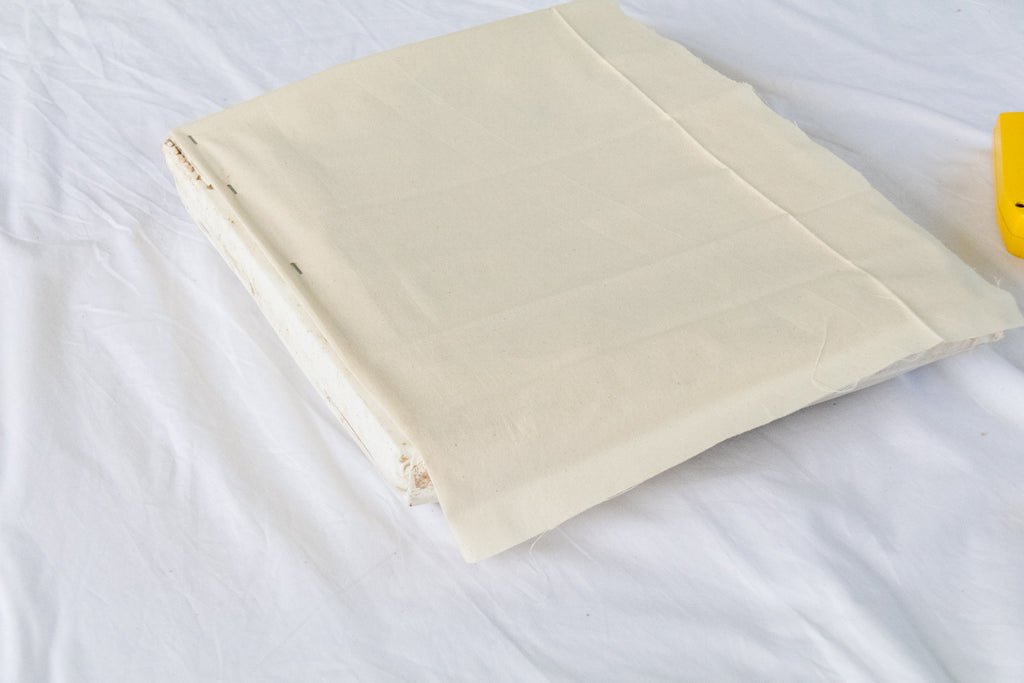
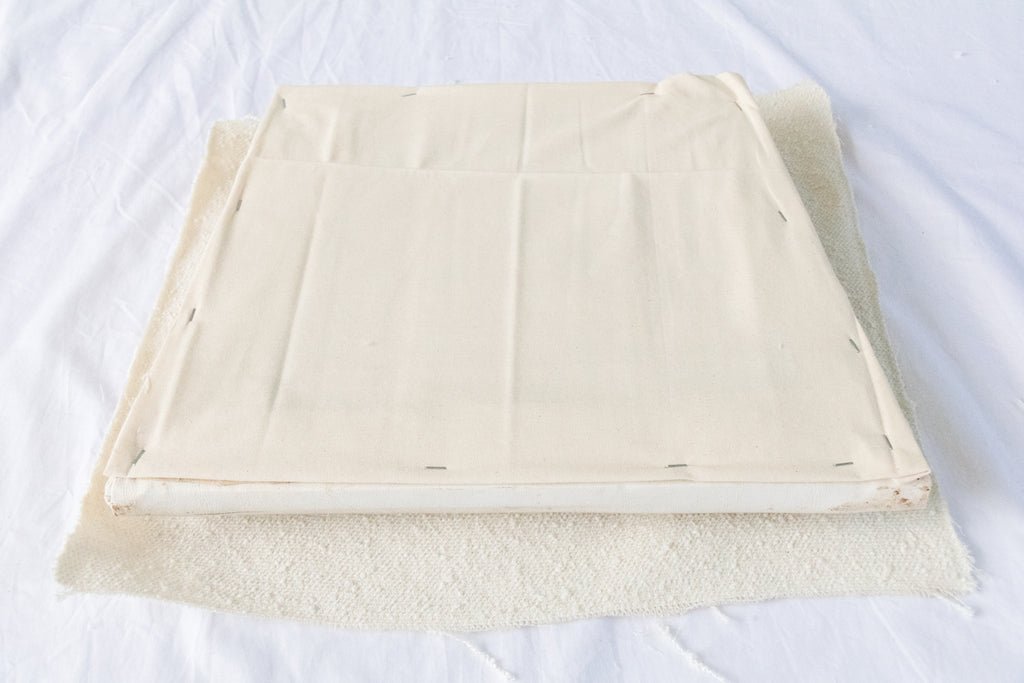
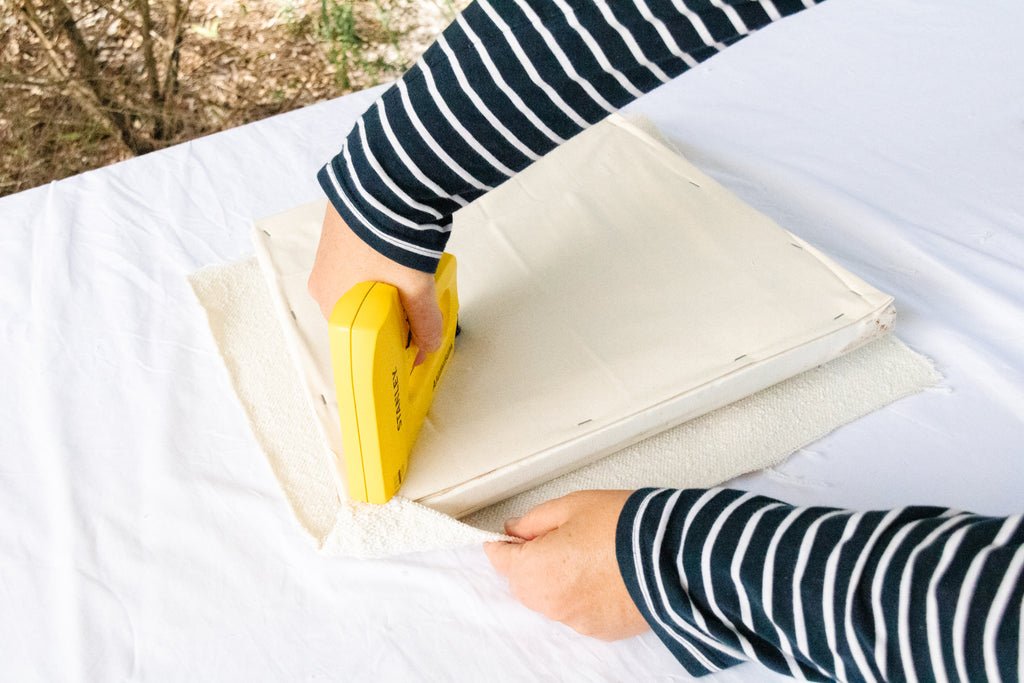
4. While the varnish is drying, it's time to clean the existing seat cushion. When I buy furniture from my local tip shop or charity store, I always give it a good clean. The seats were upholstered in leather so I wiped it down thoroughly with an antibacterial wipe. If your seat cushions are covered with fabric, give them a thorough vacuum and spray the entire surface with antibacterial eucalyptus spray. I stapled canvas underneath the cushion as the original cushion was looking a bit rough!


5. Turn the cushion cover inside out and cut right next to the side seams (to maximise fabric usage) with scissors so you have two pieces of fabric. Lay one piece on top of a clean work surface, underside facing you. Place the seat cushion face side down onto the underside of the fabric. Bring the sides of the fabric over the back of the seat cushion and staple tightly all the way around. I like staple one corner first, then the next corner diagonally across. And repeat until the four corners are stapled. Then I staple along one side, and across the opposite side, and then the final two sides. Flip the cushion over and re-apply it back onto the chair.
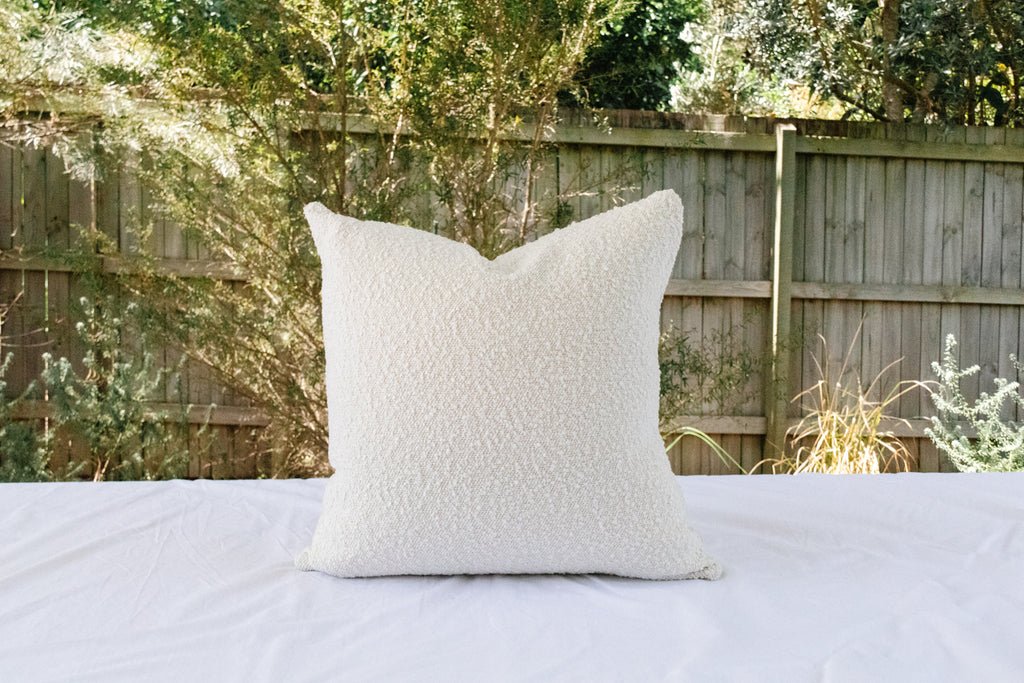


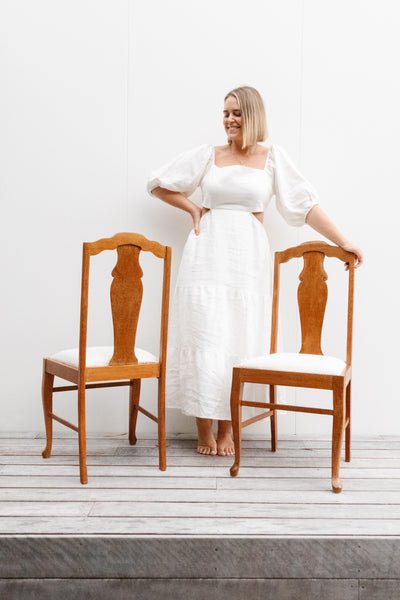
Ta daaaaa! Your beautiful new dining chairs are finished.
I have to say, this project was so easy and so fun! The change isn't dramatic, I know but the quality looks infinitely better. I'm thrilled I was able to repurpose one of our bouclé cushion covers and I feel lucky that this entire project cost next to nothing!