DIY Christmas Tree Ornaments
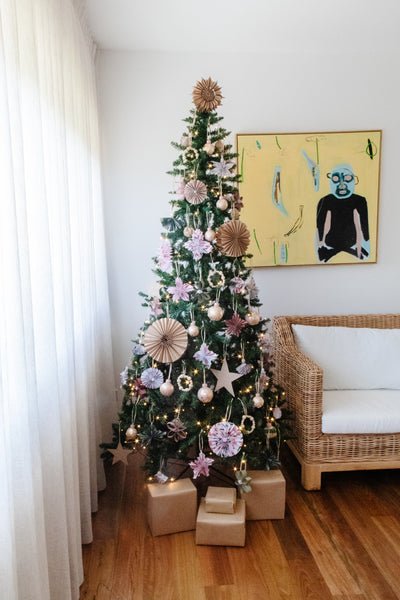
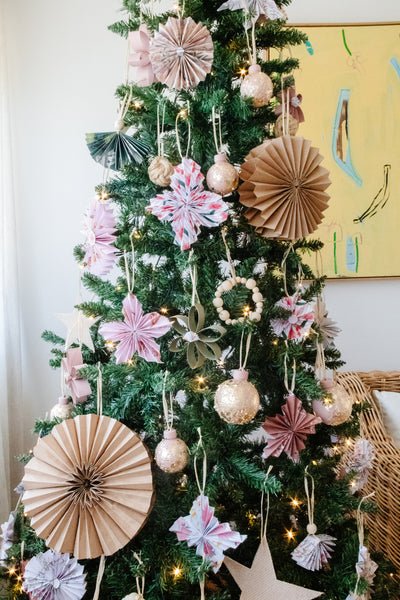
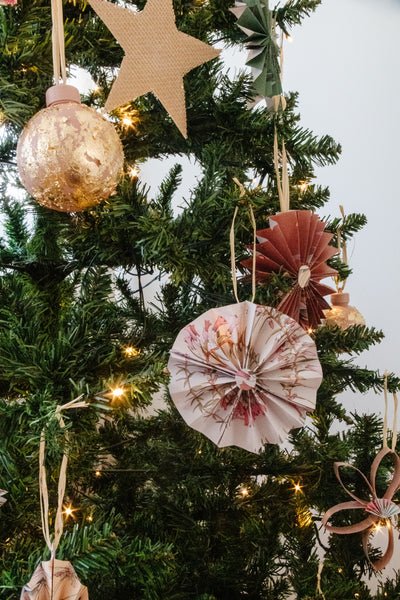
Who's ready for a fun and creative Christmas? Me me me! Last month I found stumbled across shelves piled high with clear baubles from Lincraft and I knew I had to start thinking about how I was going to decorate our Christmas Tree this year. I grabbed a couple of packets and came home to start planning. And let me tell you, Christmas tree decorations aren't cheap! Especially when you need a few. So this year I decided to make all of our Christmas decorations. Usually I make one or two with the kids, but I've never decorated an entire tree.
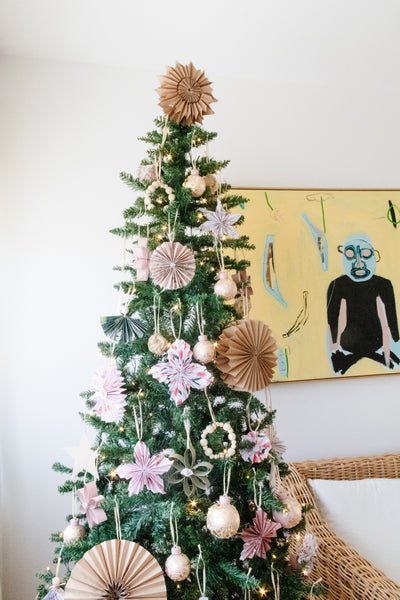
I knew it would be a fun challenge to make my own decorations by repurposing, thrifting and recycling what I already had at home. What followed was a creative week filled with painting, gluing, folding and cutting not one but nine different DIY Christmas tree ornaments - it certainly felt like Santa's Workshop over here lol. What I love most about these ornaments is that you can make one, five or all of them. You can make them with your family and kids, and even give them as gifts. And let me tell you, there is no greater satisfaction than decorating the Christmas tree, stepping back to look at it and realise, you made all of those ornaments yourself. It's the best feeling. Read on make some or all of your own DIY Christmas Tree Ornaments.
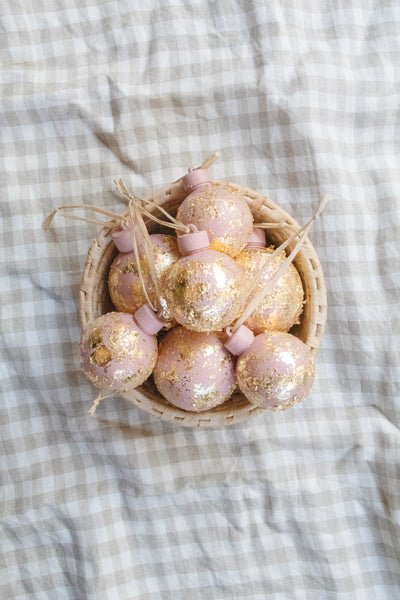
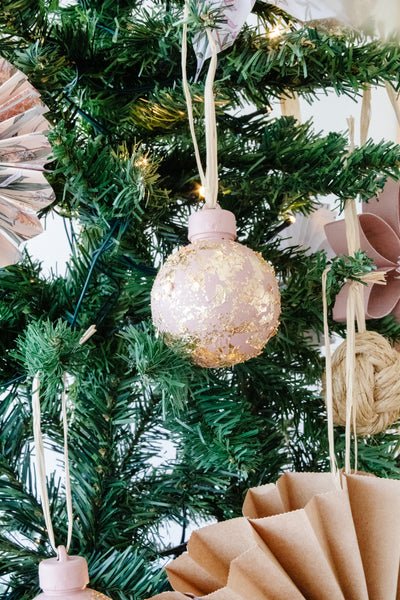
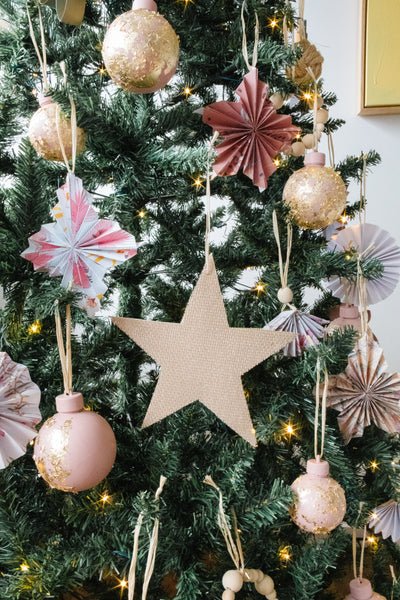
Painted Gold Foil Baubles
My them for Christmas this year is pink and green, and after painting the clear baubles I picked up from Lincraft pink, I went to my local discount store to find pink glitter. Unfortunately I couldn't find anything I liked but I stumbled across gold foil, and knew they would be perfect for the painted baubles. Make your own Painted Gold Foil Baubles for your Christmas tree this festive season here.
Paper Bag Stars
I am so excited to show you how to make Paper Bag Stars! I've seen so many ways to make these DIY Christmas Ornaments over on Pinterest and Instagram, and what I love most about them is that you can totally make them your own by the size of the paper bags you use, the shapes you cut out and how many paper bags you use. The larger the paper bags you use, the bigger the star will be. Start collecting different sized paper bags and give these DIY Christmas tree ornaments a try over the festive season.
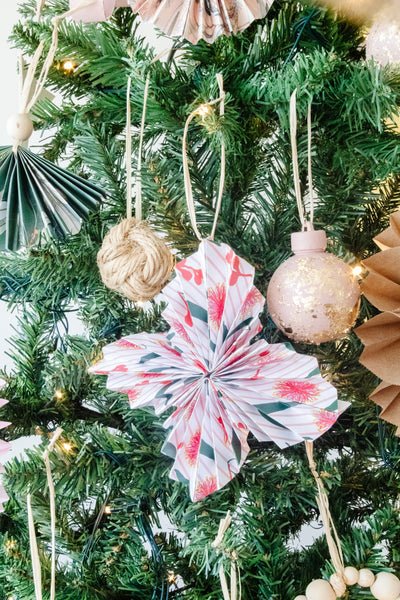
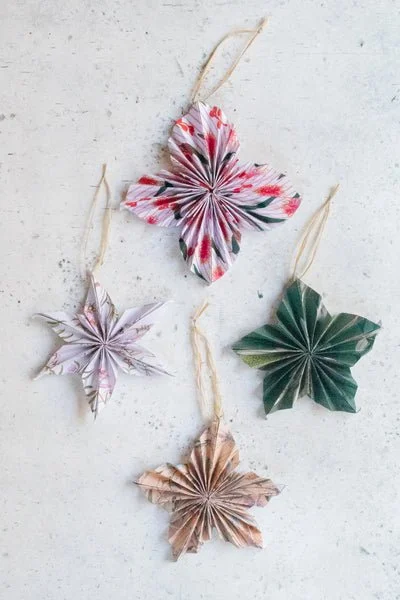
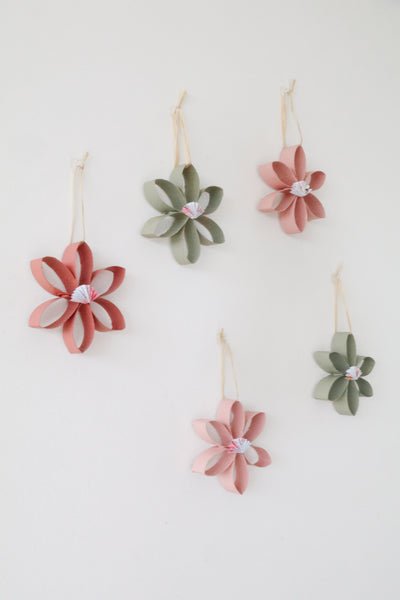
Folded Paper Star
This year I was really inspired to use materials I had at home make a lot of my DIY Christmas ornaments - paper, cardboard, toilet rolls and raffia are a few of the materials I have been using. To me, there is no greater satisfaction that repurposing what you have at home, getting creative and crafty, and making something absolutely gorgeous. That's why I am excited to show you how to make your very own Folded Paper Star Christmas ornament!
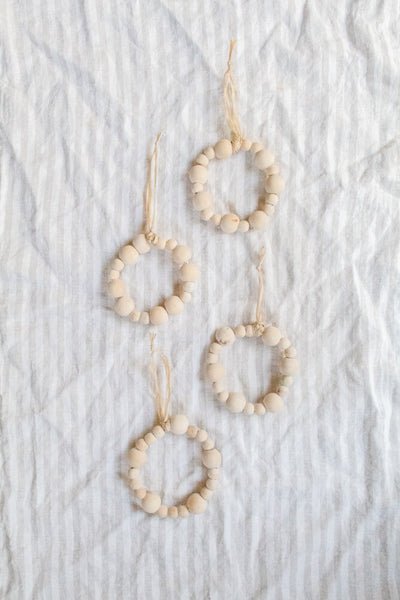
Wooden Bead Circle
Coming to you with the easiest DIY Christmas Ornament - the Wooden Bead Circles! Last year I used strings of decorative wooden beads from Pillow Talk for my festive DIY Native Leaf Garland. This year I wanted to do something a little different so I decided to use them to make DIY Christmas Ornaments, the Wooden Bead Circle variety. I had some soft gold wire left over from another project and knew it would be as simple as cutting the wire, threading the beads, shaping the ornament and tying it off with raffia.
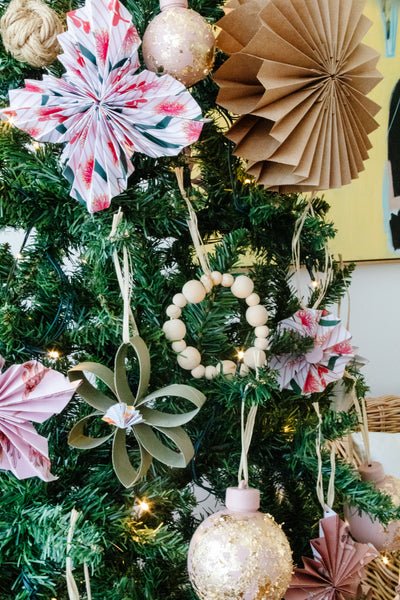
Folded Stars (using toilet rolls!)
Out of all the Christmas ornaments I have made this festive season, this Folded Star would have to be the most fun (and random). Why? Because I used toilet rolls! As you guys know I love repurposing materials we have at home and the idea clicked - I could use toilet rolls to make star ornaments for our Christmas tree. Cut, glue, paint and decorate them, and no one will be the wiser.
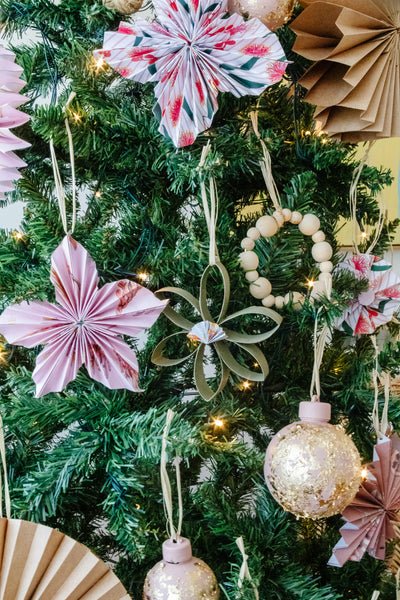
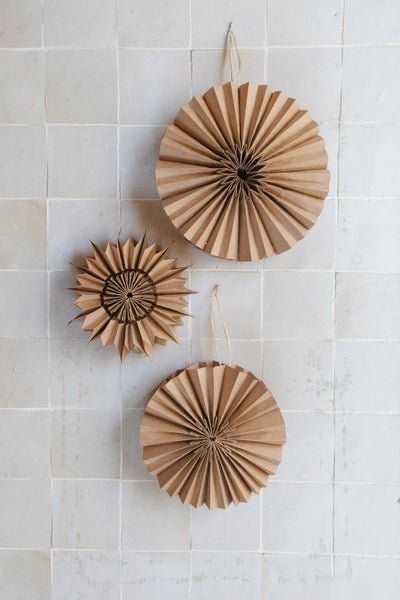
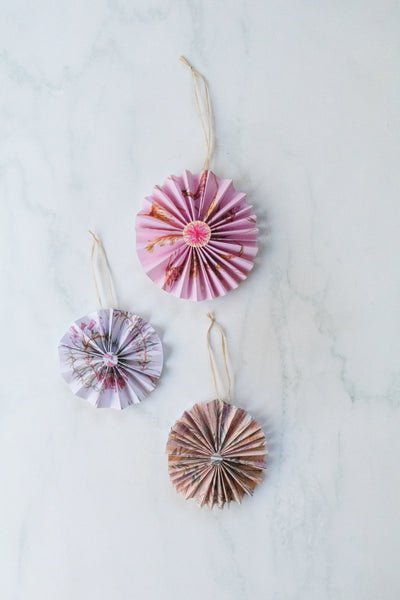
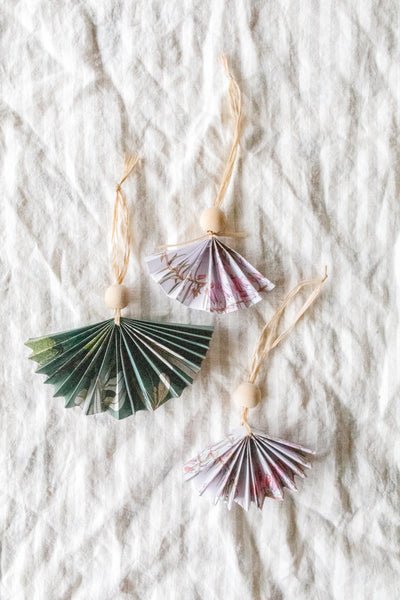
Folded Paper Circle
This year I was really inspired to use paper to make a lot of my DIY Christmas ornaments. It's so magical about using an everyday item such as paper and transforming it into something beautiful. That's why I am excited to show you how to make your very own Folded Paper Circle Christmas ornament! After seeing in a magazine some paper folded ornaments using wrapping paper, I knew I had to give it a try and put my own spin on it.
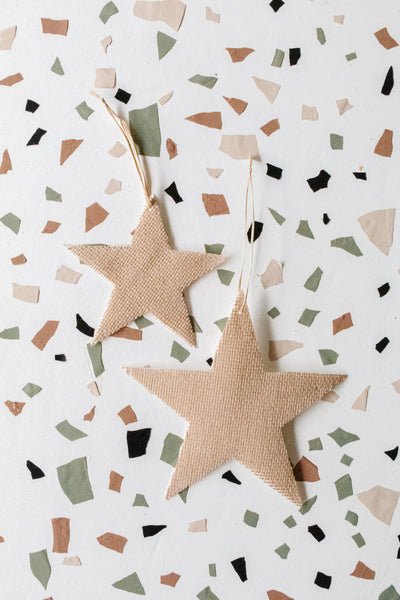
Hessian Star Ornament
The idea for this DIY Christmas tree ornament came to me right at the last minute. It's simple and oh so easy. All you need to do is simply cut a star from cardboard, glue some hessian on top using a hot glue gun, pierce one of the tips with a hole punch, thread and tie off some raffia and there you have it. A beautiful Hessian Star that will look beautiful on any Christmas tree. If hessian isn't your vibe, you can use wrapping paper, pages pulled out of old books you no longer want or read, or fabric! Get as creative as you like.
Folded Angel Ornament
An oldie but an absolute festive classic! The Folded Angel is so easy to make. Simply fold accordion pleats using a rectangle shaped piece of paper. Fold it in half, wrap raffia around the middle and glue the inside folds to secure the angle outfit and raffia in place. Thread a wooden bead onto the raffia and tie a double not at the top of the raffia. And there you have it. So easy but oh so cute and festive. Just what we love!
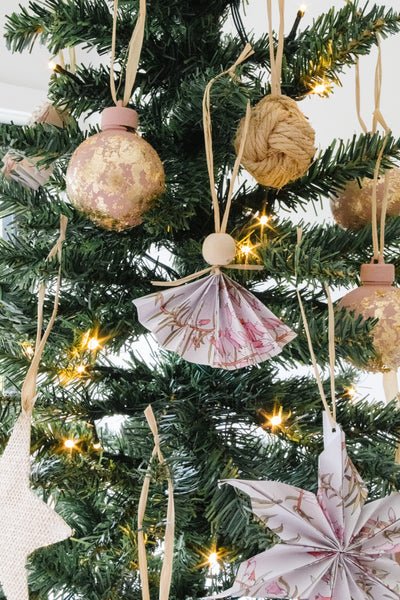
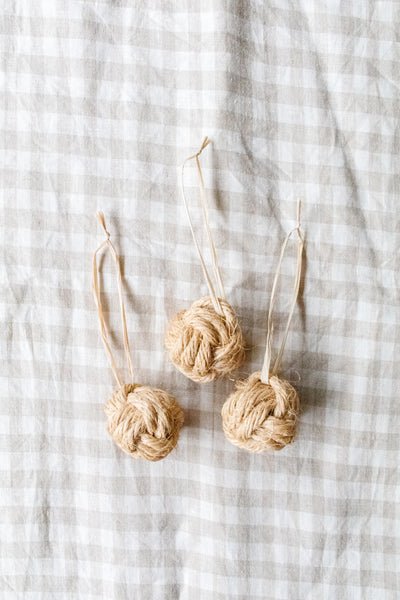
Rope Baubles
I have to admit, these were never in my DIY Christmas Tree Ornaments plan. Not one bit. But earlier this week I went on a little thrifting adventure and bought three of these rope balls for $1. I knew they would be perfect for our Christmas tree so I simply strung on some raffia and that's it!