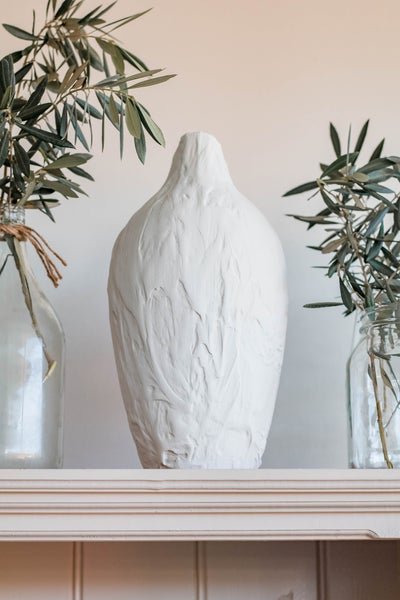
DIY Textured Vase (using joint compound!)
Thrifting for secondhand clothes, furniture and home goods is in my DNA. Even during university days I had an online vintage store called Vintage Lover that I was obsessed with - it followed me from Brisbane to London and it was a big part of who I am. To me, there is no greater feeling than finding something truly ugly from a charity store or tip shop, and transforming it into something beautiful. I don't tend to shop for secondhand clothes these days, but if you have been following along here for a while, then you'll know how much I love sourcing secondhand items for my home, kitchen and table from my local thrift stores and charity shops. There are a few things I always look out for but recently I have been experimenting with different materials to bring outdated and ugly secondhand vases for my home, kitchen and table back to life. I recently shared kicked off my Upcycle Vase Series with my DIY Stone Vase (using concrete!) project. I used concrete and spray paint to breath new life into a very ugly vase and to give it weathered stone look. And I have to say, it was so easy and inexpensive! For the second project in this series, I am excited to introduce you to my DIY Textured Vase - using joint compound!
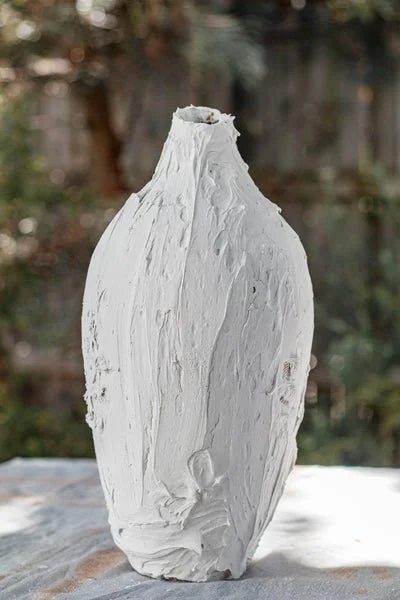
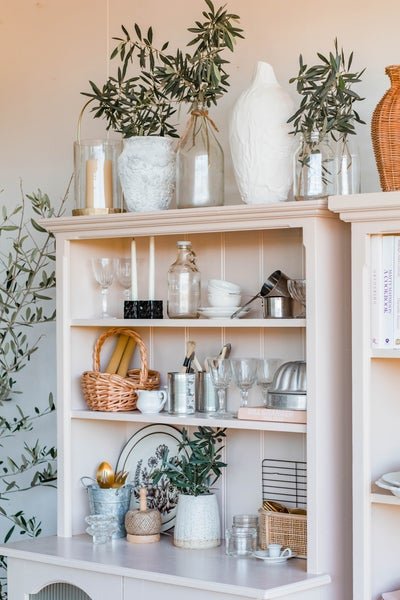
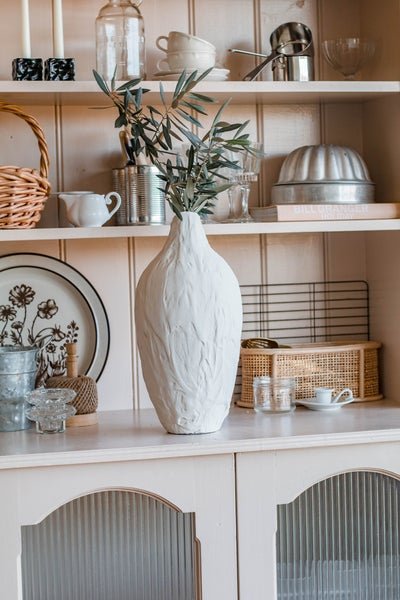
I have been on the lookout for a textured vase that would look just as lovely in my kitchen as it would on my outdoor table. The thing is, we are on a strict budget at the moment and I couldn't justify spending over $100 on a vase. So I decided to set out to see if I could make my own textured vase for my kitchen and table. When I went down to one of my local charity stores to pick up a vase for my DIY Stone Vase project, I was also drawn to another vase that was taller and made from bamboo. It is really lightweight and honestly, super ugly but the shape was unique and I loved the thin tapered neck that the previous owner had cut on an angle. It only cost $3 so I grabbed it as well and knew it would be perfect for an idea that had been brewing in my mind since the start of the year. We had some joint compound from Bunnings at home (to fix a couple of holes in the wall from an existing child safety gate that we haven't gotten around to yet) and I wanted to experiment with this to cover the vase. Joint compound is a smooth render plaster that is typically used indoors to finish panel joints, and it's super handy for fixing minor blemishes and damage to walls. And here we are! Read on for the materials and steps to create your very own DIY Textured Vase - using joint compound!
Steps
Lay out a drop sheet or an old sheet to cover your entire work surface and wipe down your vase with a clean dry cloth.
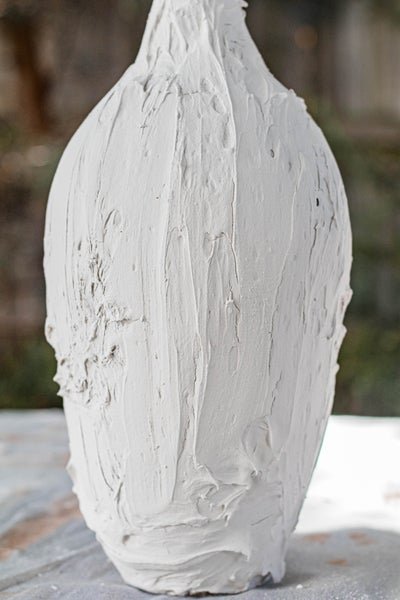
Put your gloves on, and start applying the join compound onto the vase using the paint scraper. You can use your hands too if you like, but I liked using the paint scraper as it gives more texture when you sand it back. Also, it doesn't matter what the vase looks like at this stage. In fact, the less perfect the application of the joint compound the better because this is what will give the vase texture when you sand it back. Focus on applying the joint compound in different direction and coat the entire surface.
Set aside to dry for at least 24 hours. I waited 48 hours to be on the safe side.
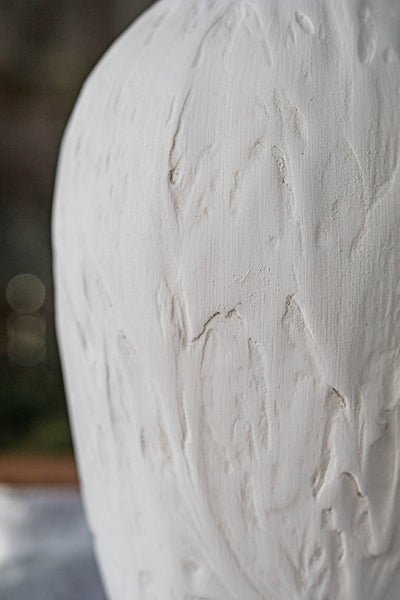
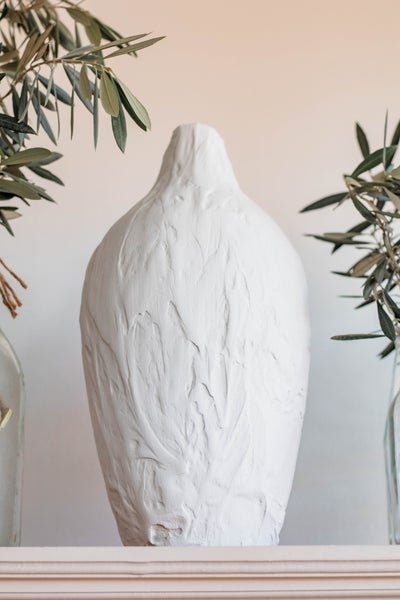
Use the sanding block/sponge and start sanding it back to make the surface smooth. Be careful not to sand it back evenly as this defeats the purpose of the "textured" look you are creating. The vase is smooth, but it has a textural finish.
Dust the vase off with a dry cloth.
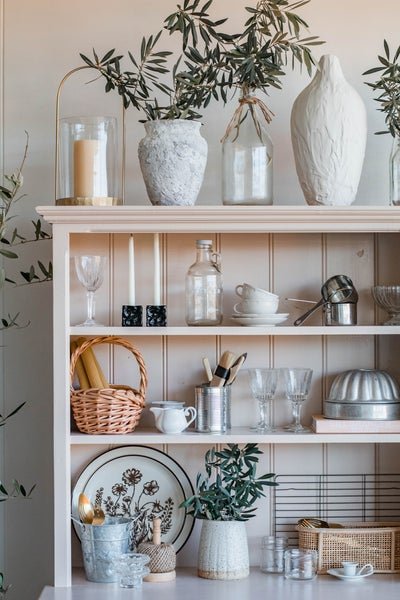
And there you have it! While it takes a couple of day for the joint compound to completely dry, the best part about this DIY is being able to upcycle an ugly secondhand vase (easily!) and transforming it completely into a gorgeous textured vase. I also filmed me making this DIY a couple of weeks ago, so I will make sure to share these videos on Instagram this week. Next on my list, to experiment with a secondhand vase, spray paint and styrofoam balls... Stay tuned!