Making An Upcycled Bronze Glass Coffee Table
Elevate a glass panel using window film!
Welcome back to my Upcycled Glass Coffee Table Series! Over the last few of weeks I’ve been showing you how to transform a round glass panel I found at the tip shop and make 3 different coffee tables. Here are the first two coffee tables:
Onto the third and final Upcycled Glass Coffee Table. For this project, I decided to use a round side table from Kmart that had been collecting dust in our garage. I thought it would be fun to cut in in half to create an hourglass shape for the base. I had thought about covering the base in plaster, but I’ve done a few plaster projects so far this year and I wanted to keep this as simple and fuss free as possible, so I decided to paint it using some leftover tins of paint. For the glass however, I did want to do something totally different. A little while ago I stumbled across bronze film at Bunnings and of course, it got me thinking. Could I cover the round glass panel with this film? So that’s what I did.
To see how it all came together, make sure to watch this video.
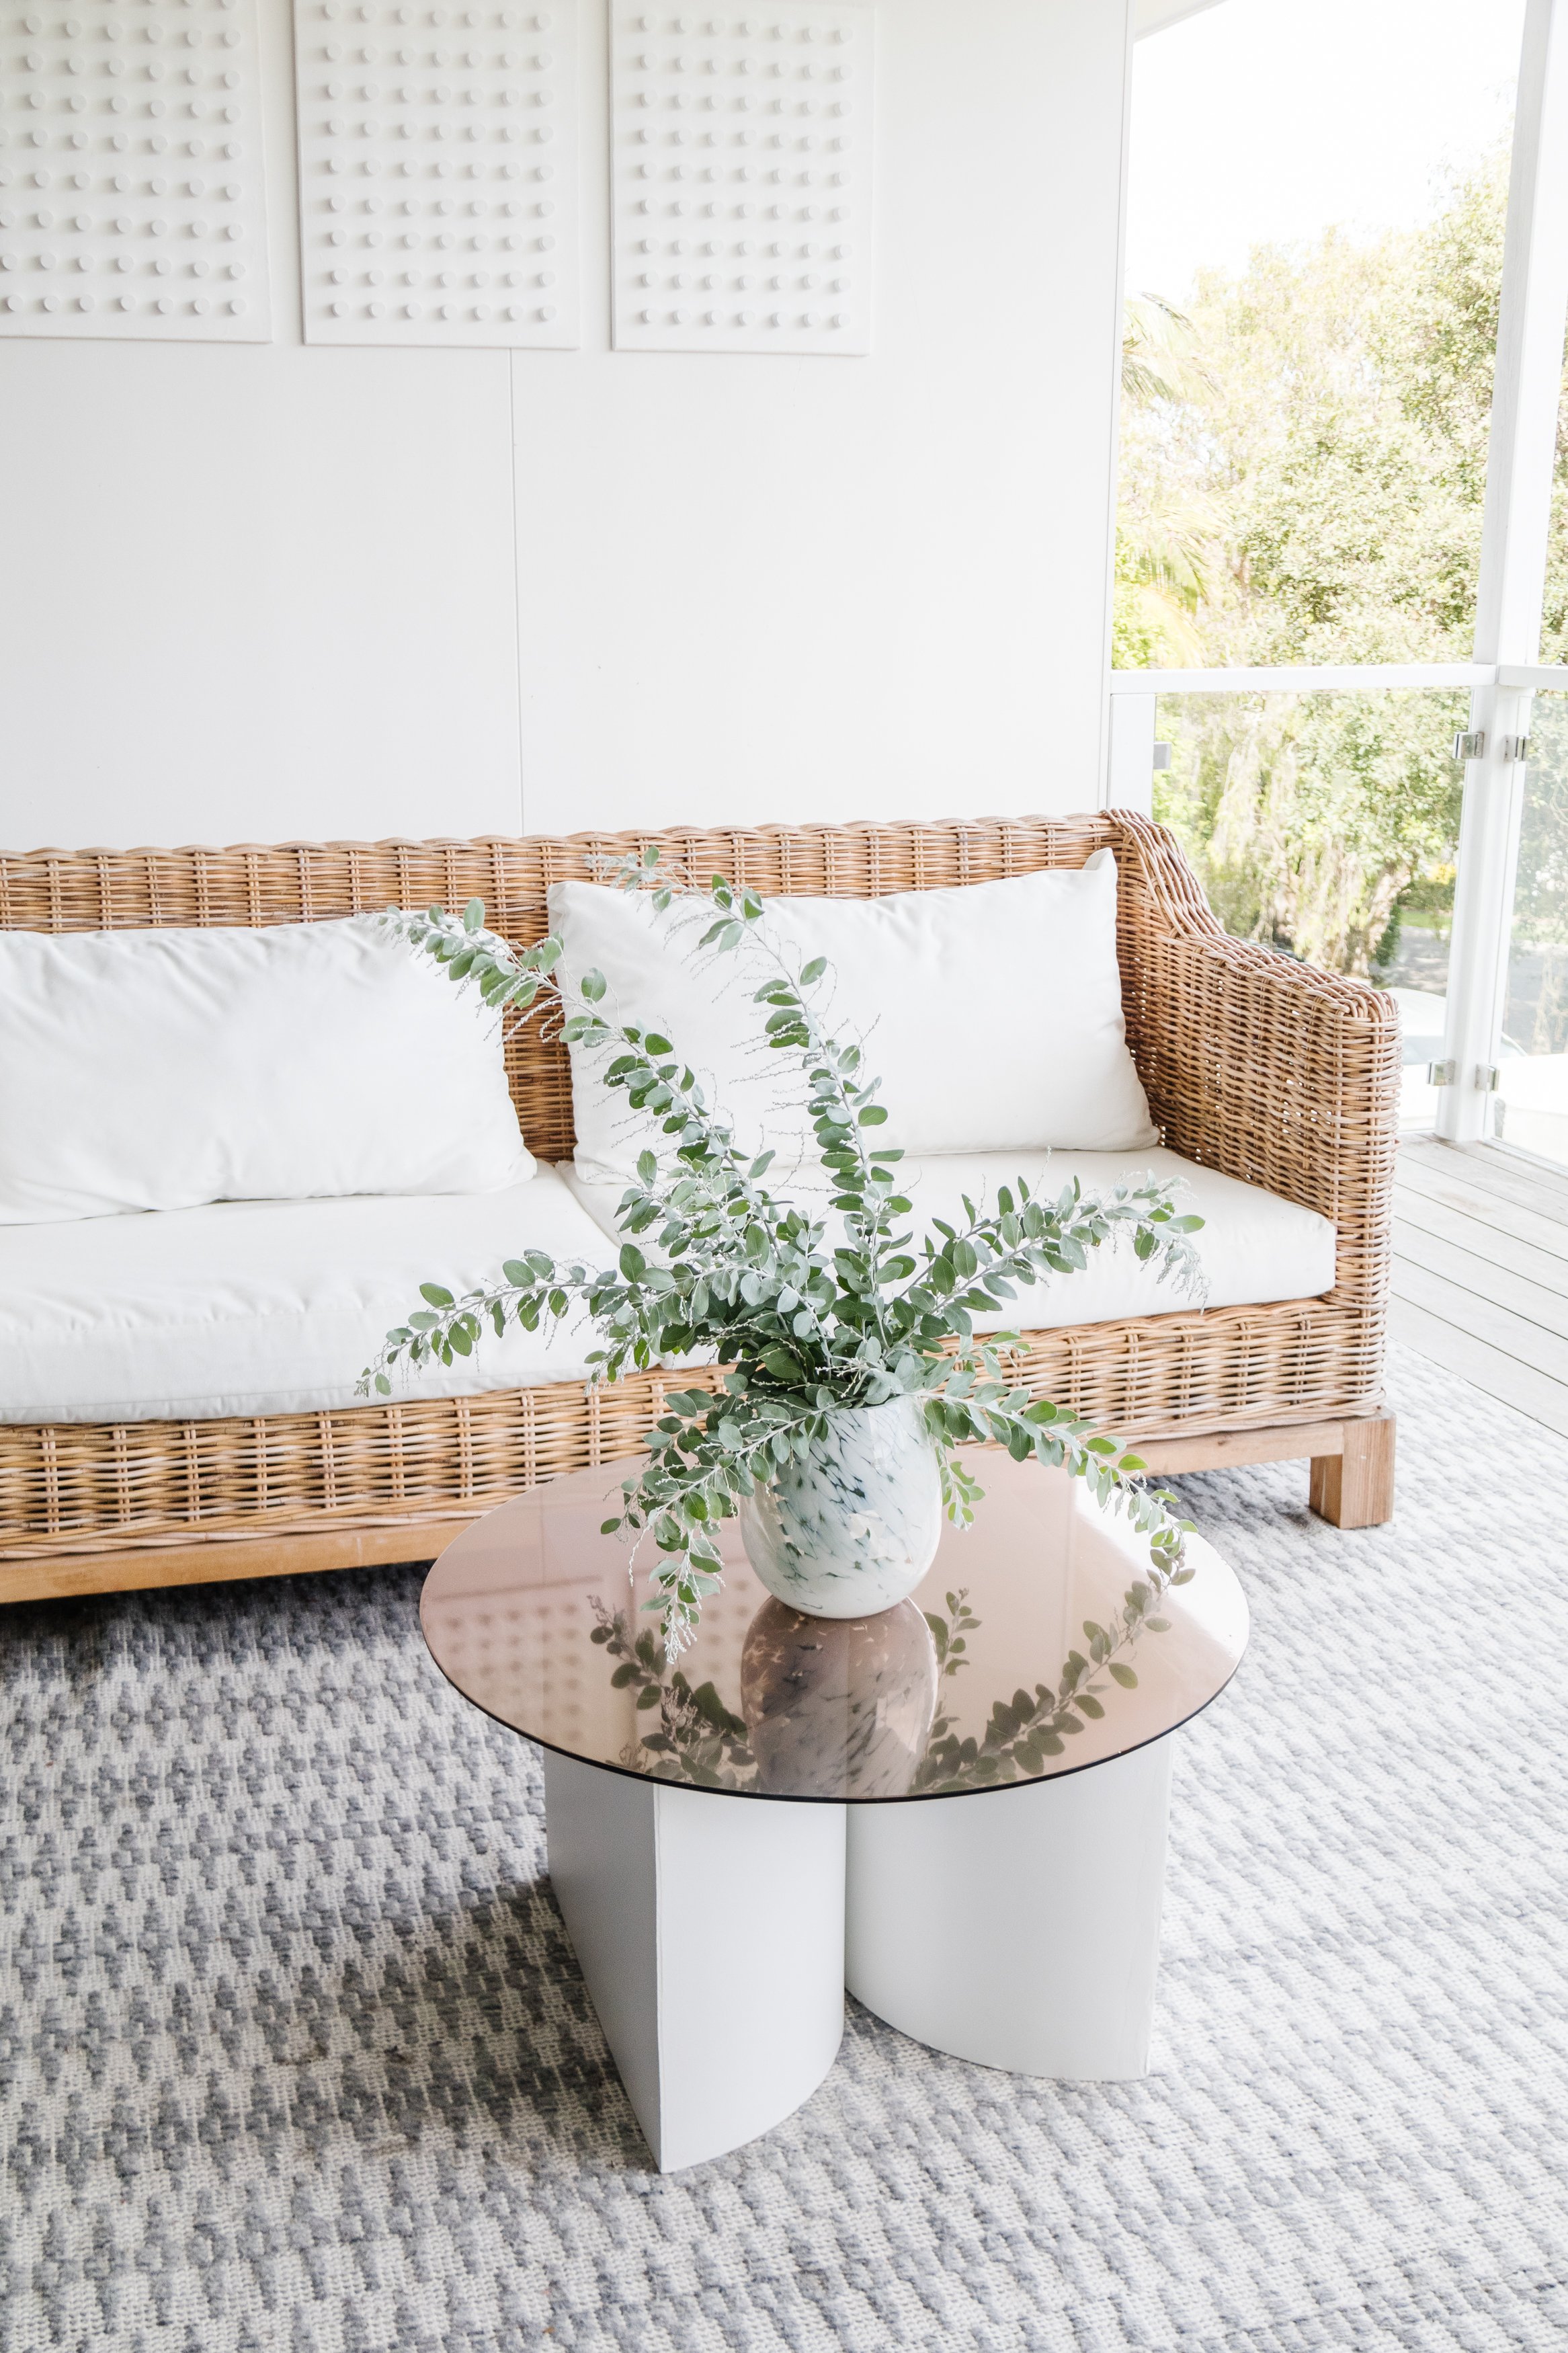
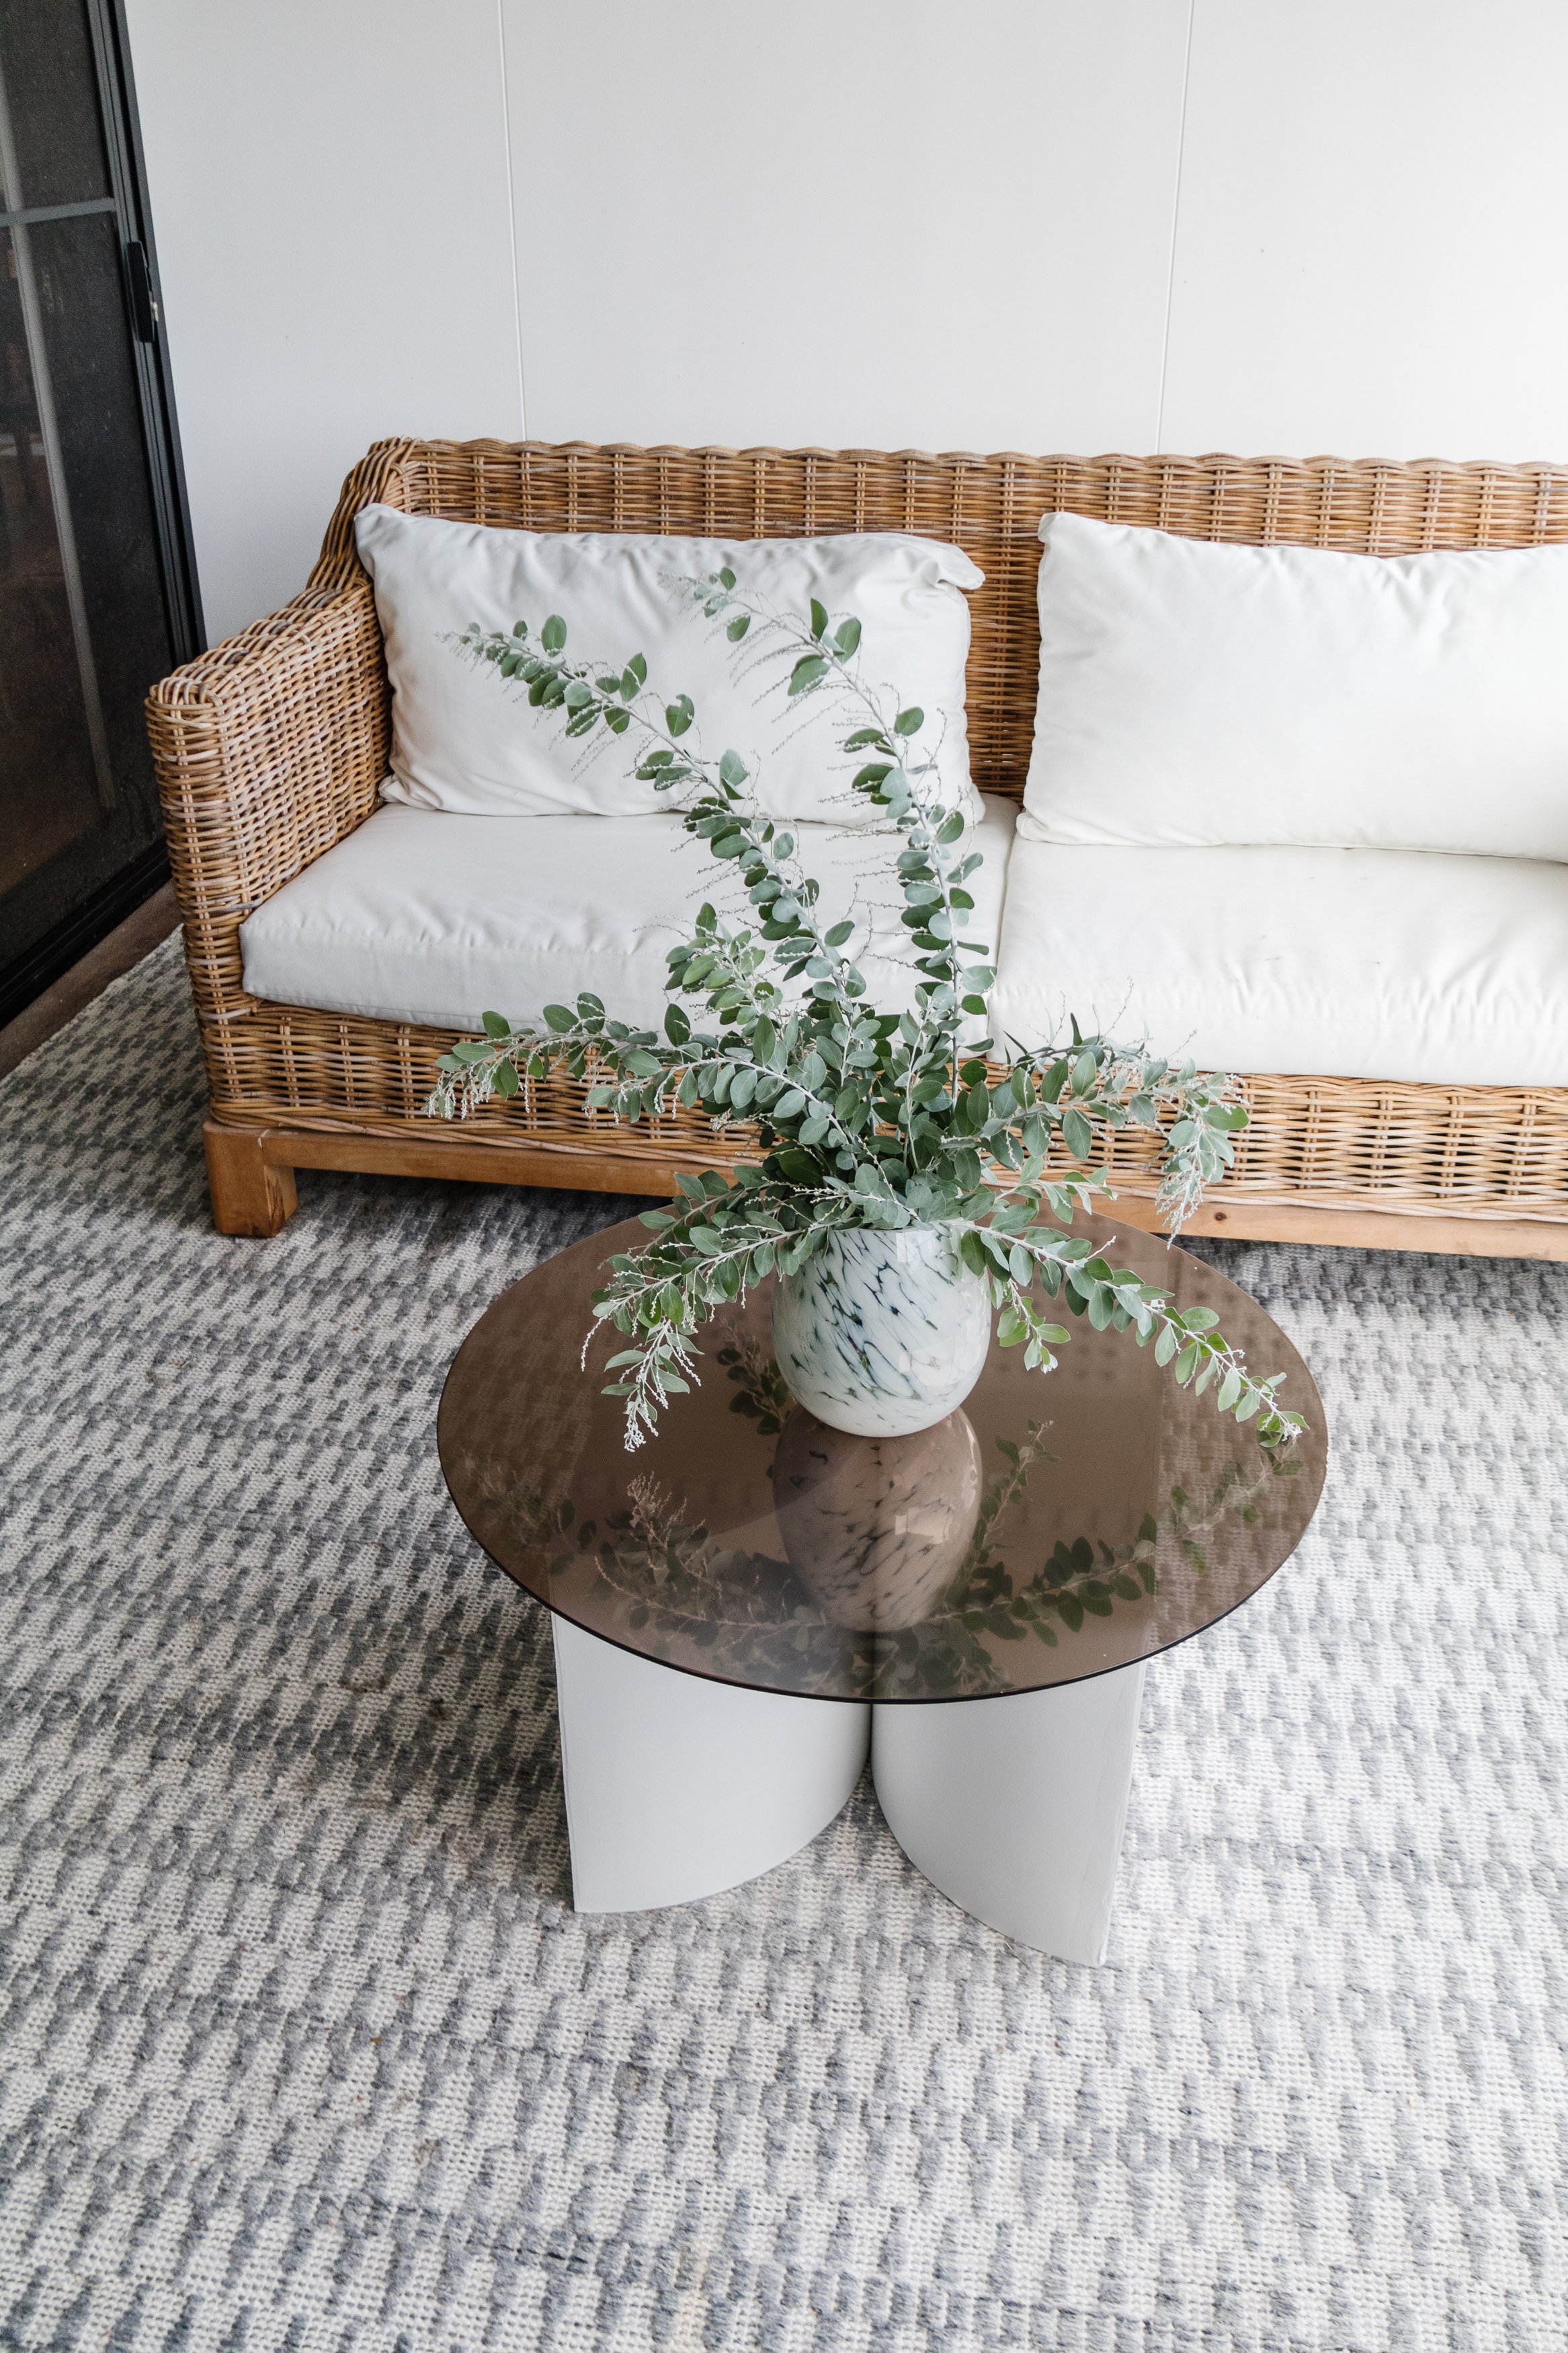
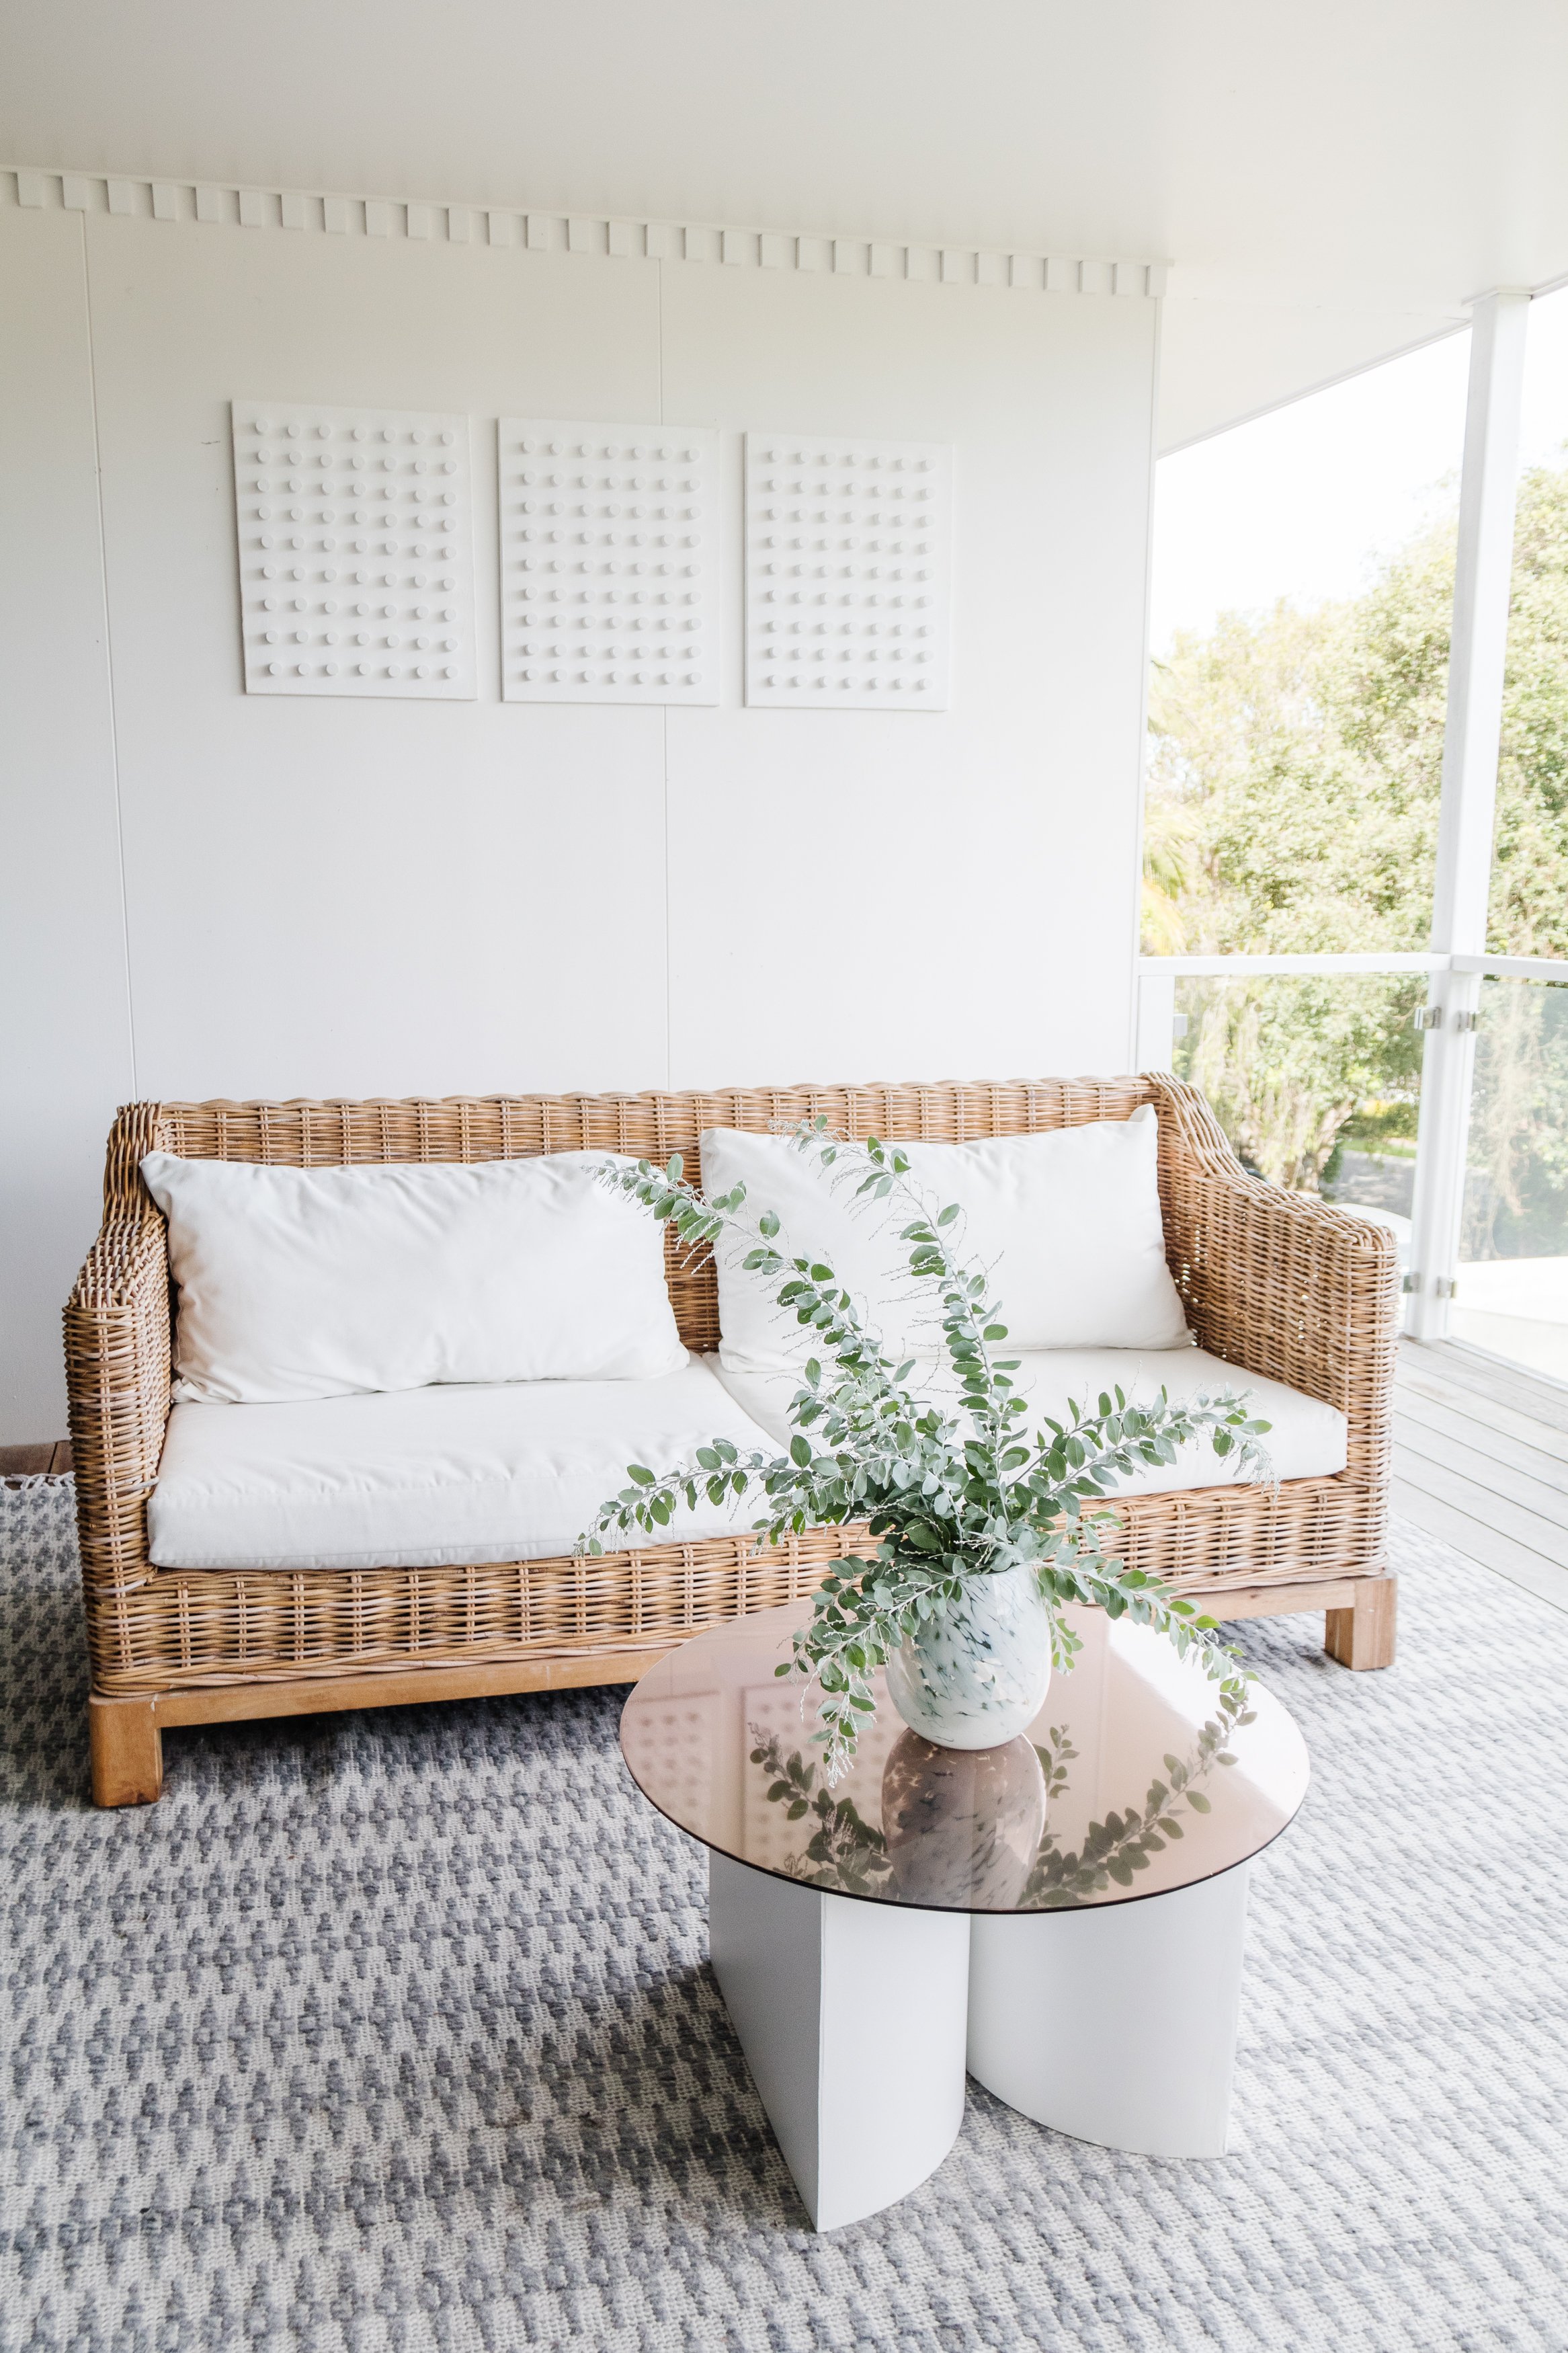
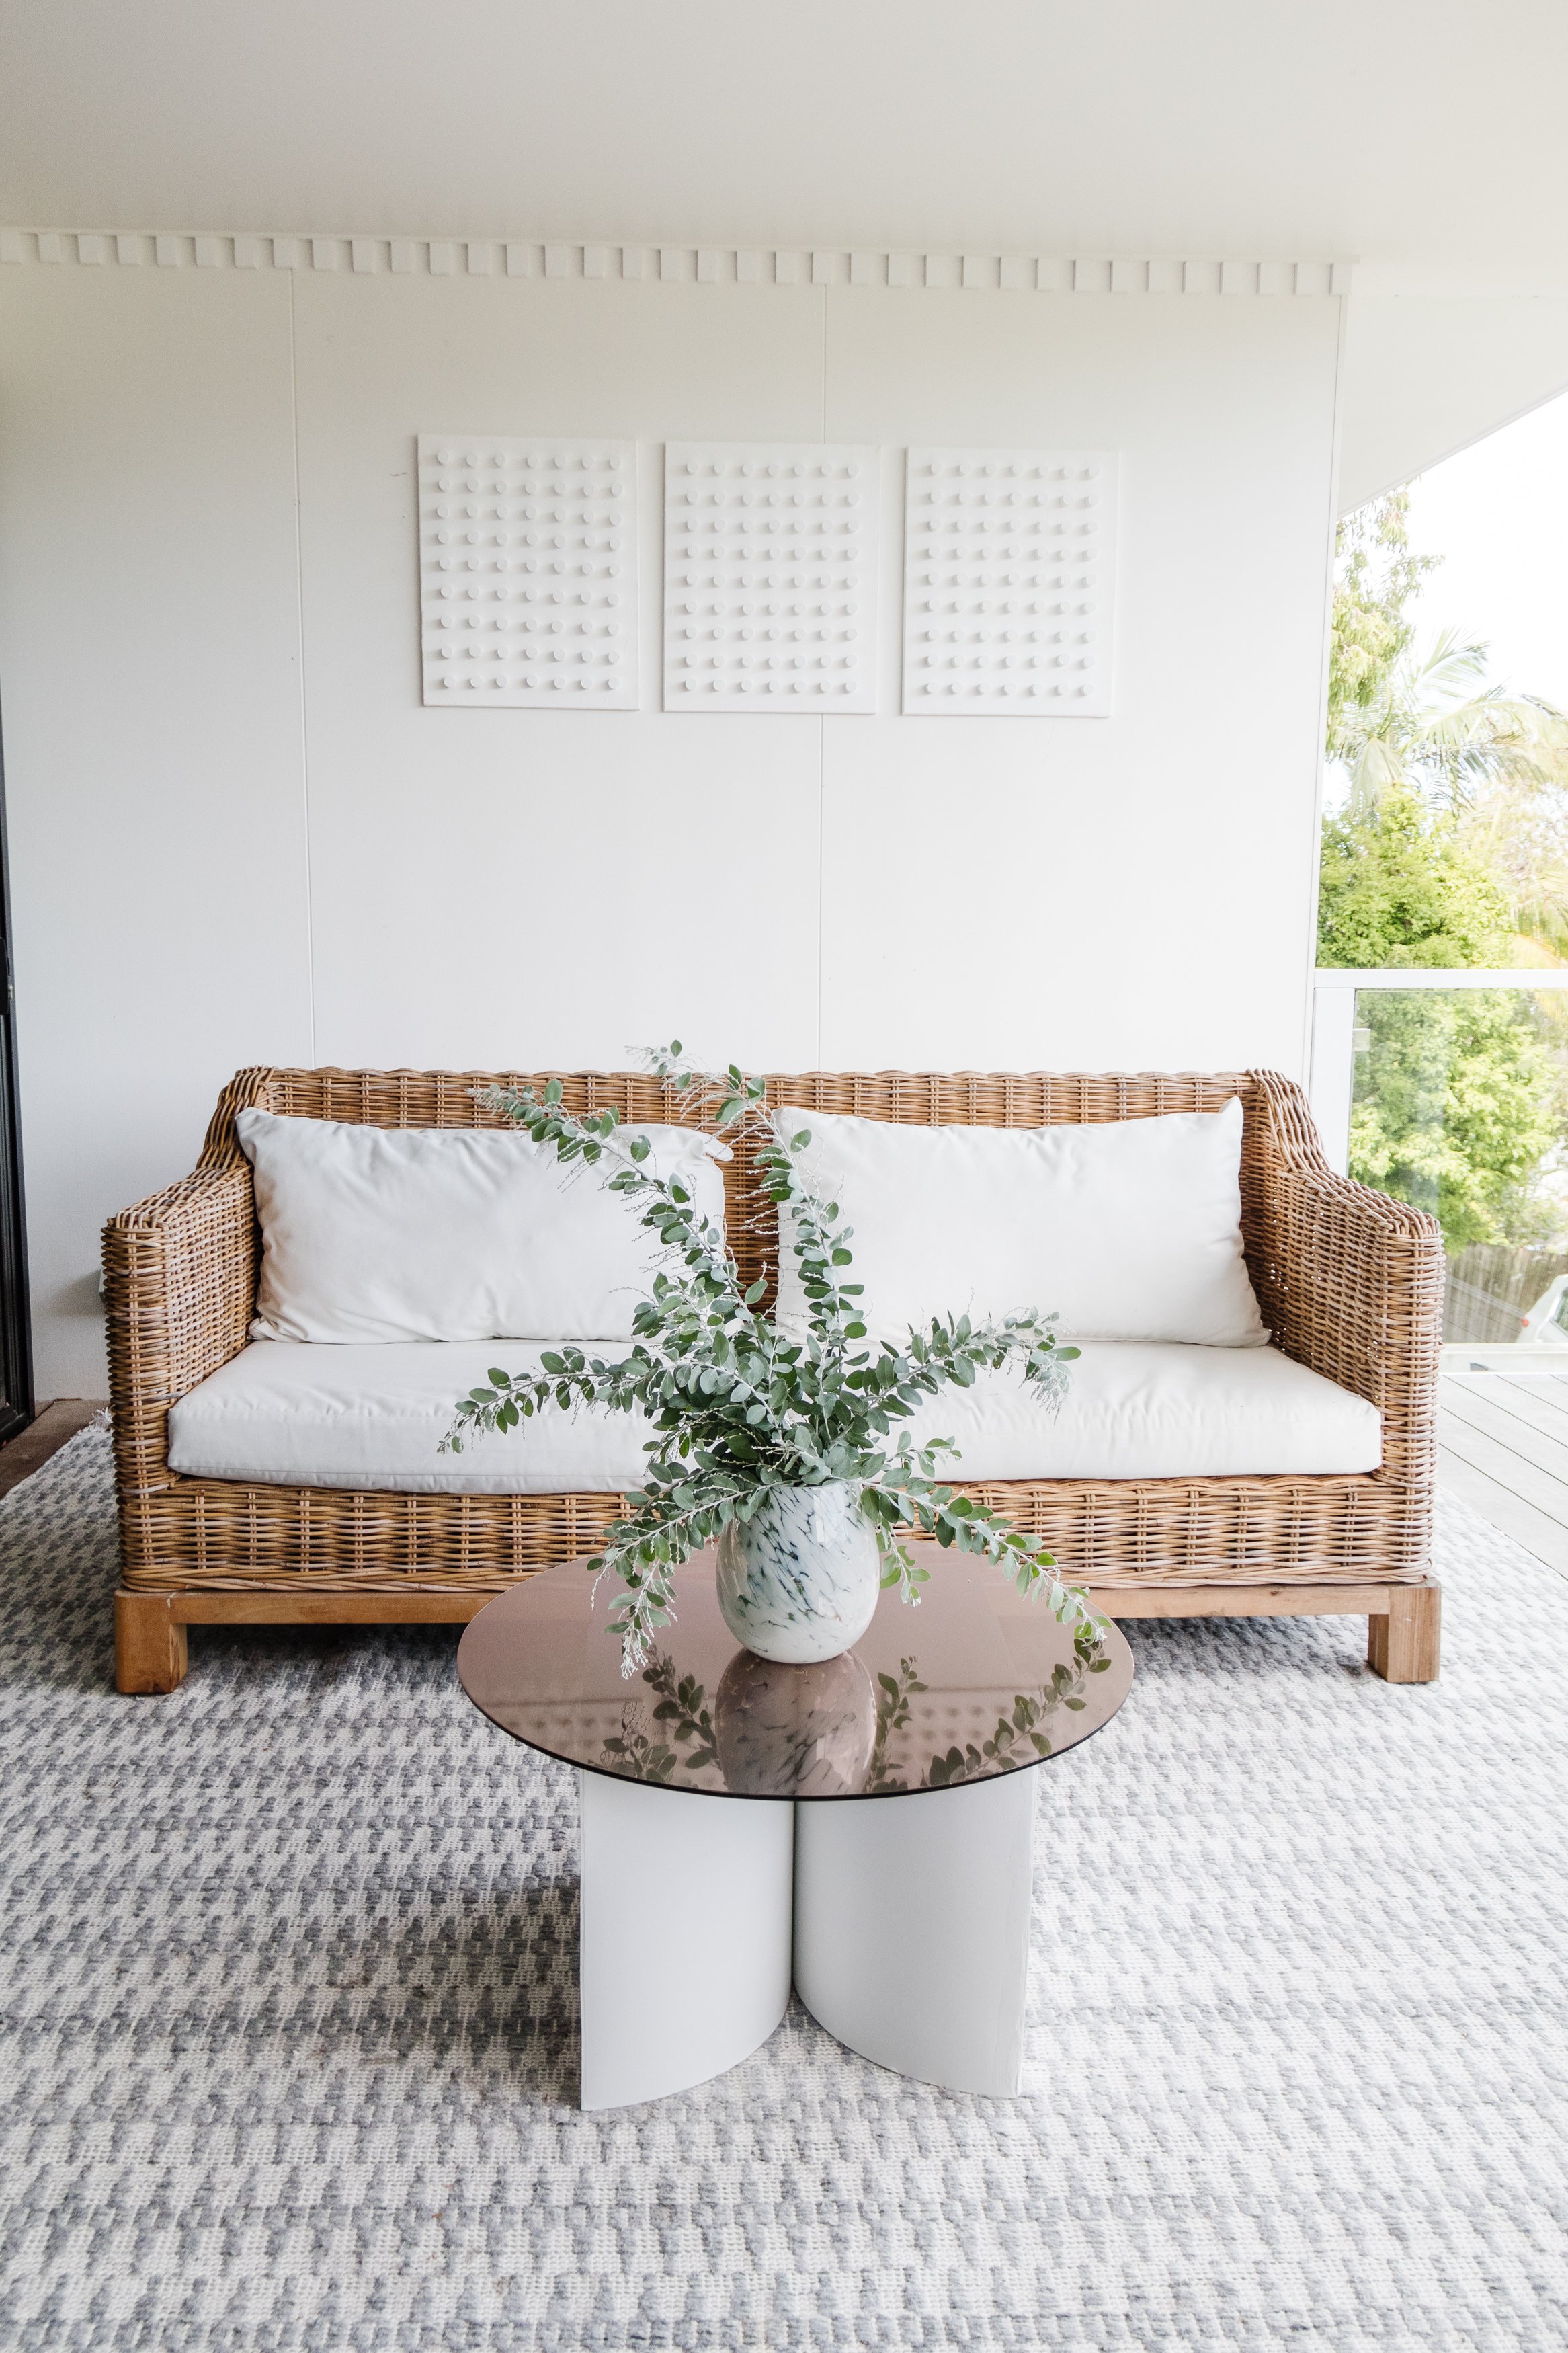
Upcycled Bronze Glass Coffee Table


Project Details
♻️ Upcycling: A Bronzed Glass Coffee Table
🕒 Project Time Estimate: 2 hours (not including paint drying time)
💰 Materials Cost: Under $100
Tip: If you have small children at home and you’re conscience about having a glass coffee table around them, you can replace the glass with a piece of acrylic perspex.
Tools
Measuring tape
Jigsaw
Detail Sander

How To
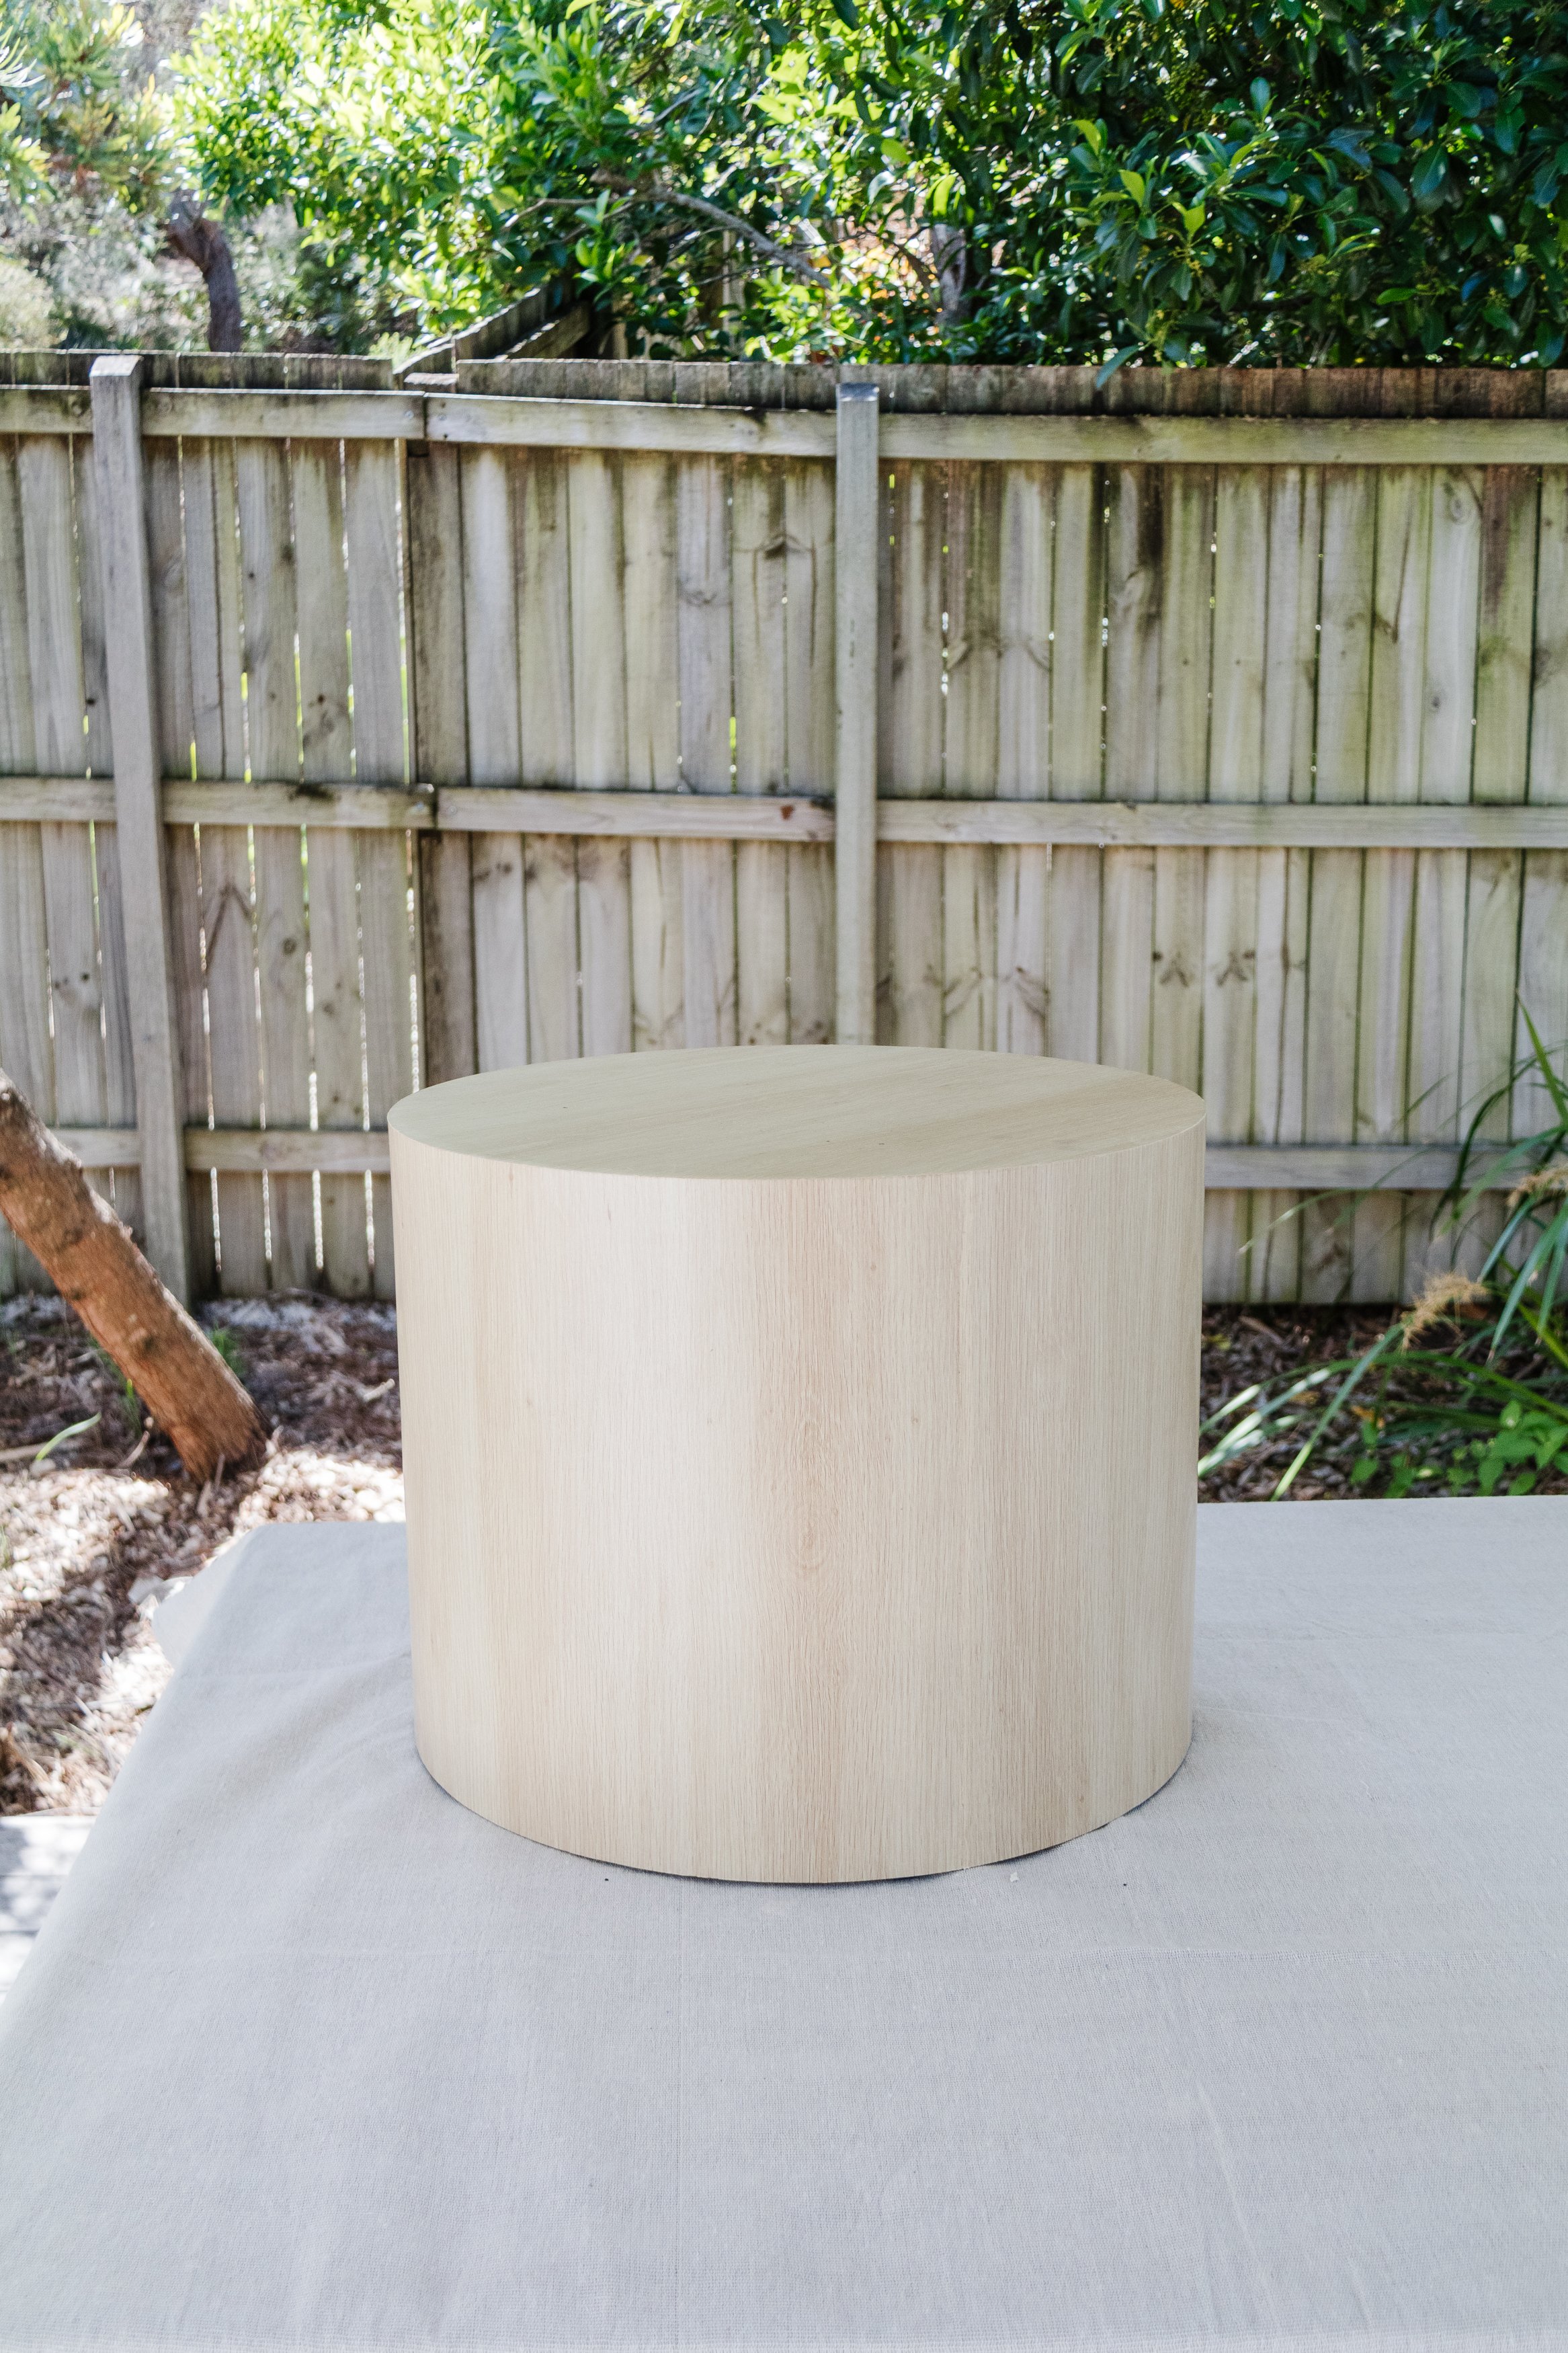
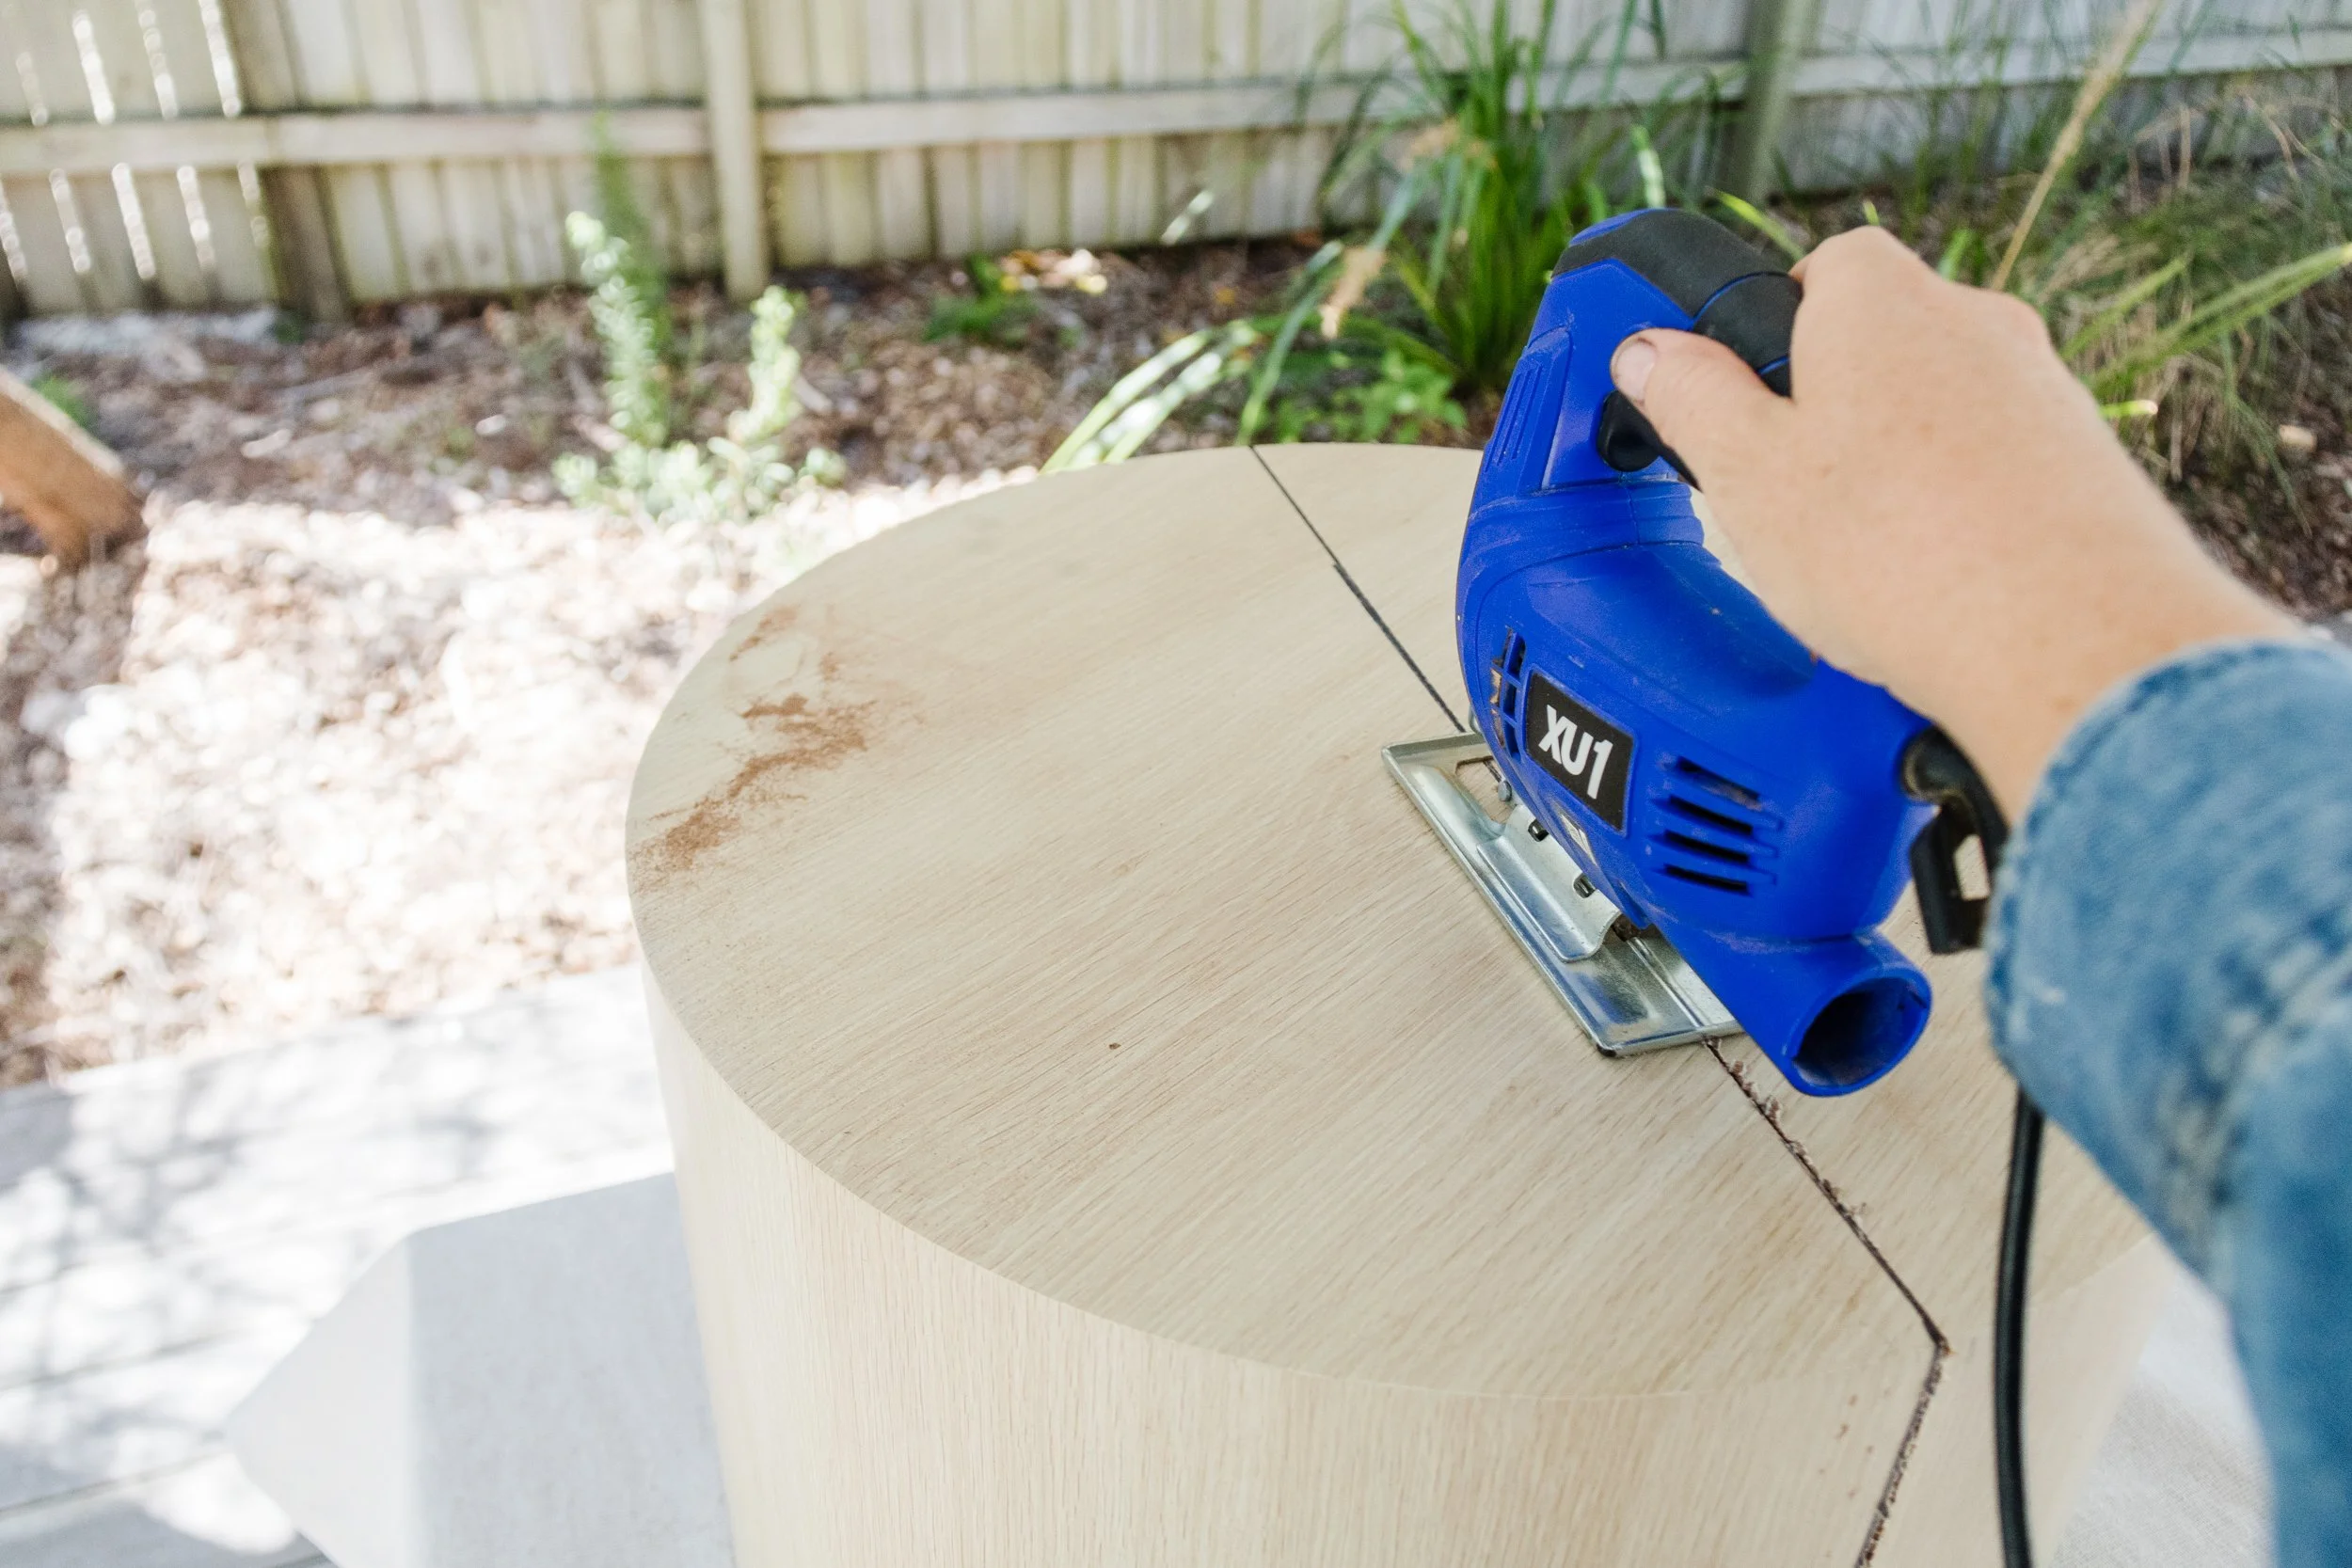
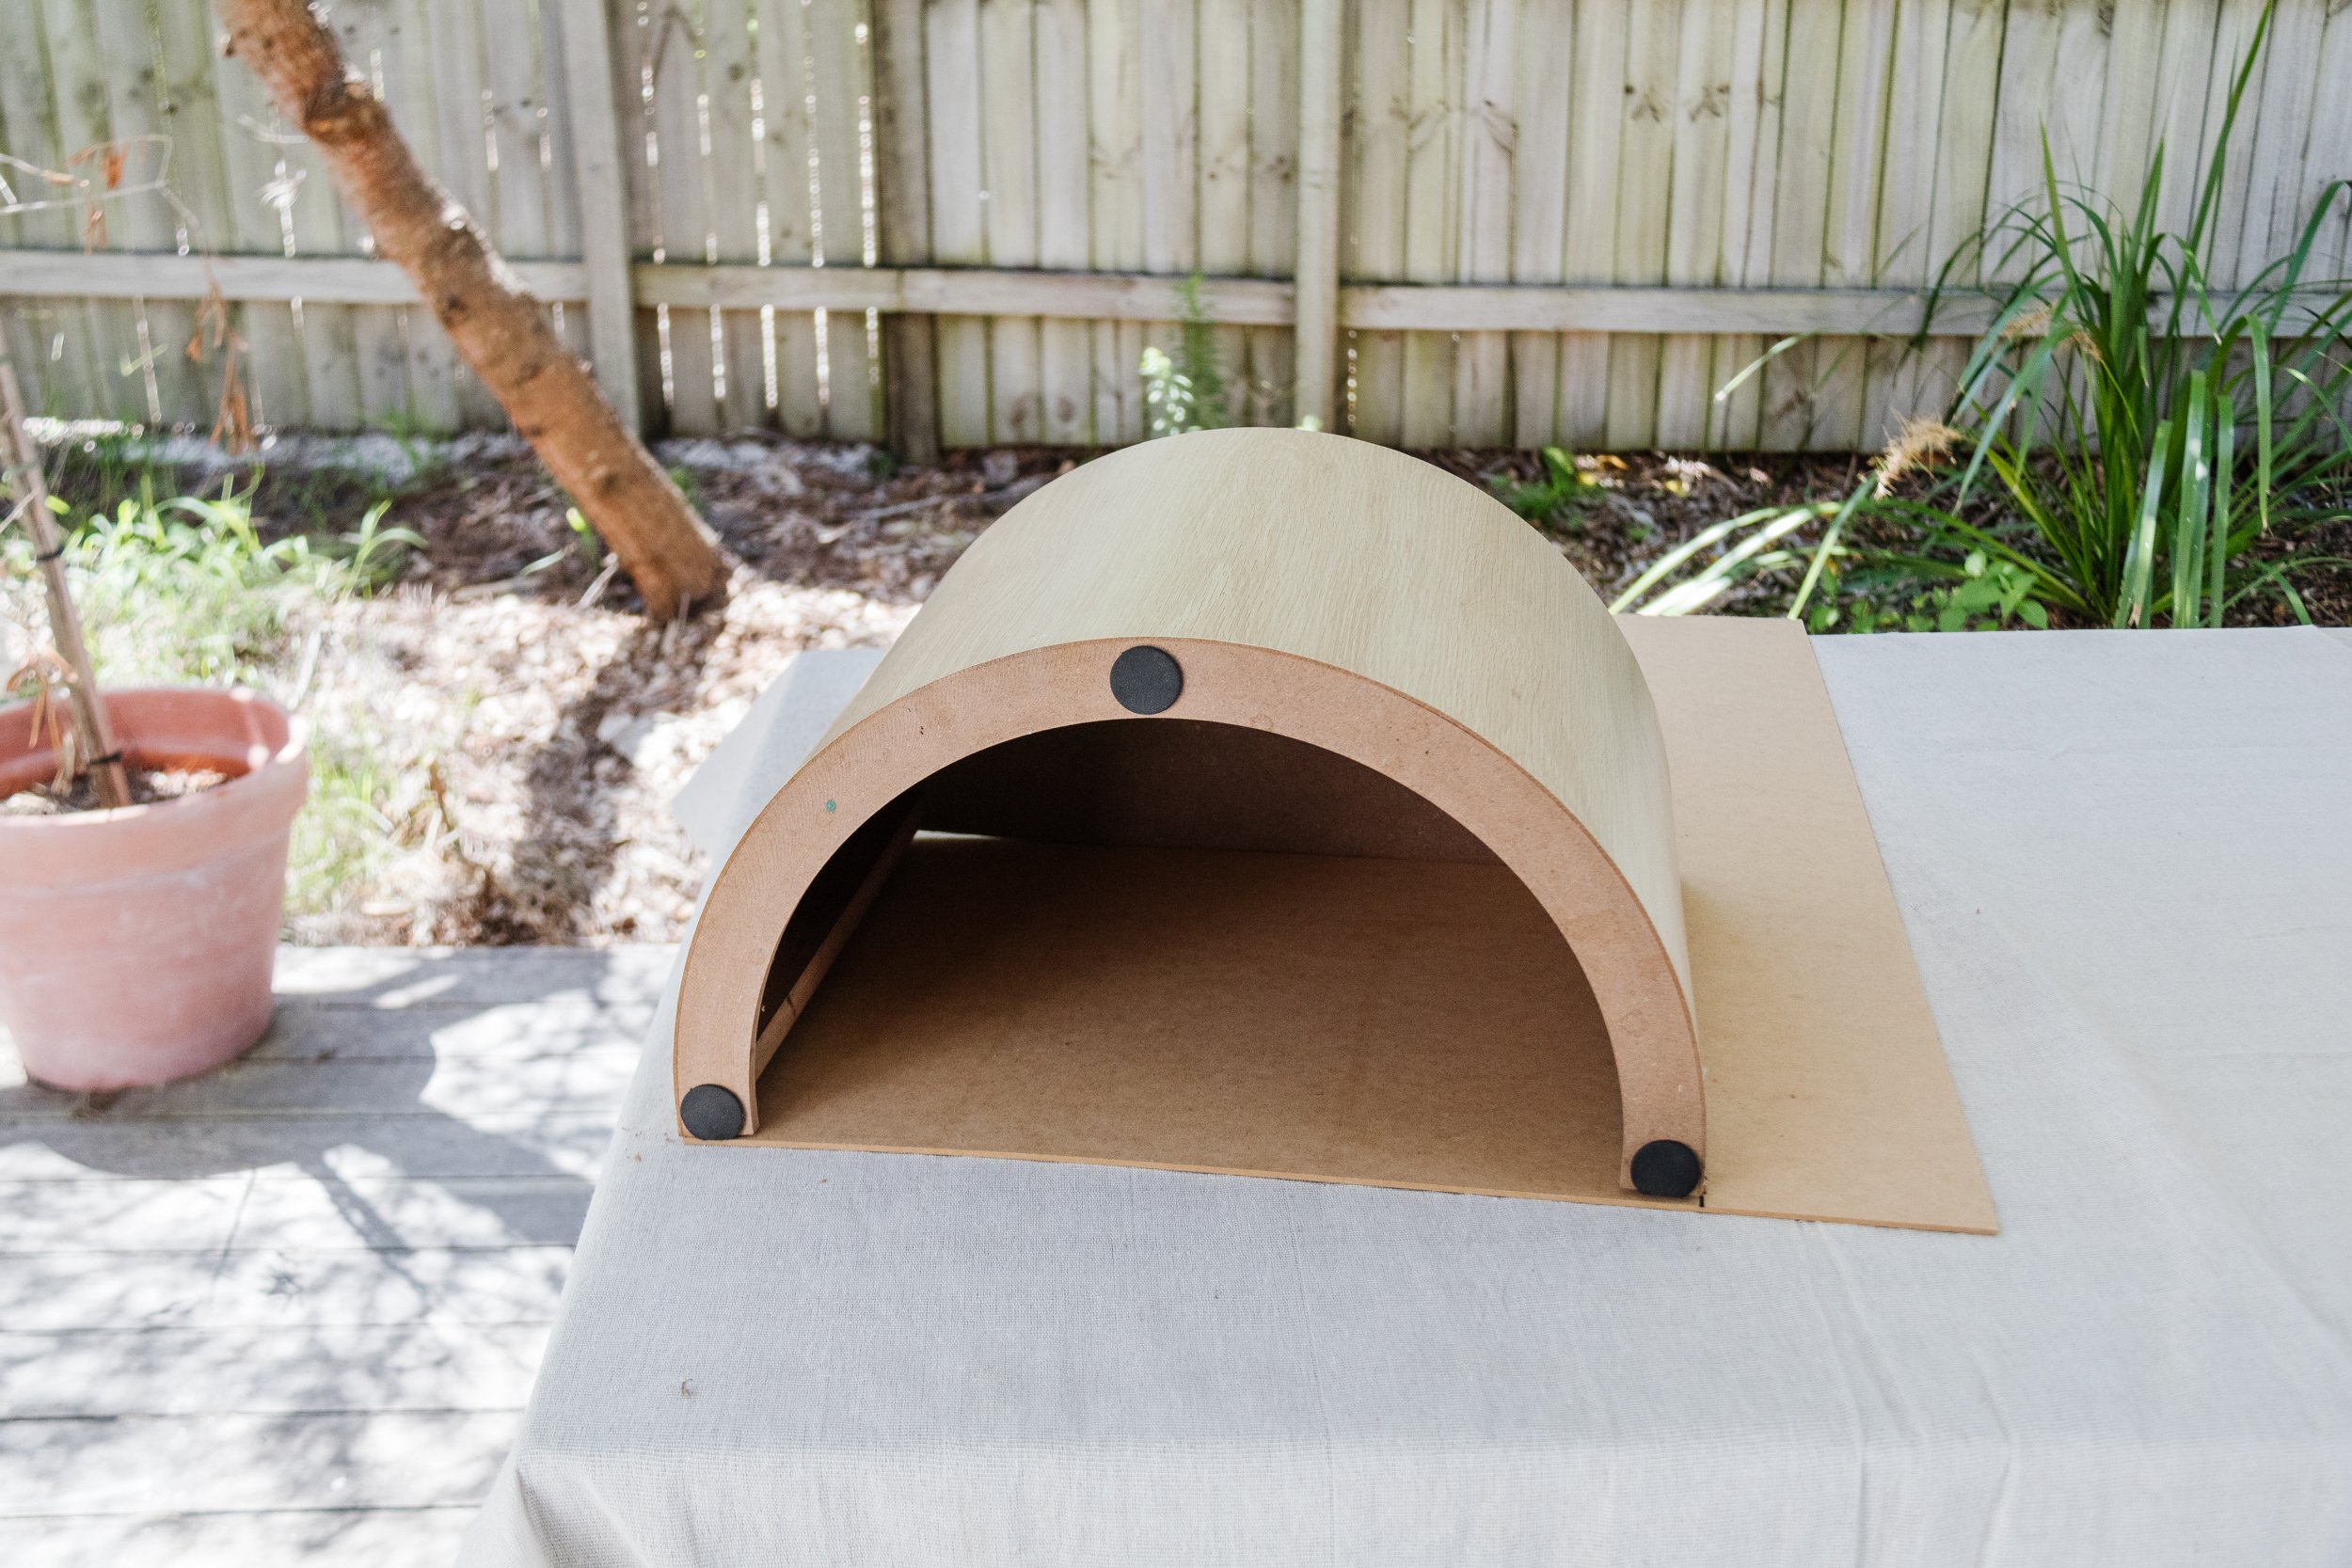
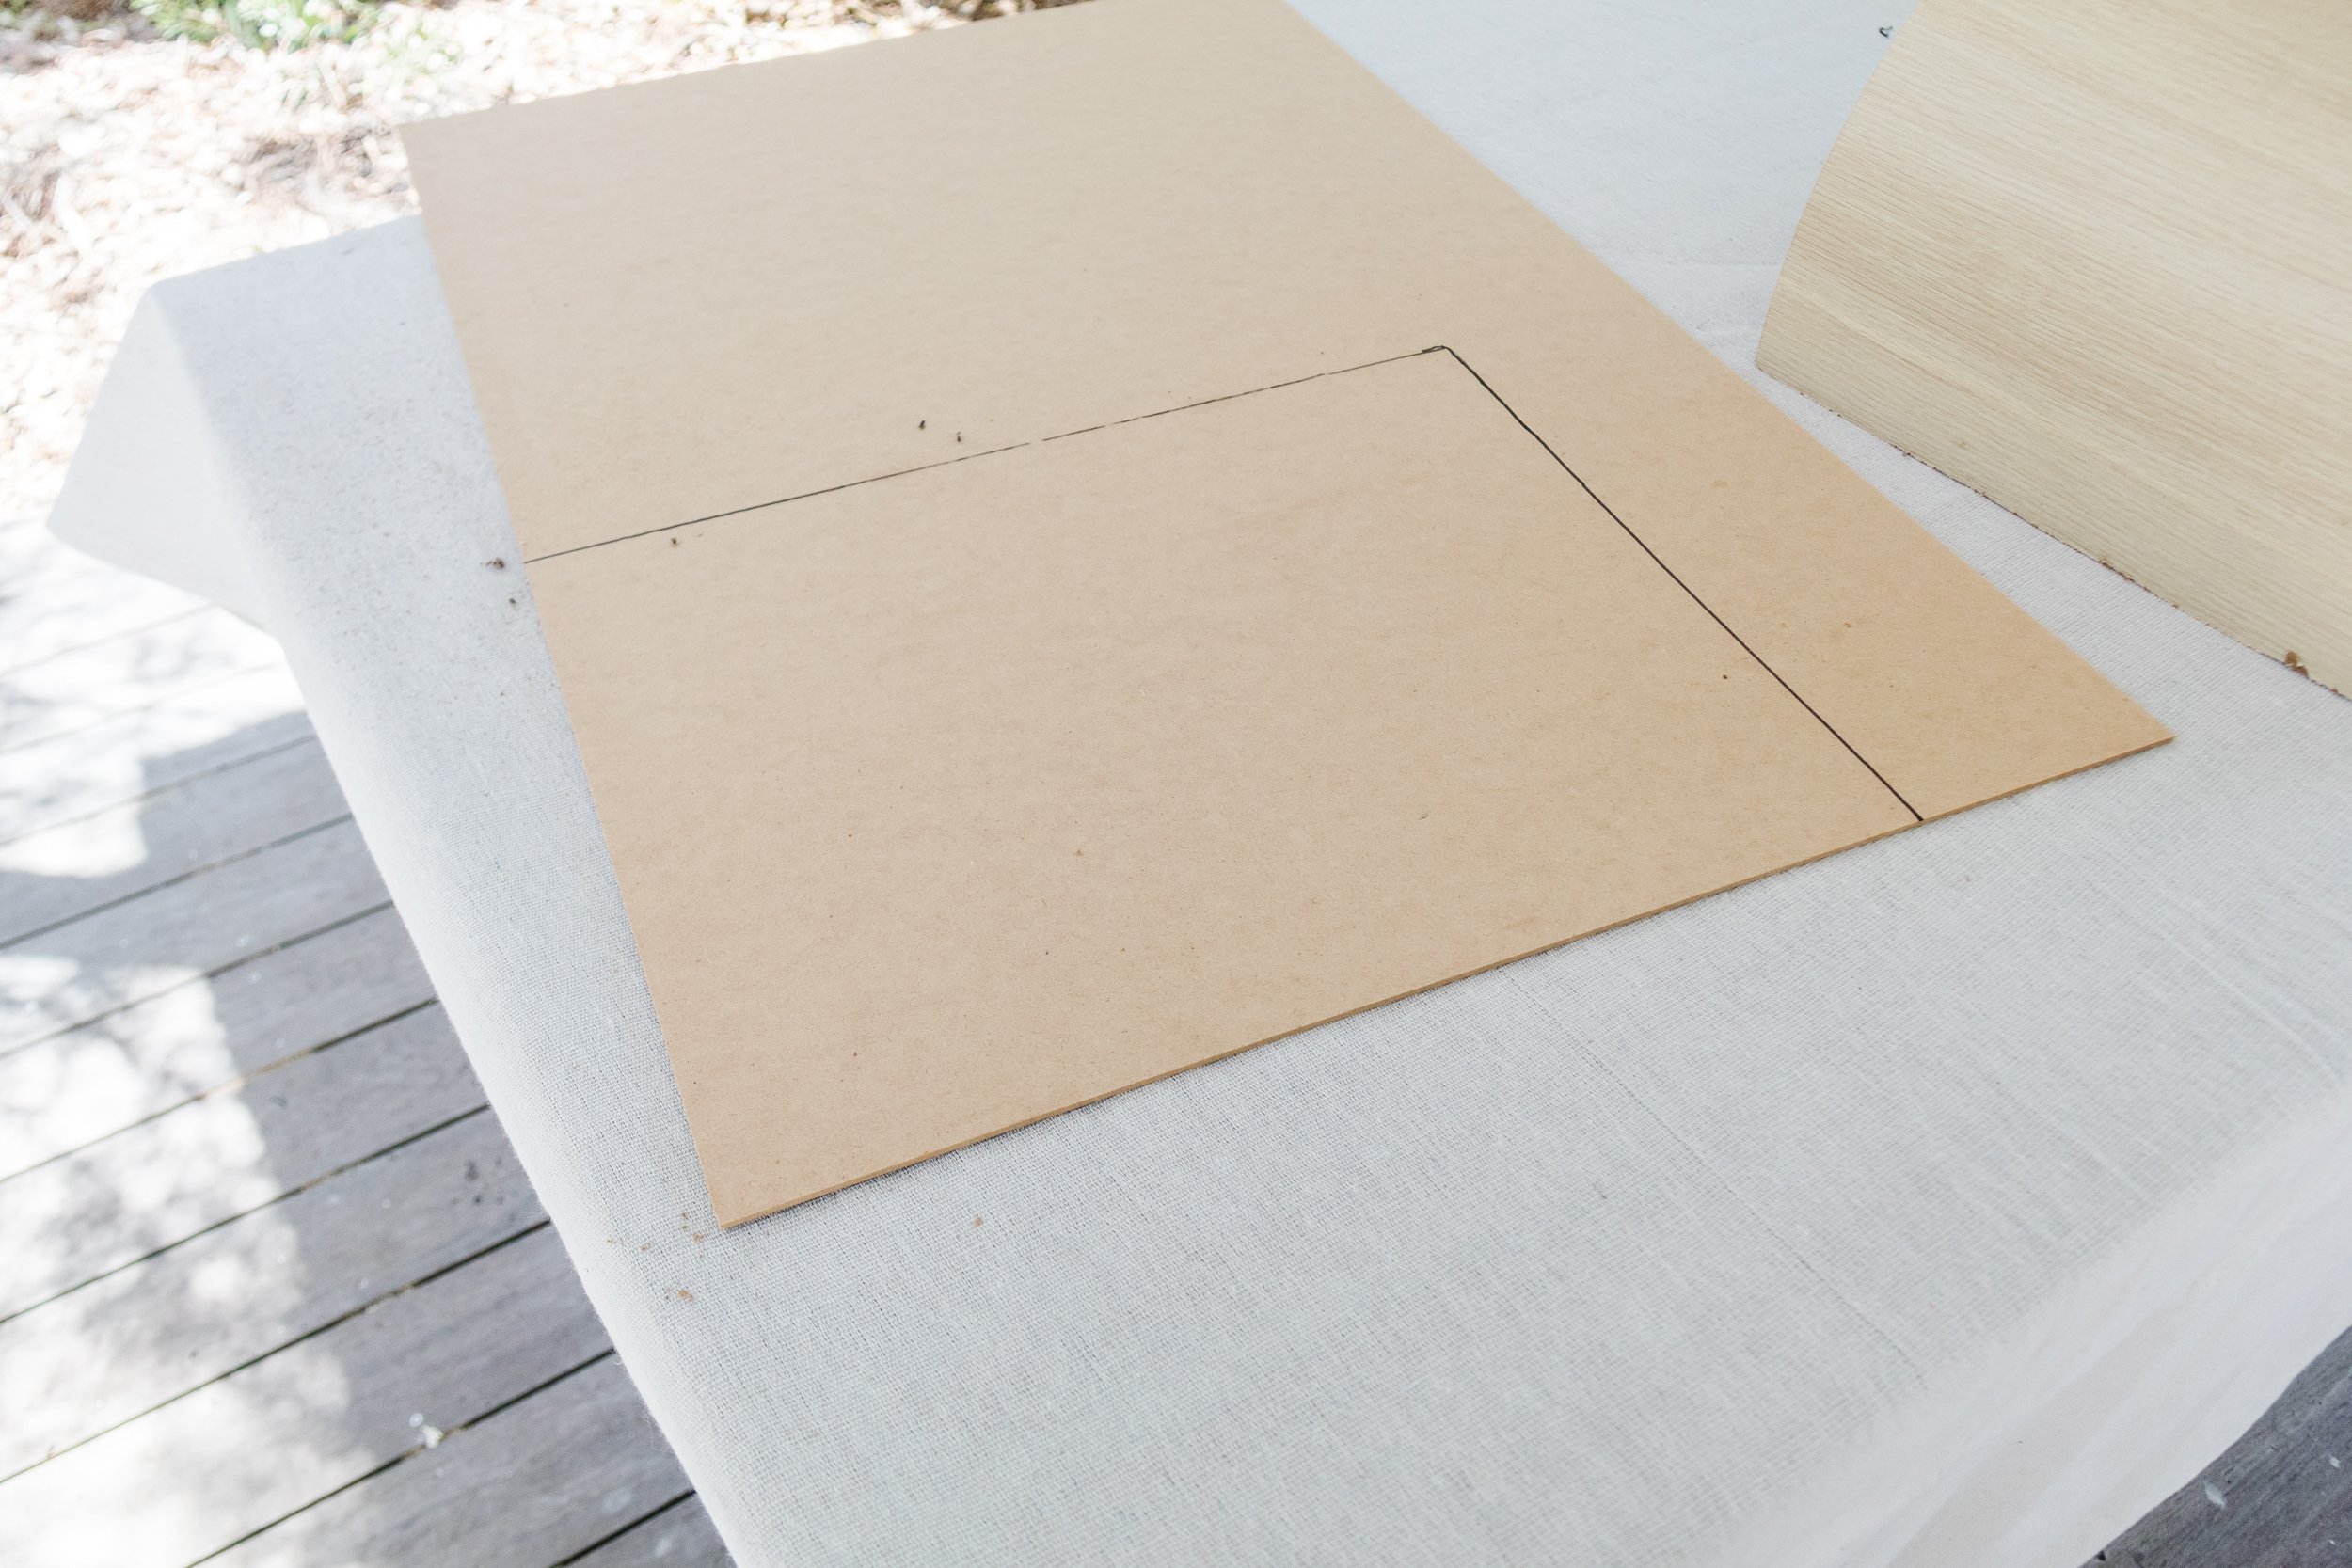
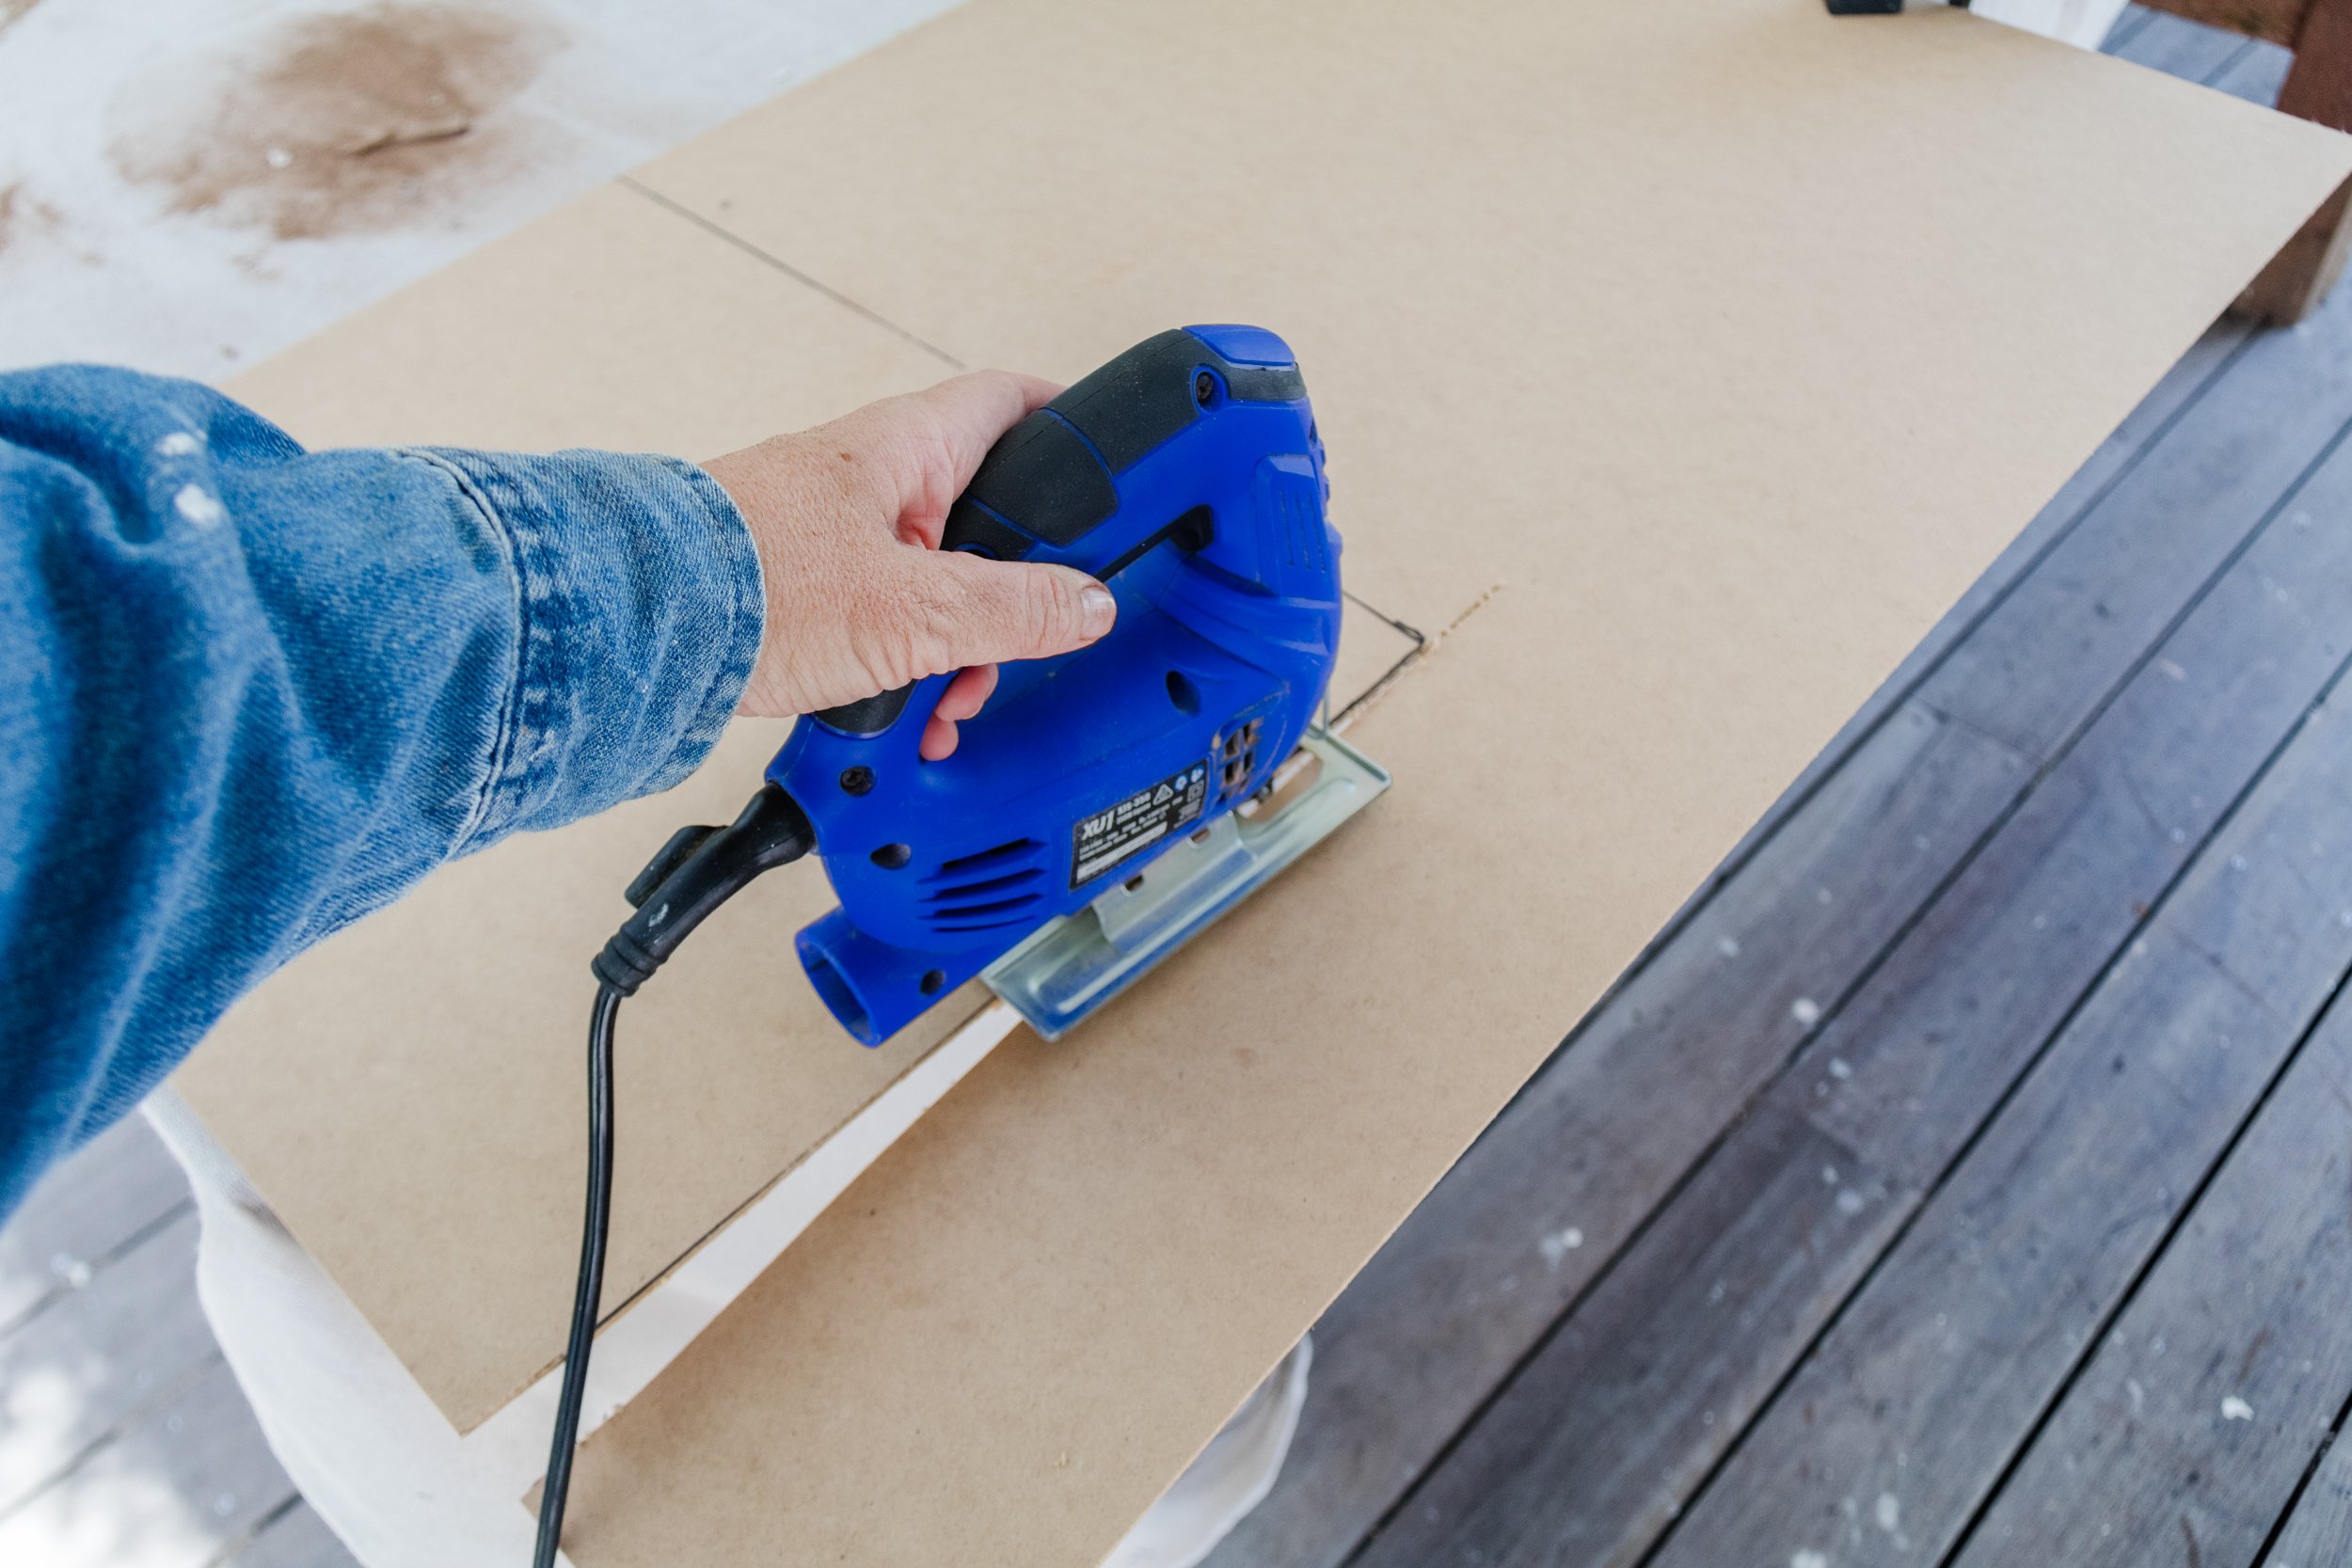
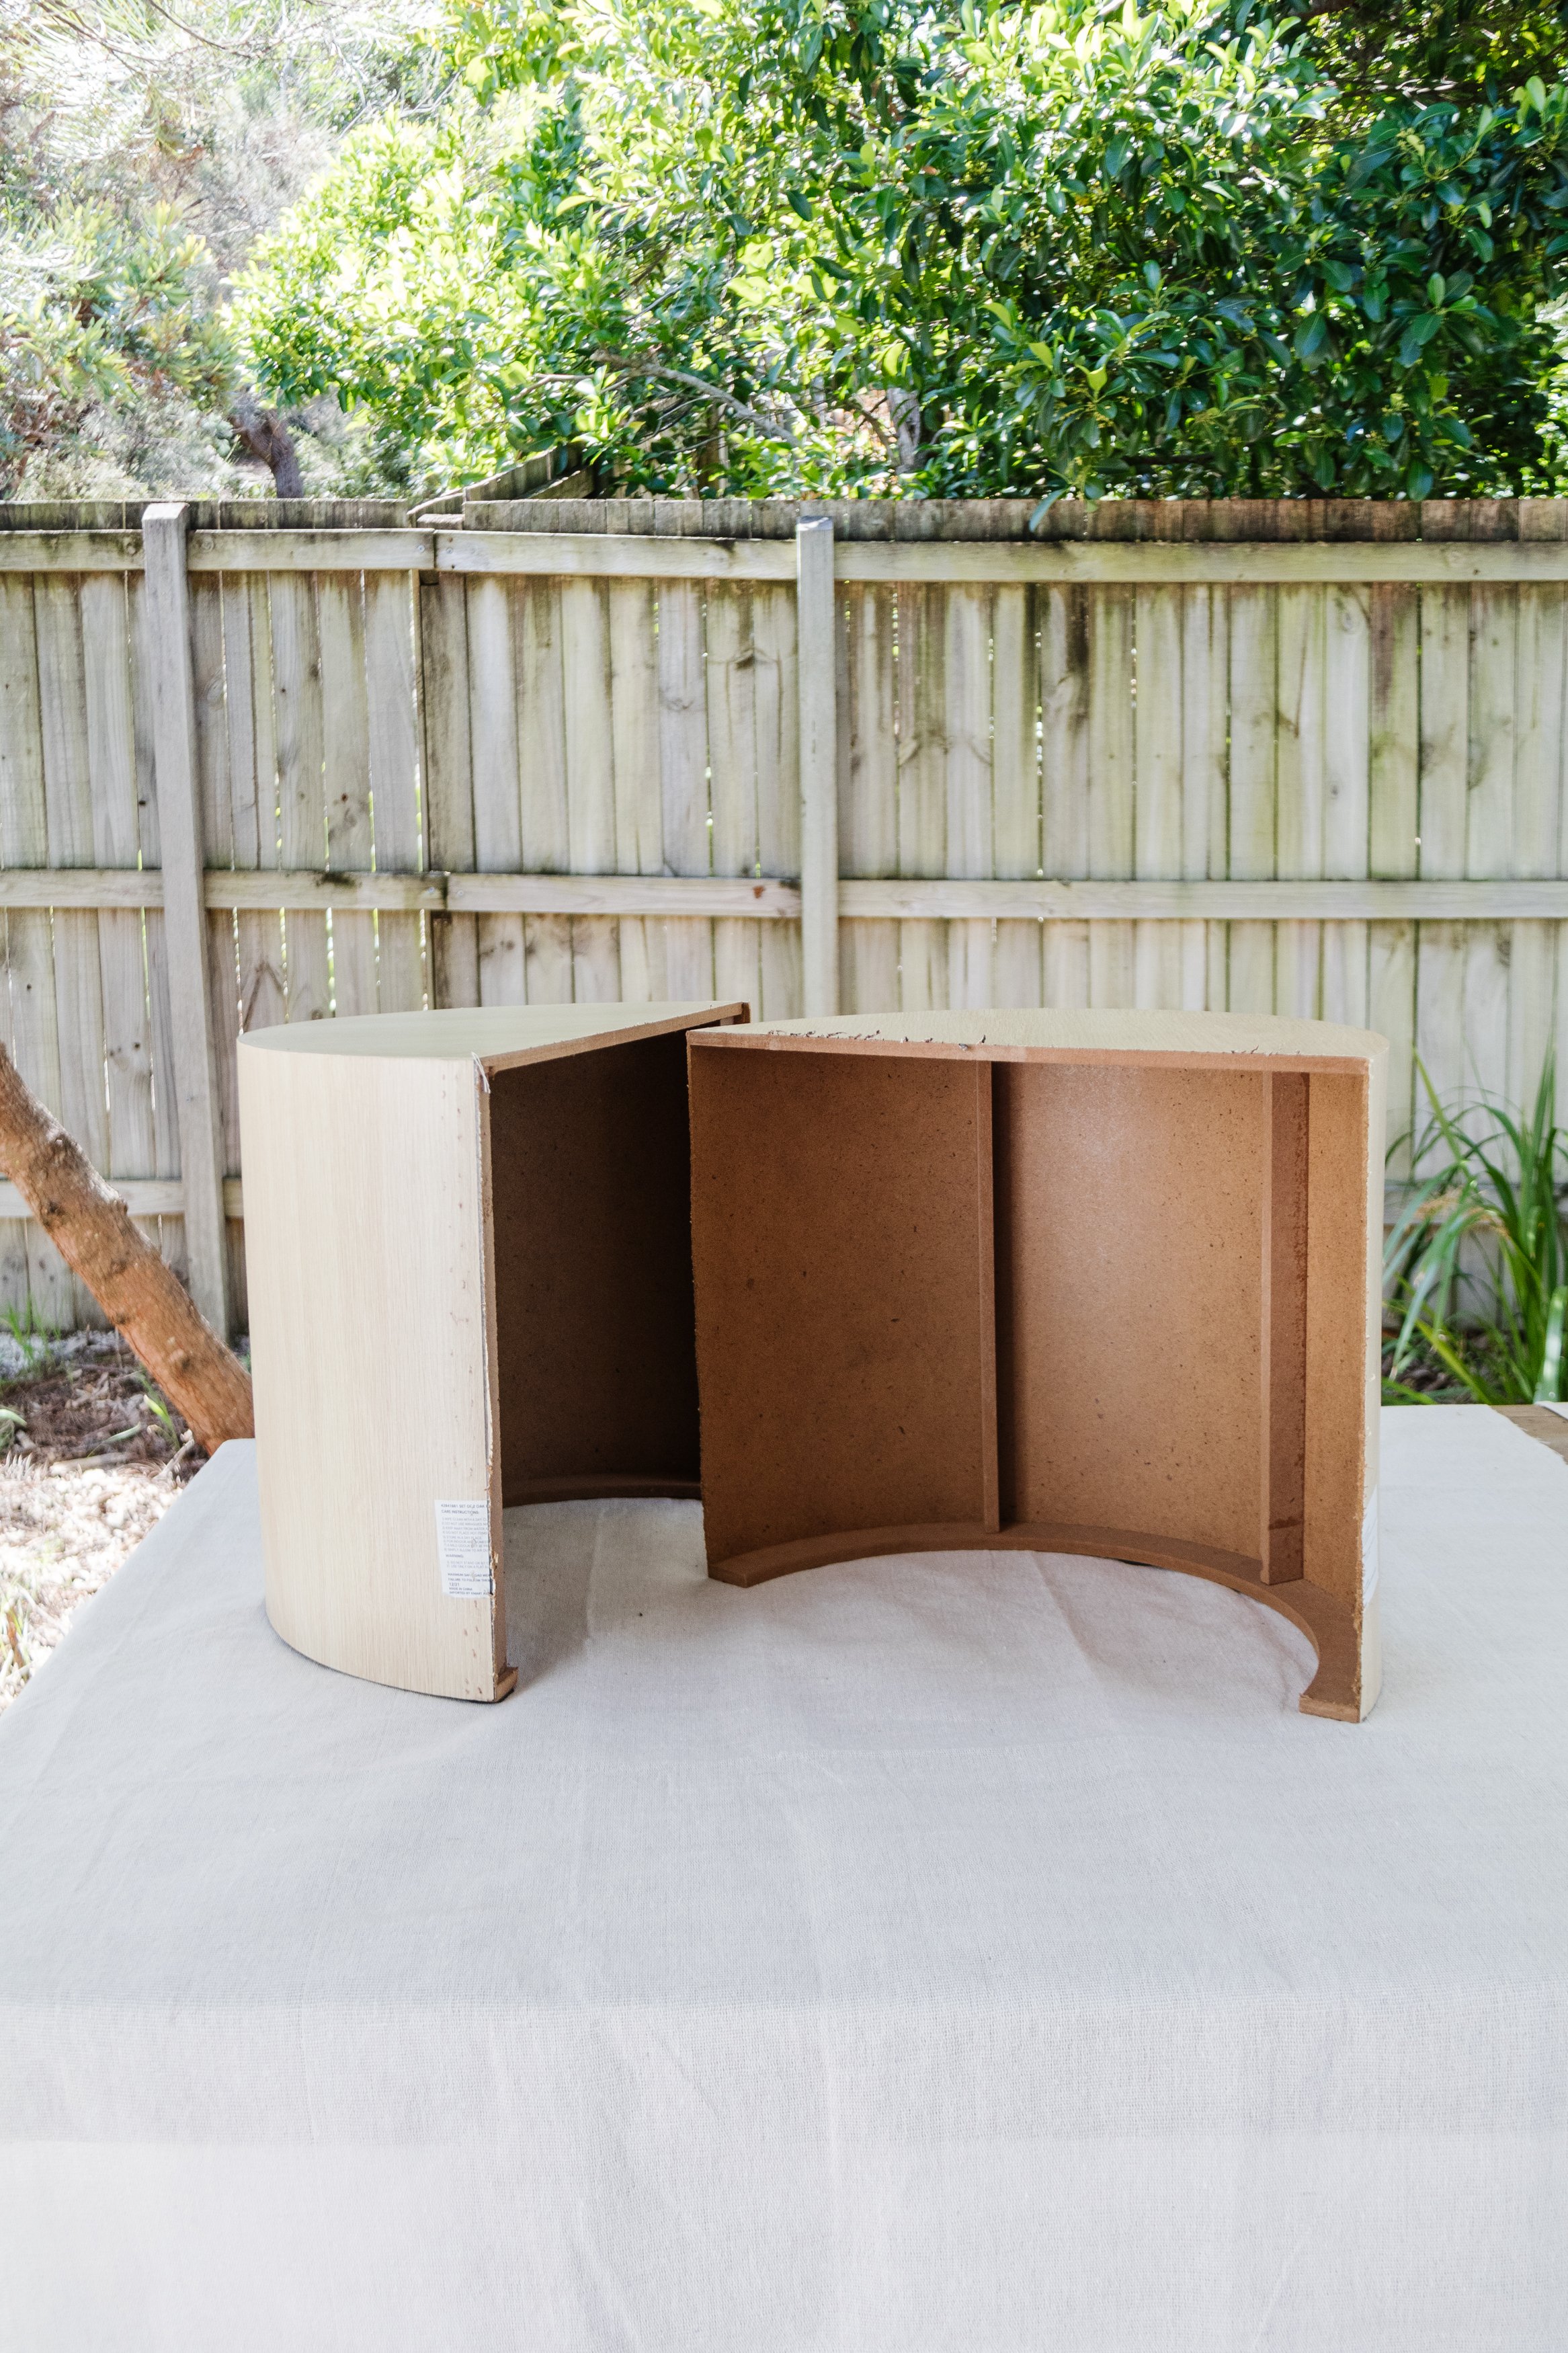
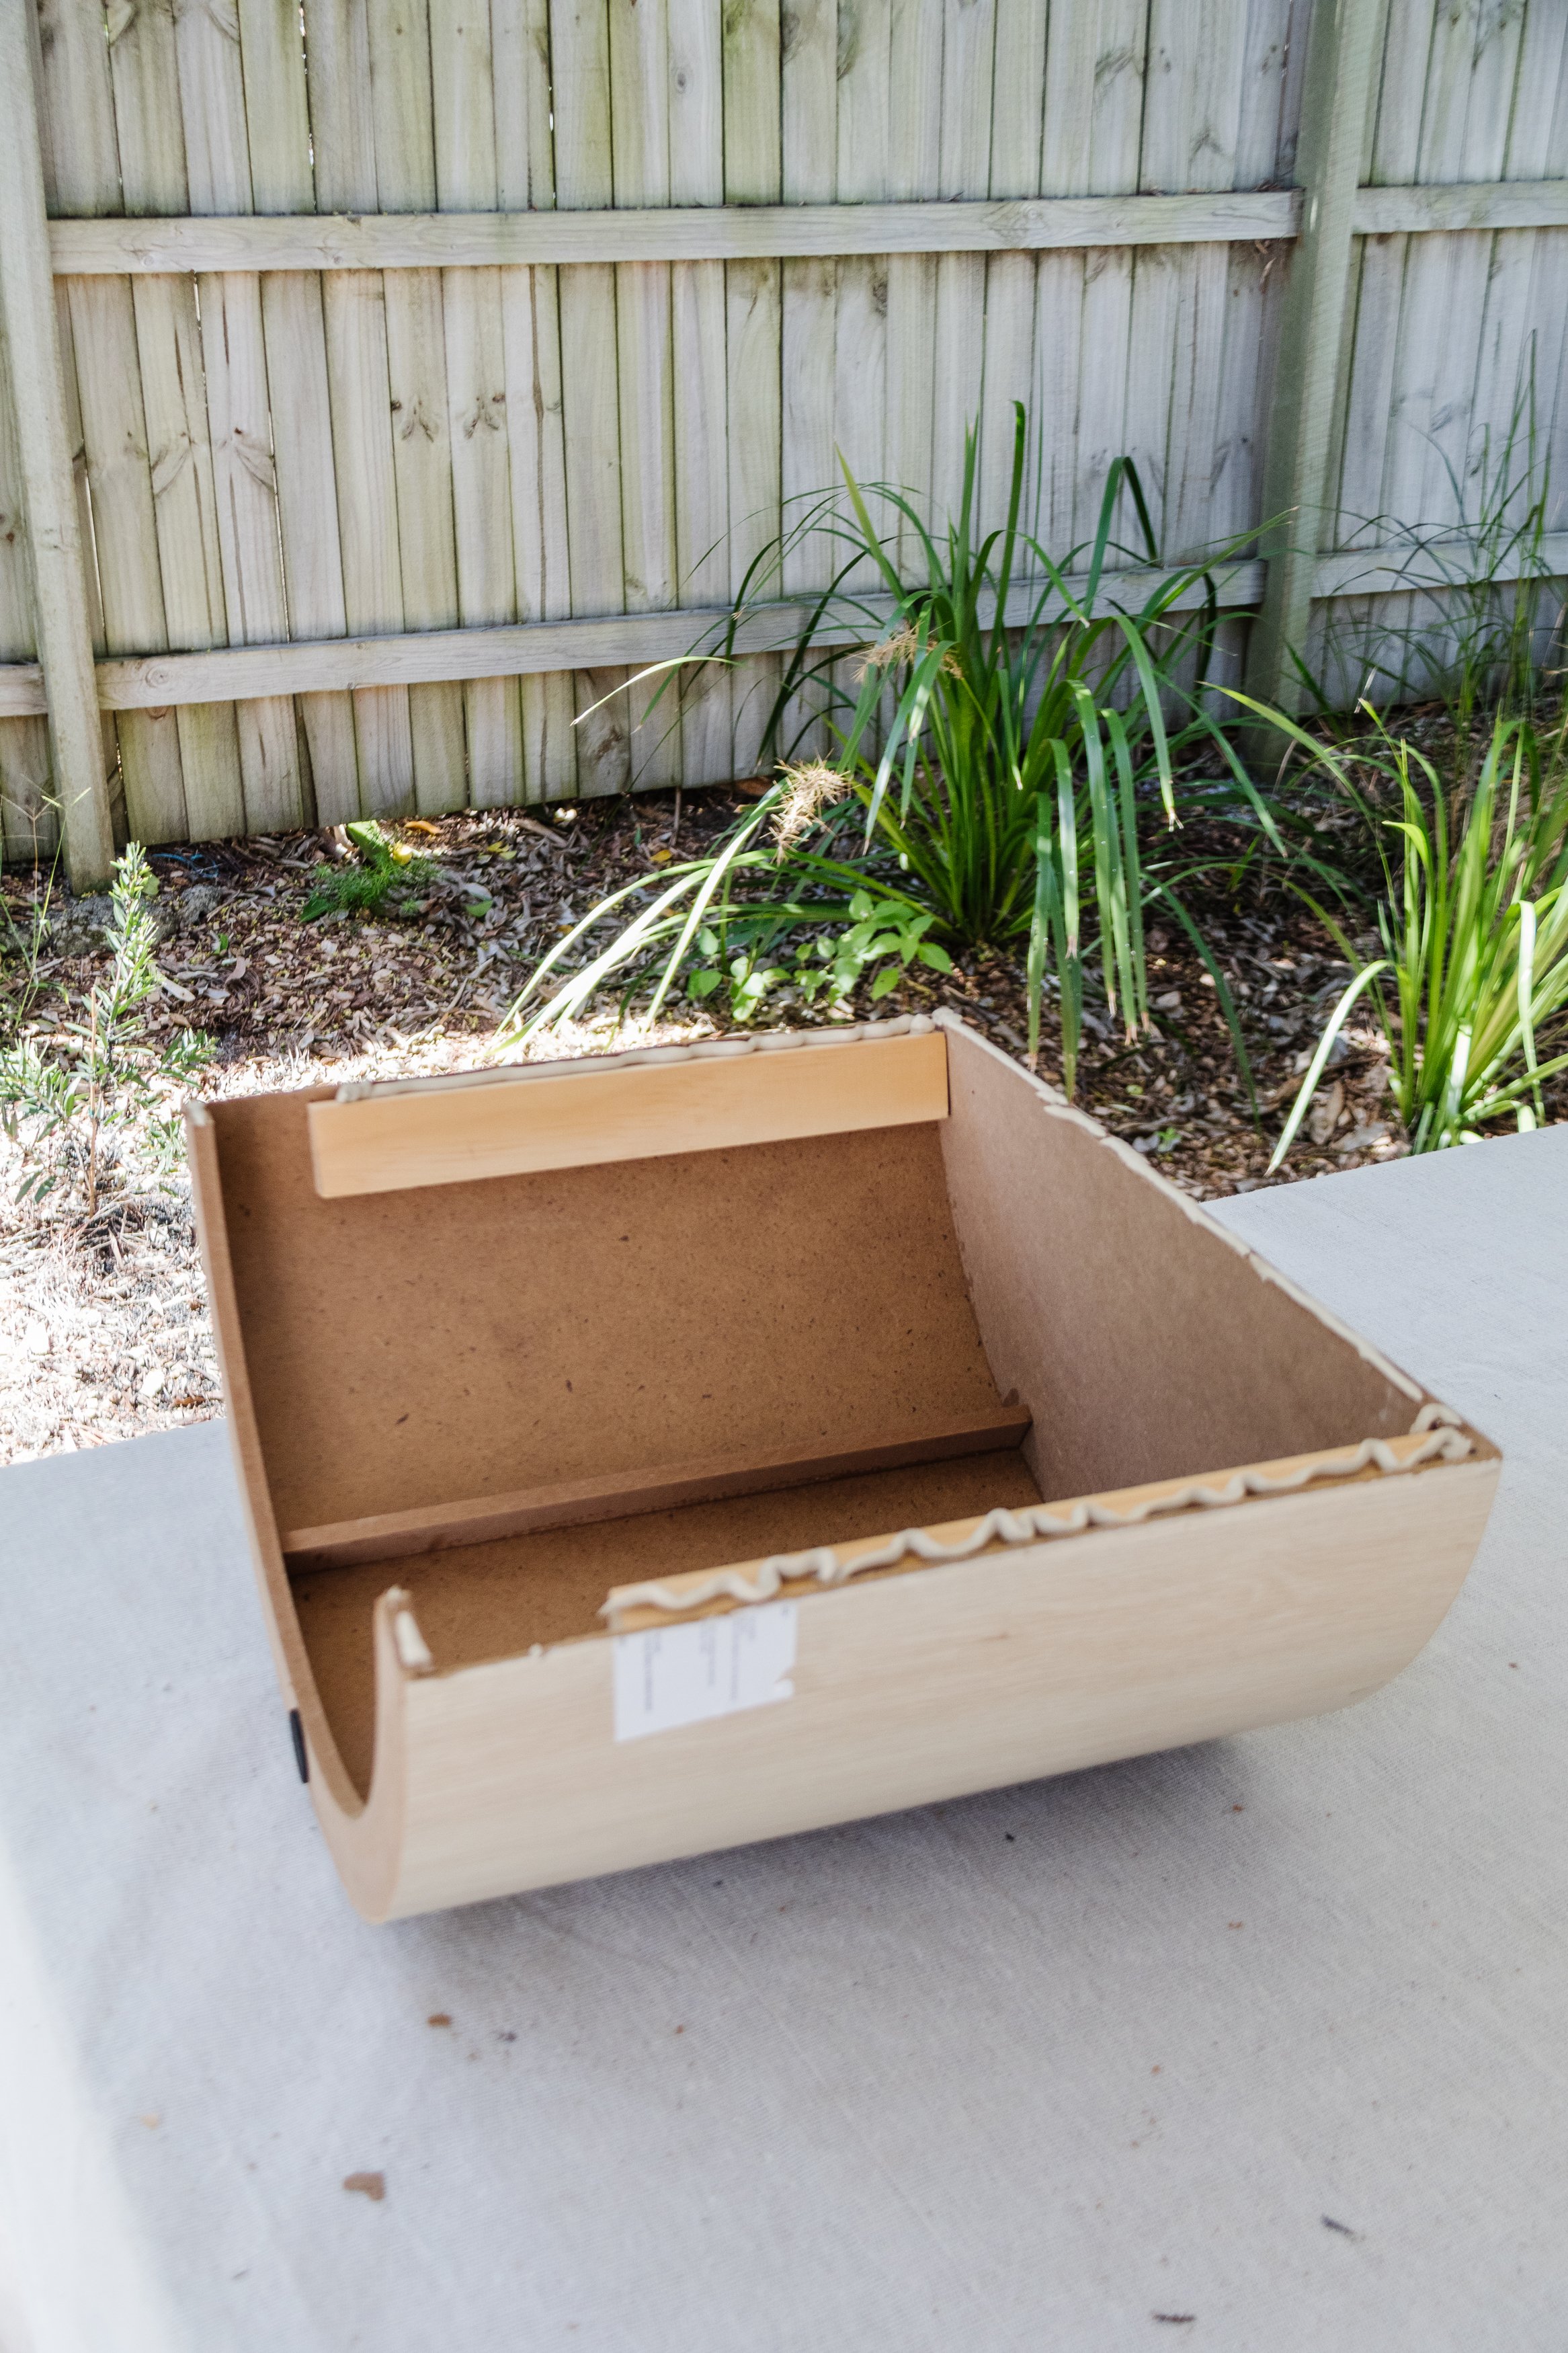
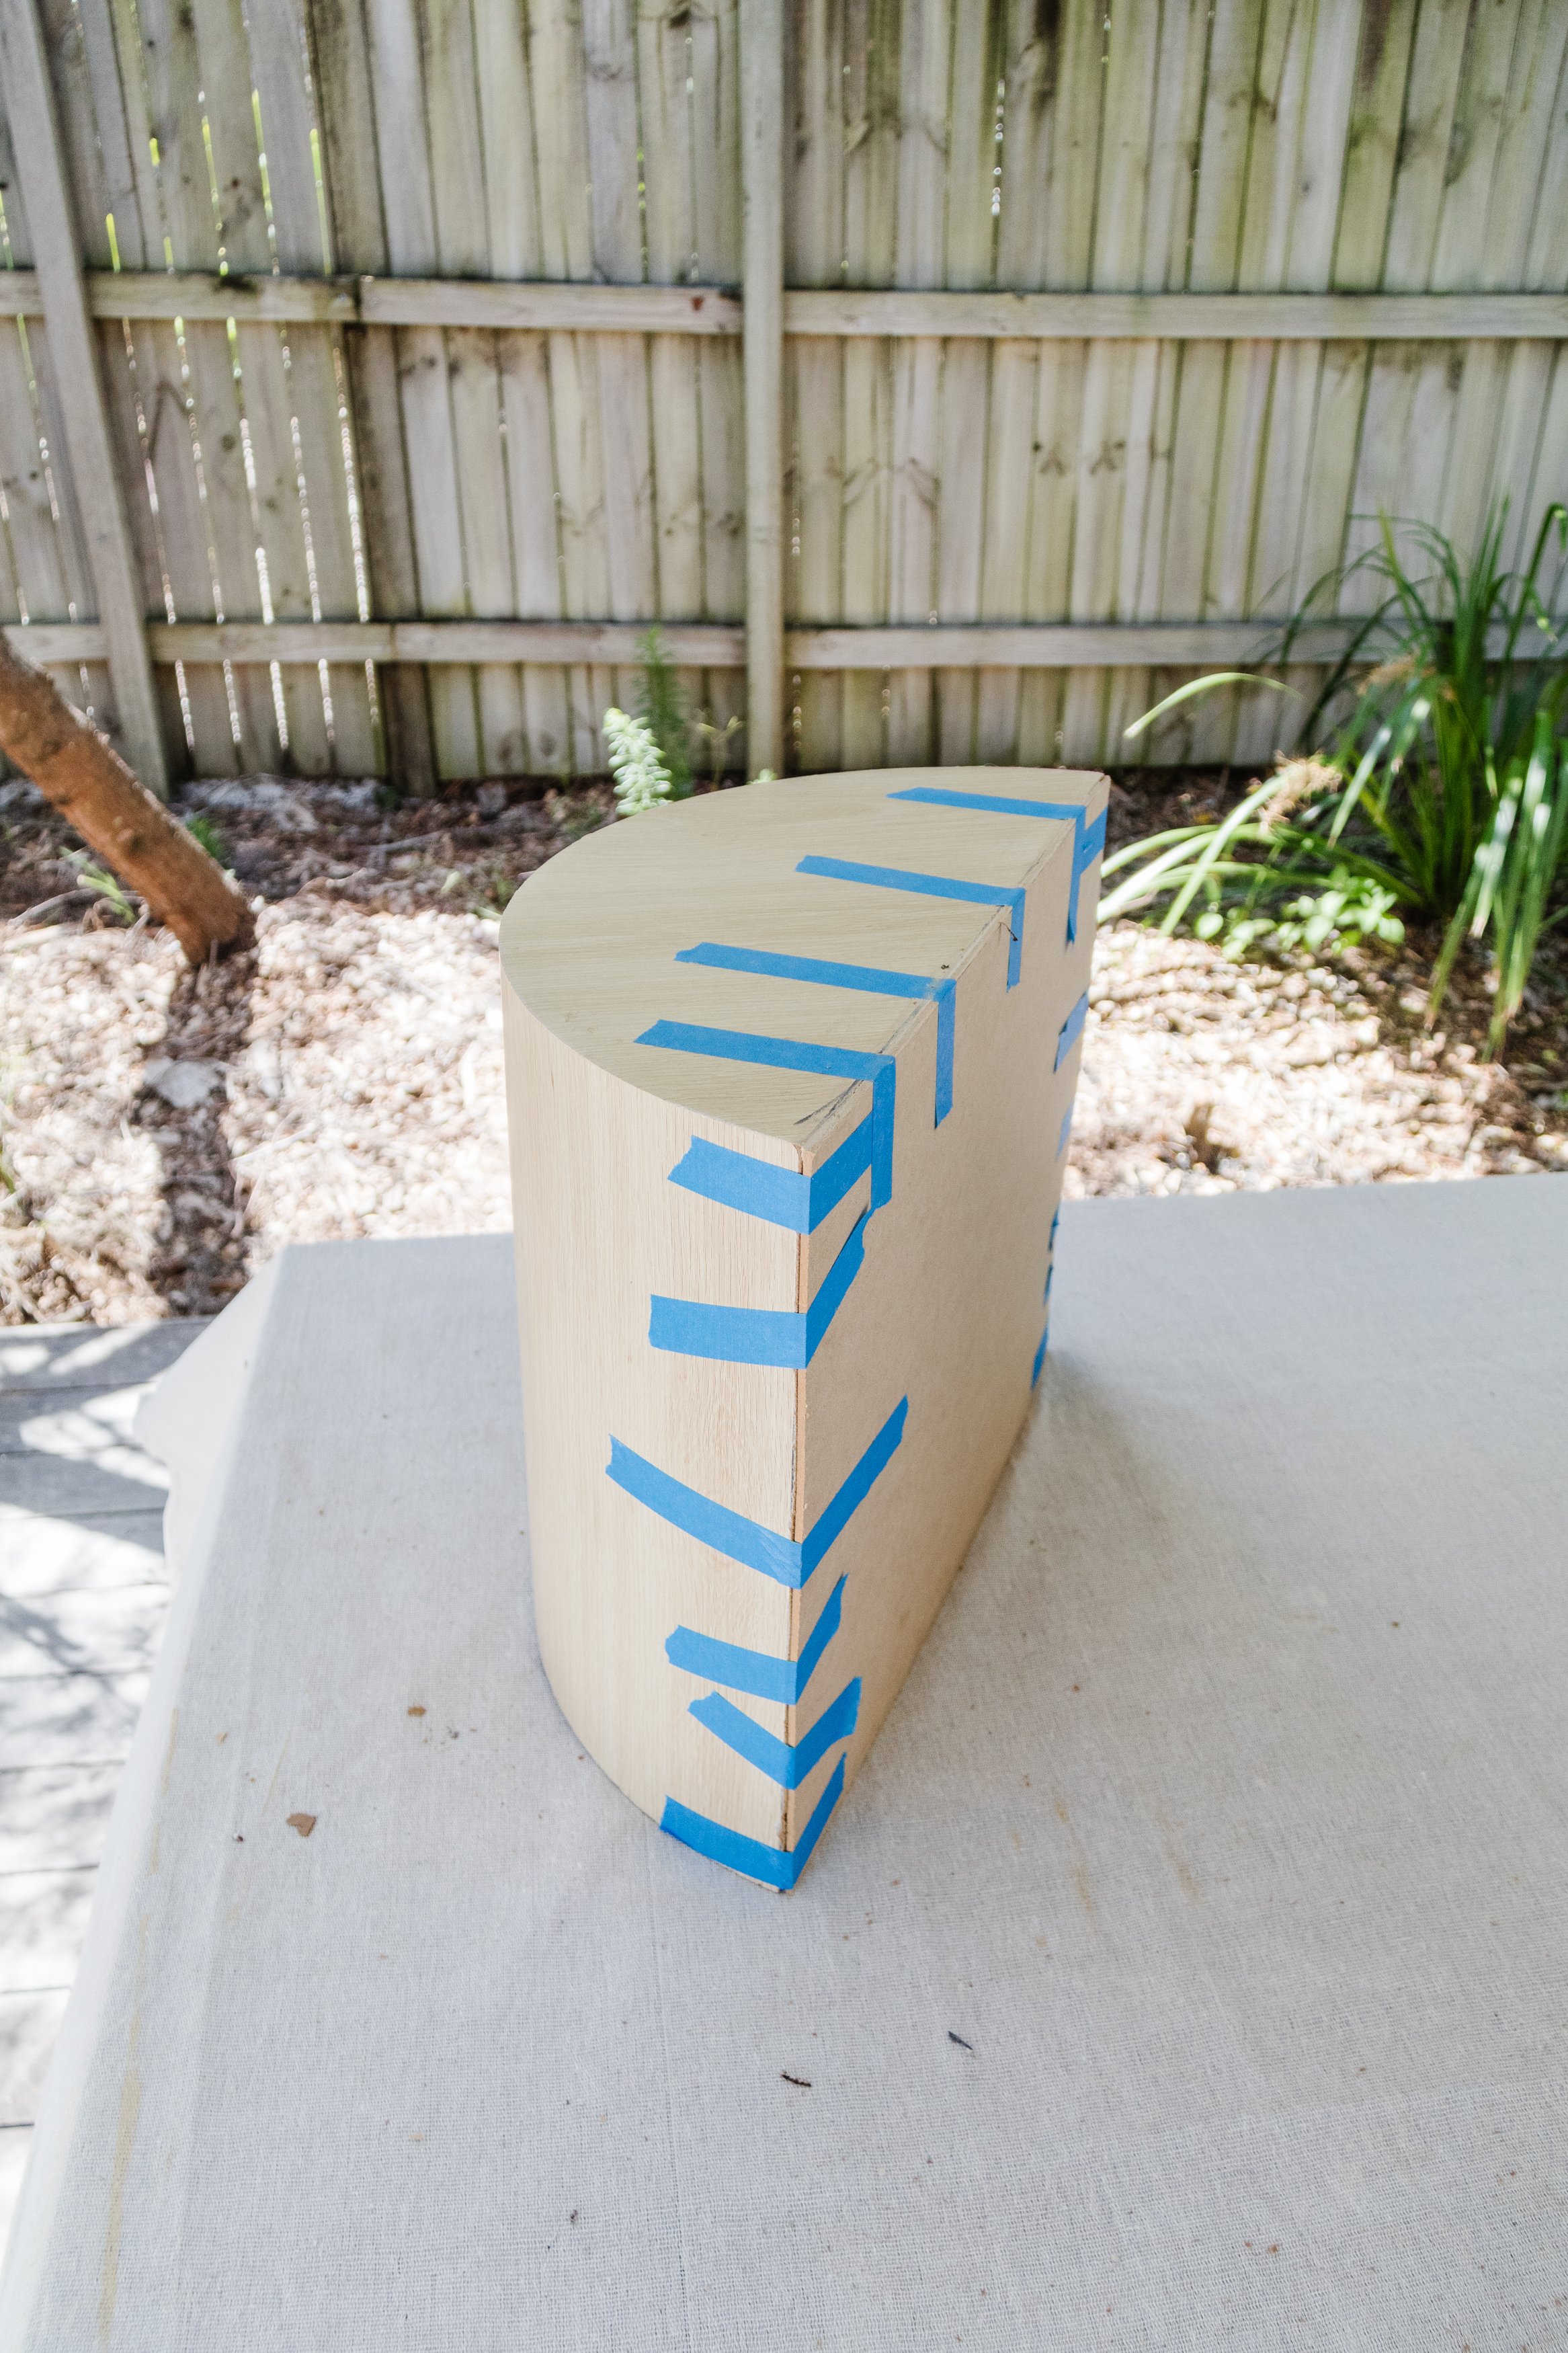
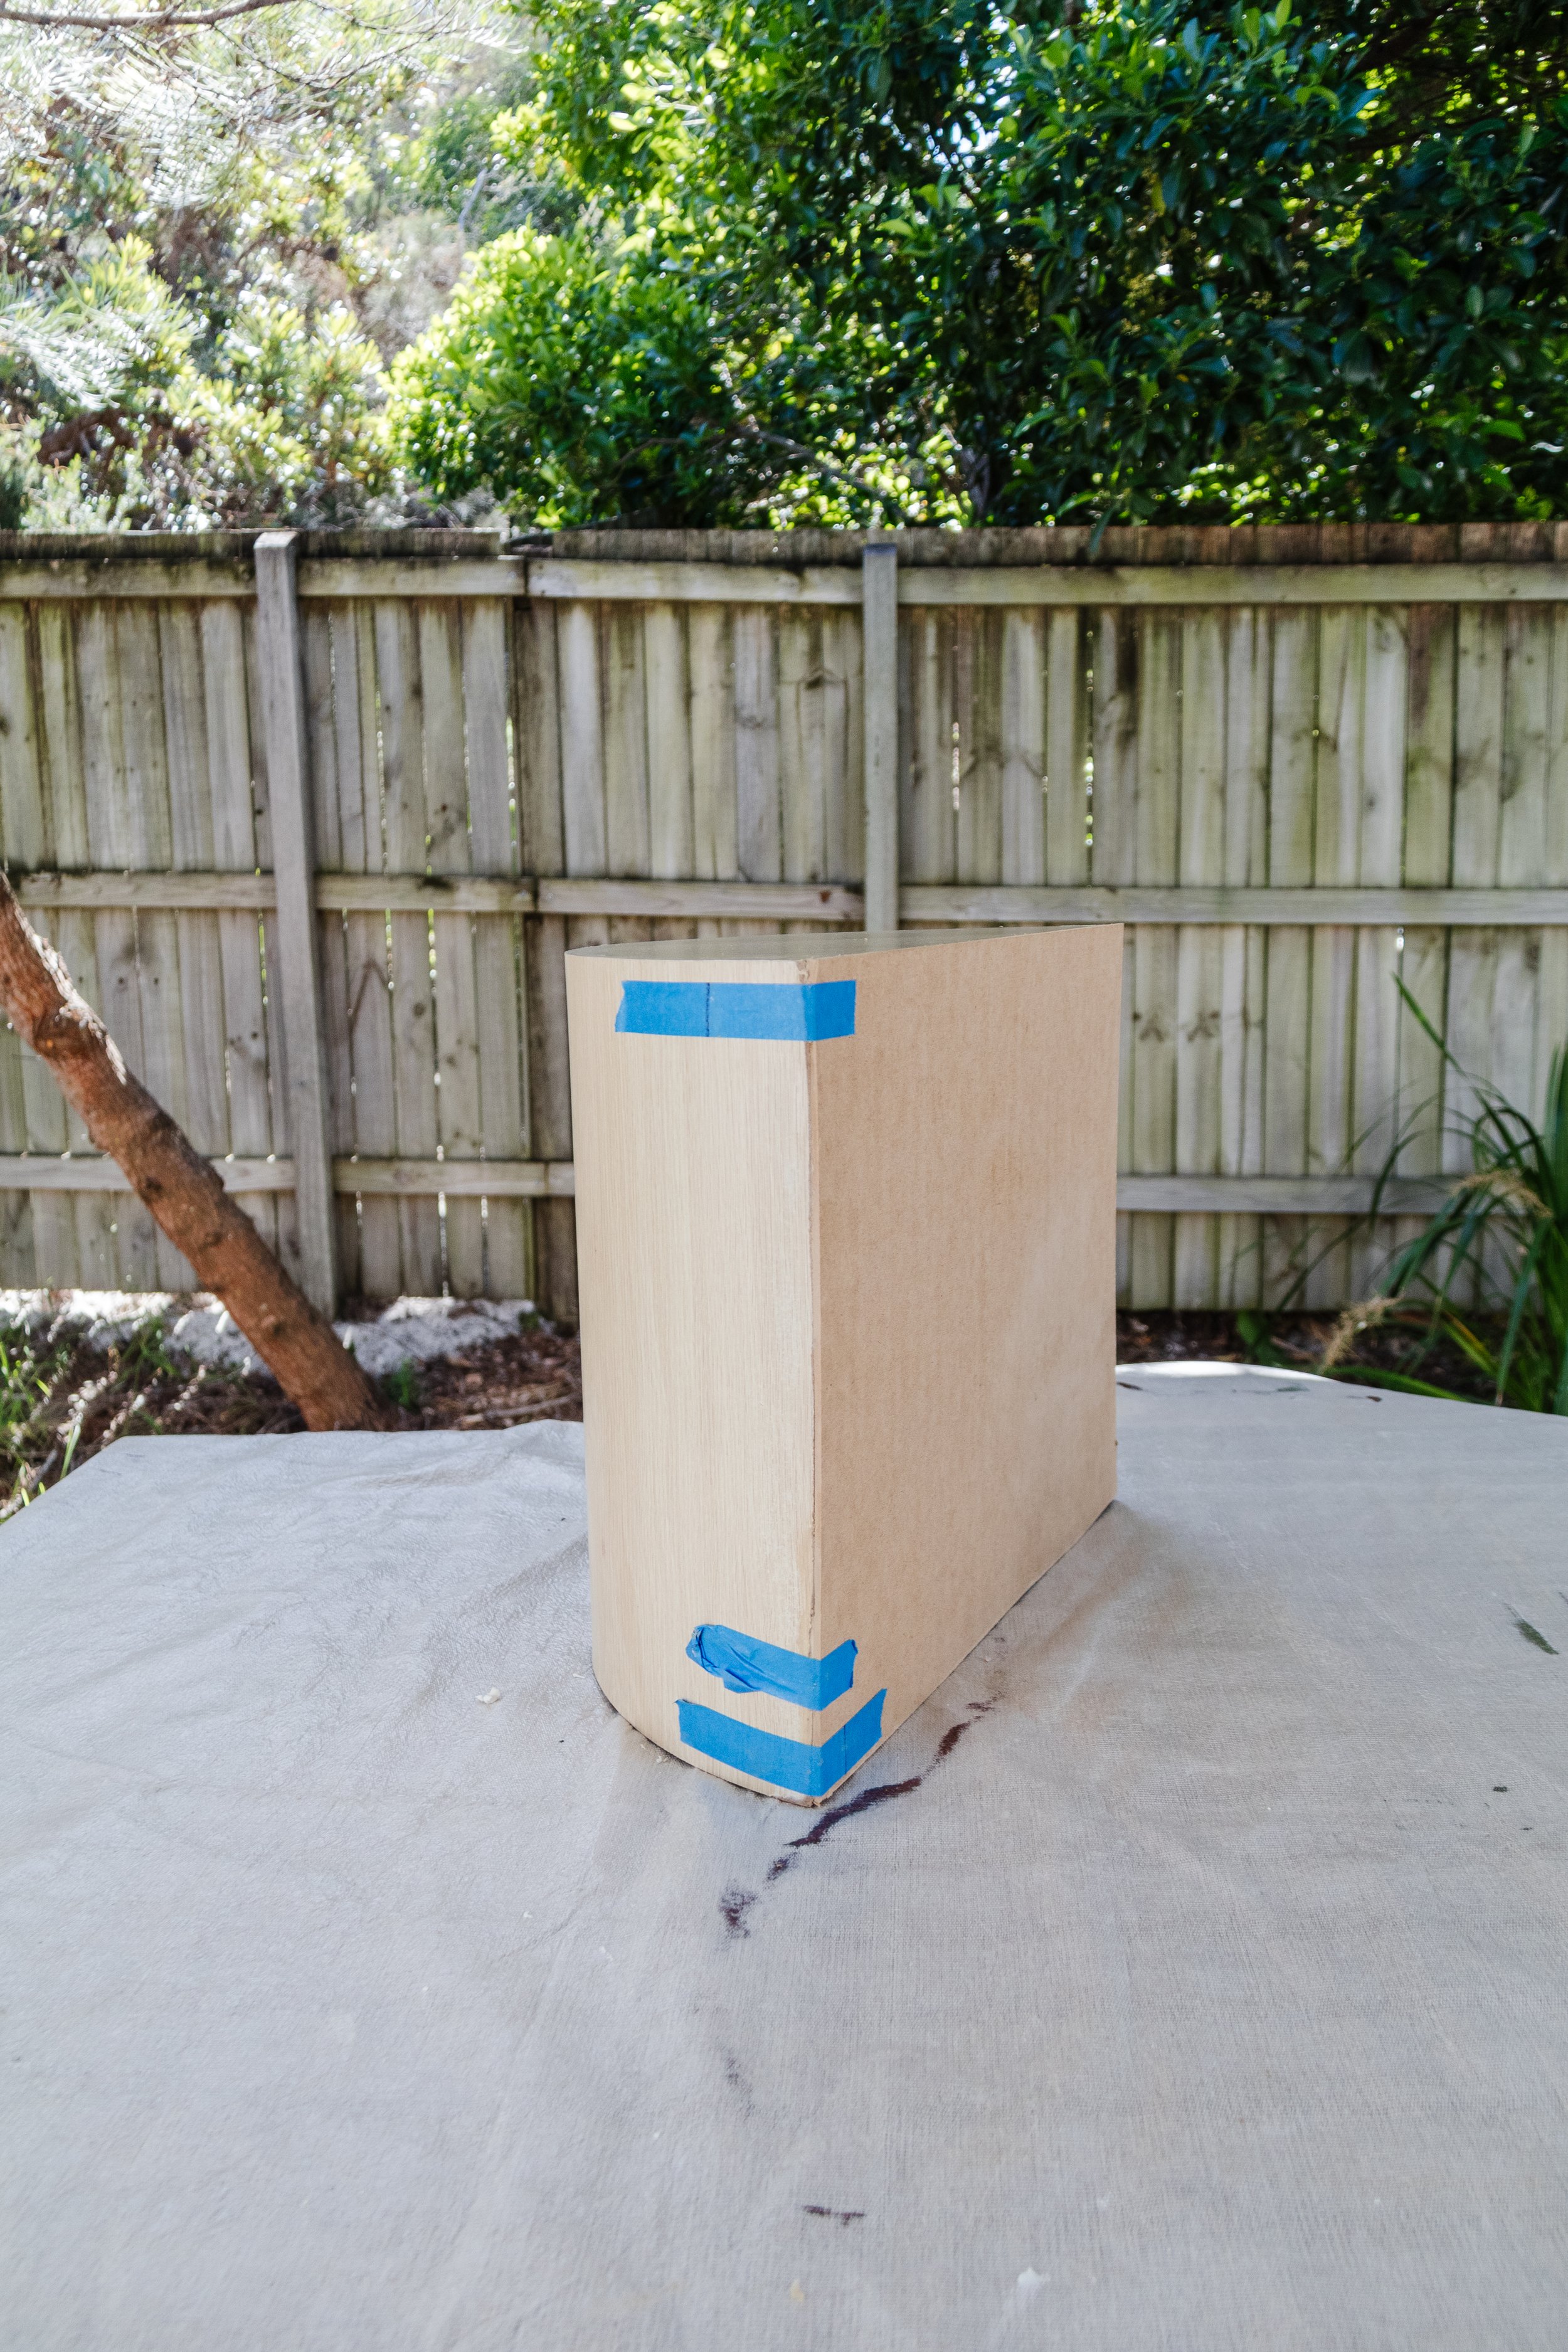
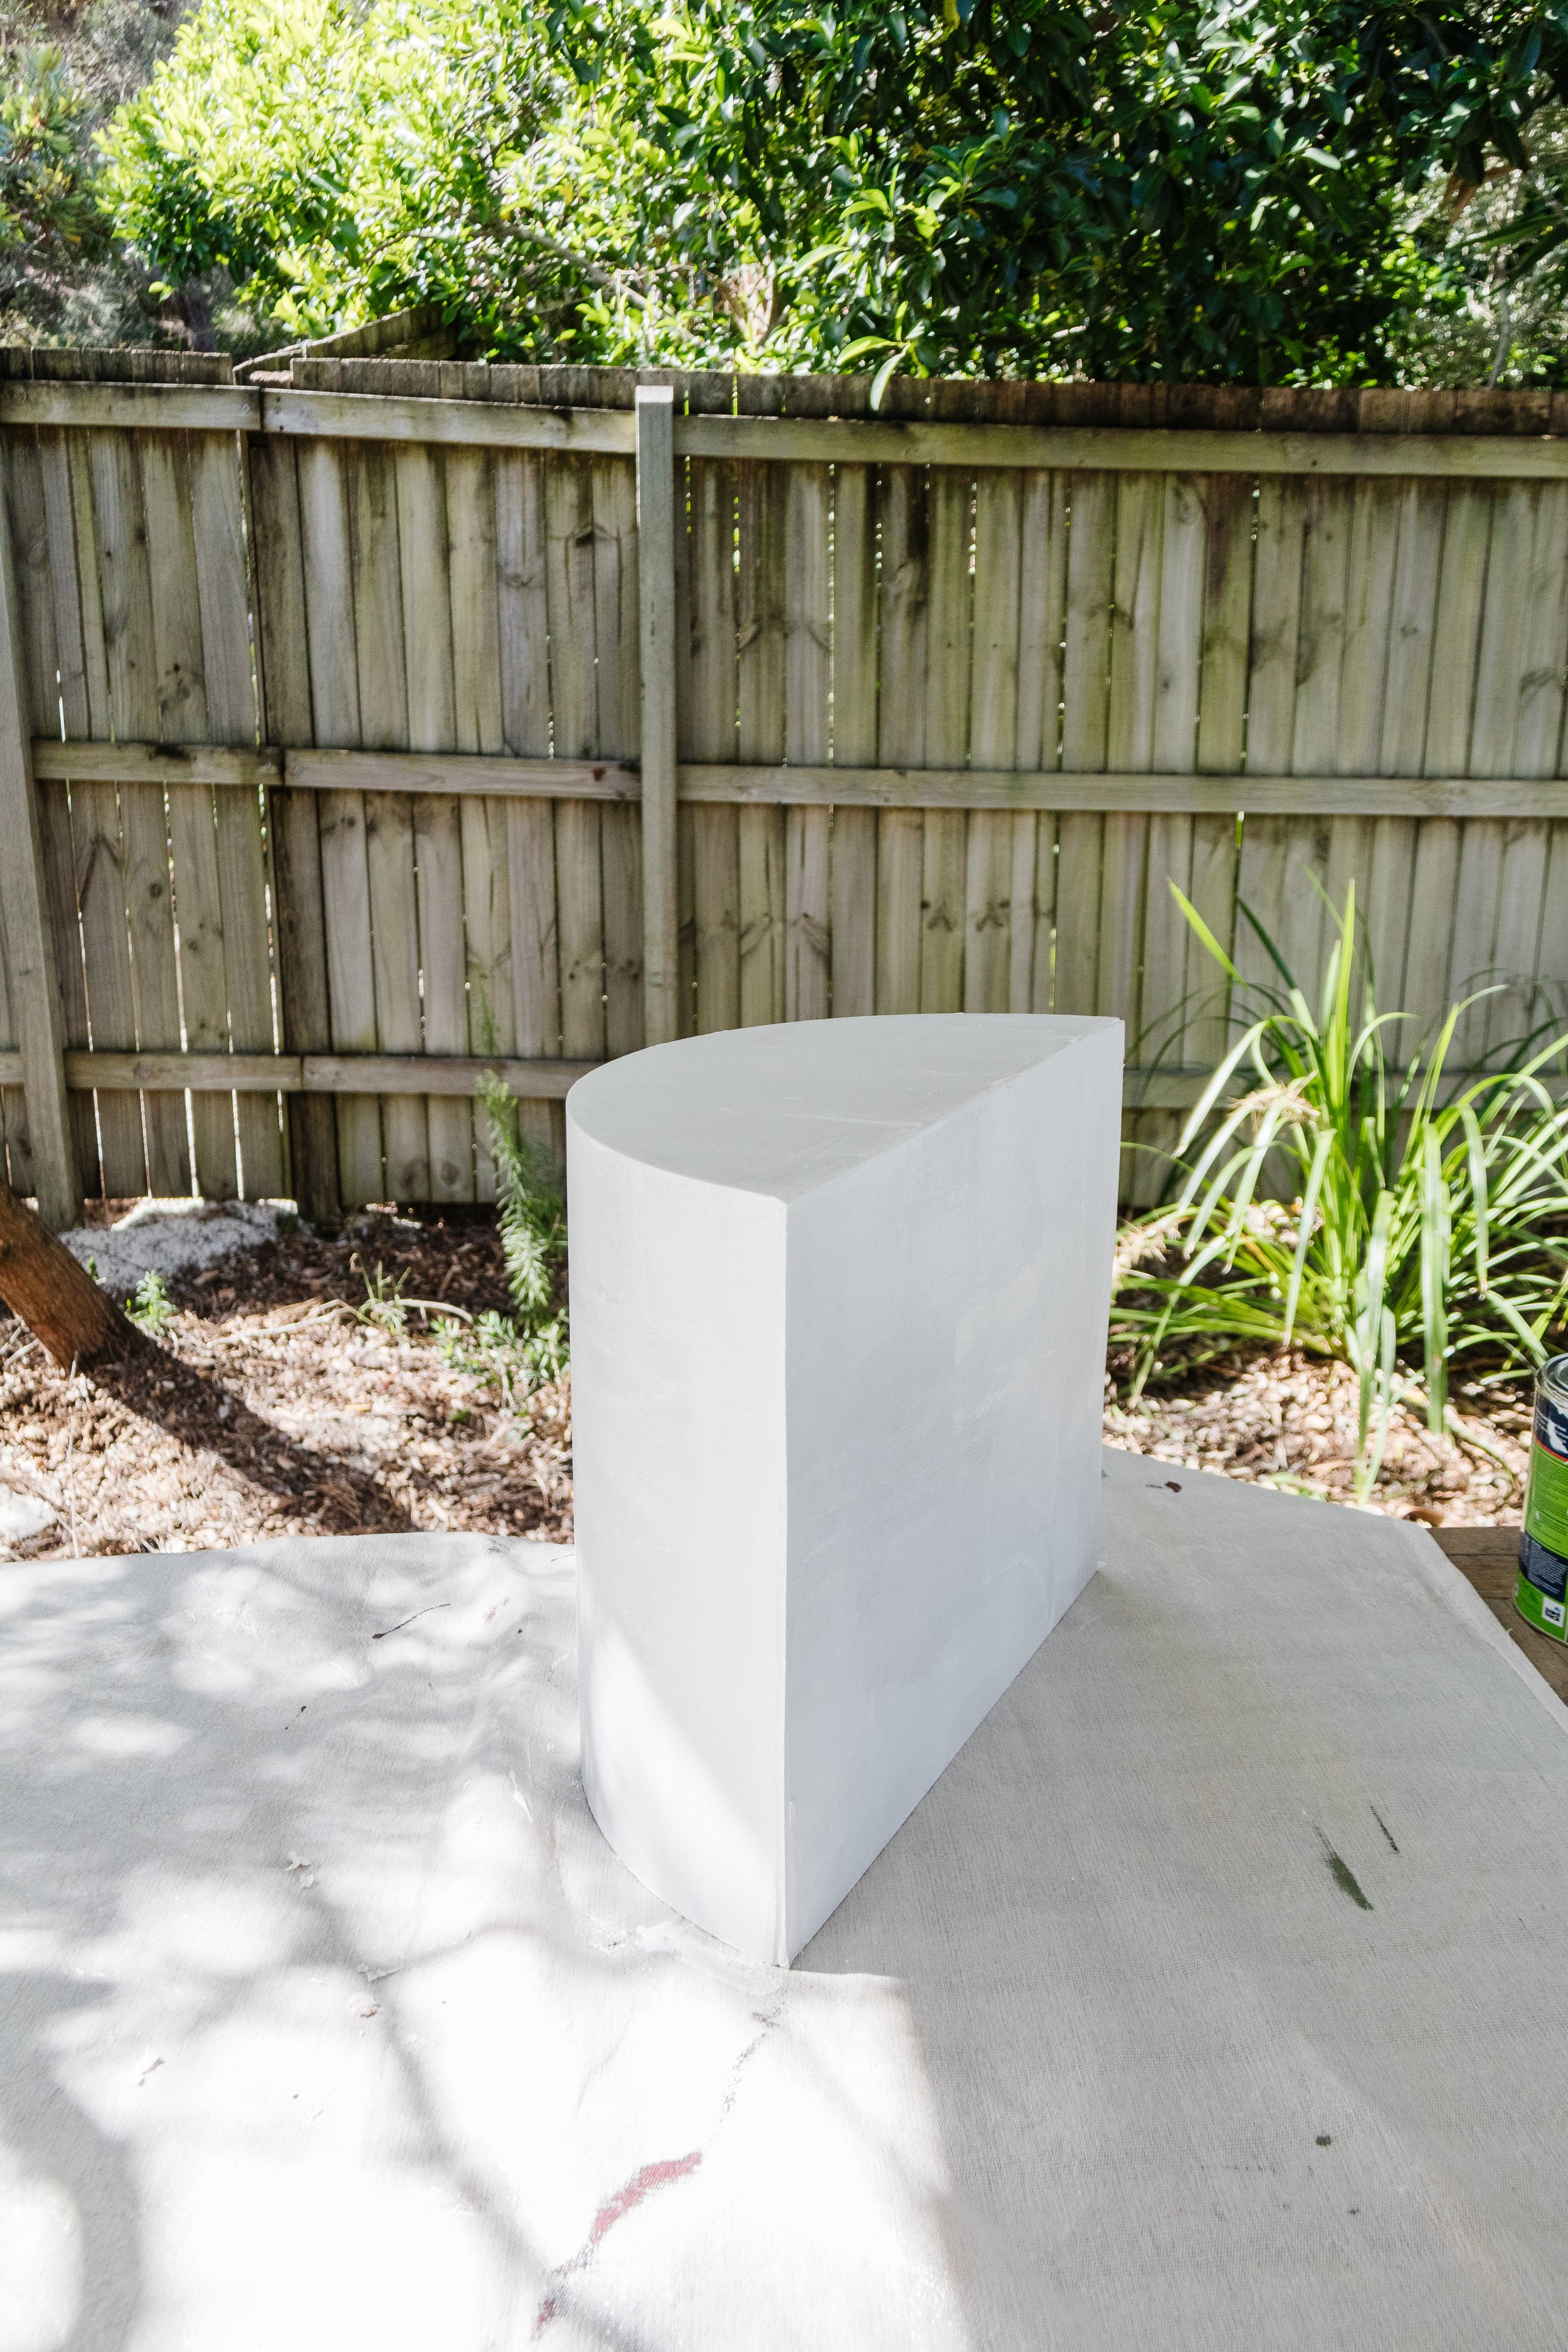
Step 1: To begin with I measured, marked and cut the Kmart side table in half across the middle using a jigsaw. I traced around the sides onto the 3mm MDF panel using a felt tip pen, which I then cut using a jigsaw and smoothed the edges using a detail sander. I glued each cut piece of MDF onto the sides of each cut side table using construction adhesive (to close them in). I kept the MDF secured in place using painters tape.
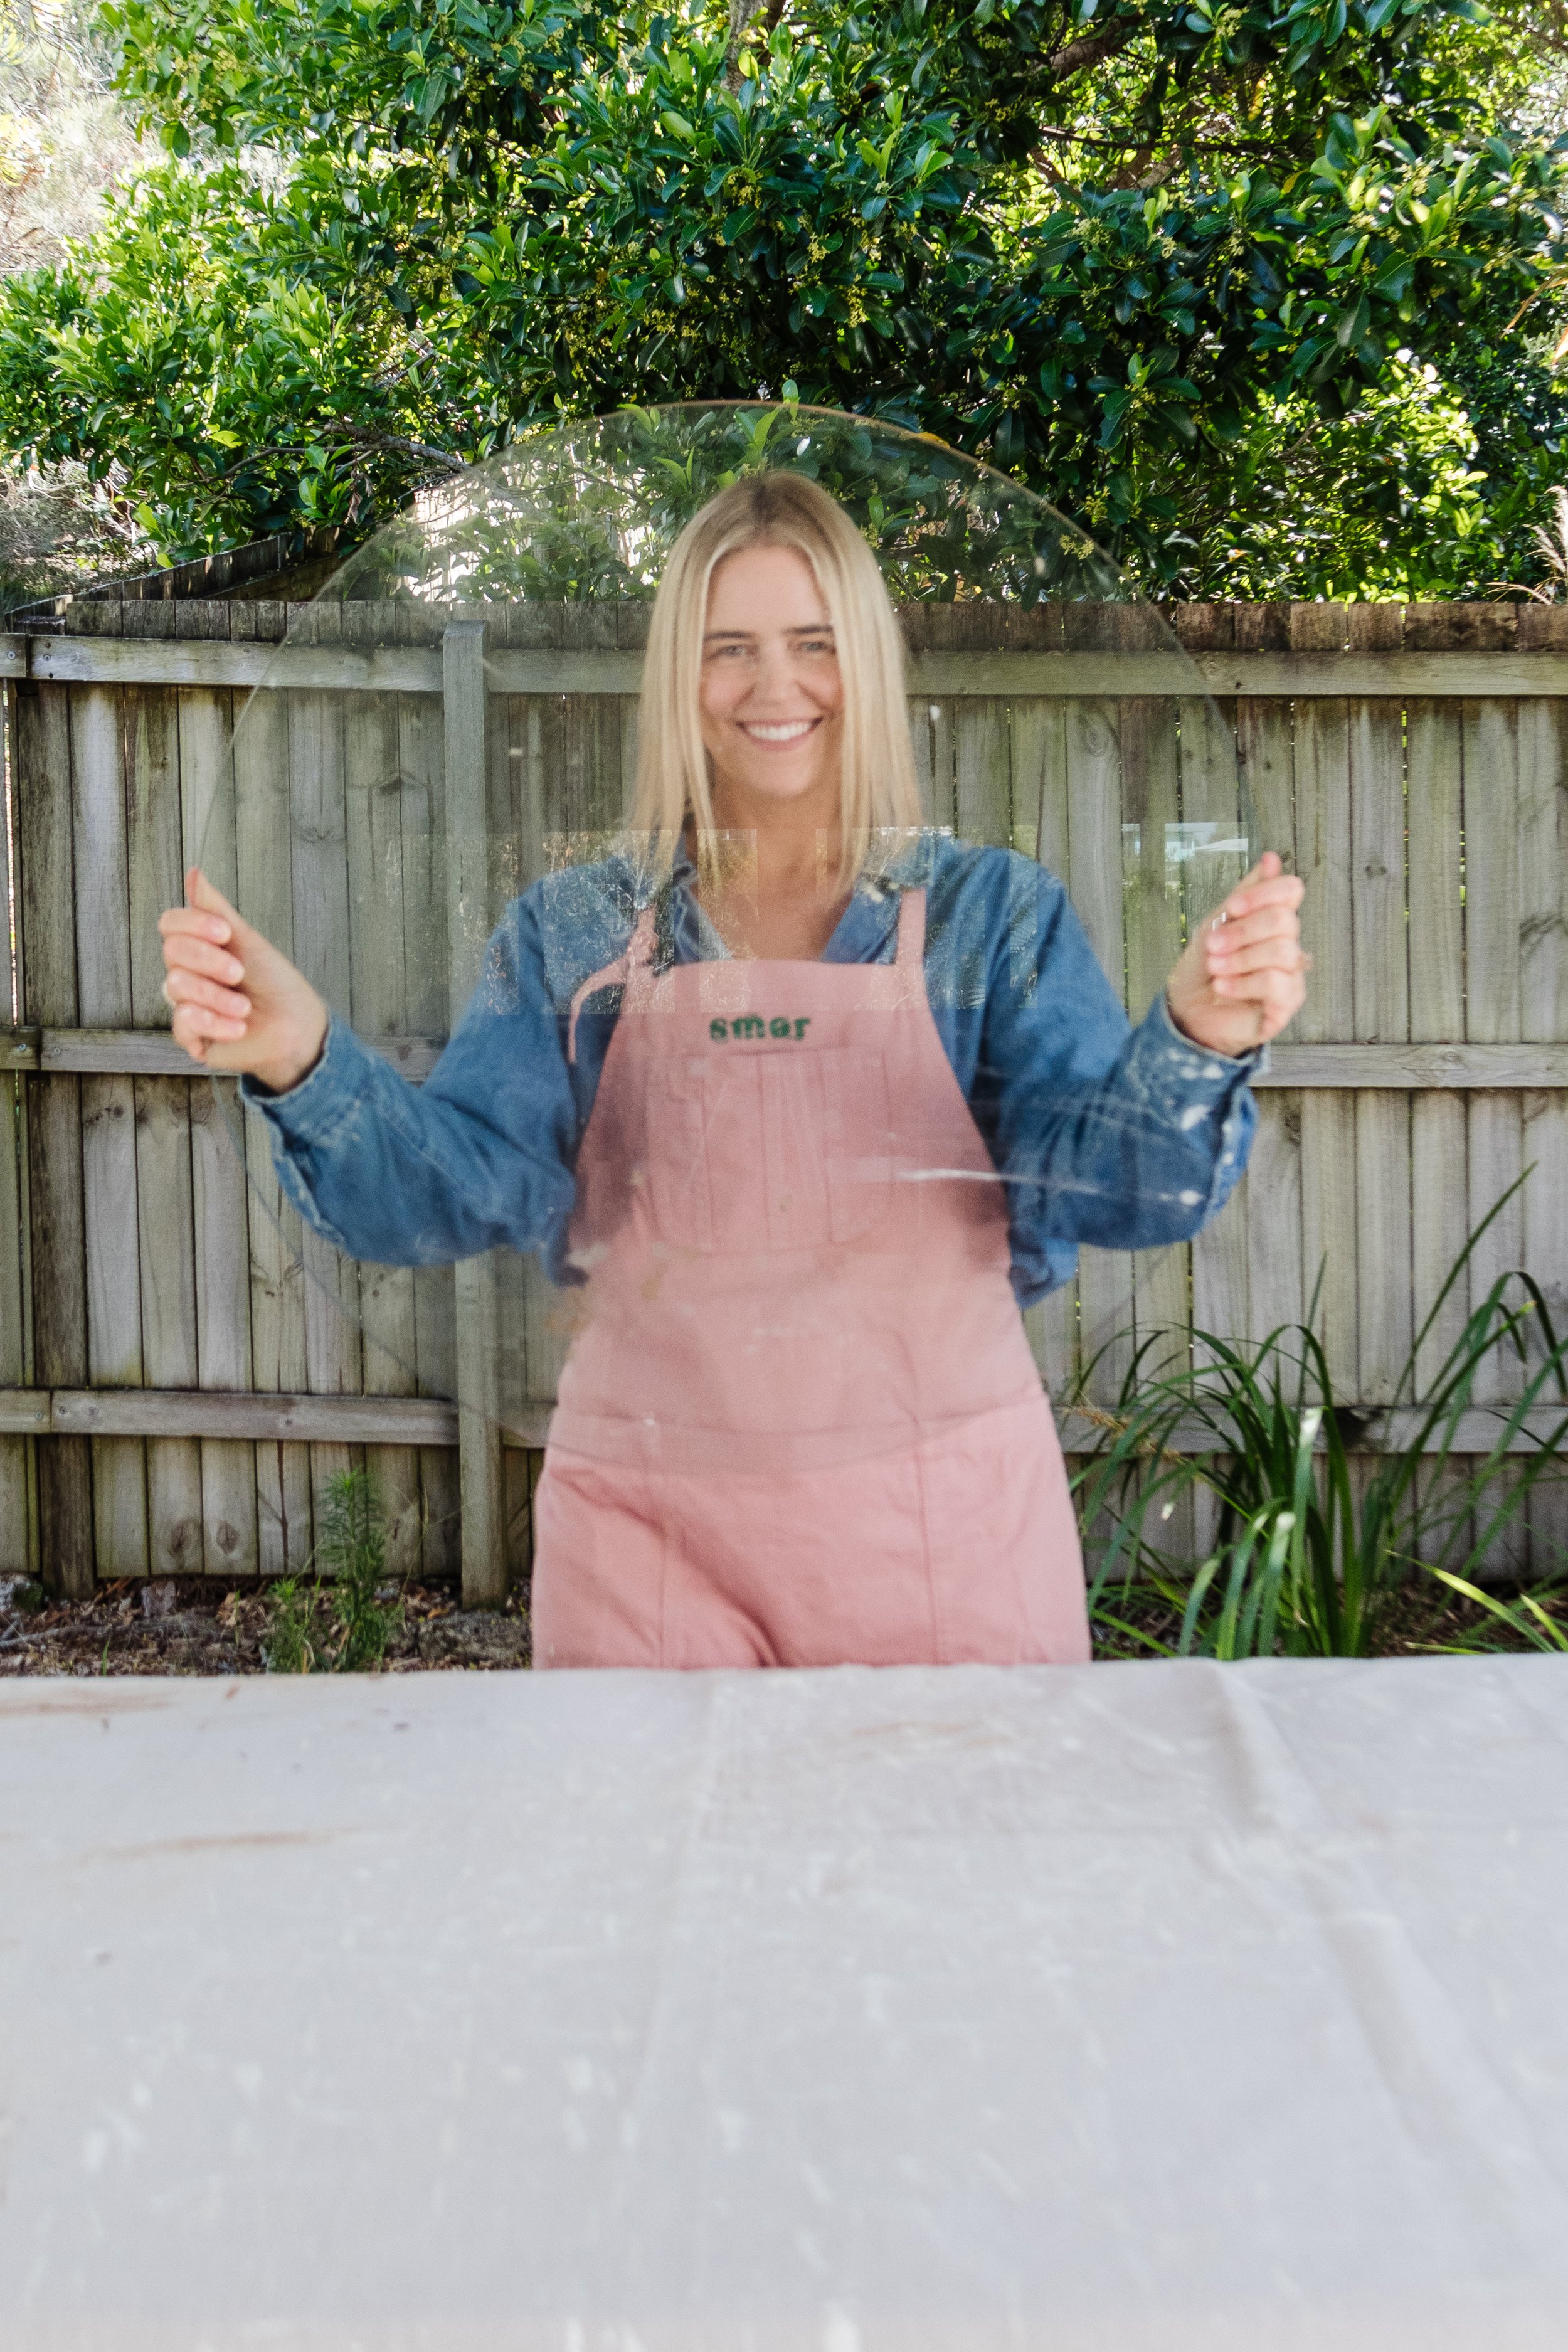
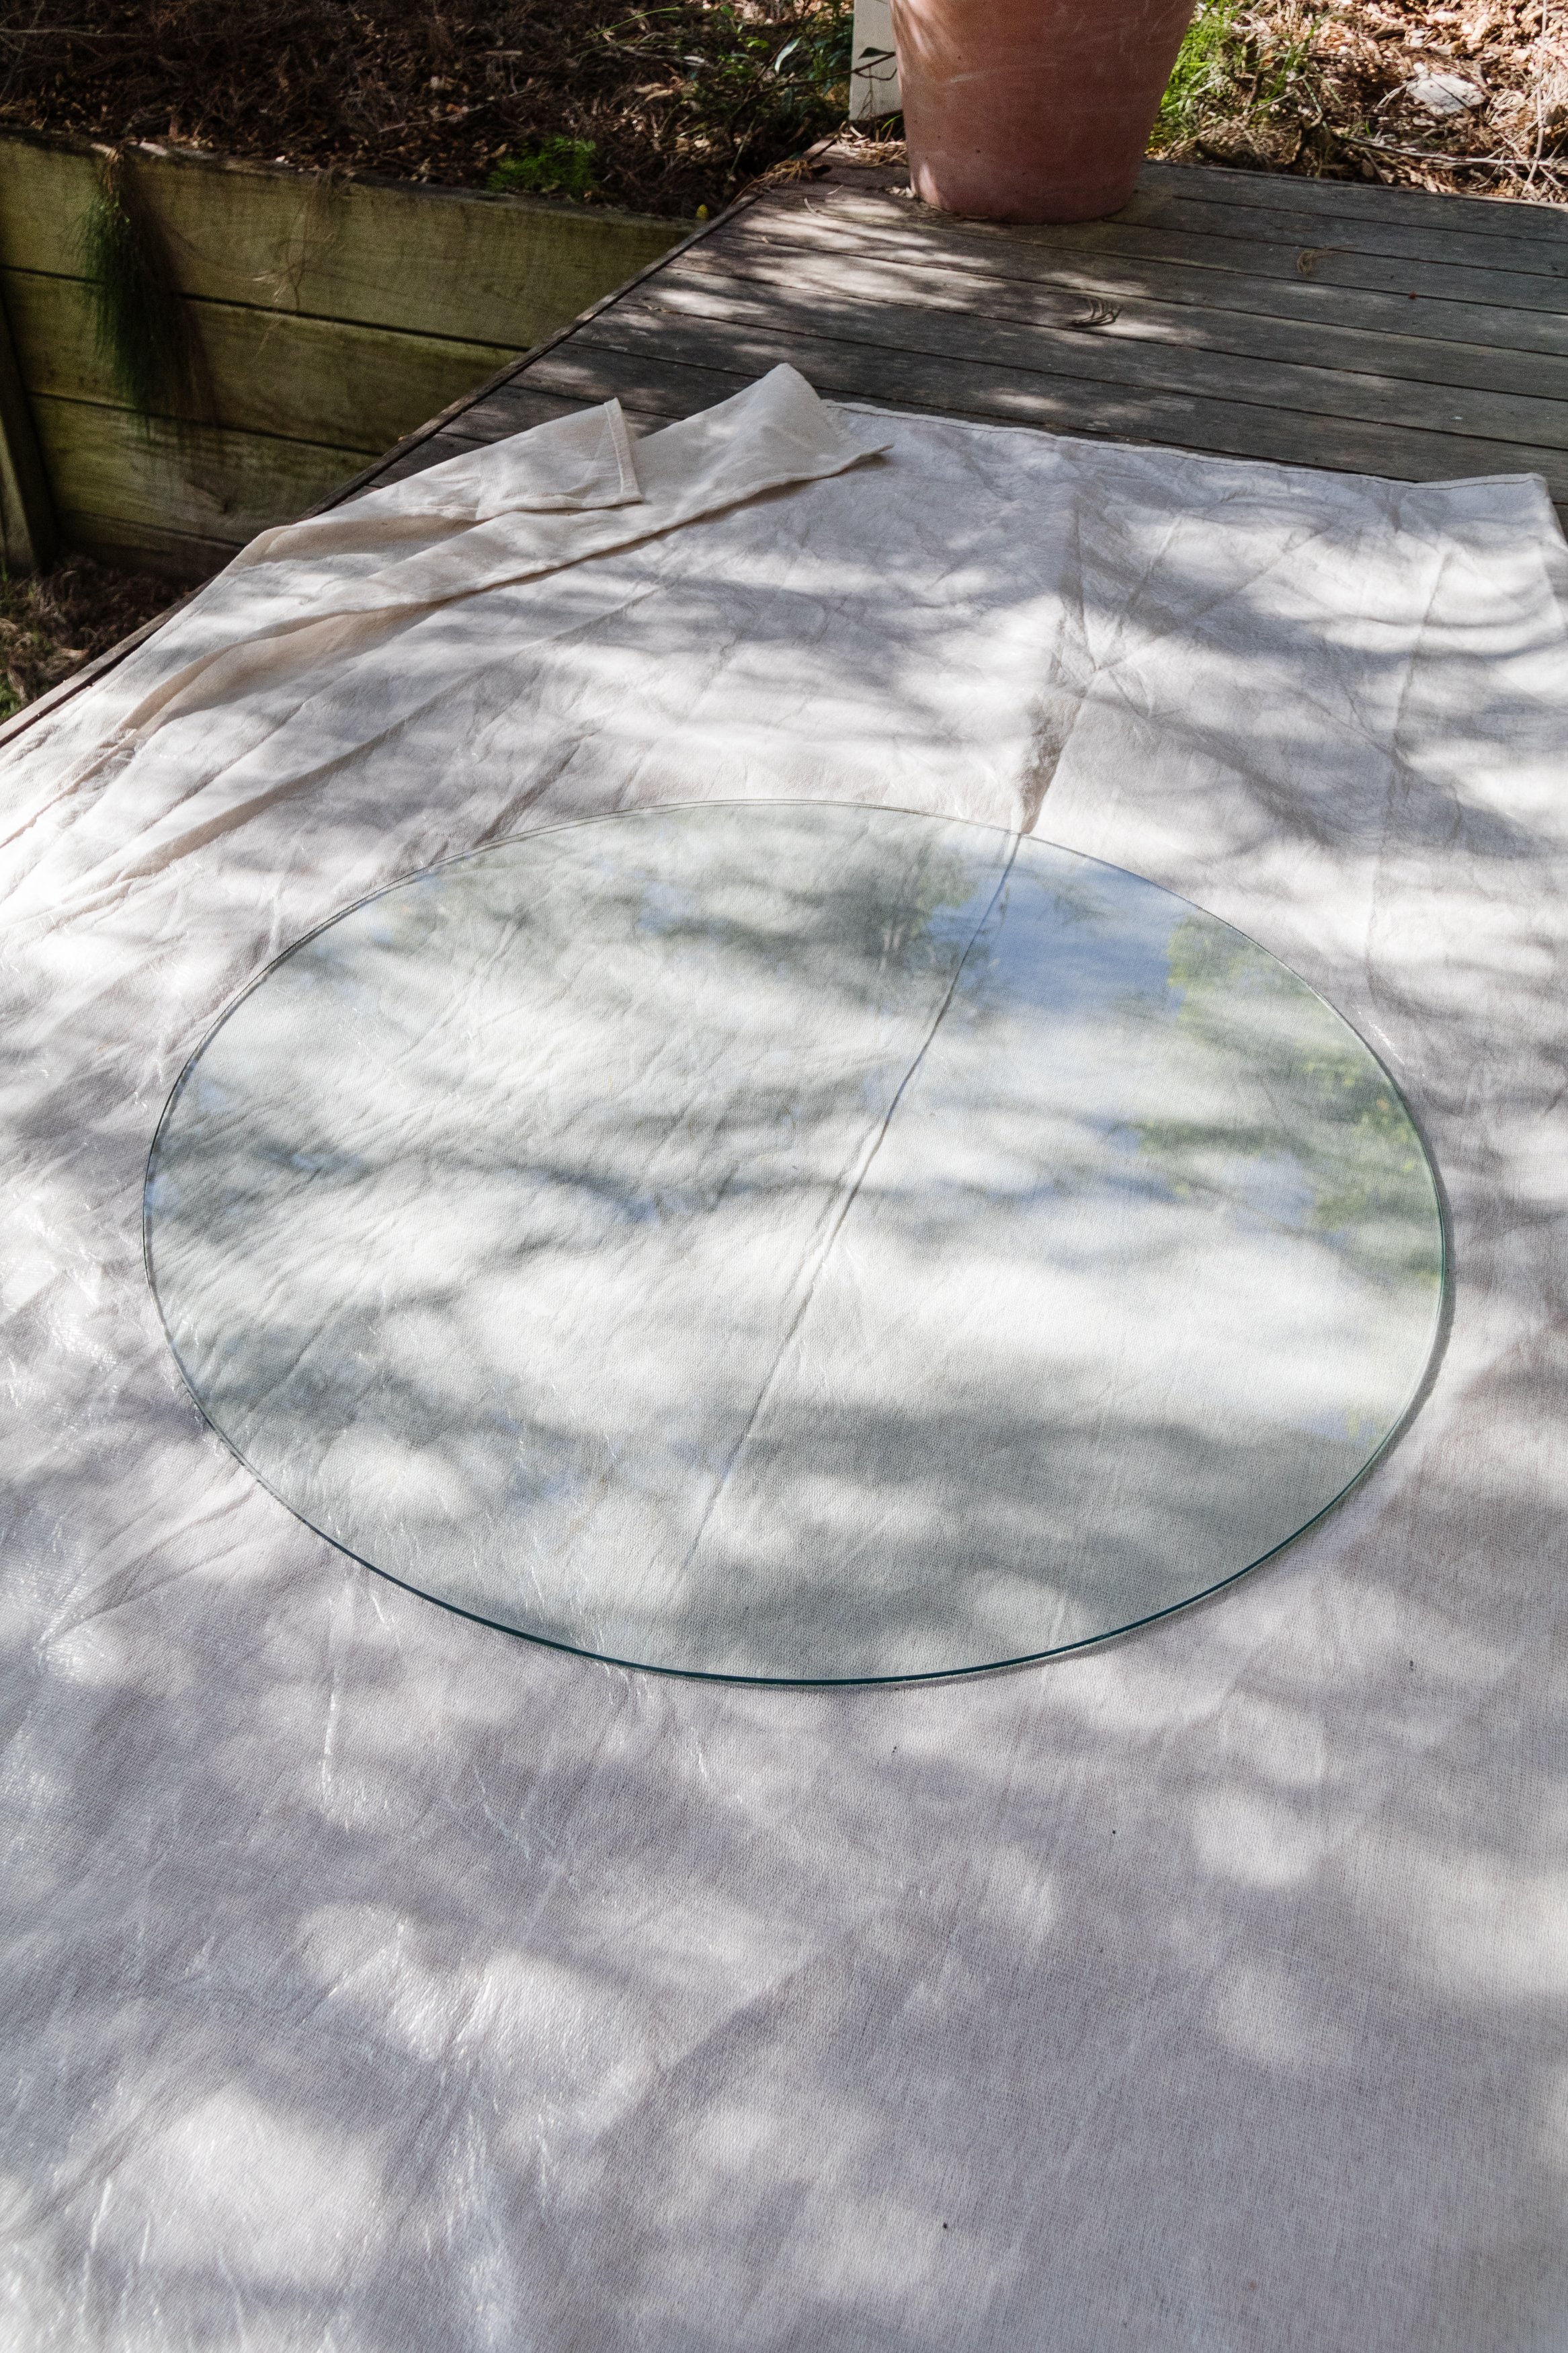
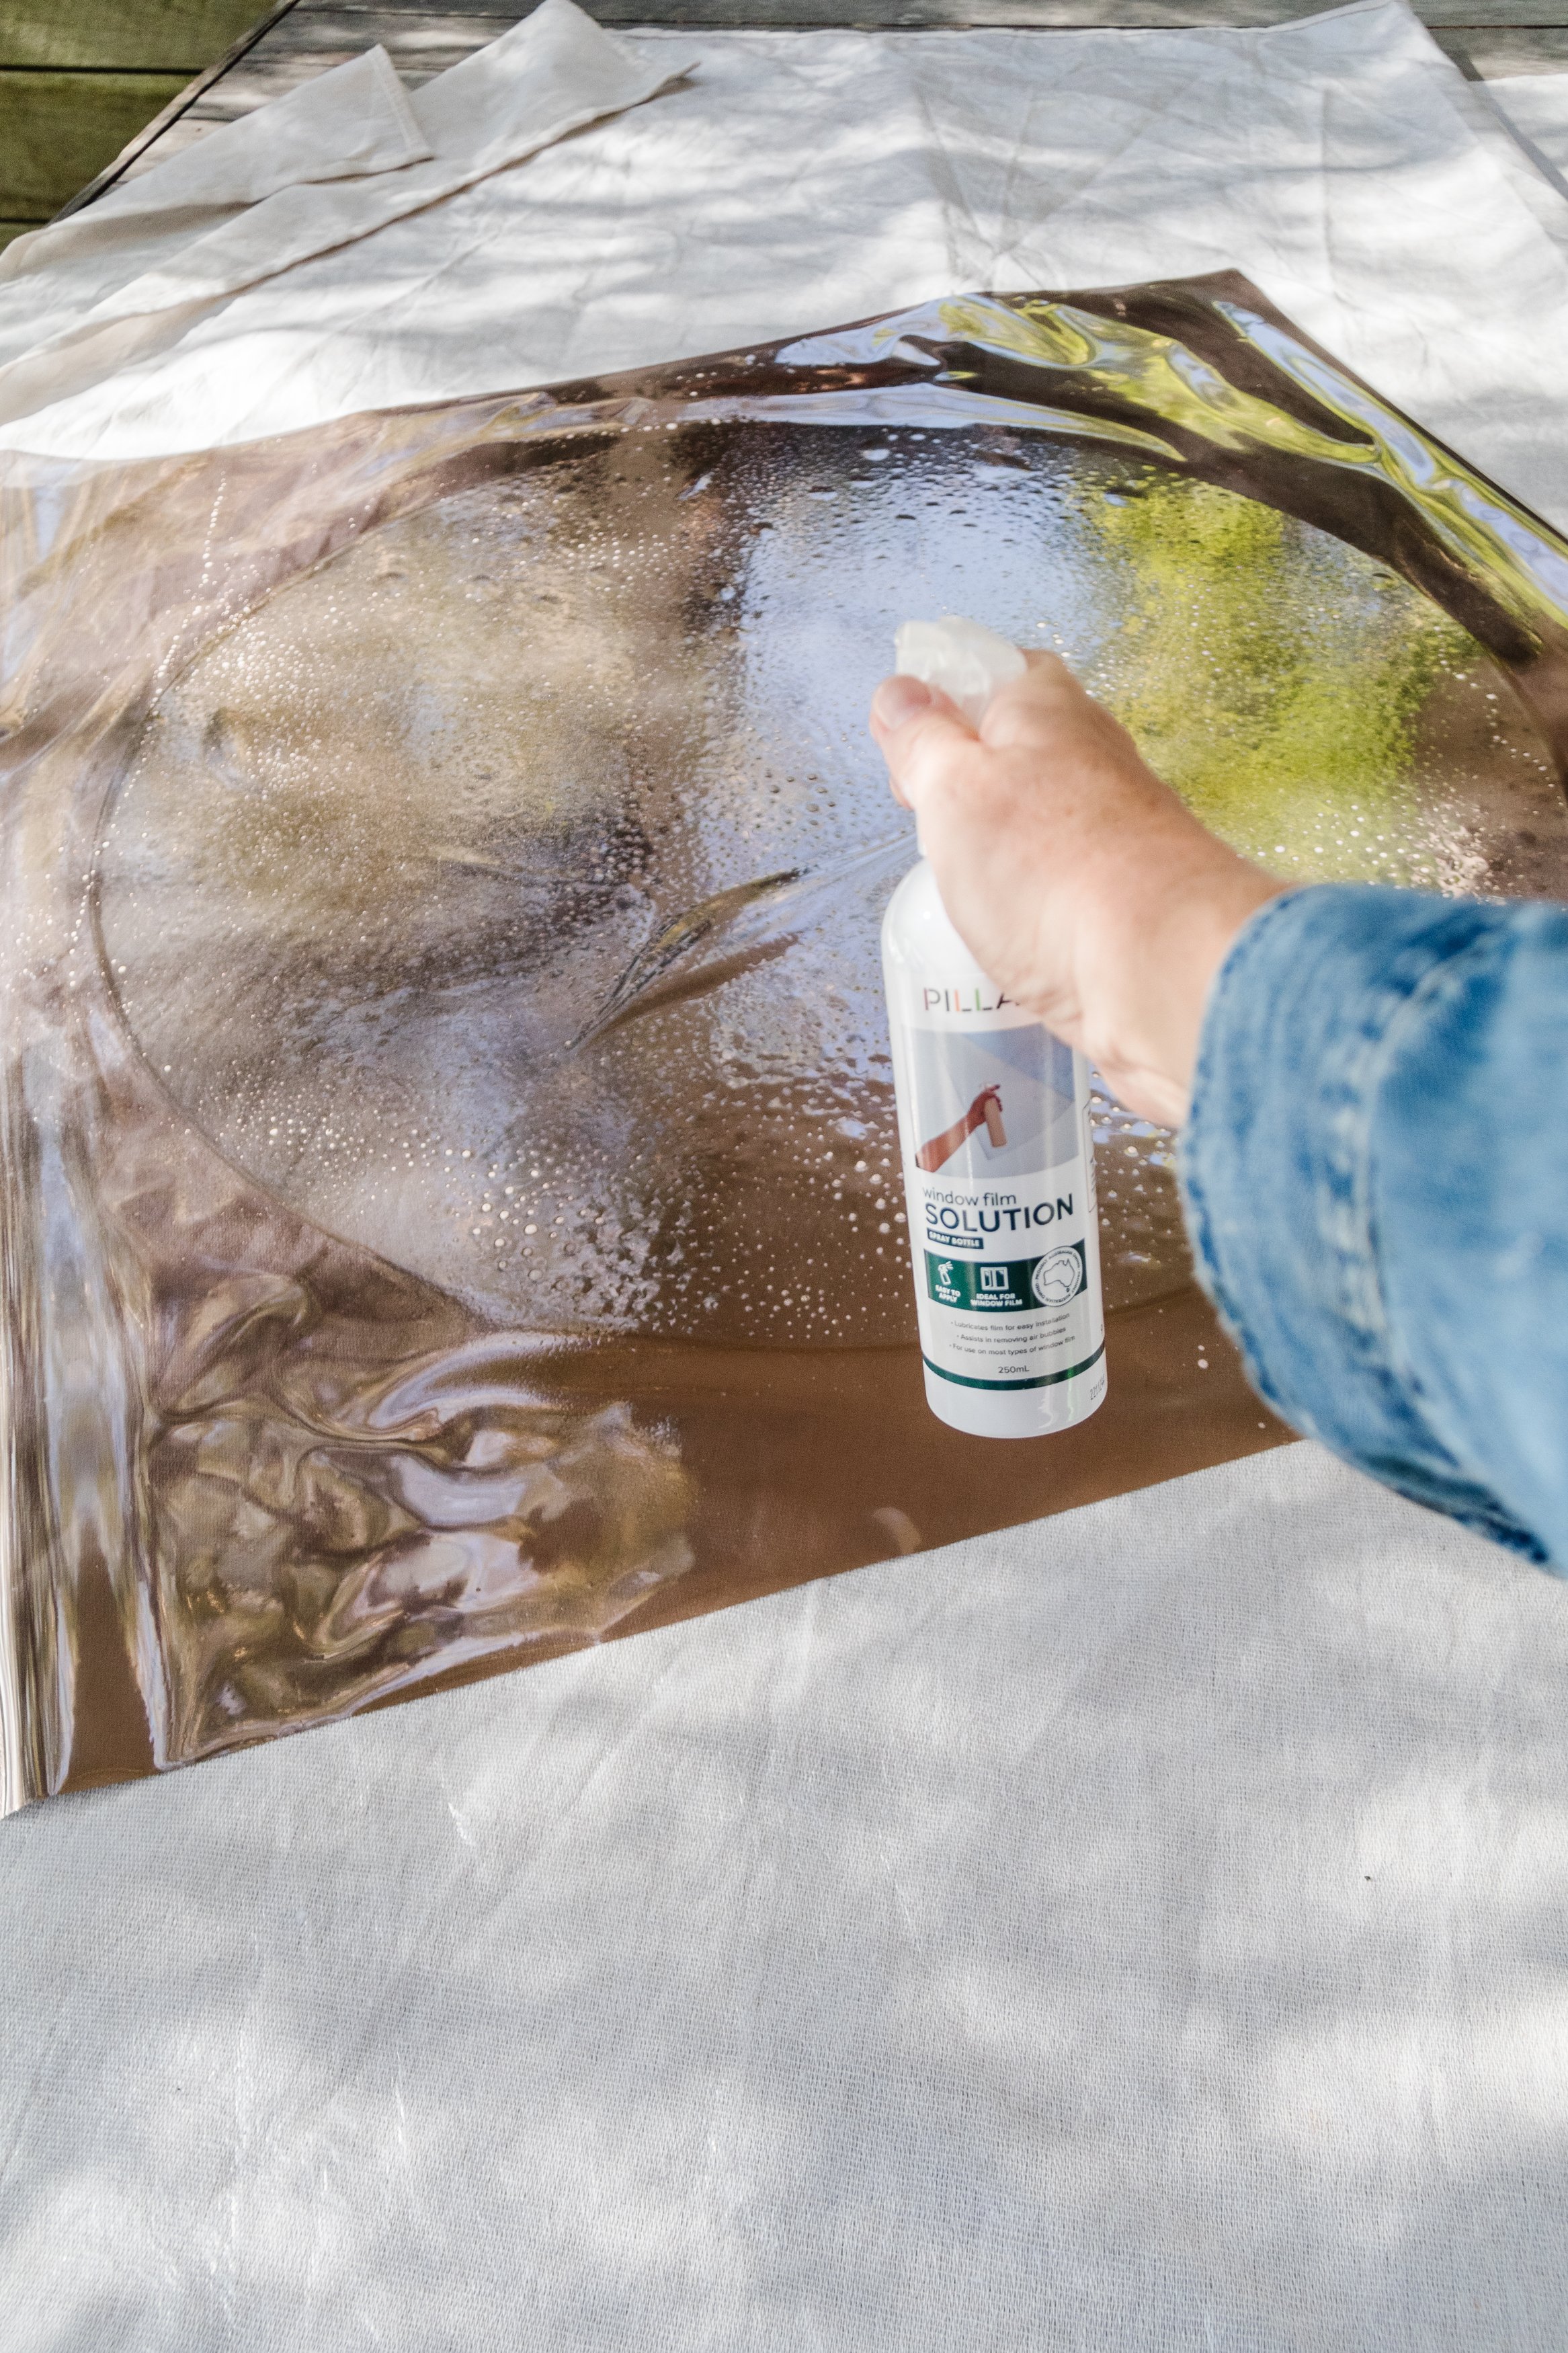
Step 2: While the glue was drying, I applied the bronze window film to the round glass panel using the application solution and applicator:
Thoroughly clean glass to remove all dirt and debris using an ammonia-free cleaner, scraper and a lint-free cloth.
Measure width and height of glass area to cover using a metal tape measure for accuracy.
On a clean flat surface, cut window film 20-25mm wider than required along all sides to ensure coverage.
Peel away backing by placing a small piece of painters tape front and back on 1 corner of film and separate.
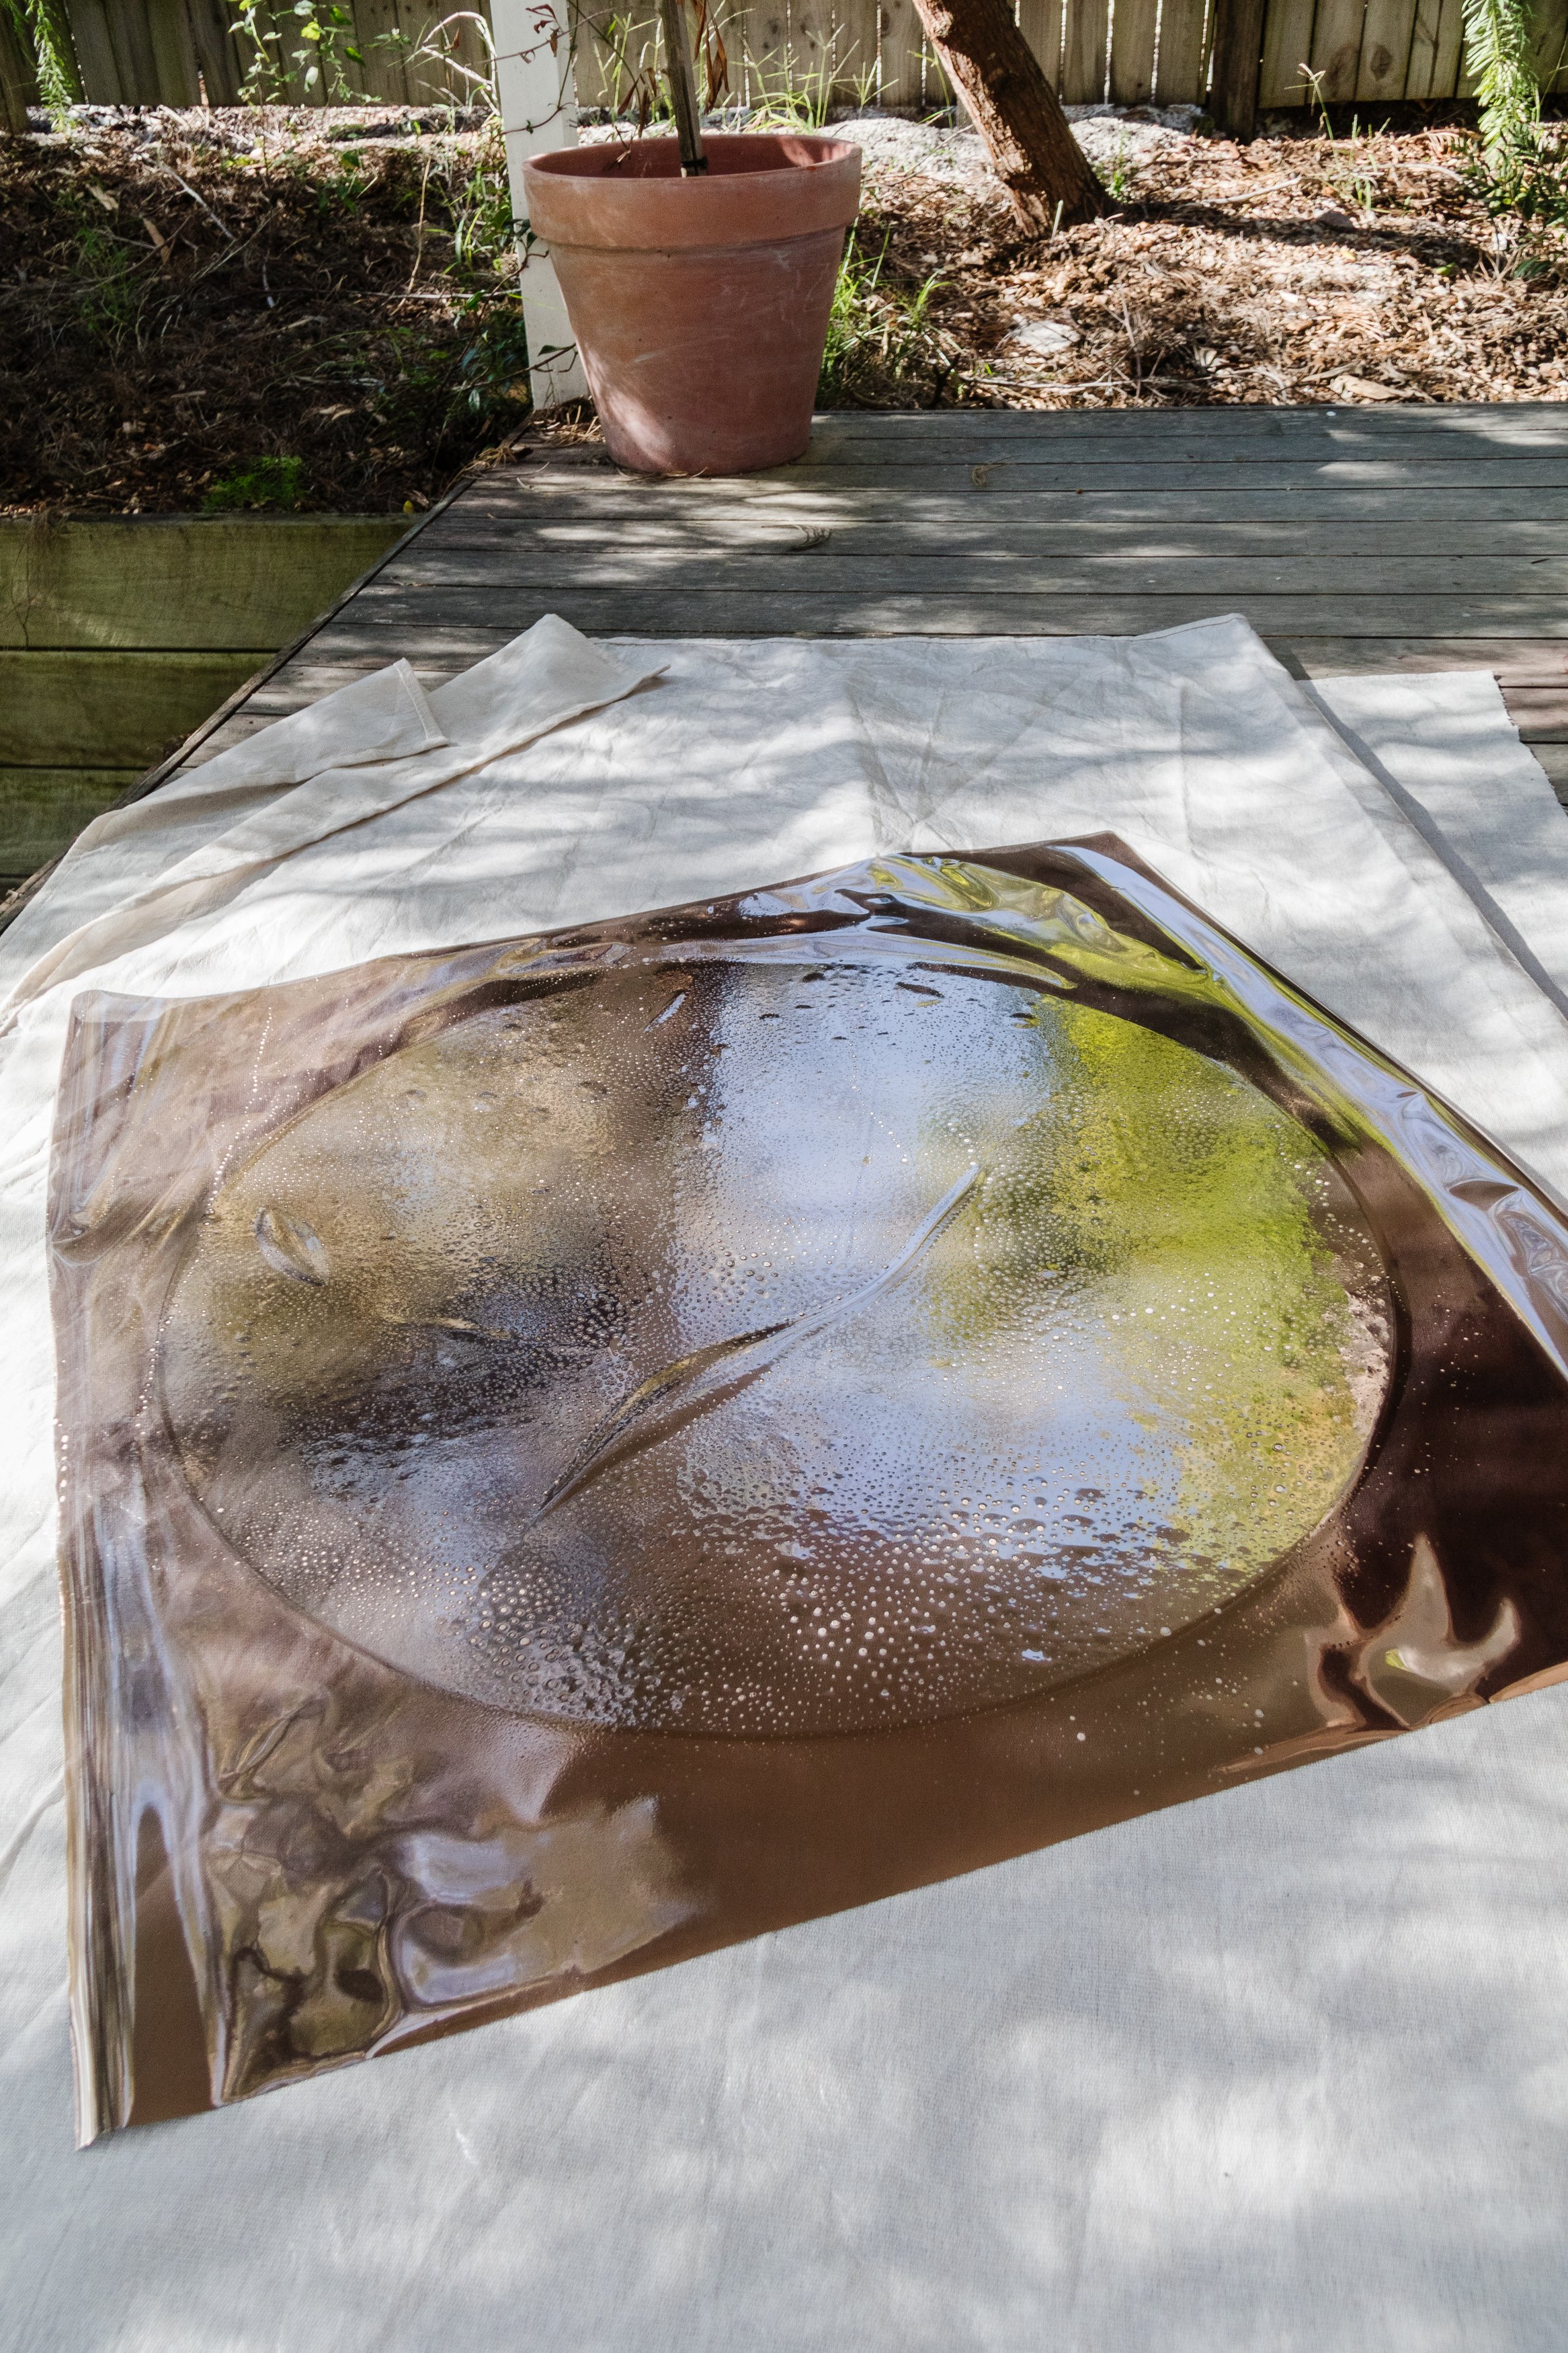
Apply a generous amount of Application Solution to glass and BOTH sides of window film to allow for easy installation.
Place adhesive side of film against glass and gently manoeuvre film into position. Smooth out bubbles by hand.
For extra lubrication spray more Application Solution. Starting from top-centre, use Applicator Tool to work out bubbles to edges.
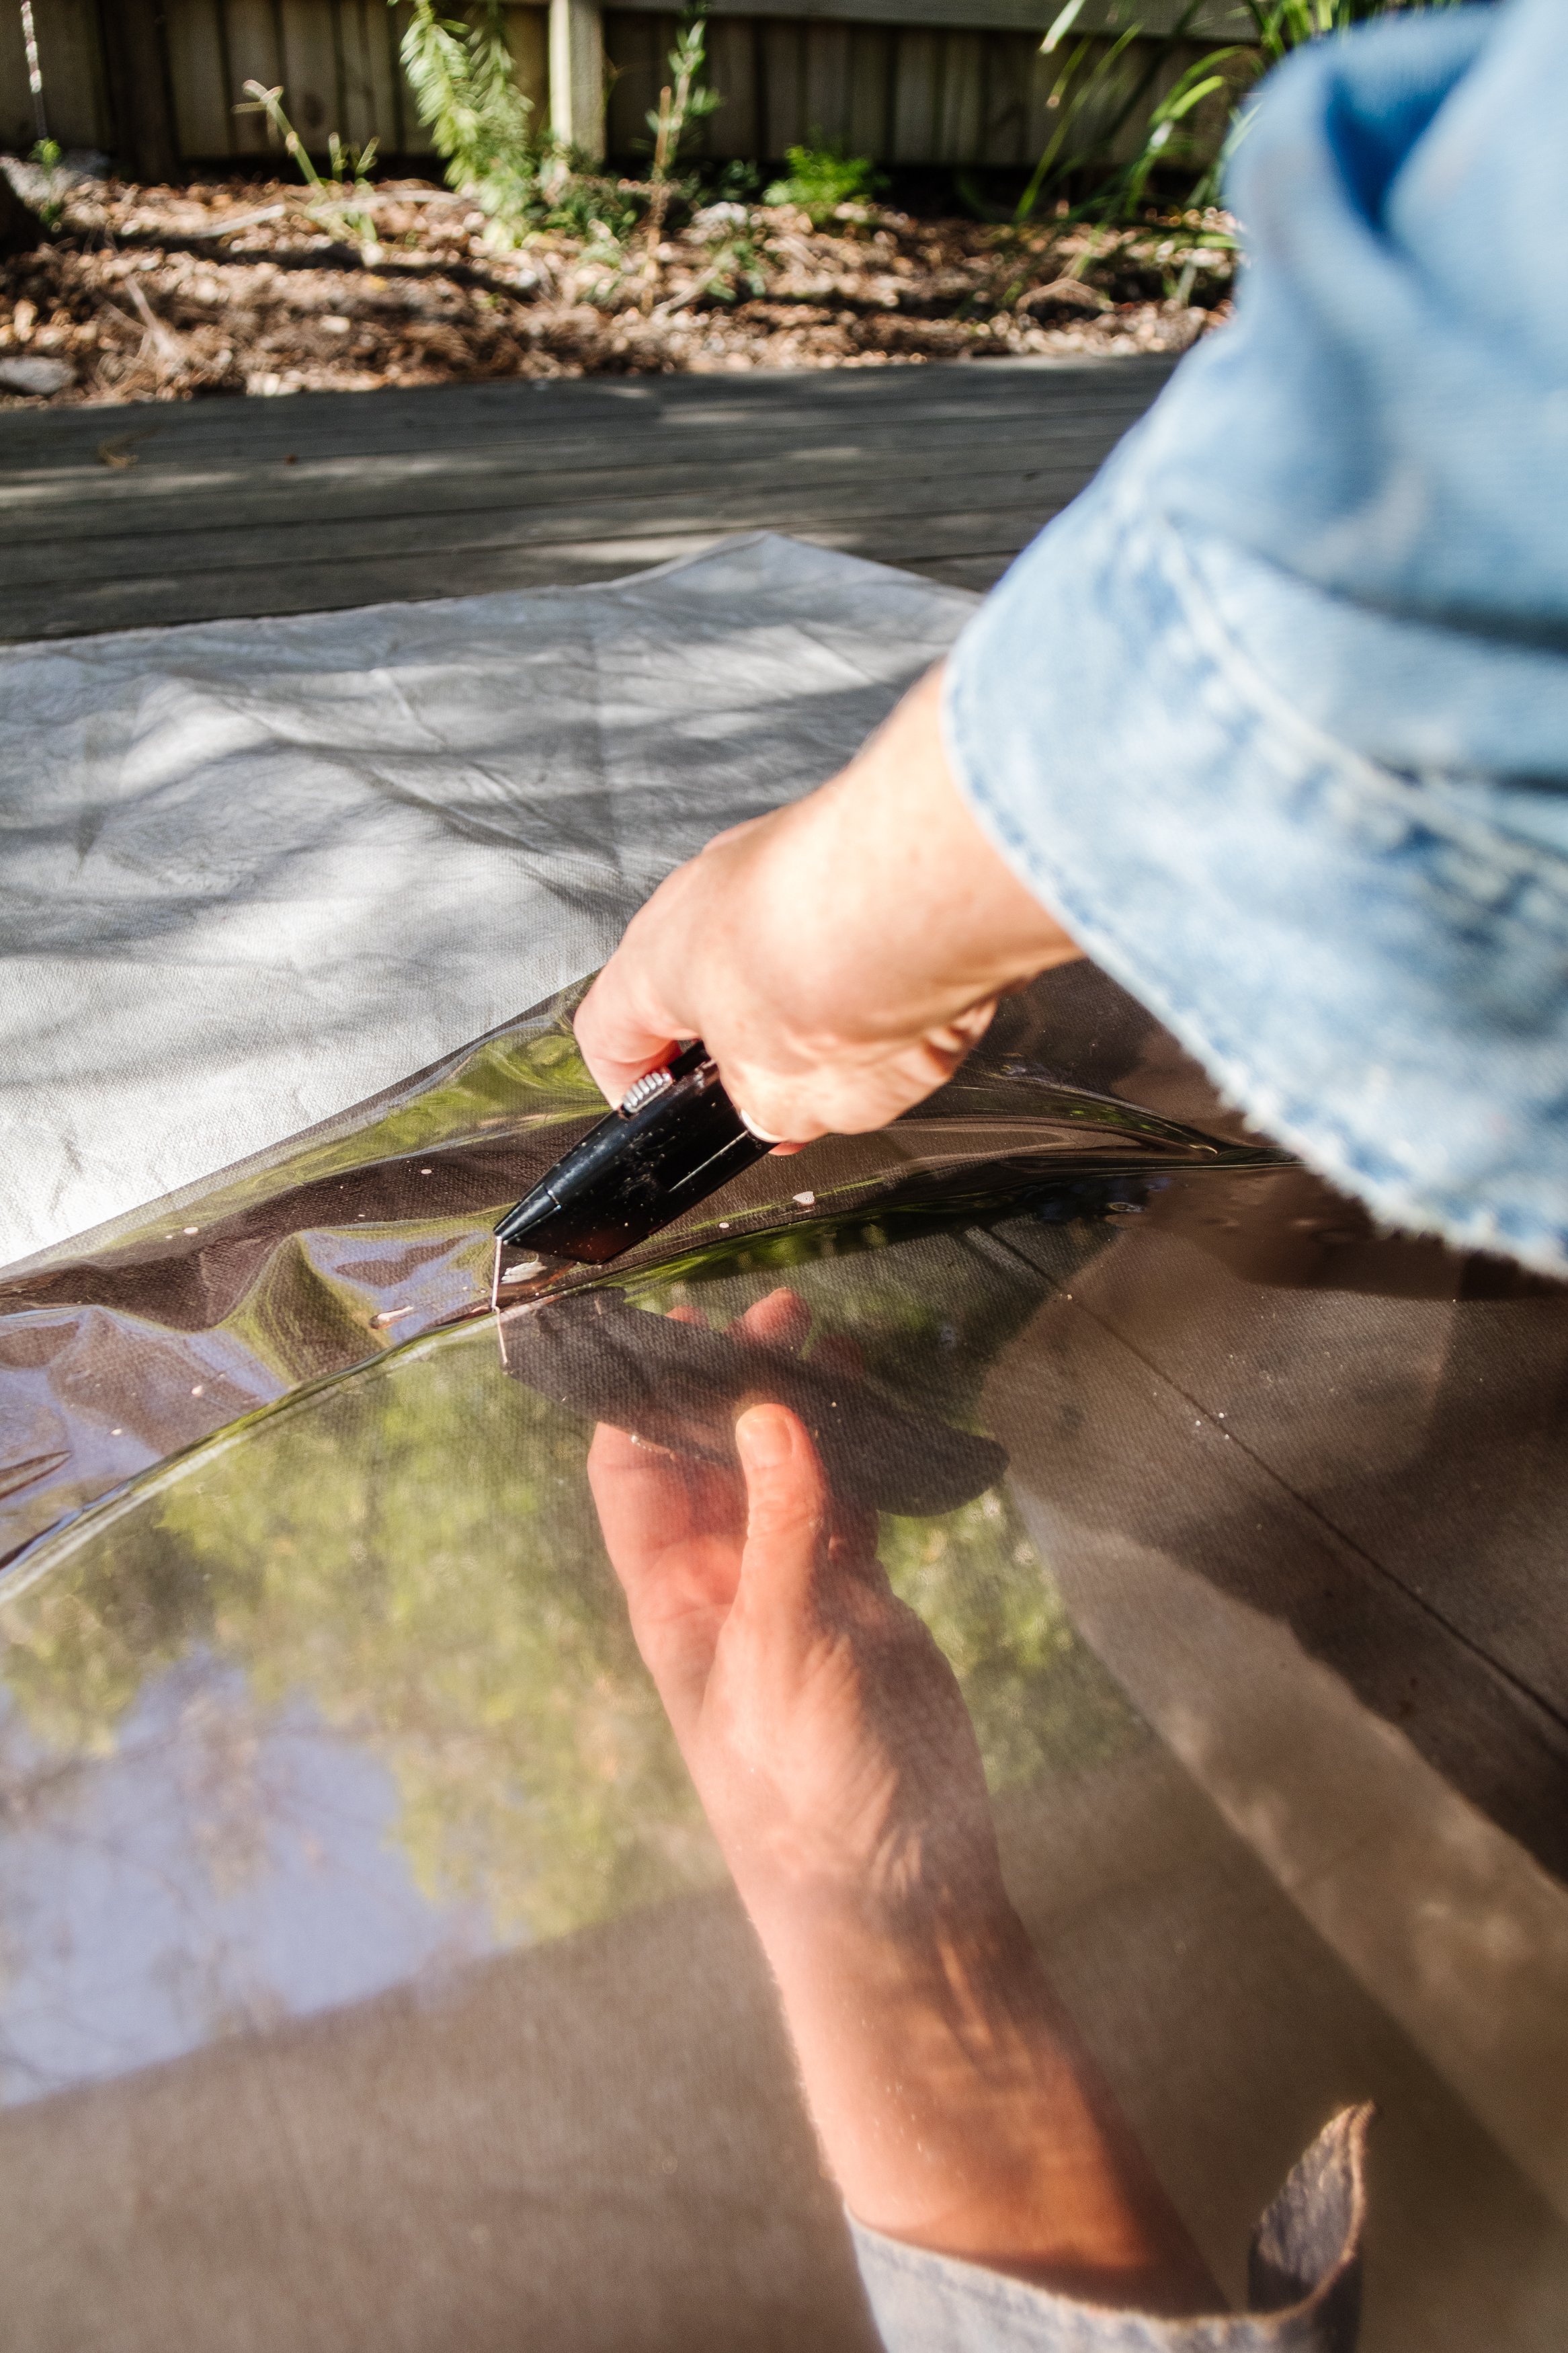
Using a Straight Edge, trim excess film leaving a 1-2mm gap for any water residue to escape.
Lightly spray with more Application Solution and work out any remaining bubbles. Use cloth to capture excess moisture.

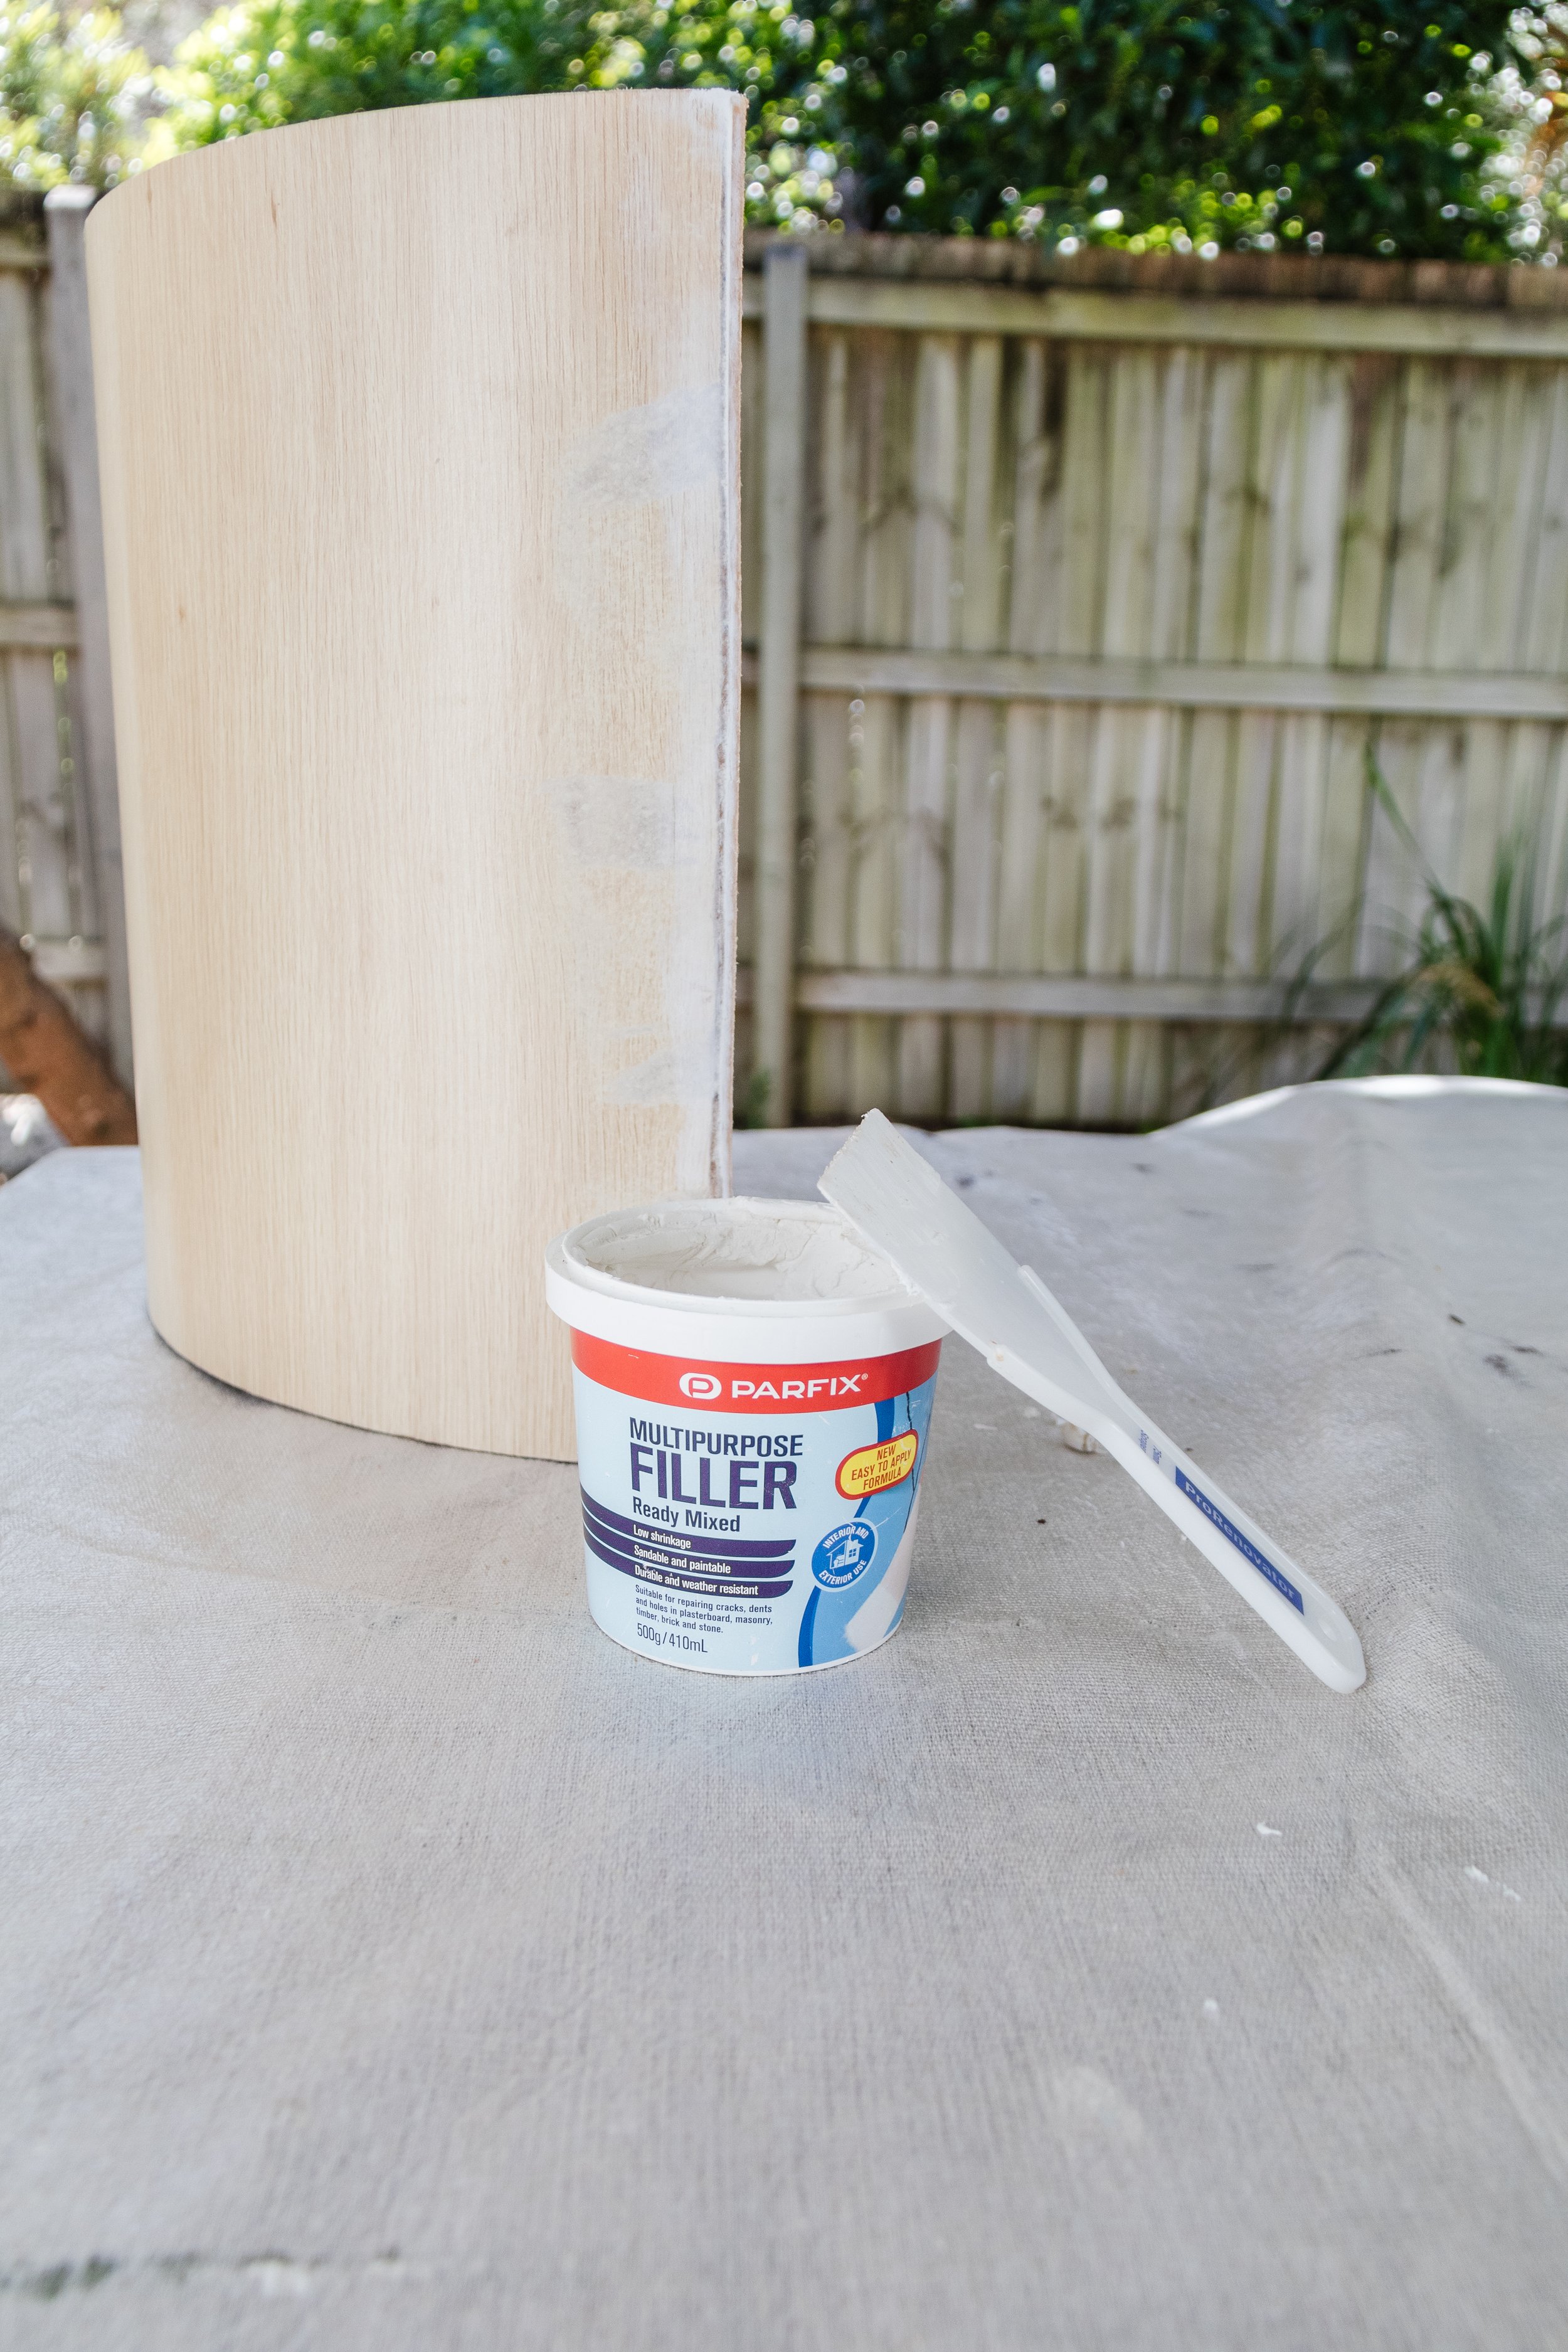
Step 3: I removed the painters tape from the side table base and filled in the gaps using multipurpose filler. When the filler had dried, I applied a coat of white primer all over the base. Then I applied two coats of interior paint using a combination of 3 tins of leftover Dulux pink paint I had at home.
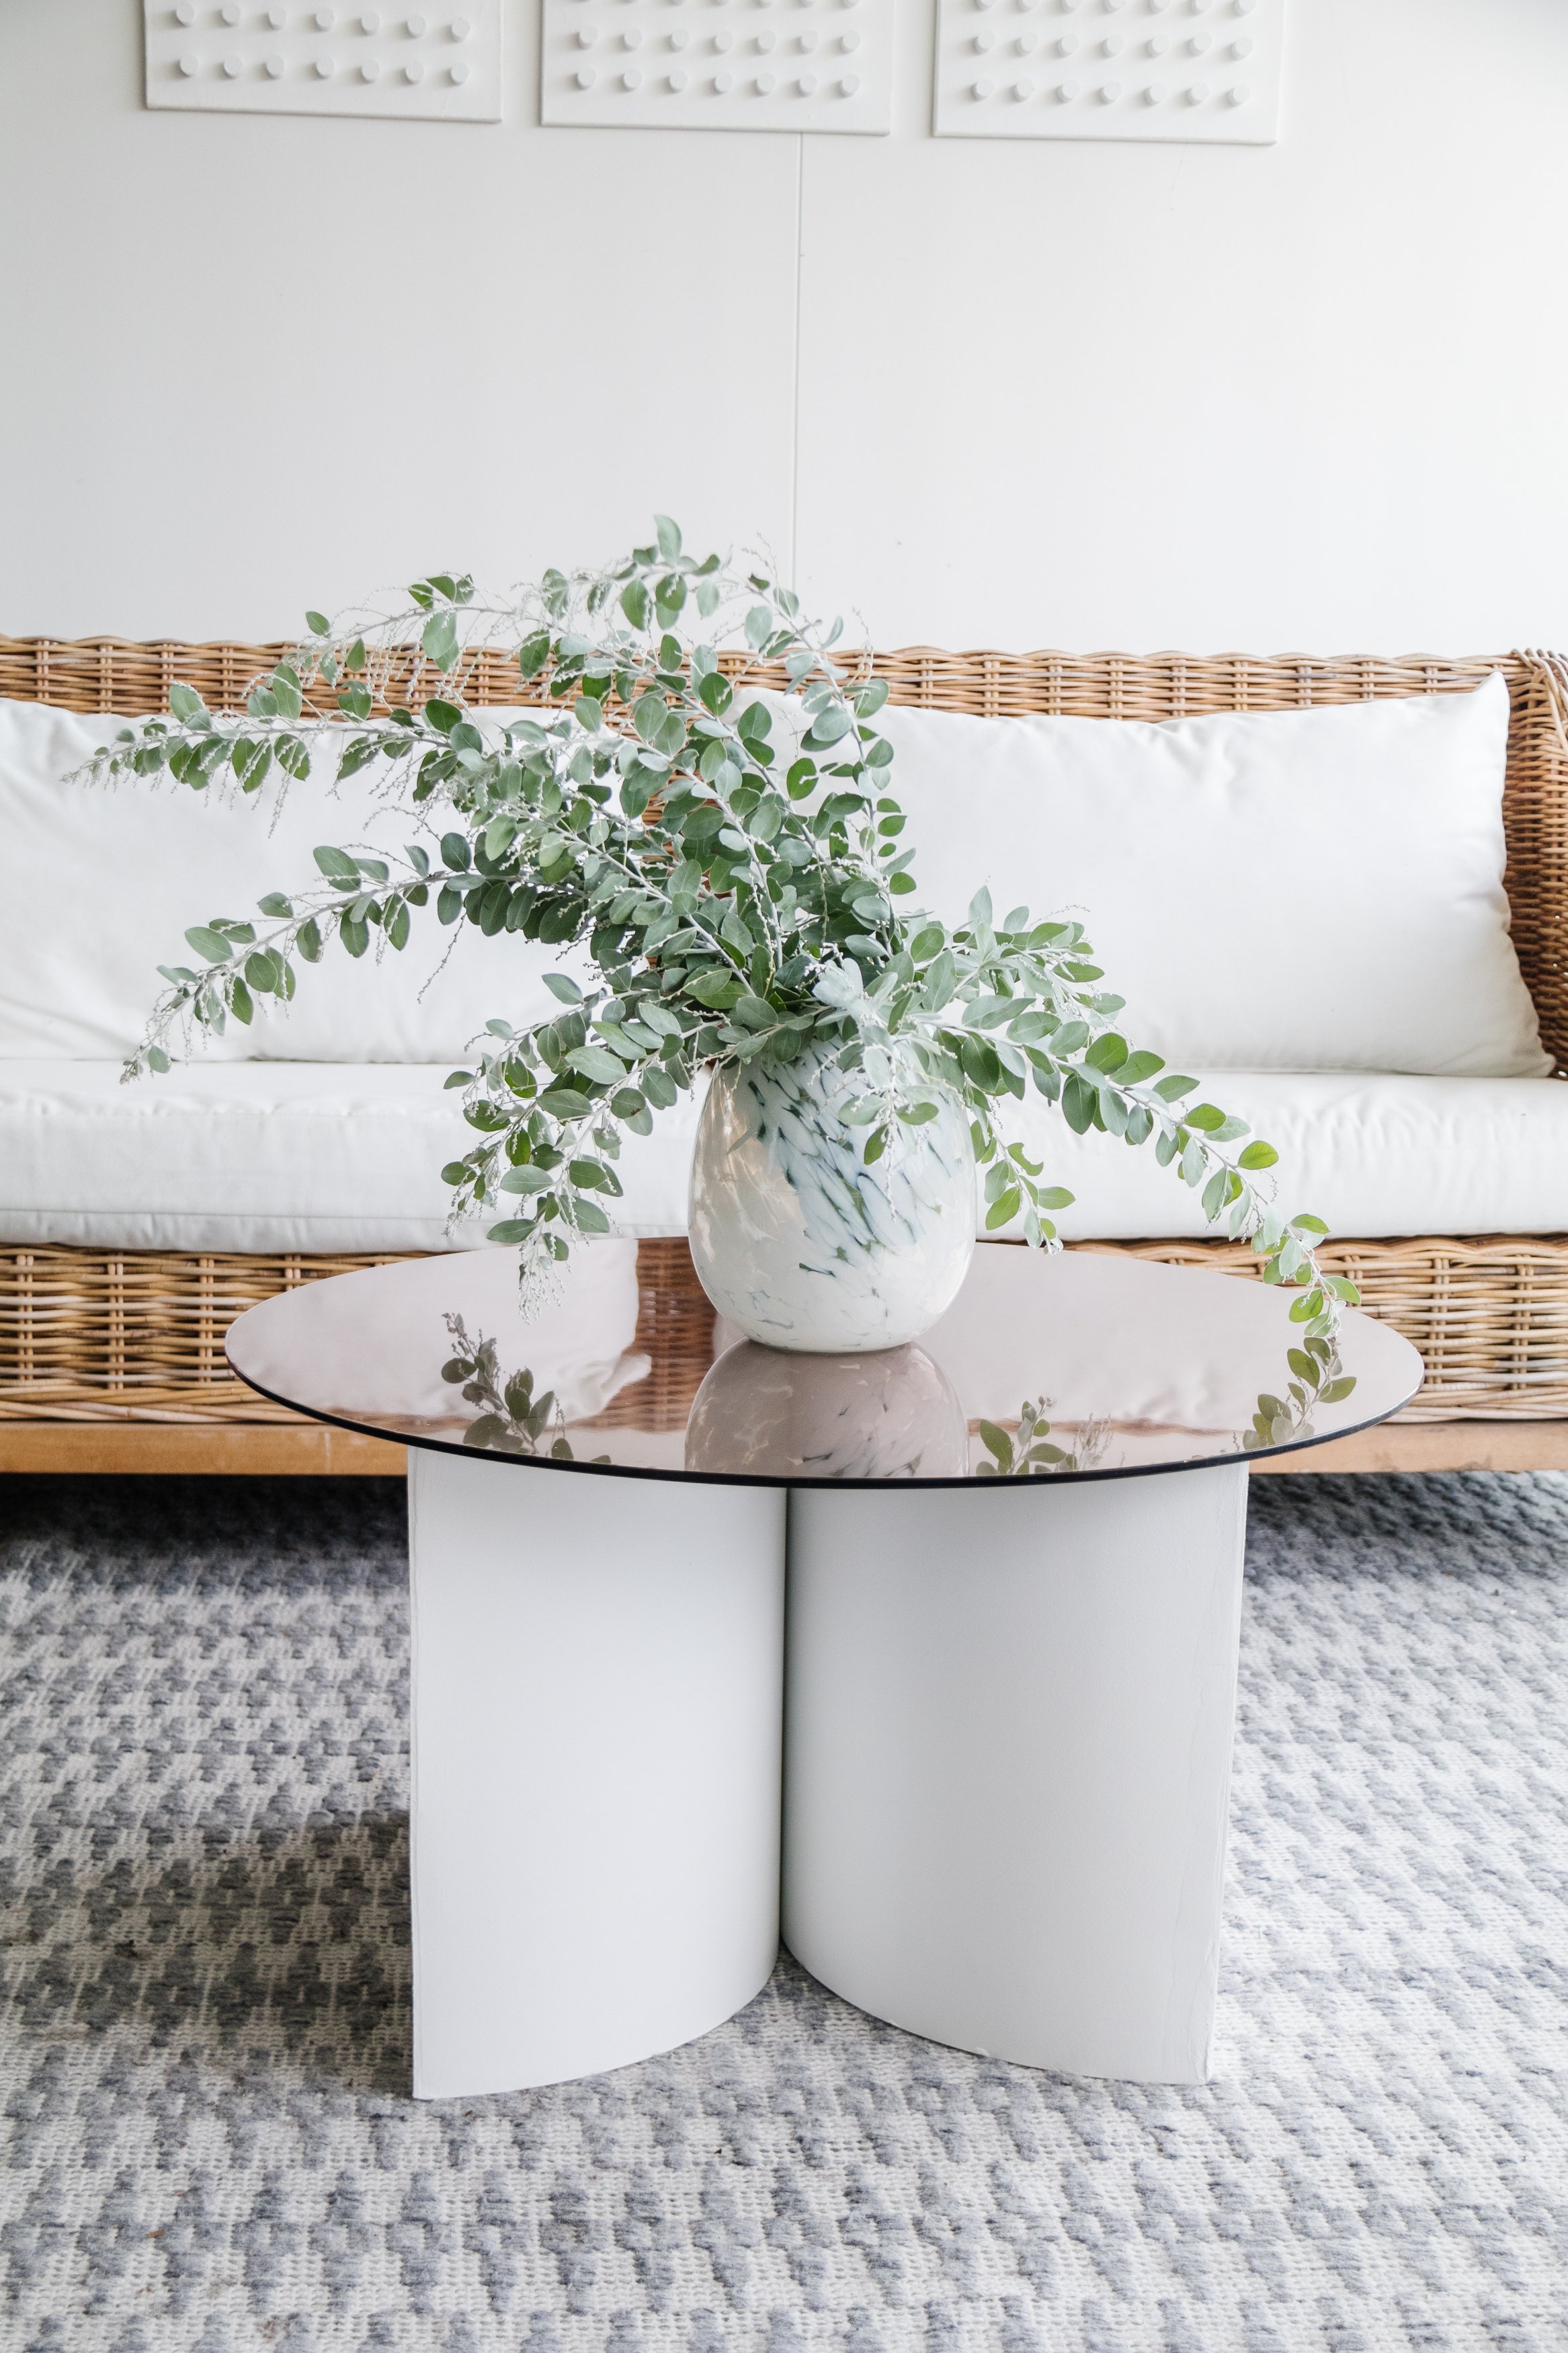
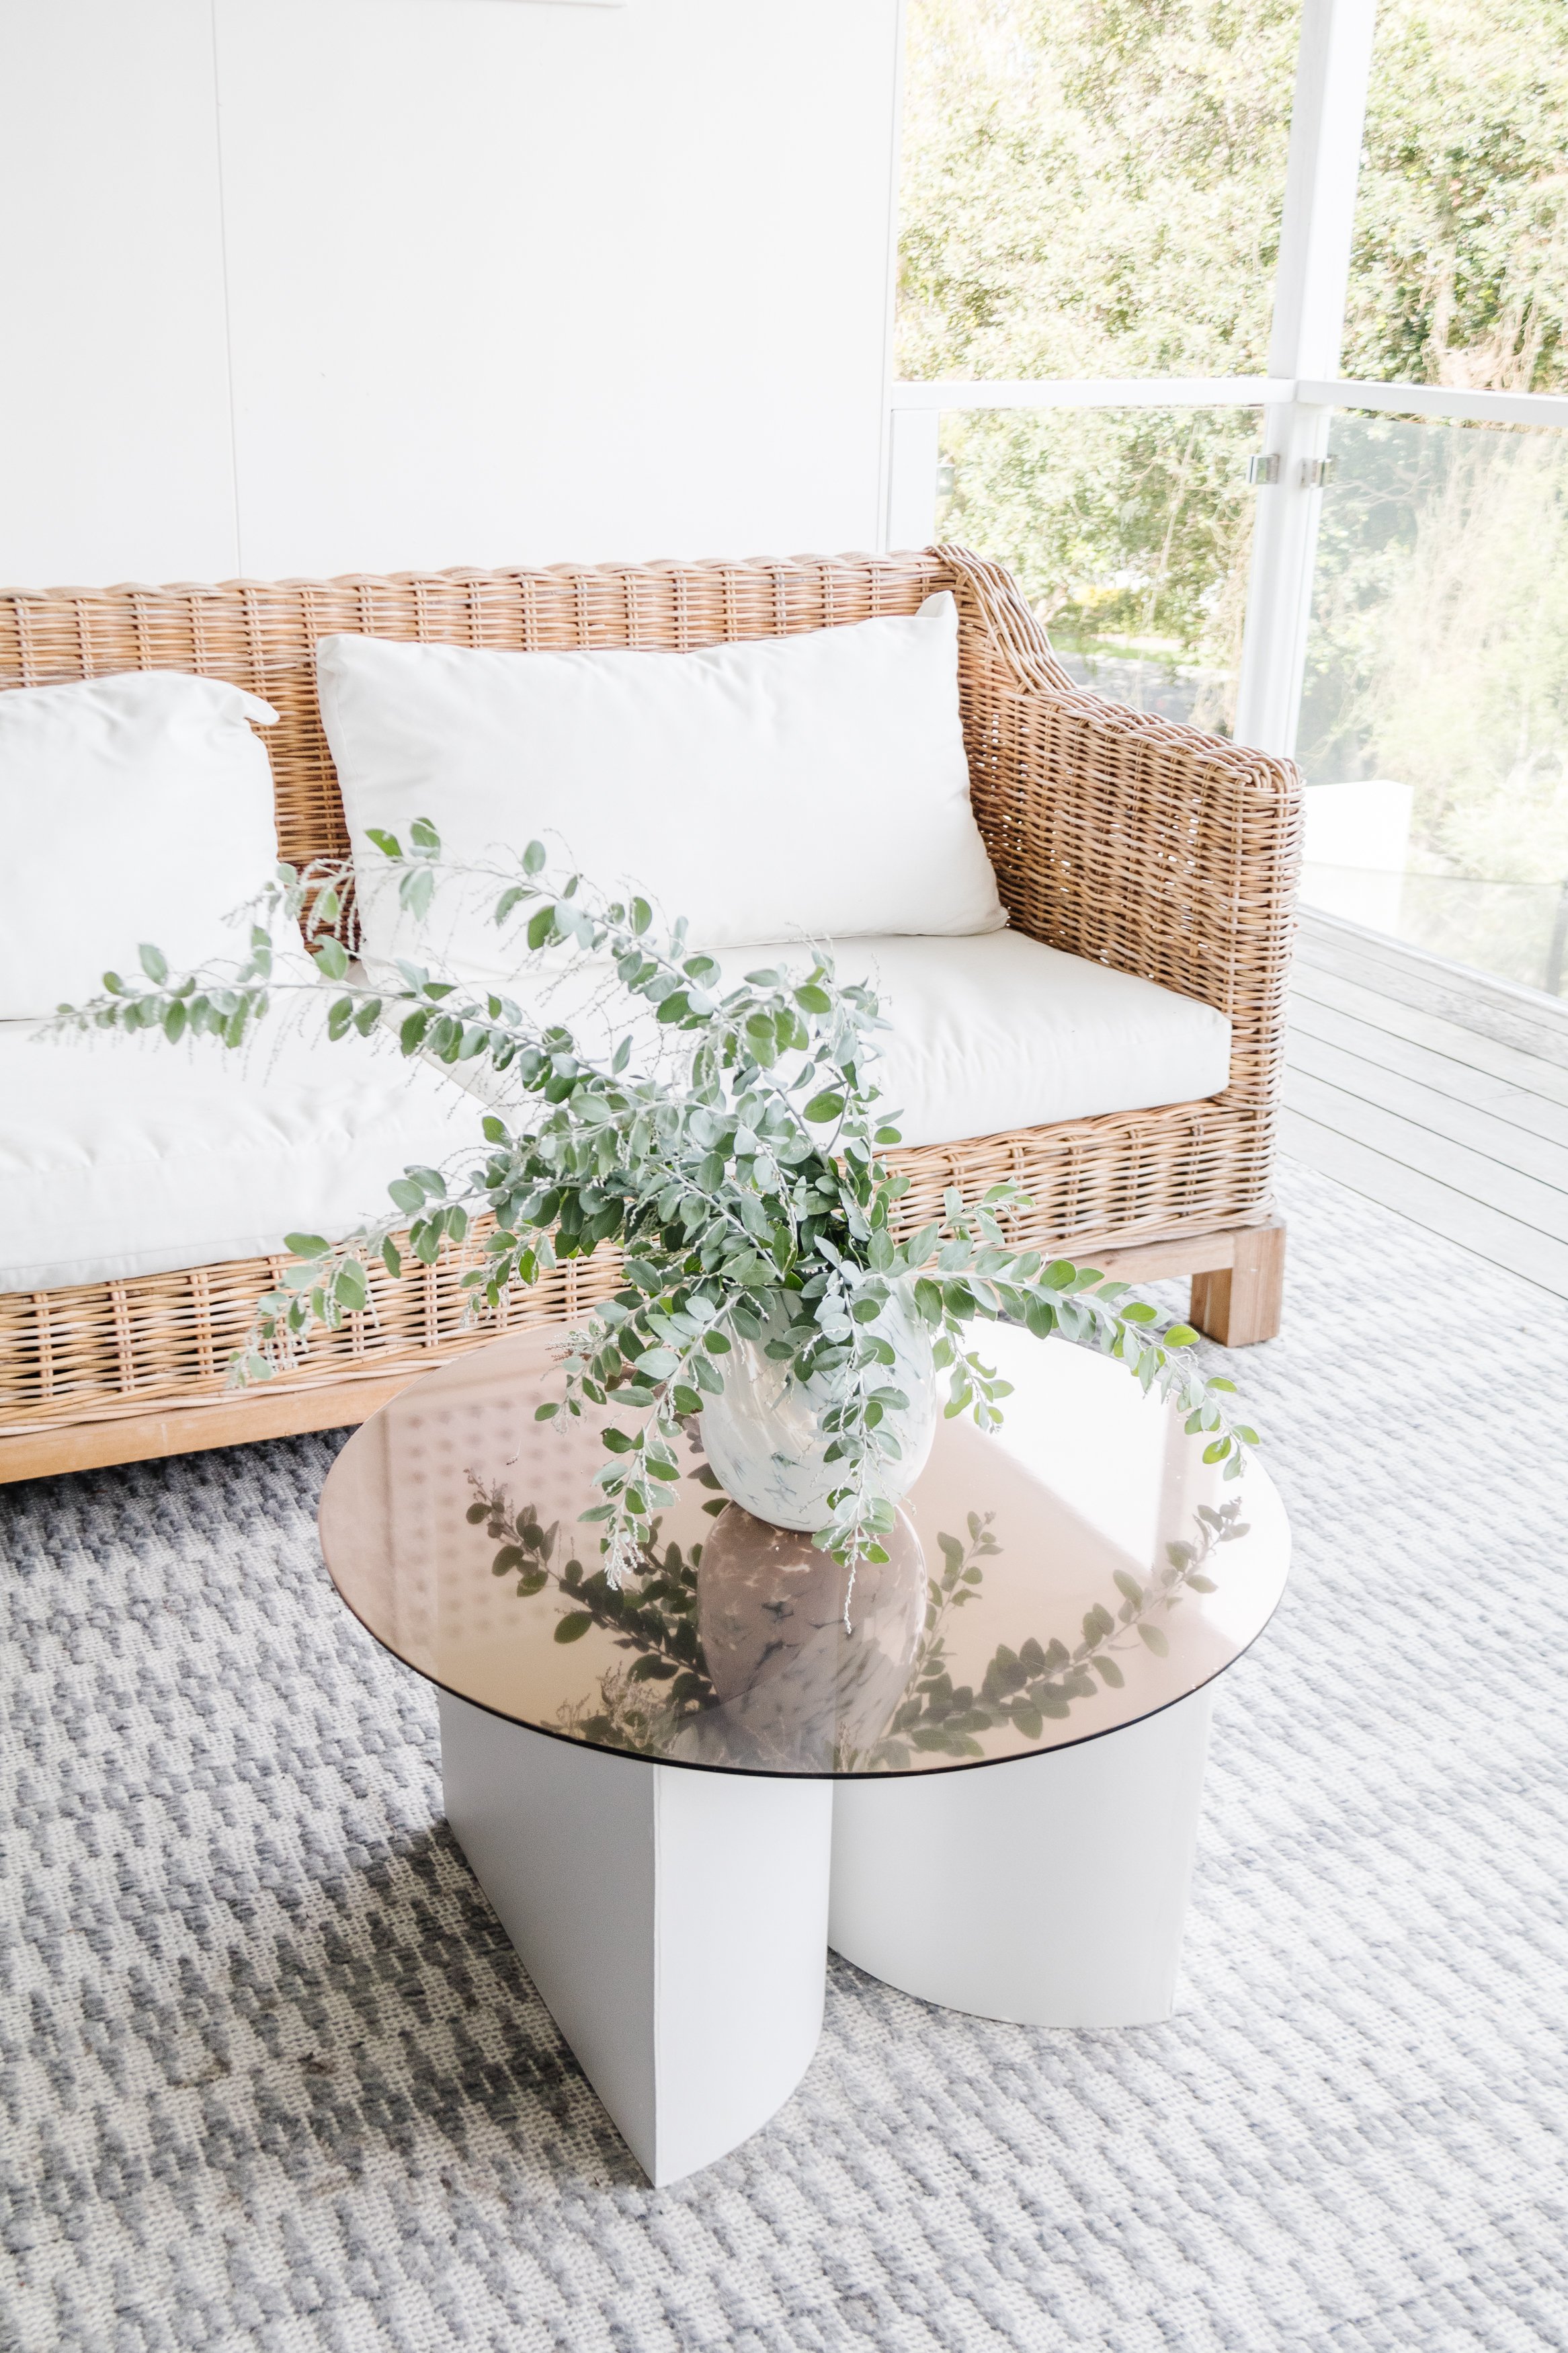
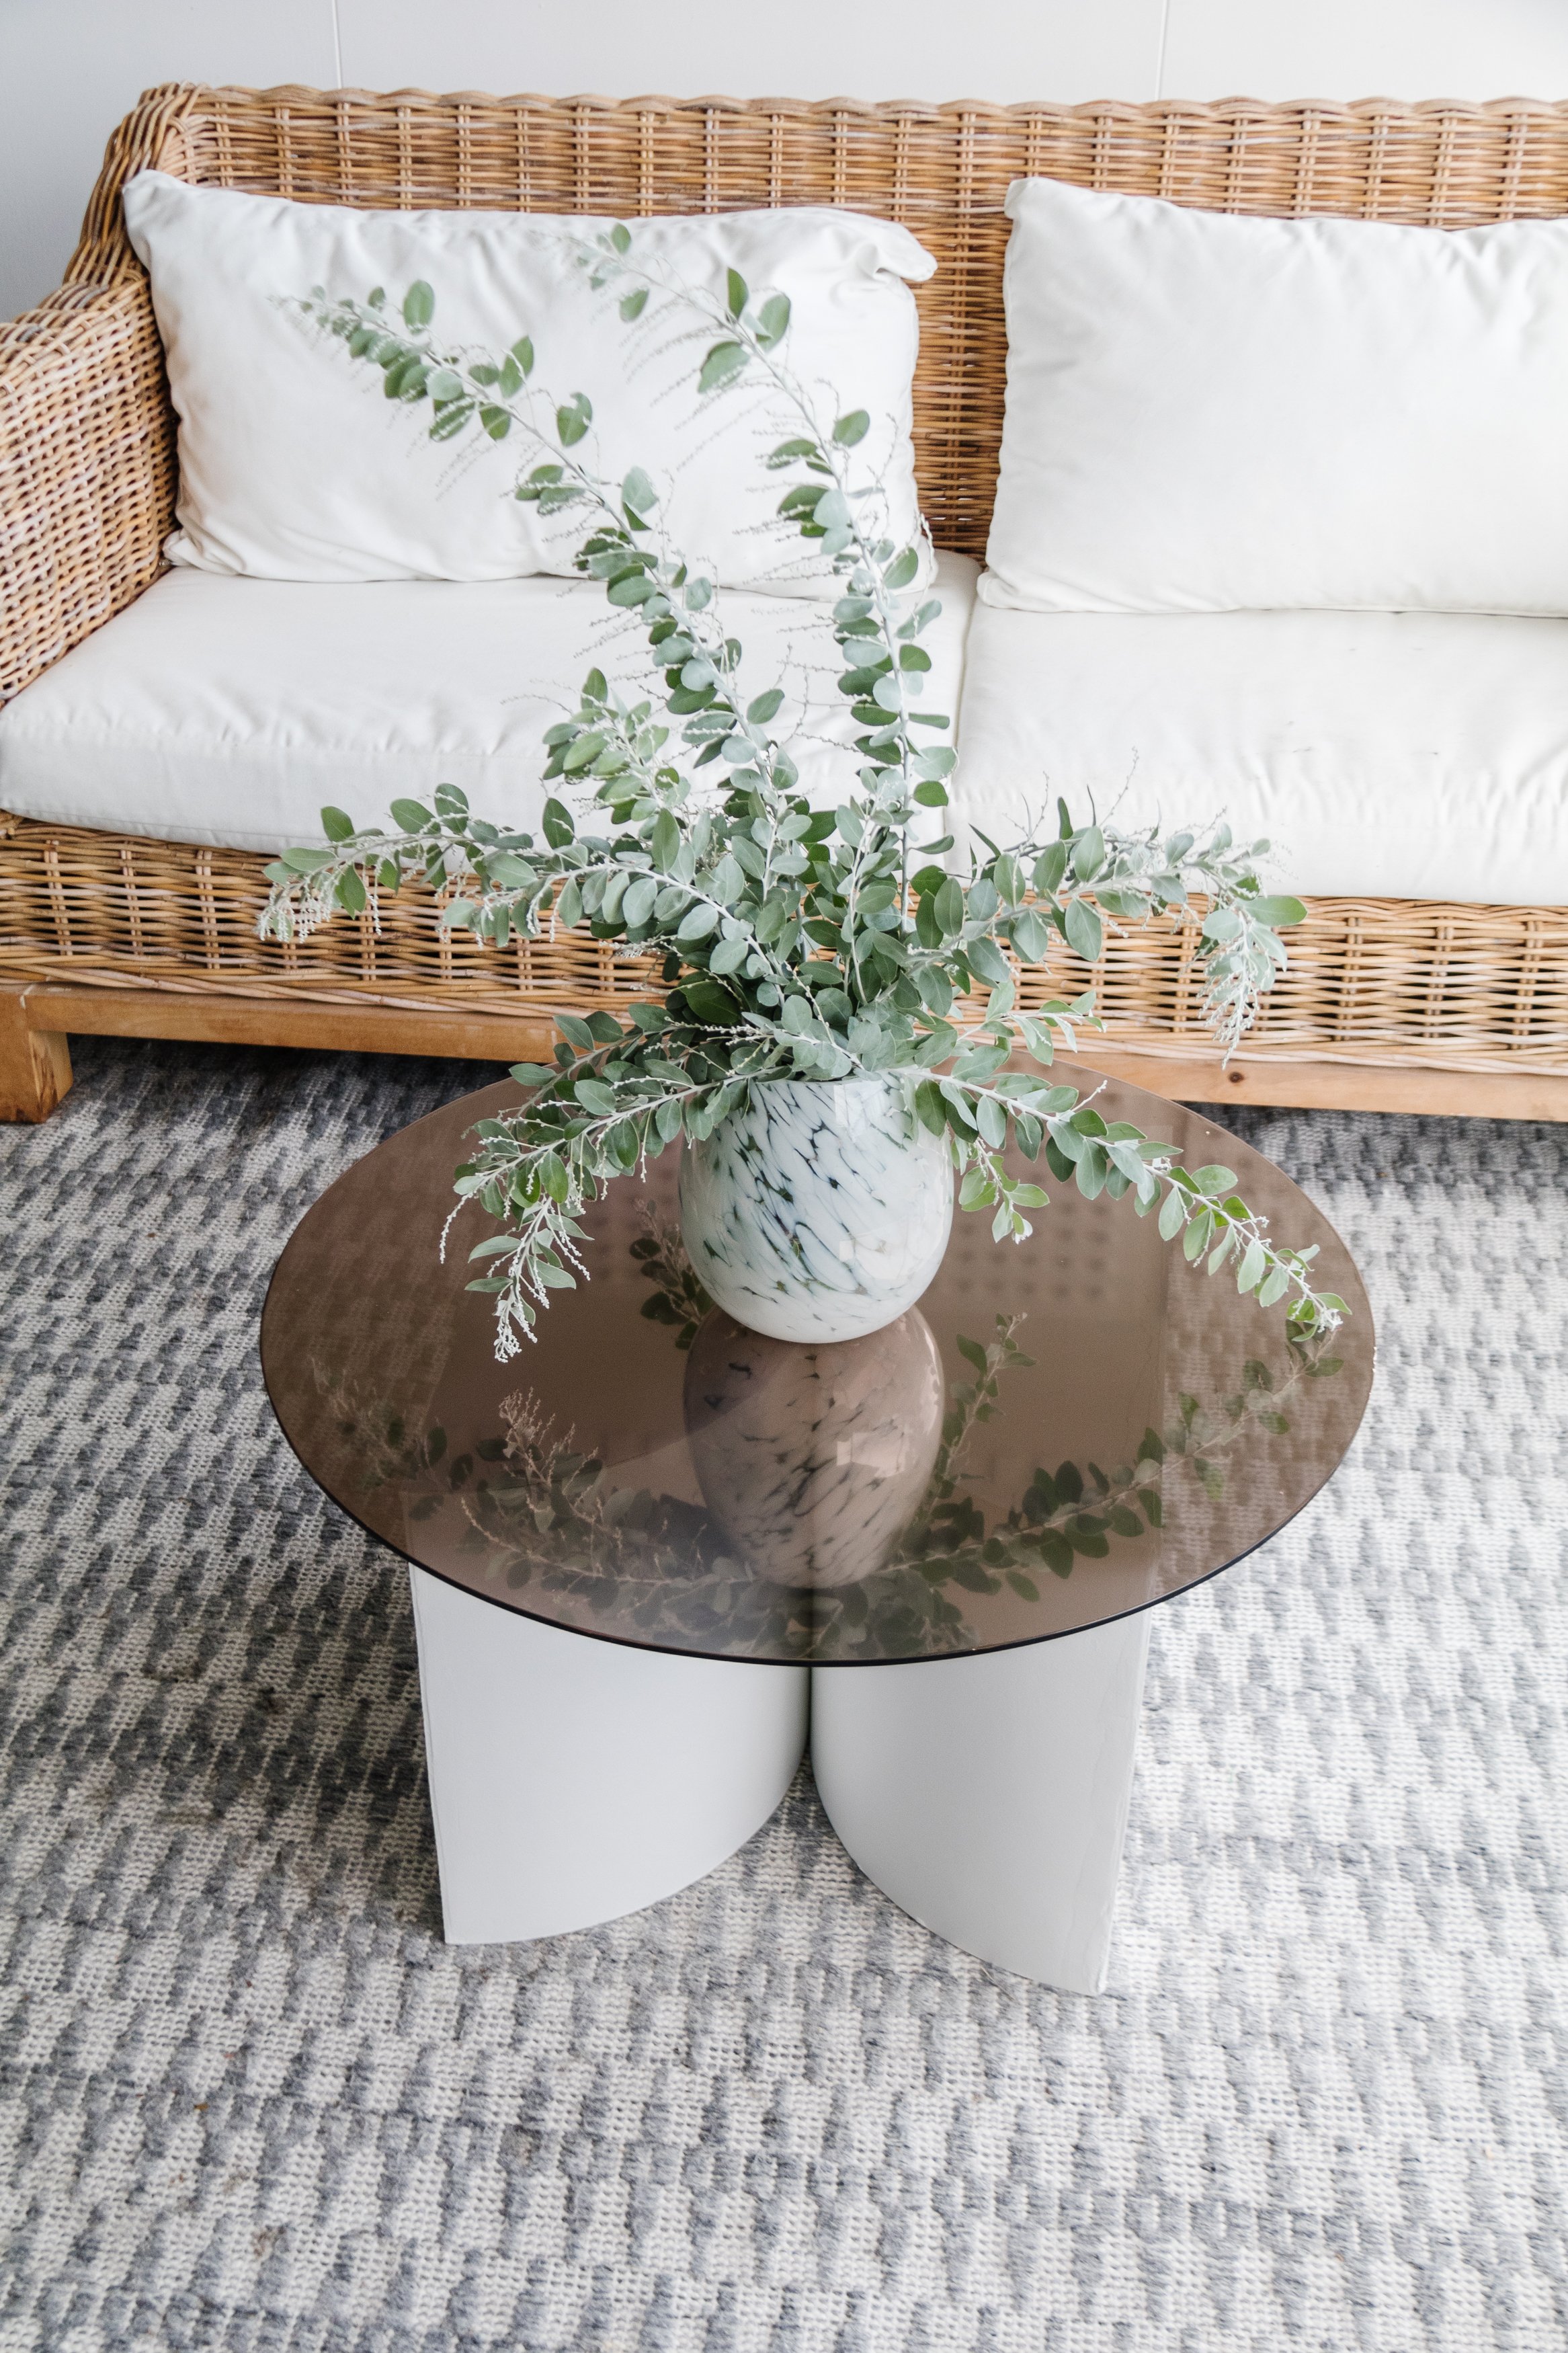
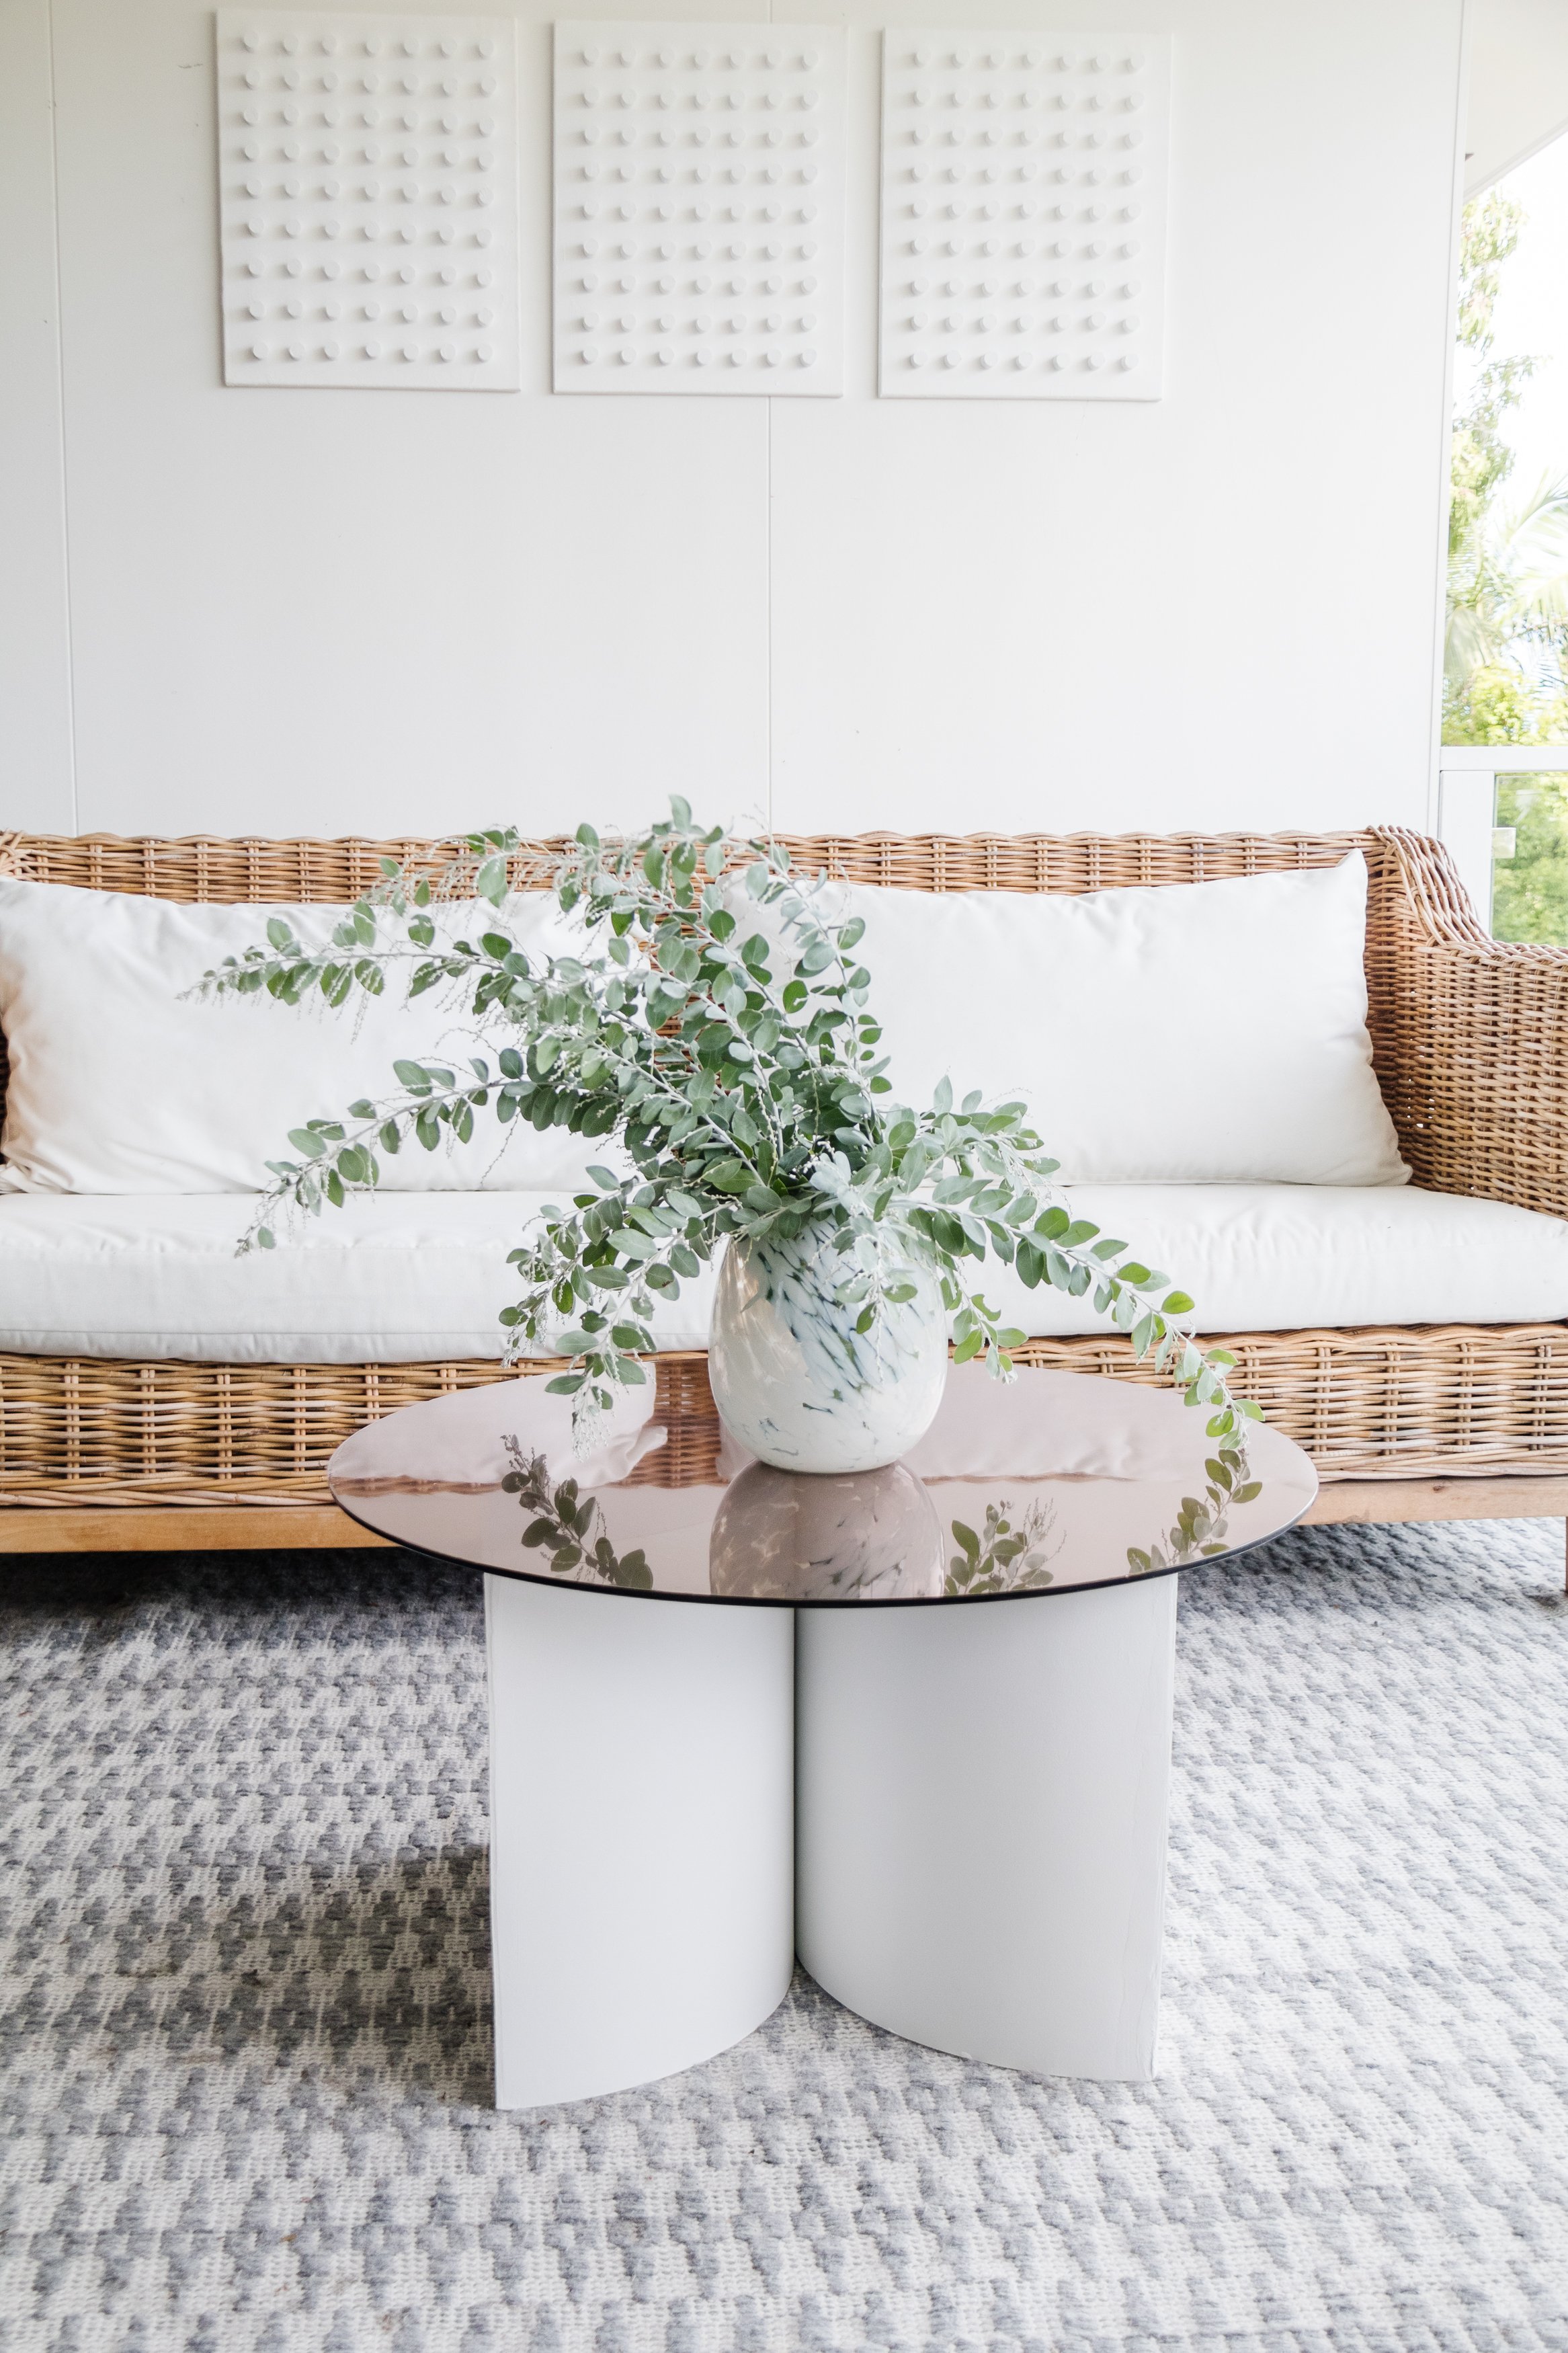
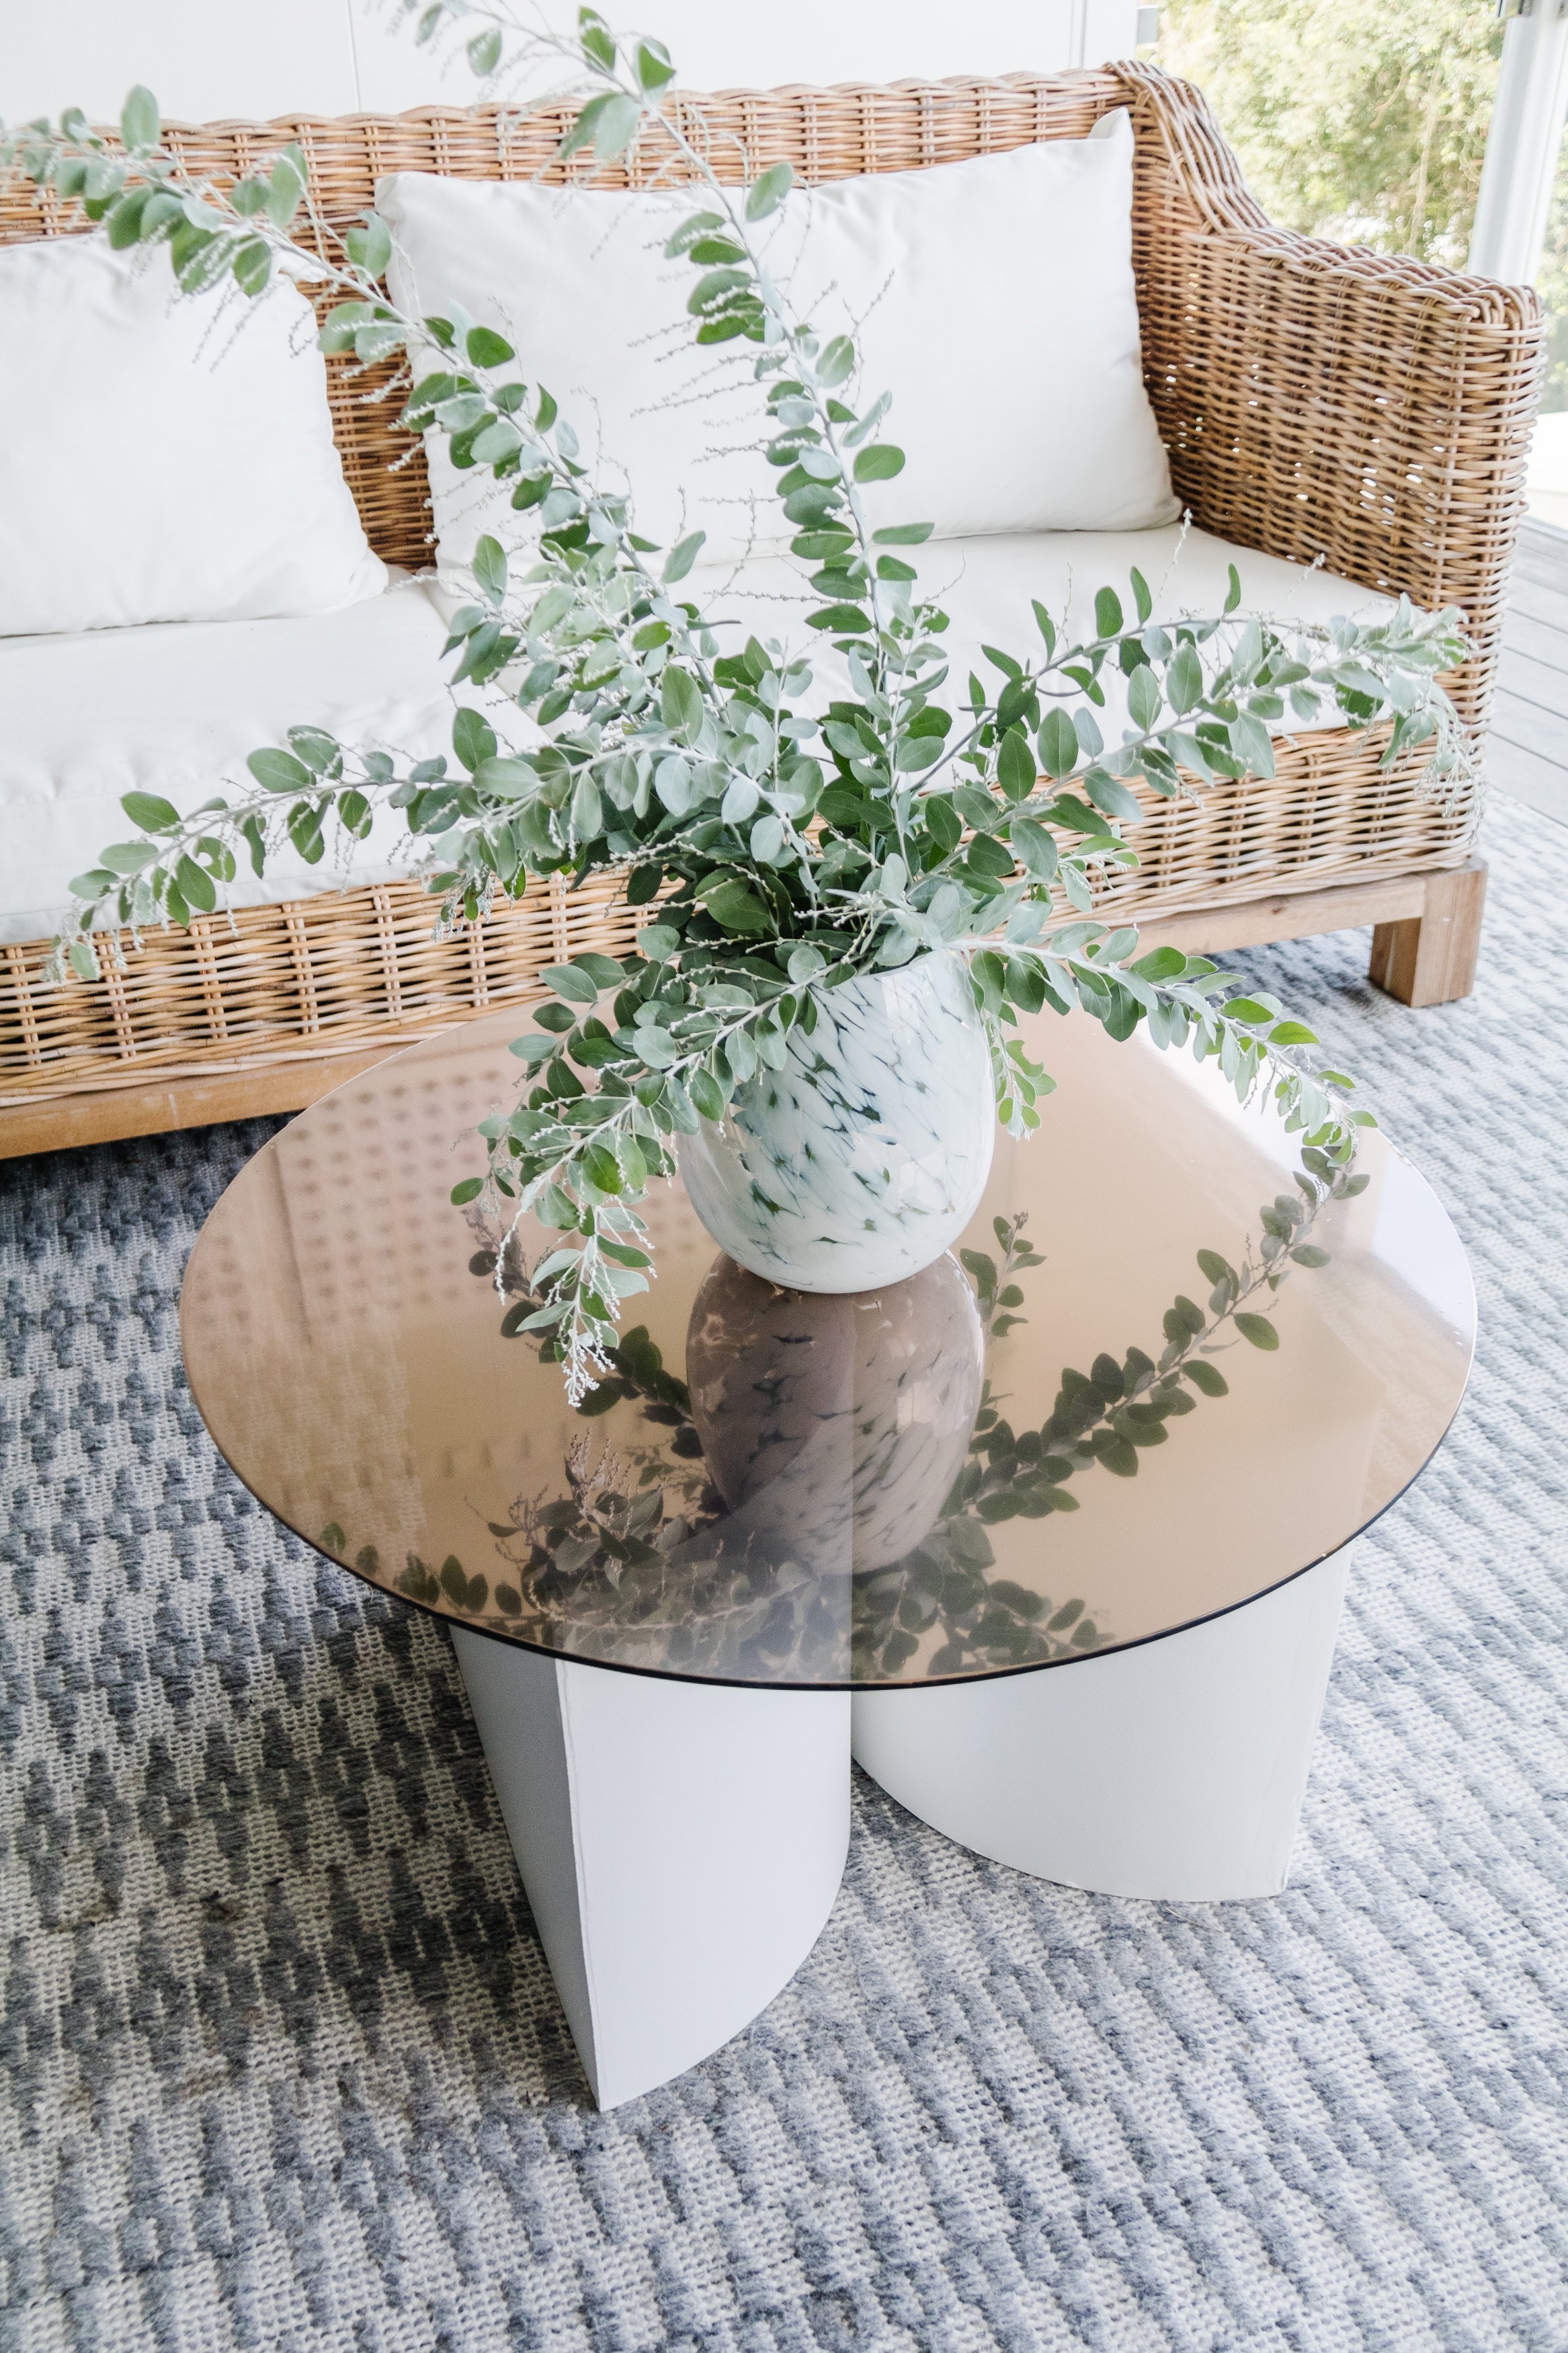
Step 4: When the paint had dried, I positioned the base together to make an hourglass shape and added 4 plastic door stoppers on top. Then I placed the bronzed glass on top.
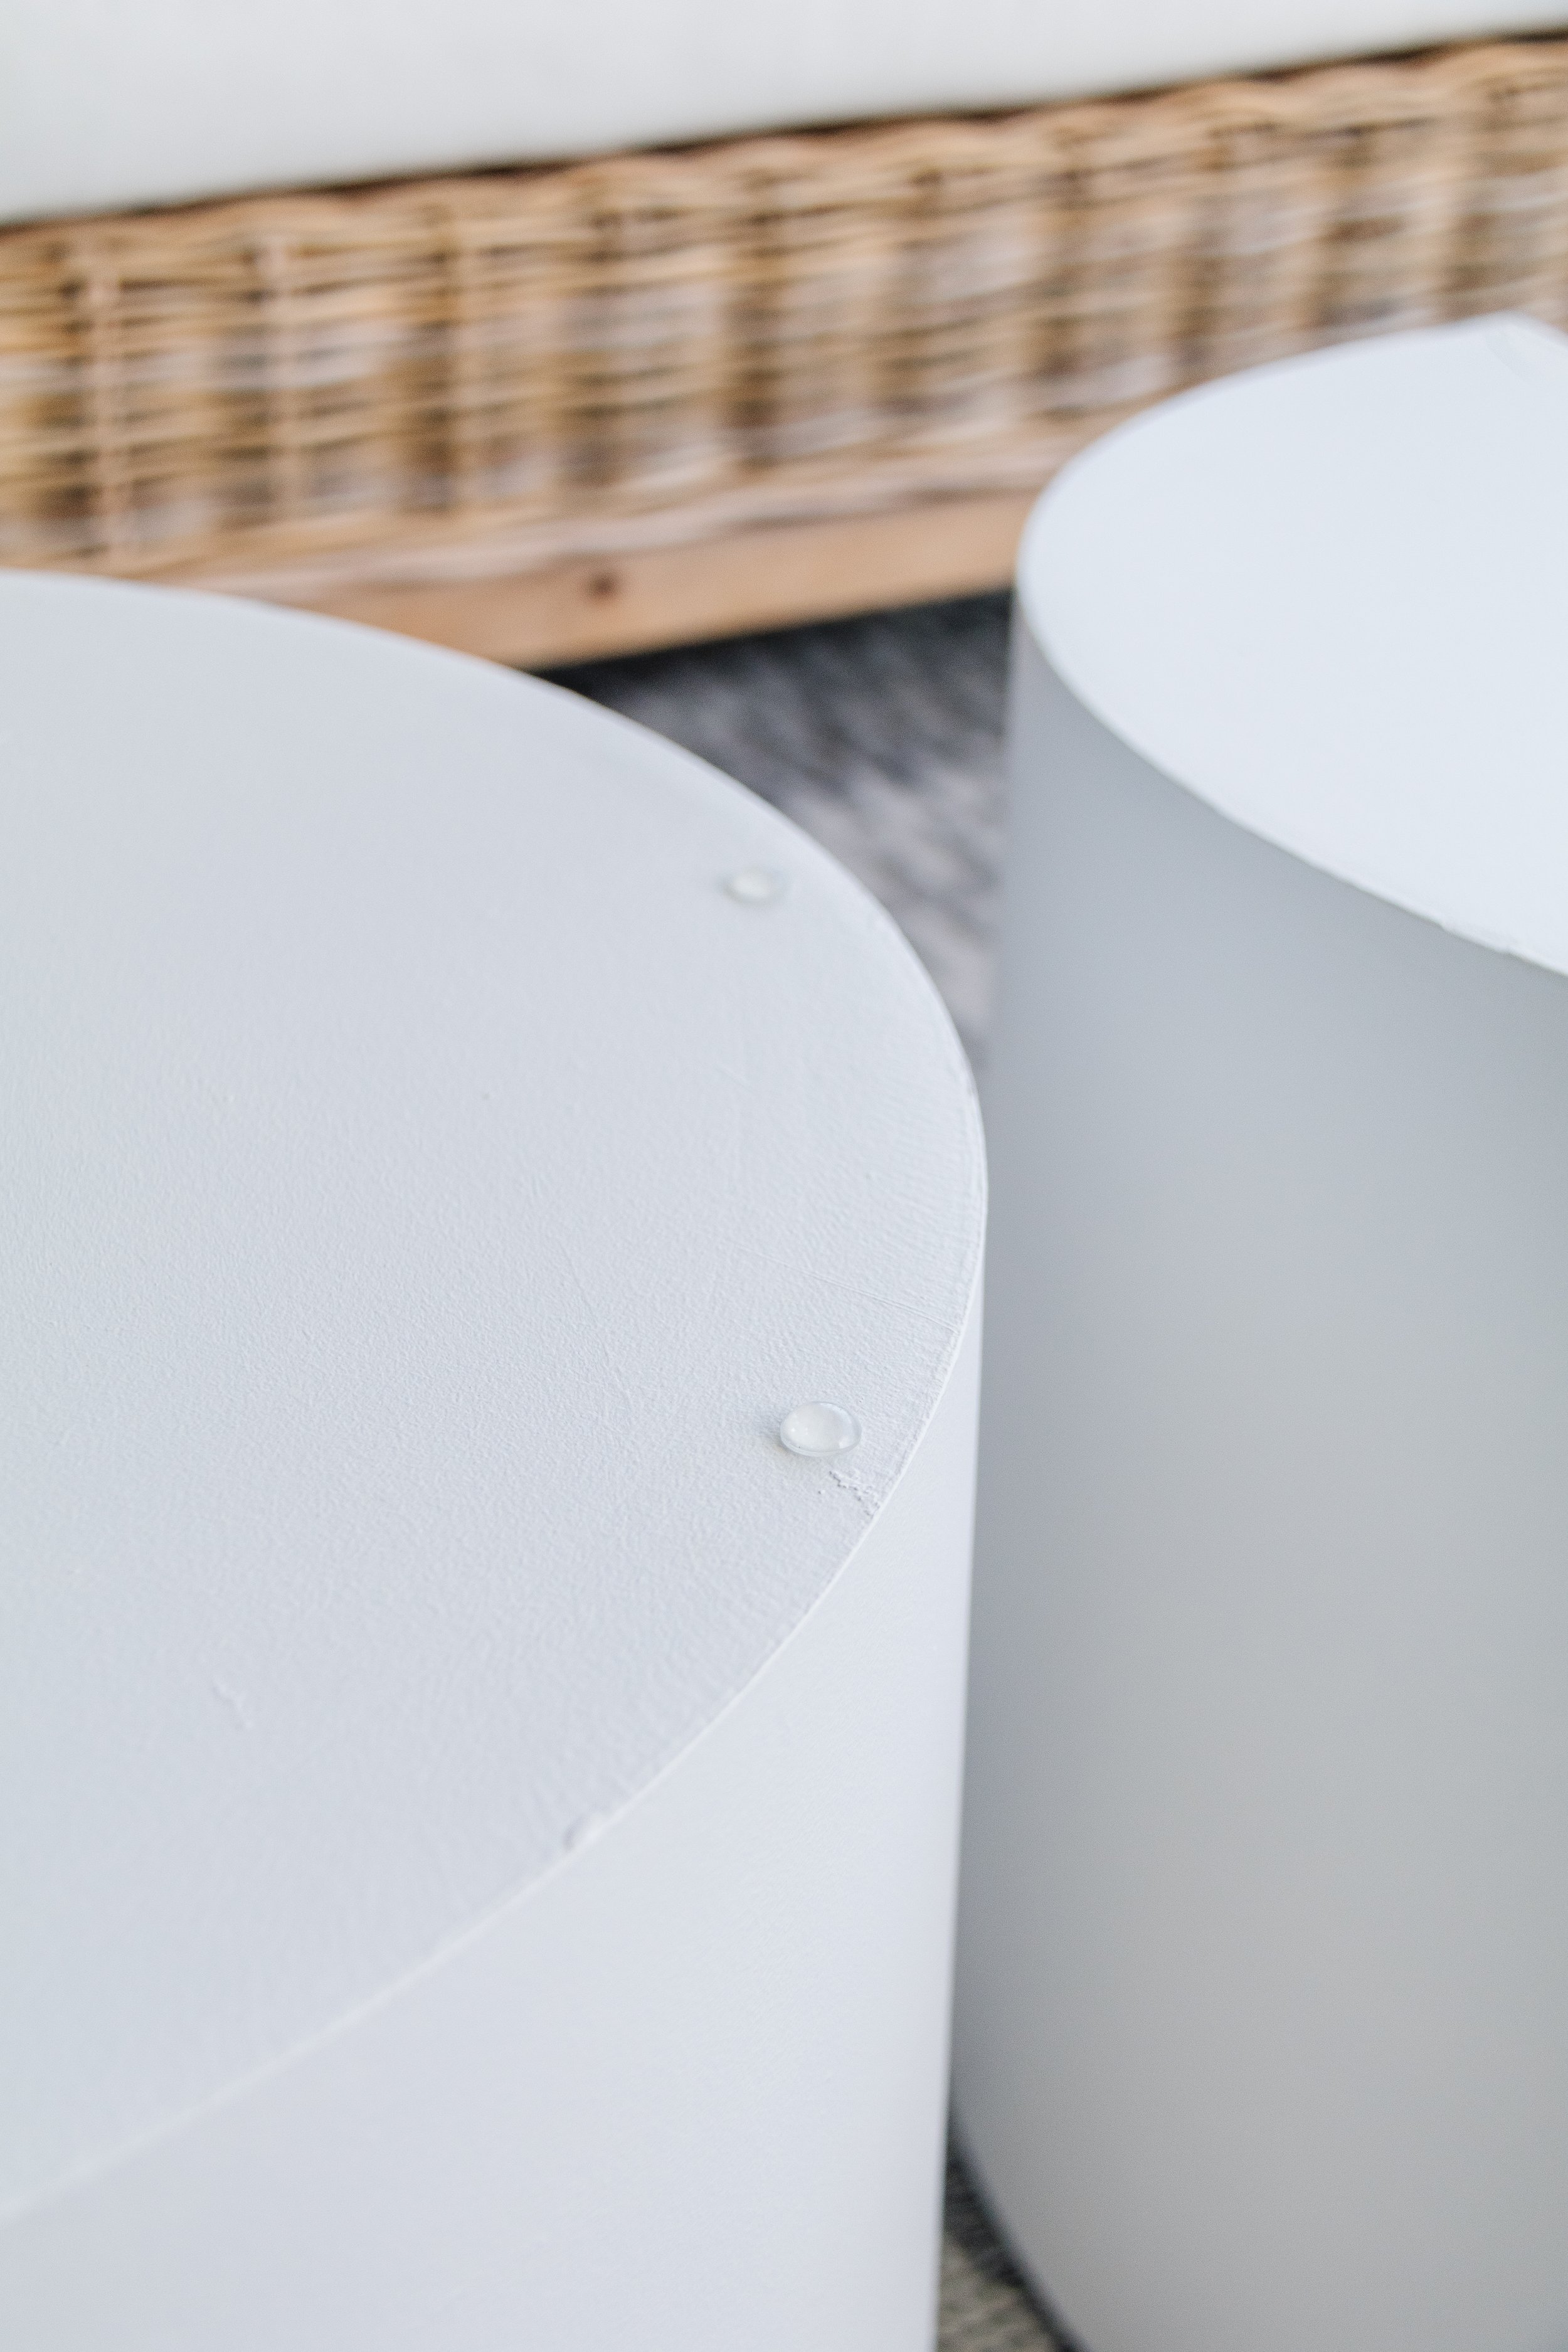
Tip: If you are planning on place a hot cup of tea or coffee onto the bronze glass, make sure you use a coaster.

Ta daaaa!
When I first started this project I did have another version in mind, but after receiving an Instagram DM to use both shapes for the base to create an hourglass shape I decided to run with that idea. And I am so happy I did. But the real hero for me is the bronzed glass. I was filled with a lot of trepidation before I applied it onto the glass but honestly, it could’t have been easier. It’s nothing like sticky contact paper; the film is very easy to install and remove. I’d love to use it to make a mirror next! Stay tuned…
Ps. I am also aware how lucky I was to find the round glass panel and as you will see in the Materials List, I’ve included links to where you can buy these.