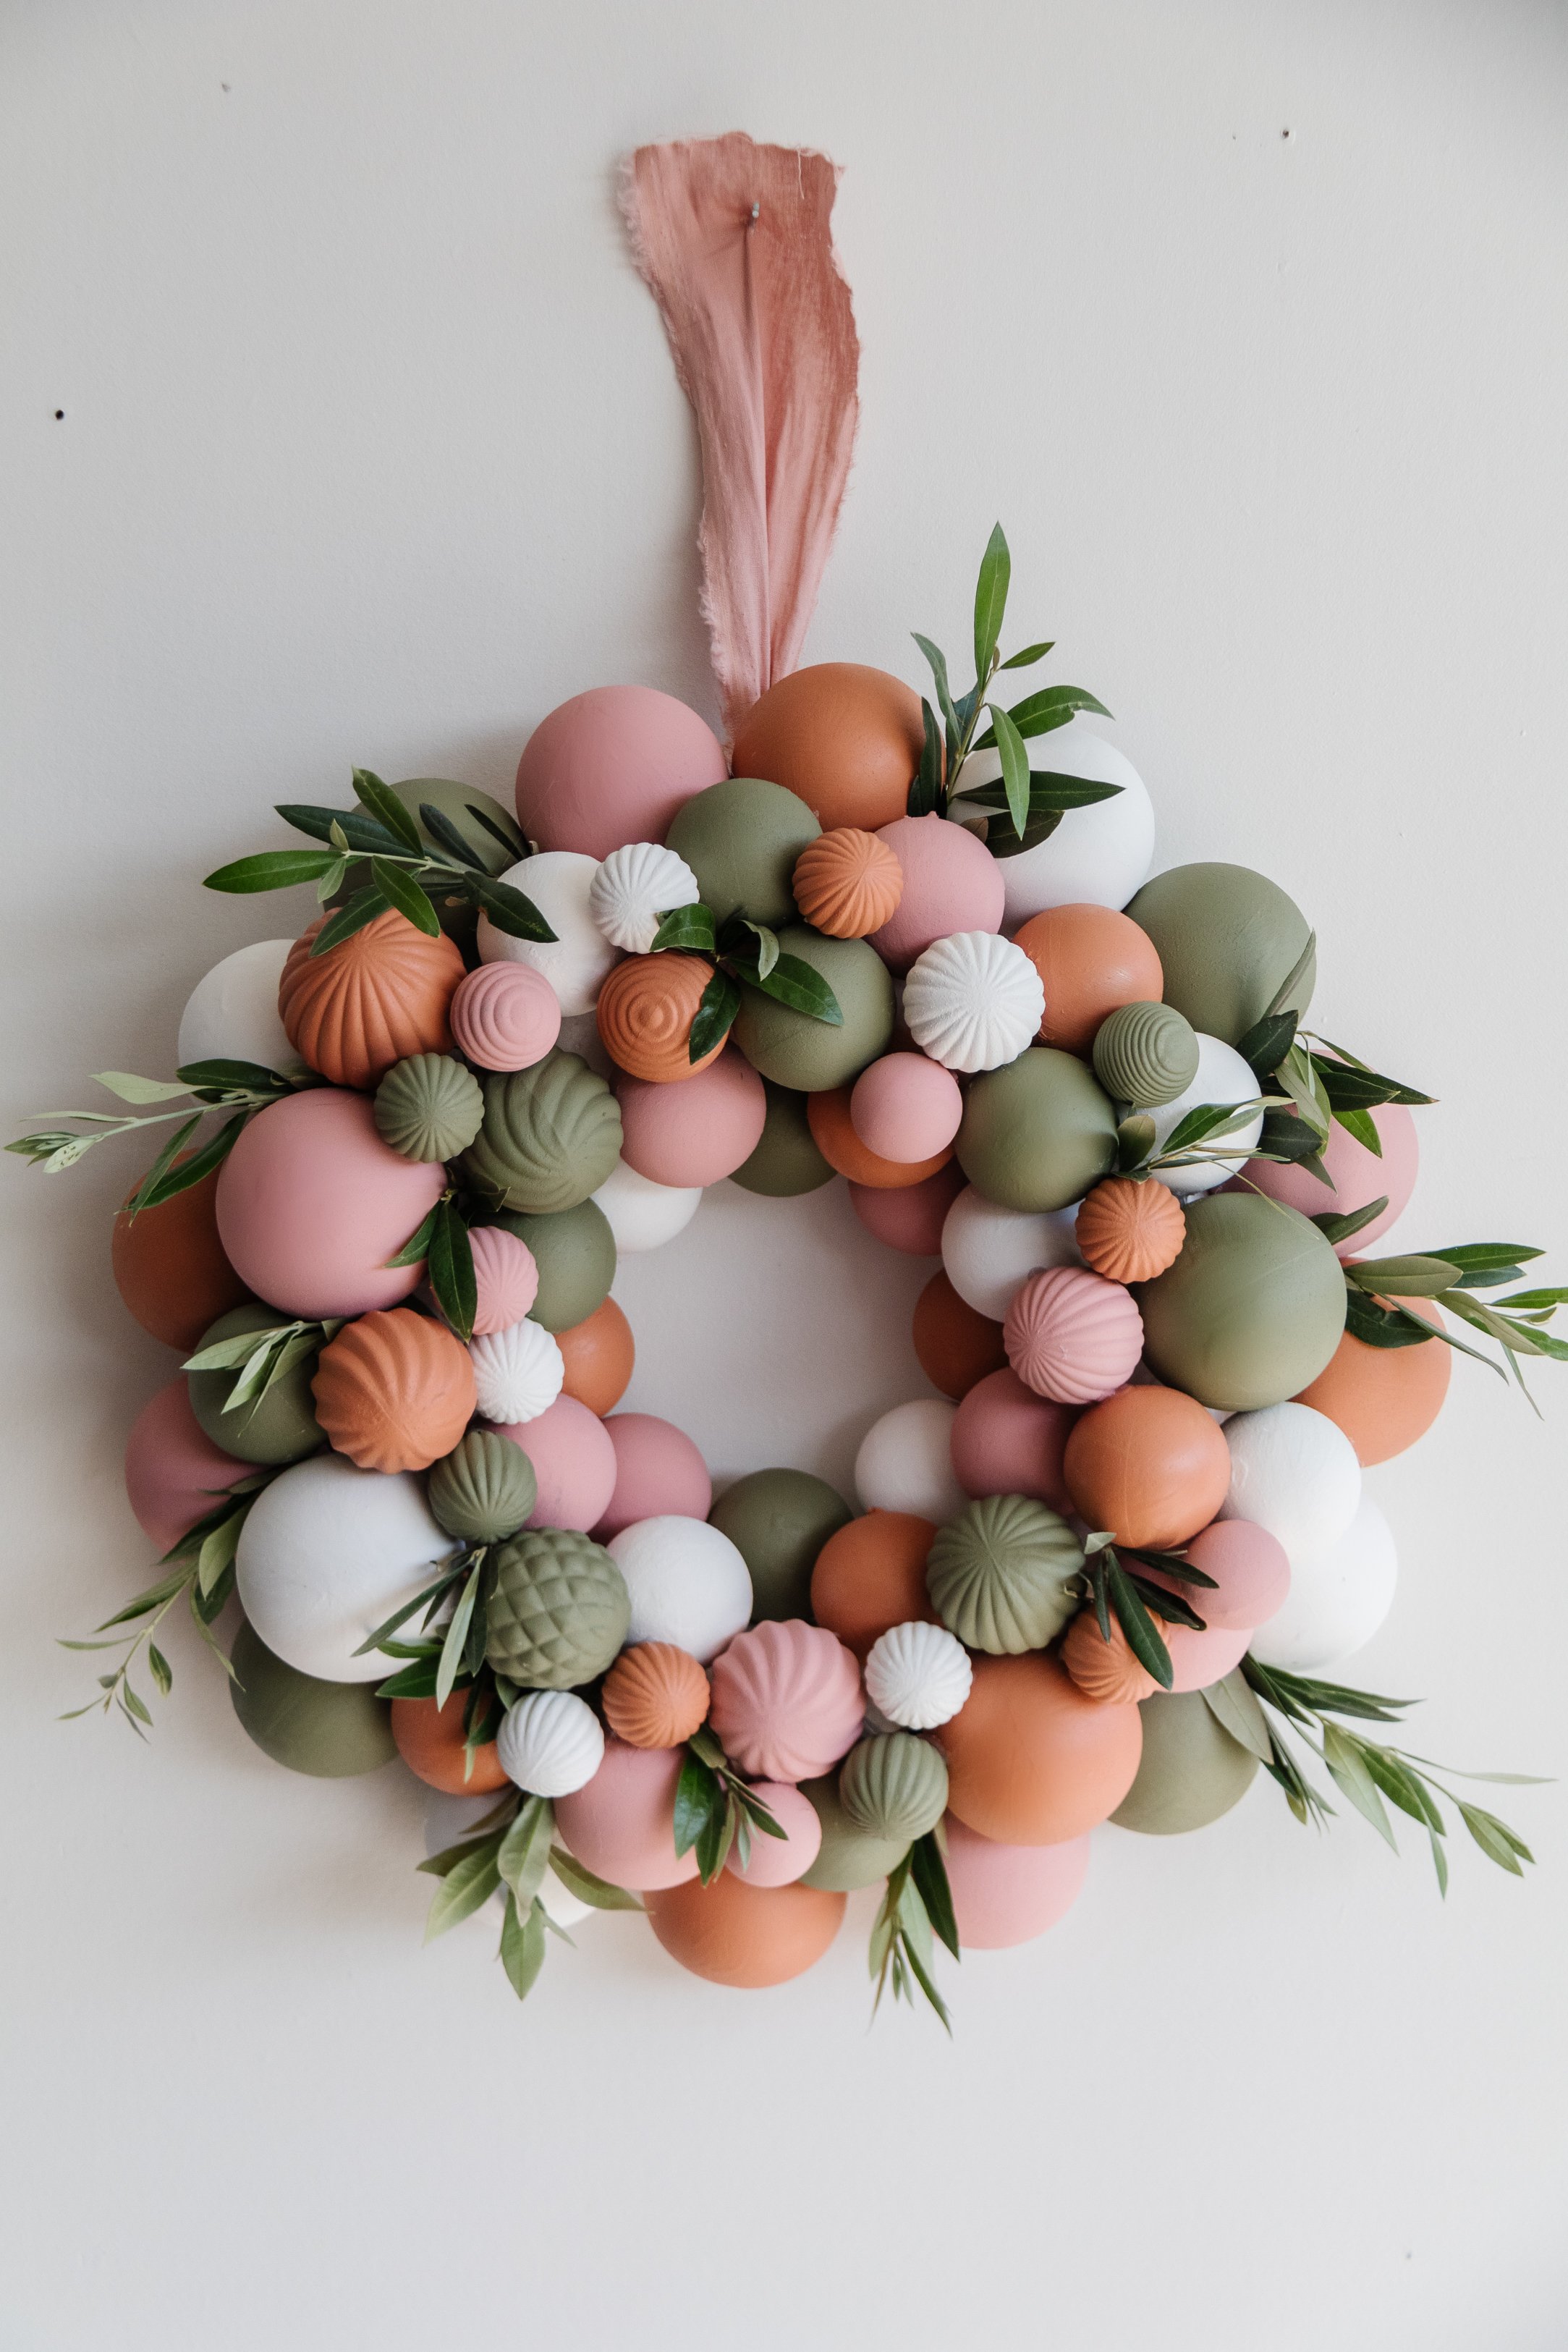
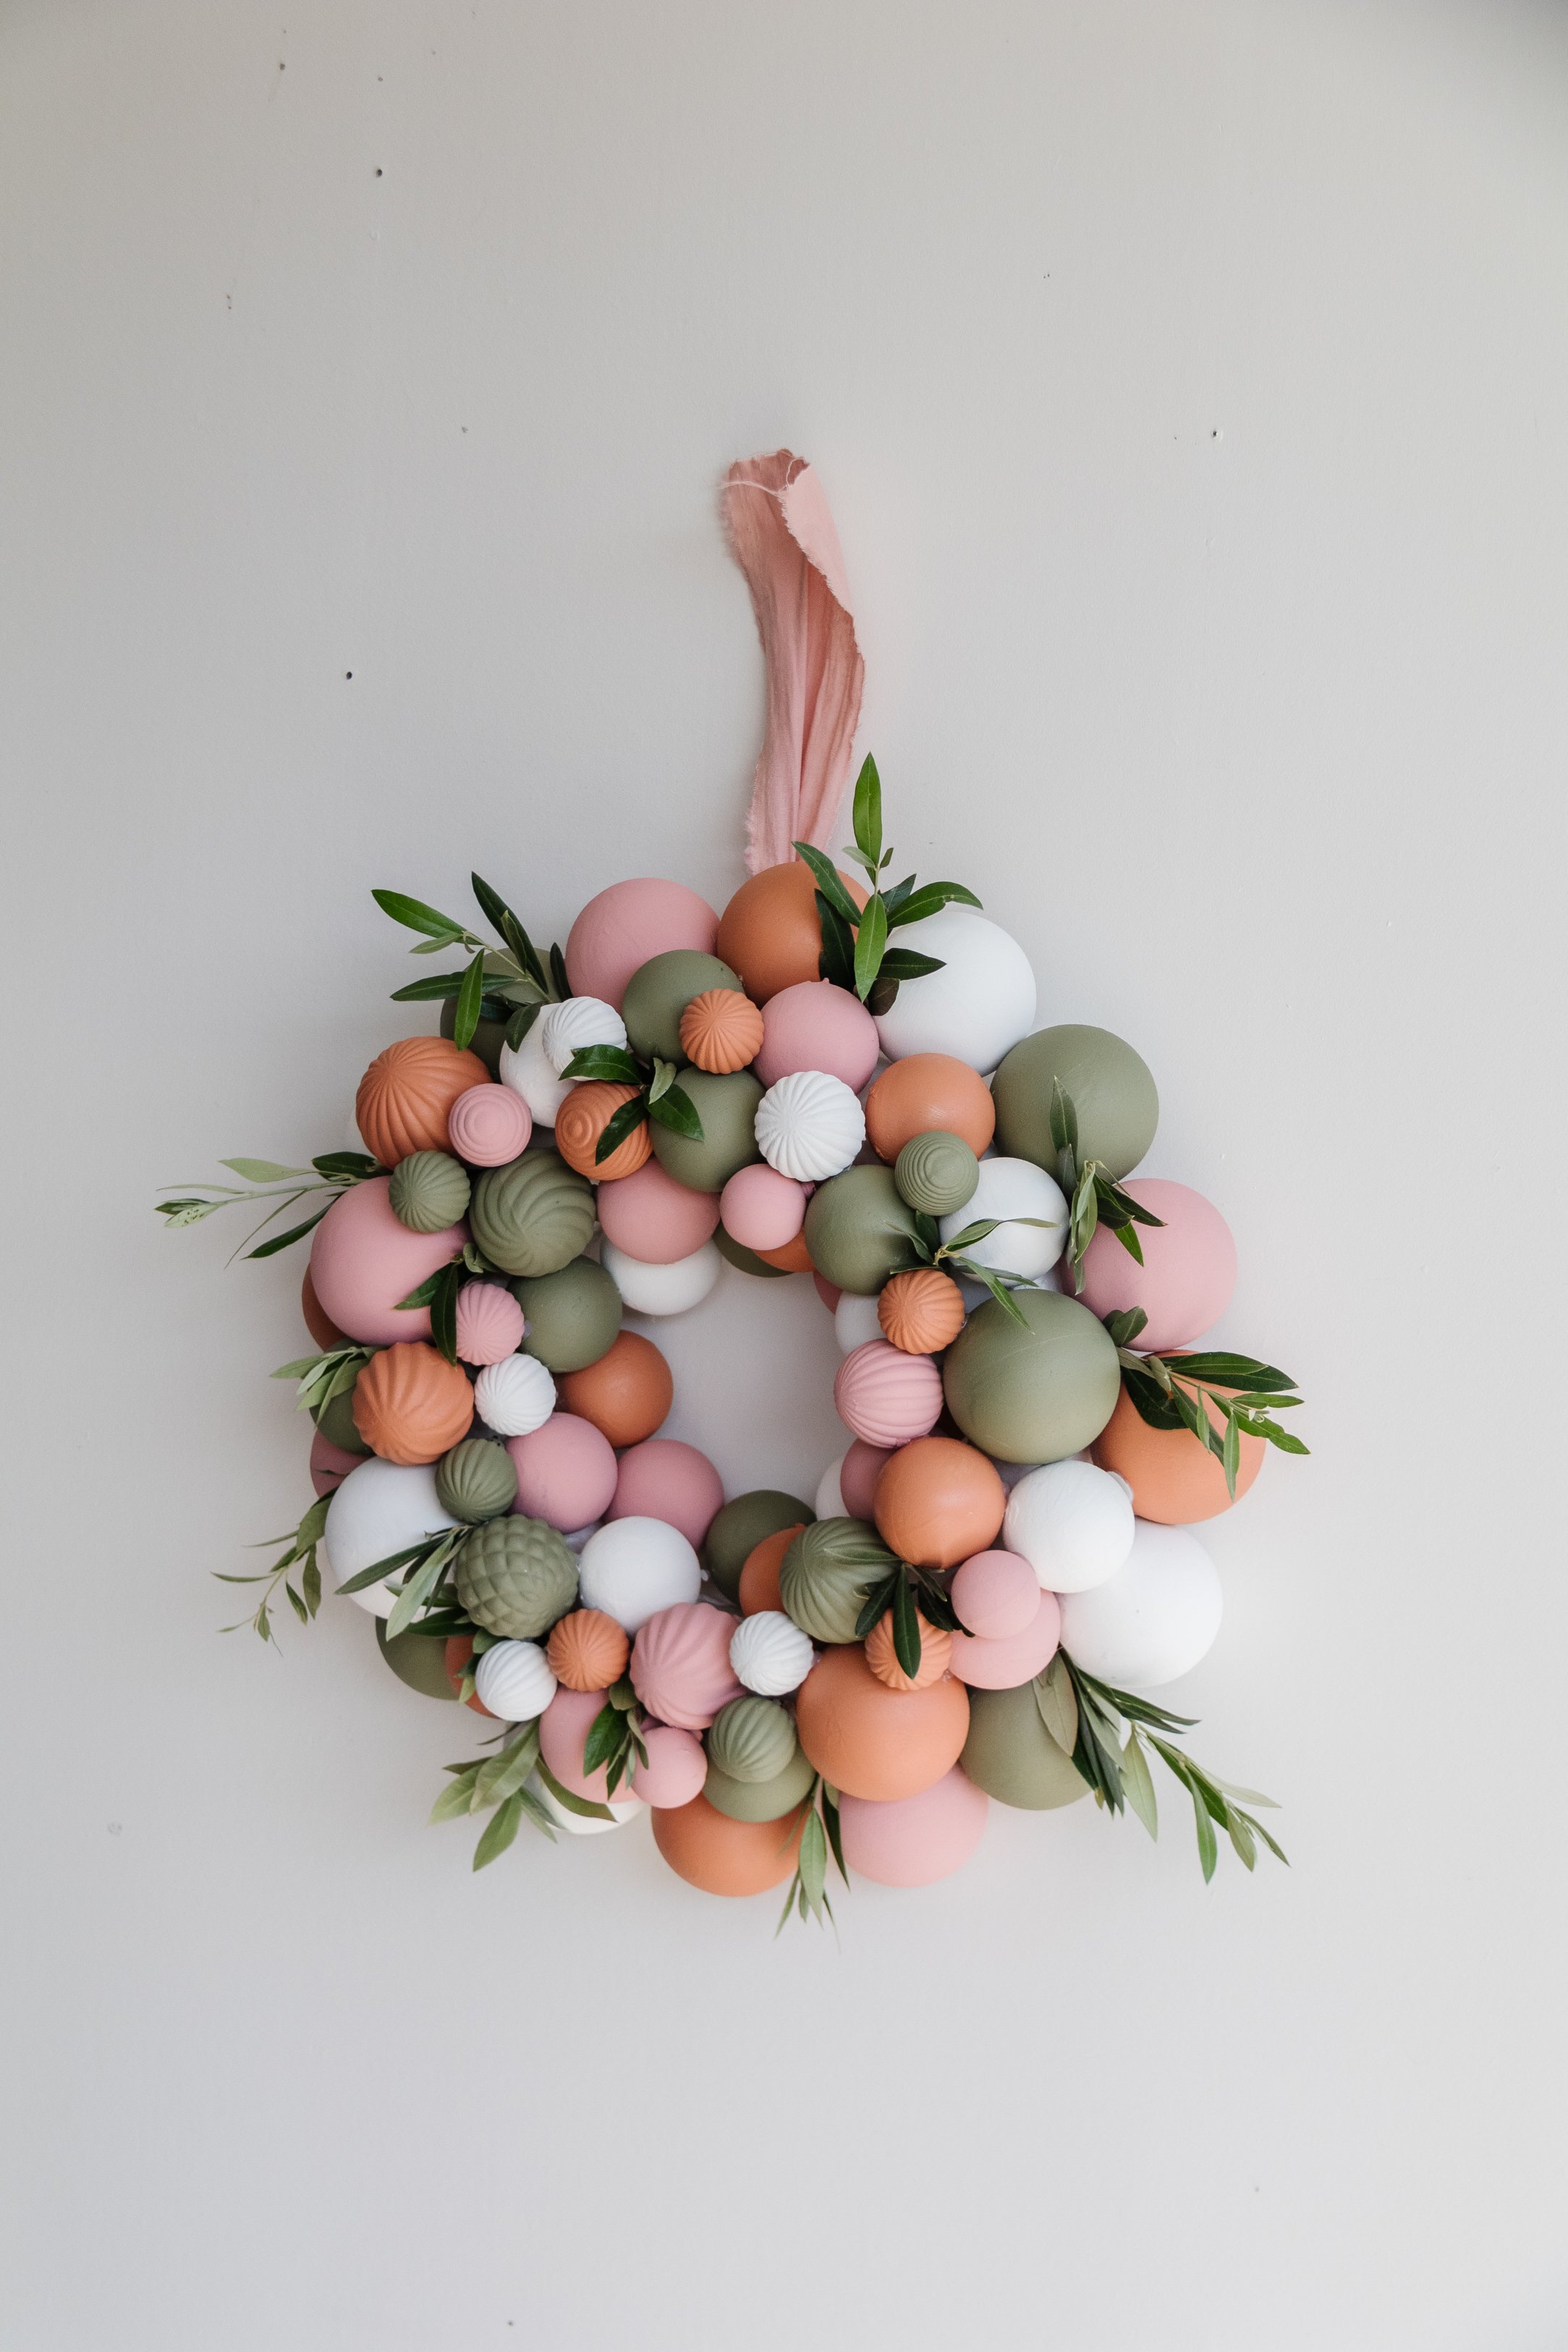
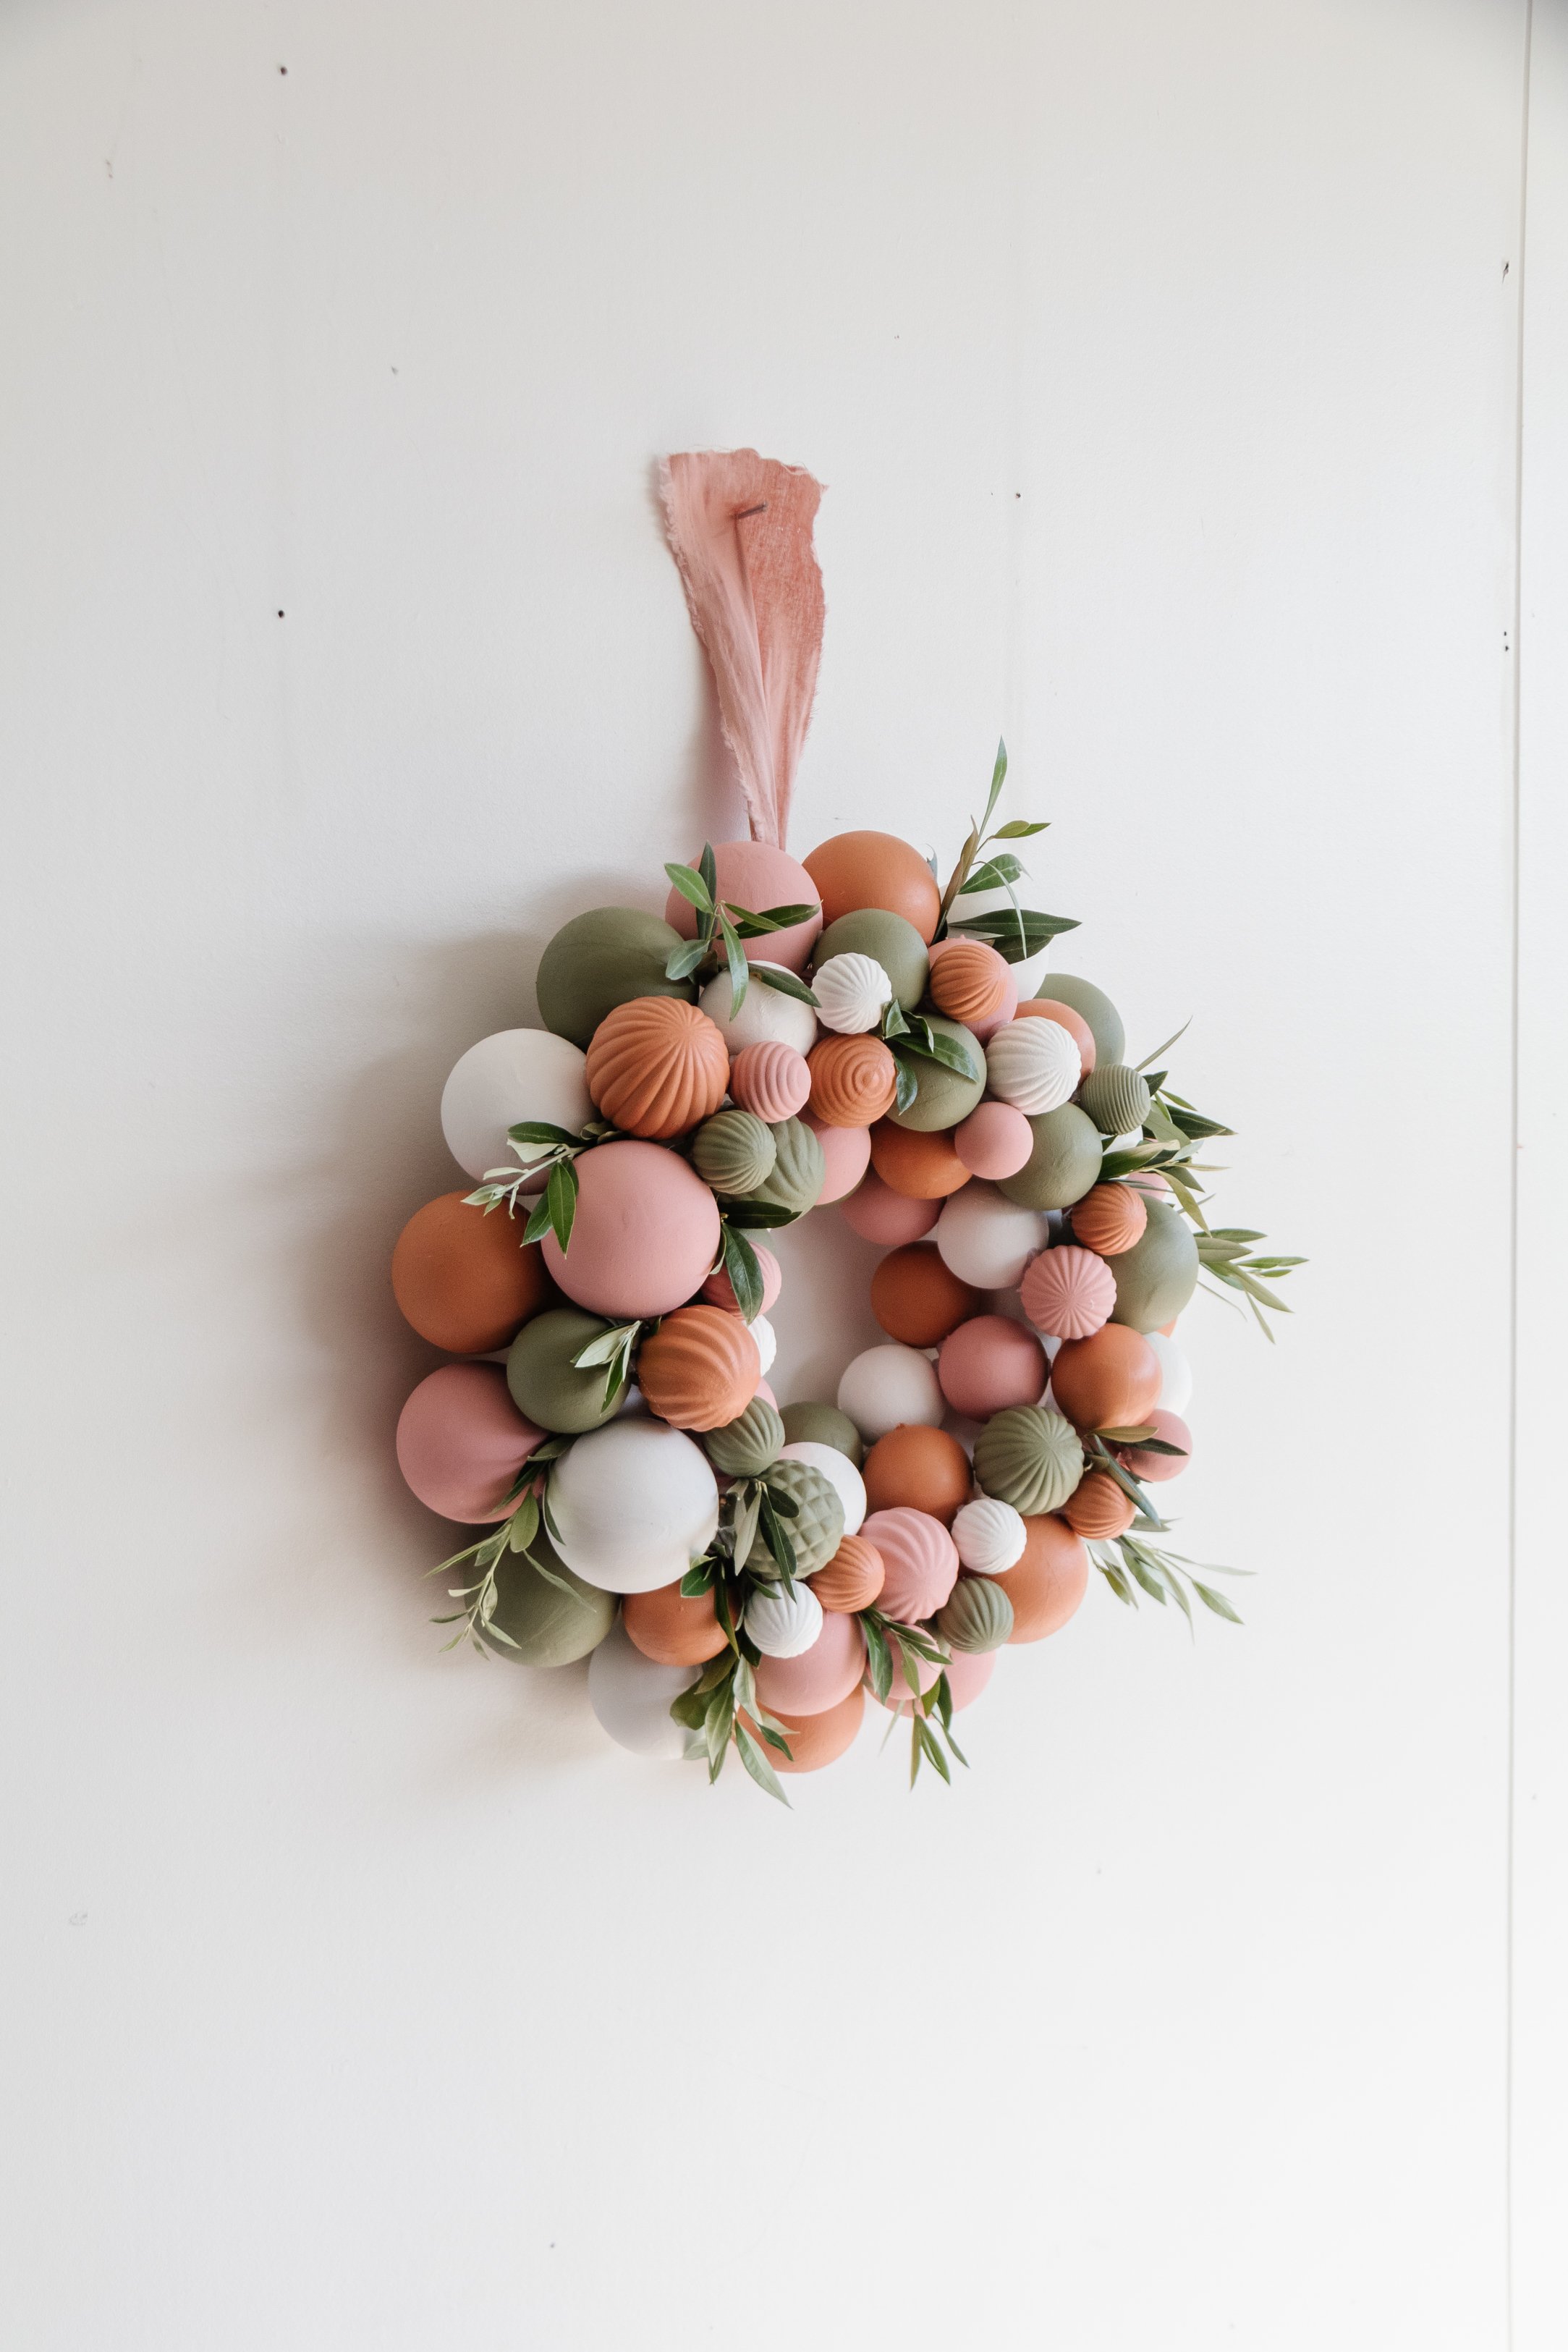
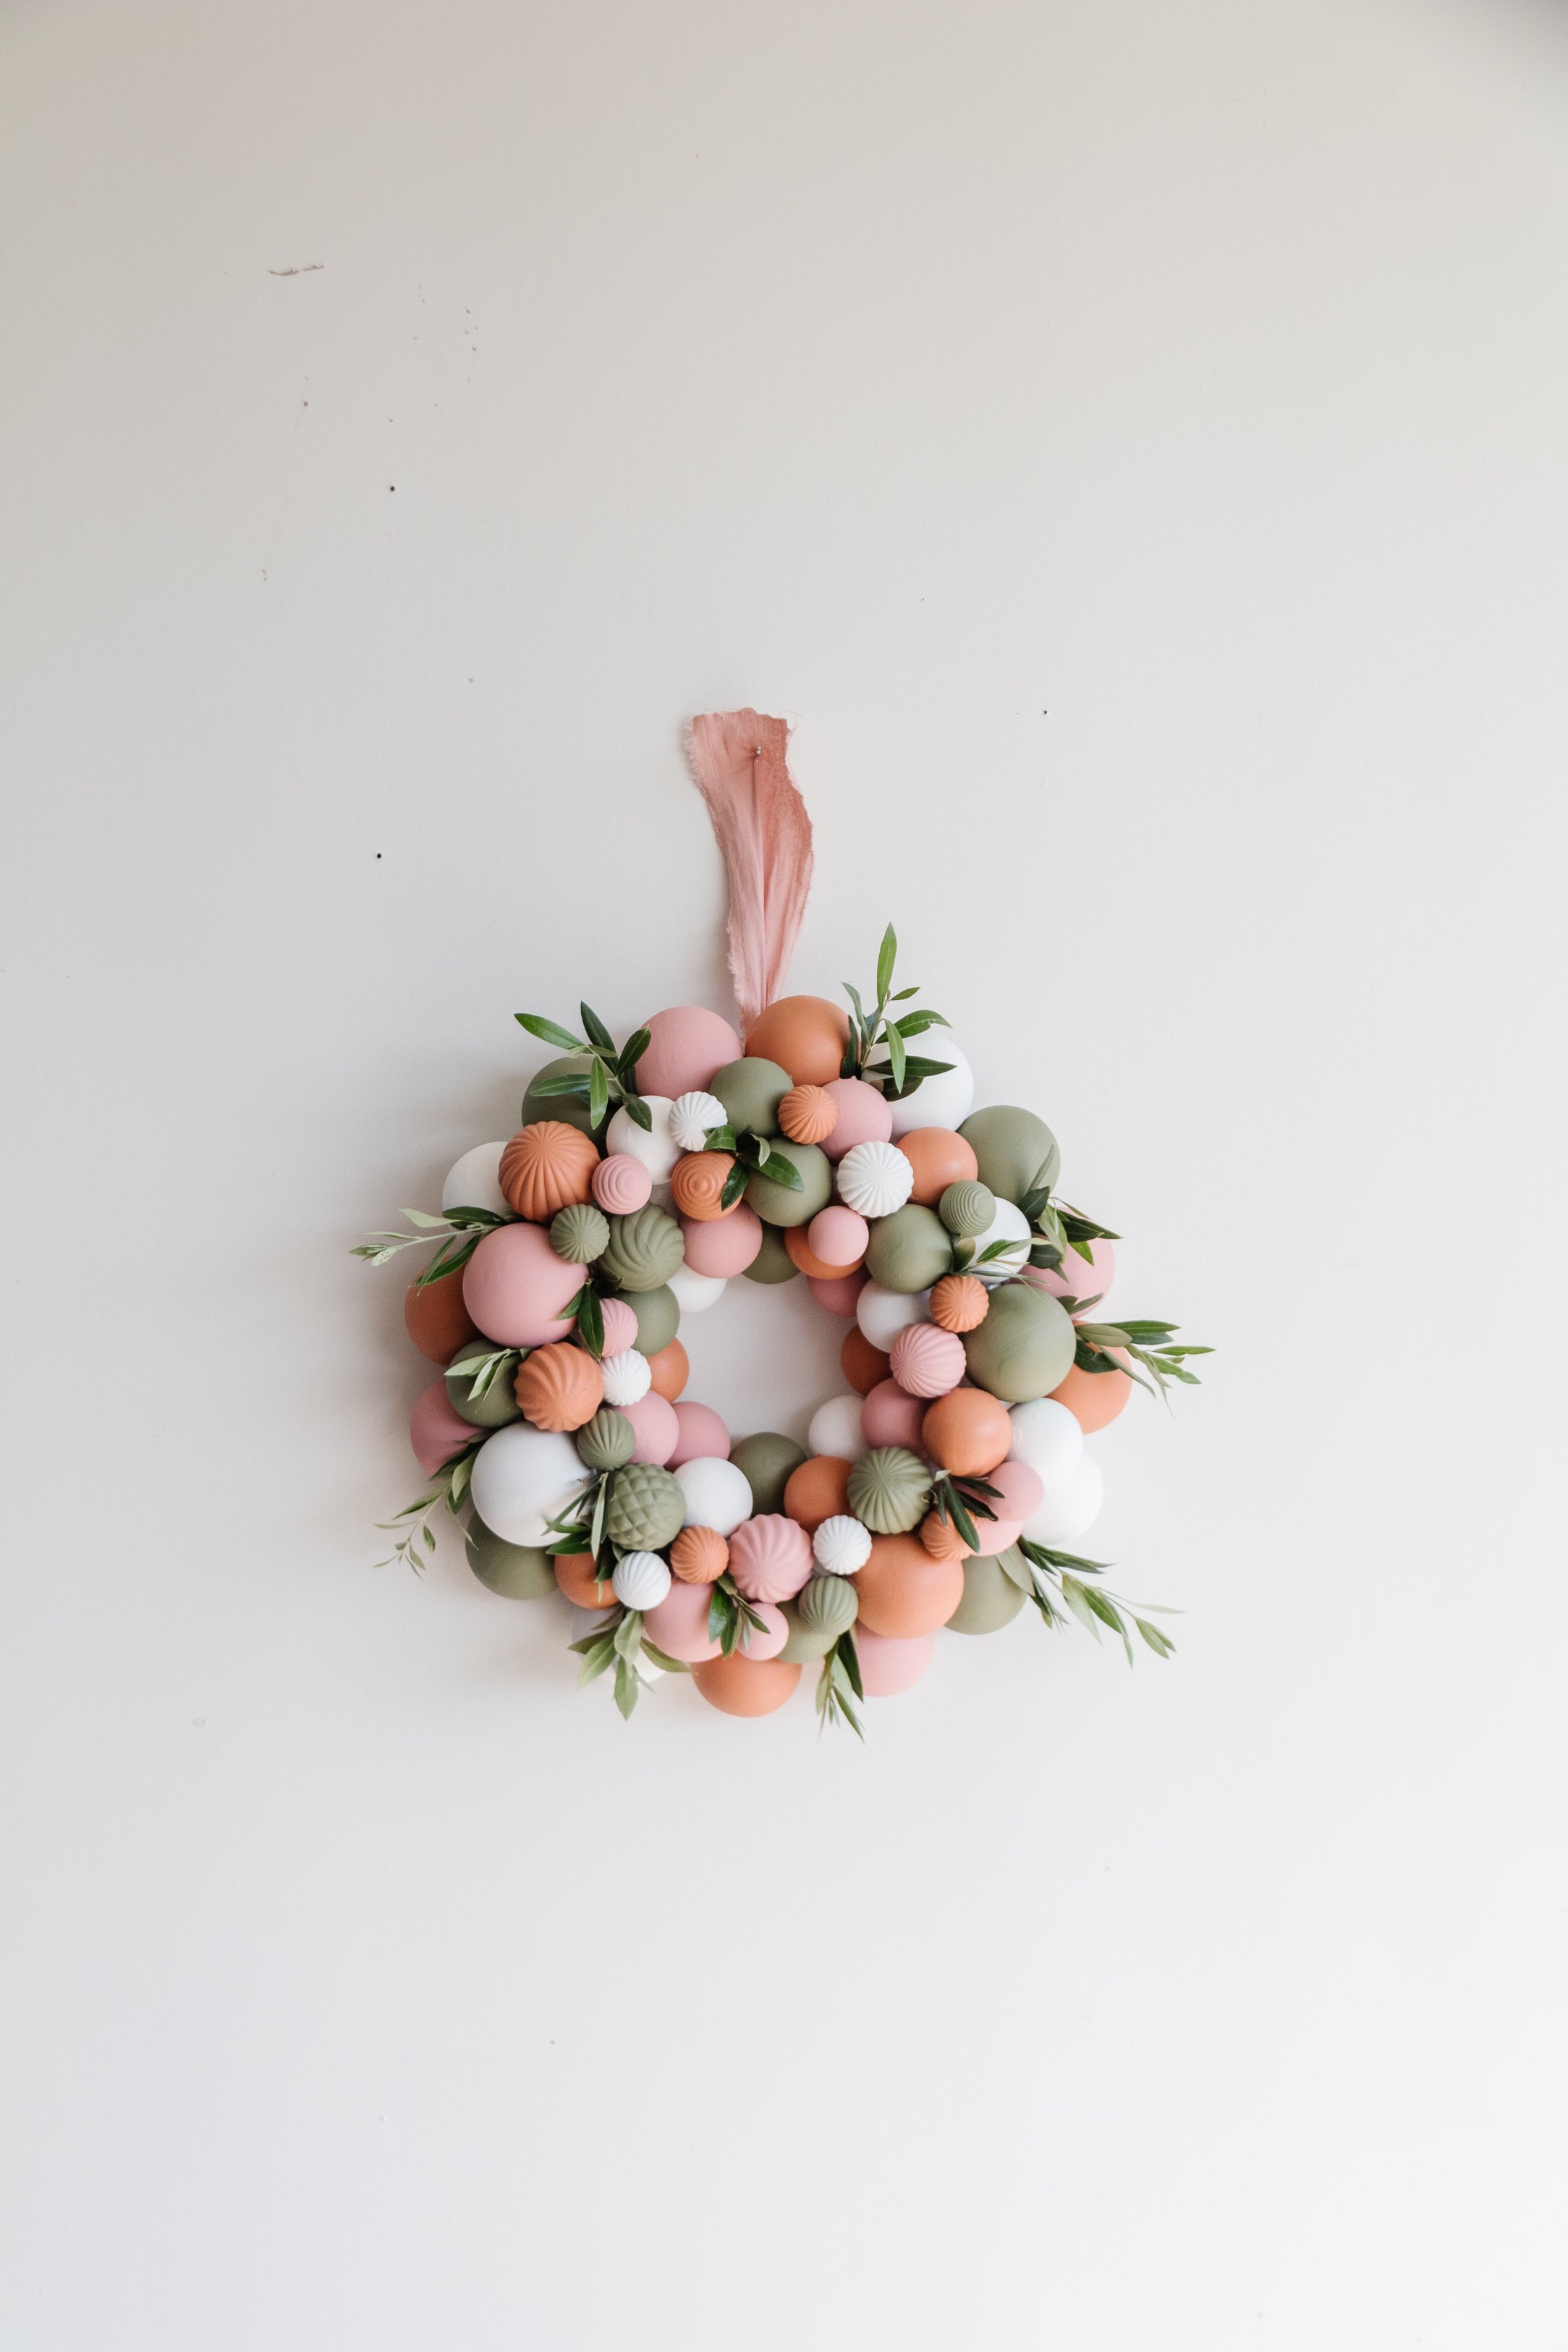
DIY Bauble Wreath
Feeling festive? Let’s make a wreath for your home!
If you’ve been following along over the last few years, you’ll know how much I love making and upcycling my Christmas decorations. There’s nothing like decorating your home for the festive season using things you’ve made yourself that suits your interior style, it’s the best feeling! Last week the lovely staff at my favourite charity shop in Noosa kindly allowed me to go behind the scenes and grab lots of used ornaments from storage, and when I found a foam ring I knew I had to make a bauble wreath! I didn’t love the colours of the baubles (and a few were scratched) so I decided to paint them in my favourite colours, and then it was simple as tying a piece of leftover pink linen fabric onto the foam ring, gluing the baubles on, filling the gaps with olive branches from our garden and hanging the wreath! Total project cost? $20. Yup! How good is that? This is also one of those fun and easy DIY projects that brings all the festive feels and merry atmosphere. Tap the link in my bio for the tutorial. Happy Christmas!
And to see how this DIY Bauble Wreath using secondhand materials came together, make sure you check out this video!
DIY Bauble Wreath


Project Details
🕒 Project Time Estimate: 4 hours, including paint and glue drying time (paint may dry slower on a cold, cloudy day)
💰 Materials Cost: $20
⚒️ Power Tools: None!
👷♀️ Skill Level: Beginner DIYer
Materials
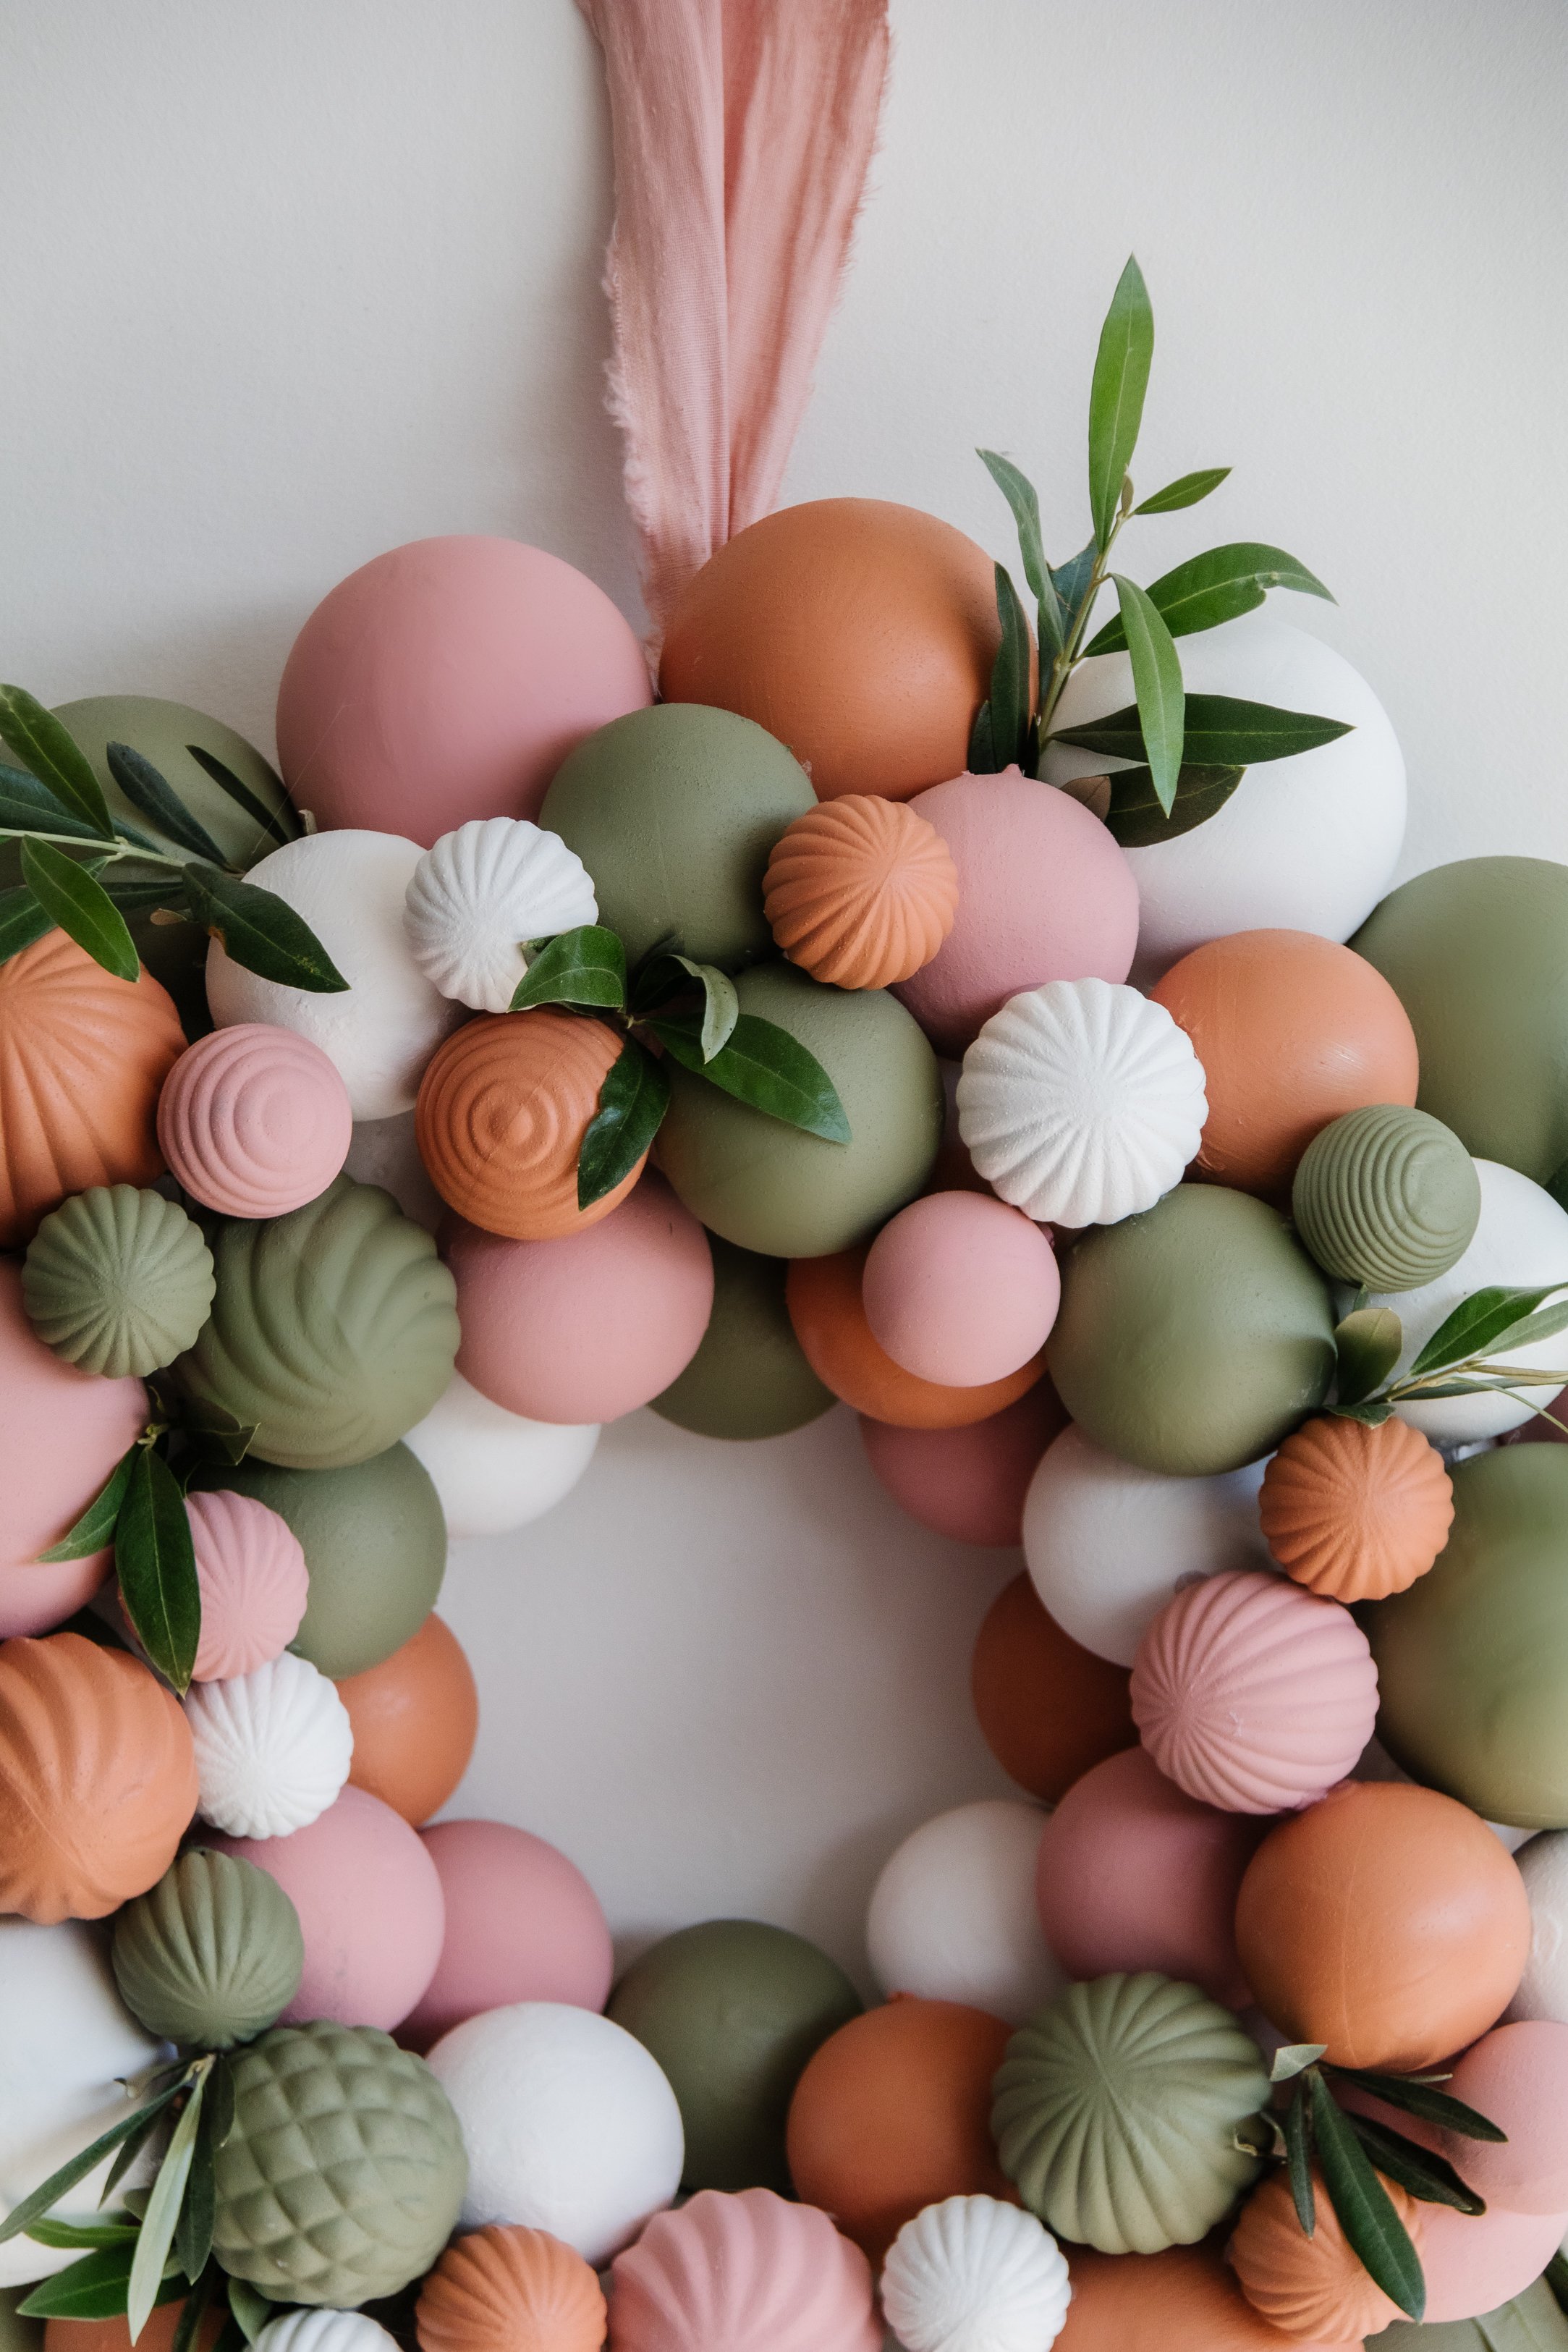
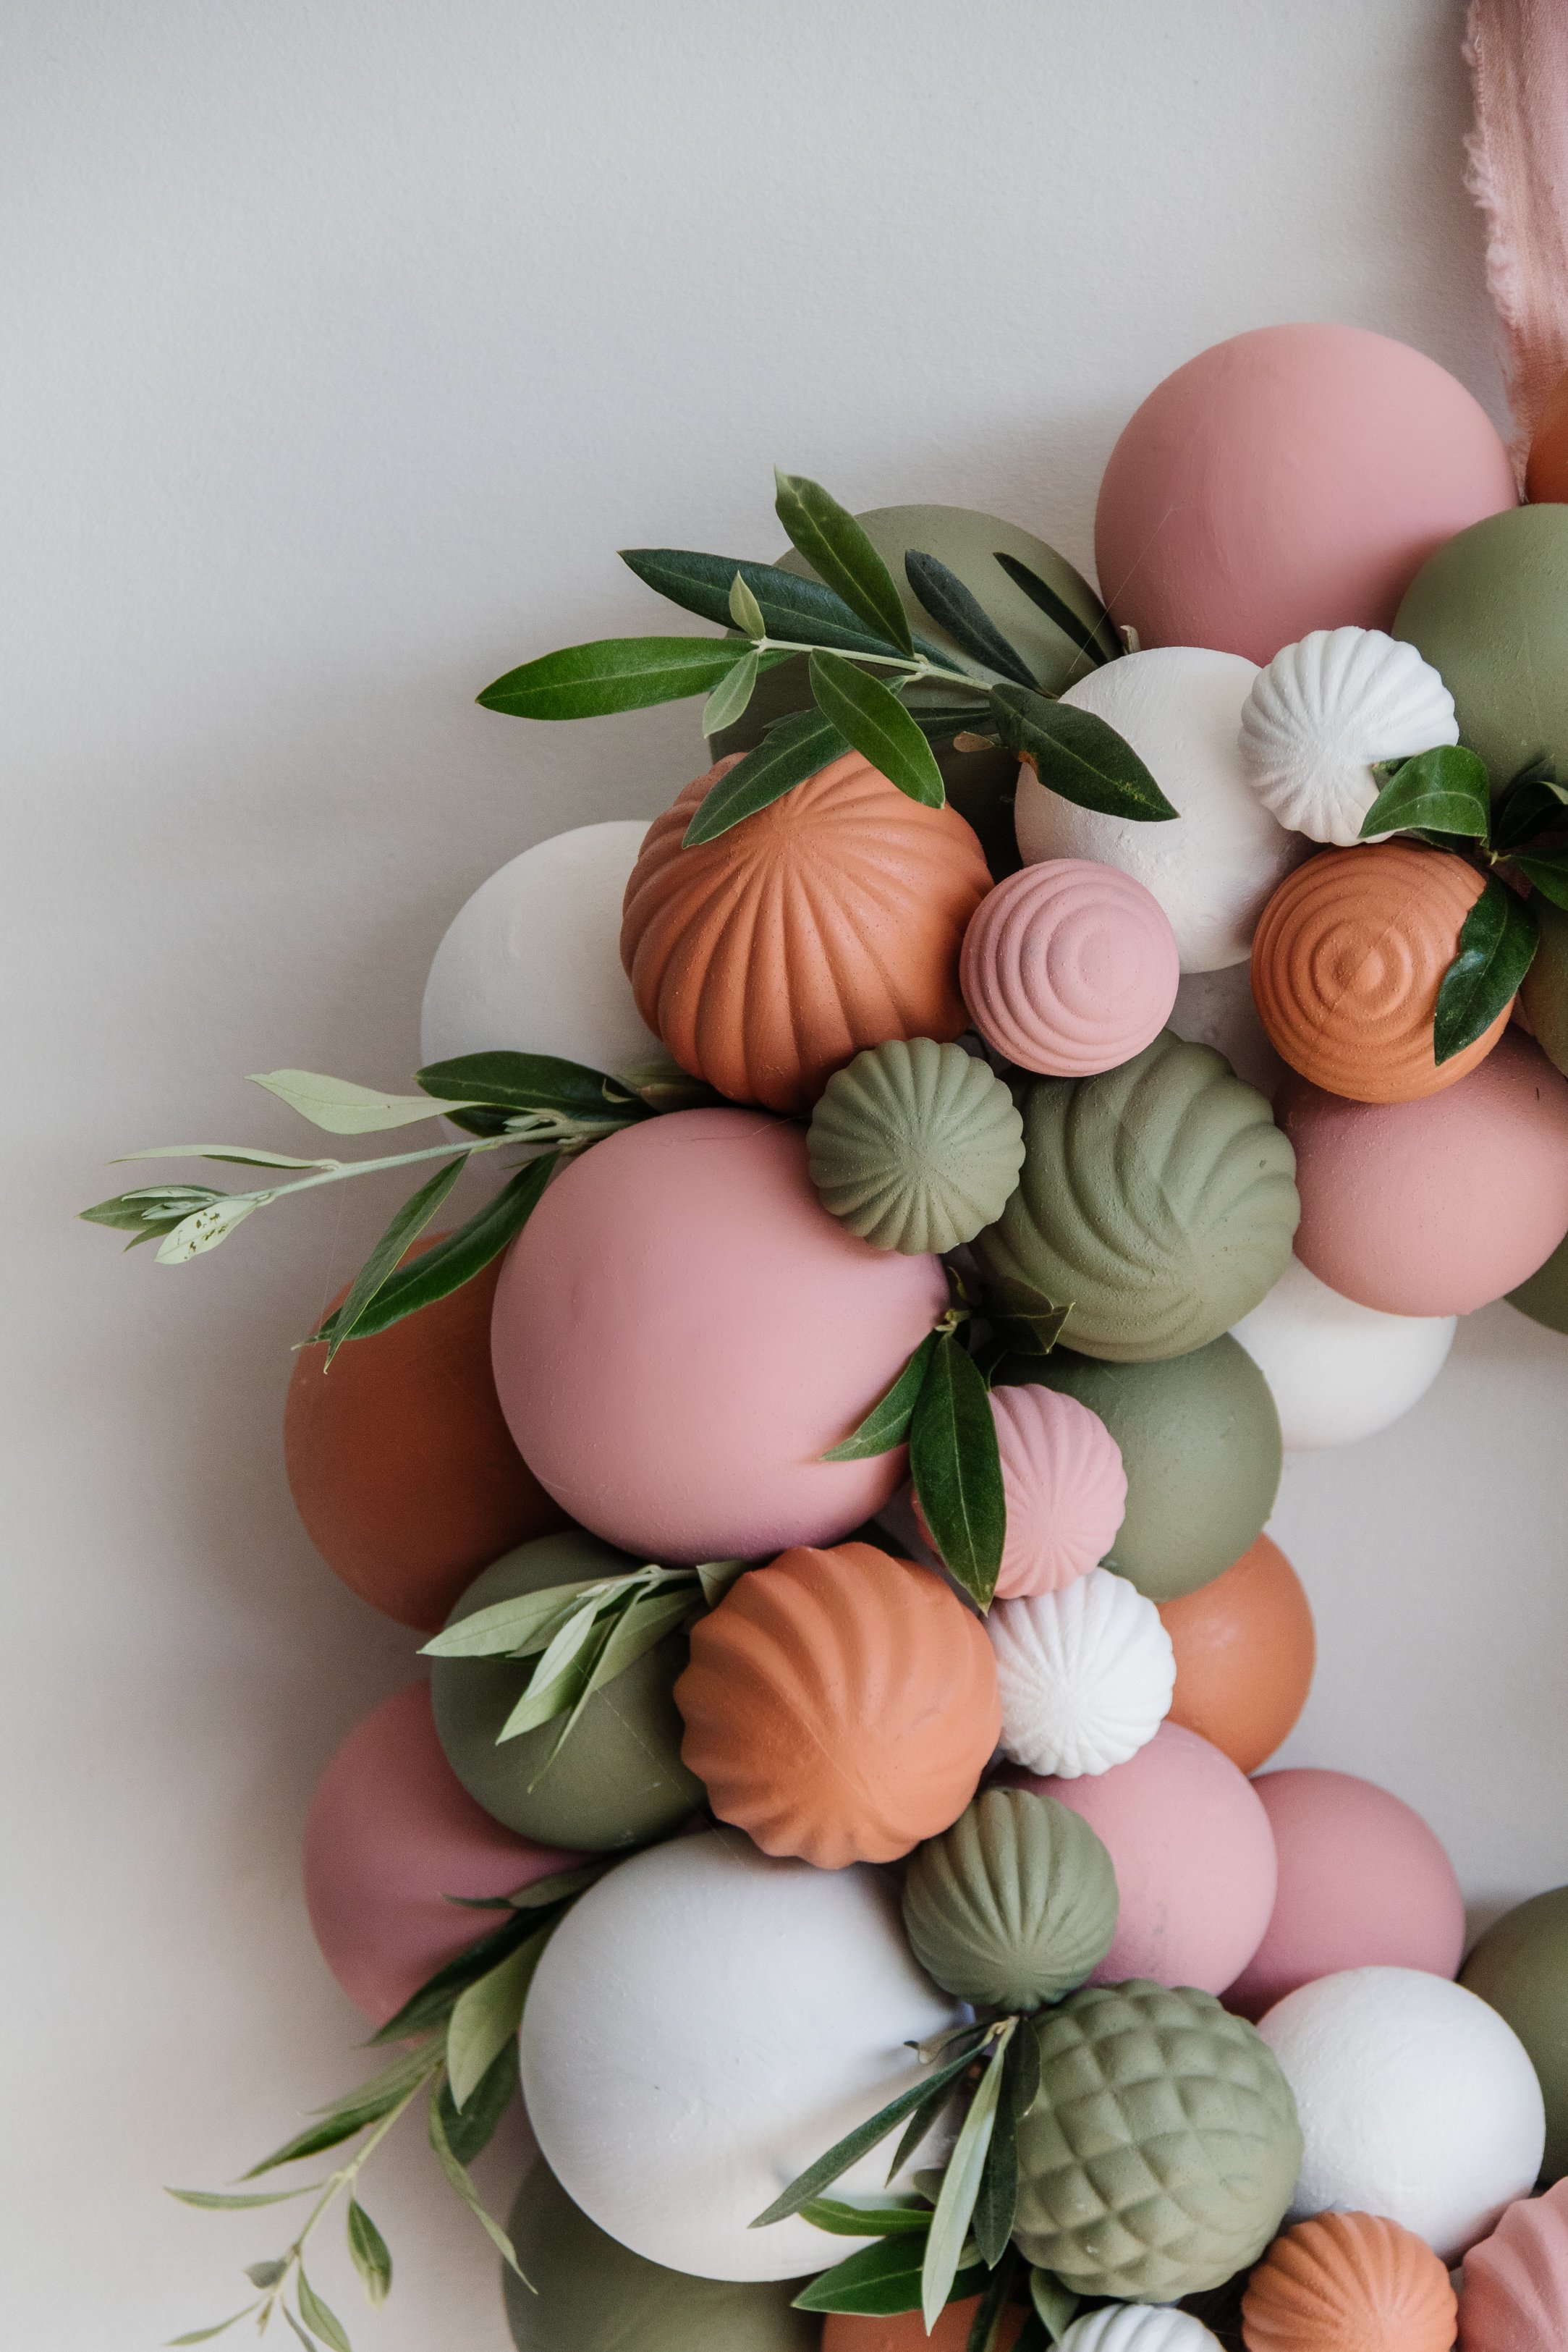
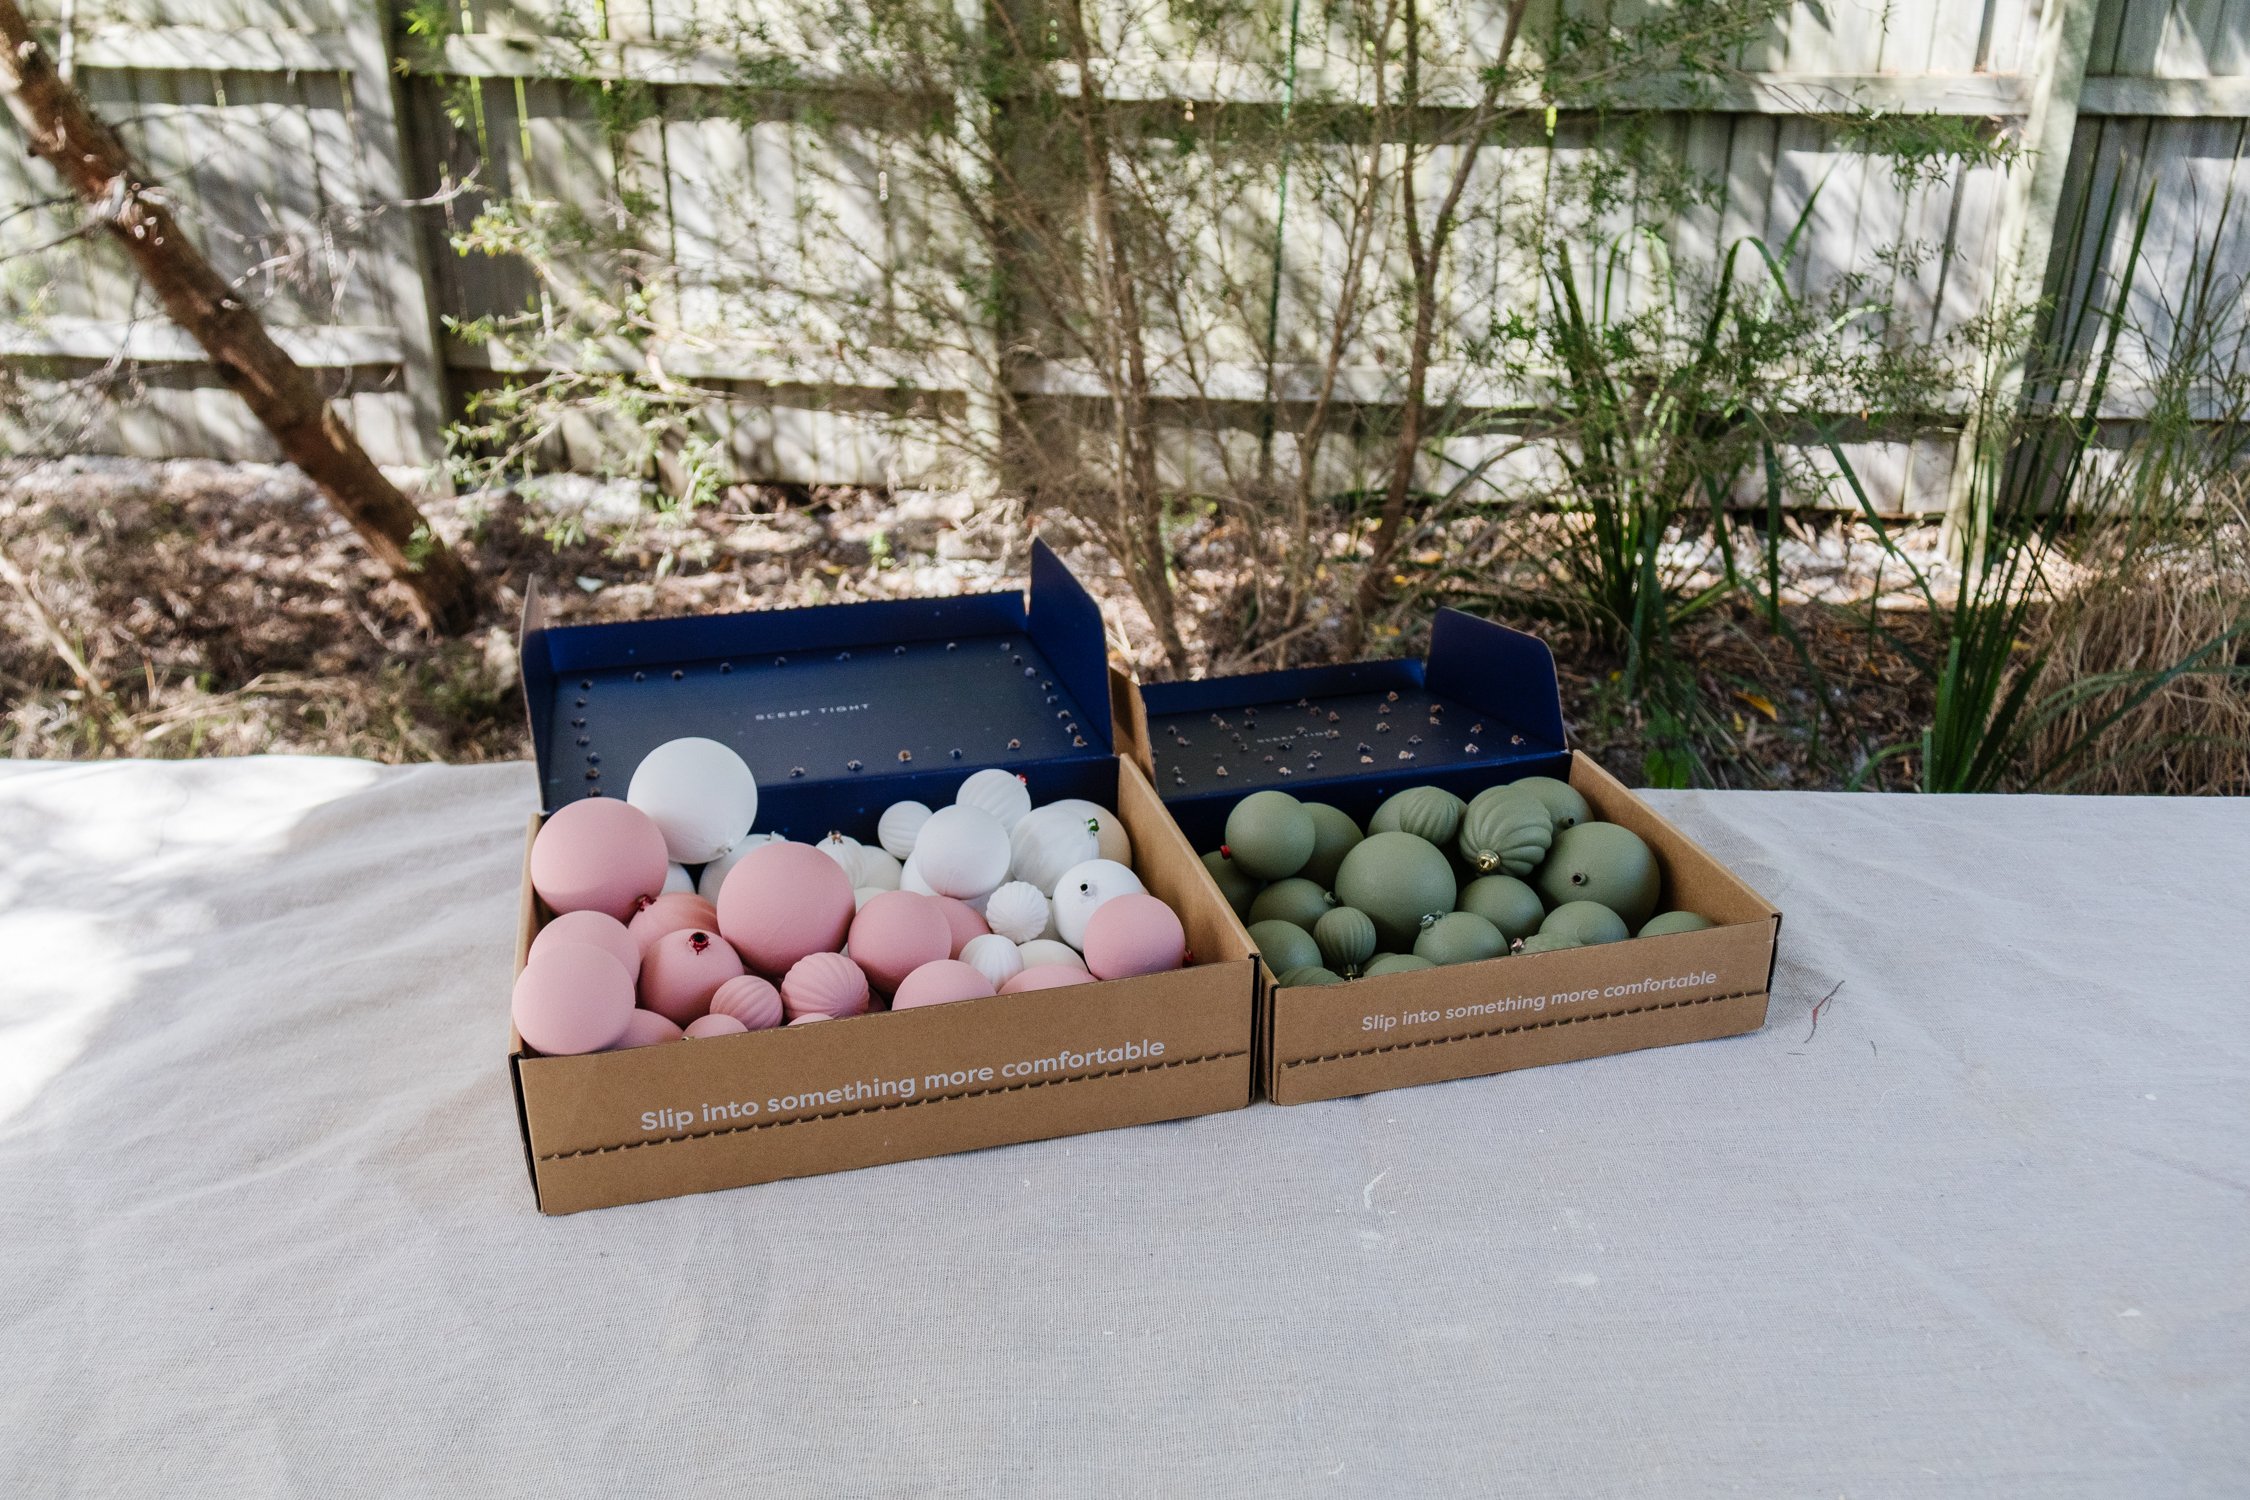
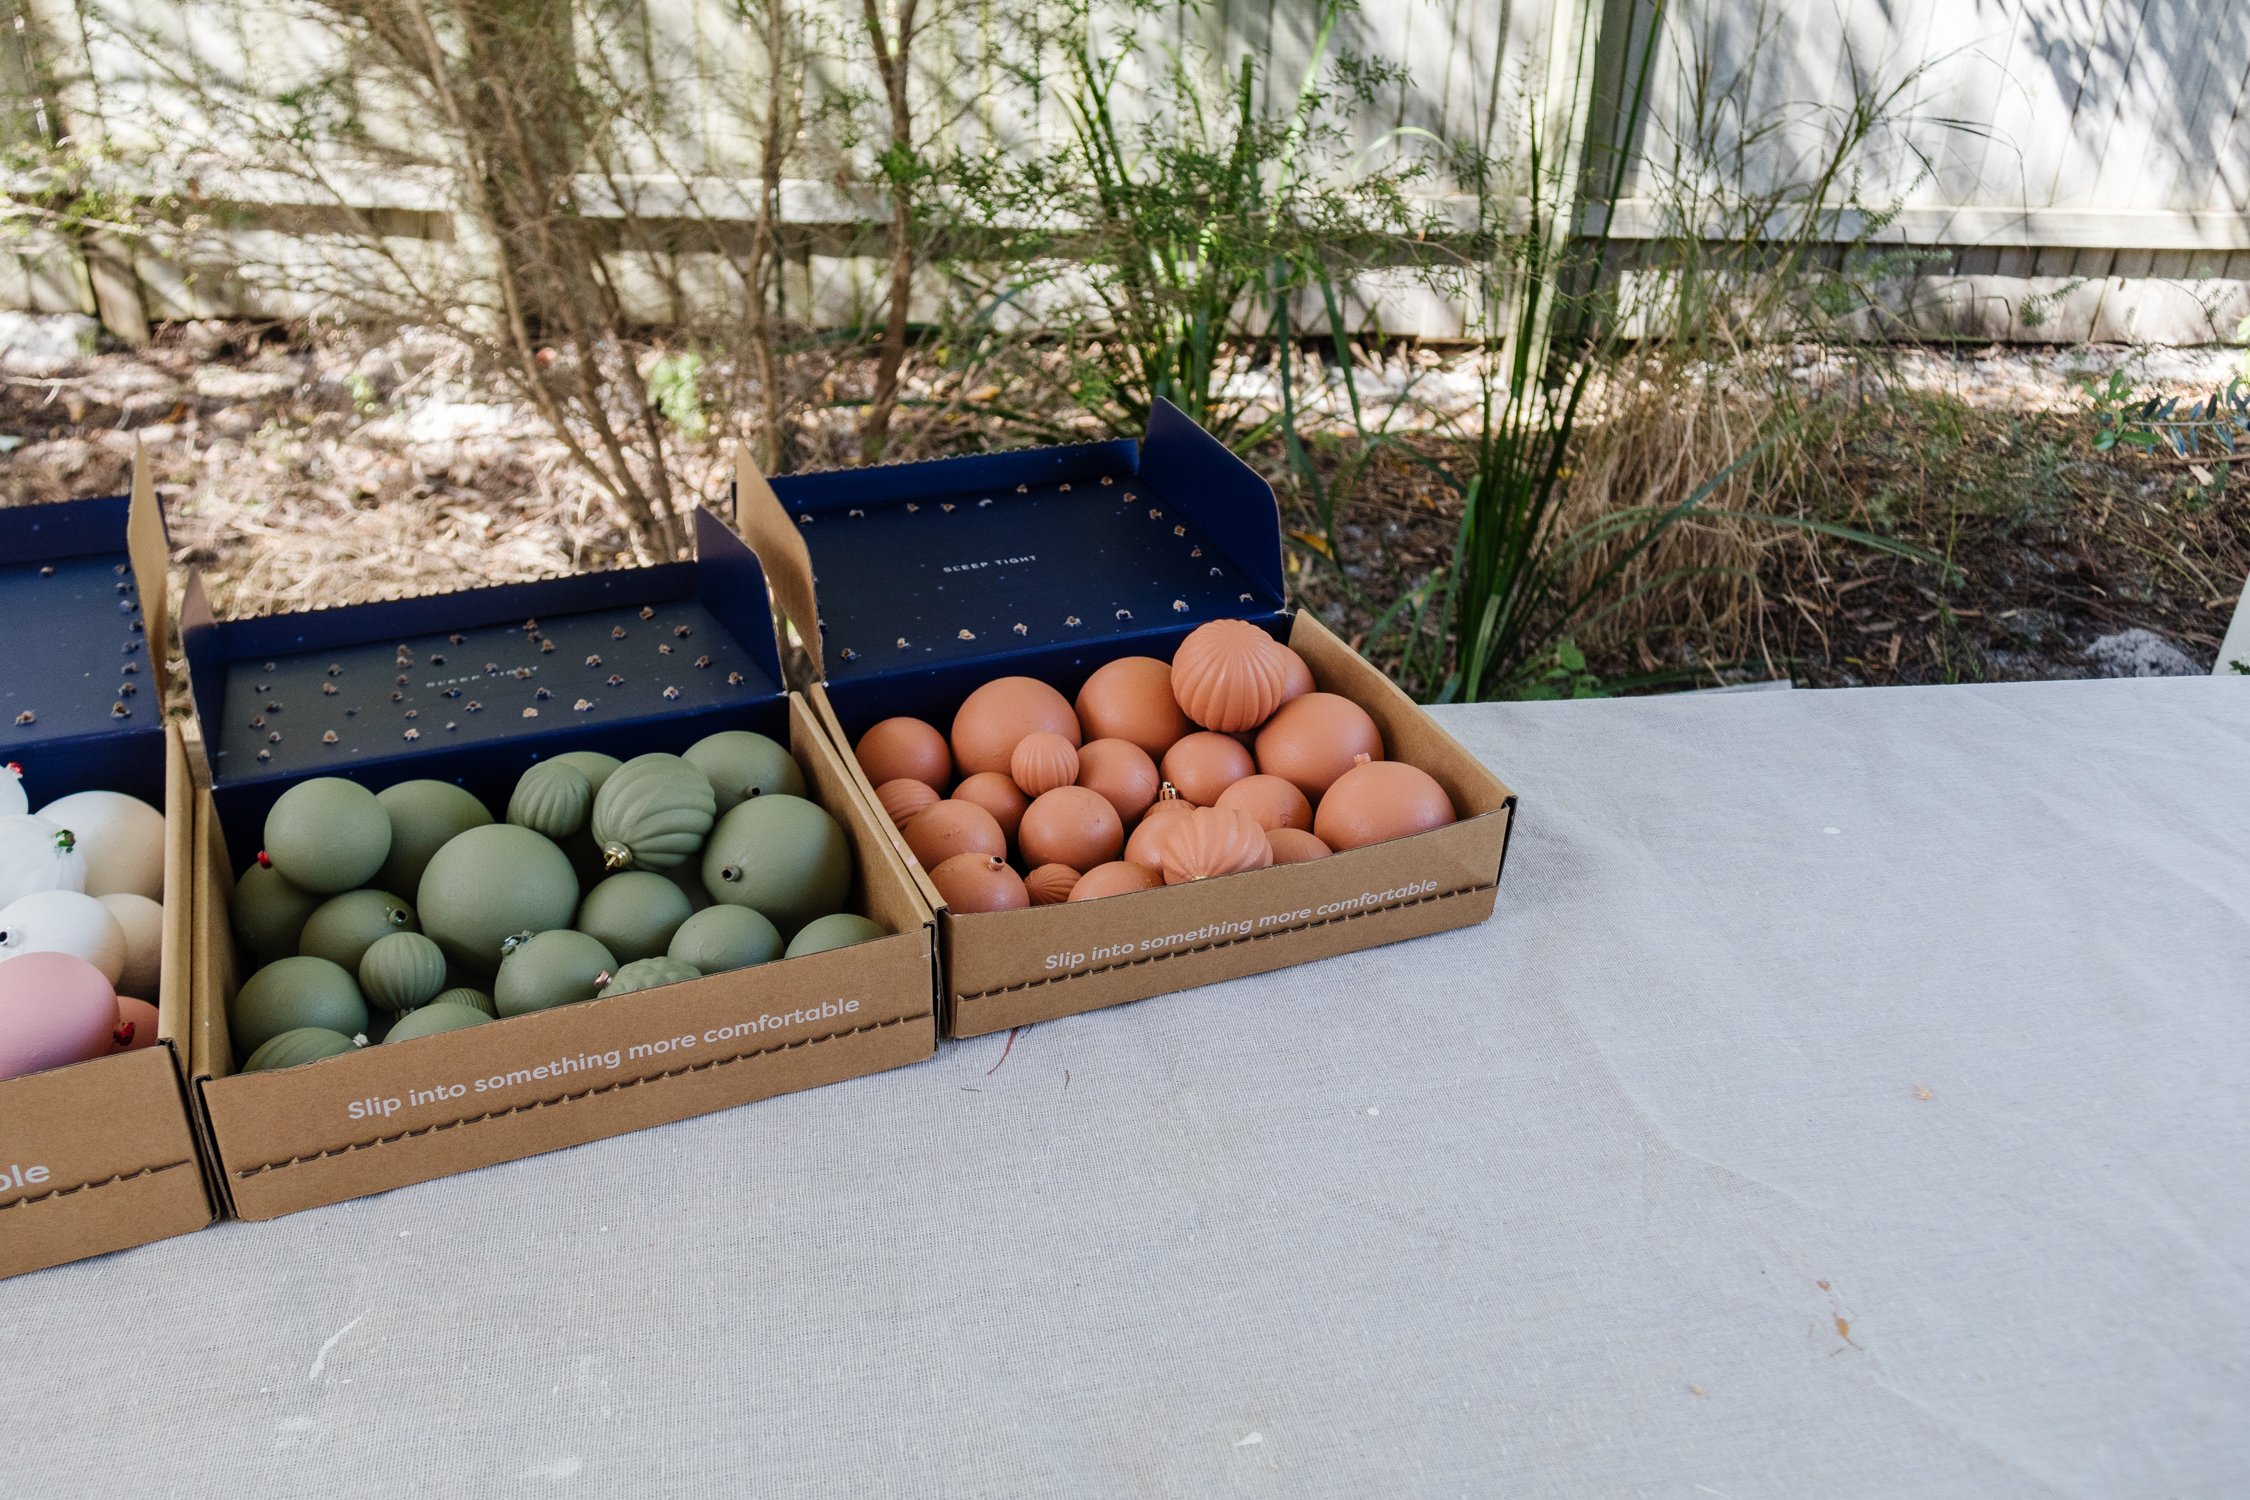
Baubles - large, medium and small. You’ll need at least 80 to 90 baubles, so try to source them secondhand as it’ll keep the cost very low.
Paint in your favourite colours - I used Dulux colours “Flinders Green”, “Terracotta Chip”, “Lexicon Quarter” and “Lexicon Quarter” mixed with “Morocco”. I used 250ml sample pots from Bunnings and still have heaps left over of each colour.
At least 3 cardboard boxes and skewers and/or tape and a clothes line
Leftover fabric - I used pink linen fabric
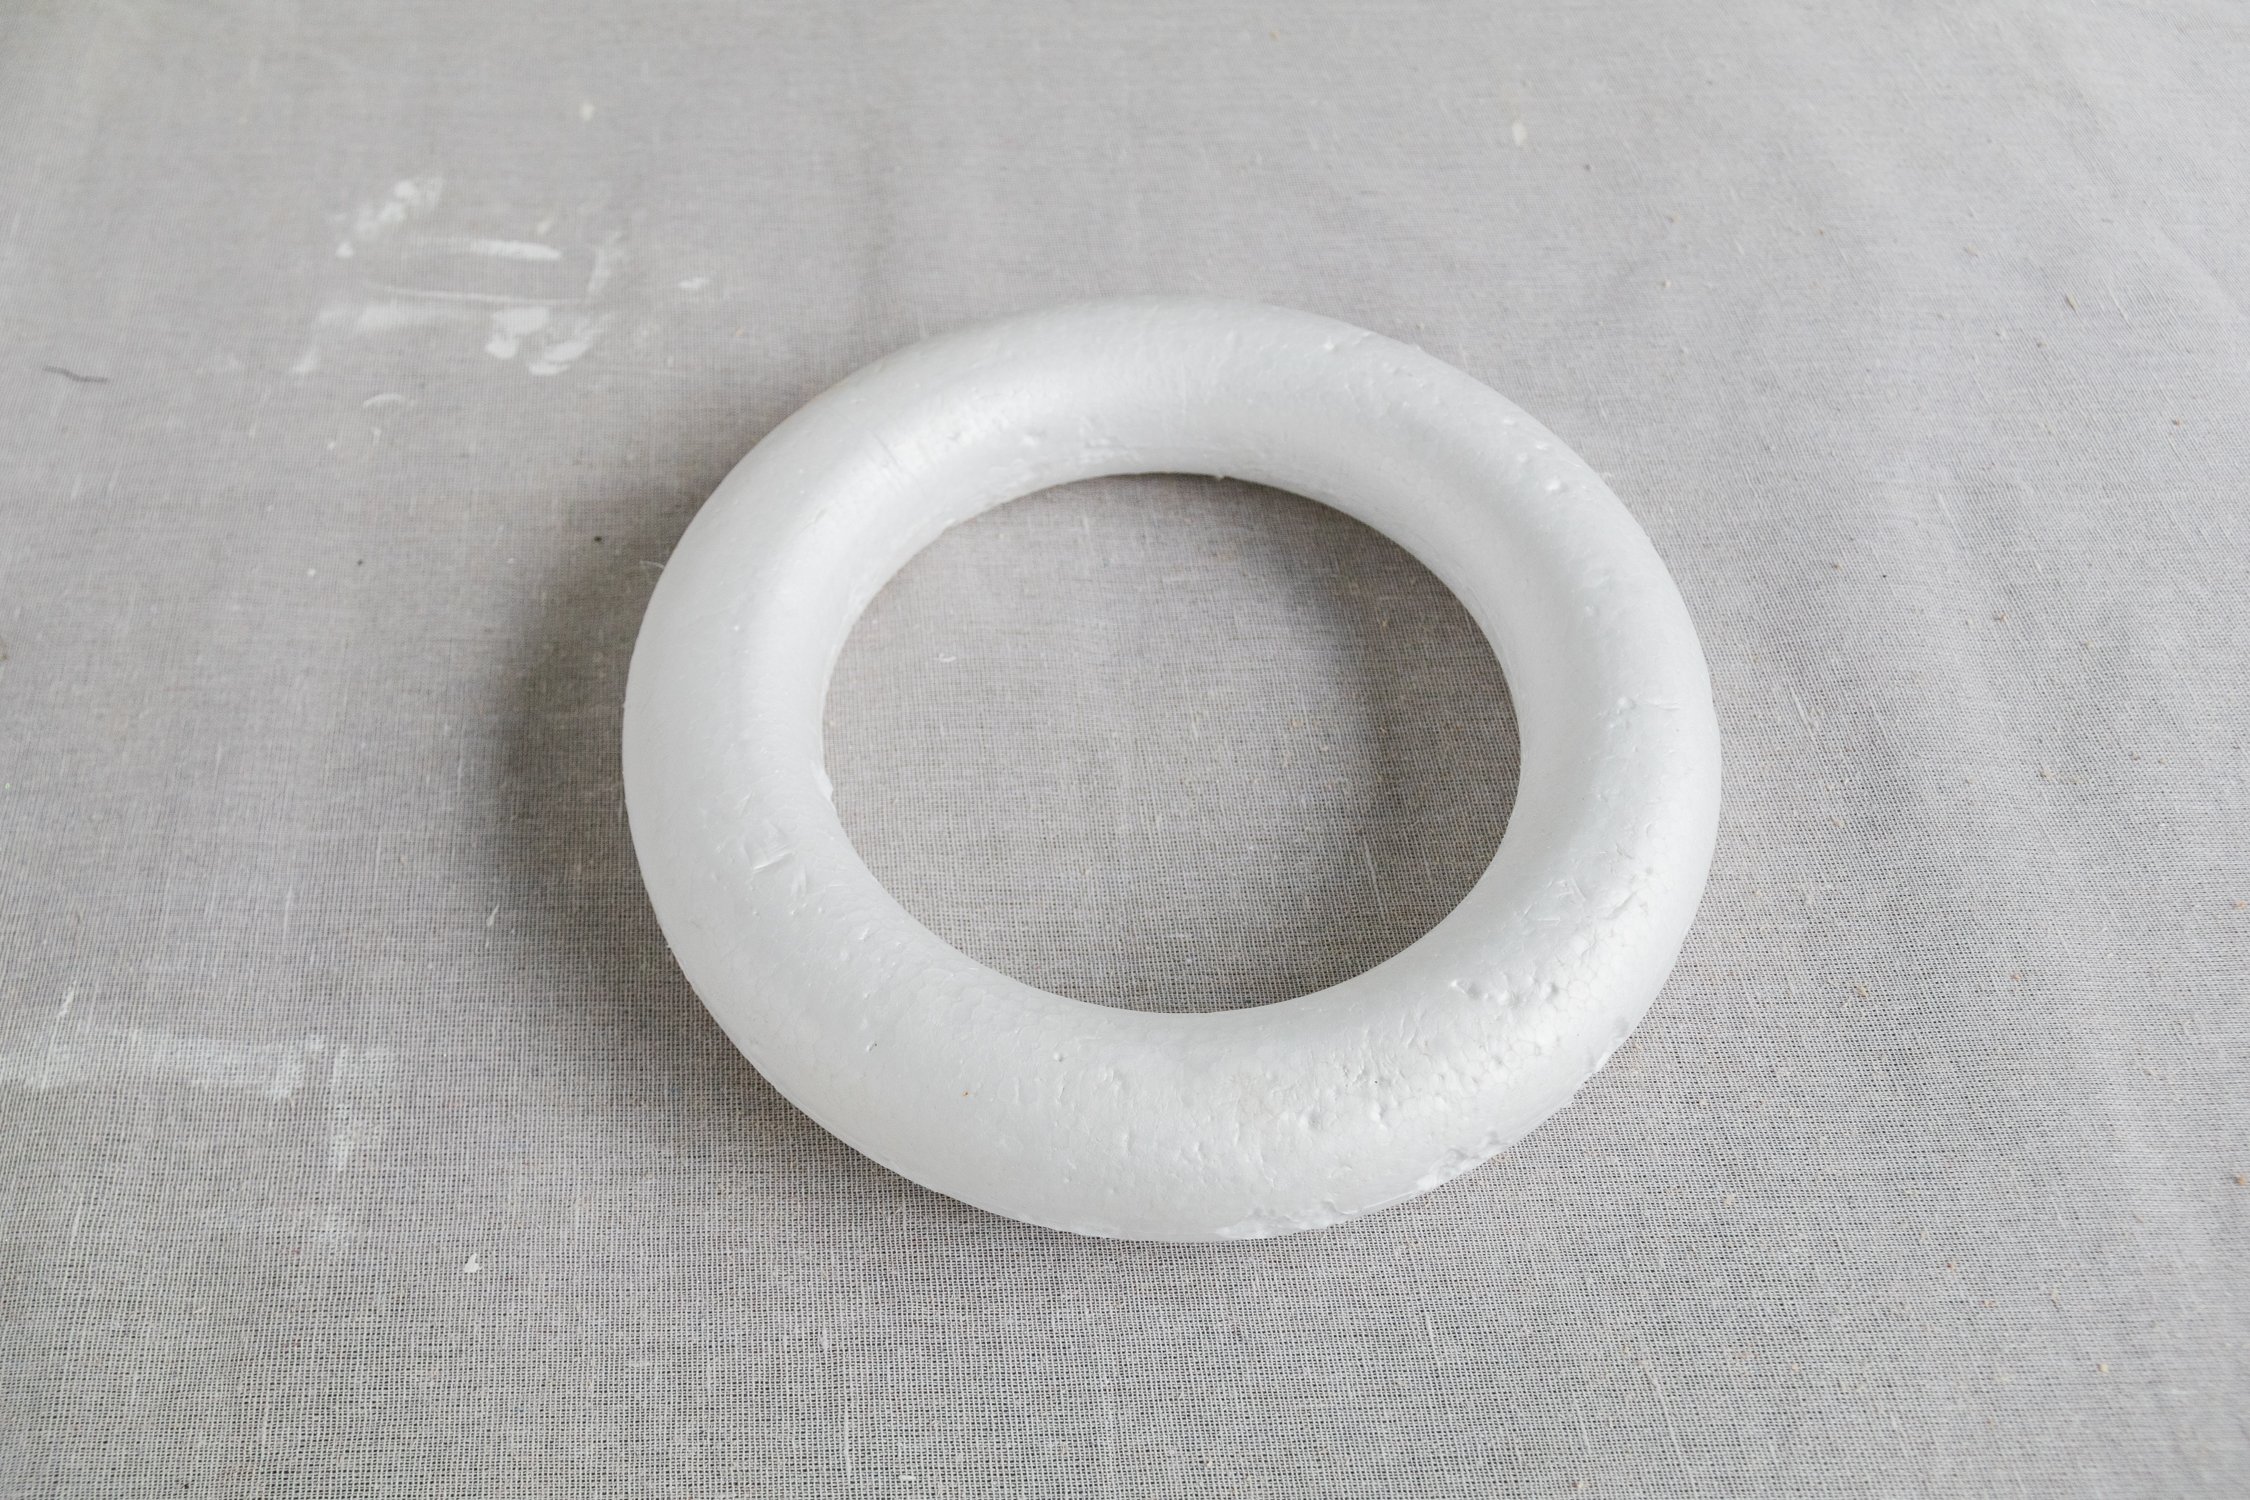
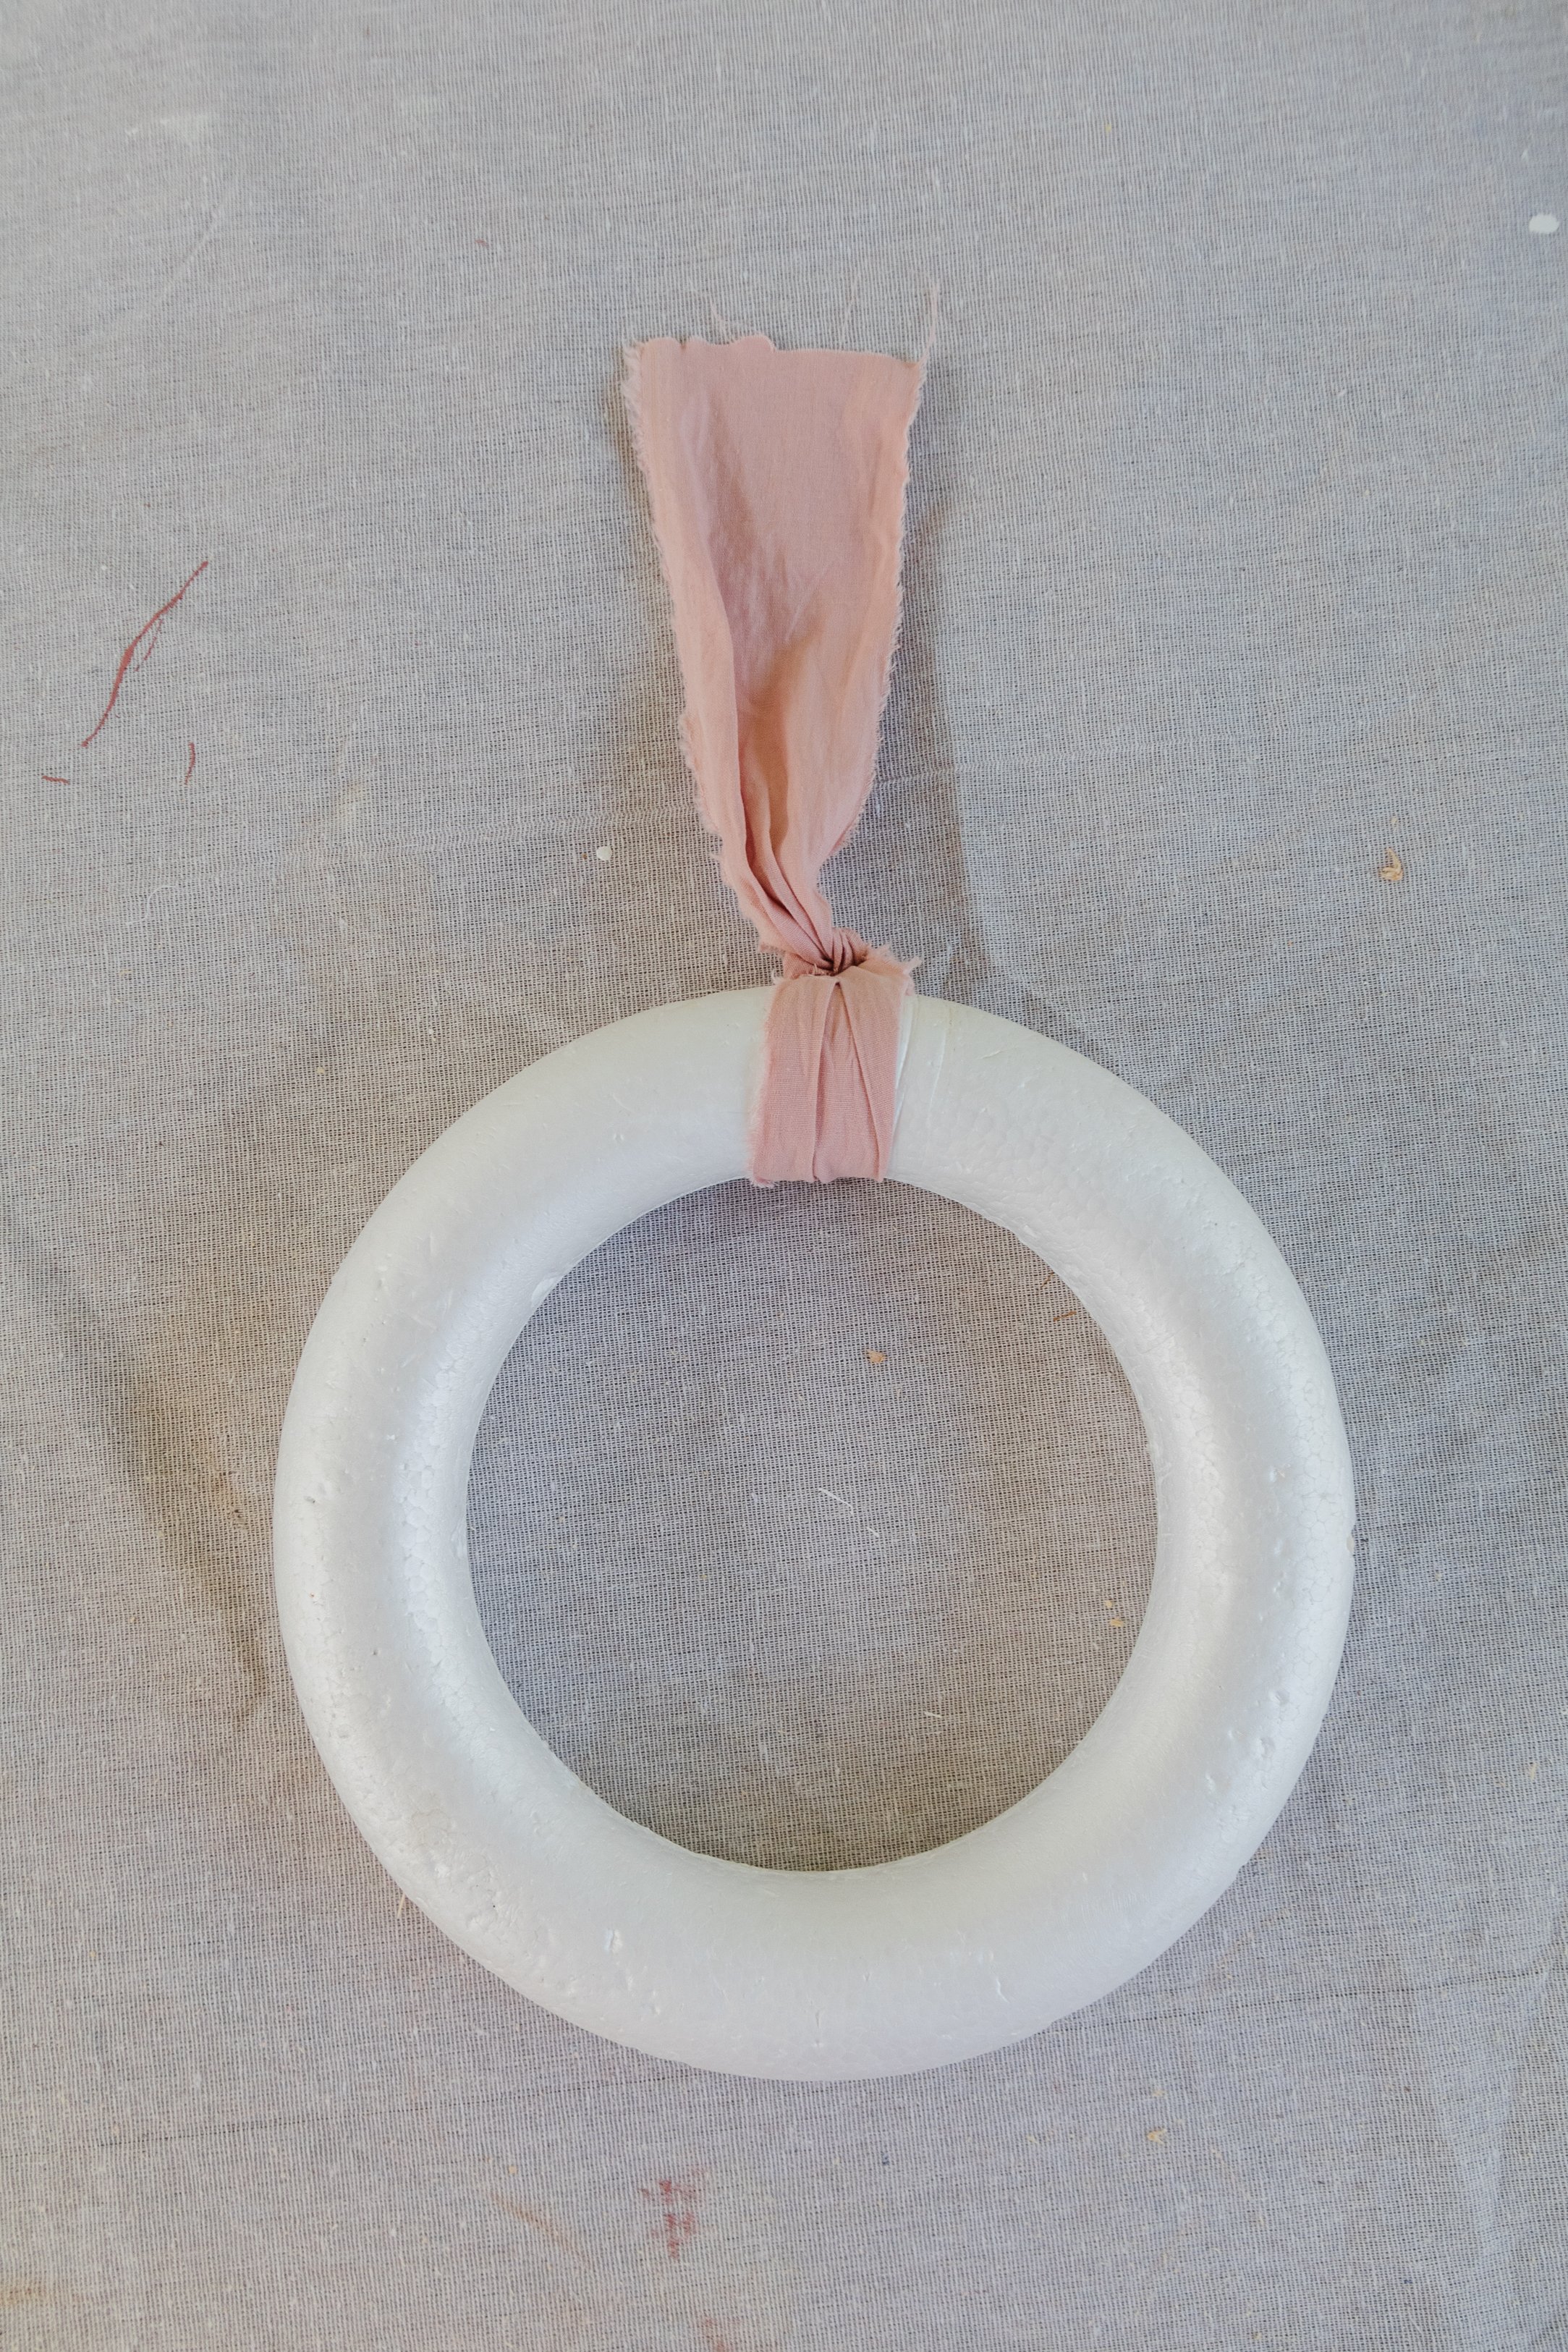
Large foam wreath, which you can get from craft stores, such as Spotlight or Lincraft
Olive branches or branches from another tree
Nail and hammer, or a 3M hook to hang the wreath

How To
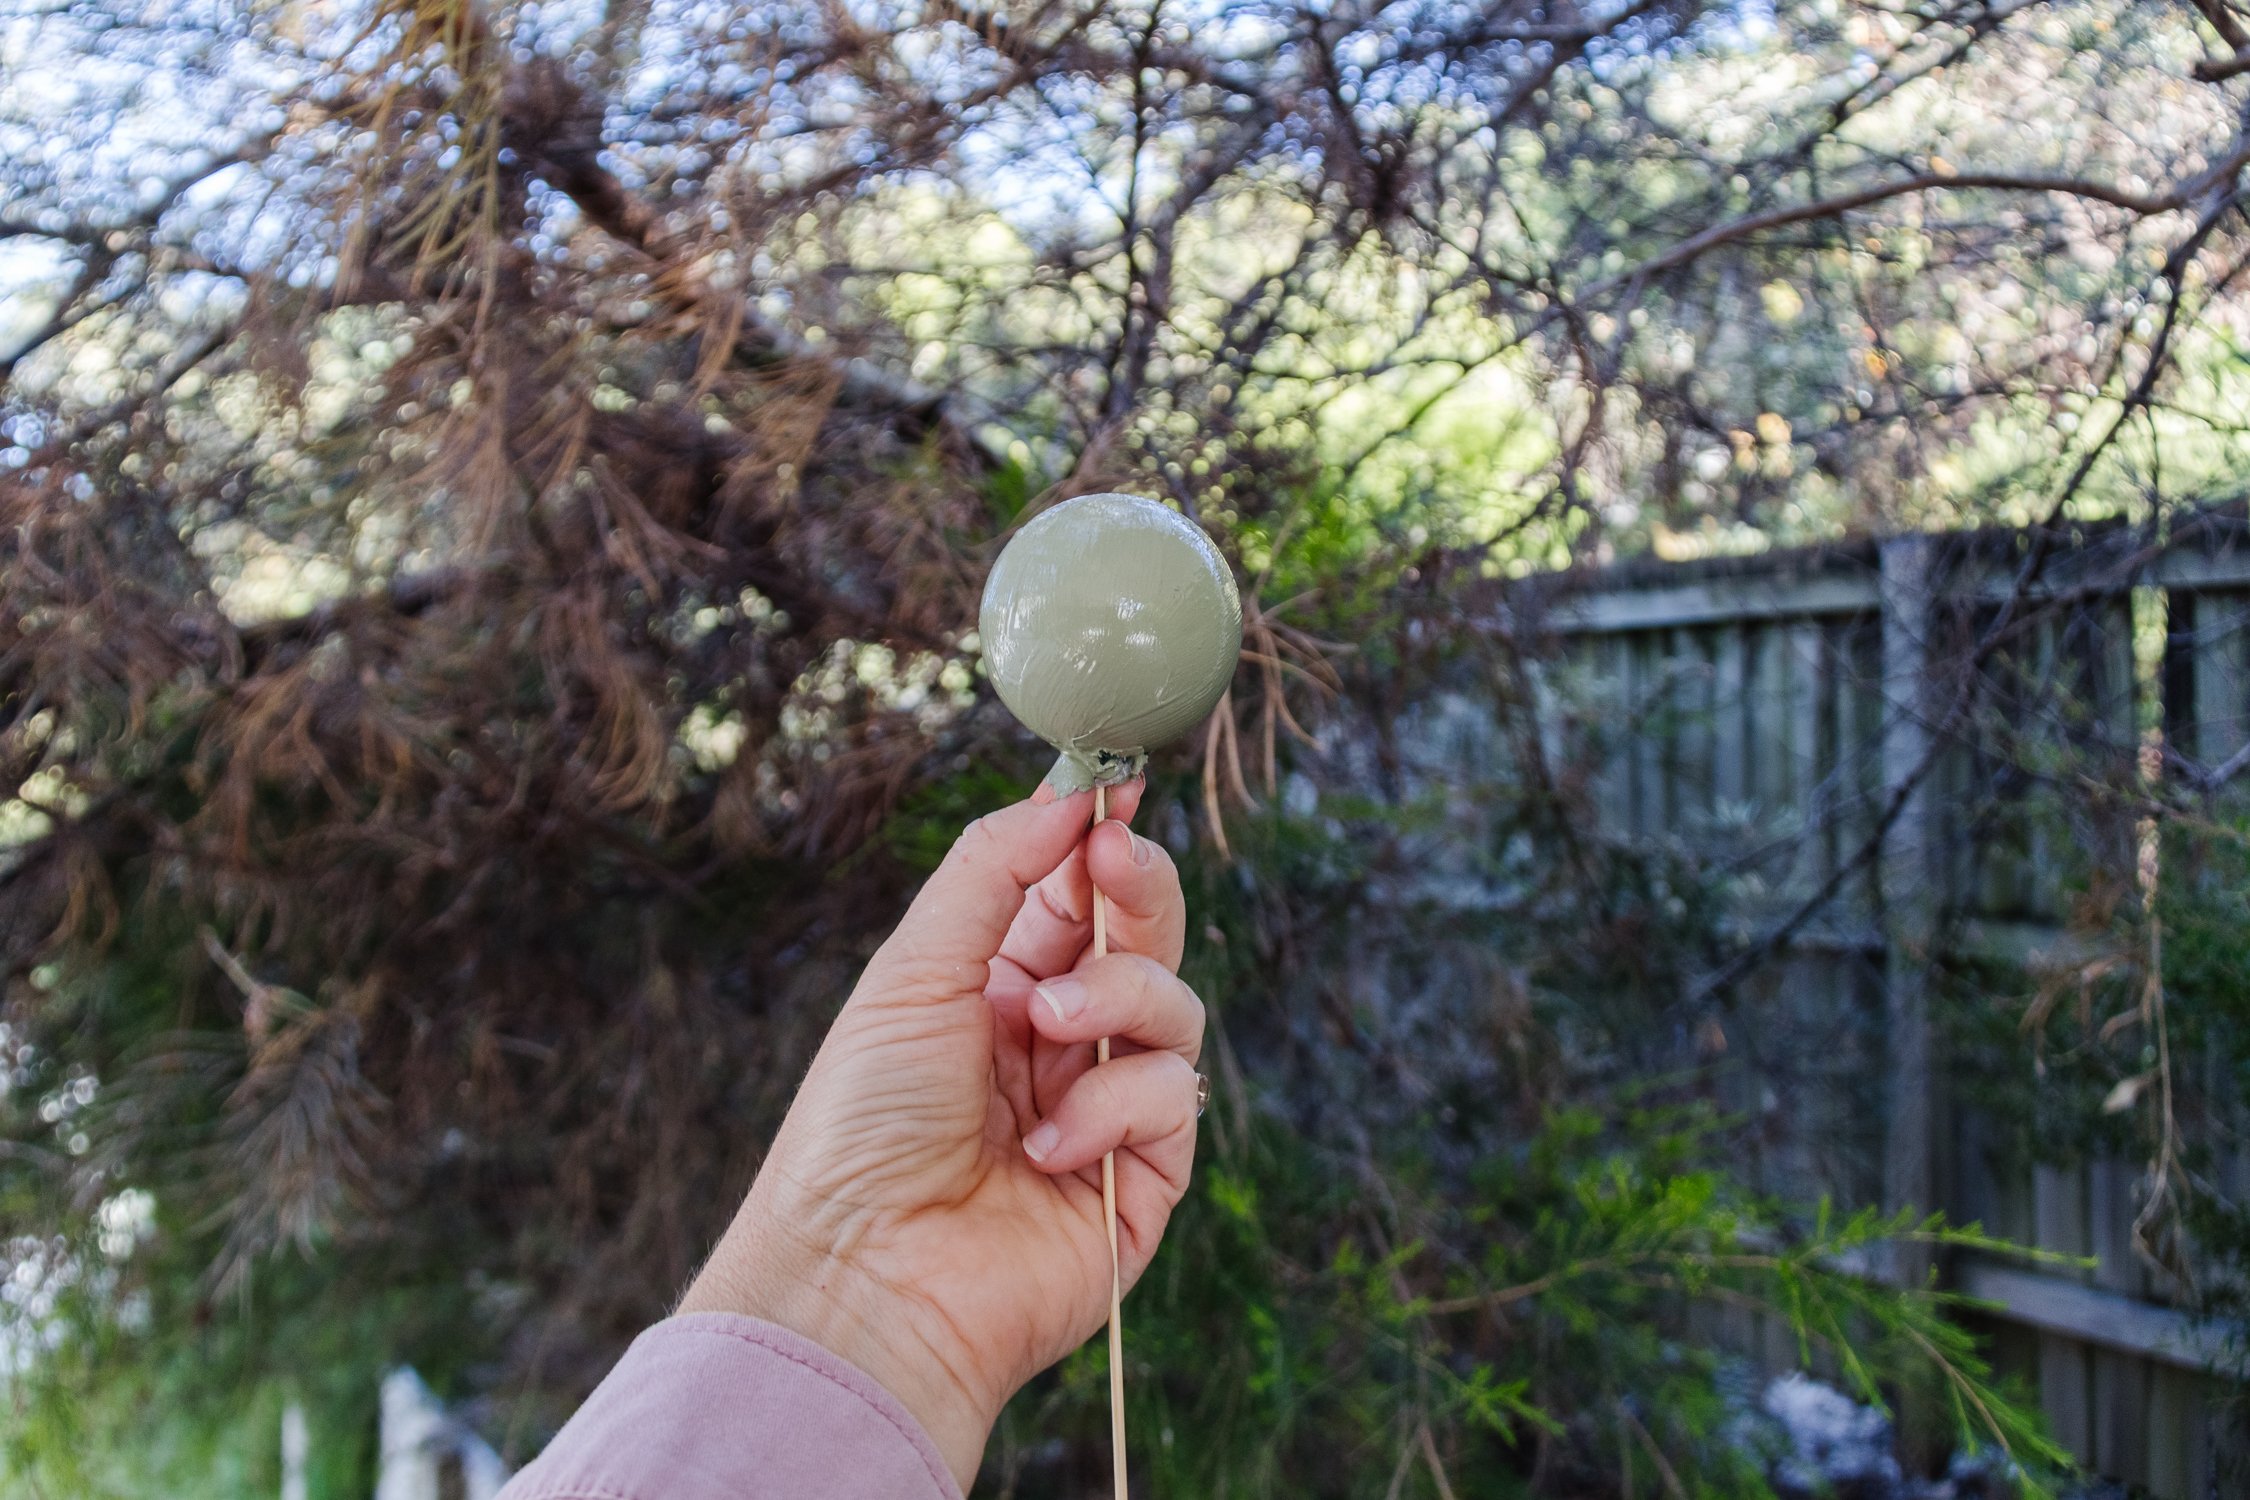
Step 1: Start by punching holes around the perimeter of a few cardboard boxes. Insert a skewer into a bauble and apply a thick coat of paint (you may need to apply two coats depending on the bauble). Rest the skewer (with the bauble on top) into one of the holes in the cardboard box. Repeat until all the baubles are painted. I also hung baubles with strings onto a clothes line with tape. Place the baubles in the sun to dry (or outside/next to an open window to dry faster). Painting the baubles took about 3 hours but it’s totally worth the effort.
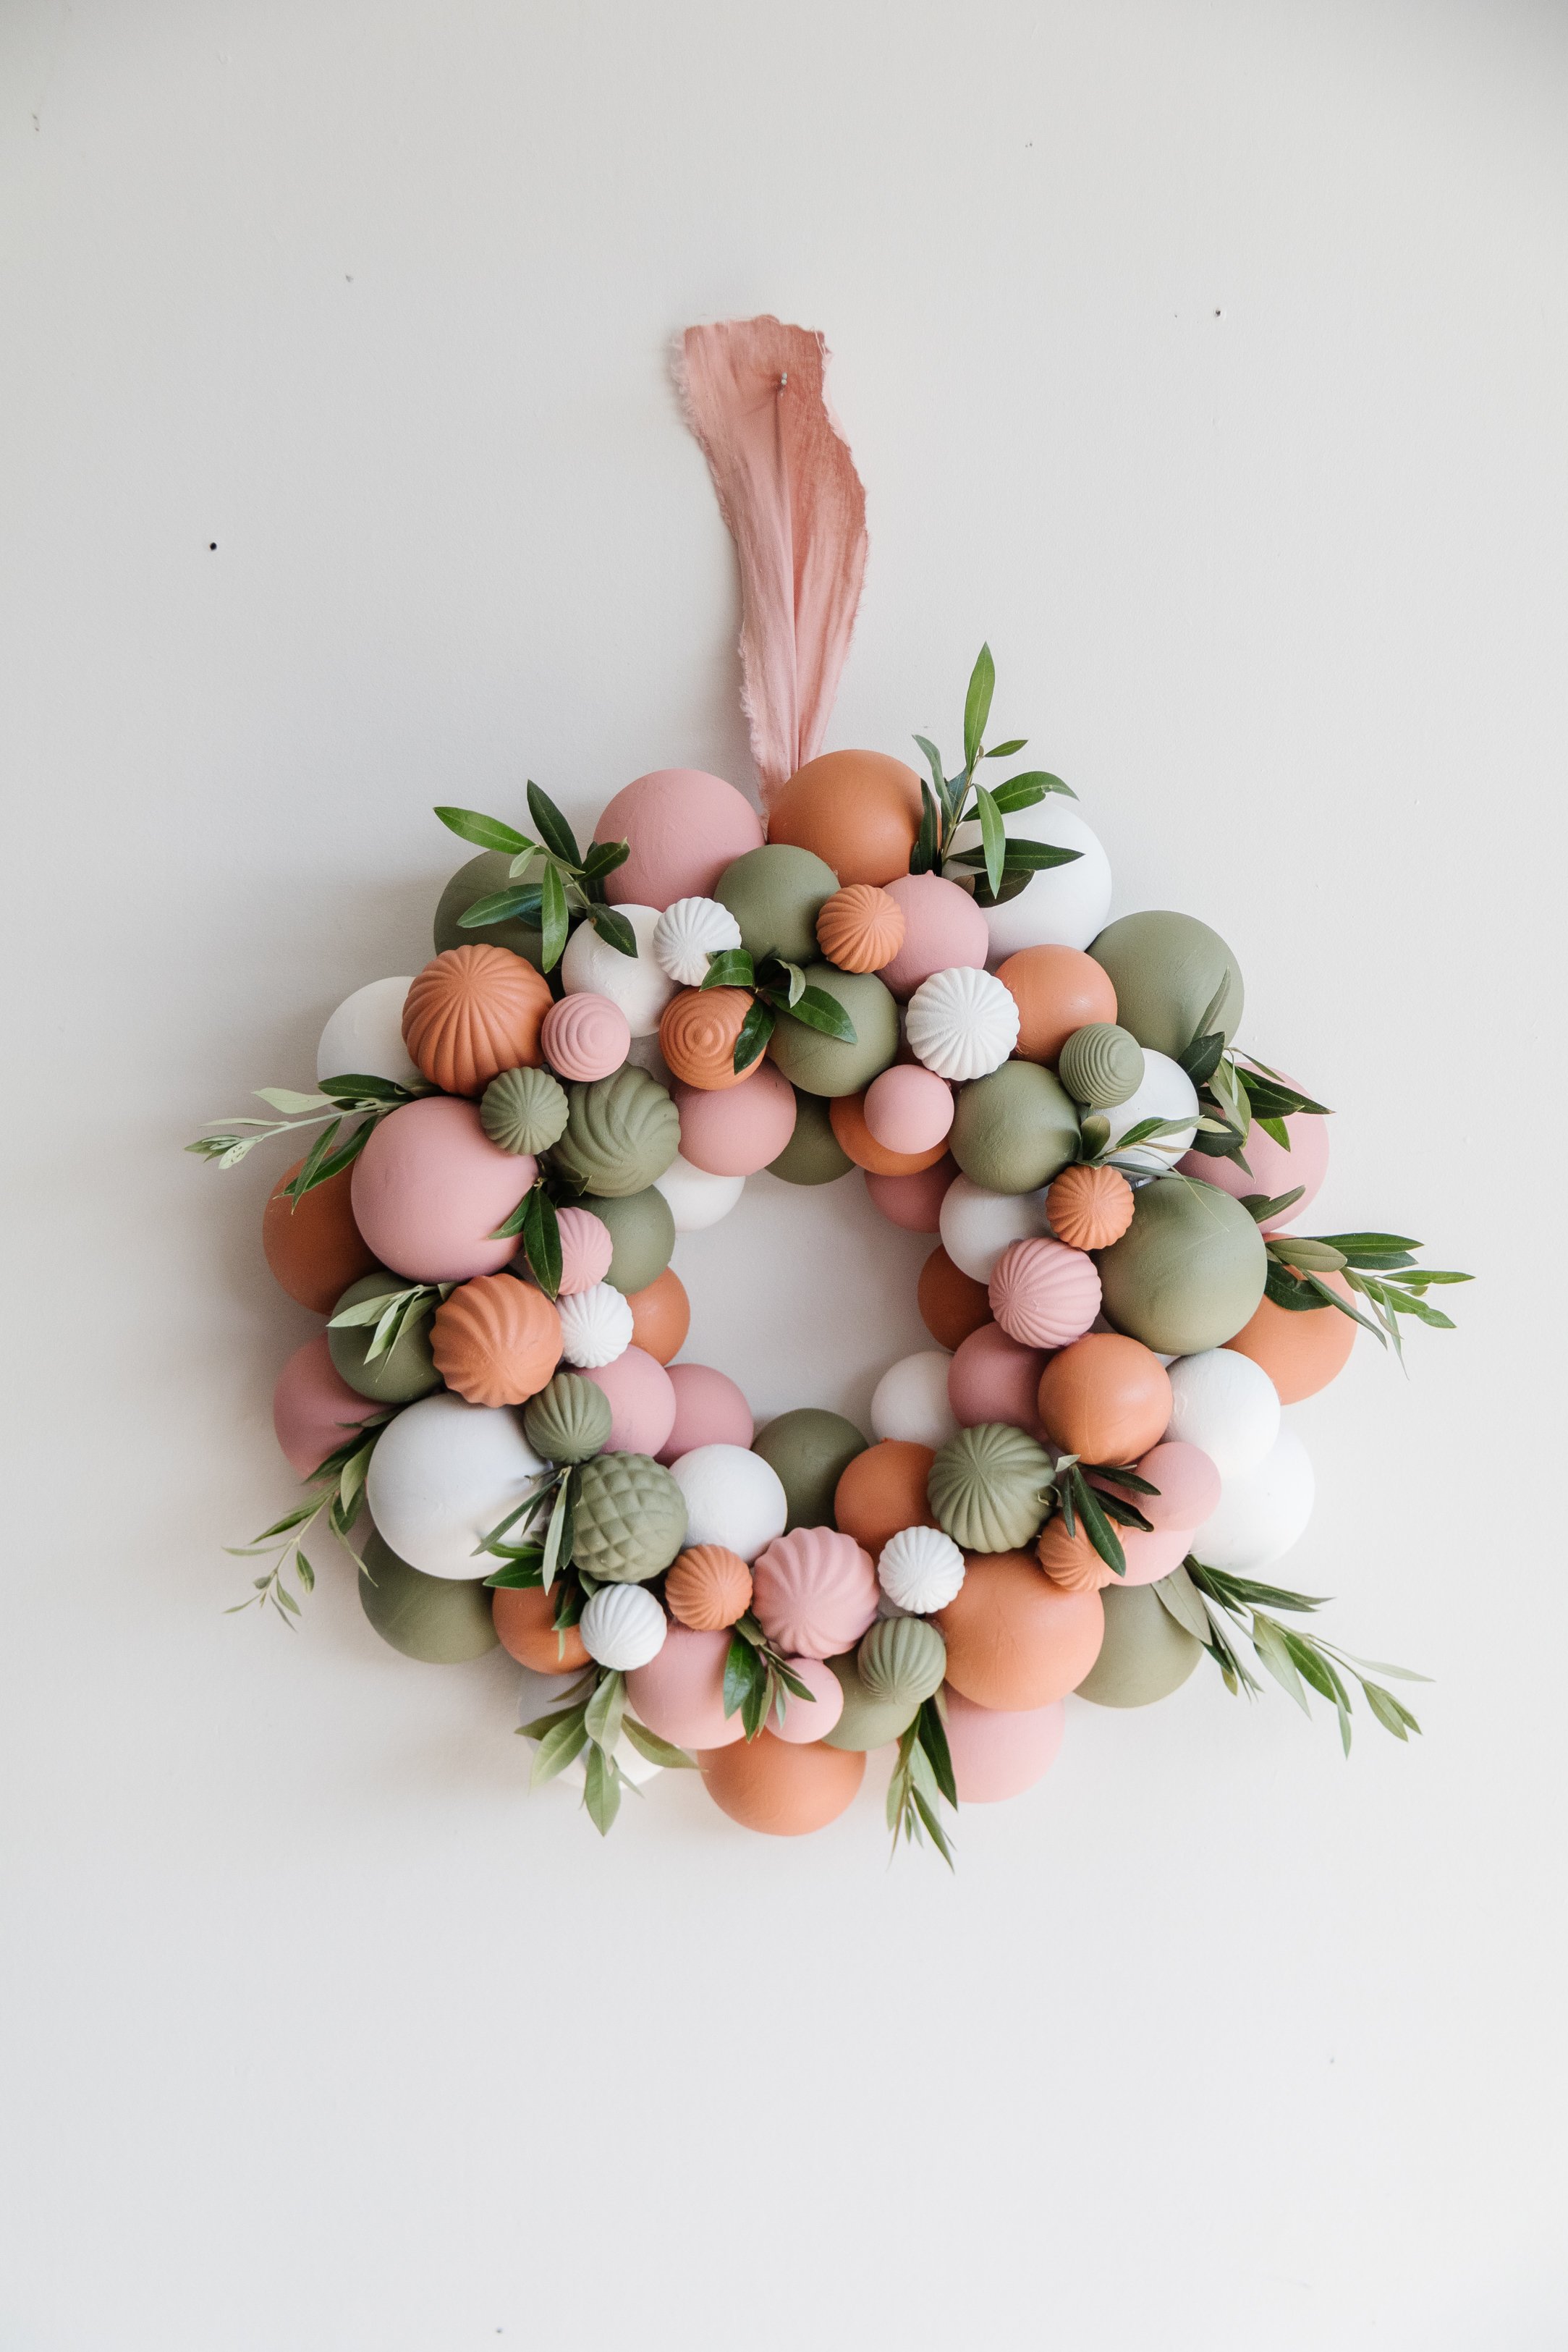
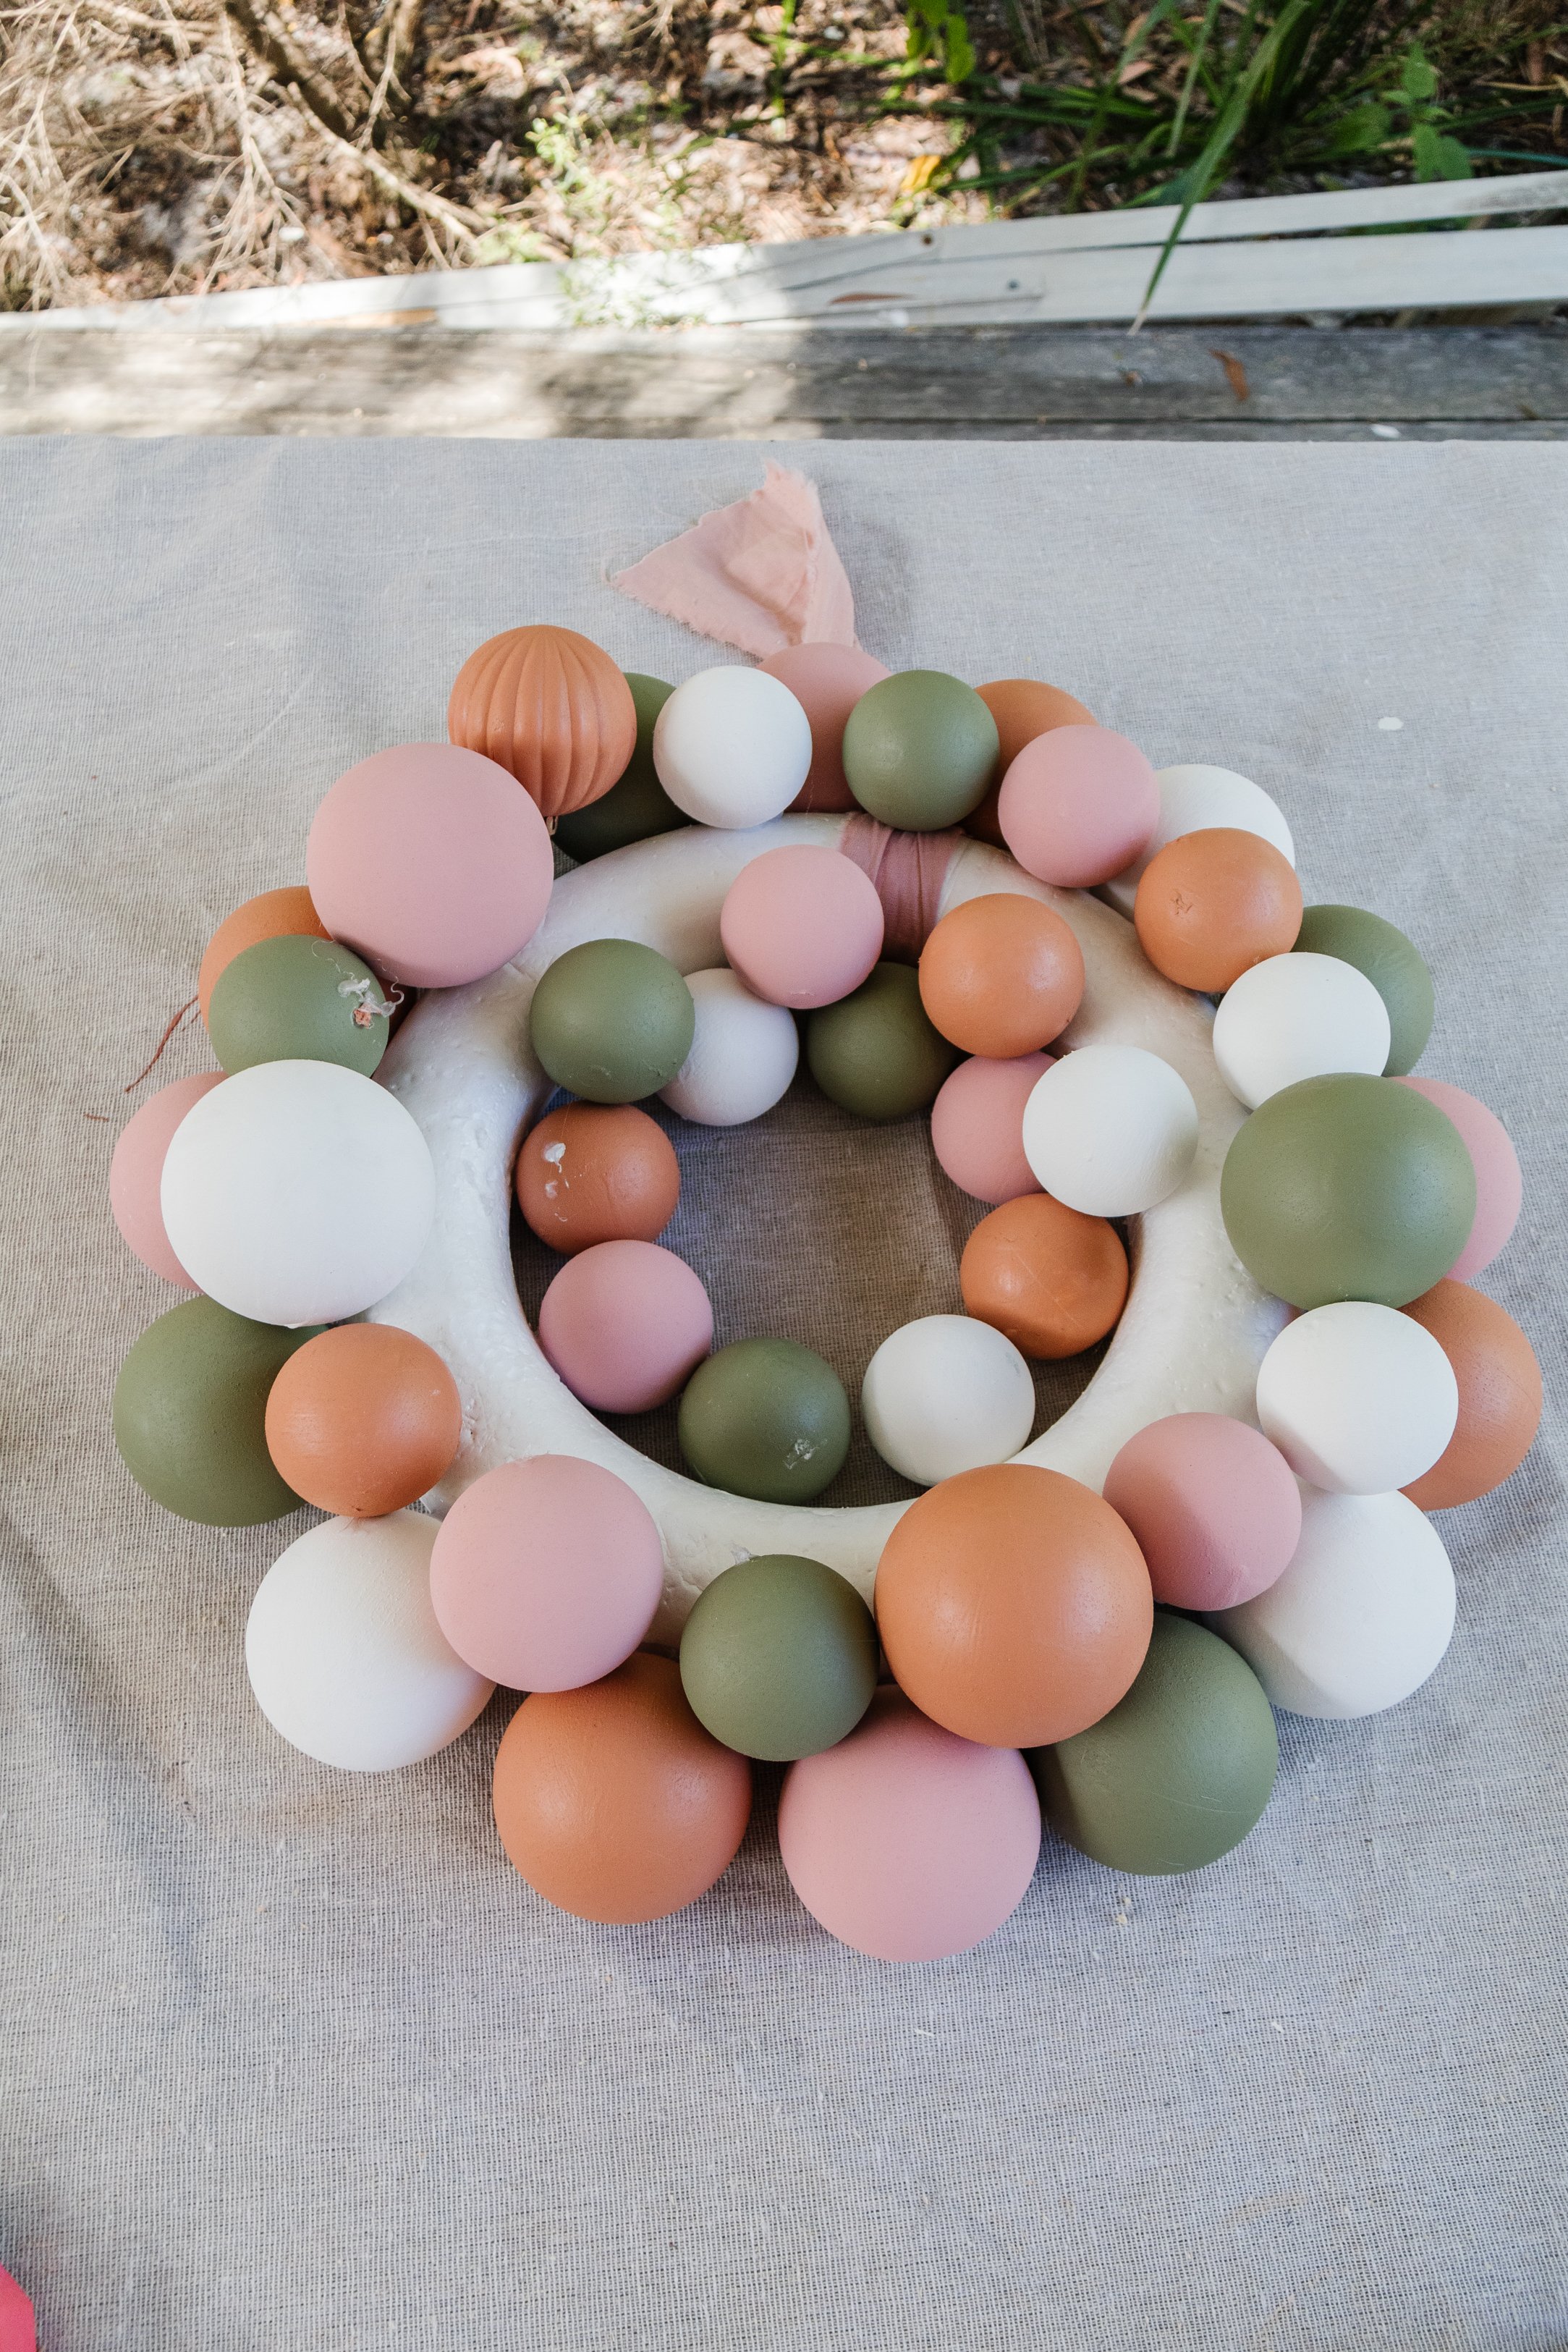
Step 2: Tie a piece of long fabric to the foam wreath; this is what you will use to hang the wreath so make sure when it’s double knotted, the long piece is at least 20cm long.
Step 3: Start by gluing the larges baubles around the outside of the foam ring using the hot glue gun; make sure you are alternating colours as you go. Then glue smaller baubles around the inside of the foam ring. Then glue more baubles onto the top and fill in any gaps with the smallest baubles.
Step 4: Add some olive leaf sprigs and hang the wreath!


Ta daaaa!
Honestly, I think this might be my favourite Christmas decoration ever! I can’t believe how stunning the colours look together and adding the olive branches to fill in some of the gaps ended up being the best decision. You don’t have to paint the baubles if you don’t want to, but I am so glad I did. Some of the secondhand baubles were scratched and had glue stuck to them, so painting them covered all of that up and I love the colours; which I knew I wouldn’t be able to find exactly what I wanted in a shop.