Upcycled Sculptural Plaster Wall Art
I fell in love with a piece of framed sculptural wall art but it cost over $1,000 so I decided to make my own for less. A lot less!
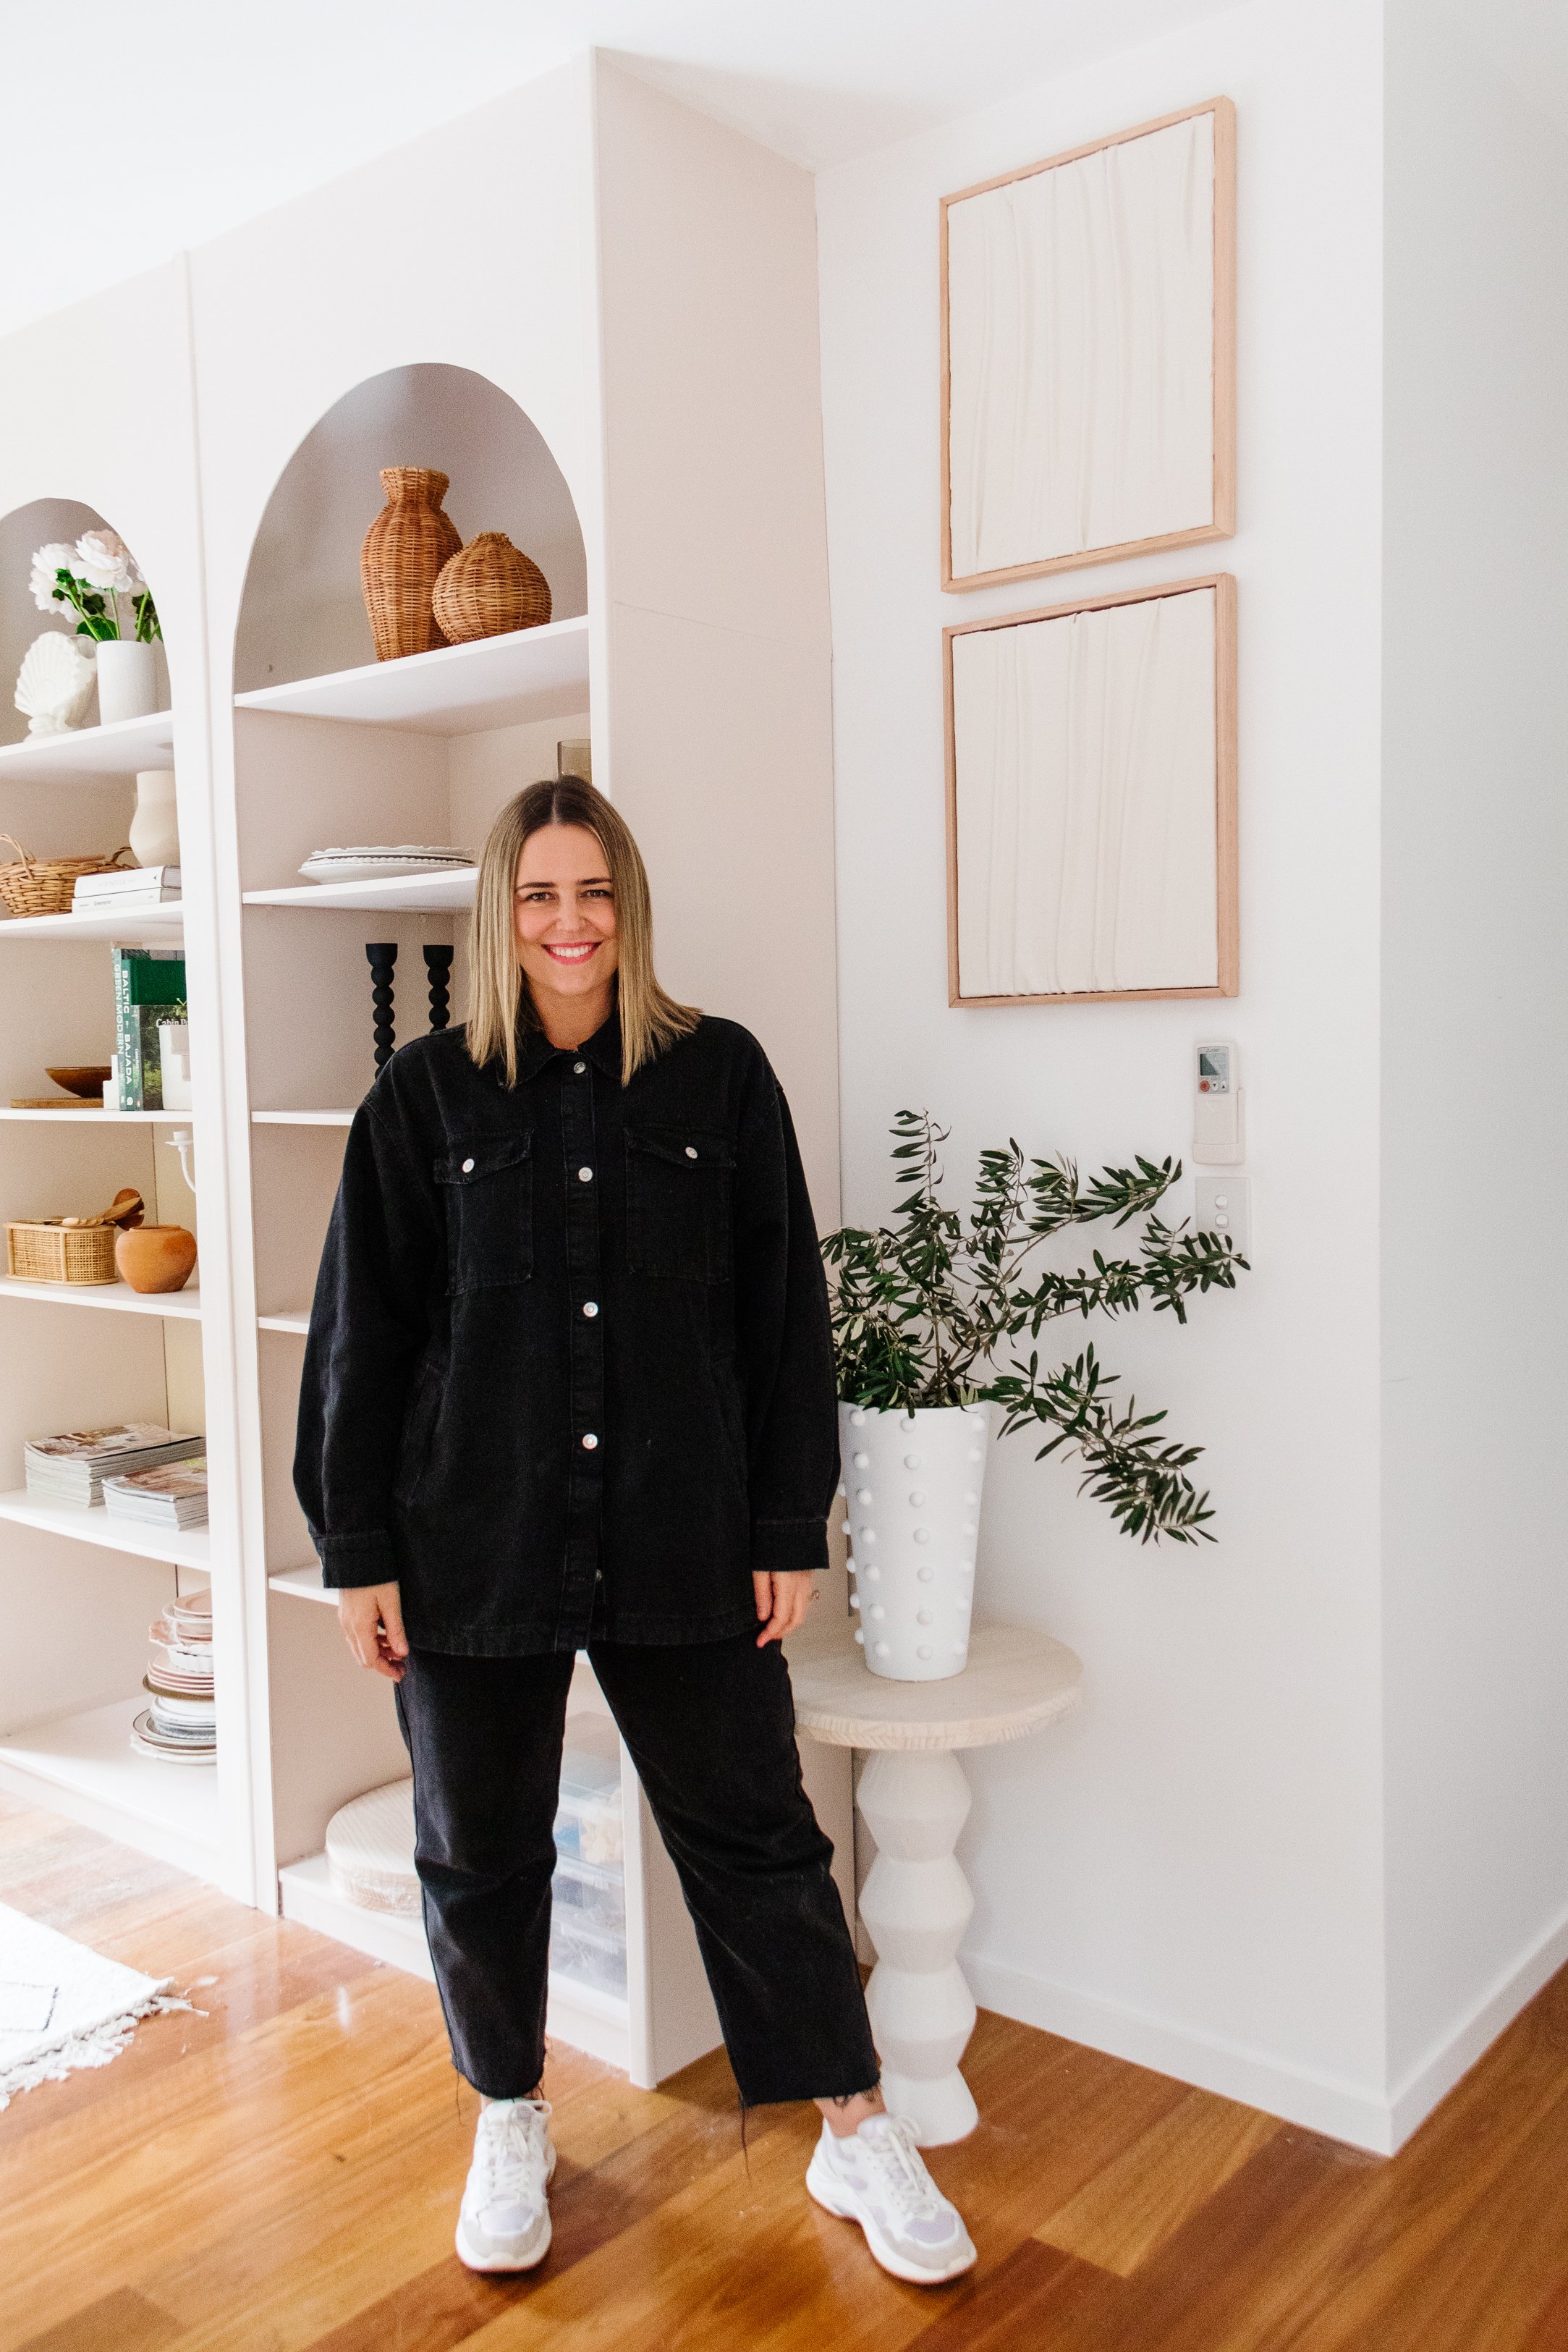
If you’ve been following along over the last few months, you’ll know my studio has been getting quite the makeover. I stripped the room bare and built an Arched Wall Library, I restored a secondhand timber dining set to use as my desk, I created an upcycled Abstract Pin Board using rubbish I would have ordinarily thrown in the bin, I made a Sculptural Console Table from scratch using plant pots, I upcycled a Round Mirror using foam balls, I made a Stone Side Table using pavers, and I made a Totem Side Table using bowls from Big W! Needless to say, I’ve been very busy and having lots of fun!
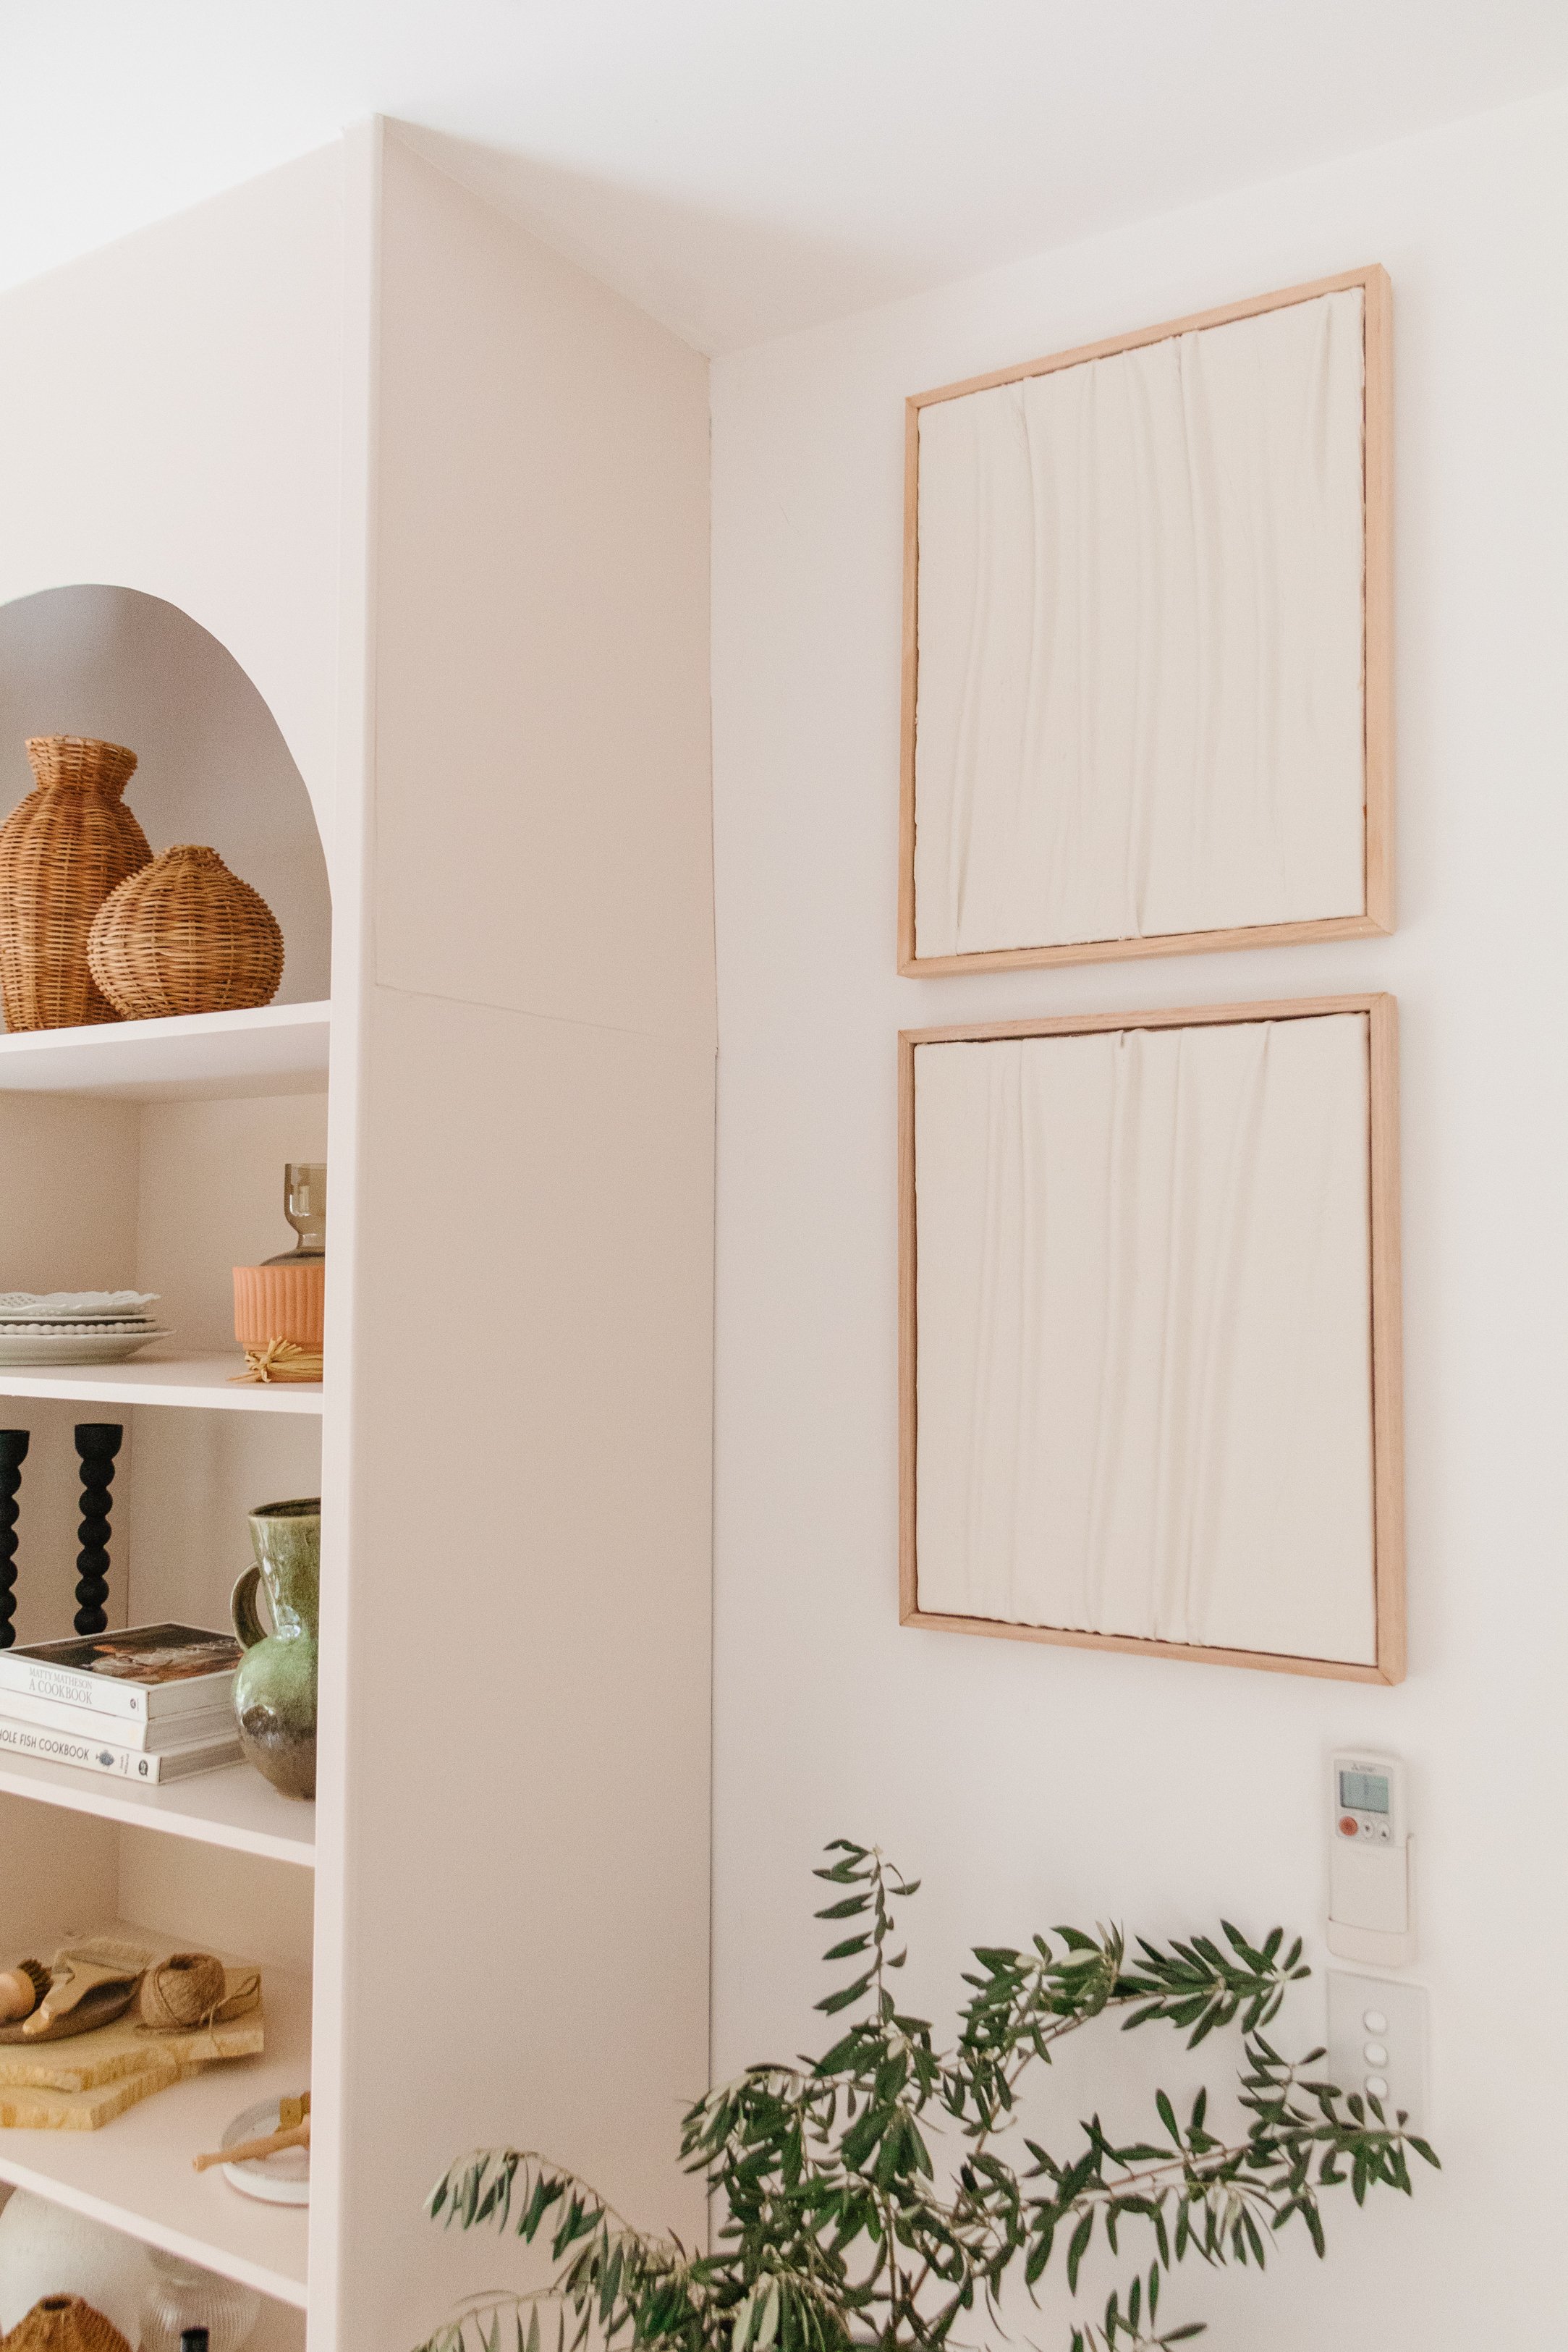
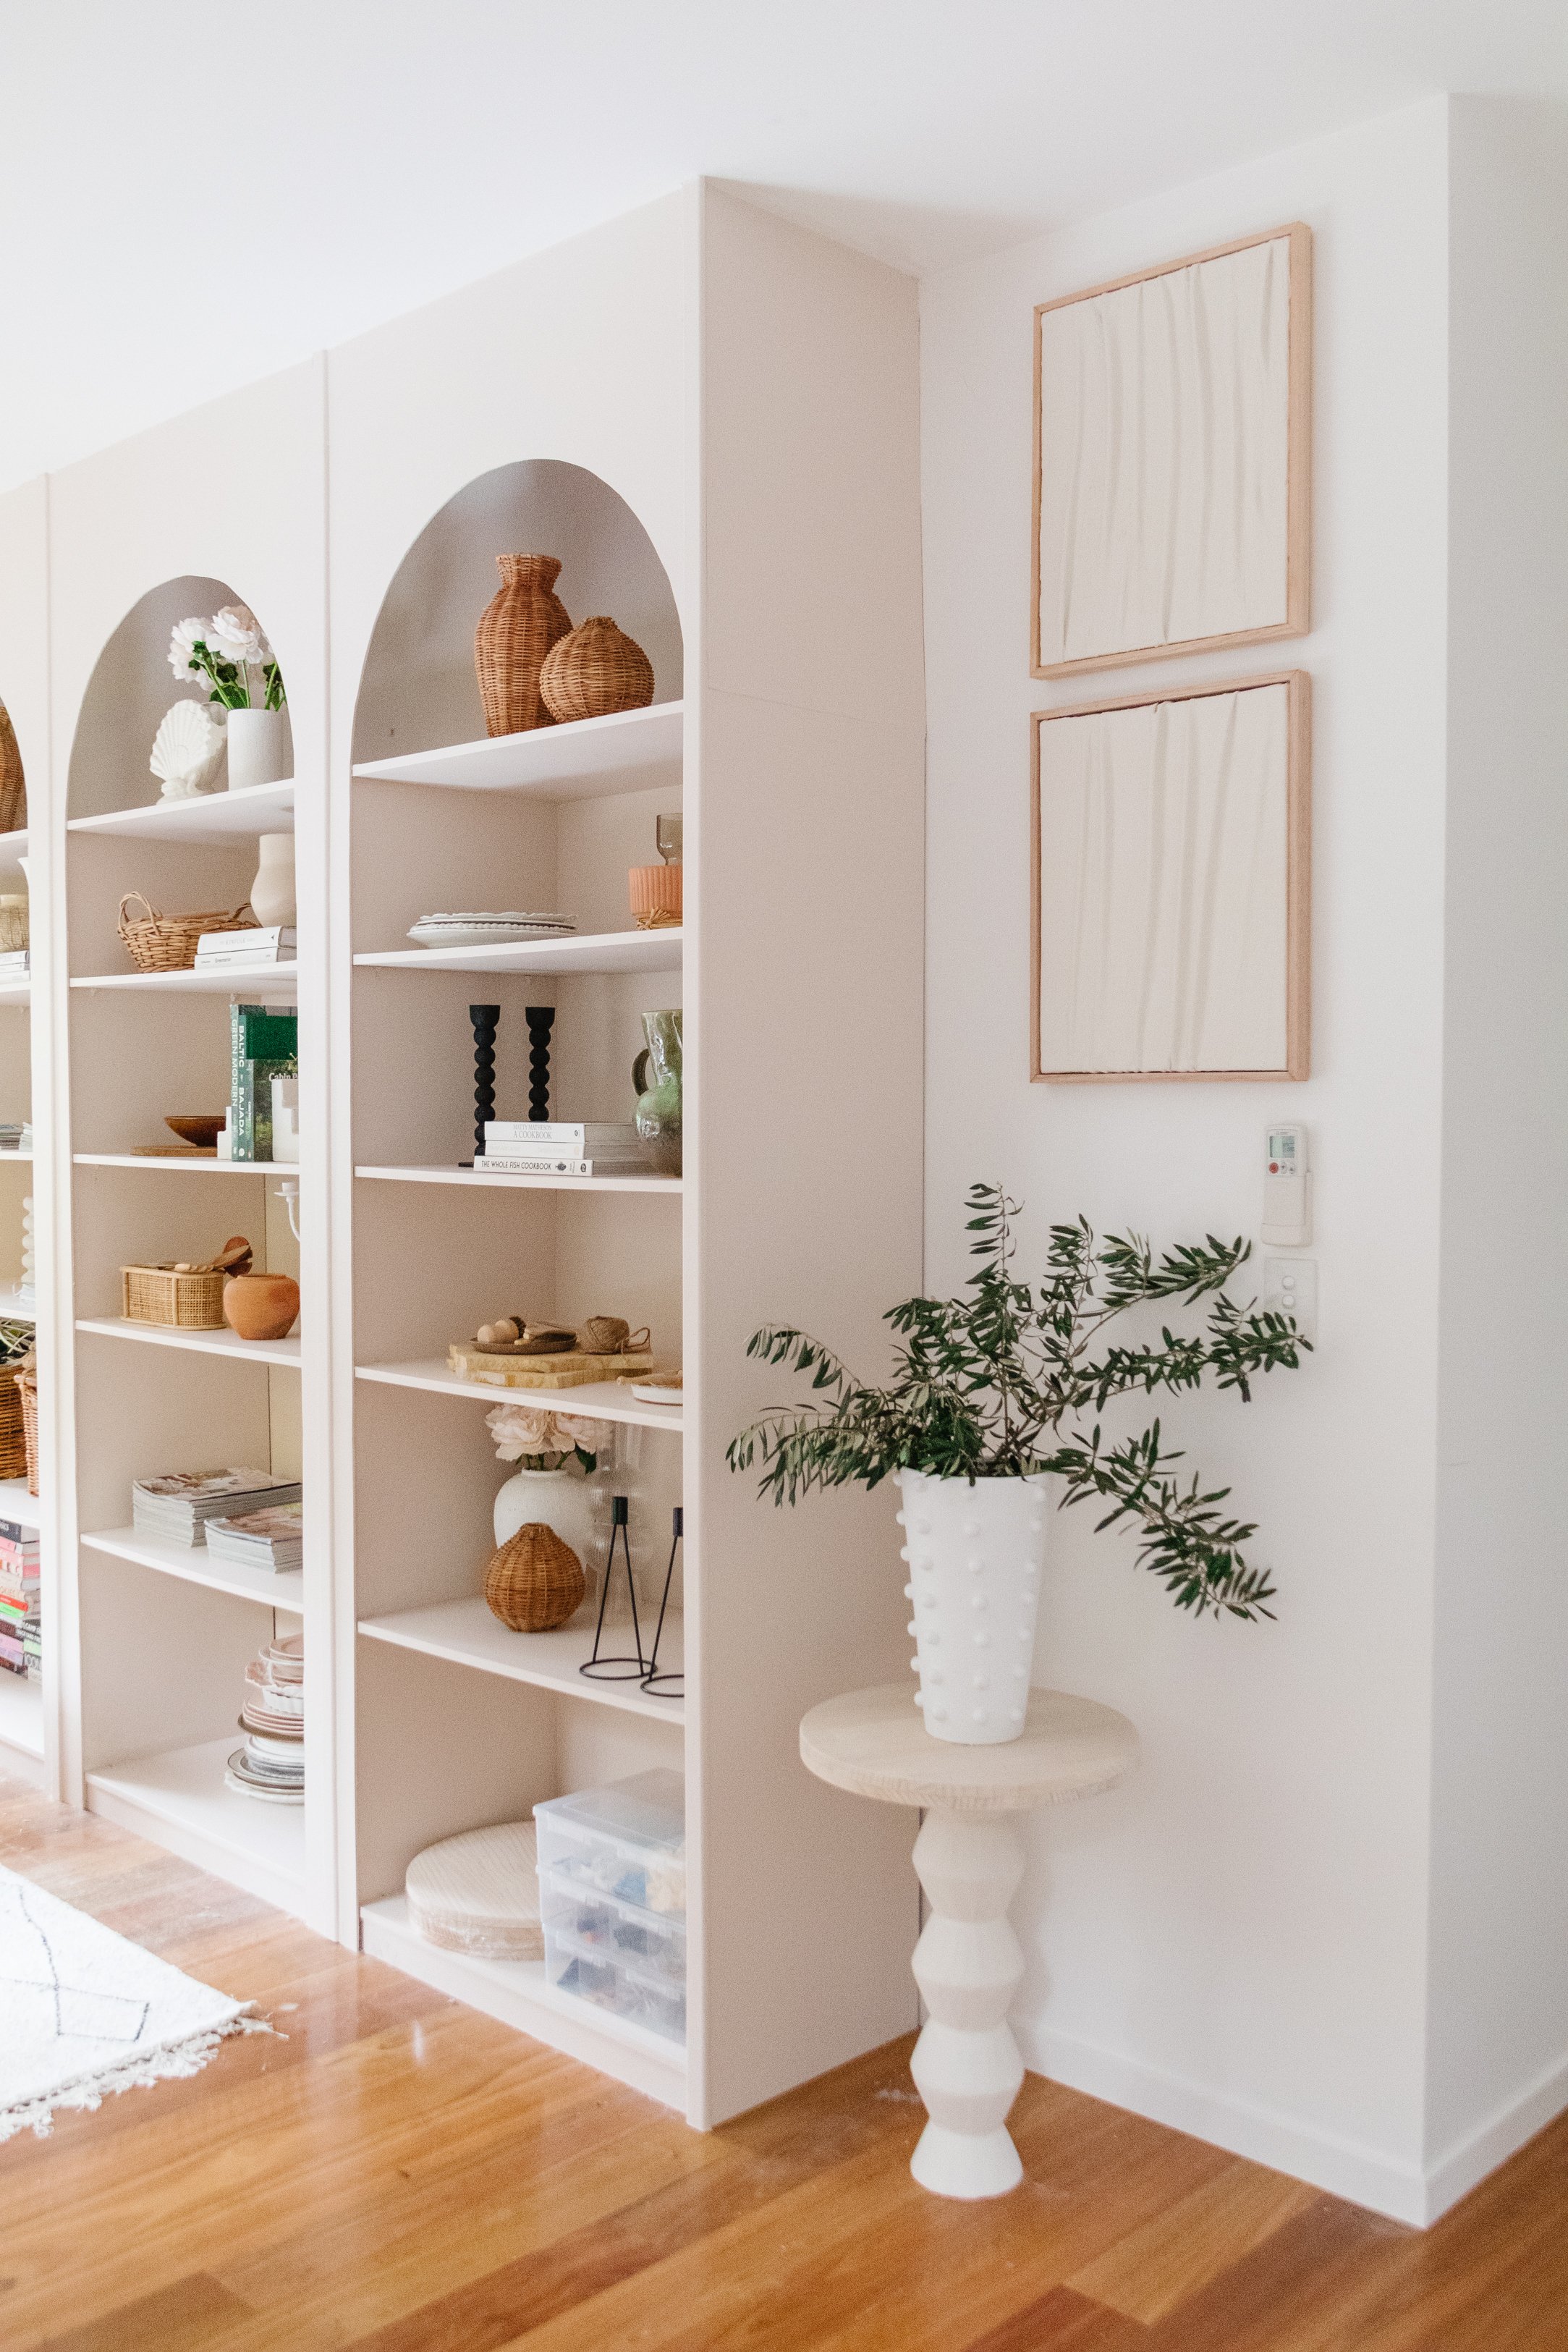
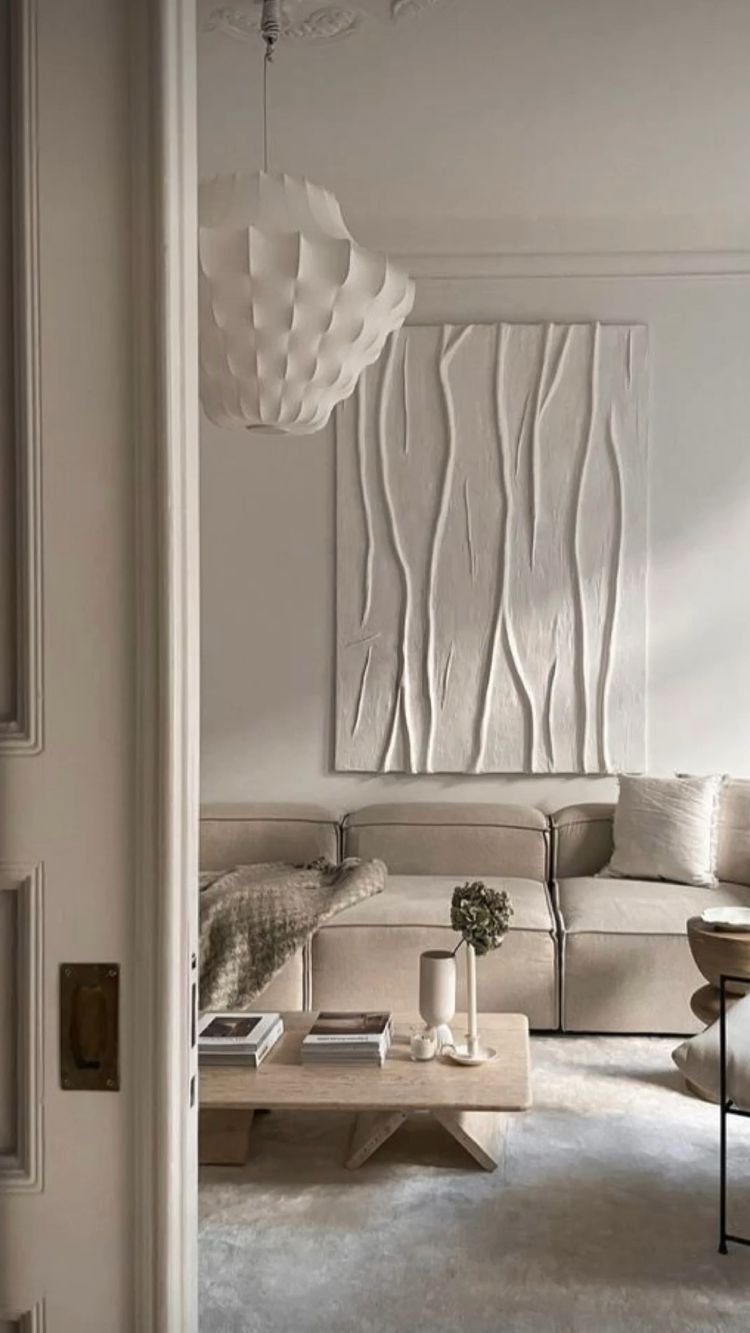
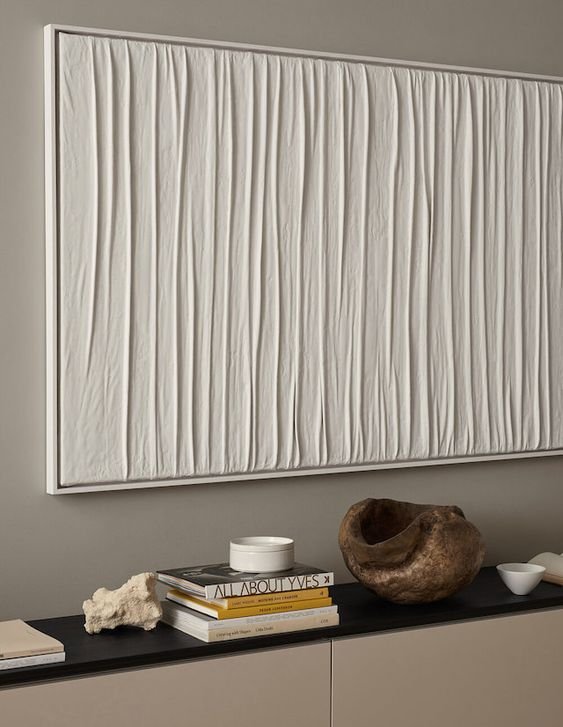
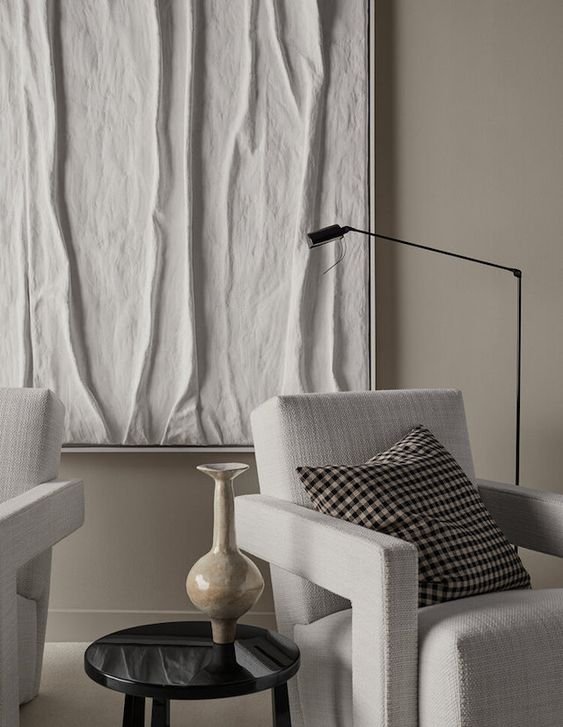
In my studio there is a empty wall next to the arched library and I've always known a piece of art would complete this space beautifully. I’ve been spending a lot of time online trying to find something I love, but that is also affordable. And I wasn’t having much luck. I came across a beautiful piece of sculptural wall art but after some investigation, I discovered it cost over $1,000. And so I decided to make my own for less - a lot less. I set about visiting my favourite charity shop to look for two pieces of stretched canvas and some deadstock fabric, which I found for $12 total! I went home, grabbed two half empty tubs of plaster and made my own Sculptural Plaster Wall Art.
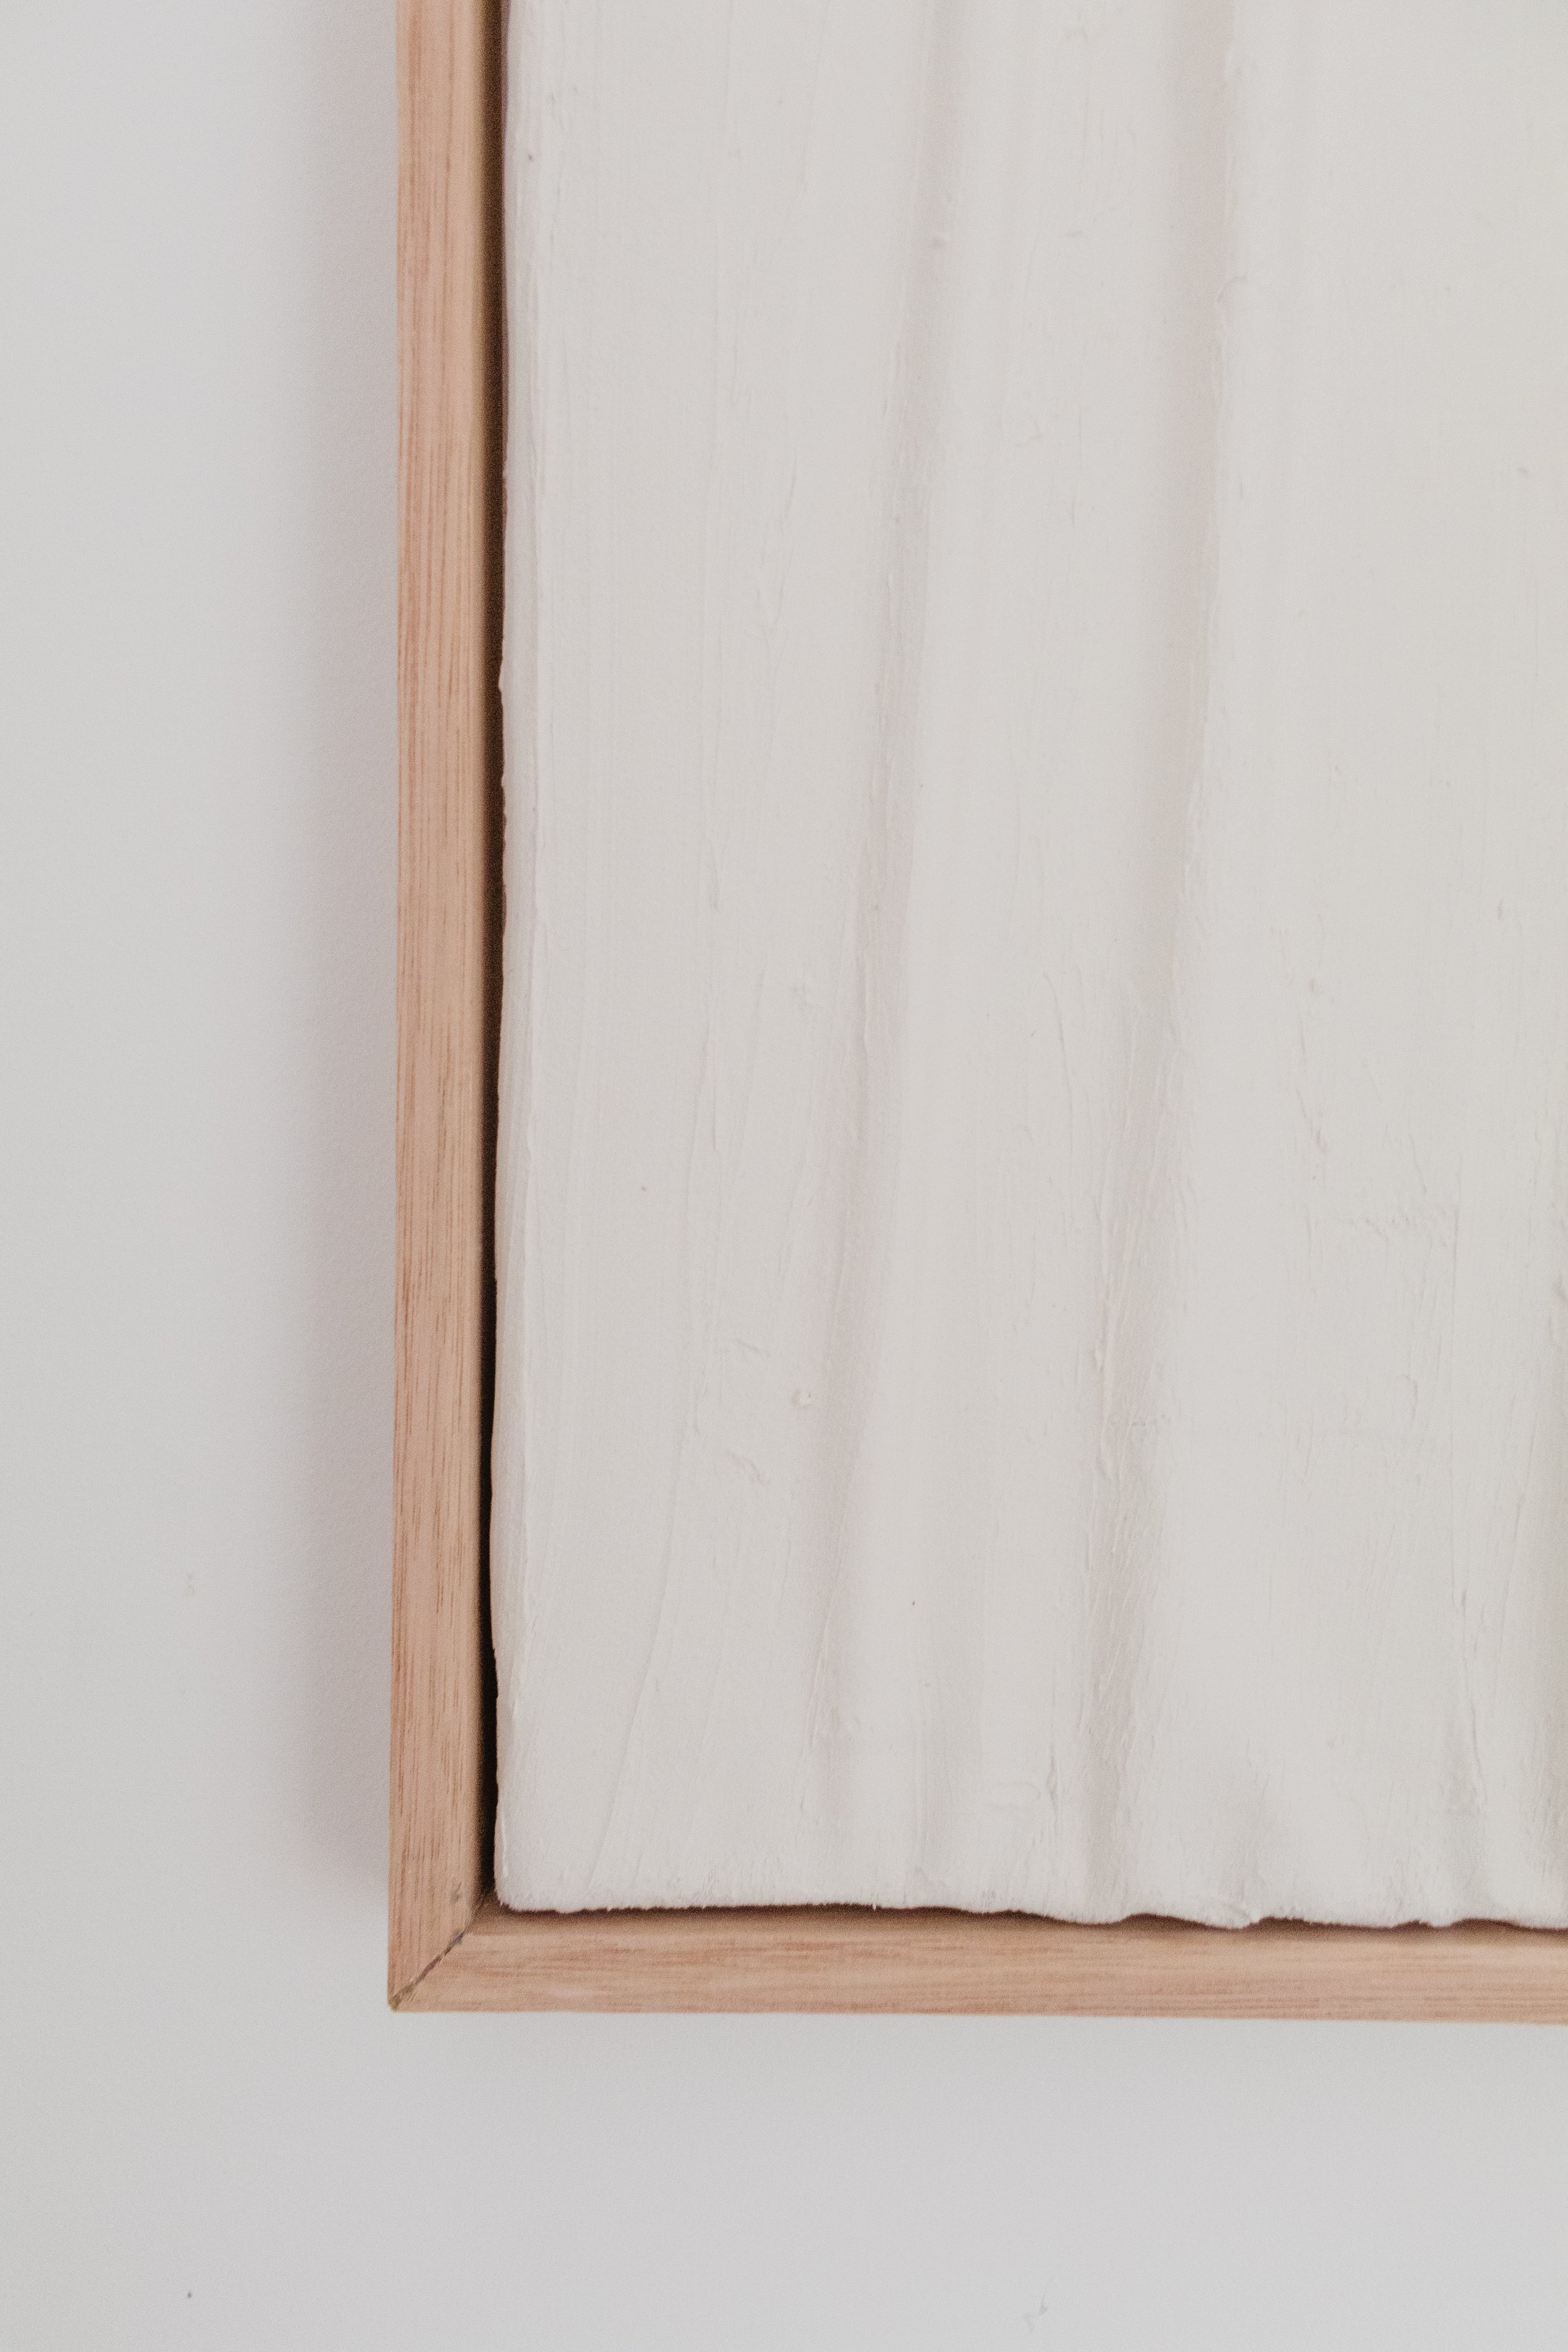
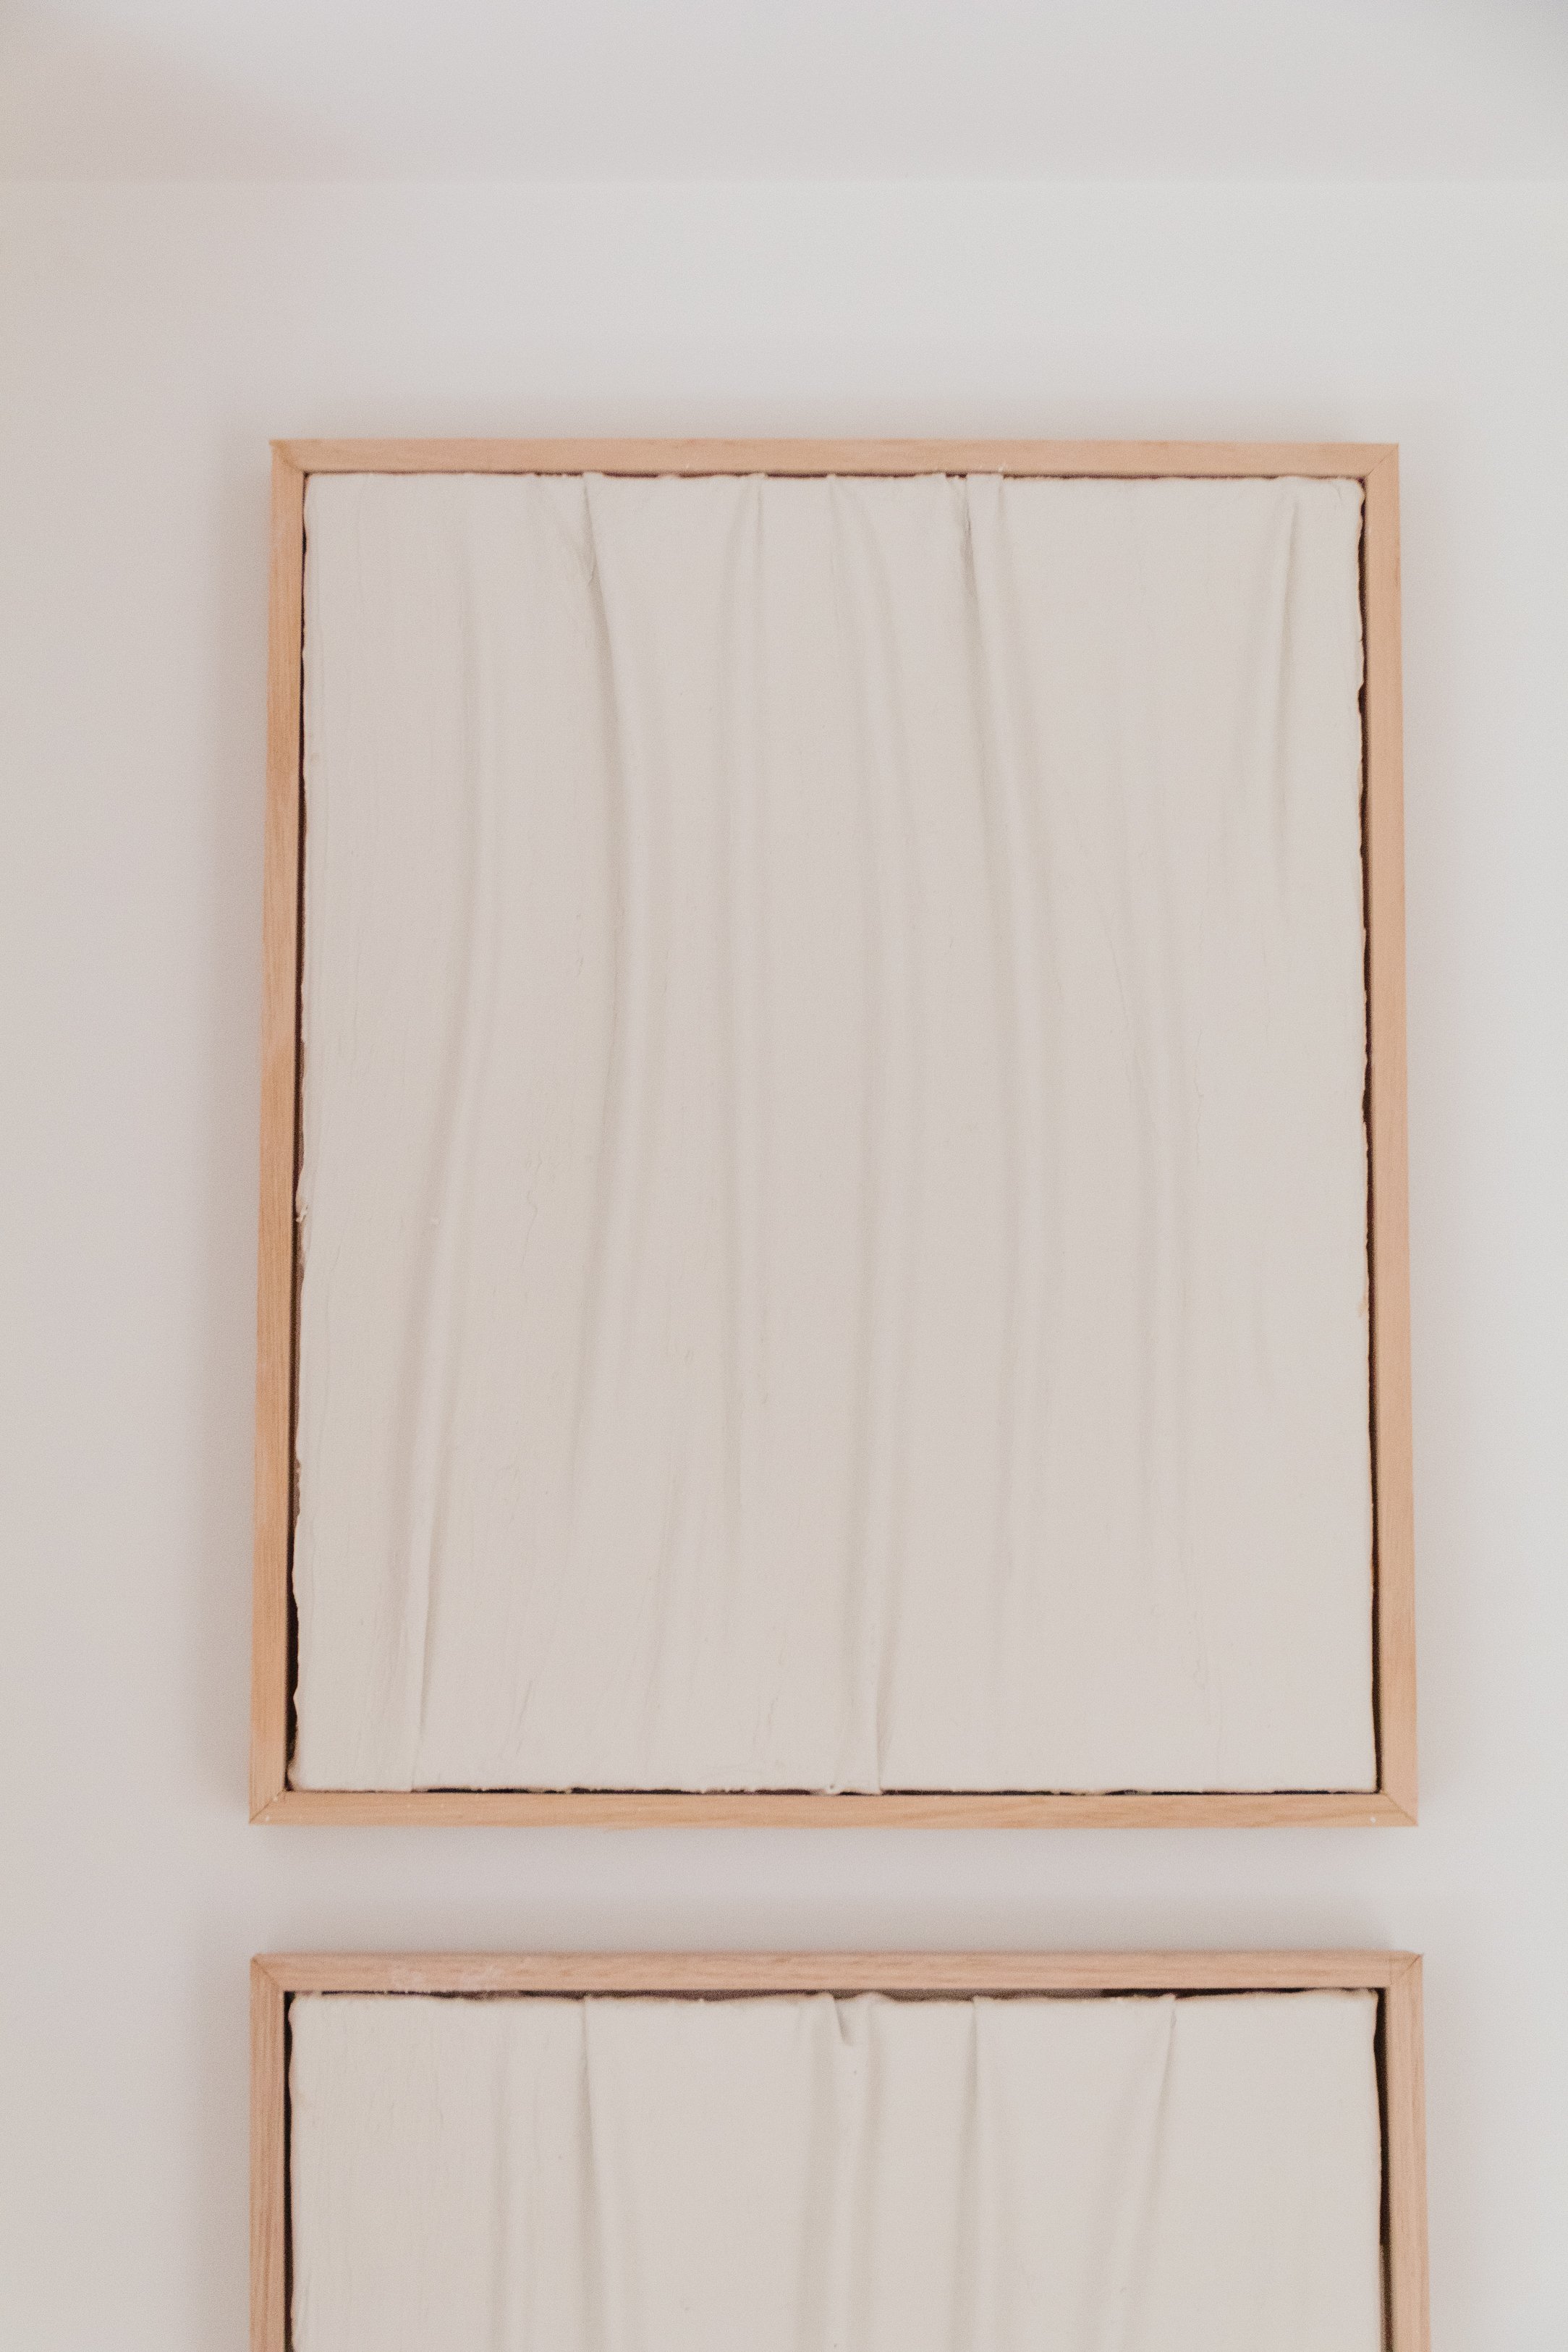
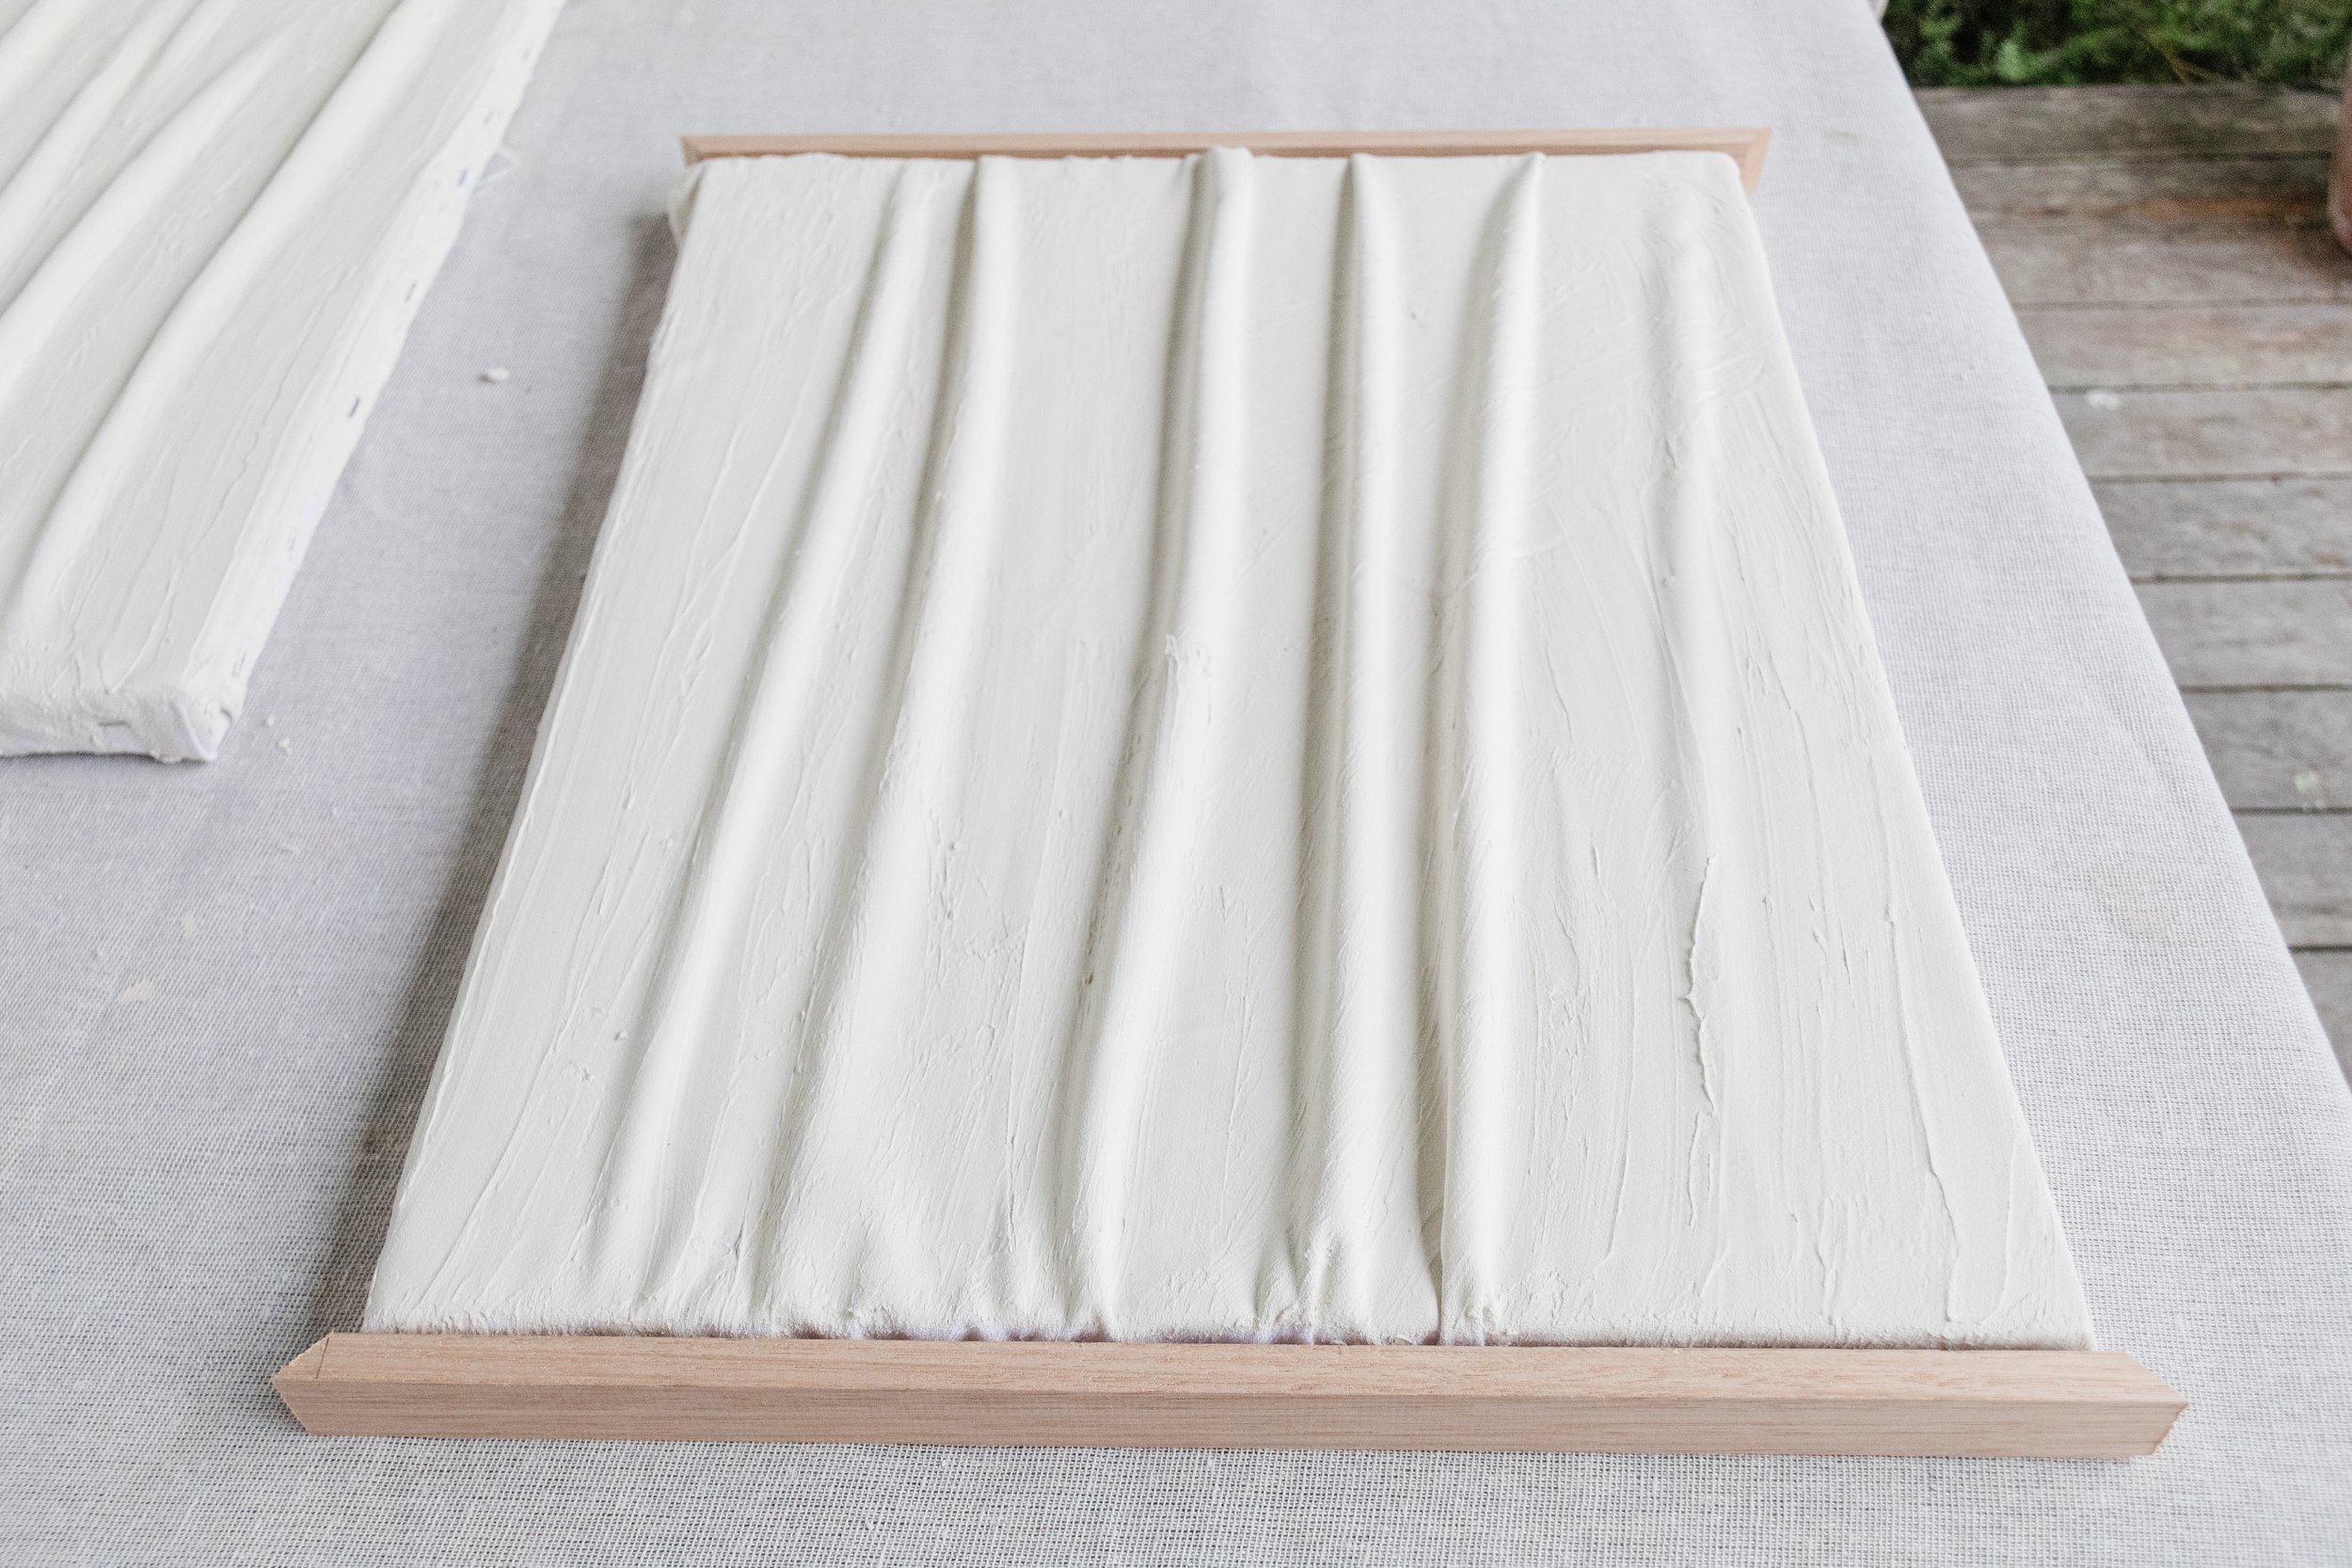
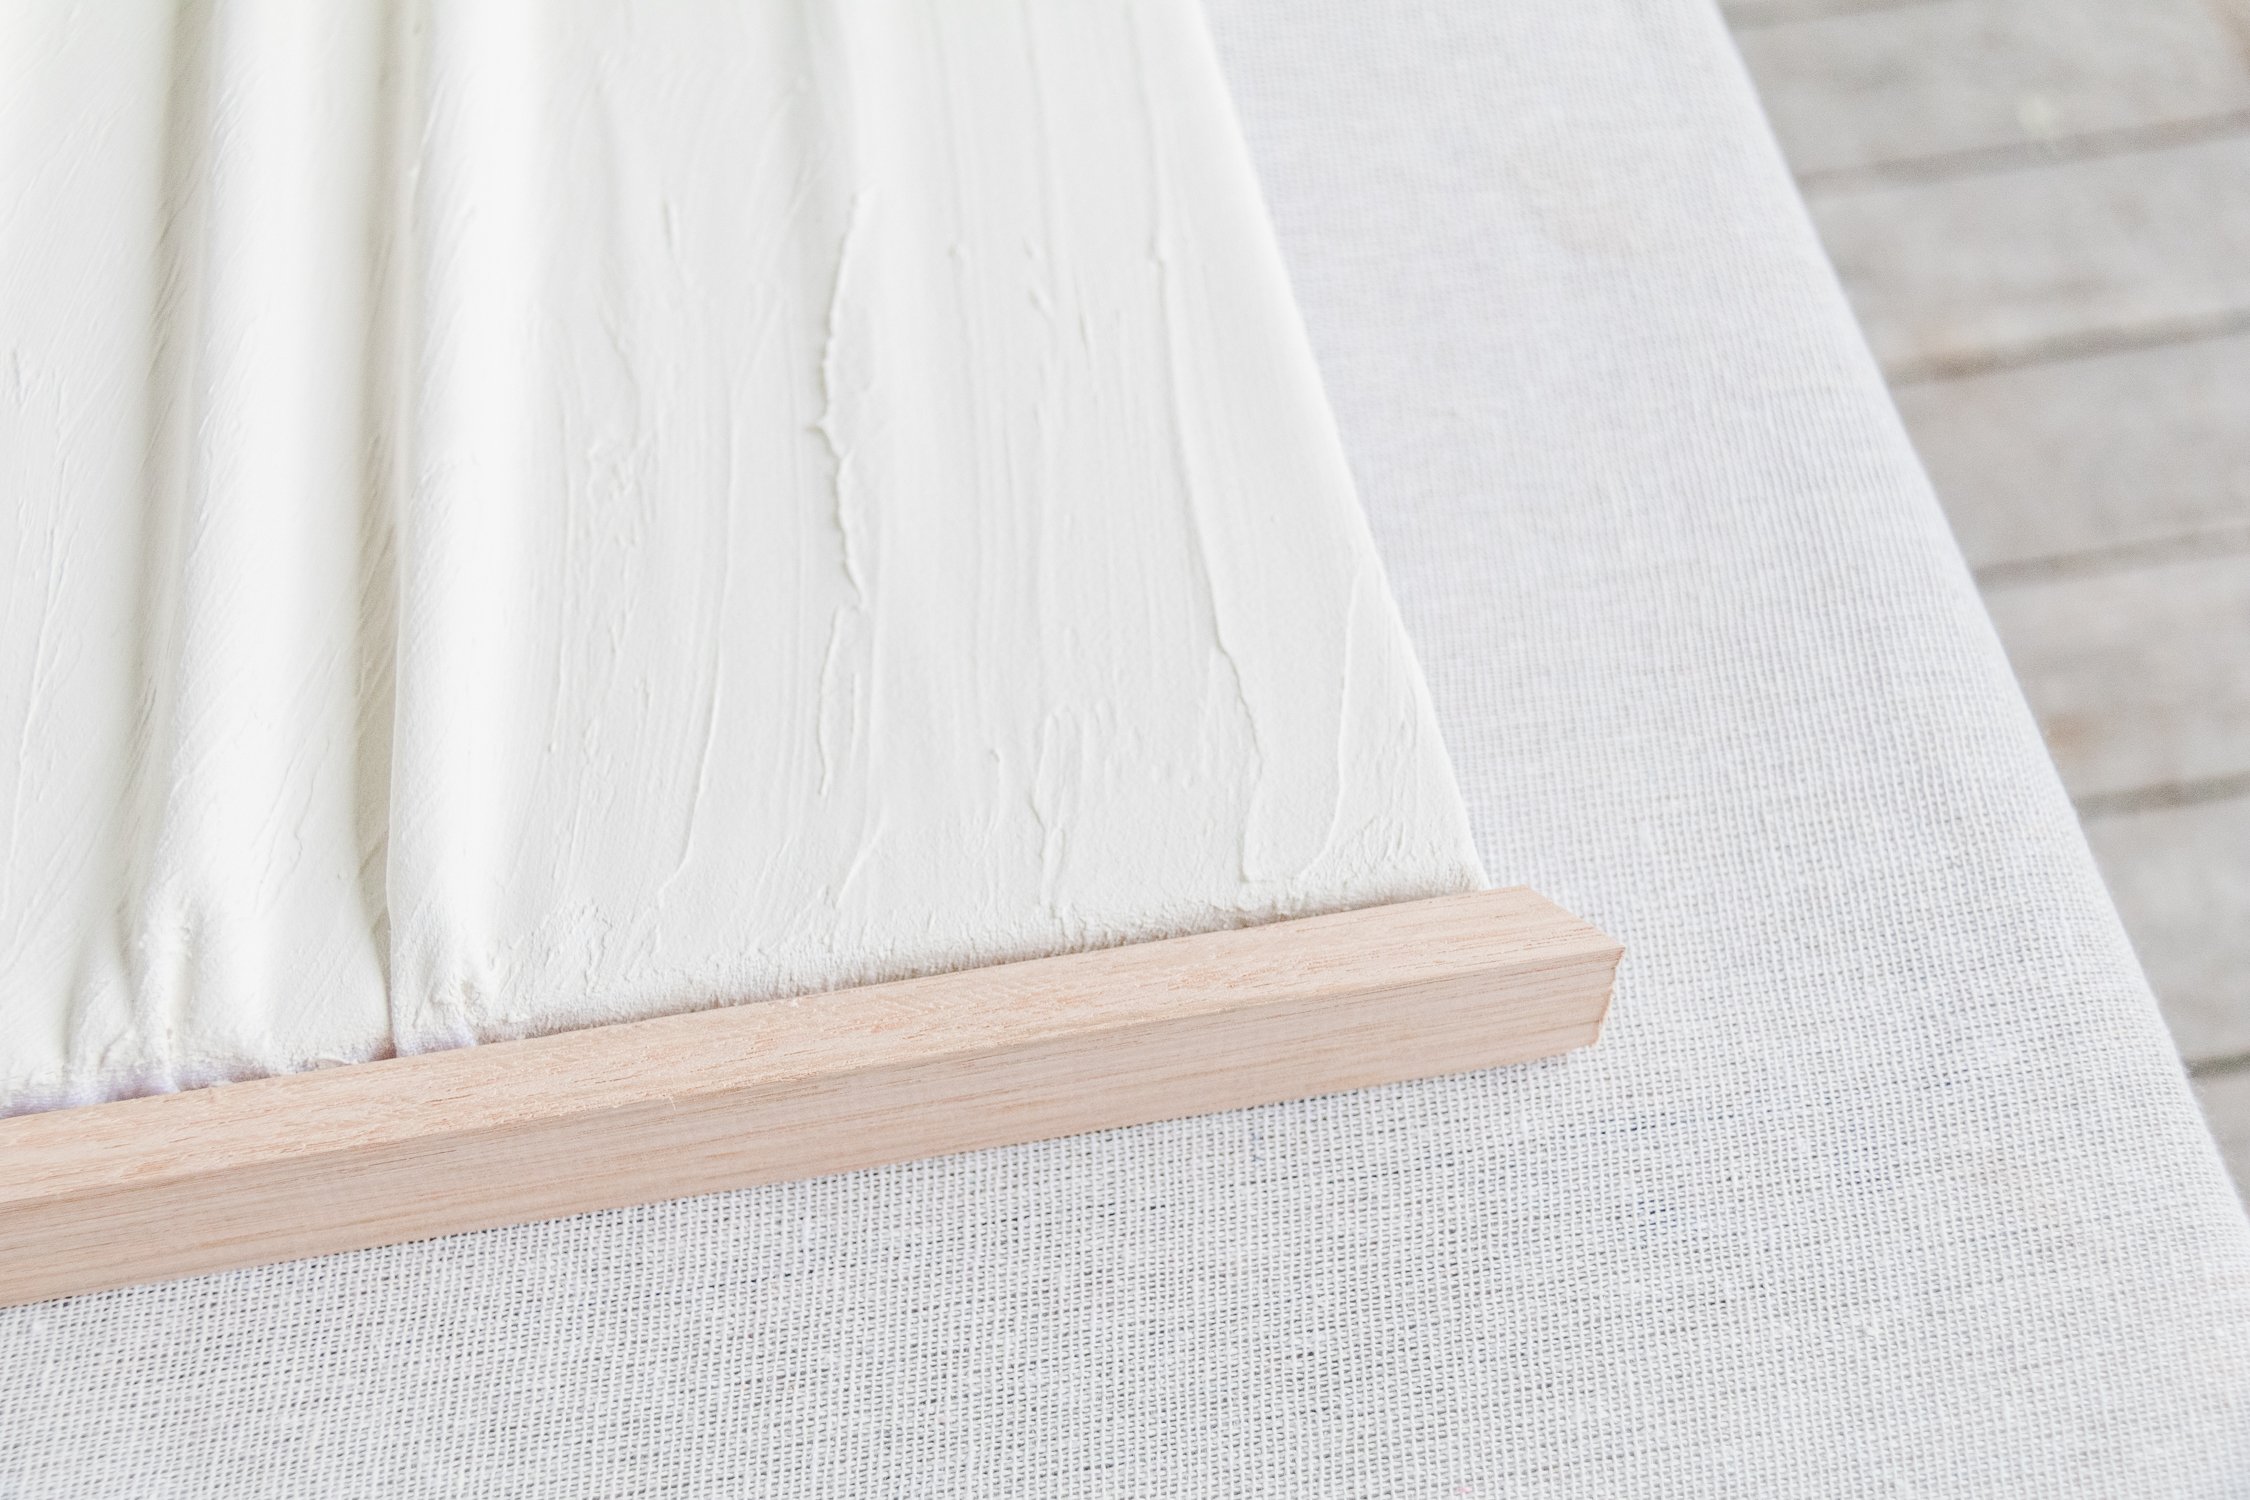
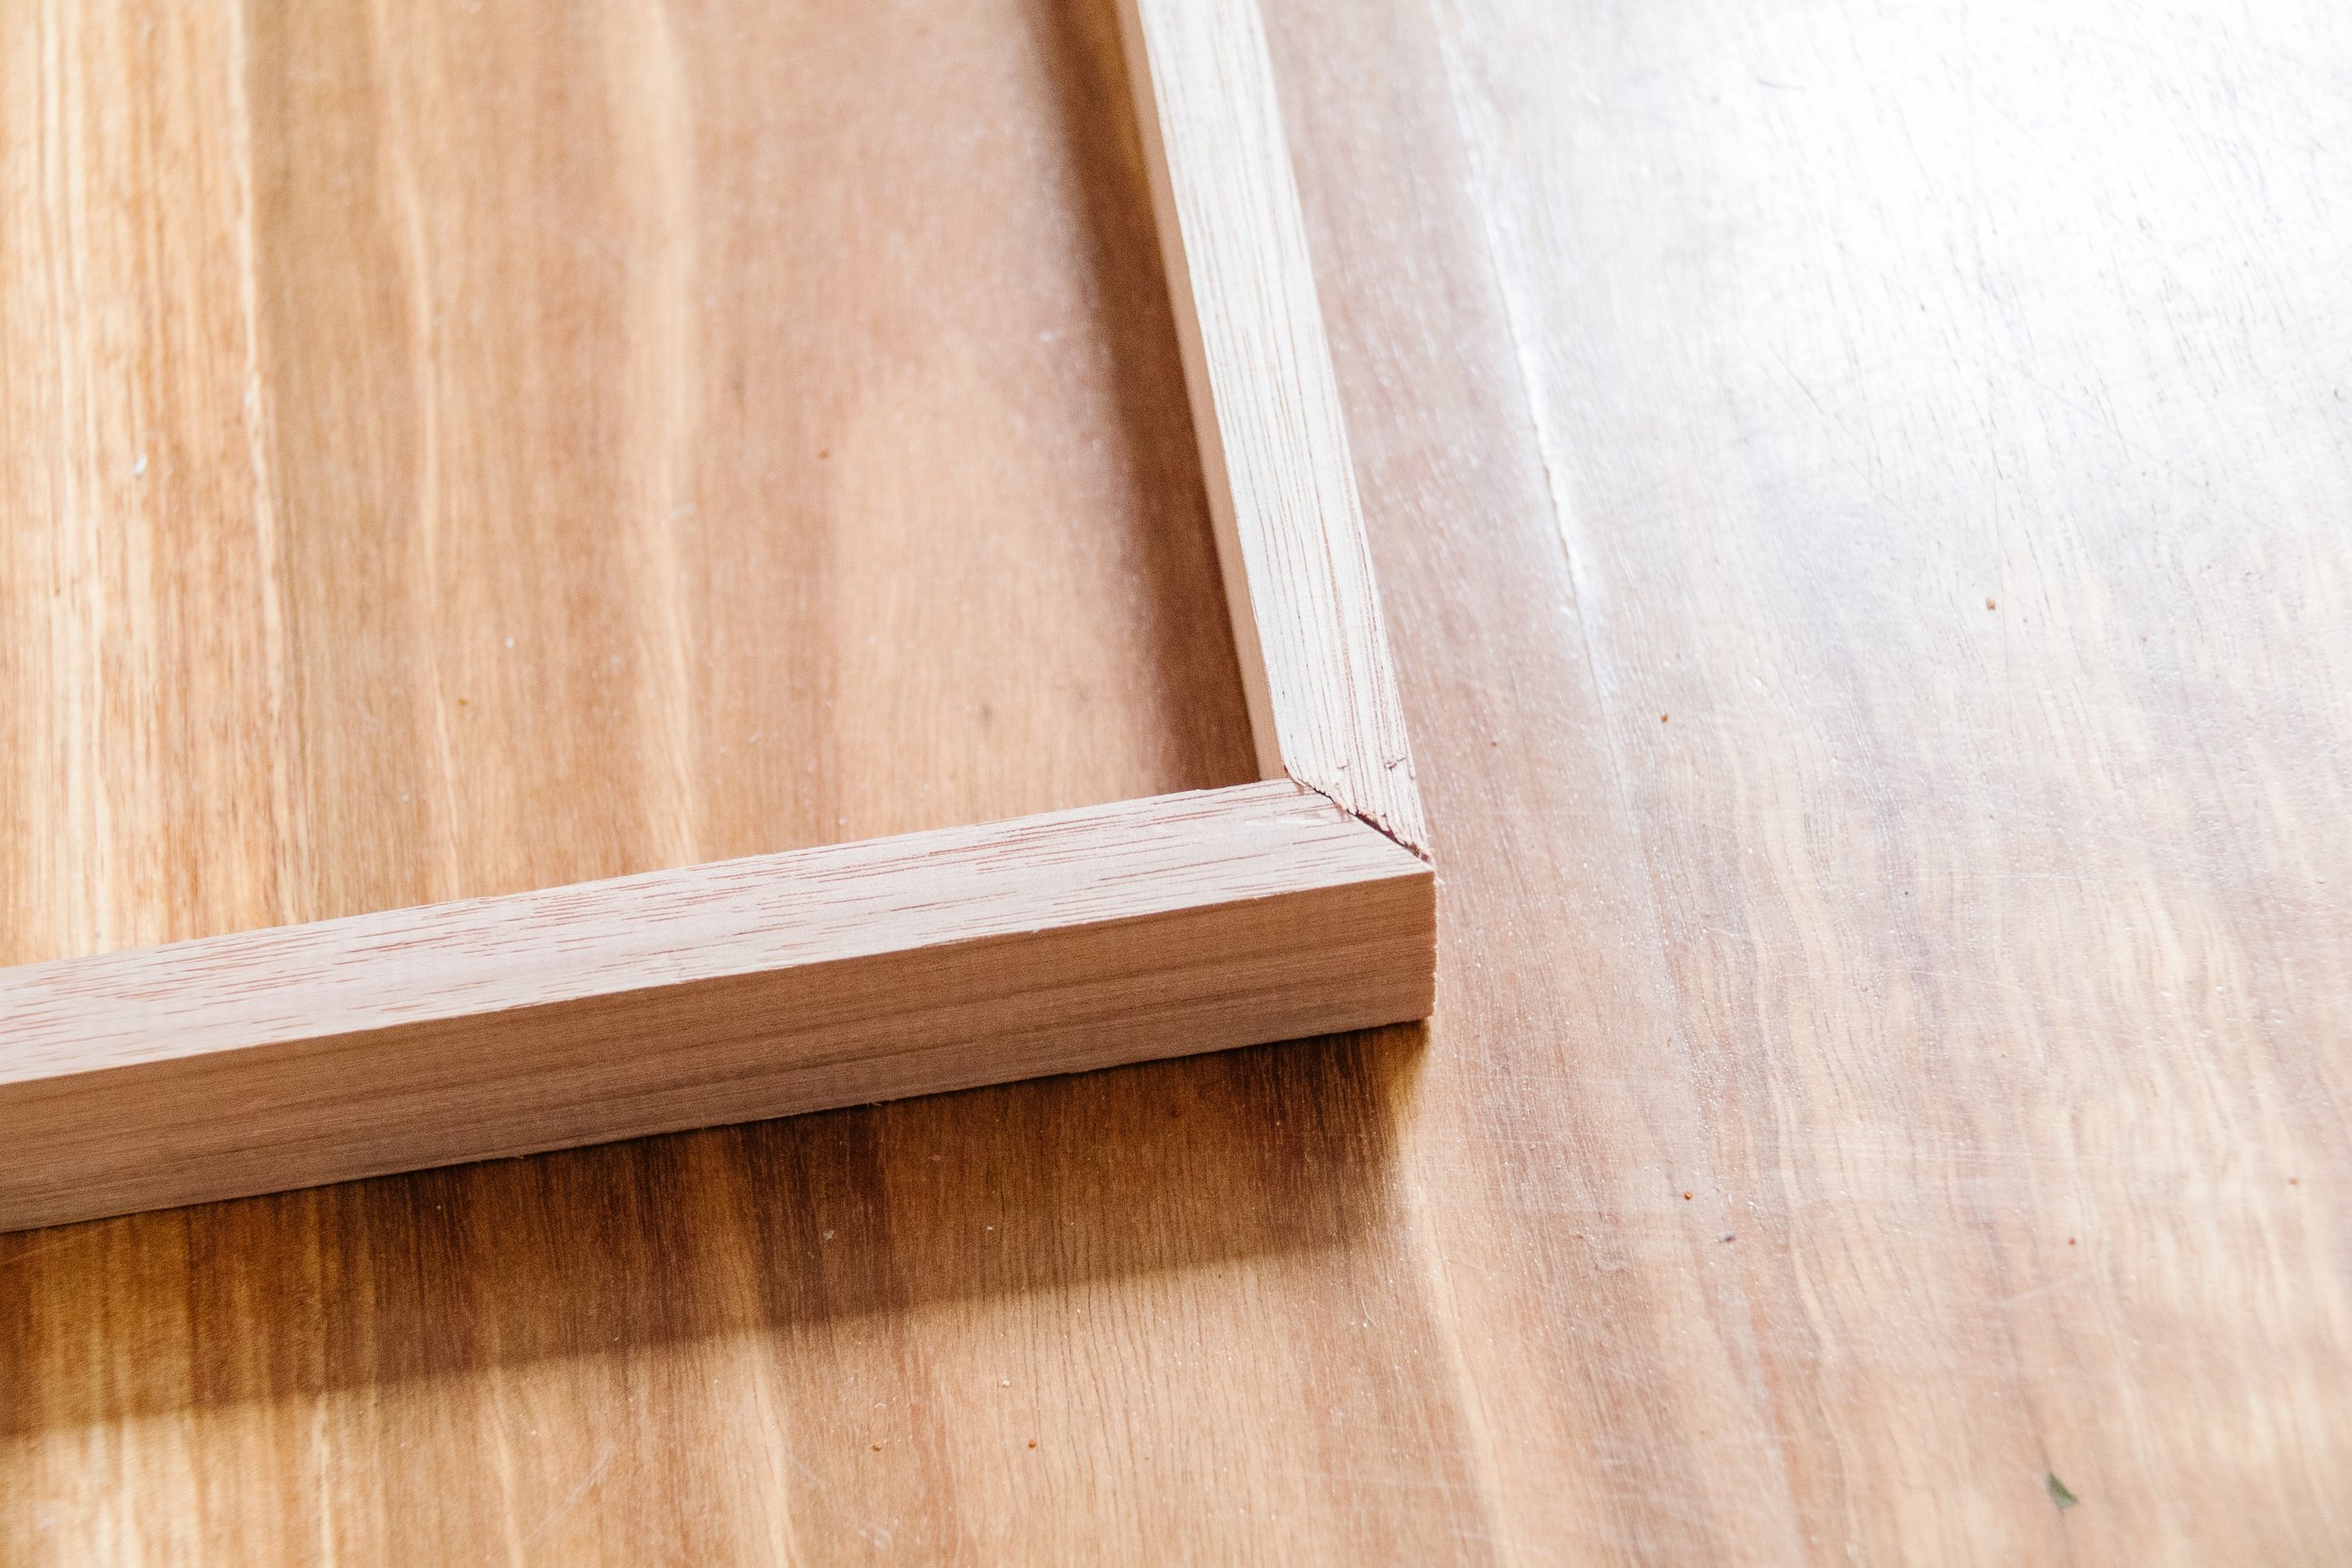
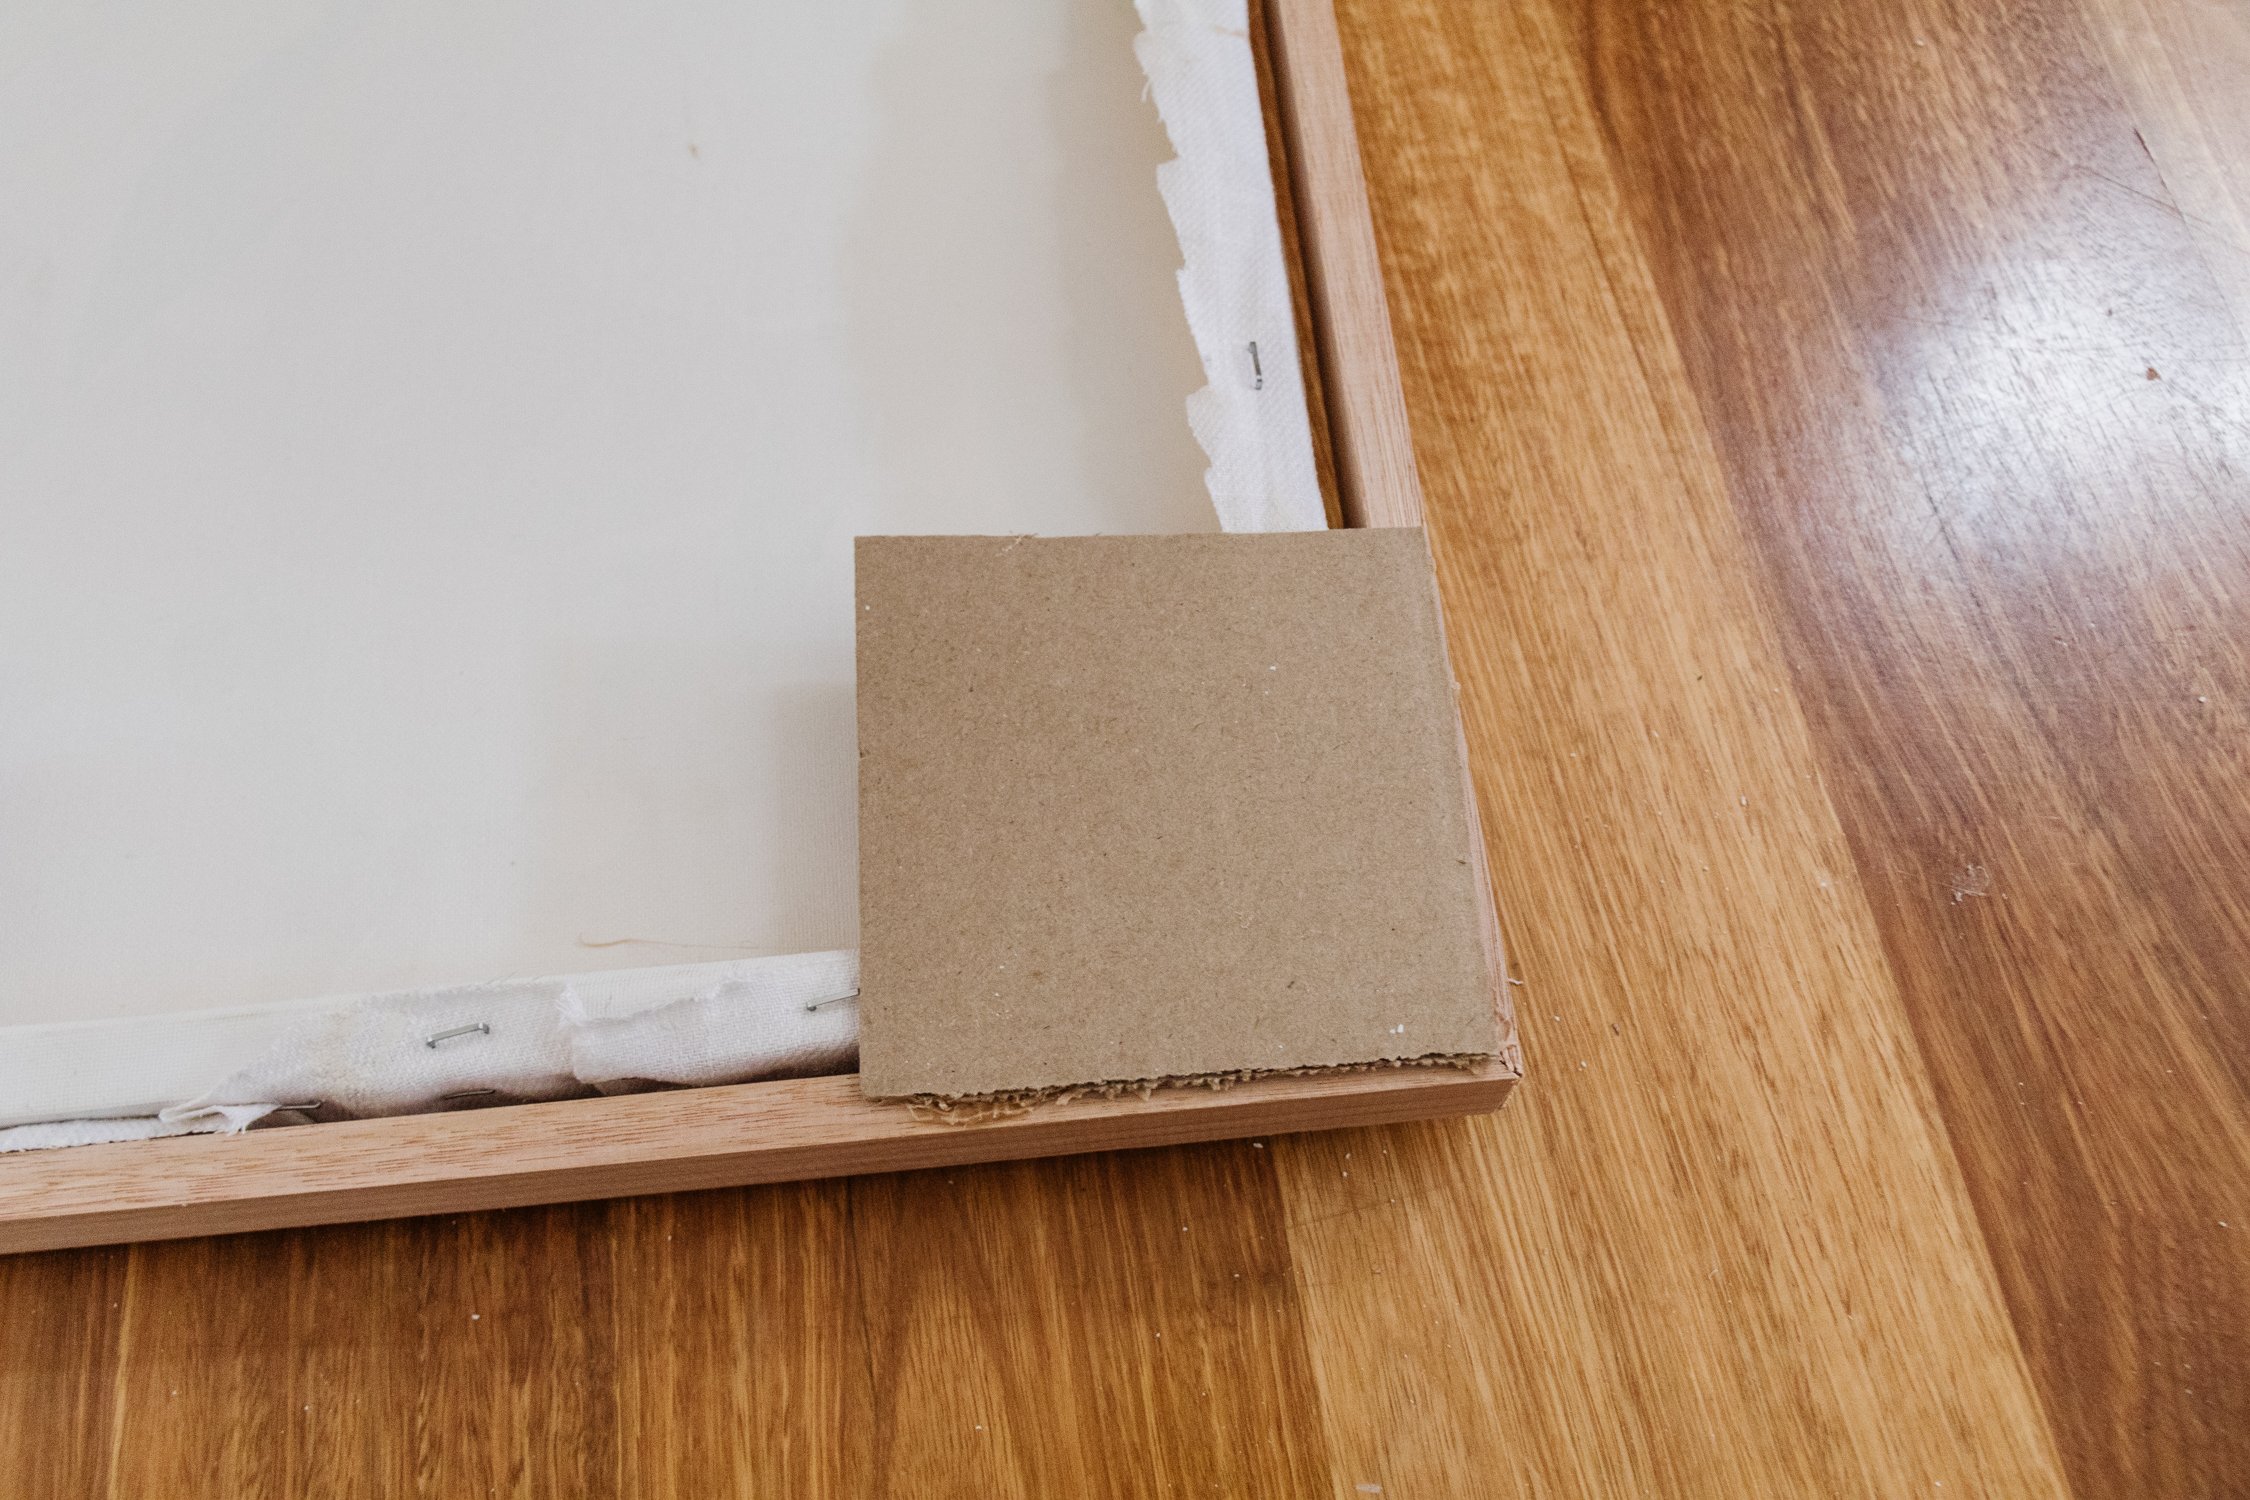
But I didn’t stop there. I wanted to elevate my plaster wall art so I decided to make floating frames! I used two pieces of Tasmanian Oak moulding I had left over from another project and some cardboard. I am also very aware not everyone has a mitre saw at home, so not only did I make a floating frame using the mitre saw, I made the other one using my mitre box and tenon saw, because I am all about giving you options (and I don’t want anyone feeling left out!). Read on to find out how you can make your own Upcycled Sculptural Plaster Wall Art.
And to see how this Upcycled Sculptural Plaster Wall Art came together, make sure you check out this video!
Before & After


The Inspiration

Project Details
🕒 Project Time Estimate: 1 hours, not including time for the plaster to dry
💰 Materials Cost: Based on two pieces of art - $75 with frames or $30 without frames.
⚒️ Tools: Staple gun
👷♀️ Skill Level: Beginner DIYer

Materials
2 x Secondhand stretched canvas
Piece of thick deadstock fabric, enough to cover each piece of canvas
Gyprock Plaster - I like Topping Compound because it’s so smooth and creamy, and very easy to sand. I’ve also used Multi-Purpose Joint Compound in my DIY and upcycling projects too!
Scissors
Optional: I covered the stretched canvas with white primer paint, but looking back the project now it’s finished, this is totally optional as the plaster will completely cover any art on the canvas.
Click here to learn how to make your own DIY Floating Timber Frame.
How To
Before you get started, decide if you’re stretched canvas will be hung portrait or landscape. It you will hang it portrait style, I think vertical plaster fabric folds look best. If you’re stretched canvas will be hung landscape, I think horizontal plaster fabric folds will look beautiful.
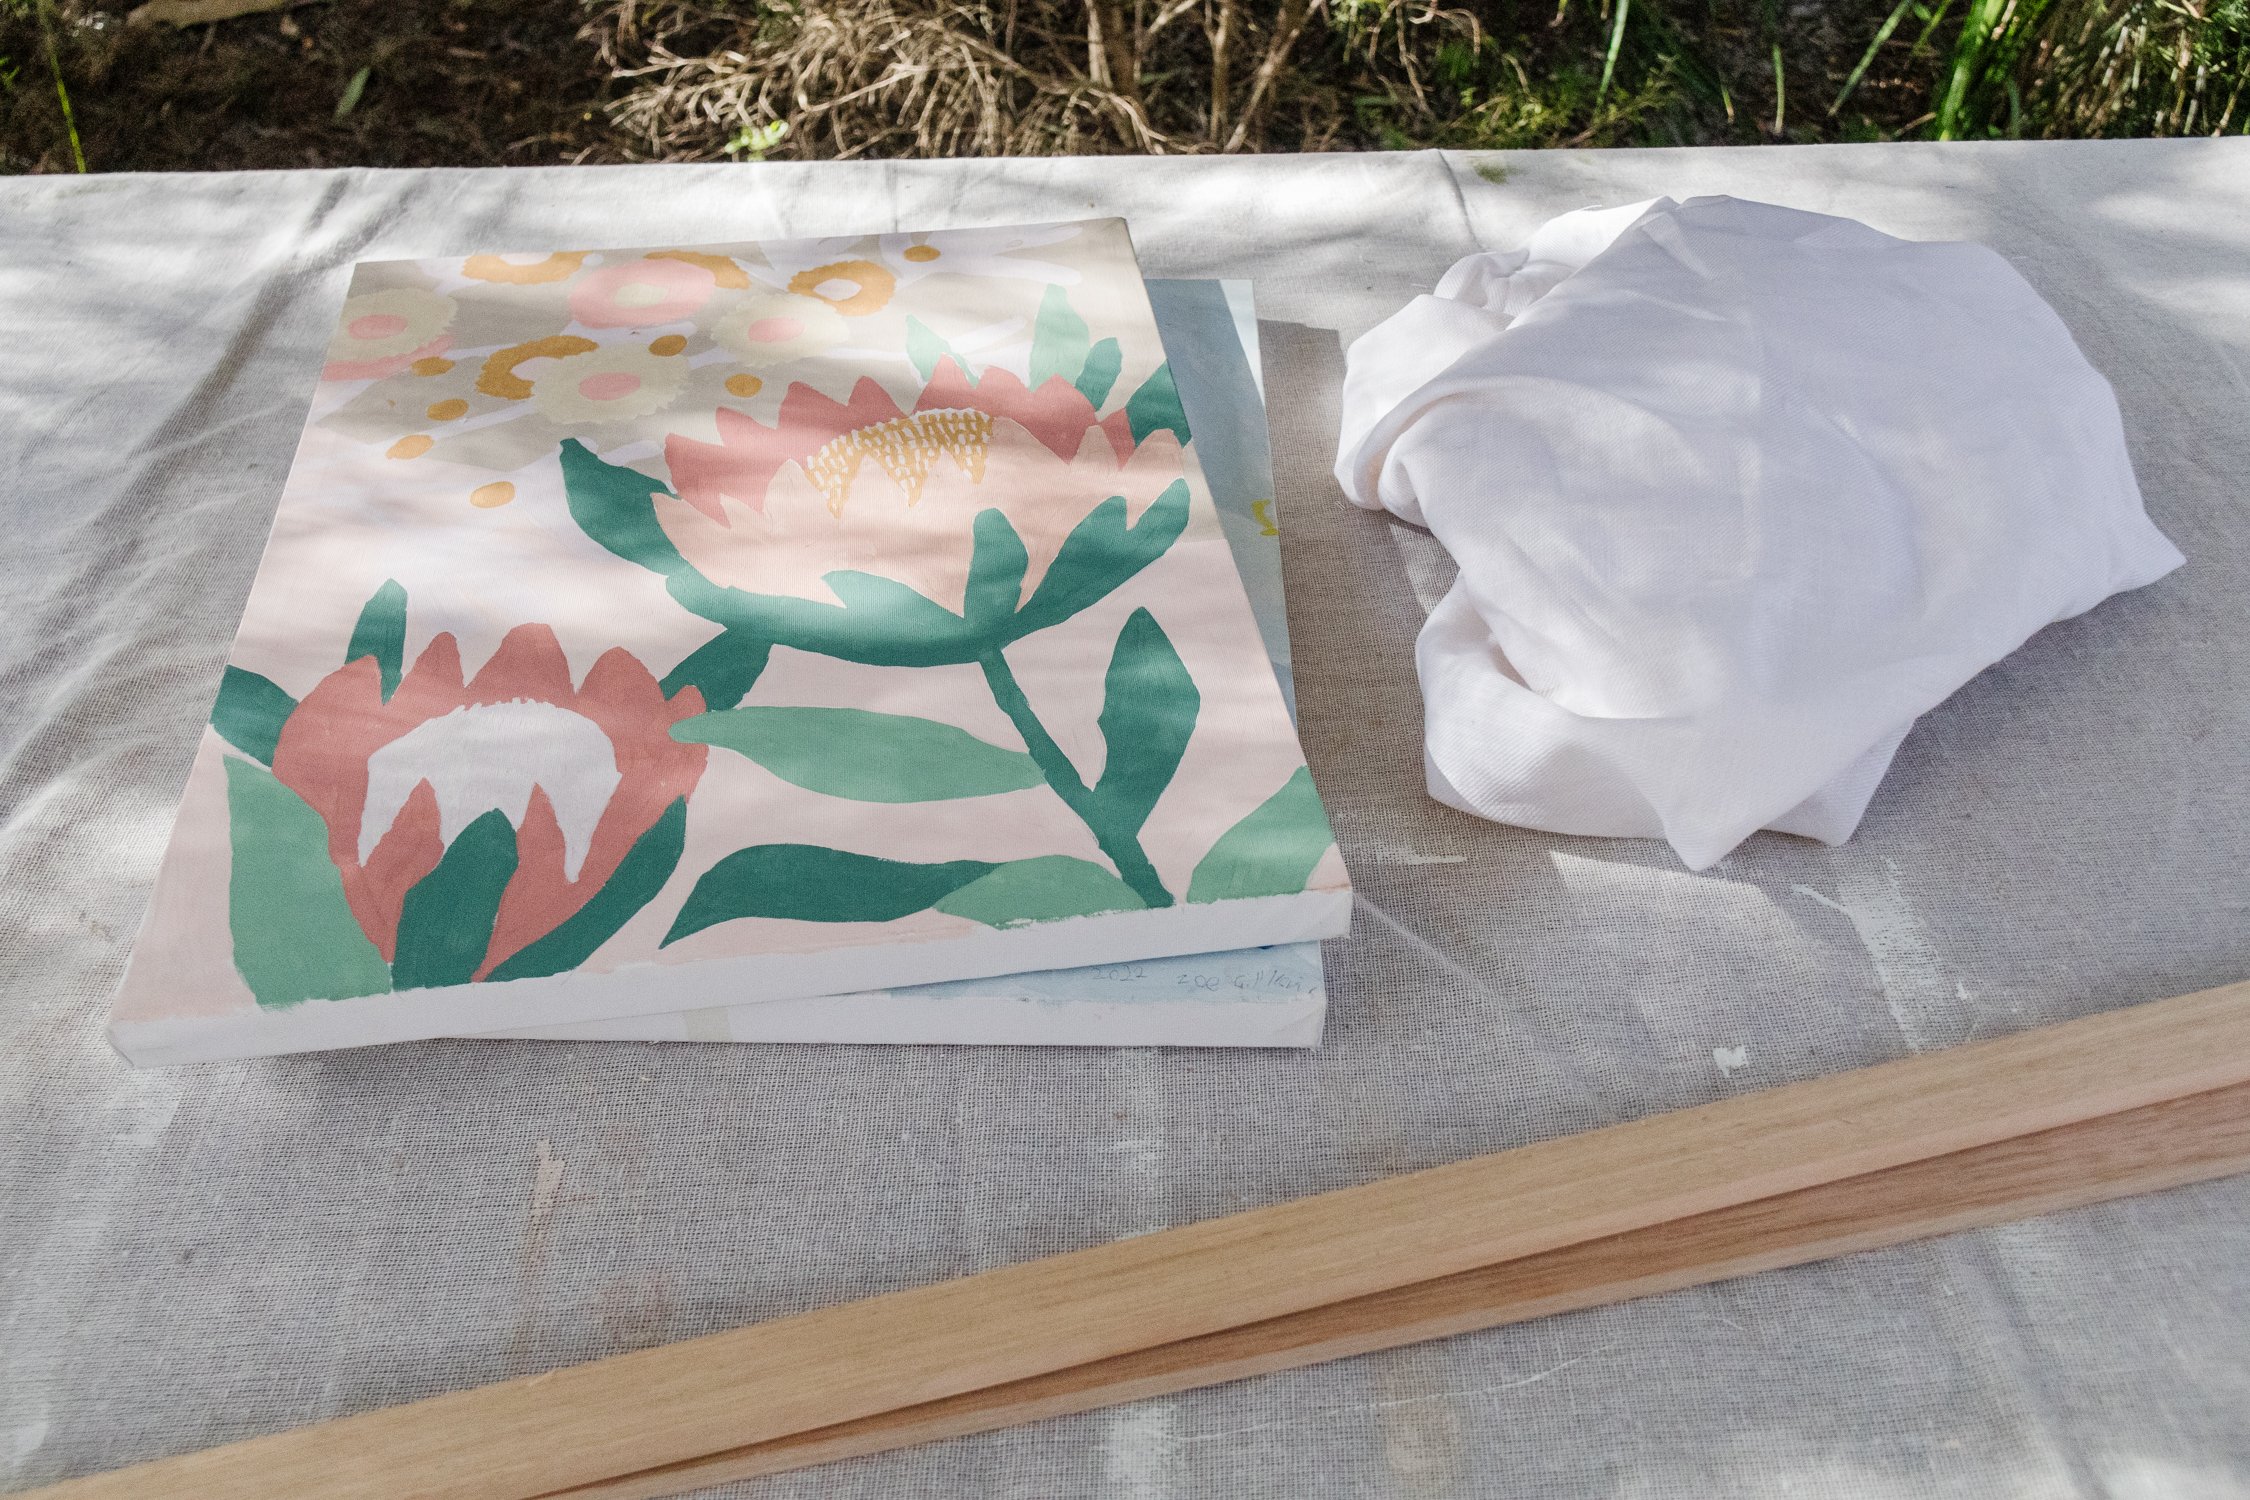
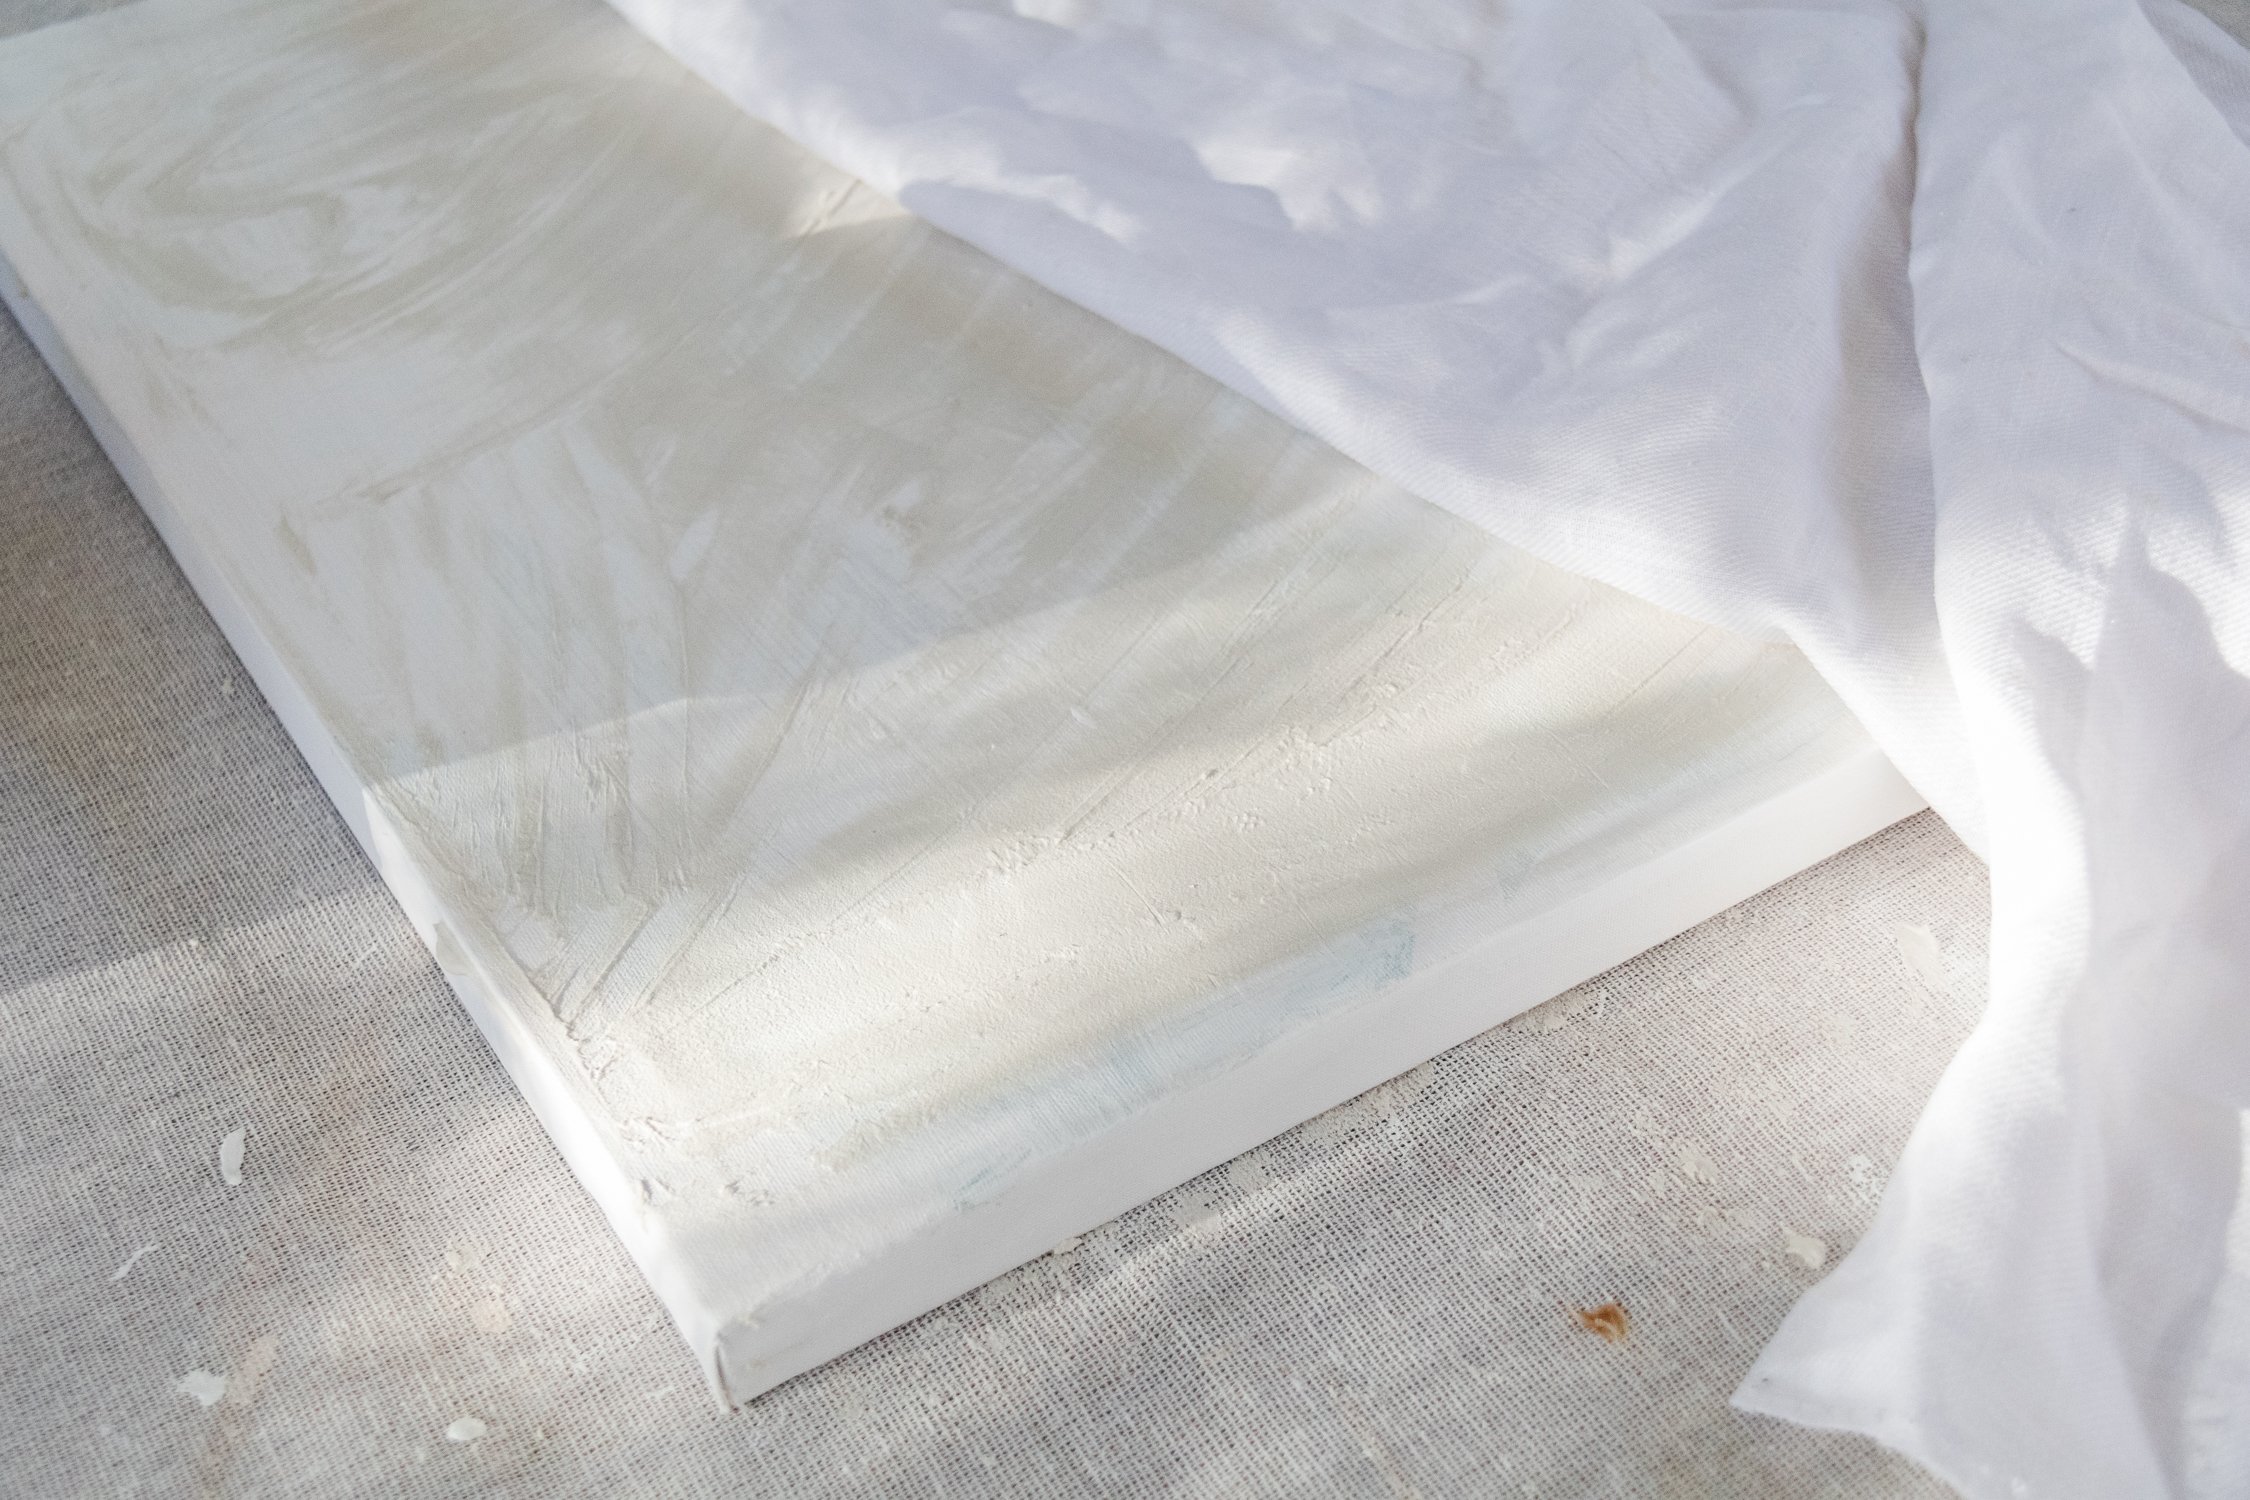
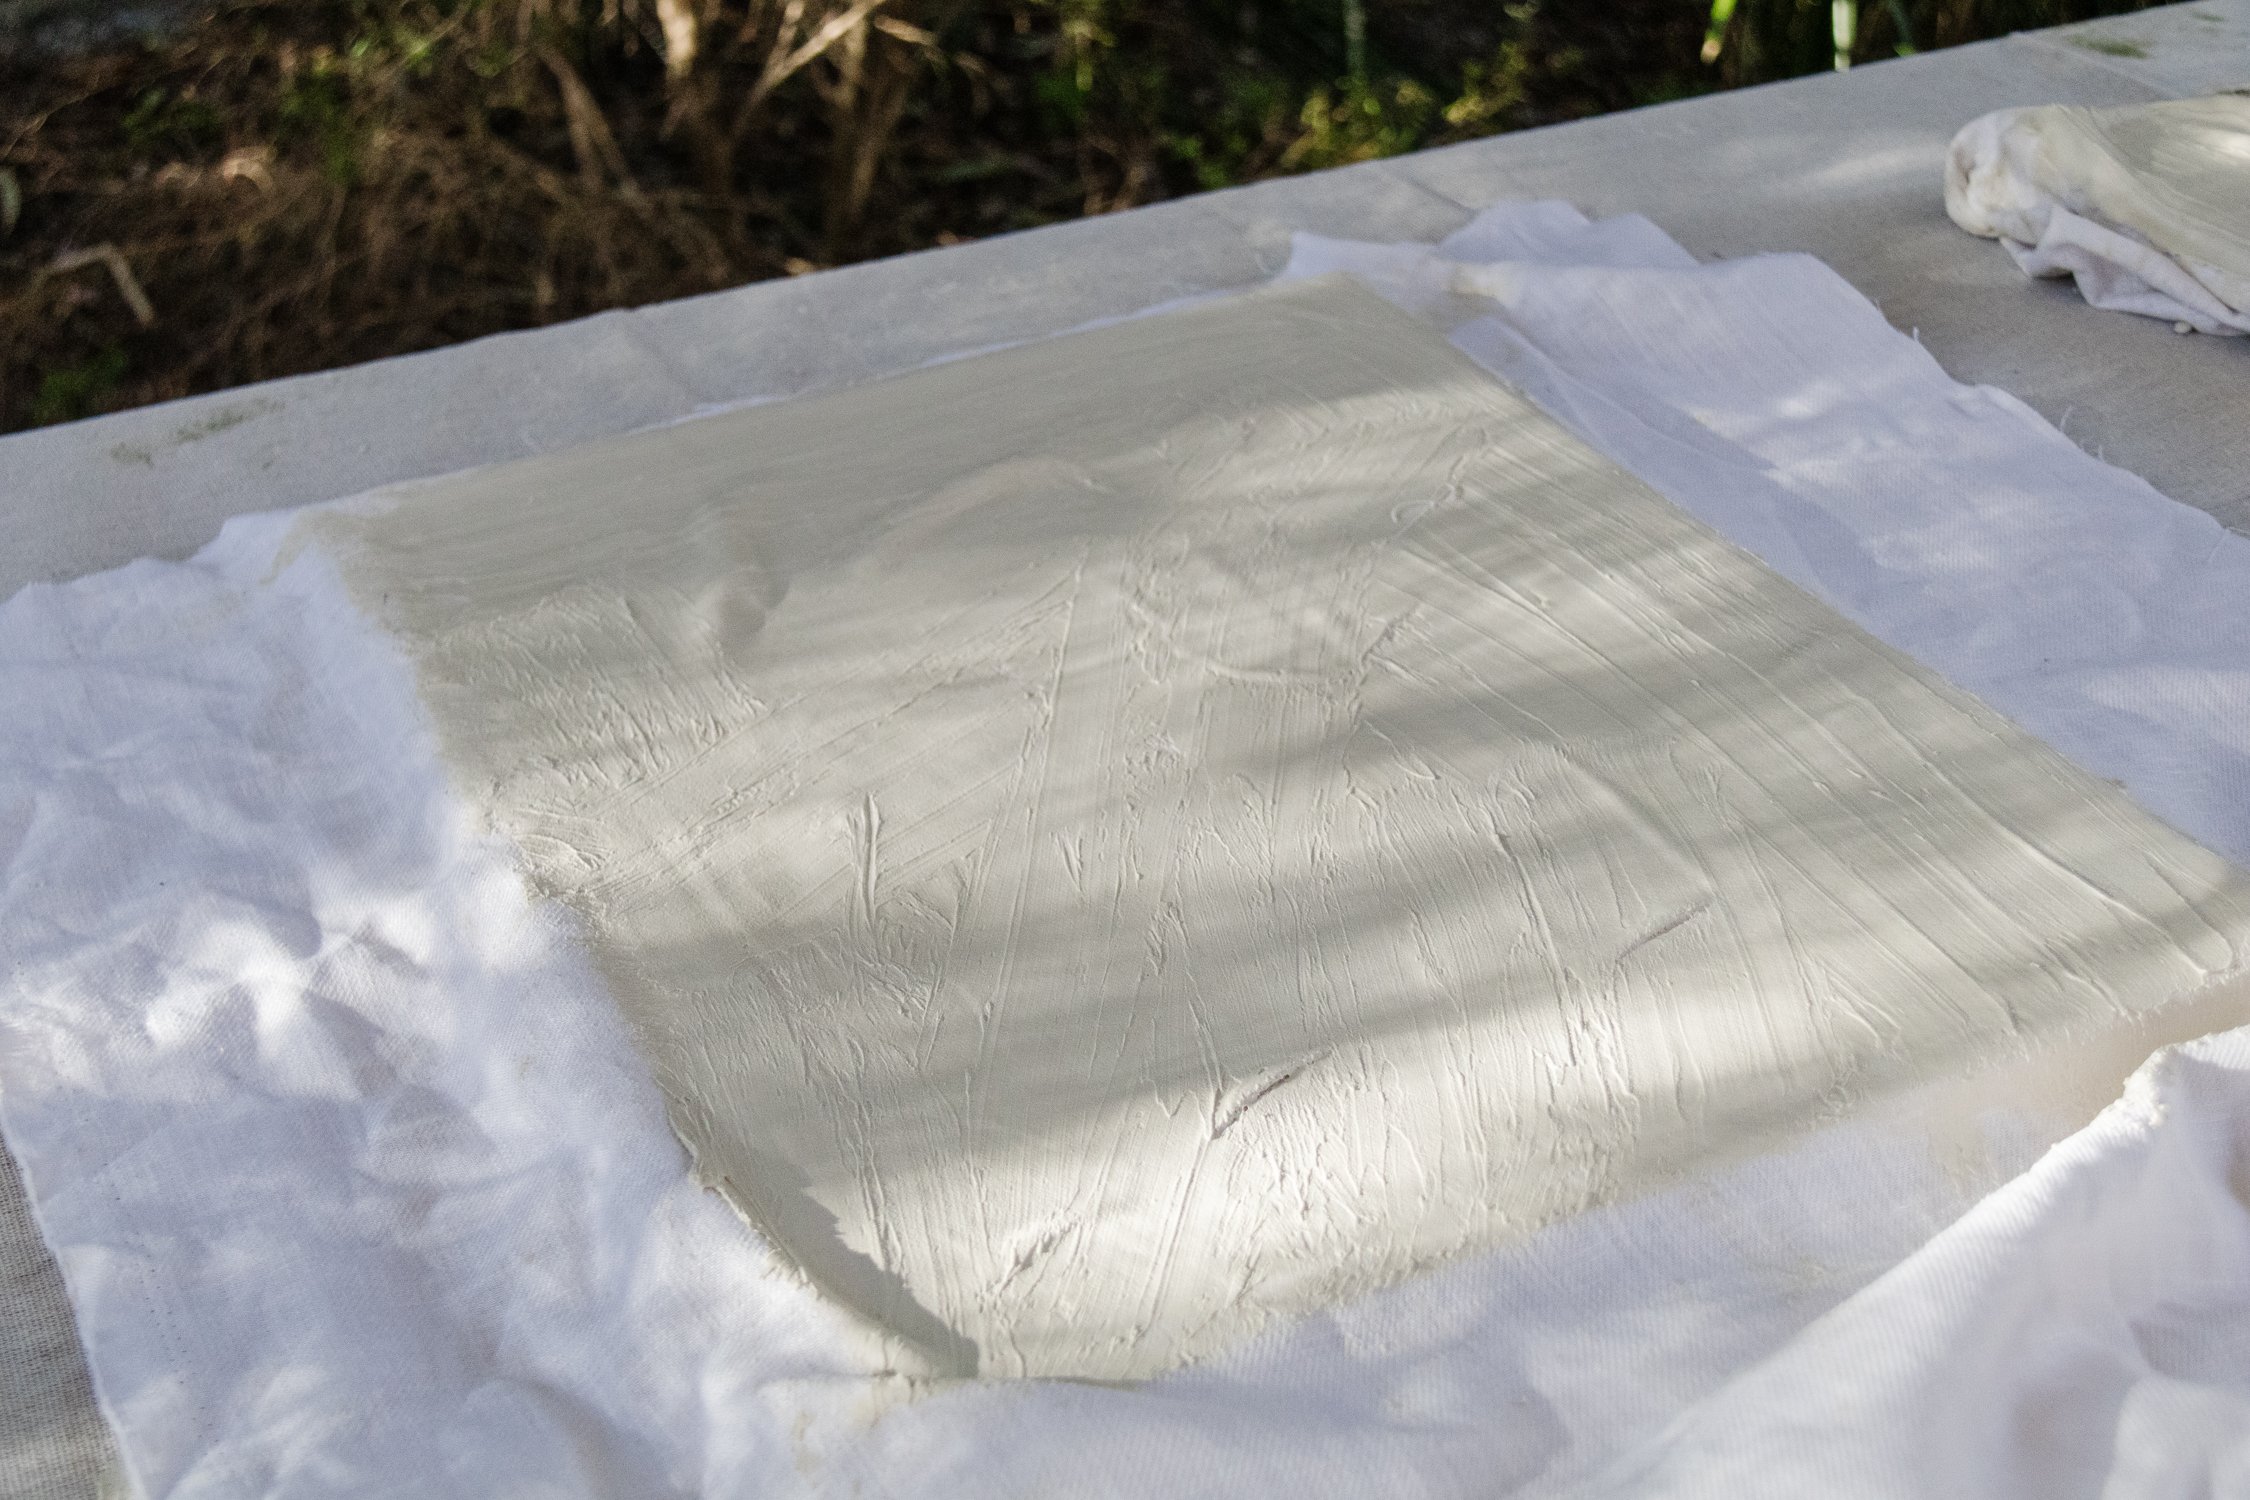
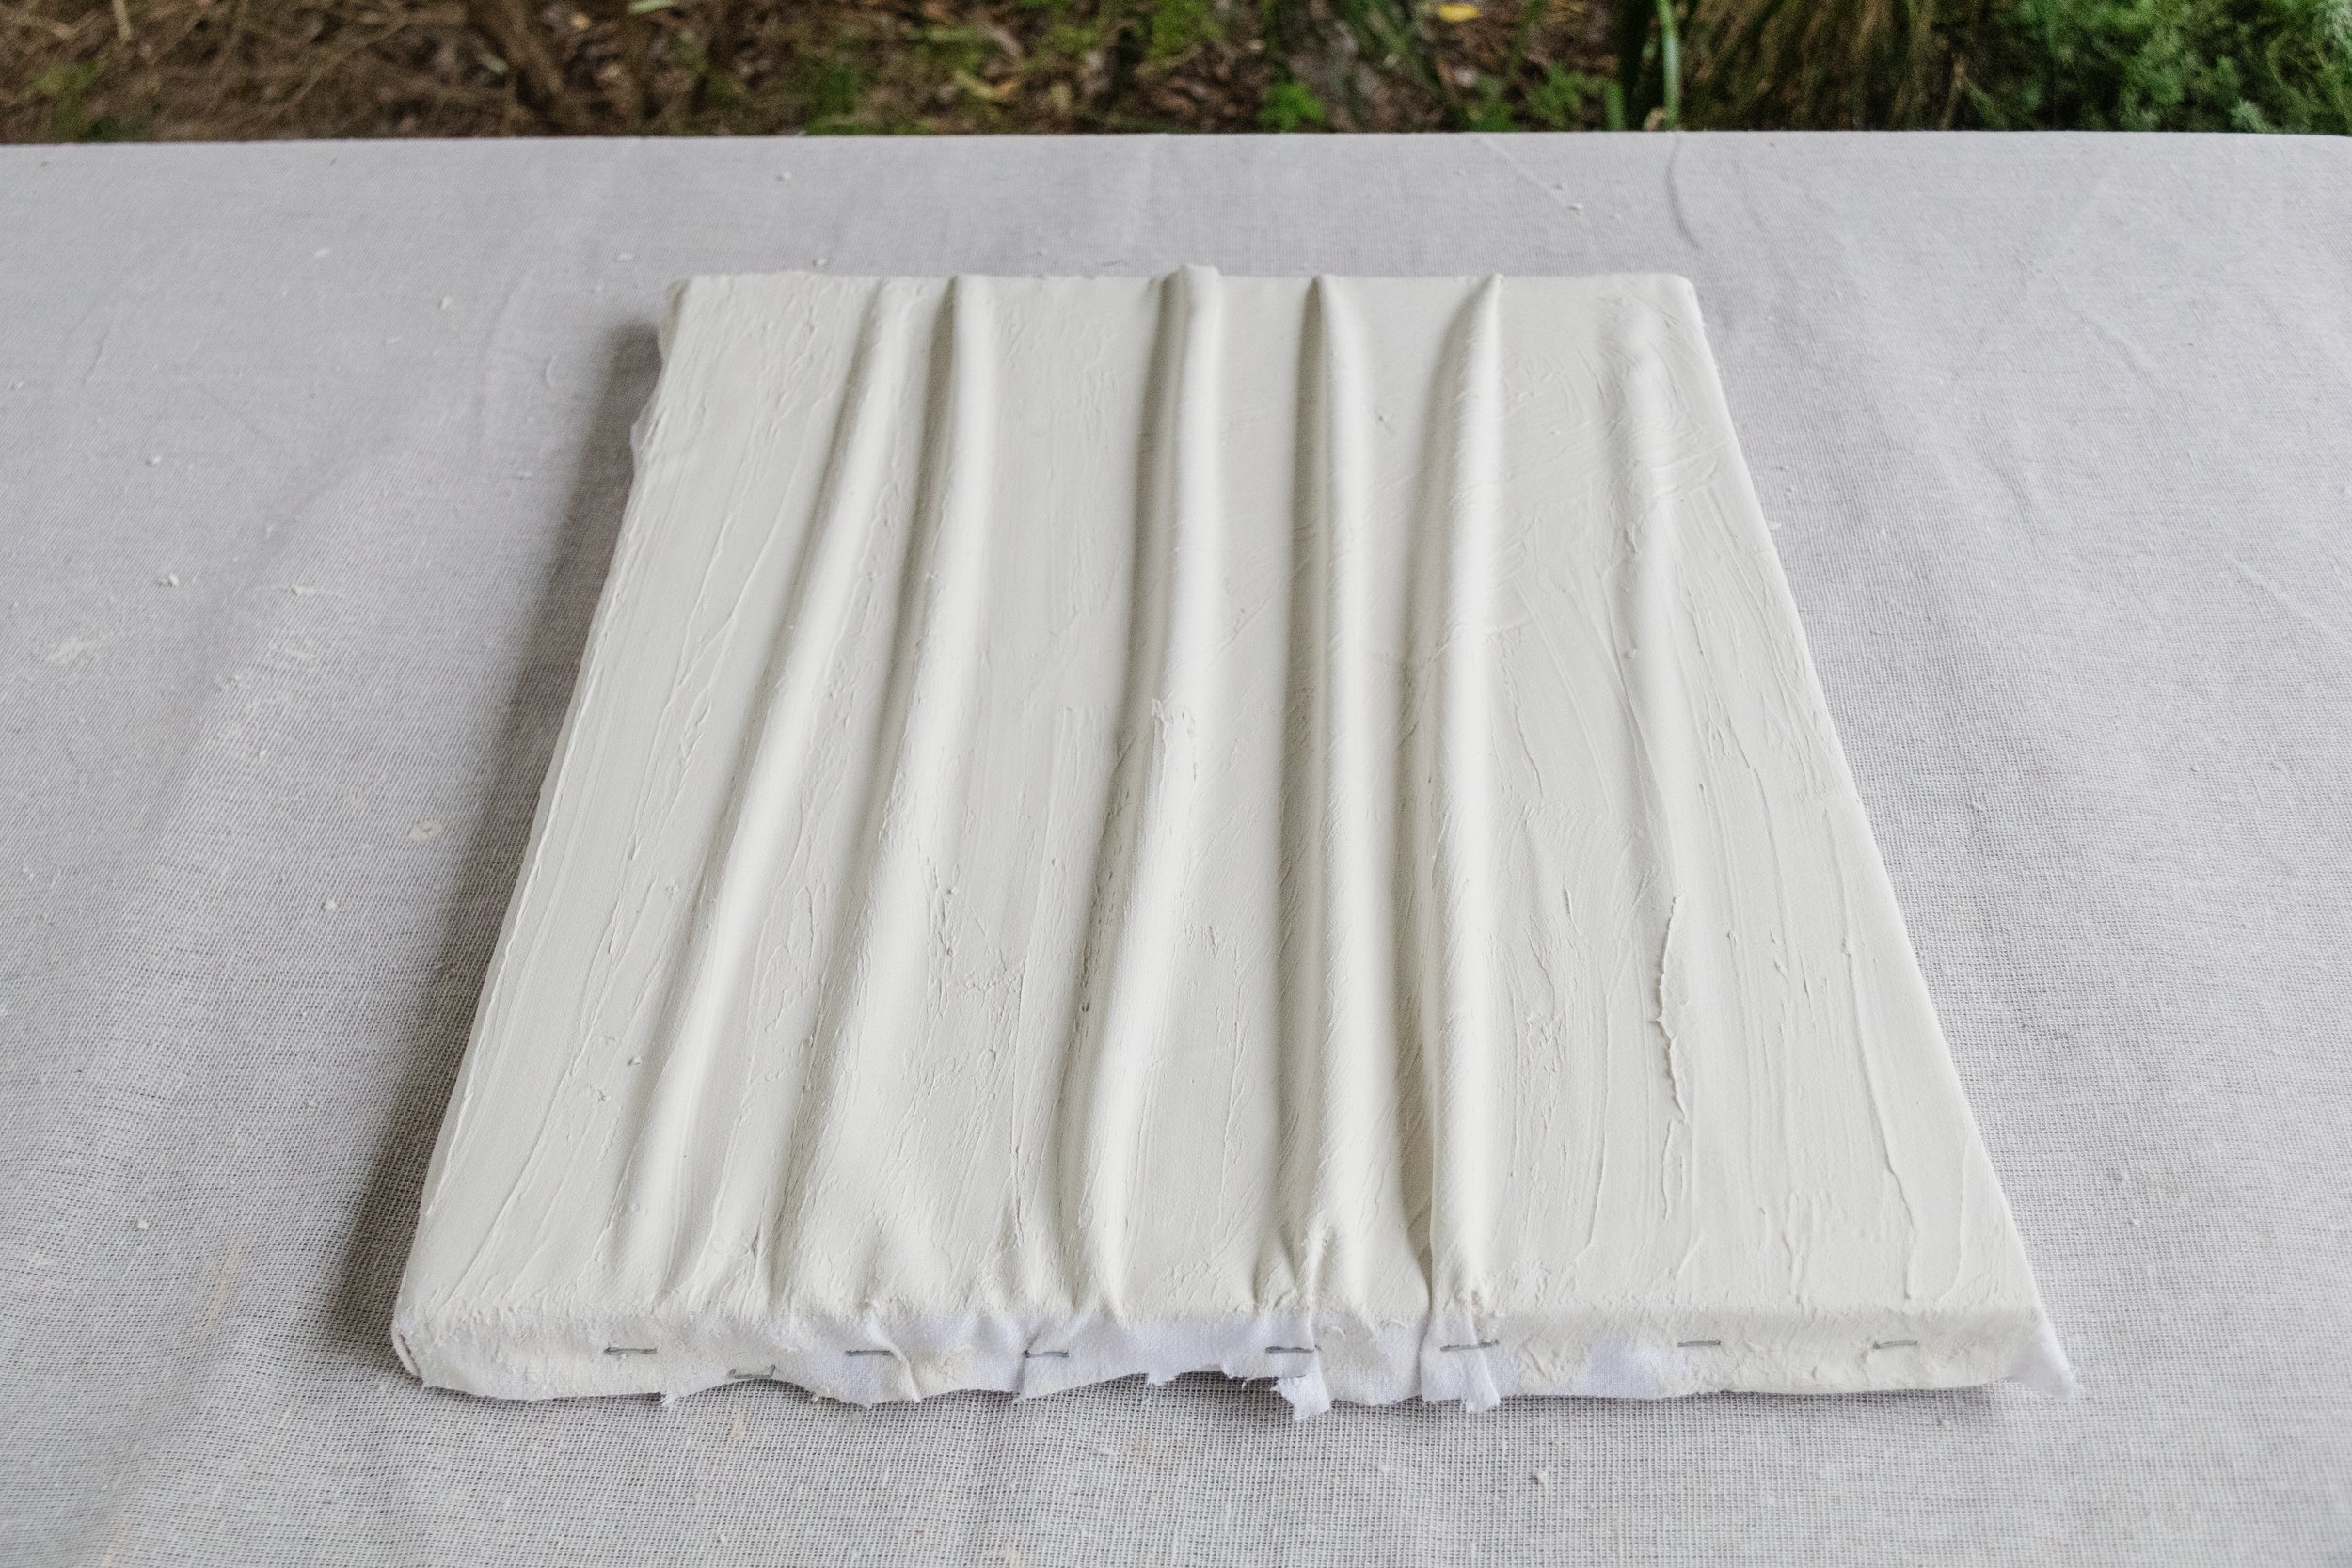
Begin by cutting the deadstock fabric to size; you want to make sure there is a lot of excess around the stretched canvas. Once that’s done, set the fabric aside. Cover the stretched canvas with a layer of plaster. You don’t need to be neat here, just slap it all over and make sure the face of the stretched canvas is completely covered with plaster as this acts like a glue for the fabric to stick to. Lay the fabric on top of the stretched canvas and then cover the fabric with more plaster.
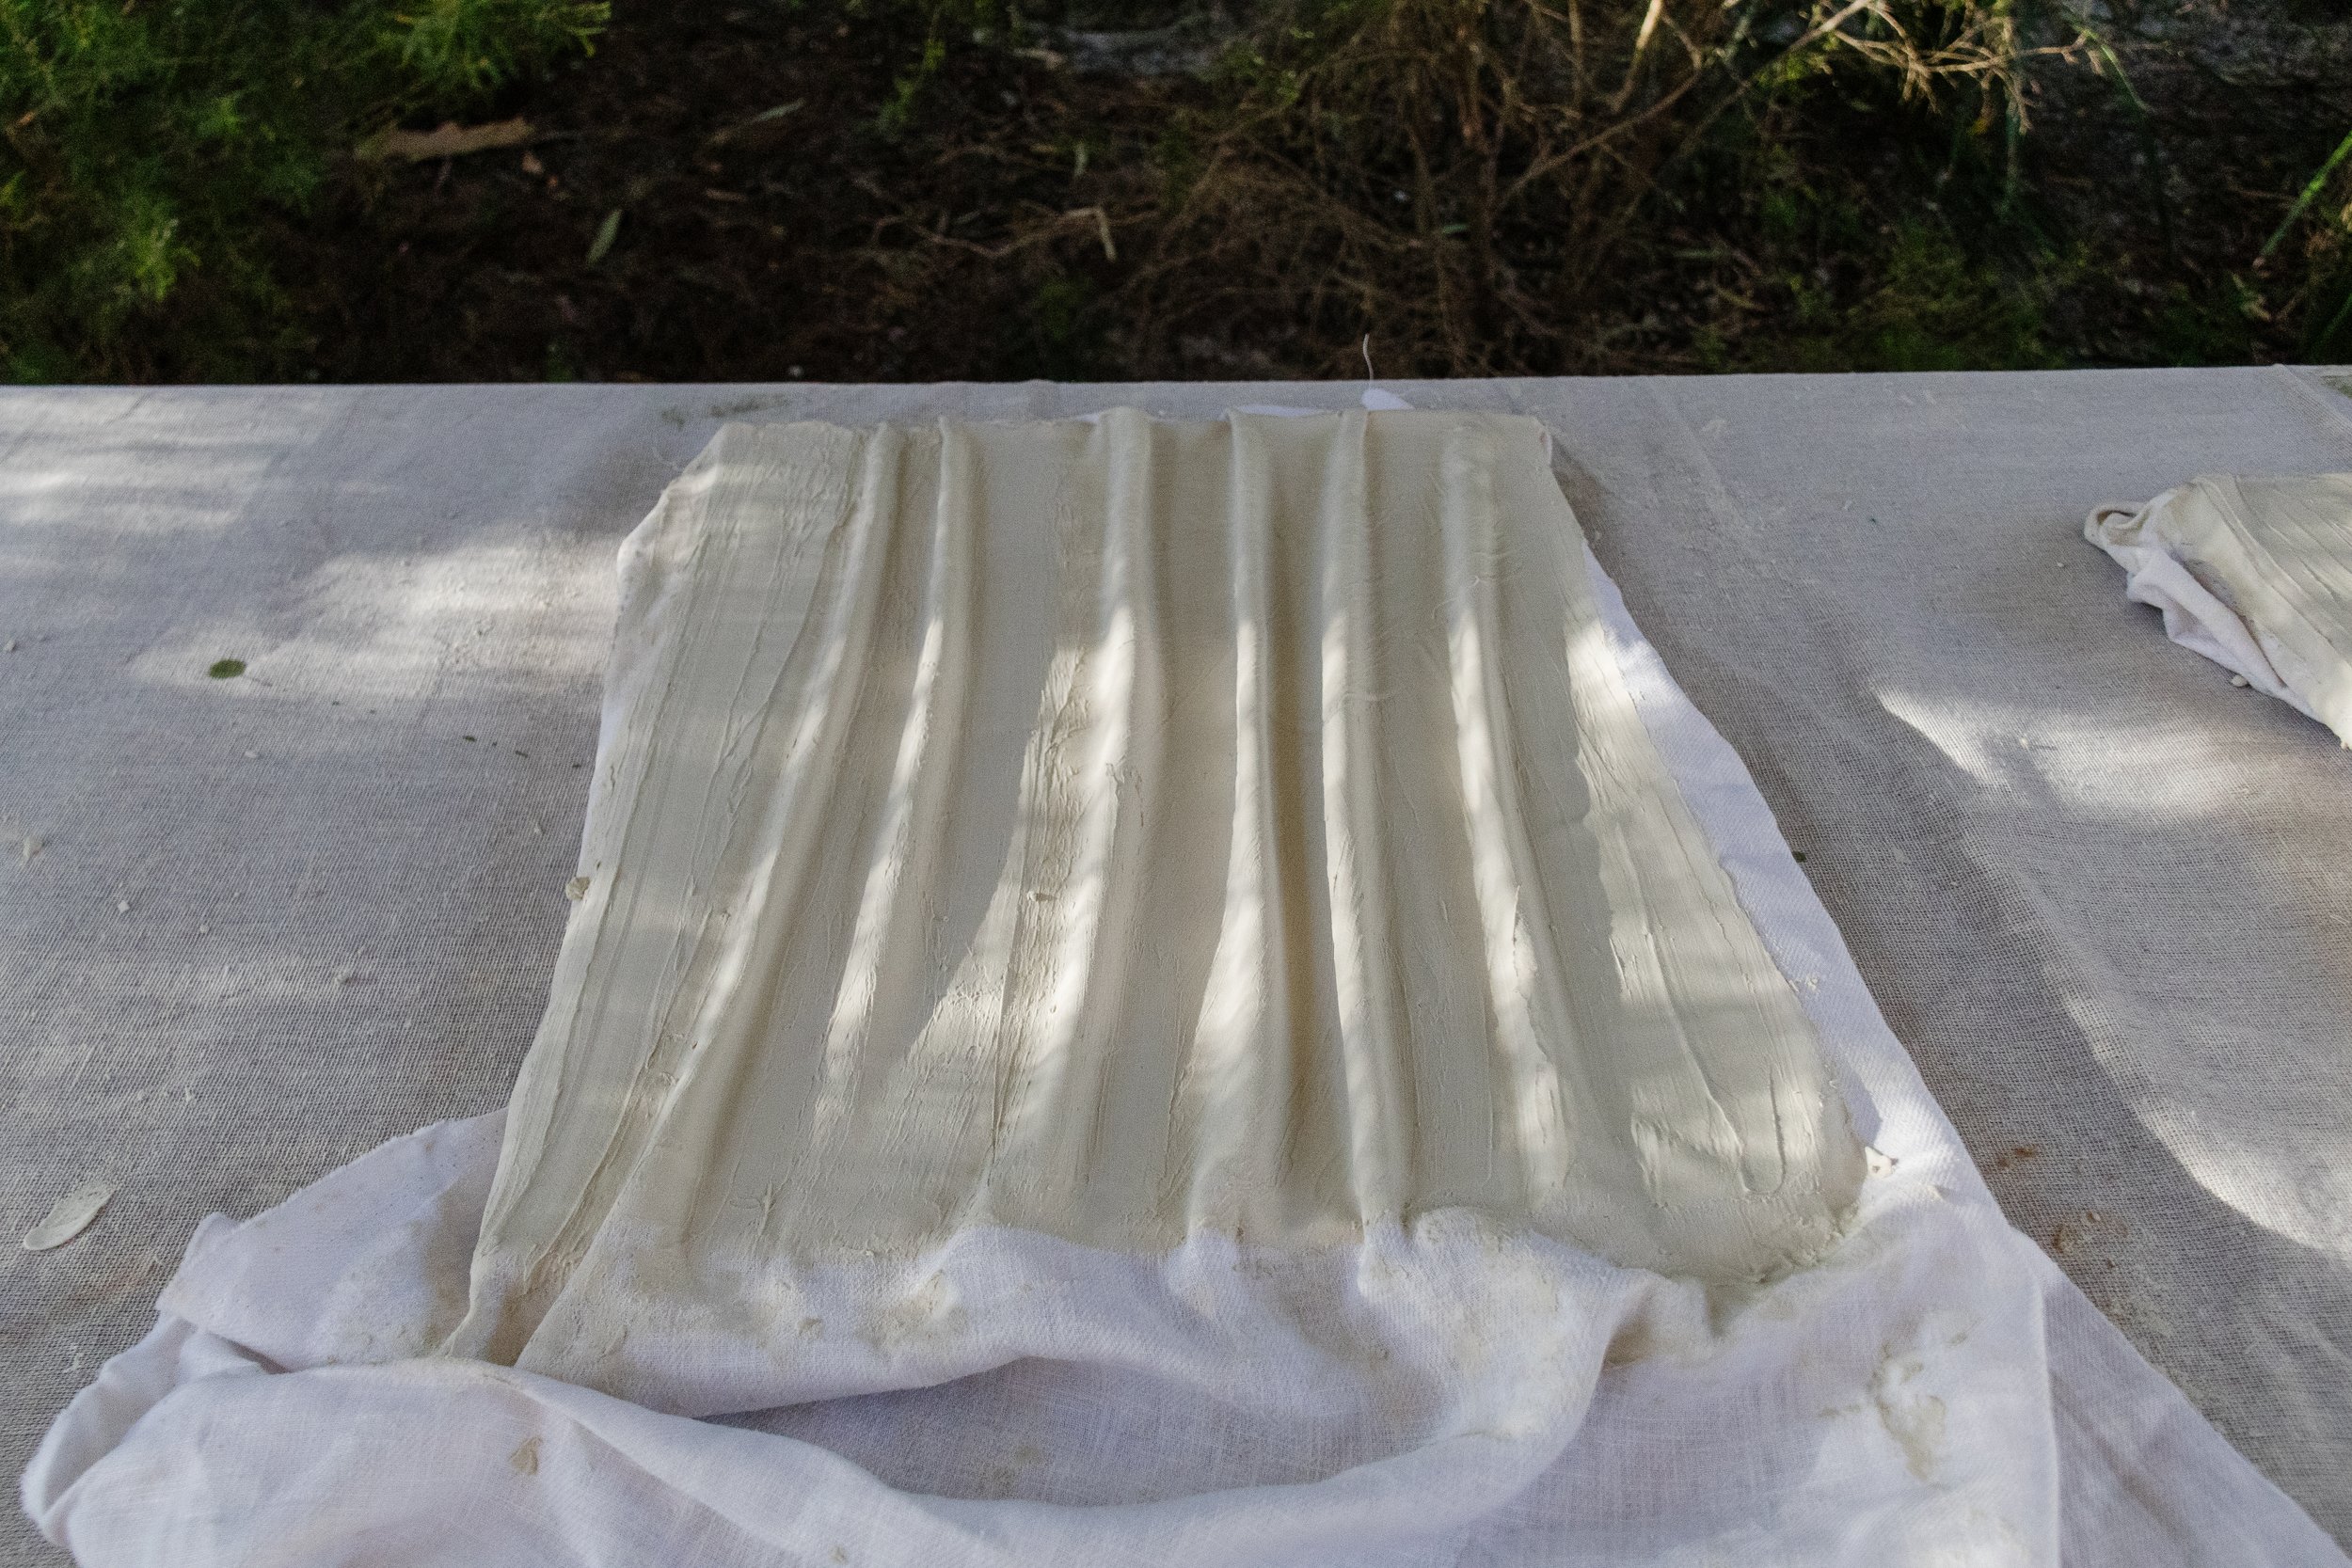
The fabric will start to soak up the plaster, and get thick and heavy. Gradually create the gentle vertical (or horizontal!) folds by lifting the plaster fabric. It takes a bit of trial and error, and hw many vertical folds you would like is totally up to you. There are no rules, it all comes down to personal preference and just having fun! As you pull the fabric into the folds, you’ll need to add more plaster over the other side of the deadstock fabric.
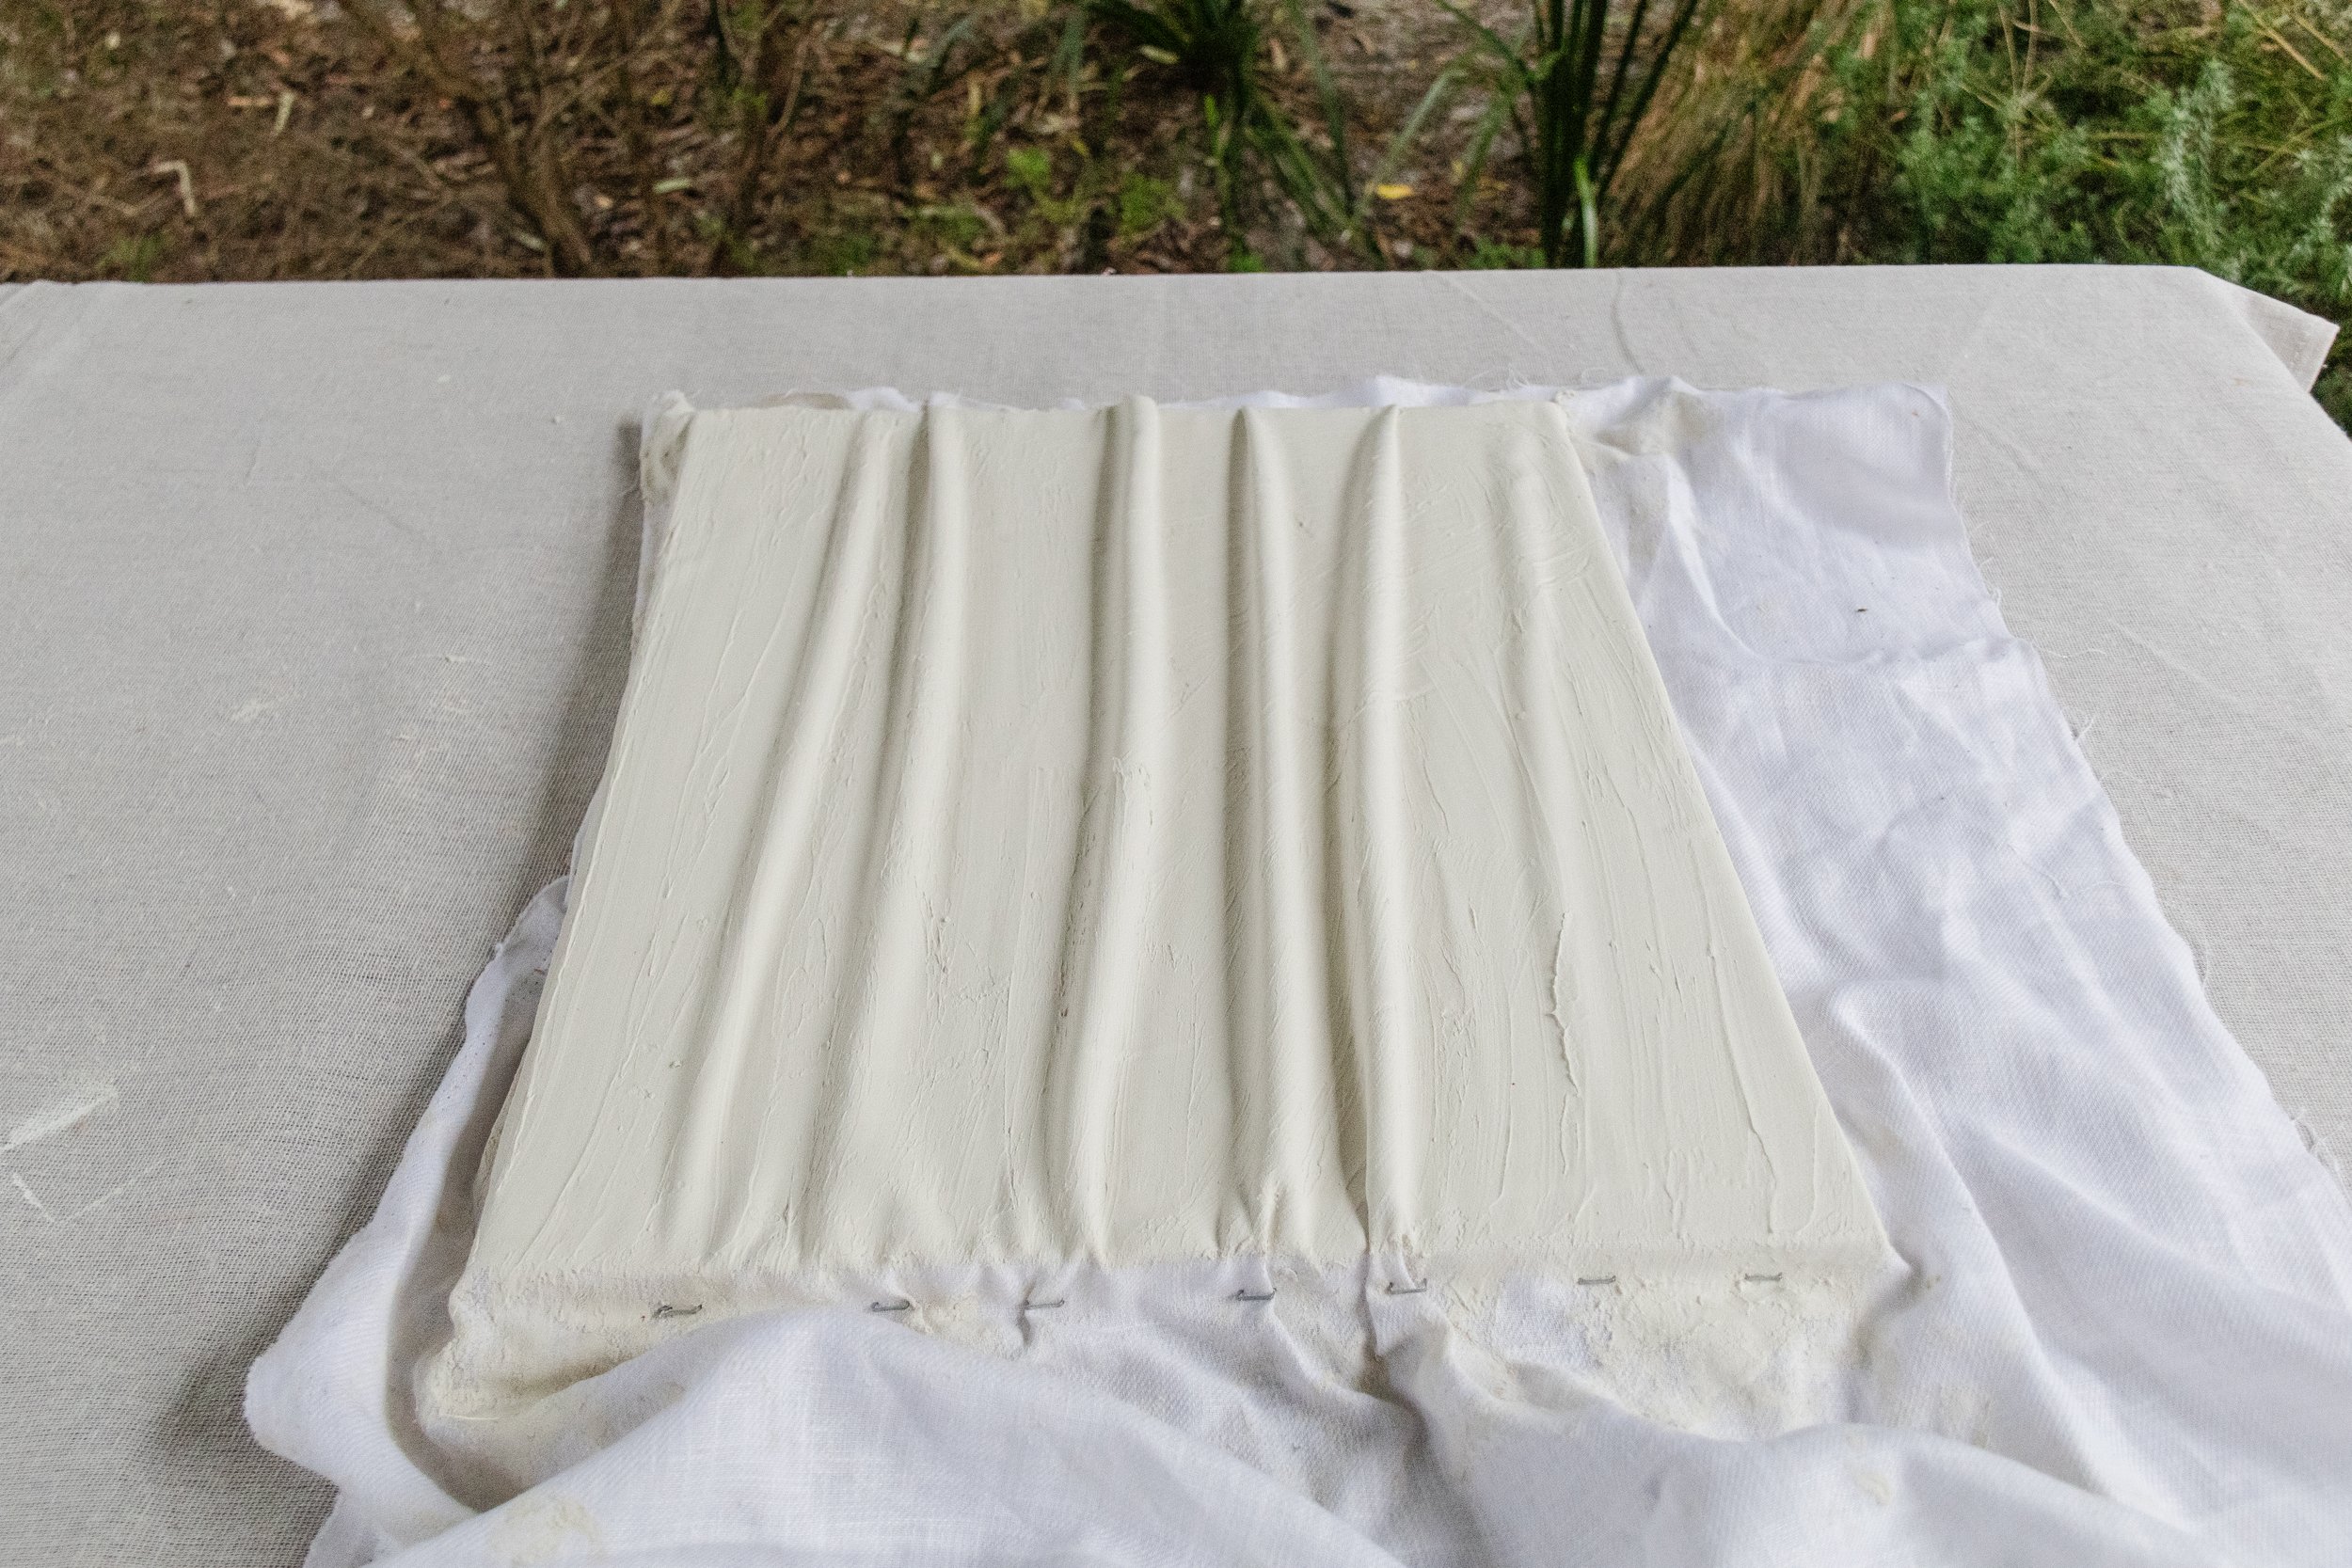
Once you are happy with the aesthetic, staple the fabric to the sides of the stretched canvas. I decided to do this before it dried to really make sure the fabric sticks to the canvas and is securely in place when it dried. Repeat with the second piece of stretched canvas and set aside to dry overnight.
When the plaster has completely dried, you’ll notice that it’s actually really hard. This is good! Carefully flip the canvas over, cut the excess fabric off with scissors, and staple the remaining fabric to the back of the stretched canvas. And that’s it! If you’d like to hang your art without frames, simply apply 4 pairs of velcro hanging strips to the back corners of the stretched canvas timber frame and place it on the wall. If you would like to make your own DIY Floating Timber Frame, head over to my tutorial here.
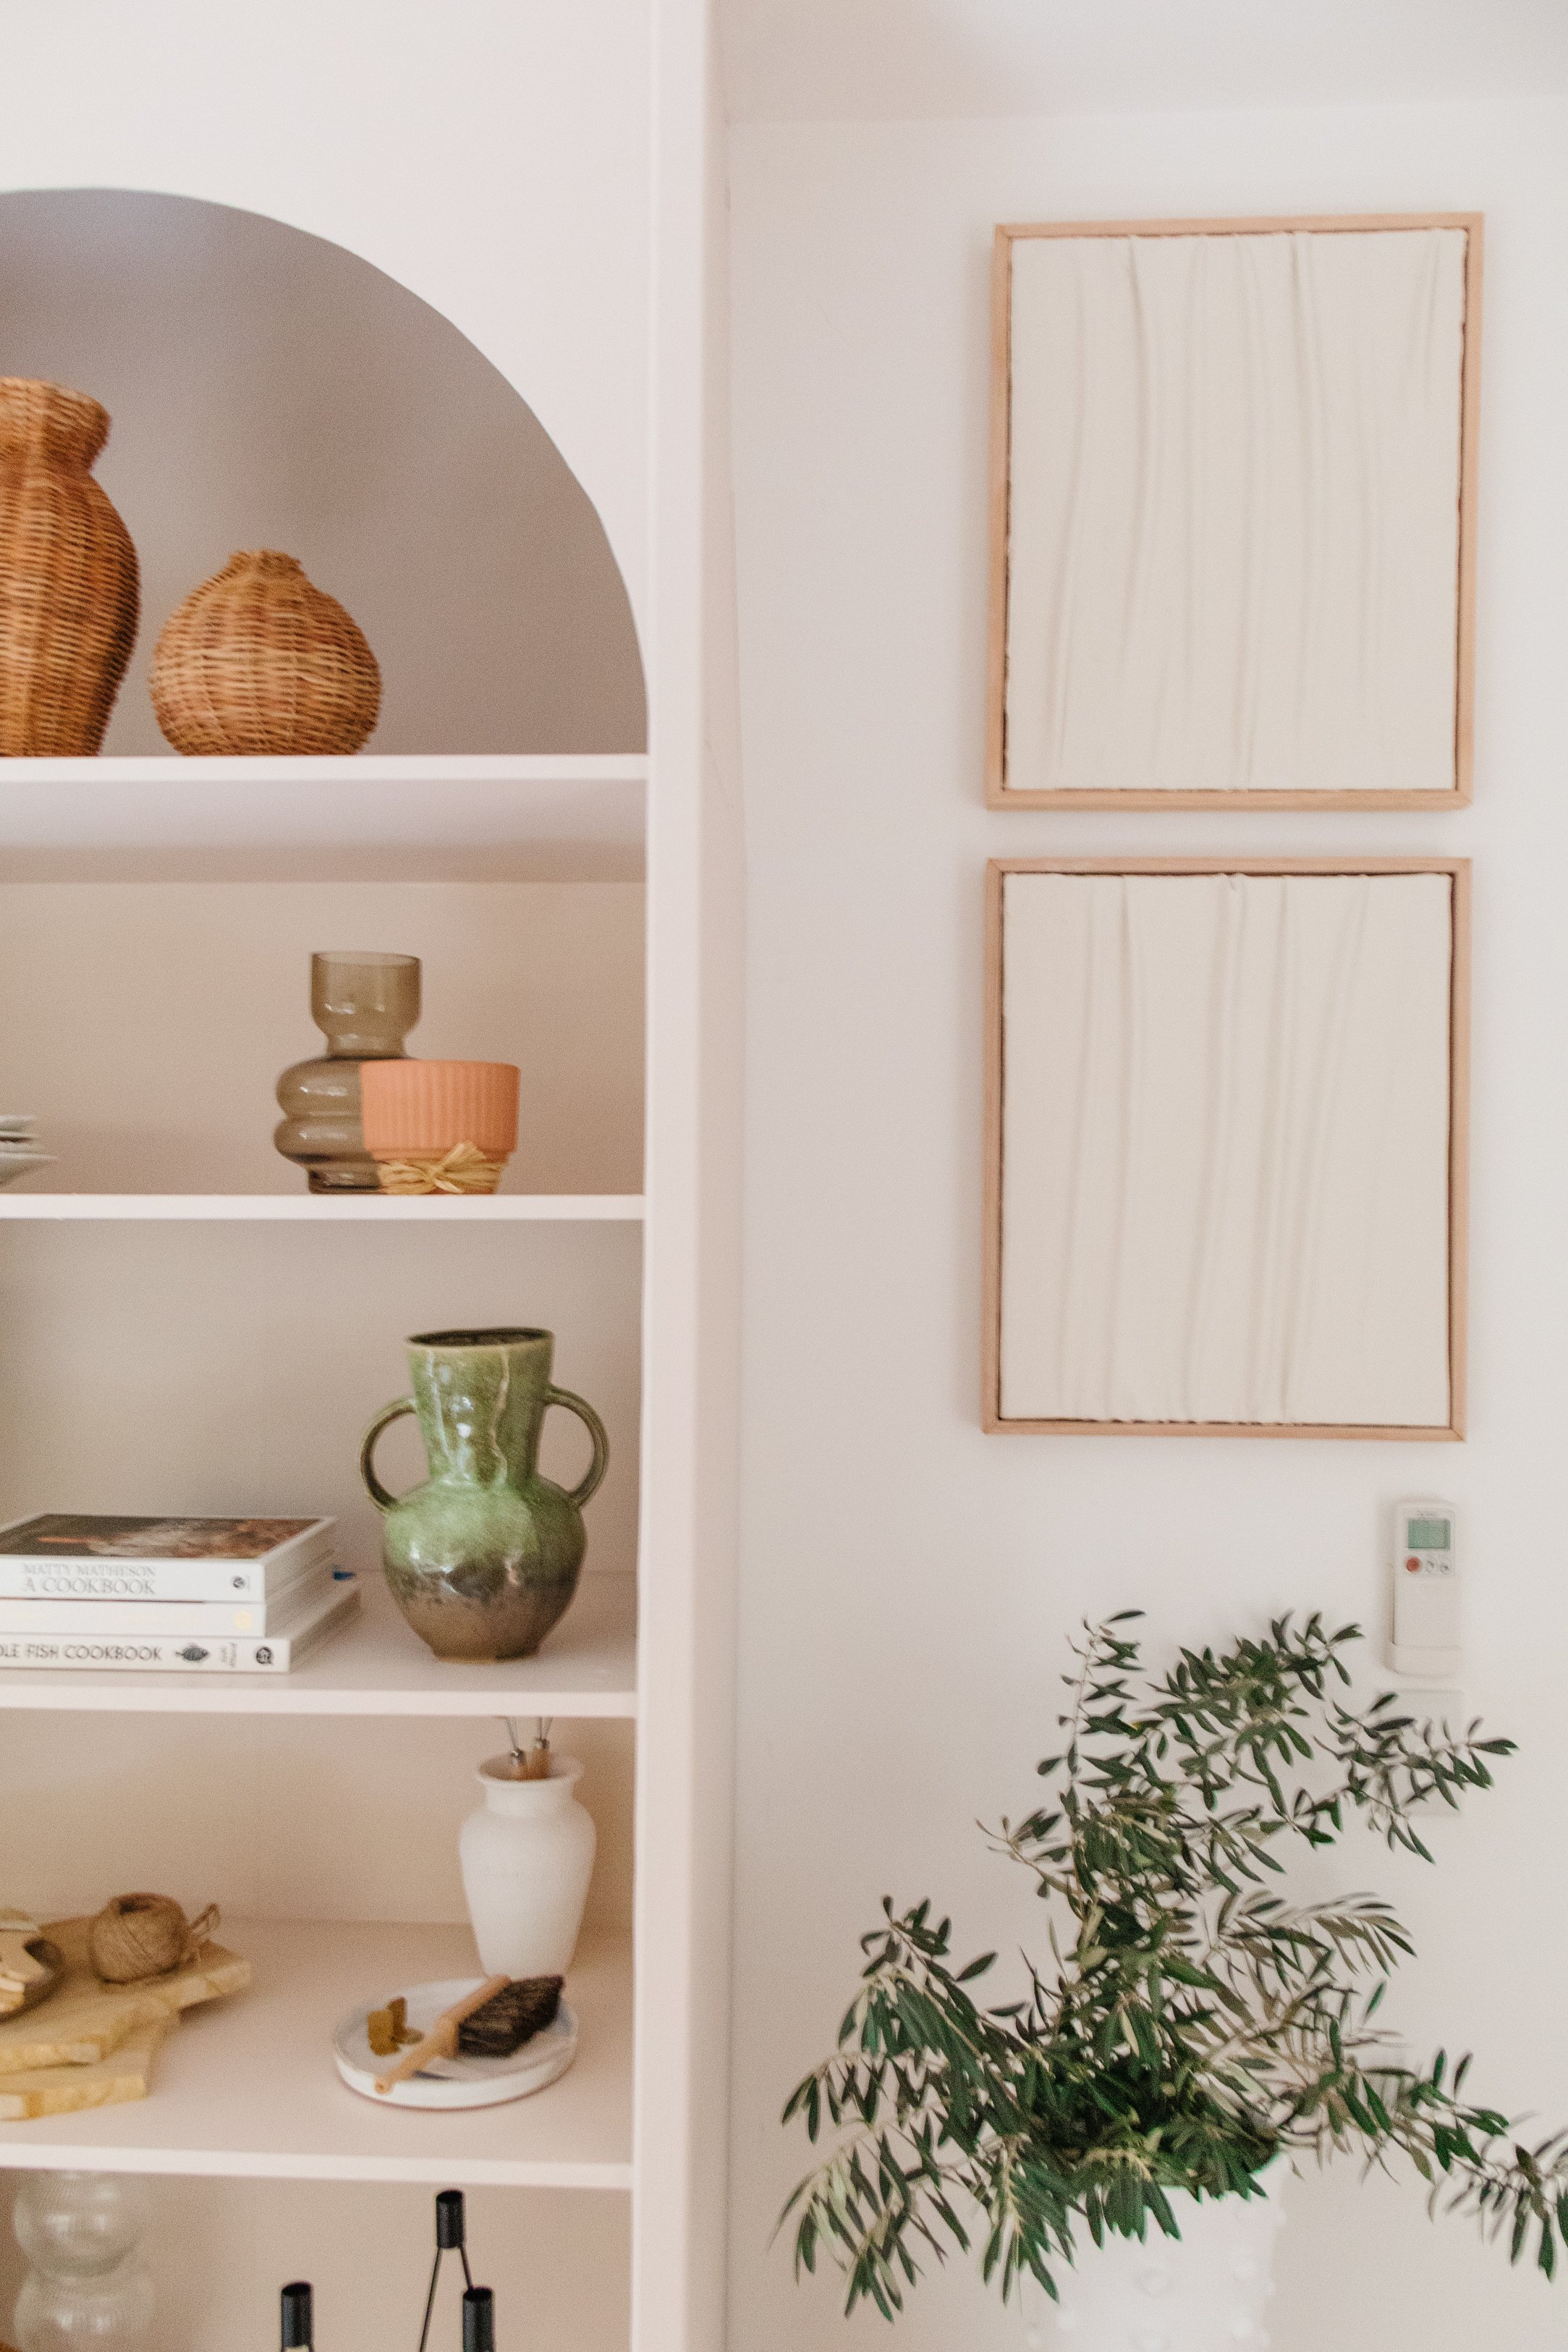
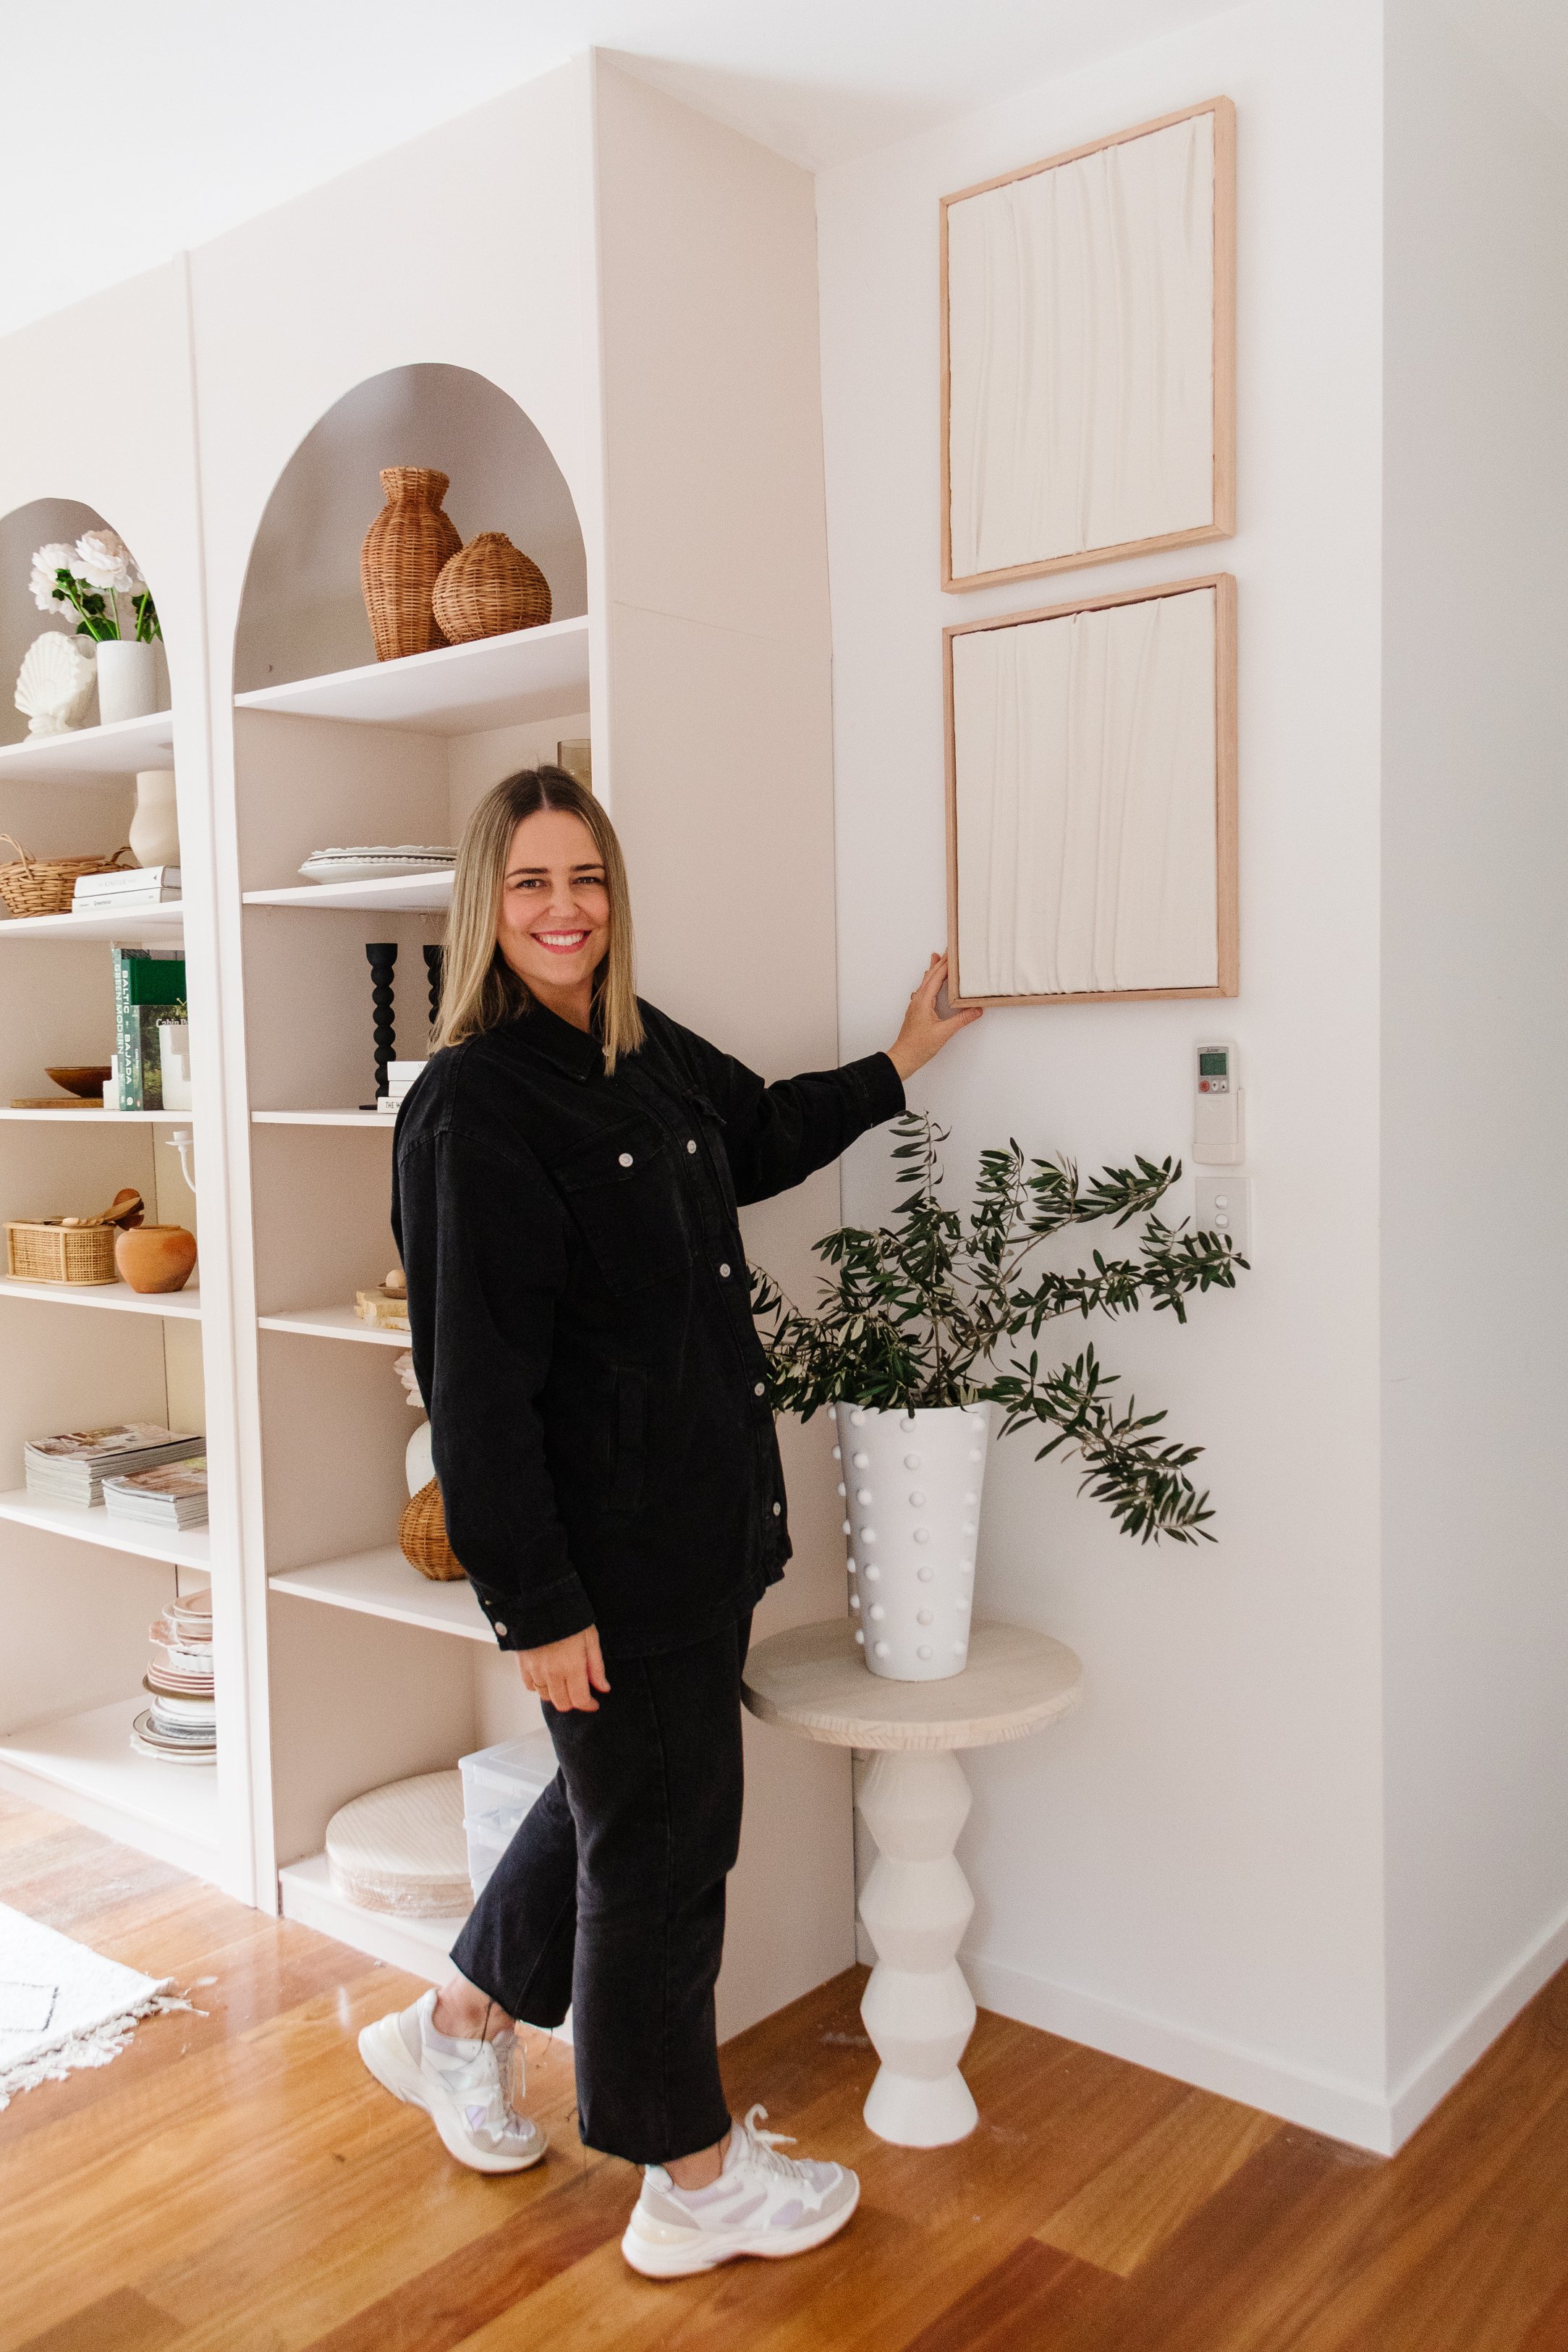
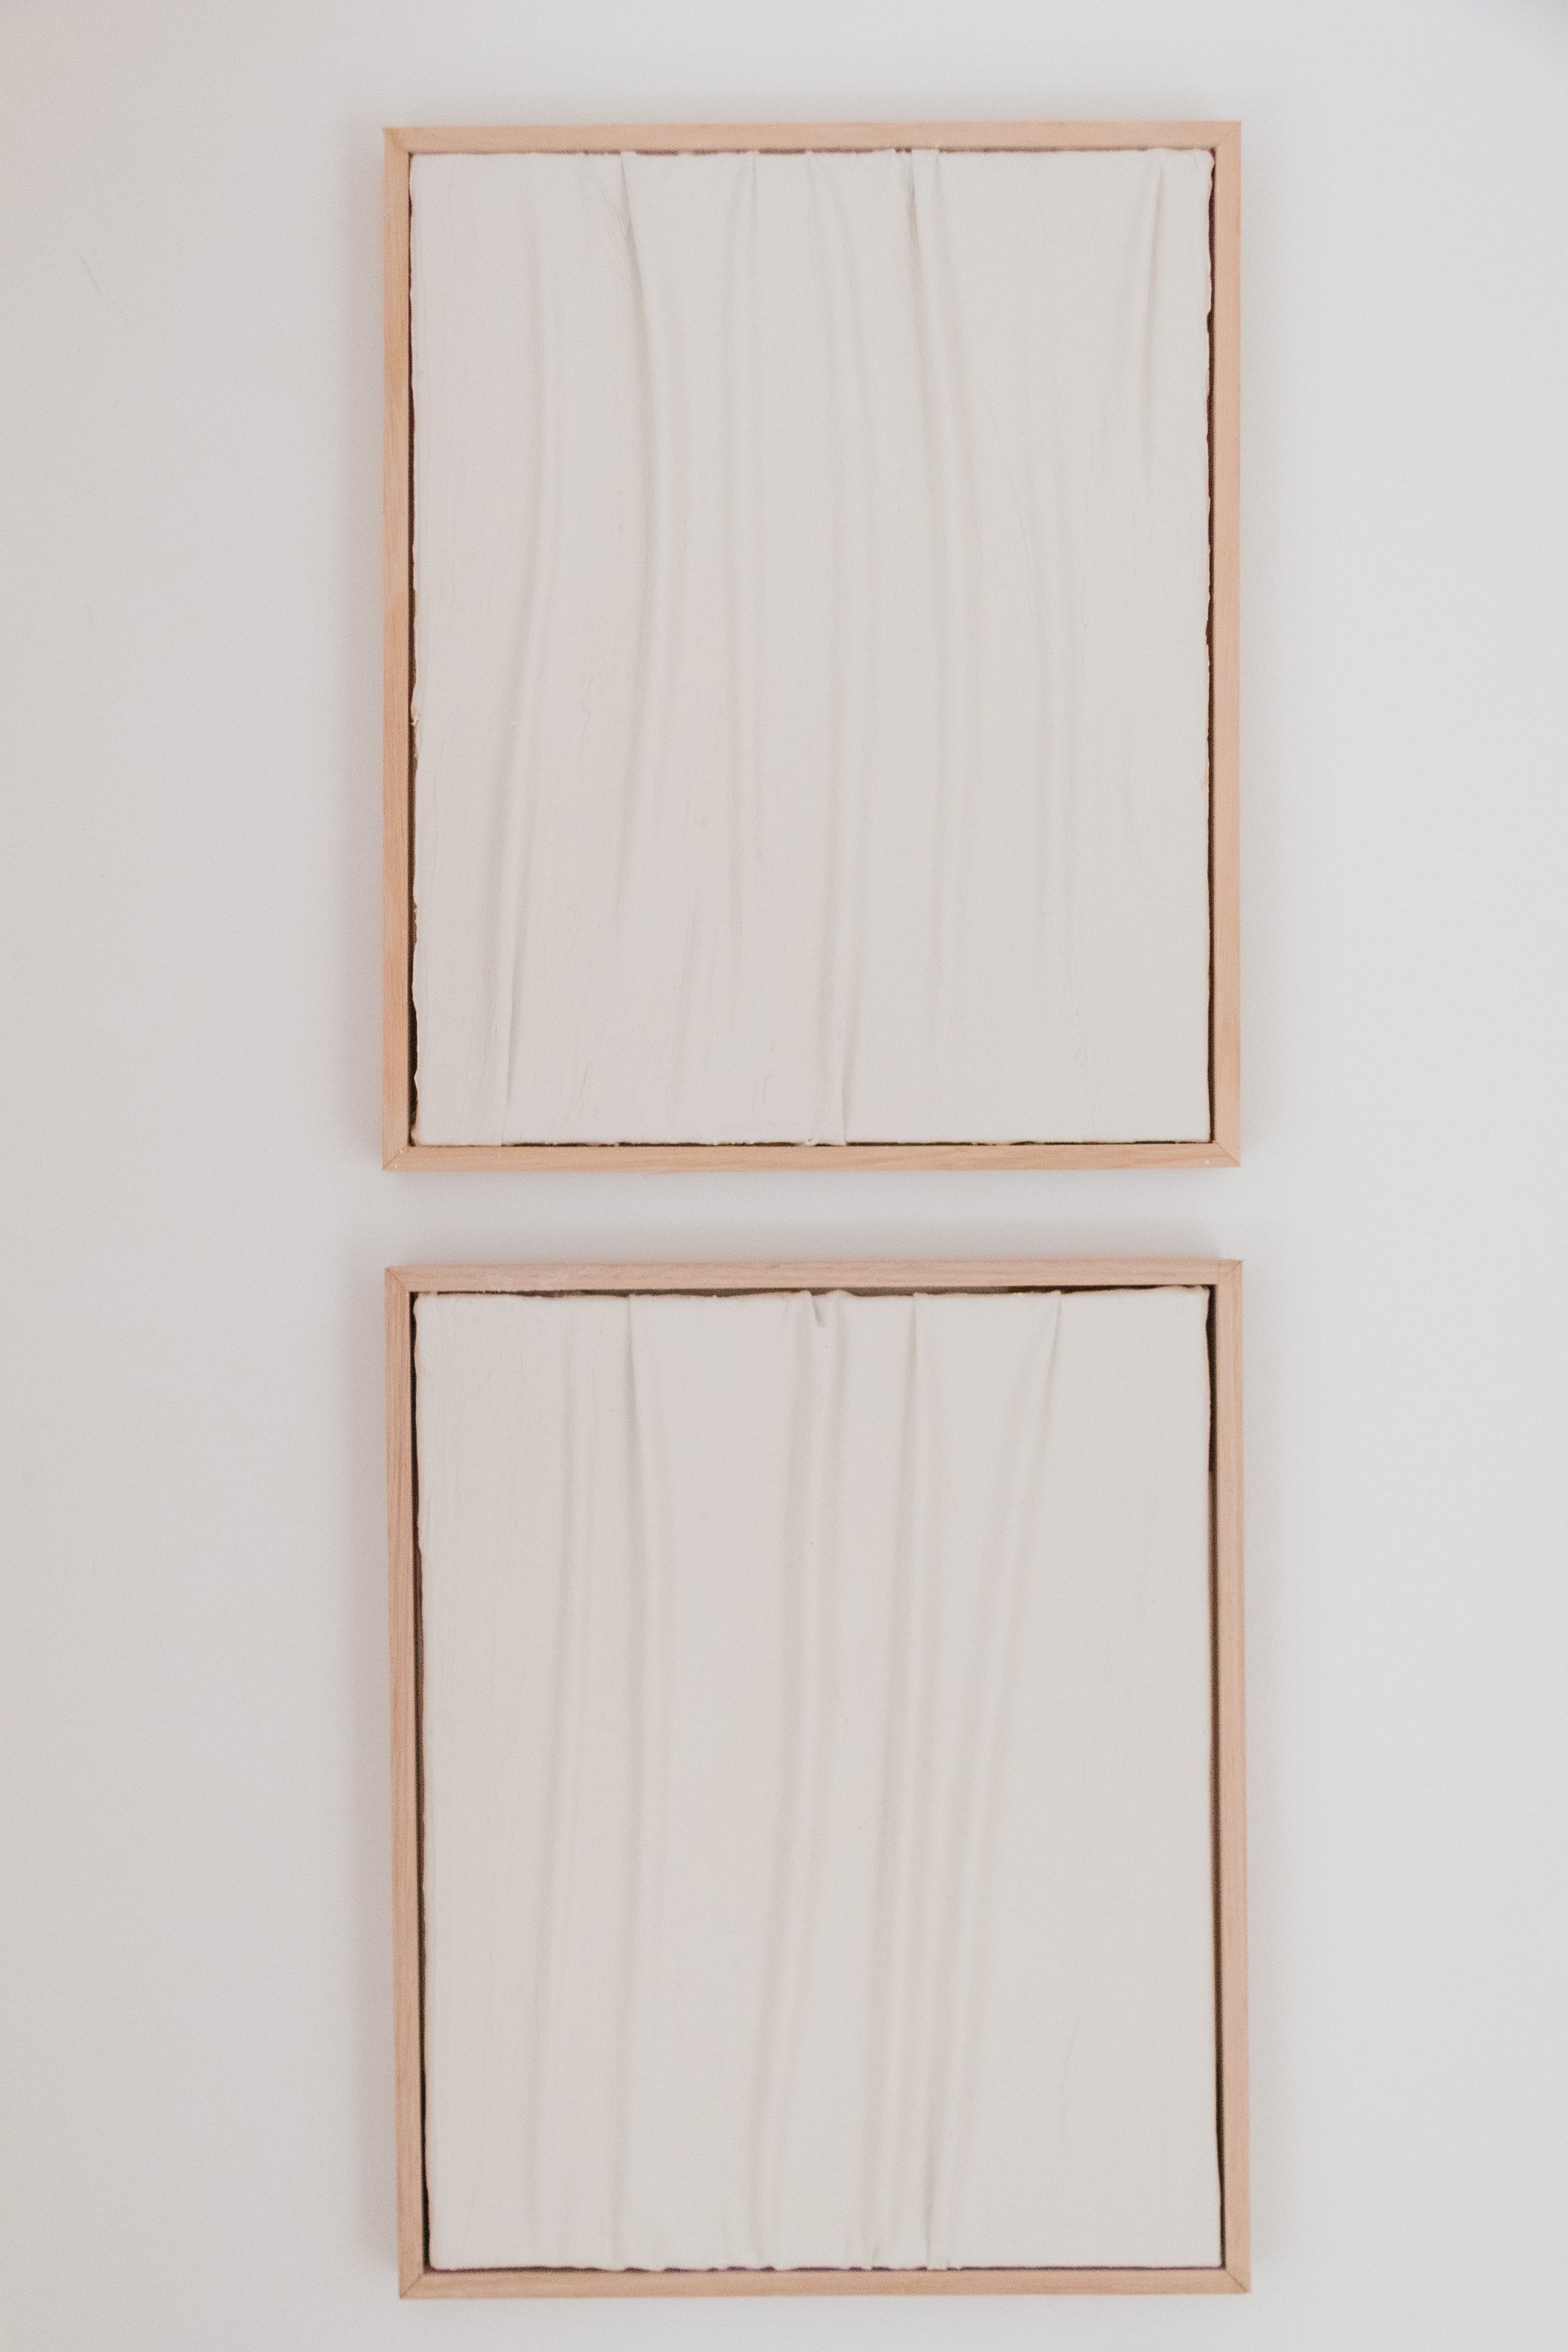
Ta daaaa! A beautiful piece of sculptural plaster wall art, which honestly looks like it’s been made by a professional.
I have absolutely loved flexing my creativity for this upcycle and I can’t help but think about what other pieces of art I can upcycle, so stay tuned! I also love that the two pieces of stretched canvas and deadstock fabric I thrifted was only $12, and that I was able to use up my leftover half filled tubs of plaster. Honestly, it never ceases to amaze me what you can do with a little plaster! Speaking of which, make sure you check out these plaster projects:
And this is why I love what I do. I love helping you make your dream home for less. I hope this project inspires you to look at art for your home that’s out of your price range and think “how can I make it myself?”.