DIY Glass Bobbin Vase (IKEA hack alert!)
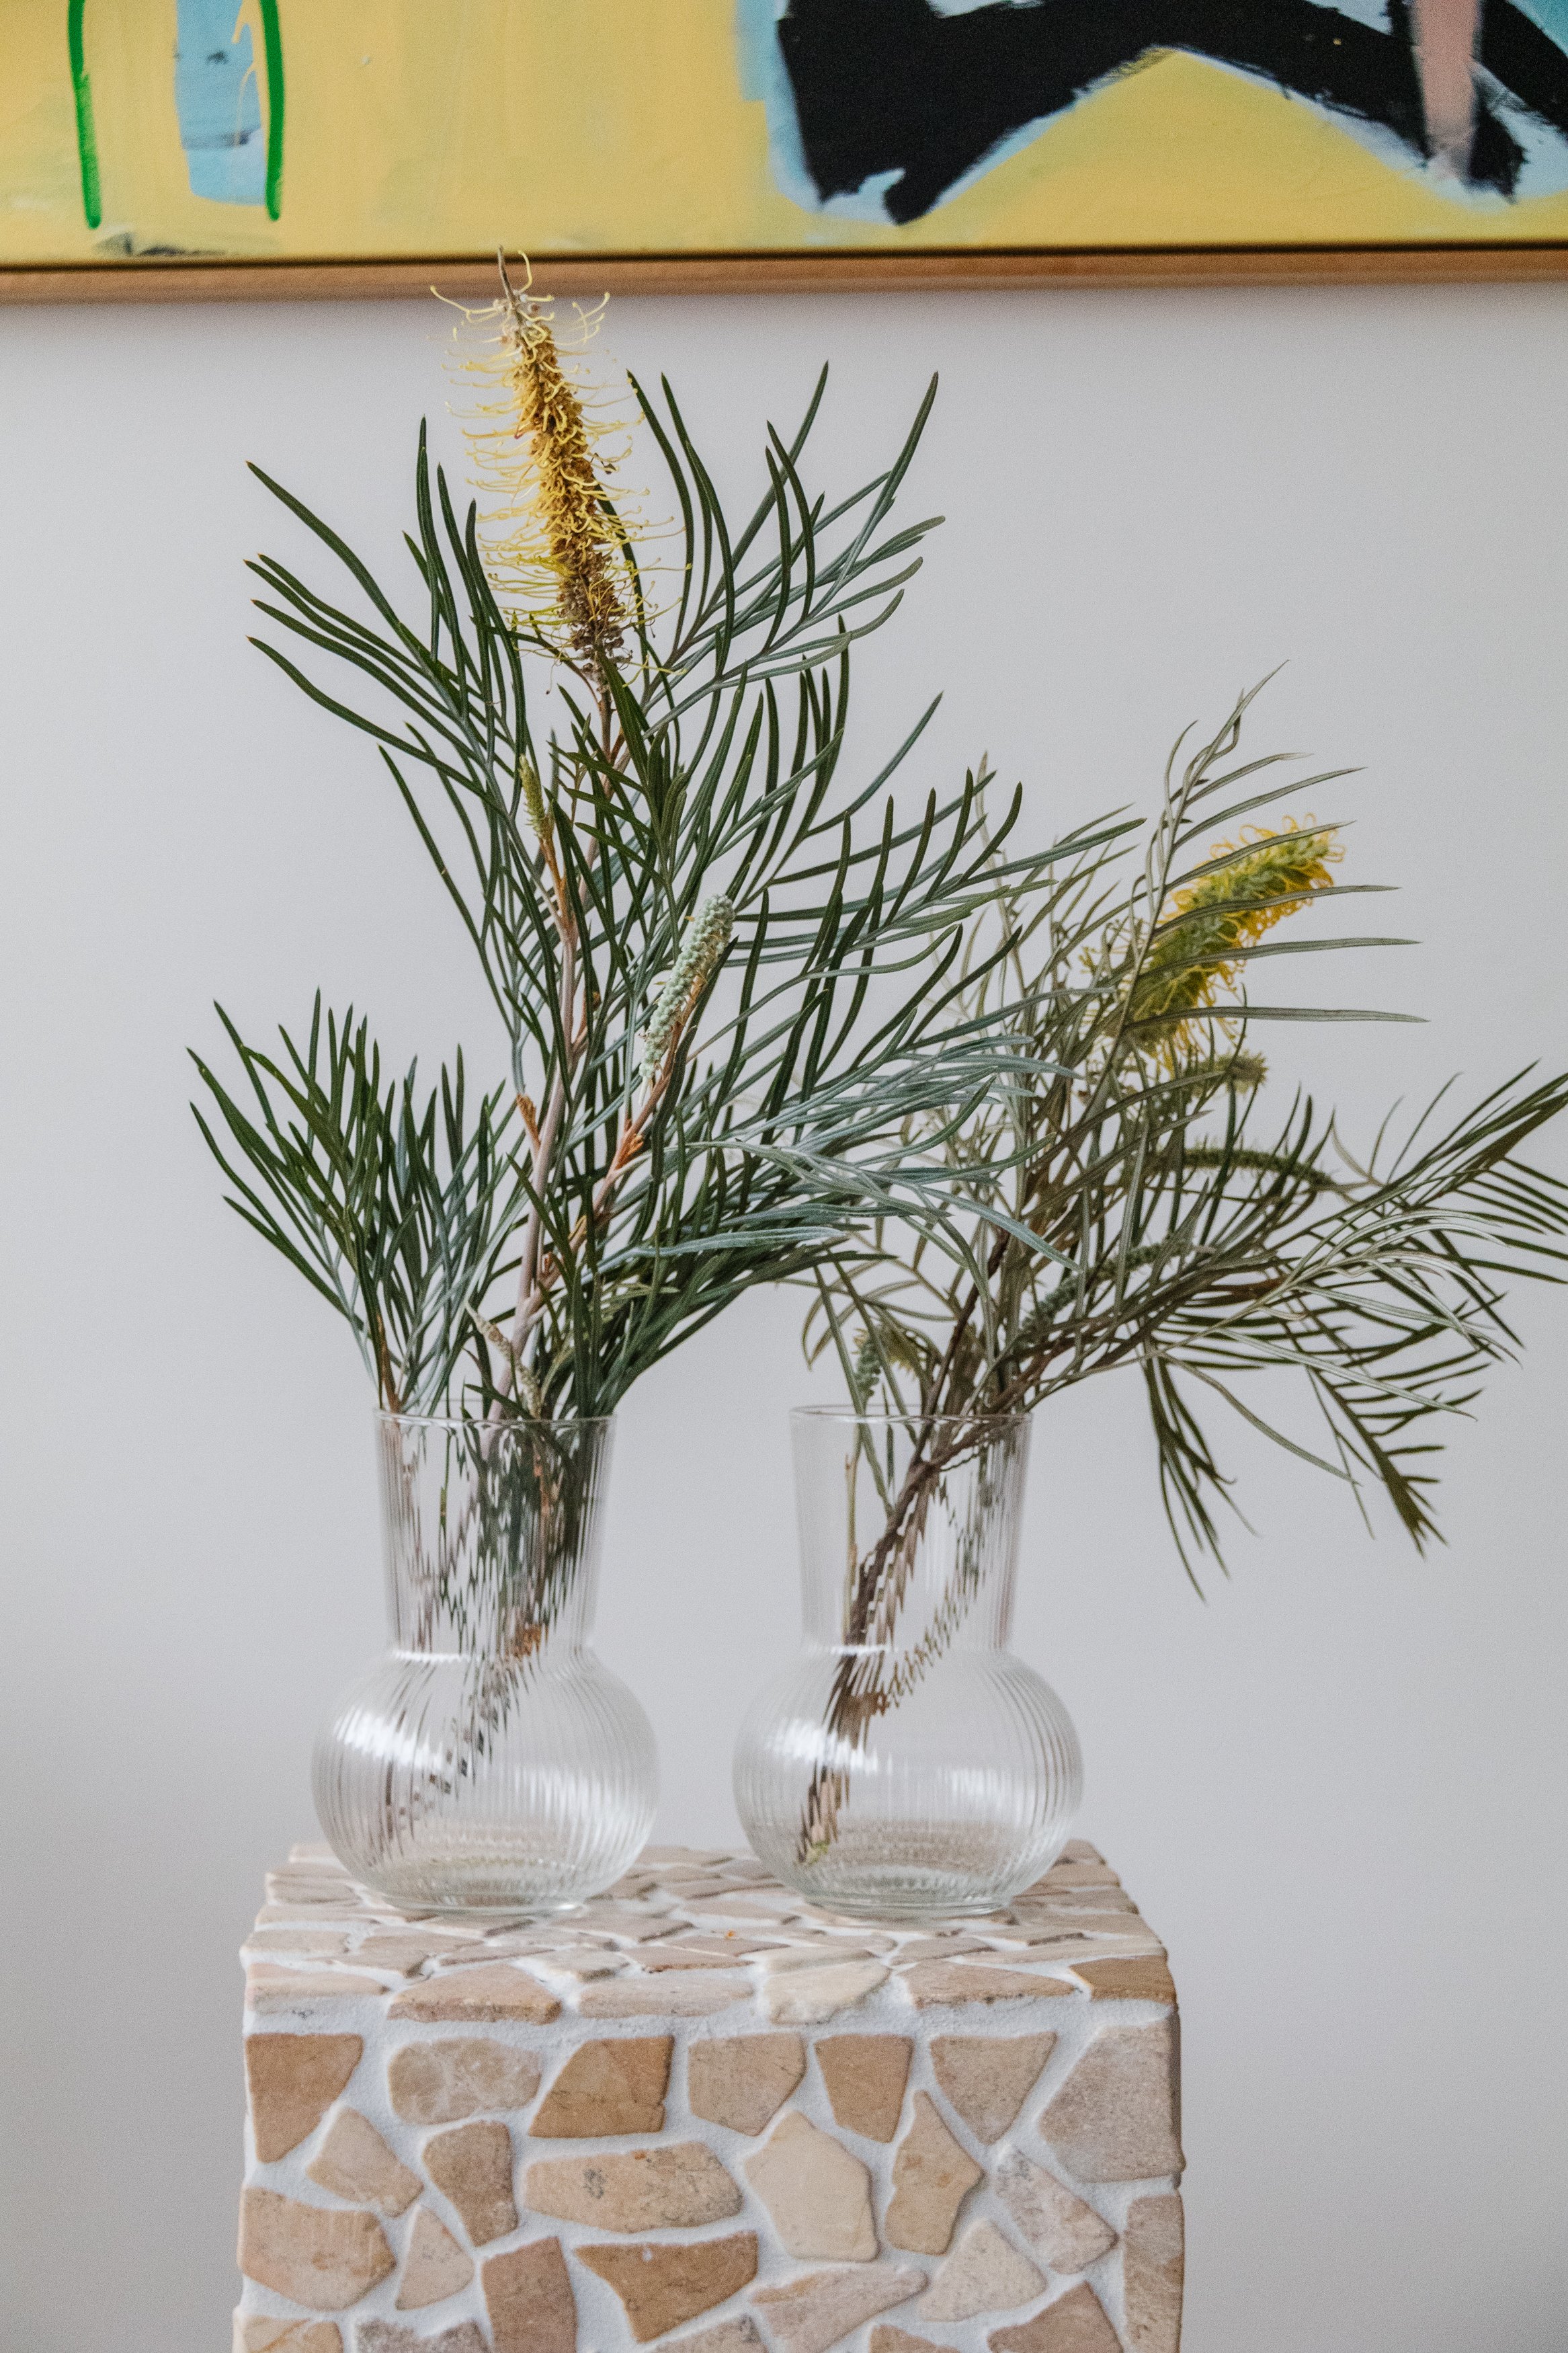
I think this could be better…
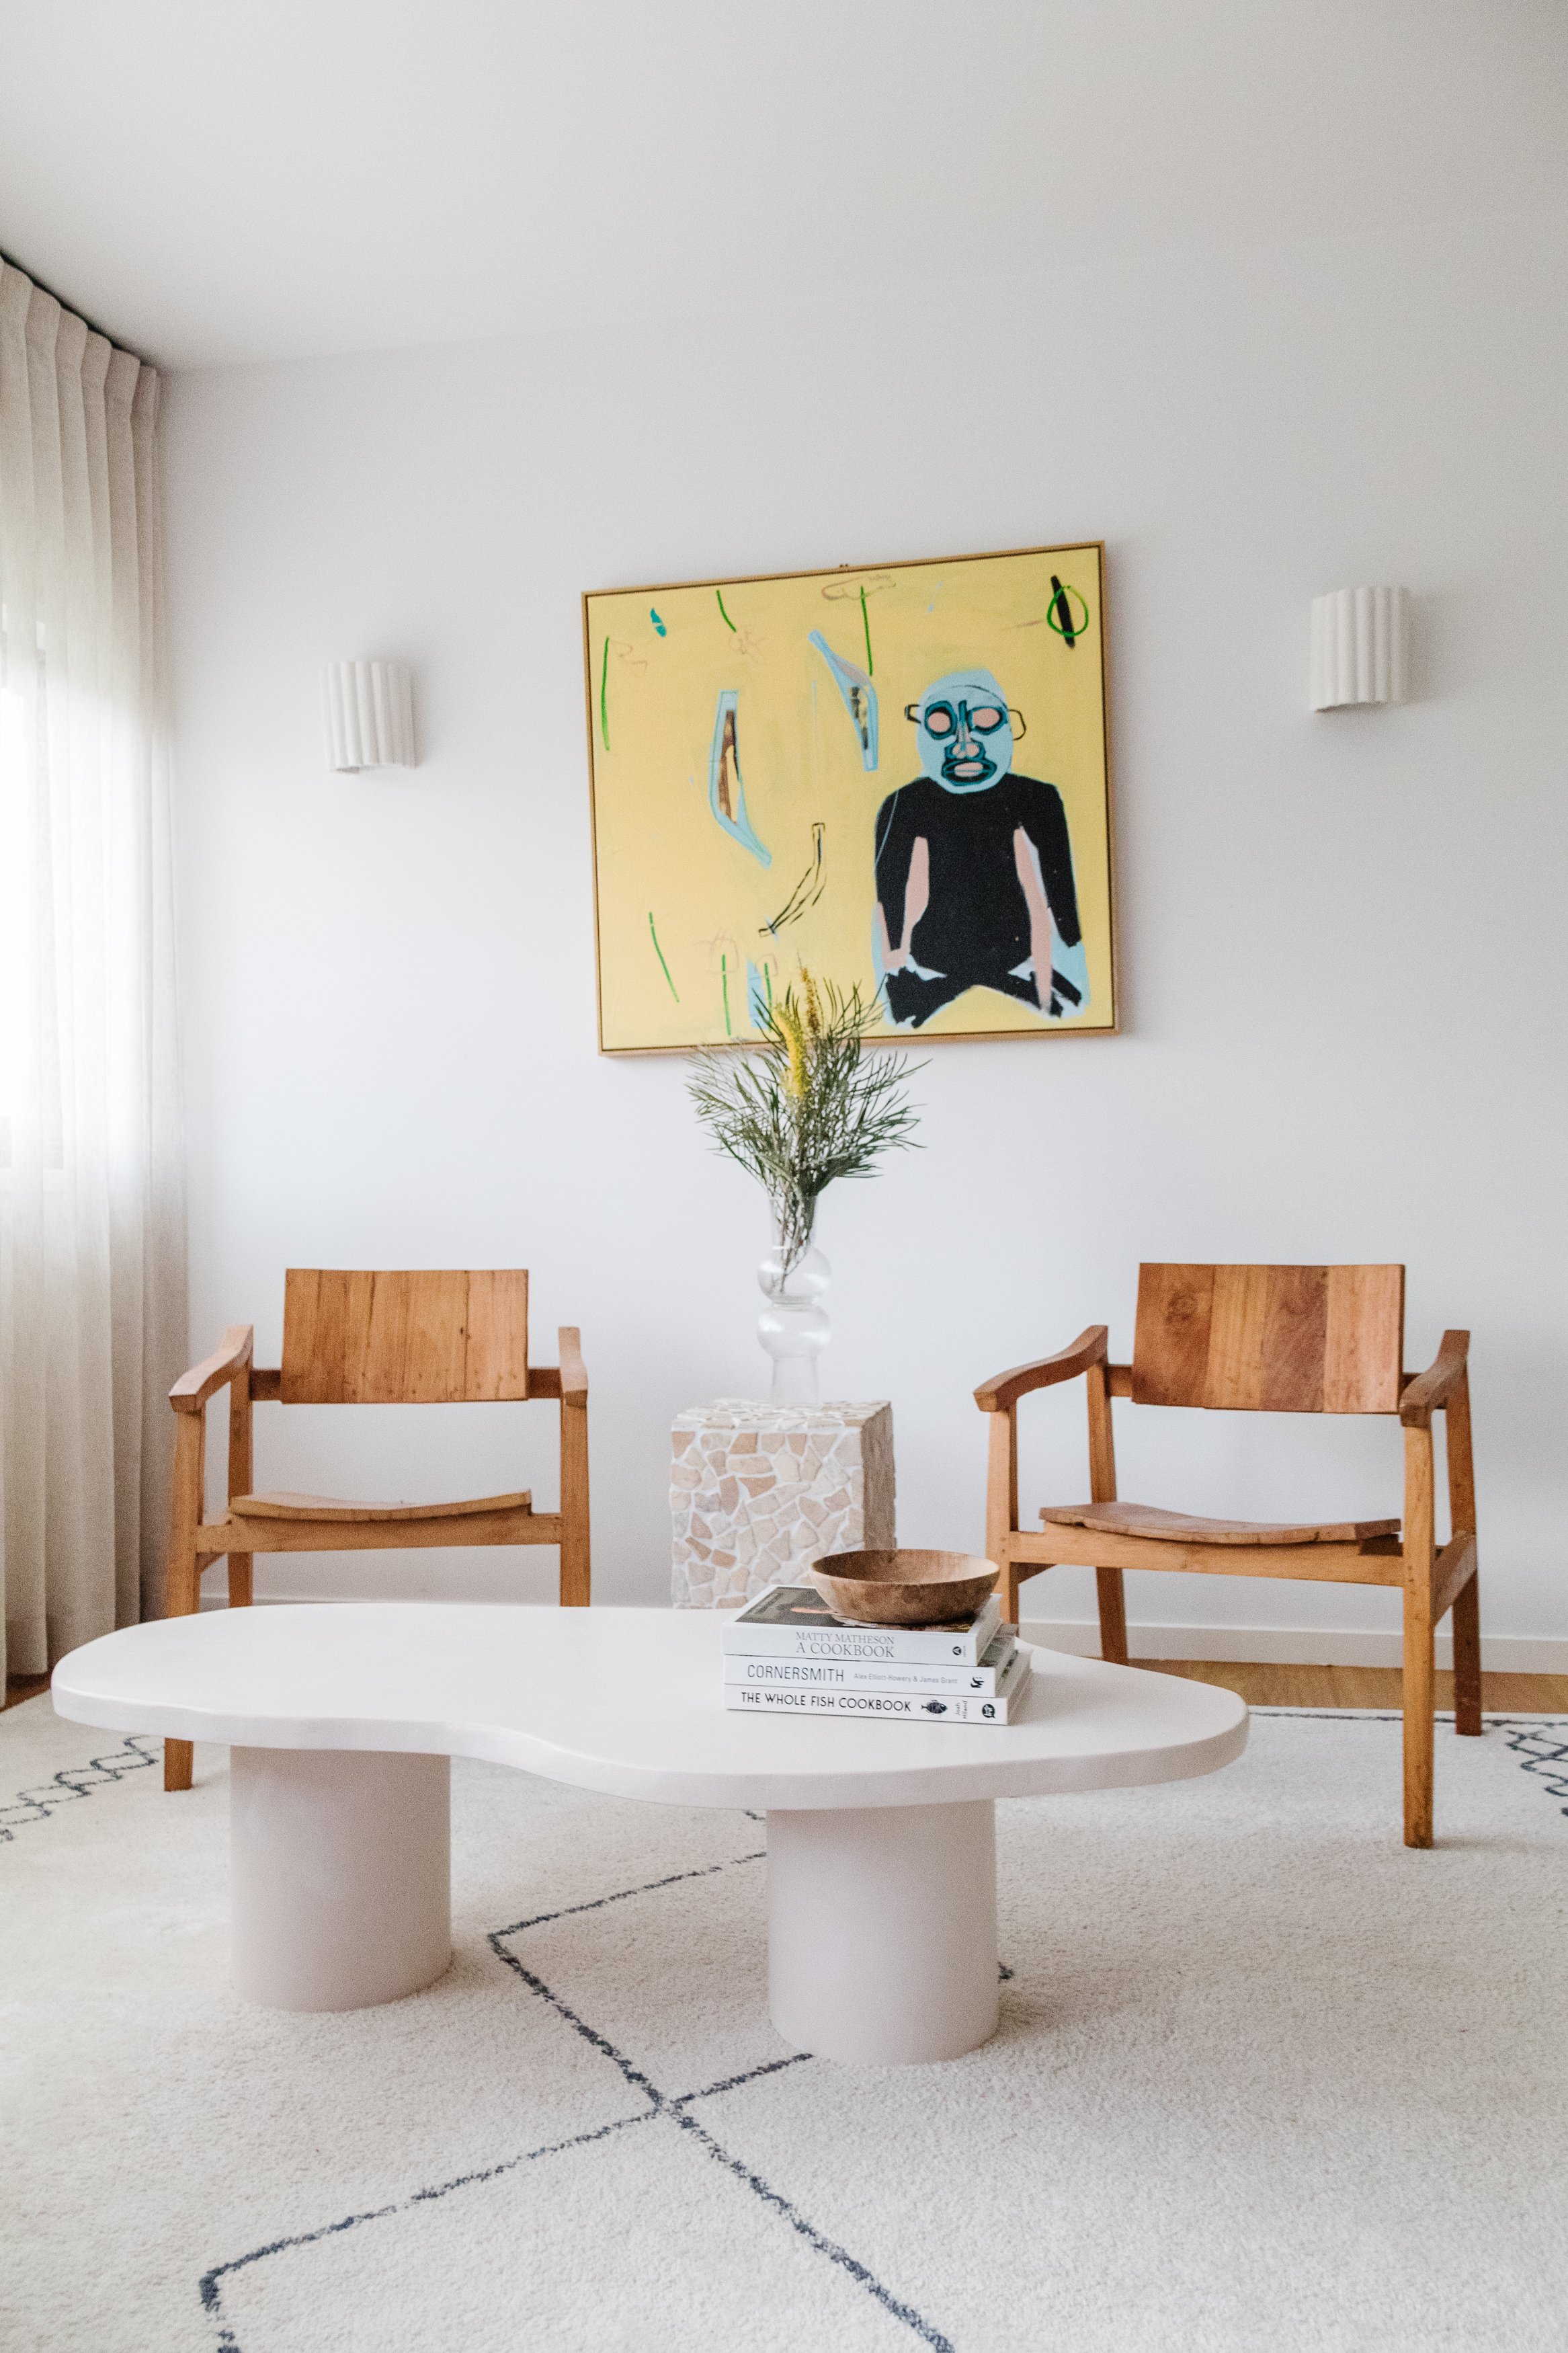
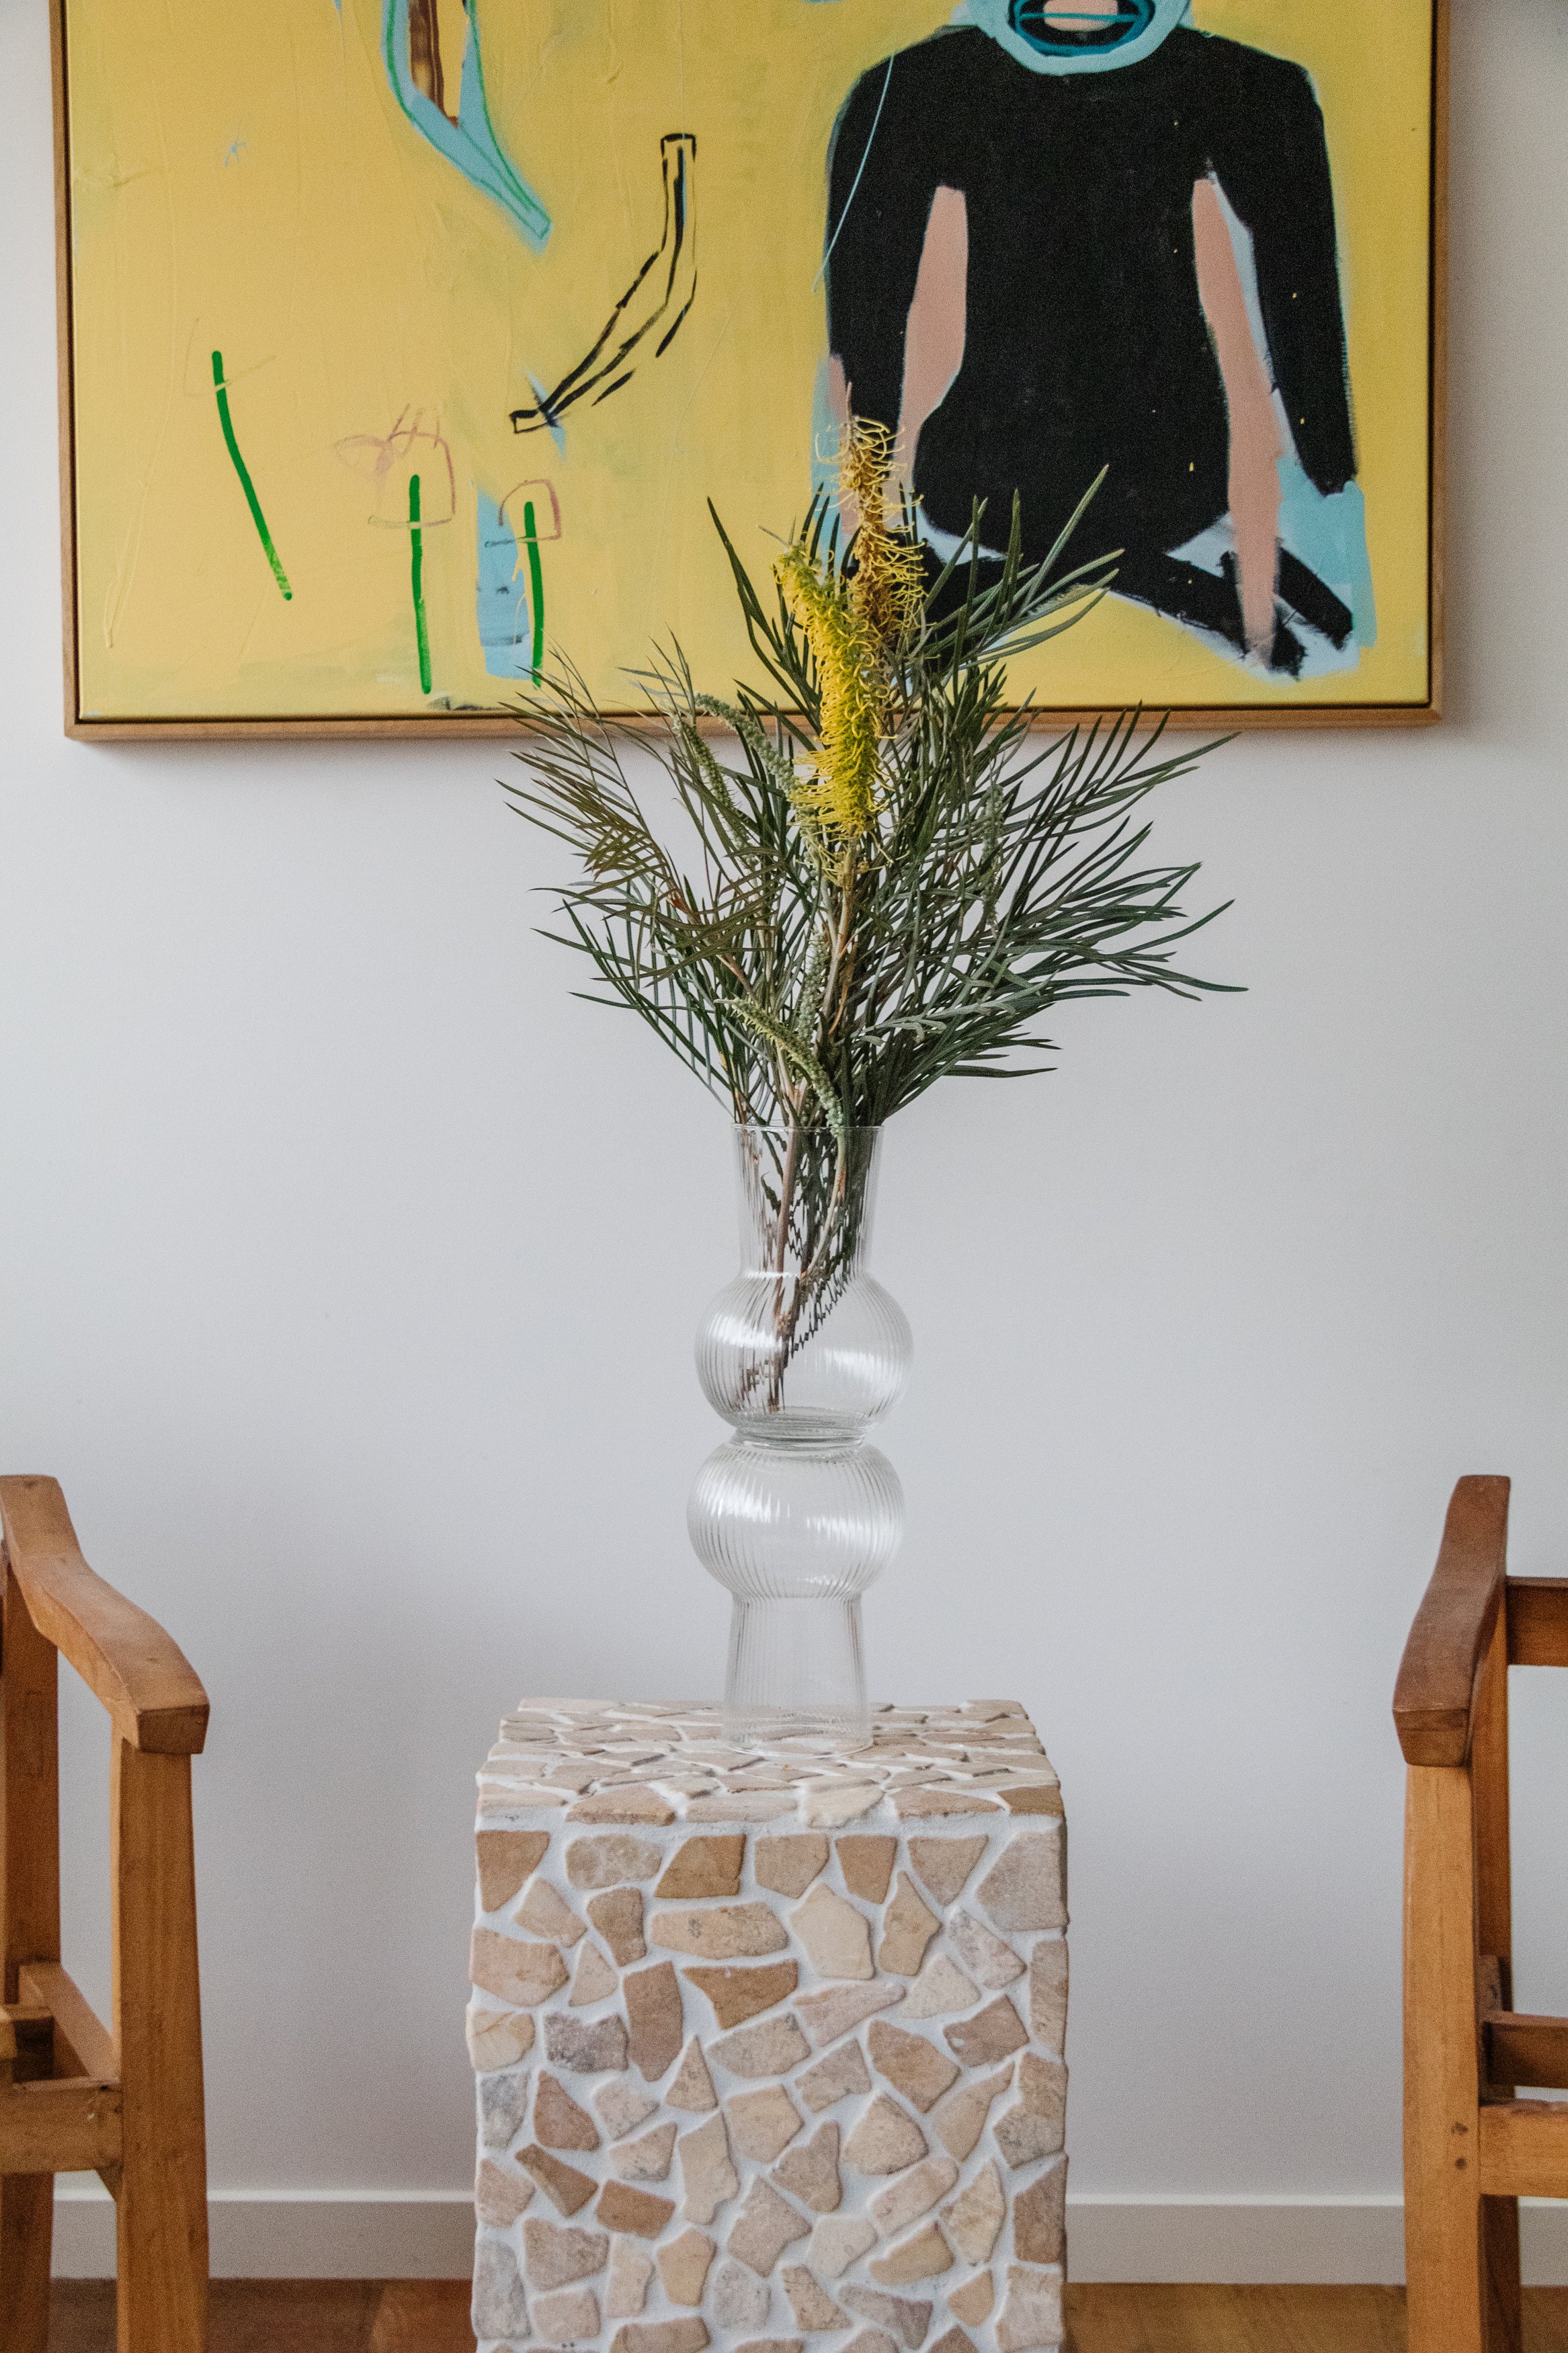
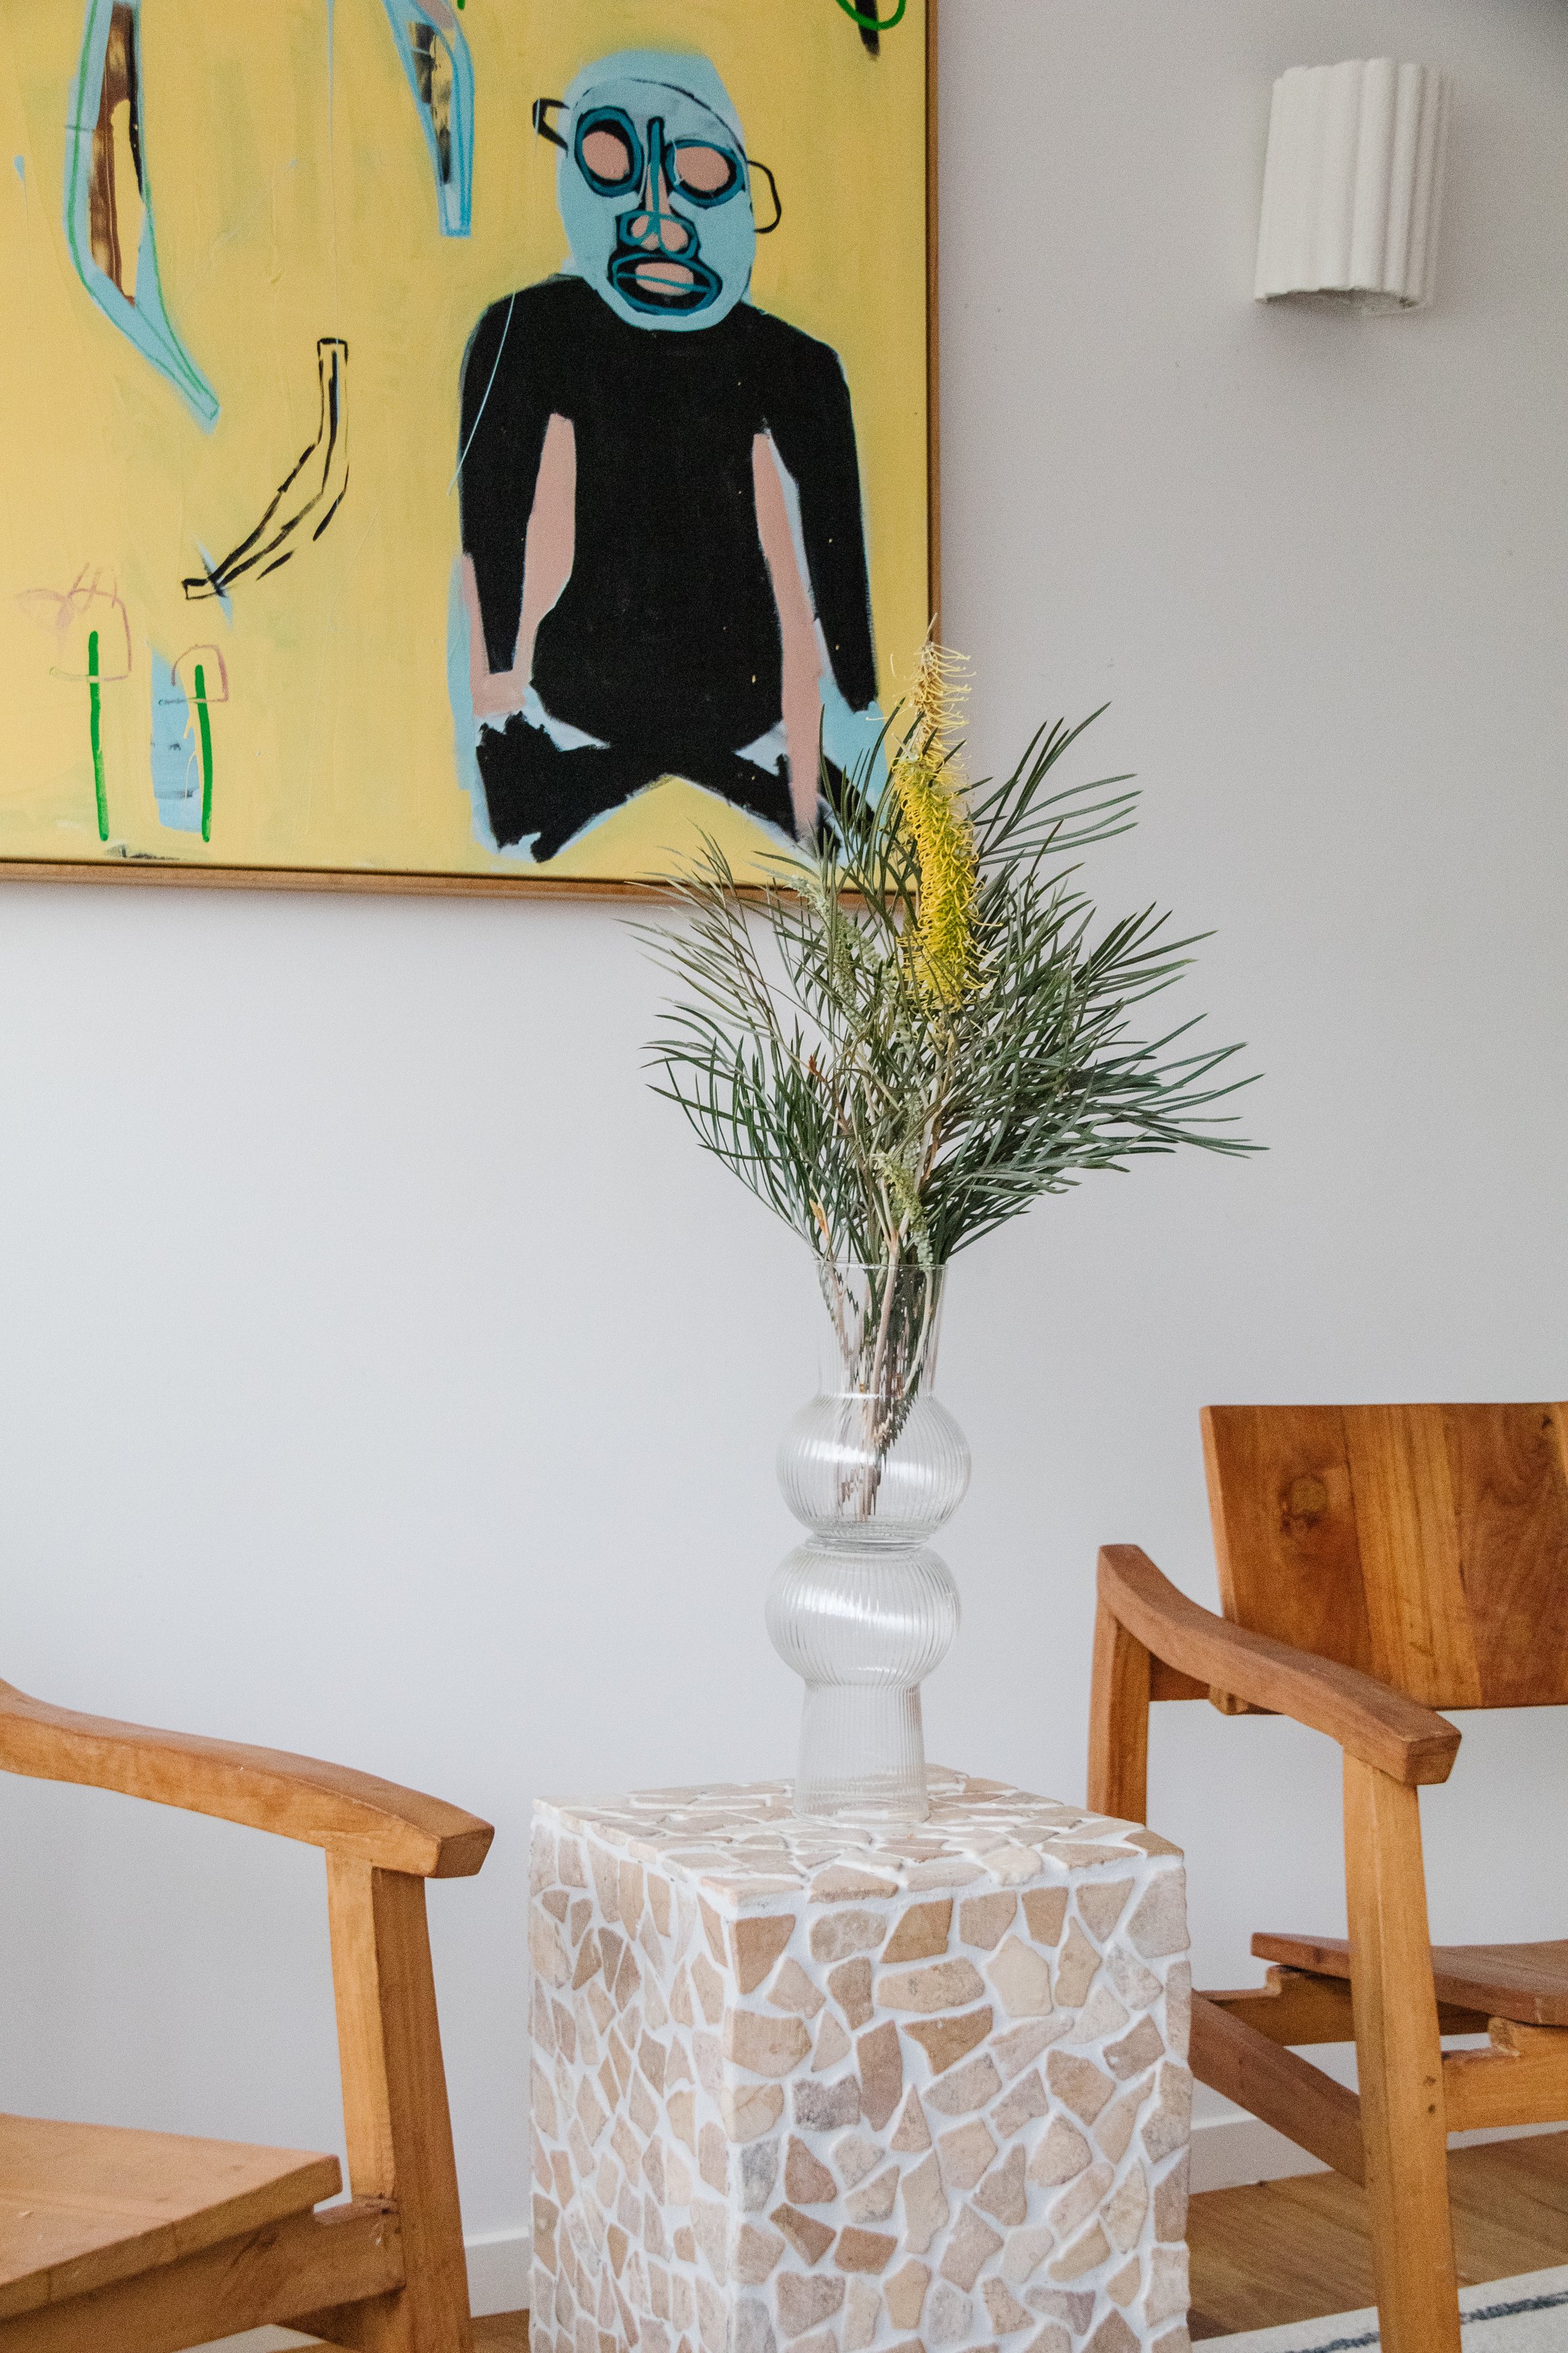
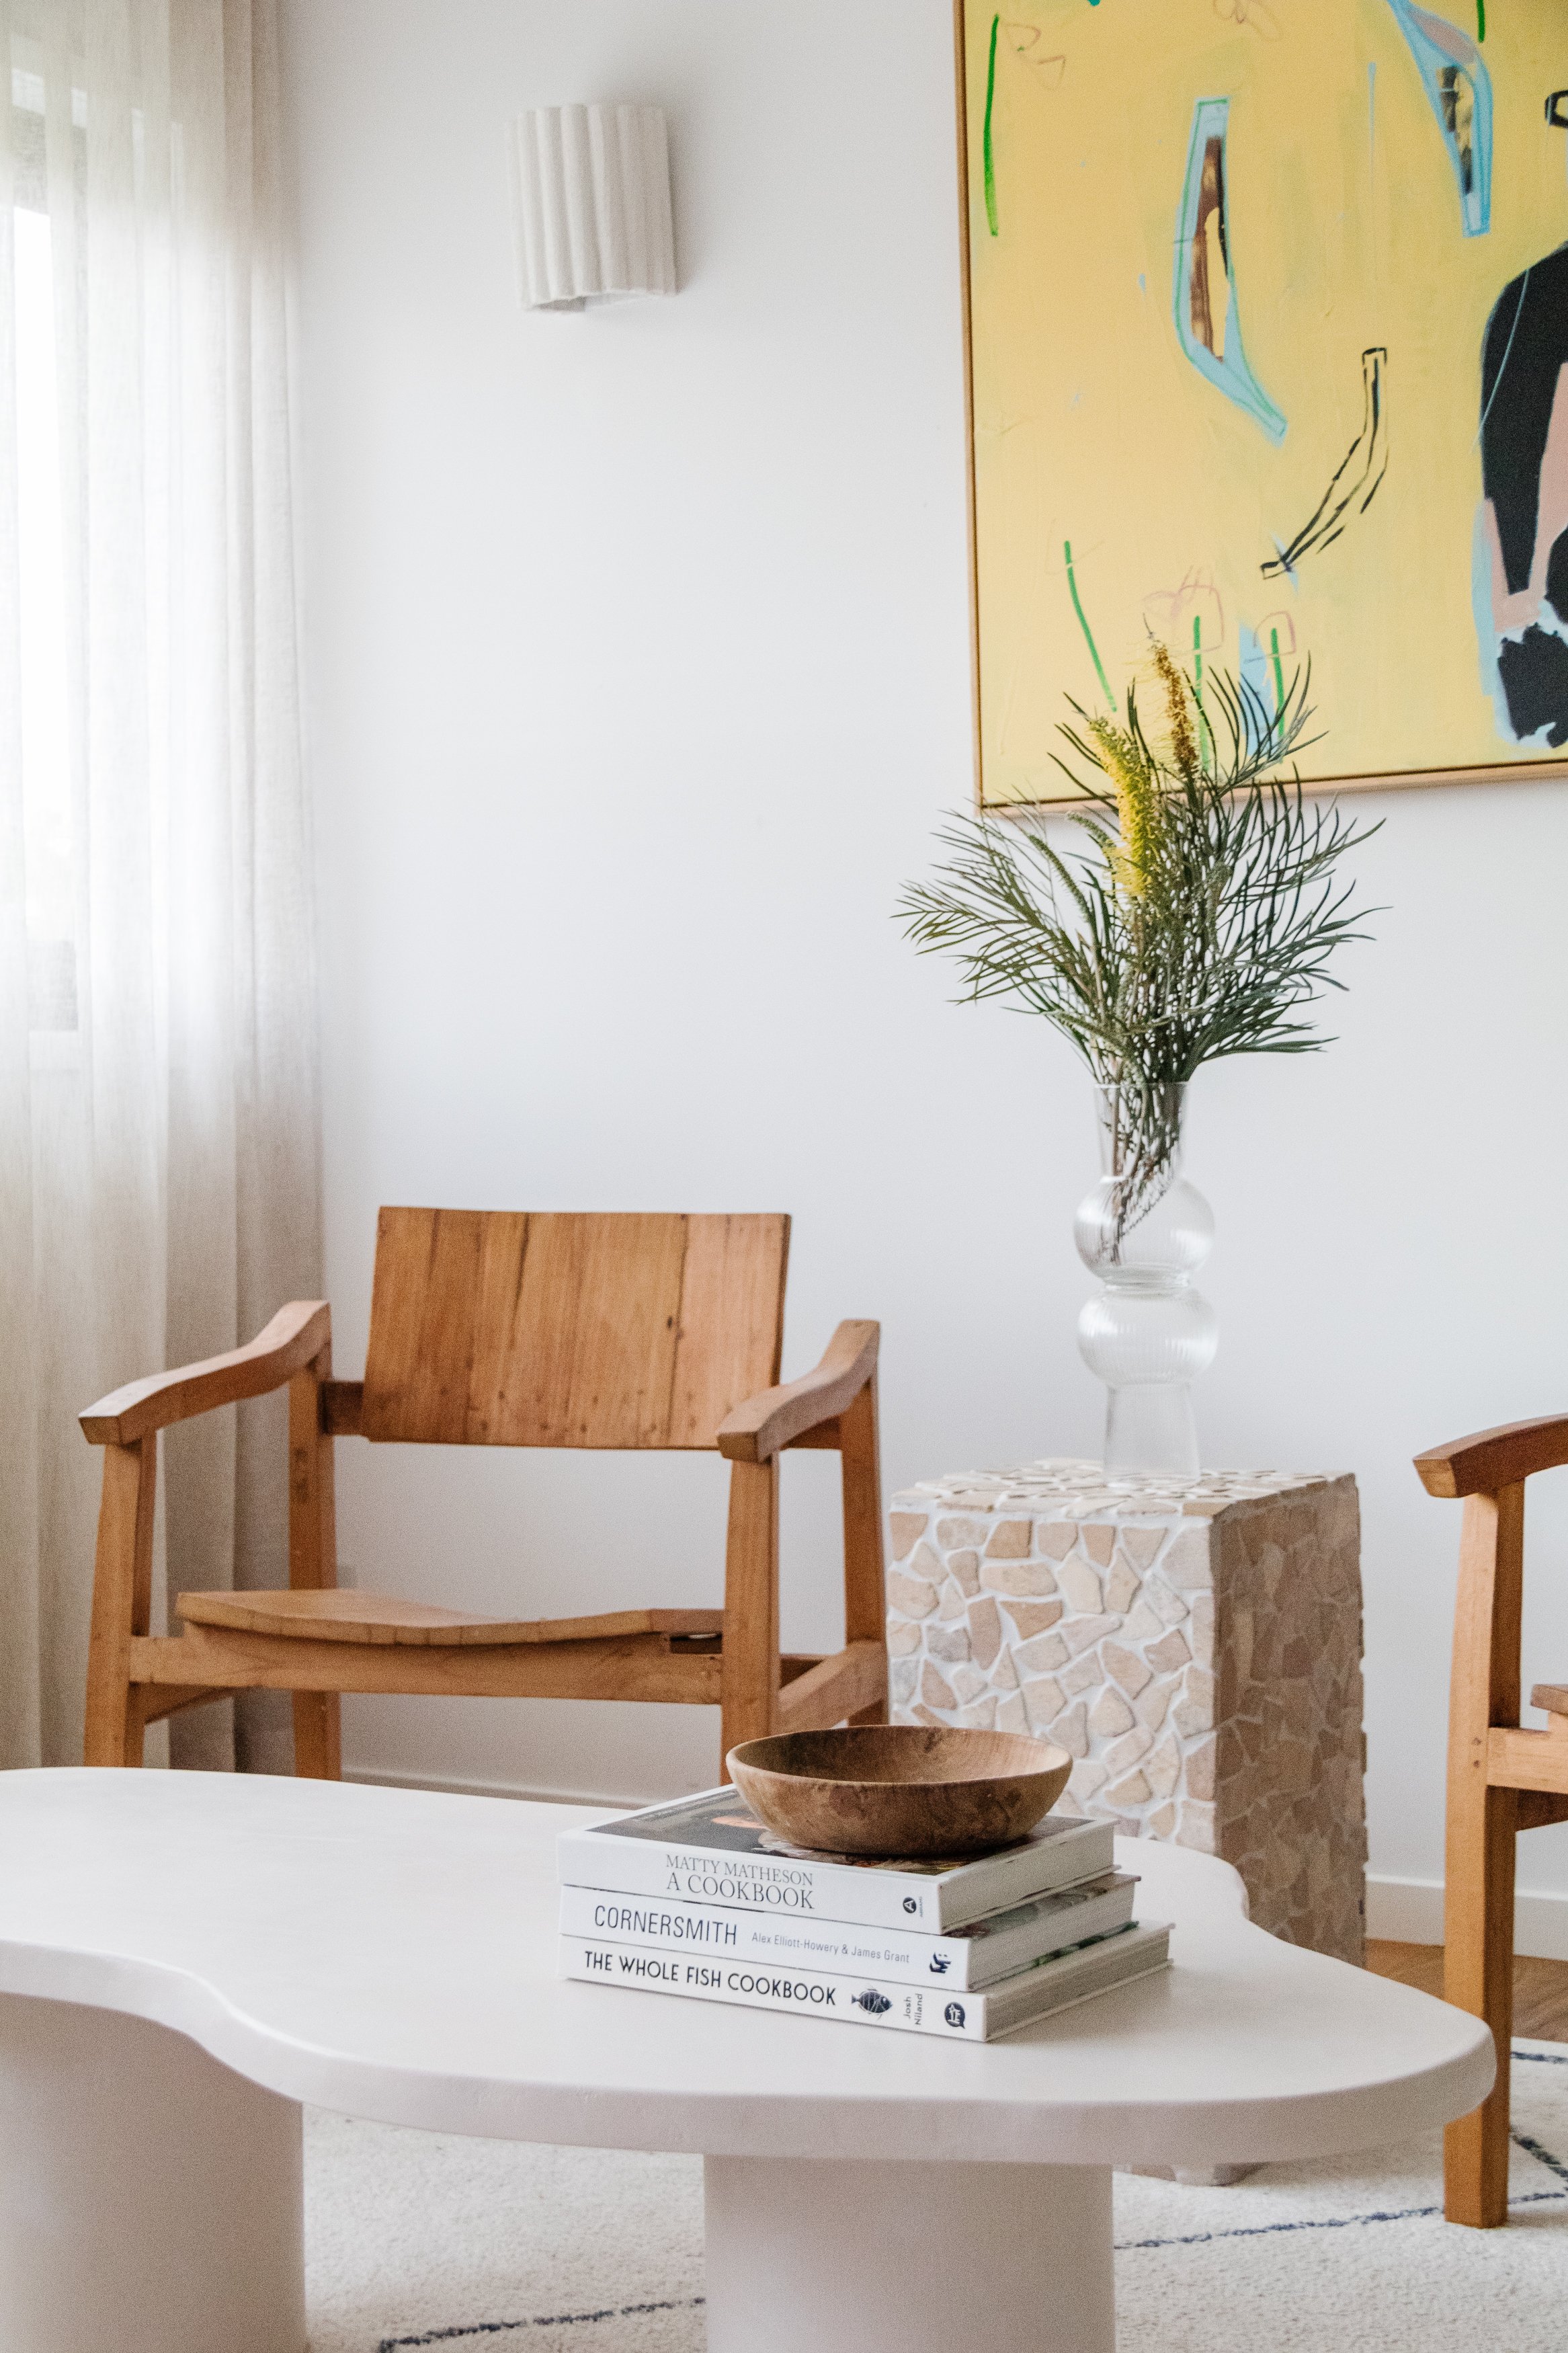
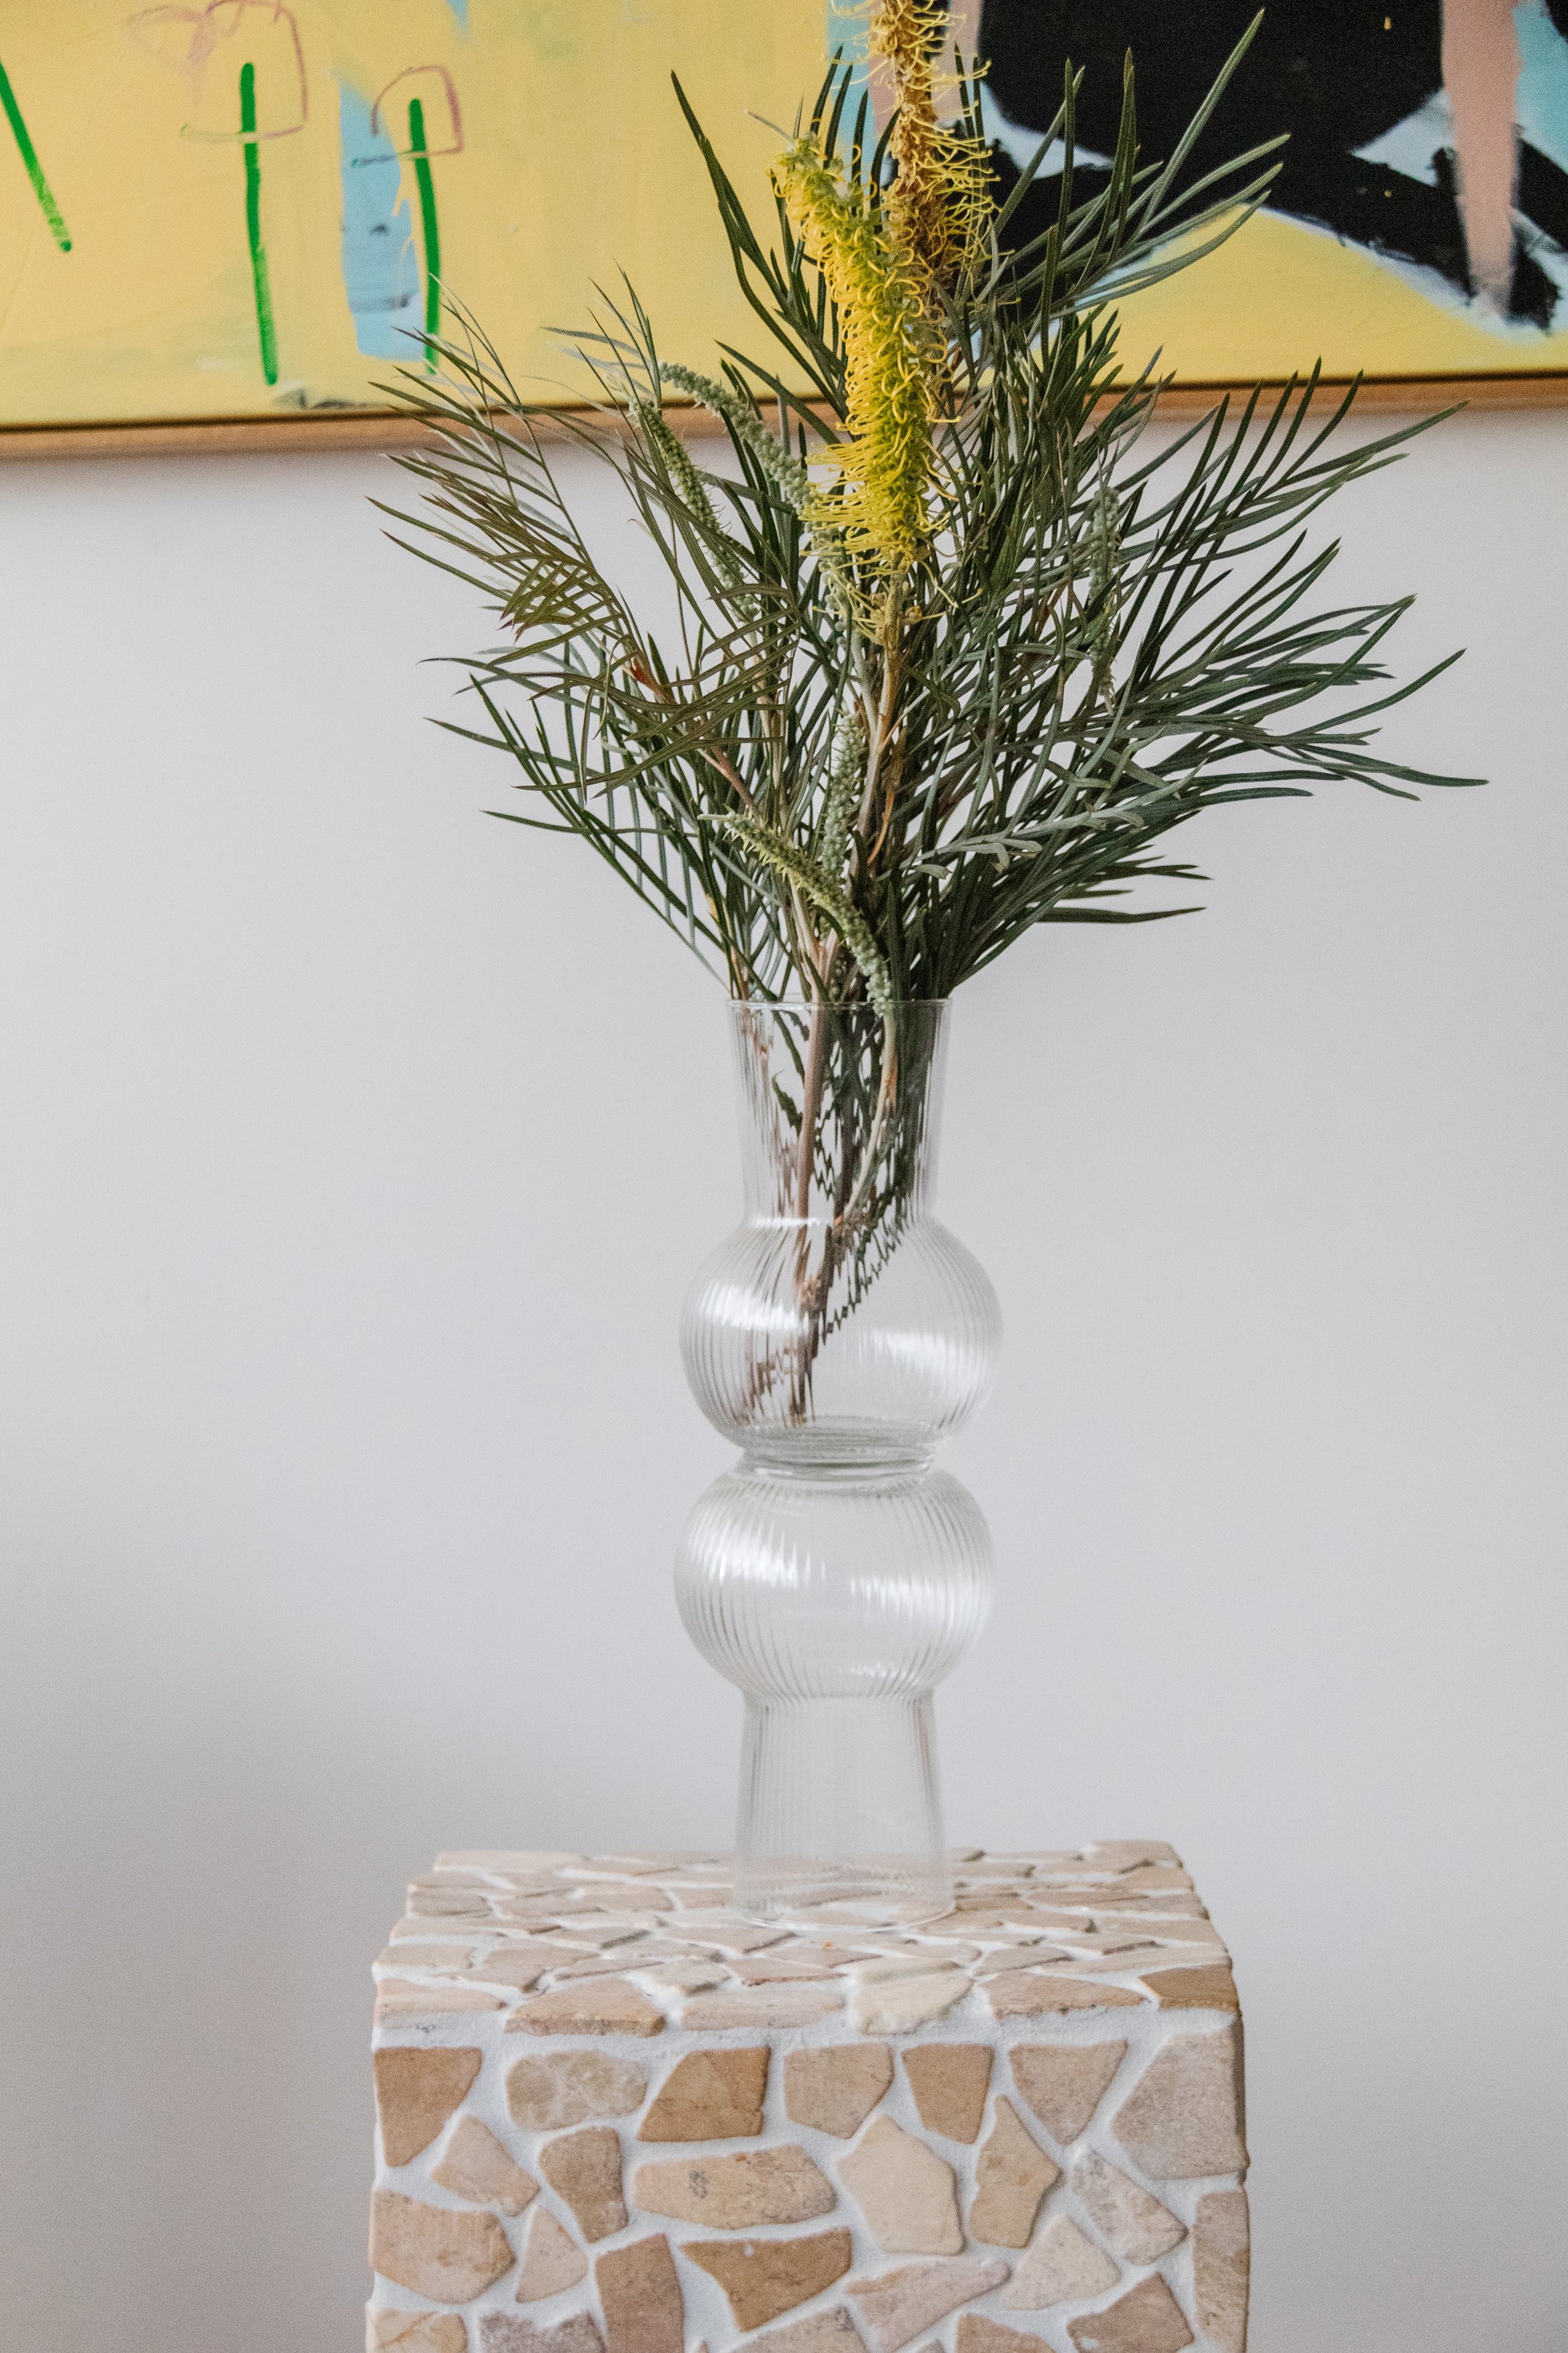
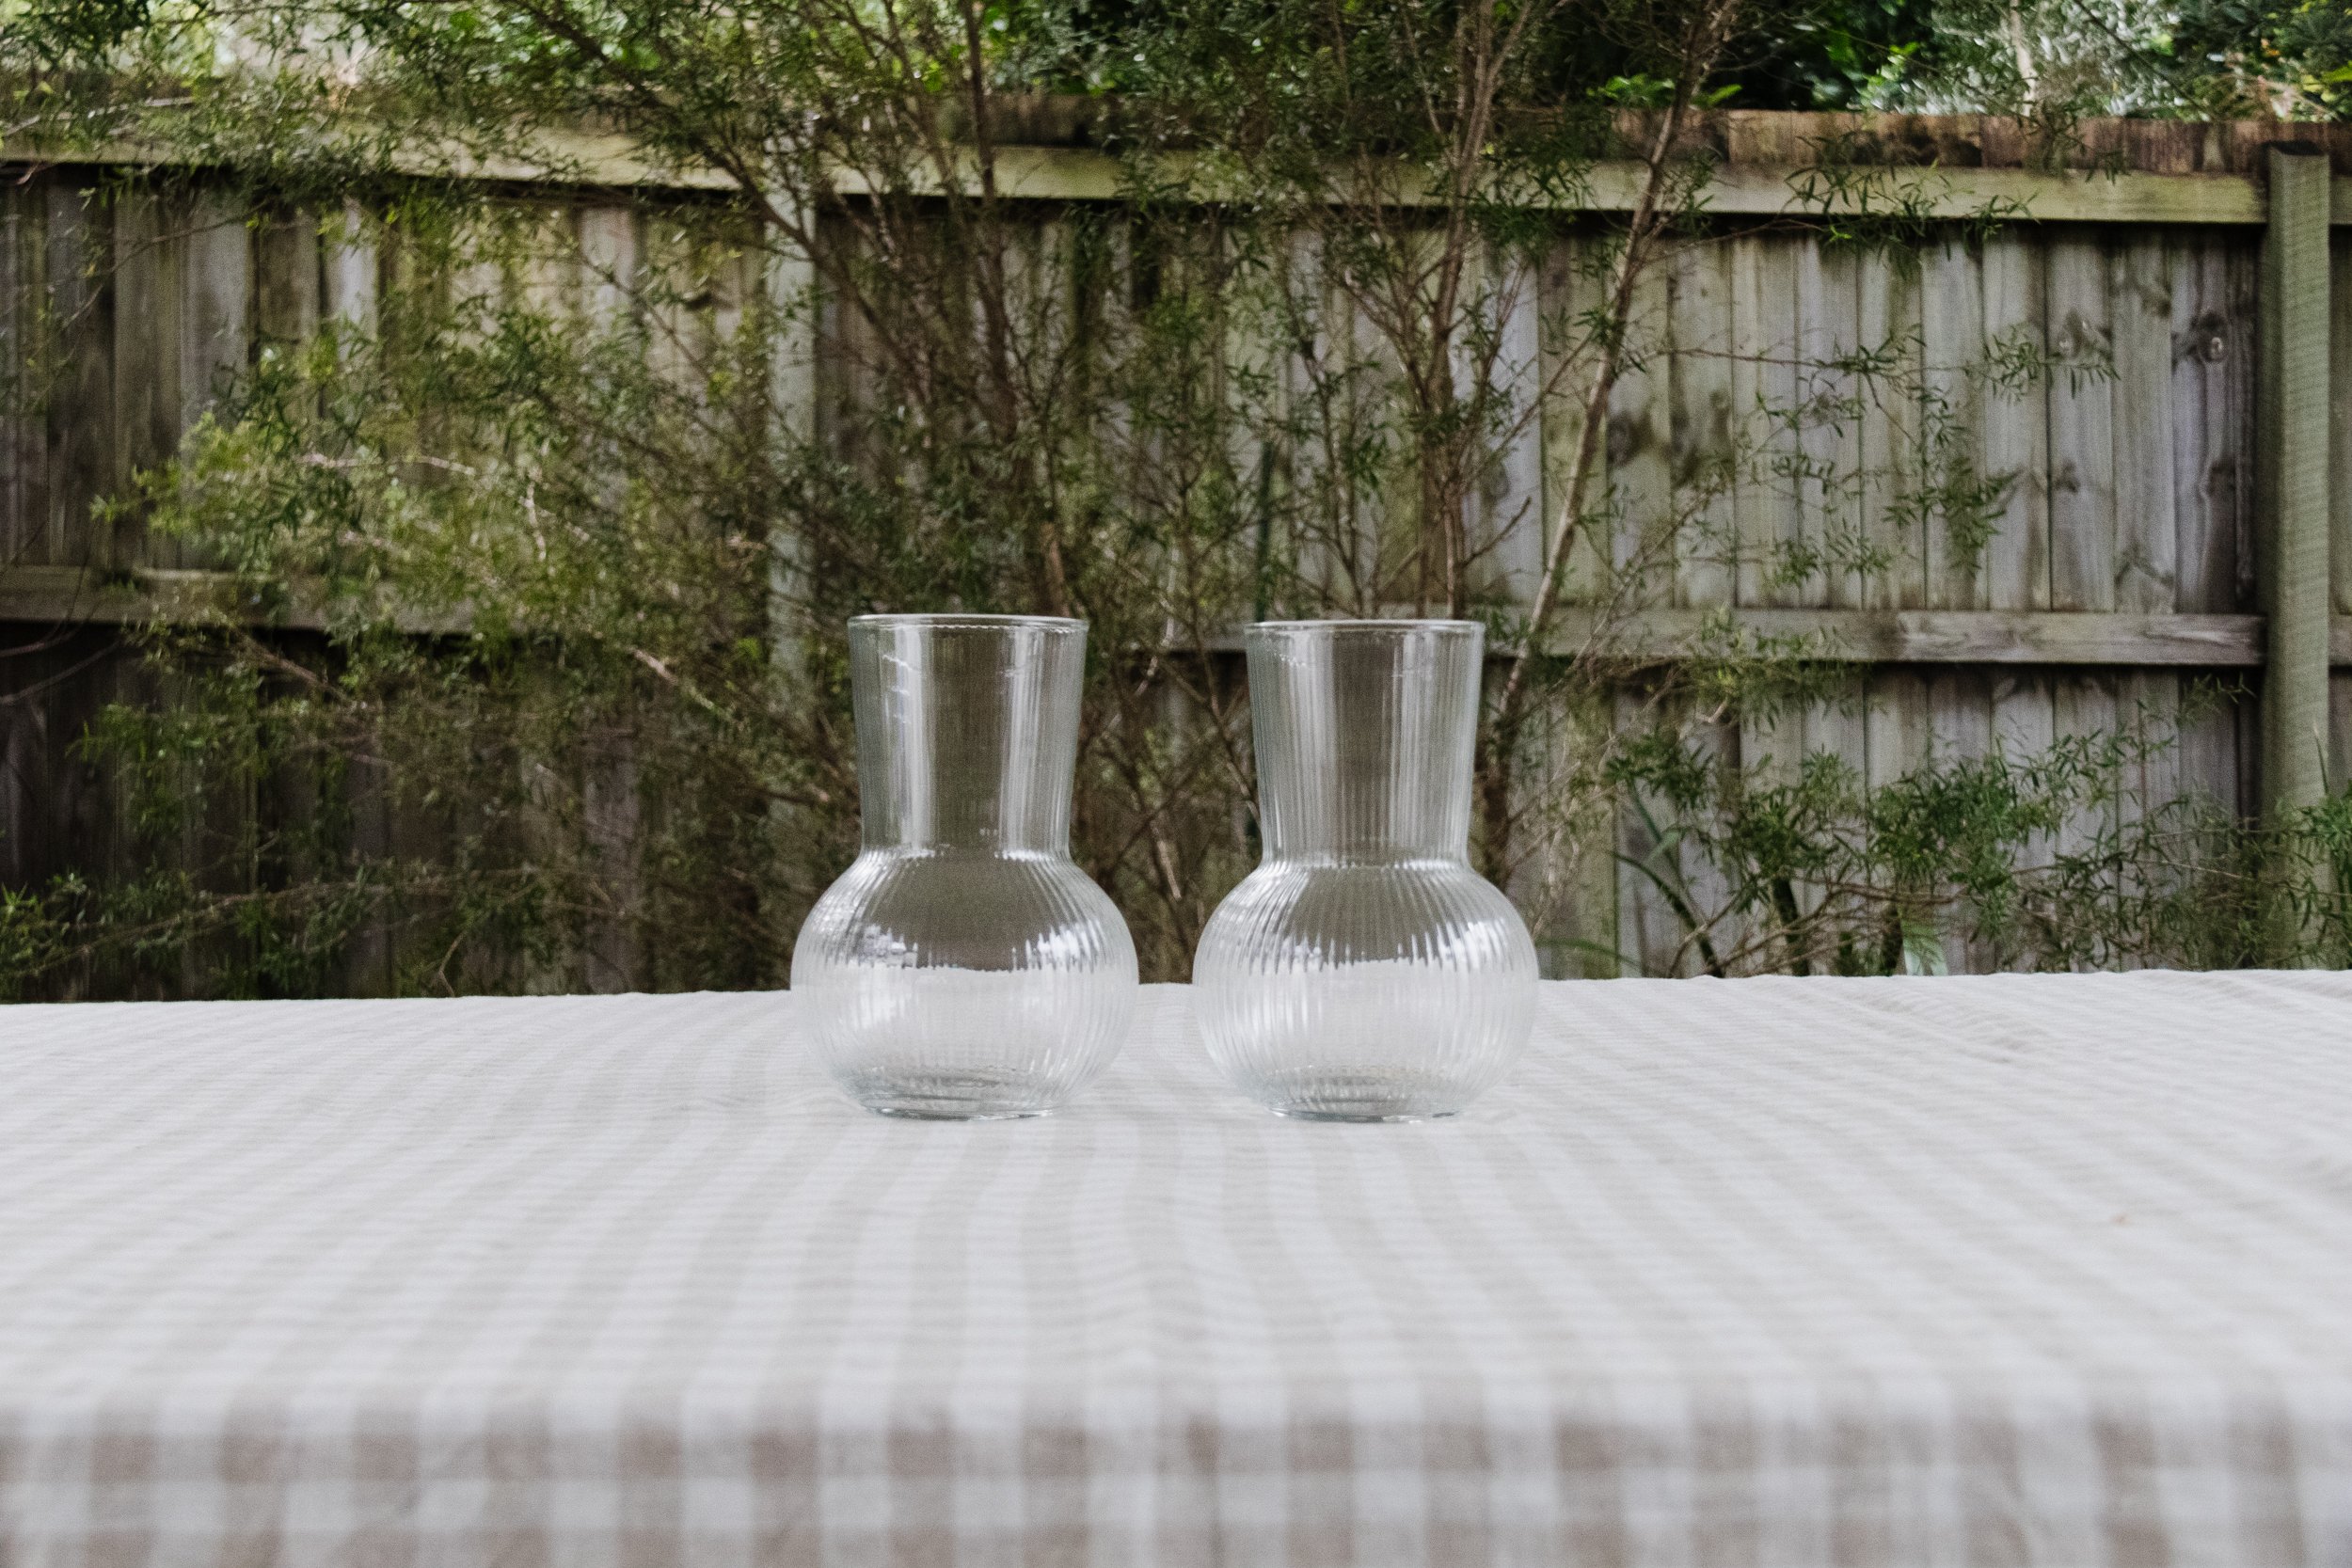
Say hello to 2022’s easiest and affordable DIY project ever! A couple of months ago I popped into IKEA on my way down to Brisbane to visit family and I gravitated towards a beautiful rounded fluted vase for only $2.75! At that price I knew it would be rude if I didn’t get a few, so that’s what I did. I brought them home and recently have been thinking that they are nice, but not amazing so while I was hand washing them I had a sudden urge to place one on top of the other and BAM - I had just created a statement glass bobbin inspired vase. And I am obsessed! Read on to learn how to make your own.
Before & After
Project Details
🕒 Project Time Estimate: 2 minutes plus at least 12 hours for the glue to dry
💰 Materials Cost: Under $15
👷♀️ Skill Level: Beginner DIYer
⚒️ Tools: None!

Materials
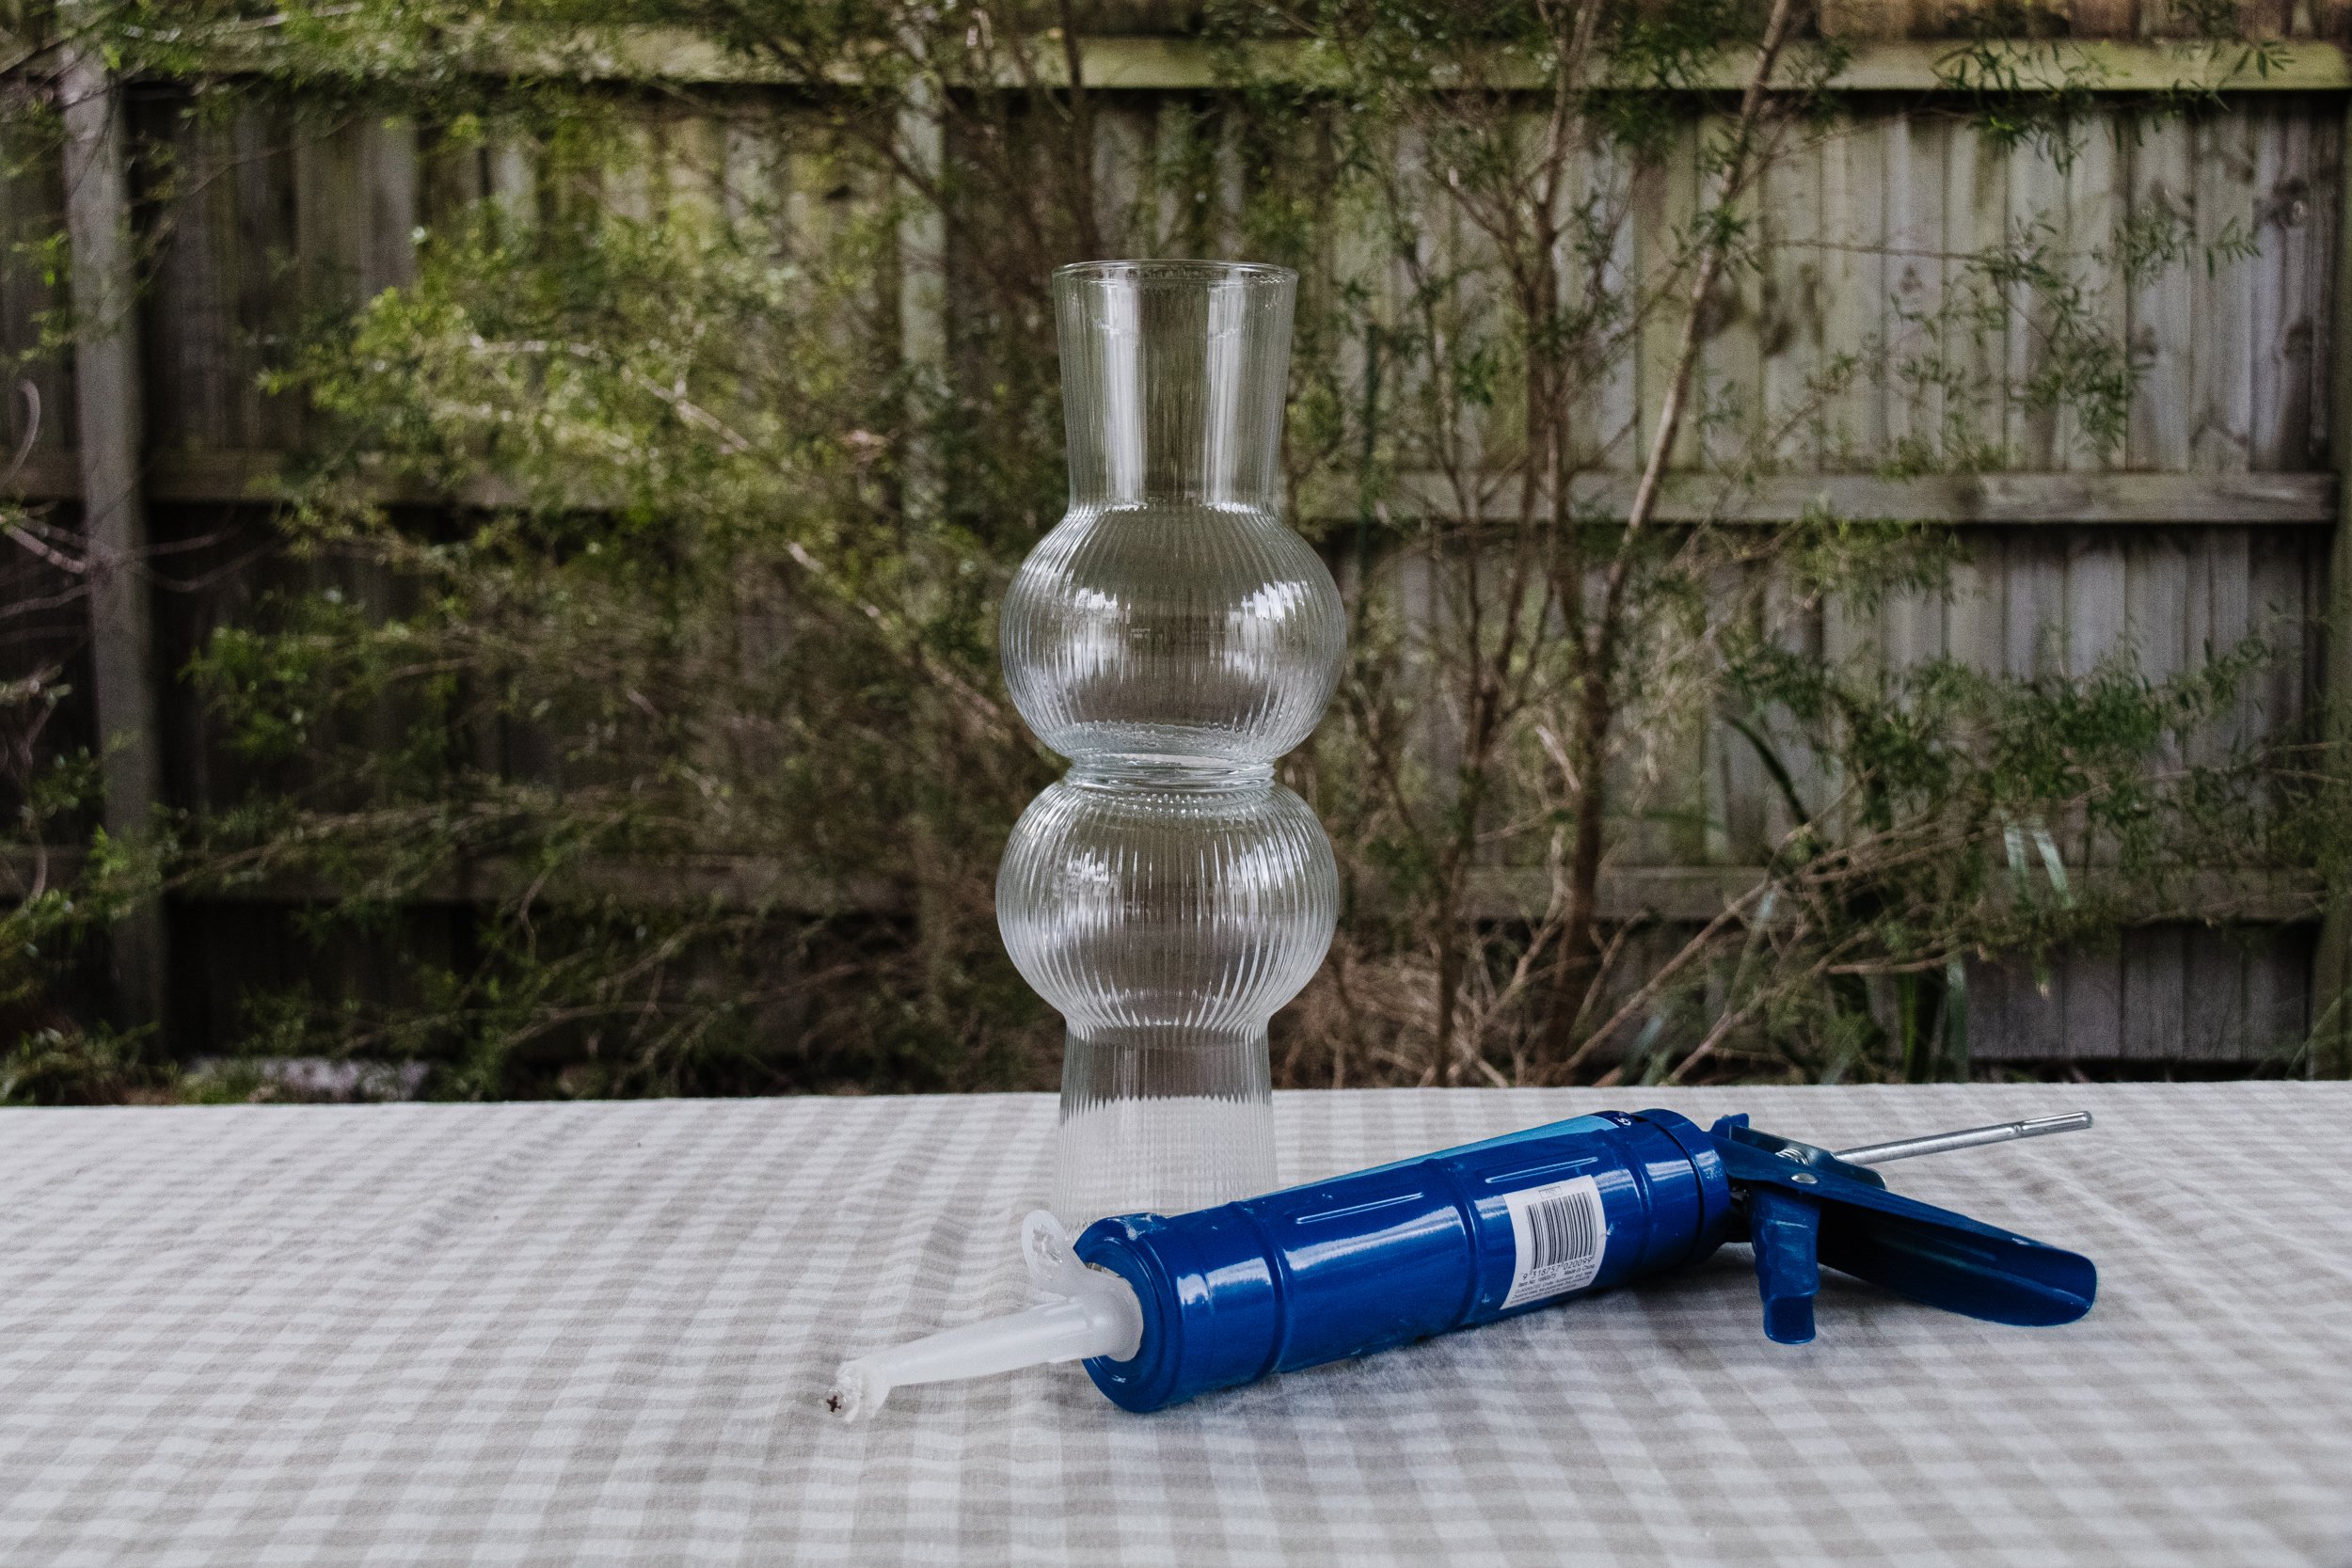
Selley’s Clear Liquid Nails Glue
Painter’s tape
Tip: You could paint the vase once the glue is dry, but I personally love the fluted glass detail. I also bought a few IKEA Konstfull and I am excited to get creative!
How To
Turn one vase upside down and carefully place glue on the bottom inwards from the rim. Place the bottom of the second vase on top. Tape the sides of your new statement vase from top to bottom to secure during drying (the top vase will slide slightly). After 3 hours you can remove the tape and then the glue will set in 12 to 24 hours. And that’s it!
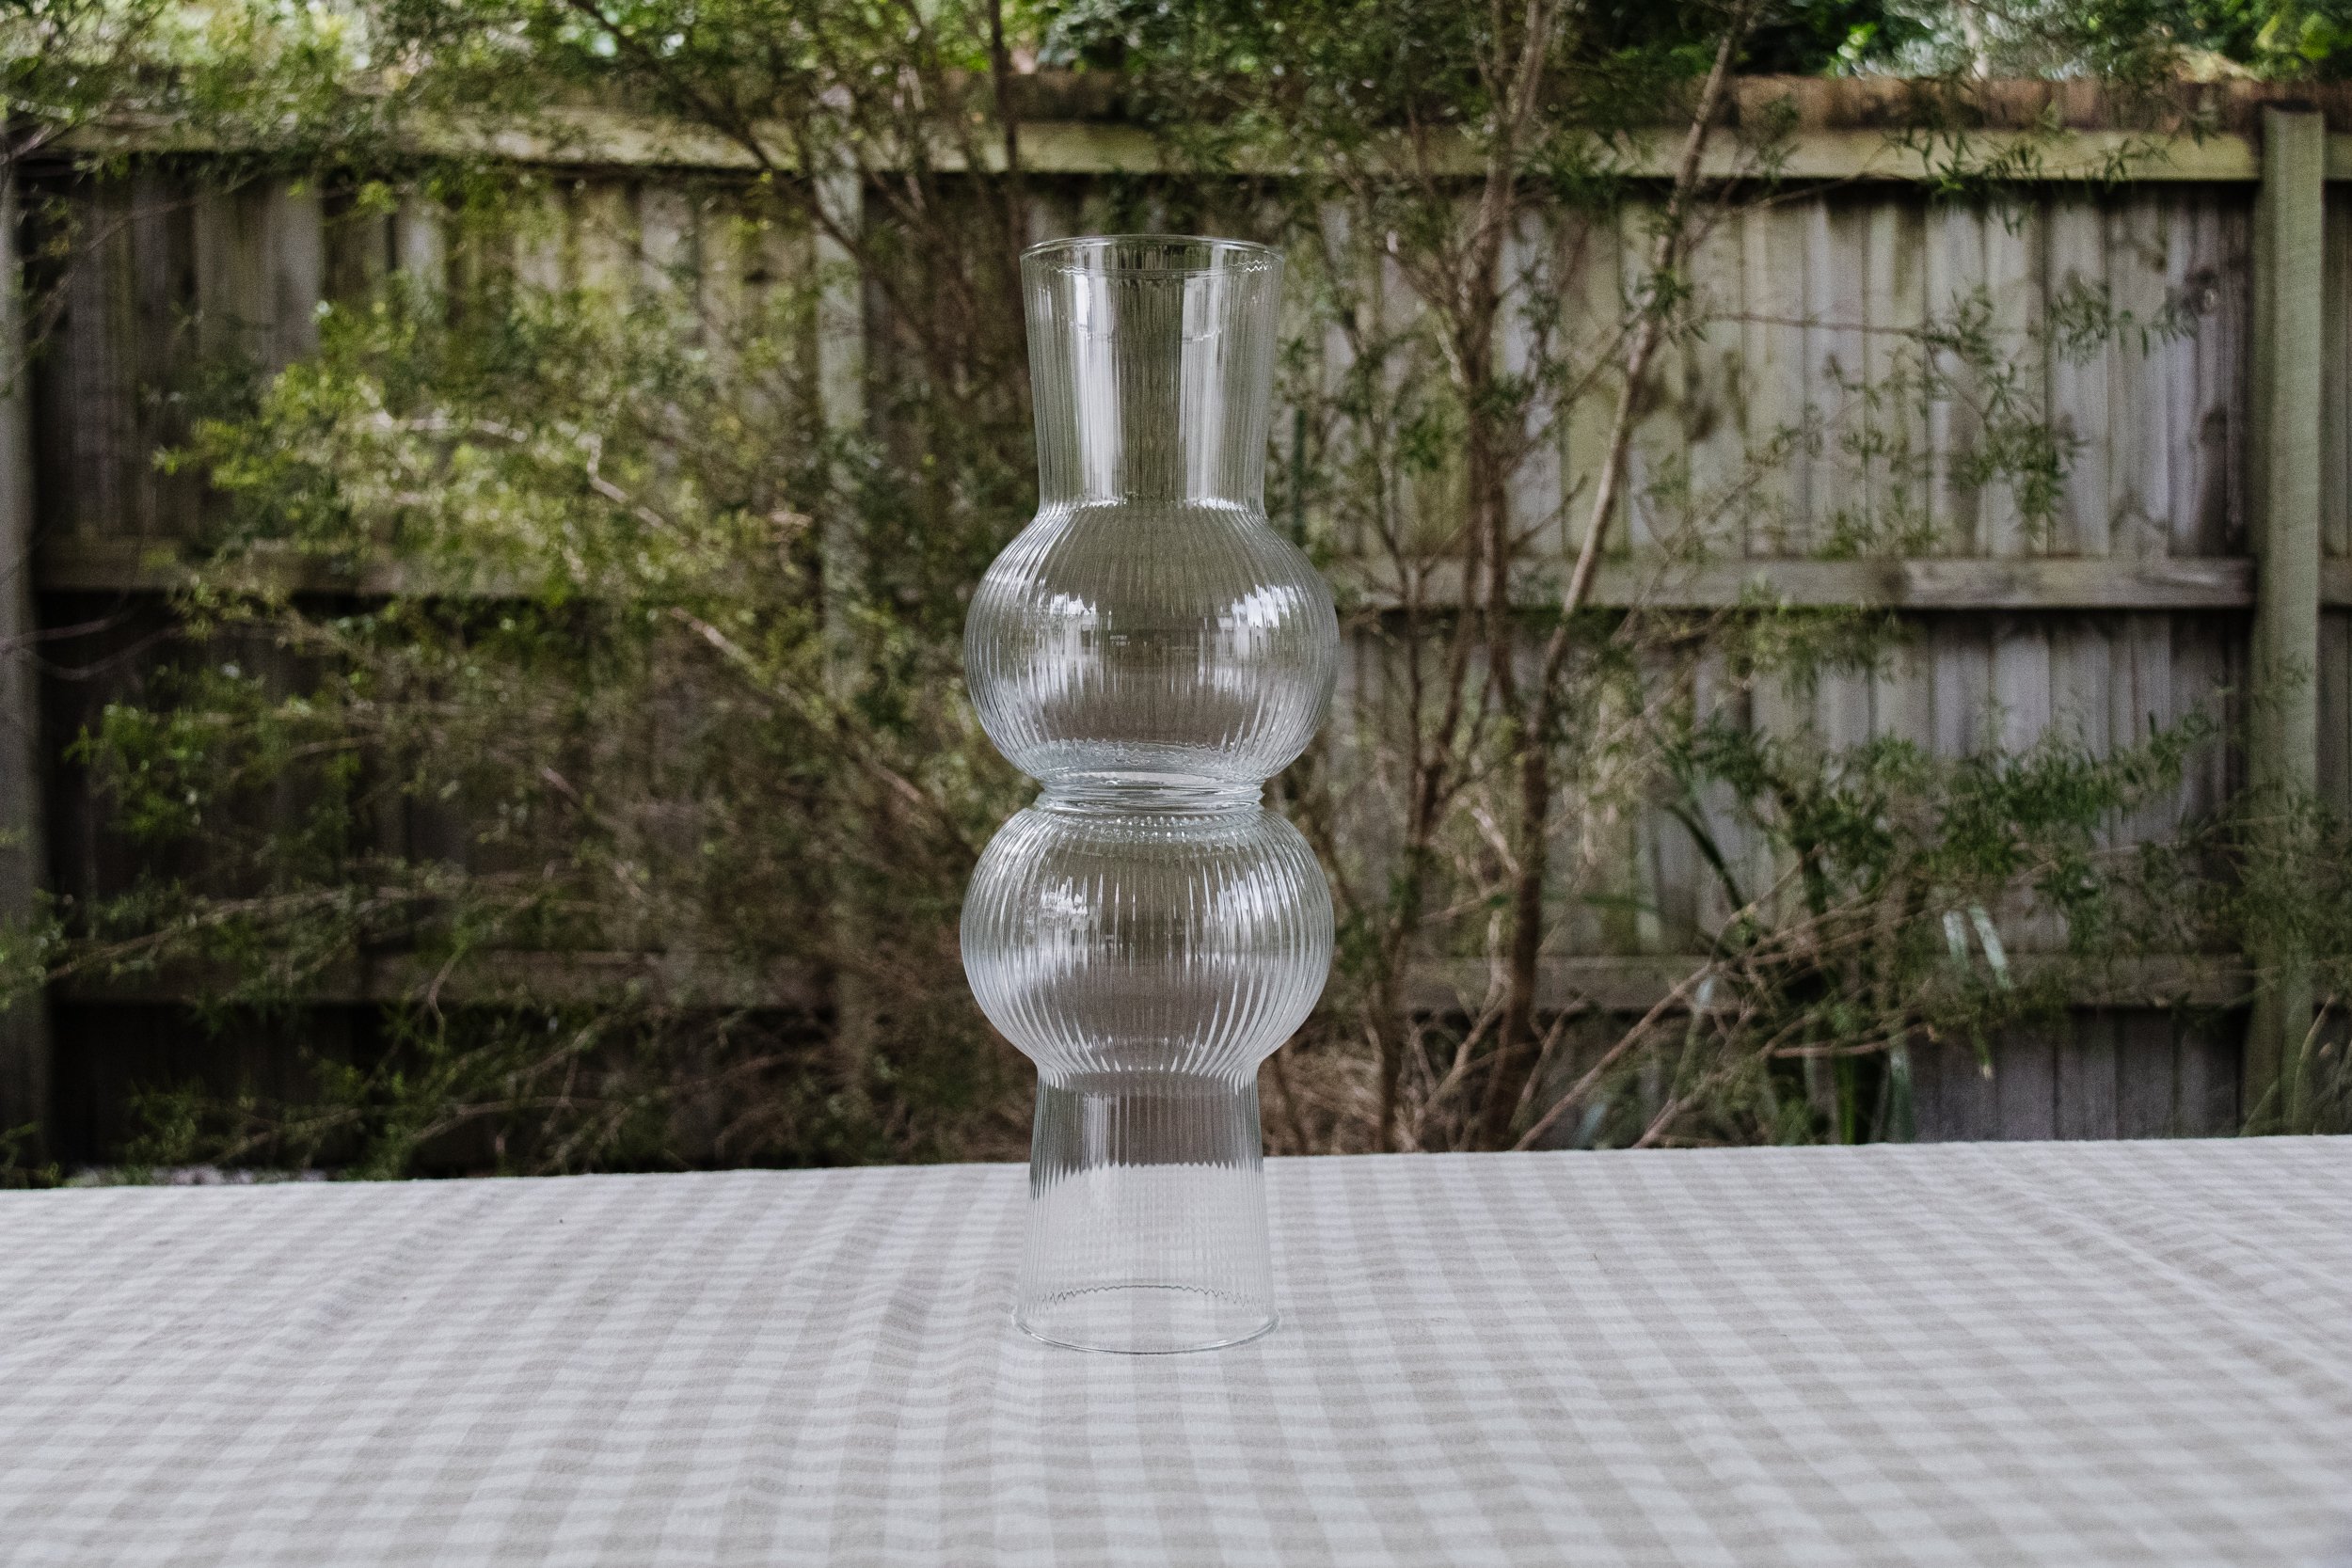
Ta daaaa! A beautiful vase glow up in under a minute!
Out of all the vases I have DIY’d and upcycled in my time, I absolutely love this one for it’s simplicity and affordability! On it’s own, yes the vase is gorgeous. But two stacked on top of each other? Now we’re talking. It’s amazing what a simple idea can spark such a stunning, statement moment.