DIY Christmas Ornaments: Wooden Bead Circle
Coming to you with the easiest DIY Christmas Ornament - the Wooden Bead Circles! Last year I used strings of decorative wooden beads from Pillow Talk for my festive DIY Native Leaf Garland. This year I wanted to do something a little different so I decided to use them to make DIY Christmas Ornaments, the Wooden Bead Circle variety. I had some soft gold wire left over from another project and knew it would be as simple as cutting the wire, threading the beads, shaping the ornament and tying it off with raffia. And here we are. Read on to find out how you can make your own Wooden Bead Circle ornament.

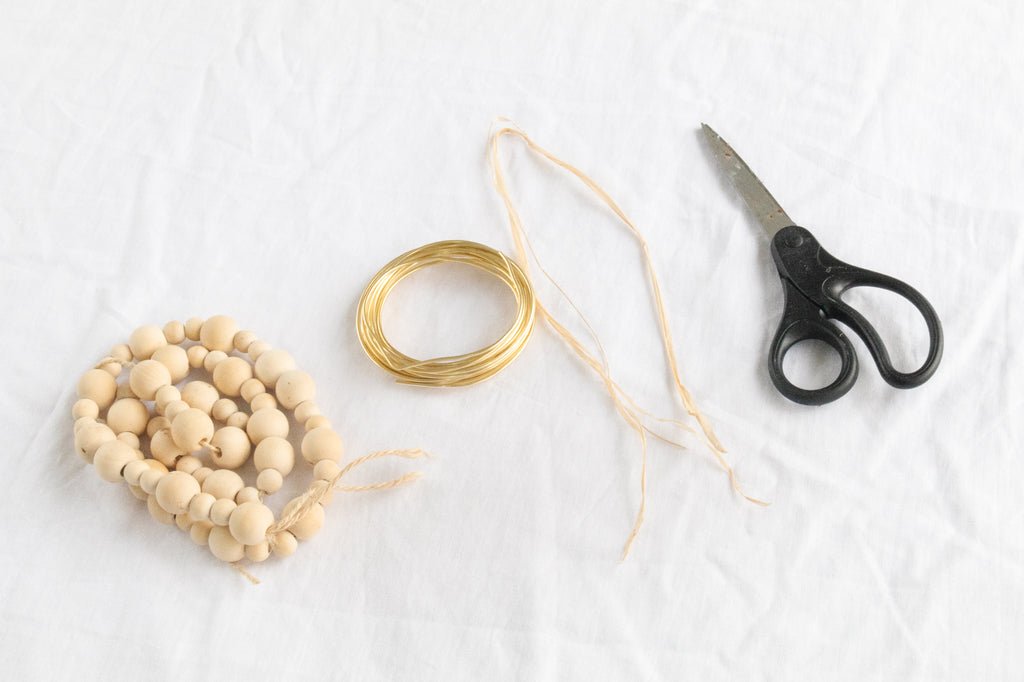
Materials
Decorative wooden beads. You can still buy strings of these from Pillow Talk or you can buy them in a packet from Choice Discount.
Wire
Scissors
Raffia
How To
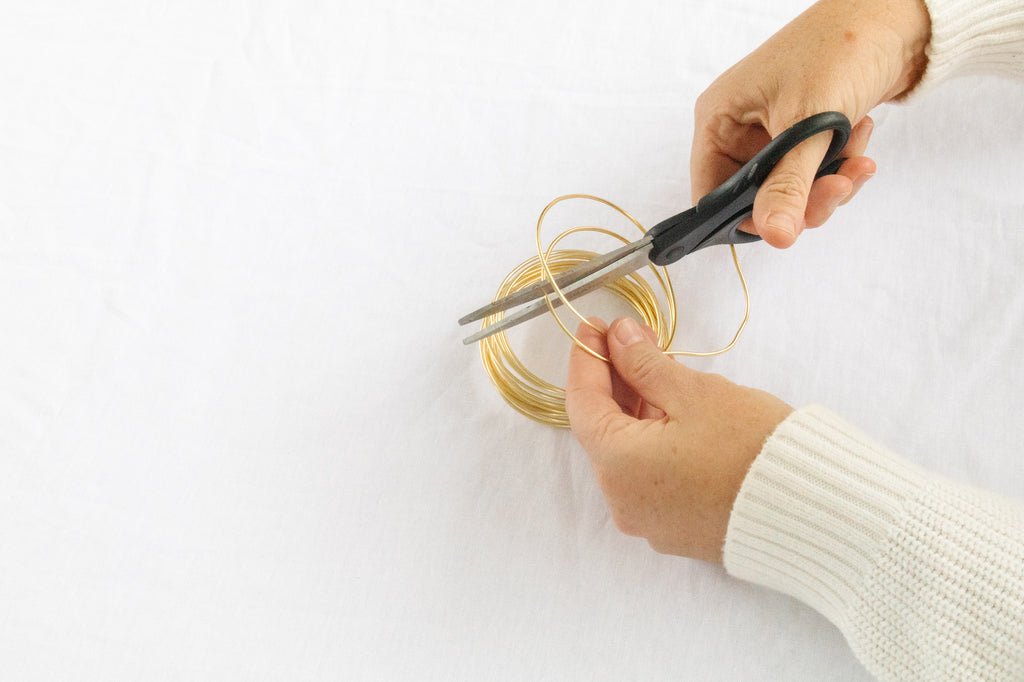
1. Assemble your materials. Cut the wire with the scissors so you have a piece that's about 15cm long.
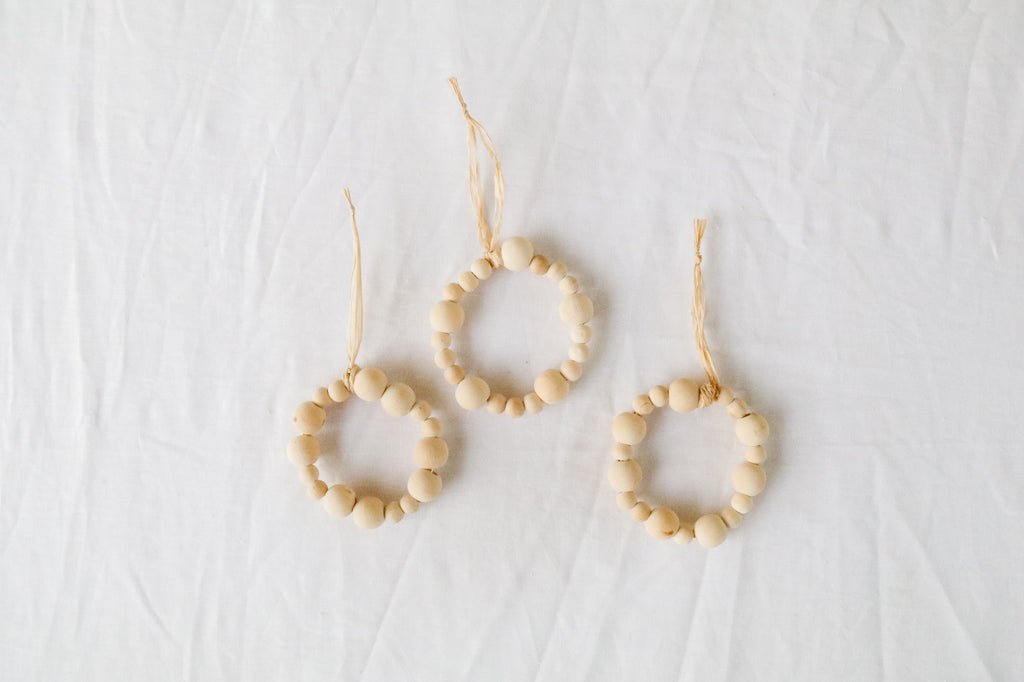
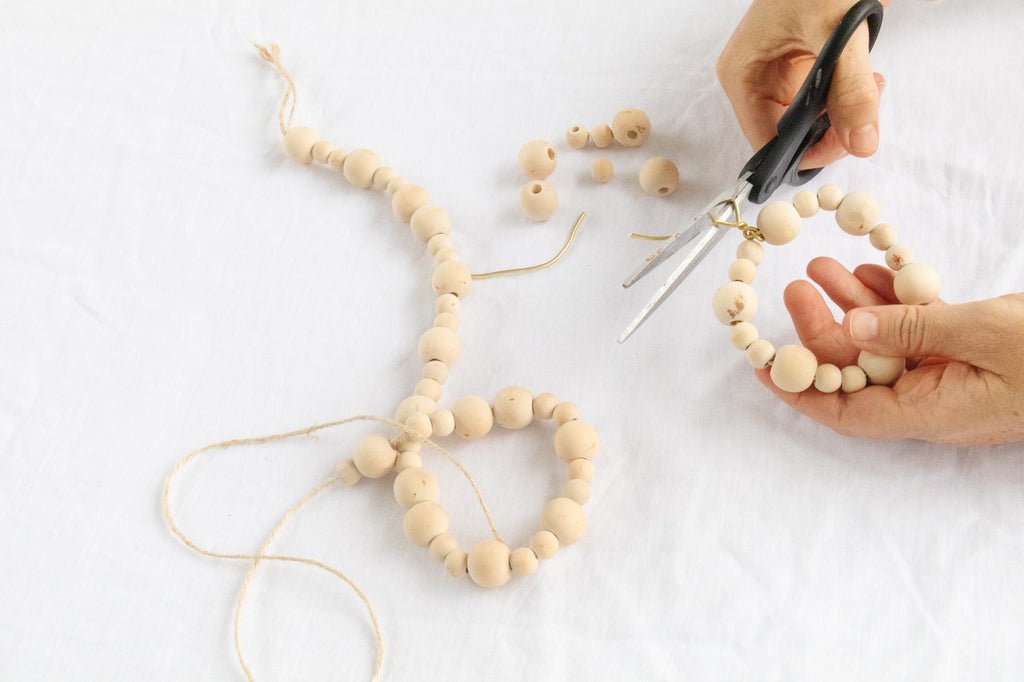
2. Thread the wooden beads onto the wire. The beads I had came in two different sizes so I enjoyed creating different patterns as I threaded them onto the wire.

3. Bend the wire into the shape of a circle and tie the ends together in a knot. Trim the excess wire off.

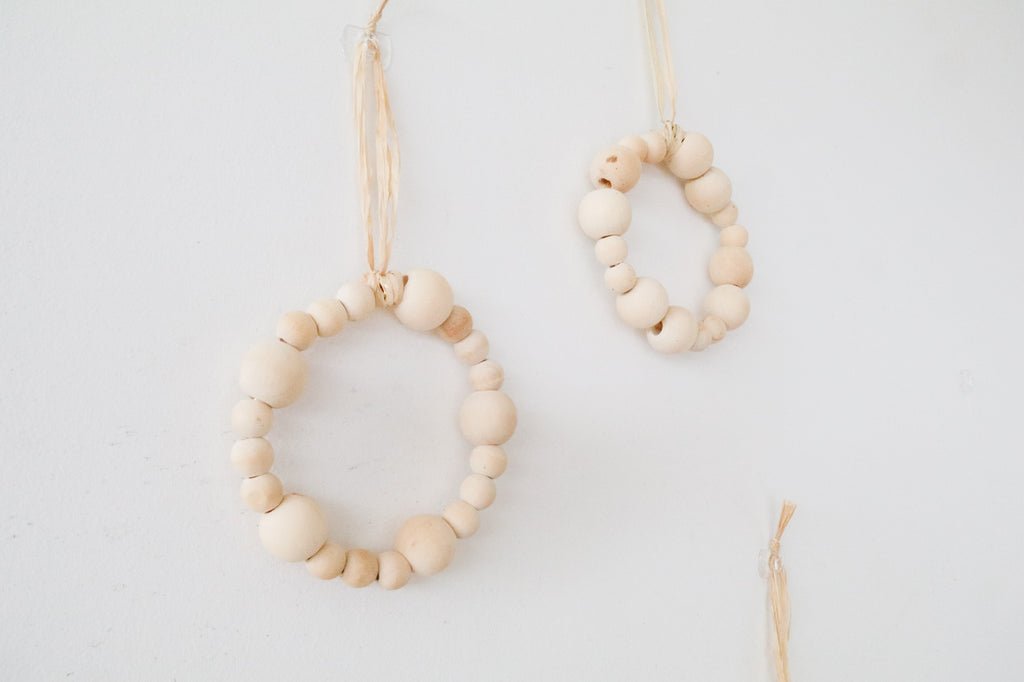
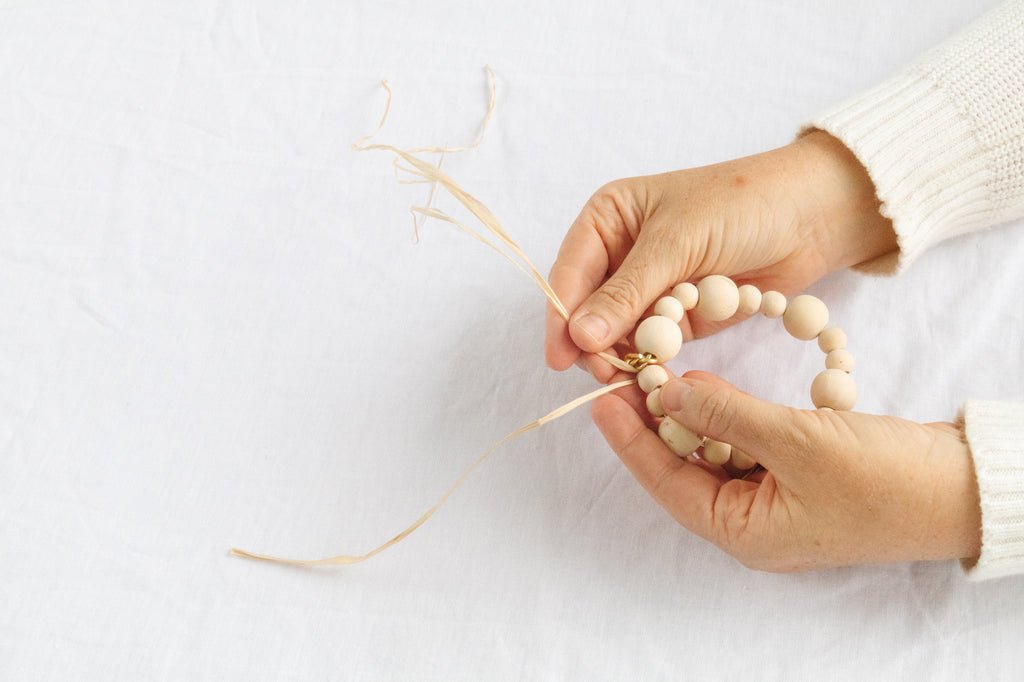
4. Thread the raffia through the circle and wrap it over the knotted wire to hide it. Make sure you reserve to long pieces on either end of the raffia. Tie a double knot in the raffia and trim the excess raffia off with scissors.

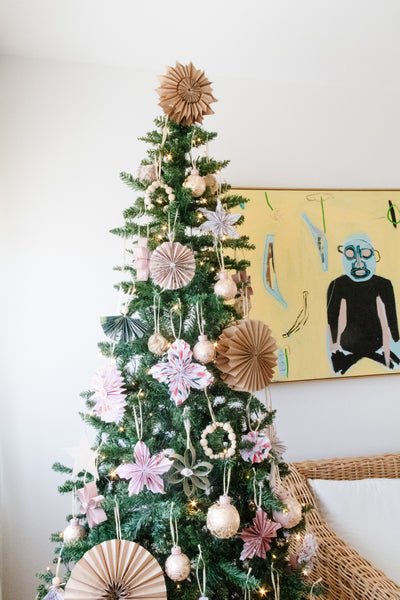
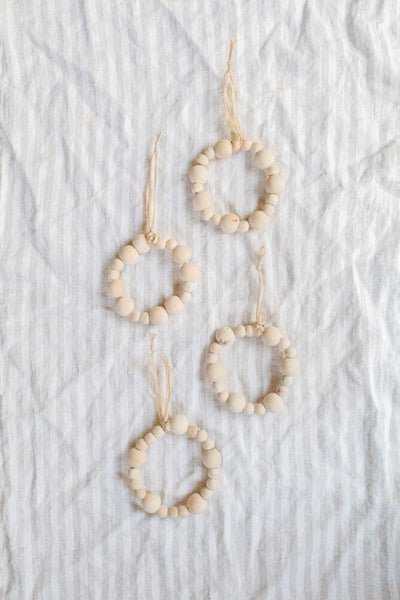
Ta daaaaa! Happy Holidays!
And there you have it. The easiest and quickest DIY Christmas Ornament - ever! I love how might lightness, brightness and texture it adds to the Christmas tree. It's just that little something extra that has a lot of "wow" factor.