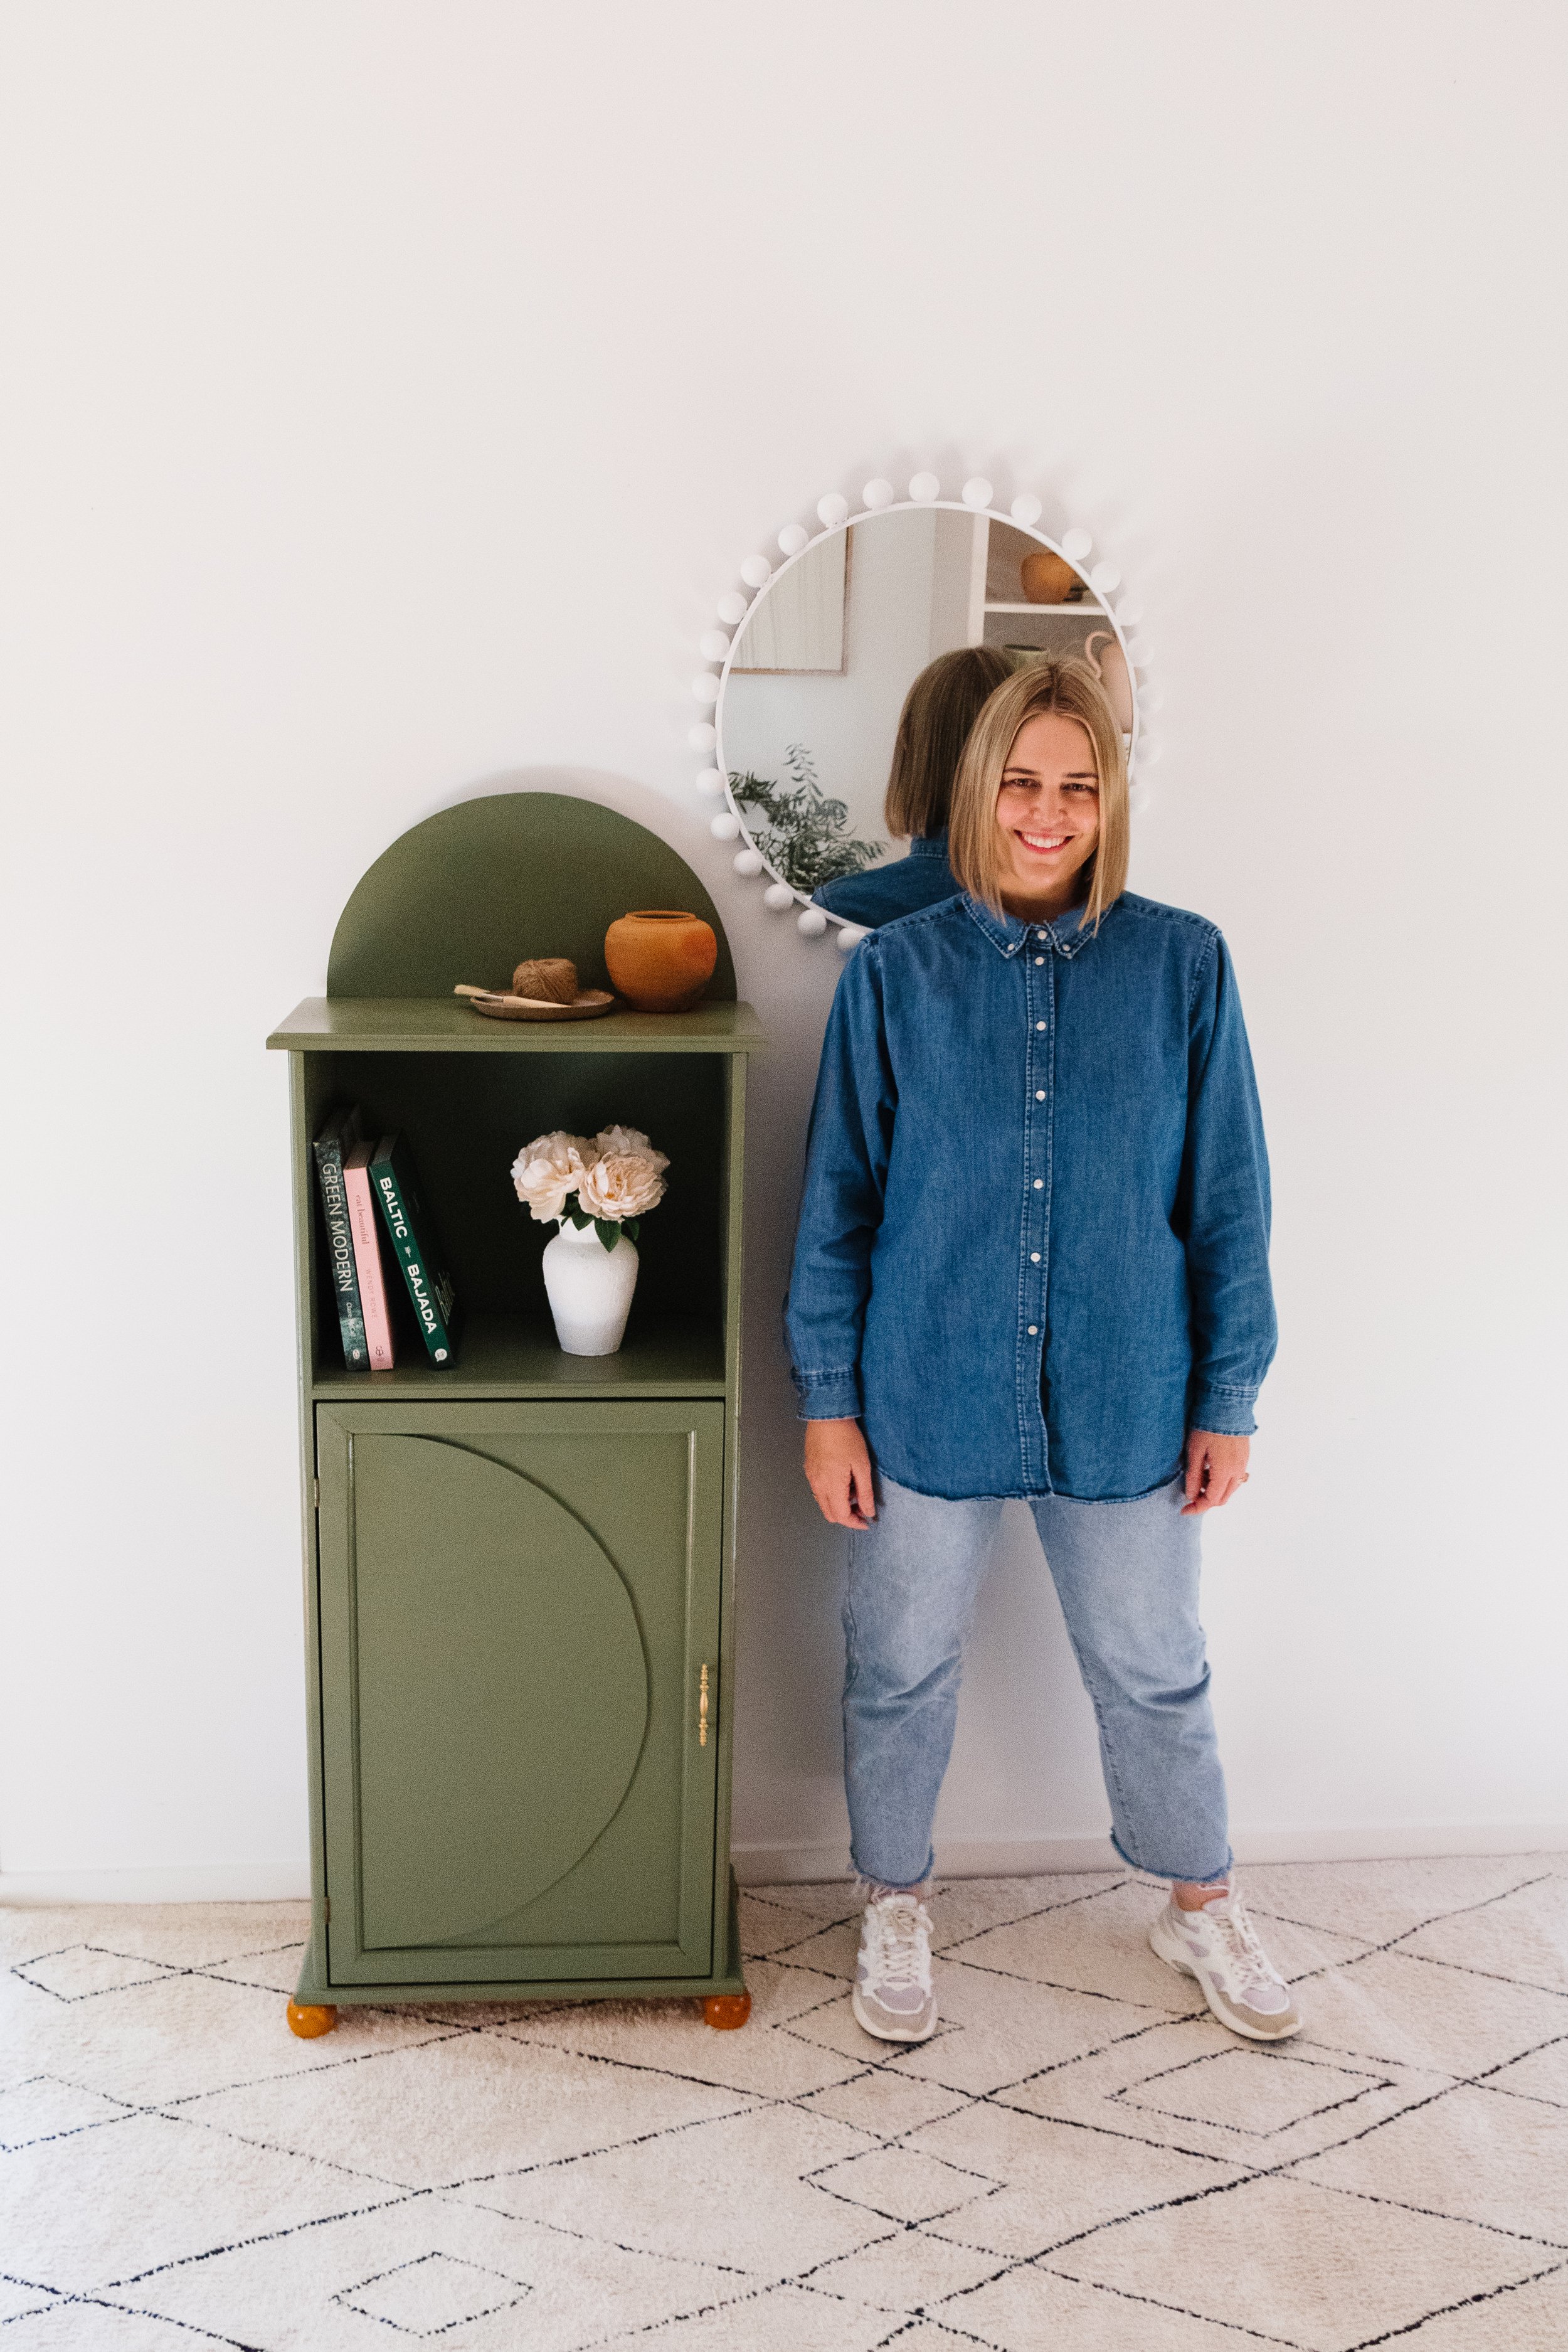
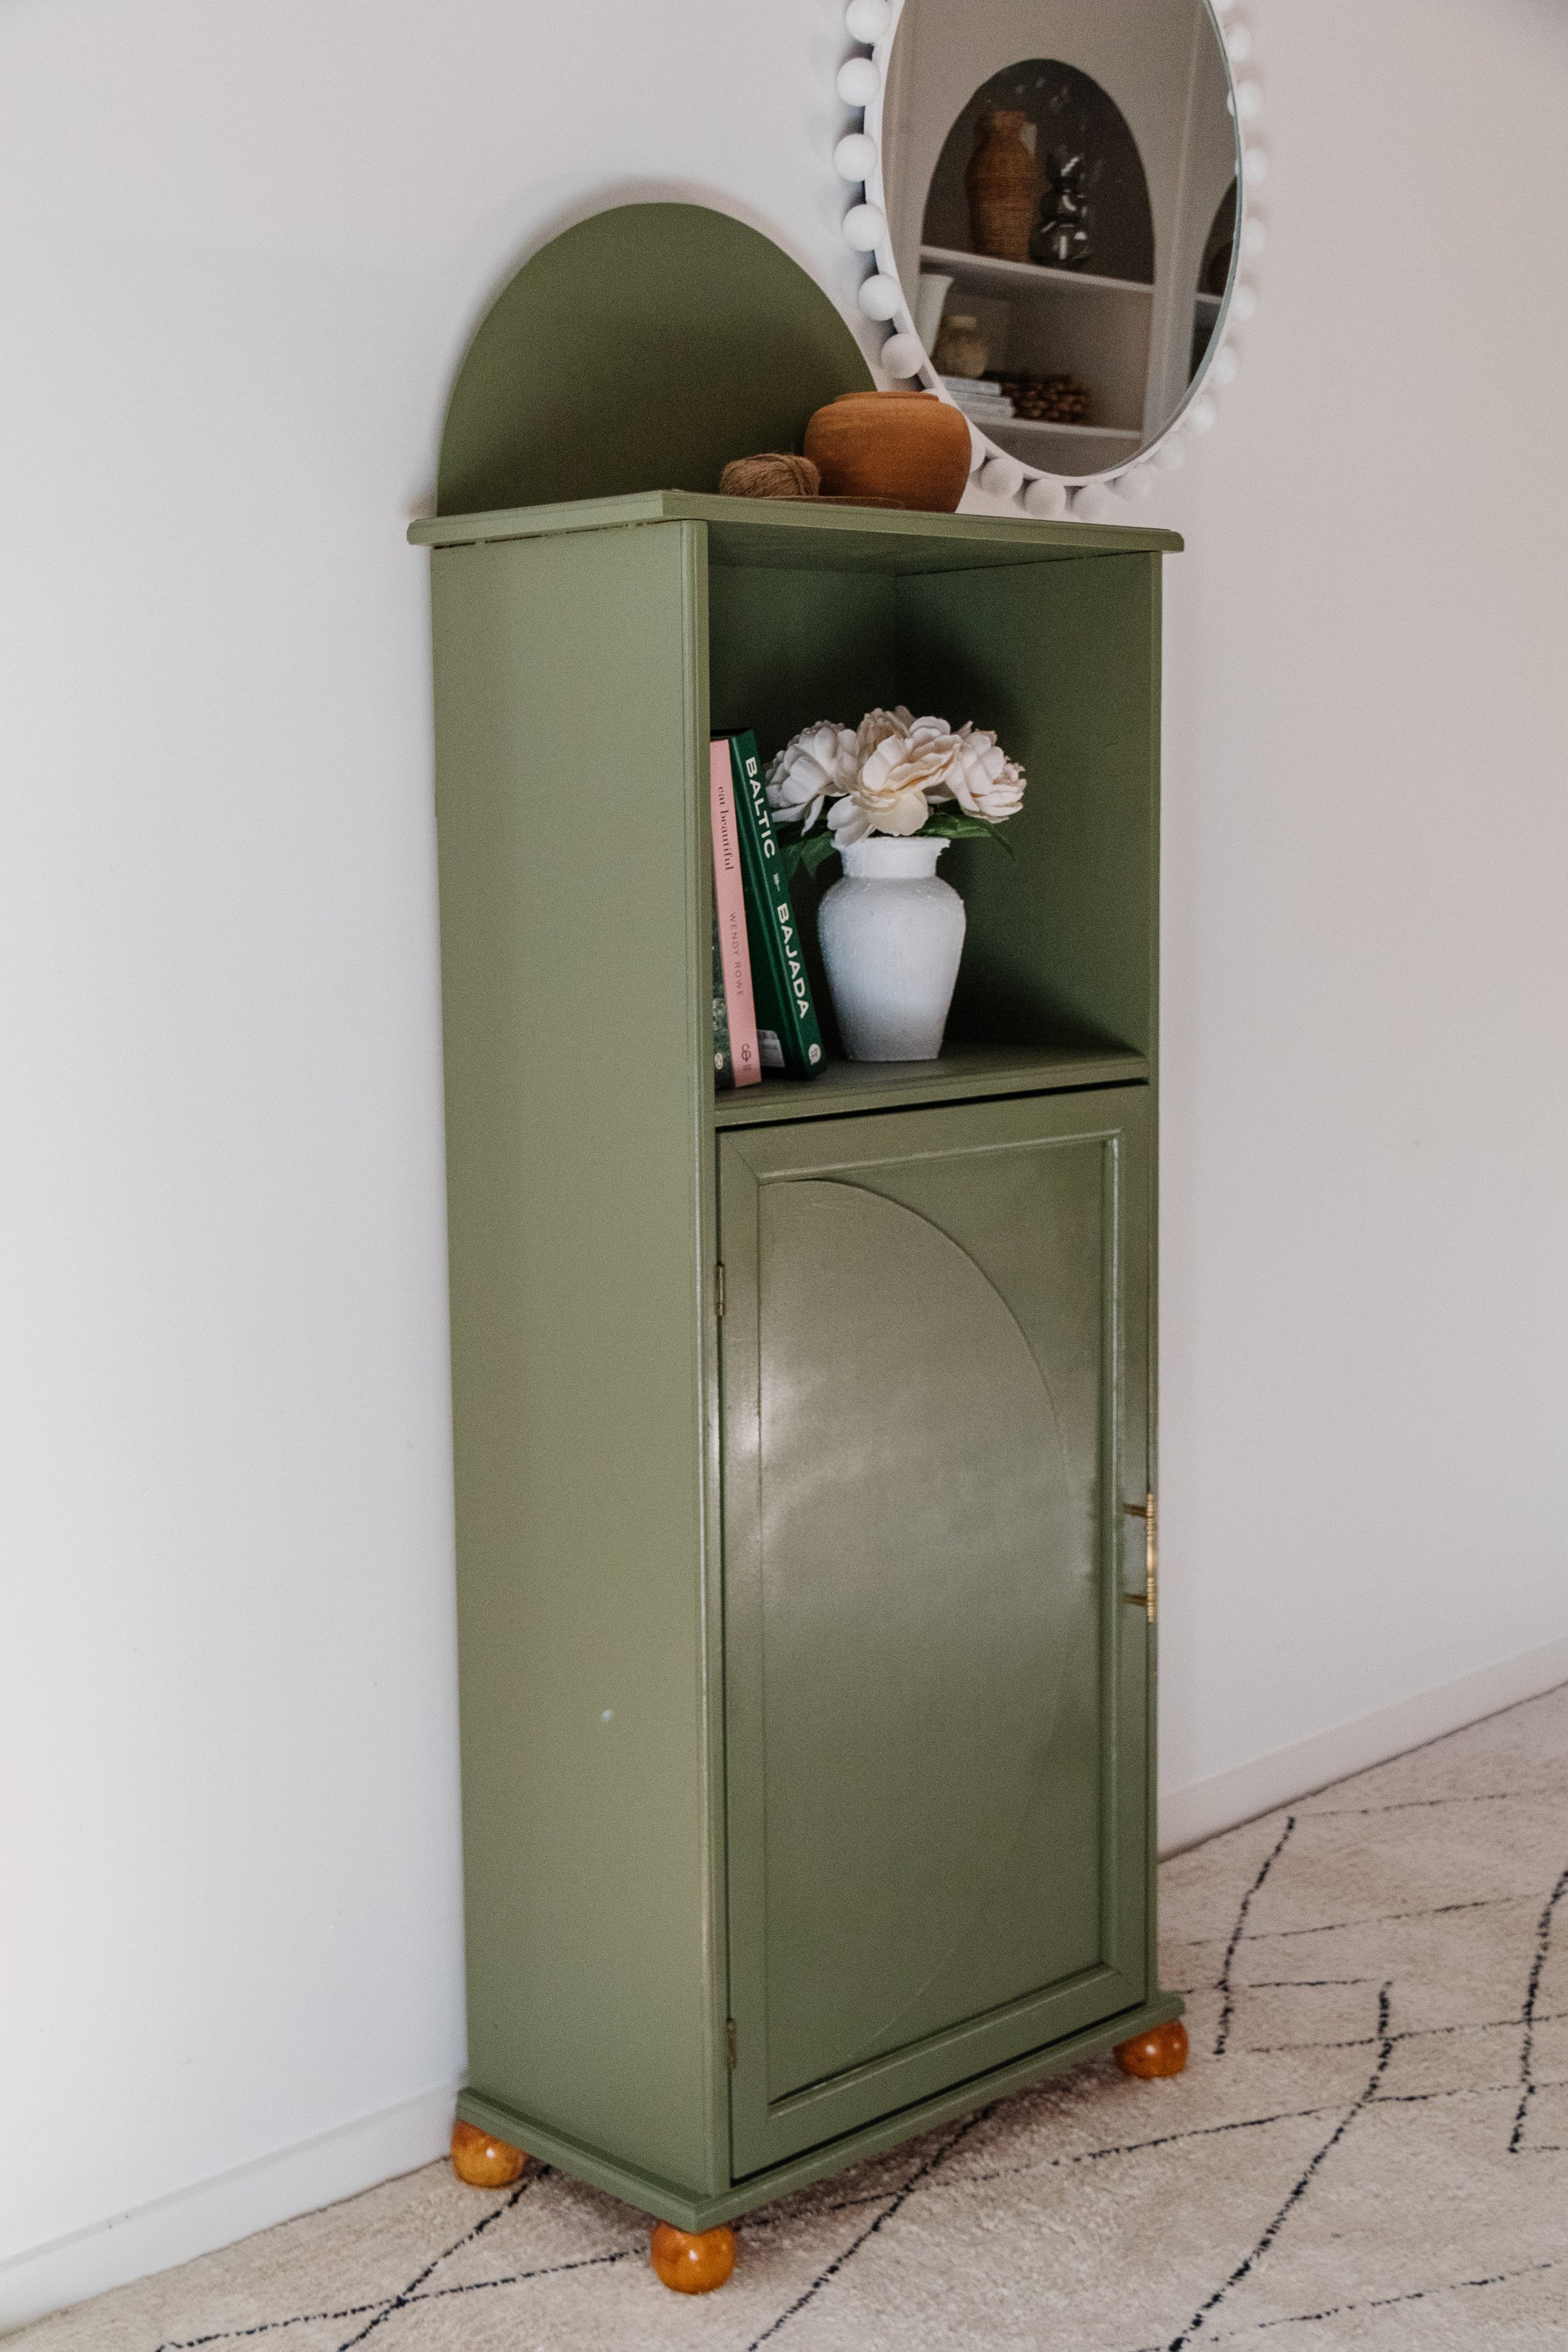
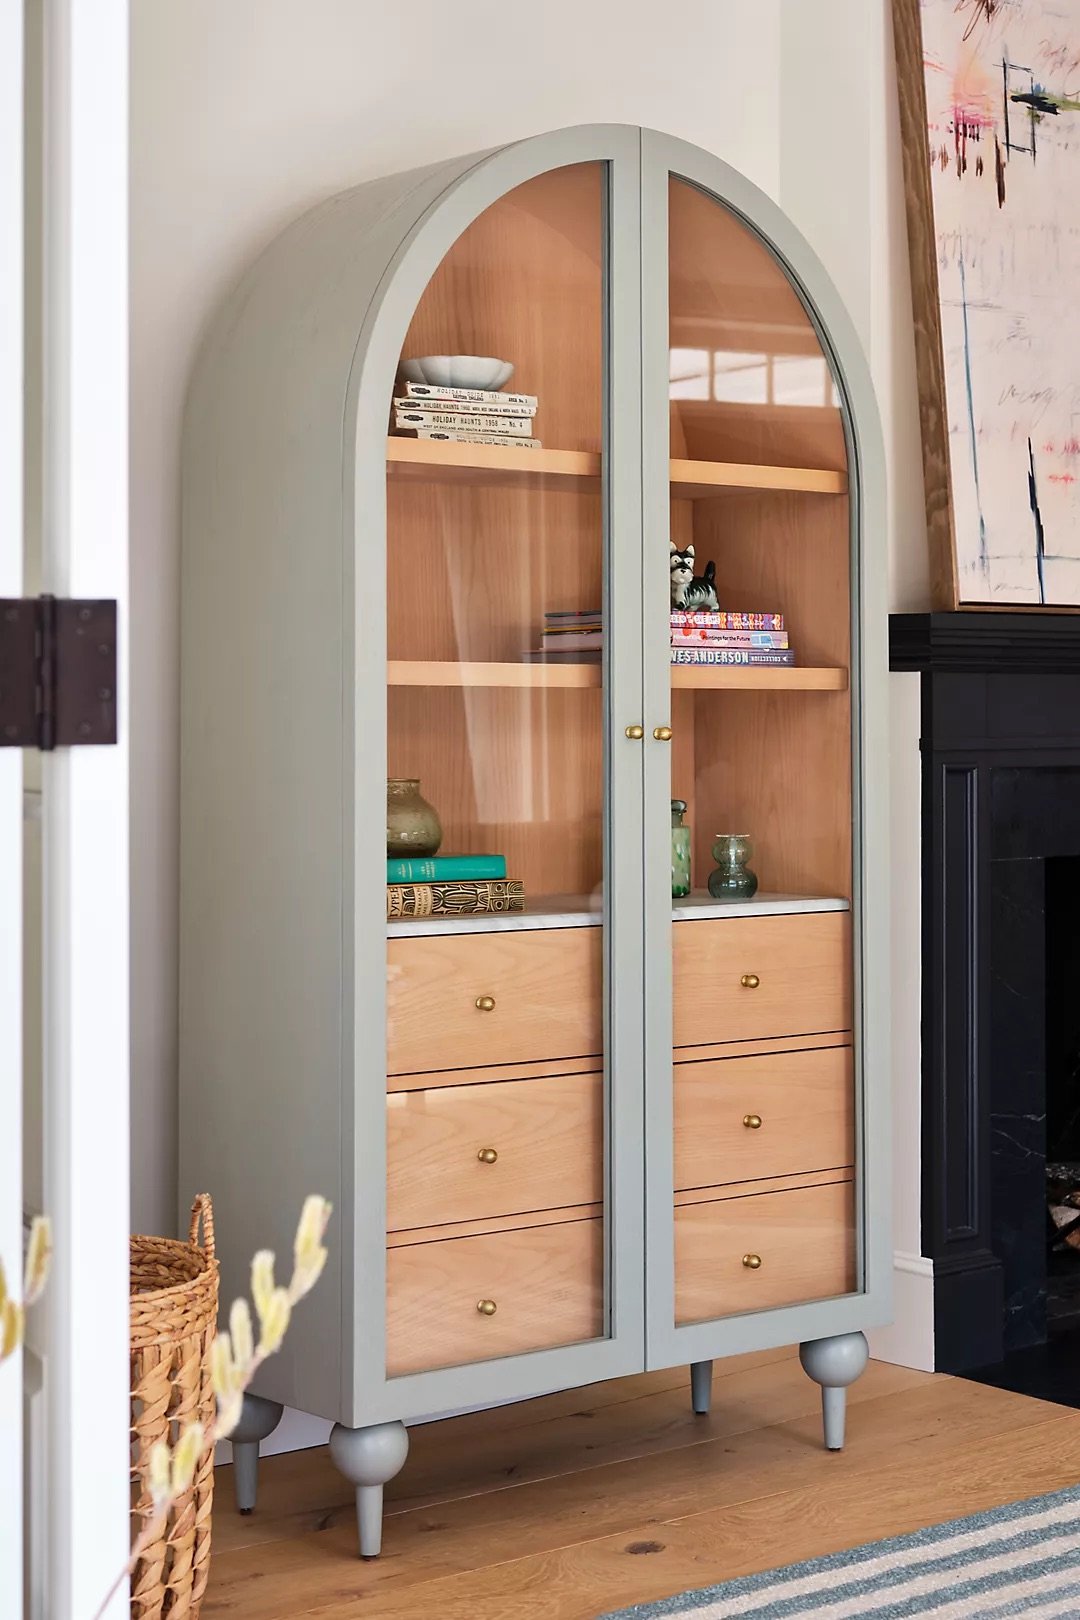
Upcycled Arched Cabinet
Coming to you today with another furniture upcycling project!
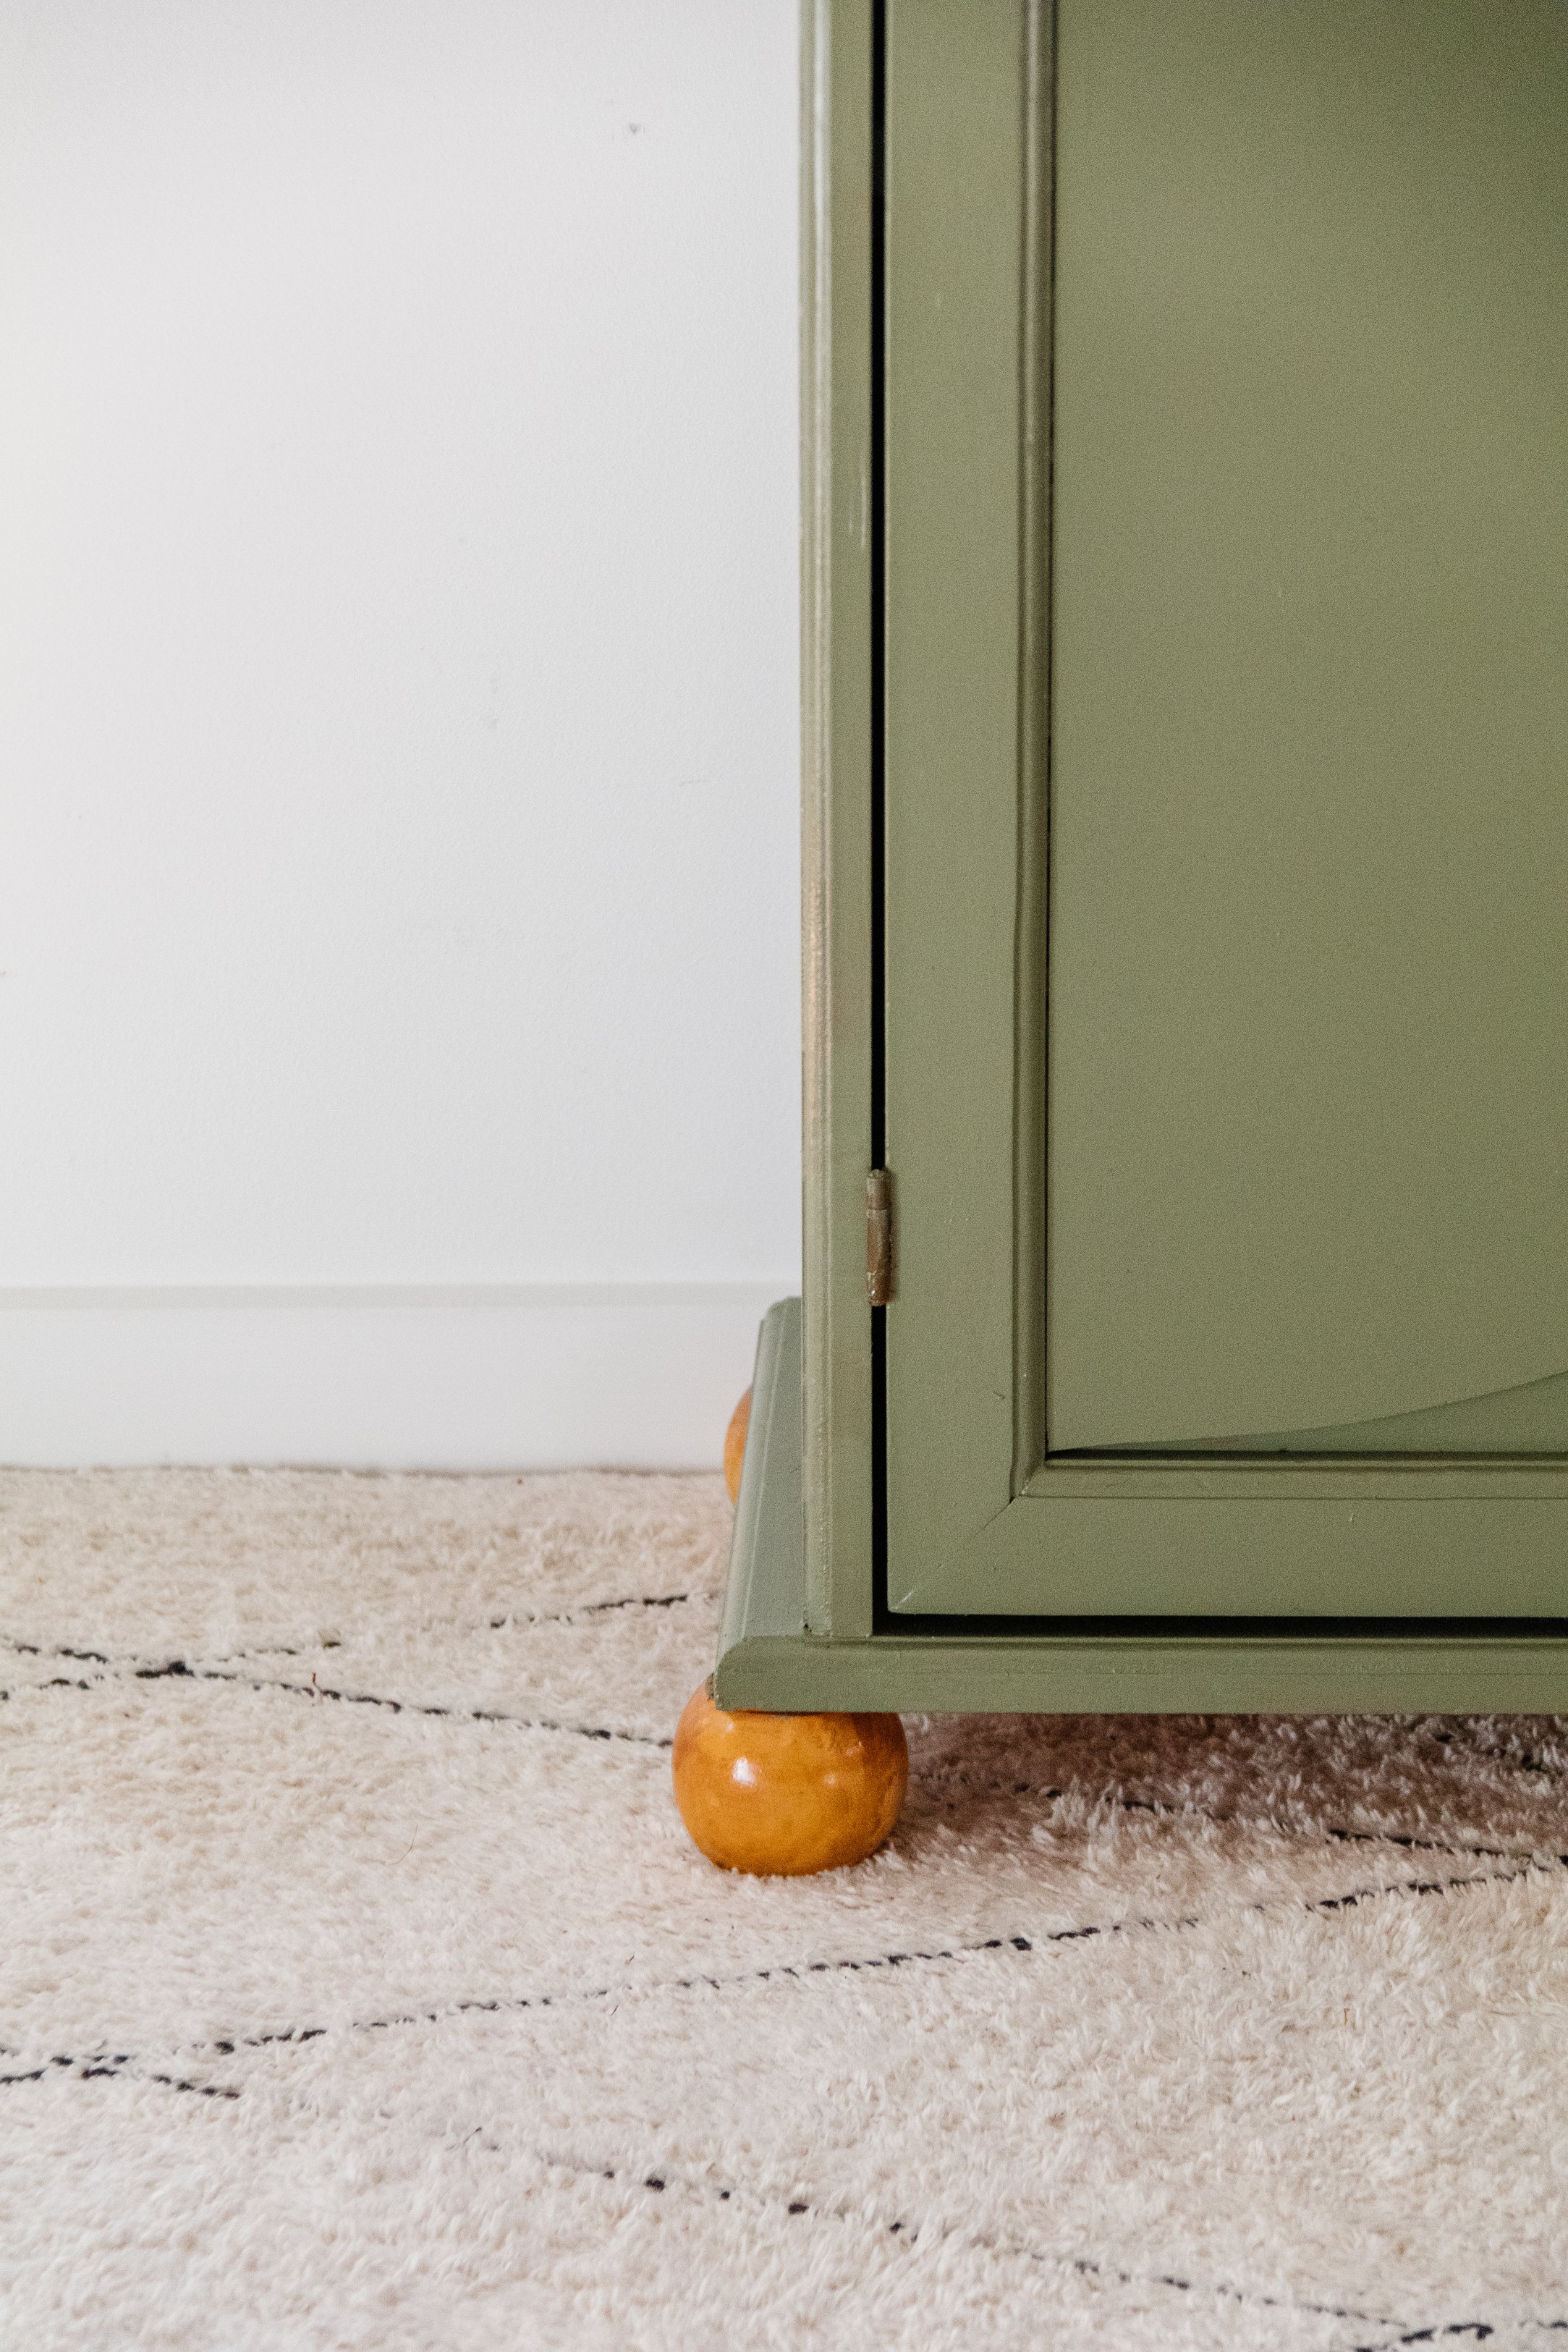
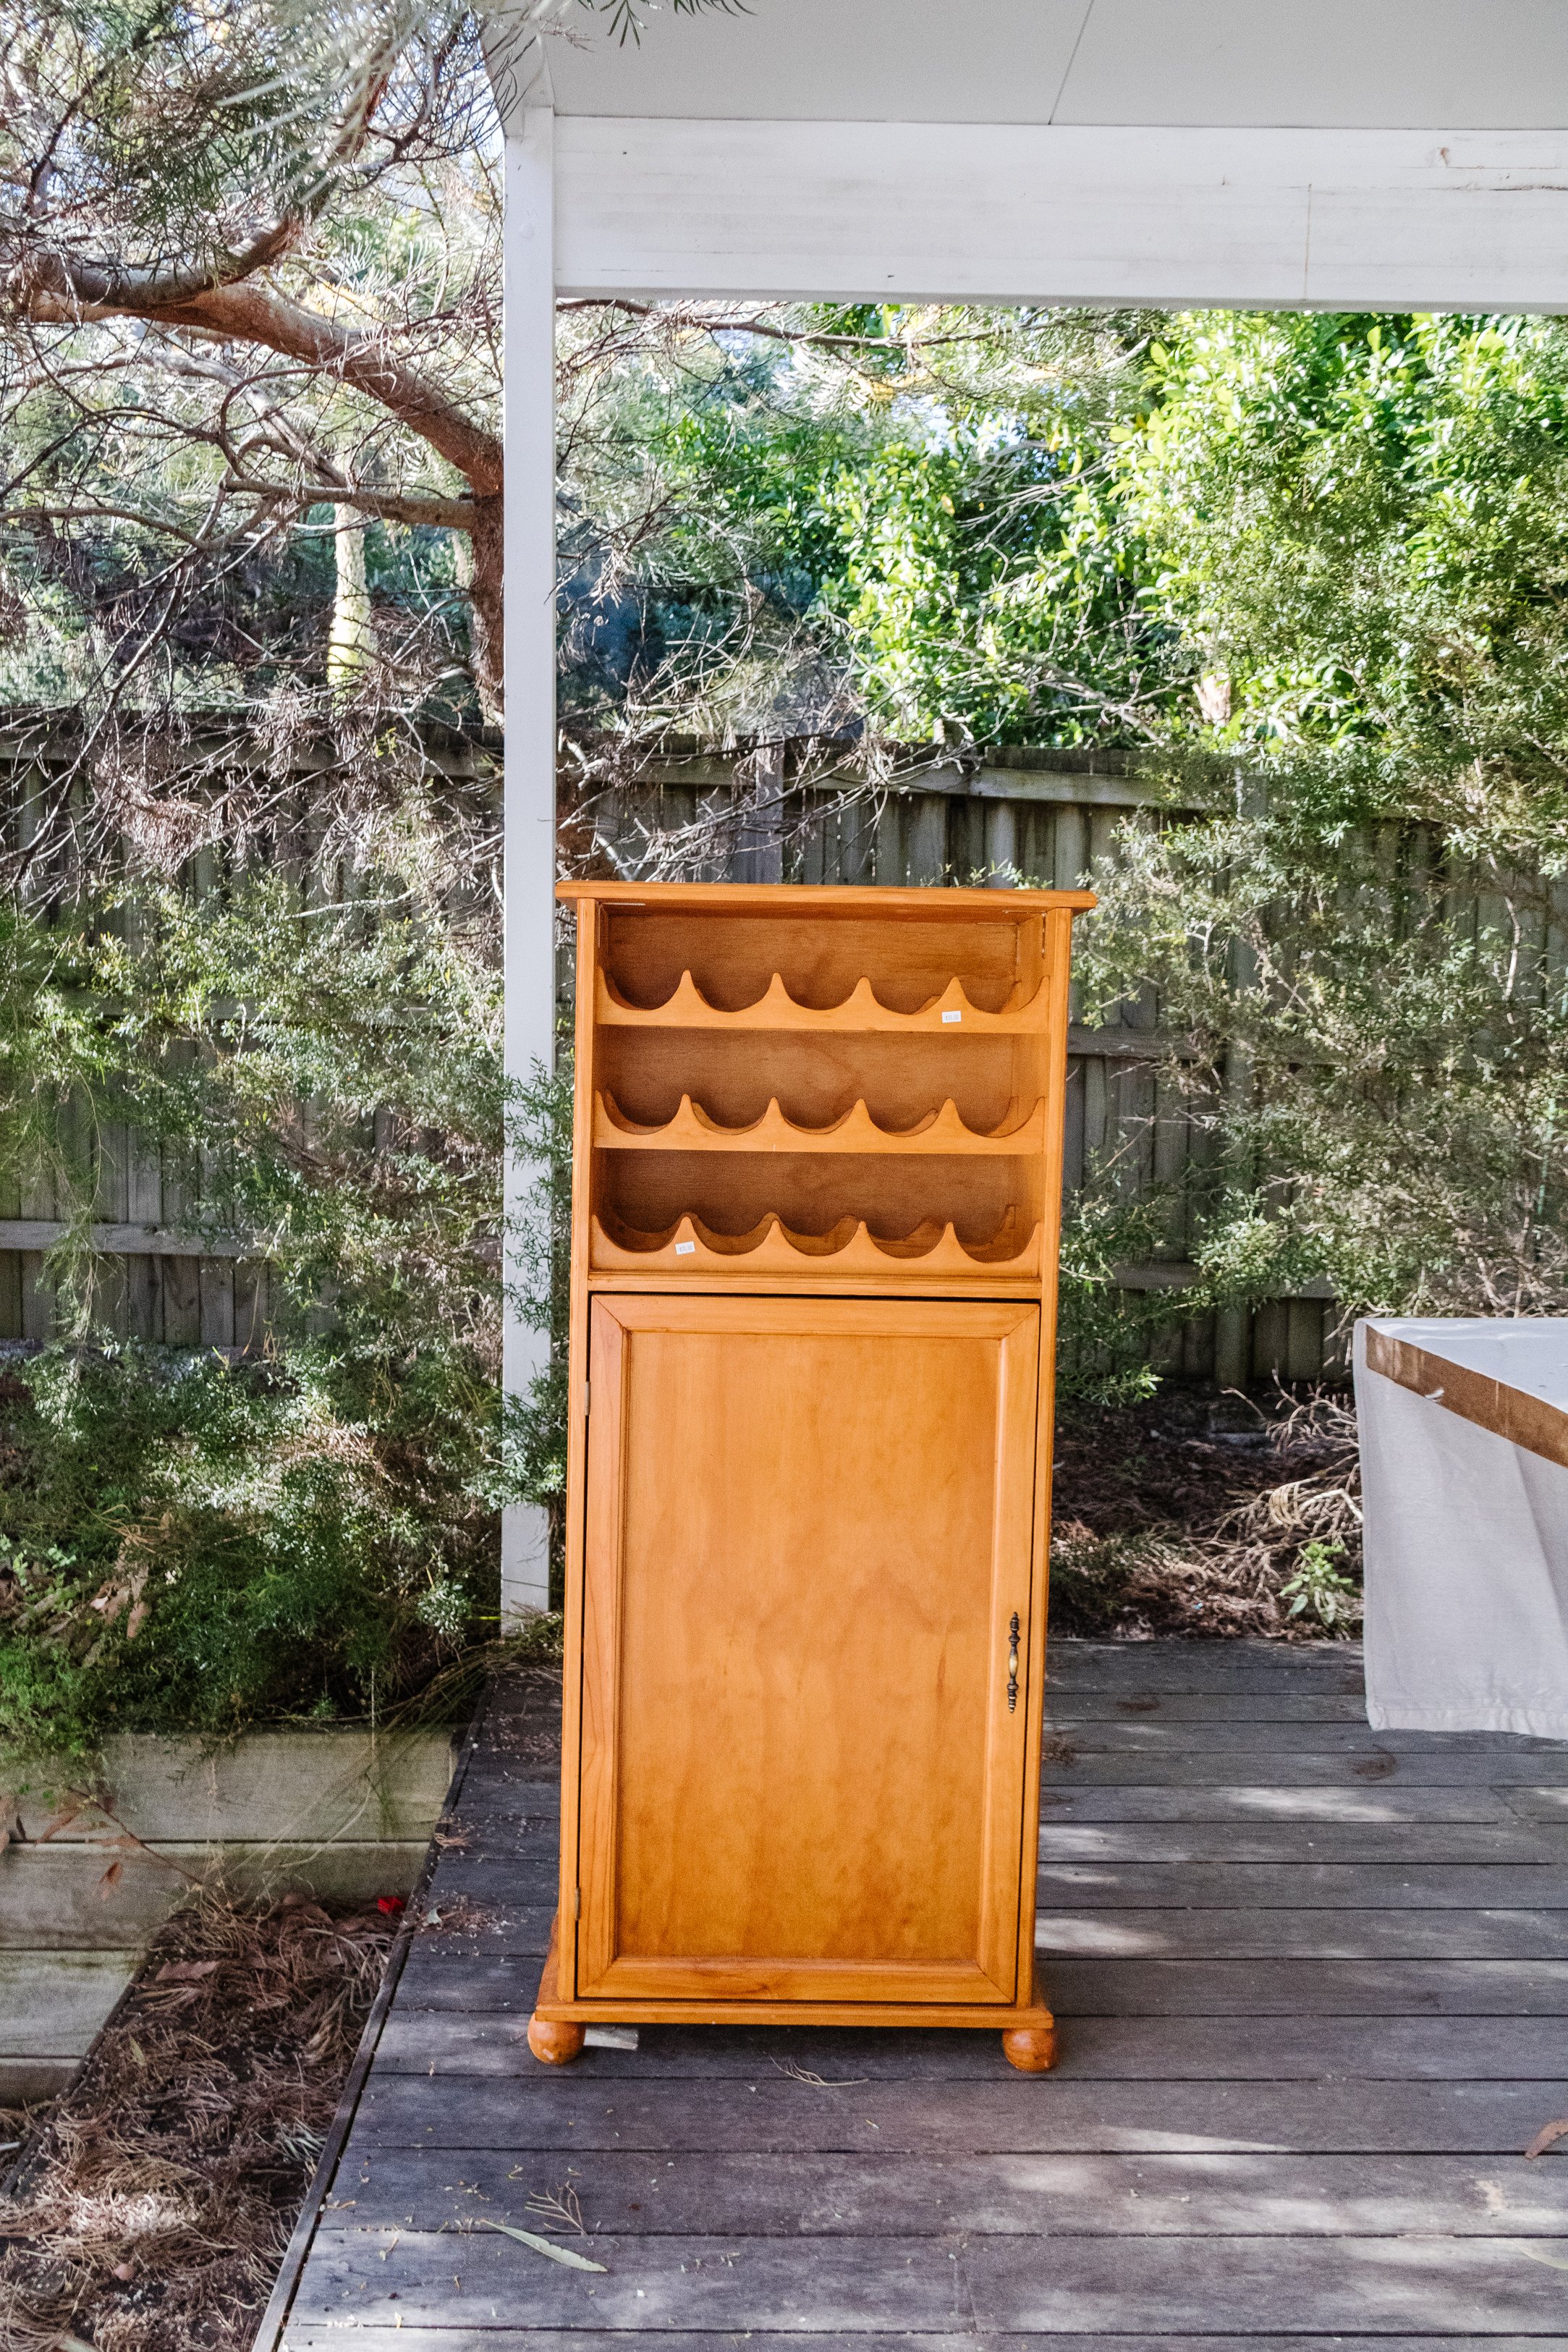
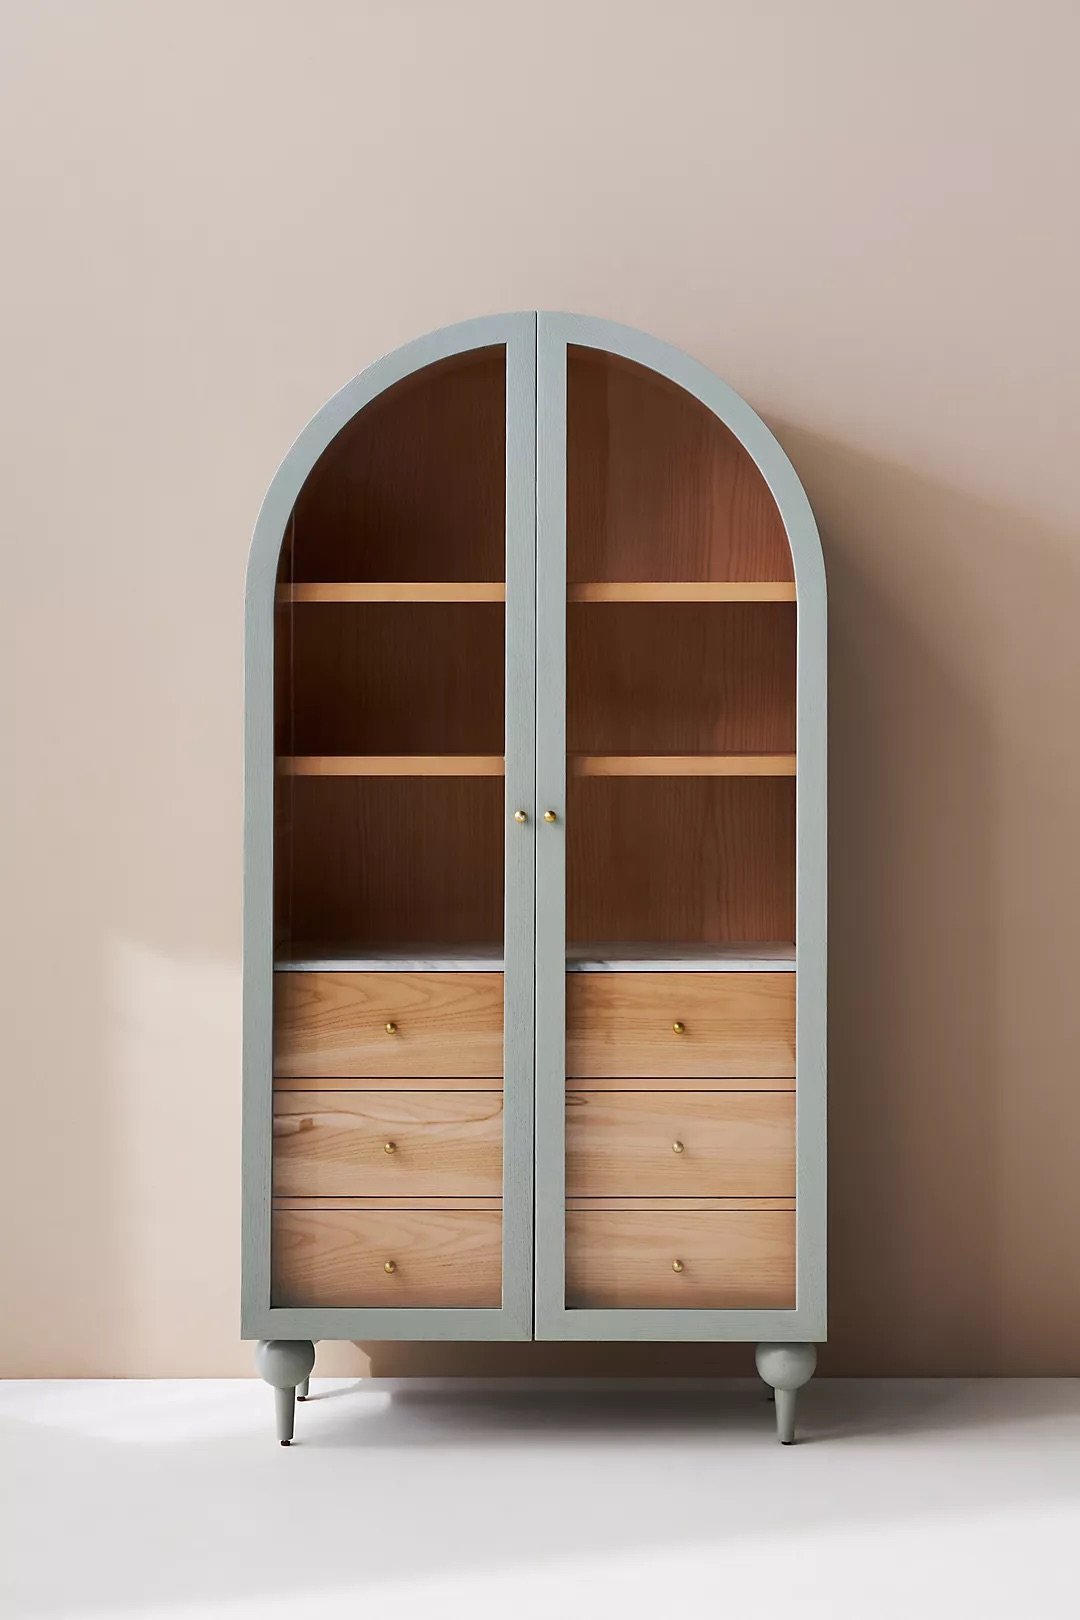
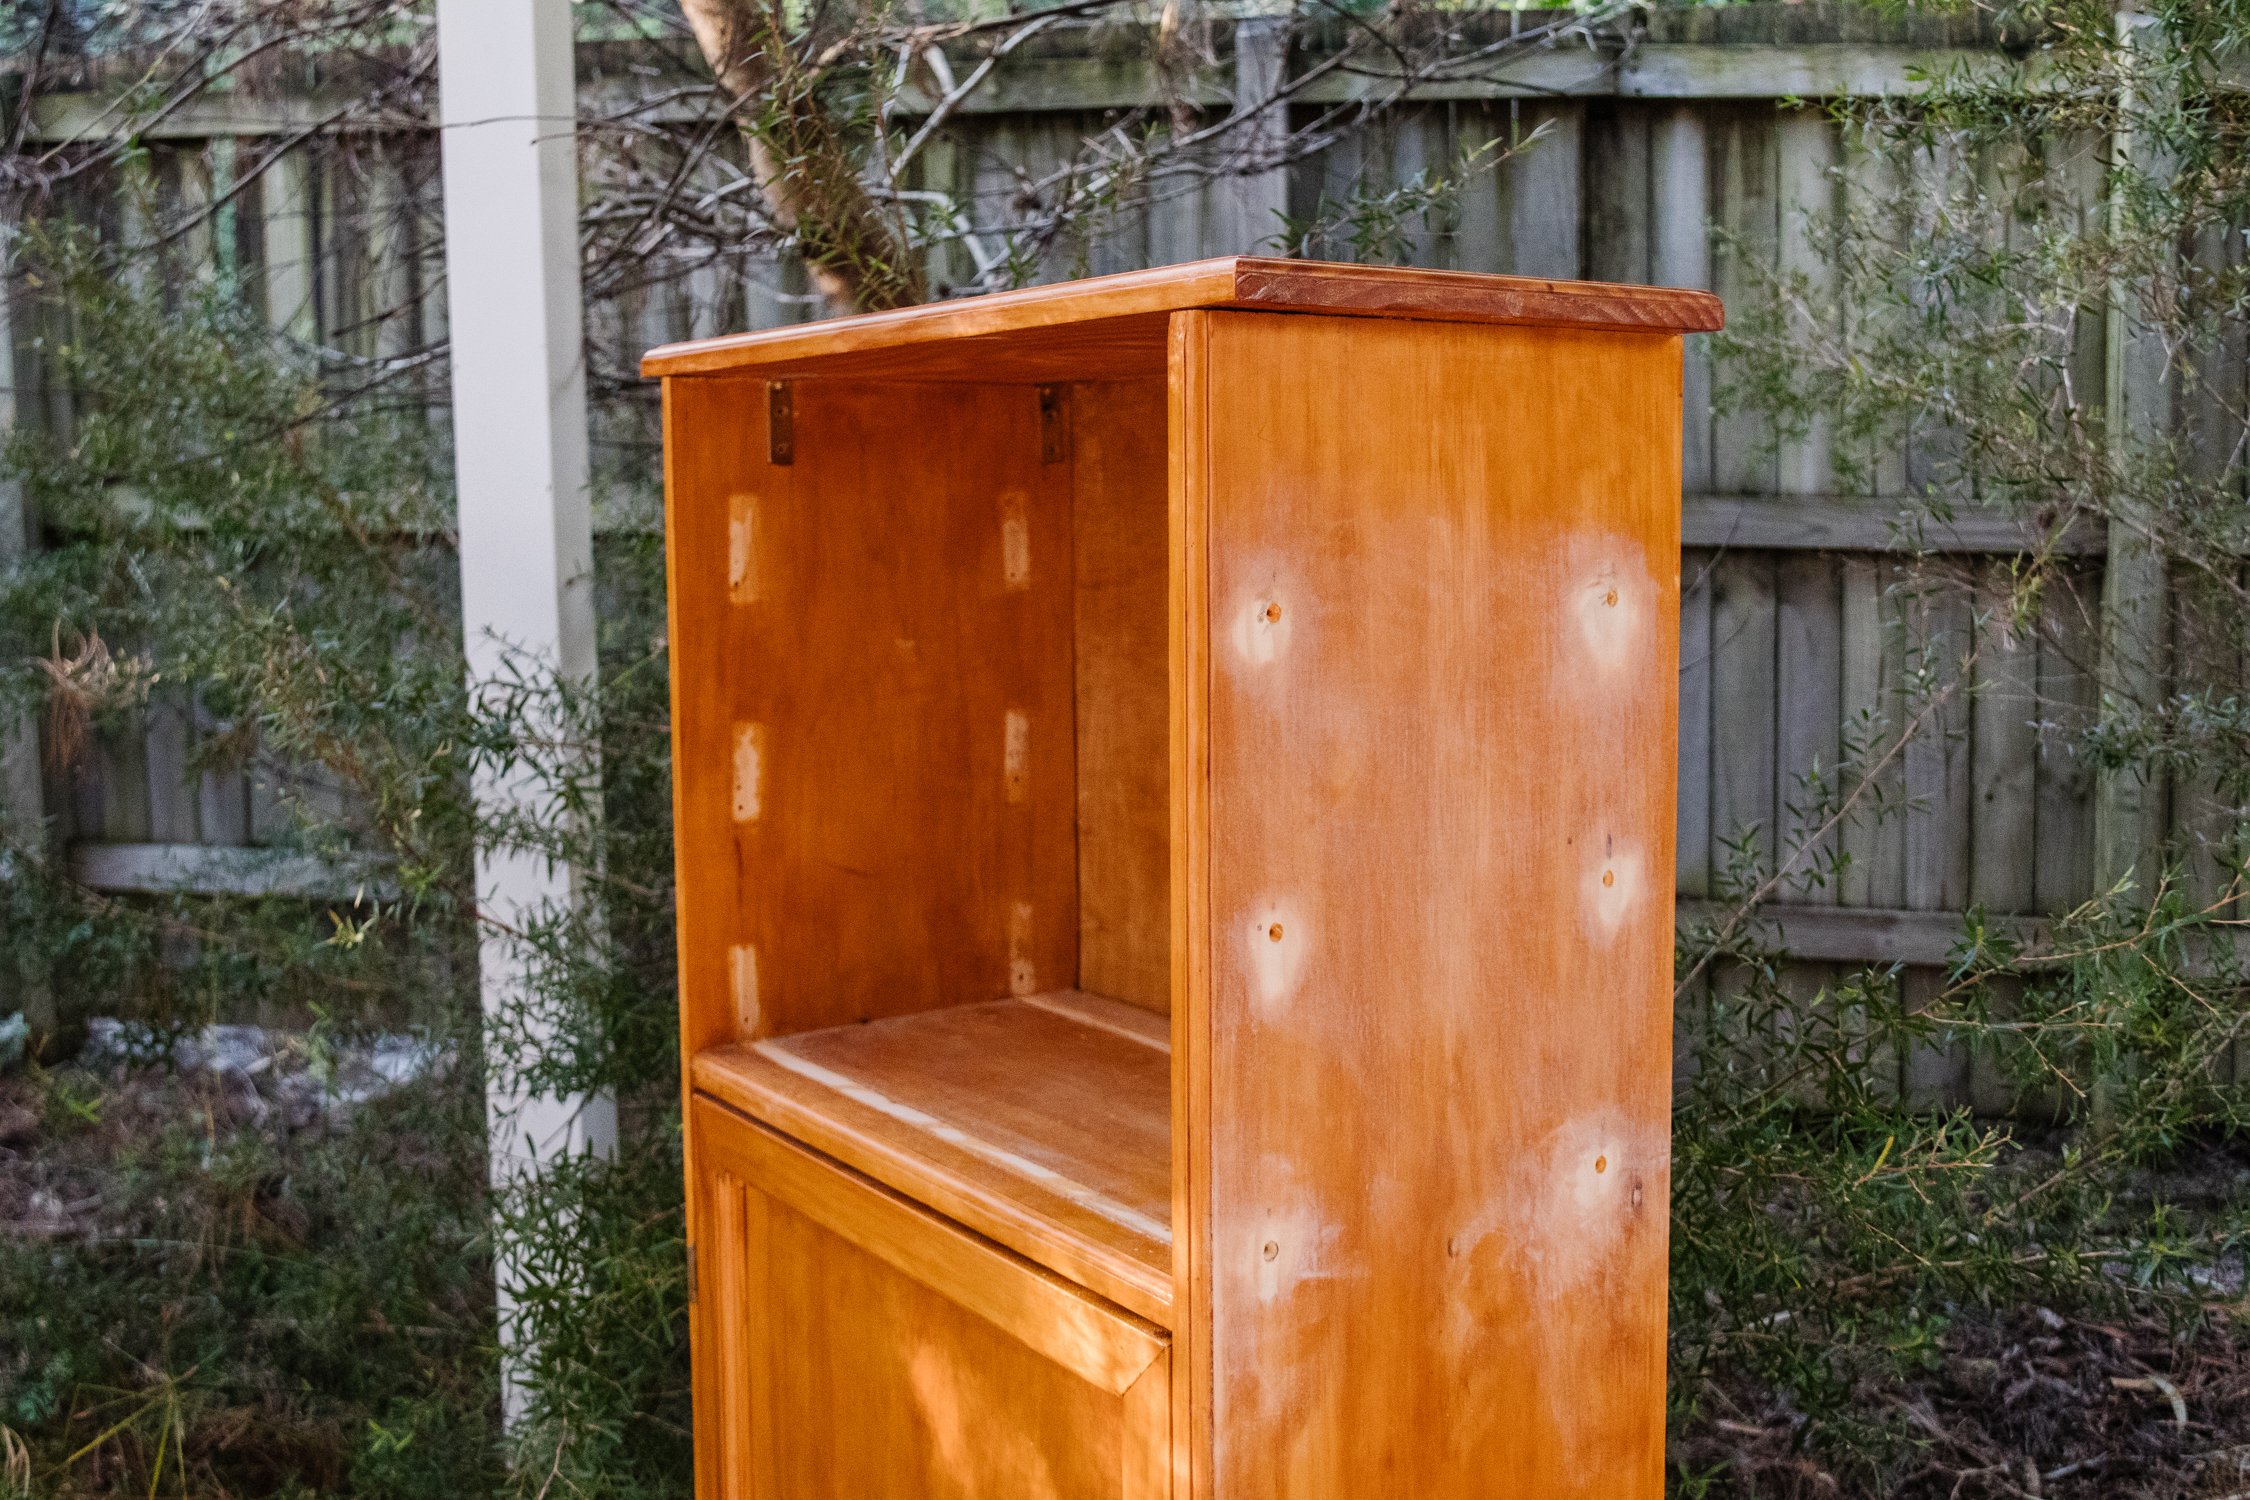
When someone left me a comment on TikTok asking me to make an upcycled version of the Fern Cabinet by Anthropologie, I jumped at the chance - challenge accepted. I spent a good couple of weeks looking for a secondhand cabinet or bookshelf to upcycle, and then I happened to stumble across the most incredible wine cabinet. It’s definitely not what I had in mind, but I couldn’t resist the ball feet or the wavy bottle racks.
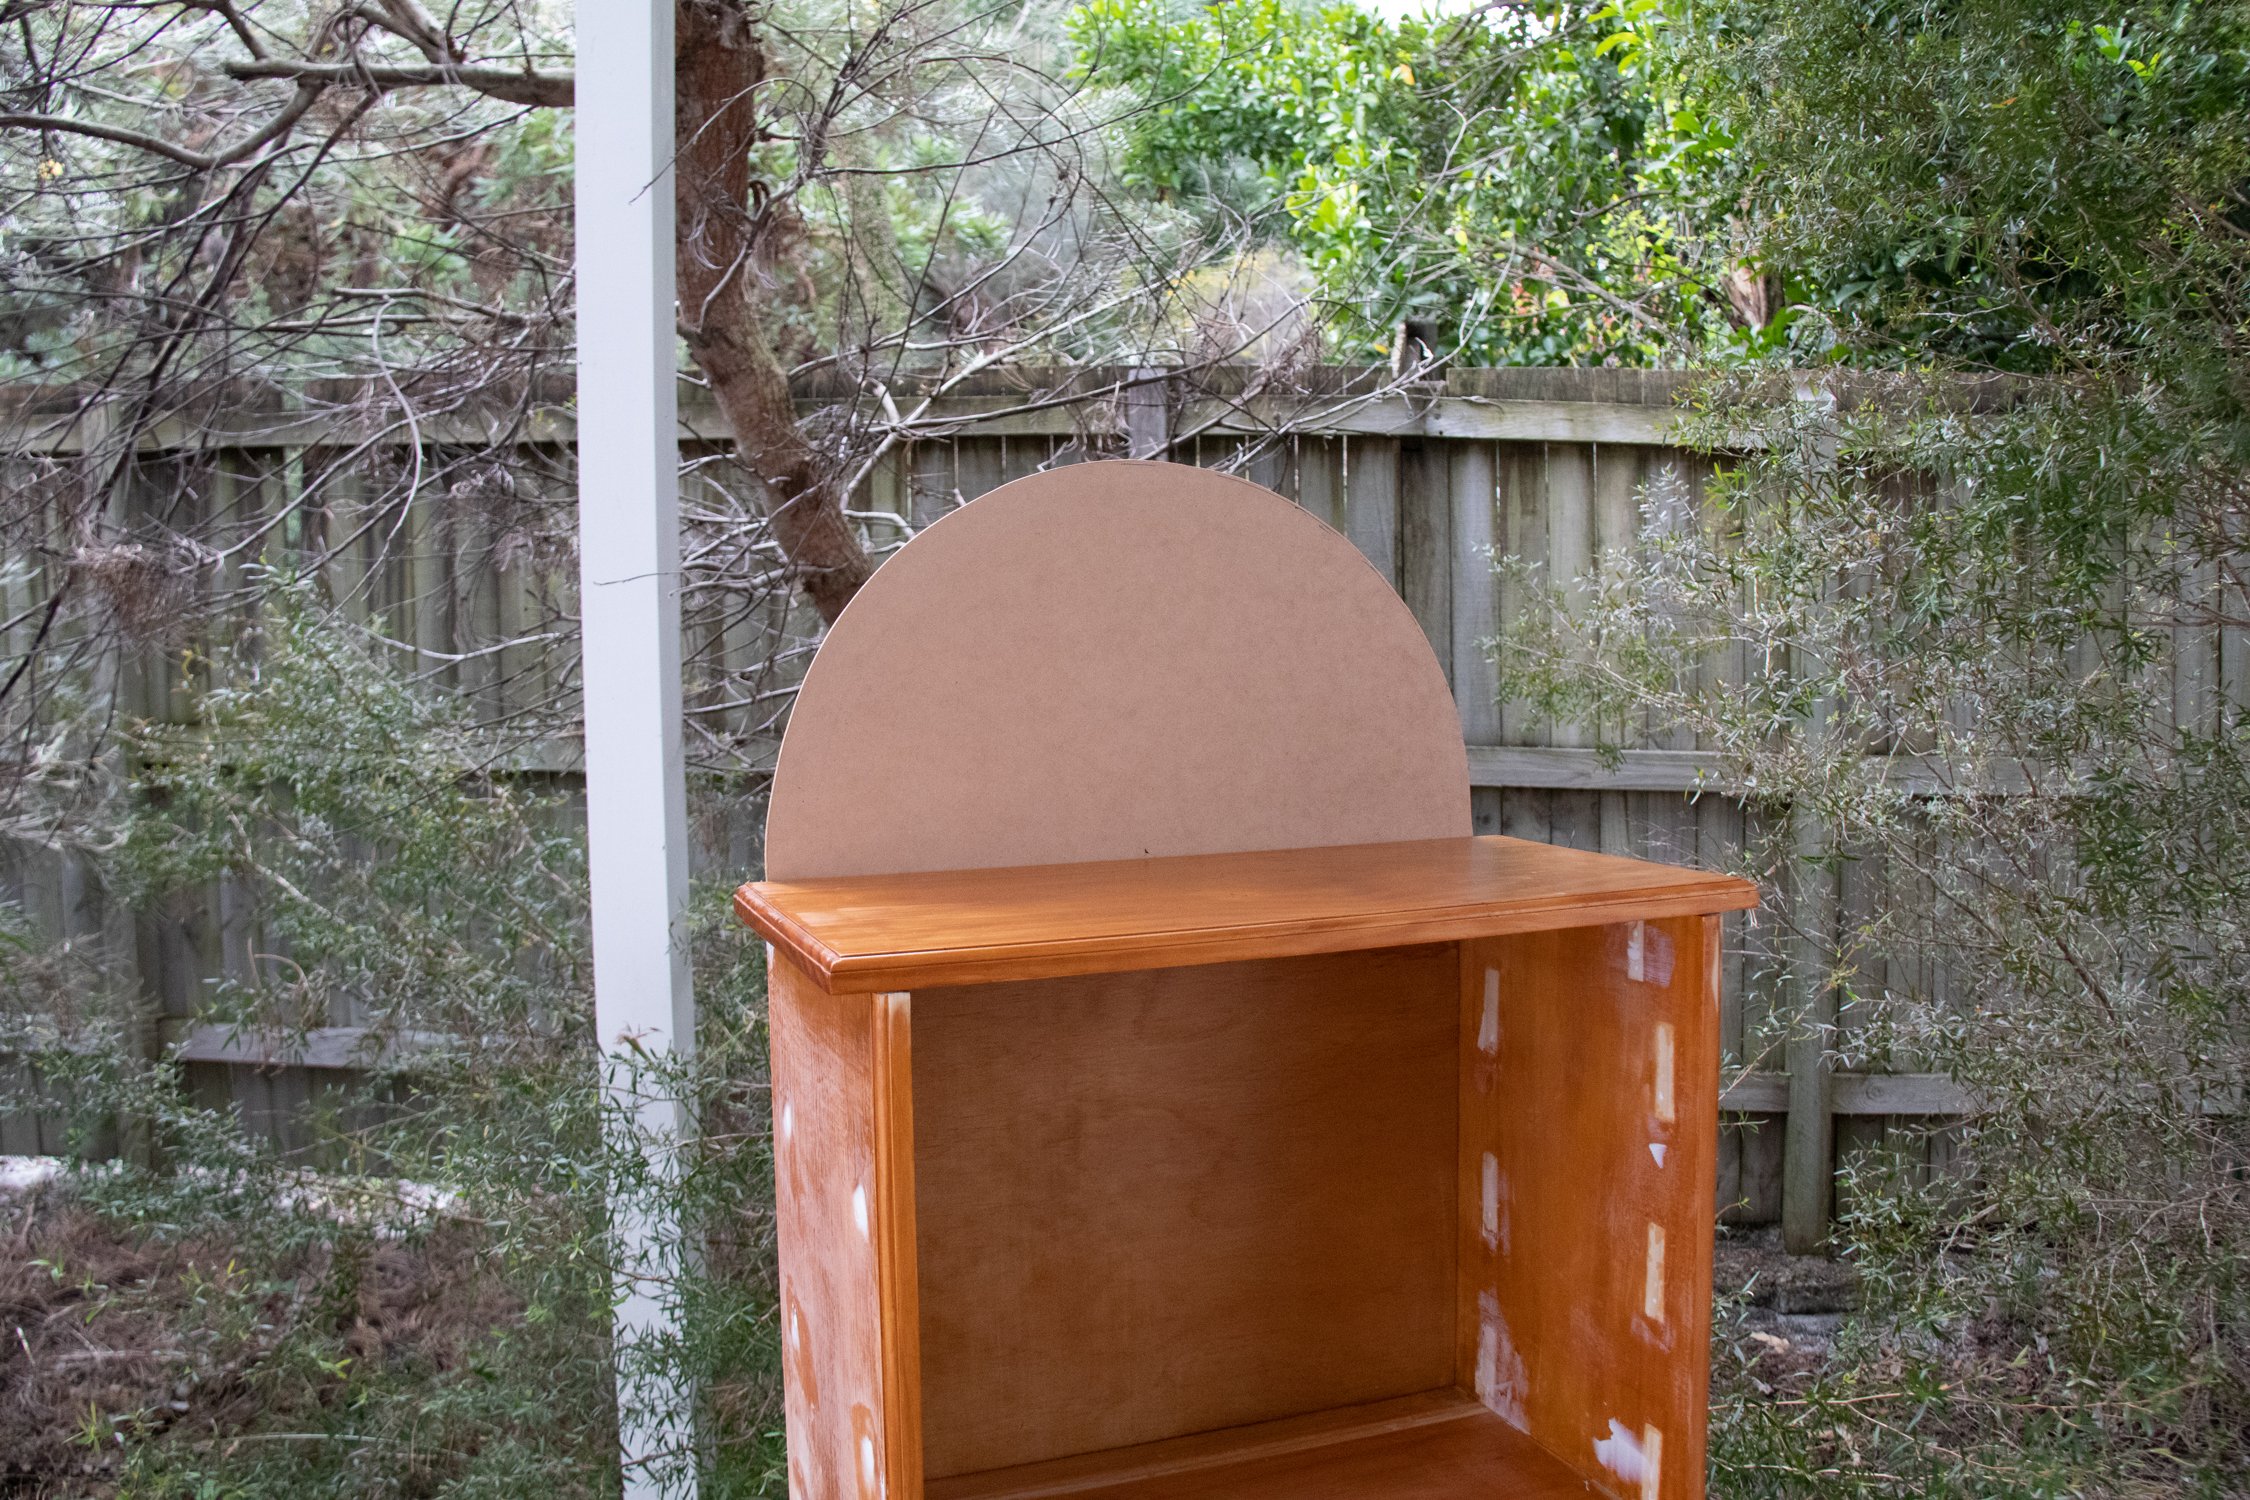
Unfortunately I came unstuck trying to make the arch, so instead of throwing the towel in, I decided to improvise because I knew the cabinet had so much potential. And I couldn’t be happier with the end result! Read on to learn how you can make your own Upcycled Arched Cabinet. I have also included some extra tips and tricks for sourcing the perfect piece of secondhand furniture for this project as I know you won’t find exactly what I used!
And to see how this Upcycled Arched Cabinet came together, make sure you check out this video!
Before & After


Materials
Secondhand cabinet or bookshelf/bookcase with a flat top
Drop sheet or an old cotton sheet
Microfibre paint roller and paint brush
White primer paint or Zinsser Primer if you’re furniture is made from laminate
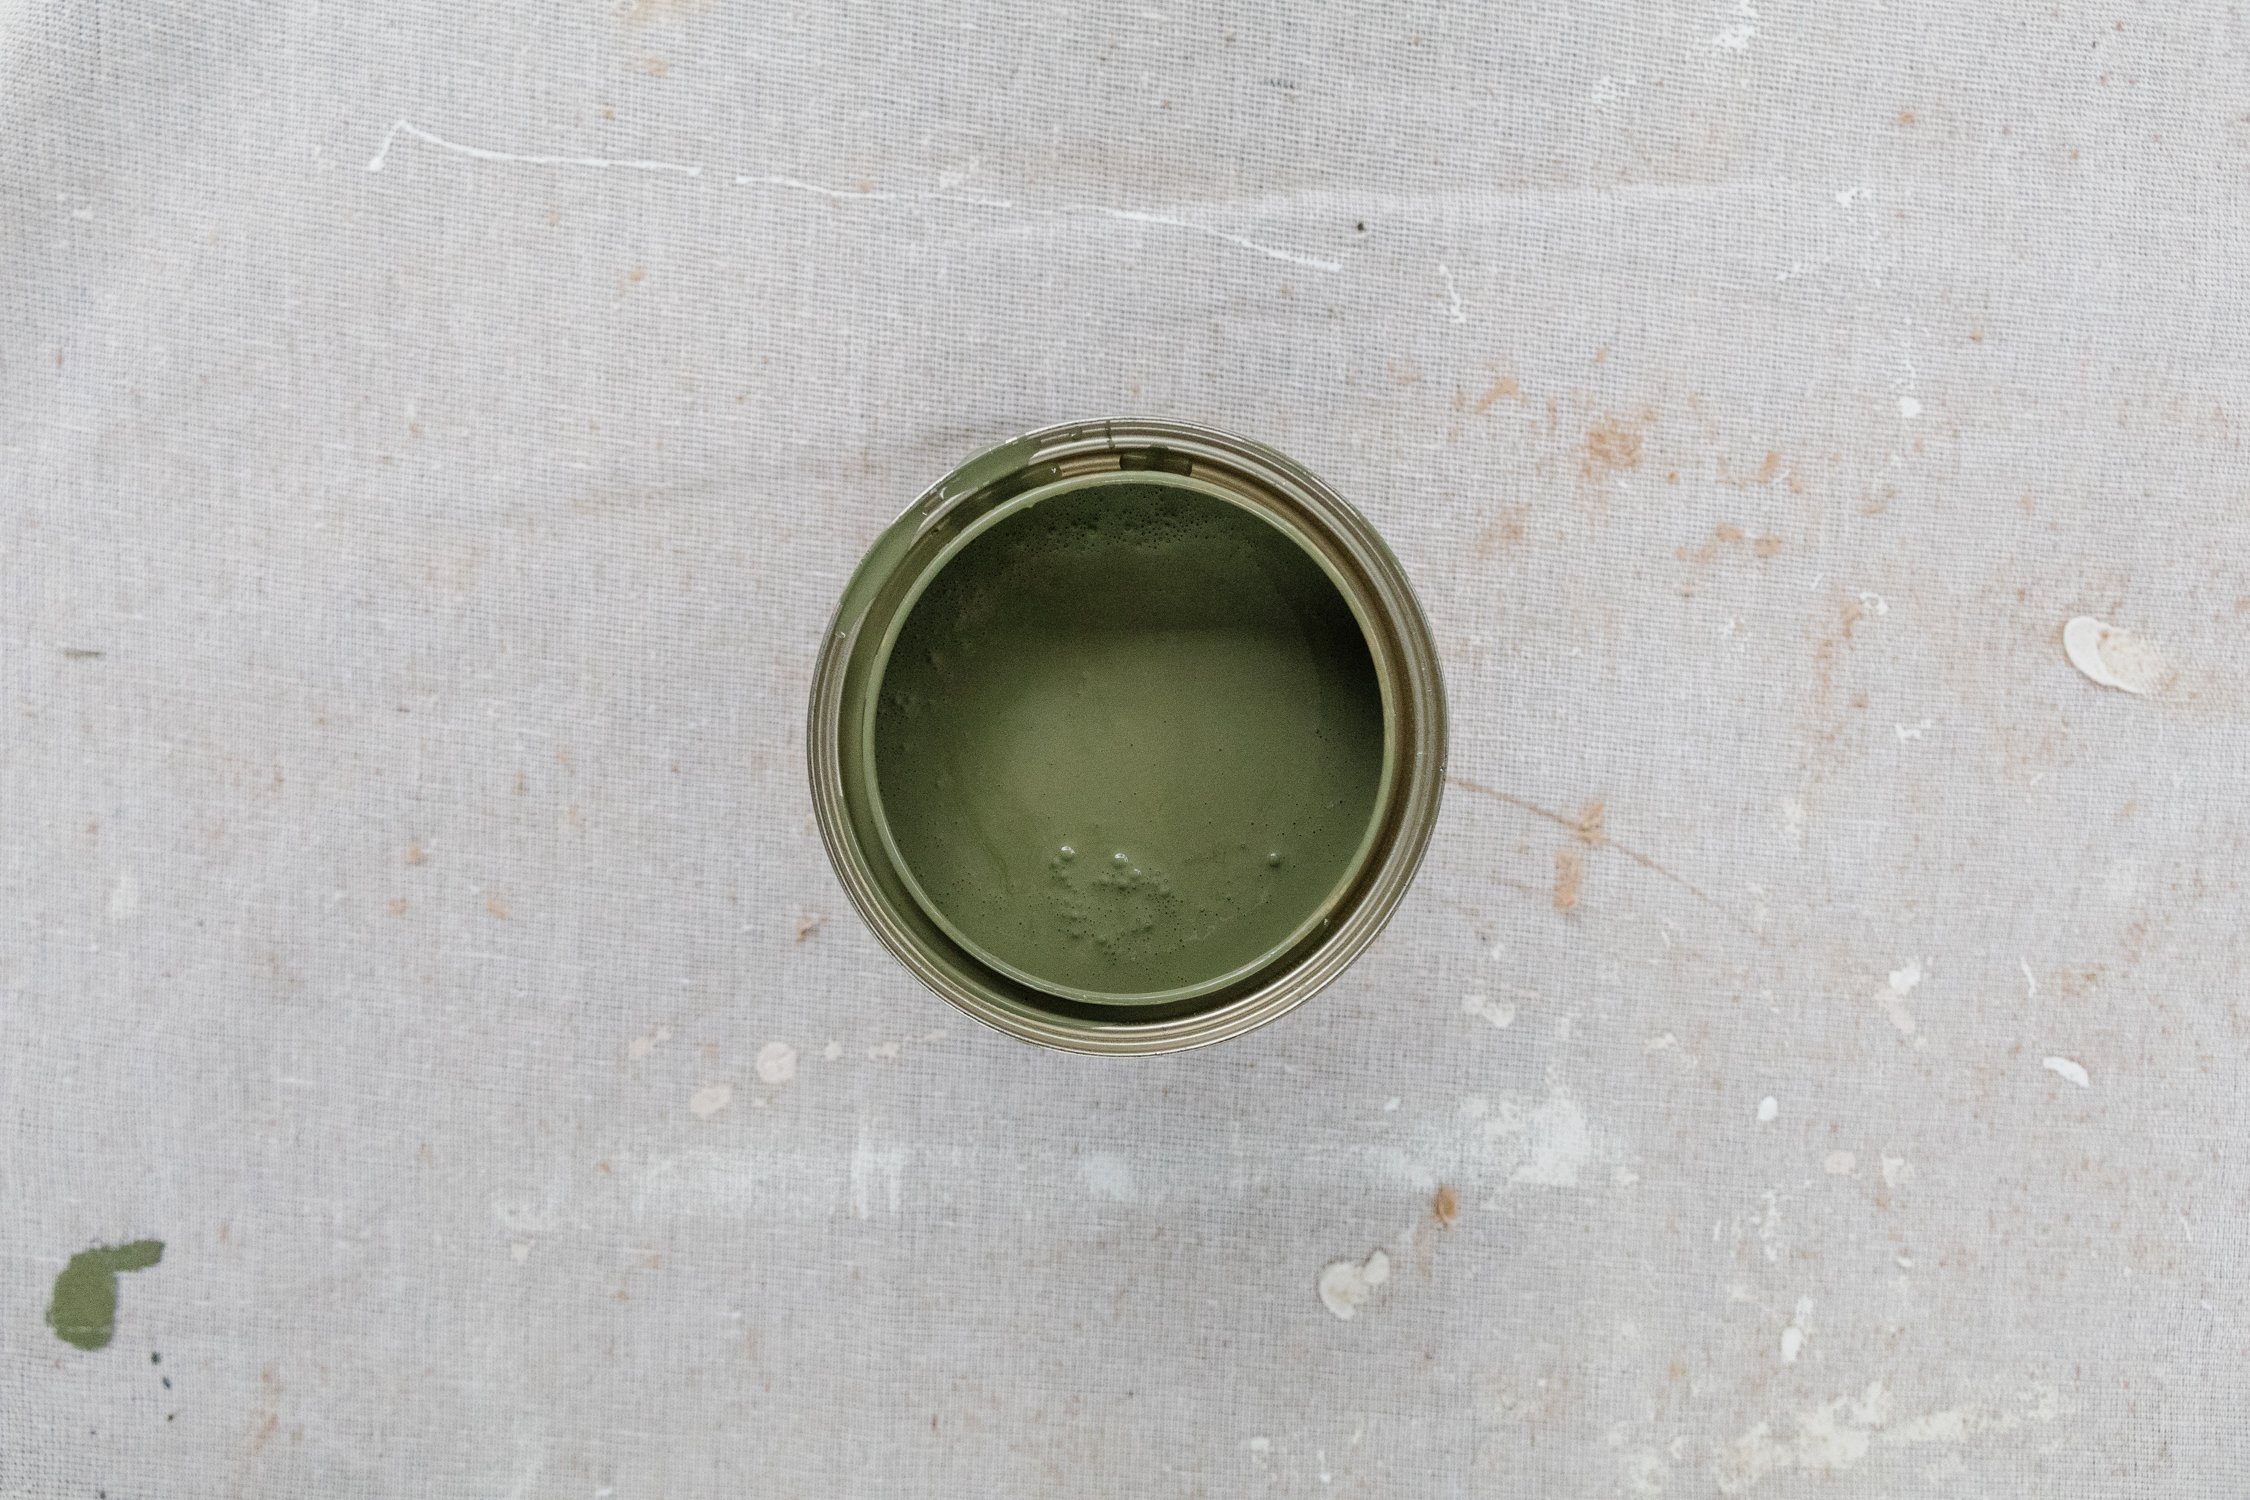
Dulux semi-gloss enamel paint in “Flinders Green” or your own colour/finish paint of choice
Project Tips
For this project, you’ll need to source a secondhand a tall bookshelf or a tall cabinet with or without doors.
Most importantly, the top of your bookshelf or cabinet needs to be flat.
If you cabinet has glass doors, that’s totally ok! We’re all about adding an arch on top of the cabinet.
You can add timber feet to the bookshelf or cabinet, and Bunnings has a great range. I am a fan of these ones.
If your cabinet or bookshelf is made with laminate, I recommend using Zinsser Primer Sealer Blocker instead of white primer paint.
You can paint your cabinet any colour you like!
Project Details
🕒 Project Time Estimate: 1 hour, not including paint drying time
💰 Materials Cost: Under $50
⚒️ Power Tools: Jigsaw, drill, sander
👷♀️ Skill Level: Beginner to intermediate DIYer
The (Initial) Inspiration

How To
My secondhand cabinet was a little unique, so I started by removing the wavy wine bottle racks using a sander and drill (to remove the existing screws). I filled in the screw holes with multipurpose filler and when it had dried, I lightly sanded the surface of the cabinet.
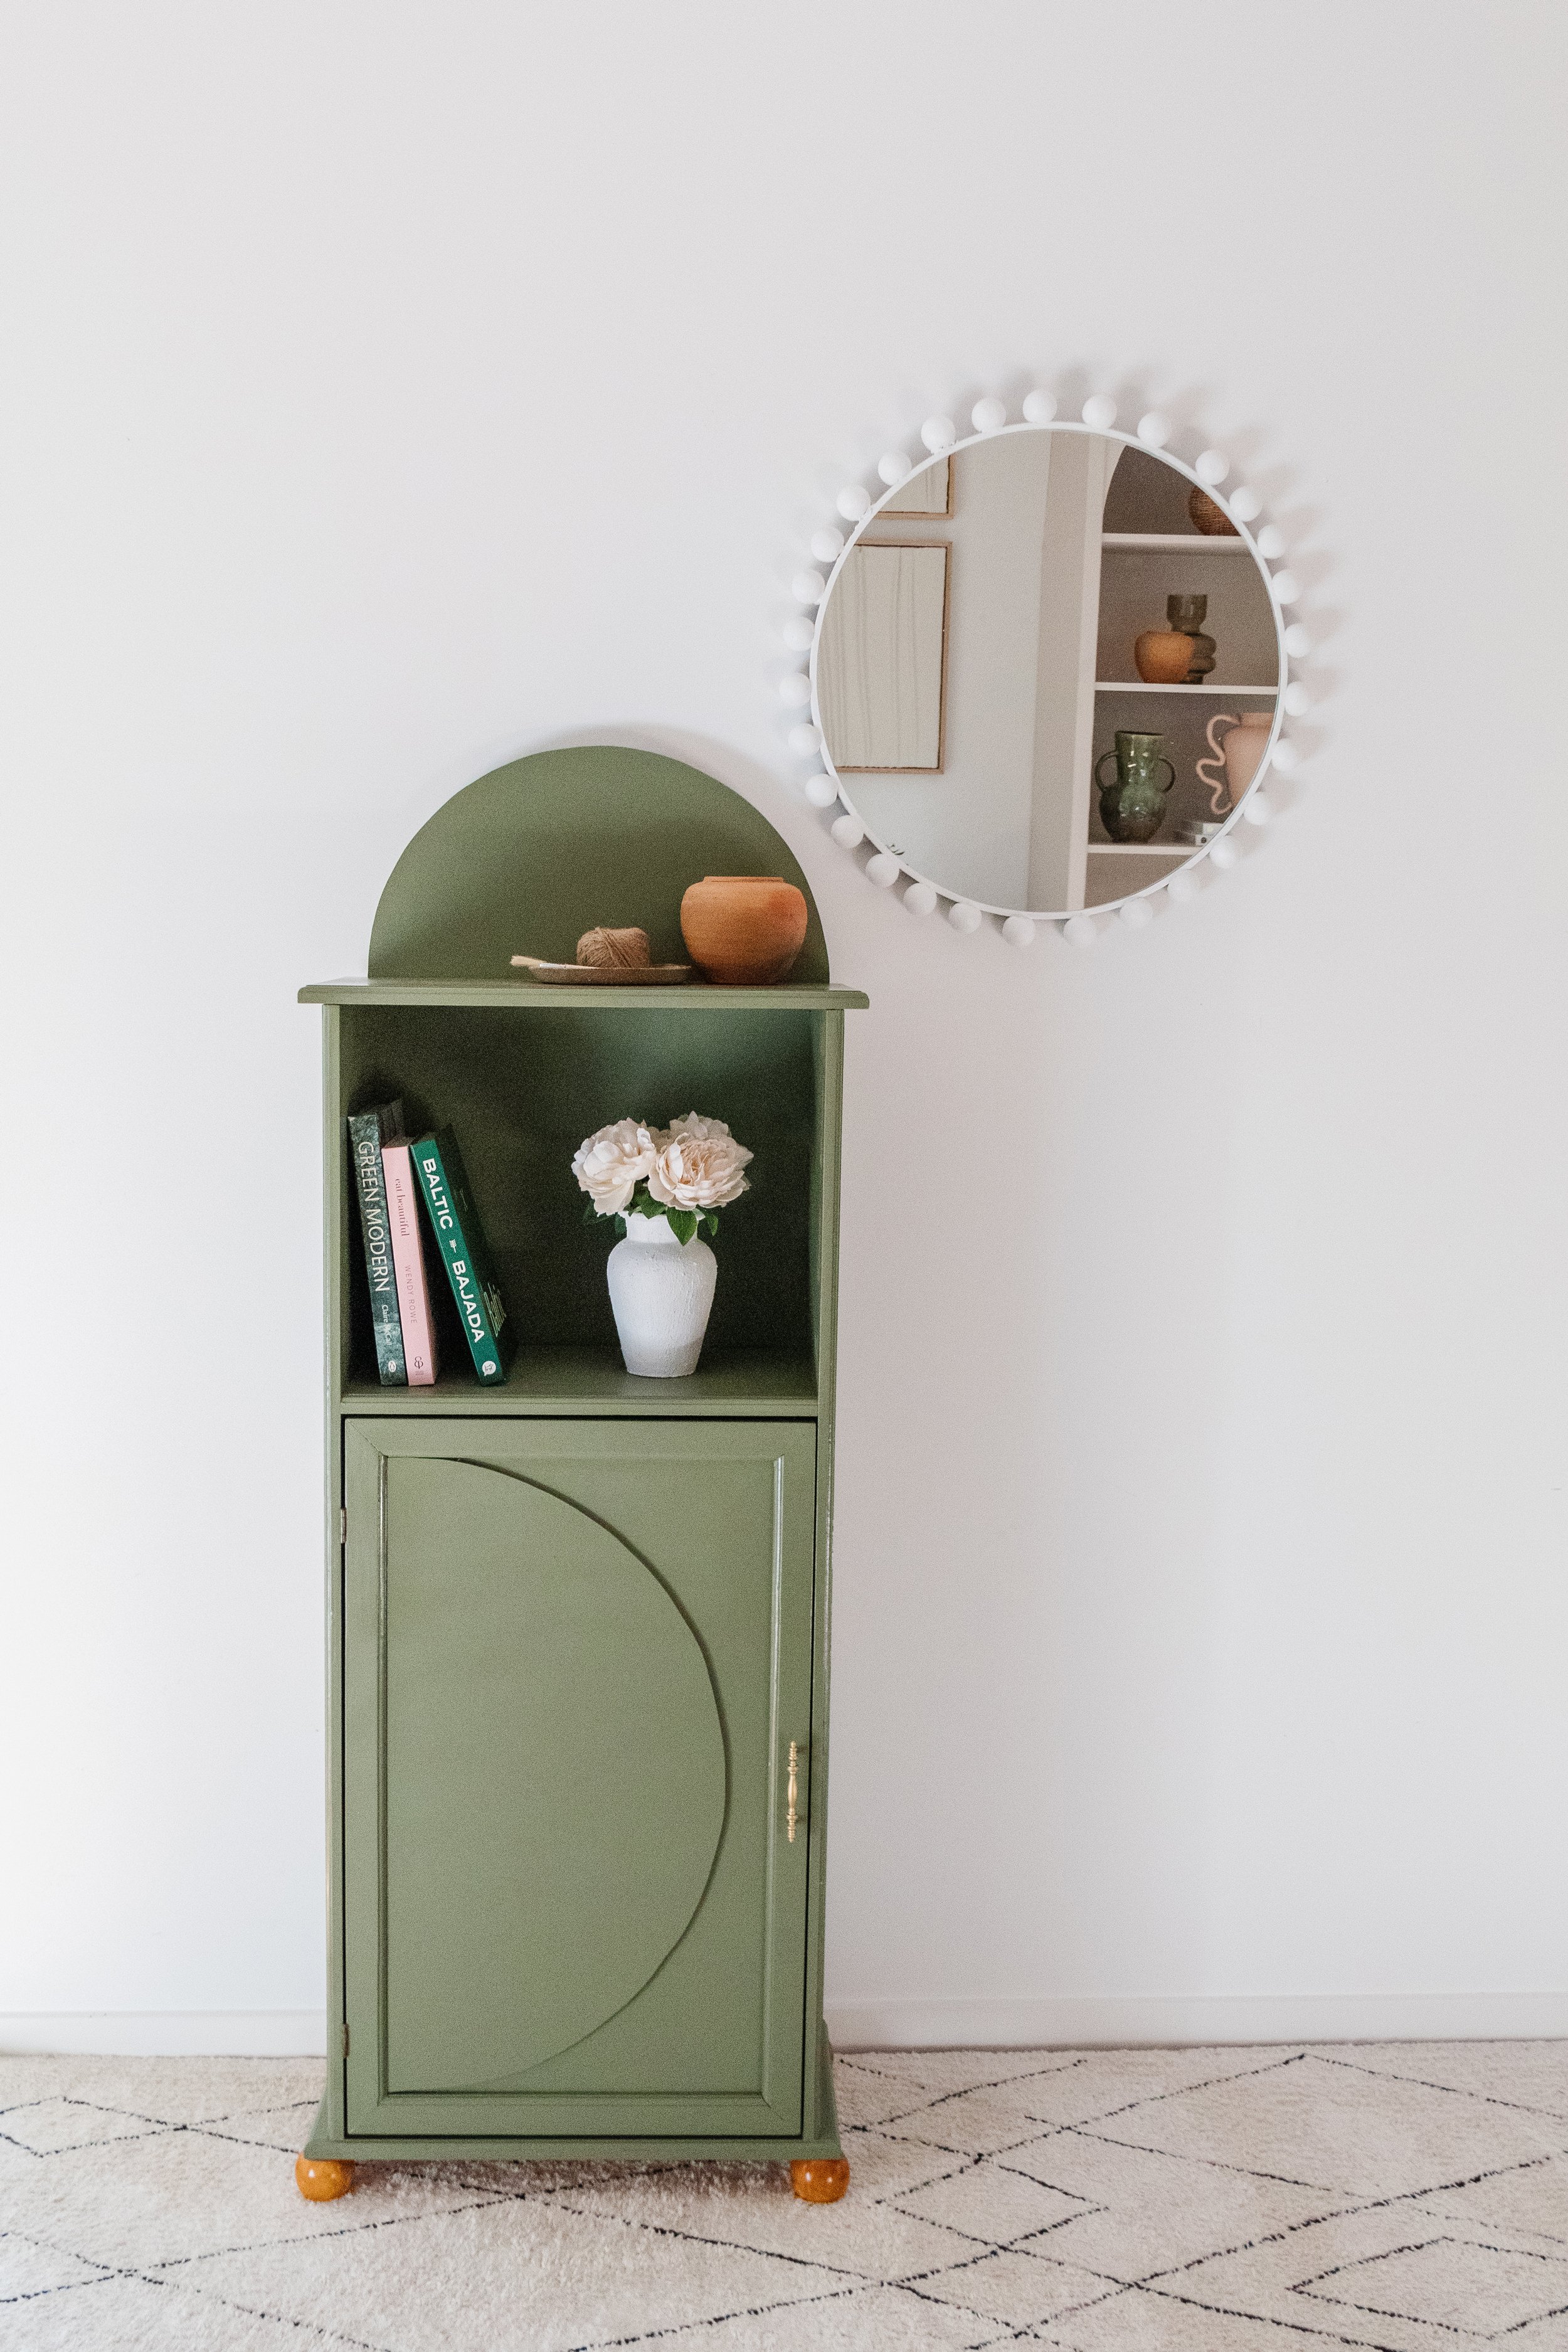
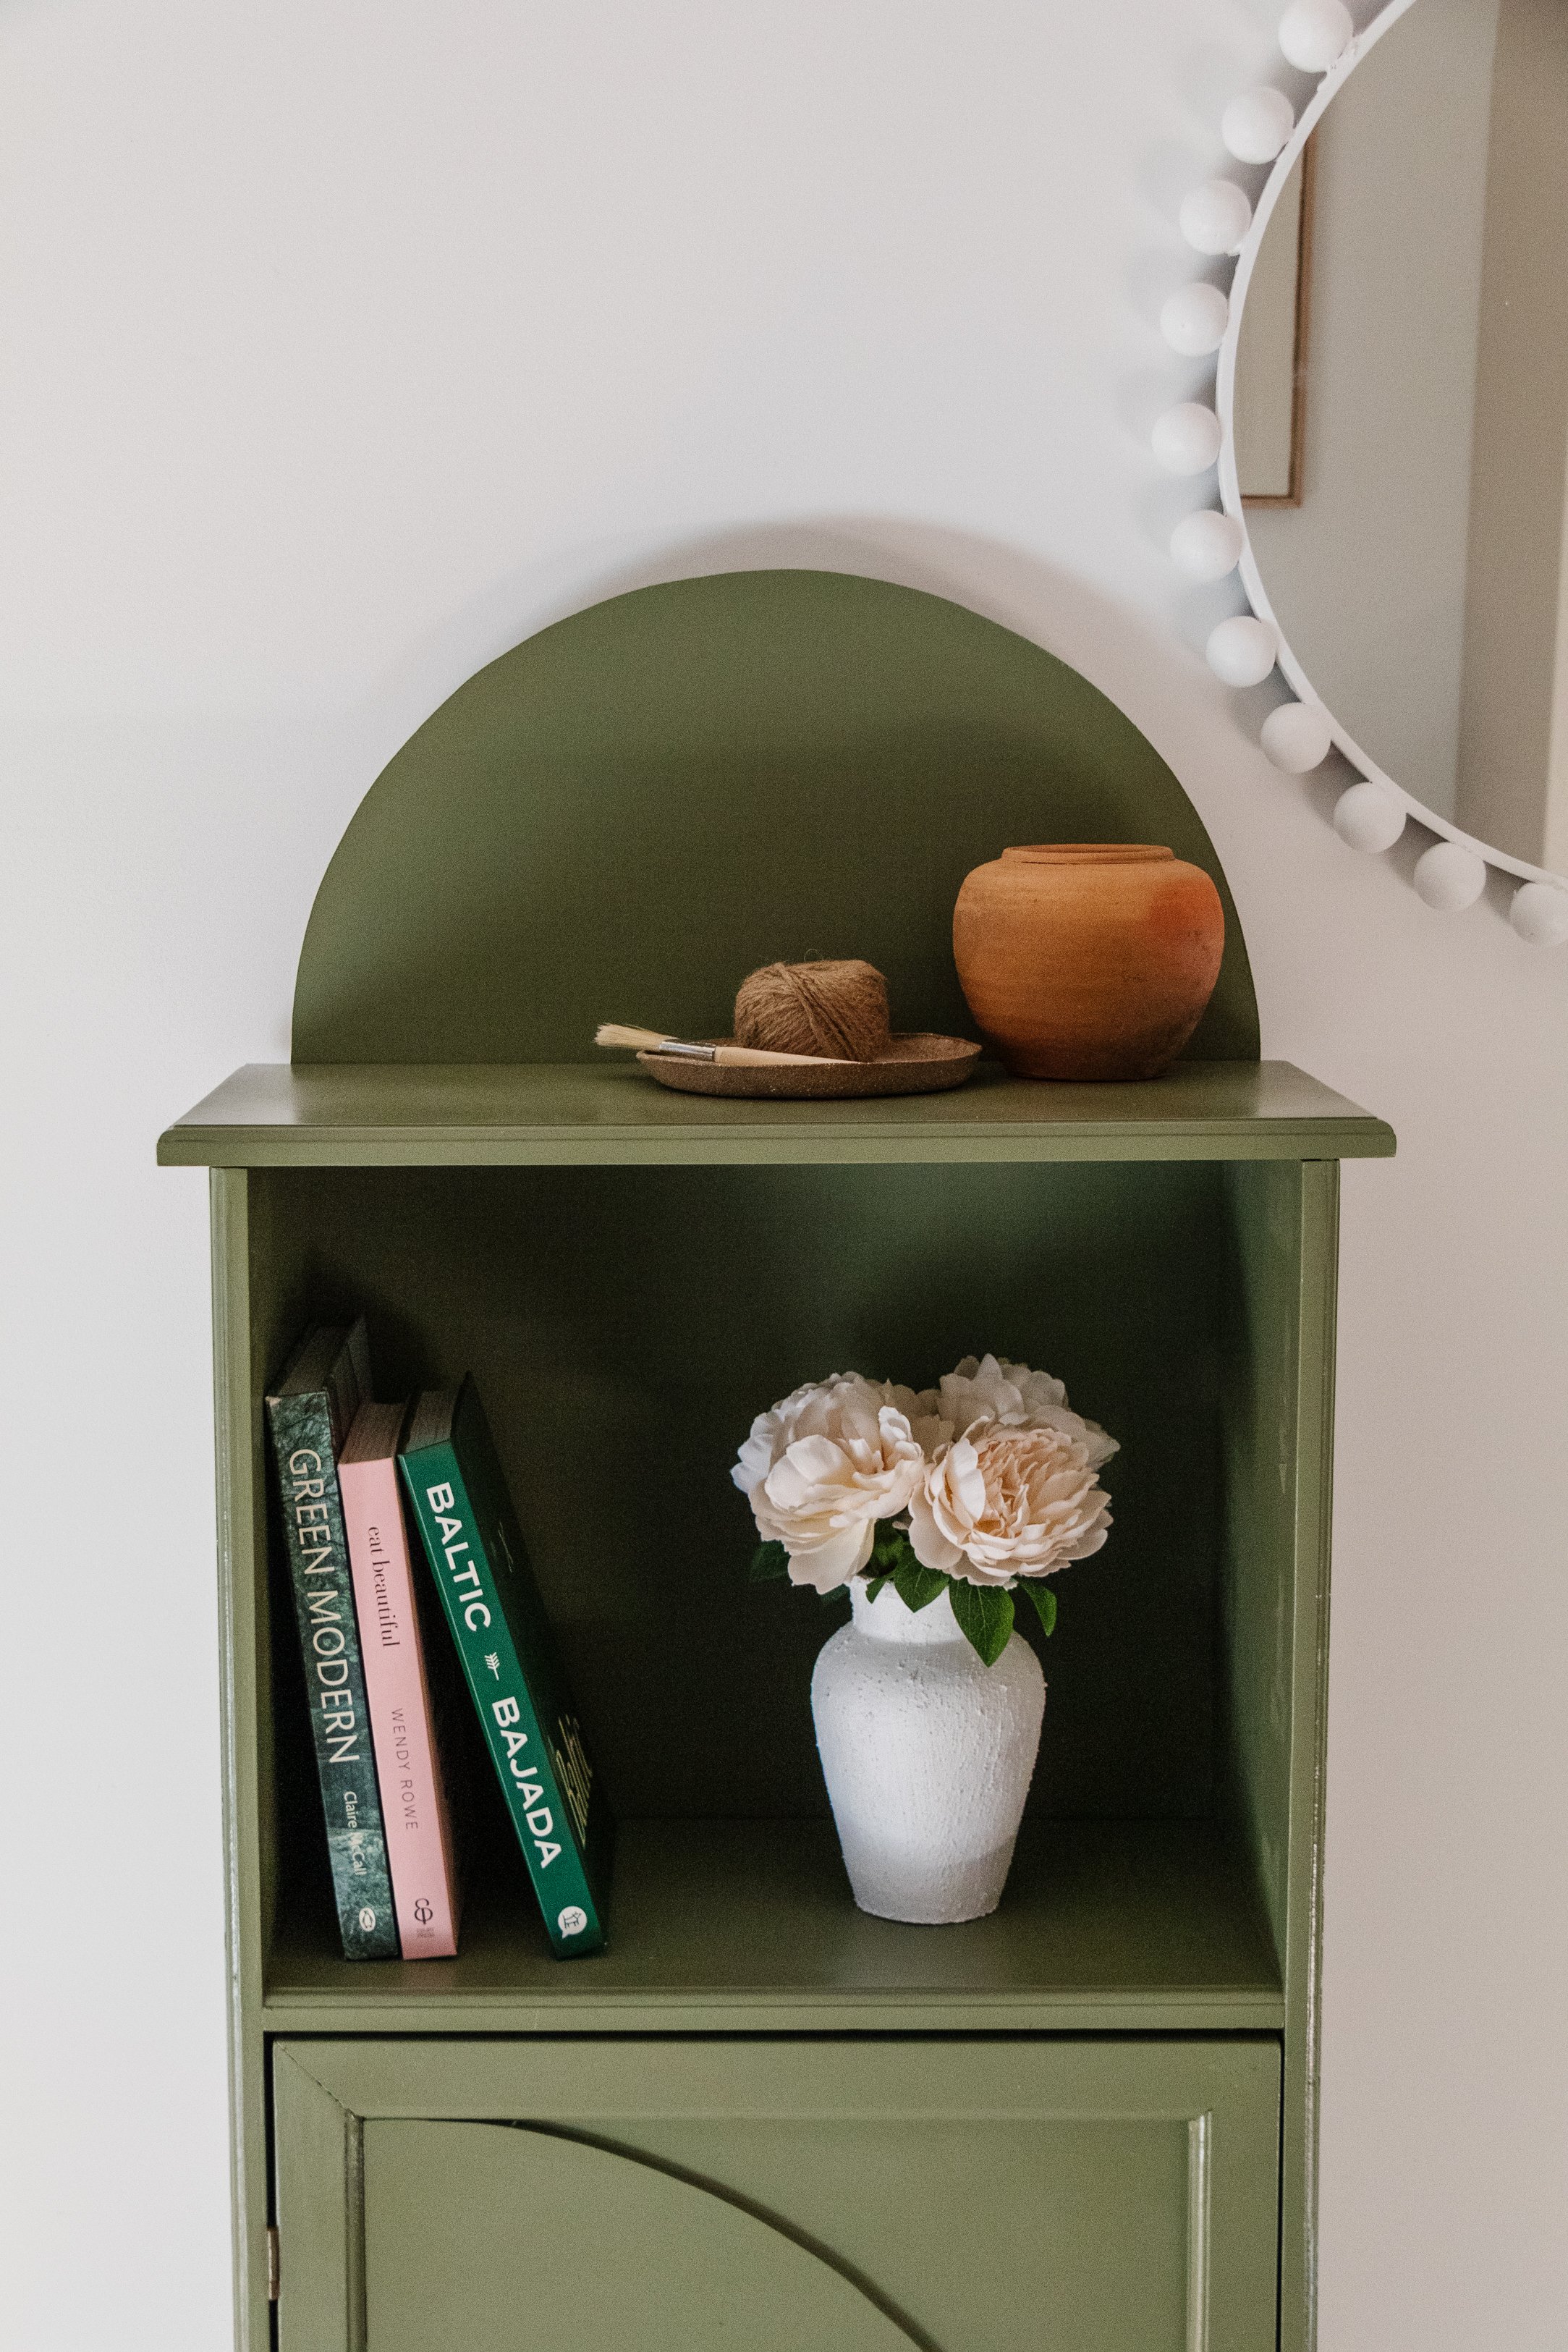
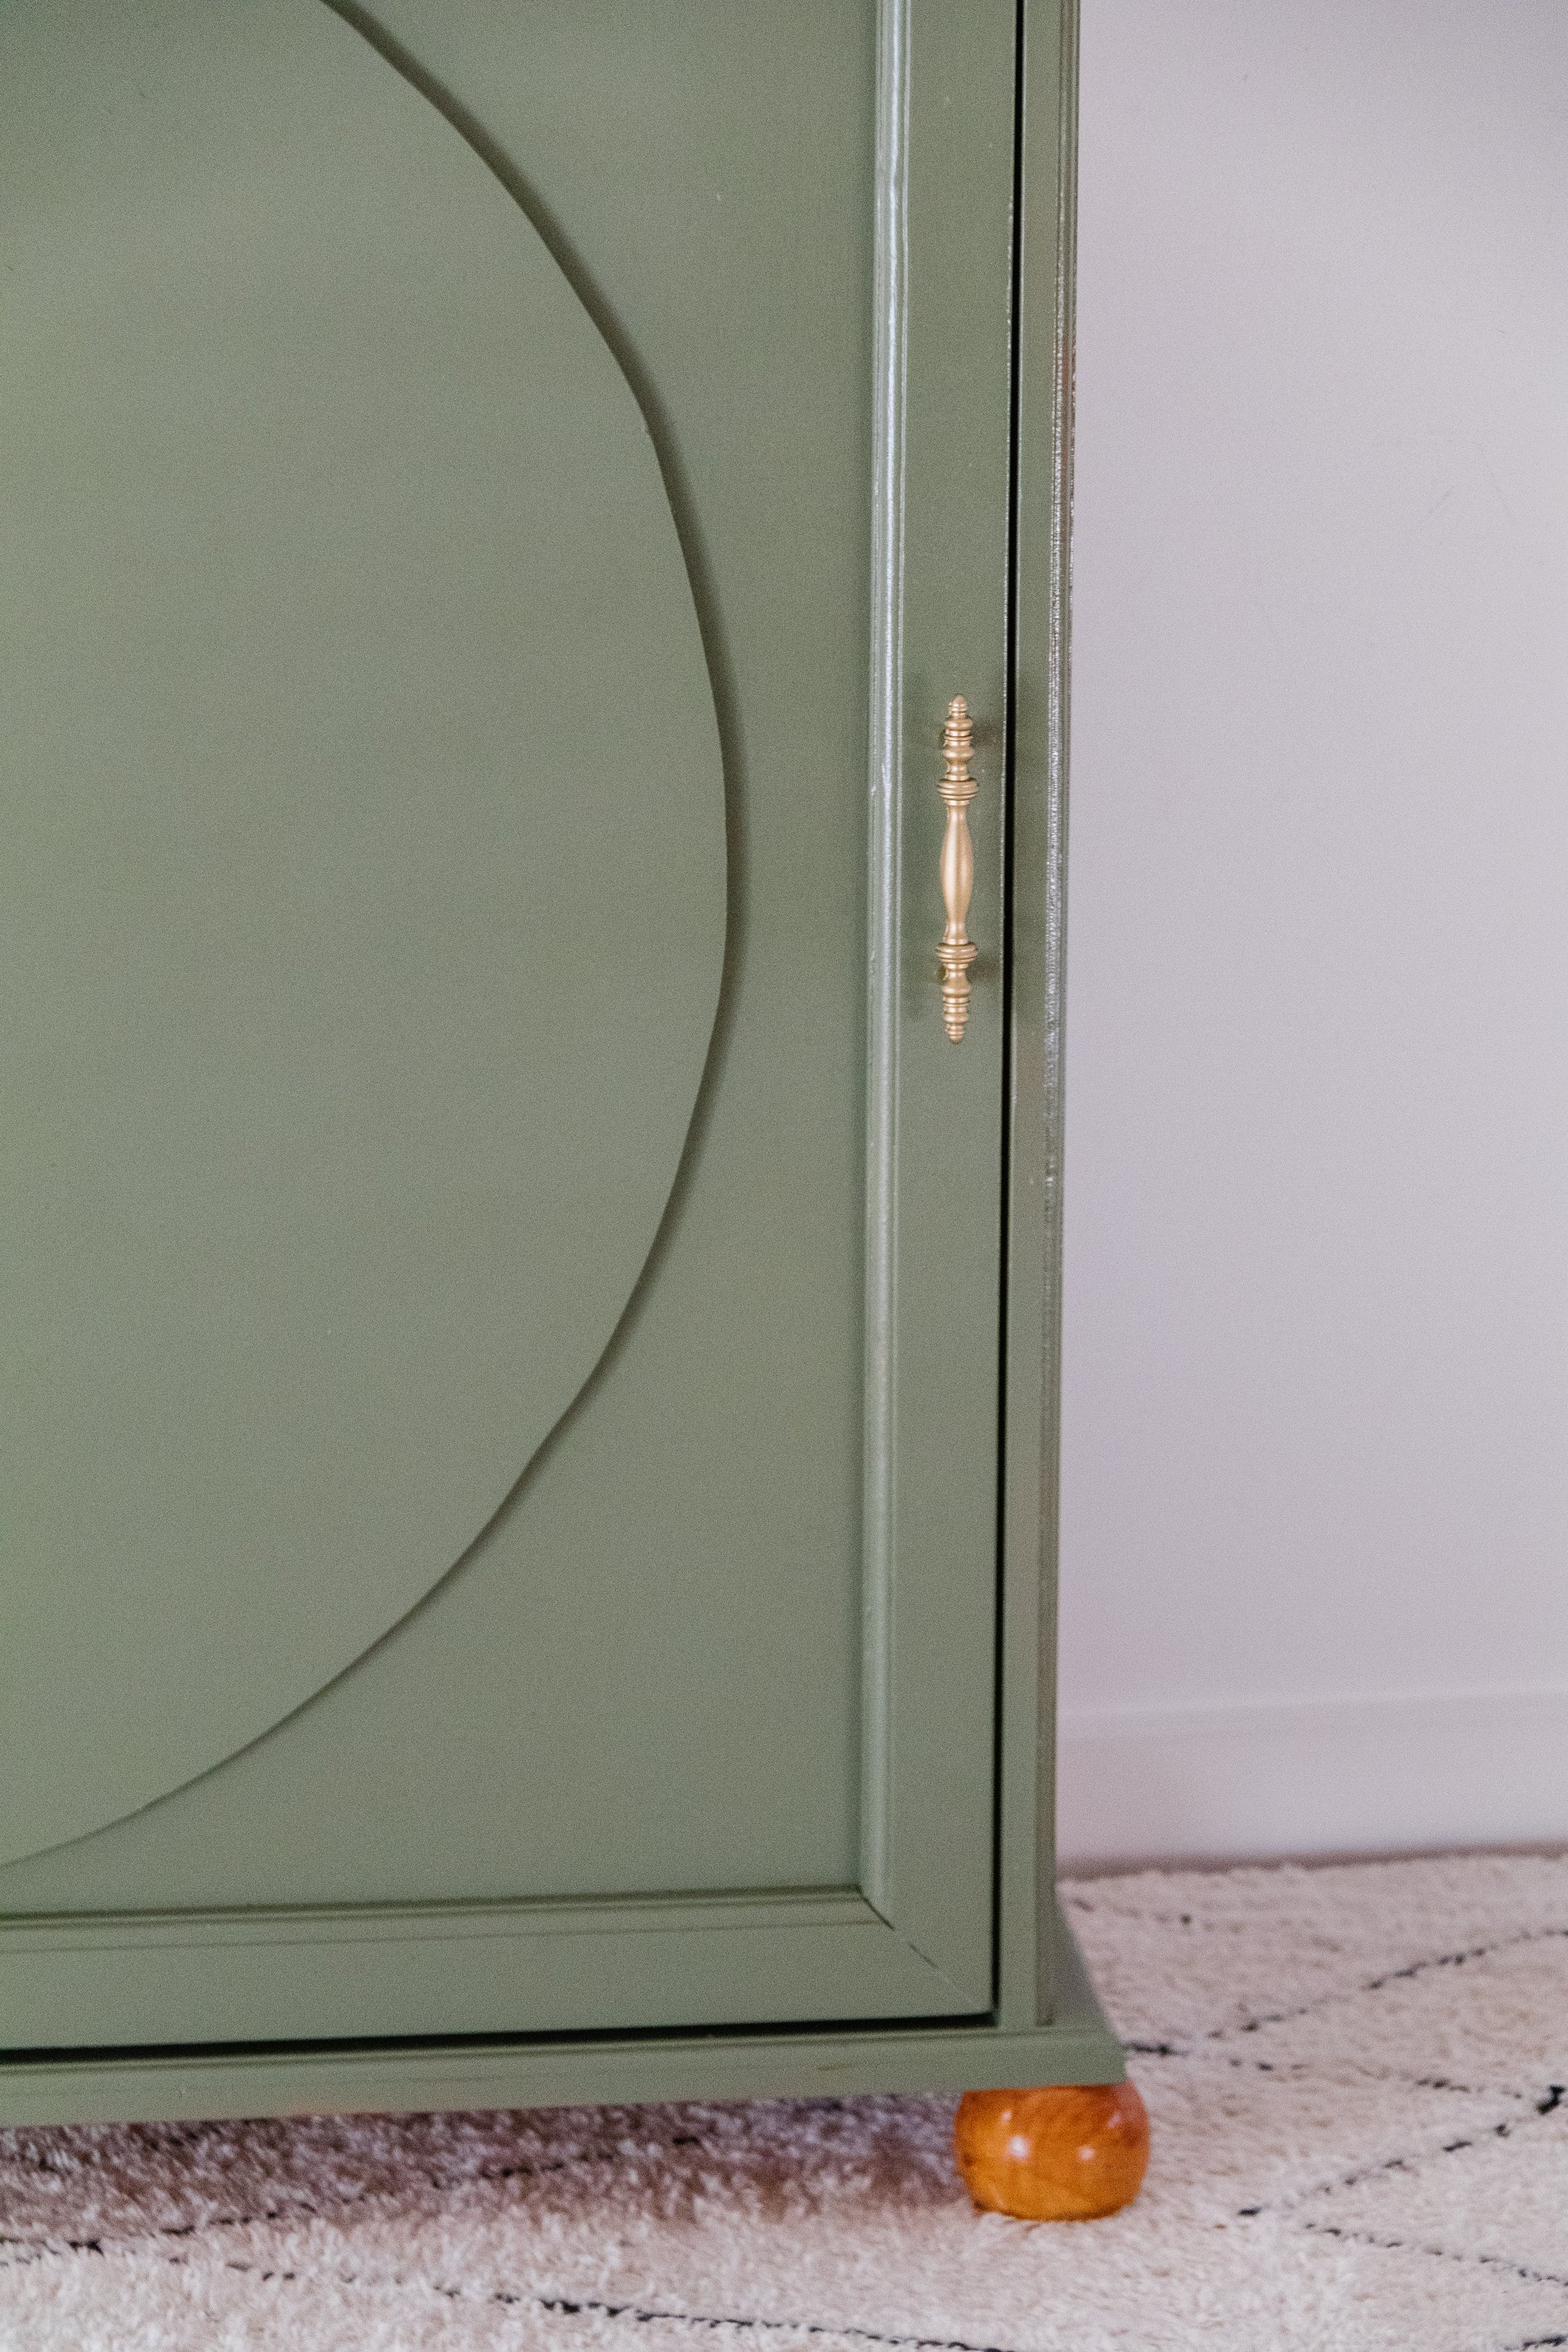
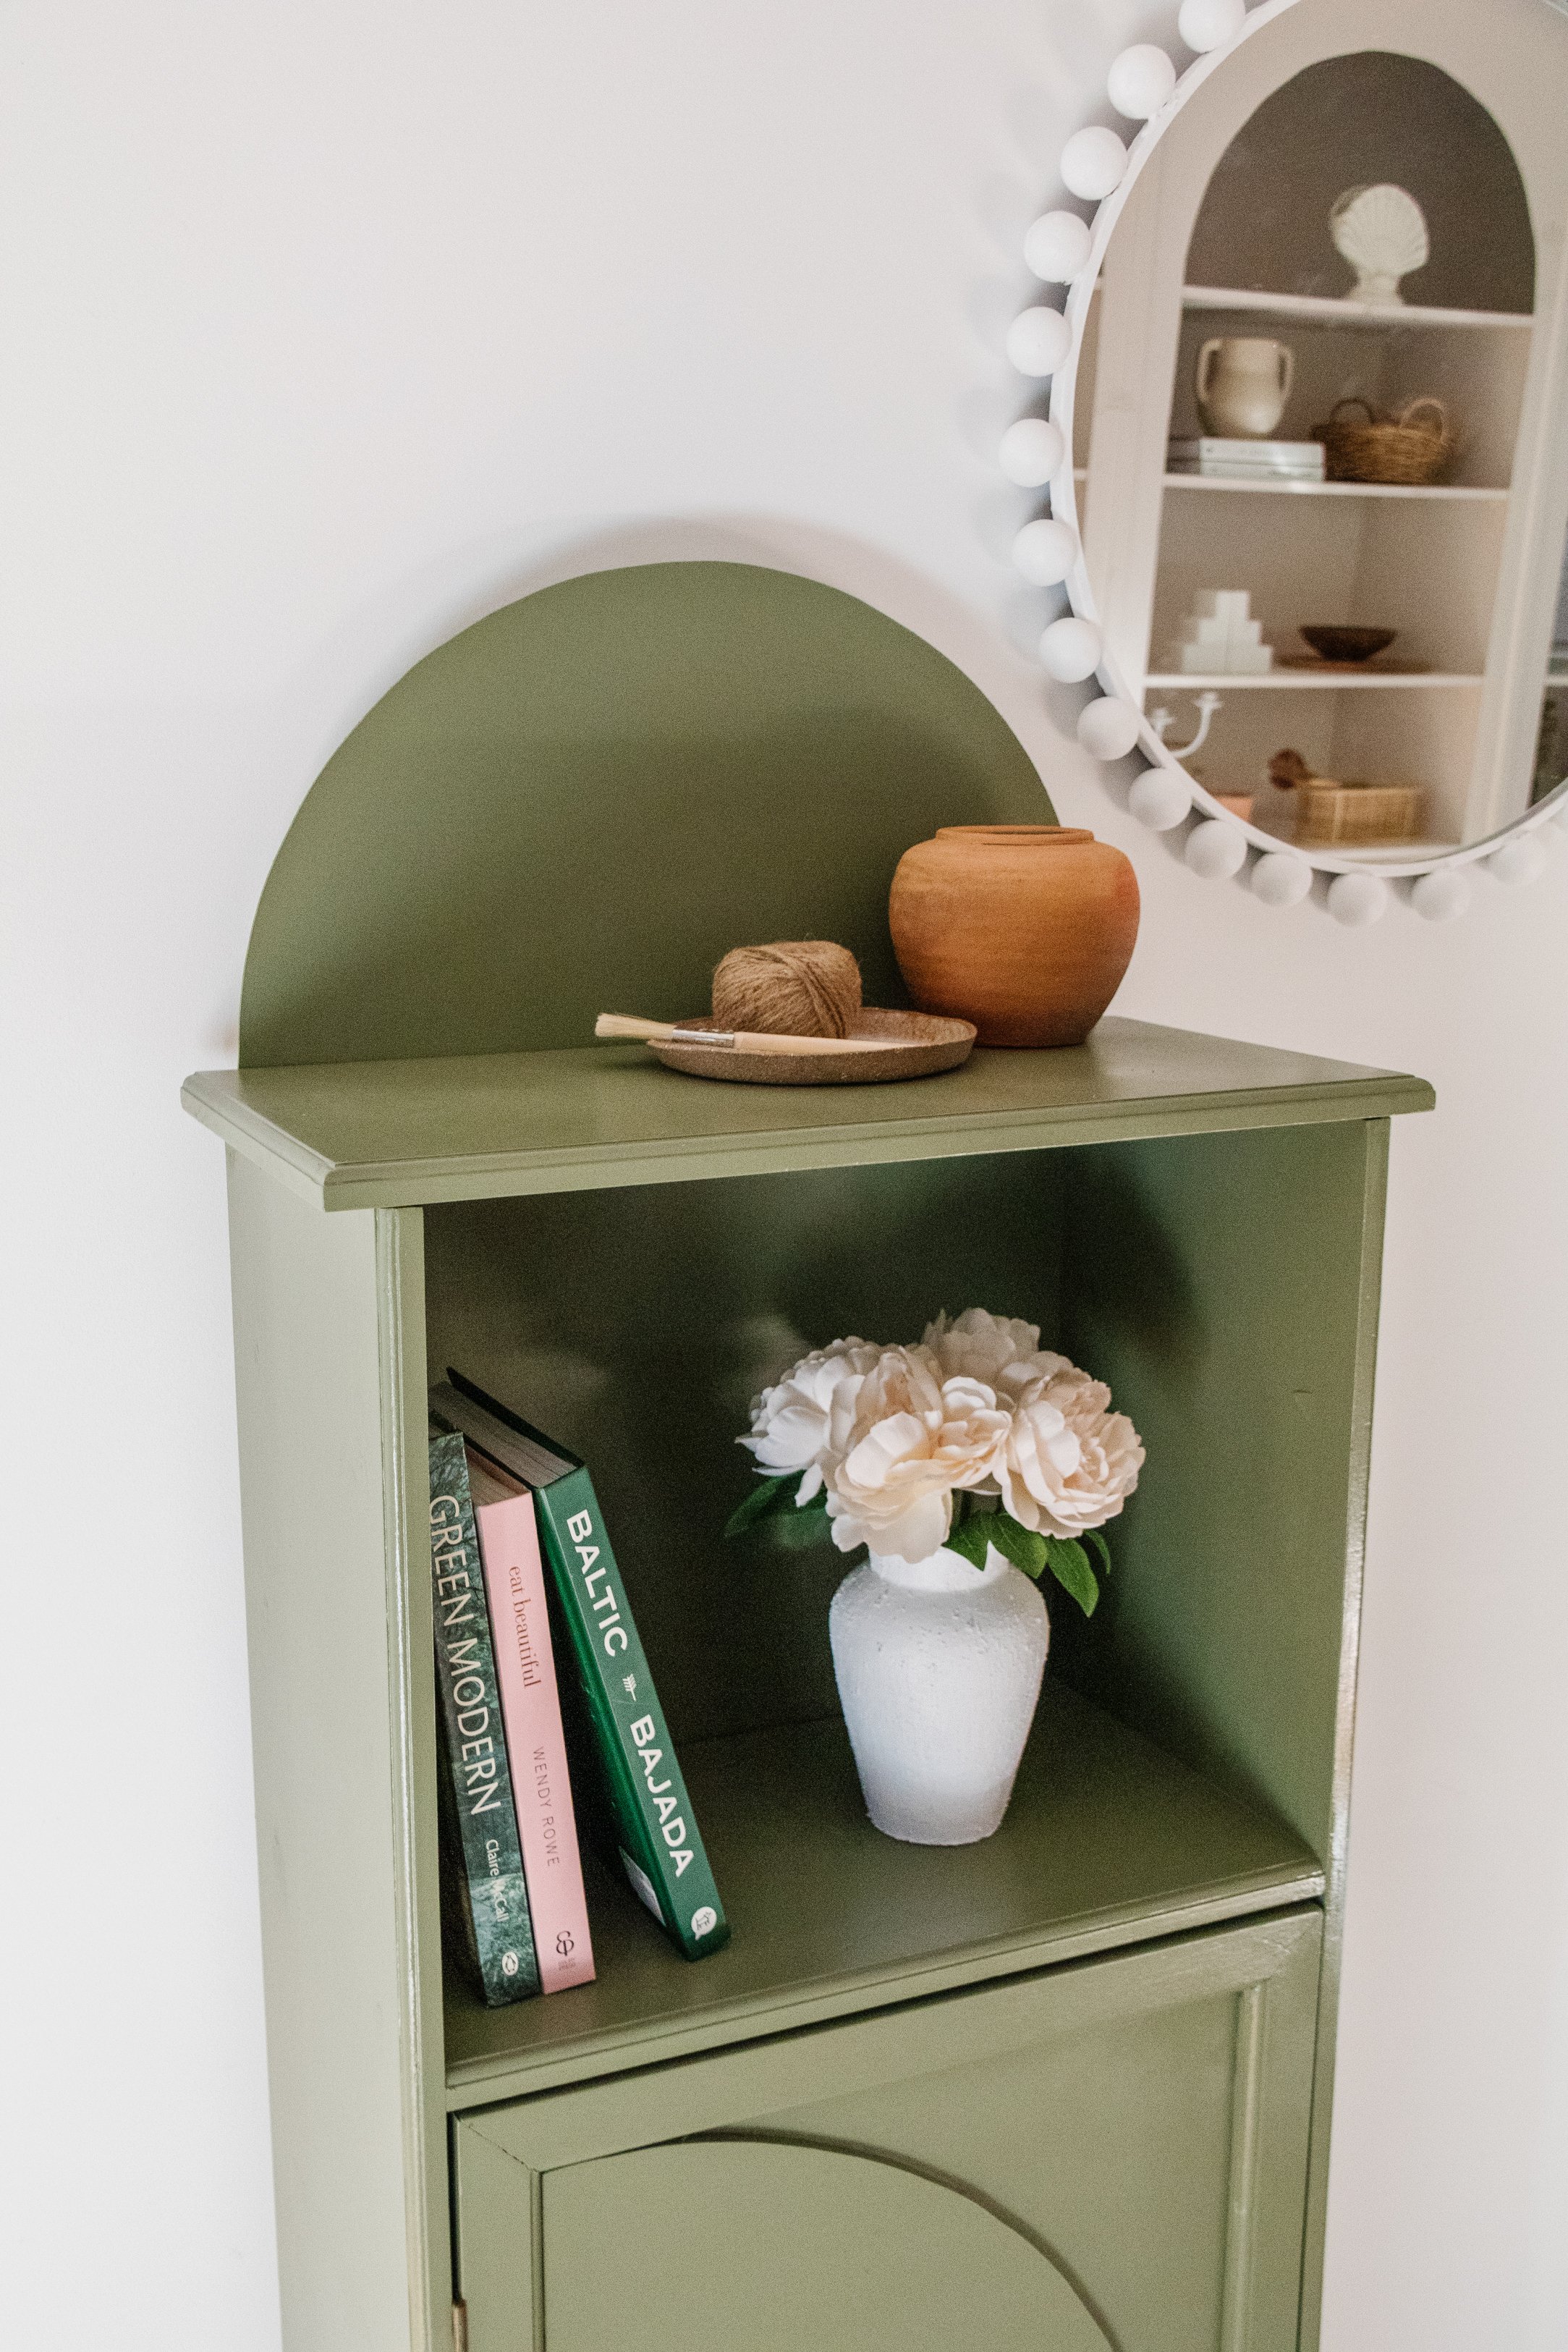
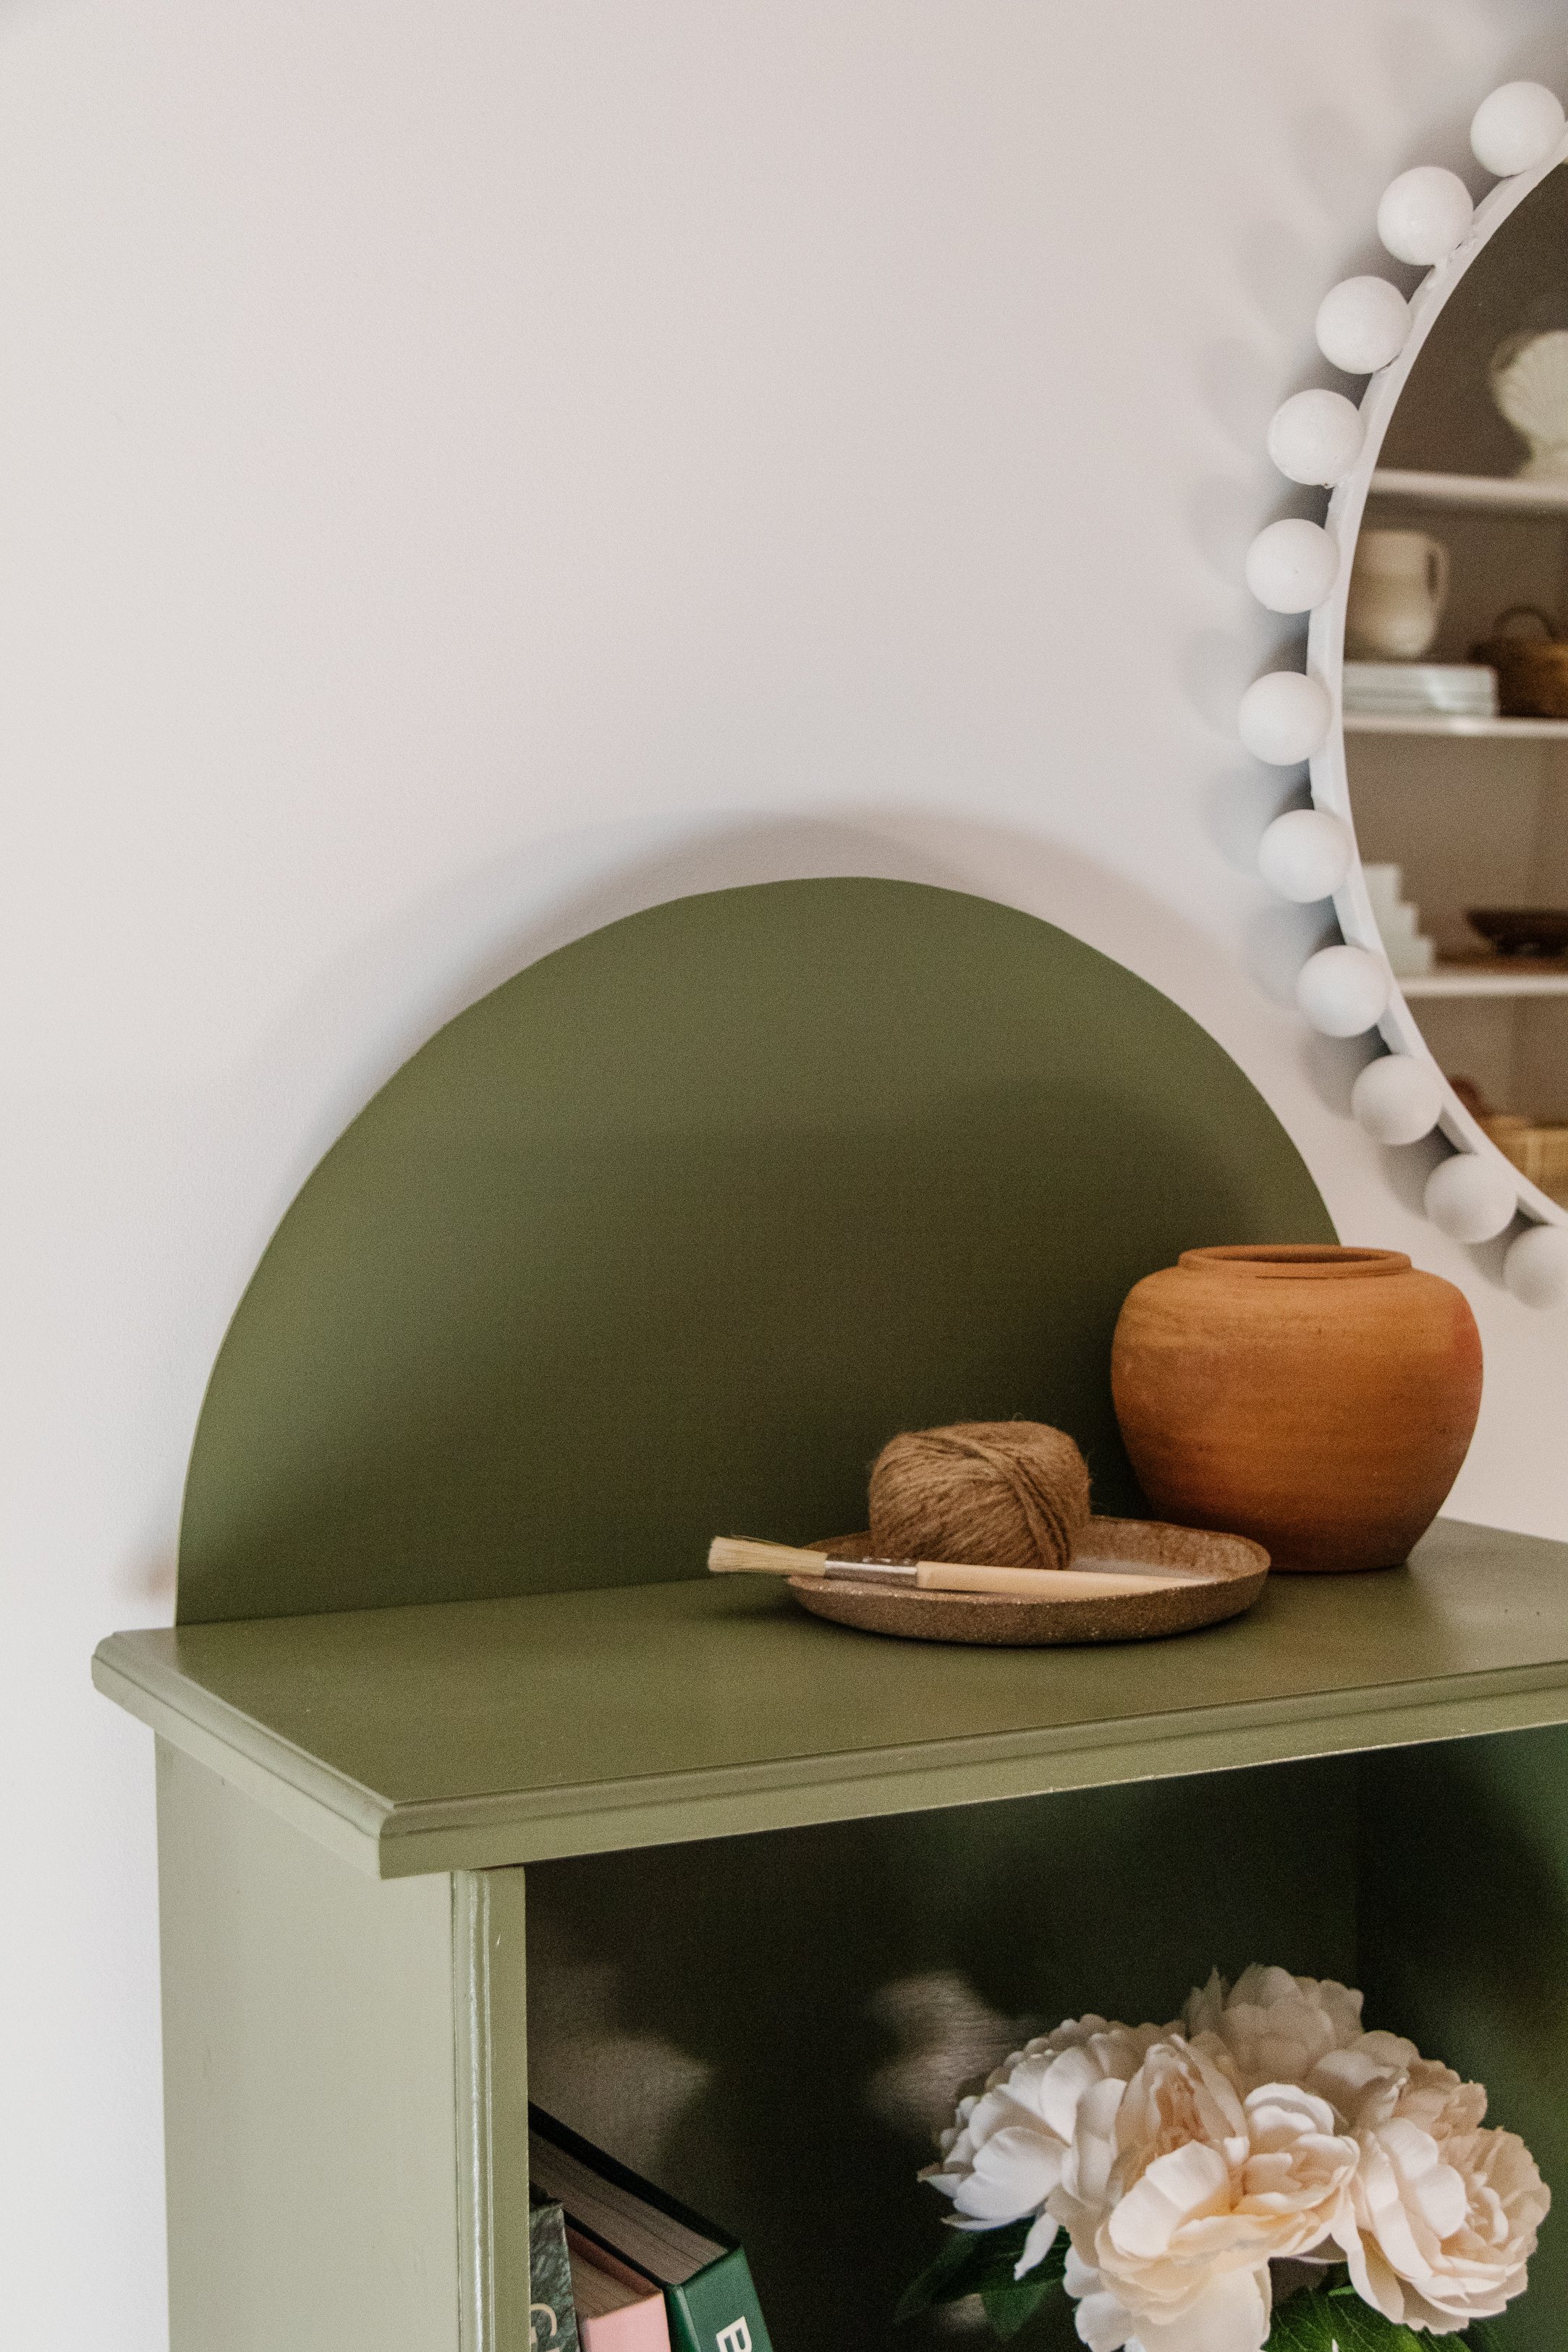
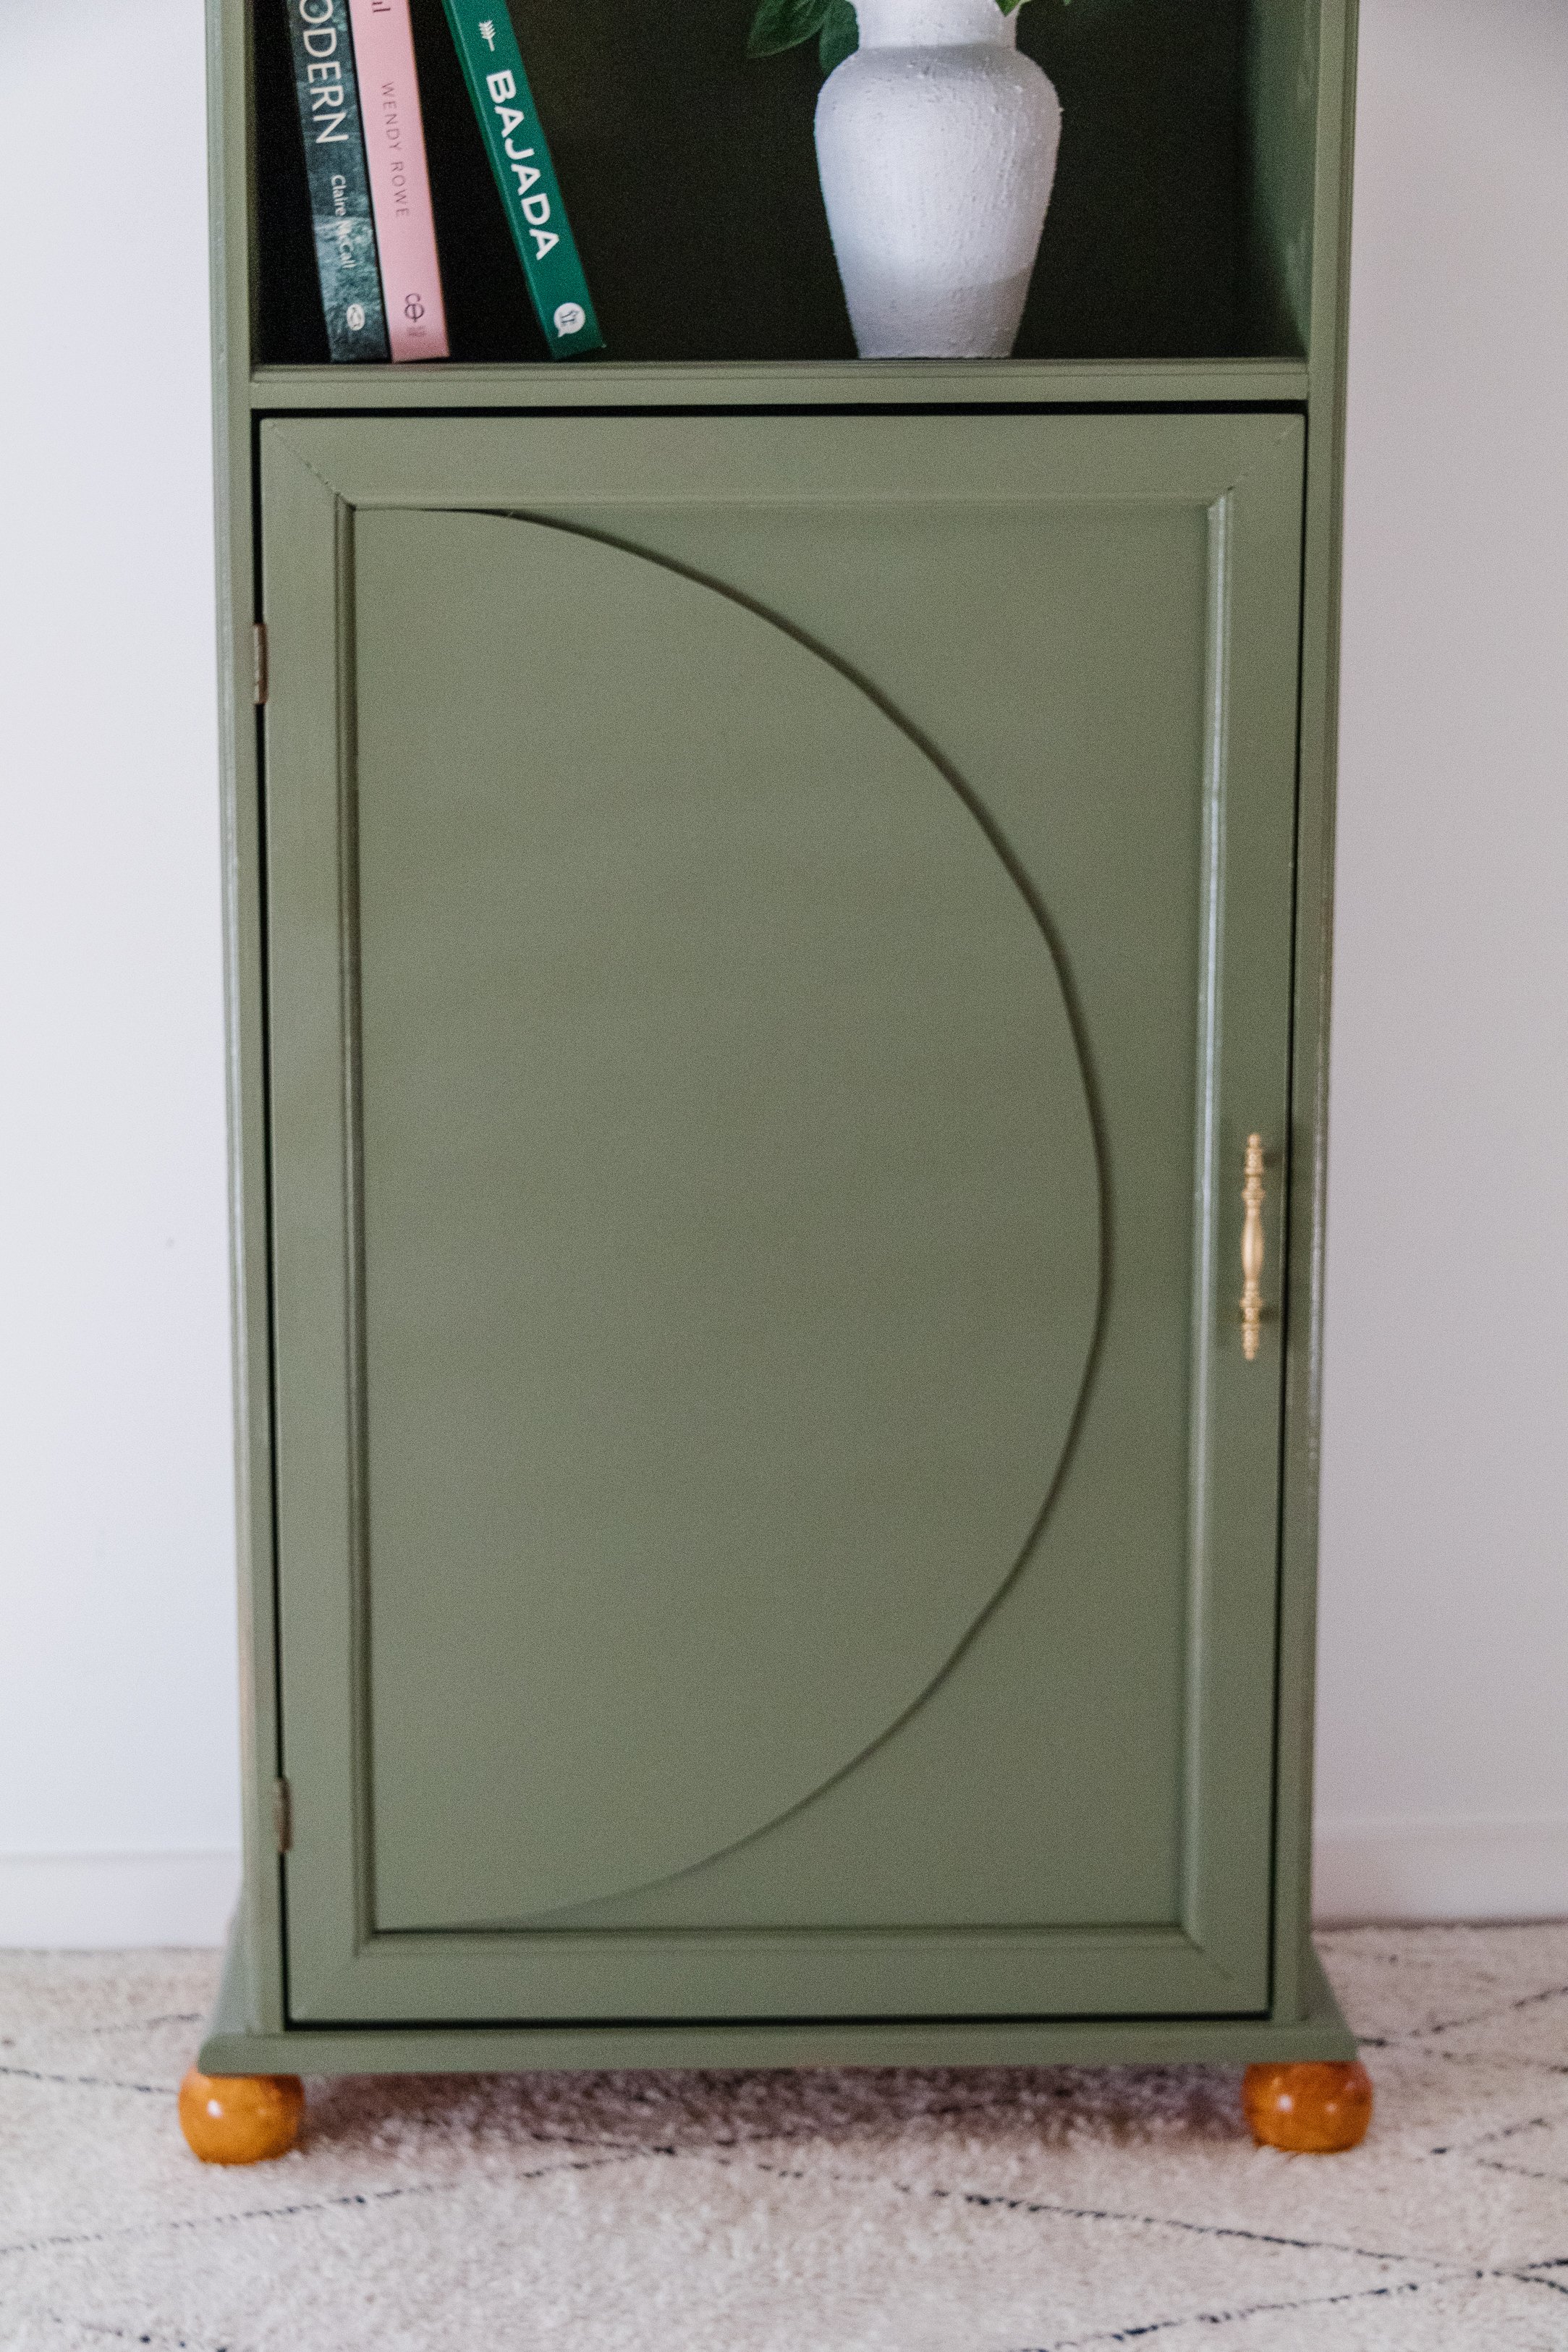
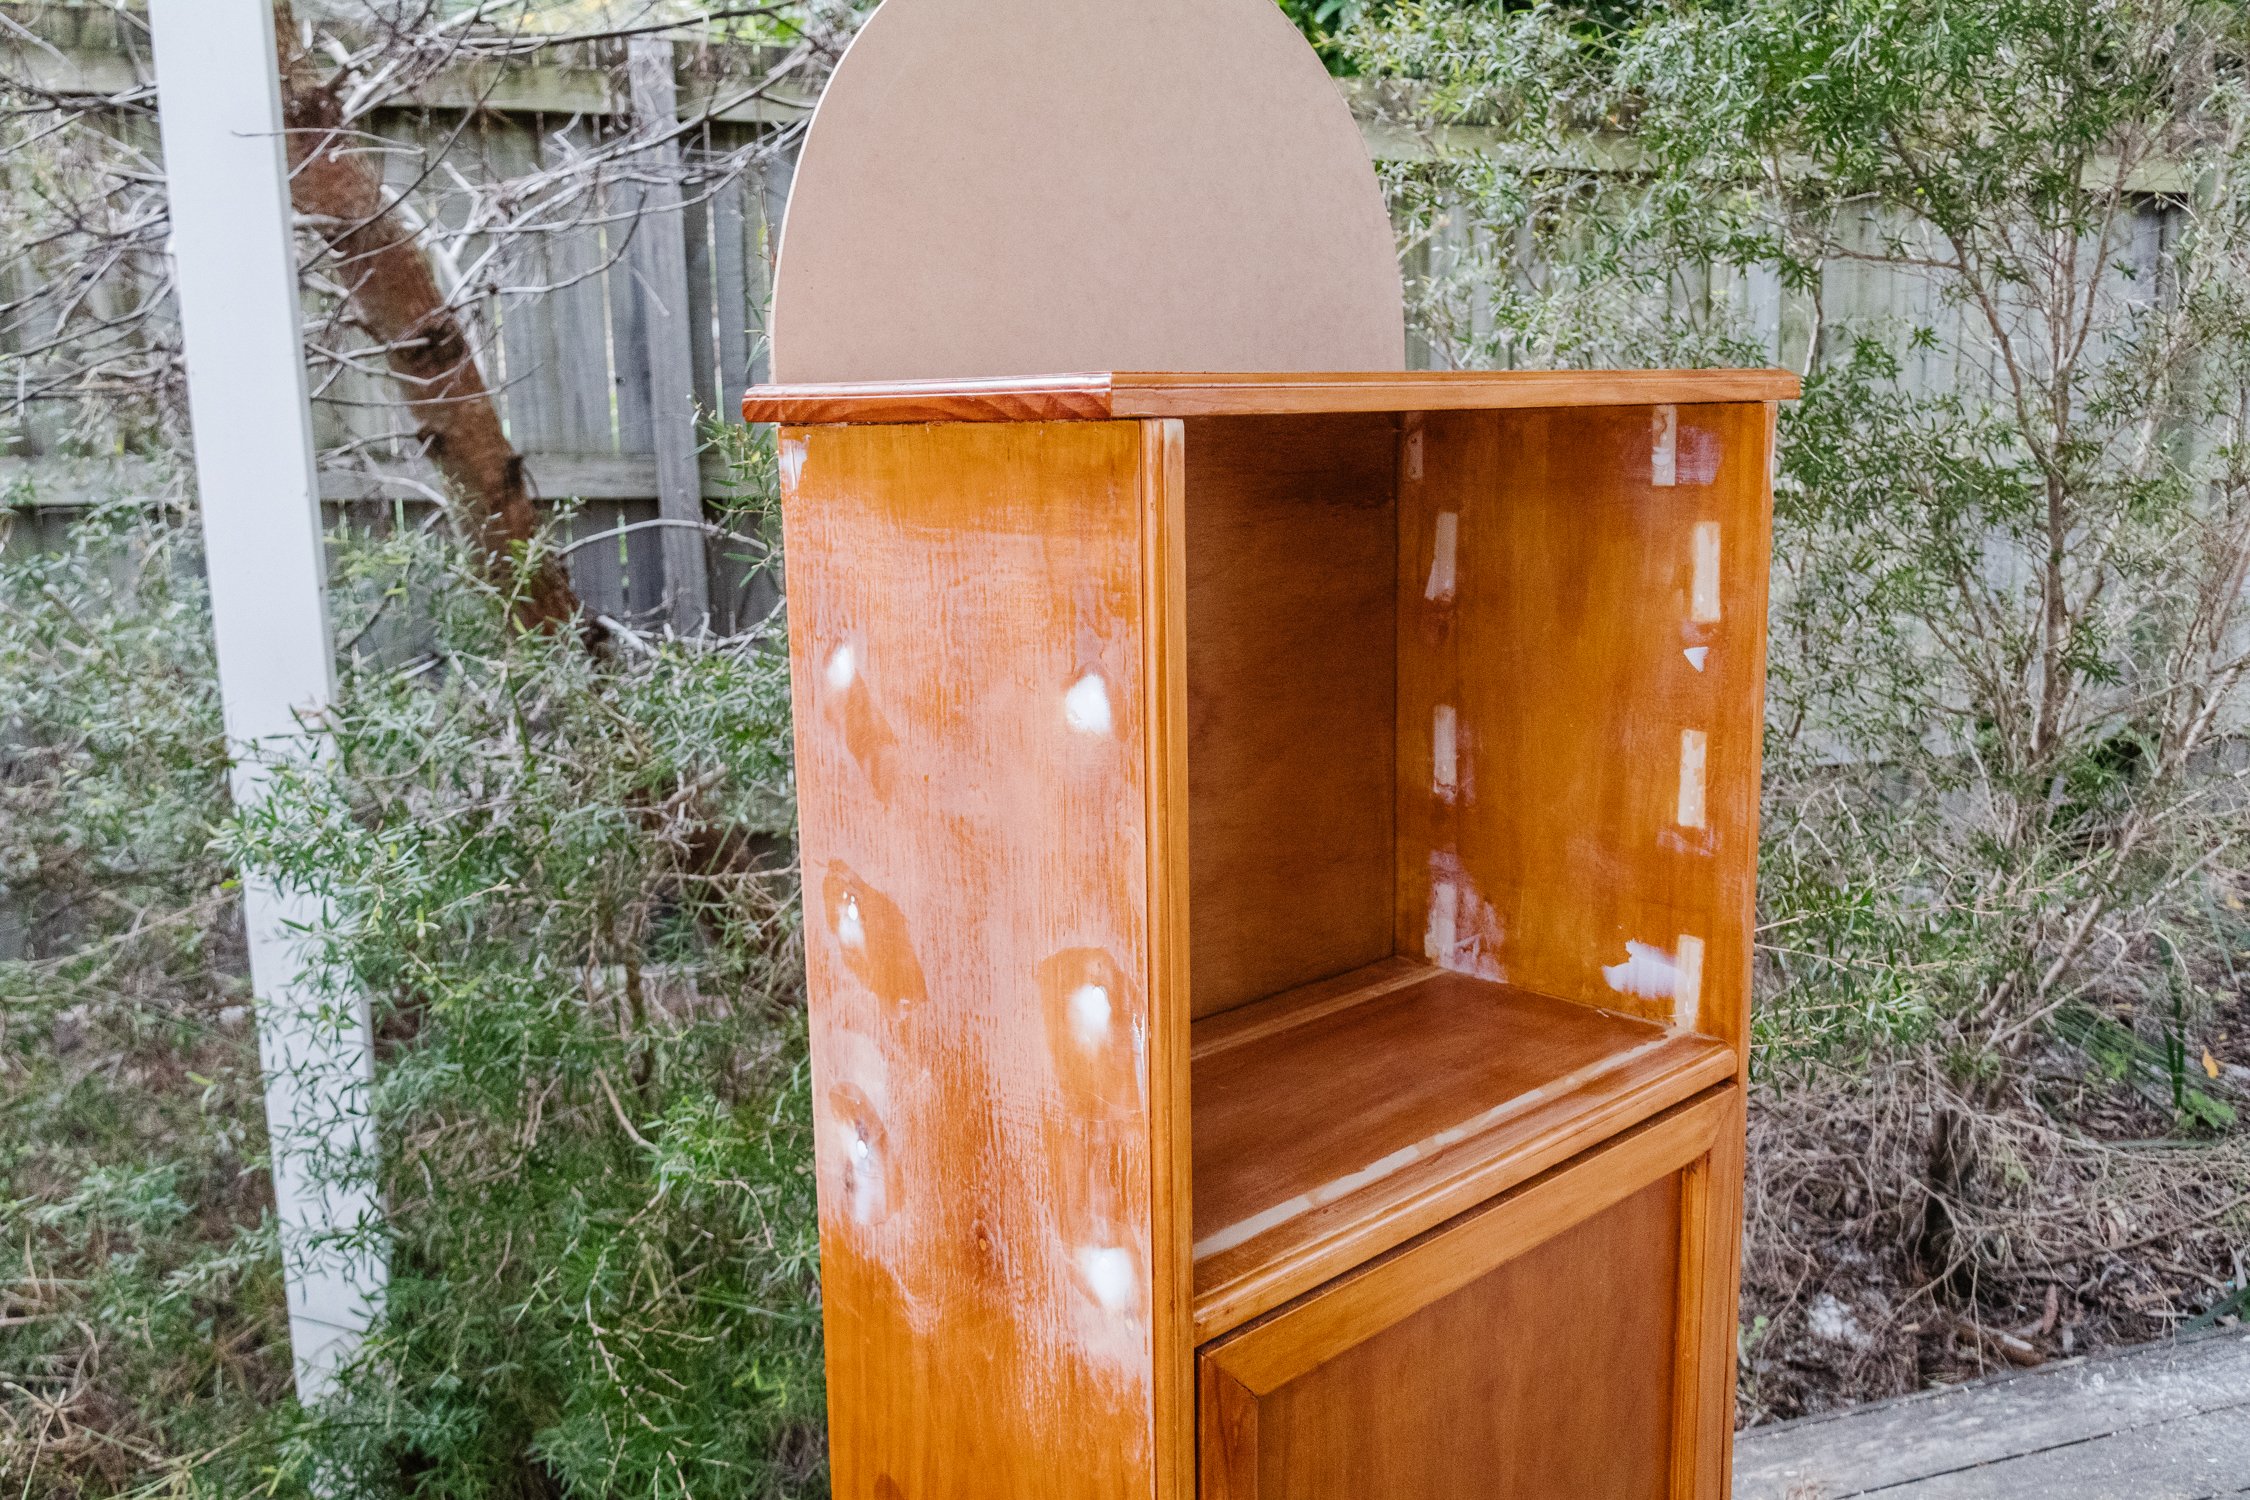
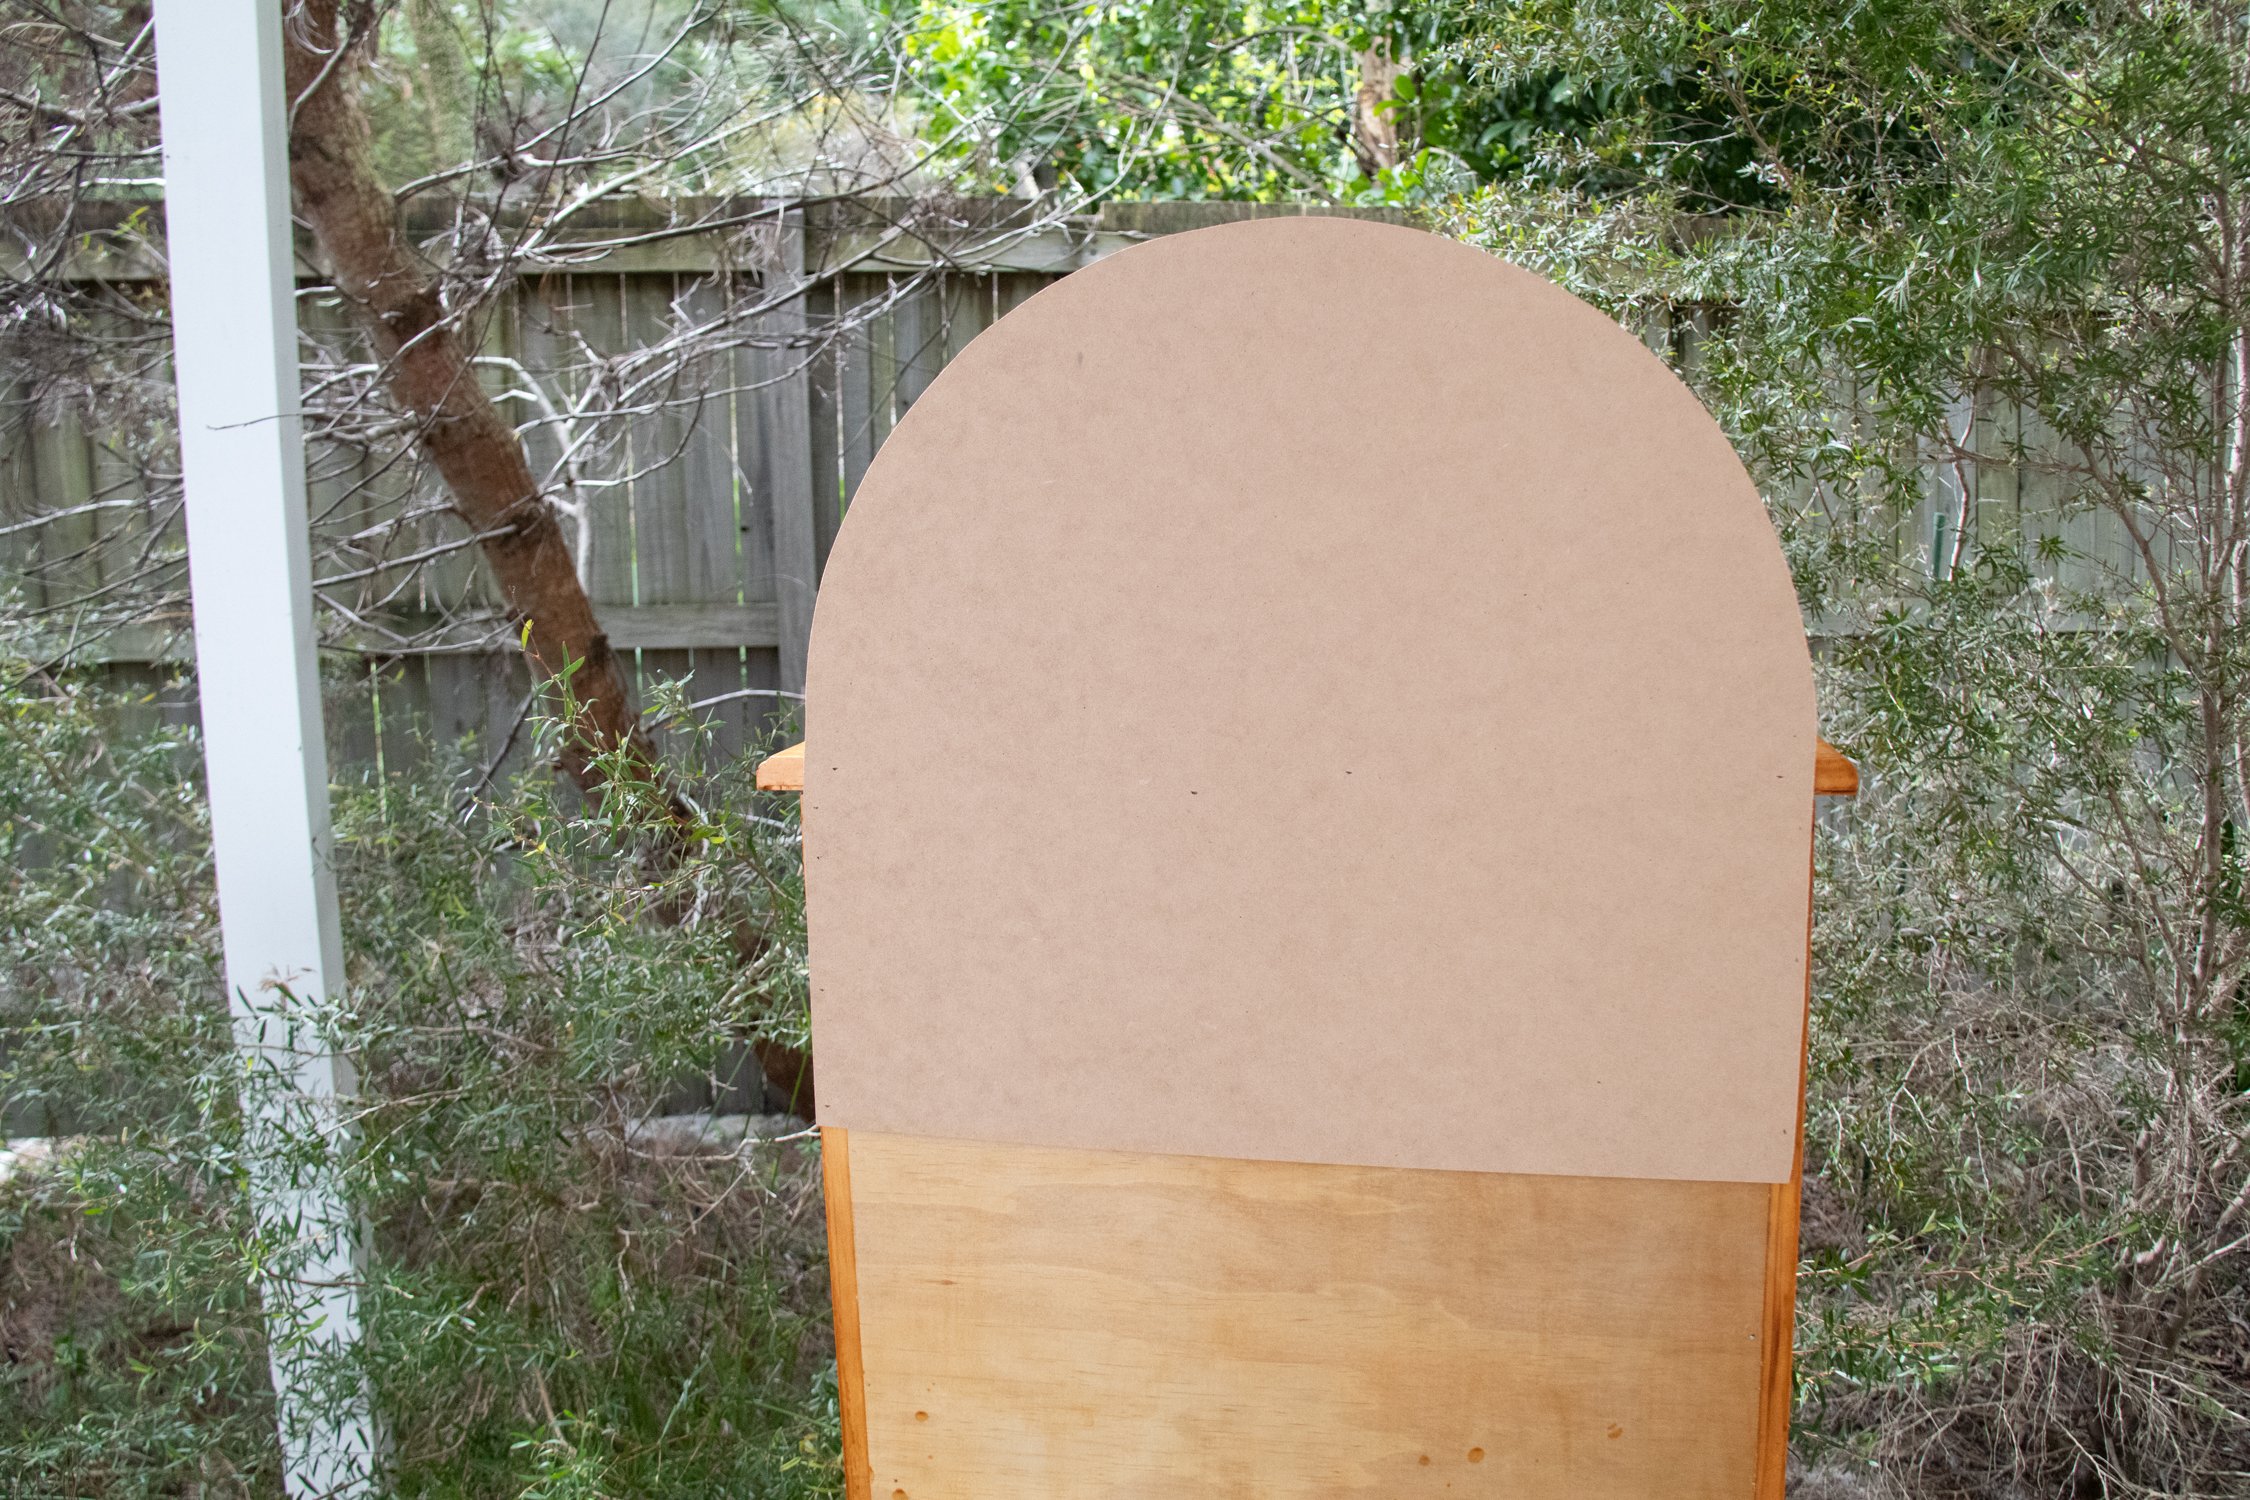
I measured and drew two arches onto a piece of MDF (using the very popular pen and string method), and cut them using a jigsaw and table clamps. I screwed one arch behind the cabinet and I glued the second arch onto the cabinet door, which I set aside to dry for a couple of hours.
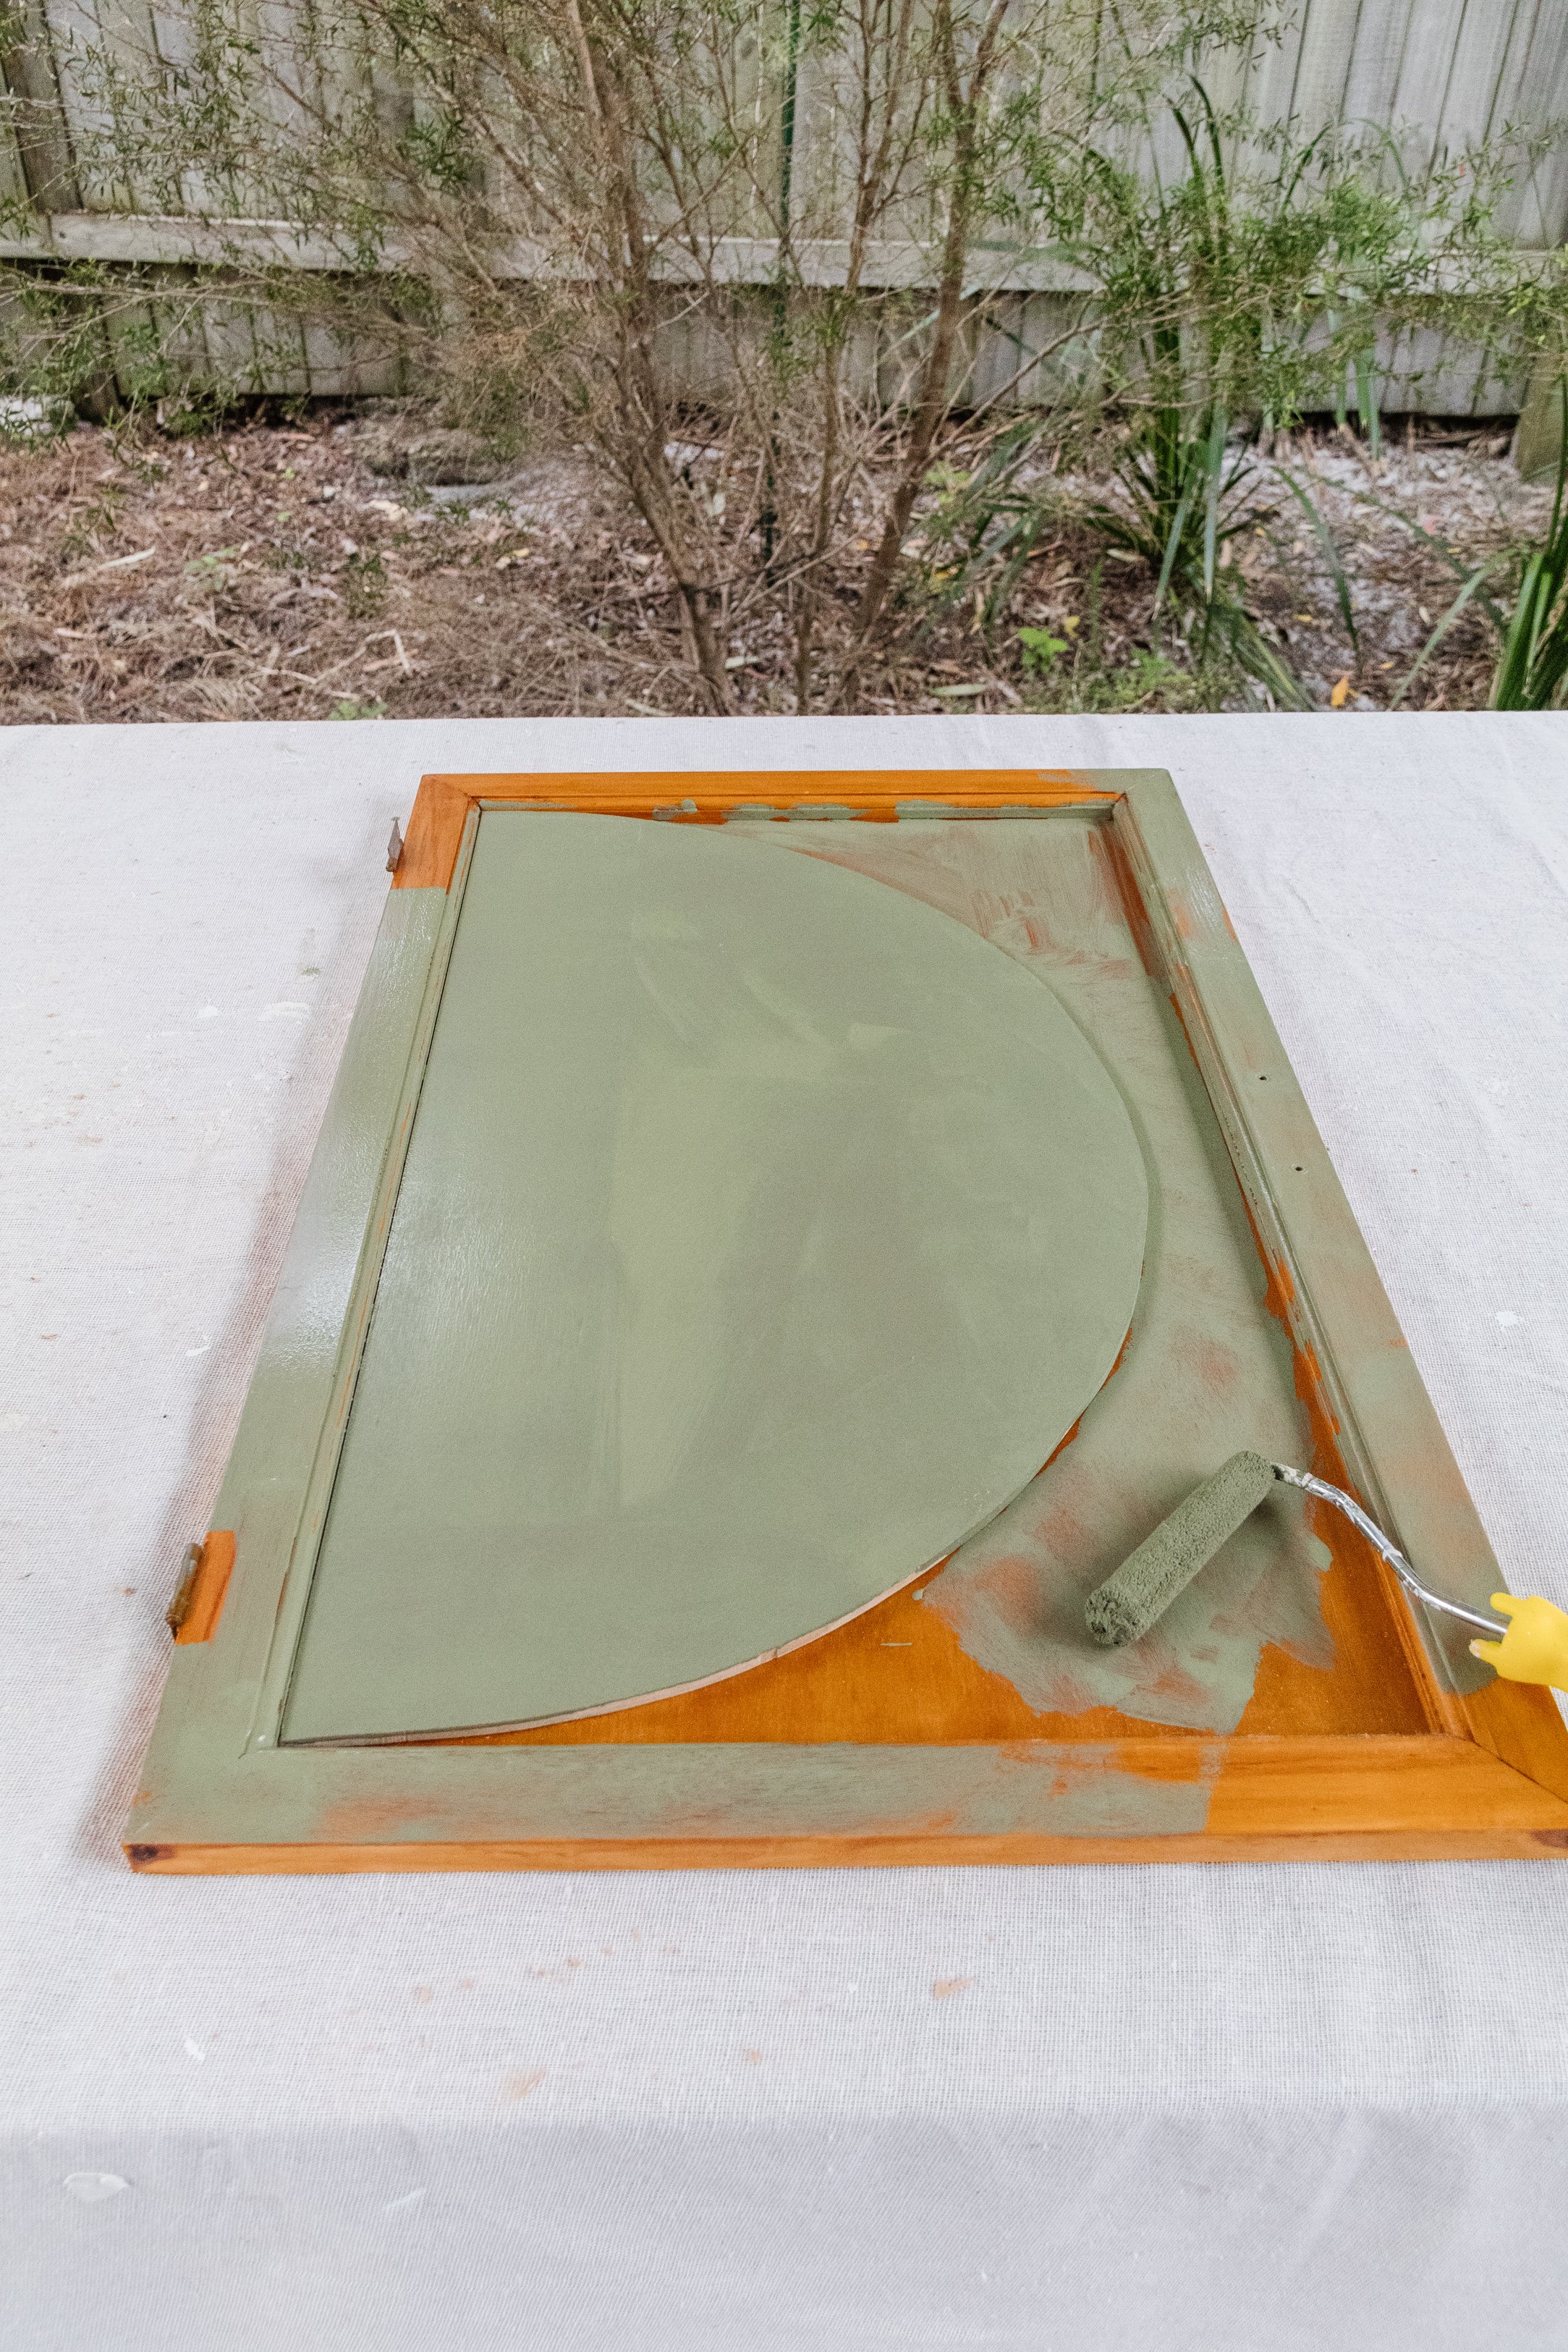
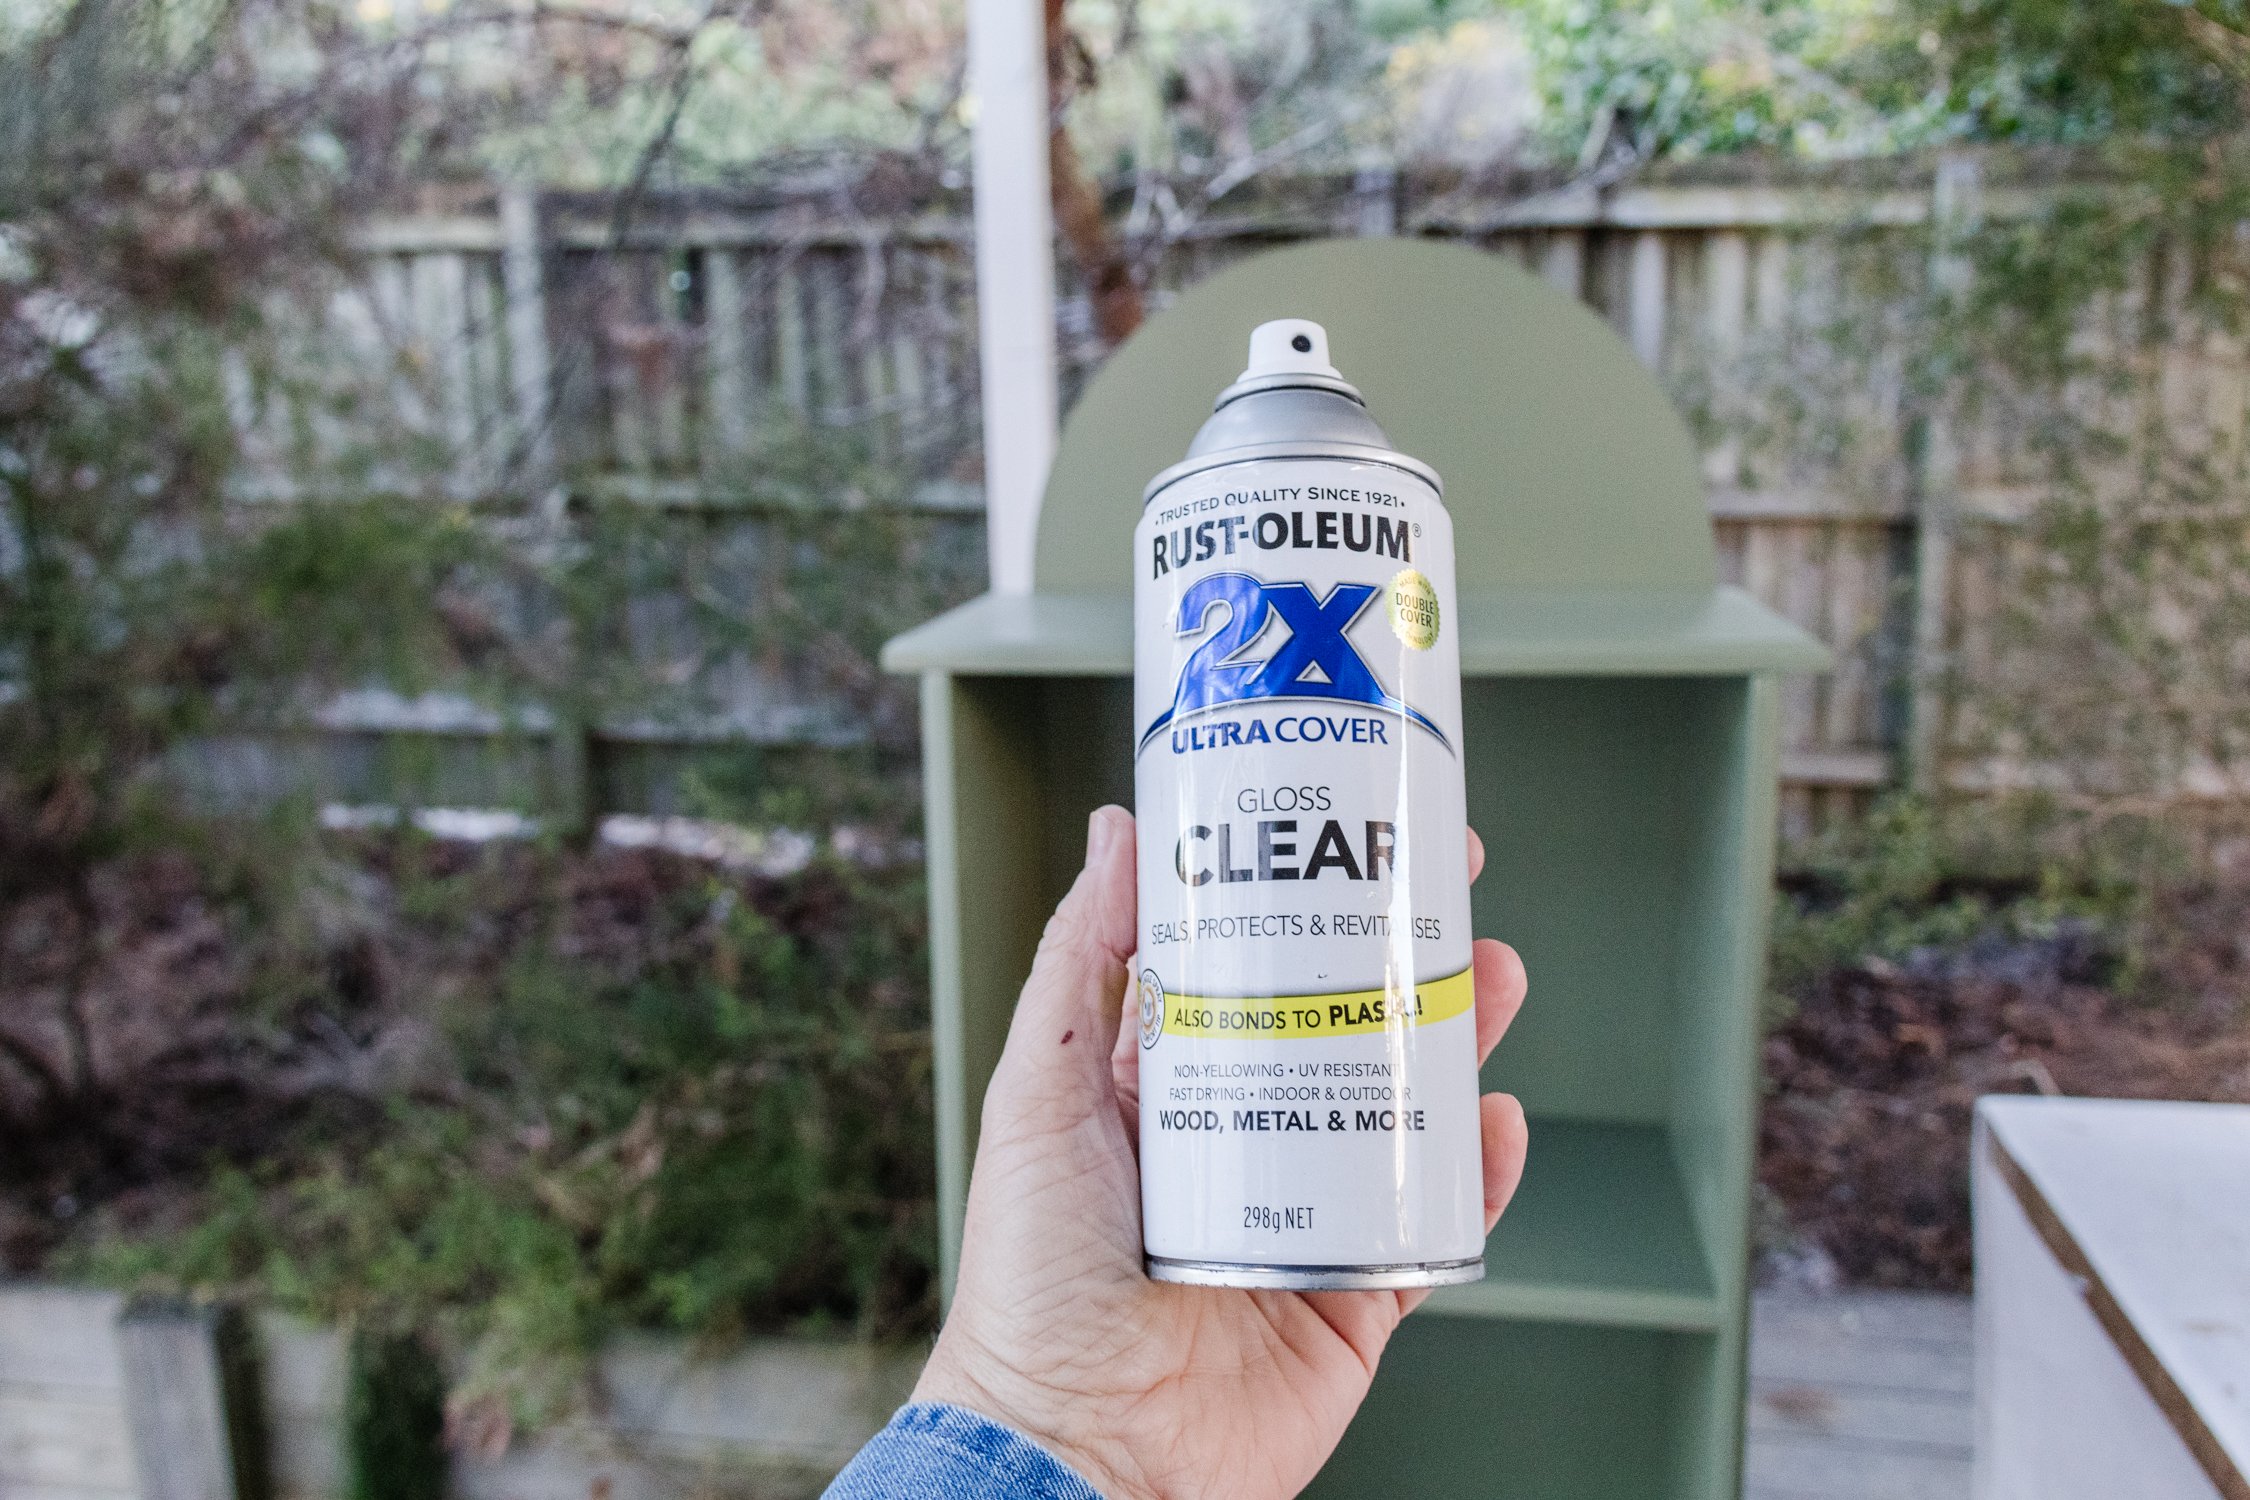
Next up, painting! I didn’t sand or prime the cabinet before I painted it (for the simple reason that I didn’t feel like it) but I highly recommend you do. Start by removing any doors and sand the surface all over (inside and out). Wipe the excess dust away with a clean cloth and apply one coat of primer using a paint roller all over. You may also need a paint brush to get into smaller, tricker spots. You can use white primer paint on almost all surfaces, but if your cabinet or bookshelf is made with laminate, I recommend using Zinsser Primer Sealer Blocker instead of white primer paint. Set aside to dry.
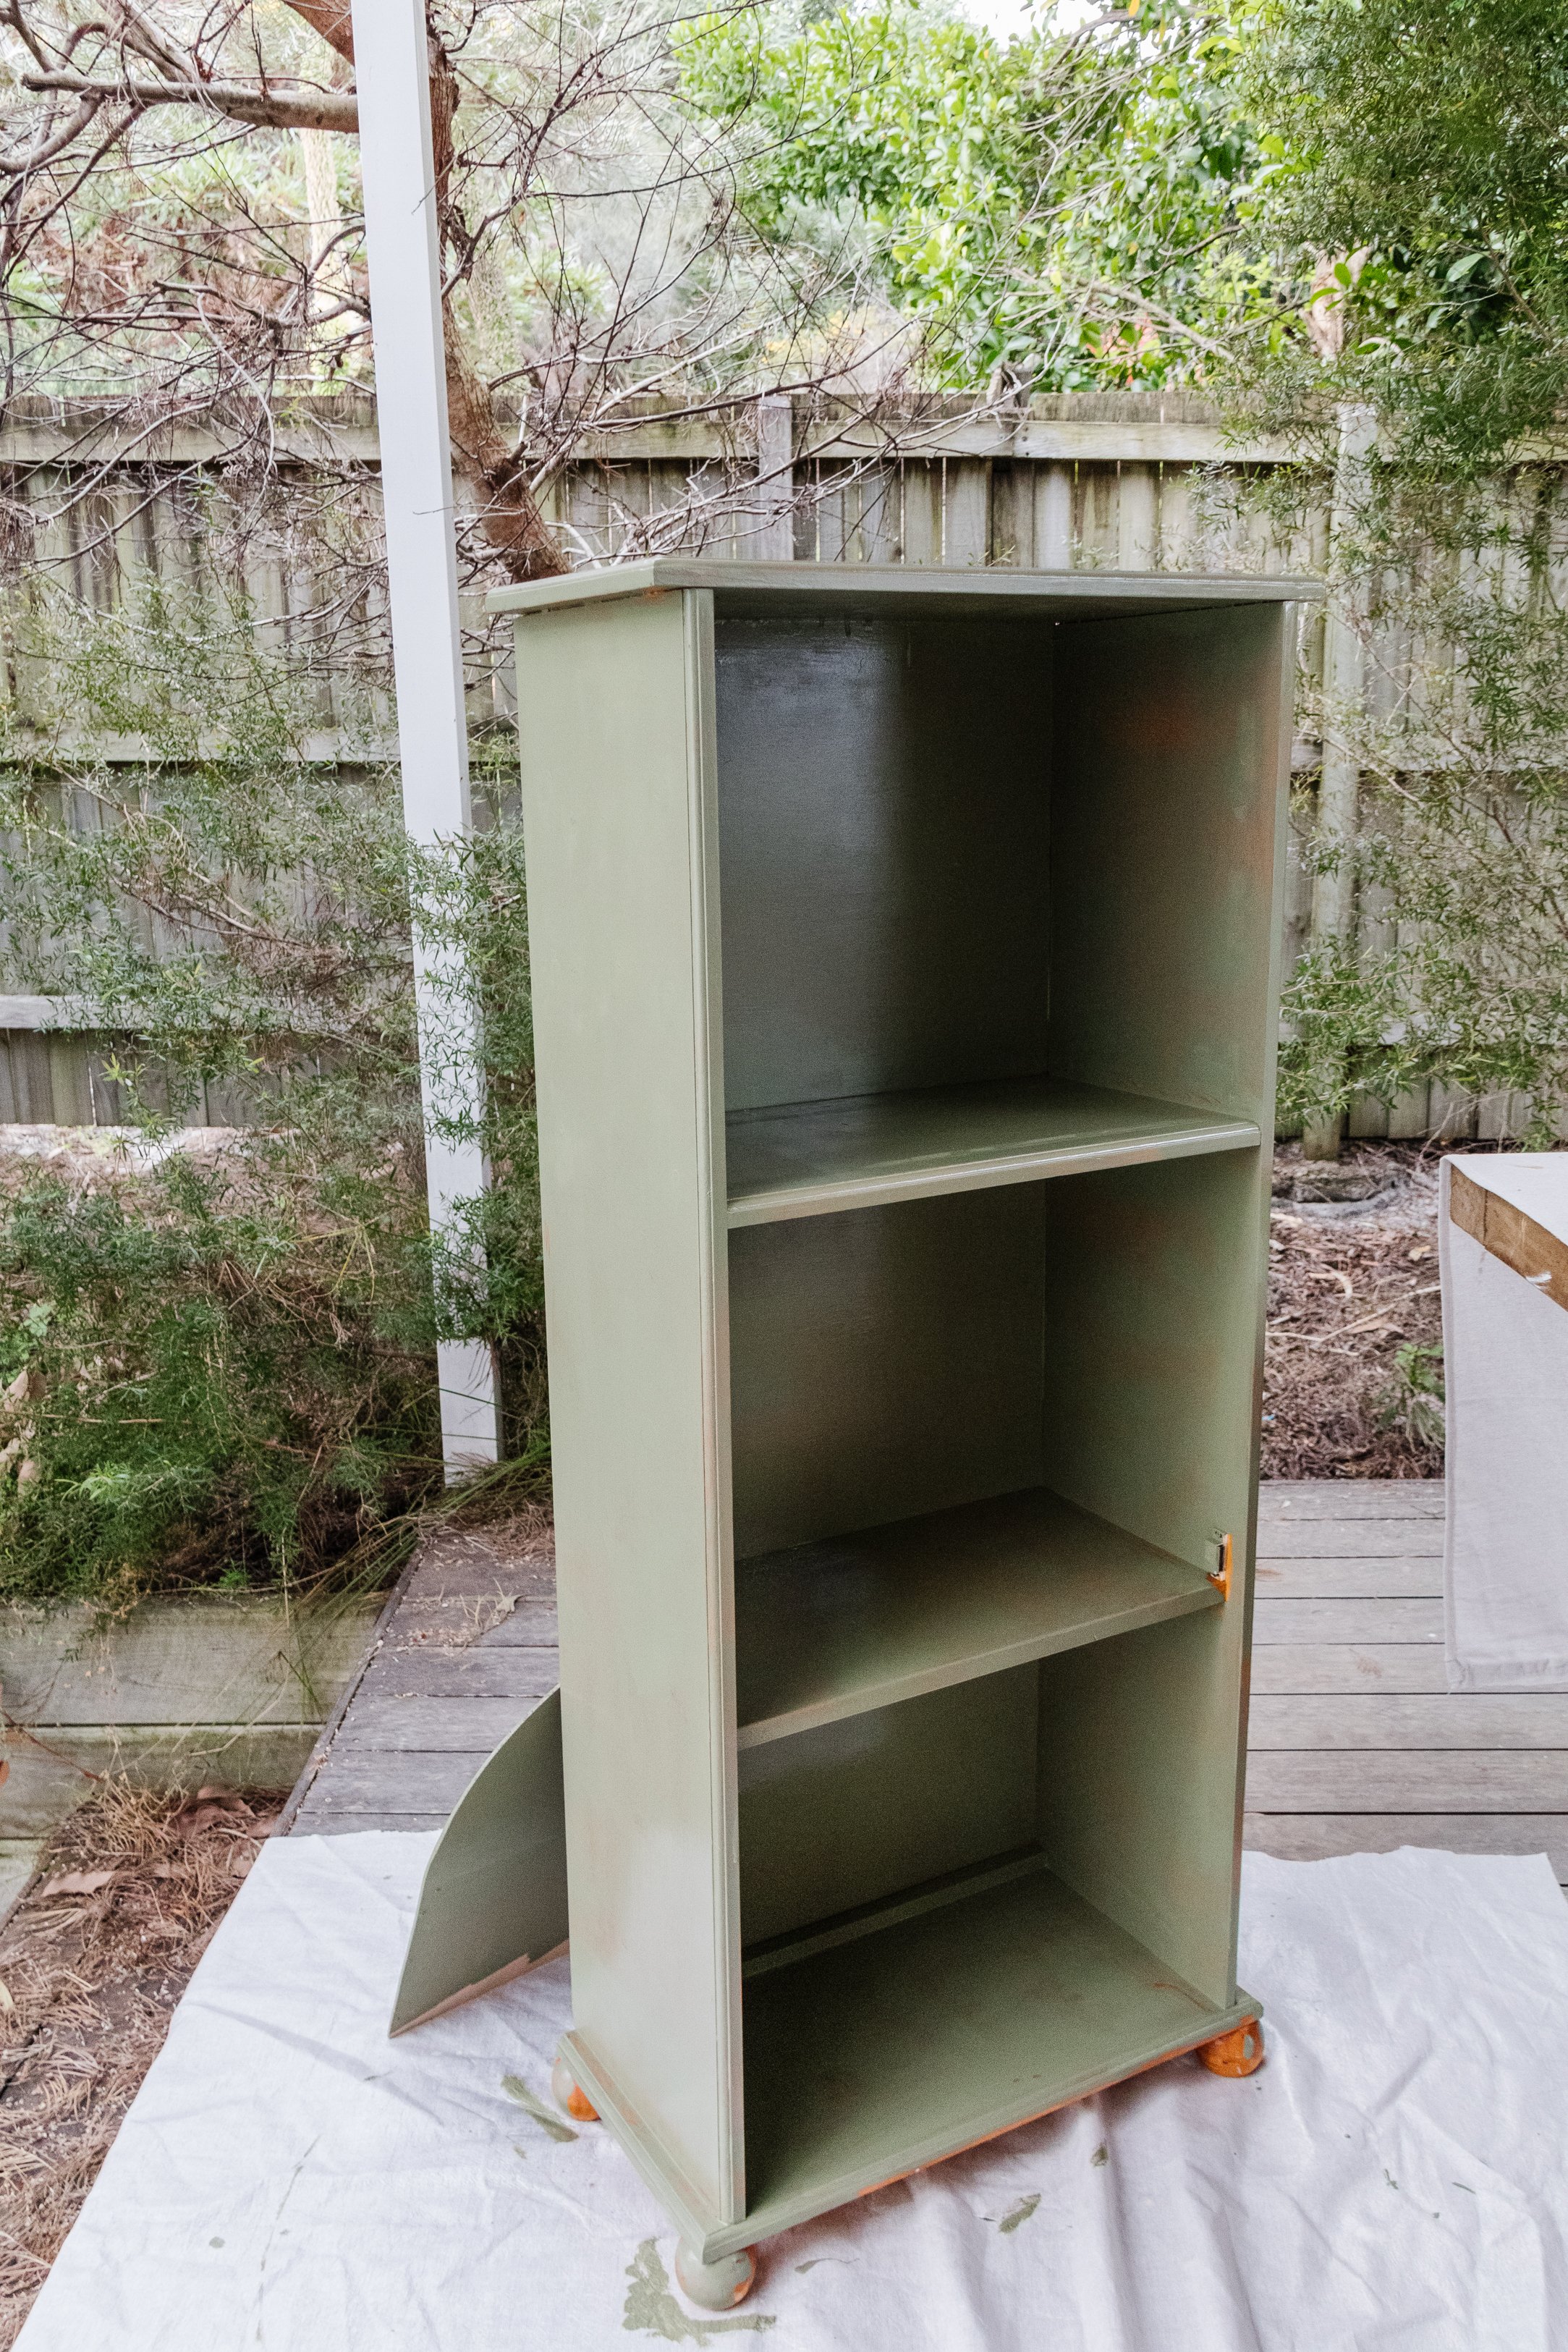
I painted the cabinet and door with two coats of Dulux semi-gloss enamel paint in “Flinders Green”. I chose to use enamel paint for this project because it air-dries to a hard finish and is typically used for coating surfaces that are outdoors or otherwise subject to hard wear. I also love to use a semi-gloss for painting furniture as it looks more professional and high end. I also chose not to paint the ball feet to give the cabinet contrast.
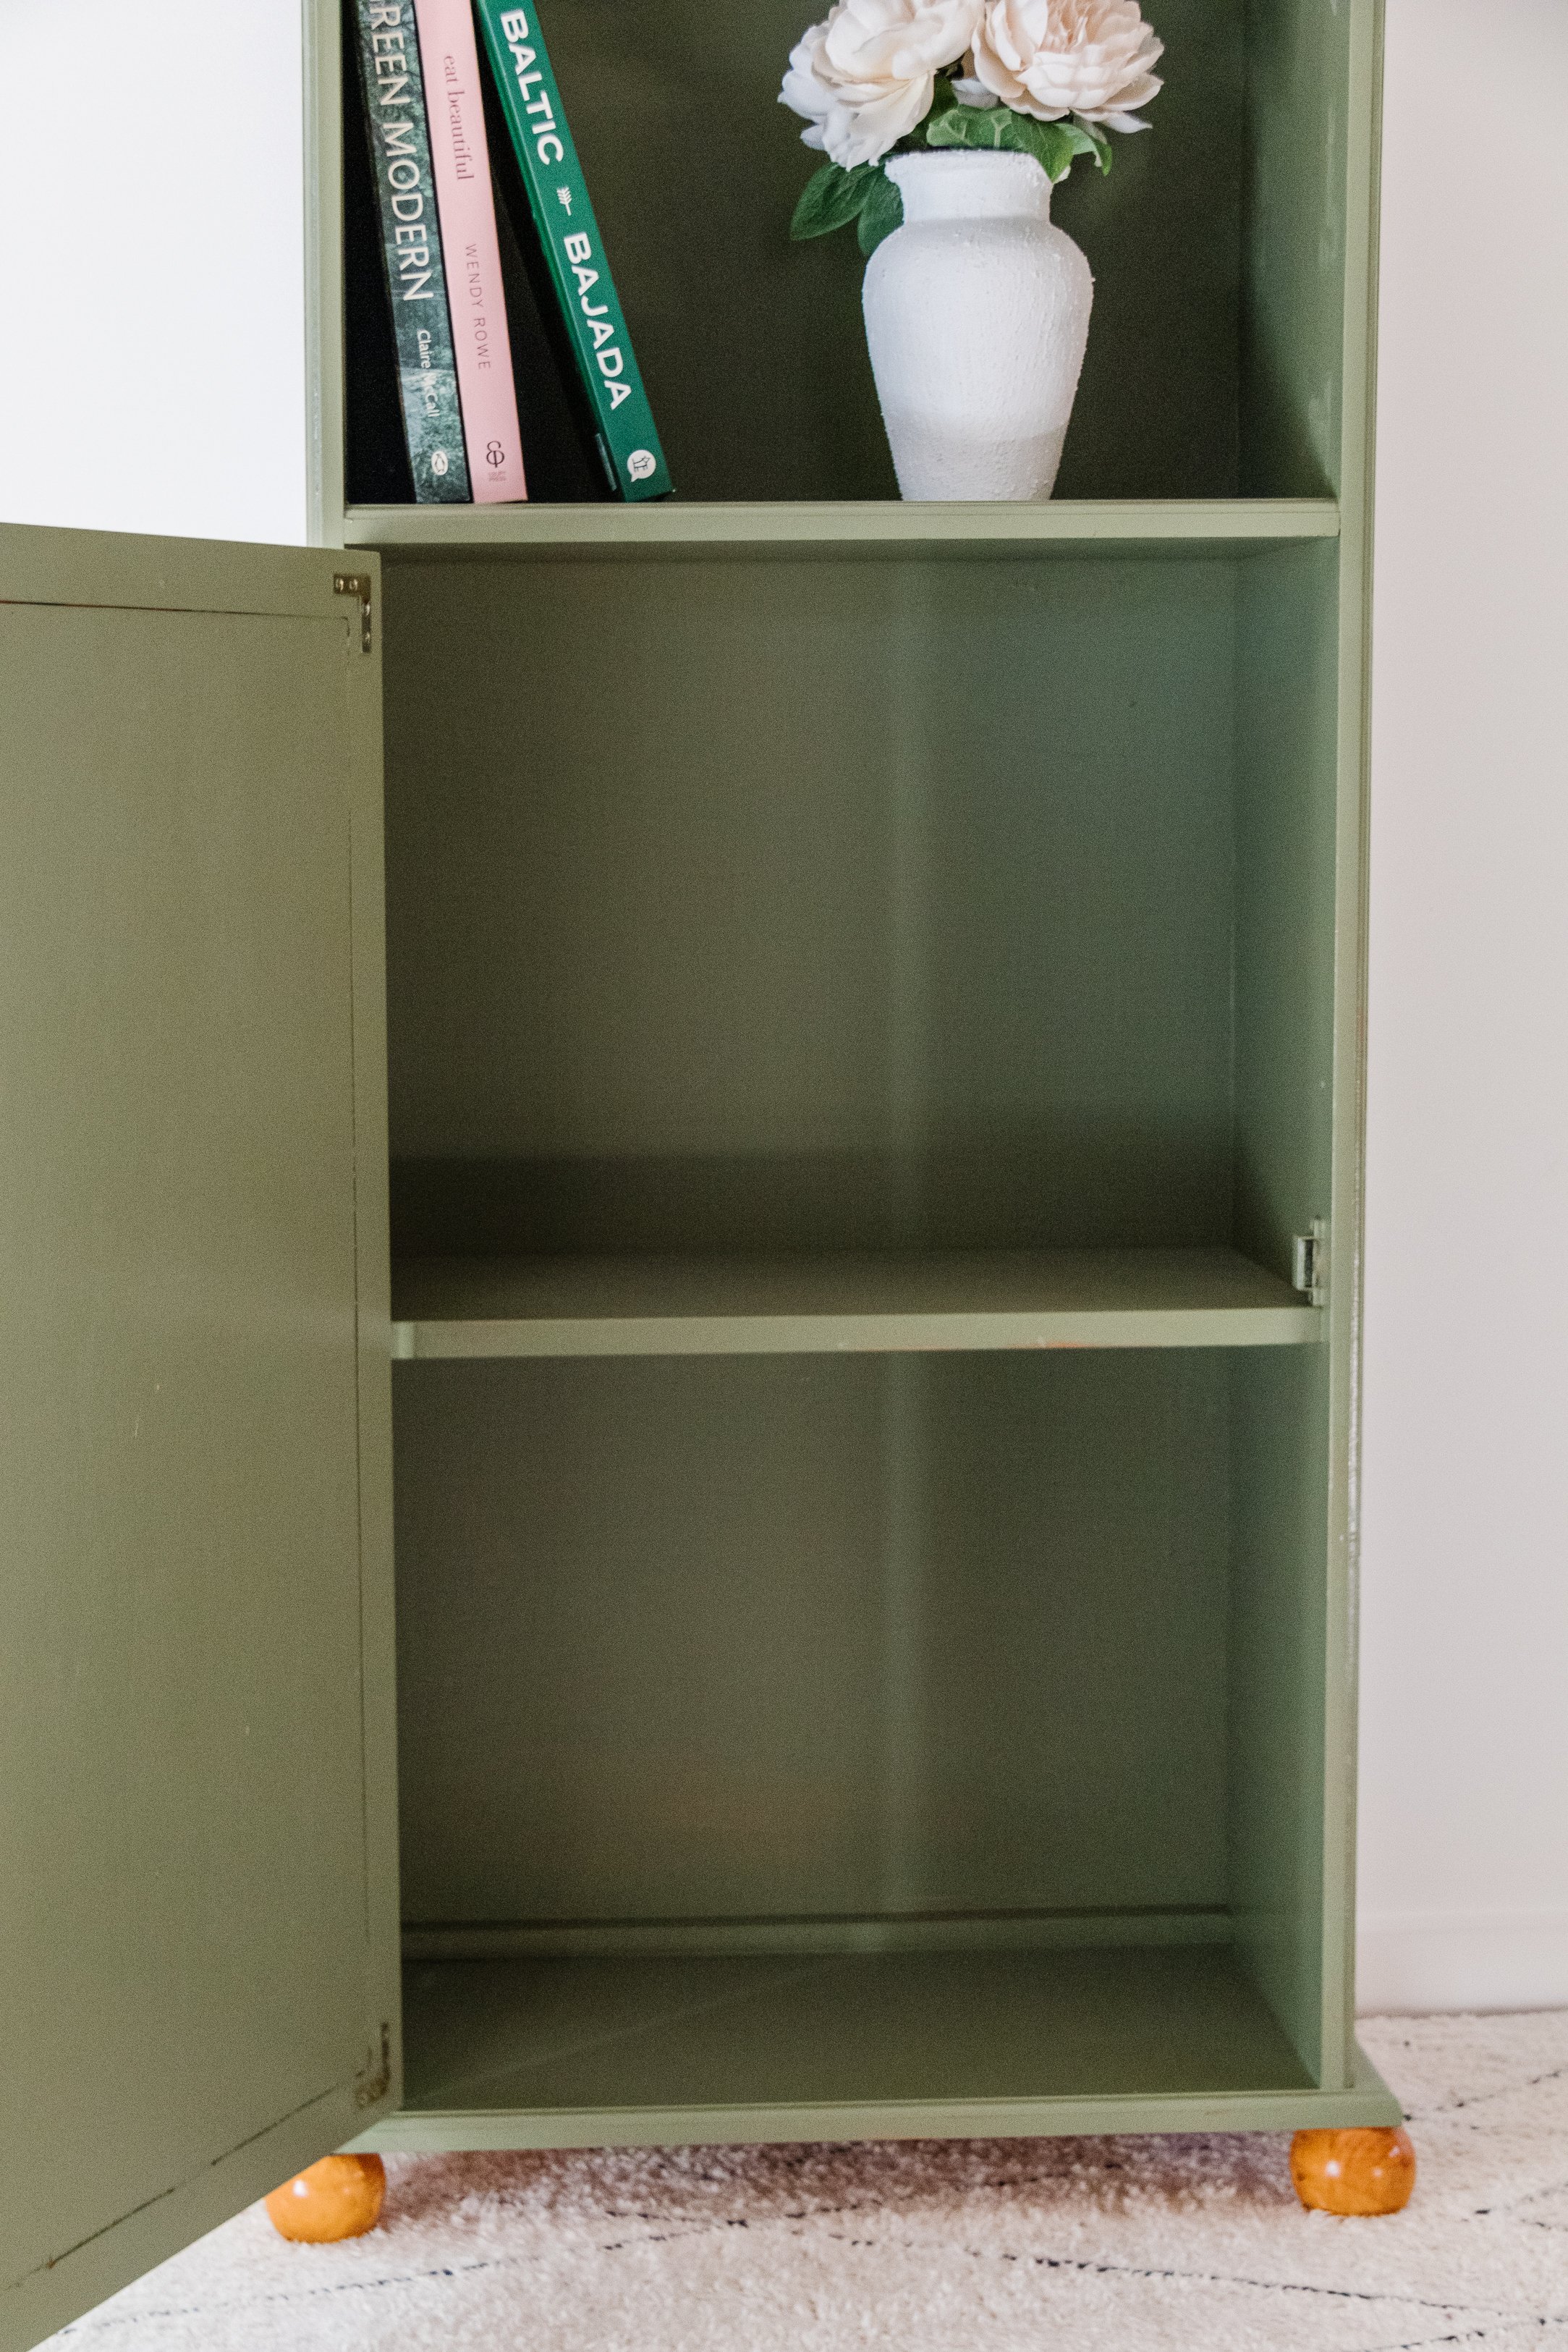
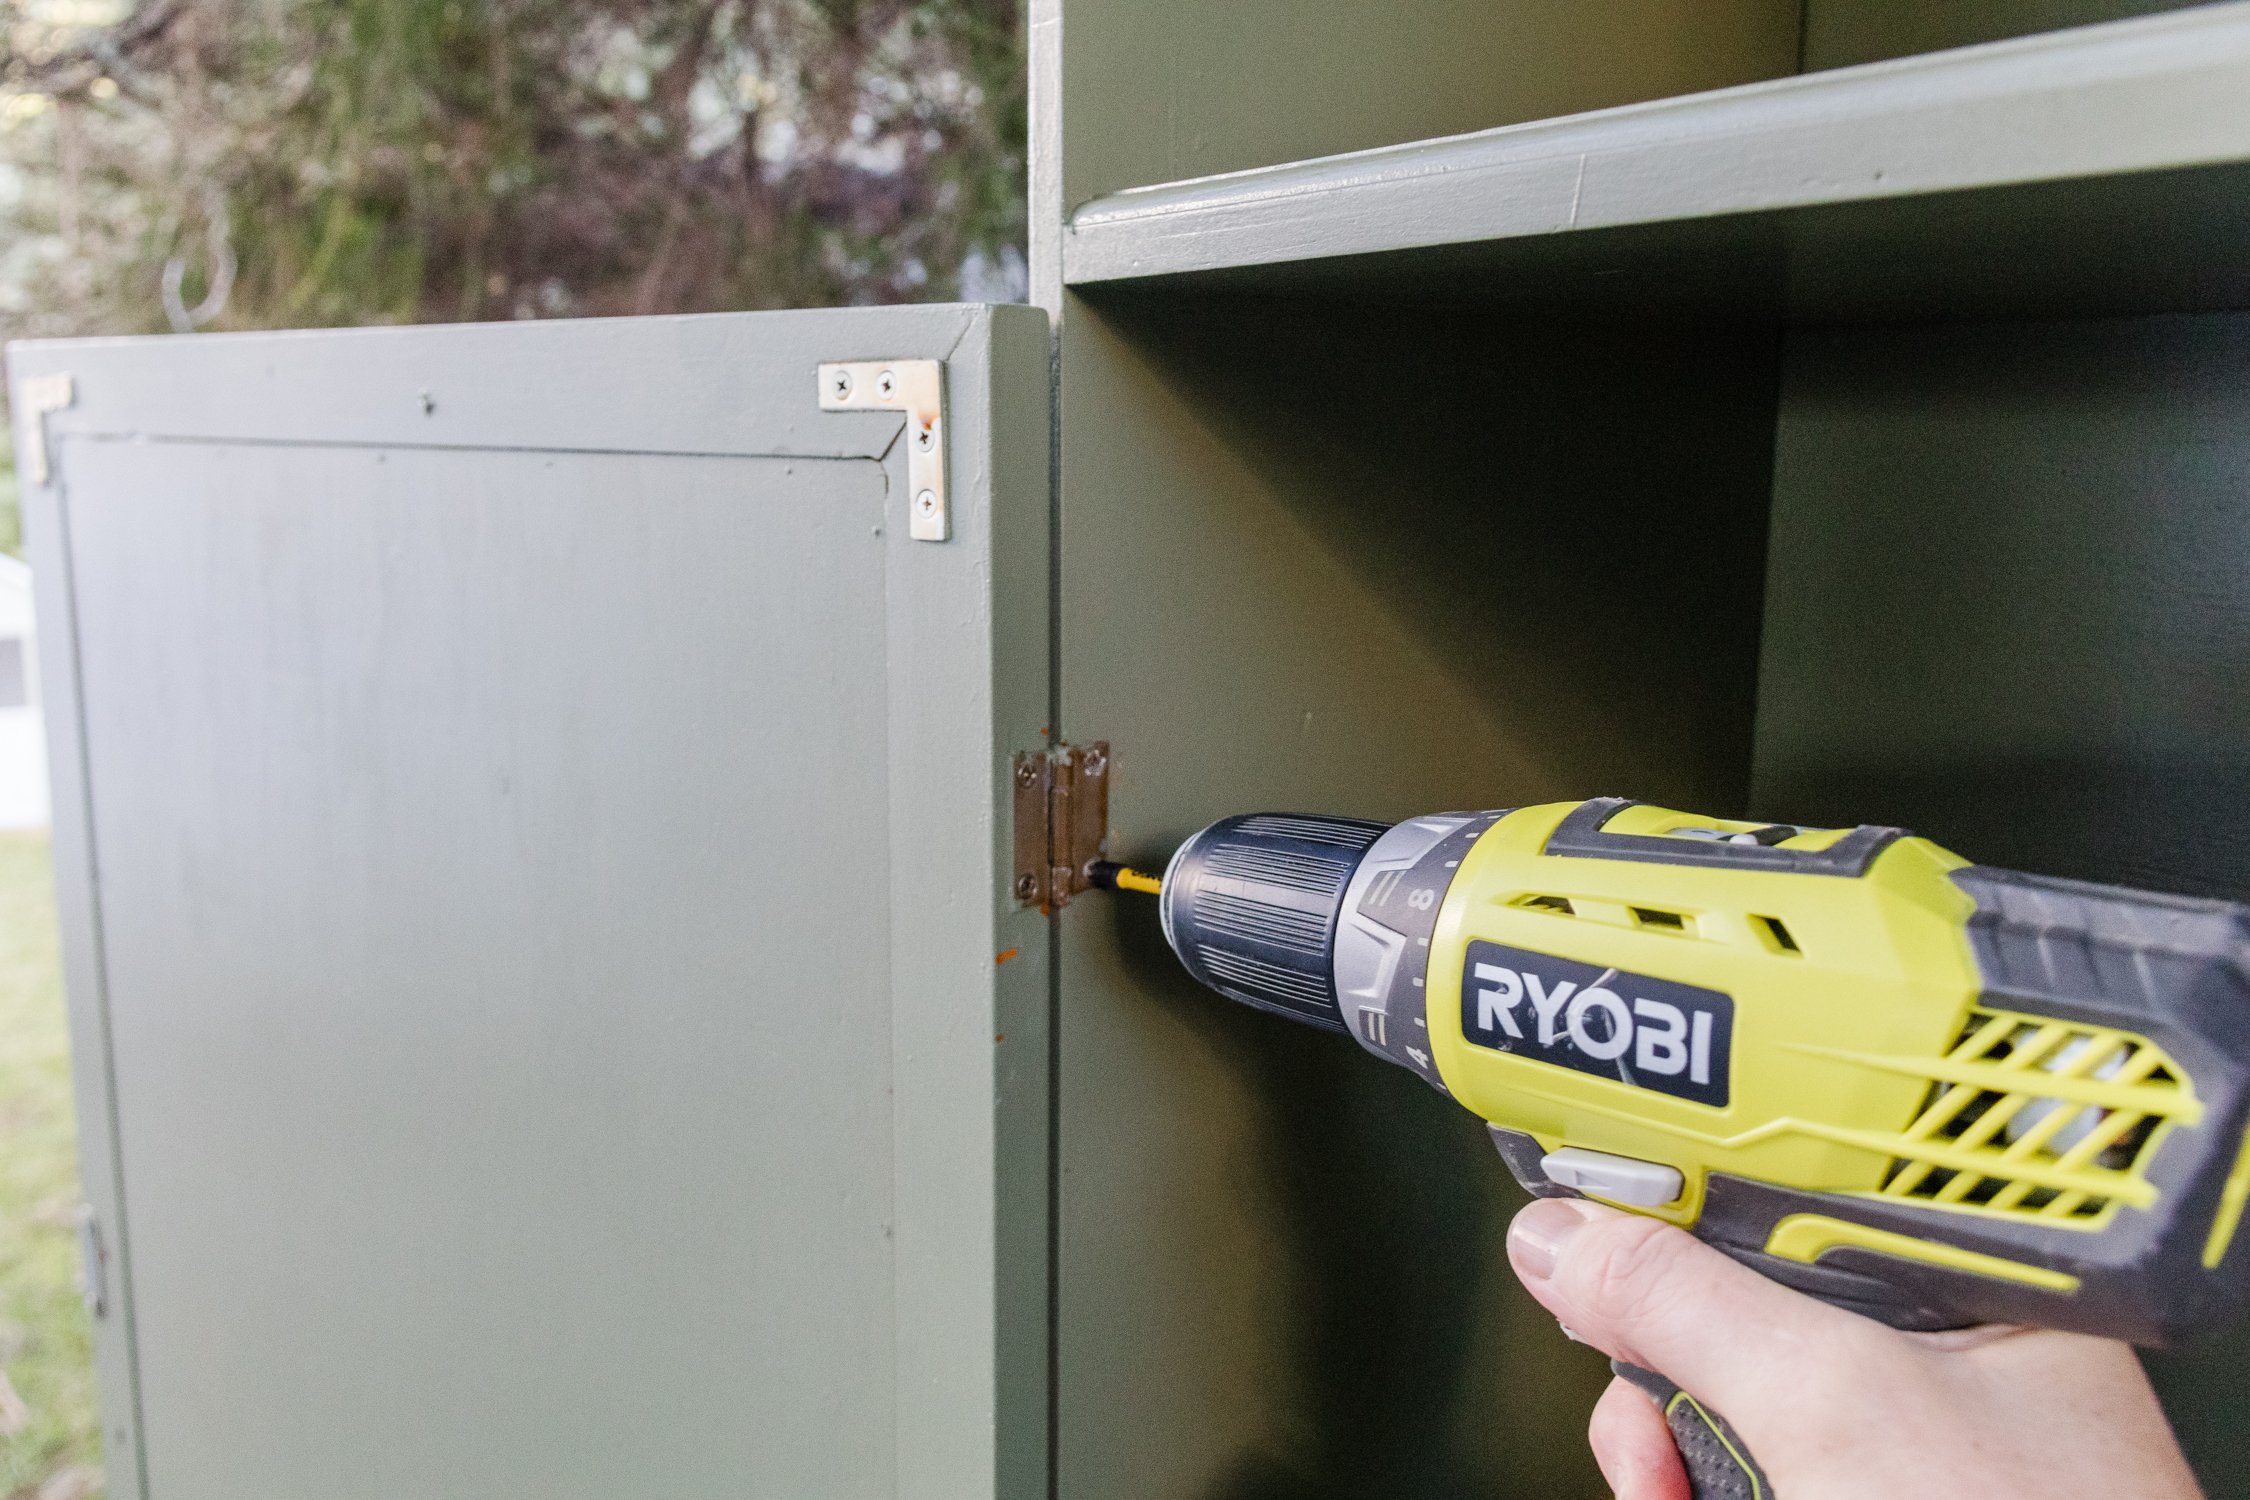
I love to mix metals, so I kept the hinges as they were and covered the existing handle with gold spray paint. Where possible I like to keep the existing hardware to keep costs down but also to keep my projects as sustainable as possible. I put the door back on and then the upcycle was finished!


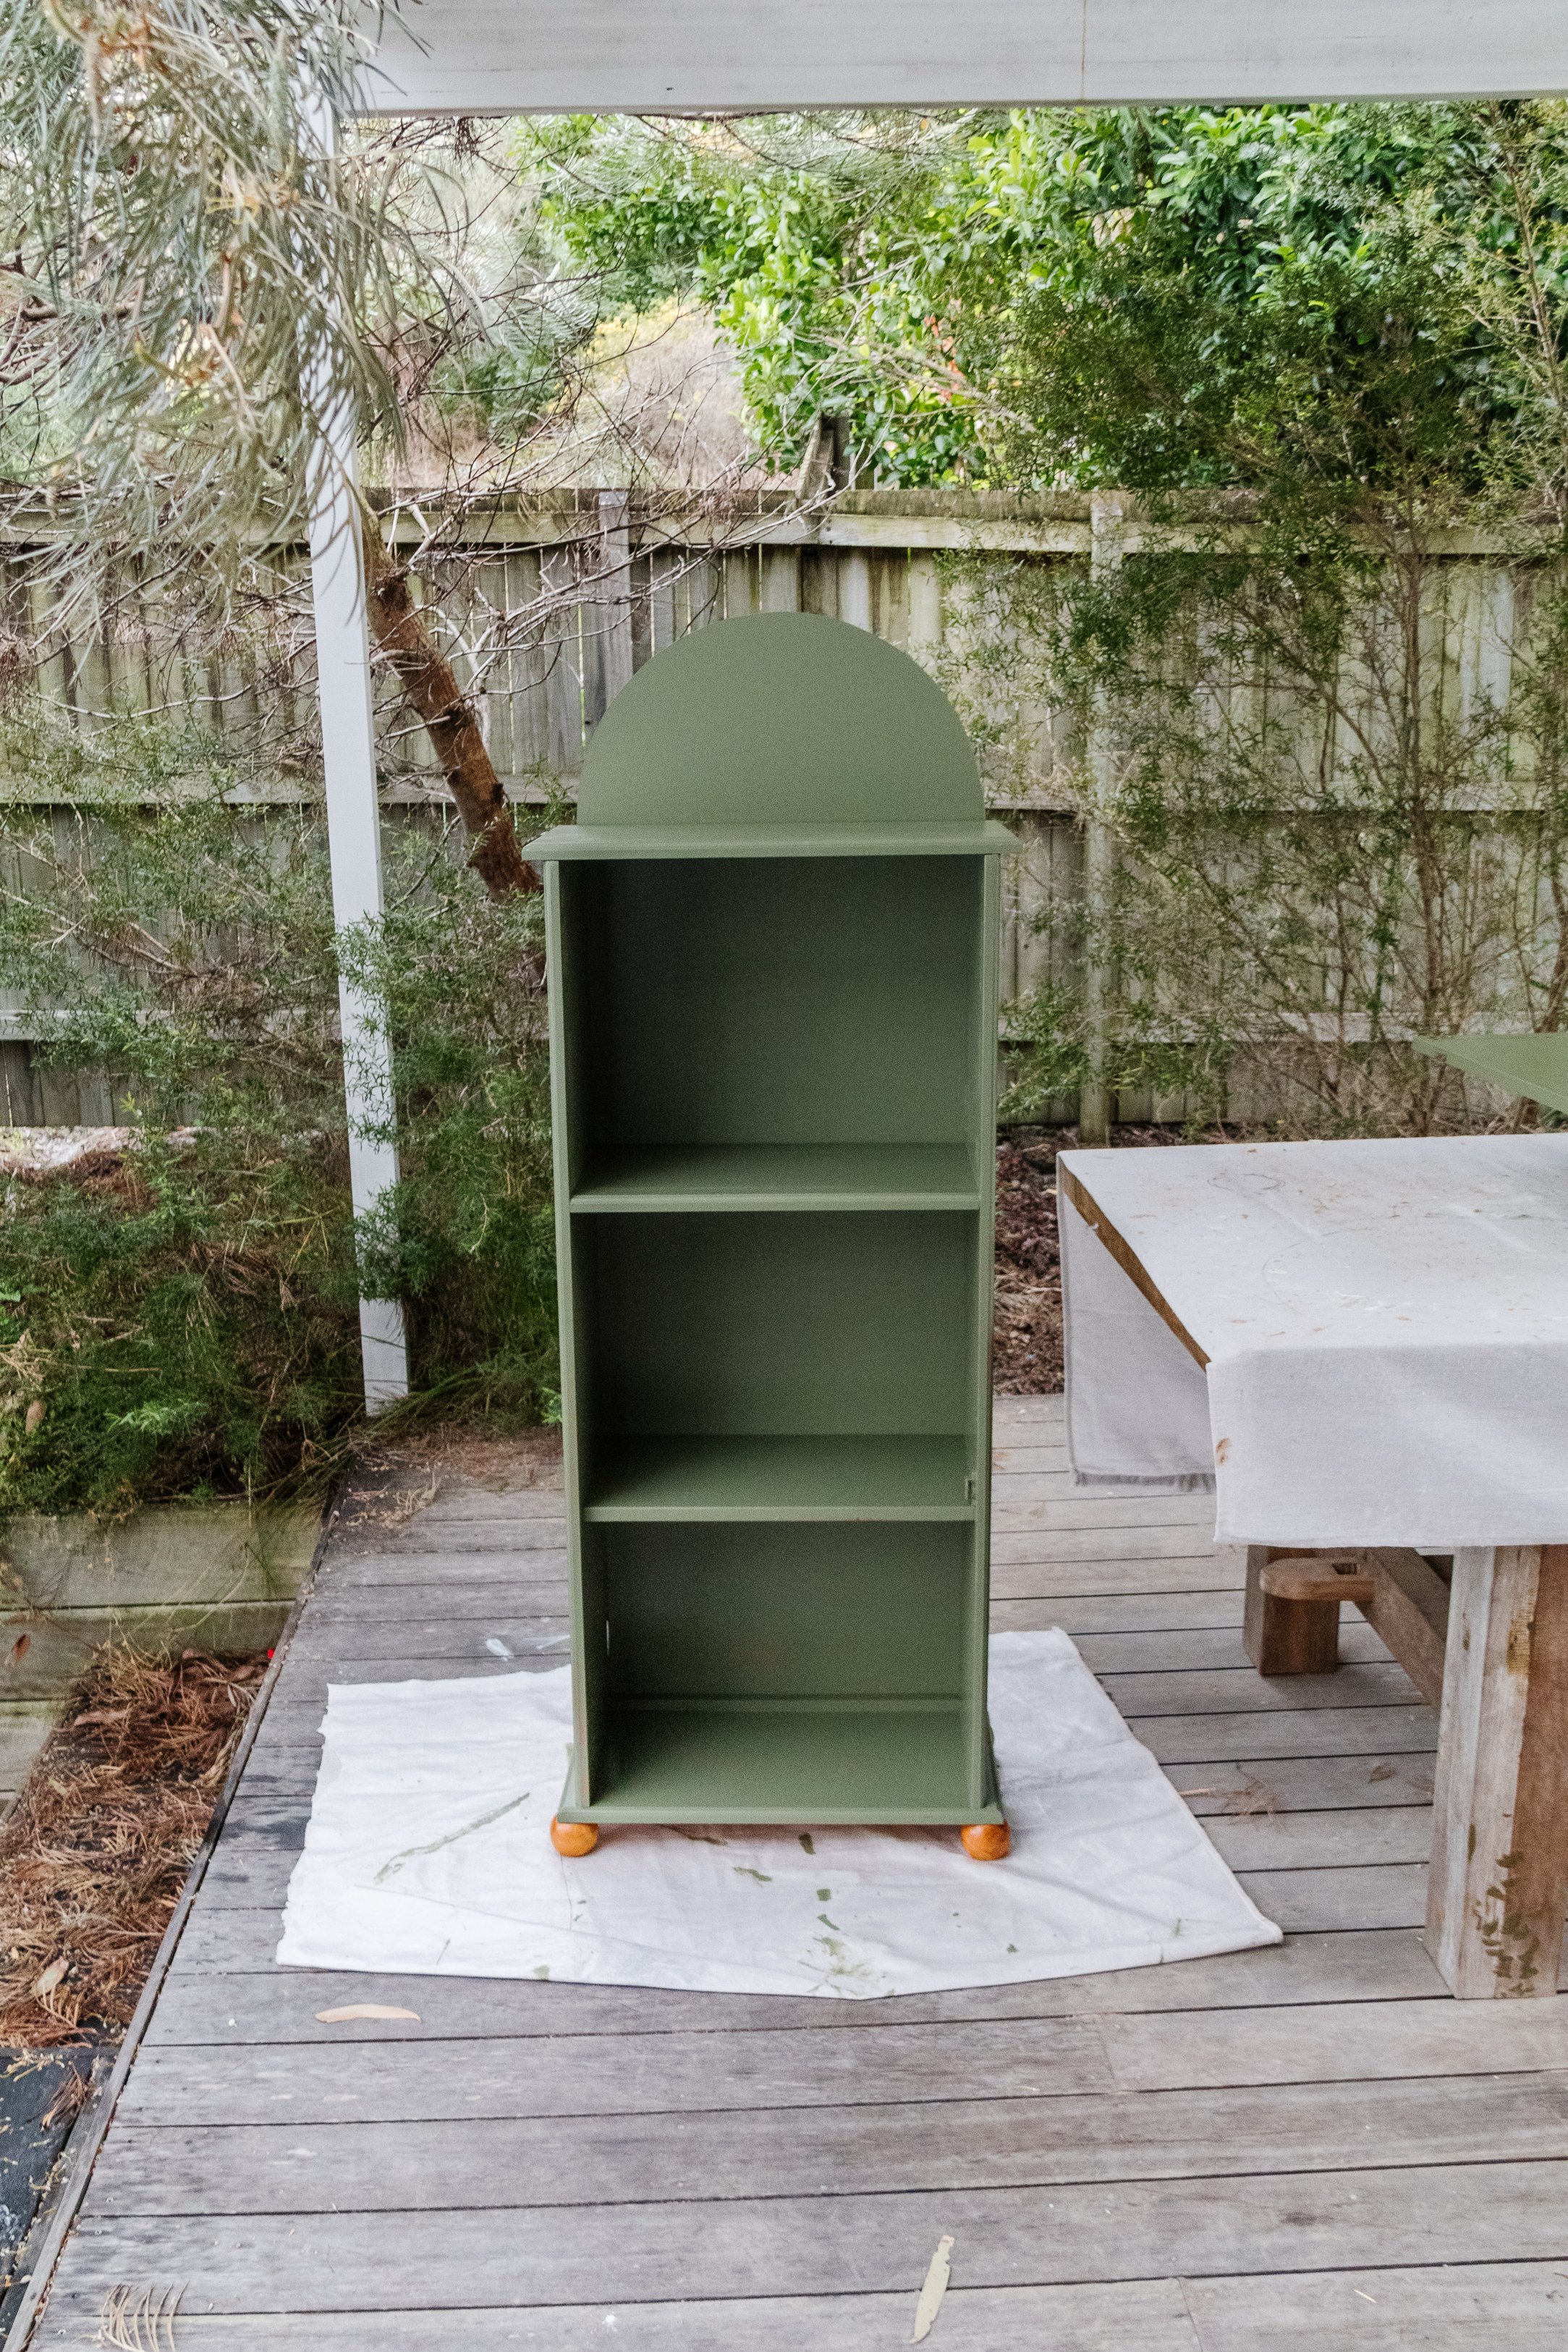
Ta daaaa! Even though this project was filled with twists and turns, I am so happy with how it turned out!
This project was definitely a lesson in going with the flow. Sometimes things go as planned, but mostly always they don’t. And that’s why upcycling brings me so much joy and satisfaction. No matter how many obstacles are thrown my way, I never give up. I keep persevering, and it’s these projects that are filled with spontaneous and unexpected surprises along the way that make the end result truly beautiful. Such as the two arch details, which were never in my original plan - and I am so obsessed!
If you love upcycling furniture, make sure you check out these projects: