My Upcycling Process…Revealed!
Want to make your dream home for less sustainably, while saving money and learning how to upcycle? You’ve come to the right place.
The other day Celeste came into my studio and asked what I was making. When I told her I was upcycling art she asked why, and I thought, that’s such a good question. And it got me thinking. I have always loved upcycling and have been upcycling furniture and decor for as long as I can remember. I’ll always remember the first time I stepped inside my local tip shop 7 years ago. Knowing the potential, the thrill of the unknown, finding the diamond in the rough and transforming it using new and secondhand materials. The joy and satisfaction I found in upcycling furniture and decor for our home, while saving money and preventing it from ending up in landfill was addictive.
Truthfully, my addiction to upcycling began years before that, when I was in high school. Every weekend I ask my parents to take me to our local charity shops so I could rummage through the racks of clothes to find something cool and different to wear to a party. I never found something that fit me perfectly, so I would have to shorten a hem, take in a waist or replace some ugly buttons so it was perfect for me. Often I would bring home a bedside table with me that I would repaint or paint over a piece of art until it’s was perfect to me. And little did I know, I was starting a lifelong love affair with upcycling that would lead to running a successful online vintage store, to teaching people how to transform trash into treasure while making their dream home for less.
When we built our home 5 years ago we couldn’t furnish it straight away because we didn’t have much money leftover after the build. But that worked in our favour because we’ve always been a fan of living in a home, moving within it and figuring out what we need and what will work best, and taking our time. We thrifted furniture from secondhand stores, saved our pennies and bought a few special pieces (like our 1970s Danish extendable mid century dining table), and when I saw something I liked in a shop or a magazine and knowing we couldn’t afford to buy it, I would head straight to my local tip shop and favourite charity stores to find a piece of furniture or decor and upcycle it for less. I slowly started sharing my projects here, feeling very nervous and unsure what everyone would think, but it turns out I had absolutely nothing to worry about - my upcycling projects are the ones you love the most!
So, why do I upcycle and share my projects here with you? Because I want to inspire you and help you realise you too make your dream home for less with just a little bit of creativity and elbow grease. A couple of weeks ago I shared a little insight into my upcycling process over on Instagram and I was so surprised by the reaction! It seems a lot of you loved getting to know more about my process so I thought I would share all the details here. And that’s why I’m so excited to share my Upcycling Process! My 7 Step Process is aimed at inspiring and encouraging you to start upcycling with knowhow and confidence, while making your dream home for less, and preventing more furniture and materials (that has tonnes of potential!) from ending up in landfill. Read on to find out. And as always, happy upcycling
My Upcycling Process
Step 1: Collecting Inspiration
My upcycling process begins with collecting inspiration. There are many different places I get inspiration from and they are a great resource for igniting my creativity and sparking a project idea. :
Magazines: I love flipping through current and old interiors magazines, and you’ll always find me tearing out pages when I stumble across something I love. I pin my magazine clippings to my upcycled pin board, which I made using rubbish I would have ordinarily thrown out!
Pinterest: I love sharing my projects on Pinterest and every week I set time aside to have a look through images of homes, interiors design, furniture design and upcycling projects. I save anything I love in my private folders, and I often look back through those saved images for inspiration.
Secondhand Books: Every time I go thrifting, I always head to the section that stocks books on furniture making, interior design, garden design, home DIY and making. I’ve found some absolute pearlers and they’re a great source of reference.
Travel: Traveling is truly the only time I can switch off and give myself the break I always need. I love to experience new places, try different food, talk to locals and take in everything around me. Different places, experiences, food and cultures inspire my work so much!
Nature: Whenever I am feeling overwhelmed or lacking creativity, getting back into nature gives me energy and sparks my creativity. The colours and textures inspire all my projects here. I love look at the trees, mountains and ocean around me, and listen to the sounds of the wind, waves crashing and leaves rustling in the trees above without music or a podcast blasting in my ears. Nature clears my mind and motivates me a lot!
Step 2: Finding A Project
My upcycling projects always begin one of two ways:
#1 - I have a project in mind: Collecting inspiration every week means I have a huge list of upcycling projects I want to do. So, when I have a project in mind and some time on my side, I set about looking for the perfect piece of secondhand furniture or home decor to upcycle. This project is a perfect example of that. I go thrifting at least twice a week, and sometimes I can find what I am looking for really quickly, while other times it can takes weeks, sometimes months.
#2 - Thrifting sparks an idea: The other way an upcycling project starts is when I go thrifting and stumble on something unexpected, but I know it has potential. I take a step back, thoroughly inspect the item all over and as I do this, it sparks a totally new and unexpected idea that isn’t on my upcycling to do list. I love these projects because they’re spontaneous and I can start making and sharing them right away.
Whether I have a project in mind or if an idea is sparked when I go thrifting, I always have my Upcycling Toolkit by my side. It’s small but mighty, and it helps me choose the best secondhand furniture every single time.
Step 3: Sharing The Project
From this point I will start to share the upcycling project and process on Instagram. I love inviting my community in and capturing behind the scenes photo and video of the entire process. I love doing this because it helps my community learn tp upcycle and inspires them (I hope!) to try an upcycling project themselves! As I work solo and don’t have a team, I don’t have anyone to discuss ideas with so I always turn to my community on Instagram to ask for their opinions and advice. I love to ask my community to vote on decisions I am struggling to make (which happens often!) such as choosing materials and paint colours.
Step 4: The Practicalities
When I have a project in mind, I immediately start thinking about how I make my idea and vision come to life. This is where my creative problem solving skills kick into action, and is genuinely, my favourite part of the entire process! Sometimes I can spend days thinking about how I can approach an upcycle. I draw designs, sketches, take measurements and test materials in order to give me the knowledge I need to make an upcycle come to life. Other times, I know straight away based on my experience and instincts, which is something I have developed and learned over the years thanks to lots of trial and error. No matter what, sharing my upcycling projects her is actually all about you guys, my community, and making sure they’re foolproof, practical, sustainable, affordable and beautiful. So, there are several factors I always consider before I start a project:
Practicality: The first factor I consider is practicality, and I always ask myself, “is this upcycle foolproof for people to try at home?” While all of my projects are steeped in home DIY, I am obsessed with the detail and I always make sure the finish is professional and practical - like sealing plaster with paint or a clear coat if it’s a high use item, like a console table. I never pretend a material or project is something that it’s not. I spend hours doing research, I ask lots of questions and I test, test, test until I know it’s practical for everyday use. I am also obsessed with provide solutions and offering alternatives. If you don’t have a mitre saw to make your own floating timber frame, no worries! Use a mitre box and tenon saw instead!
Materials: I love experimenting with unexpected materials, but I always make sure they’re affordable and practical for everyday use. Each project is unique, but I like to make sure many of the materials (and tools) are the same so you don’t have to keep spending lots of money every time you want to do a project.
Tools: It’s no secret I love using power tools, but I am also aware not everyone has them or the confidence to use them. I always consider which tools I will need to use and try to offer affordable and easy to use alternatives where possible. I also have several power tool guides on my website and still have lots more to share!
Affordability: My purpose is to help you make you dream home for less, so I always like to make sure my project costs are transparent. This is so you can cherry pick which projects you want to try while keeping your budget in mind.
Sustainability: I always make sure every single upcycle is entrenched in sustainability. Preventing furniture and materials from ending up in landfill is very important from both a cost perspective and an environmental perspective, so I always source materials, furniture and decor from my local tip shop and favourite charity shops first and then I source anything else I need from places like Bunnings and Lincraft. I am also very aware my community may not find exactly the same bedside table or cabinet to upcycle, so I like to share tips and tricks to help people find what they need to recreate one of my projects. I also like to challenge myself to create upcycles using leftiver materials and everyday rubbish.
Step 5: Creative Problem Solving
No matter how much planning and preparation goes into a project, or how much upcycling experience I have, every project has an element of creative problem solving. But this is what I love most about sharing my projects here. I can spend hours trying to figure something out but by the time I share the process here, it will only take you minutes! I am all about figuring out the hard stuff so my projects are easy and foolproof for you to try at home. If I can’’t figure out something myself, I always ask questions and do a lot of research until I have. It’s challenging, but oh so rewarding! Often I’m upcycling projects I’ve never seen done before. There’s no playbook, just my imagination and that’s why I love upcycling so much.
Step 6: The Finish
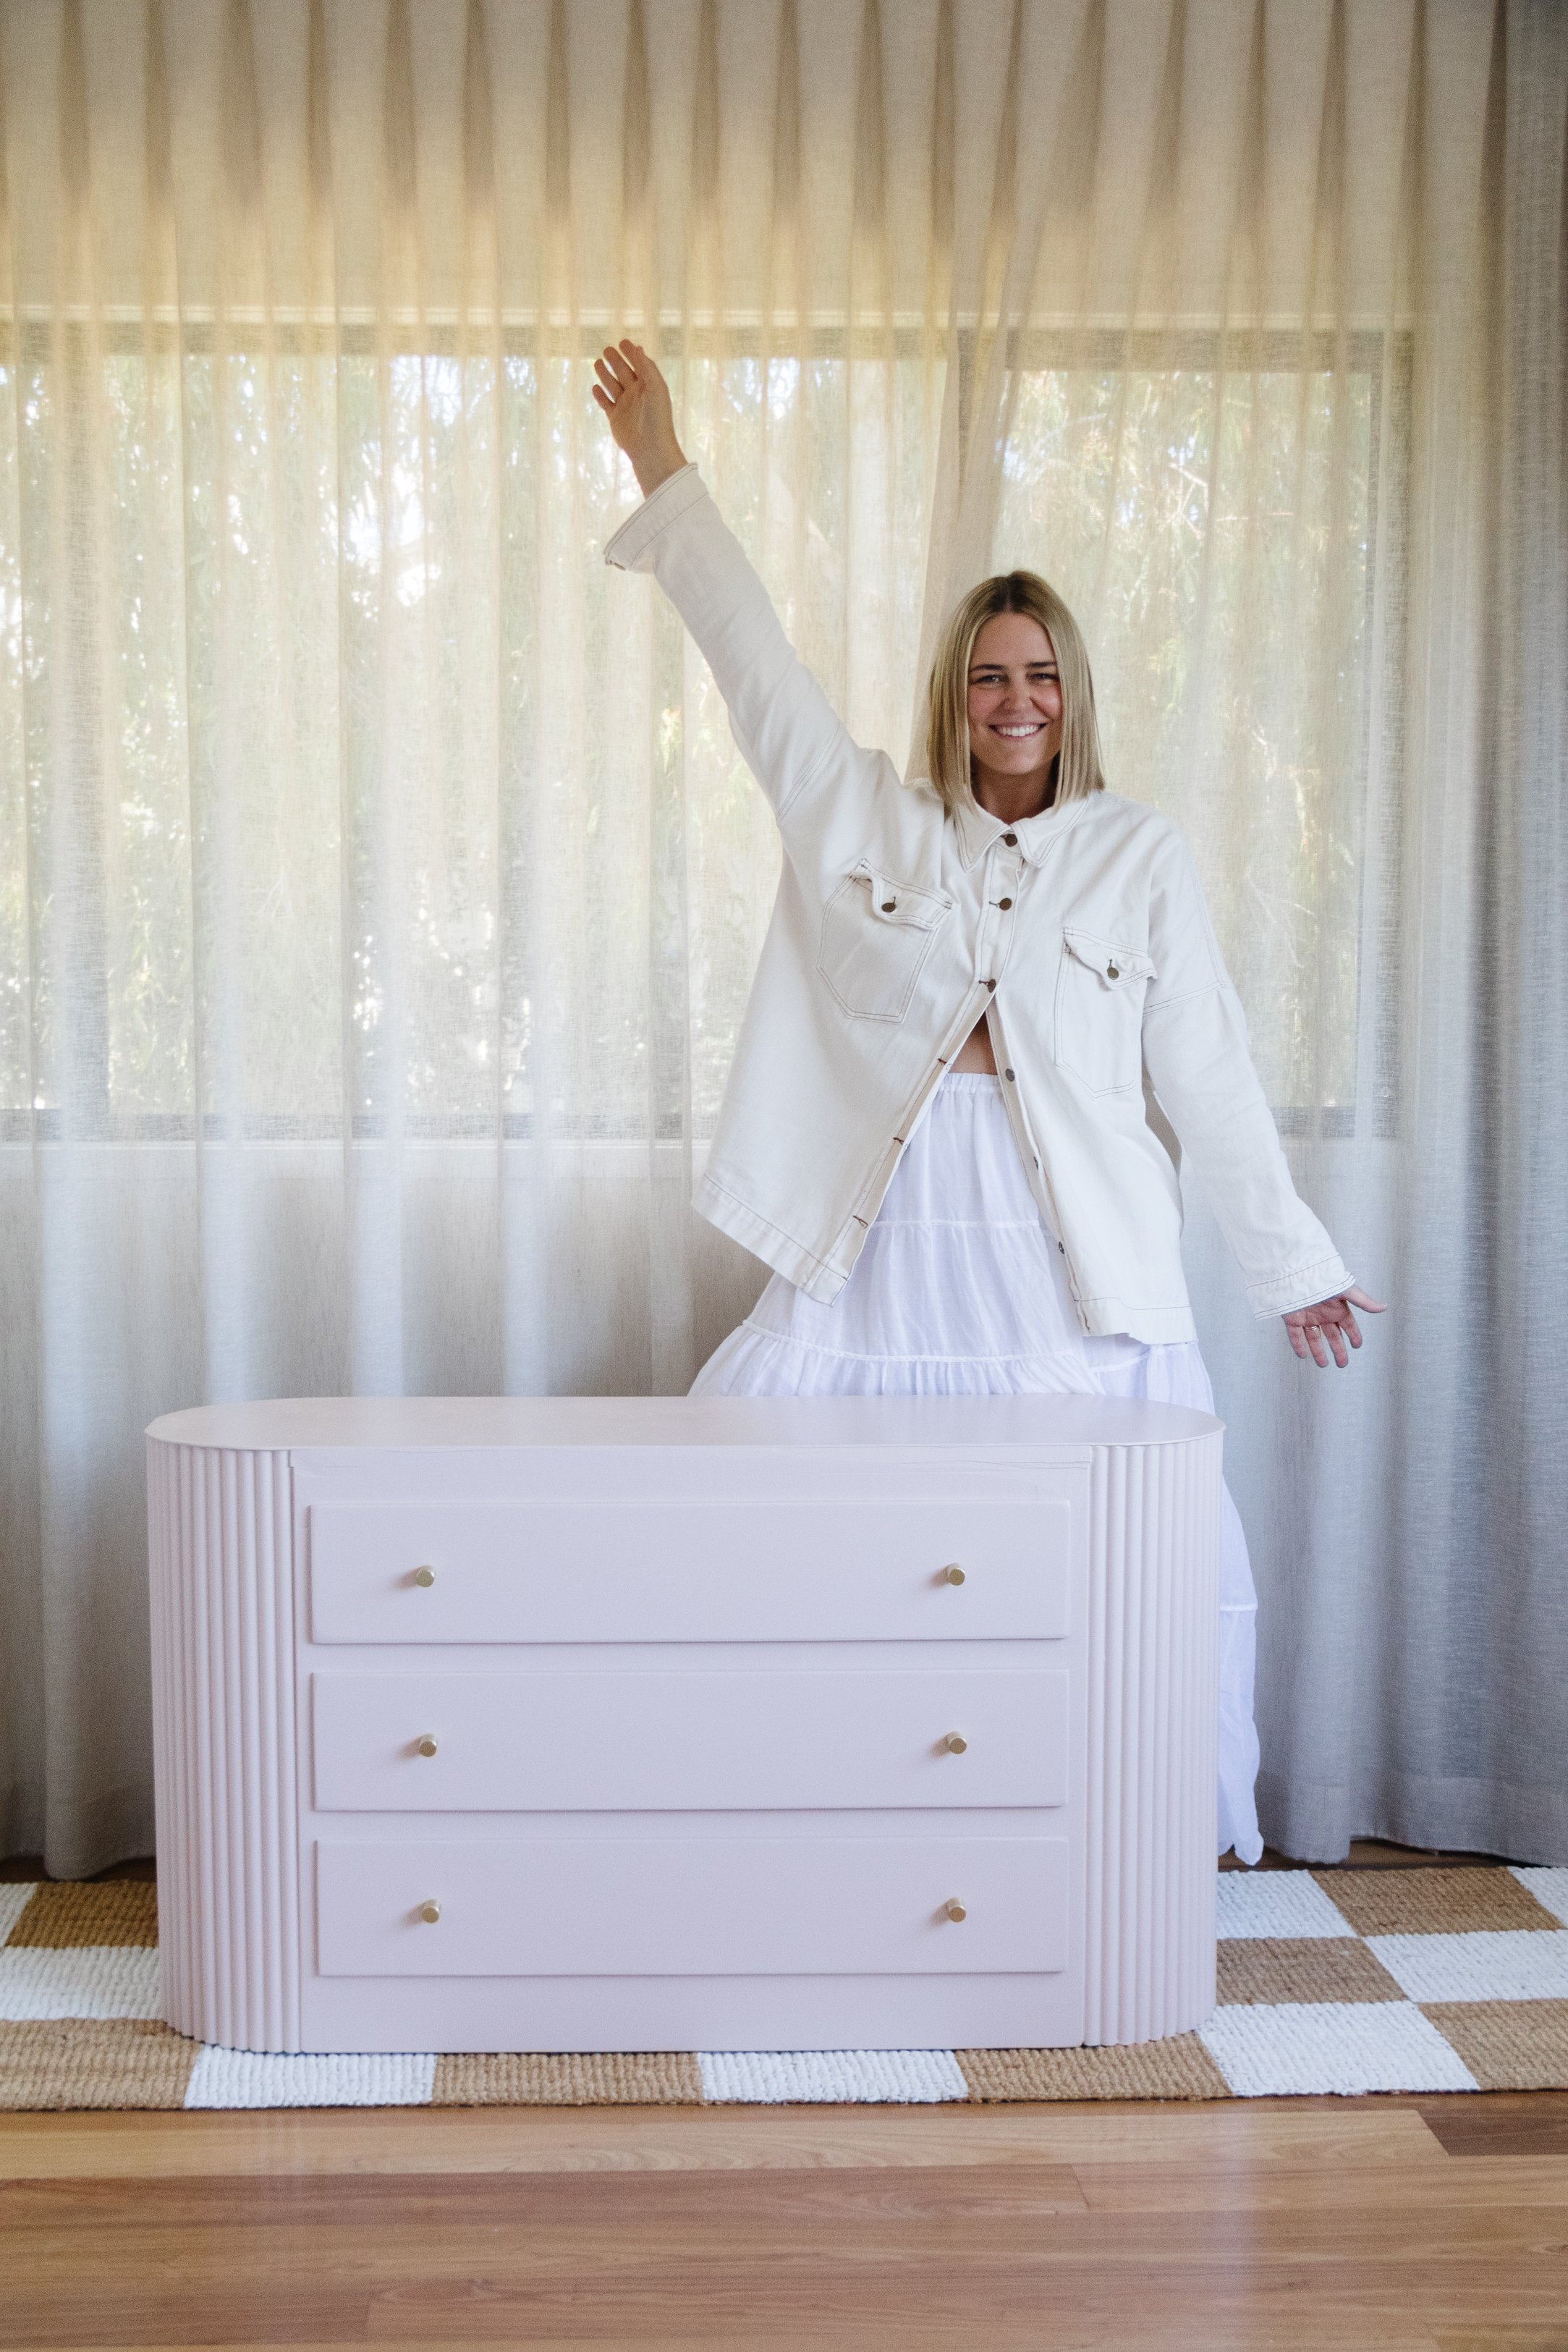
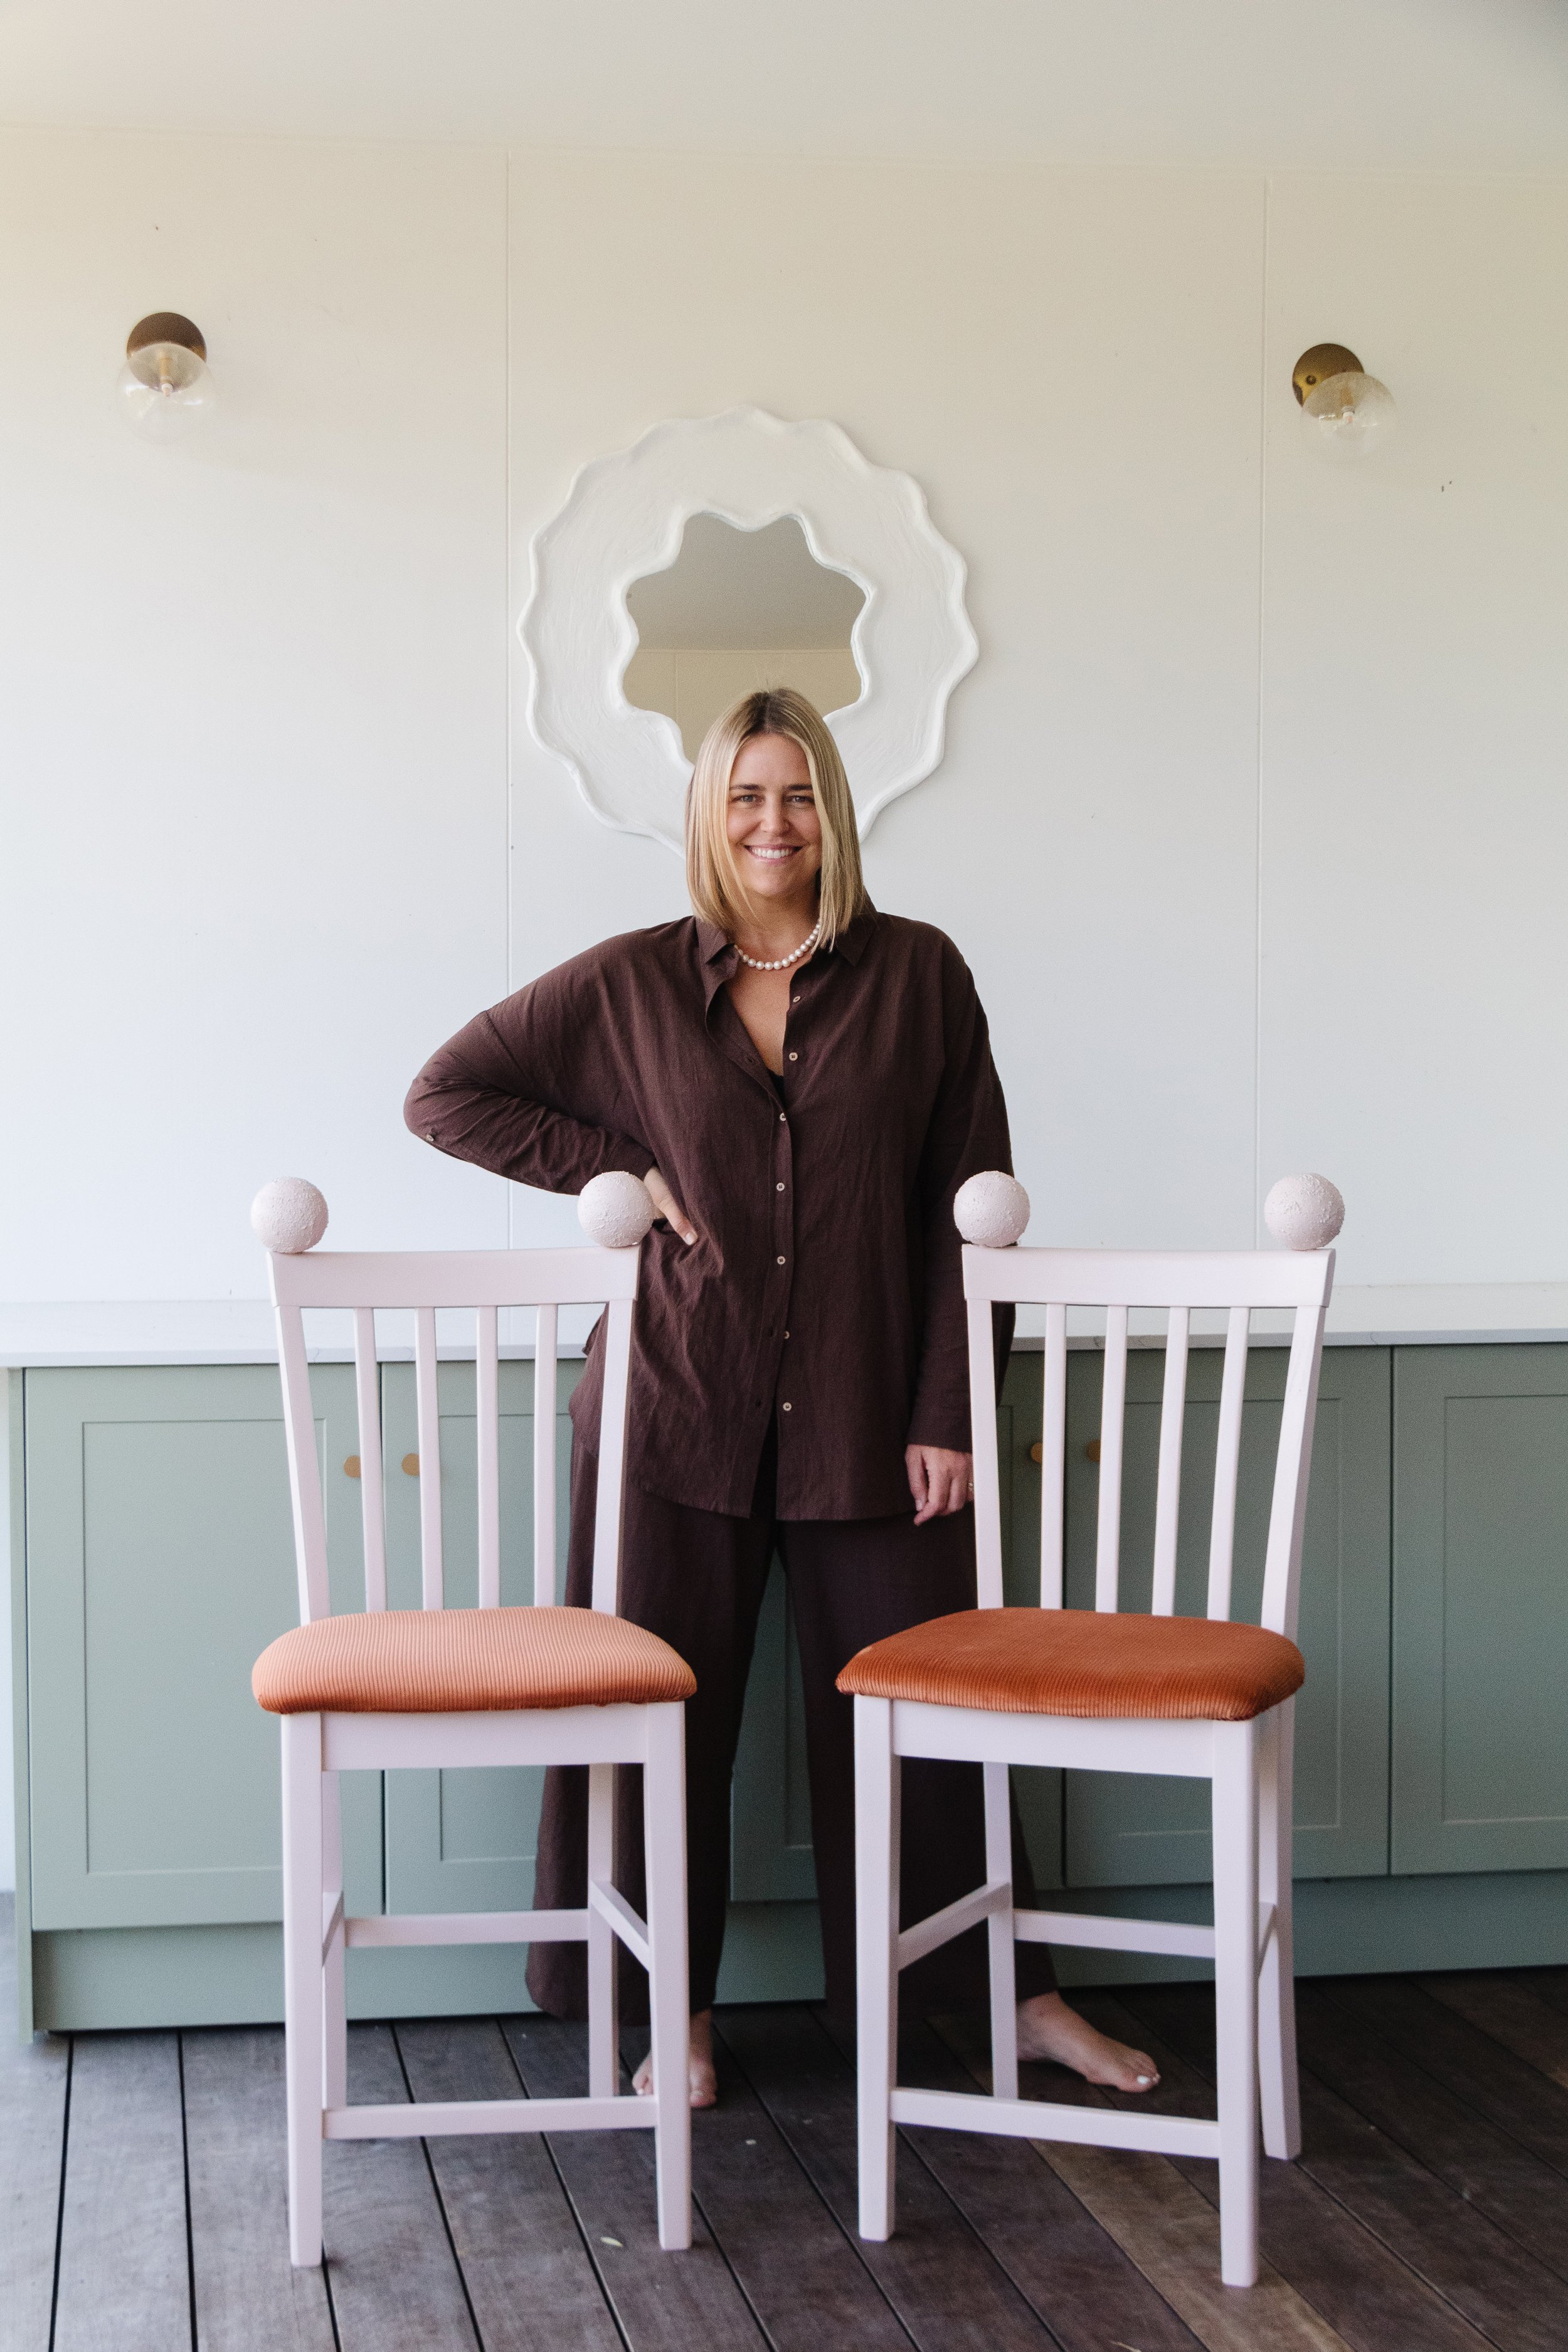
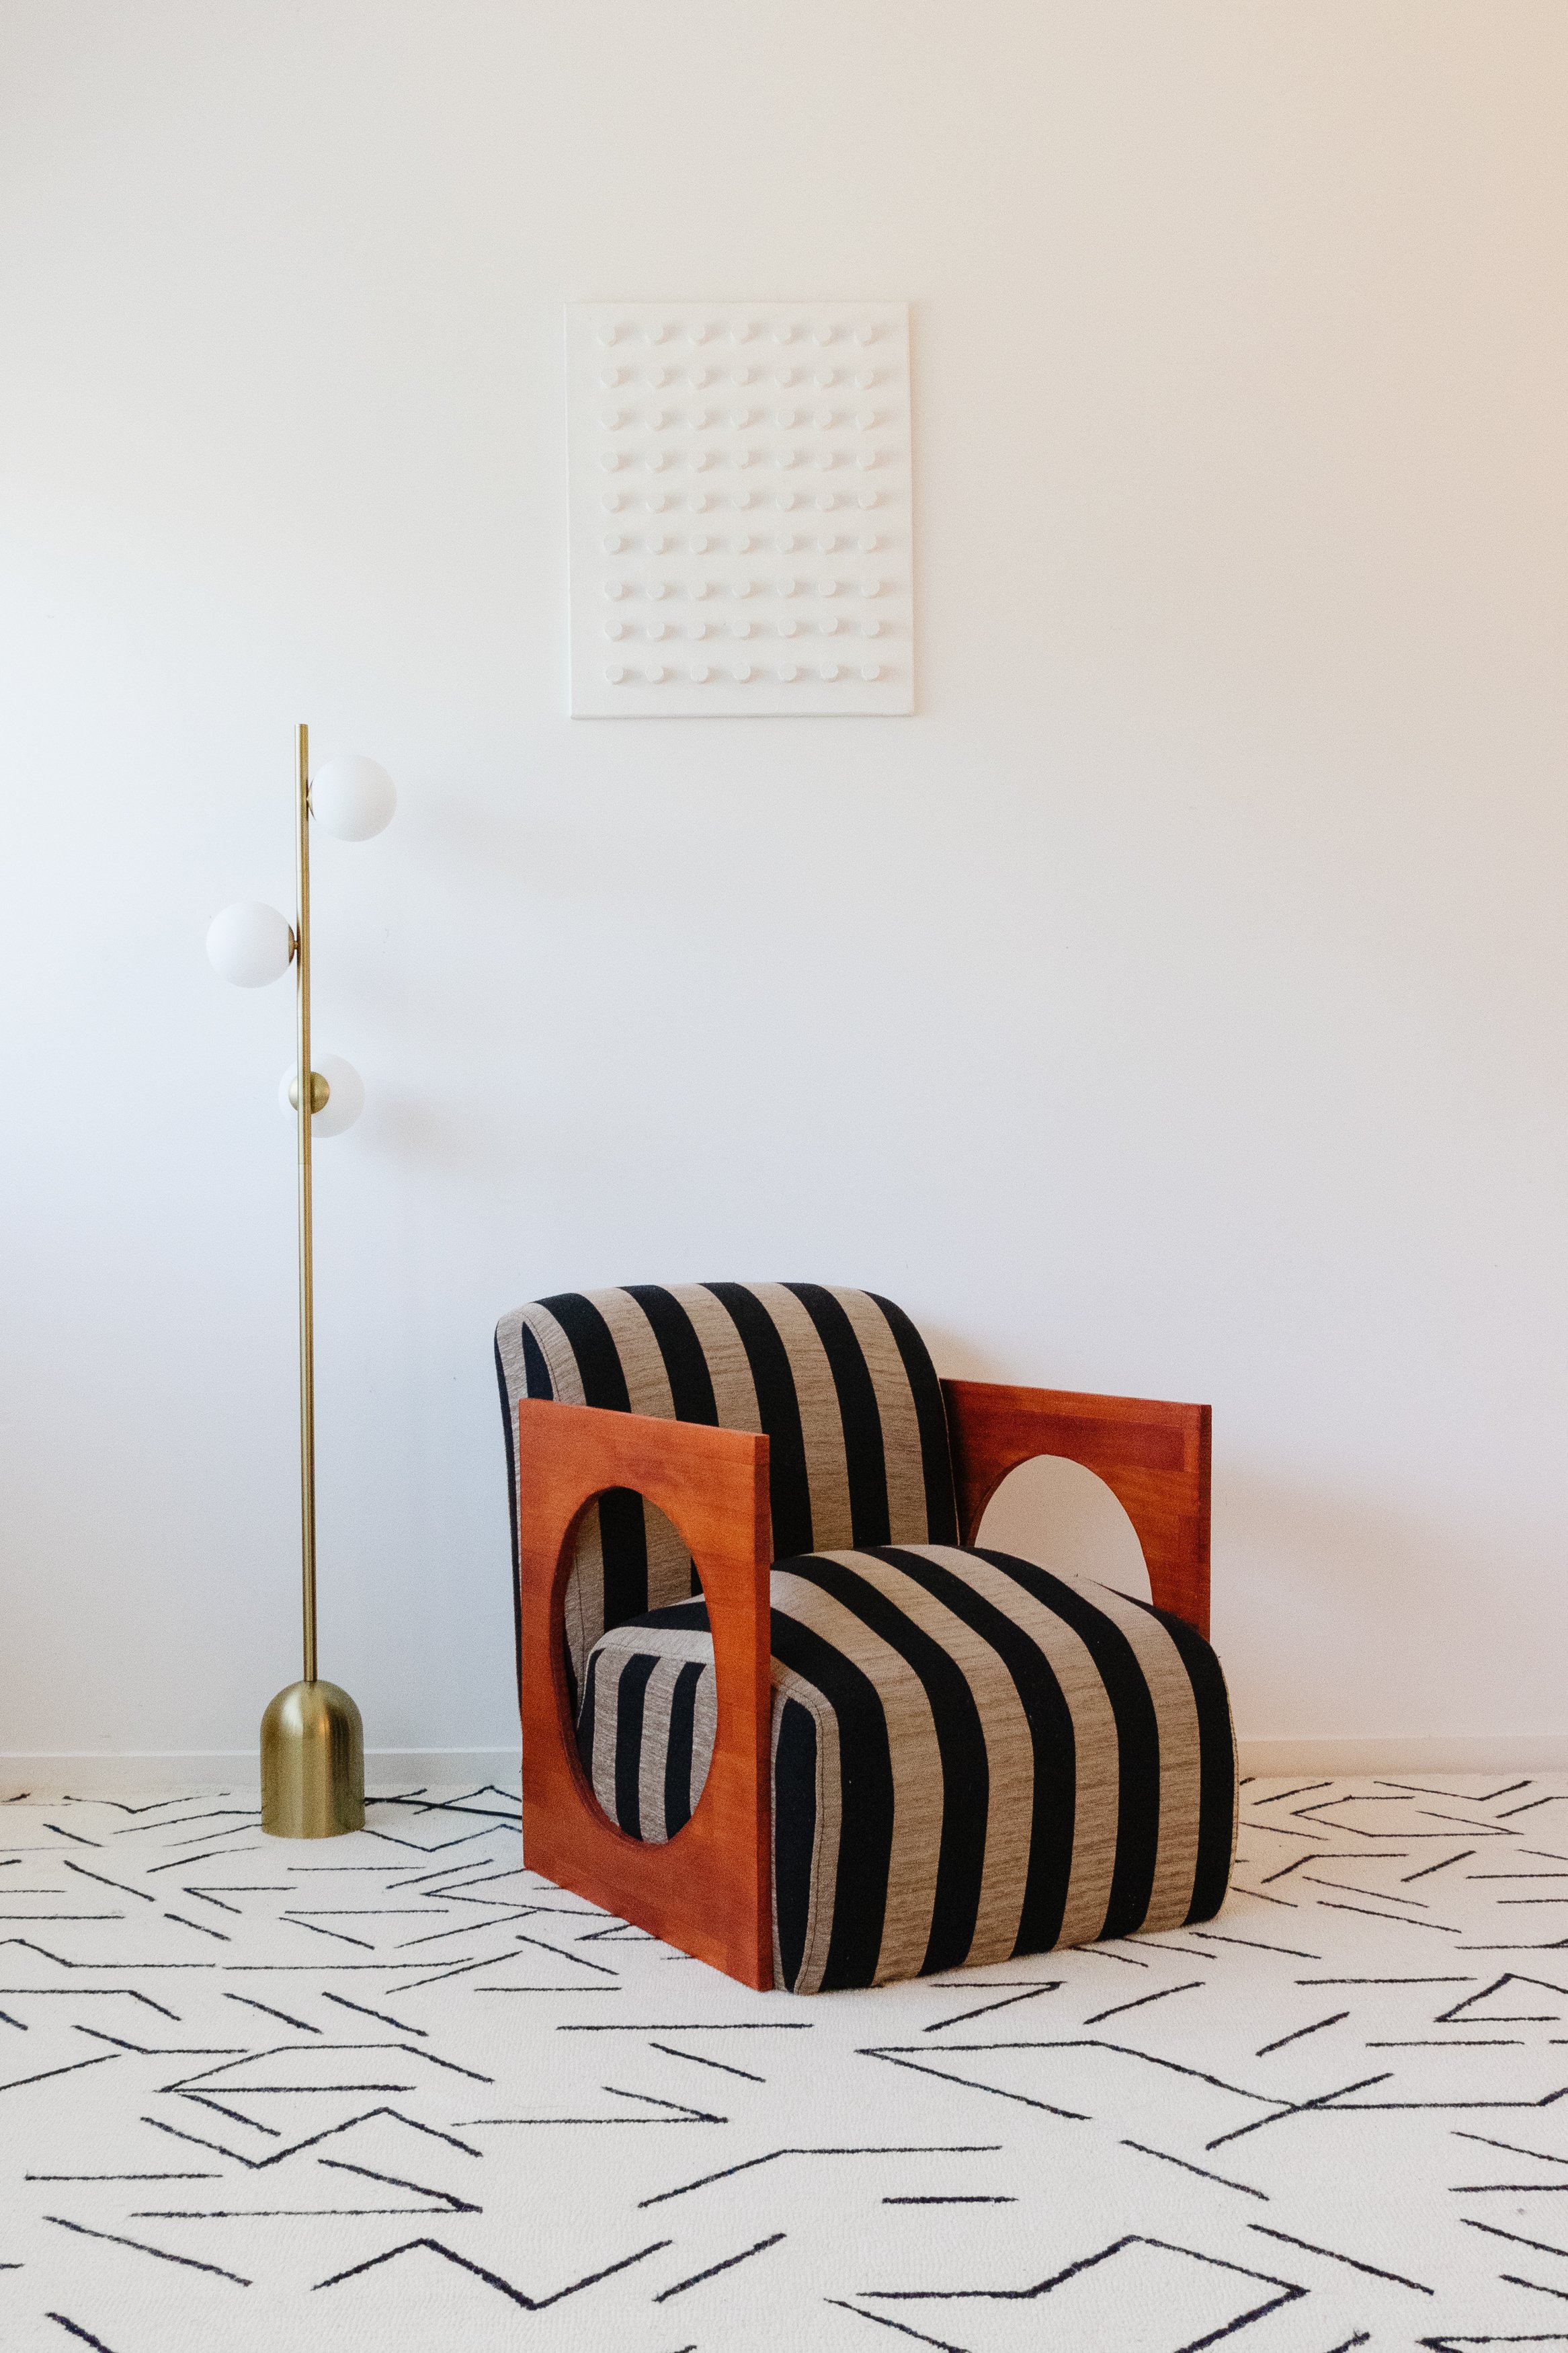
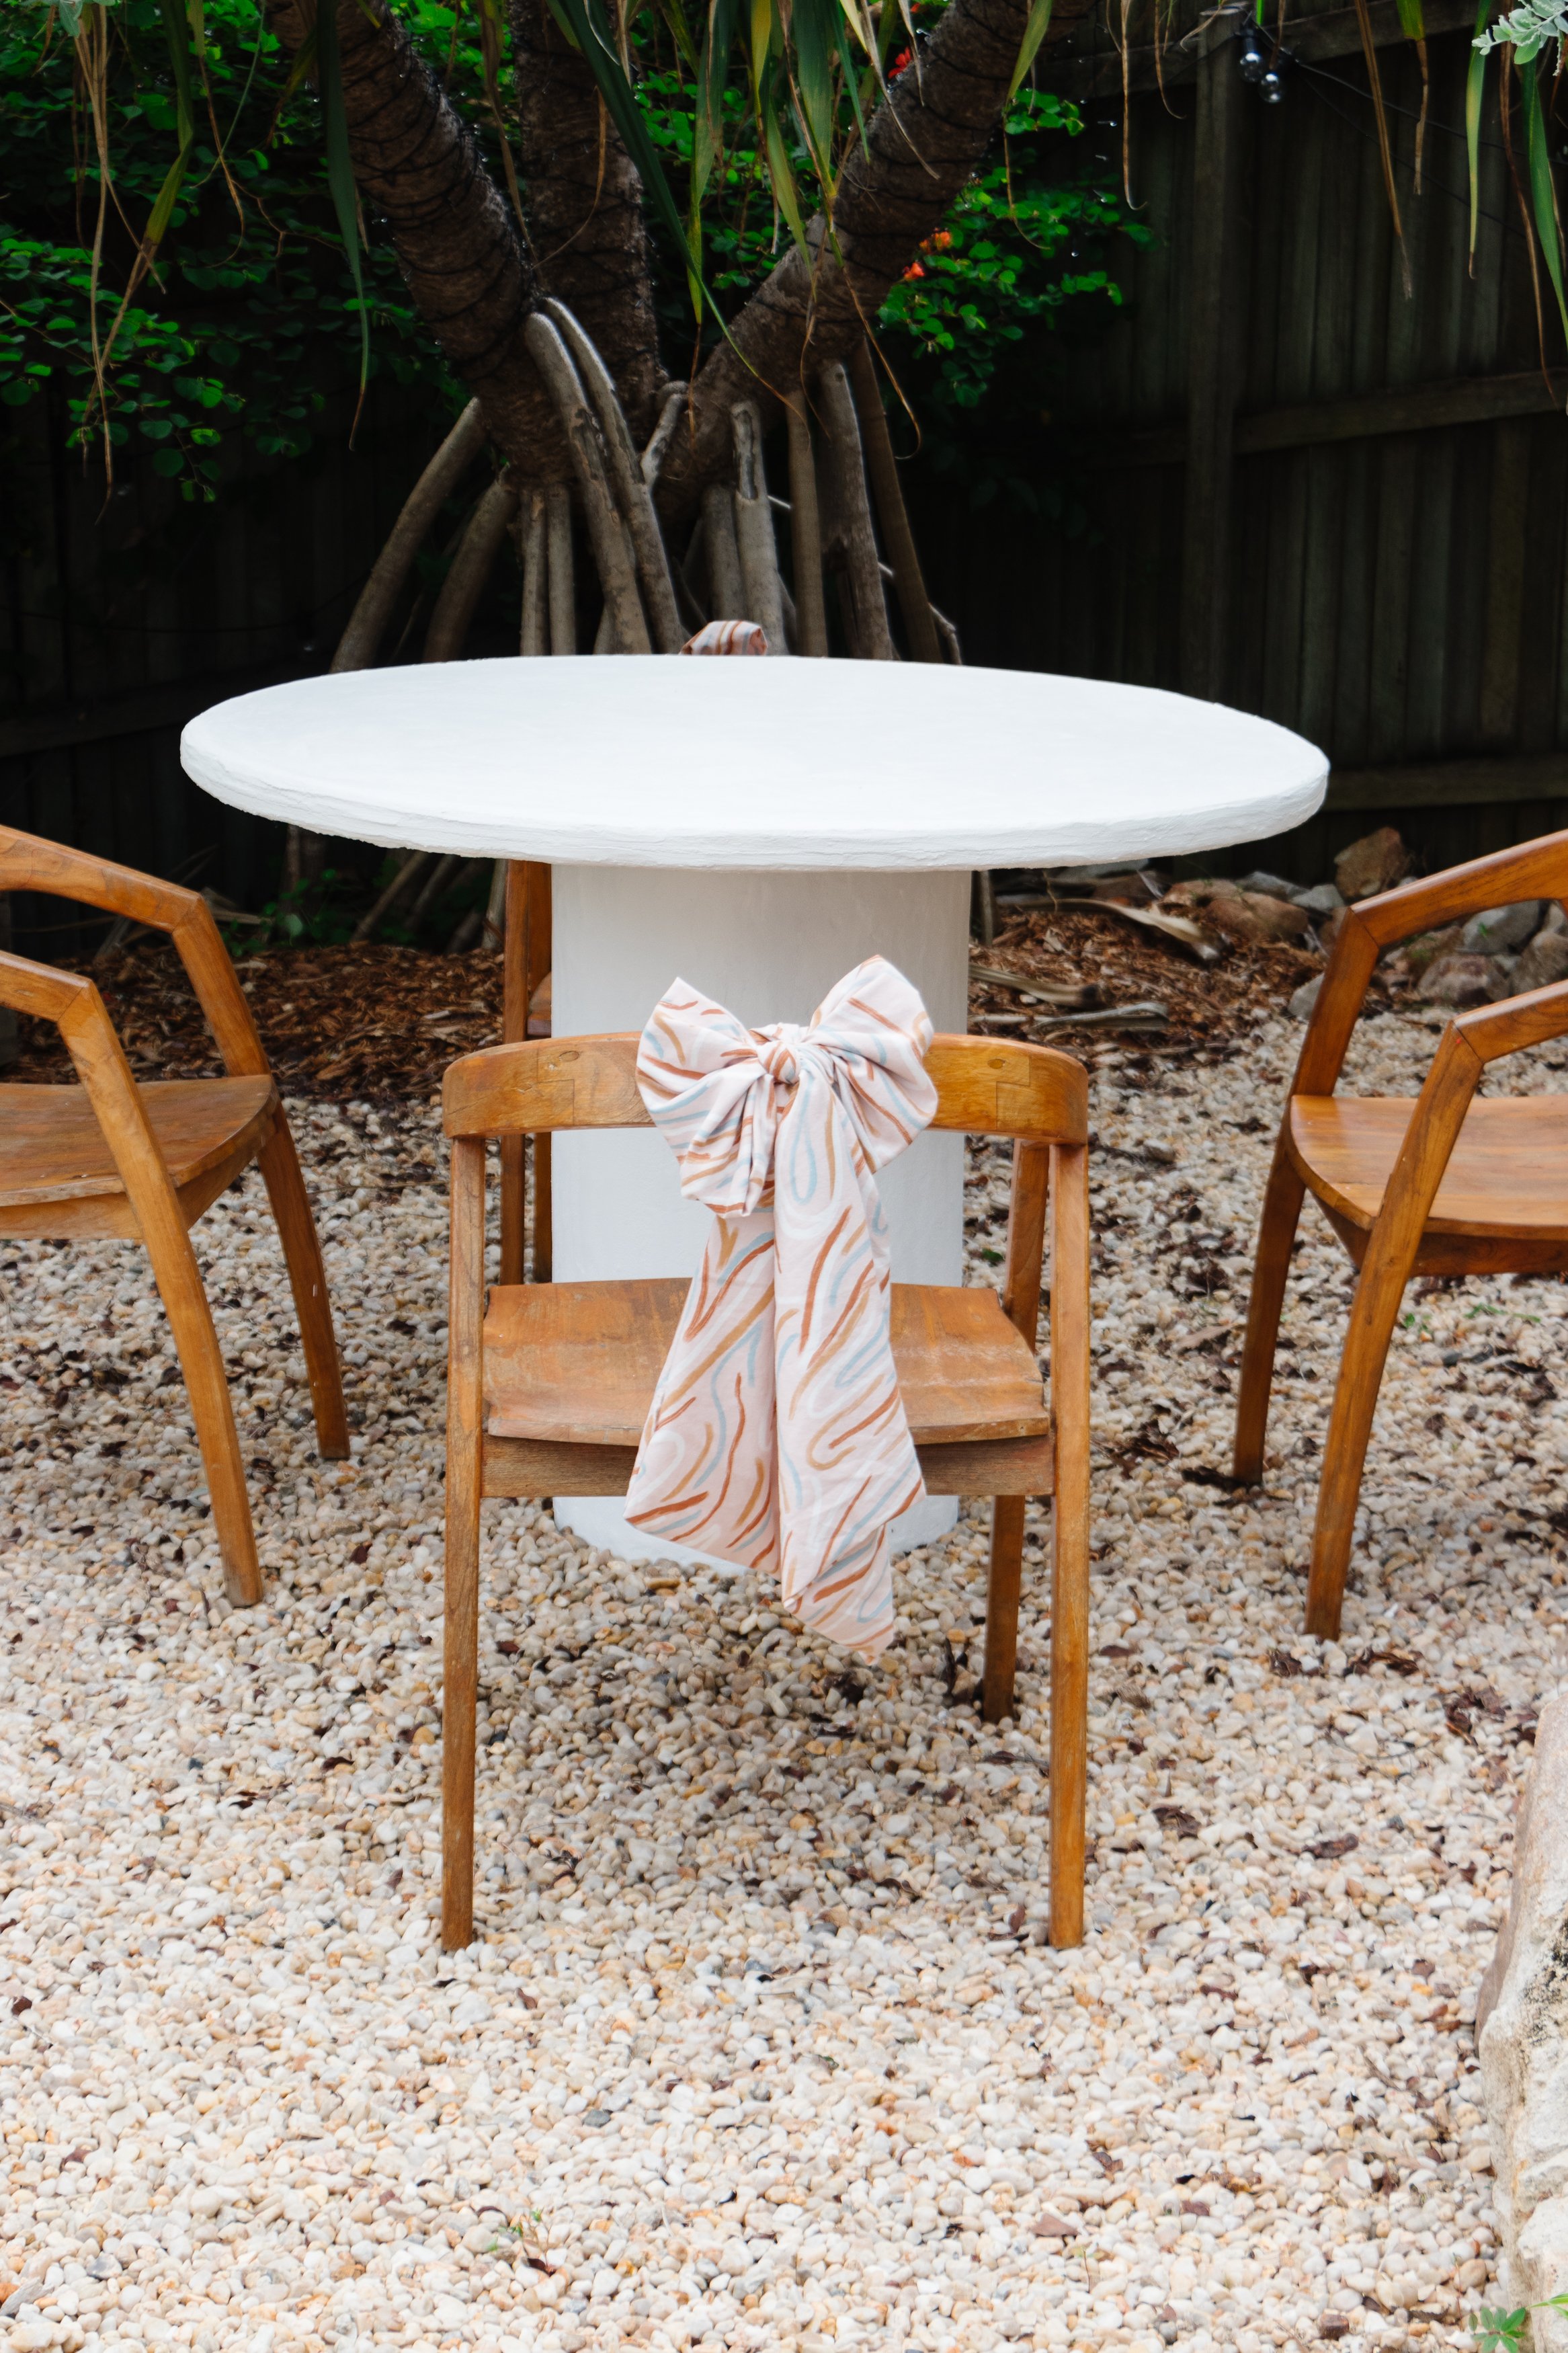
While I’m thrifting and upcycling, I am always thinking about the finish. I want my projects to be finished as professional as possible, but also approachable and easy for you to do at home. I love to obsess over the details and want to make sure the finish is seamless. Whether it’s using the right paint roller to paint cabinets so there aren’t any pesky brushstrokes, sealing a plaster console table or making sure an upcycled piece of art is stretched over a secondhand canvas properly, I like to go the extra mile to ensure my projects have a professional yet doable and attainable finish. It’s these little details that make an upcycle look like you’ve bought it from a shop!
Step 7: The Final Reveal
When I am finally happy an upcycling project is ready to share:
I’ll style it in my home and take photos and video, and spend time editing them so they’re ready to share with my community.
I’ll write a detailed tutorial on my website, including before and after photos, the inspiration, the materials I used with links, project notes, step by step instructions with photos, and the final reveal.
I’ll share the project onto Instagram. I’ll create an Instagram Reel (sometimes with a voiceover and sometimes without) and I’ll choose a song and write a caption. II’ll edit photos for an Instagram post, and I’ll write caption too.
I’ll share the project onto Pinterest. I’ll create a Pinterest Idea Pin video, choose a song and write a caption. And I’ll share the photos in my tutorial onto Pinterest as well.
I’ll share the project on TikTok. I’ll create a video of the project (often I’ll use the same video I shared on Instagram and Pinterest, typically with a voiceover, I’ll choose a song and write a caption.
This process can take an entire day, which not many people realise. Not only do these upcycling projects takes hours, often days to make, the content creation is a big process. But that motivates me even more because I love it when my community shares their projects with me. It seriously makes me so happy and means the world to me!
